peter
-
Posts
4487 -
Joined
-
Last visited
Content Type
Profiles
Forums
Events
Gallery
Everything posted by peter
-
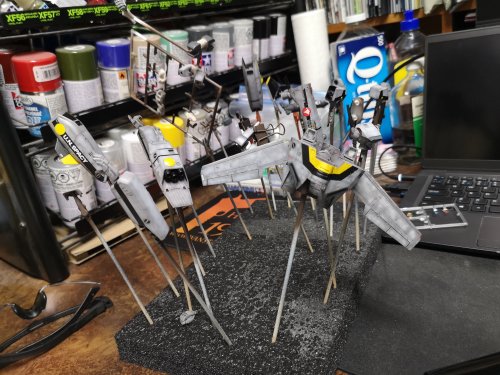
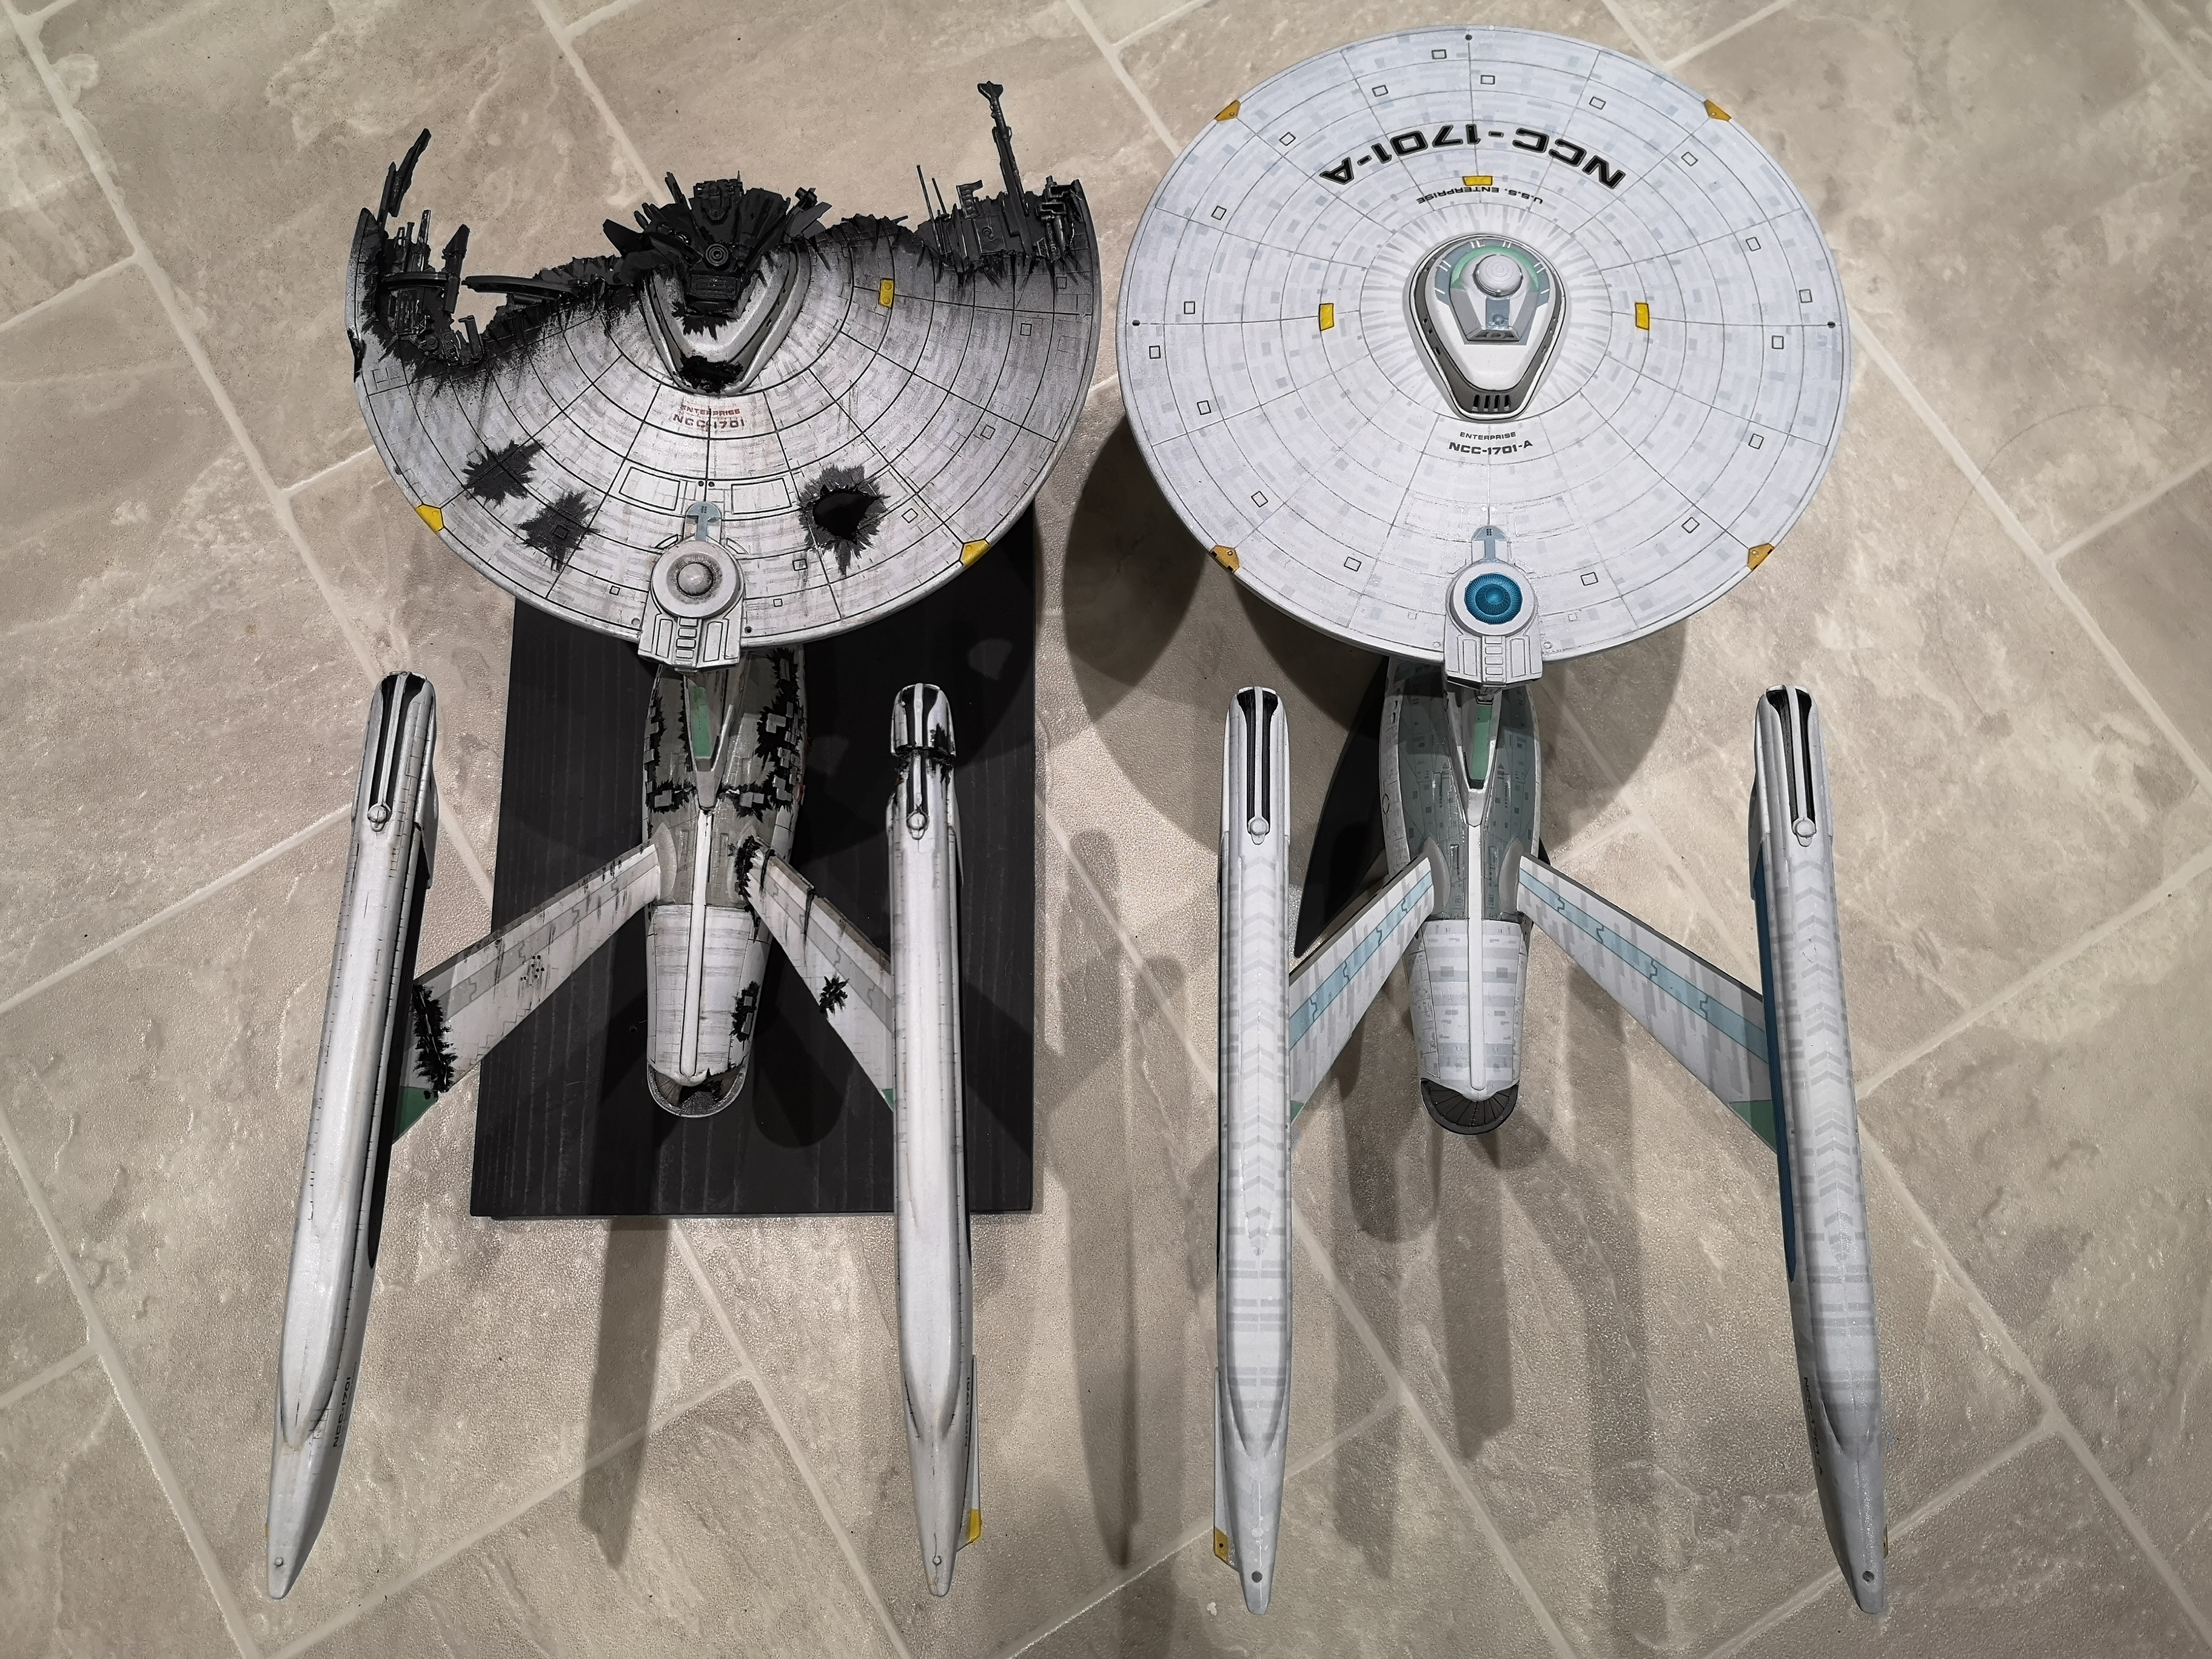
Dude, that stand is awesome. Sorry, but I may steal your idea.. My Refit is sitting on the original AMT stand, which feels a bit sketchy.... And my auto destruct is just stuck on a plain wood board. I really like your display idea with a top view schematic of the ship.


-
@derex3592 I've heard the Galileo shuttle is a lot of work, I can't imagine a Runabout @electric indigo I'm going to have to try resin one day. I have a few of those resin kits that the "Super-poseables" were cloned from, maybe I should try one of those.
-
Lol, damn, I wish I'd seen this message earlier....I just ordered one from Amazon.co.jp.....having it sent to my in-laws ¥18,760 Not that I have anything worth trading anyway, hahhaha! Just have to wait a year or whenever the pandemic is over before I can go over there to bring it back
-
Than is awesome.....love the figs too! I can't do greeblies to save my life....no imagination
-
@Chronocidal @sketchley @MechTech I'll definitely reinforce the next Battroid I build. MT, your mech looks beefy by the way.....I'll have to refer to your posts about joints when I get going again.
-
Thanks! I should have brought my actual camera with me though instead of just using my cell phone. My camera produces better results I think: Yamato 1/48 VF-1A Low-Vis These are just reposts, nothing new Yamato 1/48 Max Super


-
I sort of want, but I wasn't all that stressed that I failed to get one during the pre-order. The hands, and even the feet and shoulder extensions just look a bit odd to me.
-
That is awesome....looks like a scaled up DX.
-
-
Wow, nice! I've noticed there aren't very many Macross fans in the GRVD. Are you selling a few things on FB Marketplace? I saw a few items that pop up once in a while and it always shows Surrey. Have you build yours? How does it compare in detail to the Hasegawas 1/72 or 1/48? I saw these when I was in Japan, but I think it would have taken up an entire checked luggage so I passed on it. Good price though, less than 20,000 yen. I might grab one next time I'm over there, but who knows when that will be. My in-laws are already holding a bunch of my Macross items hostage, but I don't want them to ship them because it is soooo expensive right now. I'll just have to stockpile them and wait for my next trip.
-
Nice. I sort of want one of these now......shipping was probably huge dollars?
-
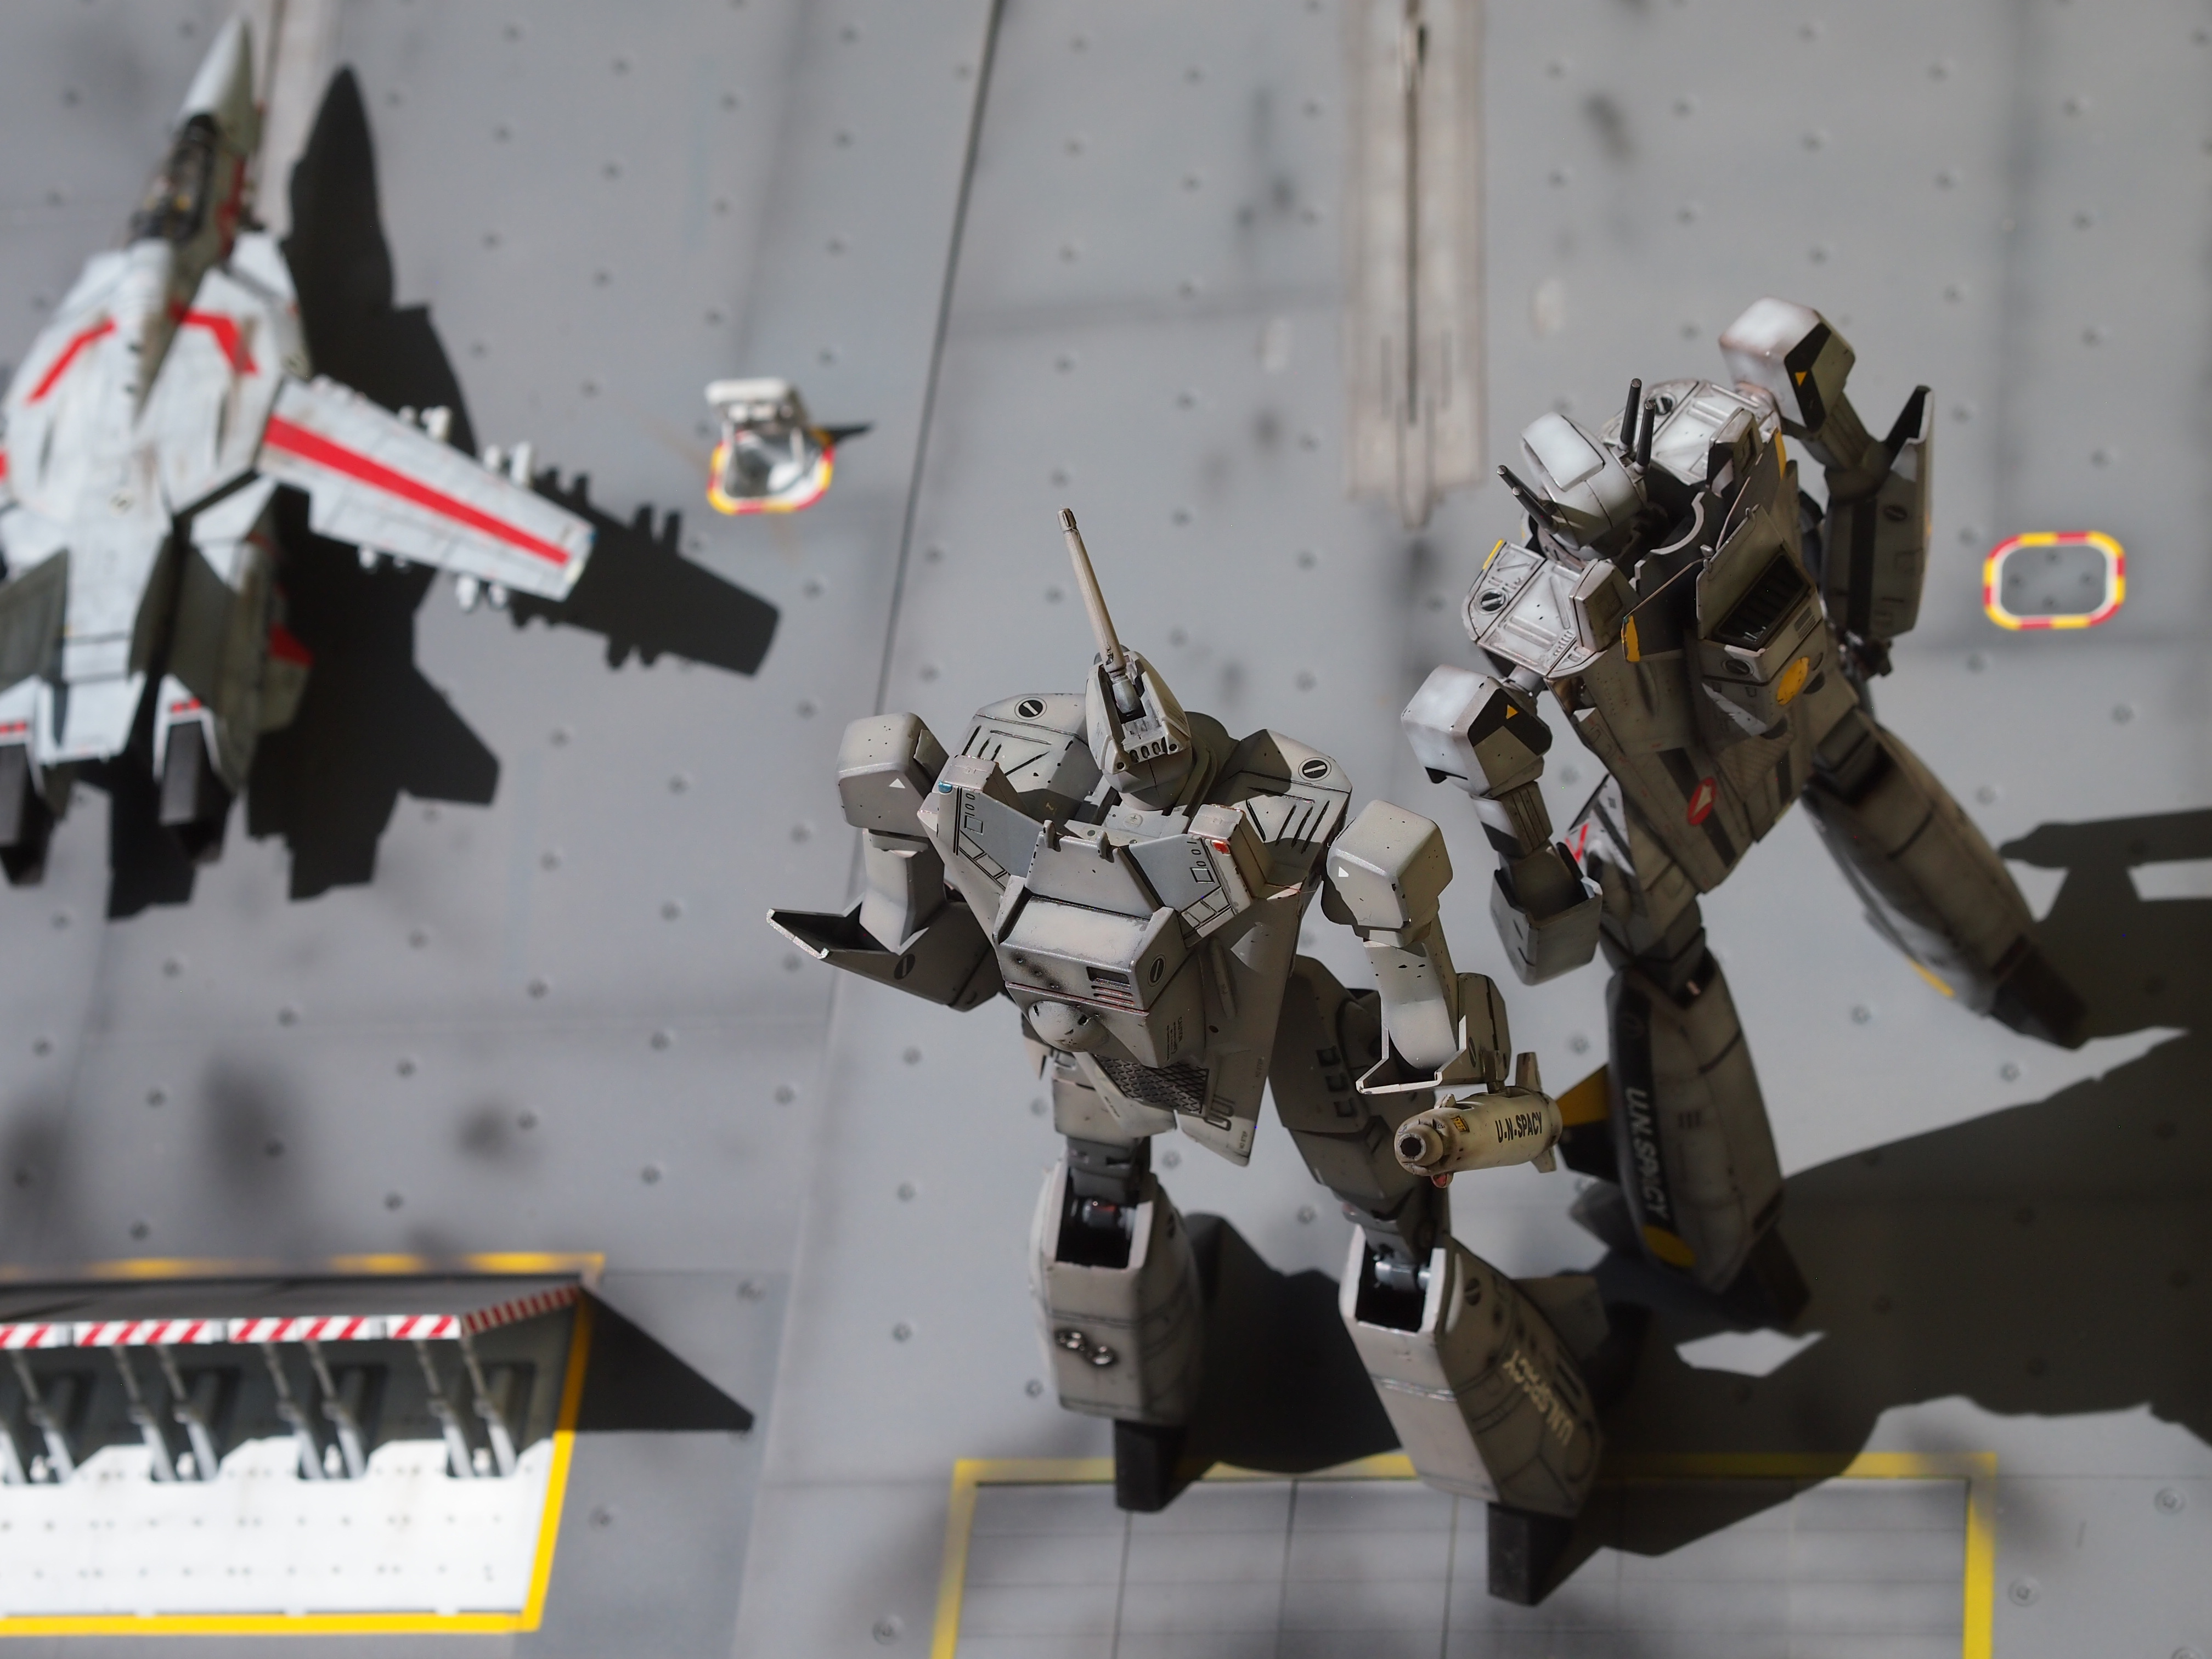
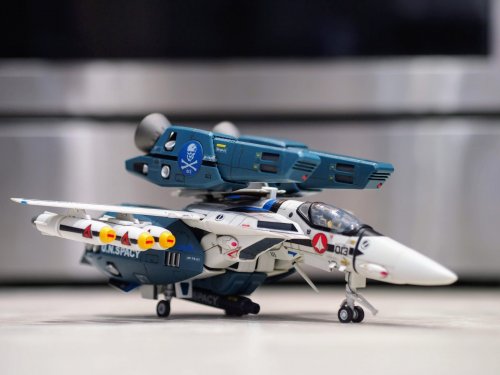
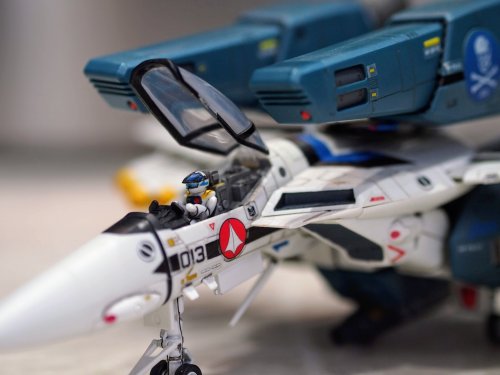
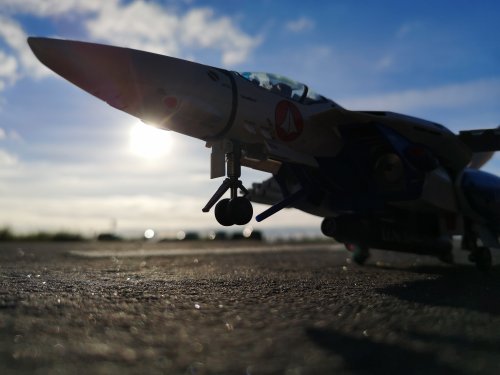
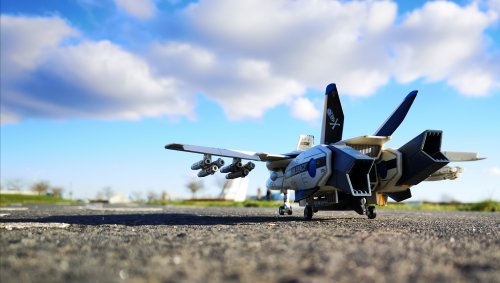
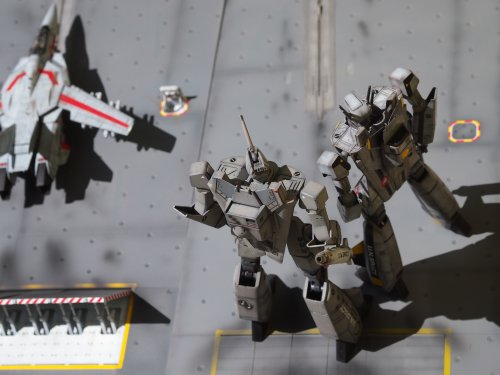
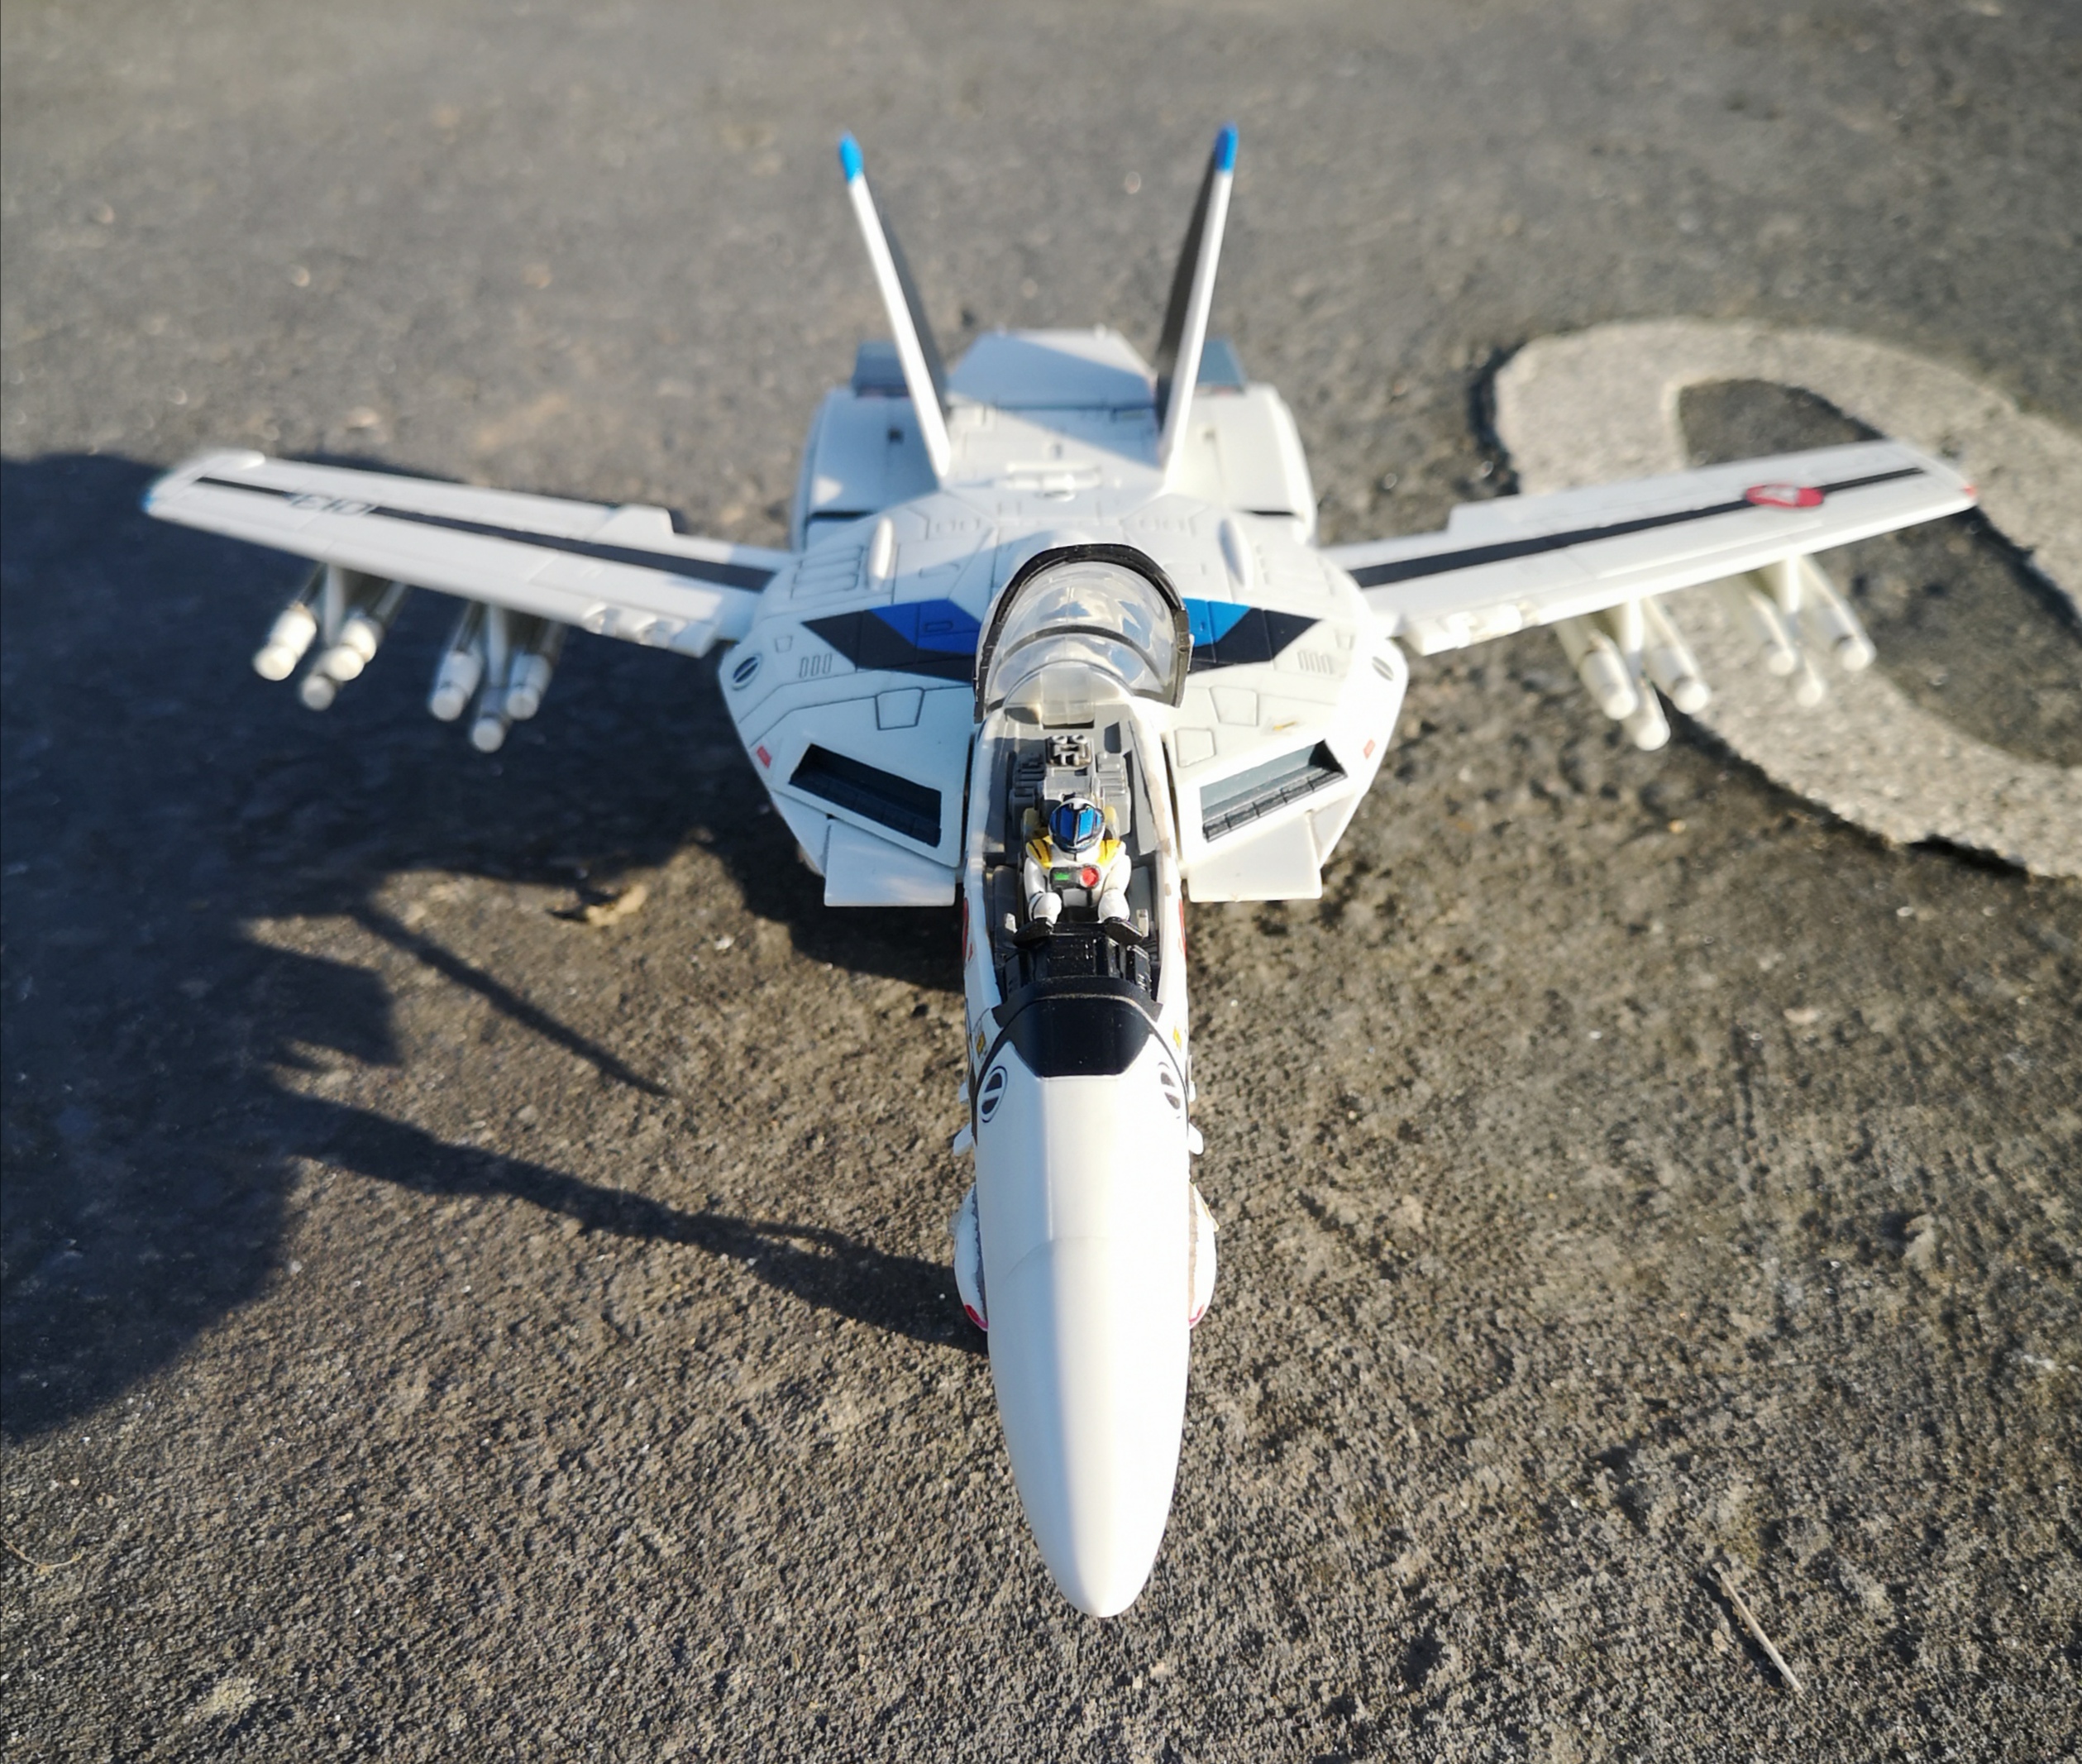
I tried to recreate this scene with Hasegawa 1/72 Valks, but I had a lot of trouble getting both Valks in focus. Couldn't get the angle right either, just required the camera to be really close, or zoomed in, but then I would lose focus on Roy's. Gave up After while and just settled for some other angles.
.thumb.jpg.e50db290febad0f17bb2c619a4bac2fe.jpg)

.thumb.jpg.609dd95eb6e12321795954abf303f8a7.jpg)
.thumb.jpg.1377e6cd0be0af6b00011388d3850dd6.jpg)

.thumb.jpg.724720c878966cc5451bcc1abd8da4b1.jpg)
.thumb.jpg.89ab826de3a544b78fa8848d2da7bd3b.jpg)
-
I think the balloon hands are exaggerated a bit too much, lol! They look like giant sausage fingers. I wonder how it would look with fixed pose DYRL hands?
-
I like this thread, breathes new life into my Yammies. Thought I posted these here, but I guess not.


-
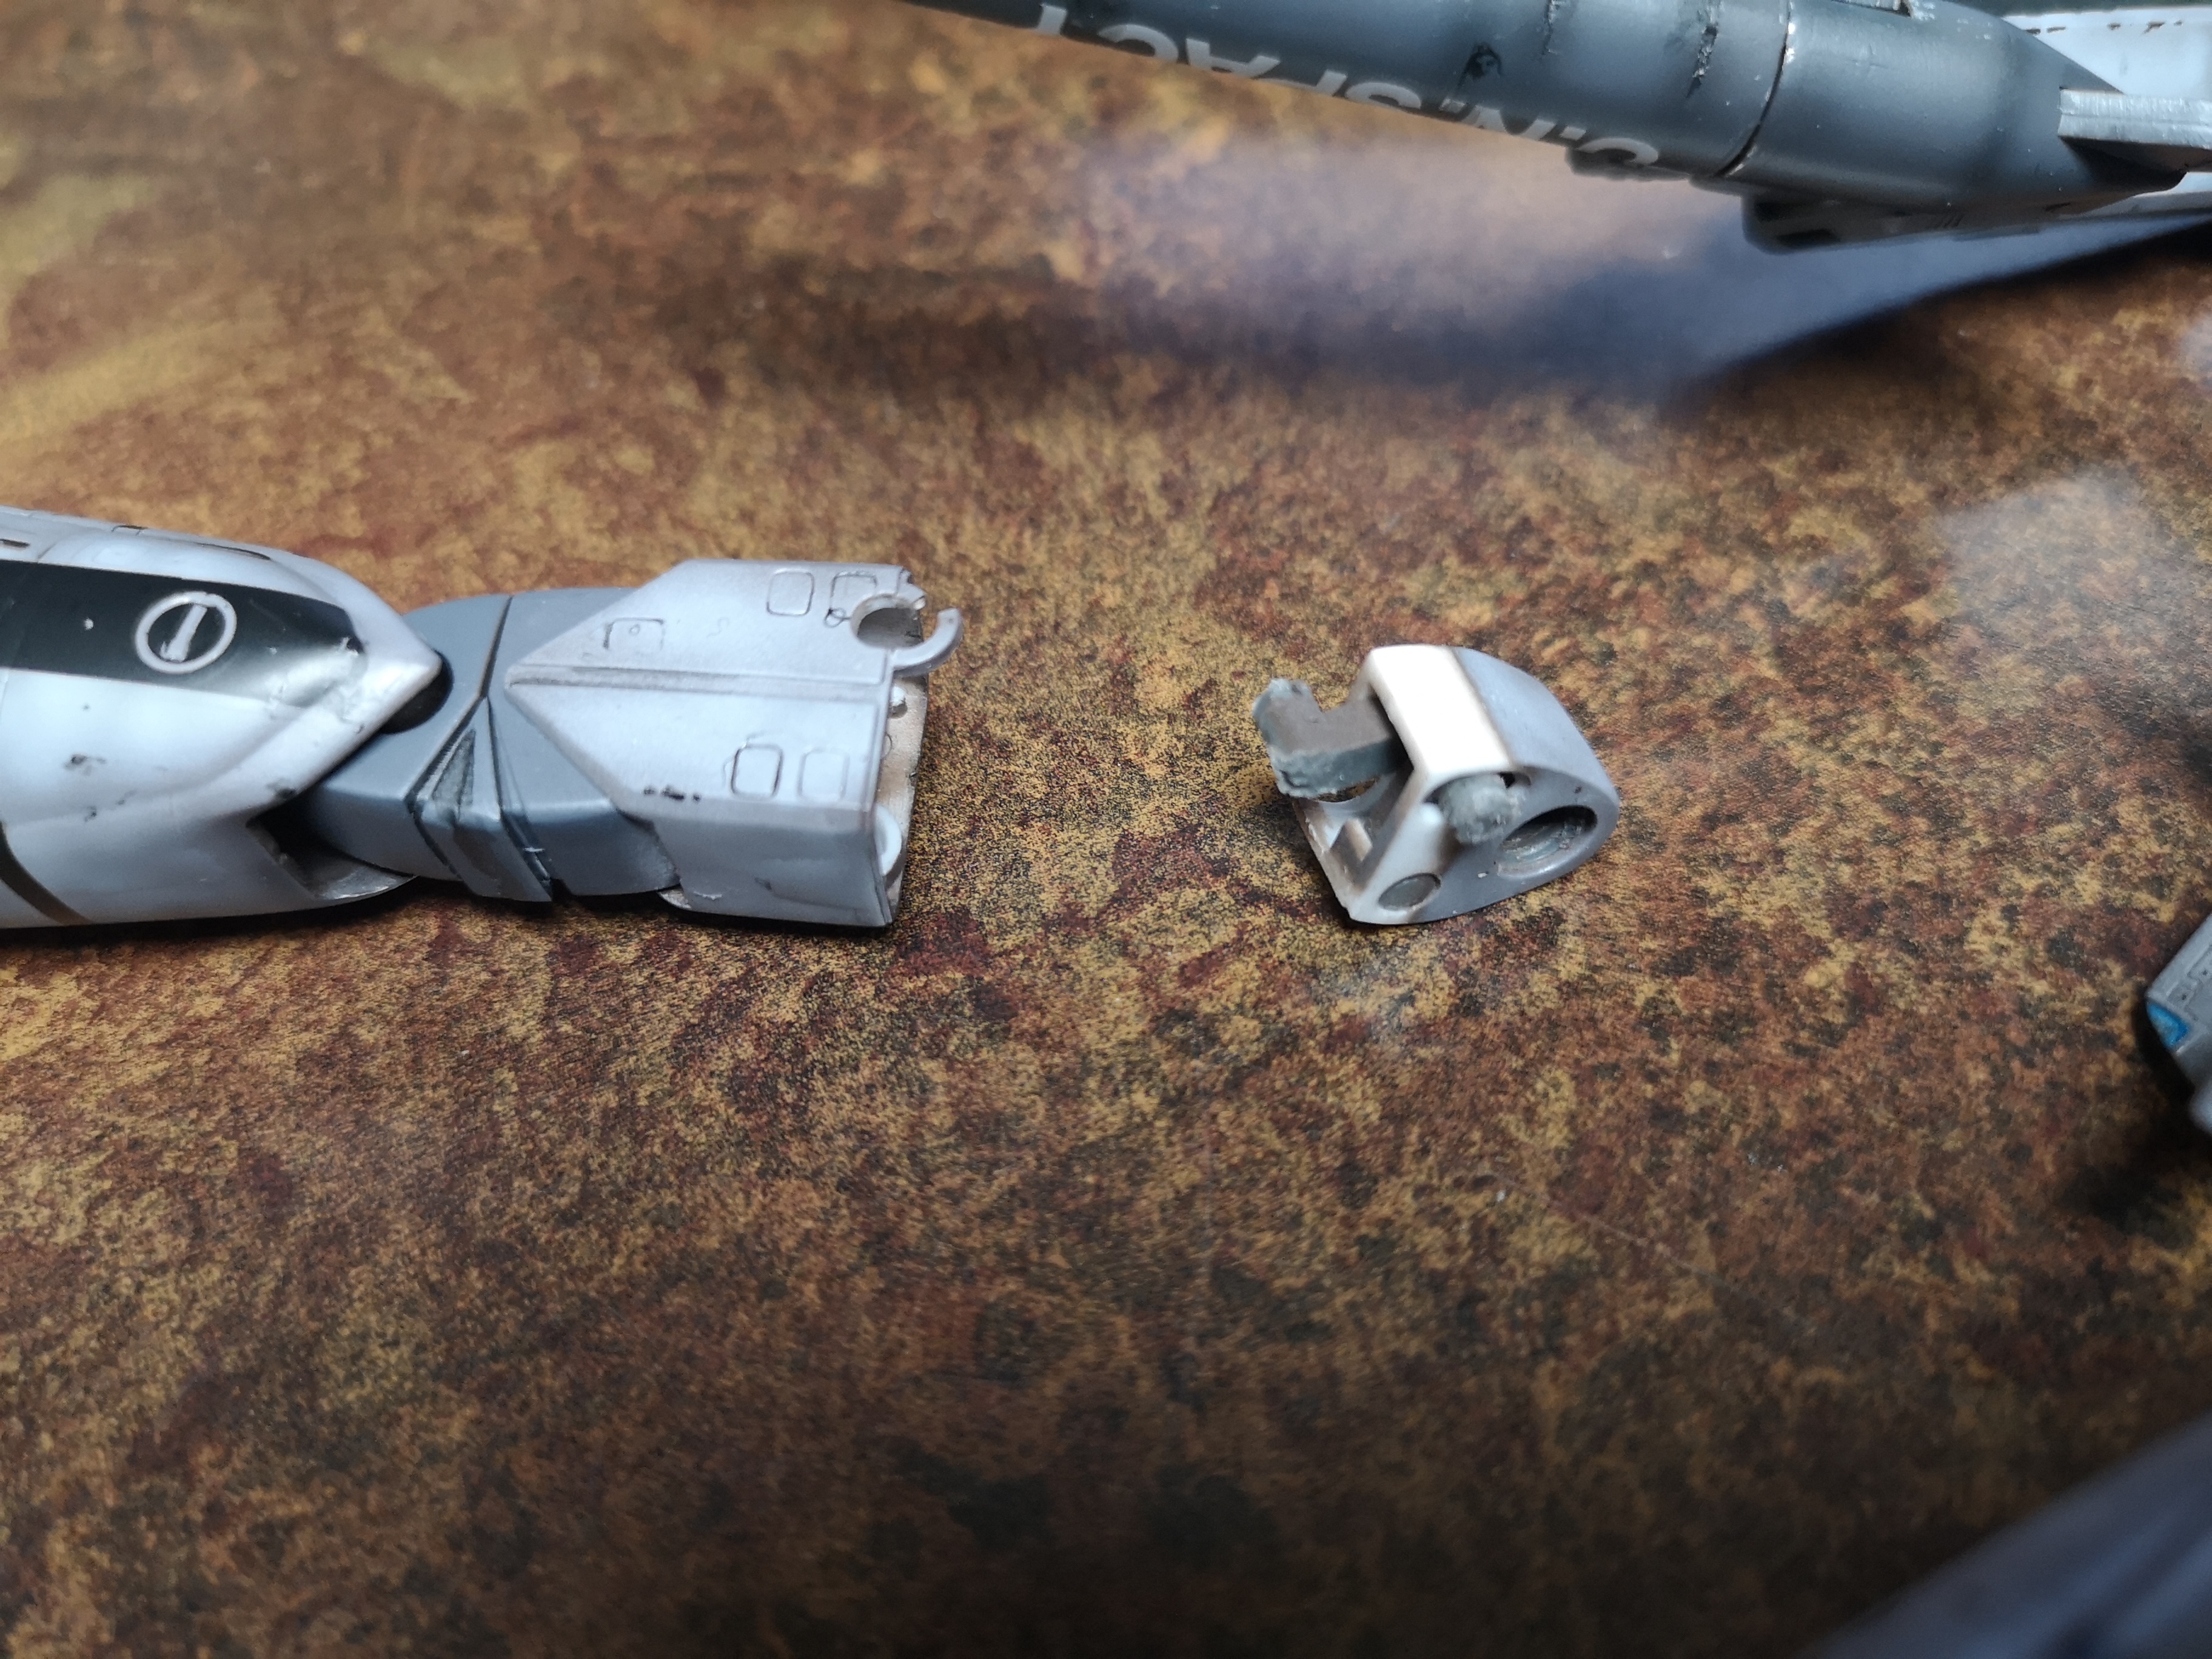
@arbit LOL, I used weathering and battle damage to hide some flaws. @Thom Uh, yeah, my recommendation is to not get too comfortable posing these things... BTW, I want to do something WWII now.... Really want that 1/32 B17, ut that's a quick way to get on the wife's $hitlist. @derex3592 That would be amazing, a glass base! I just find a chunk of wood and spray it charcoal. I should put more effort into the displays. @MechTech I also used a real camera as opposed to my cell phone, hahahaha! So about posing the Hasegawa Battroid.... I've come to realize it's best to pick a pose and leave it. After the photo session: I knew this hip assembly was a weak point. First one shoulder peg broke. Then the other. 8 year old me would not be impressed, lol! Anyway, I don't usually play with my models after I build them anyway, but the plastic on the Hasegawa is Ike butter. Pose able, but not really. Hahahaha! I superglued the pegs back in place, and they are holding, but I don't think I will mess with it anymore. On to the shelf and leave it alone.


-
 My wife would have my balls if I successfully got one of these tonight. $409 CAD before shipping from HLJ
 -
Lol, I got one in my cart at HLJ but now it shows order stopped. %*$#@!
-
Woah, you lit it too! I have no idea how to photo shop or edit photos.... That looks really good!
-
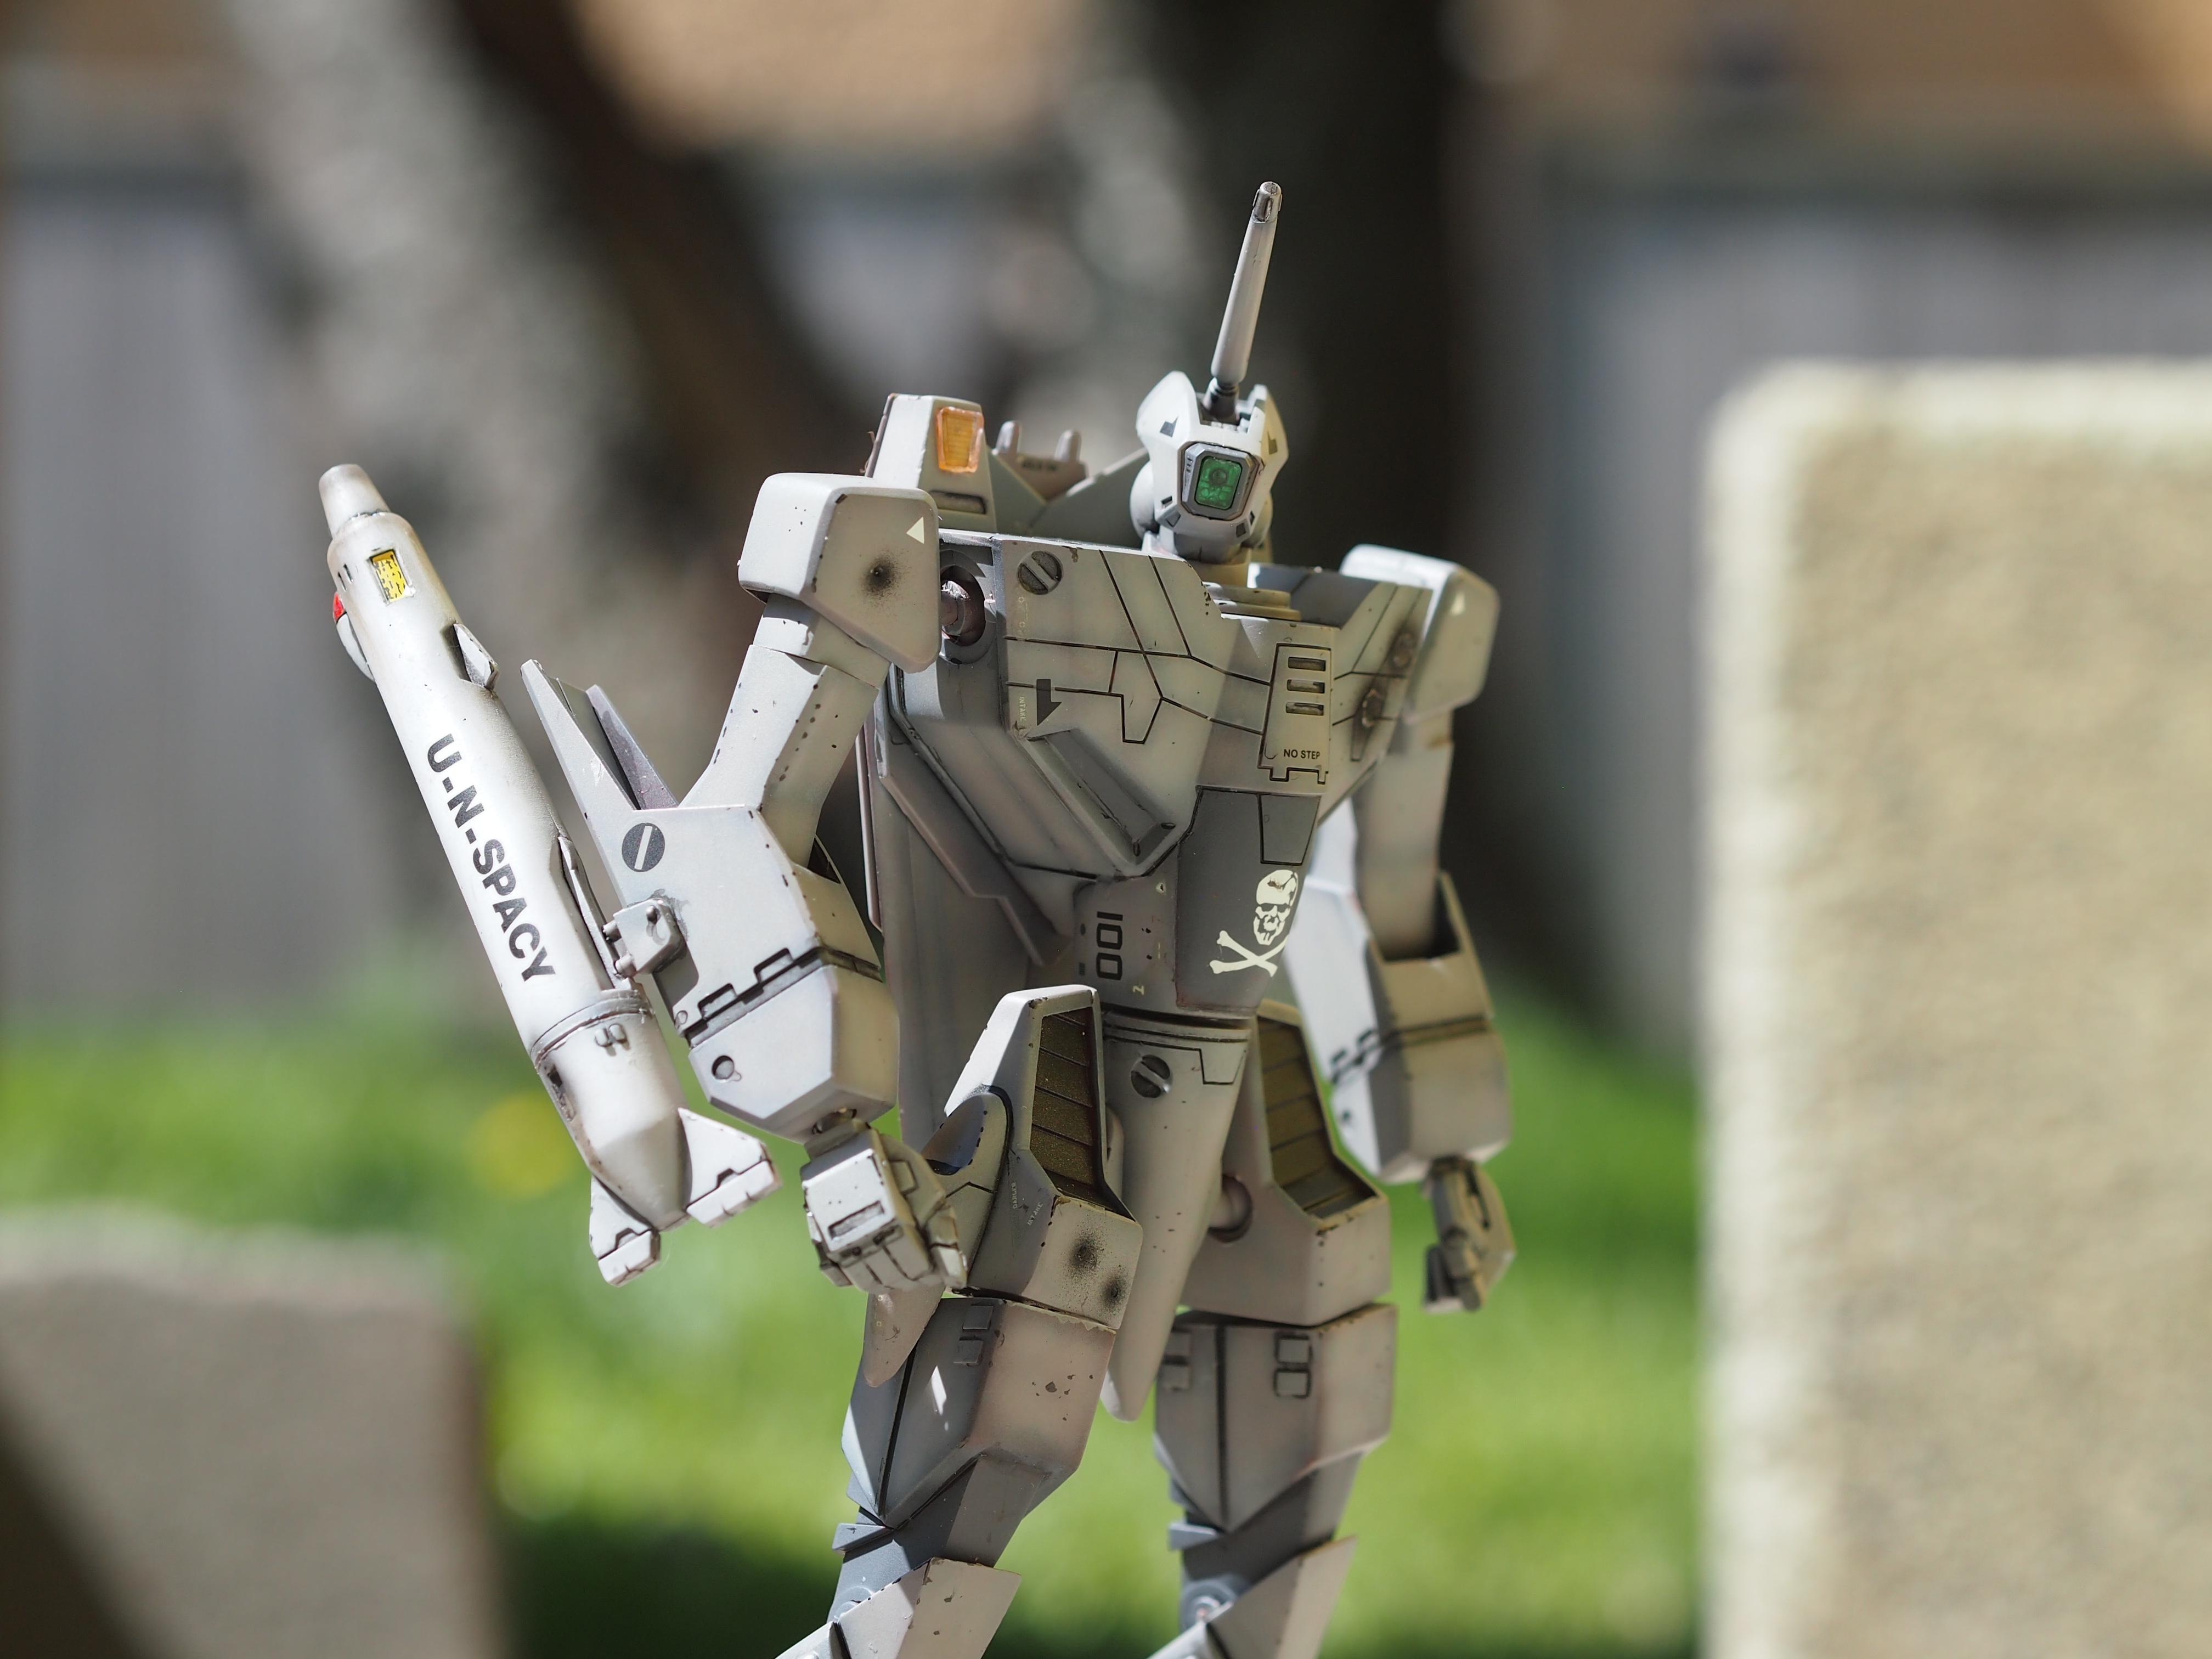
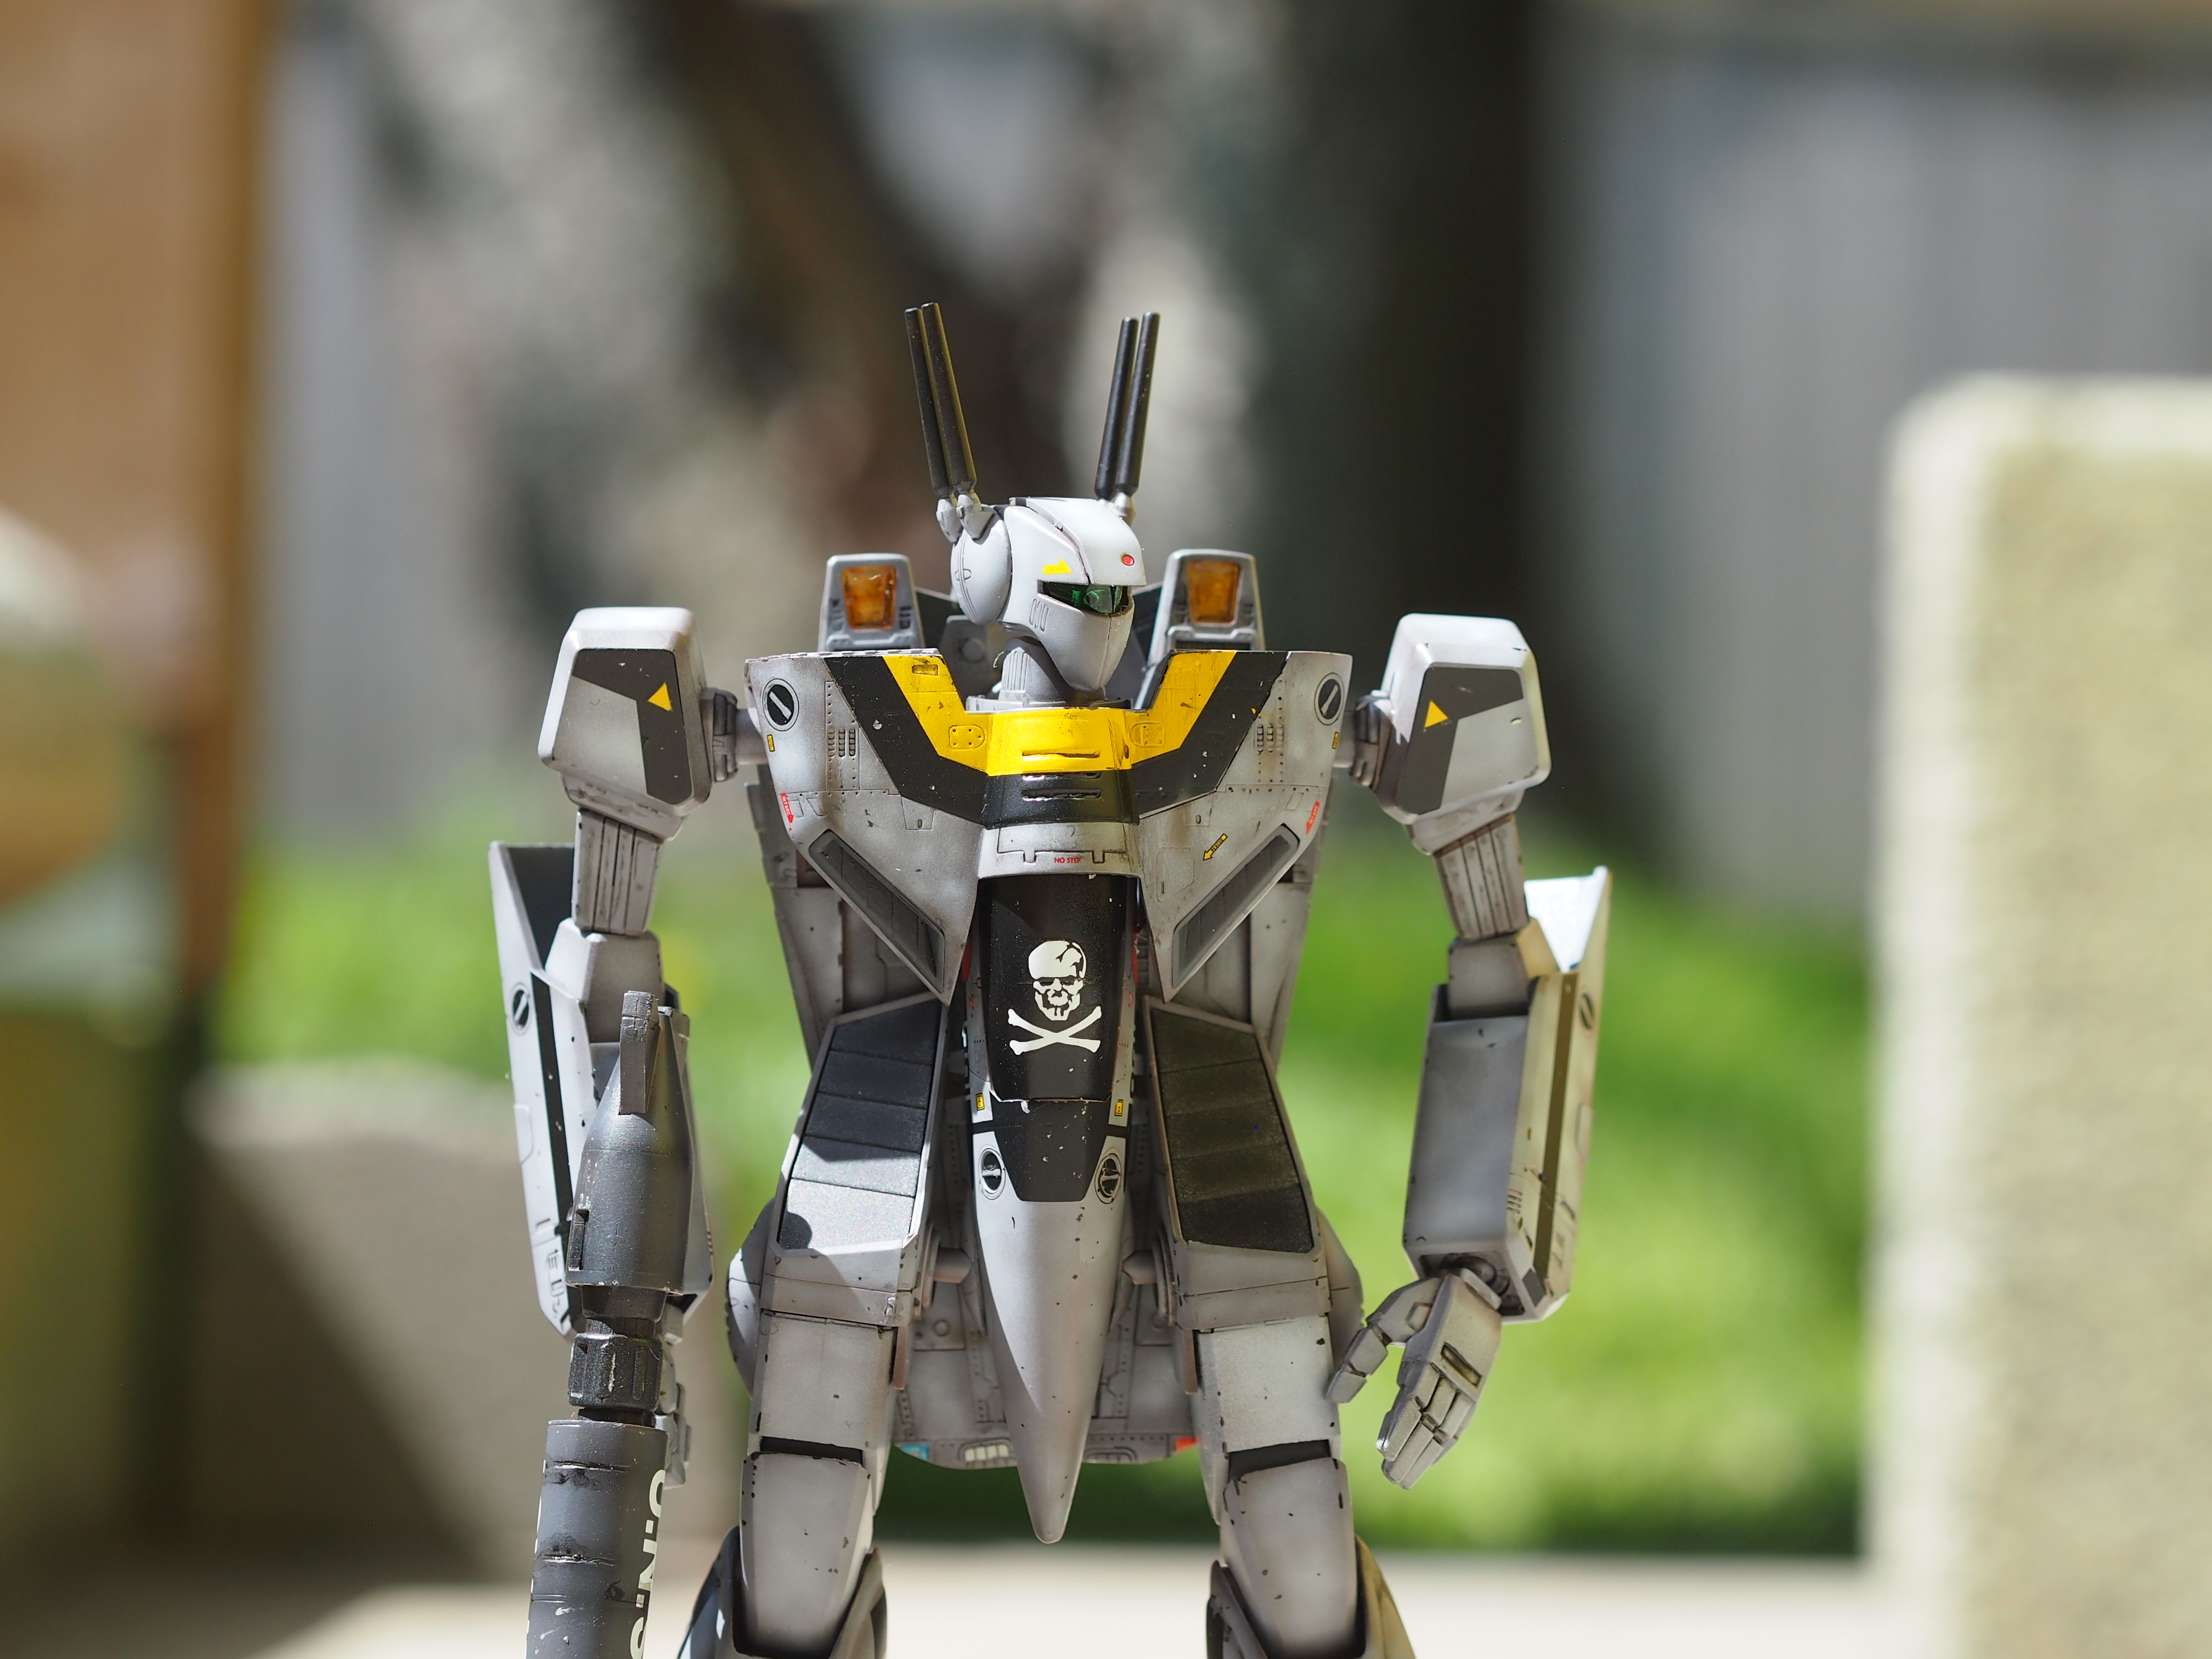
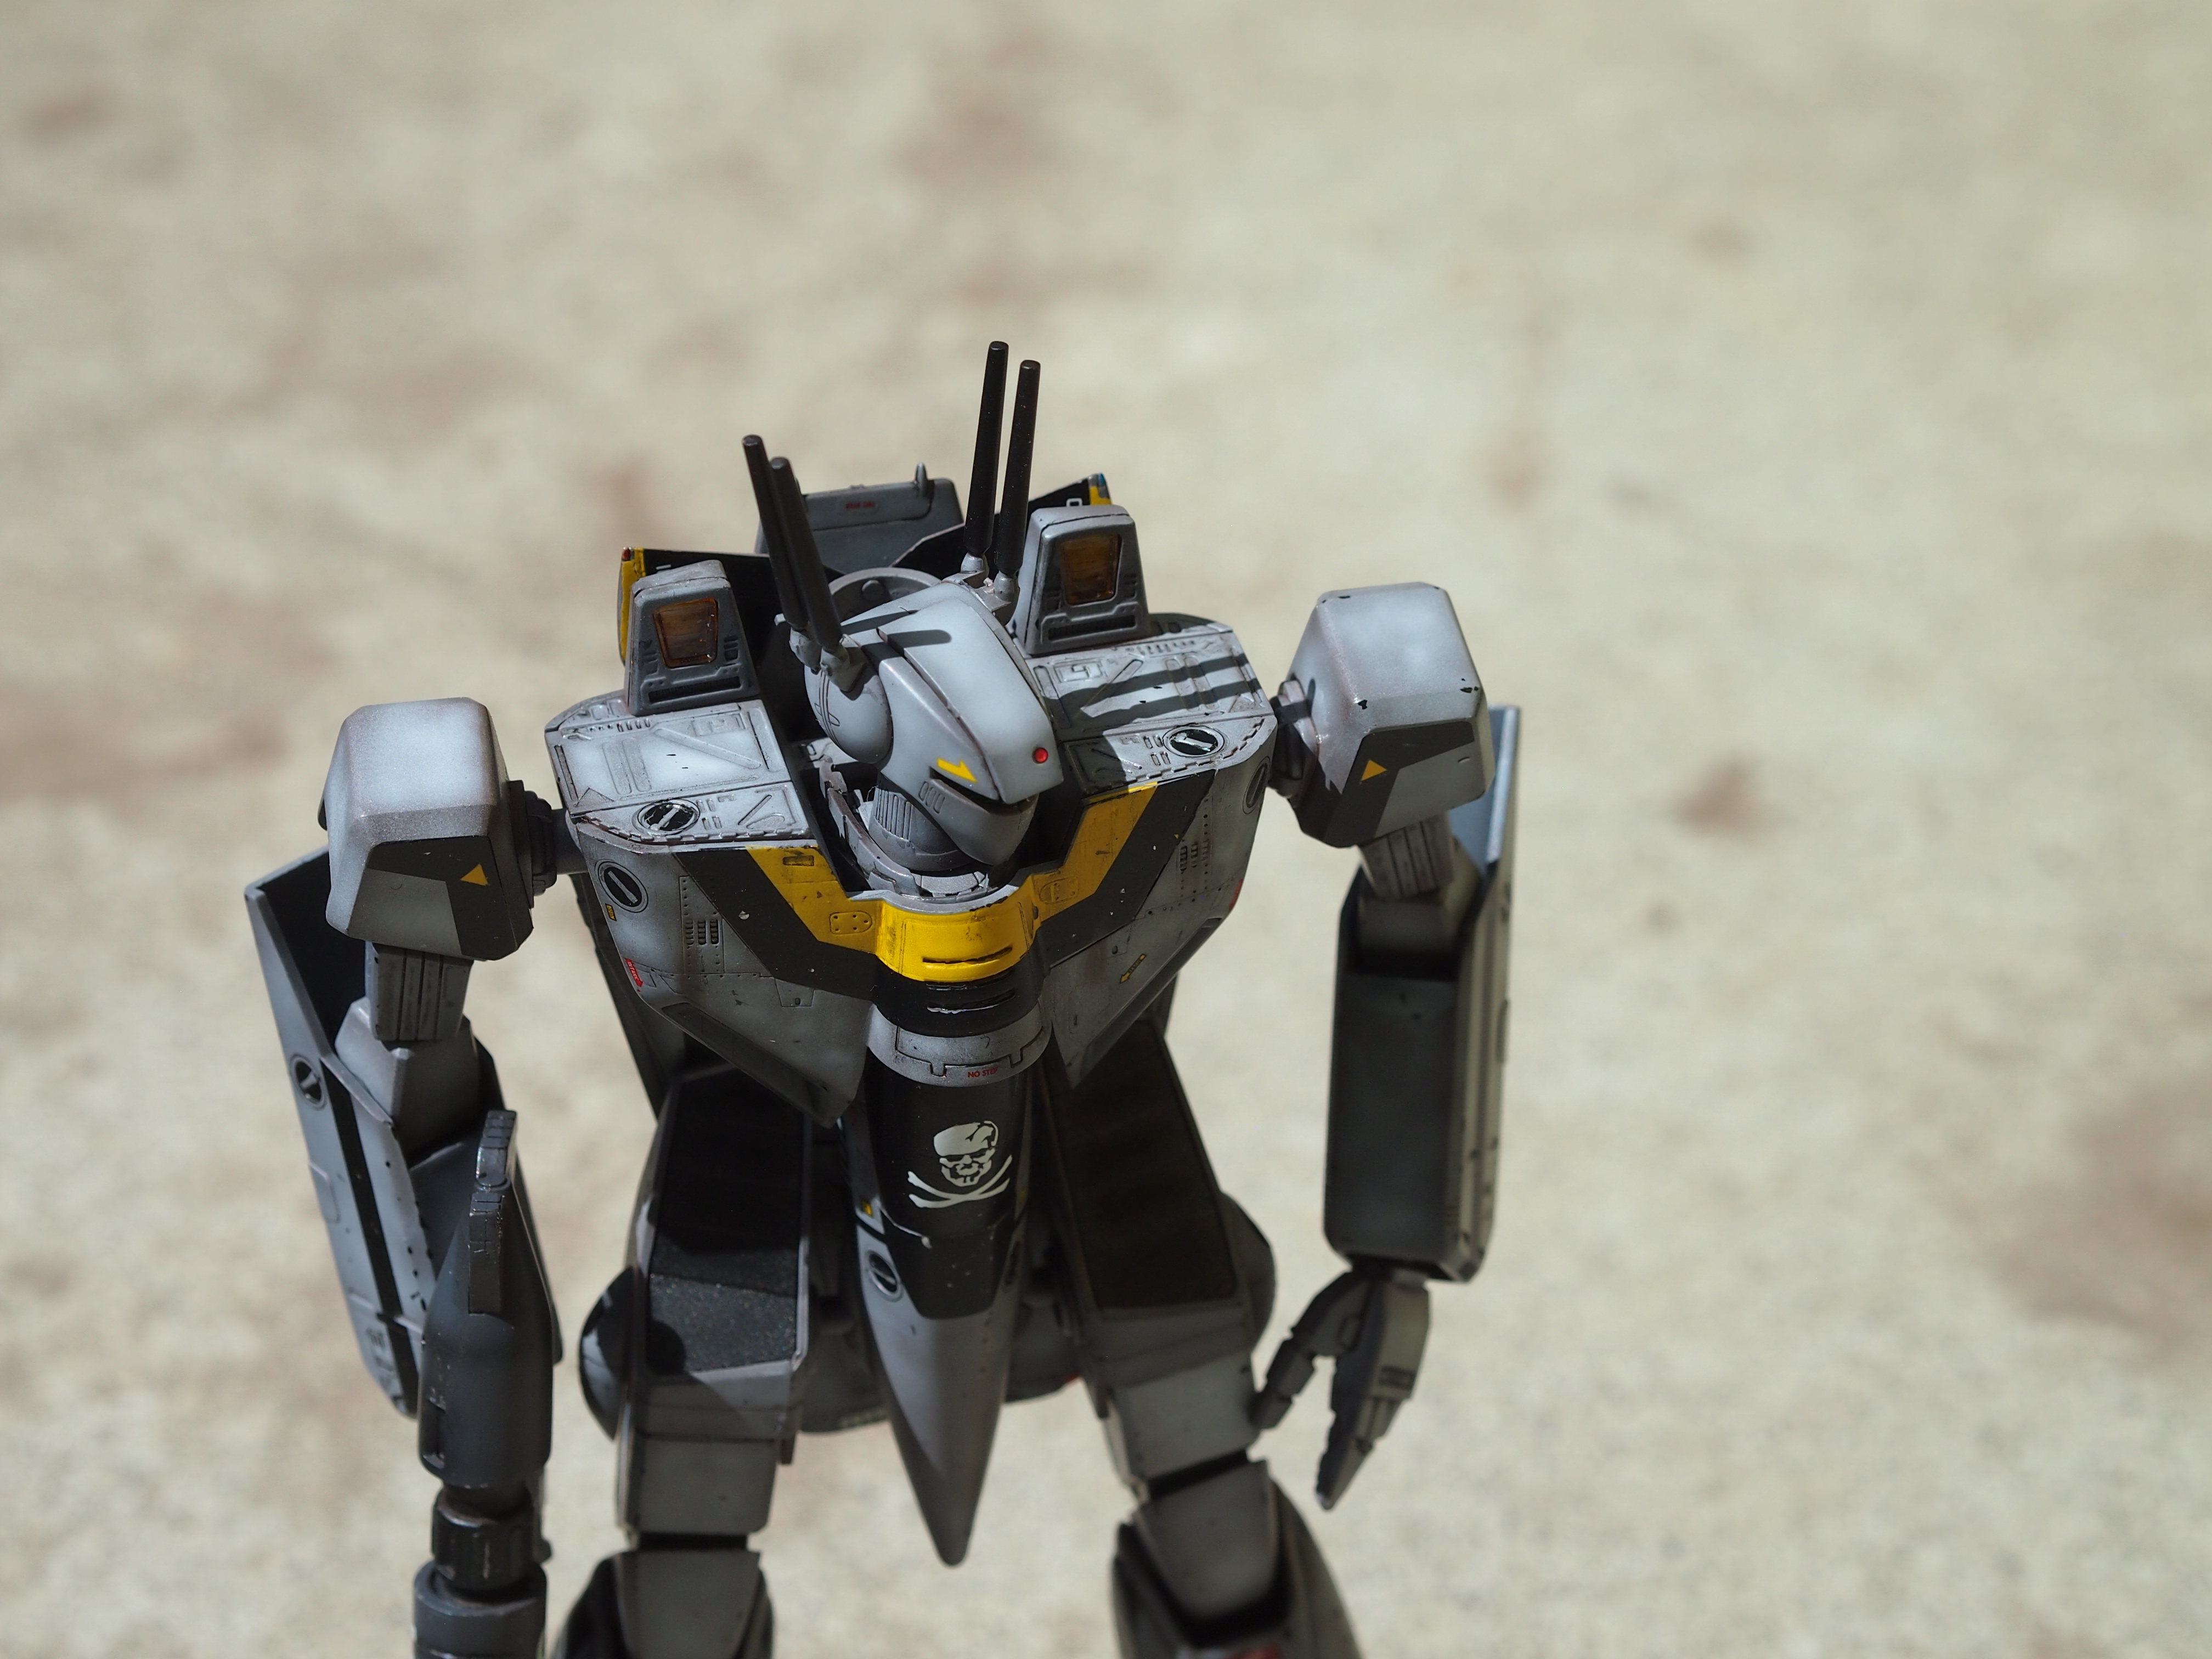
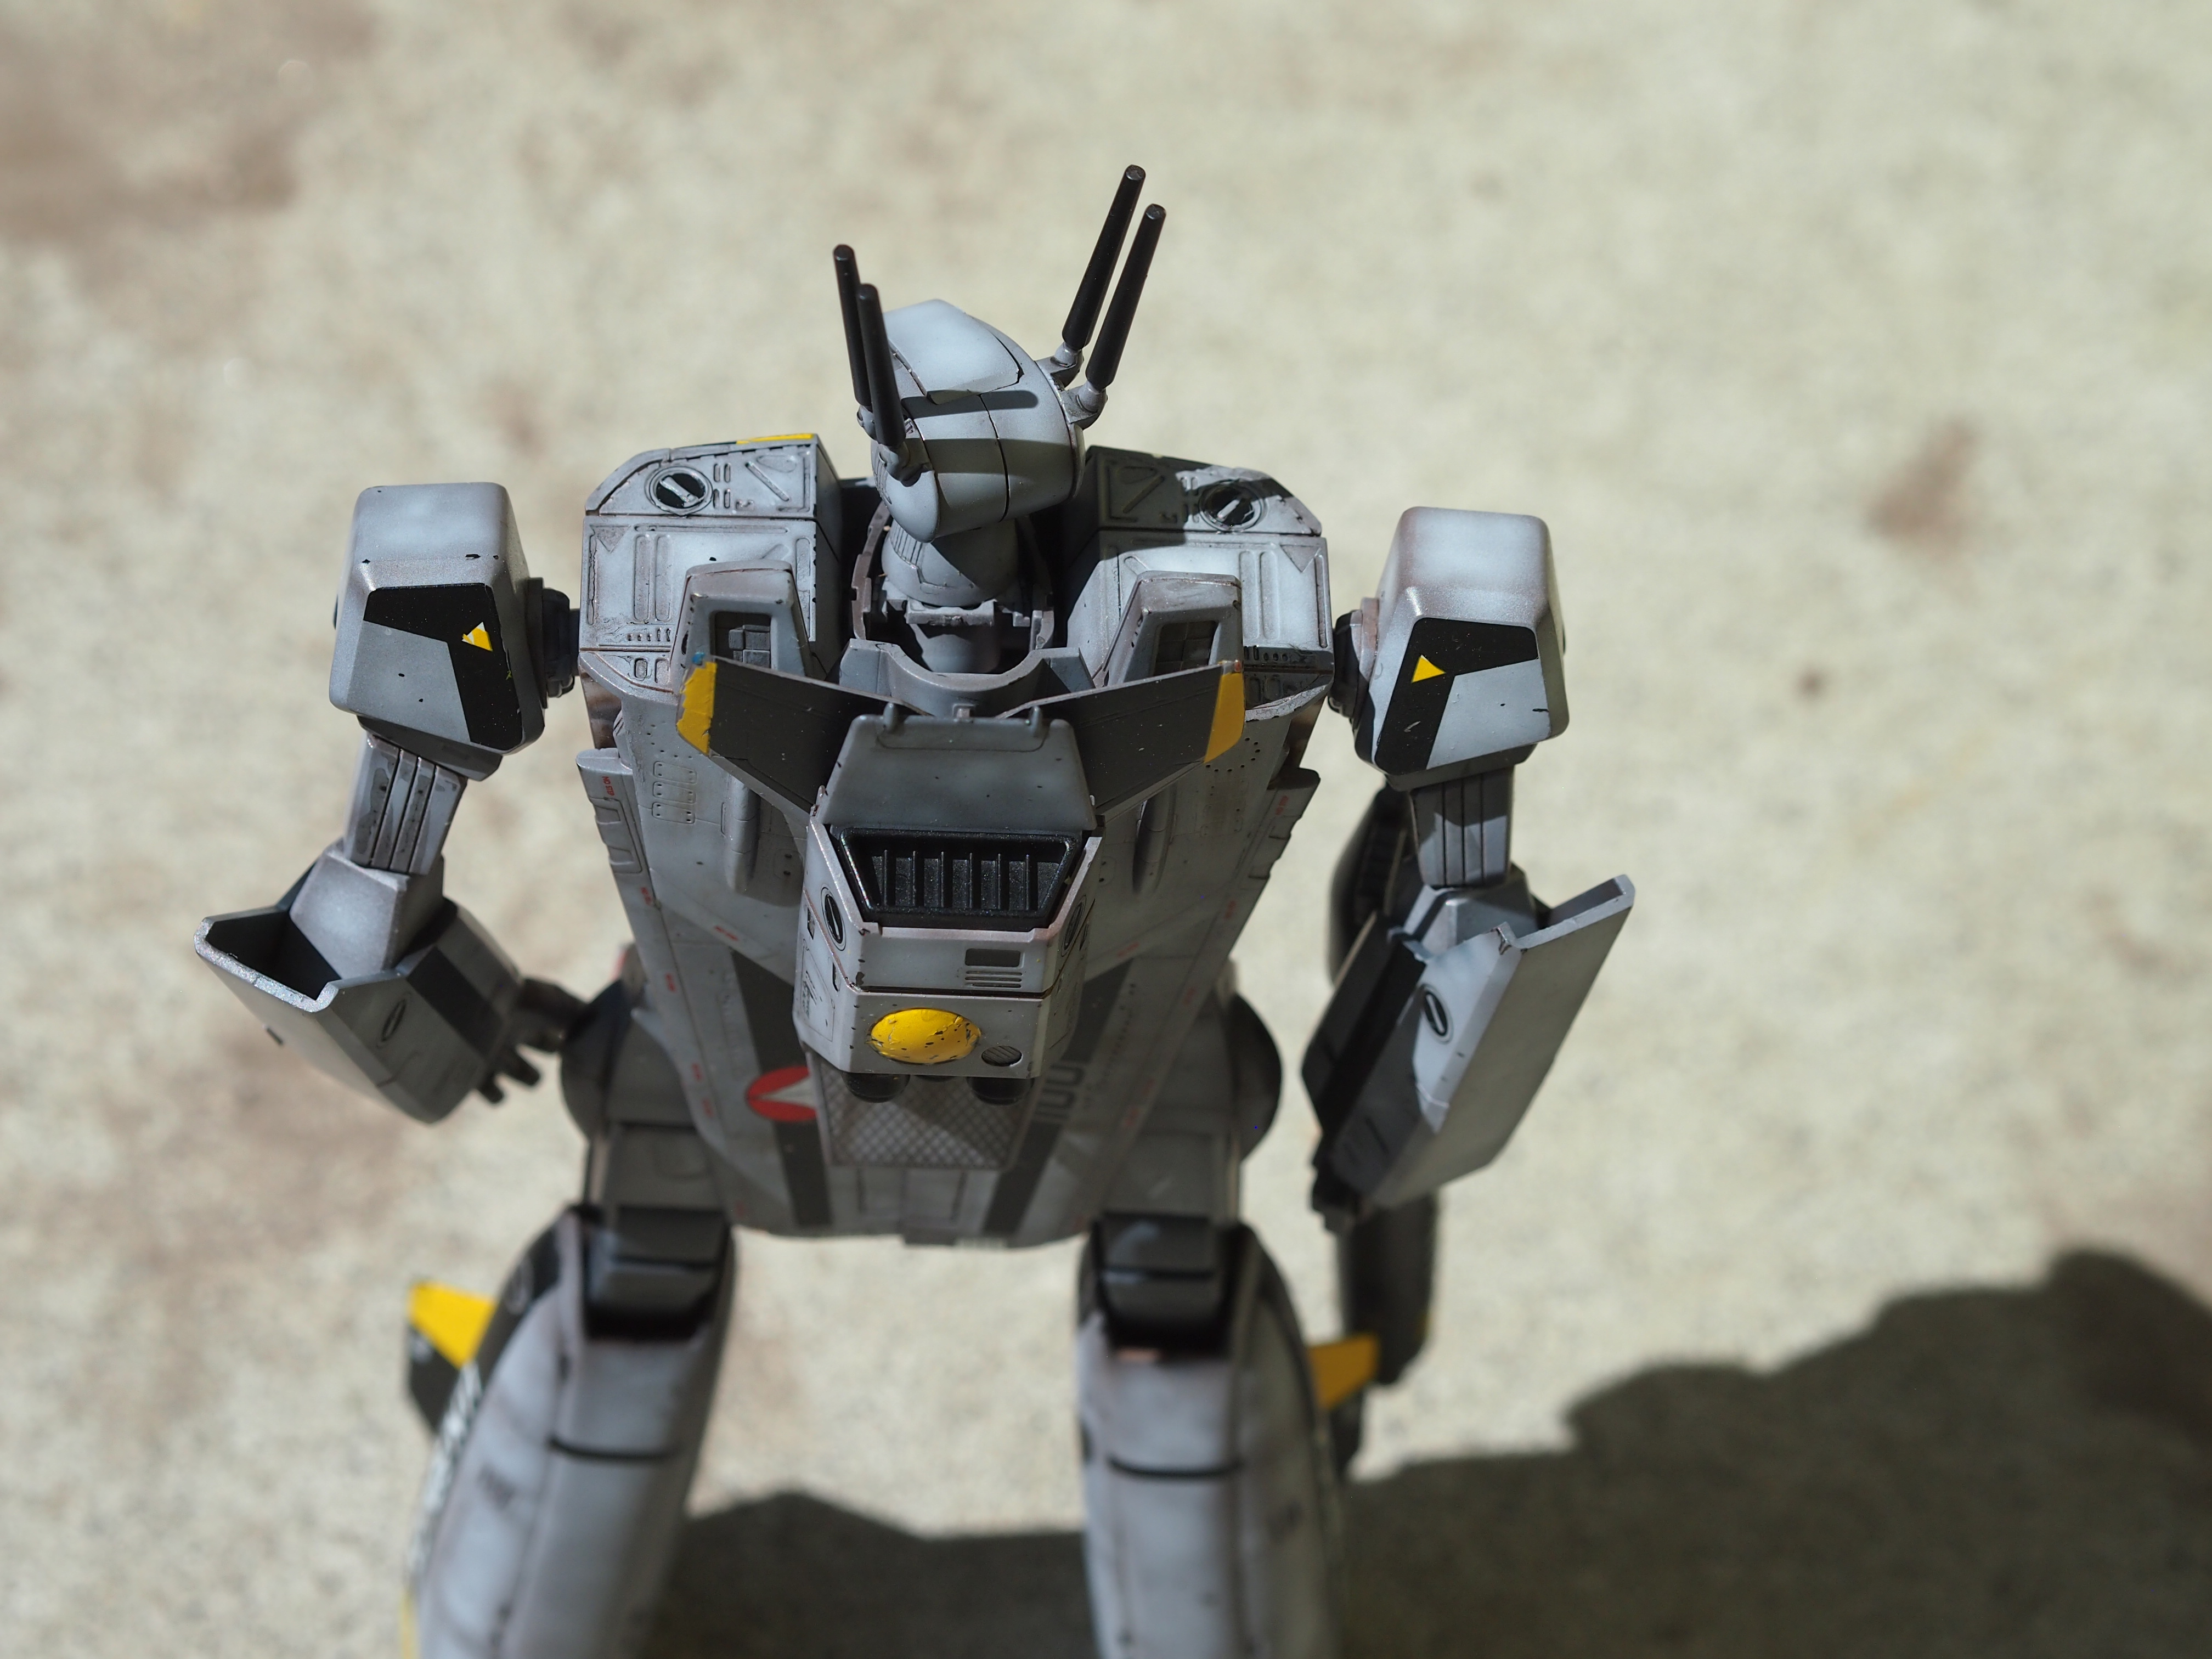
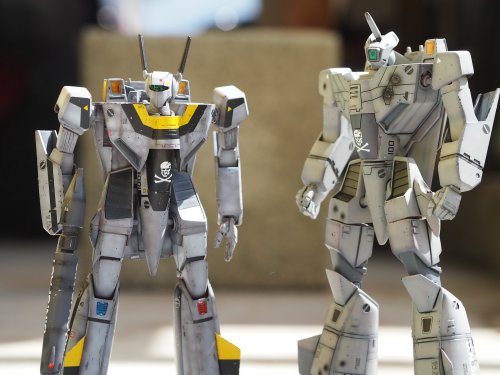
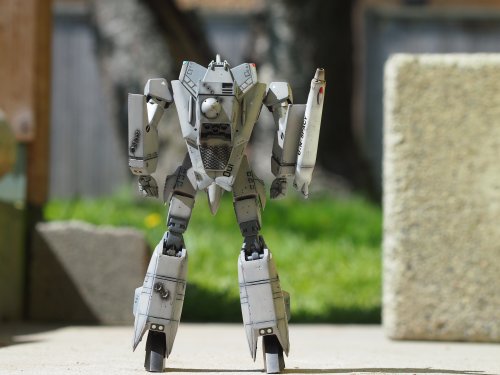
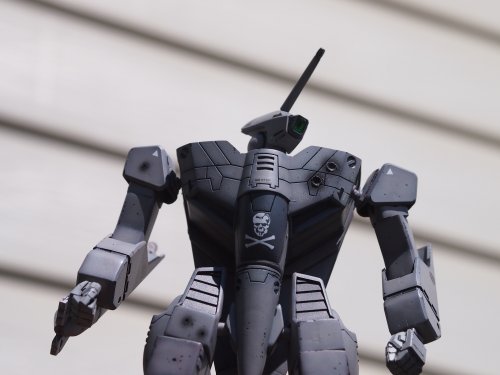
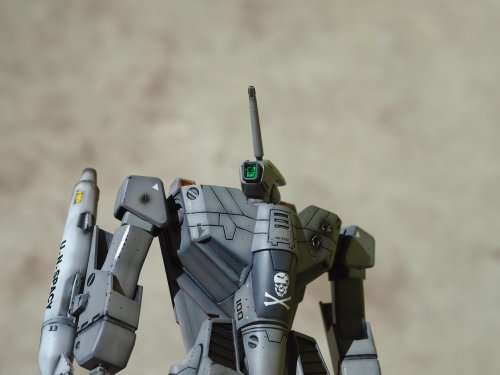
Bandai 1/72 Battroid Valkyrie VF-1A Low Vis and Hasegawa 1/72 VF-1S Battroid
peter replied to peter's topic in Model kits
Thanks -
Bandai 1/72 Battroid Valkyrie VF-1A Low Vis and Hasegawa 1/72 VF-1S Battroid
peter replied to peter's topic in Model kits
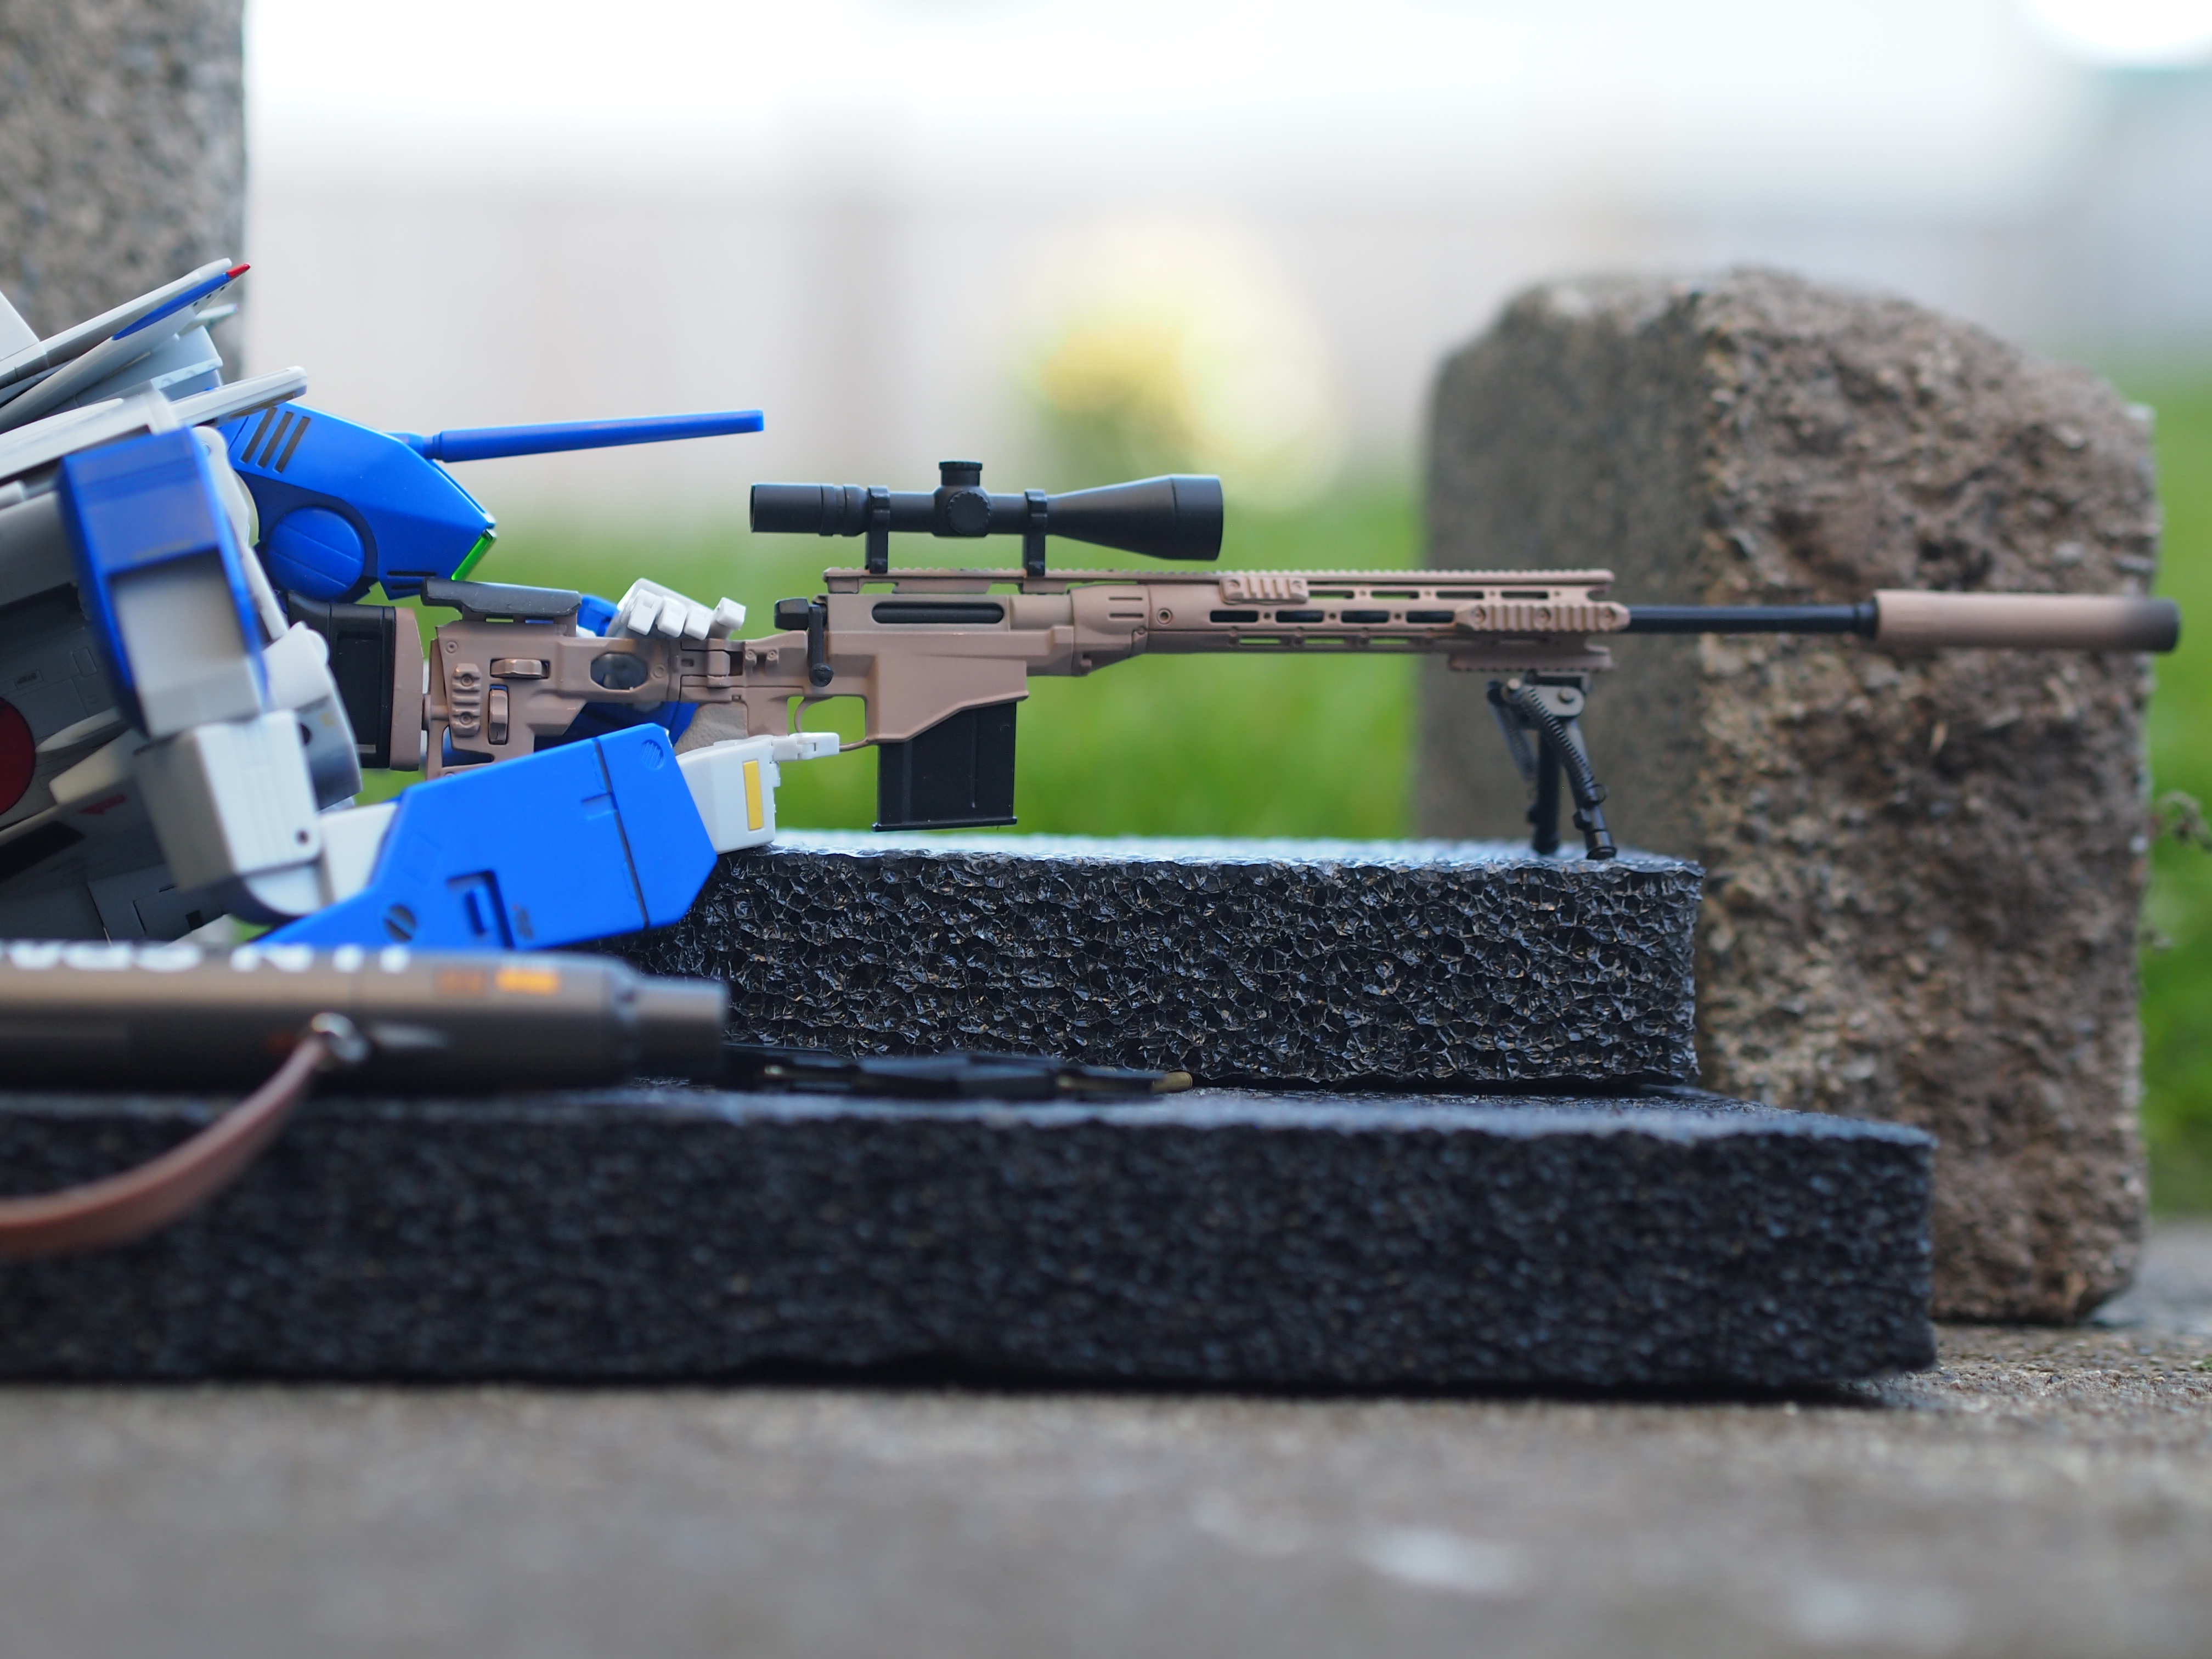
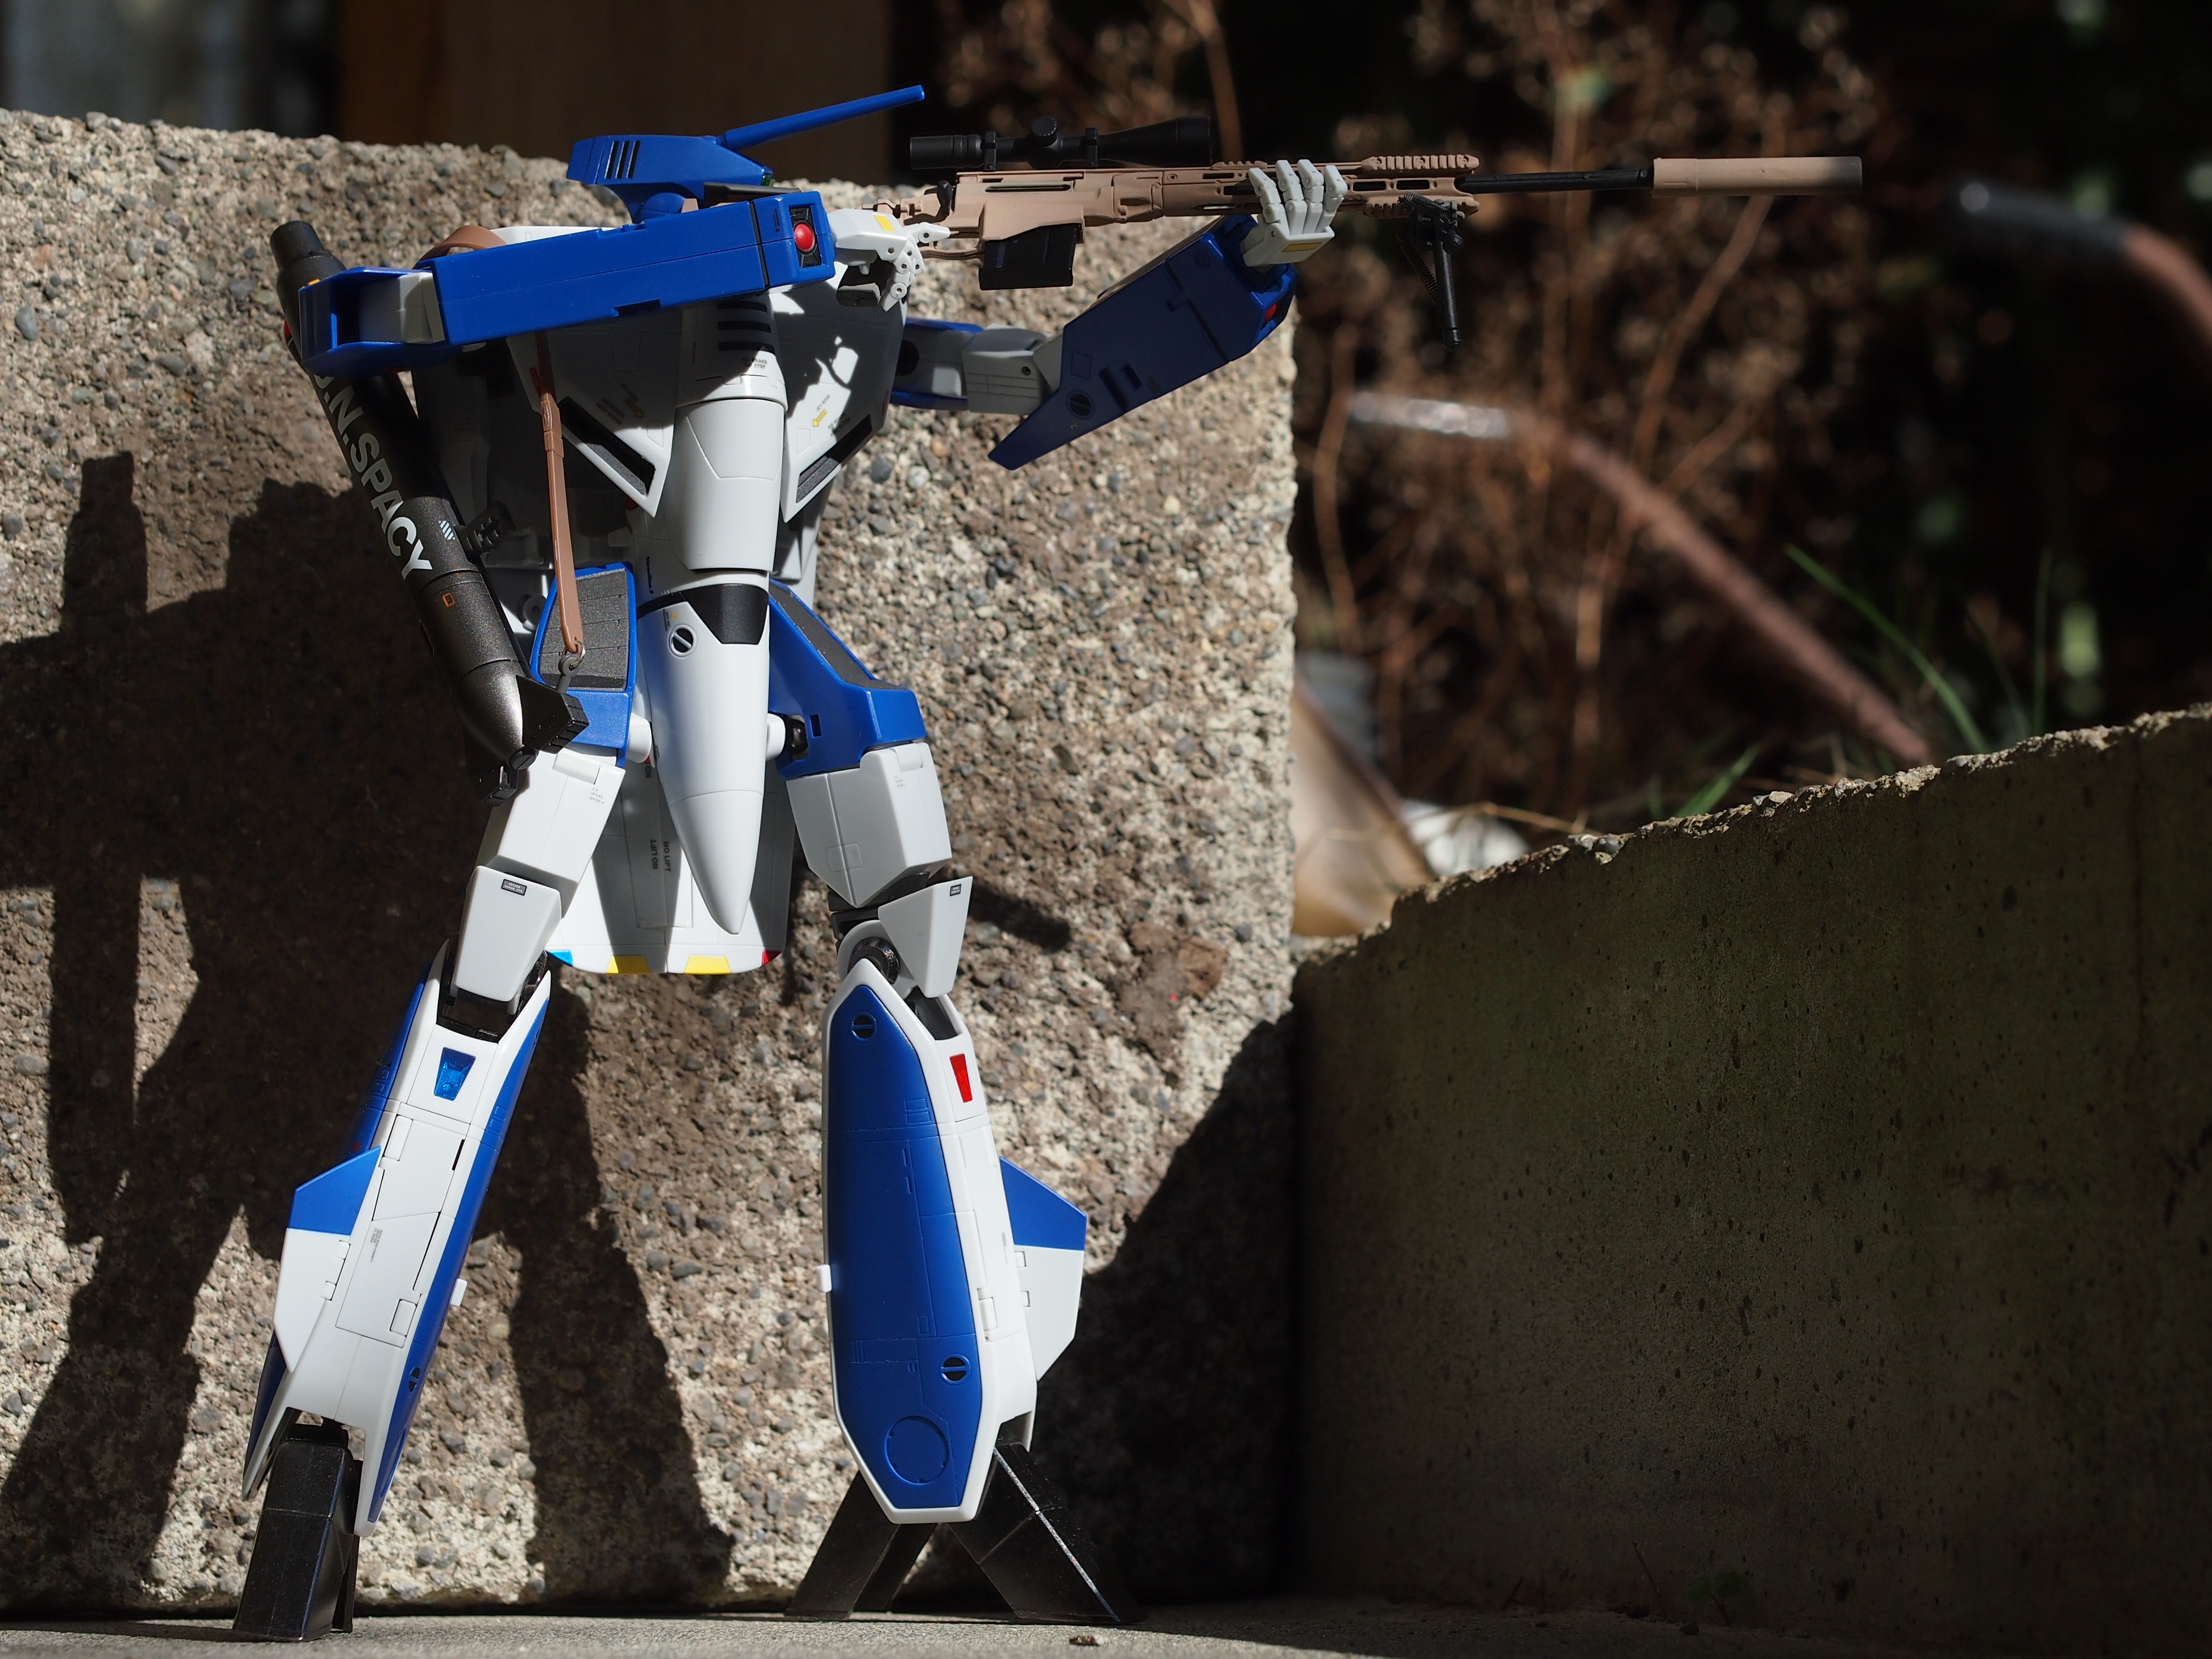
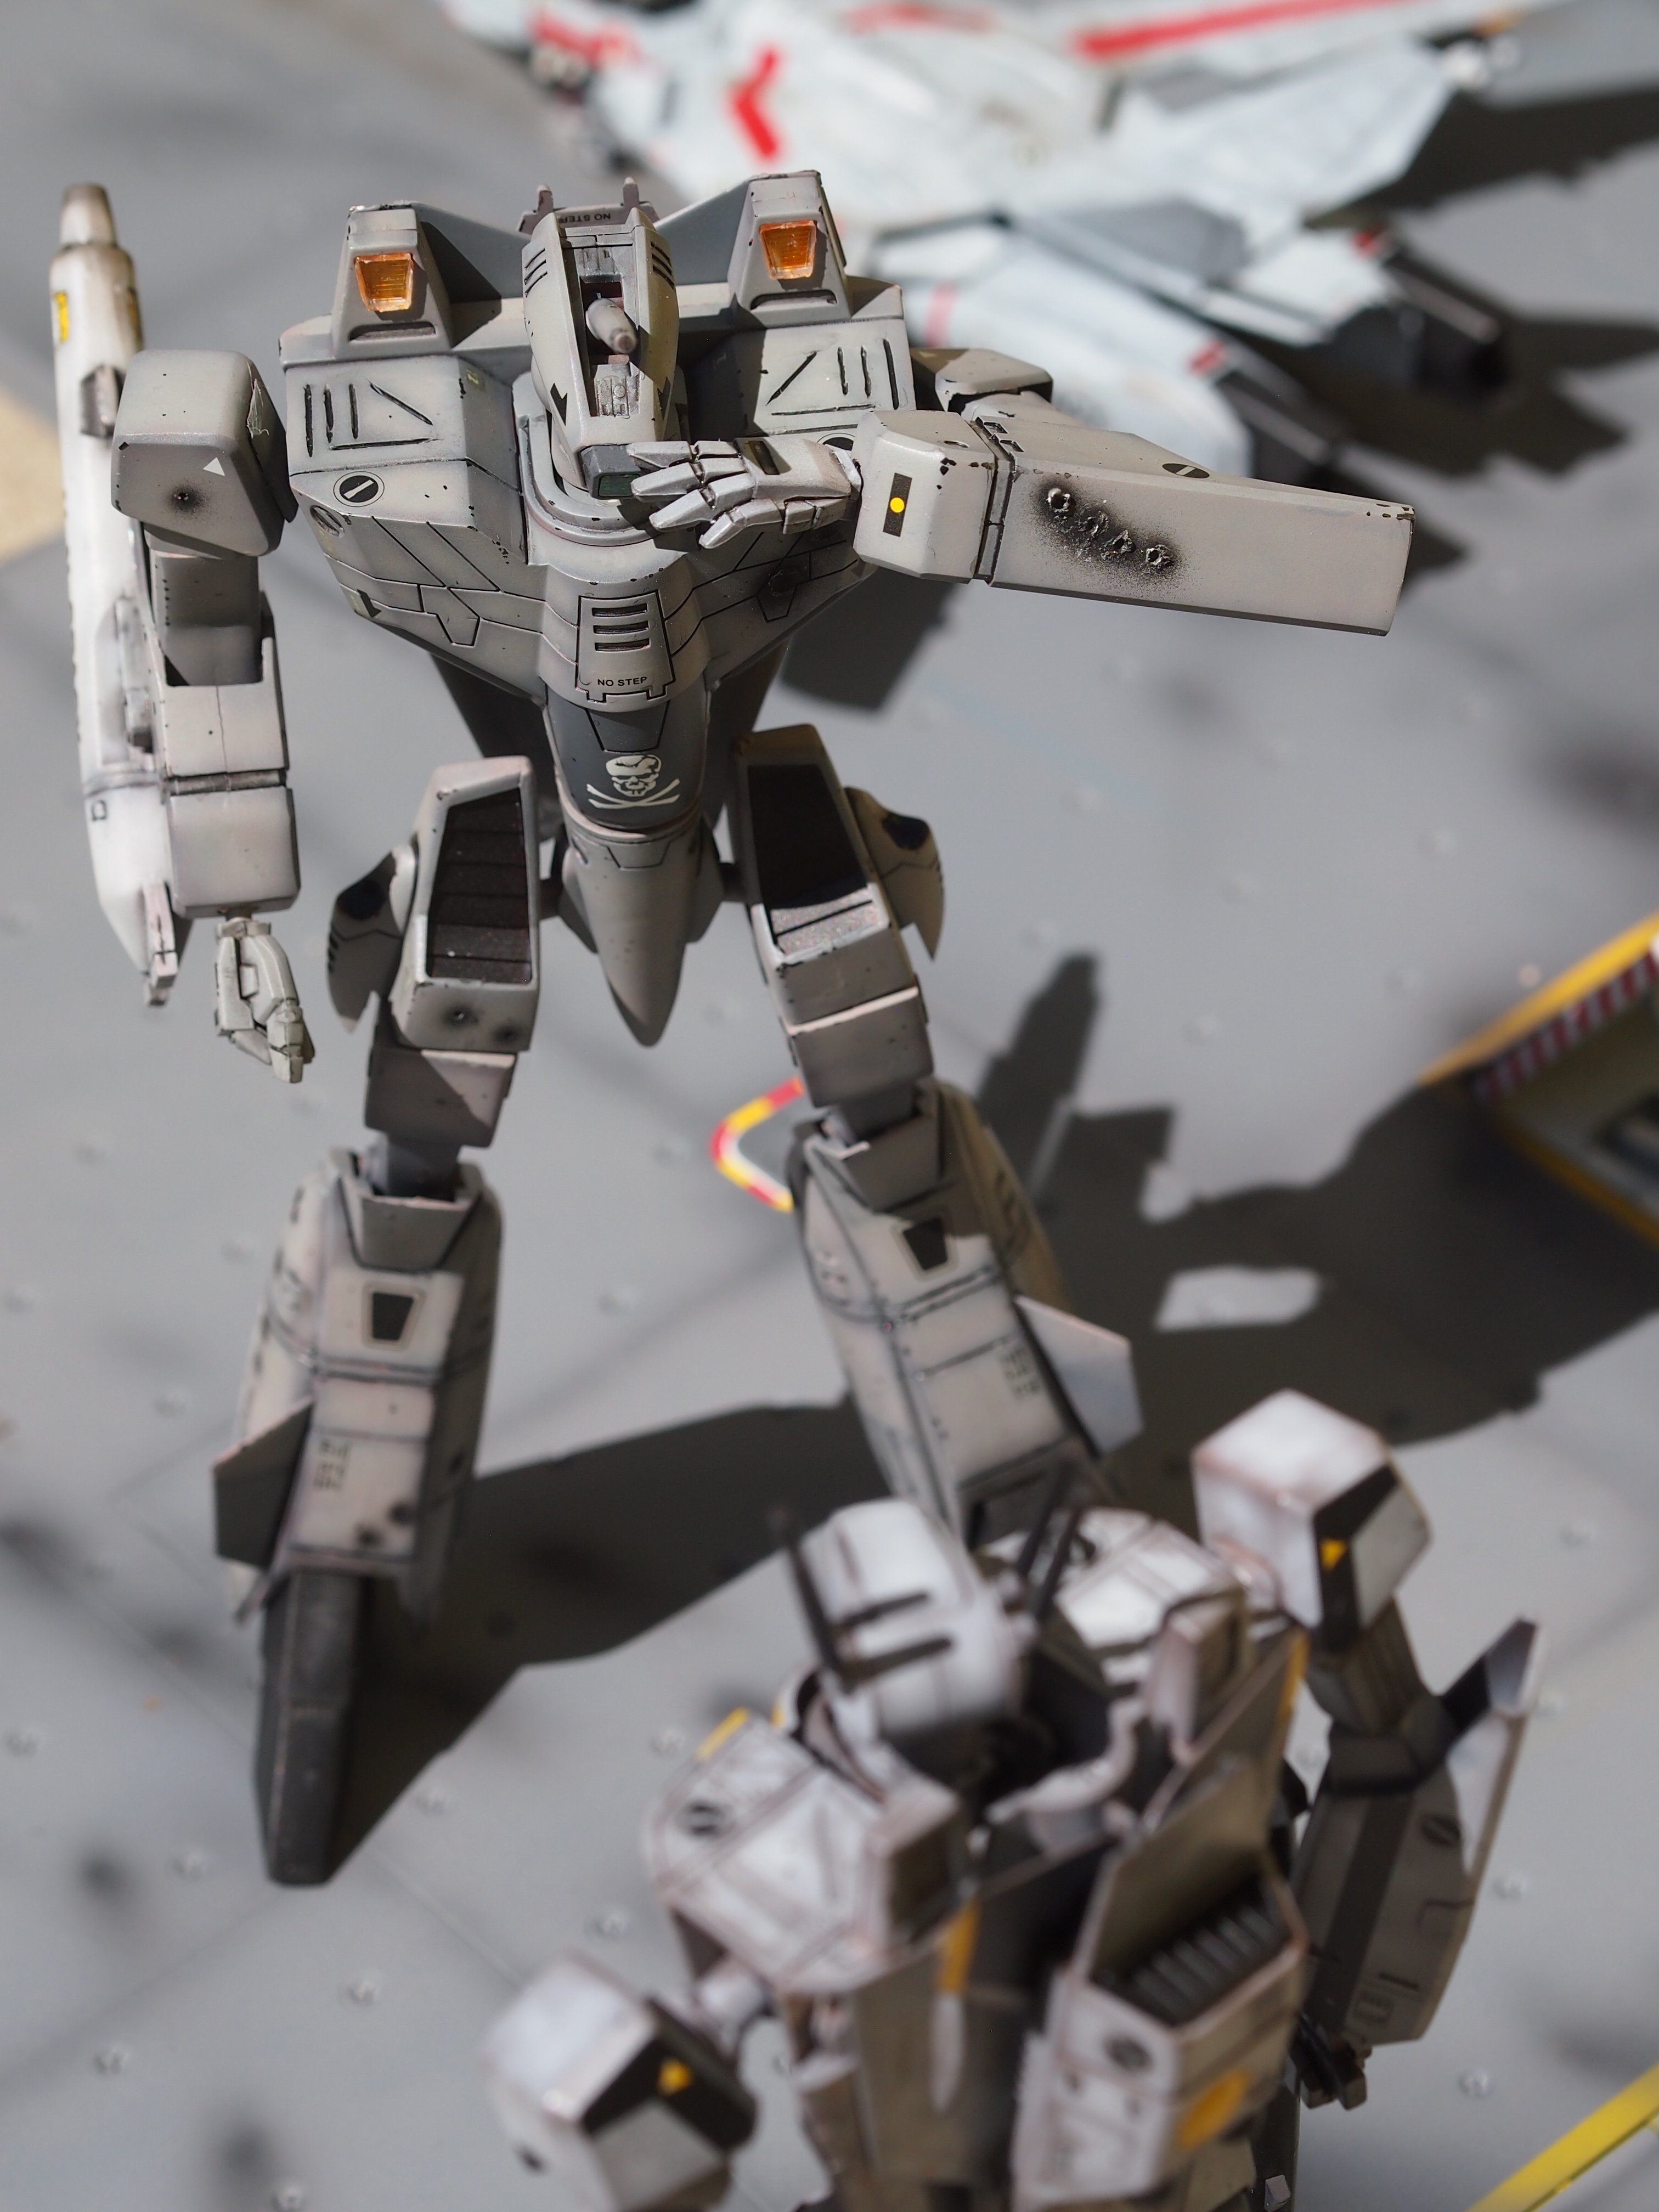
Giving the high-five to the boss.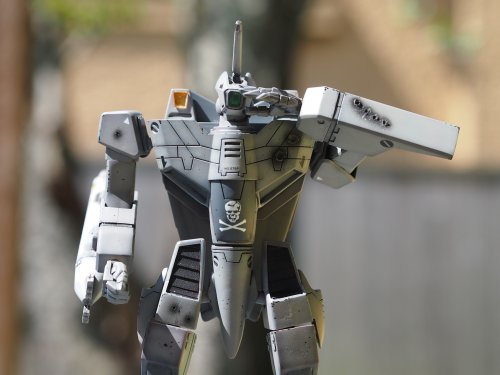

-
Bandai 1/72 Battroid Valkyrie VF-1A Low Vis and Hasegawa 1/72 VF-1S Battroid
peter replied to peter's topic in Model kits
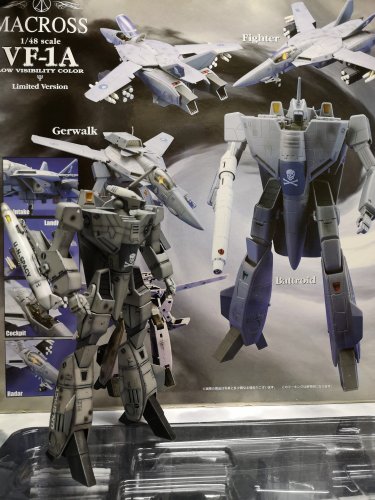
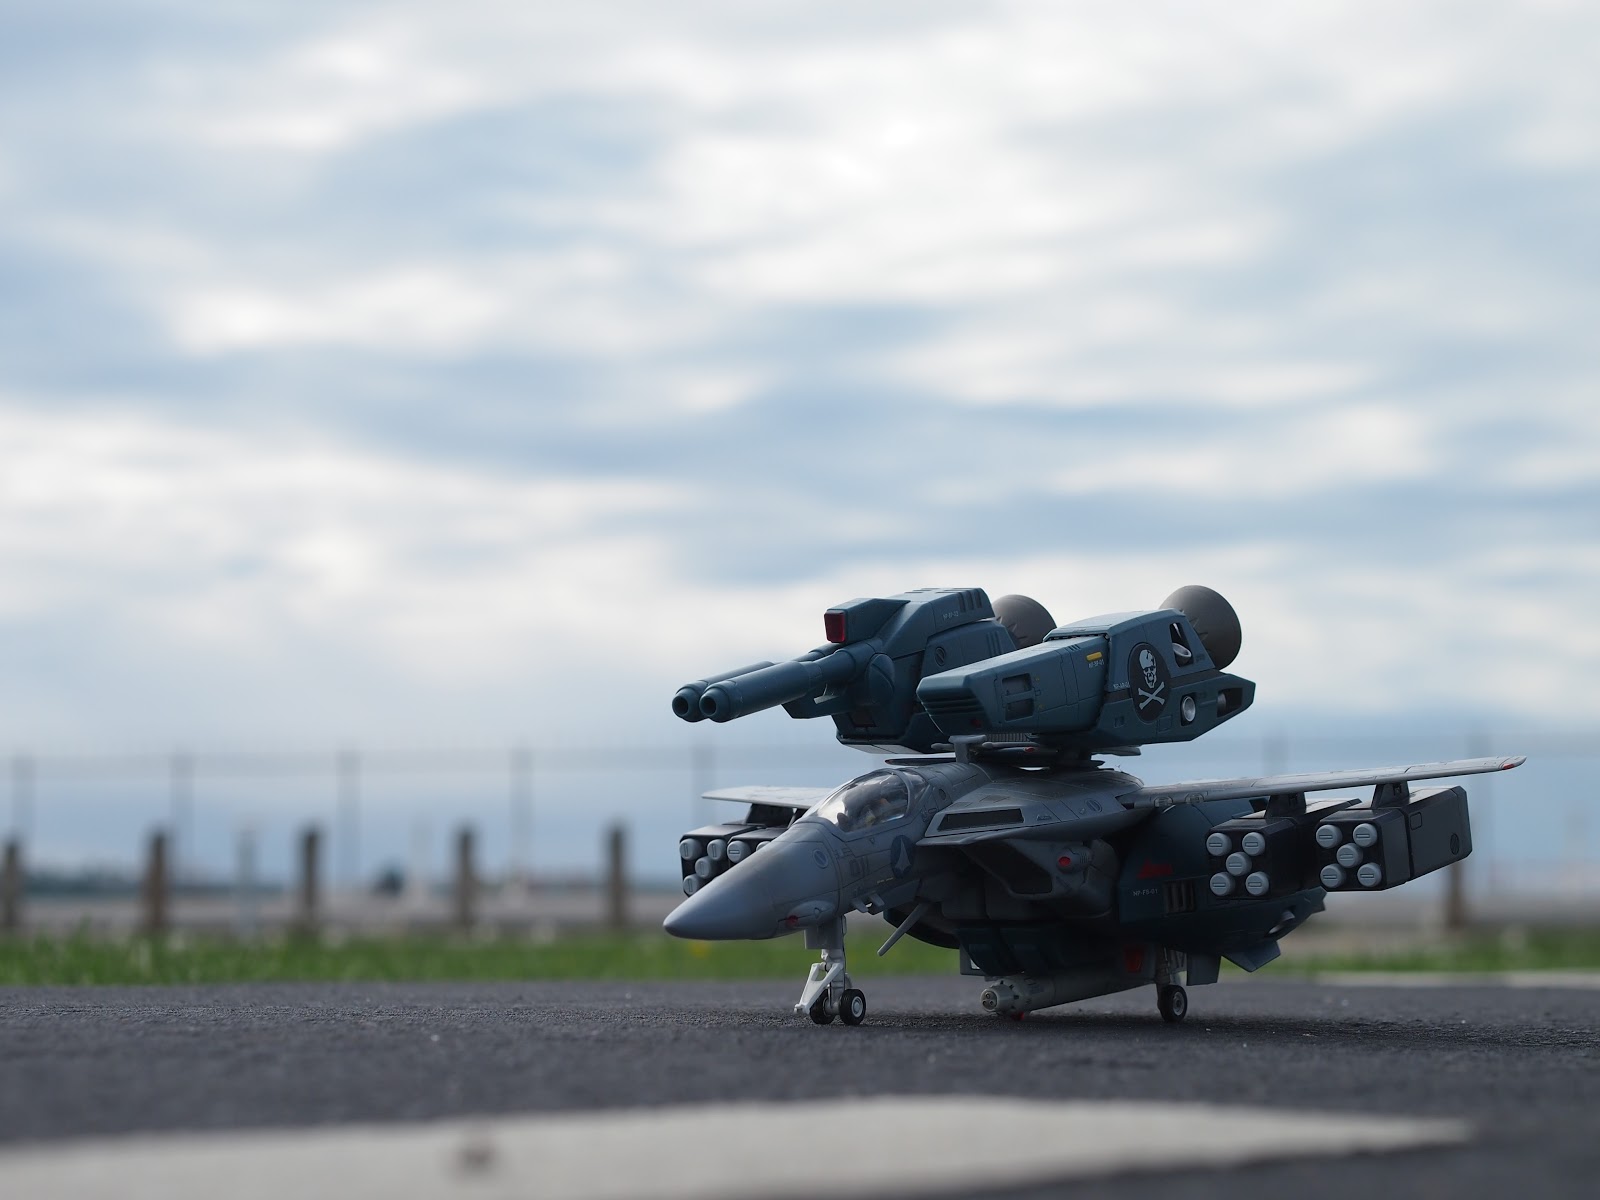
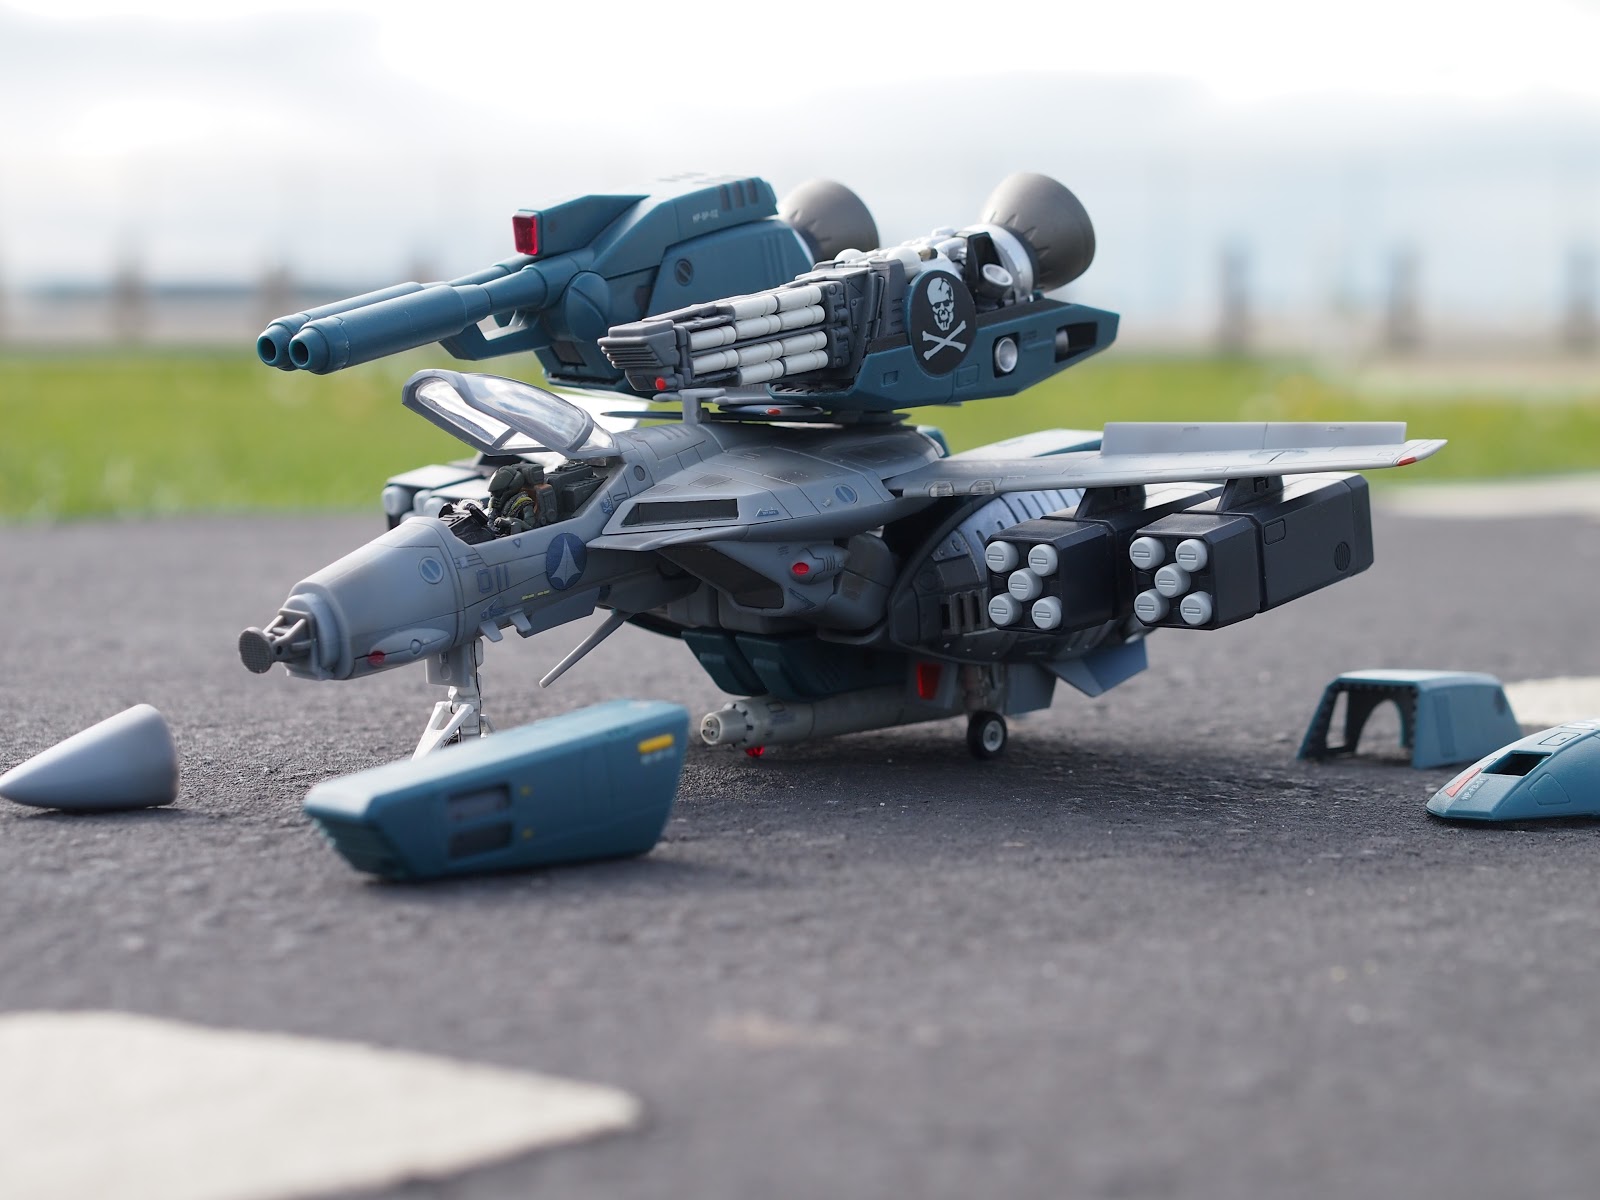
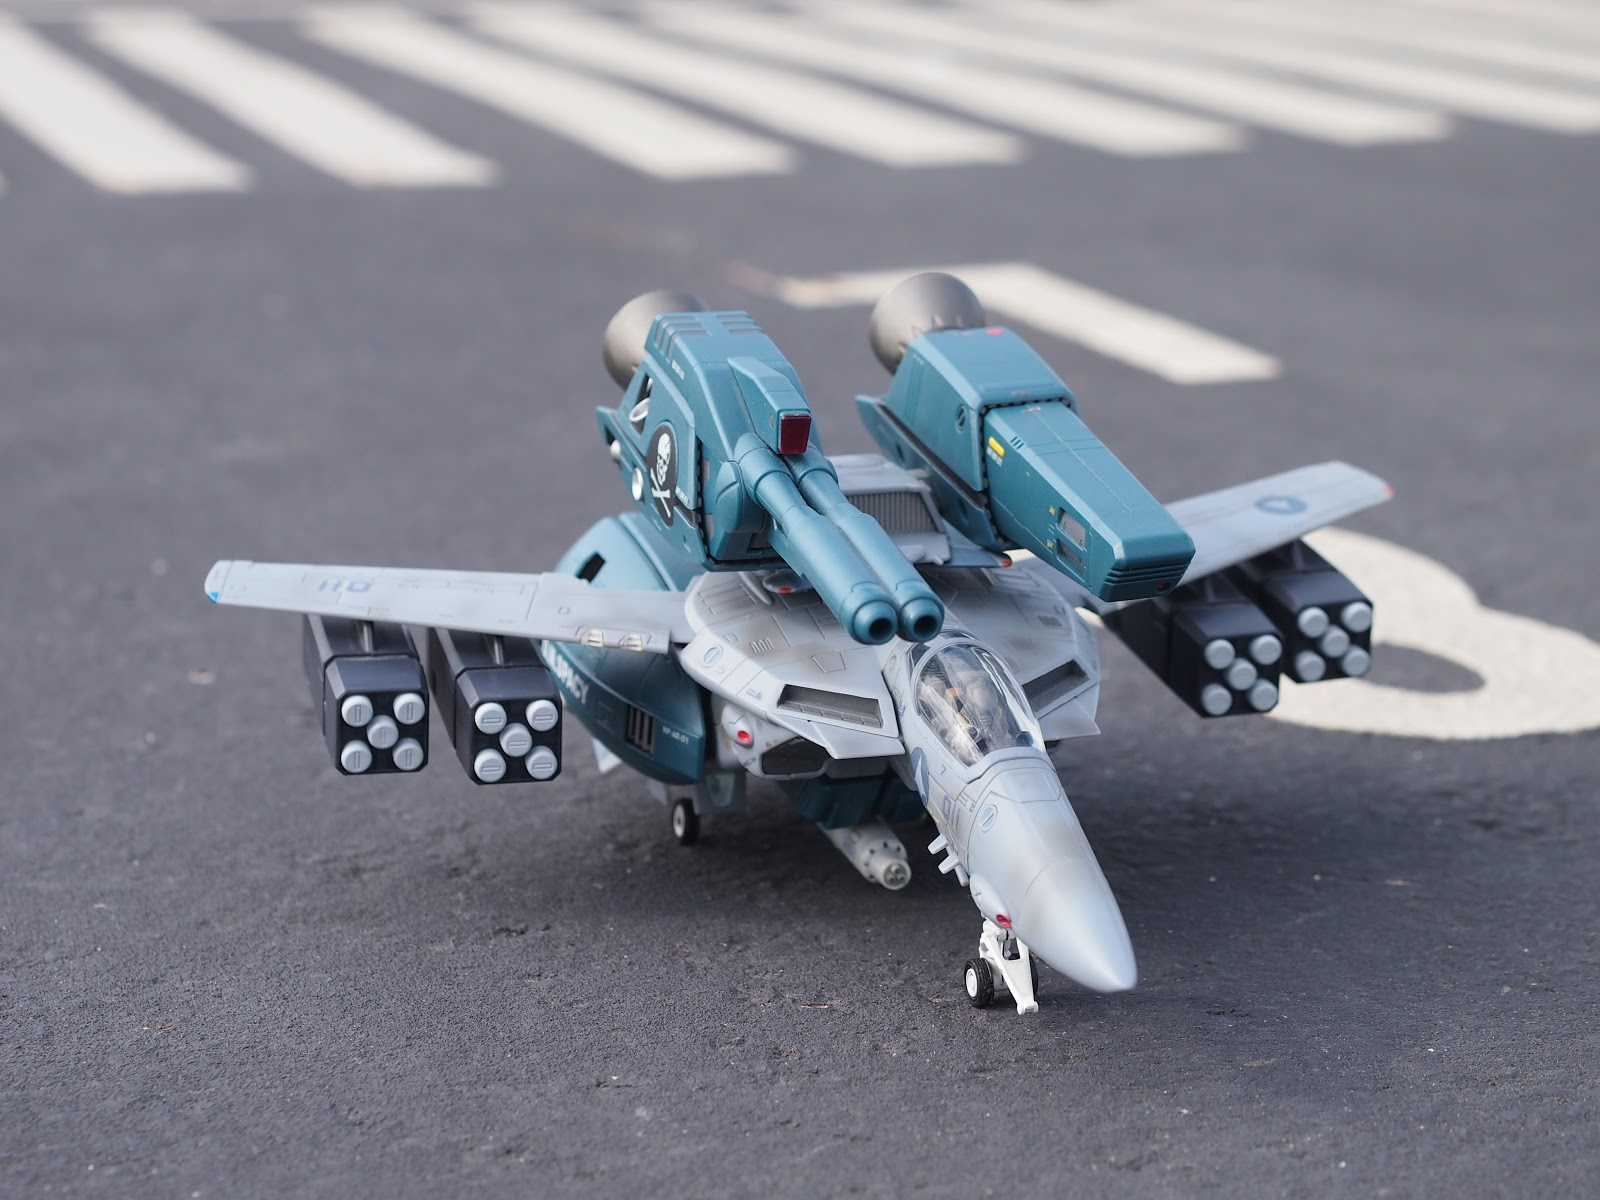
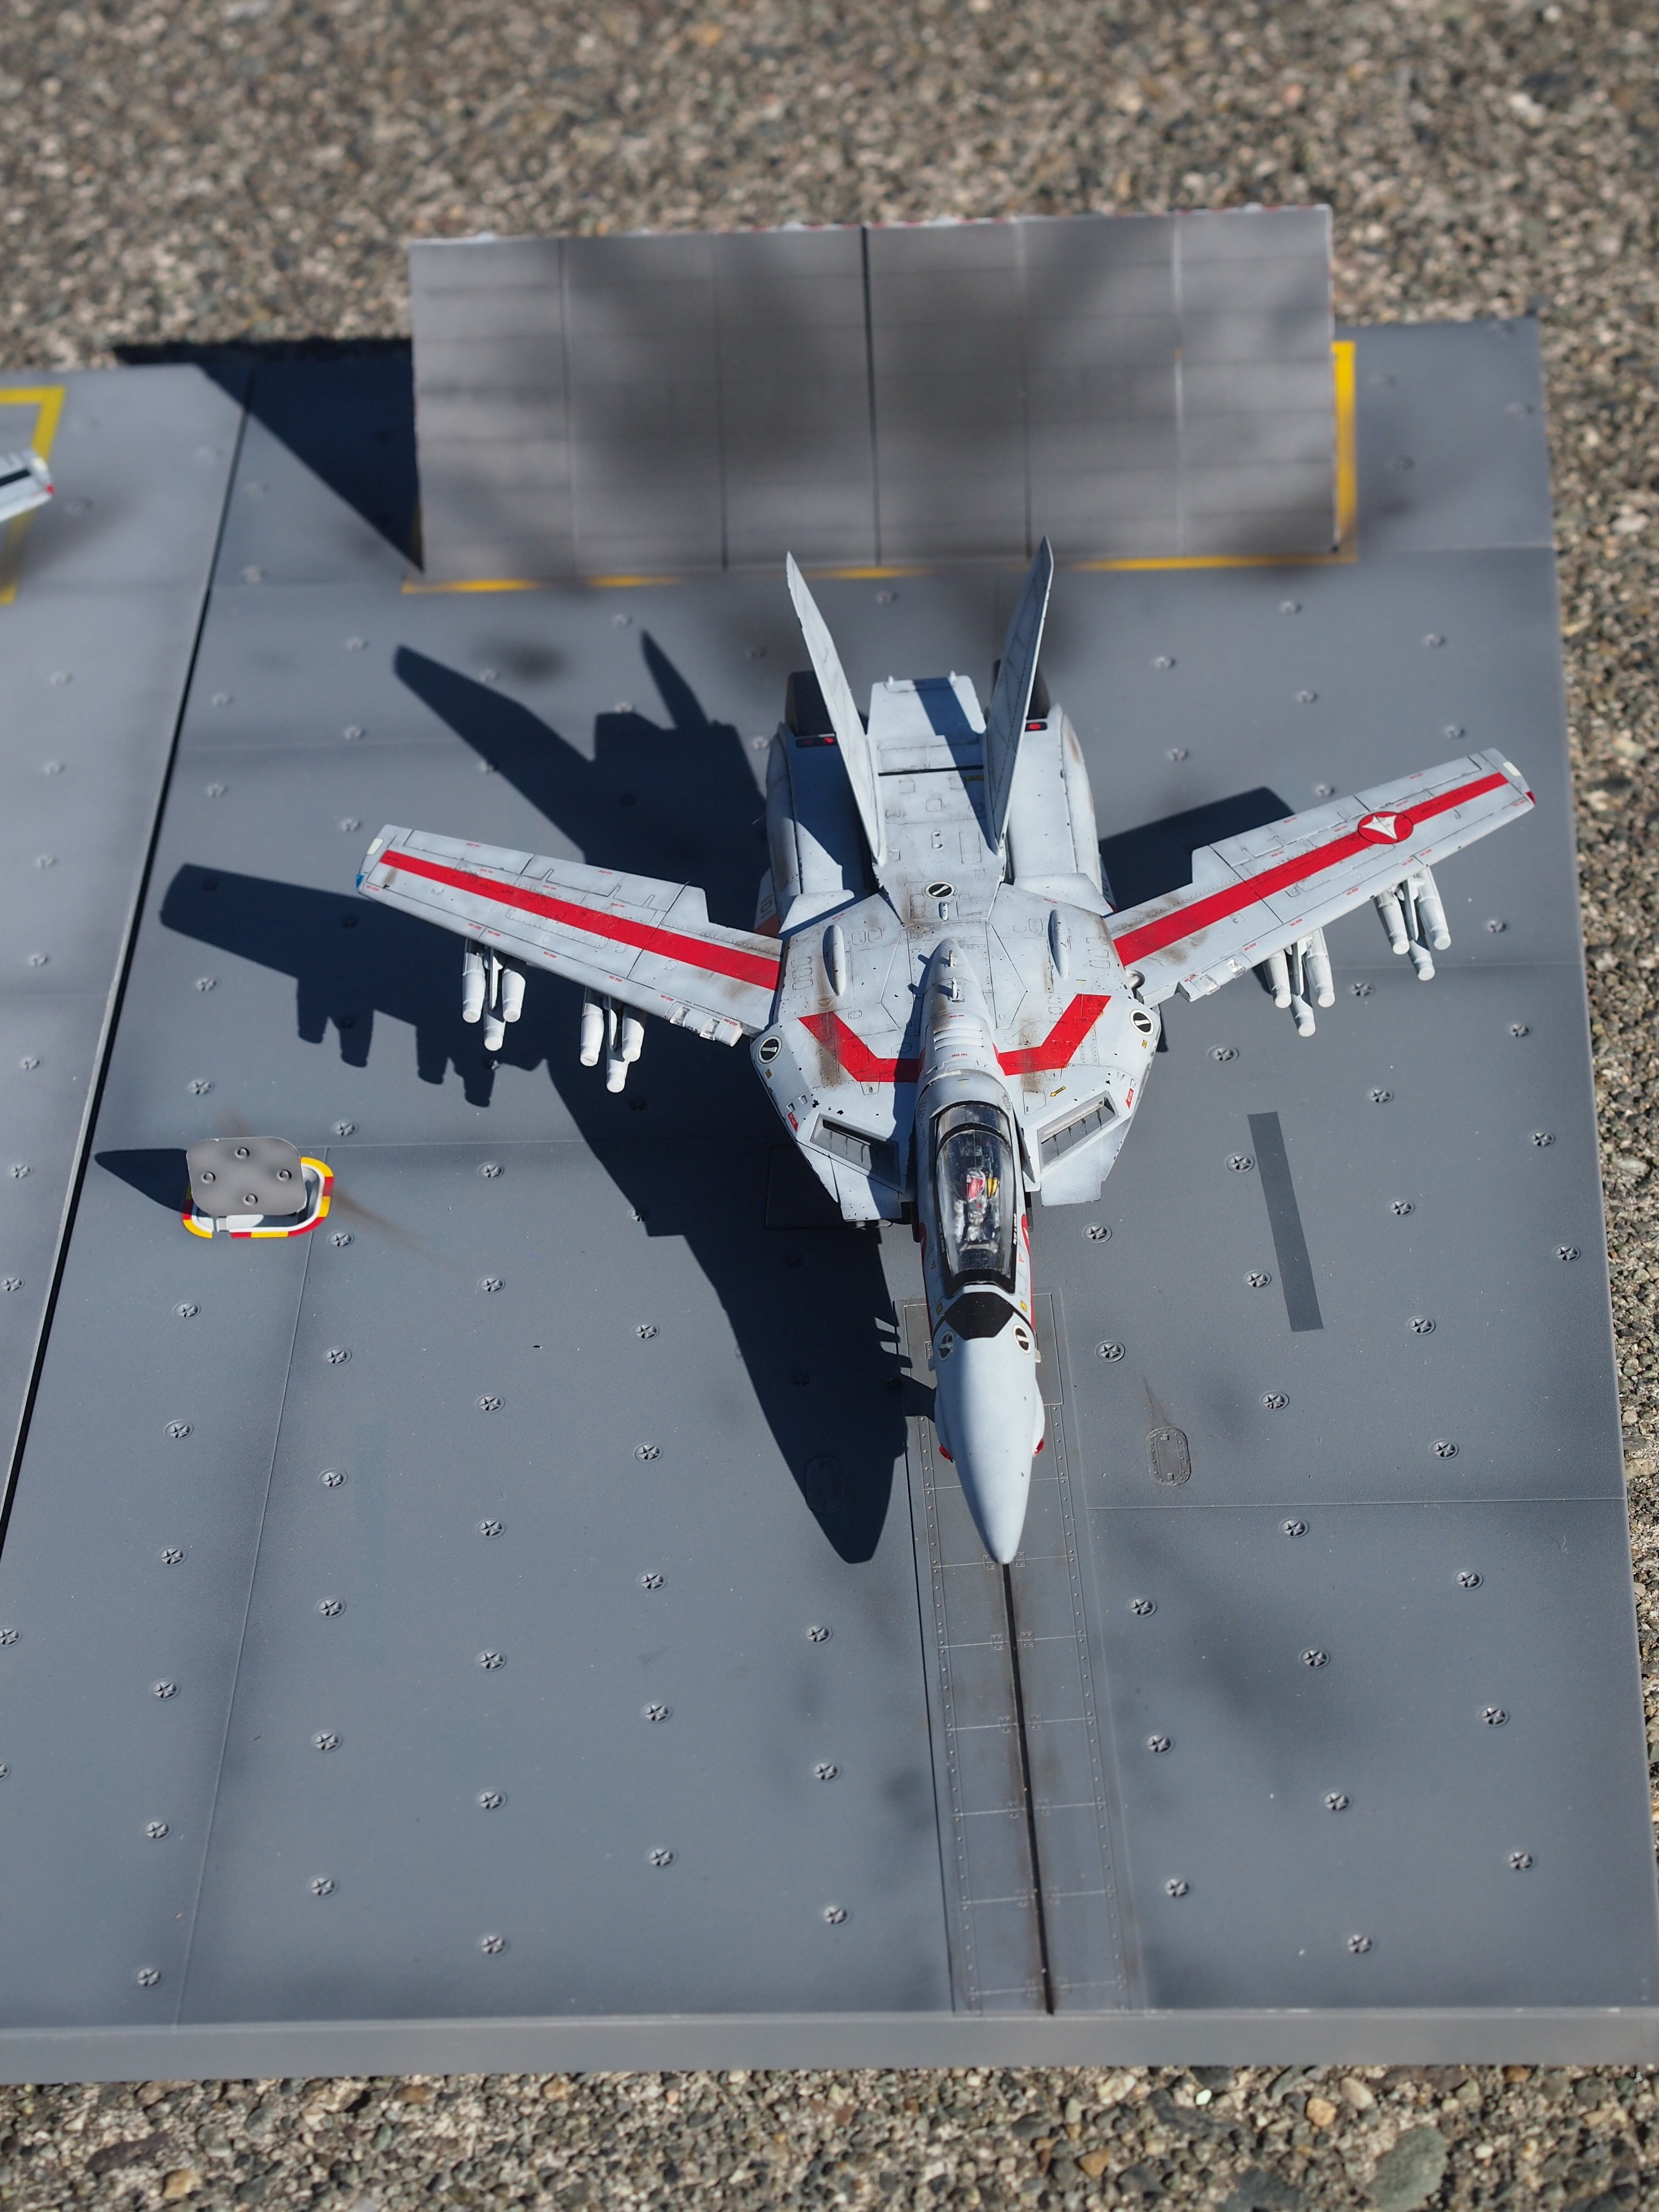
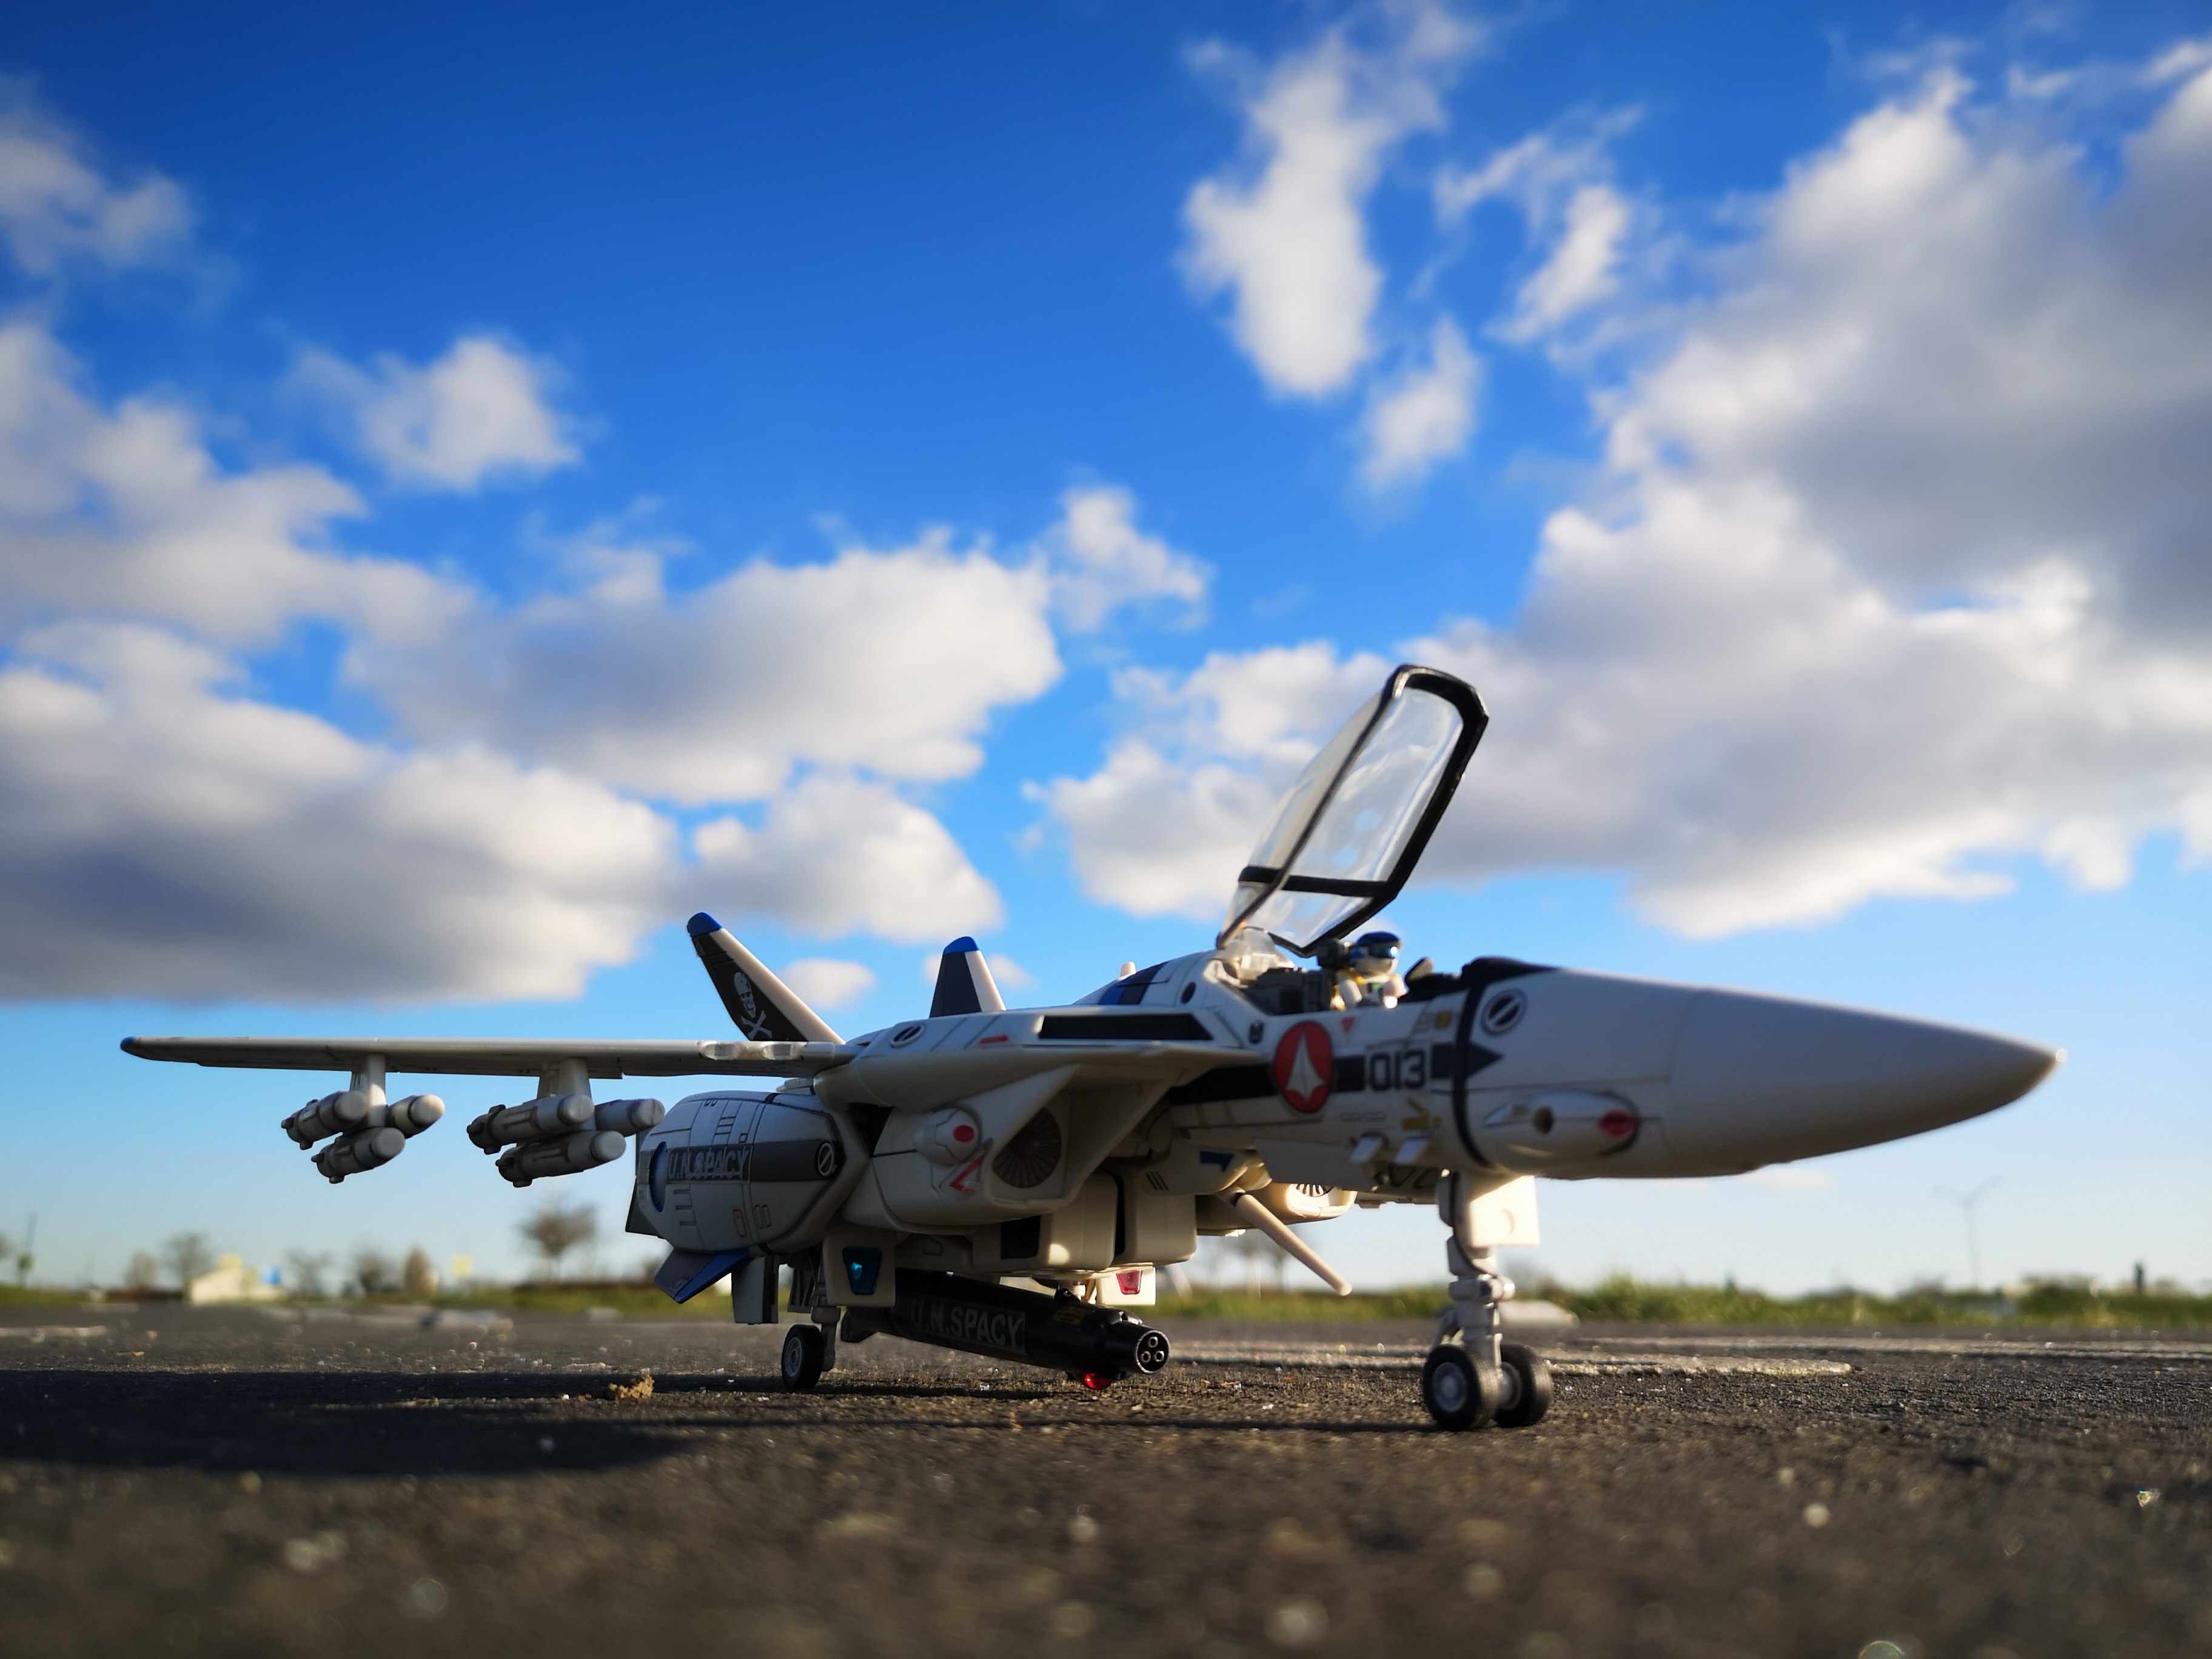
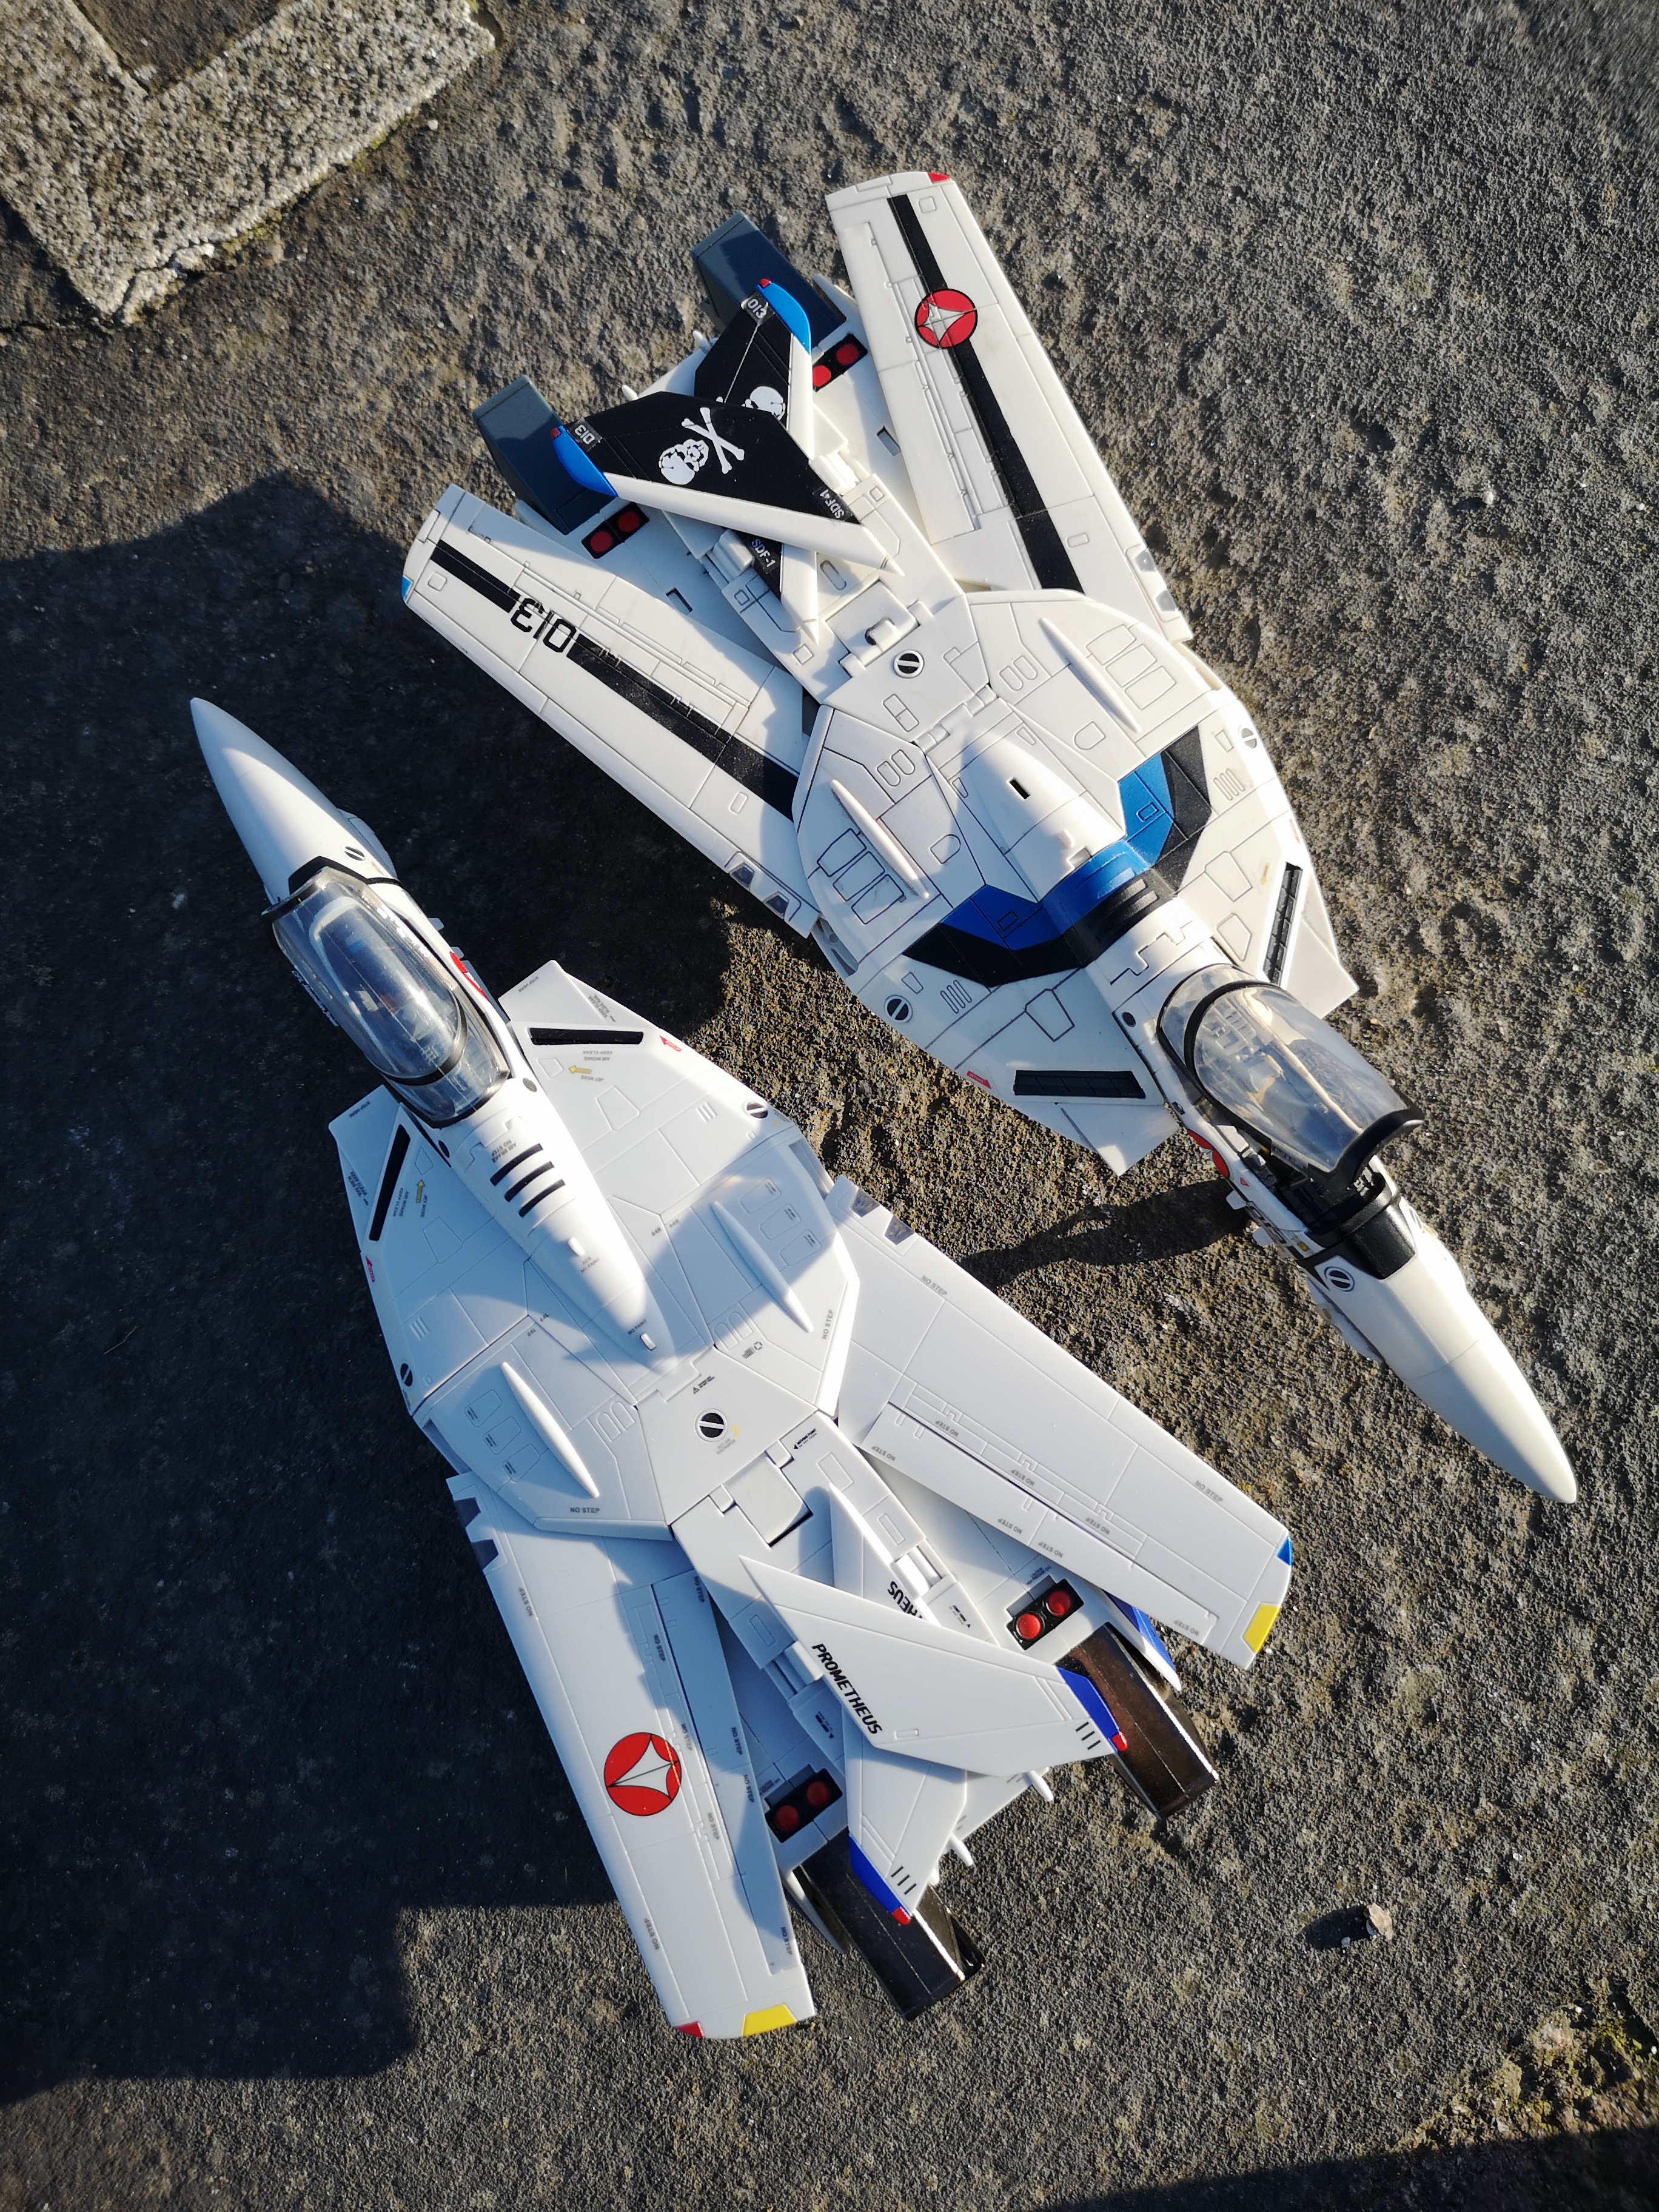
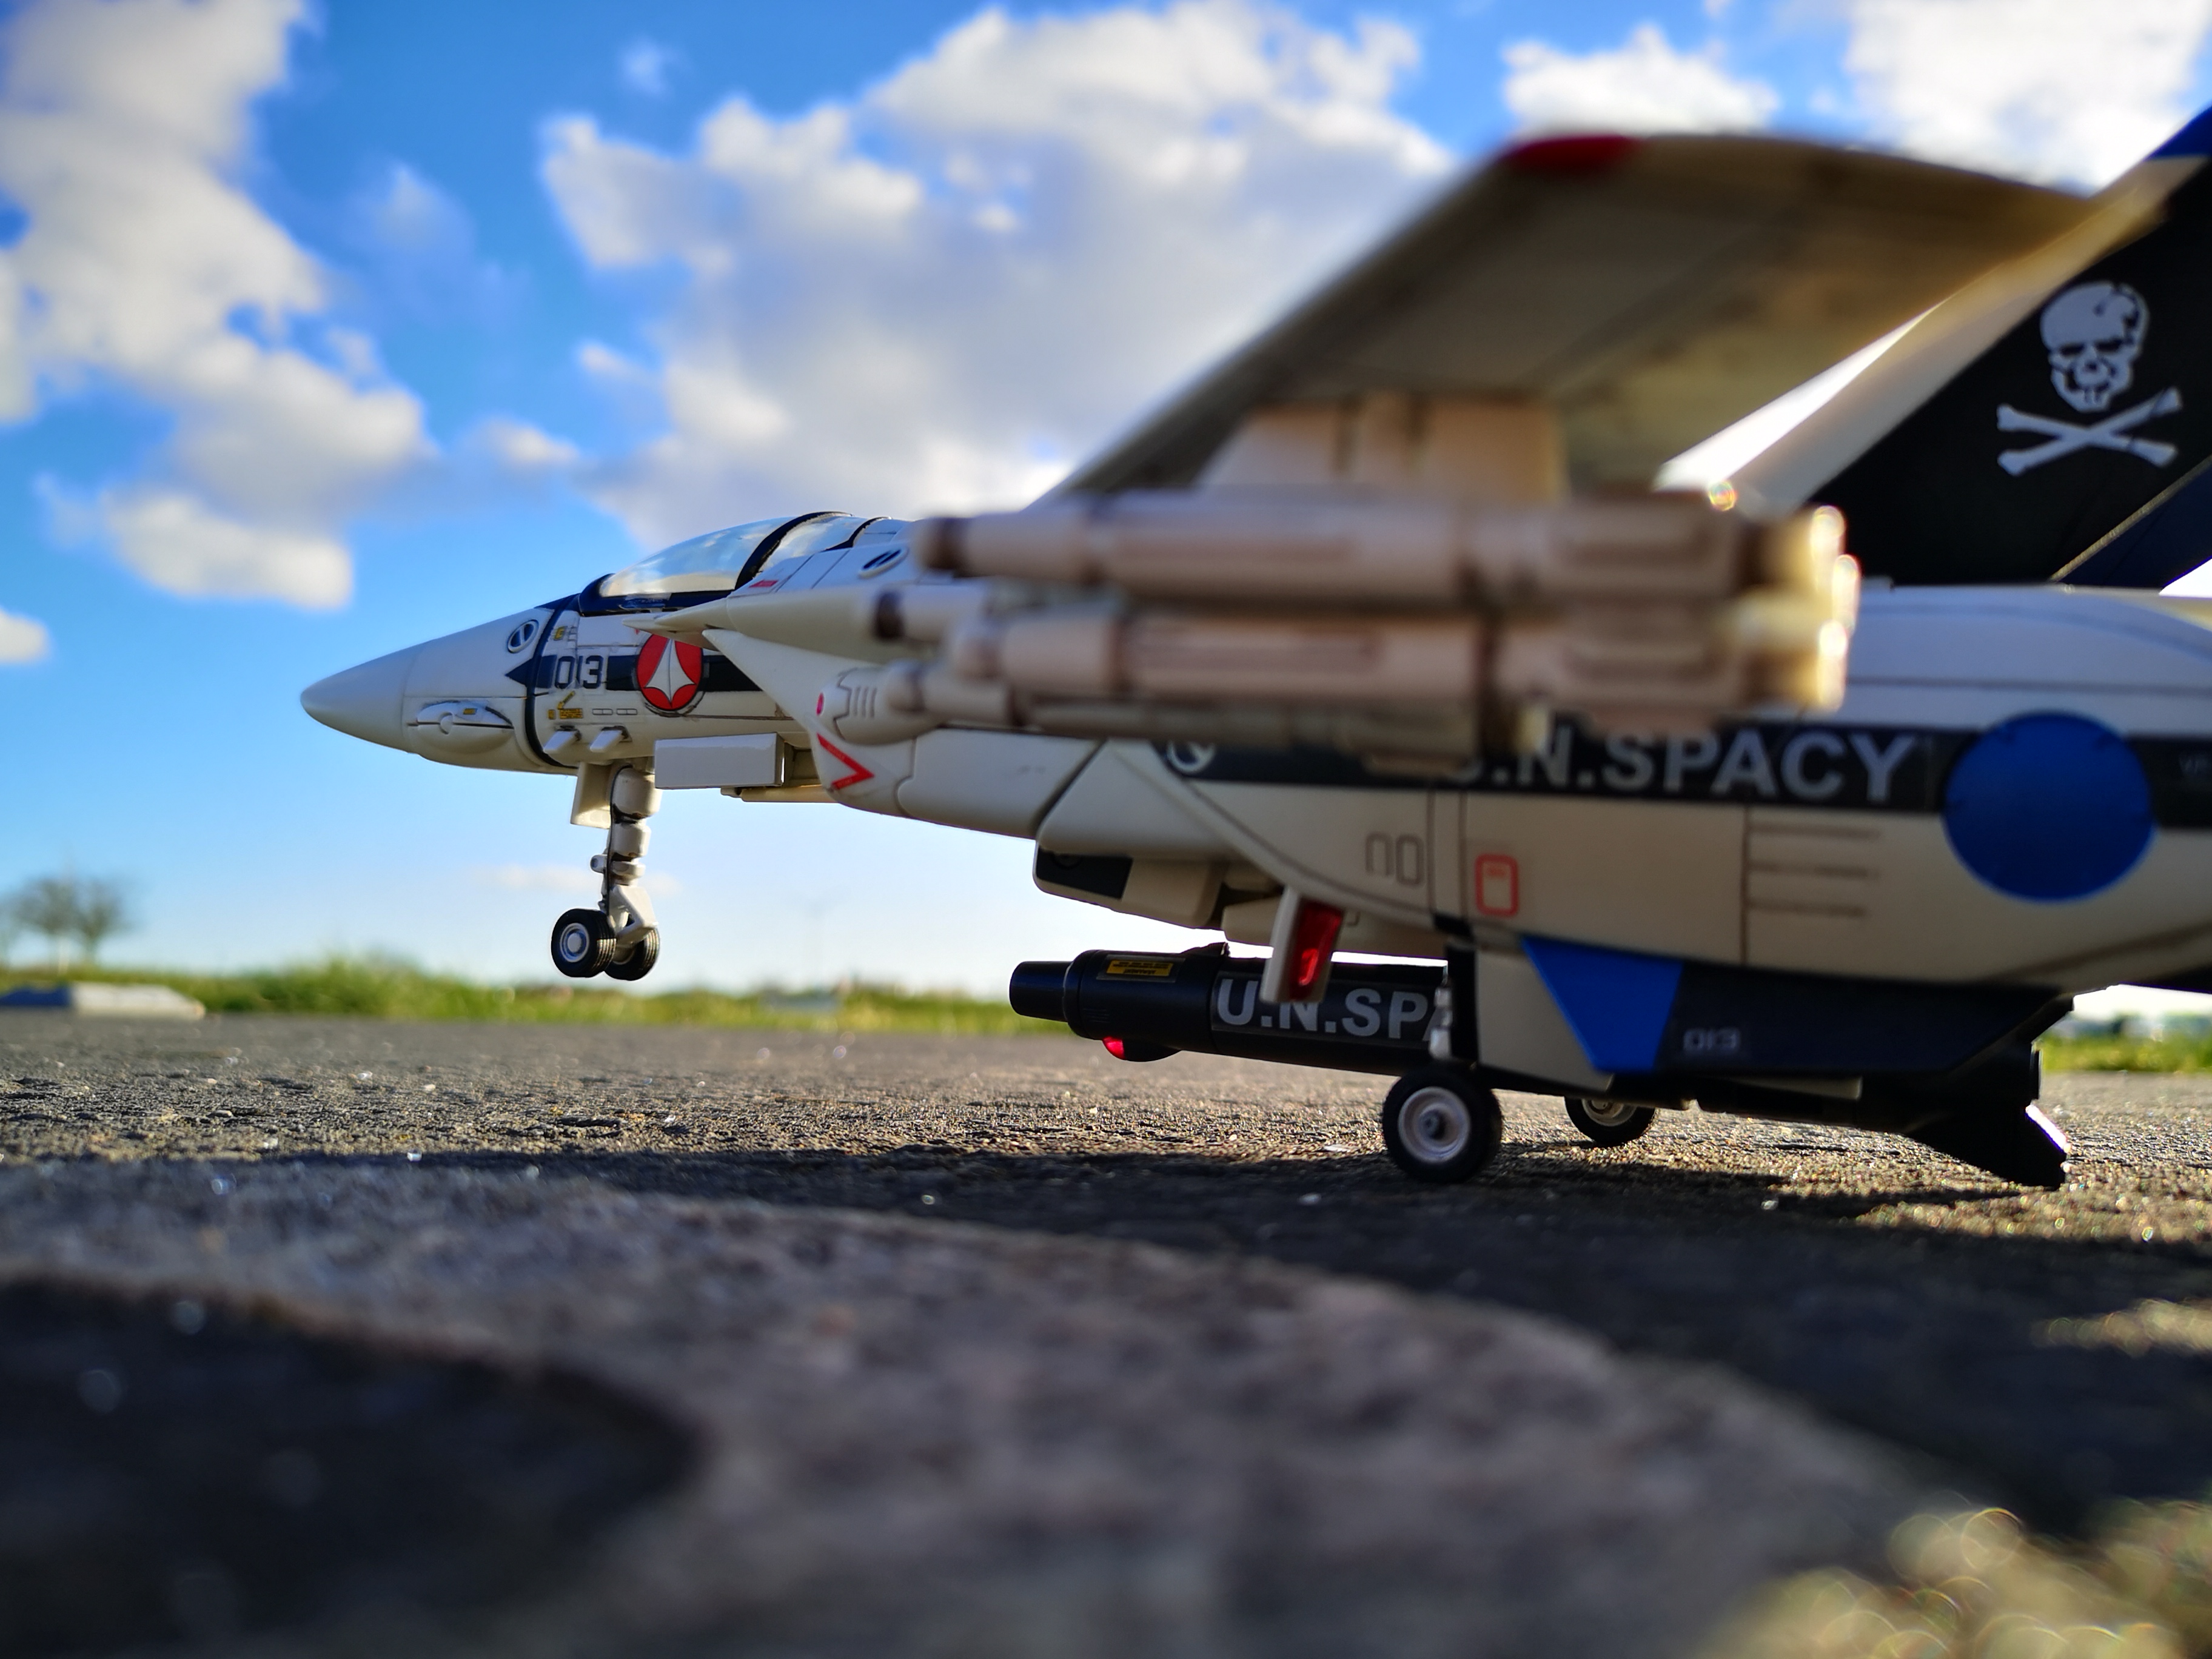
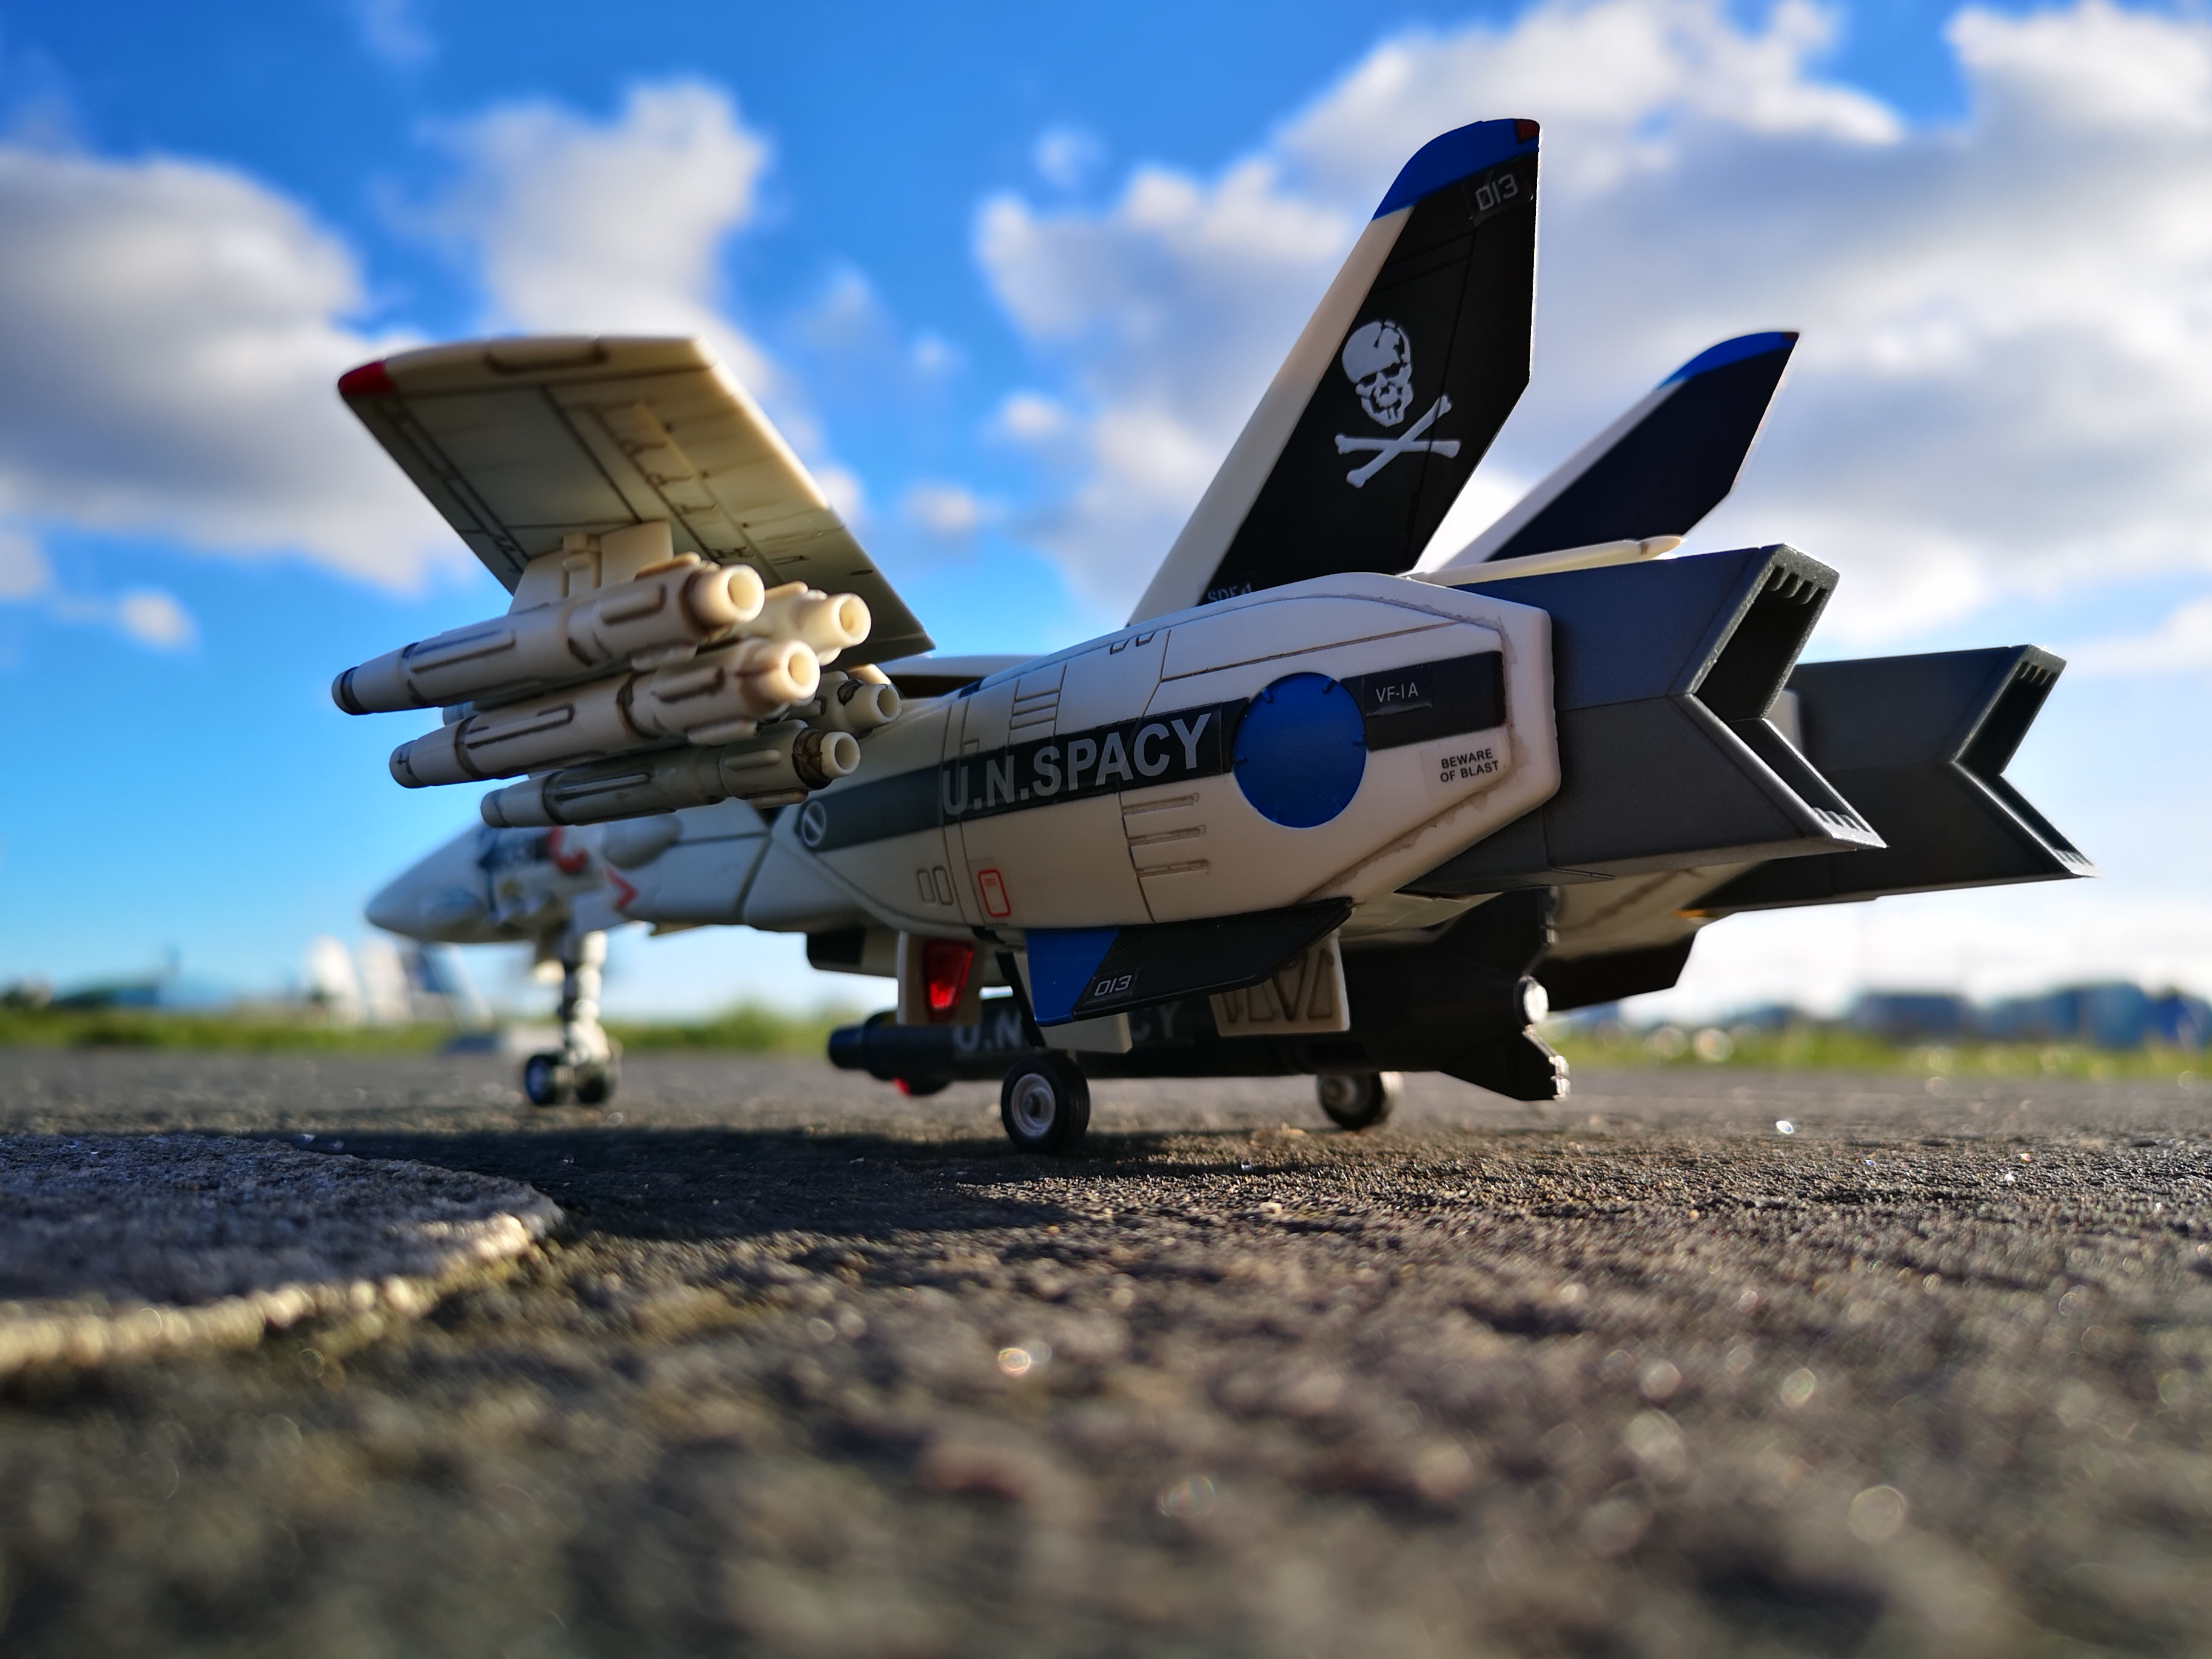
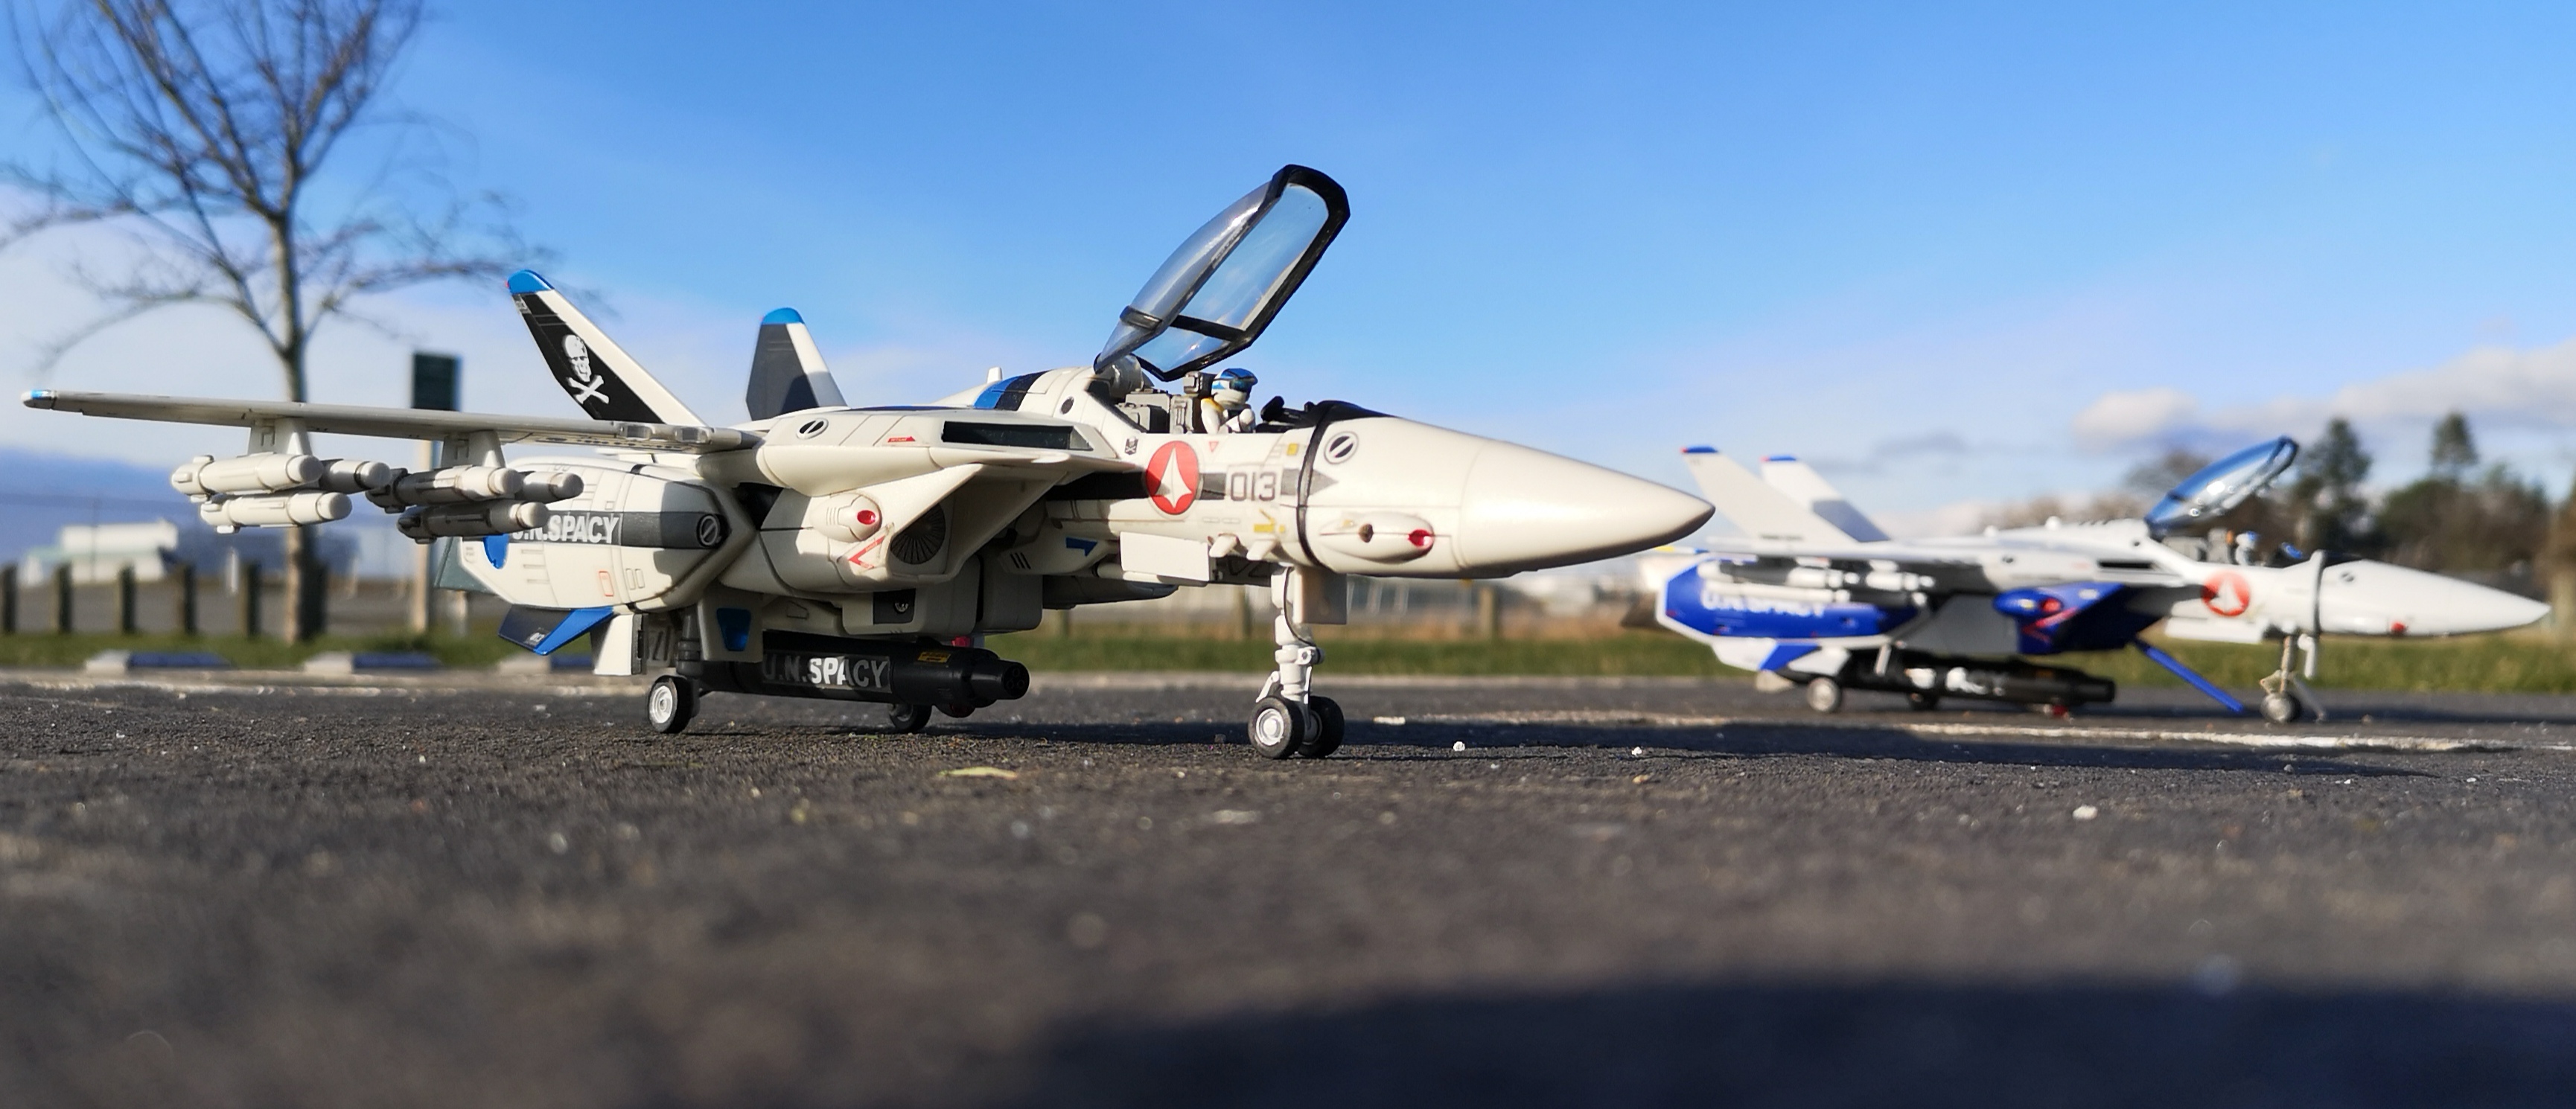
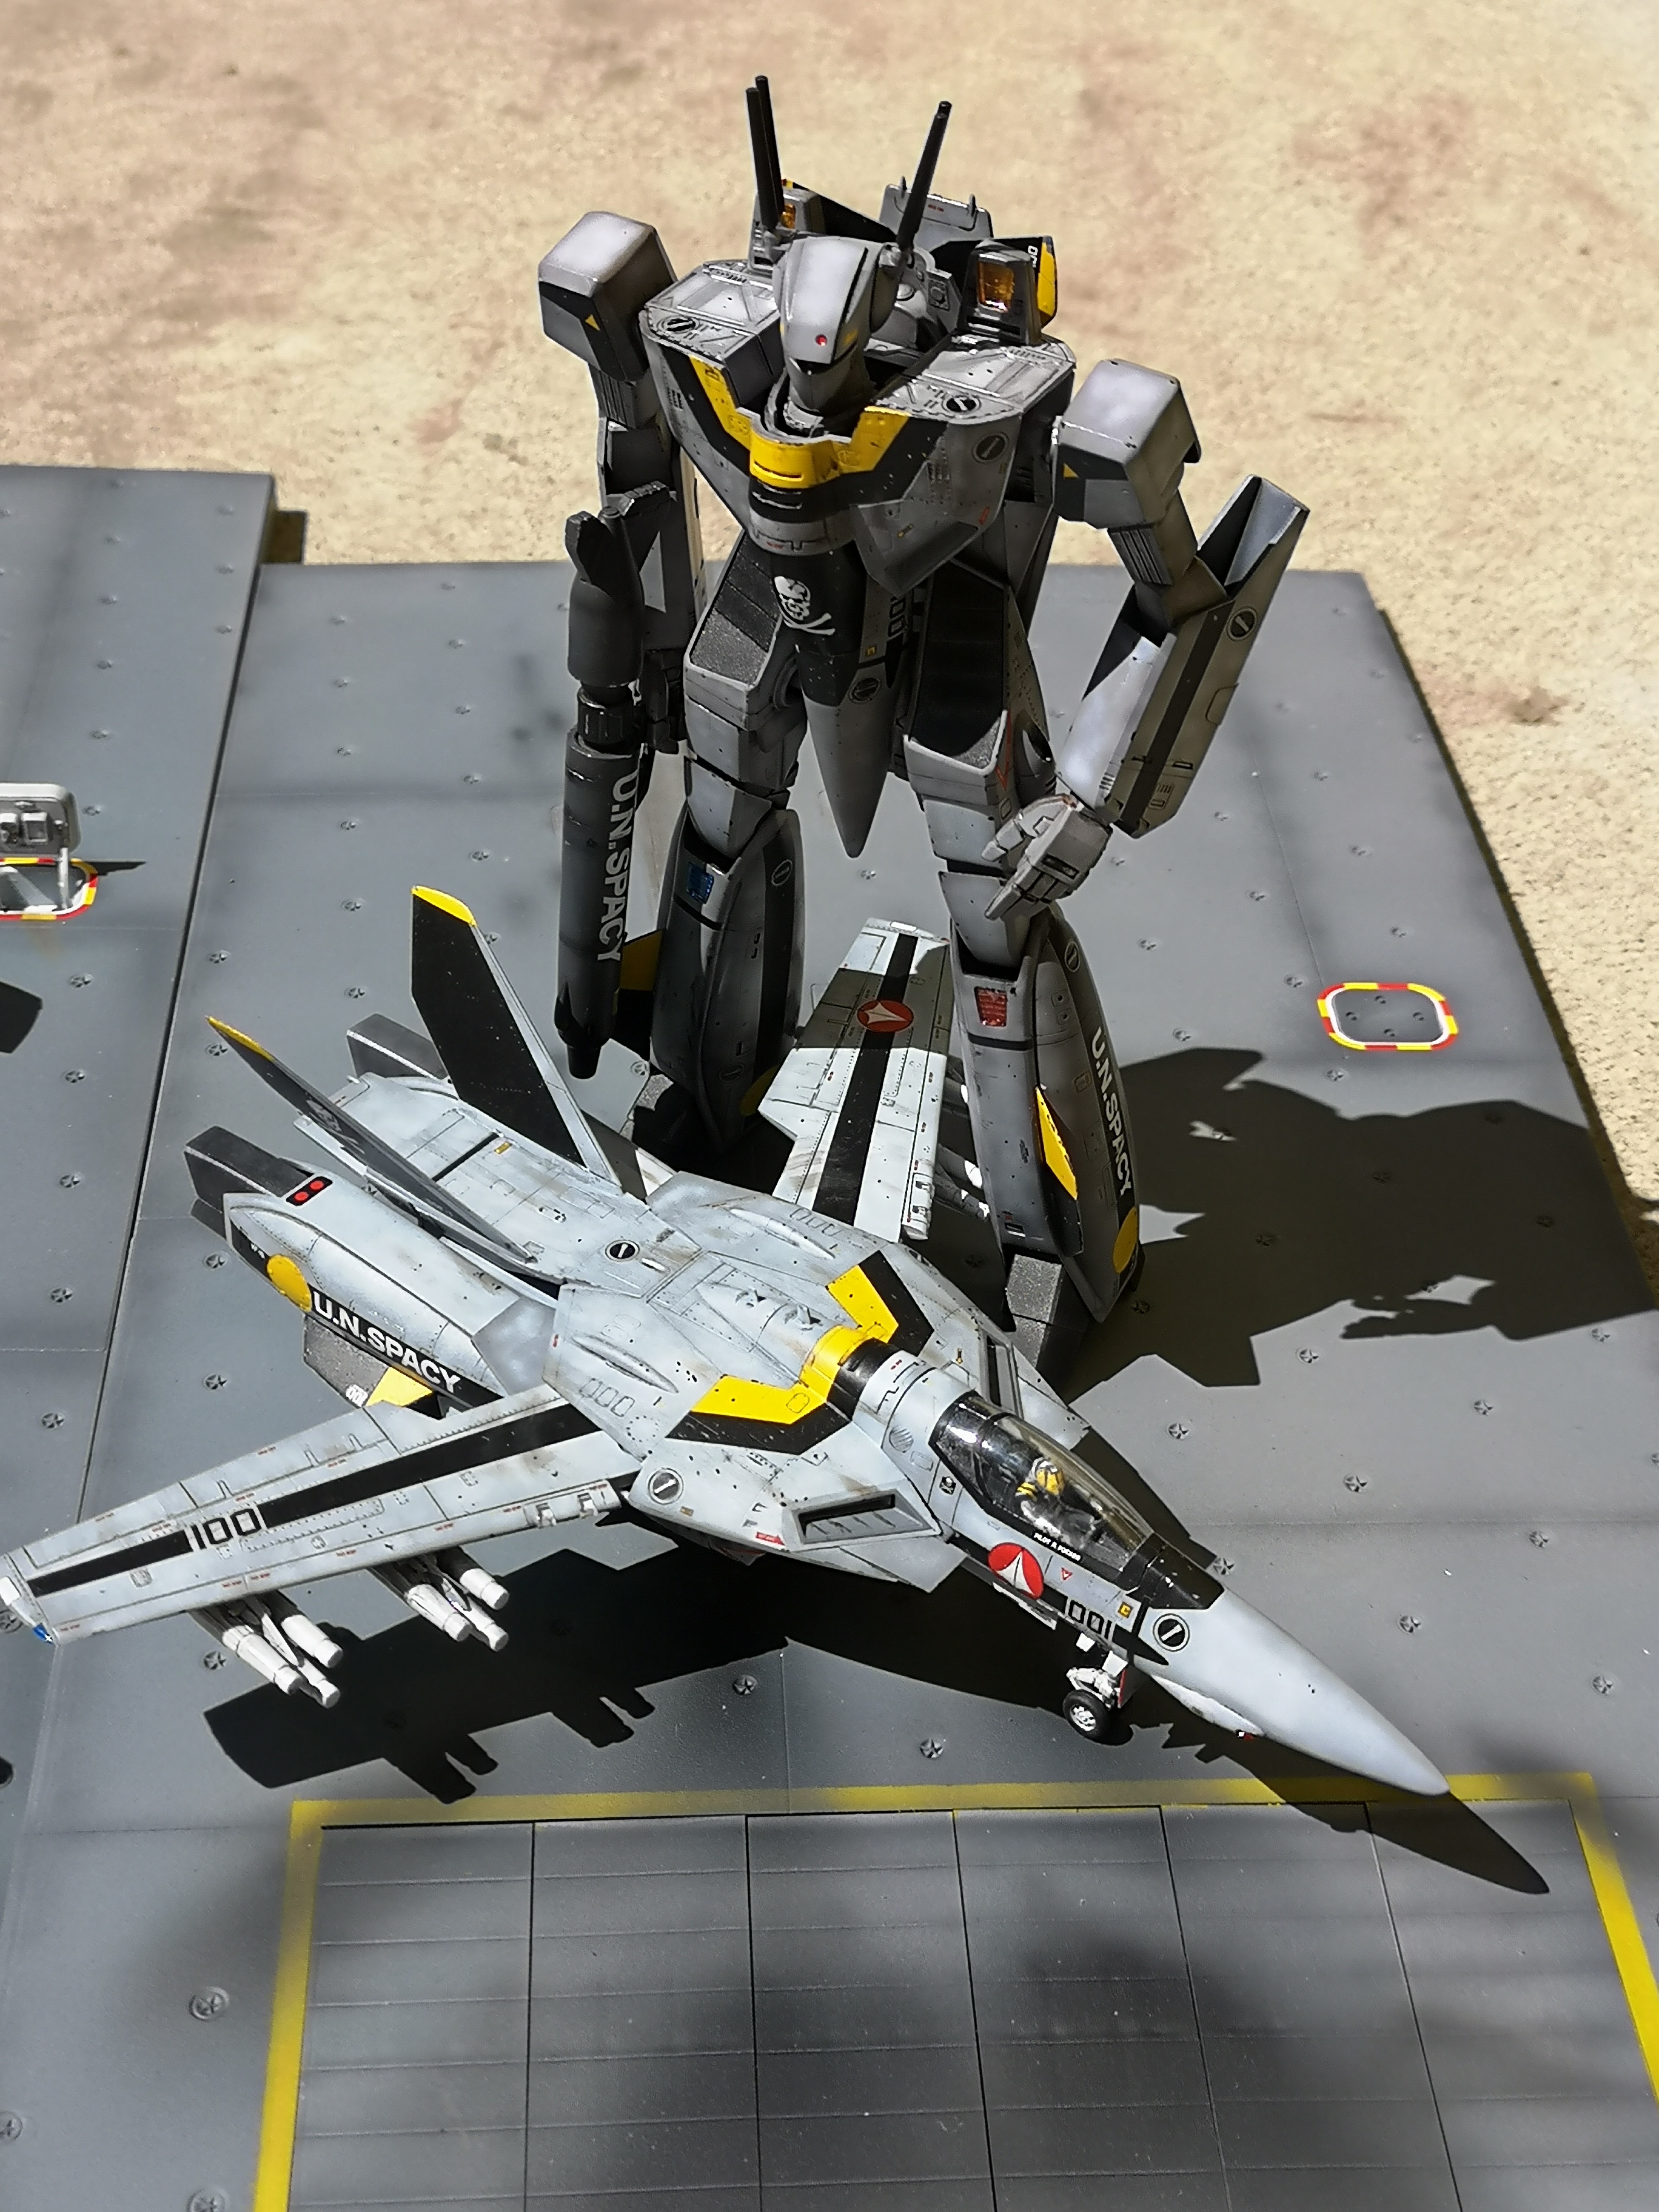
Some beauty shots The original inspiration for the 1A build. Did Bandai ever come out with a 1/72 scale 1A? Roy's Battroid with the fighter I just completed recently. Colors don't quite match, lol! Not an exact color match, but you get the idea. Roy and the Low Vis watch Hikaru sortie for the first time in his 1J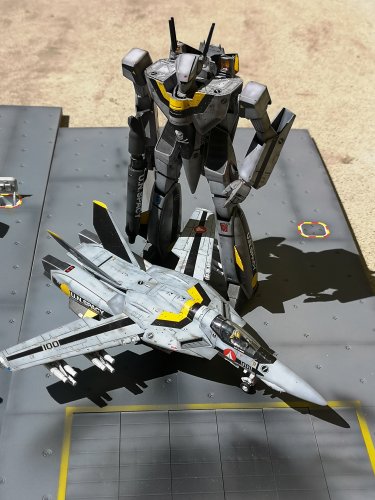


.thumb.jpg.5ee69034d510af1f88d14774b30bc976.jpg)


-
Bandai 1/72 Battroid Valkyrie VF-1A Low Vis and Hasegawa 1/72 VF-1S Battroid
peter replied to peter's topic in Model kits
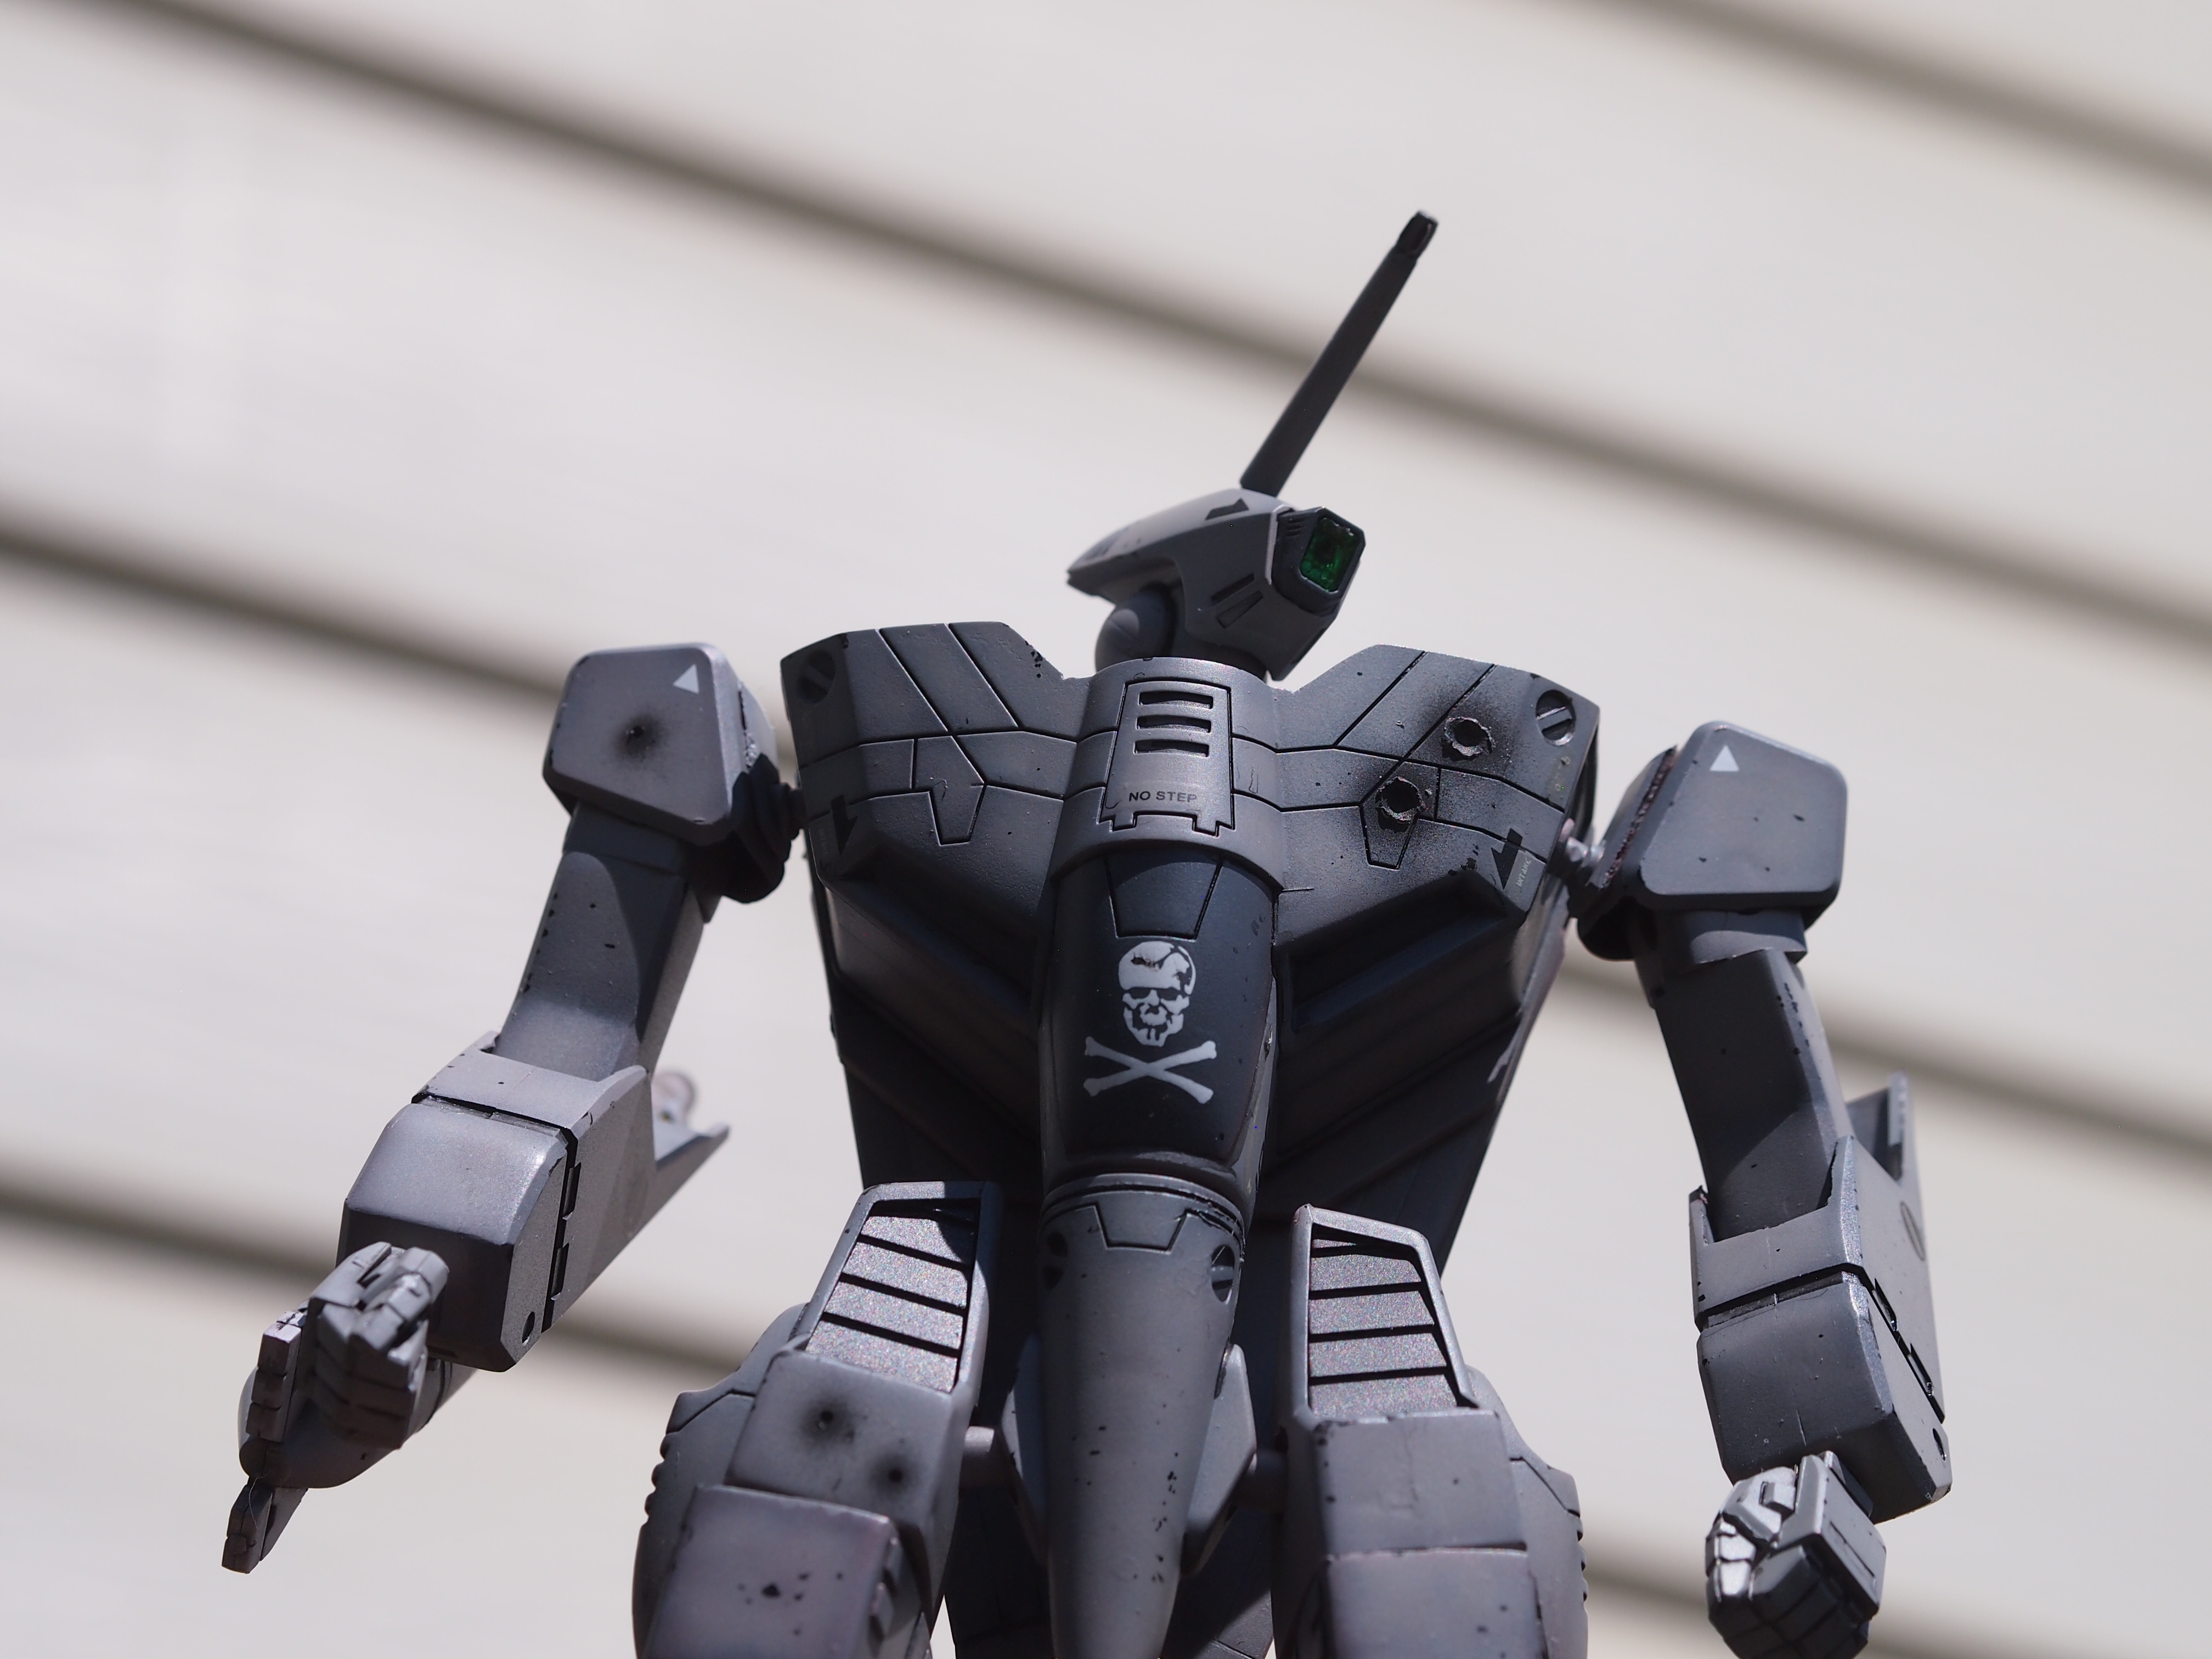
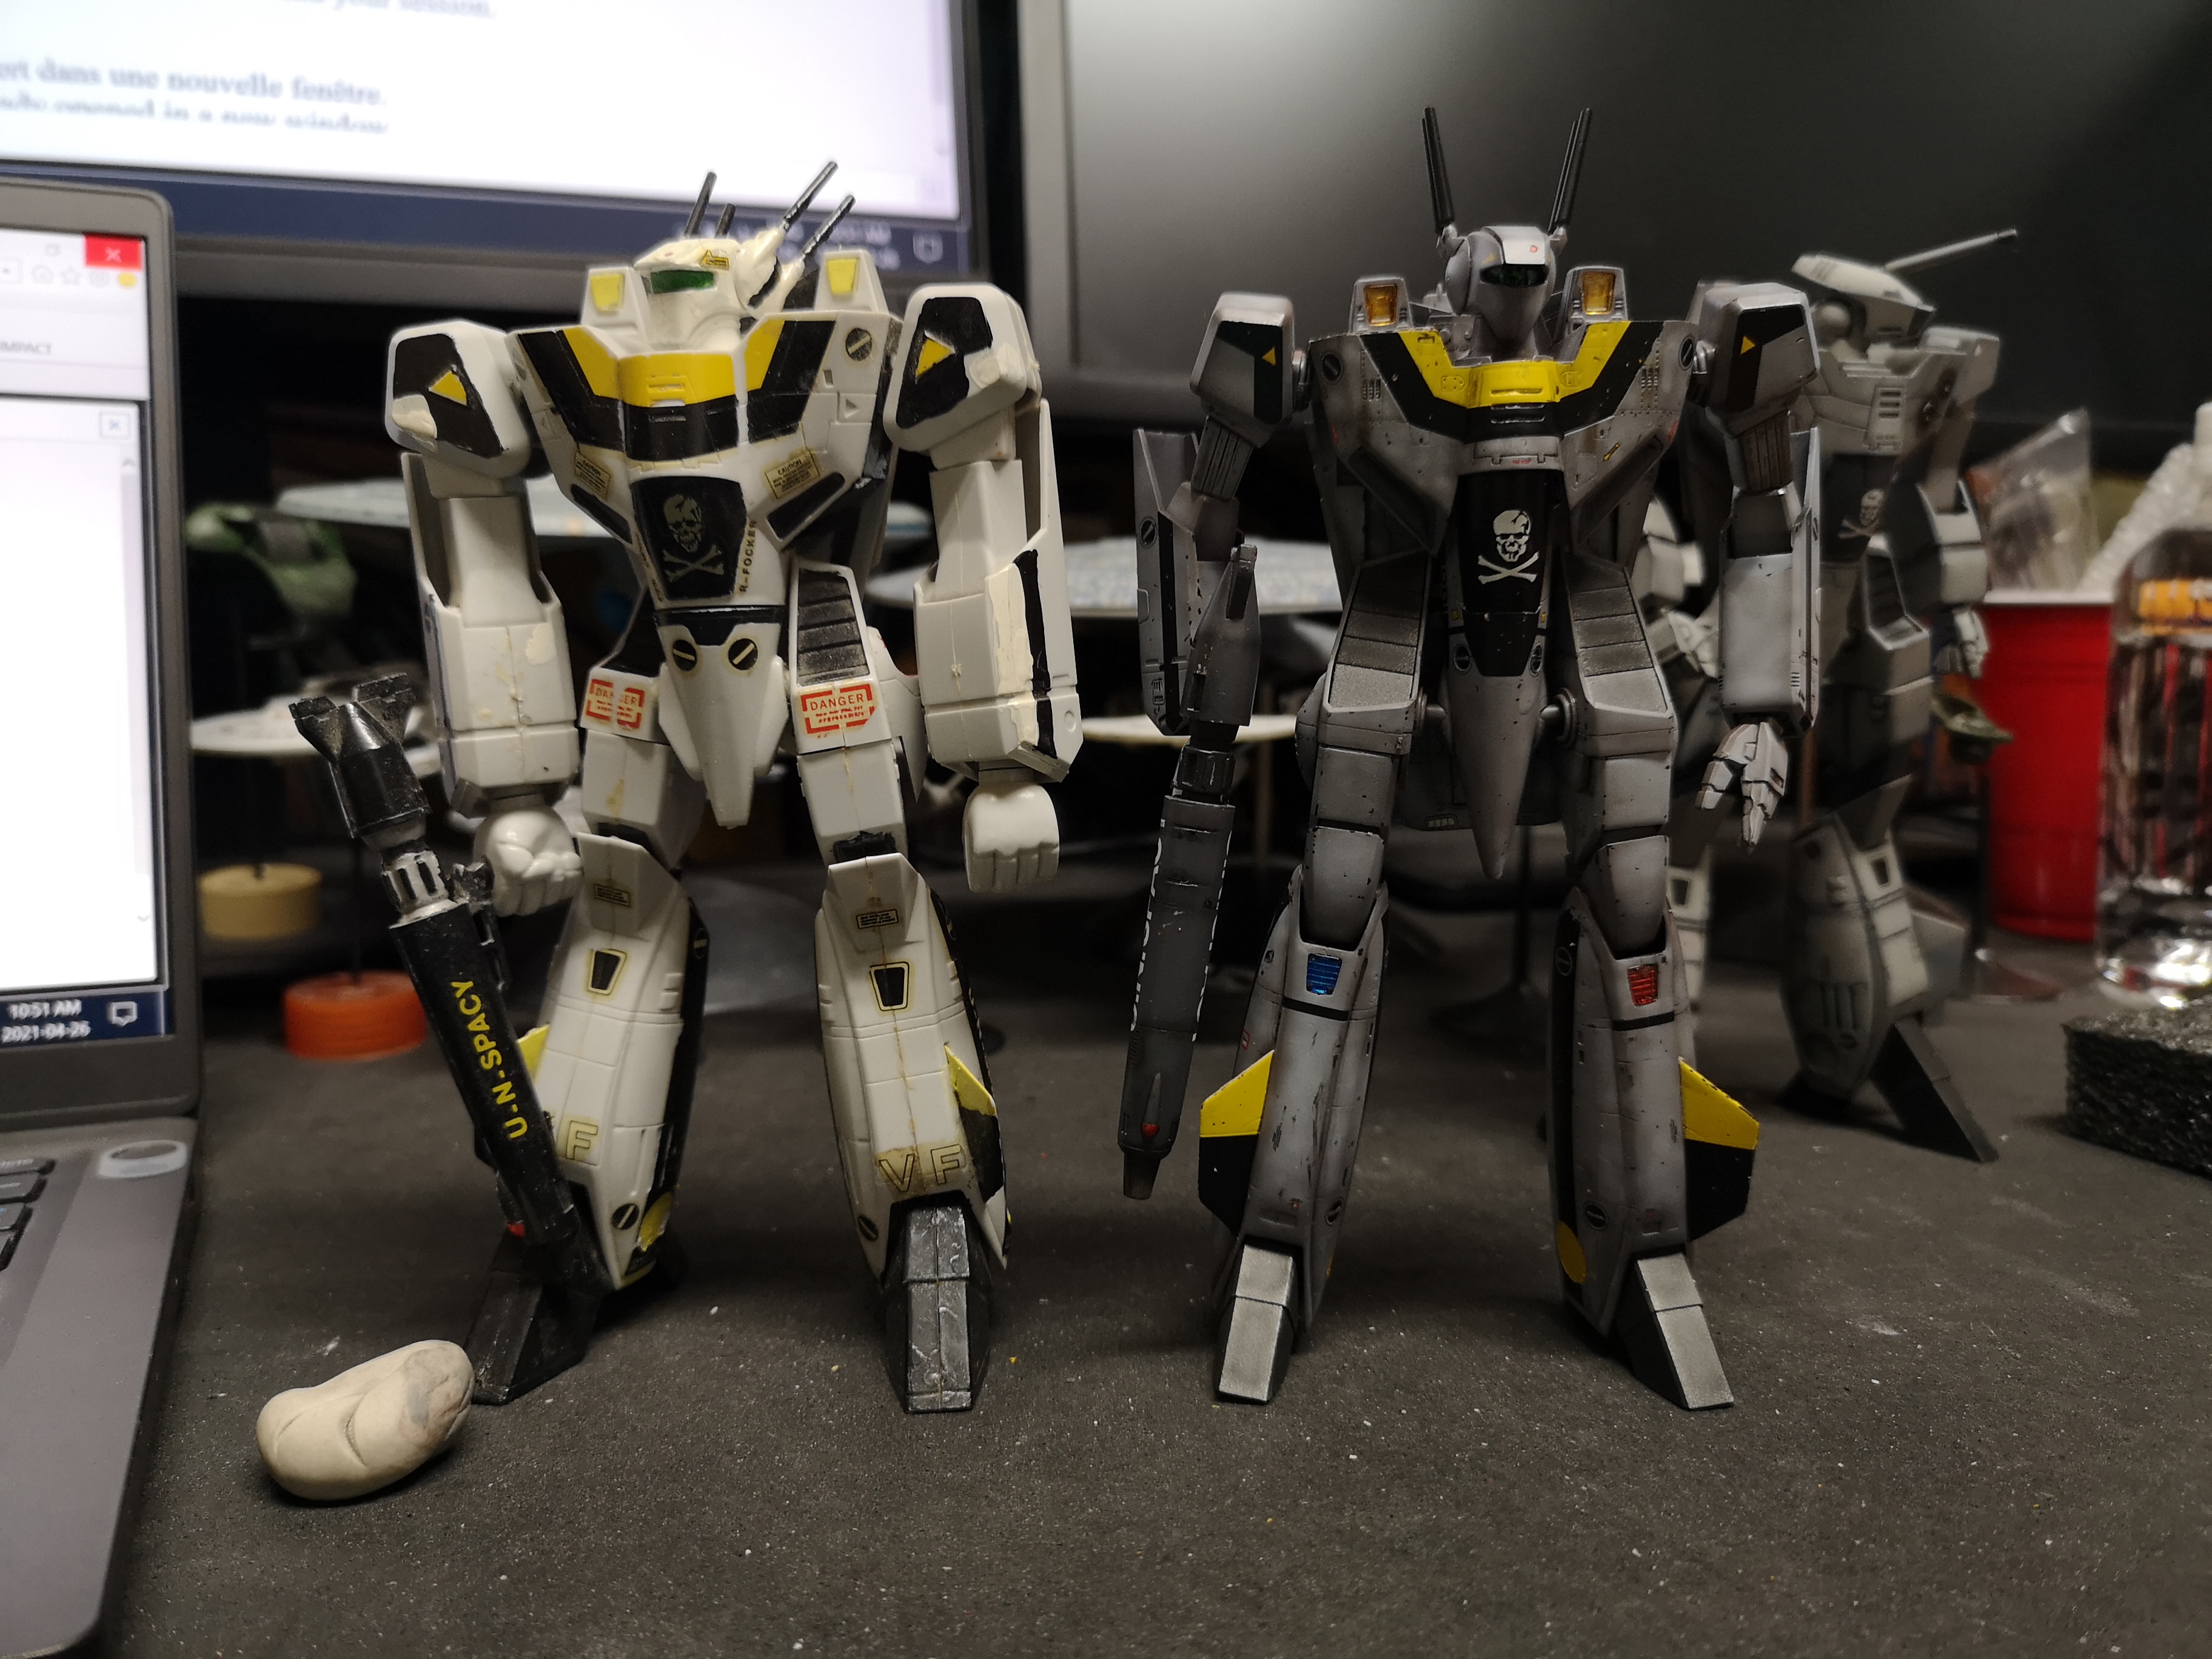
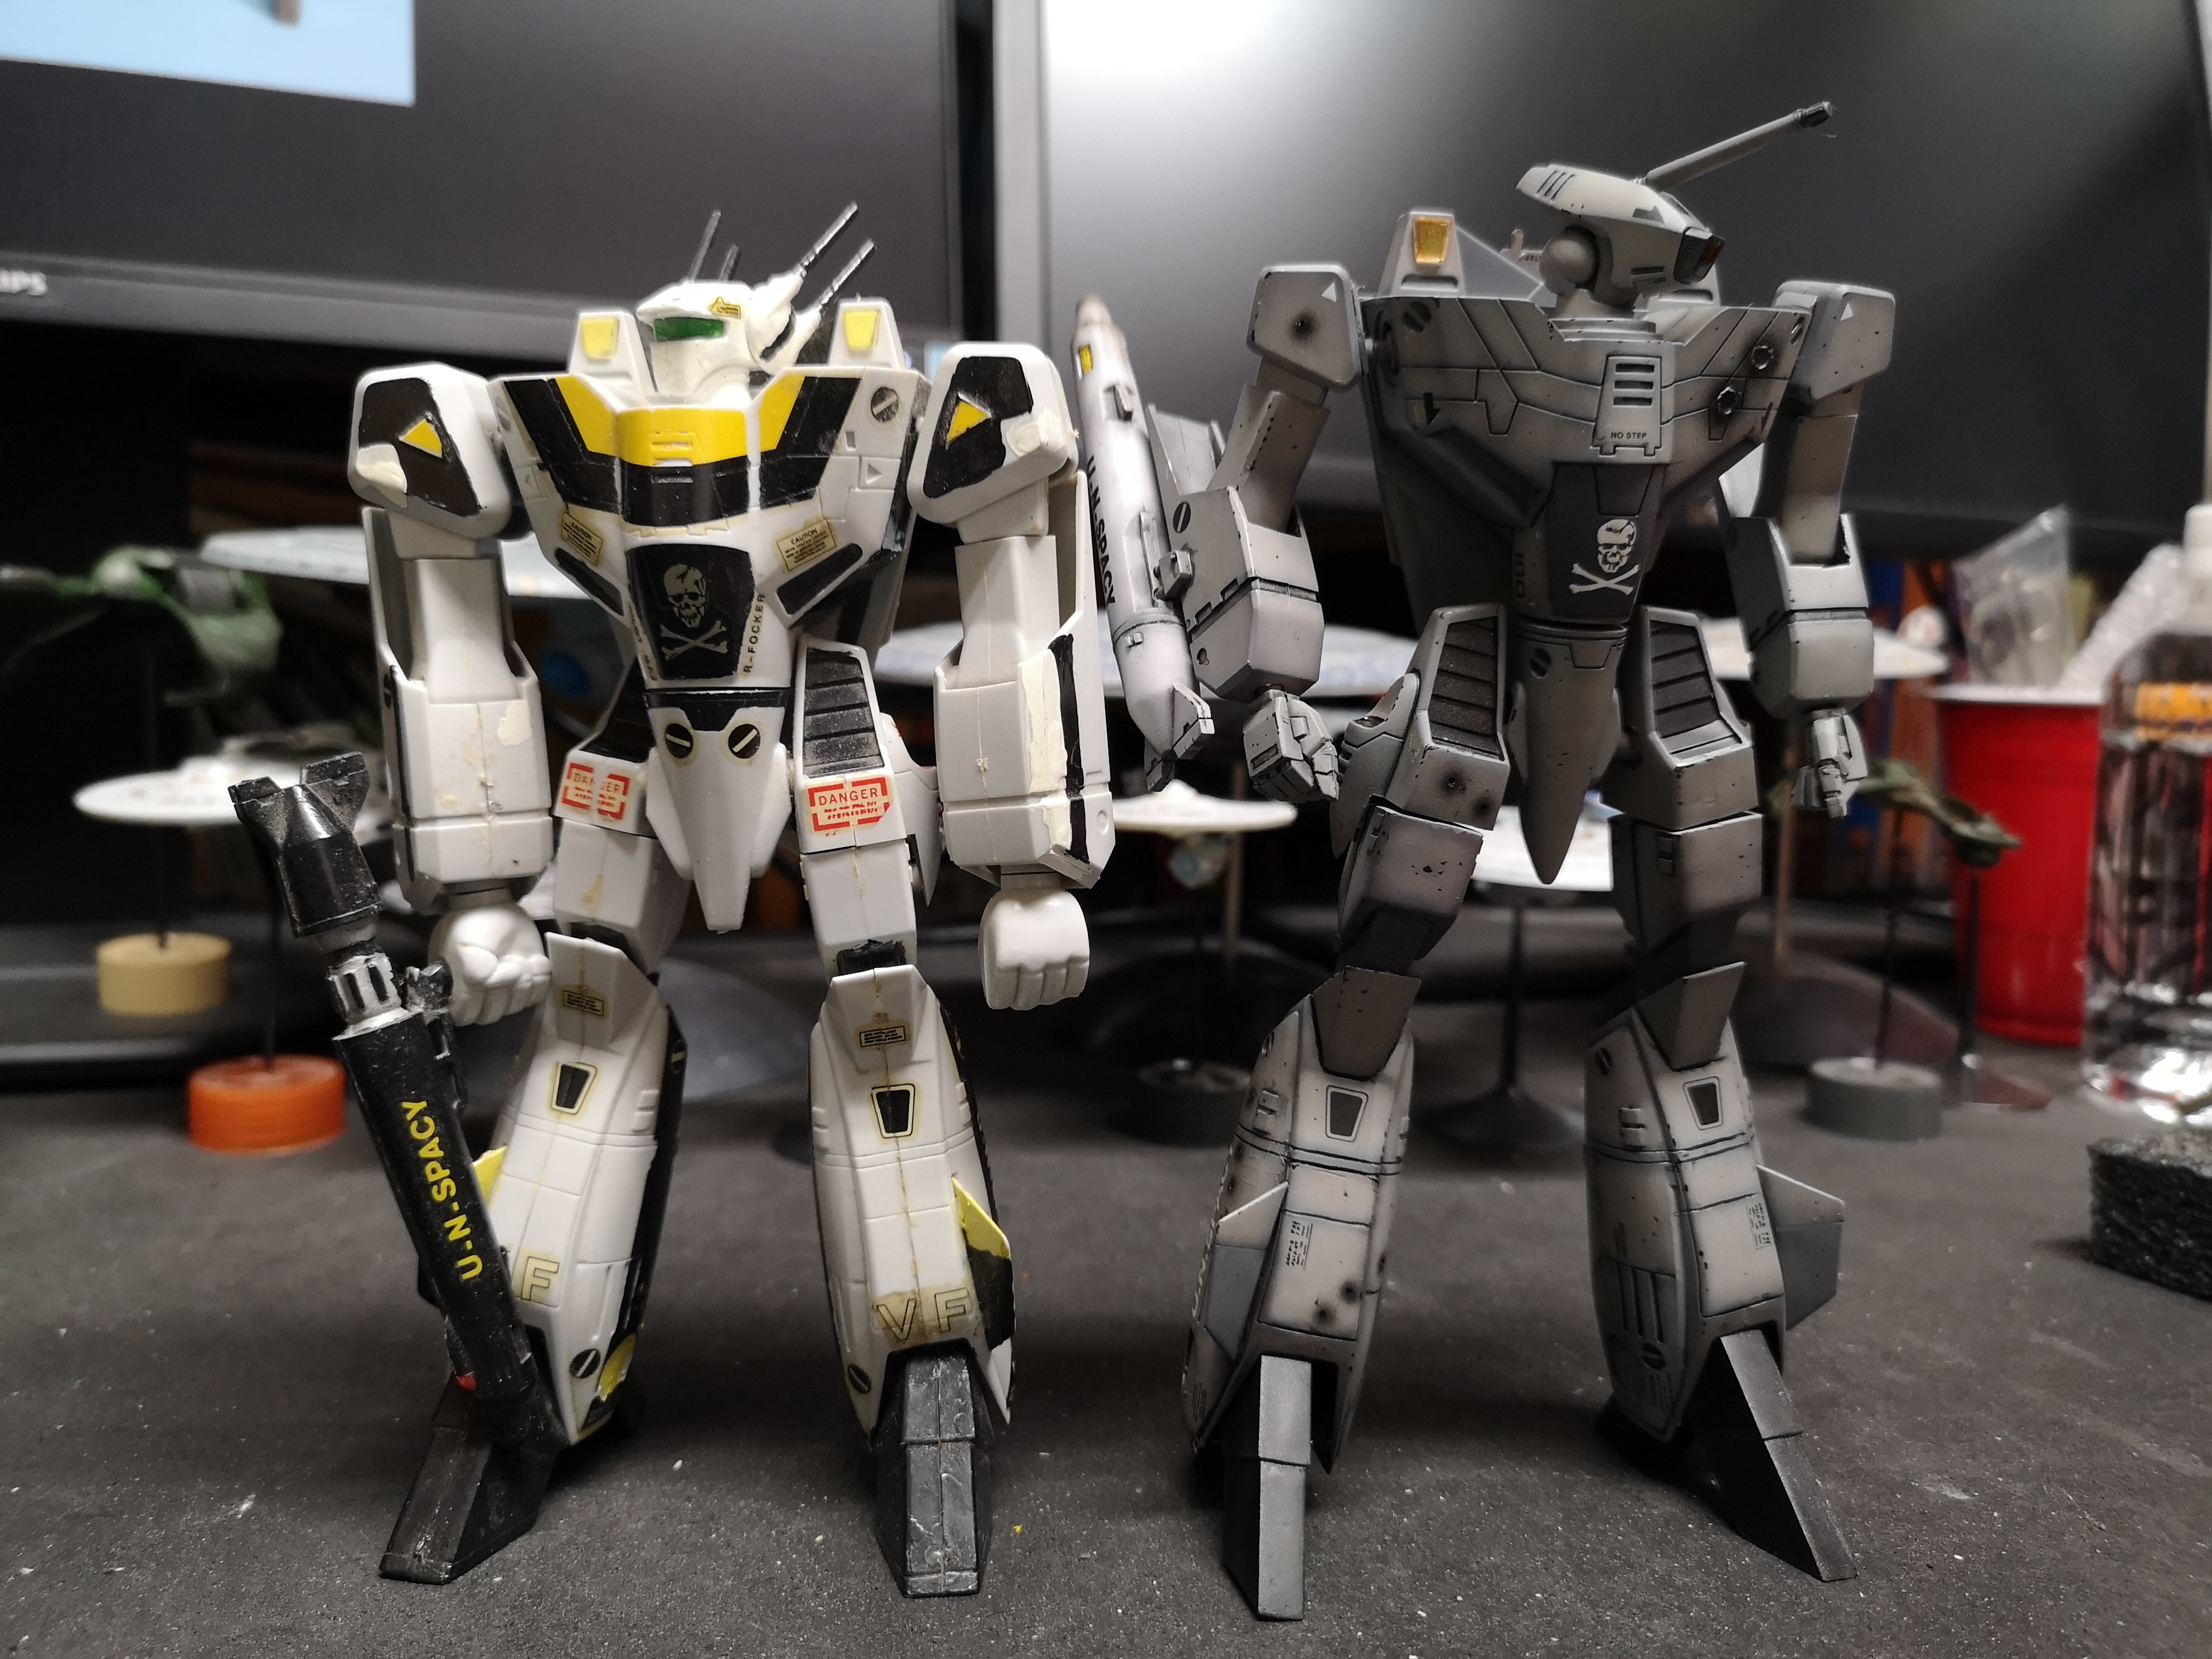
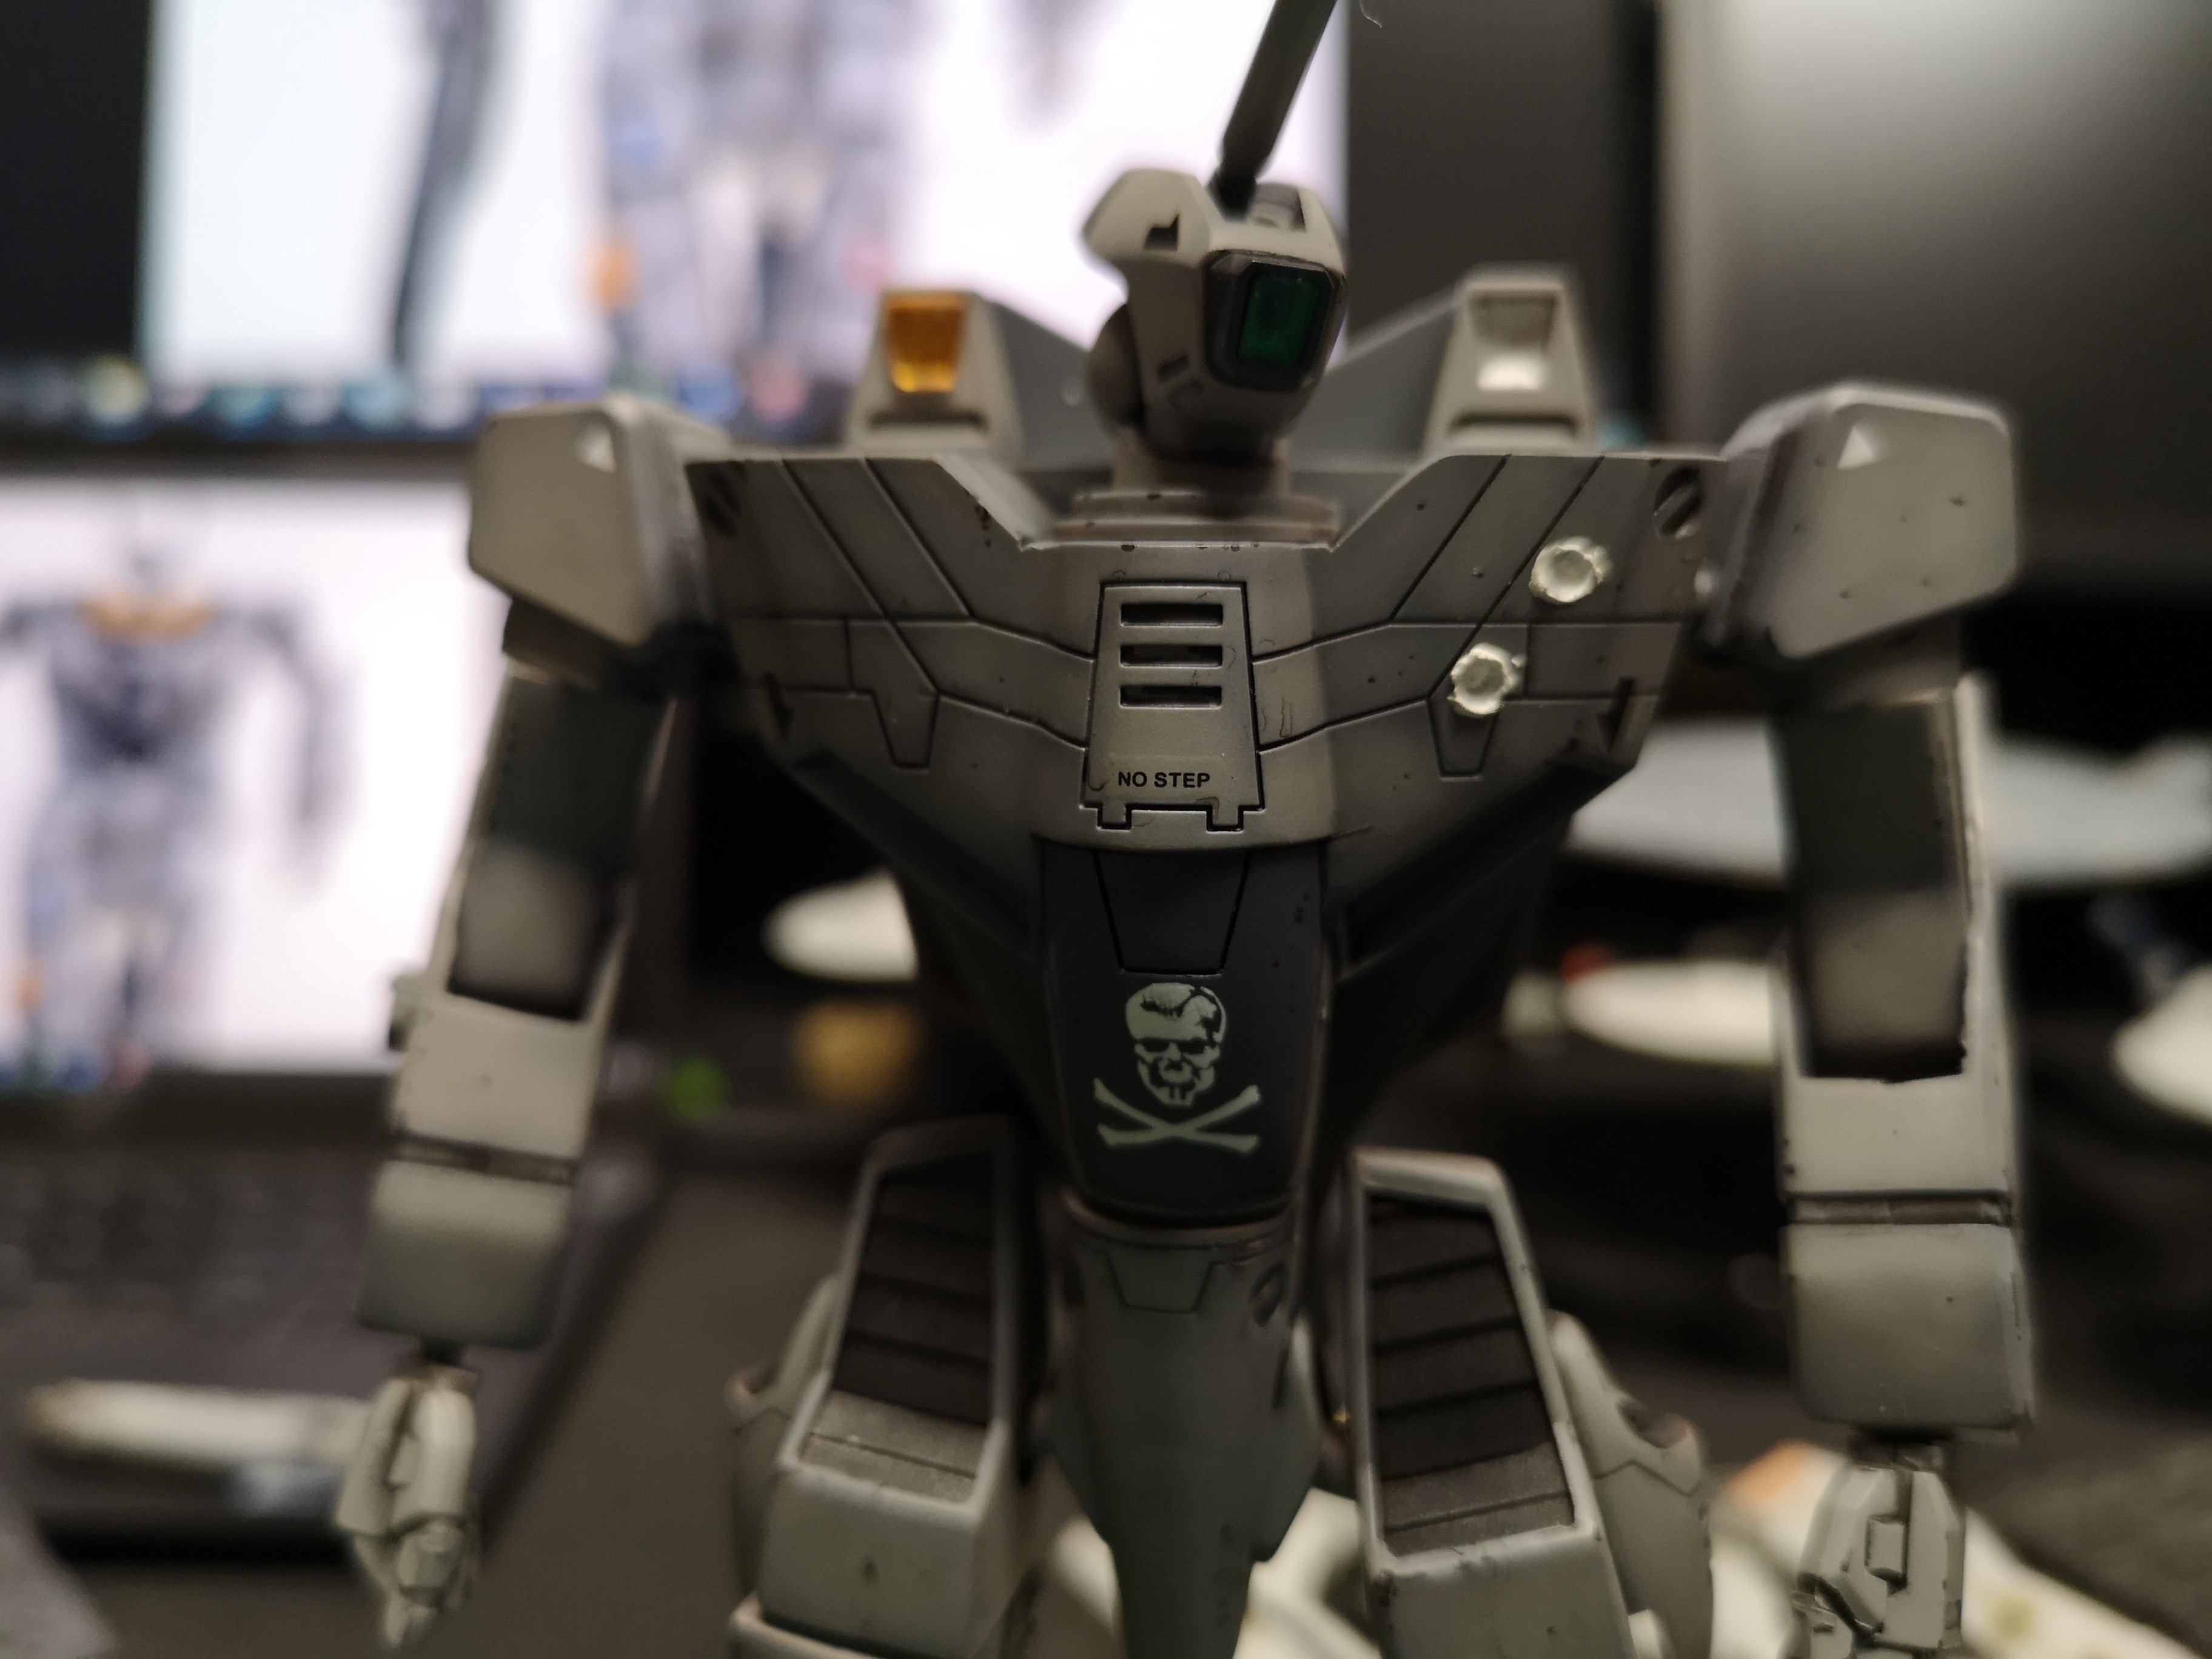
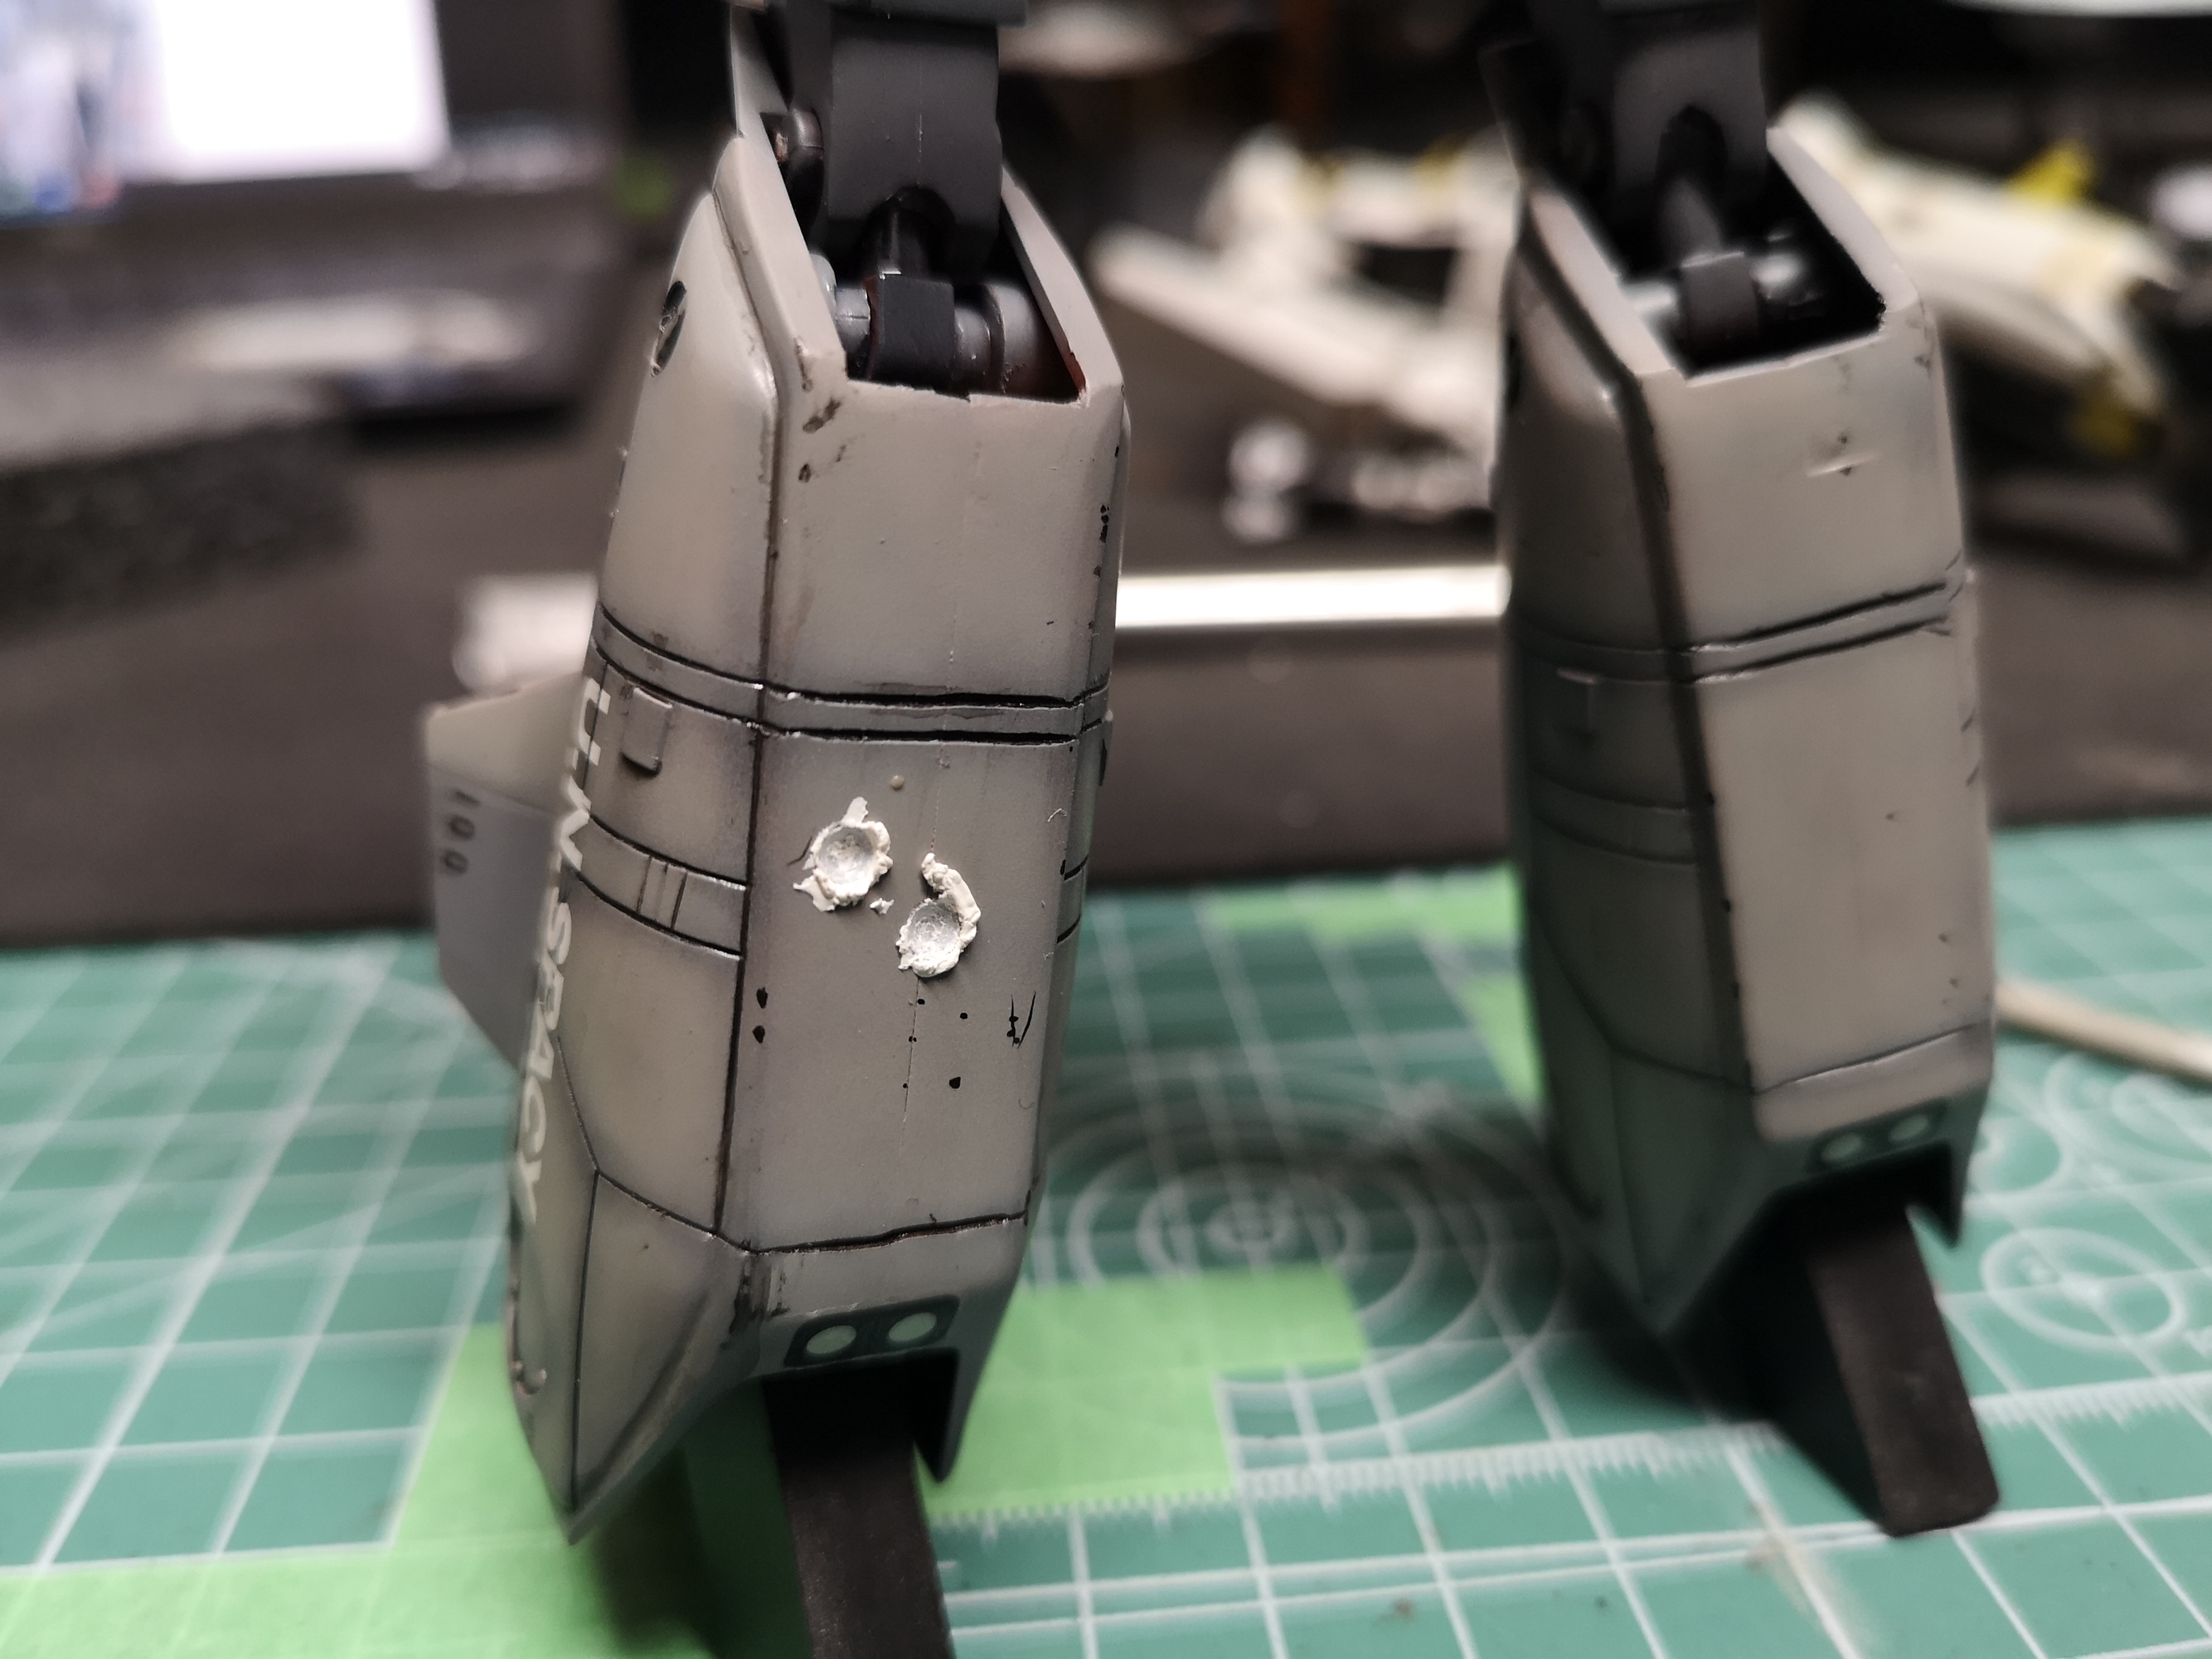
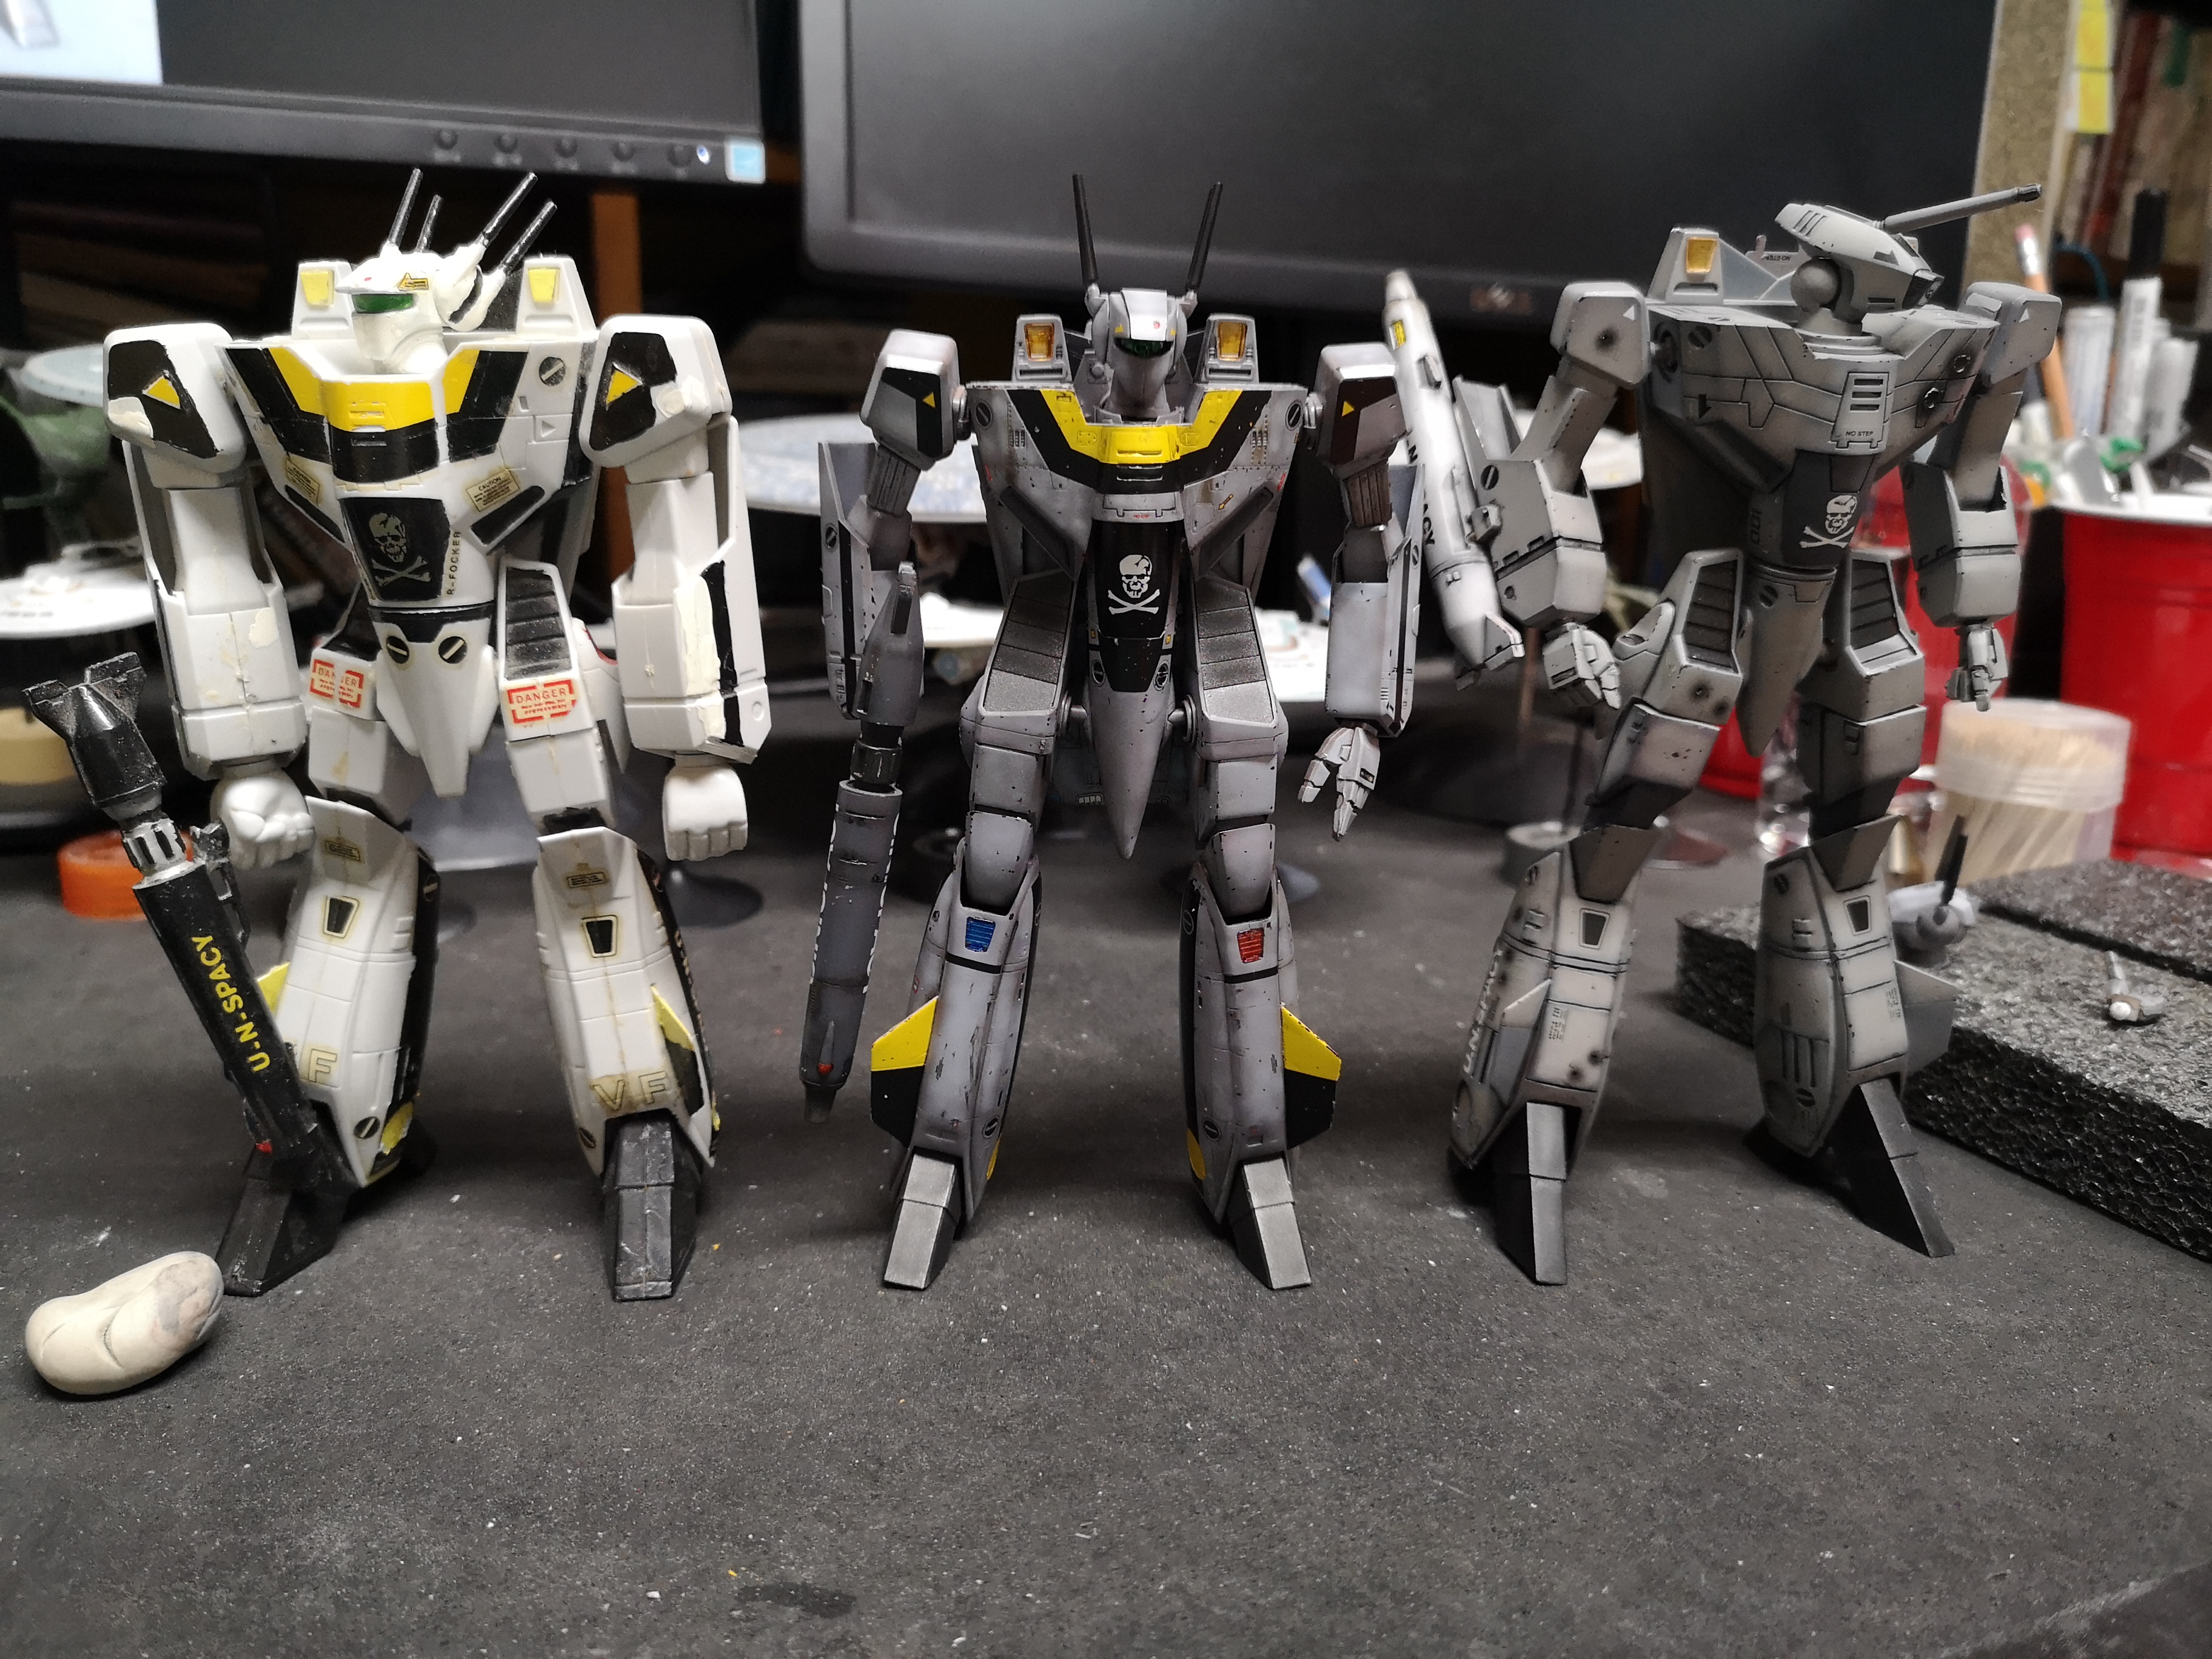
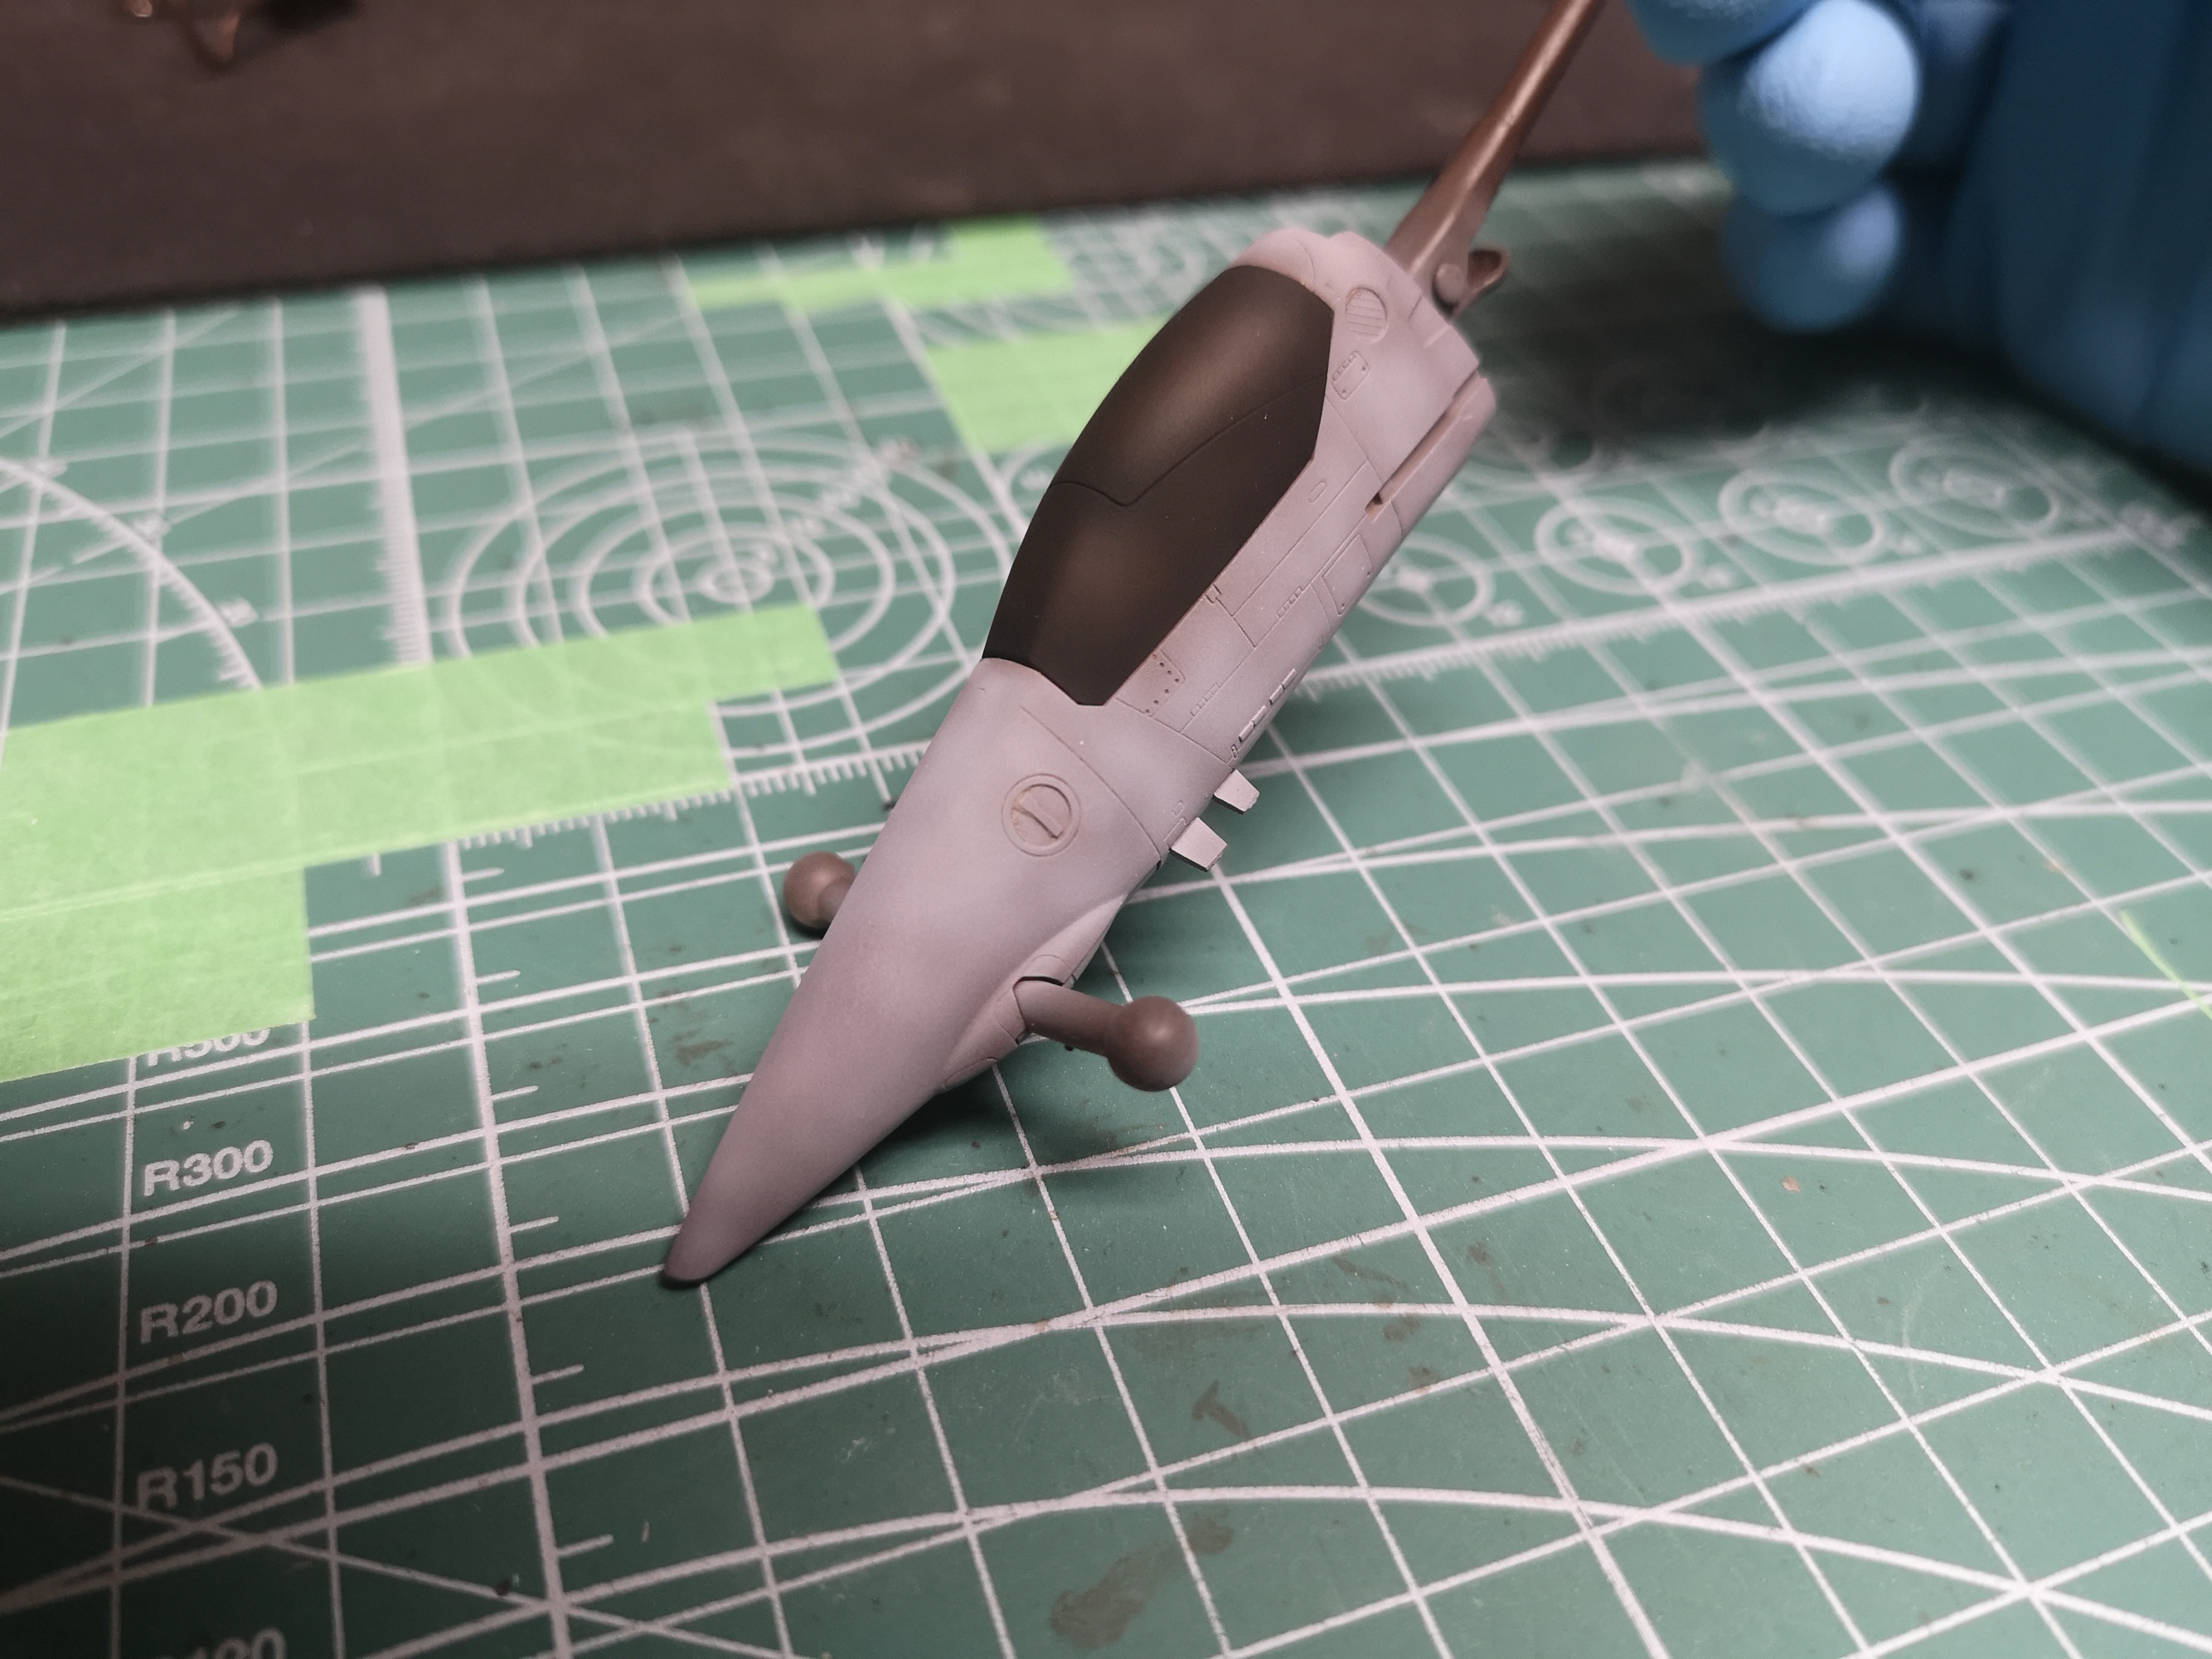
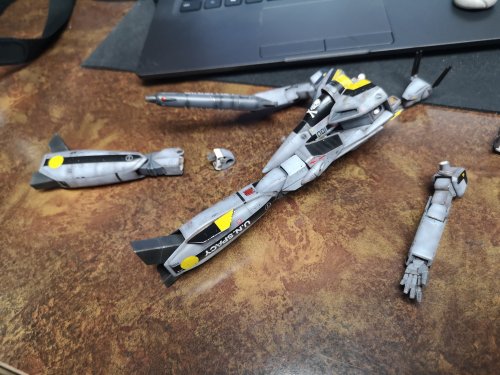
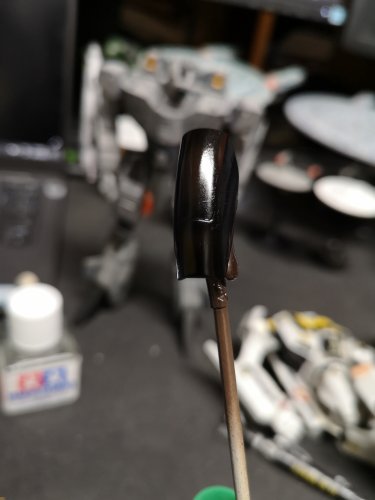
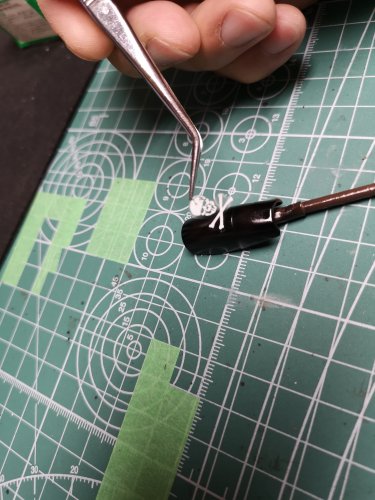
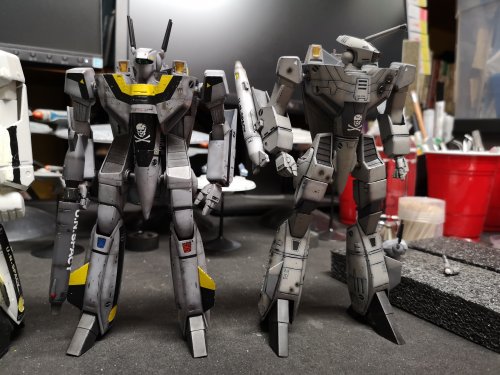
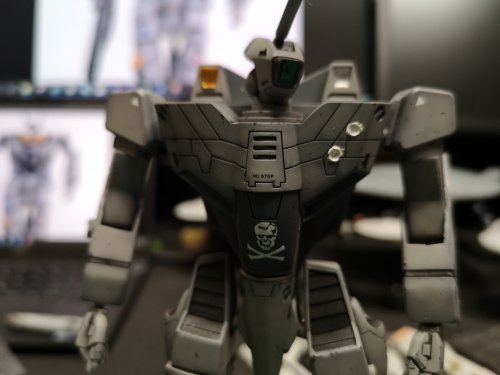
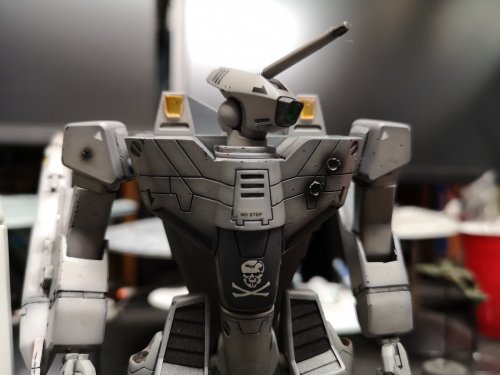
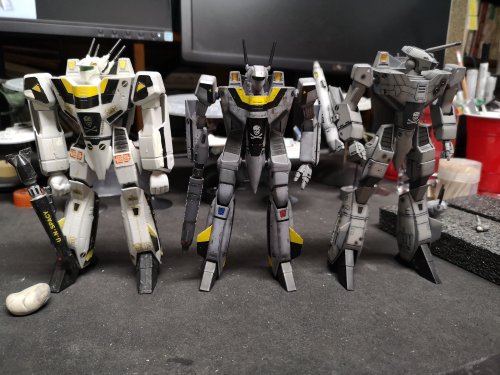
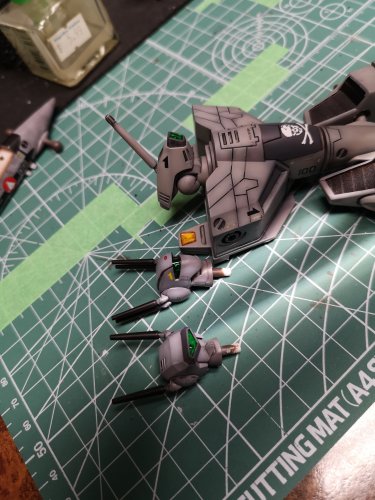
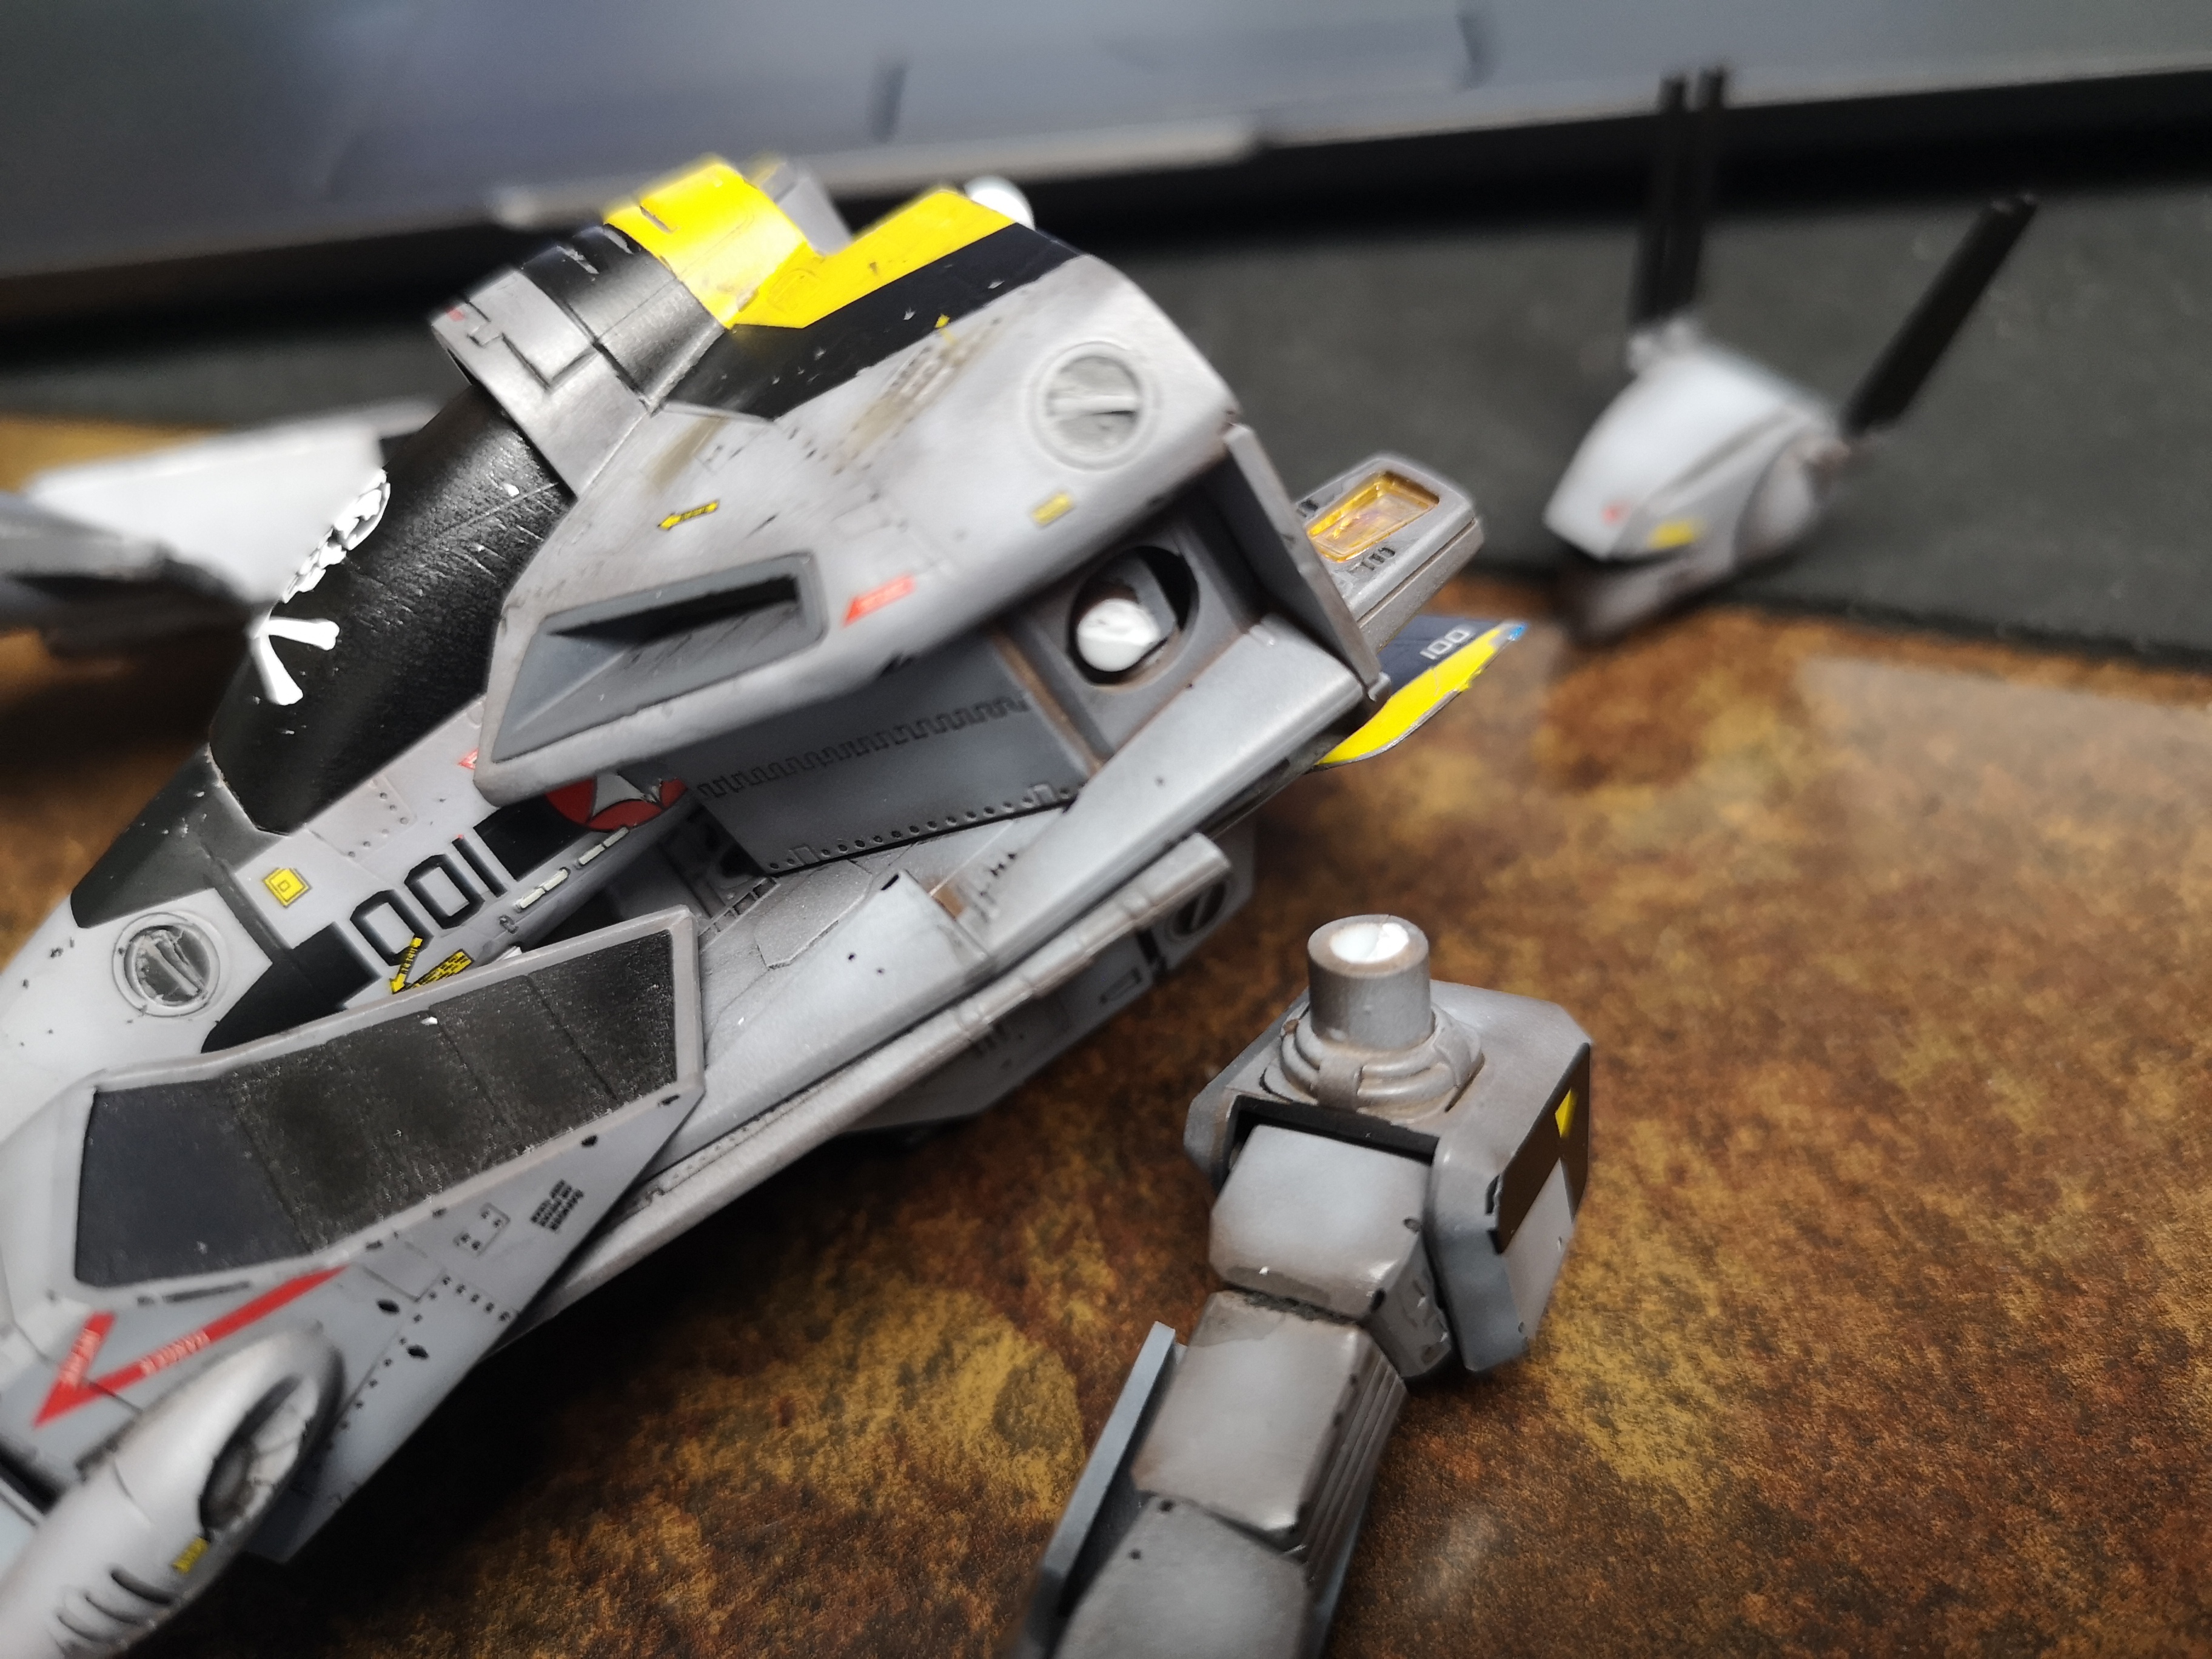
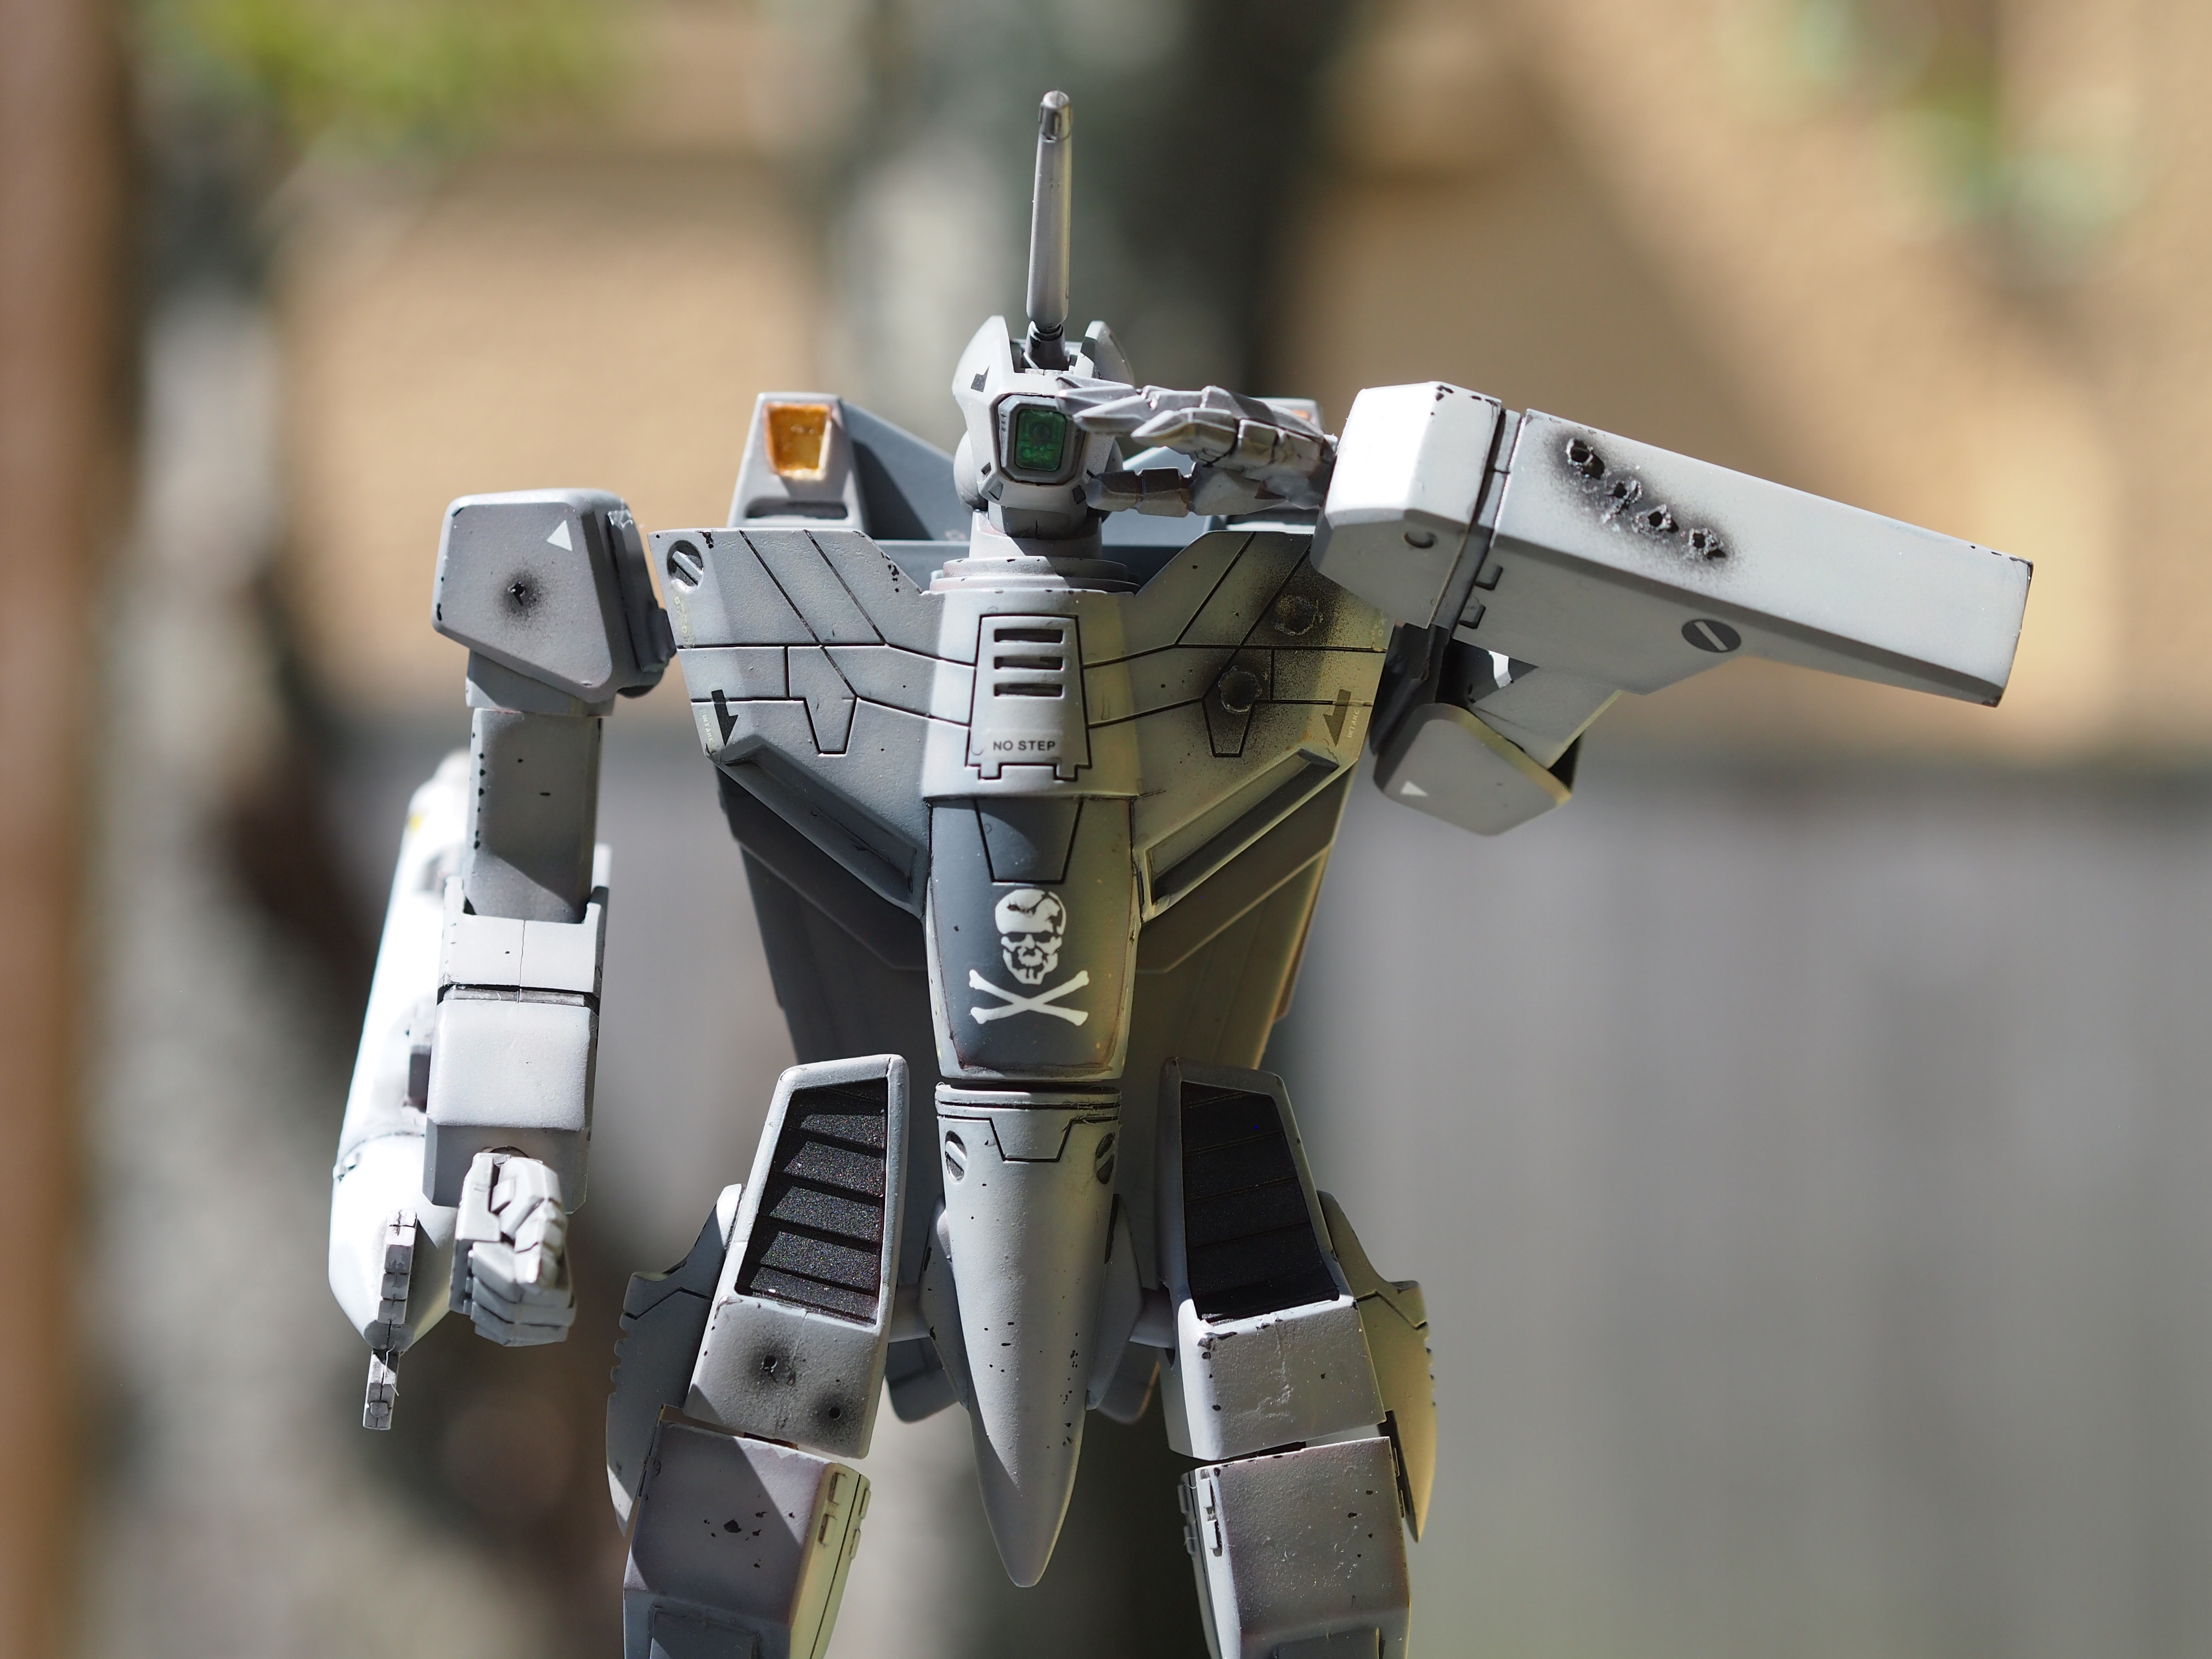
Ok, so my drunken Roy heatshield debacle...... Sanded off the old decal, some more brown primer, black and gloss (too much black this time, but I guess more screen accurate). Fixed within a few hours. Time to add some wear and tear. Decided the 1A would have seen some abuse being at the pointy end of things. Just drilled some holes, added putty to the holes and pushed the excess out with the bottom of a paint brush. Small arms fire? Or maybe just different calibre weapons. Added scorch marks/powder burns..... This doesn't actually happen on all impacts, but I'll admit, it does look better. My customized vintage Bandai on the left, original on the right. On final assembly the 1A came out a lot taller than I had imagined. The added knee joint and the bigger feet added some height... Oops. Old Bandai vs new Hasegawa. Hasegawa vs custom Bandai All three.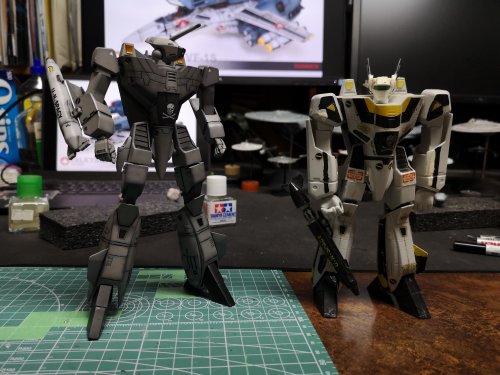


-
Bandai 1/72 Battroid Valkyrie VF-1A Low Vis and Hasegawa 1/72 VF-1S Battroid
peter replied to peter's topic in Model kits
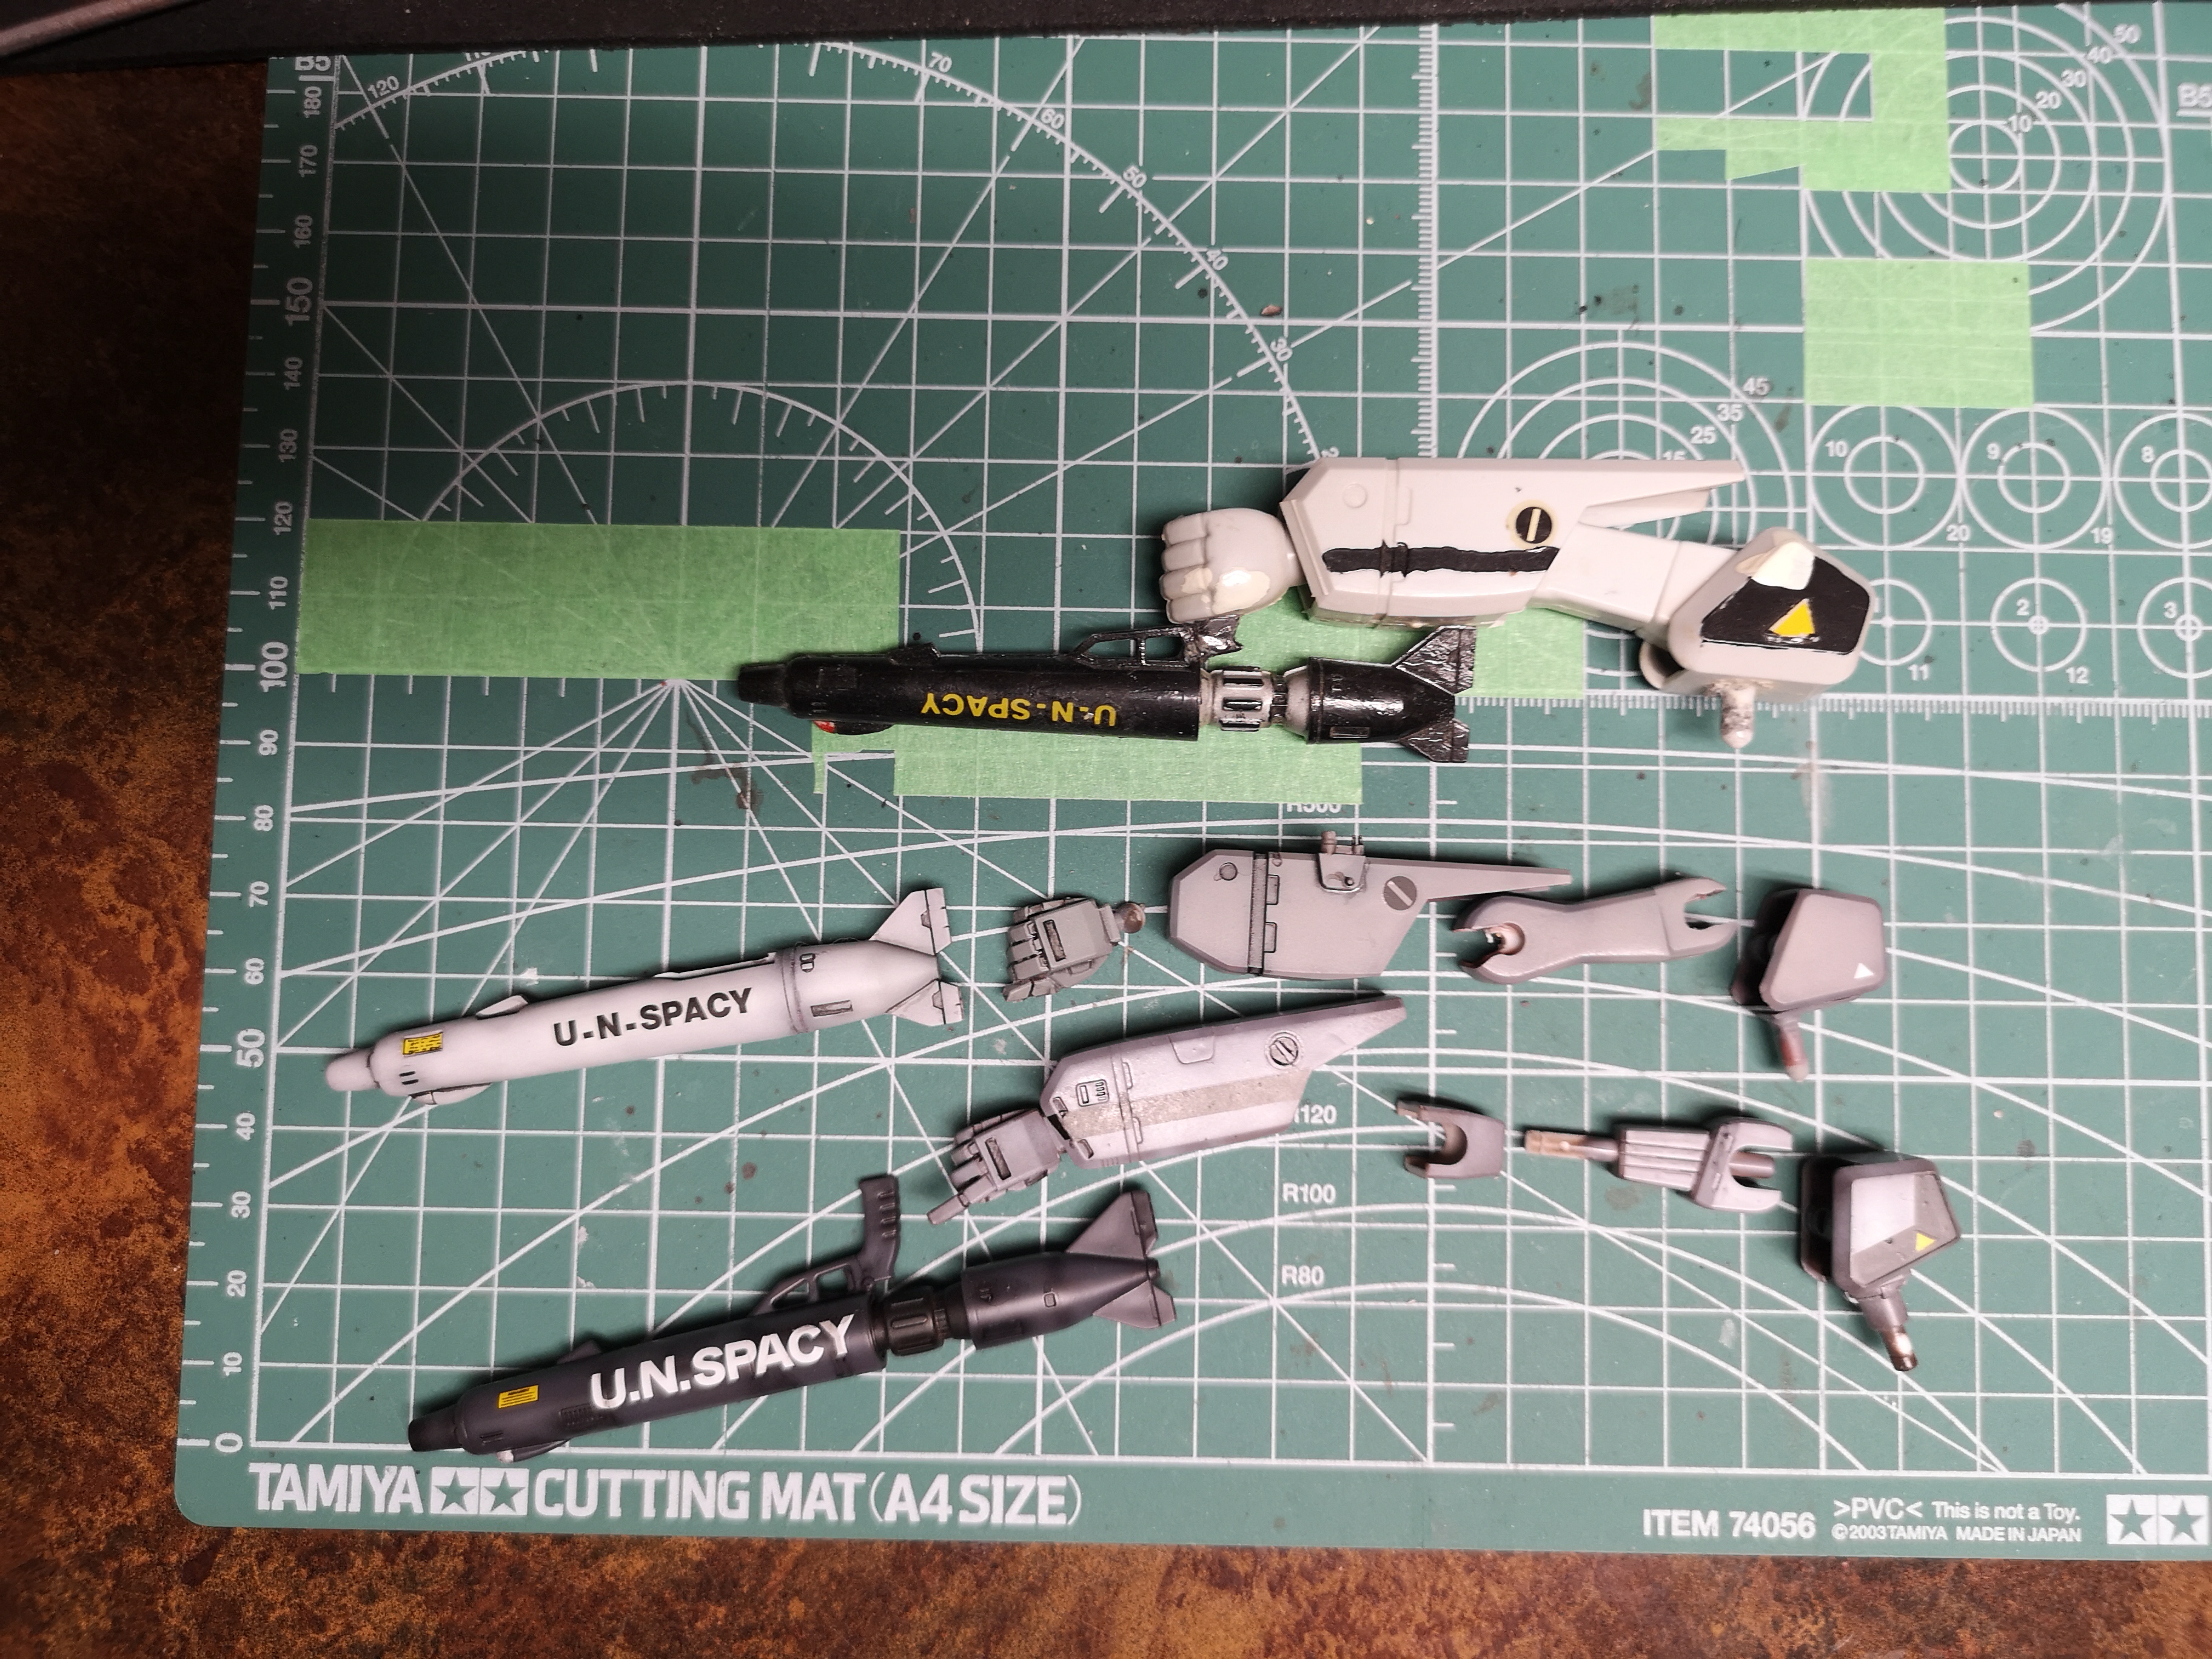
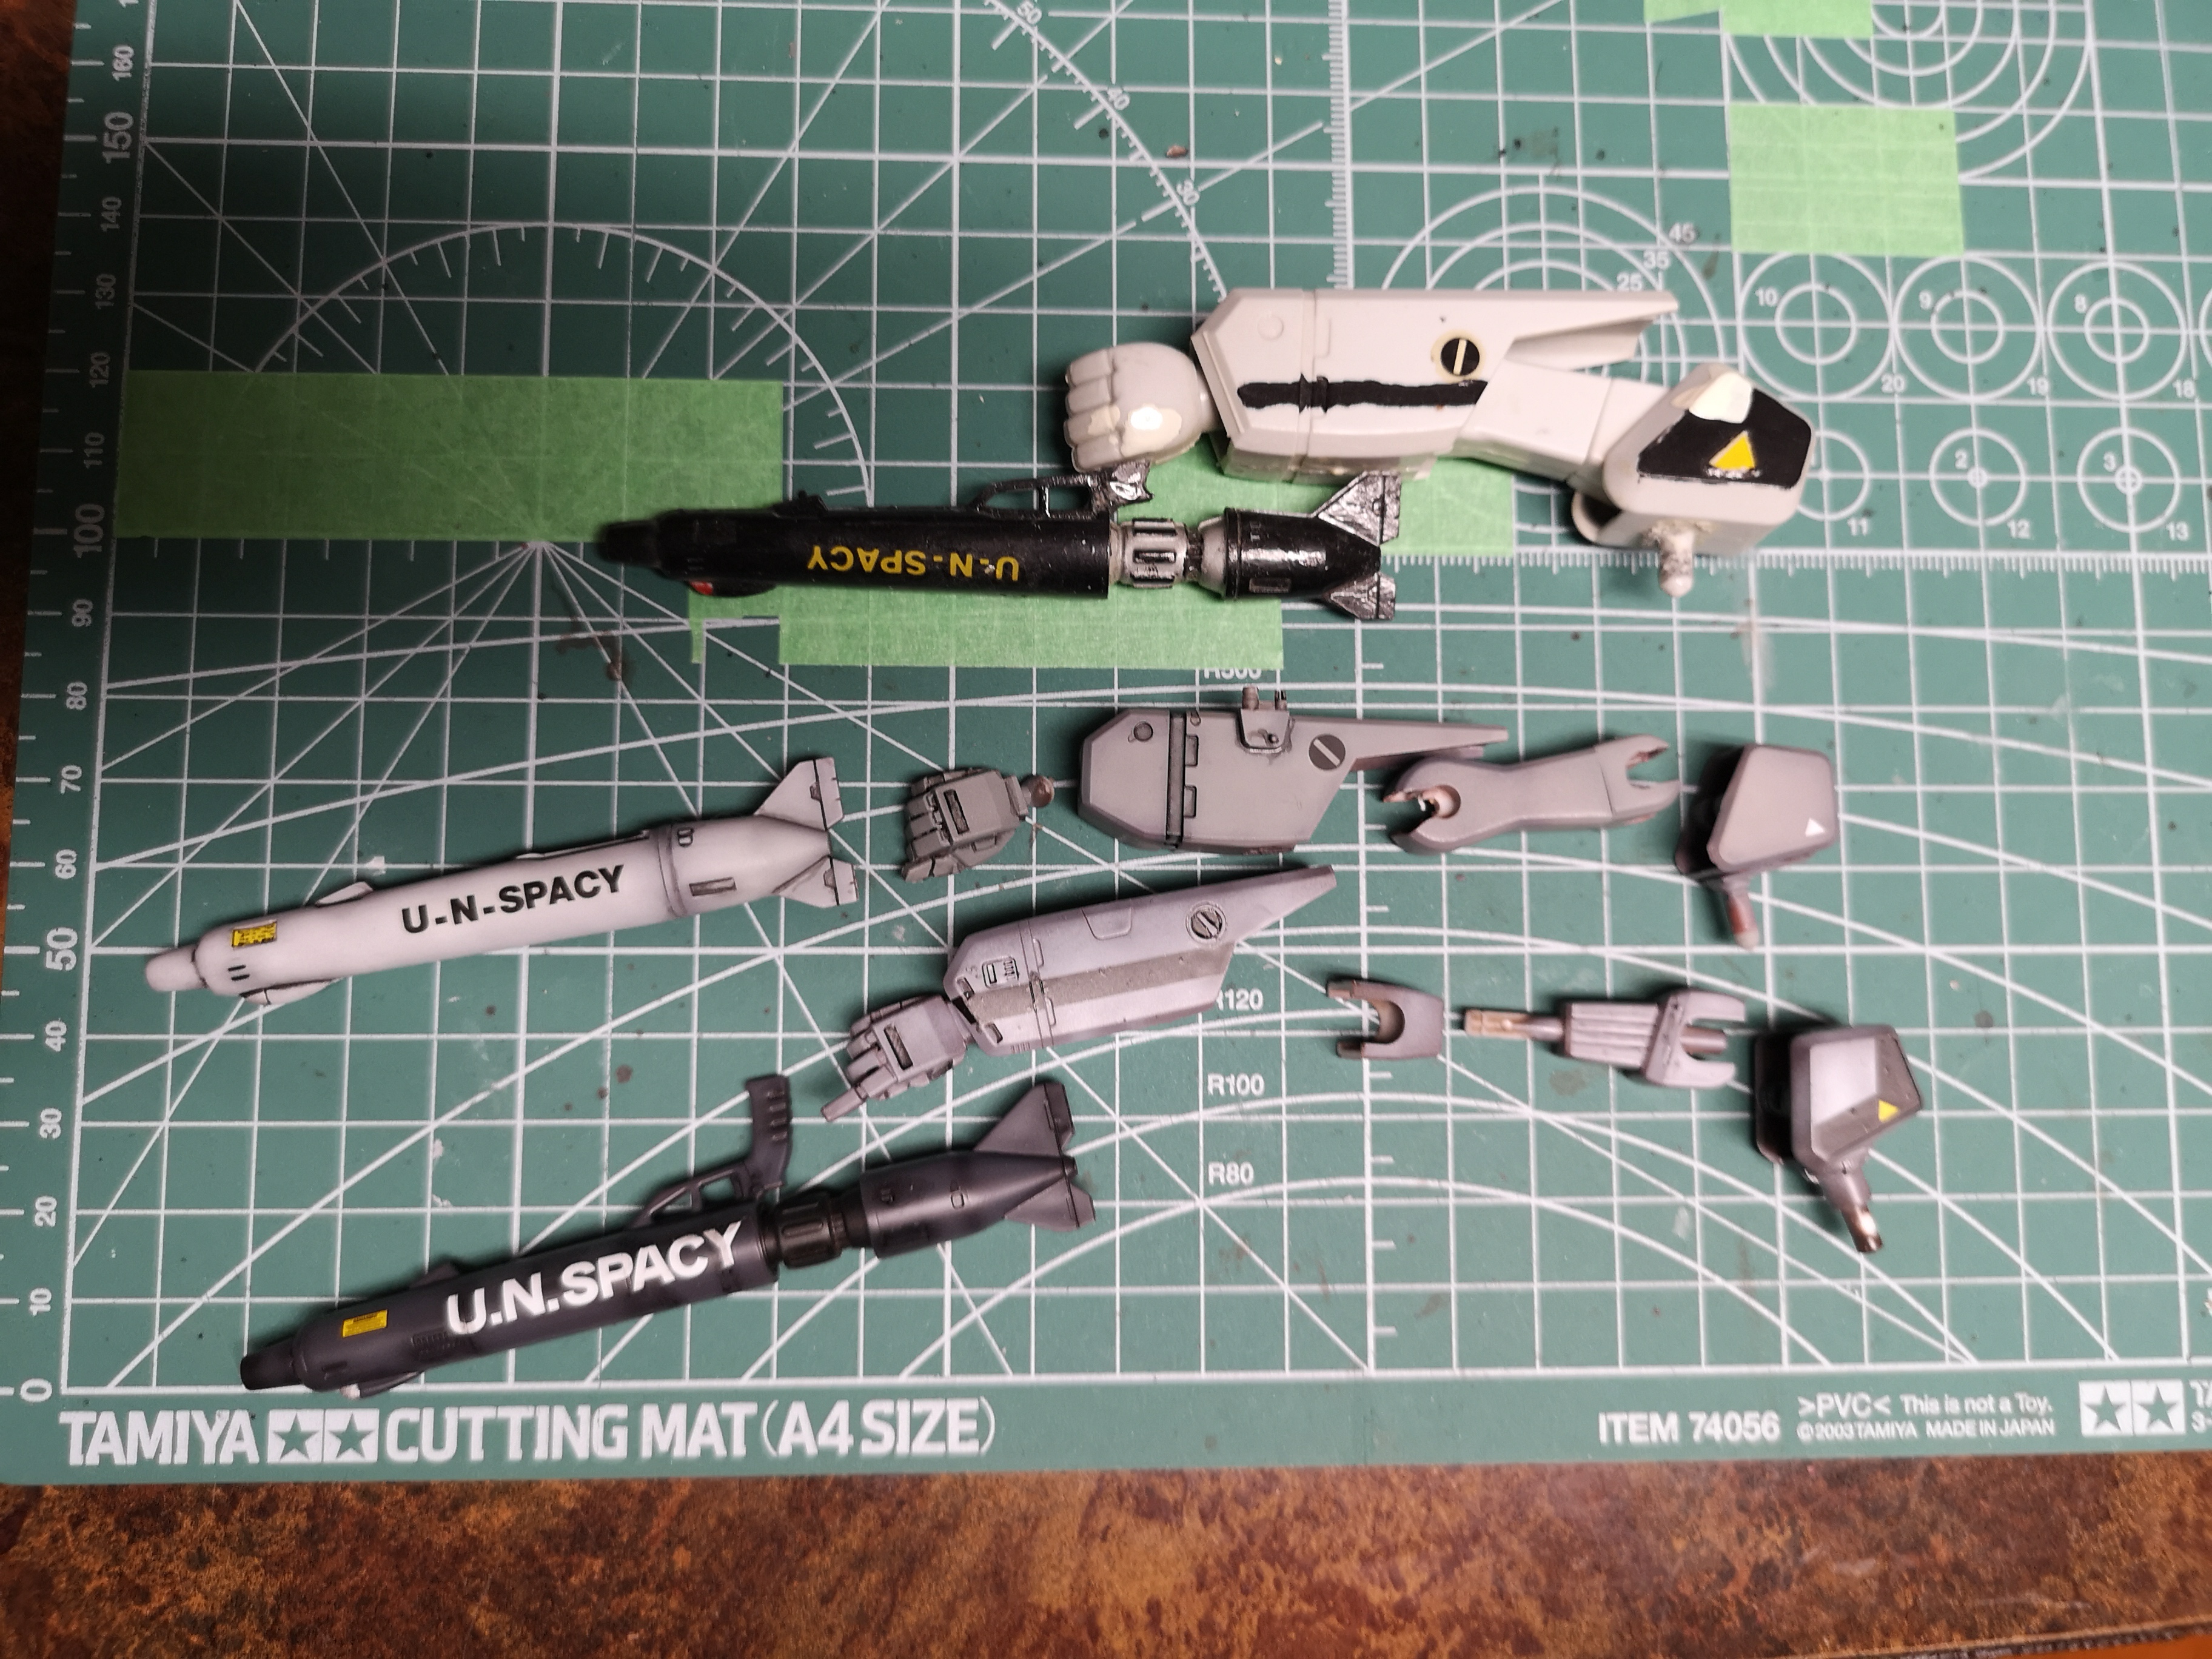
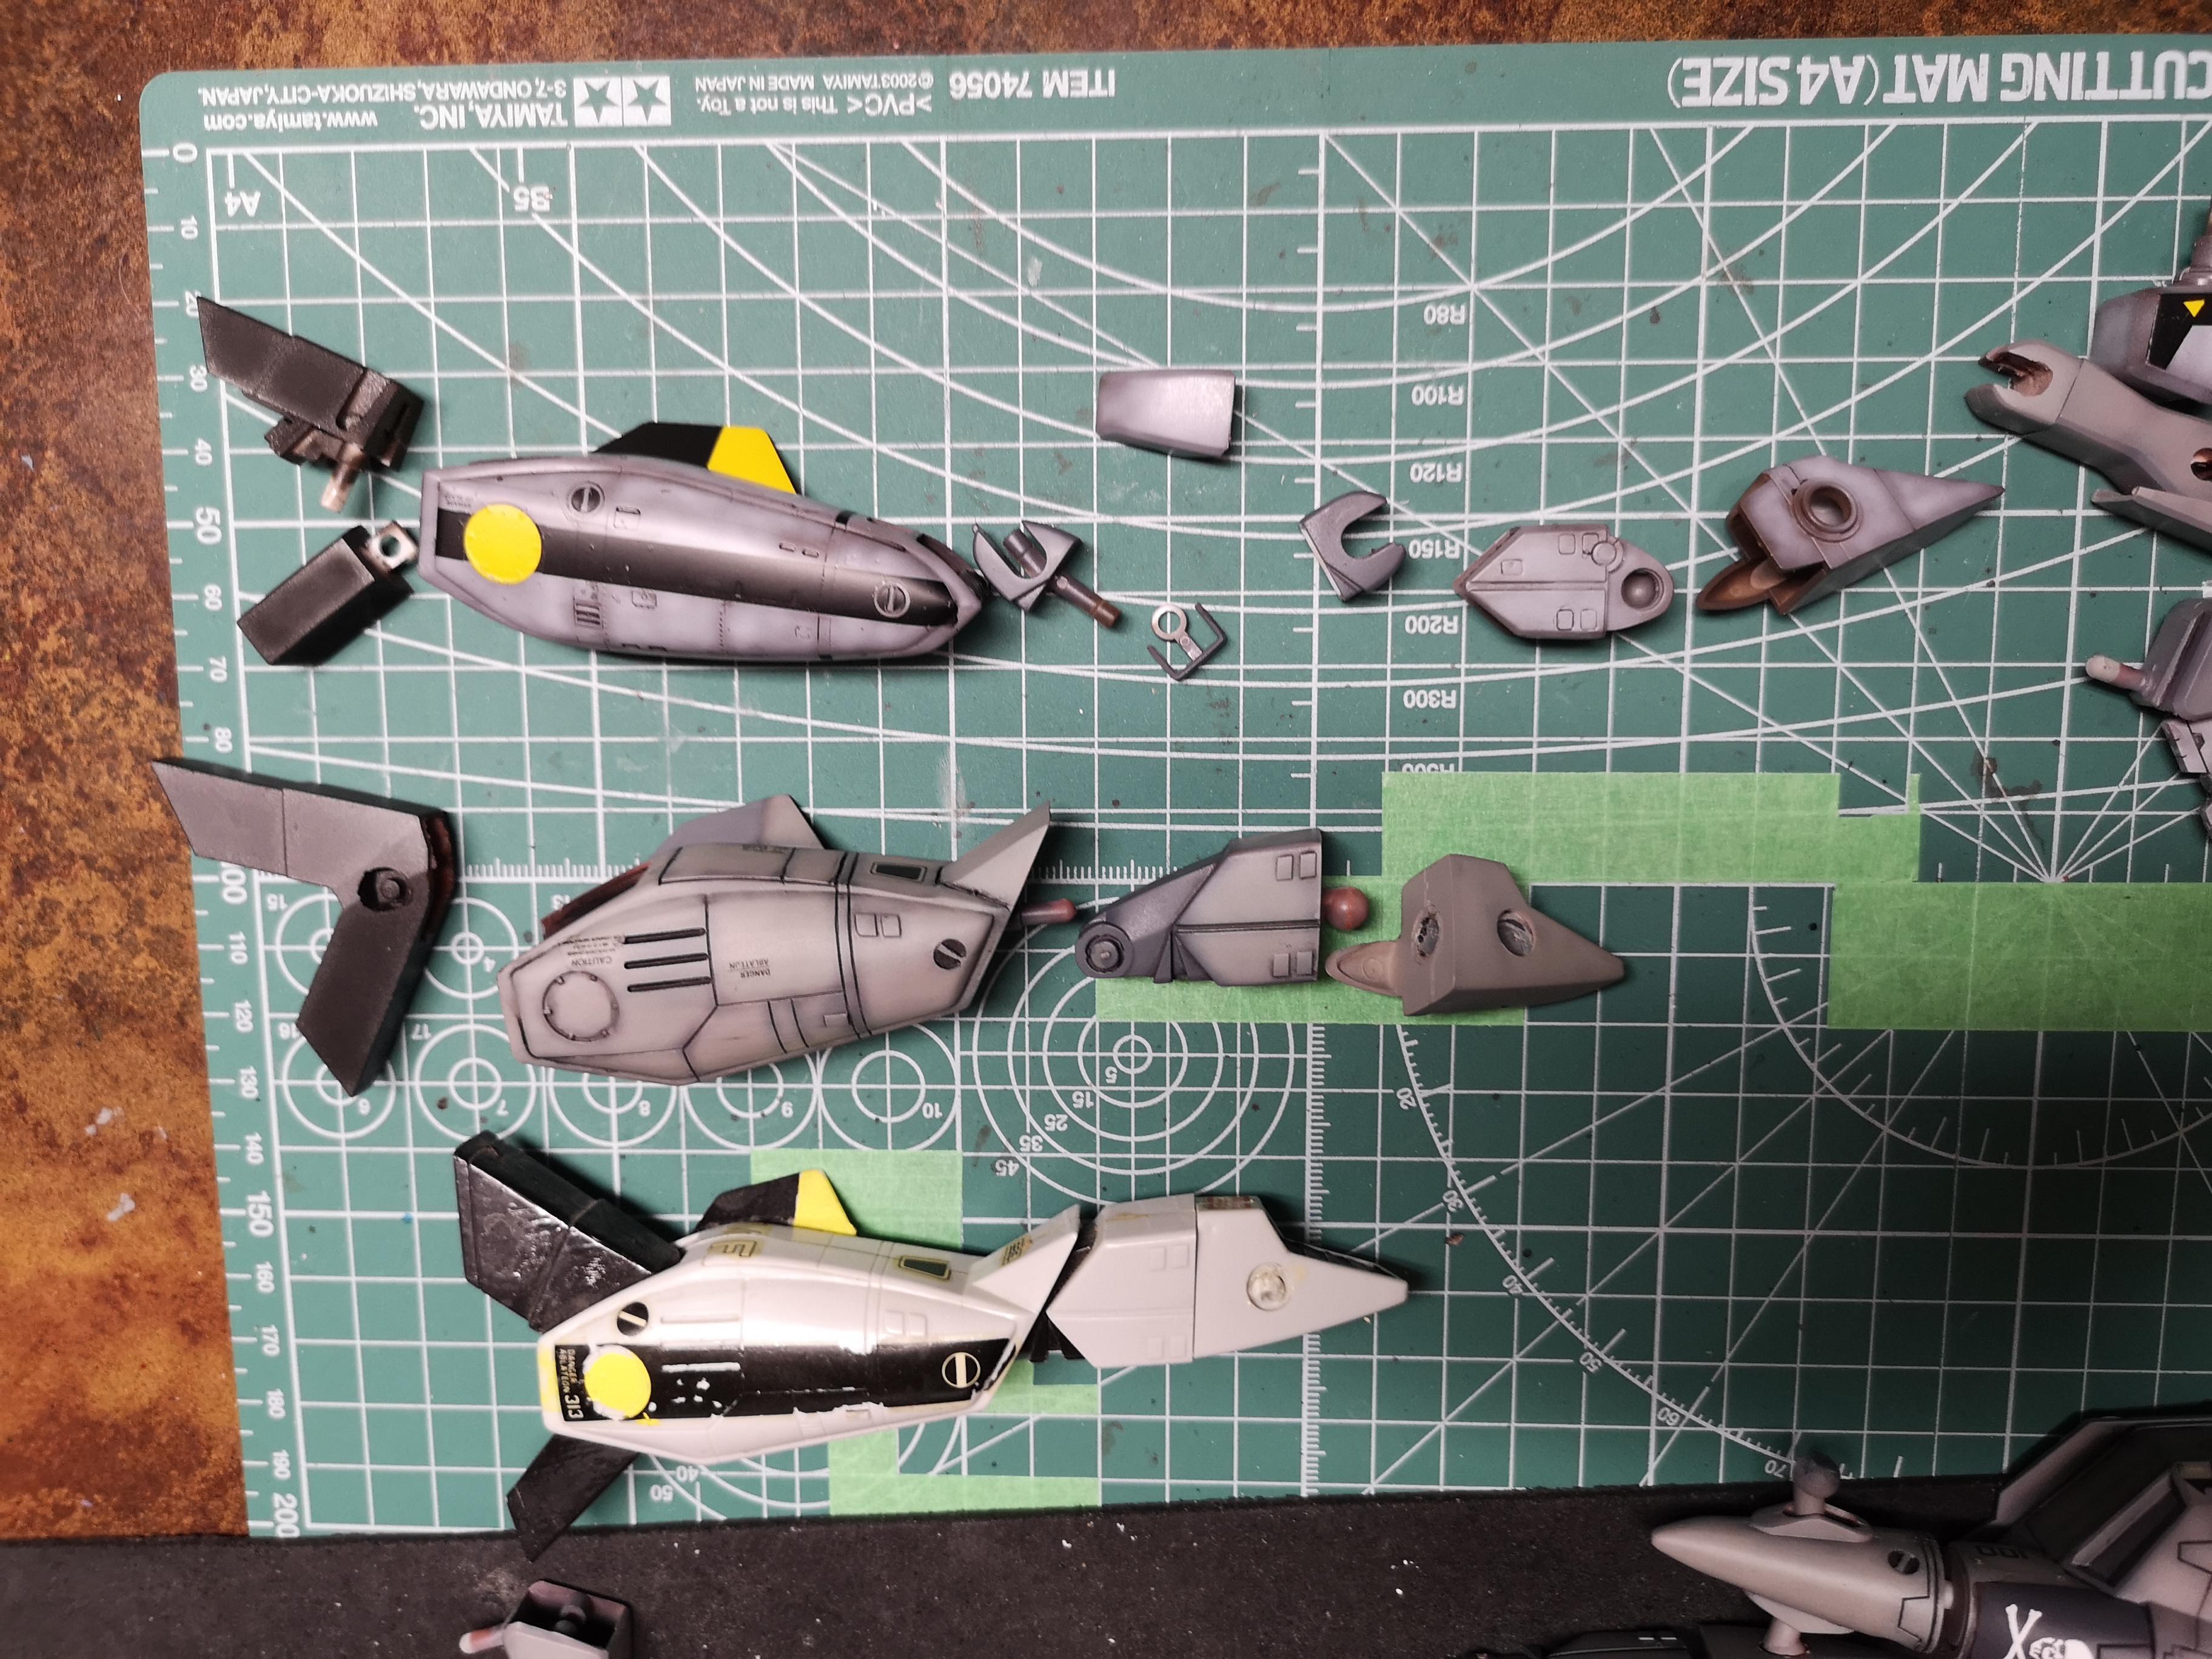
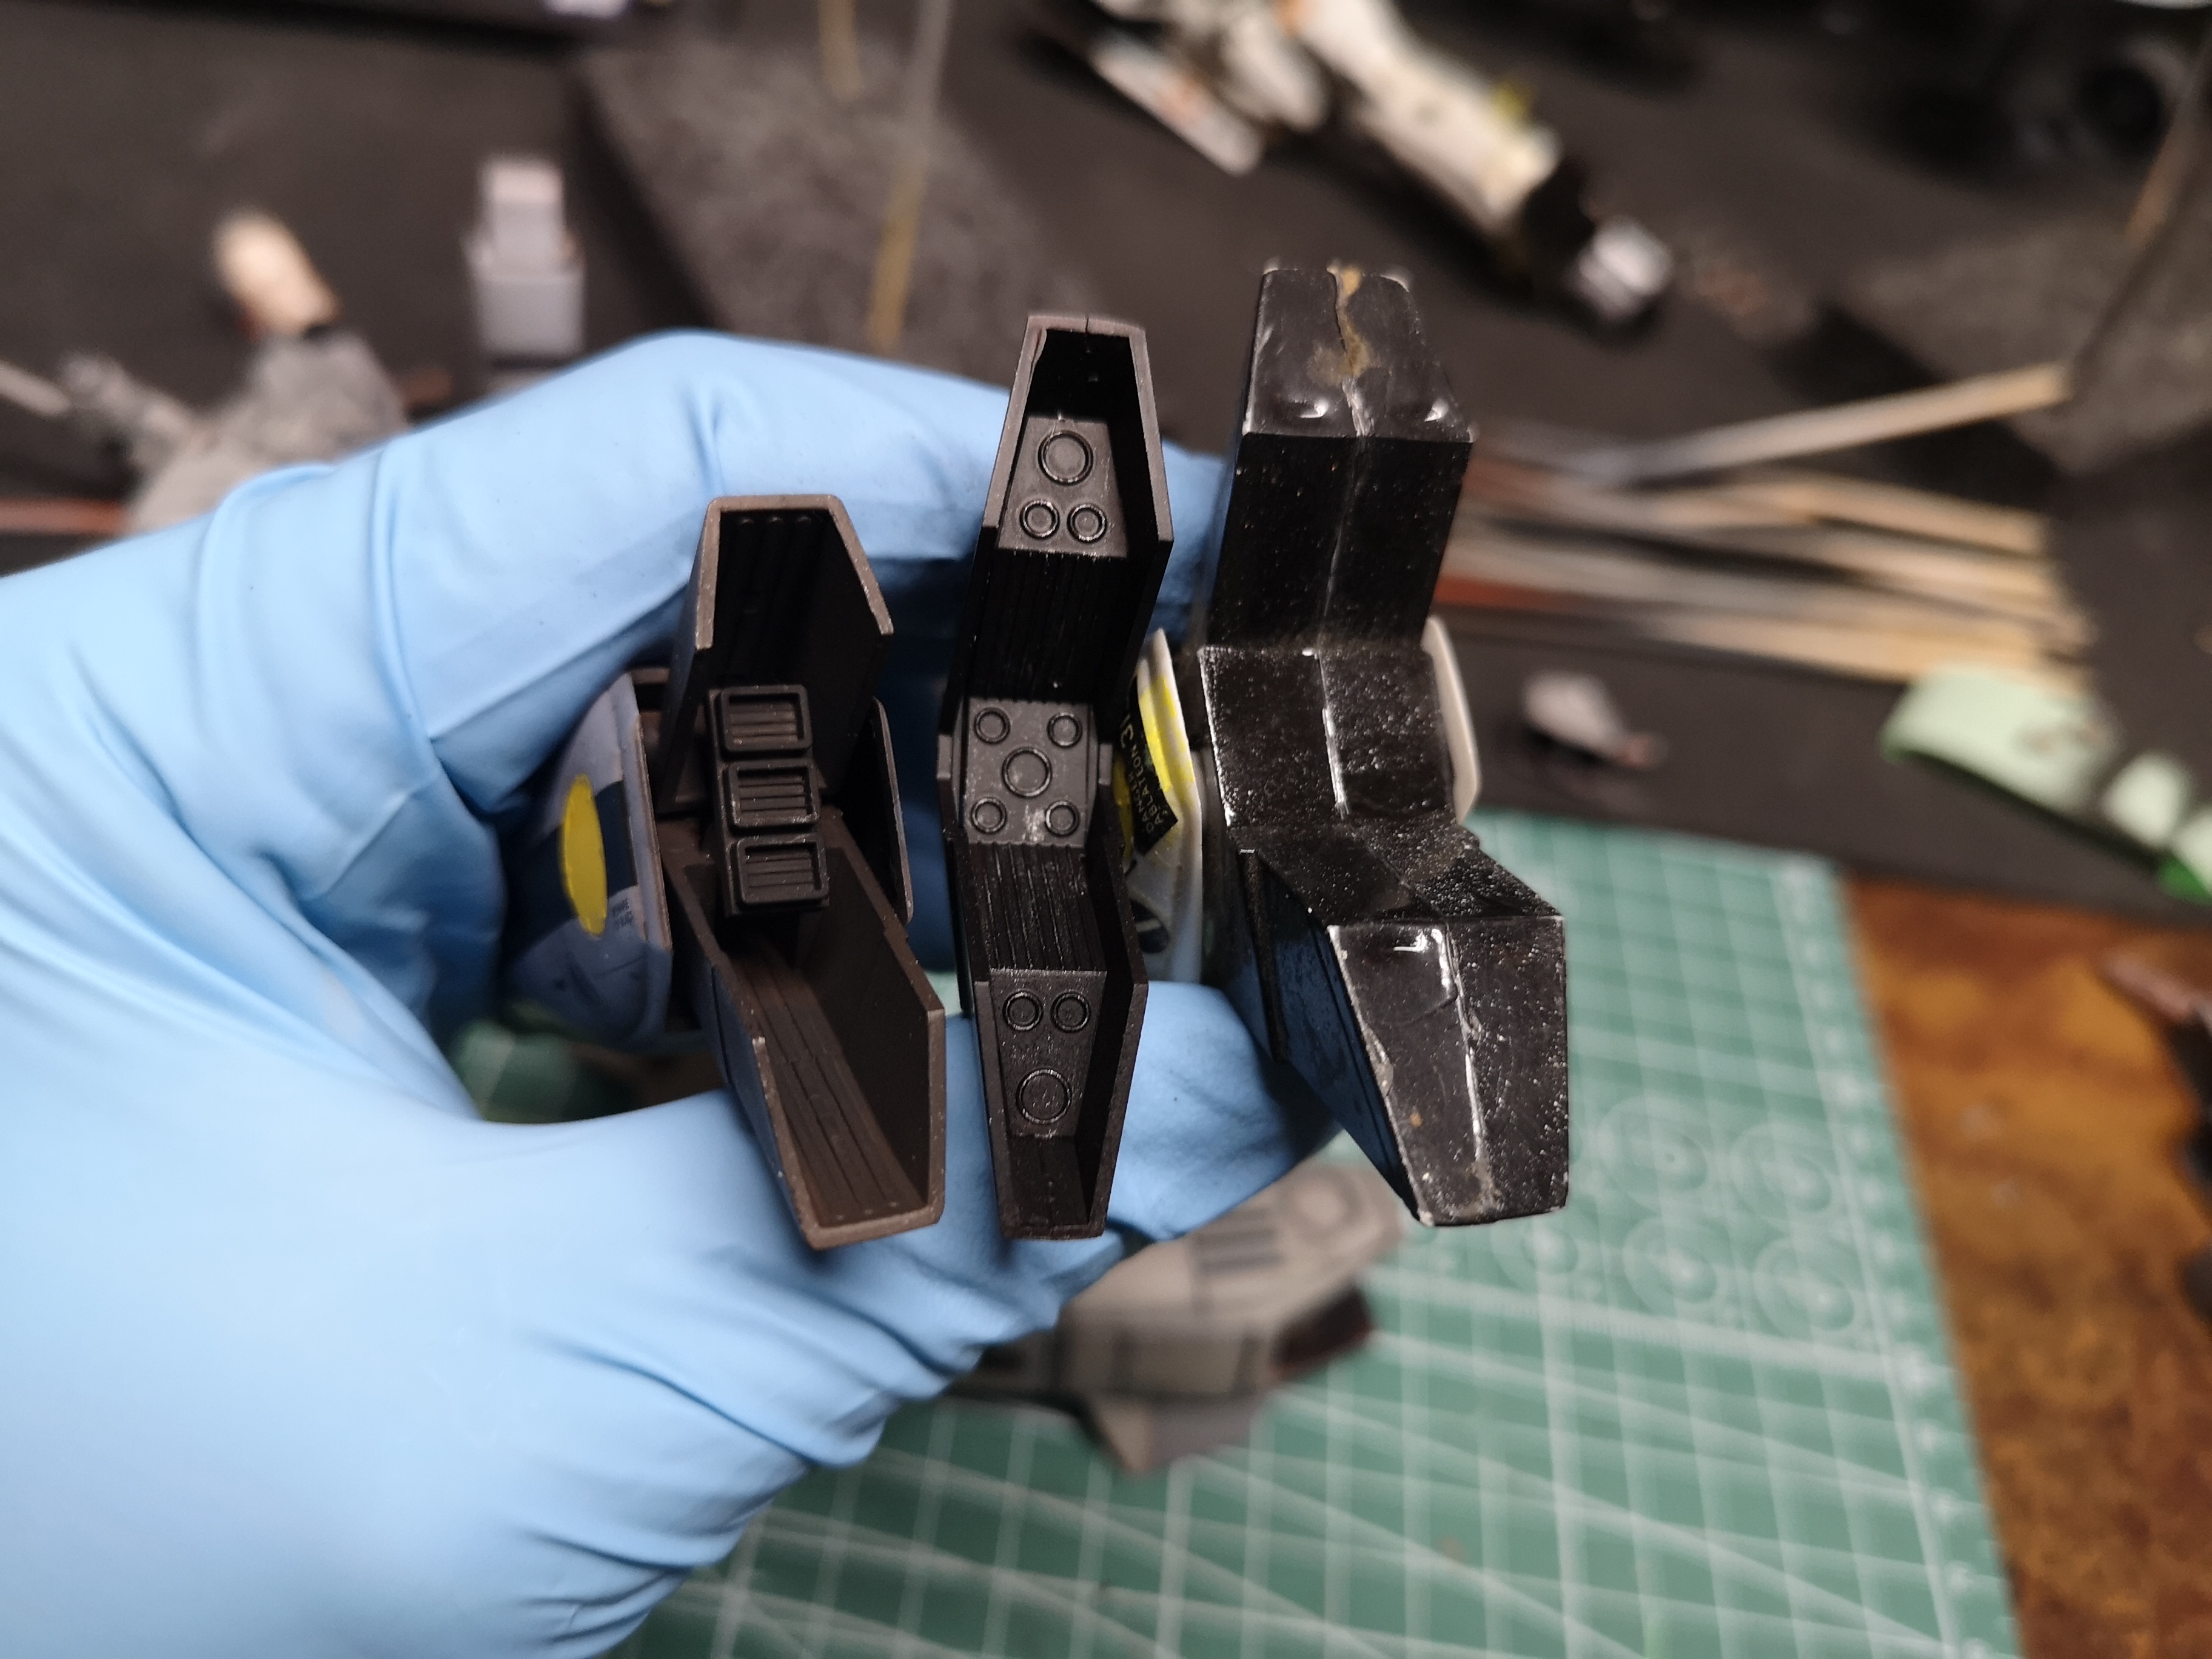
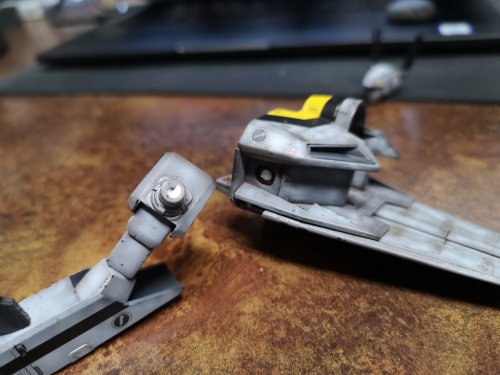
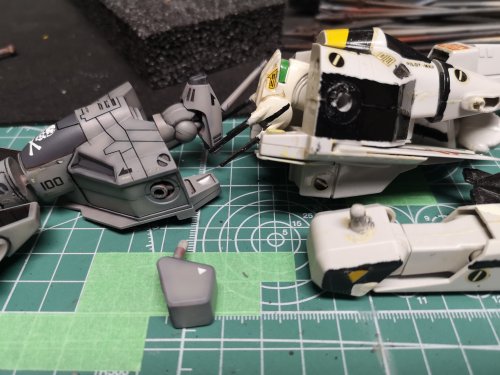
Ok, some parts comparisons My old Bandai on the left.... Yeeesh... Can't believe I'm showing people this. The only reason the head was painted at all was because I botched the lasers and had to "touch up" some spots.... The rest of the Valk is mostly unpainted. Anyway, original chest detail and my Mickey Mouse attempt to add detail. Arms. Top is built out of the box with everything captured. Middle is my modded Gerwalk arms and the bottom is Hasegawa out of the box. The original Battroid arms look like it ate one too many Pineapple salads. Shoulder joints.... My cannibalized Gundam shoulder socket on the left and the original Bandai on the right, plastic peg into plastic socket..... Recipe to loose joints. My messy ball joint hips compared to the broken plastic on plastic Bandai hip assembly. Hasegawa leg assembly on top, my custom attempt in the middle and the craptacular vintage Bandai leg assembly, all capture red, on the bottom. Hasegawa foot on the left, Bandai Gerwalk foot in the middle and the monster Bandai Battroid foot on the right. All three Hasegawa heads... I didn't even bother with the Bandai heads. My attempt to use Hasegawa hands in Bandai arms..... A bit floppy because I didn't have any proper ball joints so I used a poly cap that sort of fit.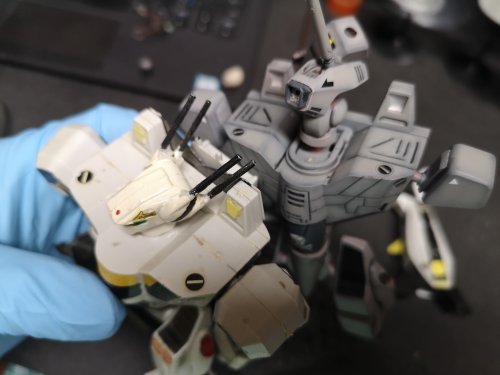


-
Bandai 1/72 Battroid Valkyrie VF-1A Low Vis and Hasegawa 1/72 VF-1S Battroid
peter replied to peter's topic in Model kits
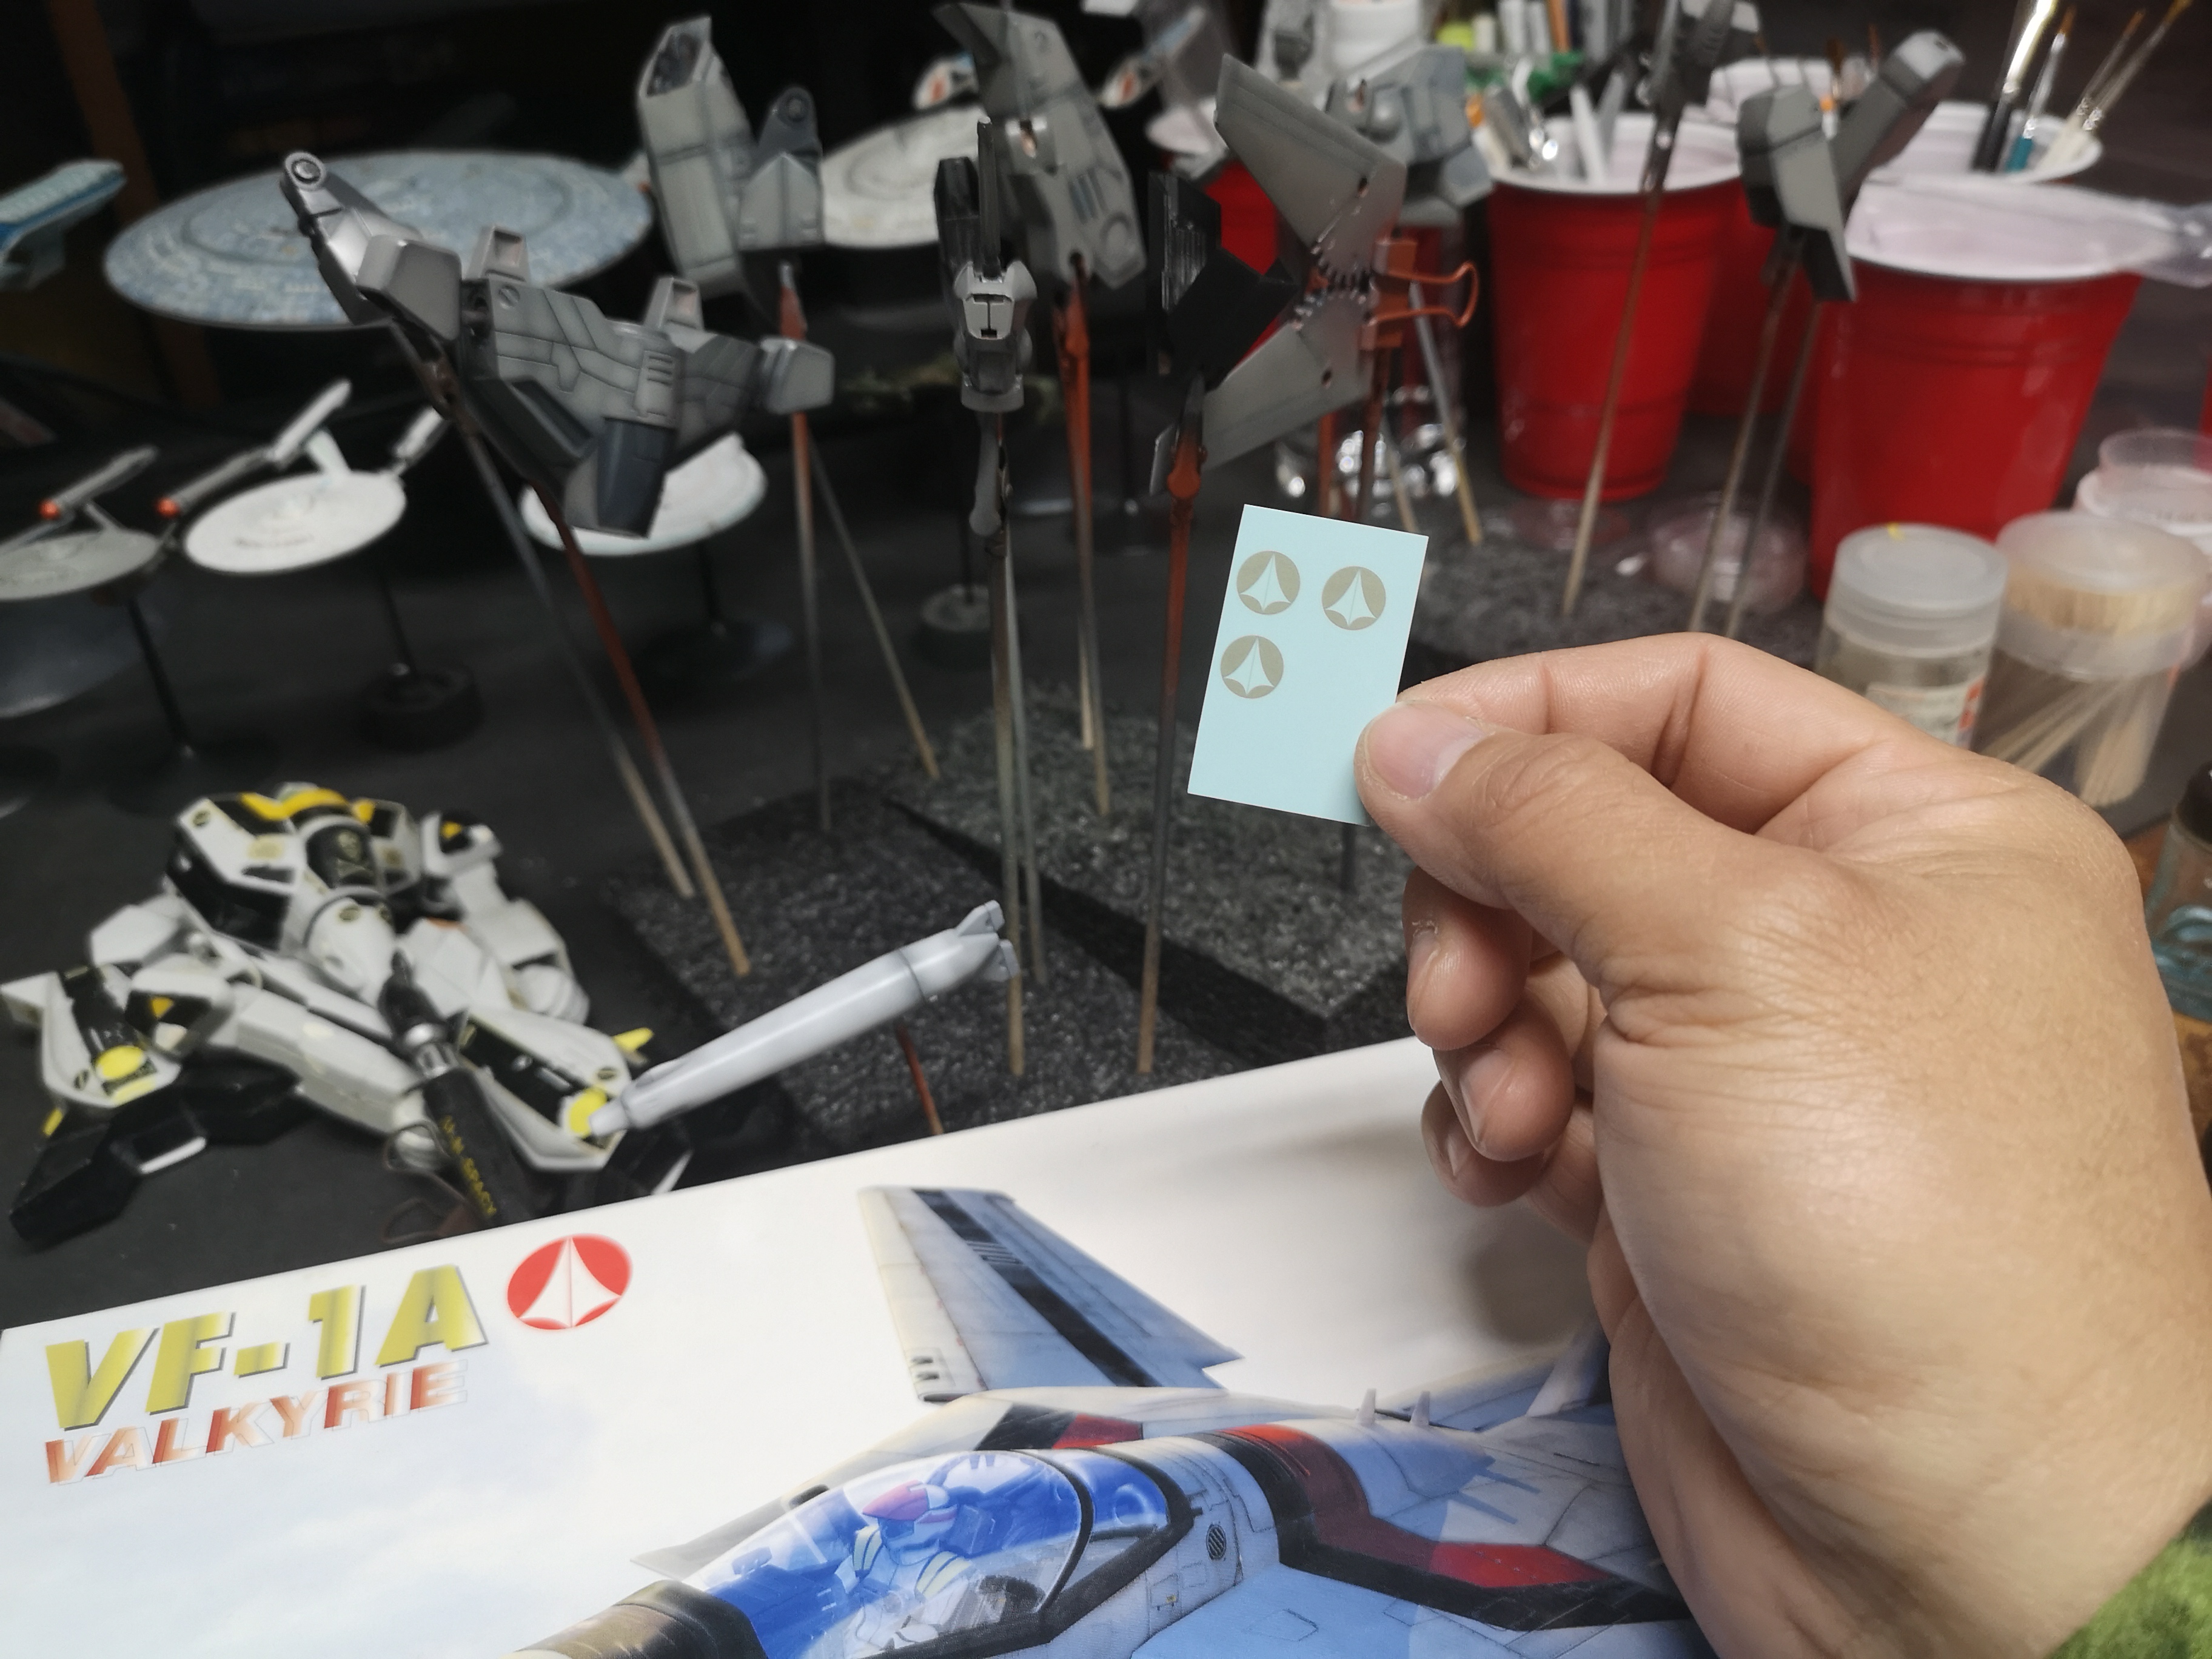
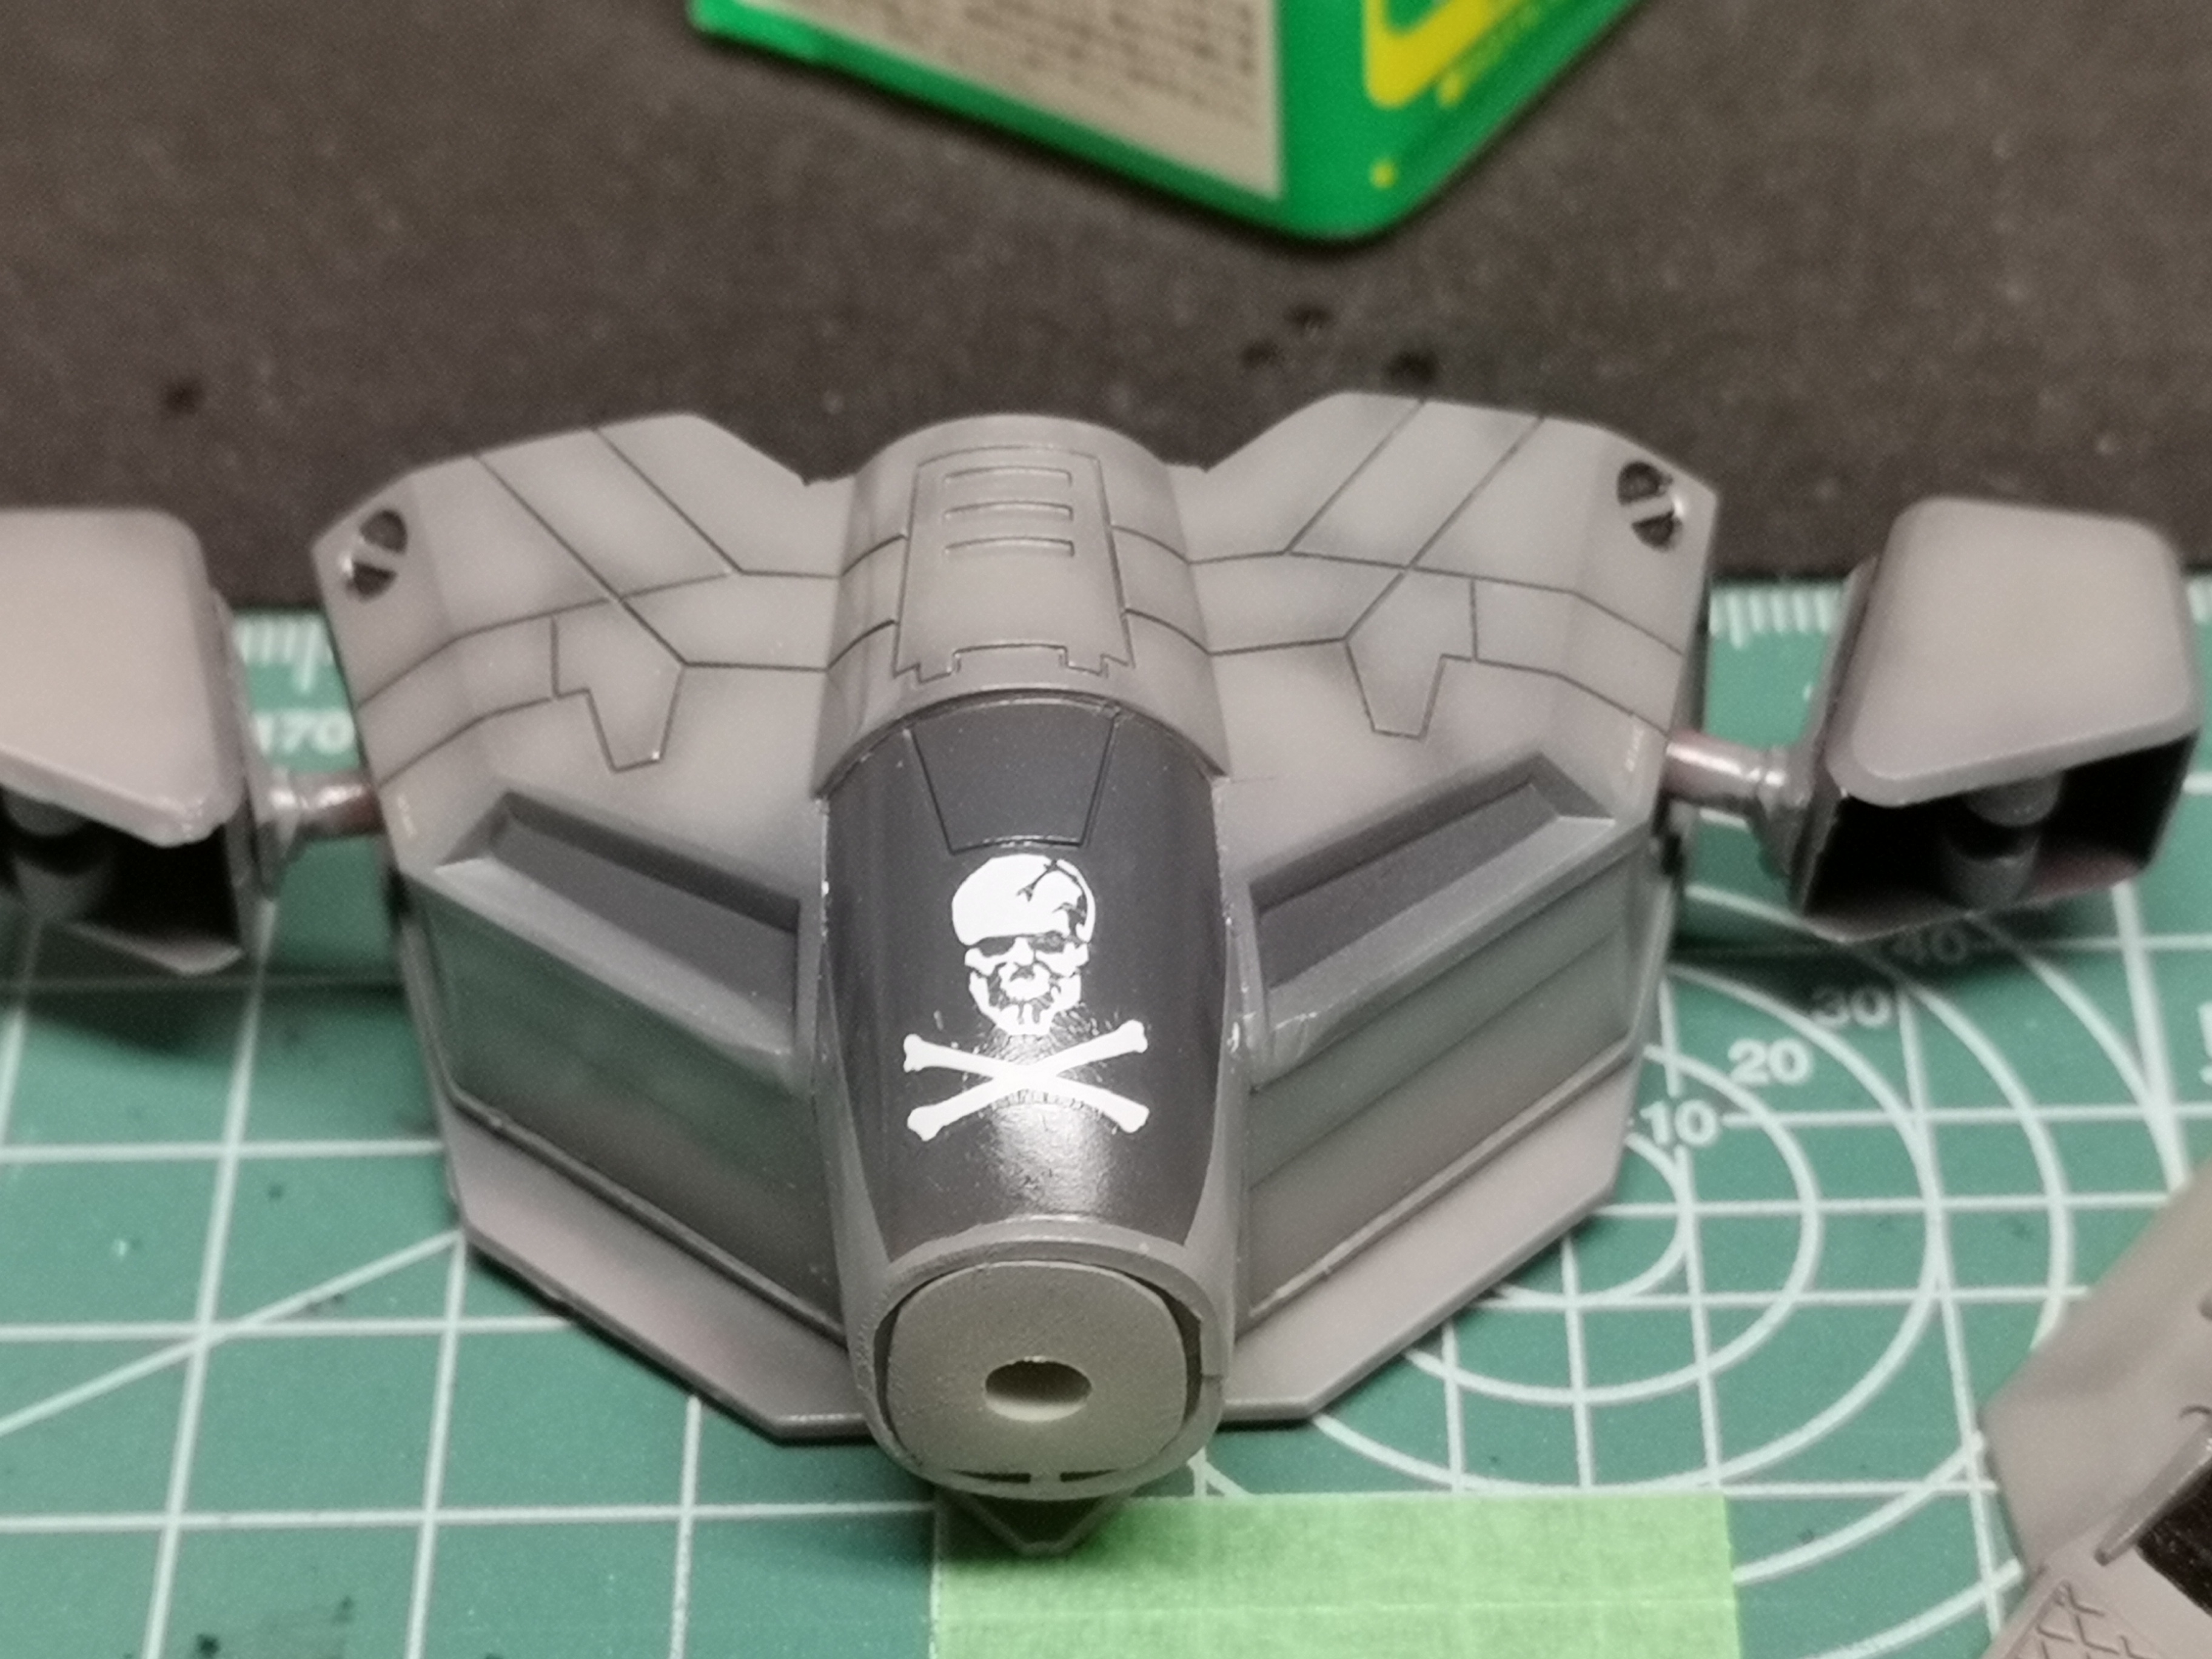
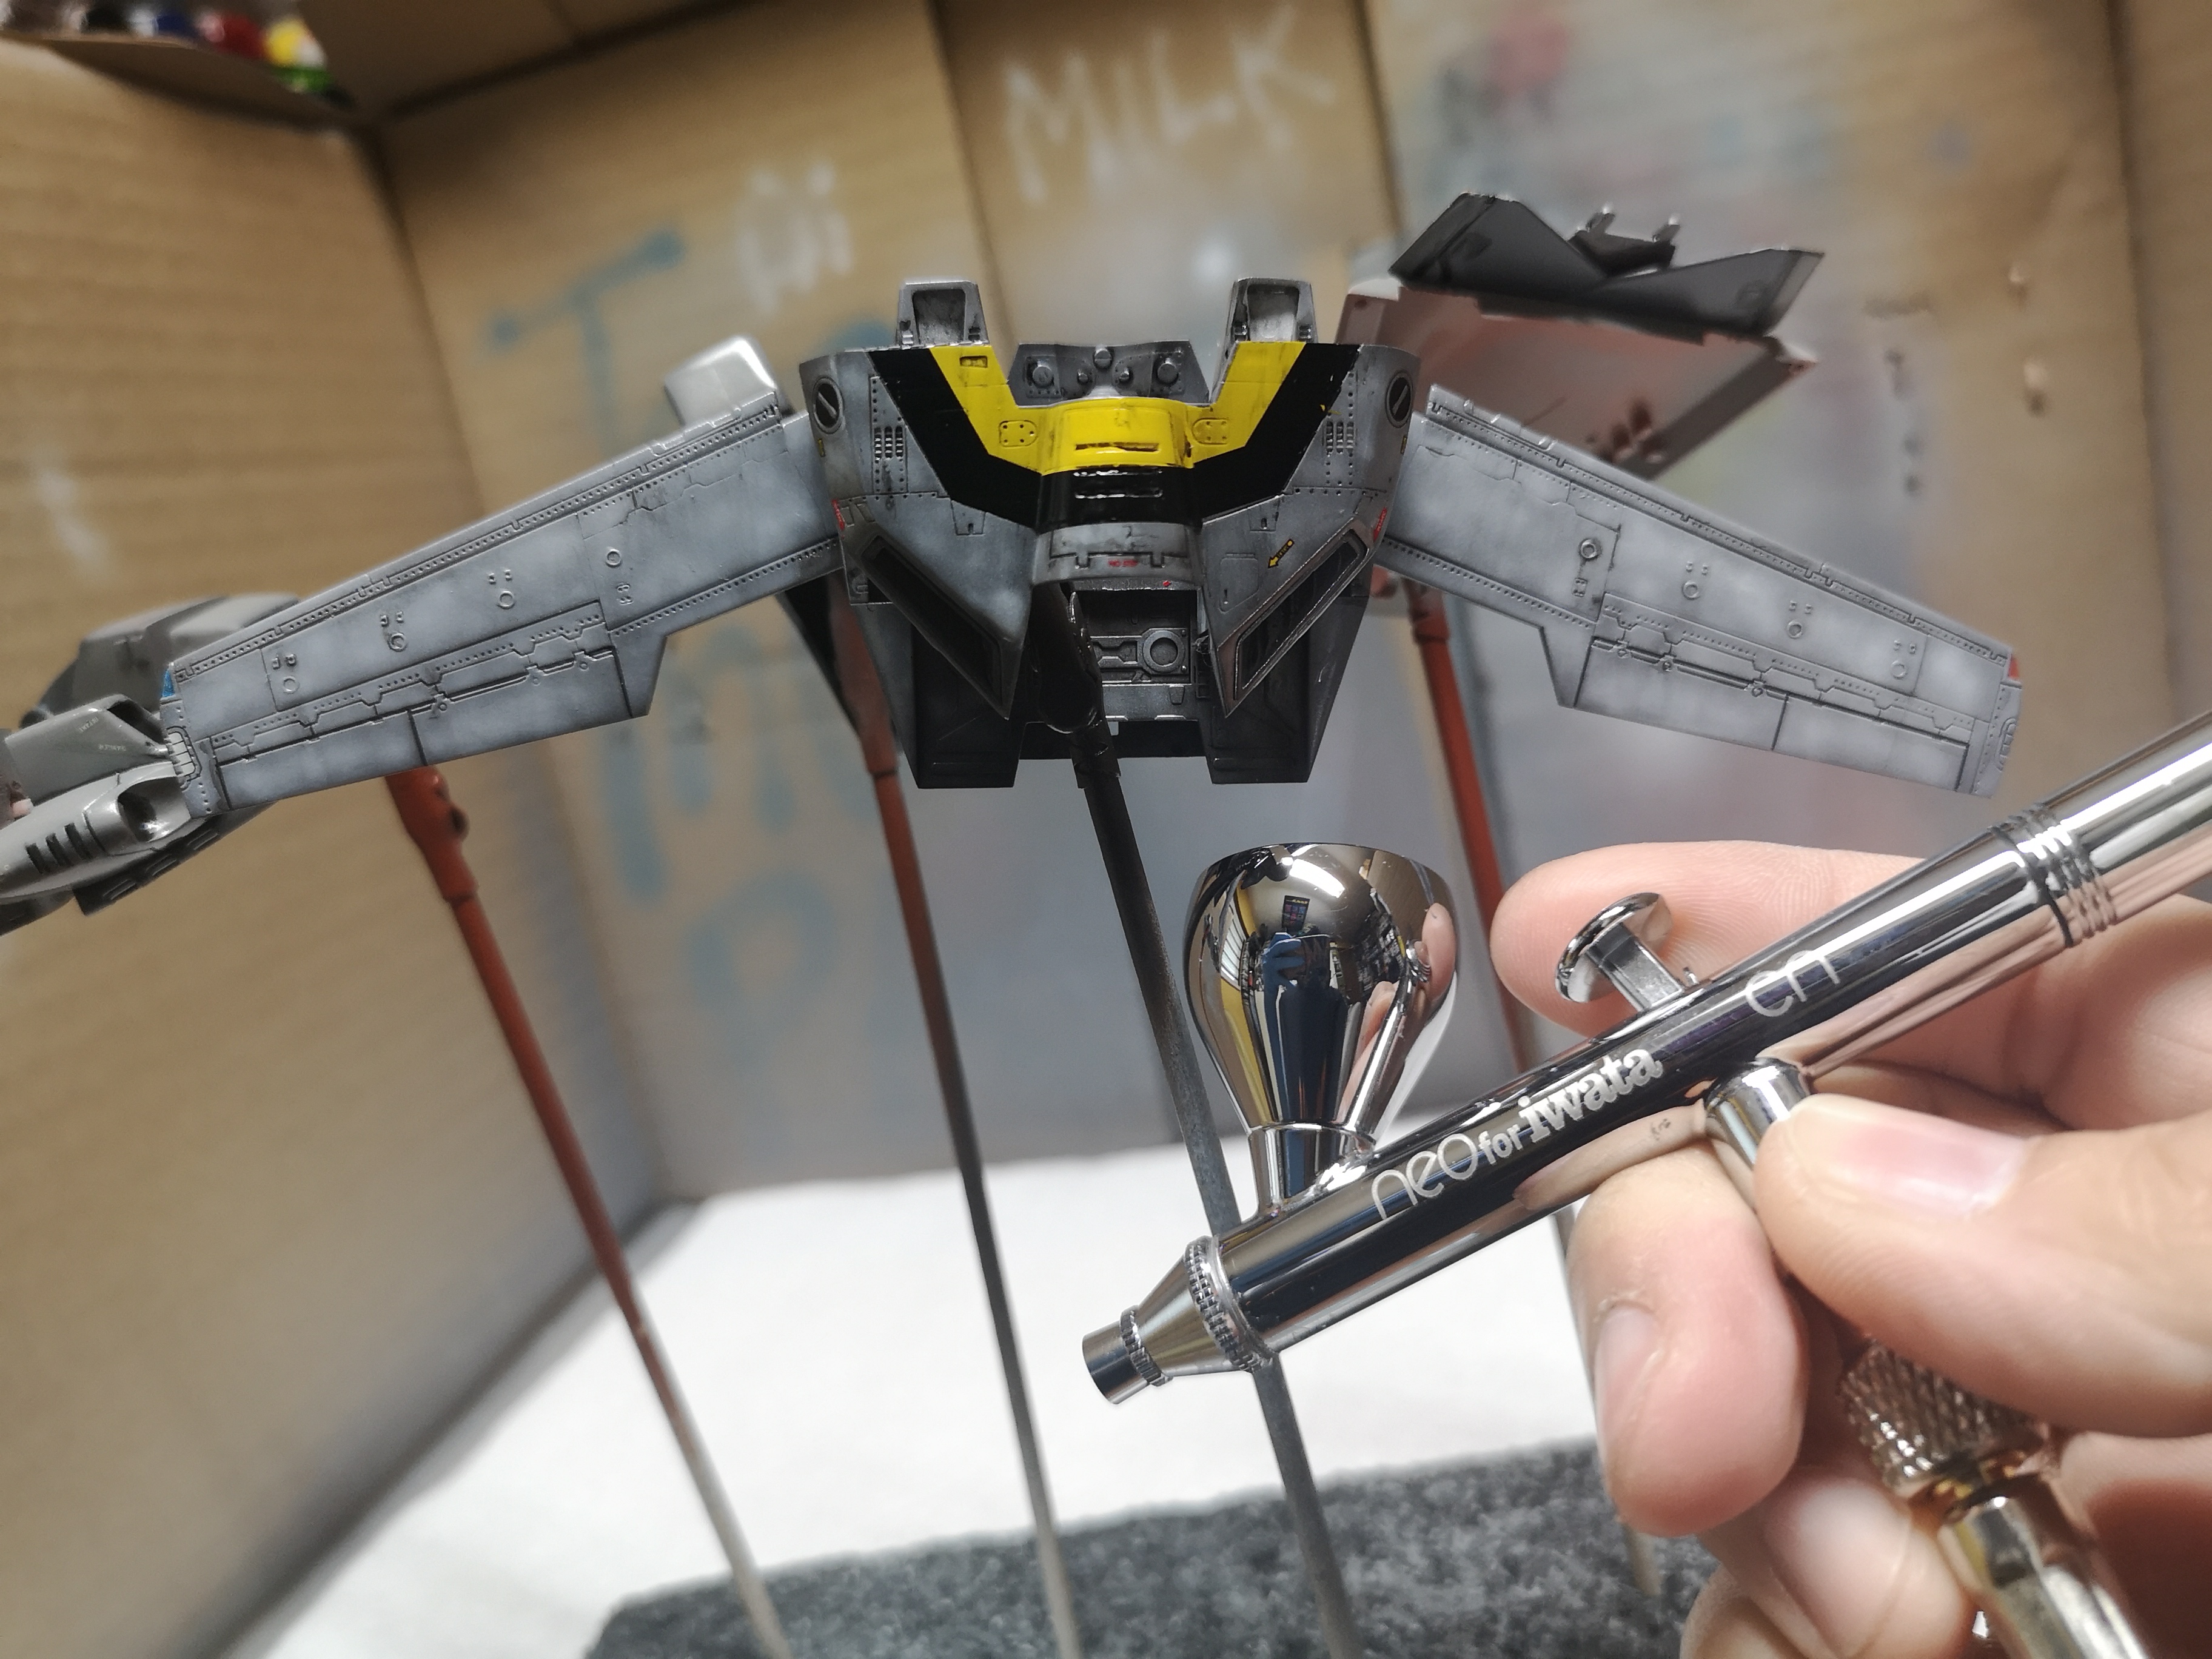
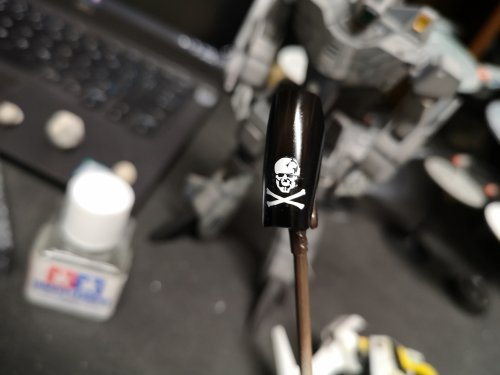
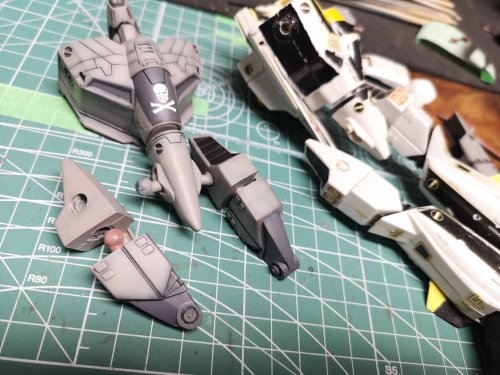
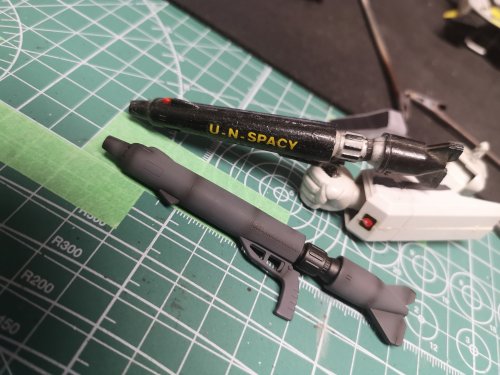
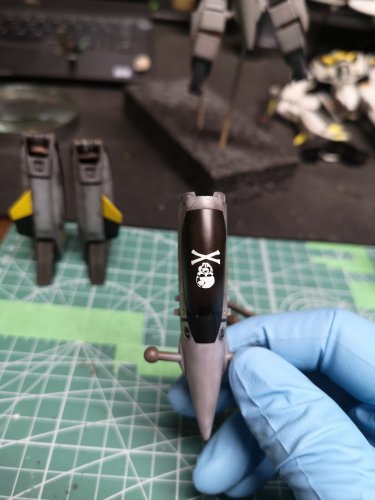
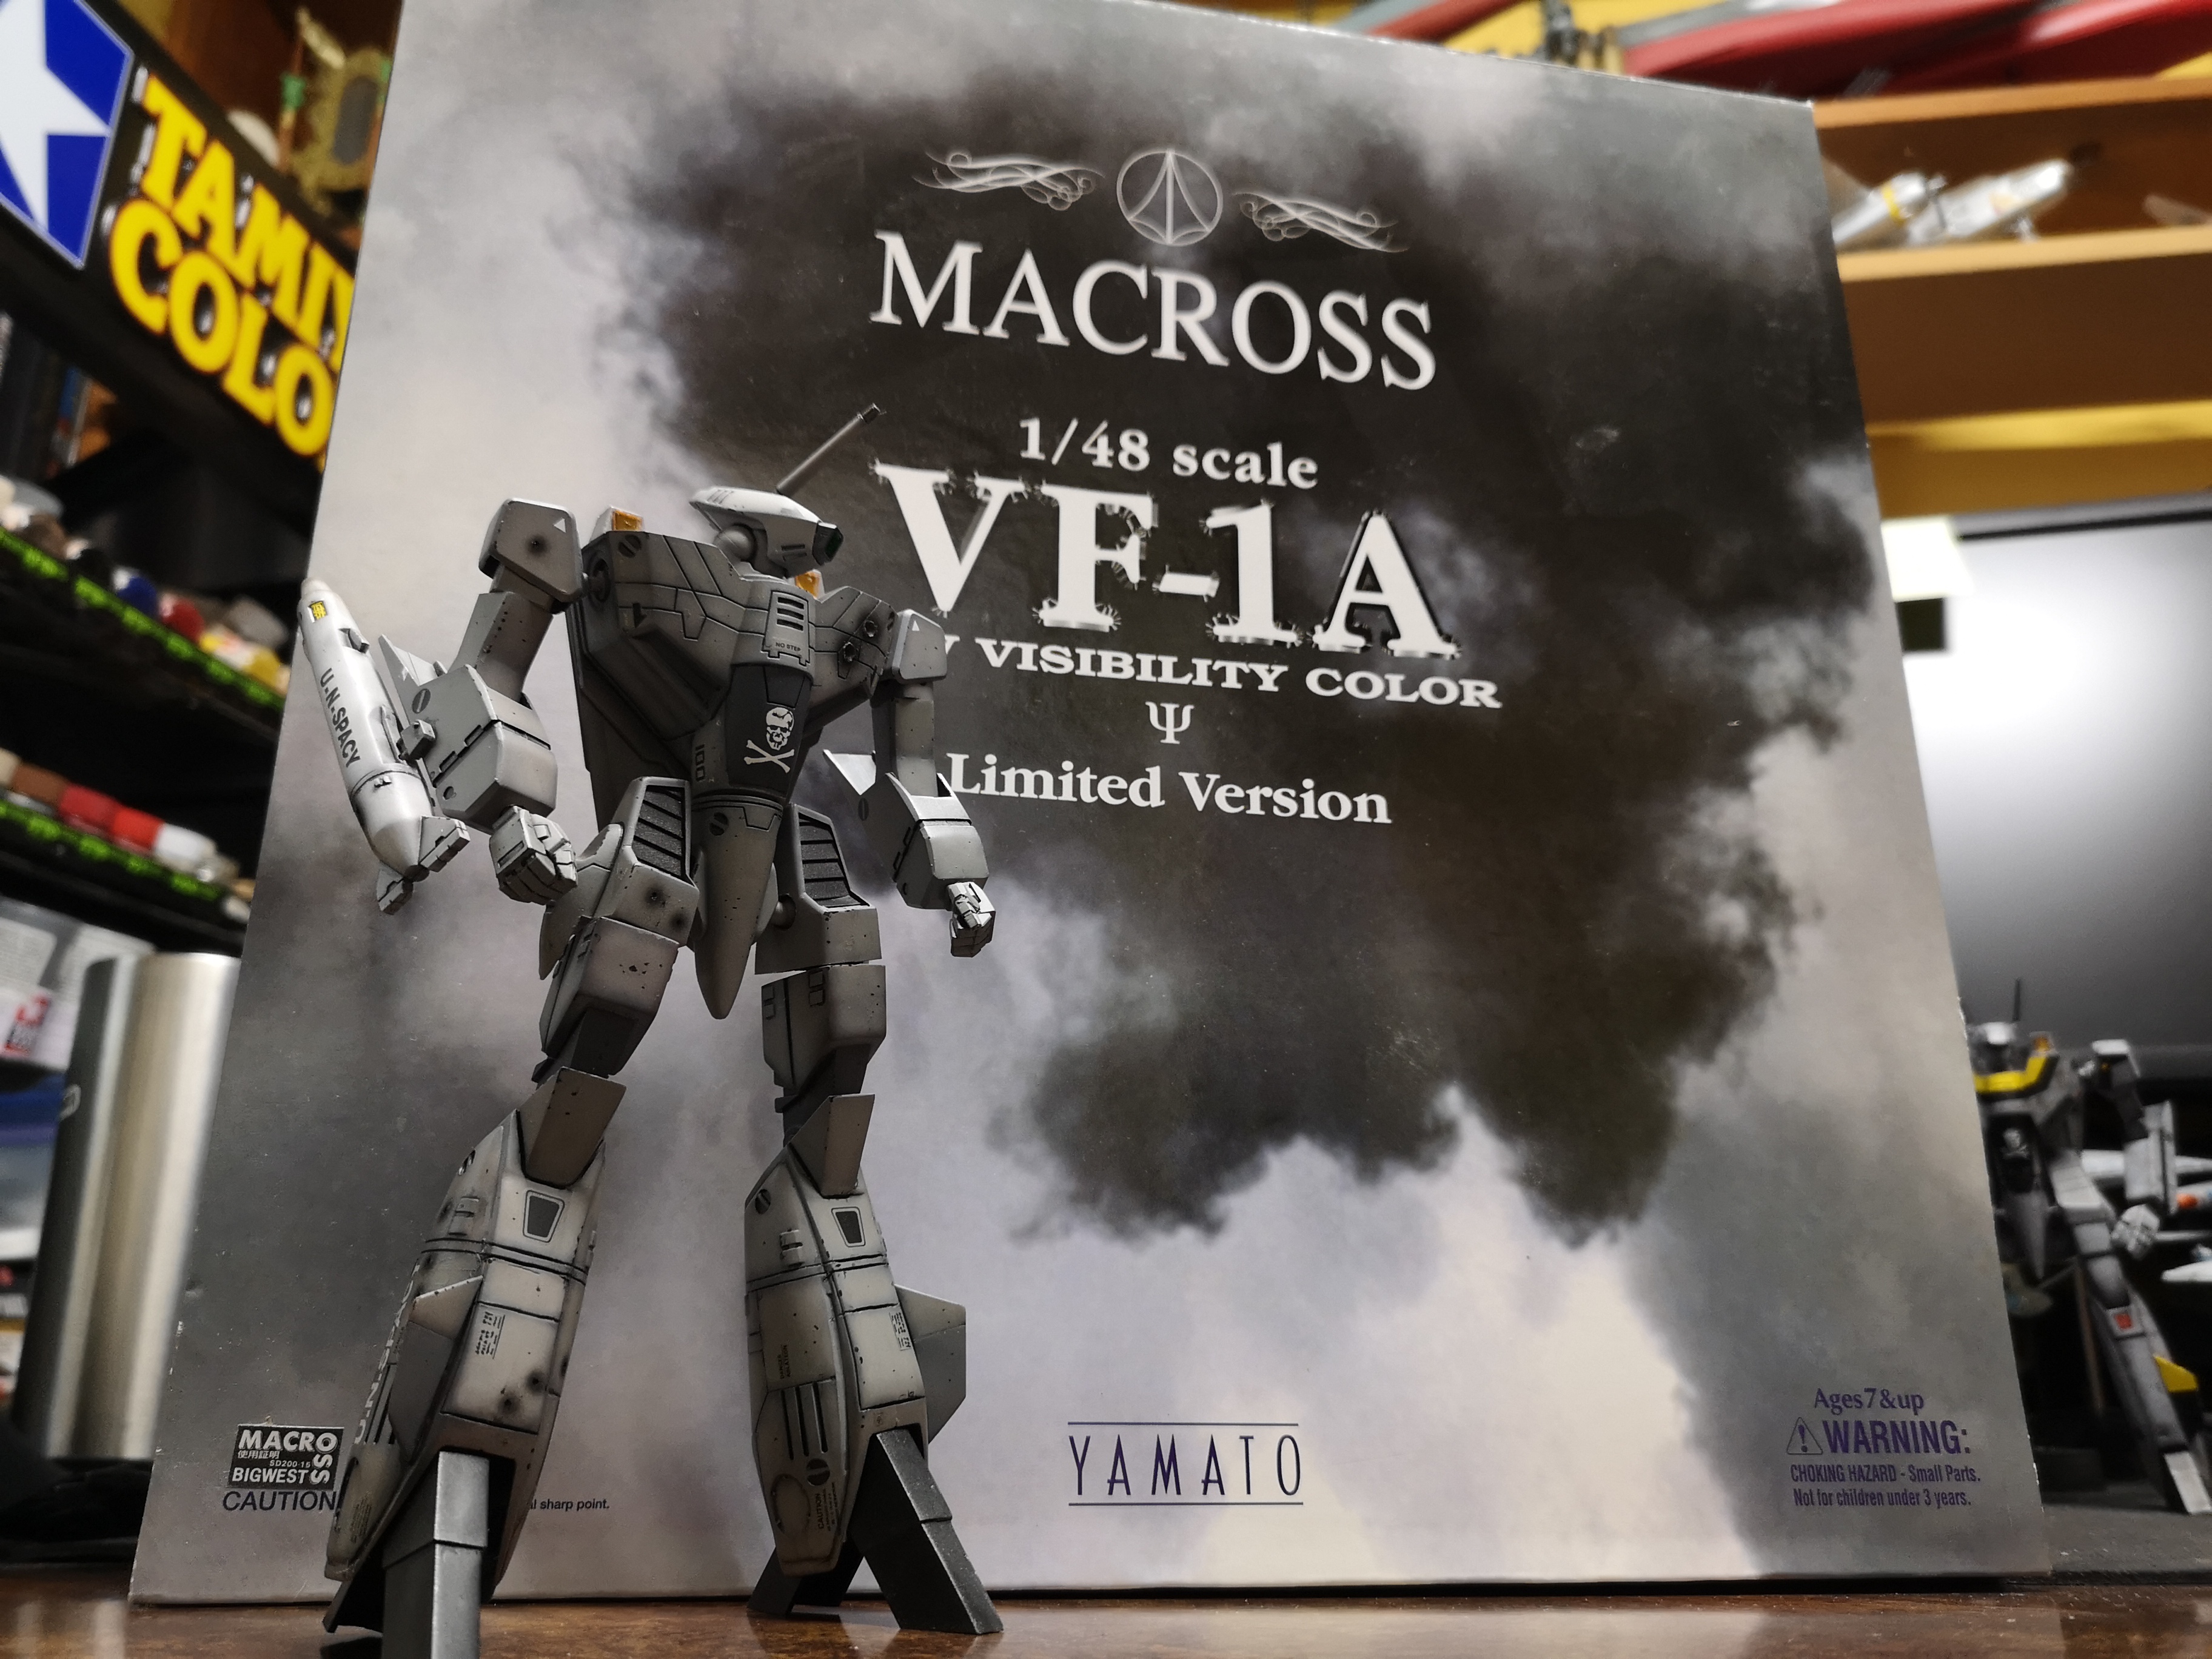
Not a whole lot to discuss about the finishing process that people don't know already. After the main color and detail colors, gloss clear (I used Pledge), decals, wash/panel lines, clean, gloss clear, then flat clear. I found some Low Vis Macross kites that came with the 1A, but proper Low Vis decals were hard to scrounge for. I Iiked the brownish, but it wasn't meant to be and I'll explain later, lol! Old Bandai gun pod compared to Hasegawa's beautifully detailed version. I think I laid the skull on a bit too low.... I don't even know what I used for a reference for this decal. I may have gone a little too heavy with the Pledge..... Will have to try and remember to lay it on a bit lighter in the future because there were a lot of drips I didn't notice until after the build was done. The Low Vis nearing completion. The part count is clearly more with the Hasegawa. And this is why you don't drink and decal.


.jpg.70c89c1925d8efcff3d90c809d3d05b7.jpg)

.jpg.1629f205dd1c6d6ba6d461570b304f1a.jpg)
.jpg.839bf8523293fa22e6d0a5572c77b8f7.jpg)
.jpg.a70183873fe9d6917af8b1c5f7723da8.jpg)
.jpg.d9c0d190e2af783aa1491037697367ef.jpg)


.jpg.6acf03428532ee2b5c733c00d481673e.jpg)