peter
-
Posts
4487 -
Joined
-
Last visited
Content Type
Profiles
Forums
Events
Gallery
Everything posted by peter
-
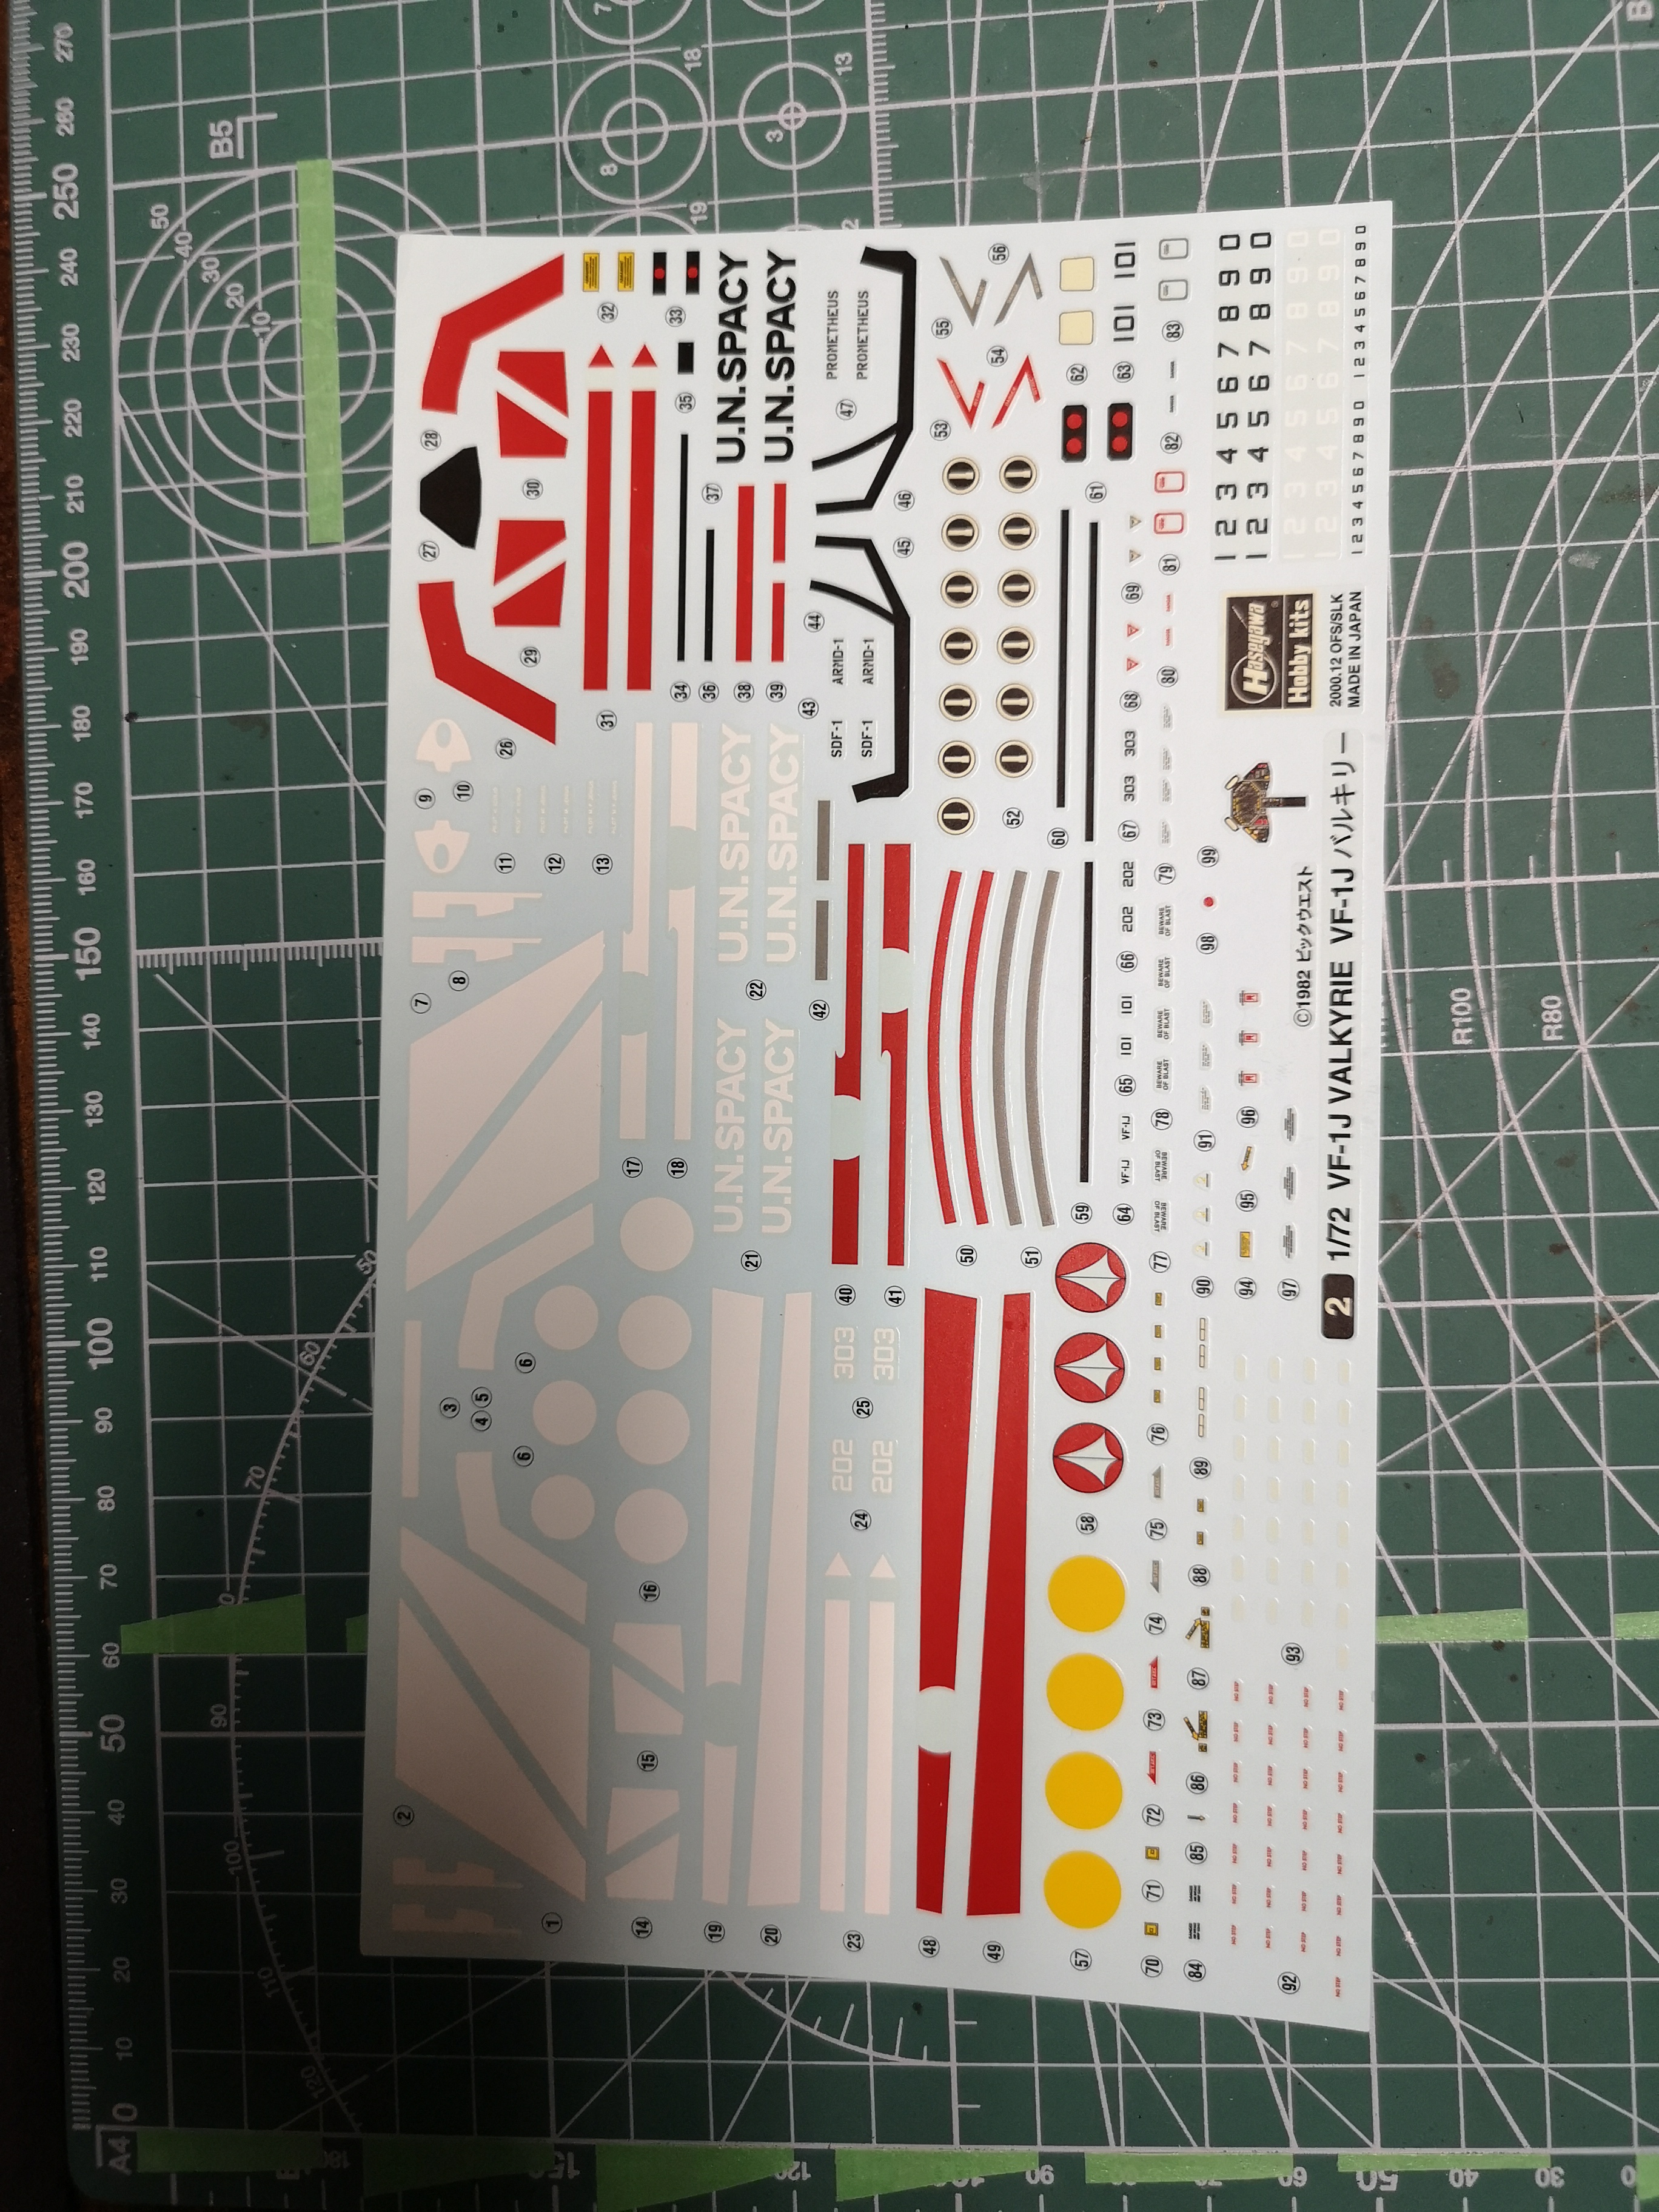
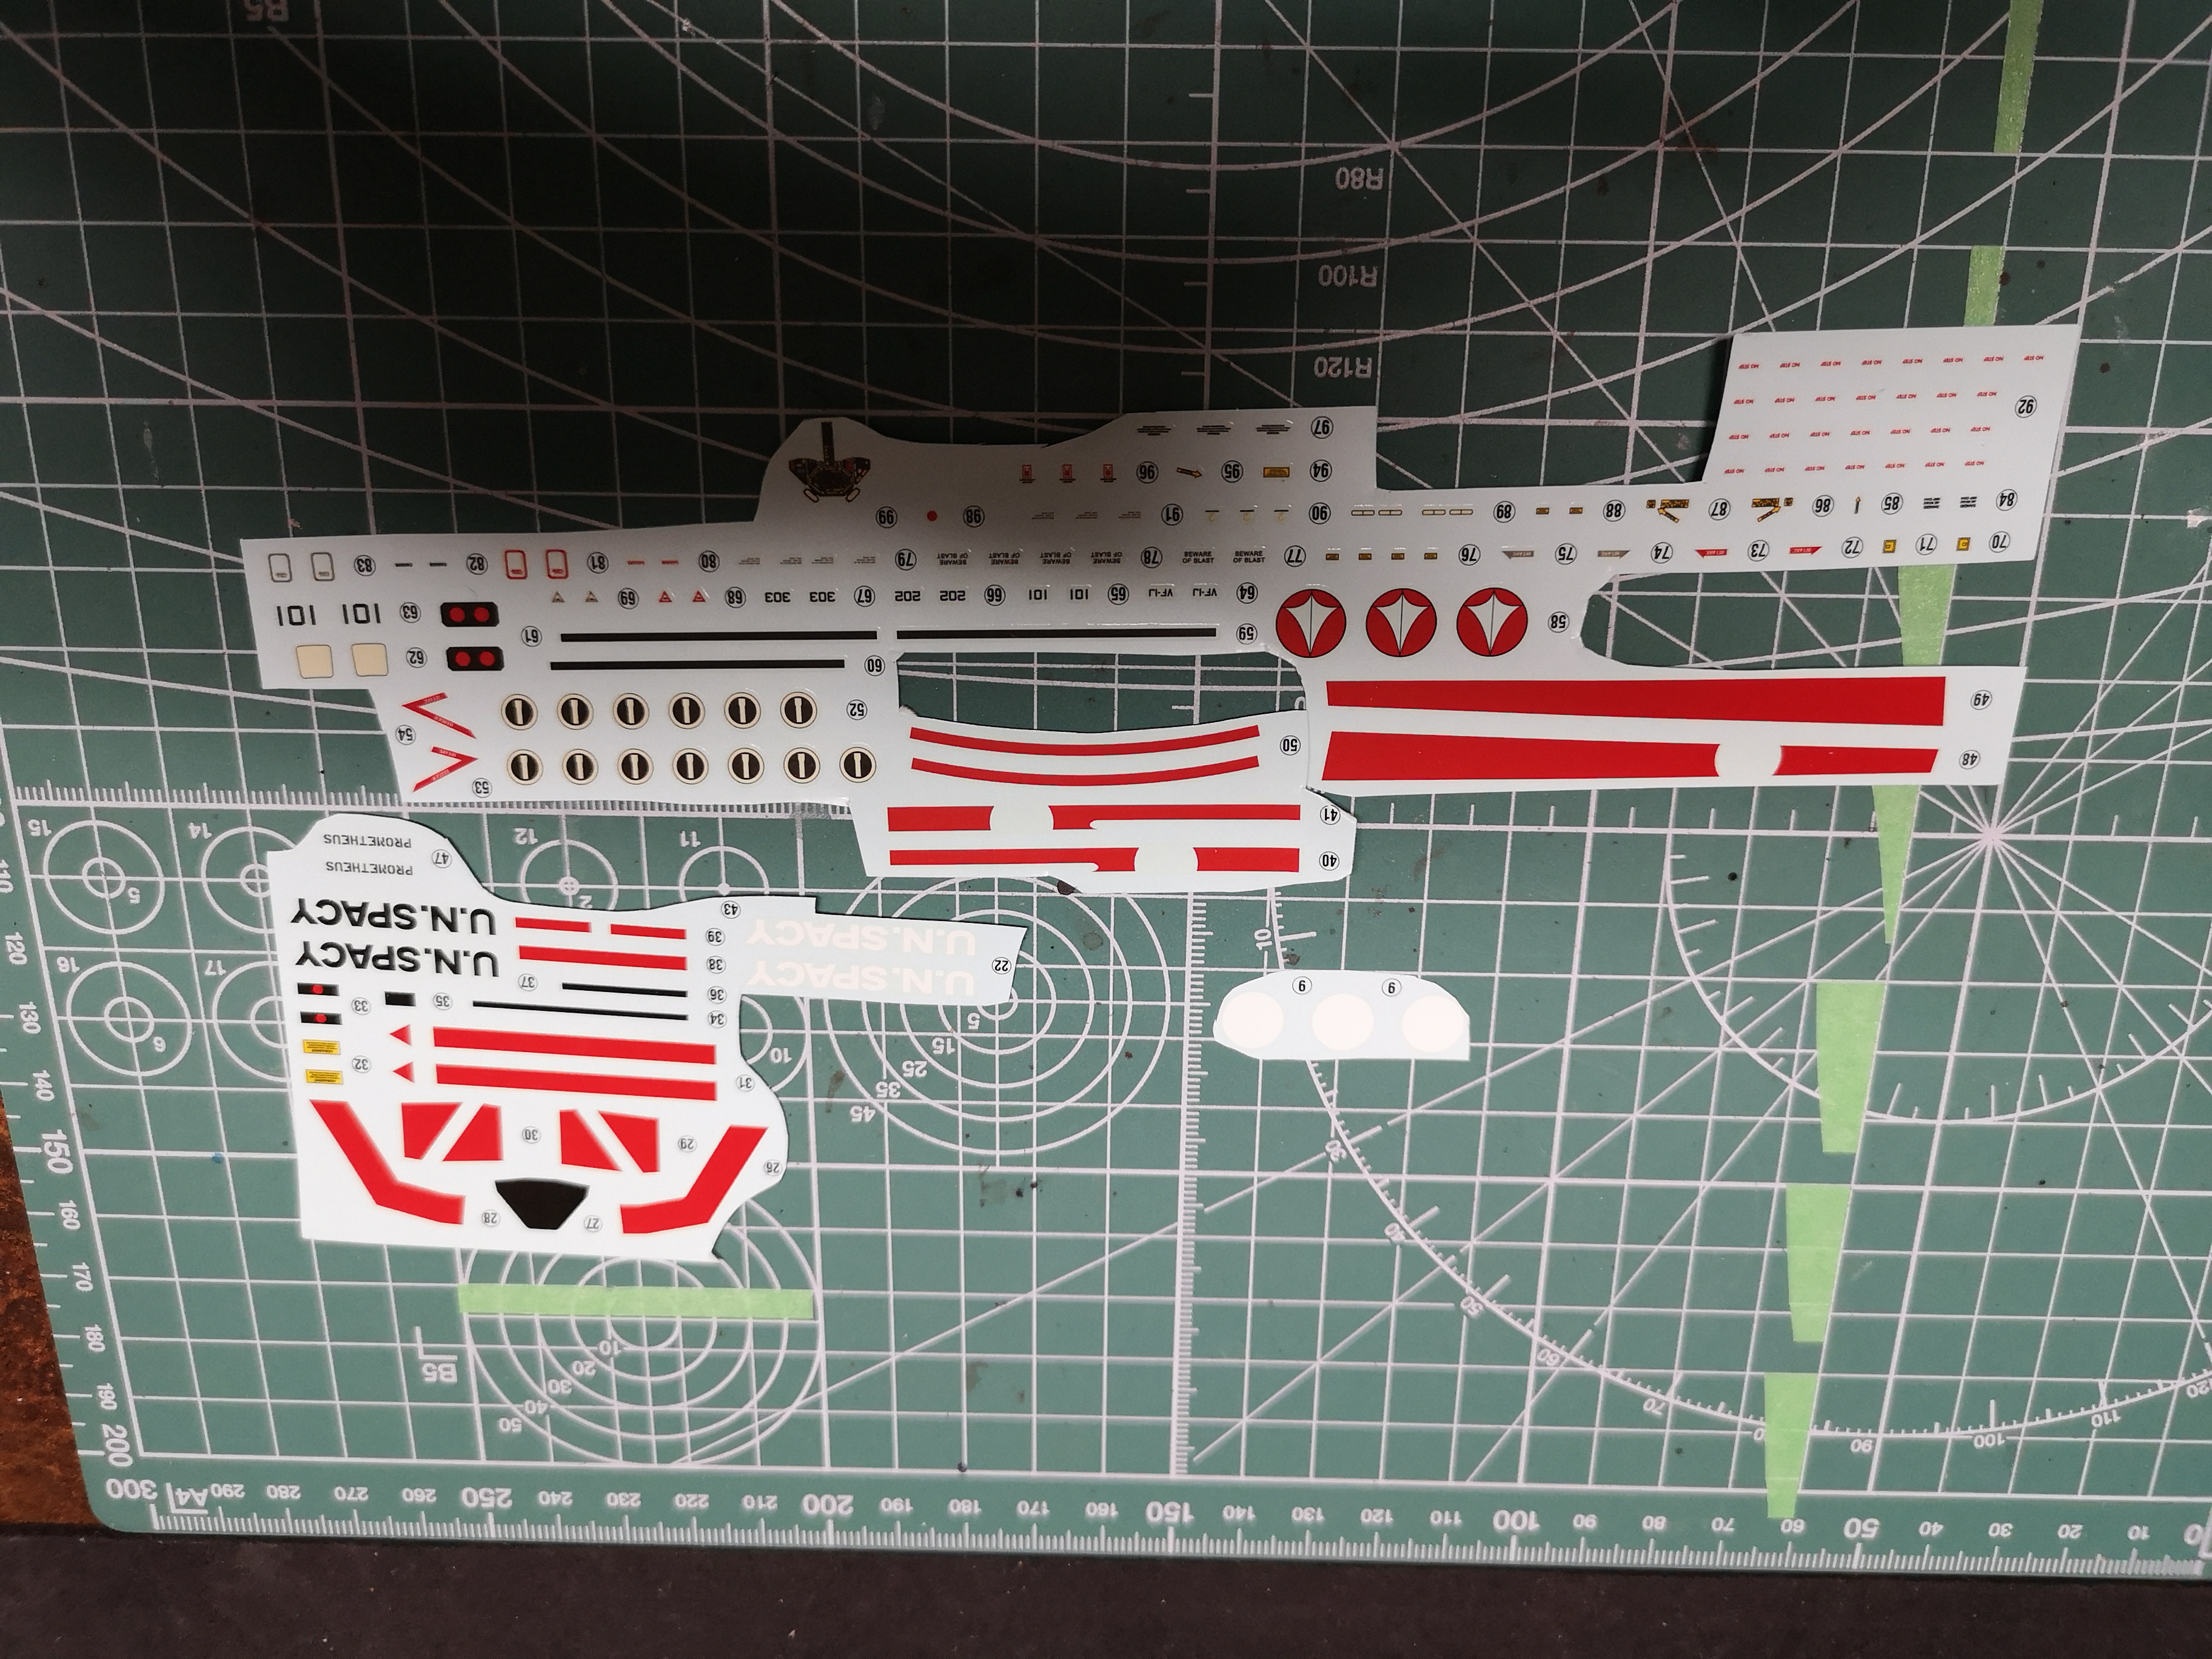
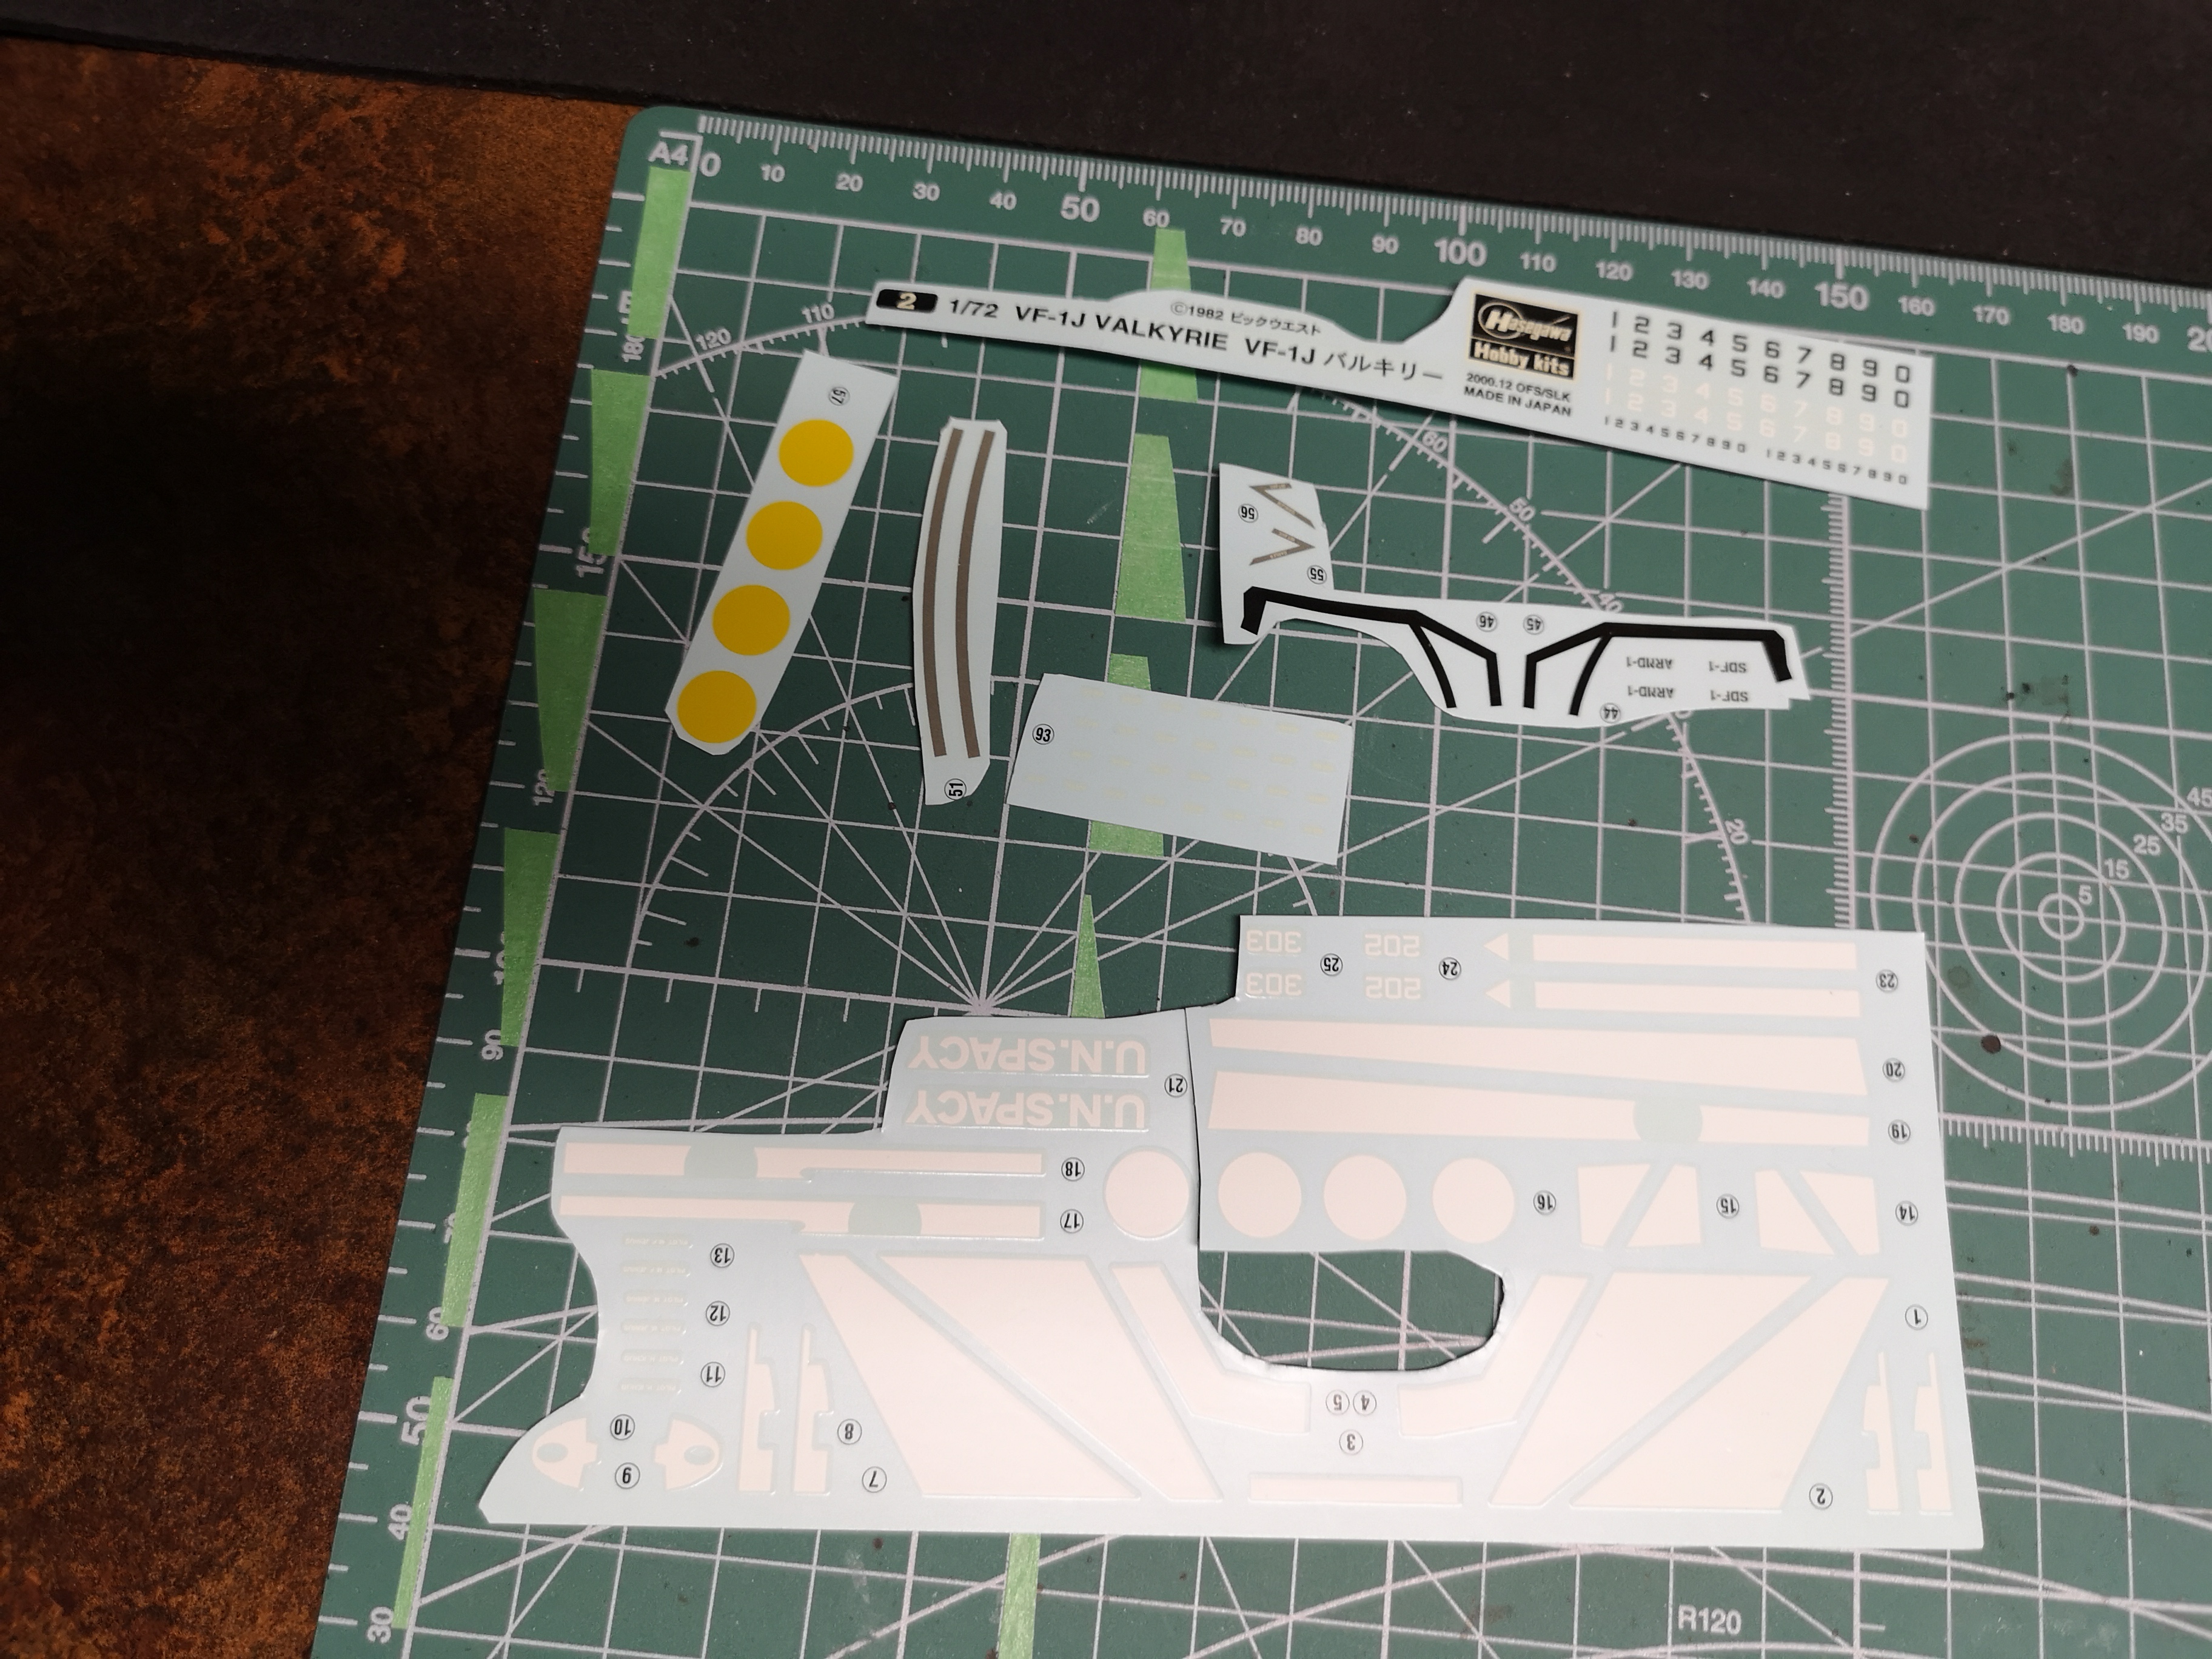
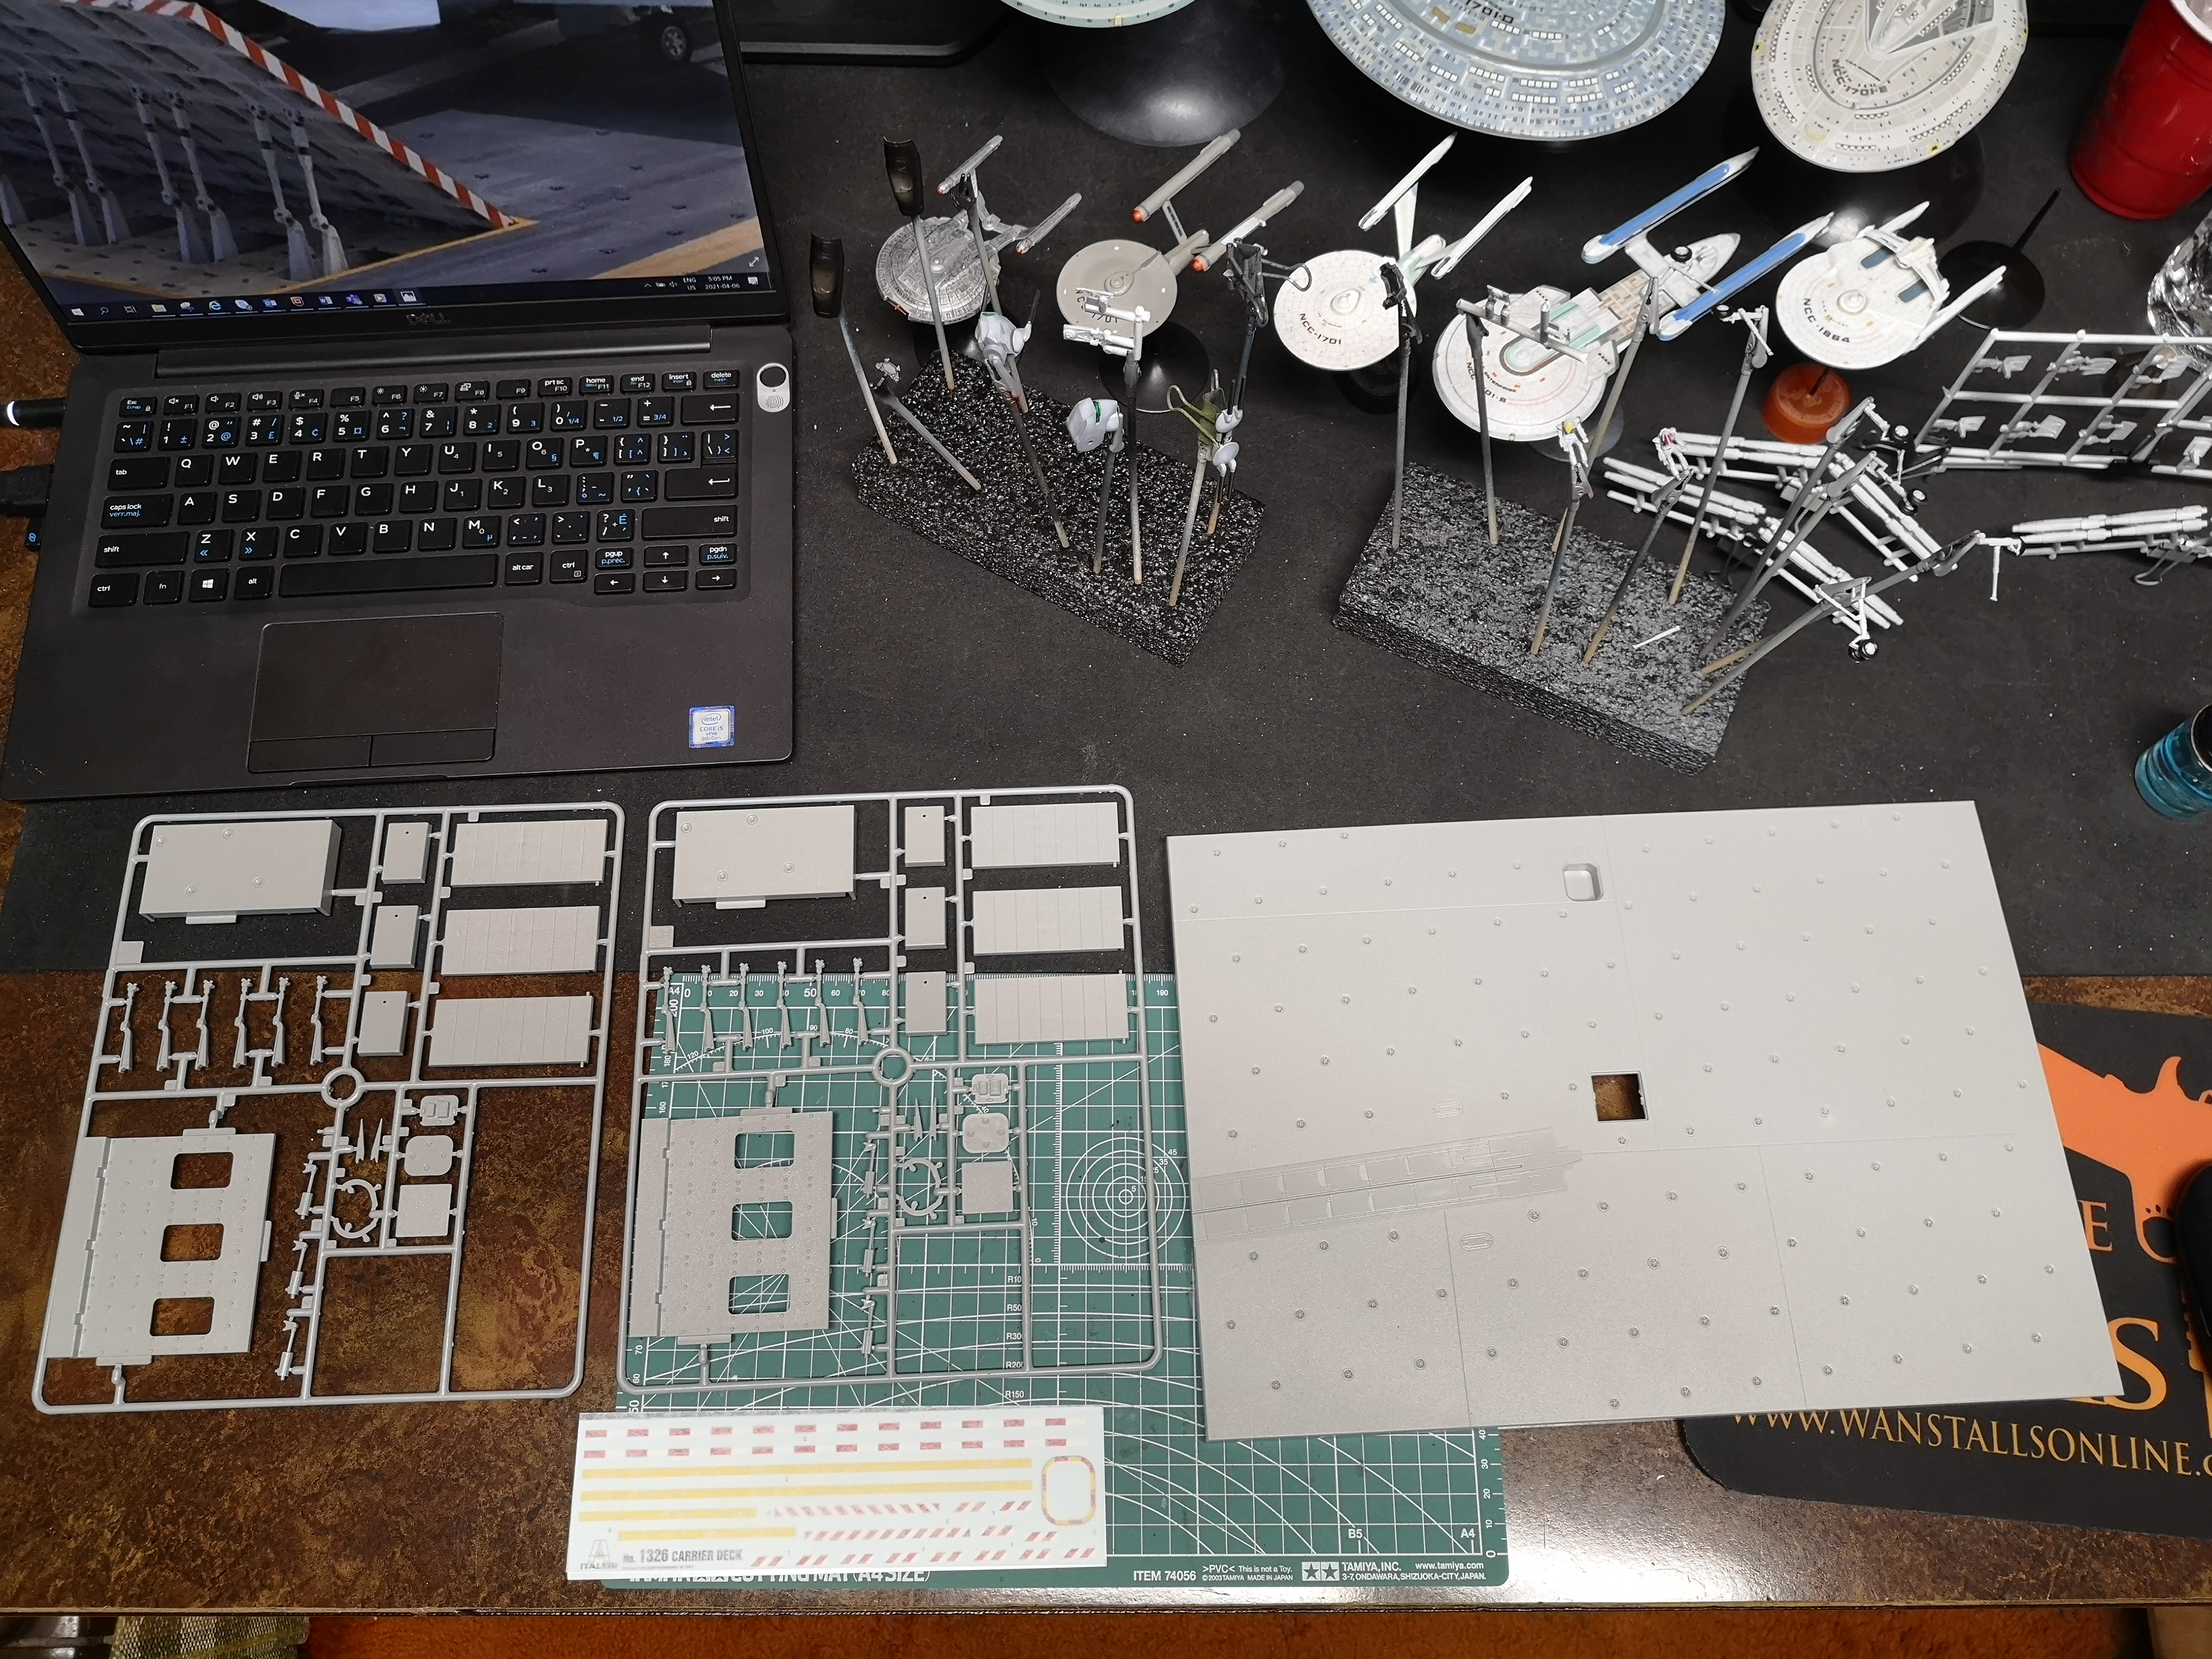
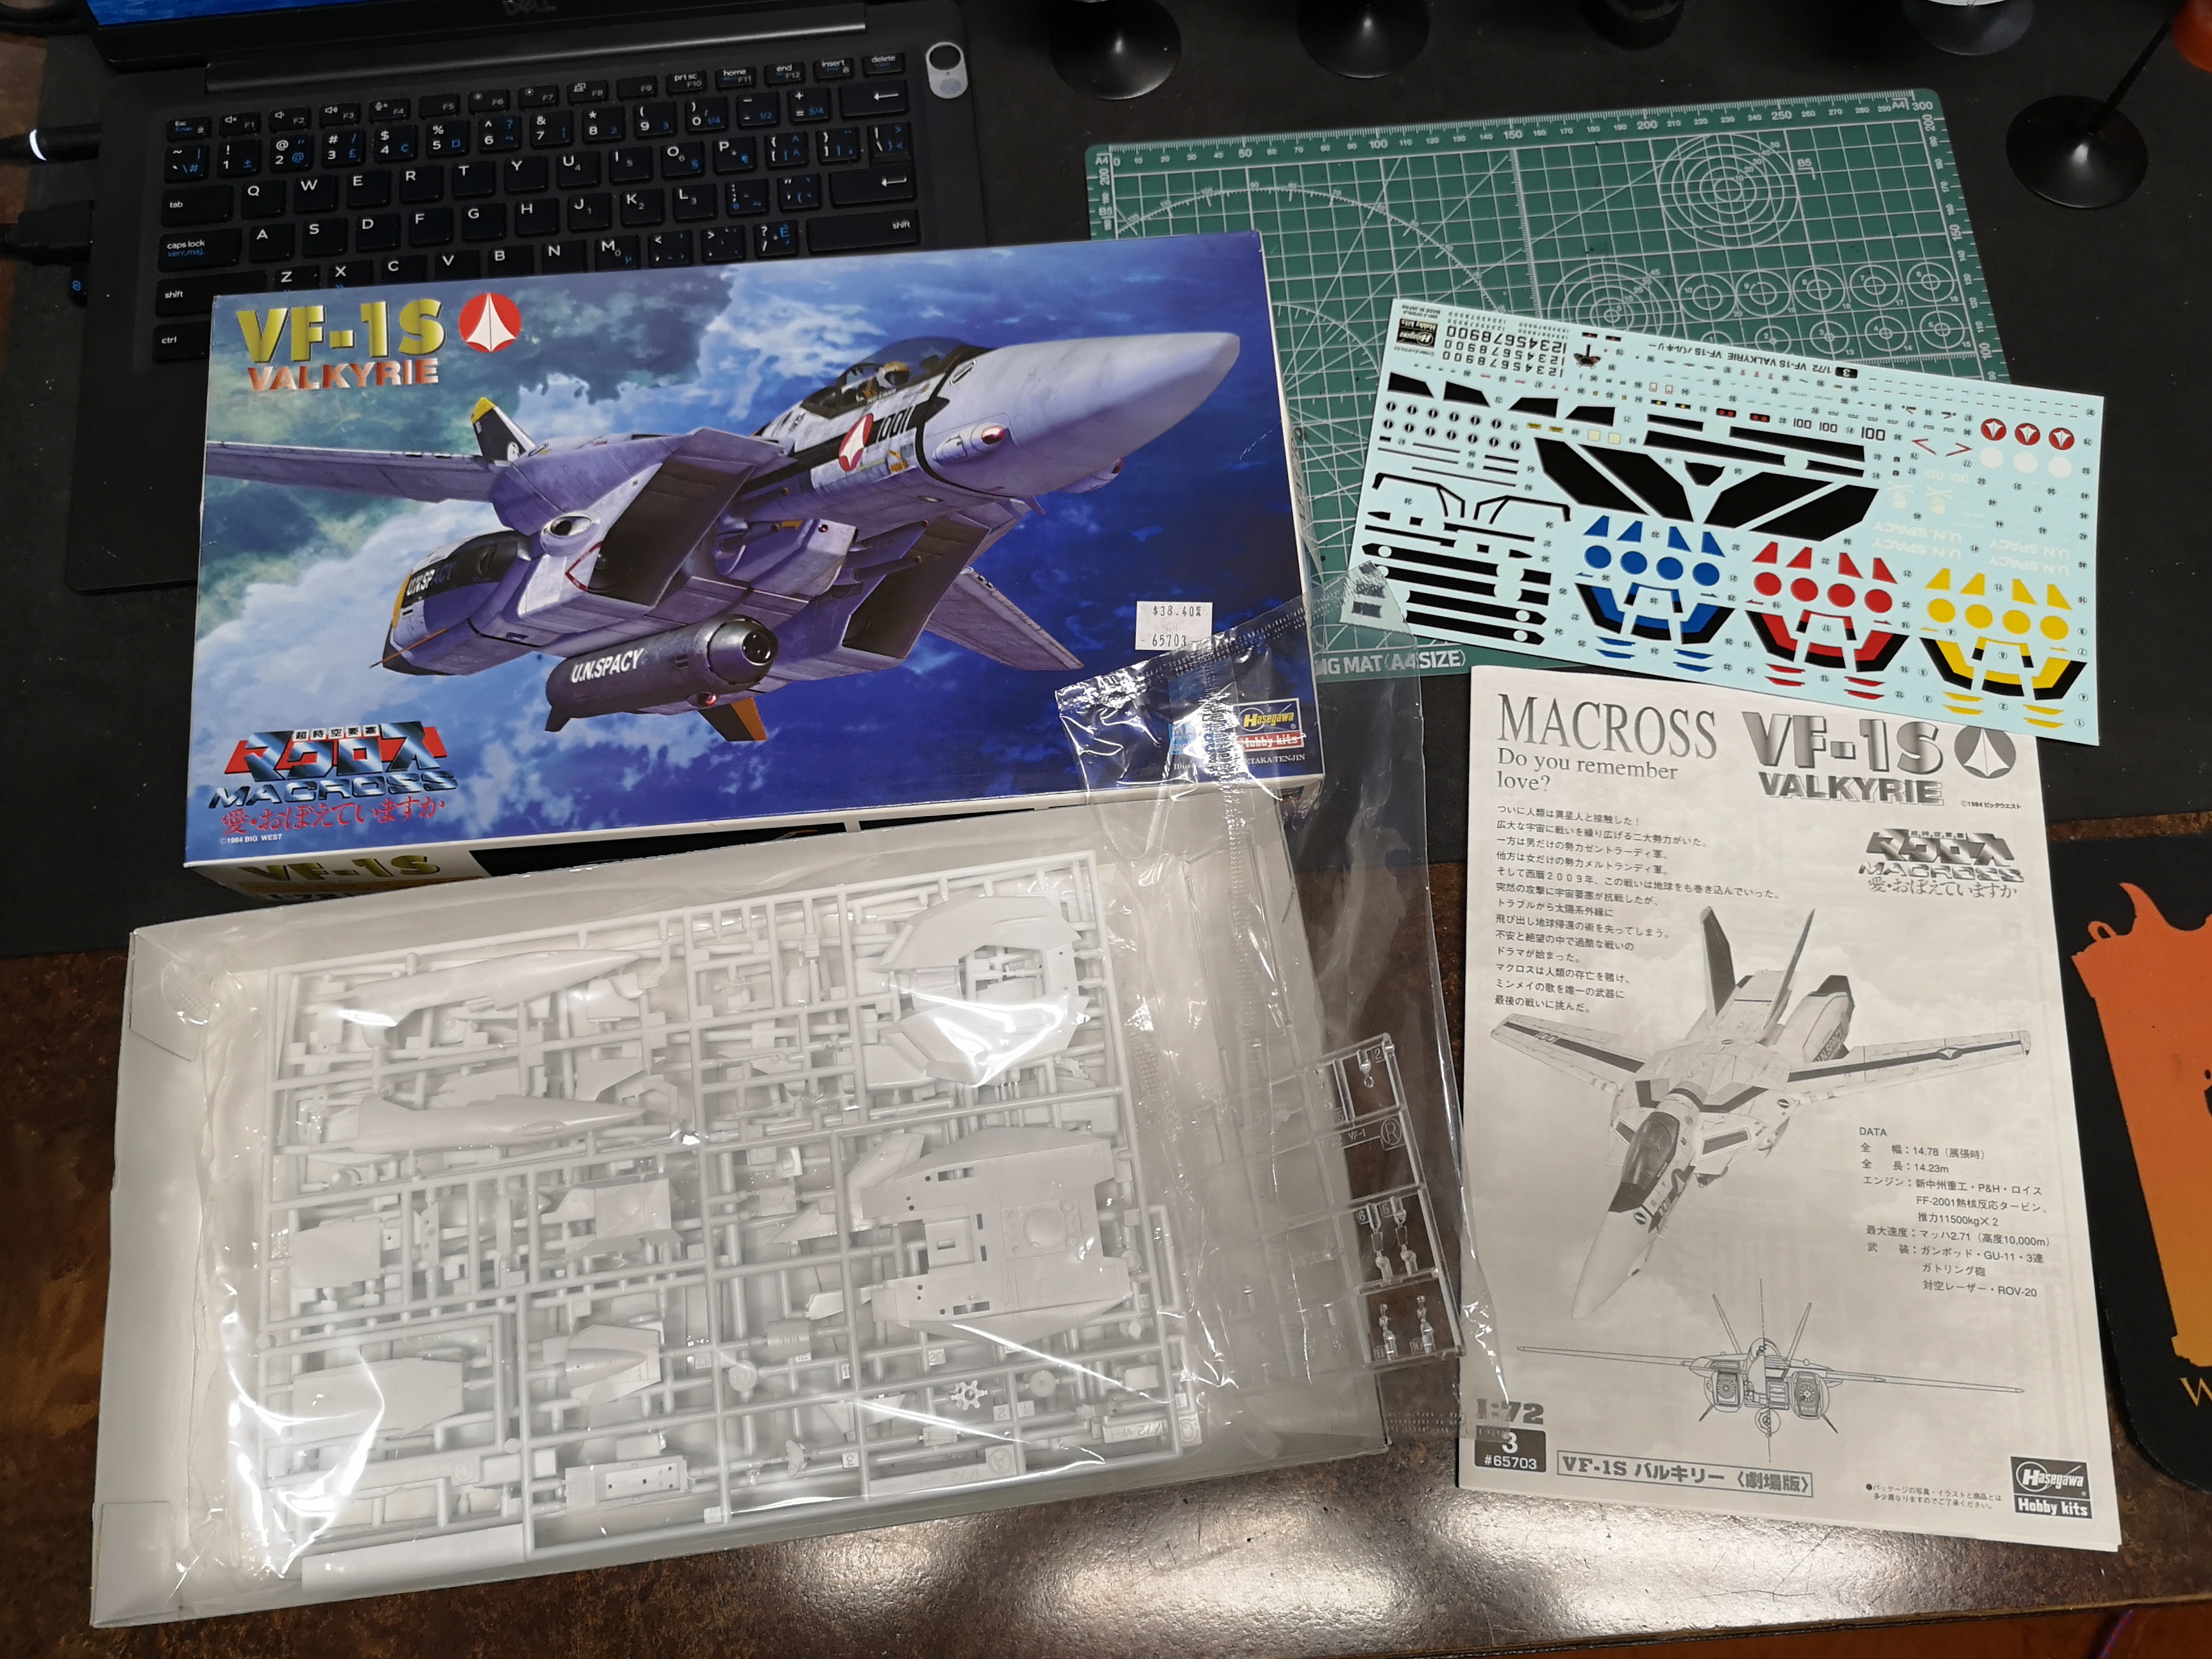
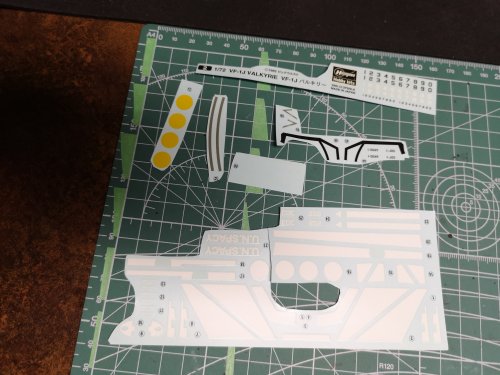
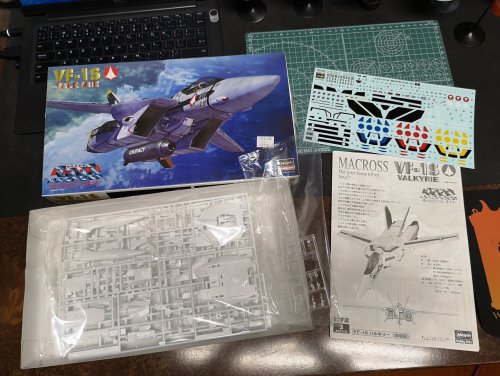
And after hosing the deck down with Pledge, I got started with the decals on the 1J. I haven't built a TV Hikaru 1J in ages. The last one may have been an ARII 1/100 fighter maybe 35 years ago. Up until now, I was still pondering over whether or not I should build the DYRL skull squadron scene from the Sega game, but I guess I could always do that later. Looks like the rest are extra, maybe for a Max or Milia. Always good to have spare decals, just in case. I was really worried about the decals disintegrating since I'd heard nightmares about others experiencing this, but like my Strike Valk kits, these were solid. I would say these are still light years better than the POS decals that came with the AMT Star Trek decals and these decals are almost 20 years old. More to follow.


-
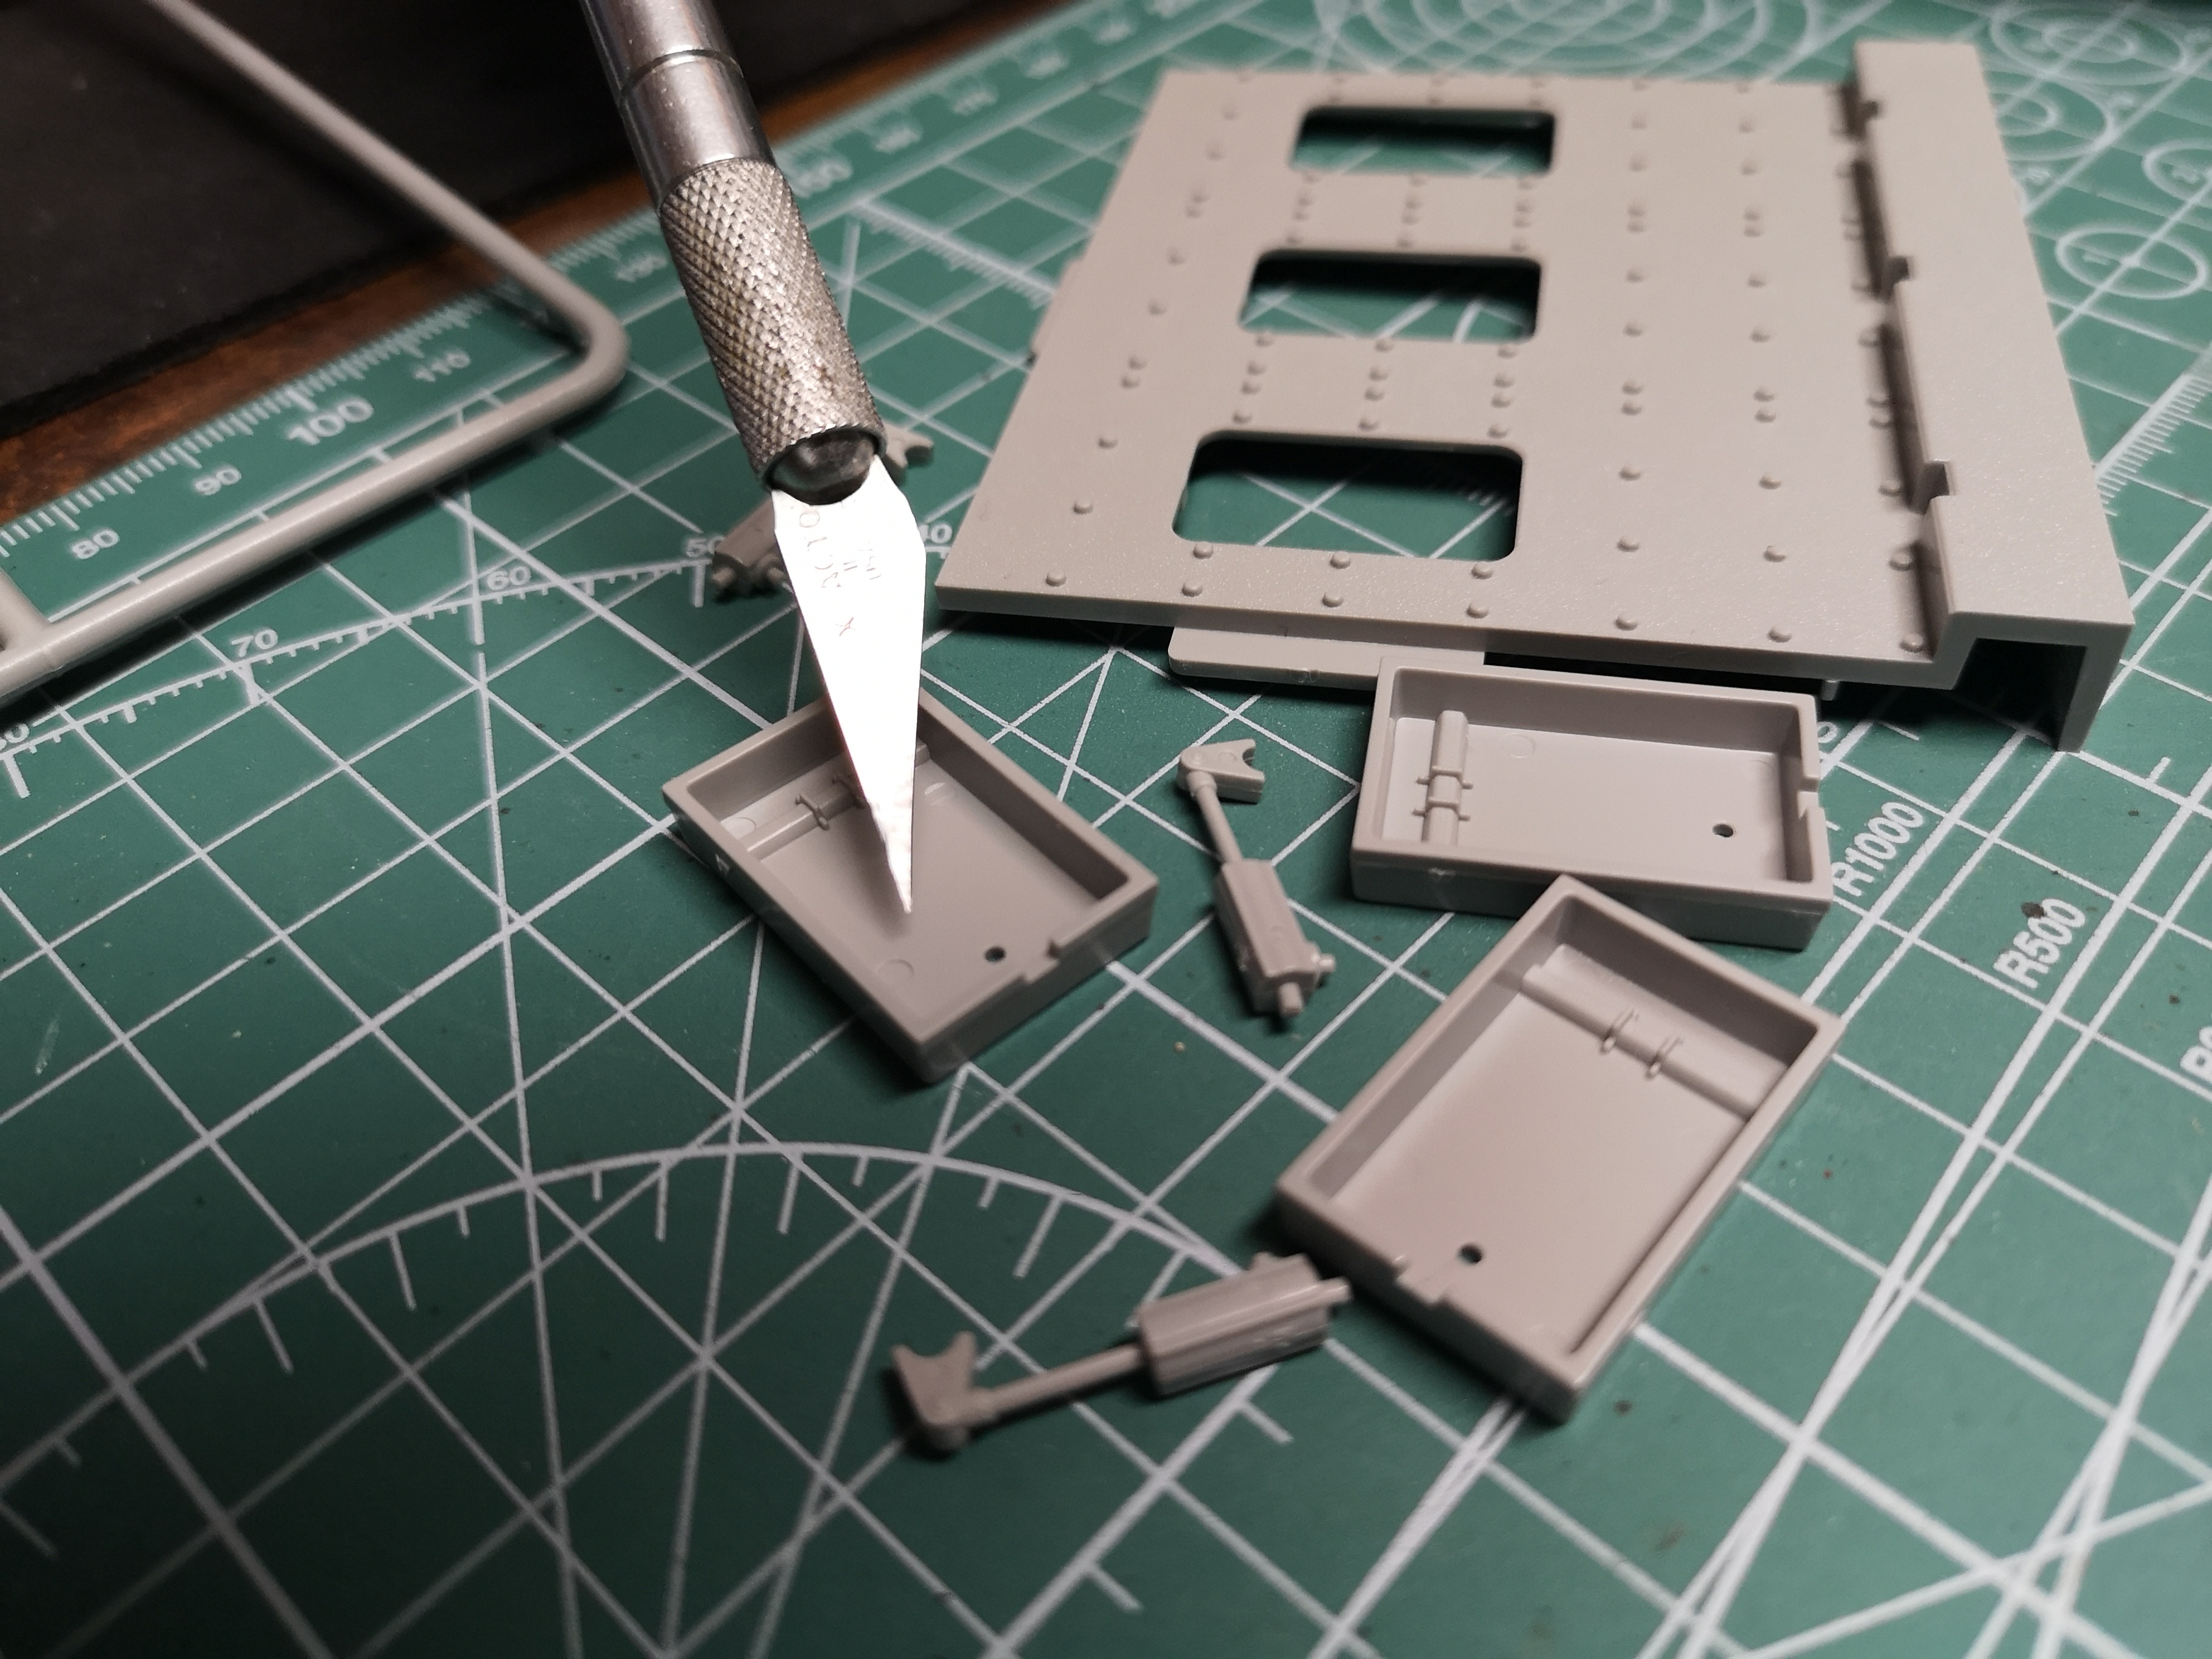
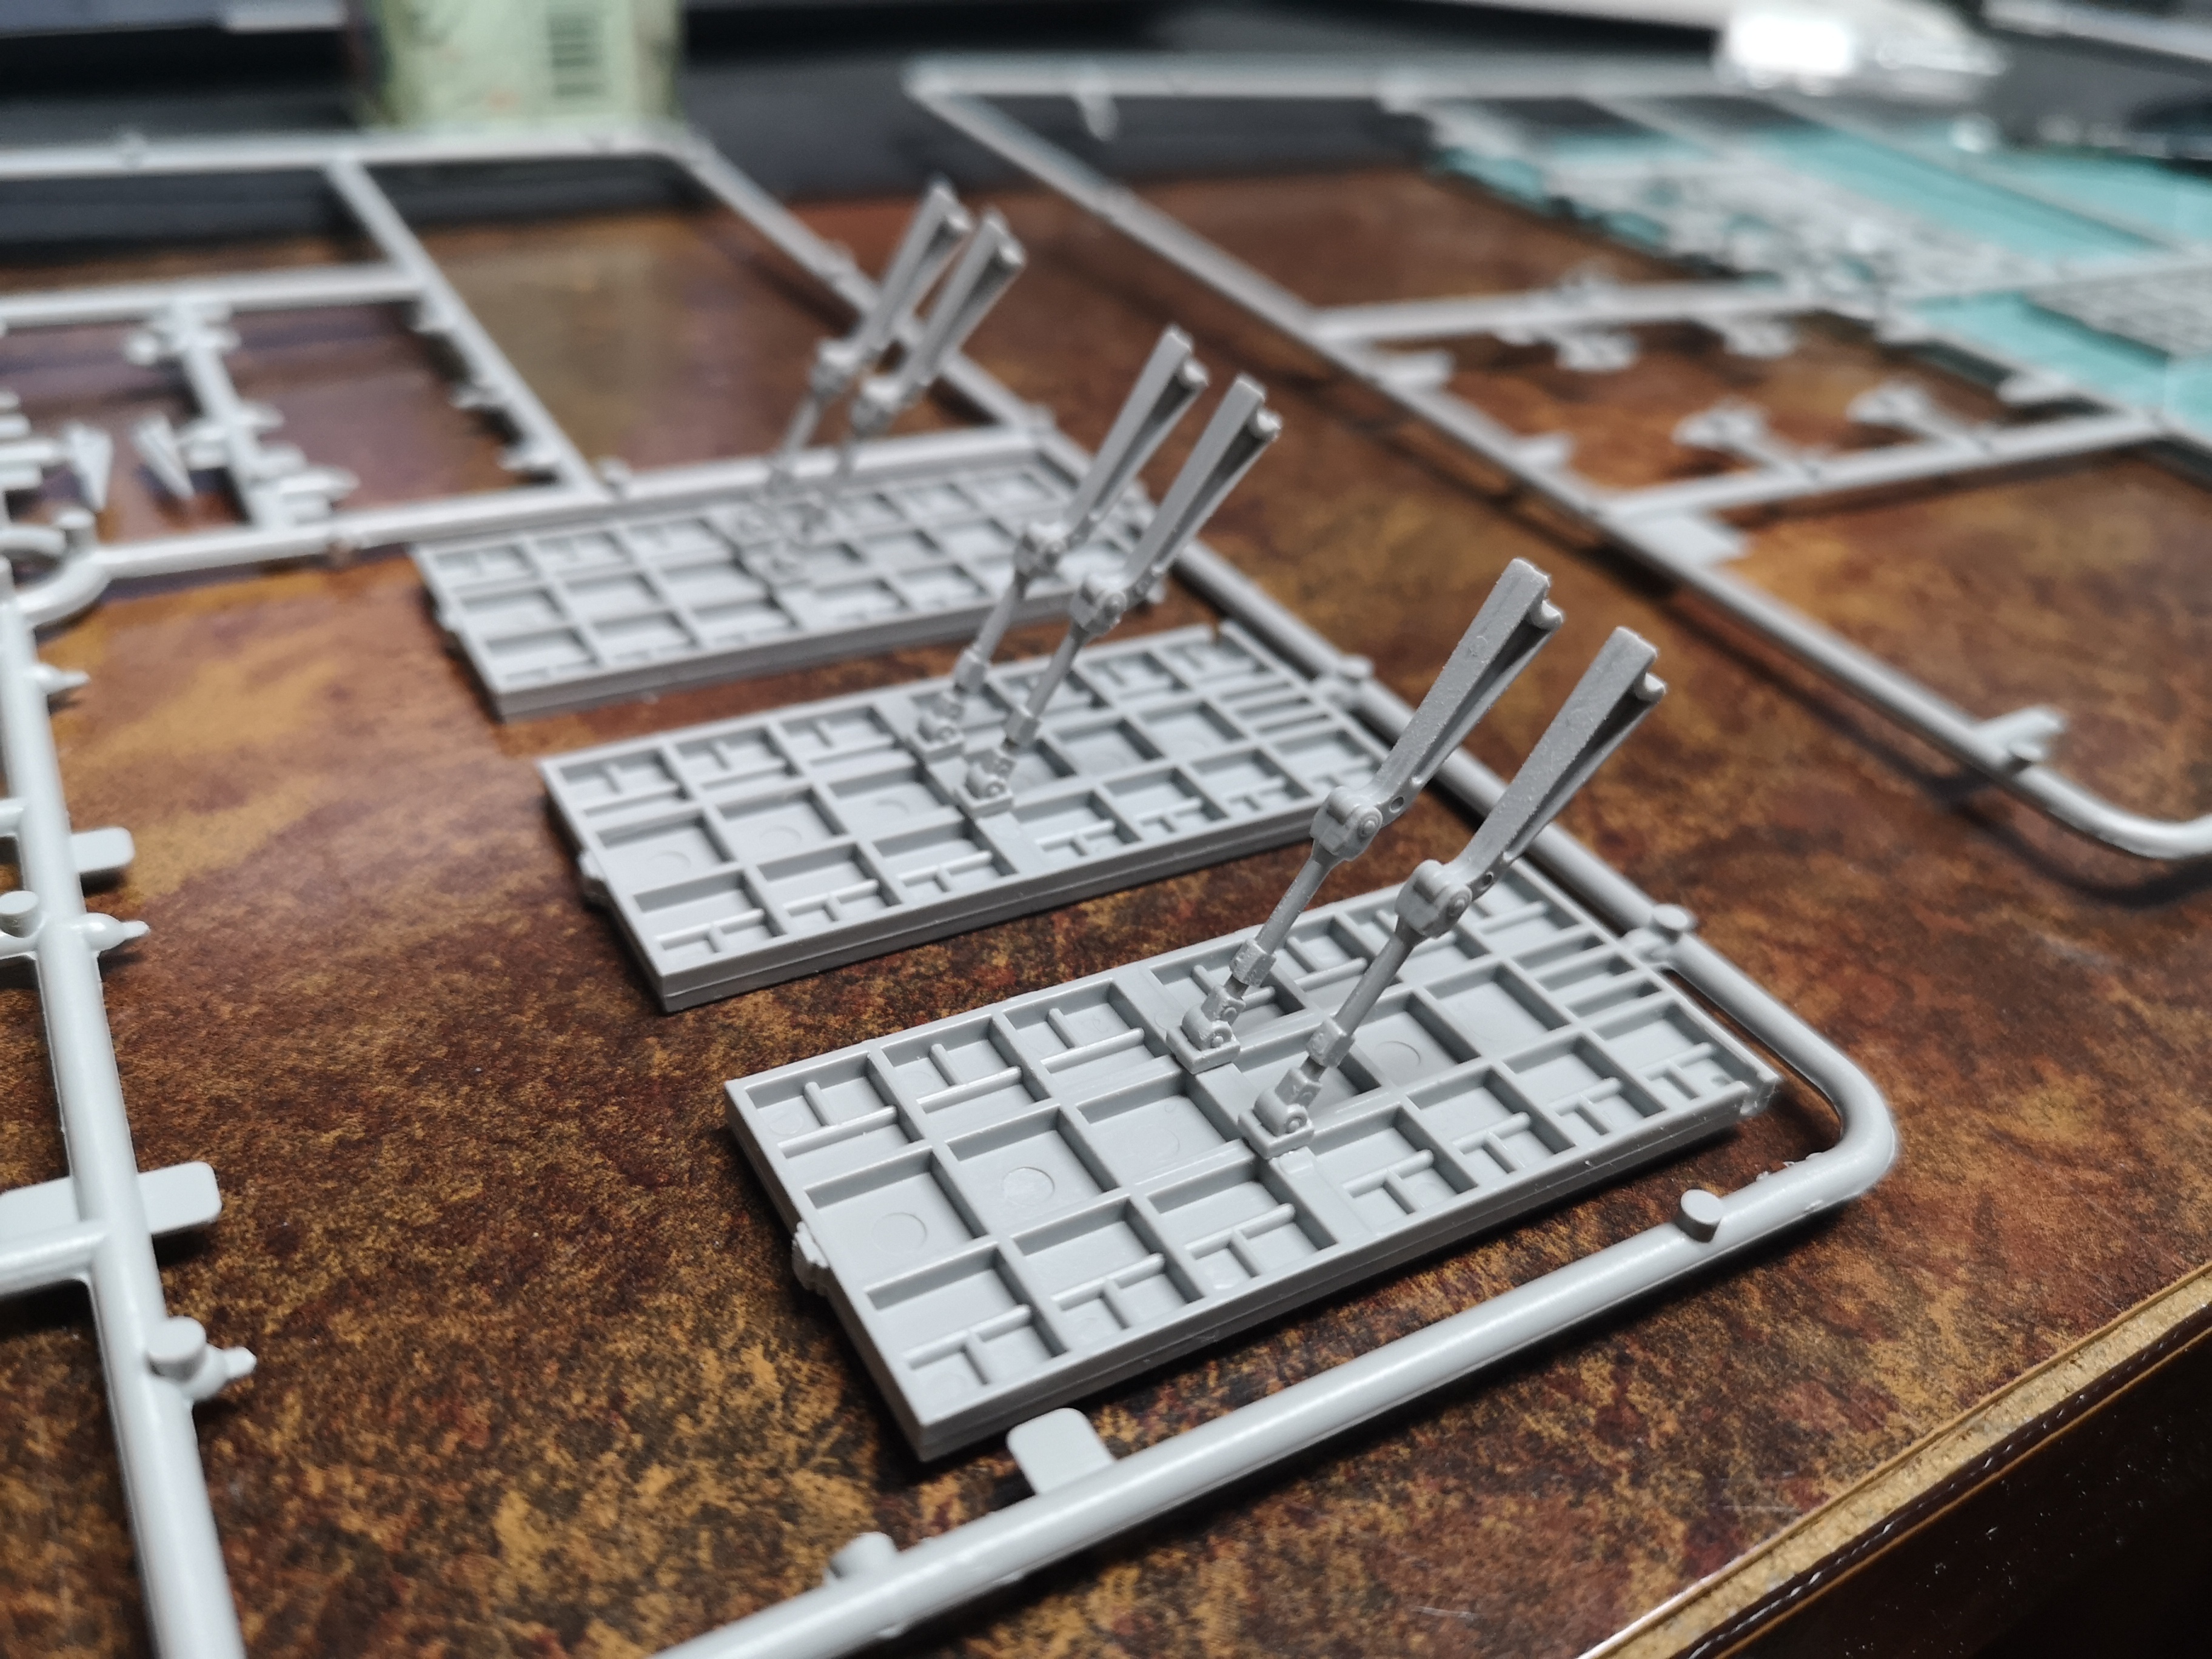
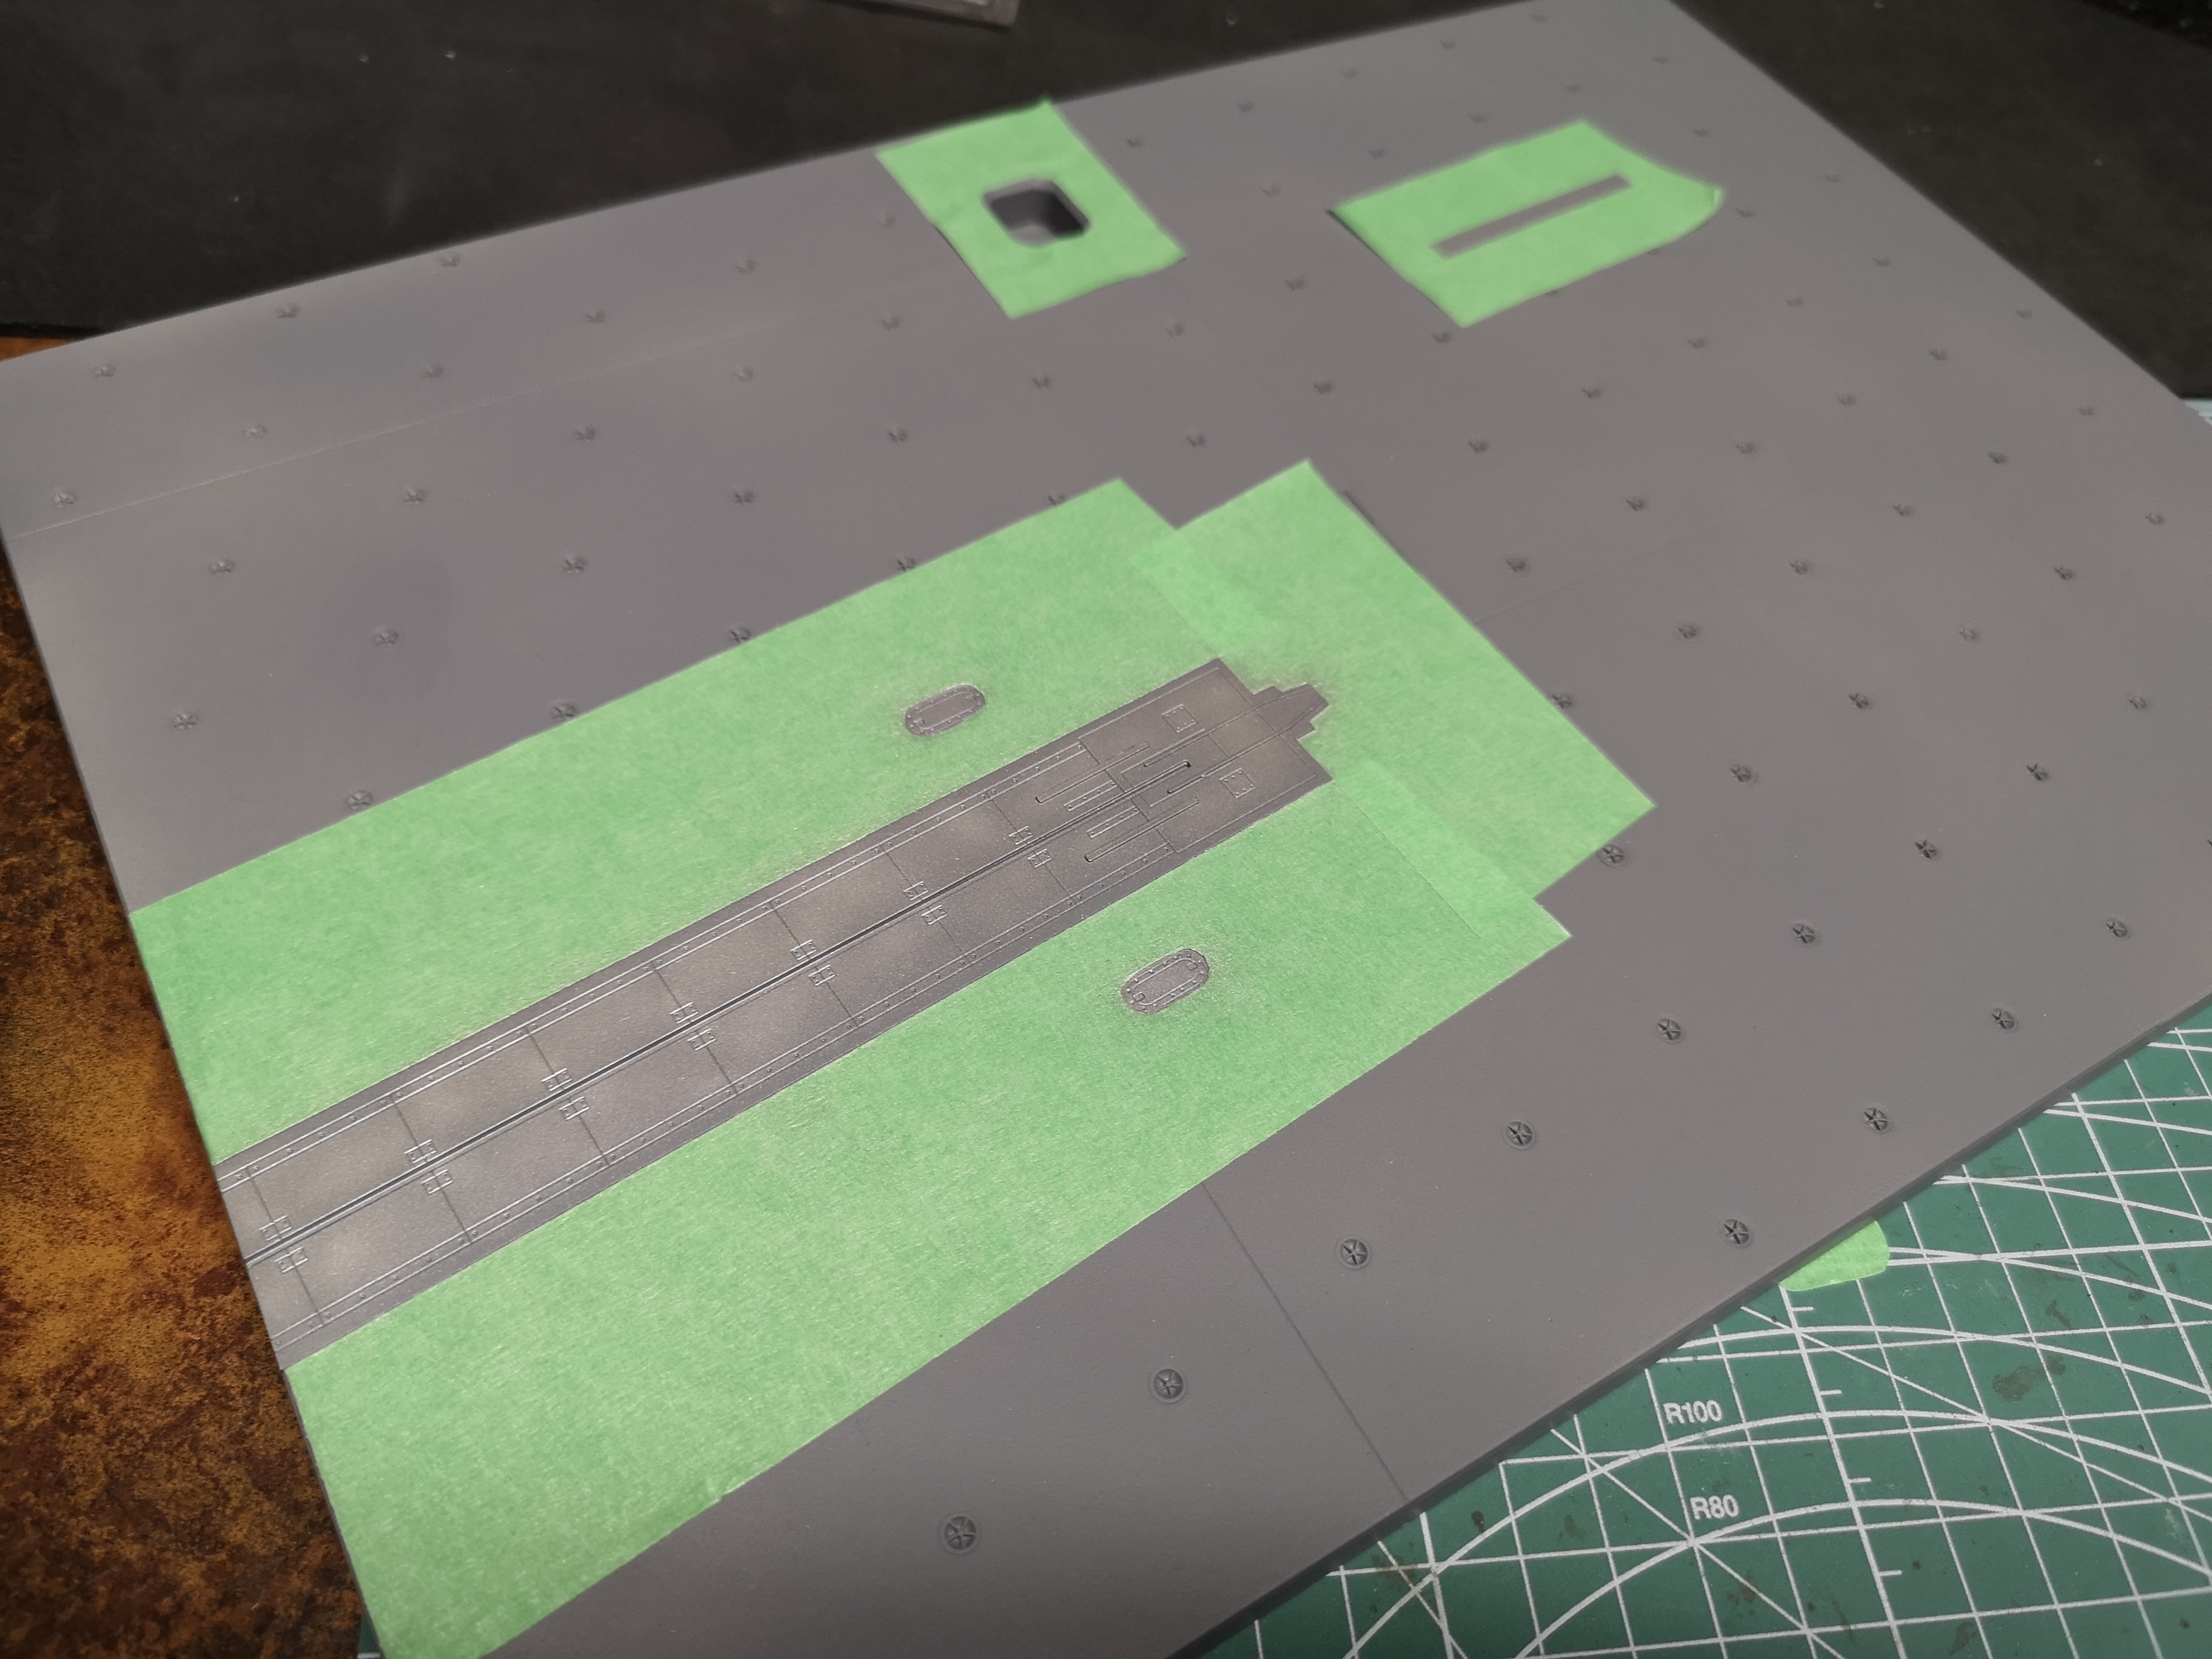
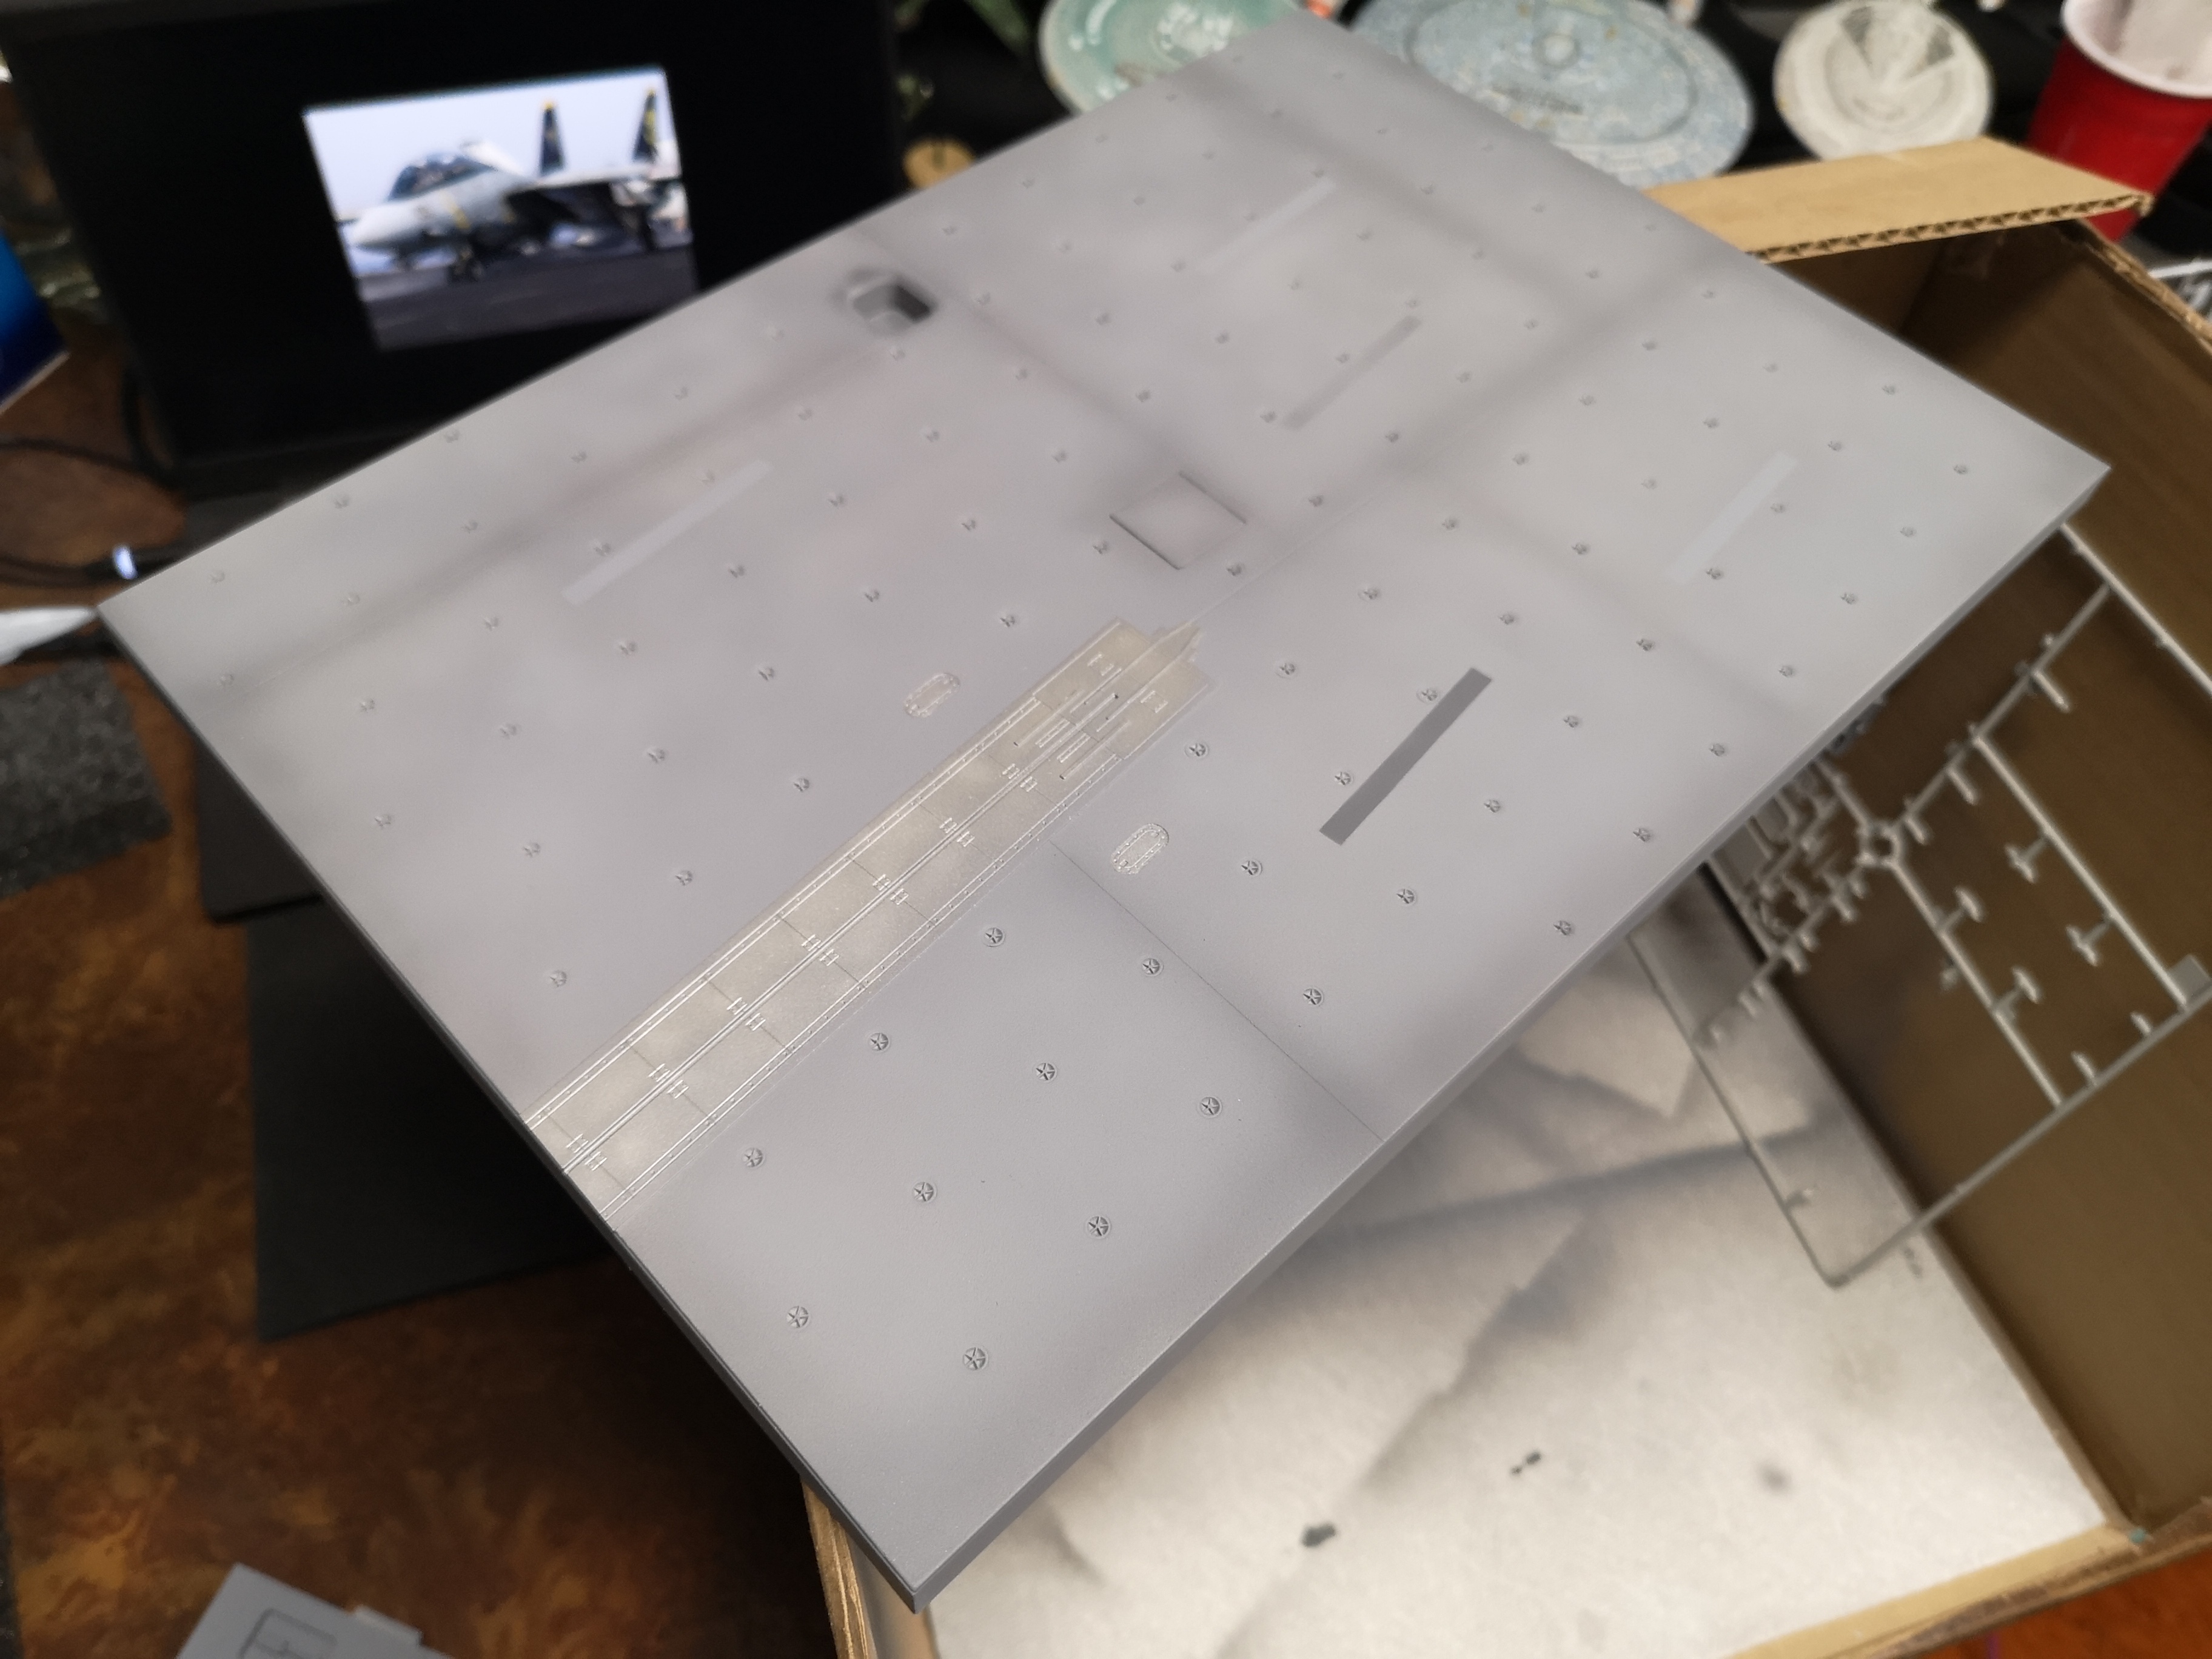
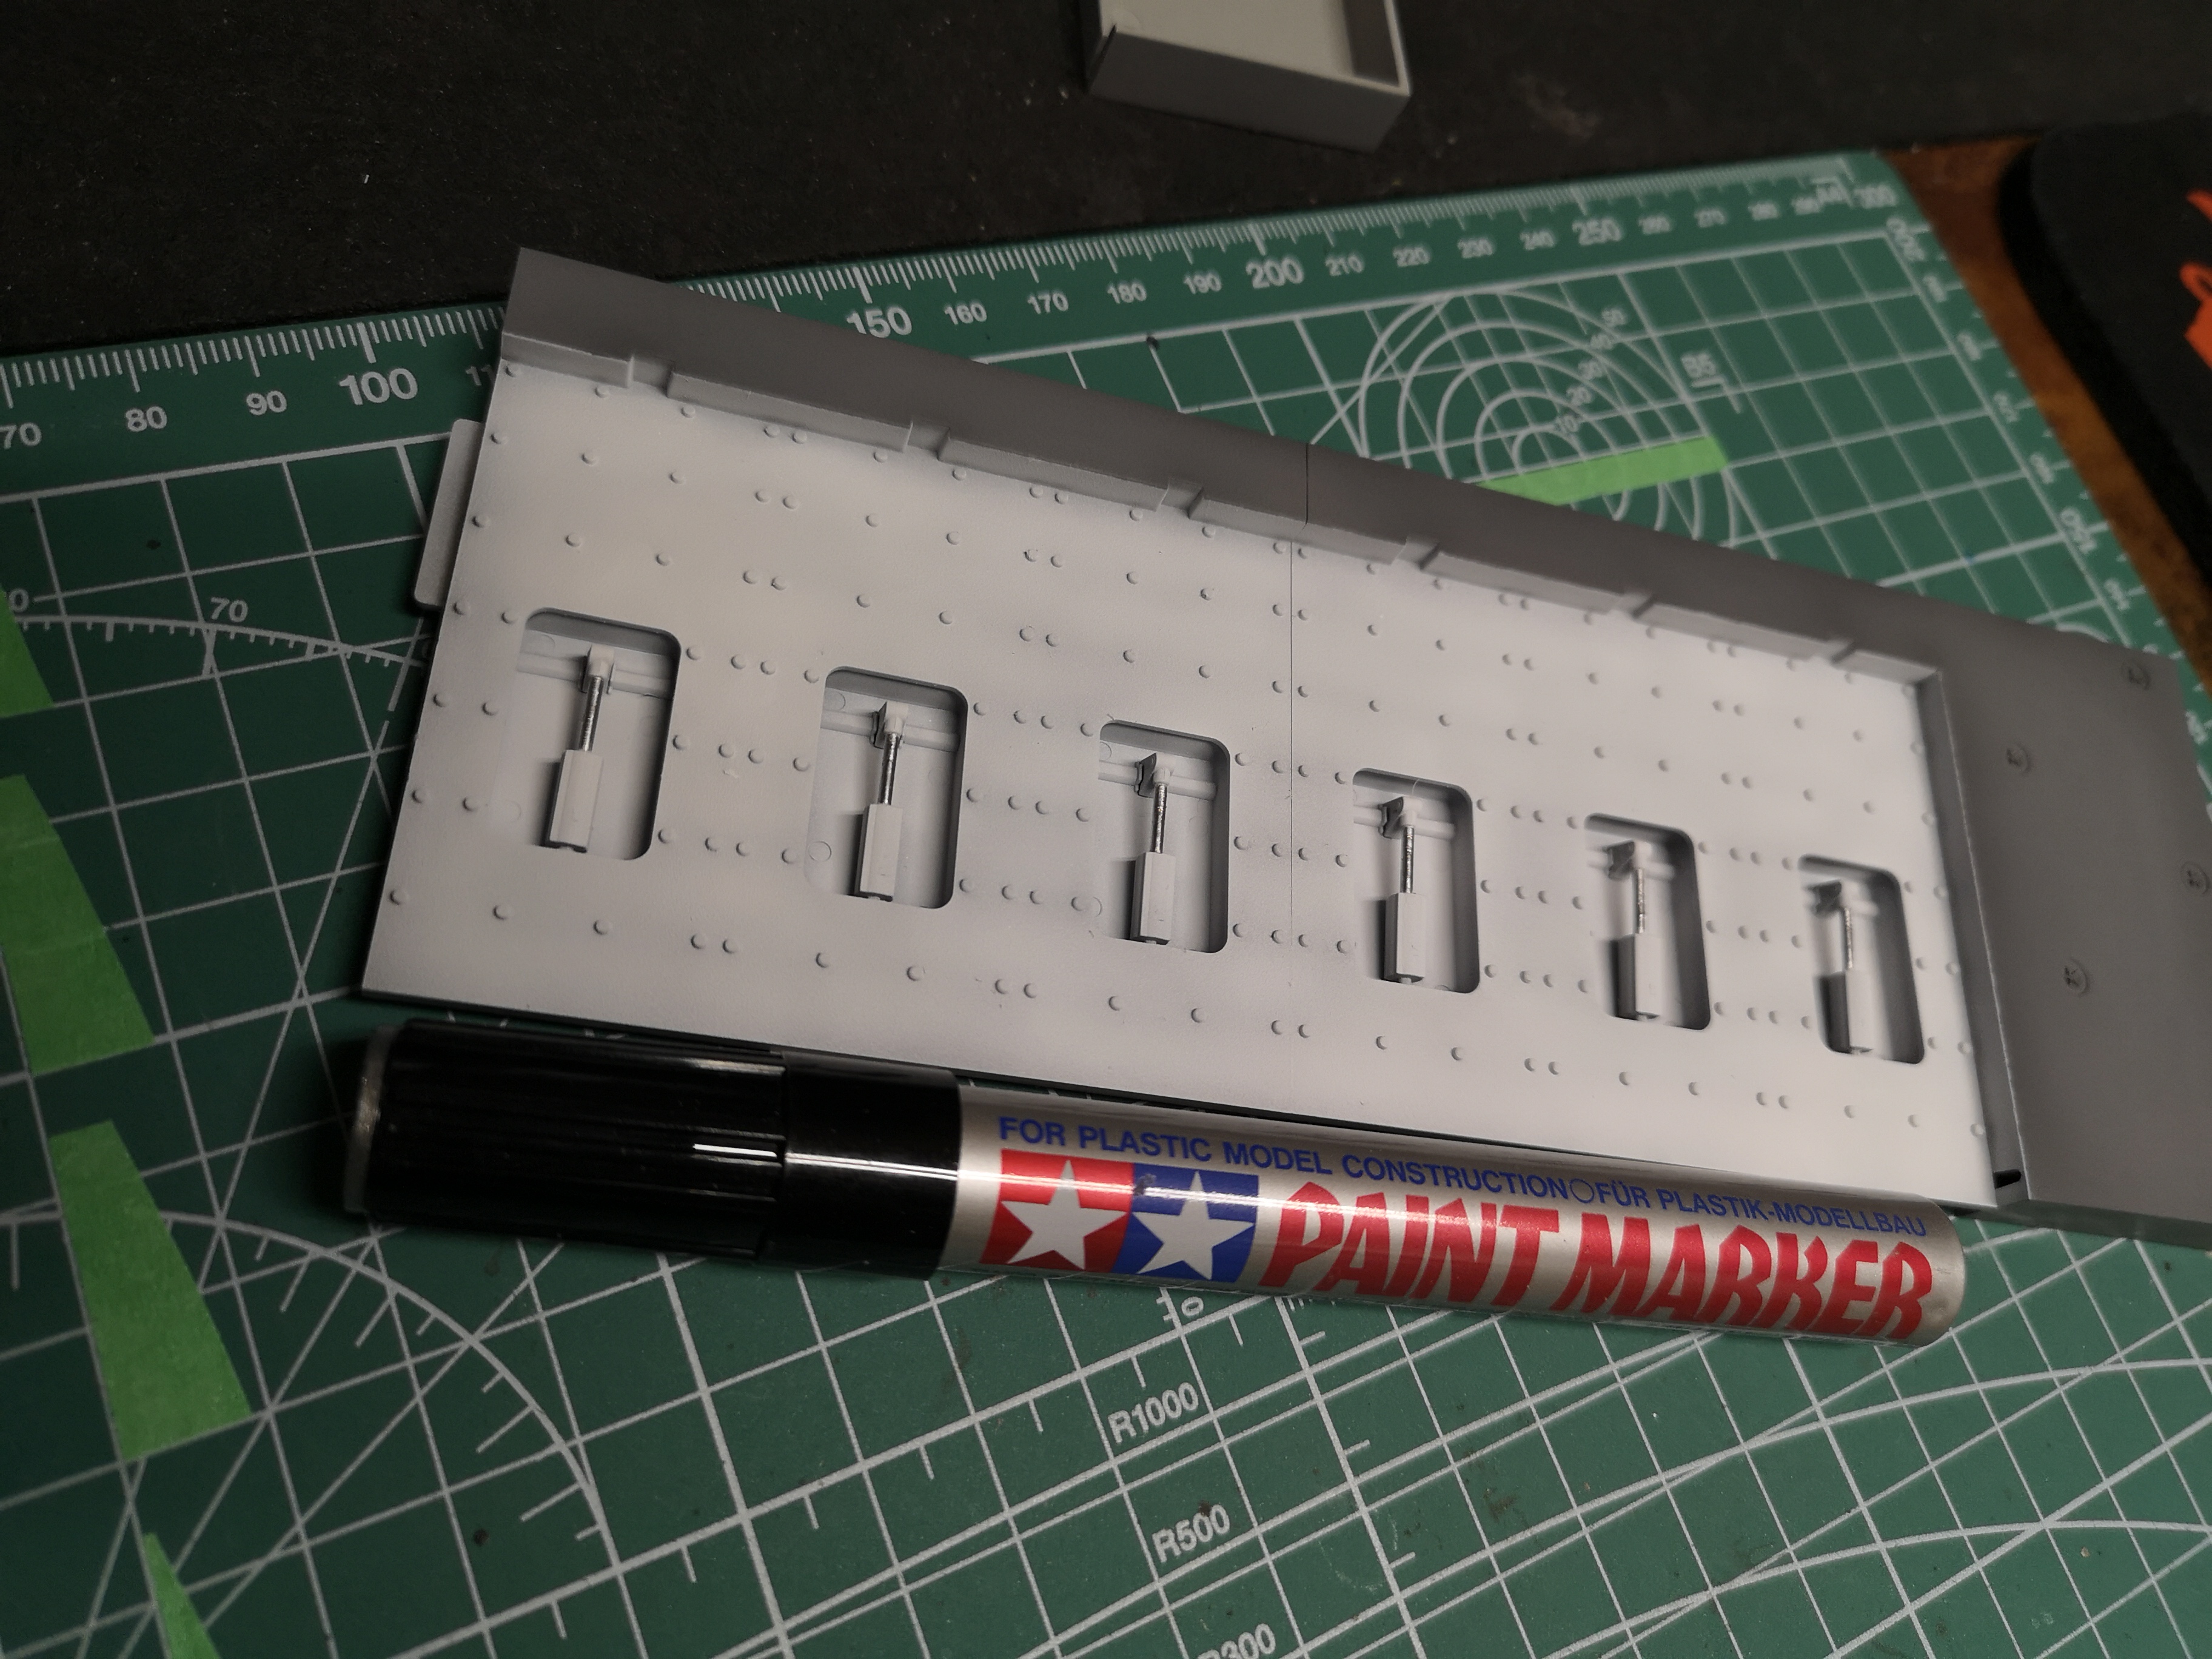
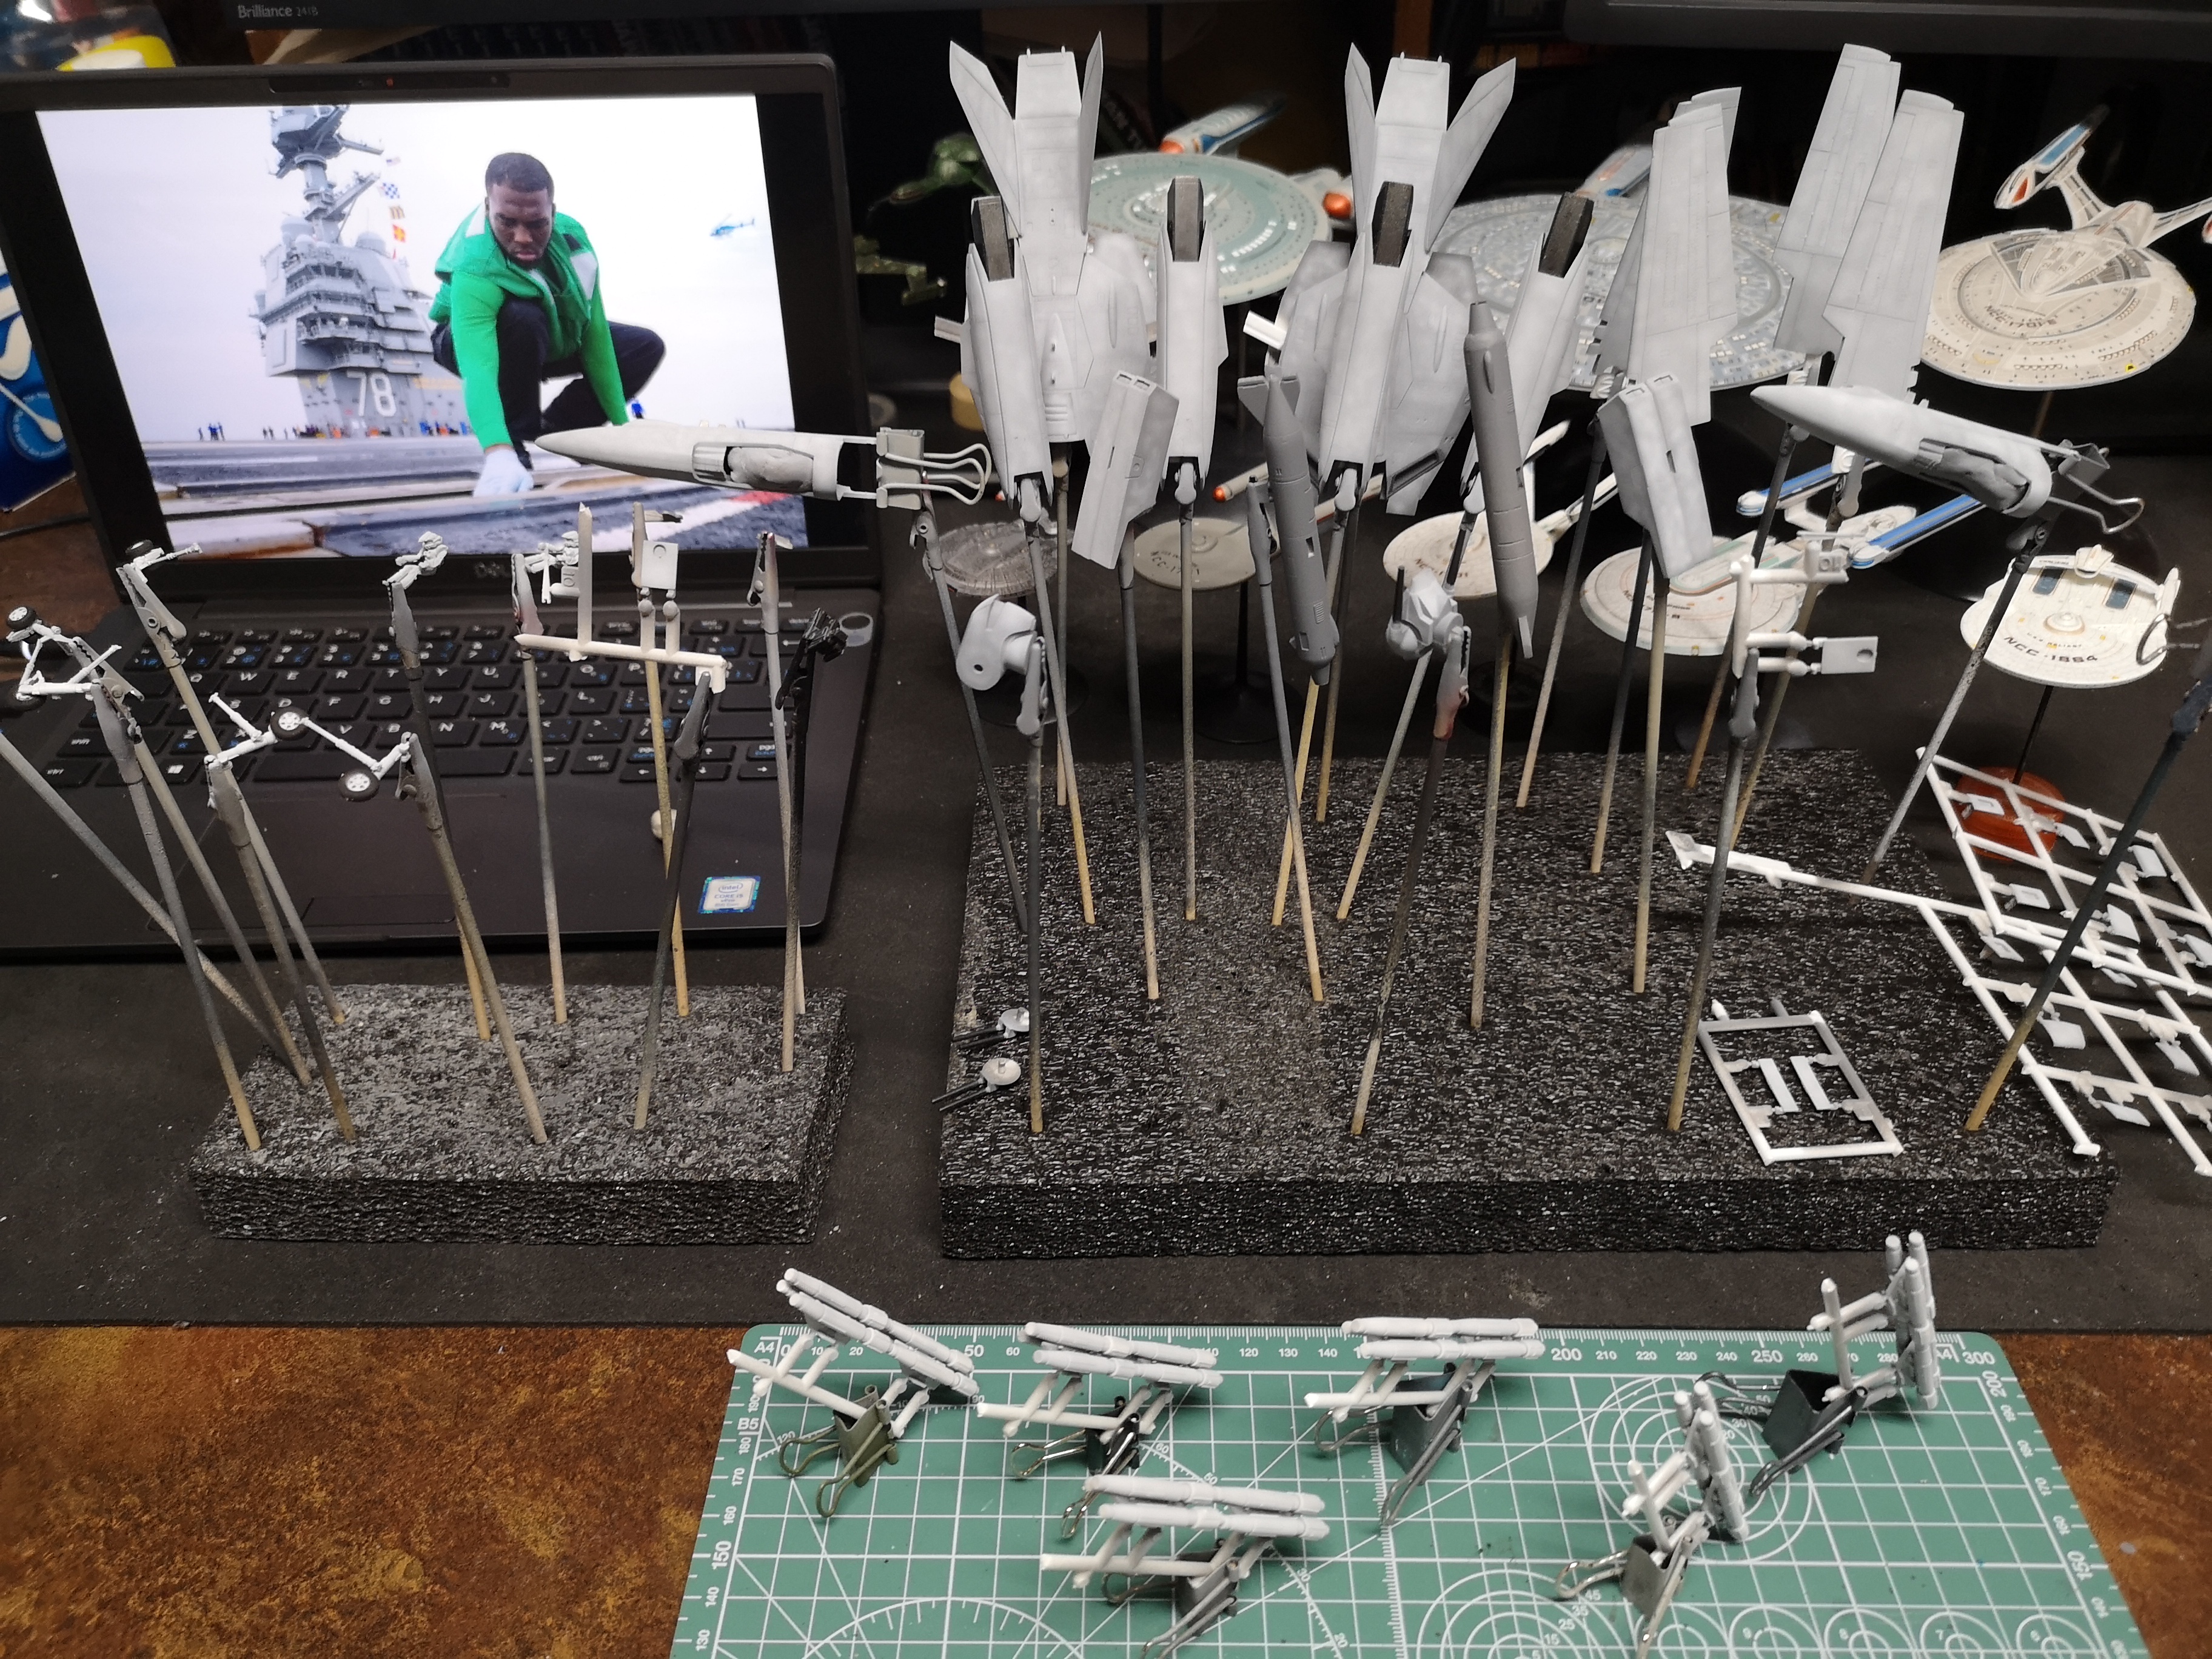
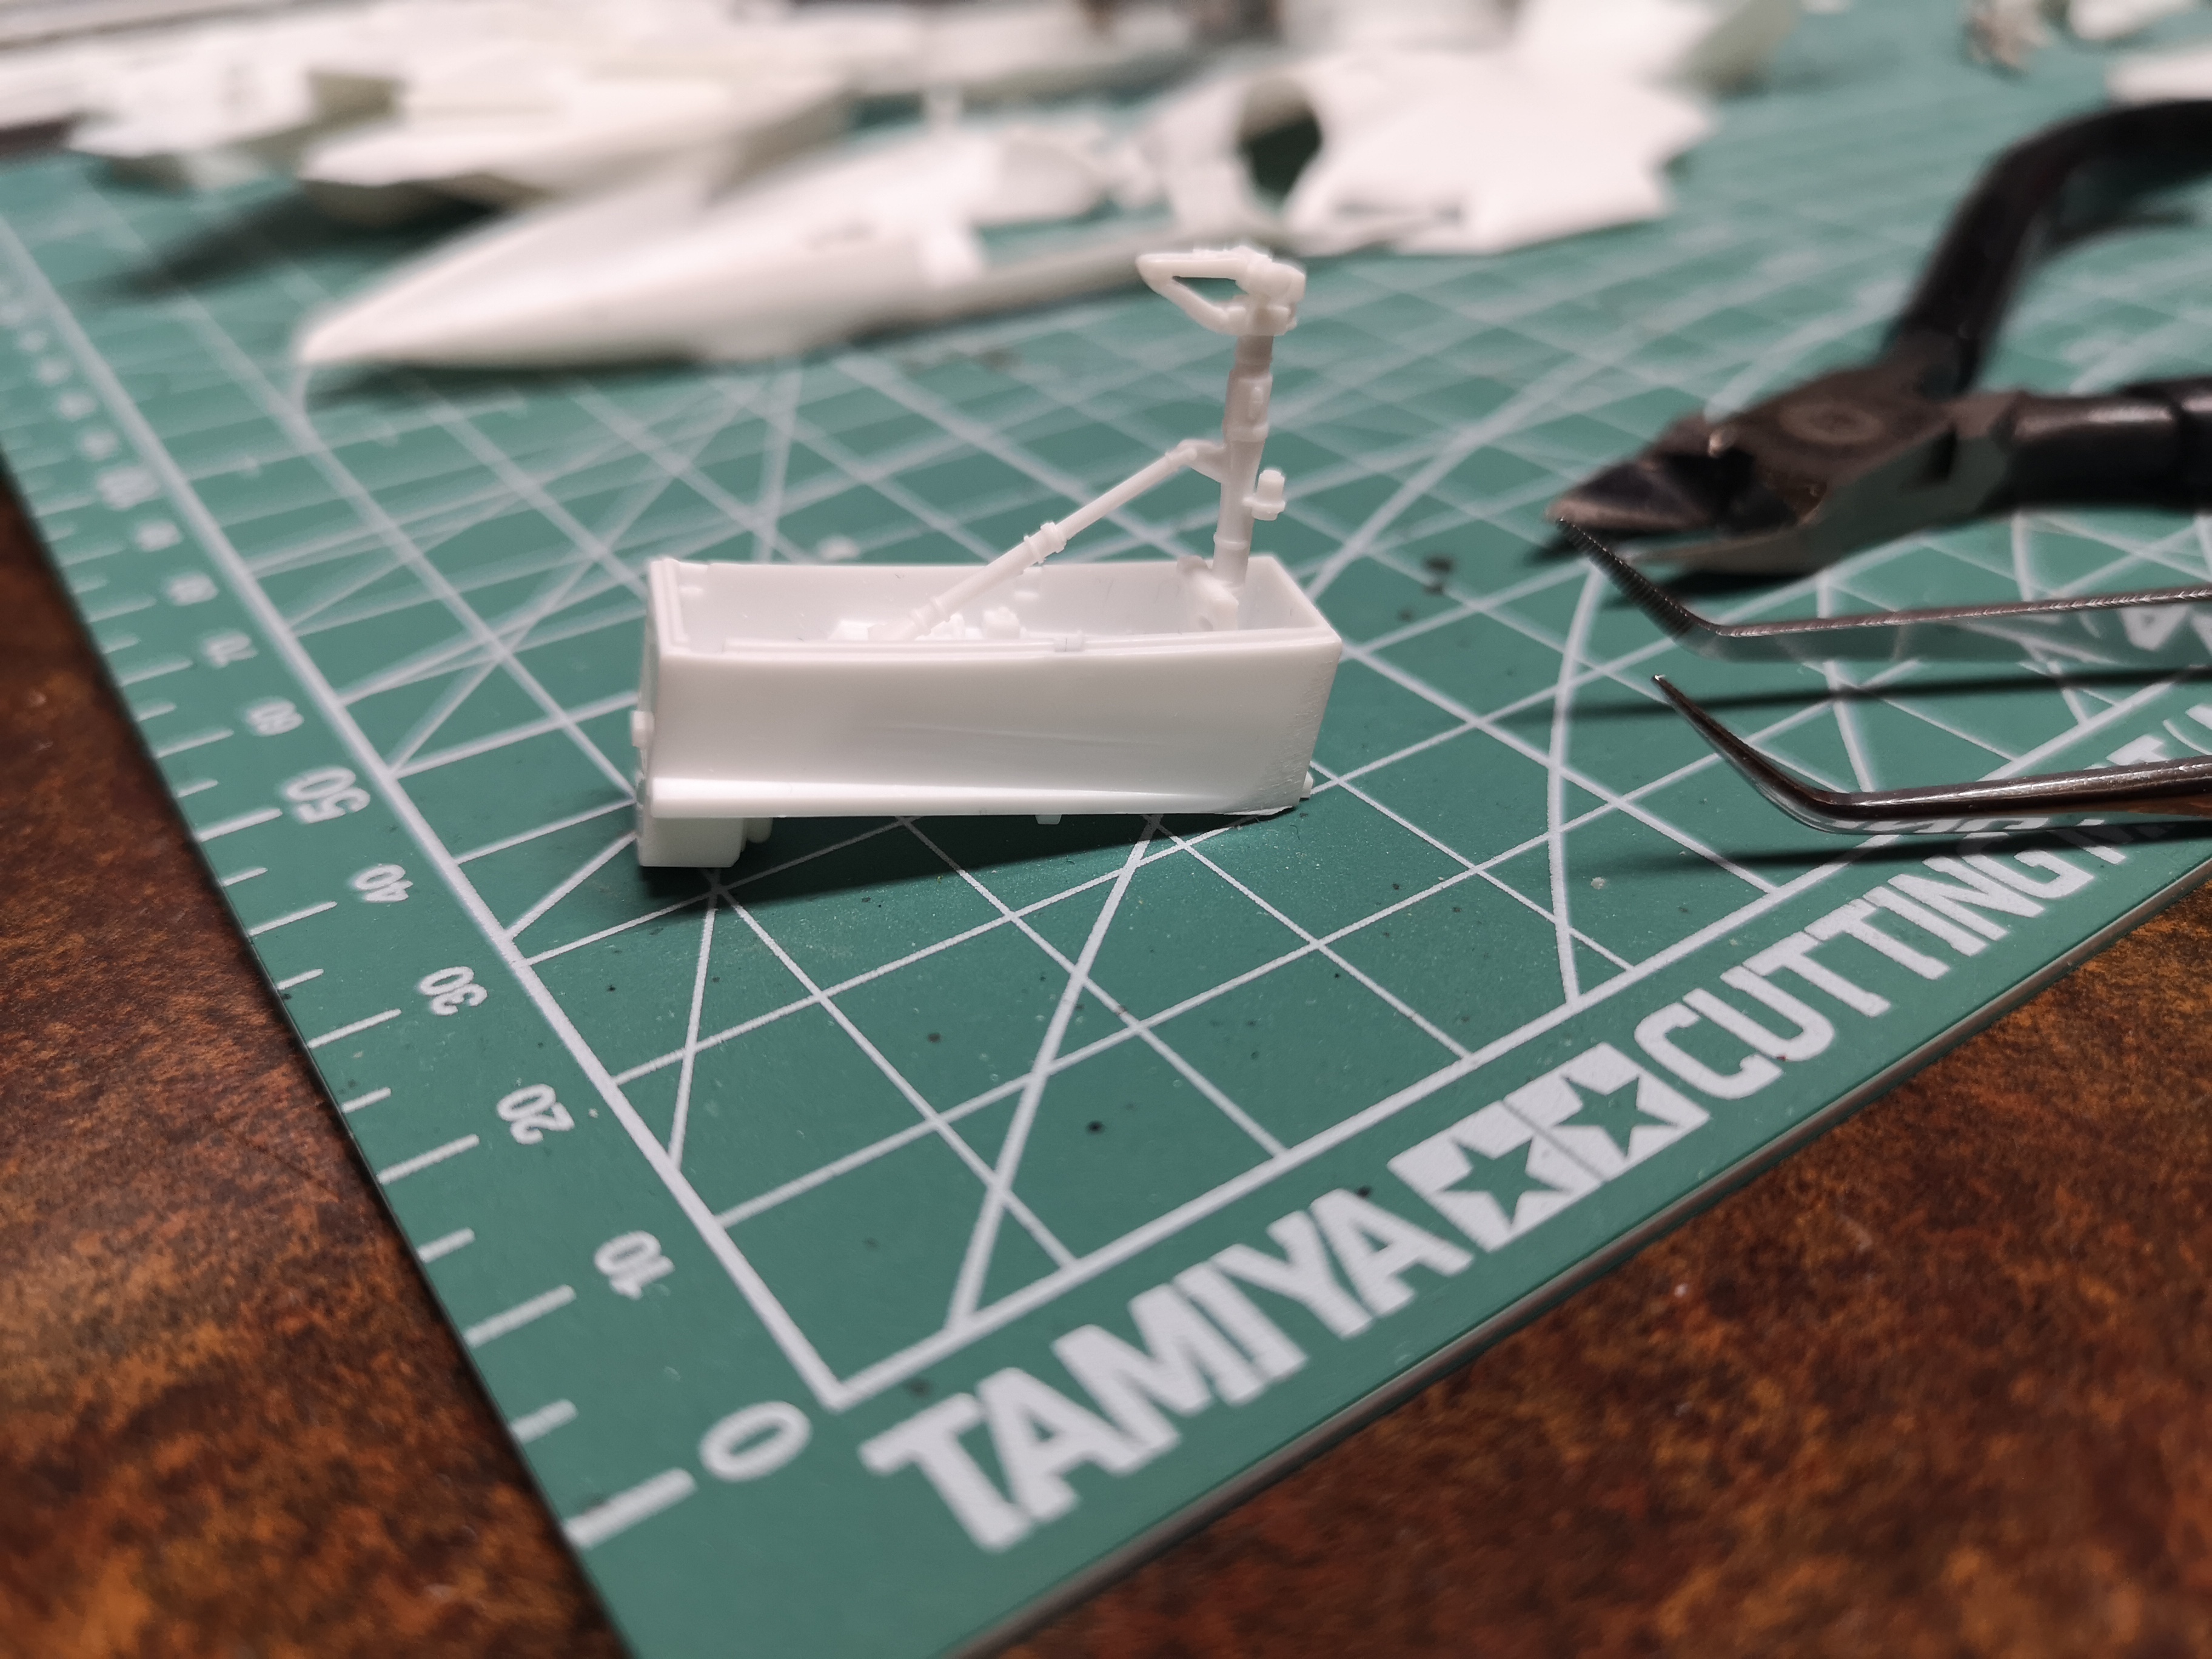
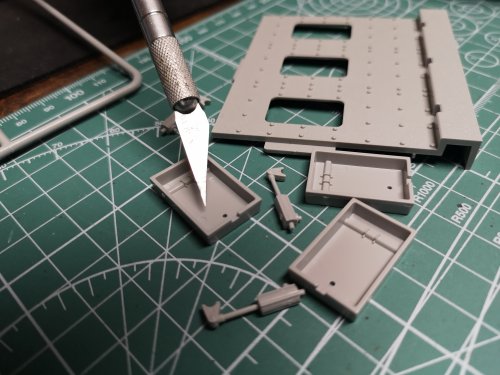
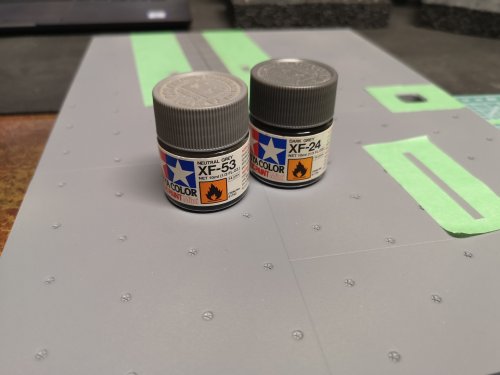
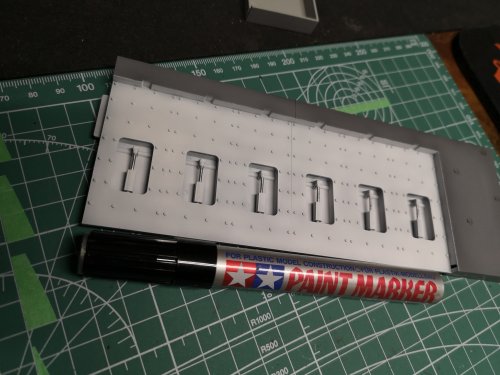
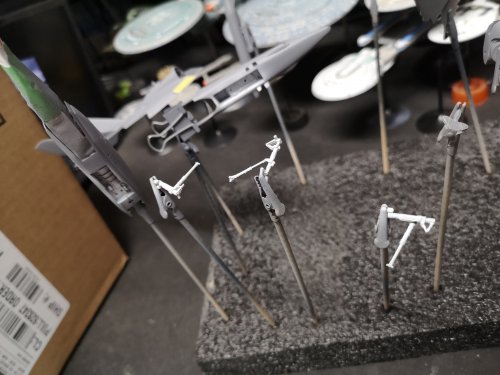
So after some detail painting on the Valks, I hosed all the parts down with Pledge. While waiting for the pledge to cure, I started on the base. Lots of what-do-you-call-these marks? I'm going to be lazy and not fill and sand these..... More here, but again, leaving them. At least they are evenly placed and almost look like they're supposed to be there, haha! Gray primer, plus these two shades of gray are all I have to play with. I honestly don't have any idea what I'm doing, but it's fun to play around with the airbrush and experiment. I was going to paint the individual tie down points a metallic color, but on closer inspection of the real ones, they are actually just painted the same gray as the rest of the deck. They only appear brighter because they are smooth and not textured like the rest of the deck. It's hard to make out, but this Tamiya paint marker produces color that almost looks like chrome or highly polished steel.


-
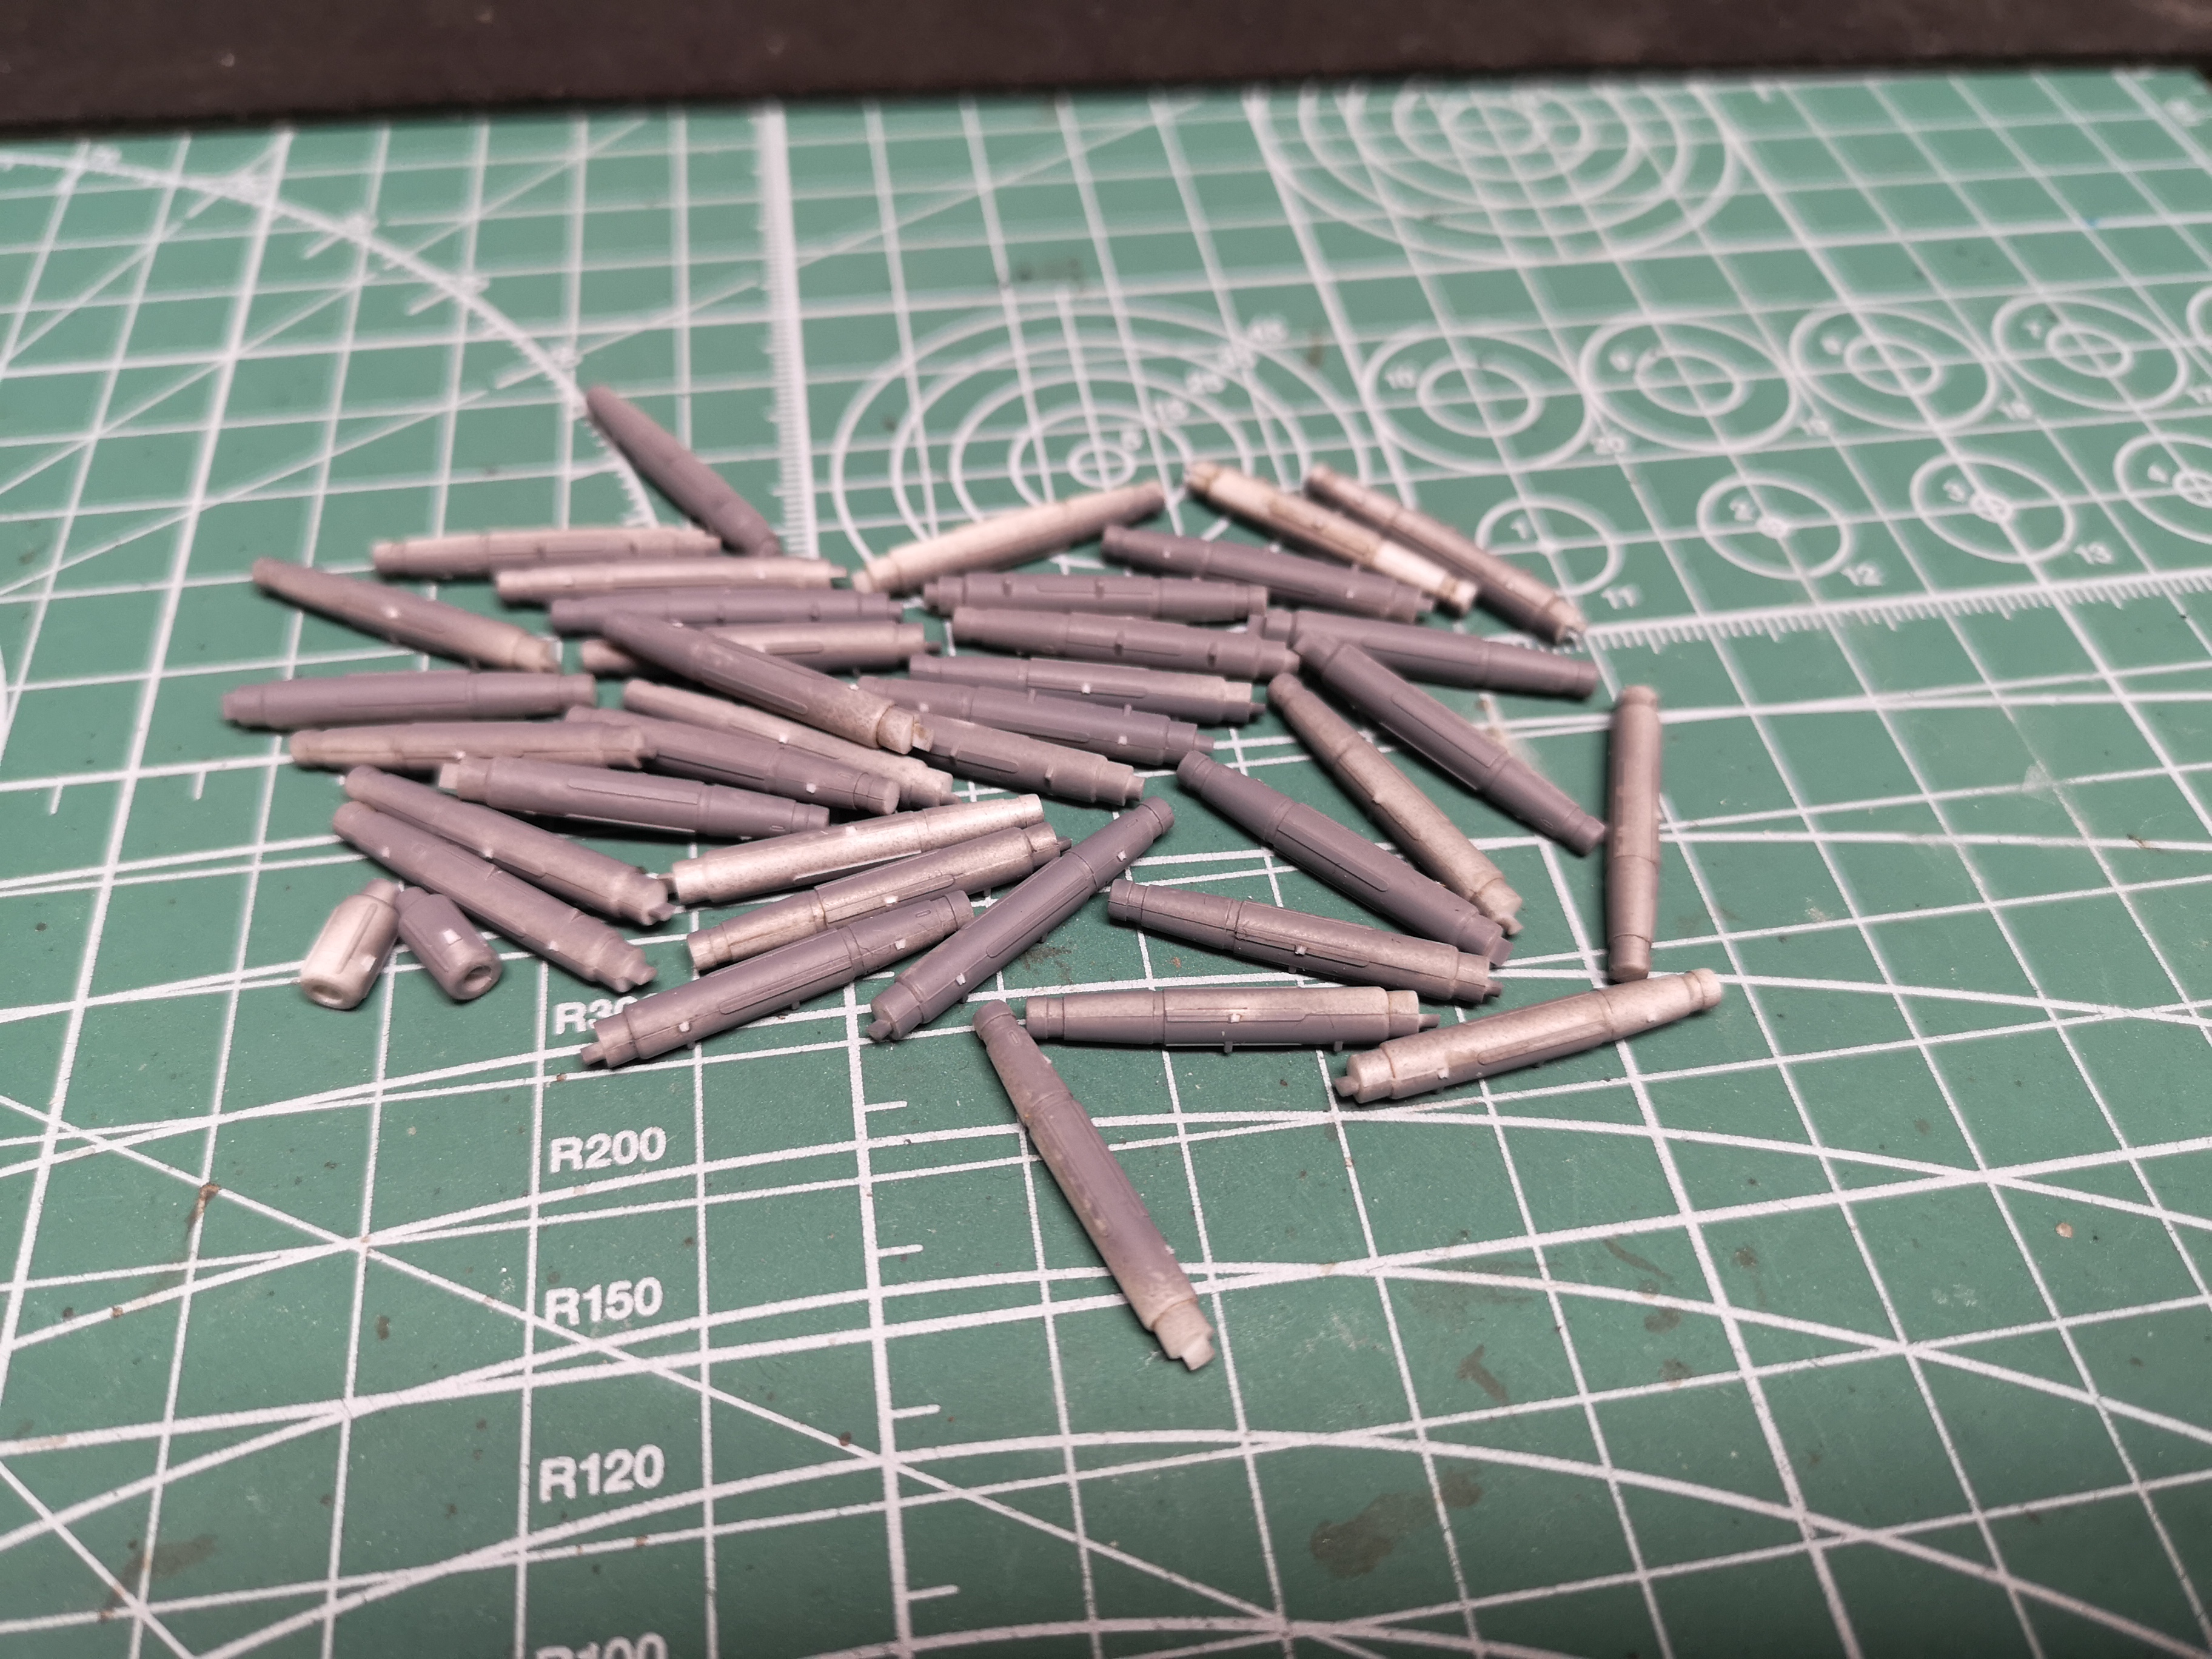
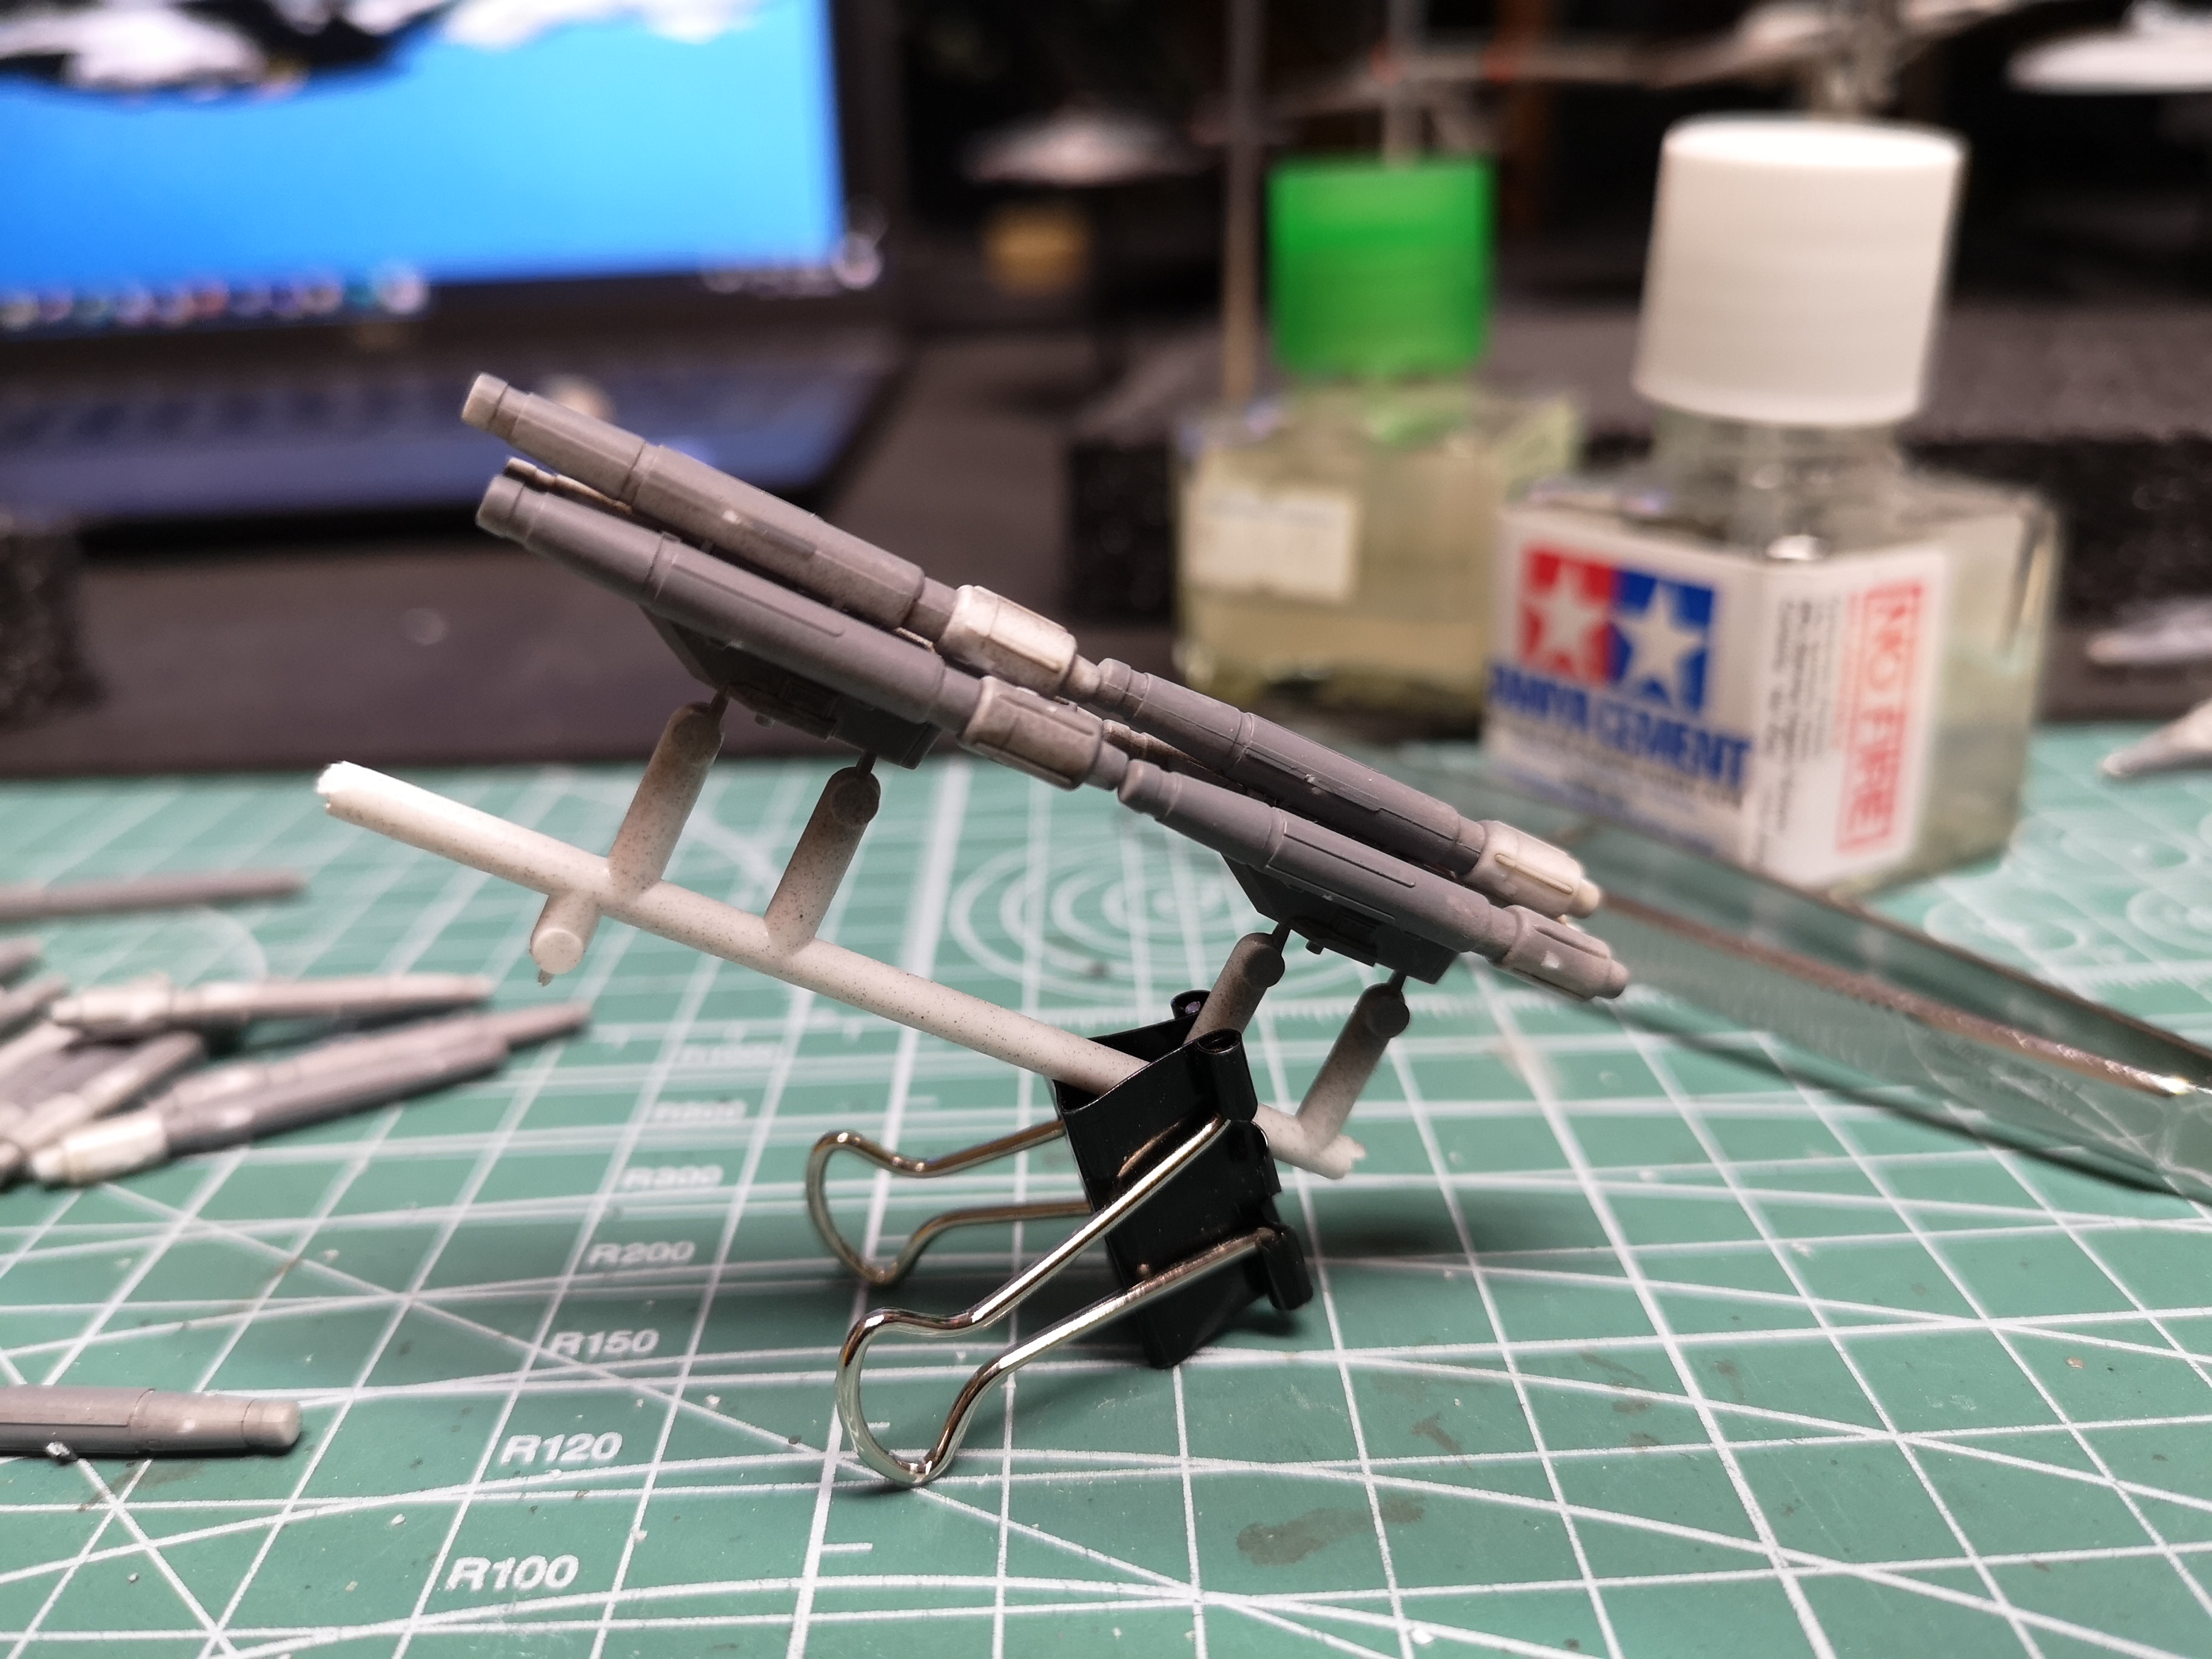
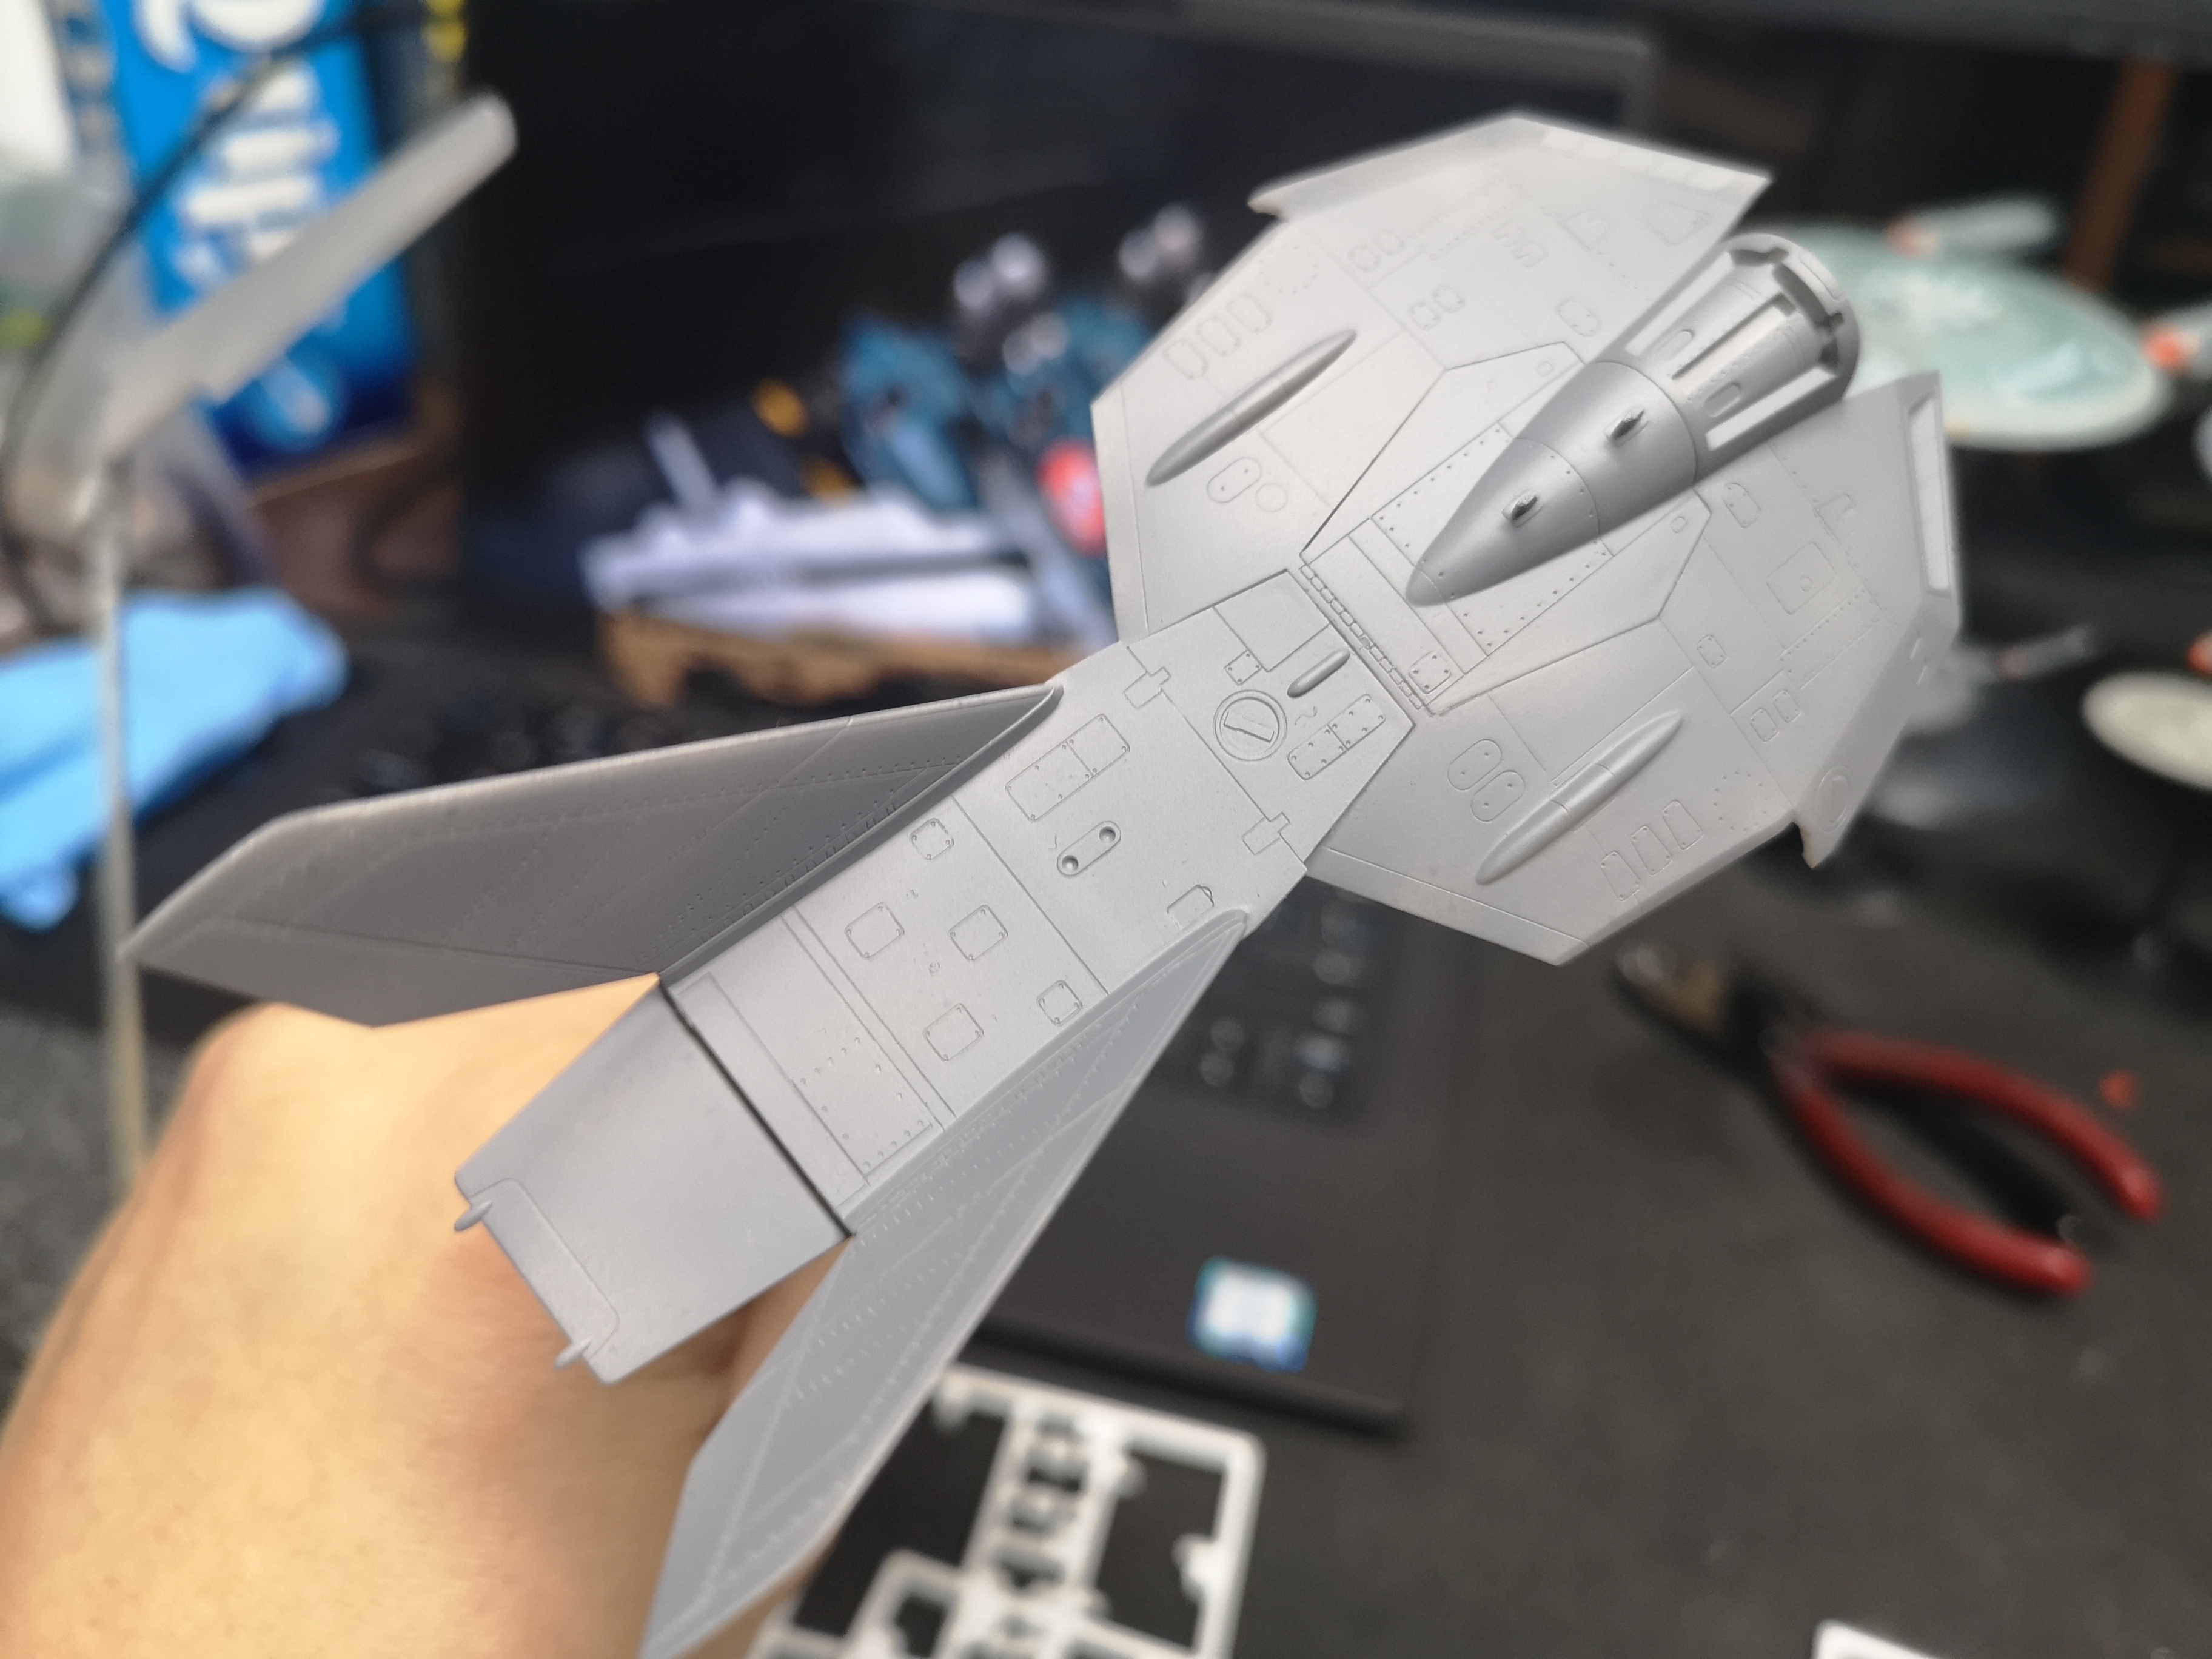
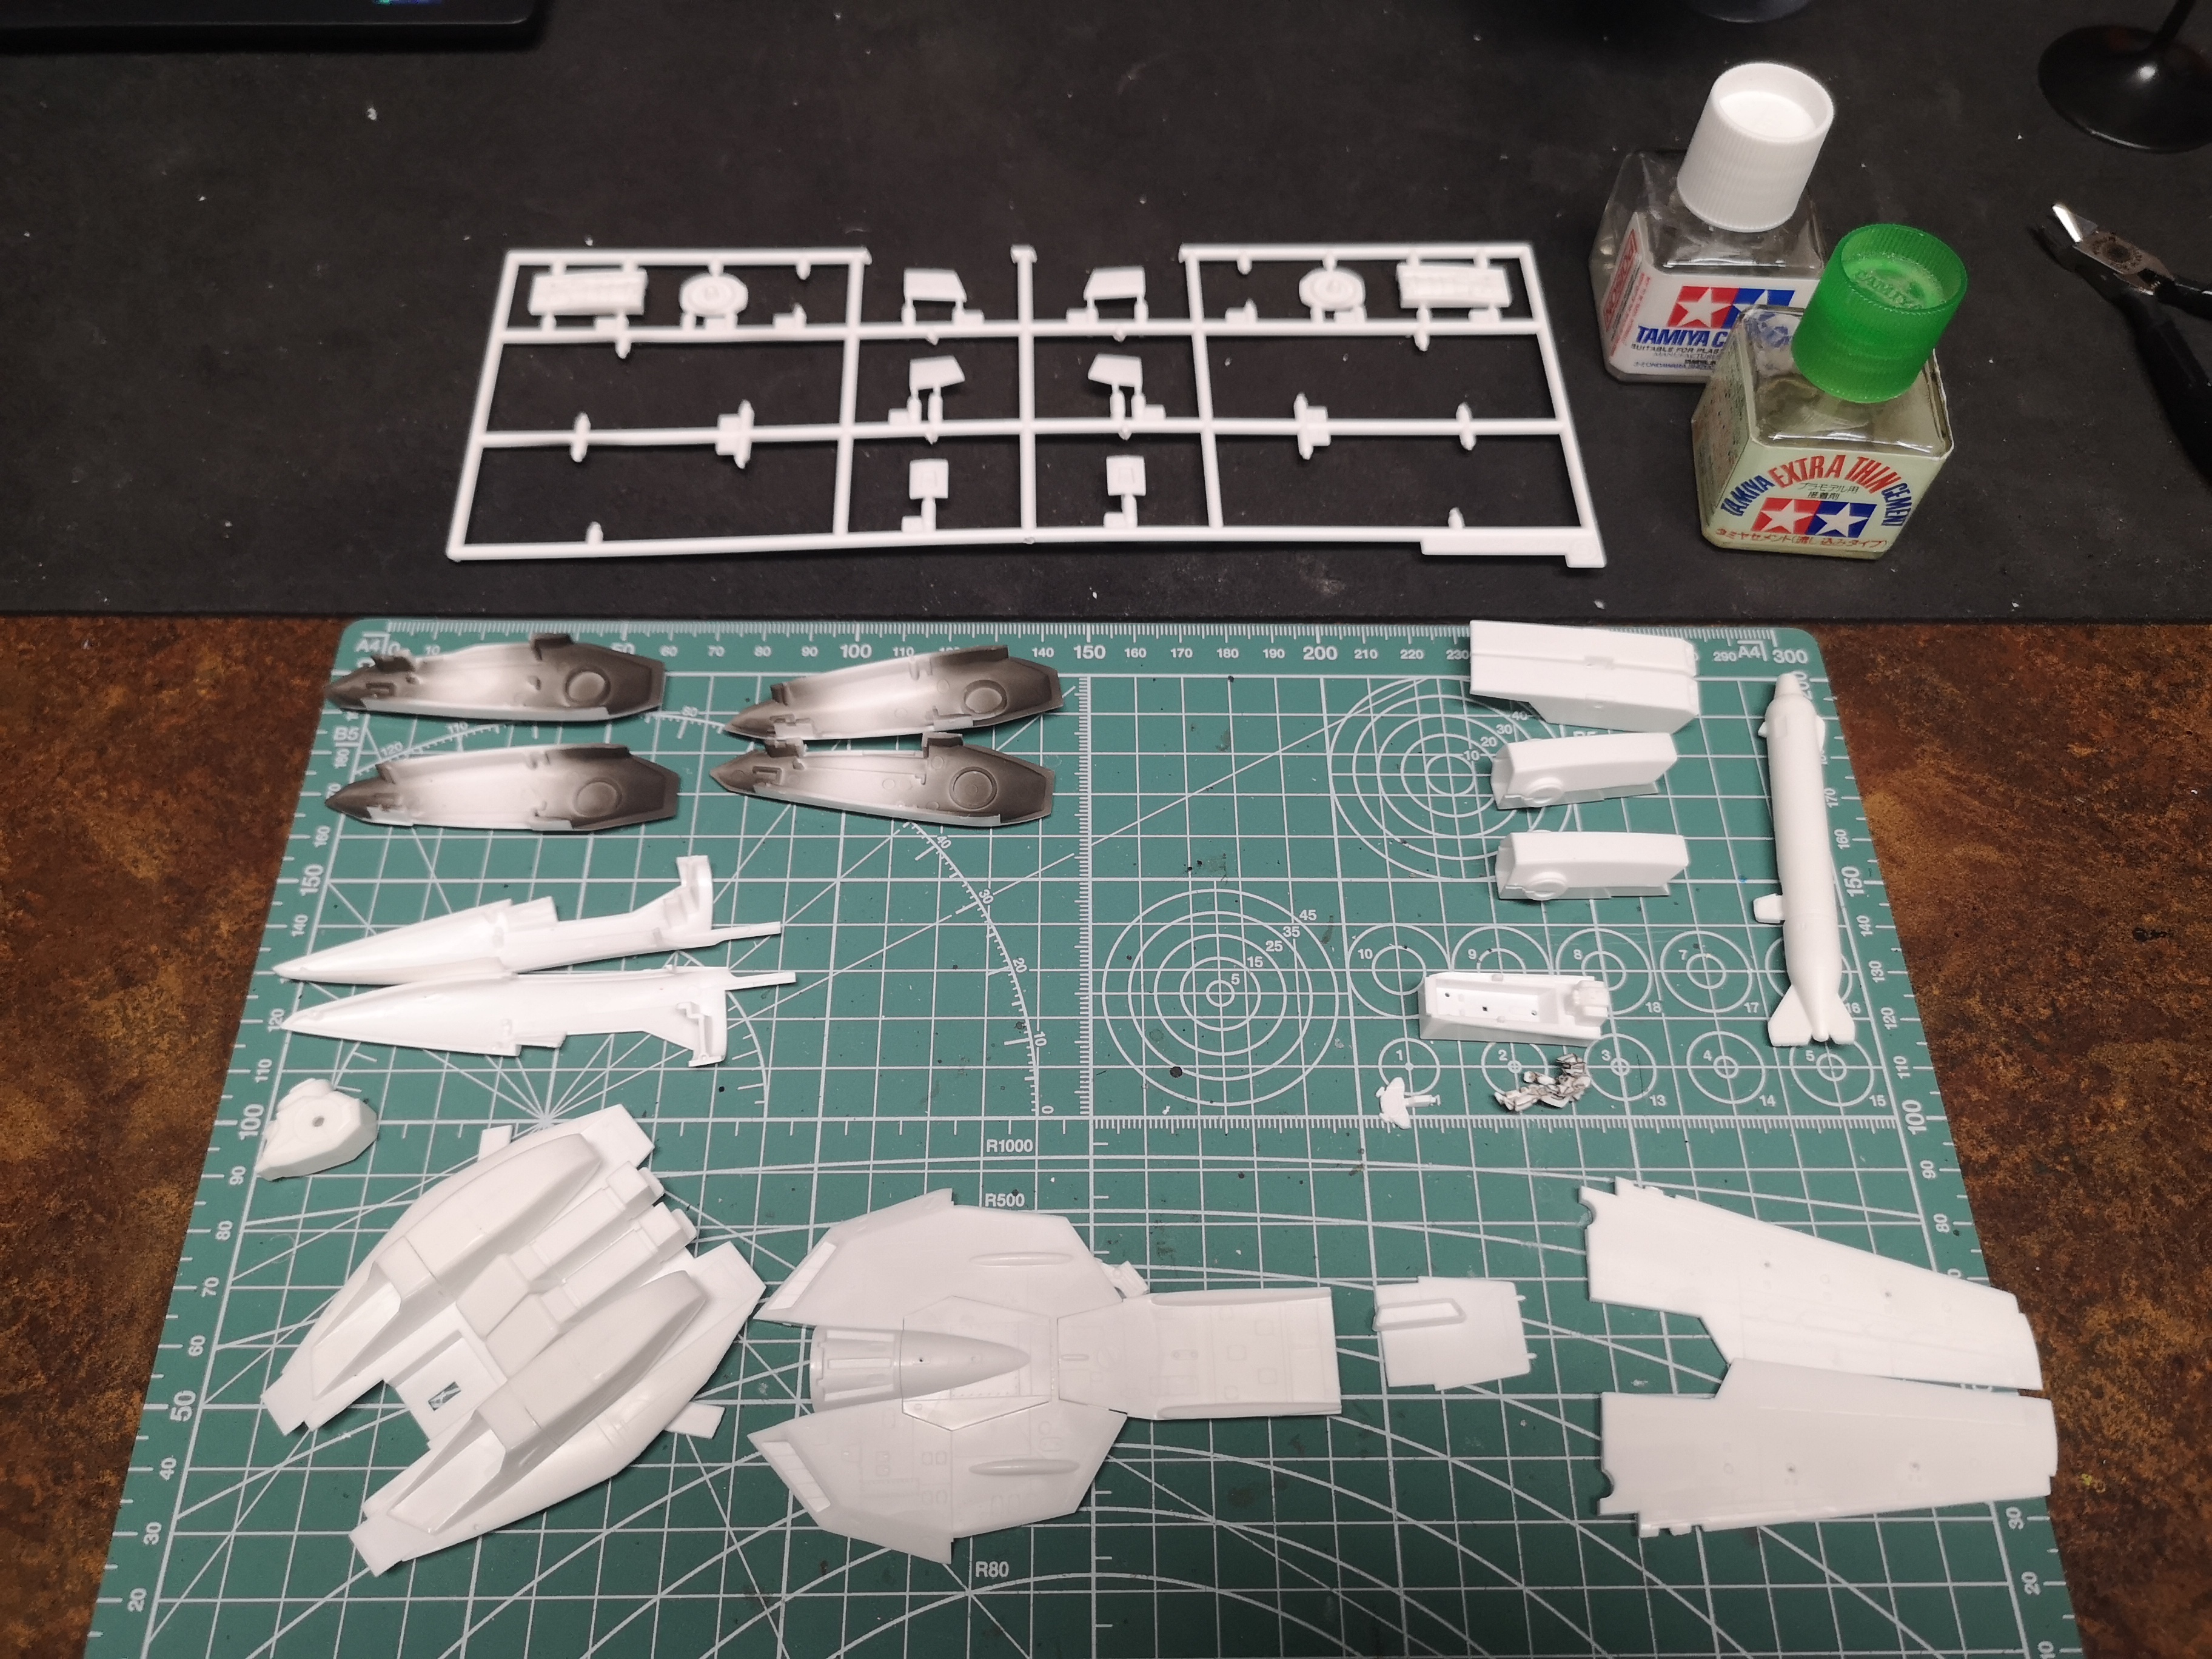
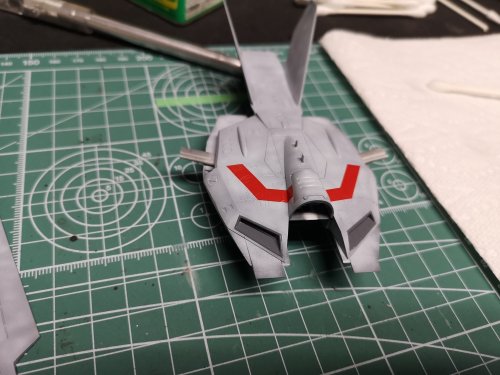
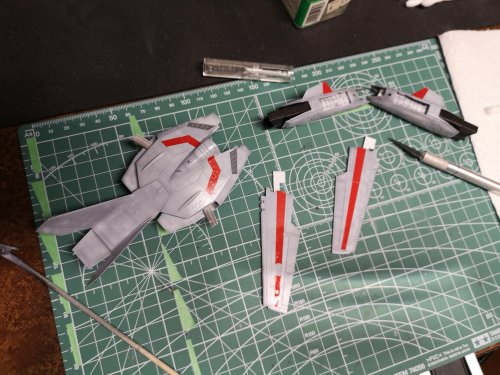
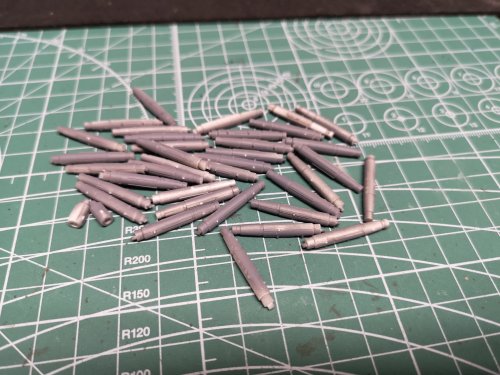
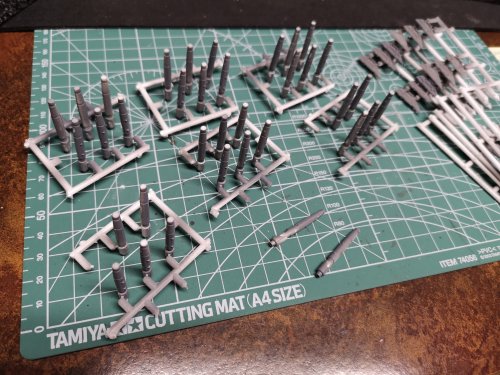
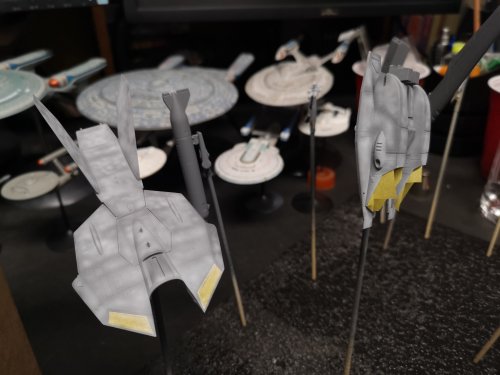
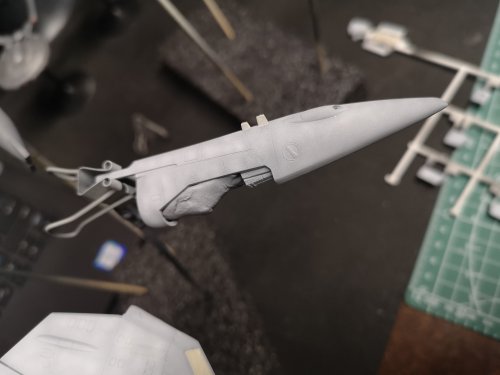
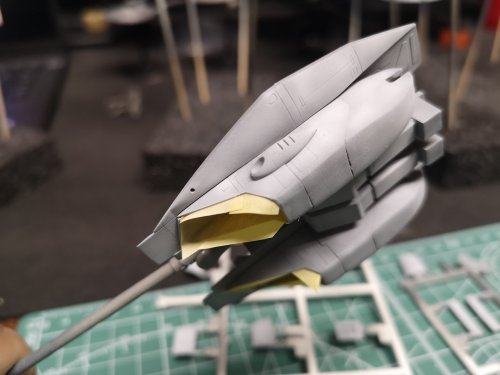
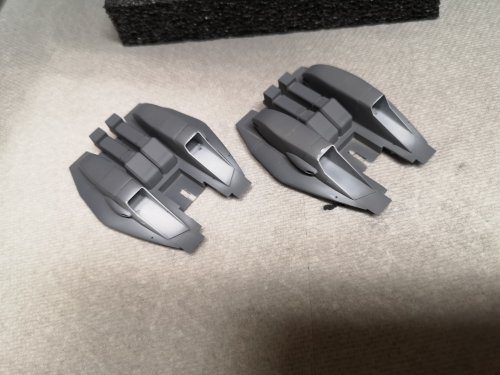
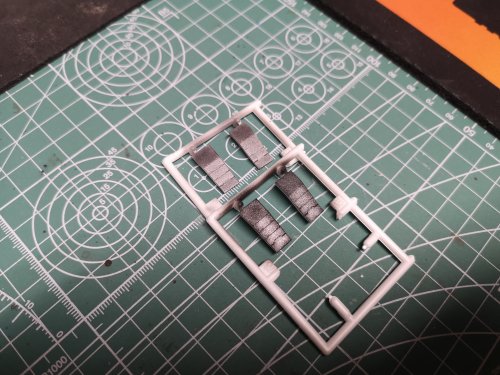
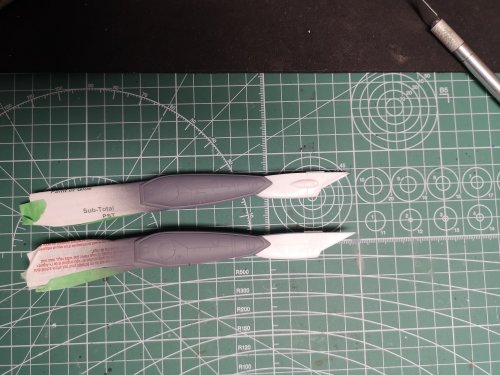
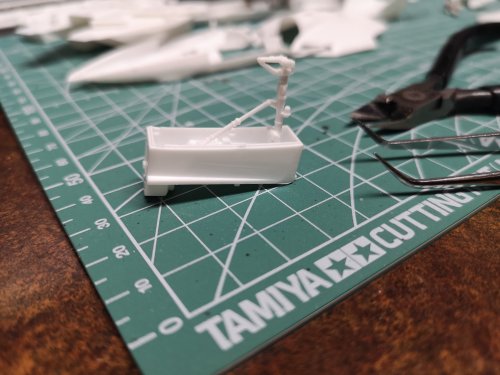
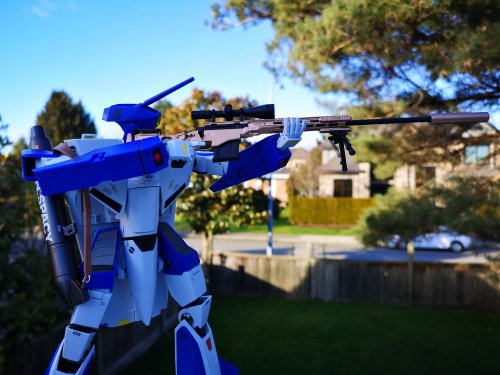
As Anakin once said, this is where the fun begins....TV Missiles. What a pain in the buttocks. I was going to leave the missile engines attached to the runners and paint them but ended up cutting them off anyway. Uneven primer, marks from where I cut them off the sprues.....what a mess. Got them covered with some paint and the mess is hardly noticeable. Canopy masking....another weak point for me. For my Strike Valks, I even used the Hasegawa supplied decals, but I remembered they didn't like sticking to bare clear plastic very much so I decided I better not be lazy and paint these ones instead. Ok, so not an exact color match, but I don't think I will ever go stark white on any Macross builds. Same goes with the 1S.


-
Oh man, don't even sweat it, take care of yourself first. I have plenty on my plate to keep me busy......it's what happens when you stop building models for 17 years, but keep collecting man-crap during that whole time. Looking forward to seeing your F14 come alive.....when is Top Gun coming out? I might be inspired to build one too.
-
White on grey primer (actually, it's white with a few drops of gray) I've only rattle-canned my recent Valkyrie builds in a light grey, so this was the first time I was going for white. Also, first time painting a Valk with an airbrush. Really digging the splotchy look. A few more coats I still sort of like the gray....I don't know if I want to go full stark white from the anime. Also, worried if I go further, I'll lose the splotchiness.


-
That's coming out nice. I might crack mine open and take a peak inside. There are a few 1/48 builds on YouTube, wonder if the 1/72 version is as easy as the 1/48 build looks? I worked retail for 5 years, even have some military experience, but the sleep deprivation from mil work is nothing compared to having kids in your 40s, hahahahaha!!!
-
Lol, there is just a little blood left, hahahaha
-
Lol, no free time, with two little kids running around and 1.5 jobs, I just stay up in the middle of the night to work on stuff.......then drink gallons of coffee the next day just to function, hahahahahaha!
-
Will have to look for those next visit to the local hobby shop
-
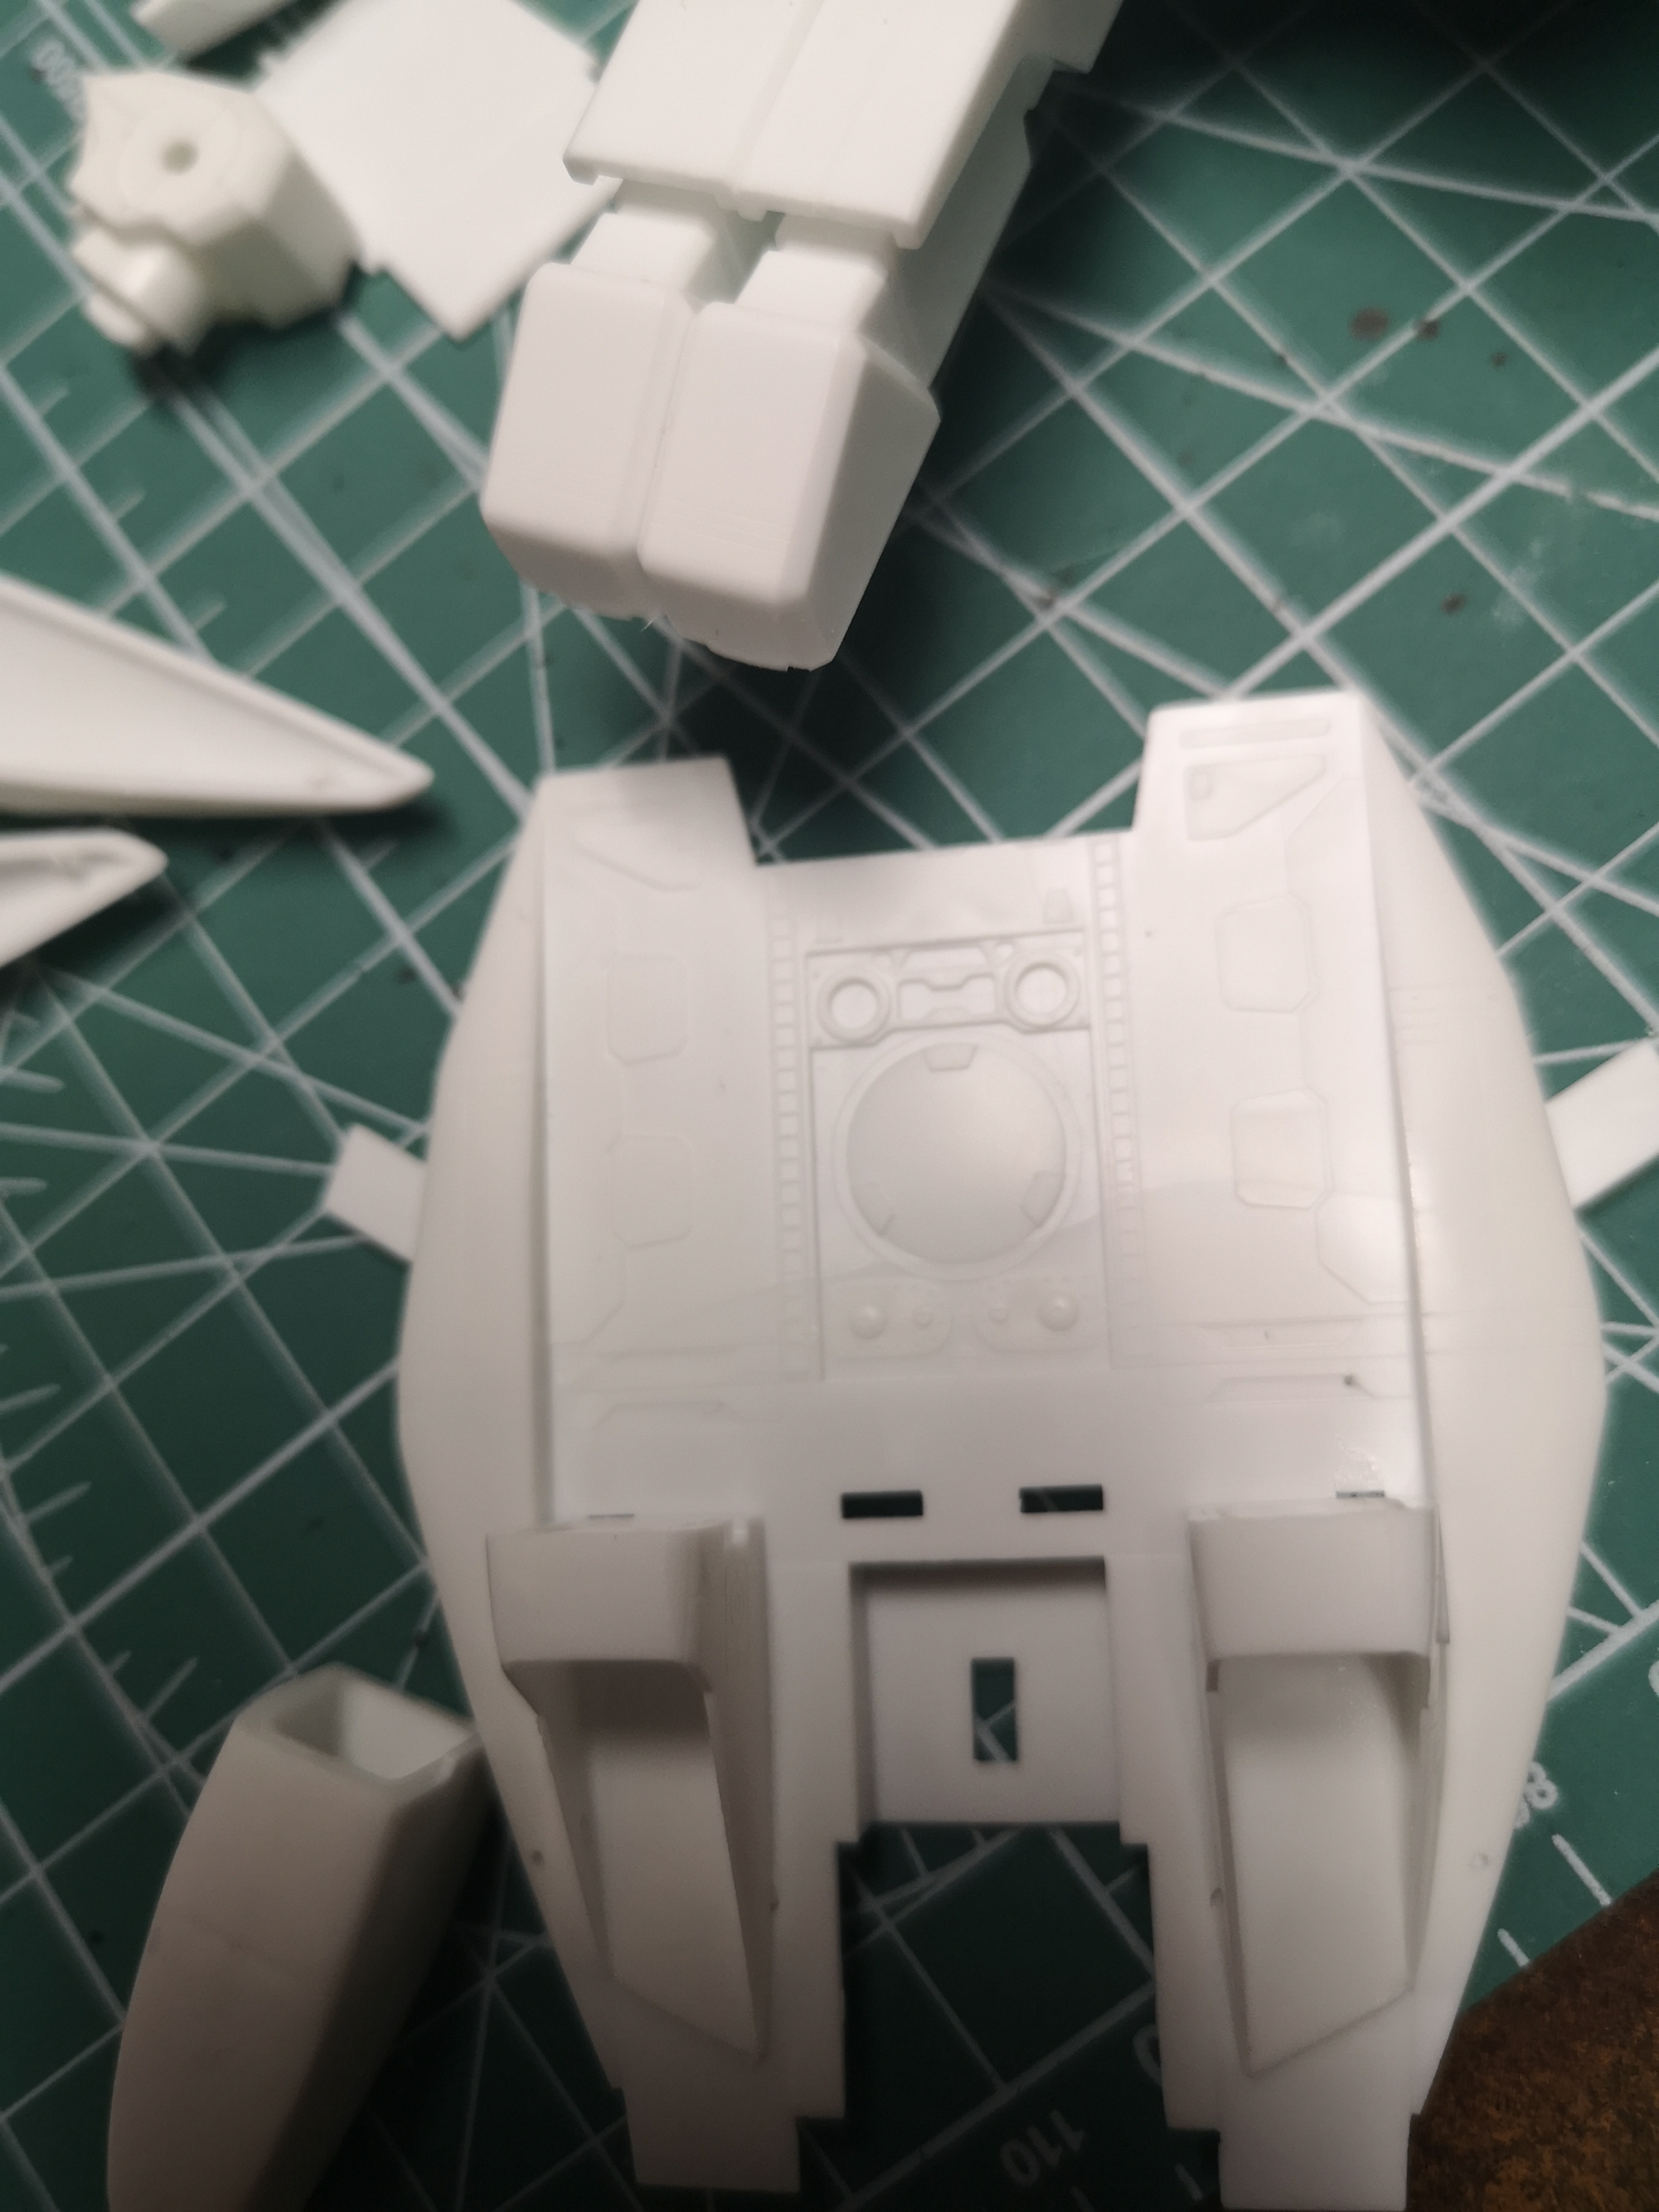
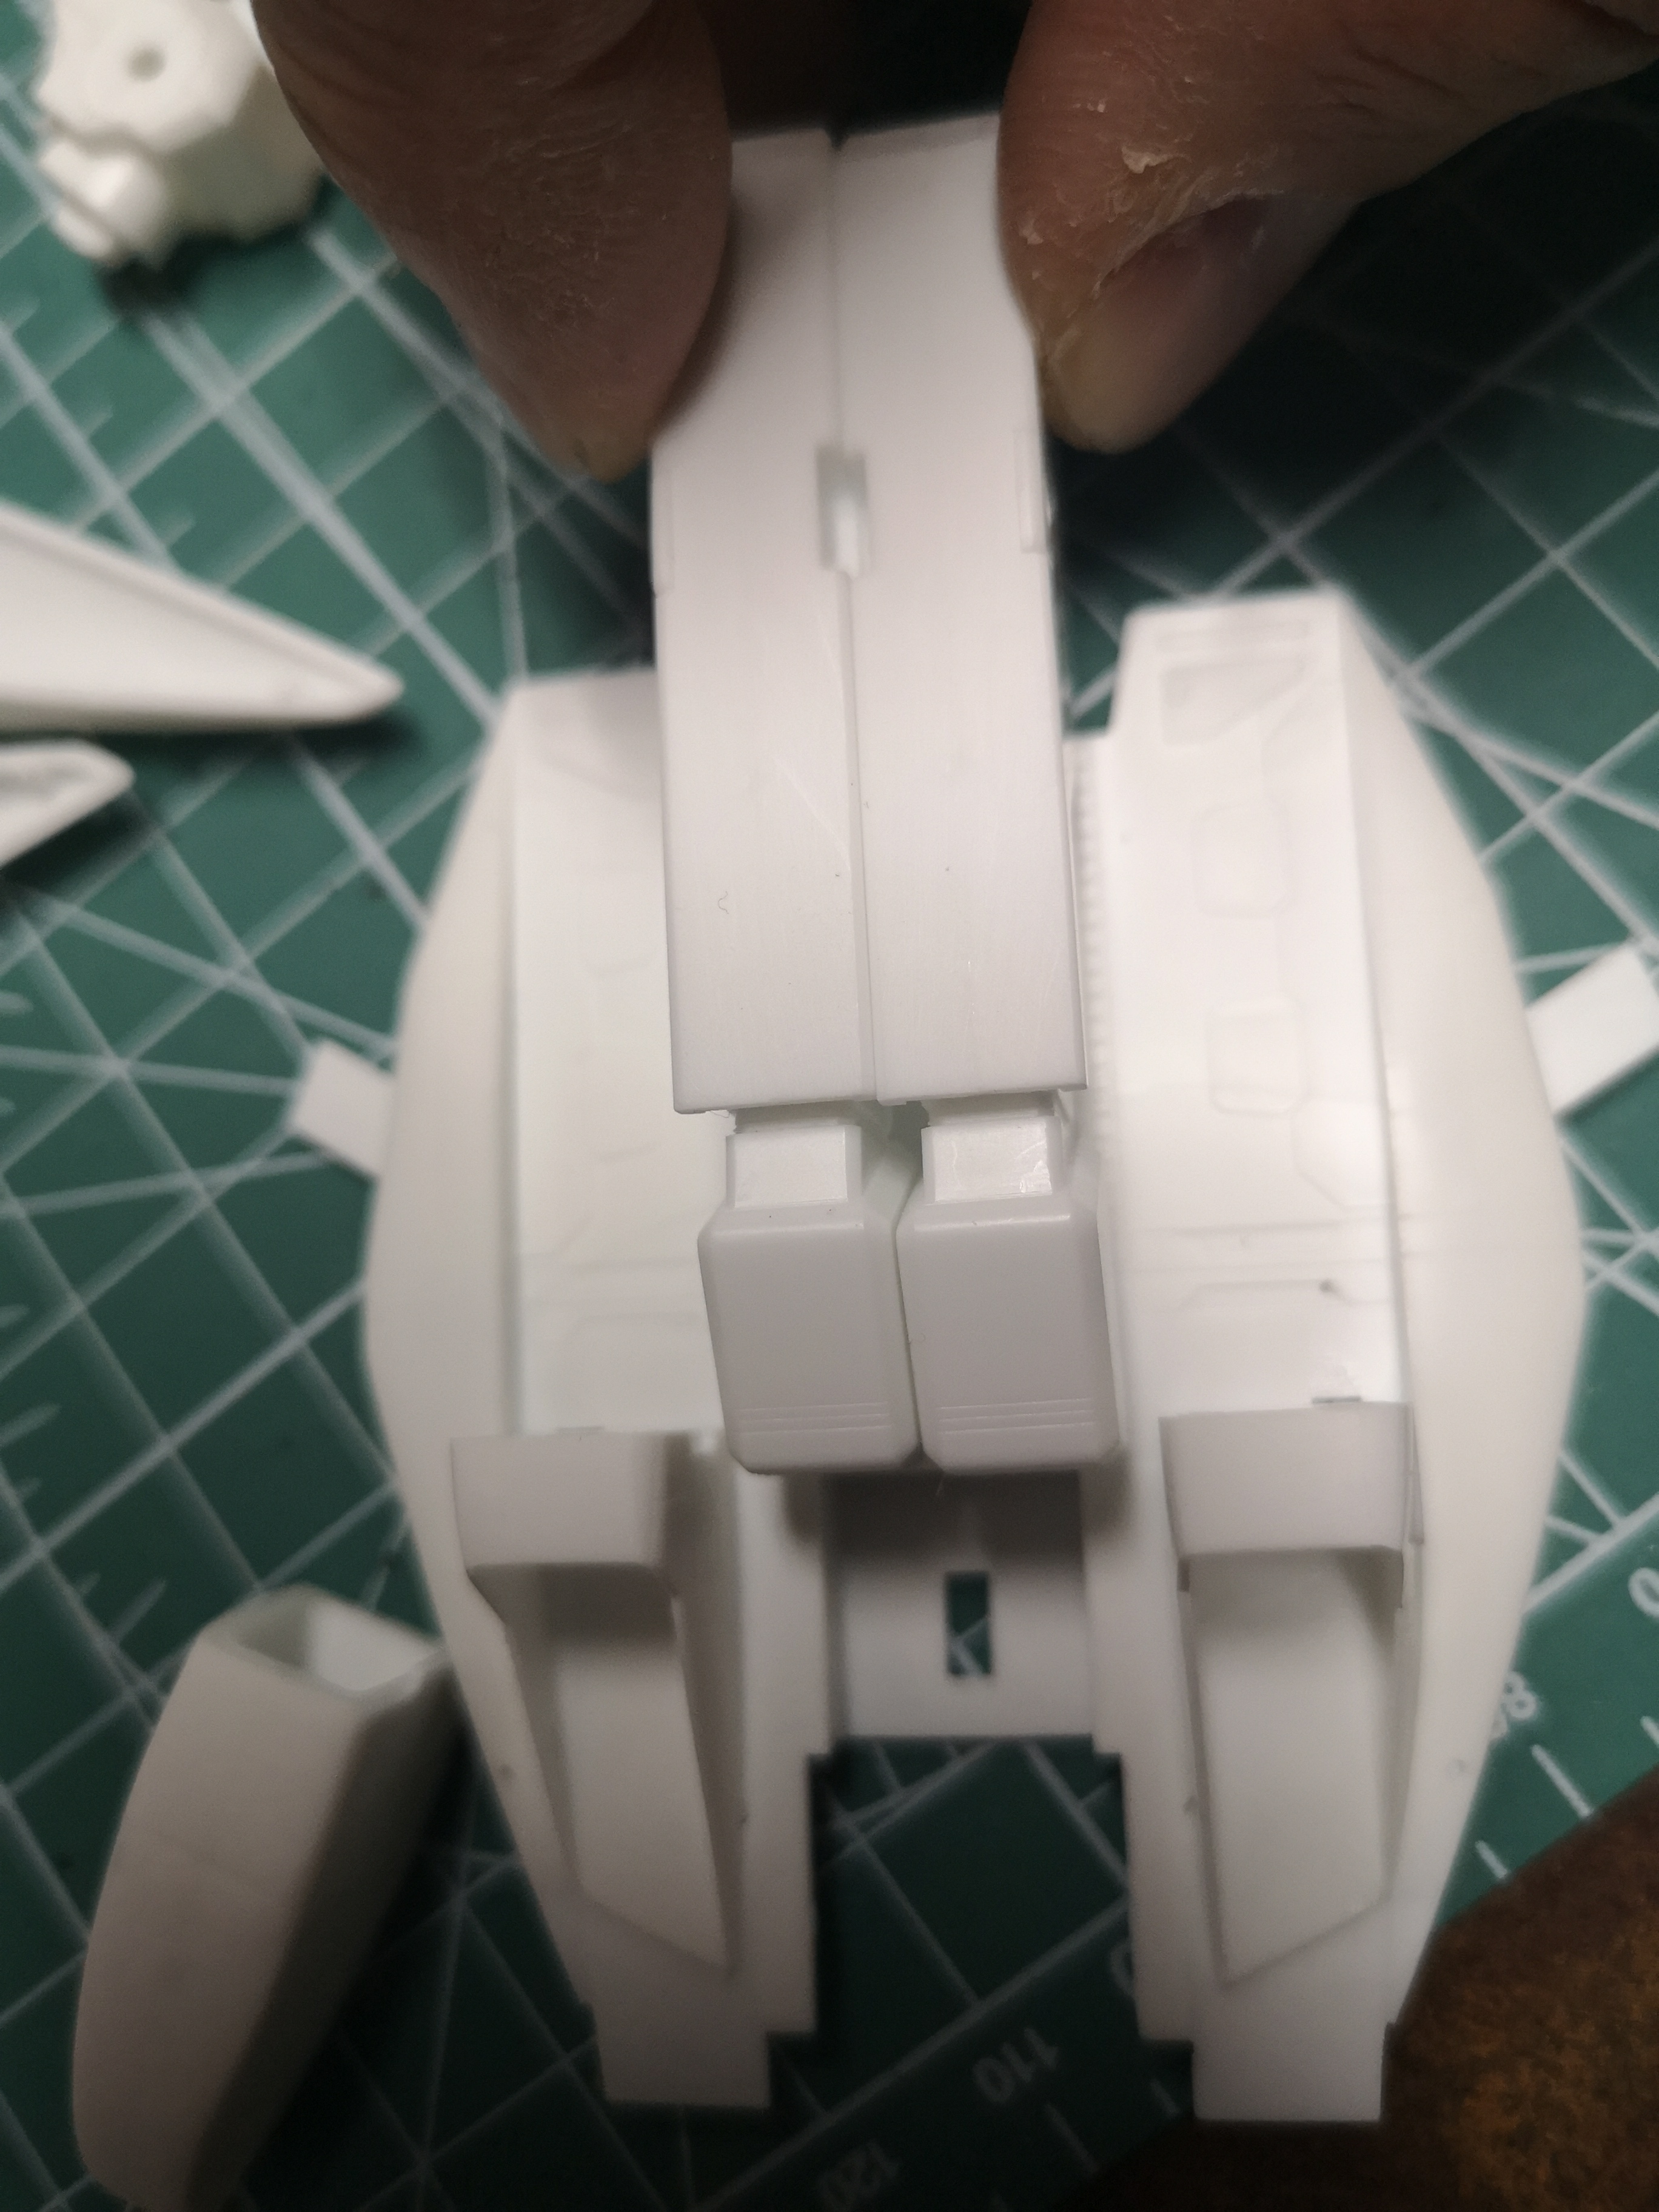
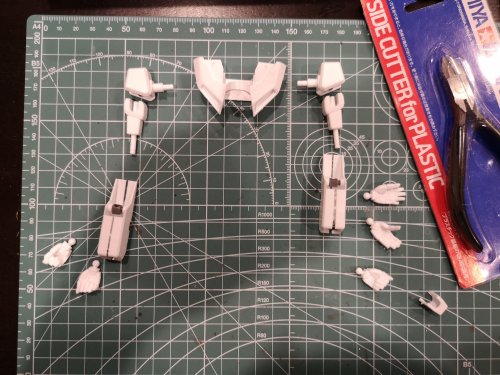
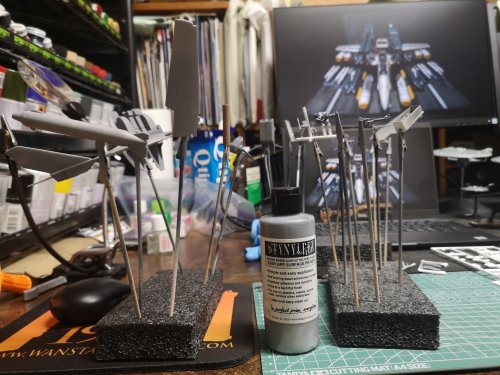
Hmmm......might dig out an older model to experiment on. I have a few fighters I build as a kid, maybe I can try it with one of those. I should get a saw for this type of task. Not much to report on the VF-1 builds. Just painted the white bits like the landing gear, bays and intakes. I'd forgotten that white requires a lot of coats over darker primers. While waiting for the paint to dry, I got curious about a few Battroid kits I bought, also about 20 yrs ago or so. I laid them out to take photos for a comparison, and next thing I know, I start cutting parts off trees and started to fit a few parts together. Wow, the Battroid version is coming across as a lot easier to build so far. The older Bandai might be a bit of a pain, what with captured parts. I build a few of those old Bandai kits as a kid, and made a mess of them, so hopefully I can do better now. Got some subassemblies slapped together, did as much as I could without my helping hands magnifier. Left eh forearms open because it does capture a clear piece, so that might need some pre-painting before closing them off. More to follow.


-
Nice work! Love Tamiya rattle cans, spent a fortune on them over the years, lol!
-
Found this build: https://youtu.be/JVgFokfsRUs Sort of want to build one now
-
Holy crap, that's well beyond my abilities.....and patience. I would totally mangled the wings. I couldn't scribe a straight line, let alone saw flaps off and reattach them like that.
-
BTW, I've been humming and hawing about dumping the idea of building Hikaru's 1J and was thinking of trying to recreate this scene: https://youtu.be/dyVwXc5KTKo Can anyone tell who is on deck? It looks like Hikaru, Max and Kakizaki. Not sure if Roy already launched, but I didn't notice his 1S. Any idea what their placement is in terms of which catapault they are staged at? I know nothing of carrier deck operations, but it looks like Hikaru launched from one of the front facing ones, and maybe someone else launched from the other one? Anyway, just mulling over the idea, if I figure it's too much, I might just bin the idea and go back to building Hikaru's TV 1J. Also, I'll need more 1A heads, hahahaha! I have no idea why I bought so many 1S Valks back in the day.
-
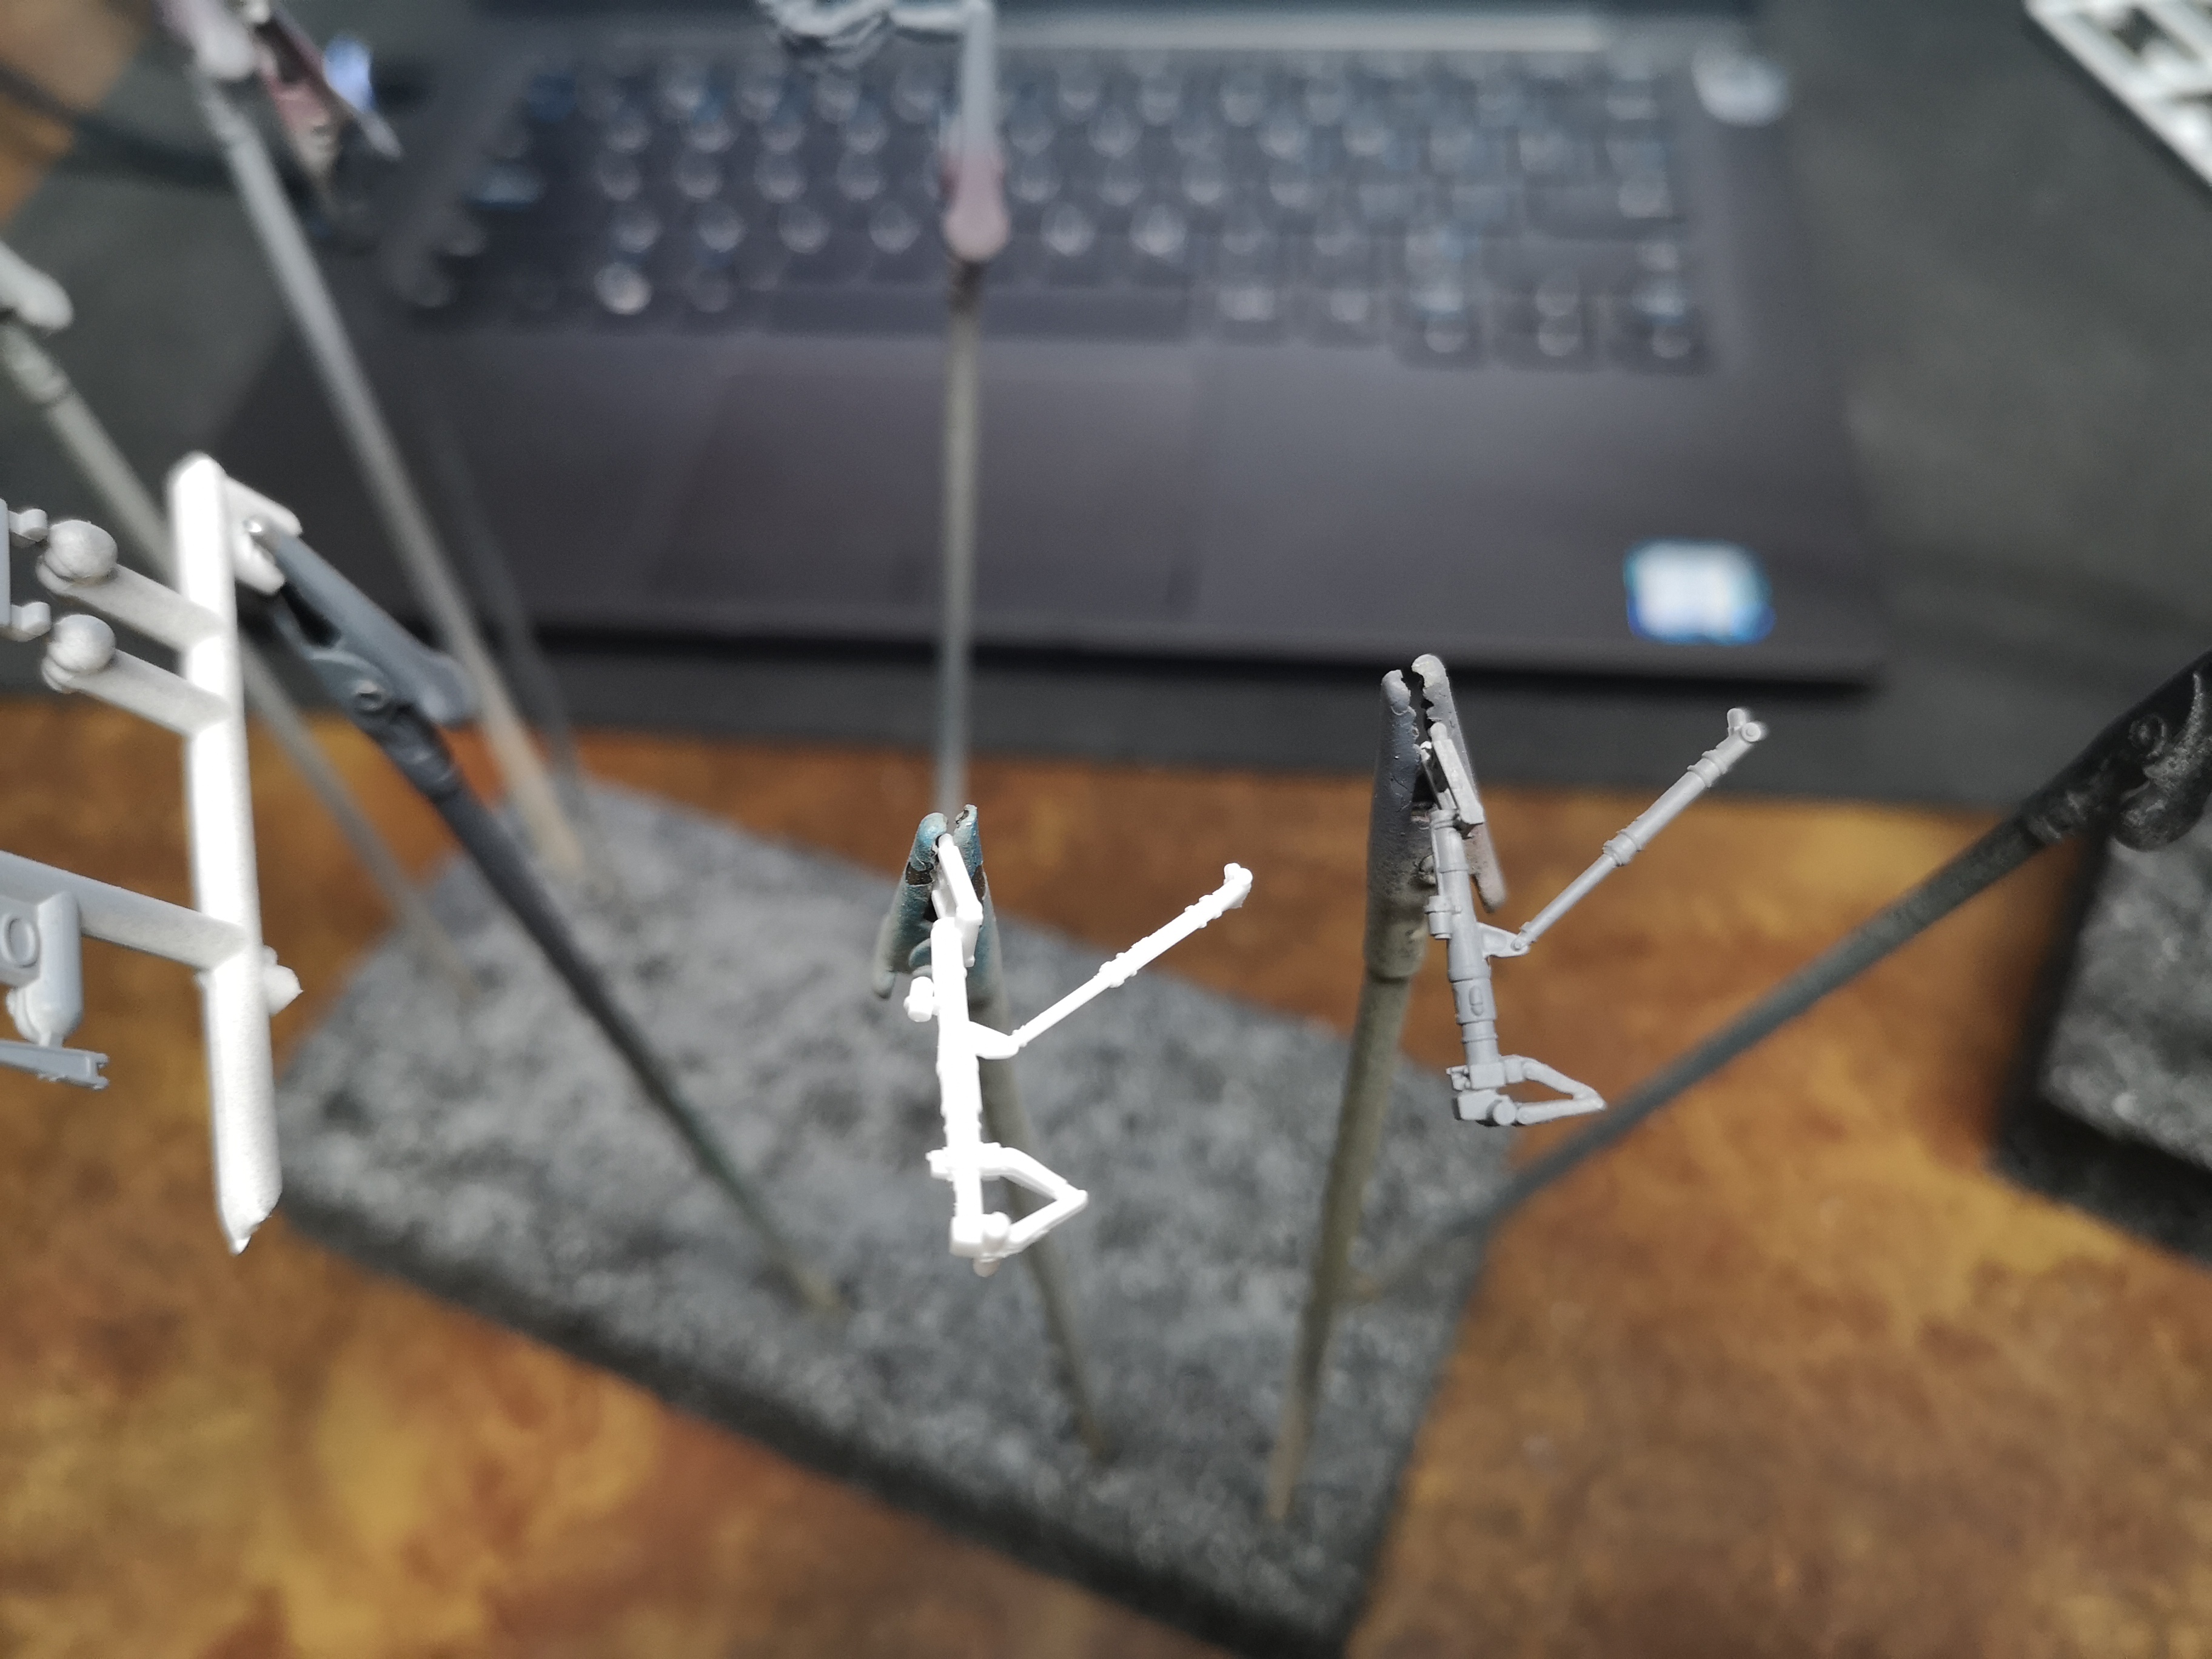
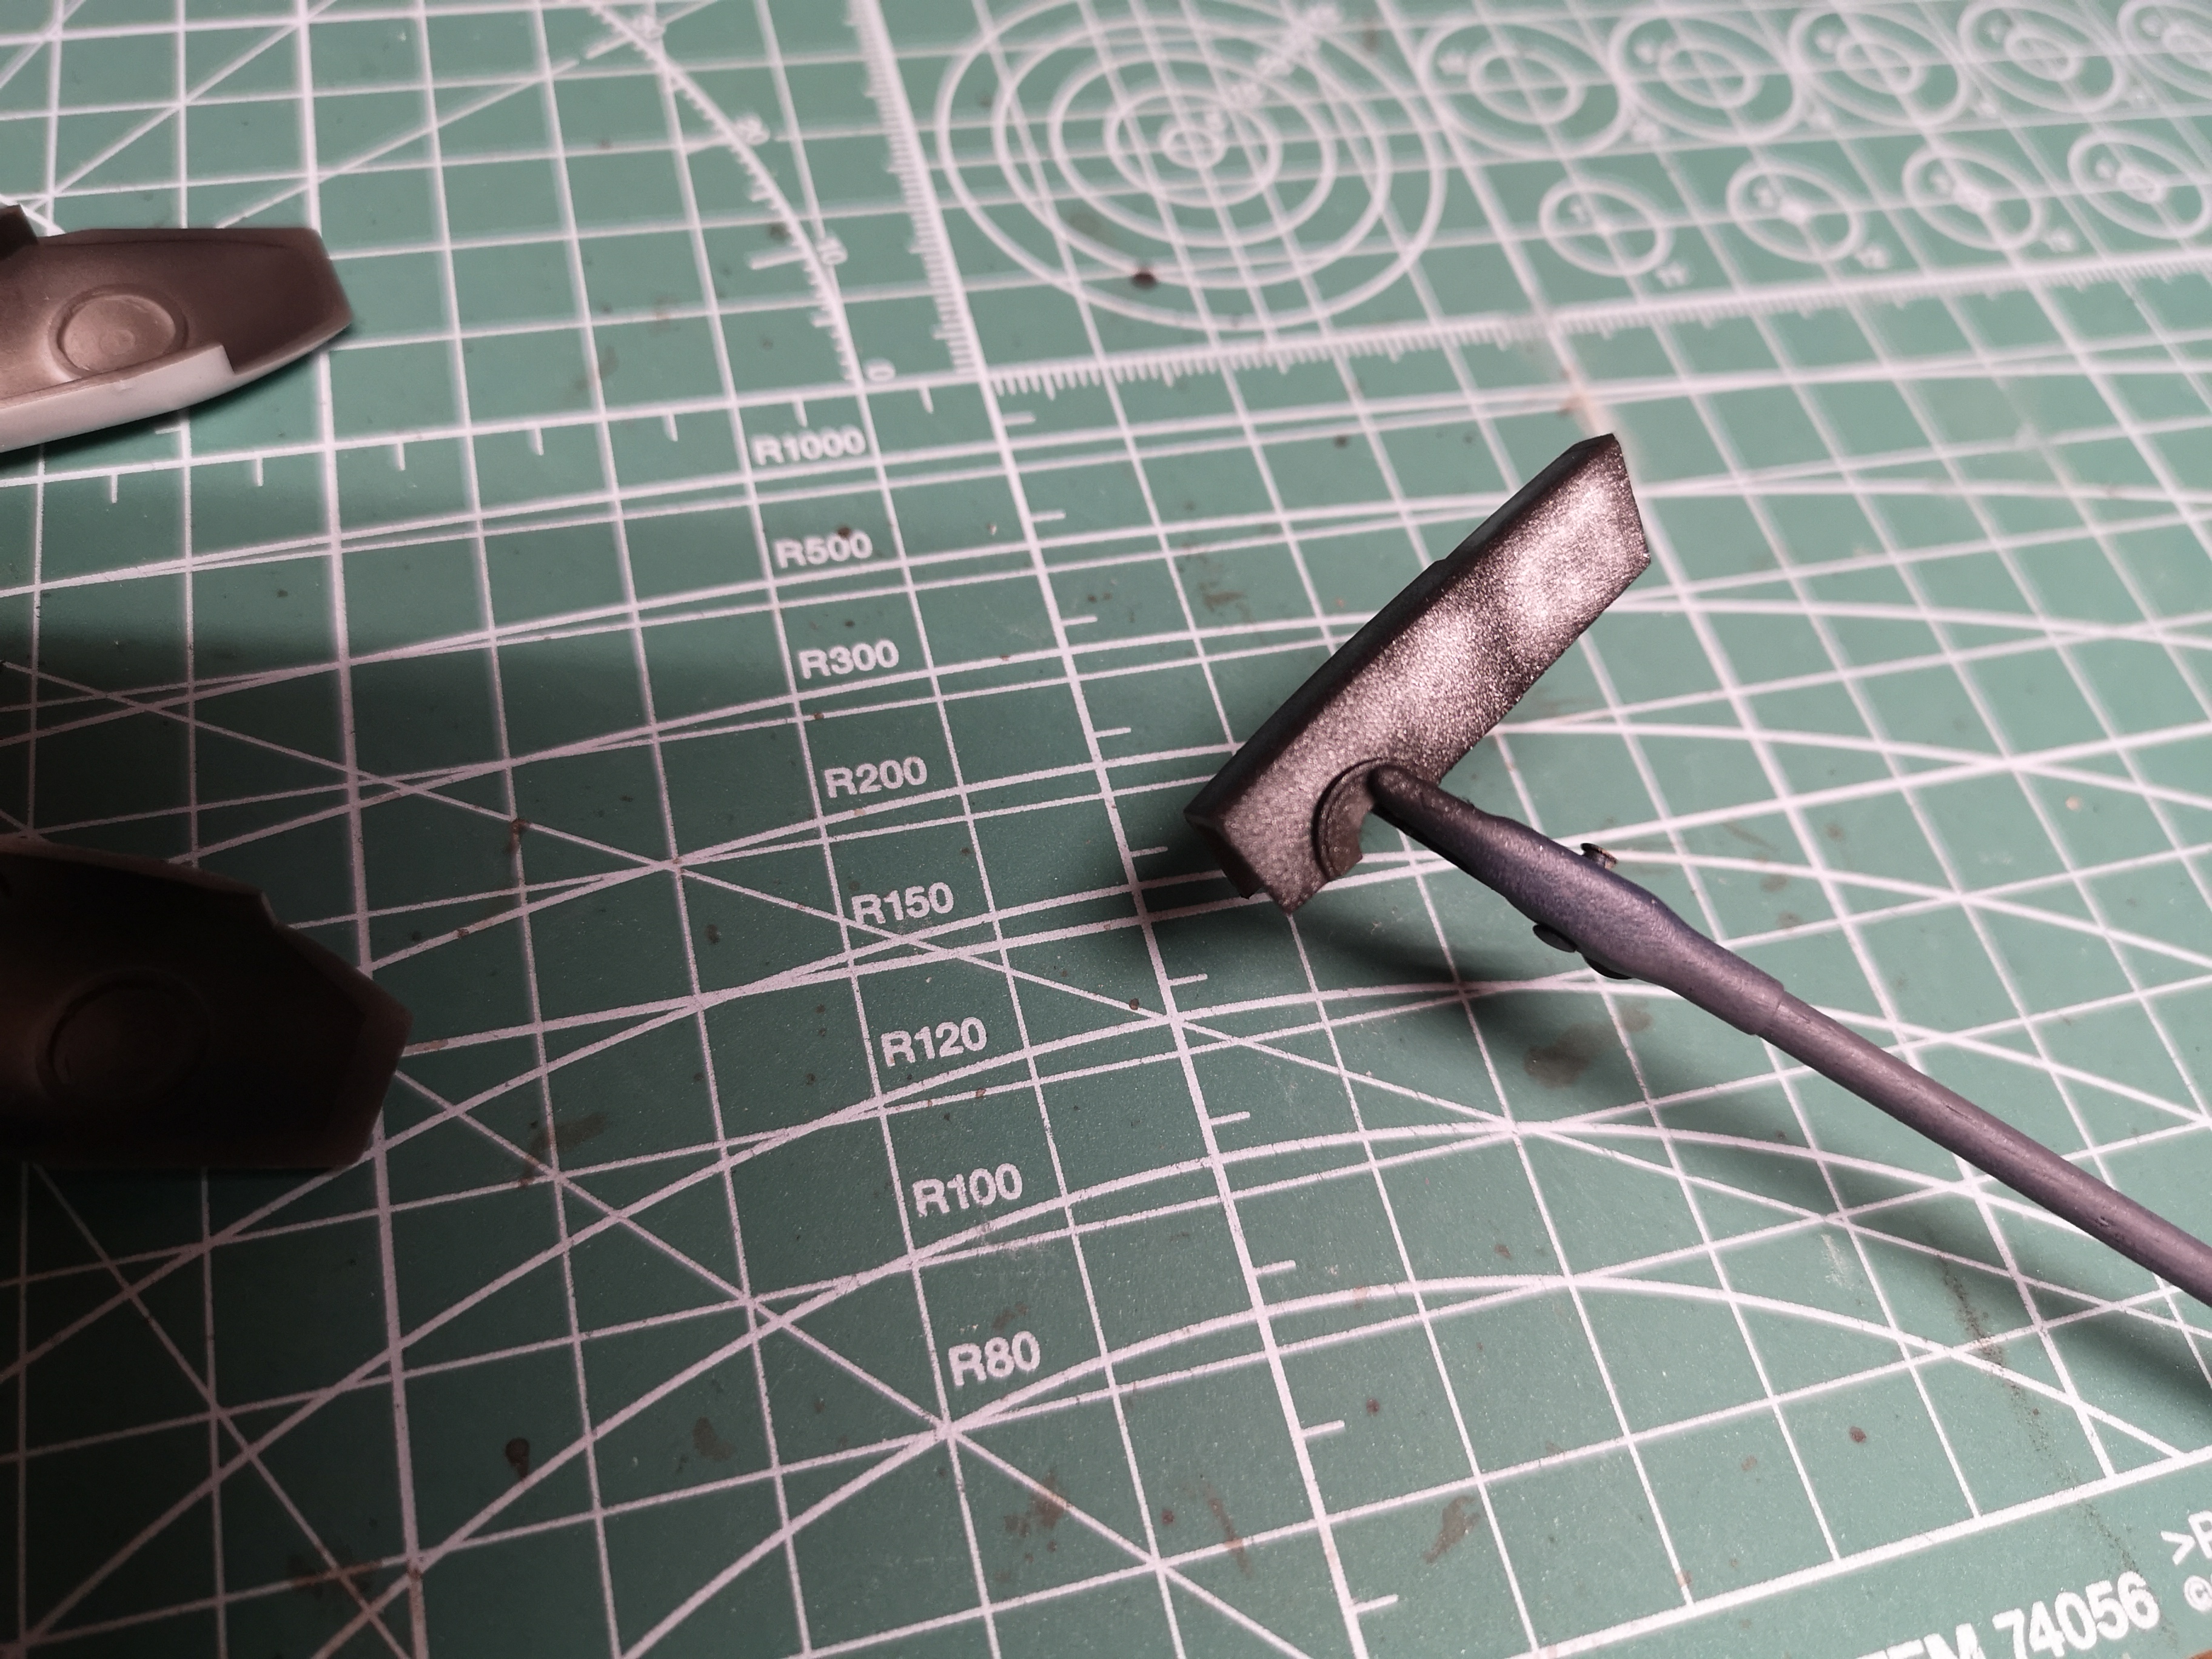
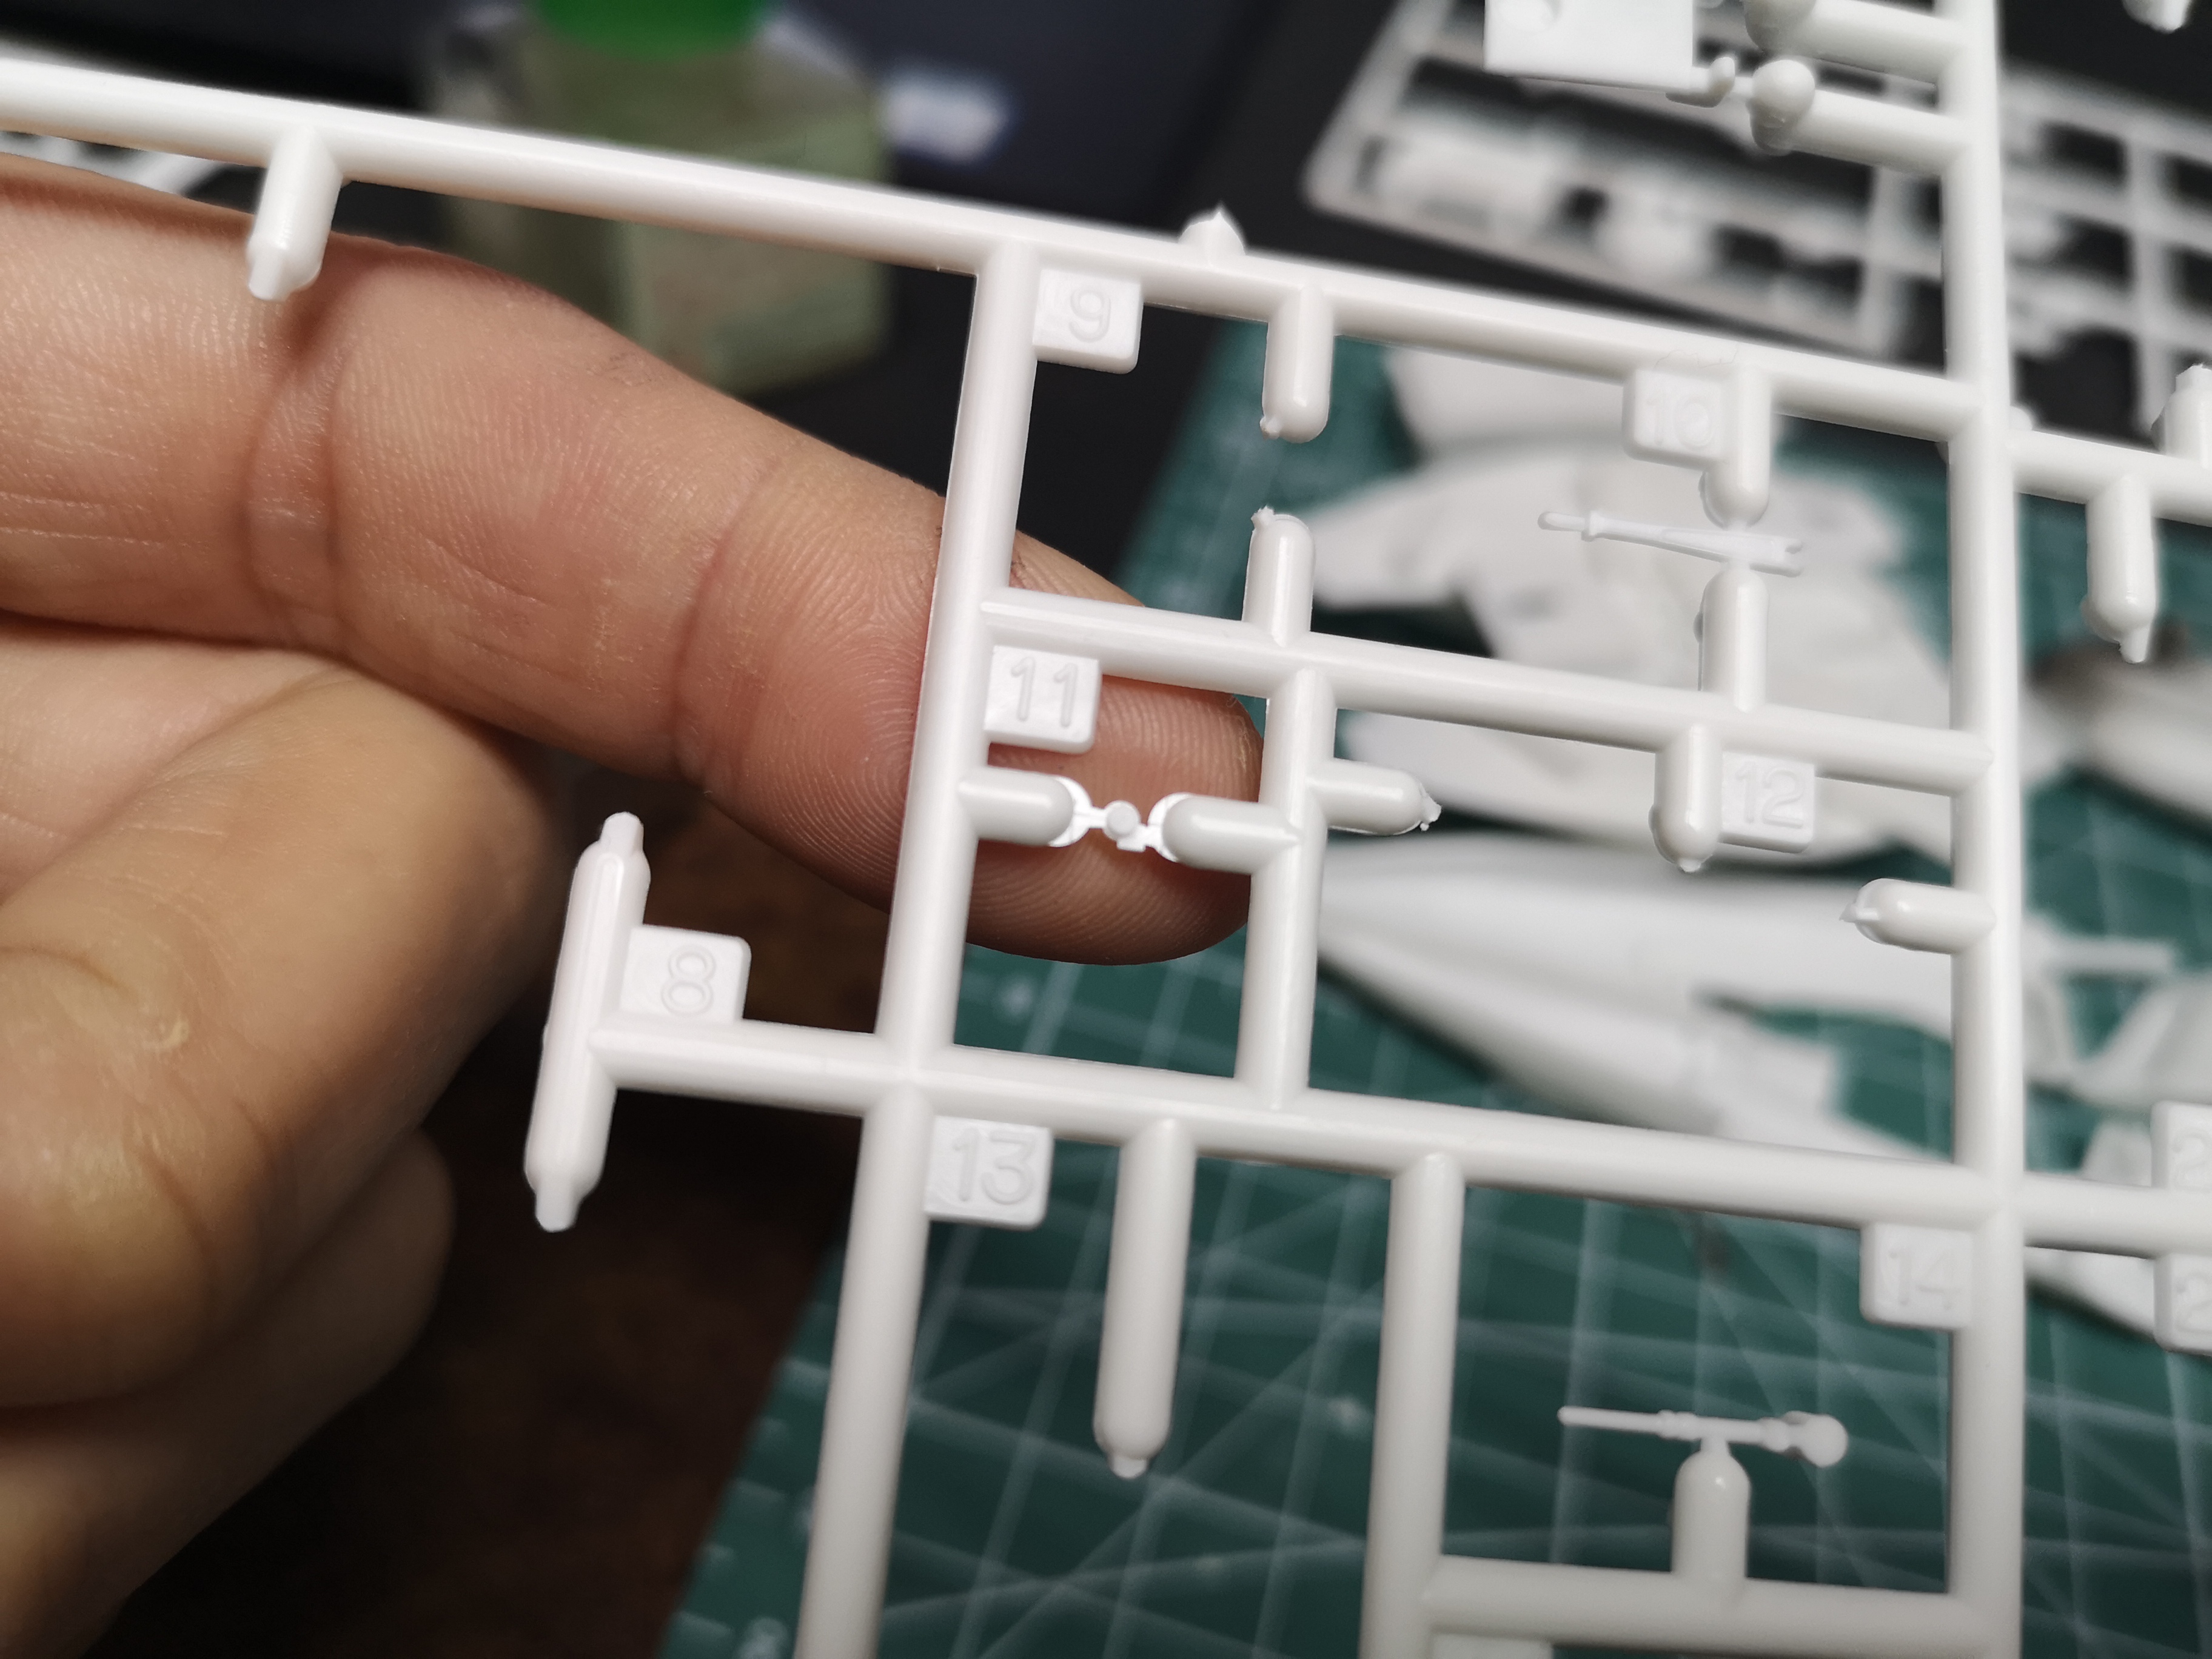
Comparison between a regular nose gear, and a launch ready one....lol, can hardly tell the difference. Tried something different on the feet.....flat black base paint, then dusted on the Steel. Ended up looking it it was sprinkled with stripper glitter. Side not and tip to the fellas here, that $hit is impossible to wash off so don't get any in you.....or so I've heard. Top one was straight steel, bottom intake covers are stripper glitter over flat black.

-
Man, I wish WM Cheng's tutorials were still pinned up in the model thread for easy access. I flipped through them ages ago, but wasn't building models at the time. Now I'm finally getting around to models I bought 20 years ago, using up rattle cans and bottles of paint that are probably just as old. Surprisingly still ok, though some needed some thinner.
-
While I was watching the primer dry on the 1J, I decided to open the 1S. Figured it sat in my pile for almost 20 years, maybe I should get it going. All my leftover TV missiles will come in handy for these TV builds. I wasn't going to bother fixing it, but then decided I may as well practice and see how bad I screw it up. Top leg is unmolested, bottom one is "fixed". The IJ is mostly glued together so I won't mess with it, so just the 1S for now


-
Flipping through for of the 1/72 VF-1 build. There is Plasmo-level OCD in there in terms of accuratizing and modding, lol!

-
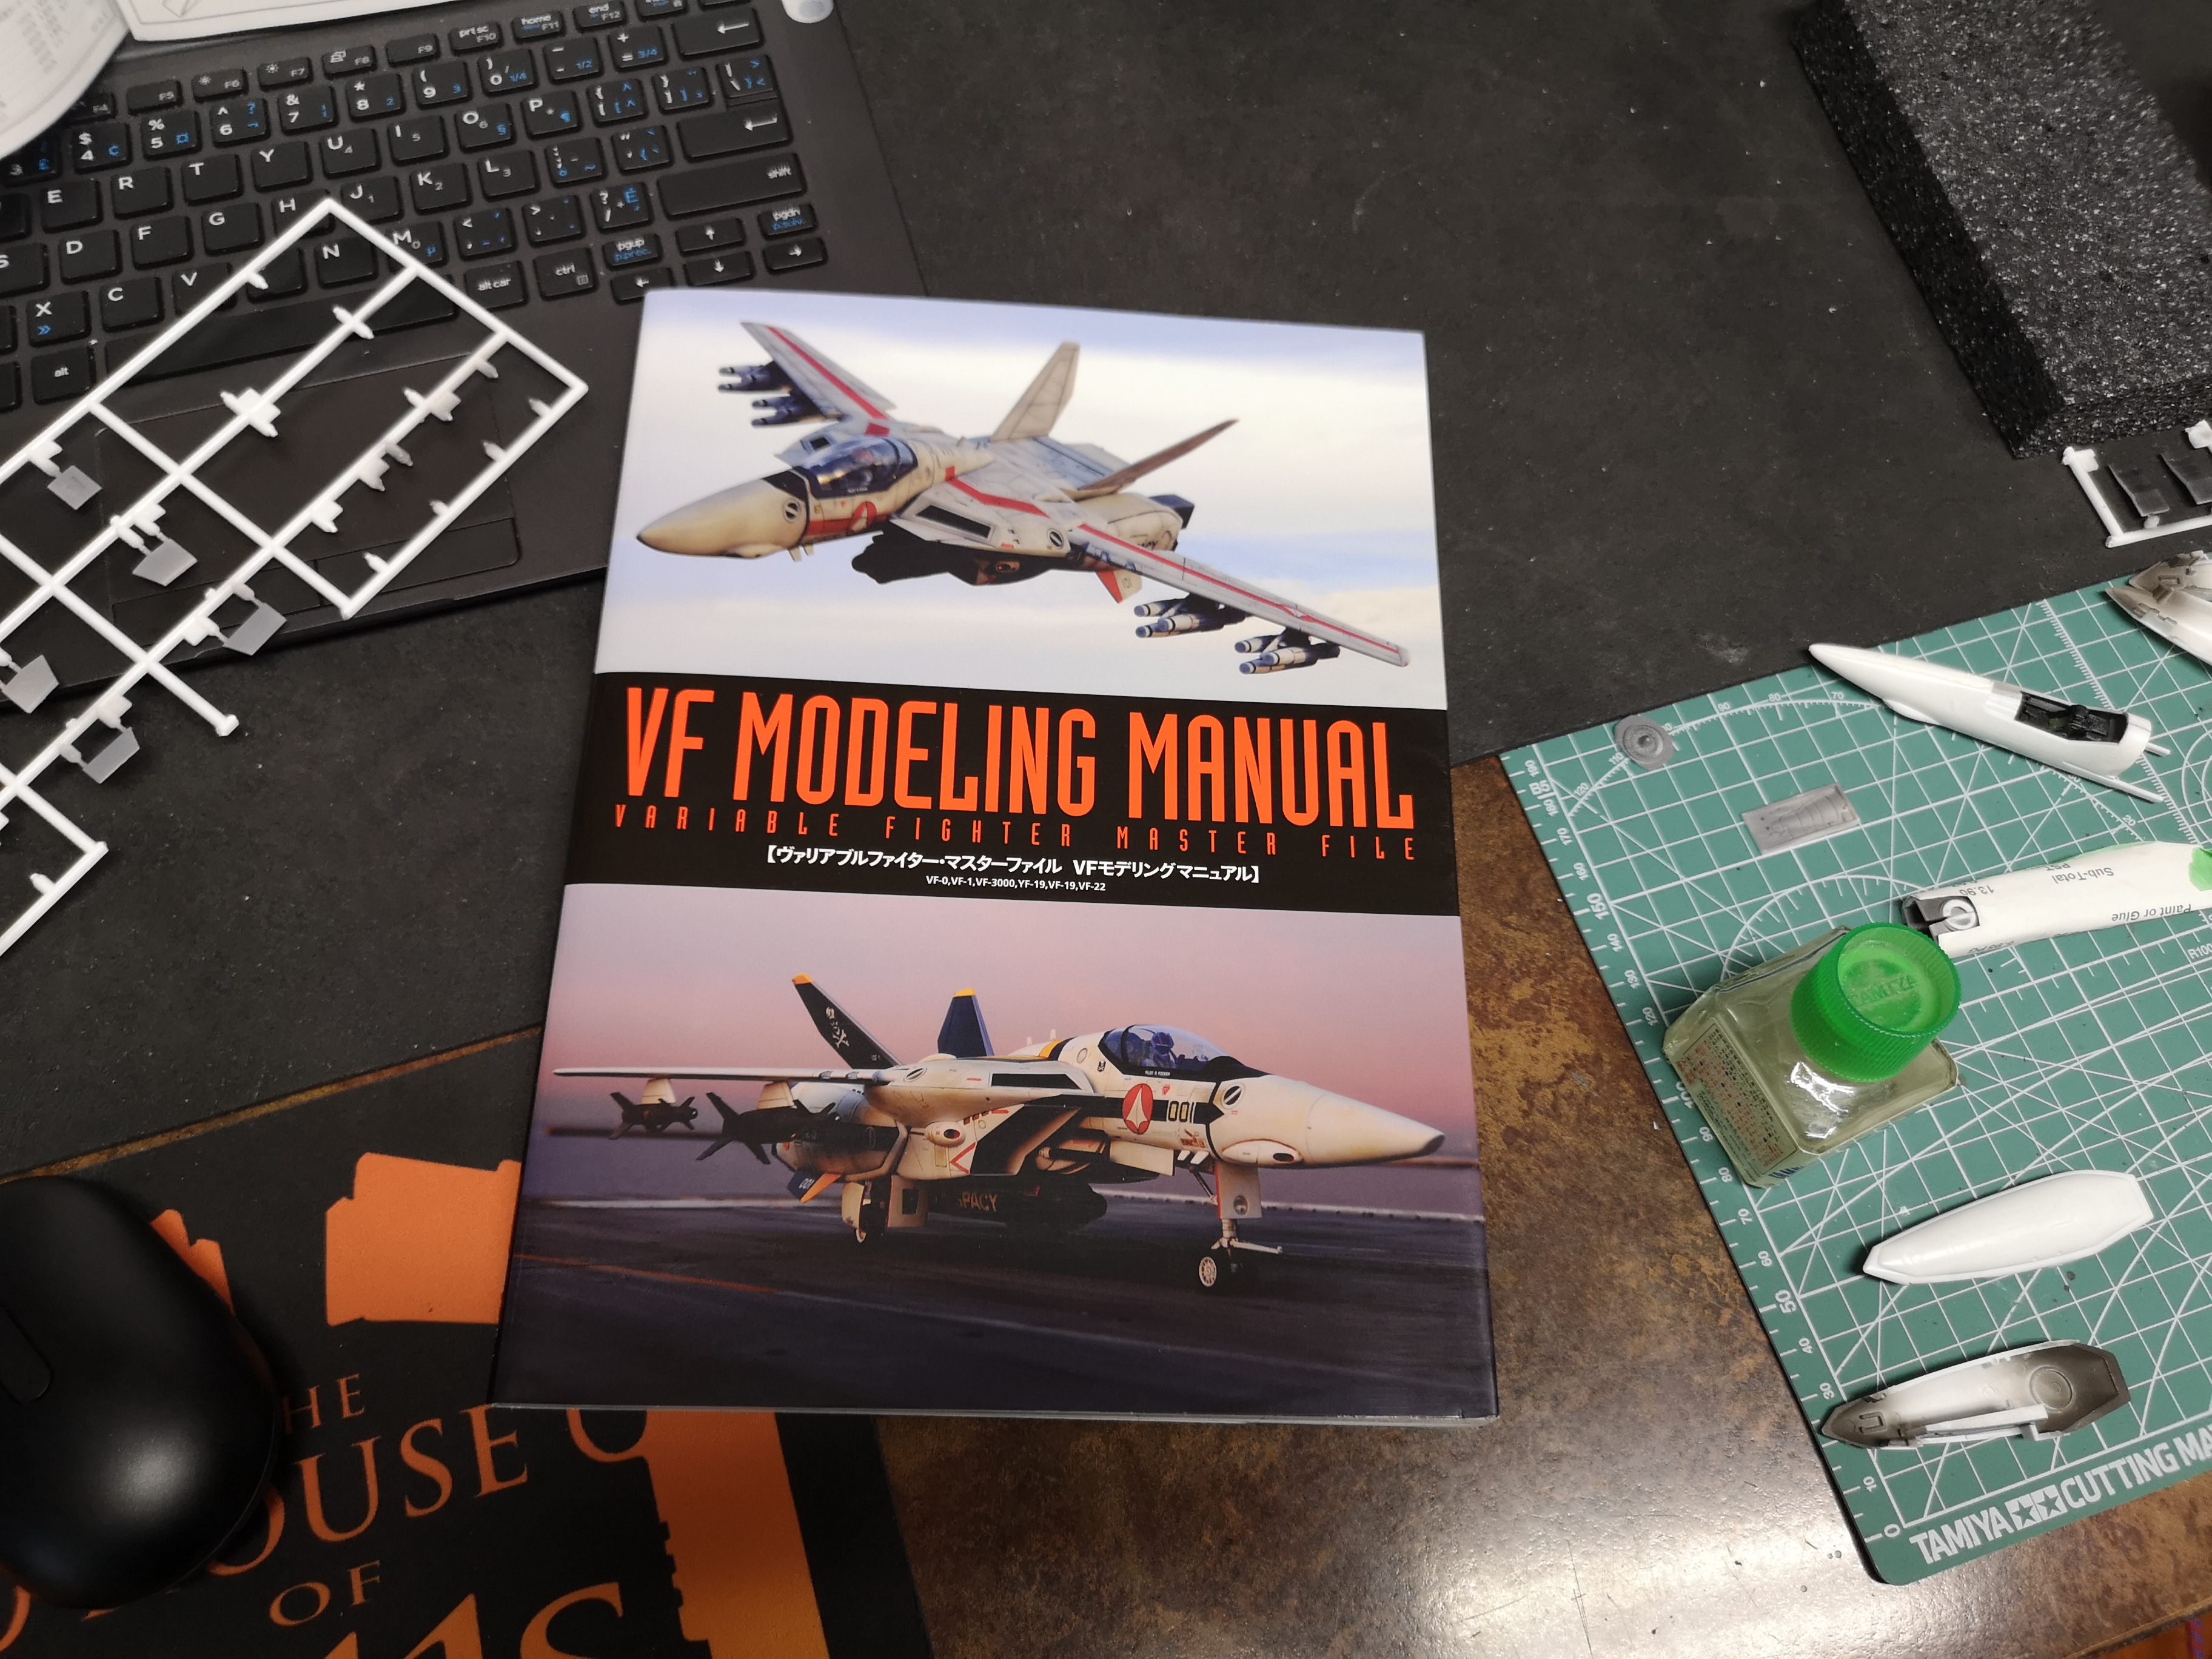
Bloody hell, I've had this book the entire time, and I never thought to even look through it when I built my first four Hasegawa Valks. I'm more than half way through this one when I remembered I even had this book. I've decided to skip this mod. Half laziness, half concern I'll make it worse. I've already glued those leg sections in place in a subassembly and I don't want to muck around with them now that they are glued down. Also figure this Valk will be at a slightly funny angle anyway since the nose will be dipped a bit and "launch ready".

-
Oh man, I just looked at the mod, this section is a collosal pain in the dick to test-fit. I was just trying to figure out a clever way to mask the feet. Last time around I cut out tiny bits of masking tape, so hopefully this method will be easier. More tiny tabs that are utterly useless, lol!

-
Oh man, probably not, I think that's beyond my abilities. Although, I actually have the magazine being referenced here: Maybe I should take a look.
-
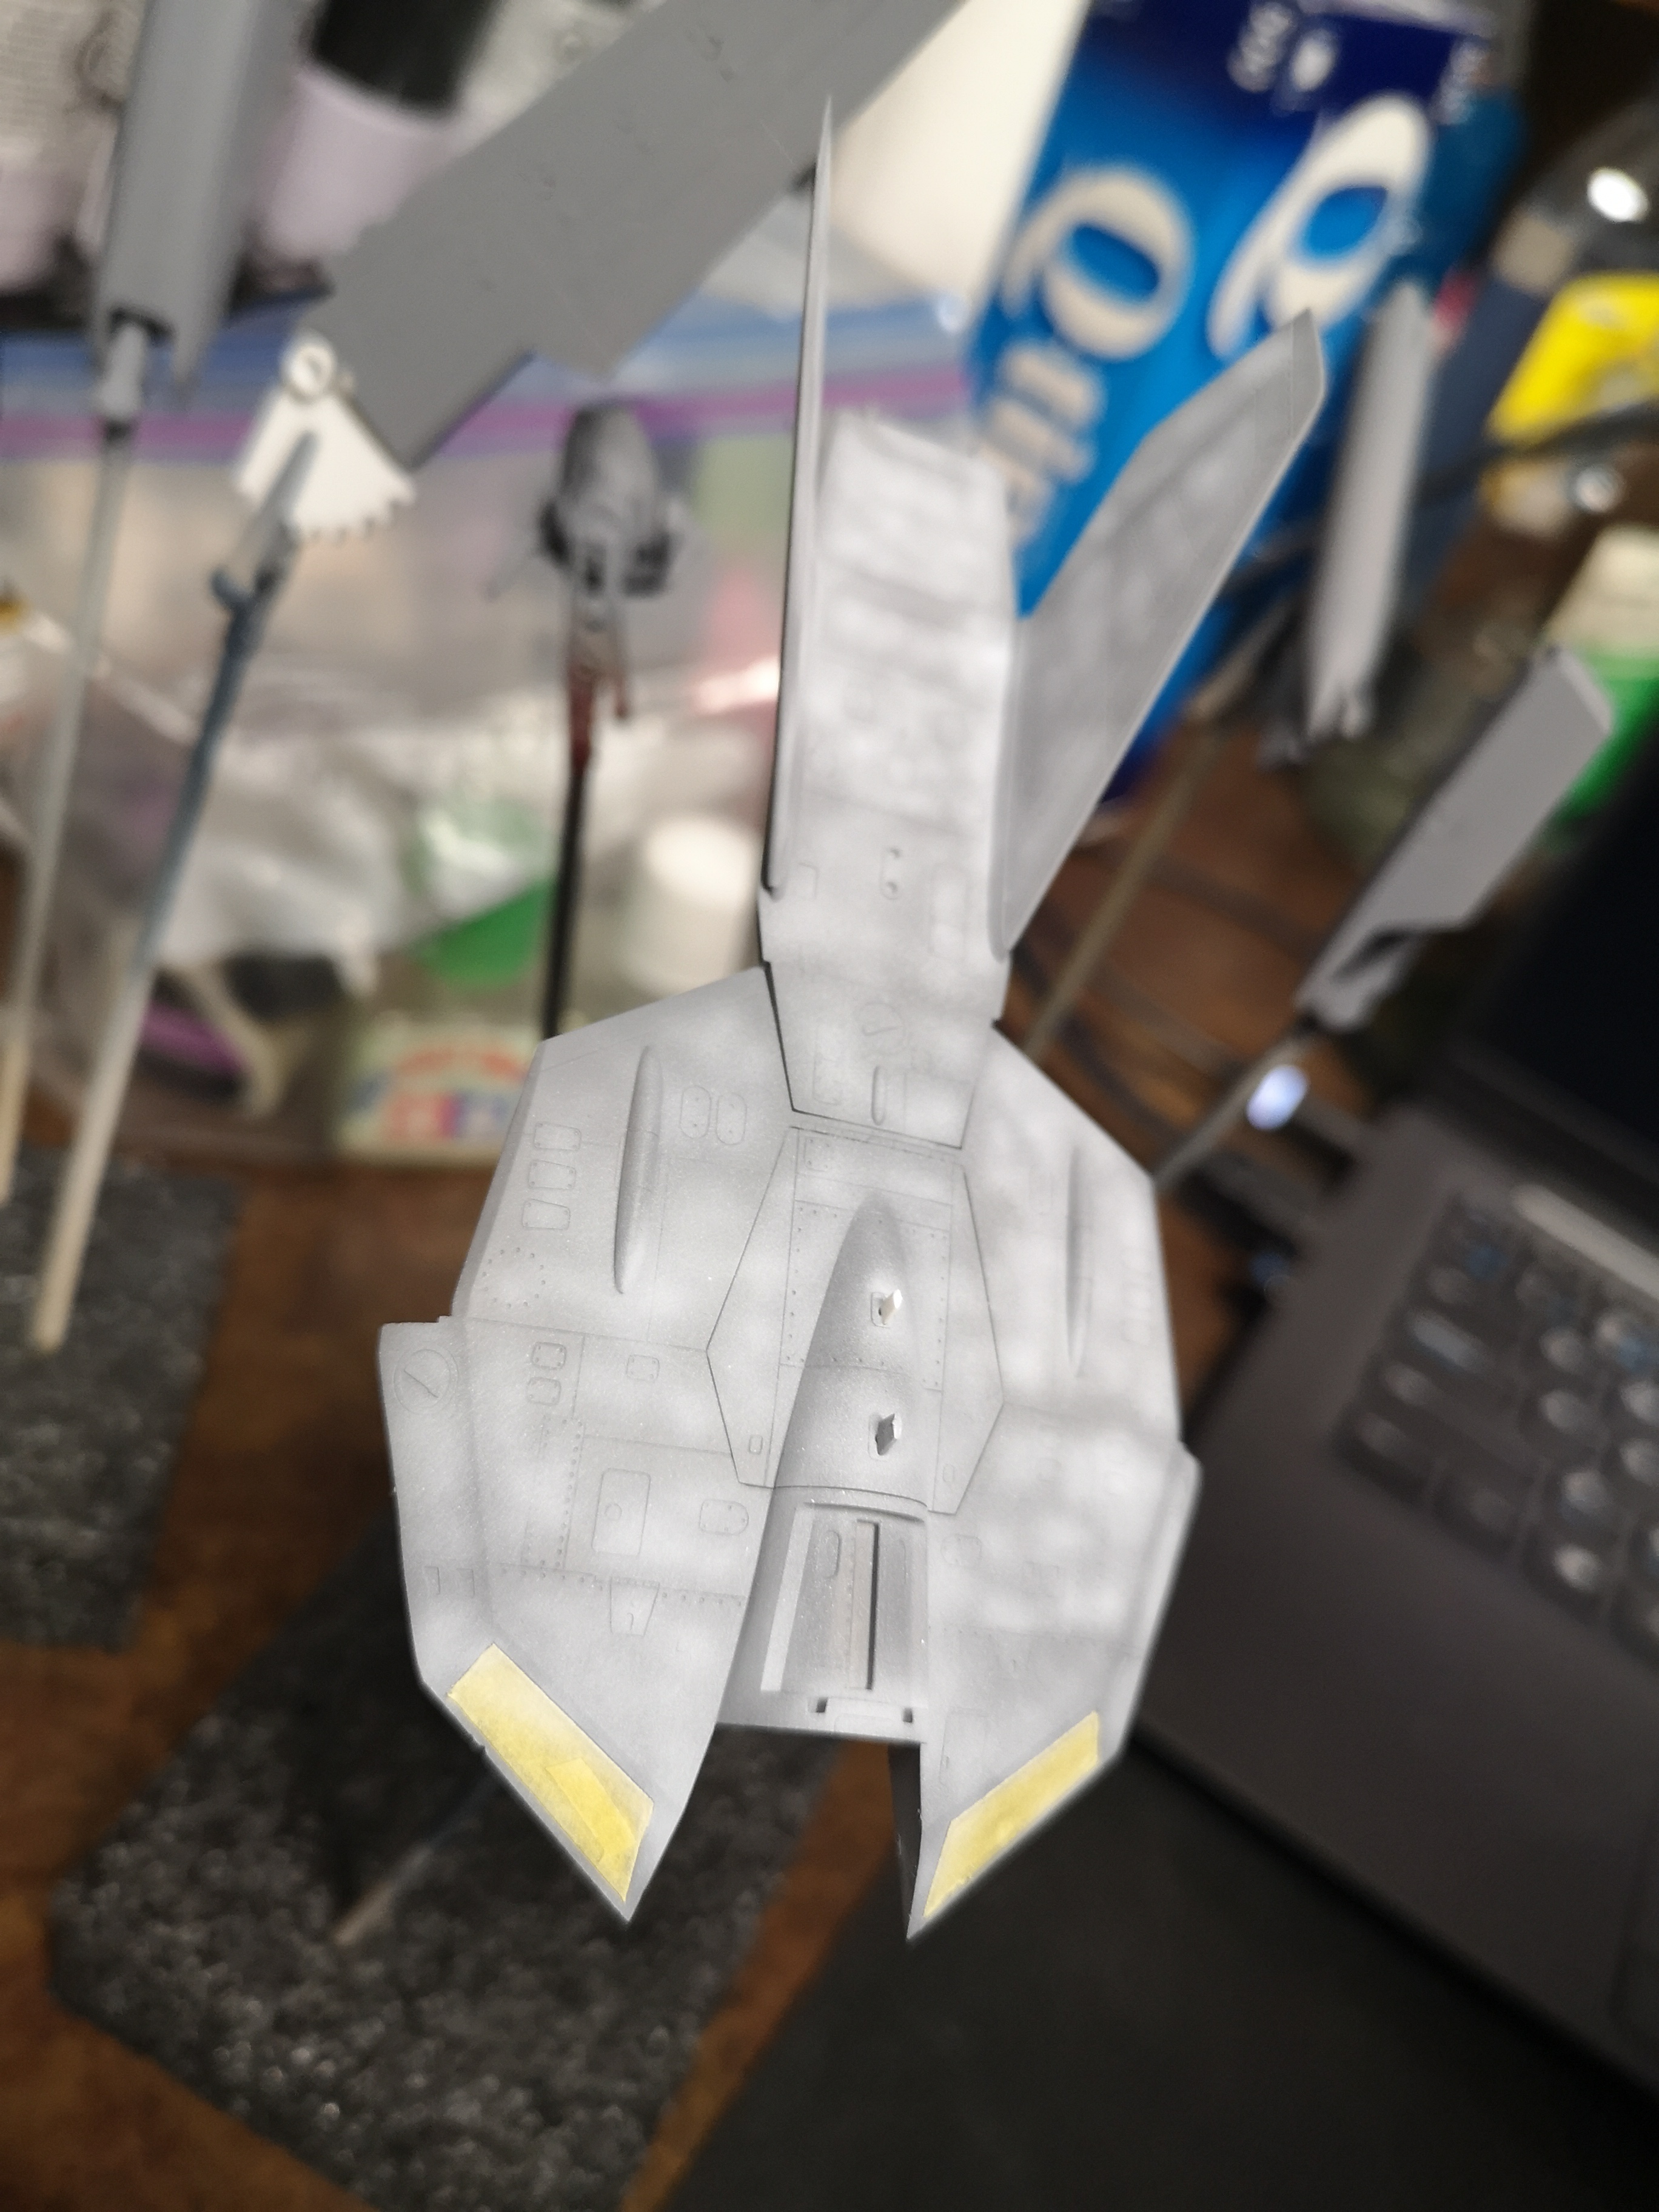
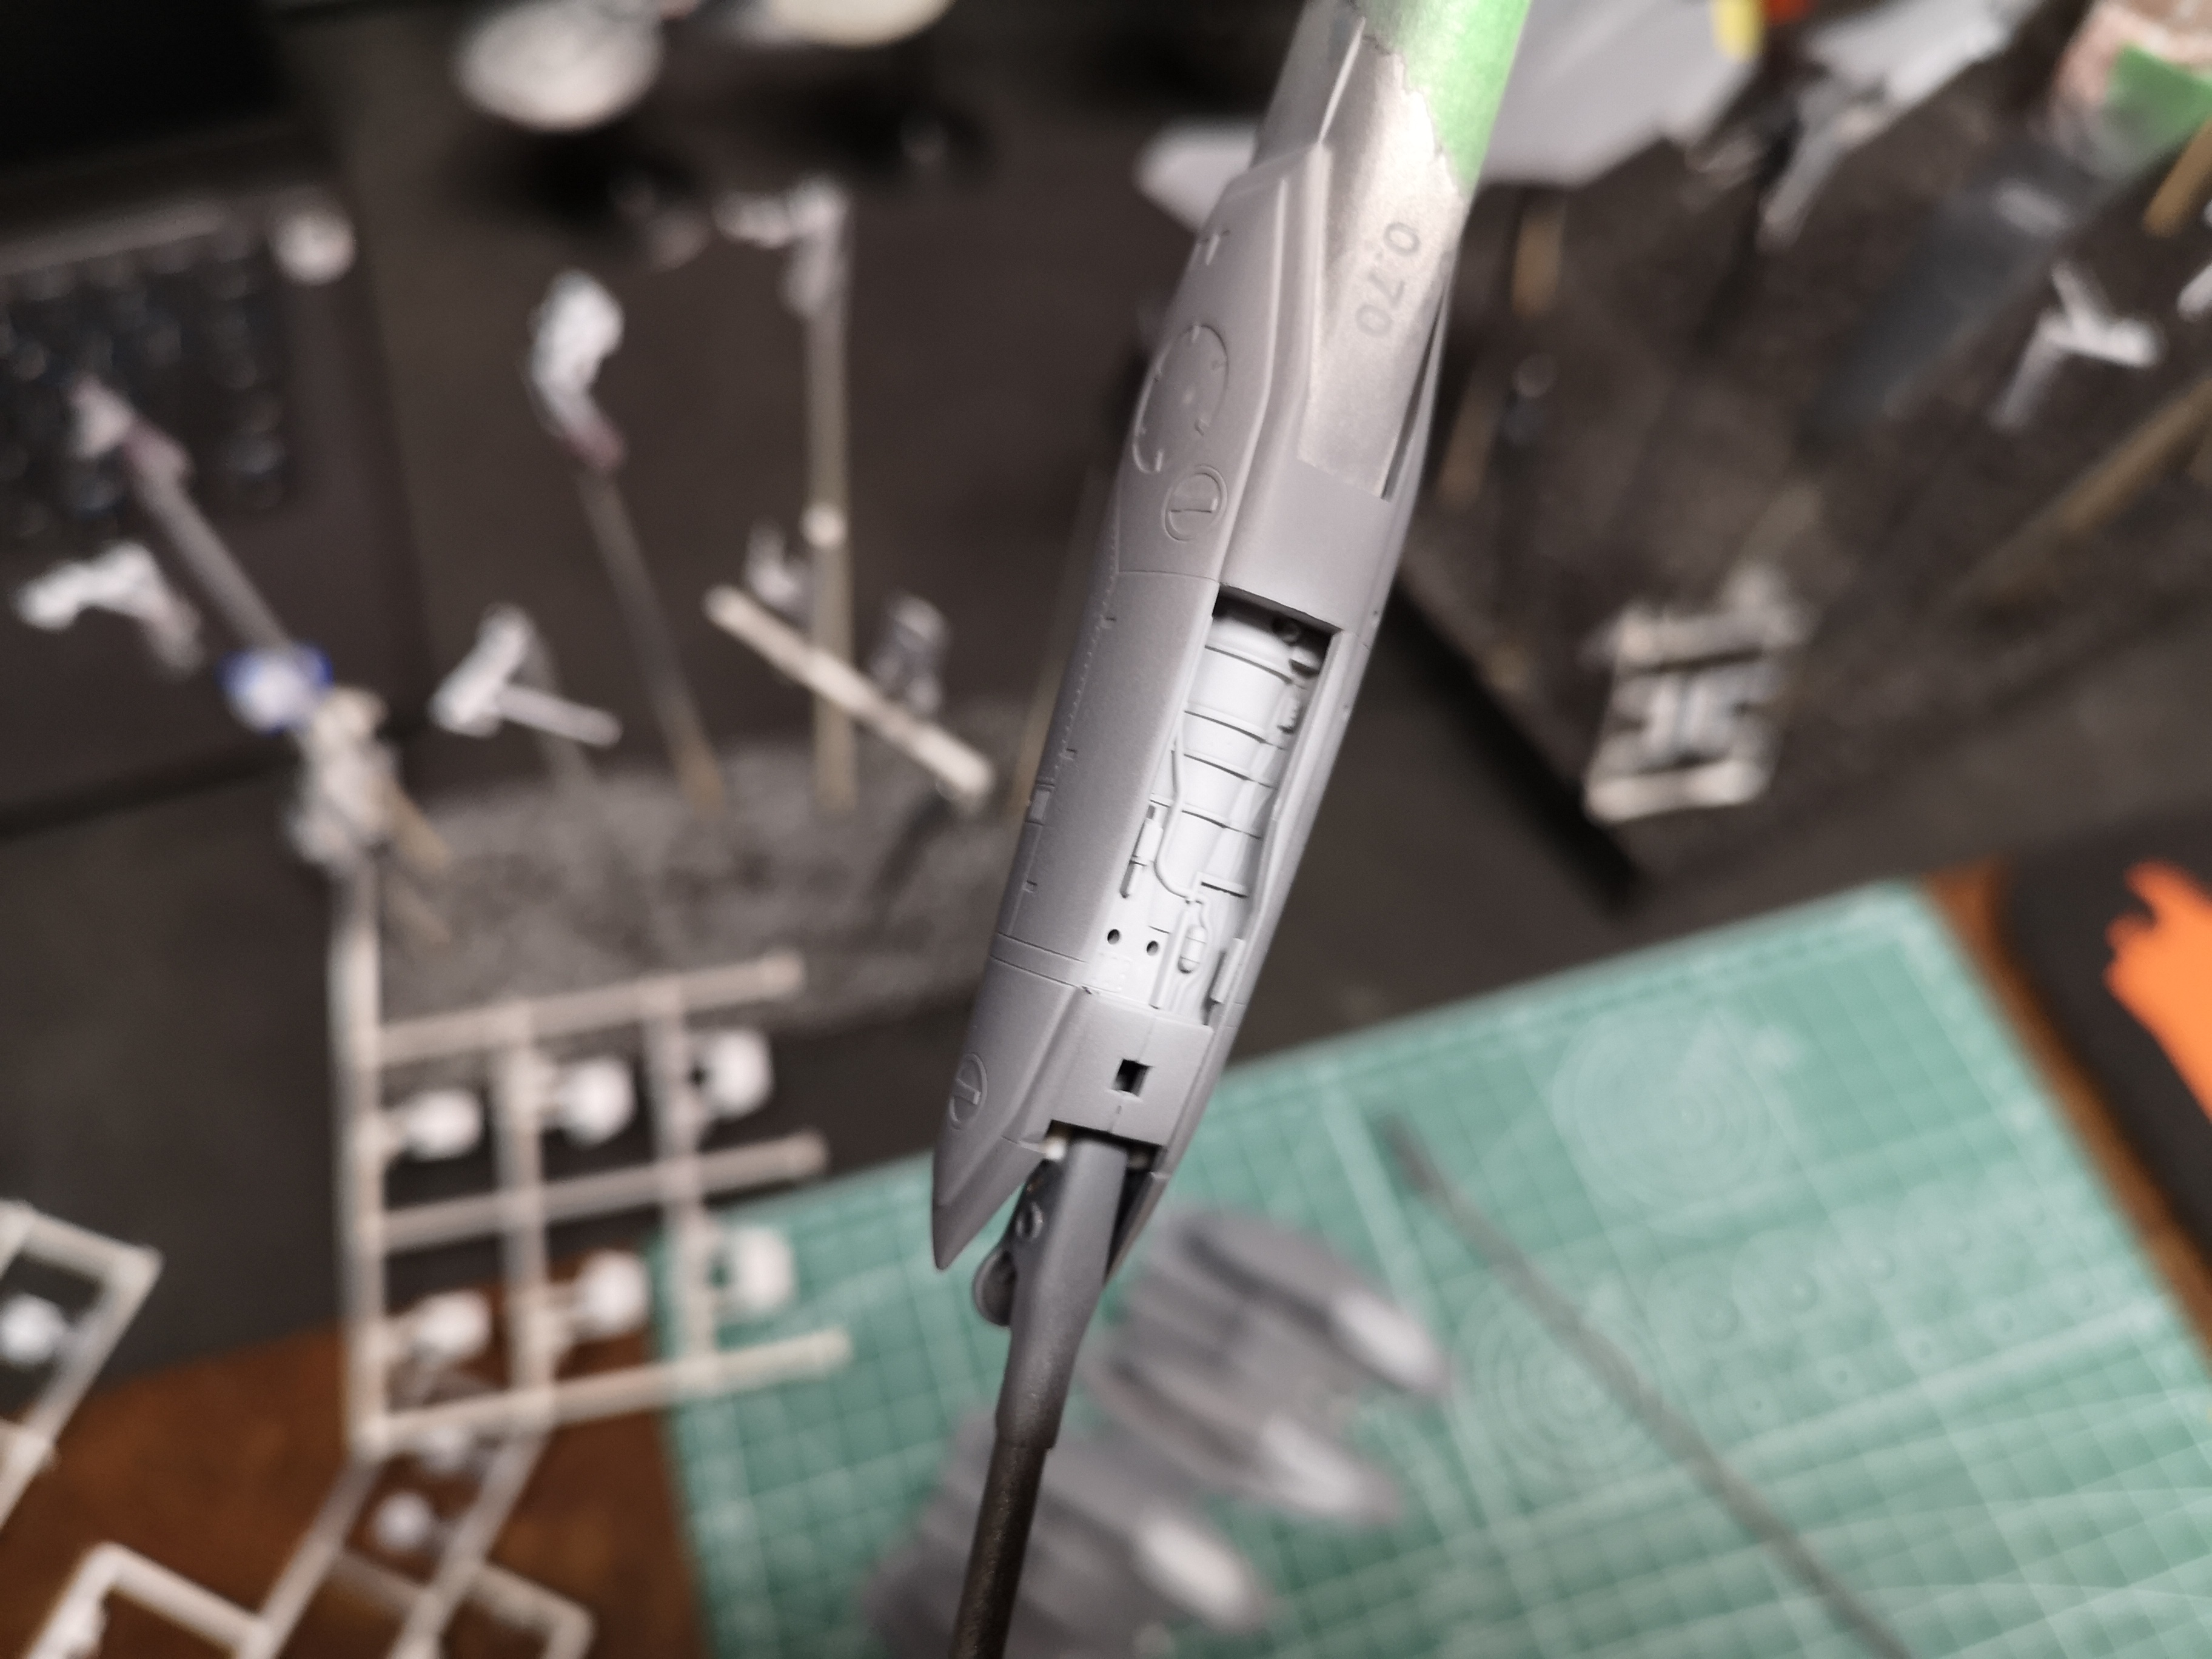
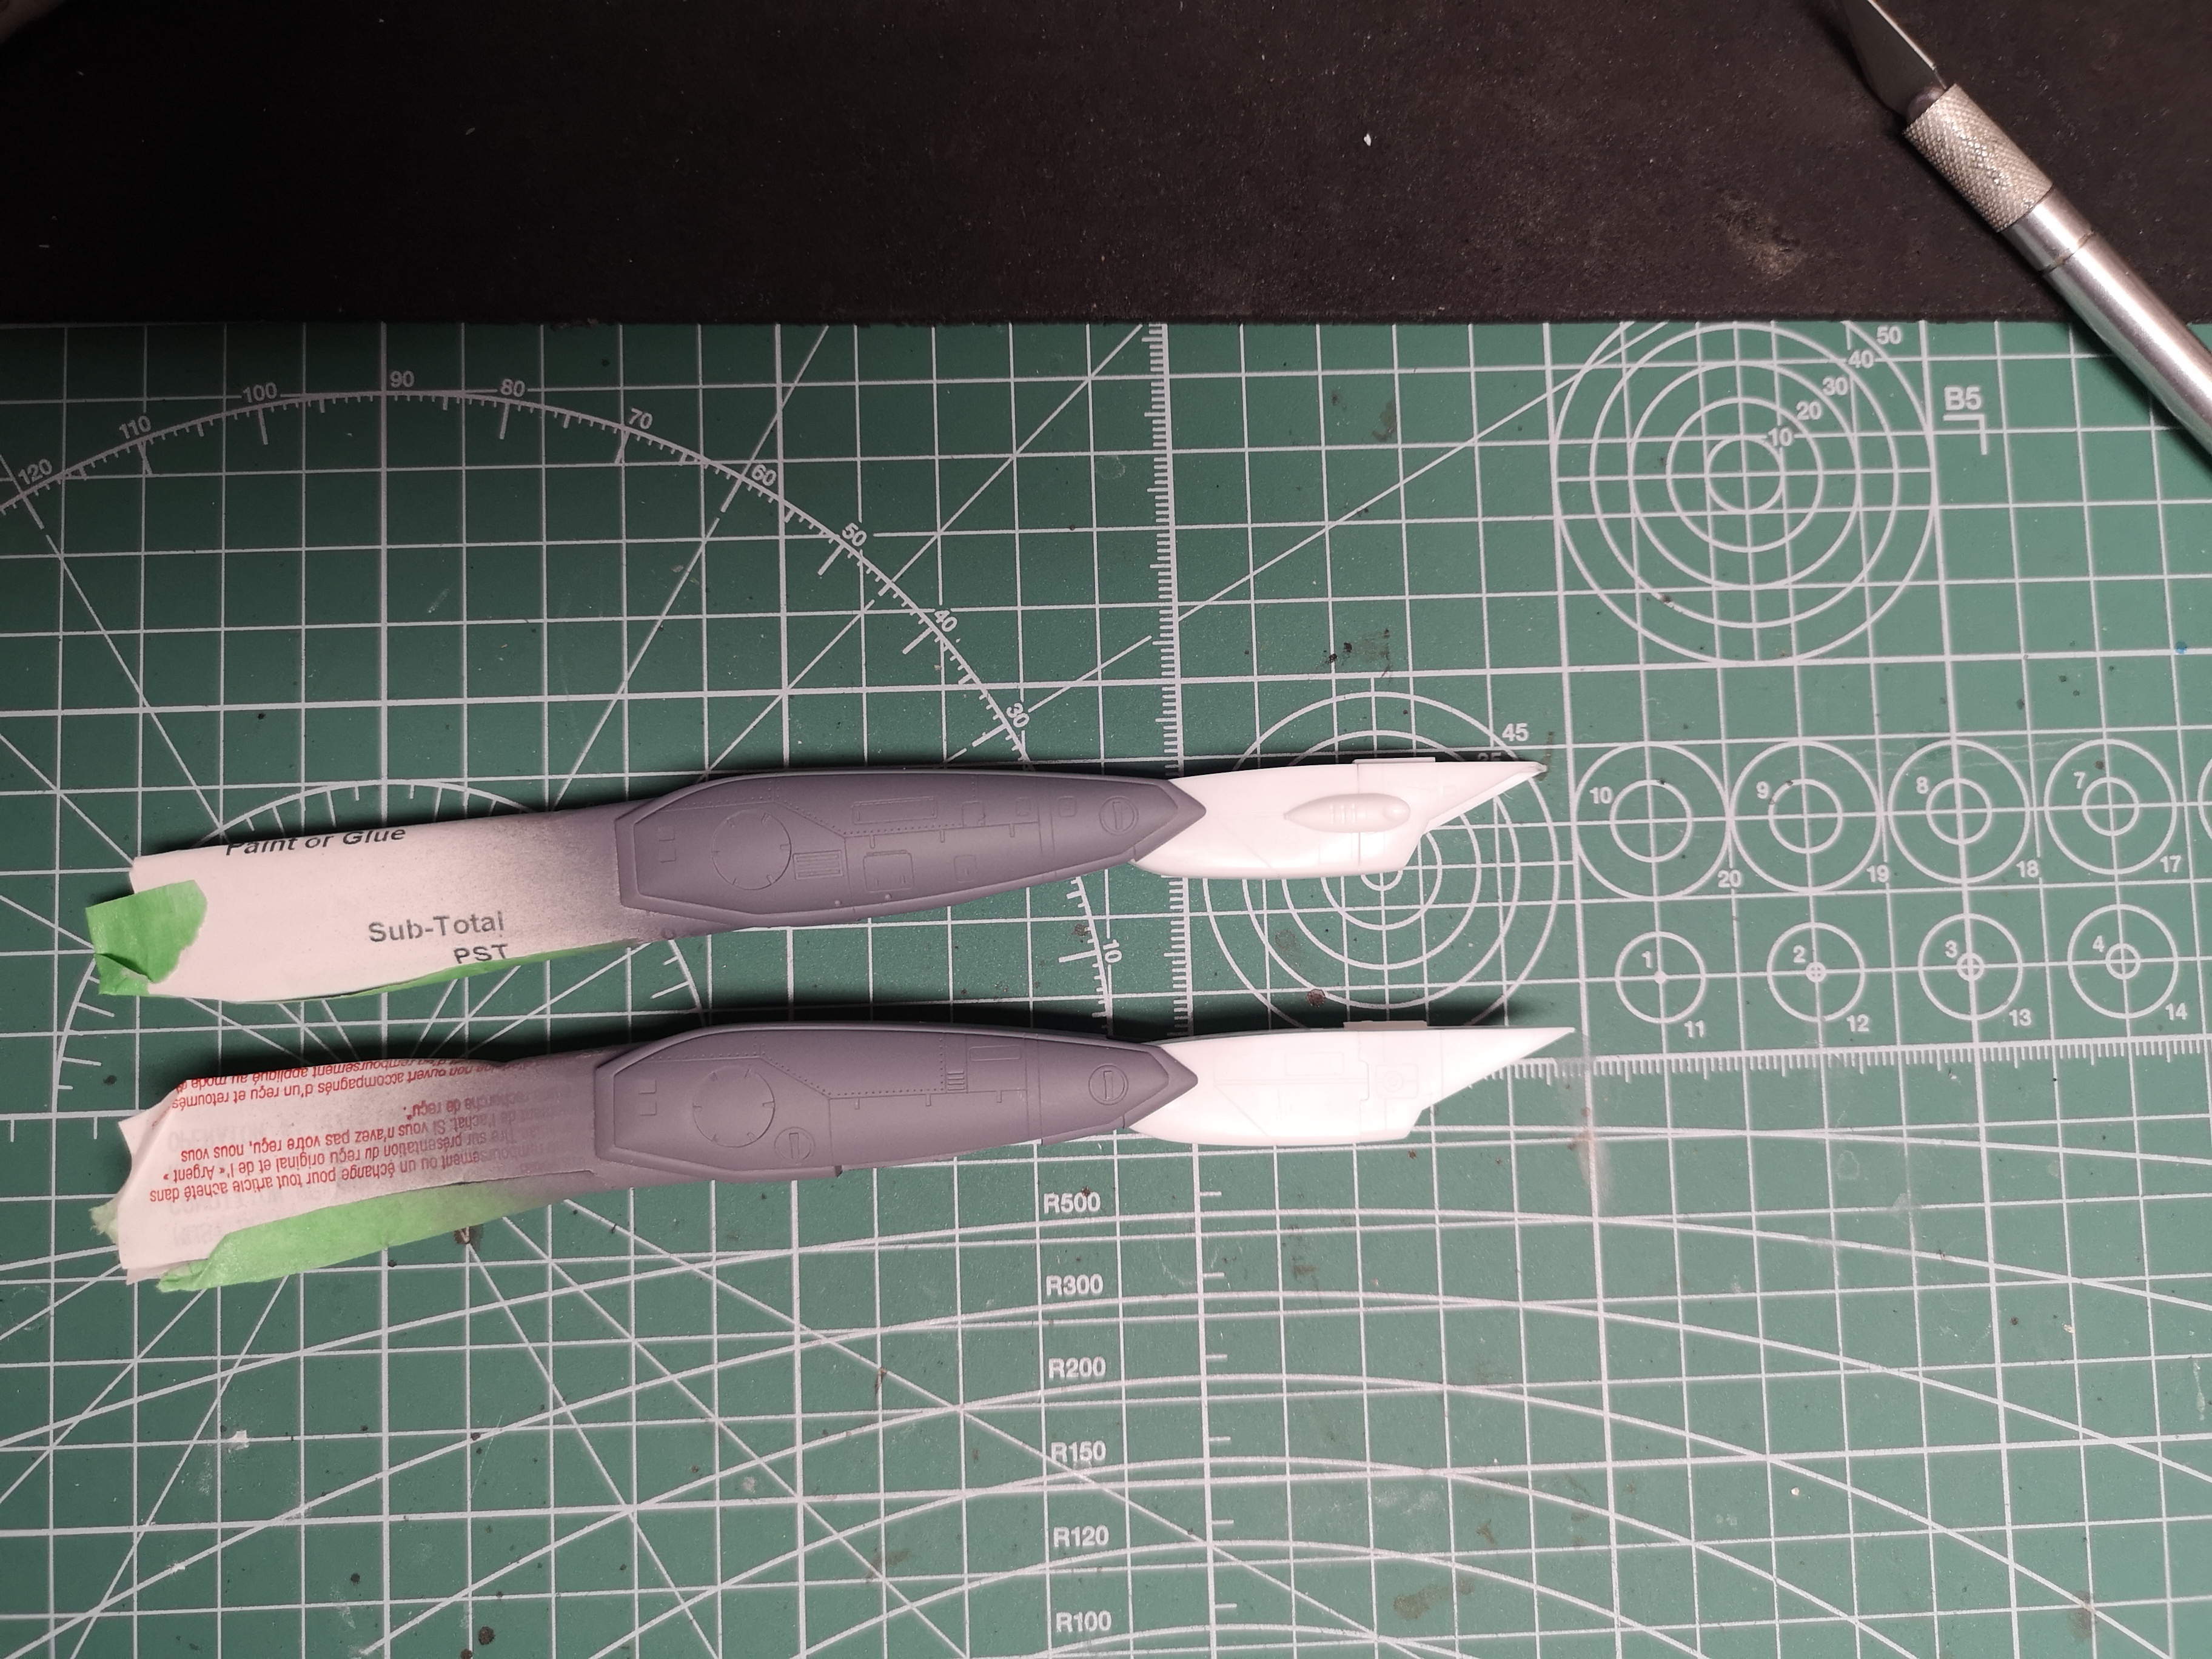
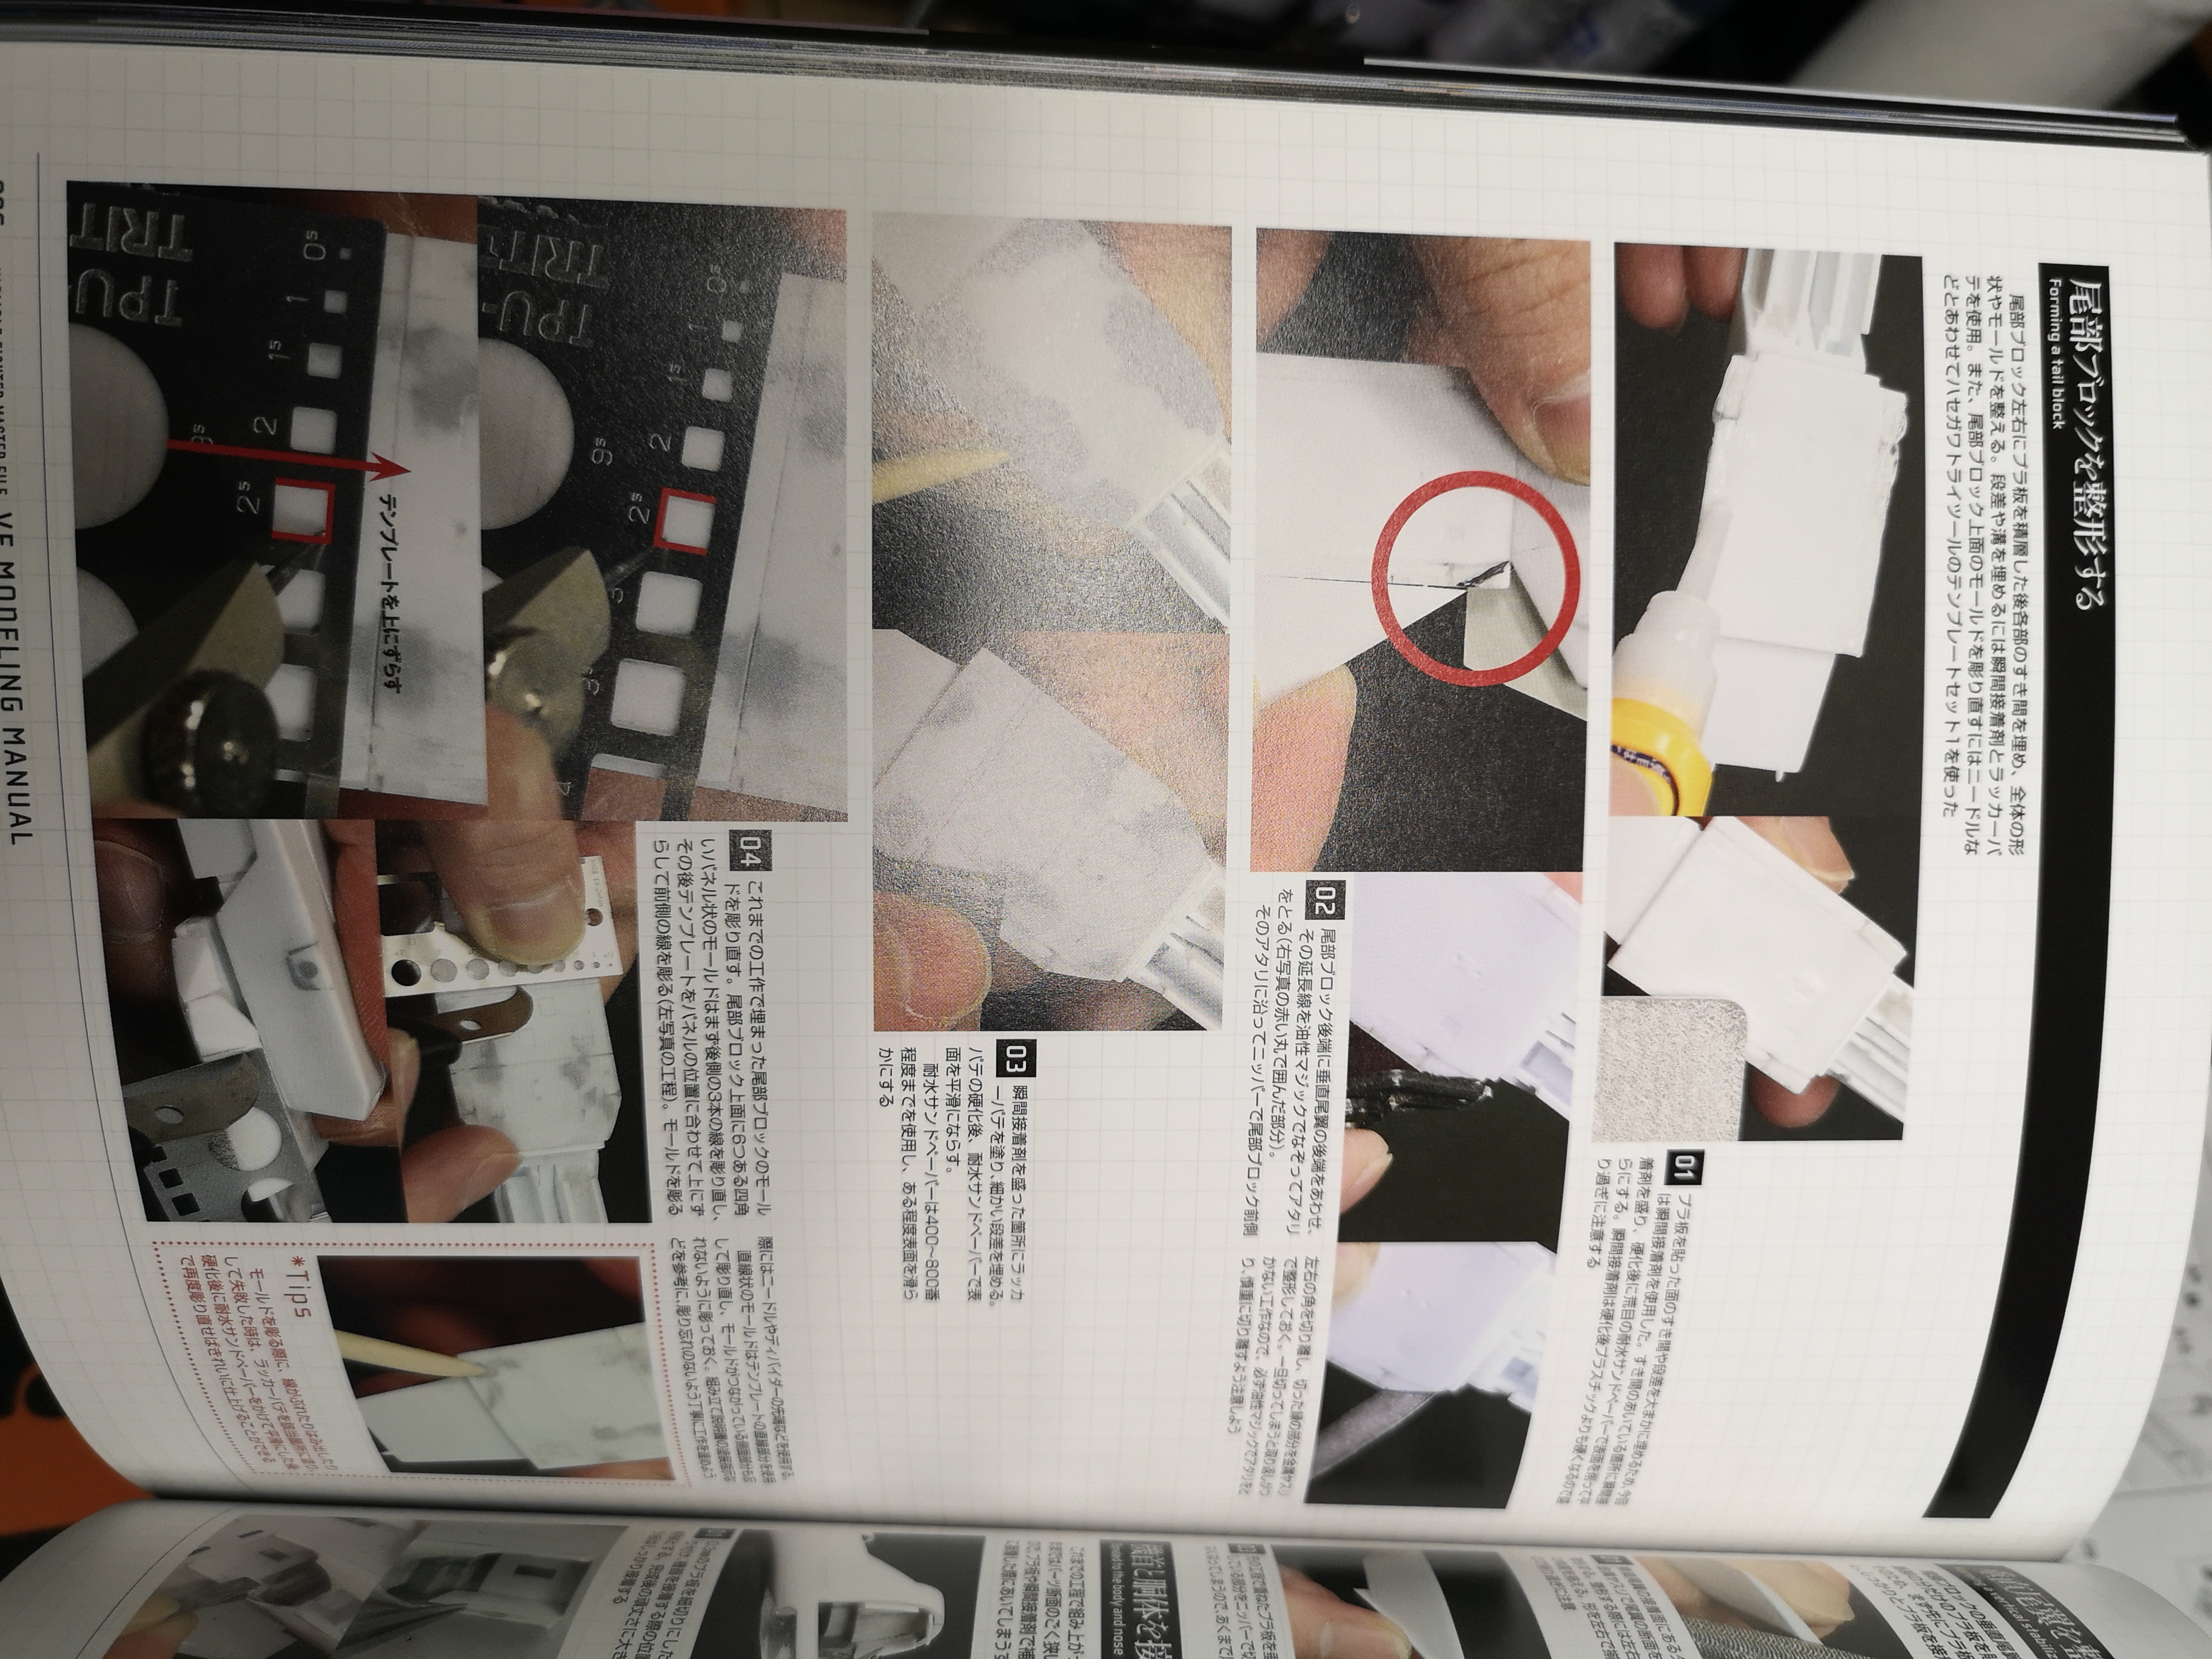
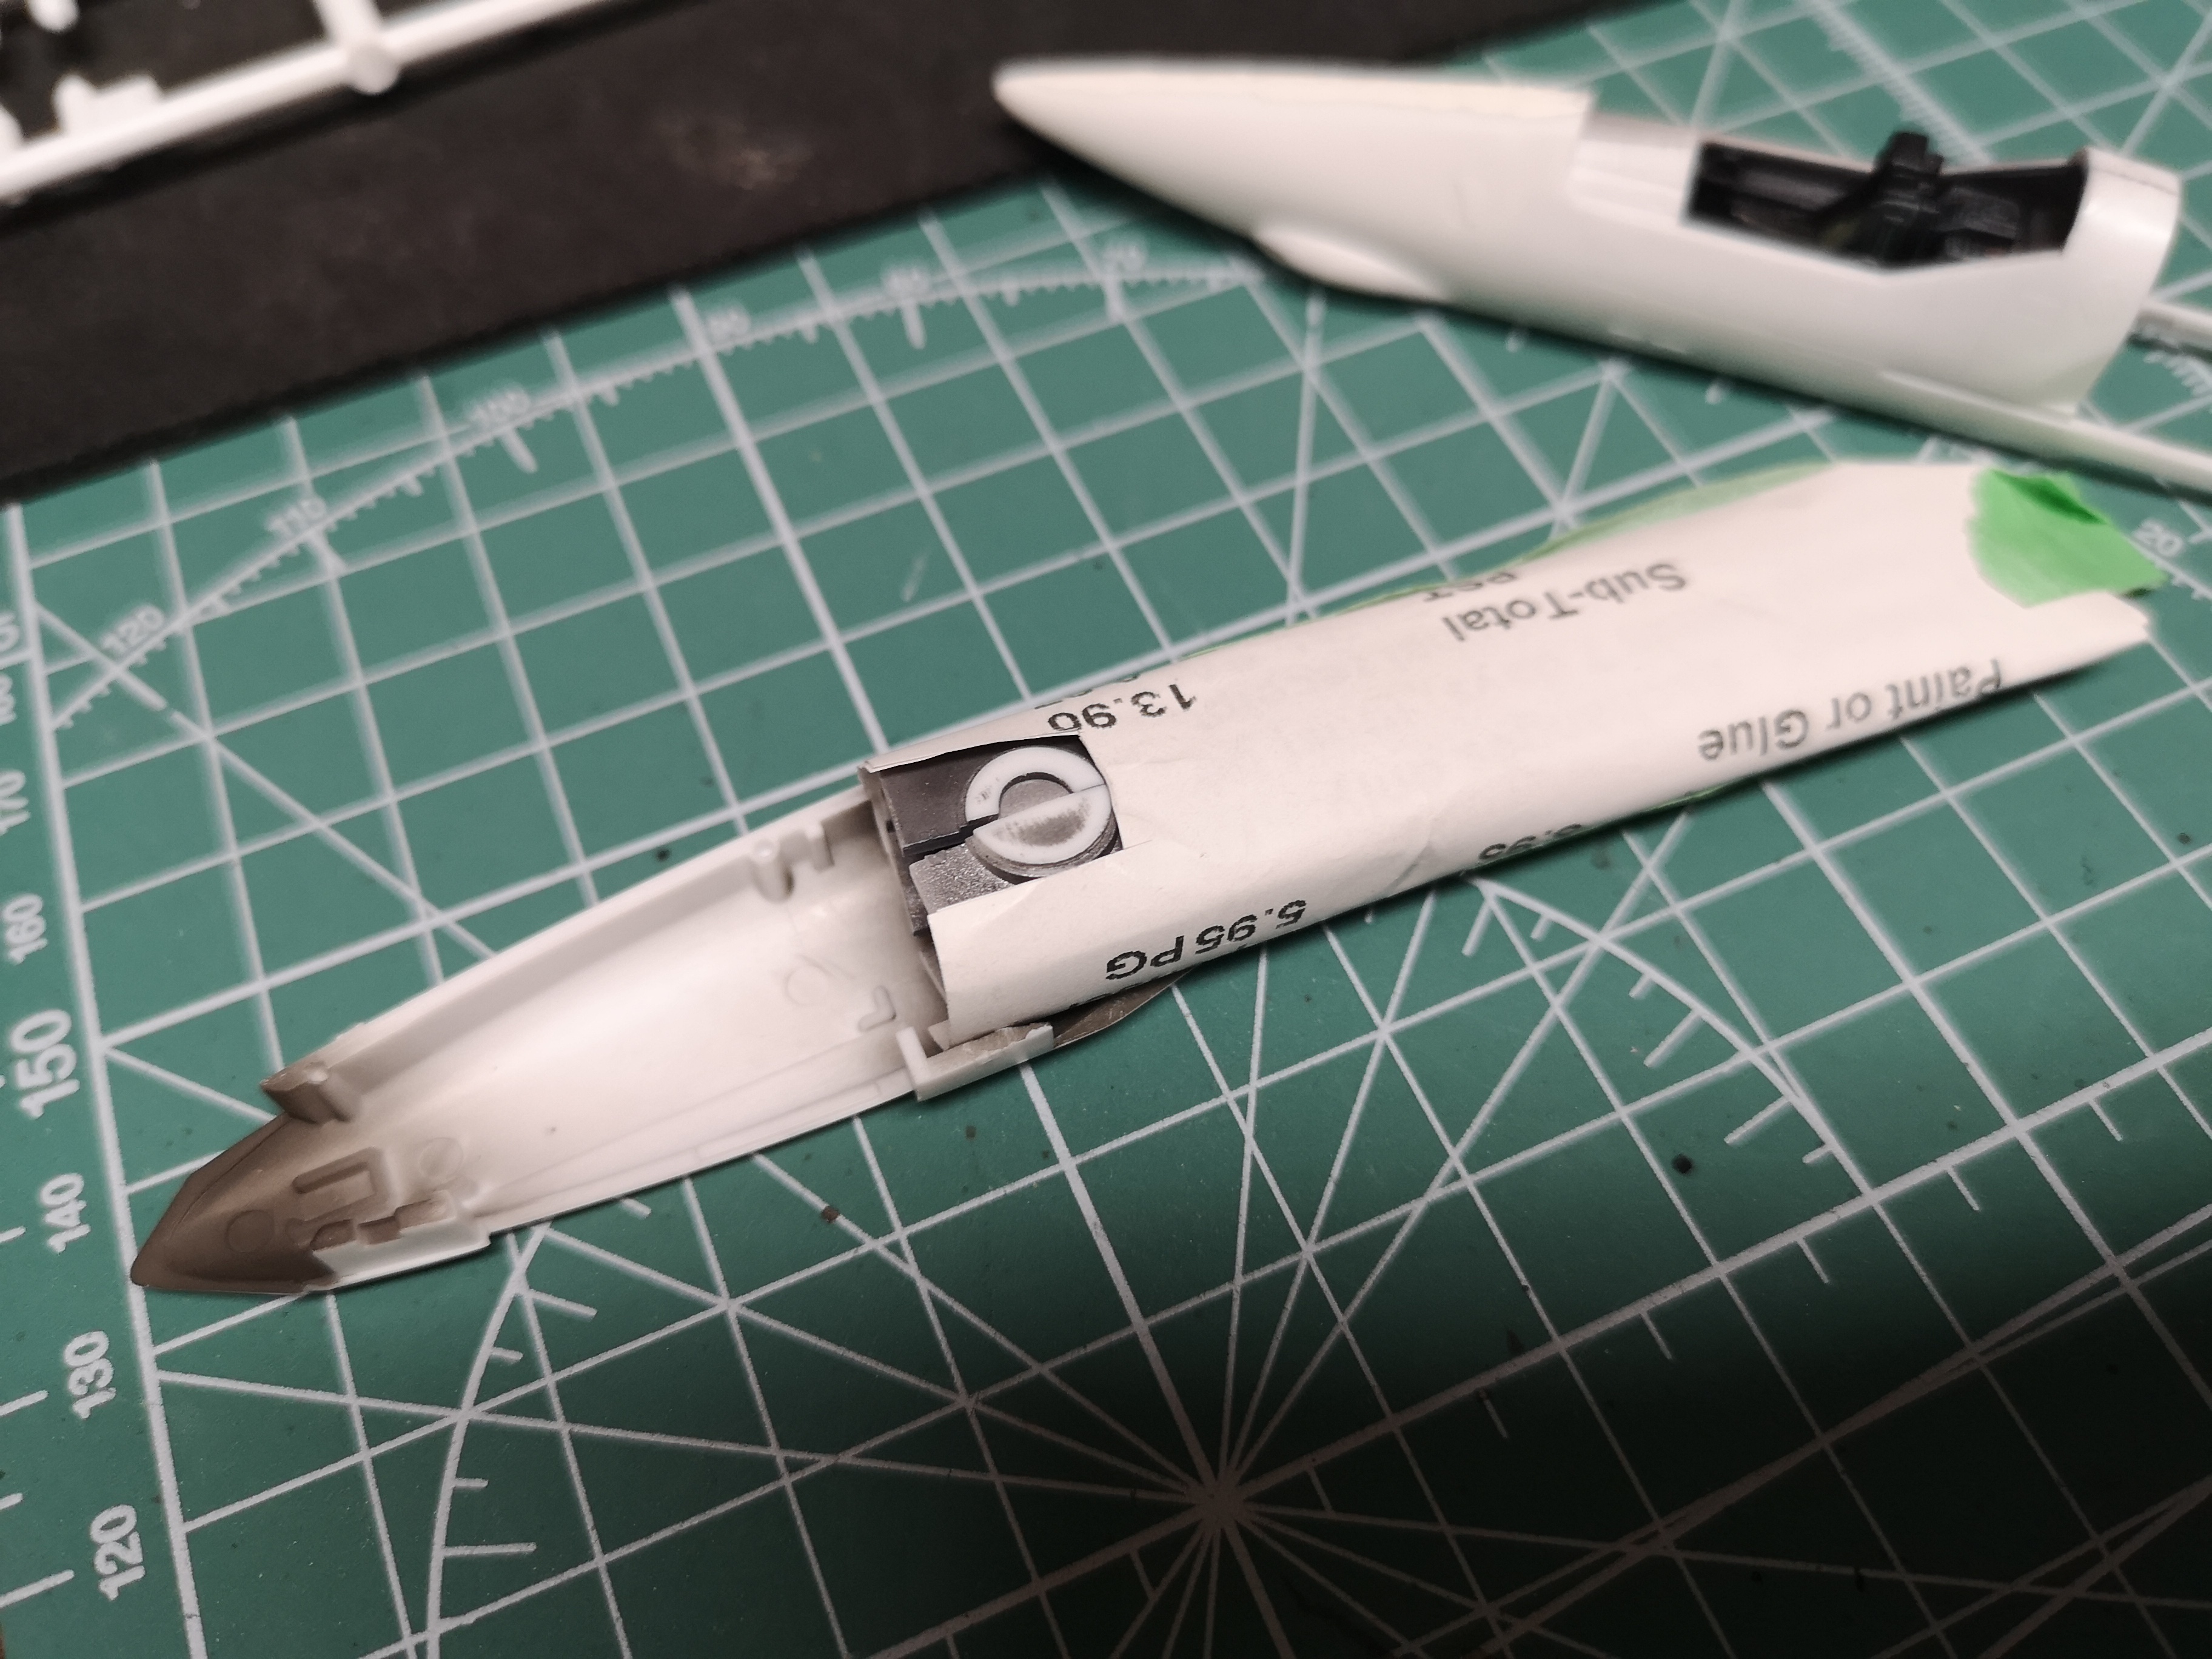
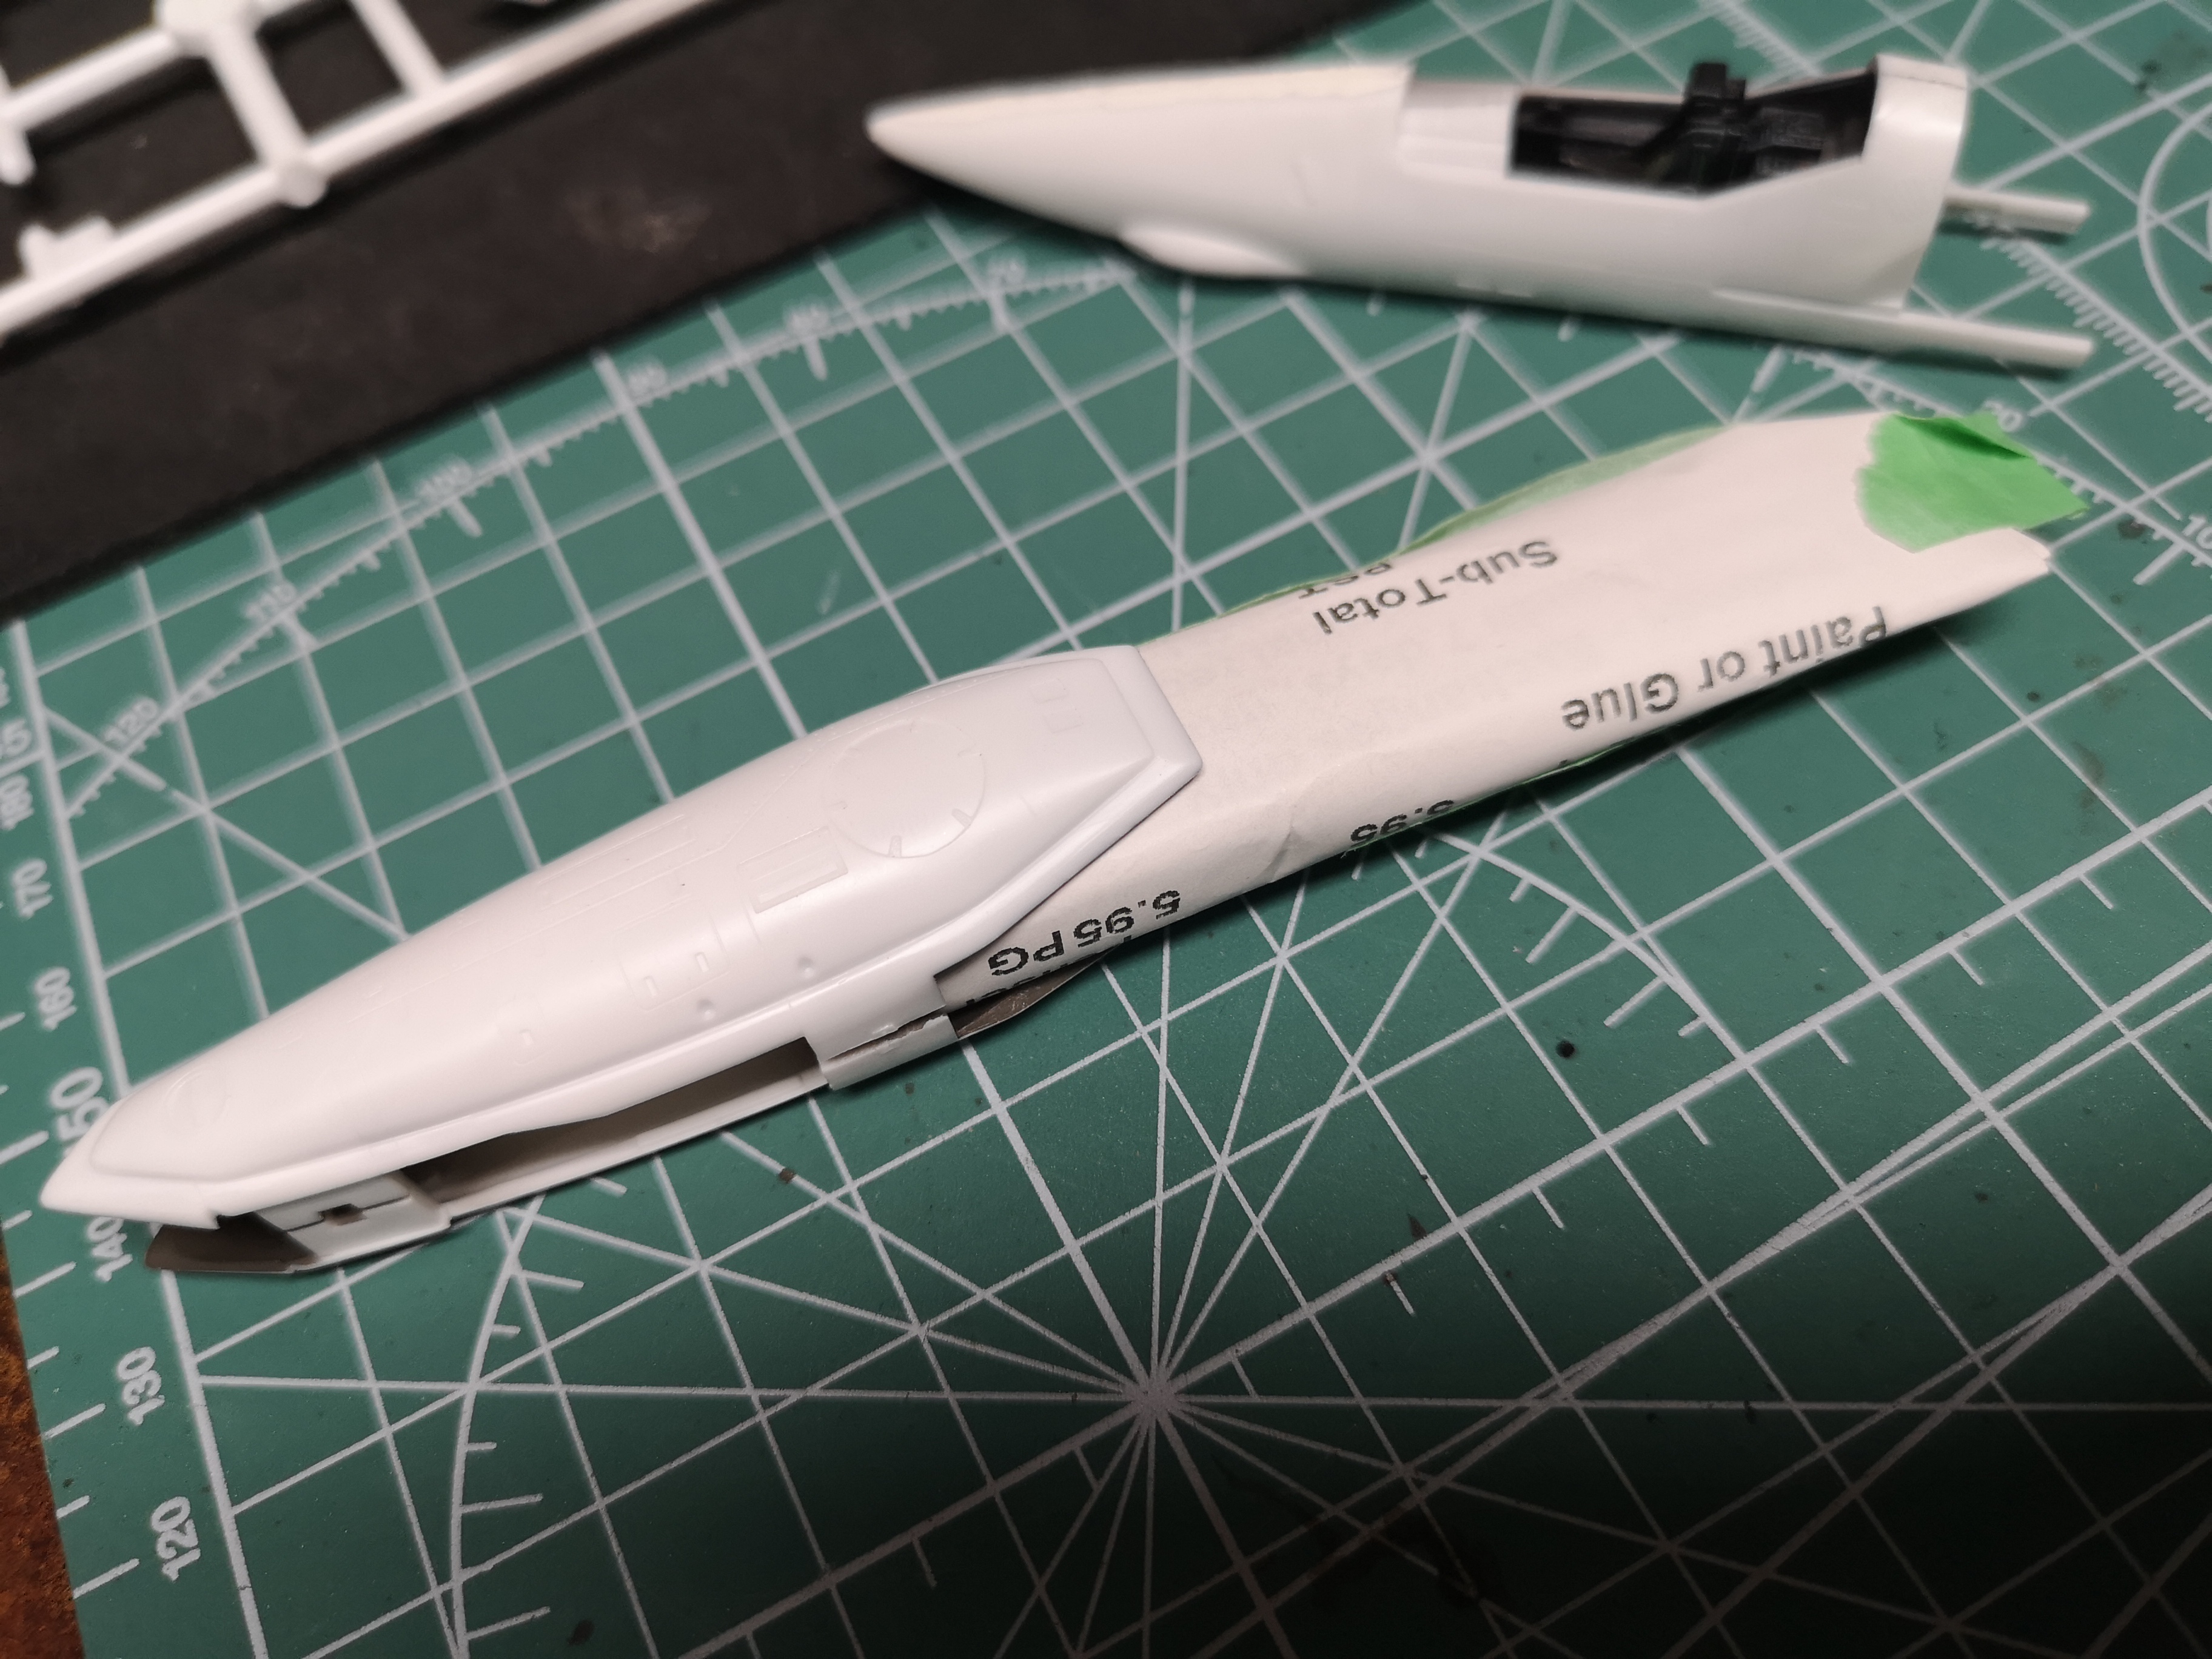
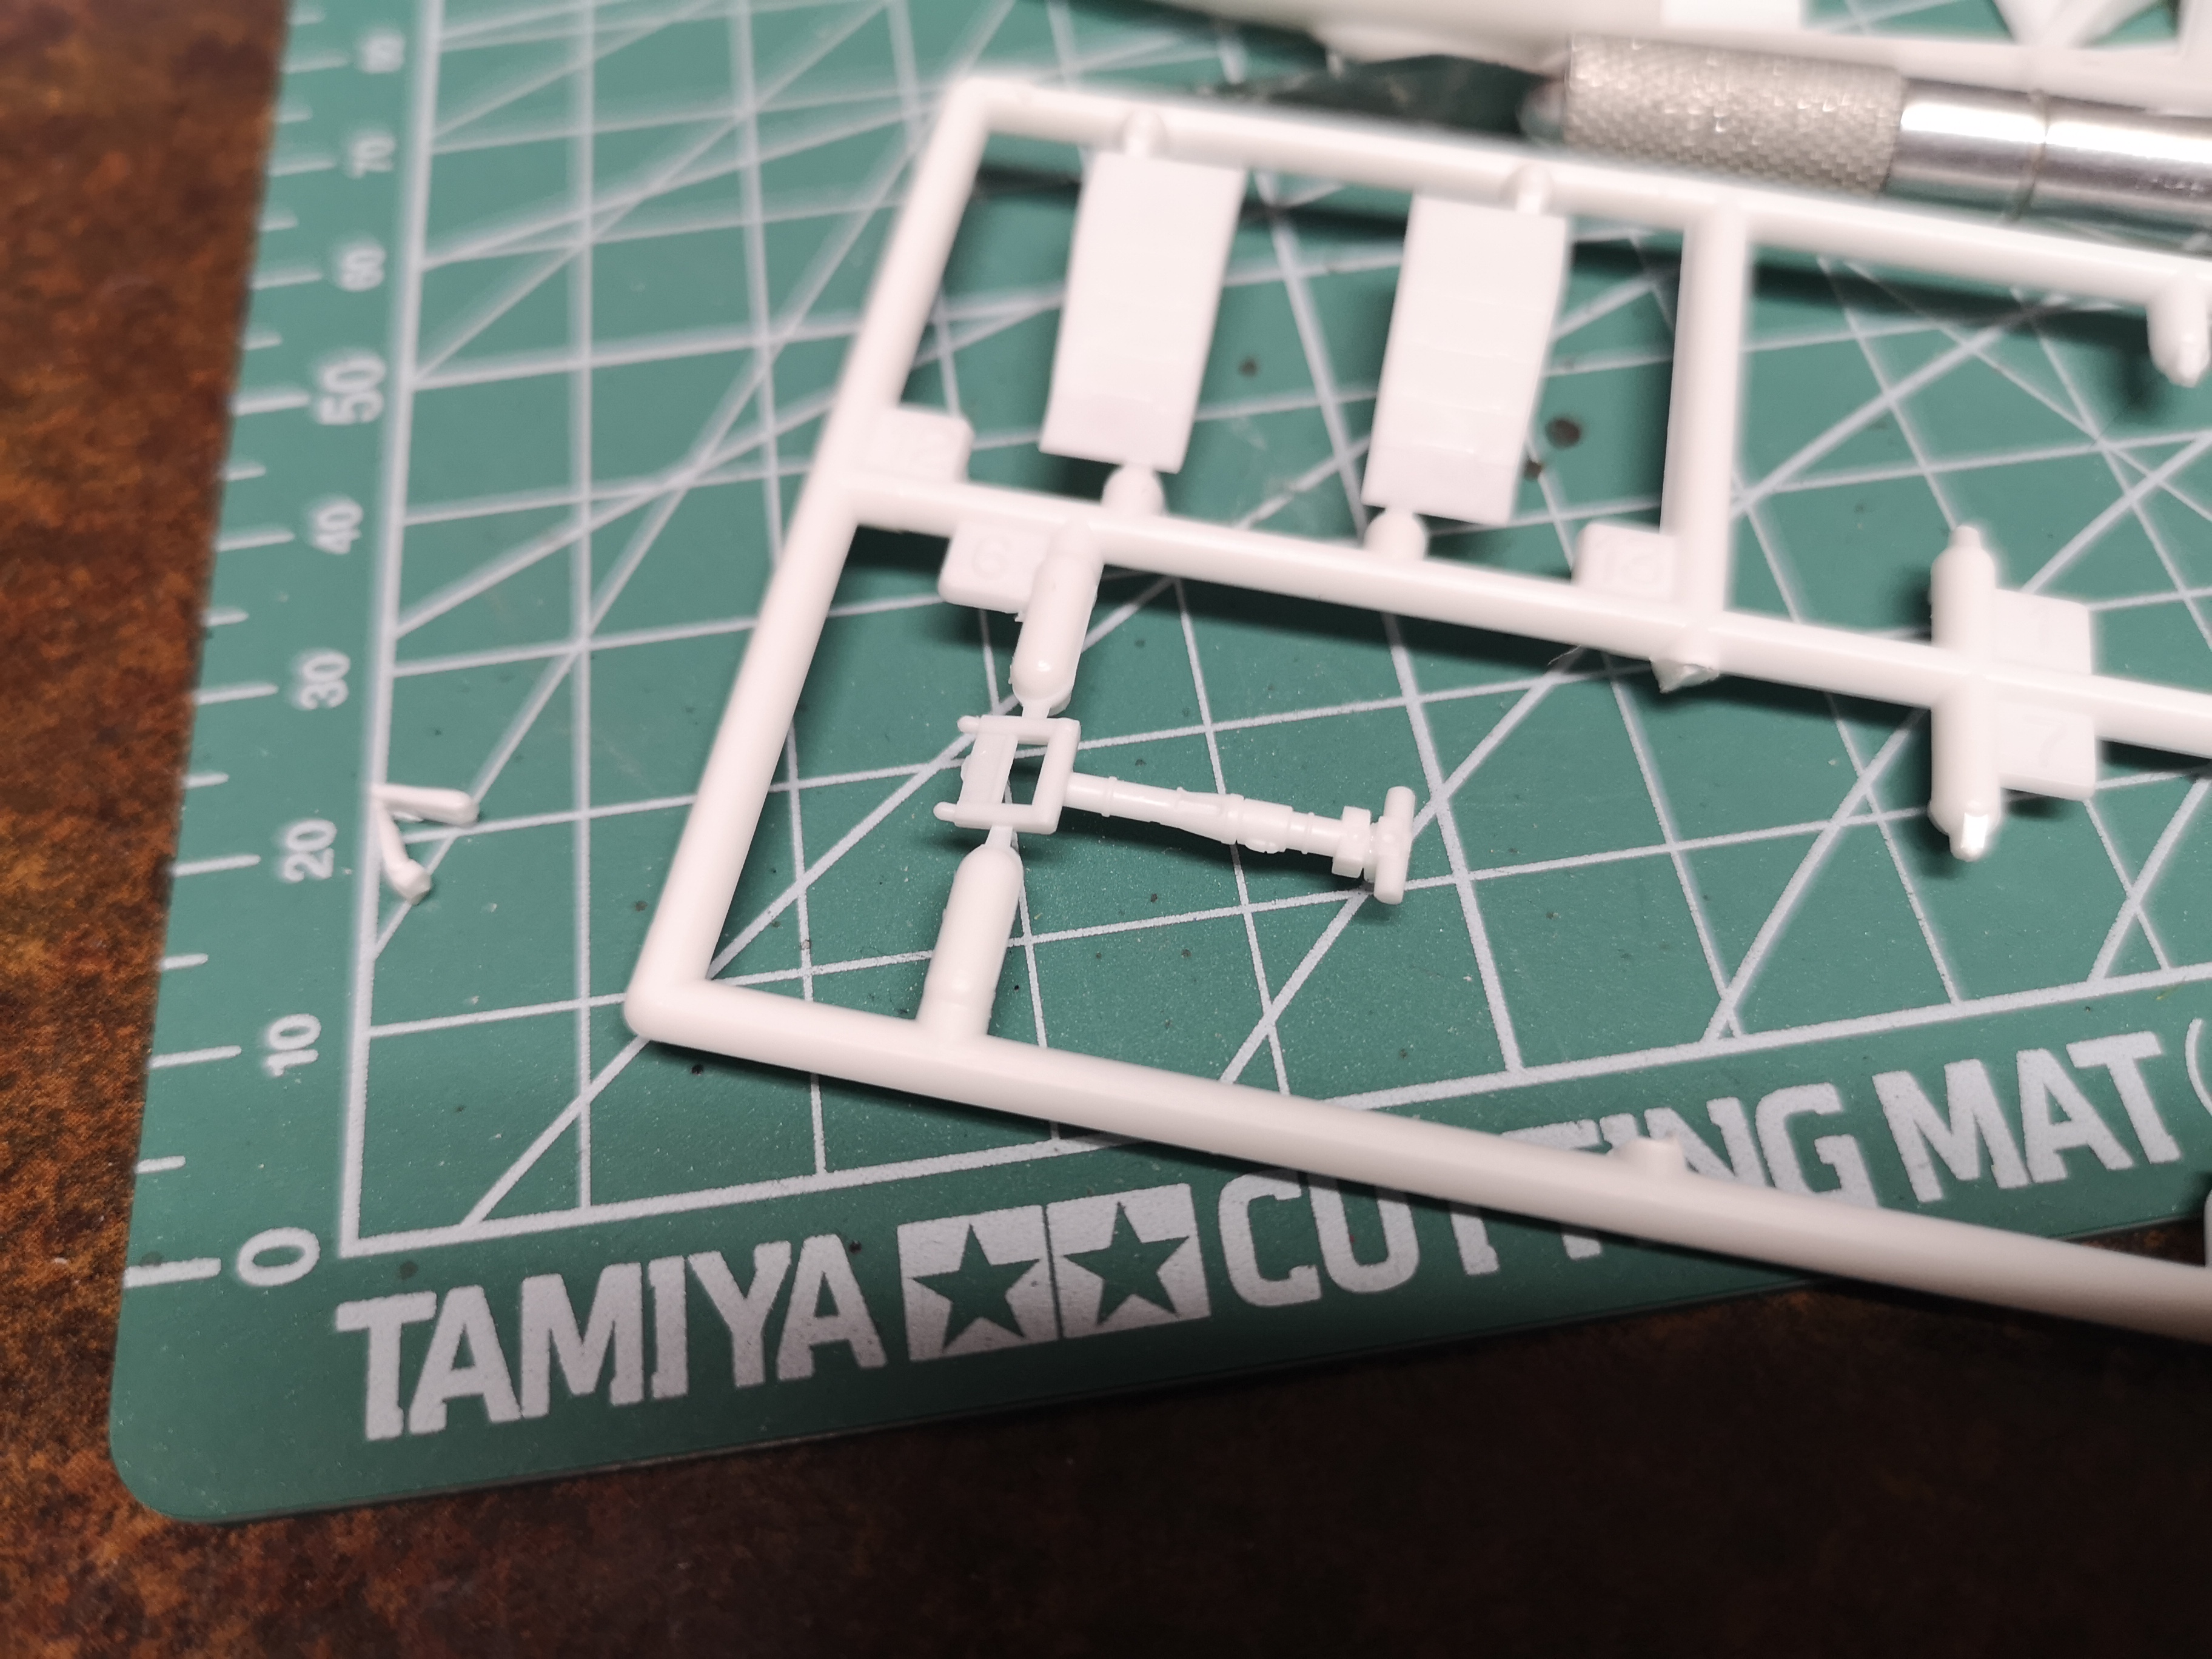
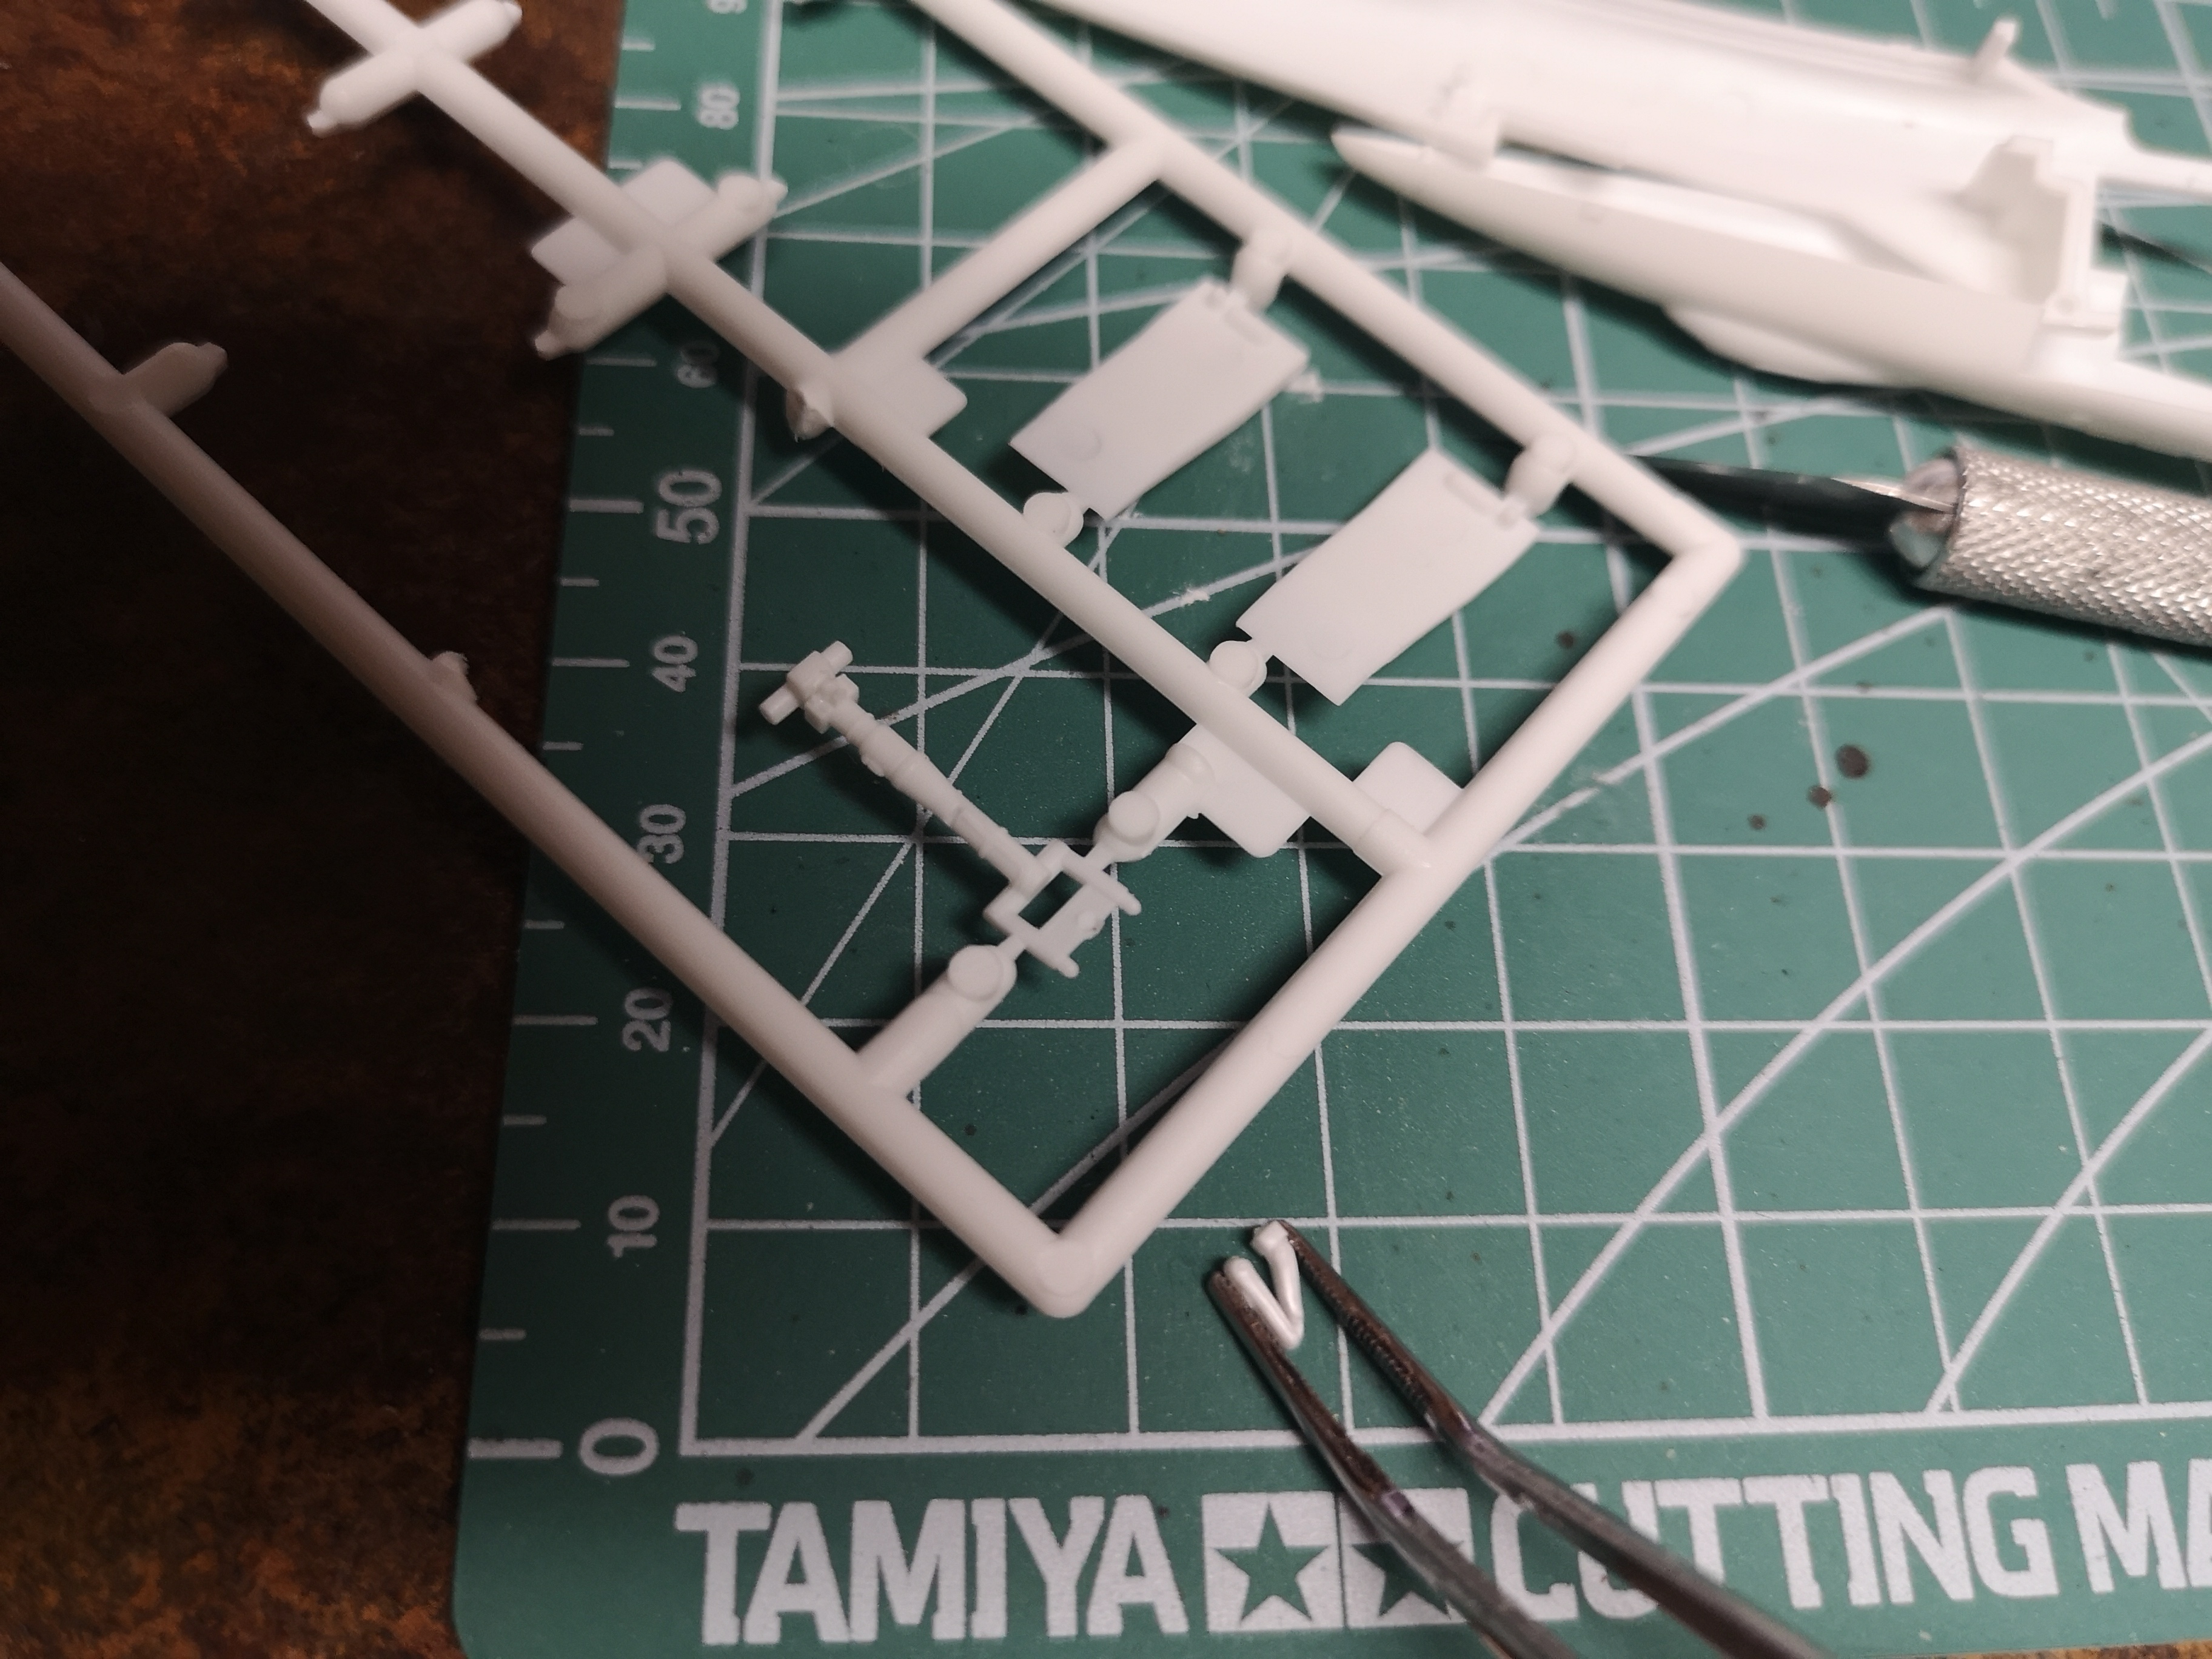
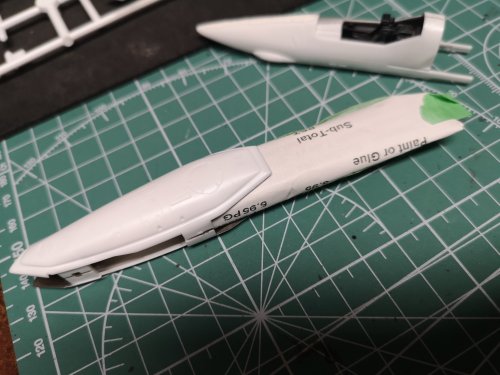
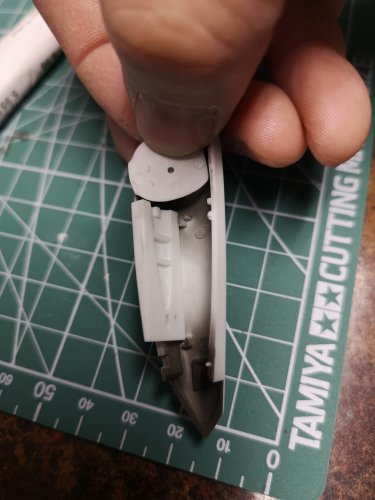
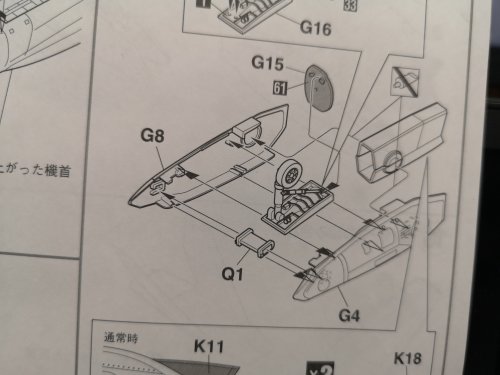
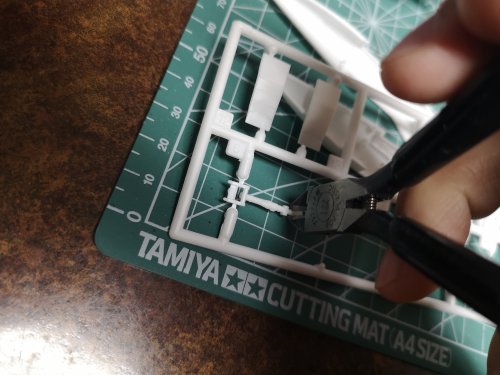
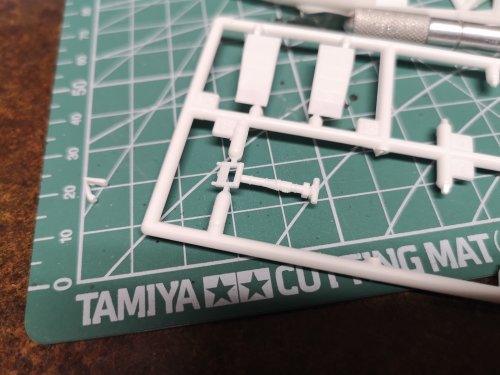
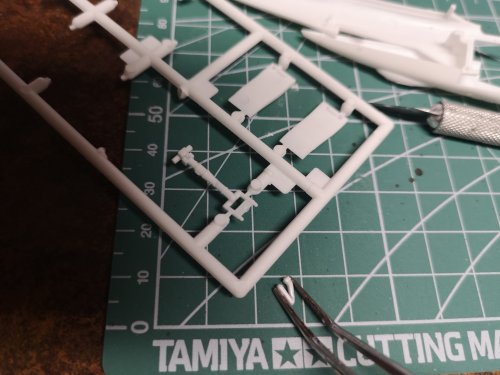
The way the vertical stabilizers attach is bonkers. Two little nubs barely visible to the naked eye. This doesn't feel like a very sturdy build and it feels like it should be reinforced, but I would not be able to see where I'm drilling anyway. Guess I won't be wooshing my Valkyrie around the room. I don't even know of they are aligned properly, lol! Next, chopping that front landing gear to lower it. I don't even know if this is the right thing to do. I see F14s kind of crouch down when they're being launched, so this is the look I want to replicate, but honestly, there wasn't a lot of material to remove. Don't know what this part is called, but I figured it should be squished down too. I can barely see this part, let alone attach it to the nose gear. it's on there now. Testing out a new primer. This stuff dries fast, was worried my airbrush was going to get gunked up. I need to learn to work faster. It looks pretty smooth. I'm thinking maybe I should have gone heavier. Let's hope it's enough. Test fitting the pilot, decided DYRL Hikaru is flying his SDFM -1J. More to follow.


-
Sorry, I can't help you with the color matched rattle can color, I used Krylon FDE which doesn't look right. Really looking forward to seeing a CF in 1/48 though, there doesn't even to be many out there in the wild! I have one sitting in my pile, and originally wanted to build it as either a Roy Strike or Hikaru Strike. But then I thought, I have DX Roy, a Yamato Hikaru and Yamato Max, so maybe I ought to build up the 1/48 as a Kakizaki? Kind of a waste of the strike cannons though...
-
Yes, Barrett! Haven't built it it yet, but I picked up this toy and it seems to fit the DX: A bit to shiny though so I'm going to paint it a more flat dark Earth color.
-
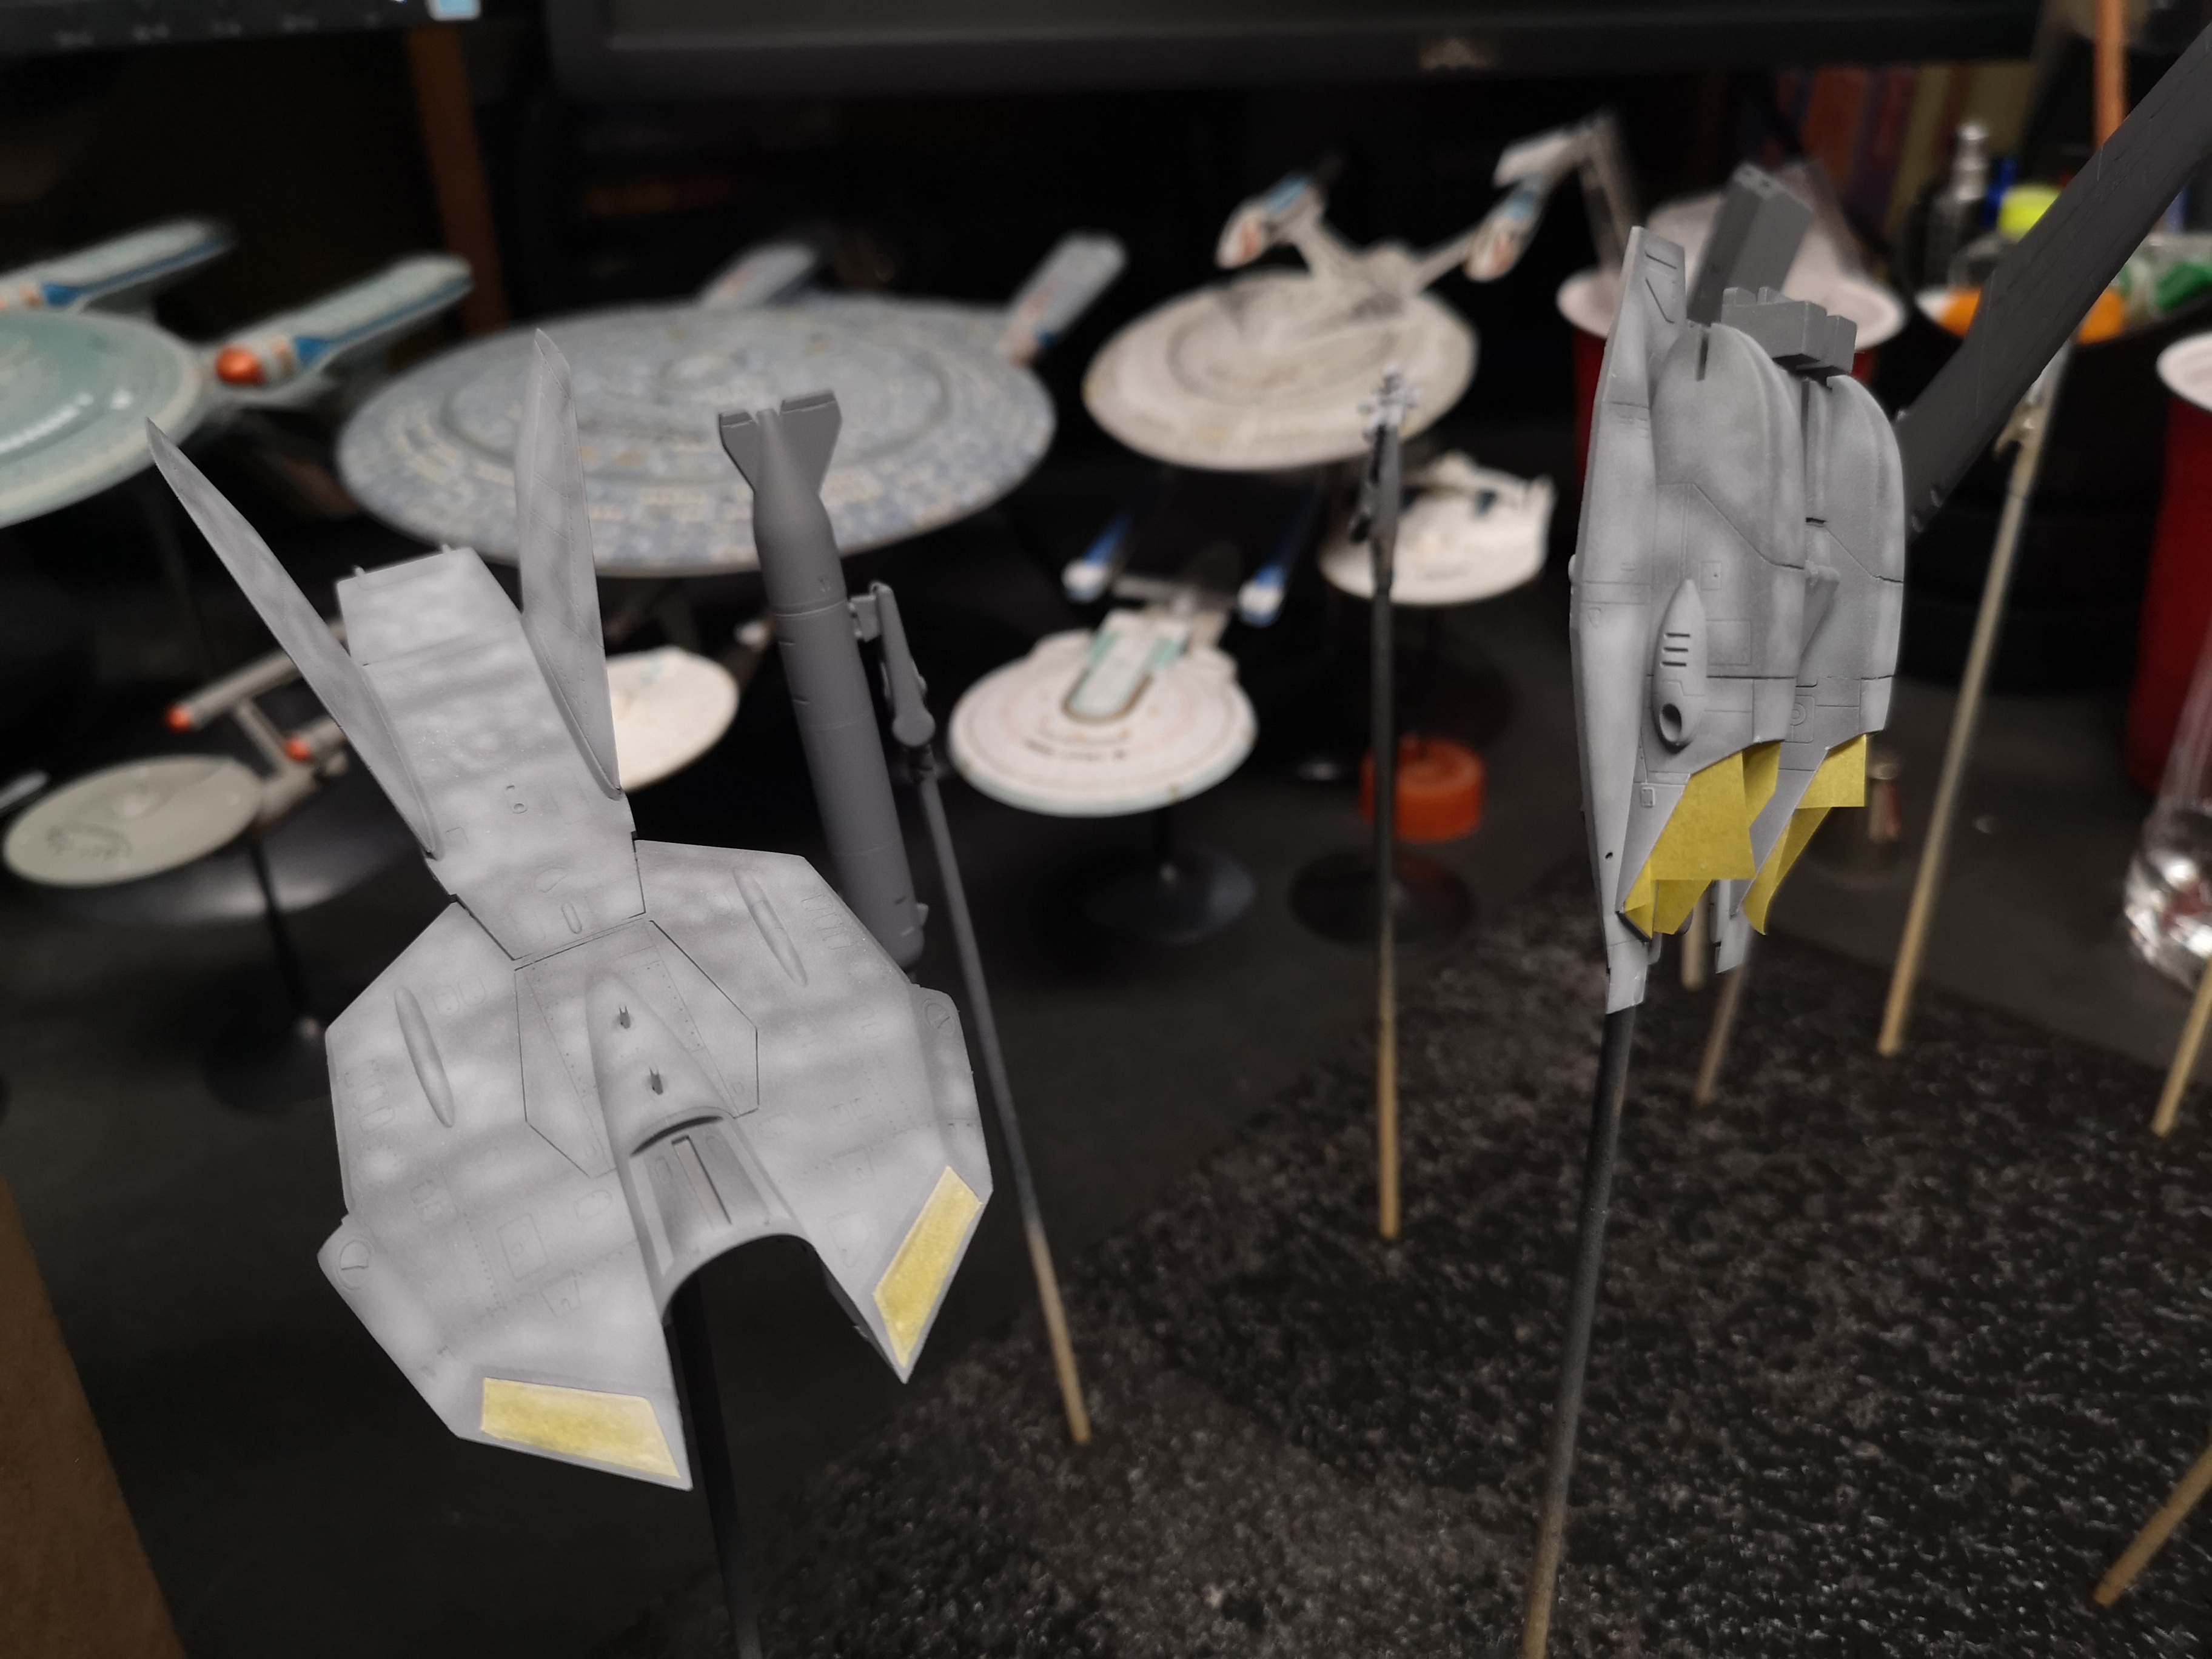
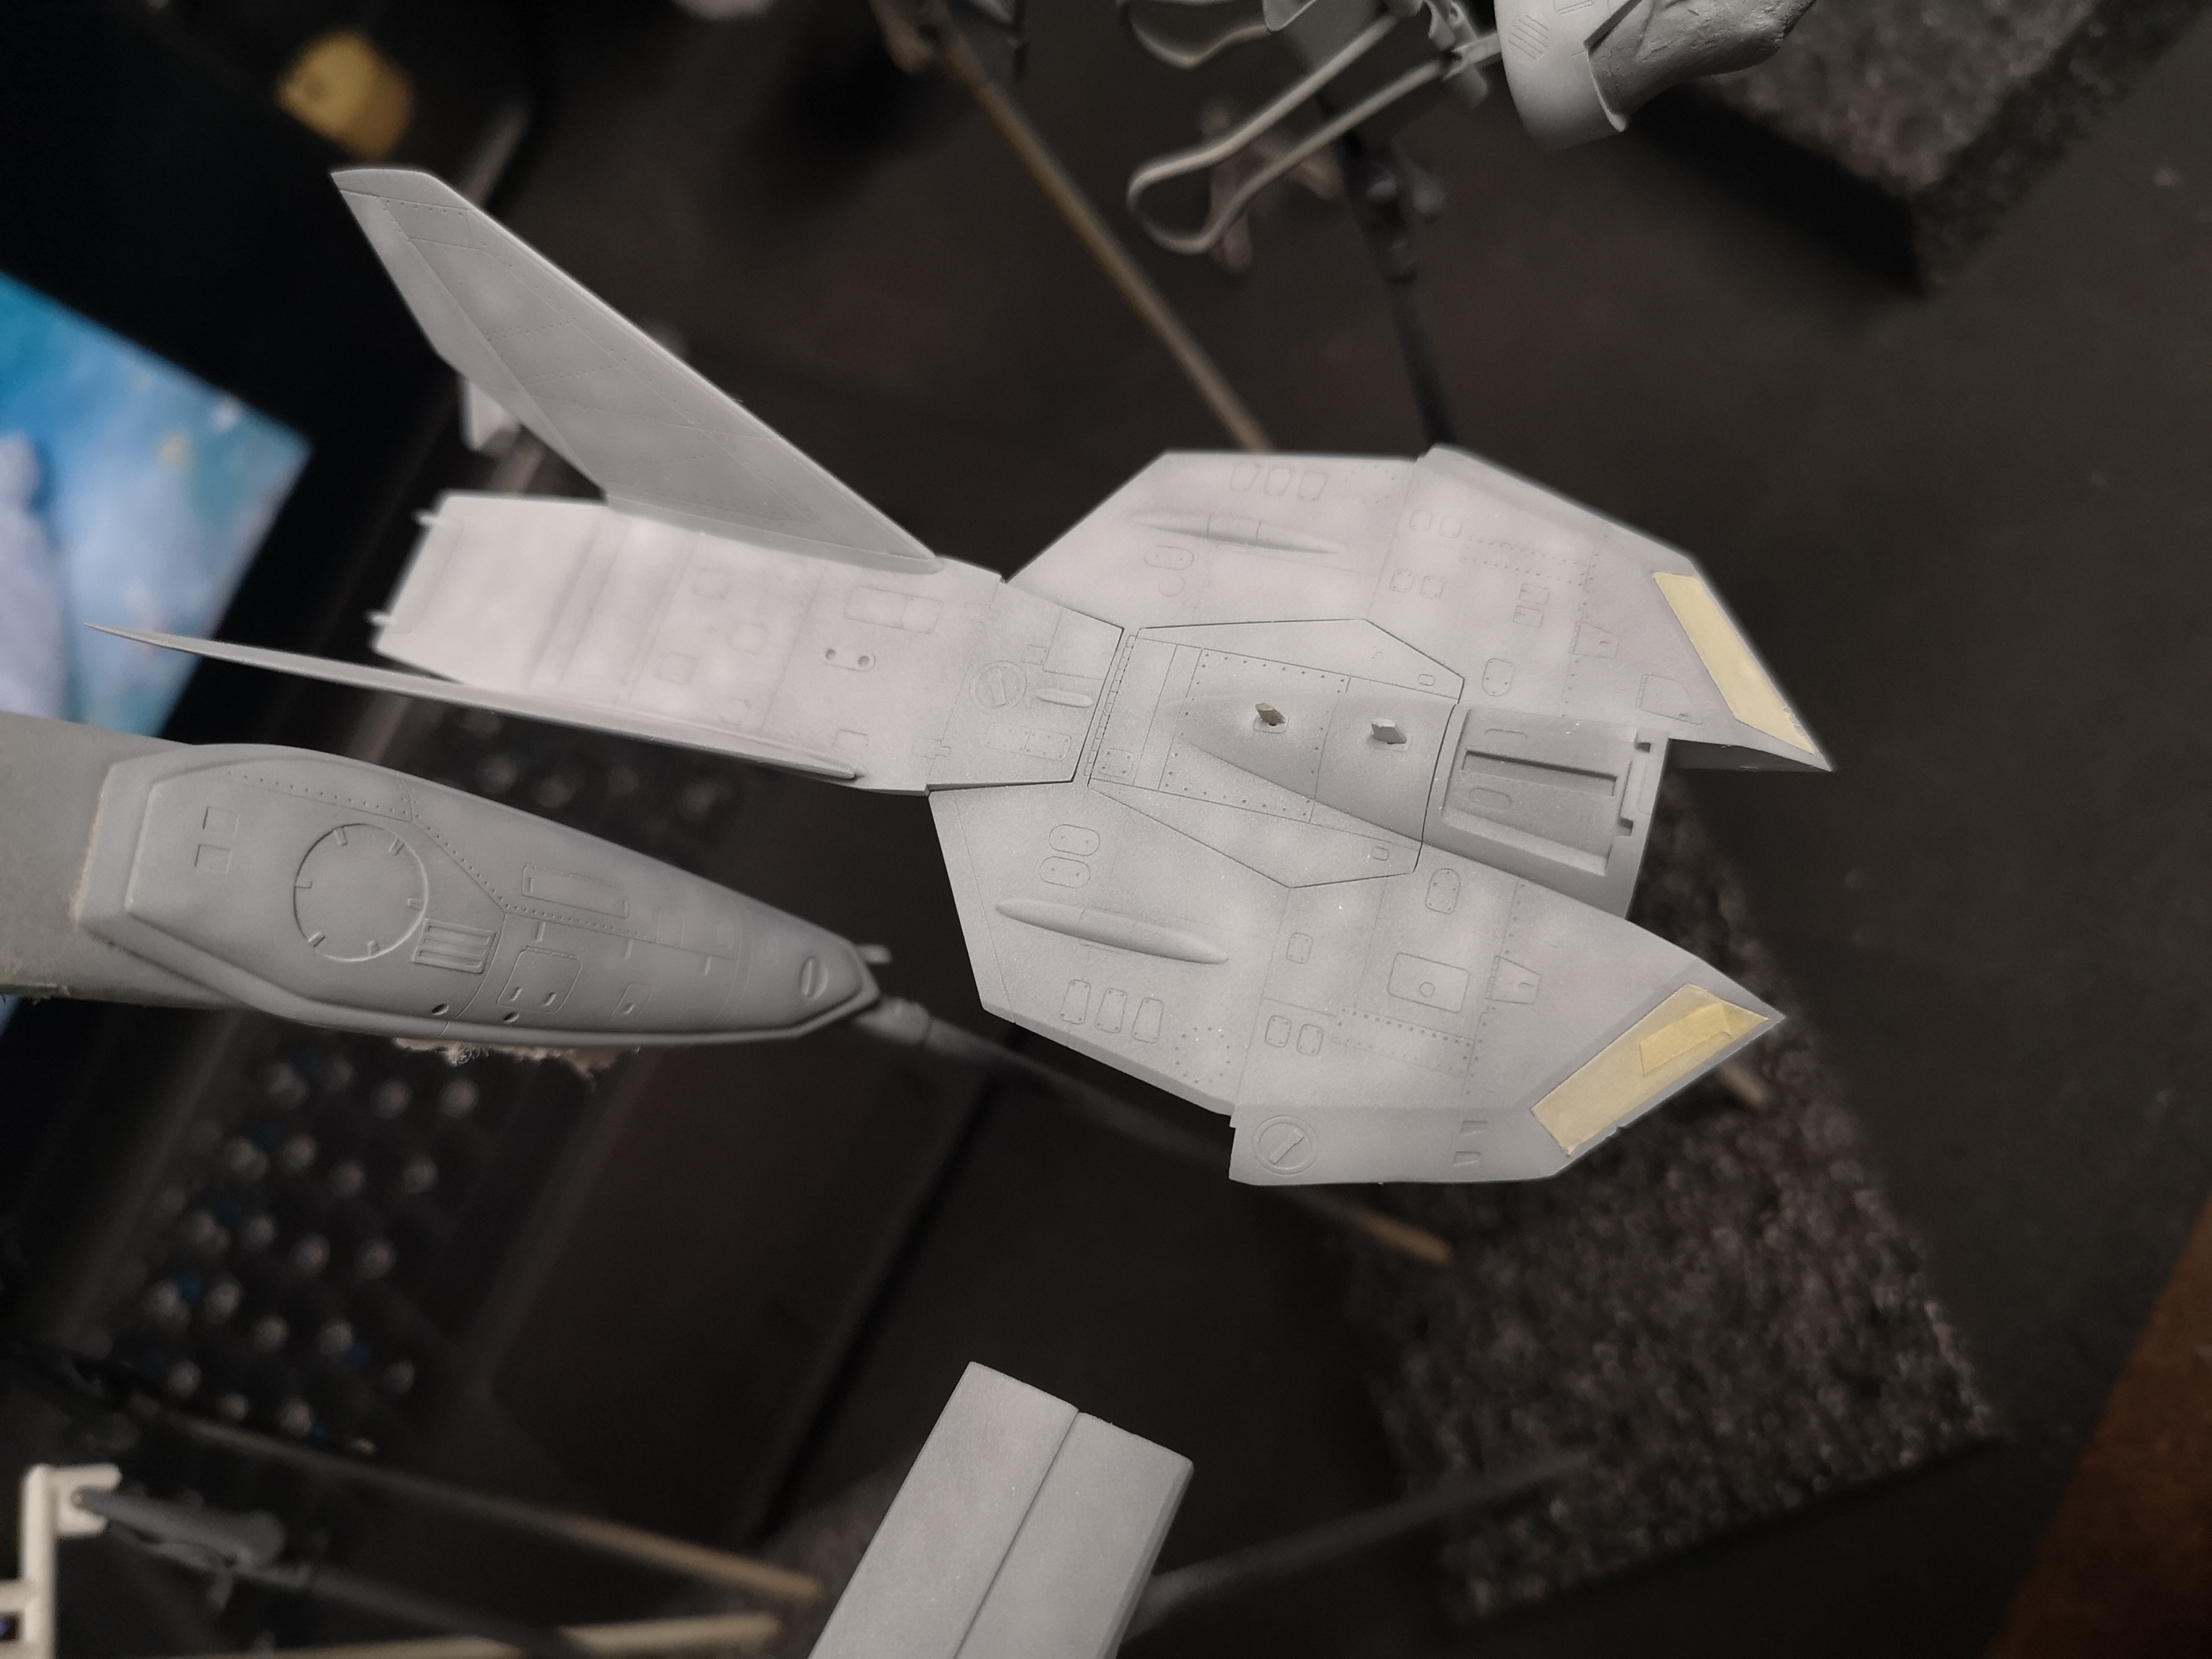
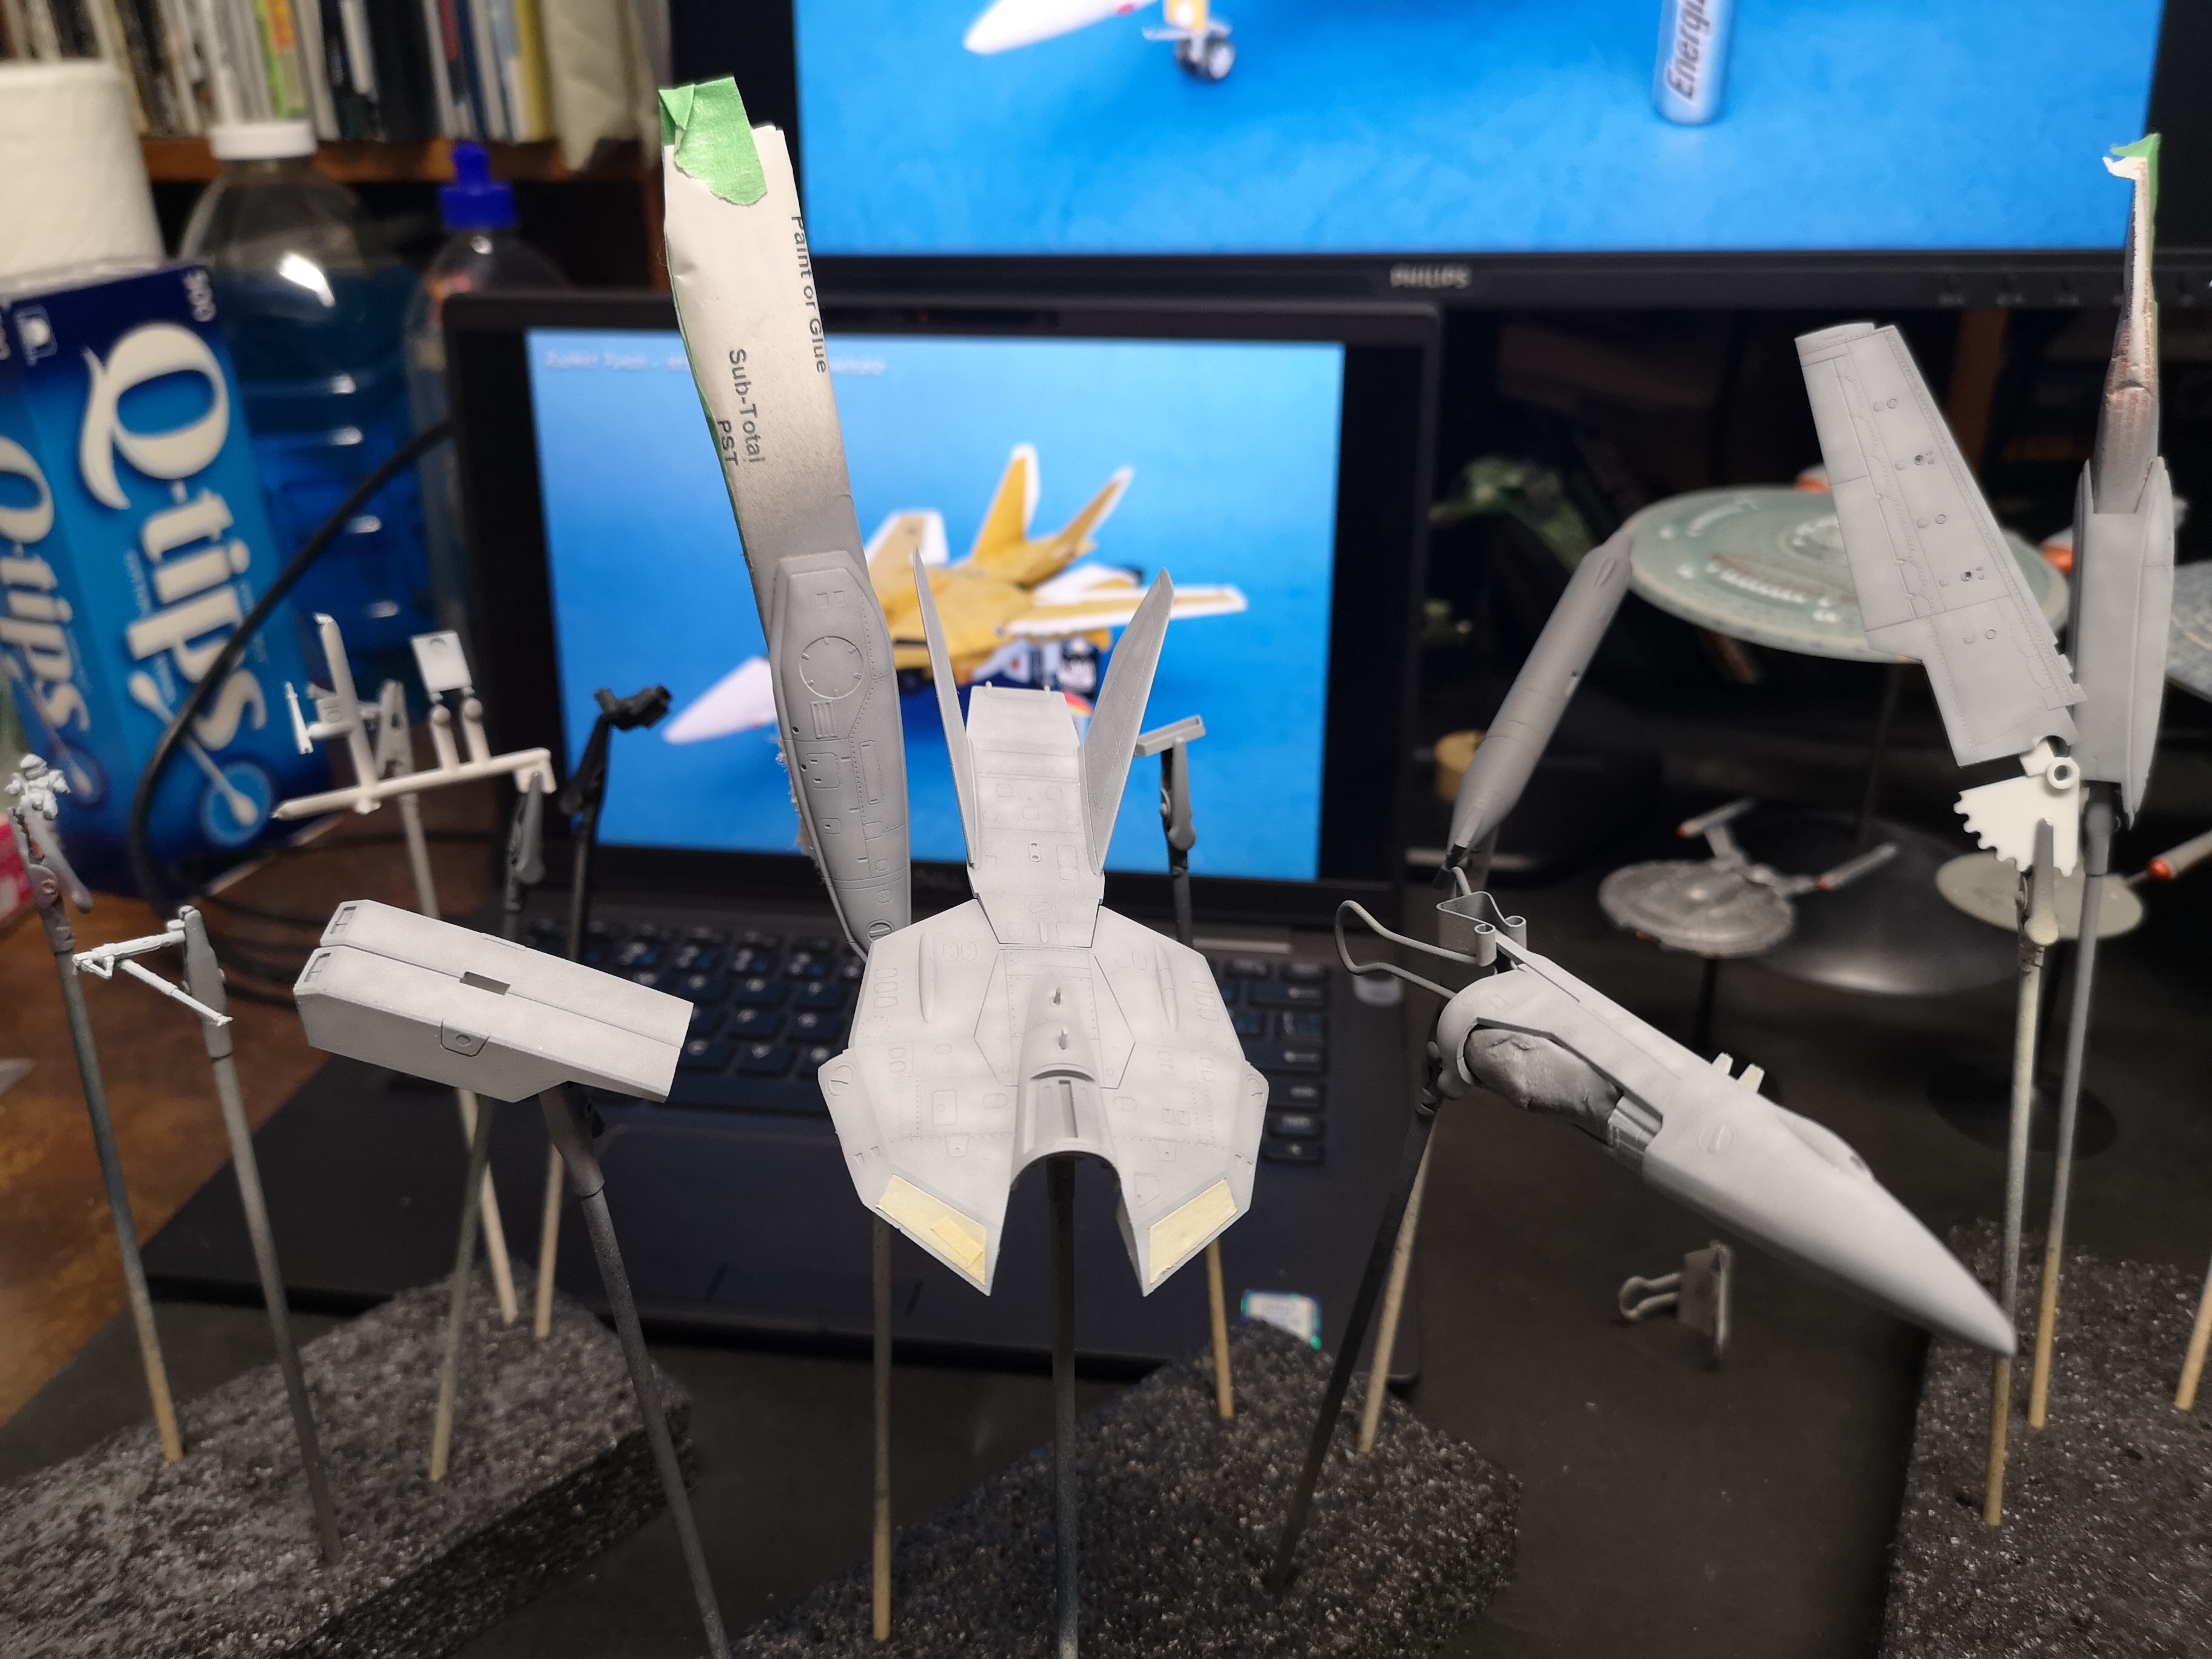
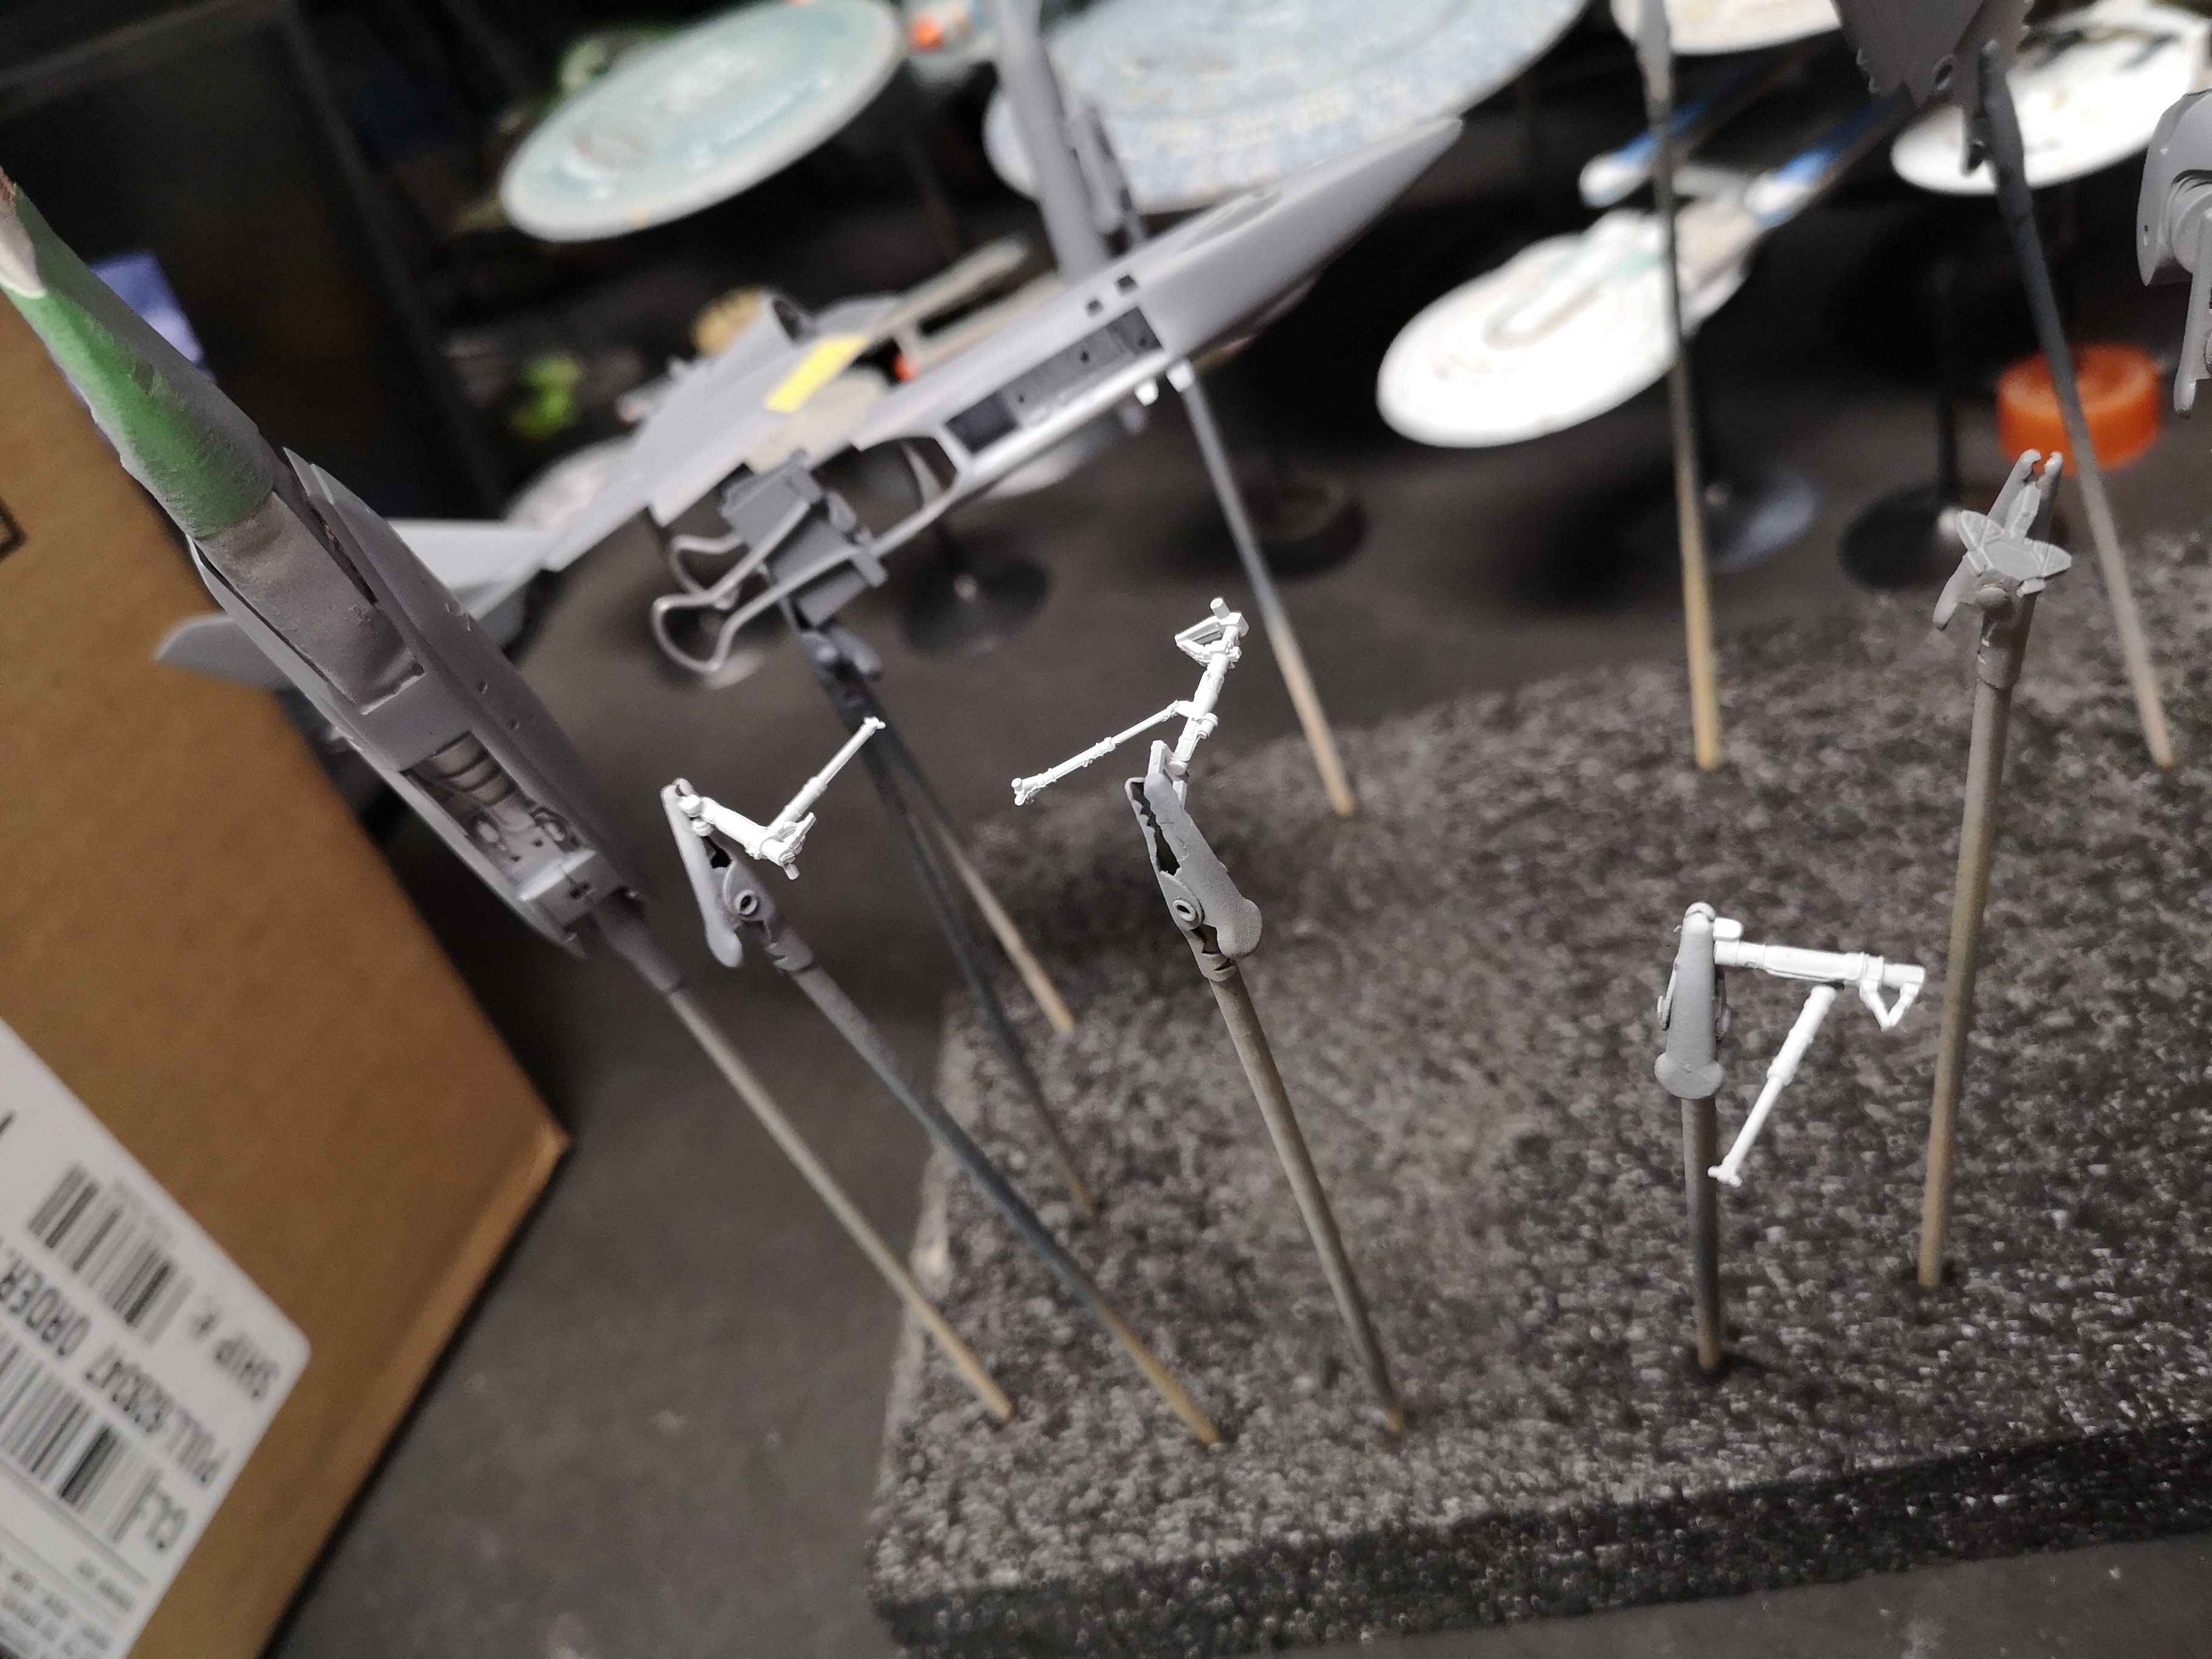
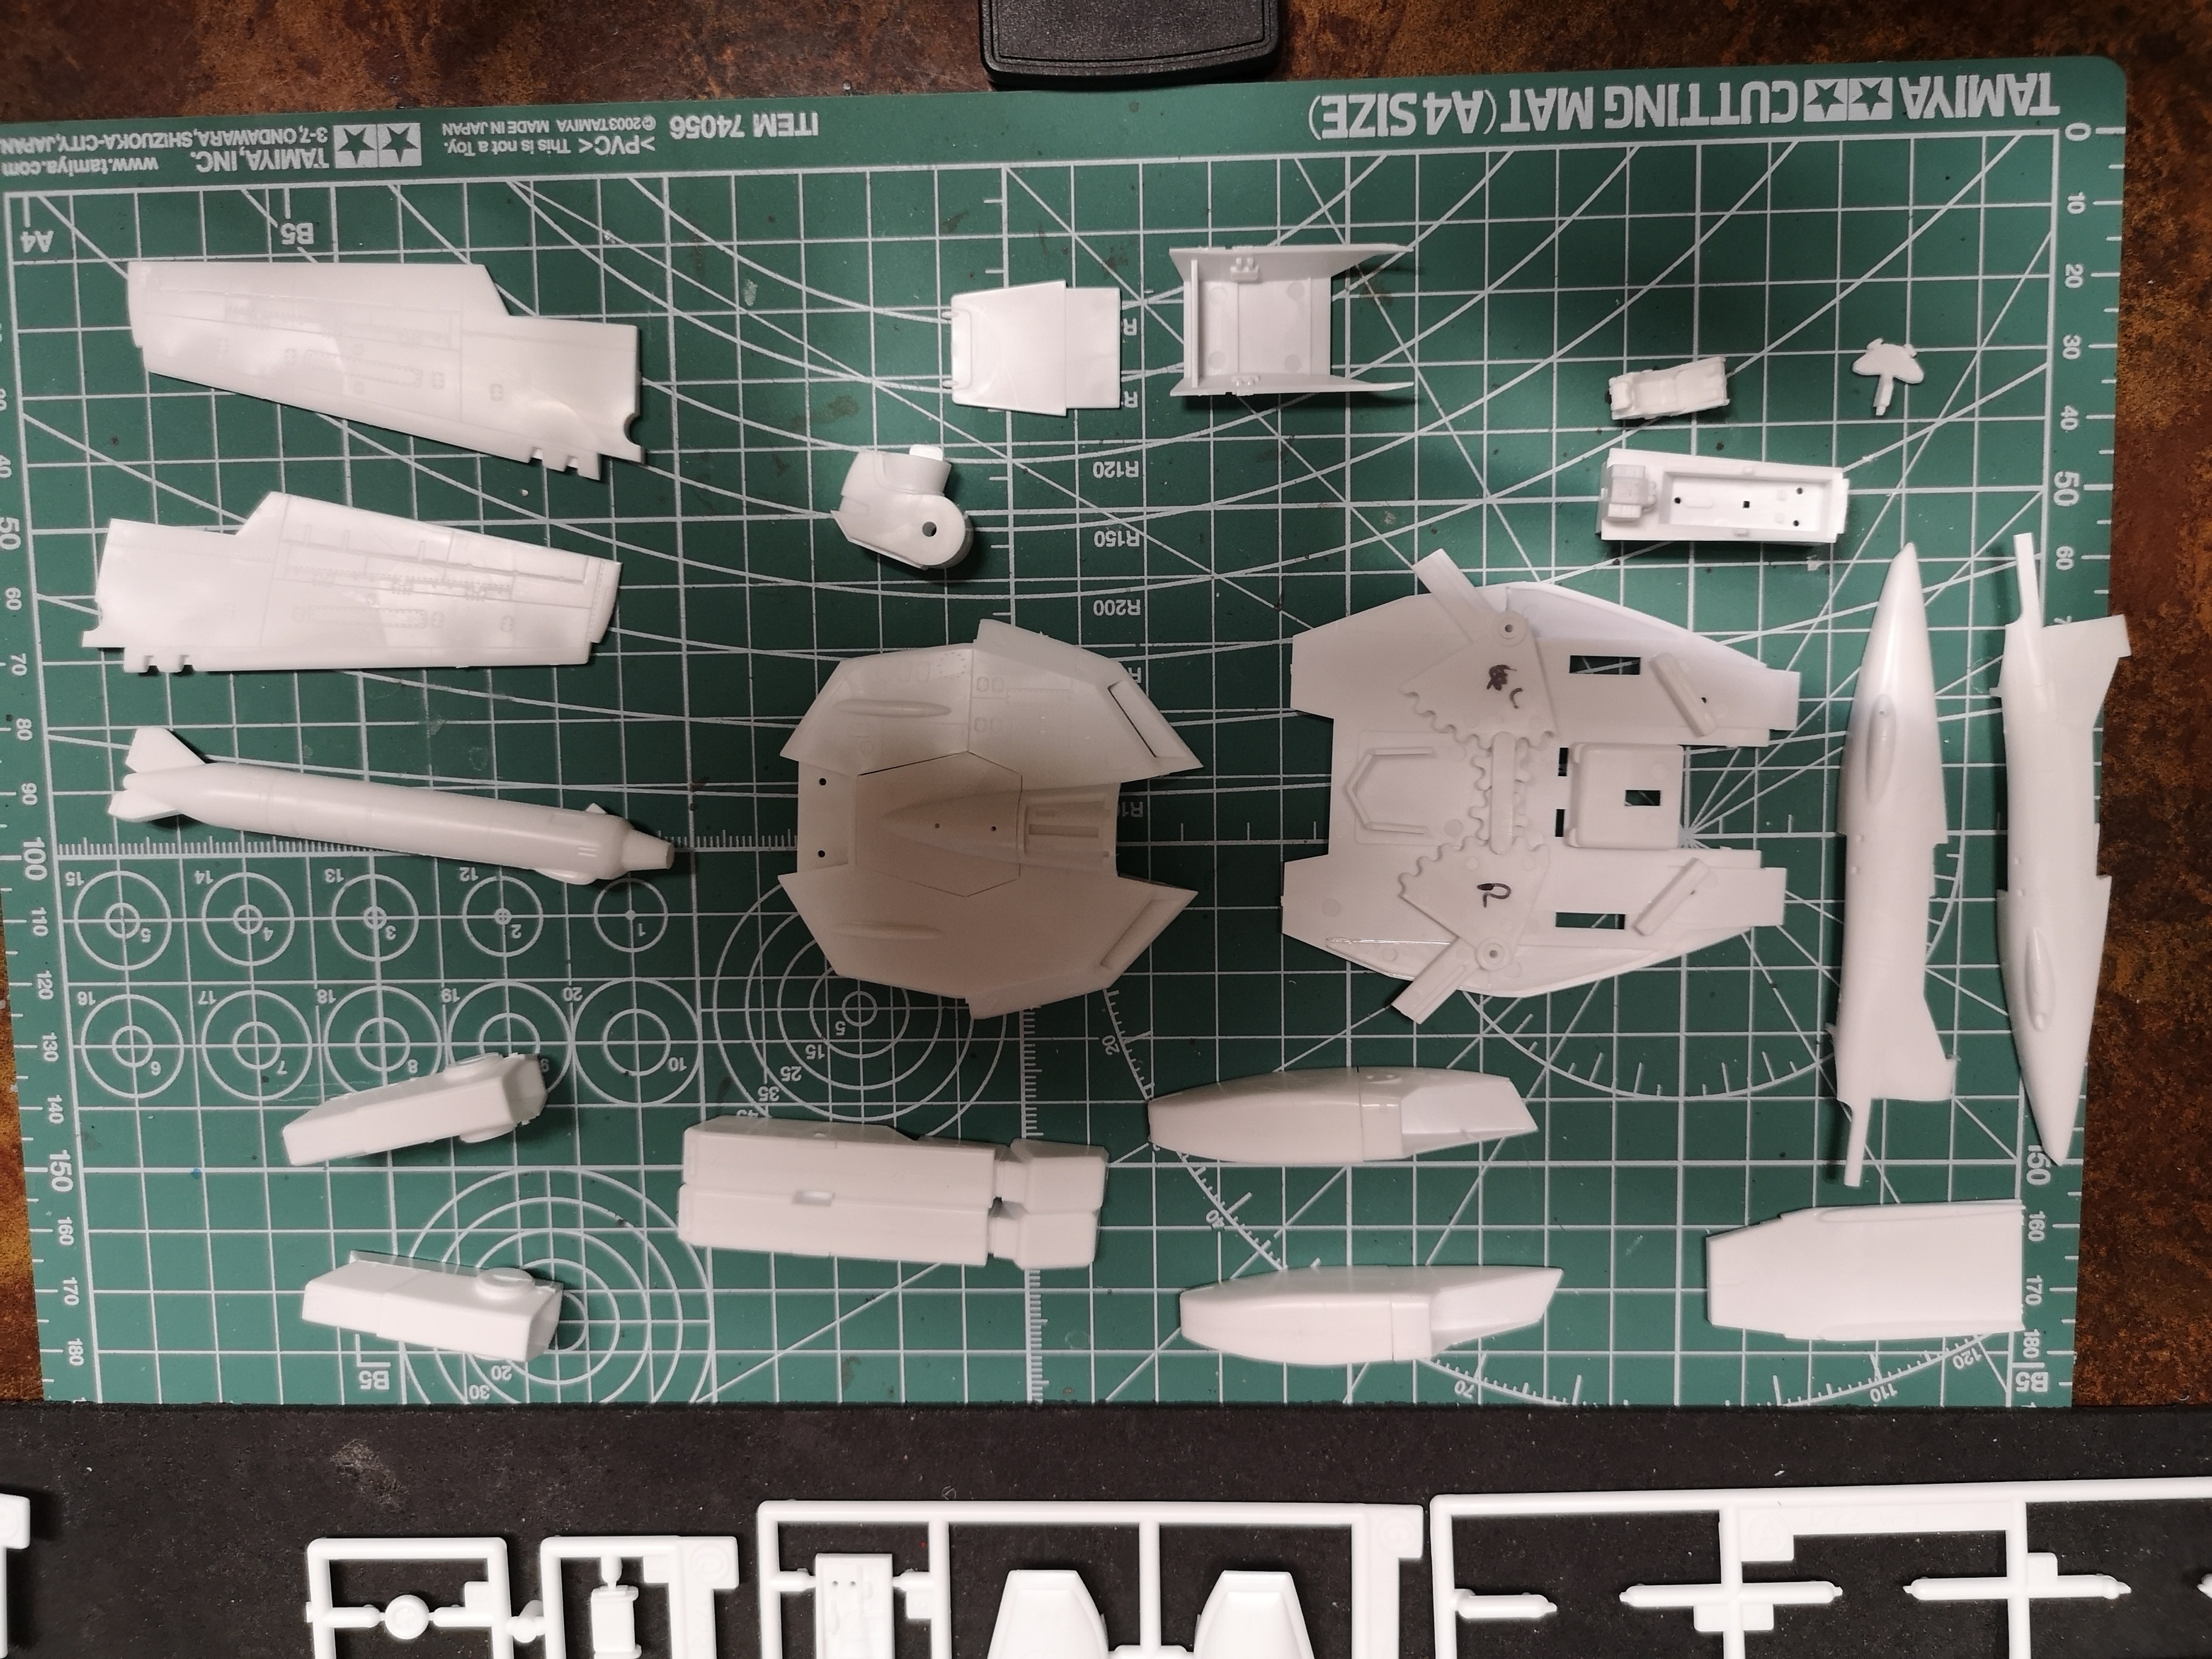
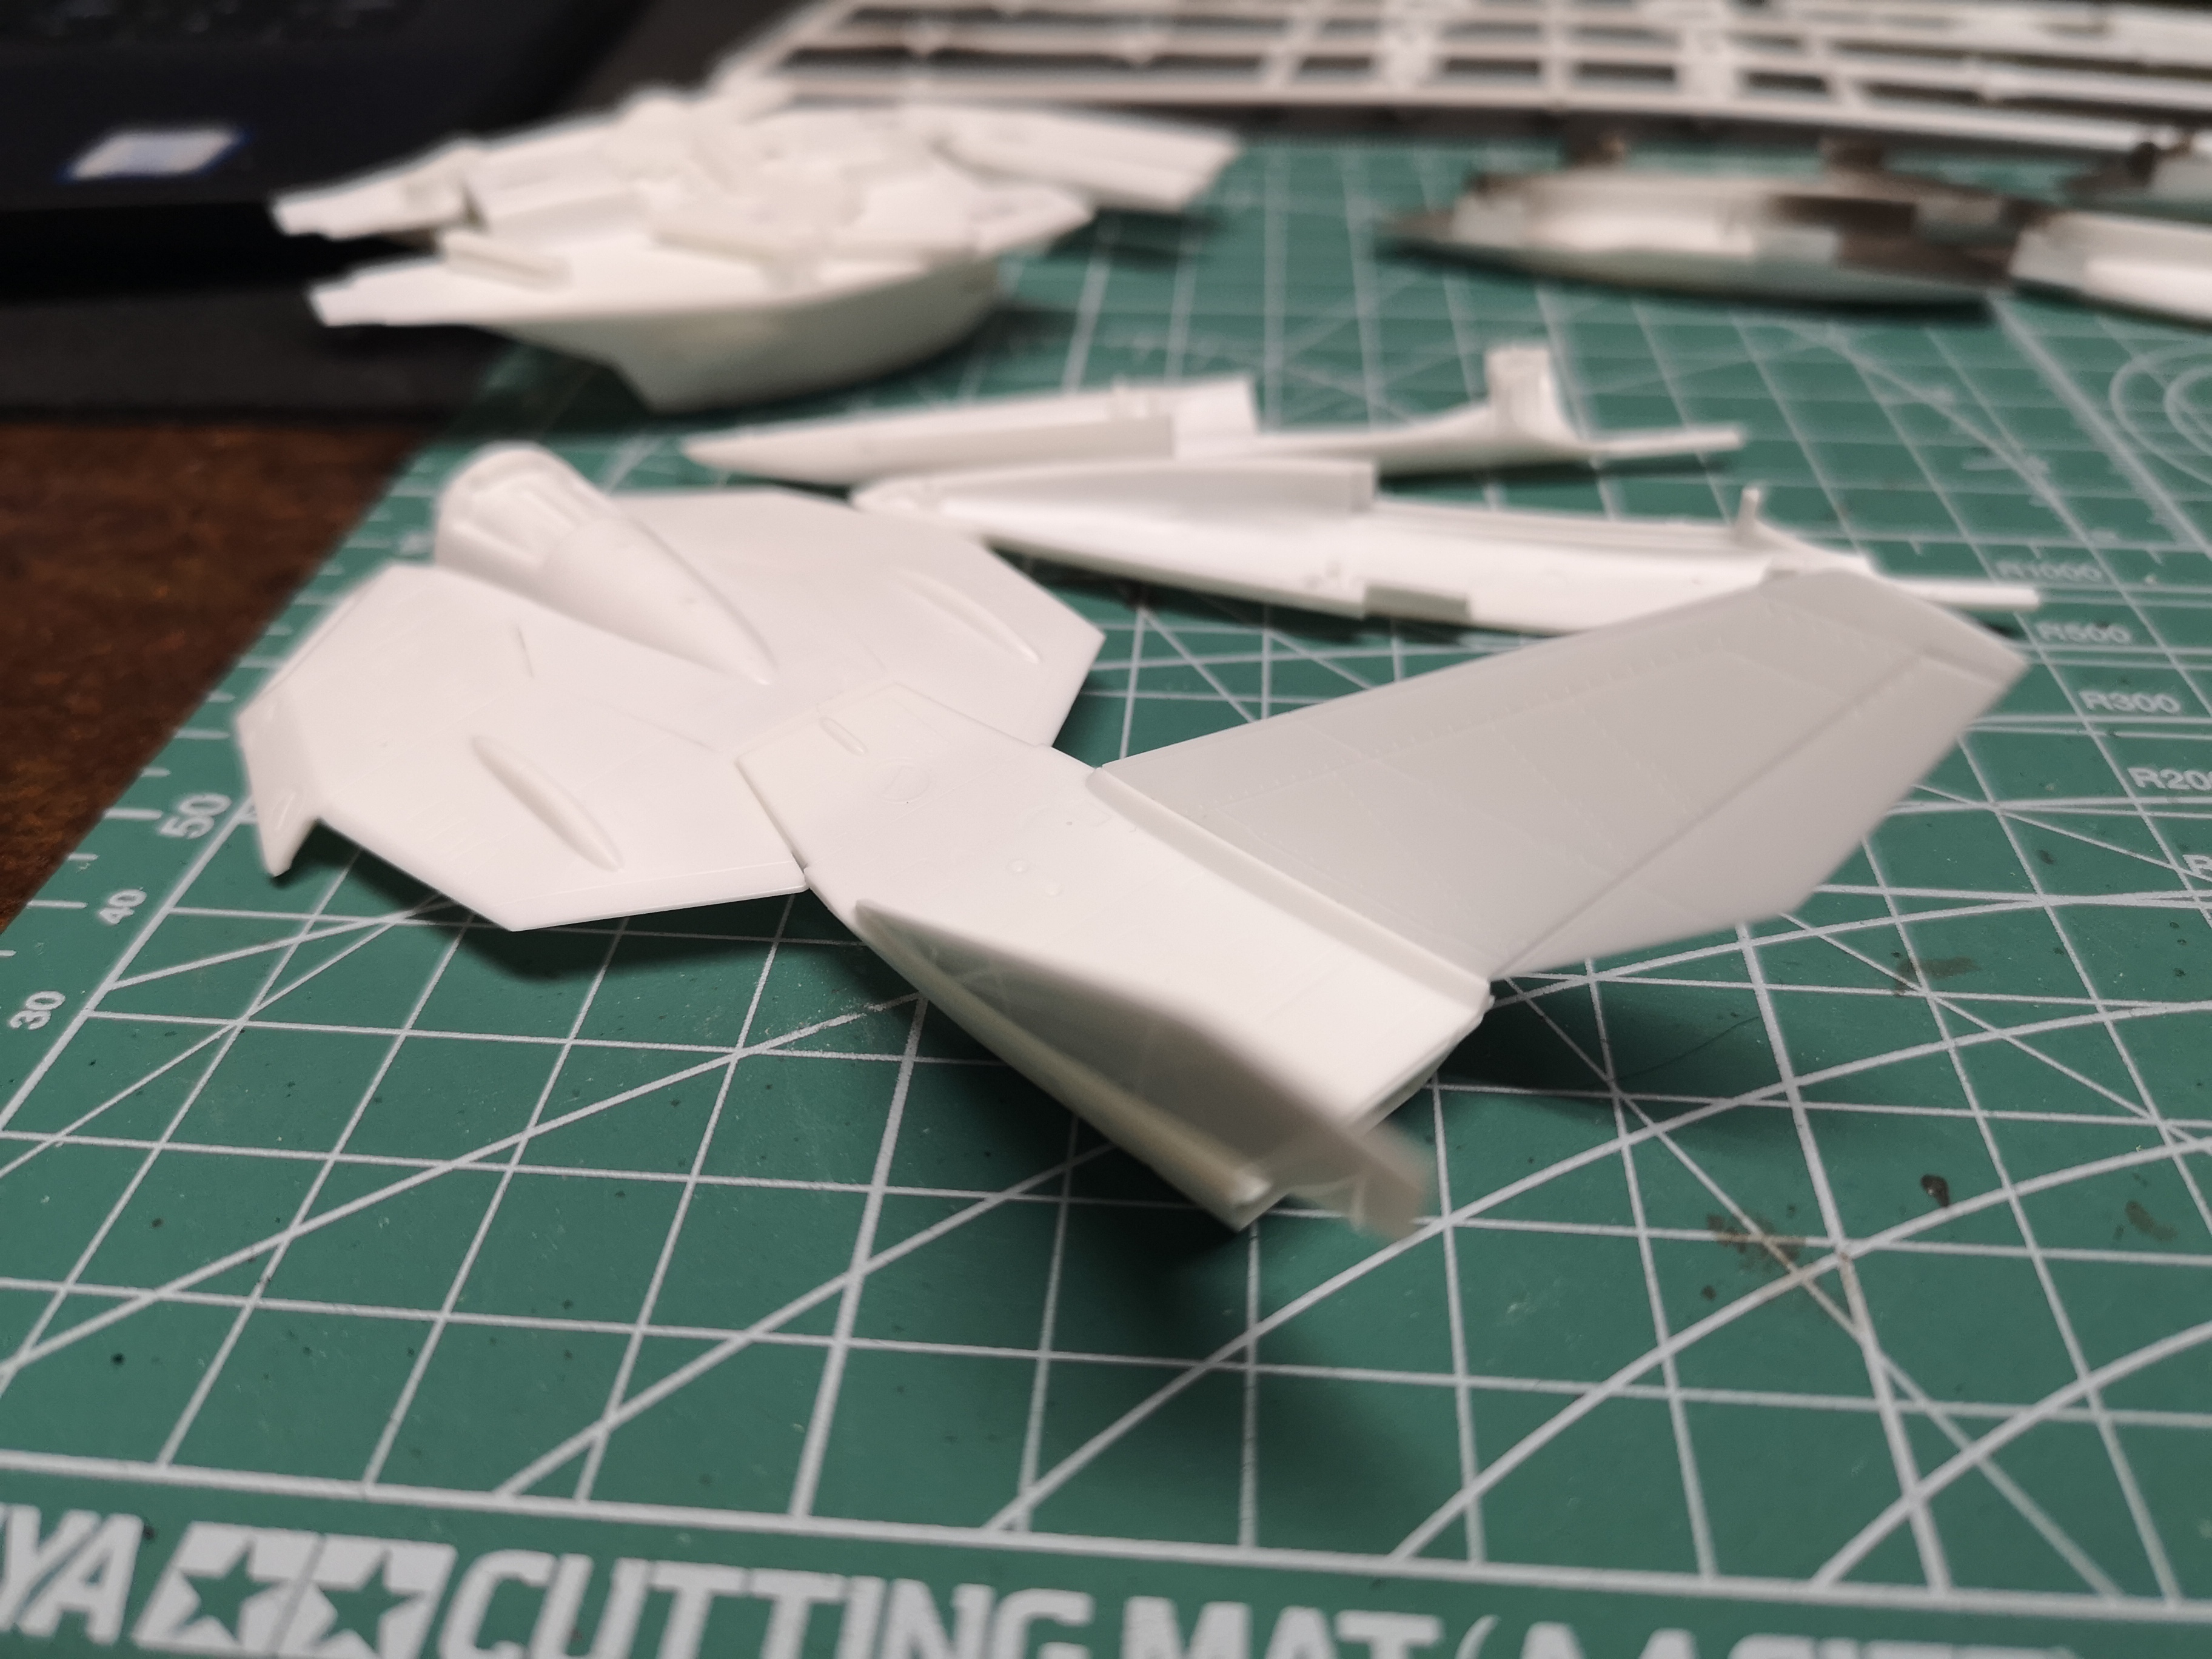
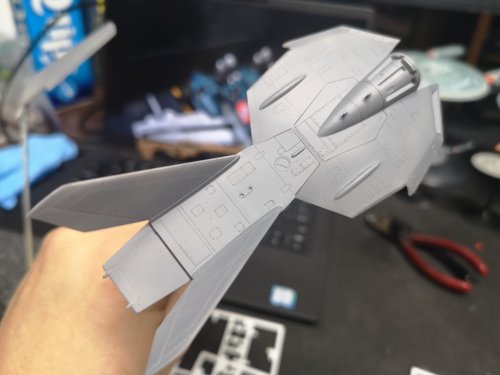
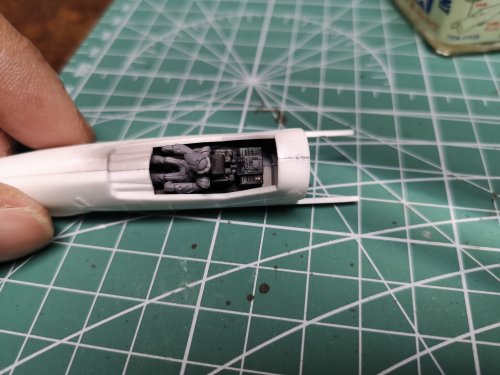
I'm definitely enjoying this build a bit more this time around. My kits were all first releases, ordered them from HLJ or bought them on trips to Japan when they first came out. Hahaha, I also know they're old because I didn't build any Macross kits for about 17 years. I started one 1/72 Strike Valk back then, decided it was beyond my abilities and quit half-way through. Anyway, I set my fears aside and just hammered out a few with what little skills I had and built them like I just didn't care last year. This time around, it seems a bit easier, but challenging at the same time. Trying to figure out better ways to assemble and paint, seeing how far I can go with the assembly before any paint. Been watching Plasmo videos a lot so hopefully I can apply some of the techniques I see him do. Look at all this detail. Bam! Covered, lol! Bit of a waste, but would be great to see in a future diorama or something with a Valk taken all apart in a hangar scene. I think I can take assembly a bit further before paint. When I see Plasmo build fighters, he has most of the plane assembled before even laying on primer. Once I figure out this fighter, I'll have the confidence to slap together a few more.