peter
-
Posts
4487 -
Joined
-
Last visited
Content Type
Profiles
Forums
Events
Gallery
Everything posted by peter
-
Lol, me too, just threw them on, didn't care, I personally can't see it without a magnifying glass or reading glasses anyway.
-
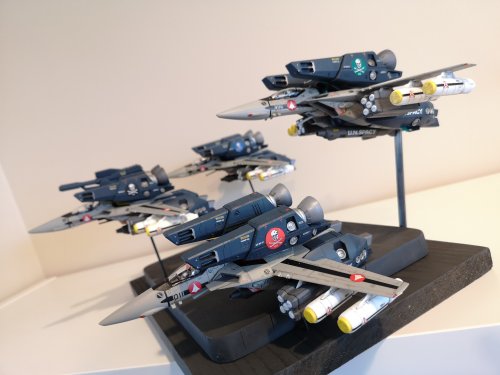
Oh wow, that is super cool. I wish I had the intelligence to be able to illuminate things, let alone build such an amazing diorama.
-
Why the hell didn't I think of this? It makes so much sense to use the Hasegawa set and they'll probably turn out better than the Bandai ones anyway. How did you adapt the Hasegawa units to the Bandai mounting points?
-
Oh man, I feel bad, but I haven't opened it beyond slightly unwrapping the Tamiya wrapping paper that the clerk originally wrapped my kit in when I bought it almost 20 yrs ago, lol! Maybe I'll get to it after a few more VF-1s I think this build might be a lot easier now that I'm finally using an airbrush.....or it might be worse, who knows, lol! So, last year this time, when I built those 4 Super/Strike Valks, I was only using rattle cans and brush painting. Those dark spots inside the leg I hammered out in a few minutes. Last summer, it probably took me 20 minutes per Valk with a Sharpie, lol! I'm just refamiliarizing myself with the VF-1, but it's coming back to me. I can barely make out some of the details and some of the parts are so small for my sausage fingers that it's hard to work on them.

-
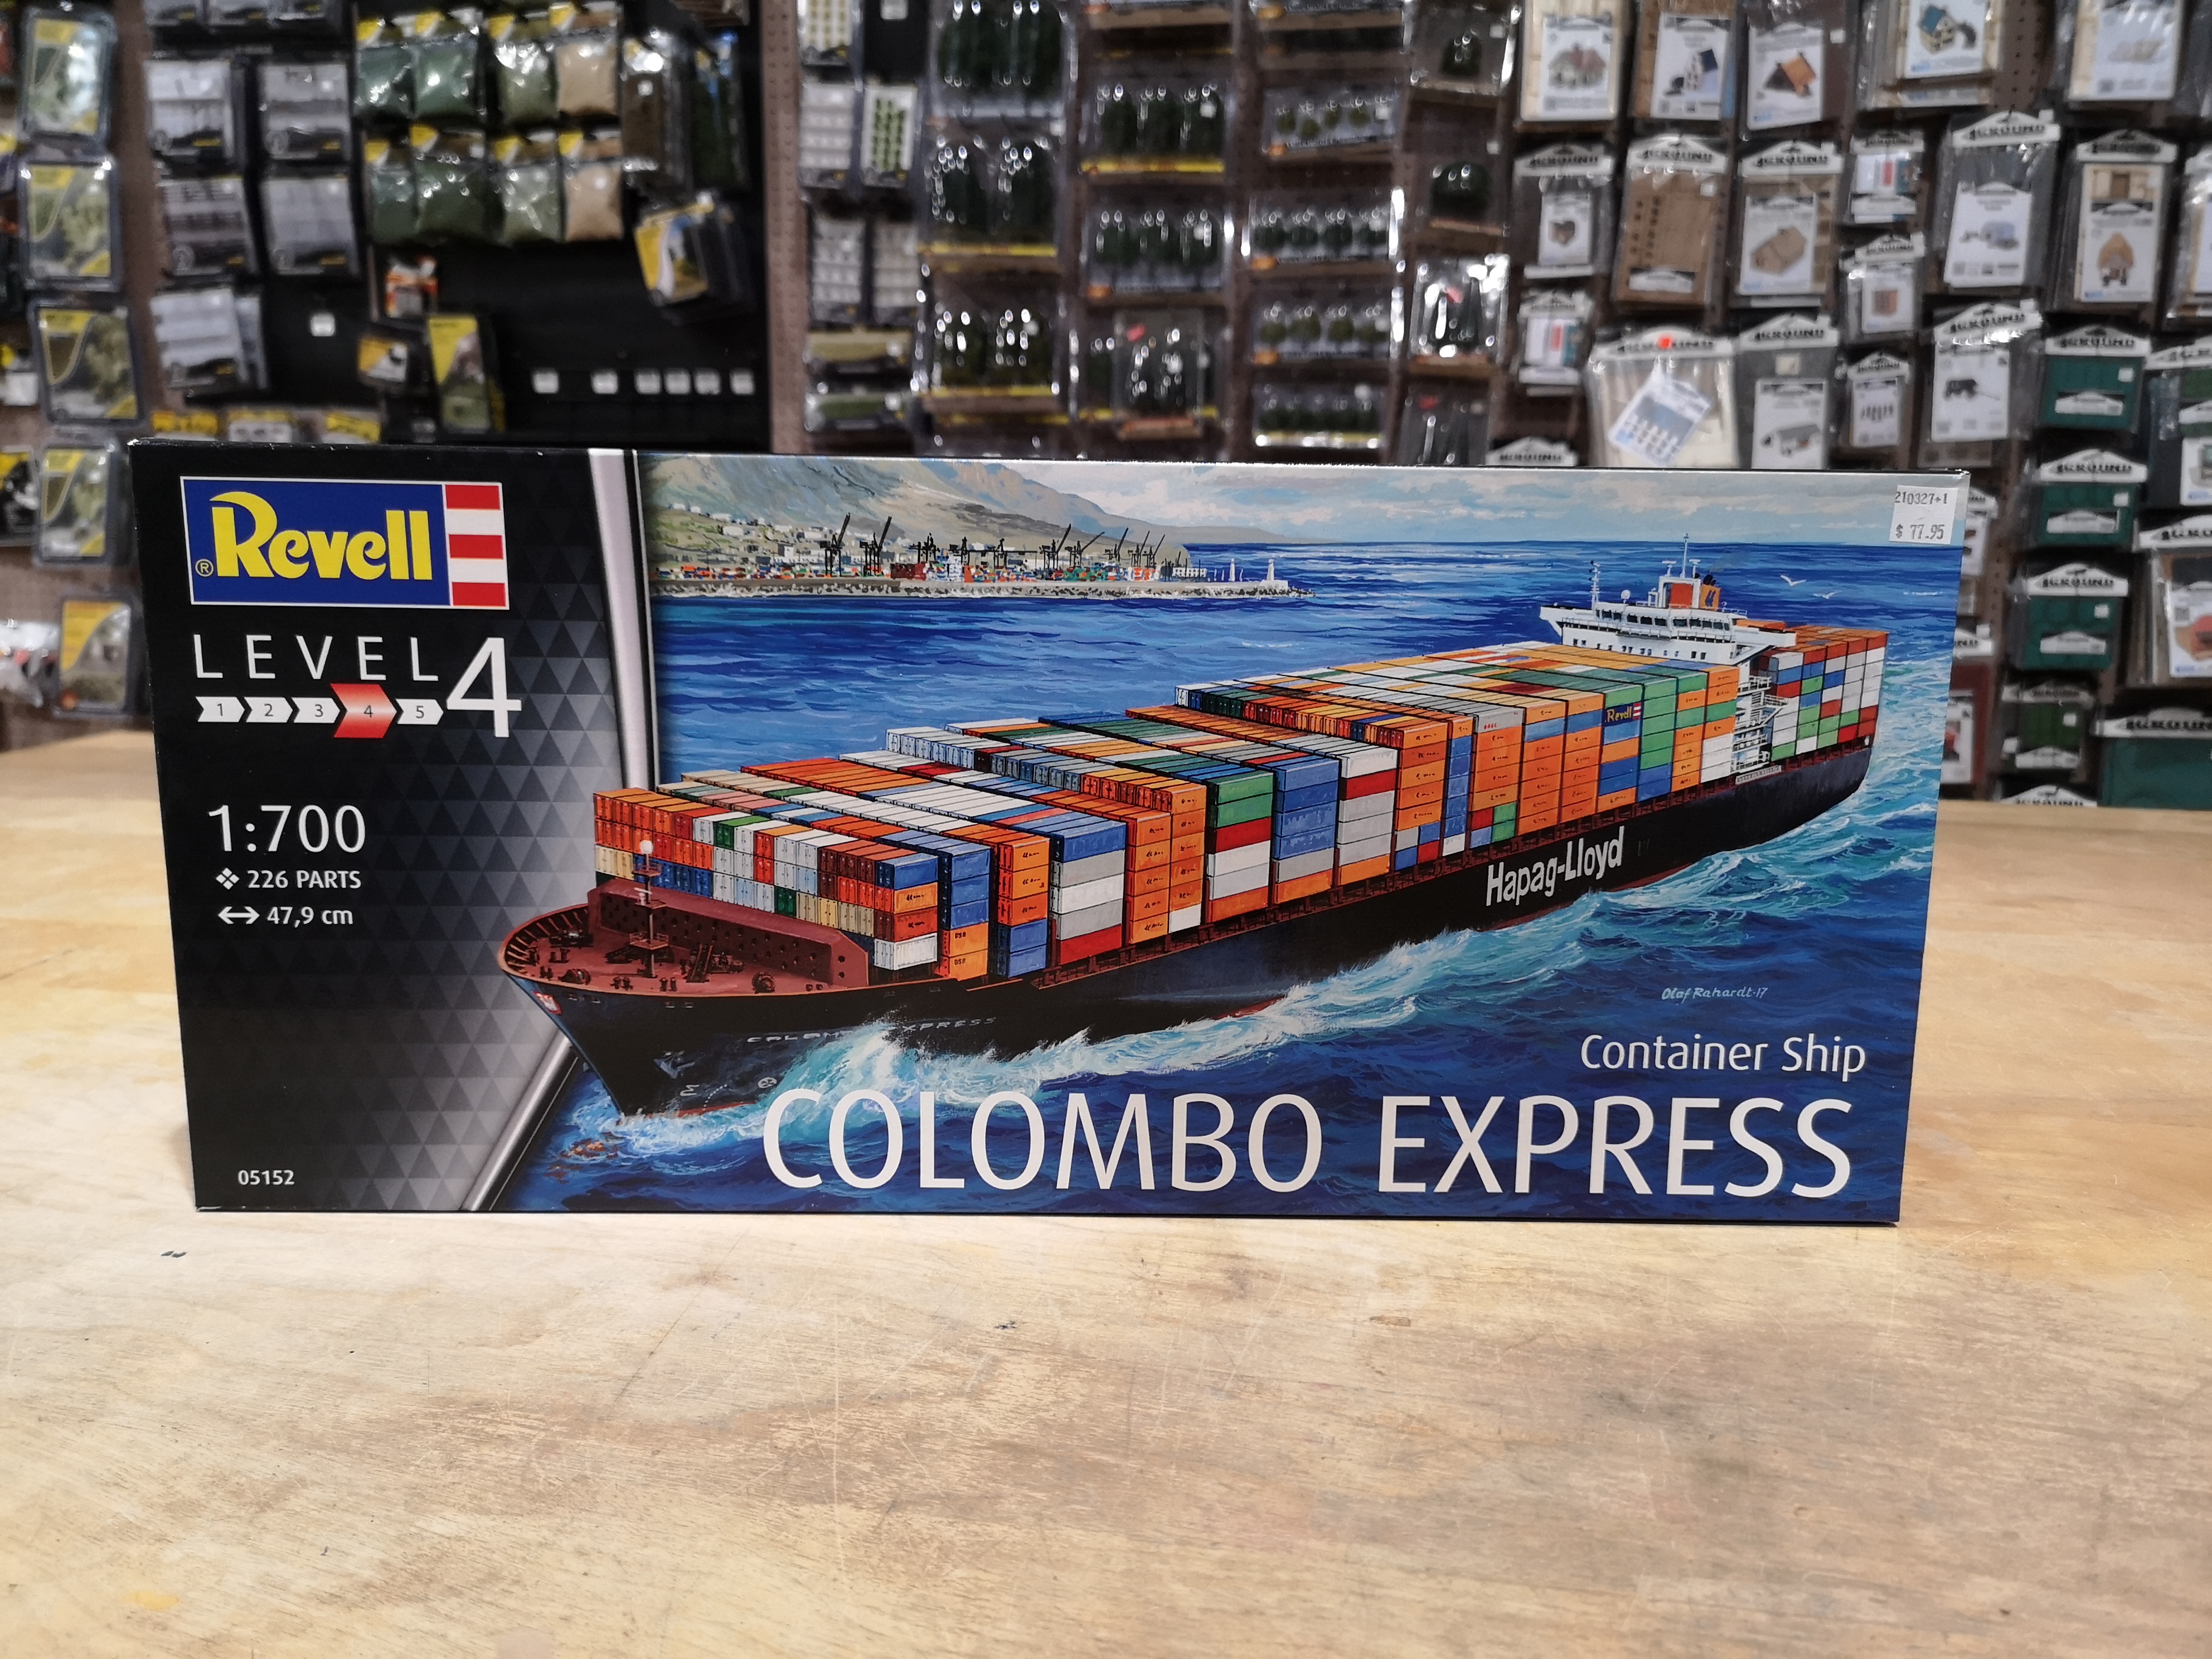
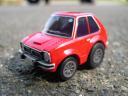
Saw this at the local hobby shop was thinking maybe a diorama with some sand and an excavator?

-
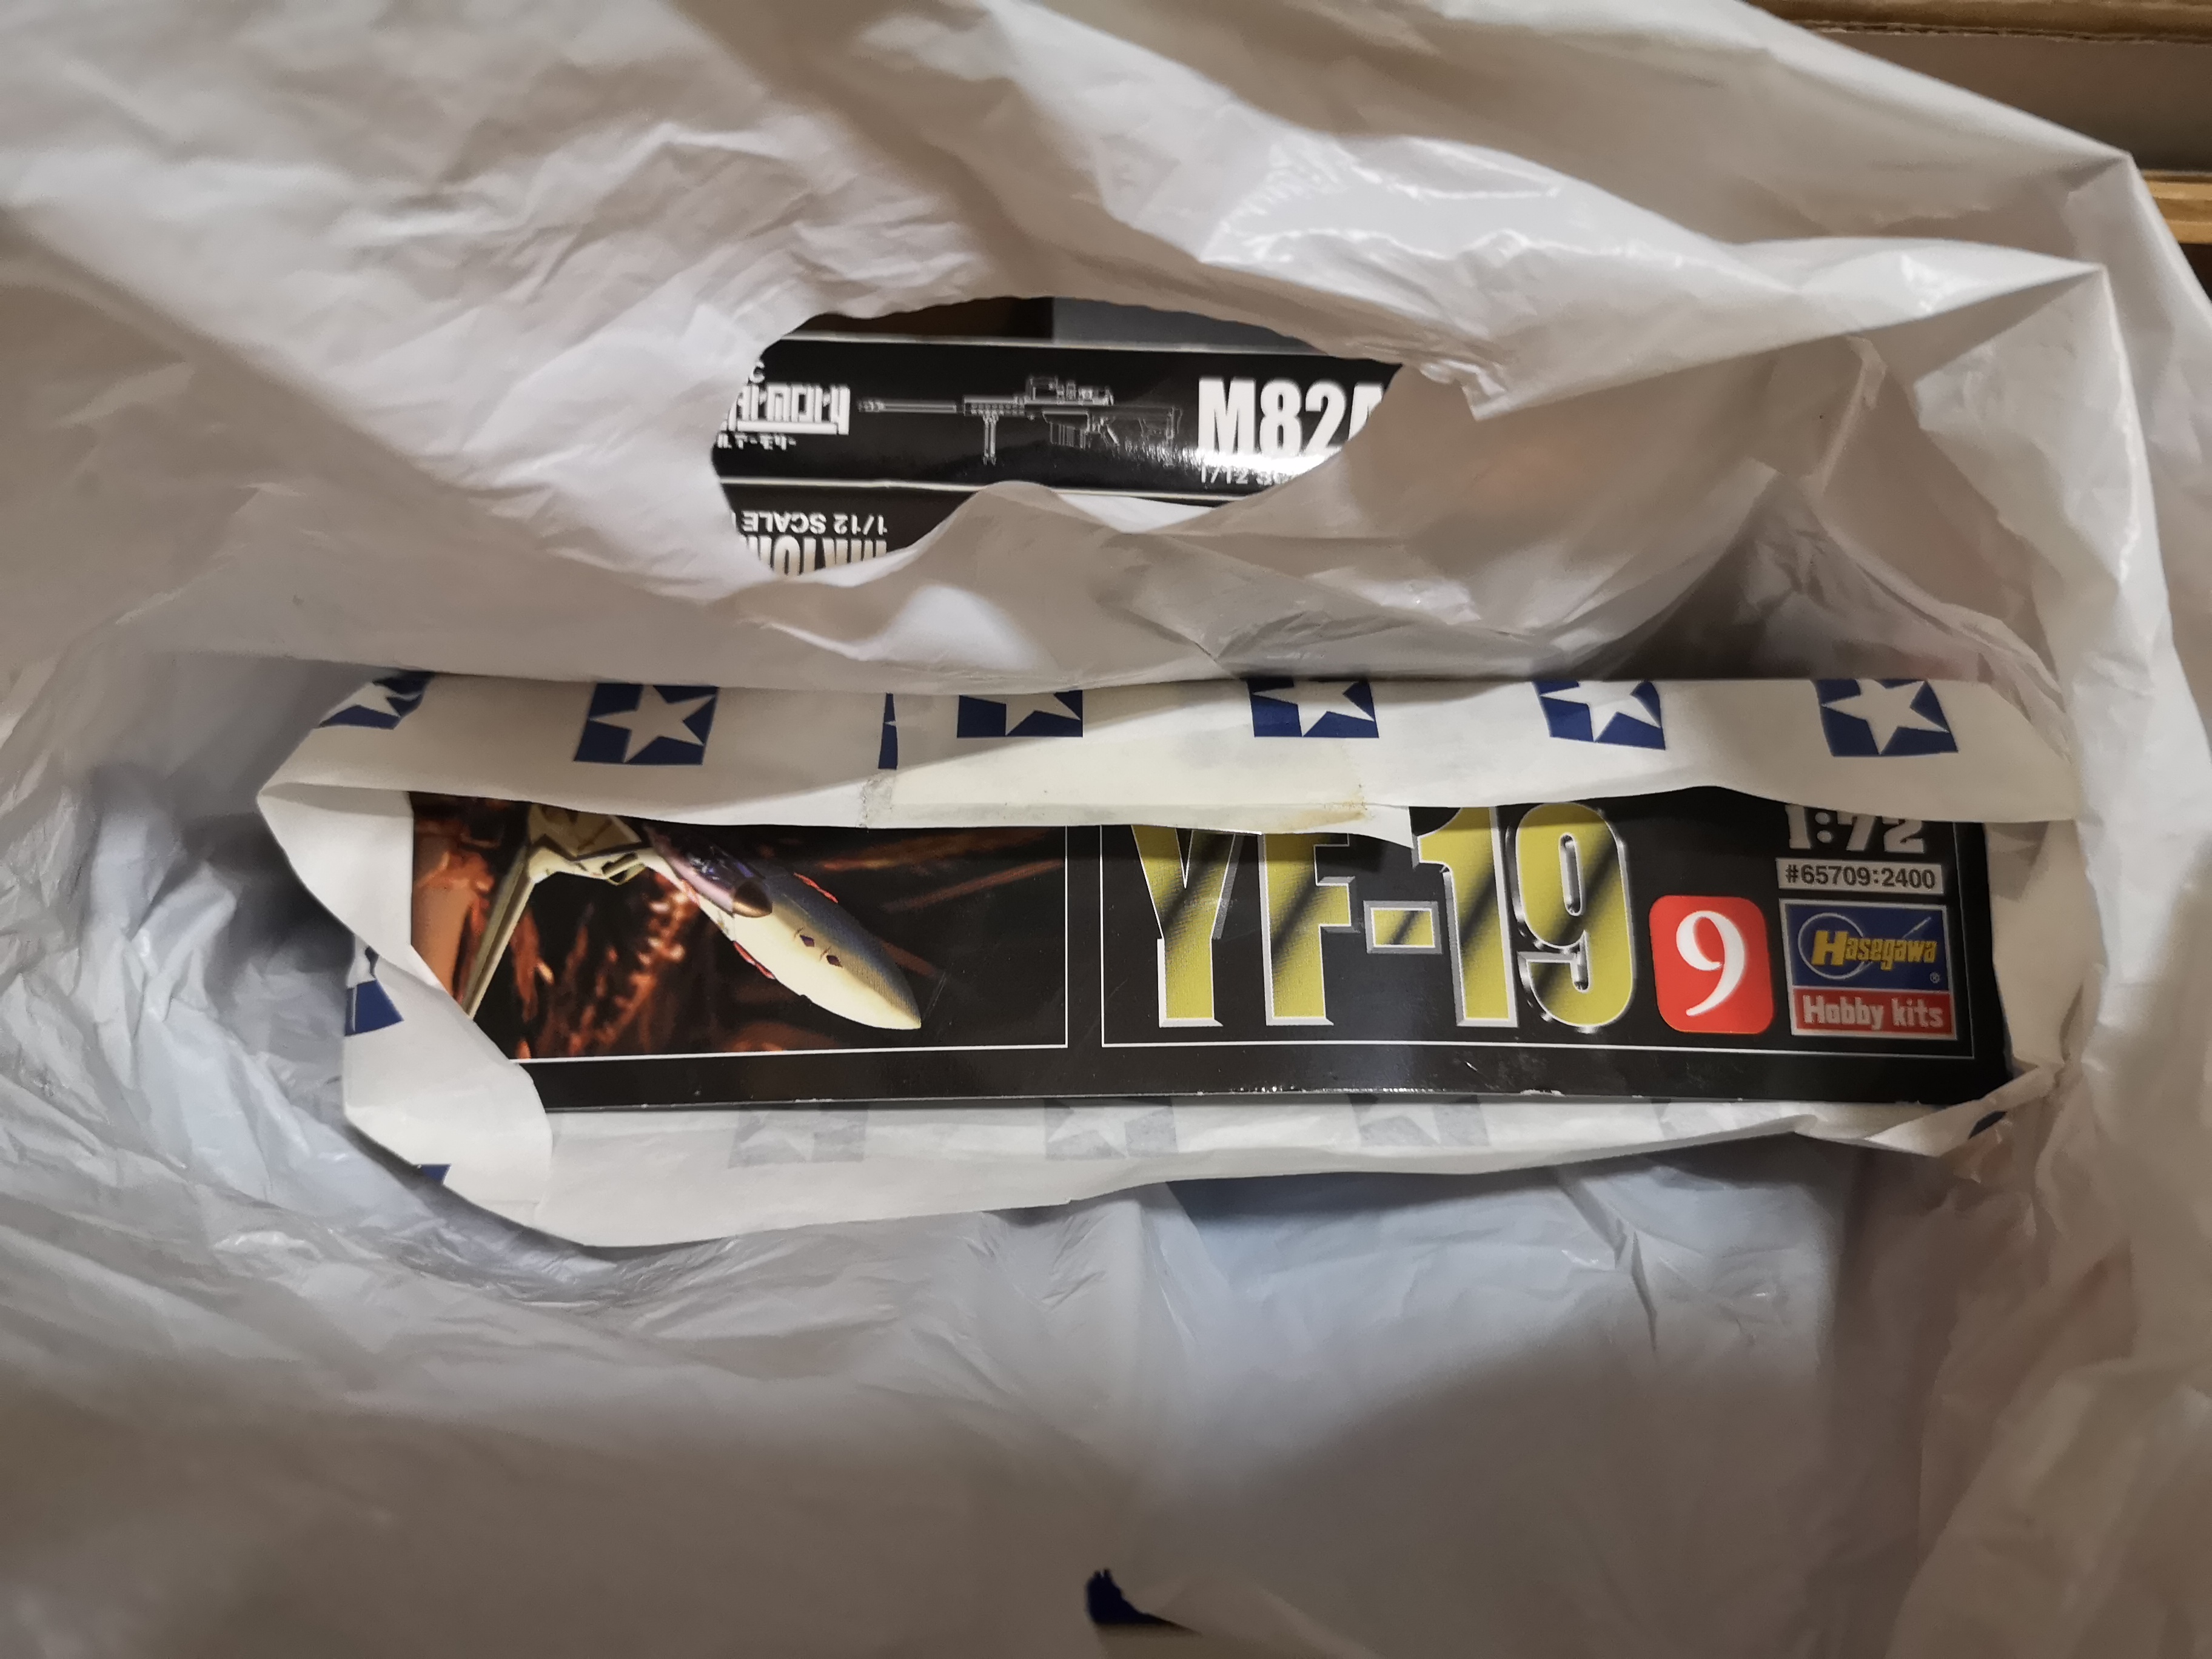
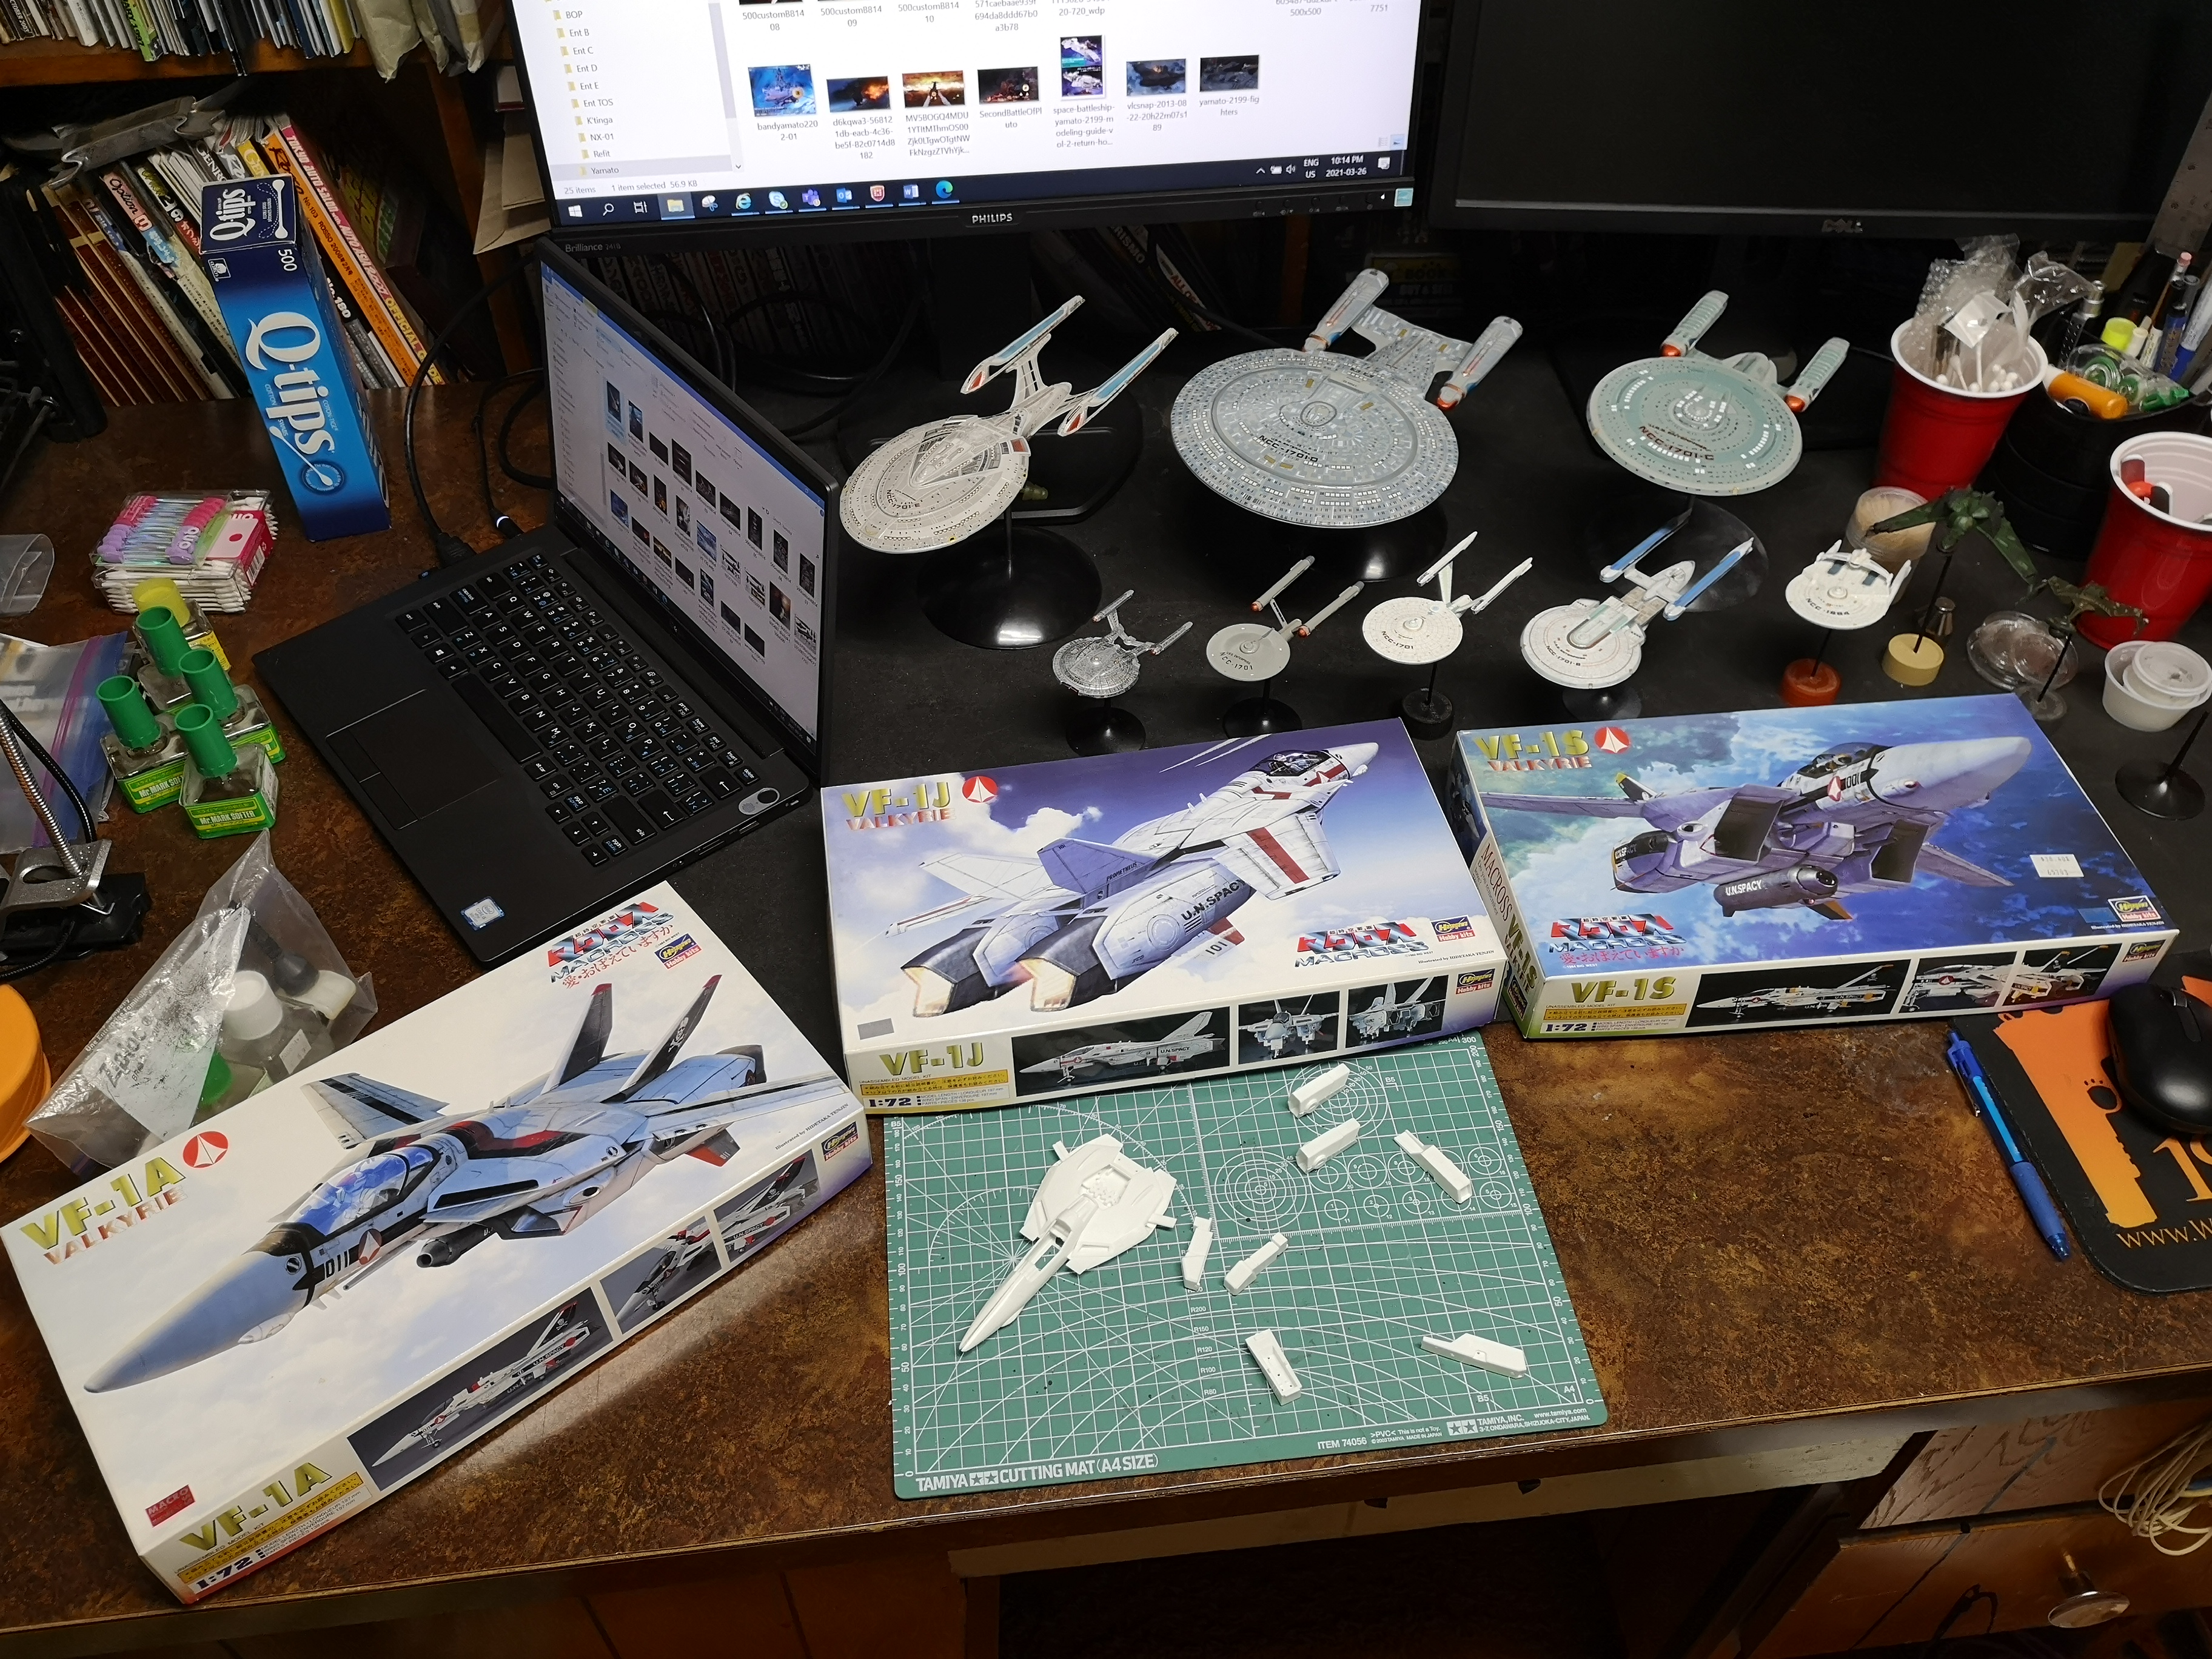
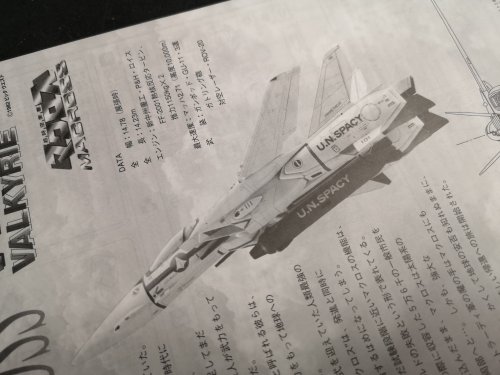
I've had my YF-19 kit for almost 20 years....think I got it back in 2002 or something. Wierd thing is, it's a Hasegawa kit, but the shop I bought it from wrapped it with a Tamiya wrapper, lol! They used to wrap everything in Japan, lol! Not a Super Duper M+ fan, so I may not build it screen accurate....maybe try to paint it with real world colors, so low vis gray scheme or something.

-
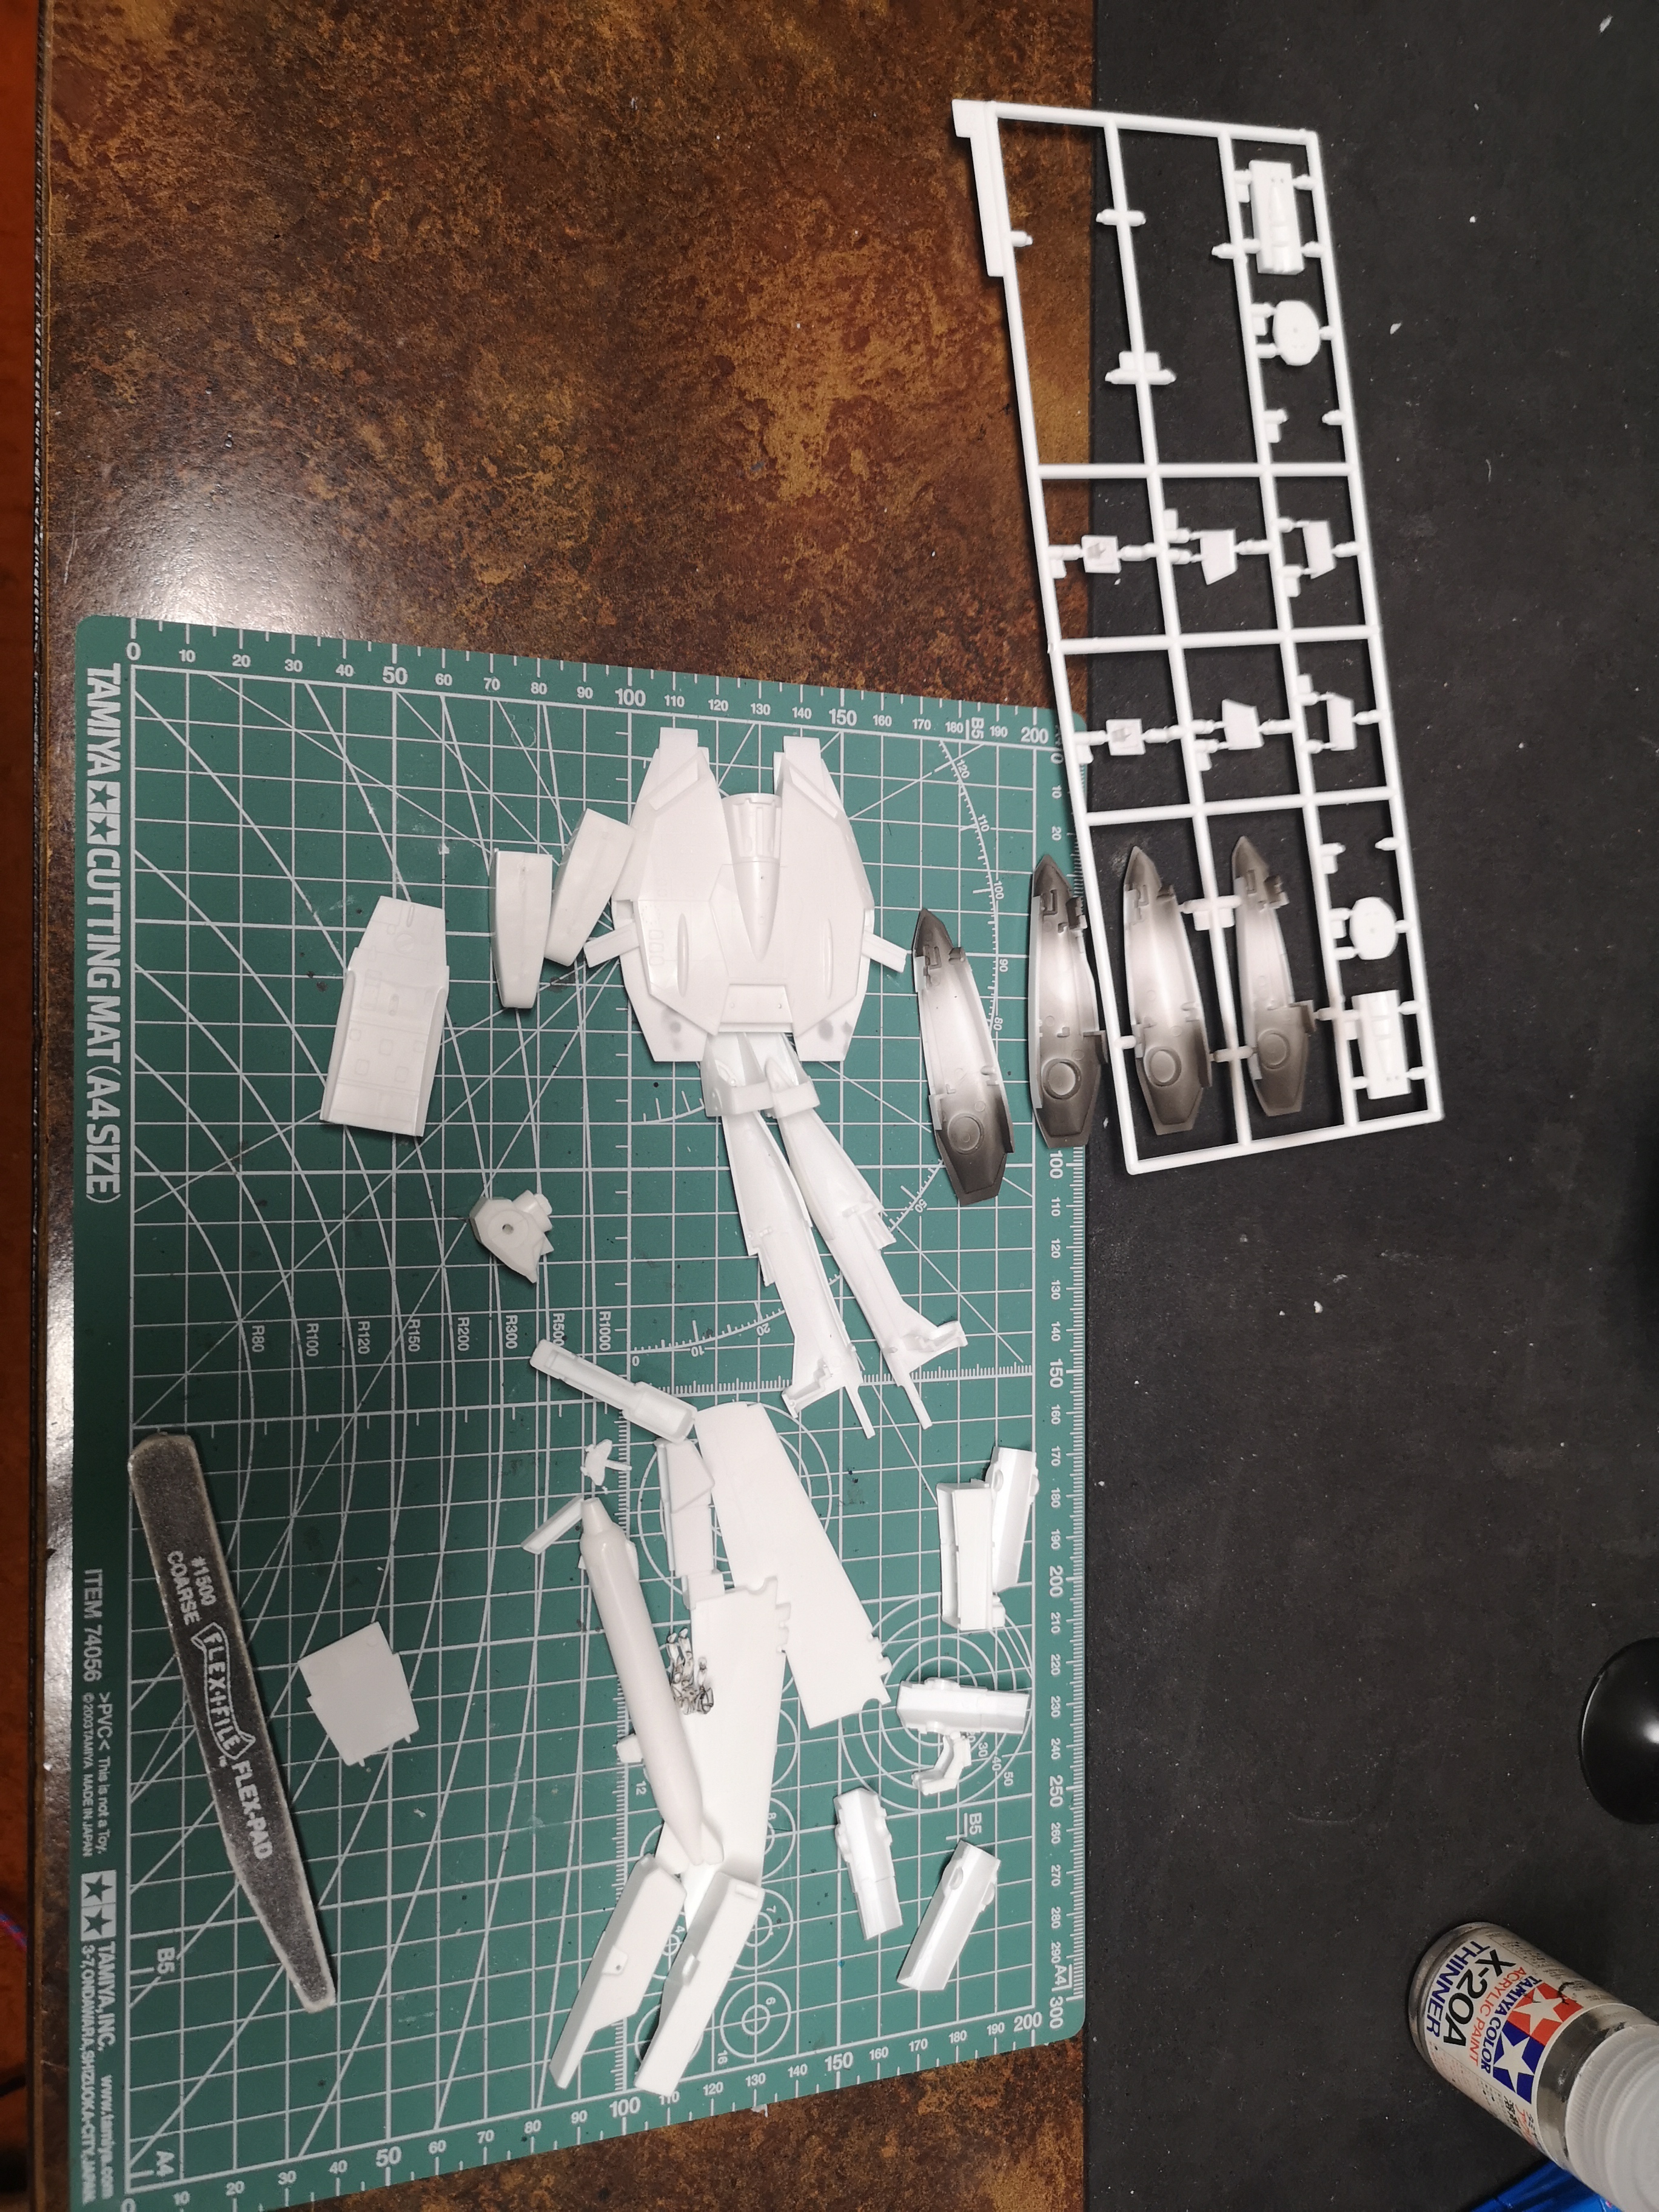
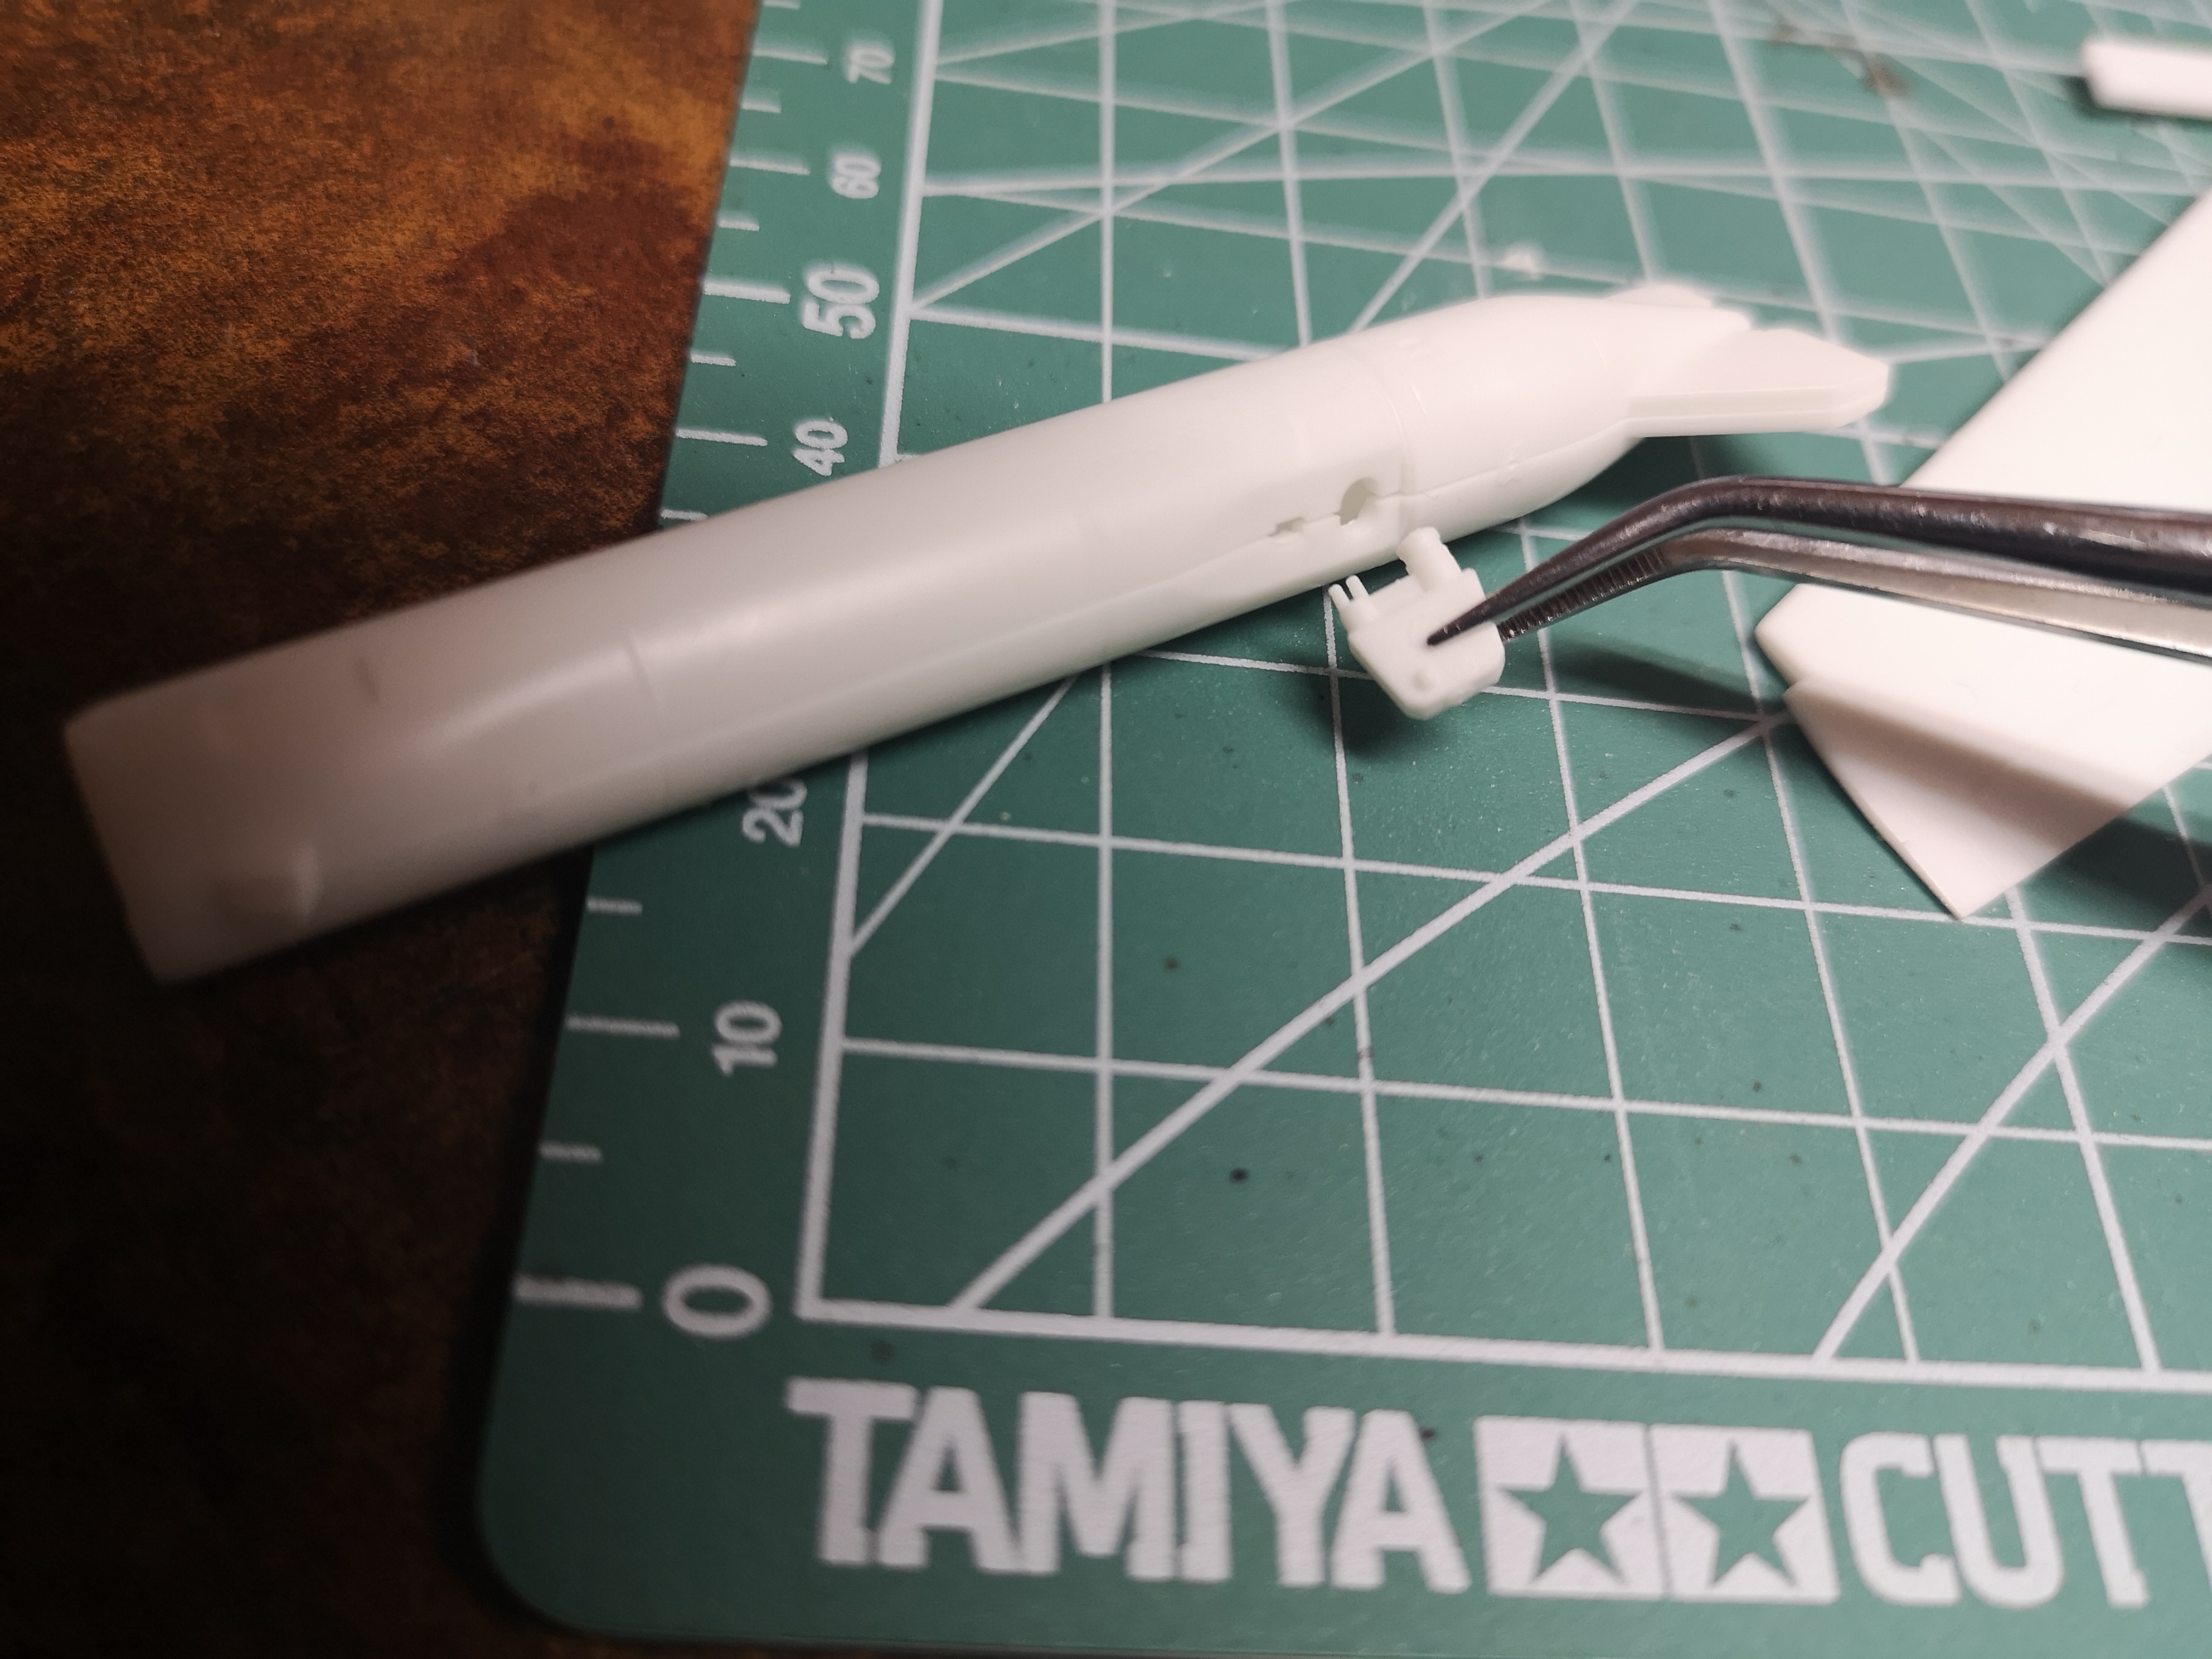
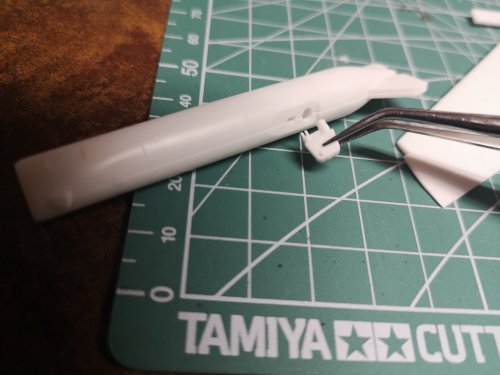
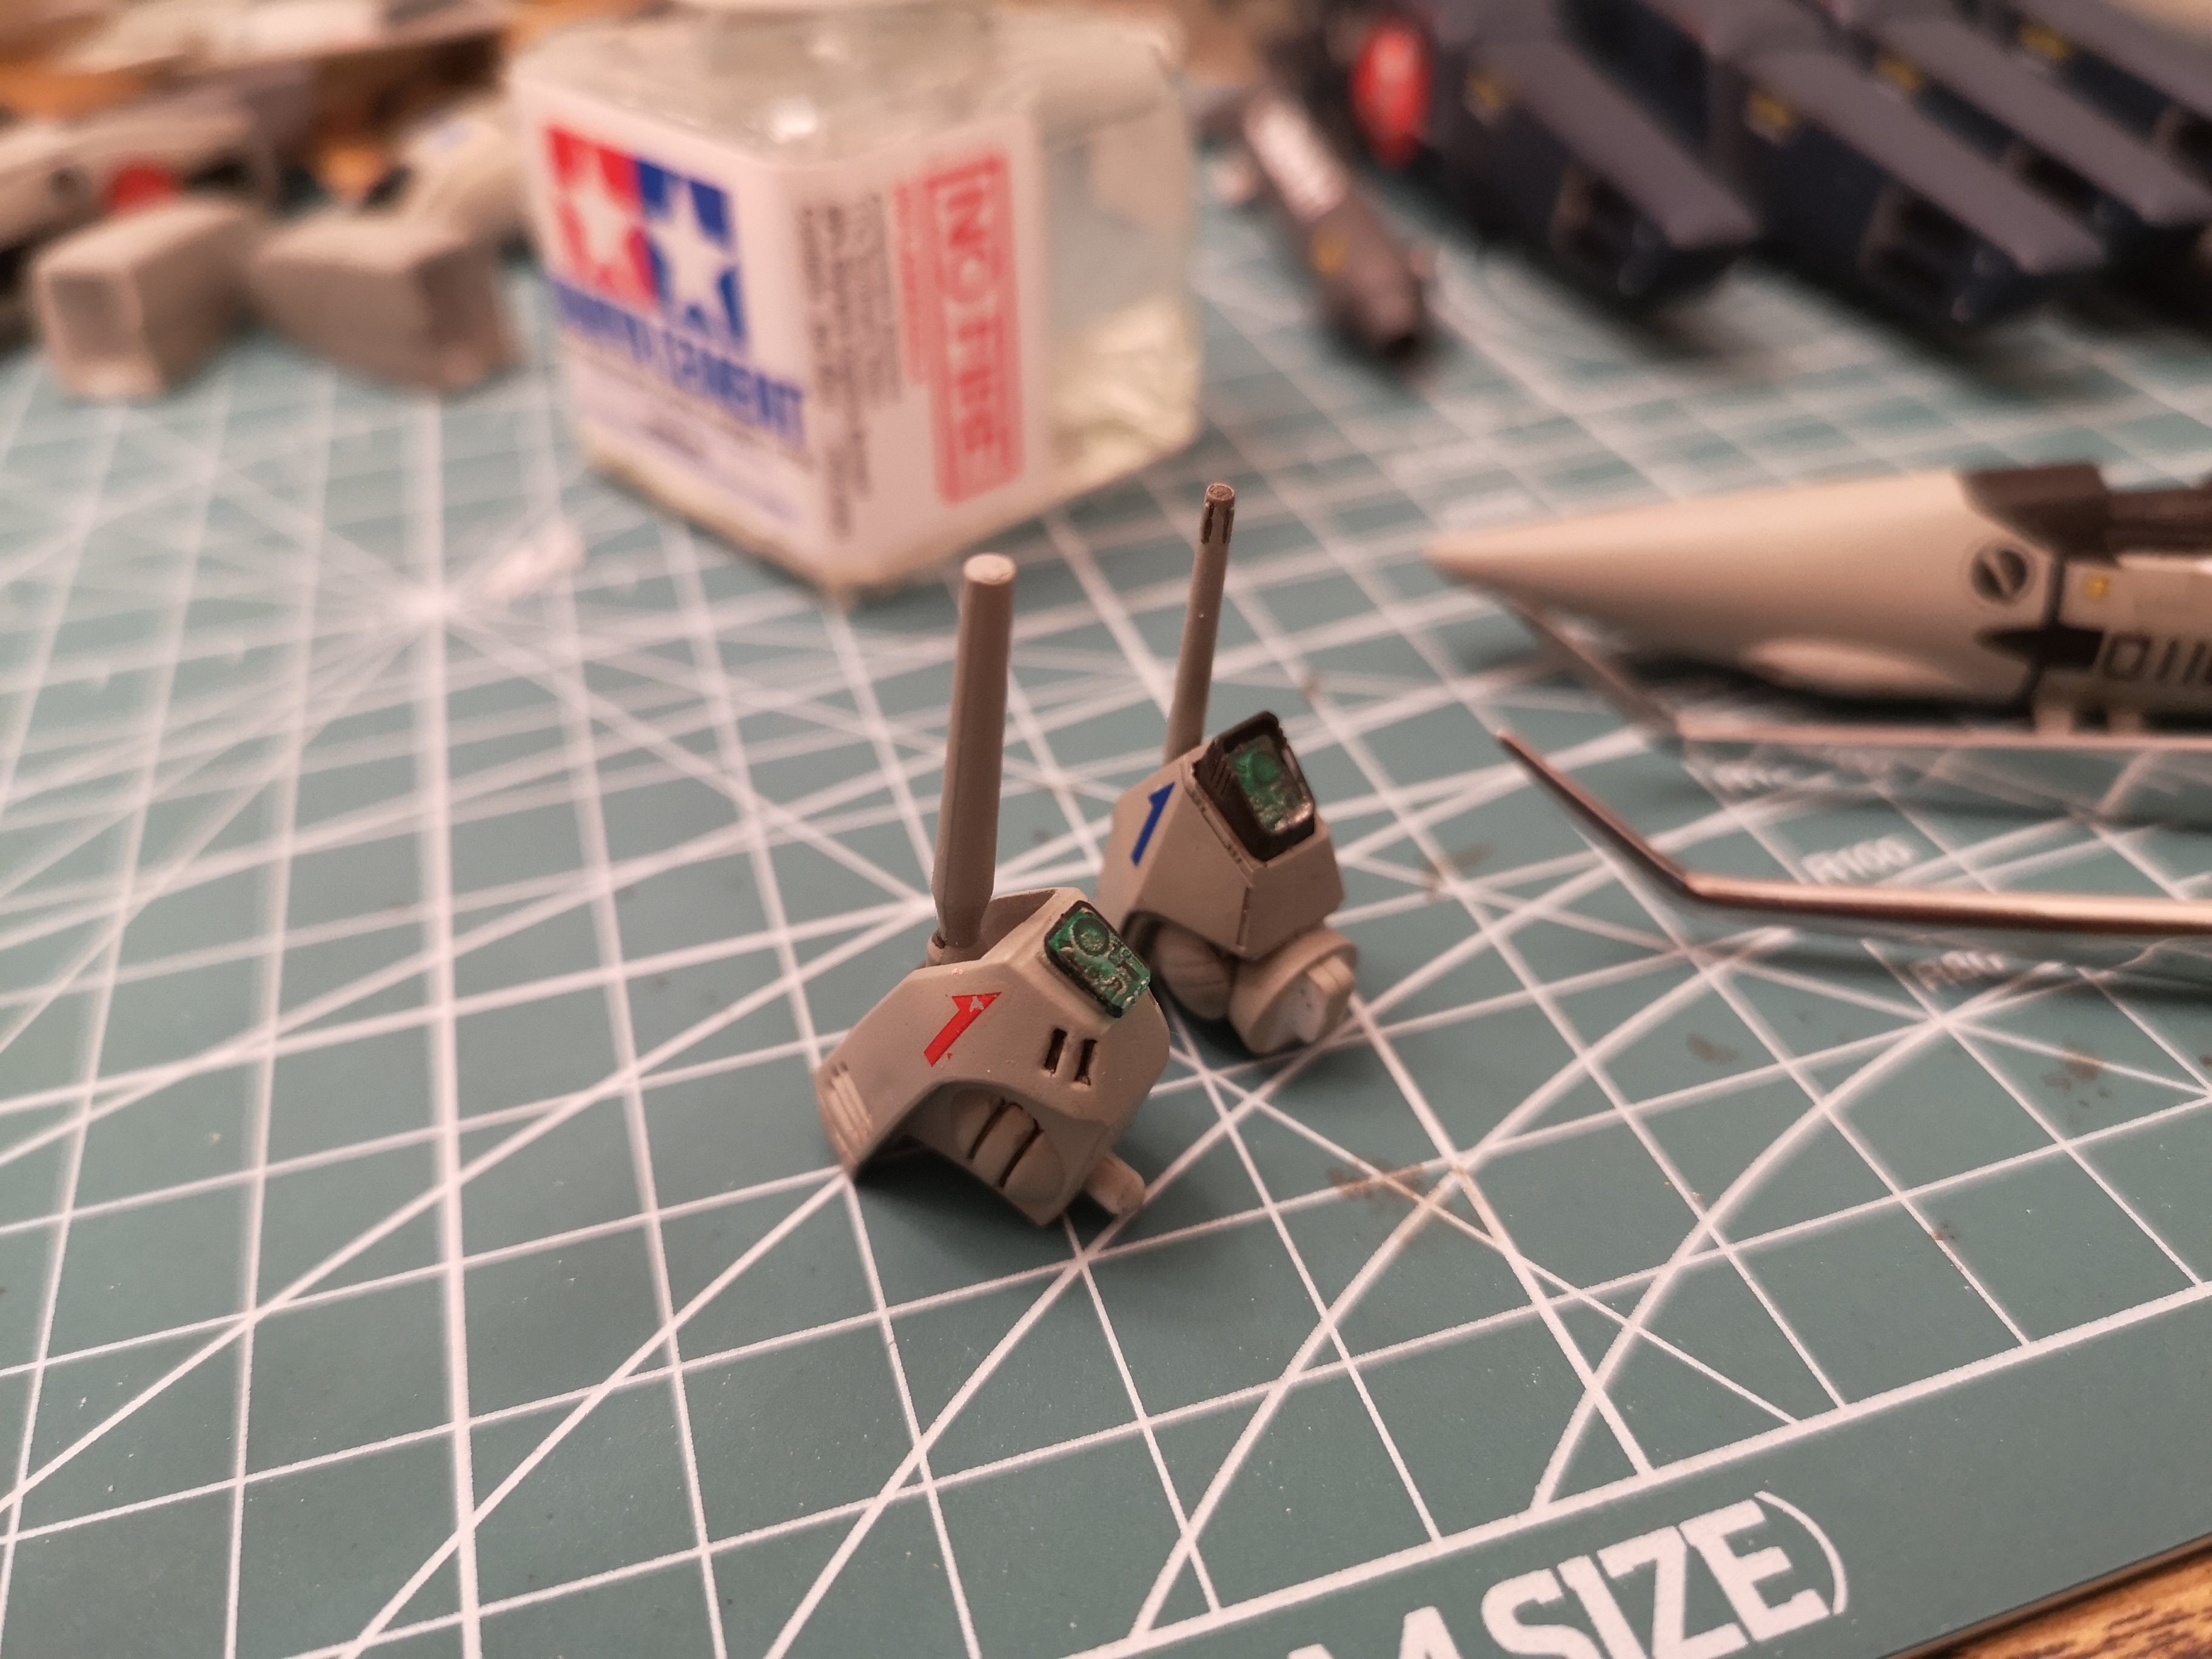
Ok, I don't feel so bad seeing others build Macross kits anymore now that I'm working on one again. I think I have a YF-19 buried in the pile somewhere. Are they as much of a PITA as the regular VF-1? Not a lot of progress on my end, but it does seem less scary this time around. The gun mount never made any sense when I was building the Super/Strike Valks, it still doesn't make sense. Those two tiny pegs up front....does anyone know why they designed the attachment point this way? Uncharted territory for me here as this is my first time building a straight VF-1 without the strike/super parts. I remember I had a bunch of these parts leftover, so I used these little tabs on my Refit to spruce up the photo torpedo launchers This is all I have so far......work and kids sure are are distracting from model building, lol!
-
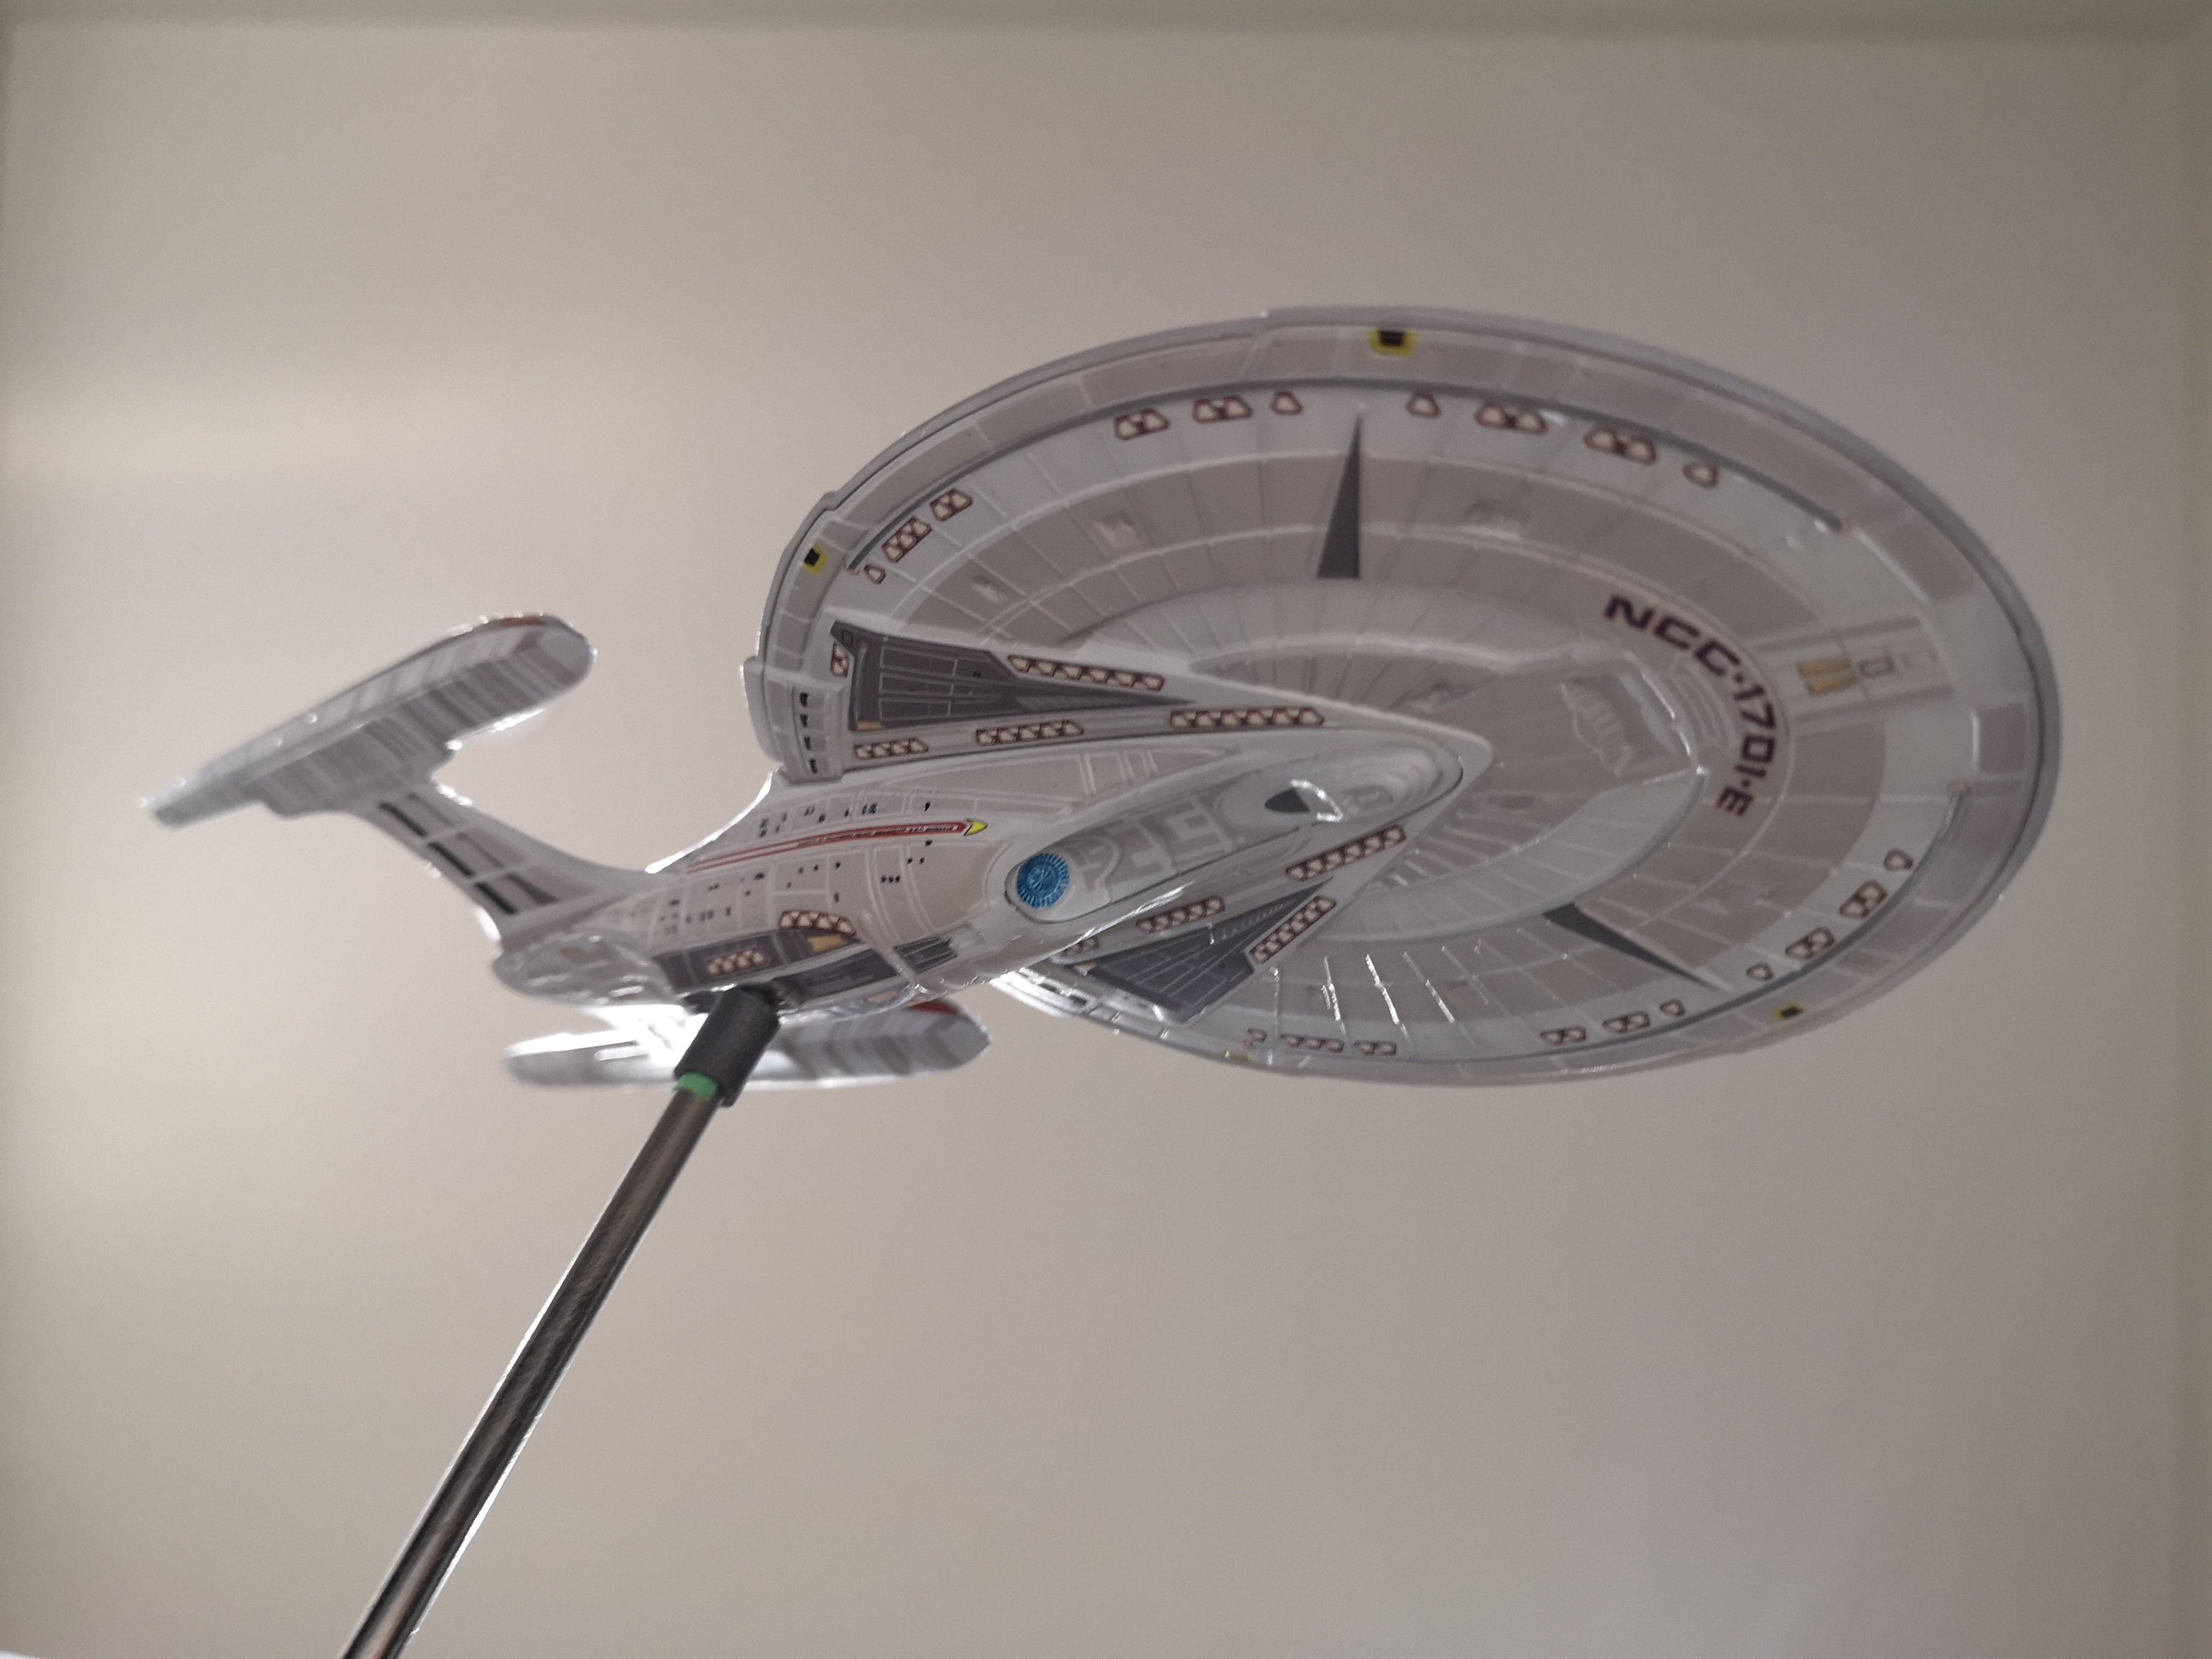
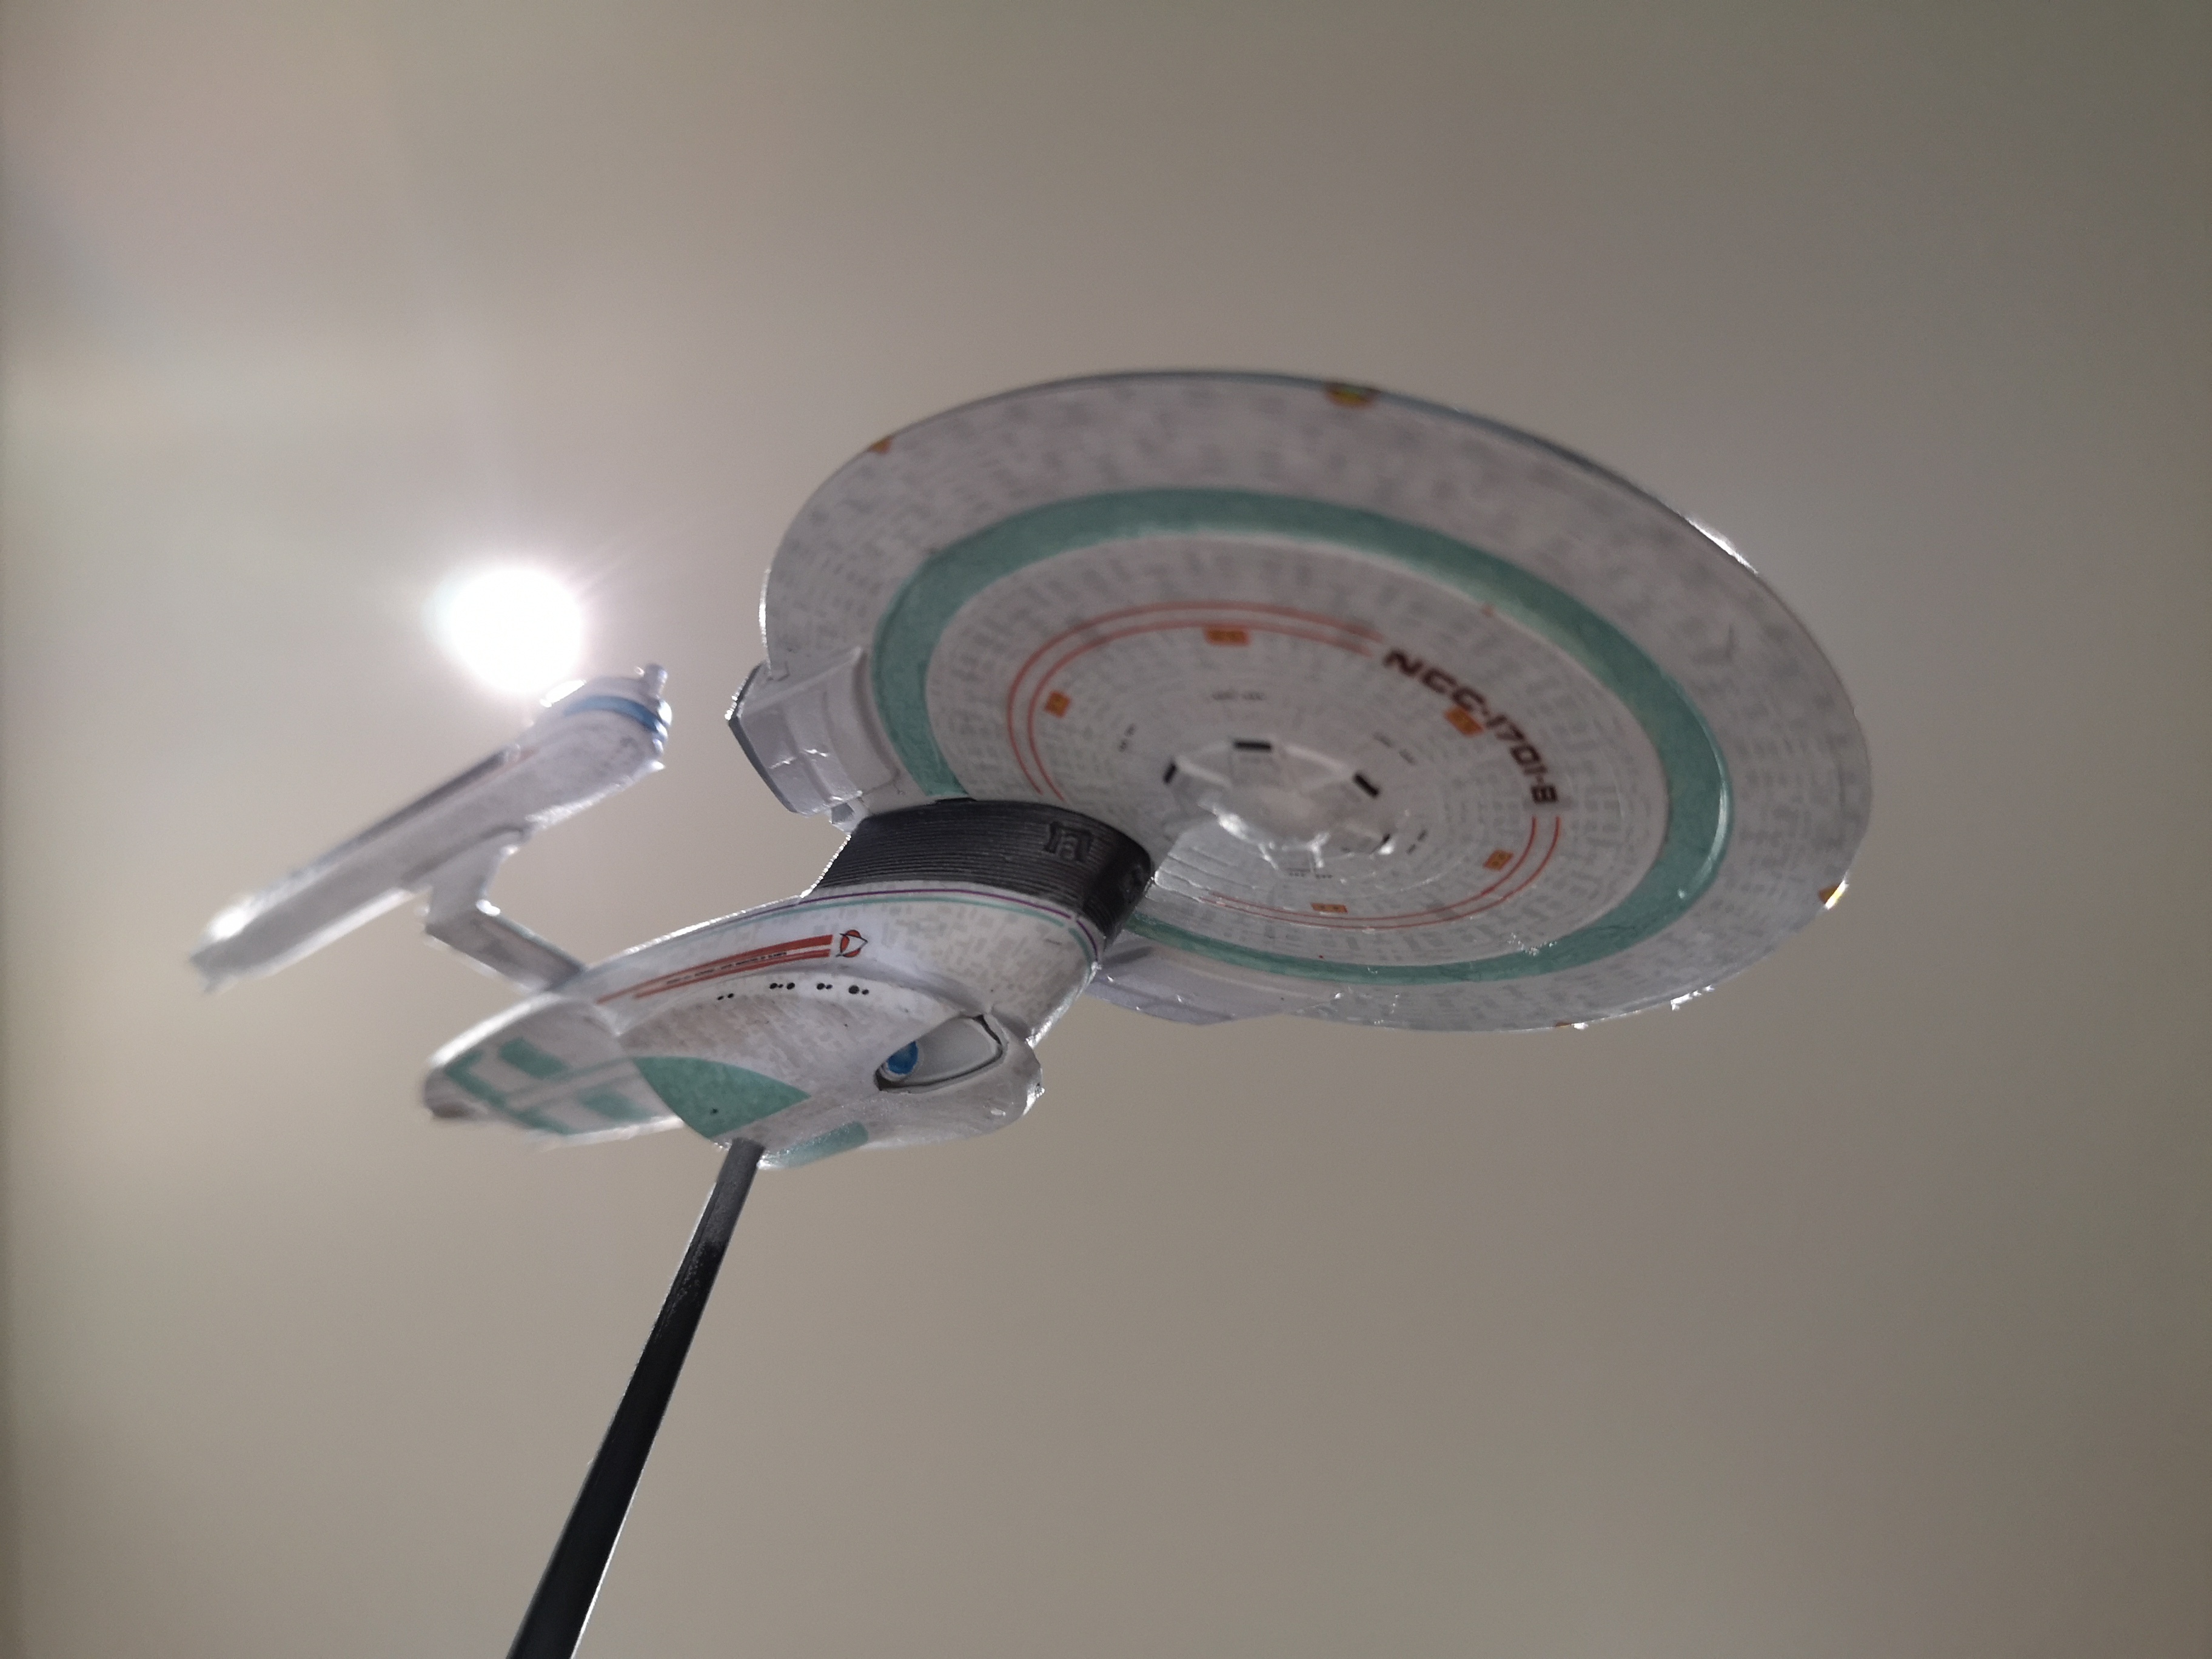
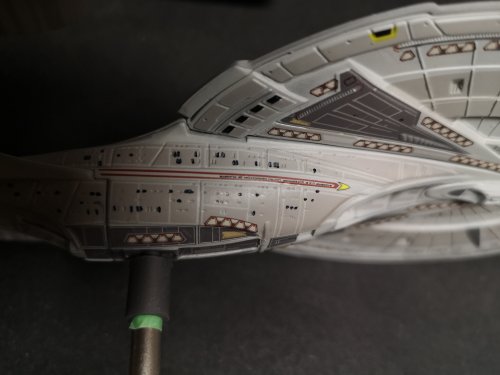
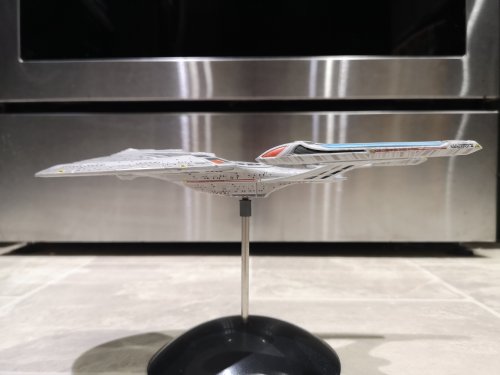
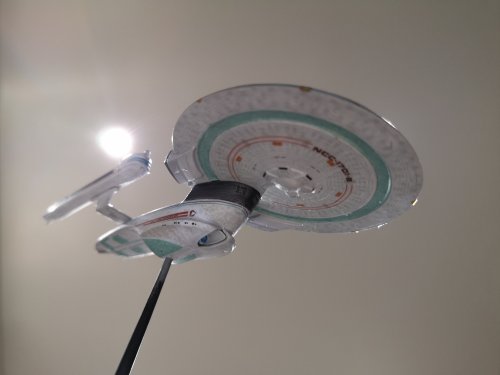
Dude, that looks like a real aircraft on a stick.
-
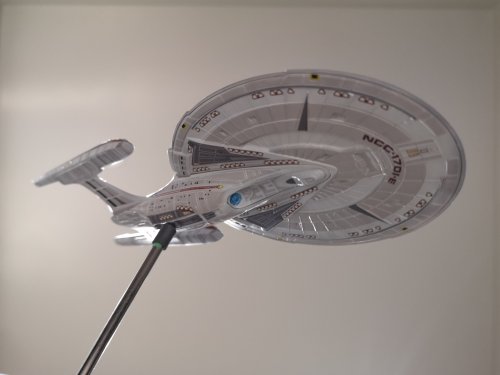
Sort of want a runabout now!
-
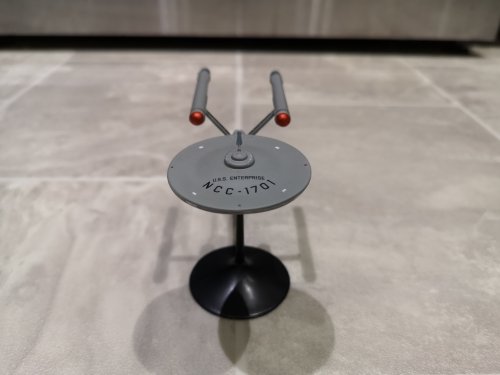
Check this out. They printed the registry backwards. This is the only one printed correctly, lol!


-
Oh, awesome, thanks! I could use any spare 1A heads I can get, bought too many 1S Valks, but recently, I've found an appreciate building non-hero kits. I'lll shoot you a PM with my address. Your build makes me want to build my F14, but I'm going to peck away at my stack of Valkyries first, haha!
-
That is simply amazing. Do you do requests? I for one would love to see you build the barbette for this kit: 1/72 scale Yamato turret.
-
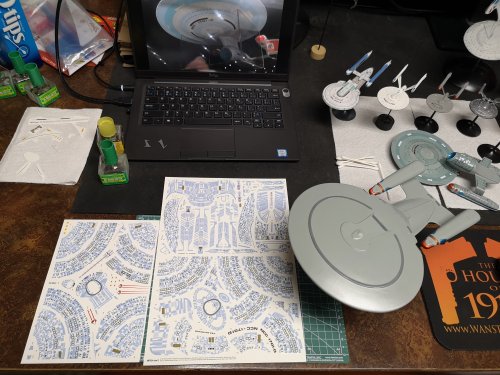
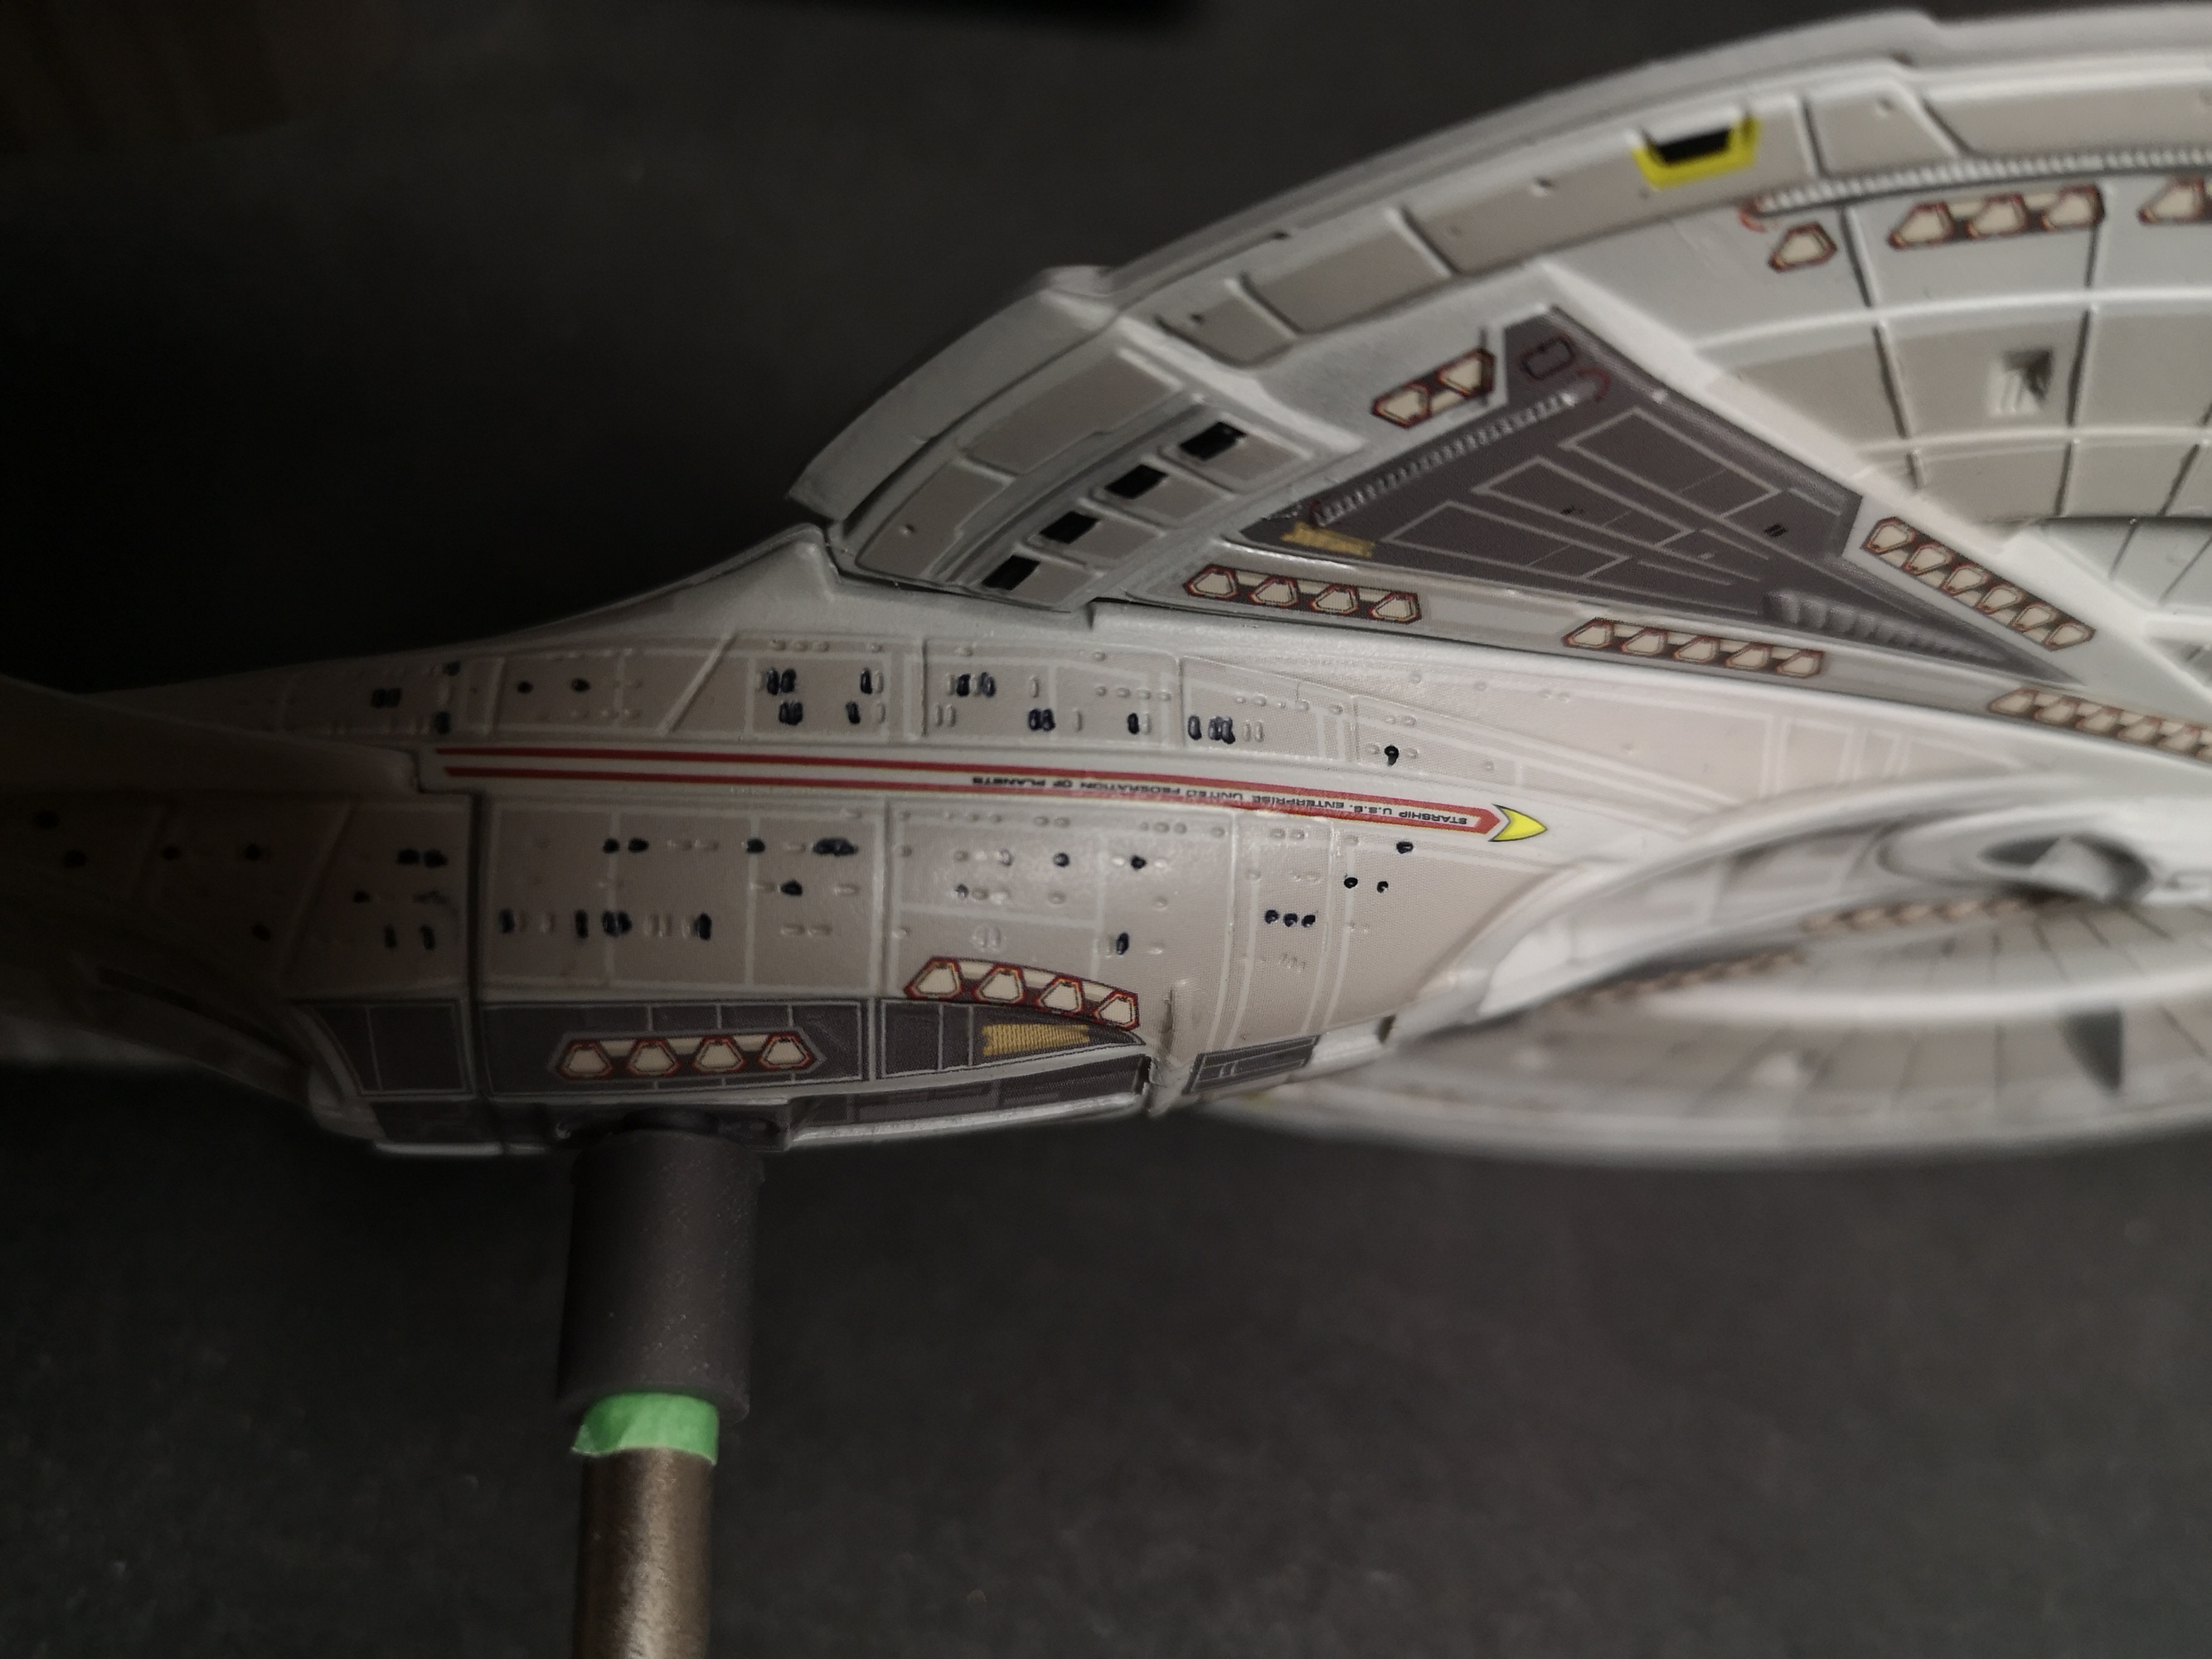
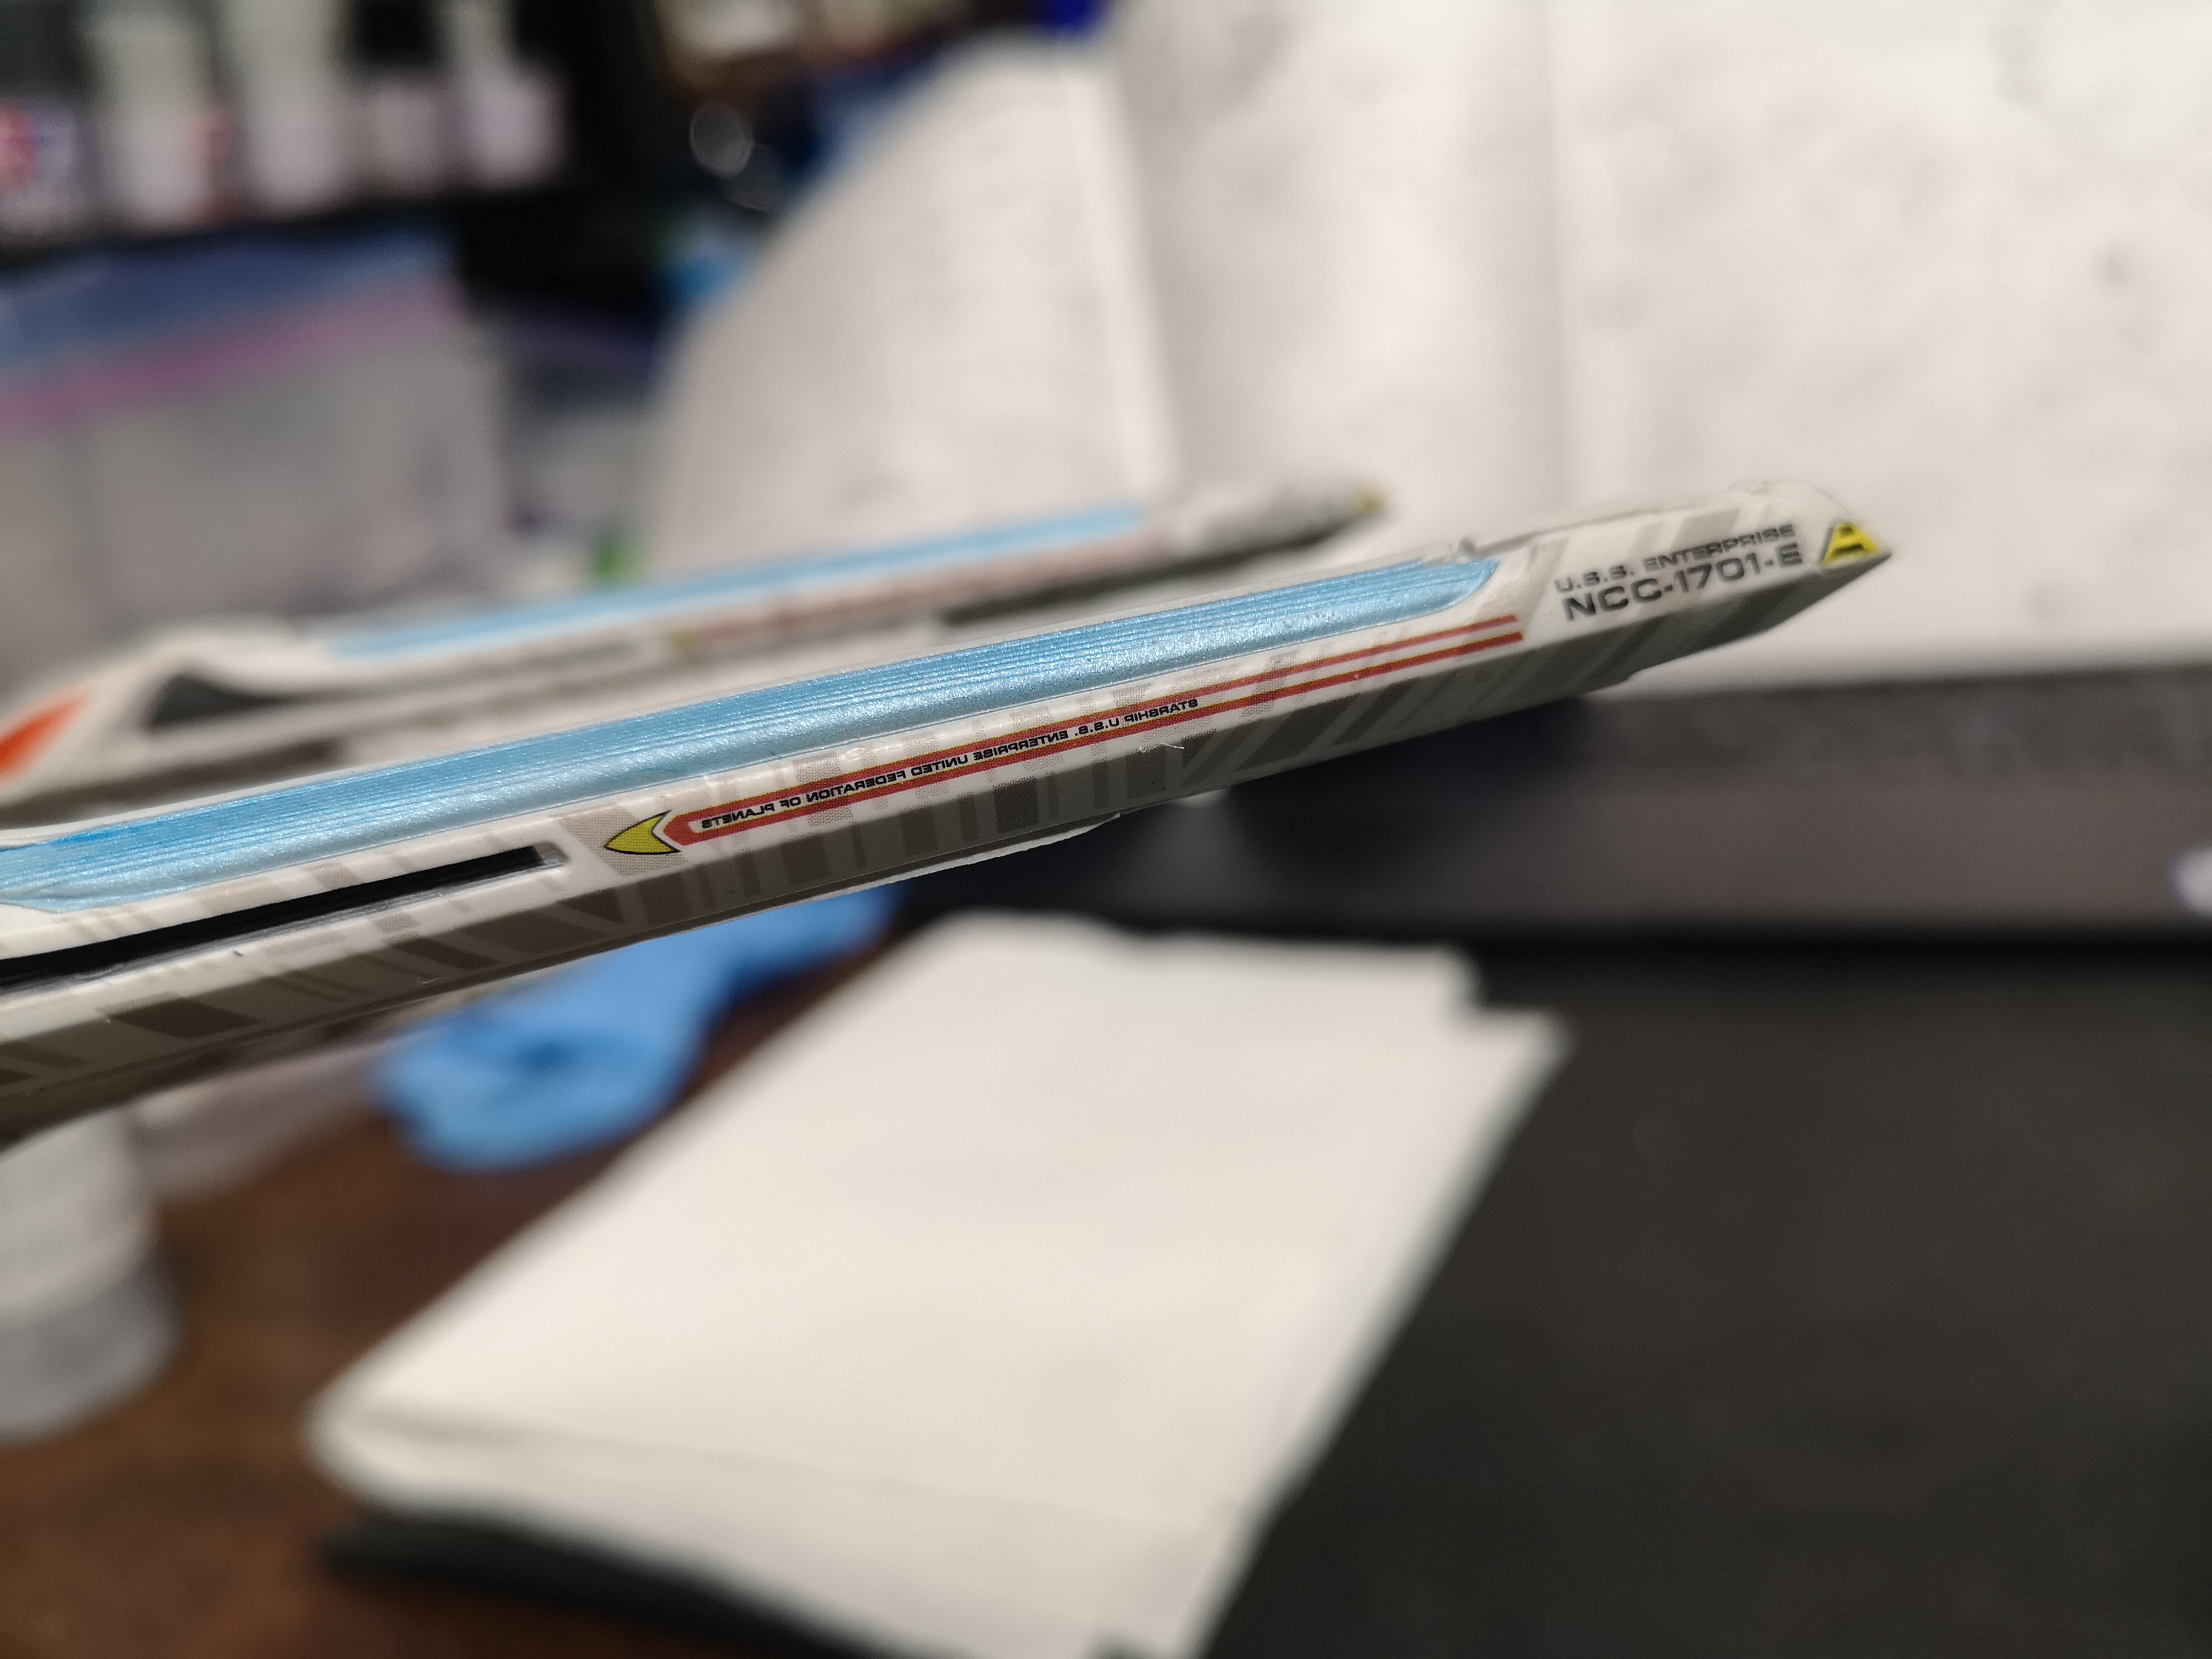
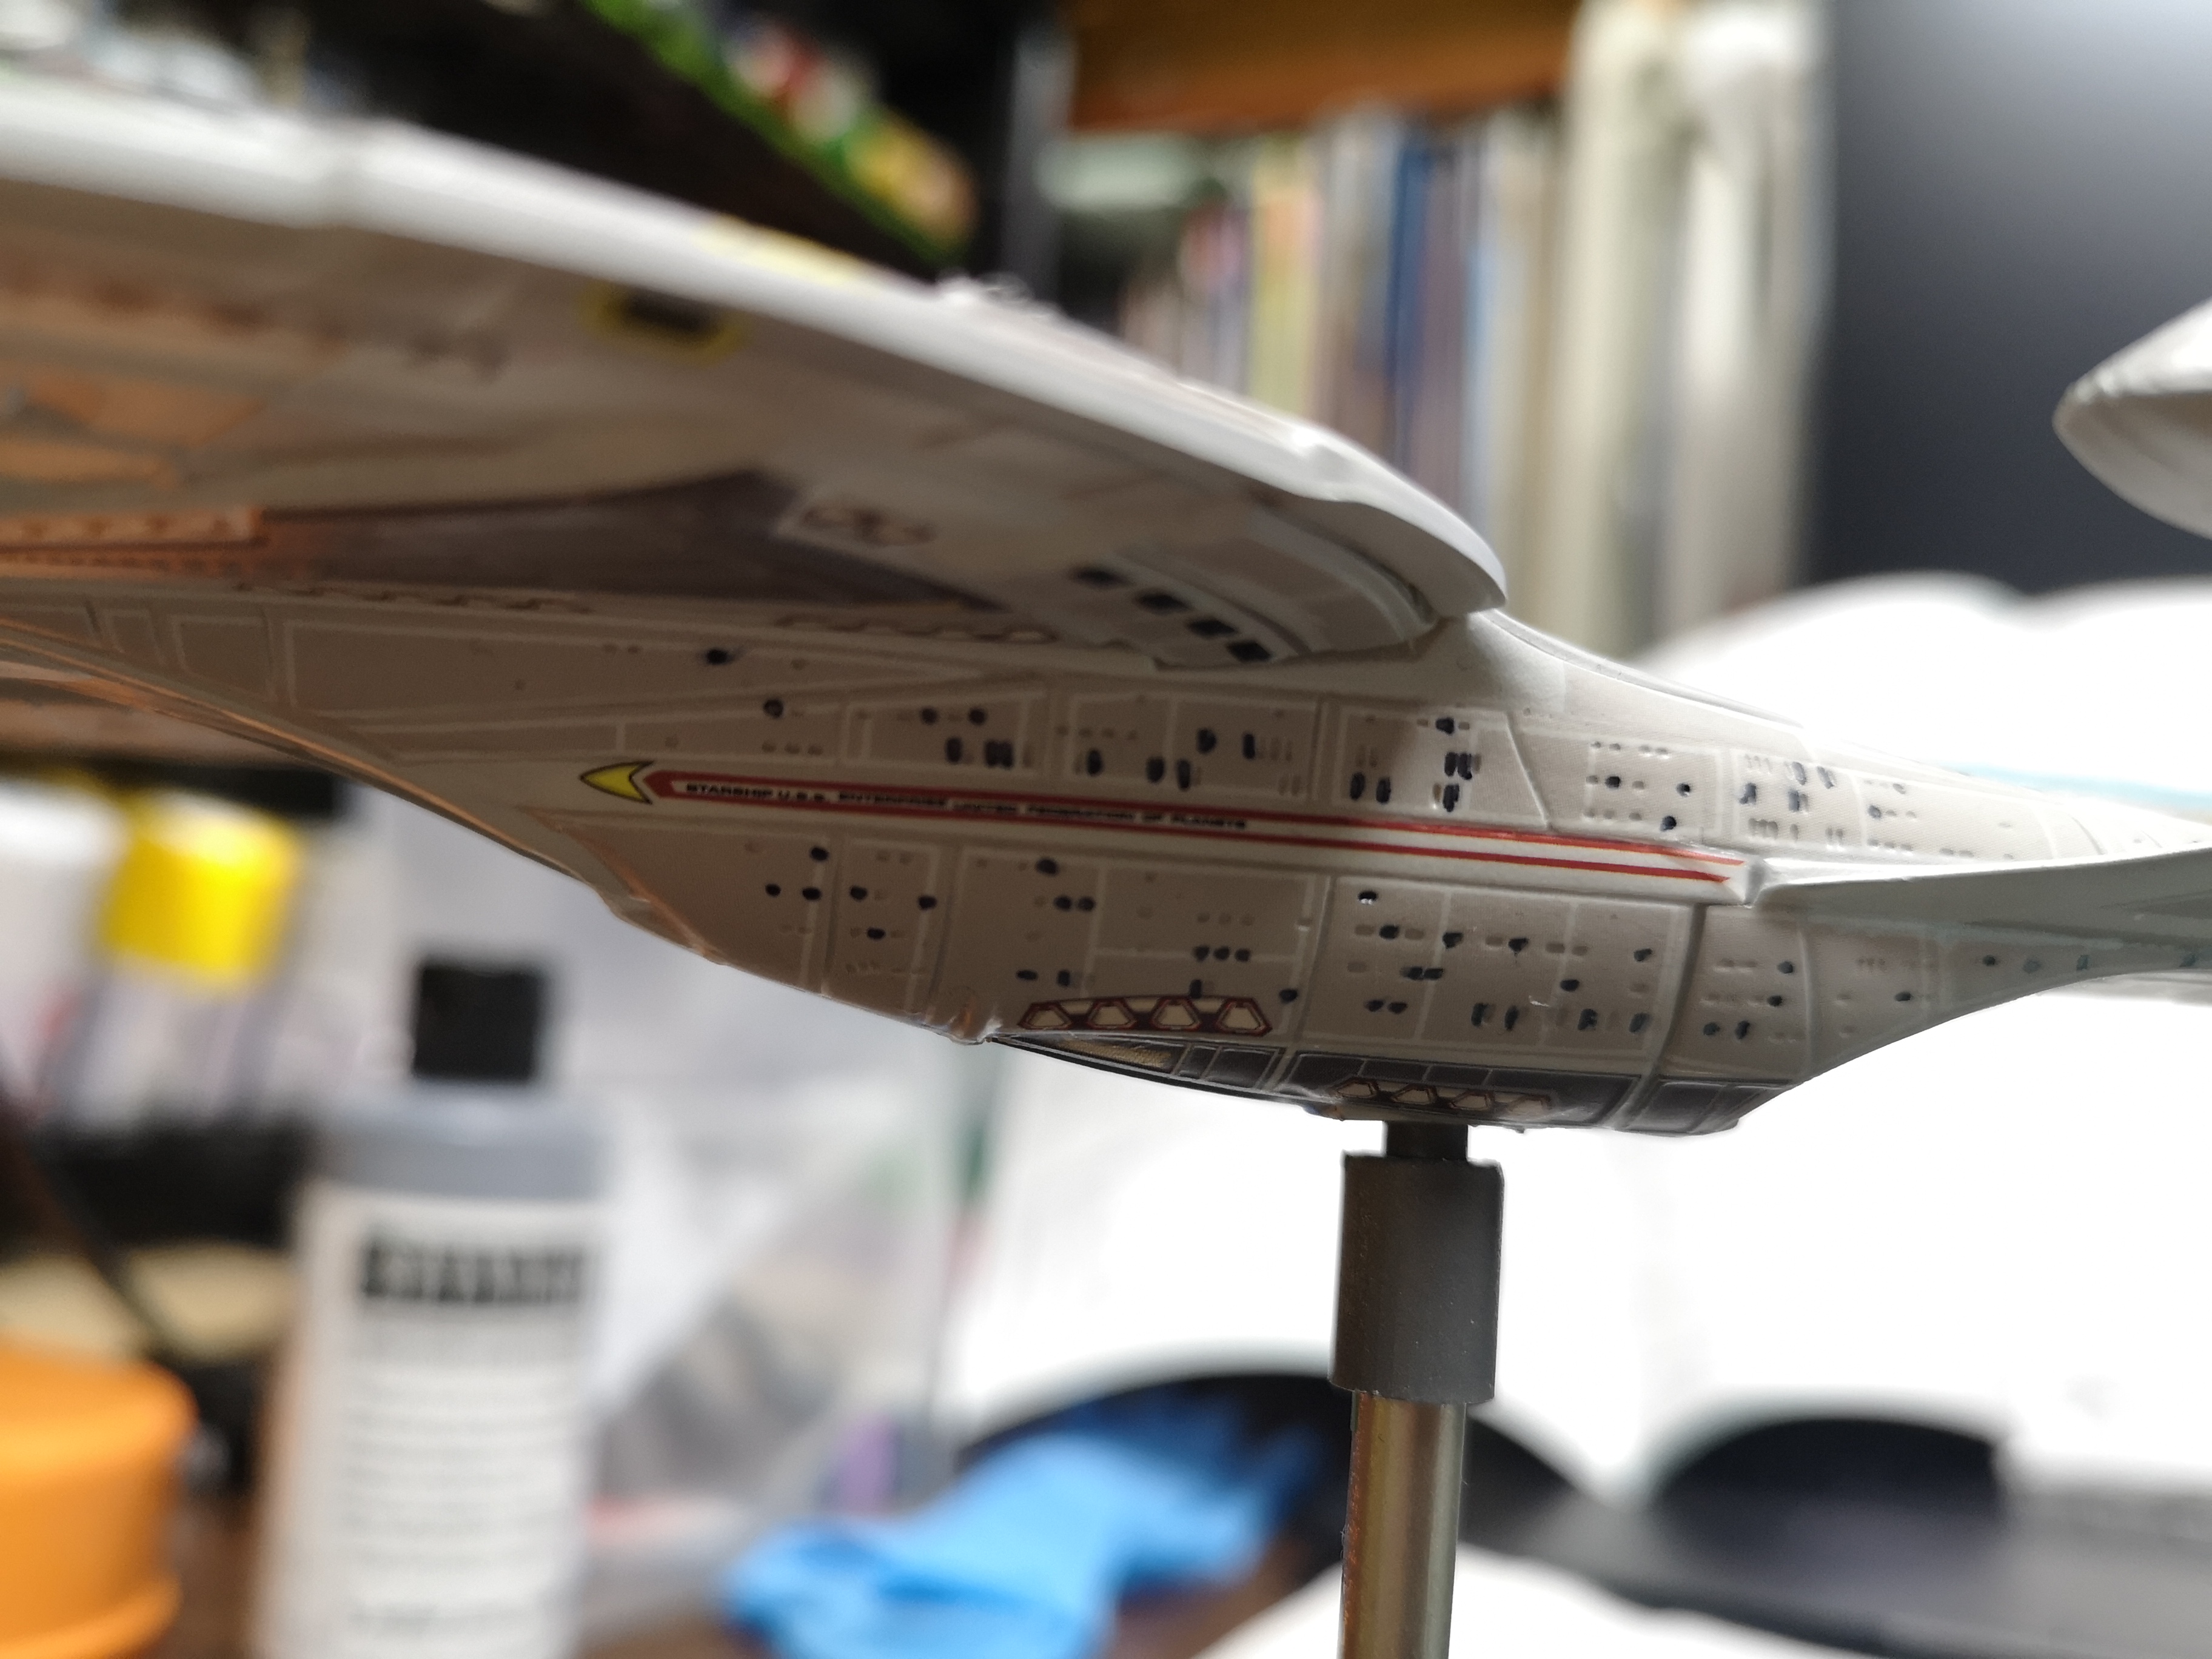
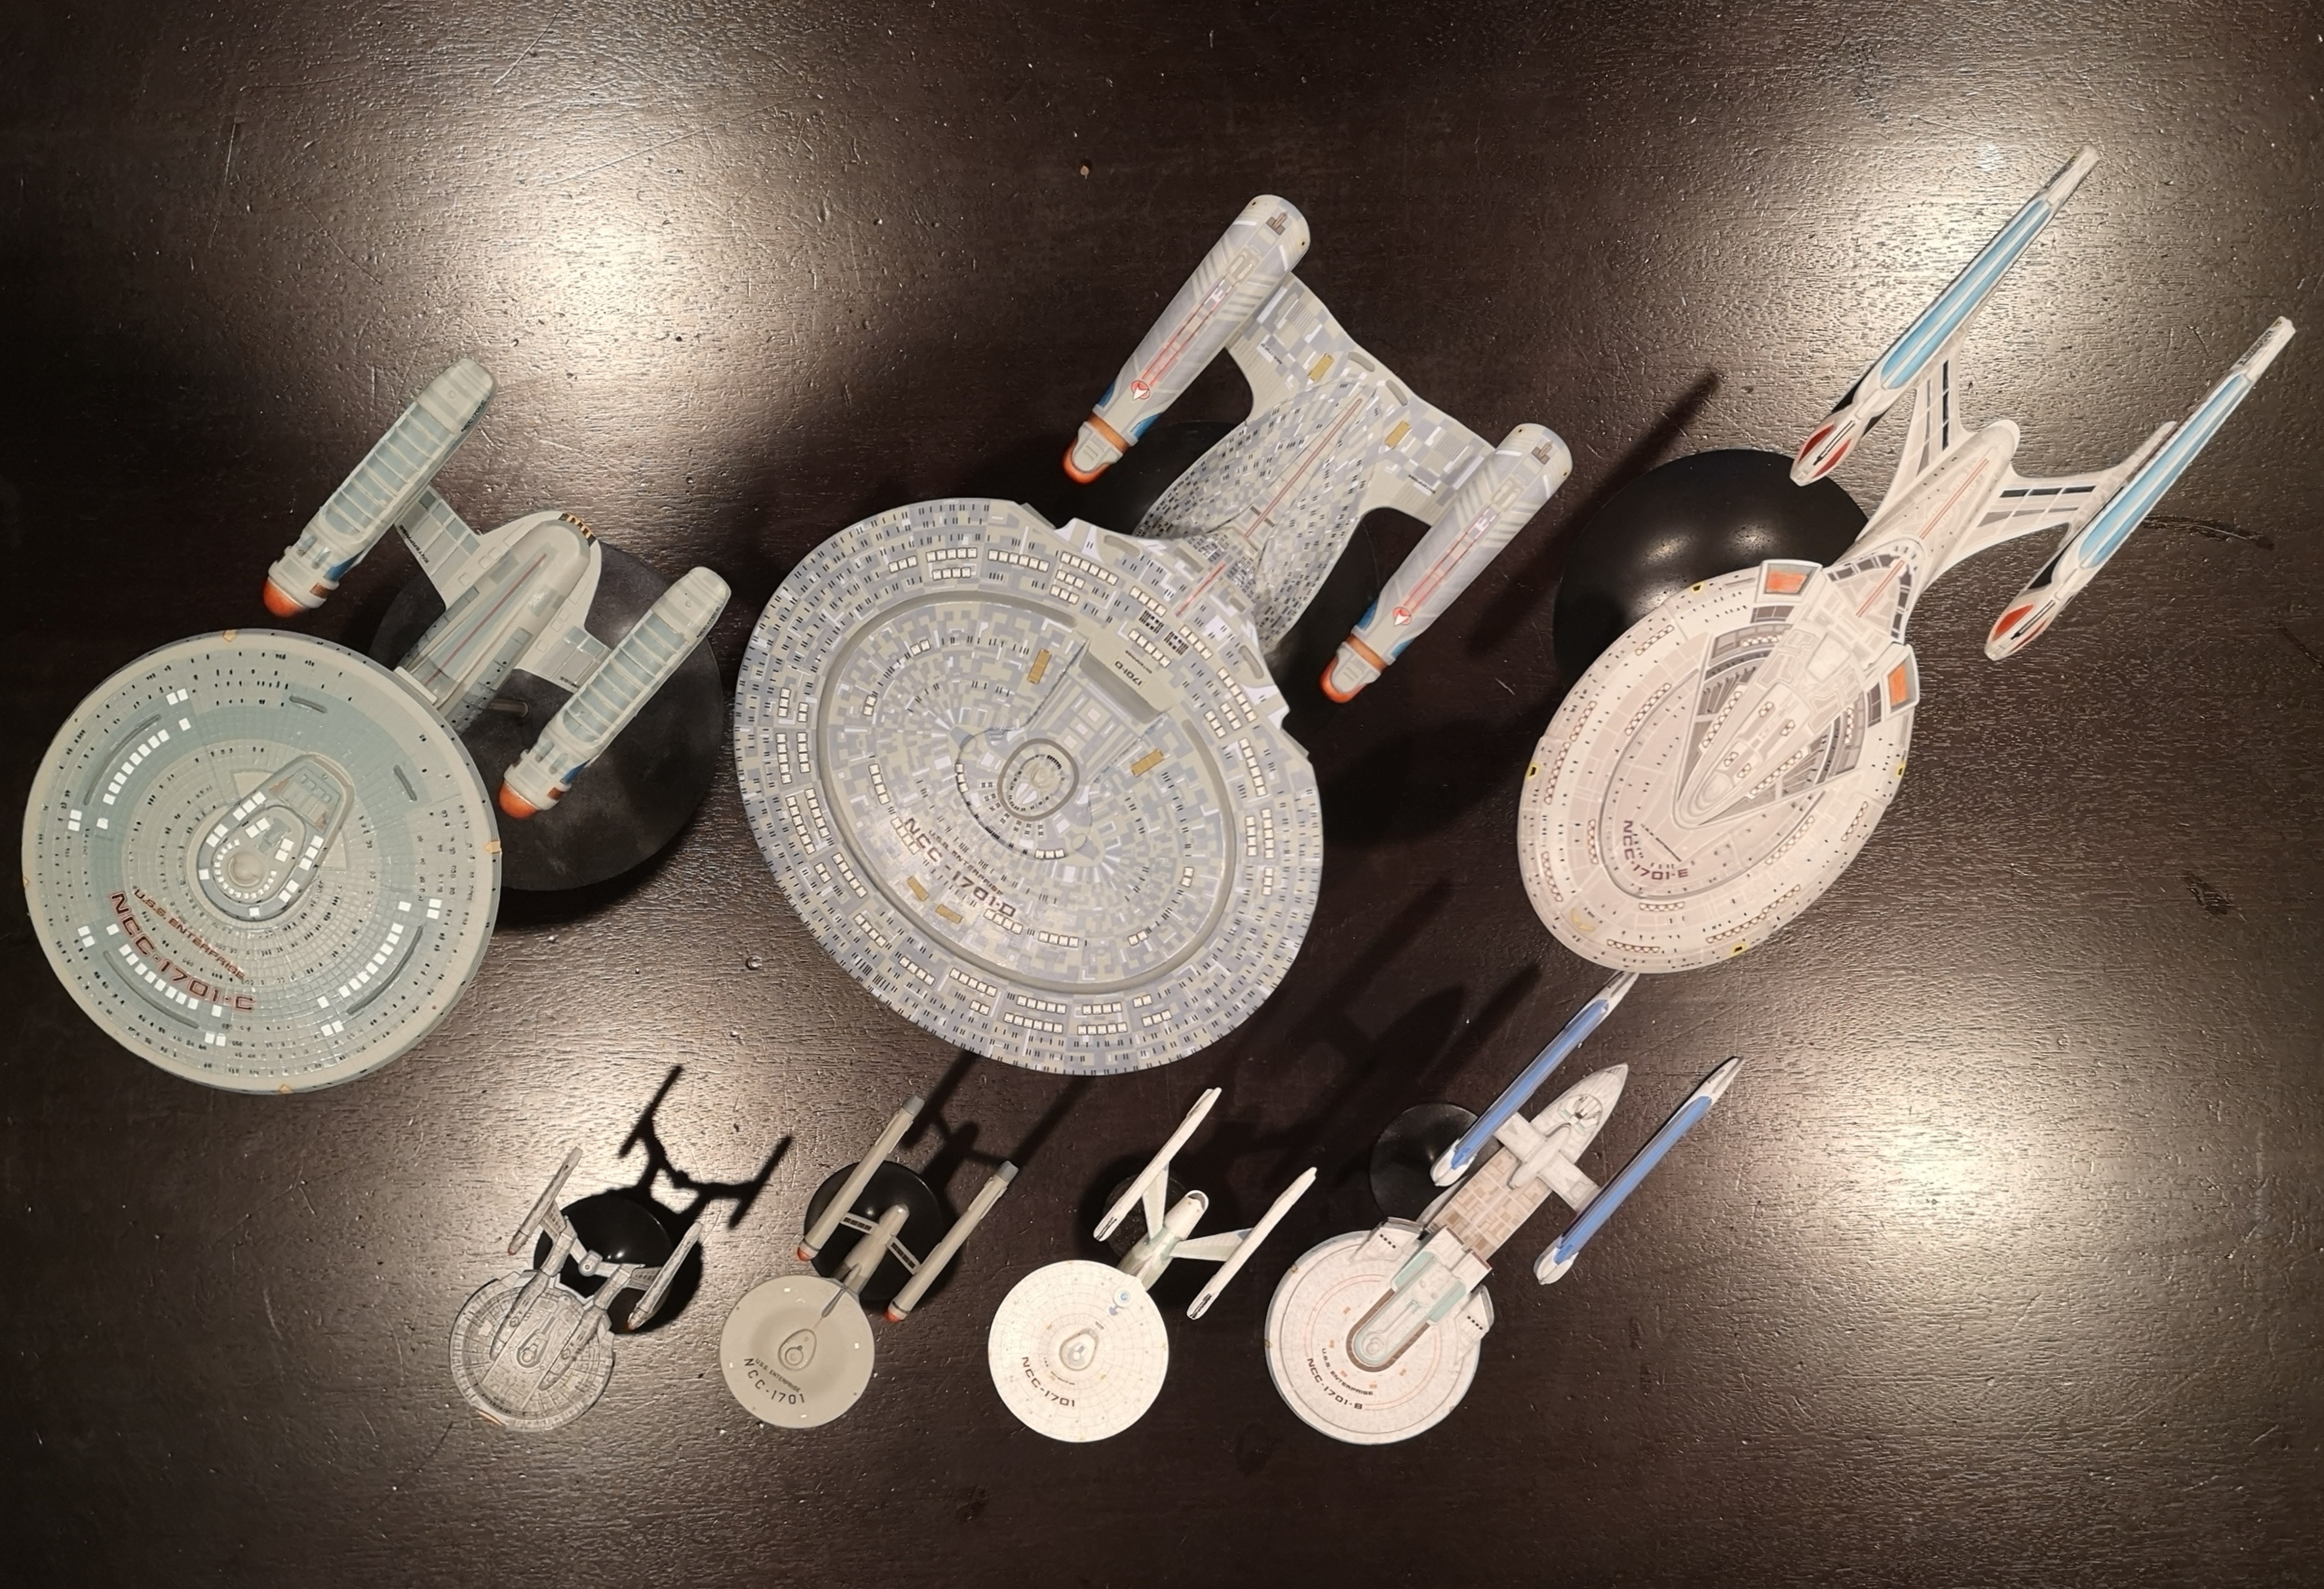
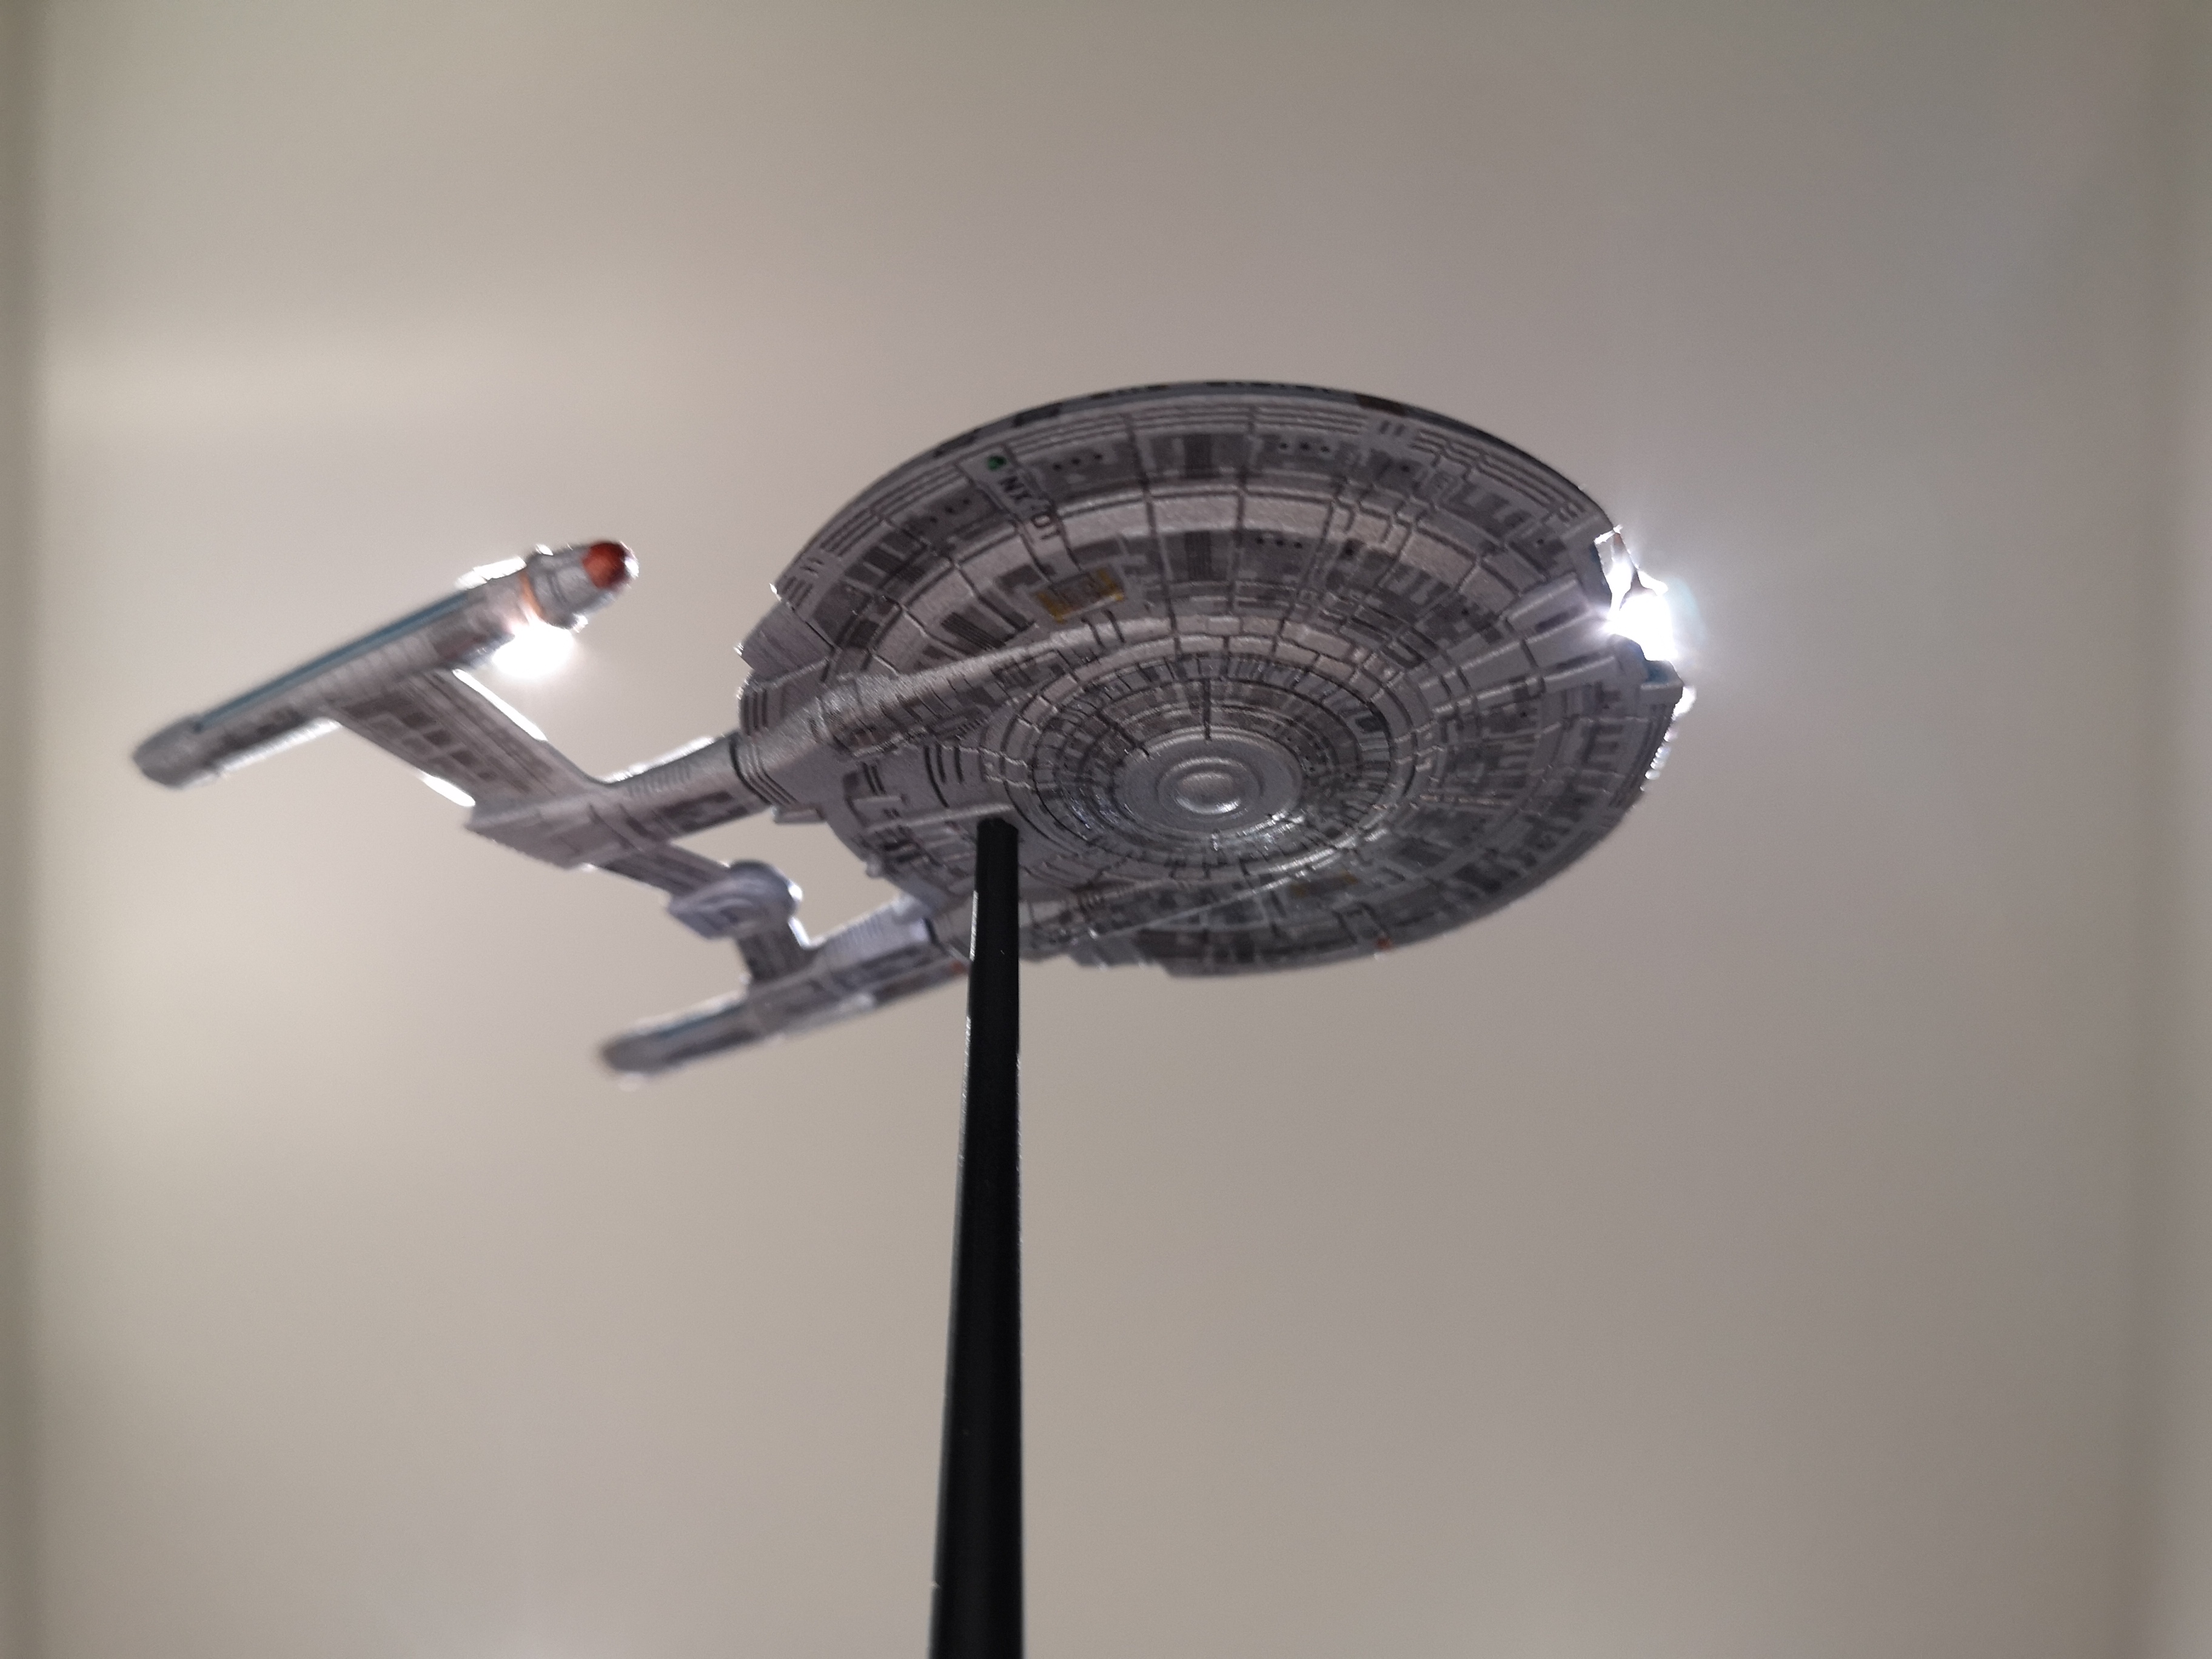
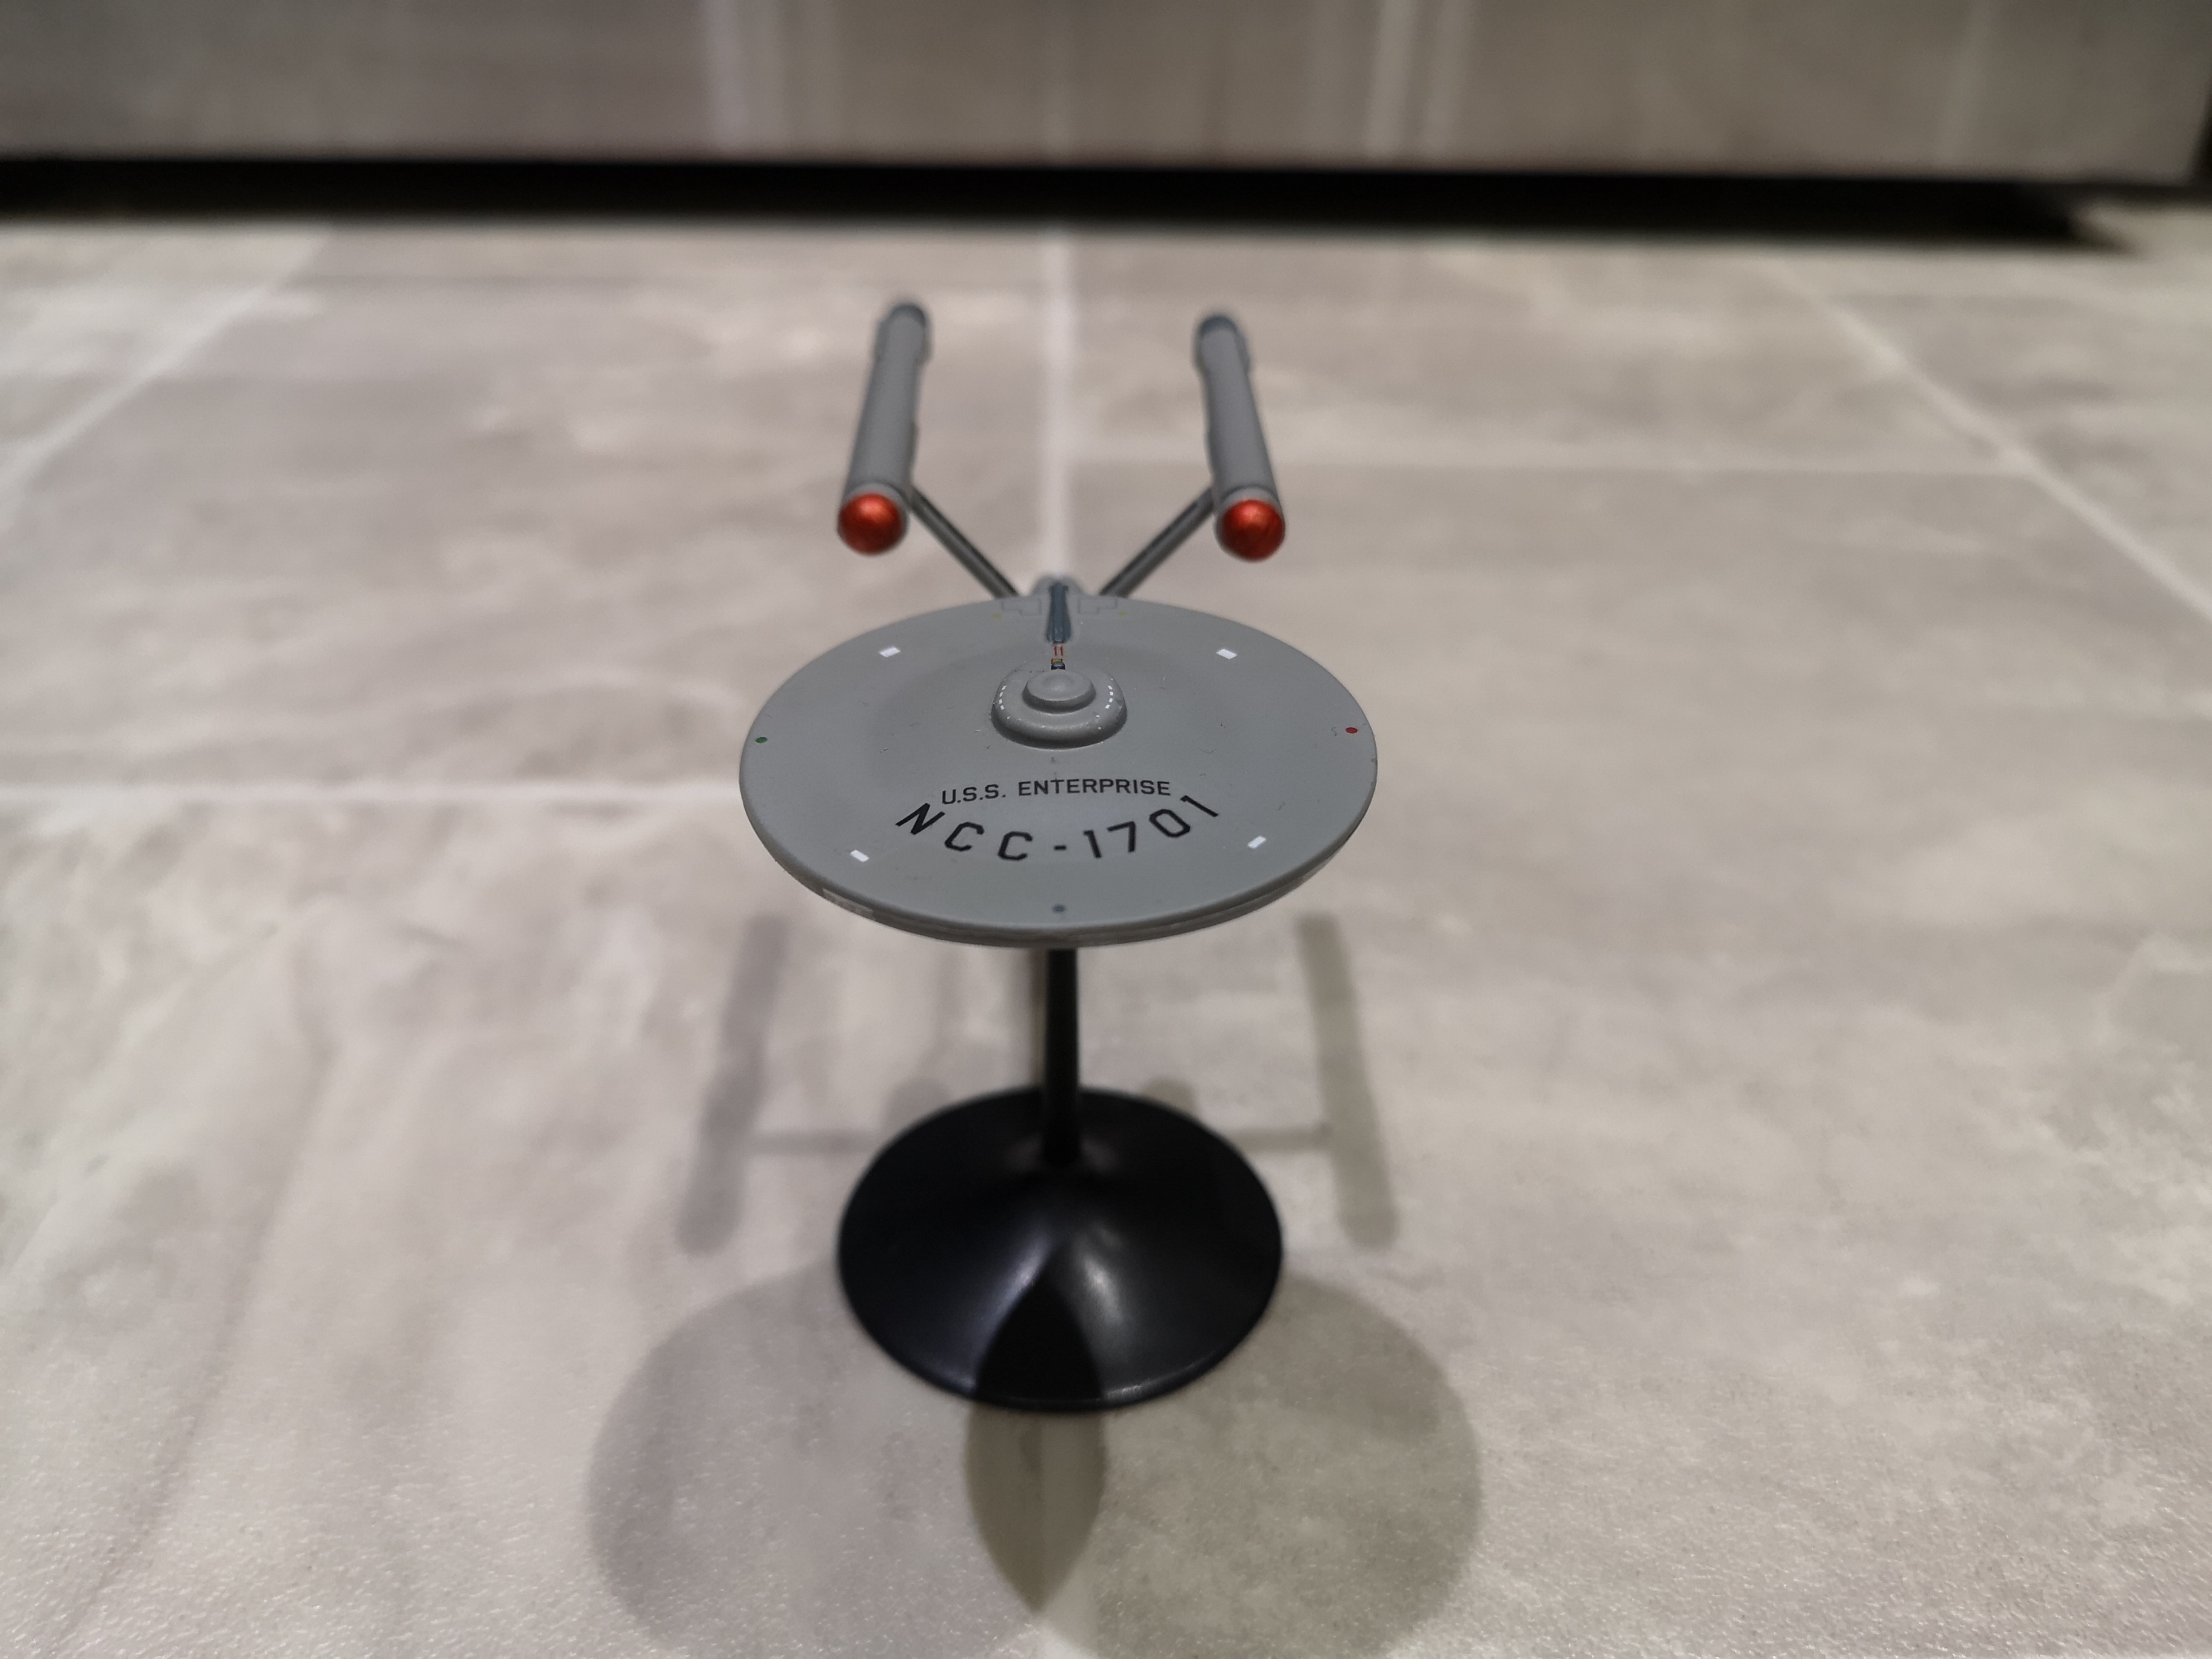
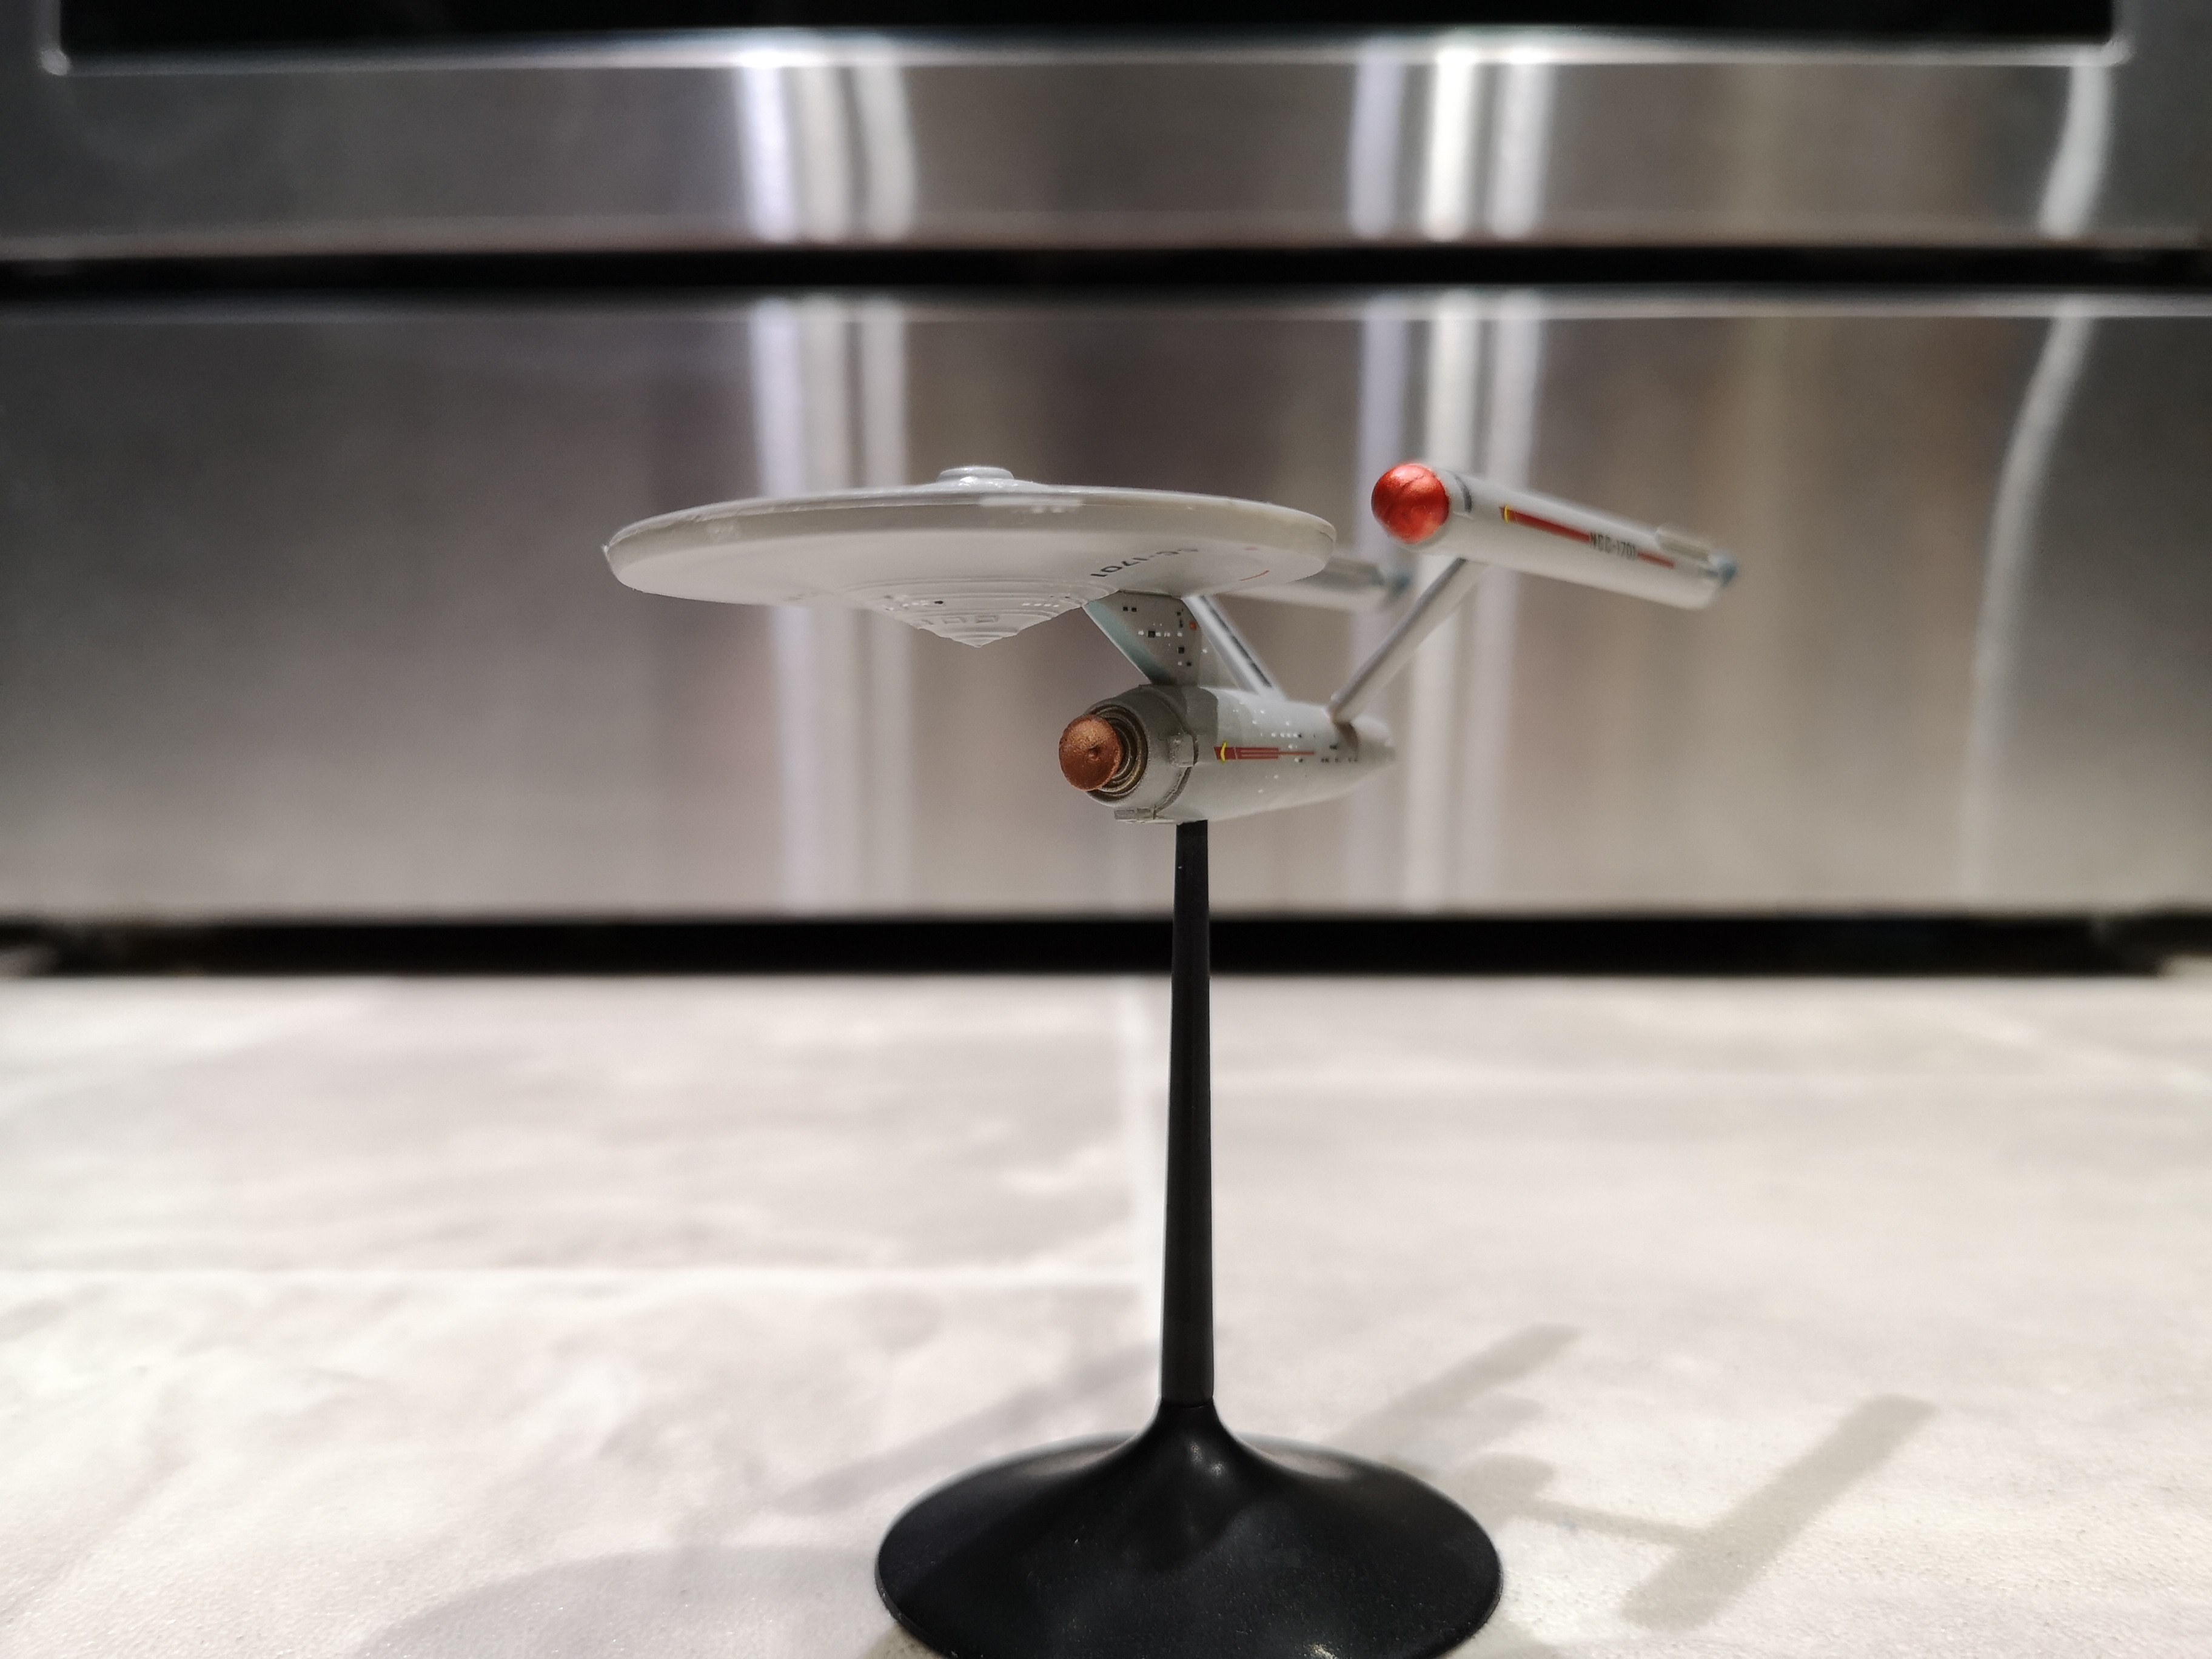
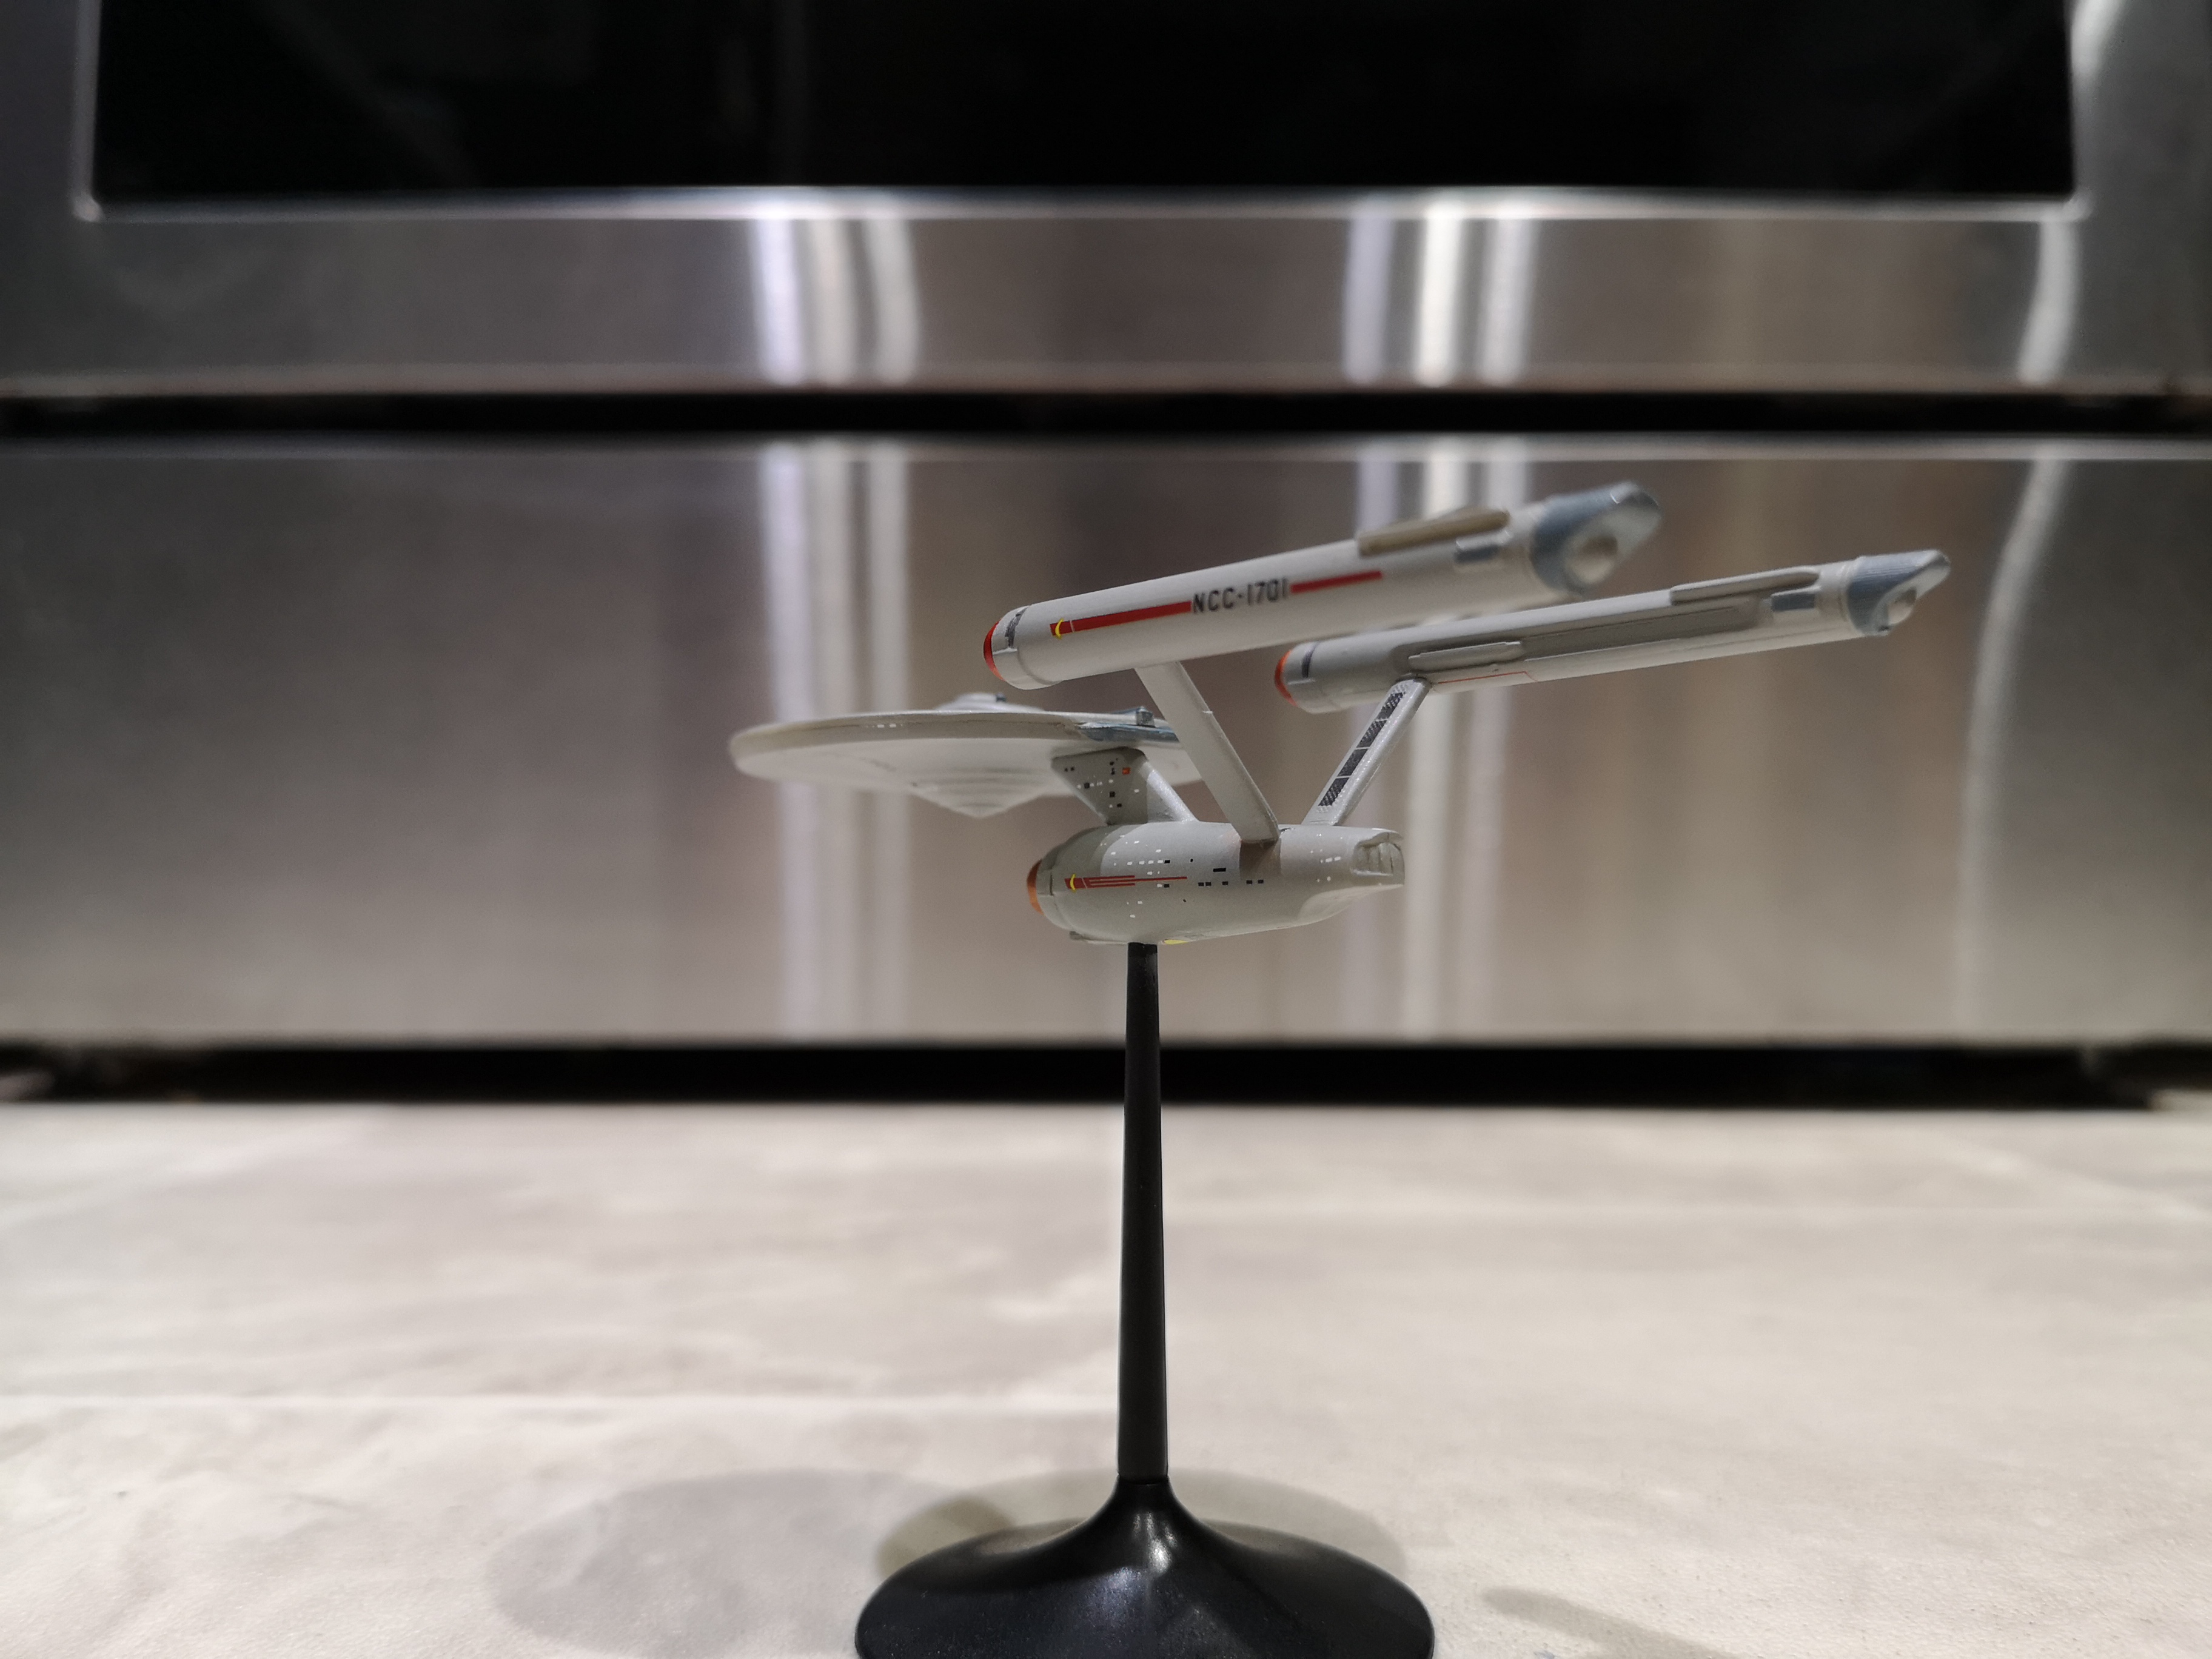
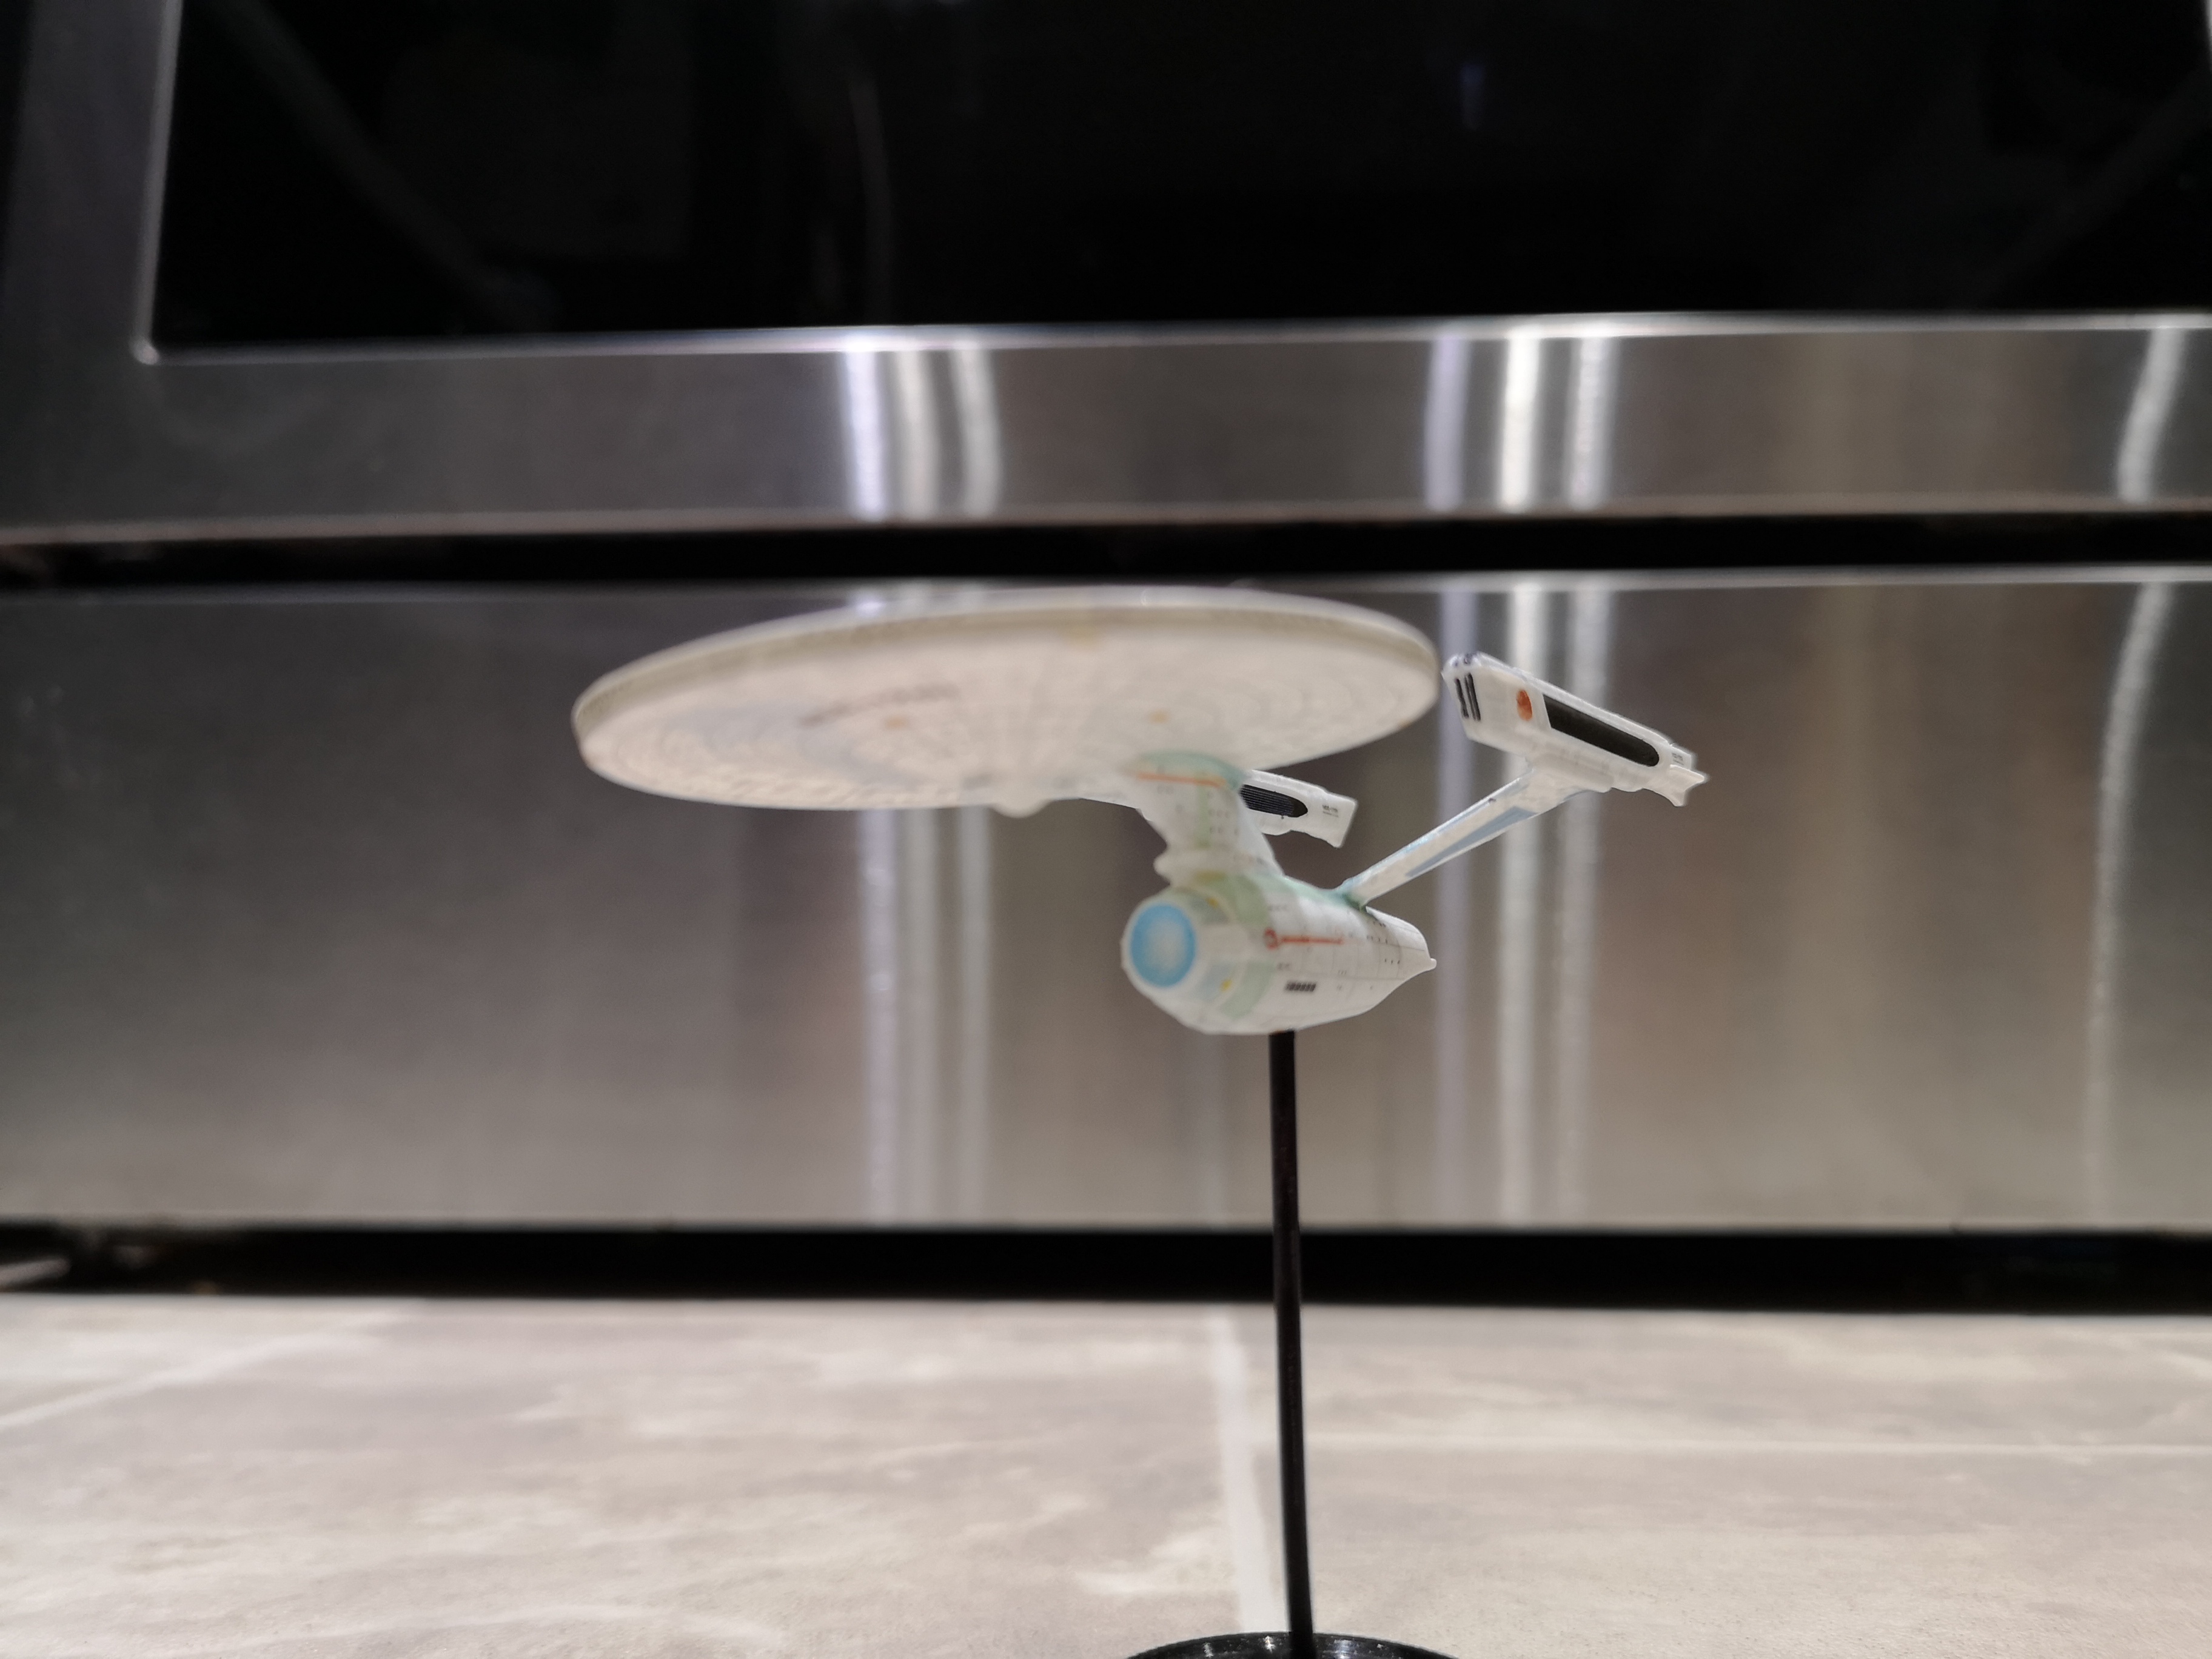
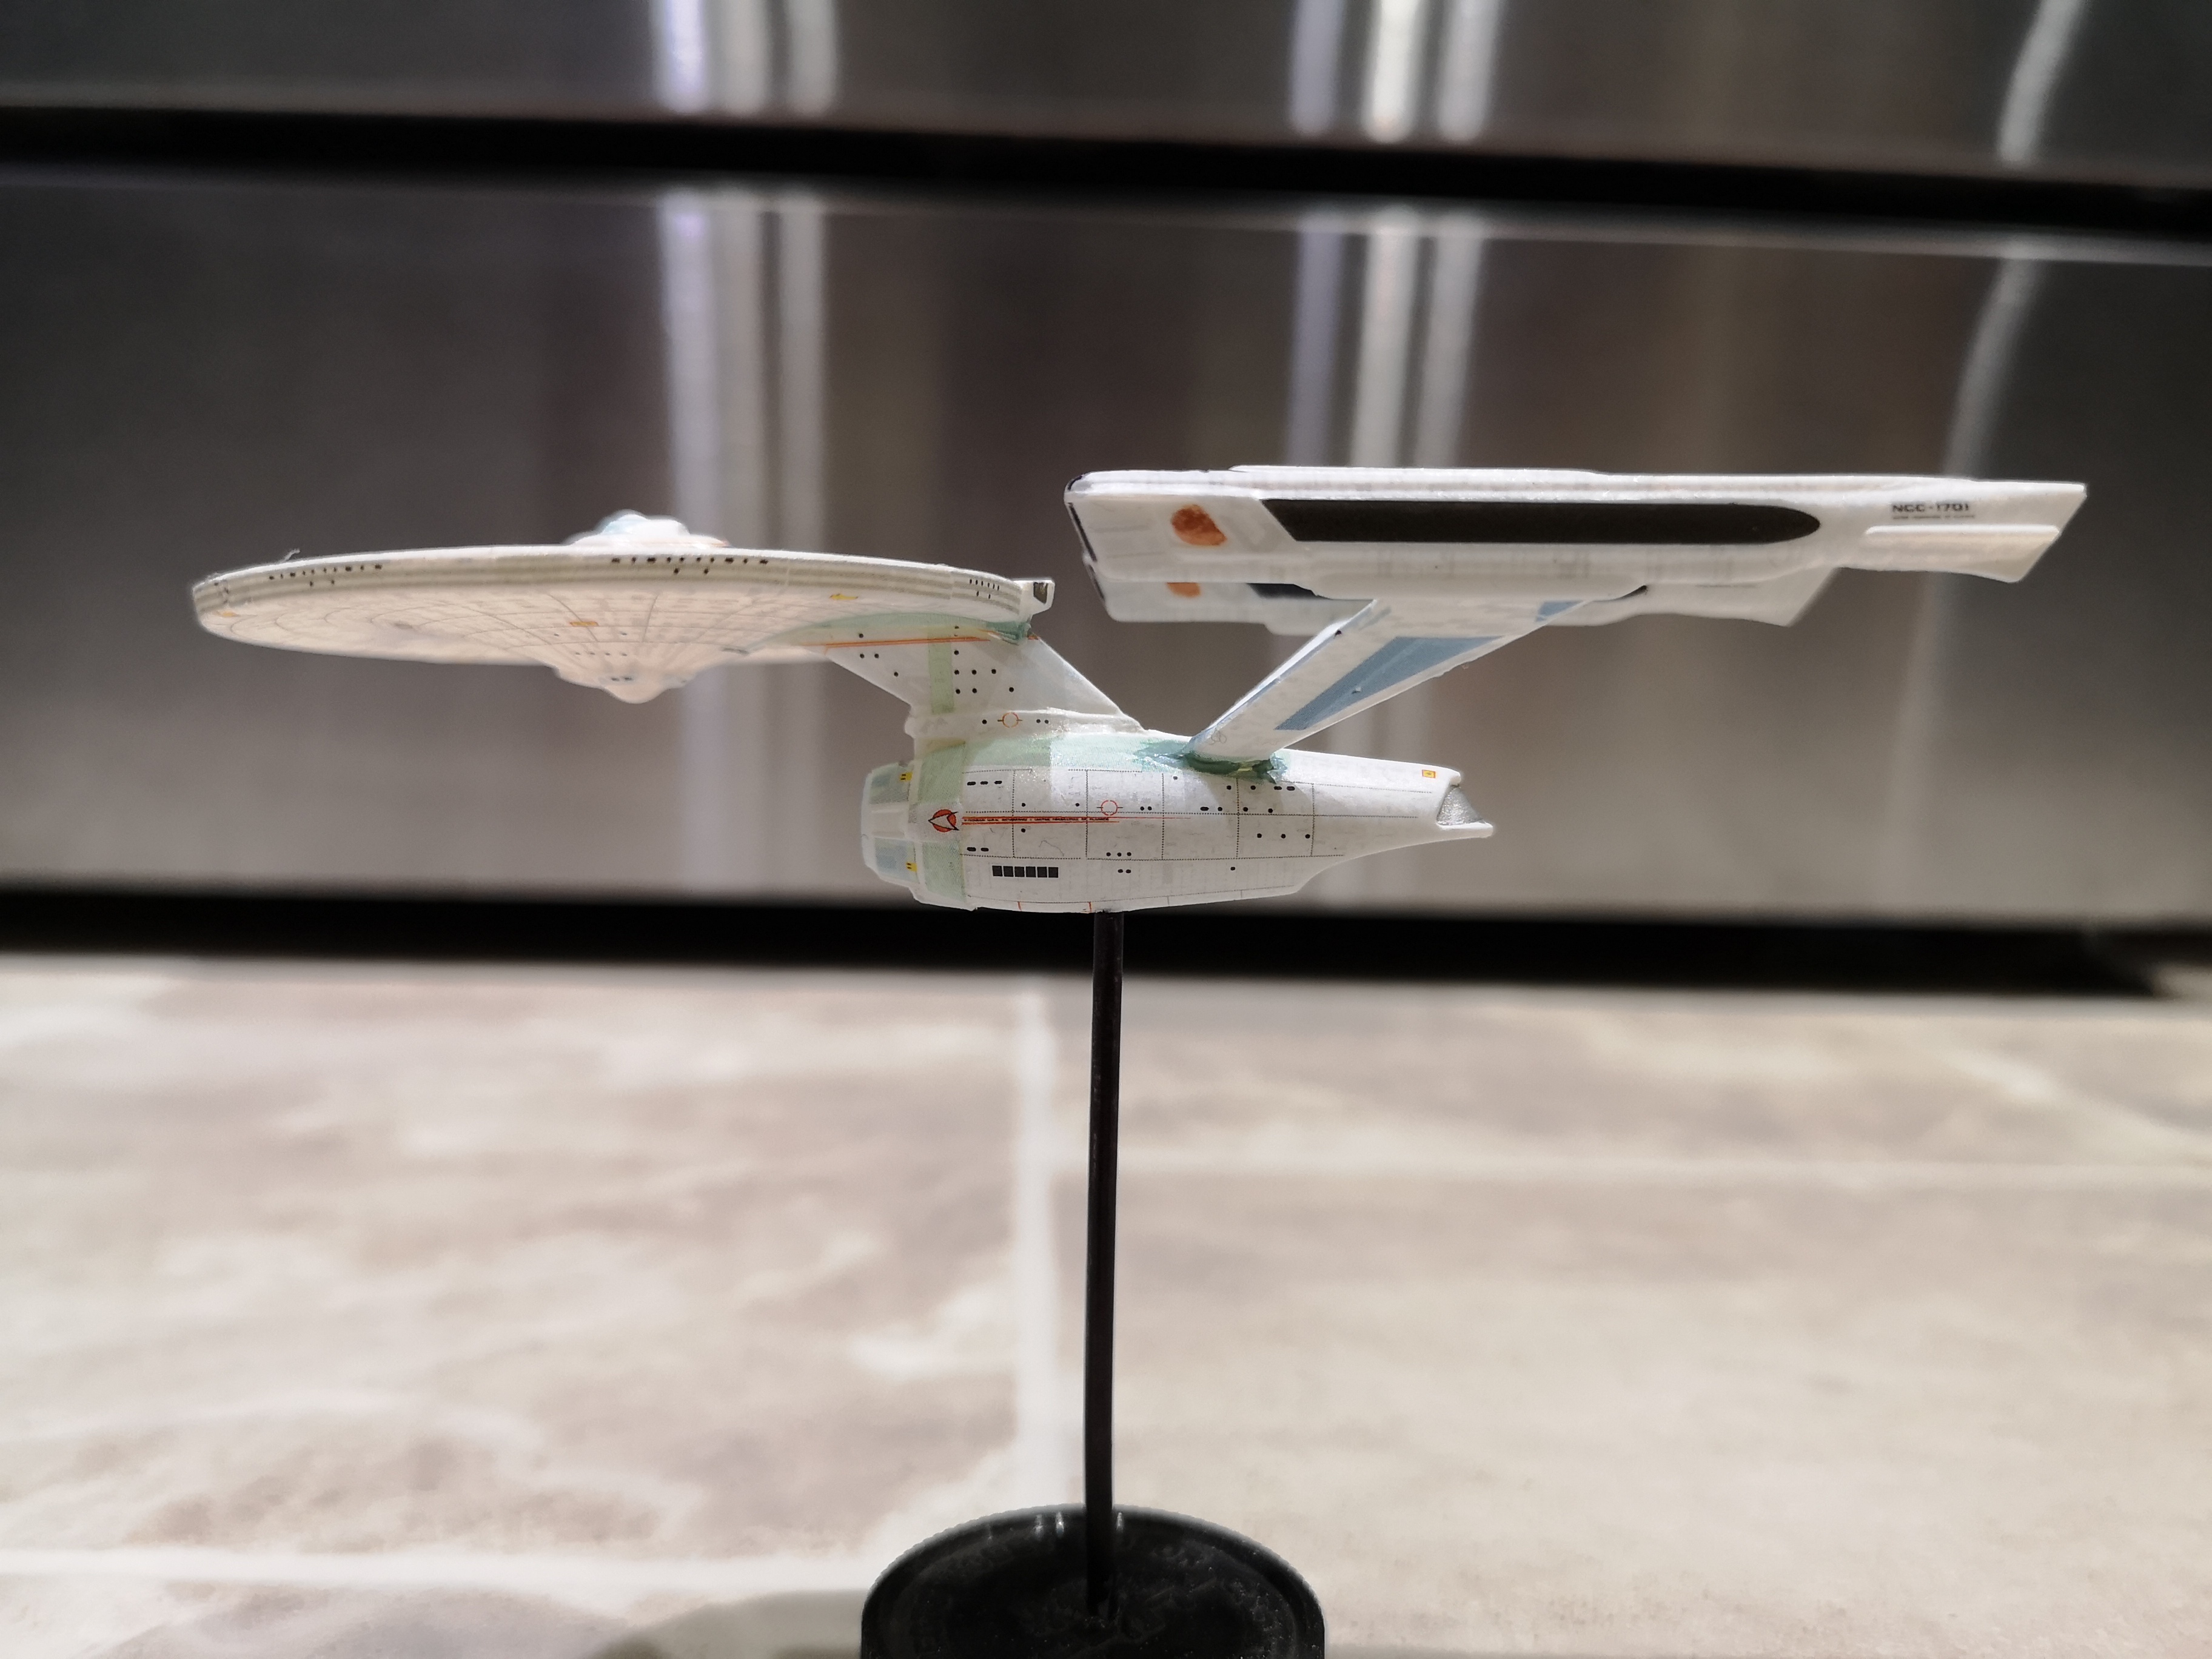
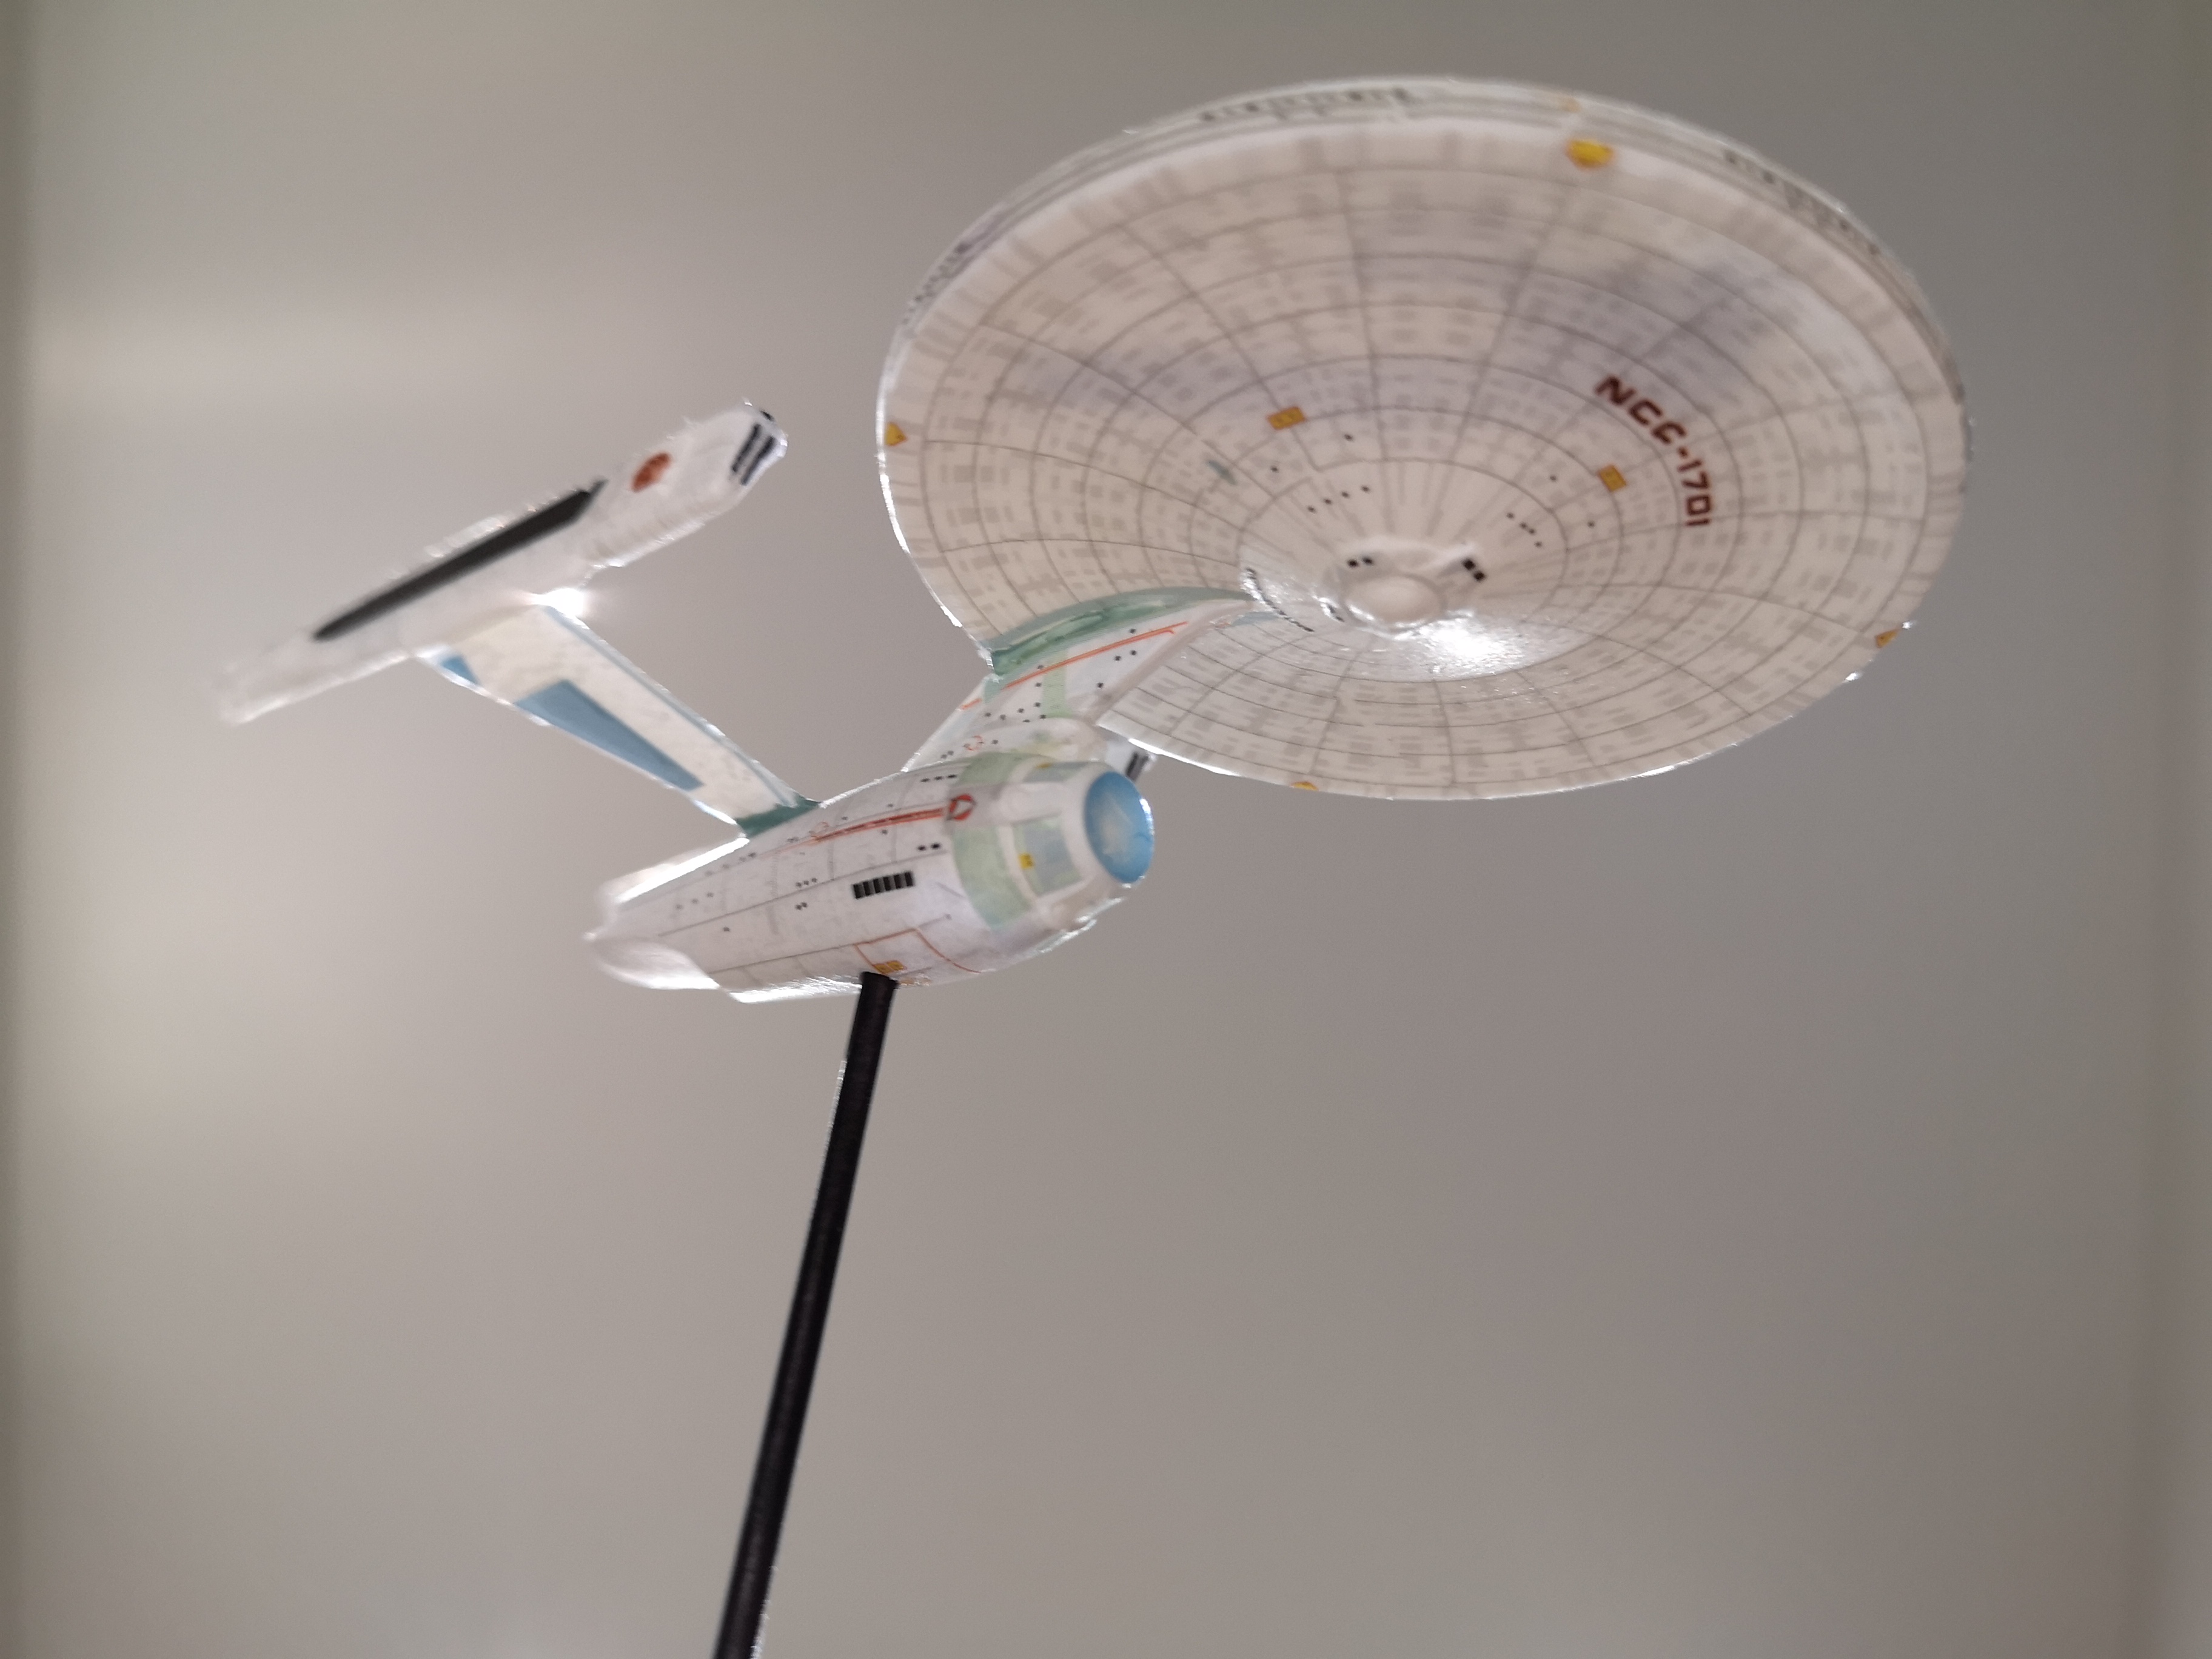
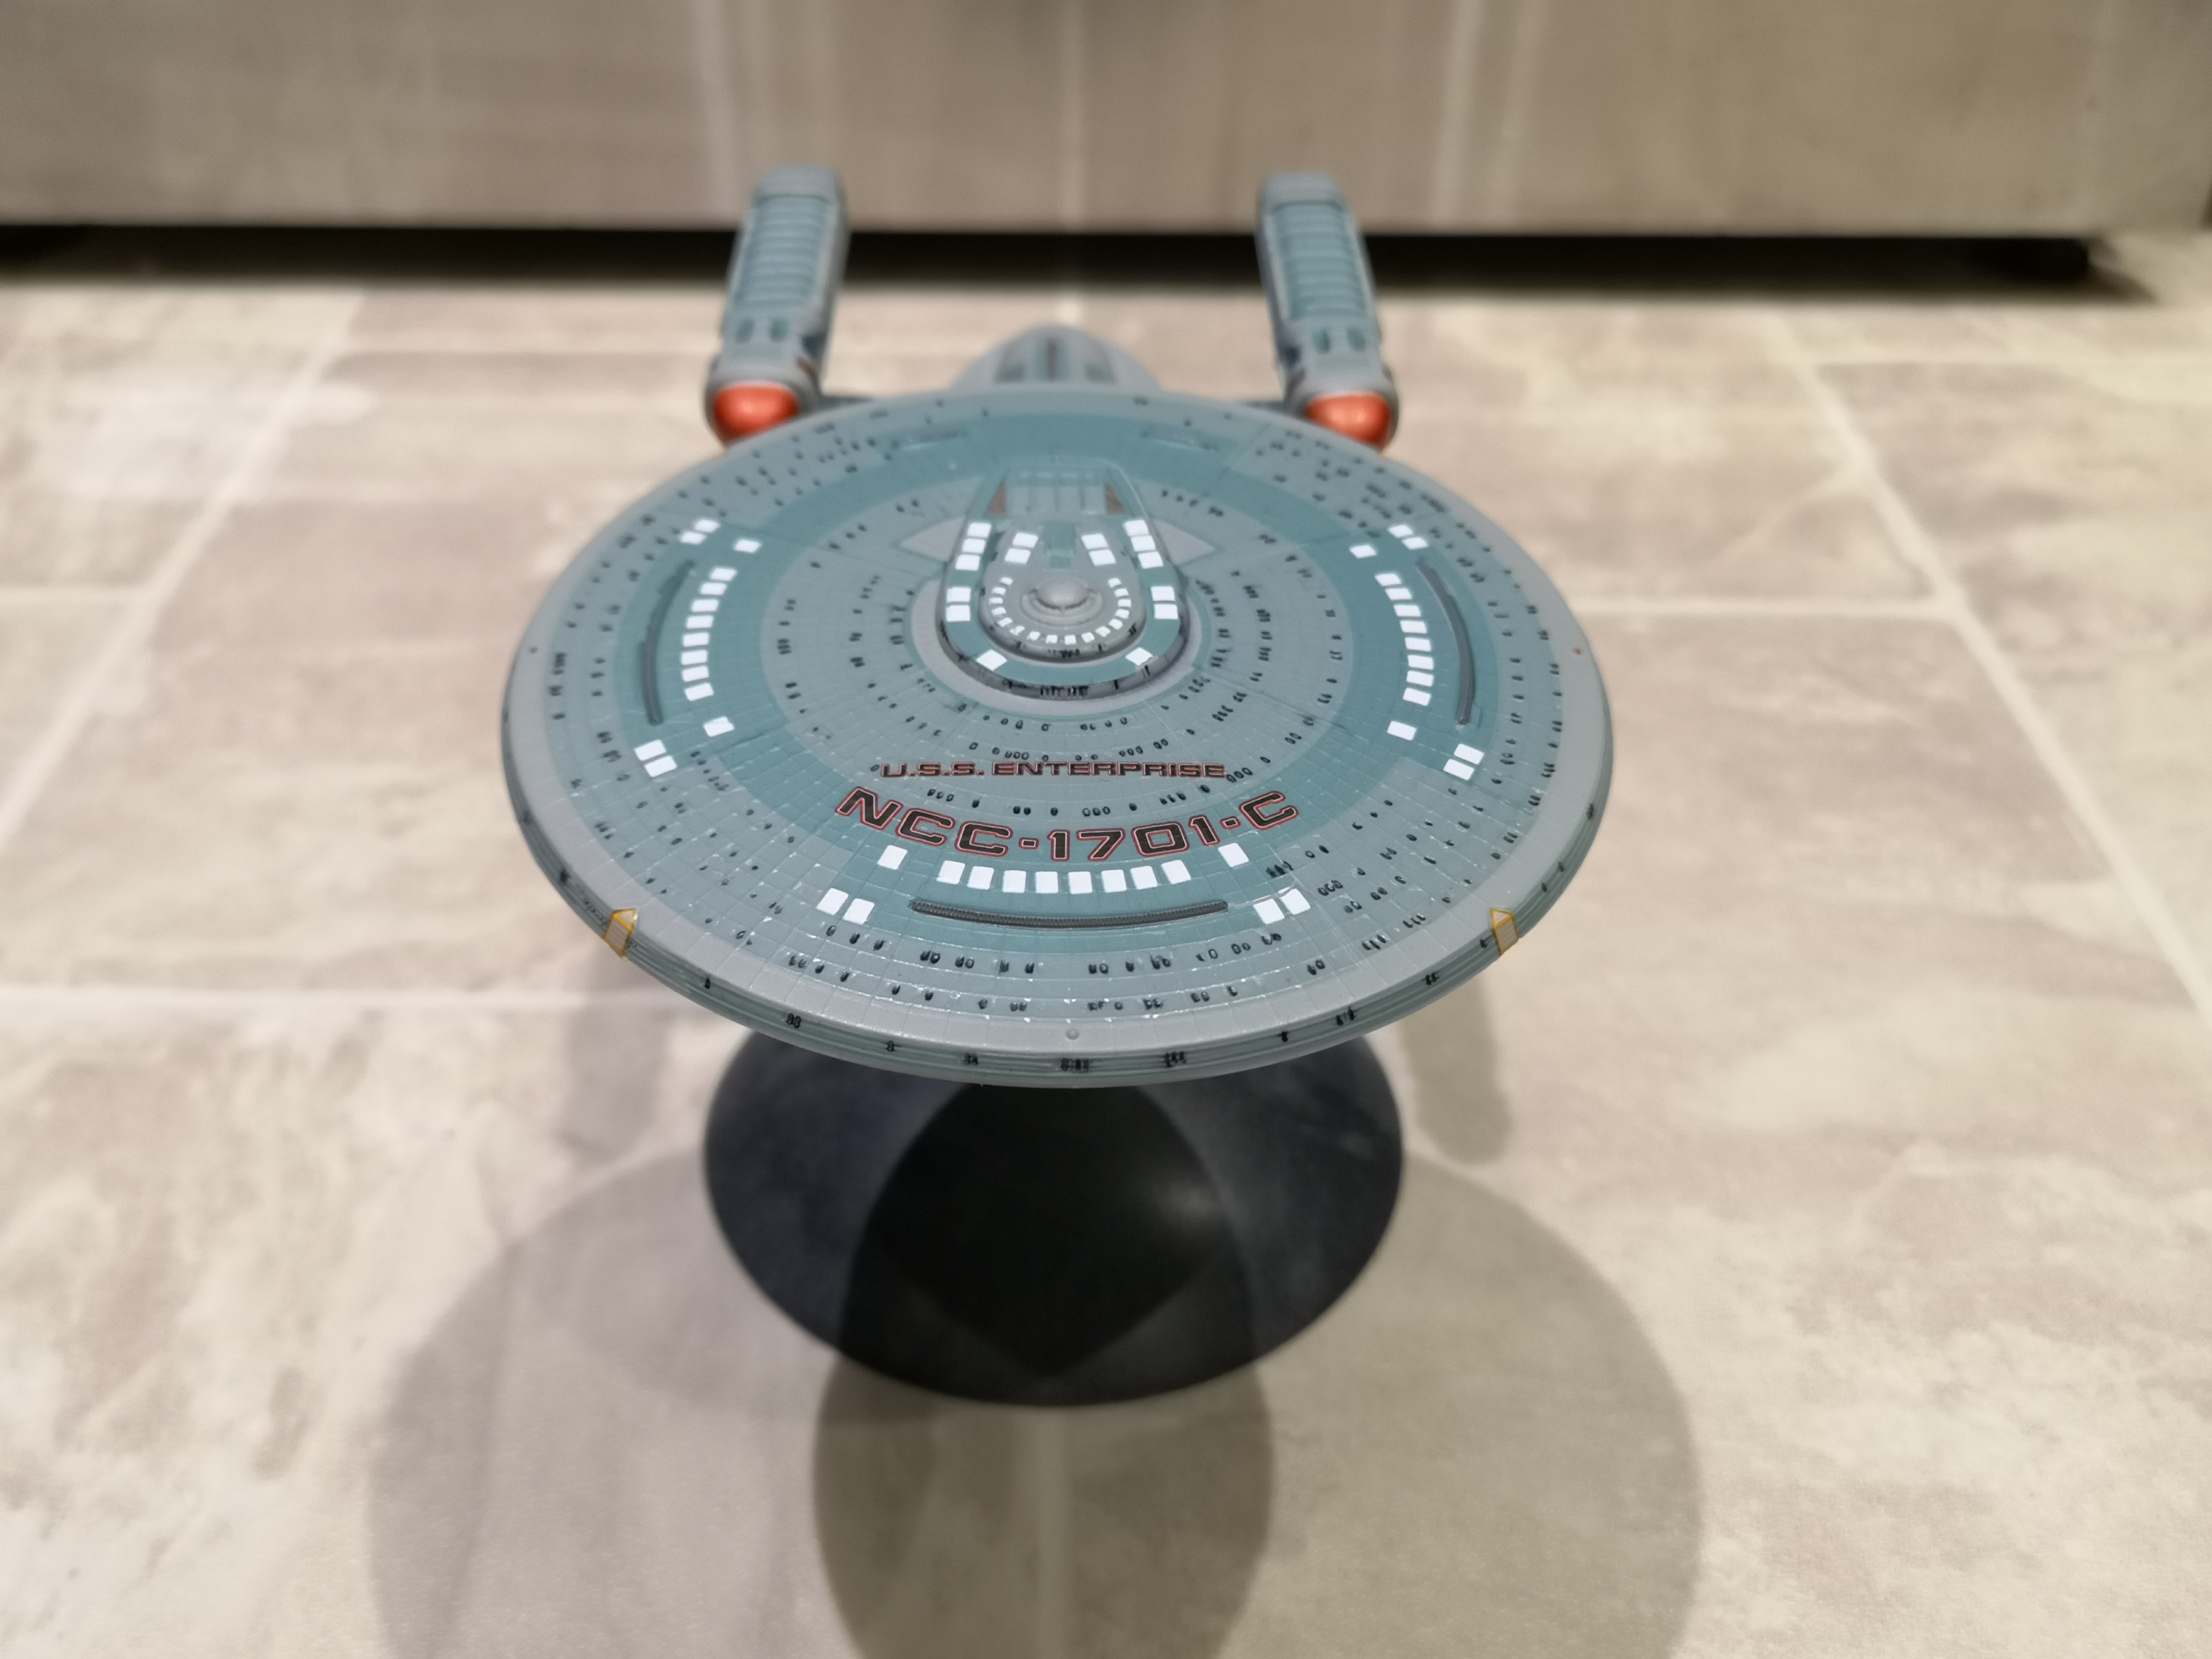
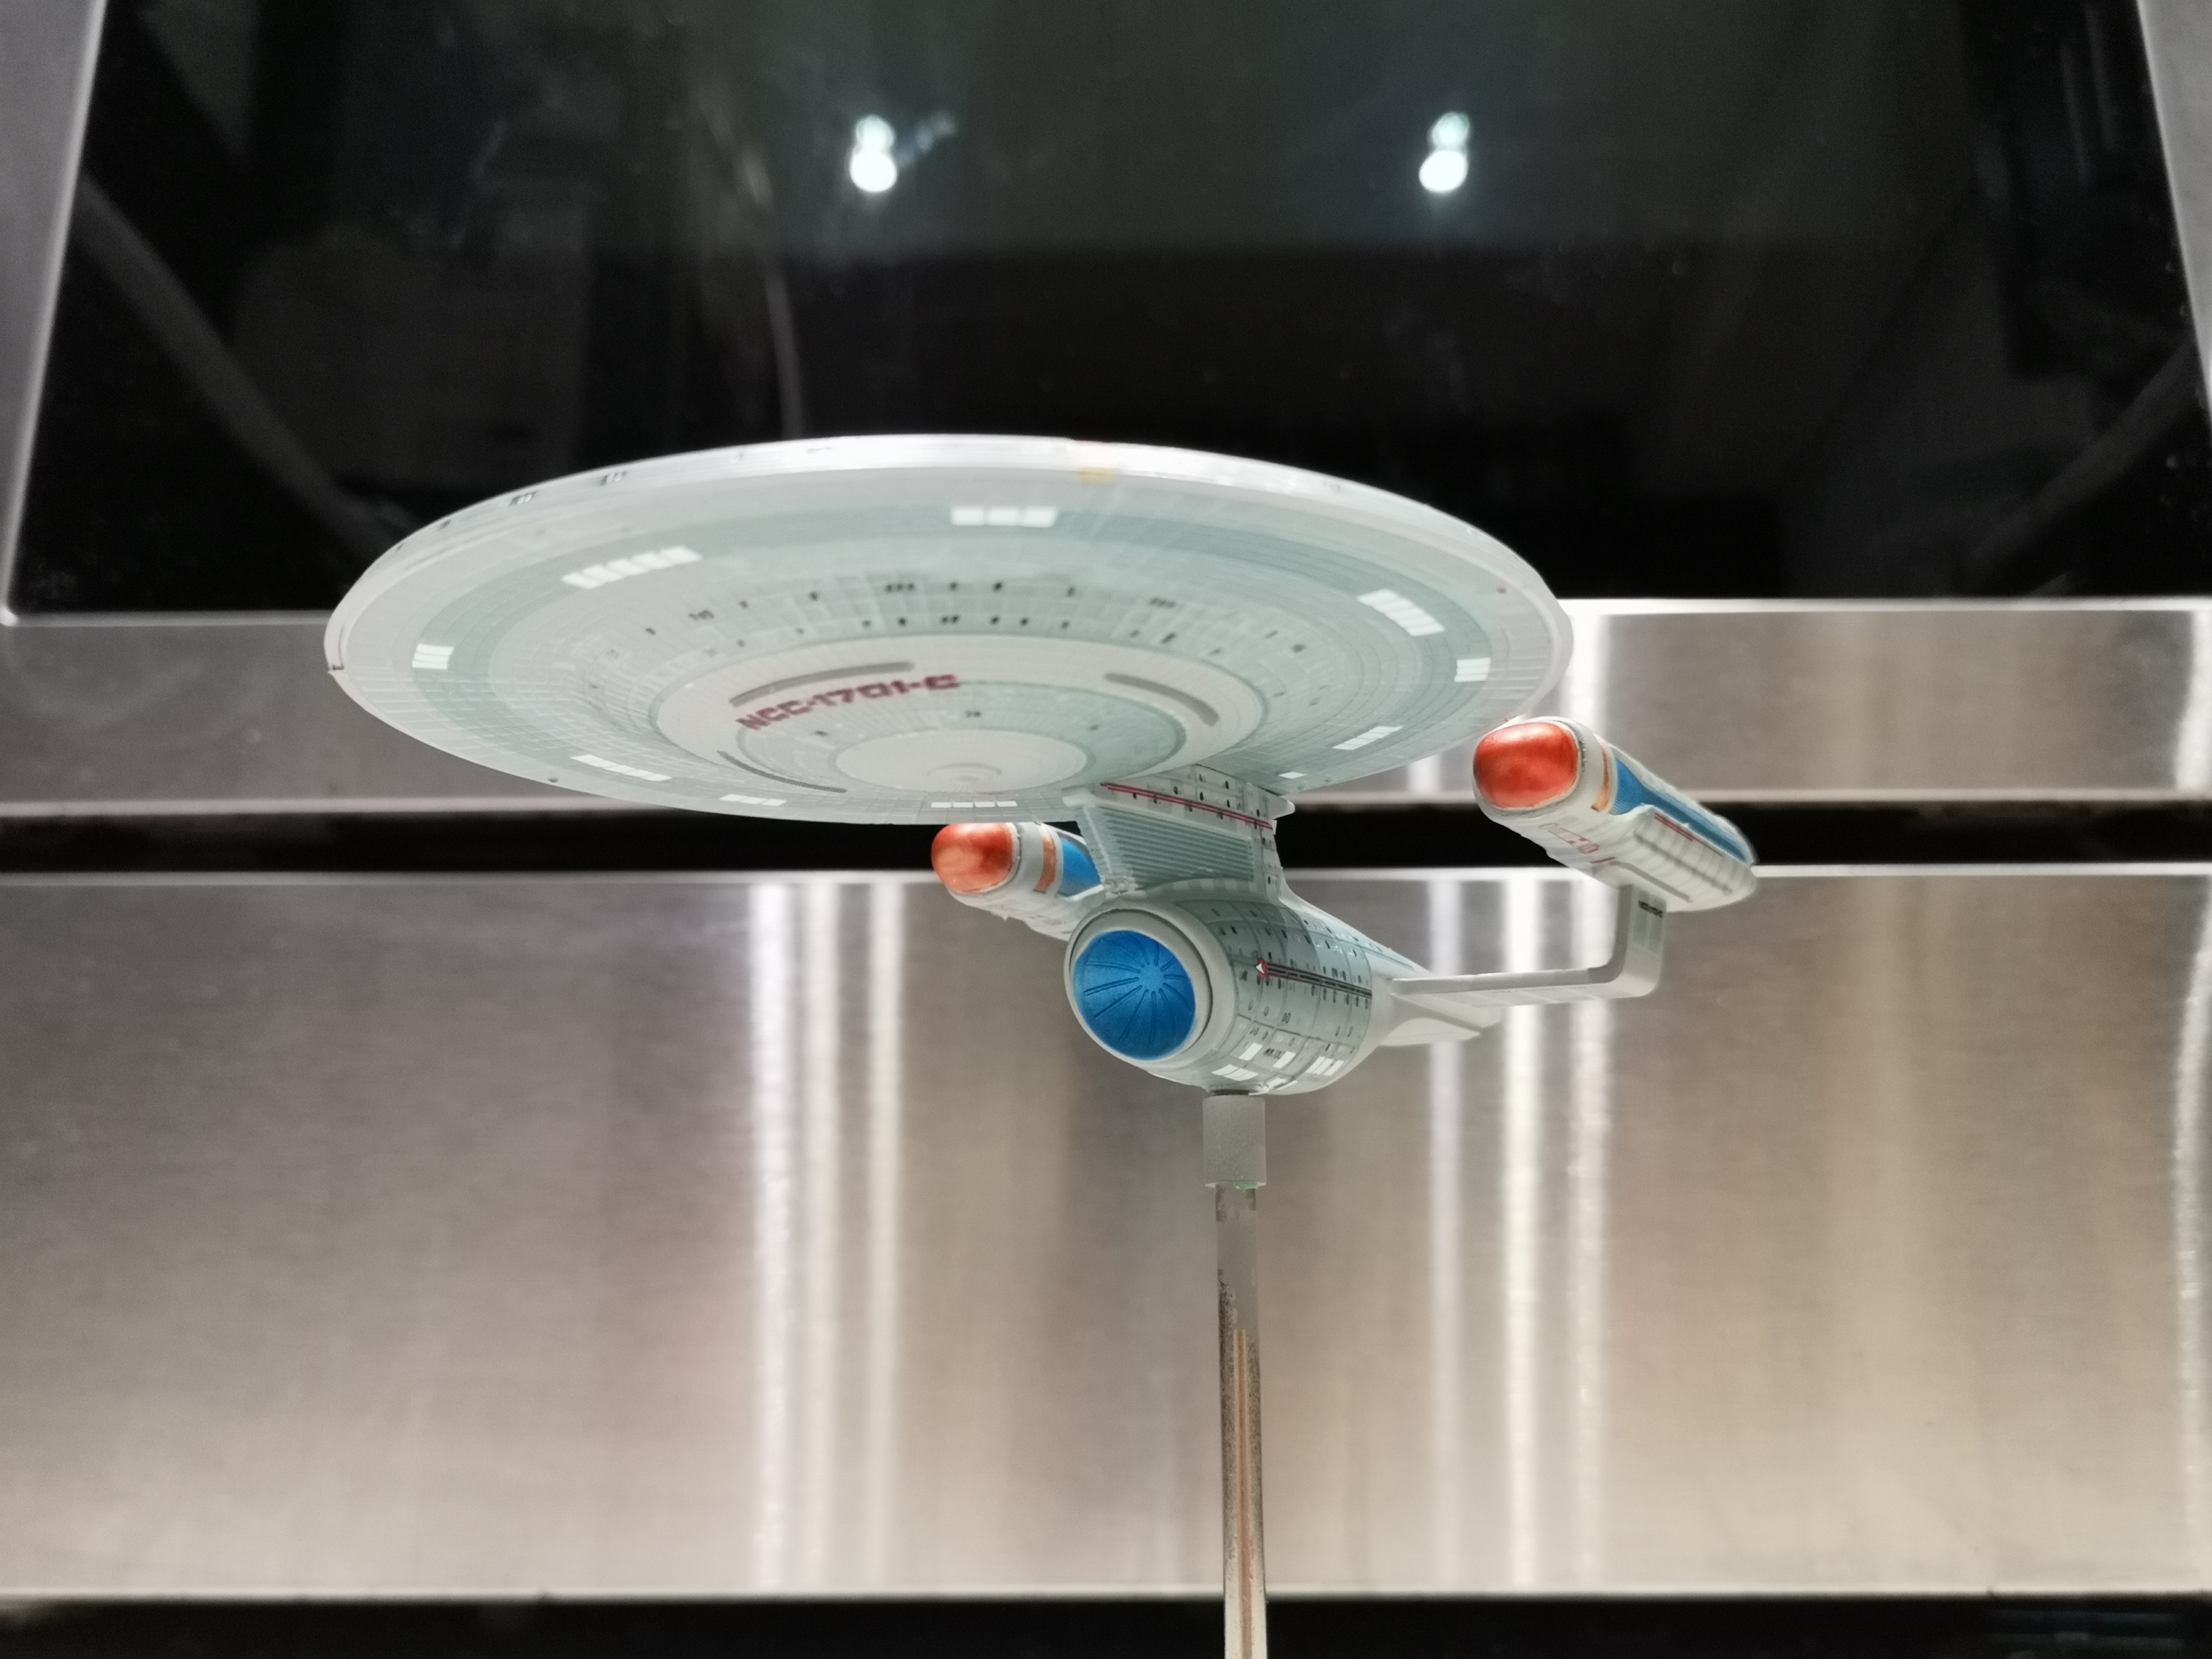
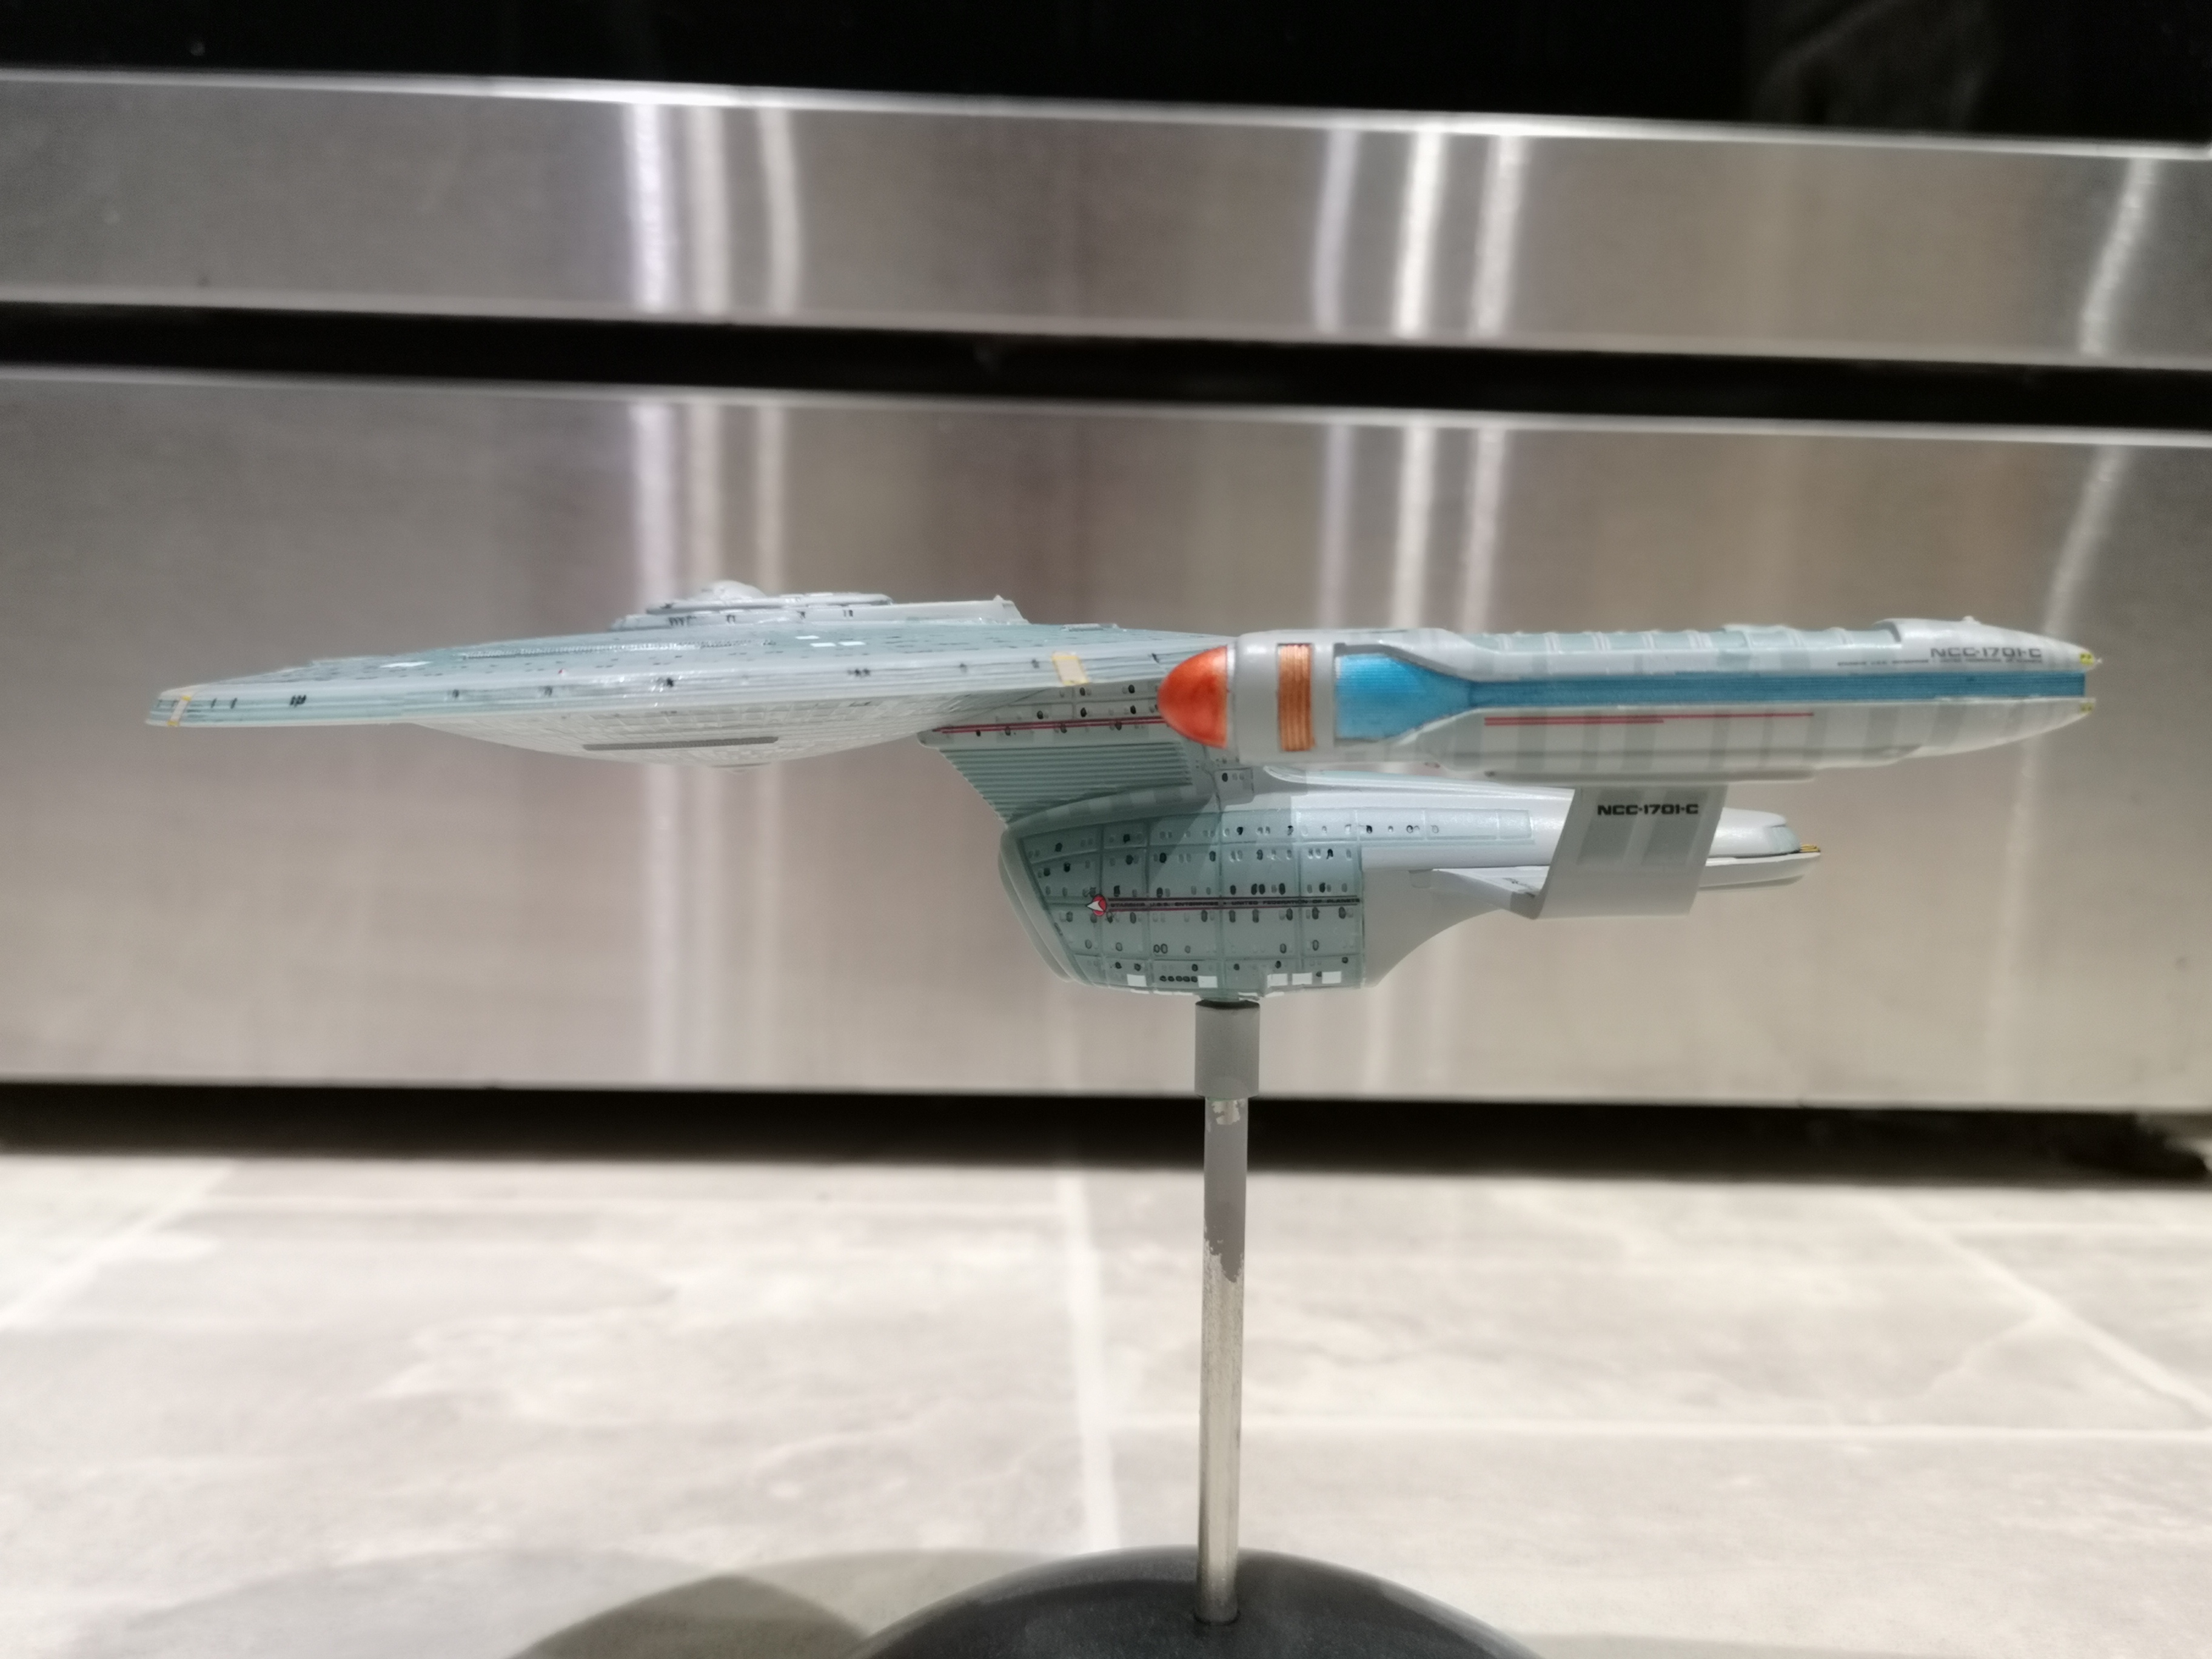
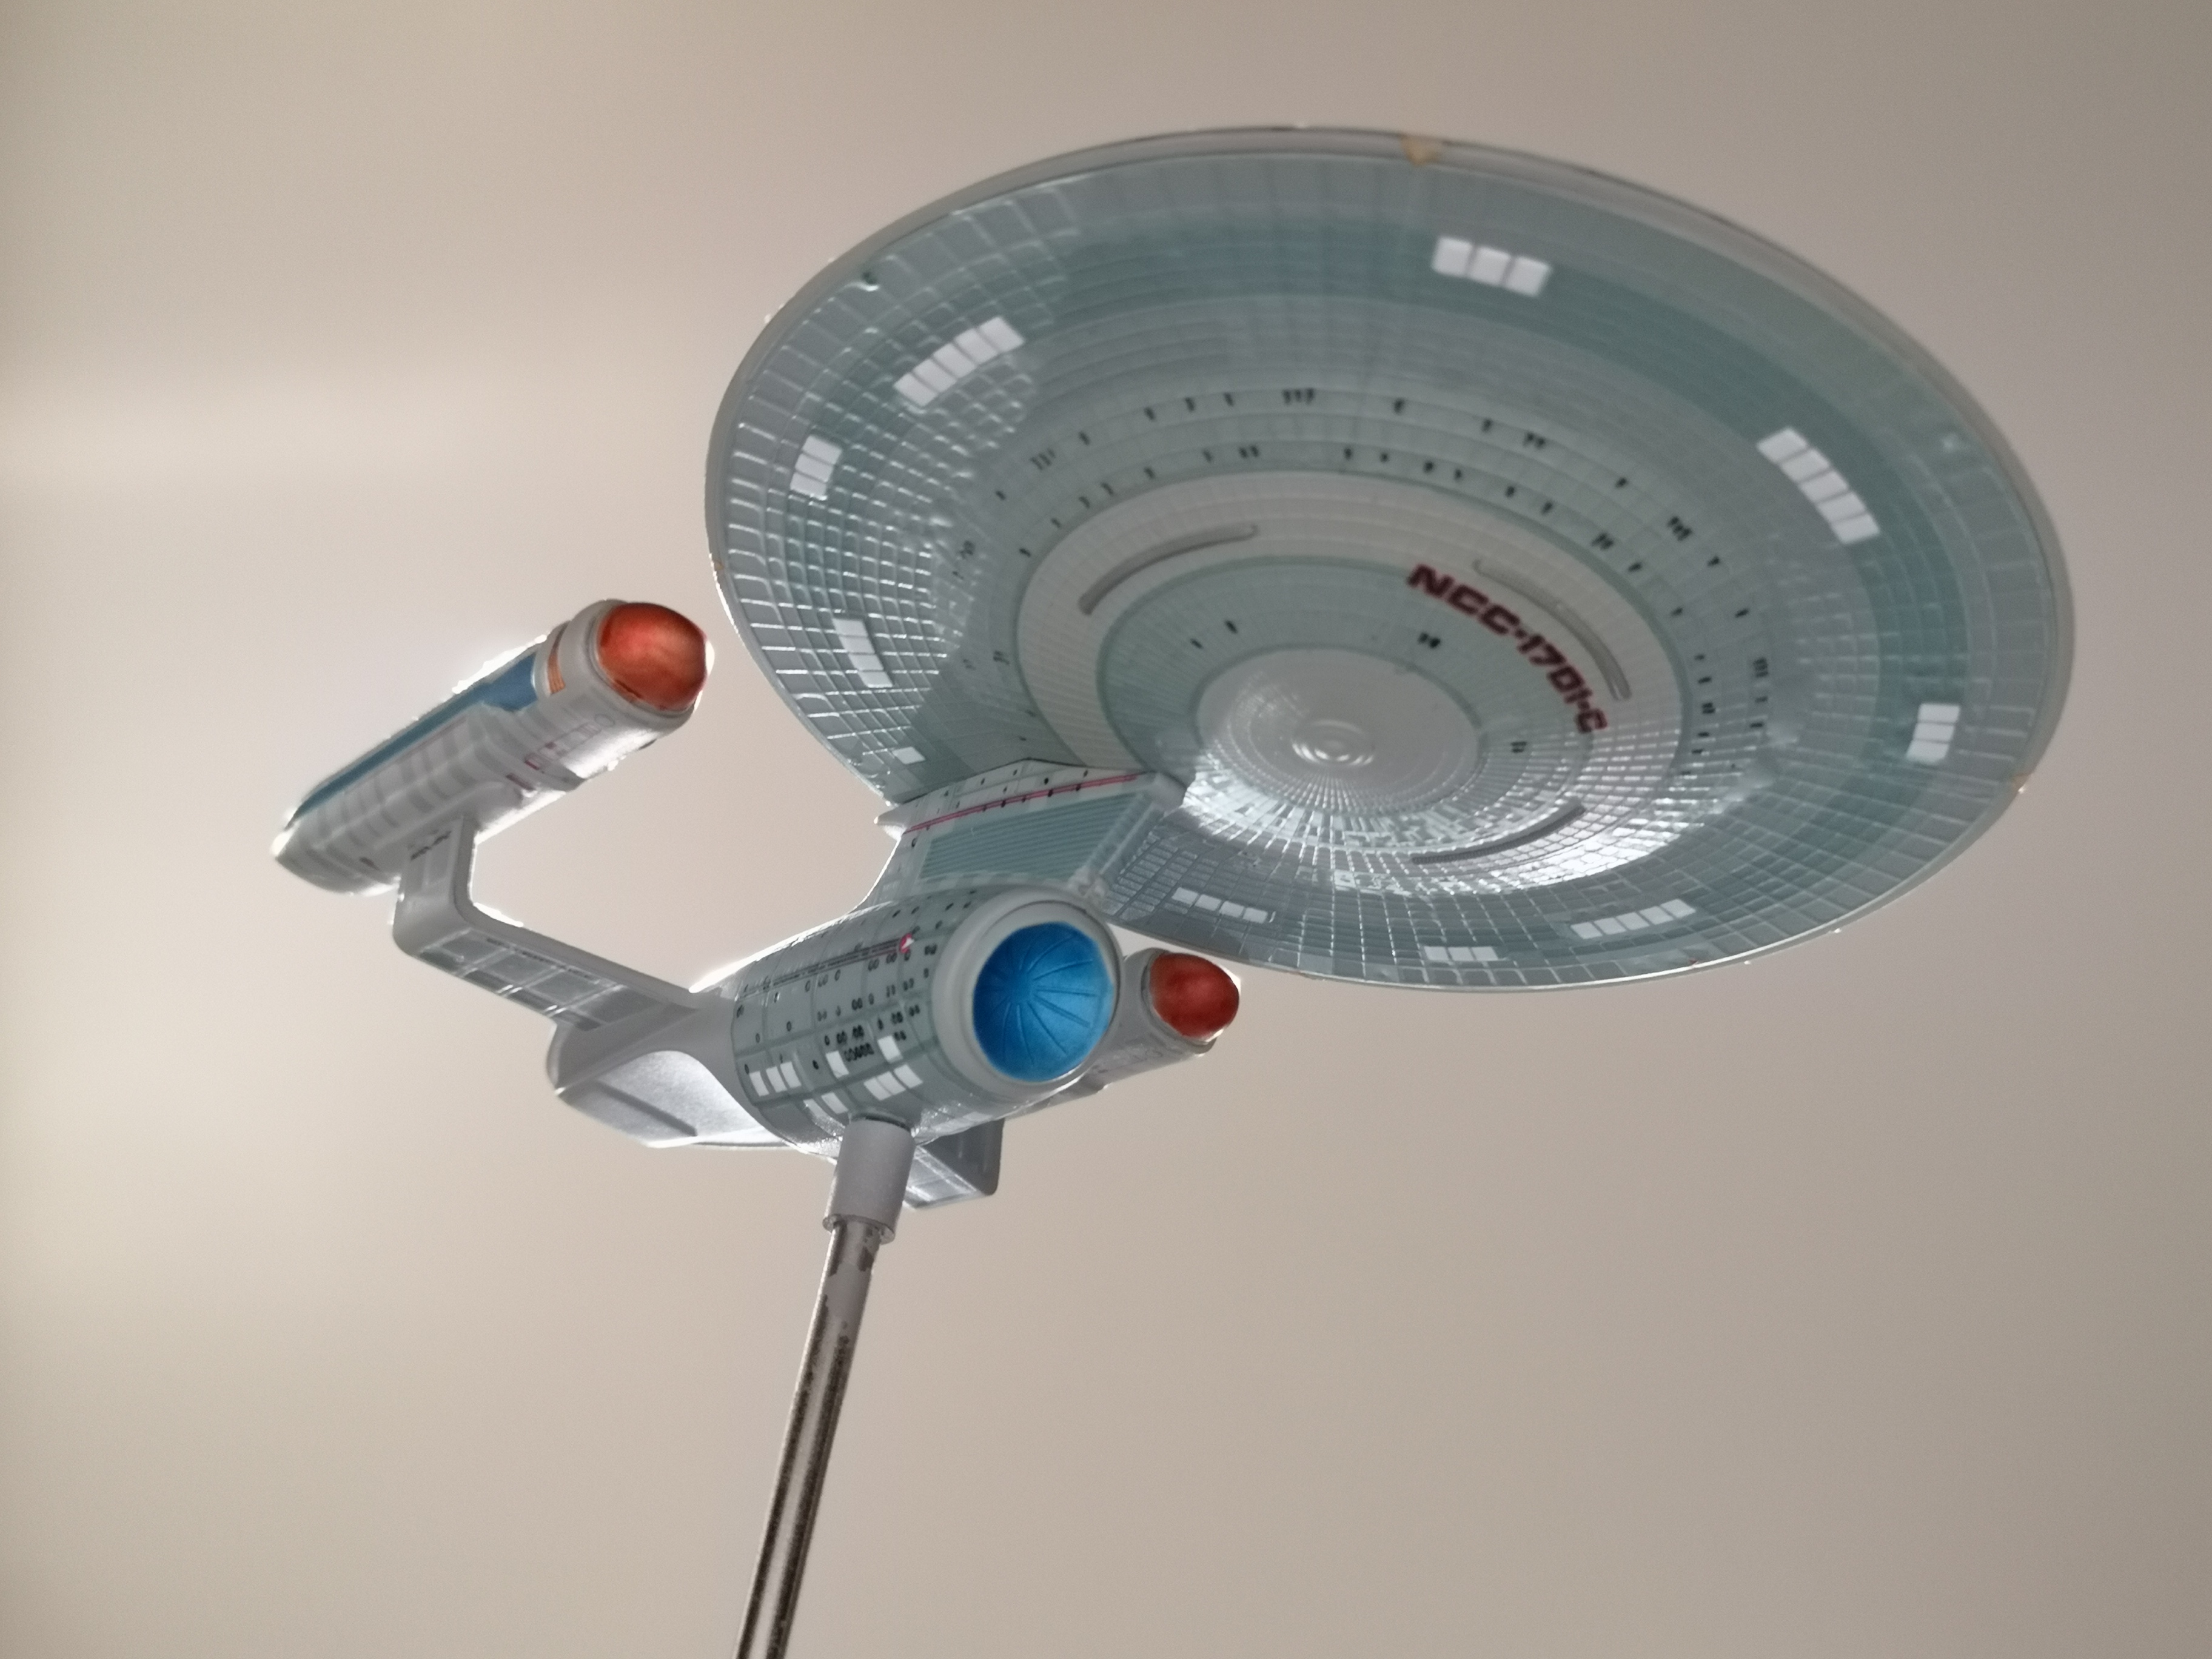
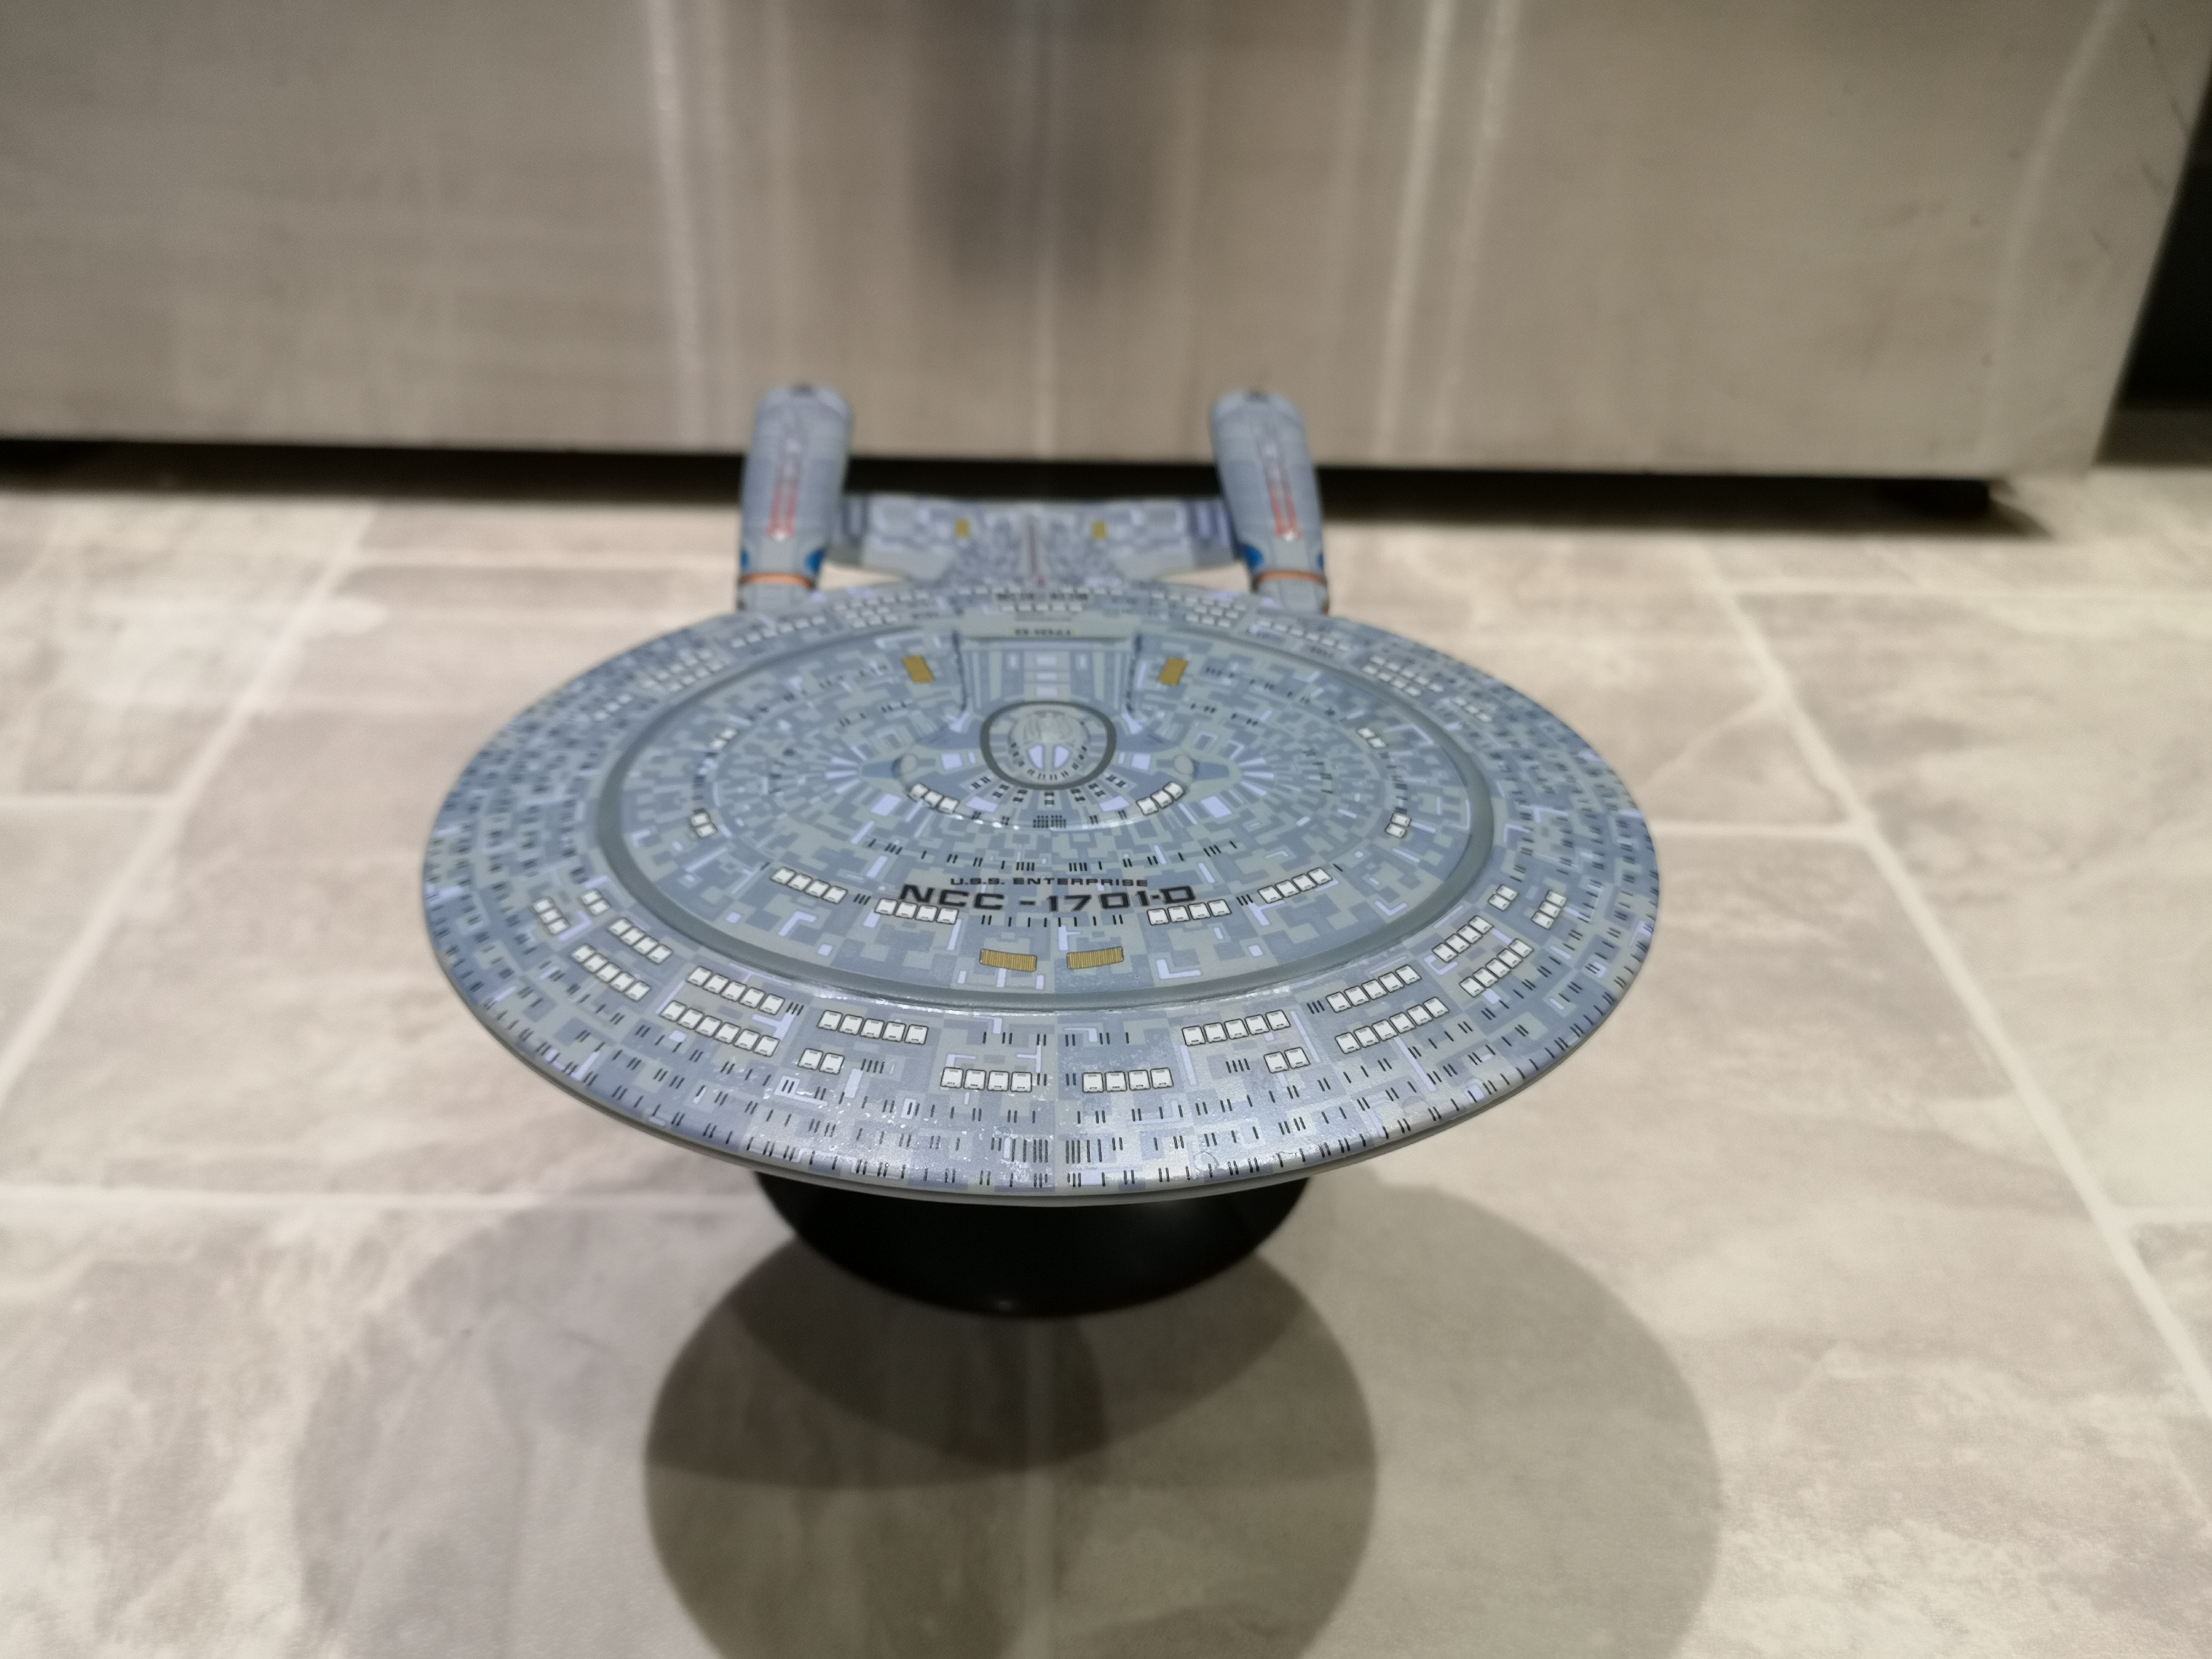
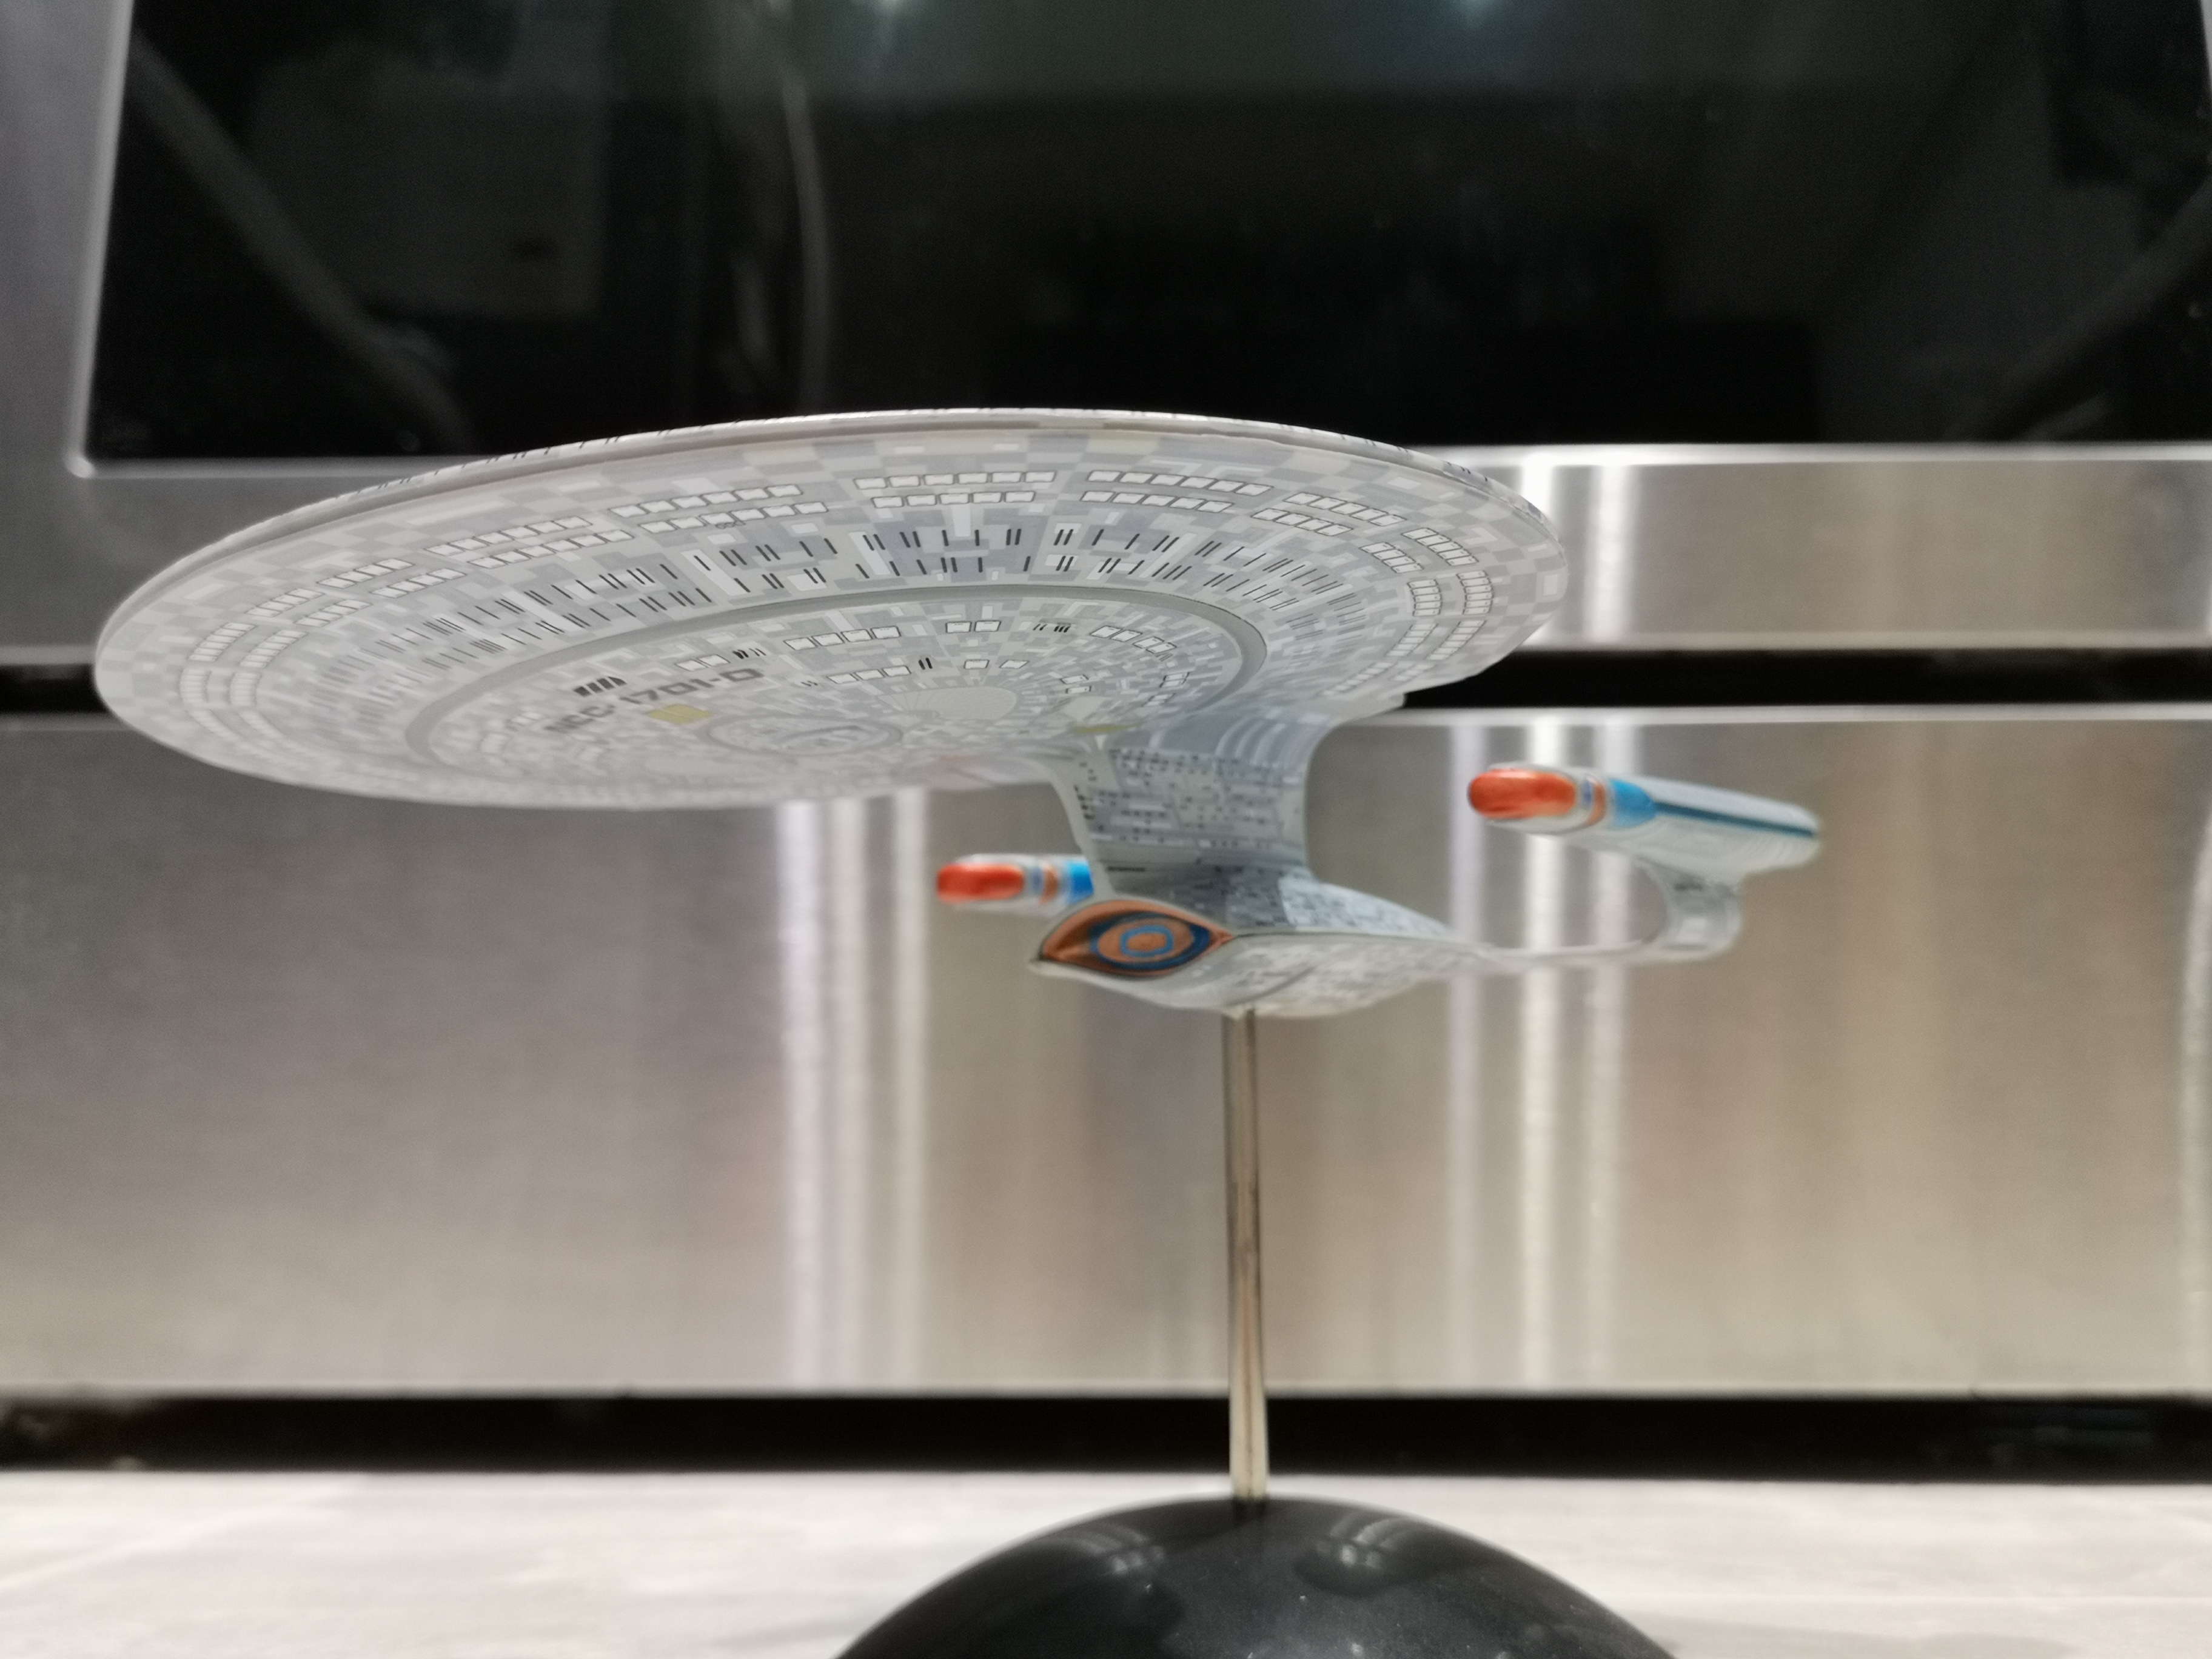
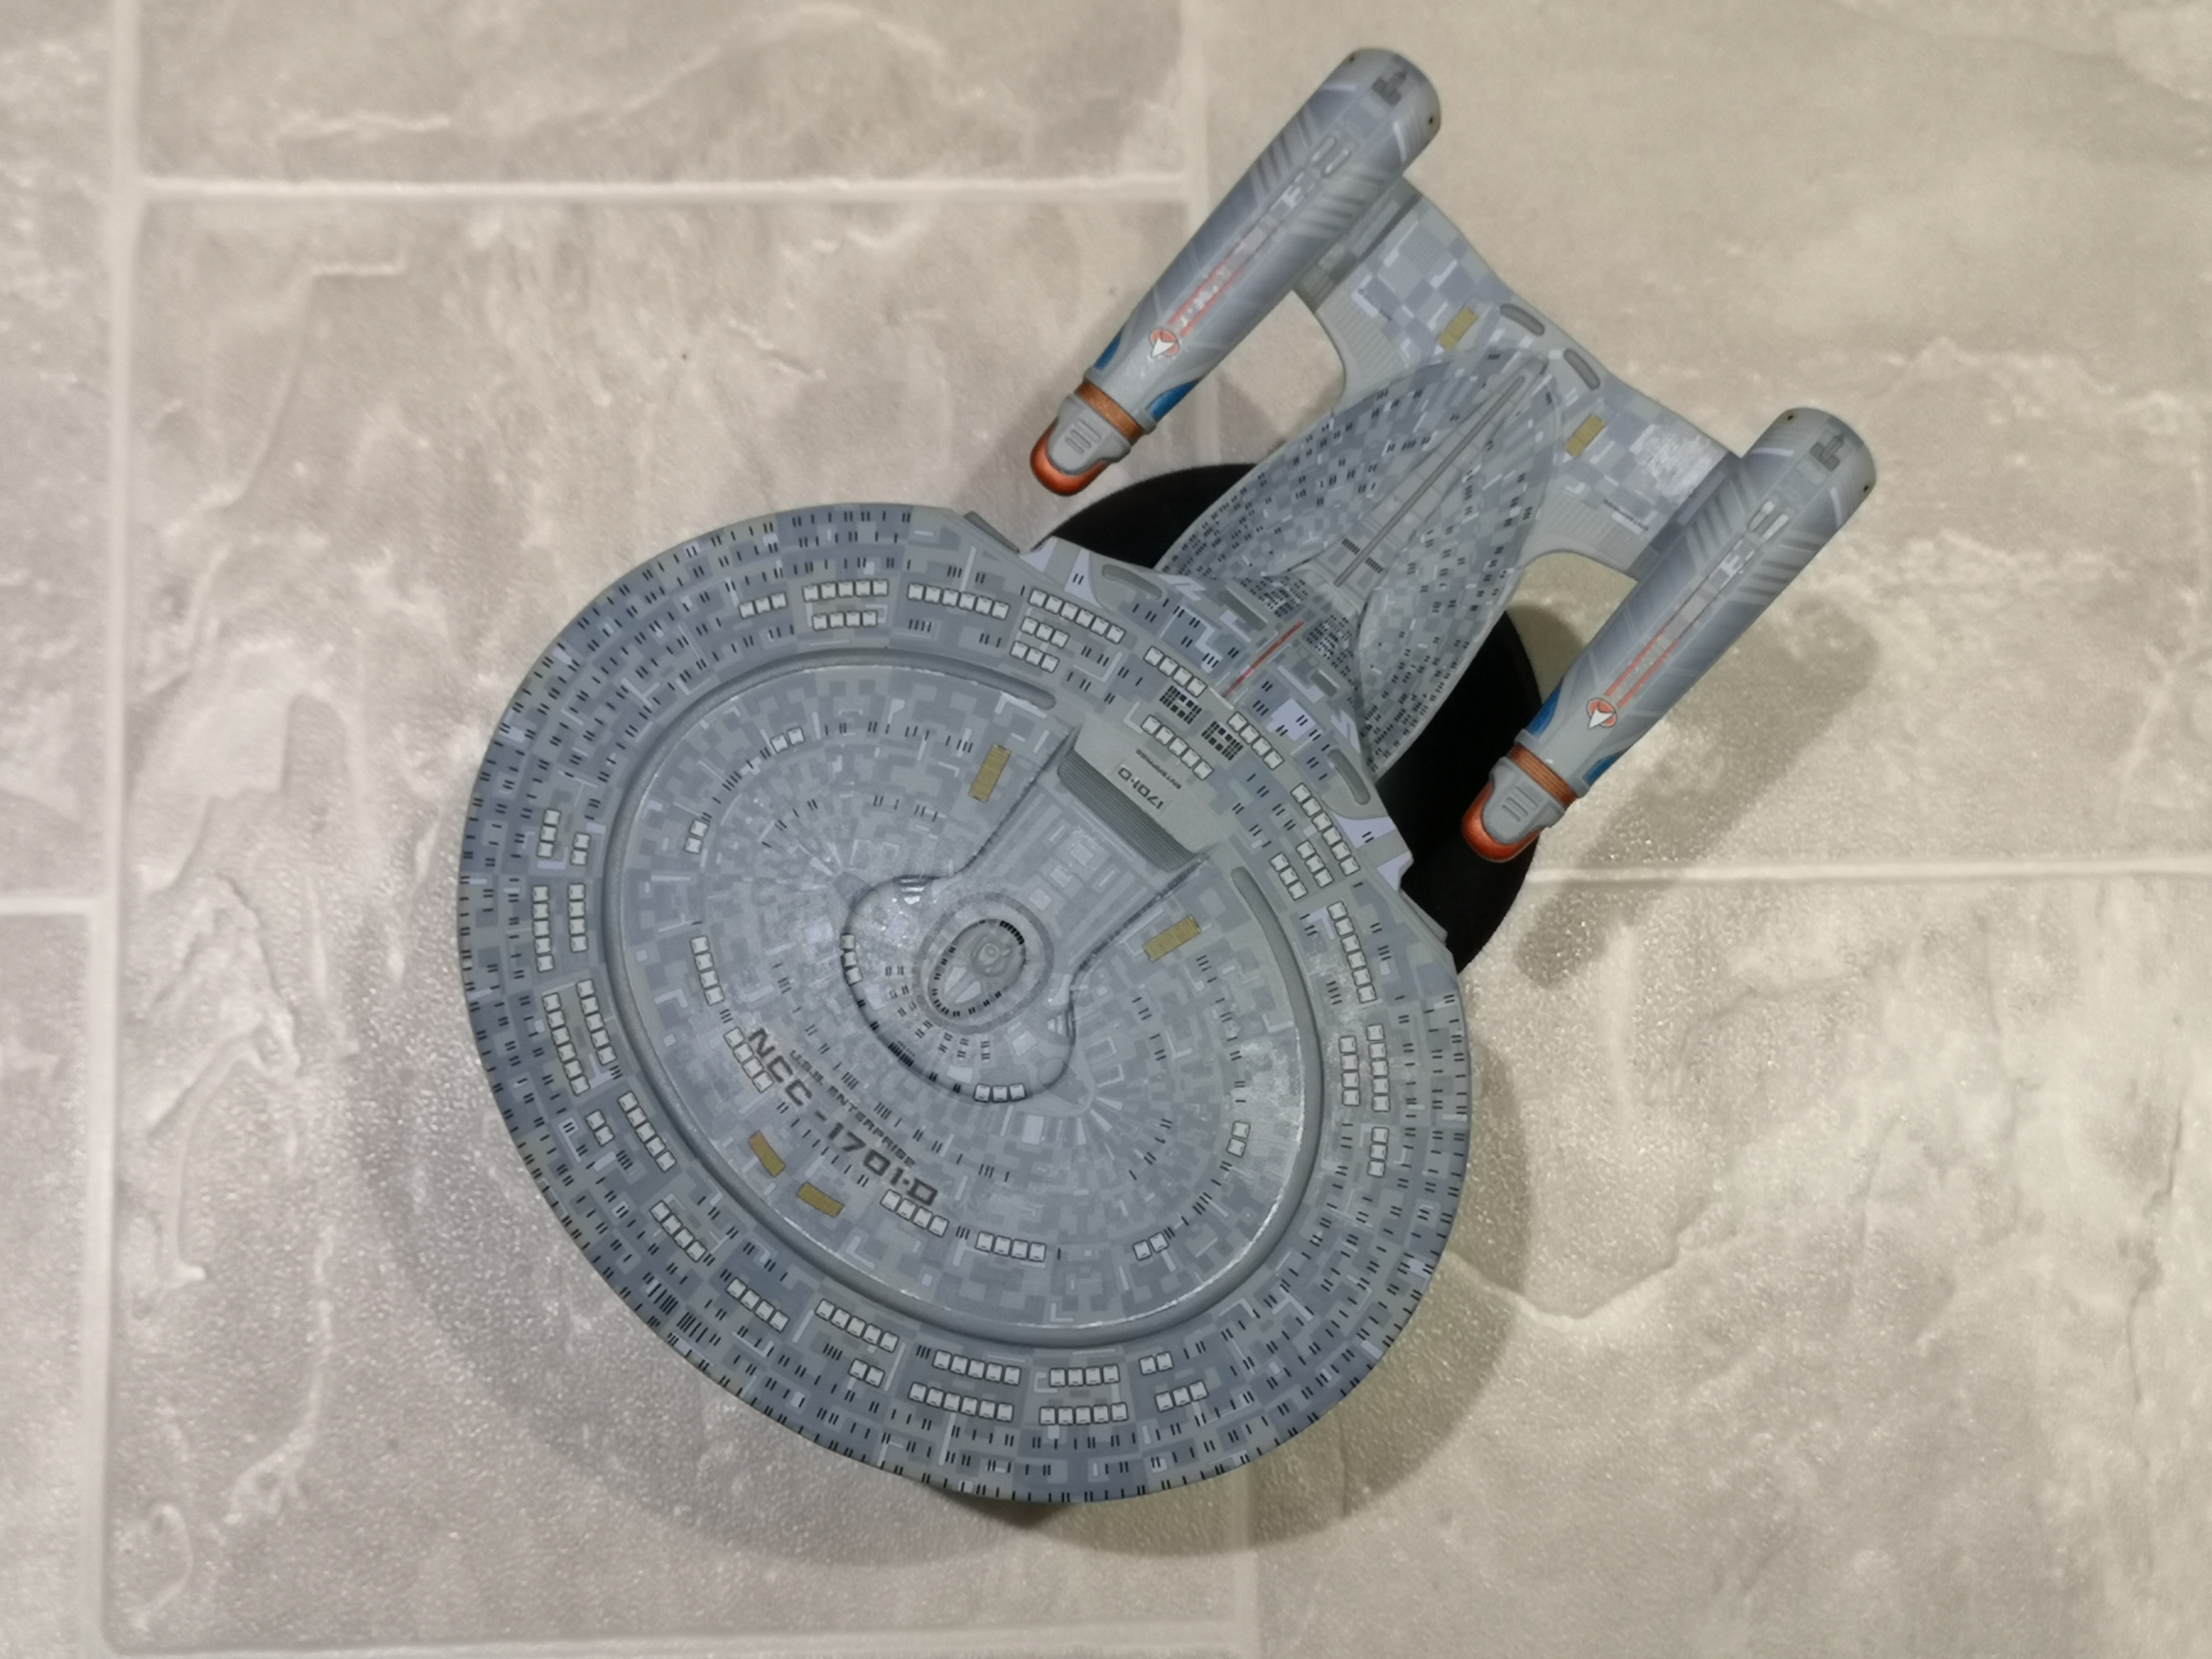
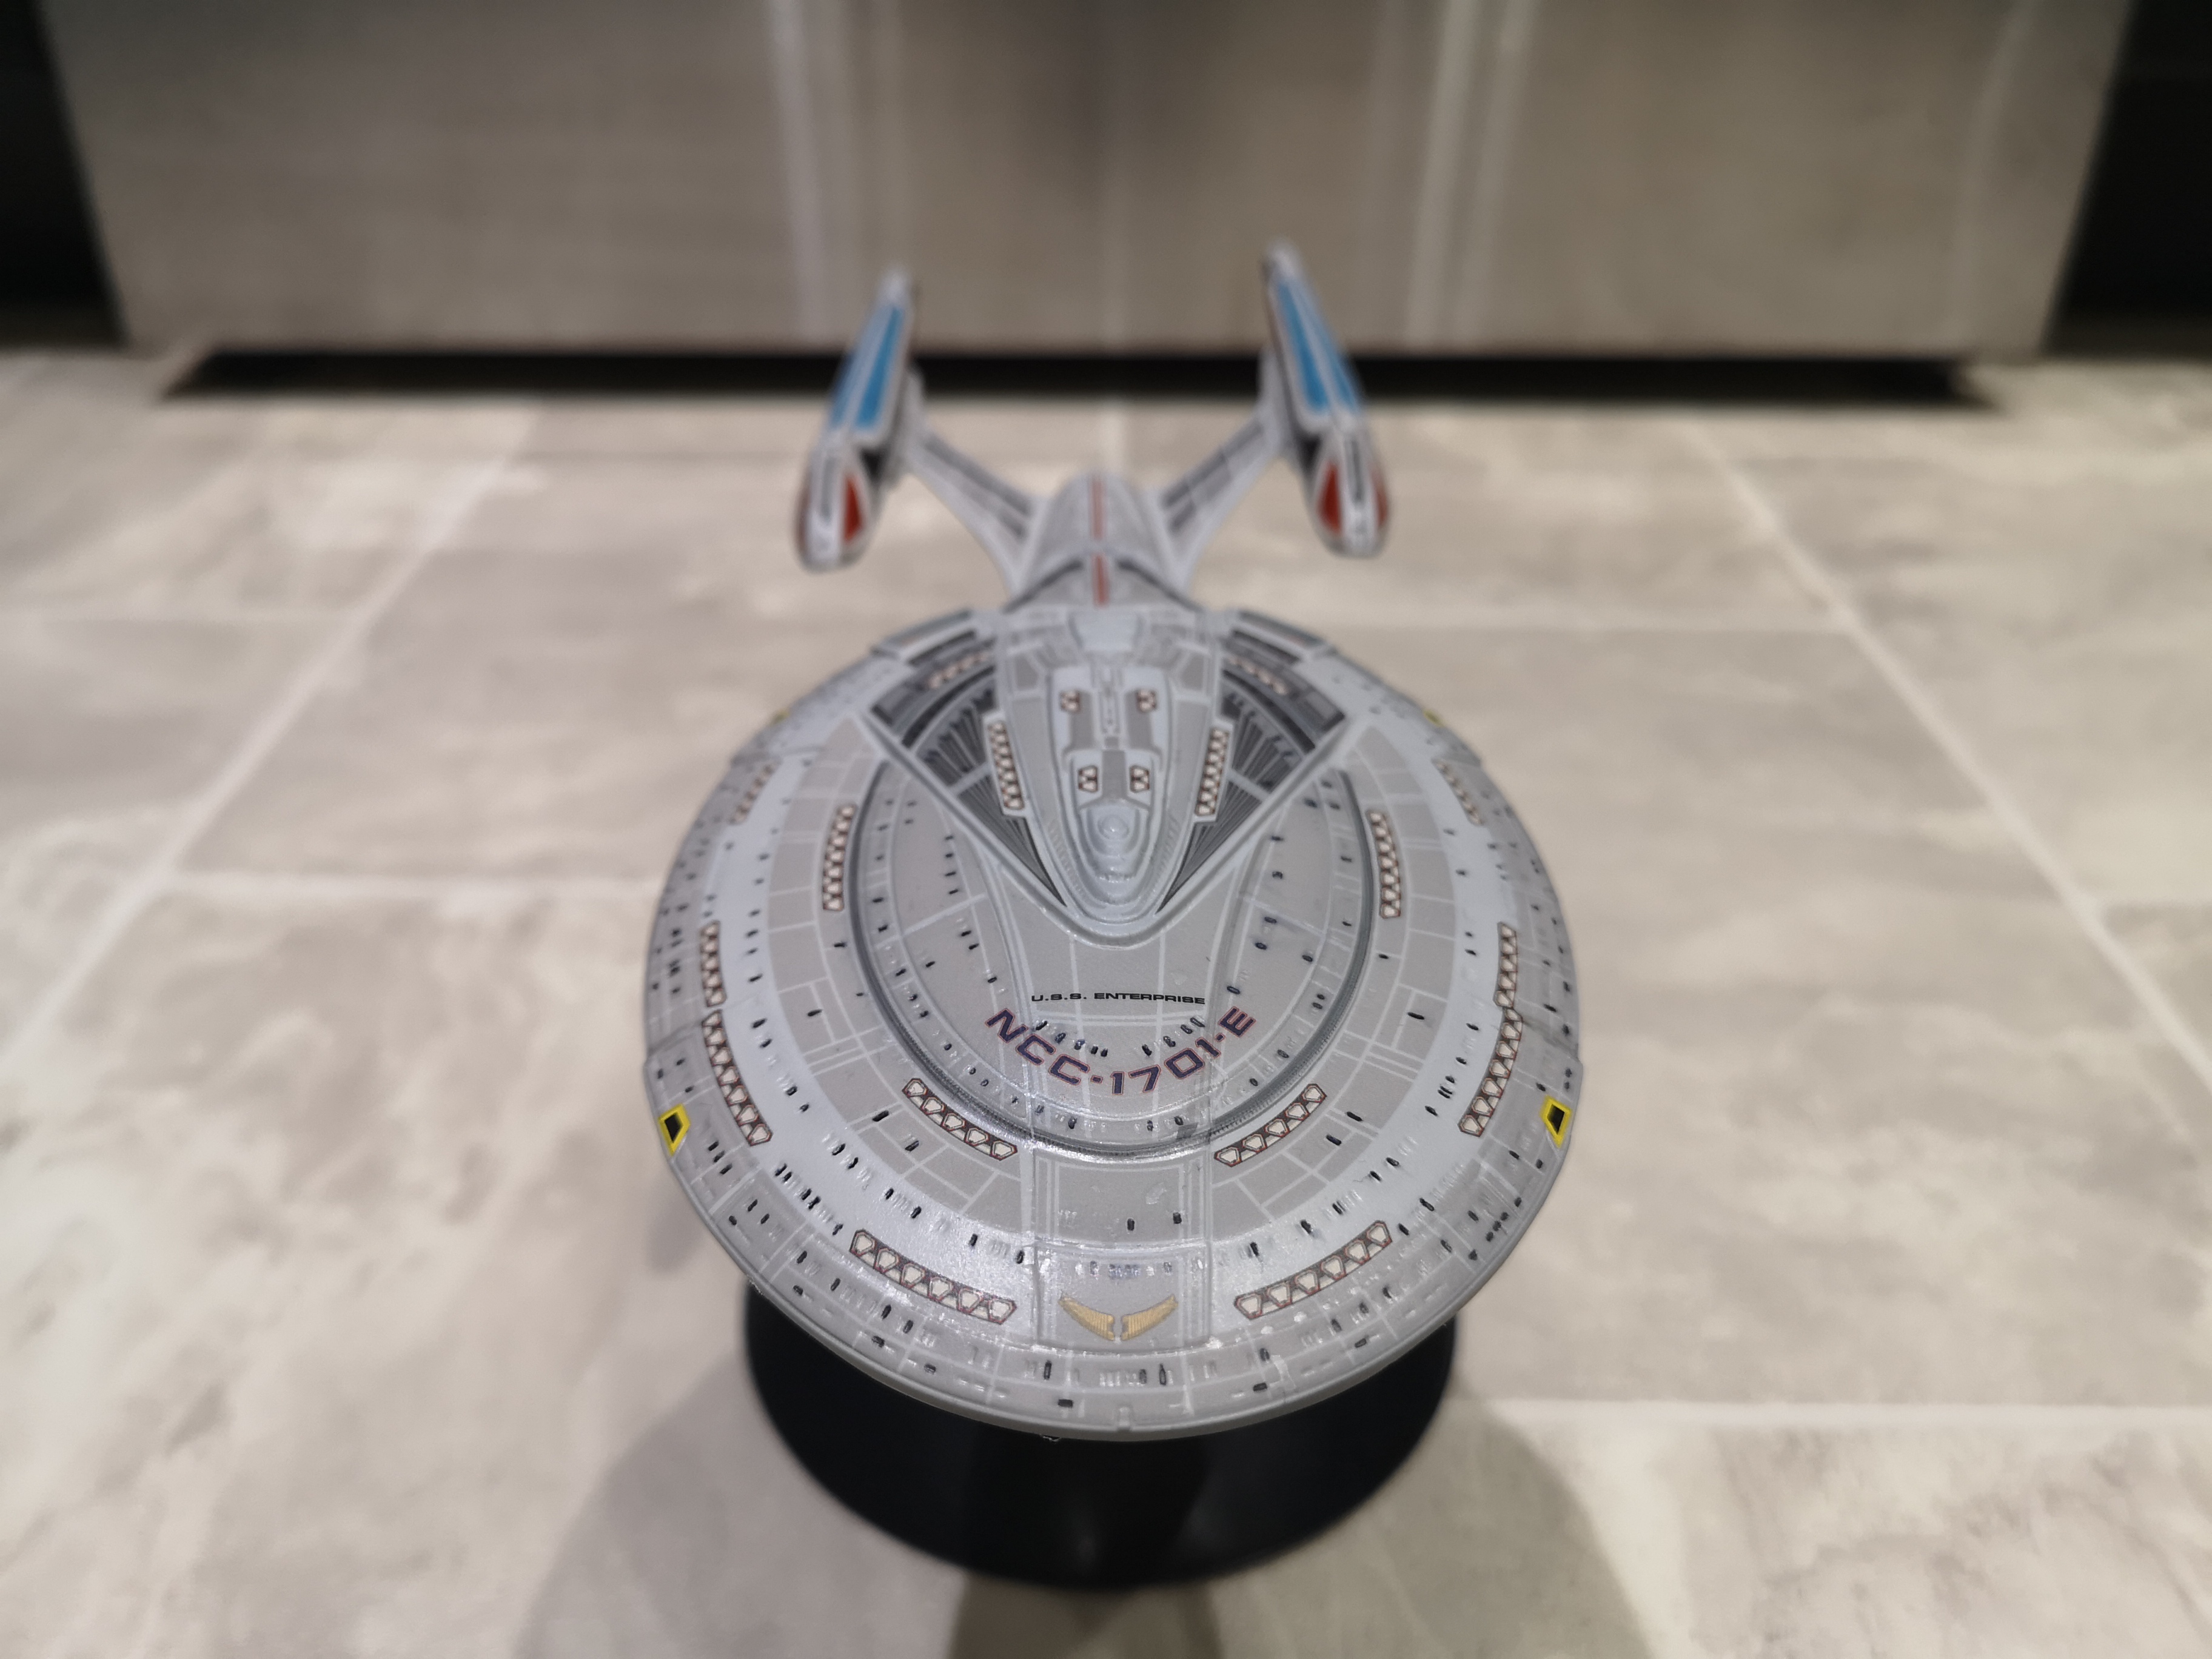
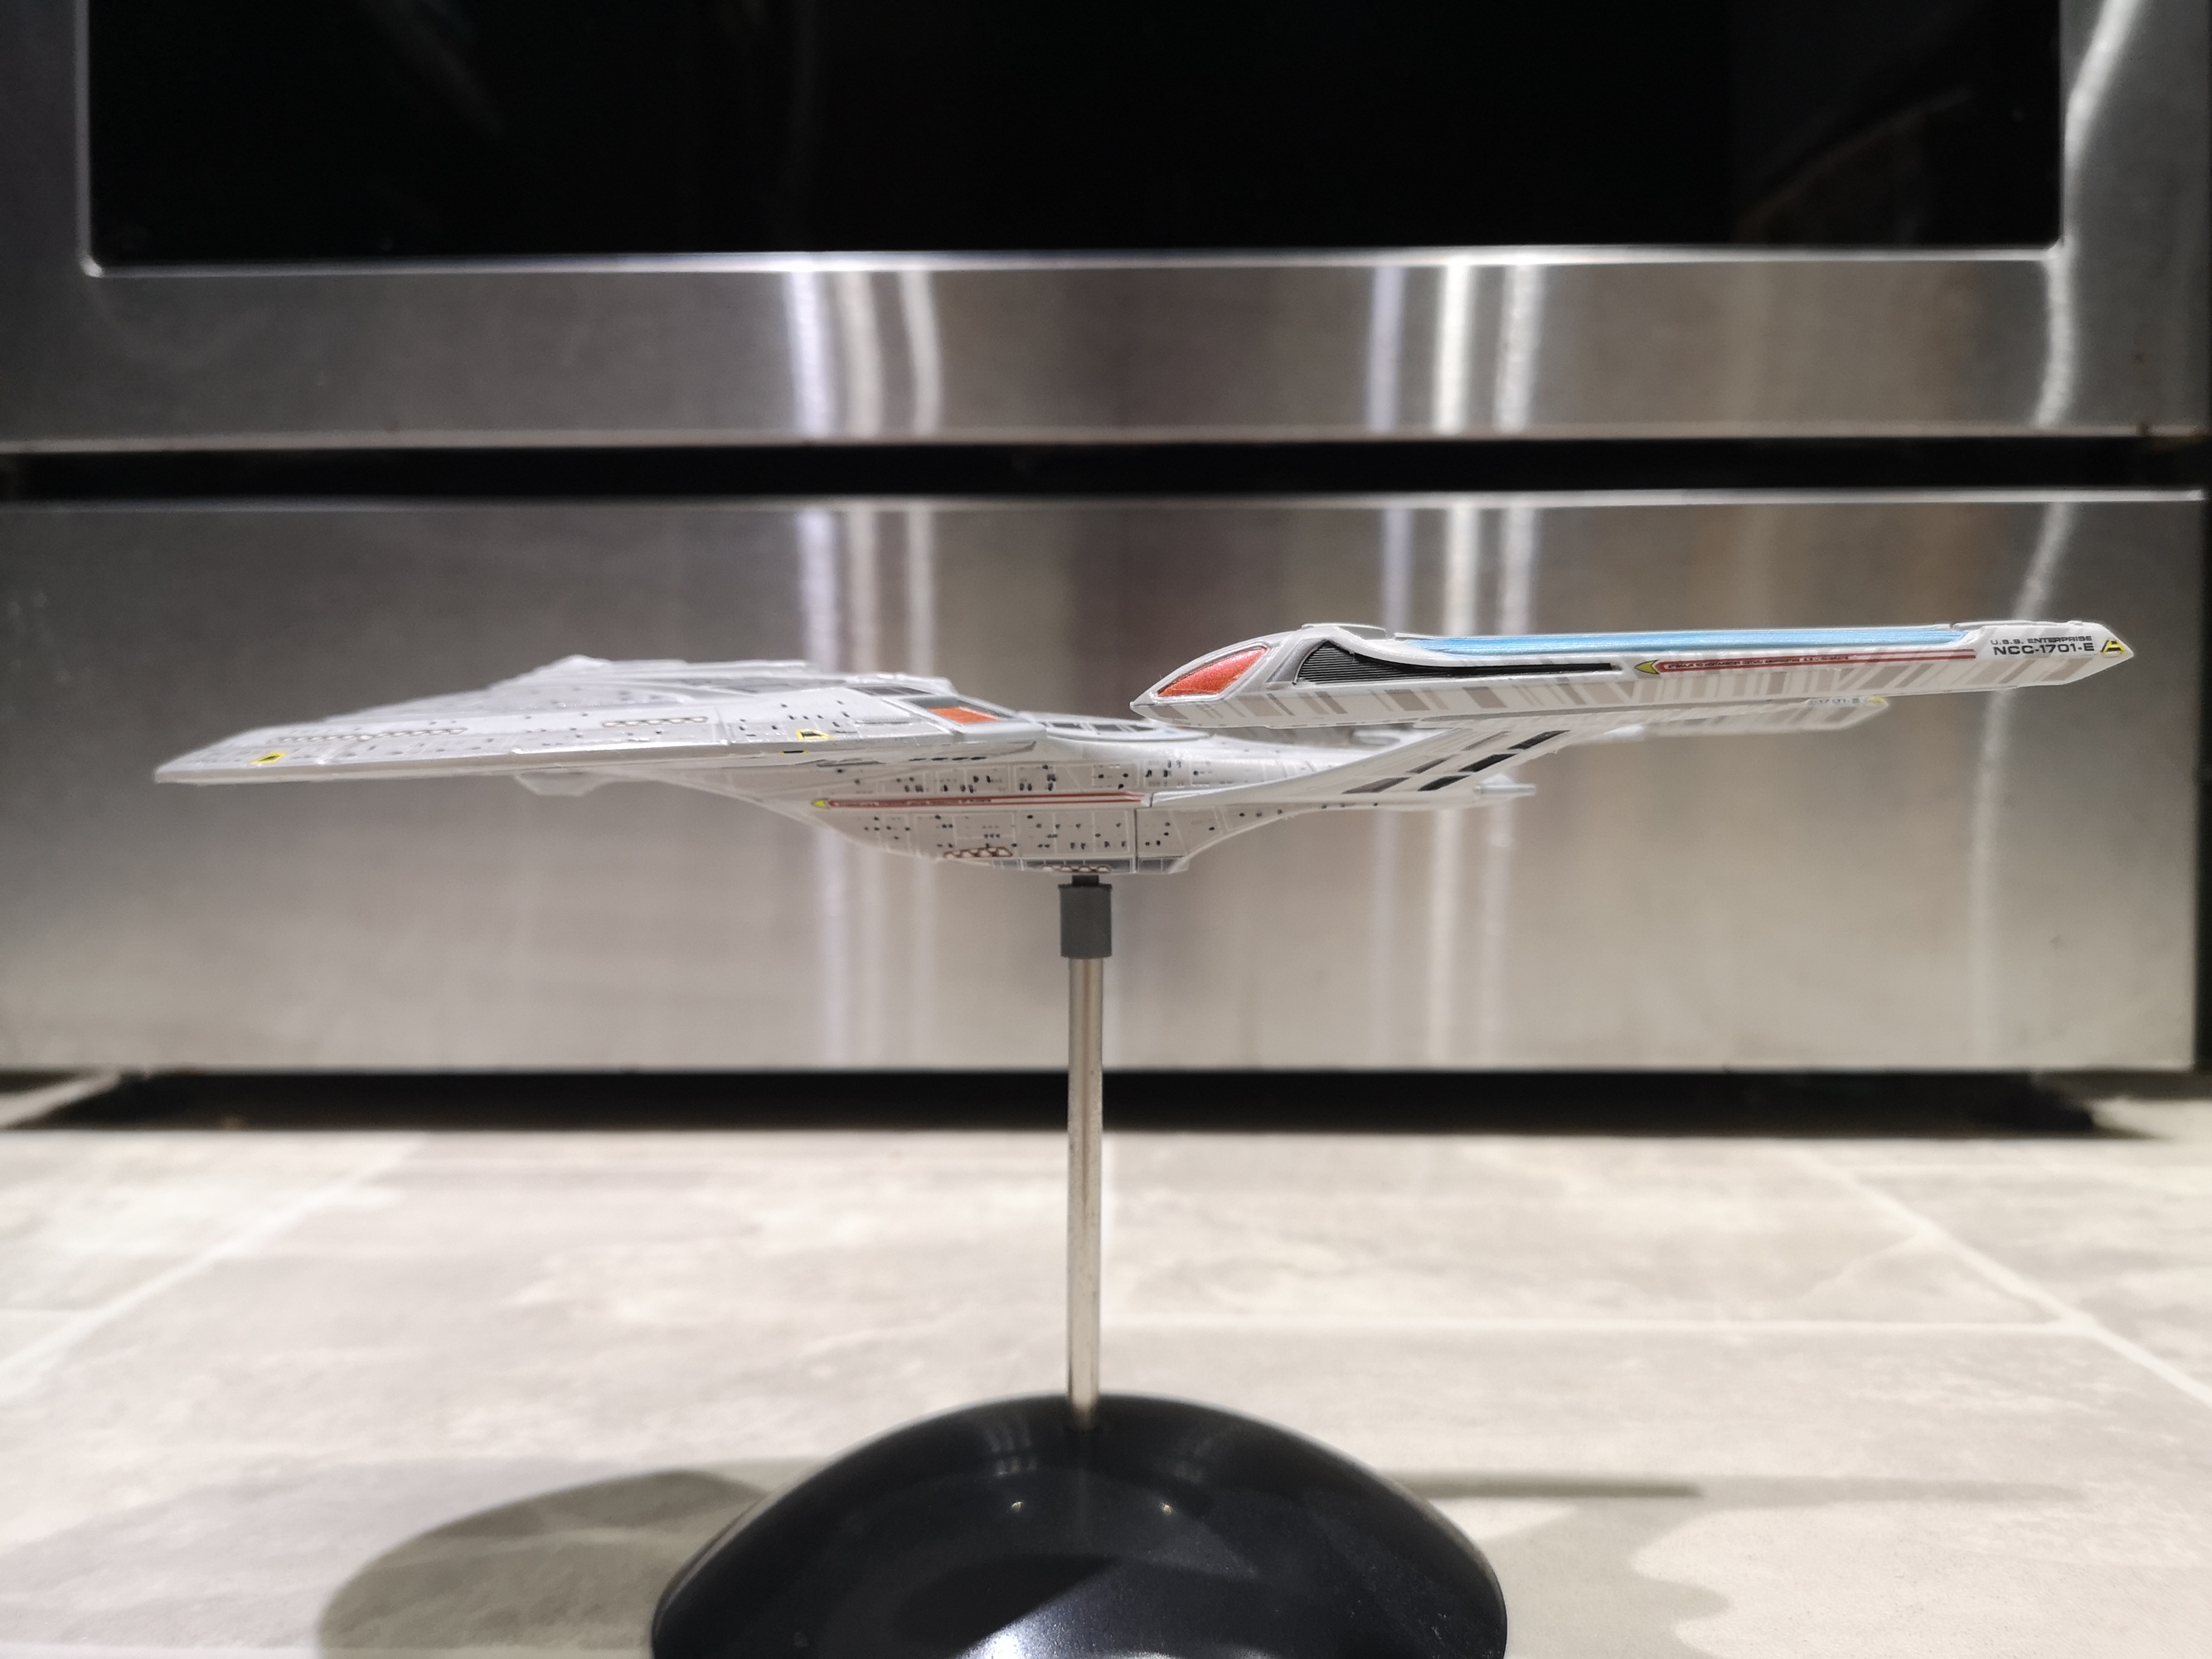
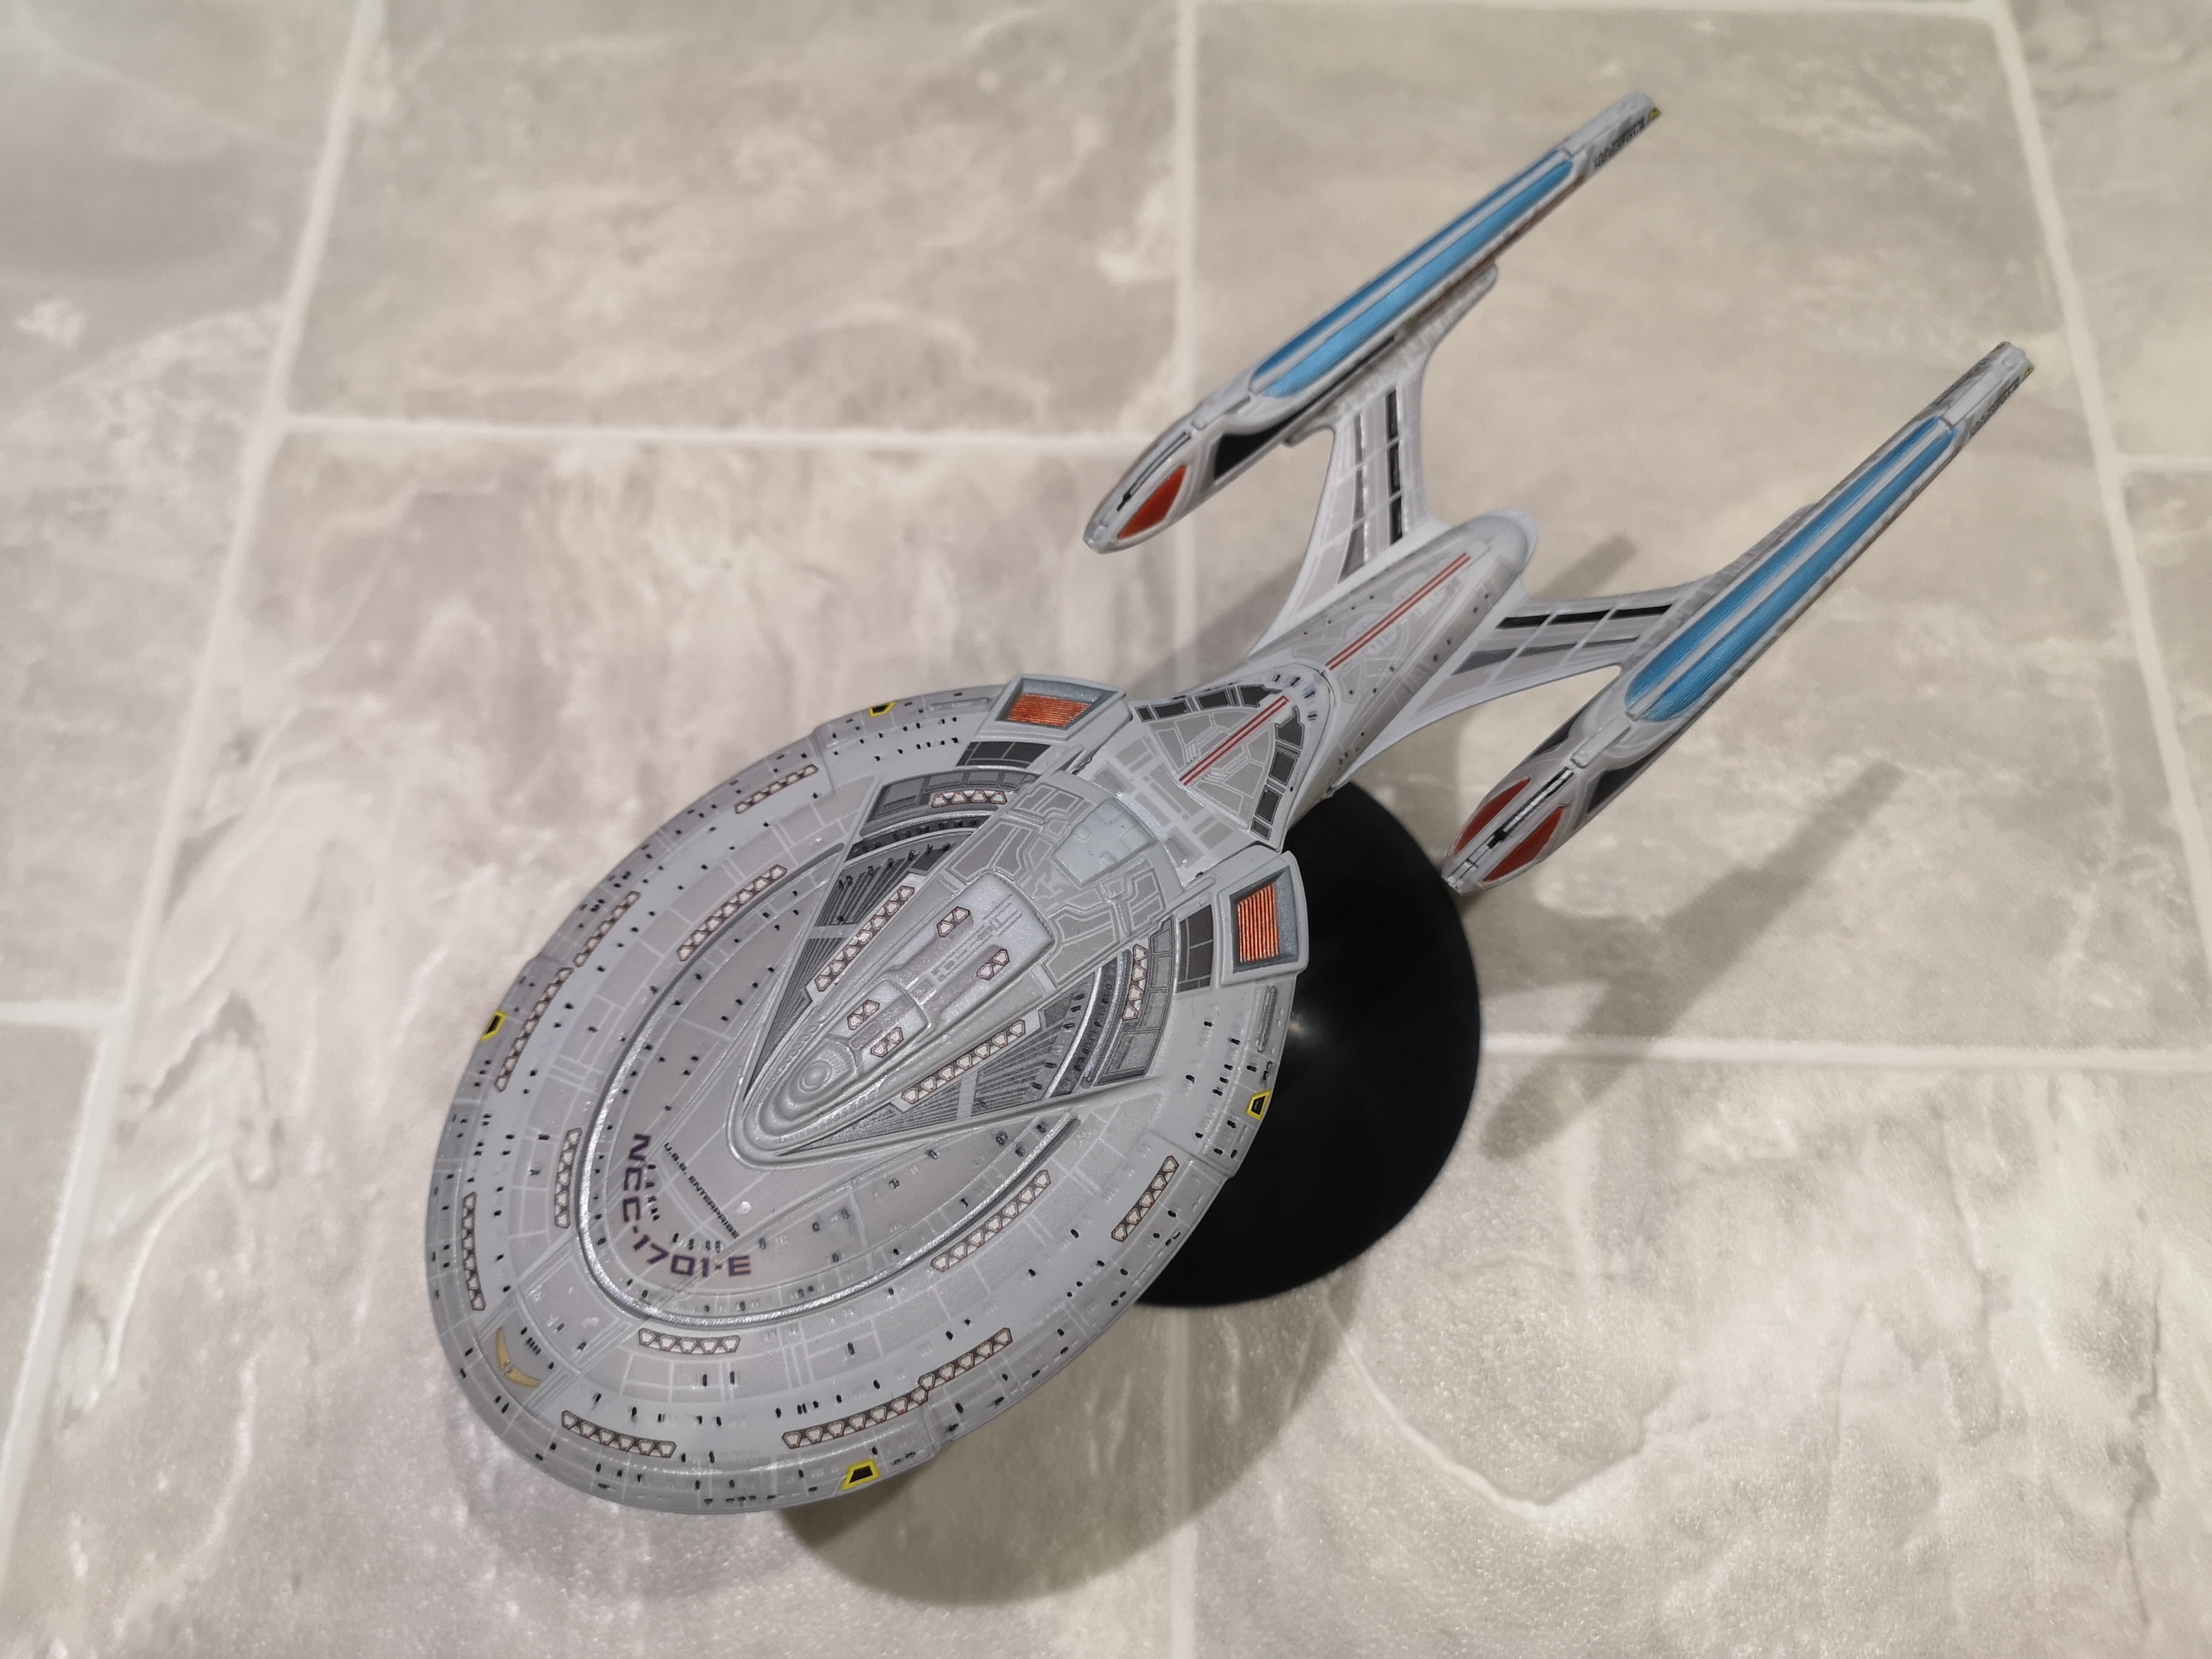
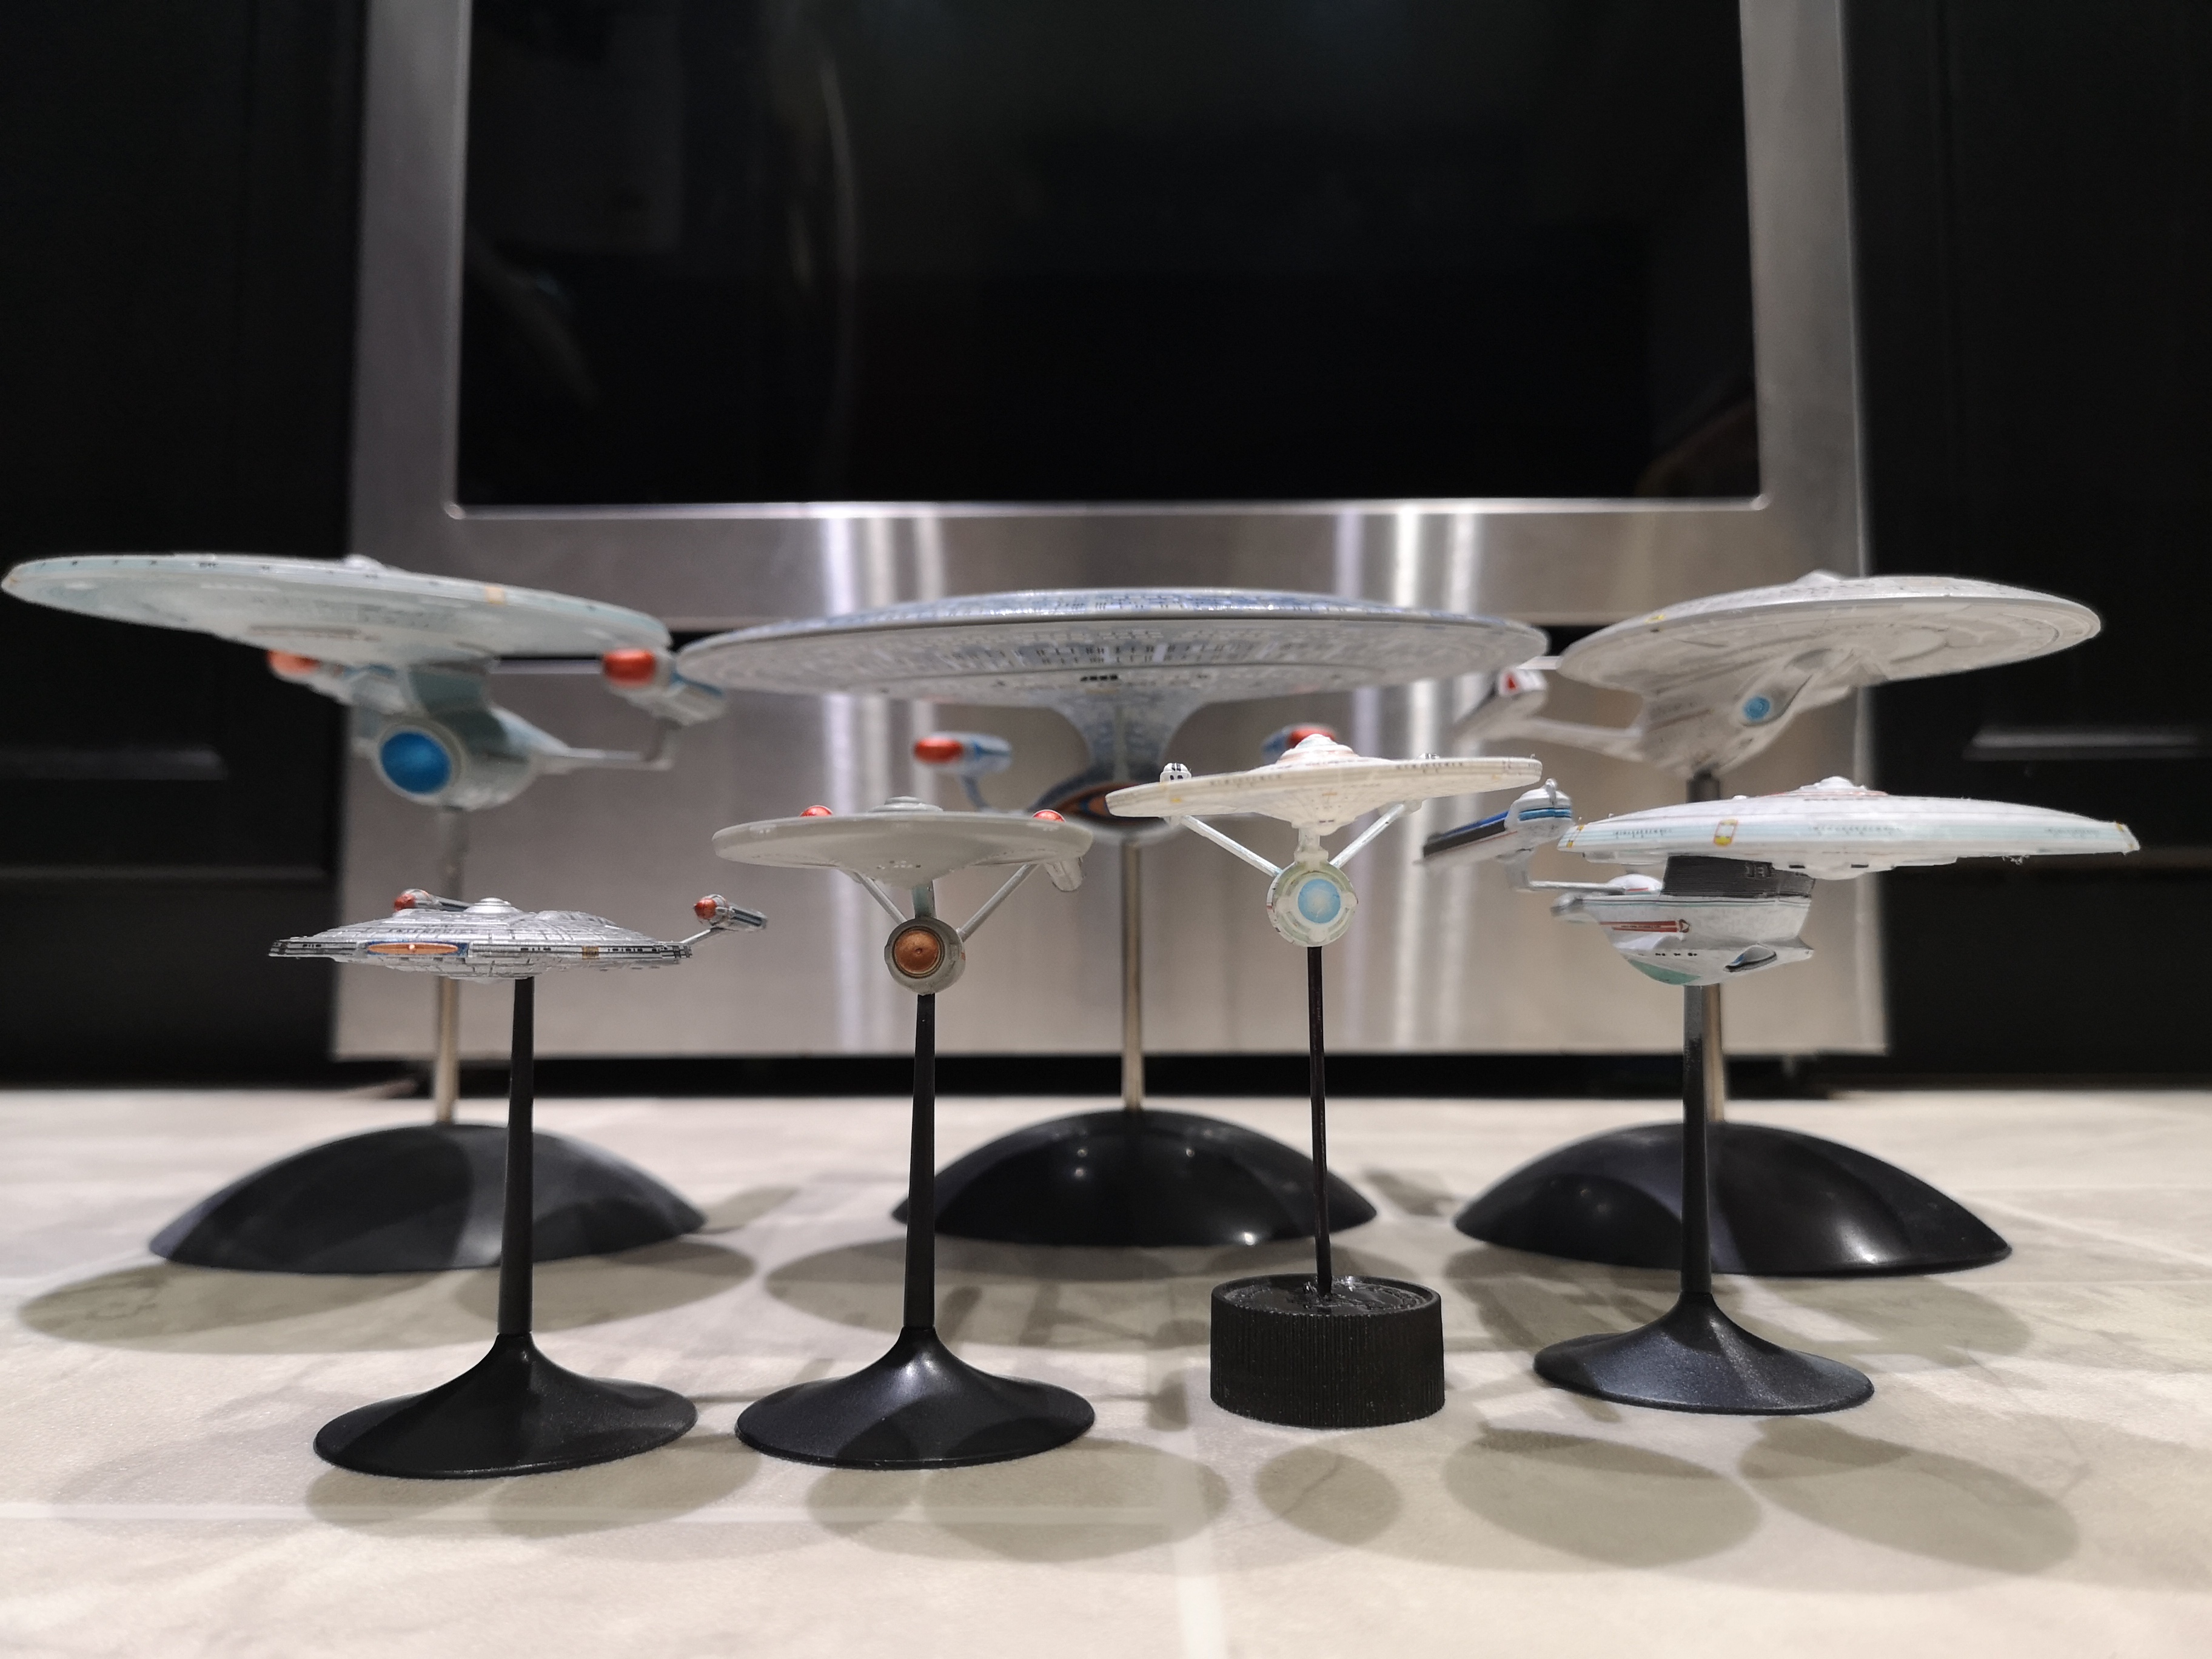
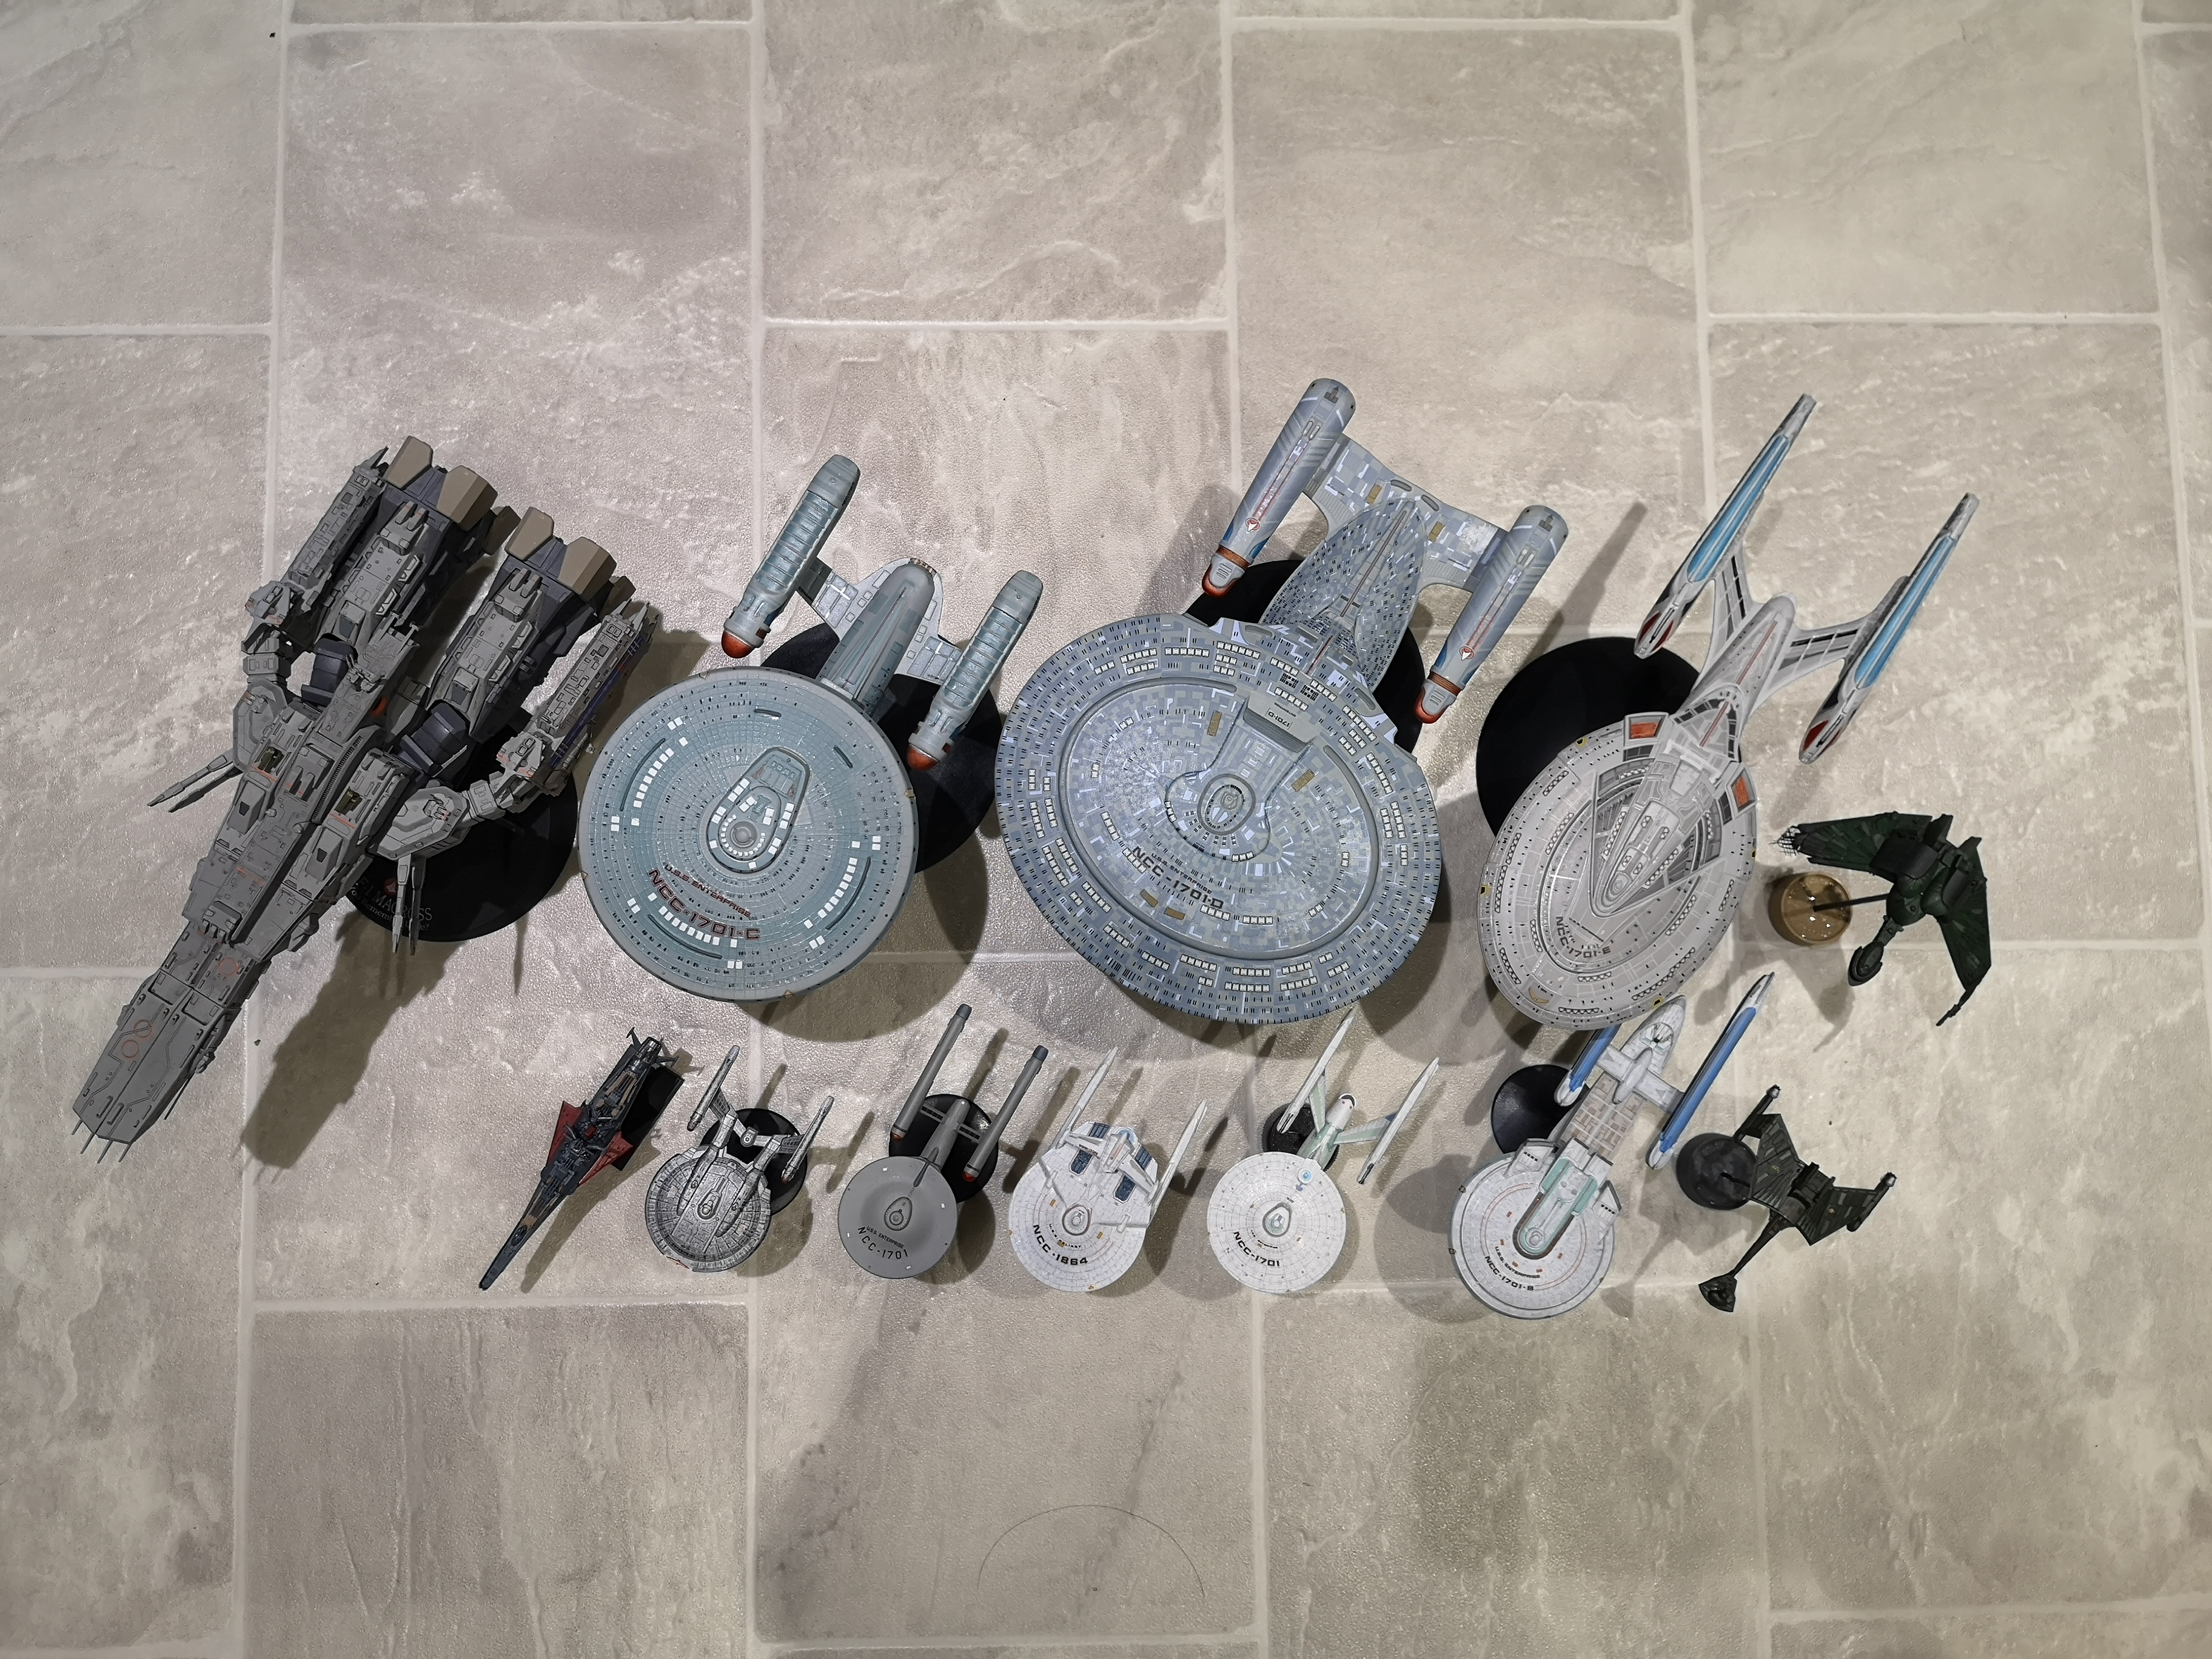
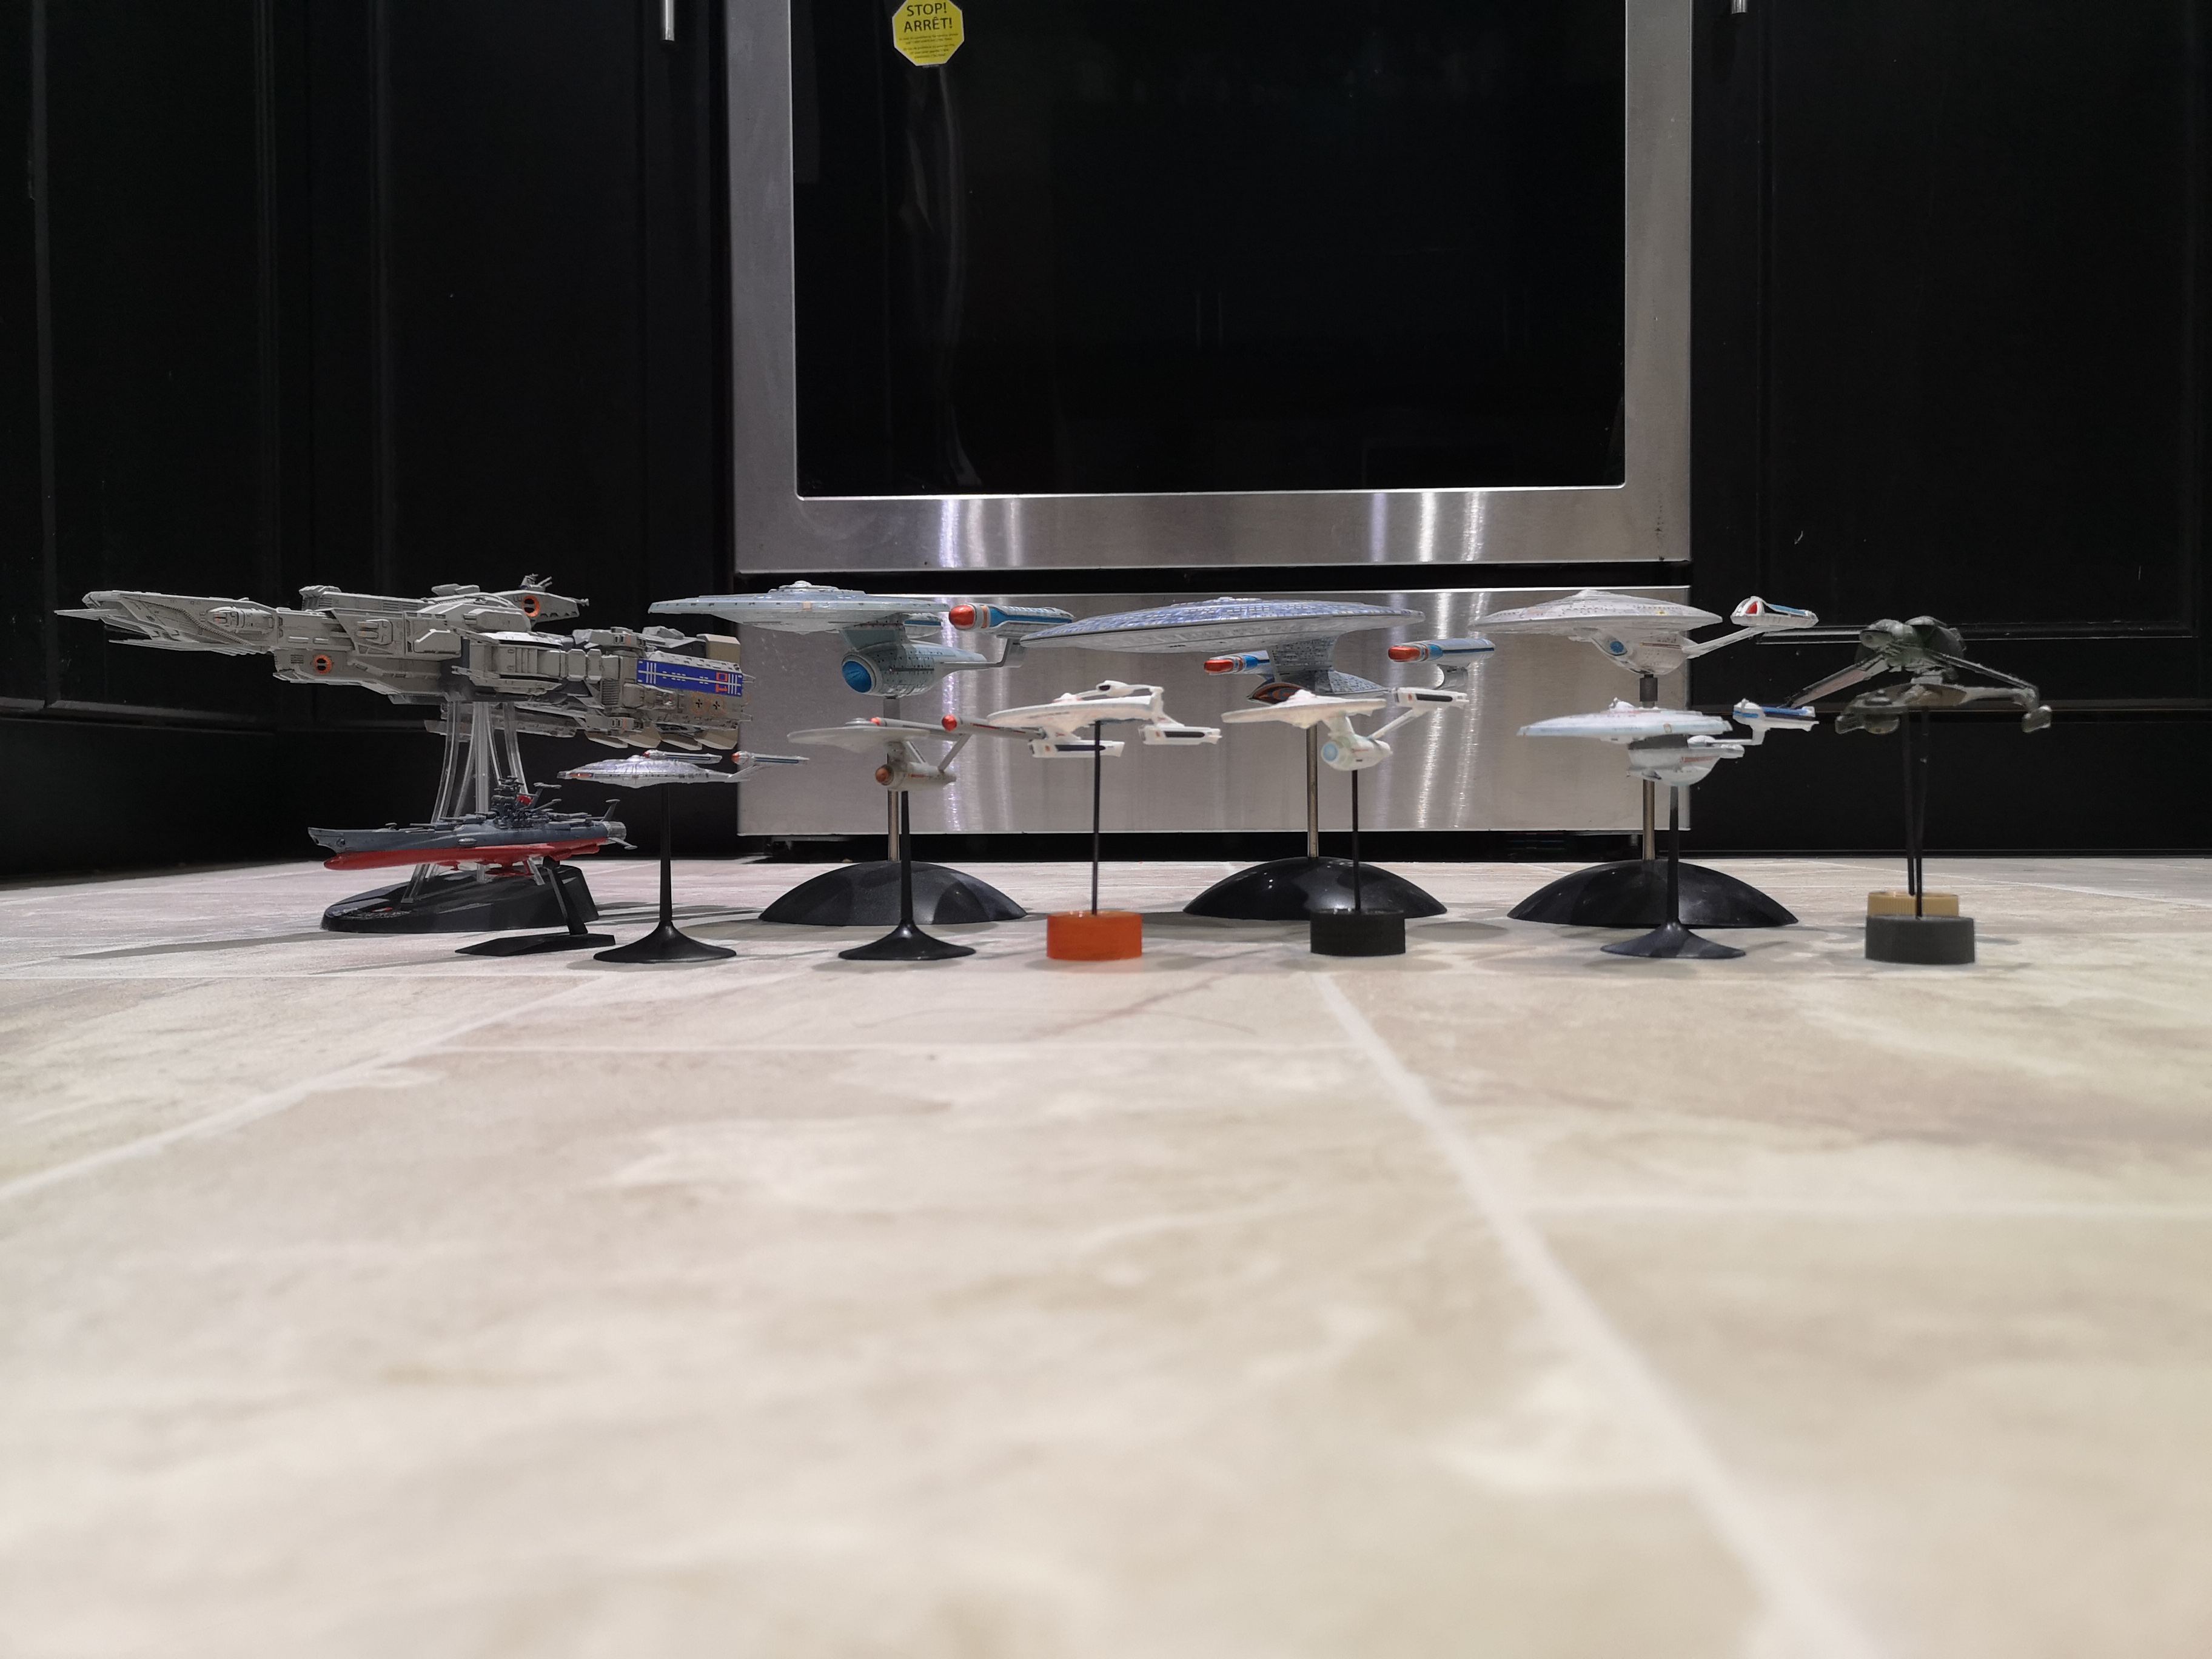
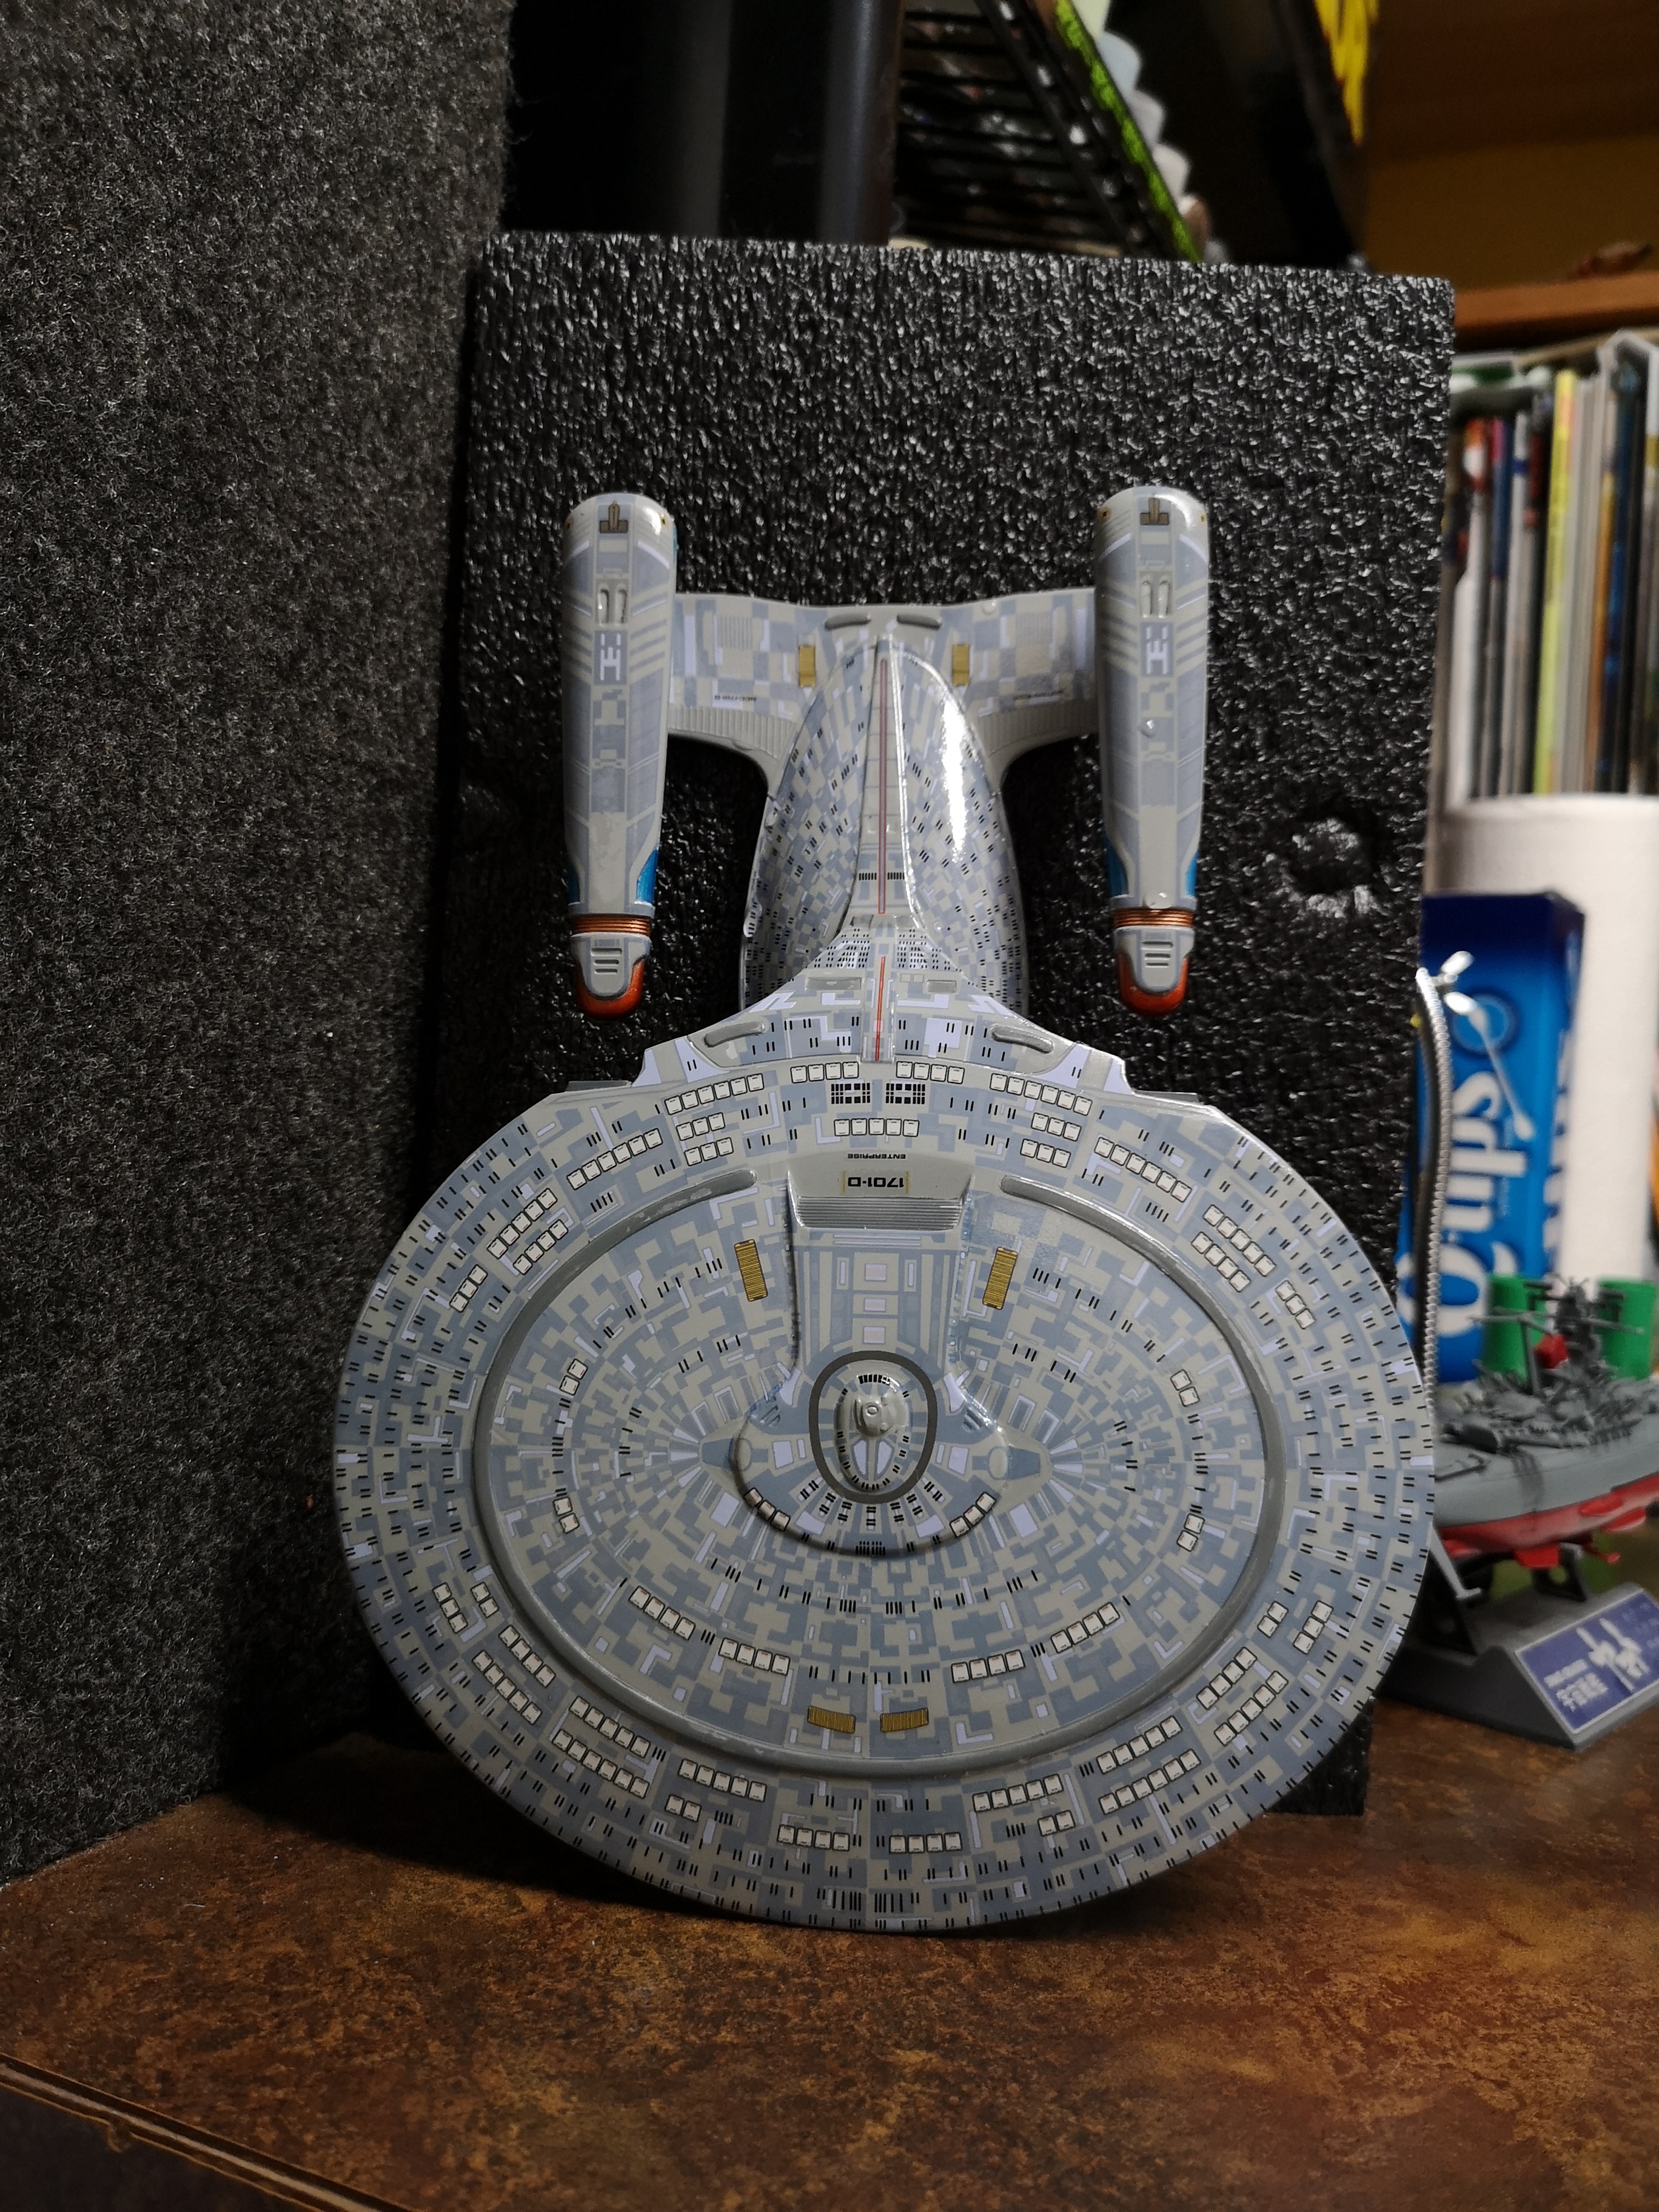
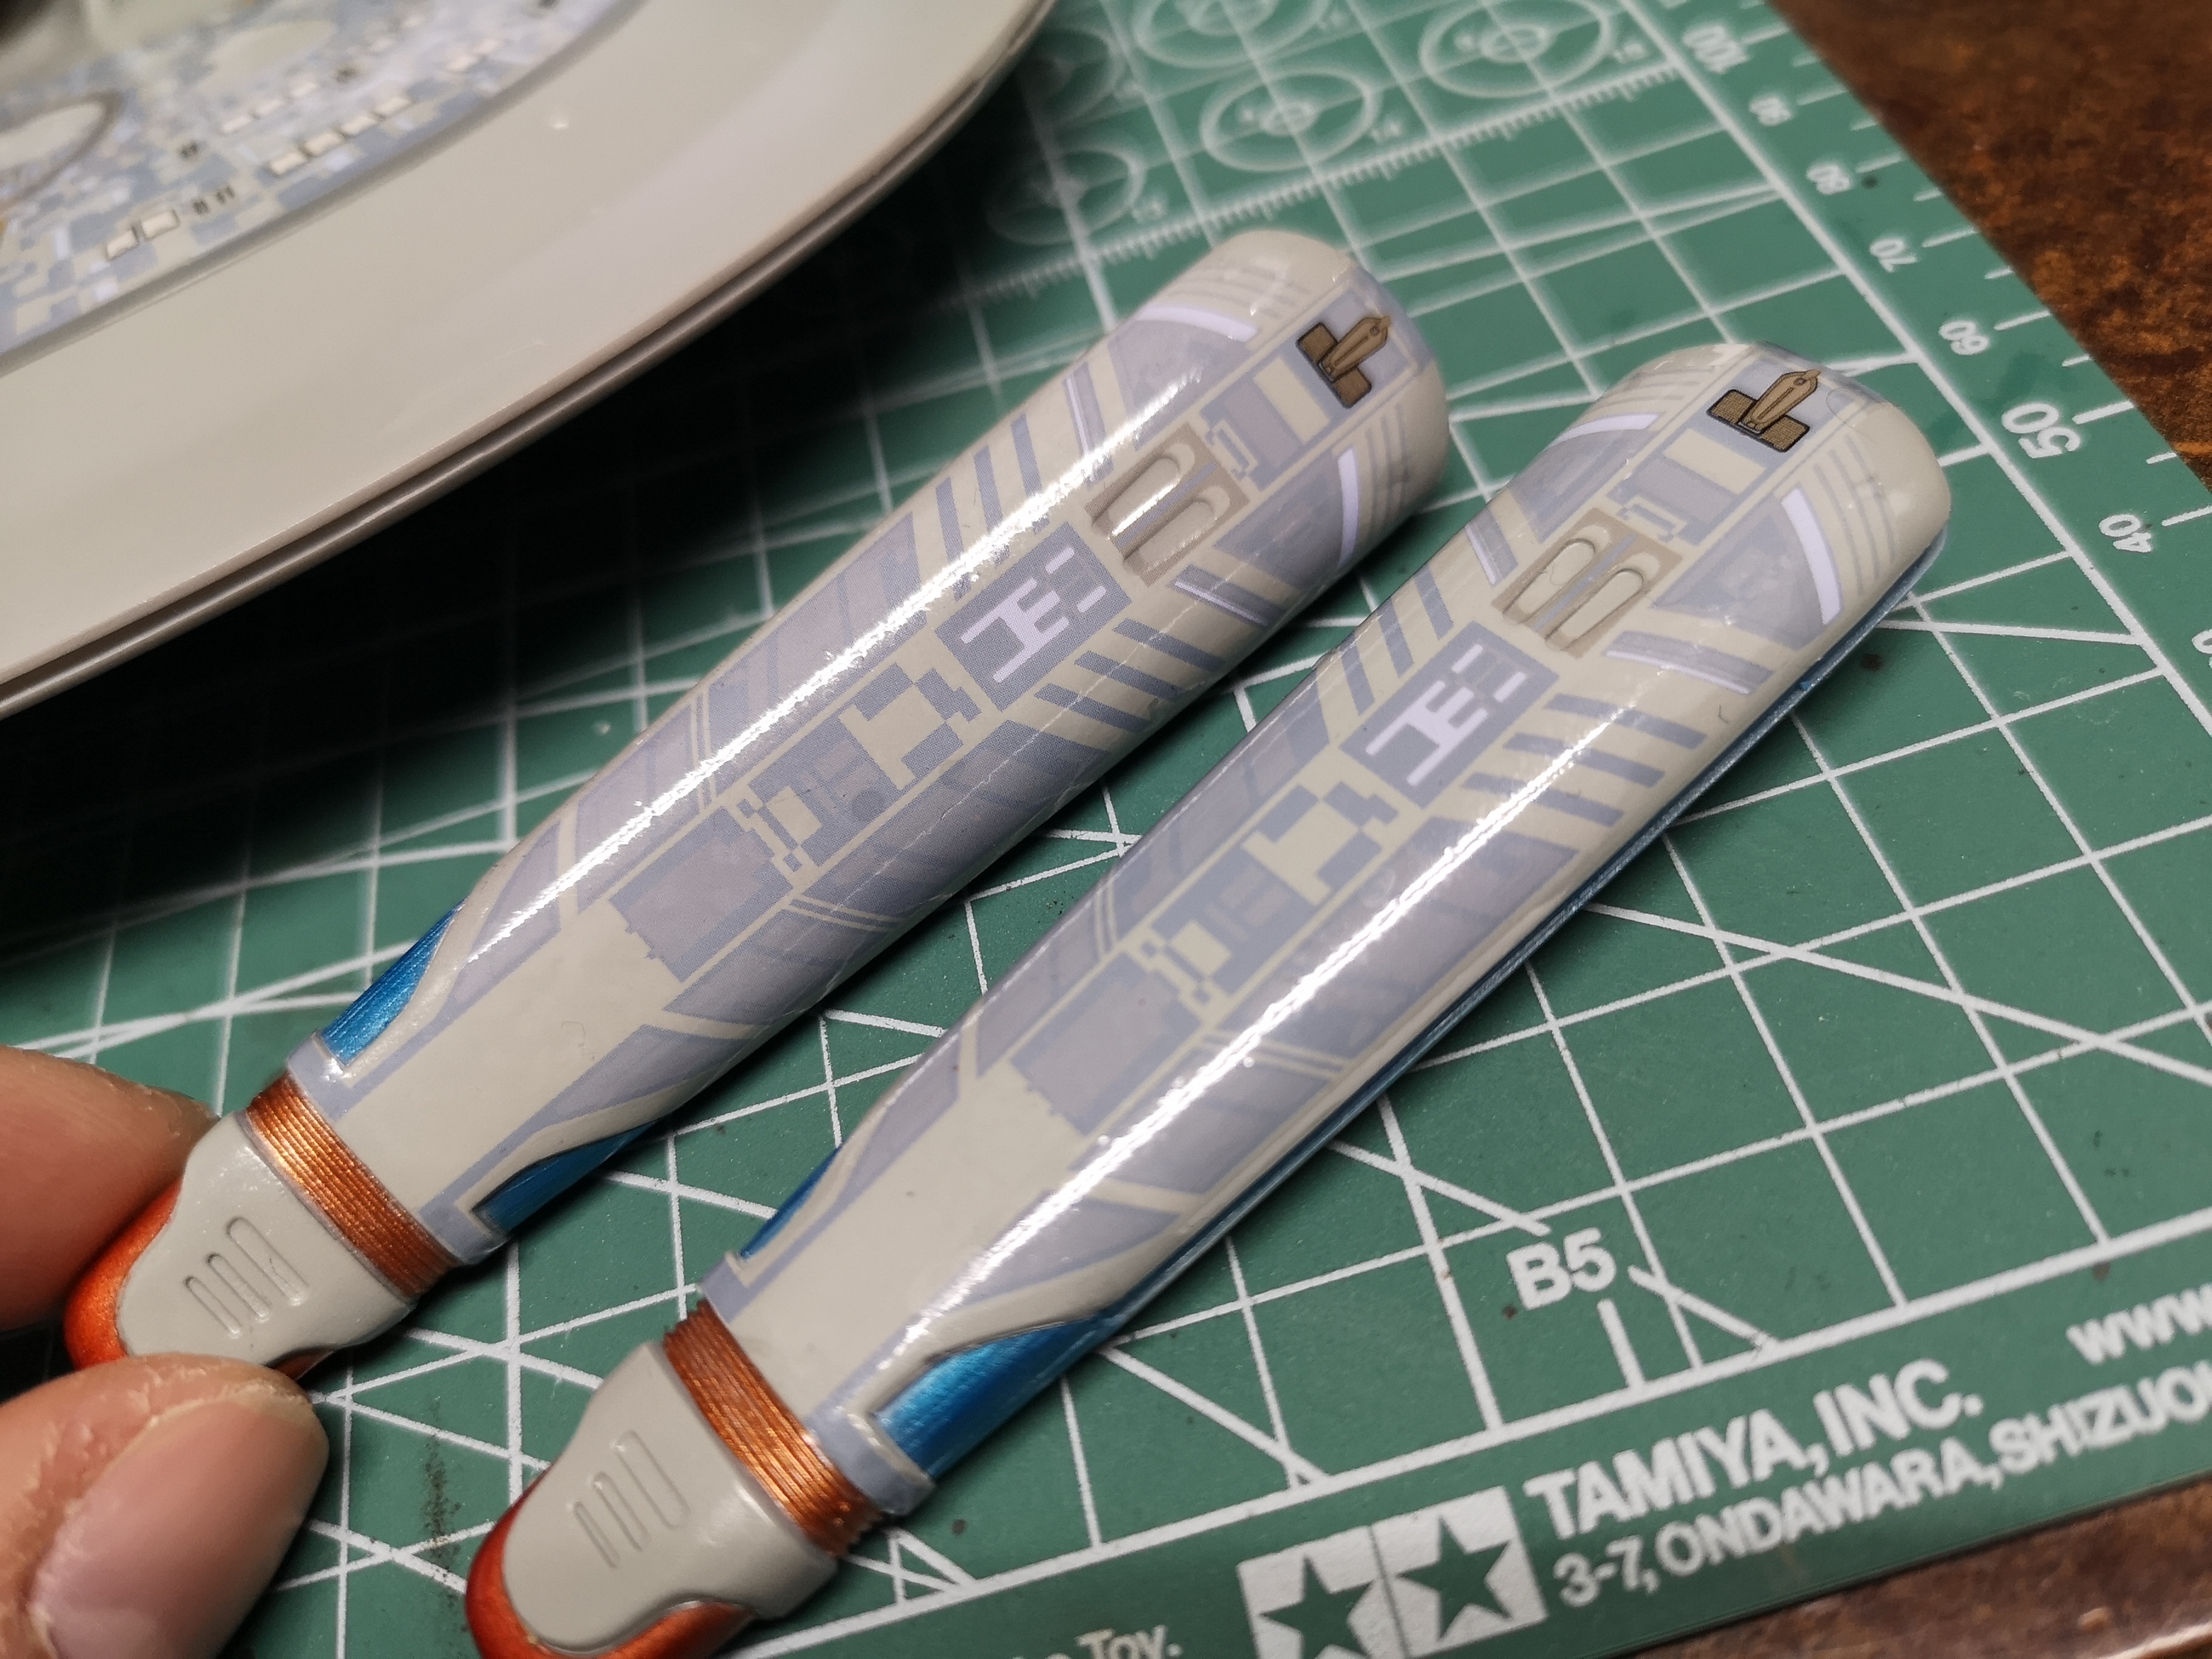
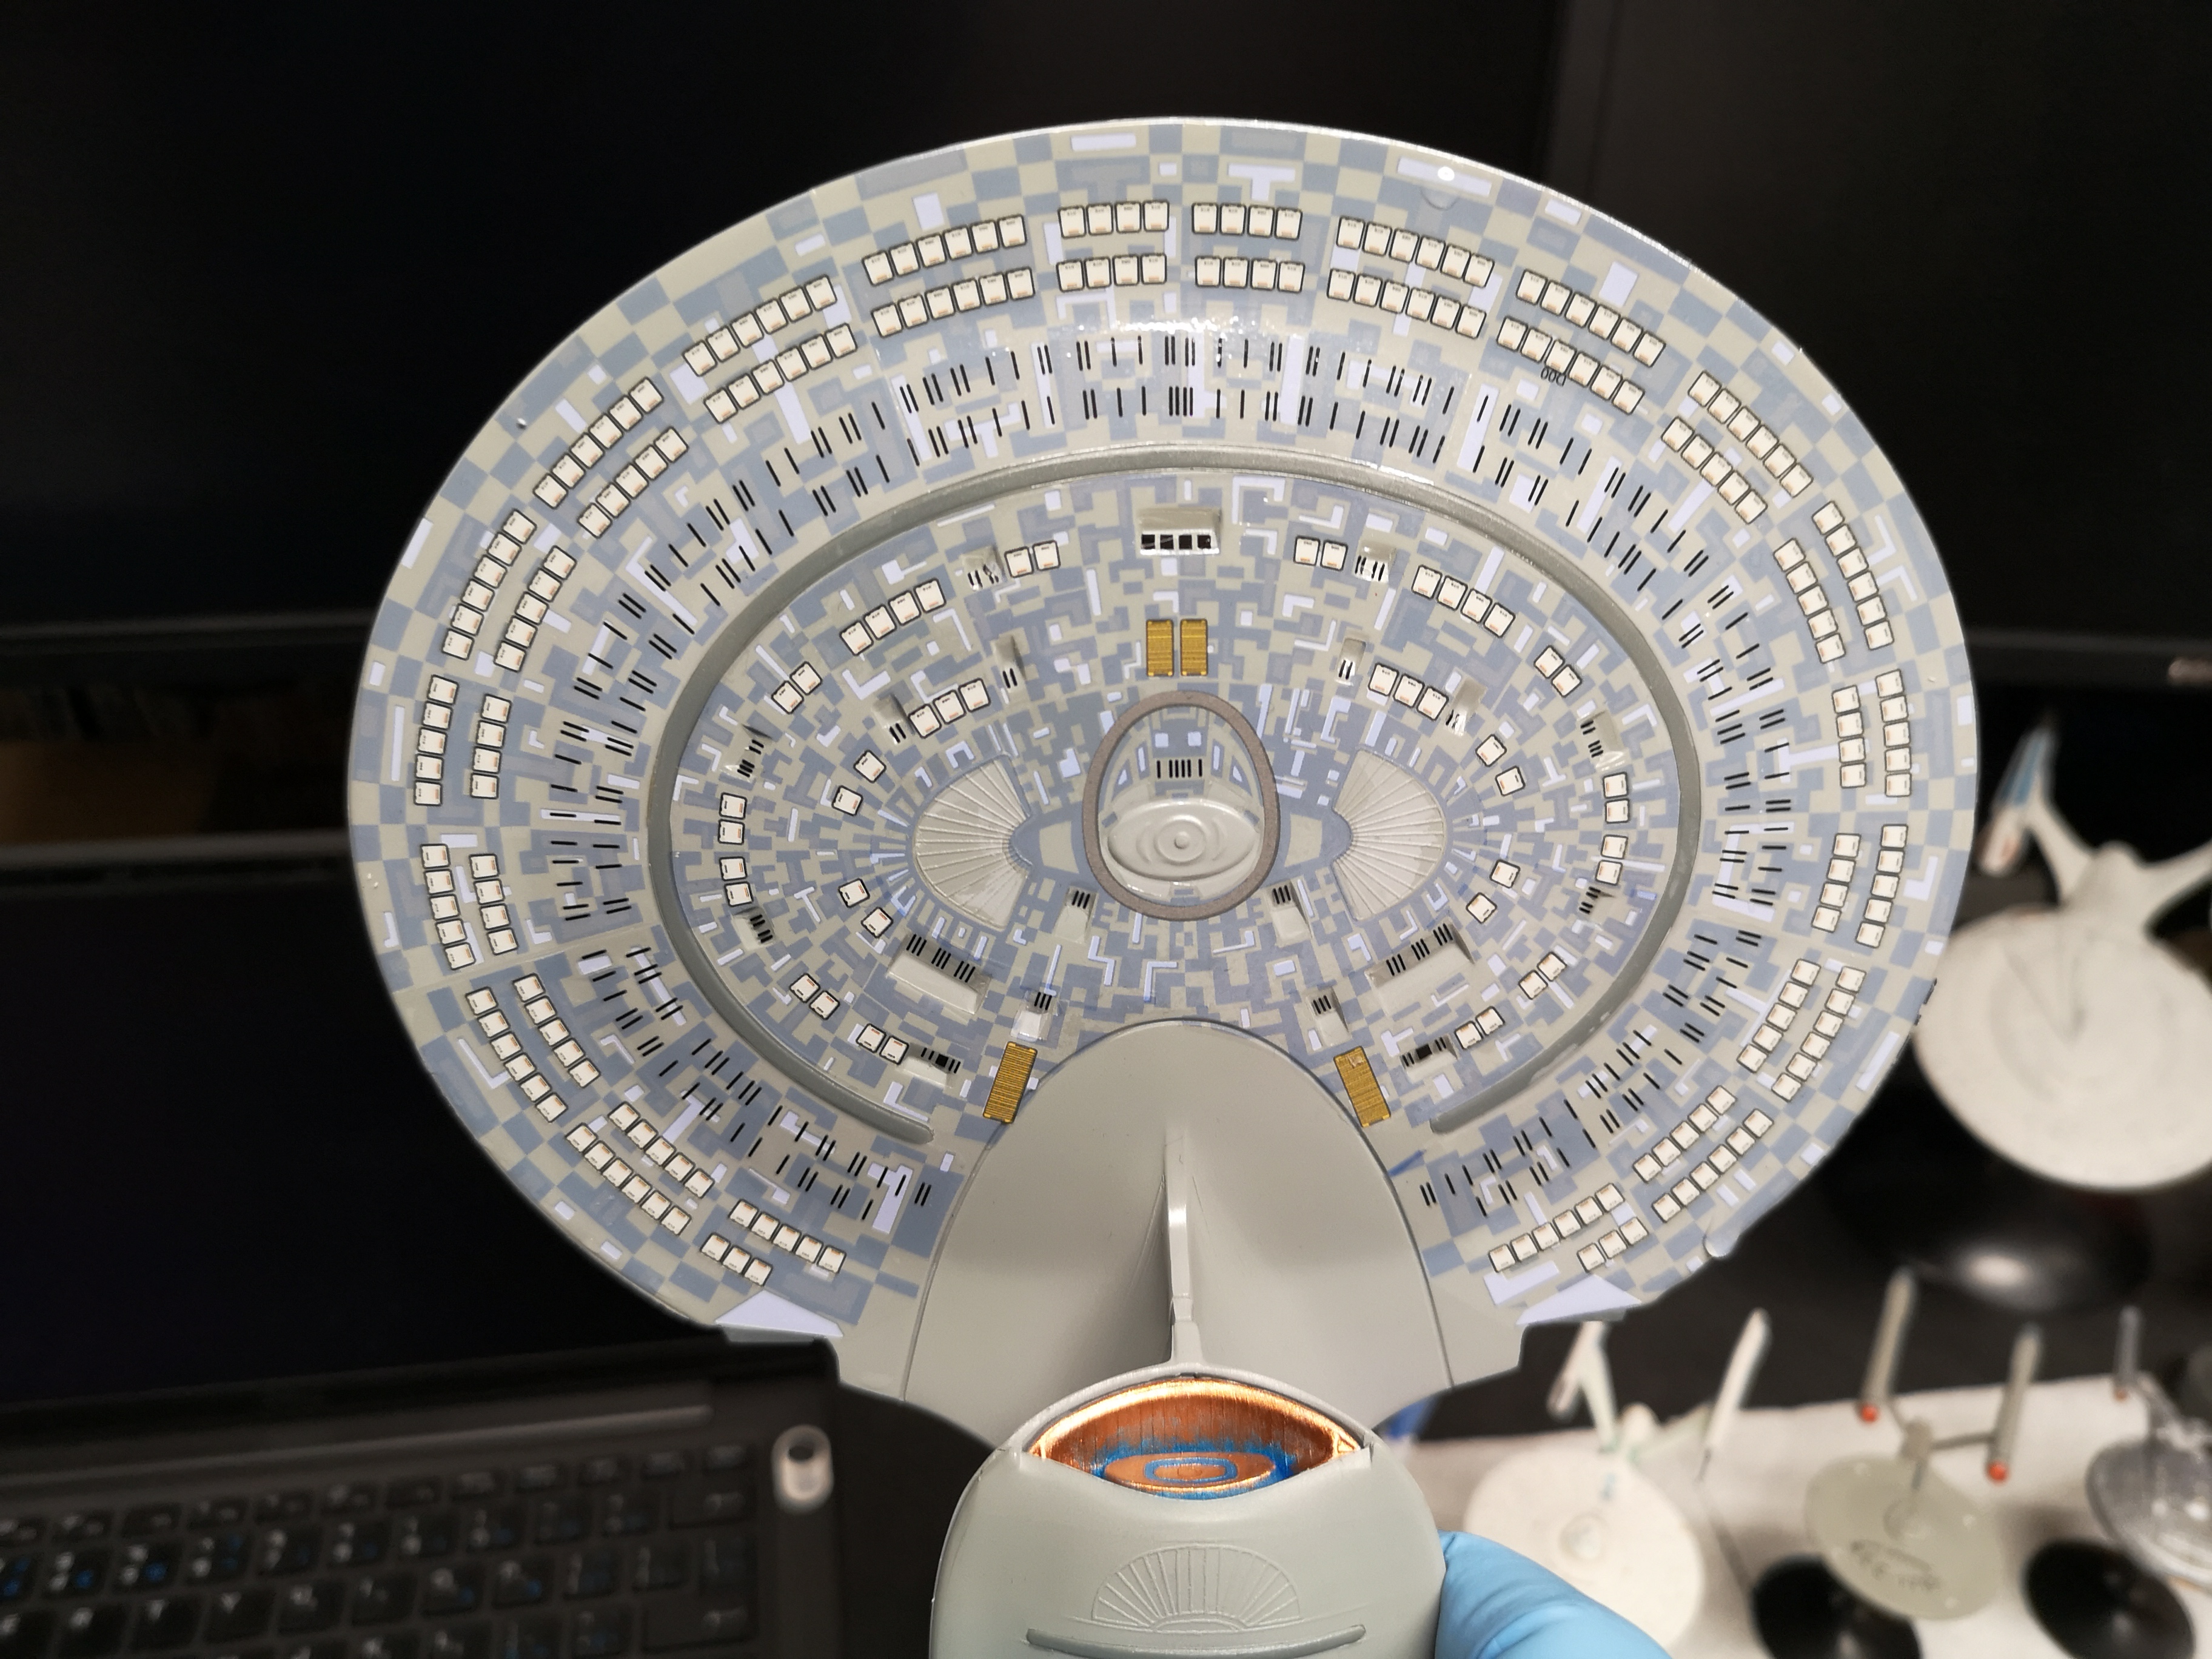
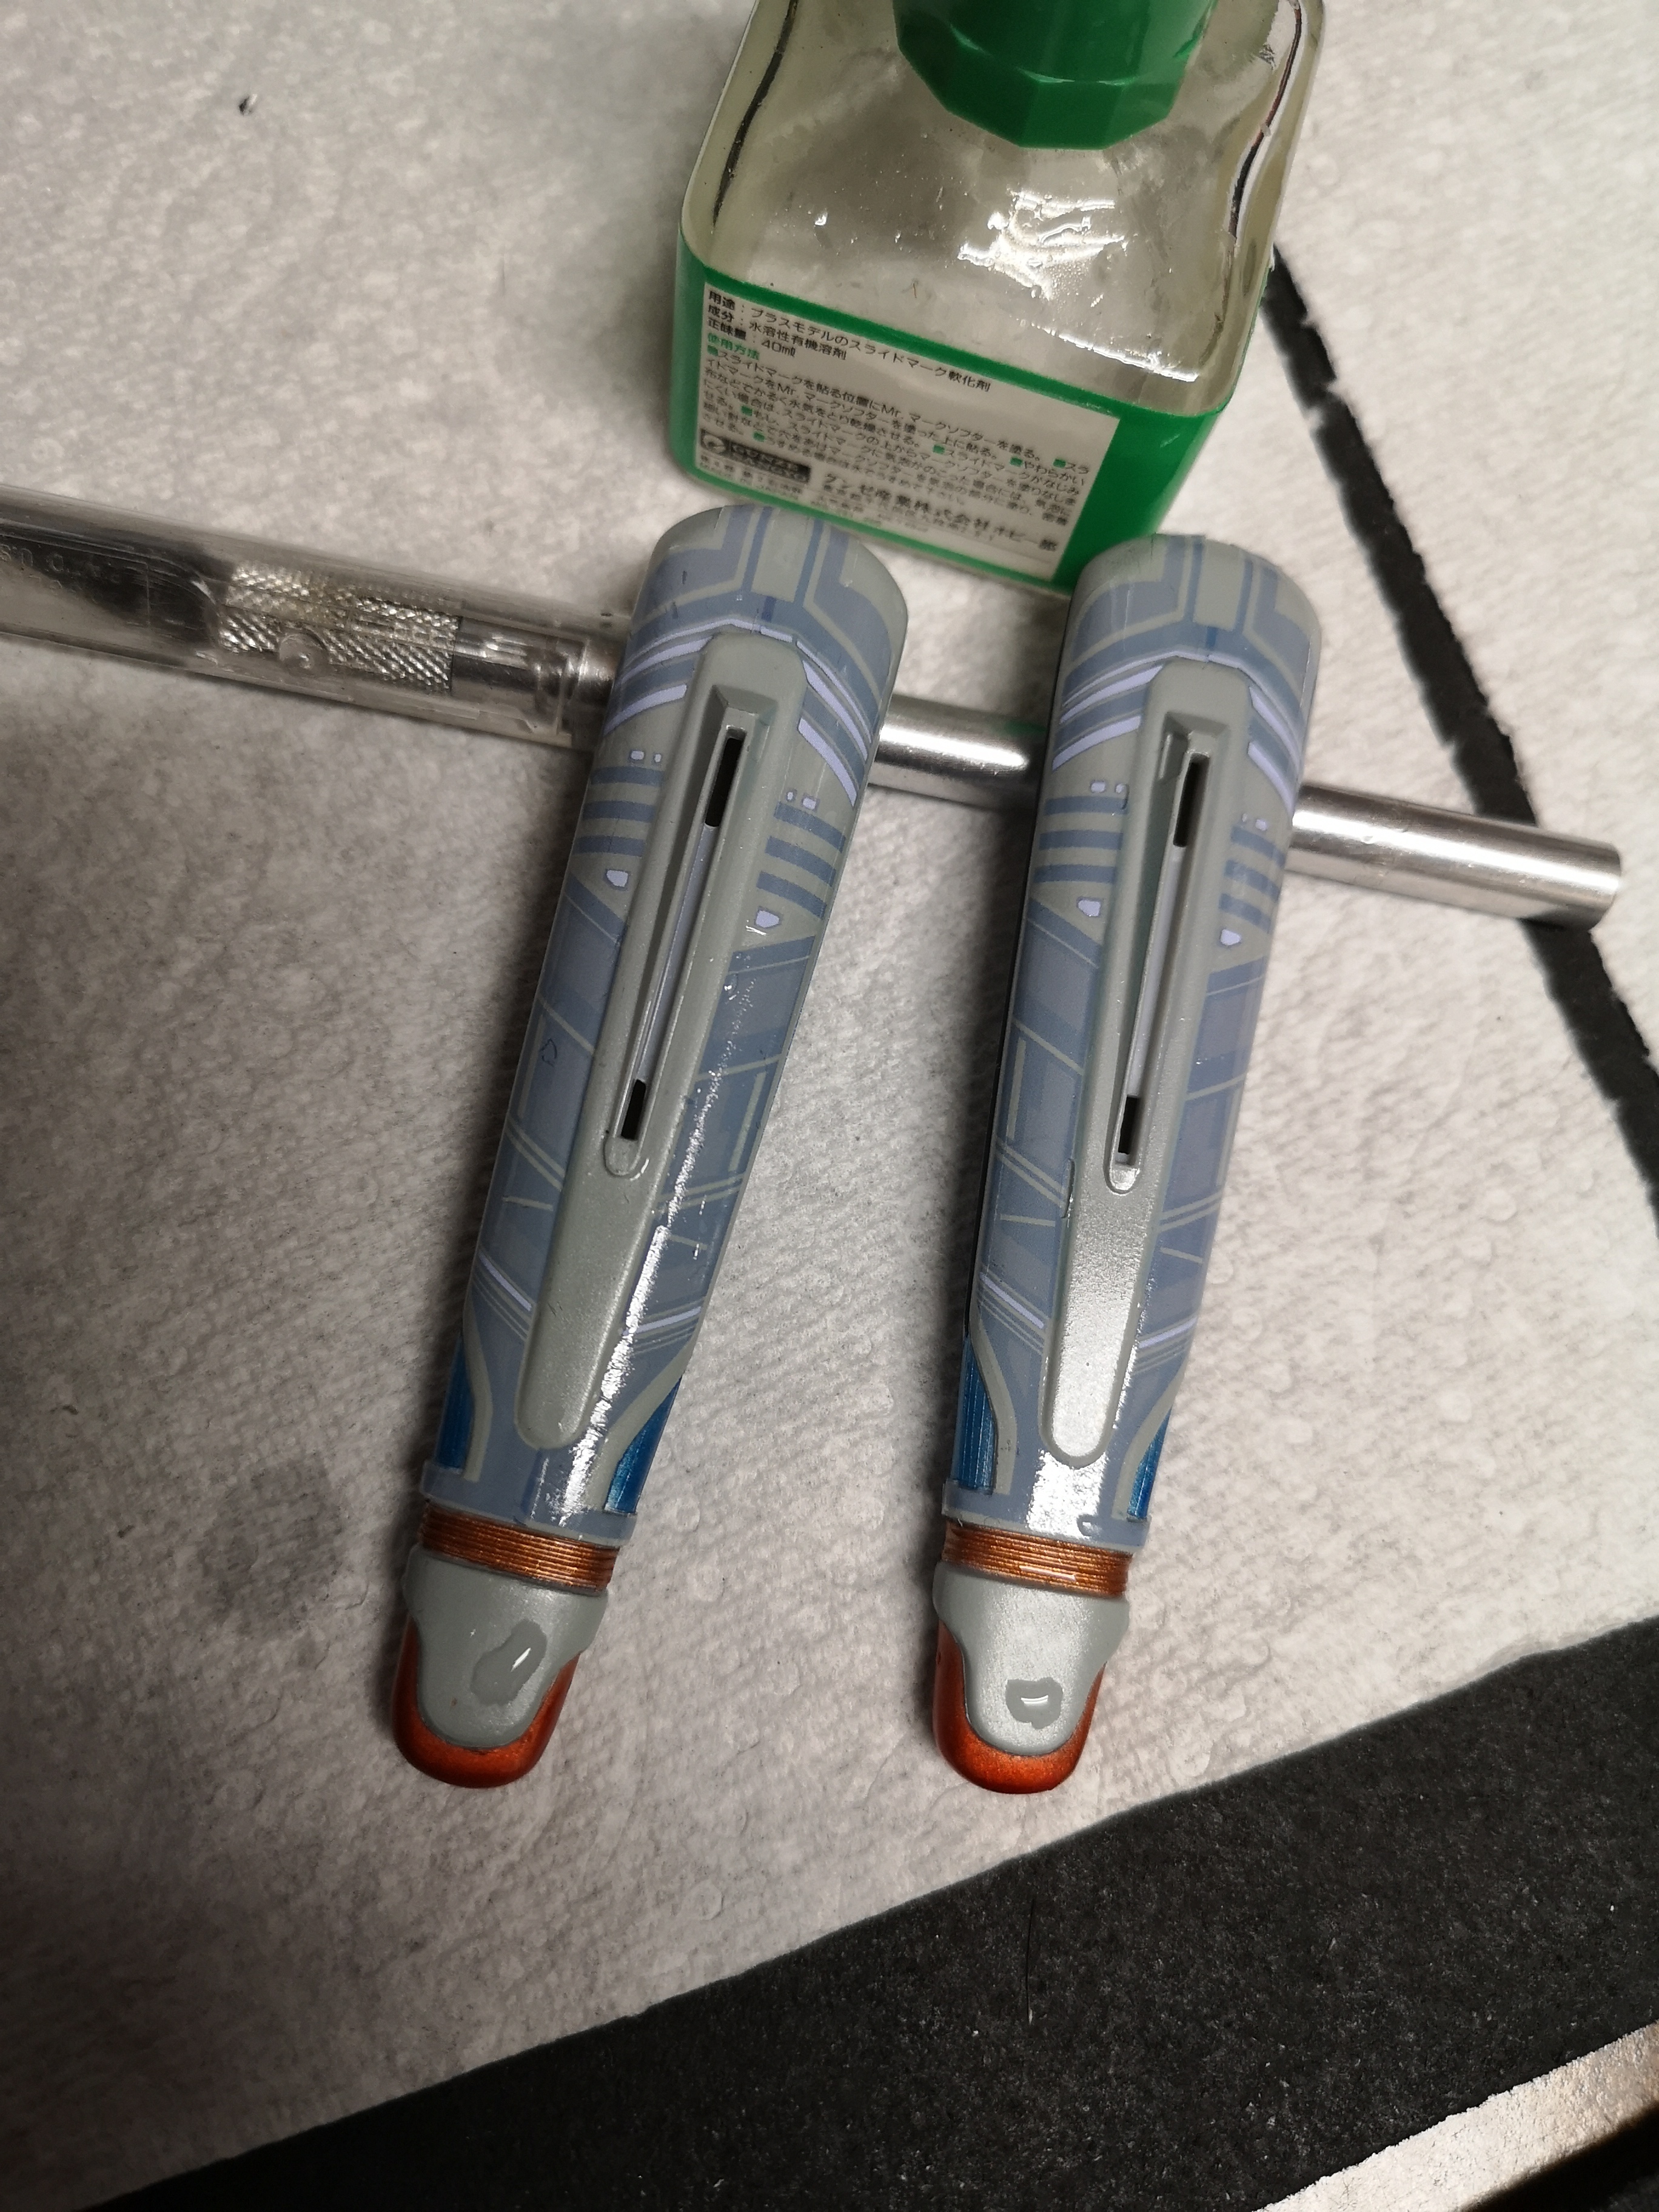
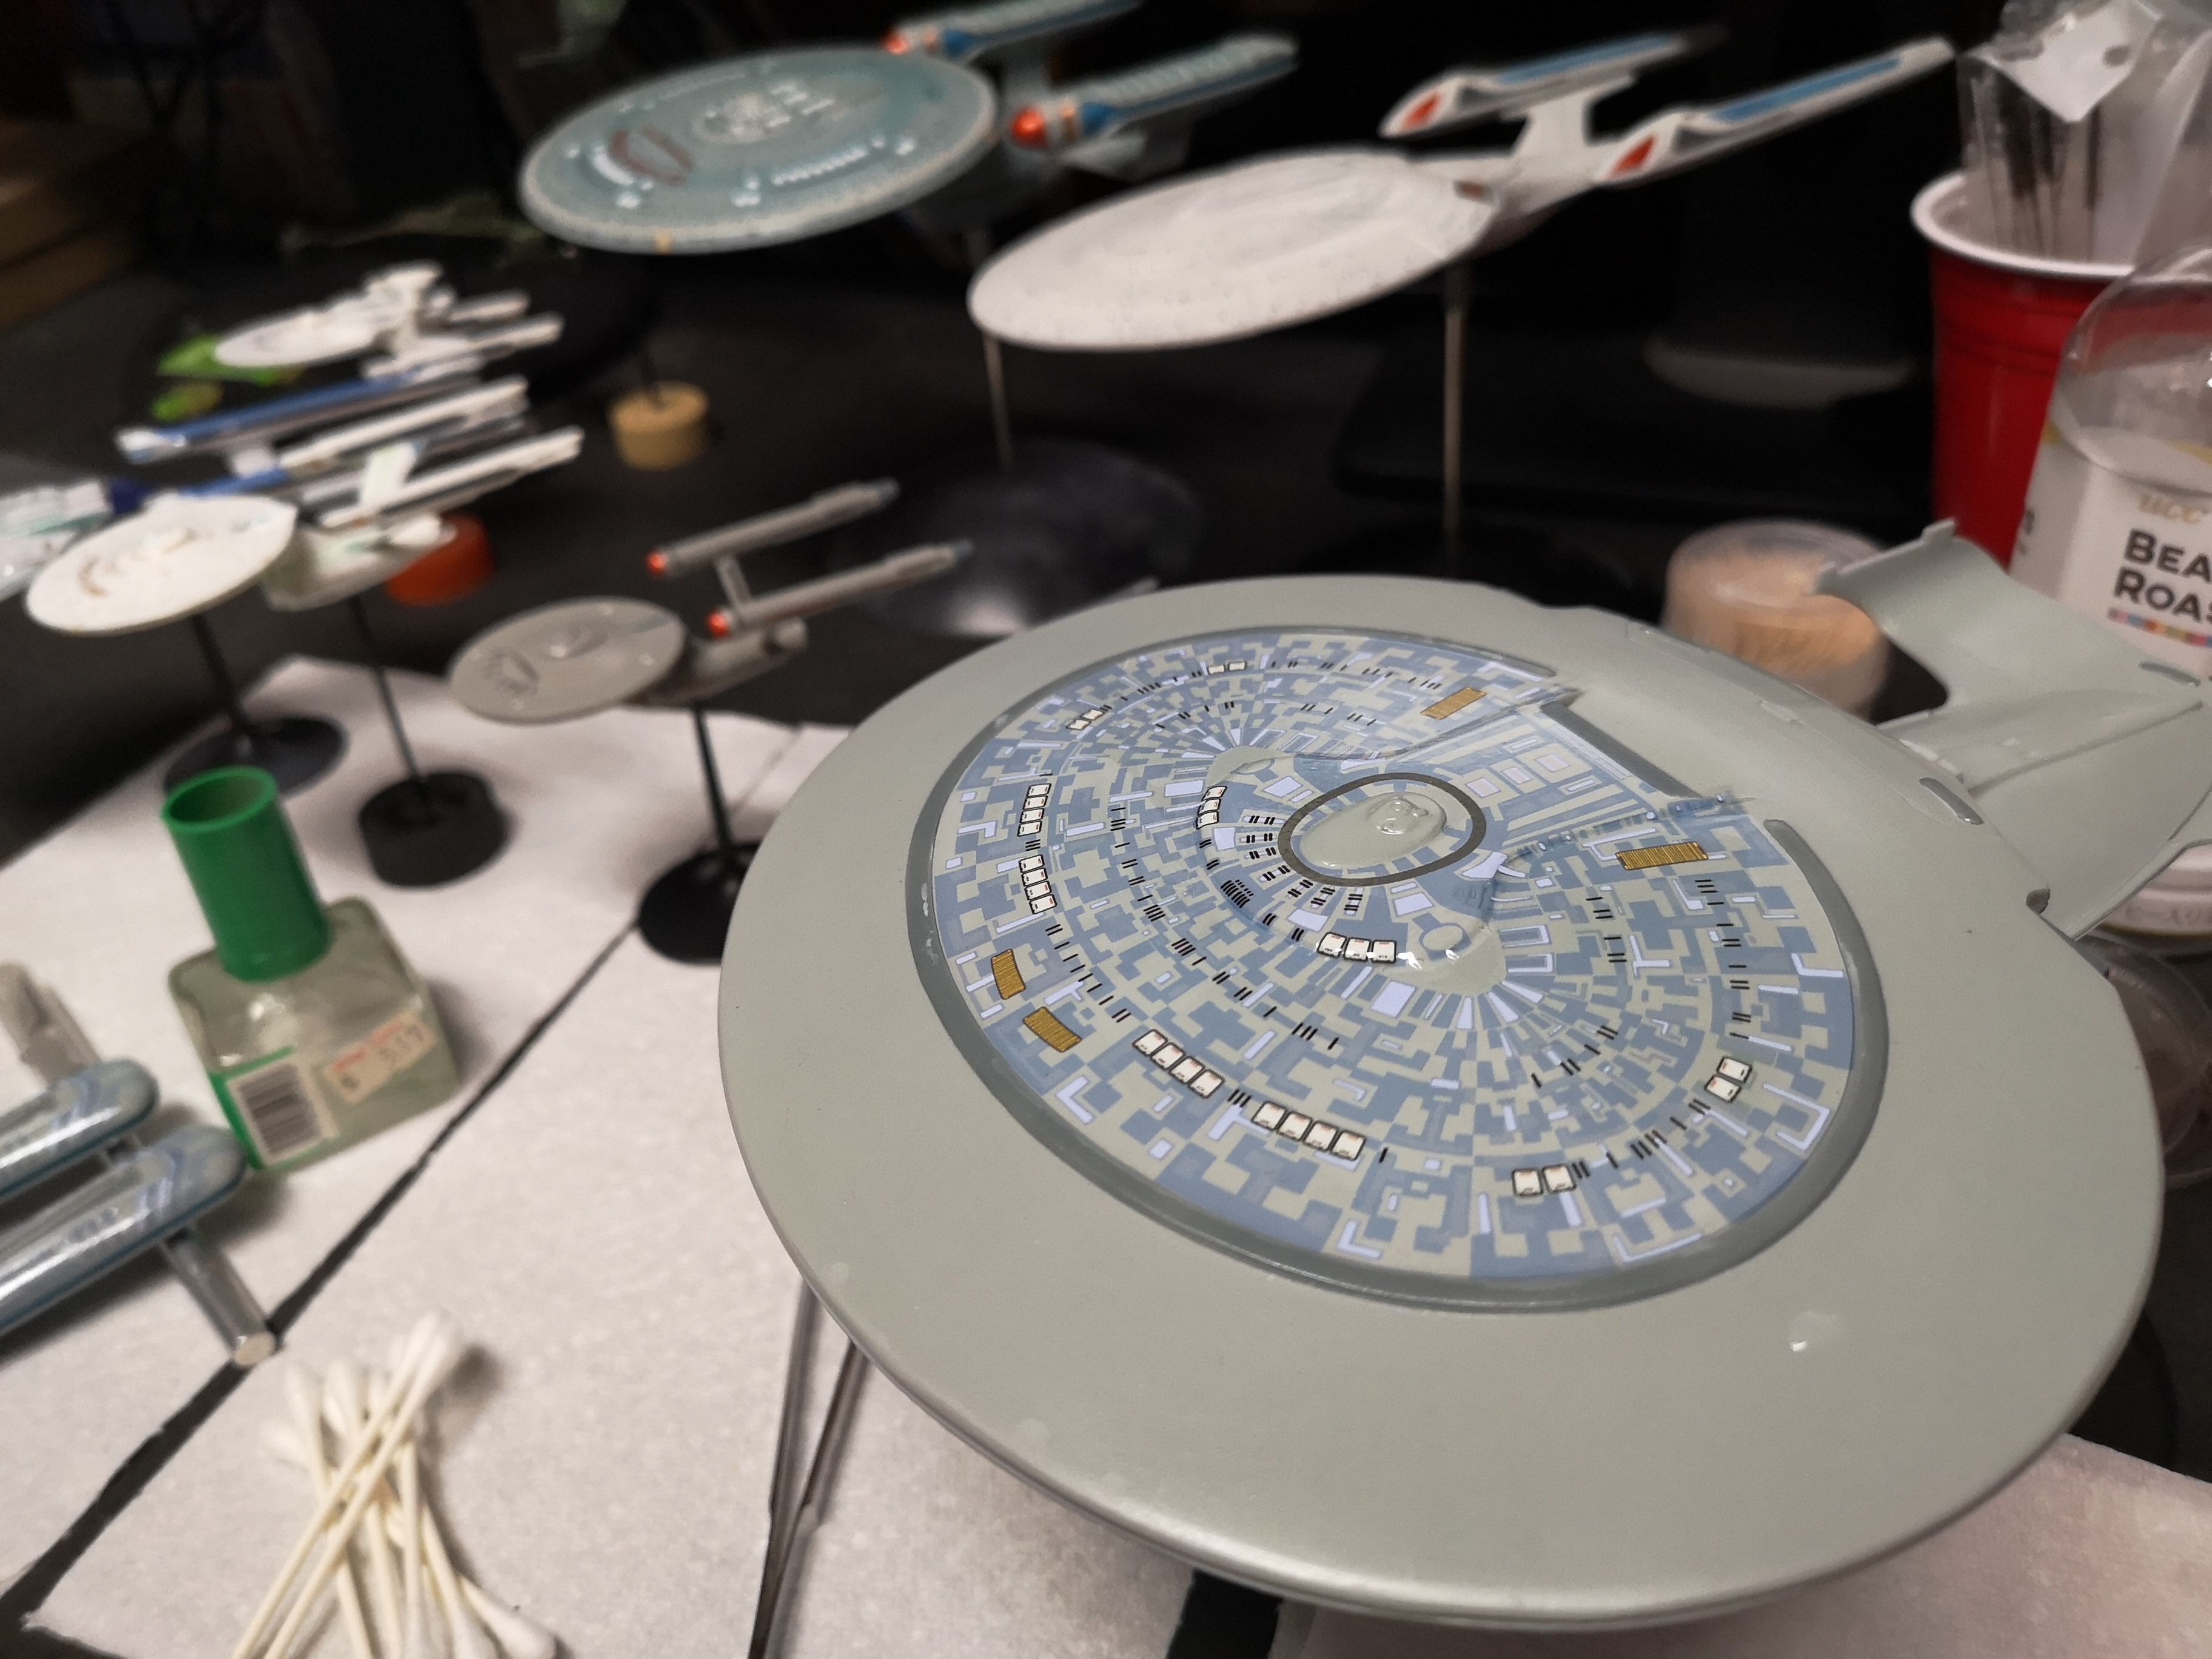
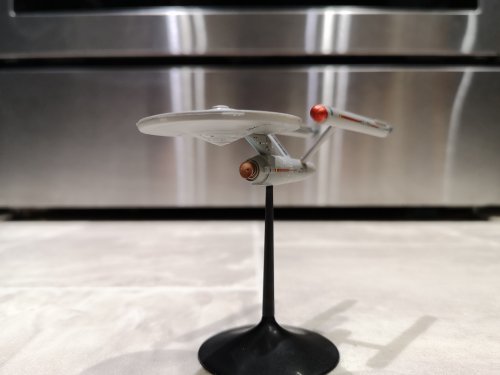
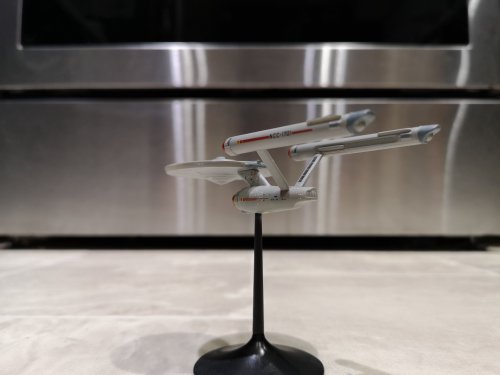
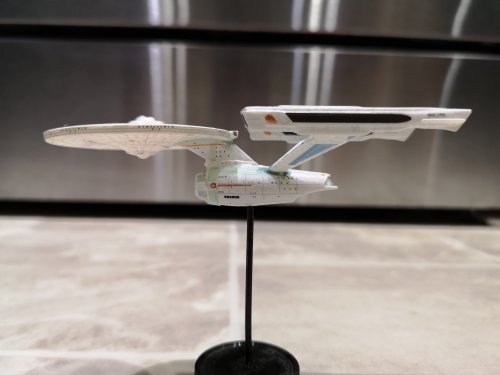
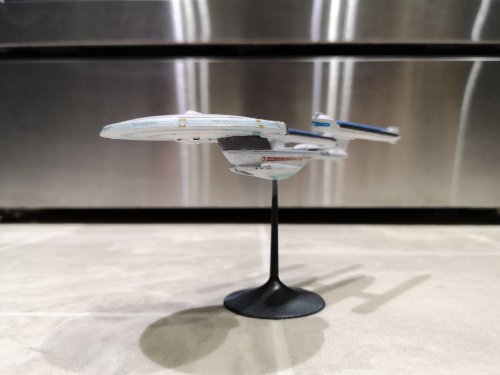
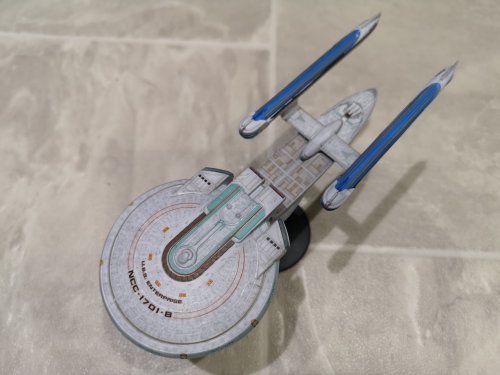
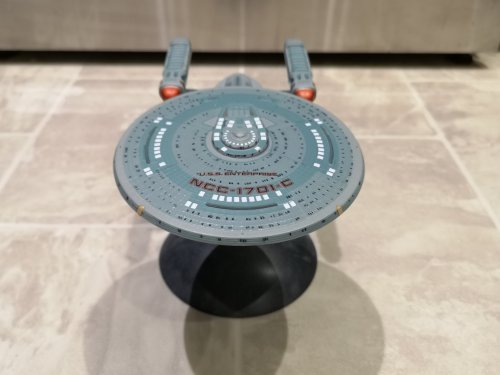
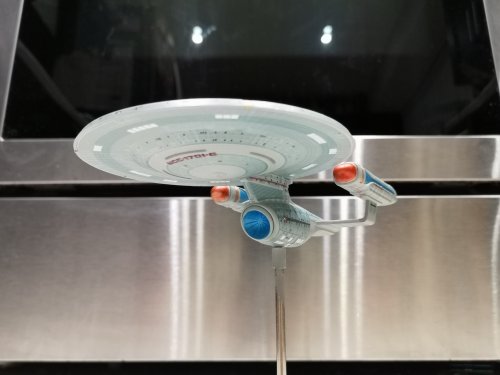
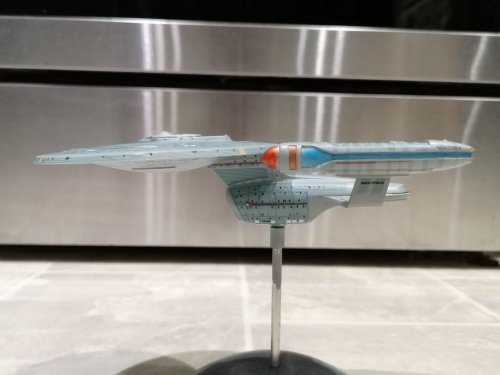
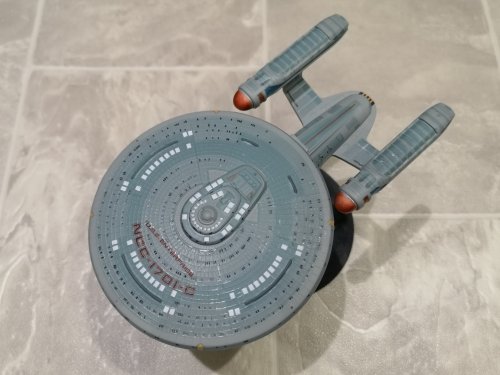
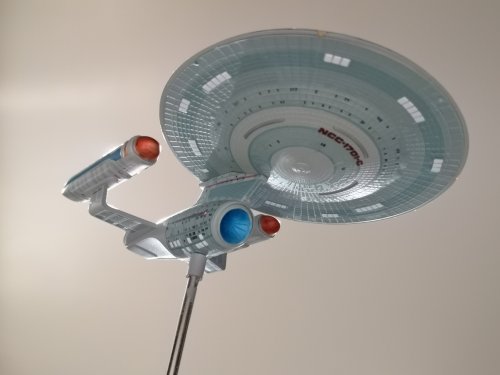
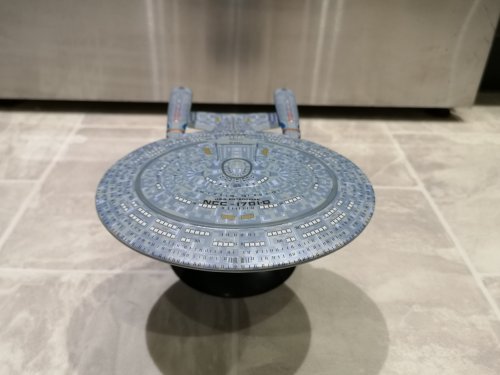
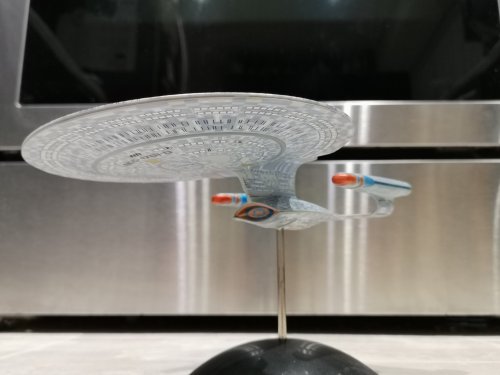
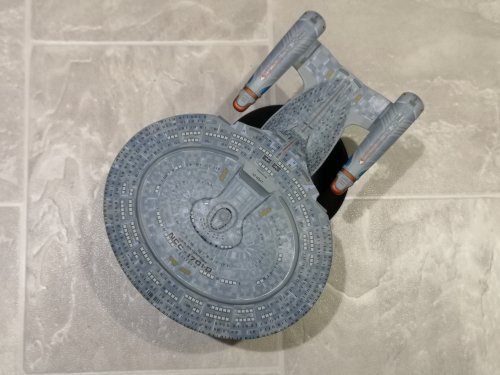
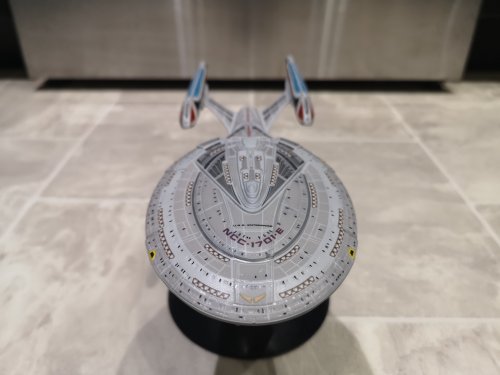
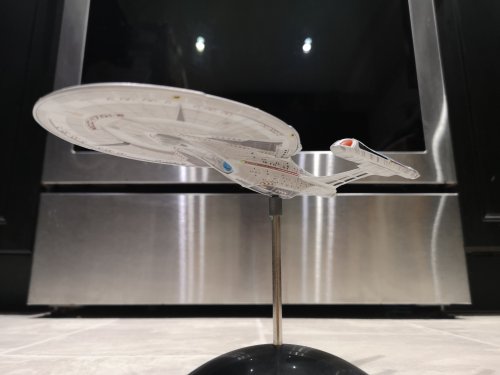
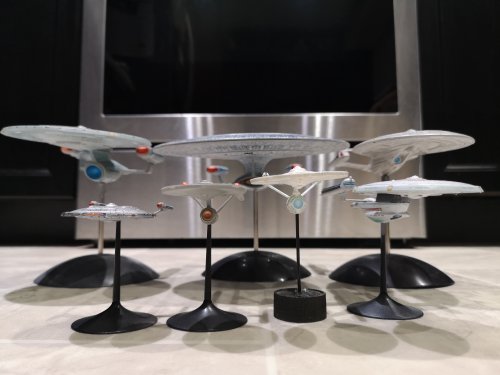
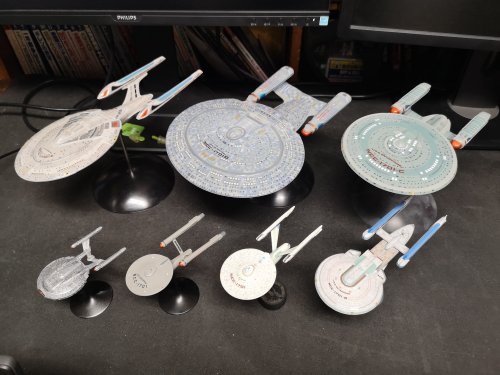
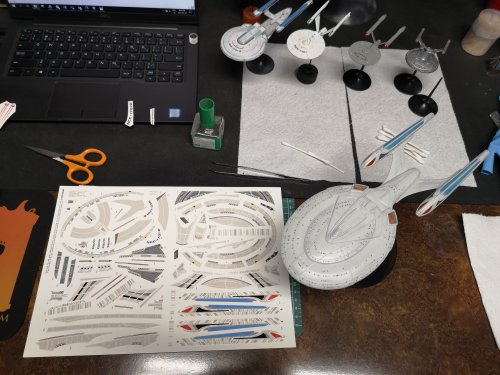
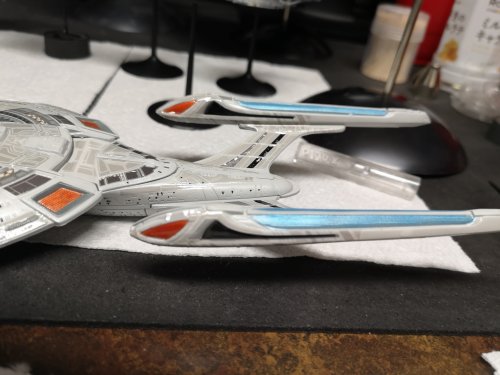
AMT 1/2500 scale Enterprise set done. Got two rattle cans of Tamiya Flat Clear on top of the Pledge and I'm calling it a day. The other night, I had dreams about applying decals so I decided to walk away from this build despite leaving numerous mistakes. Once again, I do not recommend this kit for noobs like me. Still, despite a lot of frustration, I'm satisfied with the end result. Bear in mind though, my standards are low, so even builders with a little experience will spot a lot of errors with my build. Use hot water for the decals, the decals are prone to fragmenting if the decals are cold. Final observations from a beginner's point of view: NX-01 Probably the easiest of the set. Nice crisp details, no fitment issues, minimal sanding and filling. Decals went on like a breeze, but maybe because they were cut nice and small and did not have to conform over many odd shapes. TOS Older tooling but thankfully no gridlines. Do yourself a favour and sand off the windows and the pylon detail as the decals do not line up with these. Refit I built my refit from the Cadet Series Motion Picture Set, but I would recommend using a dark primer to mask the trademark stamp on the inside of the saucer or you will see it if you hold a light behind it. Ent B Do yourself a favour and sand off the gridlines. Also, if you can, paint the blue chillers on the nacelles, as well as the darker gun metal detail if you can. The nacelle decals do not want to "wrap around" as the instructions suggest. They prefer to fragment and break into a million pieces. Also, long lanky nacelles that may not line up correctly. Ugly gaps and seam lines in the deflector dish area that I failed to fill. Ent C Get your surgical gloves out, and have a bath of water ready to readjust the large saucer decals. Making this one a smoothie would be difficult because the grid-lines come in direct contact with many details such as life boats and windows. You might just have to live with the grid-lines but it makes decal application a nightmare. Tons of Micro Sol or Mr Mark Softer for this one. Nacelle upper decals are horrendous also, recommend lots of water to move them around in place, then it's tons of decal setter. Cutting them up will not make it easier. In my case, it made it worse. Ent D Sand off the gridlines and some of the other surface detail that appears on the decal itself. If you can live with the seam line between the neck and the secondary hull, recommend you do not glue this section in place until after you apply the decals. Apart from that, pretty smooth decal application, especially if you sanded off the gridlines. Ent E After gaining confidence with the End D, you may think the Ent E will be easy, but it is not. There are fitment issues and crooked nacelles. The decals twist and turn in some spots and may drive you nuts. Details aren't very crisp on the Ent E, maybe the tooling is just old and tired and should be retired. Oh, one more thing, if you use Gundam markers for the windows, recommend sealing them in before you add decals because decal solution and Gundam markers don't mix well....colors will run.


-
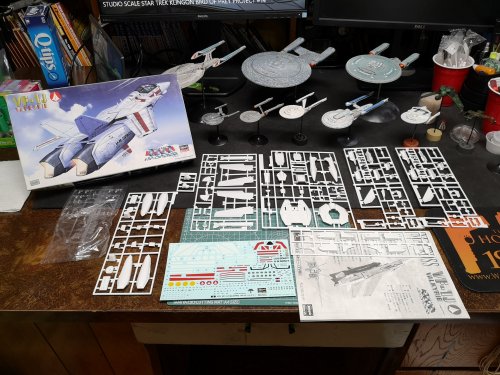
I felt a lot of frustration building Hasegawa 1/72 Valks, but I think I lowered my standards and I felt better about building them after. I haven't attempted any real world aircraft in recent years, so building an F14 might stress me out too. I've heard good things about the newer Revell kits, I hope you find some fun and enjoyment in this build. I have an F14 waiting for me in my pile of kits to build too, so I'll post about it when I get to it. This came for it the other day. It's an older tooling and I've heard it's a nightmare to build, so let's see where it goes, lol!

-
I want to try that putty as well, saw Model Chili use it. That applicator looks way smarter than squeezing regular putty out, then struggle to get it in the right place then shape it before it dries out.
-
Lol, no, I think I'm done with gear up Hasegawa Valks. I'm not very skilled and I found them to be a huge PITA to do them gear up so these will be the first Valks I build with the gears out.....who knows, maybe that will be even more difficult, lol!
-
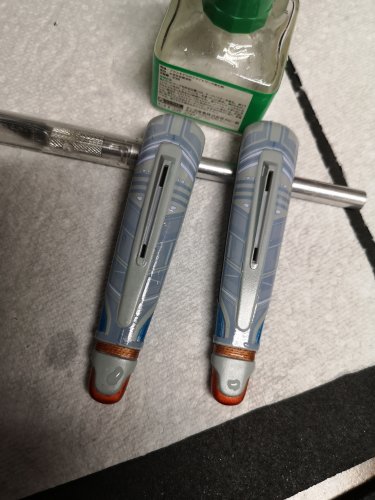
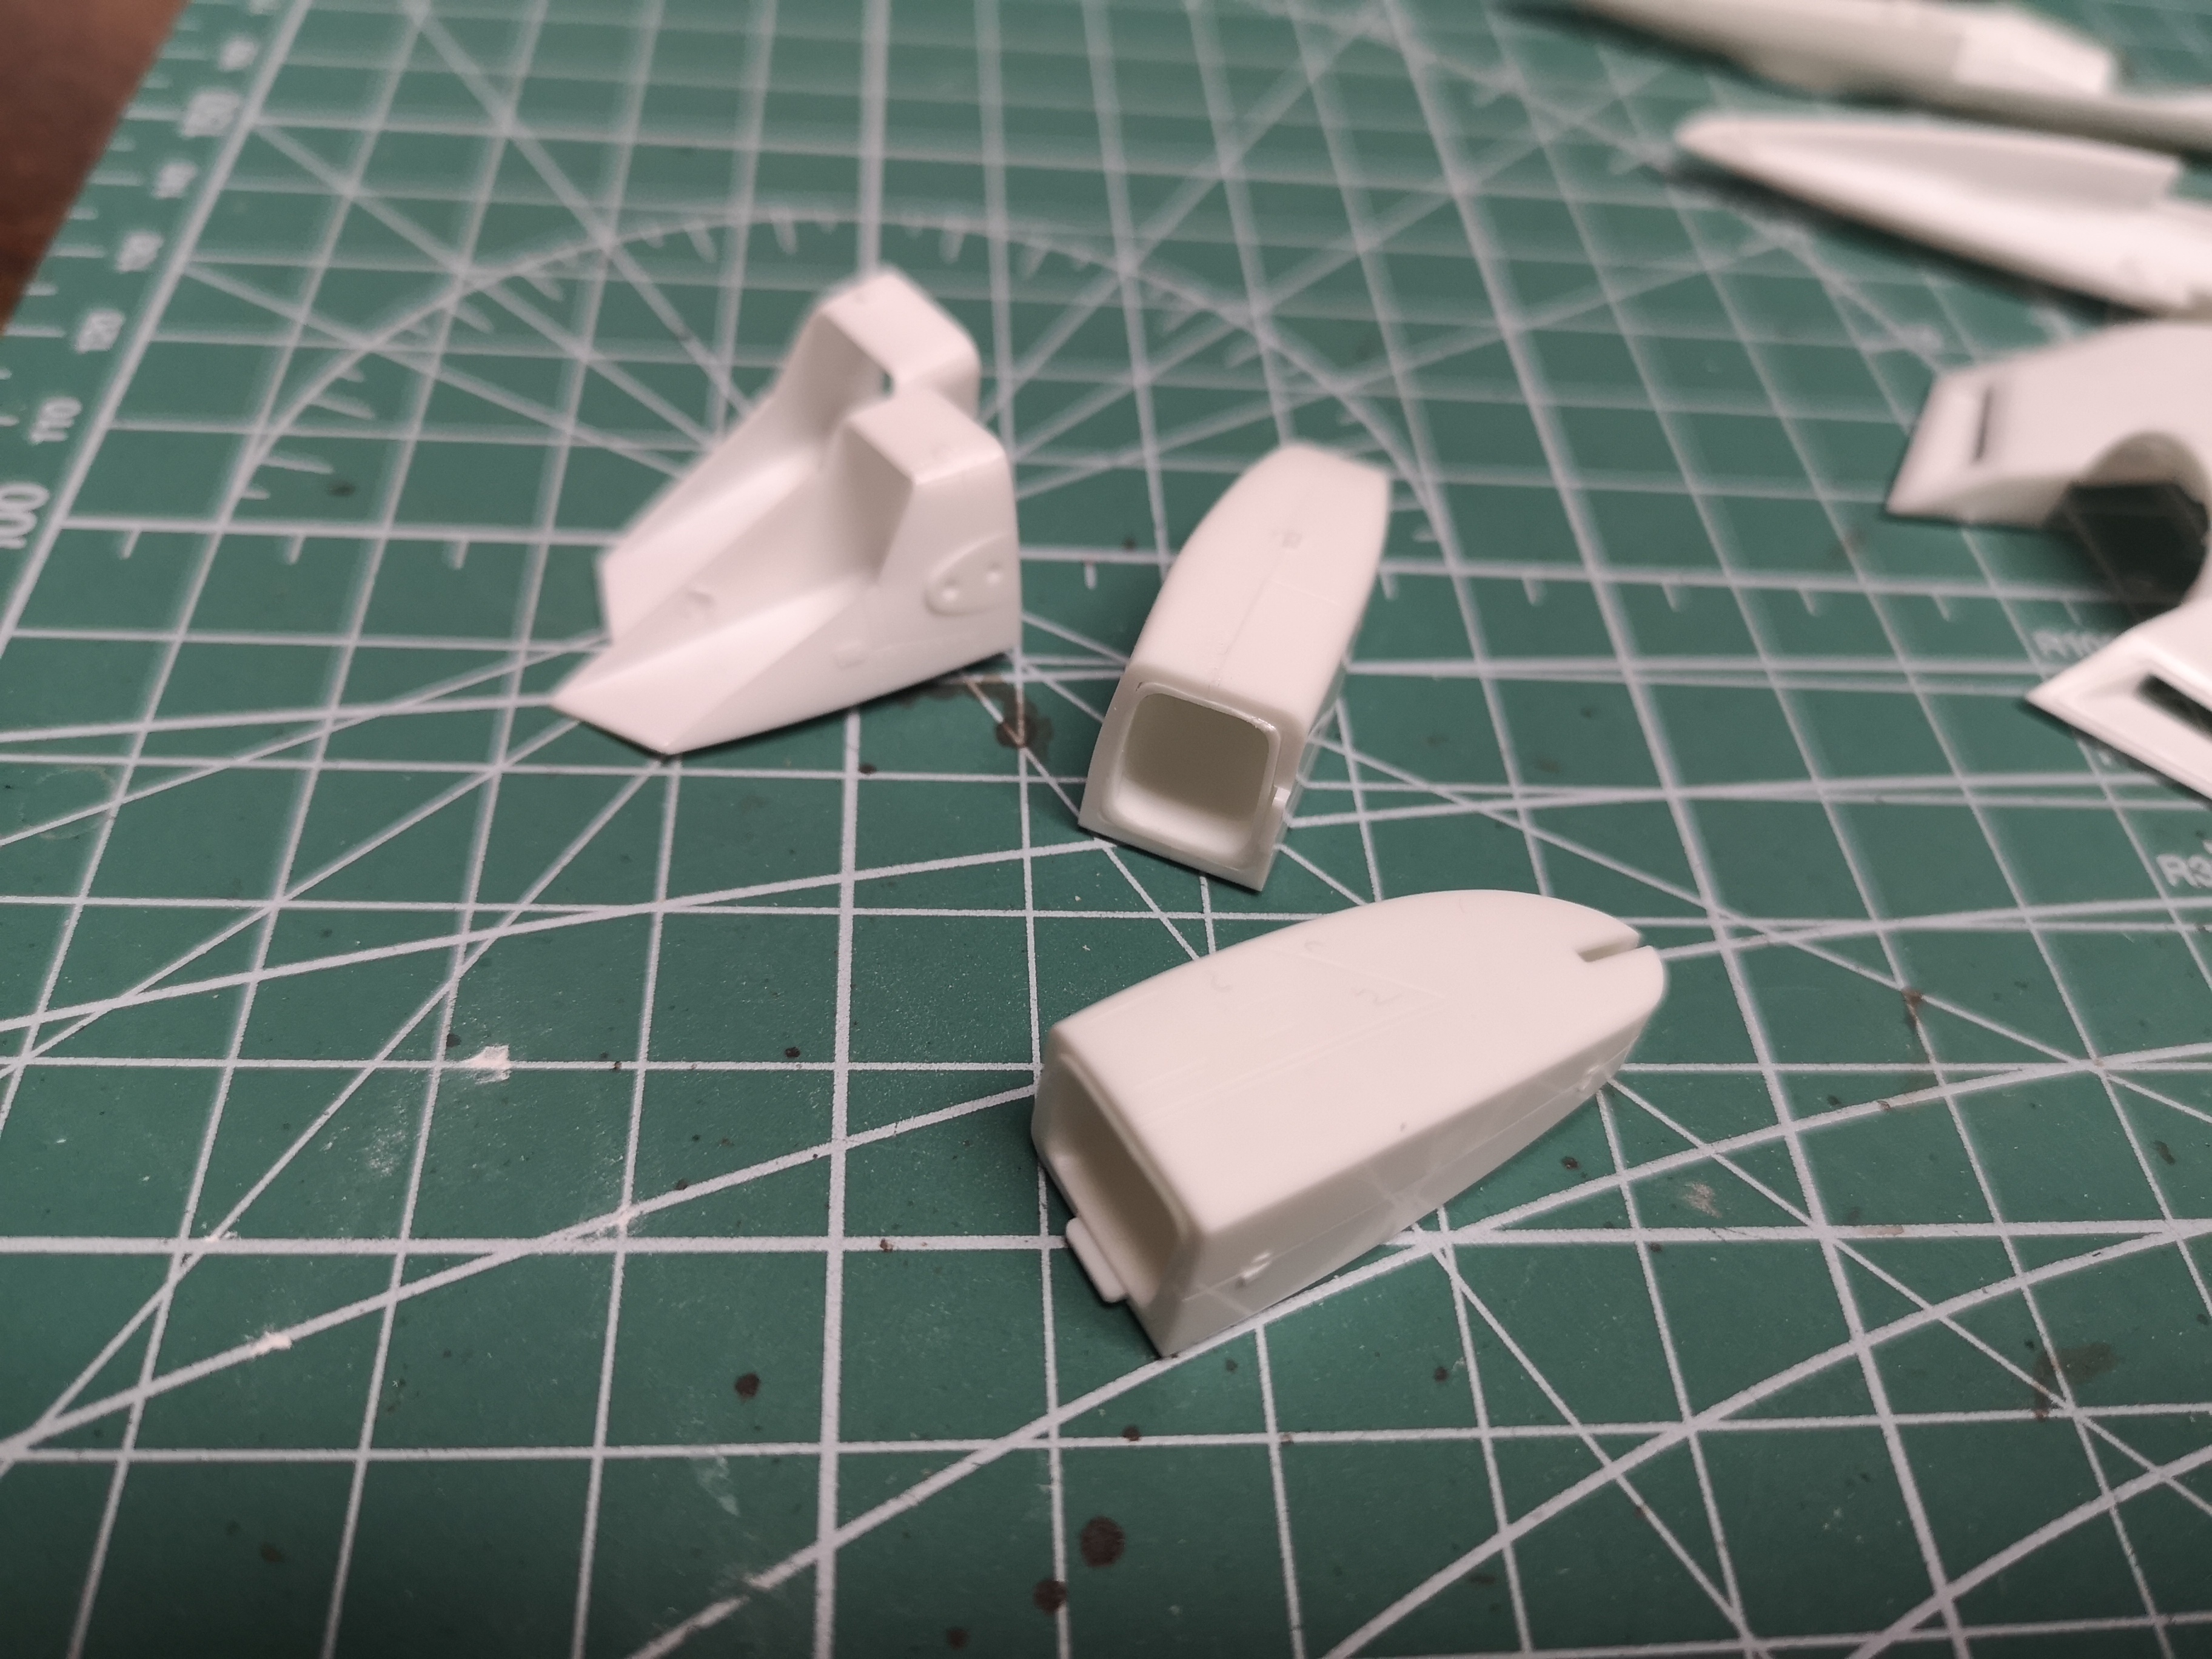
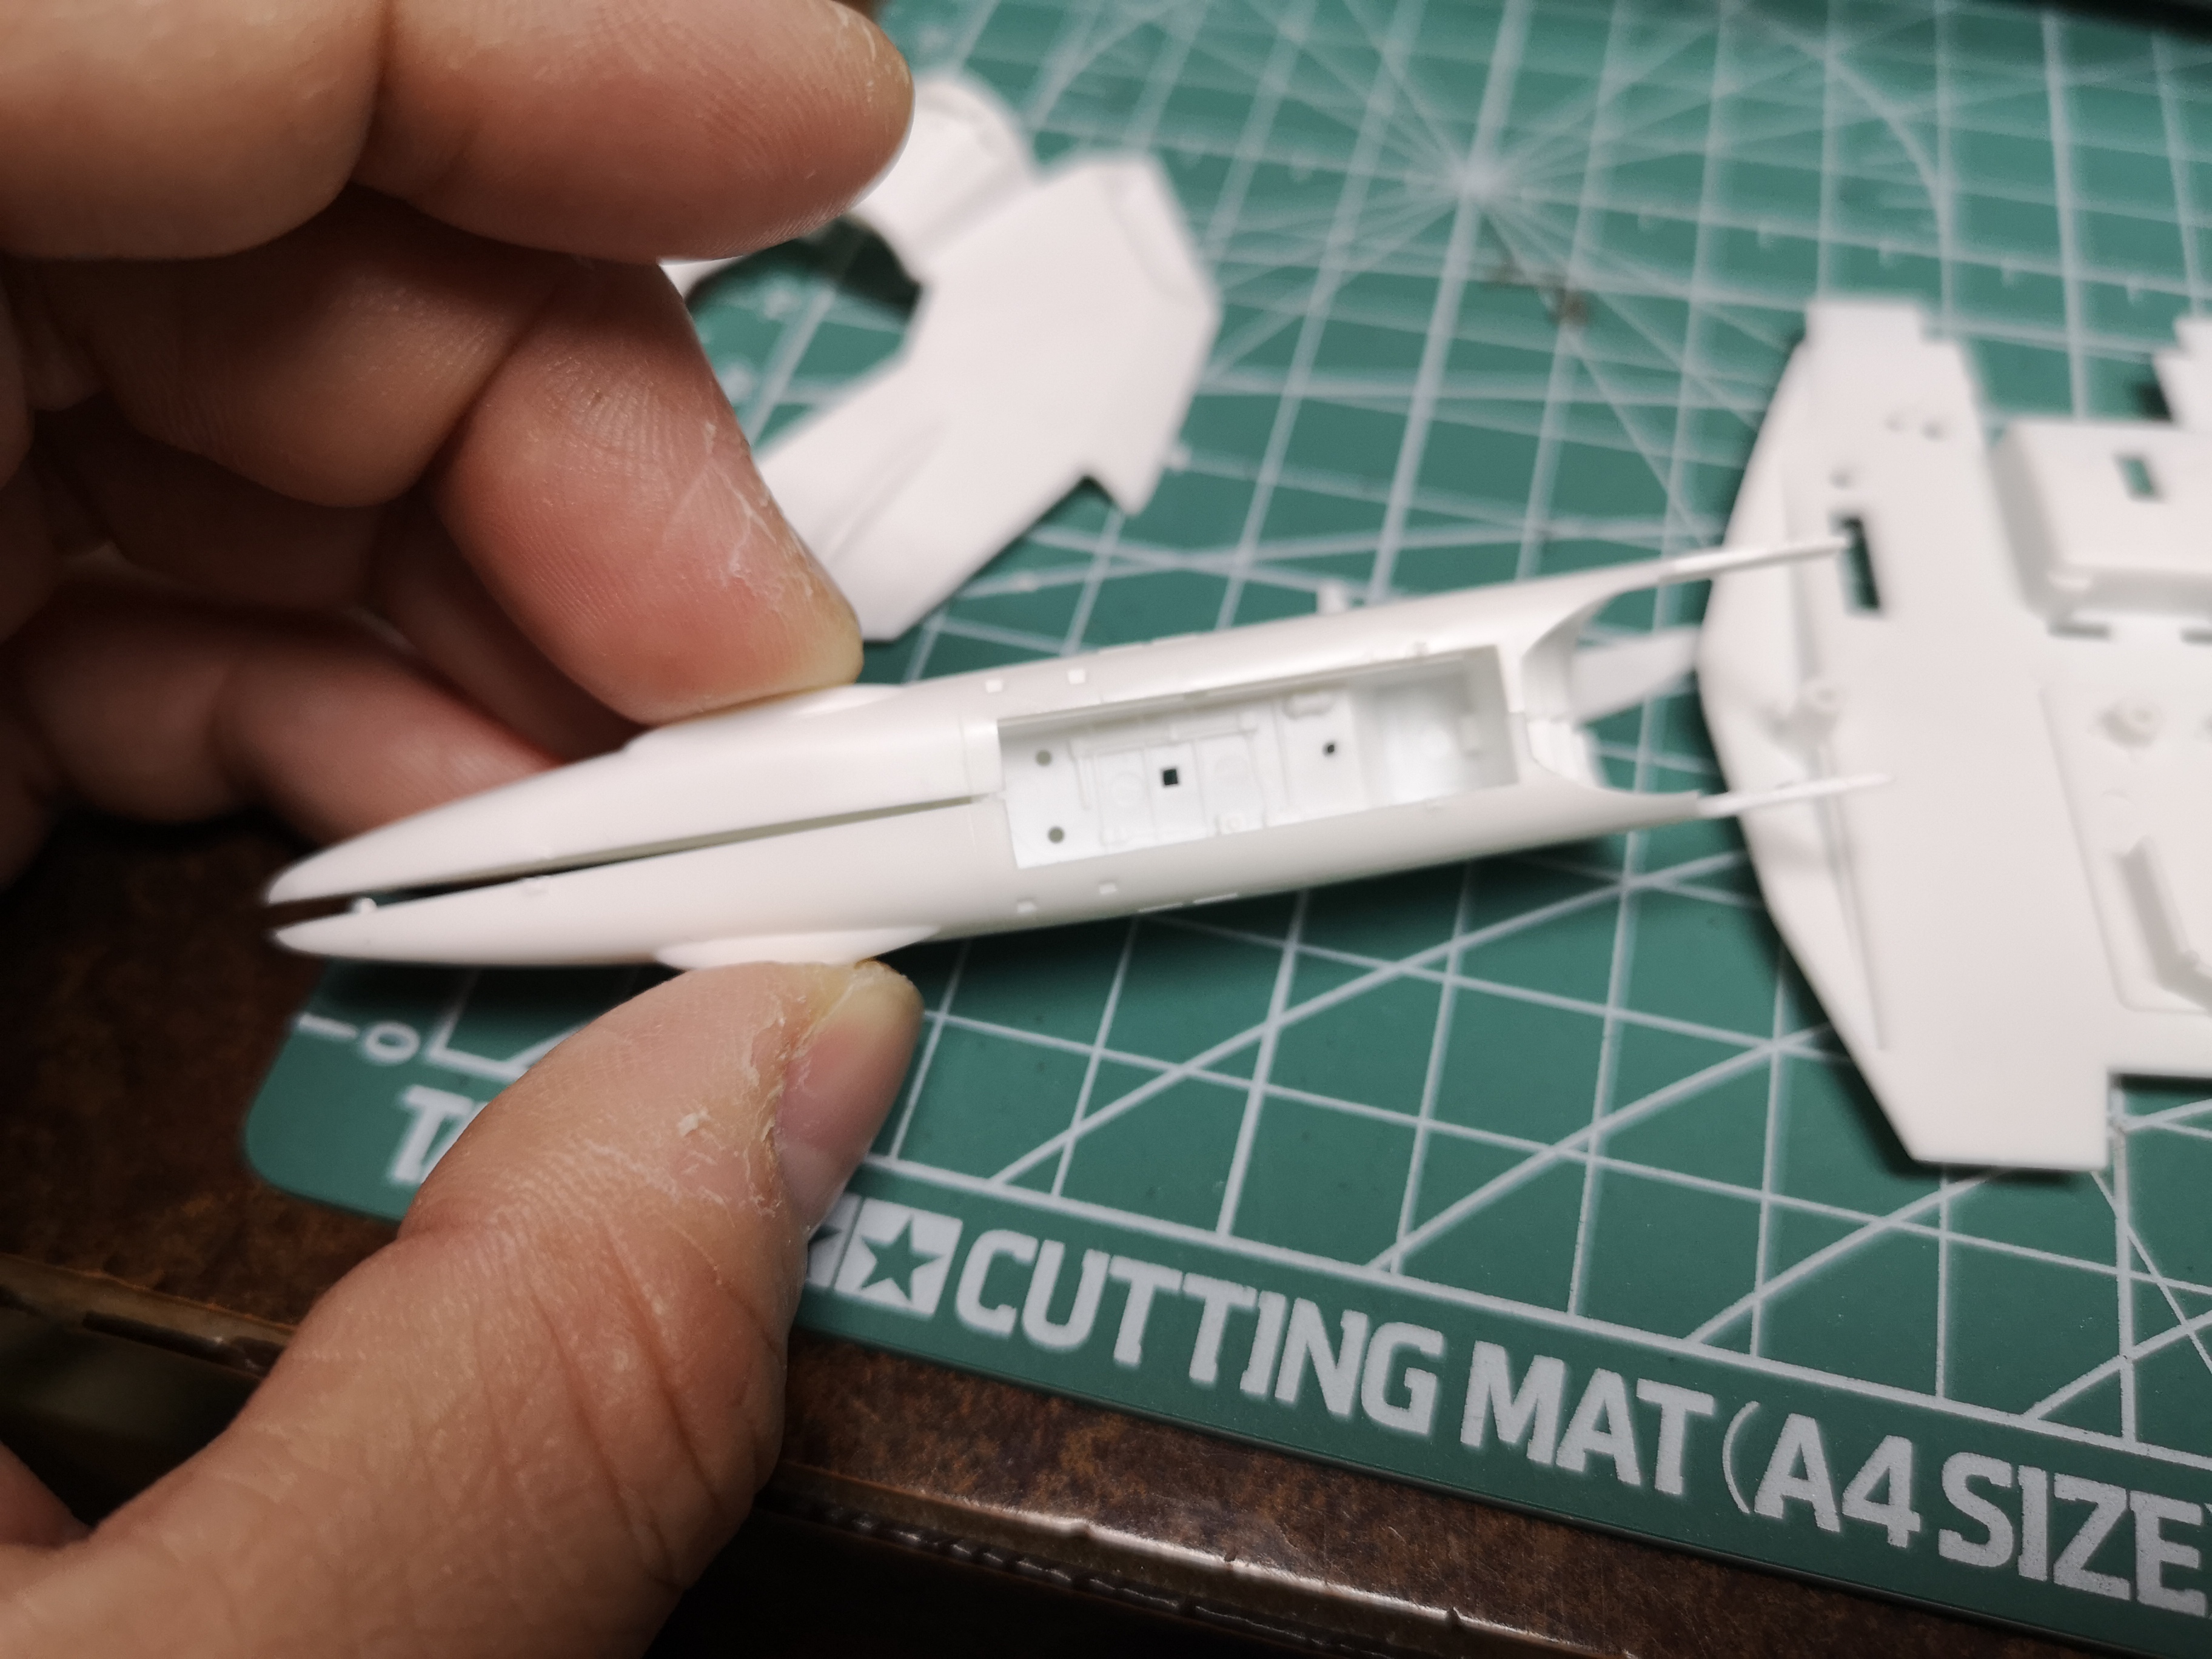
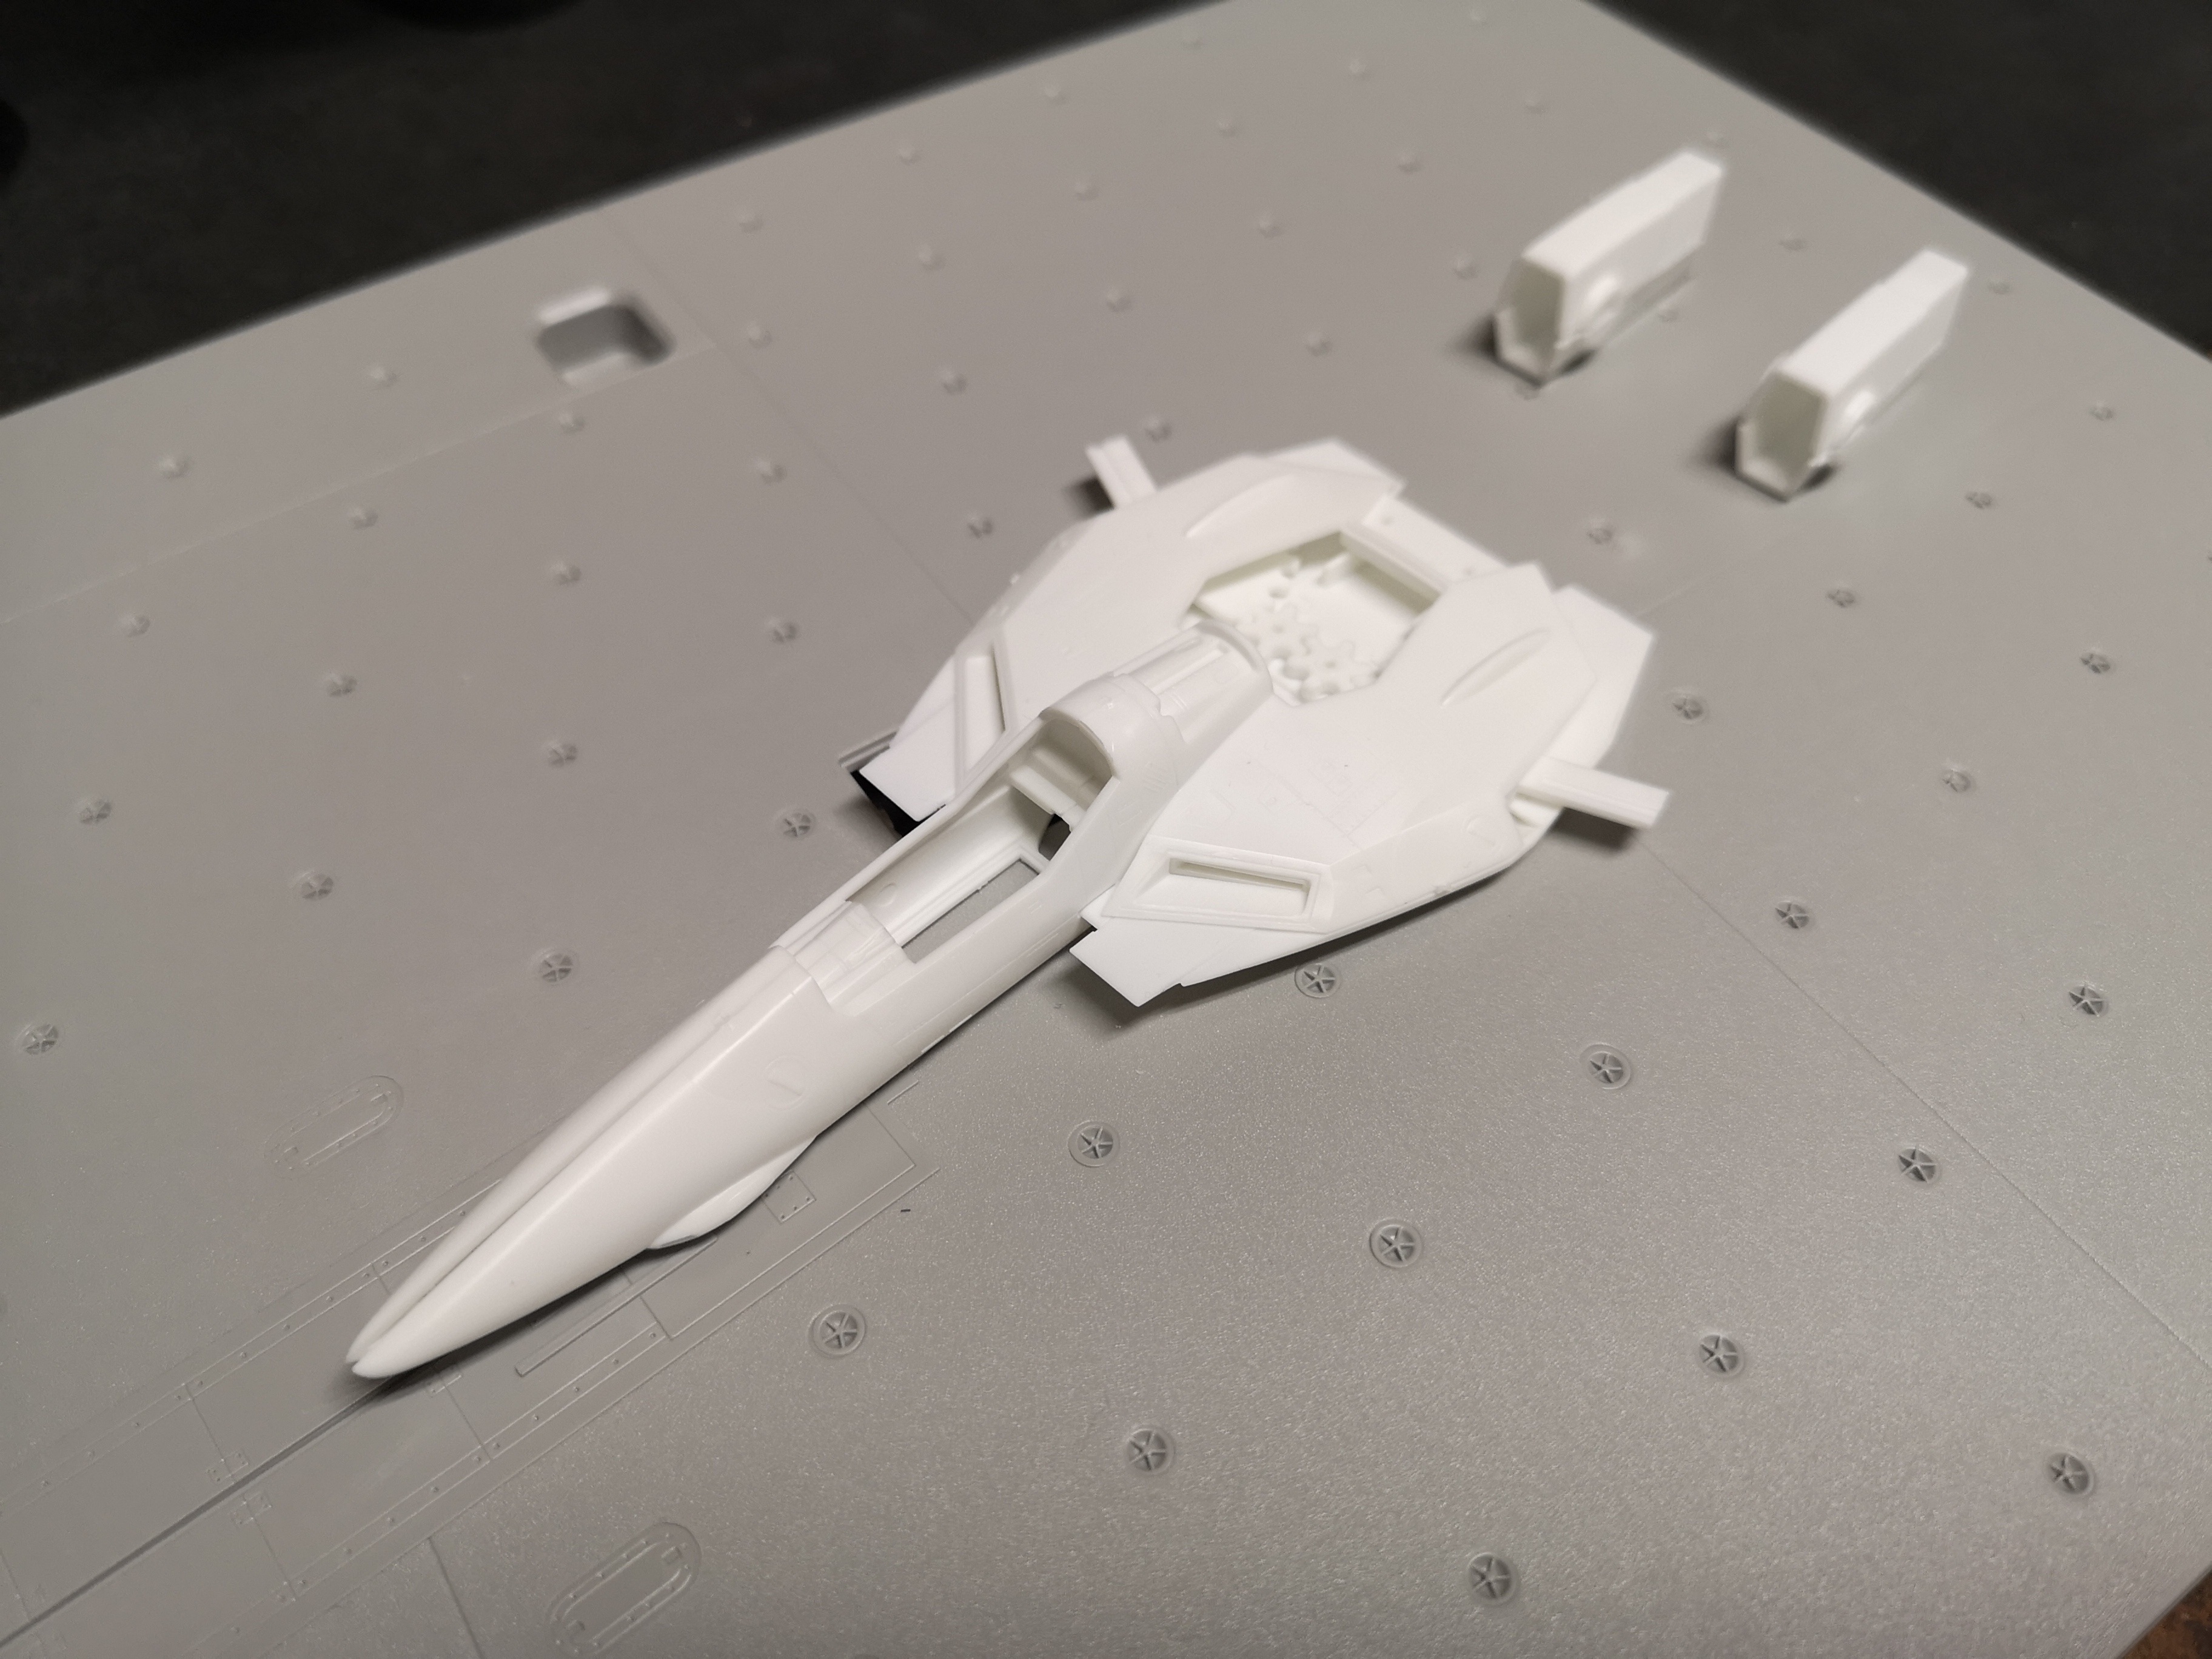
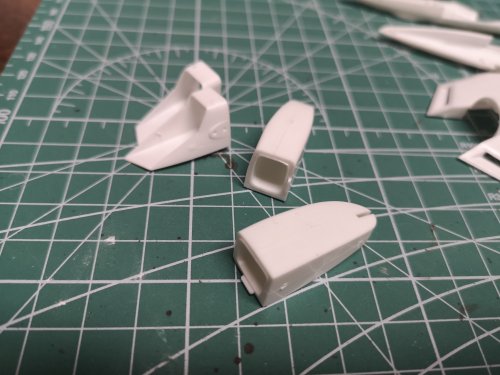
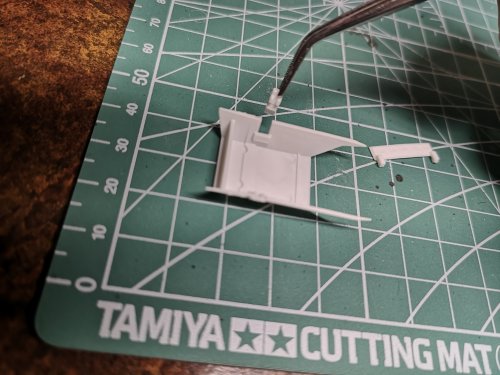
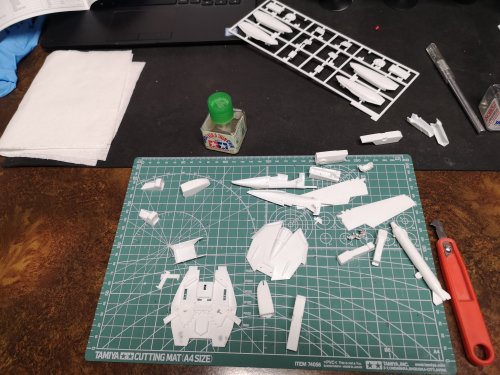
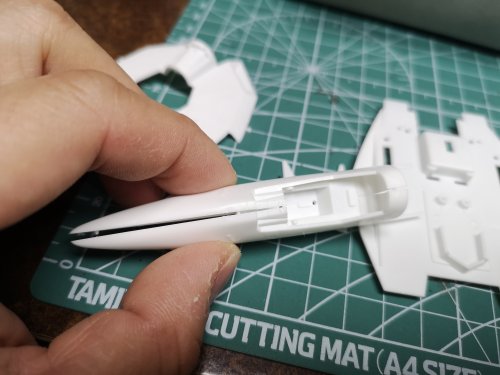
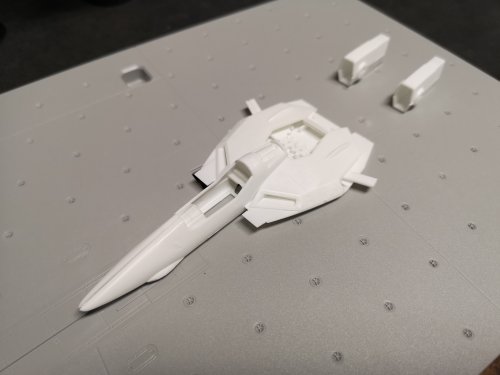
Starfleet is still waiting for the Pledge/Futures to cure, so I decided to push myself and get started on the Valk. All coming back to me, lol! Need to remove a lot of material from the cockpit so the nose will close. I remember this kit used to intimidate the hell out of me, but after building 4 Super/Strike kits in a row, it's not so scary anymore. I might build all three at the same time....we'll see. The 1A is one of the kits I robbed of a 1A head for another fighter, so it may end up as a 1S. Threw it on the carrier deck just to see what it would look like....and also motivate me to get cracking on it. I'll have to explore options to expand the deck to accomodate another fighter or two.


-
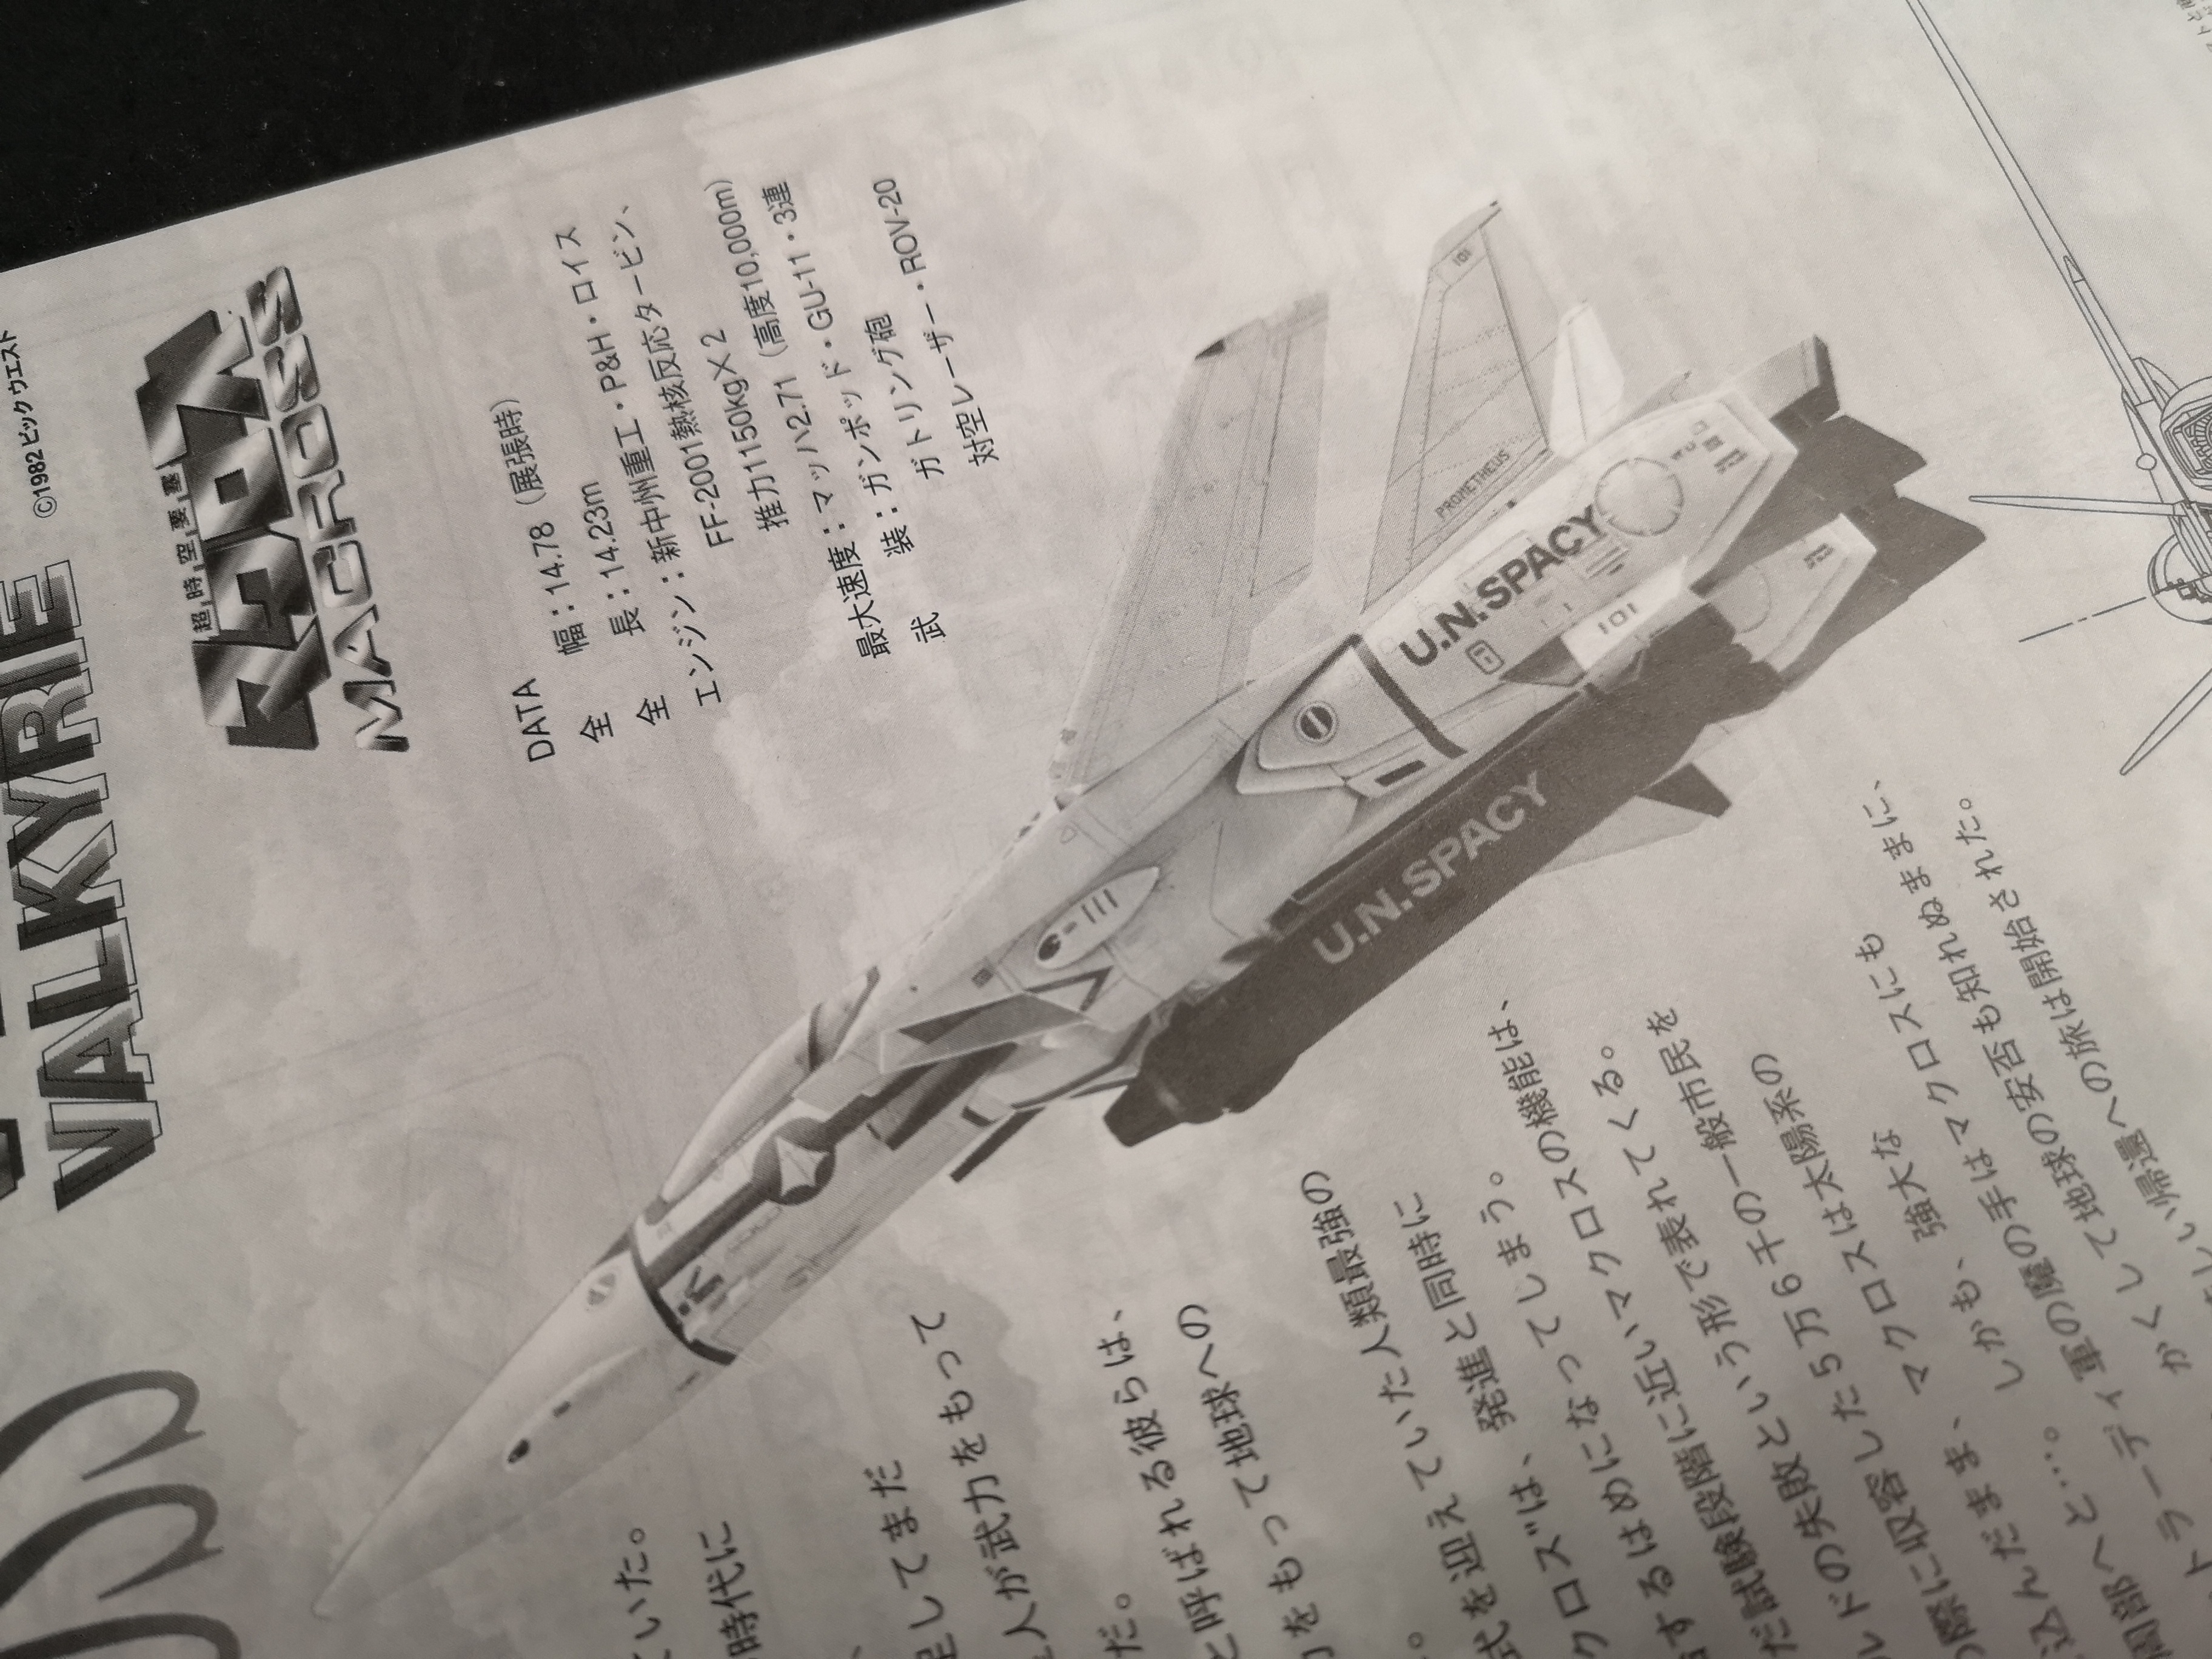
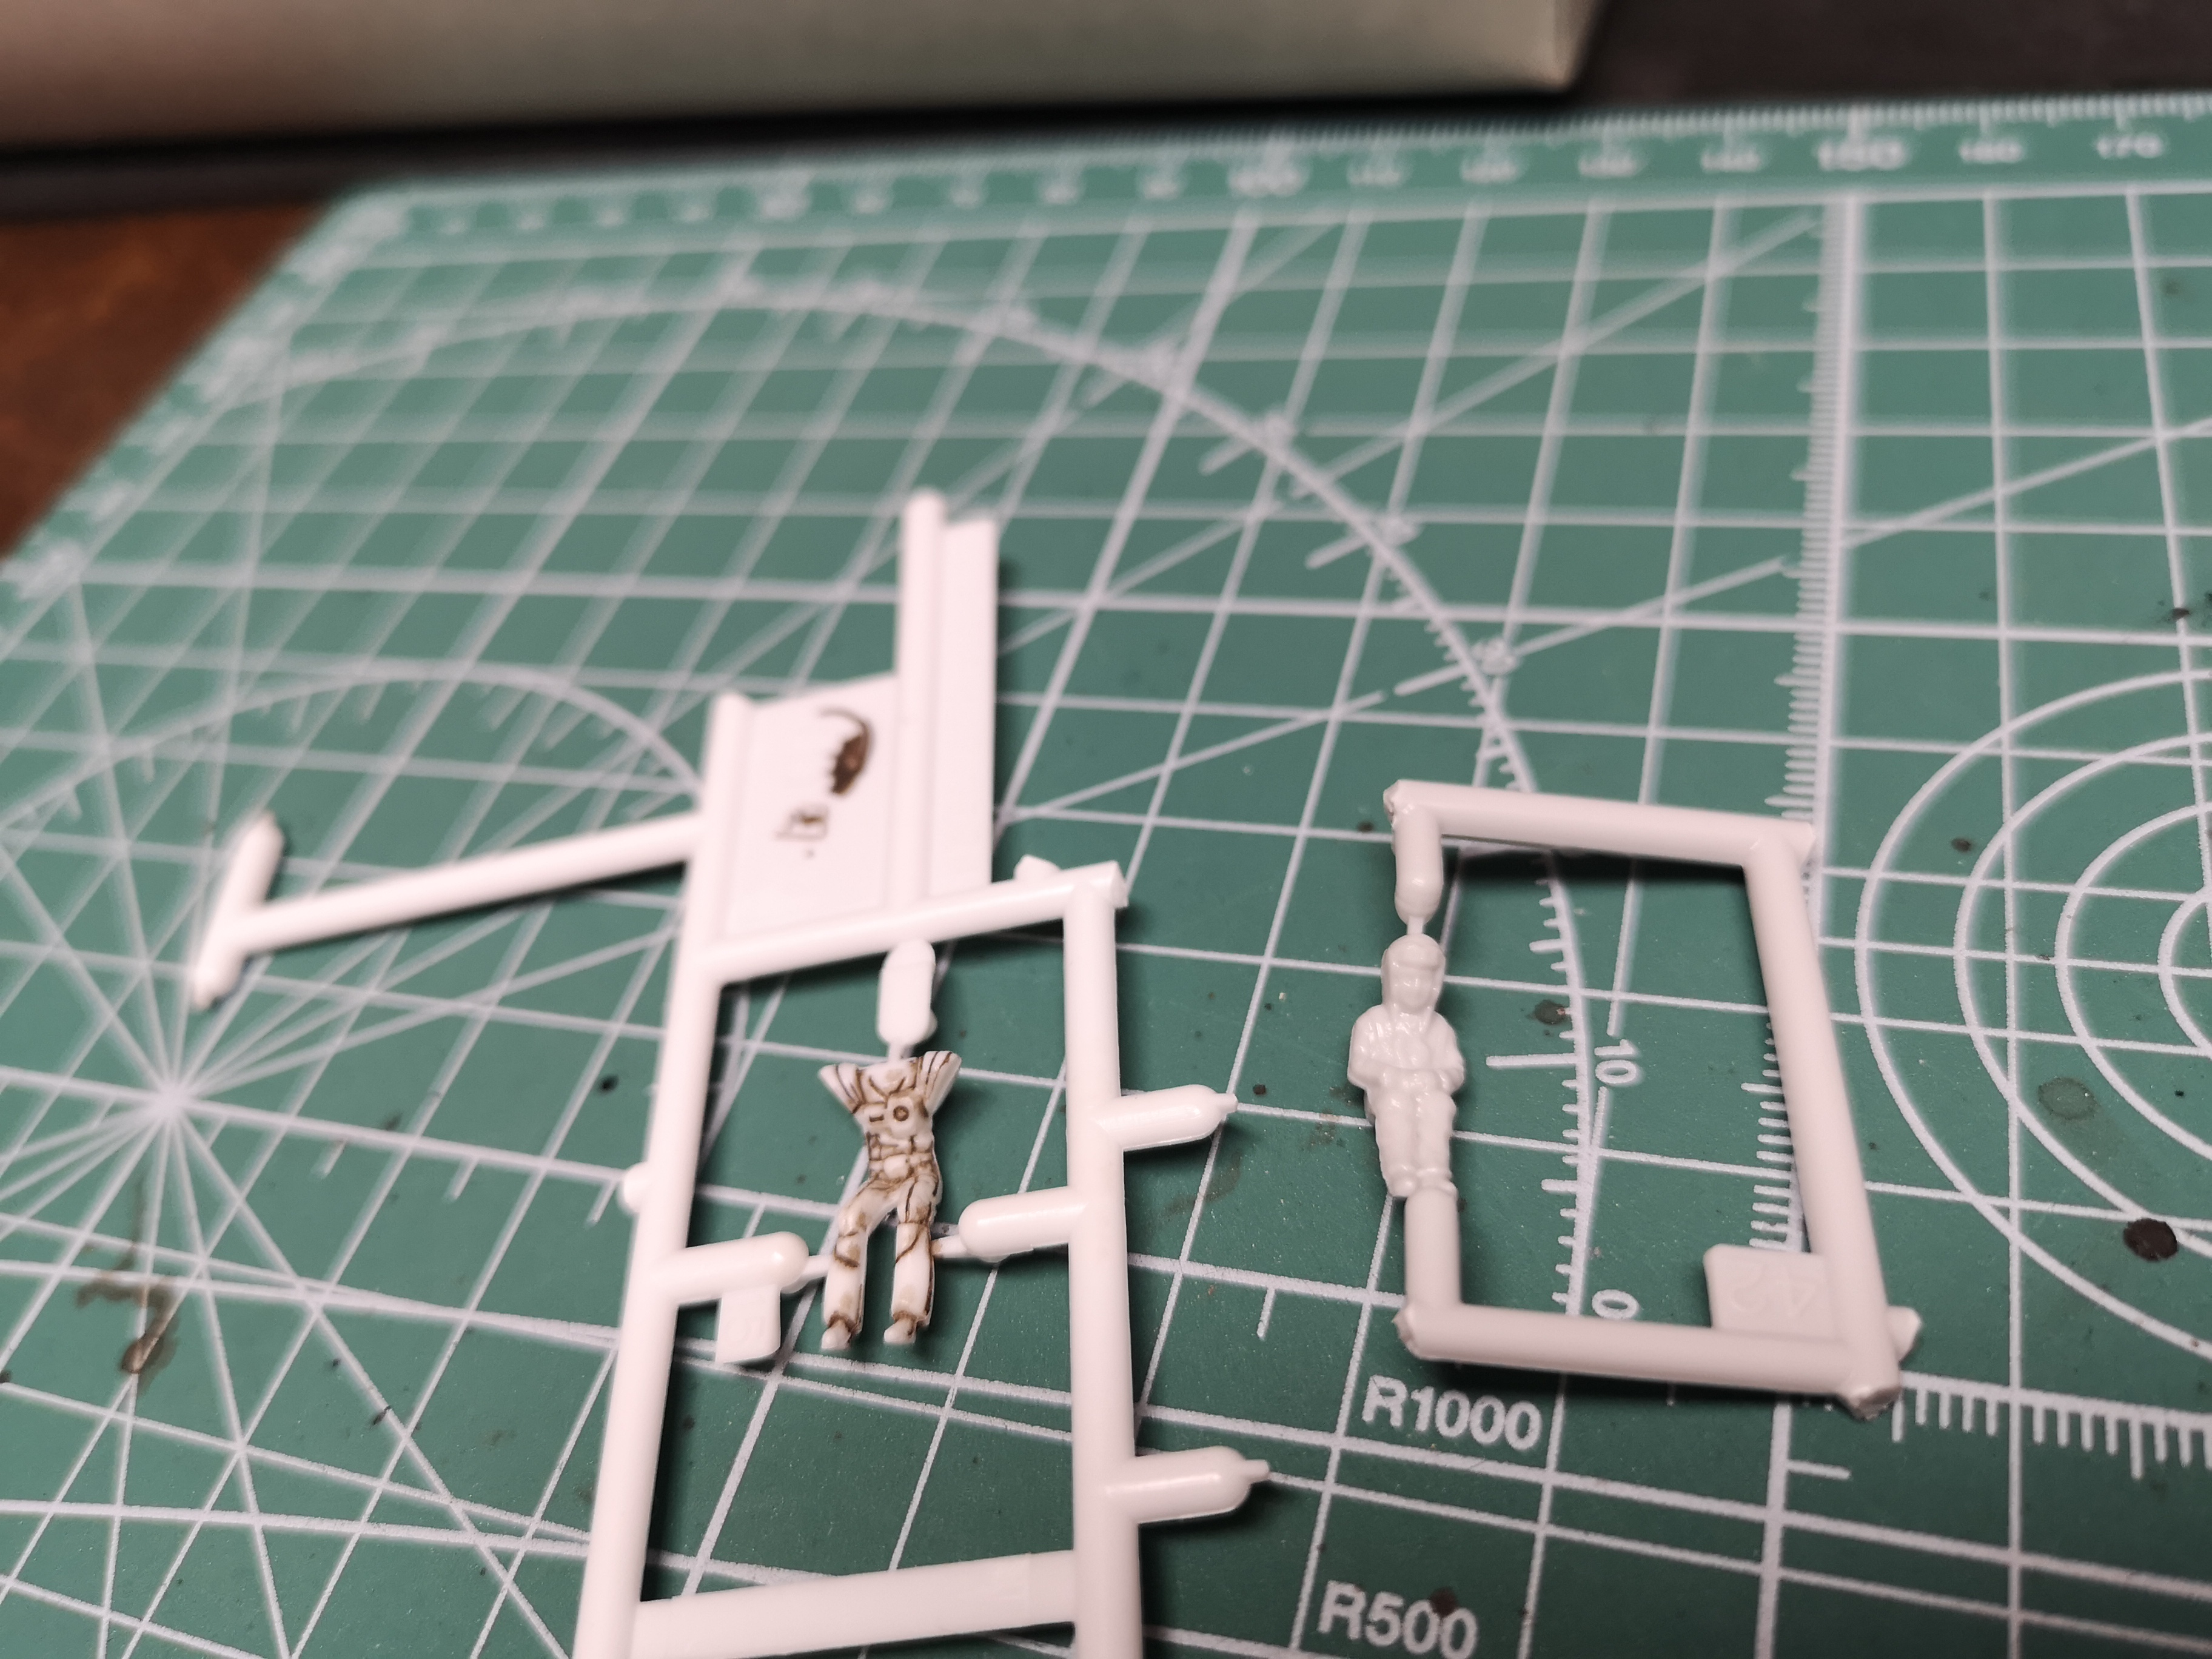
Ohhhhhhh......I've always thought about buying a loose and badly yellowed 1/48 Yammie to muck around with. Too bad about your 1D kit, but I like your idea to resurrect that Valk as a low vis 1J. The DX 1D is right around the corner, may as well just grab that since they're making it. Then you can turn that 1J into something that isn't already produced. Are 1/48 Valk decals available after a repaint? I never looked into it, but I would definitely want to get Hasegawa level amount of decal detail if I were ever to take on a project like that. While I'm waiting for the Pledge to cure so I can flat cost the starships, I'm trying to find inspiration for my next build. I'm thinking this. The 1J might actually be my very first Hasegawa Valk, bought it from HLJ when these first came out and I never built it, lol! How long ago was that??!? This image makes me laugh because it shows the landing gear bay doors closed, and when I did my Skull Squadron with wheels up, I remember what a PITA it was to do them closed. I have tons of spare TV missiles left over so I can arm the thing at least, but should Hikaru's 1J get a DYRL pilot on the left or should I just throw a lame Imai/Bandai Valk pilot (right) into the cockpit? Should I even build it as Hikaru's 1J or maybe a non-canon paint scheme.....so many decisions. Lol, I almost forgot these things didn't come with pilots. I wonder what people do for their Elint Seekers and Super Ostriches......


-
Oh man, I'm almost tempted to try and build a Valk in the colors of his Me262. Will have to practice a lot more with the airbrush though.
-
@pengbuzz @slide @Gabe Q Hey eveyone, You guys are great, thanks for even taking the time to look. Color doesn't matter, I'll be painting them any, and I have lots of spare decals for the arrows on the heads Peter
-
Not only is that an amazingly ng looking build, but that's actually a really good looking plane. I might have to build a plane next, after all of these starships. Will have to dig through my pile to see how many Valks I have. This might be a long shot, but does anyone have any spare Hasegawa VF-1A heads for fighter mode I can buy? Back in the day, I bought more VF-1S Strike fighters, so I ended up ransacking the few 1A kits I had to complete Skull Squadron. I think I need three. I even had to go through my Bandai 1/72 kits and stole a 1A head from another kit. If not, no worries, I can always just buy a few more 1A fighters.
-
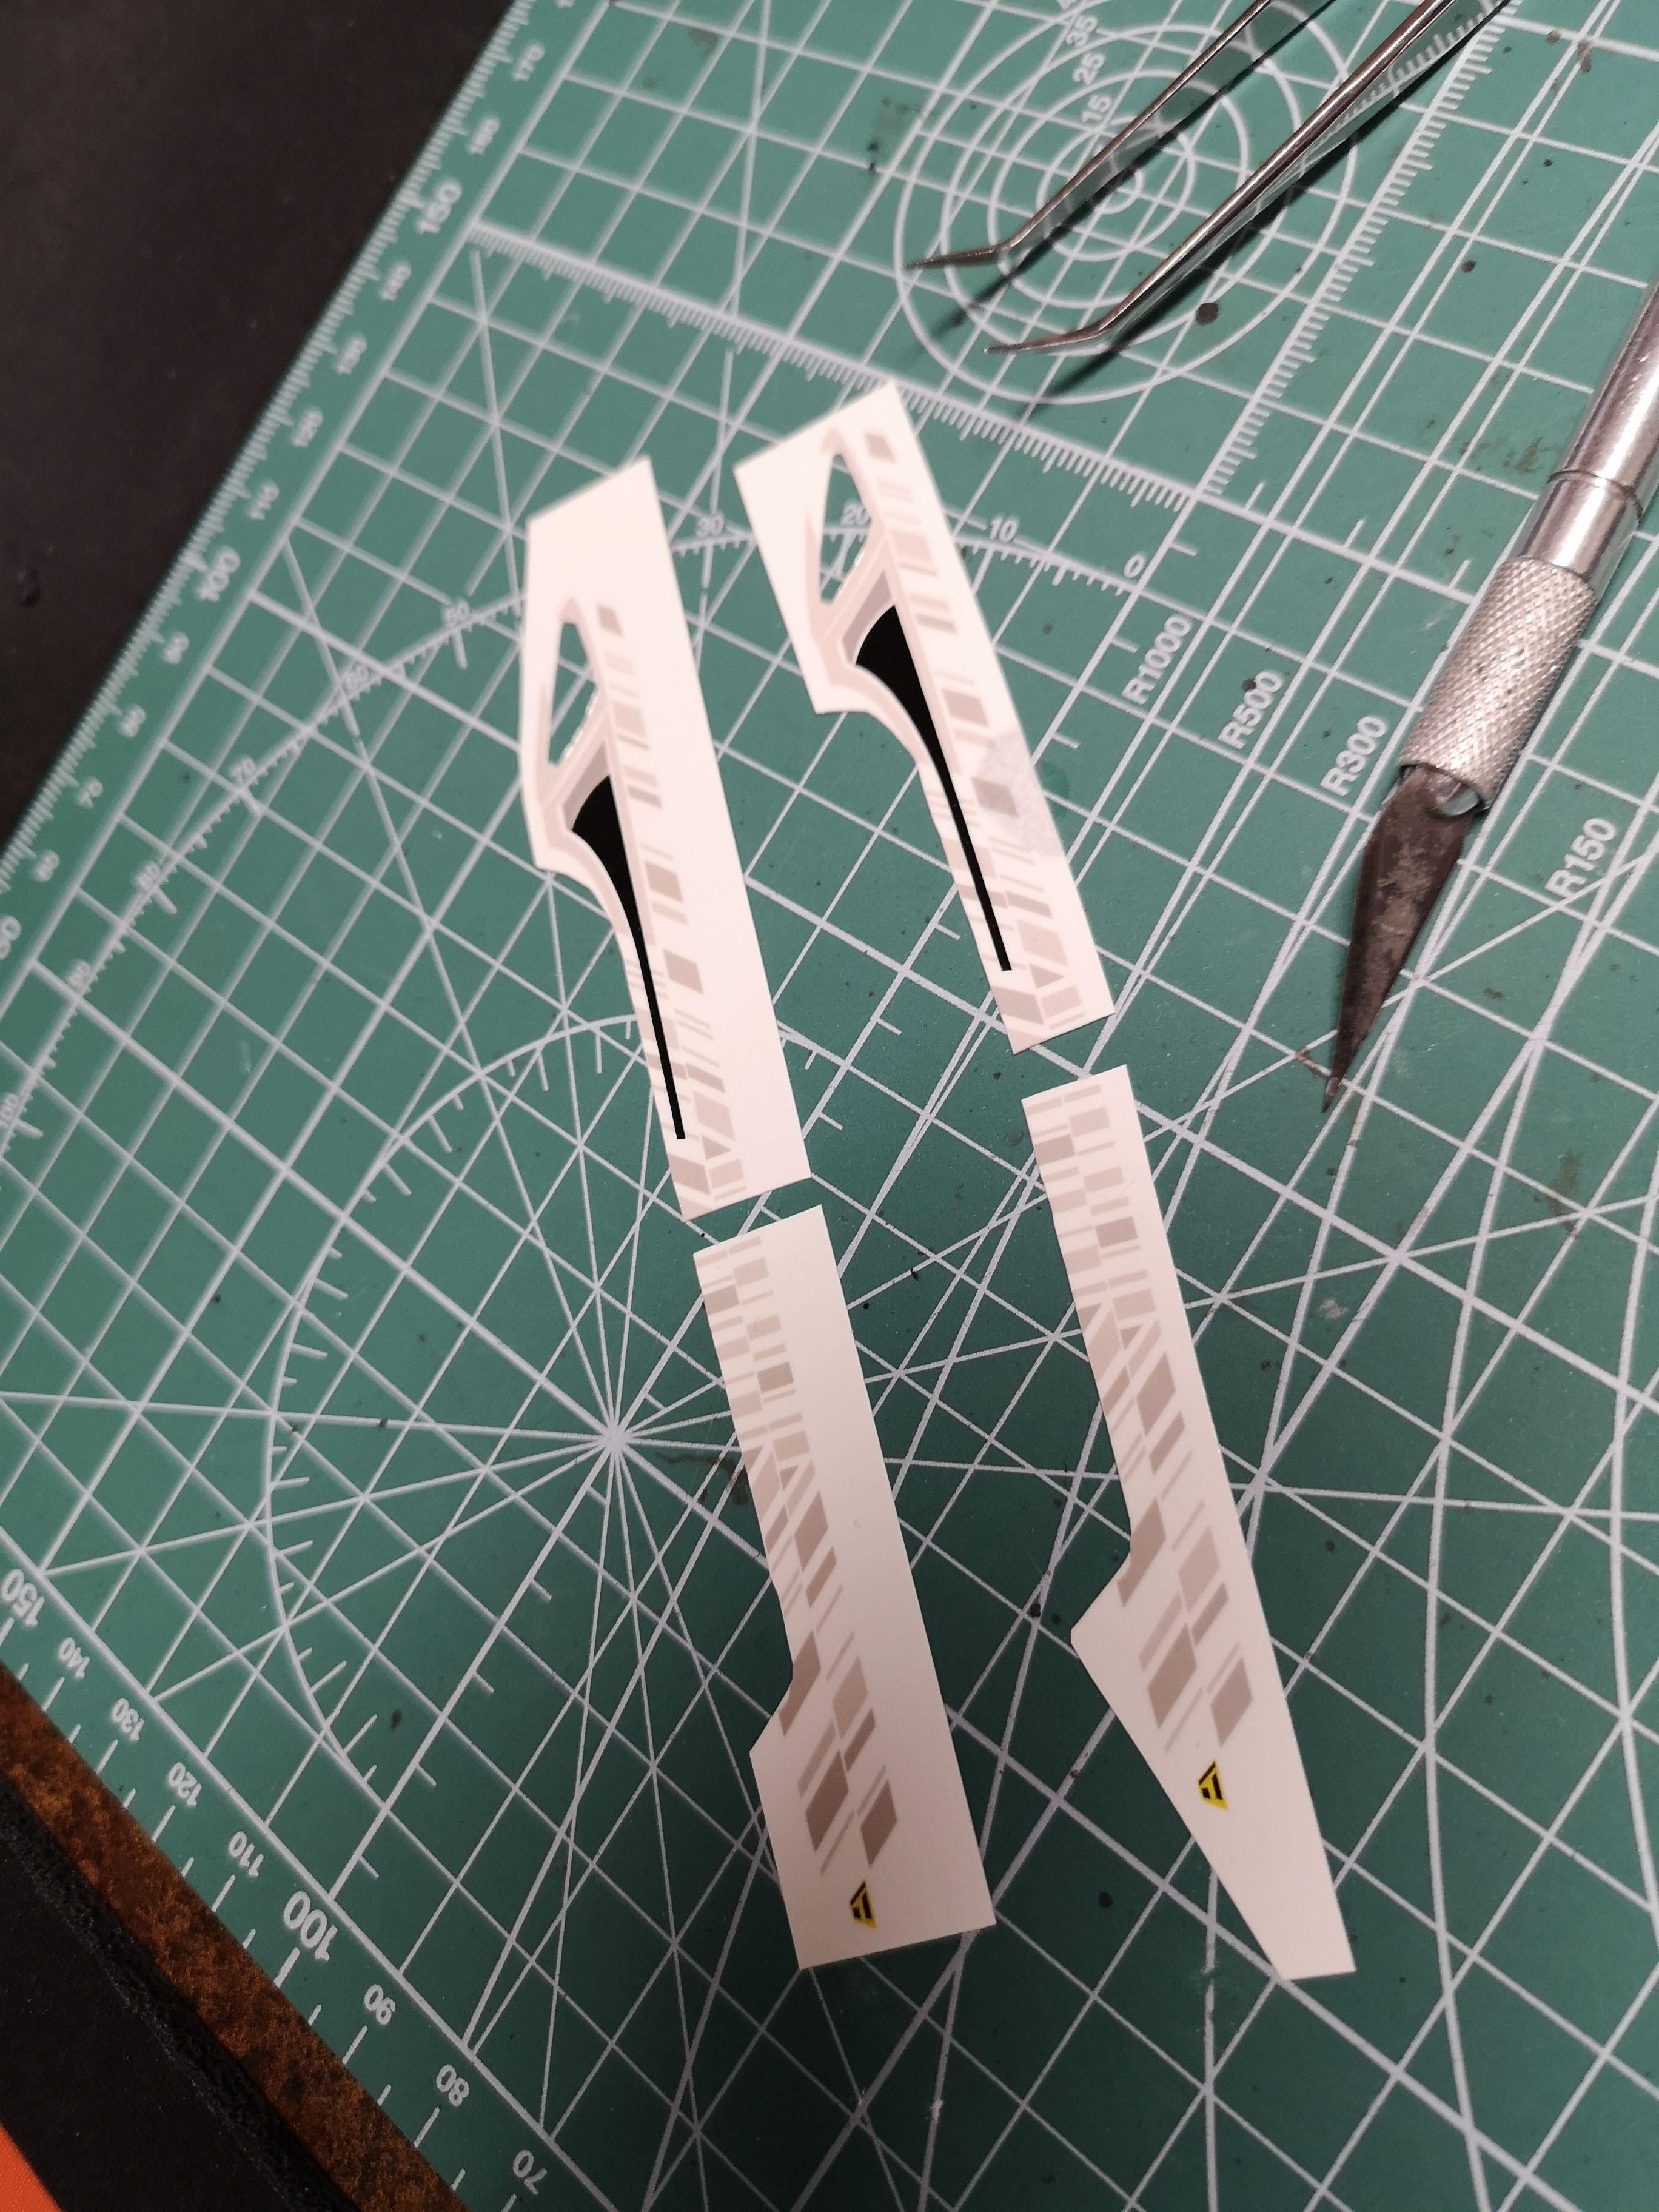
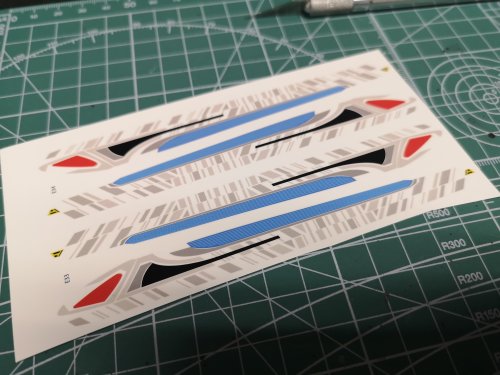
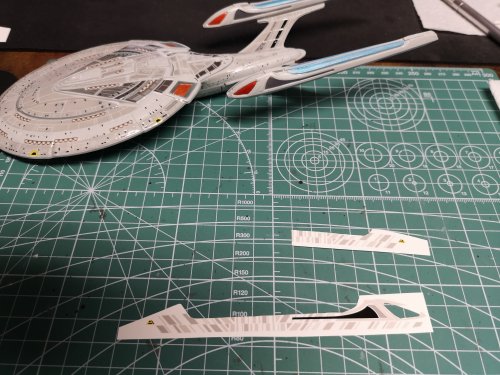
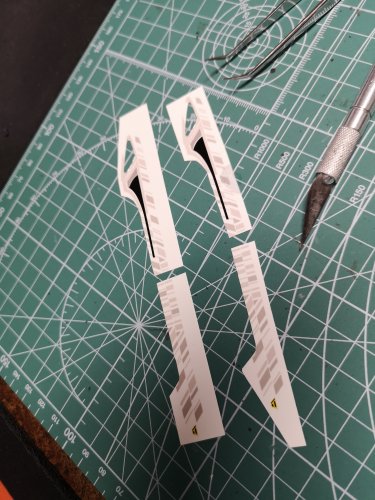
Ent E Since I painted the red, blue and black bits, I had to figure out how to cut these out. There was a lot of contact between the Aztec and black, so I decided to just leave it. I don't like long skinny decals, lol! No major mishaps. More on ng skinny decals, lol! This one was a bit awkward though because it twists. More to follow.


-
One thing to note, the other variable I changed was the water temperature. It wasn't just warm, it was hot. Not boiling, but the tap was maxed out for hot. I did notice the cracking and fragmenting would start as soon as the water went from warm to cold. I don't know if the two are correlated, but I'm sticking to hot water on any AMT decals from now on.
-
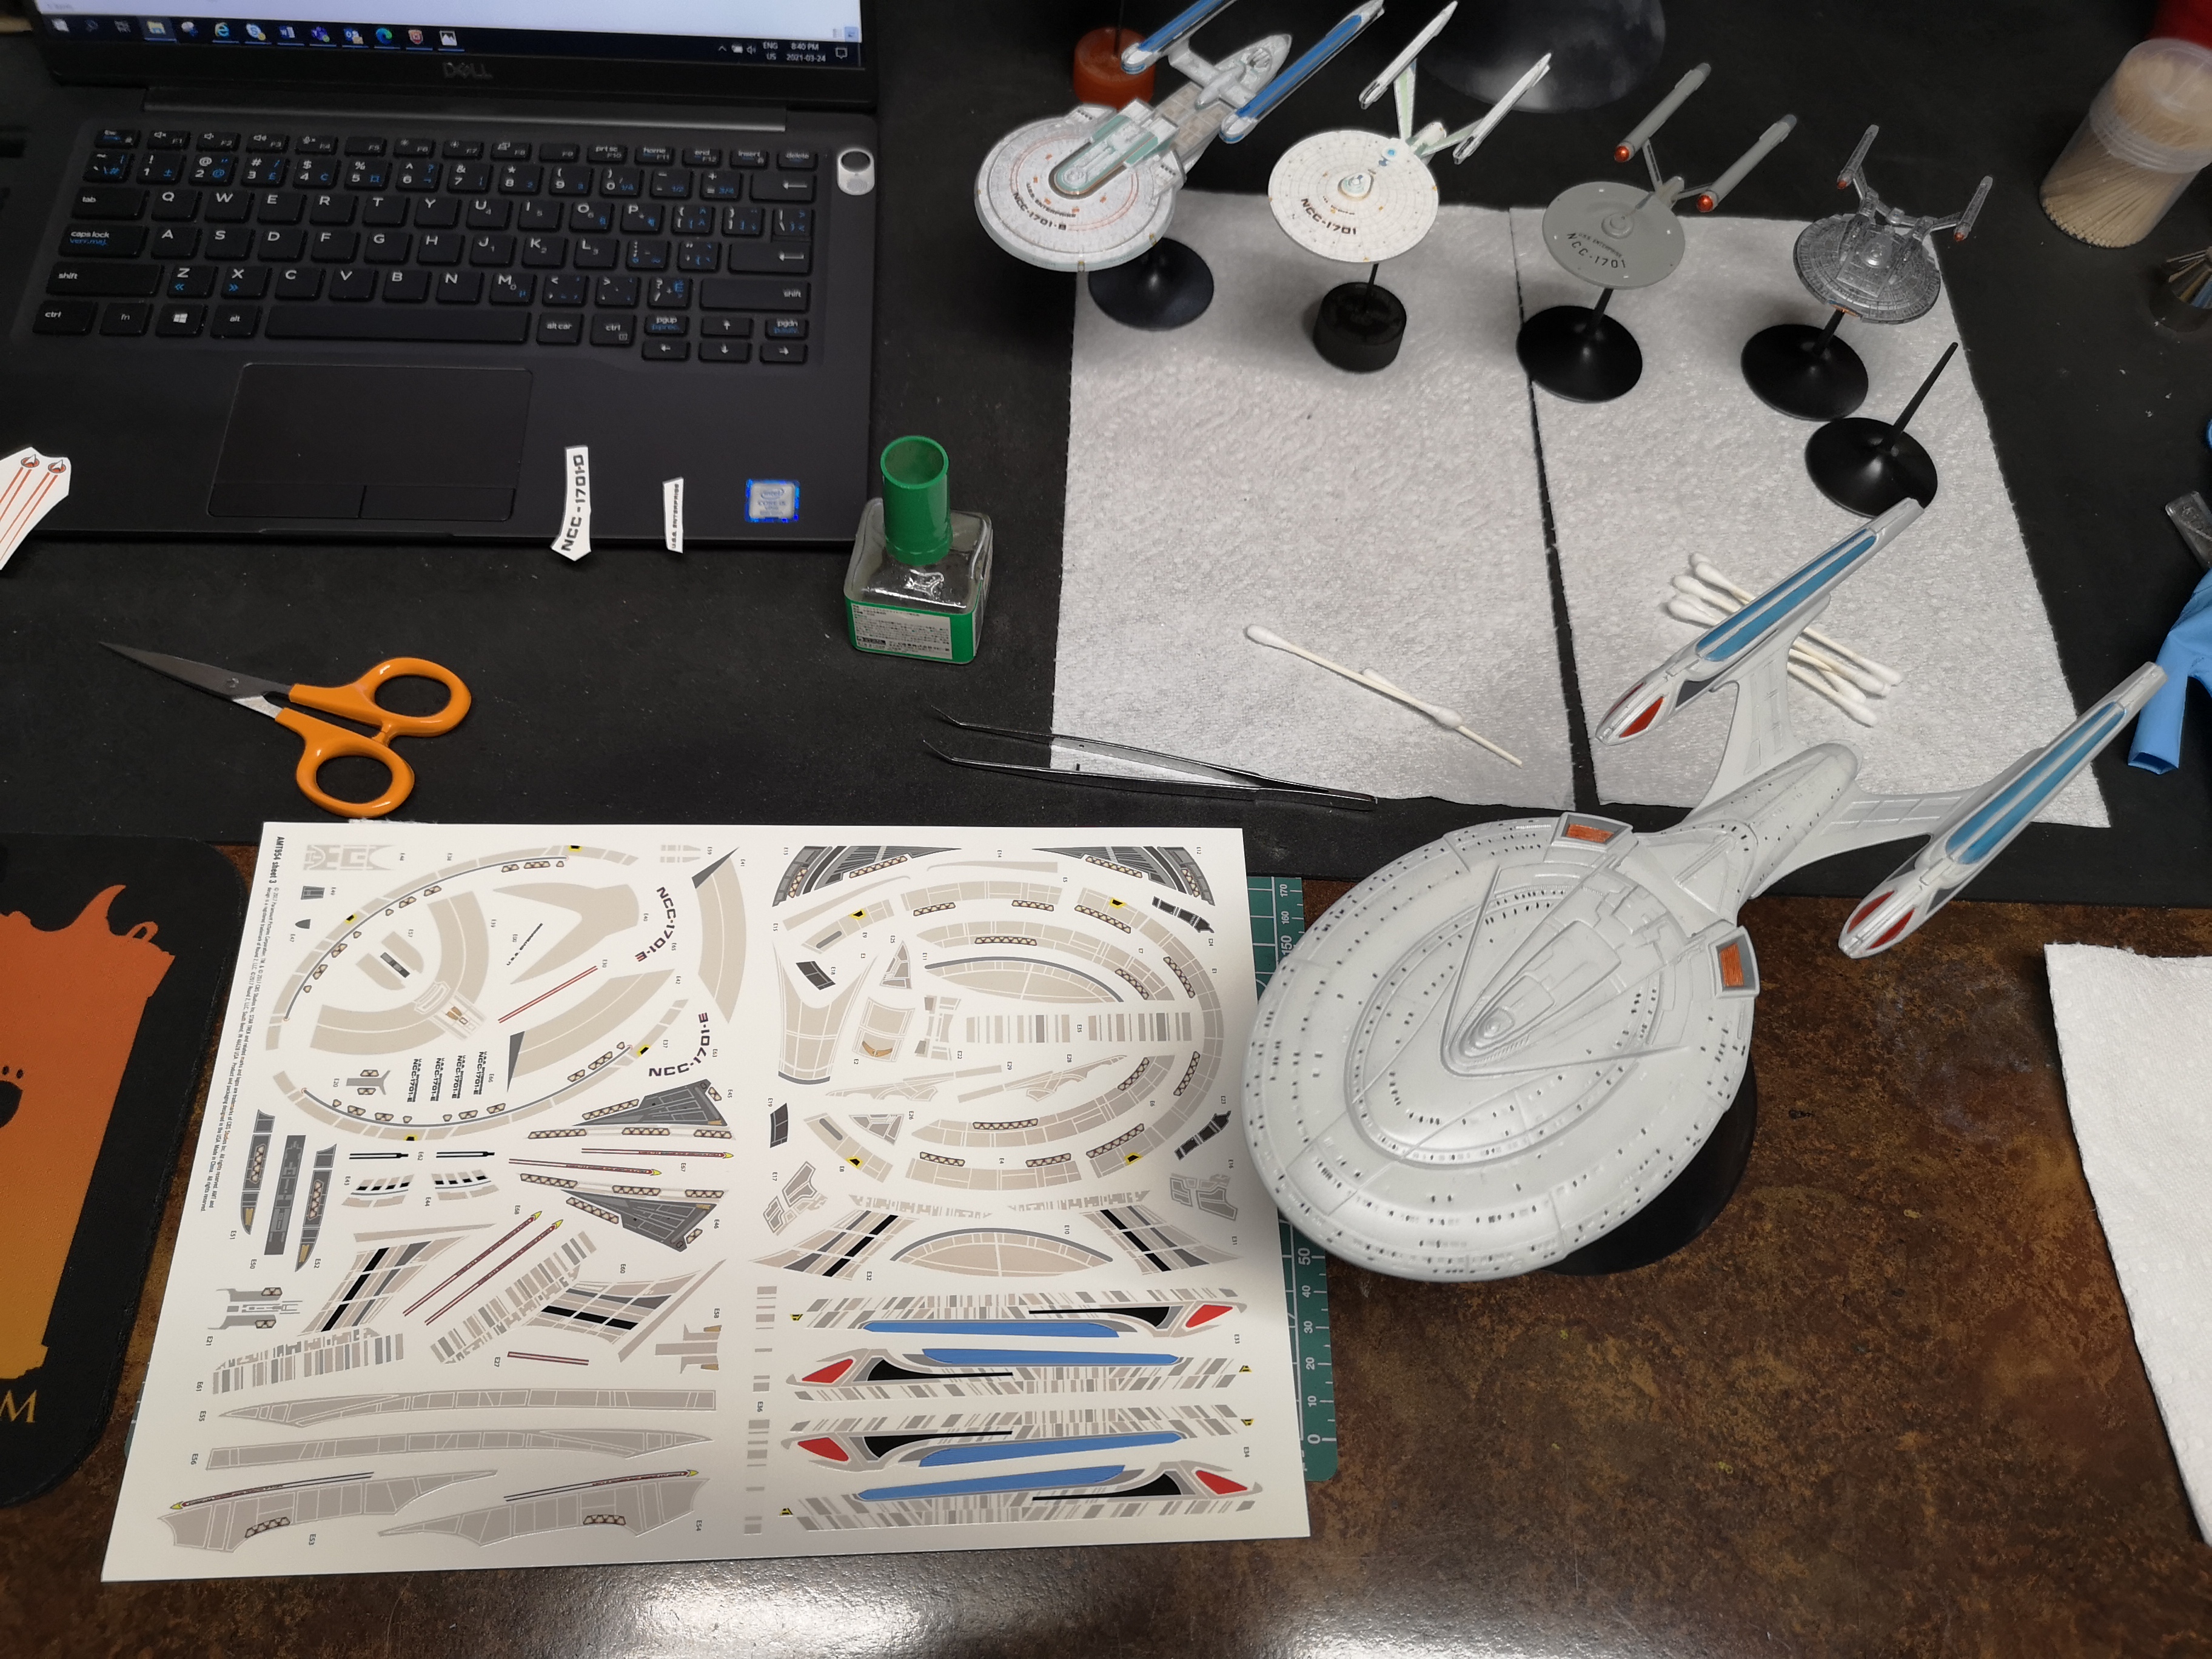
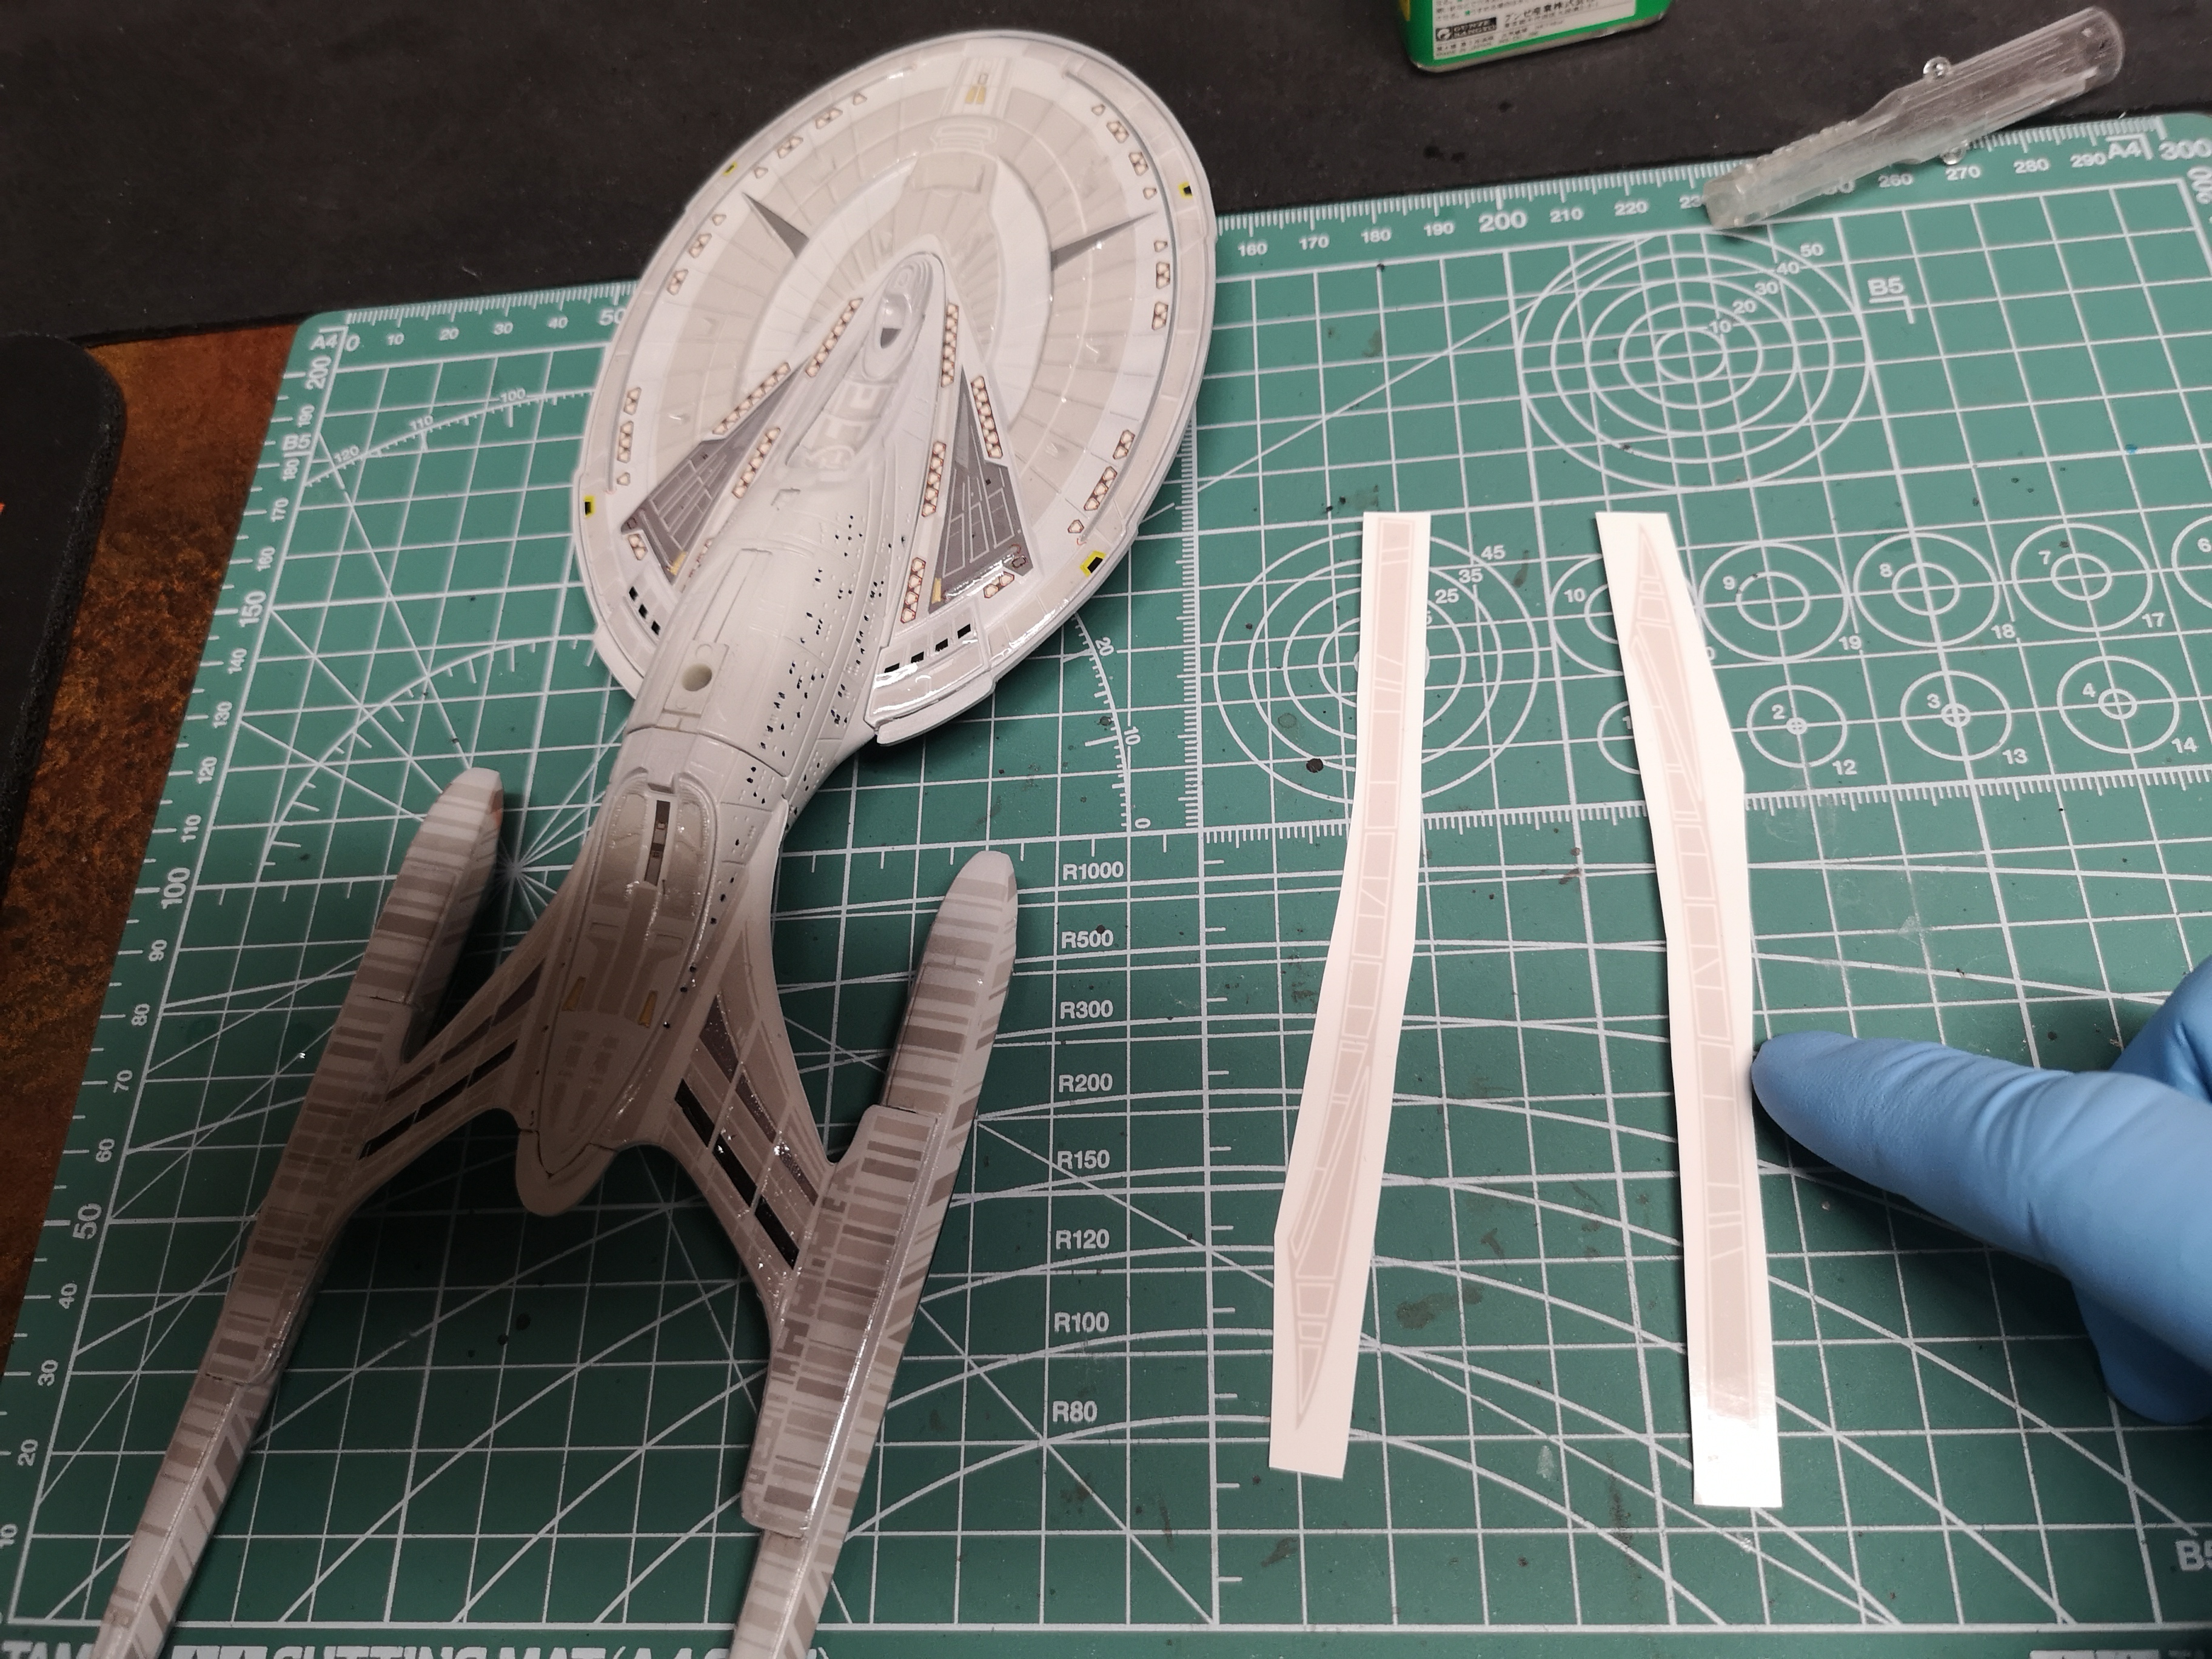
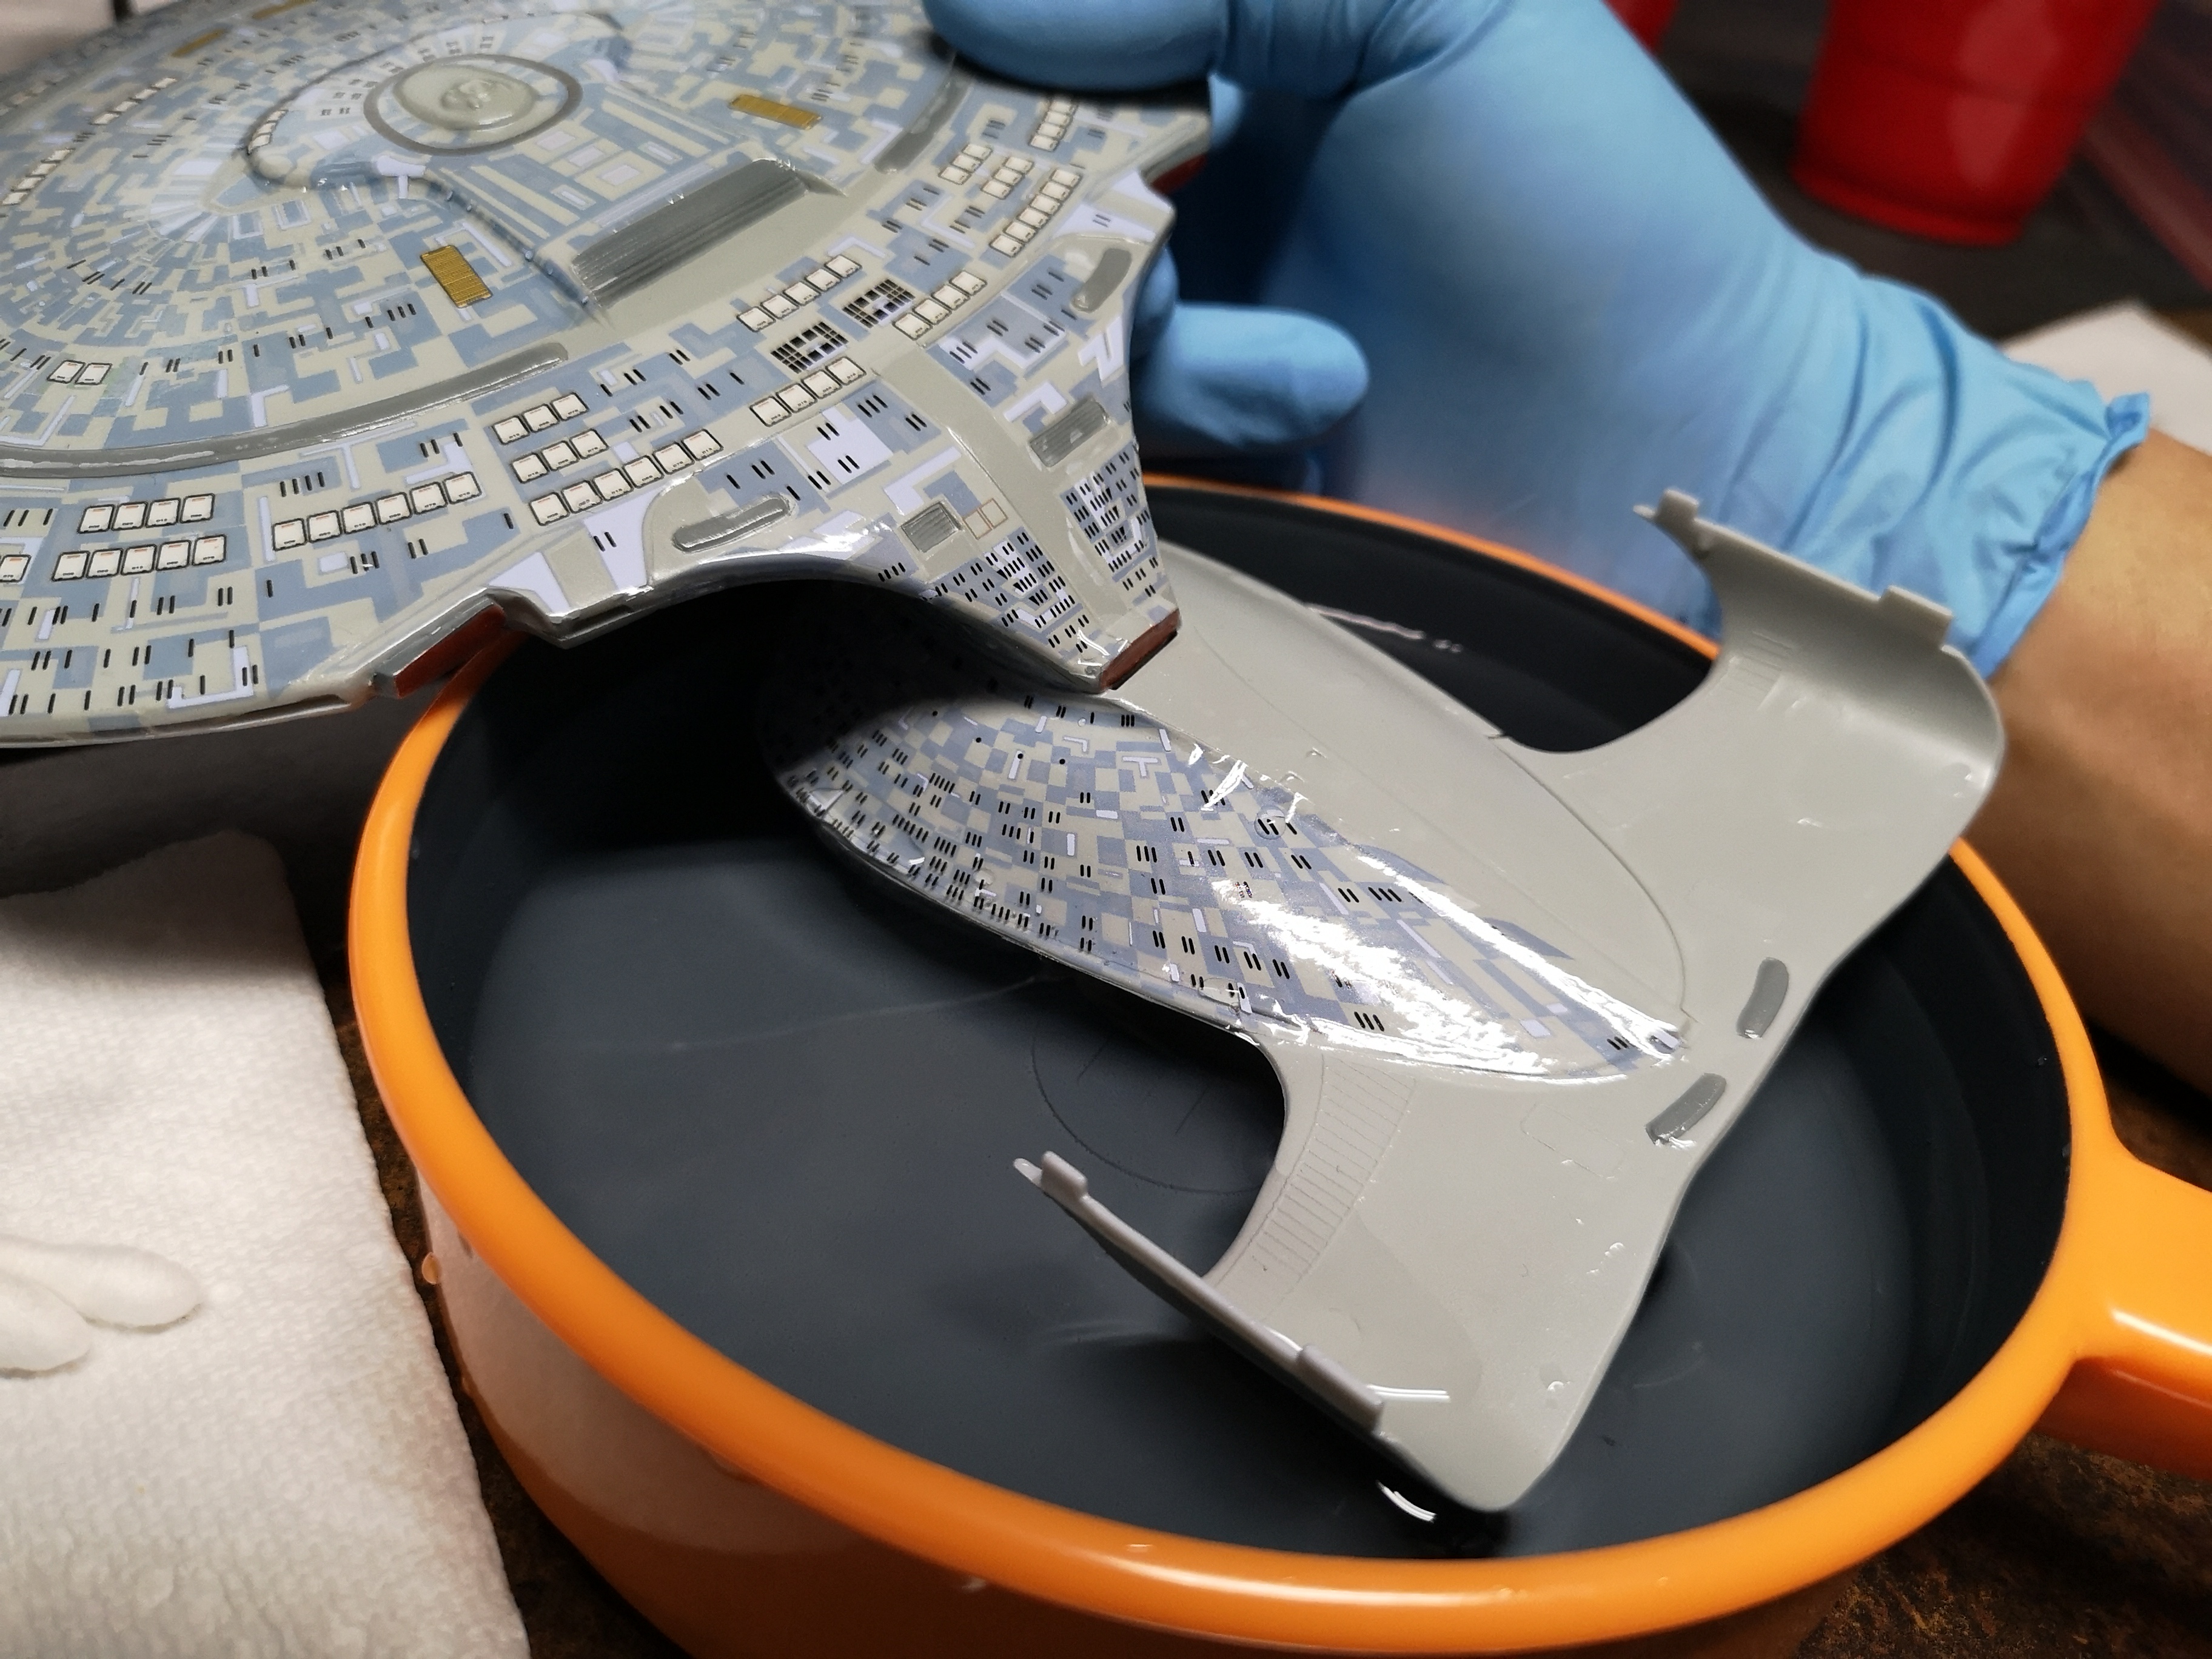
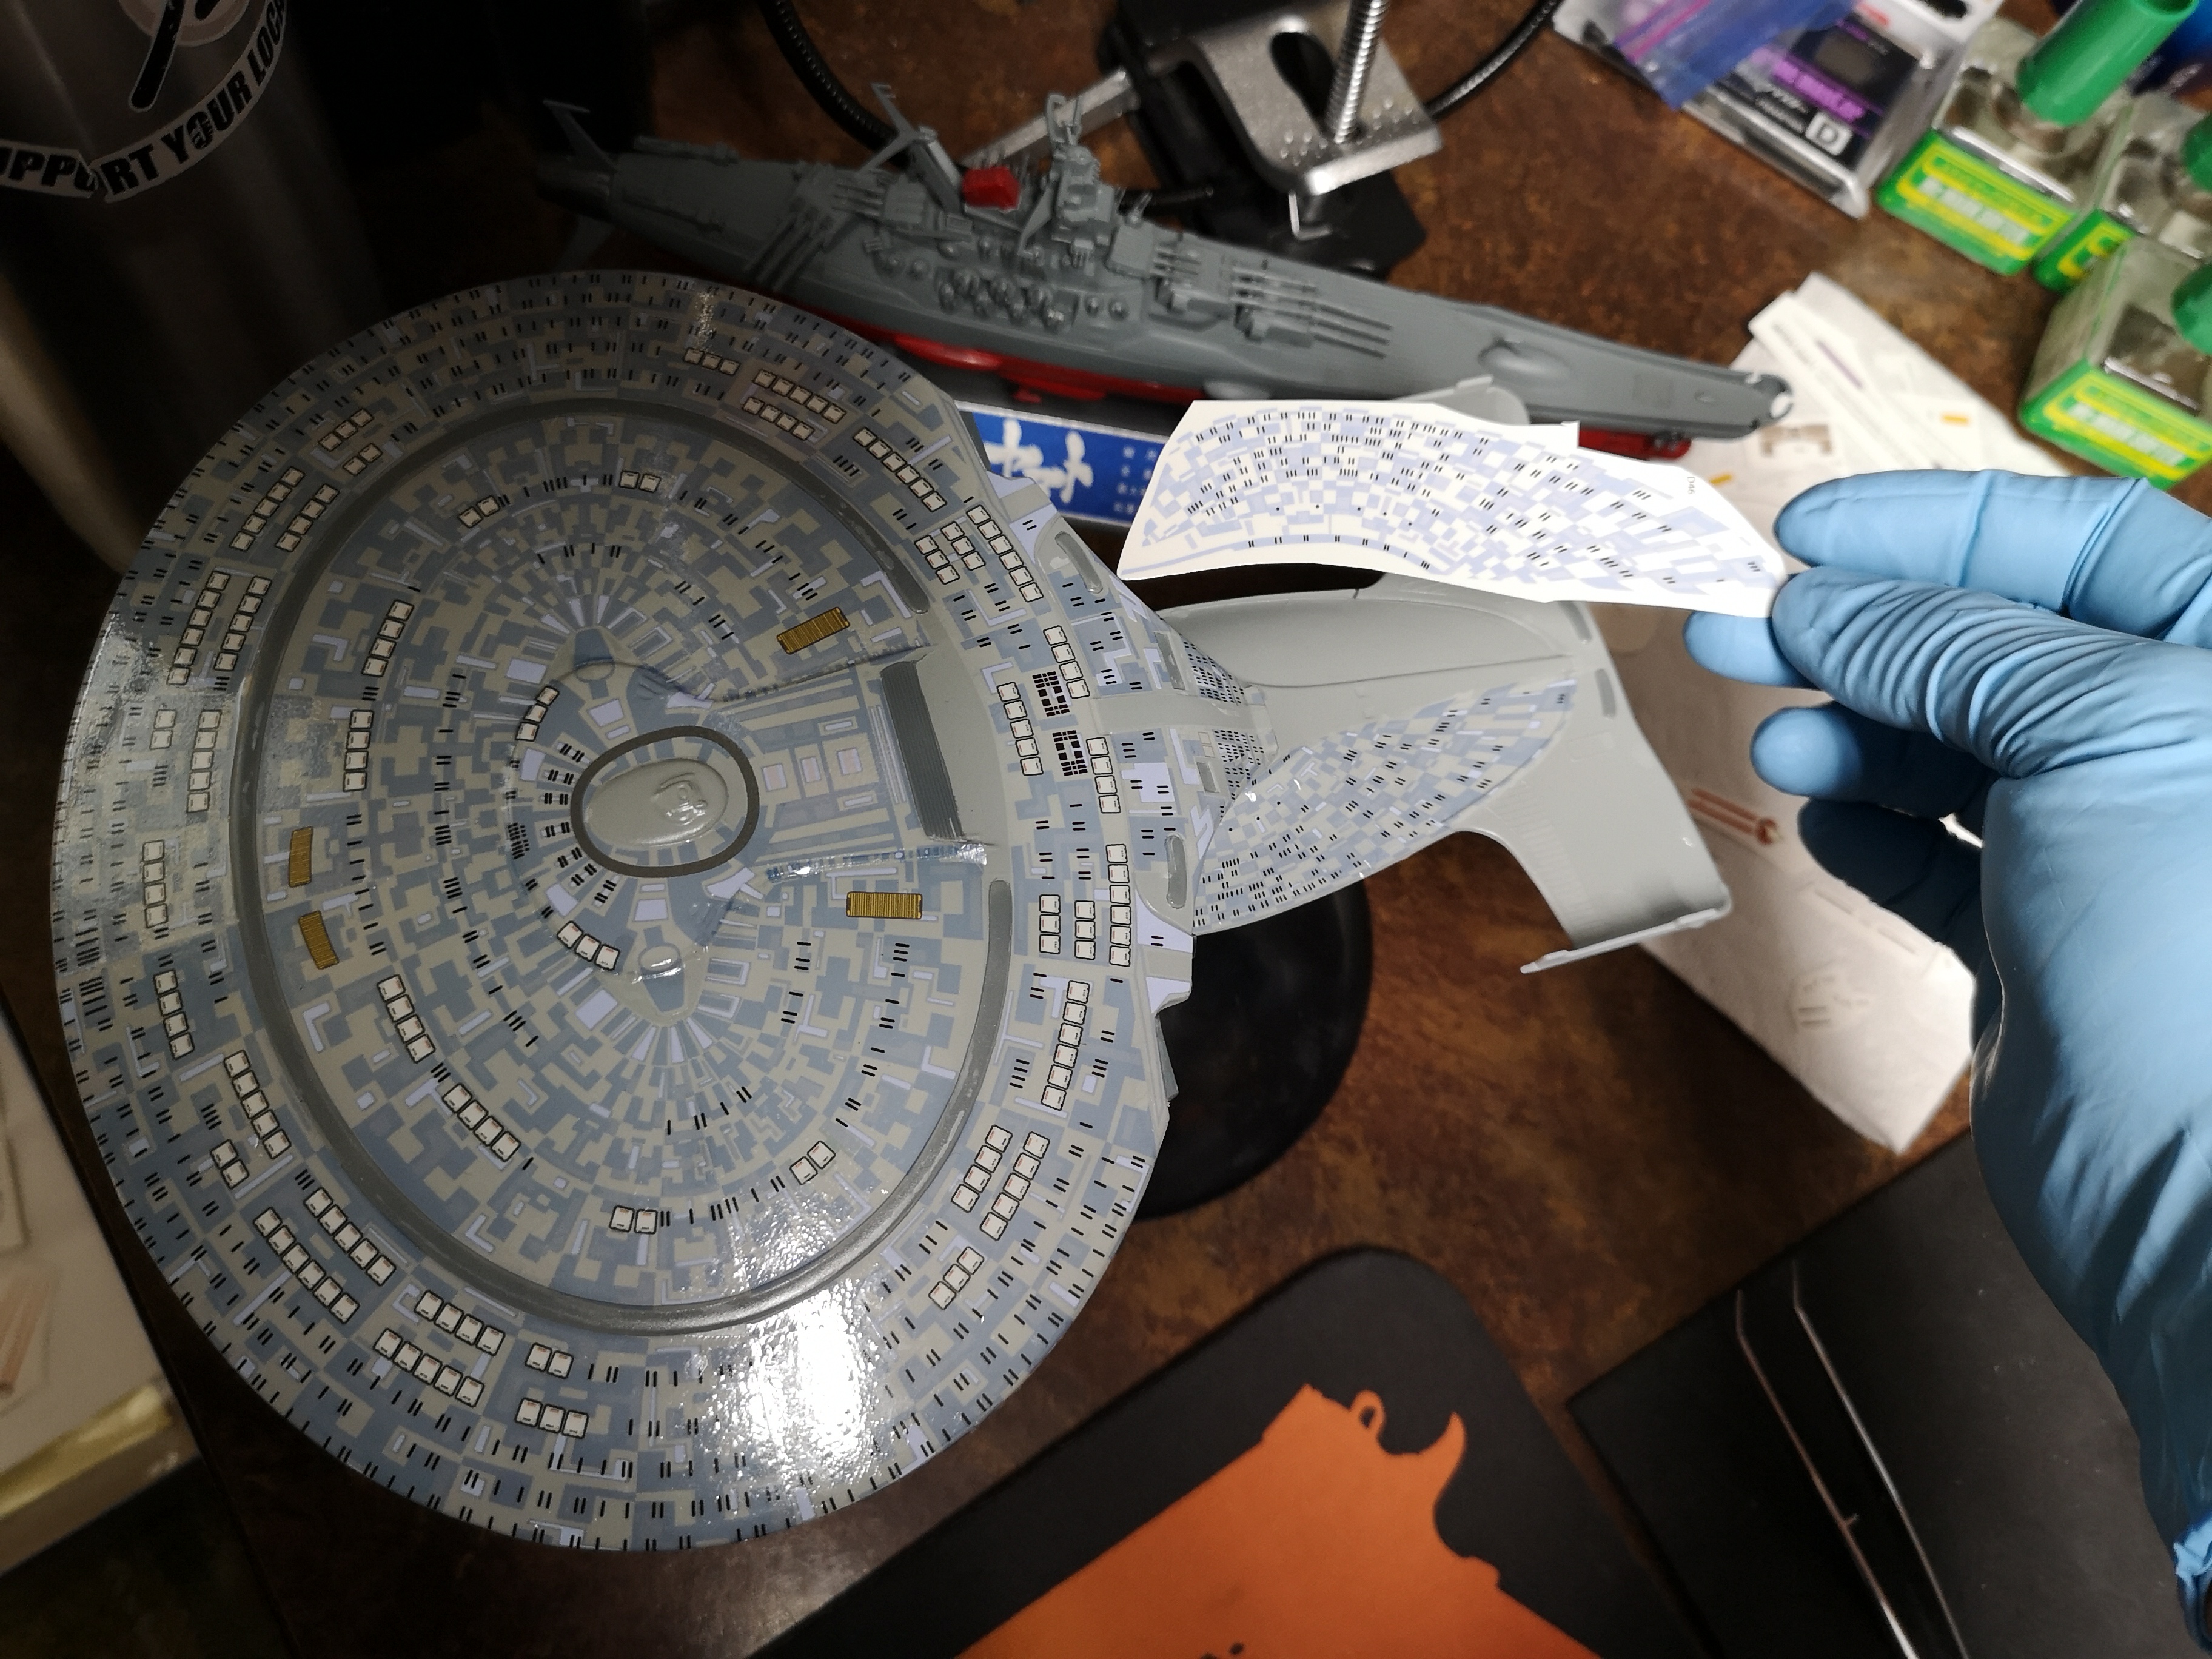
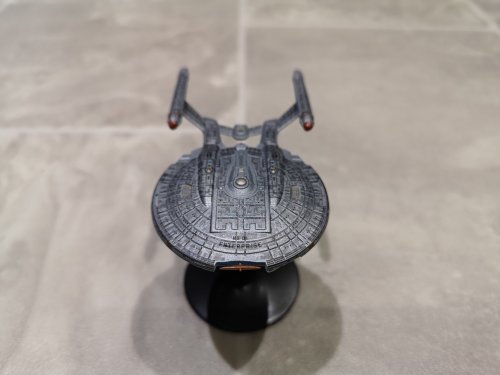
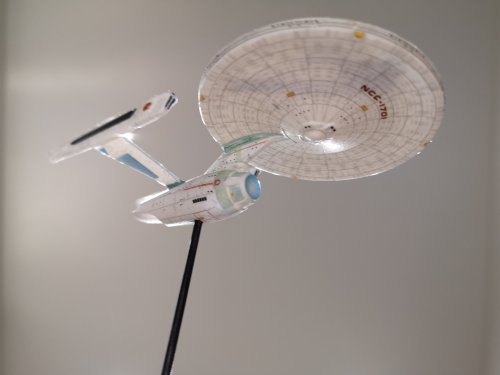
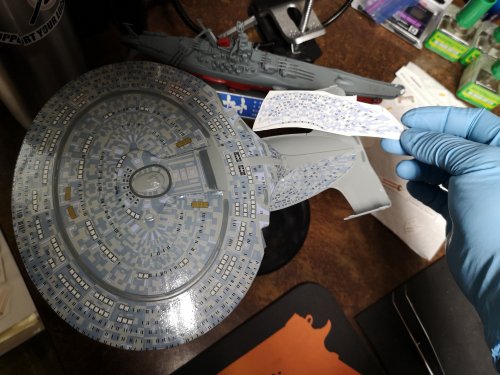
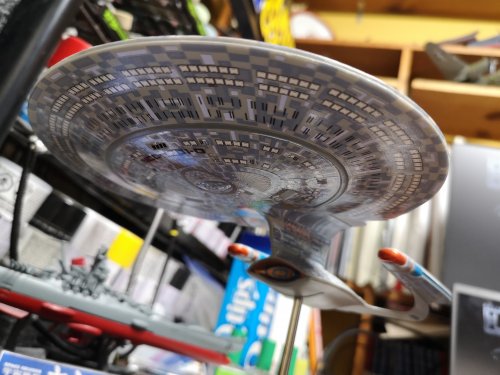
Thanks guys. Holy crap the decals for the Ent D are going so well. I dunno if it's the surgical gloves or what, but hardly any tearing or fragmenting. Had a bit of a hard time with the hull decal, especially with the saucer already glued in place. Had to give the ship a bath just to allow some movement to get this decal in the right place. When I saw Model Chili slide this thing on in one piece, I was thinking there was no way I would have such luck. But on it went. The clear spots for the phaser arrays aren't really in the right place. I cut the clear holds out, but it doesn't line up. I noticed that a few times with this kit, that the decals don't always line up, but it's fine. Almost done. After struggling with the Ent B and Ent C so much, I felt like I deserved an easy build. And this was it!


-
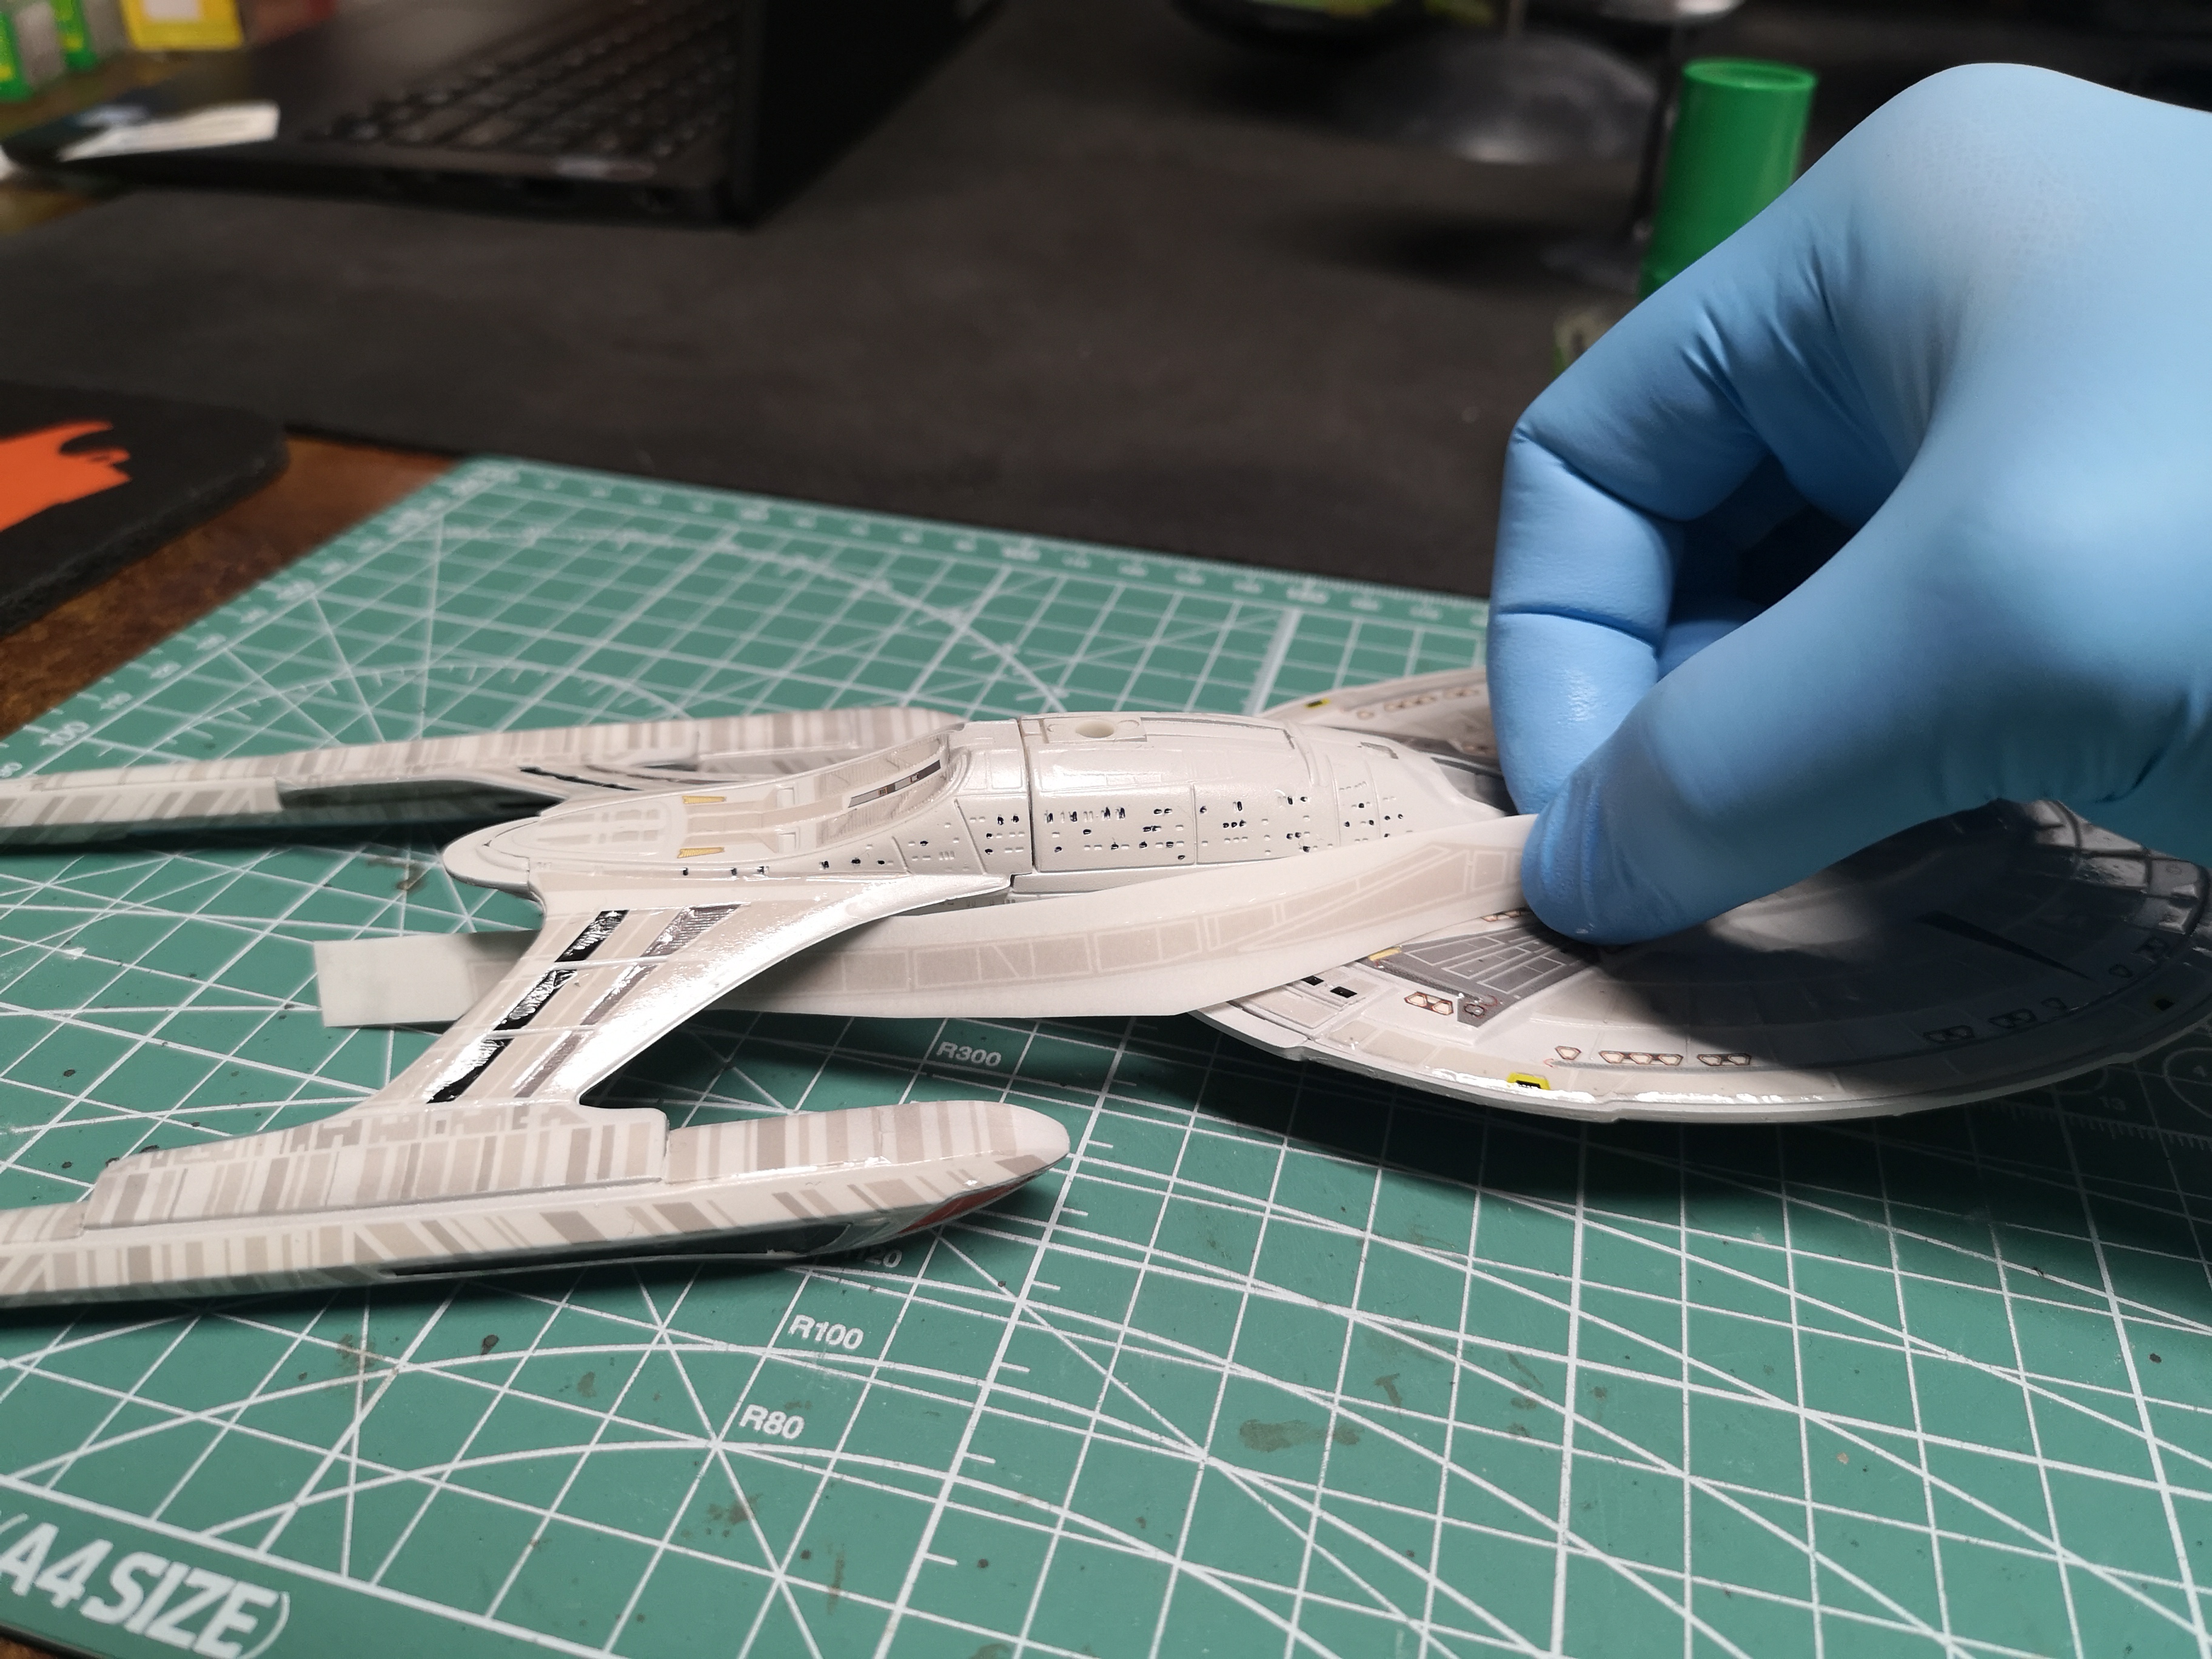
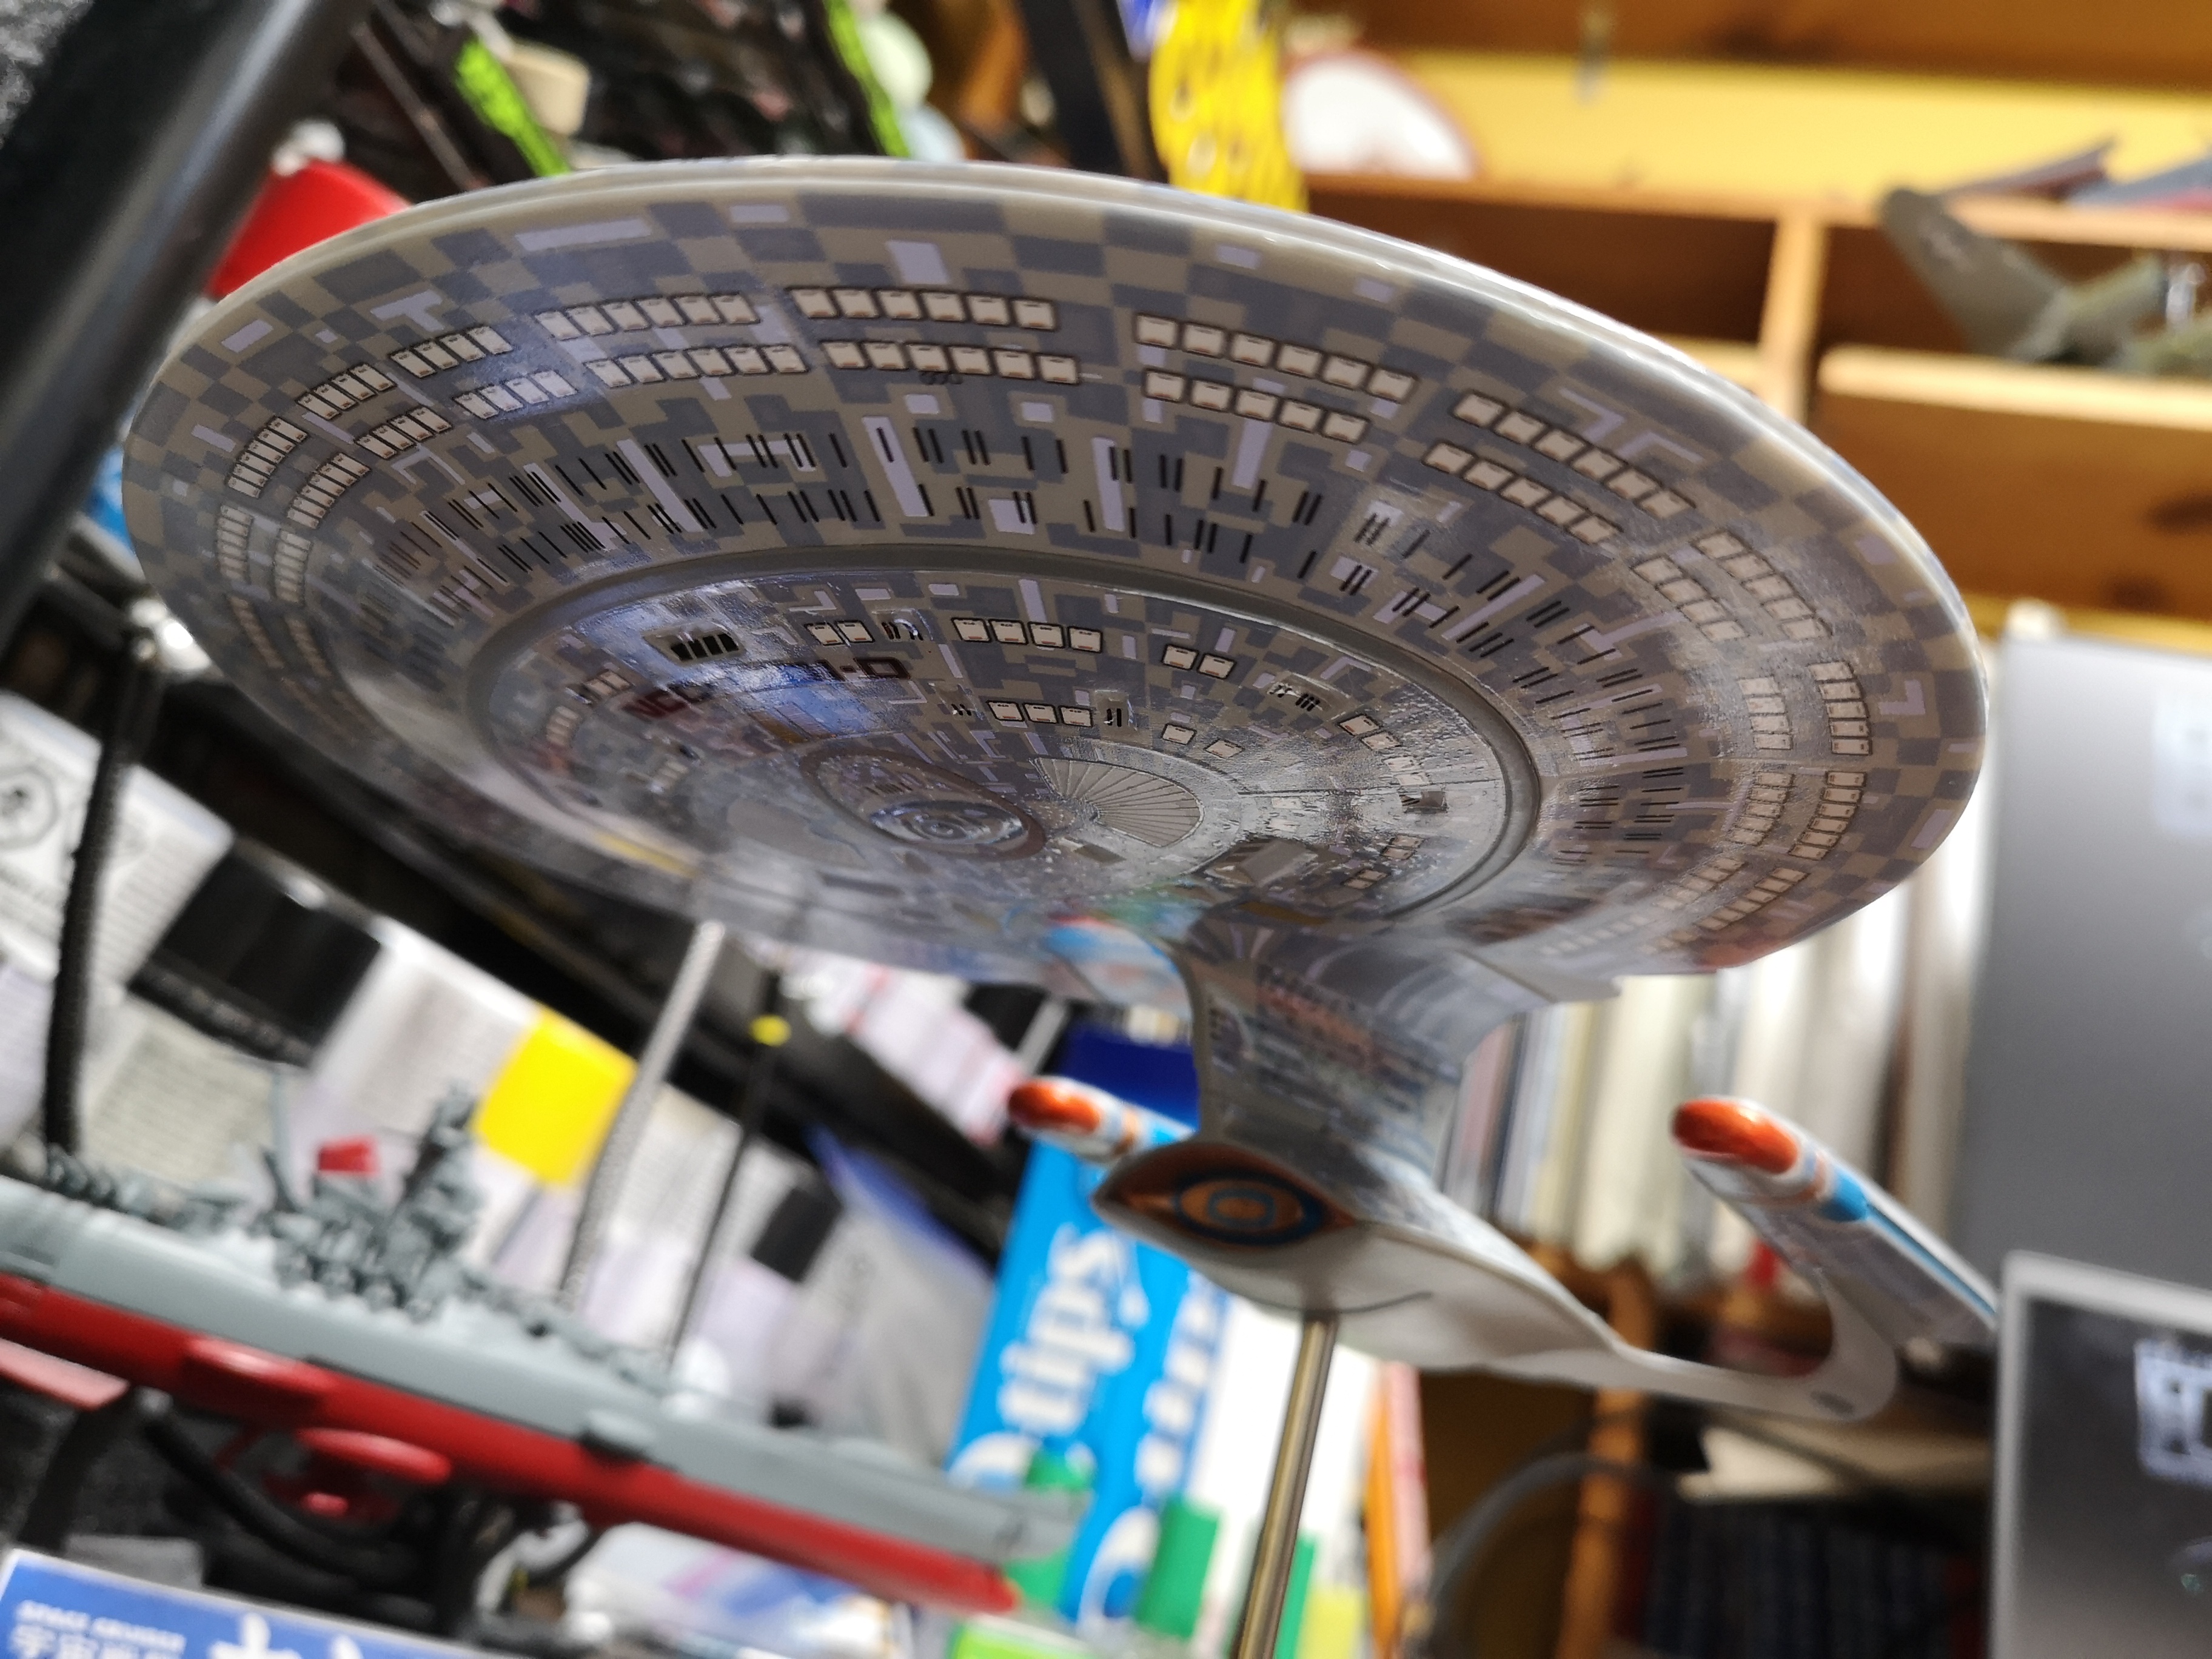
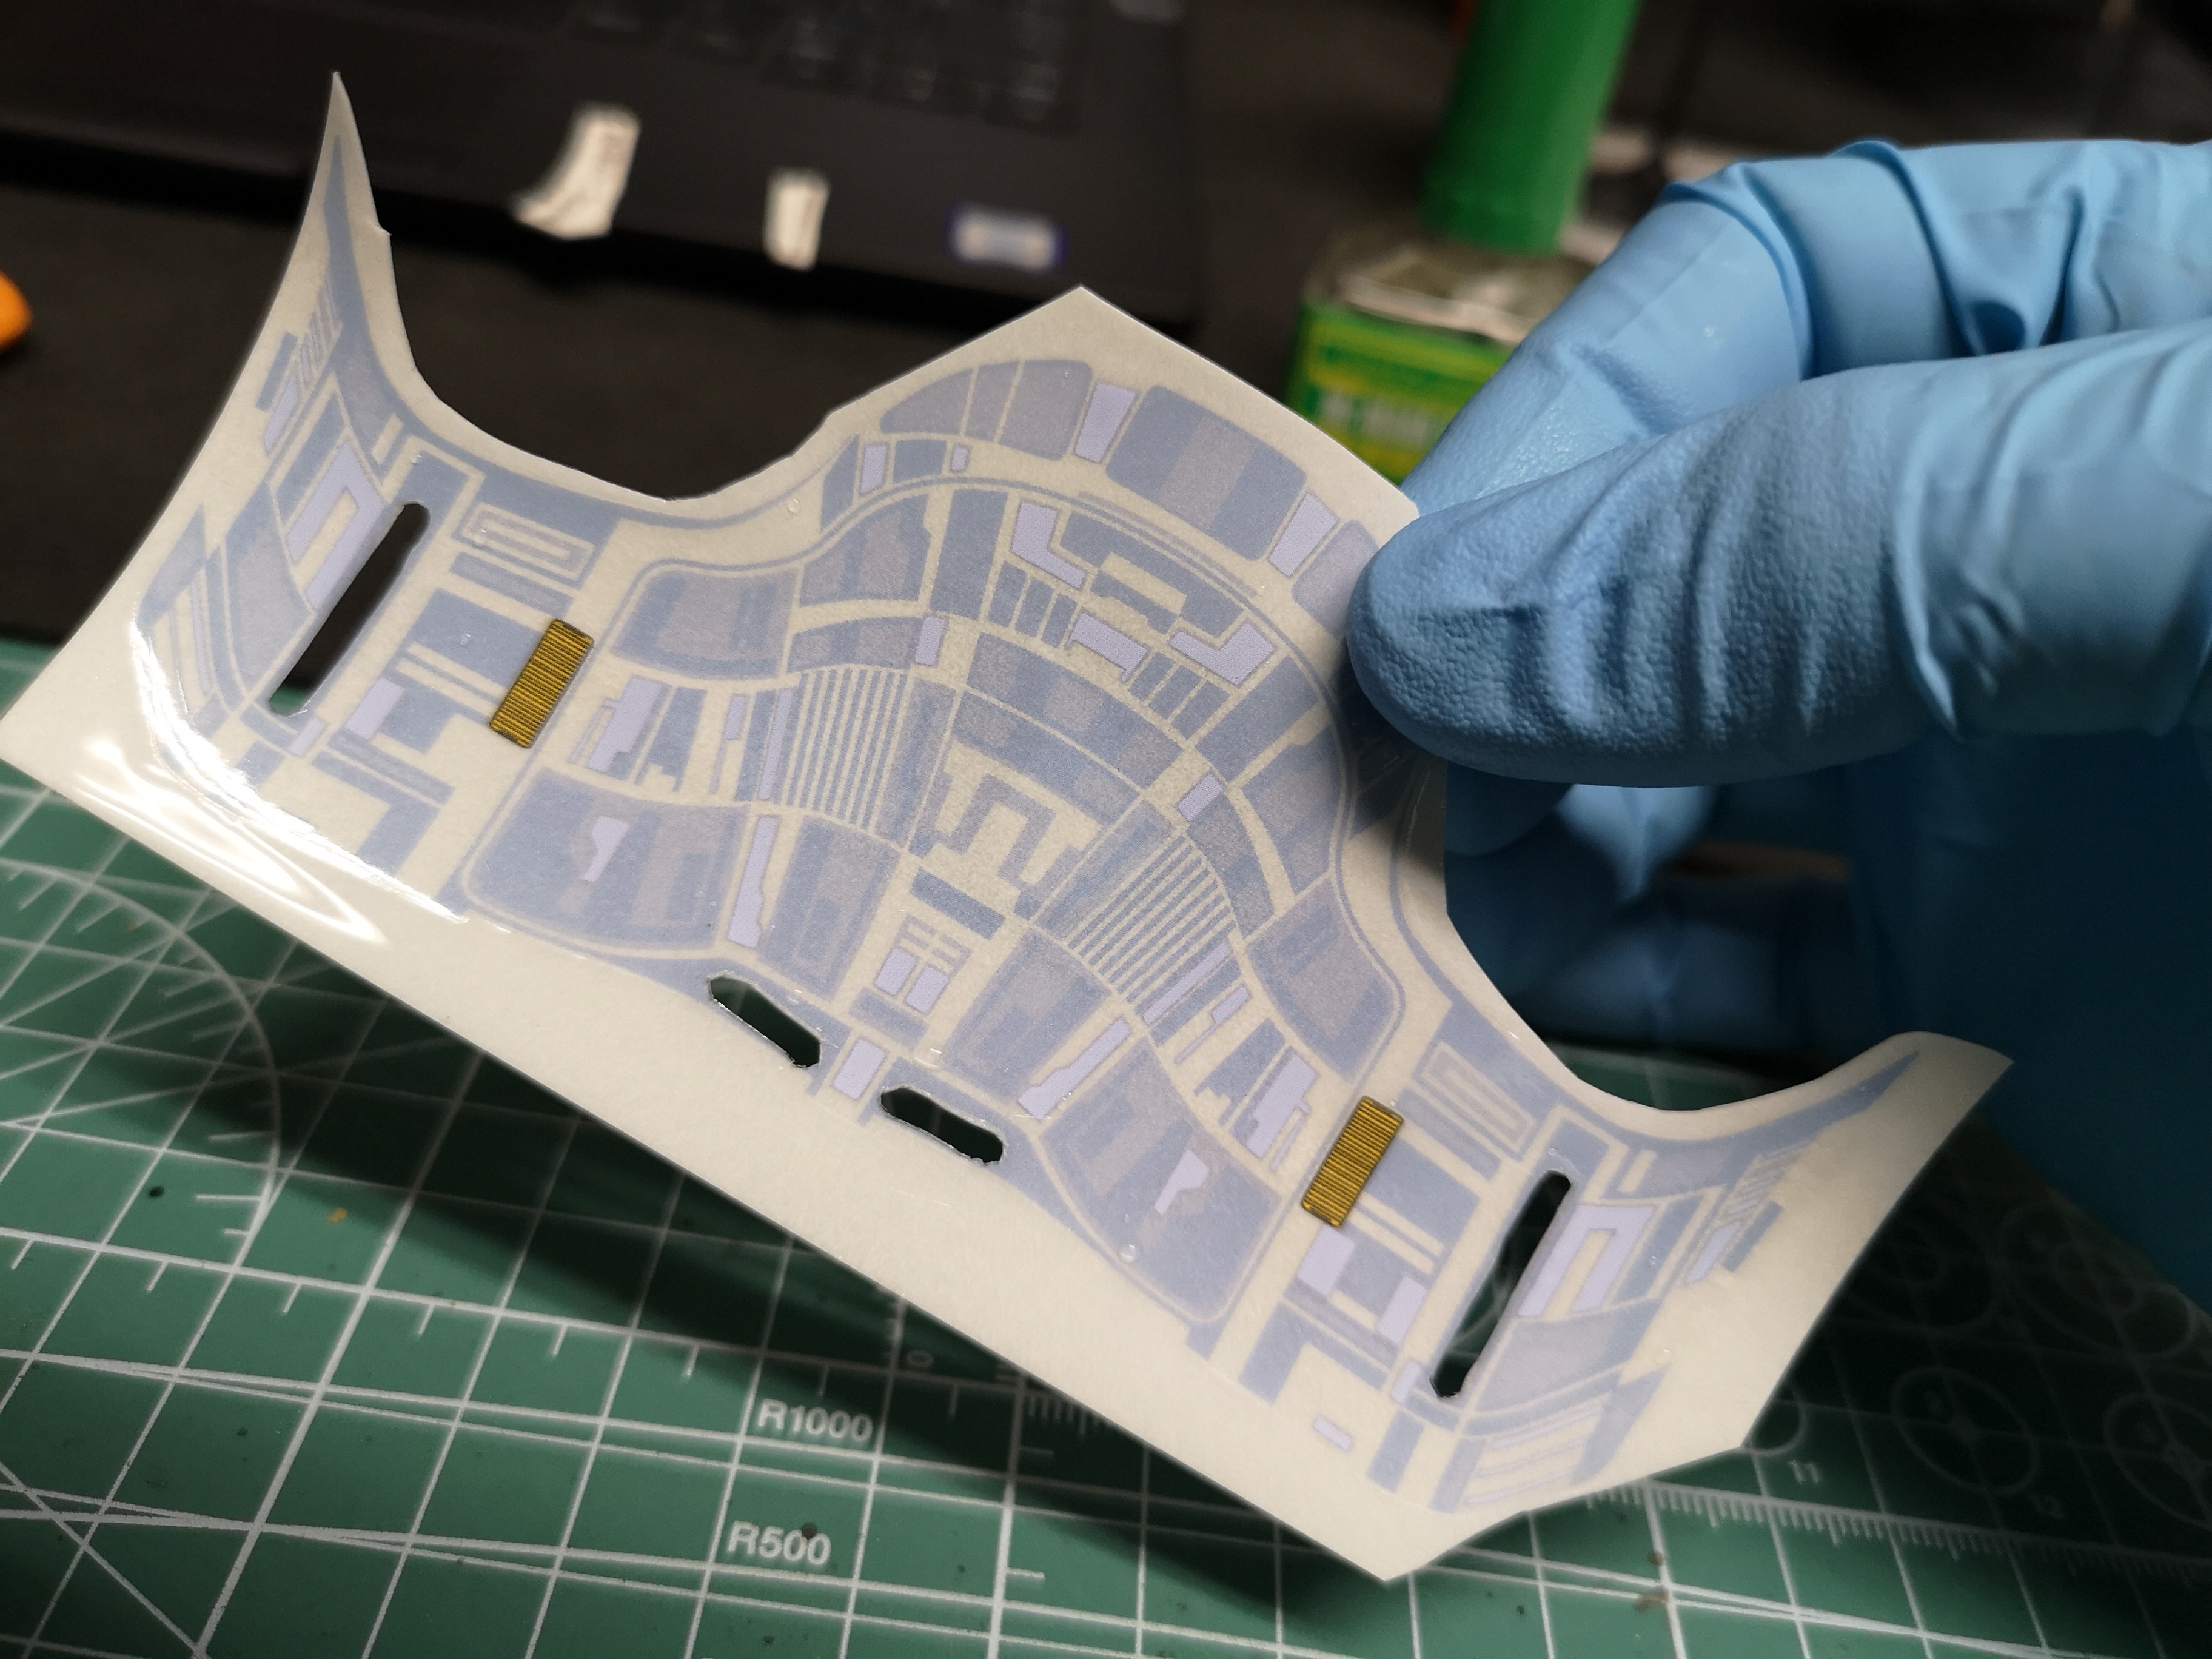
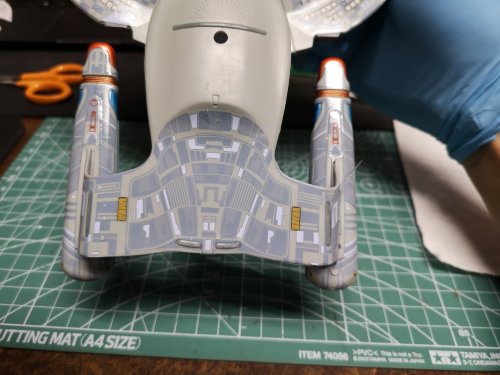
Your advice on making the Ent D a smoothie really paid off. Looking at the number of decals, I was honestly a bit intimidated. Even though I sealed my 537 Refit in decals, those were HDA and these were AMT, so I had some serious concerns about ripping and tearing. First decal. The indents didn't line up with the decal, but I'm fine with that. Look how smooth it is compared to the ribbed mess on the Ent B and C. Love it! The saucer bottom when on quick, there was barely any messing around and I didn't have to cut any of th decals into smaller pieces like I did with the Ent B and C. Nacelle bottoms were fairly straight forward too. Already on the saucer top.