peter
-
Posts
4487 -
Joined
-
Last visited
Content Type
Profiles
Forums
Events
Gallery
Everything posted by peter
-
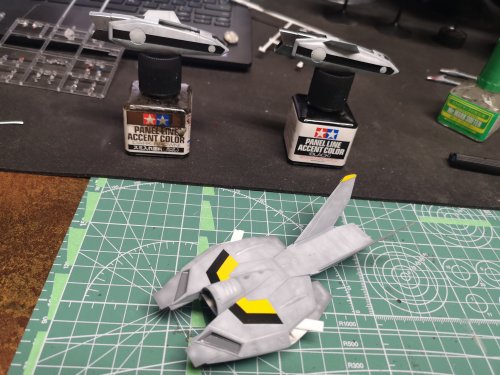
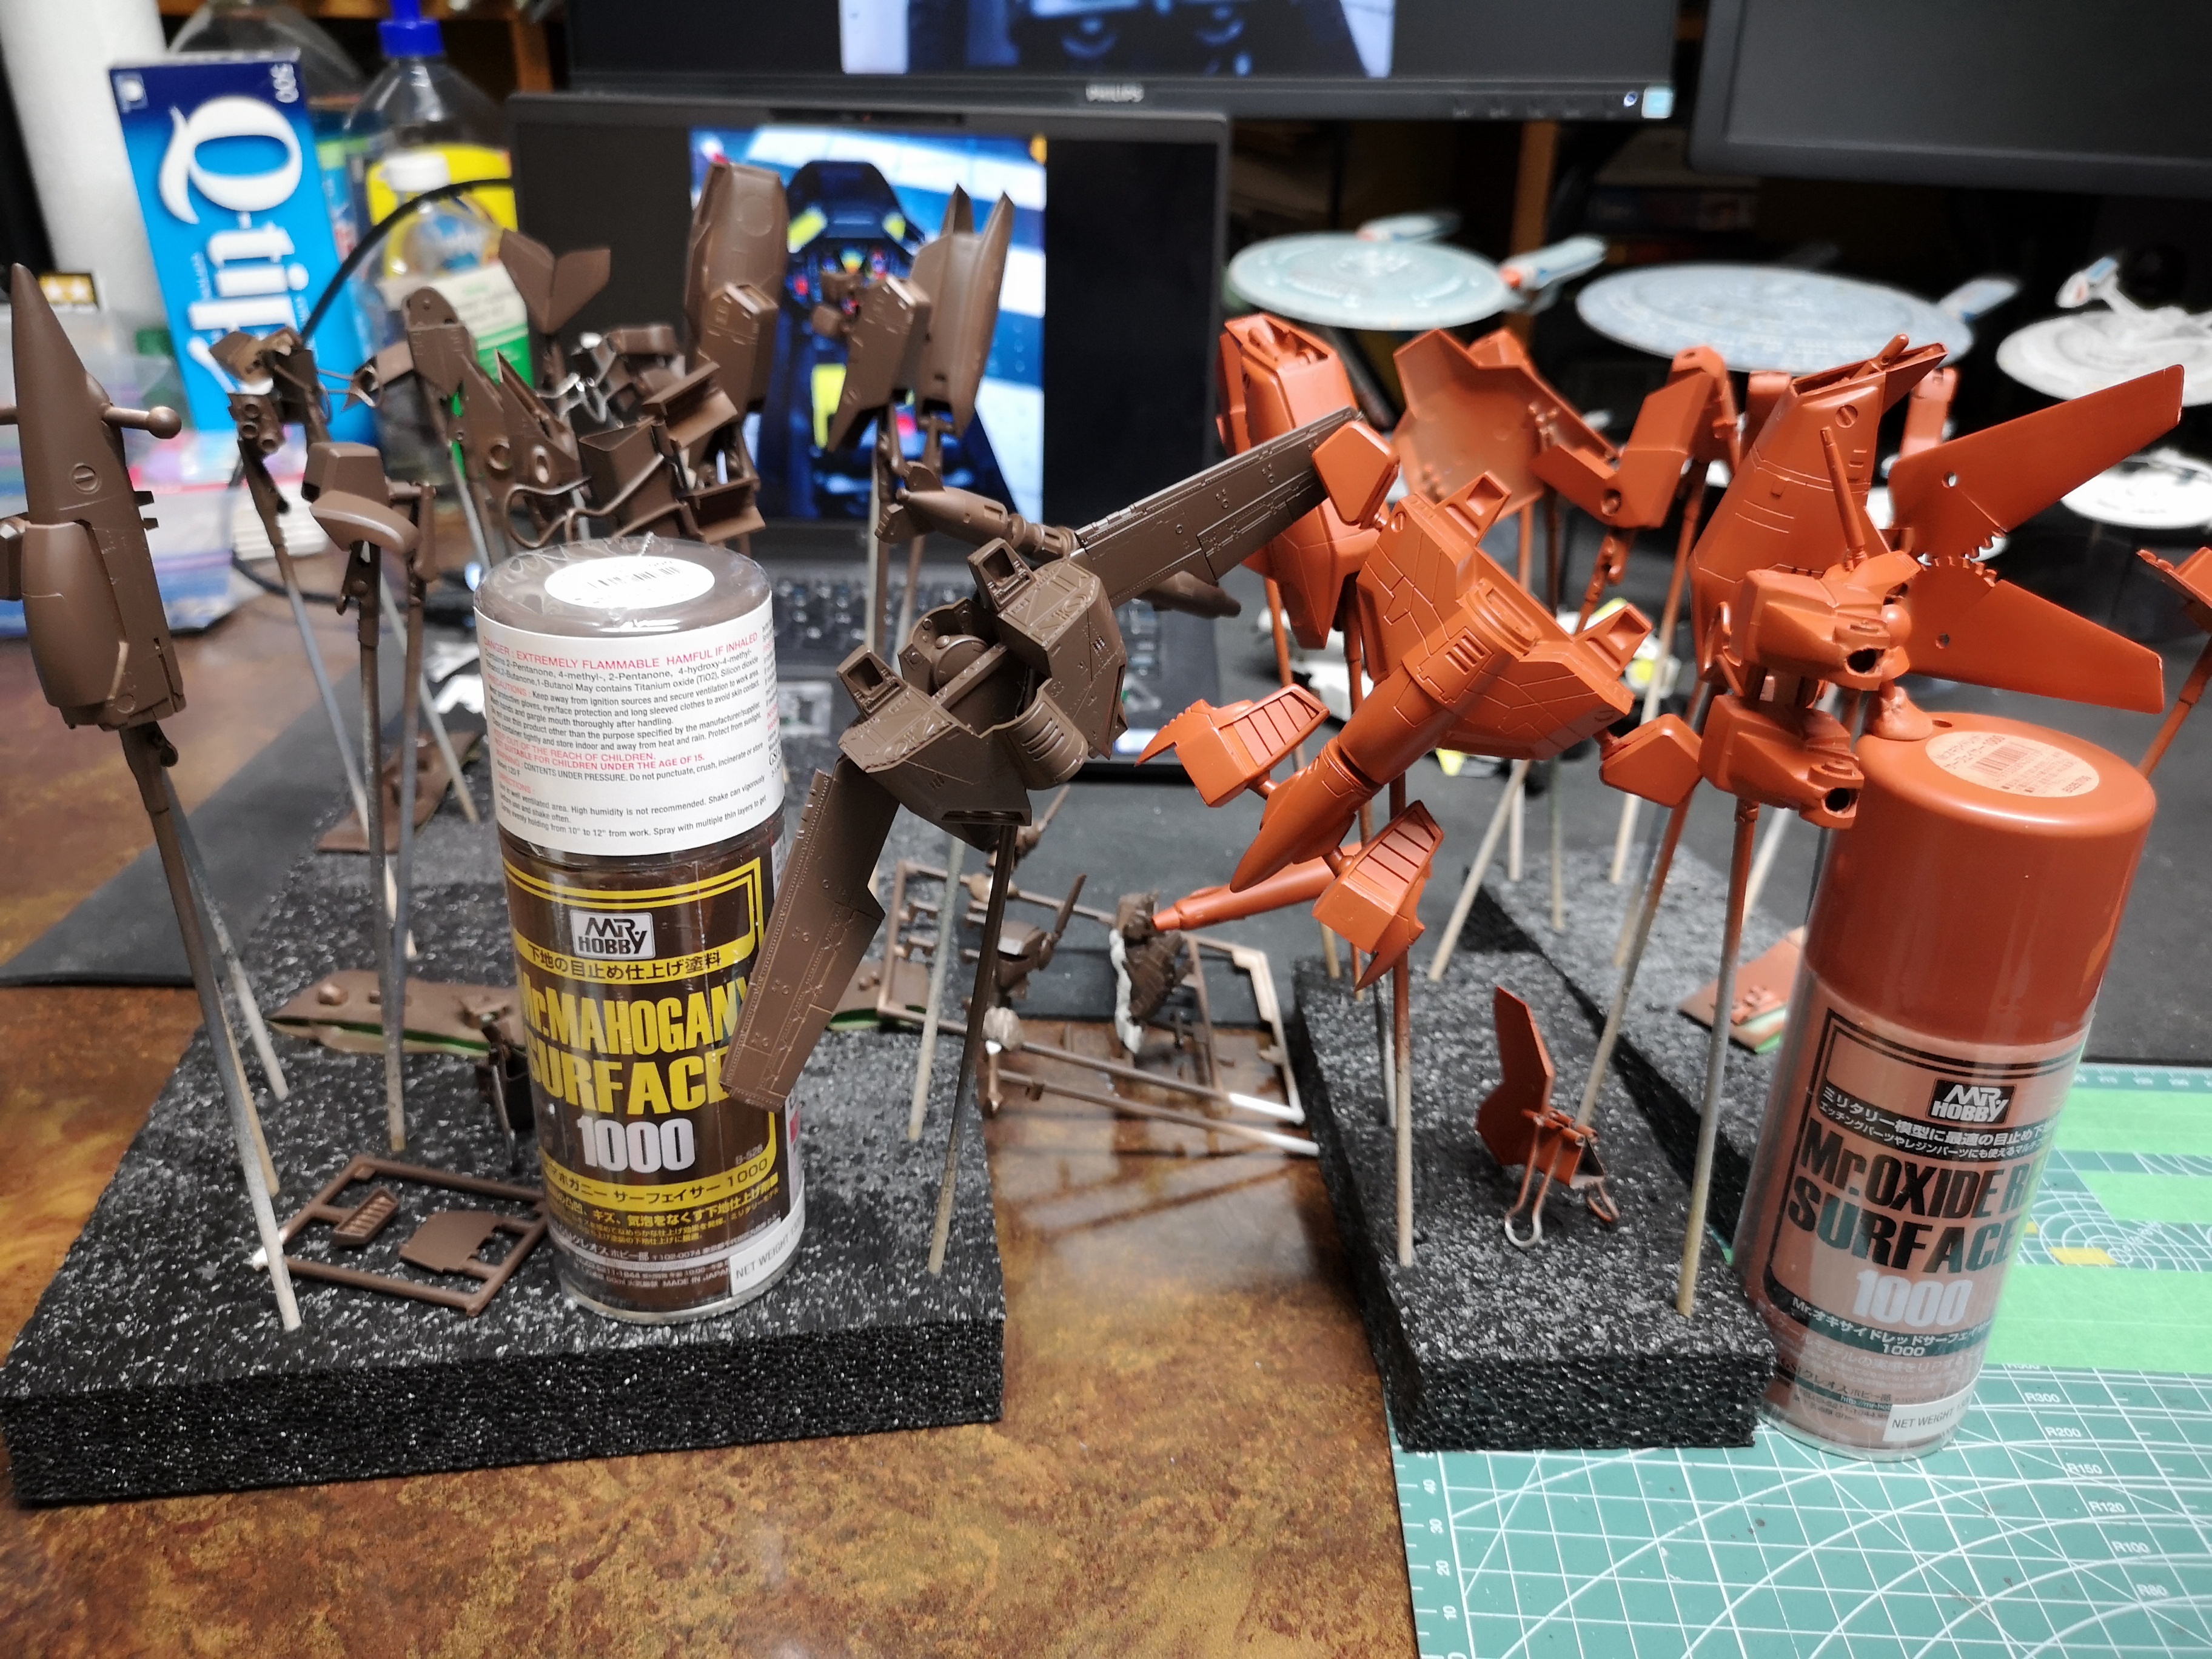
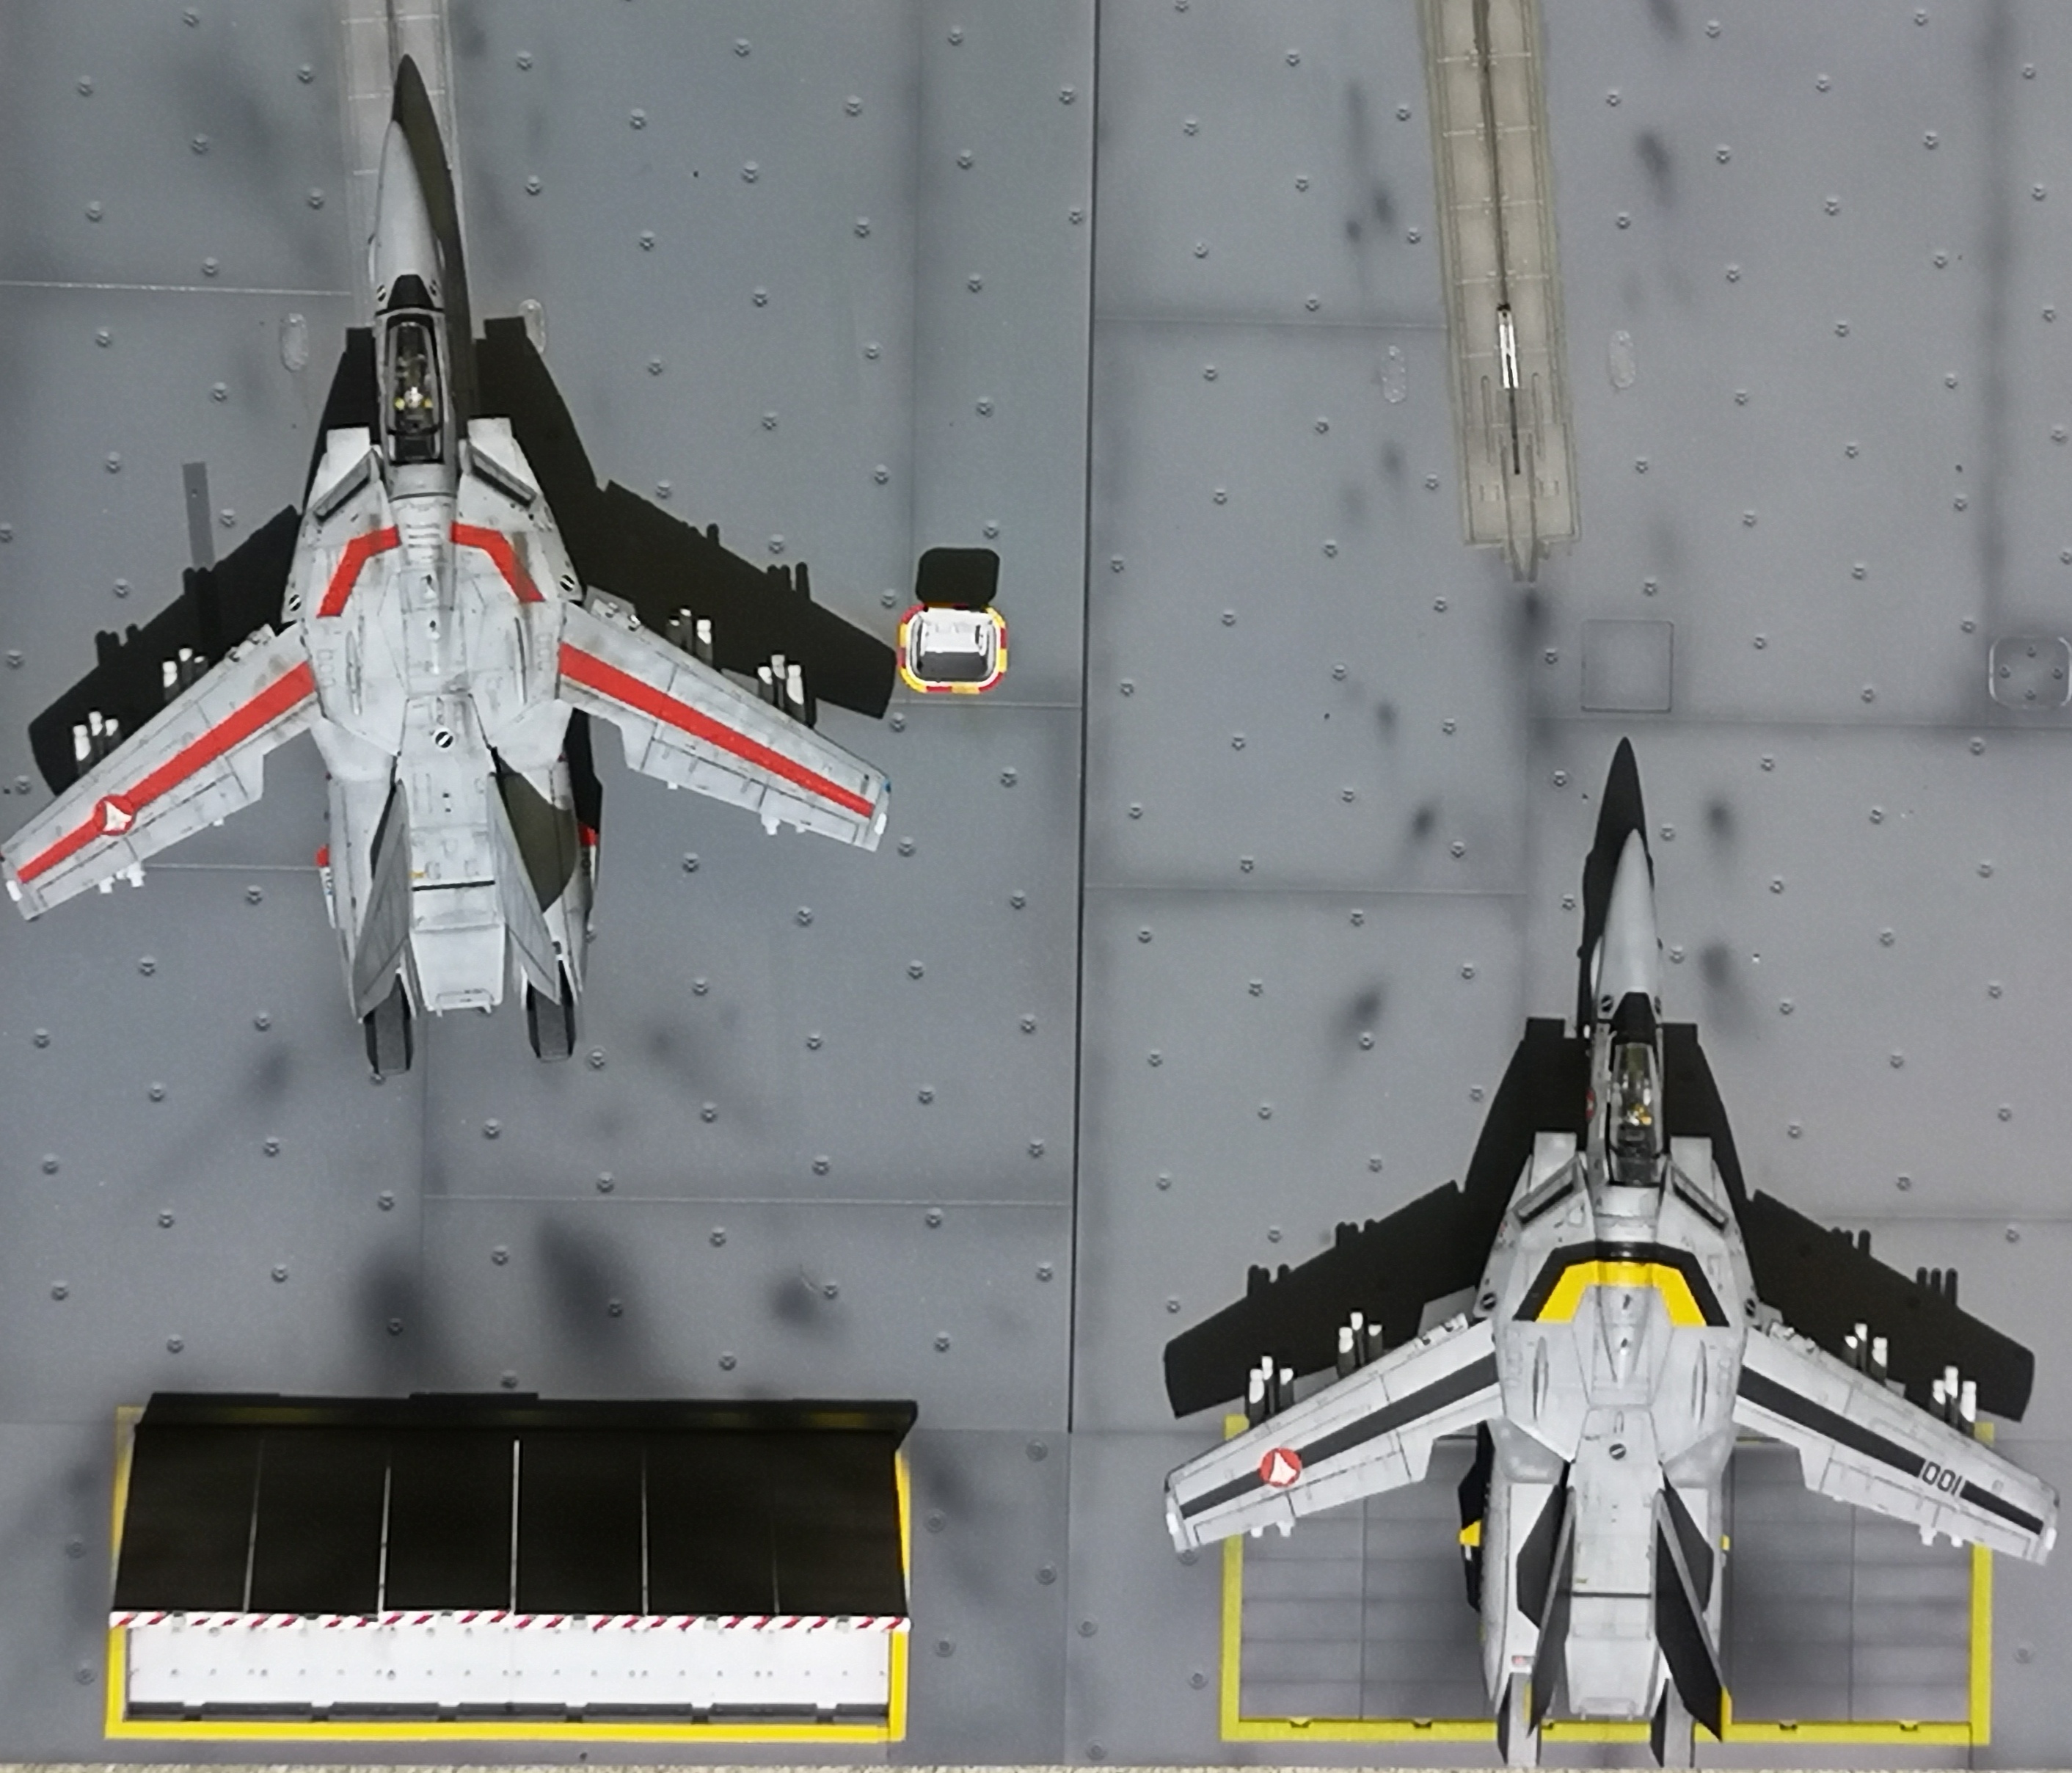
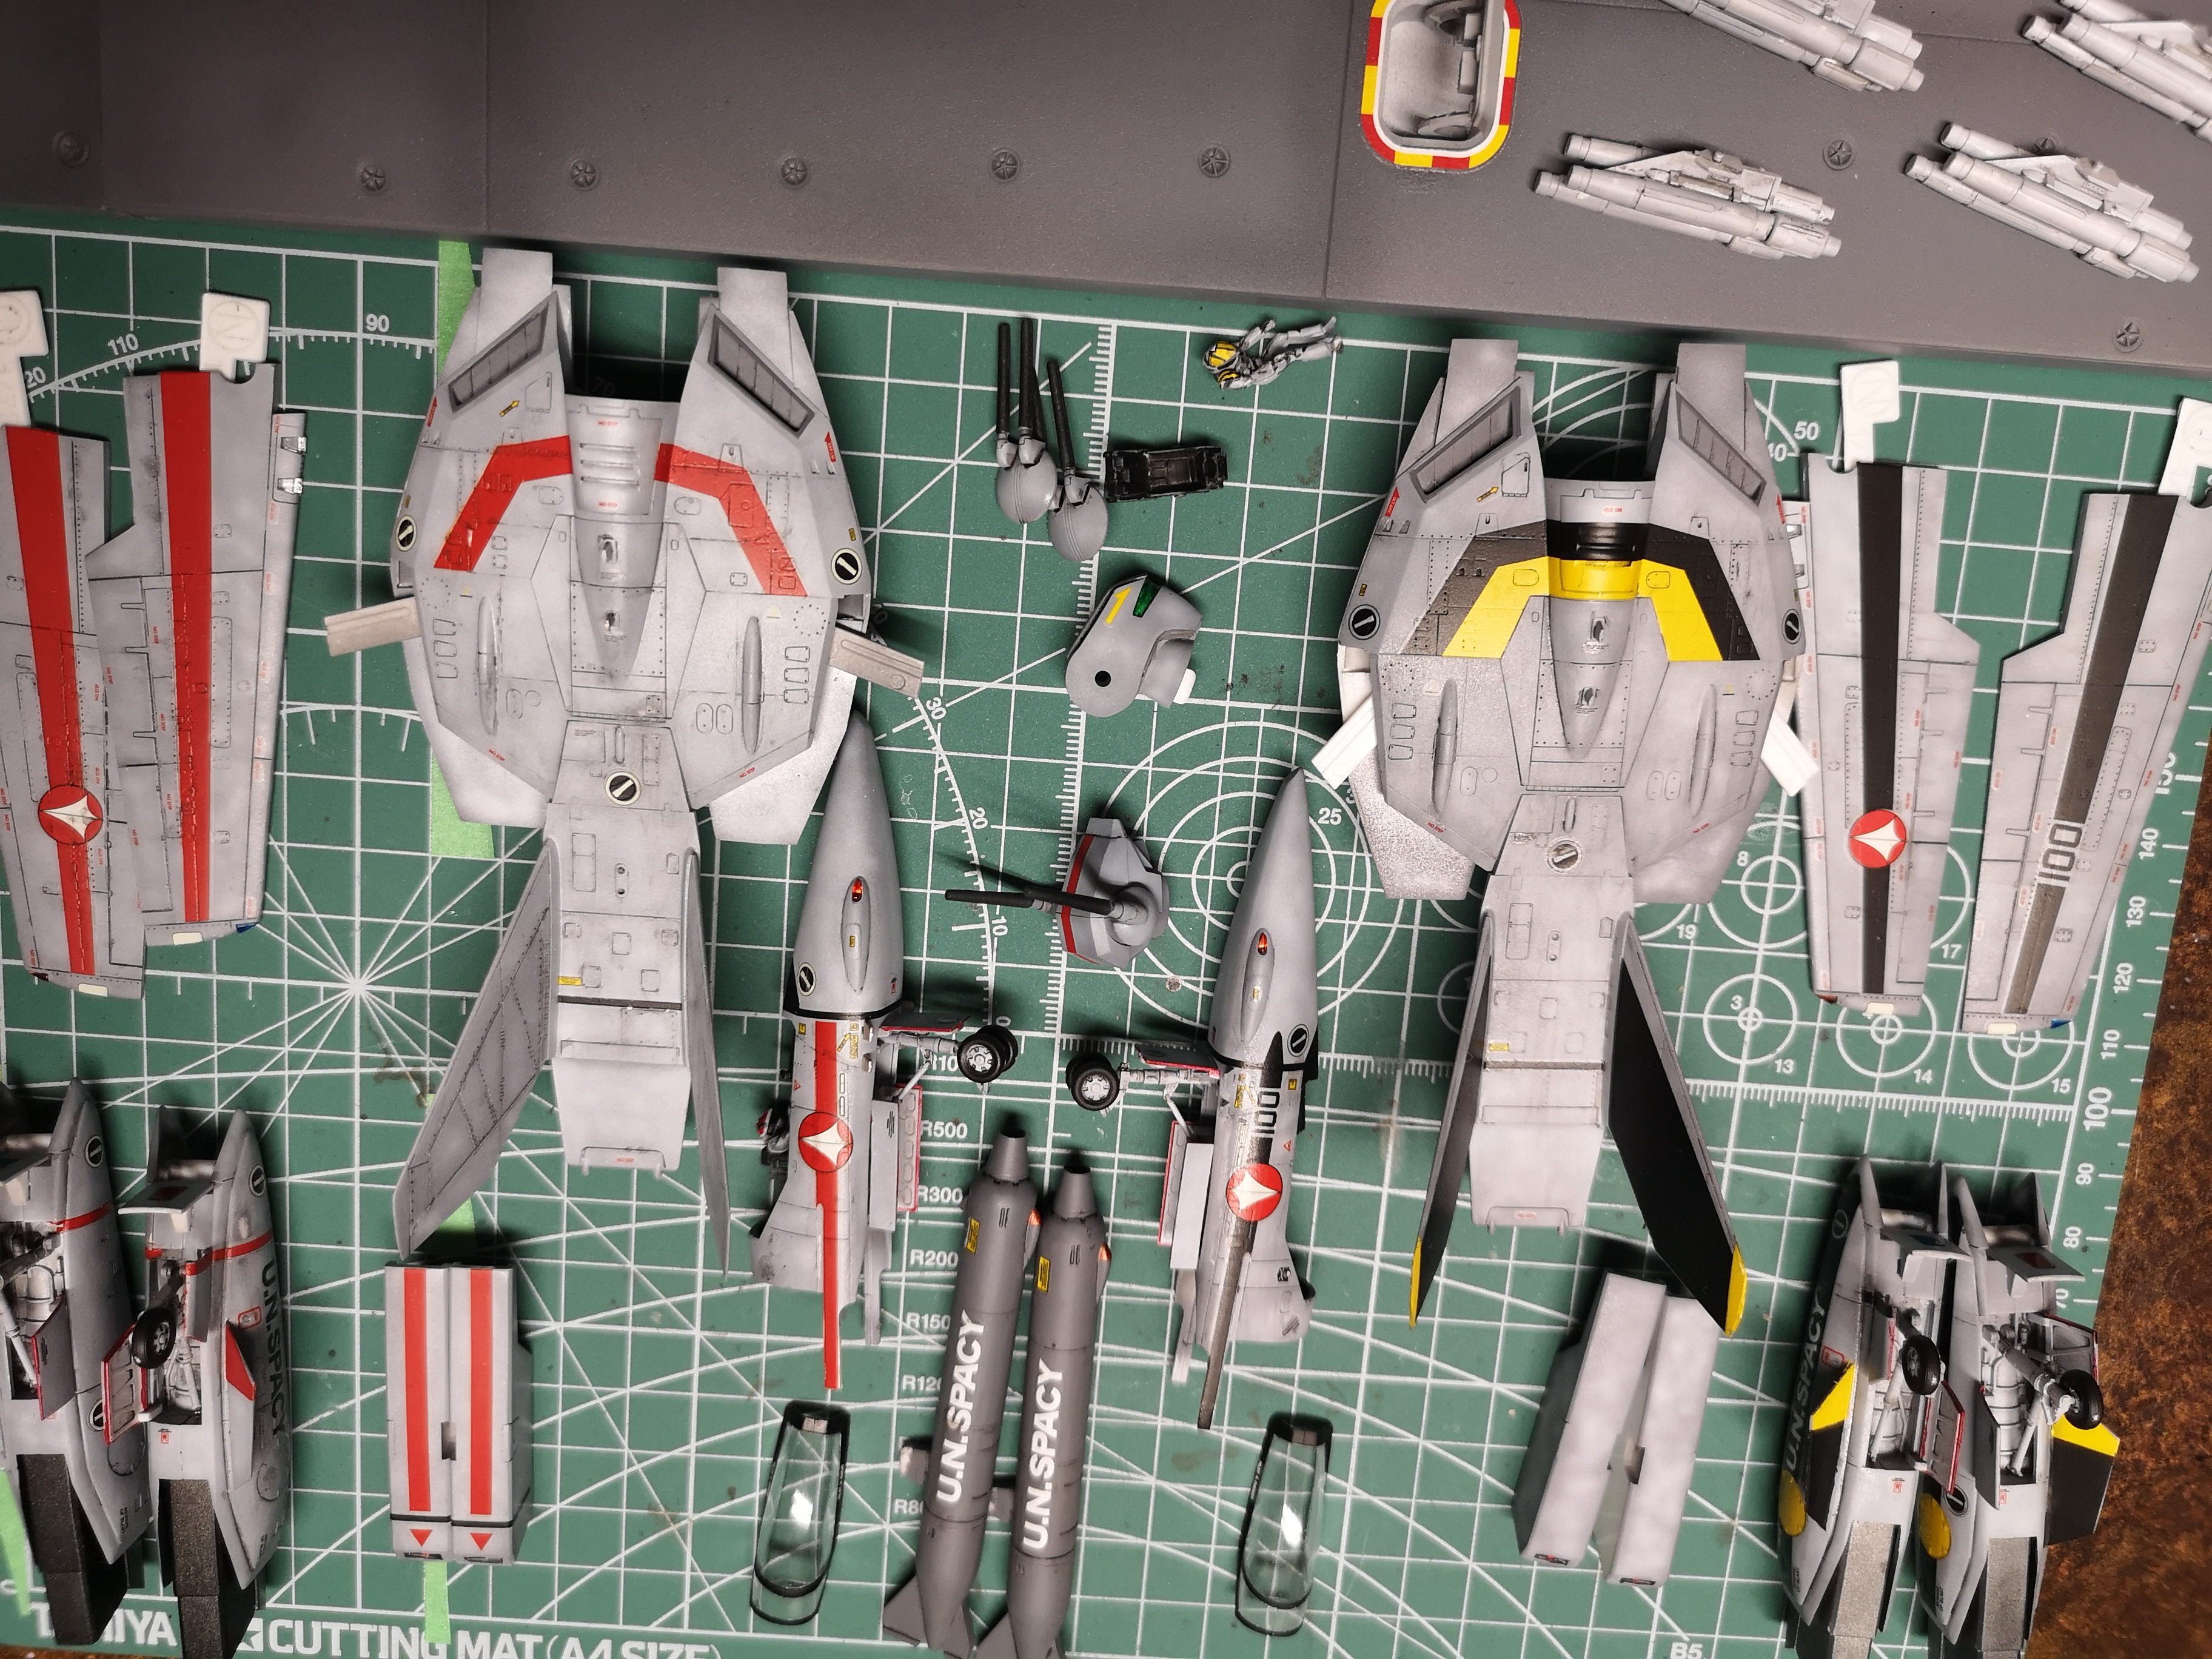
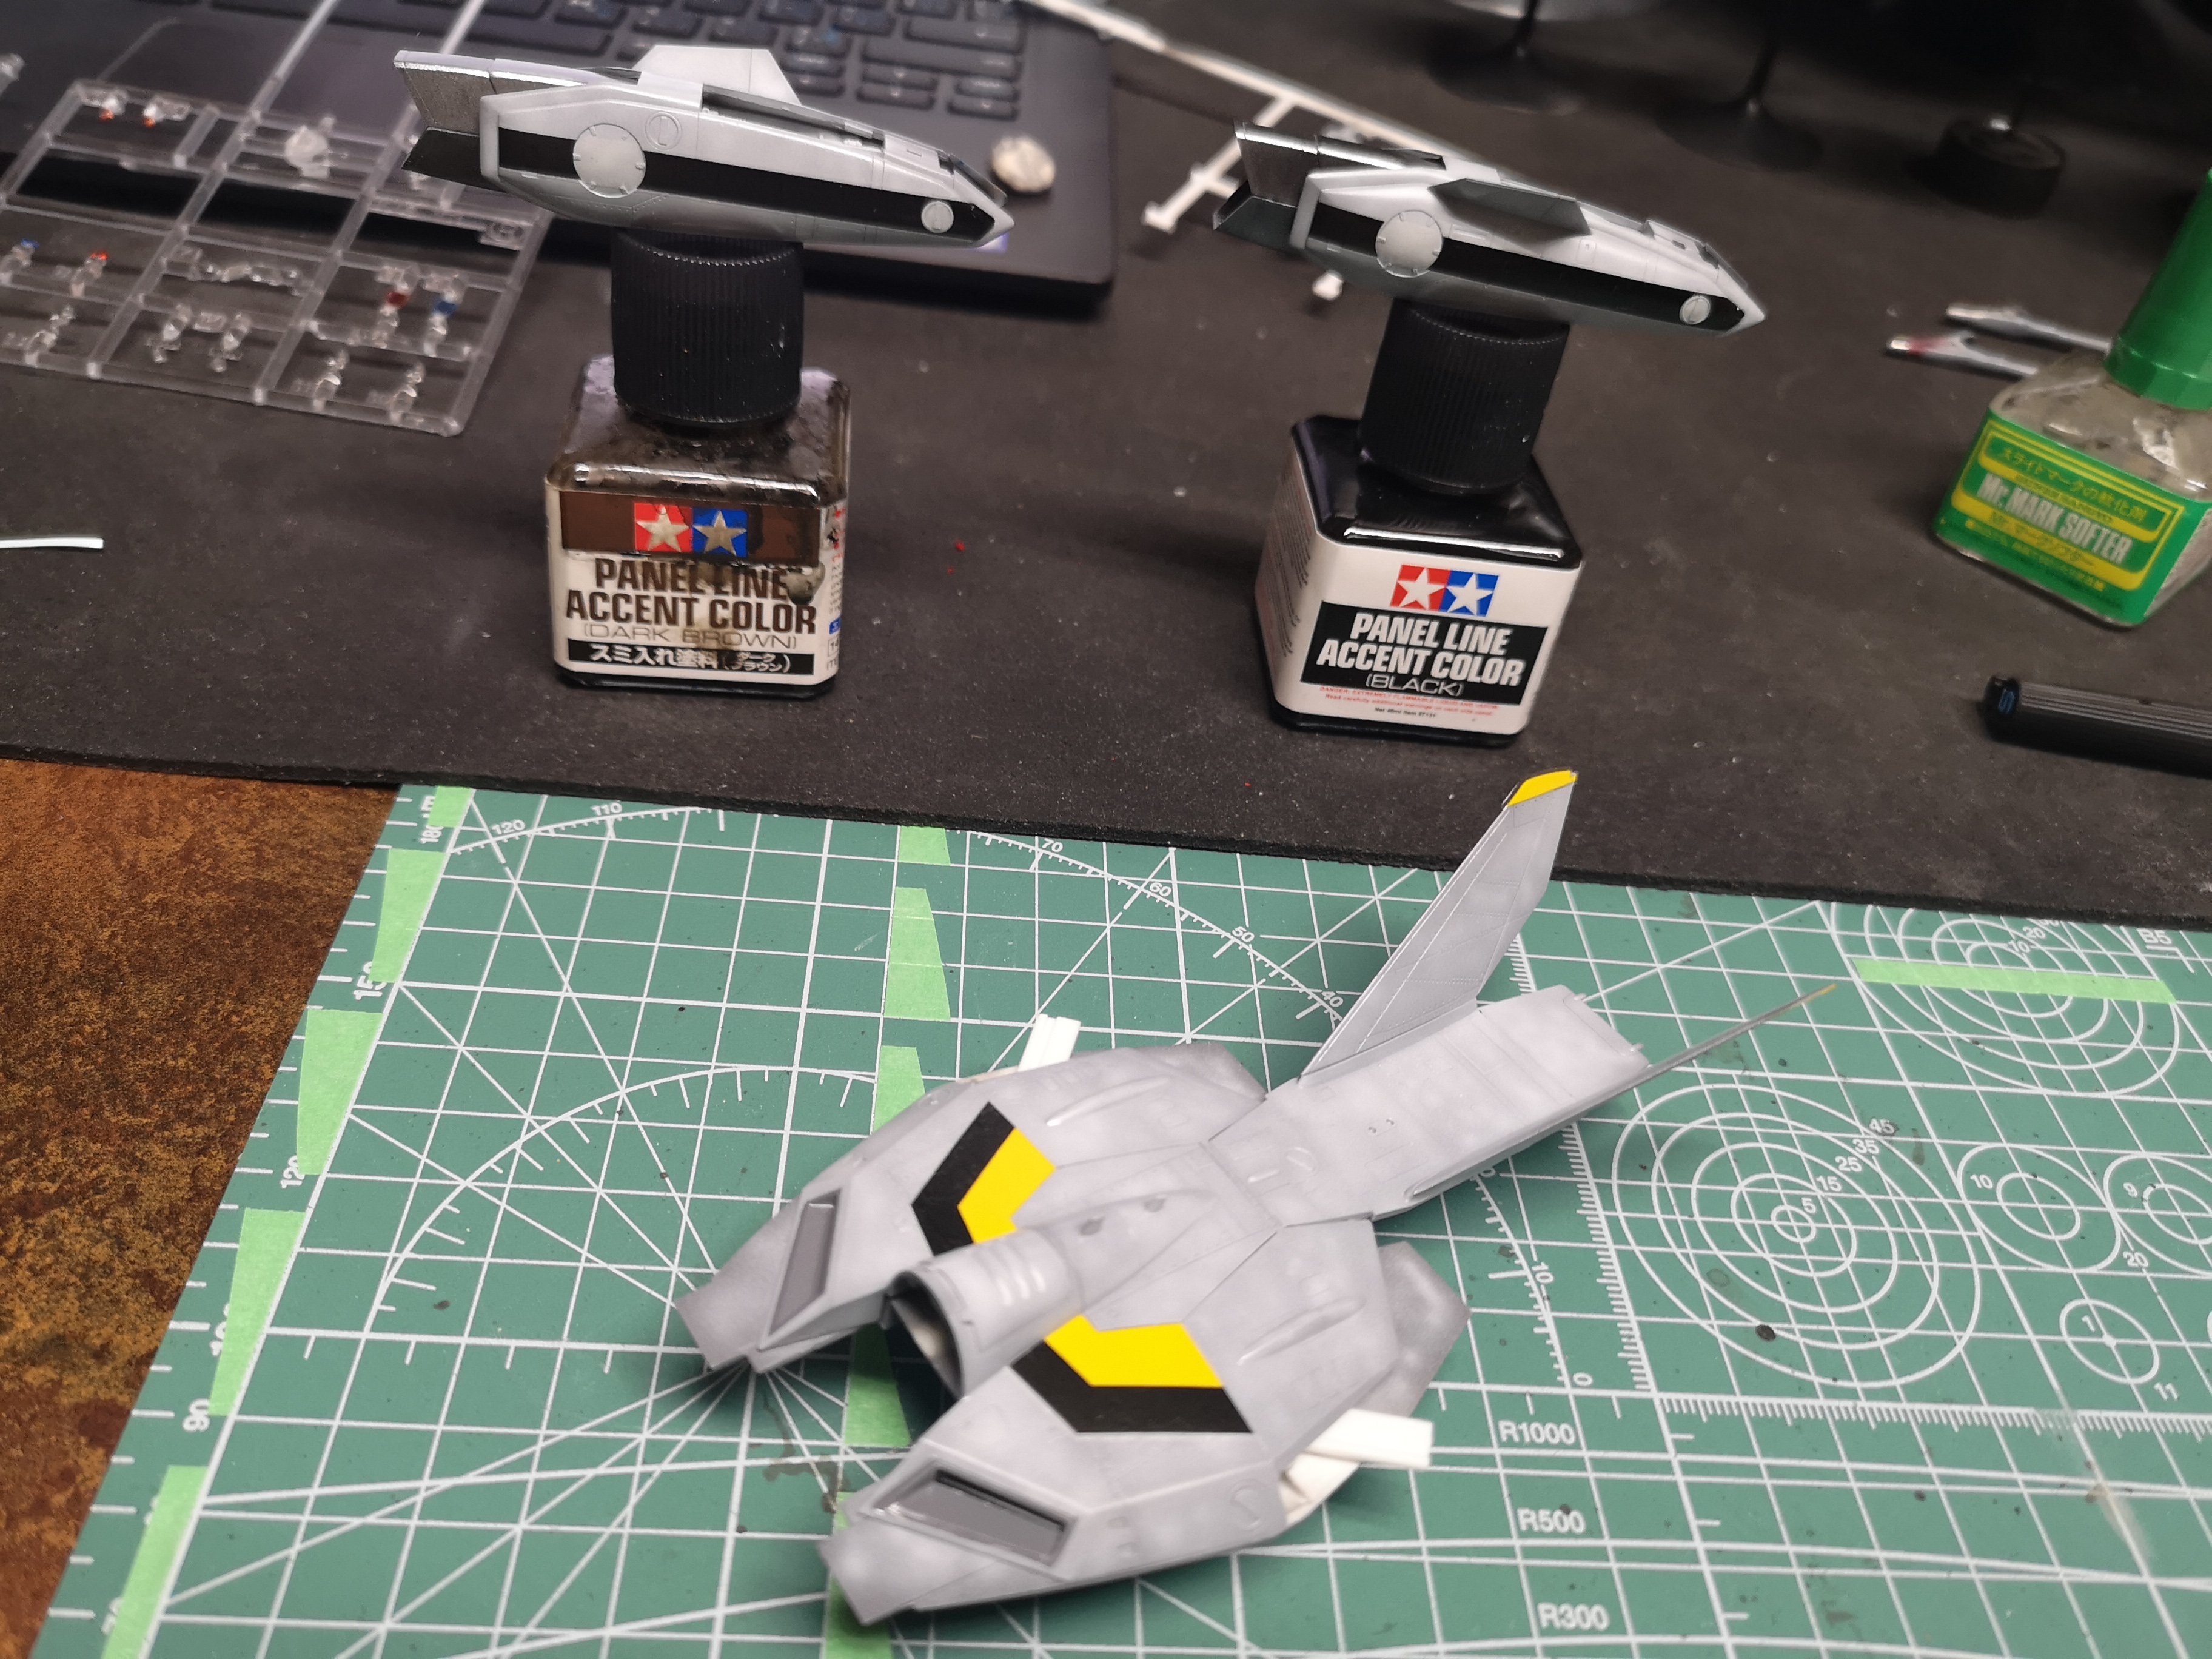
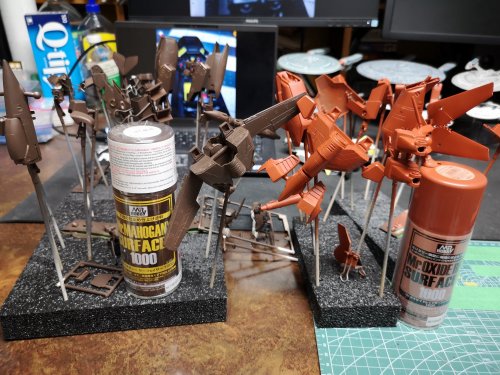
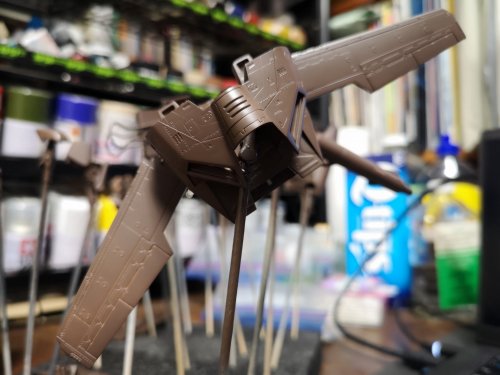
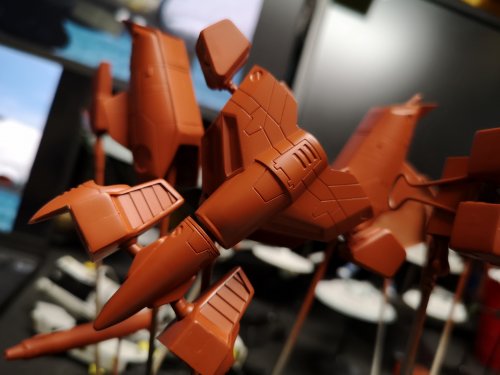
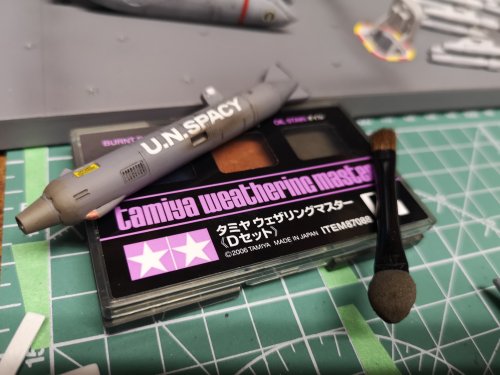
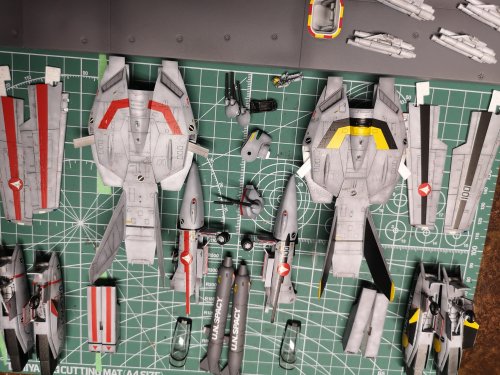
I think the 15th anniversary issue is a retooling? The torso is actually quite different. My childhood build on the left.....just hope the one on the right ends up looking a little bit better. It's definitely a different shape....wonder why they changed it? Not like it's a huge improvement, lol! The top was really naked, void of any detail so after watching Plasmo build his Gundam, I tried and failed to add detail, lol! Oh well, I just won't display it anywhere near the Hasegawa. Collapsed the rifle and will use a Hasegawa part to mount it to the arm. One thing that really bugs me are trigger fingers on the trigger when not firing, so I straightened the finger. This is for the Hasegawa Battroid, not the Bandai. I might go with fists for both hands for the Bandai. Experimenting with black-basing. Well, in this case, brown-basing and red-basing. Will see how different the same grey/white will look over these two primers. Valkyries by Lindt. This thing looks like Maximilian from the Black Hole.


-
That's the 537 for you. It will crack, bend and sag, even if you reinforce it with the hand of God, so don't feel bad. I avoid looking at my 537s in case they are already cracked and I just don't know it. if things really go south on yours and it's no longer salvageable, nuke it from orbit like I did.

-
That Roundabout is pretty awesome...honestly, I had no idea they were that big inside.
-
I agree, I don't really like the look of those Topgun roundels.
-
I'm not very familiar with Gundam but that looks good to me.
-
I can't scribe to save my life. Tried it with the Bandai and it looks like an abortion, will post pics, but yours looks amazing.
-
That looks amazing, but wait a sec, I don't recall seeing the removable Macross/skull logo plates on the fighter....is that something new for just the Gerwalk? I haven't gotten around to the super/strike Battroid yet.
-
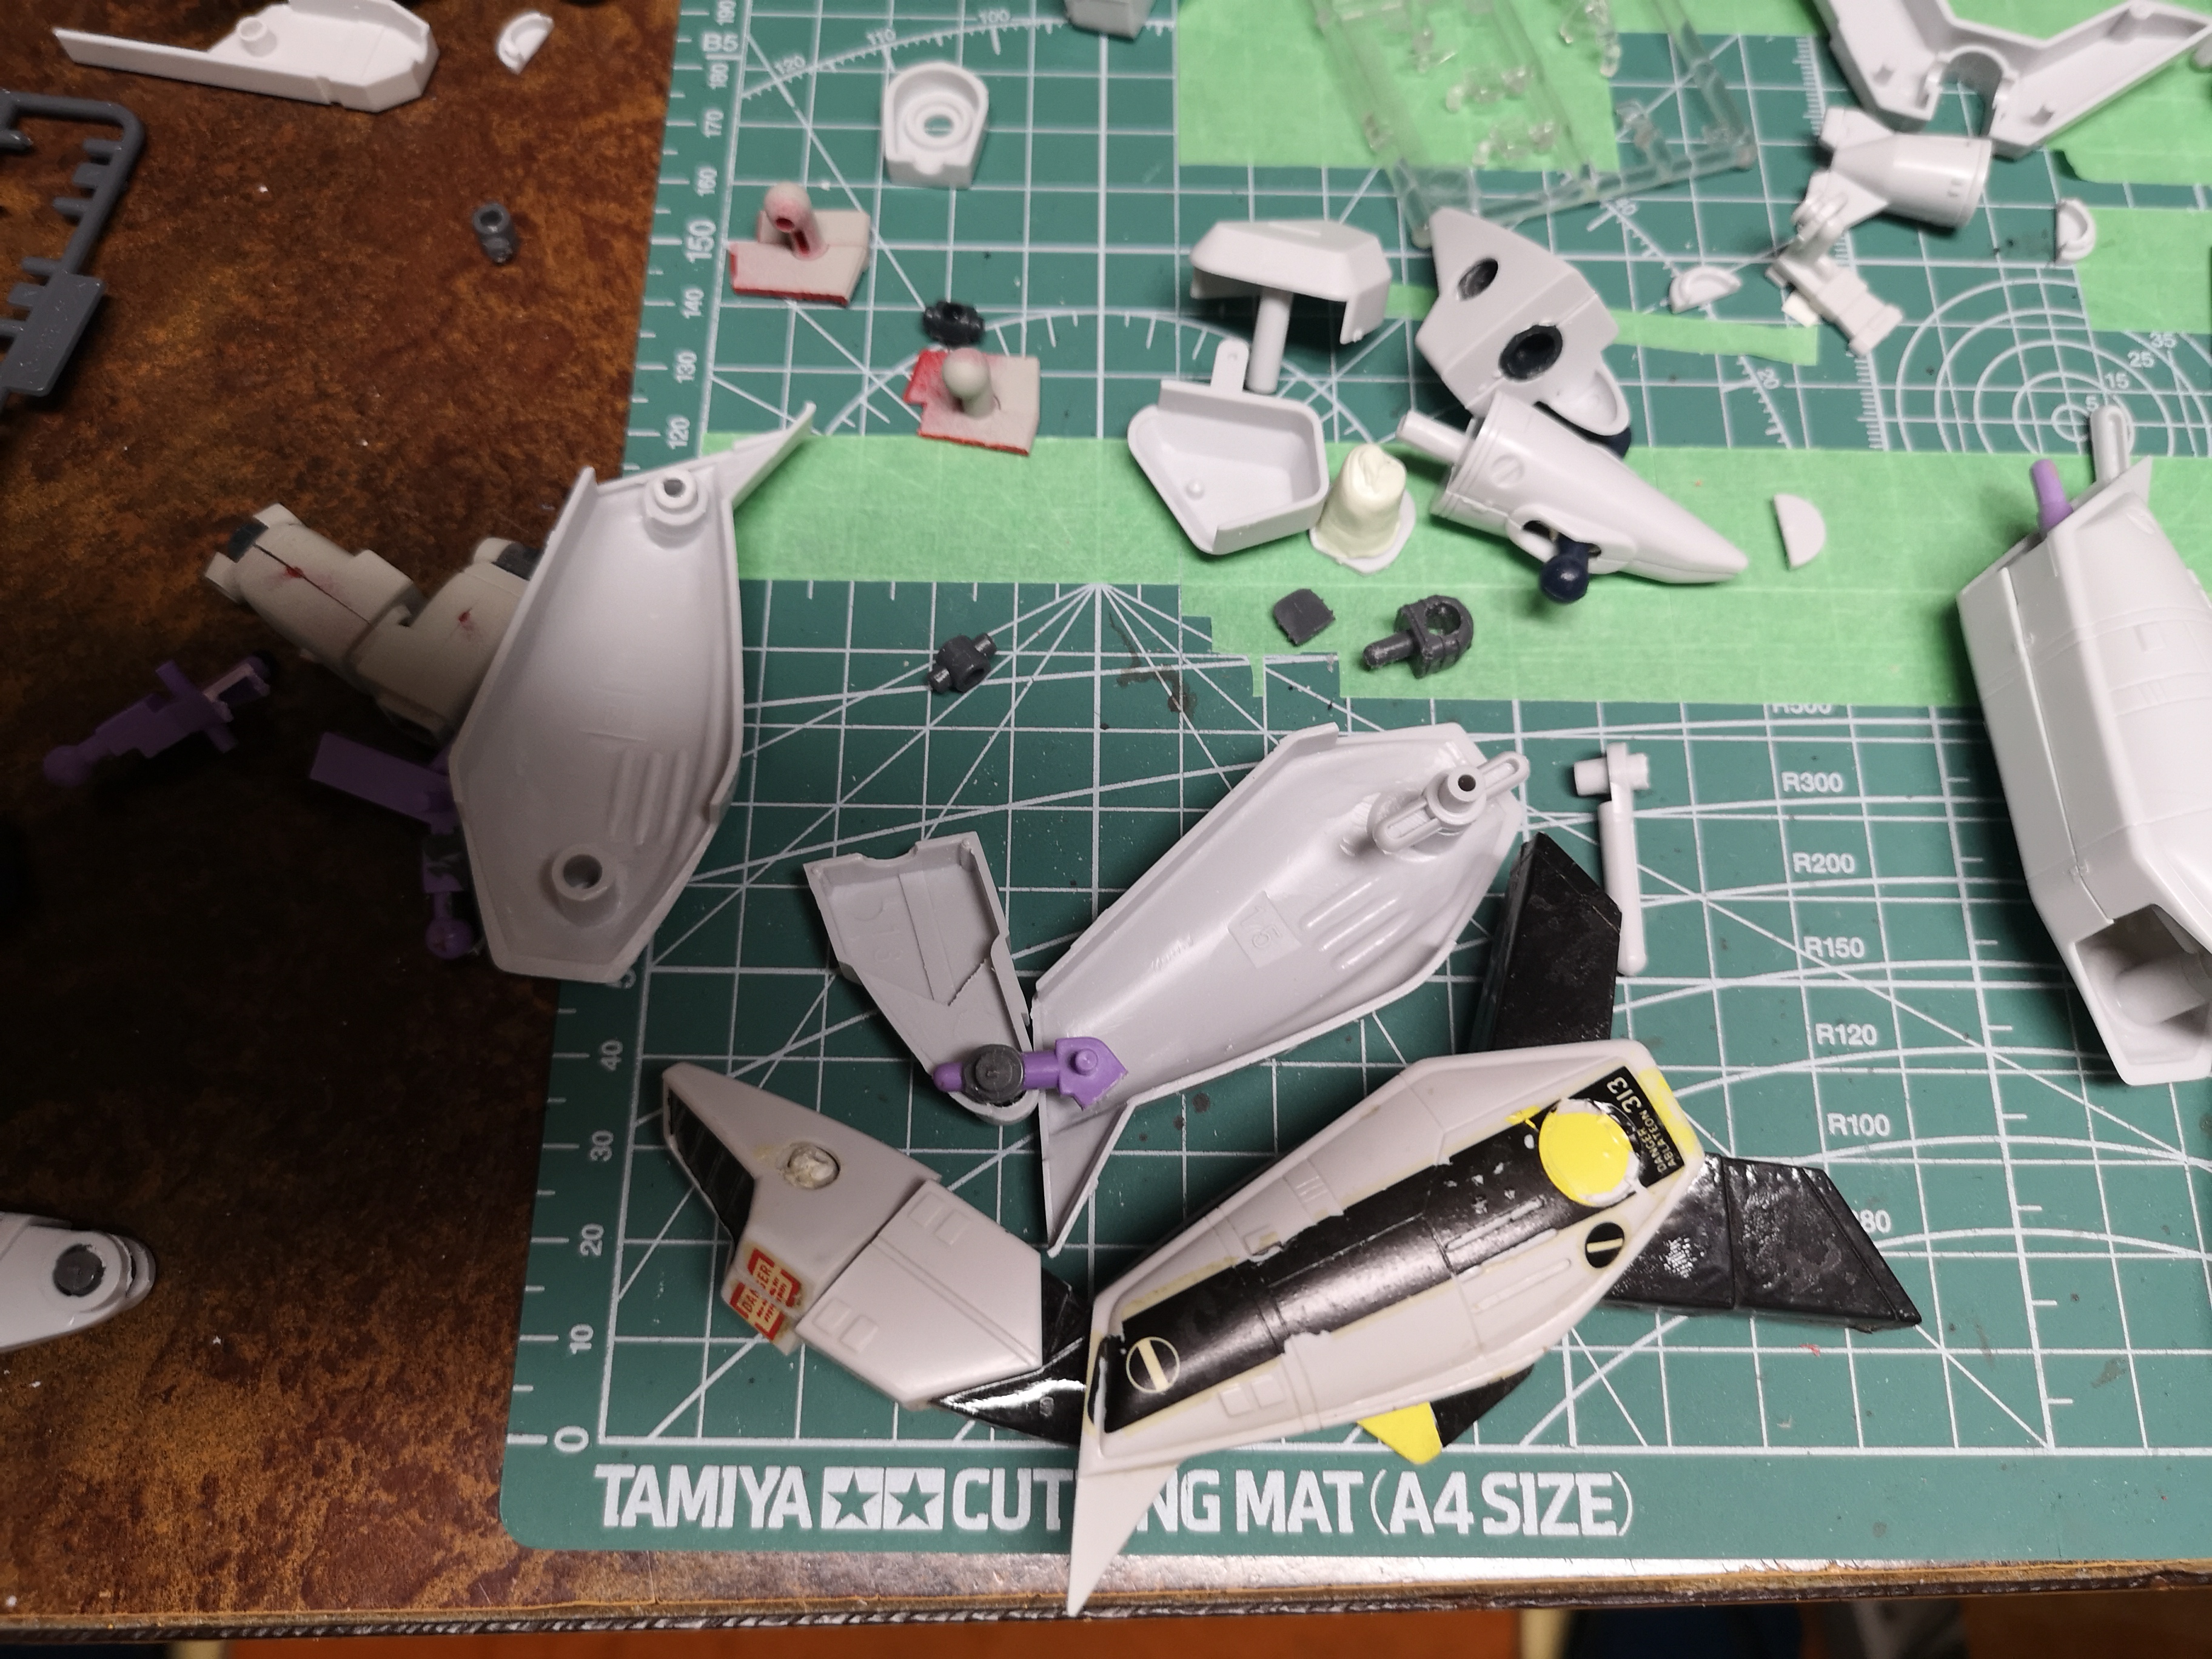
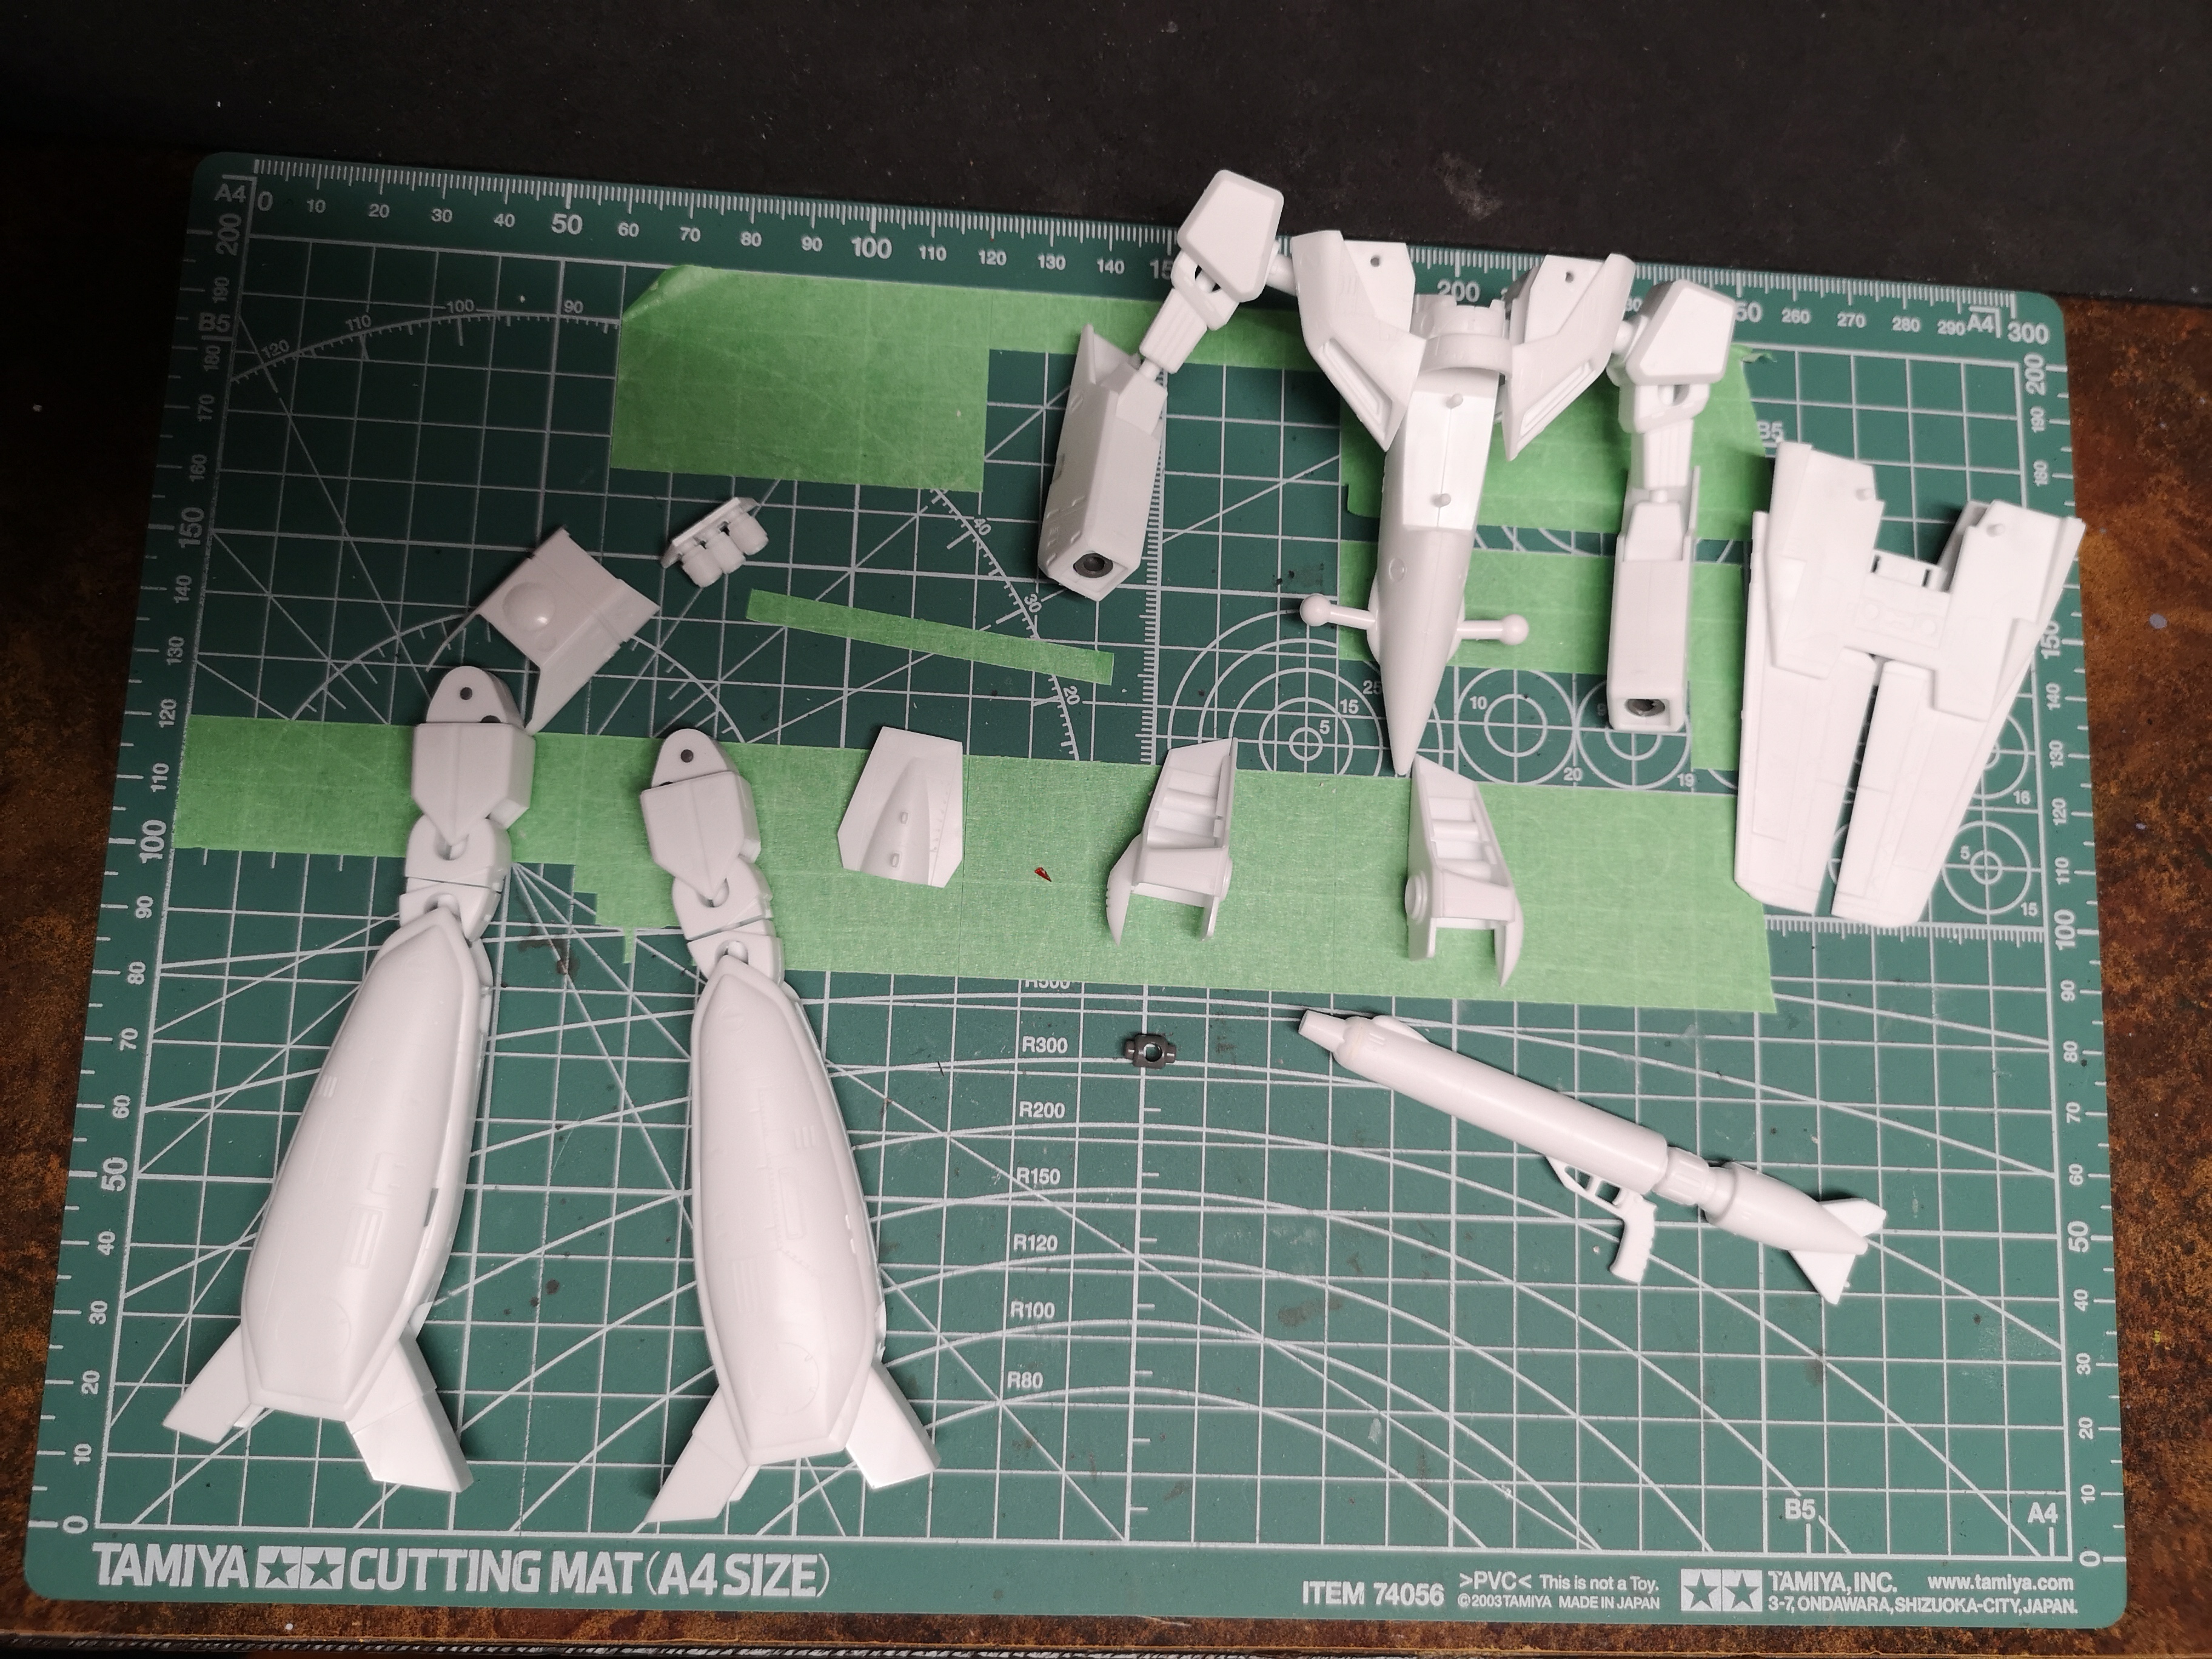
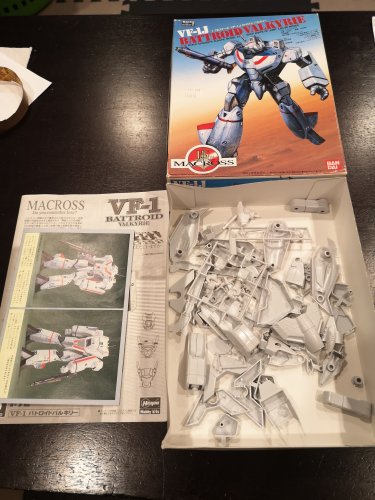
Lol, let's see how far my insanity goes. @Gabe Q I abandoned a kit 17+ years ago and stopped building models altogether, let's hope my stupidity does put me off again. This old kit is nasty. I found my original one from when I was 9 or 10. Dug up a few others too. Anyway, this floppy mess was my favourite self-built toy when I was a kid, so it's just nostalgia, otherwise I wouldn't bother. Everything is captured within another part, from the hands all the way to the shoulders.....same thing with the legs. It would be build, sand and fill, paint, mask, then sandwich it in another section and do it all over. All plastic joints, no poly so the joints will wear our and the whole thing will flop apart. I guess my motivation now is just to be able to build each part separately for ease of painting and have a bit better articulation. I guess it's also a learning experience, trying to figure out the best way to add better joints and use epoxy putty. Honestly, I wish someone else with more skill would just make a YouTube video on how far they could go in accuratizing and modernizing this kit and I could just sit back, watch and eat popcorn. Anyway, I have another one of these and if I ever build that one, it would be straight out of the box. This one will be my guinea pig


-
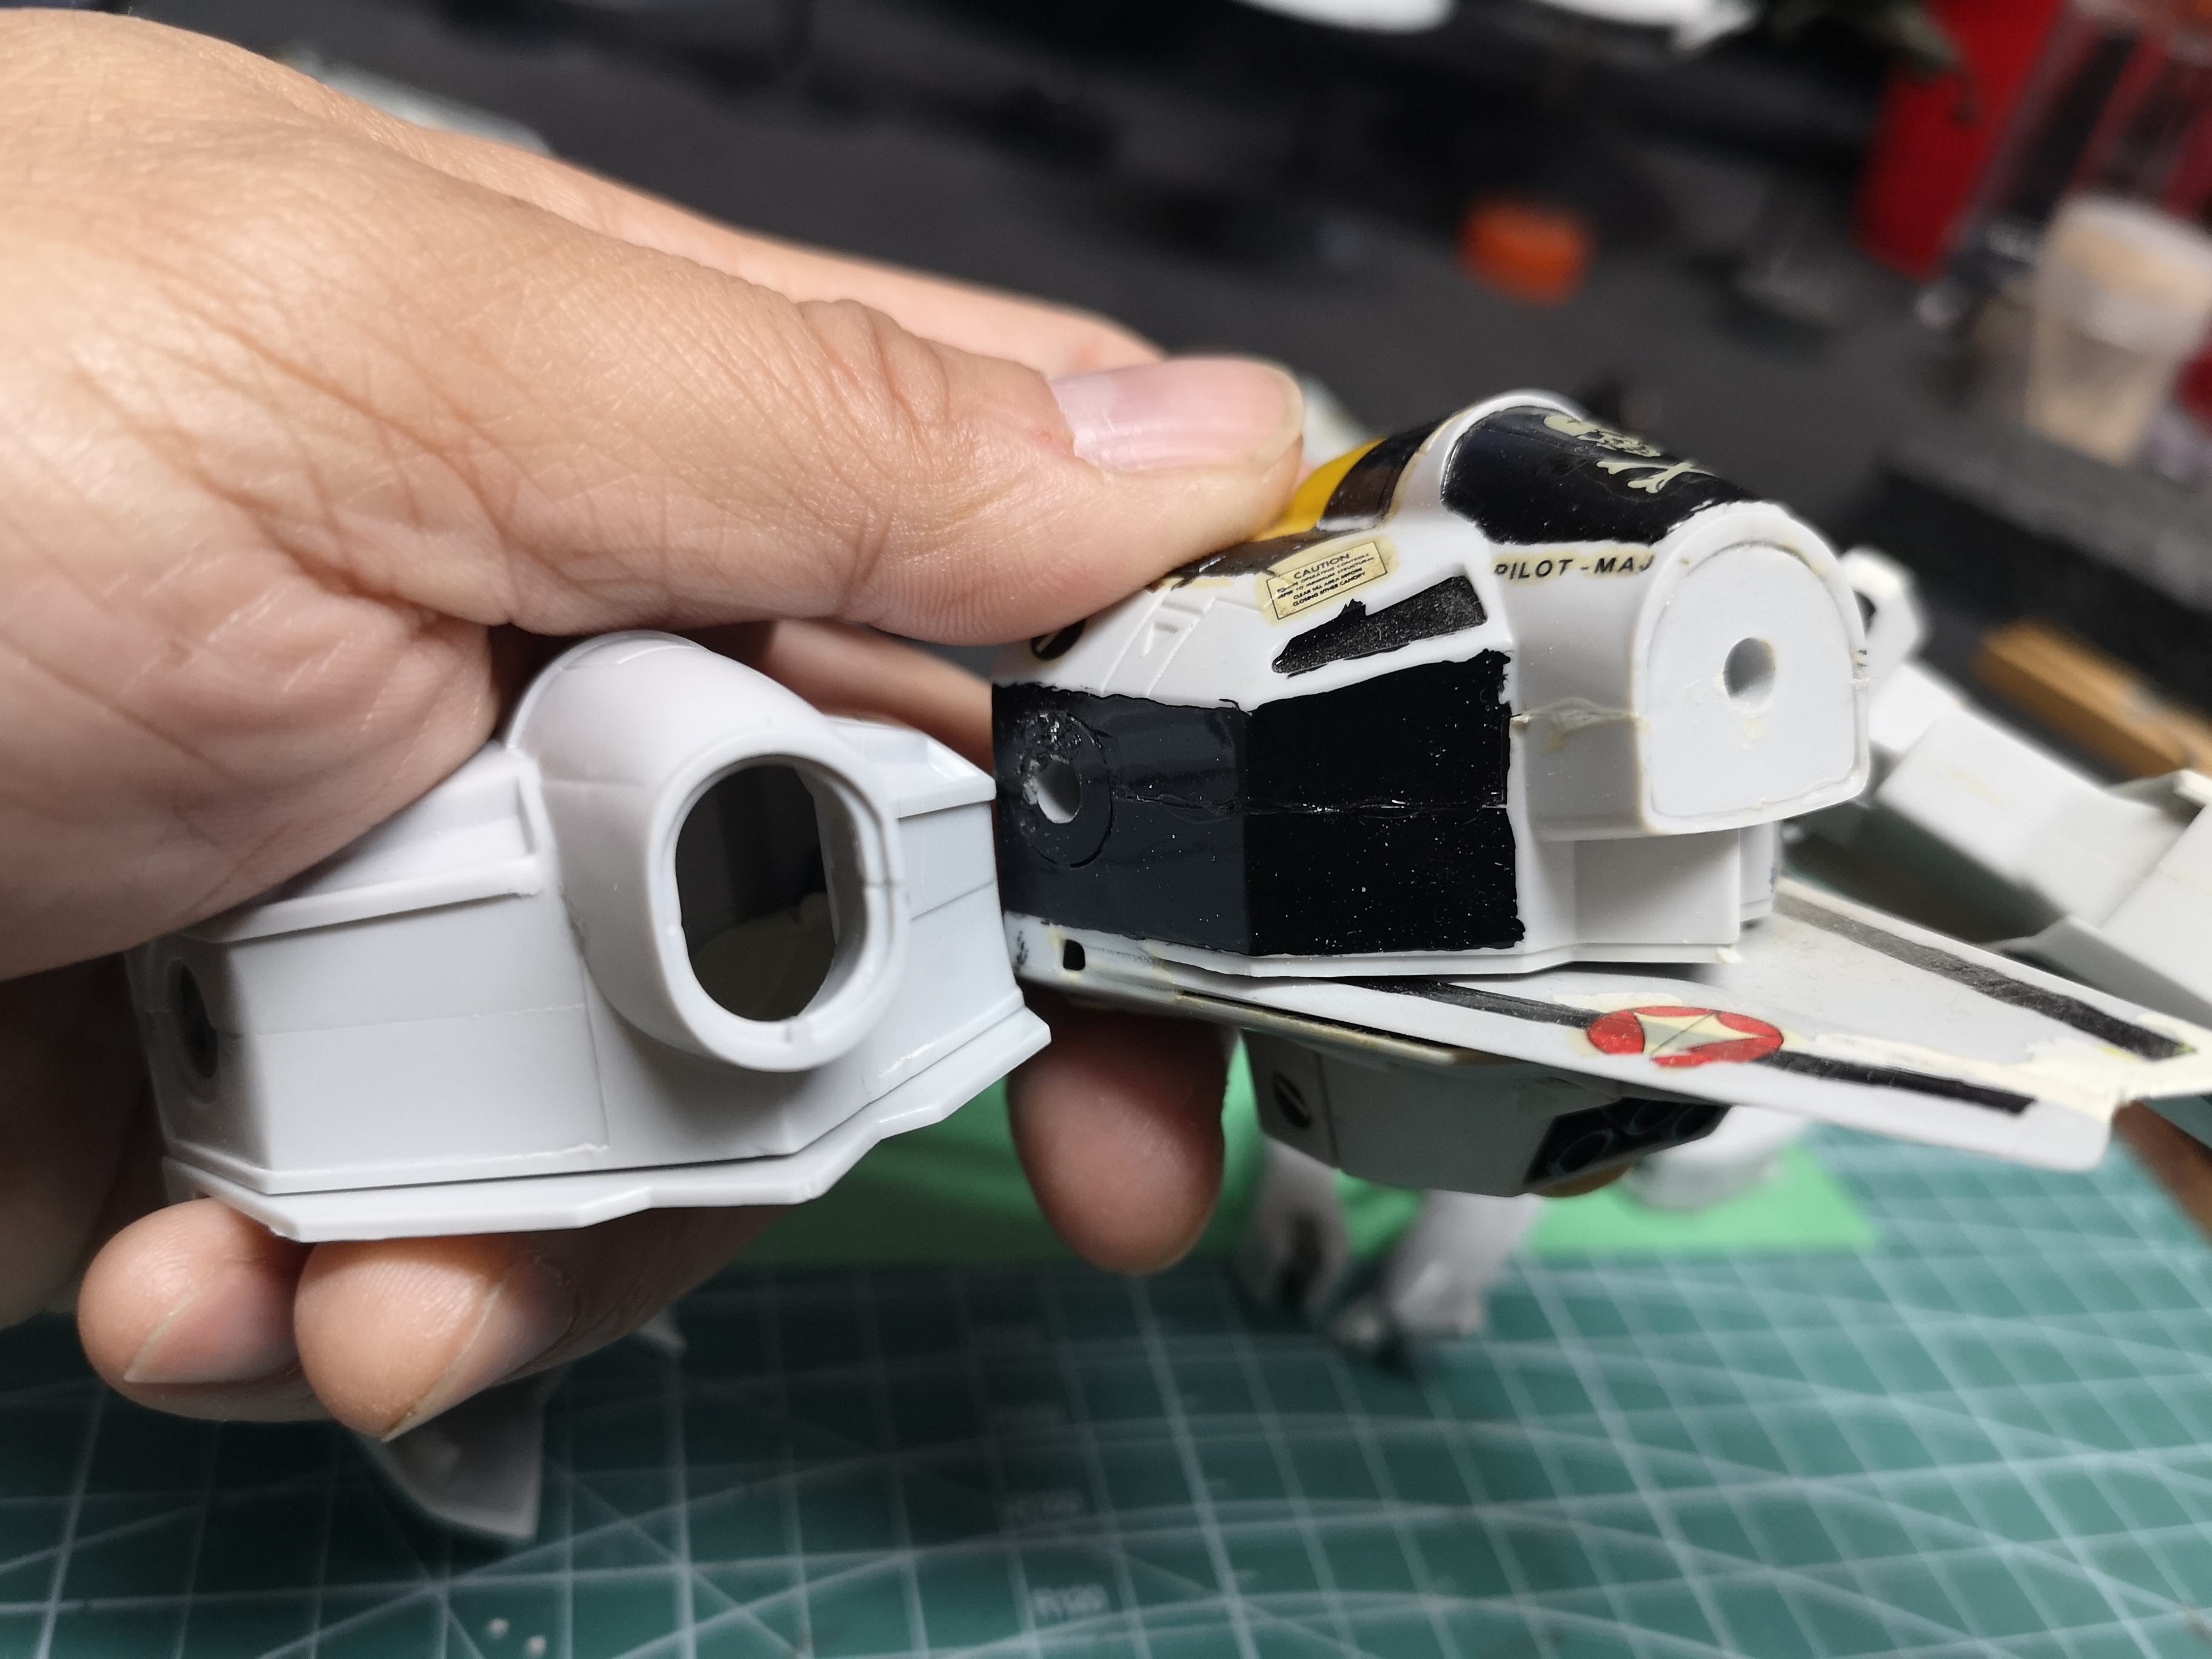
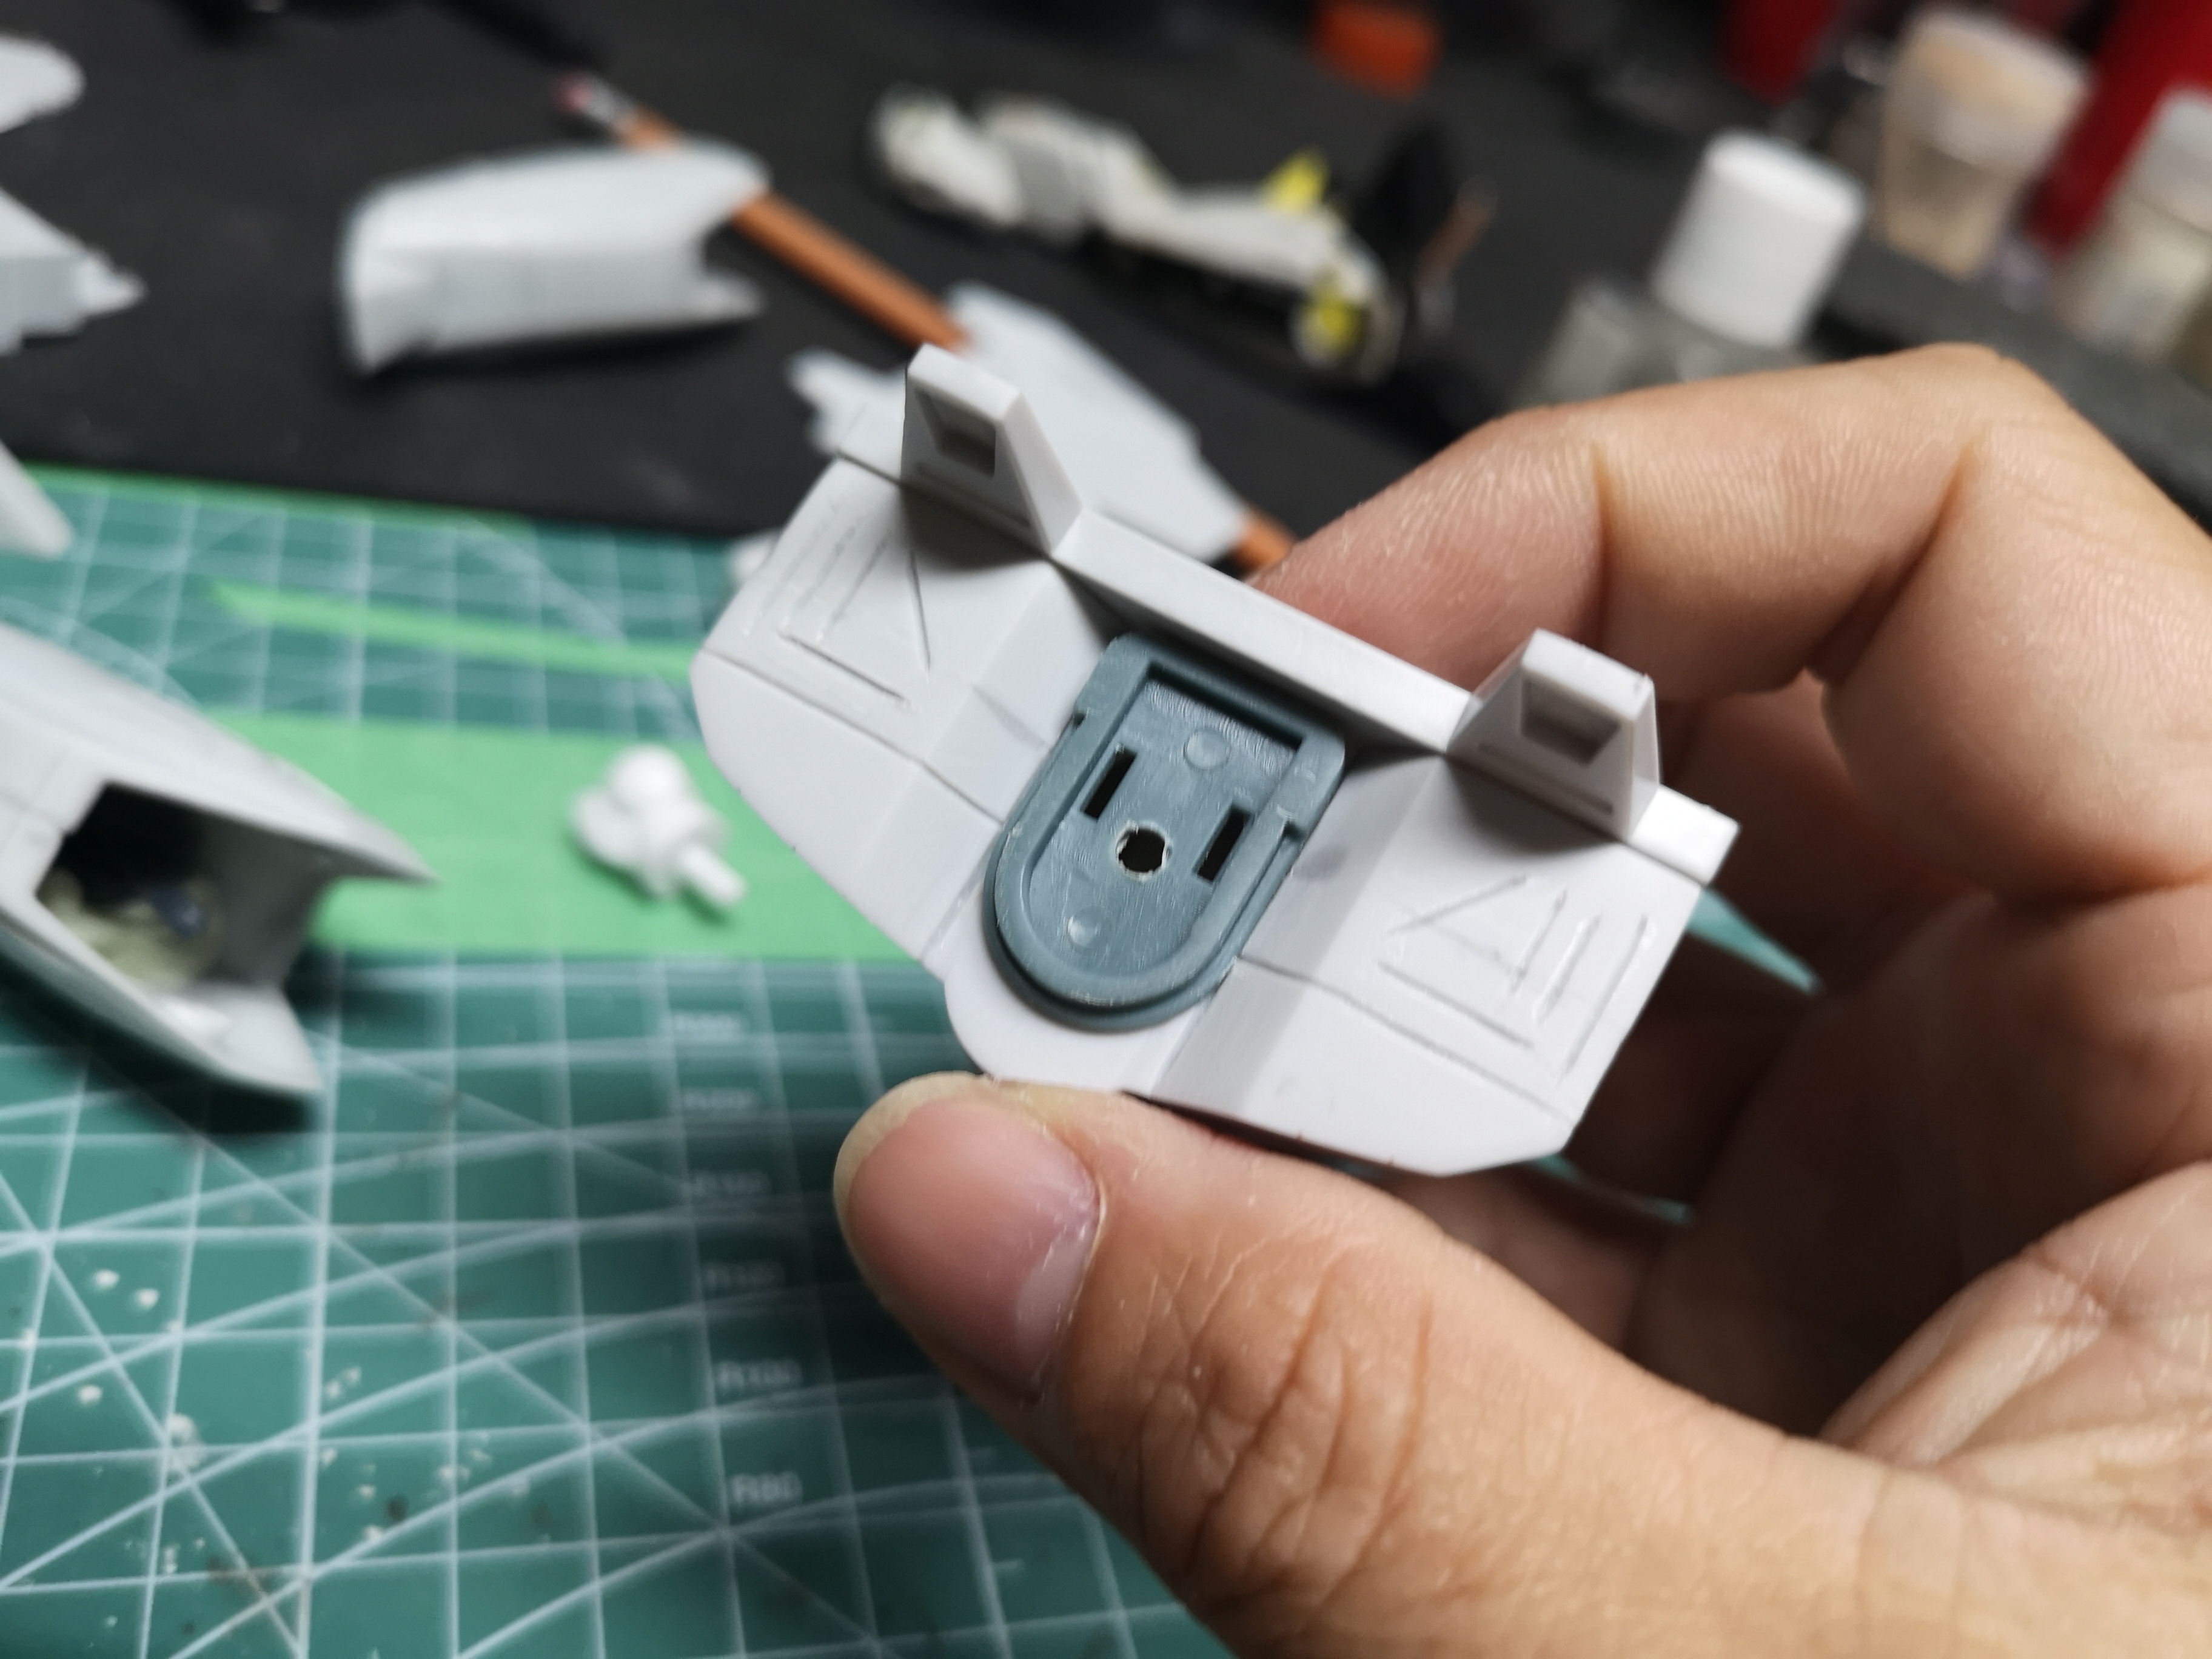
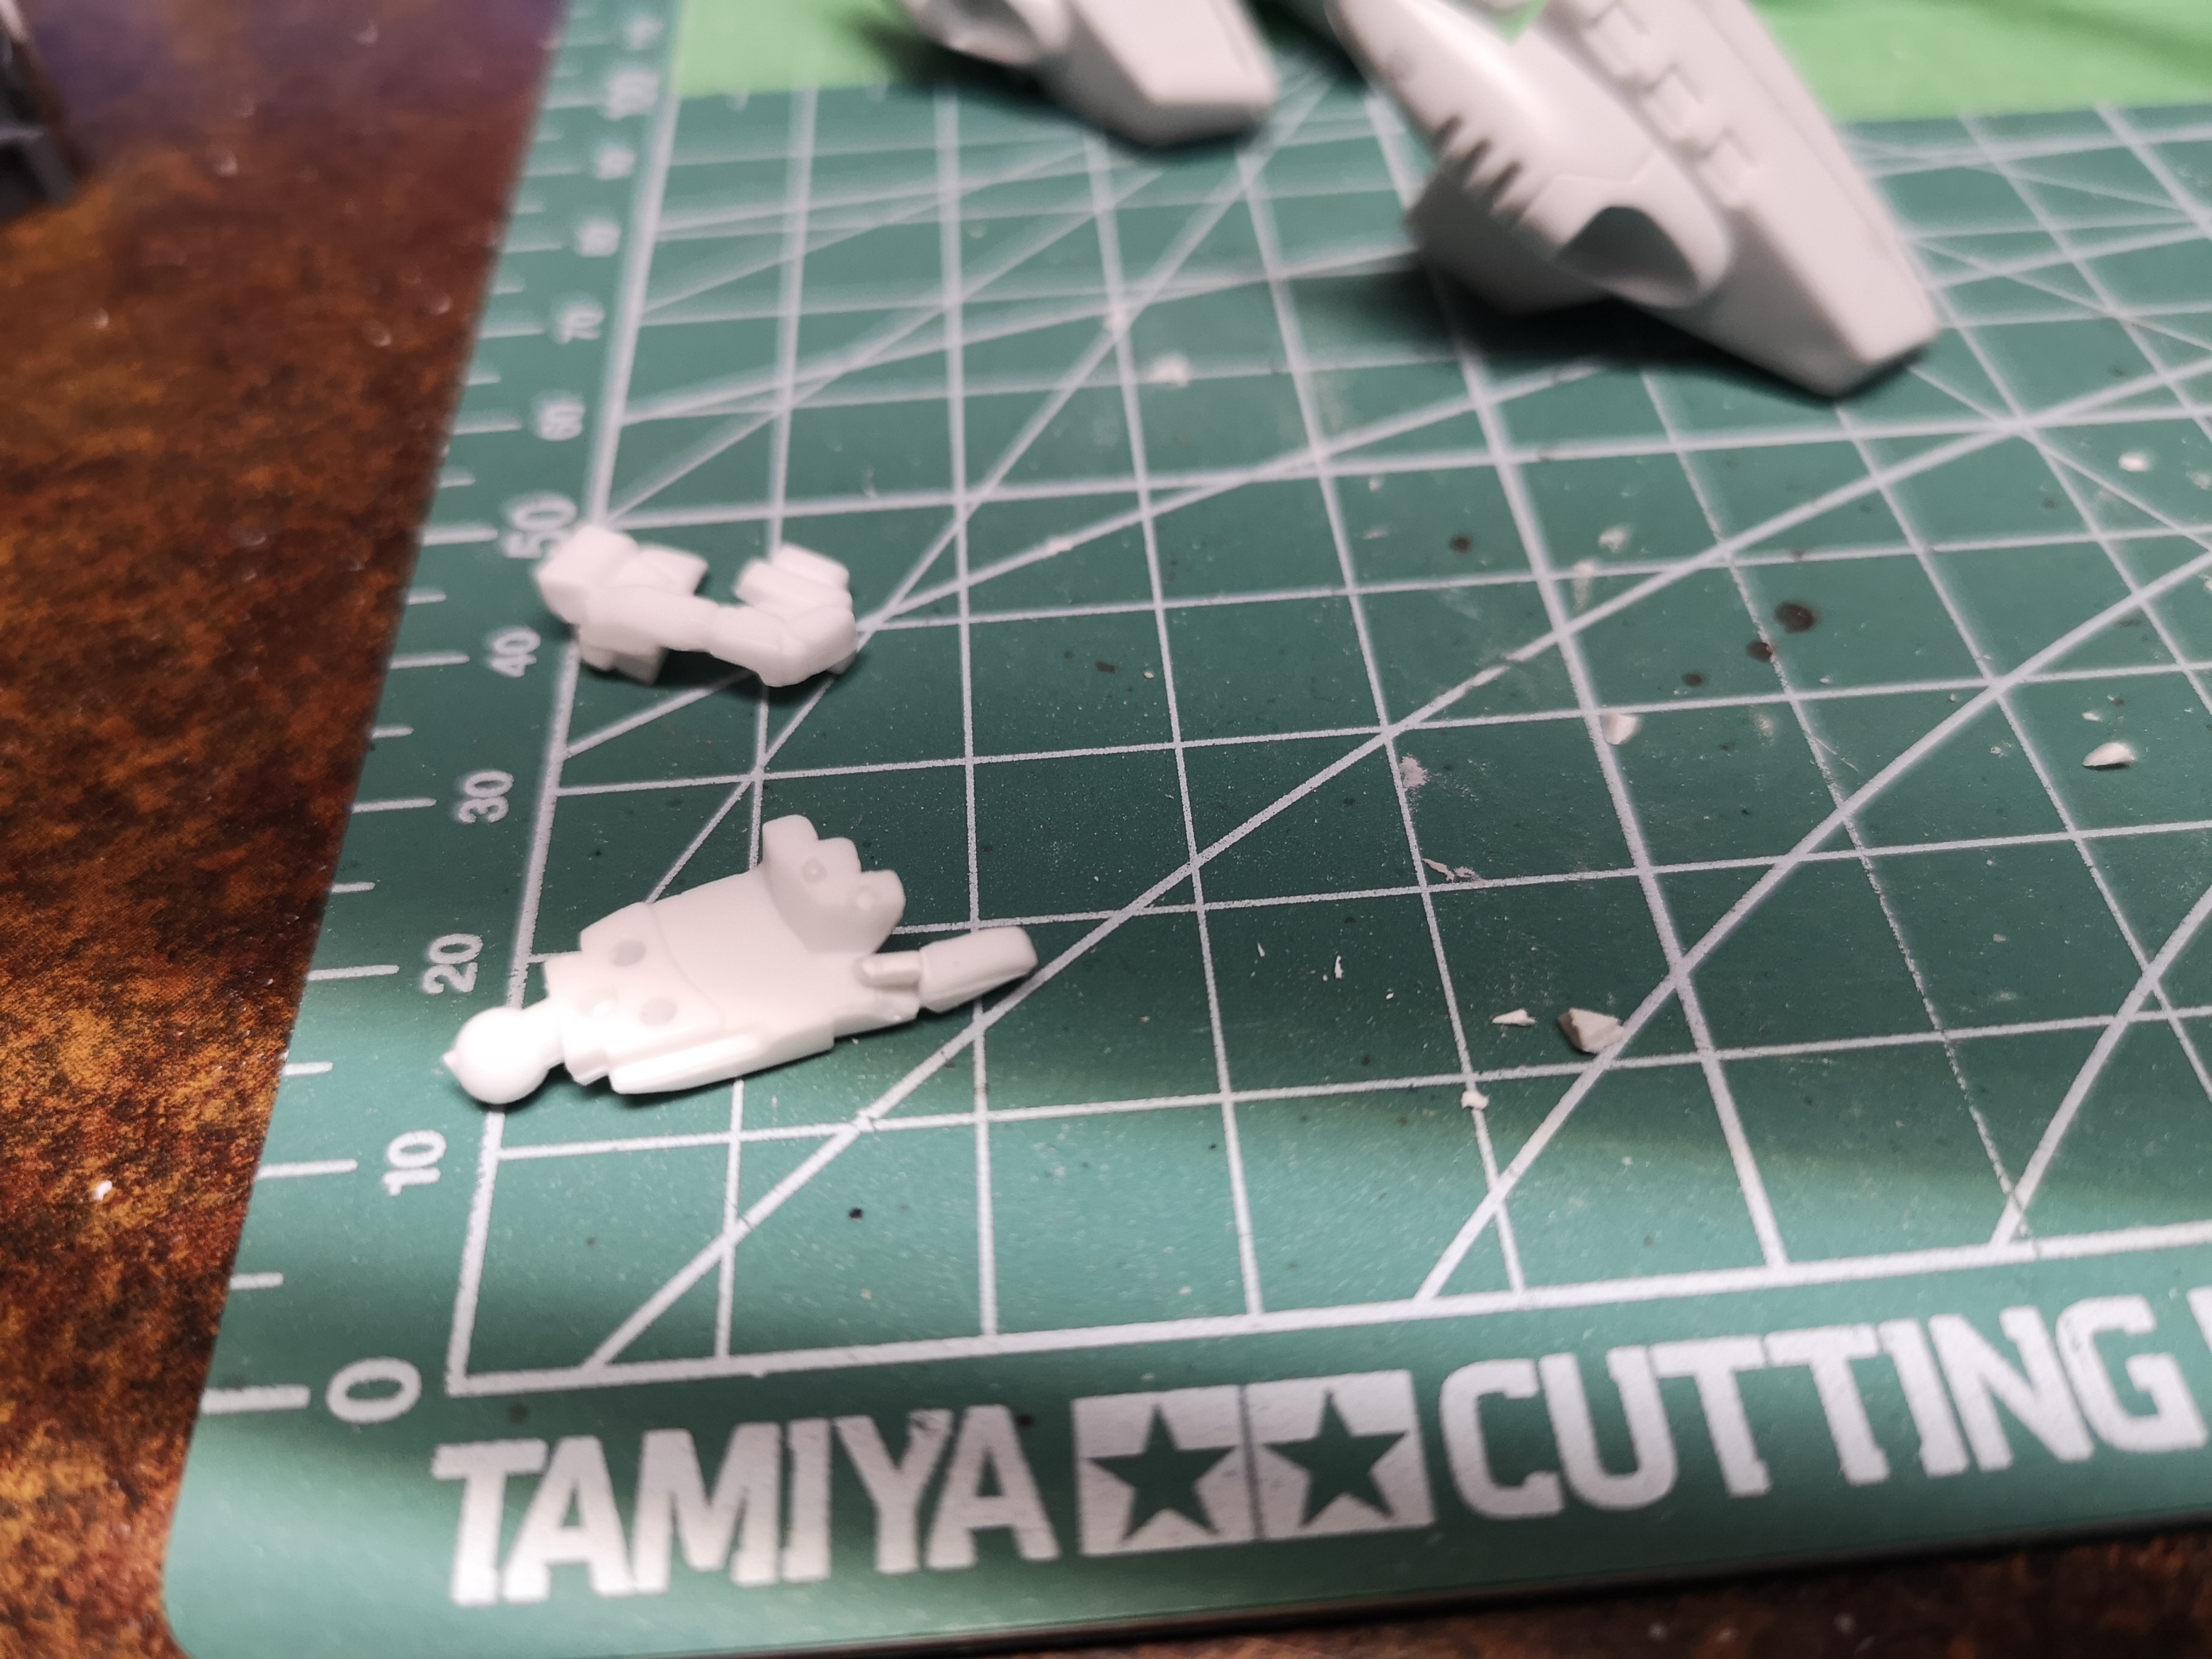
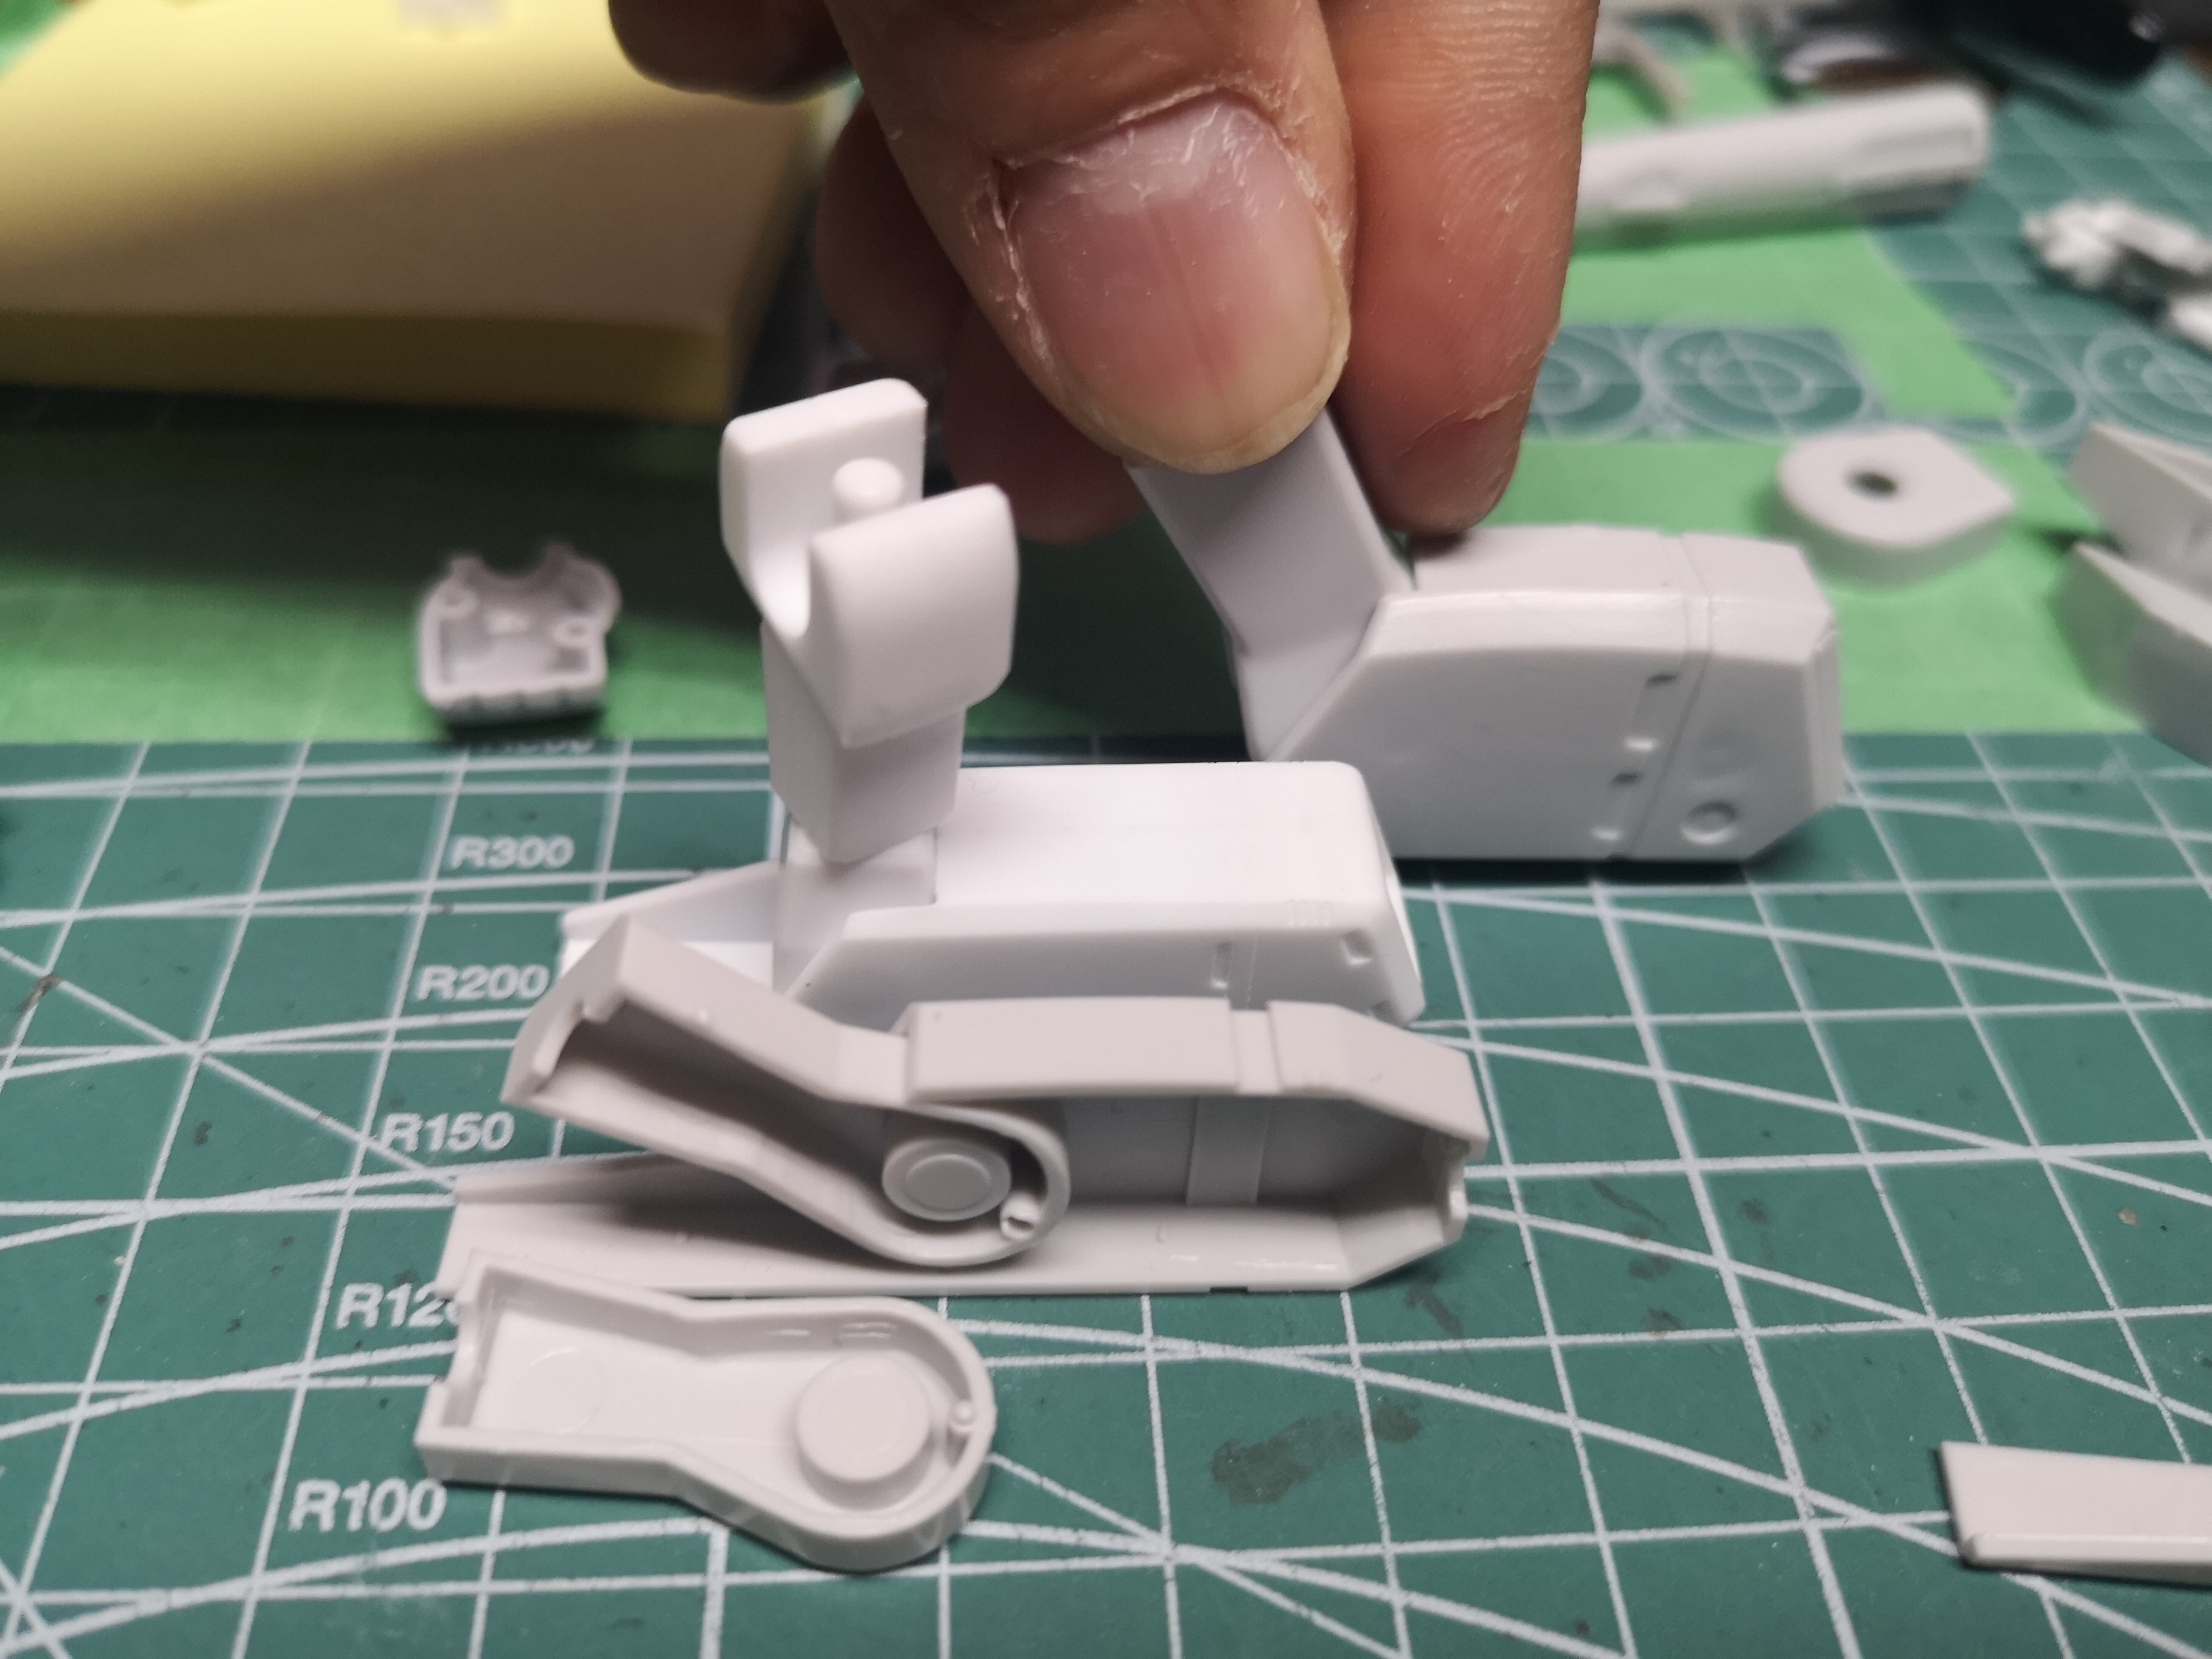
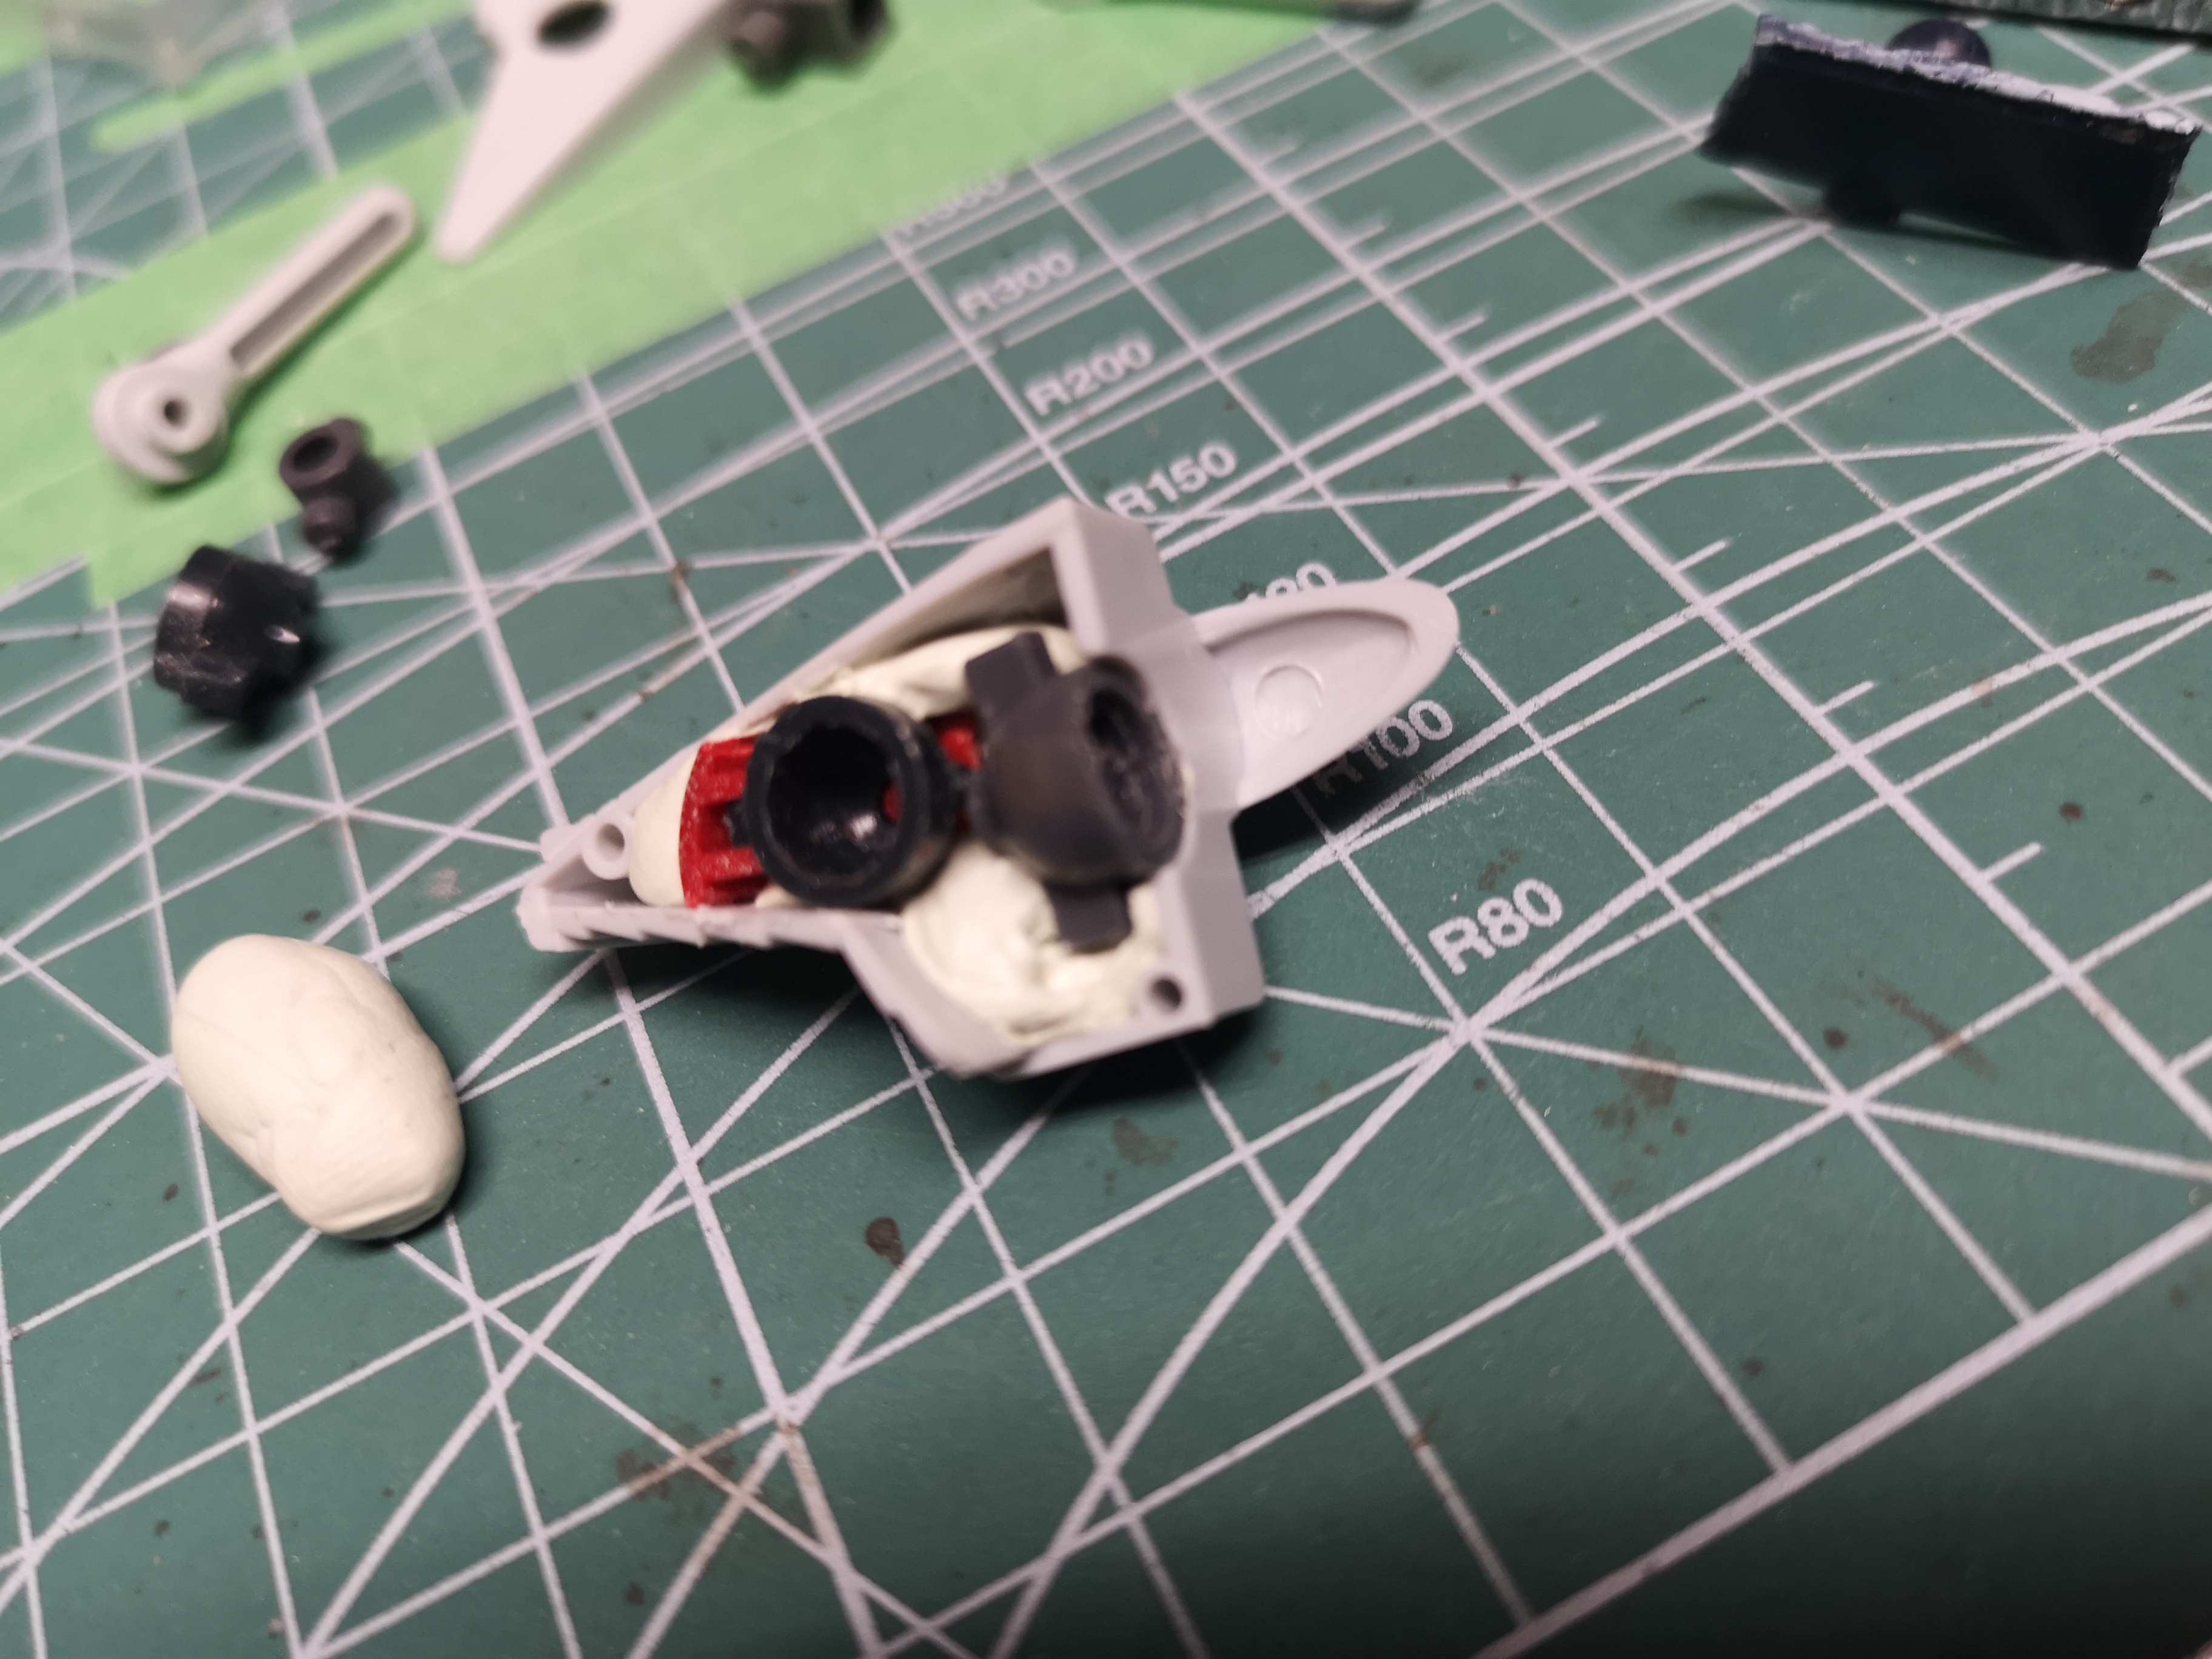
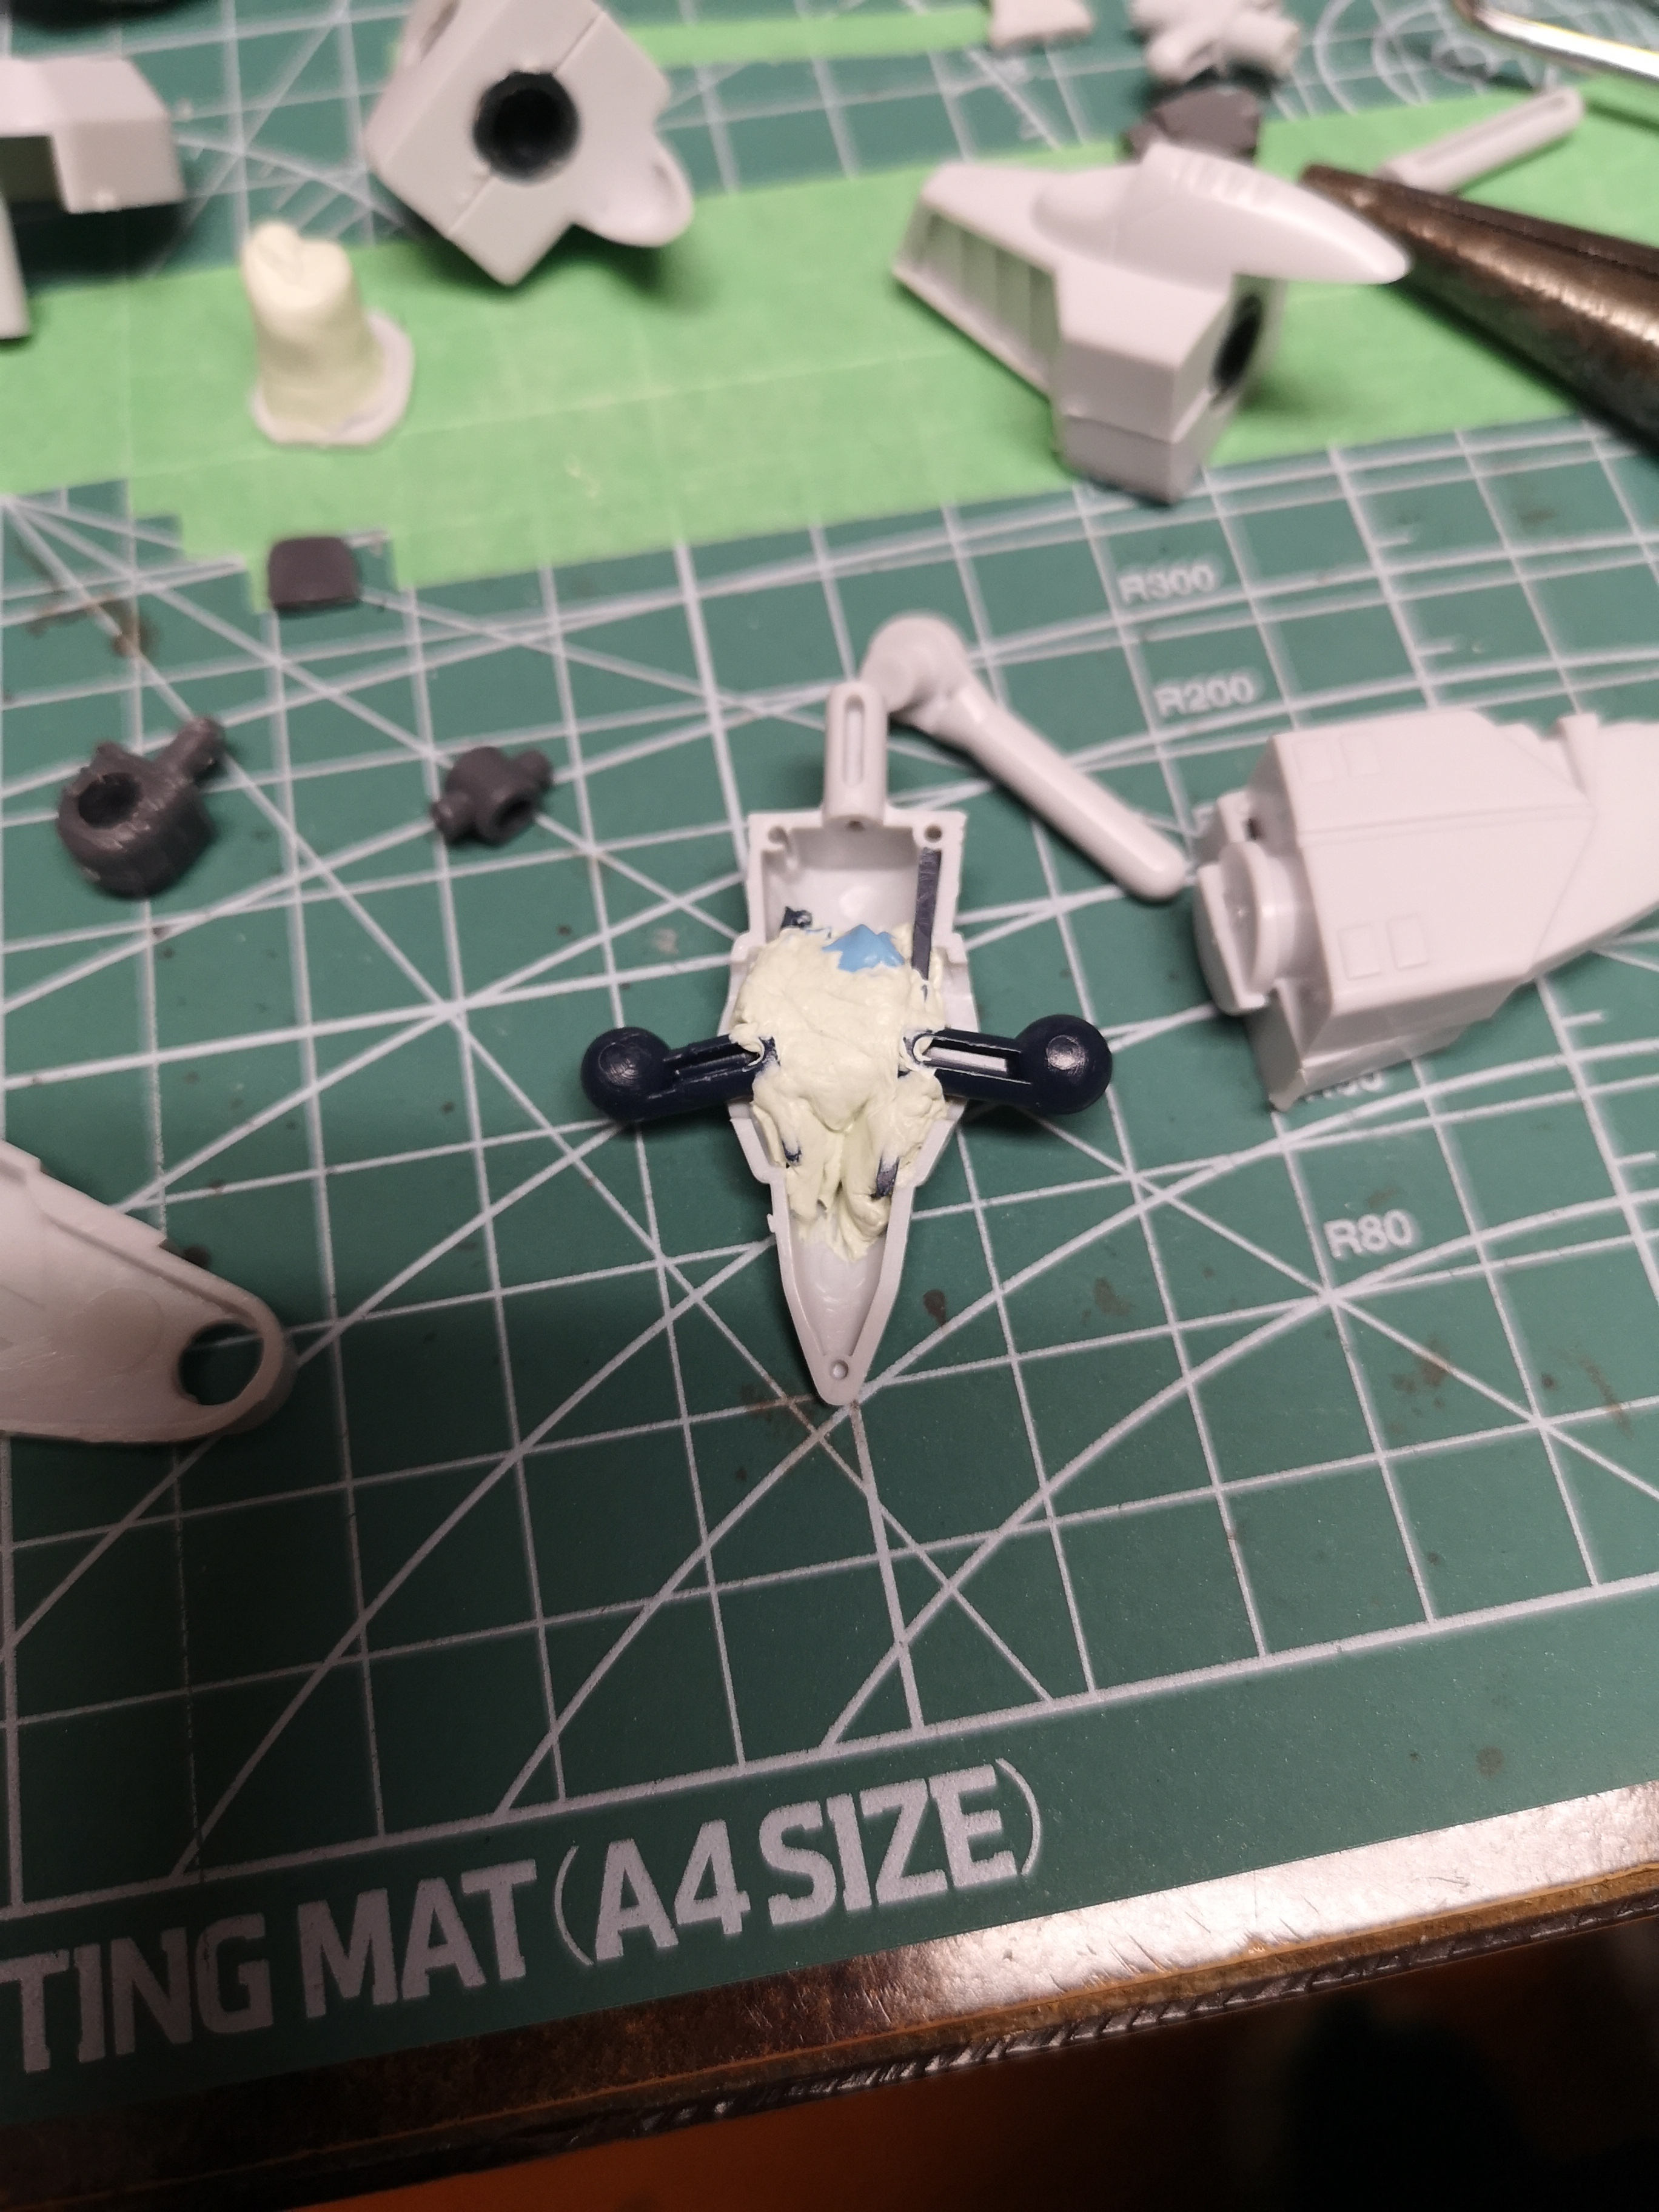
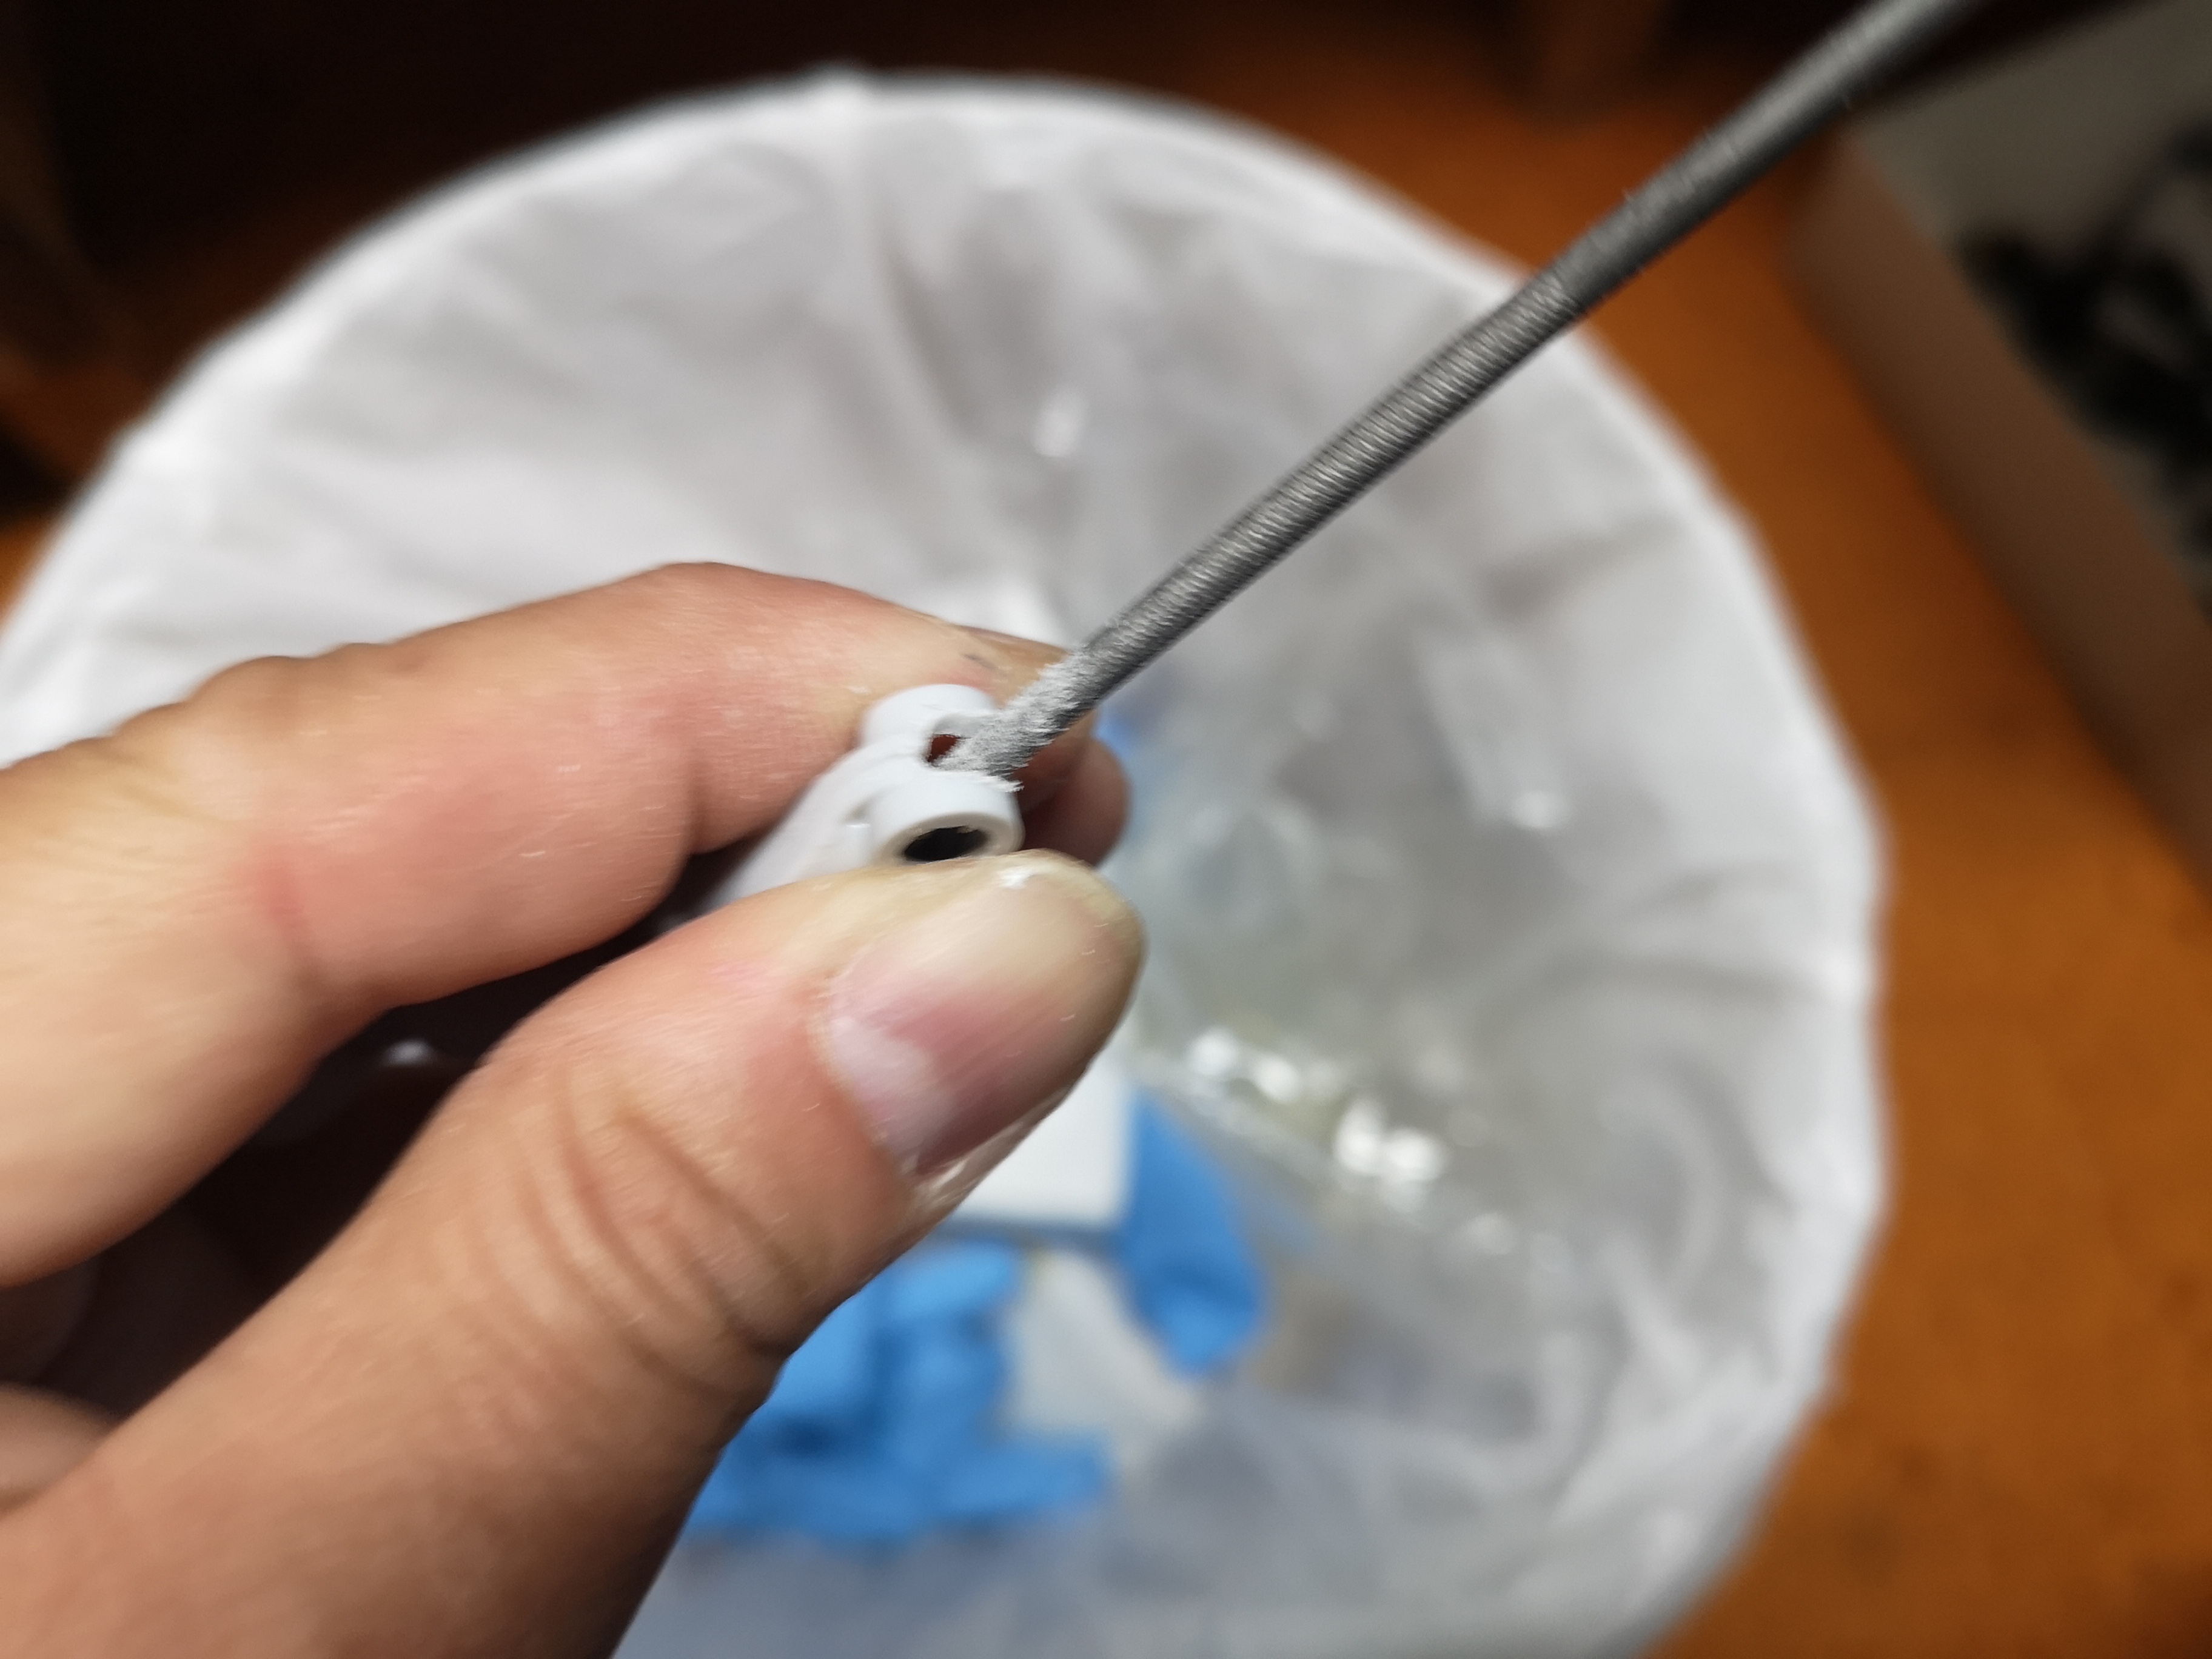
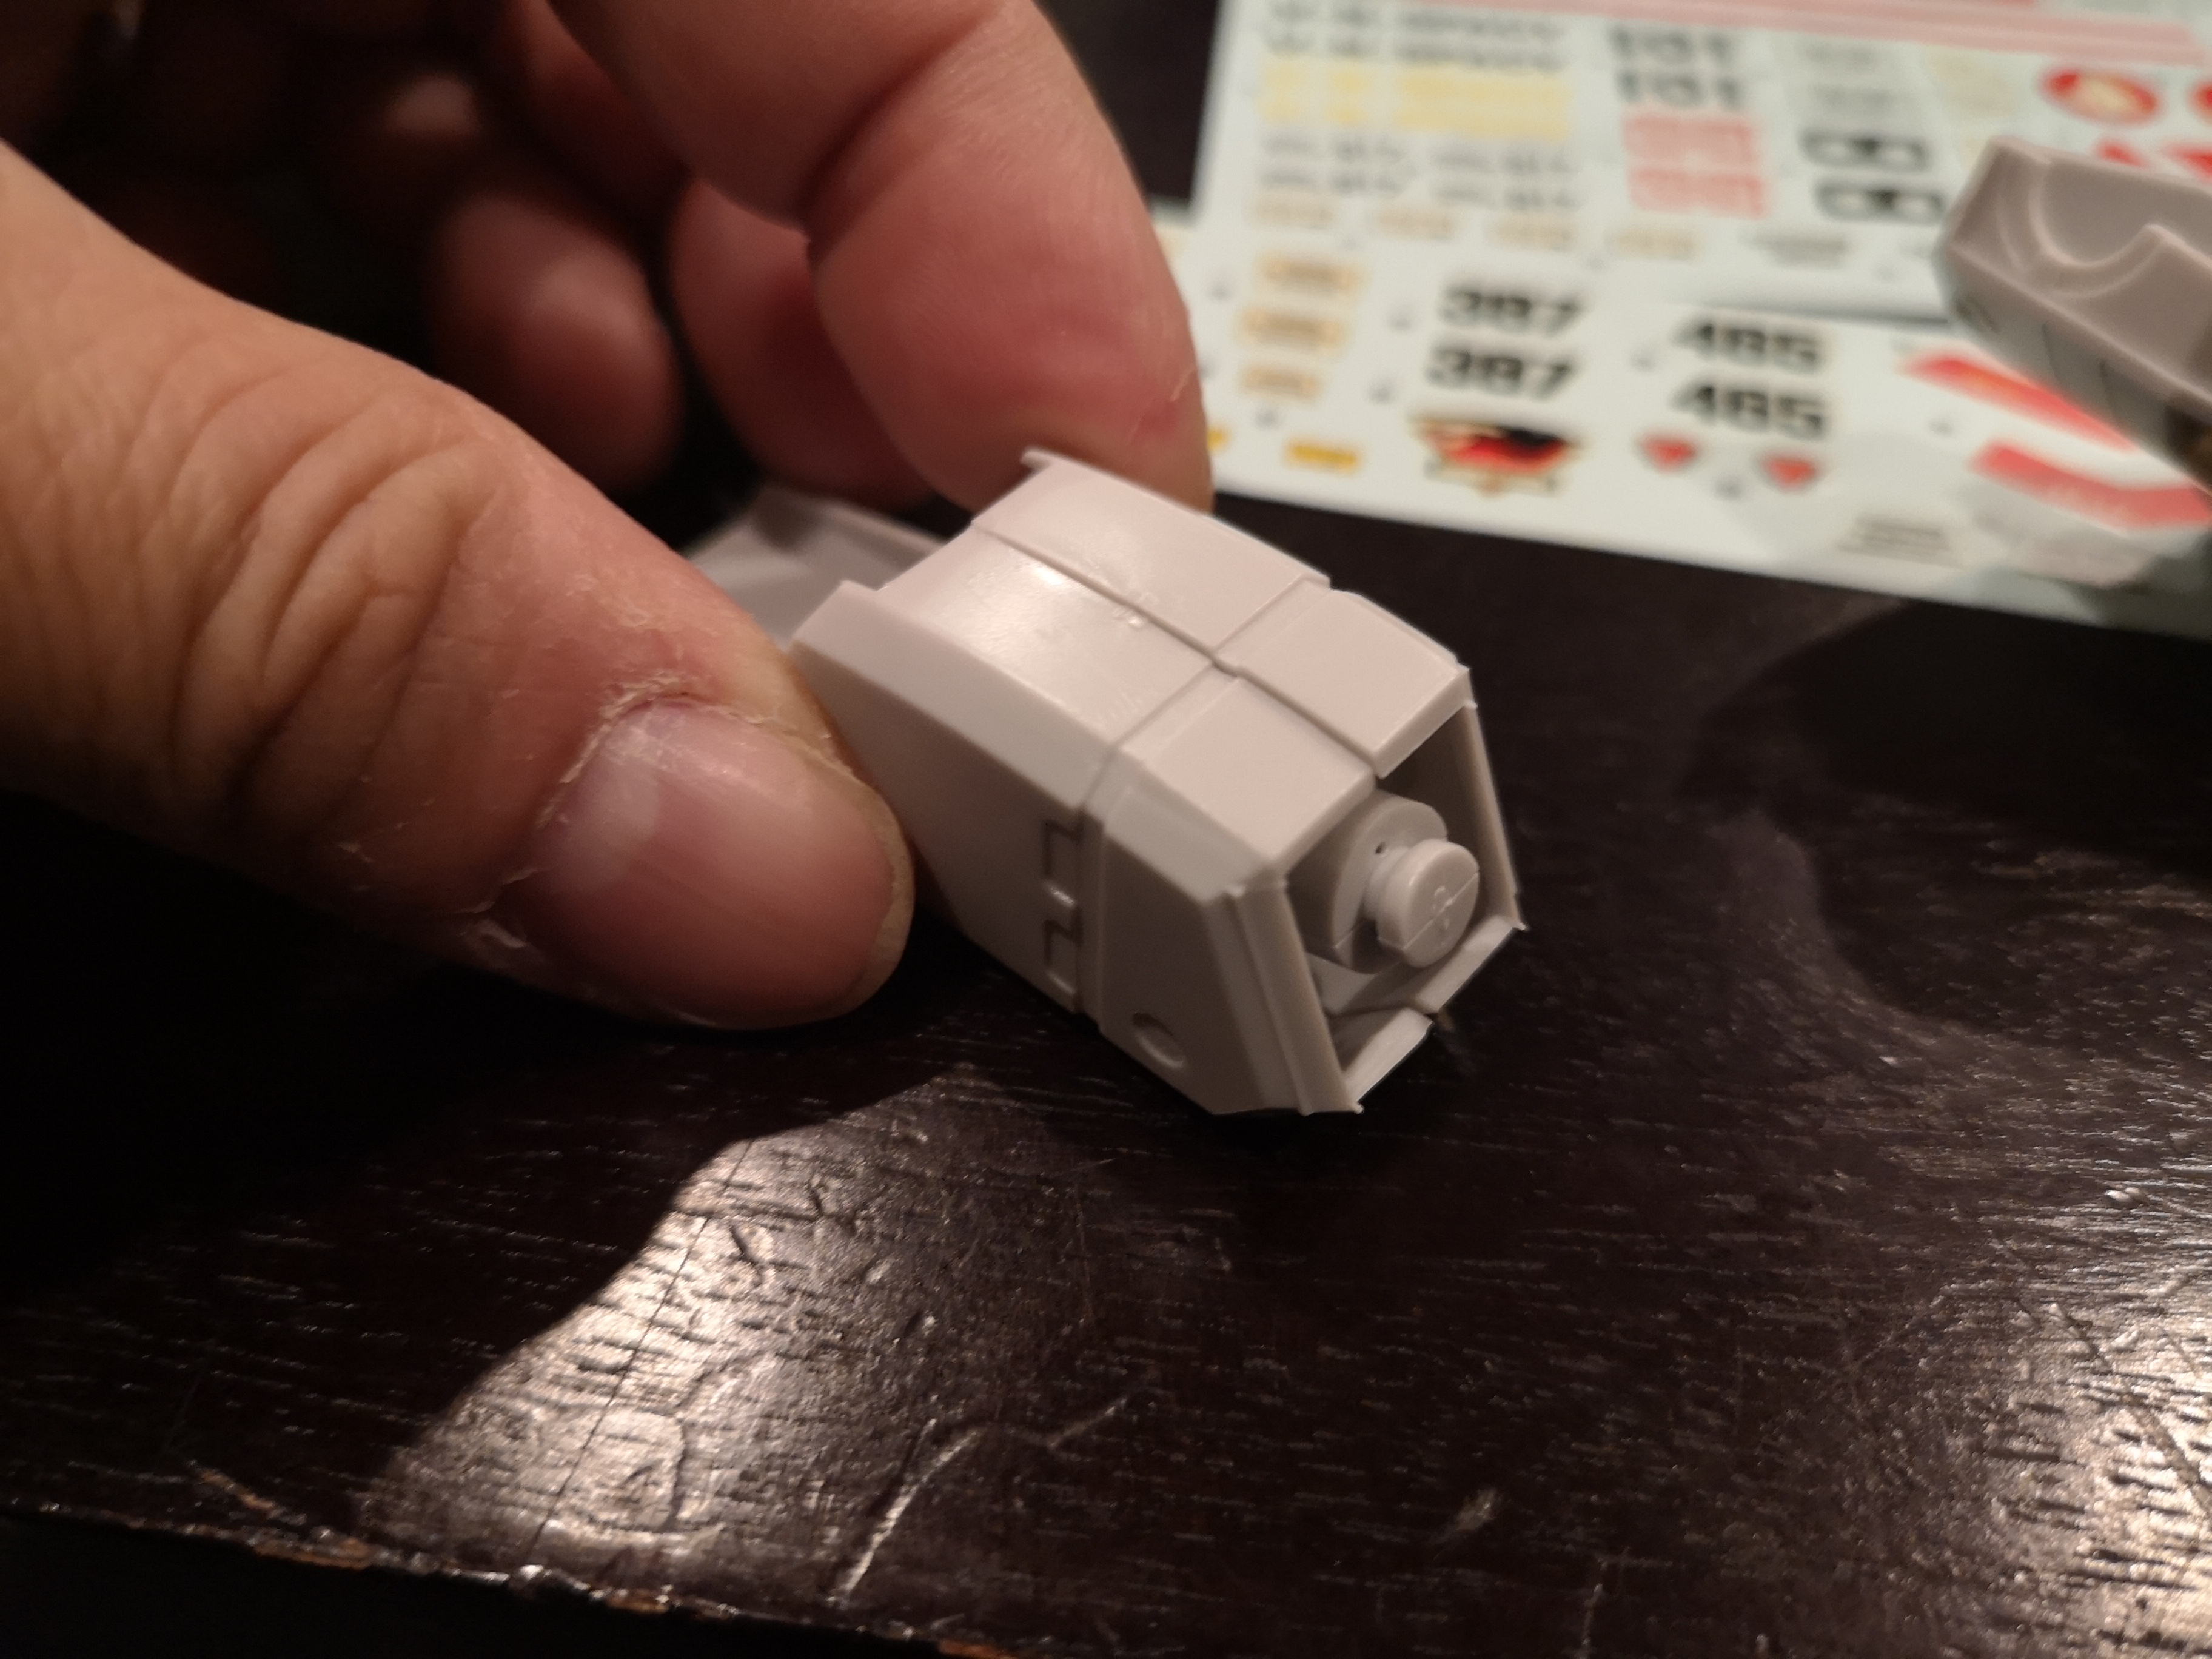
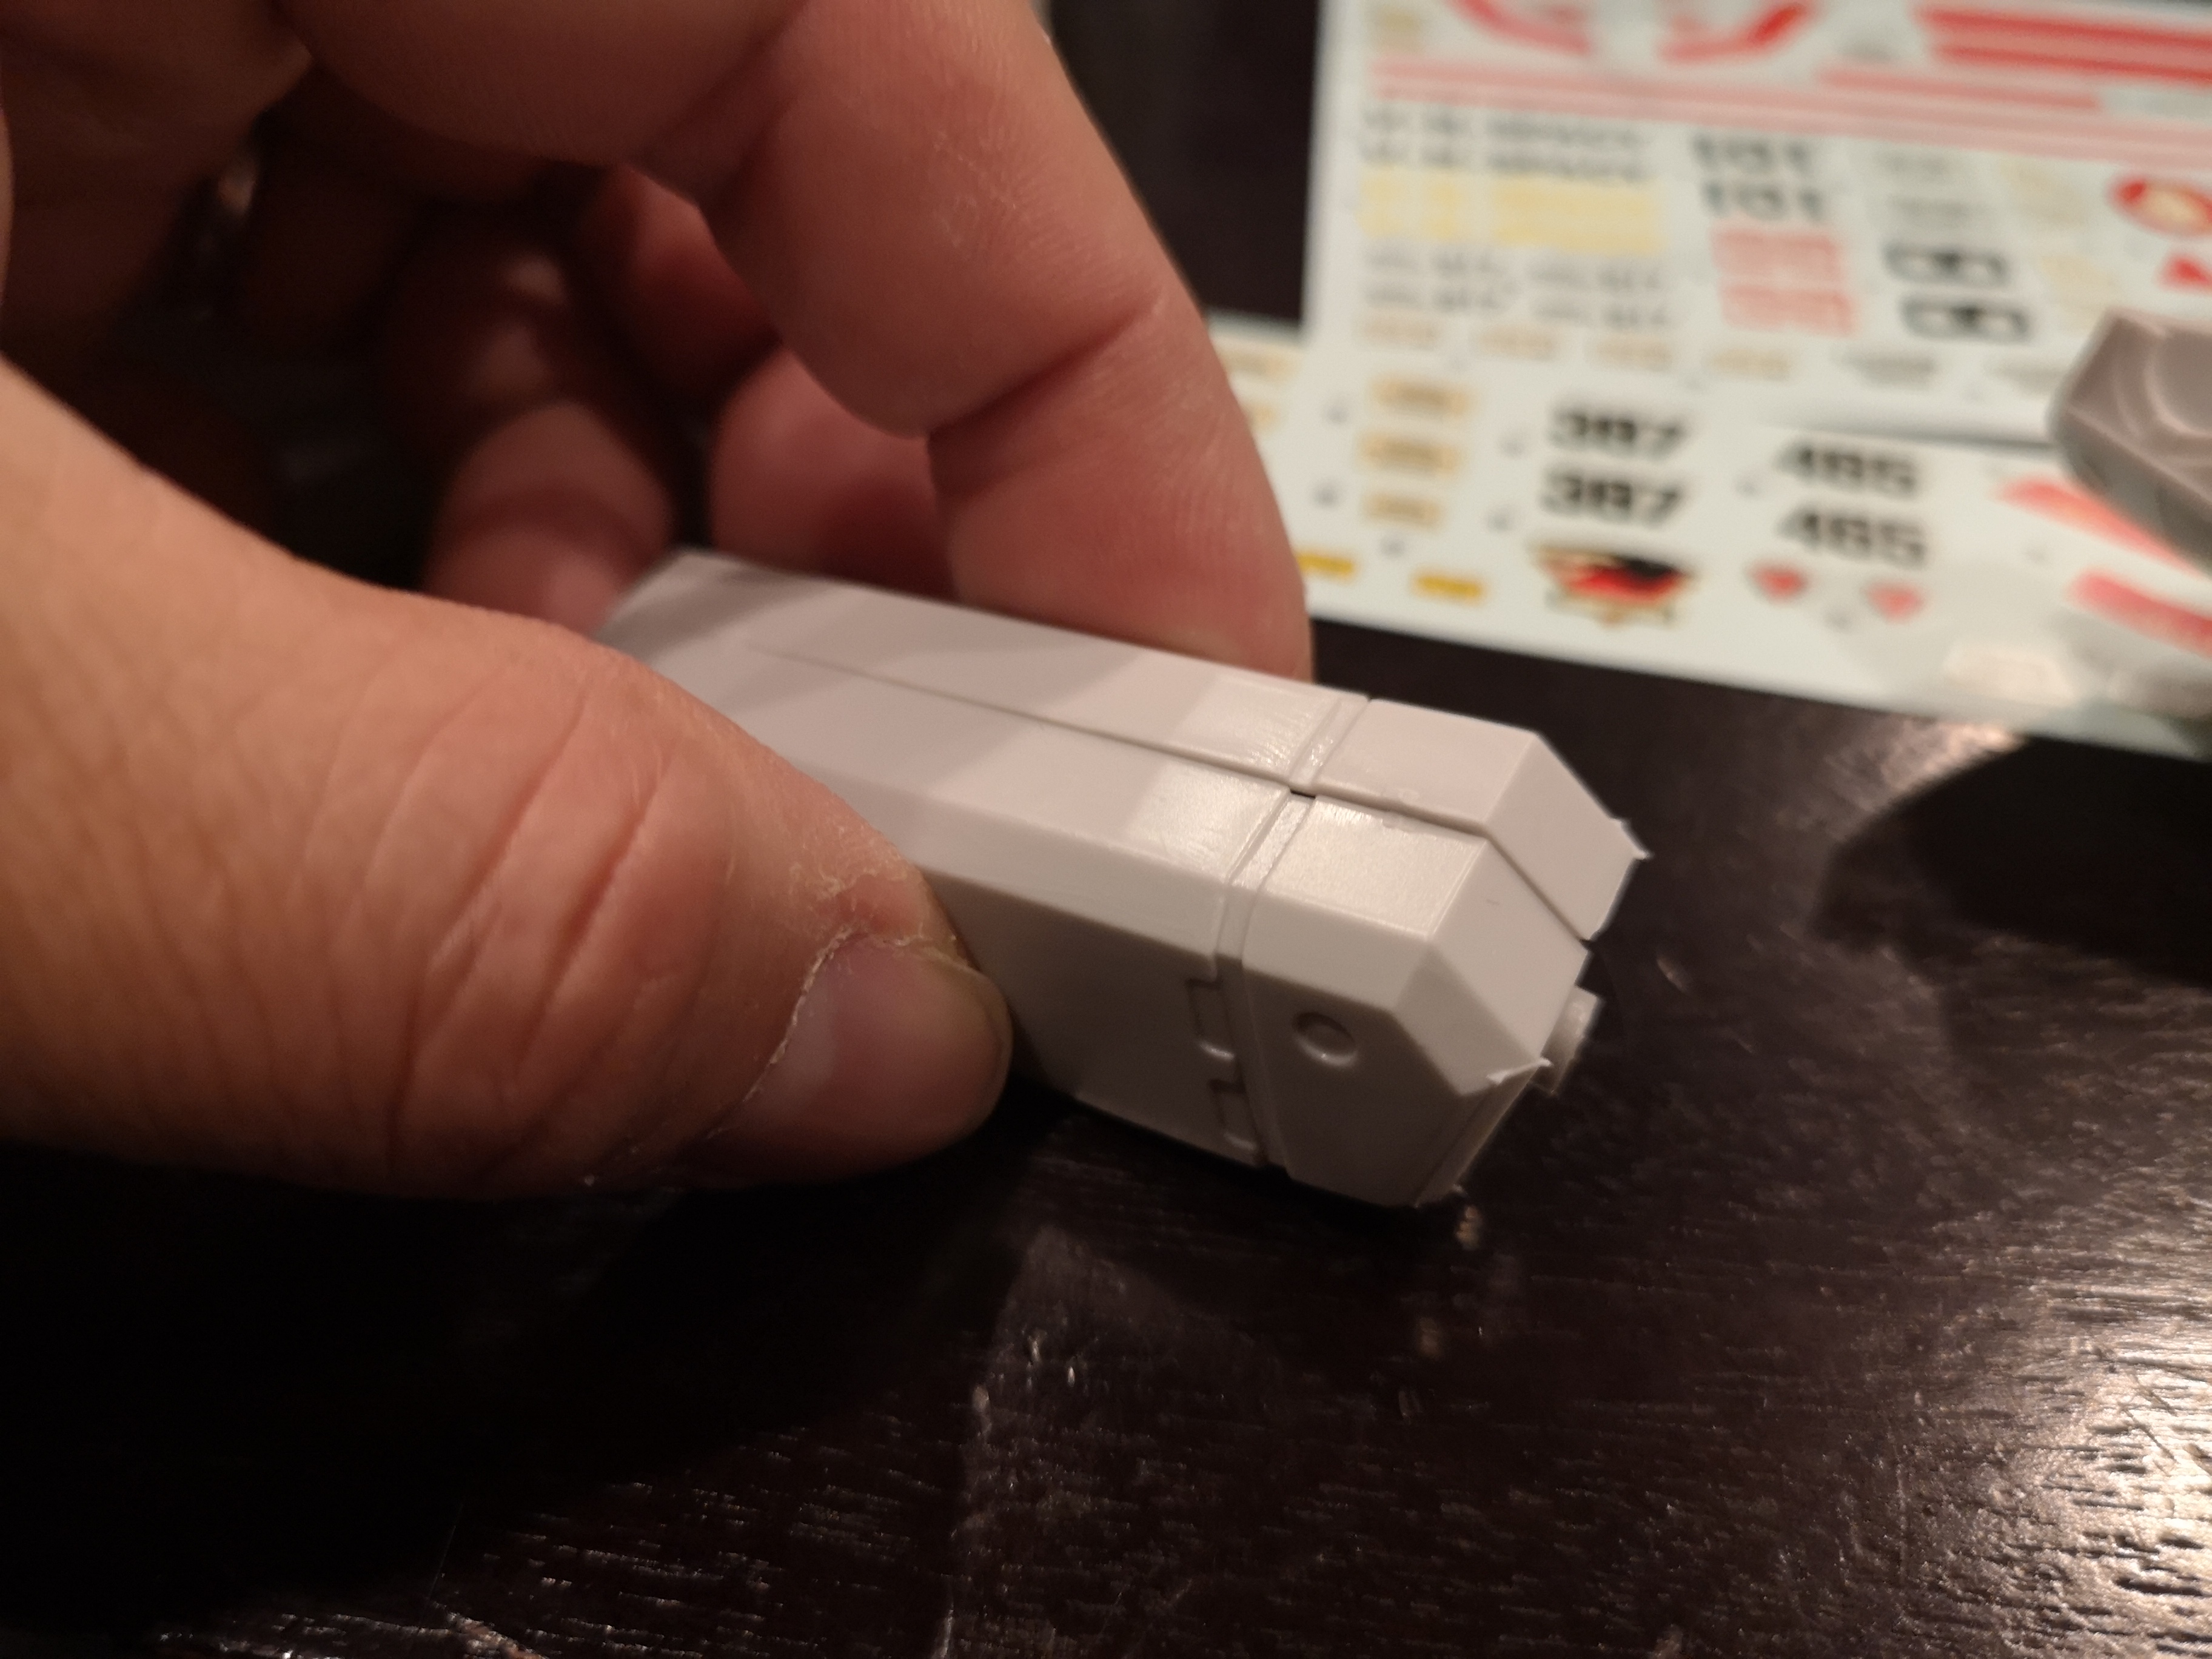
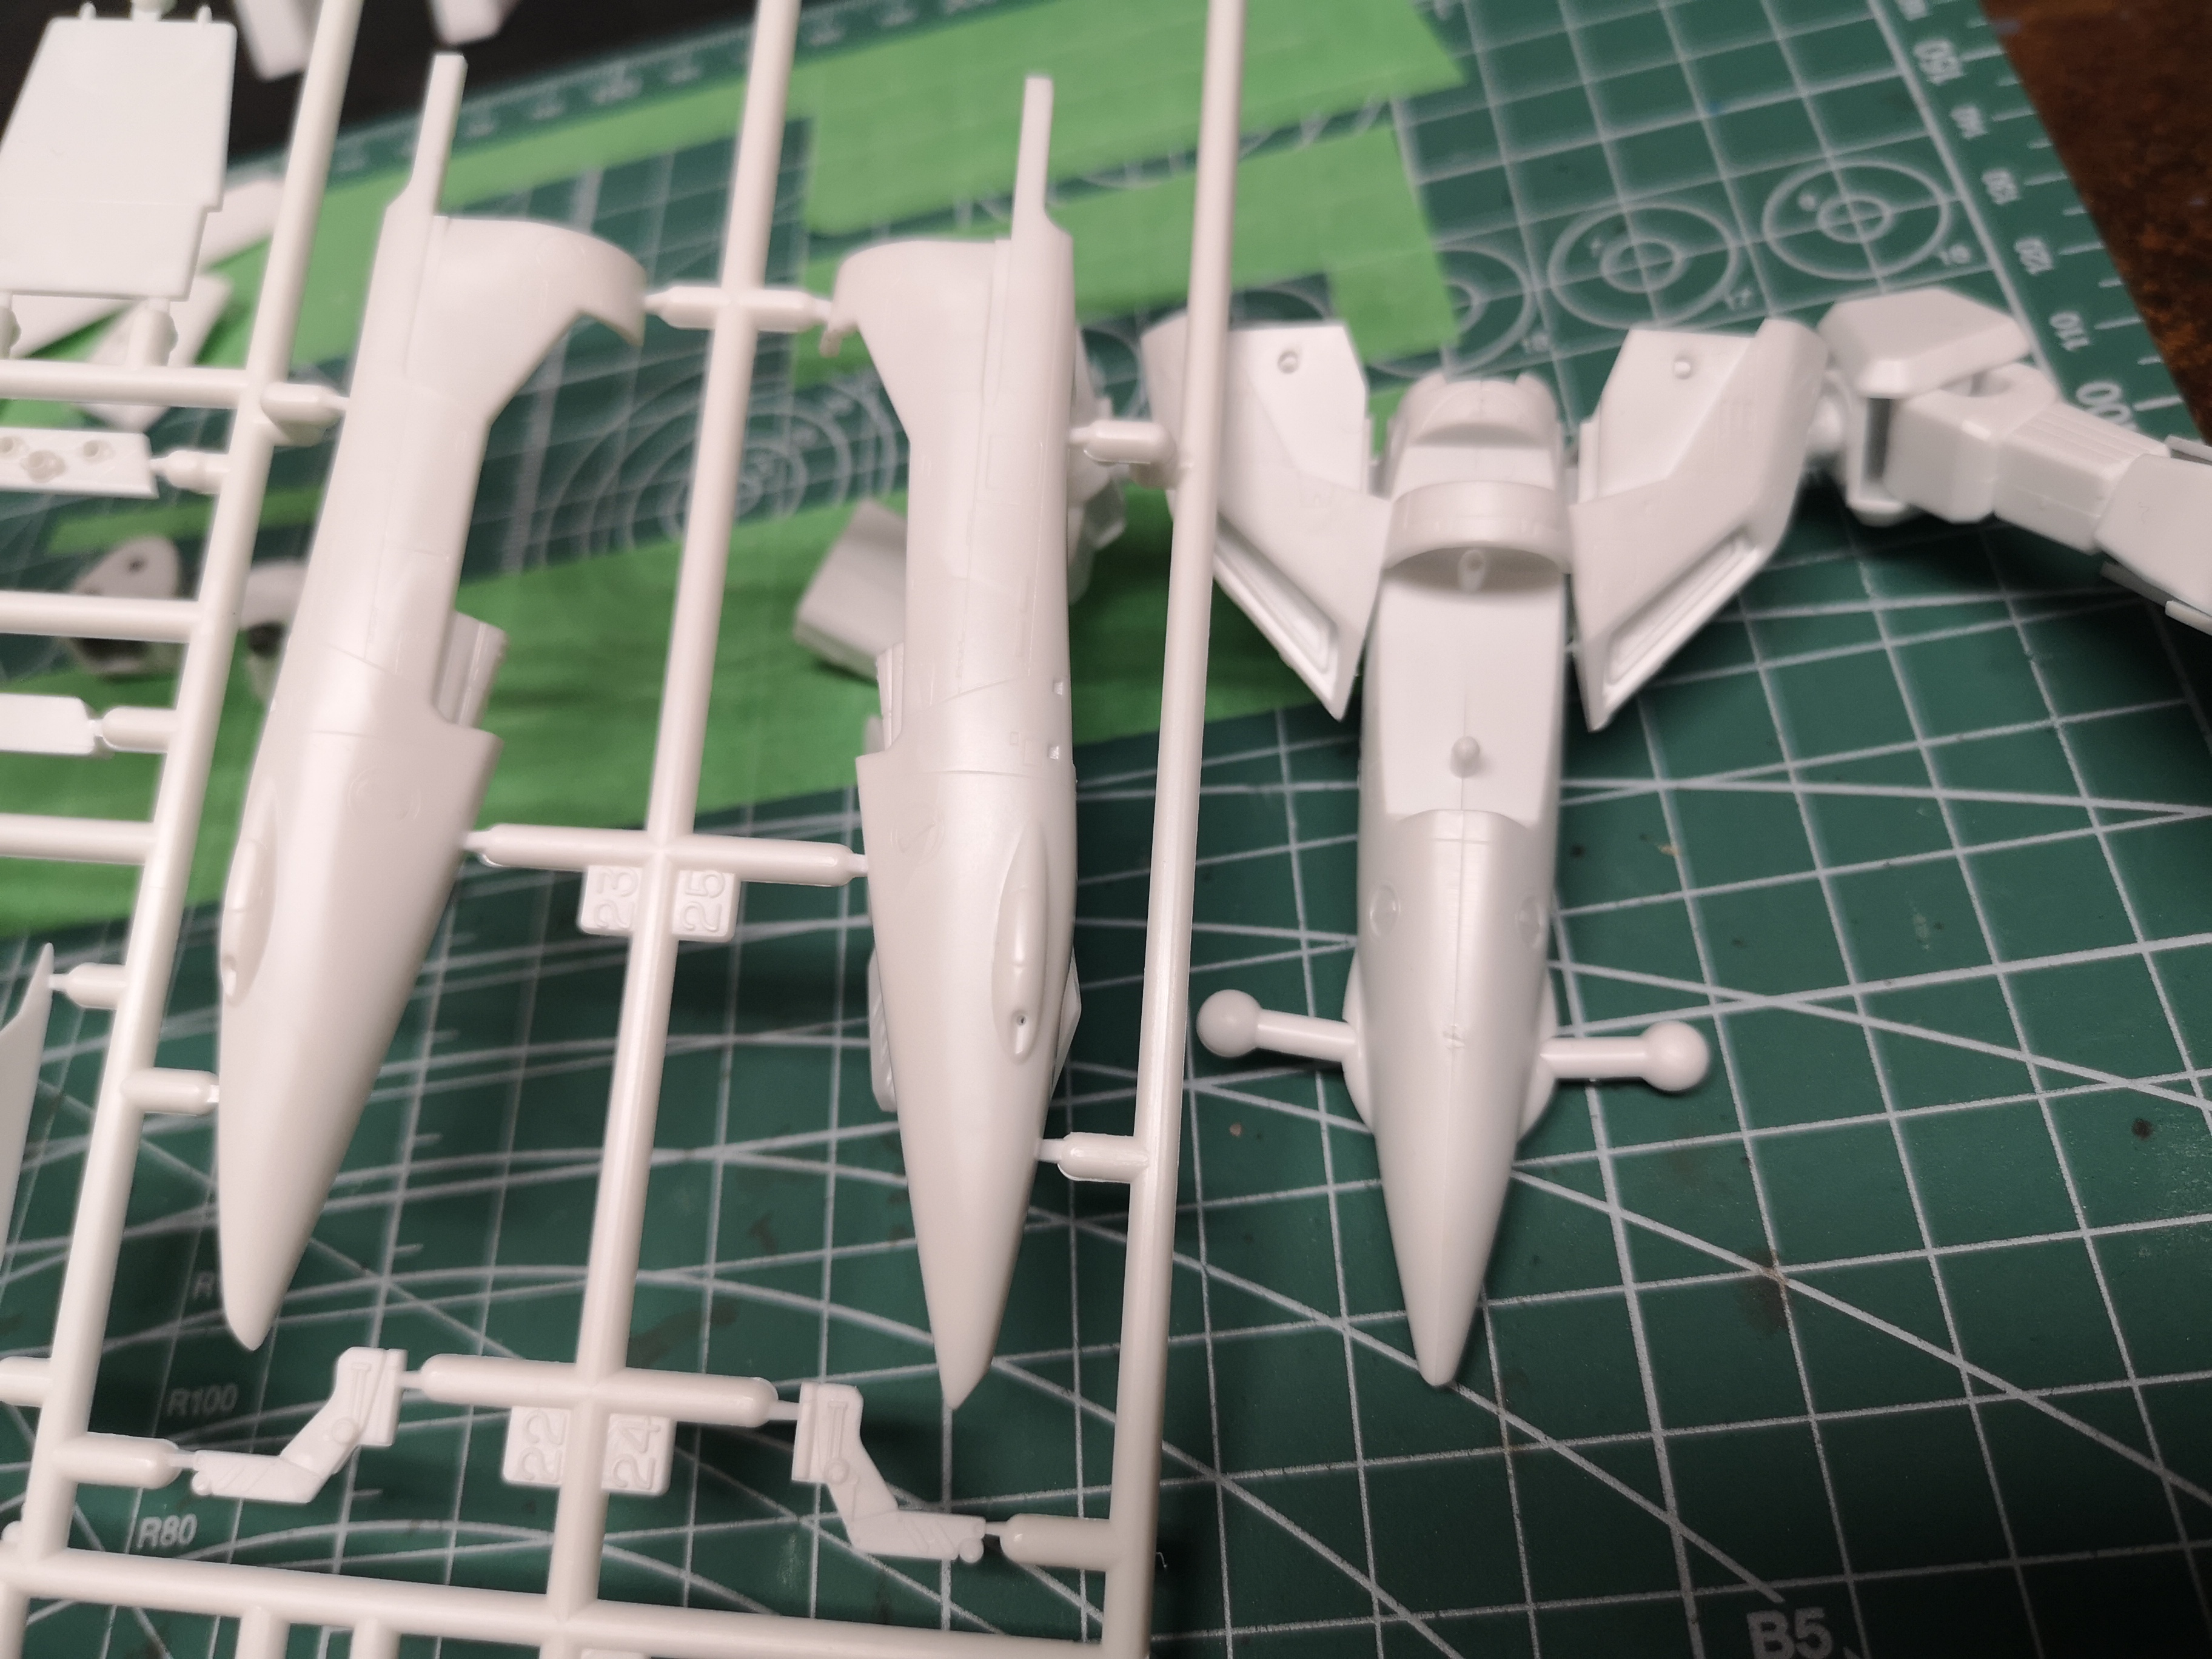
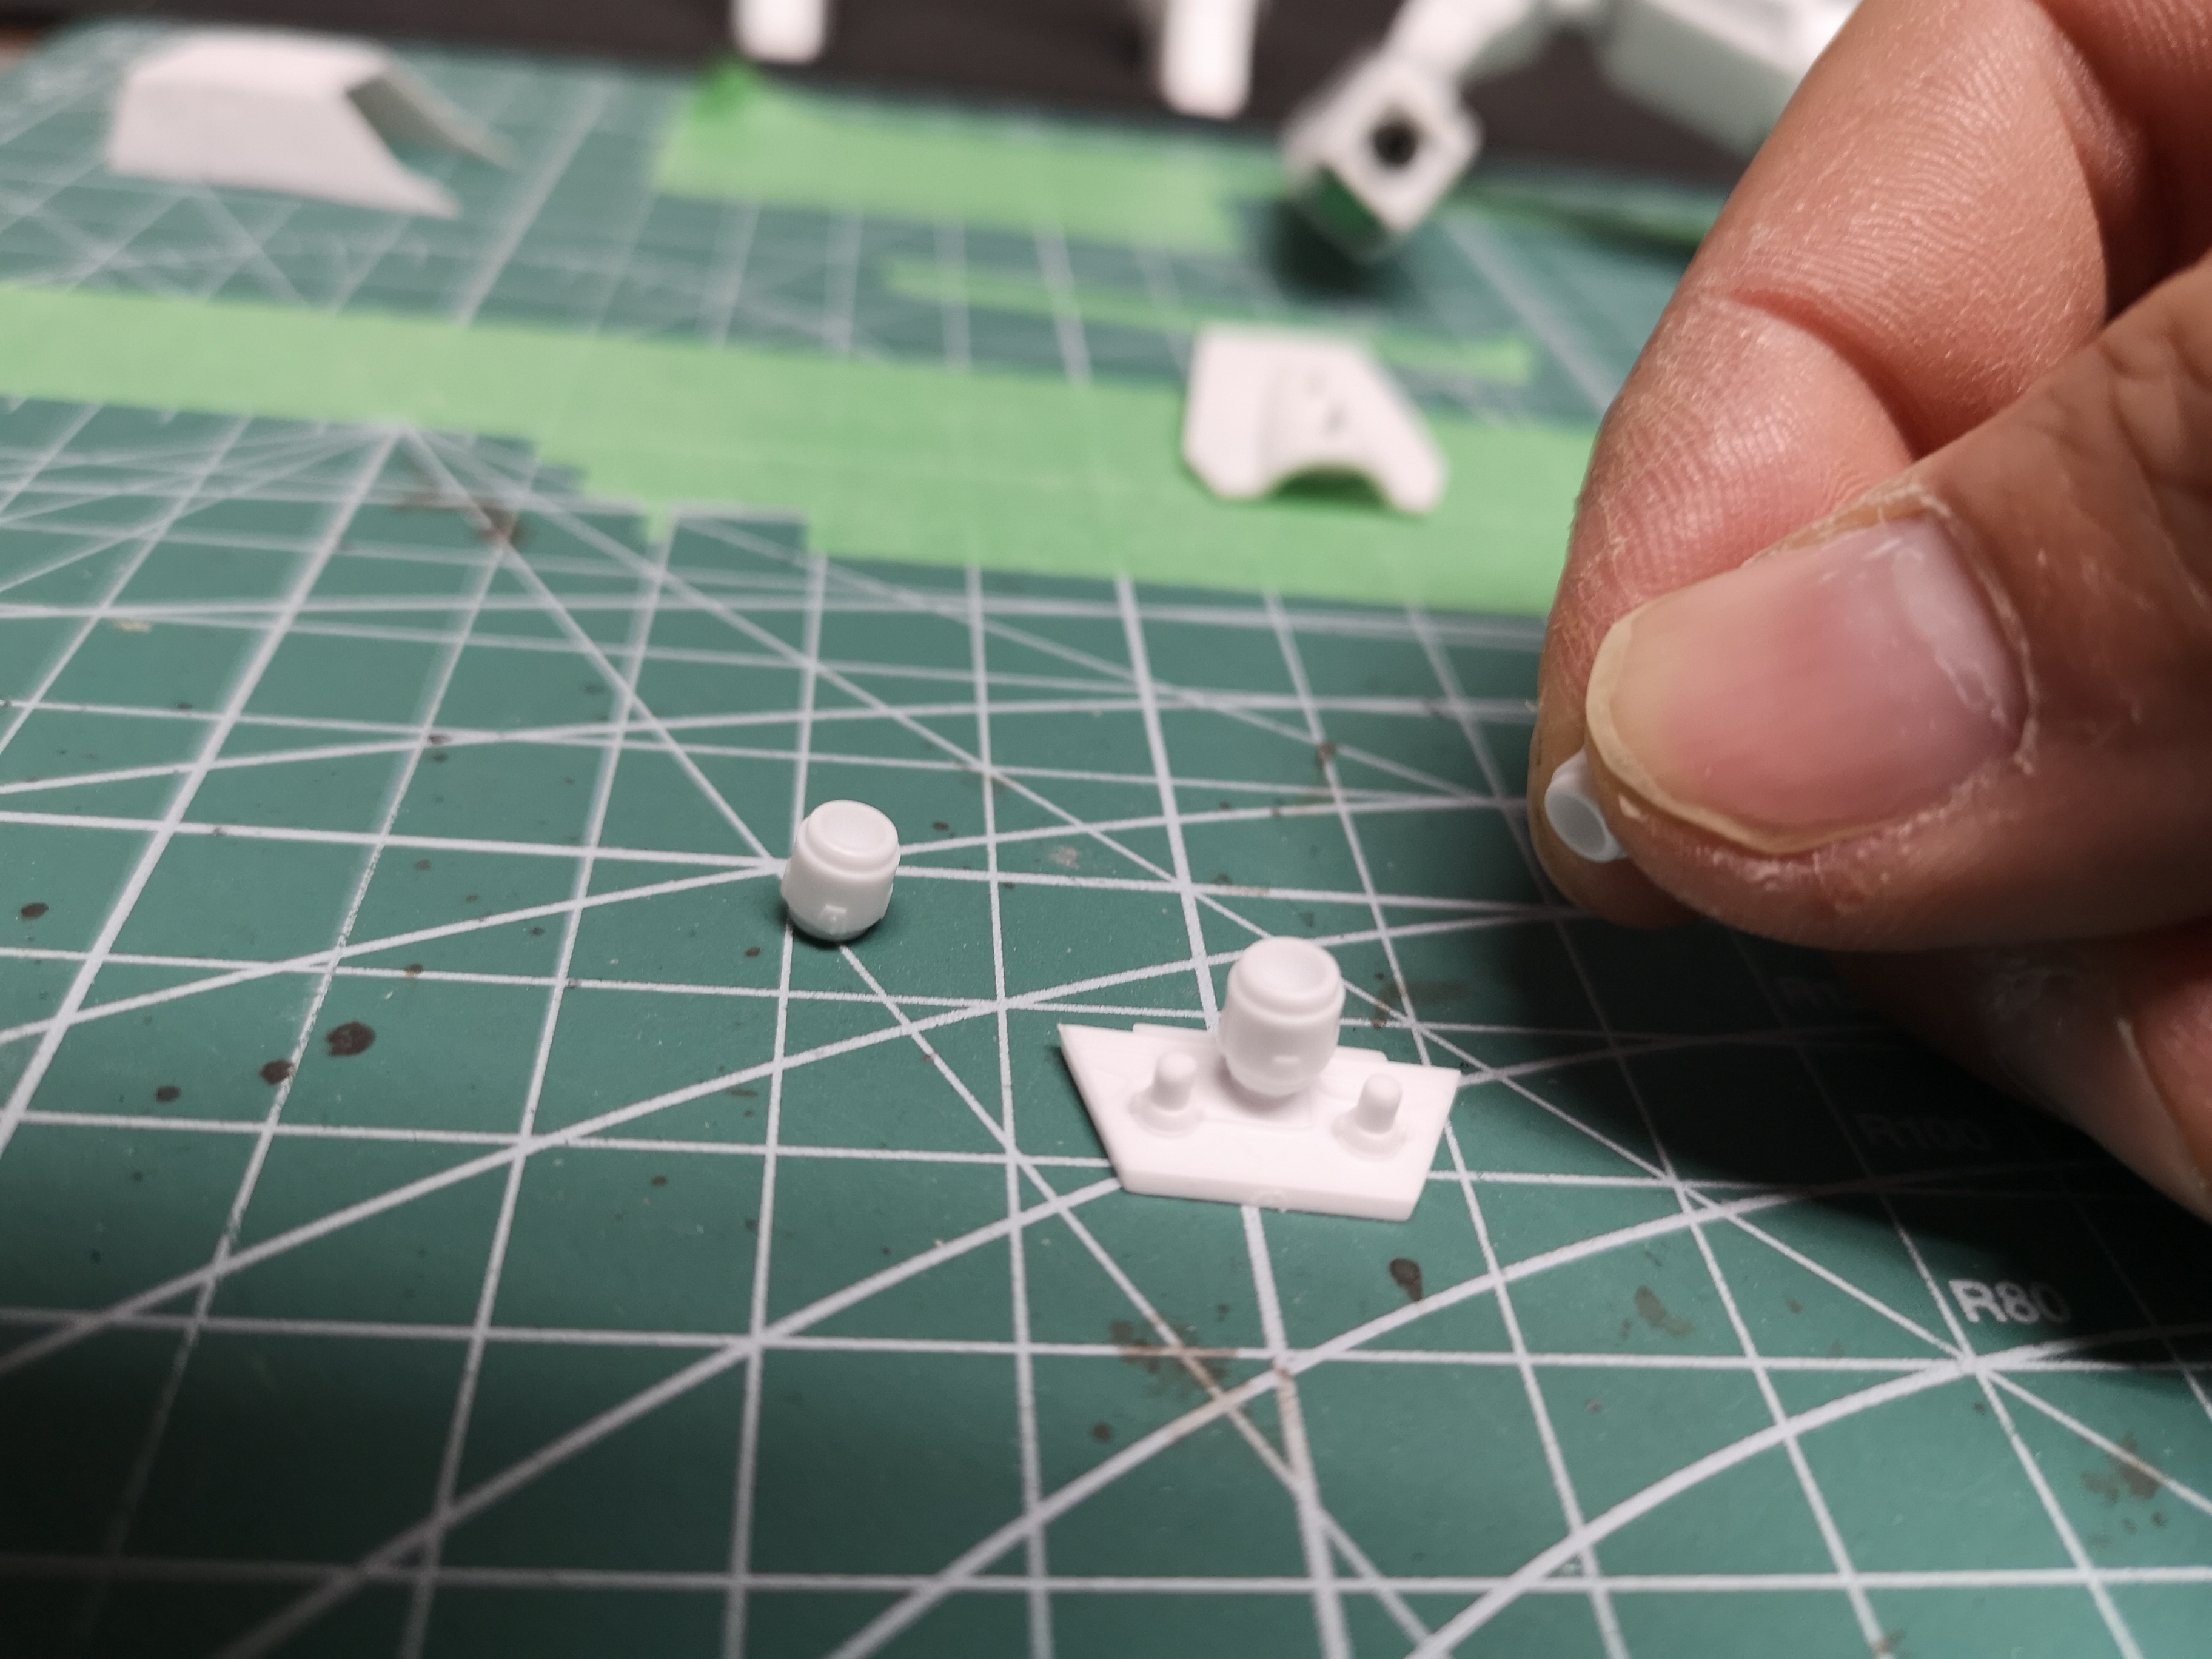
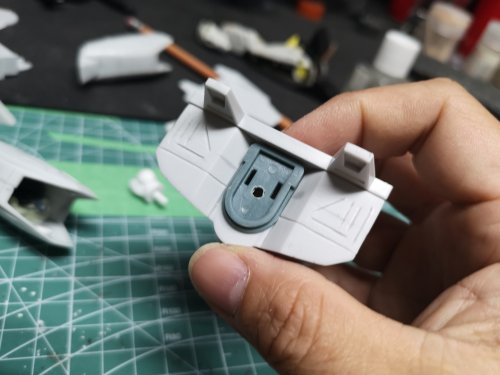
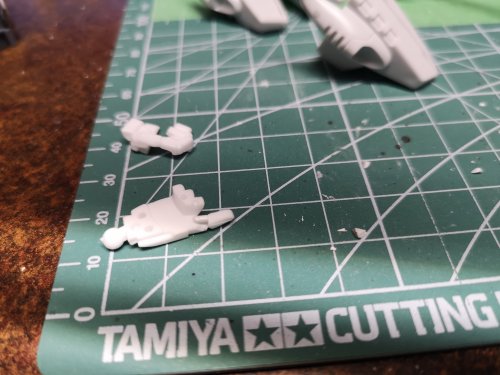
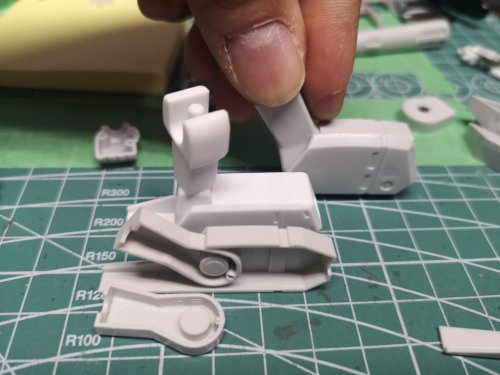
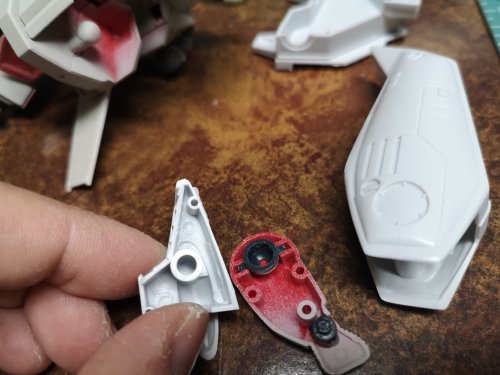
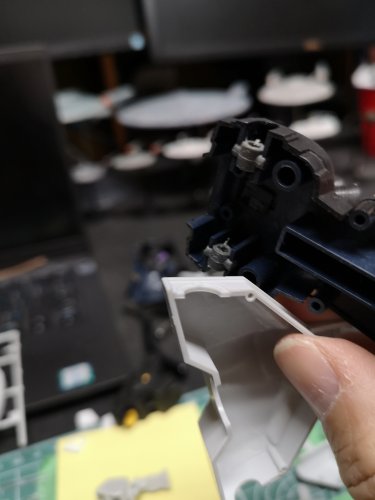
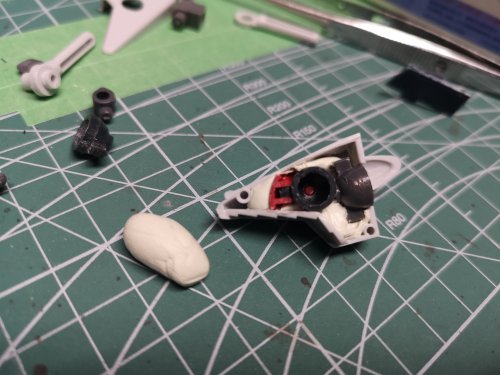
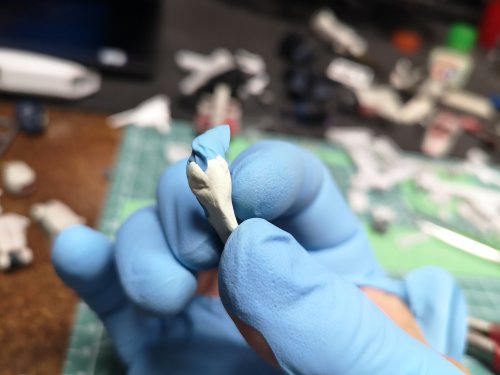
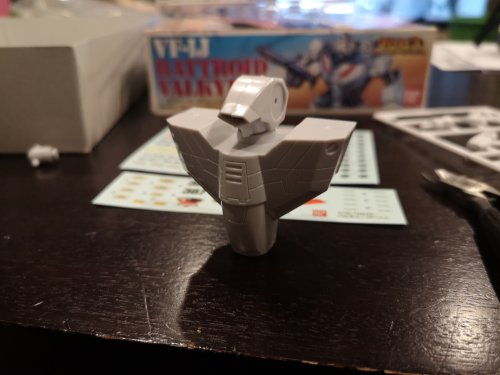
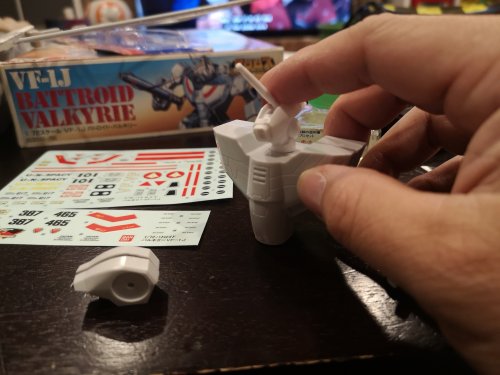
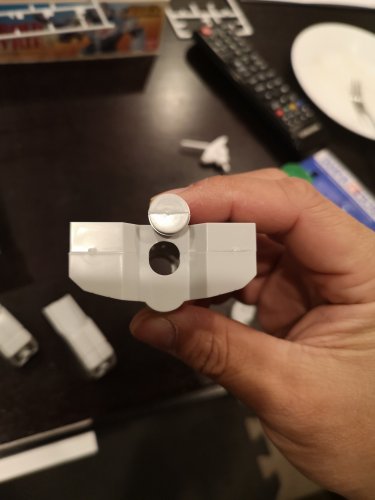
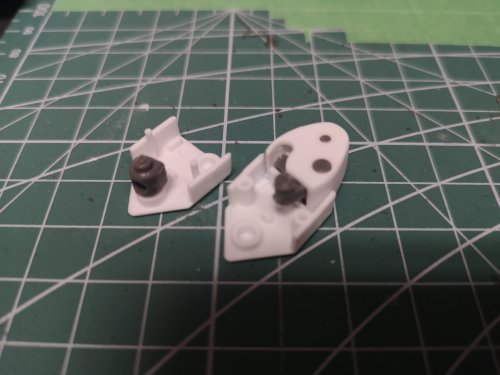
So, I've embarked on a journey of epic stupidity. I'm cannaibalizing old Gundam kits for their poly caps and ball joints and trying to ham-fist them into this decrepit old Bandai Valkyrie. It's a bit silly considering the time and effort required when I could just spend $10 more and go get a few Hasegawa battroids, which are light years ahead and that's not saying much because the Hasegawa battroids still aren't in the same league as modern Gundam kits (I think). Far one is the original 1/72 Bandai, white one is Hasegawa, and the closer one is from the Bandai 1/72 Gerwalk (I think....came with their Super Valk). I'm really not smart enough to figure this out. How do I made the Gundam parts fit inside the Valkyrie? First time experimenting with epoxy putty.....just mashing everything in. It pulled off part my glove. What am I doing???! I have no idea....it will probably all fall apart. Filing holes where they probably don't belong. If this actually works, it should have a bit more flexibility....if it falls apart, I'll just glue it together as a fixed pose statue, lol!


-
Those heads are awesome, not quite right for battroids, but perfect for fighters because I can hide the TV face when I'm building DYRL fighters. Thanks again for those, and I'll find a way to use those awesome wings you sent too!
-
@derex3592 @wm cheng Lol, my workbench is my home office desk, so when there is downtime, I work on models. There is no way I could do this if I wasn't working from home. So easy to switch to work when it's busy.
-
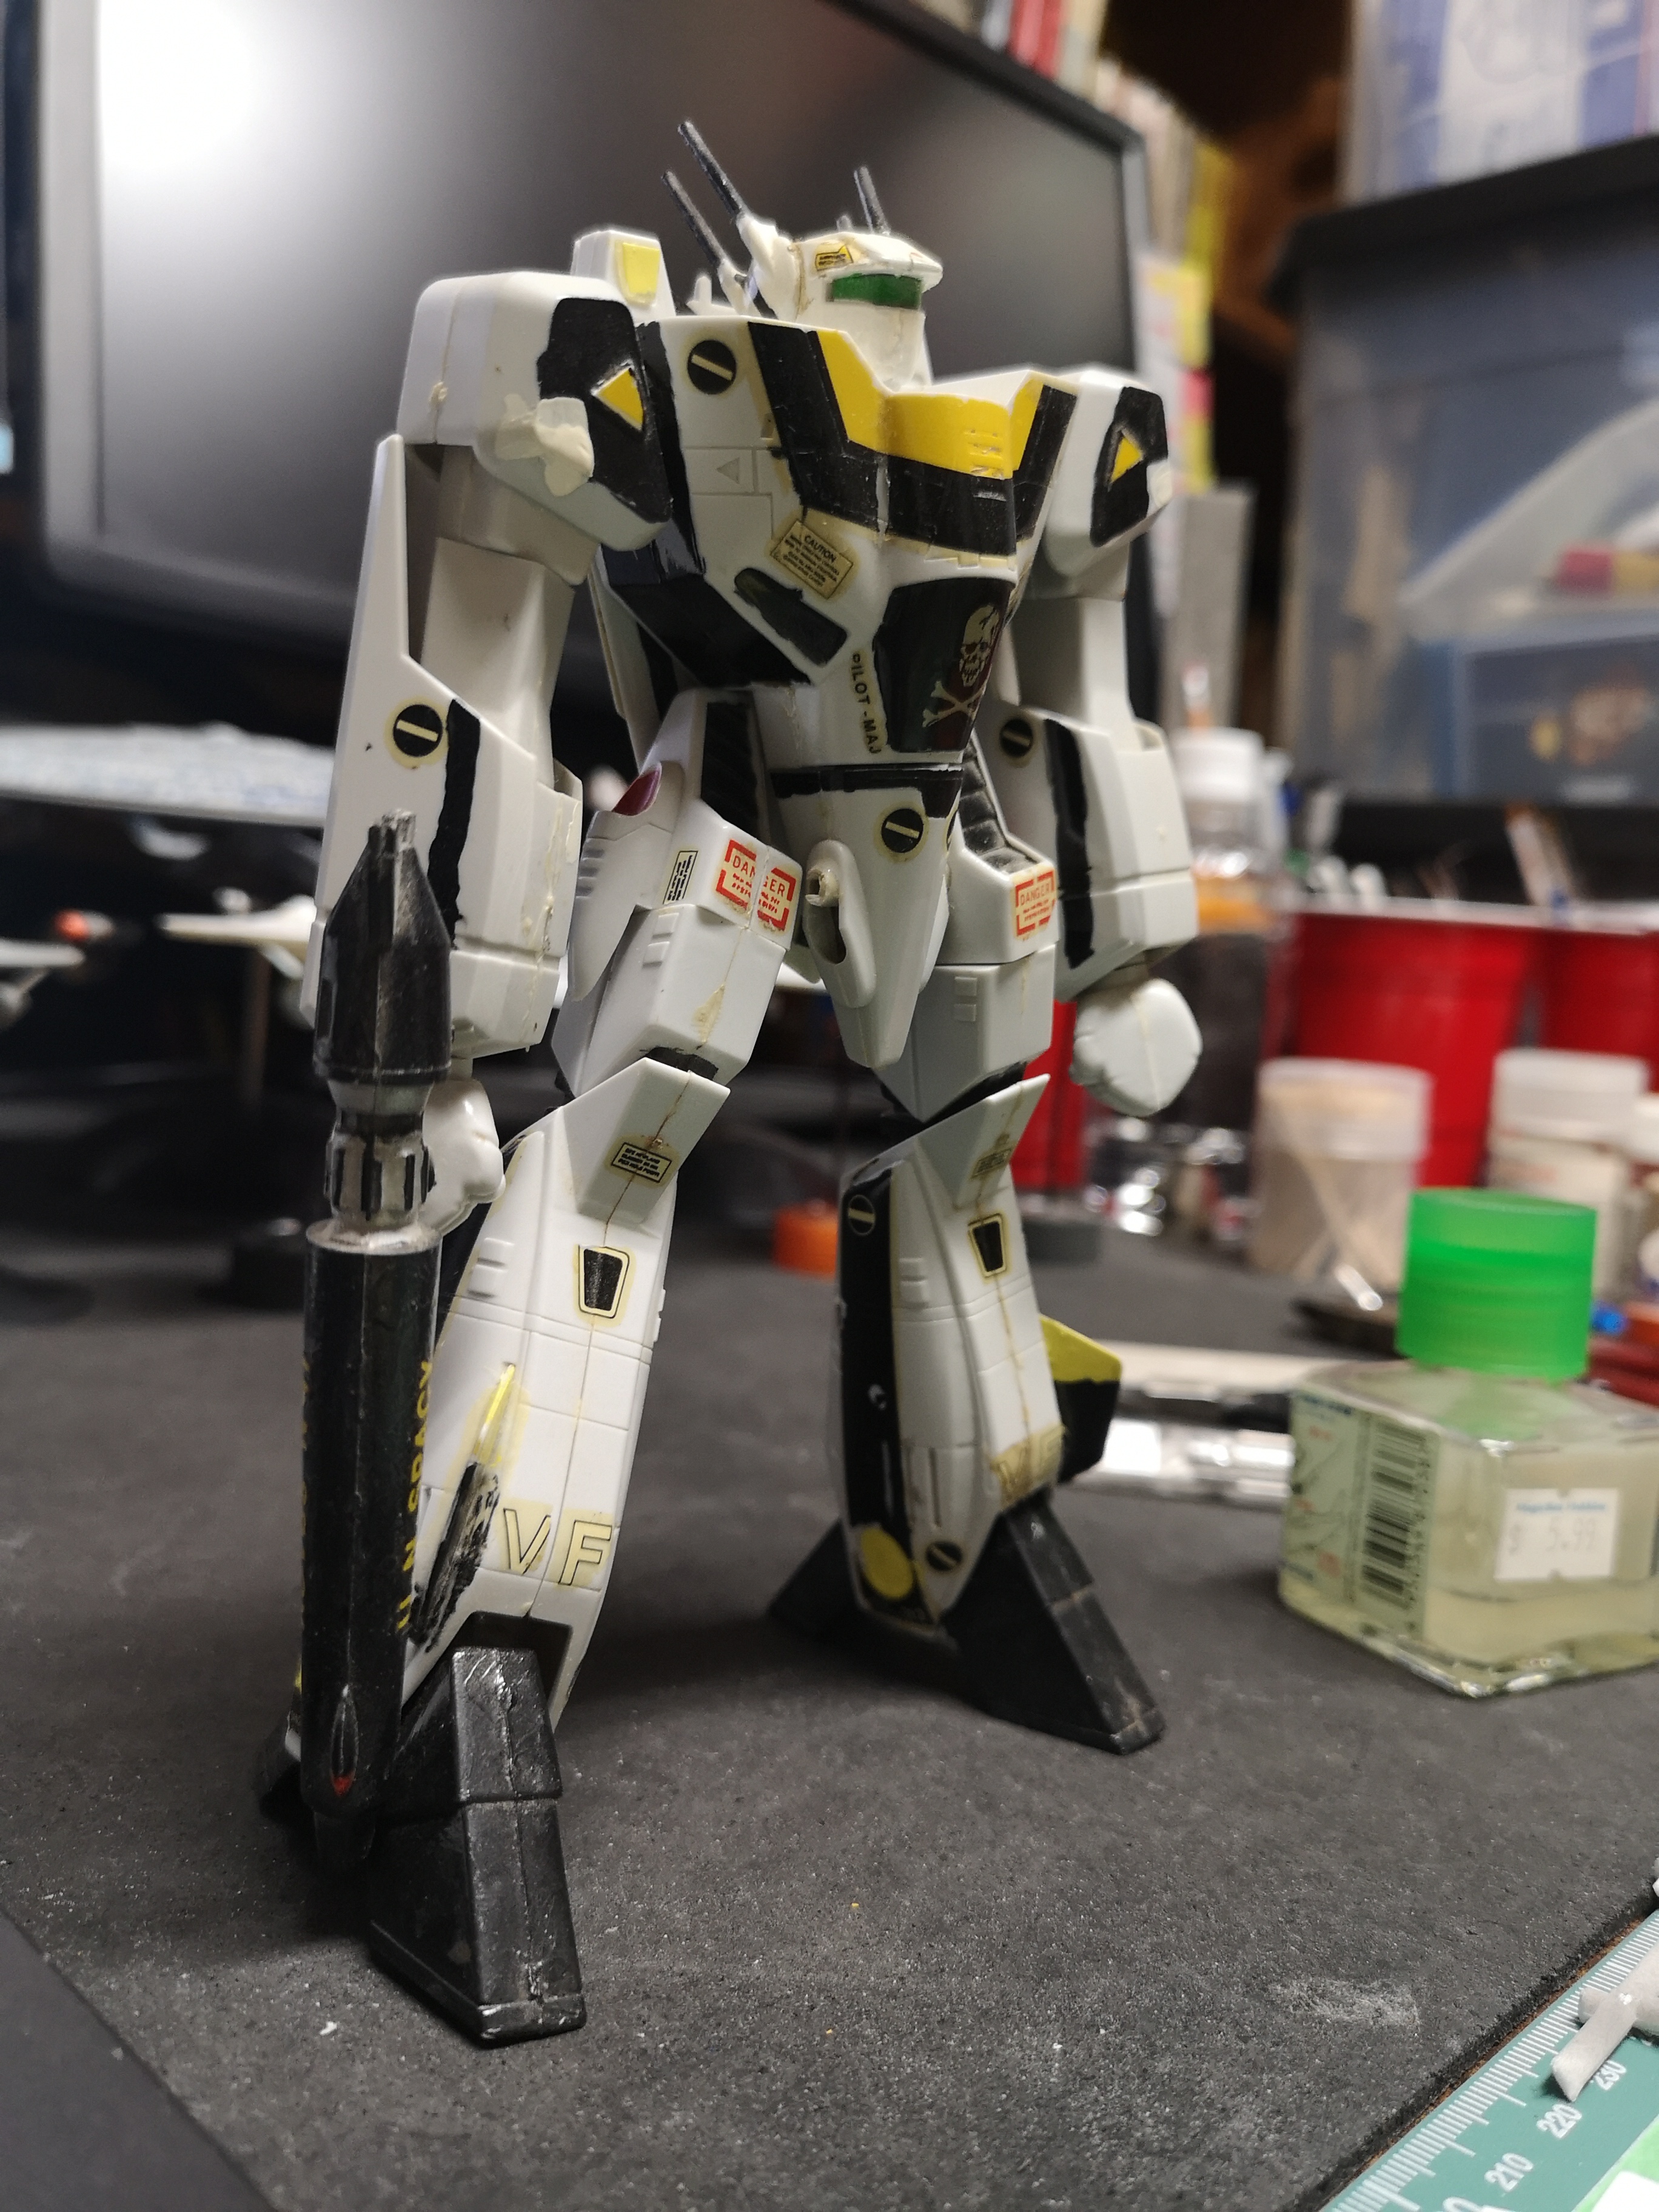
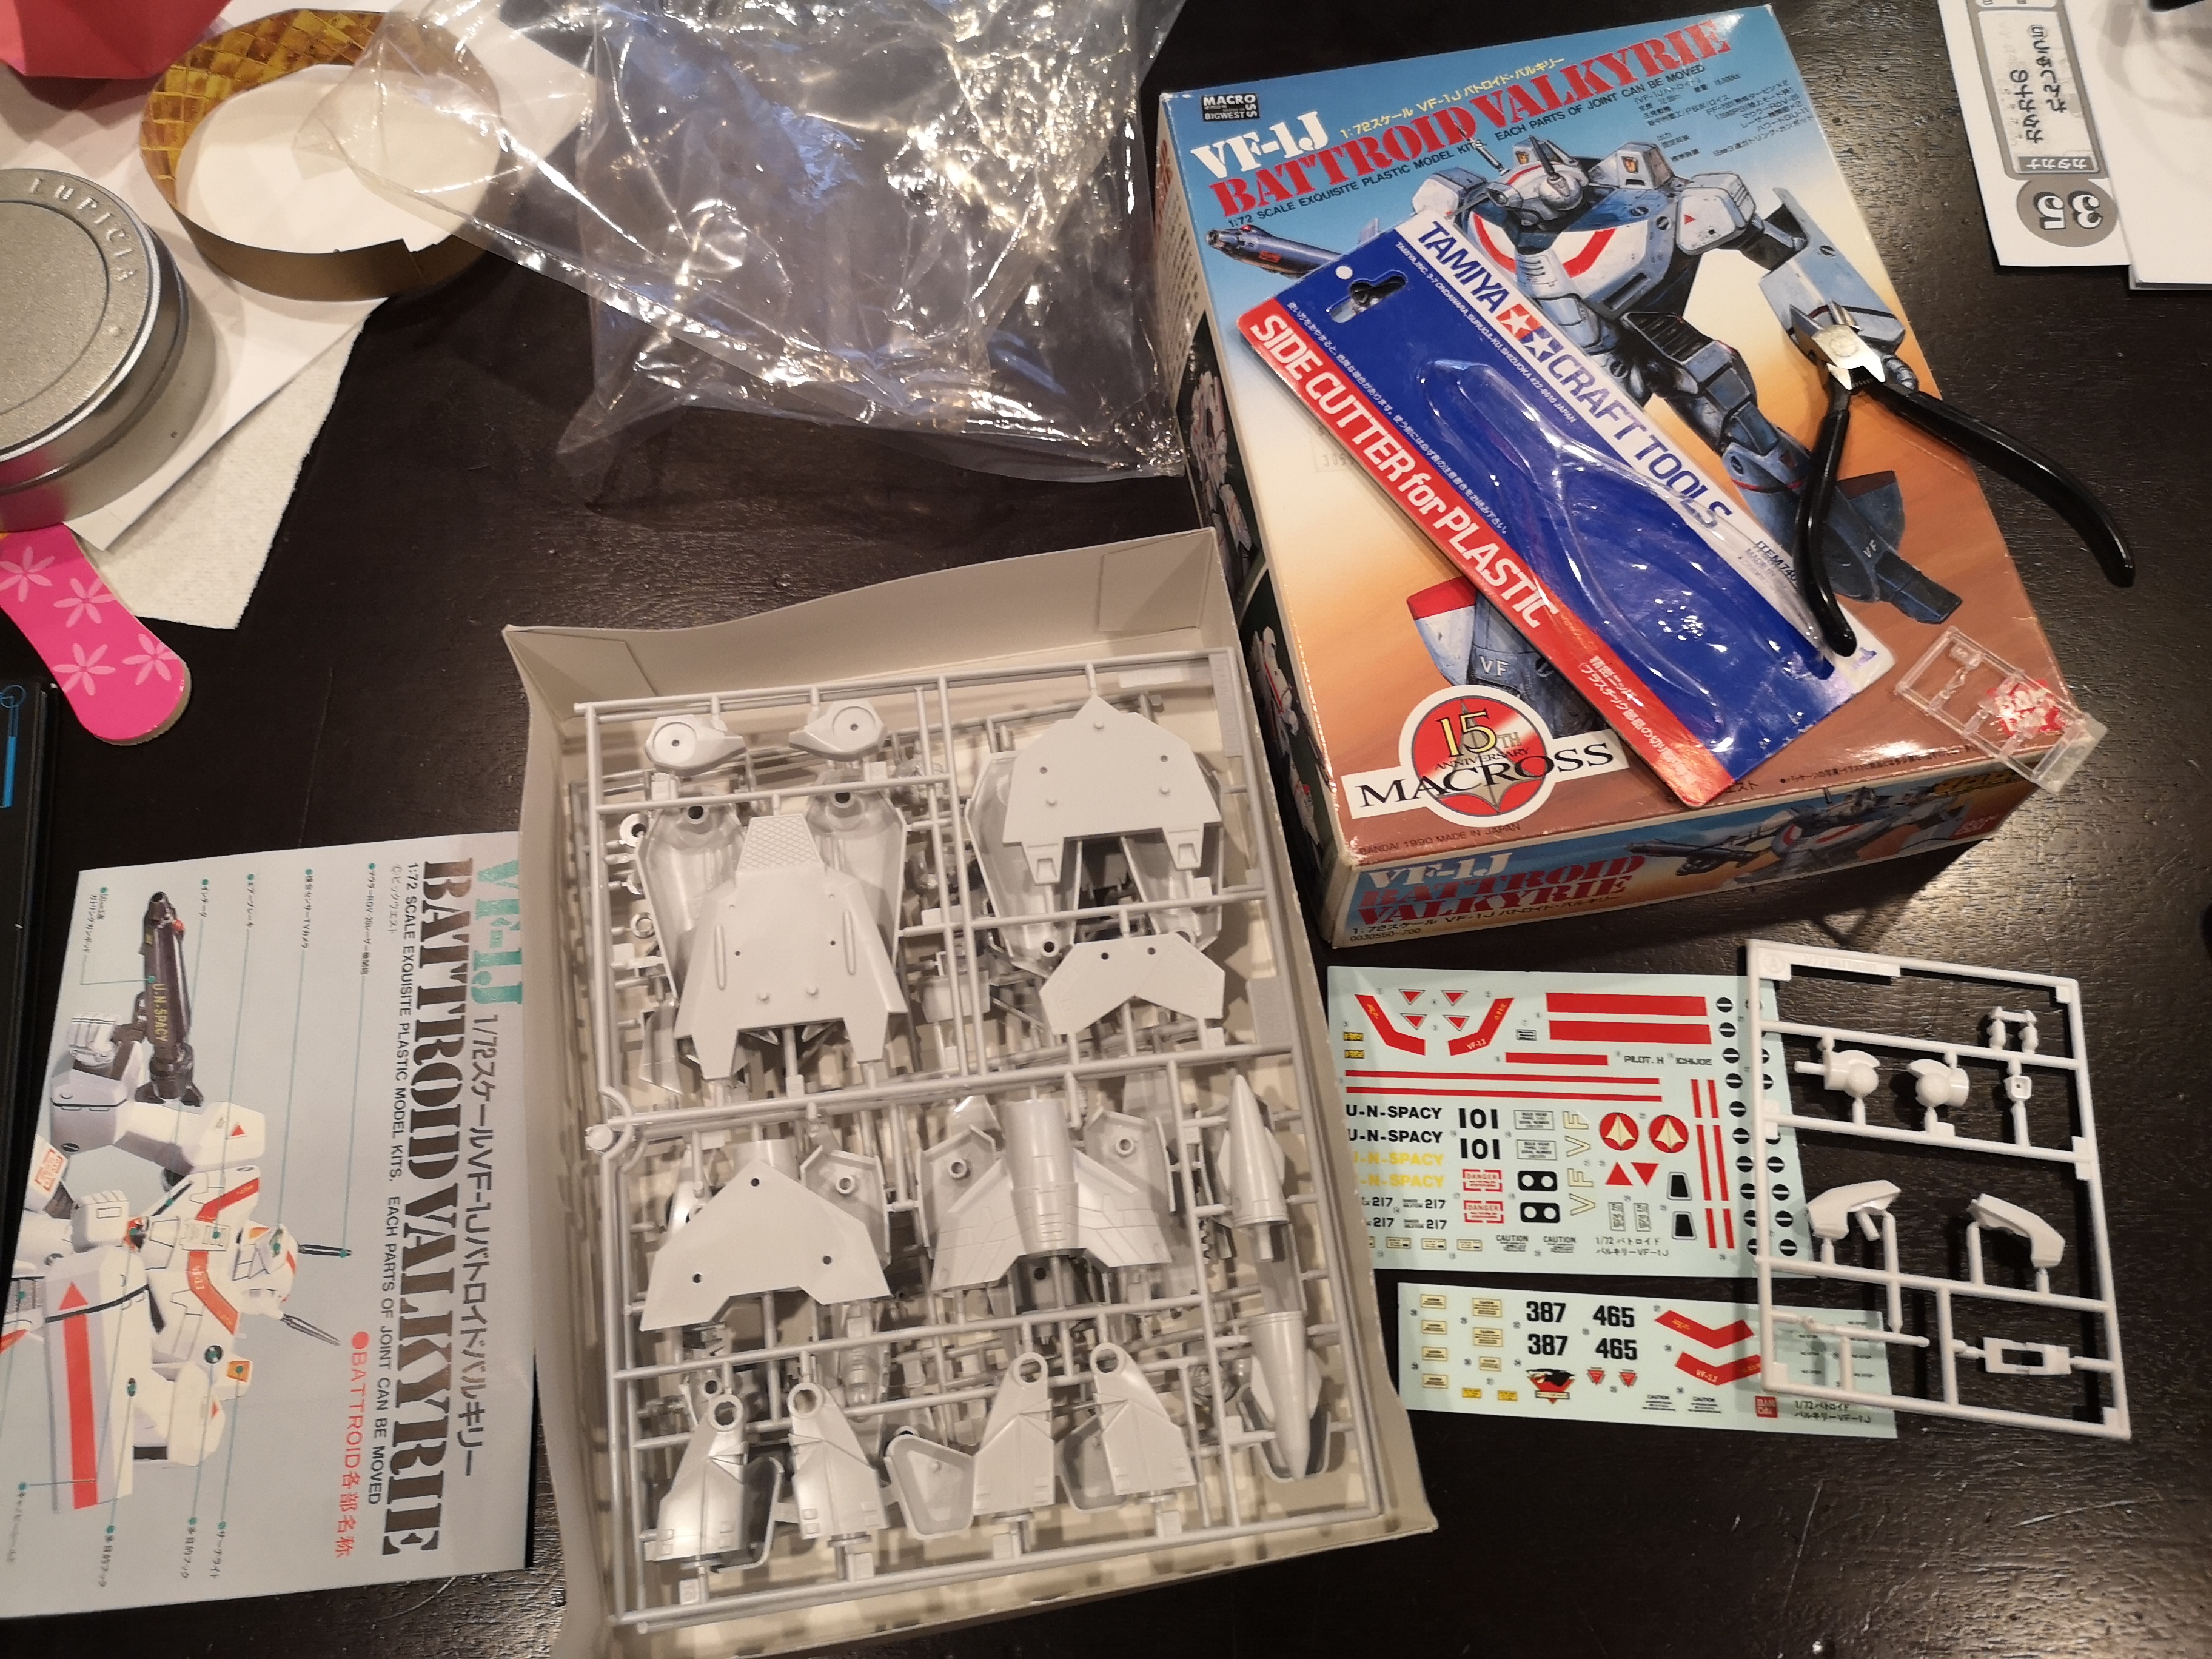
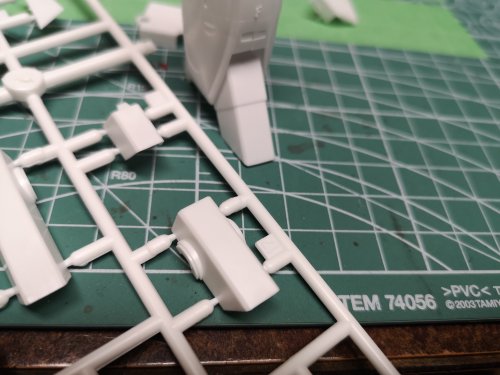
I decided to build an old Bandai 1/72 alongside the Hasegawa just to compare. I was going to build a VF-1S but I'll set that aside for later. Not a whole lot of detail compared to the Hasegawa. 1A head from the Battroid kit. I wanted to use this for my fighters but it was too big so I might try and make it work for this Battroid kit. Superb fit, lol! Sweet Popeye arms. Oval part into an oval hole? Lol! Anyway, got all the parts off, will see how differently this build goes compared to when I was a kid.


-
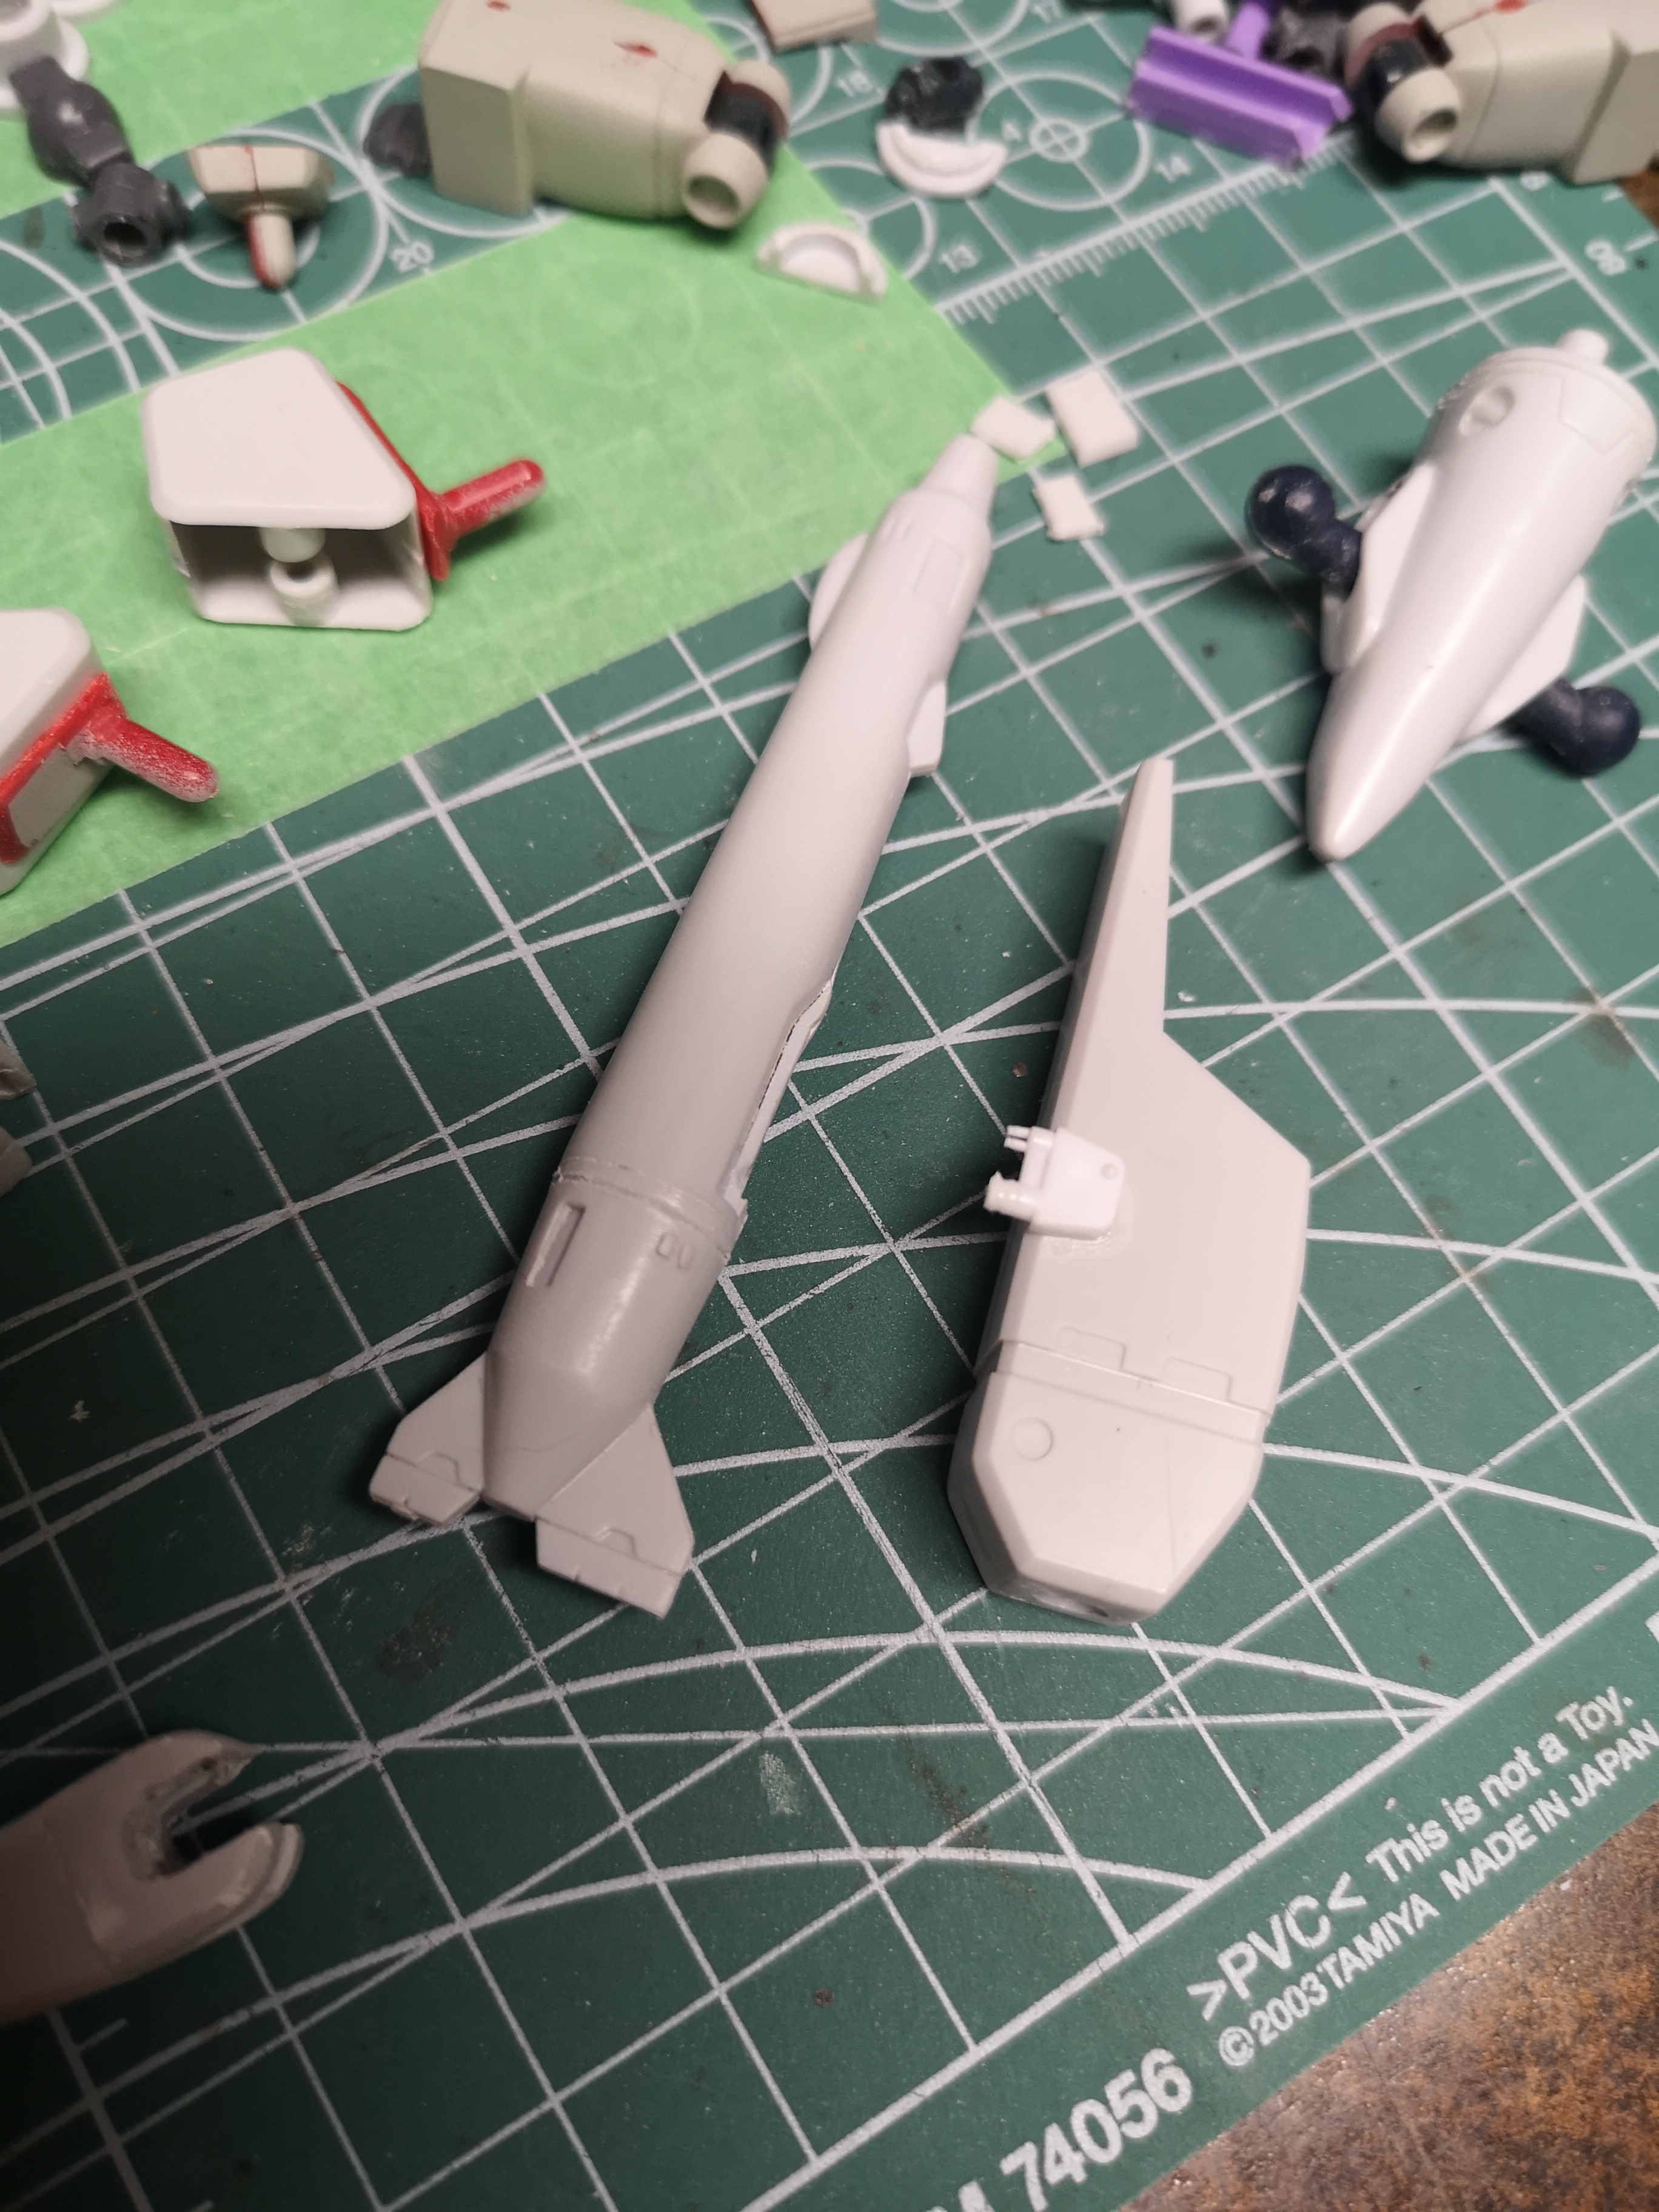
Dug the Hasegawa Battroid out again. Since I just wrapped the fighters, I figured I'd compare a few parts between Battroid and Fighter. Look at the size of that tab on the Battroid fin that goes into a slot in the leg. Then there are the two tiny pegs for fighter that are basically useless to the human race. Front of the foot on the Battroid is once piece versus the fighter which is two. They look virtually the same at the end of the day. I dunno, sometimes I think Hasegawa just made the fighter over complicated. The nose section in Battroid mode just goes together, barely any seamline. Granted no cockpit/landing gear bay, but the nose on the fighter go together like oil and water. I didn't realize this was a snap kit......the only thing that fit like solid crap were the legs and hip area (which seems to be overly complicated.....and fragile).


-
Lol!
-
Hey, look at that, another Valkyrie production line! I can't wait to see this done. Personally, I like Hasegawa Strike parts proportions far better than Max Factory ones. I can't wait to see this complete.
-
That's looking pretty awesome! Going to watch Top Gun now
-
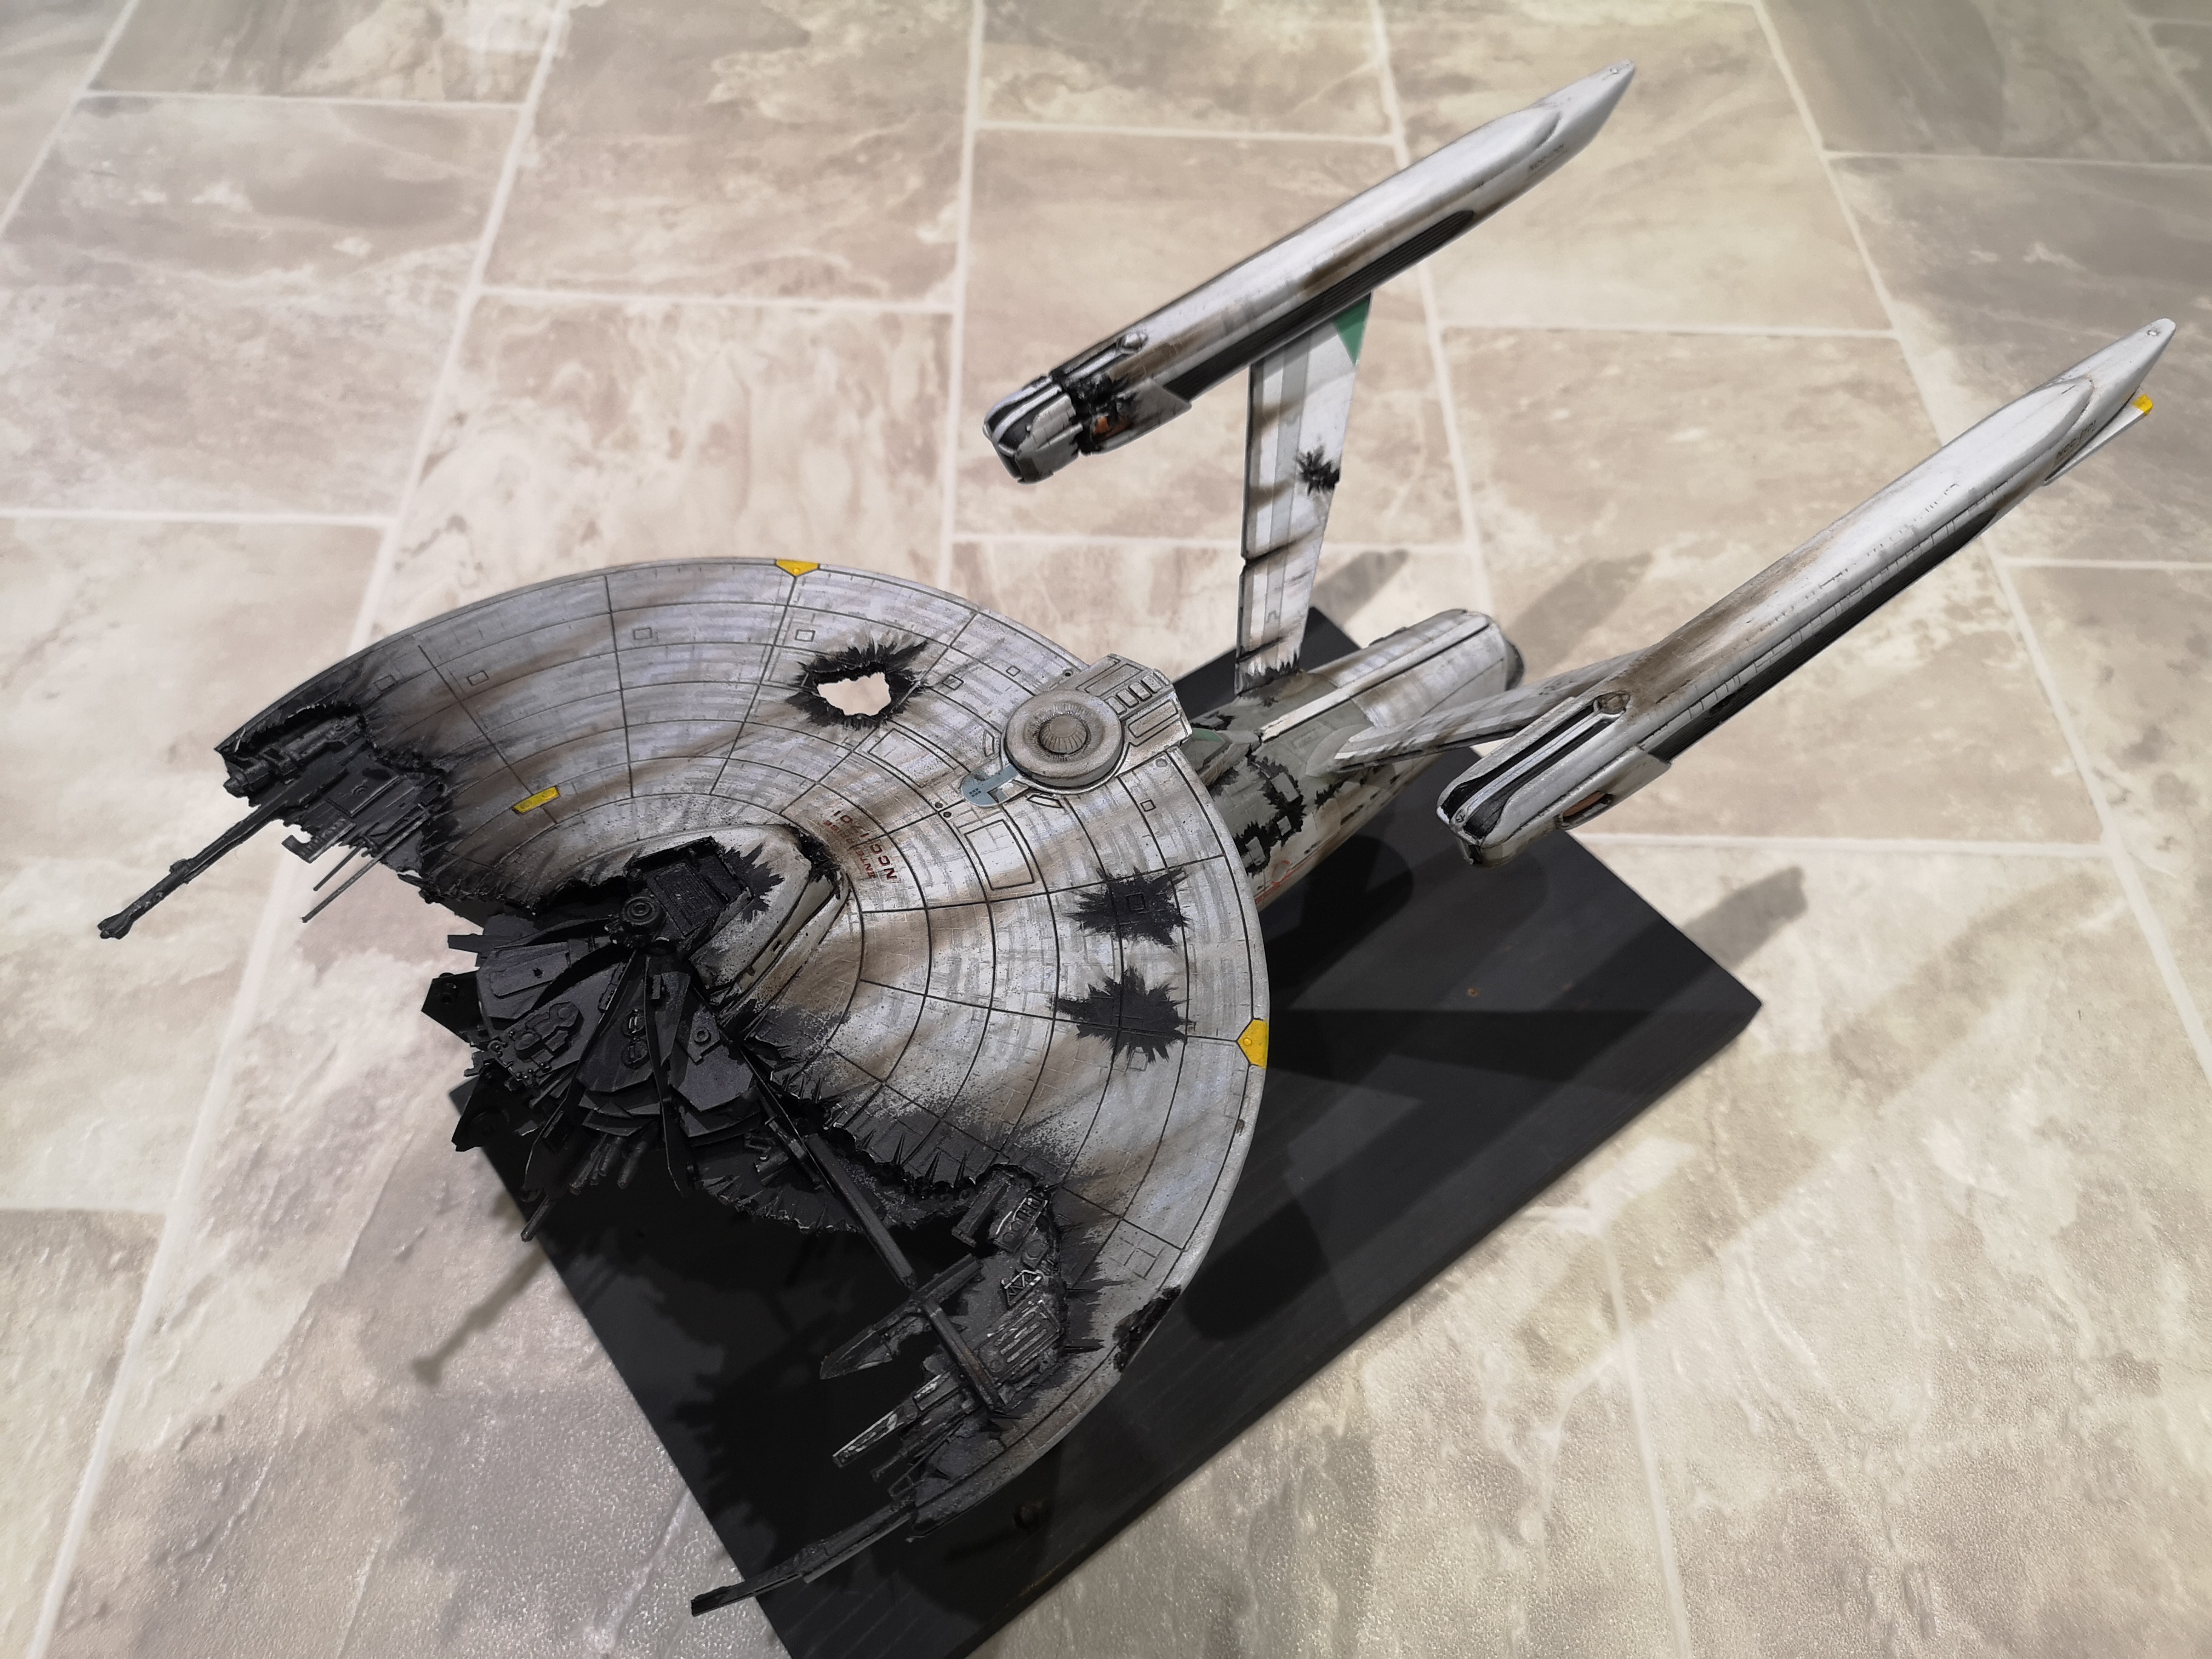
I don't know what ship this is, but it's cool. 3D printing technology is amazing.
-
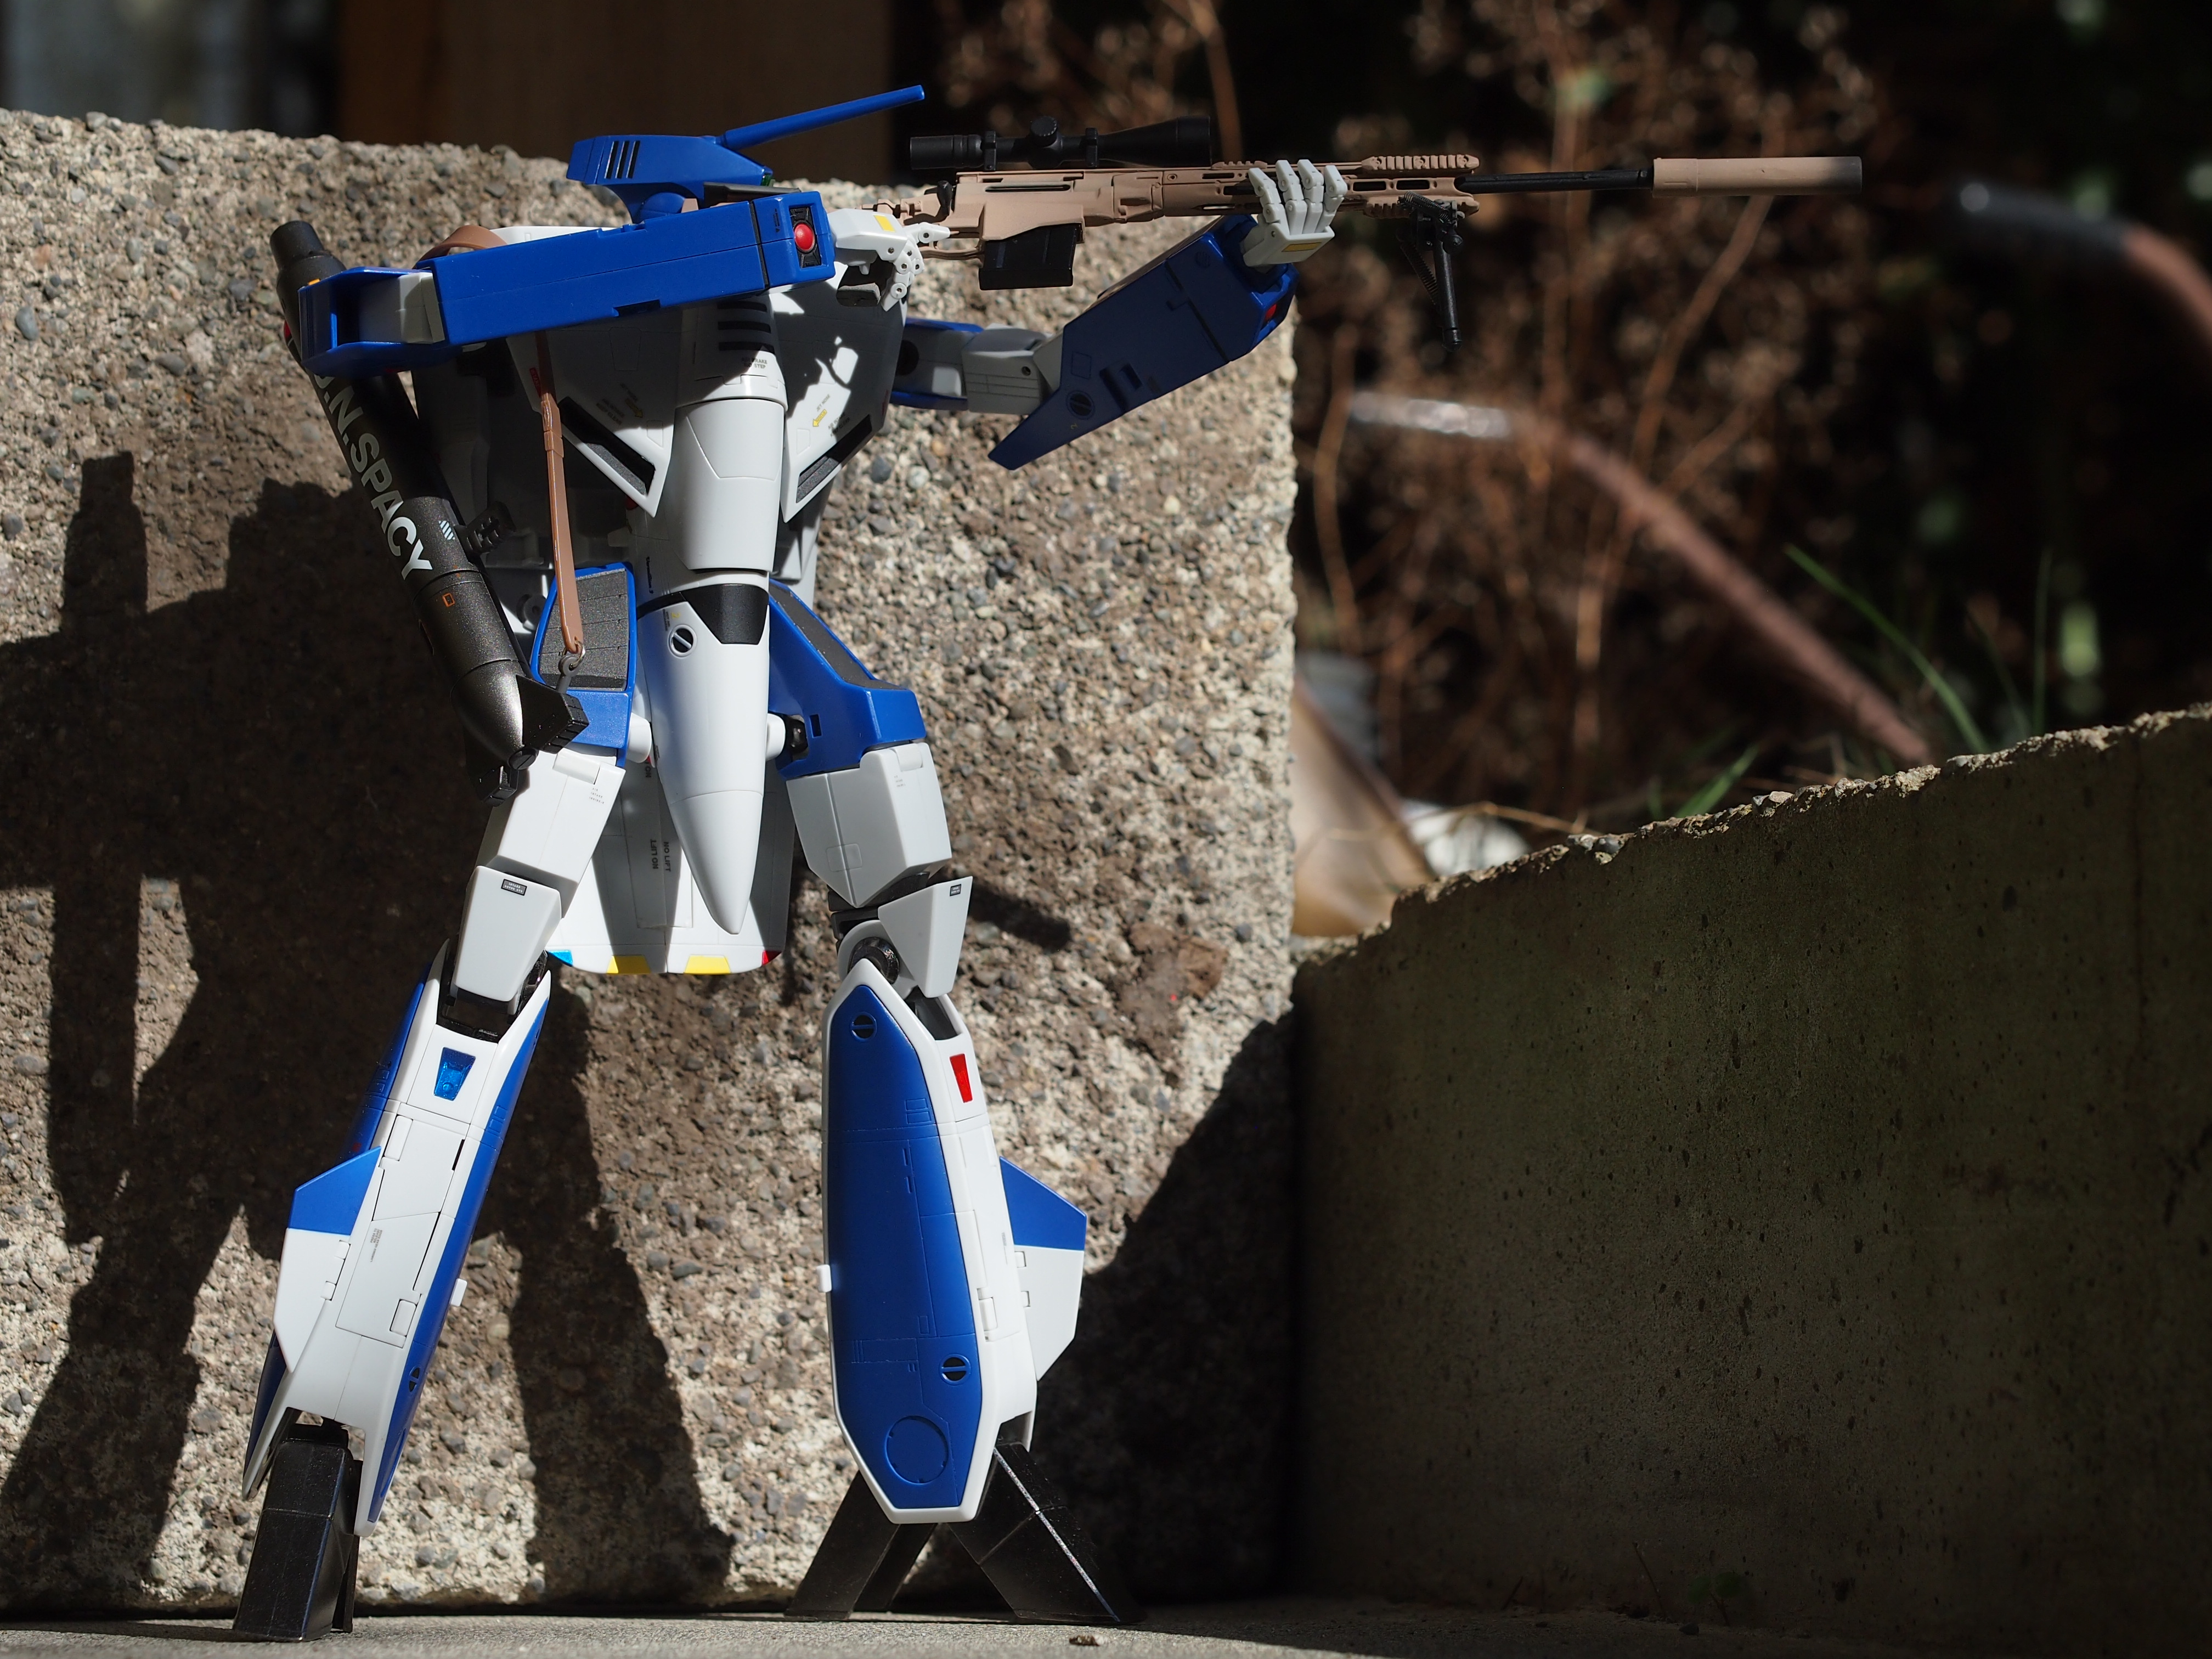
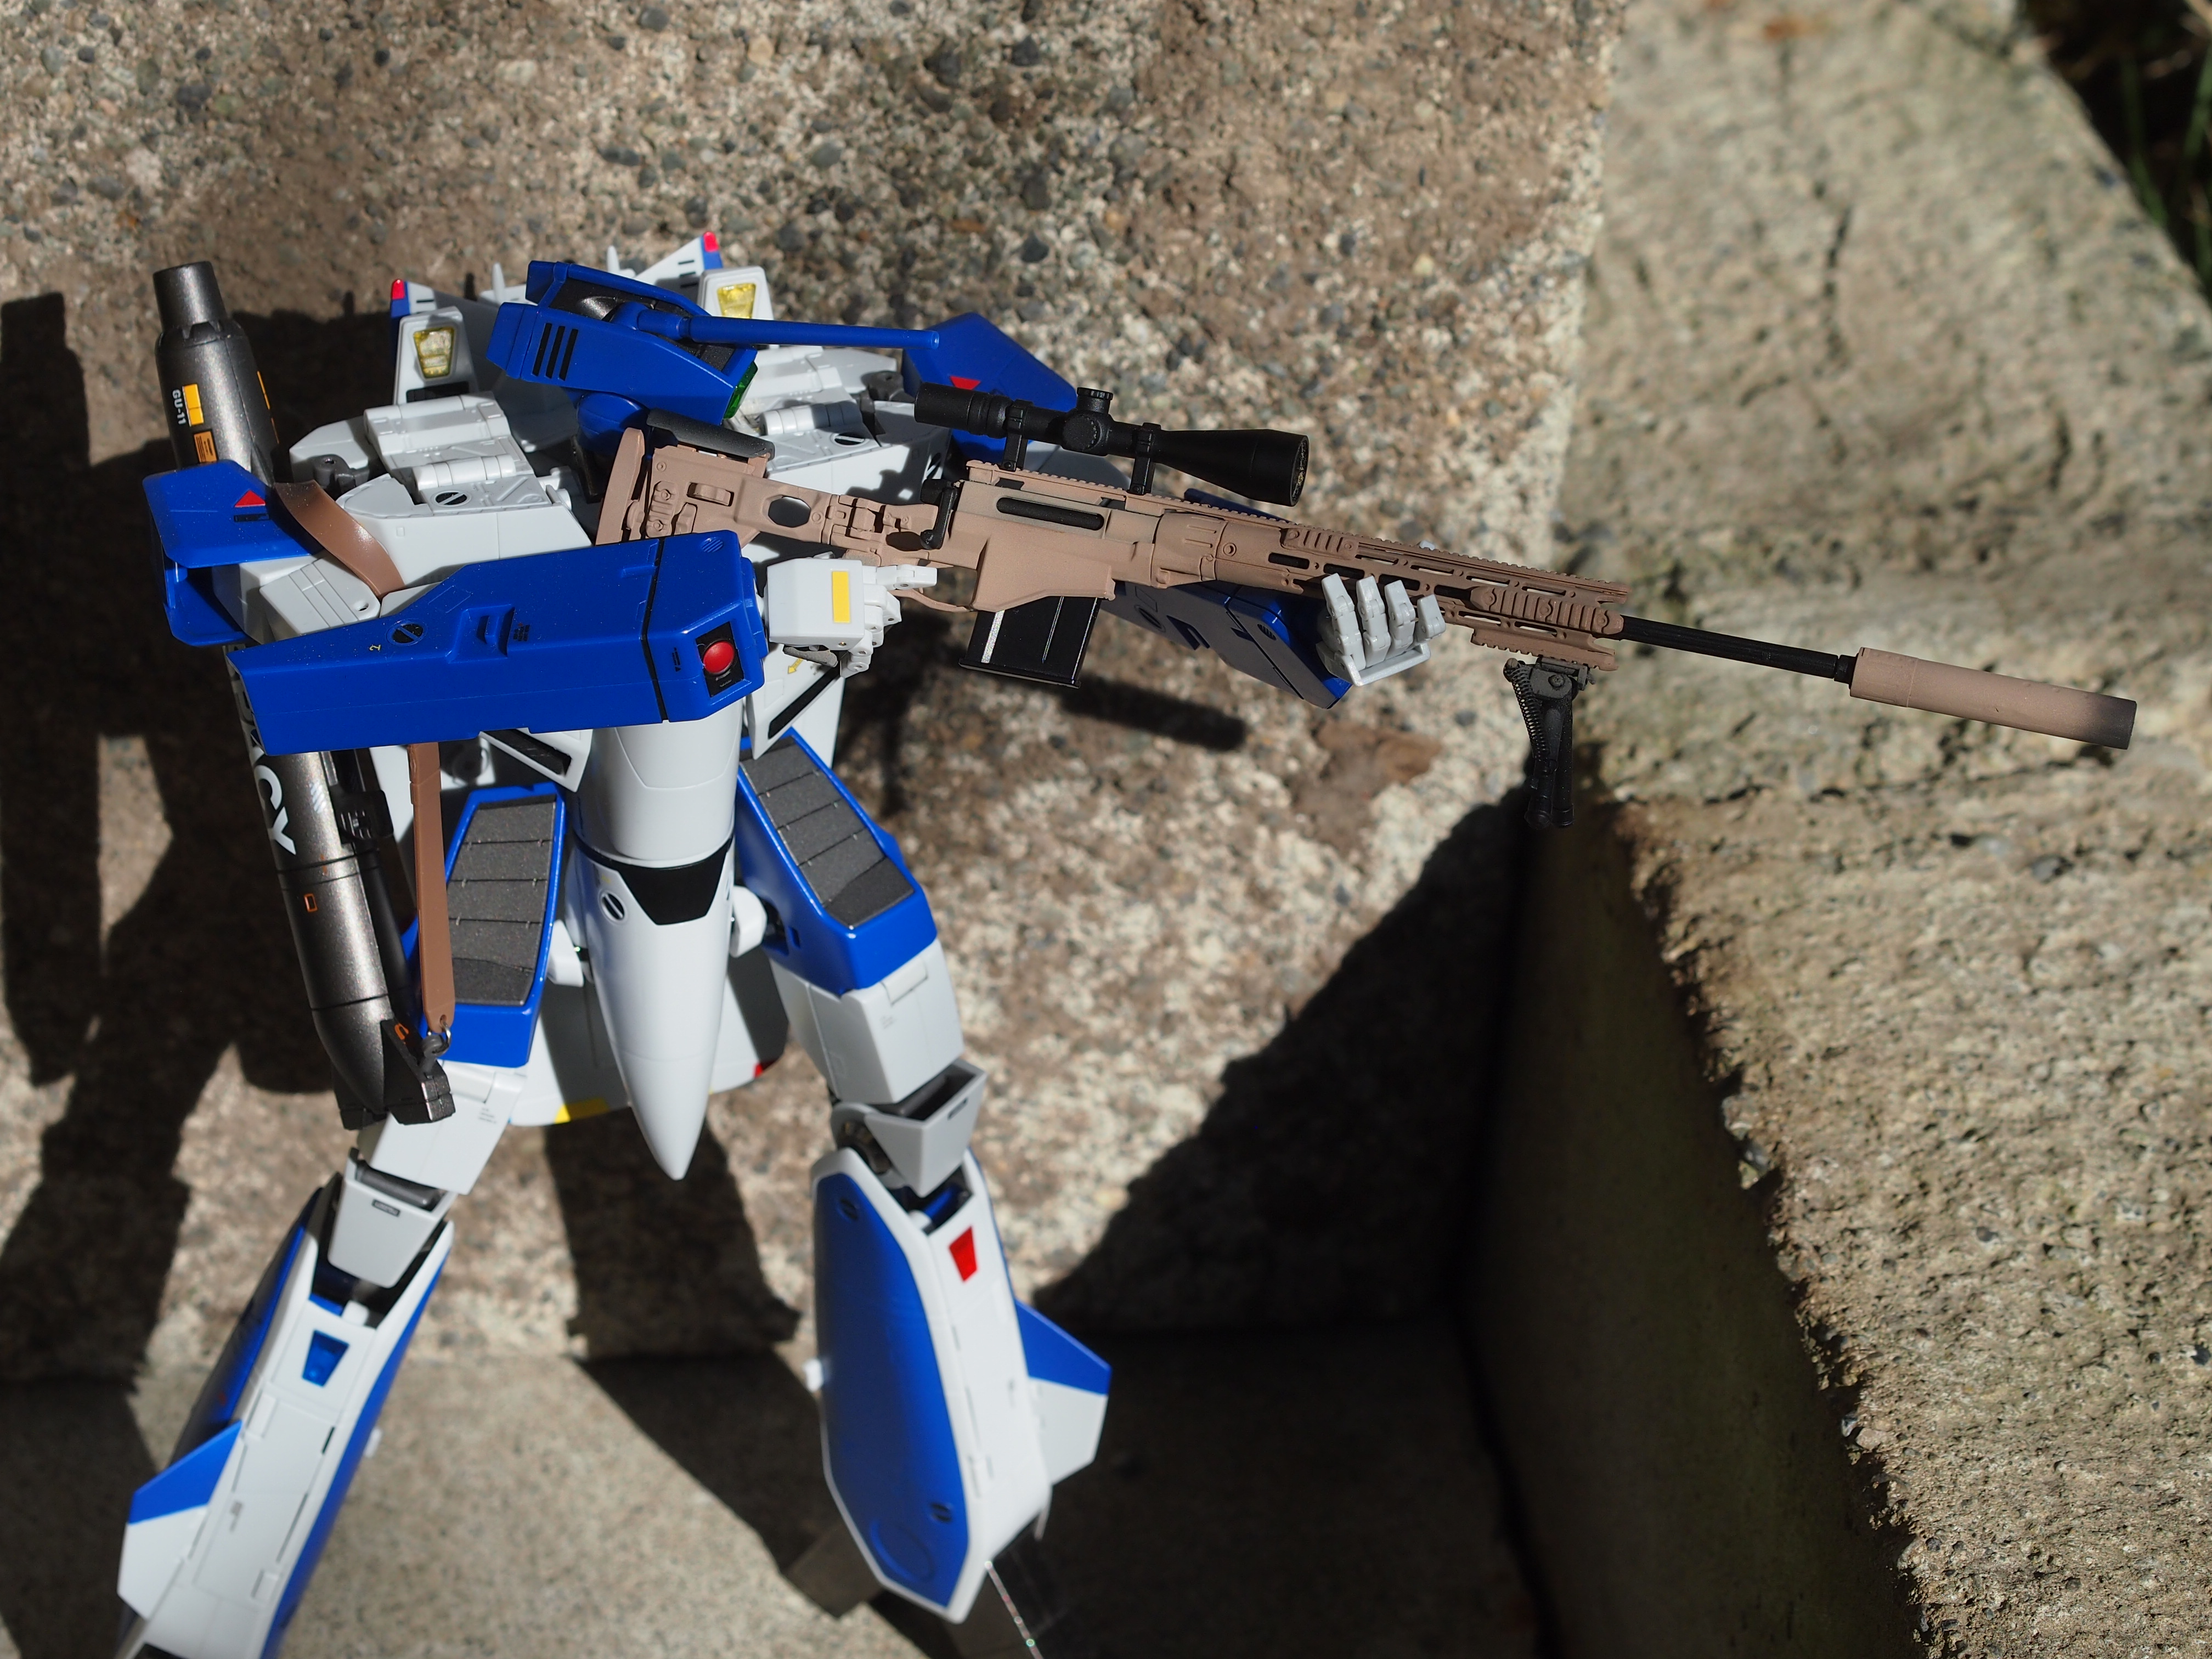
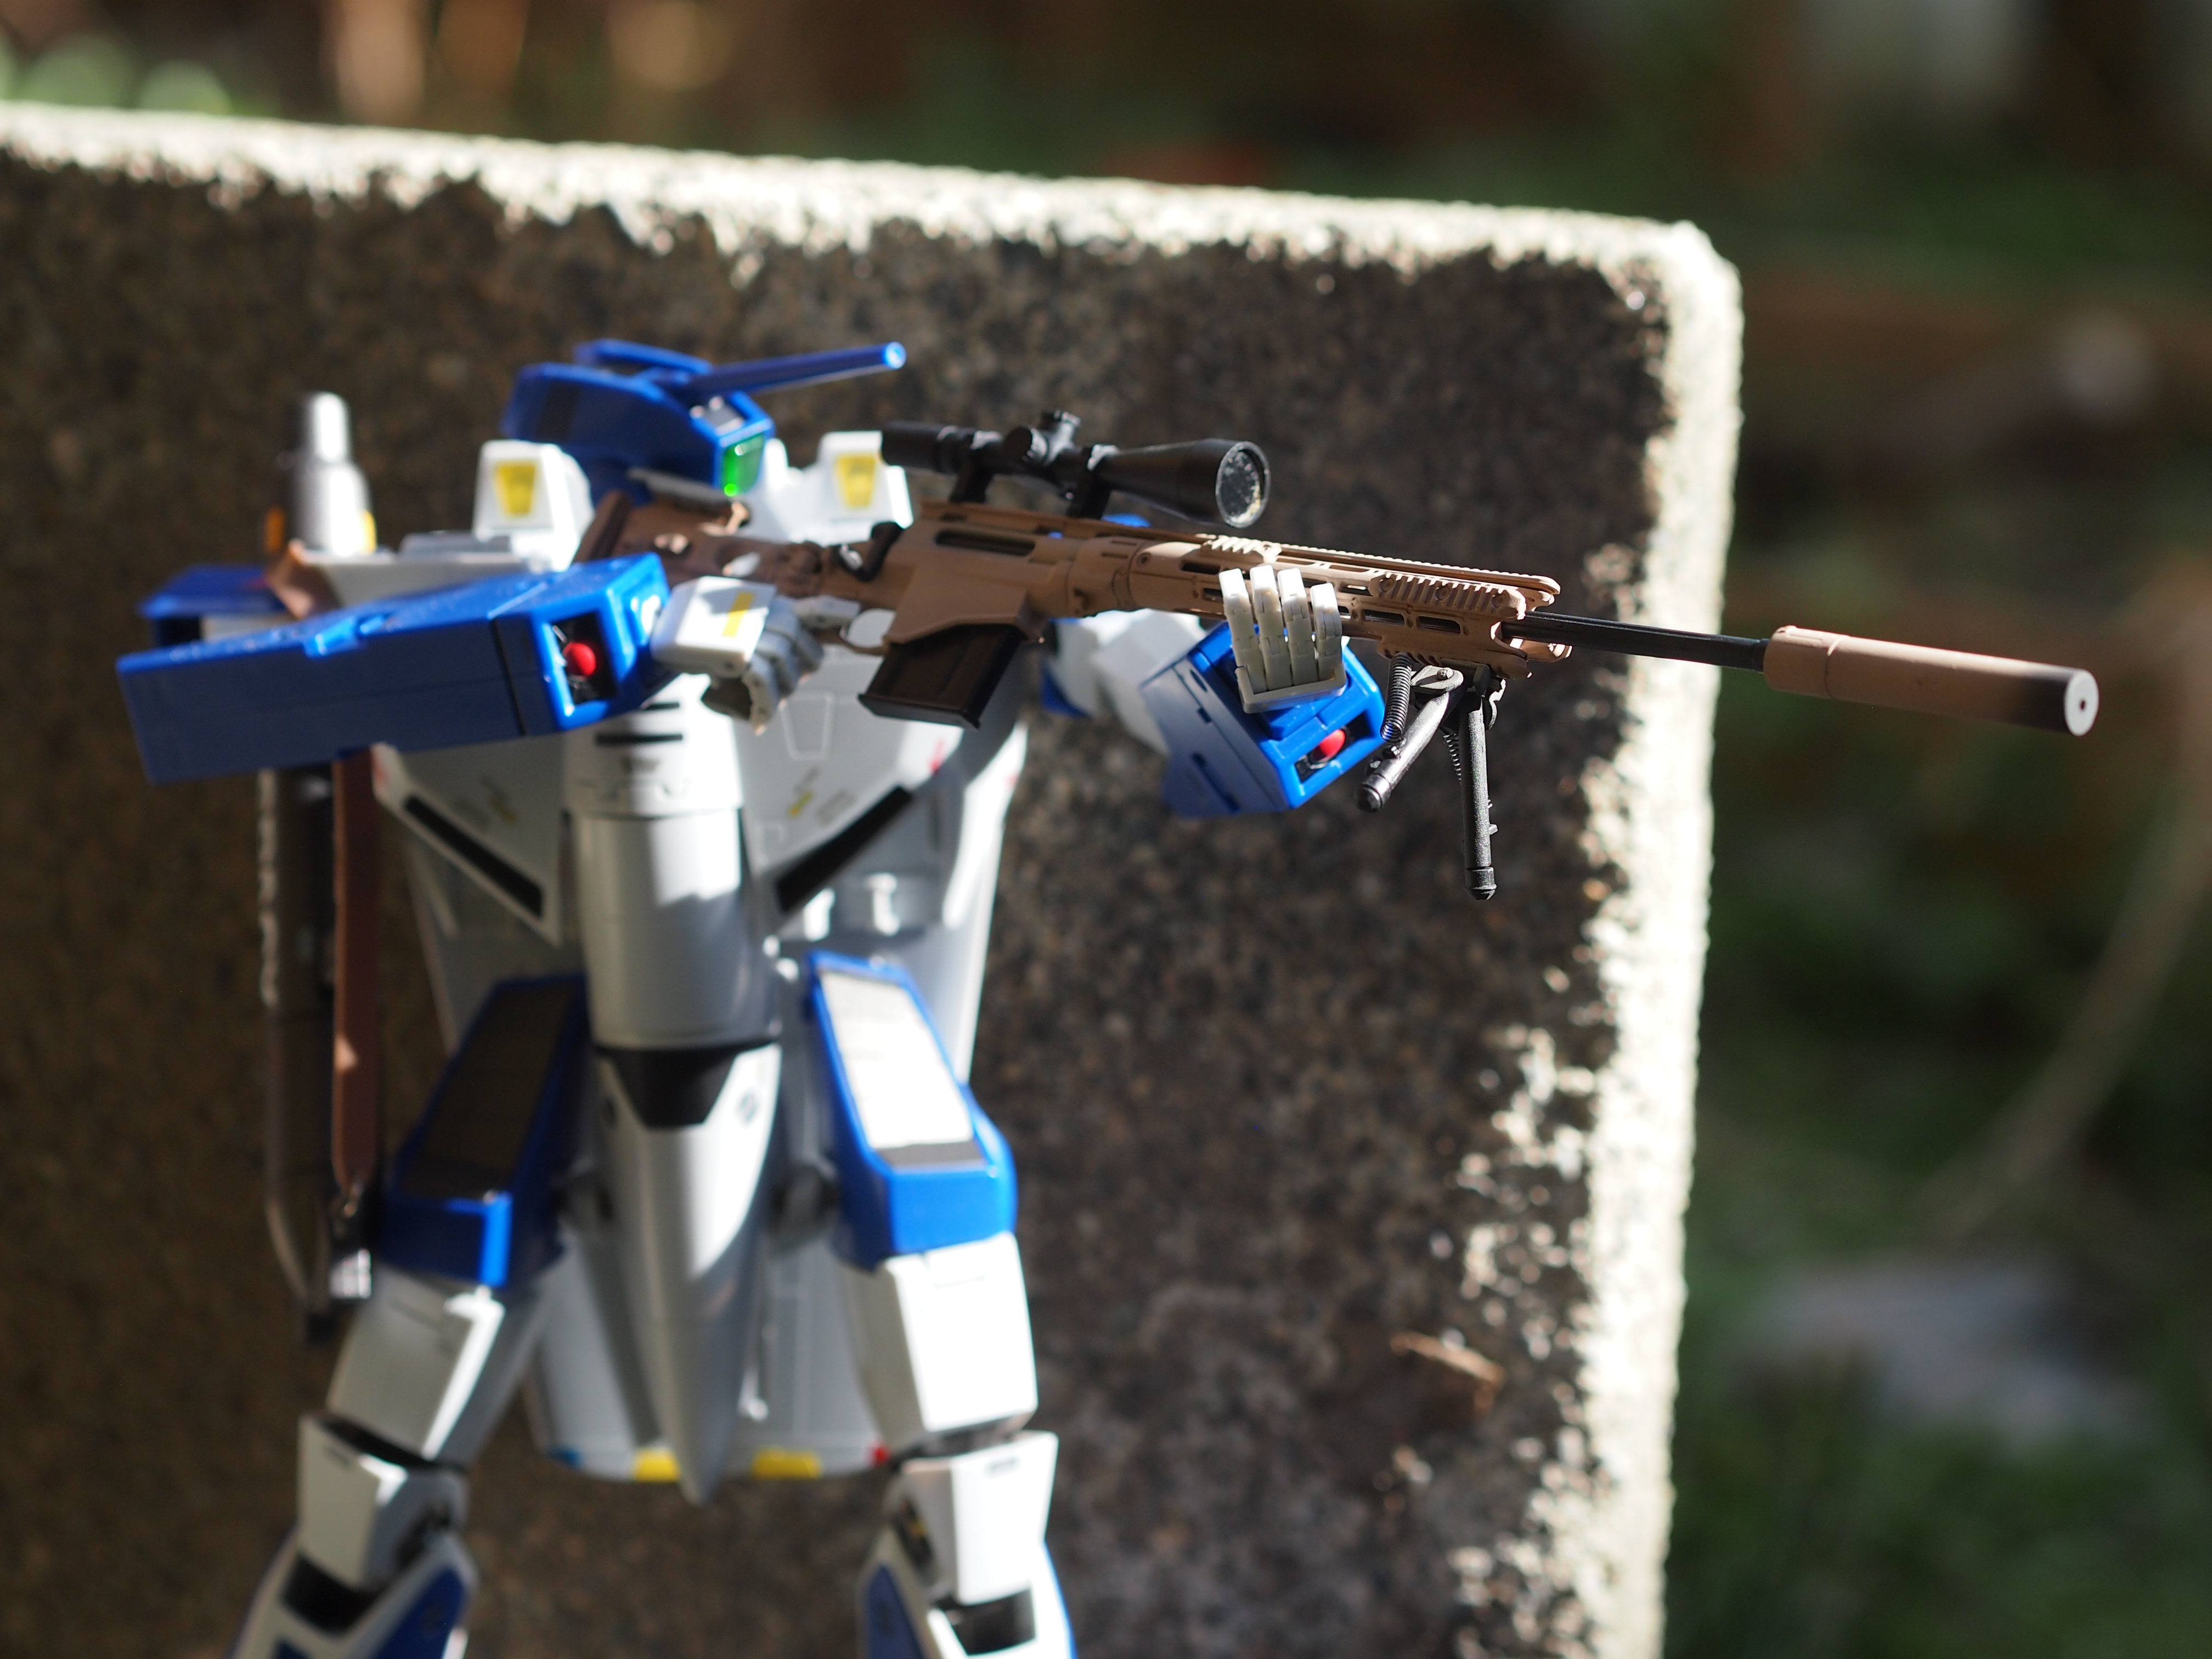
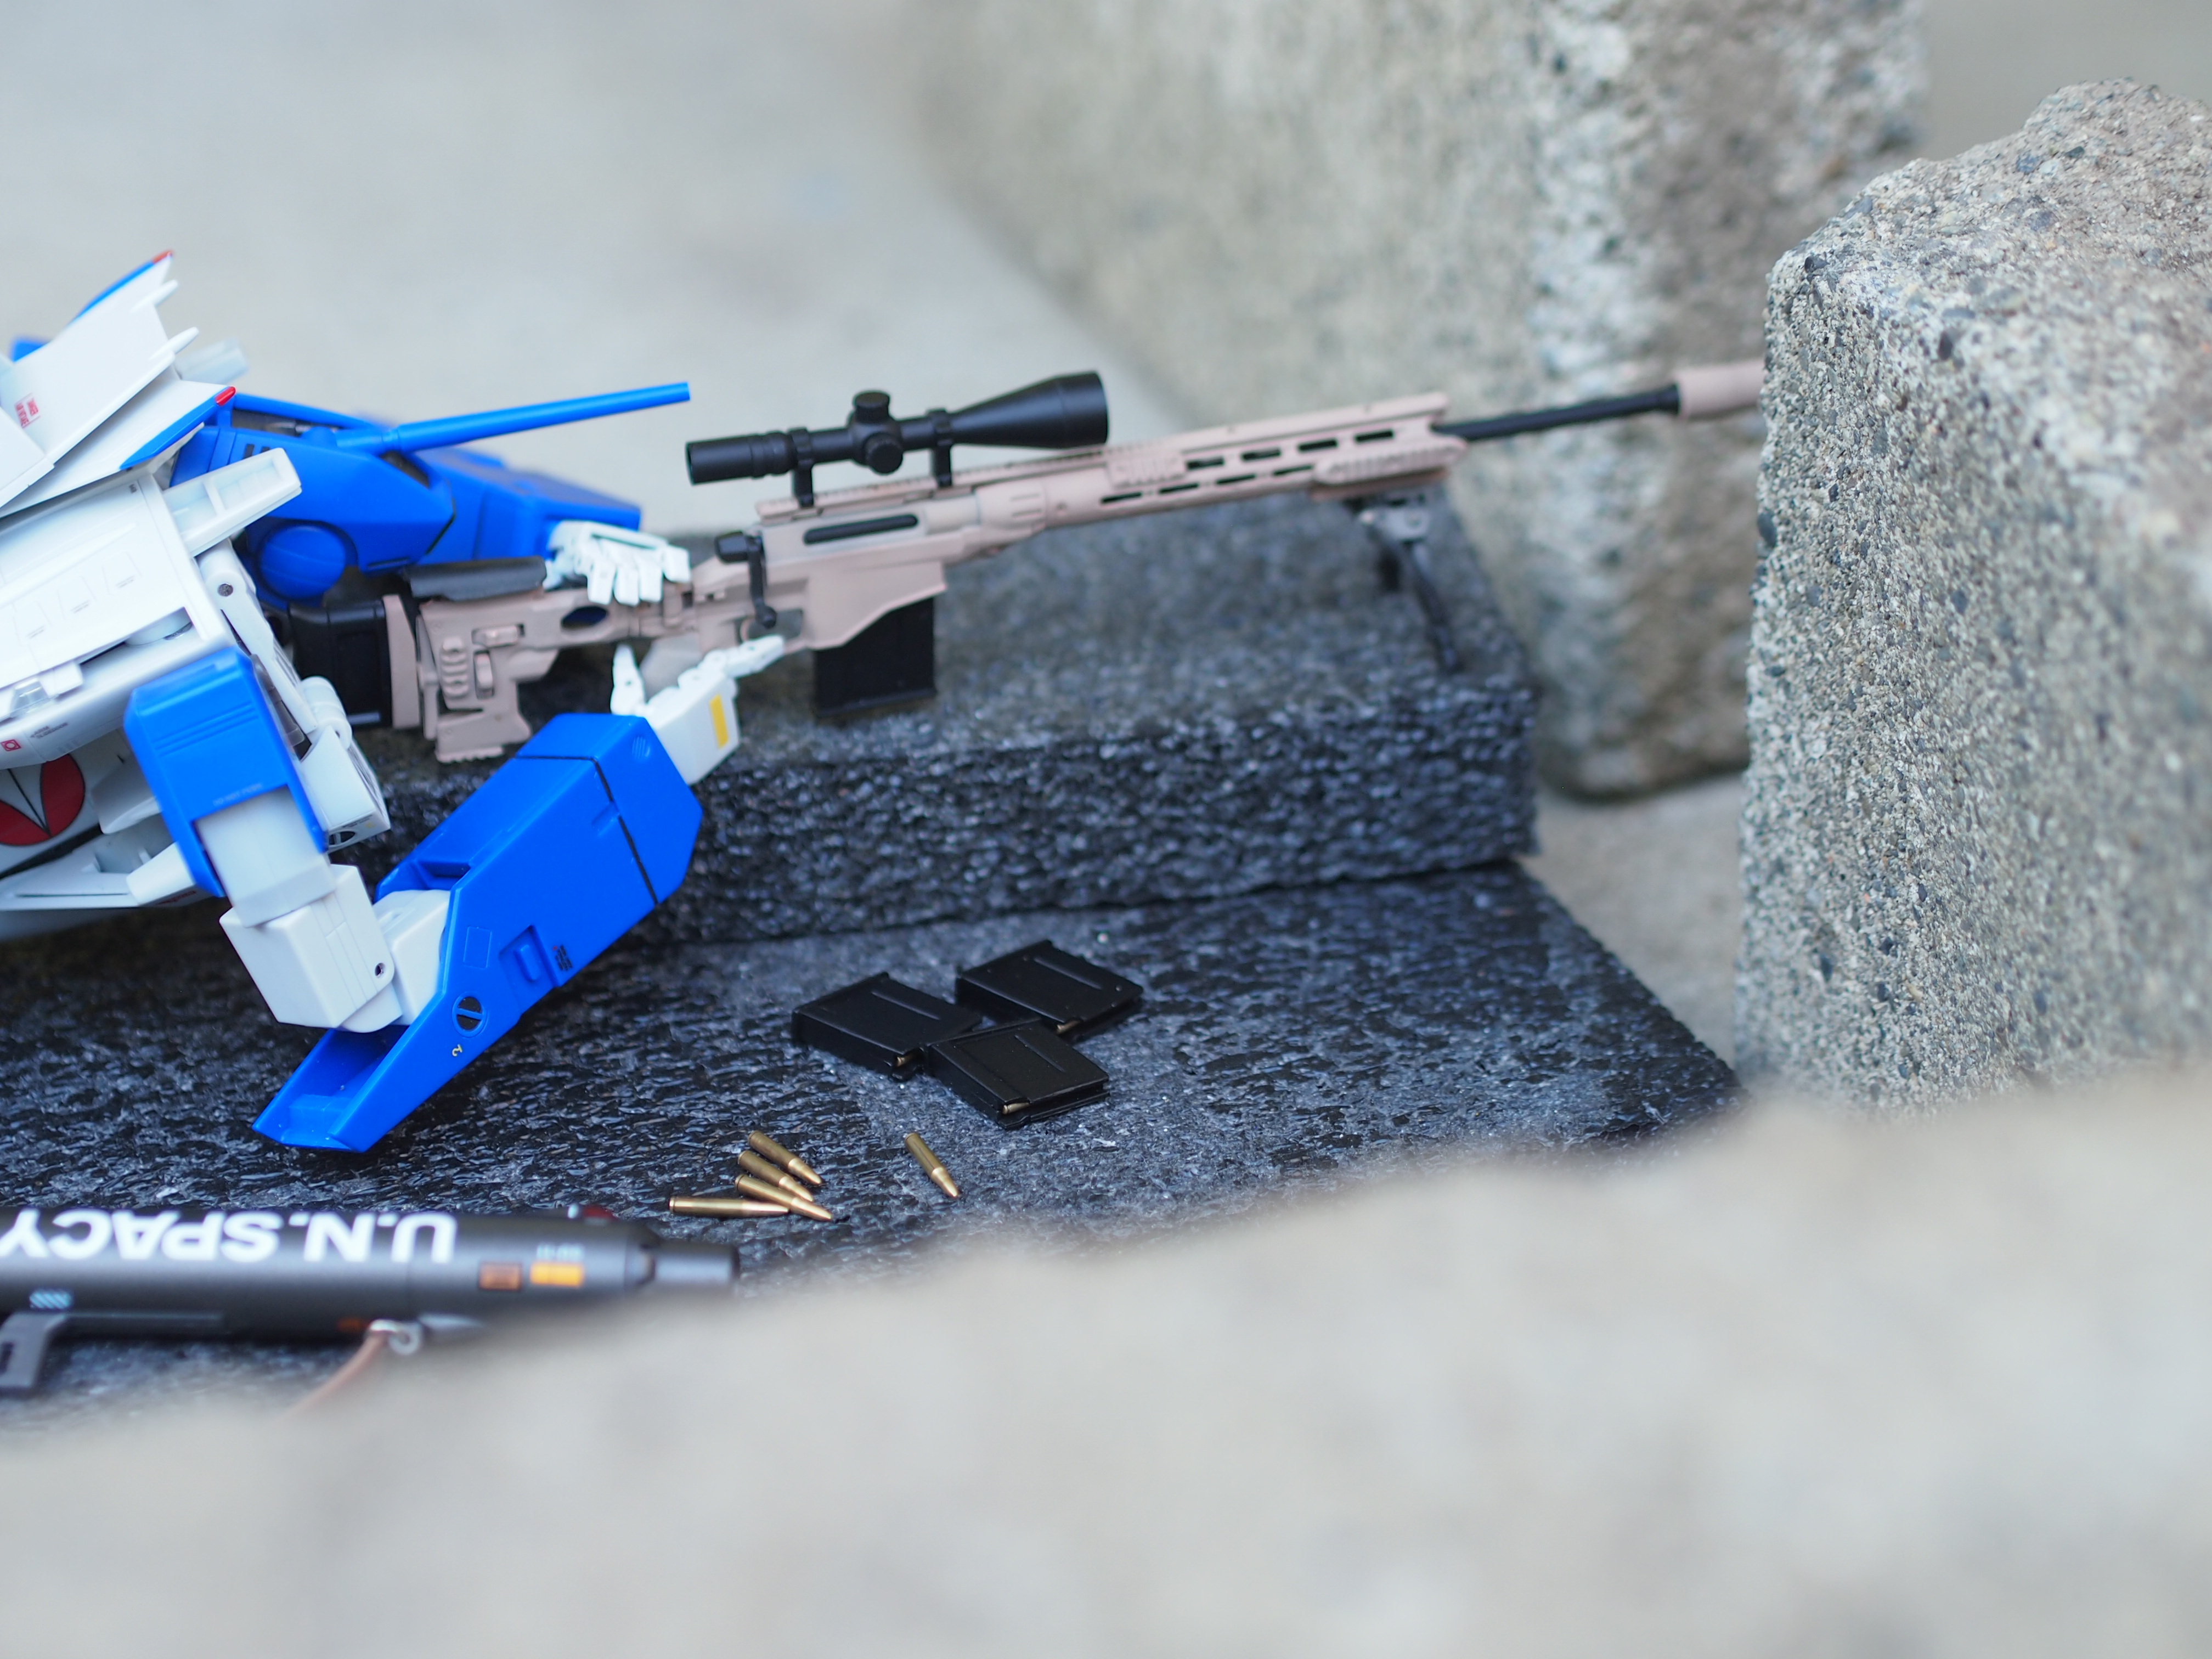
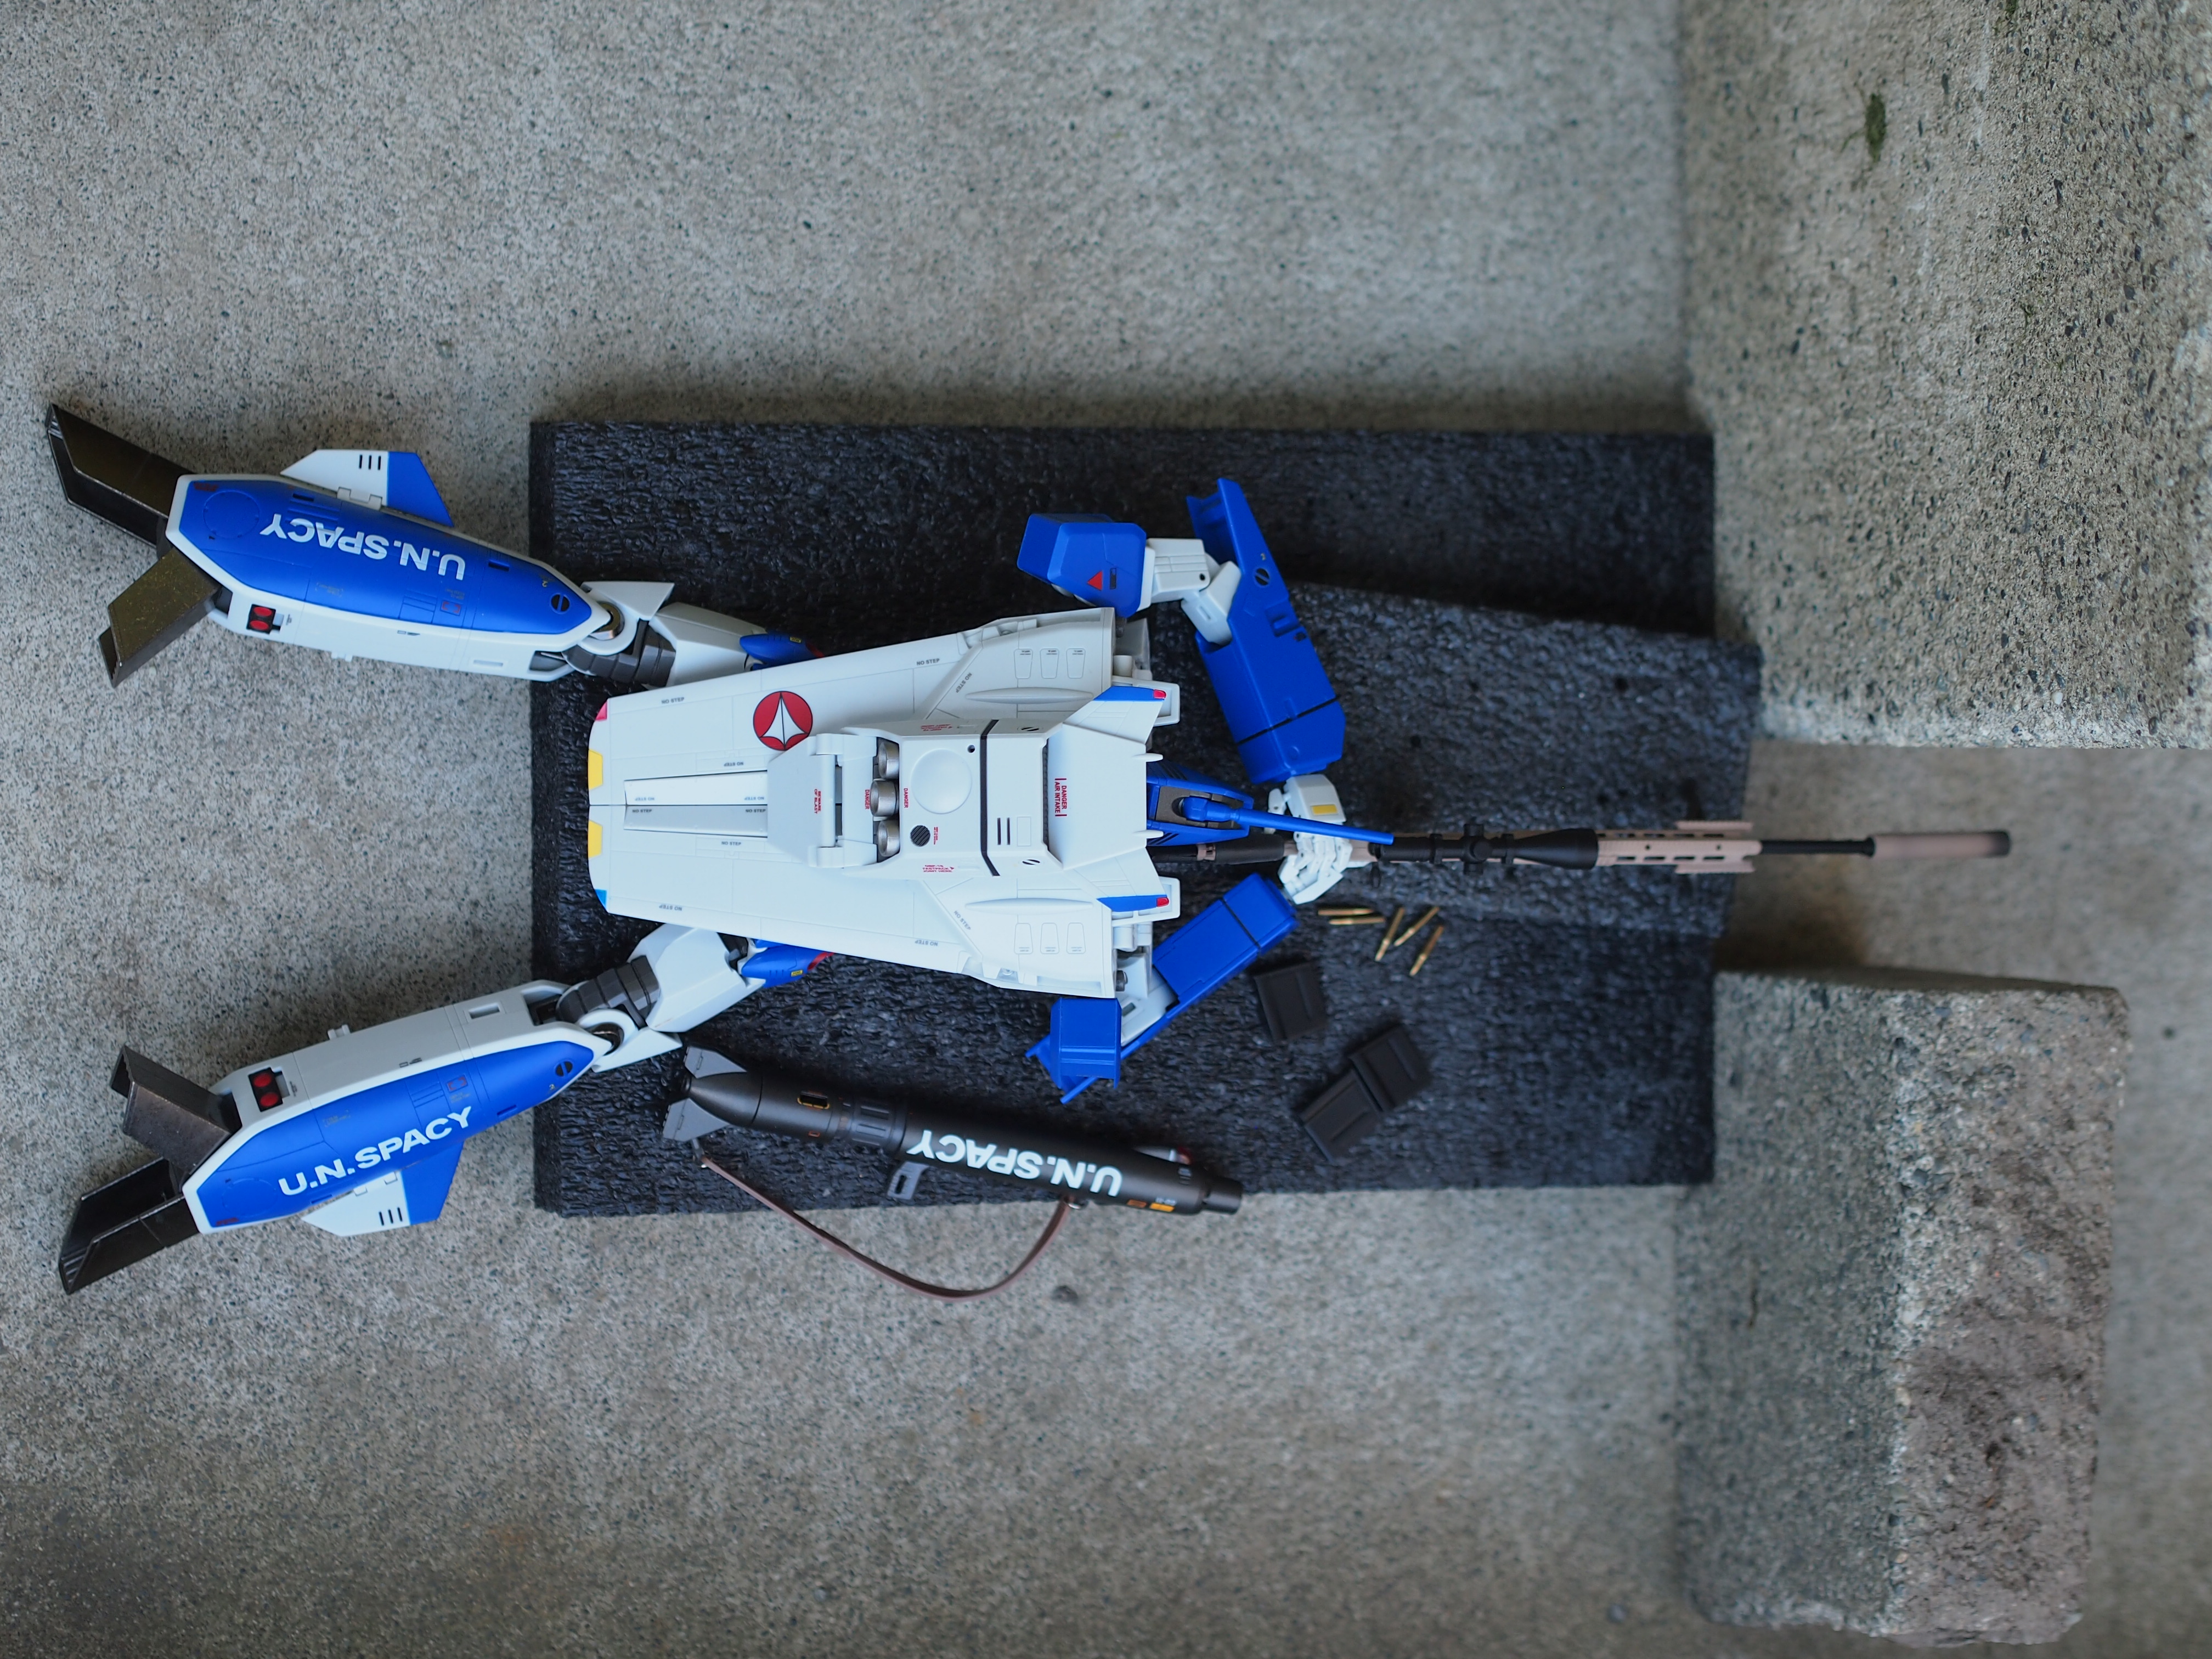
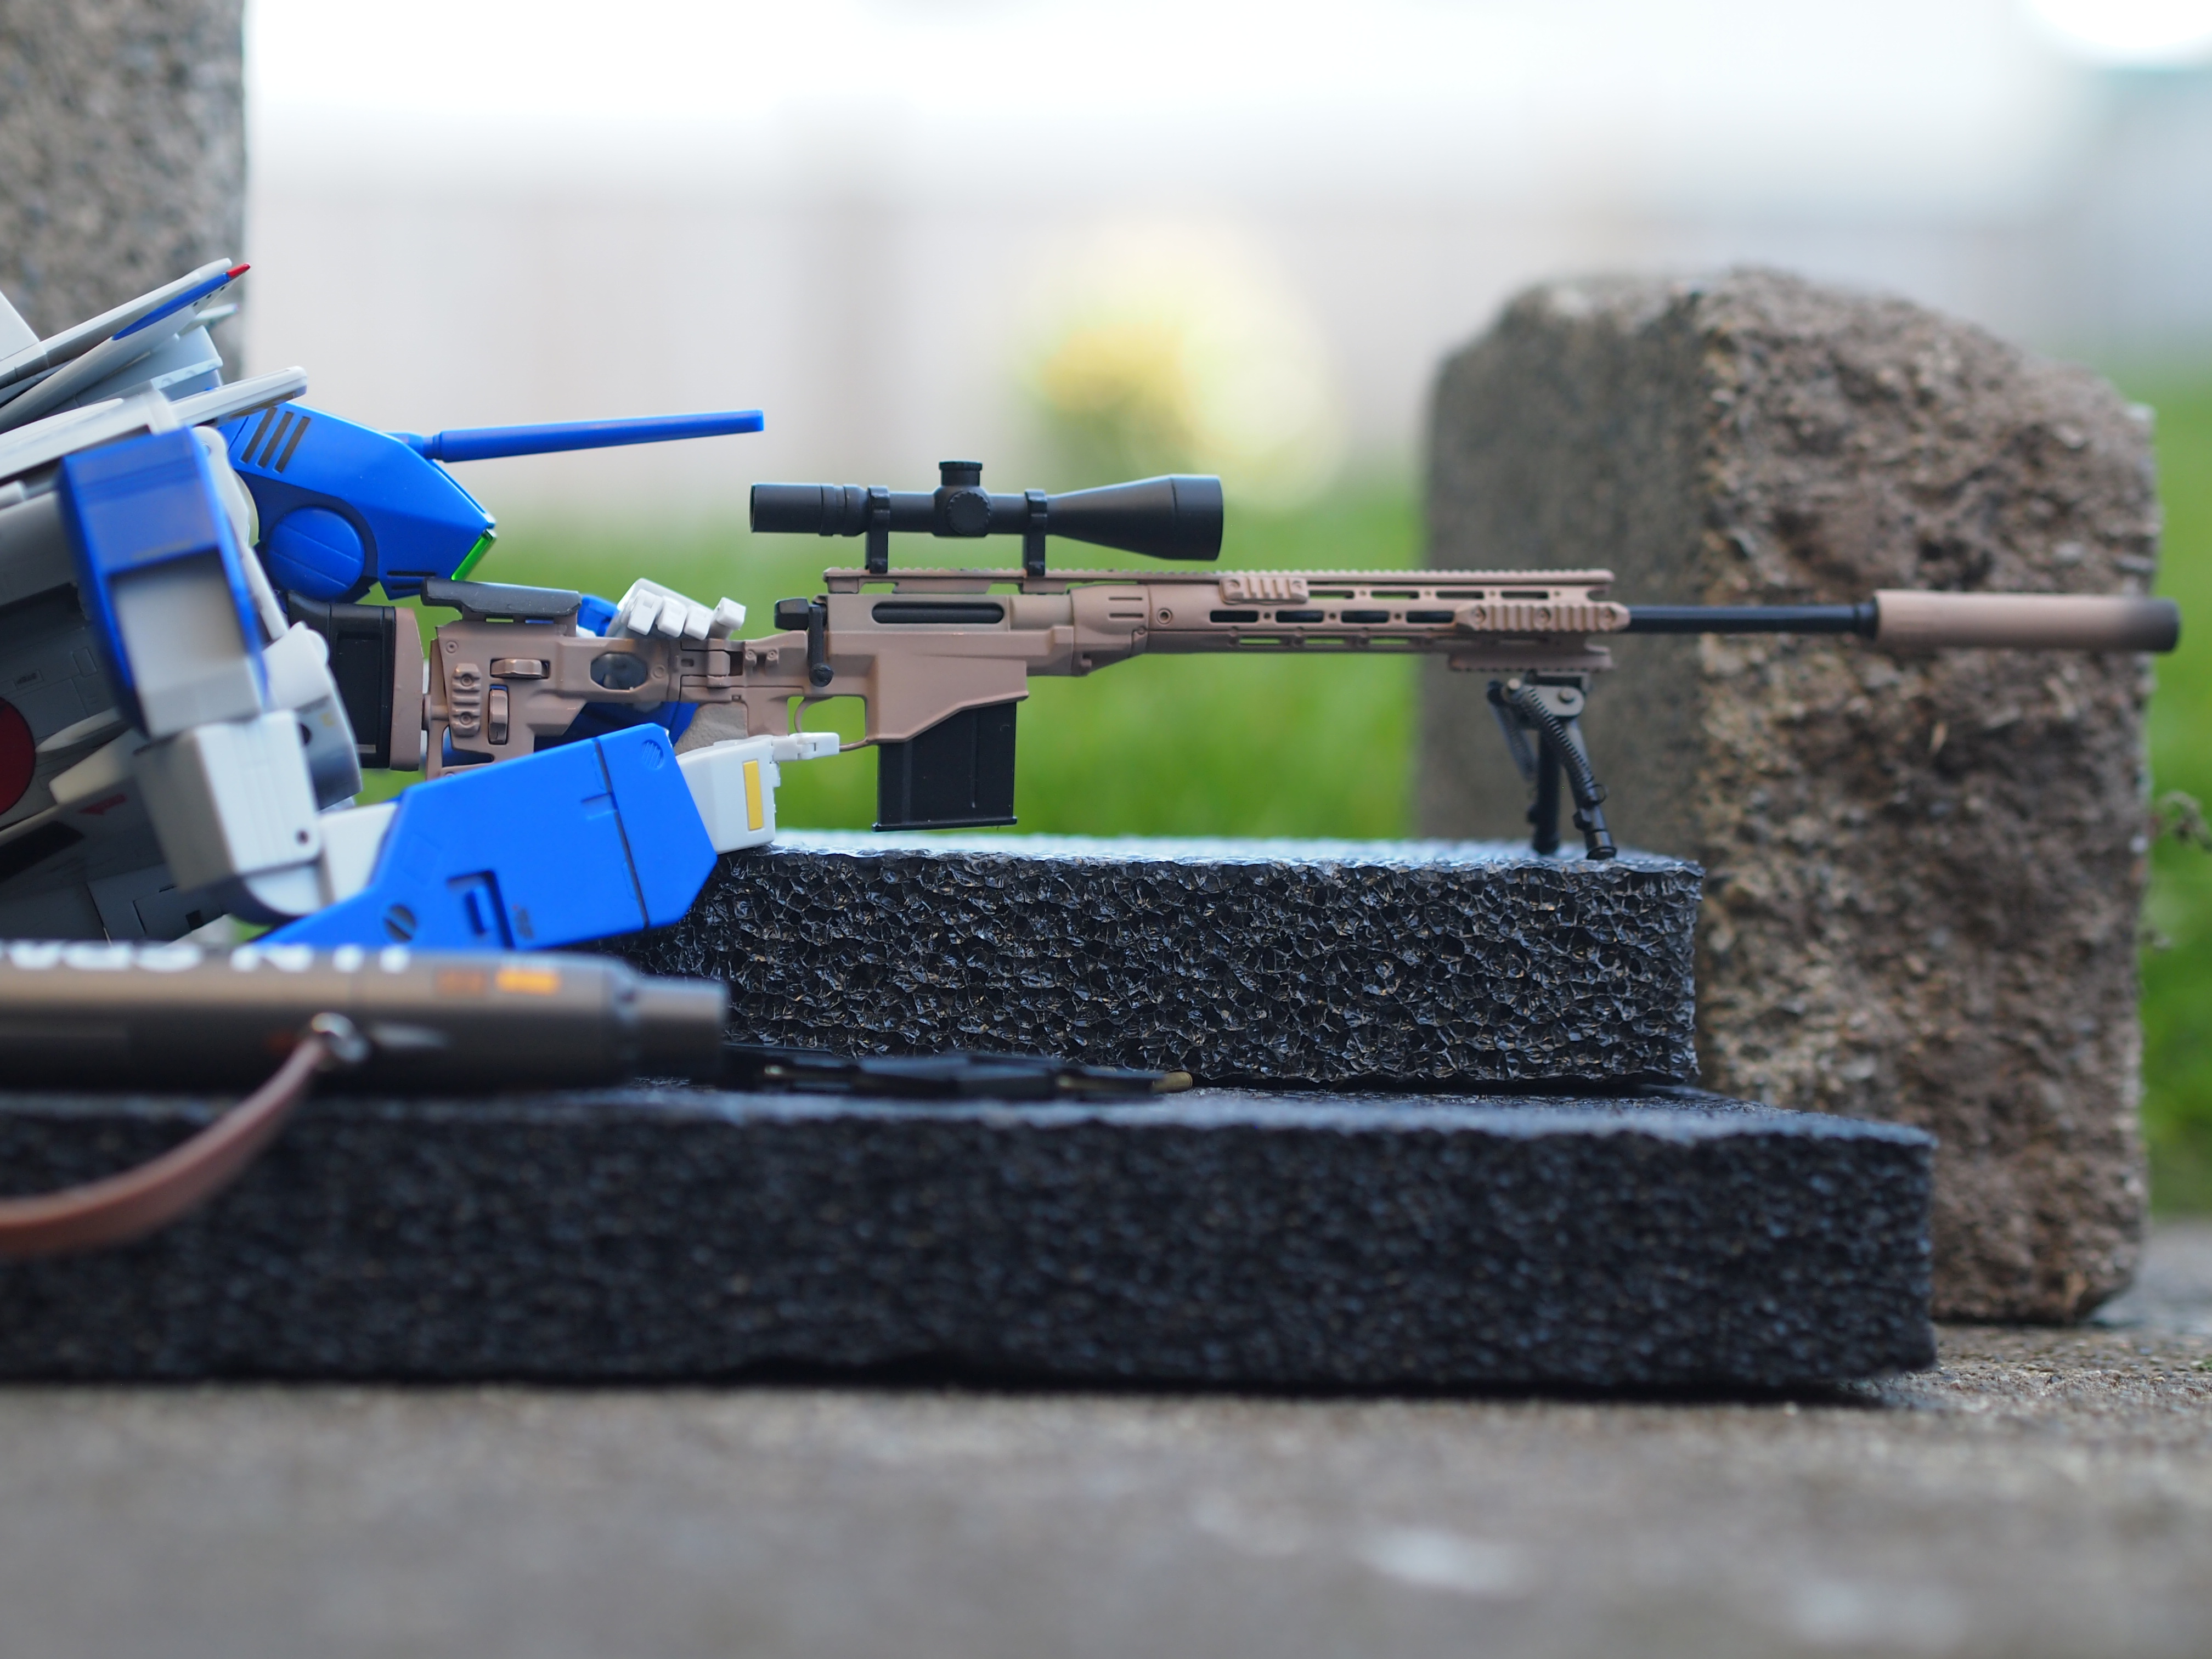
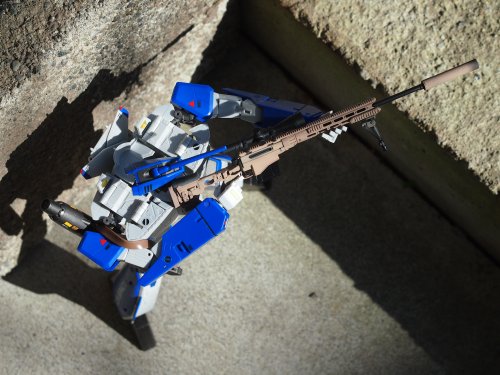
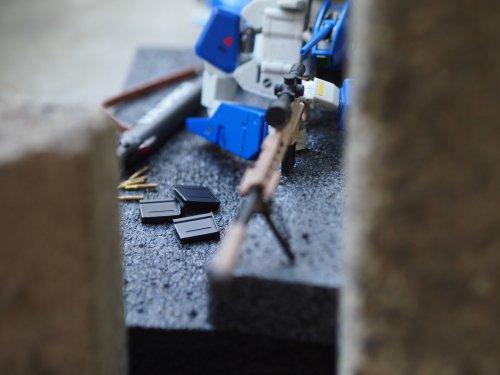
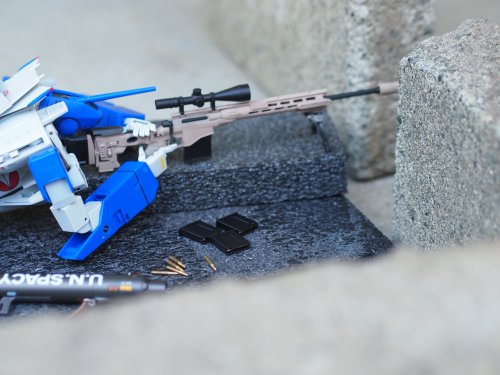
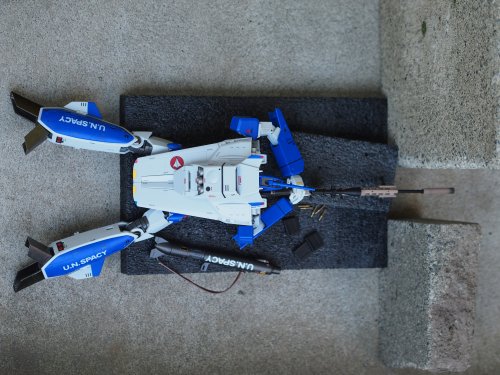
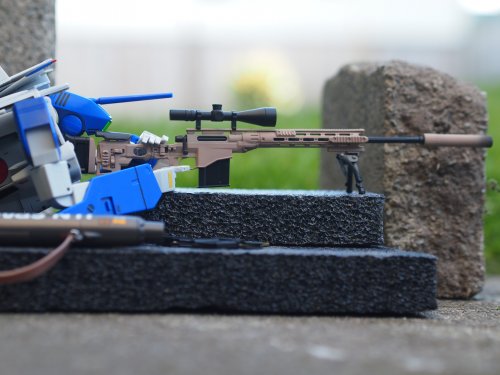
I'm still amazed at the articulation on these DX toys. You can get them shooting from prone! Of course it looks awesome standing too.


-
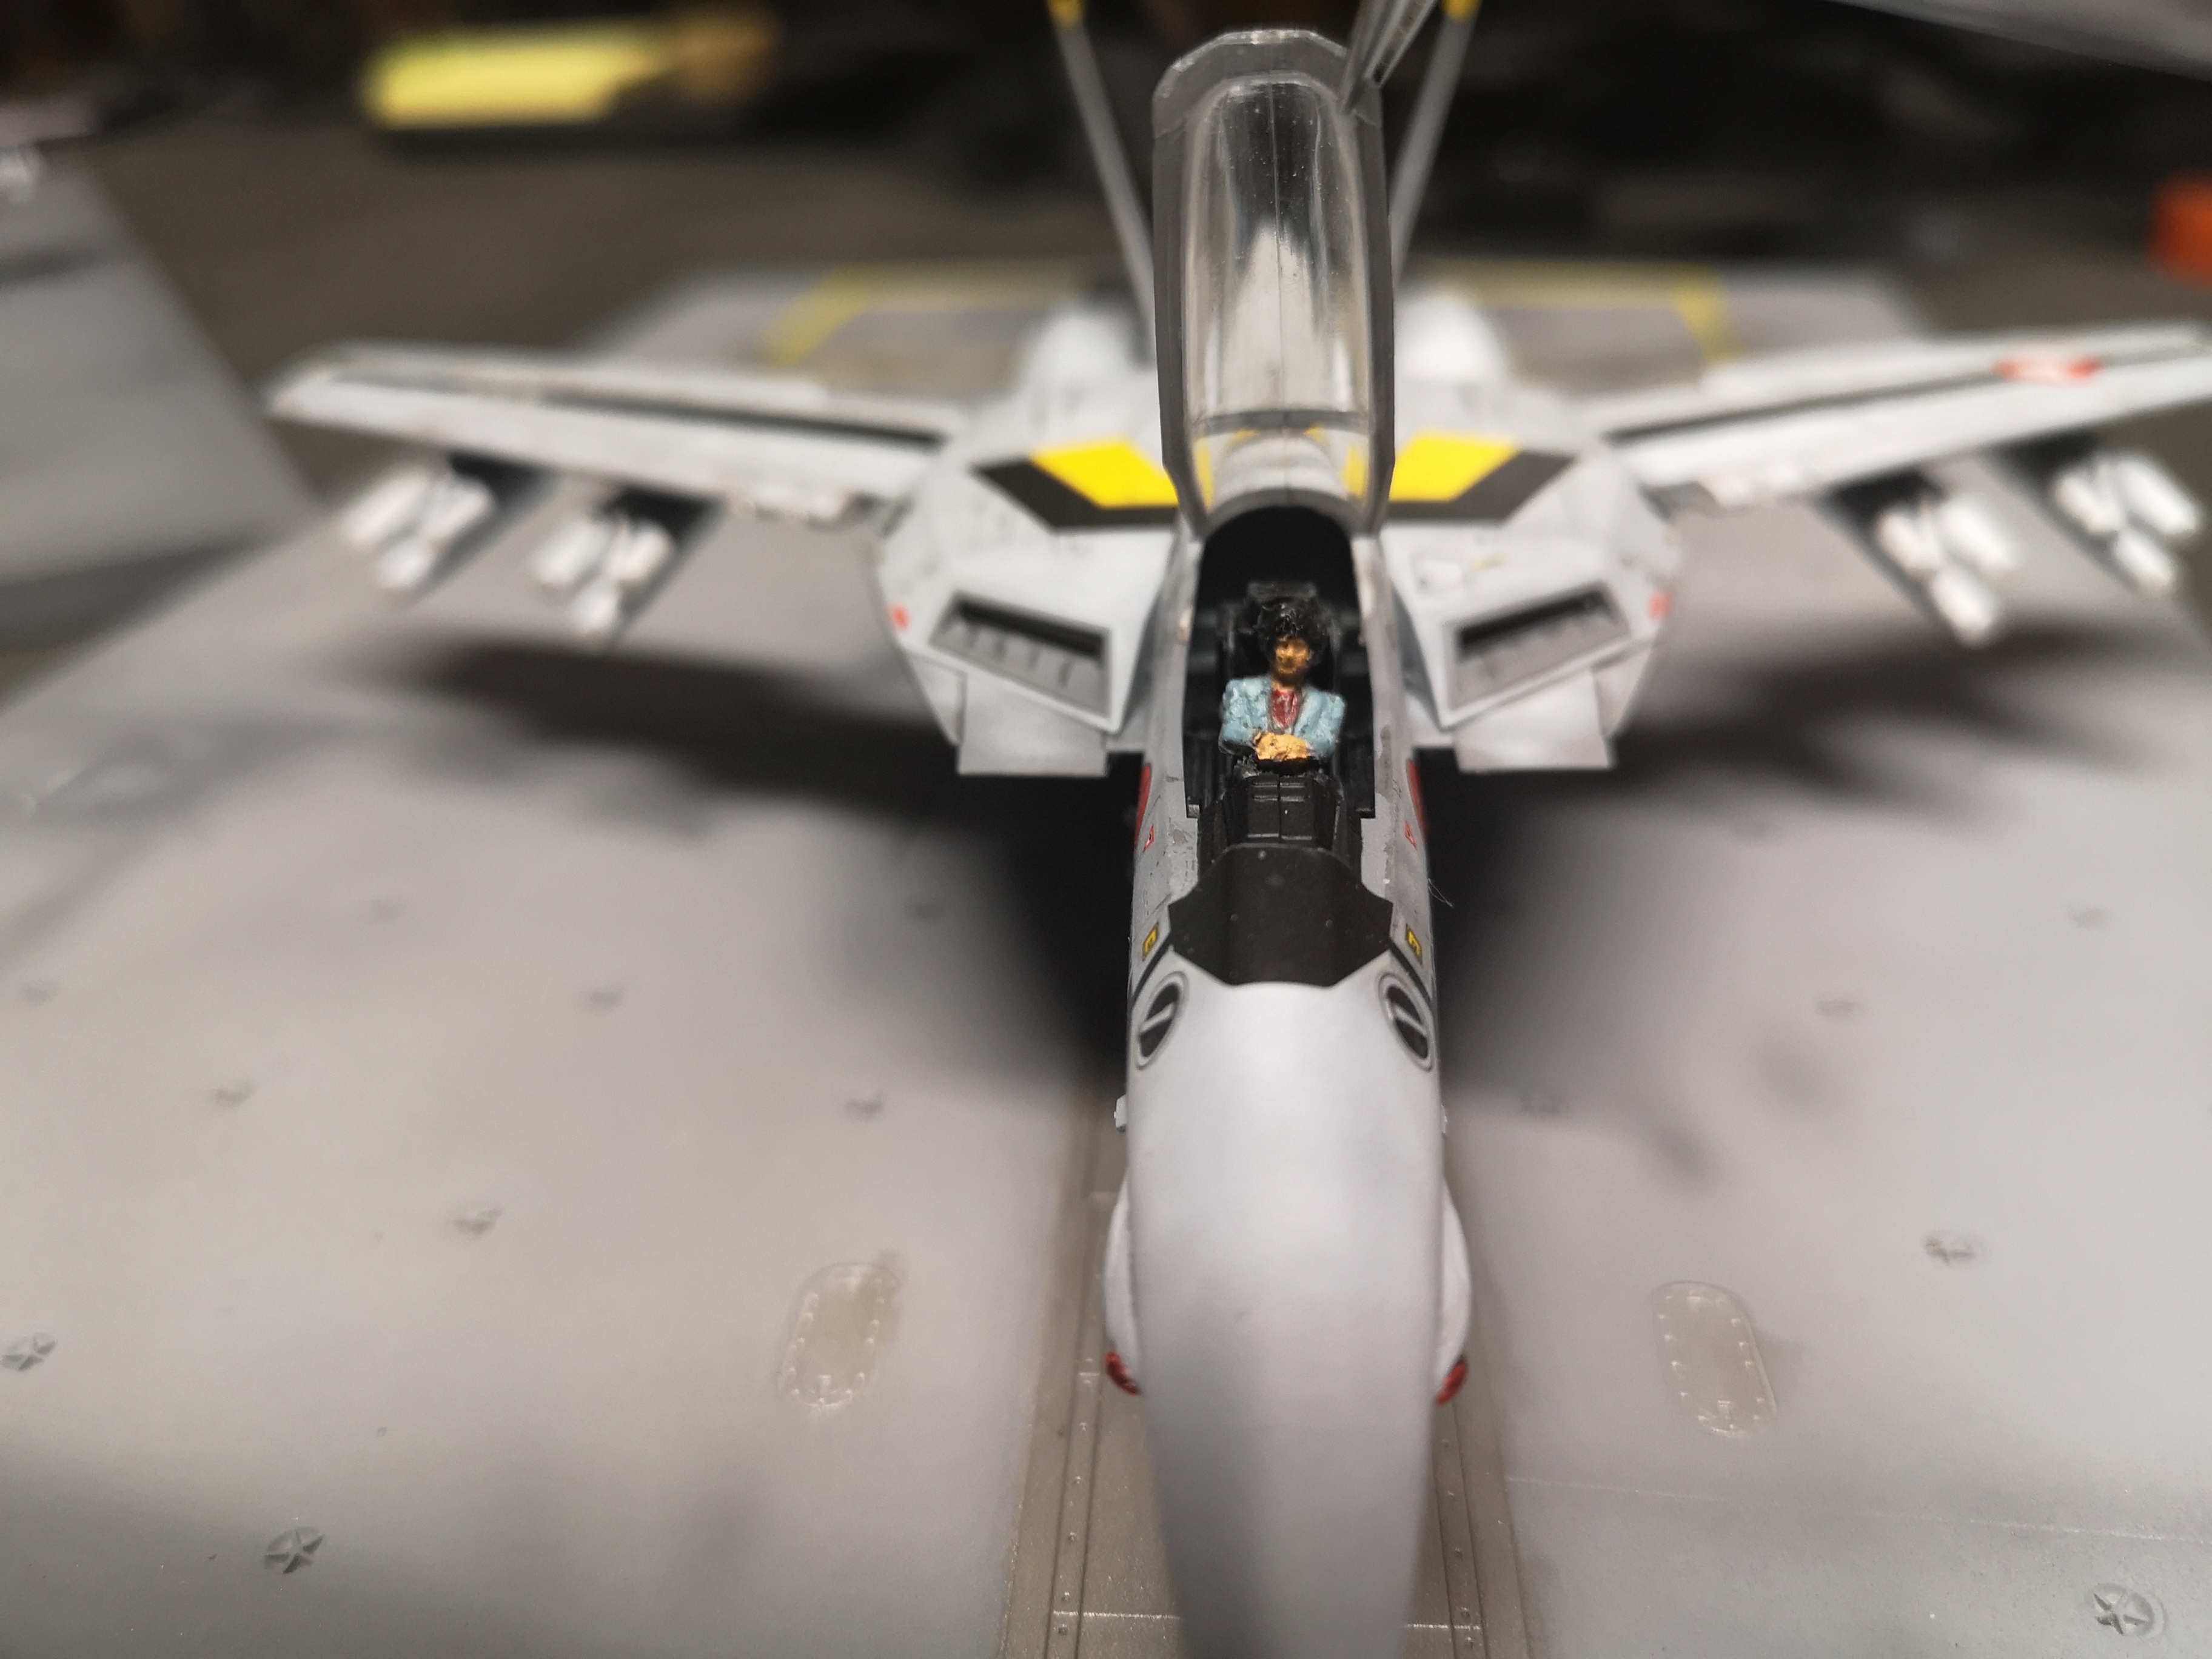
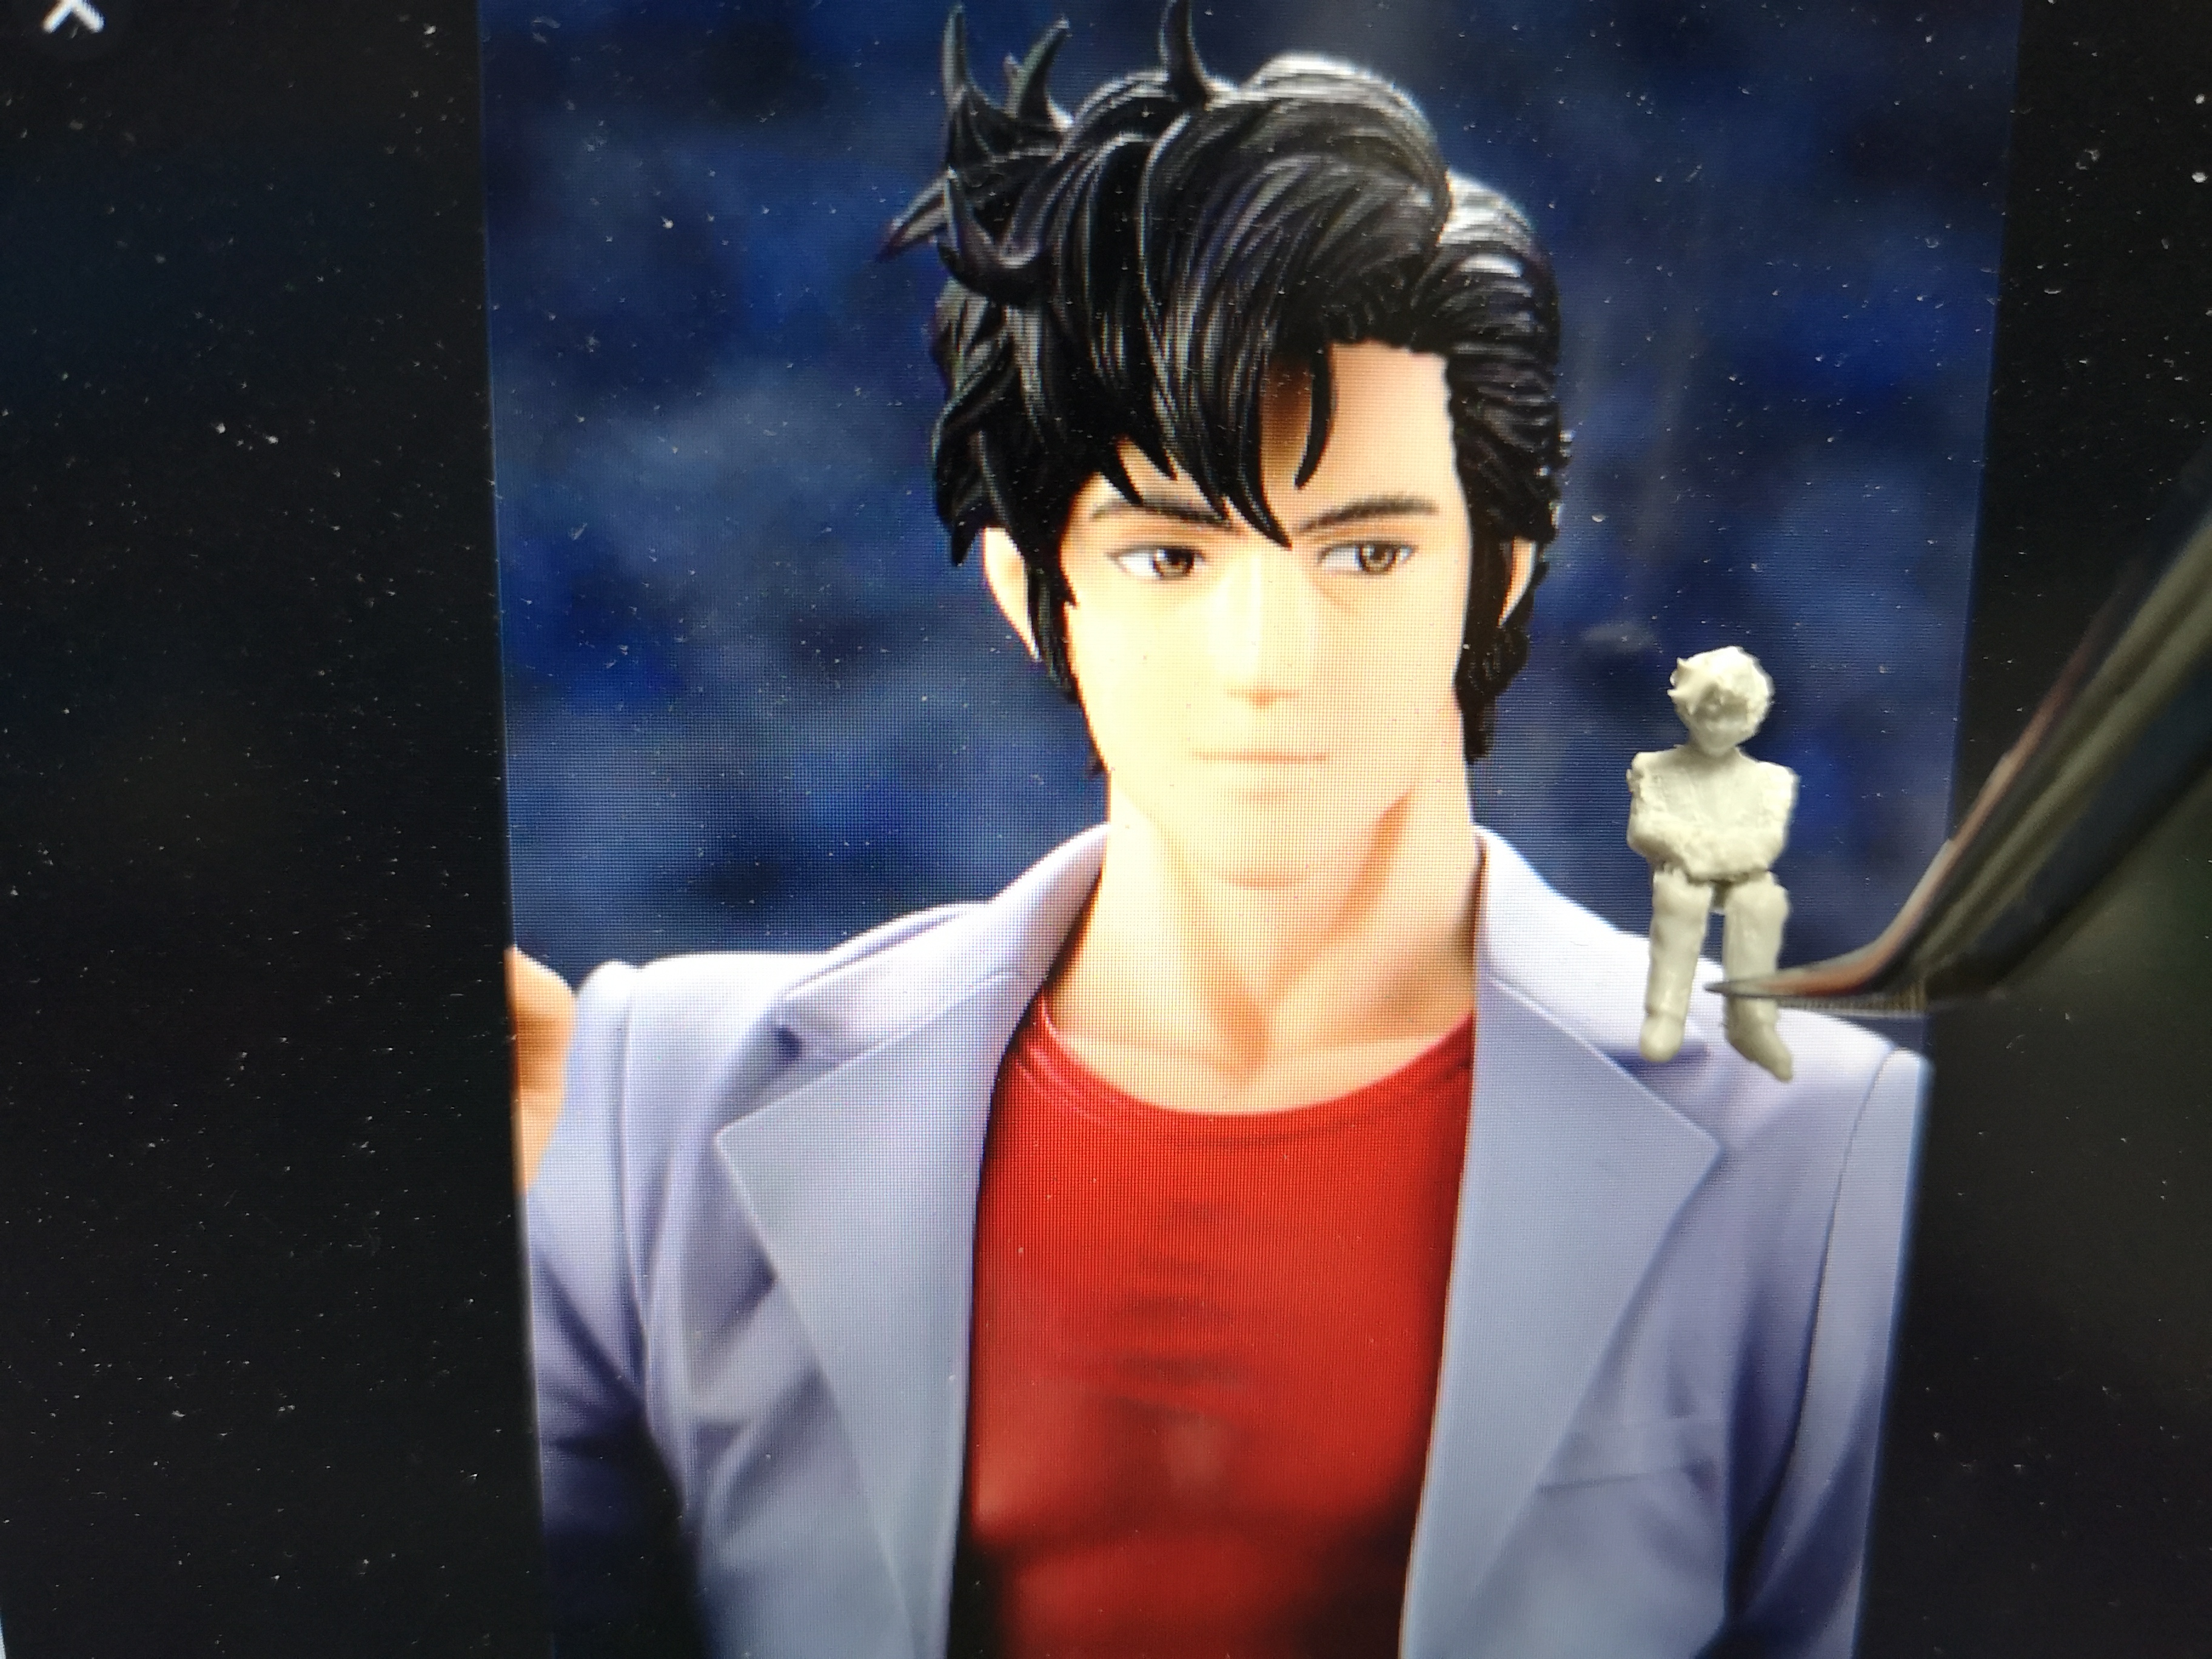
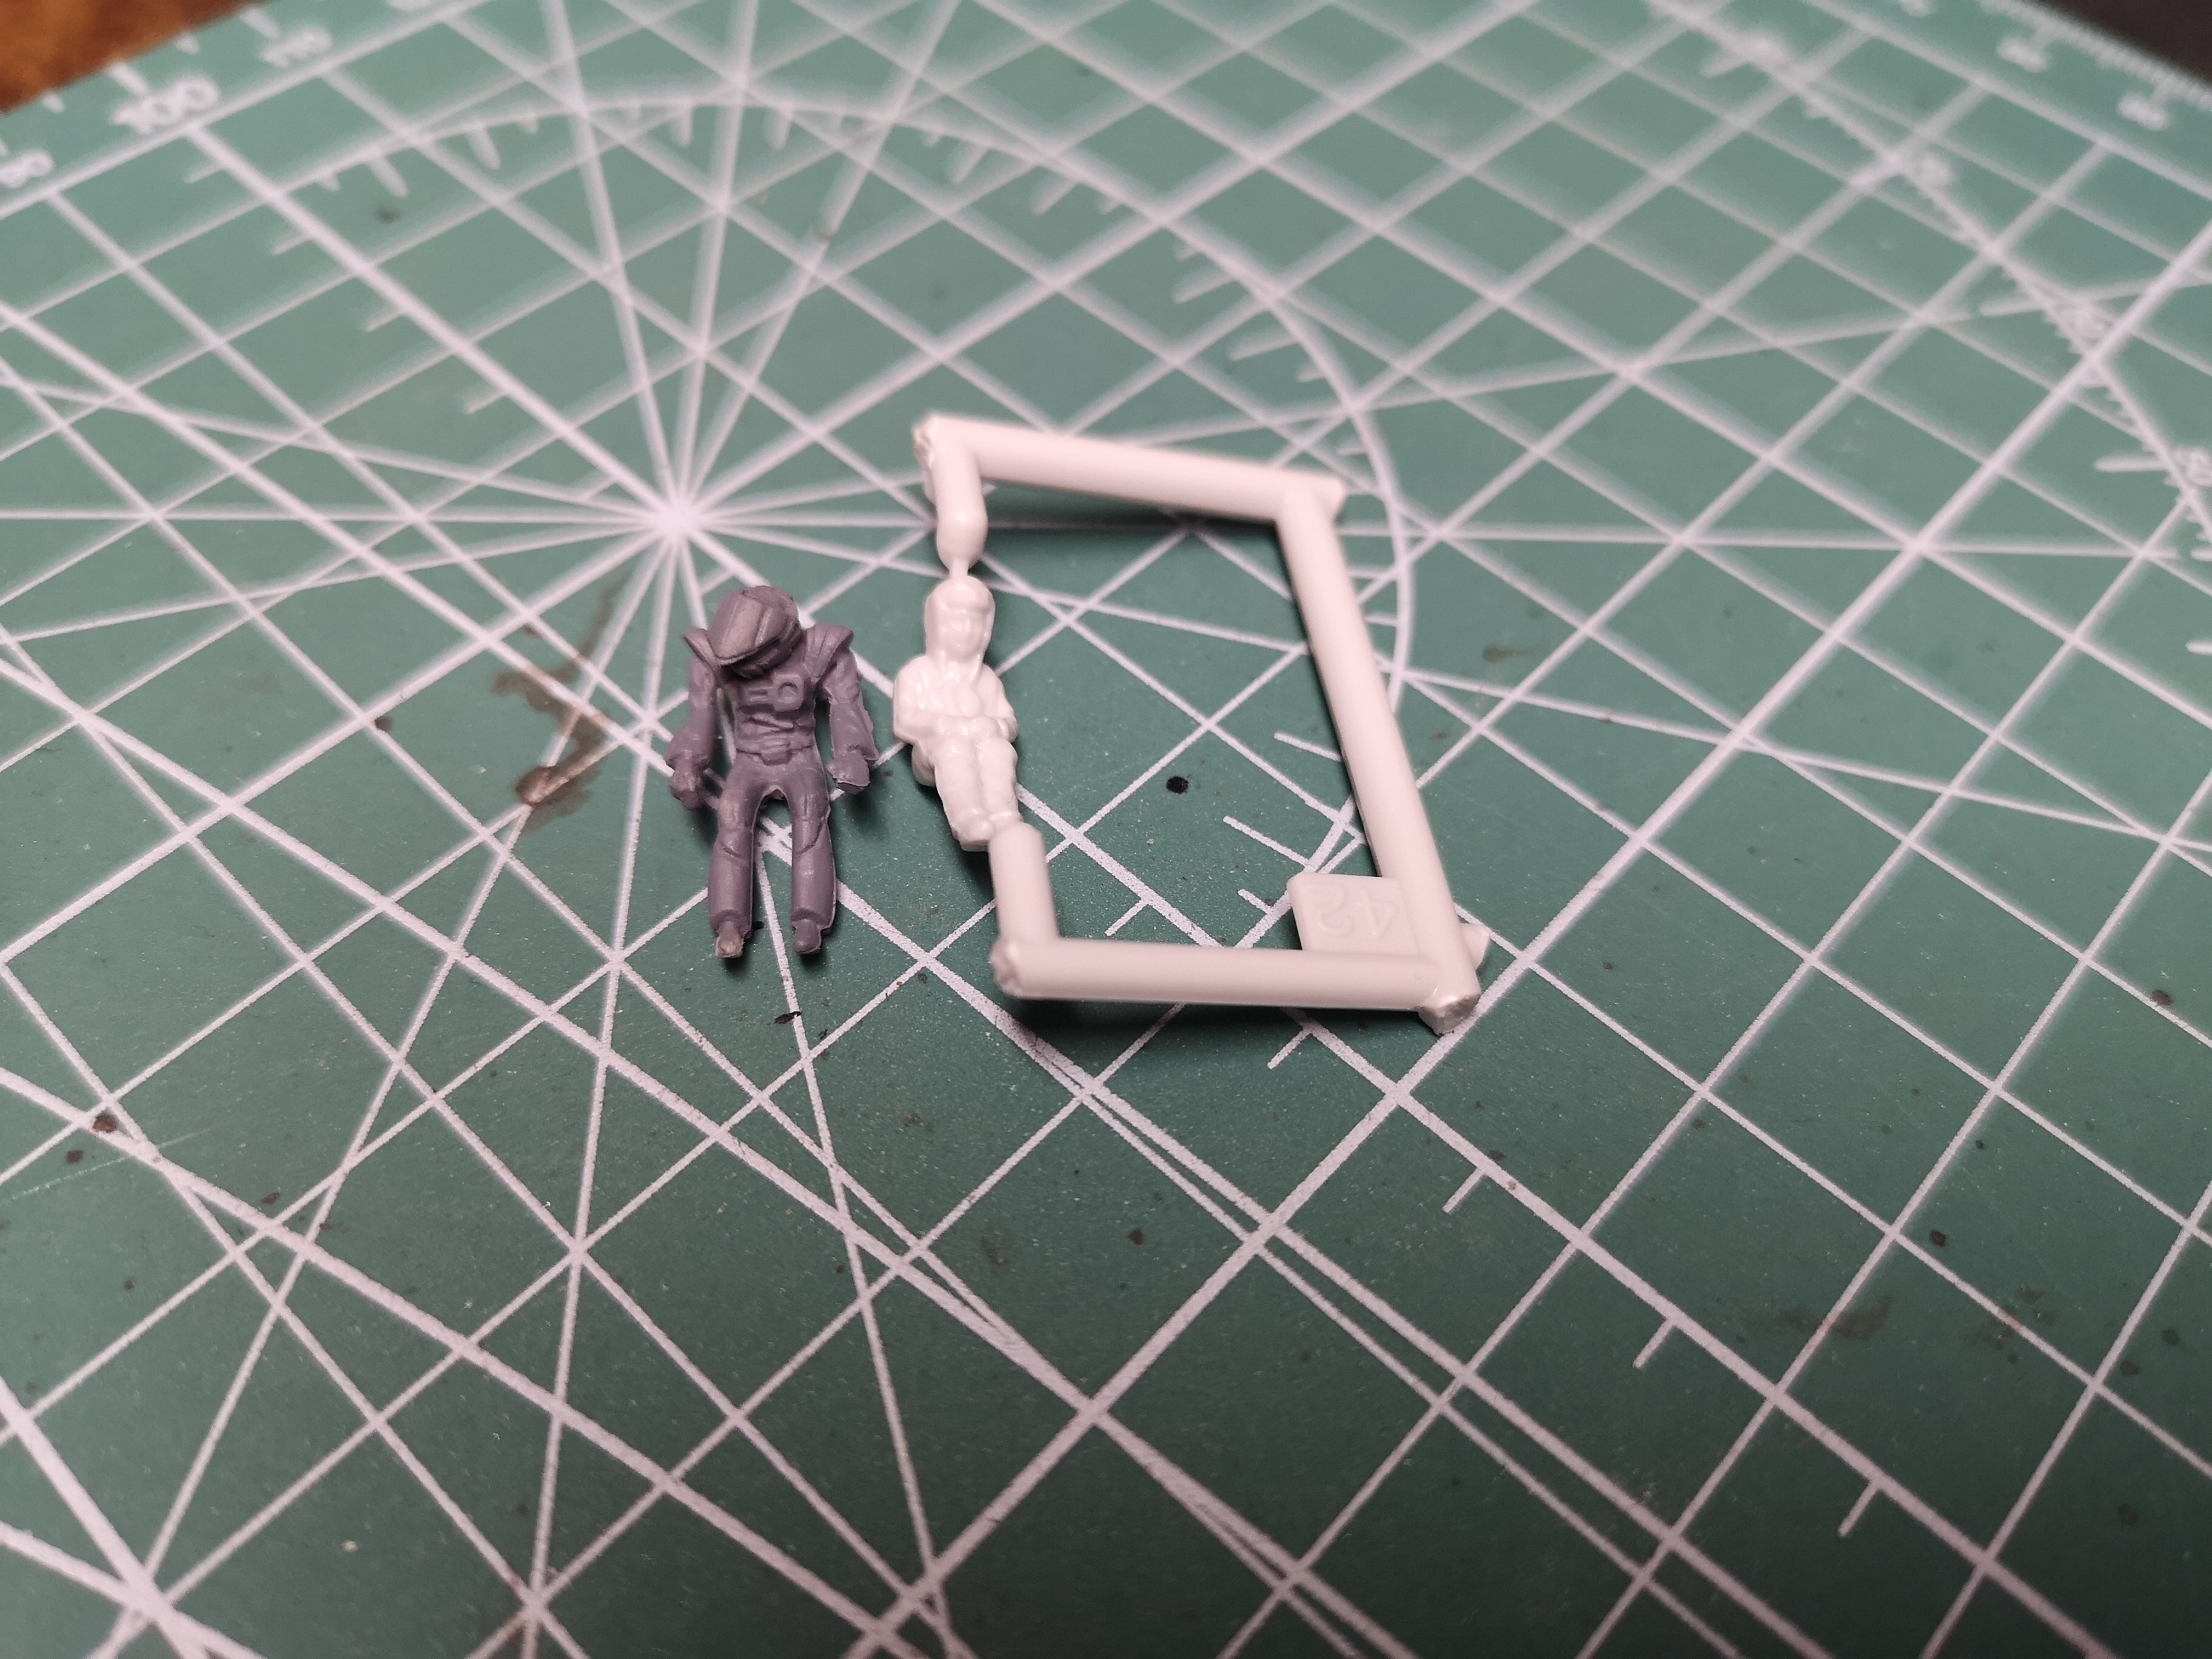
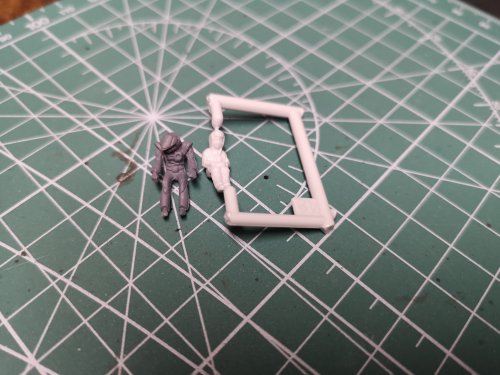
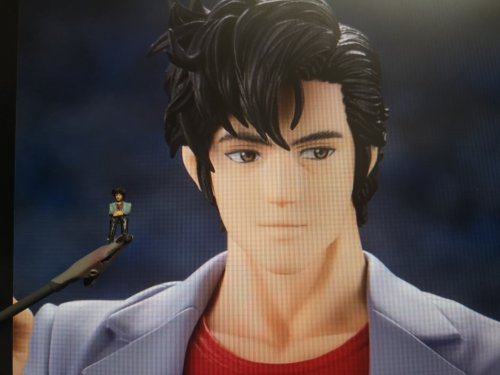
Any City Hunter Fans here? Bandai 1/72 Valk pilot on the right, Hasegawa DYRL pilot on the left Took the Bandai pilot, trimmed his flight suit, added 80's shoulders and Ryo's sweet hairdo. Not exactly a spitting image, but my first time mucking around with Vallejo plastic putty and sculpting anything. Saeba Ryo is apparently impossible to kill, Roy thinks about Pineapple salad and dies.


-
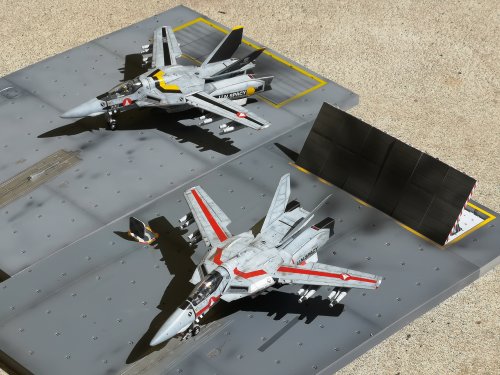
Basically done. The two bases are slightly different colors because Hikaru's base has an extra coat of Pledge and Tamiya Flat Clear. Might remedy that later. Far from perfect, but was nice chance to practice different techniques.

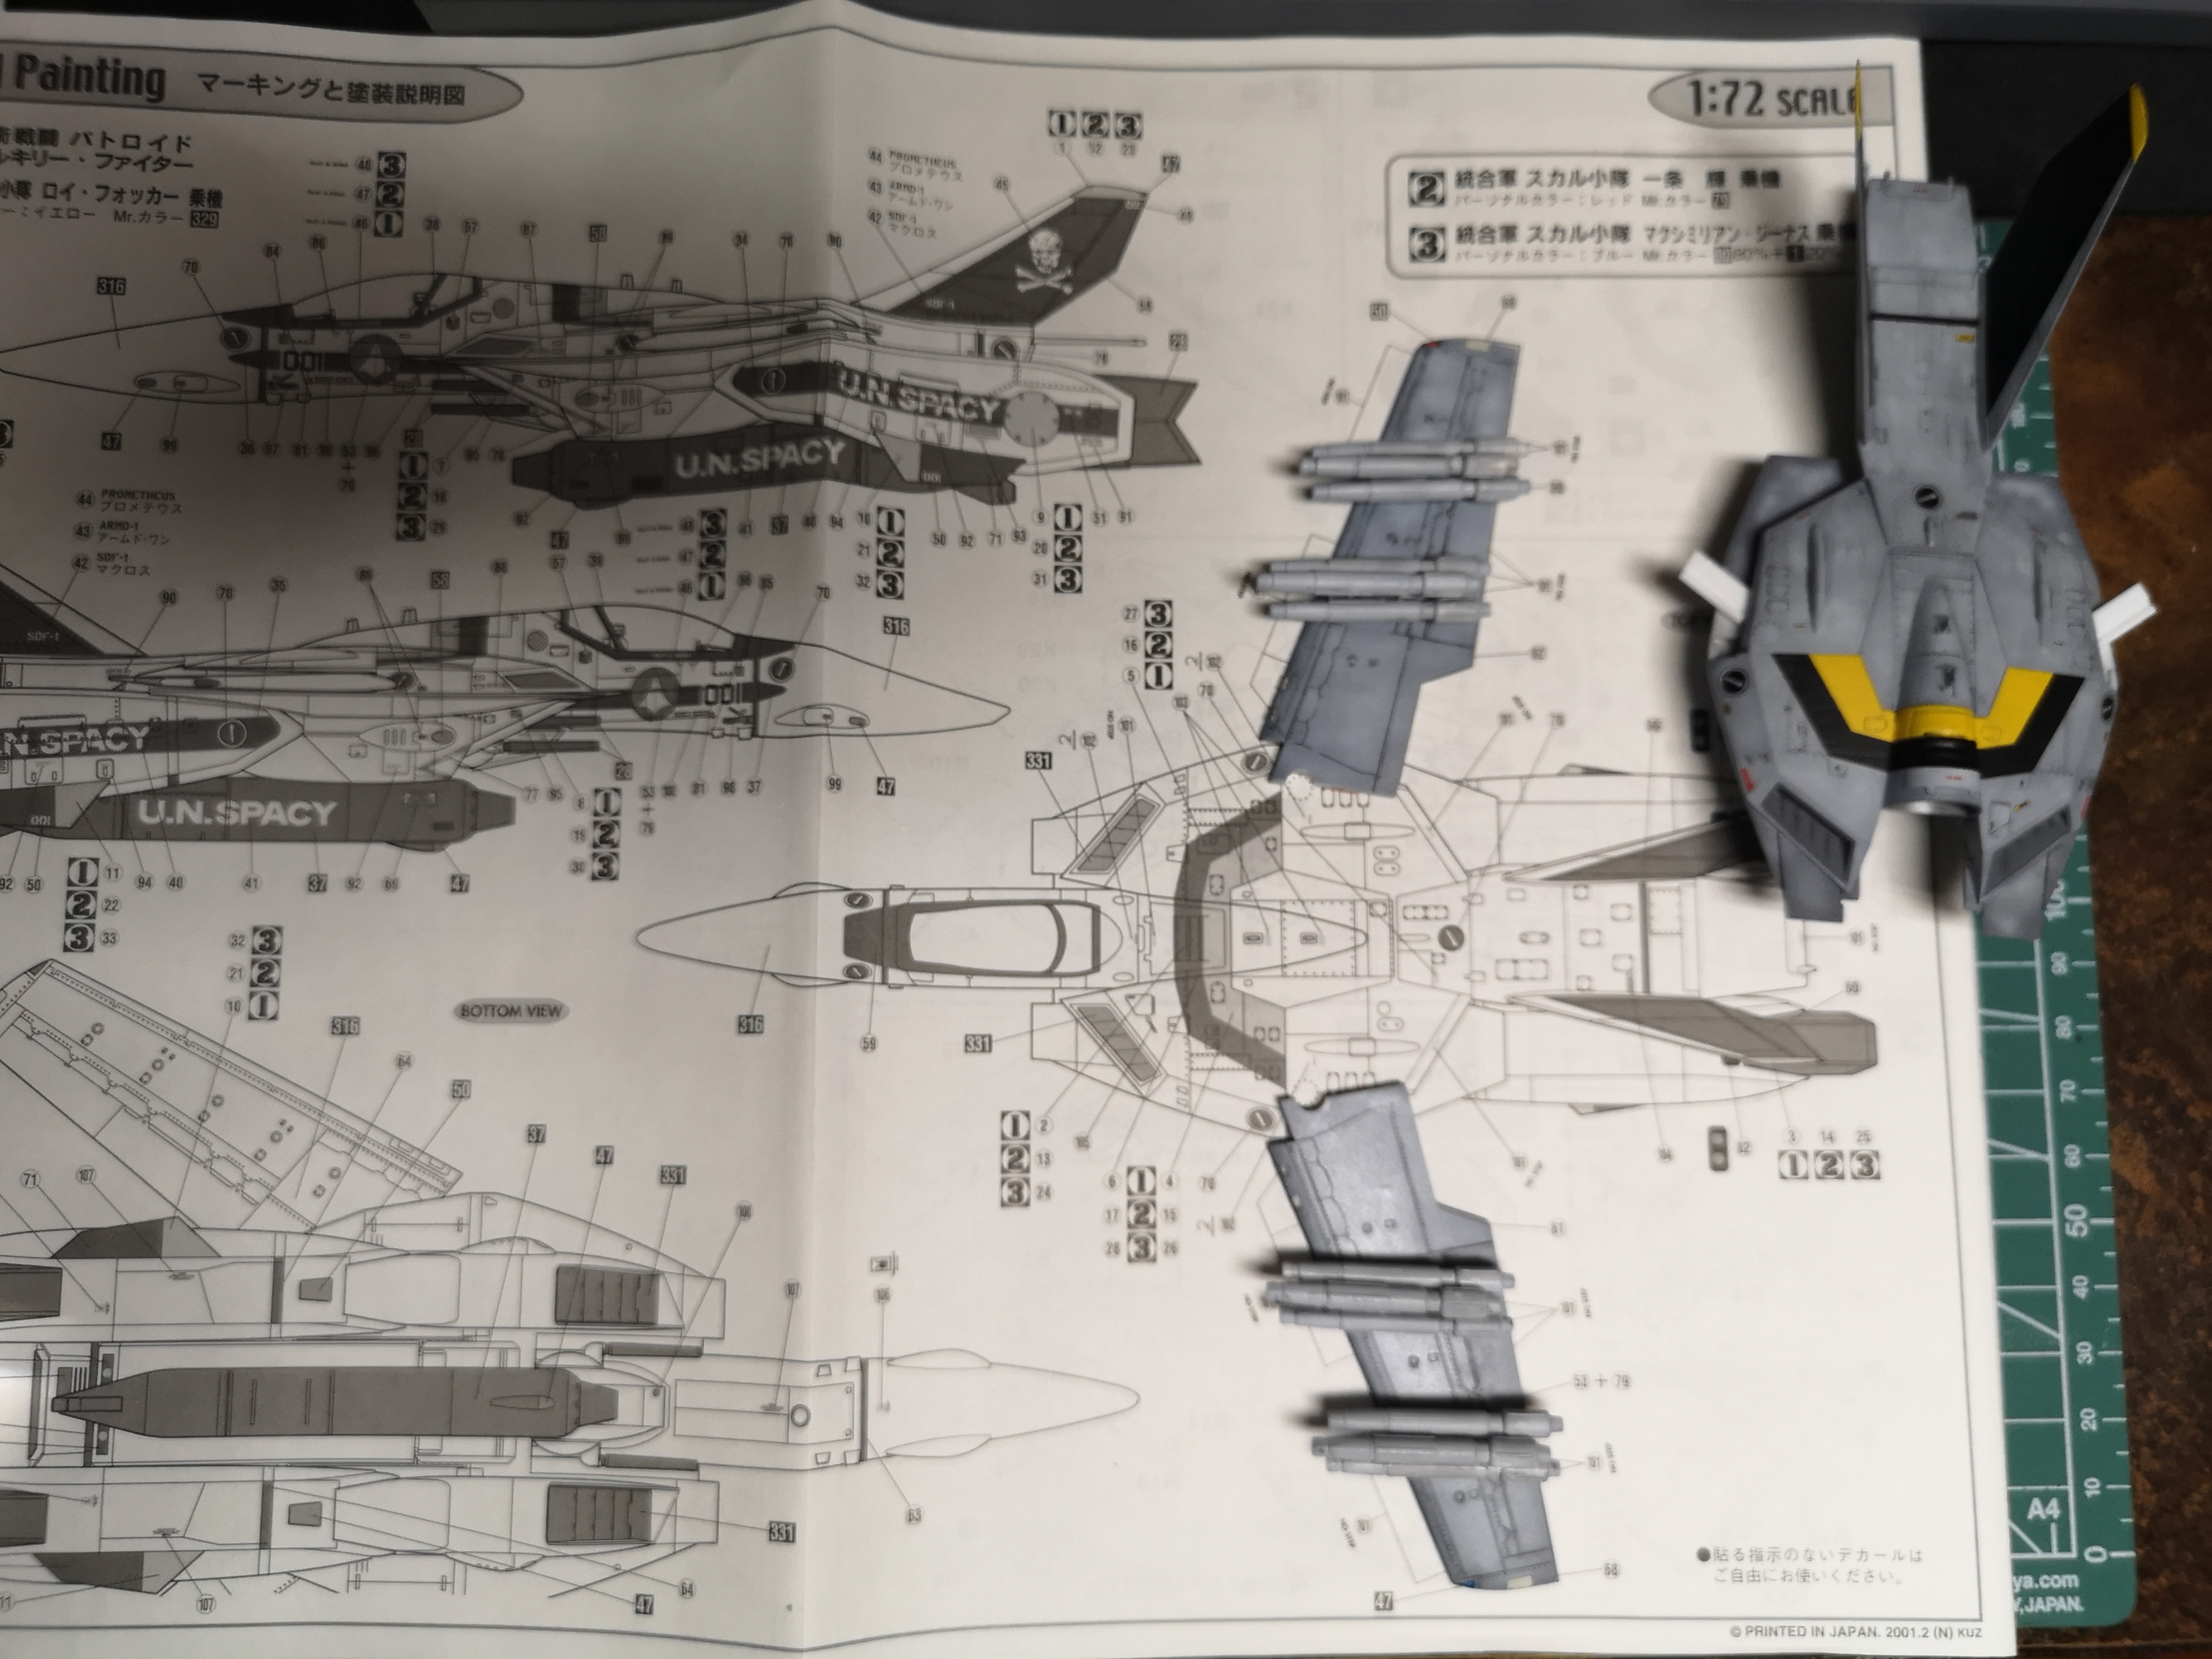
-
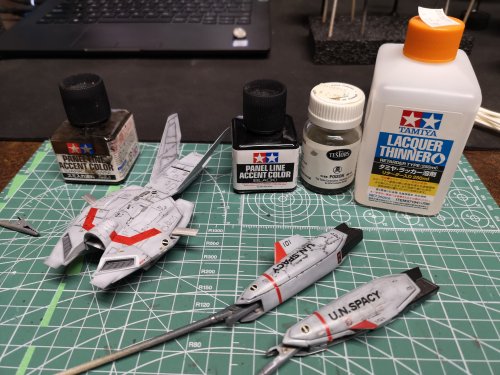
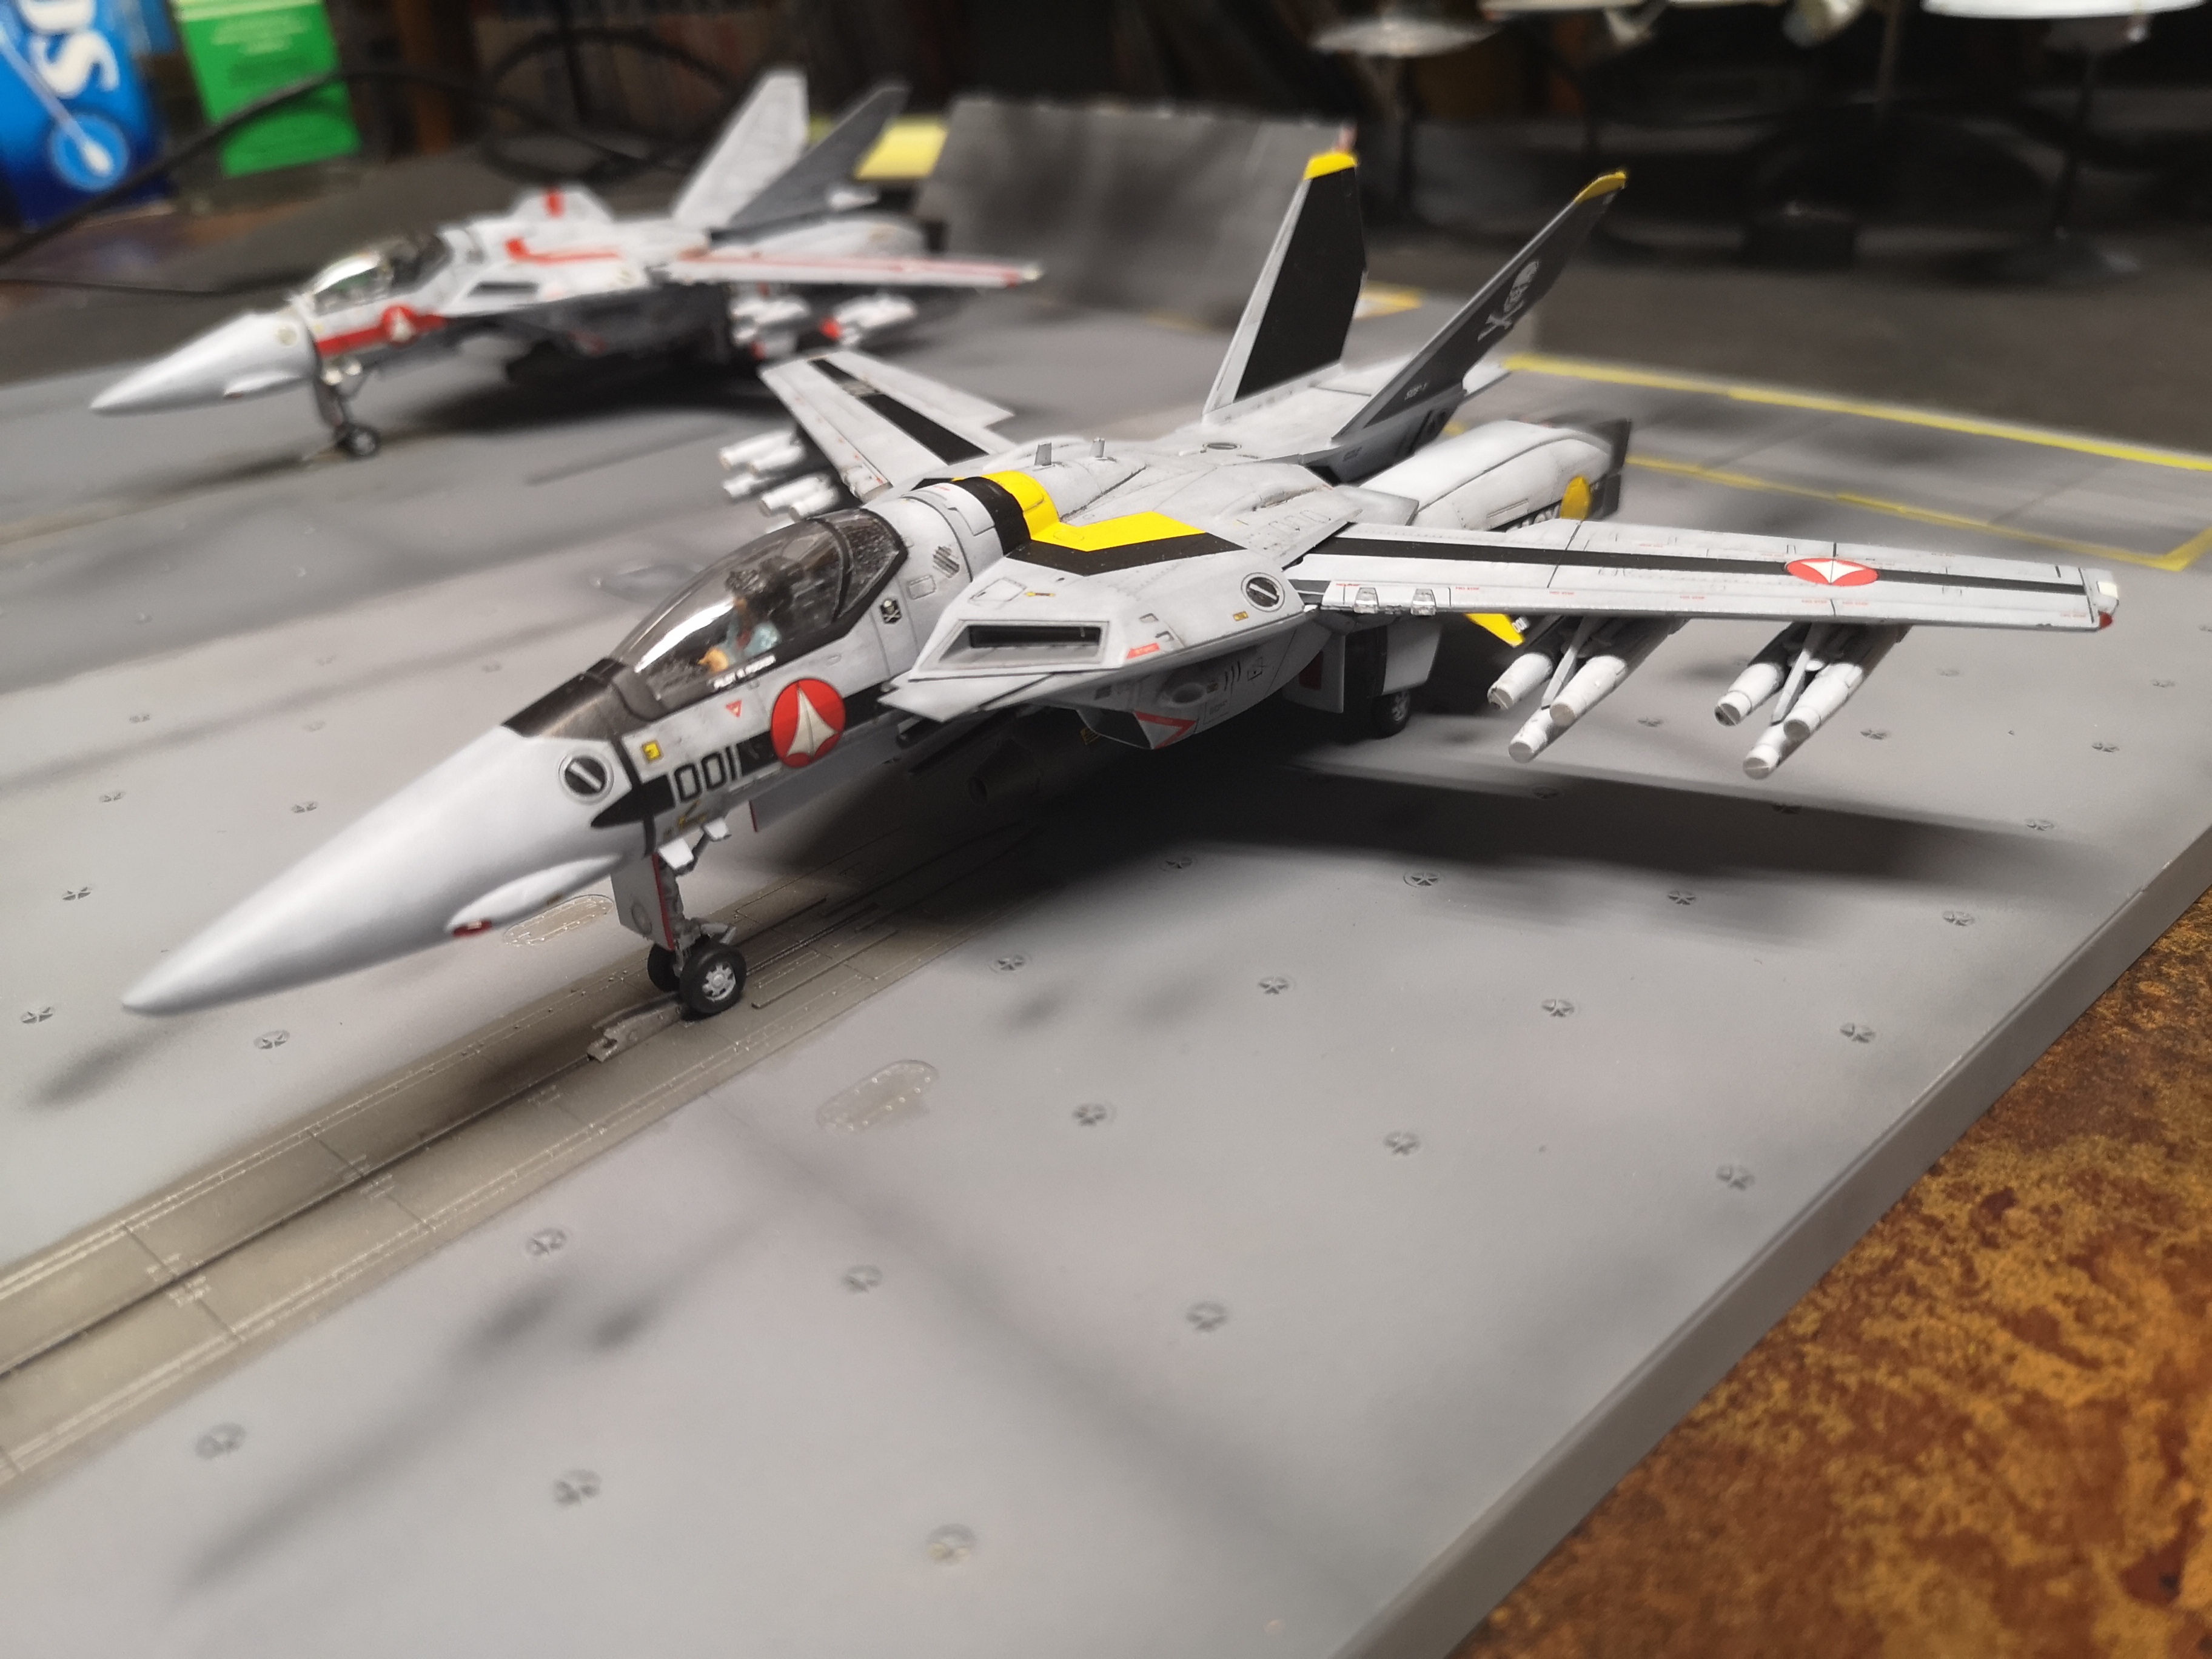
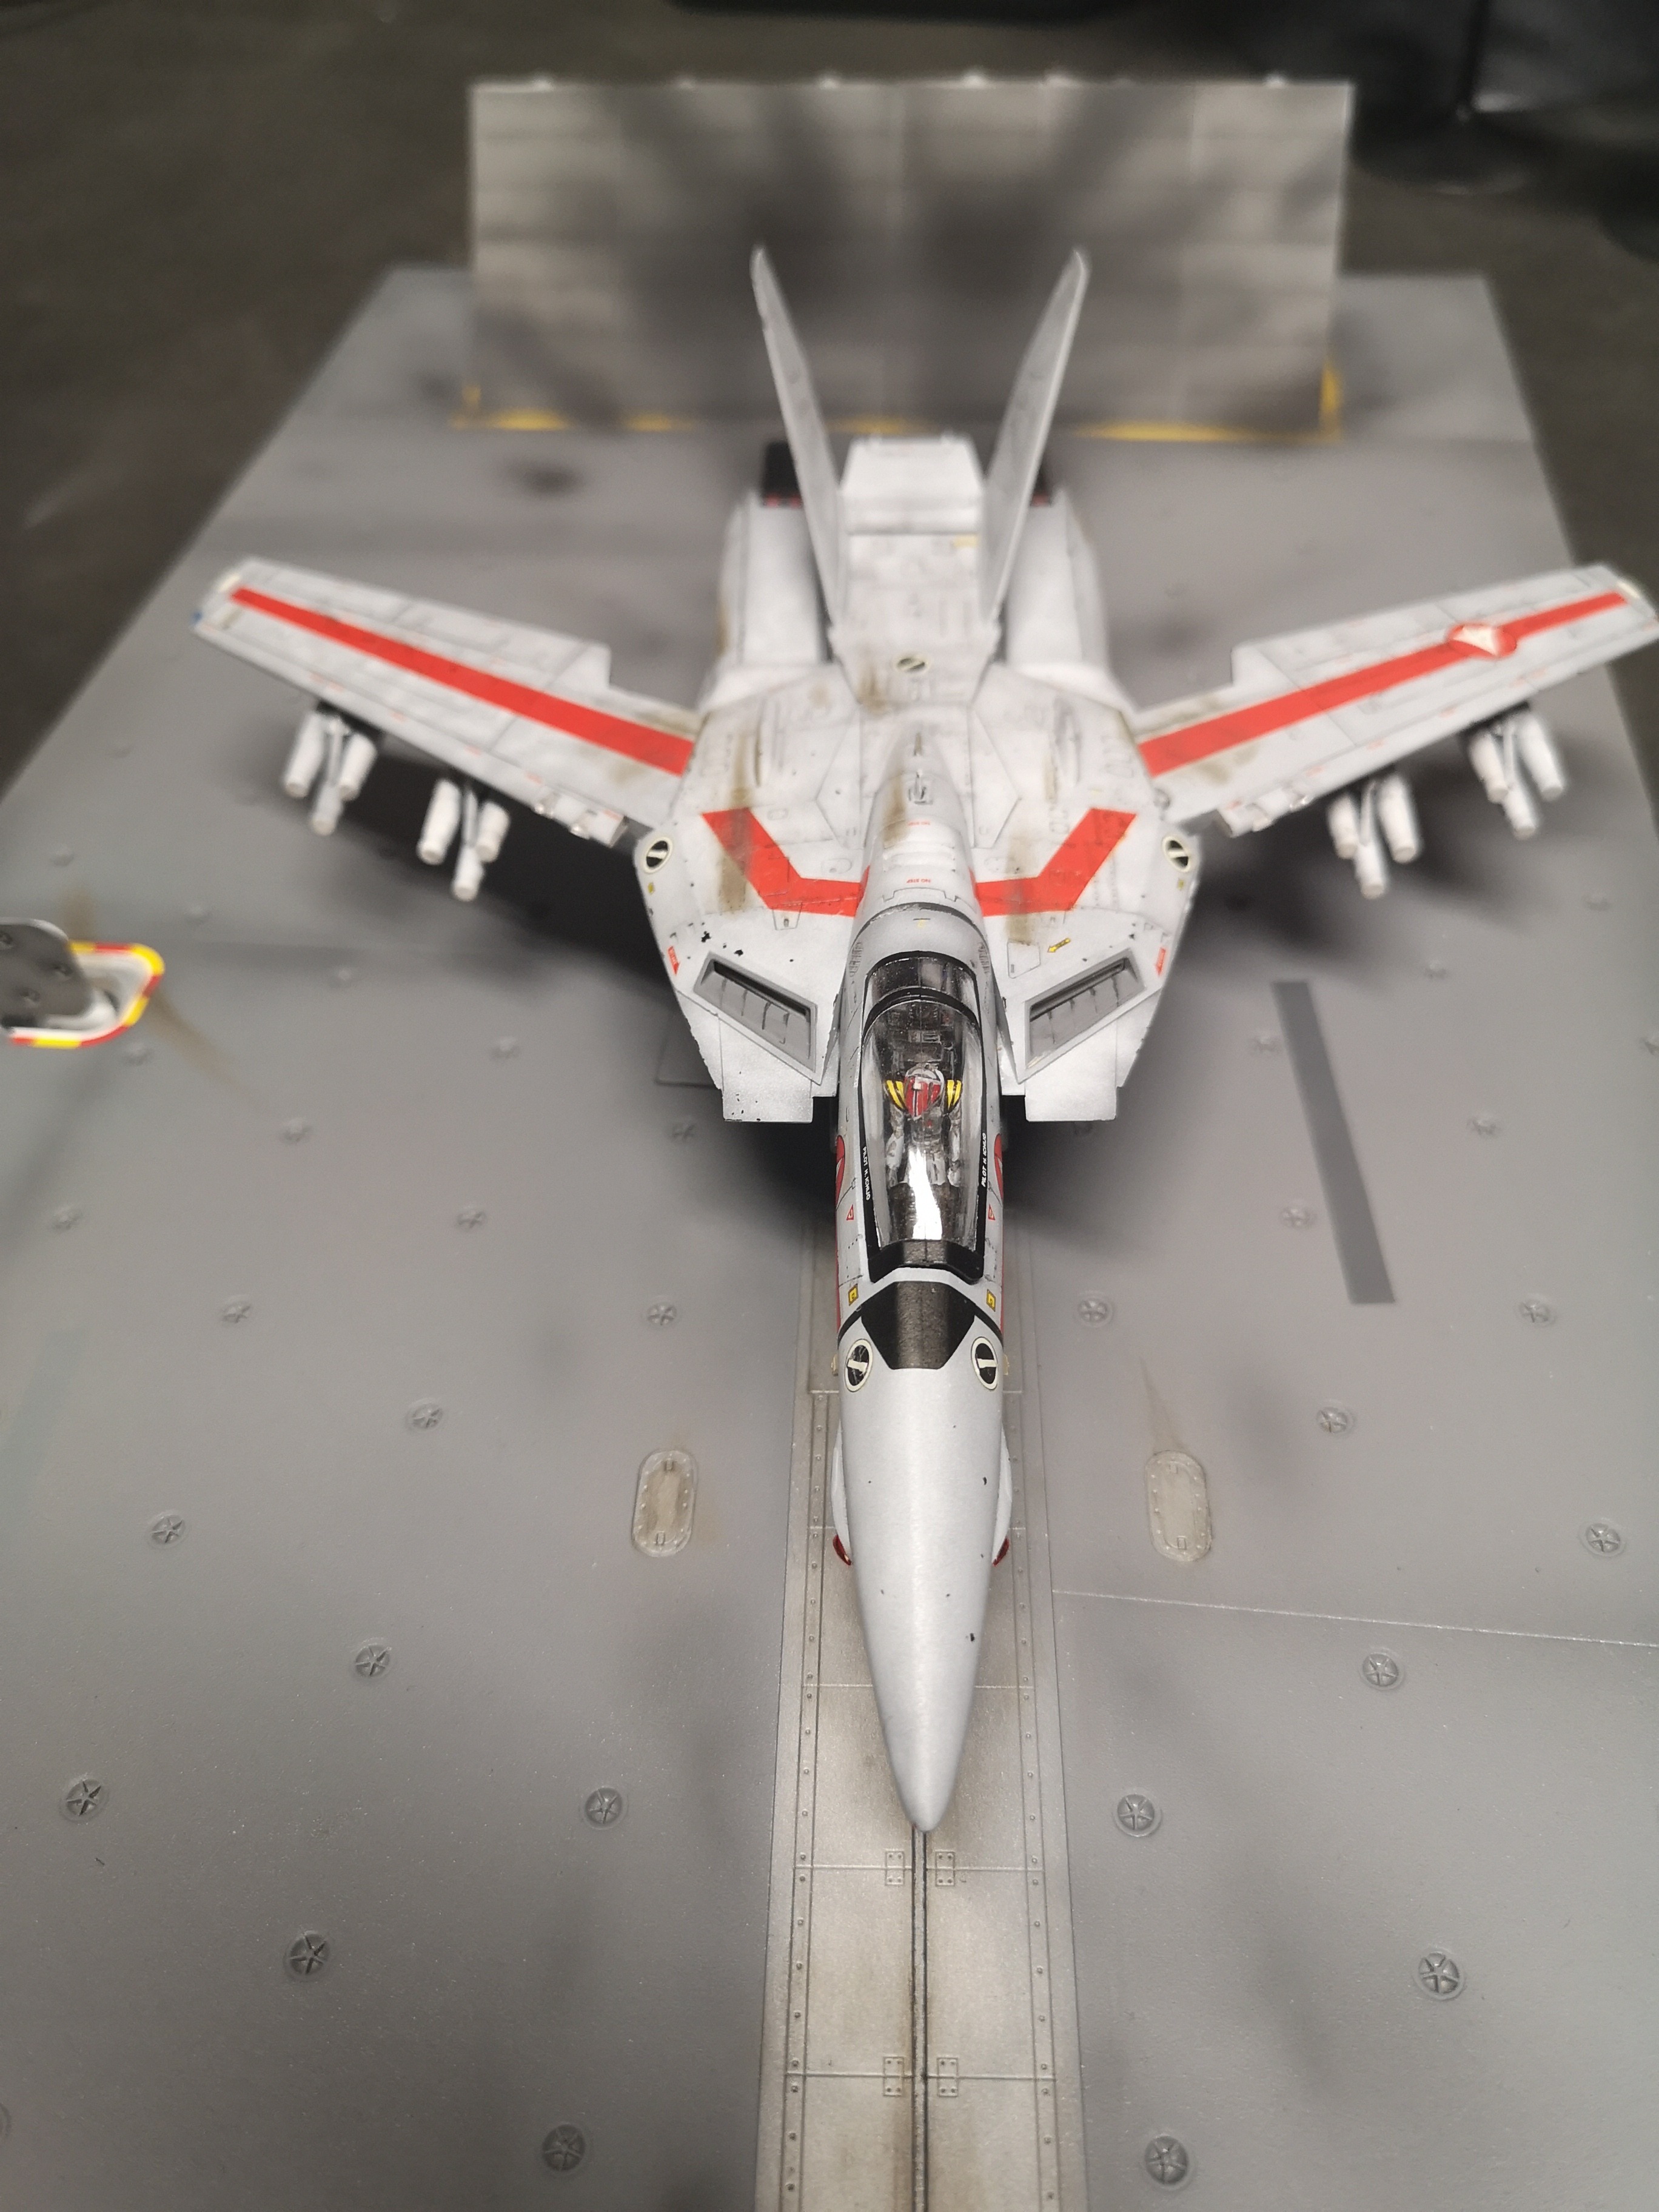
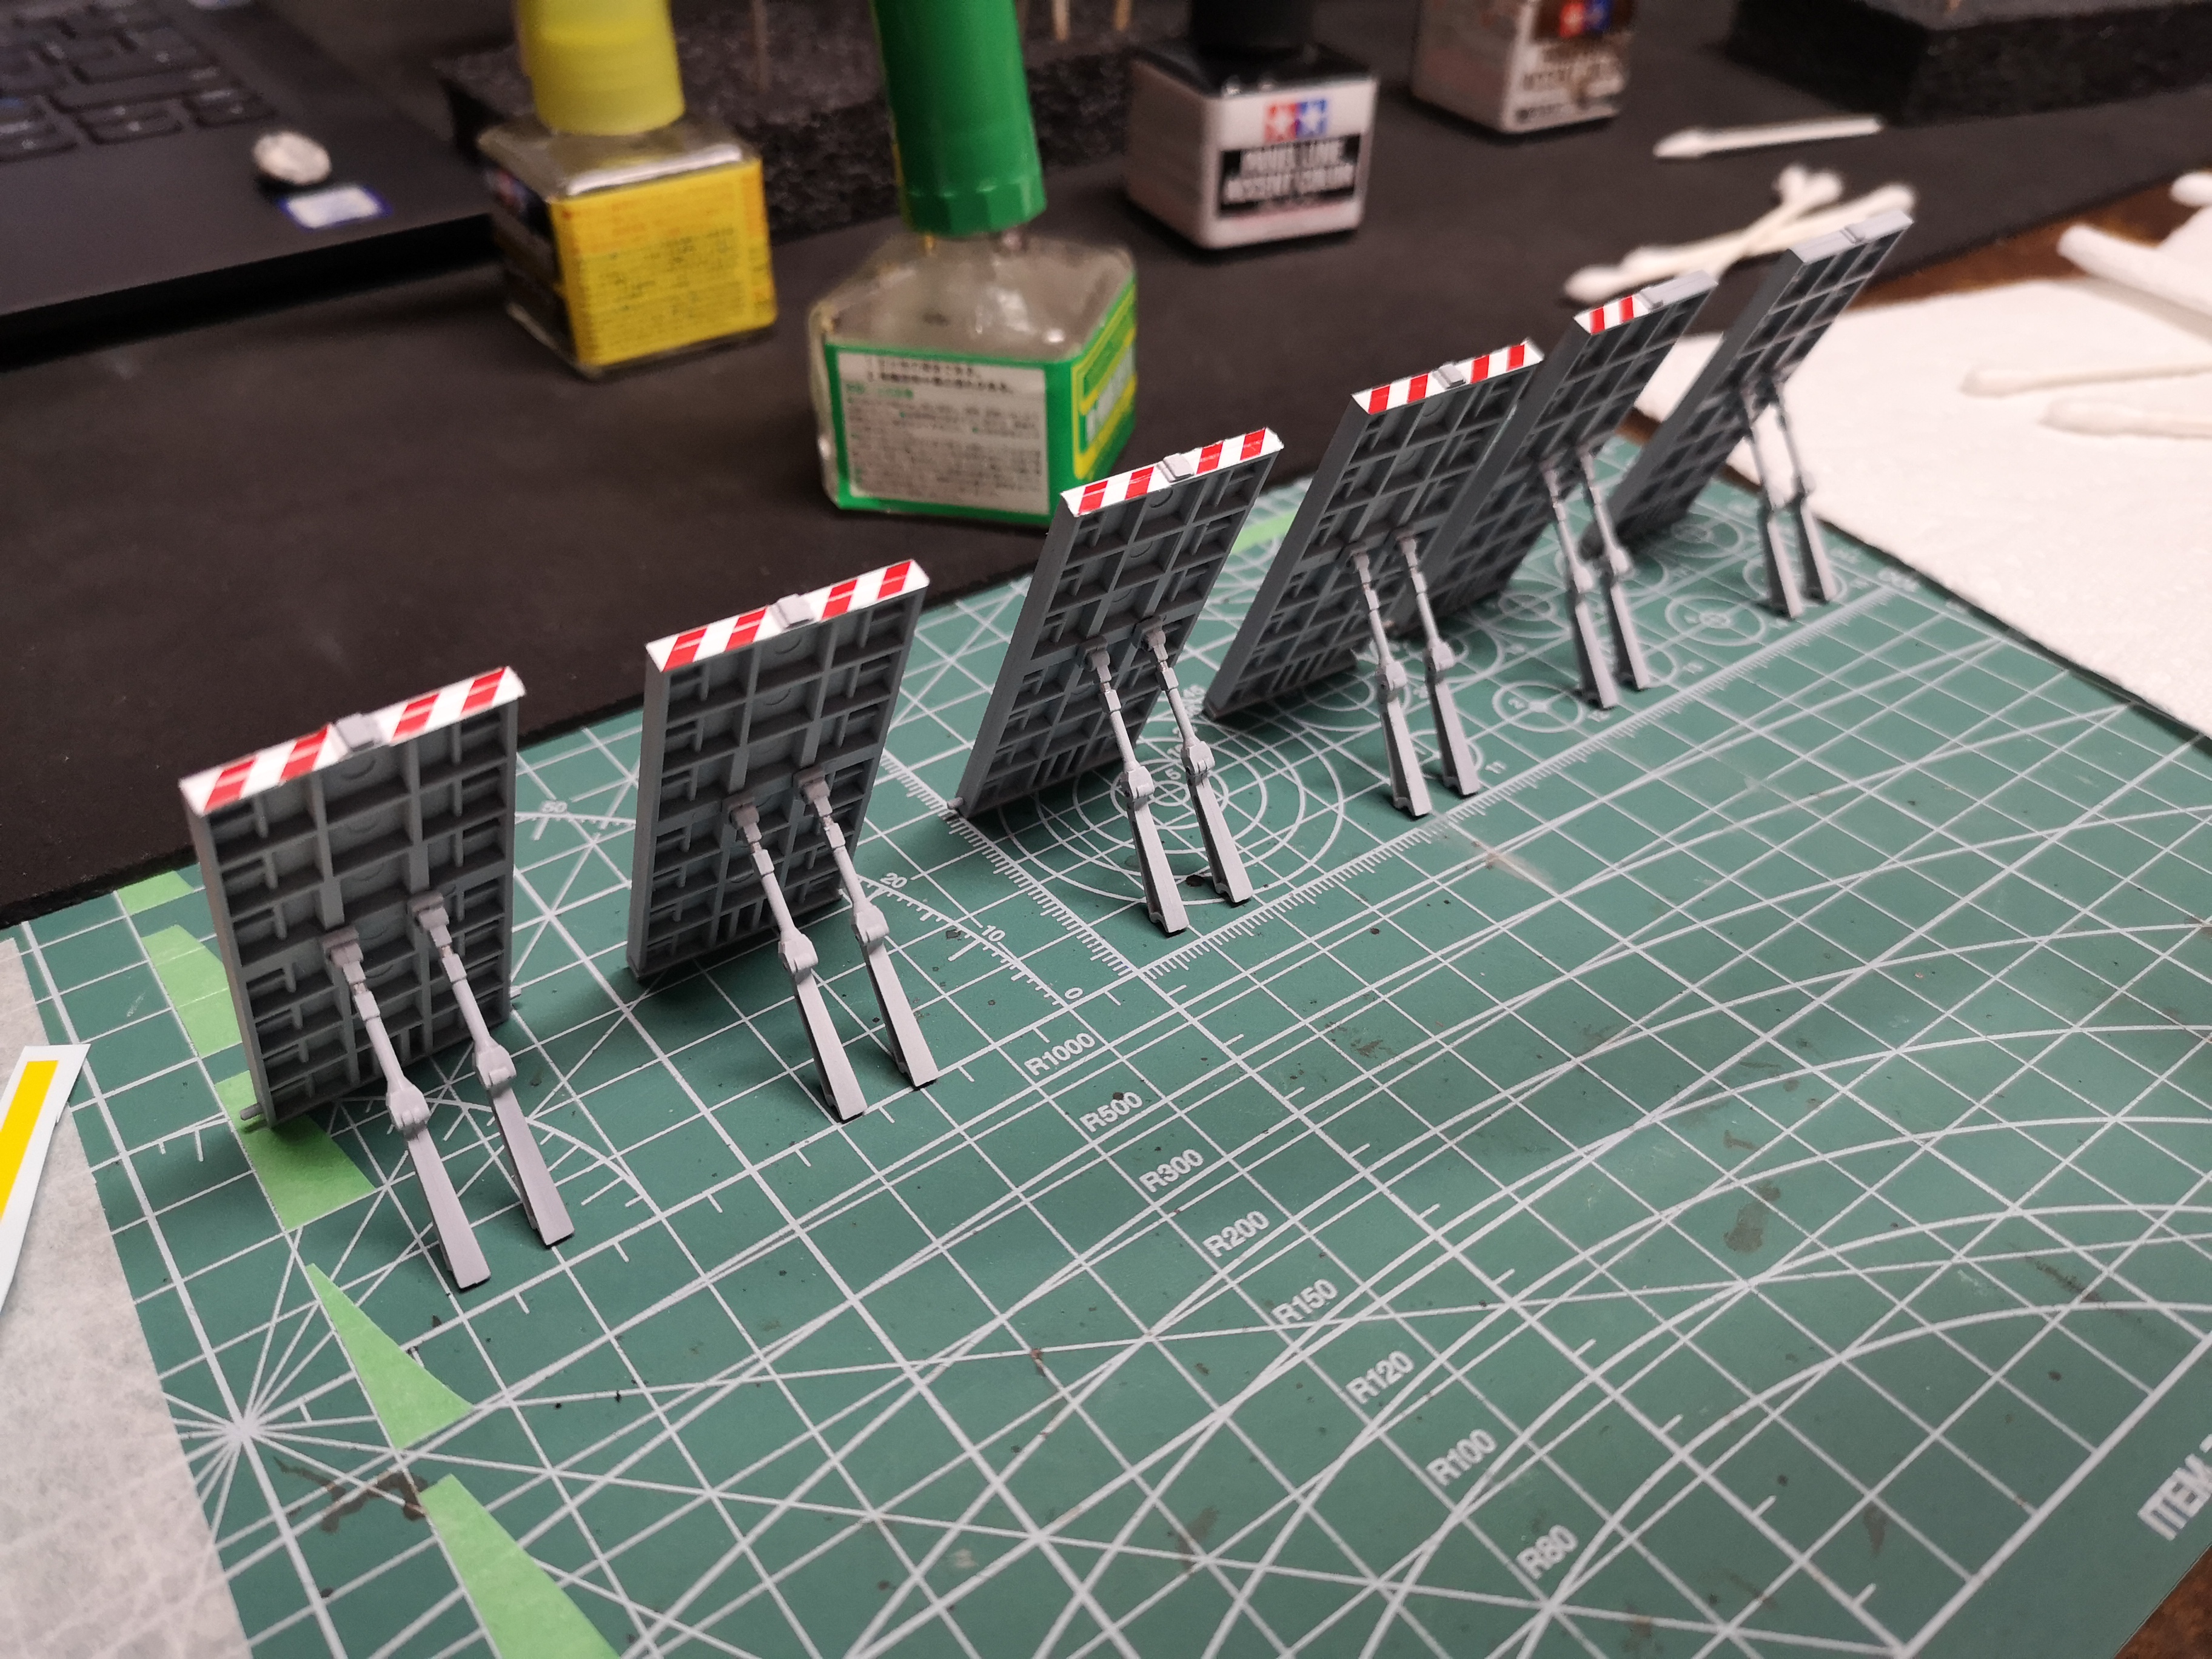
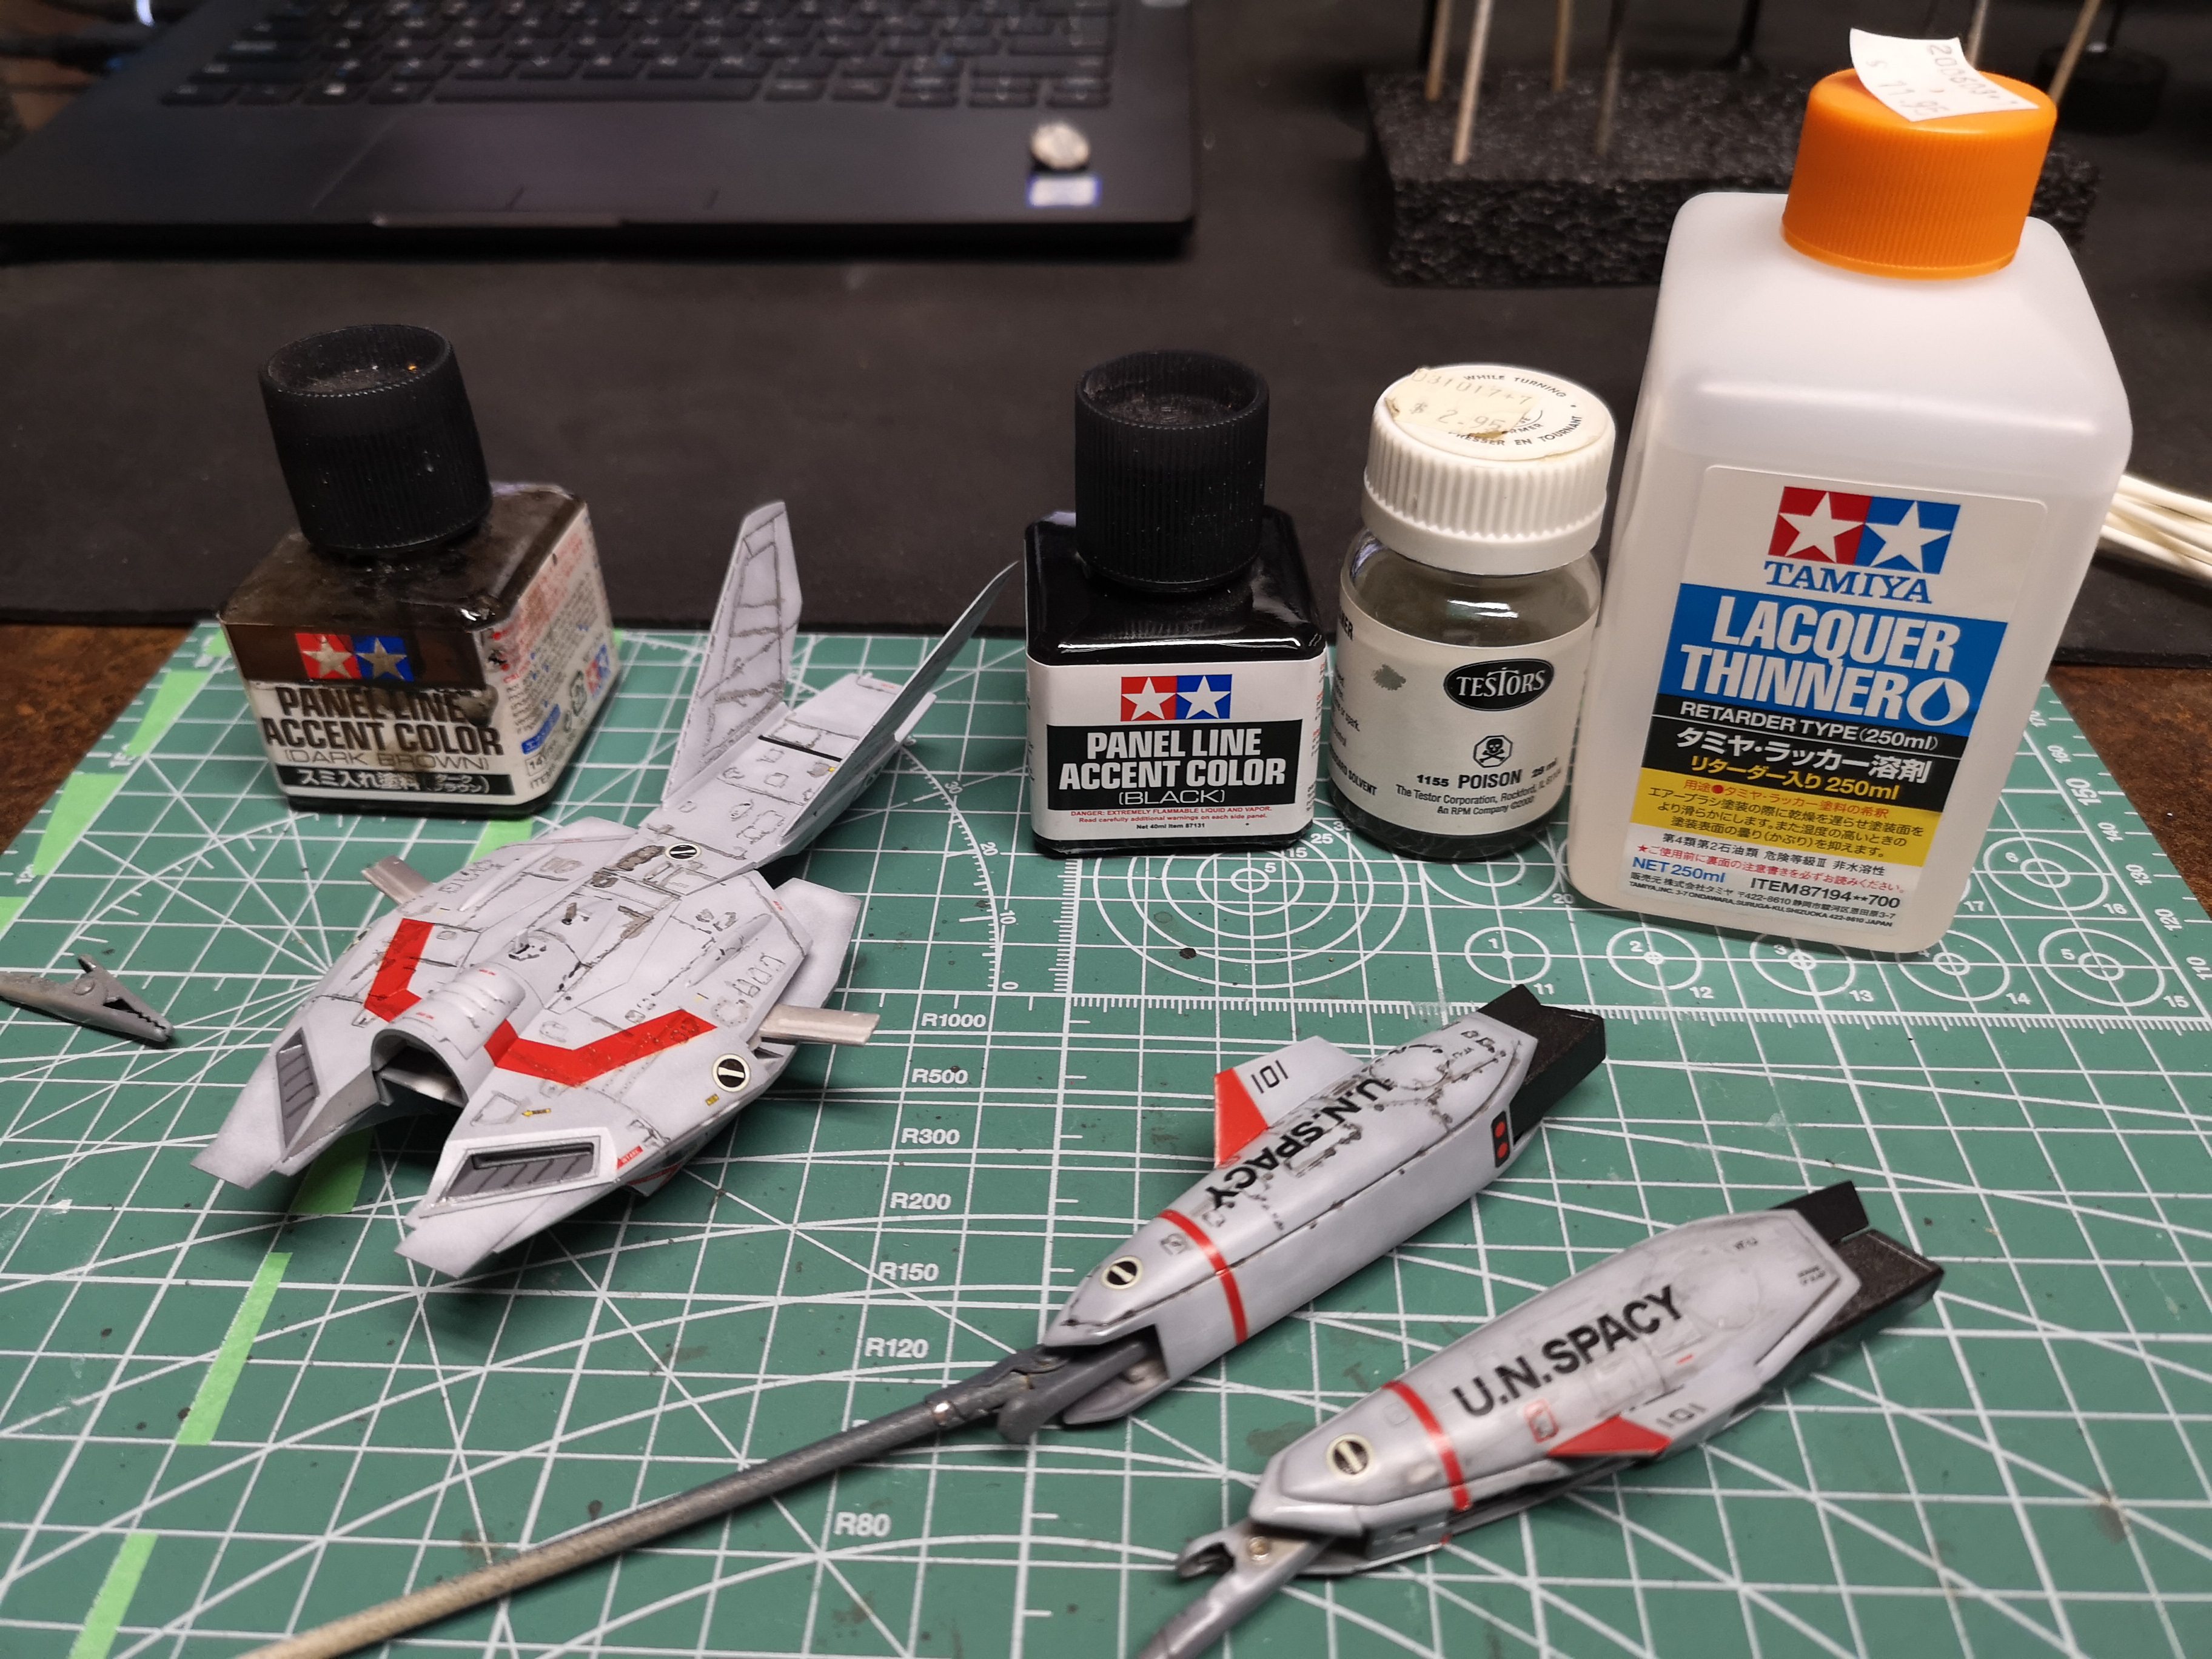
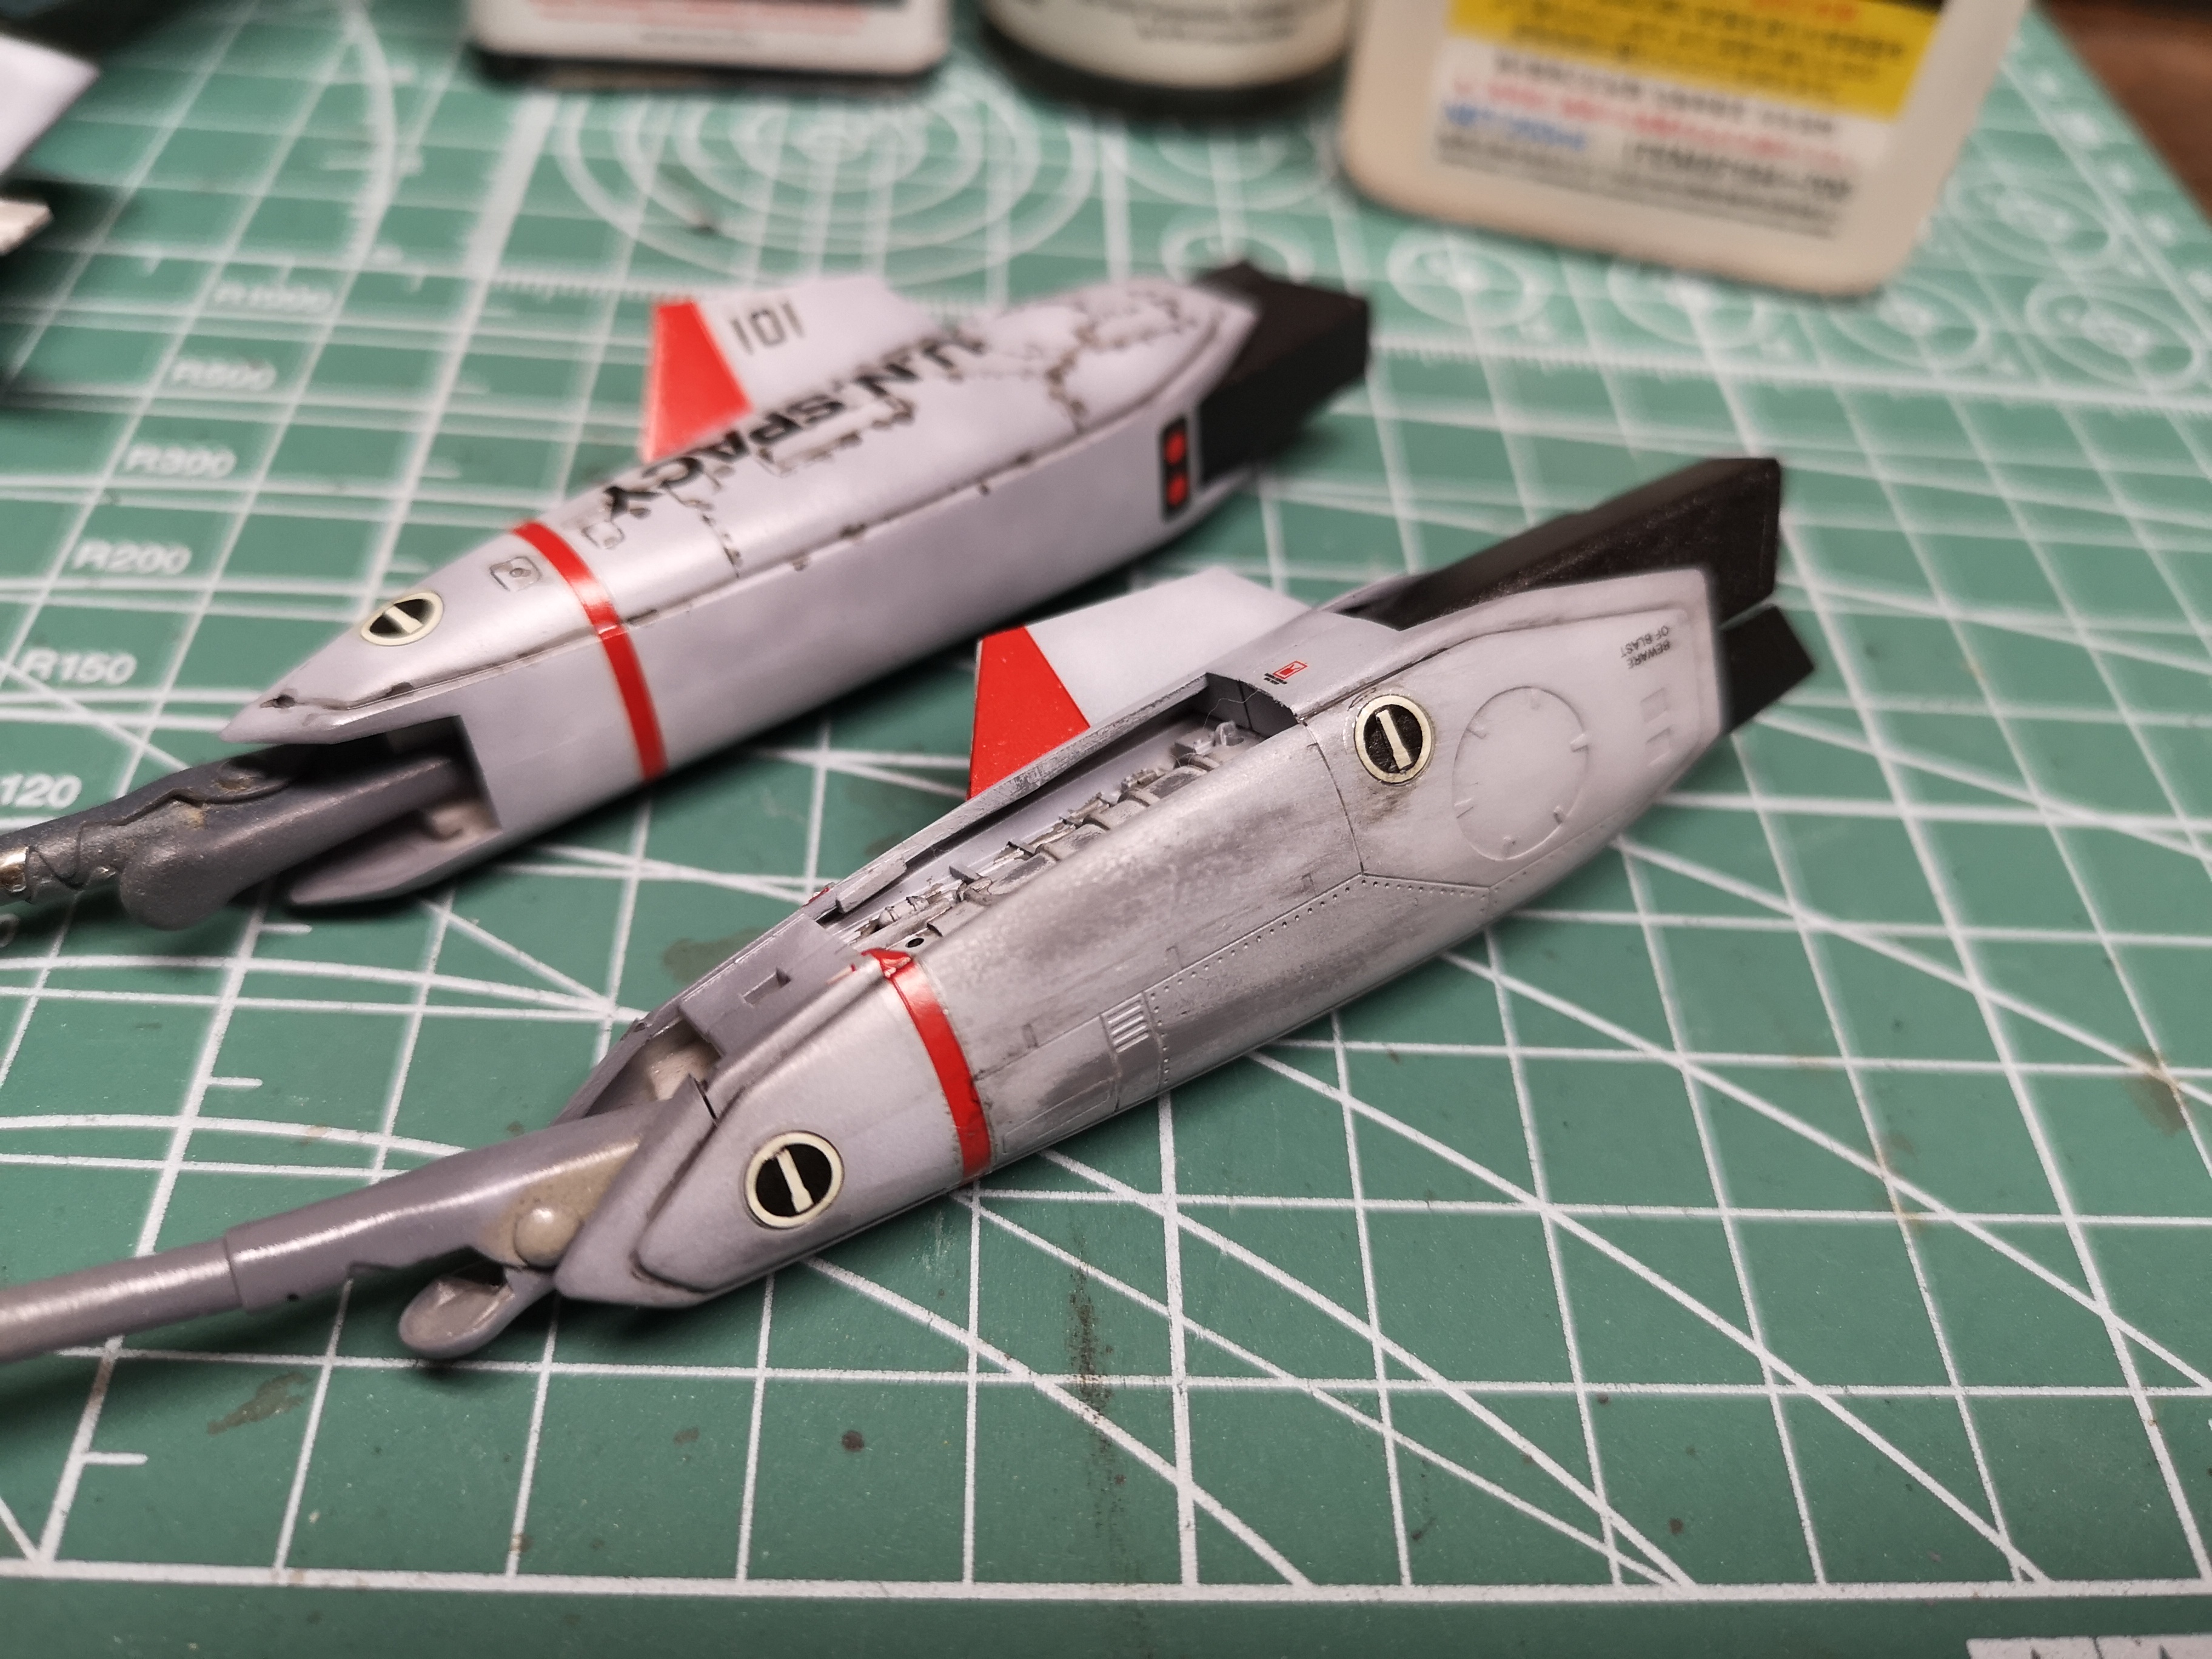
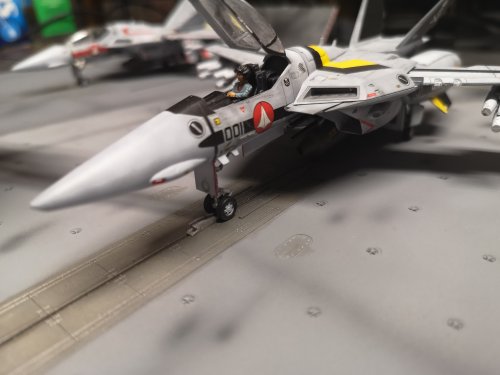
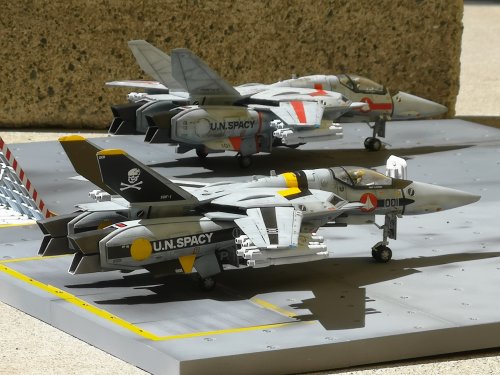
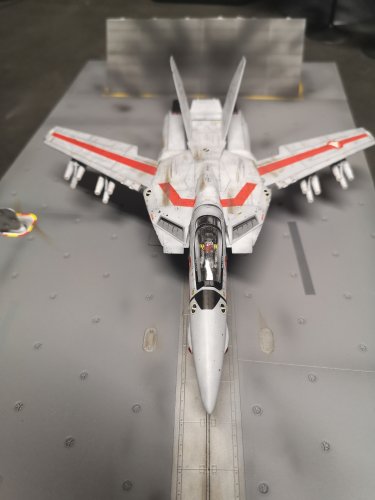
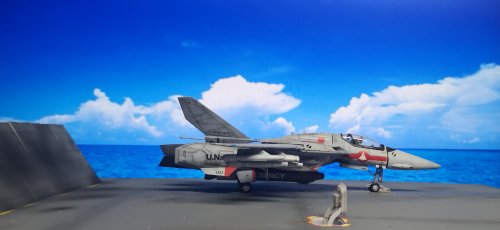
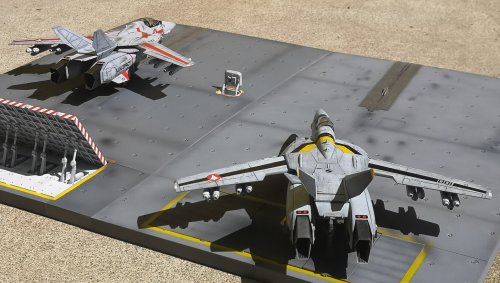
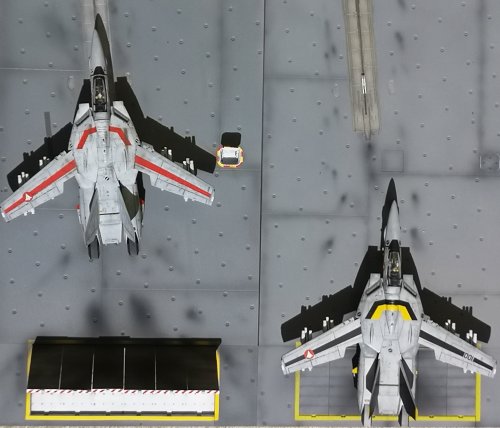
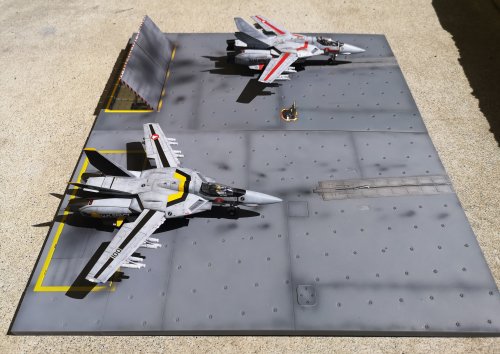
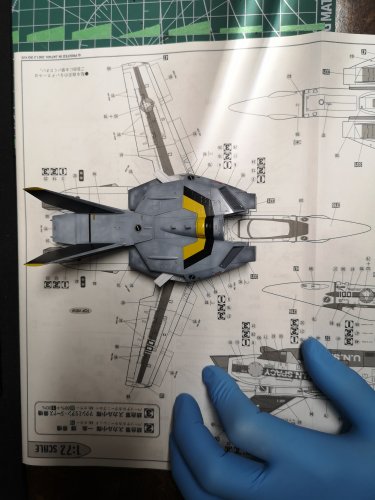
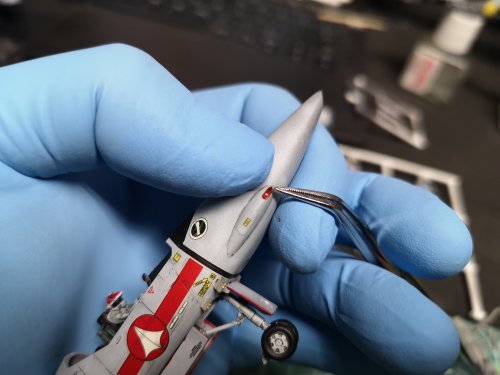
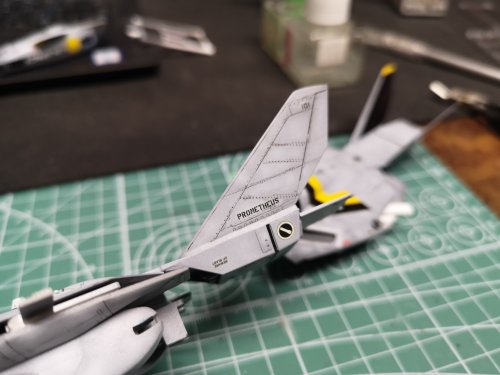
Bit more work on the 1J. Forgot how tiny these little clear bits are. Sort of like the way this turned out, details I never really paid much attention to with the Super/Strikes. Also, I don't think I ever built a Hikaru 1J fighter before so this is a pretty new look for me. The Flat Clear hid some of the flaws and blended some of the problems so they aren't that noticeable to the naked eye. I'm calling any blemishes you see battle damage or weathering, hahahaha. Adding some soot at the muzzle and ejection port. I have a few guns I never clean, just to see how long I can shoot them, and they are filthy. Figured I'd try to simulate that look. Roy's 1S got a bit more work done too. Nice to see the instructions in 1/72 scale (not the case for Hikaru's 1J). Good for lining up the missiles. Bit of a Valkyrie factory going on here. Running out of desk space, glad I didn't try to build a third one at the same time. Toying around with the idea of relieving Roy of duty and putting in Ryo in his place. Don't get me wrong, I really like Roy's character, but he dies too much. Saeba Ryo on the other hand seems to be absolutely impossible to kill. Took the old Bandai 1/72 scale pilot on the right, split his legs open, separated them from his hands, shaved off his flight suit and added shoulders for Ryo's blazer. Also, trimmed a bit of his flight suit to expose Ryo's neck, then tried to add hair. I've never sculpted anything before, let alone figures, so if it turns out looking like crap, I'll just bin it and put Roy back in the cockpit.


-
Man, look at all that stuff on the 19! I don't think I've ever seen that those boosters before. Nice looking Valks
-
I don't understand electronics or lighting at all, but that looks so professional.
-
Man, you build a lot of stuff I like ...rockets, Tomcats and Refits
-
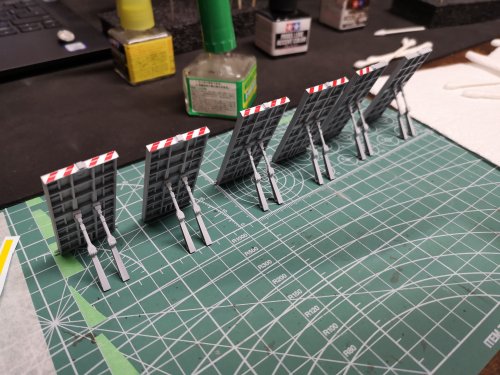
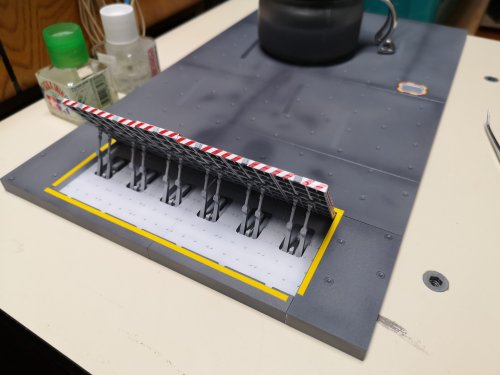
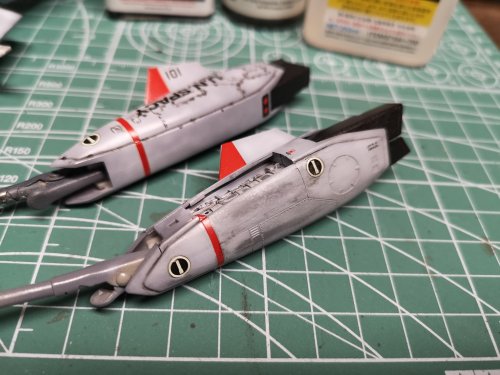
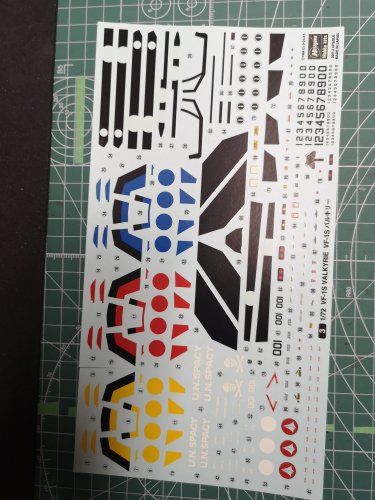
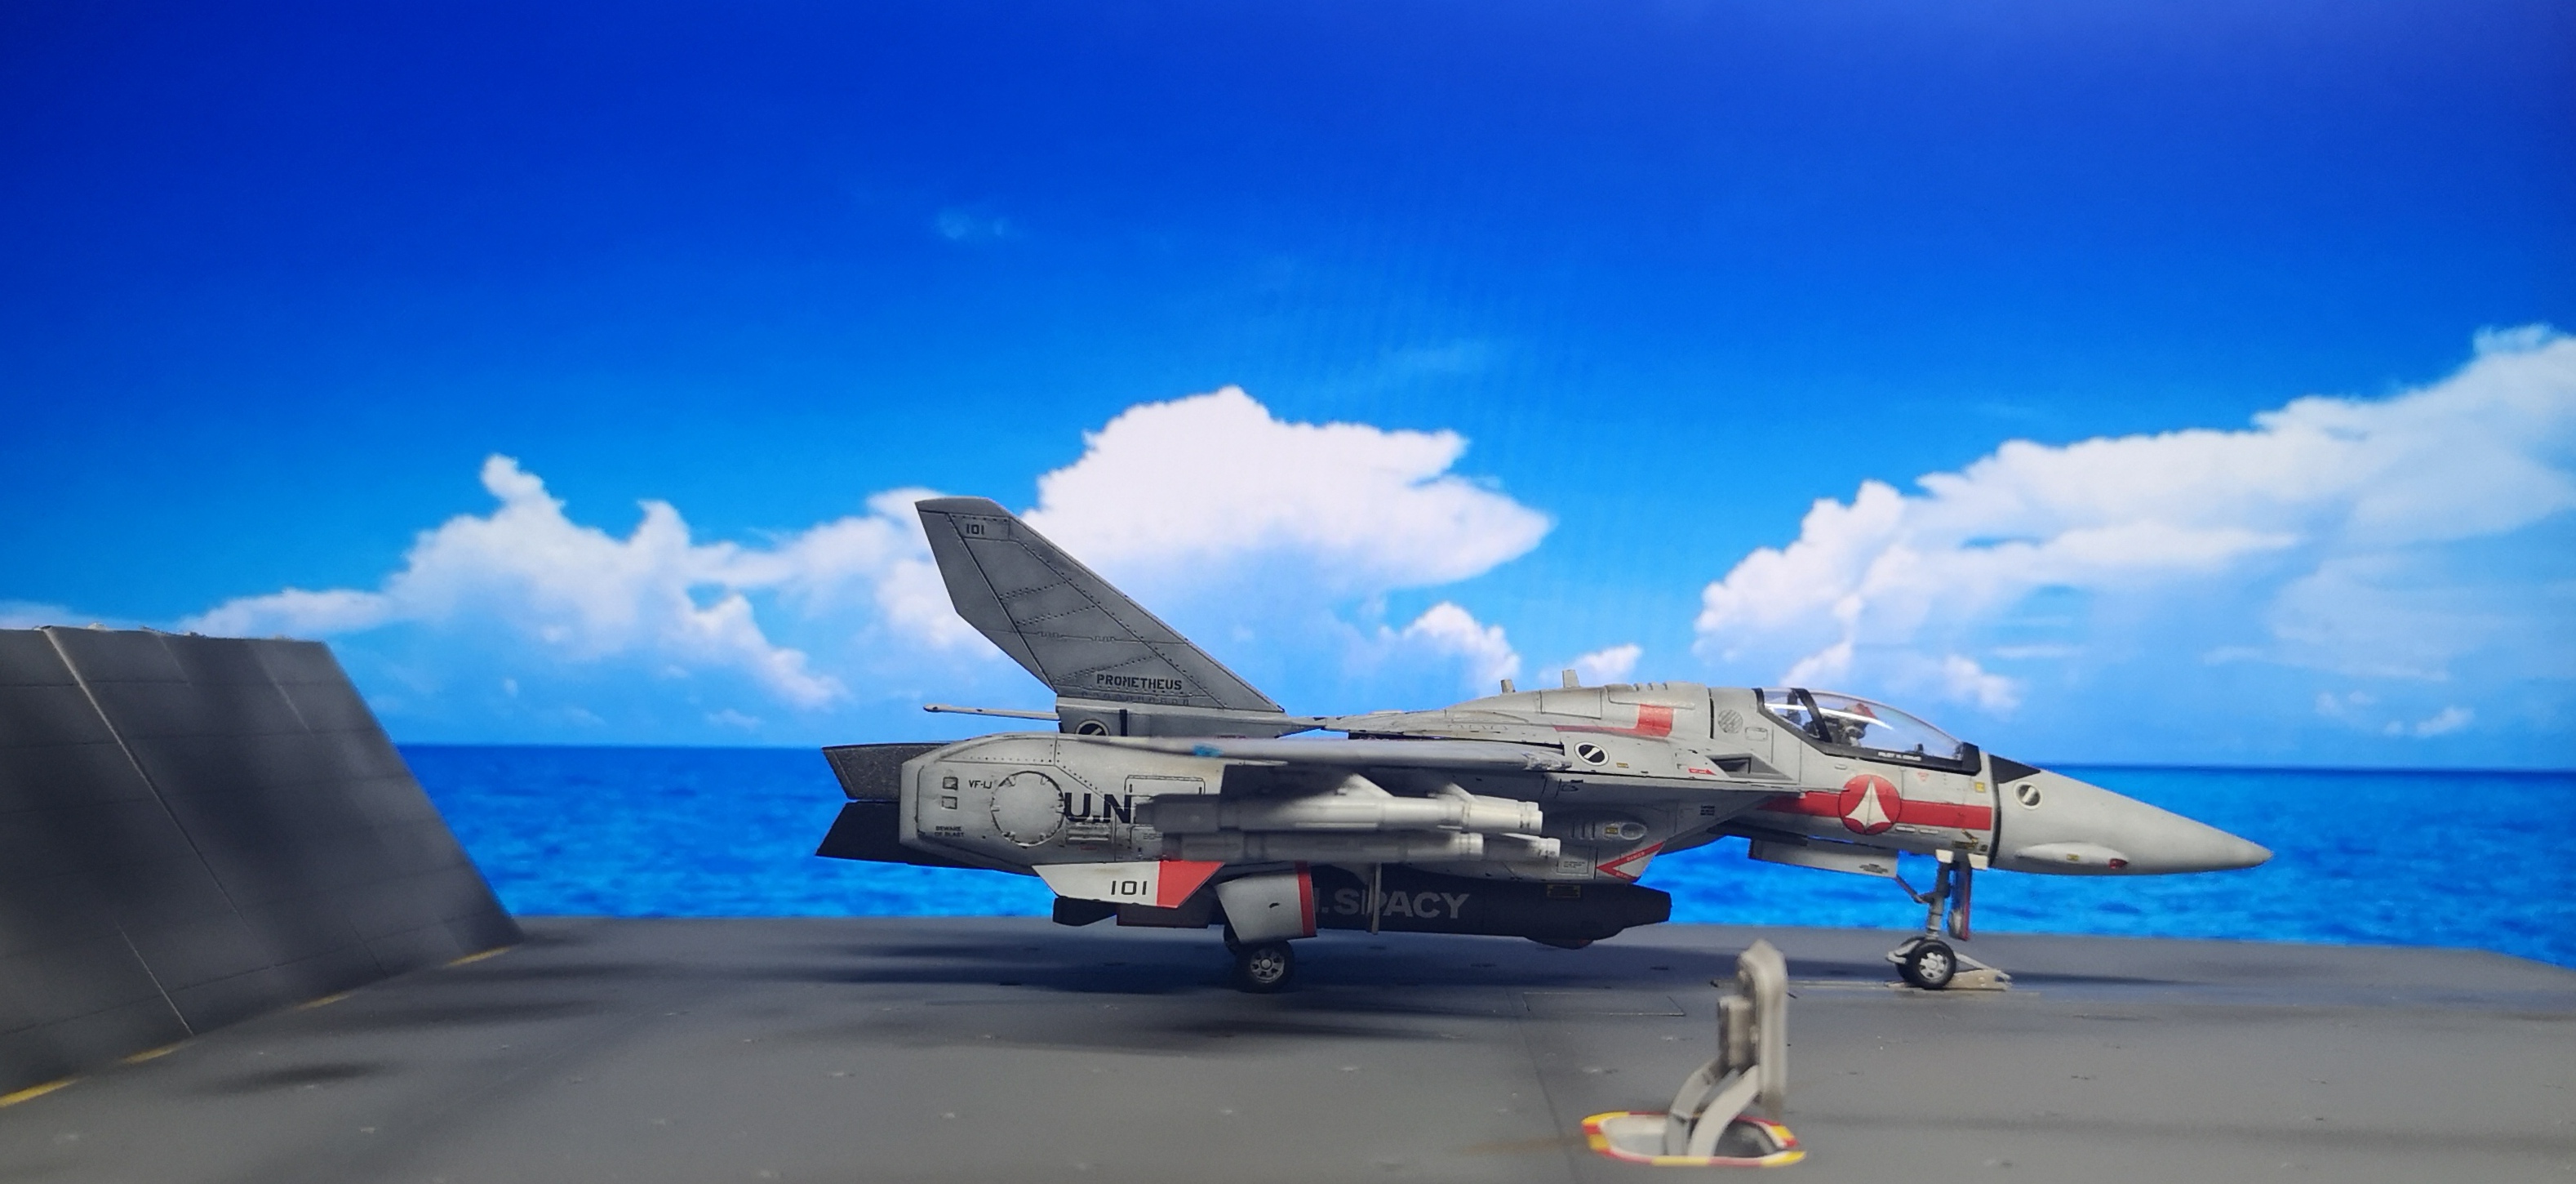
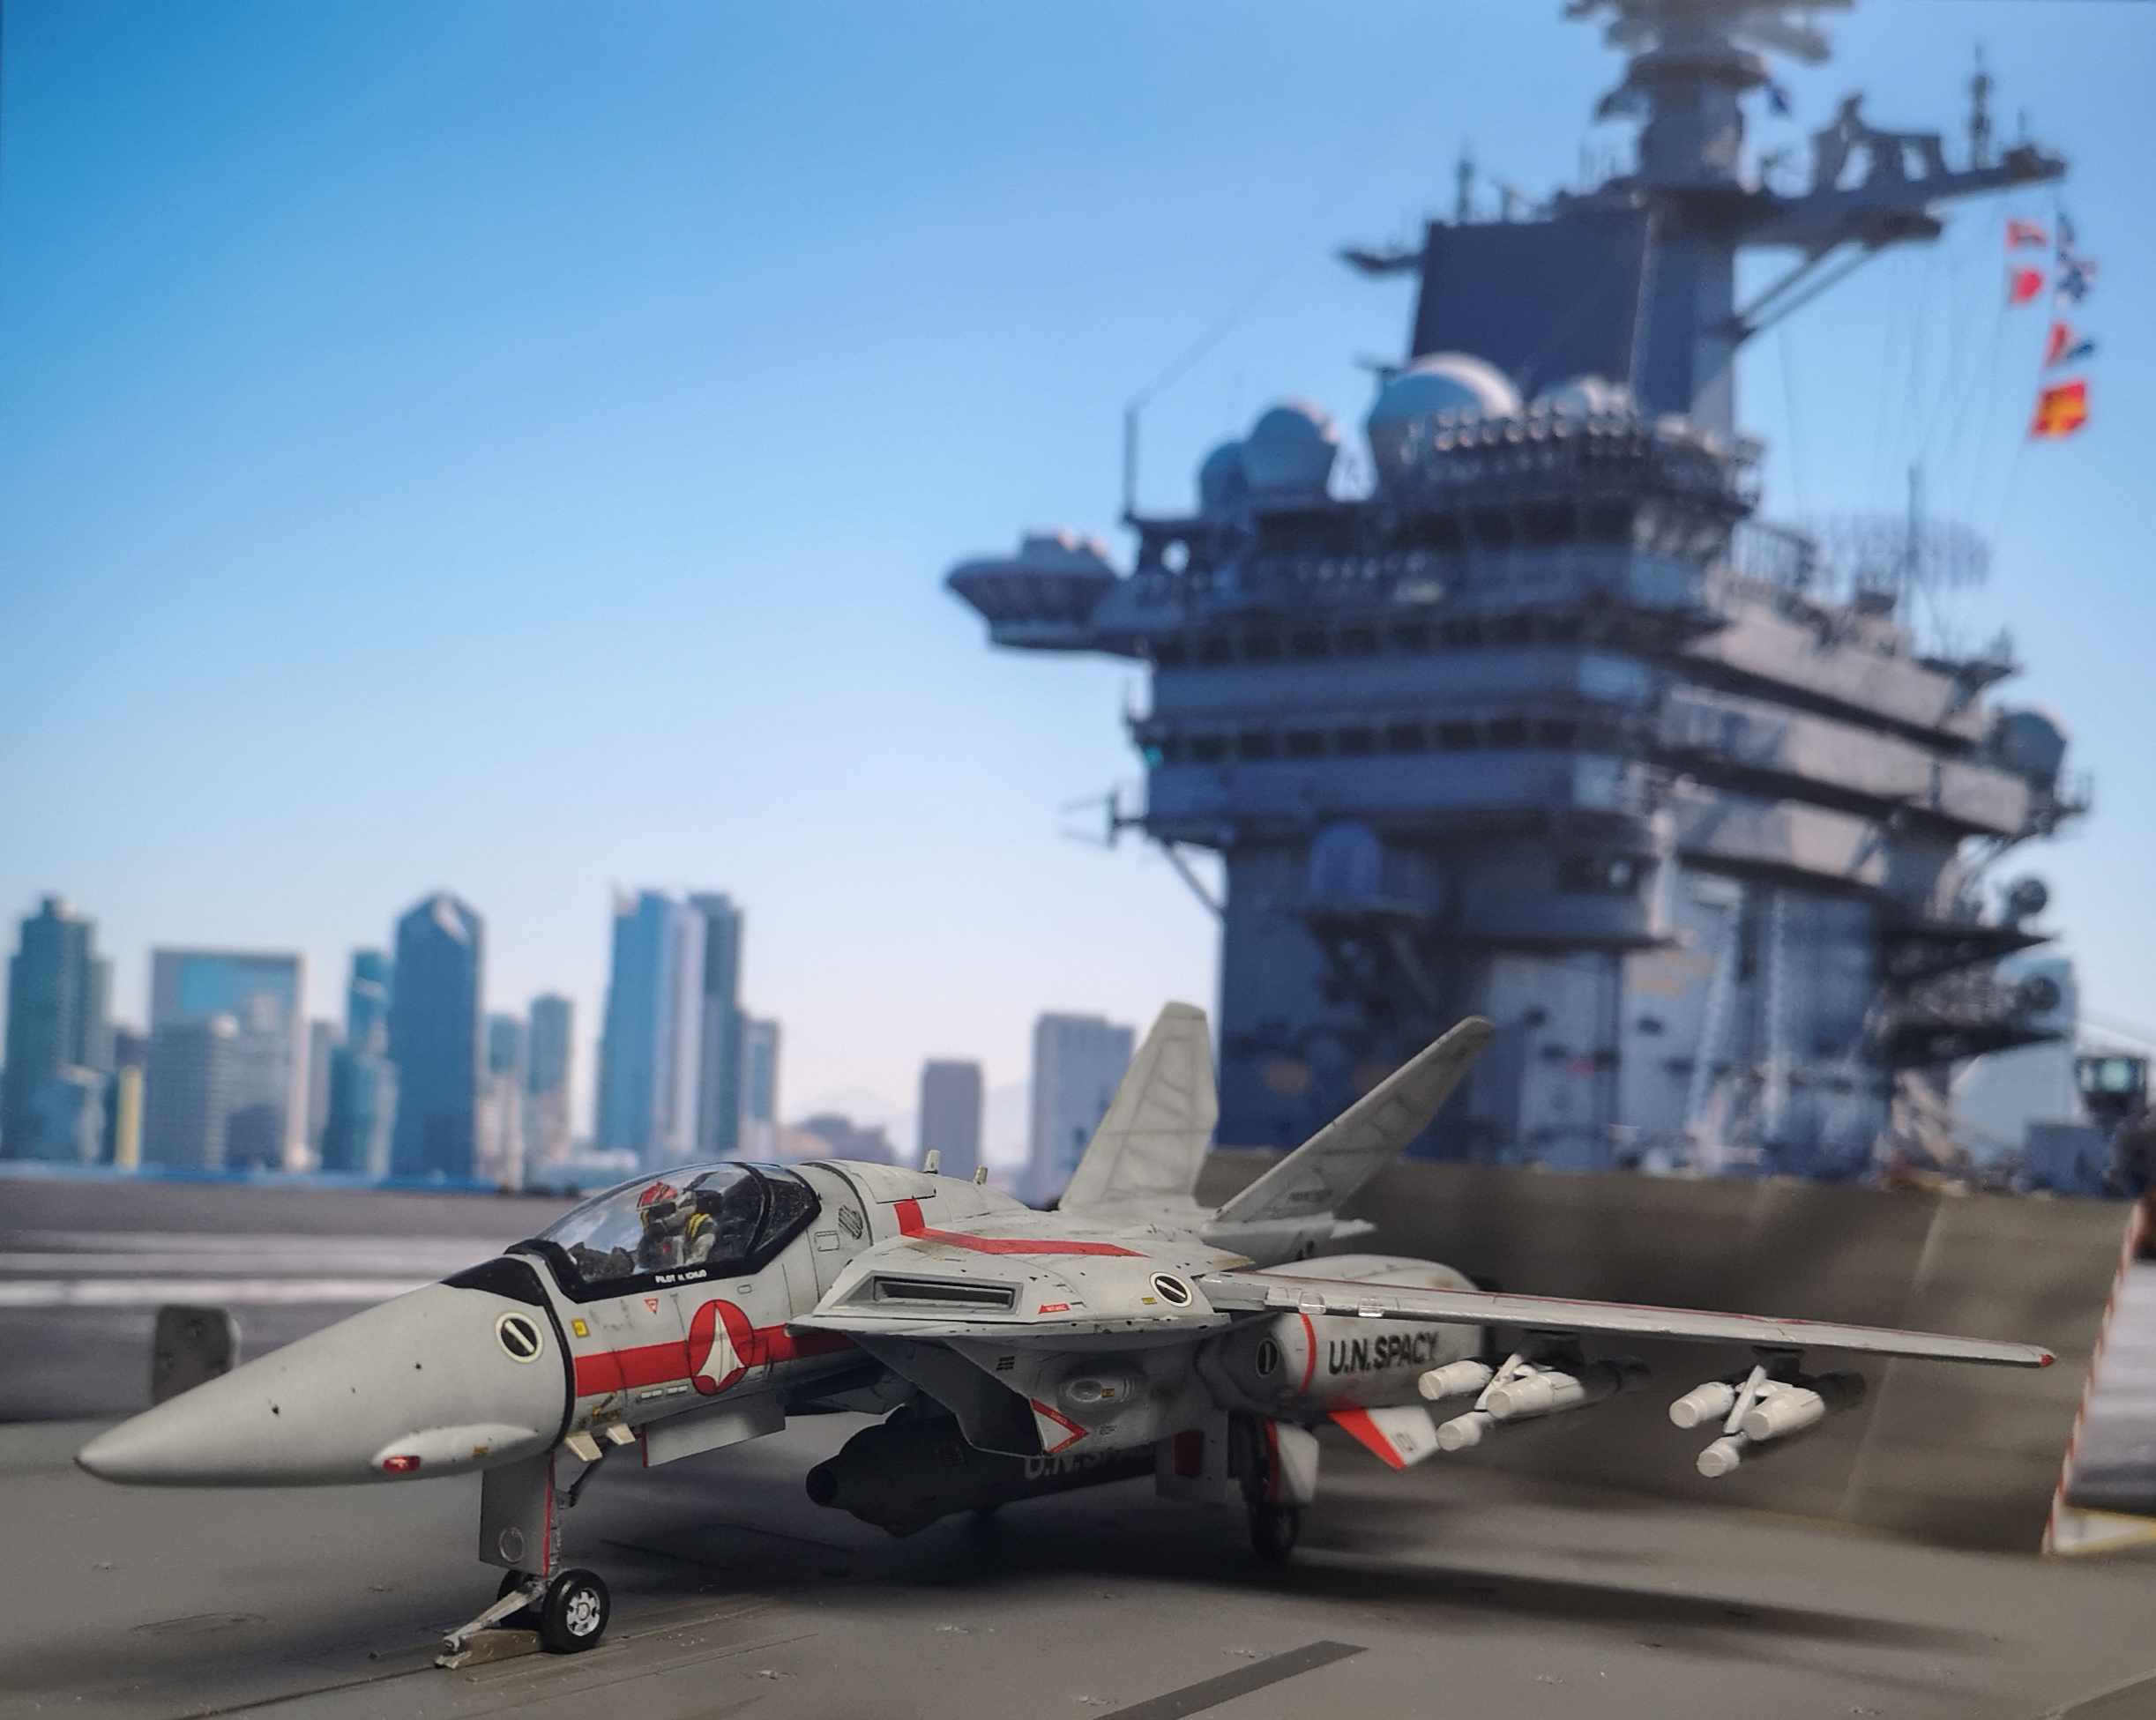
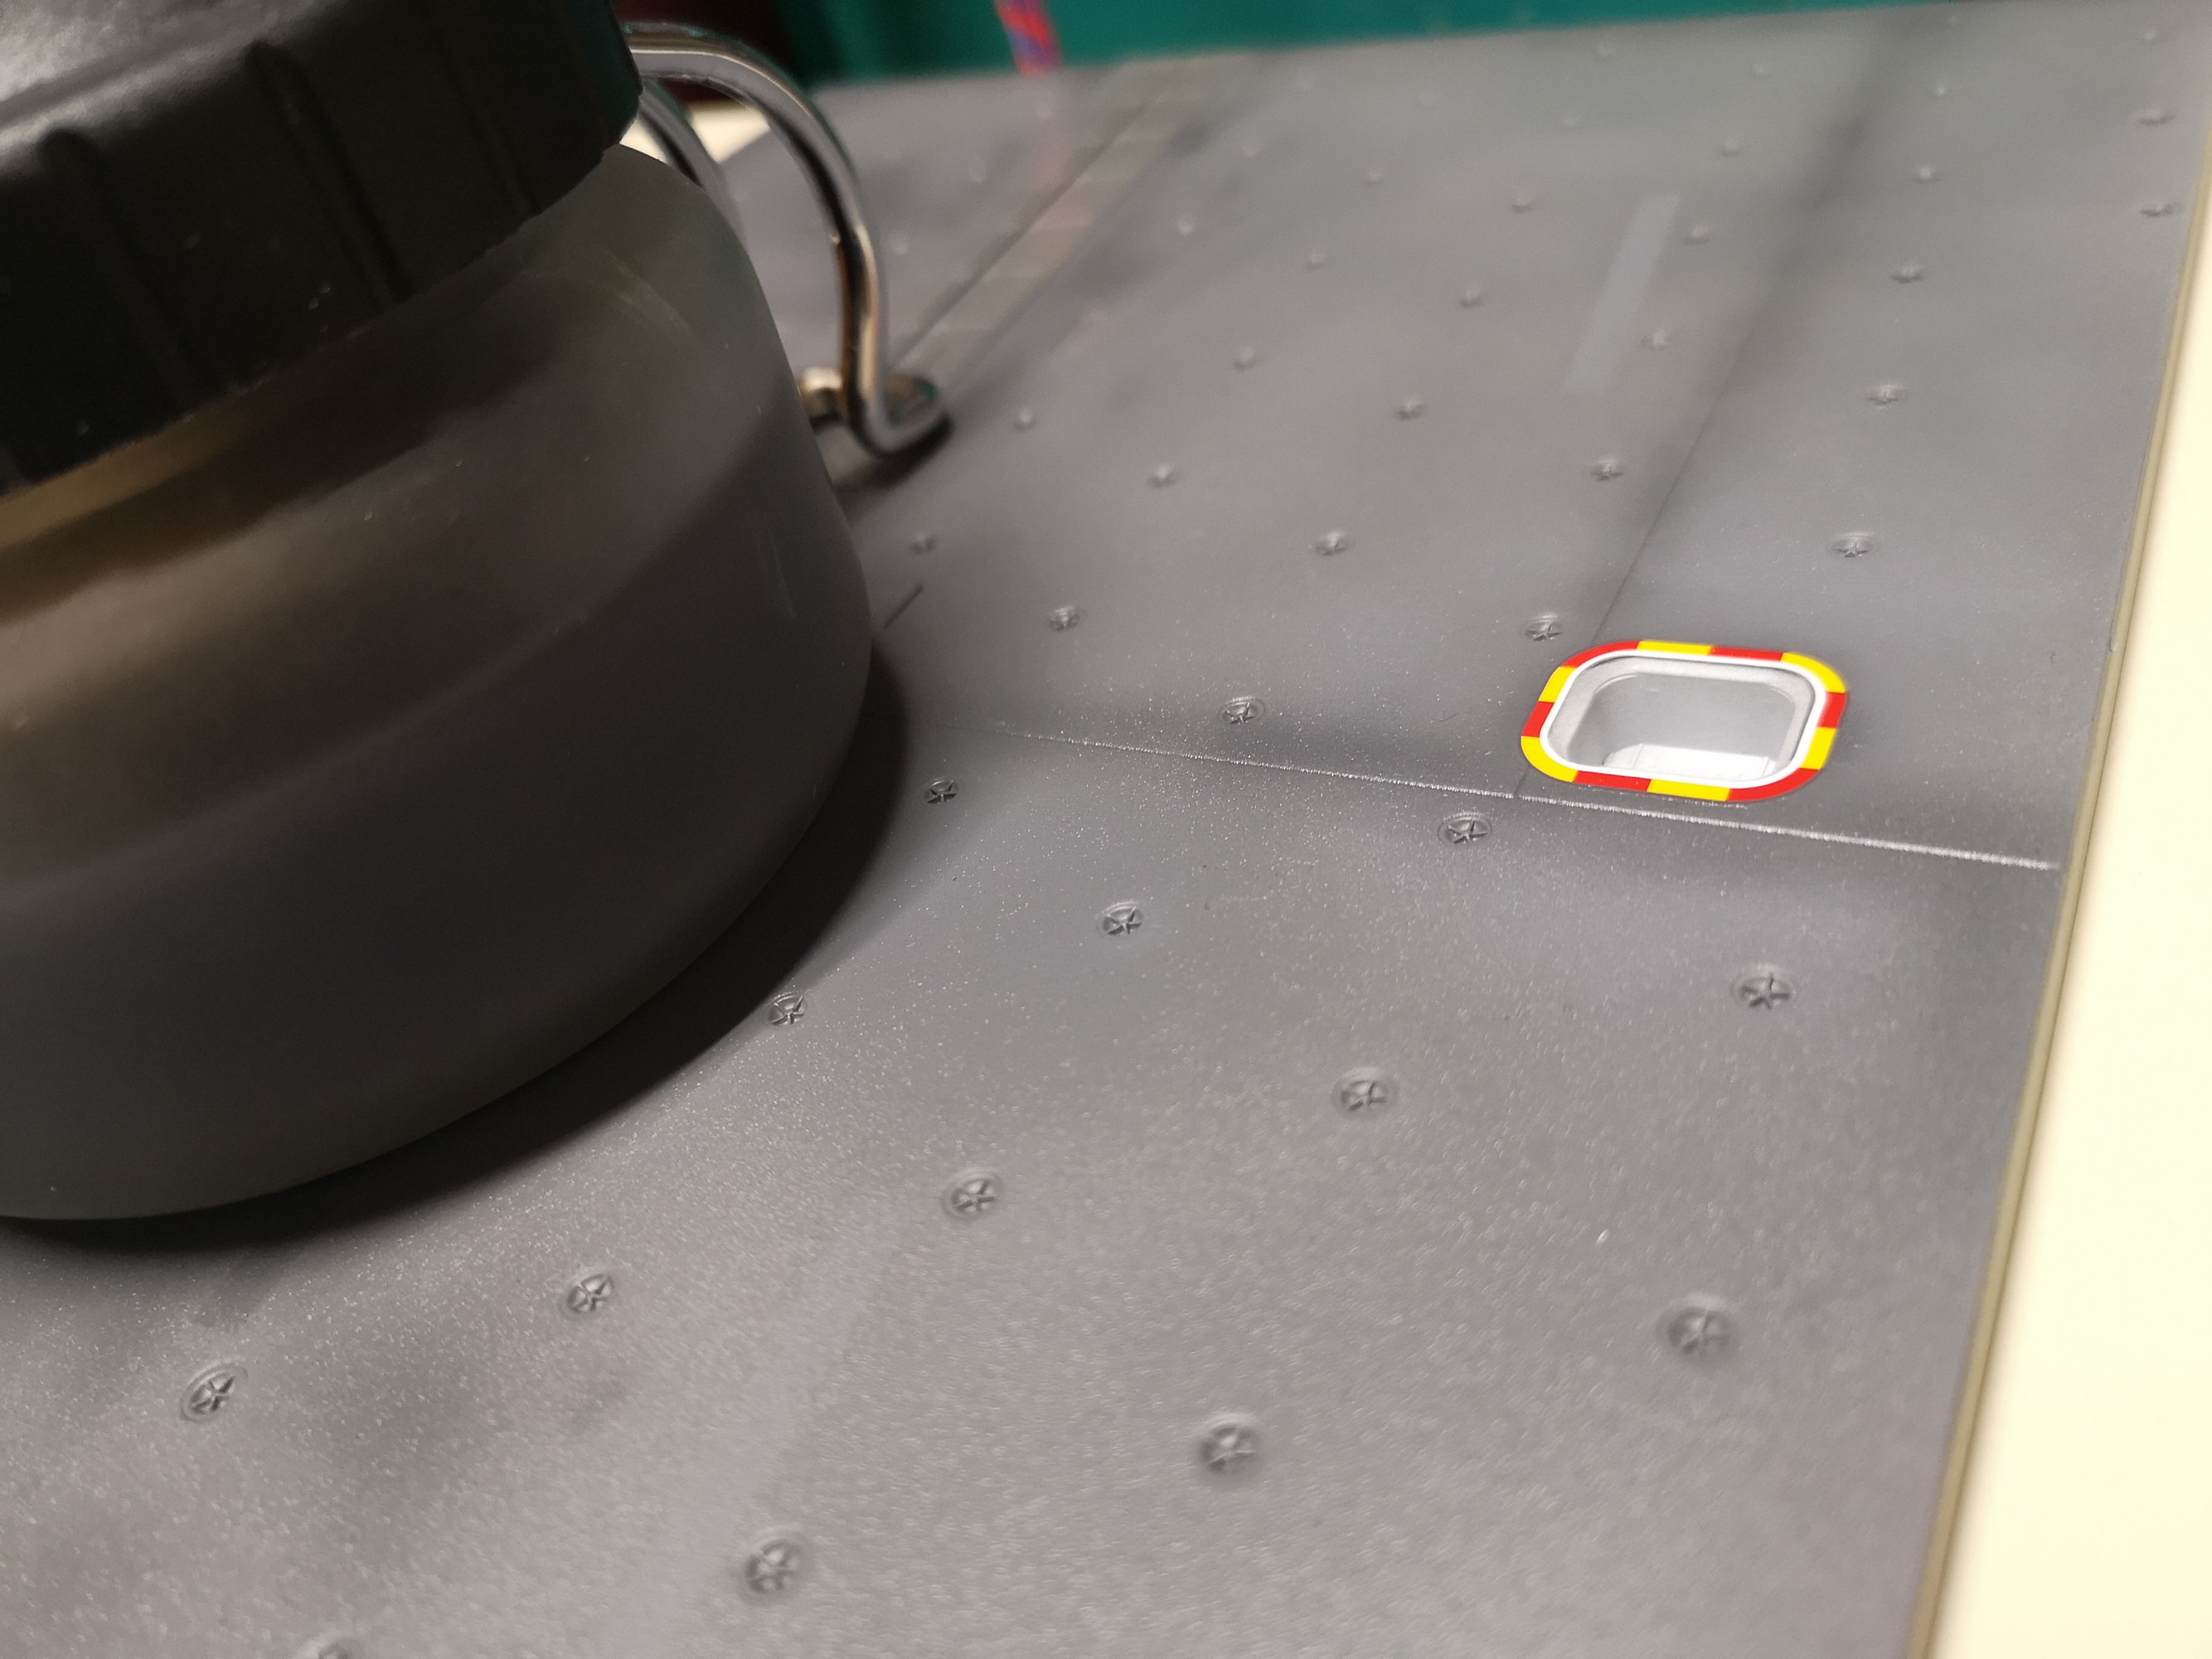
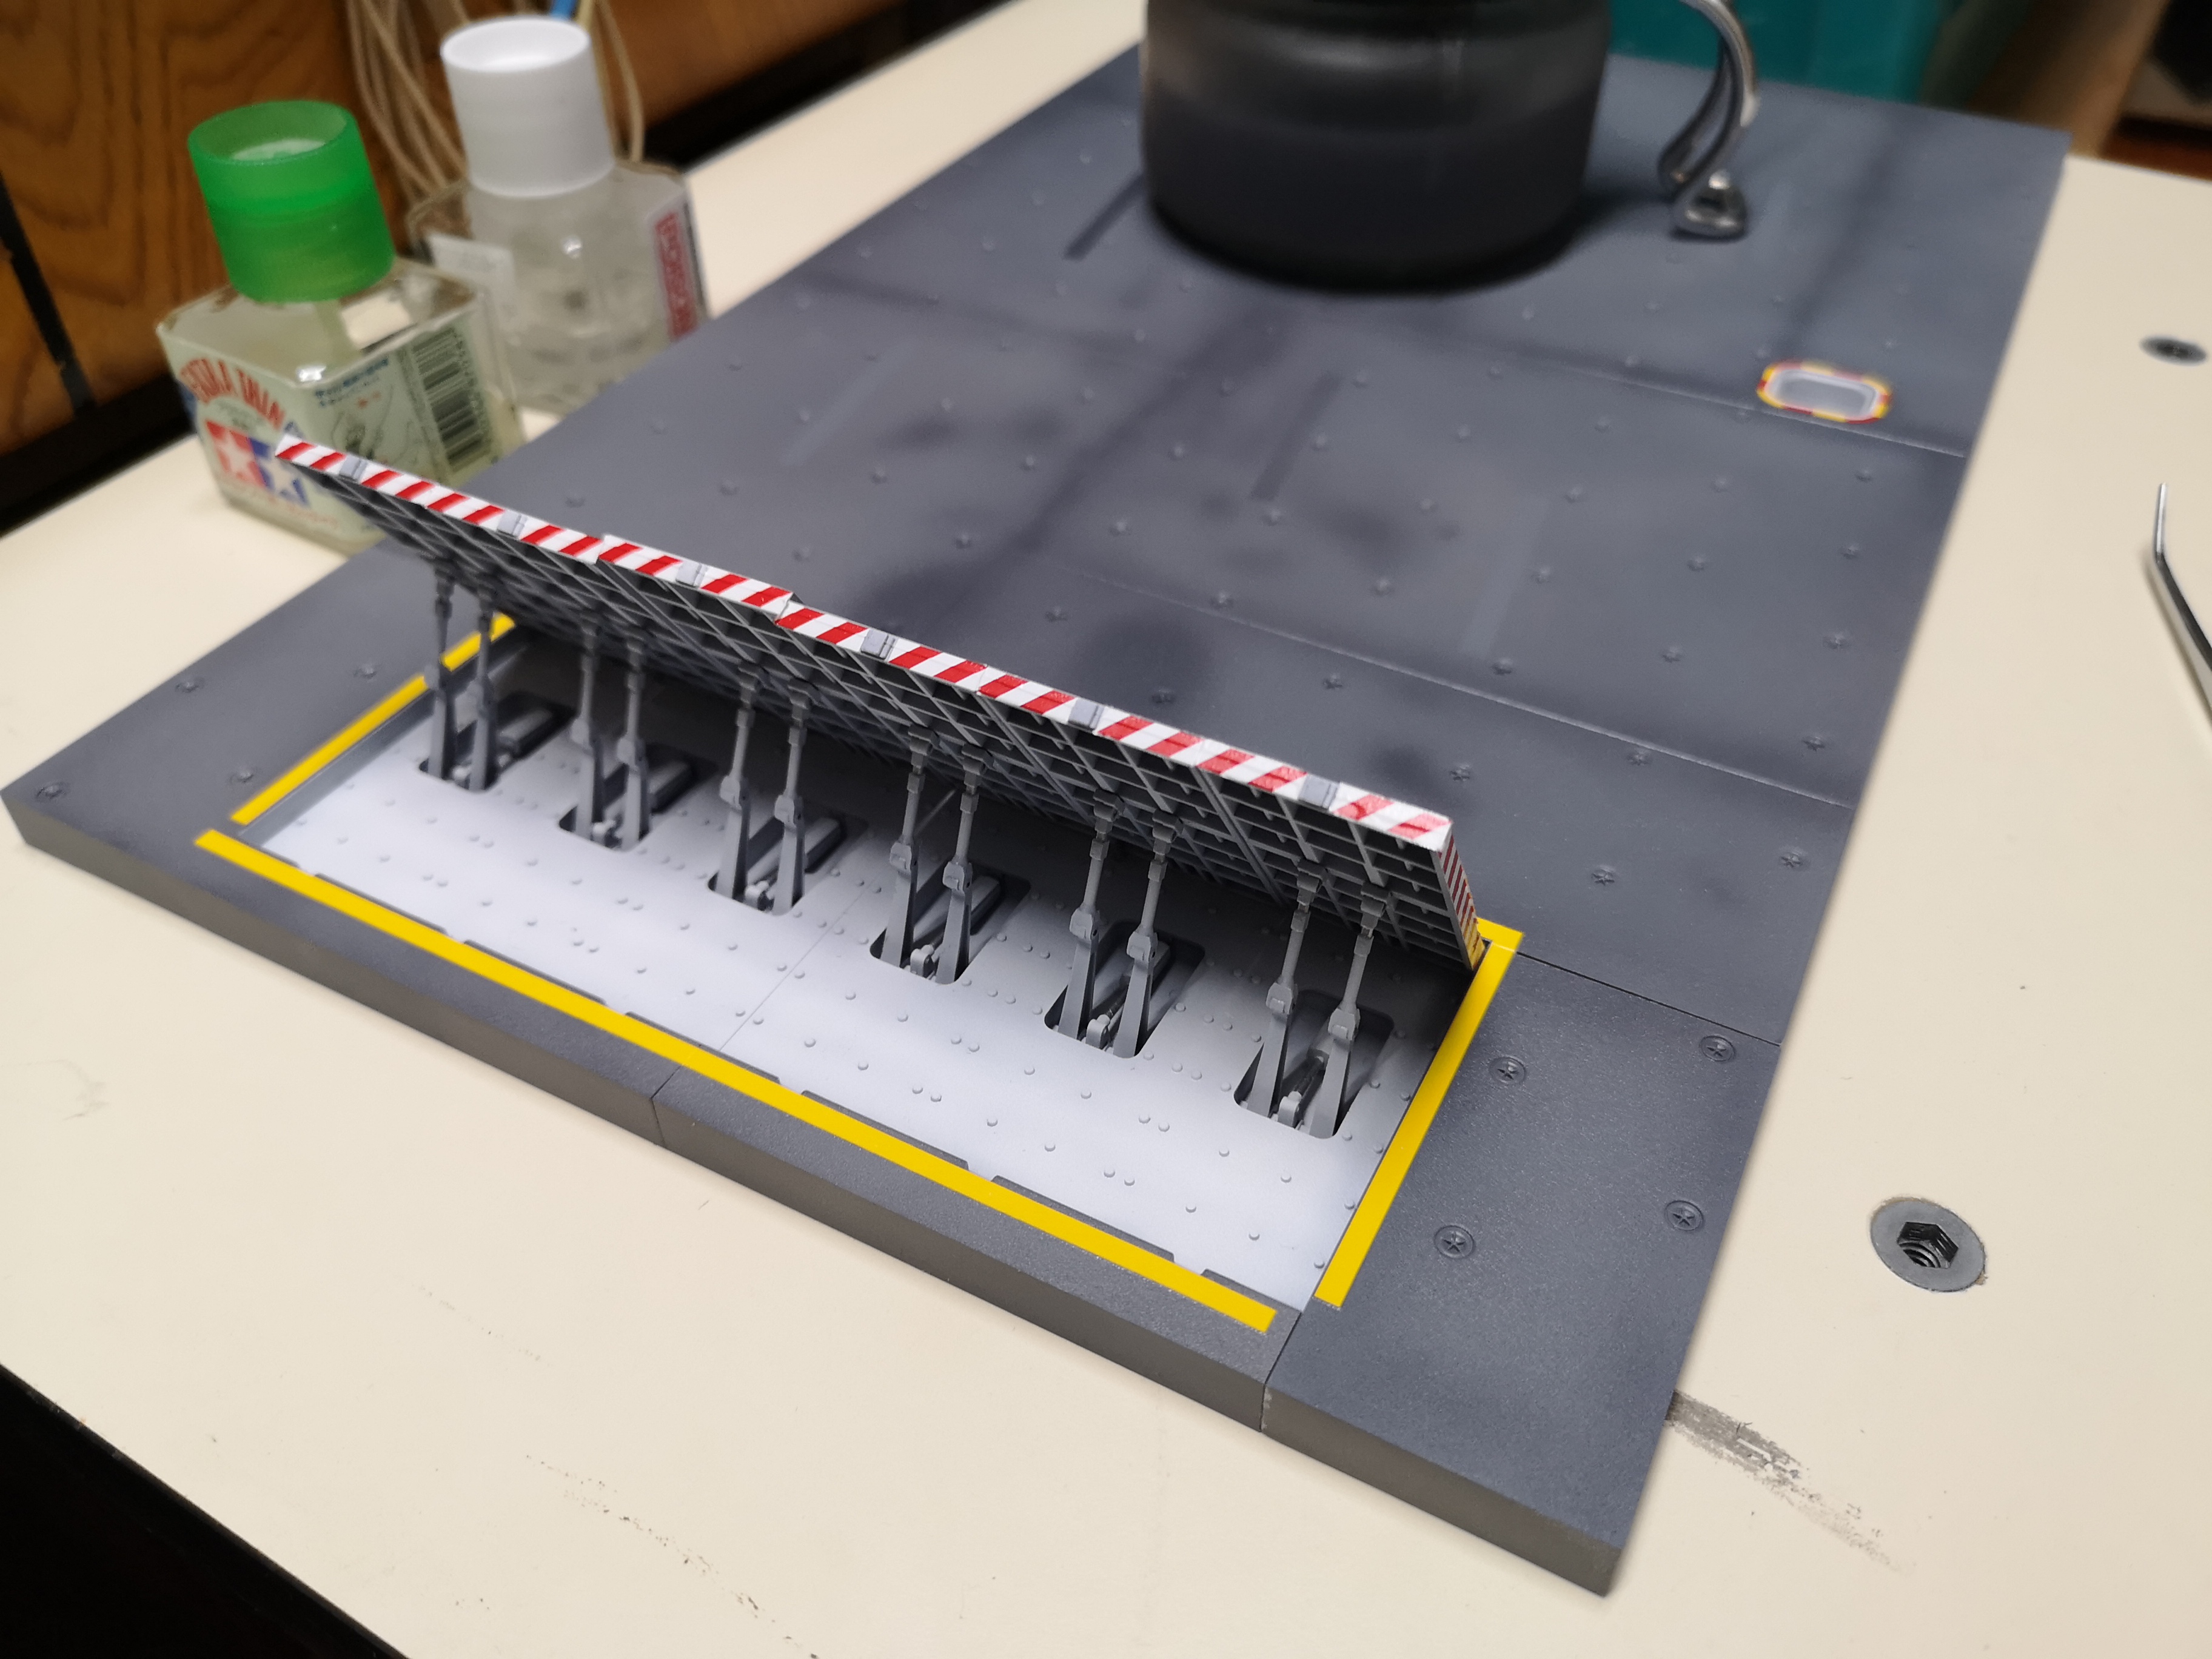
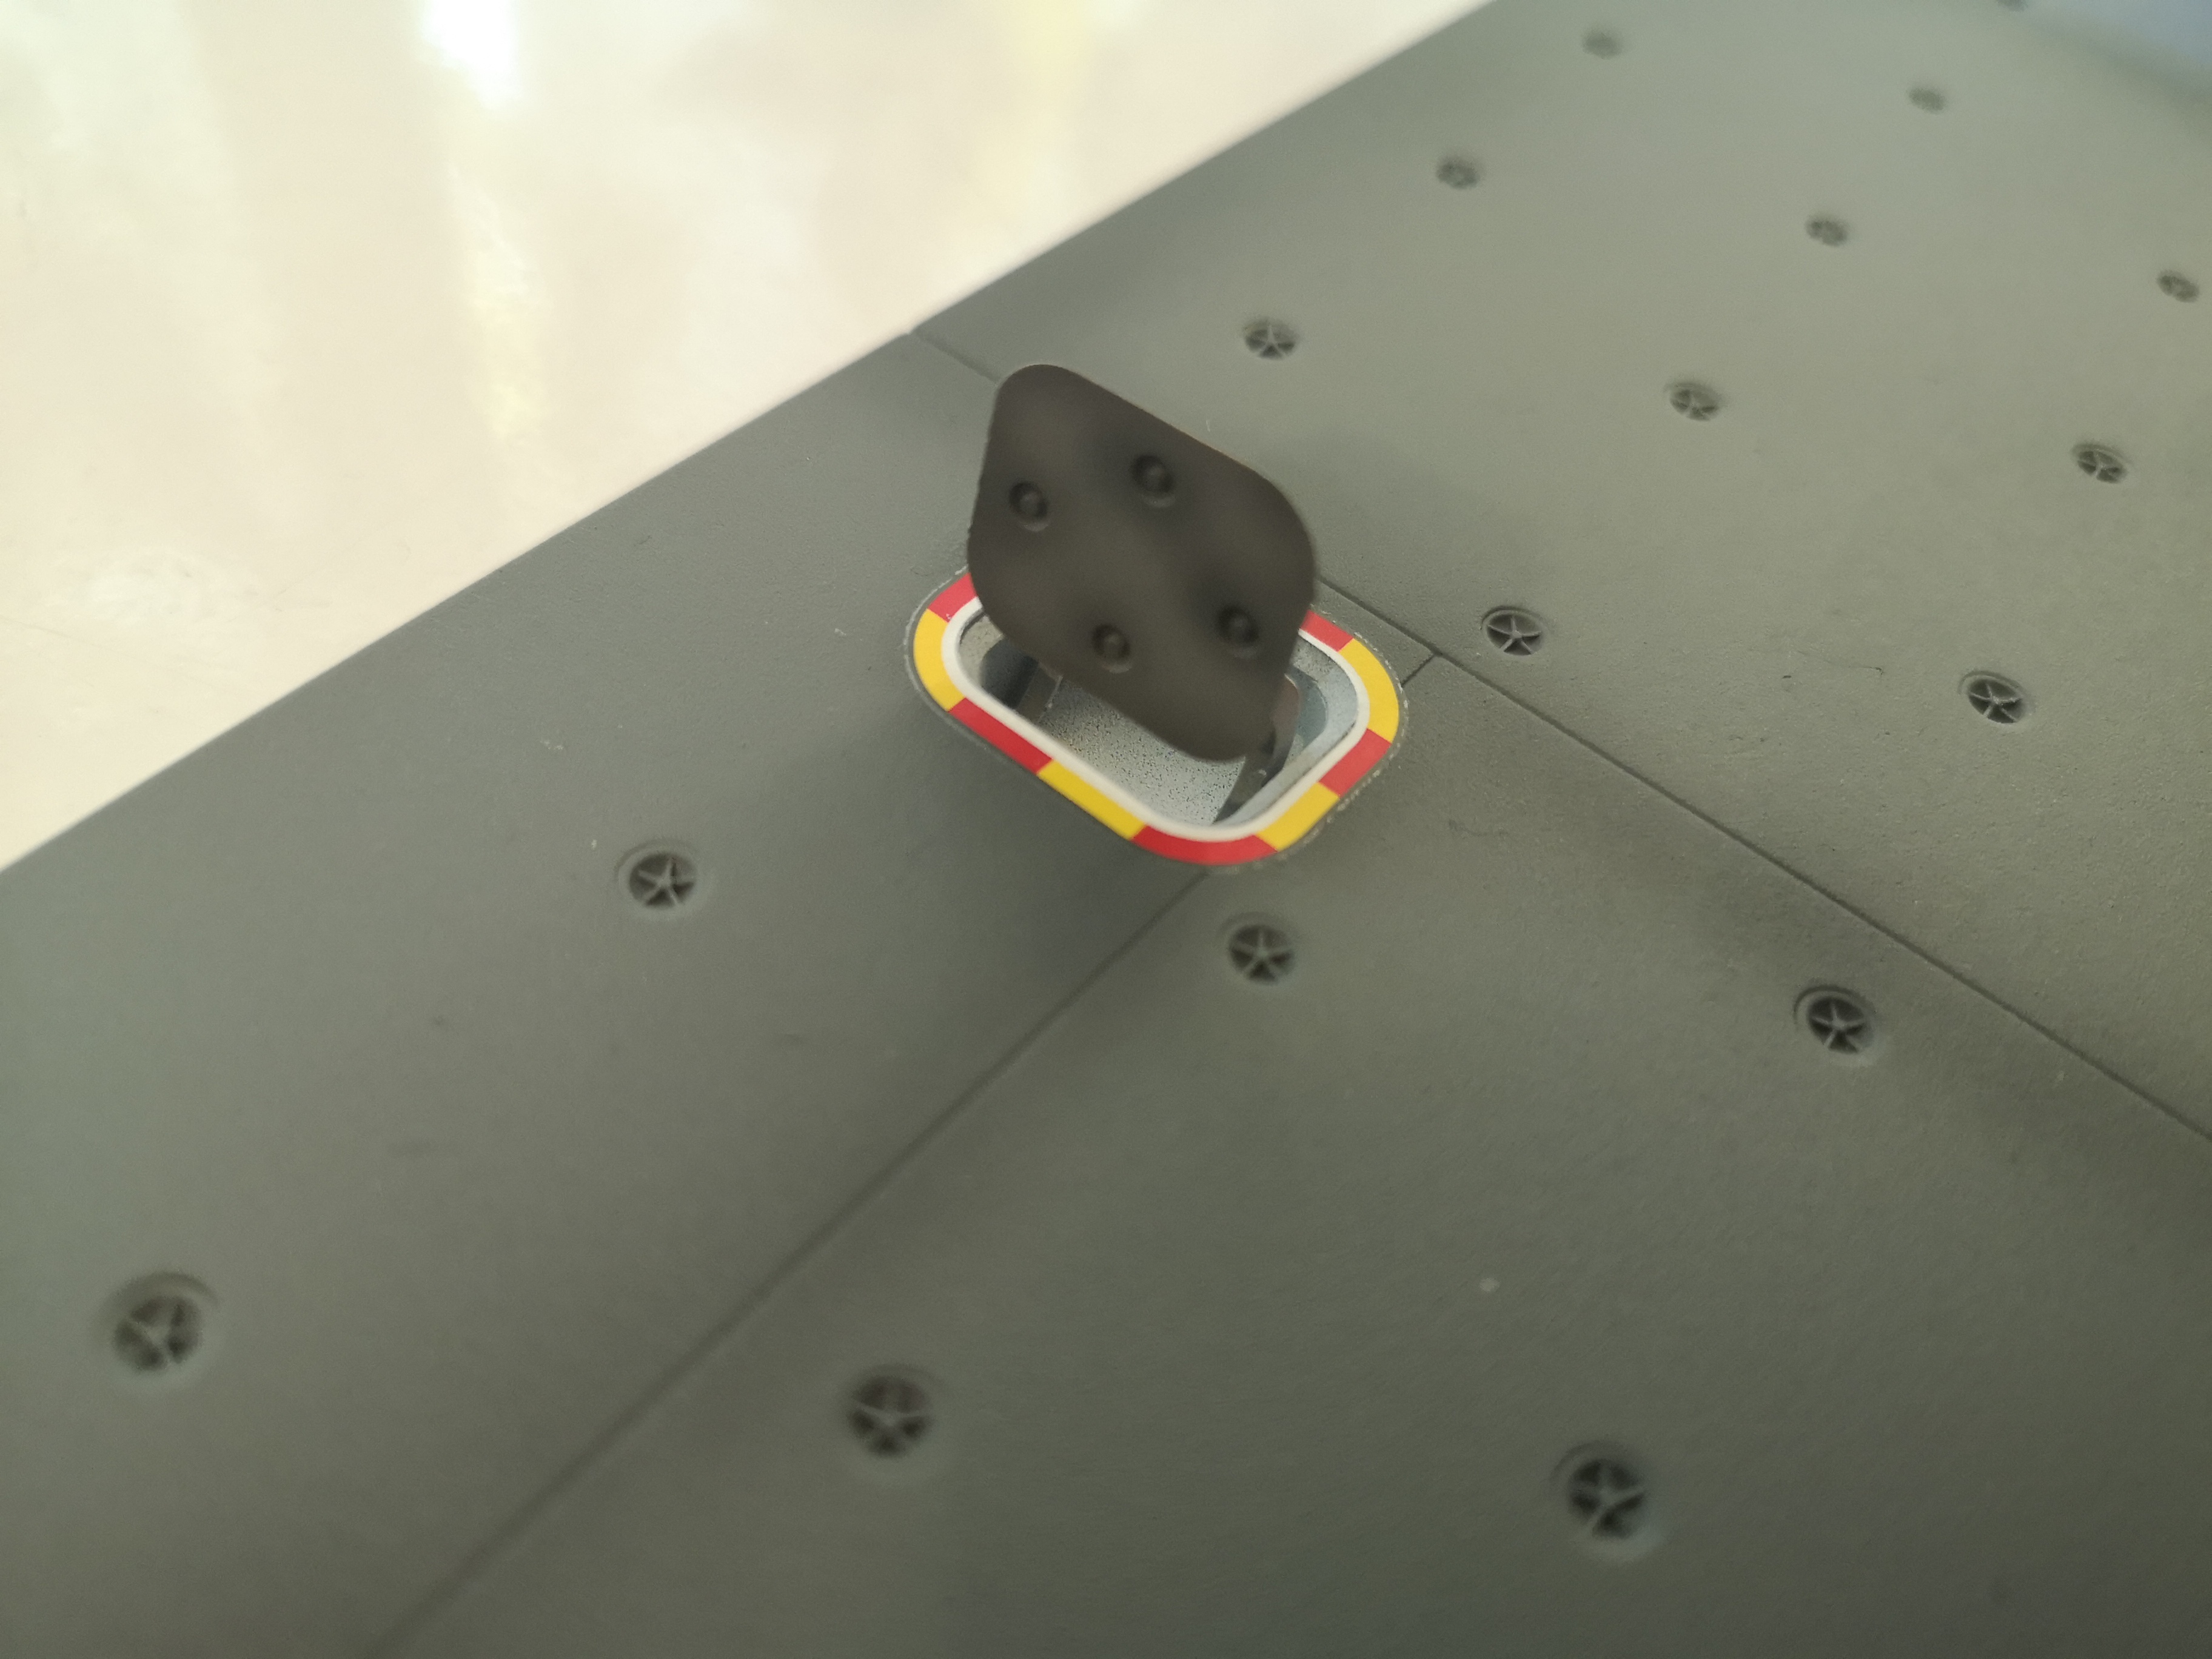
Almost cooked the 1J today. Tamiya panel line on Pledge/Futures for the lines, but I made the mistake of trying to clean it with lacquer thinner, which ate right through the pledge and into some paint. Luckily the really bad parts are on the inside of the leg and basically hidden anyway. Also some progress on the base. The yellow decals supplied weren't quite long enough, or I missed something...will have to make it up with paint. By the way, the backs of these things are surprisingly clean. I looked up some real photos for weathering references but a lot of images showed them incredibly clean. Then I realized I lost the hatch for this hole. I looked everywhere in the shag carpet..... Wife found it on top of the freezer in another room of all places. Started on Roy while other stuff was drying. I have to say these decals are a dream compared to the AMT decals. 20 years old and no breakages so far.