peter
-
Posts
4487 -
Joined
-
Last visited
Content Type
Profiles
Forums
Events
Gallery
Everything posted by peter
-
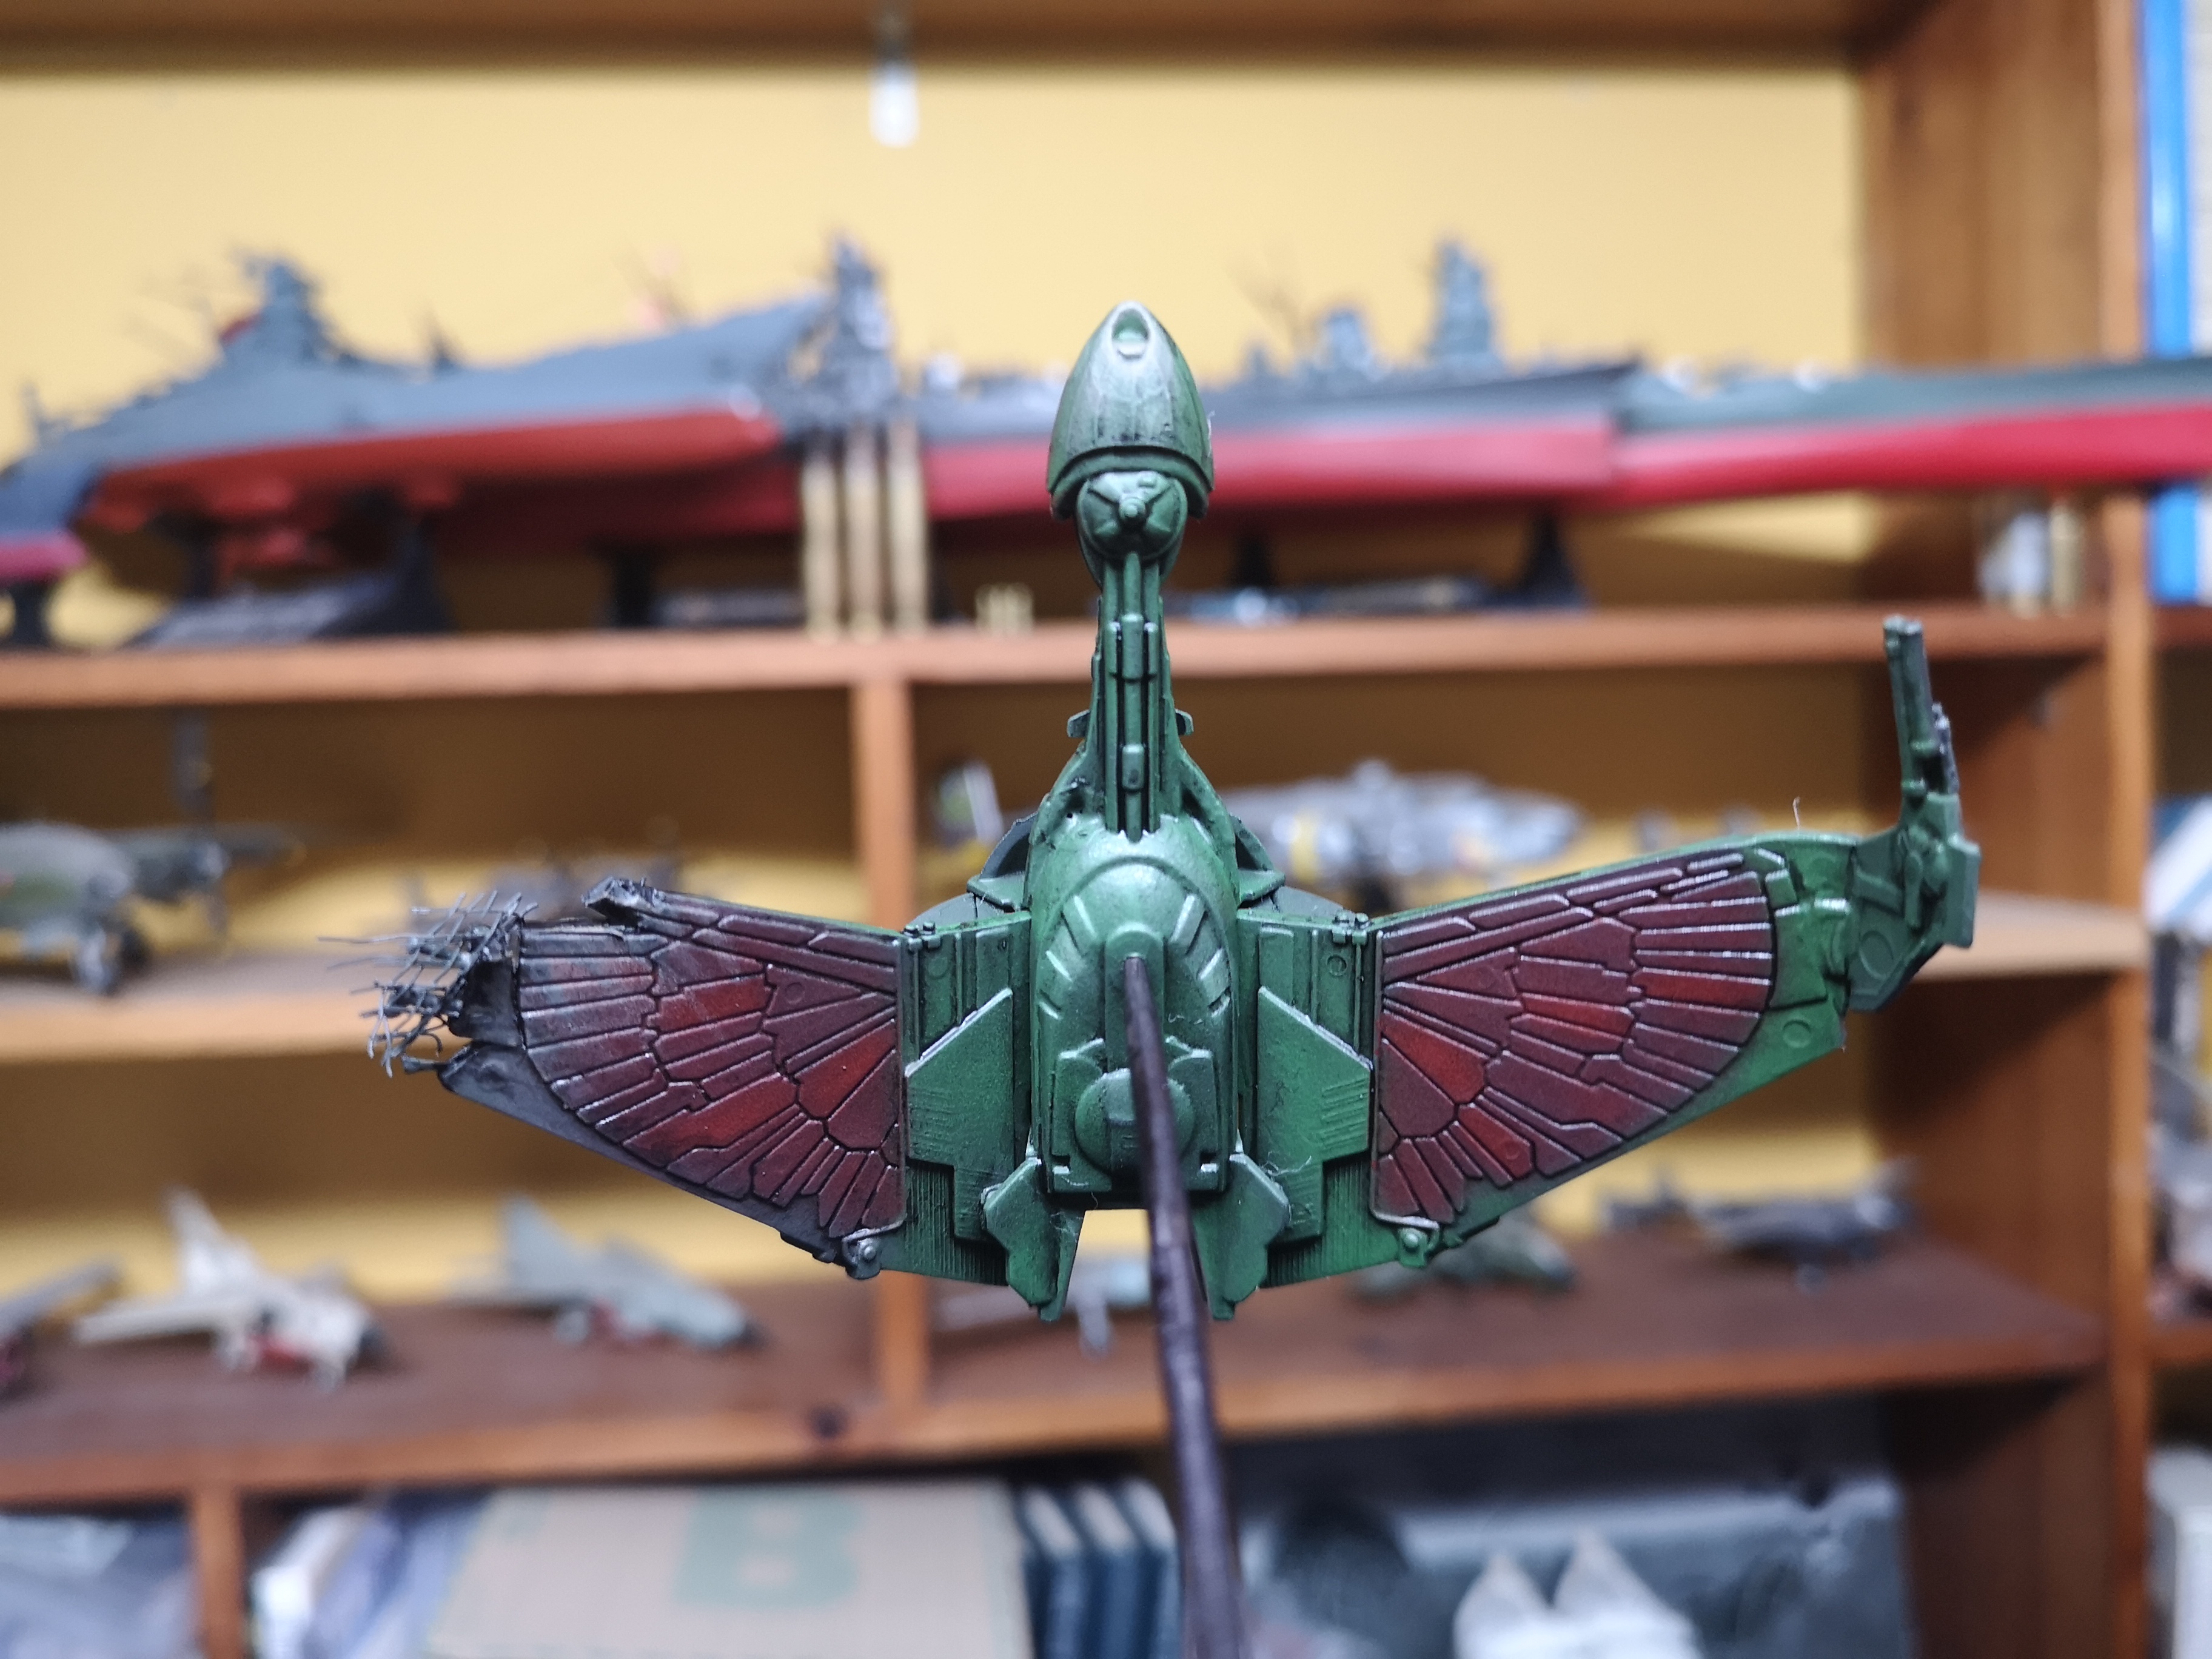
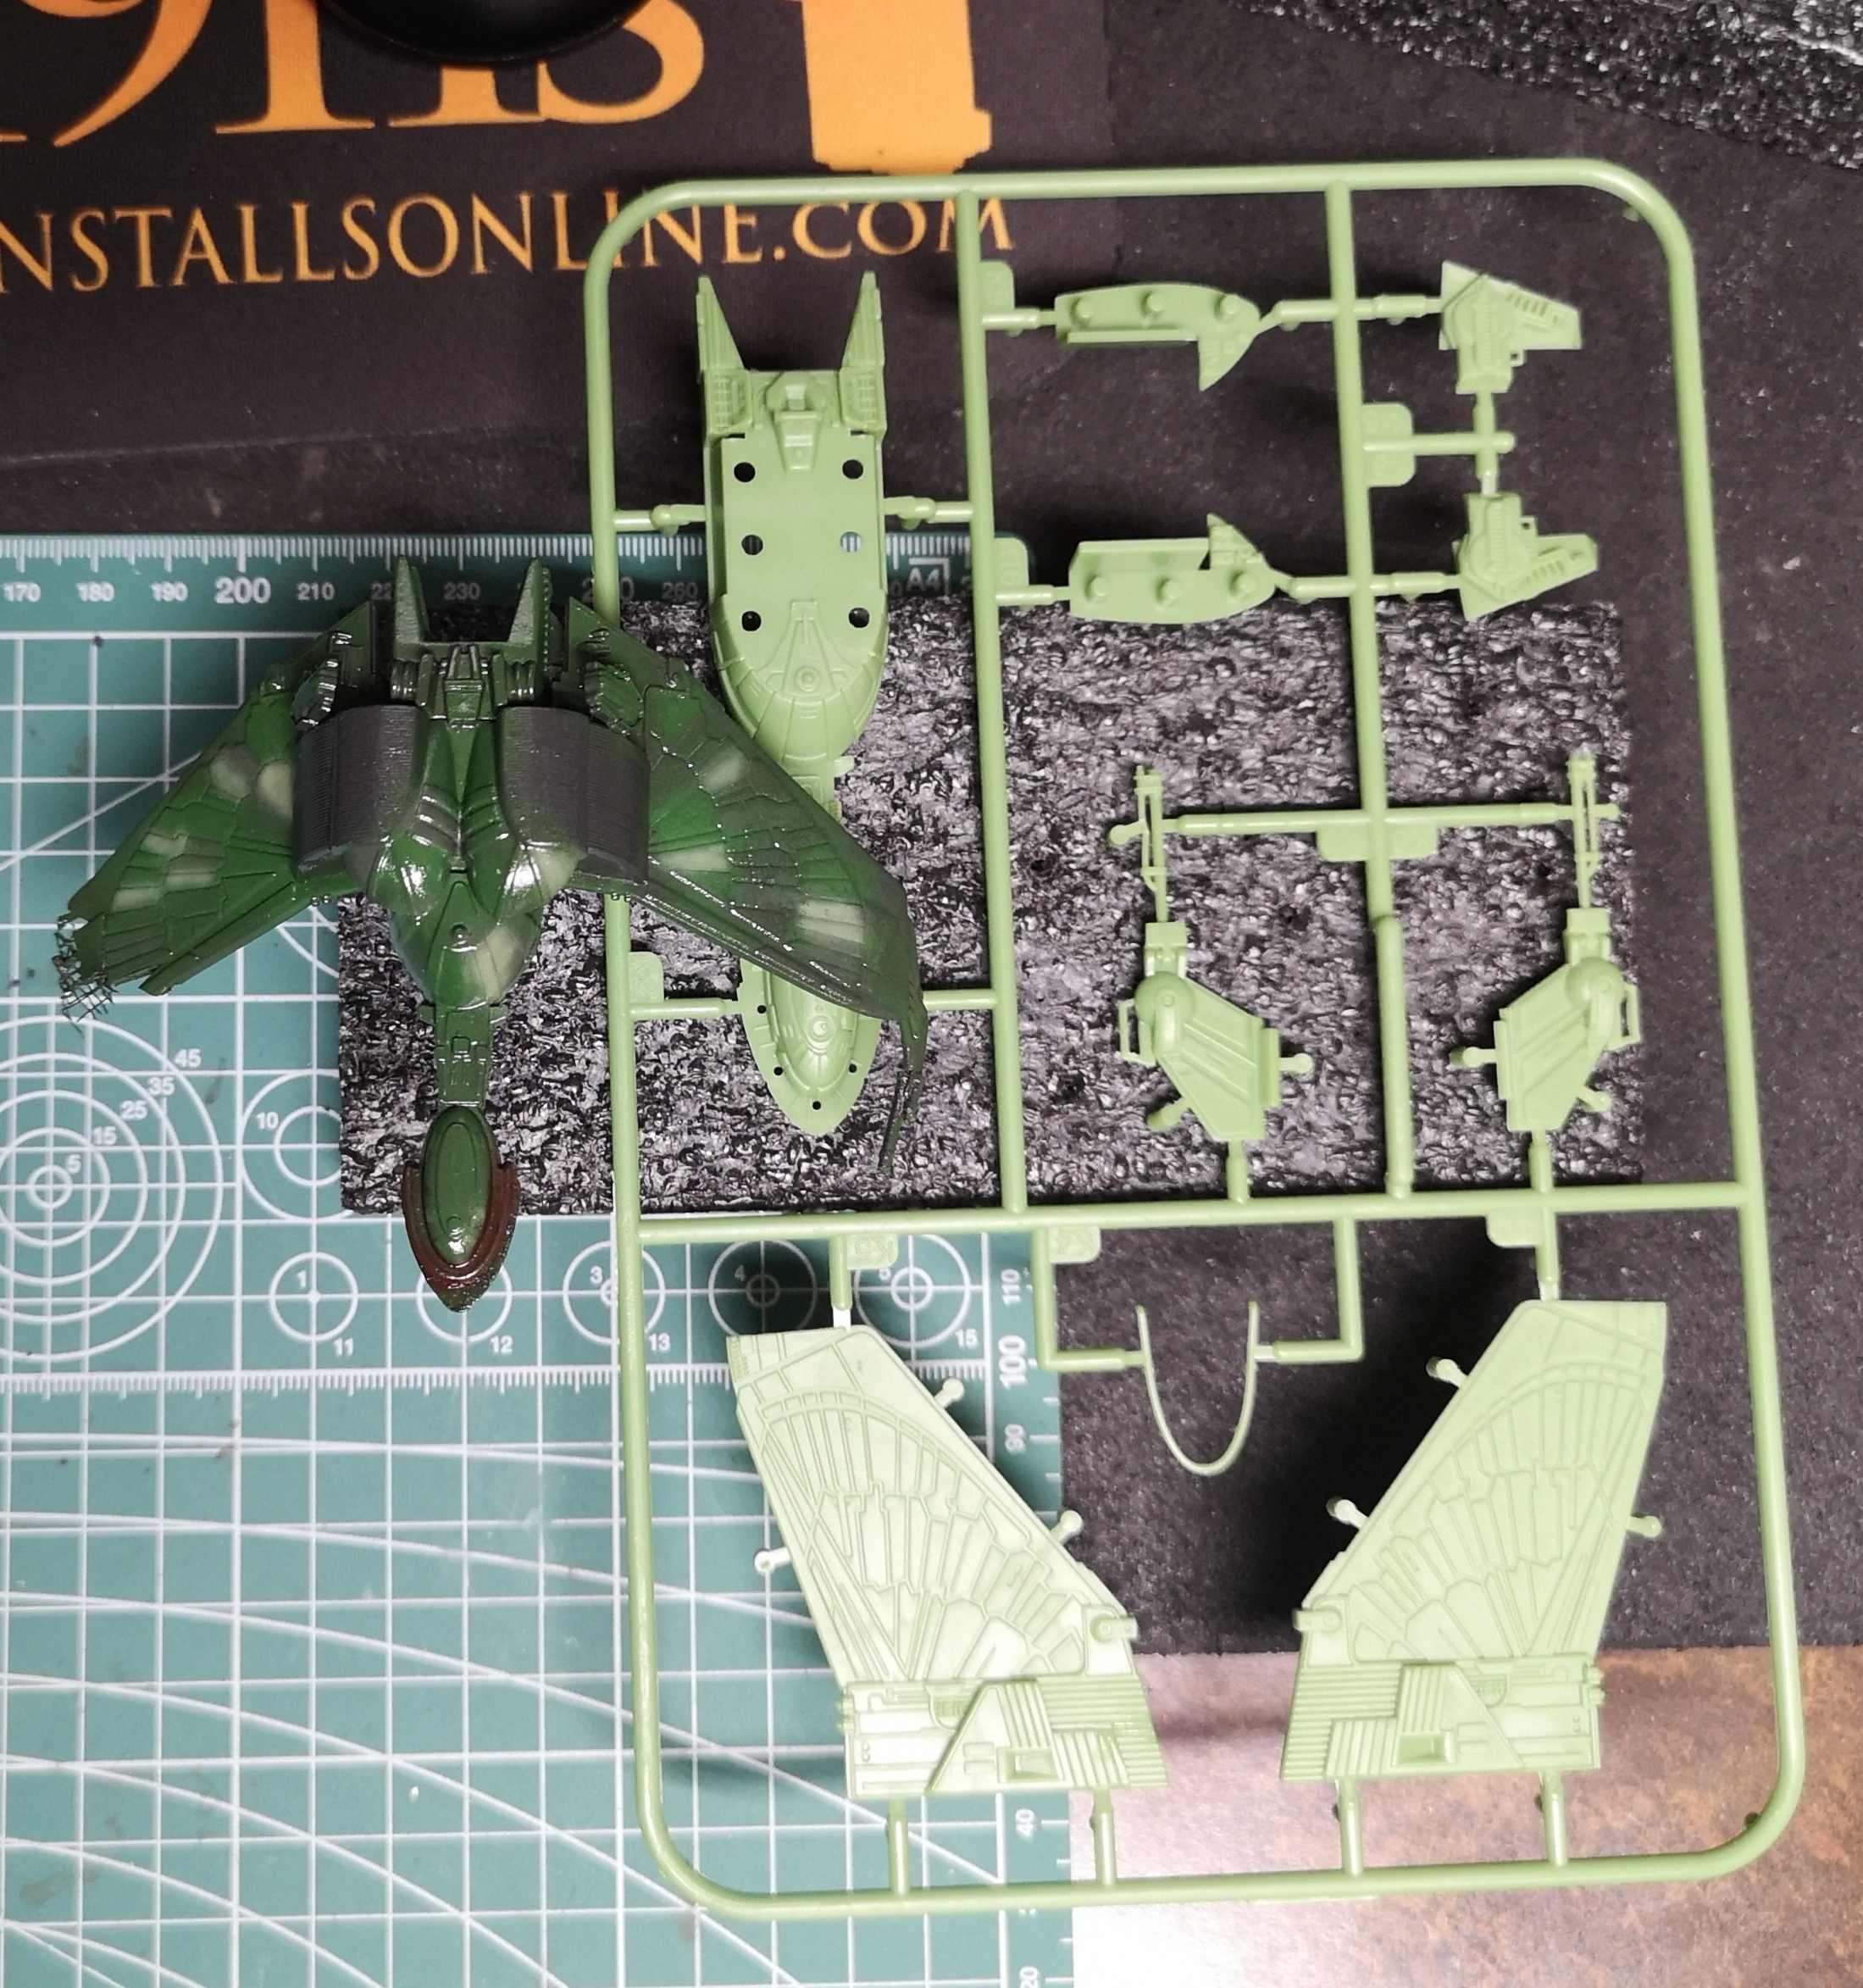
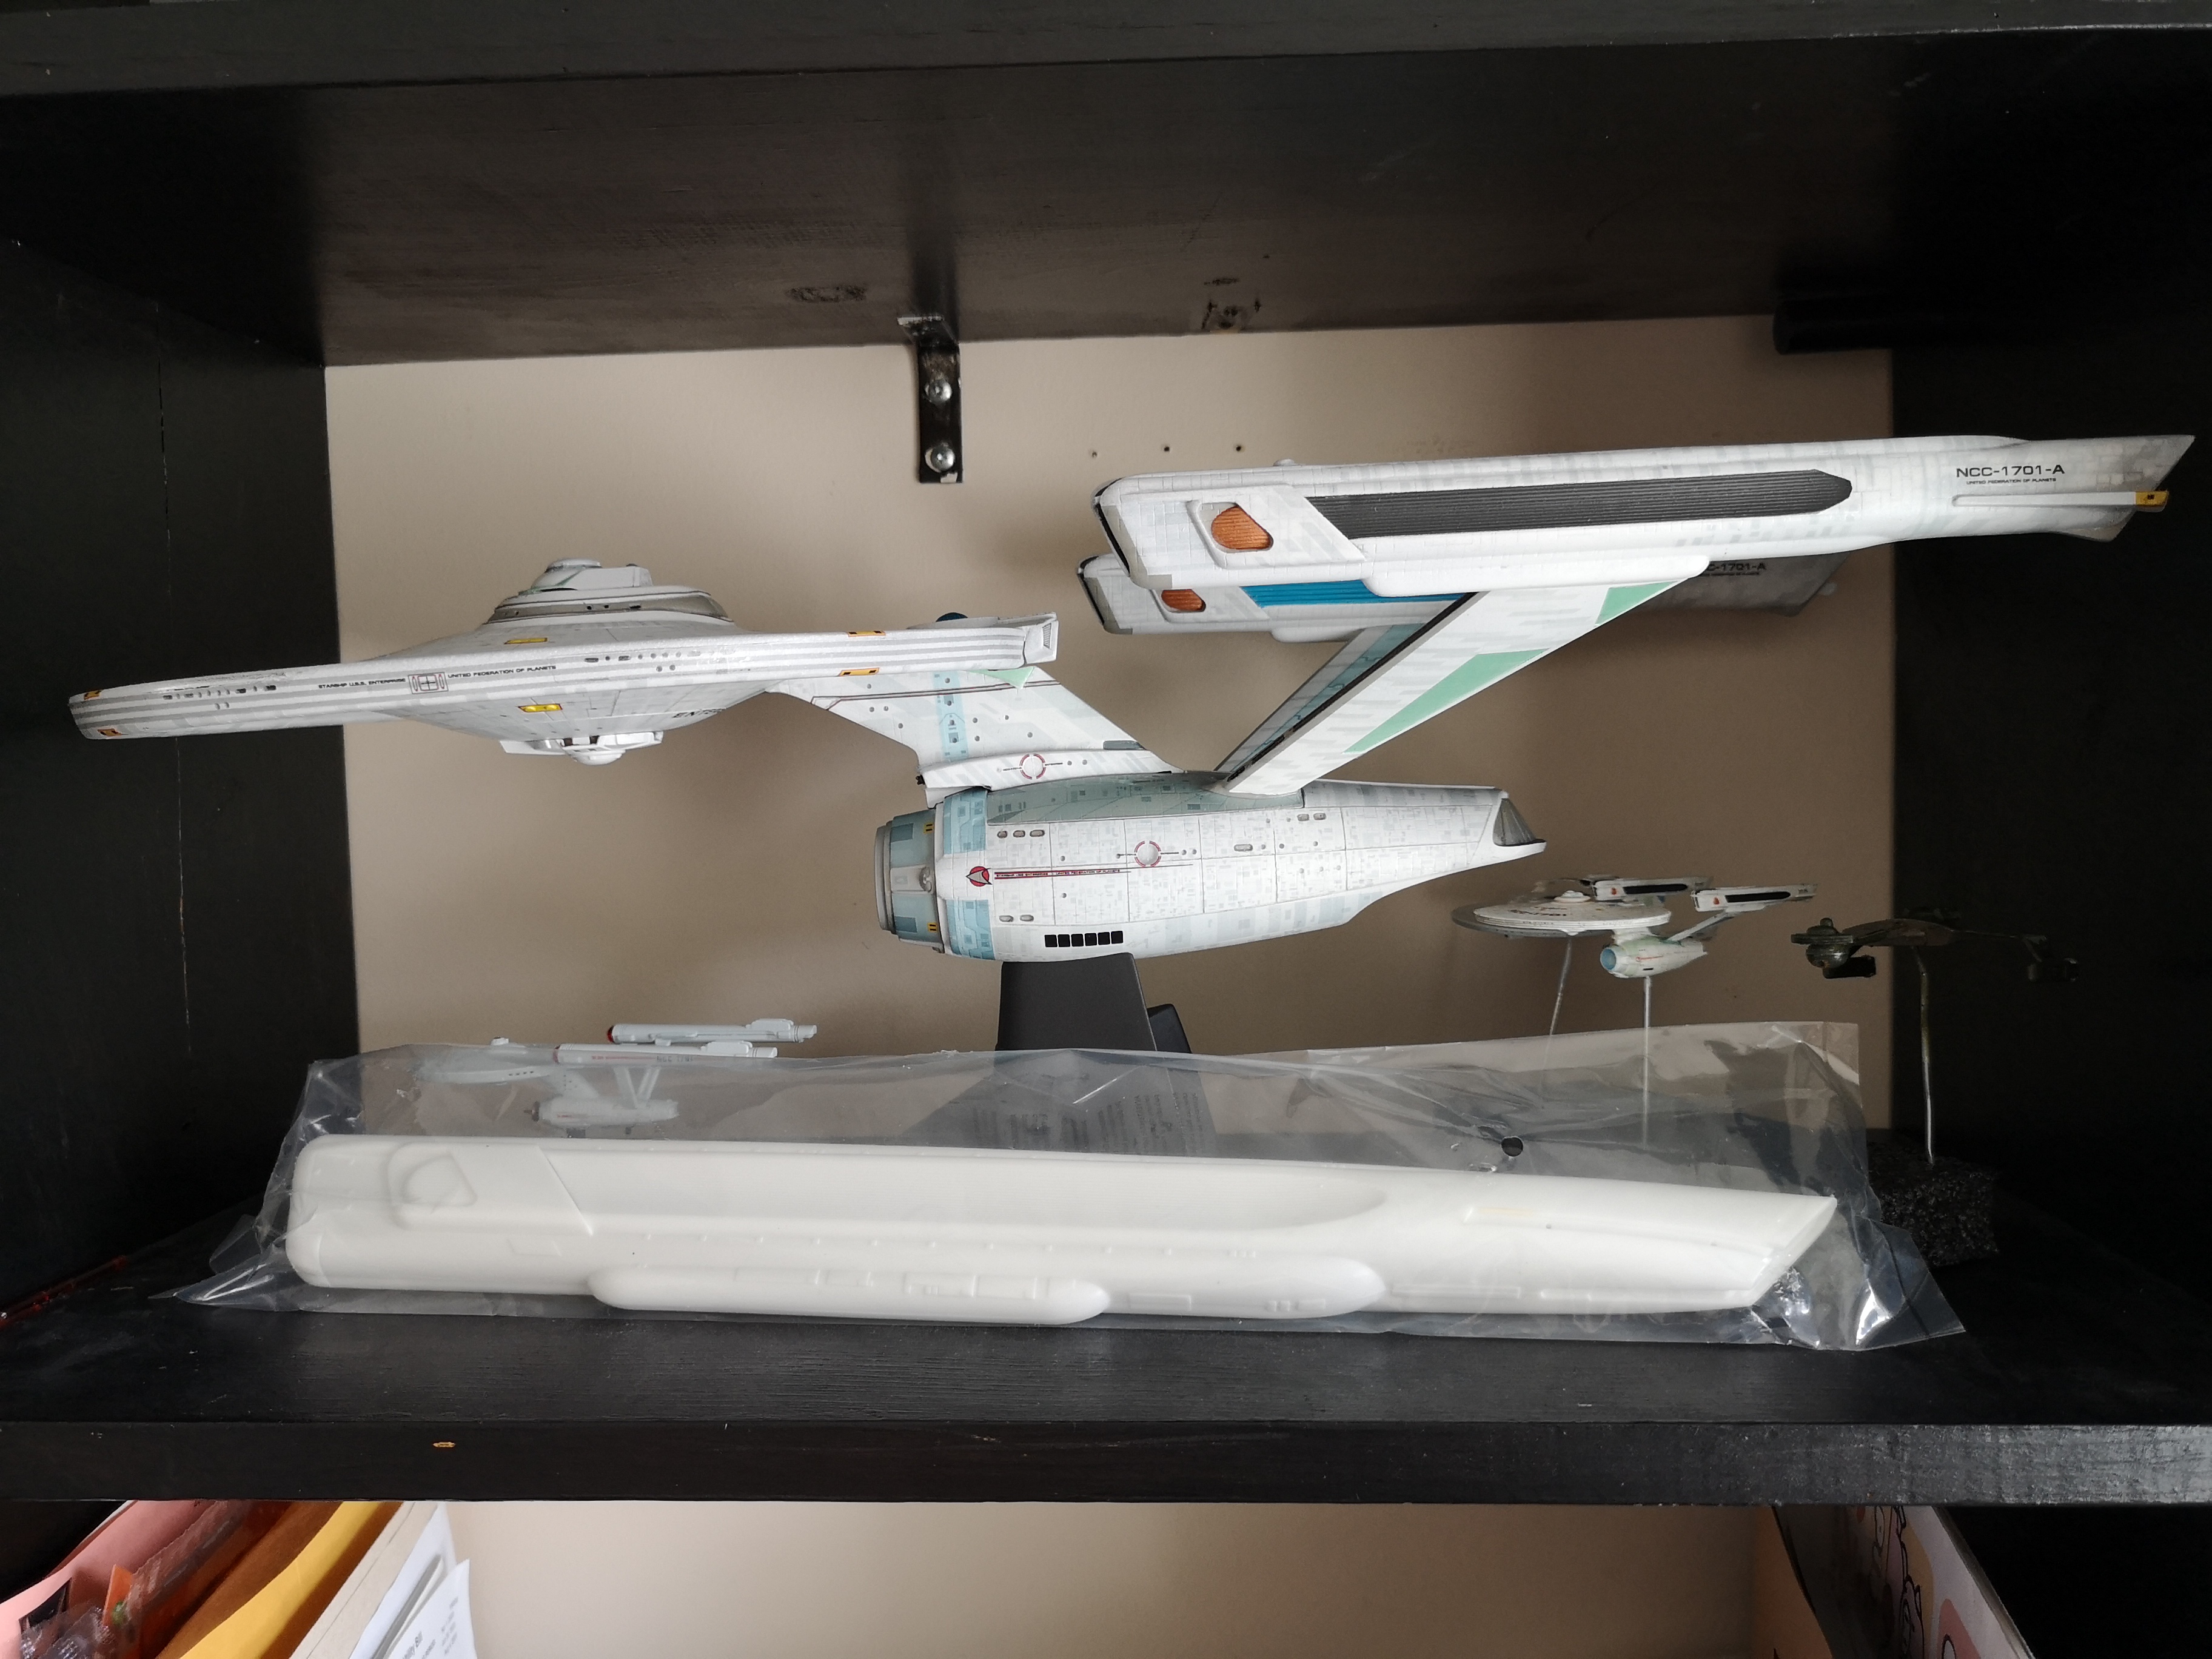
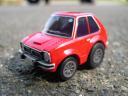
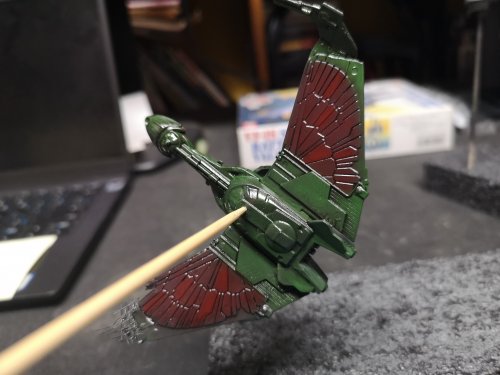
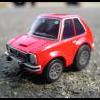
Definitely! It really helped hide the messiness of my airbrush work After Tamiya Flat Clear. Not bad for 20 year old Tamiya Red thinned with Windex. It was a good learning experience. A shame it doesn't really scale with anything I have. The 1/2500 ships are way too small to pair up with this BOP. The light green one on the runners is 1/1000 so this is just a bit smaller.


-
Sorry to hear about the Tomcat. I love F14s and built up a ton of really crappy ones when I was a kid. I still have them, but I don't think they are good candidates for refurbish jobs, at least not with my current skill level. I do have a new 1/32 scale Revell F14 sitting in my pile, but that might be a ways off (no space, lol!)
-
Looks awesome! I have a few of these in my pile and haven't dug up the courage to try them yet.
-
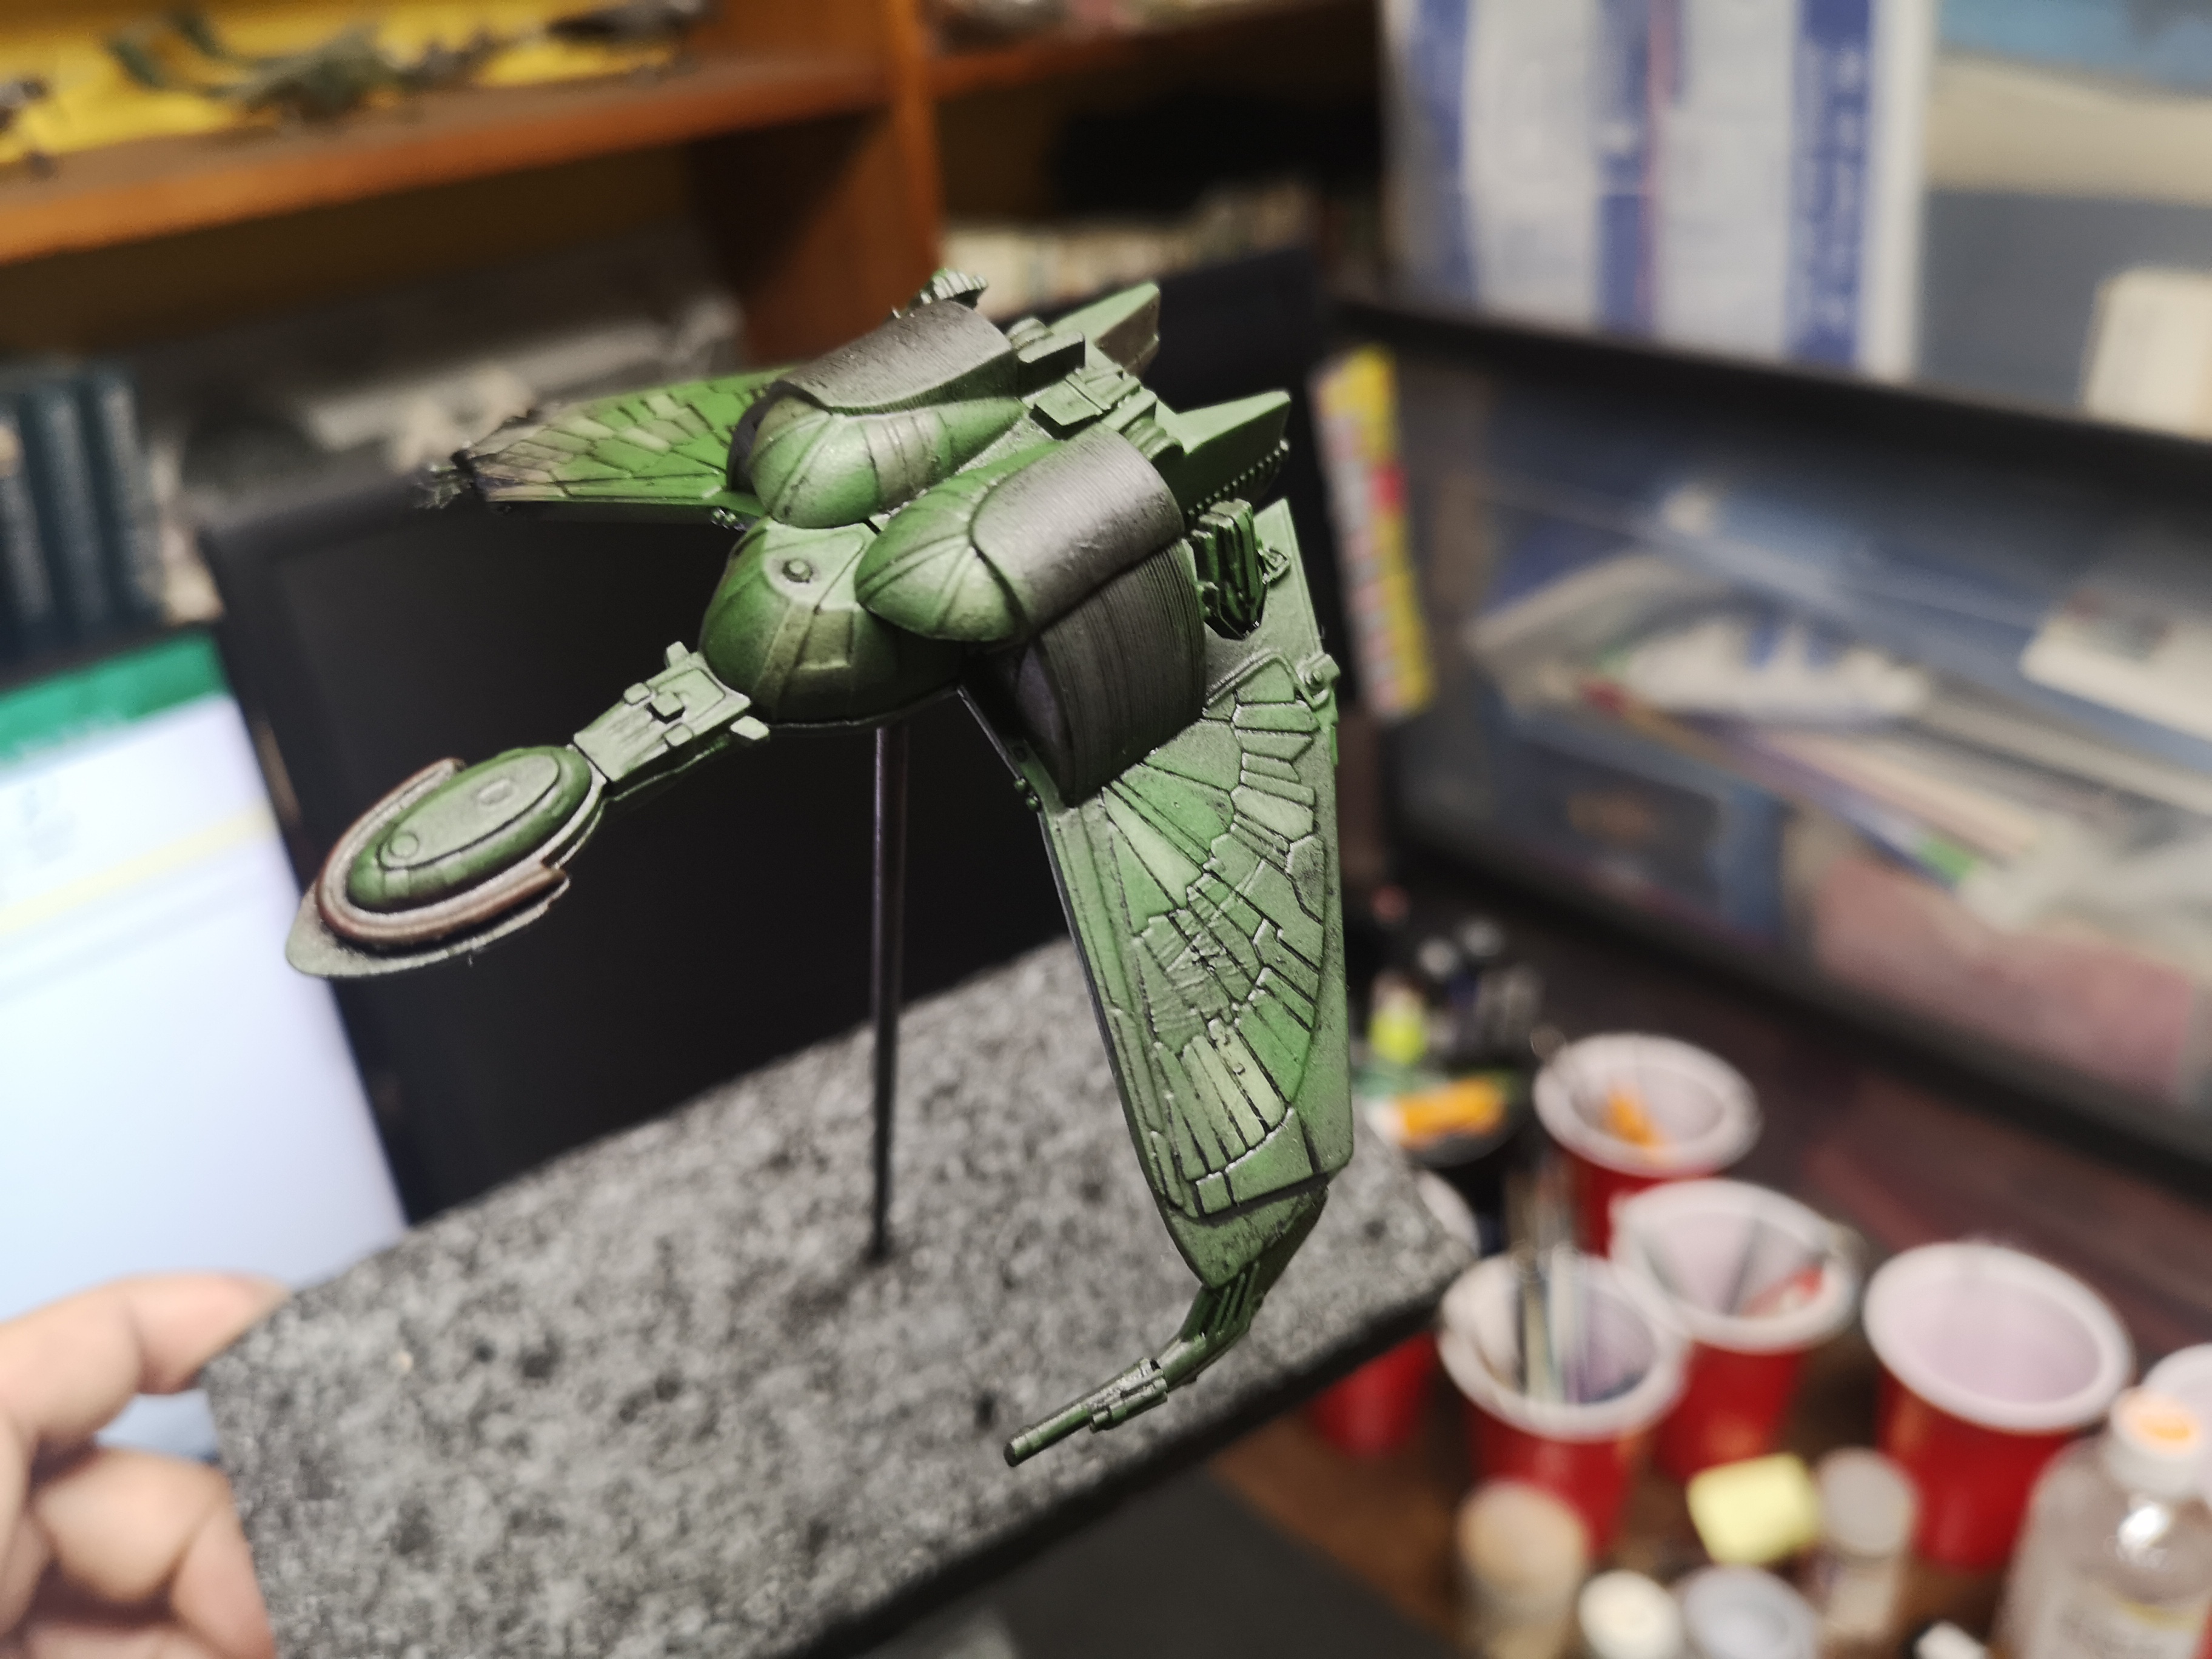
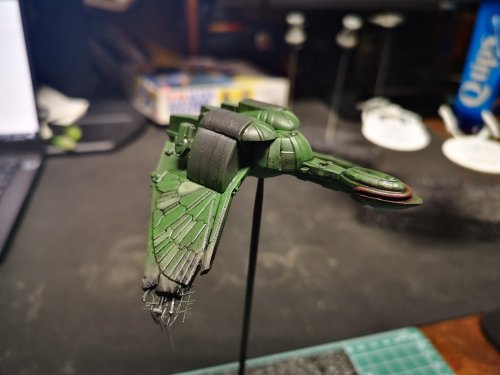
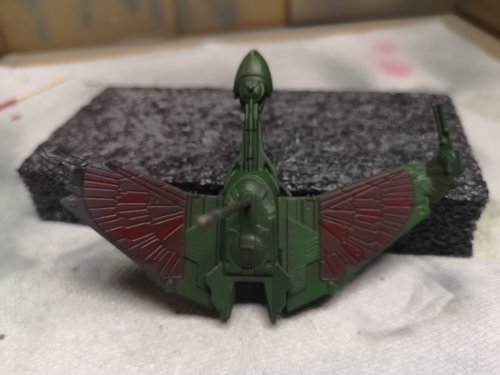
Lol, any excuse to throw some metal and plastic together Just a tiny bit of progress tonight, threw a little Tamiya Panel Line Accent Color onto the BOP refurbish project to give the lines some definition. The feathers were a bit fuzzy from the free-hand airbrush work so this righted up the edges a bit. A bit more weathering tomorrow and then dull coat.....hopefully it doesn't bring out the flaws, lol!


-
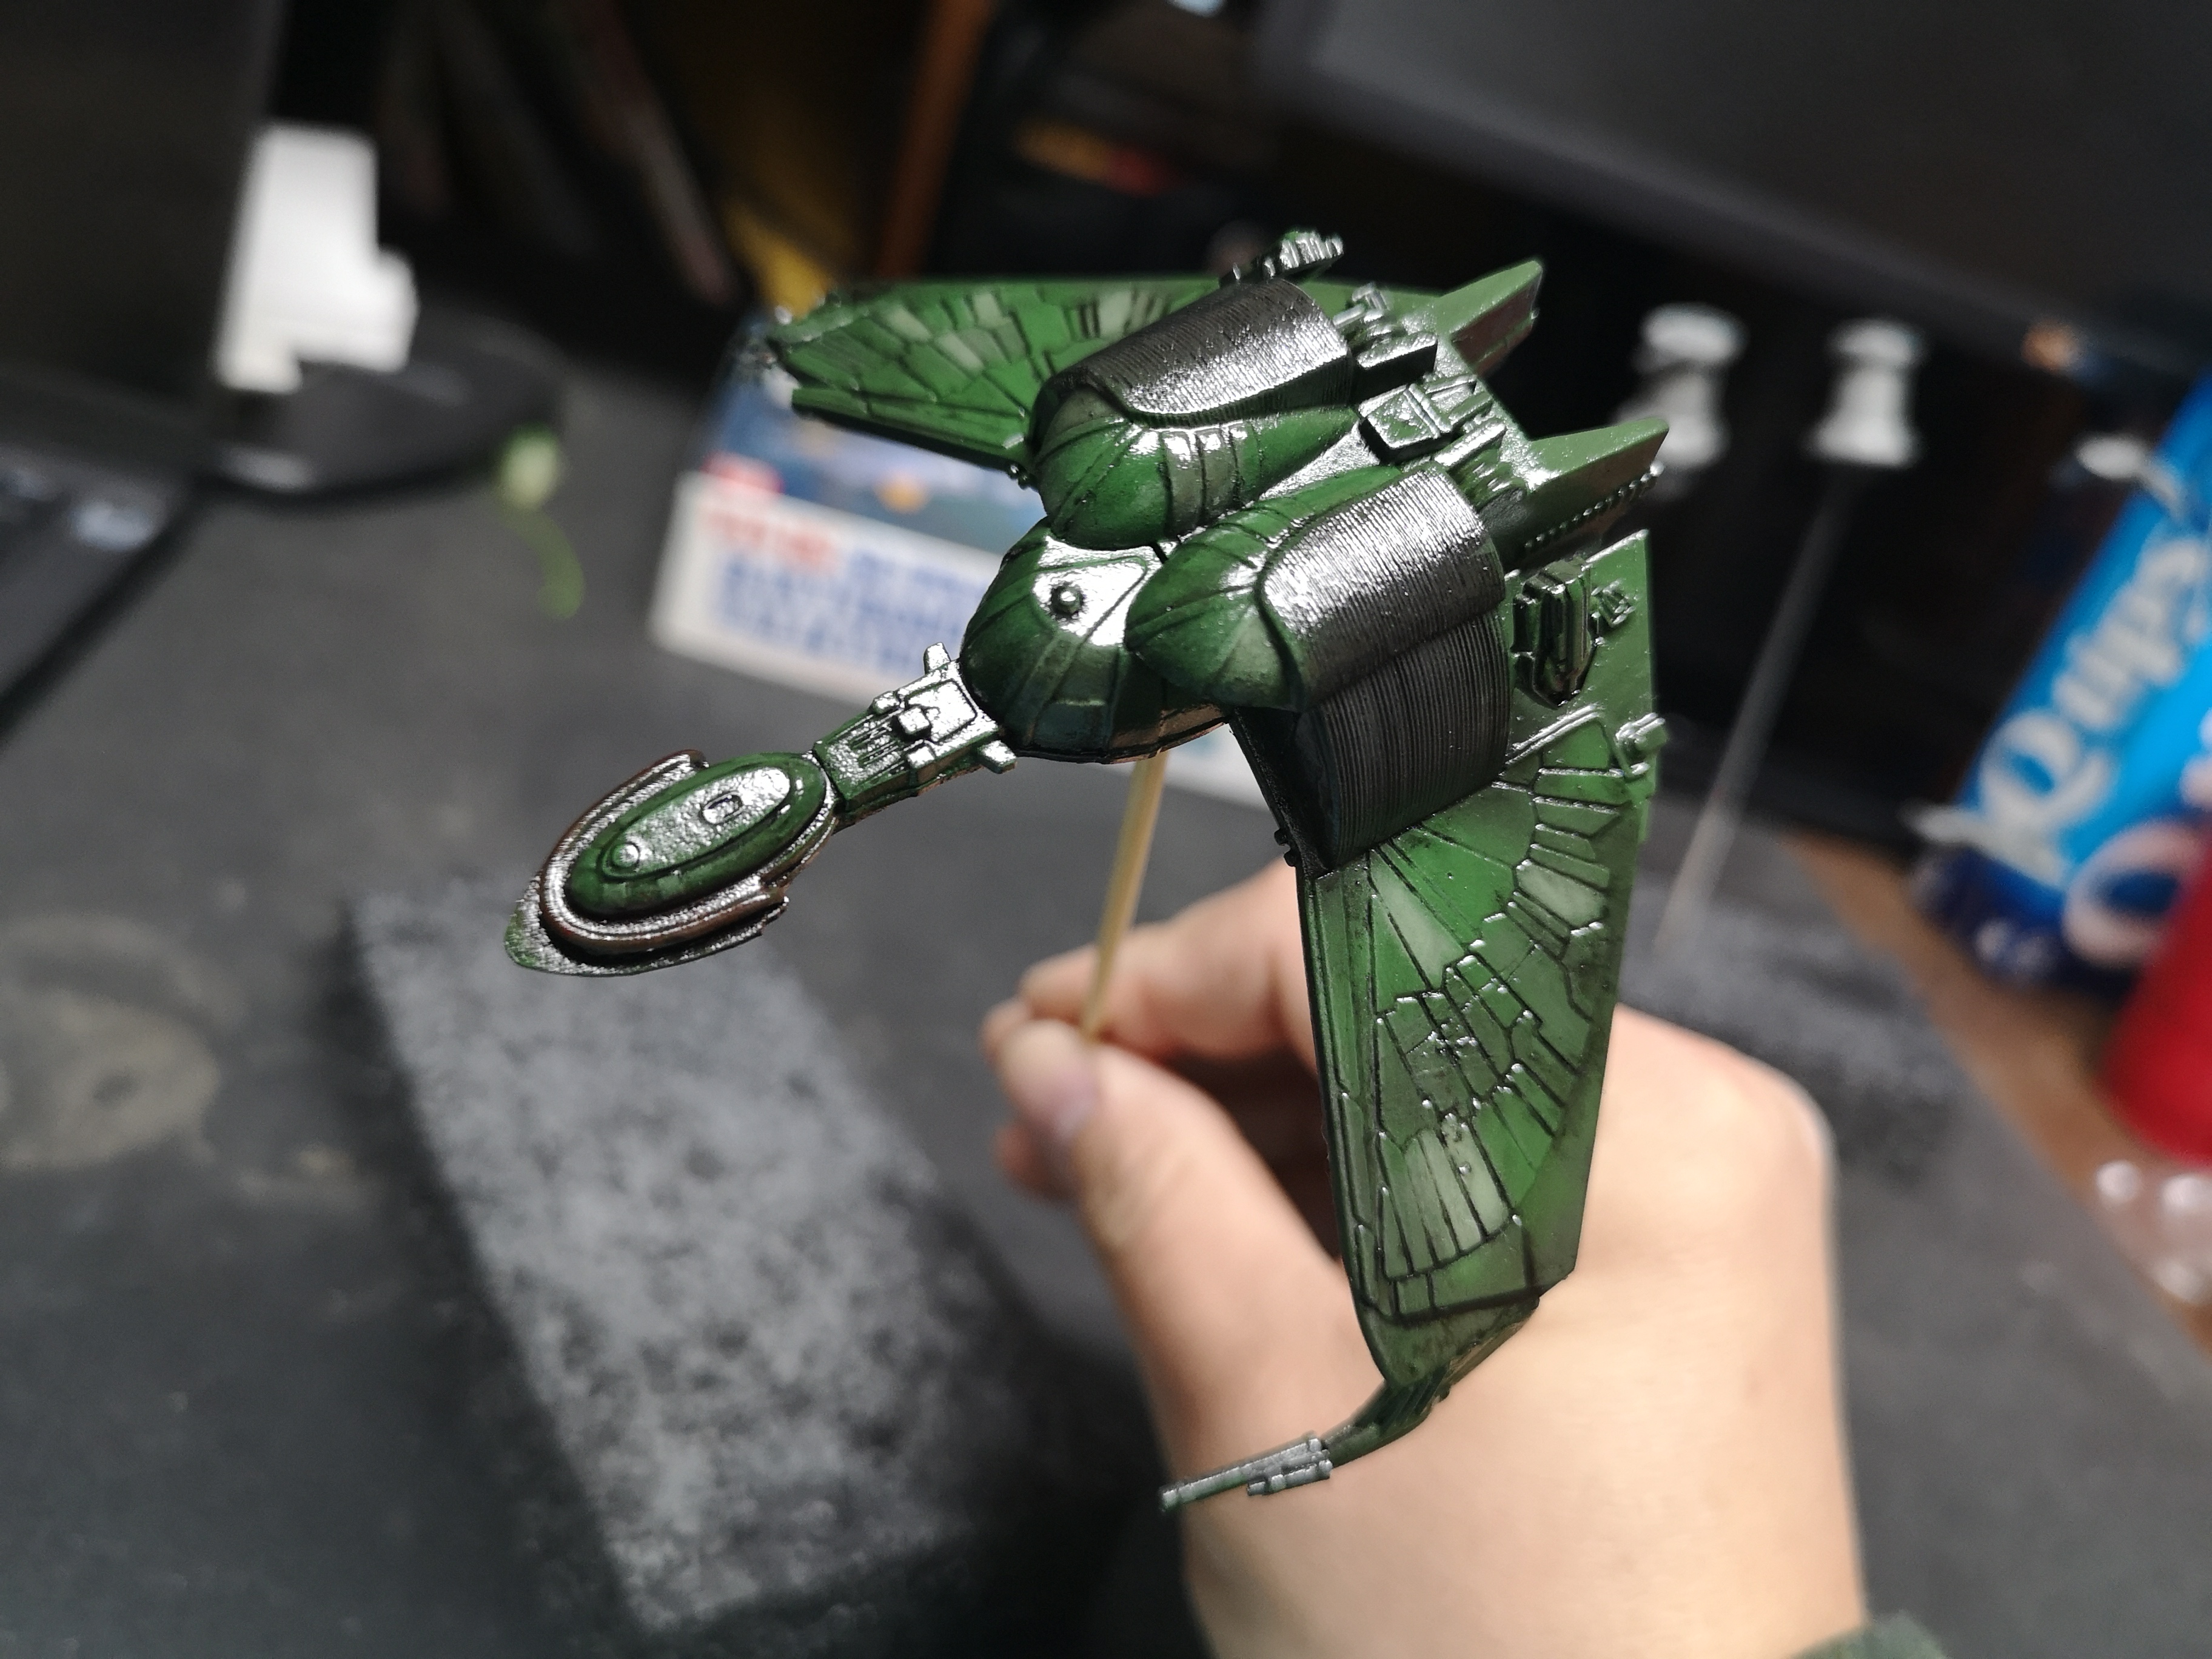
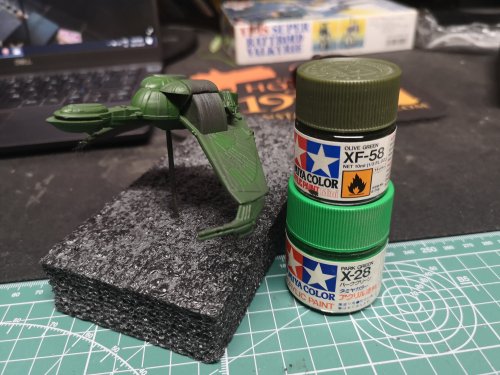
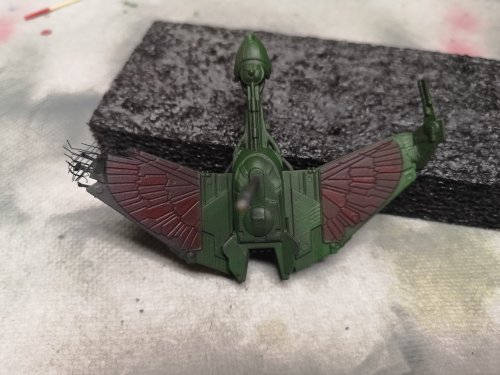
Ok, so, BOP refurbish project.....it's become a guinea pig test bed to see what the limitations of my skills and tools are. I brush painted the thing some sort of Testors OD green 30+ years ago so I tried to strip it off last summer (unsuccessfully) along with those two K'Tingas I refurbished. A few days ago, I gave the BOP a shot of Rustoleum charcoal and today I tried to mix some green to get it close. I painted my two 537 K'Tingas OD Green (as well as that little 1/2500 K'Tinga to match), and now I sort of wish I had an airbrush at the time to mix a color that's more screen accurate. Oh well, I'm not going to refurbish those things again, lol! Anyway, I didn't take exact measurements, I just I took two drops (ish) of Park and a drop of Olive and got this funky thing. Next I took a drop of this and threw it through the airbrush. Another experiment. This time I was testing to see how fine a line I could get and how steady I could paint without the aid of masks. I ended up with a bunch of fuzzy feathers, lol! After I clear coat it and give the thing a wash with Tamiya panel line, maybe that will sharpen up some of the edges. If not, well, this thing was a write off to begin with so as long as I got some practice in, no loss. Next experiment was thinning paint. I used pure Windex on Tamiya Red and started layering it on top of the Rustoleum charcoal. I wanted to test to see if Windex could work as a thinning agent in the event I was not able to obtain more Tamiya X20A. I wasn't concerned about adding a blue tinge to the red as it's not supposed to be a bright red anyway. Took my time building up very thin layers, but it seemed to take. Also focused on a few feathers to vary the color so some will appear brighter than others. This was also some more practice for me to see if I could hold the airbrush steady enough to not use masking. Gave it a shot of Pledge and will let it cure for a day, more to follow later. Looking forward to building a larger BOP eventually


-
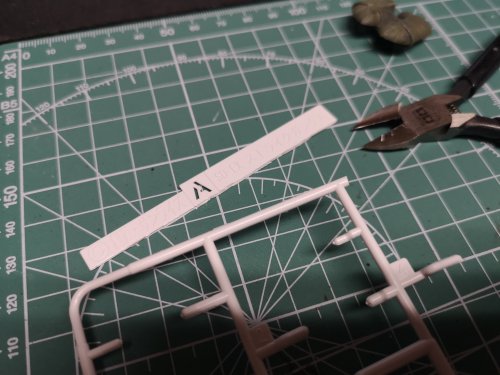
Those stretched sprues are a great idea....I haven't tried that in ages....like 35 years or so.....will need to learn that skill again if I ever get back into building battleships.
-
Umm.....what is that under the Valk? It looks like part of the SDF1 or one of the ARMD carriers? Looks awesome so far!
-
Lol, you never know, I could totally blow it and botch this thing.... I will try to take my time with it. Not brave enough to mask the thing and paint the 5 stage pearl paint, just going to try and track down a set of Aztec decals when they reissue them. I'm also looking into lighting it. Scary for me as I've never illuminated any of my models.
-
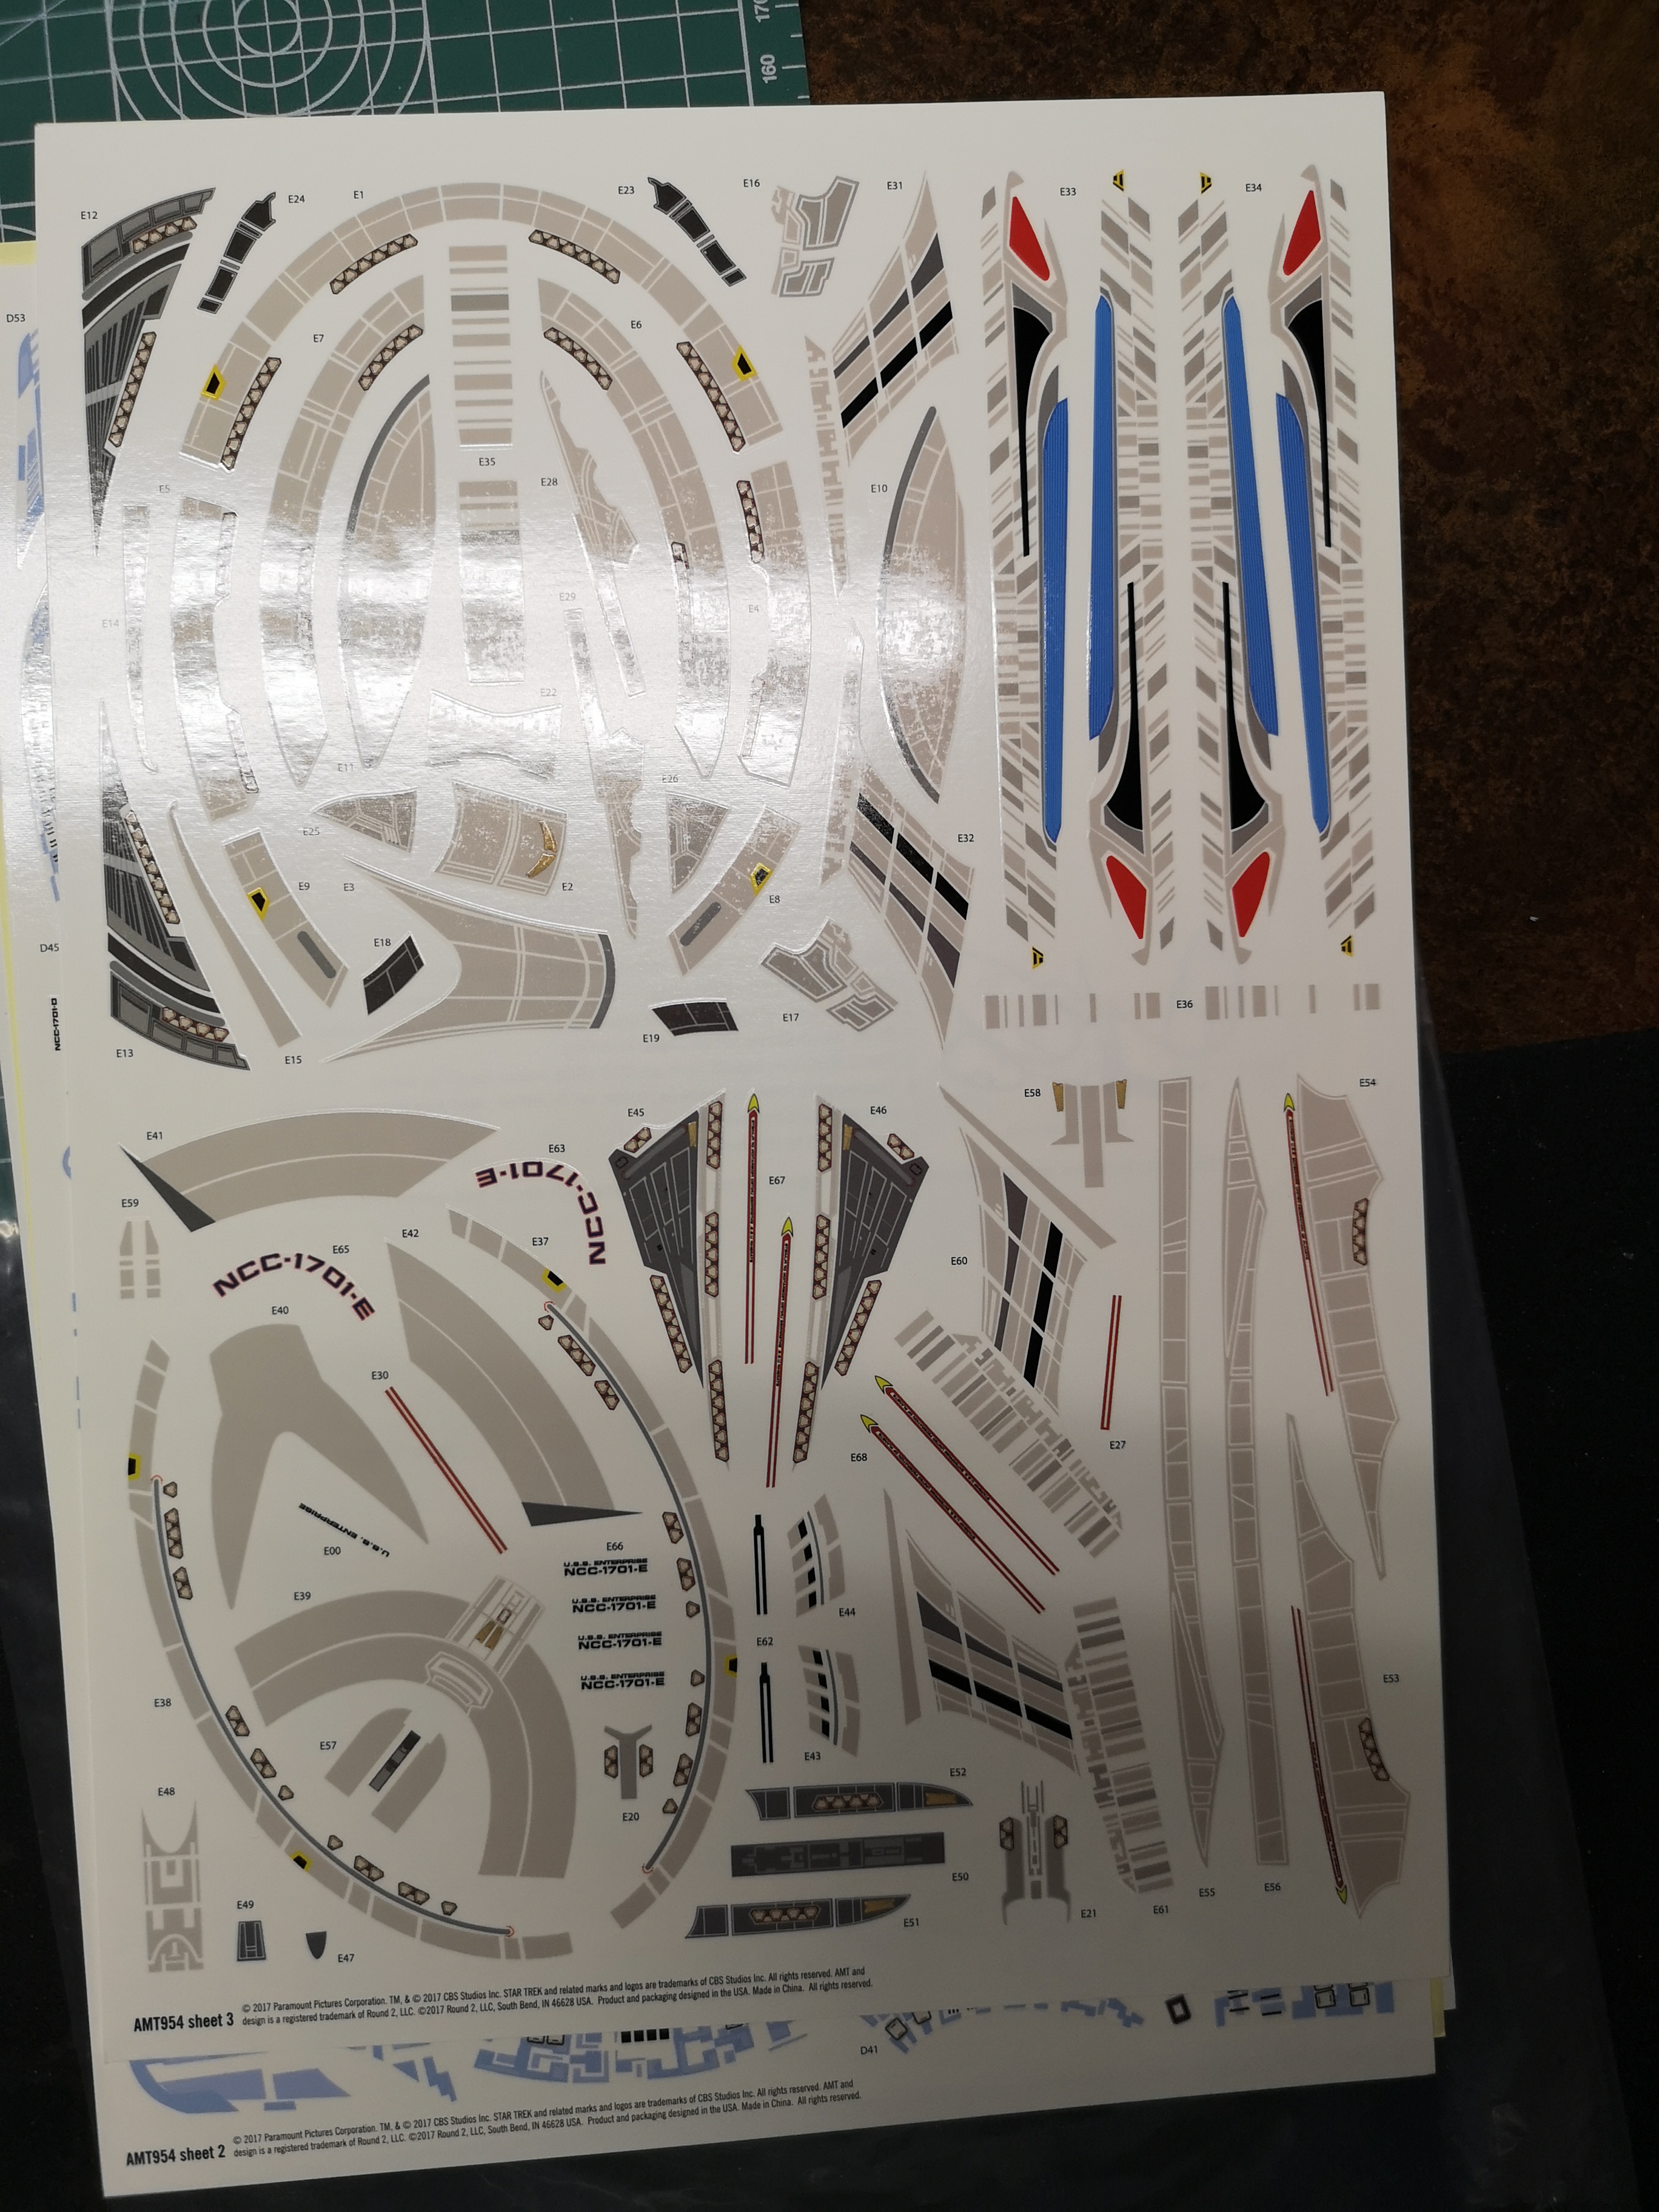
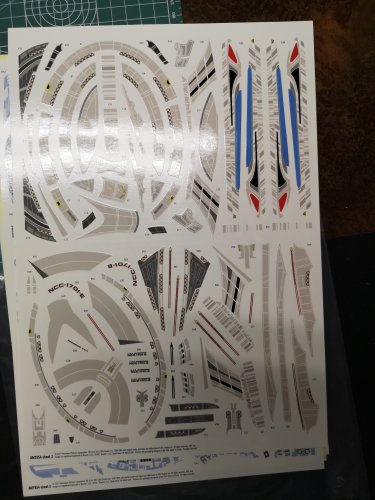
https://www.scalemates.com/kits/absolute-models-abm-1701-e-ultimate-grade-enterprise-1701-e-1-2500-scale-decals--1259164 Damn....I wish I could unsee these now.
-
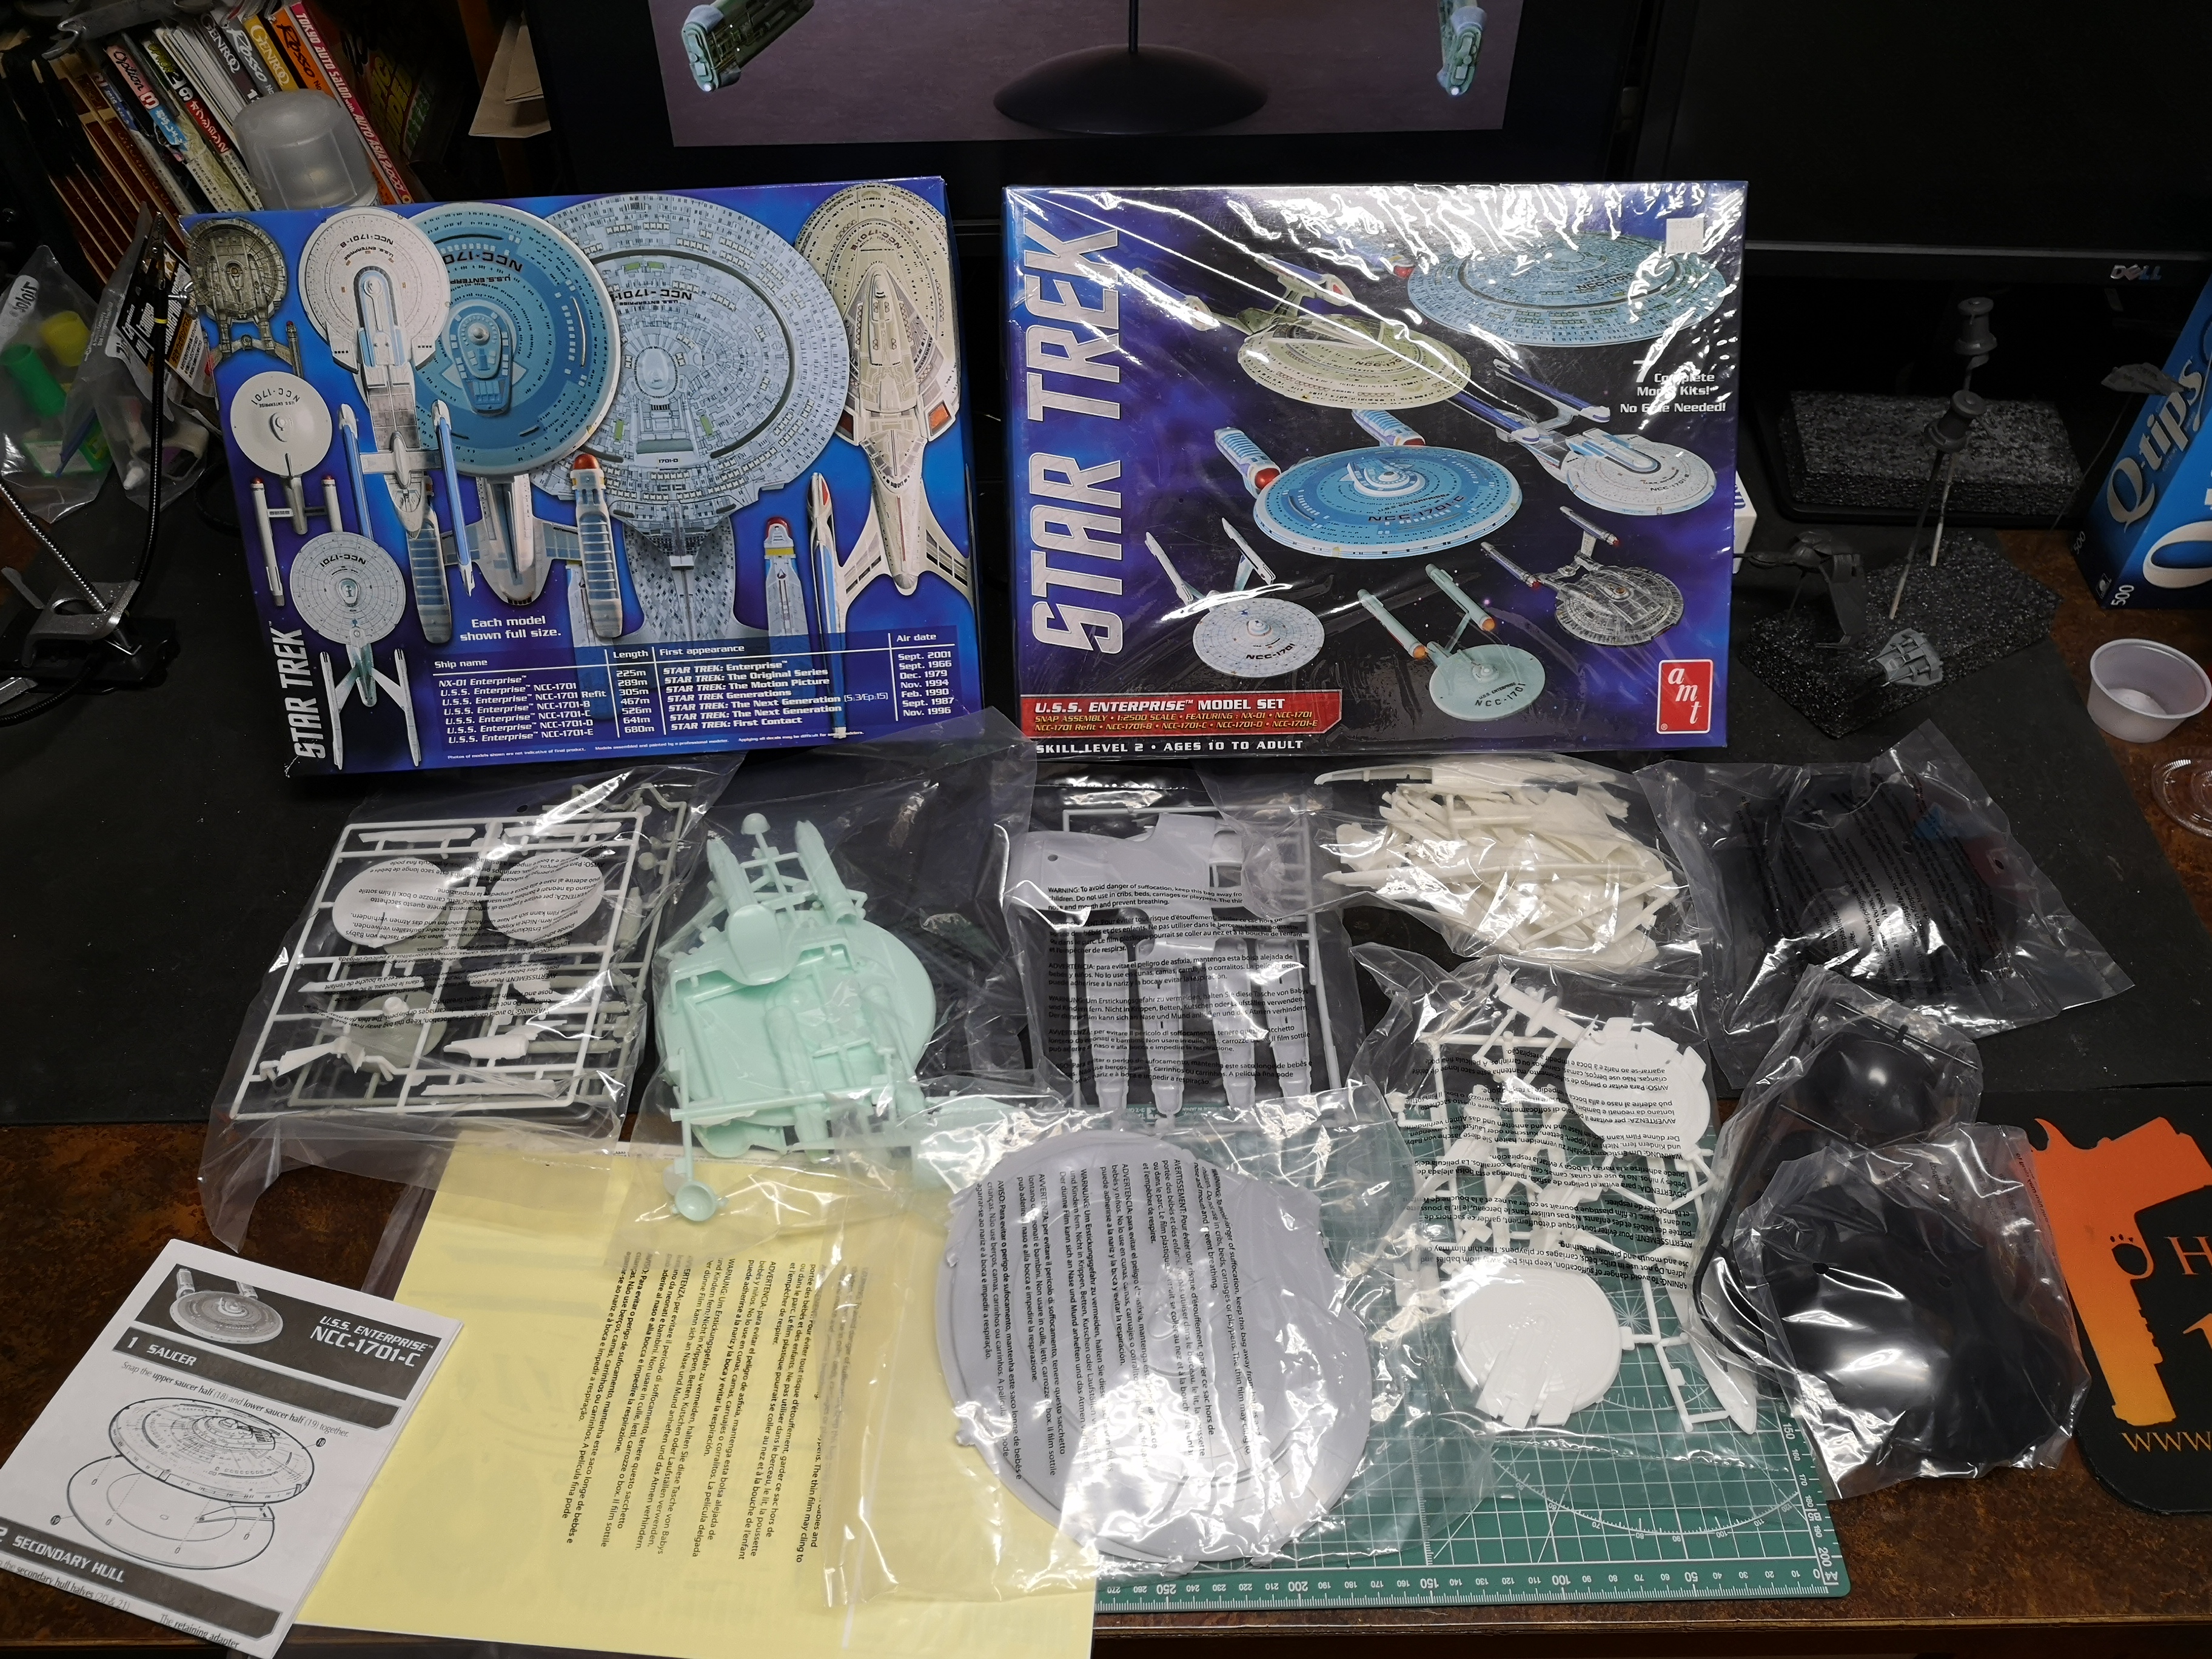
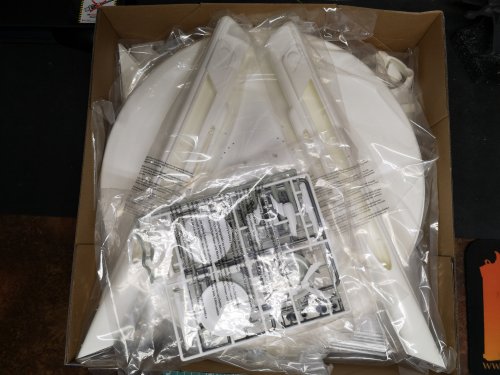
I think these are the decals for the Ent E. I'm going to be honest, I haven't done a lot of needing out or research on the E or what it's supposed to look at so I'm not sure if these decals are garbage or not. I do know the refit and the Ent D decals were good. As for space for the 350 Refit, I don't have space either, lol! My shelf. So, I will have think of something. The kit was 25% off today so it was $110 CAD and it was too hard to say no. I'll figure out the space for it later, but I have to say, I felt like a kid again. I remember back then I used to think the 537 Refit was huge, haha!

-
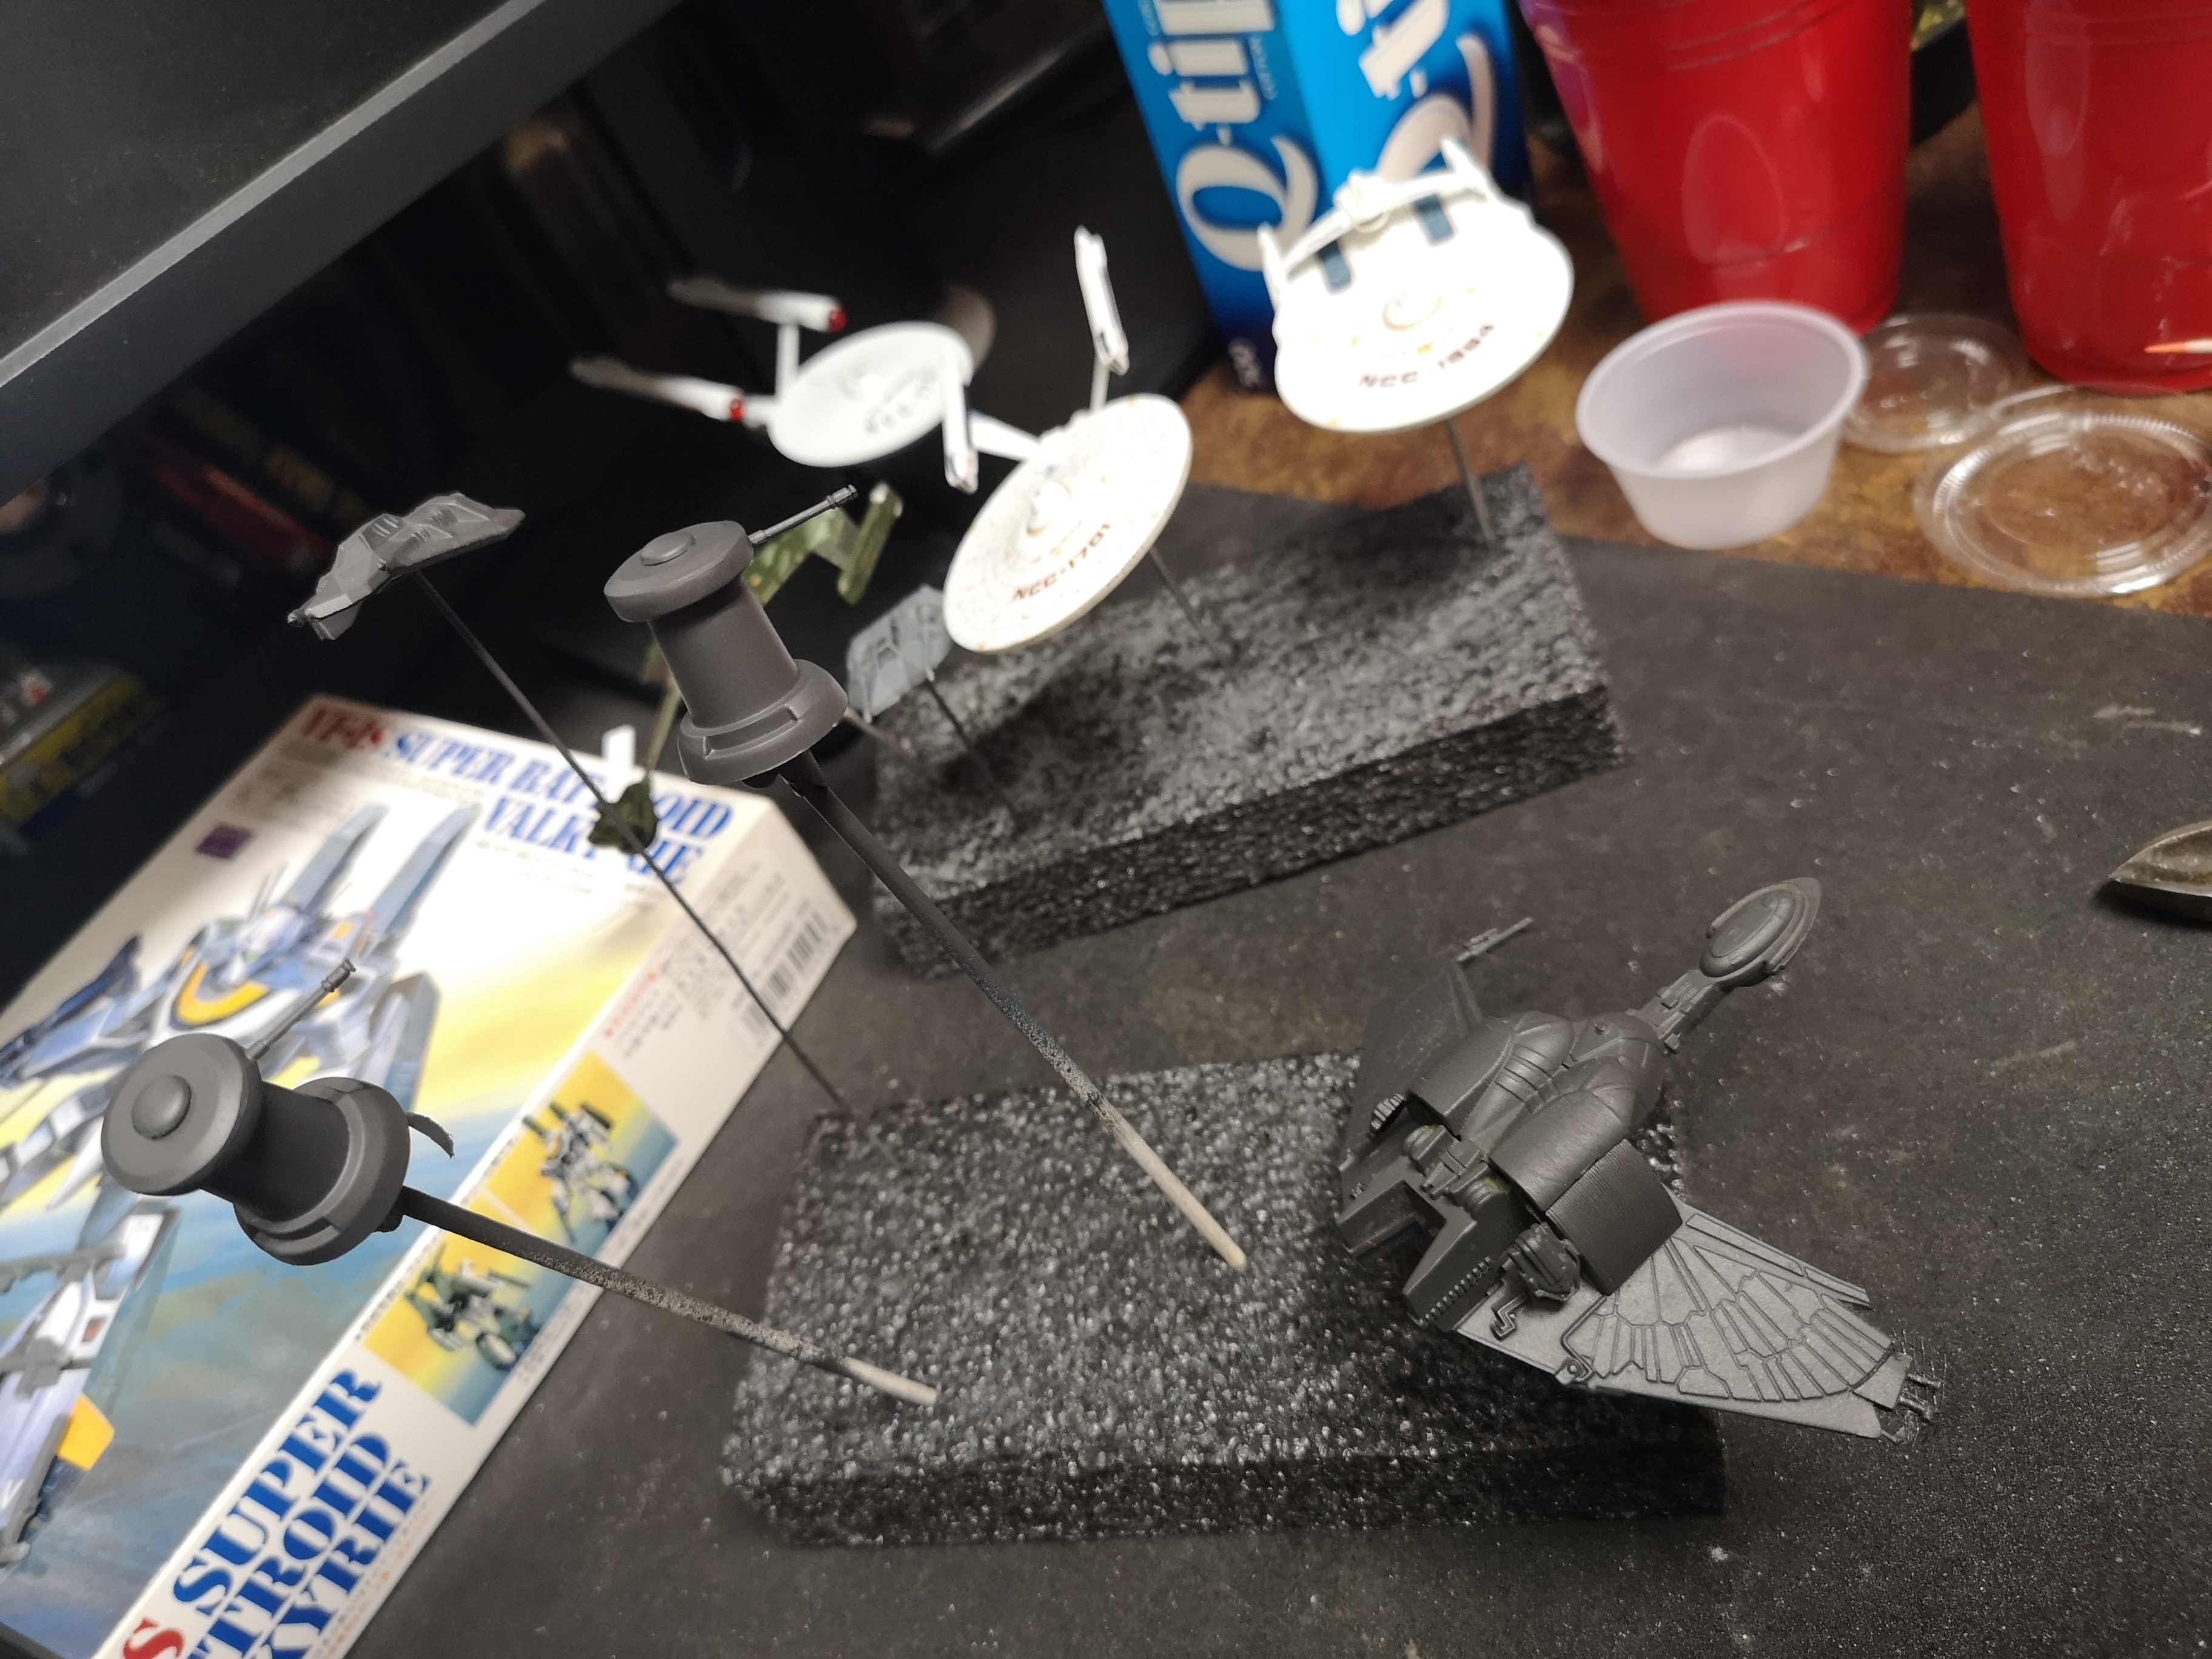
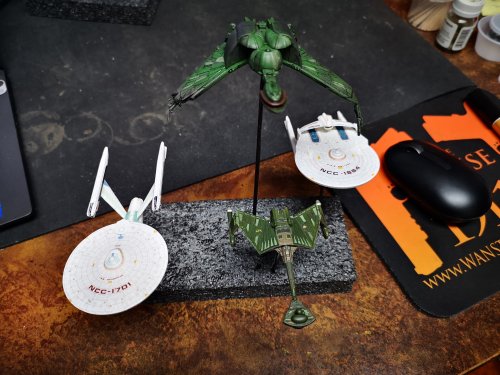
Look how tiny the 1/2500 is compared to this monster! I'll probably start one of these soon.

-
Not on the workbench yet, but the local hobby shop is having a 25% off sale.


-
1/48+fp's, 1/60+fp's, 1/72, 1/2k, 1/3k,1/100 and now 1/144
peter replied to VF-18S Hornet's topic in Toys
The squishy bits inside are leaking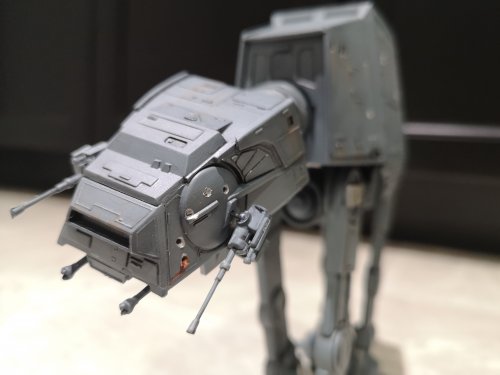
-
1/48+fp's, 1/60+fp's, 1/72, 1/2k, 1/3k,1/100 and now 1/144
peter replied to VF-18S Hornet's topic in Toys
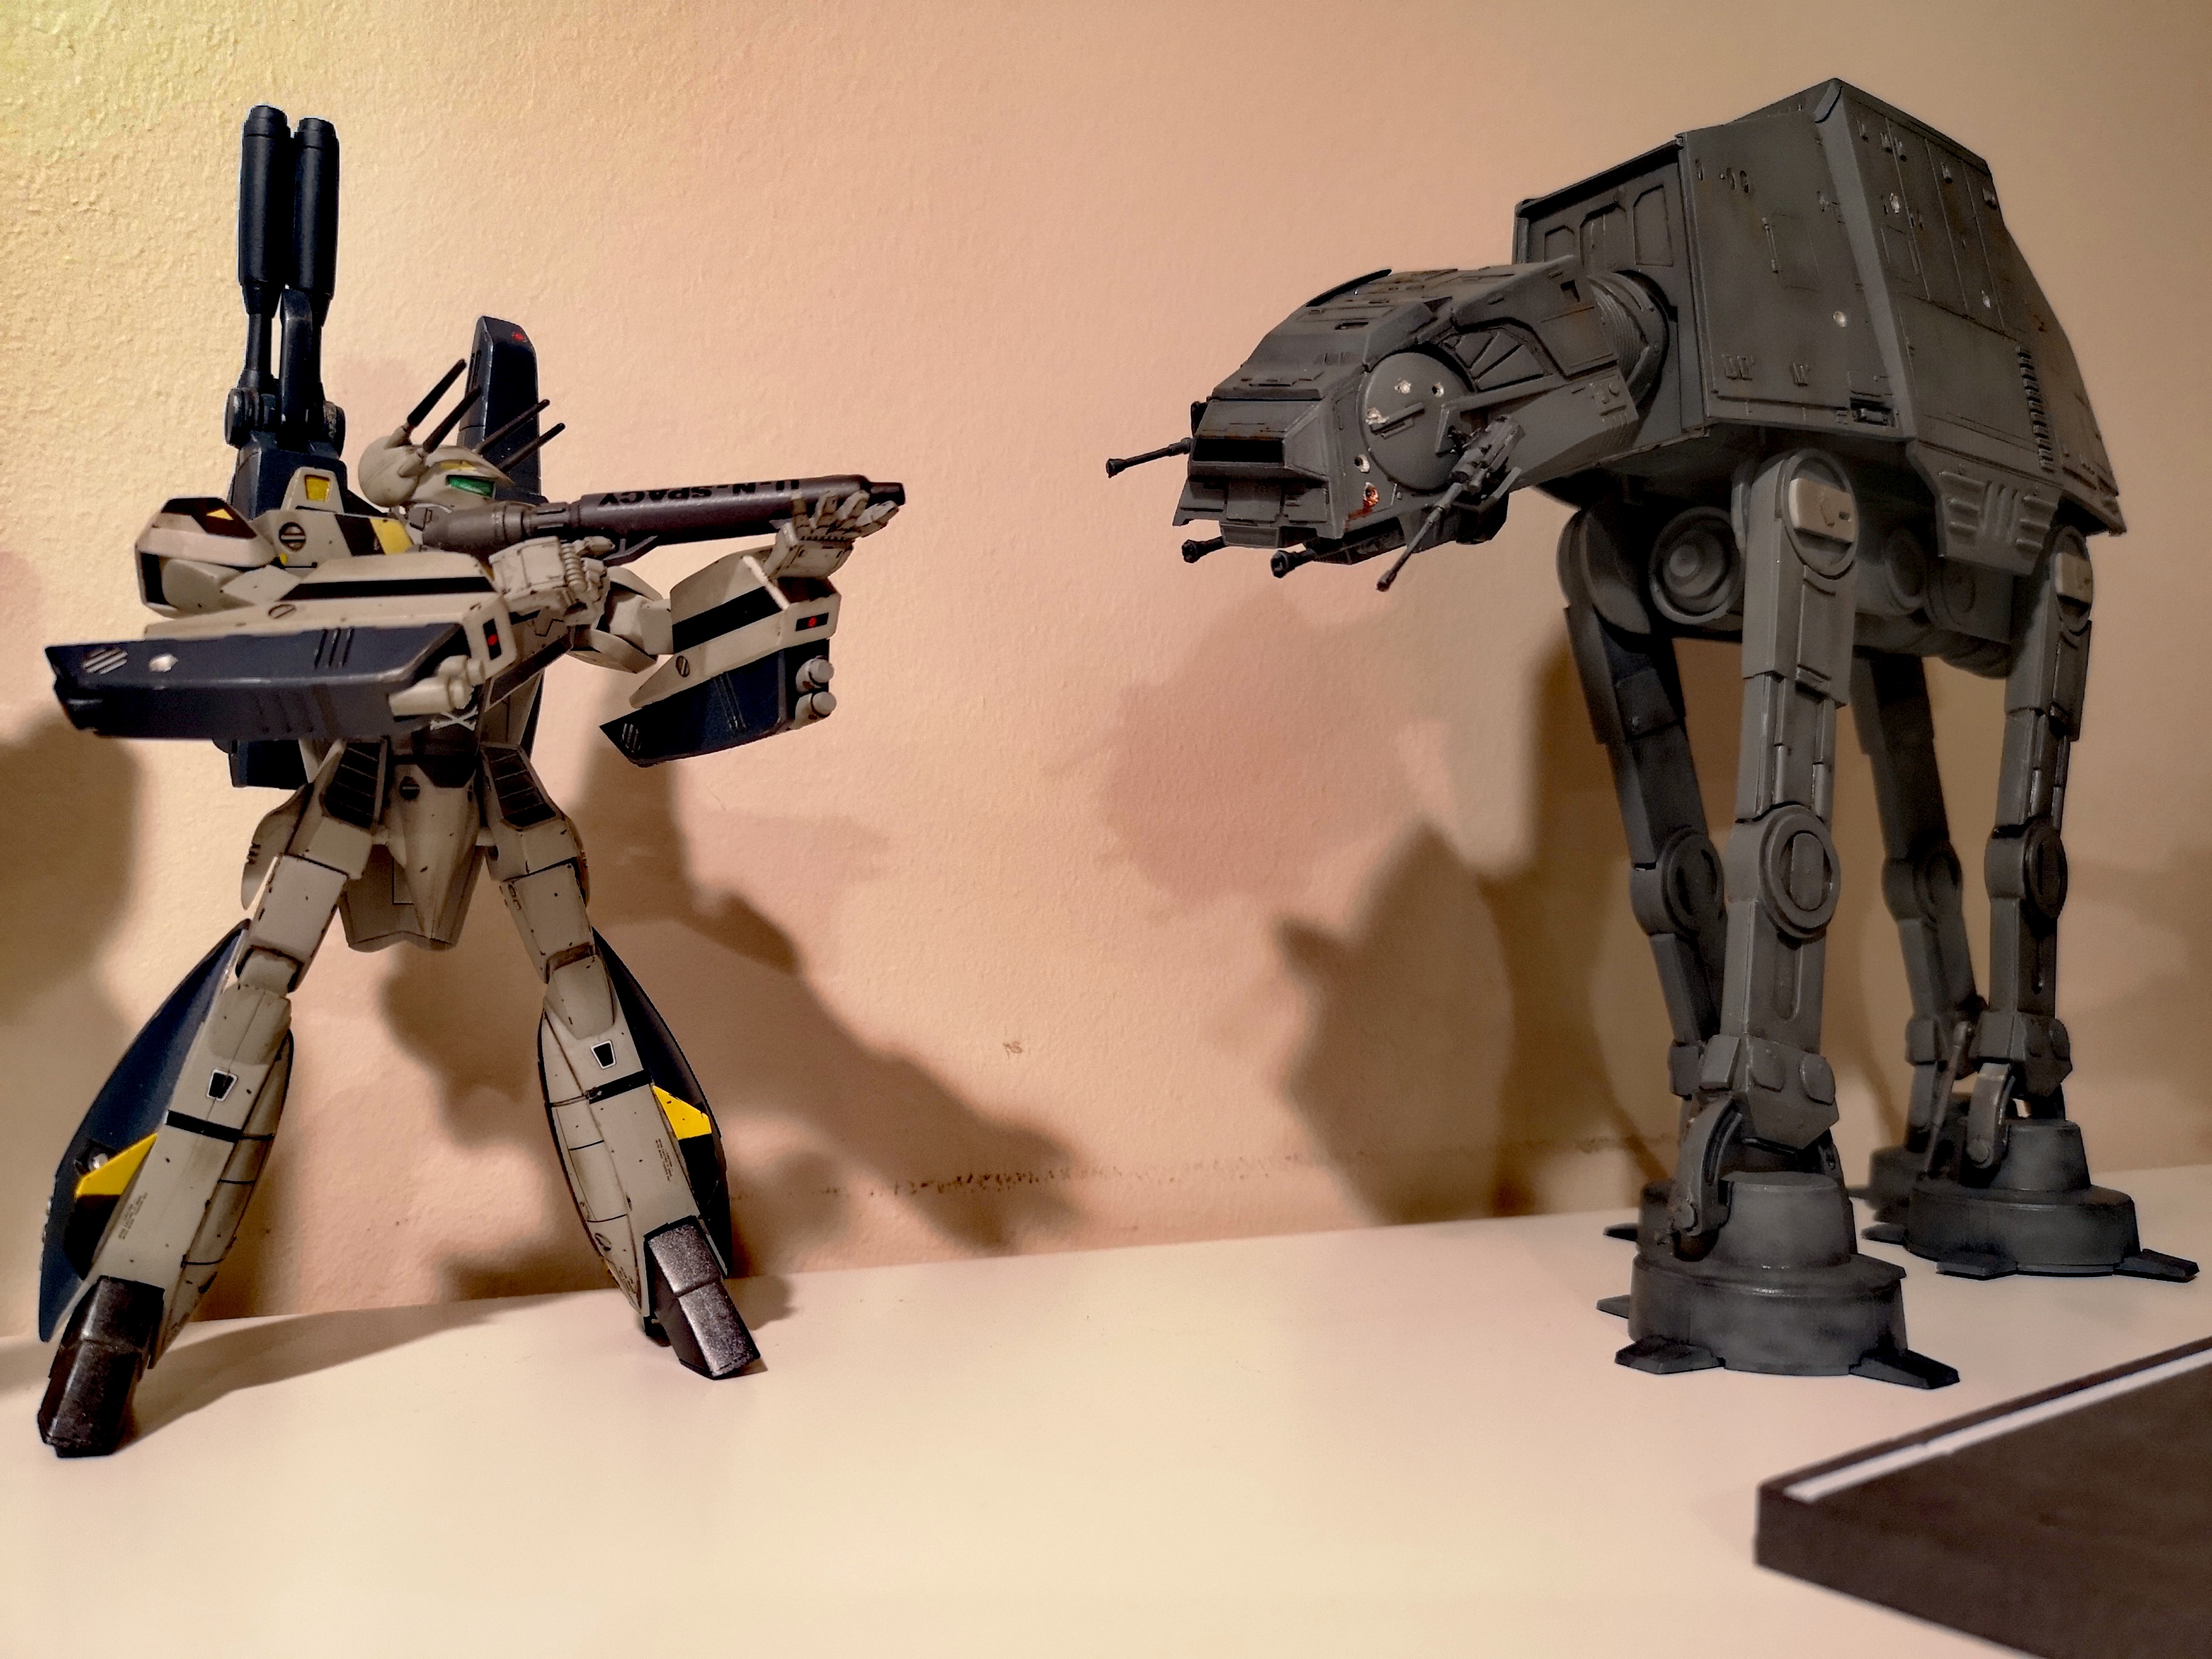
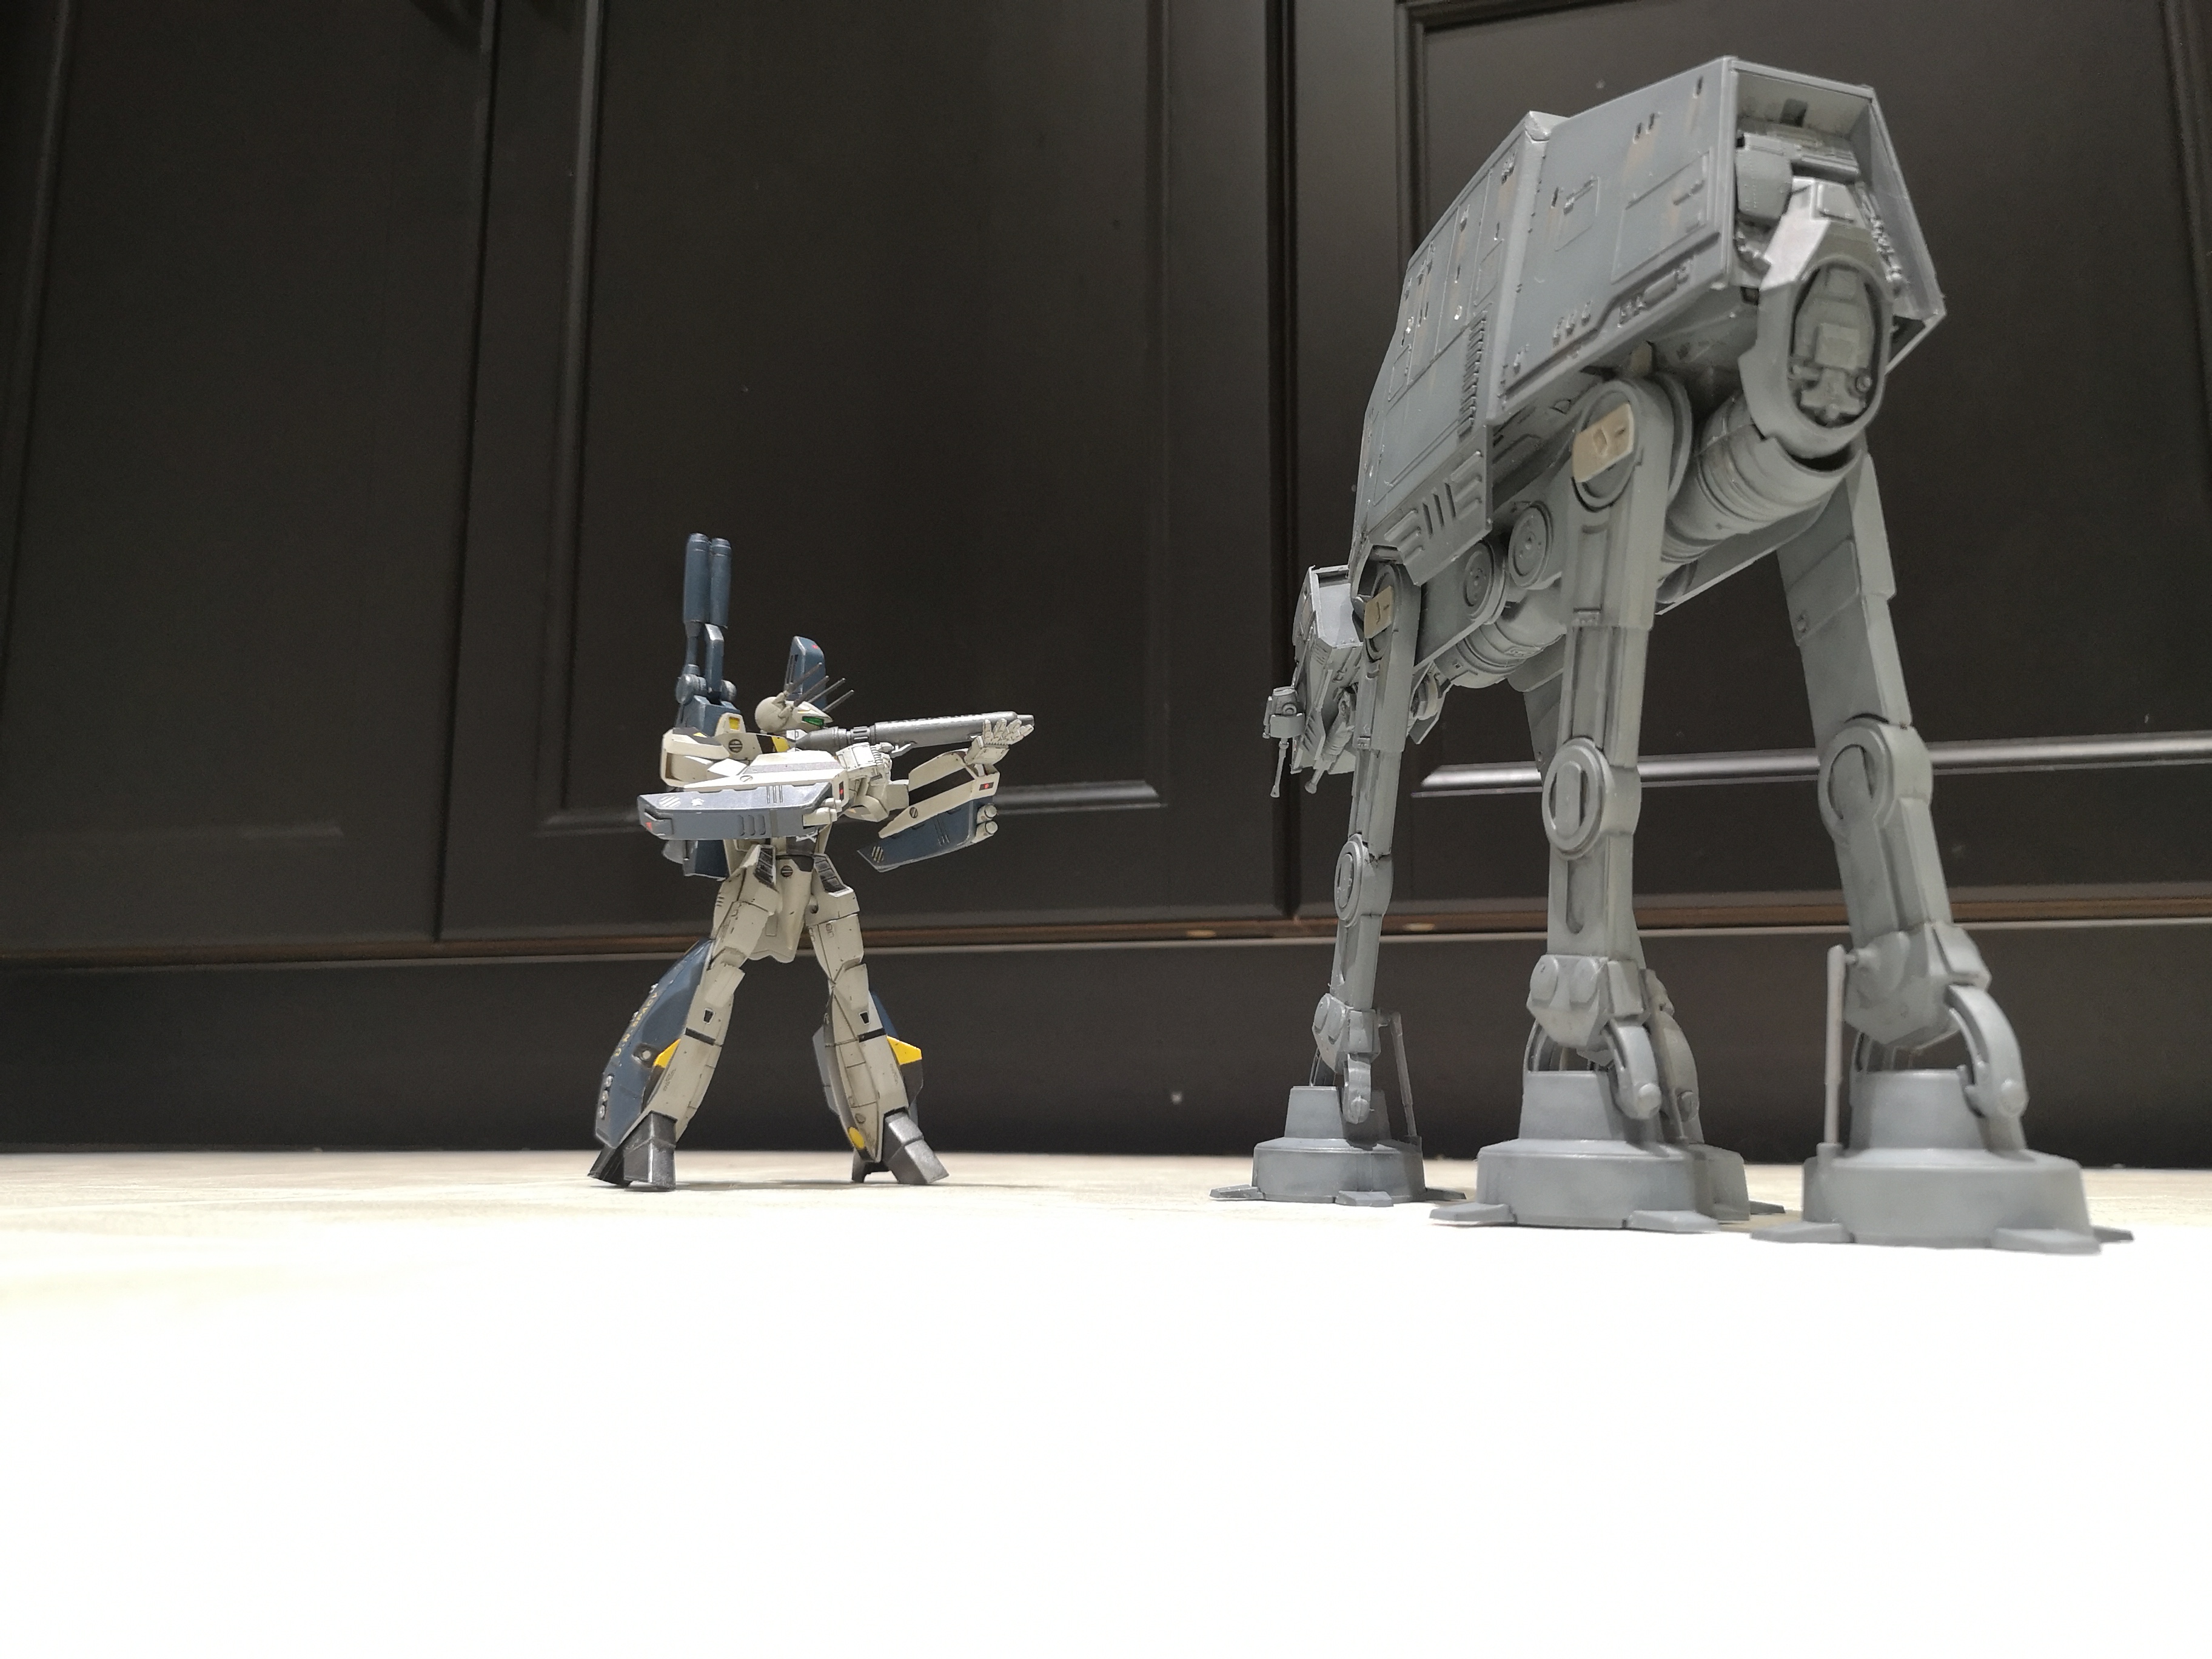
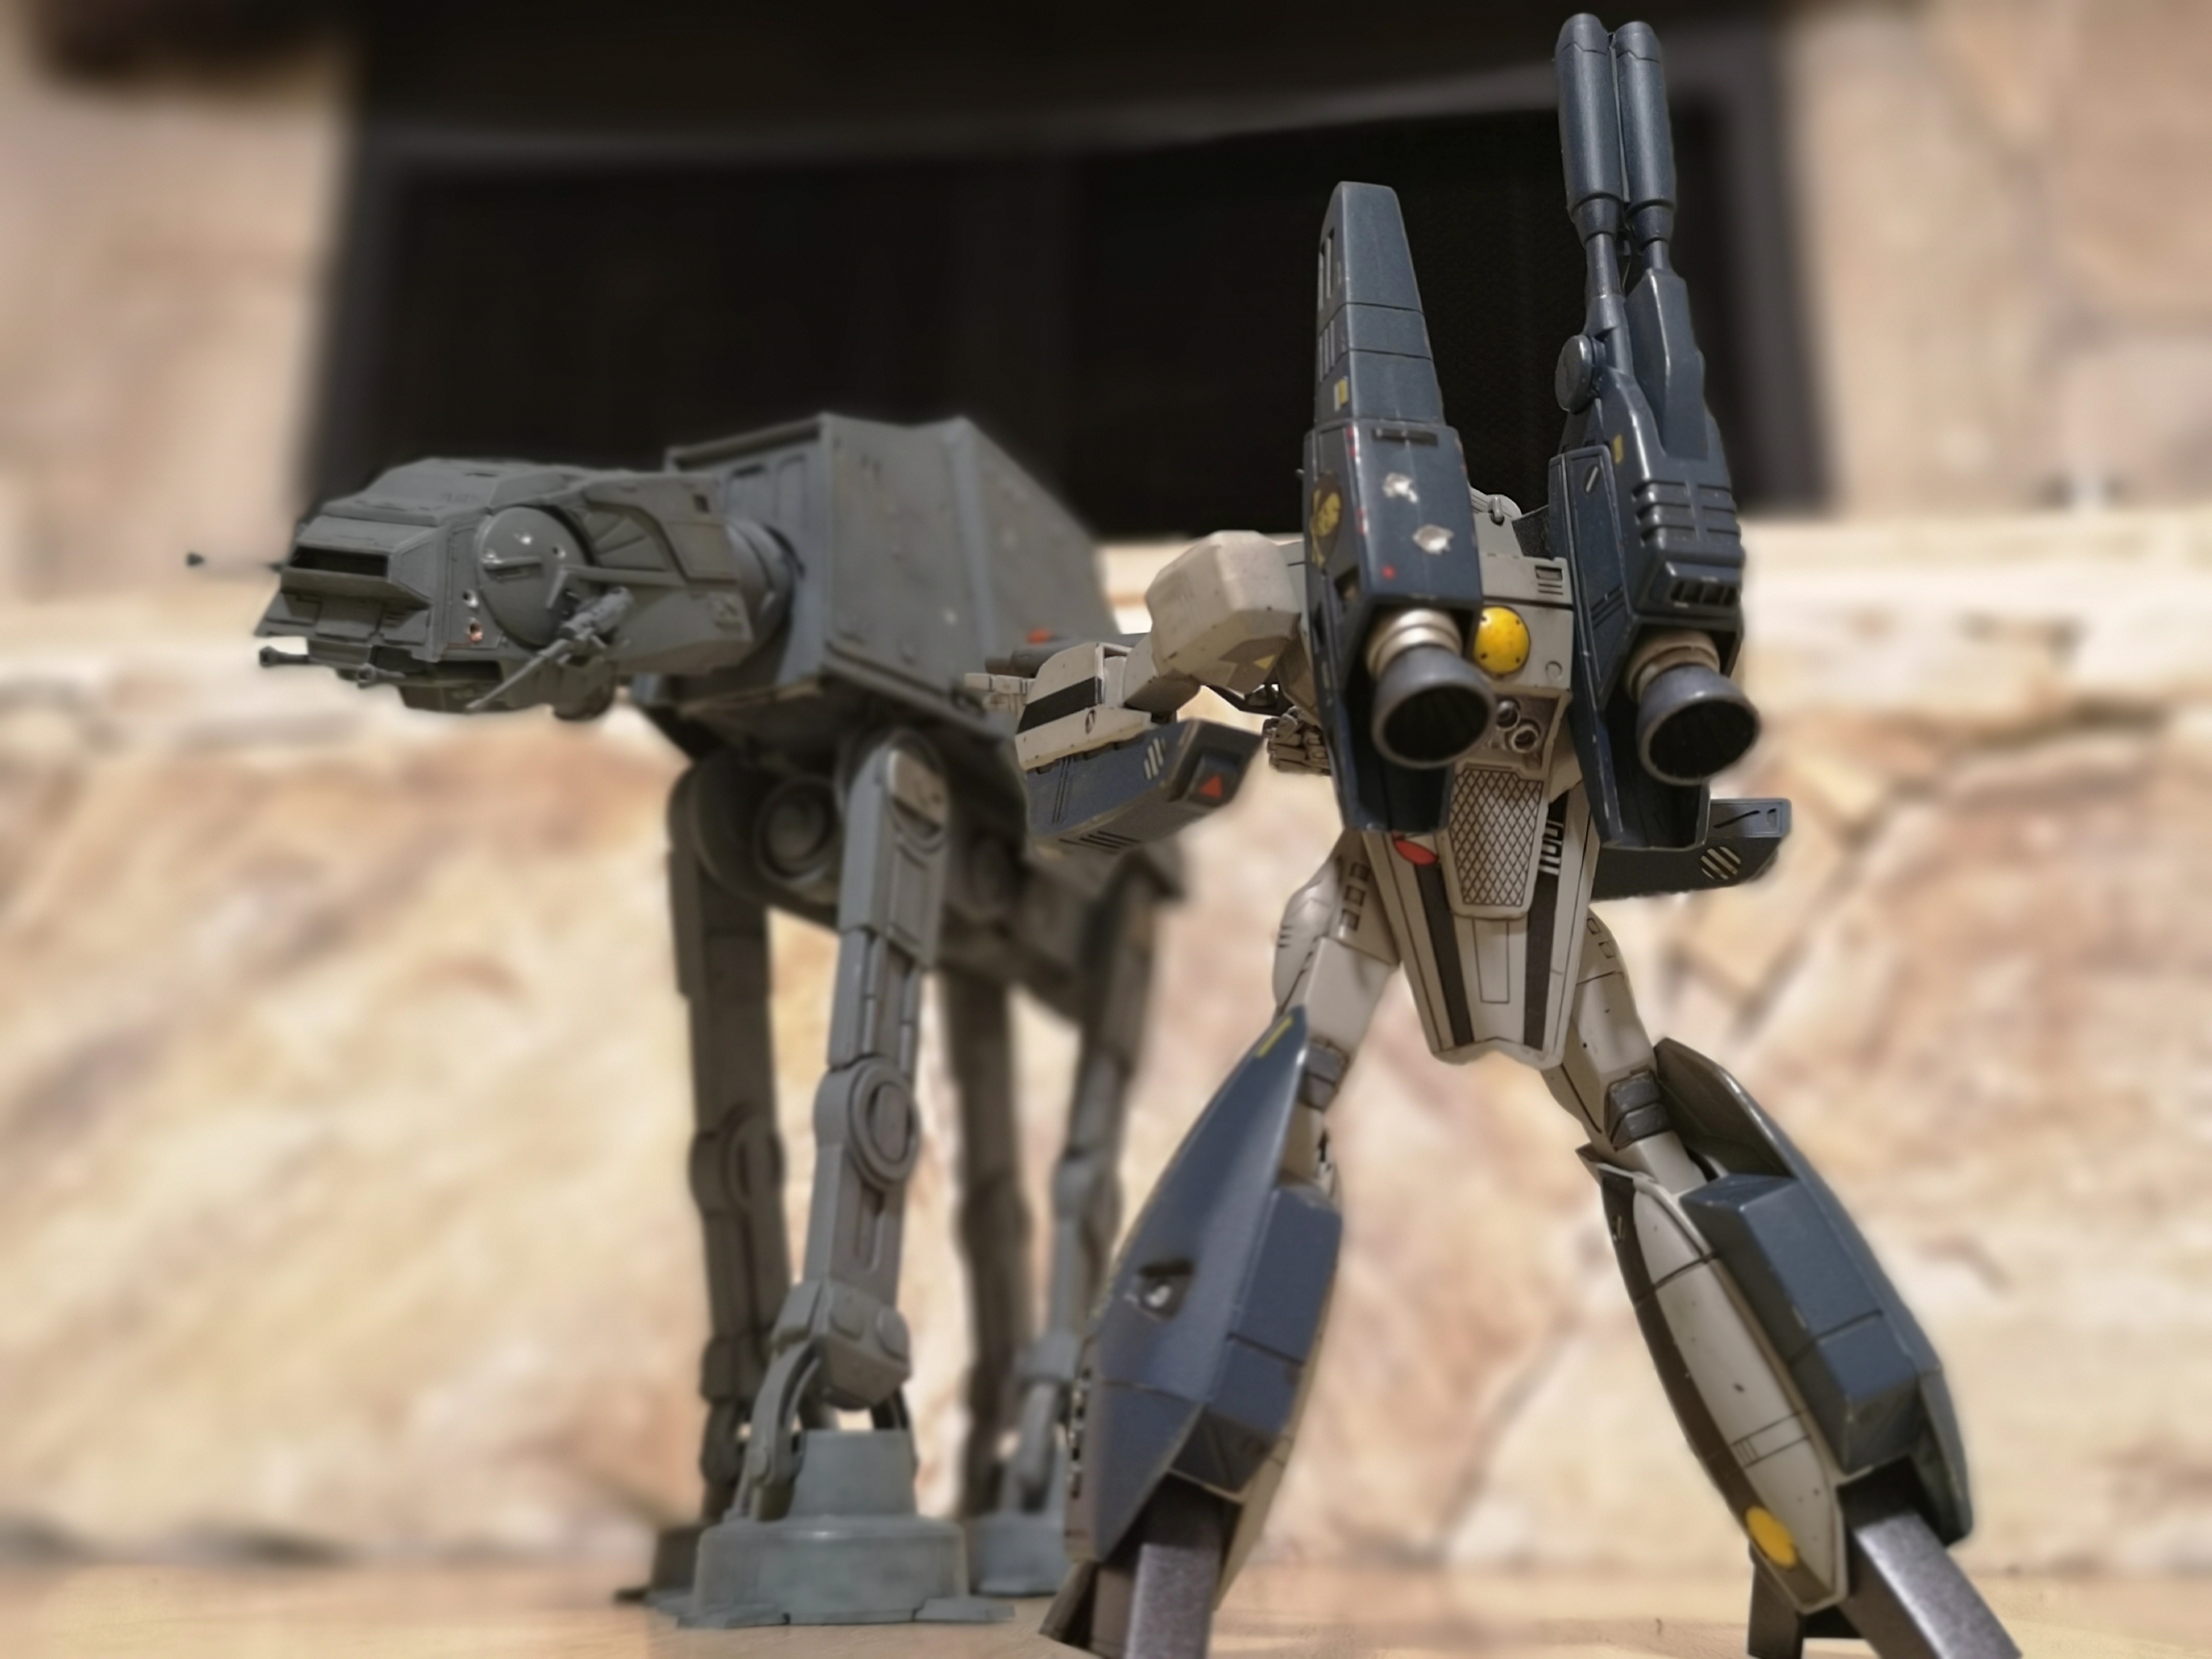
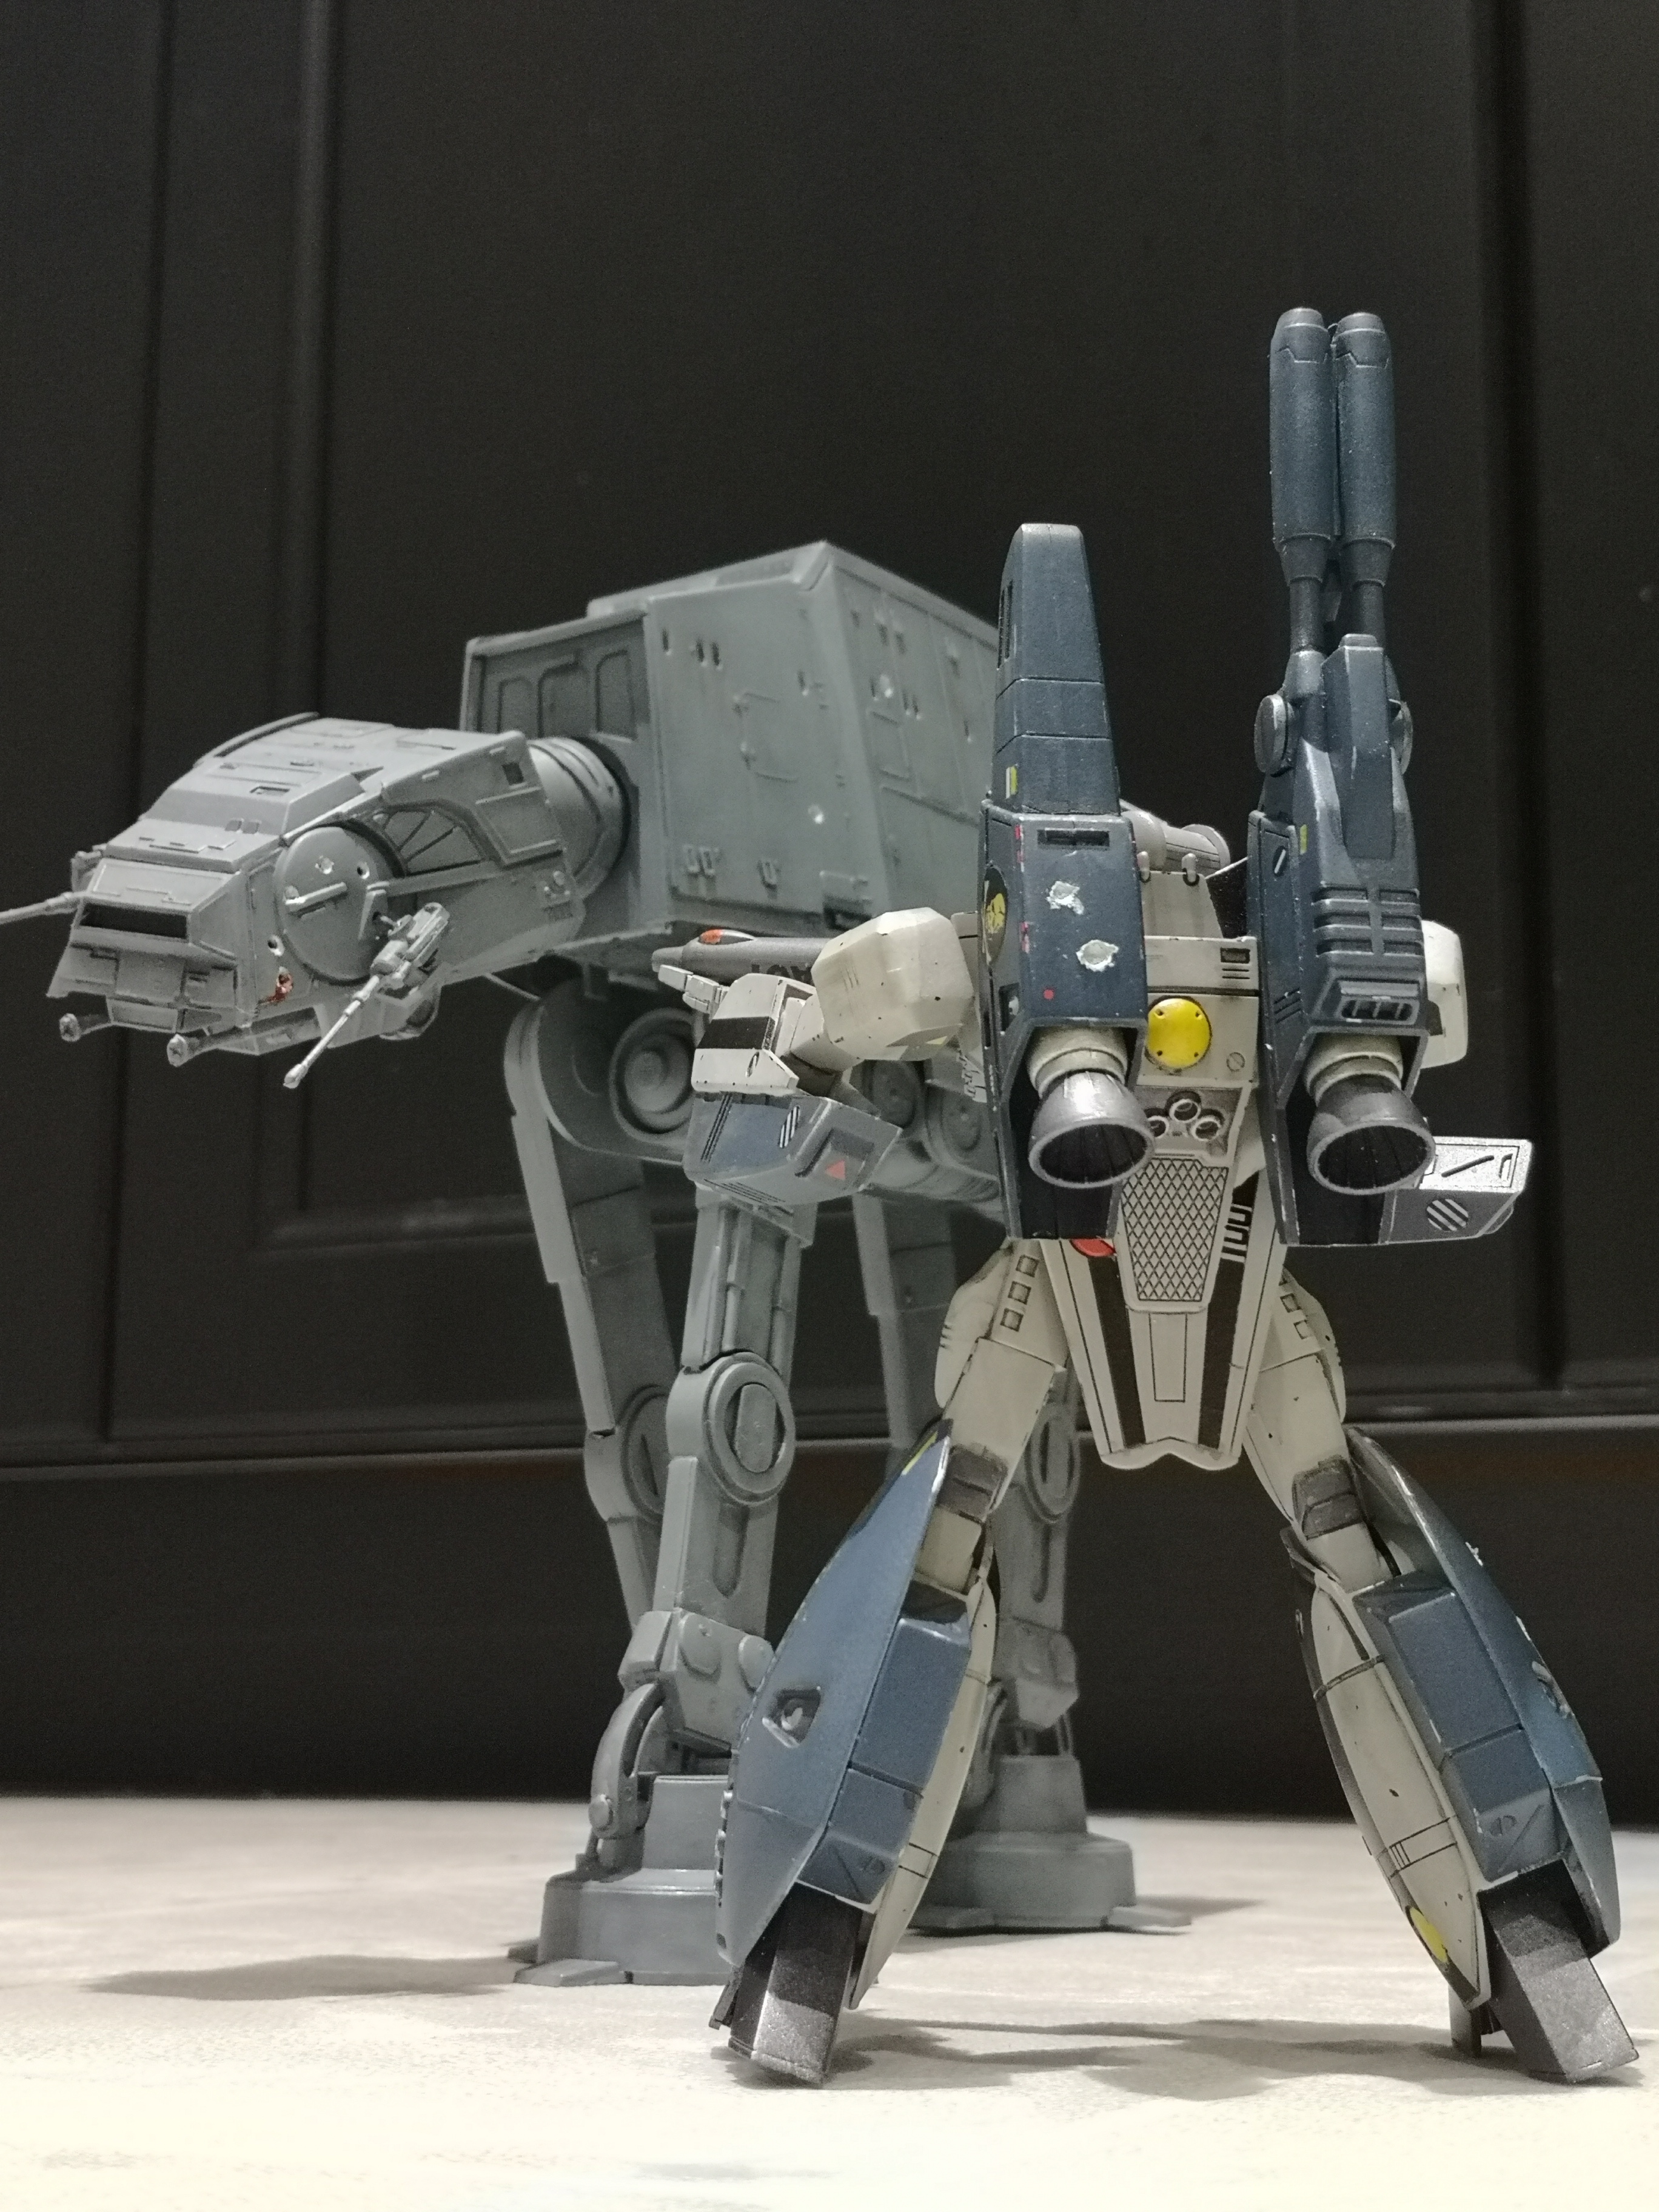
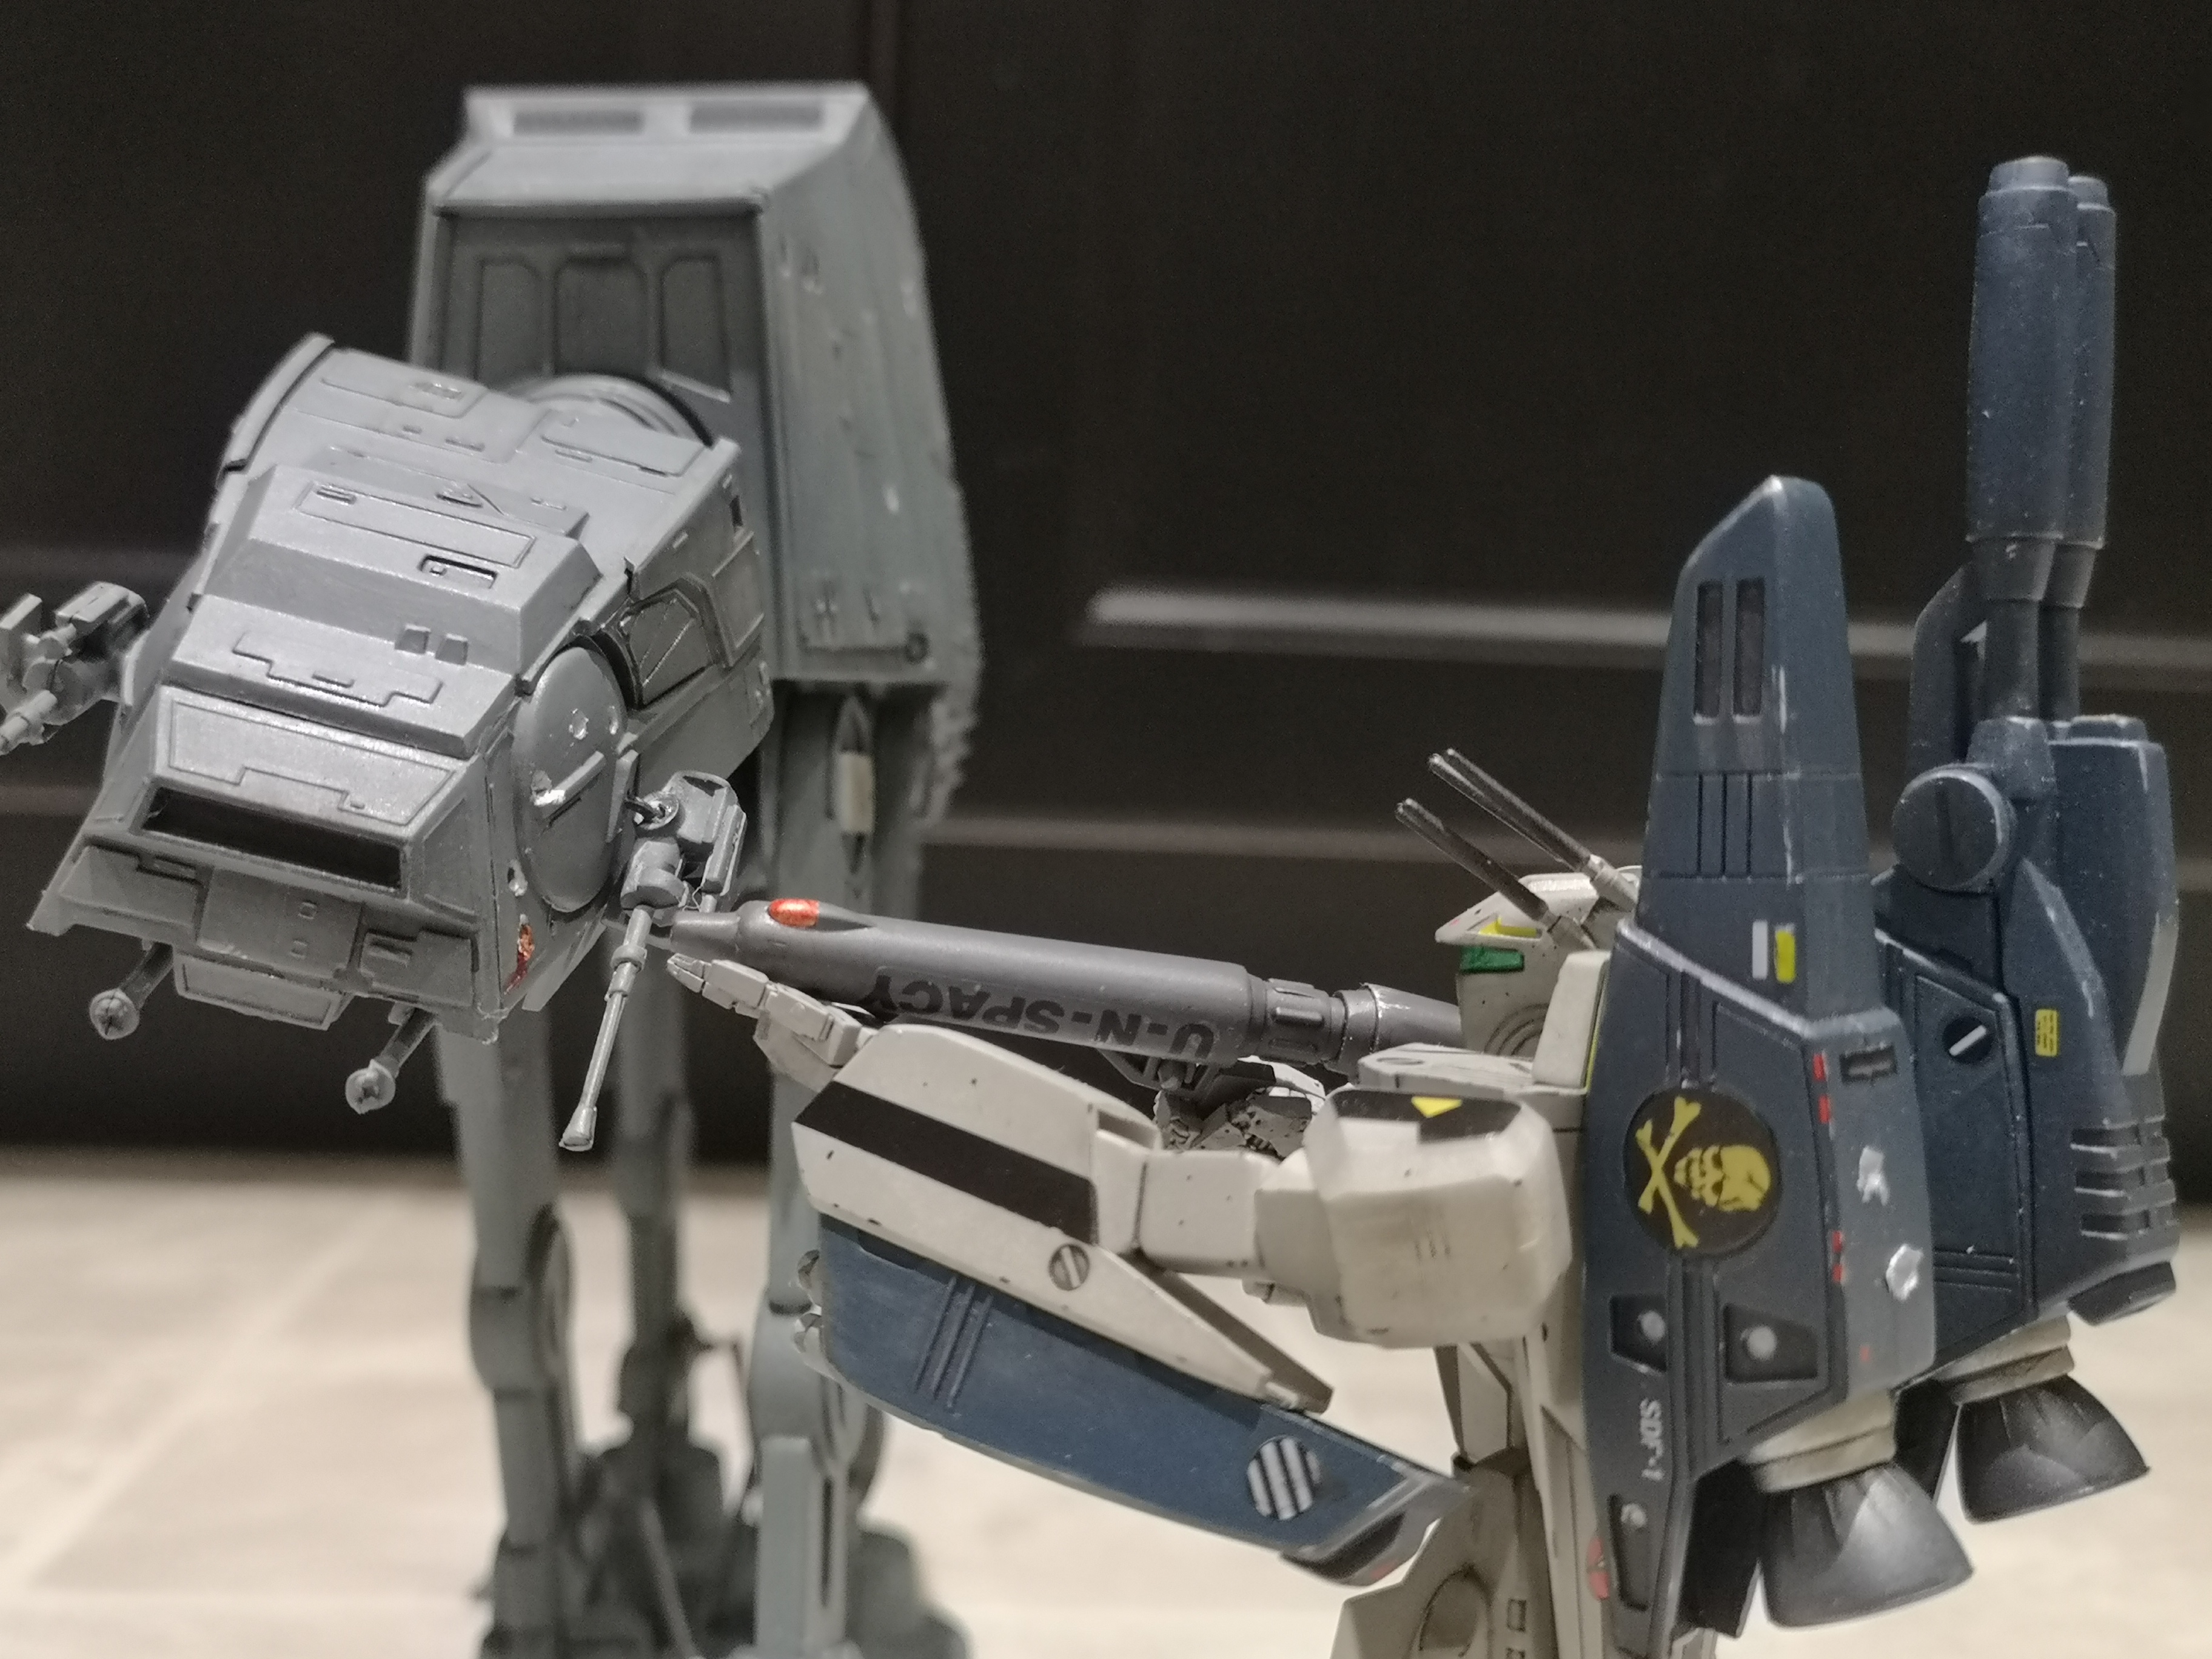
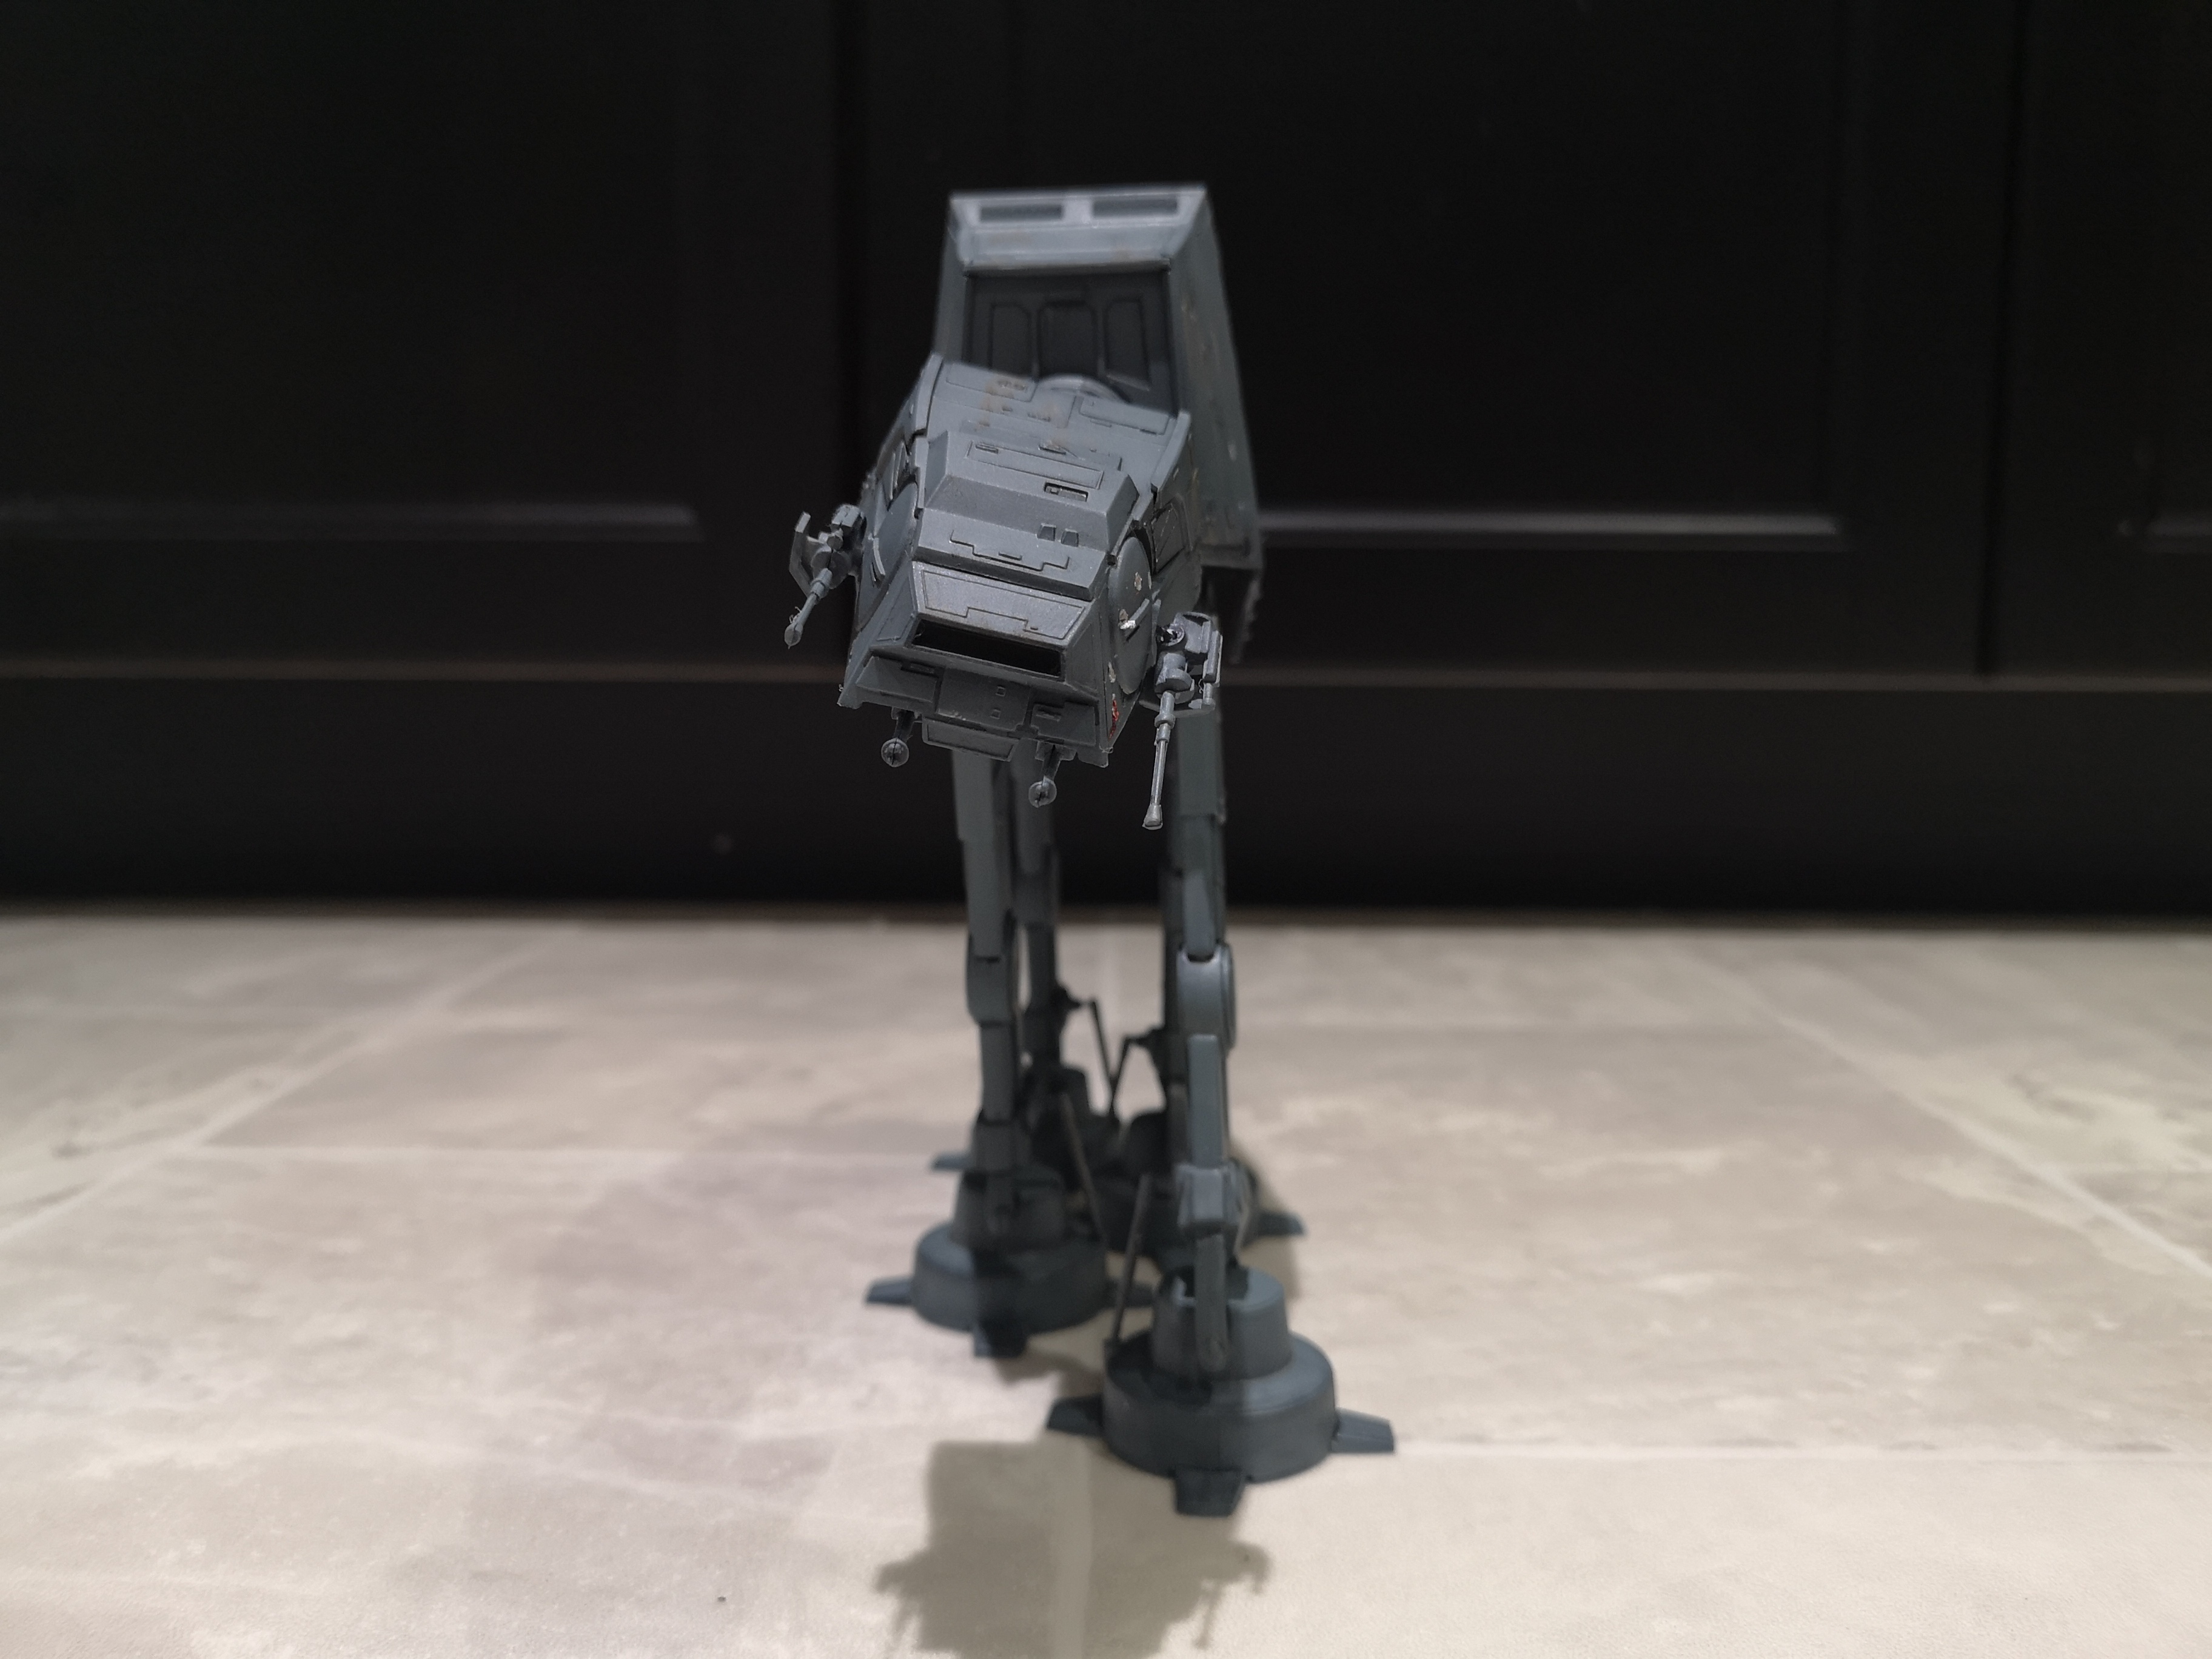
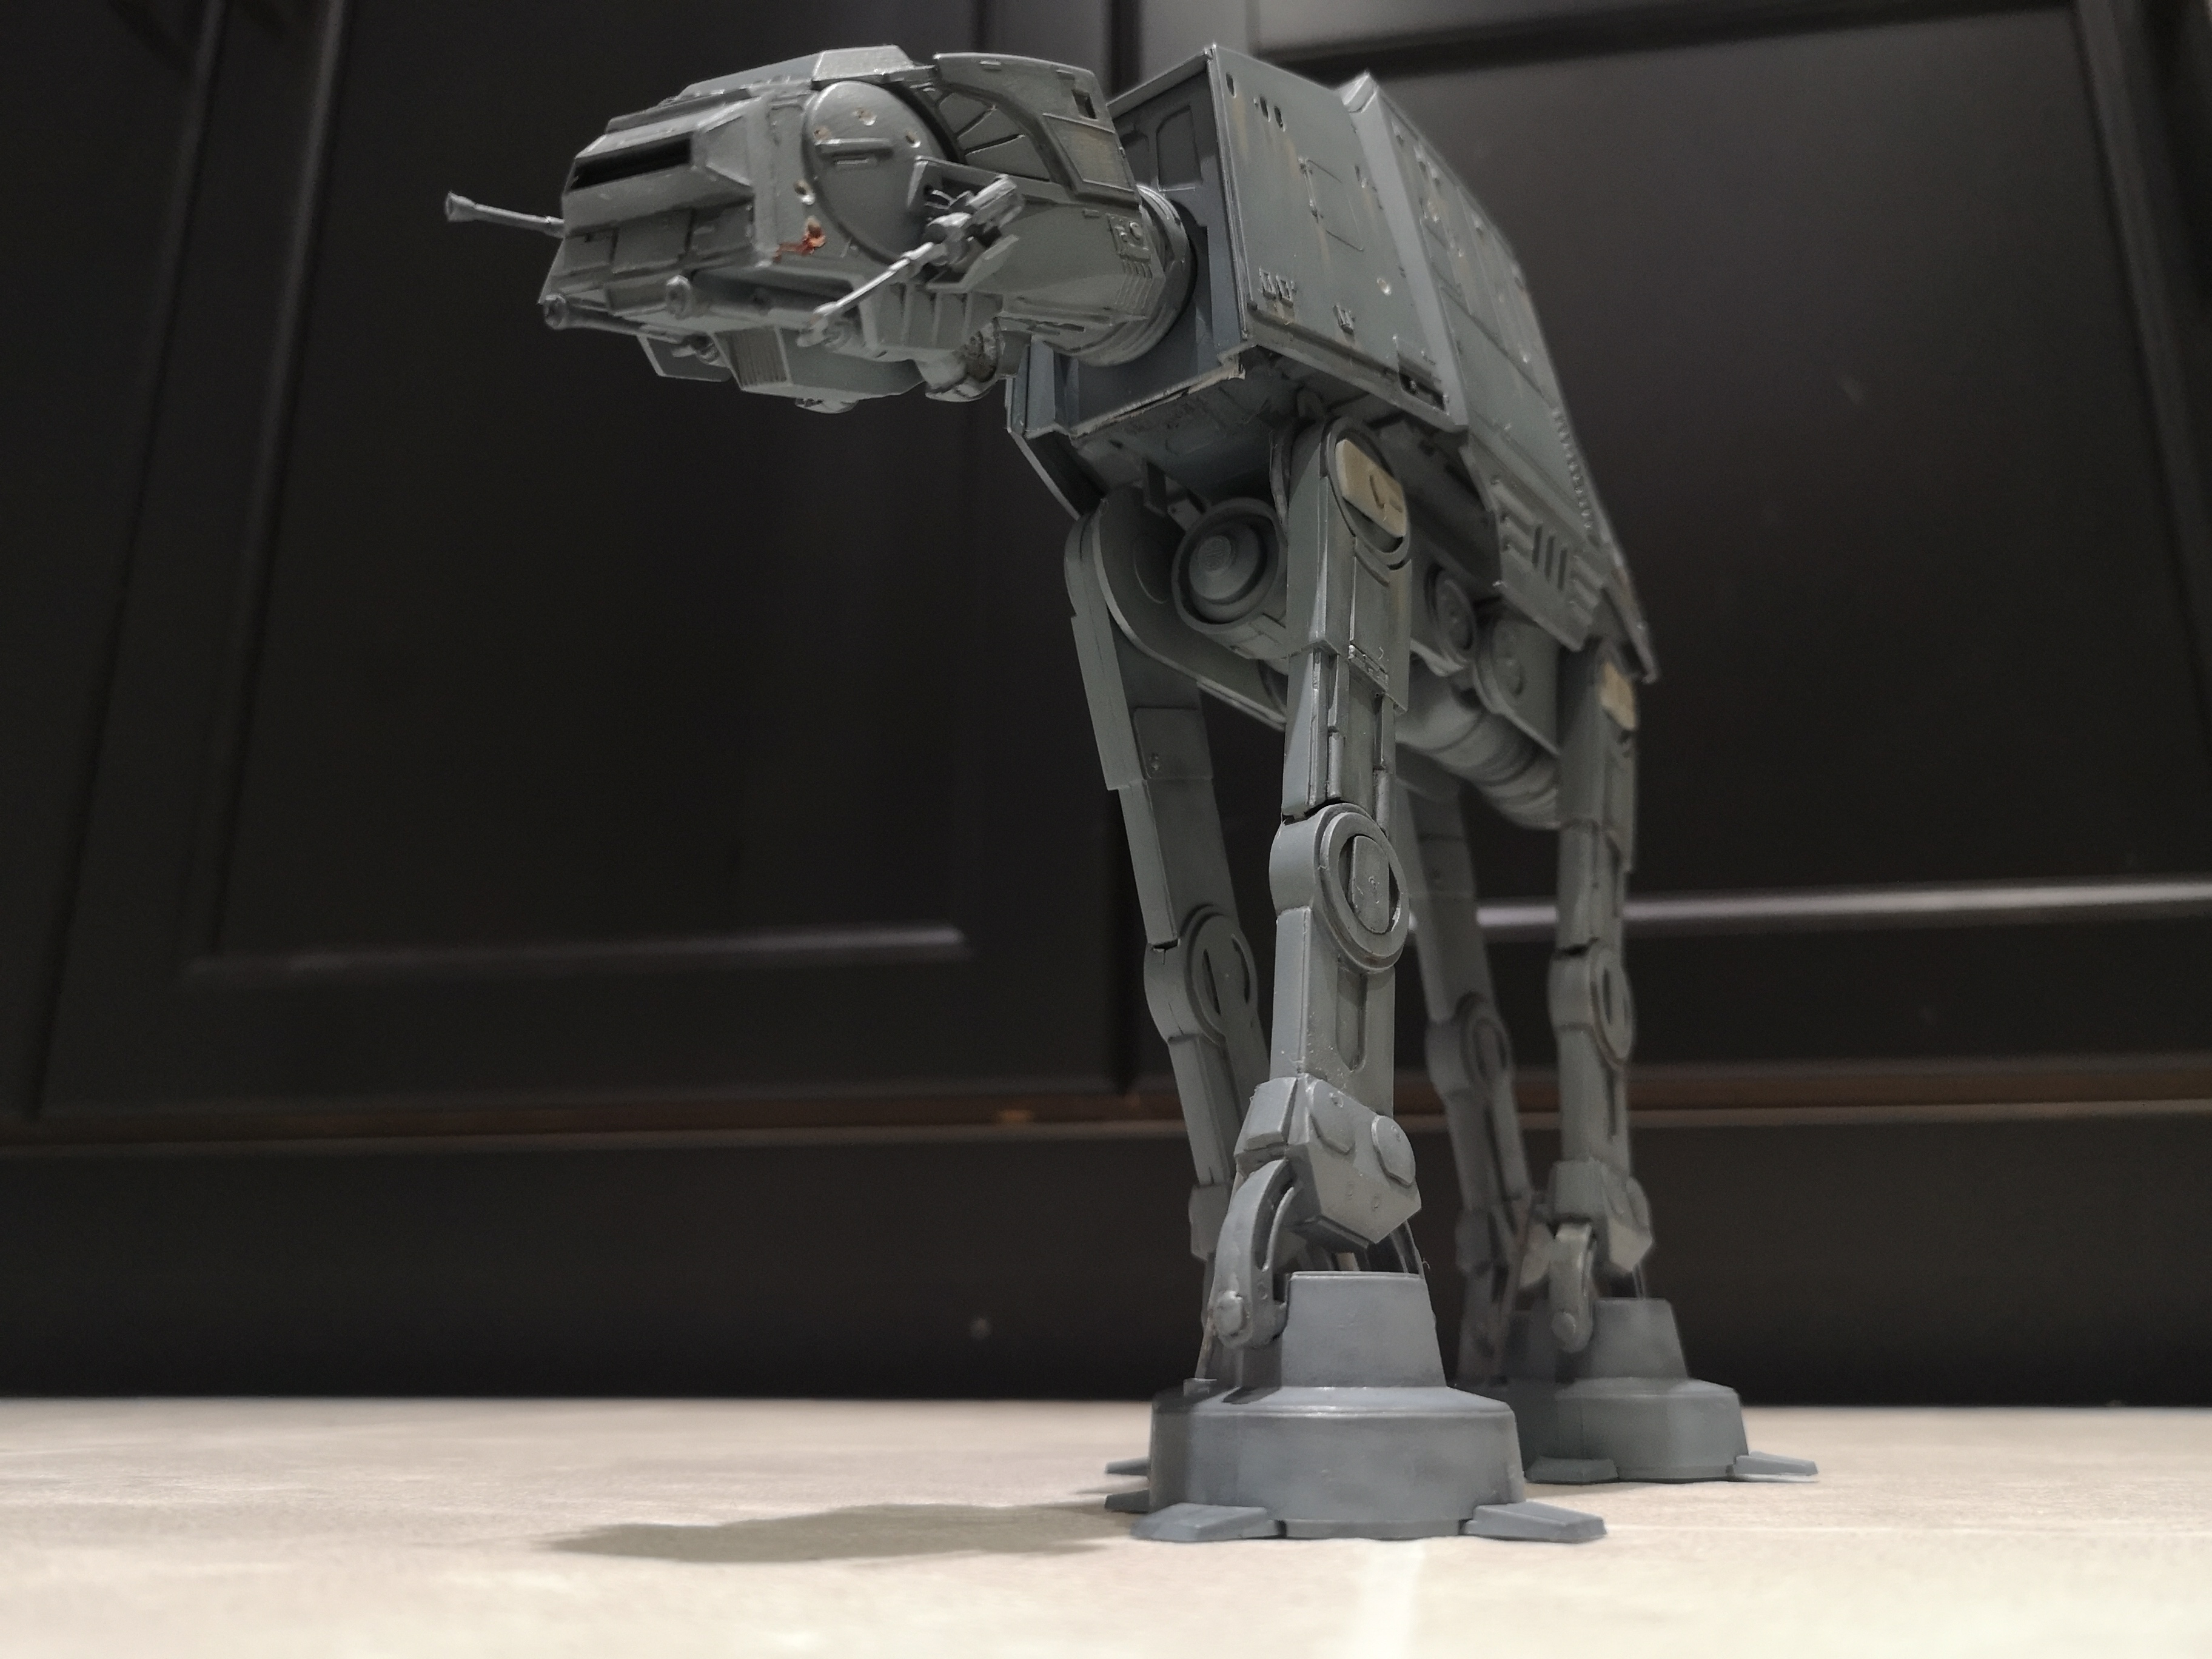
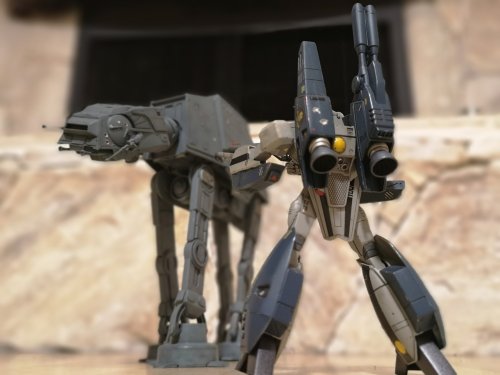
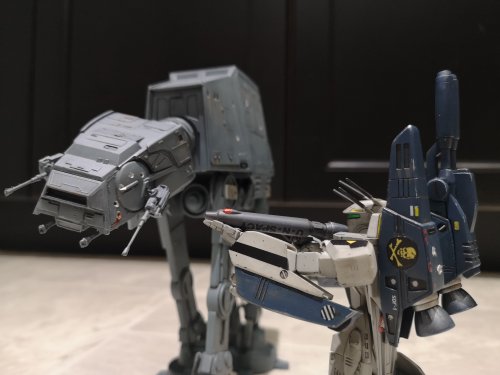
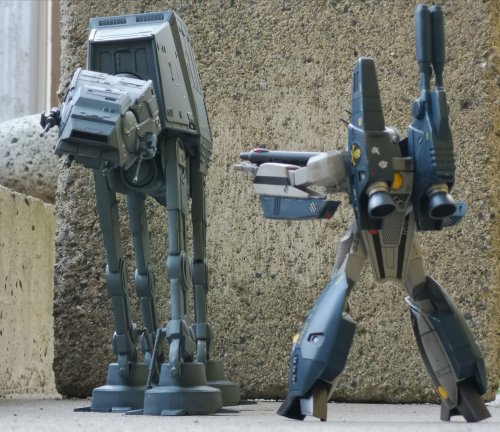
Not a destroid. but how about Roy giving an AT-AT a head shot?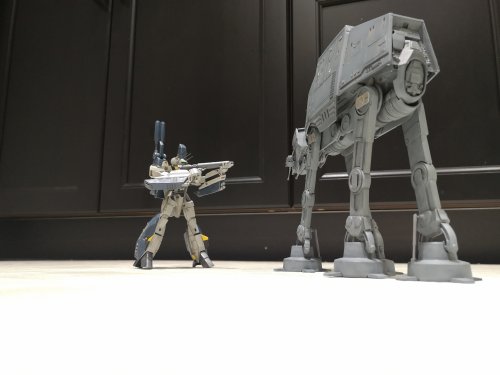
-
Woah, nice! I sort of want one of those now.
-
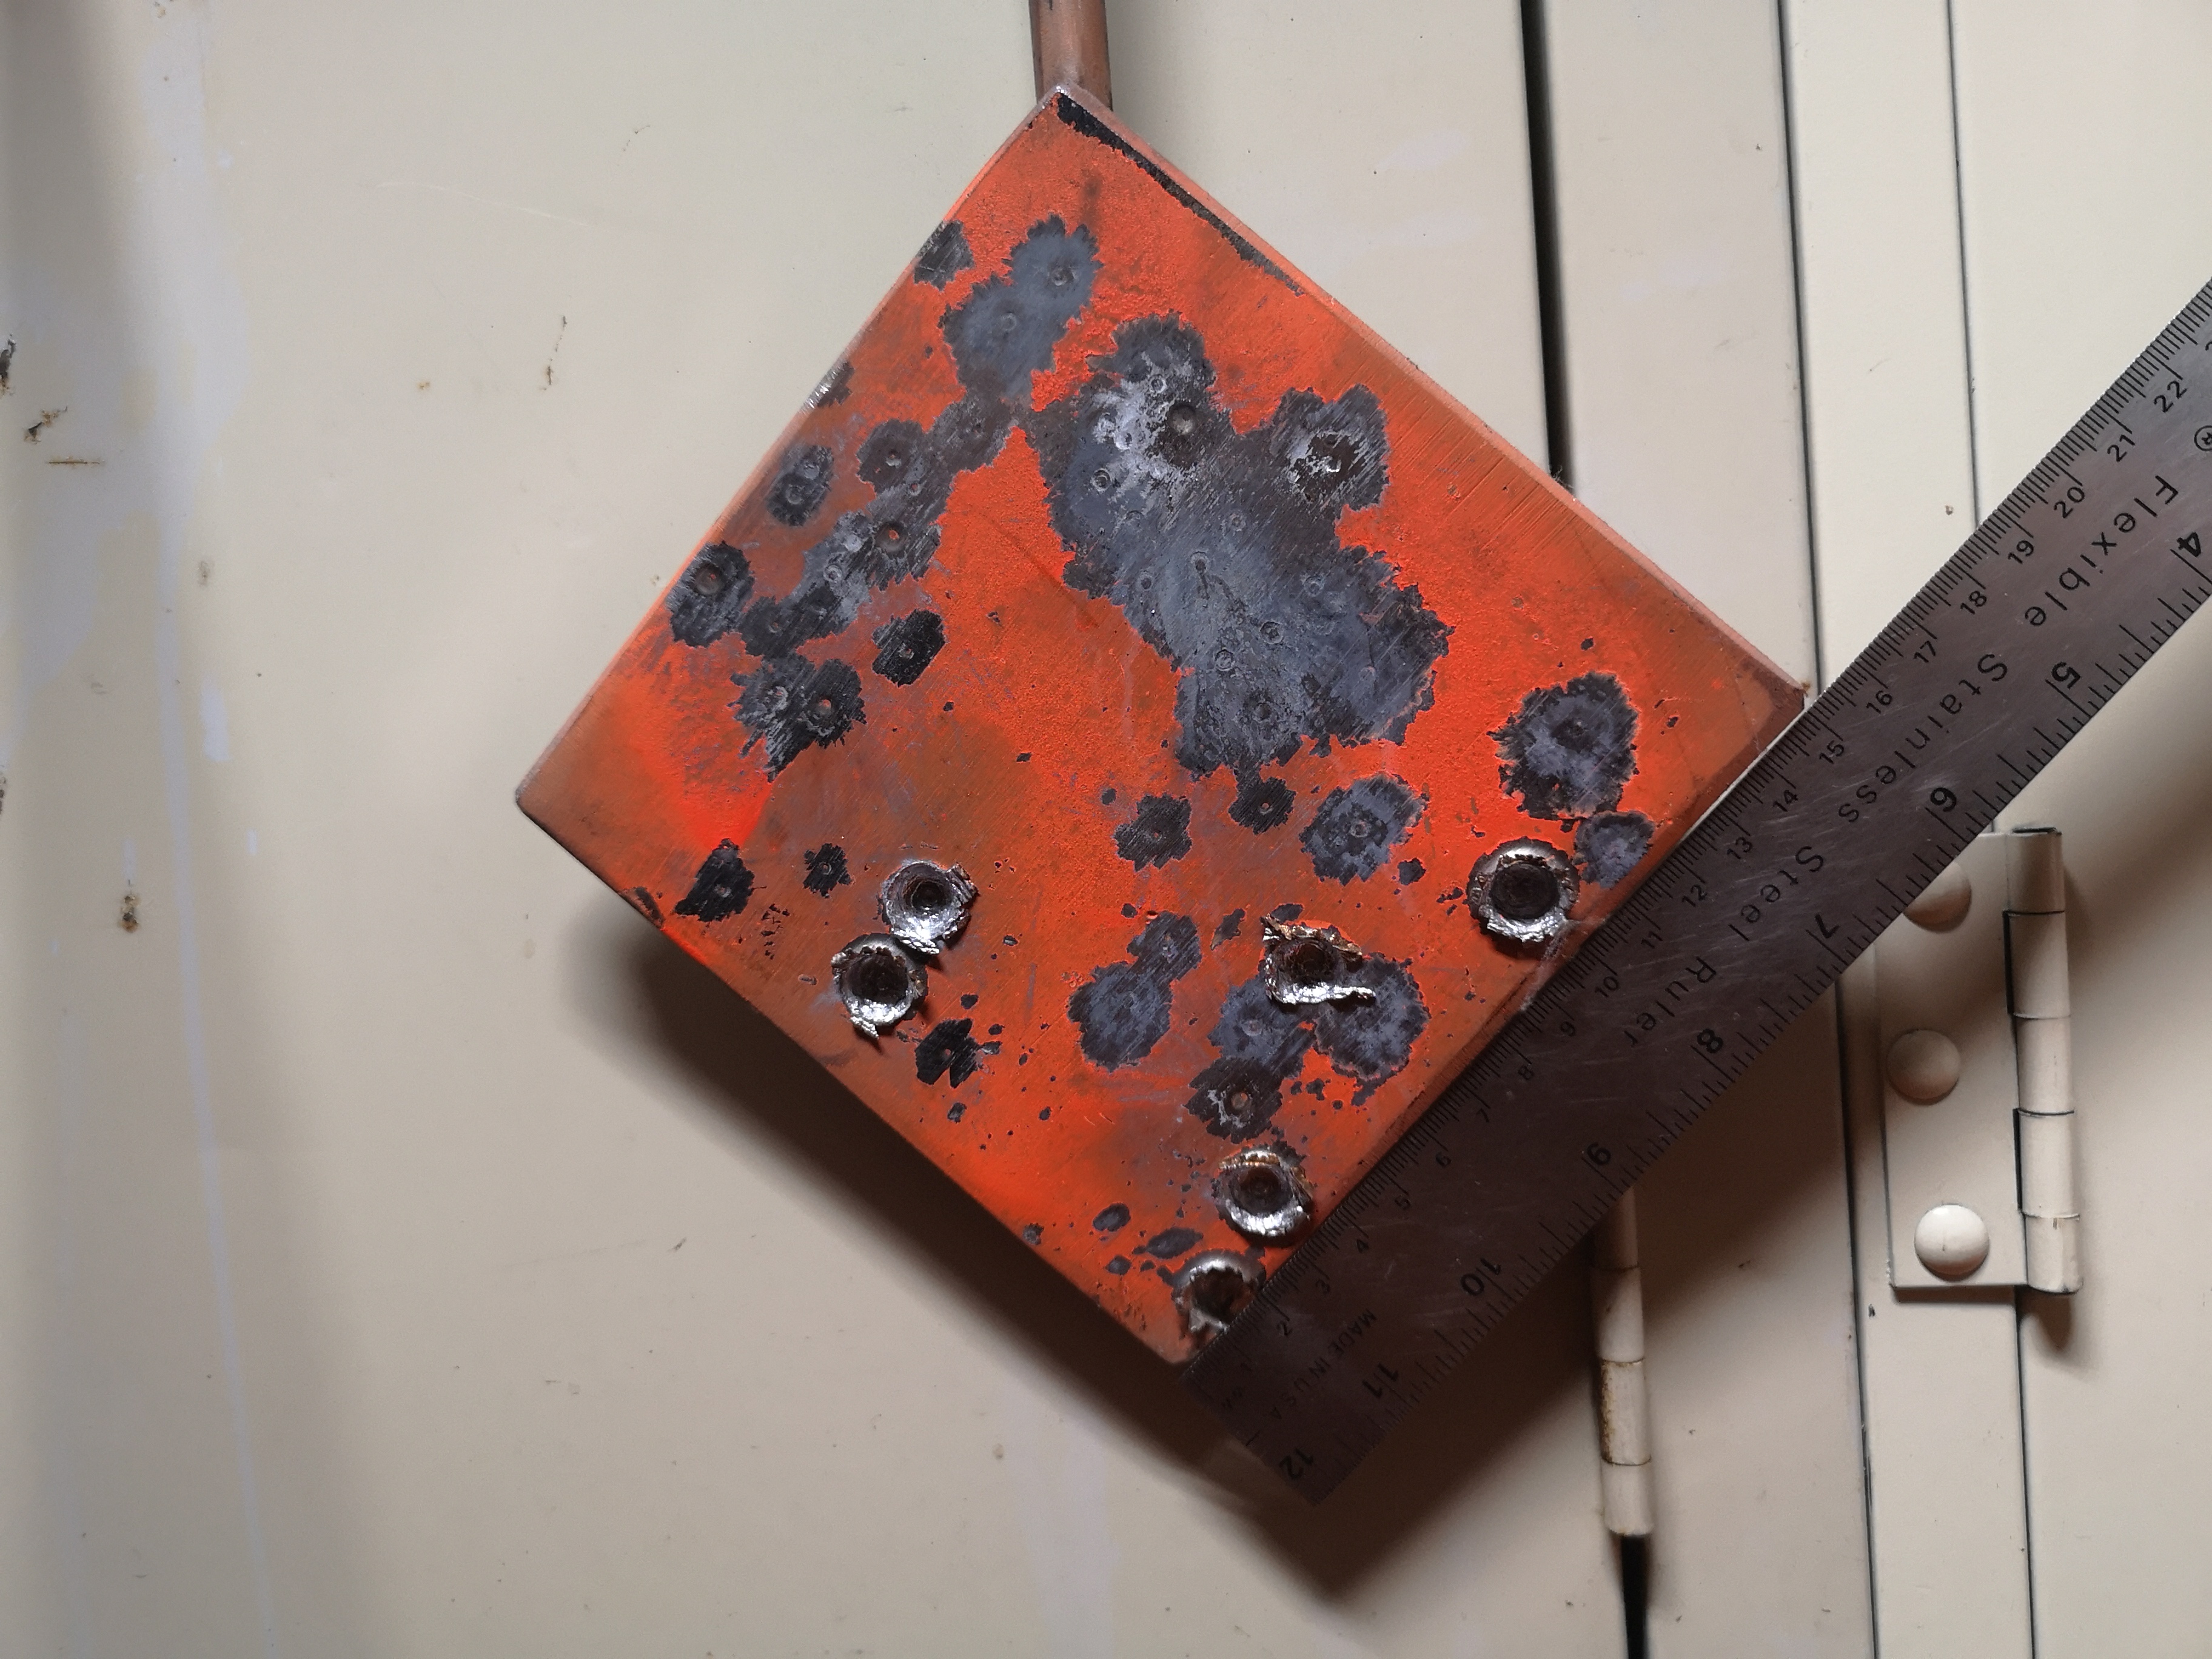
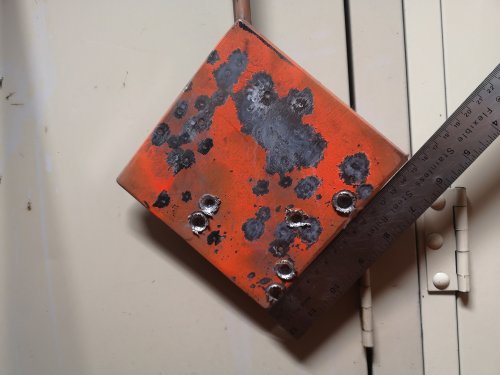
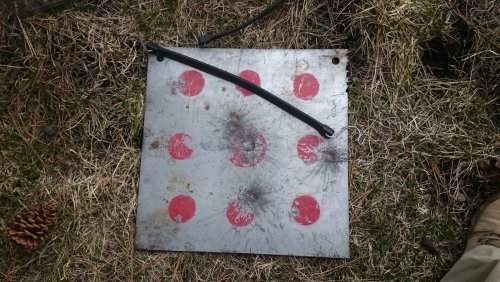
Some references for battle damage. One of my target plates rated for 22 and 9mm. You can see paint chips and some minor Spalding from the splashes. The mushrooming effect came from 5.56 I stupidly drilled into it. 556 went through, no scorch marks, just metal deformation. FMJ, shot from 100m. No incendiary, high explosive or depleted uranium here, haha! 50bmg against AR500. No penetration, a lot of spalding. The splashes appear to be scorch marks, but it's actually the spalding exposing the metal (we painted the plate Bright Silver for better visibility). Might have been a different story if Incendiary, tracer, HE, or depleted uranium was used...or if there was a fuel source behind the plate.
-
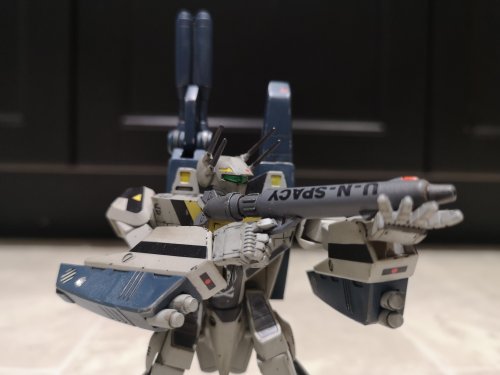
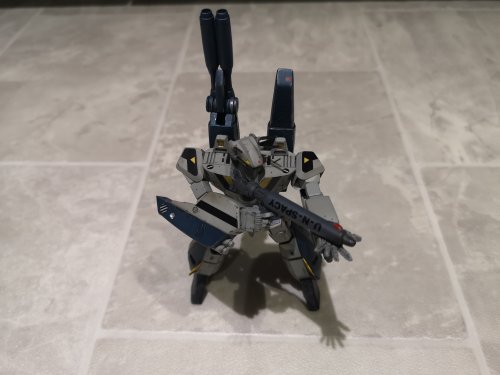
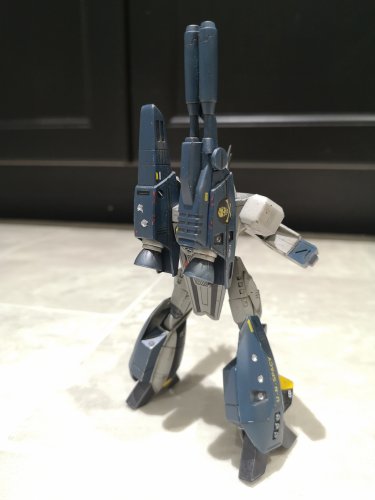
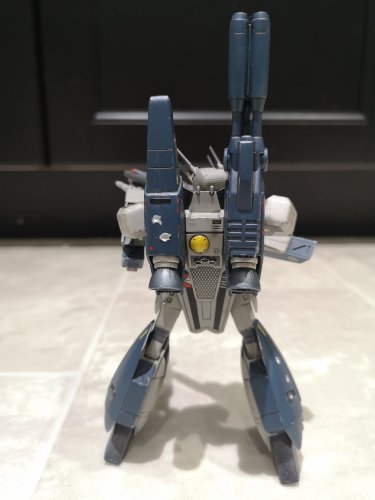
Both apparently 1/100 scale Roy flew right up to the cockpit and scrambled the soft stuff inside. I still can't seem to get the hang of taking good photos of models and toys. Just experimenting with different backgrounds and lighting.....only so much I can do with the phone cam. Will have to get a real camera out one of these days.


-
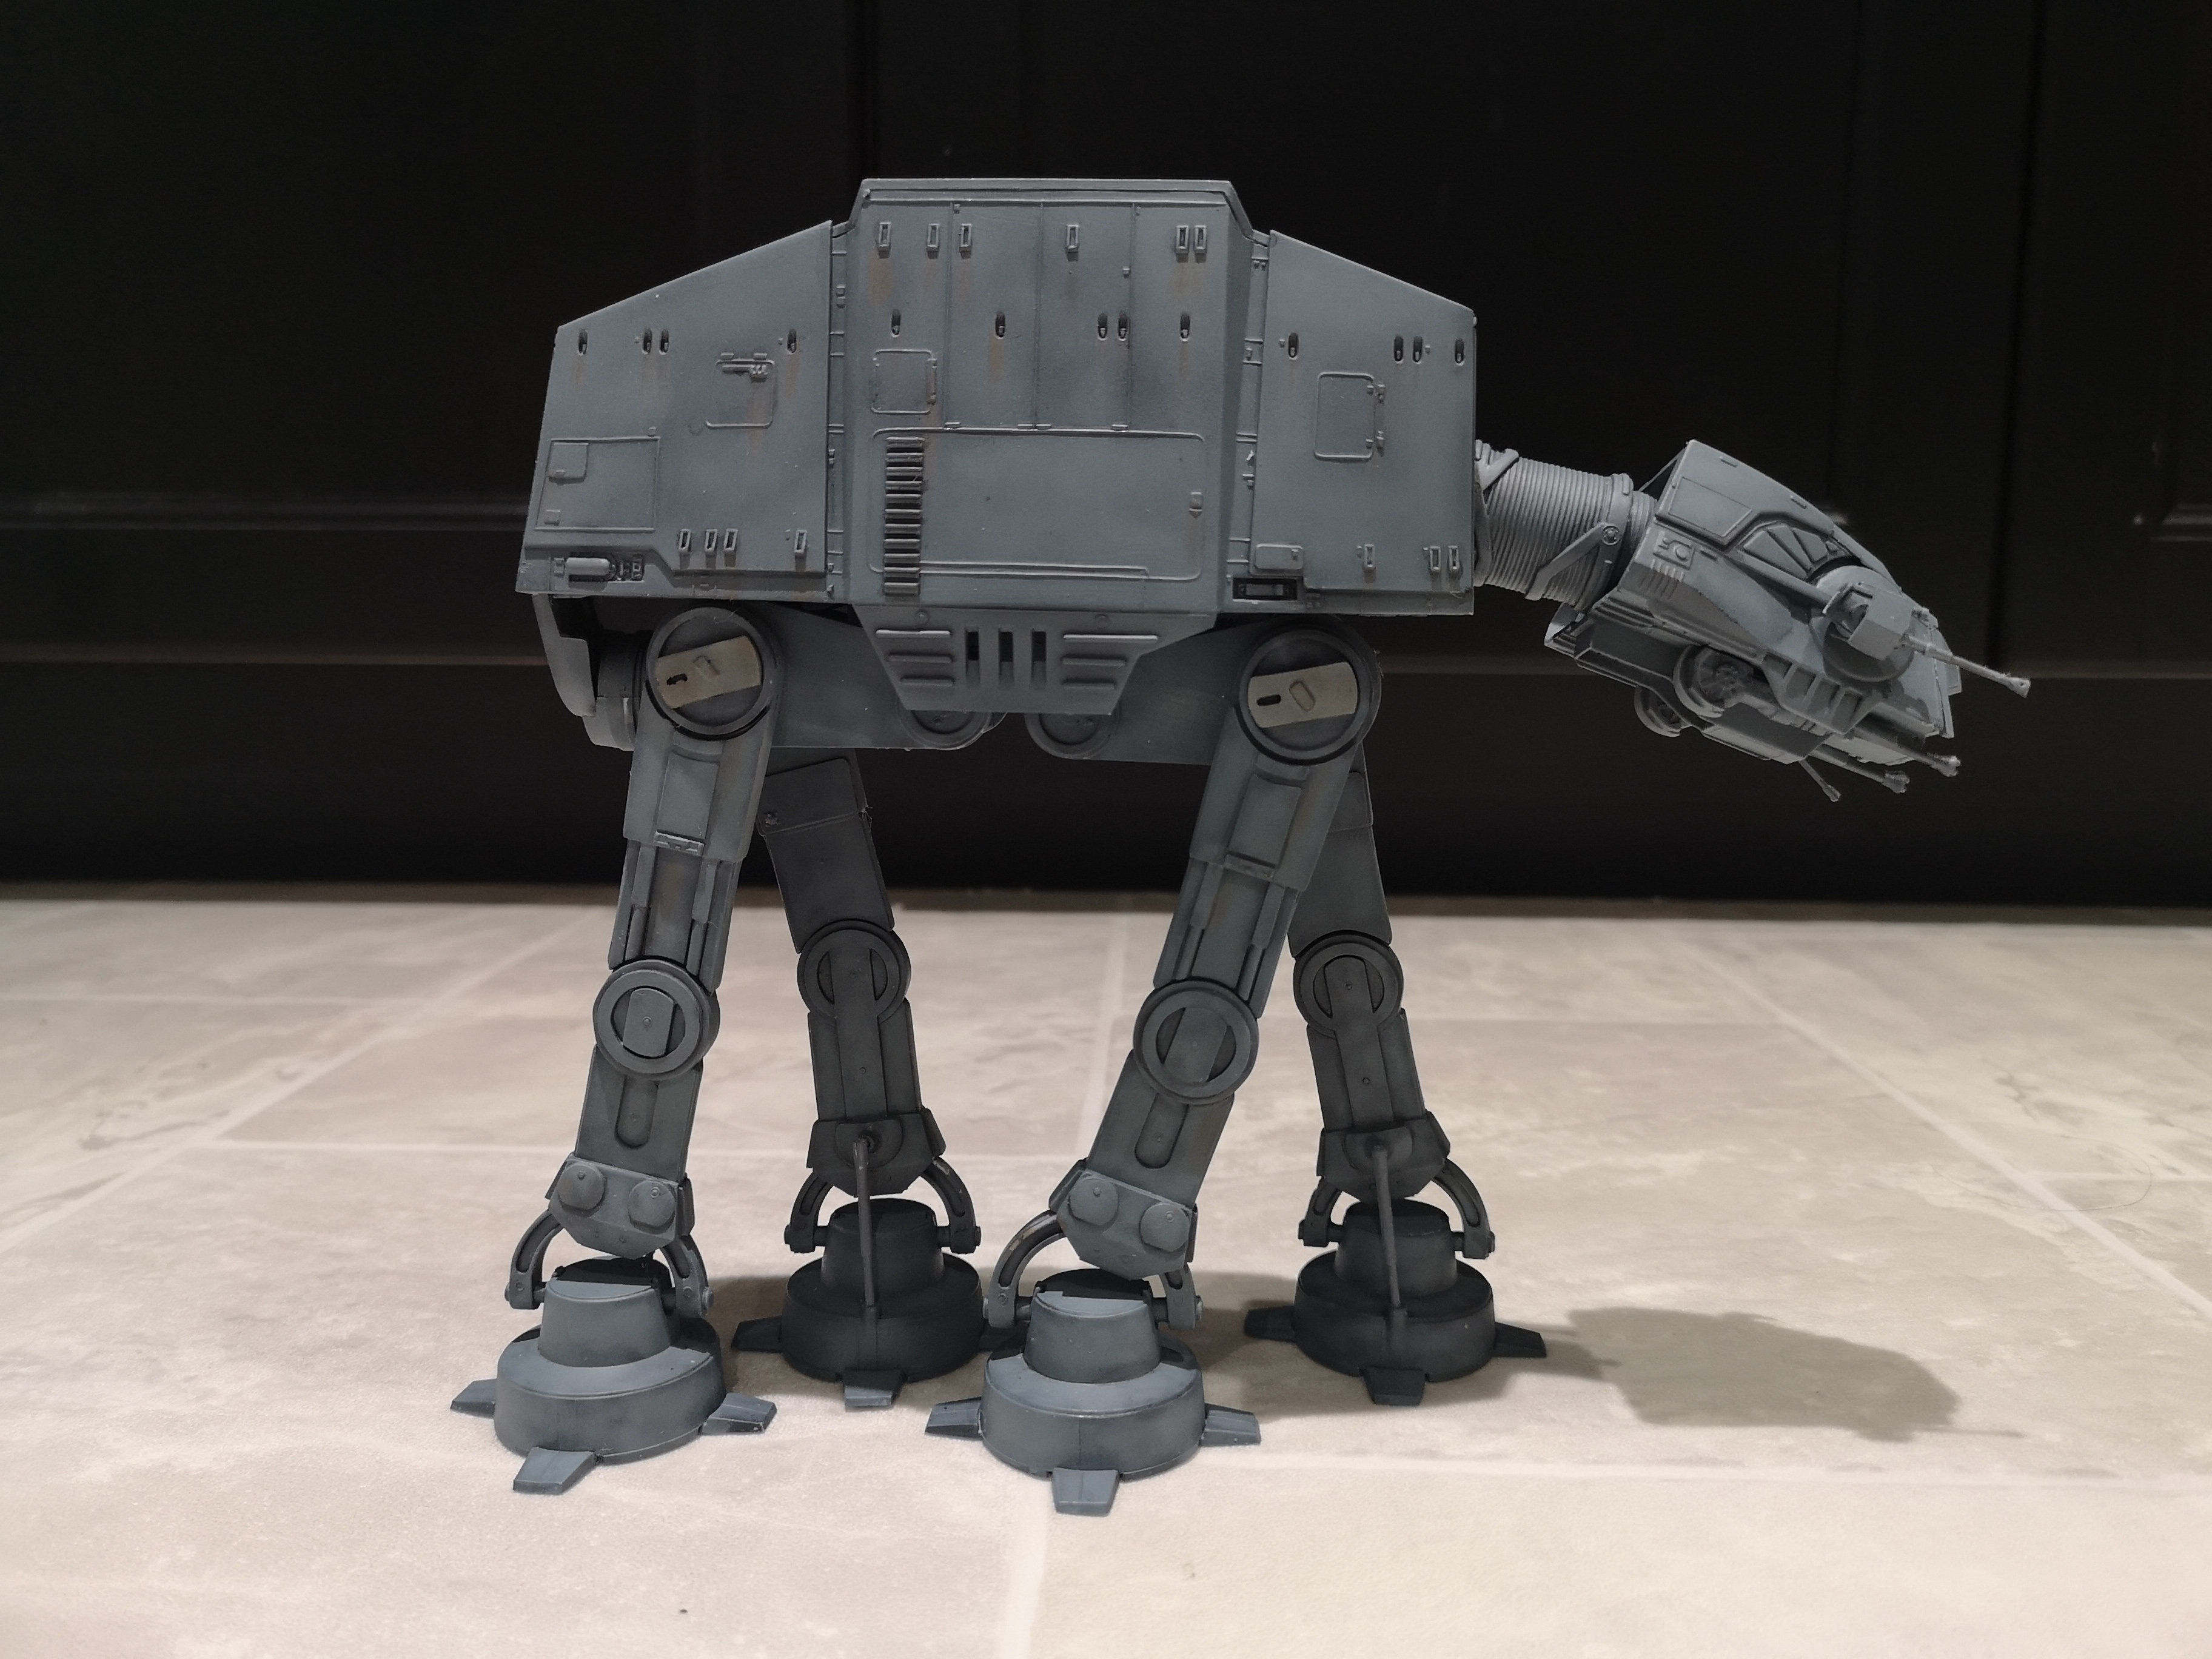
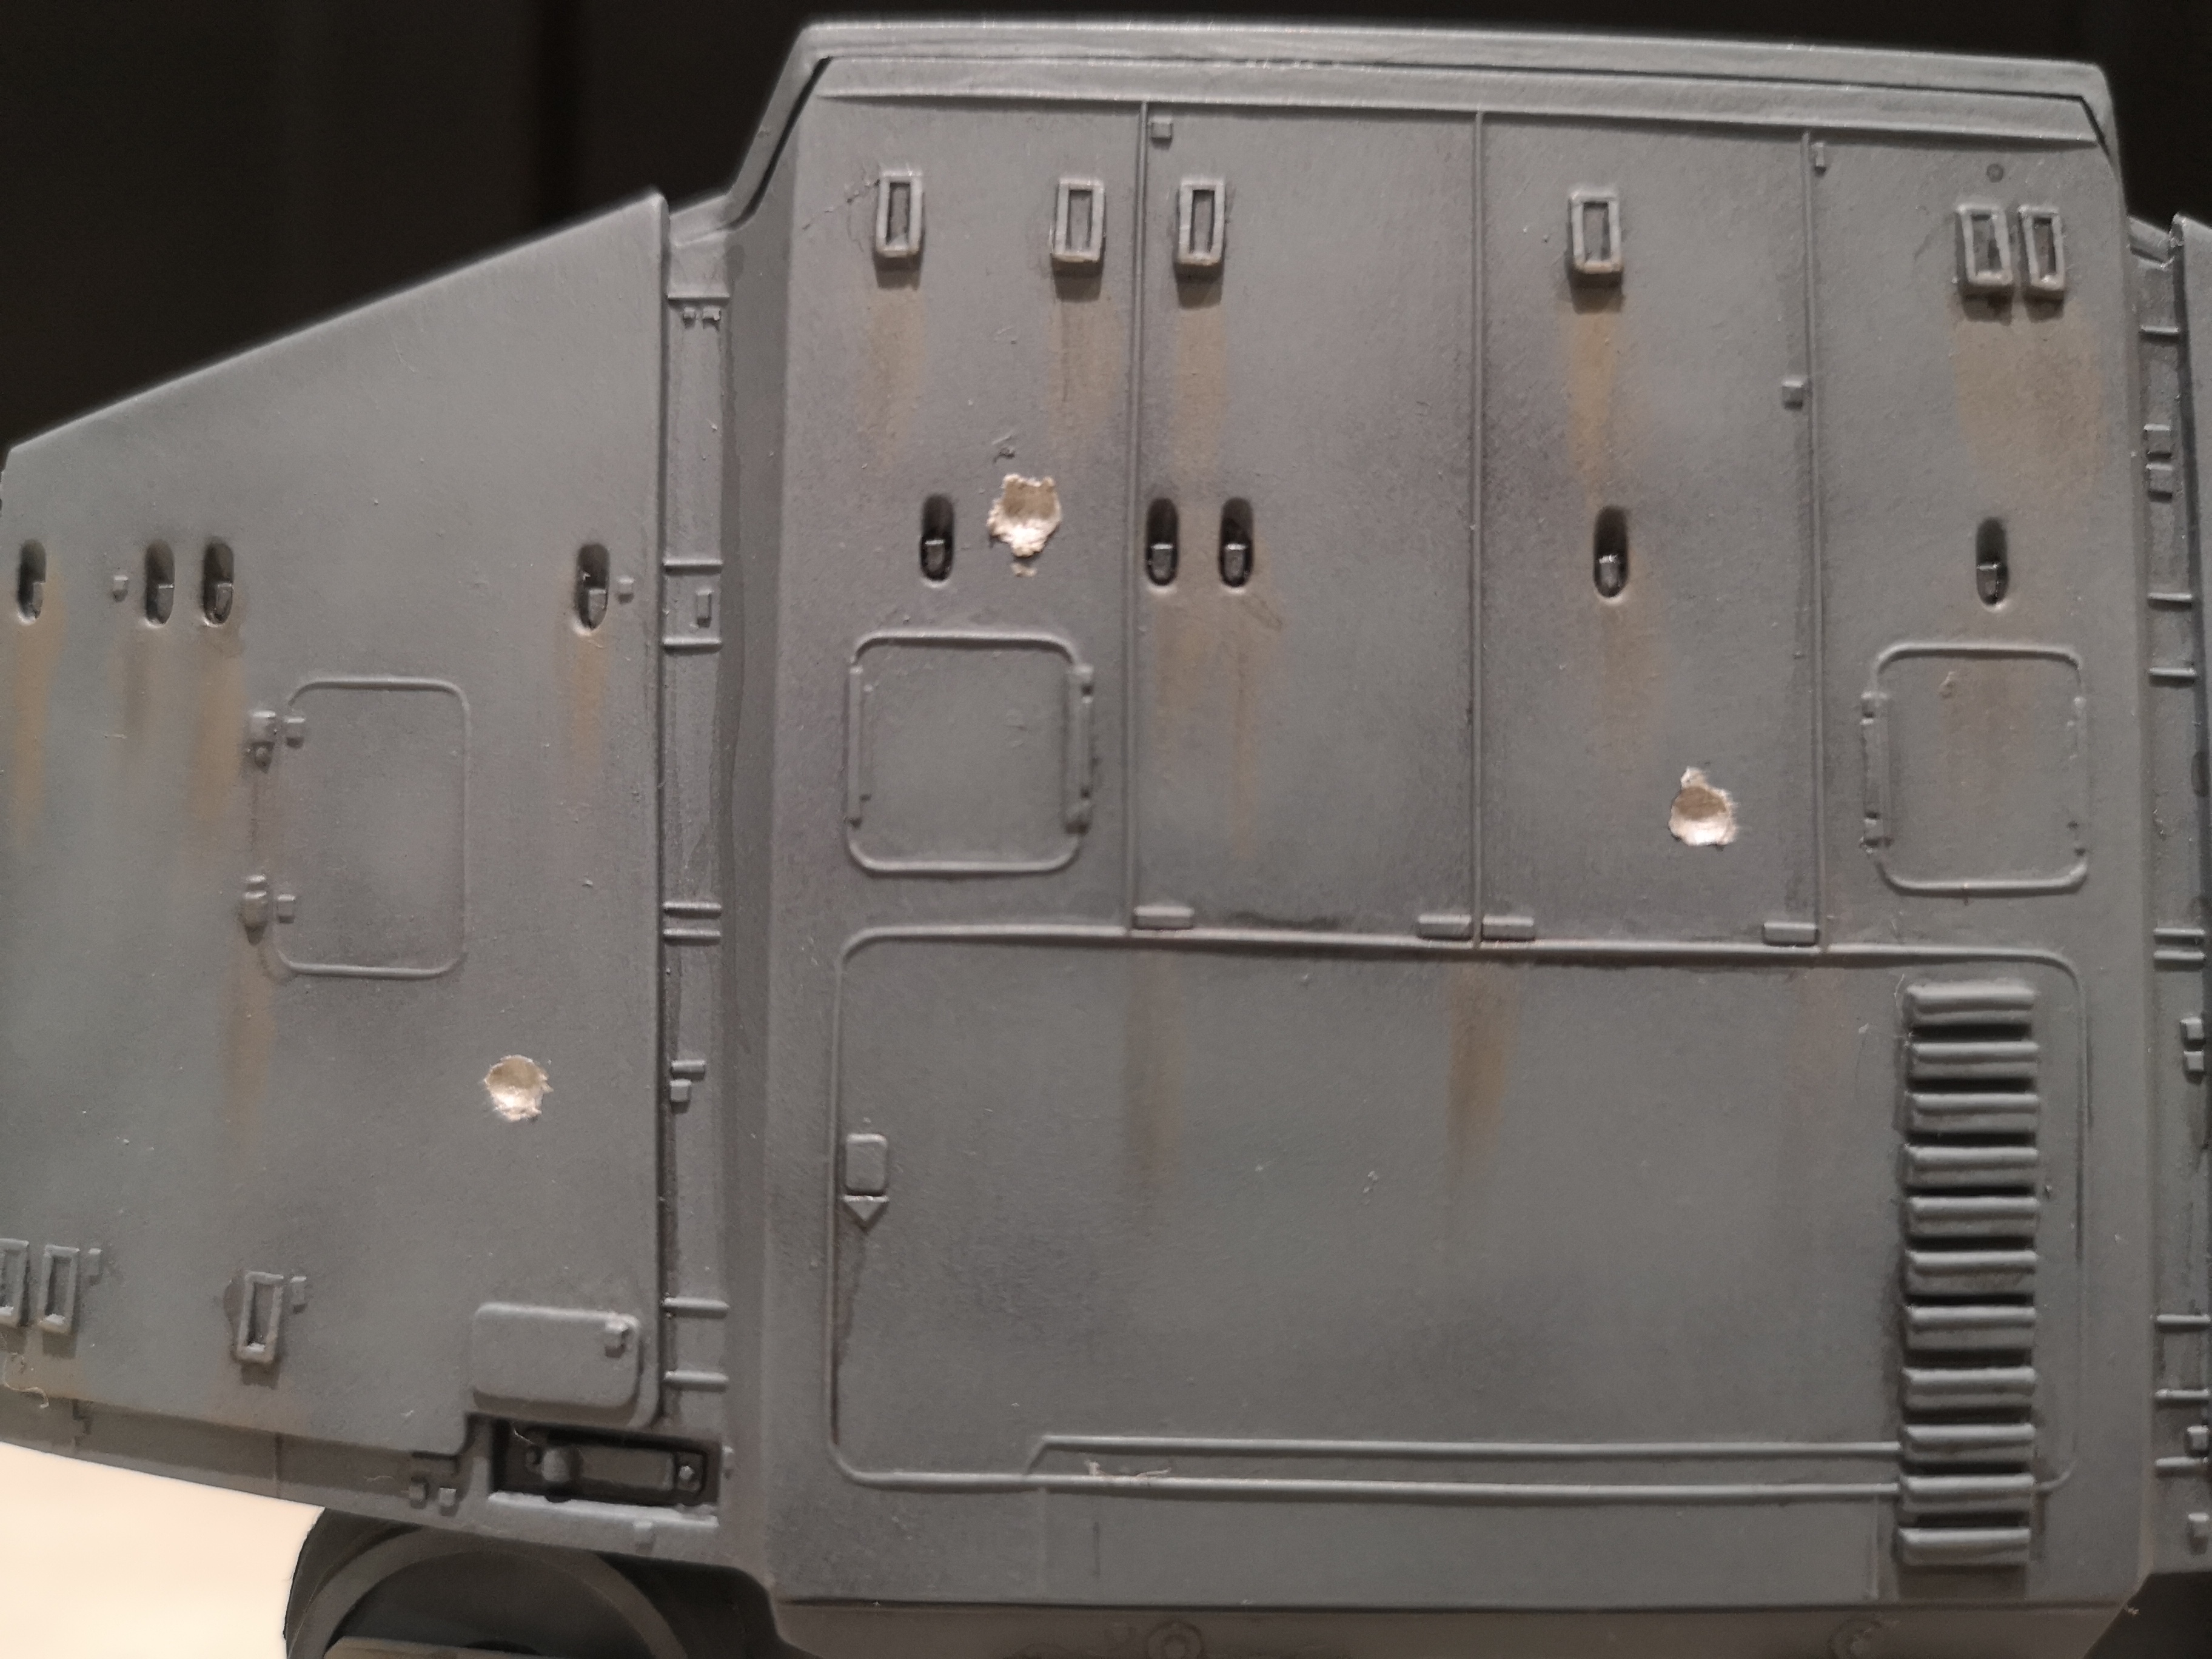
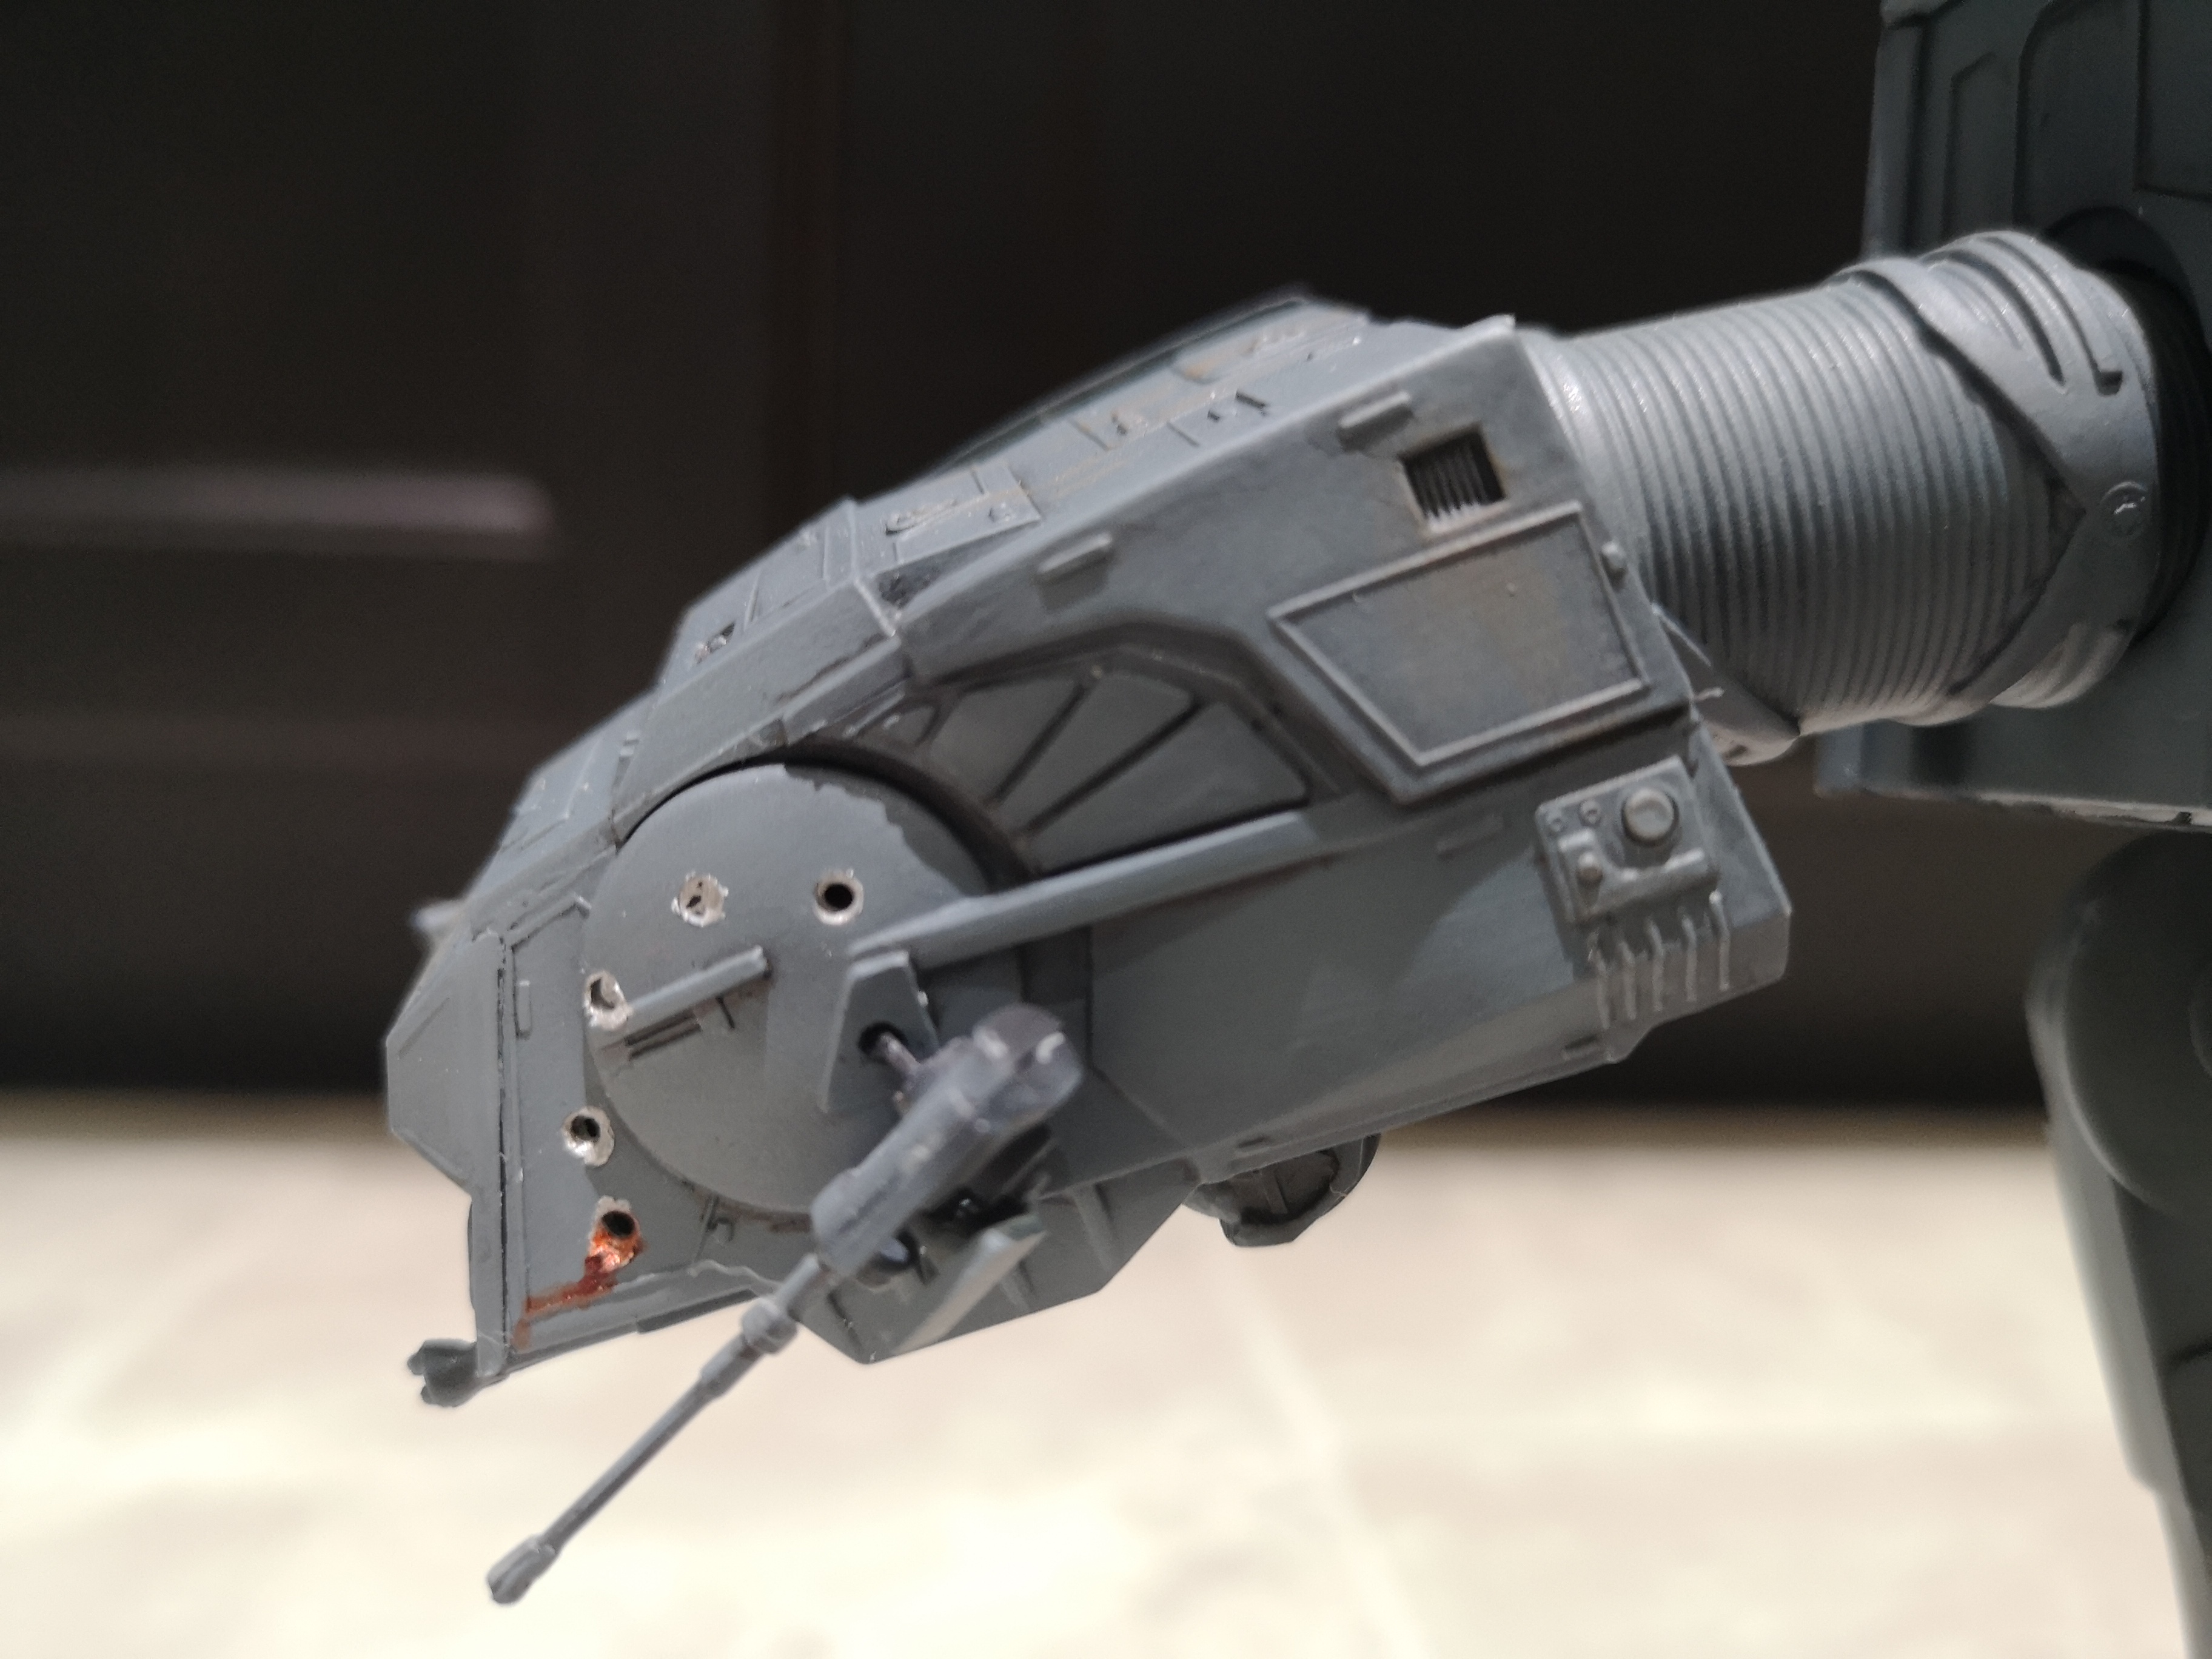
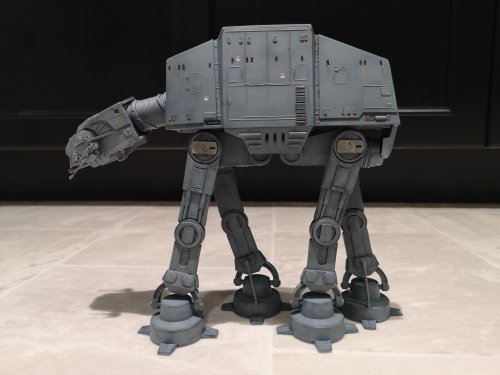
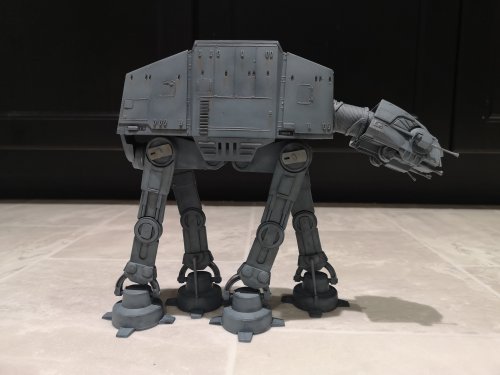
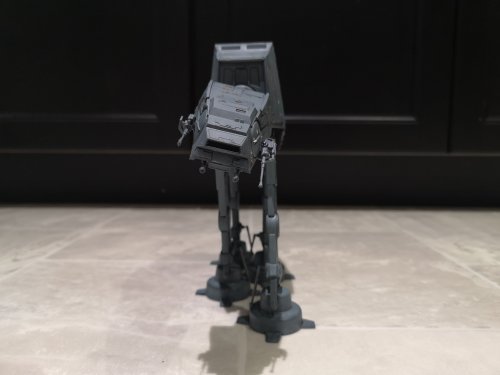
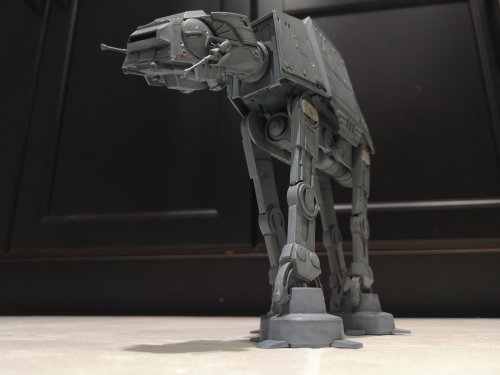
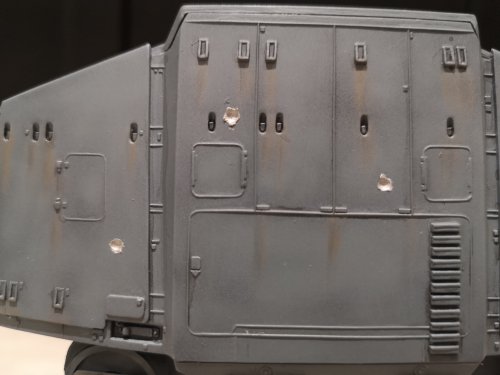
Calling the Walker done. It was a terrific platform to practice air brushing because of the large flat panels. The kit itself is a bit of a mess, and it's a miracle the thing is actually standing. The design is just nutty. The plates/hip joints where the legs attach....it's like they were designed to pop off if you pushed the legs in too hard. Anyway, wont bother ranting more about it. I got to practice pre-shading which is something I'd never done. Have to thank 12 year old me for brush painting the thing black and leaving the kit alone for 33 years so I could practice, lol! When the Pledge went on after the gray, the brush strokes really popped, but after the dull coat, they sort of blended in again (you'll see them if you zoom in). Of course I added a minor bit of battle damage. Another bit of experimenting really. Shots taken from further away, broadside of the Walker, no penetration. 5 more rounds close range to the cockpit. First two went right in, two more were stopped by the armor, and the 5th round was armor piercing. 55mm rounds.....from what I wonder?

-
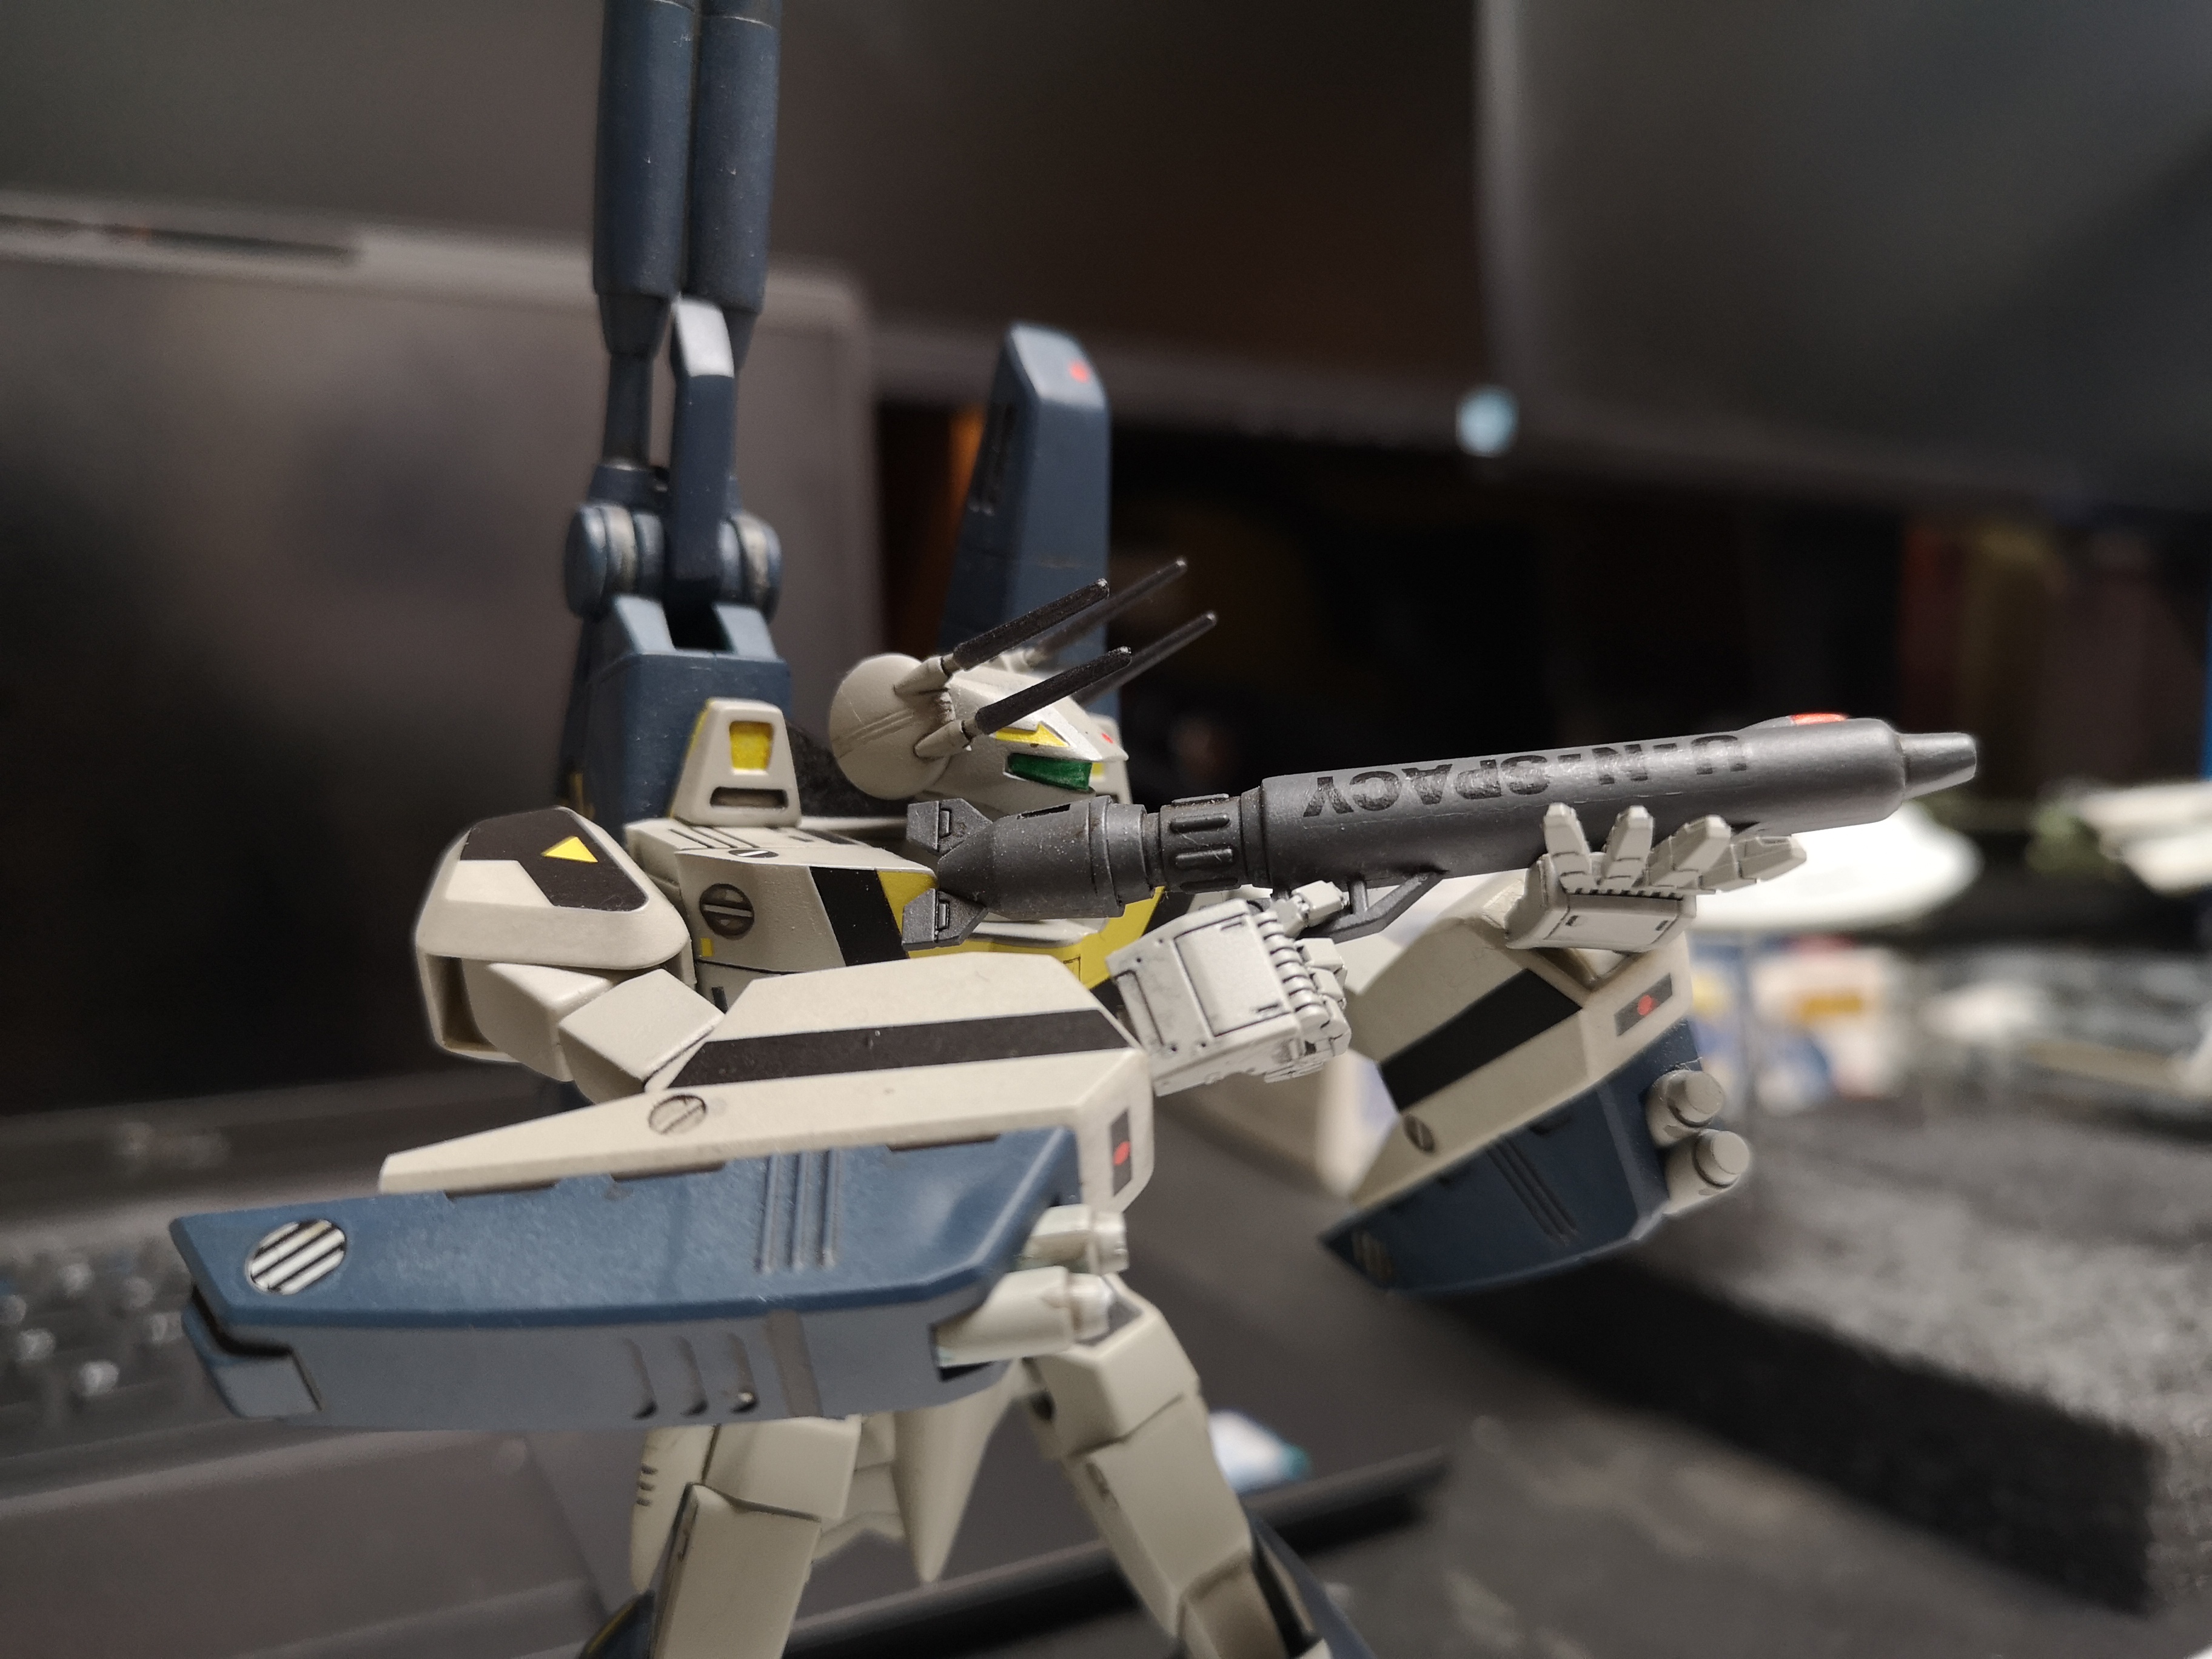
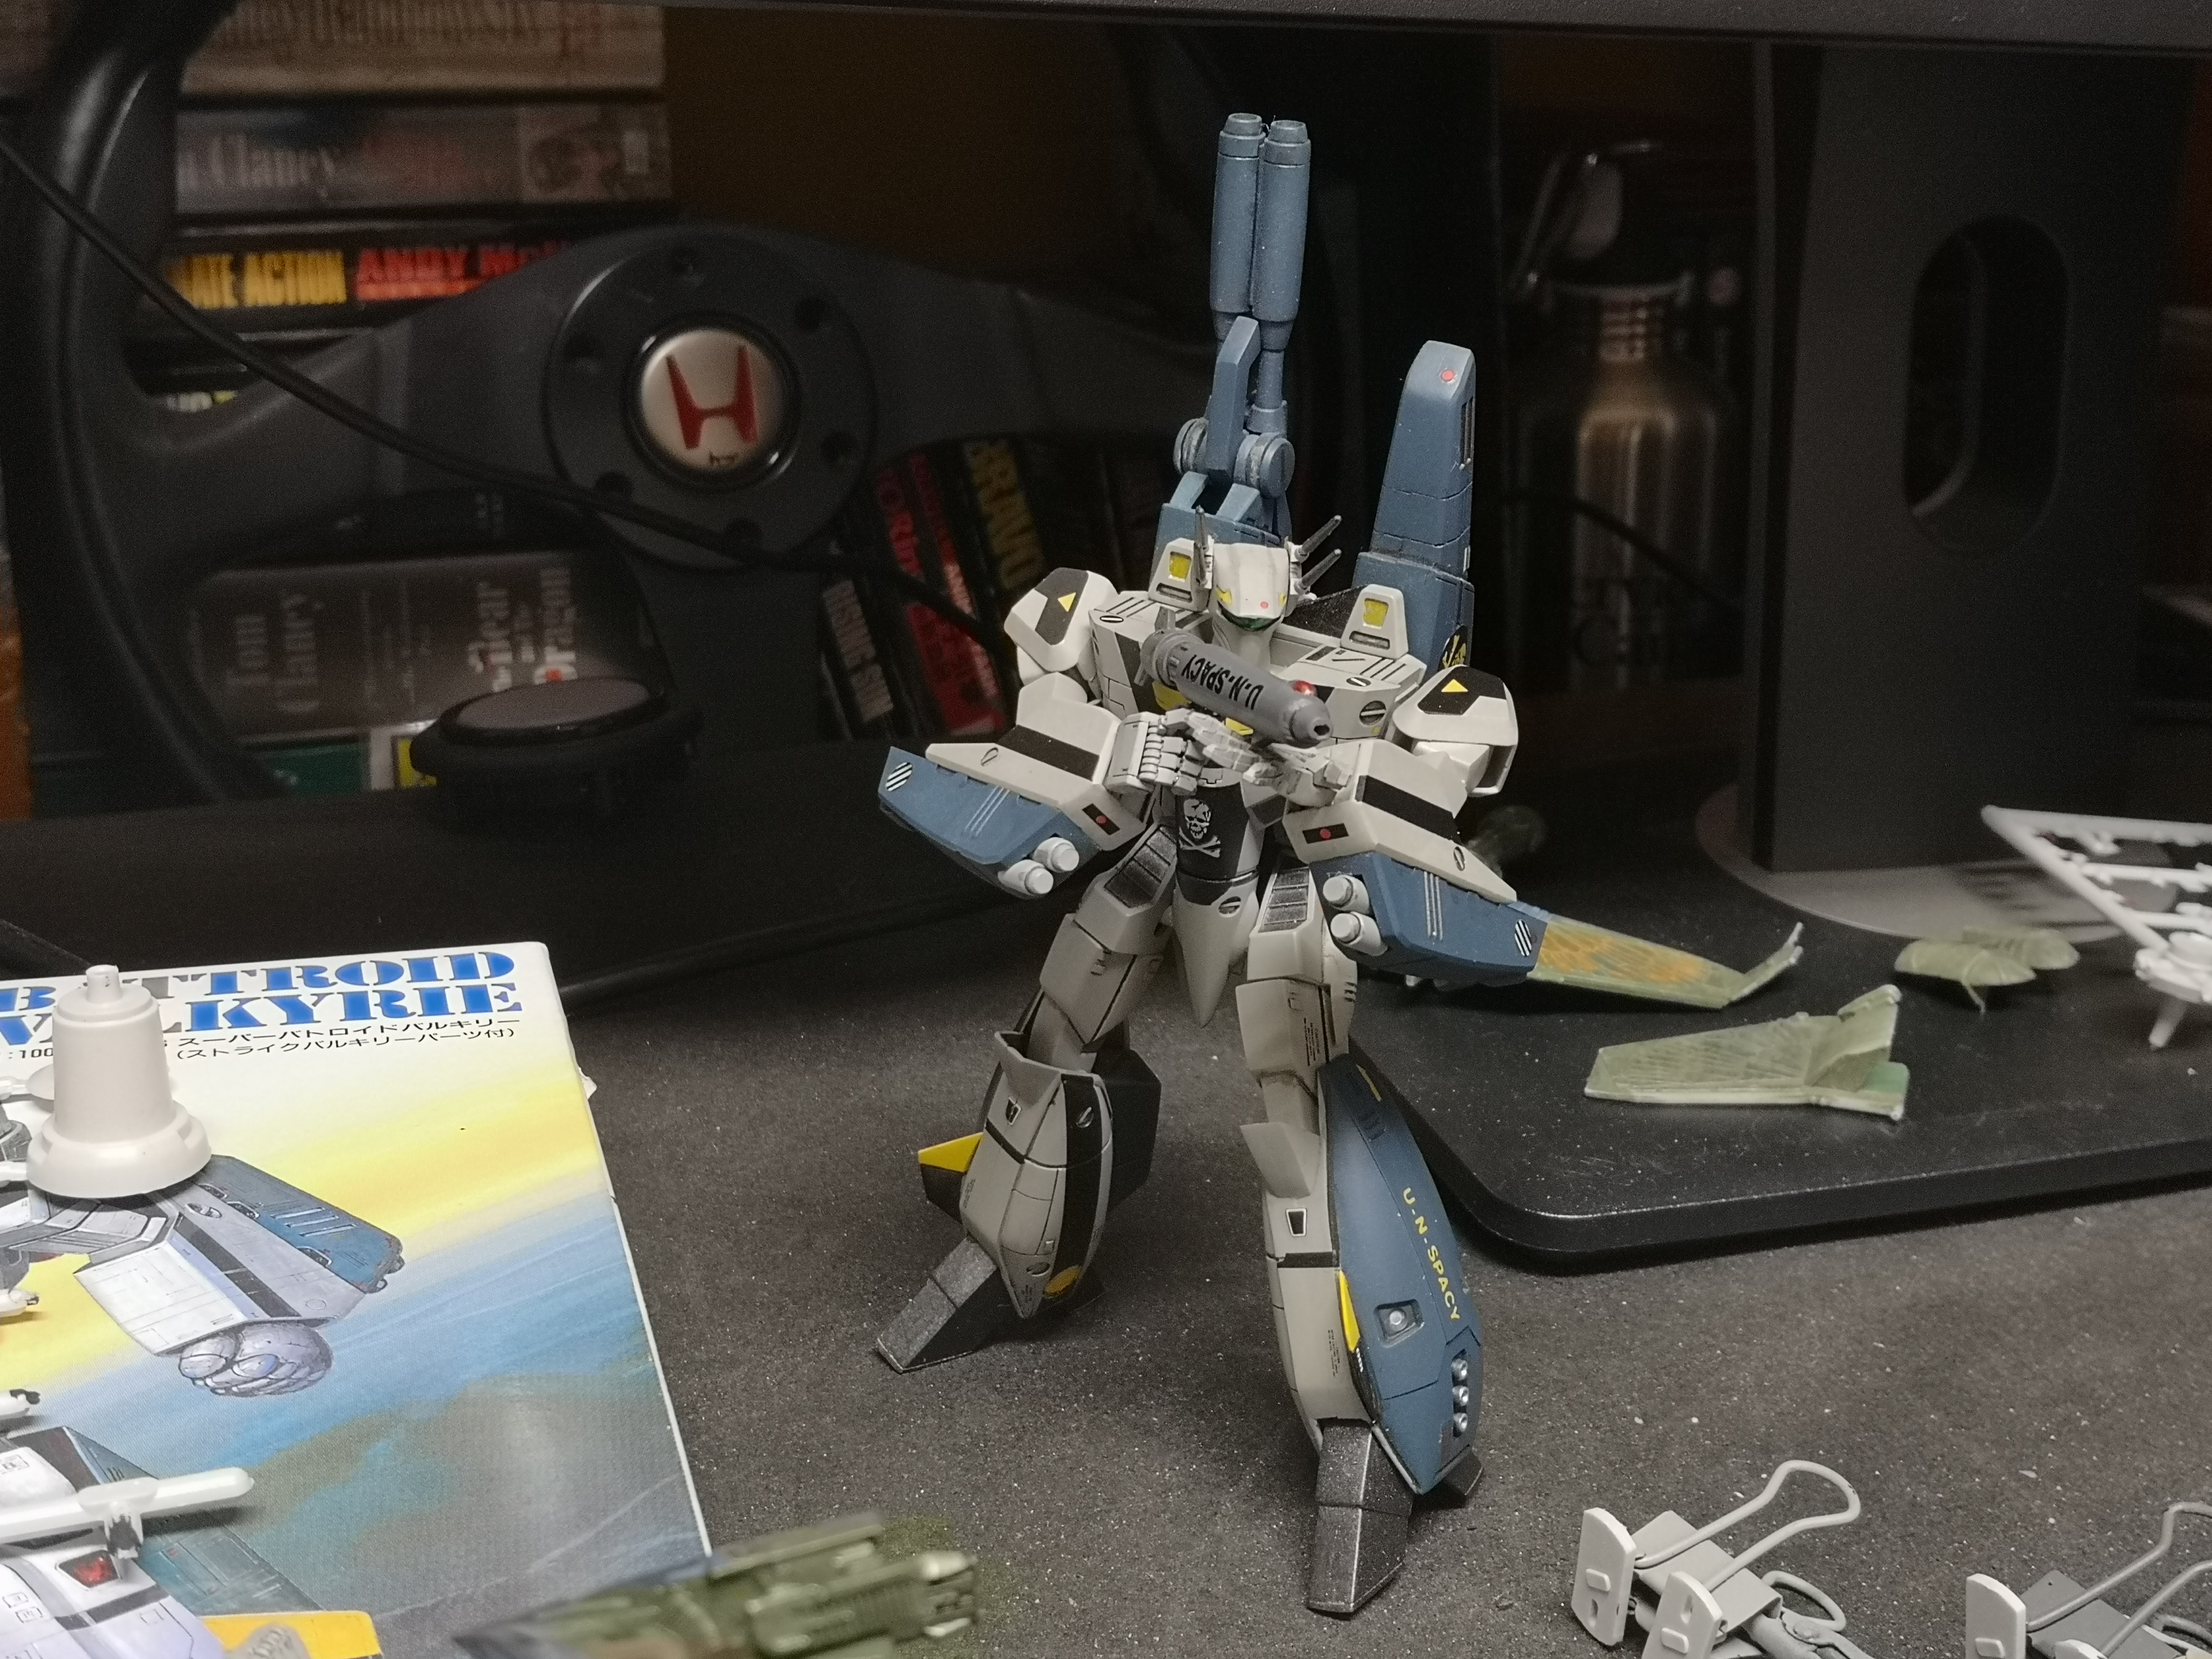
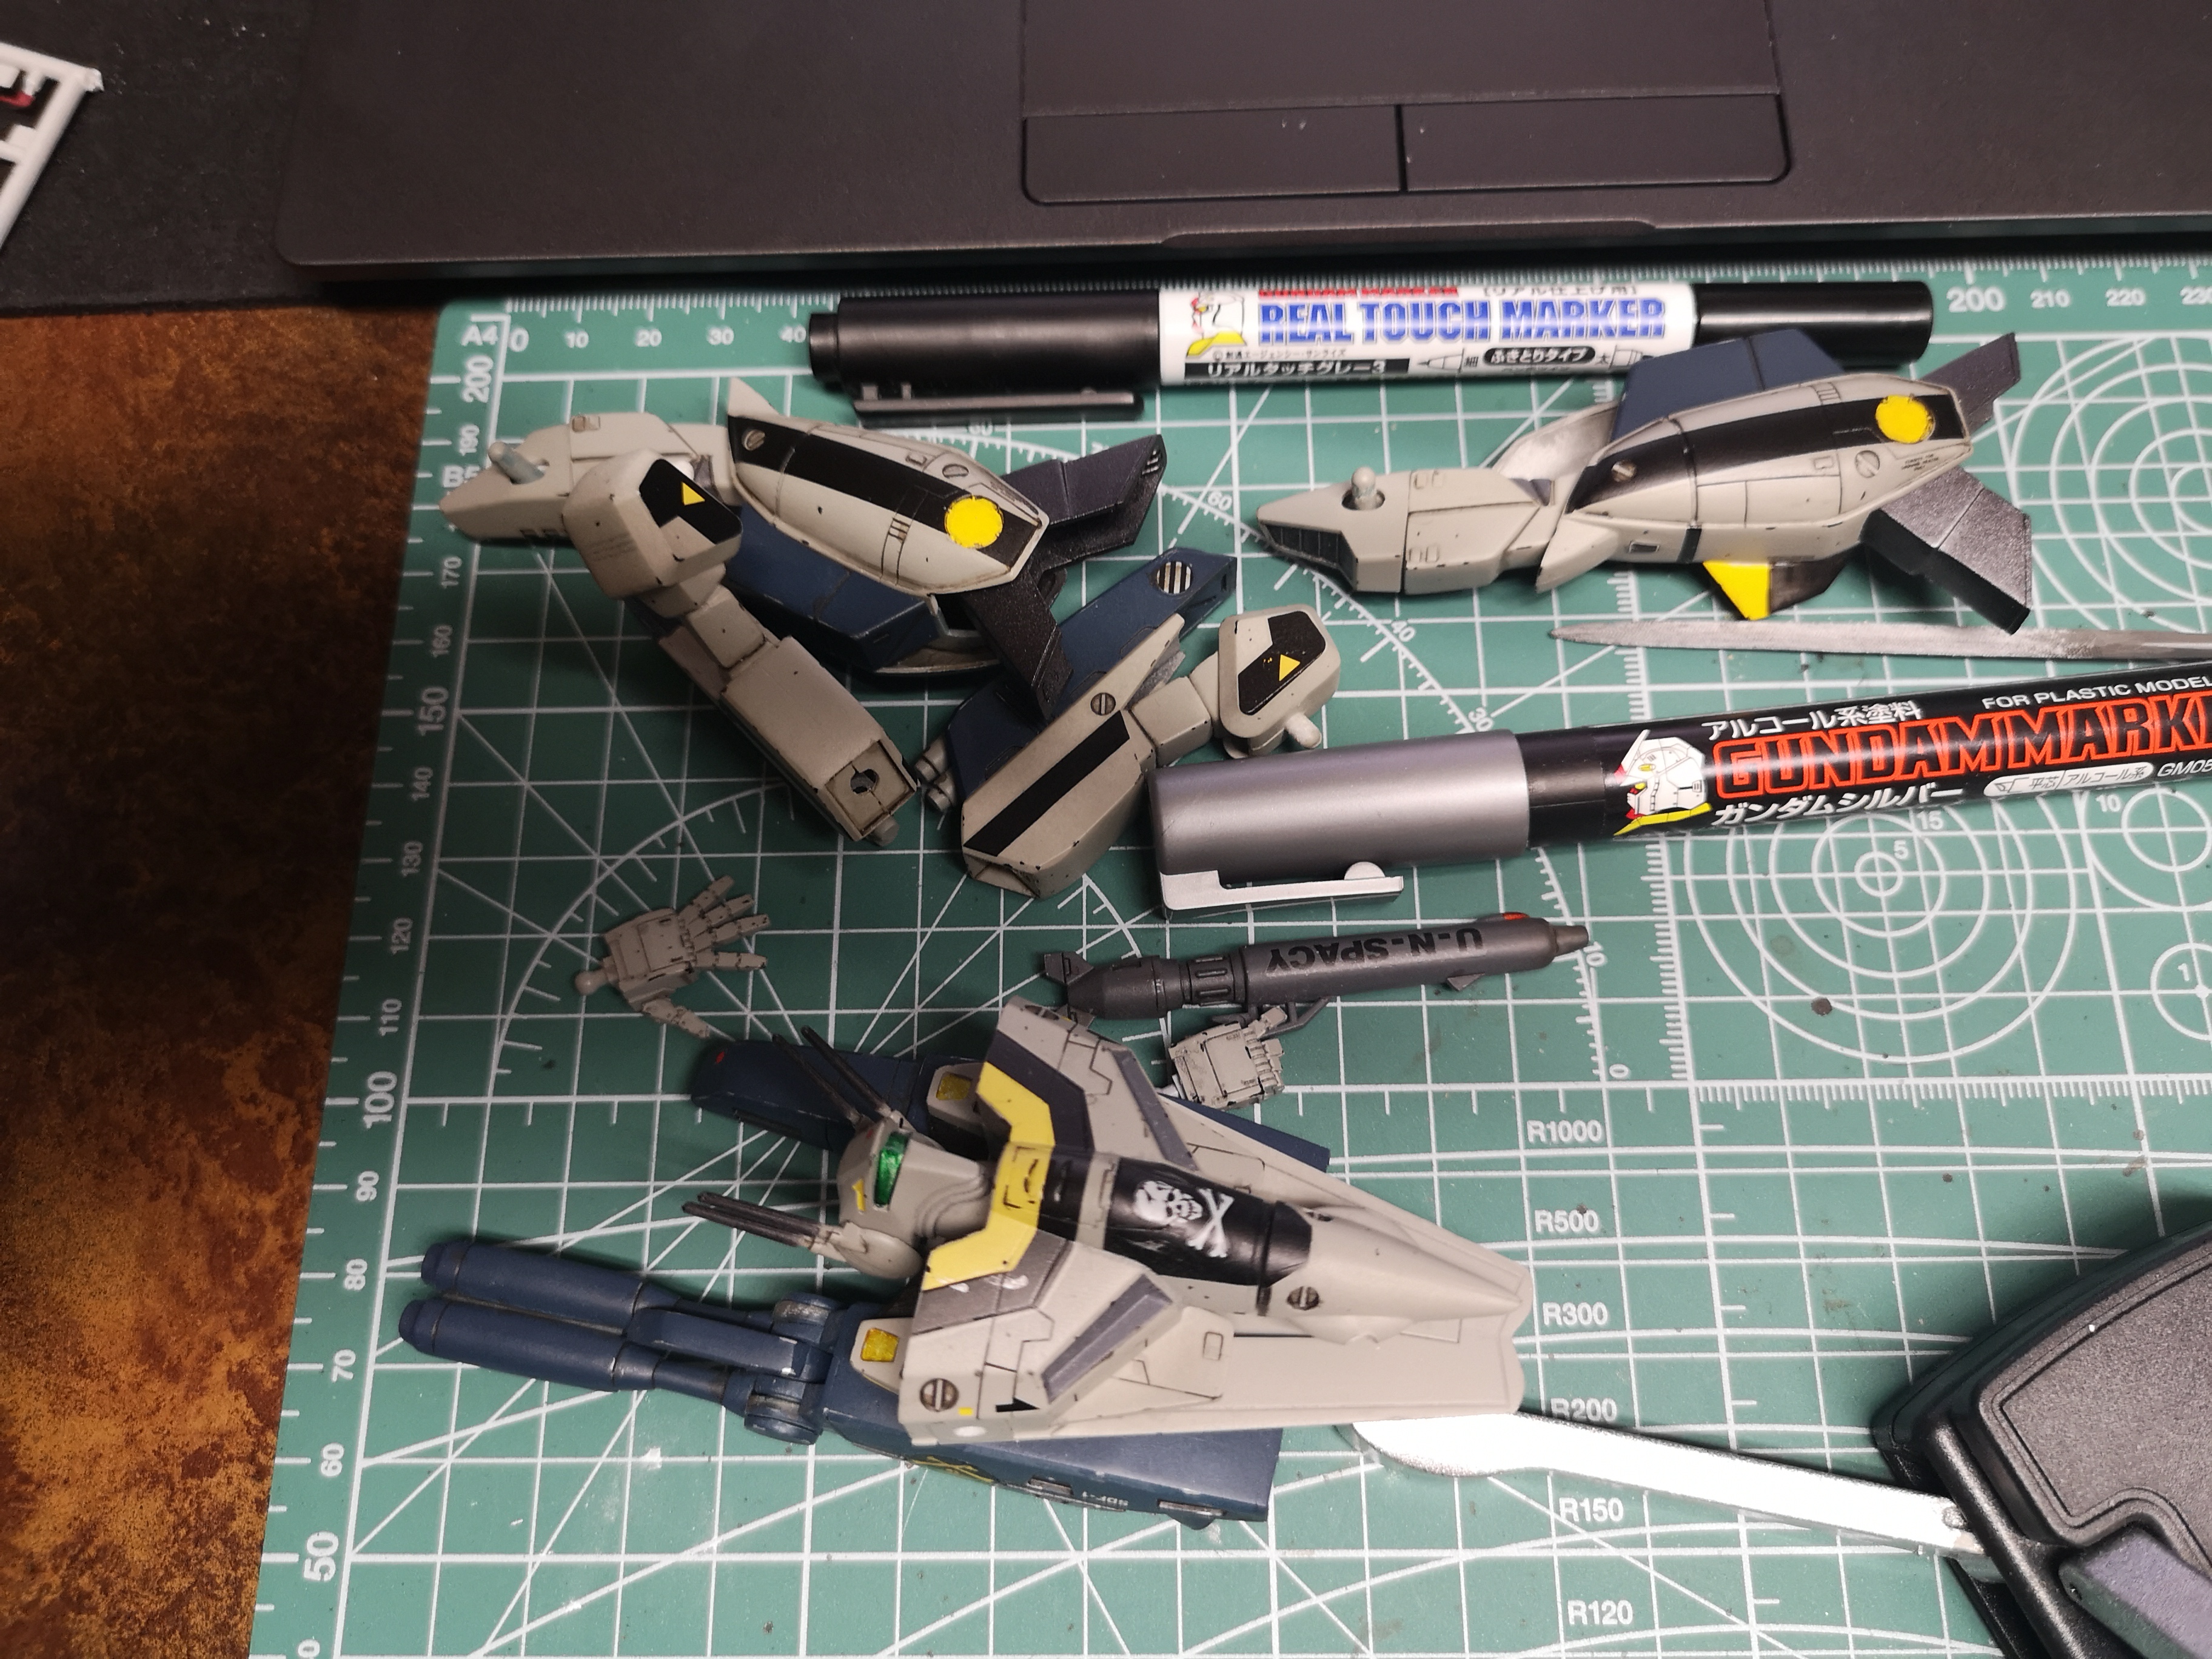
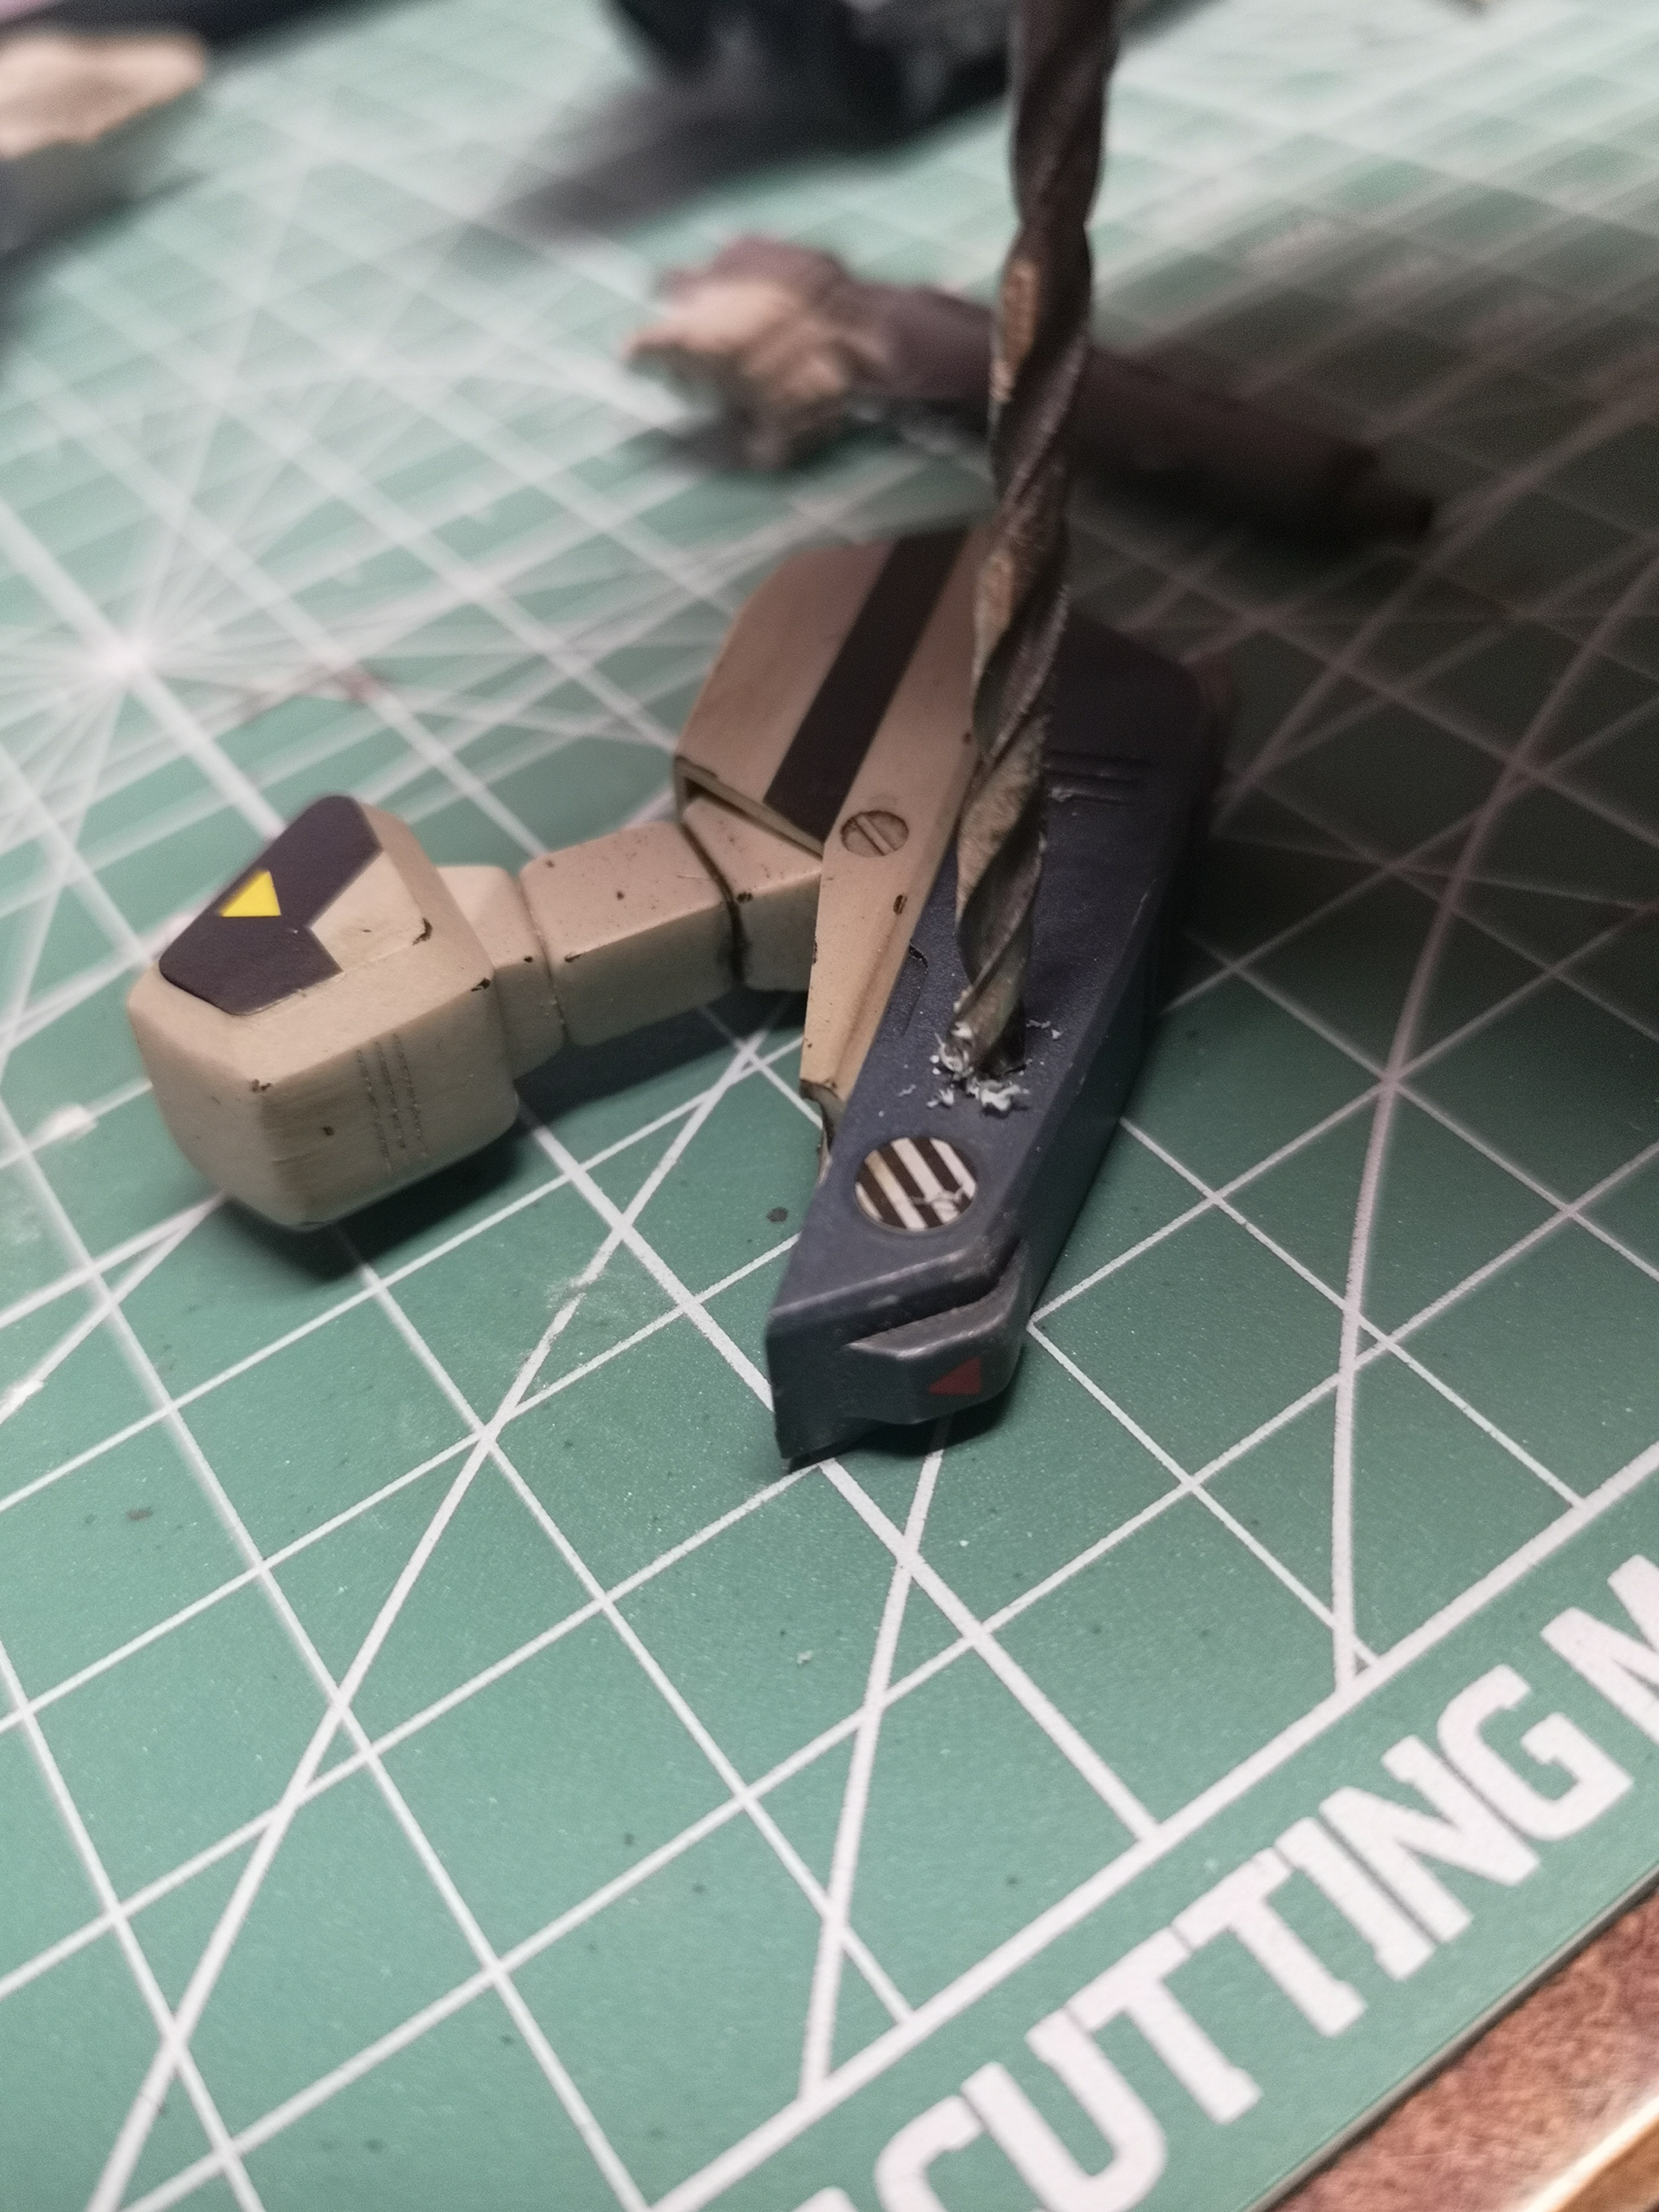
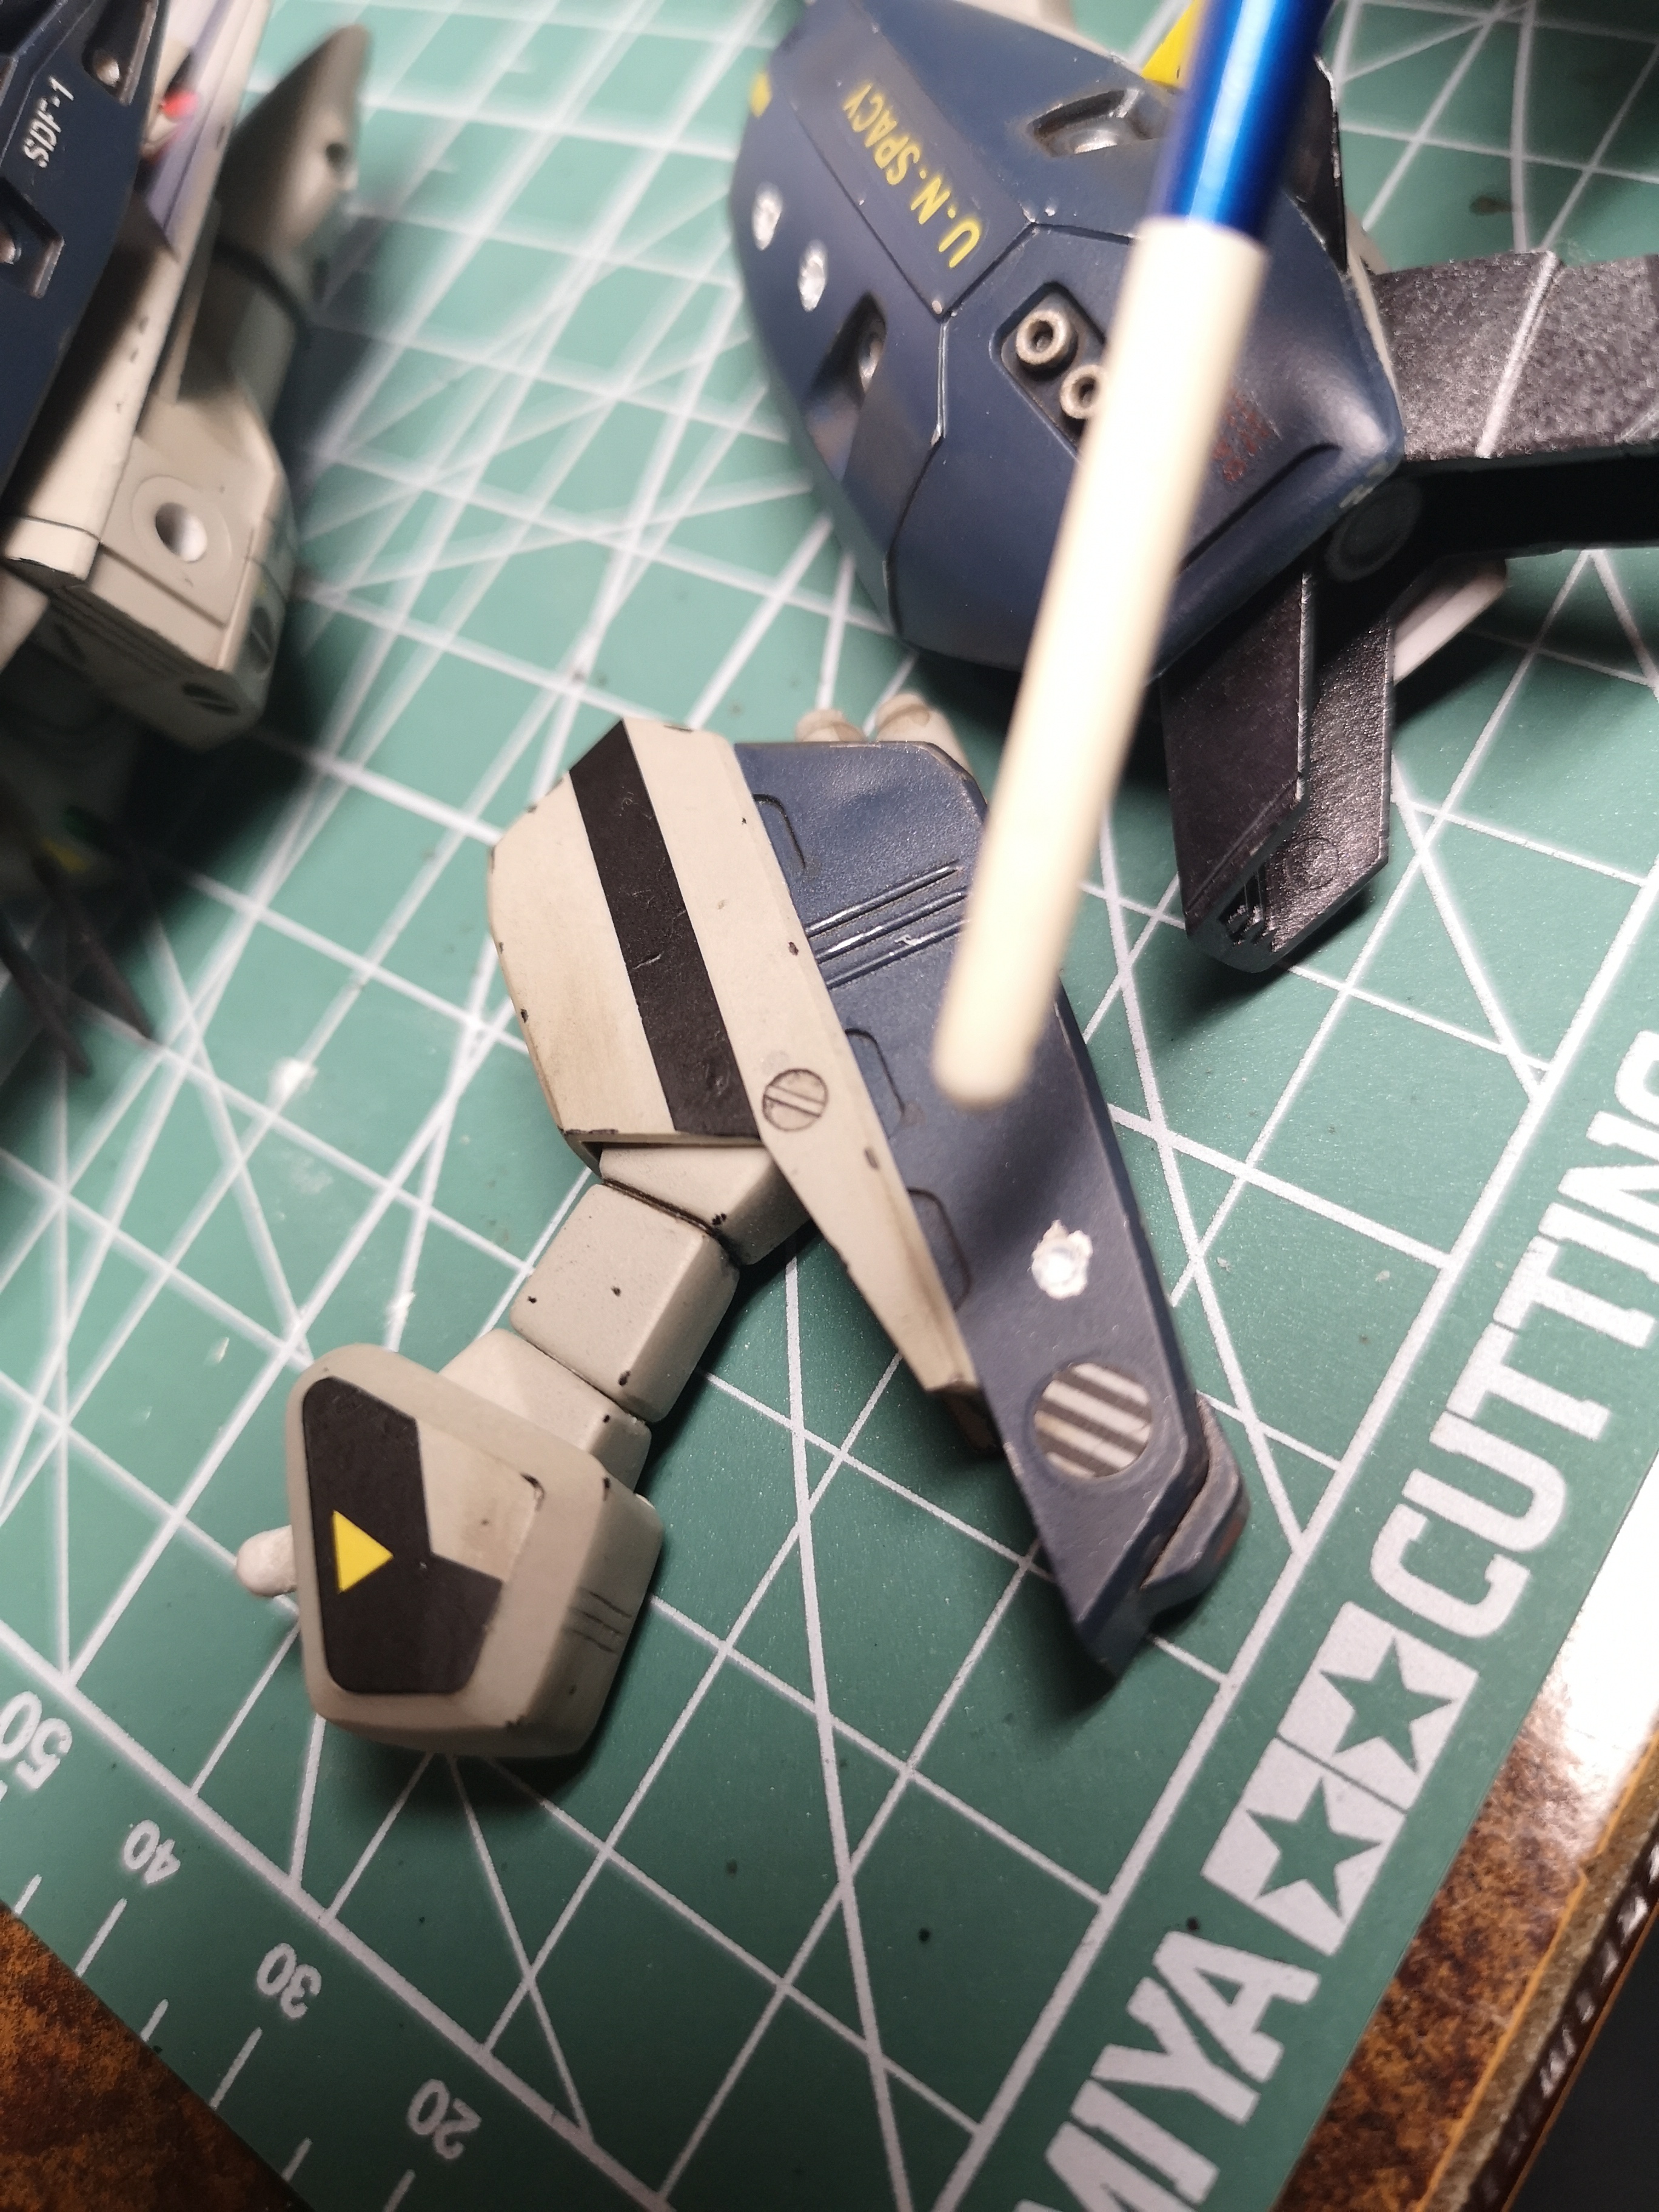
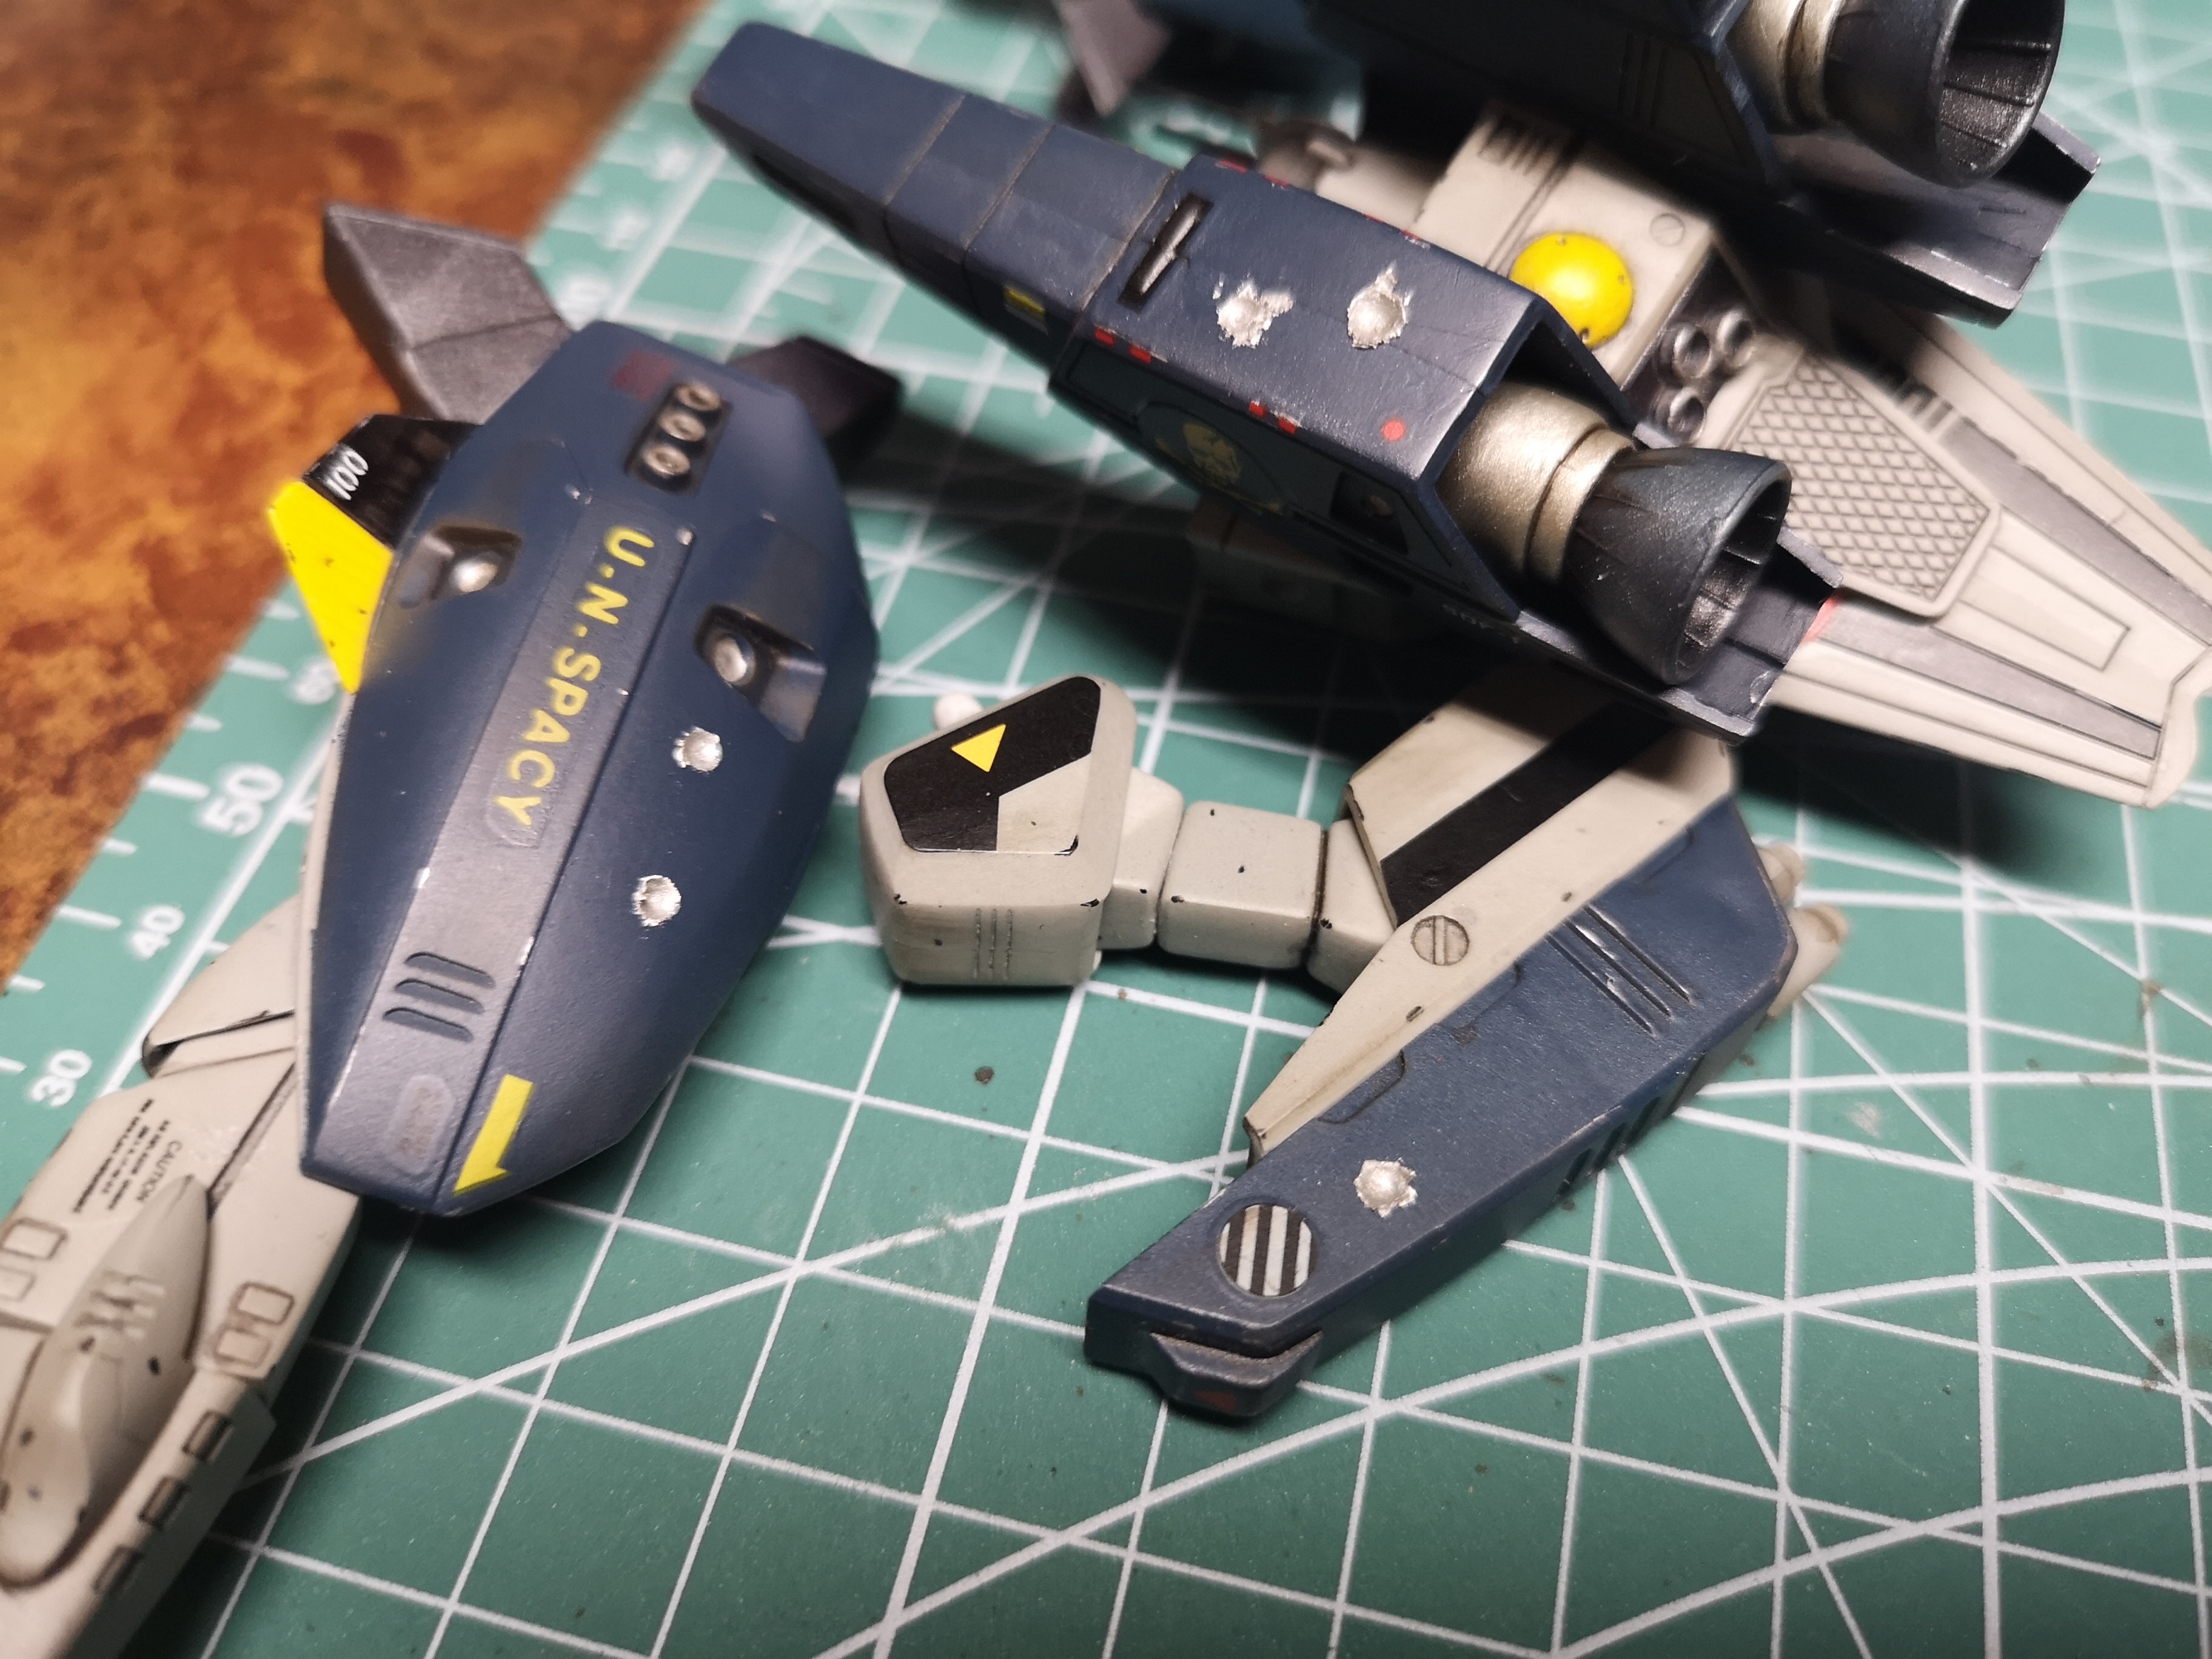
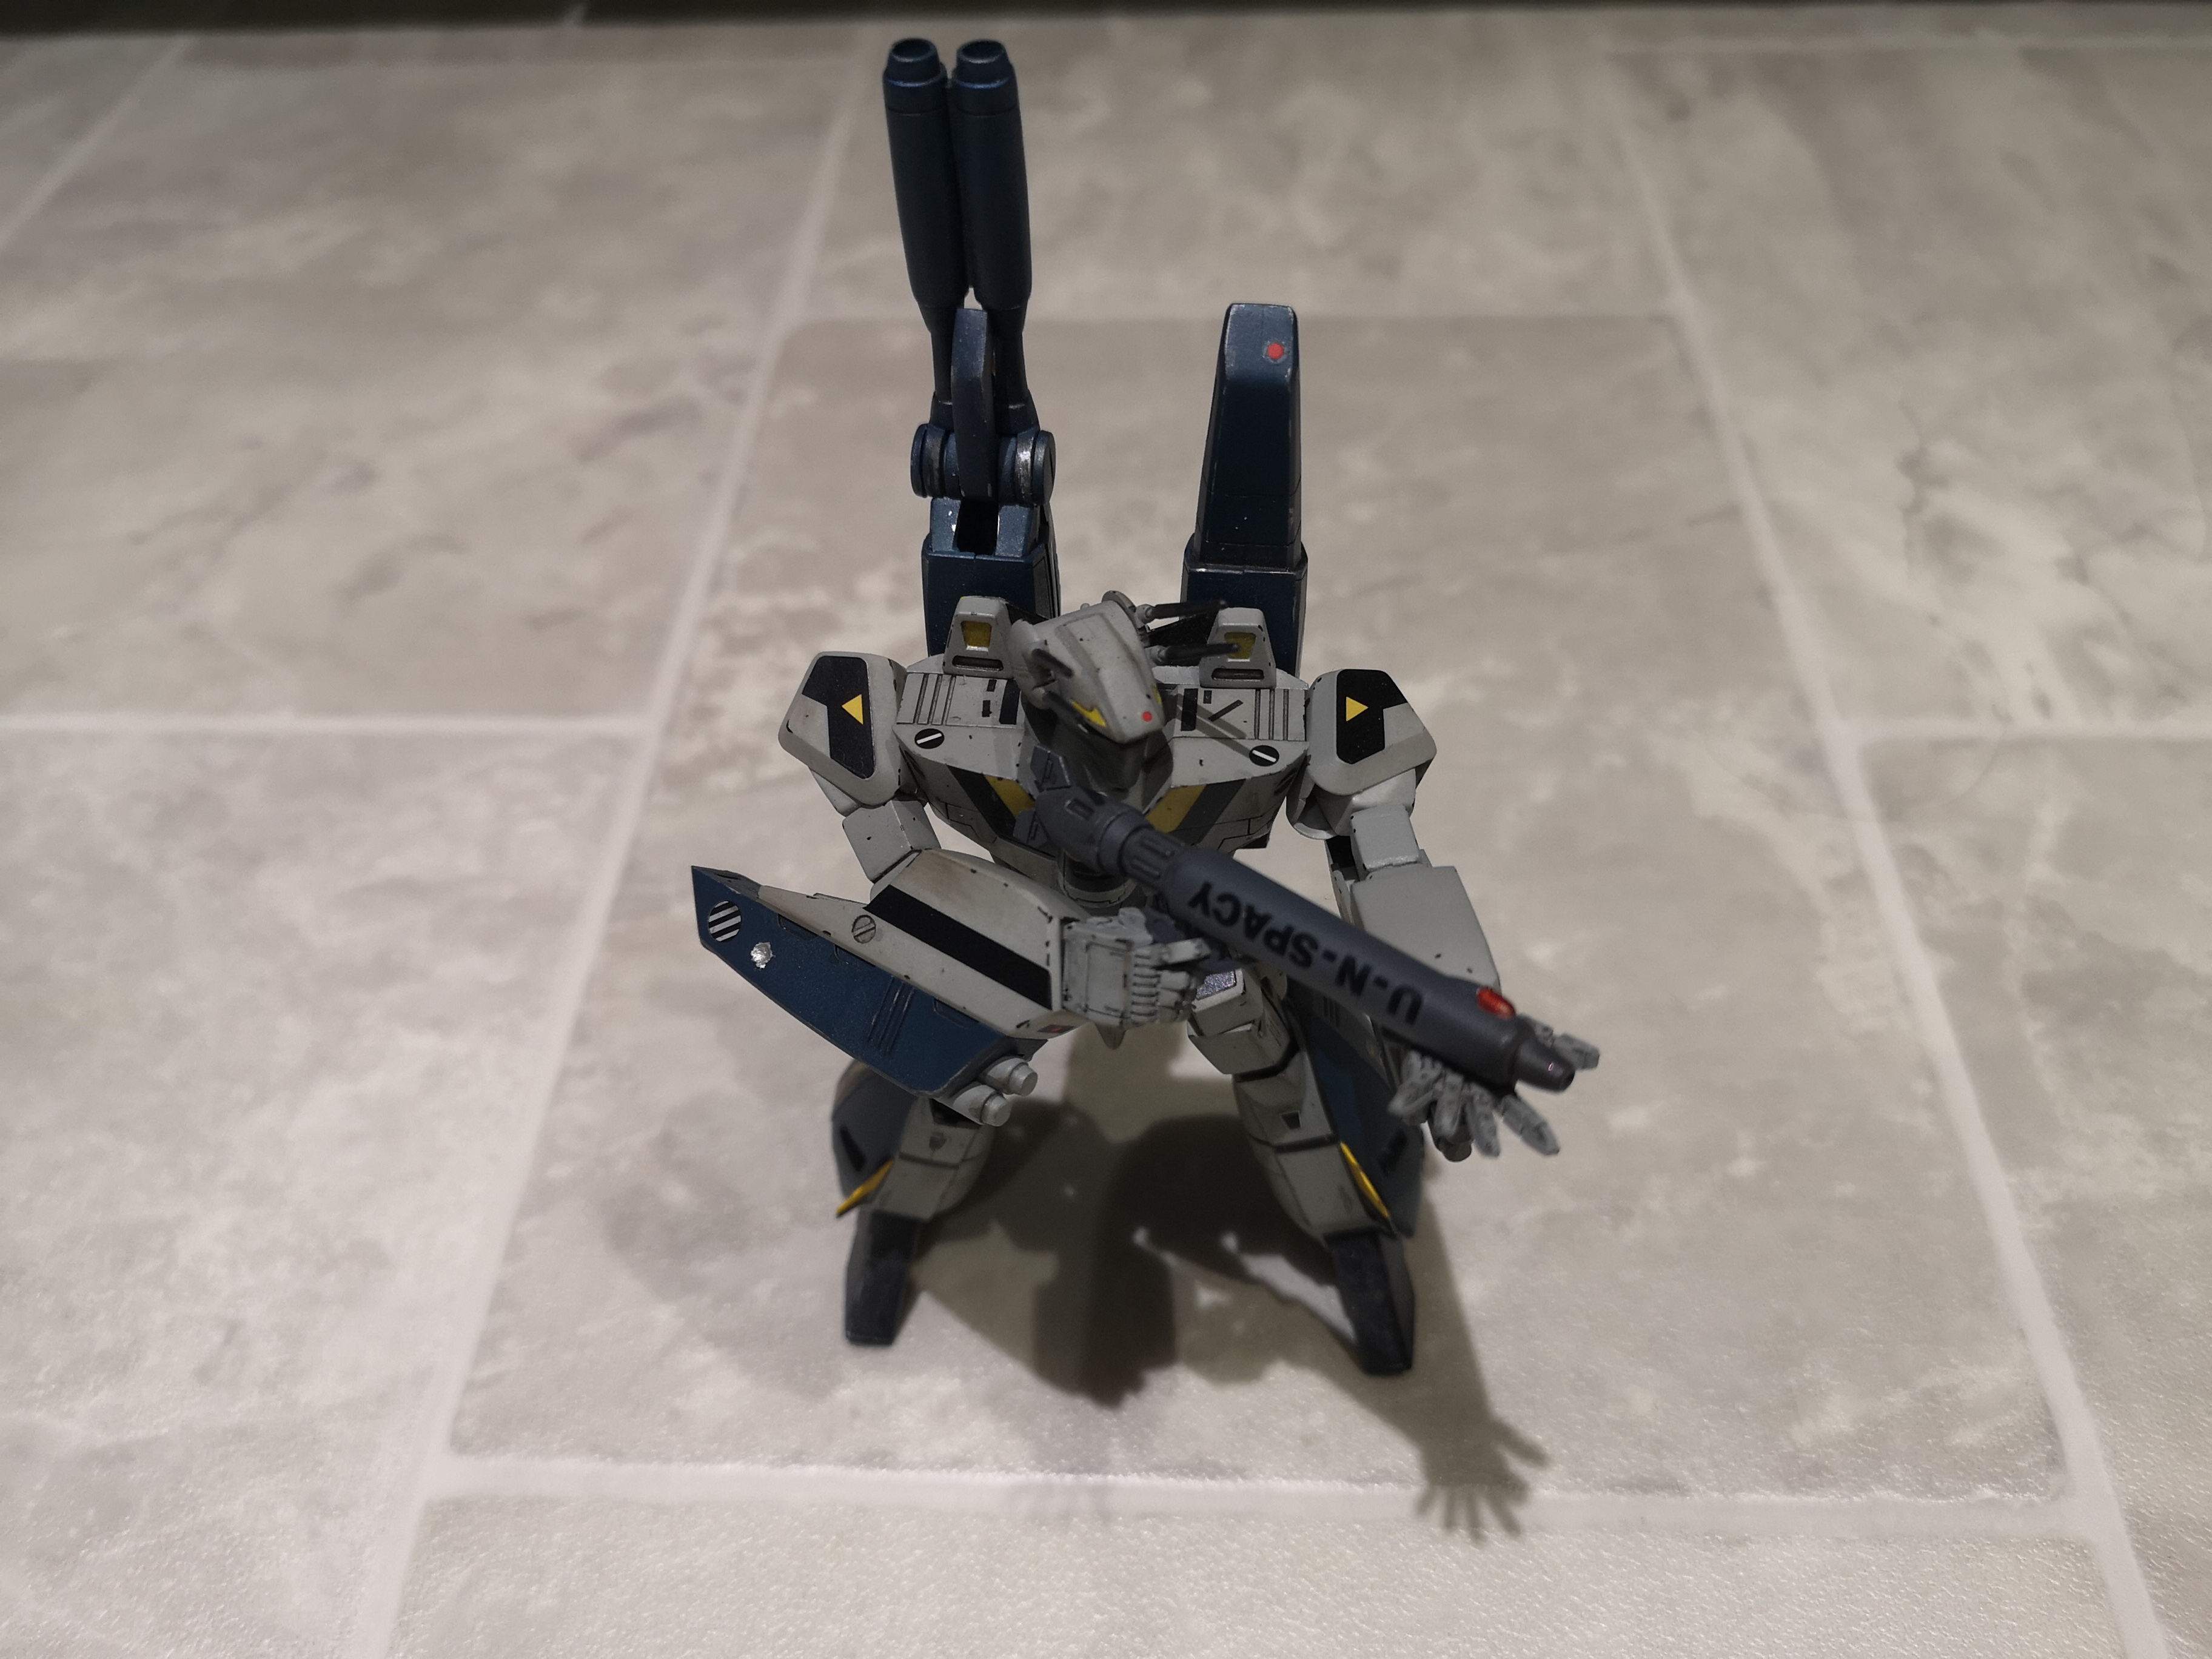
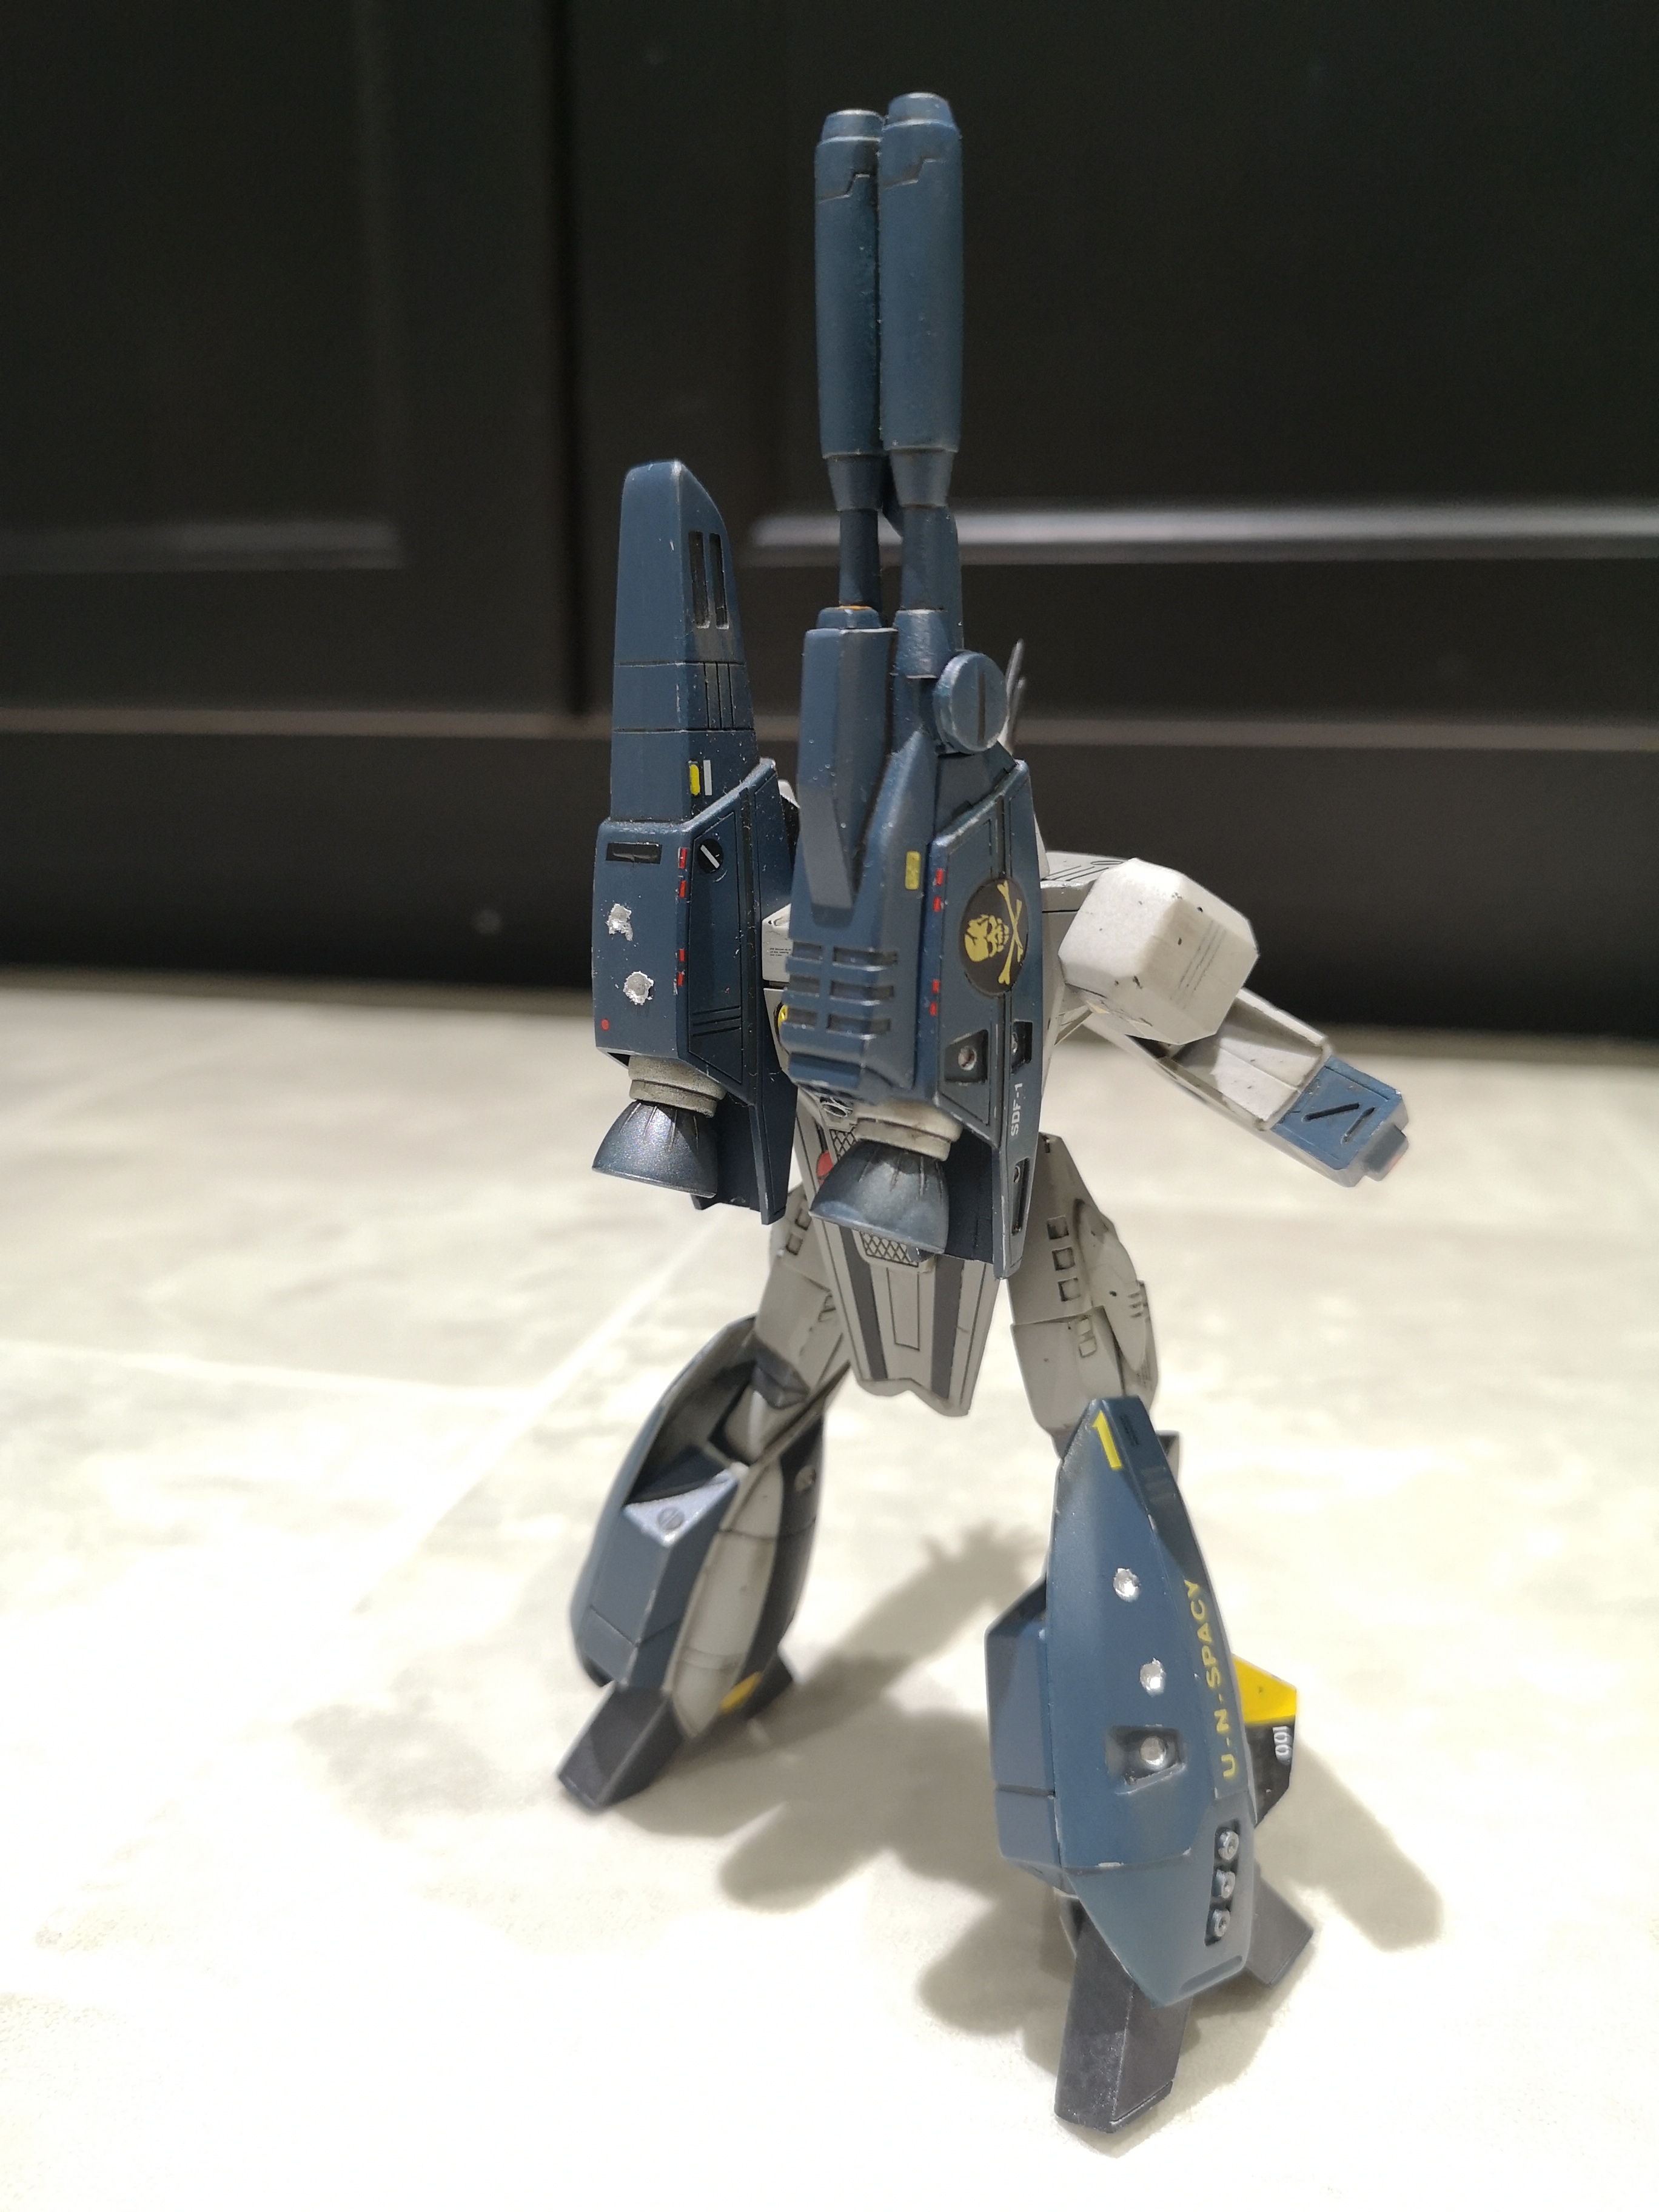
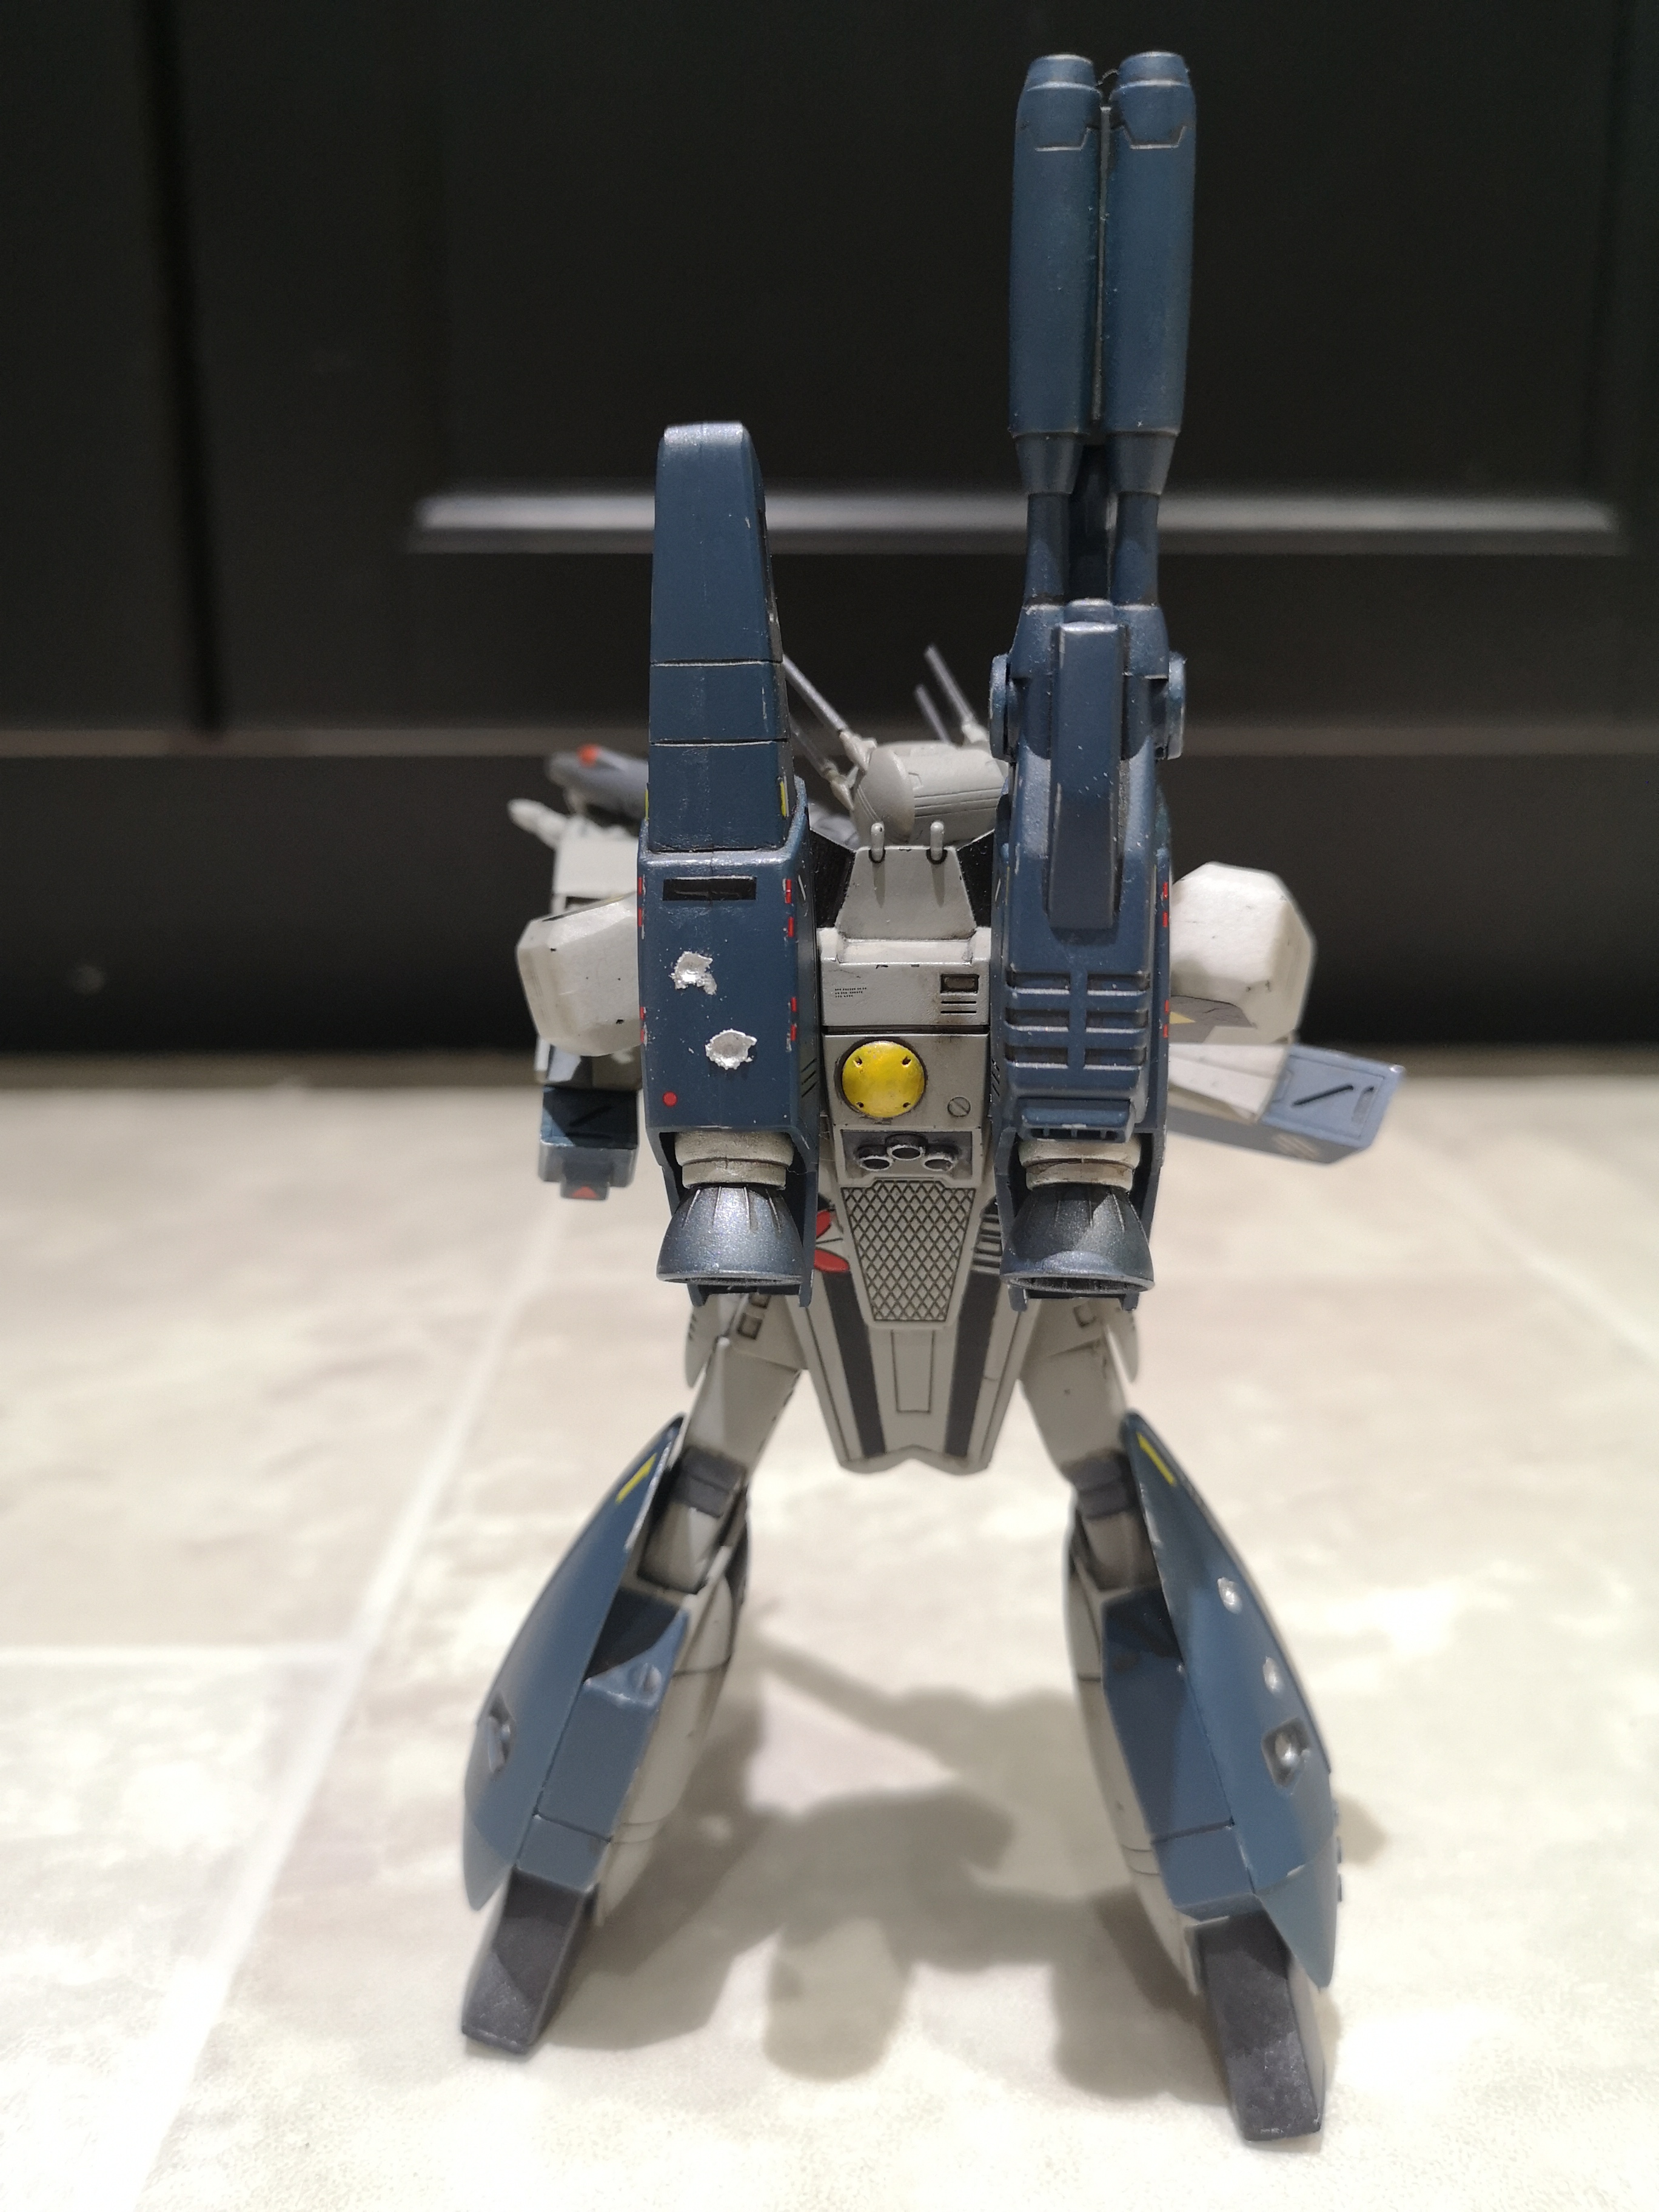
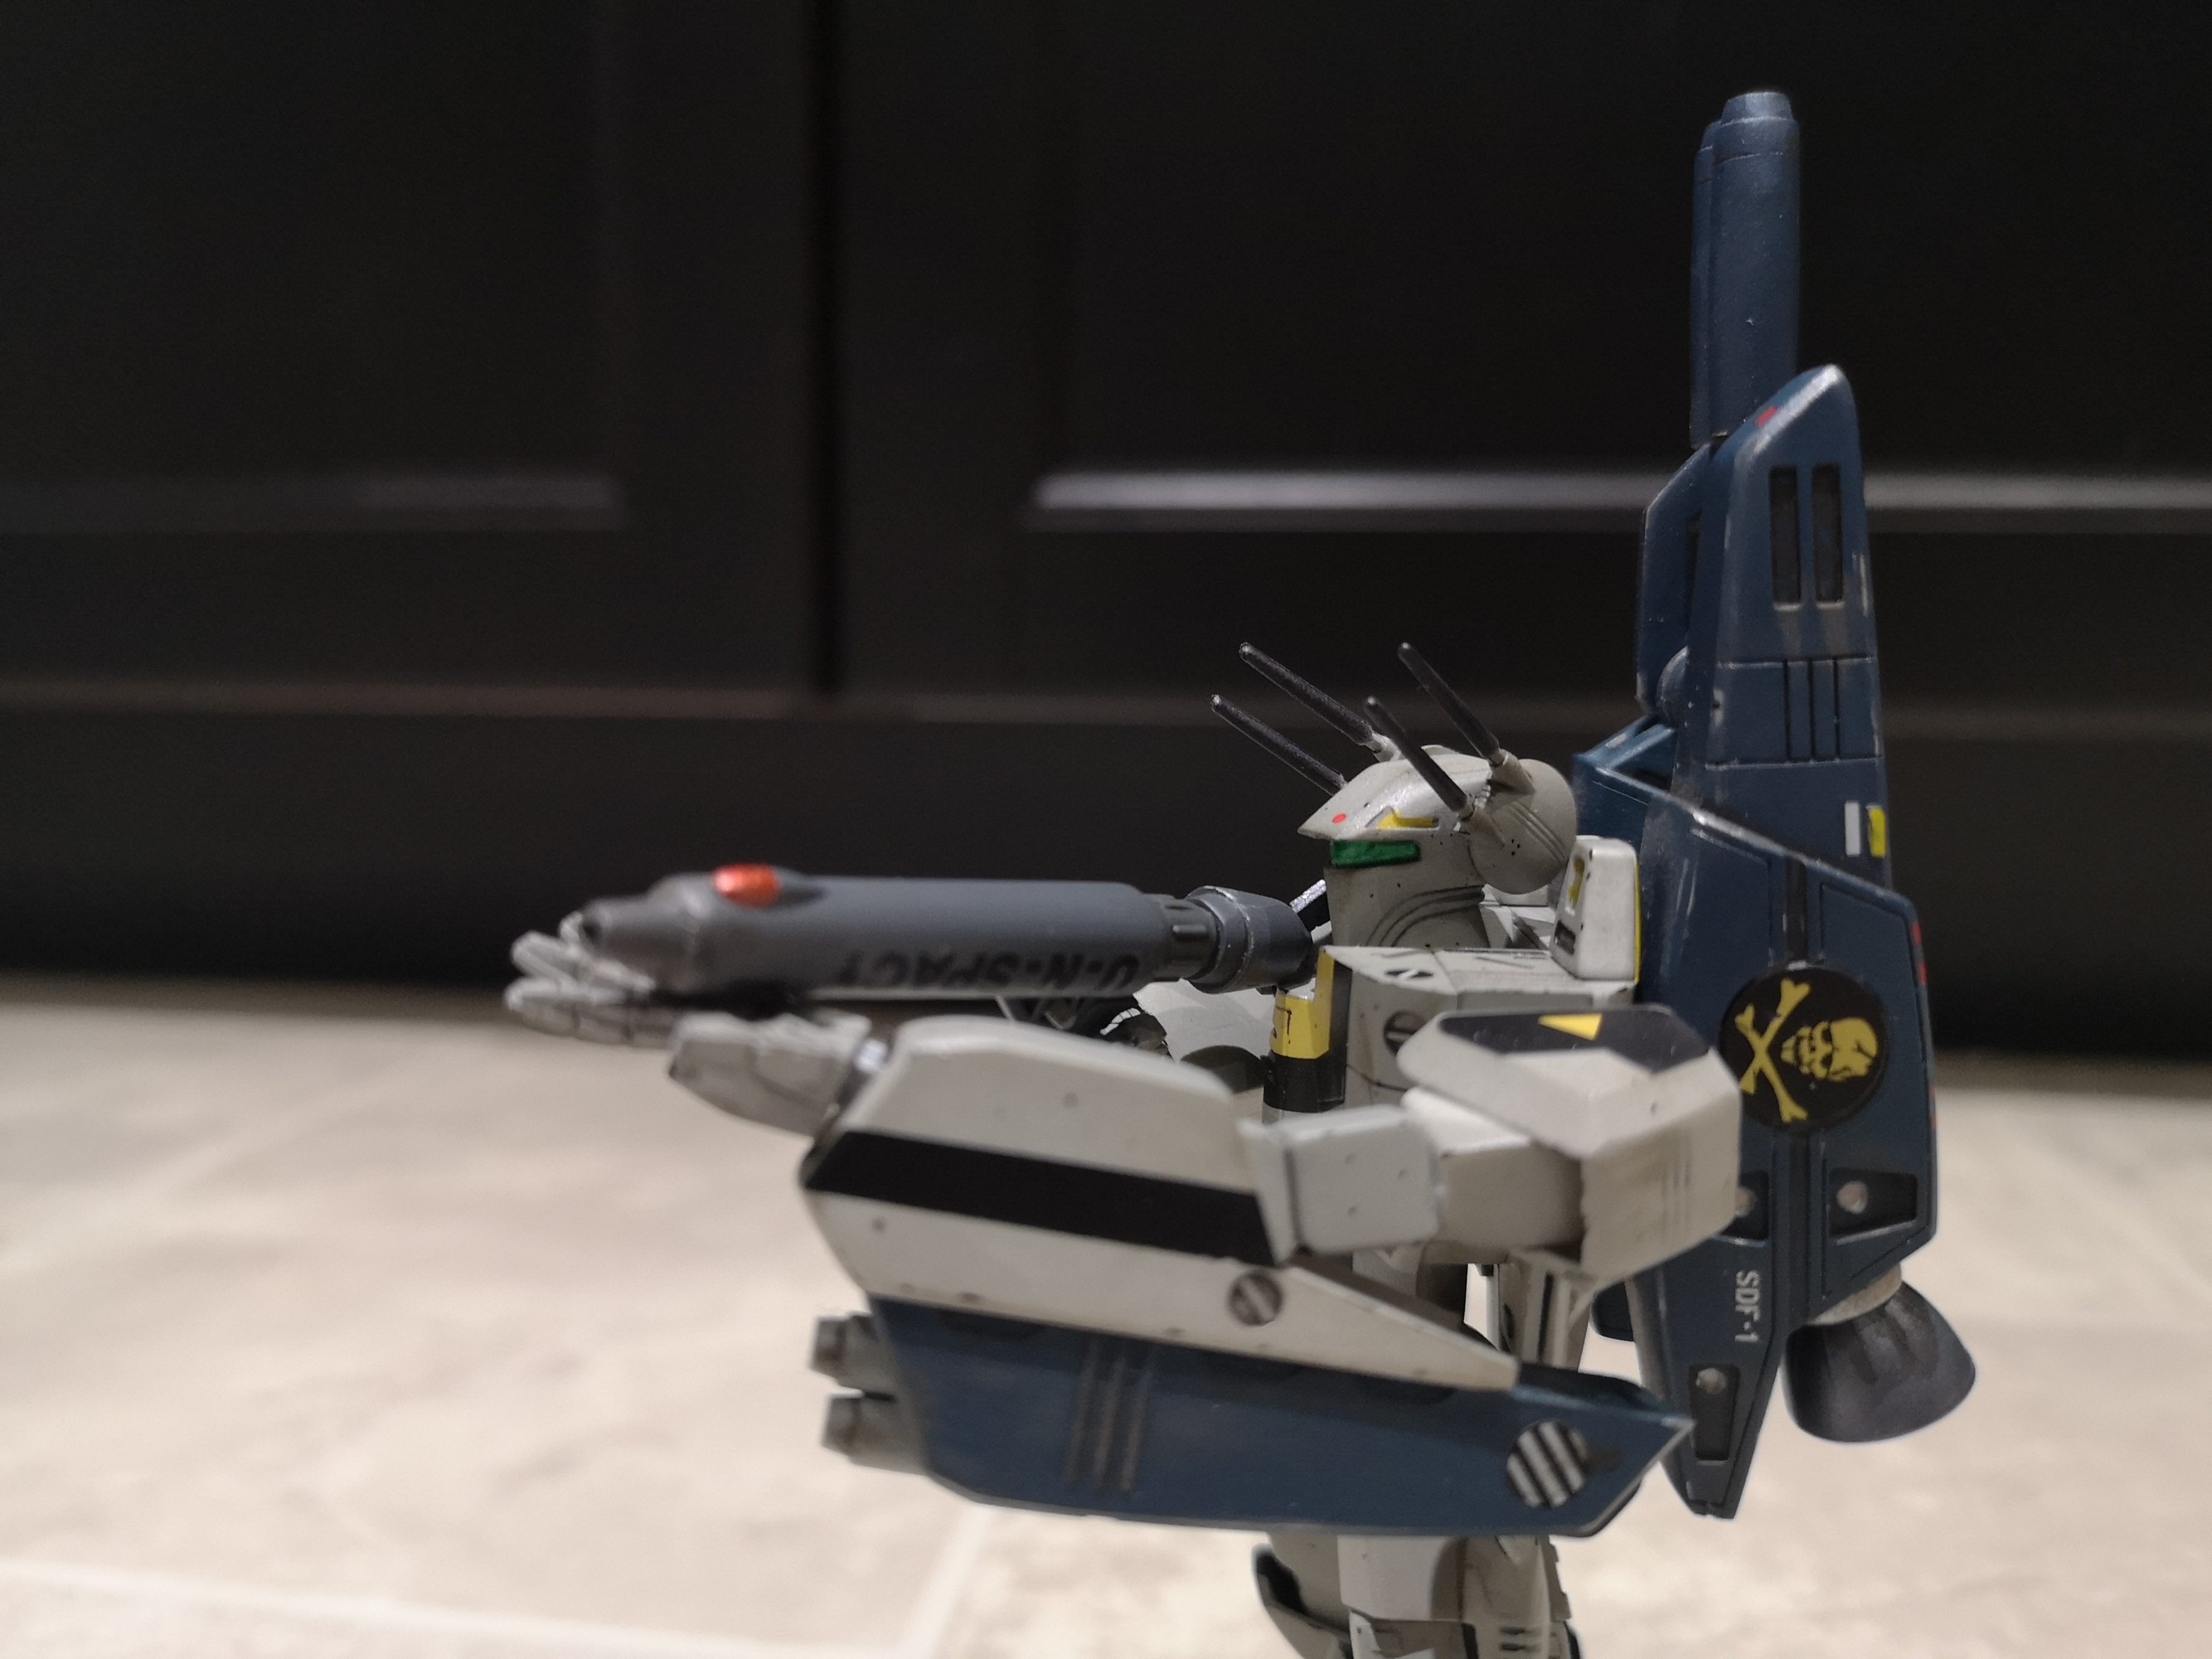
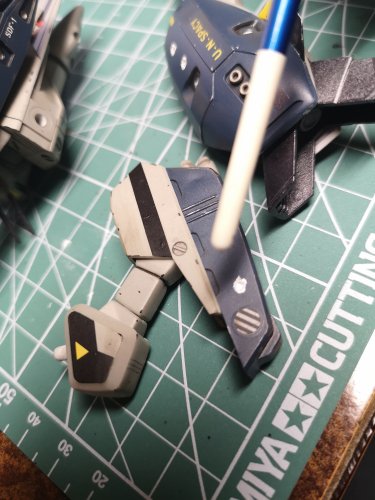
Speaking of Macross kits, I dug out my Bandai 1/100 VF-1S Strike to try and give it a bit more character. I built this last summer and I thought I was done with it. But something compelled me to make it a bit less cartoony. So I took it apart to add some paint chips here and there. Black marker on the lighter parts, silver marker on the darker parts, then a bit of Tamiya Weathering Master. Then I decided to add a bit of damage, but nothing too crazy as Roy shouldn't be taking too many hits (apart from that pineapple salad incident). After drilling out a bit of plastic, I filled the crater with some putty and then took the back end of a brush to squeeze it out like a zit. Then I just painted the spot with steel. No penetration damage, just impact marks. Just used on of my plinking plates as a guide, except the 5.56 just drilled right through....the 22lr and 9mm just took paint off. I didn't want to go too crazy with the damage because I have a habit of getting carried away and it ends up looking derelict


-
Ok, I think I should take a break from Trek and go back to Macross kits.
-
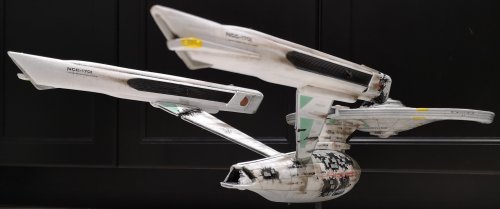
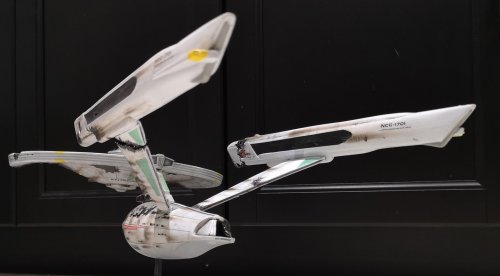
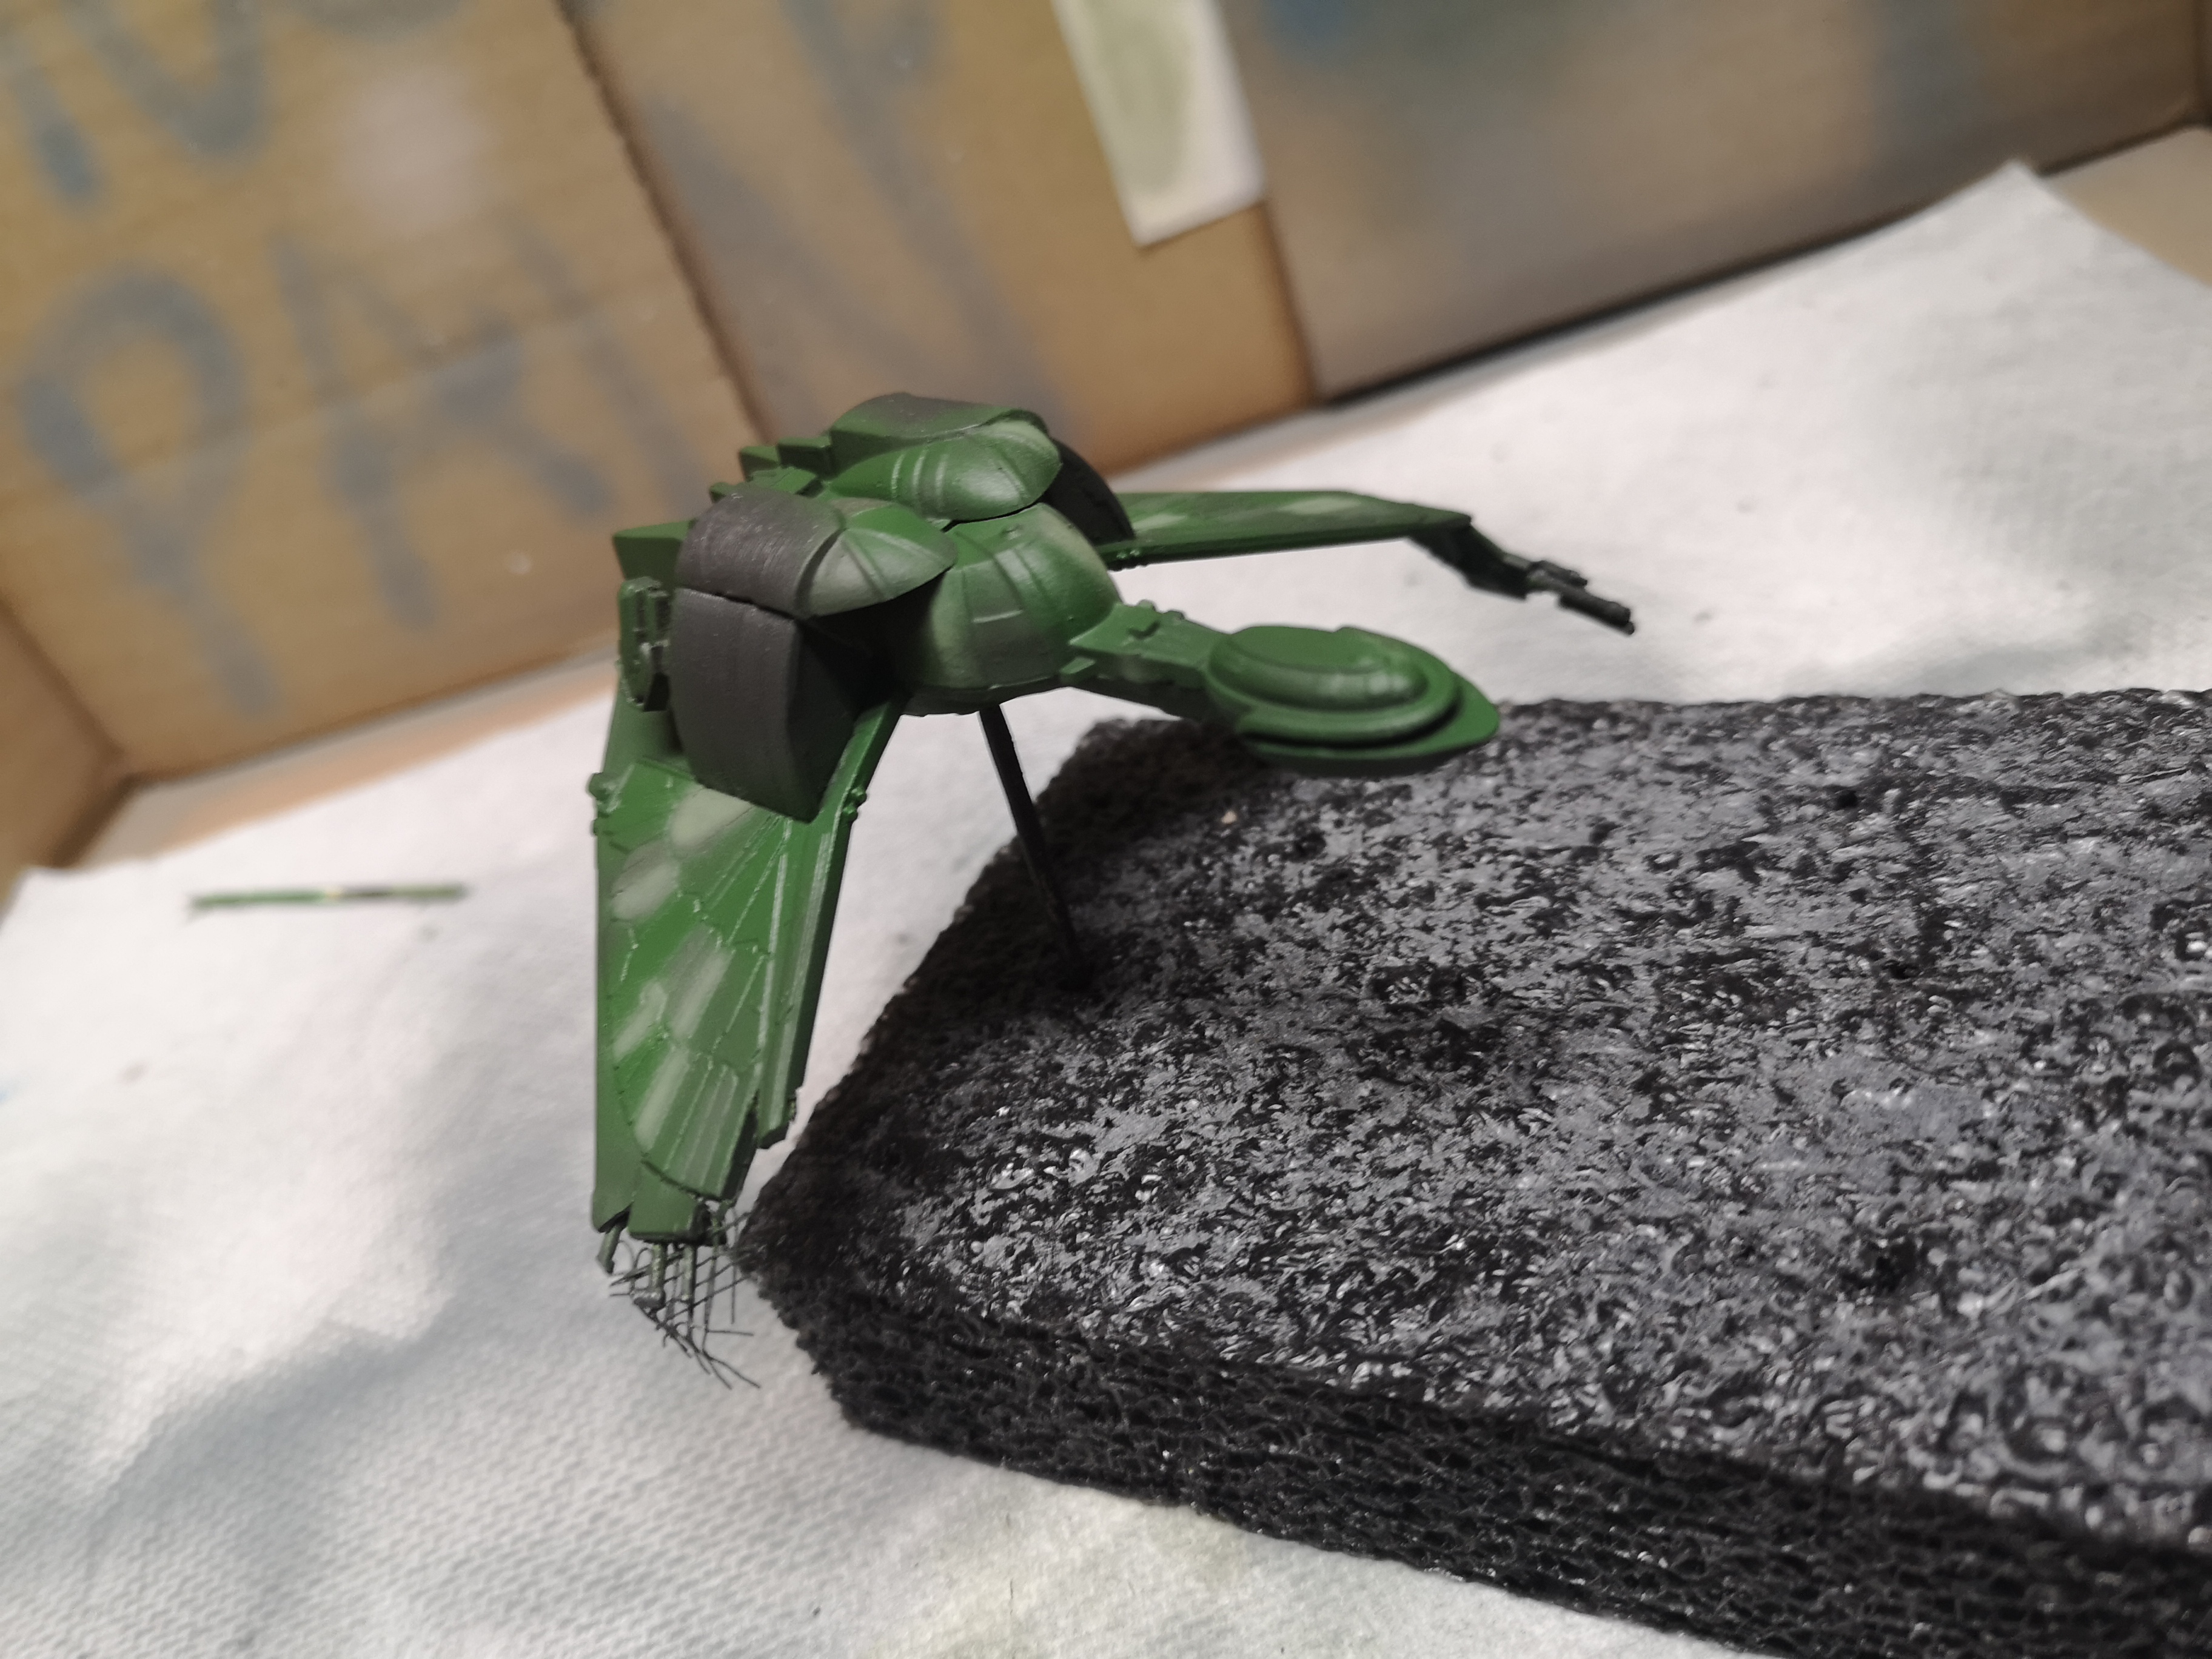
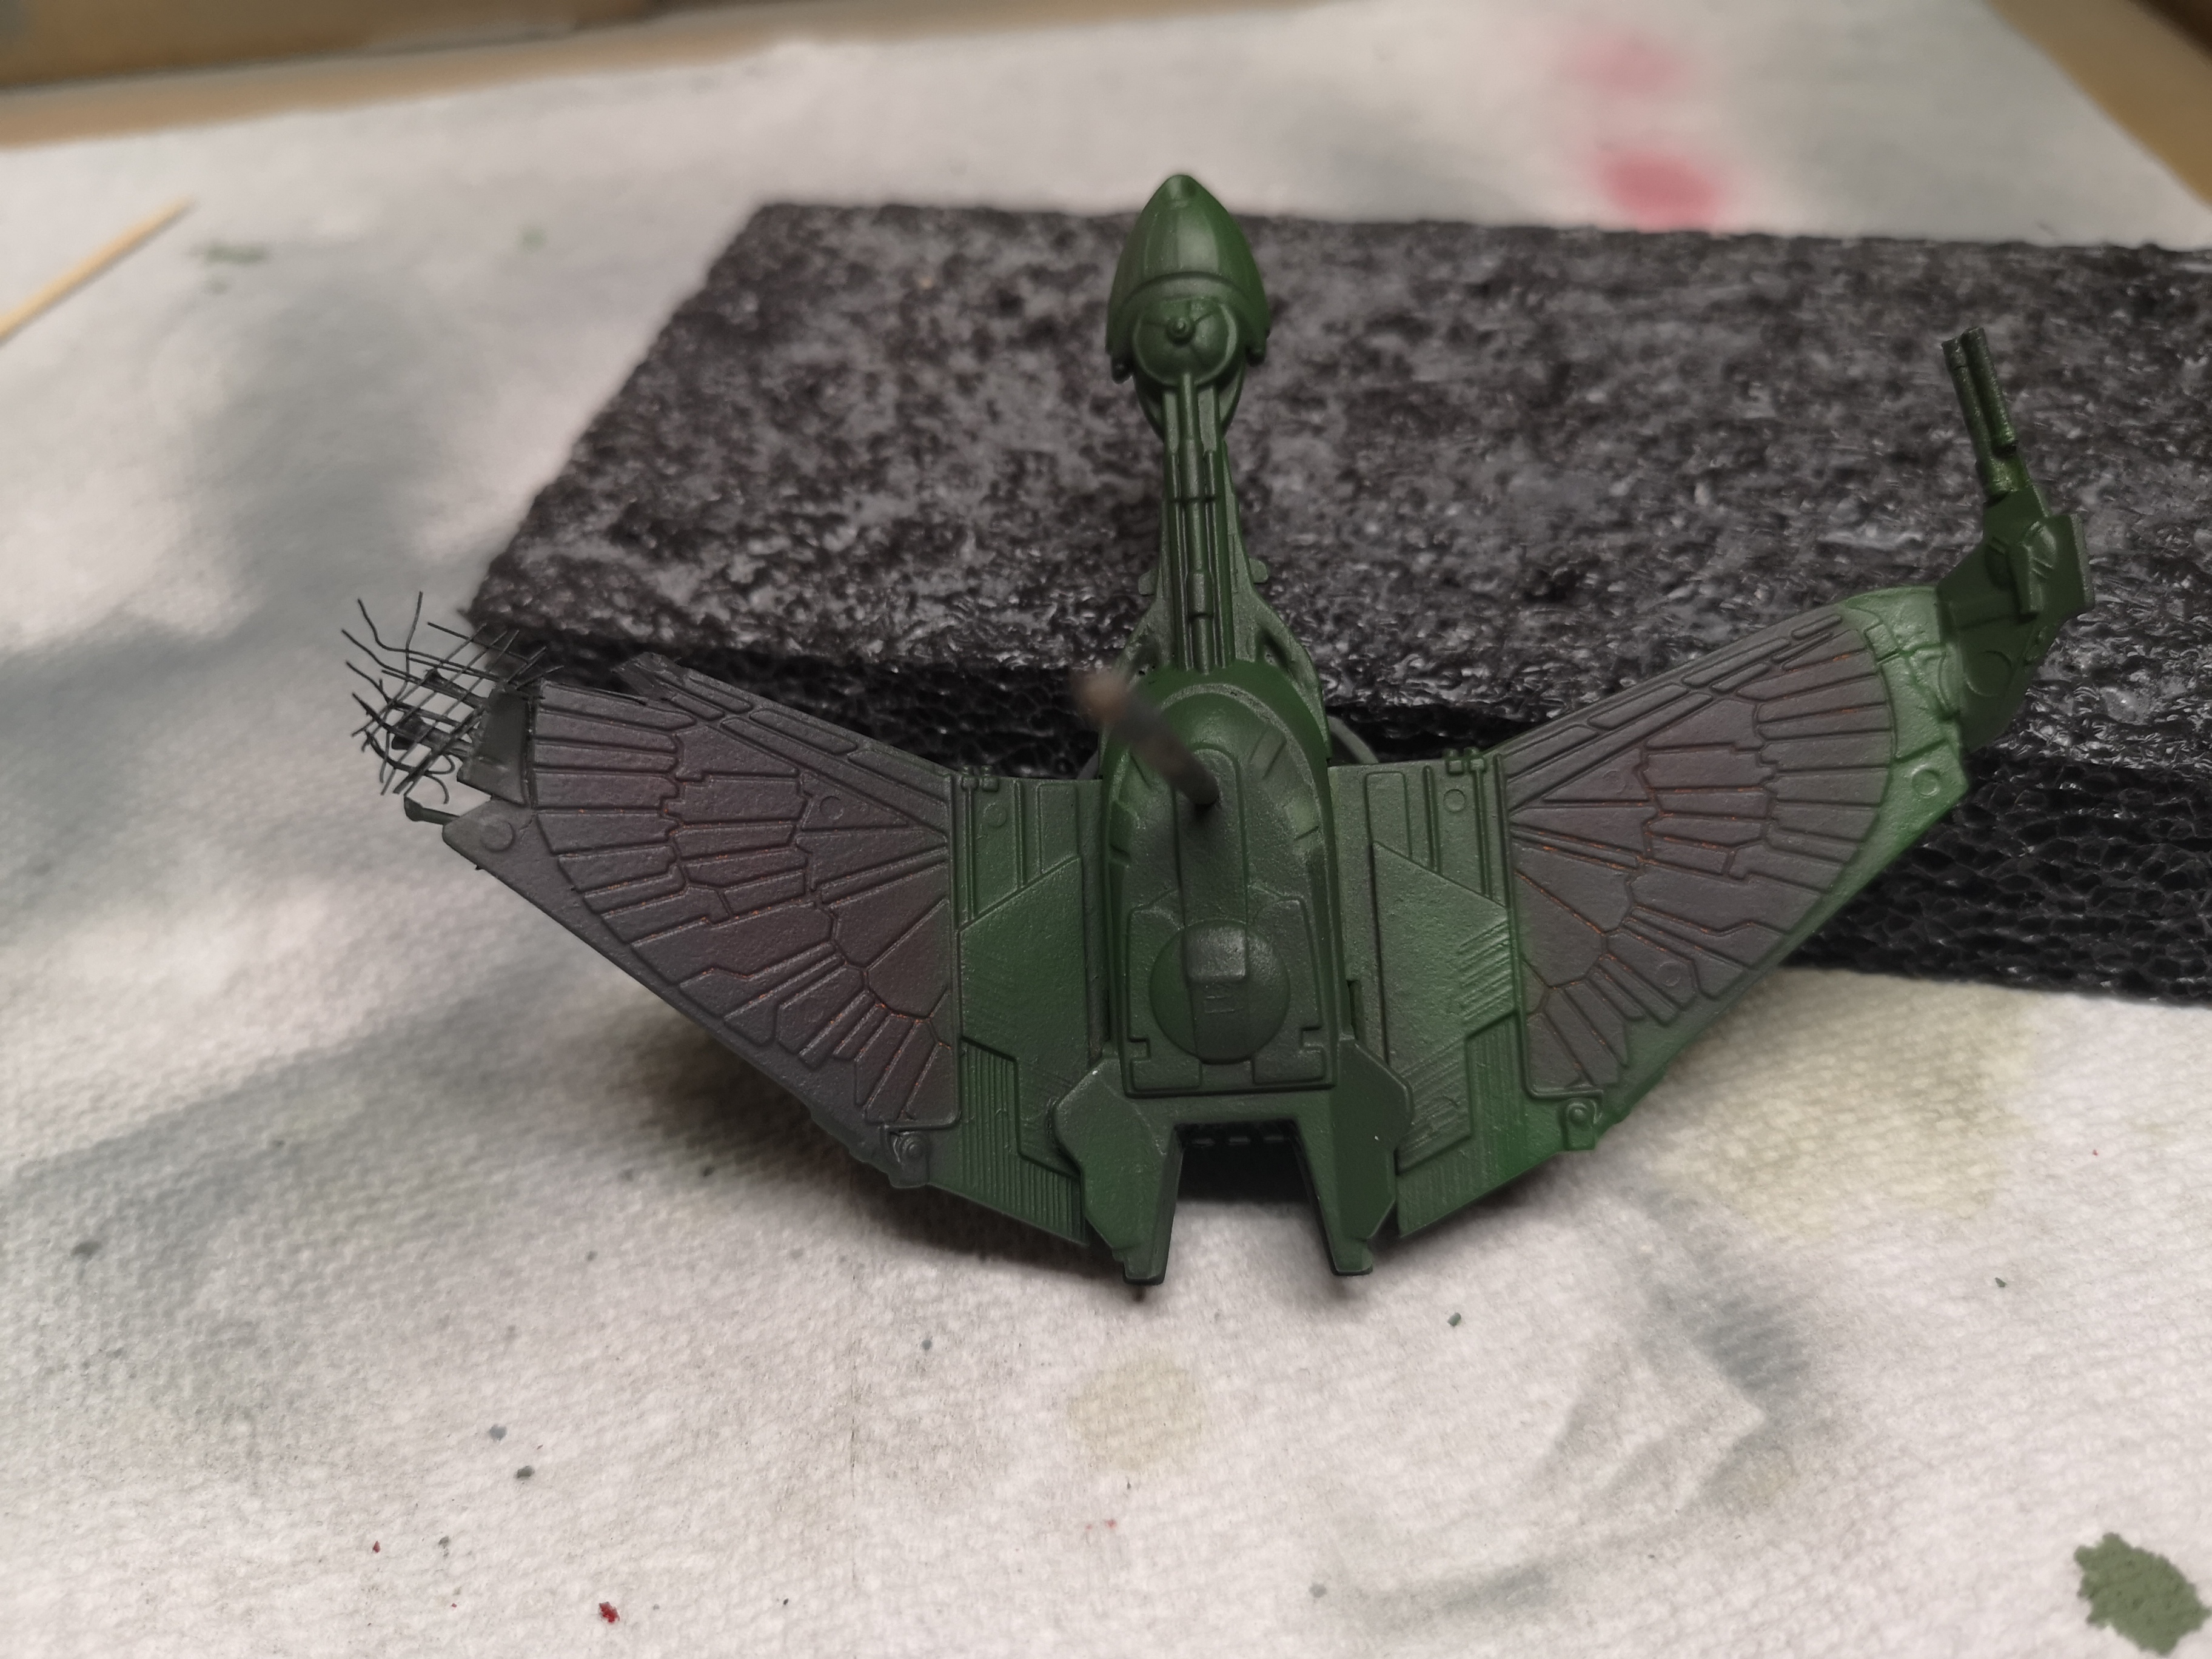
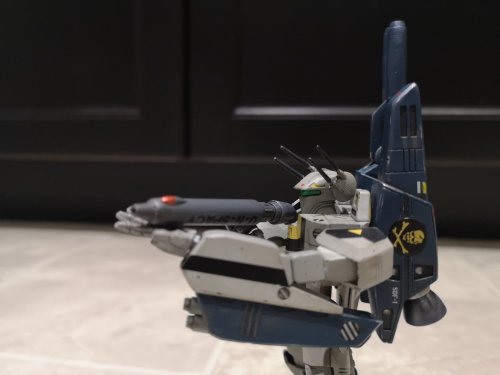
Port and starboard winglet comparison

-
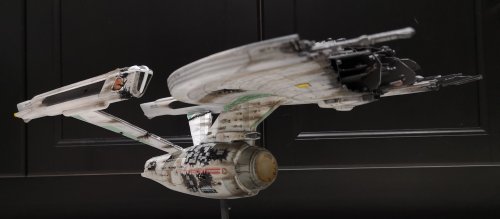
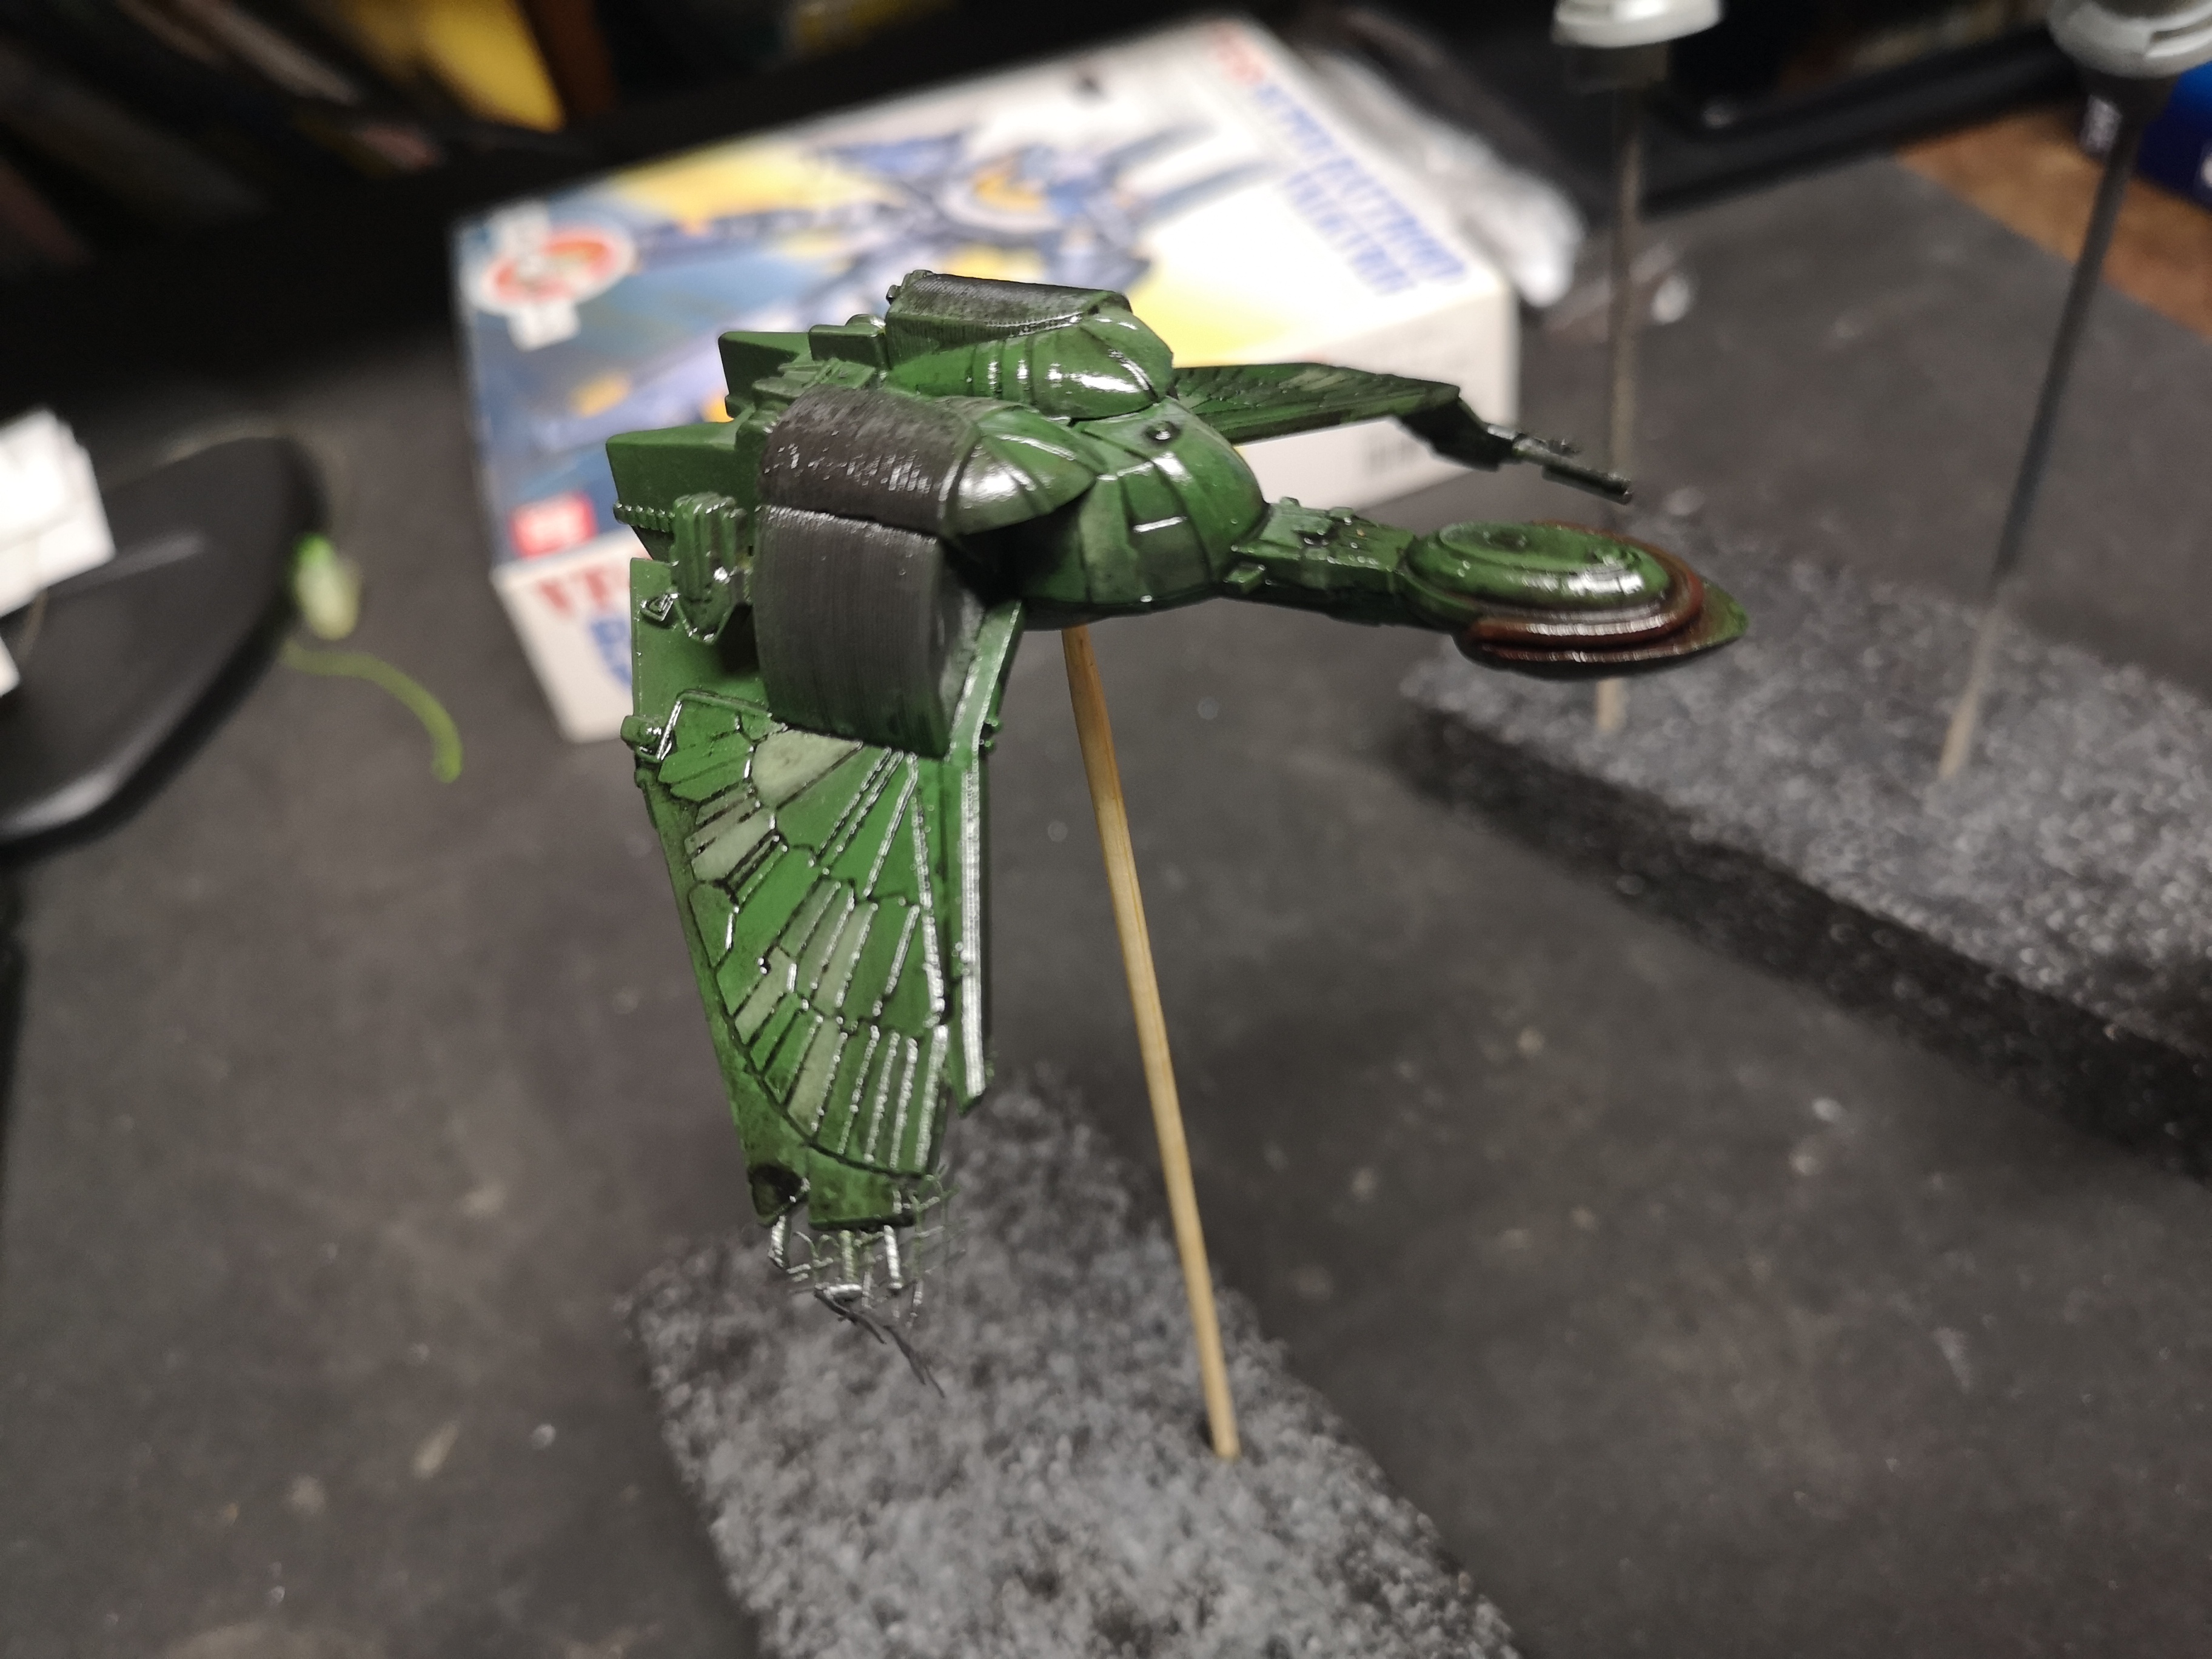
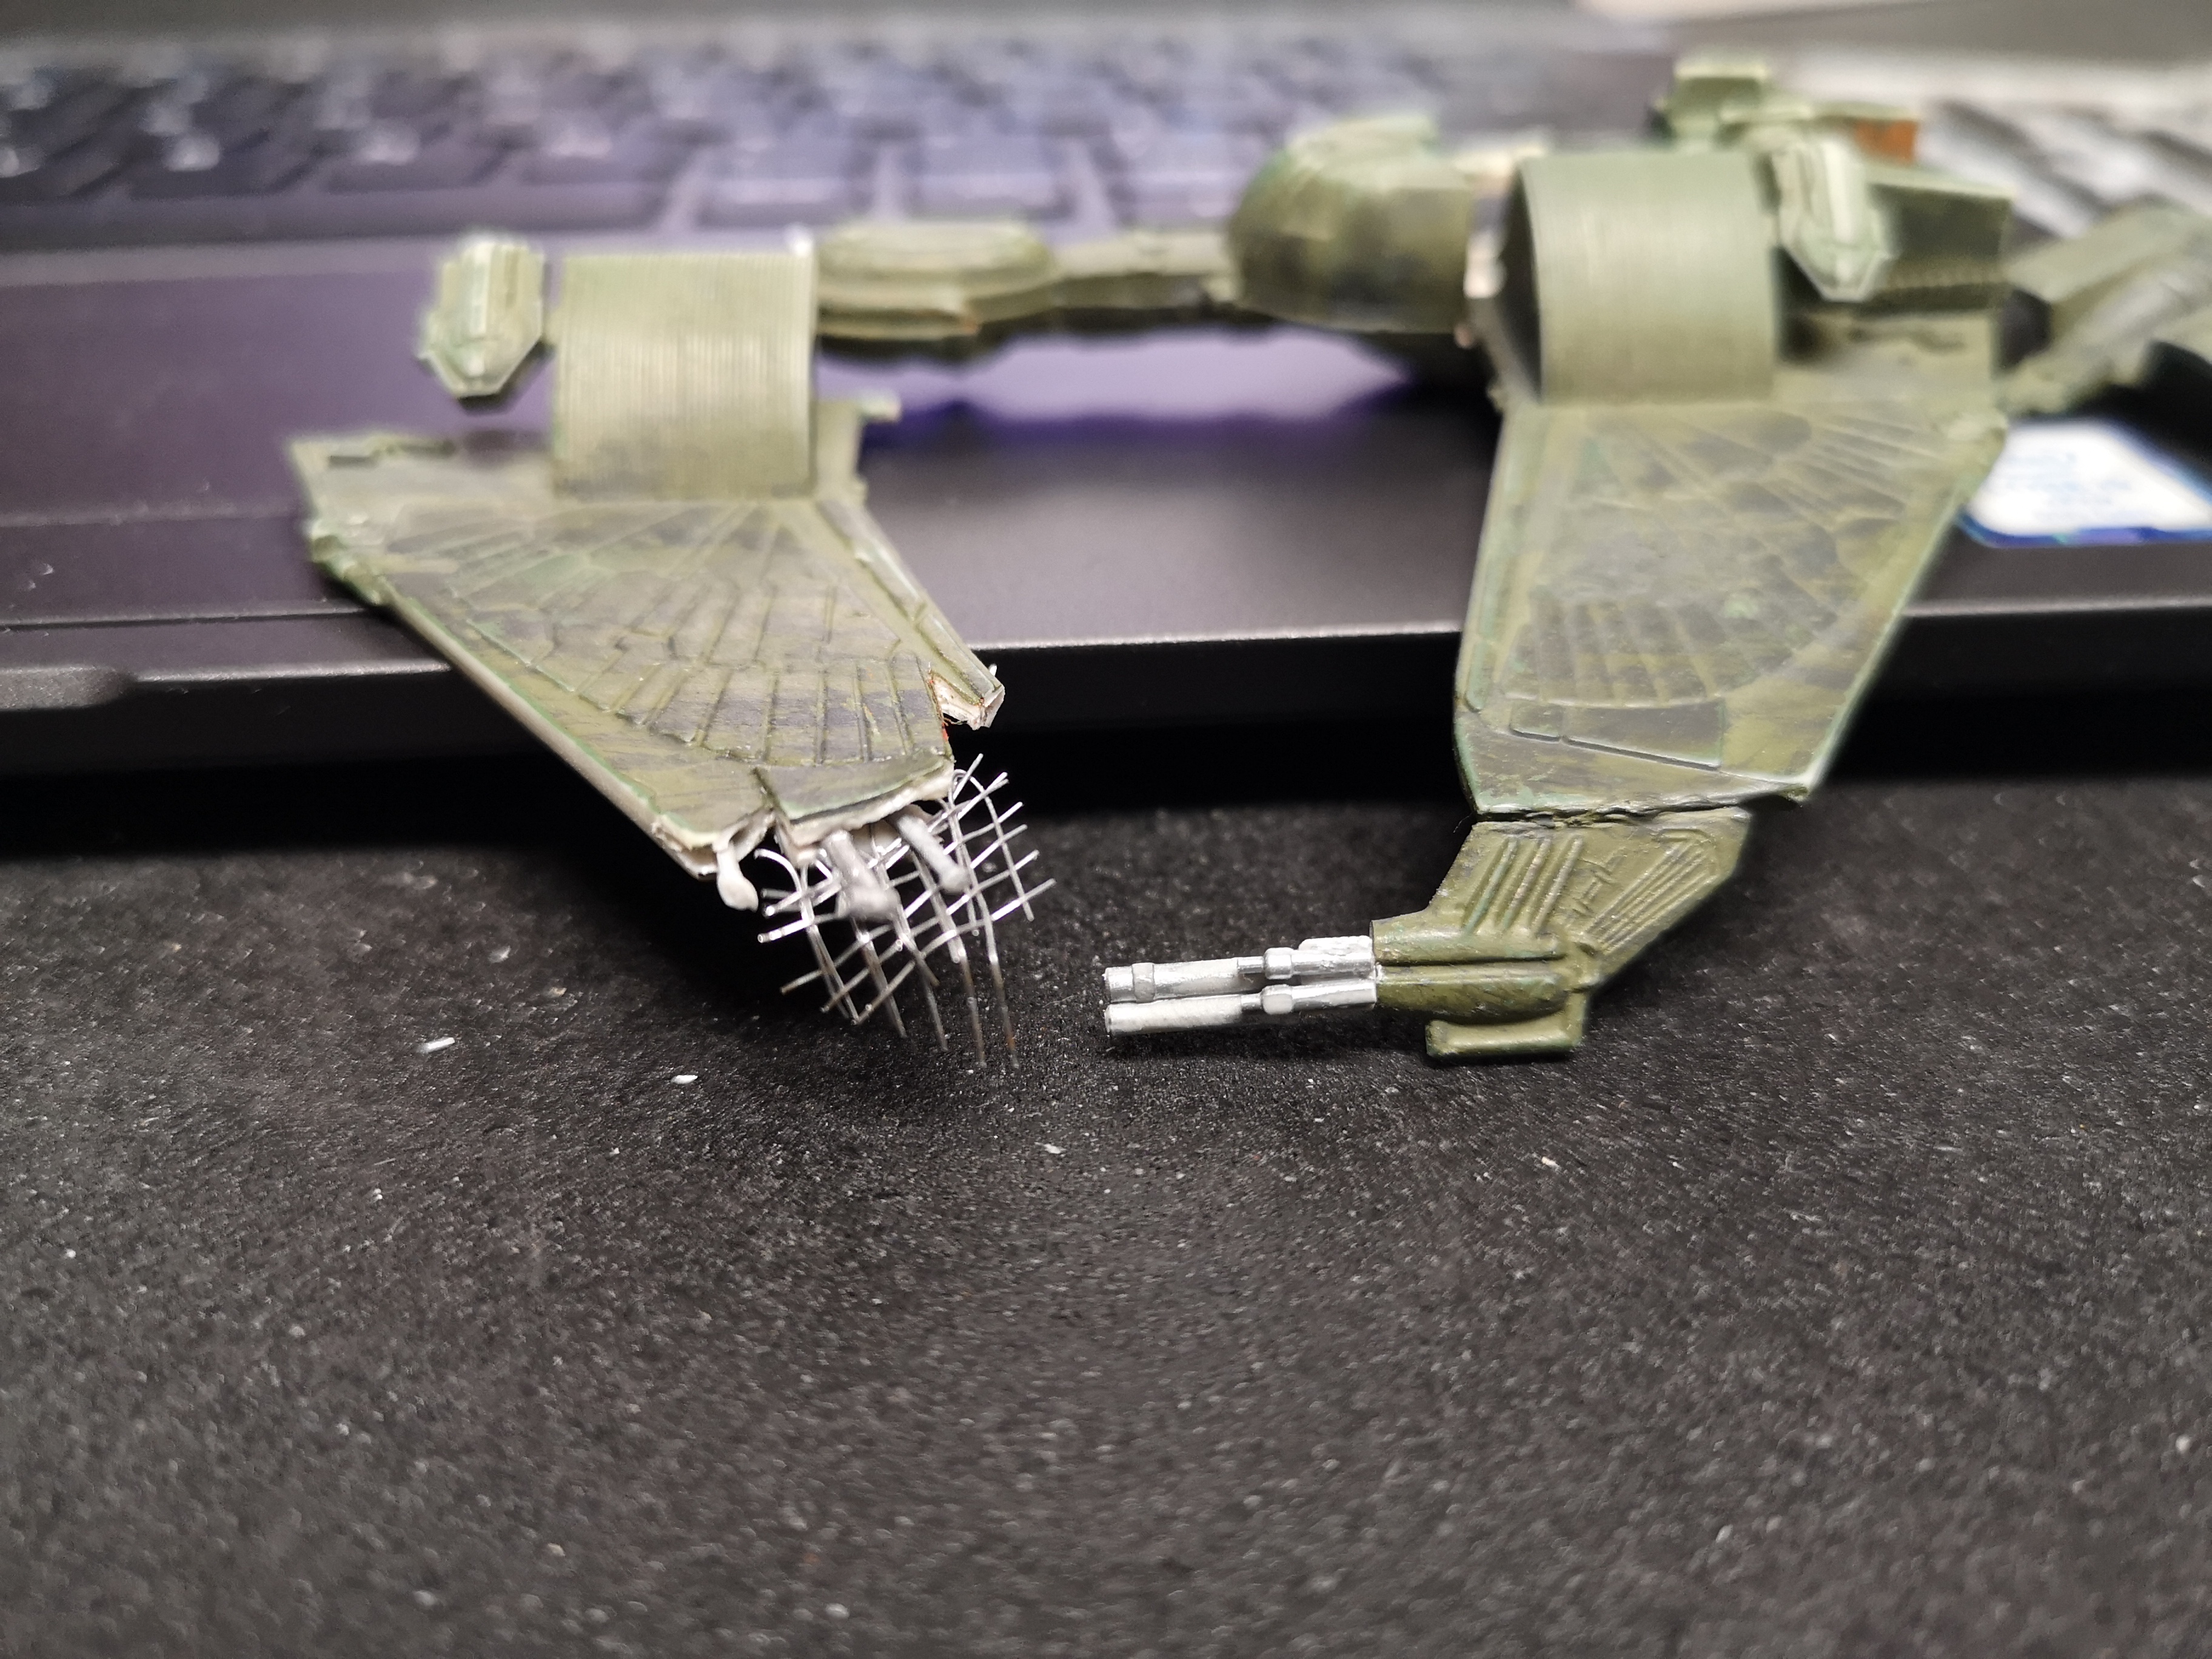
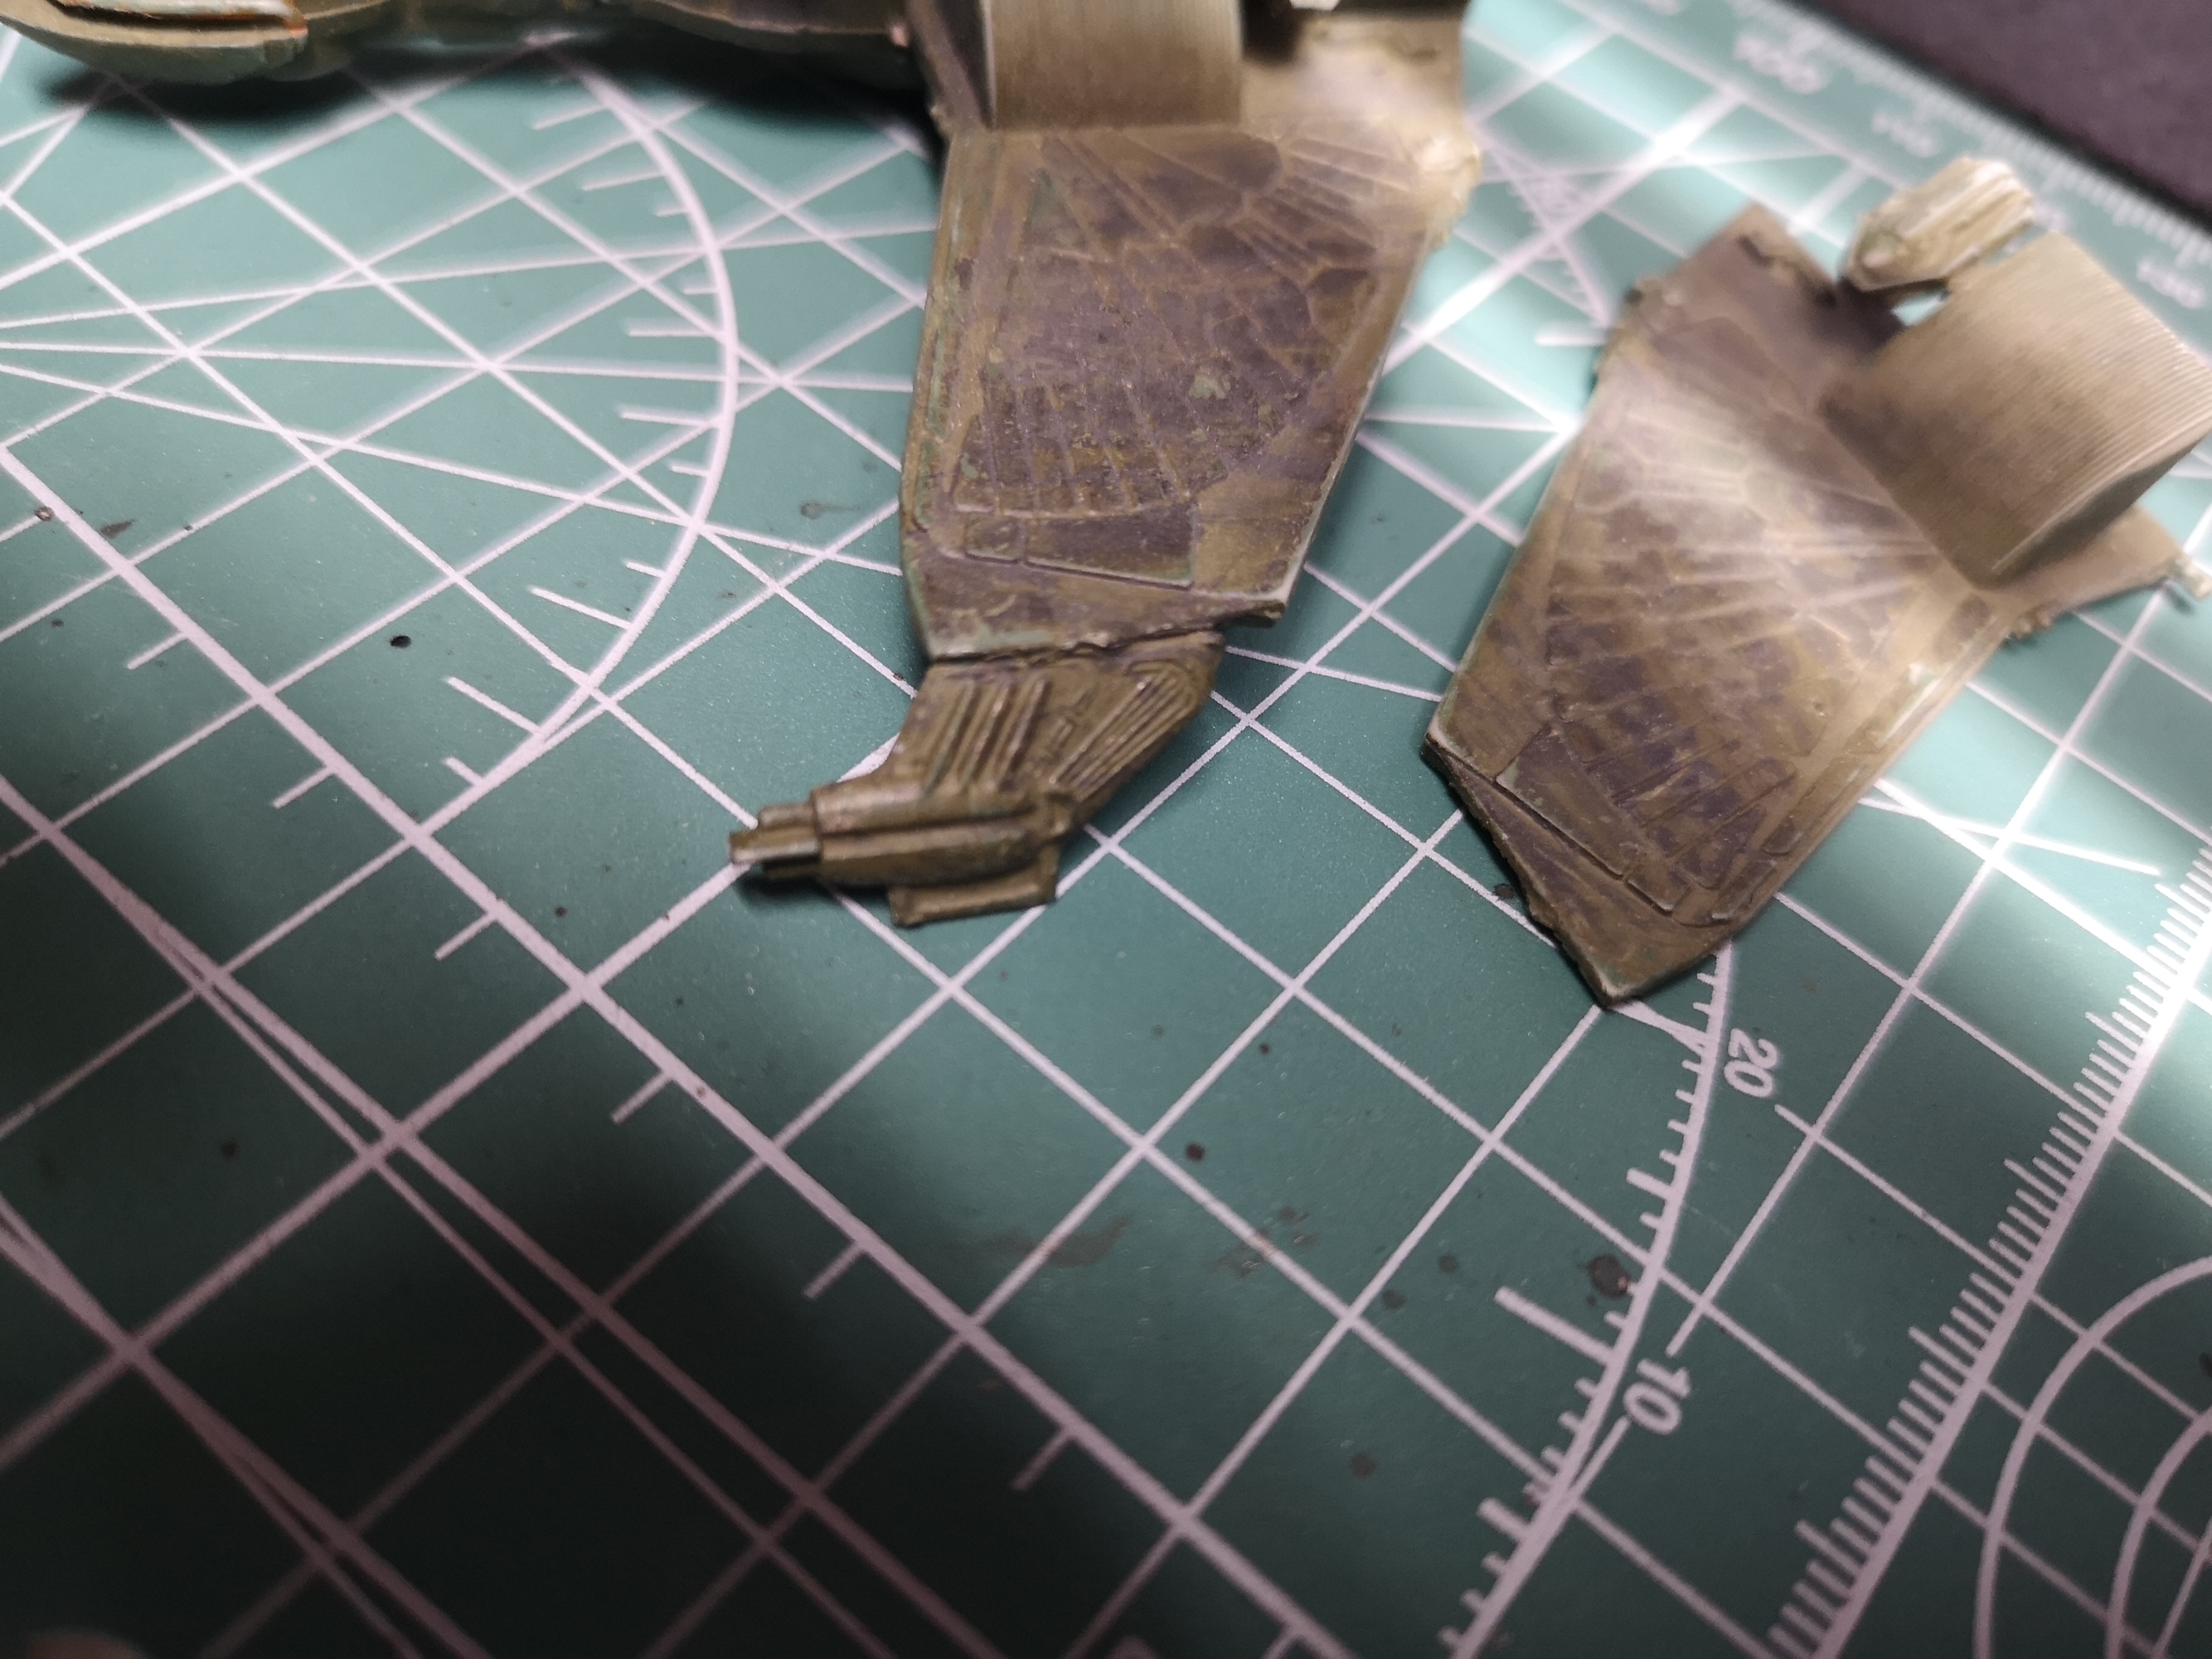
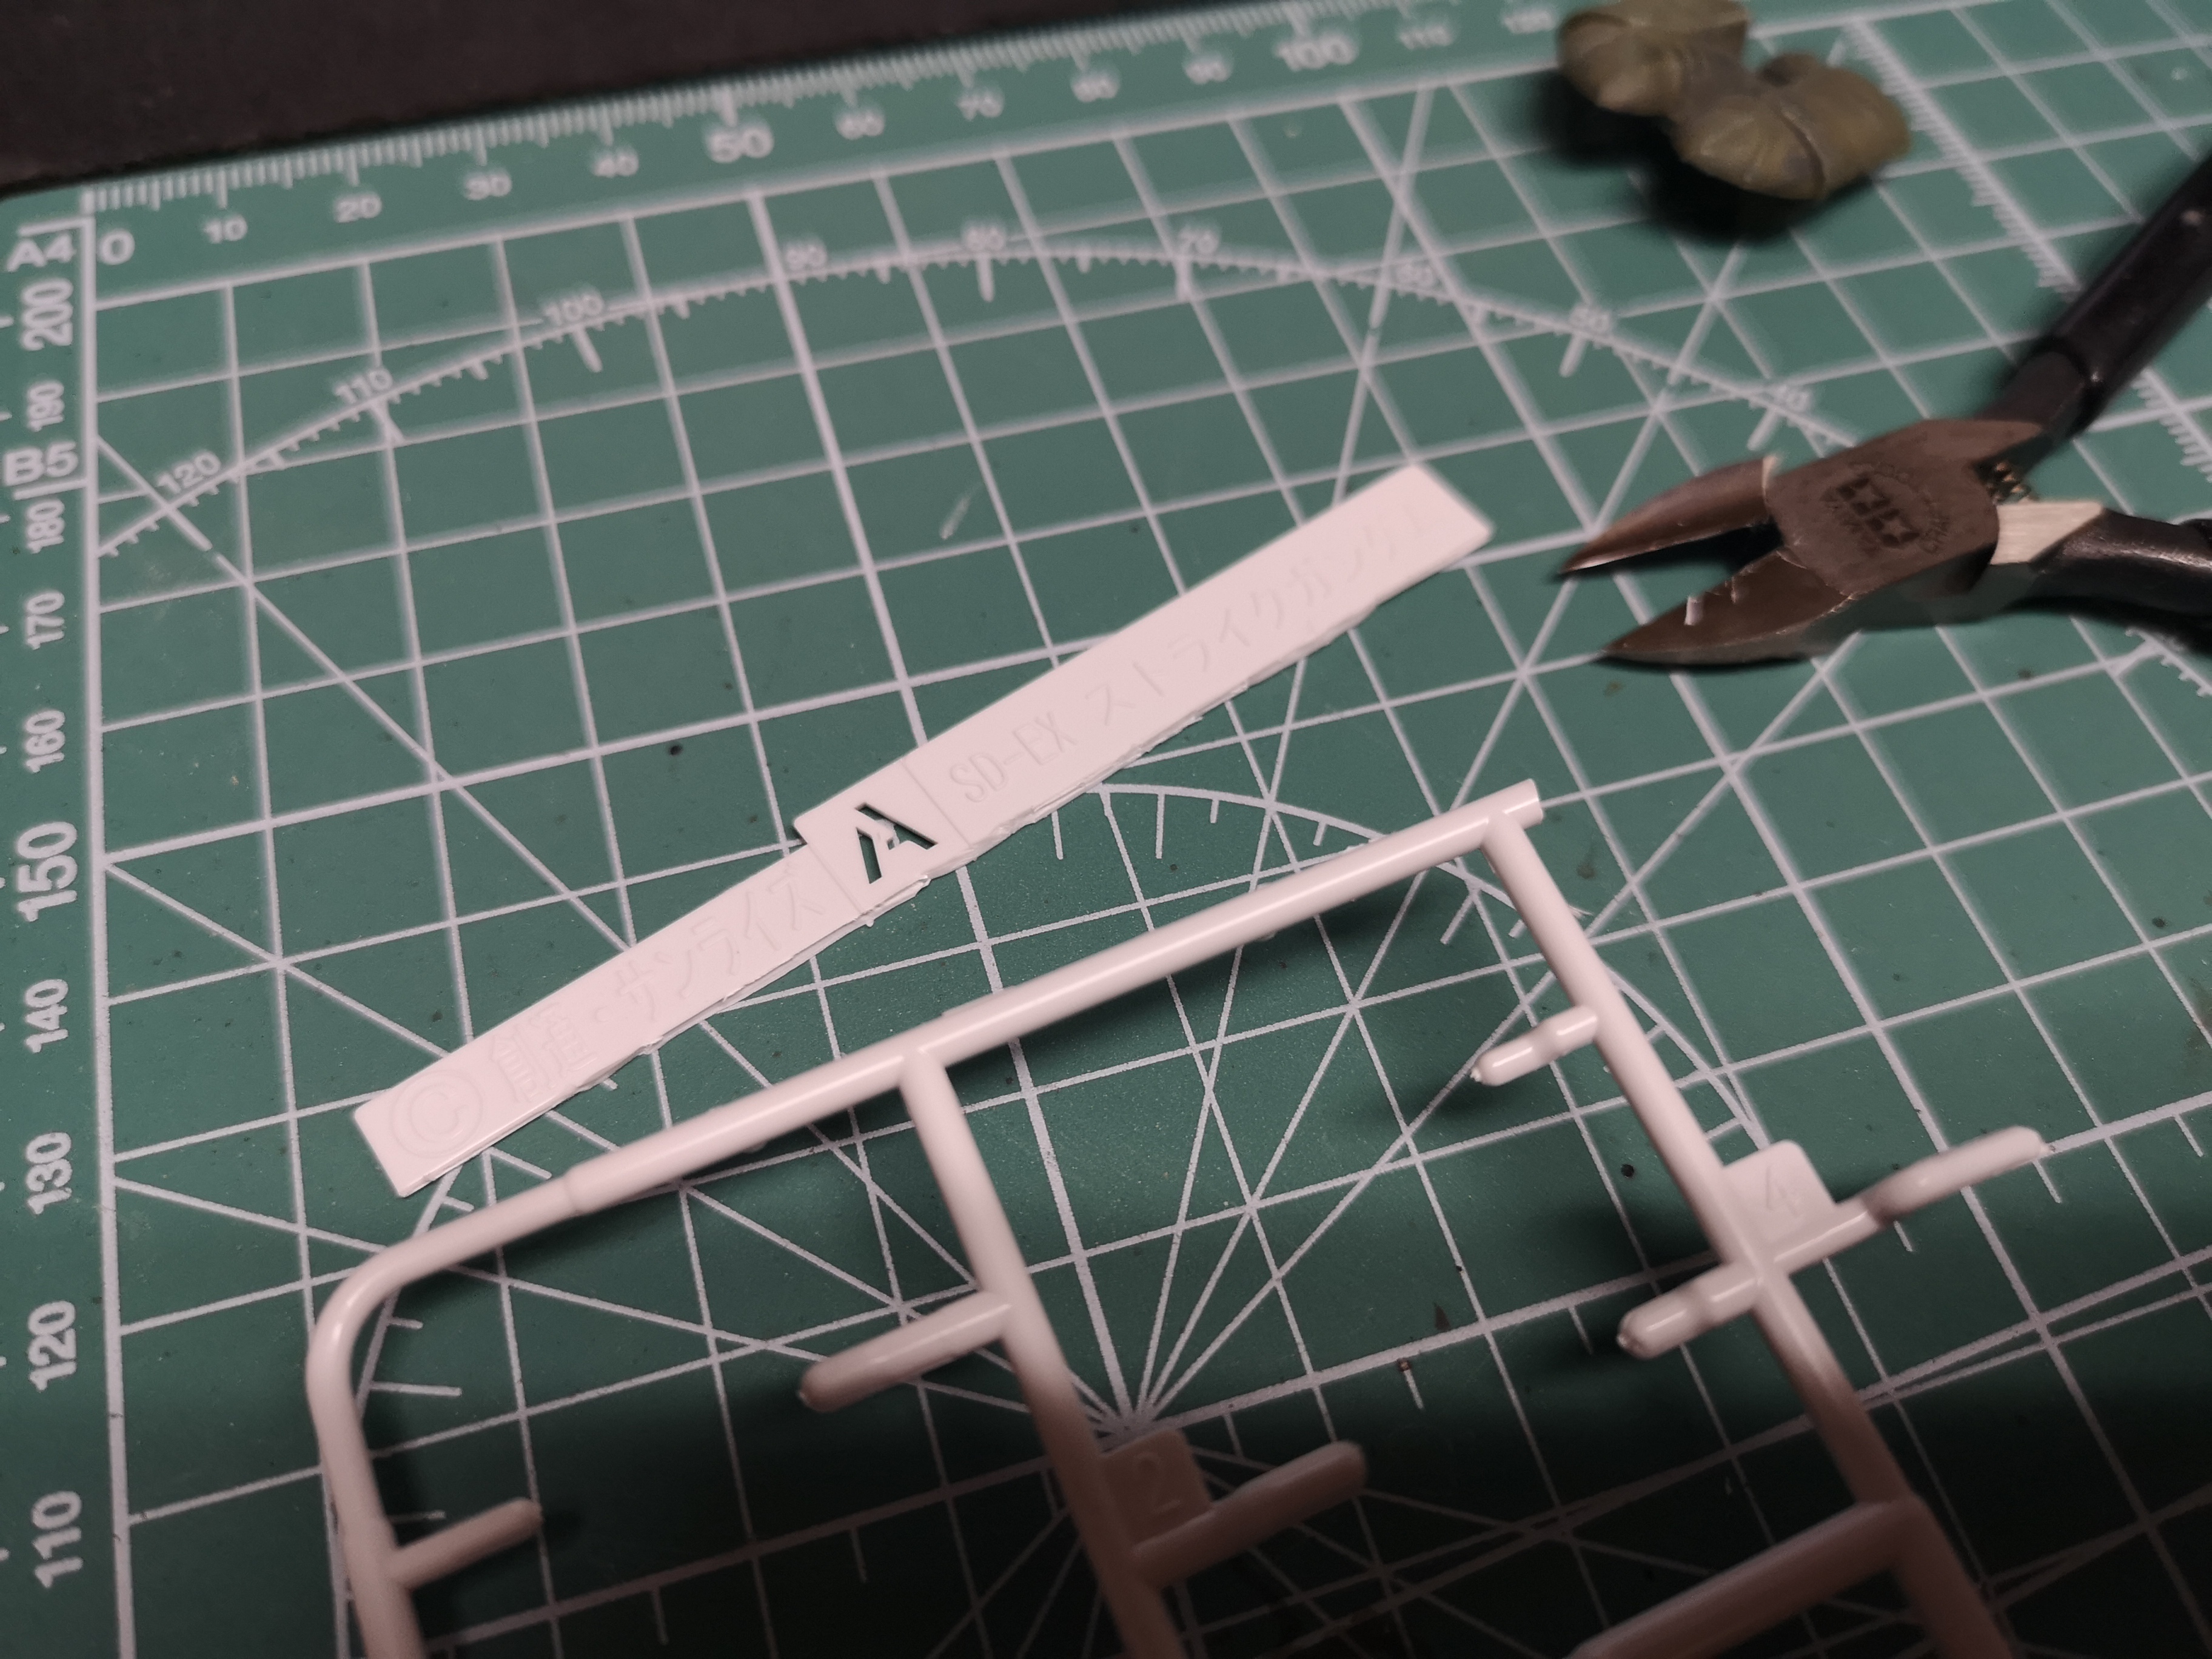
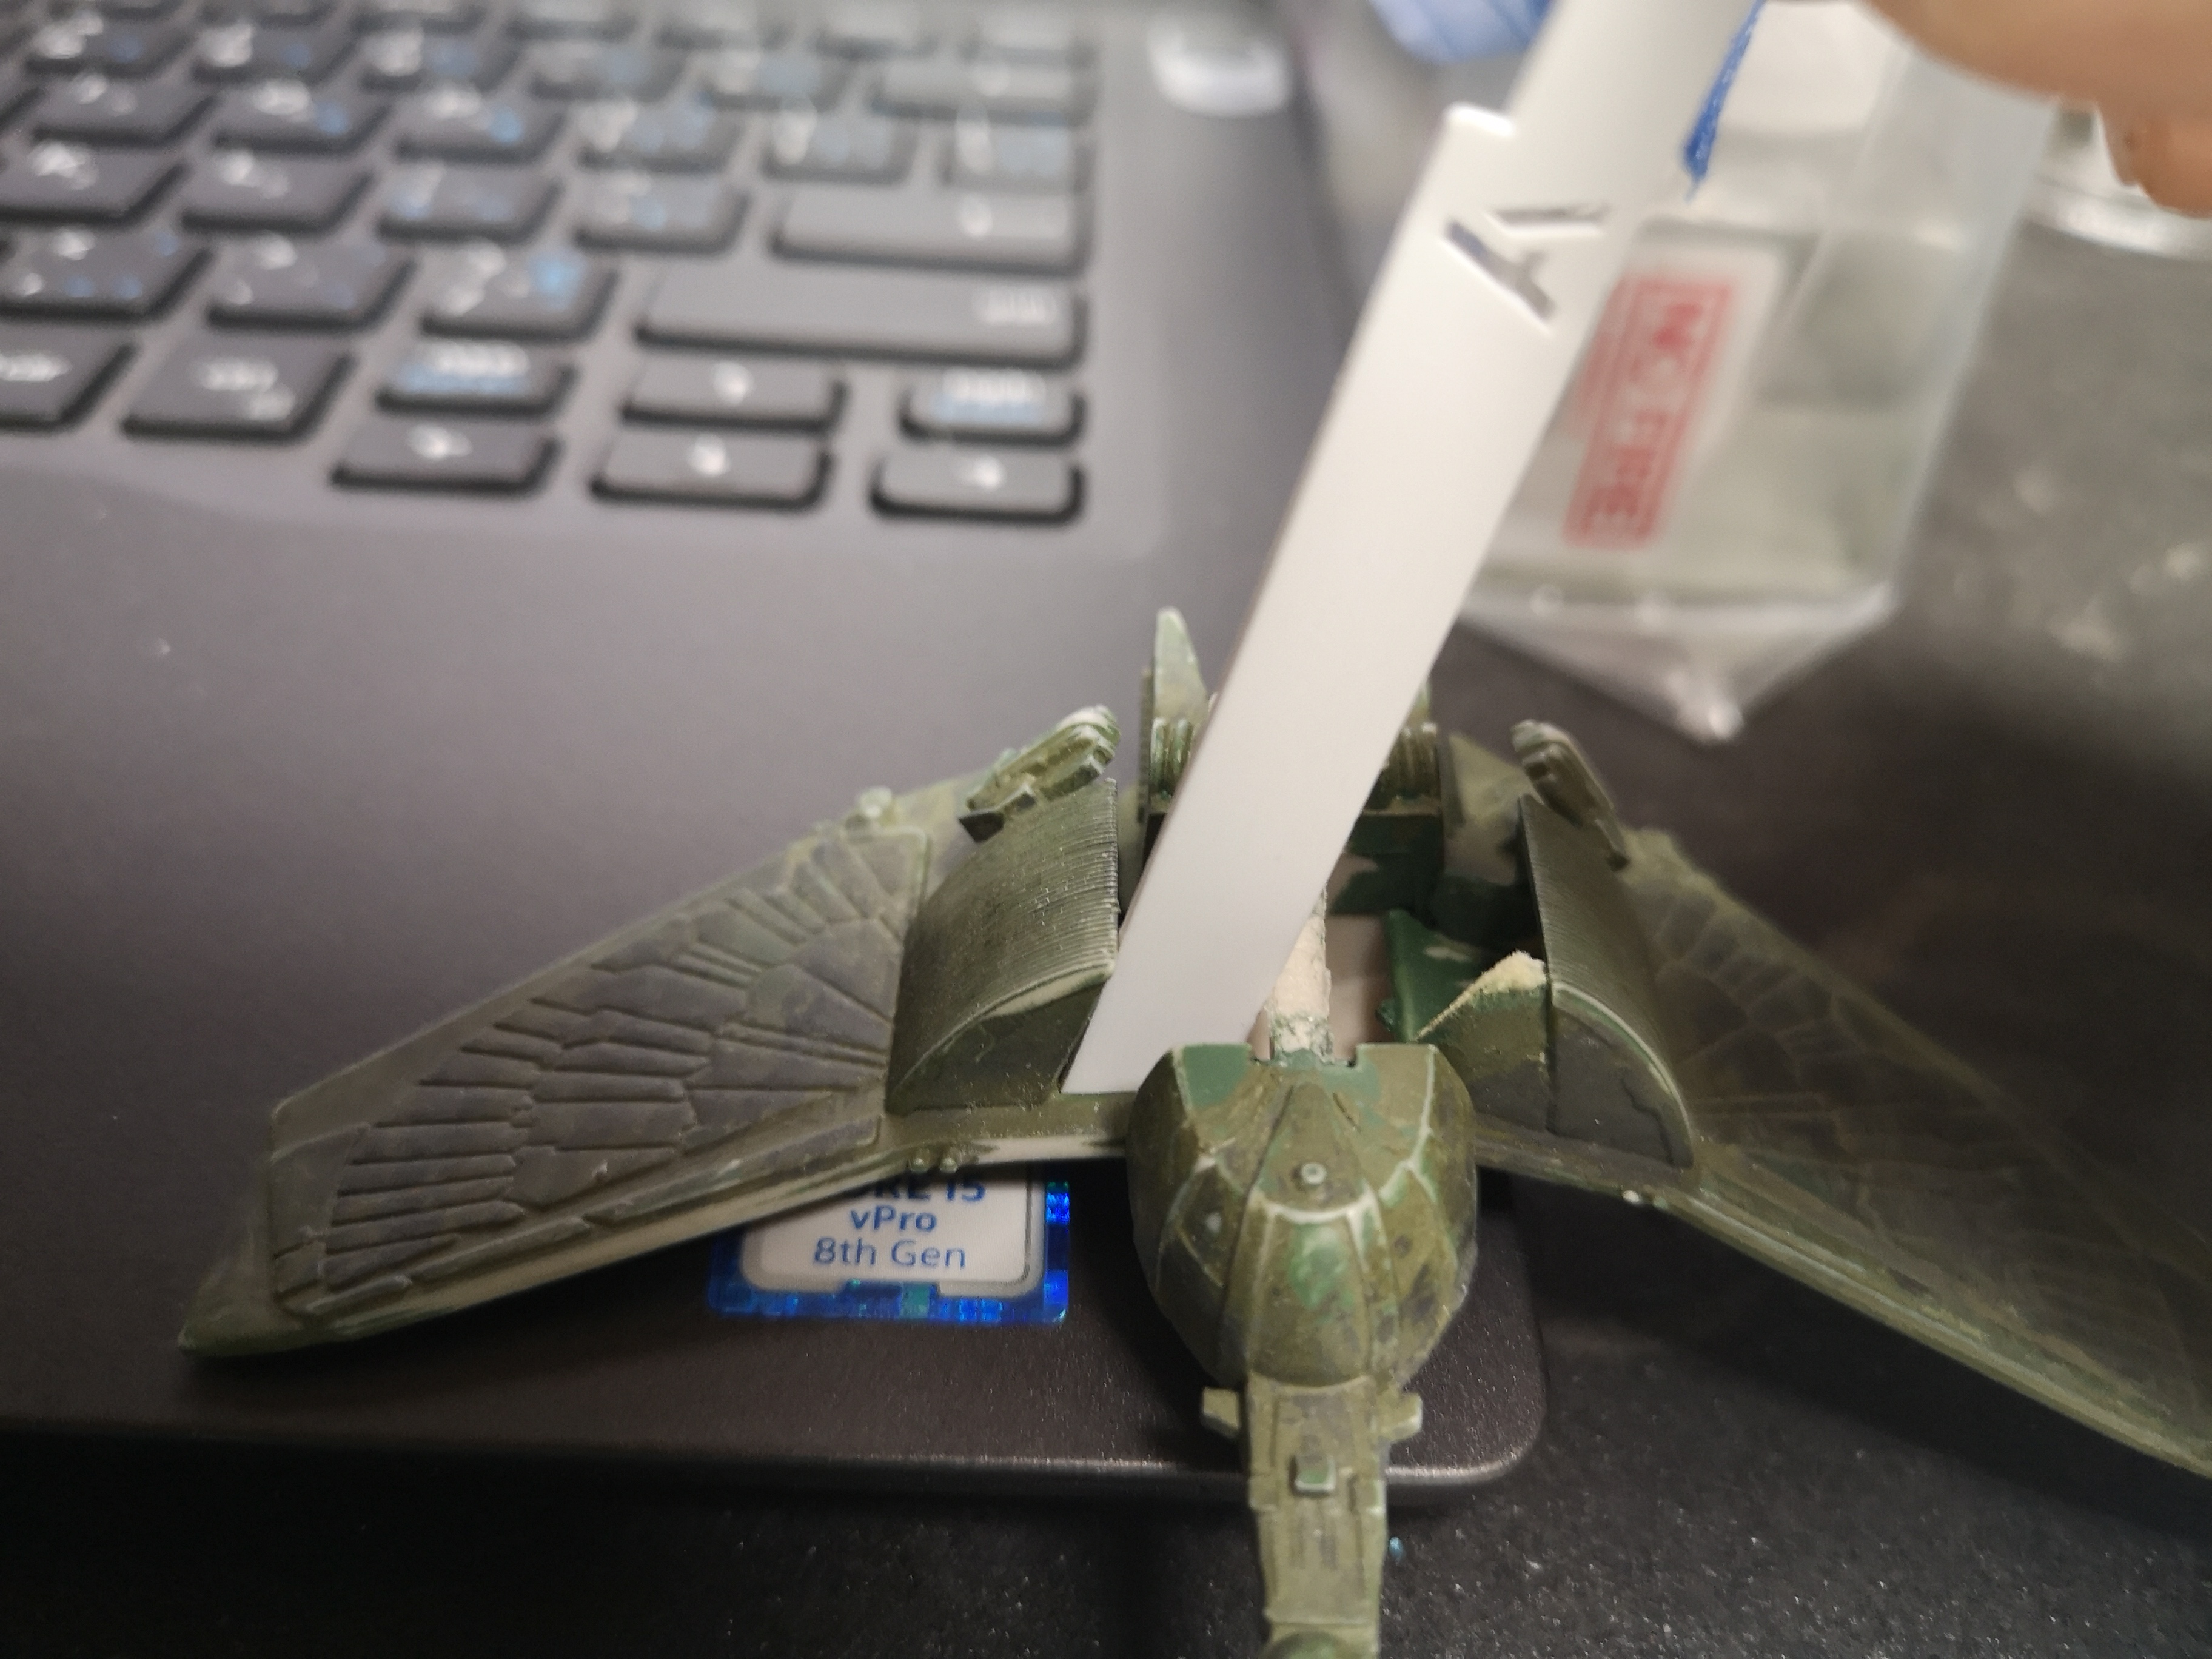
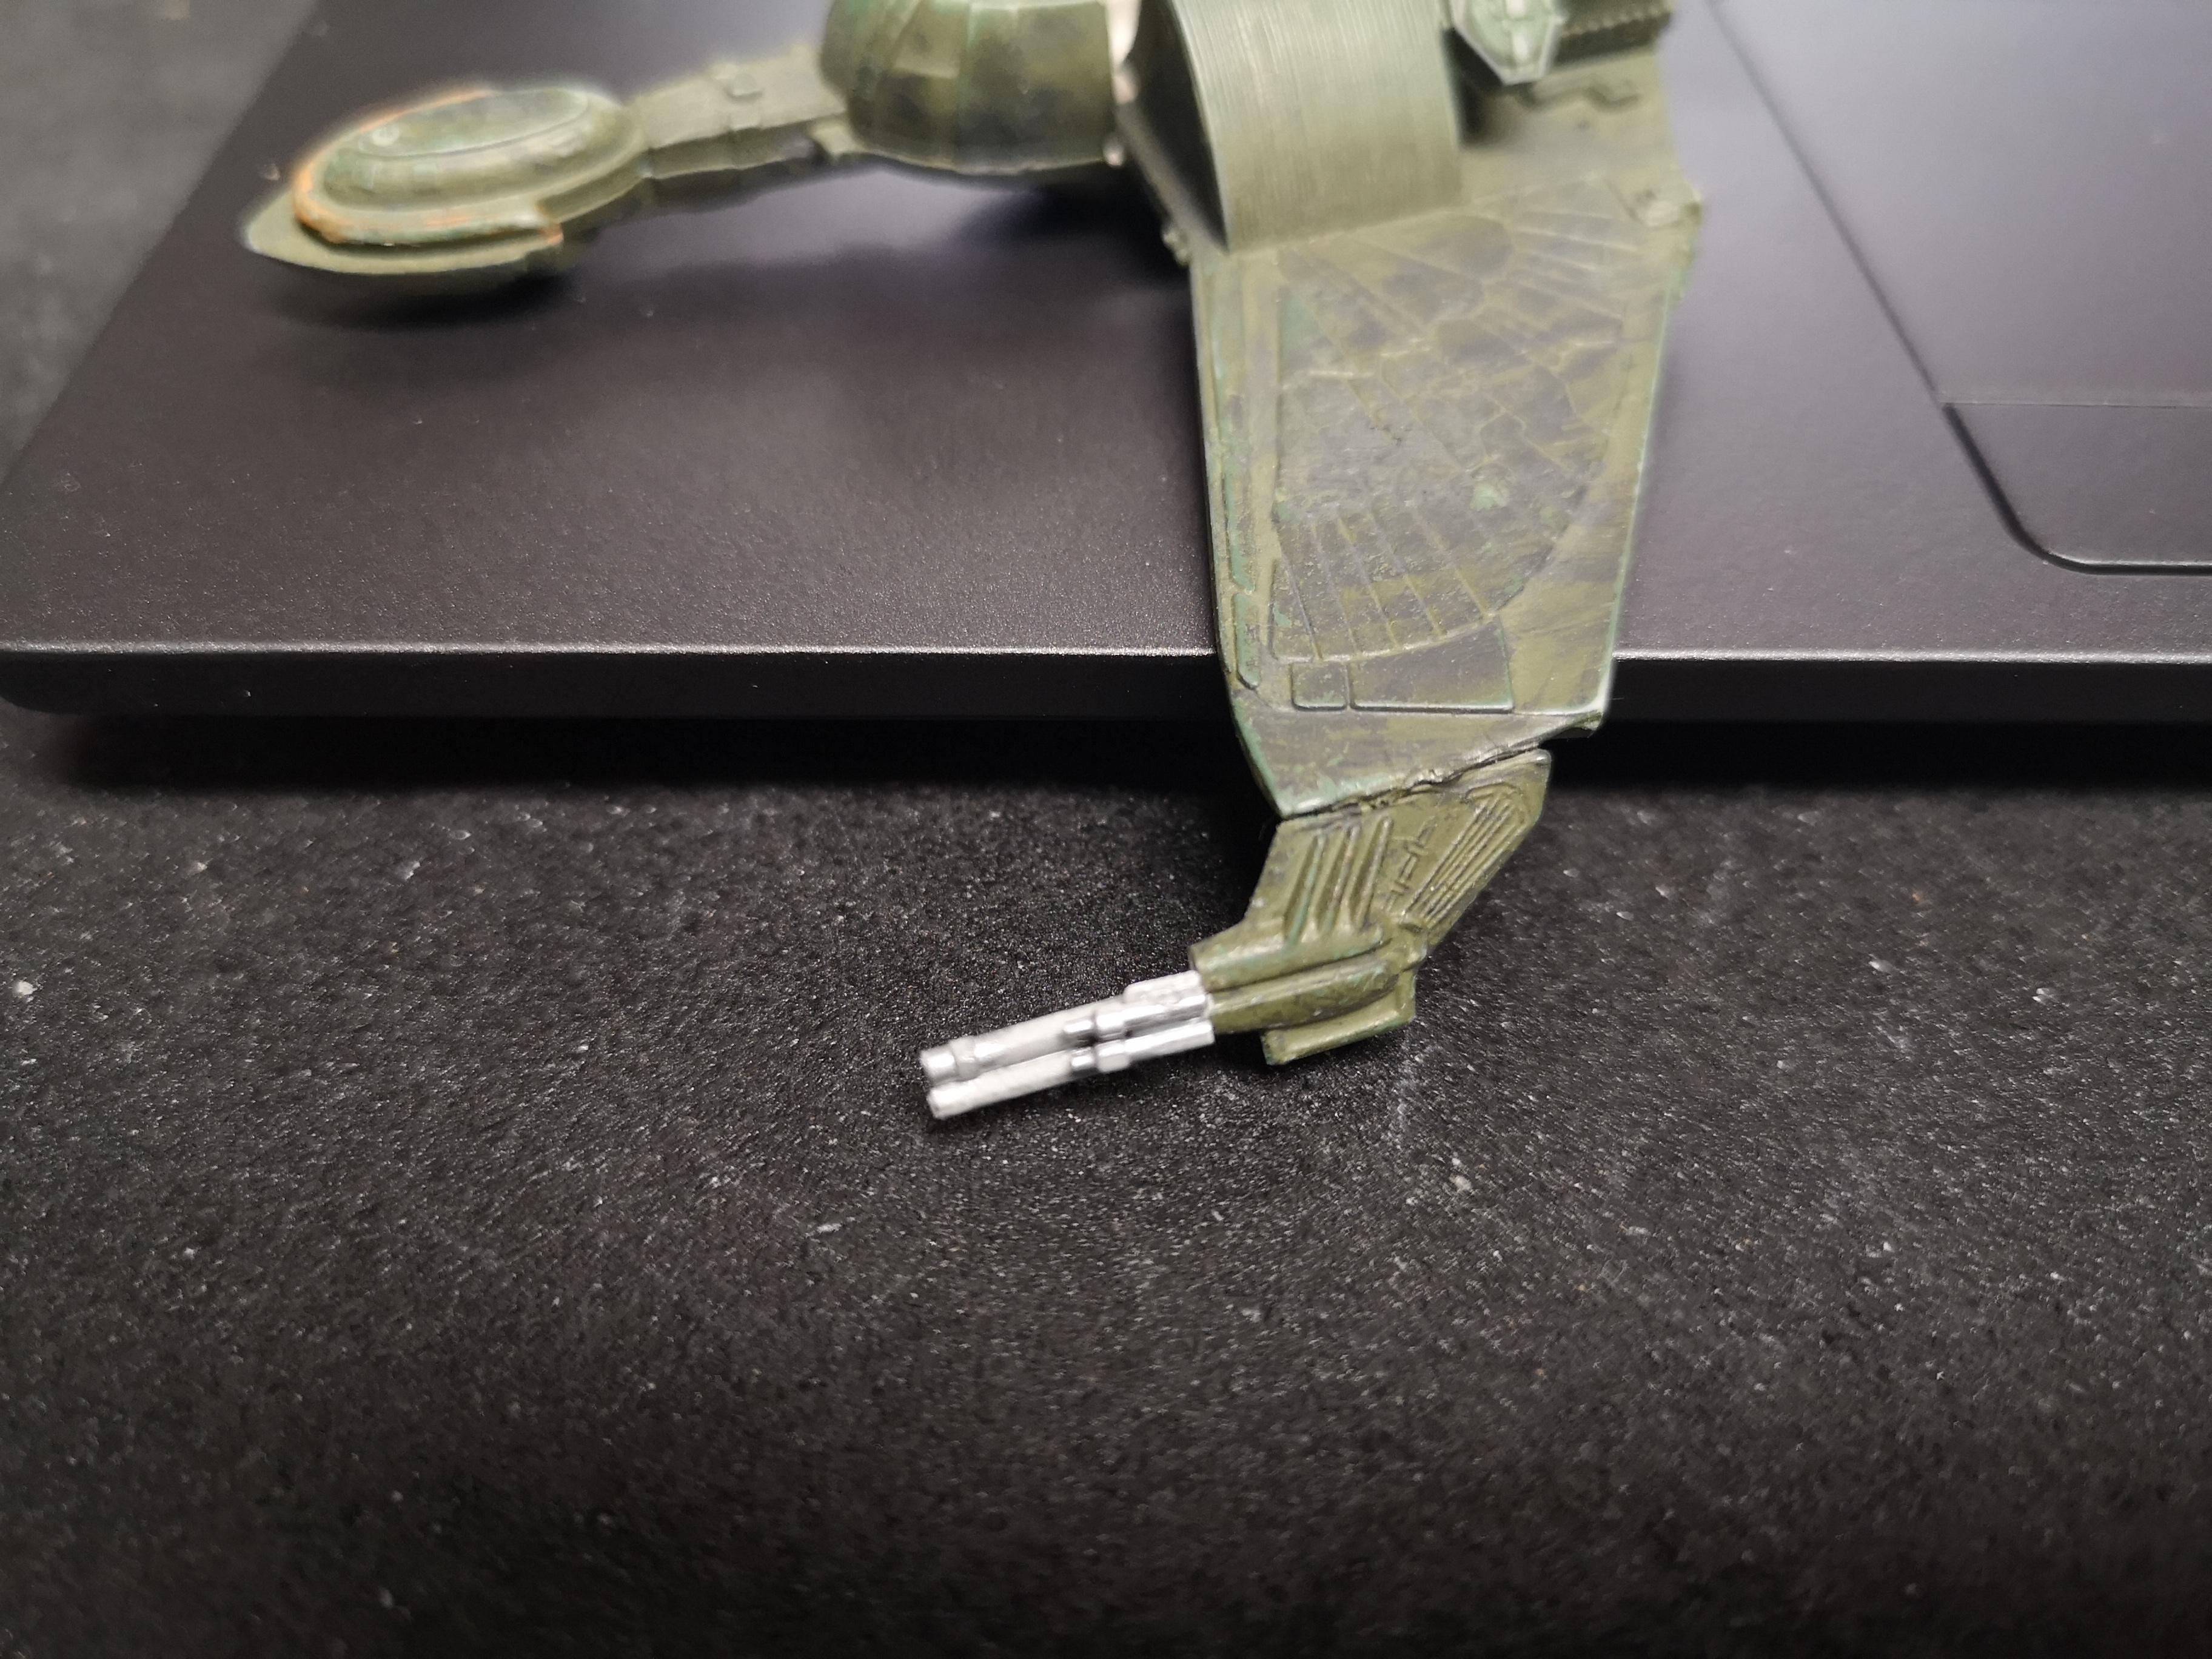
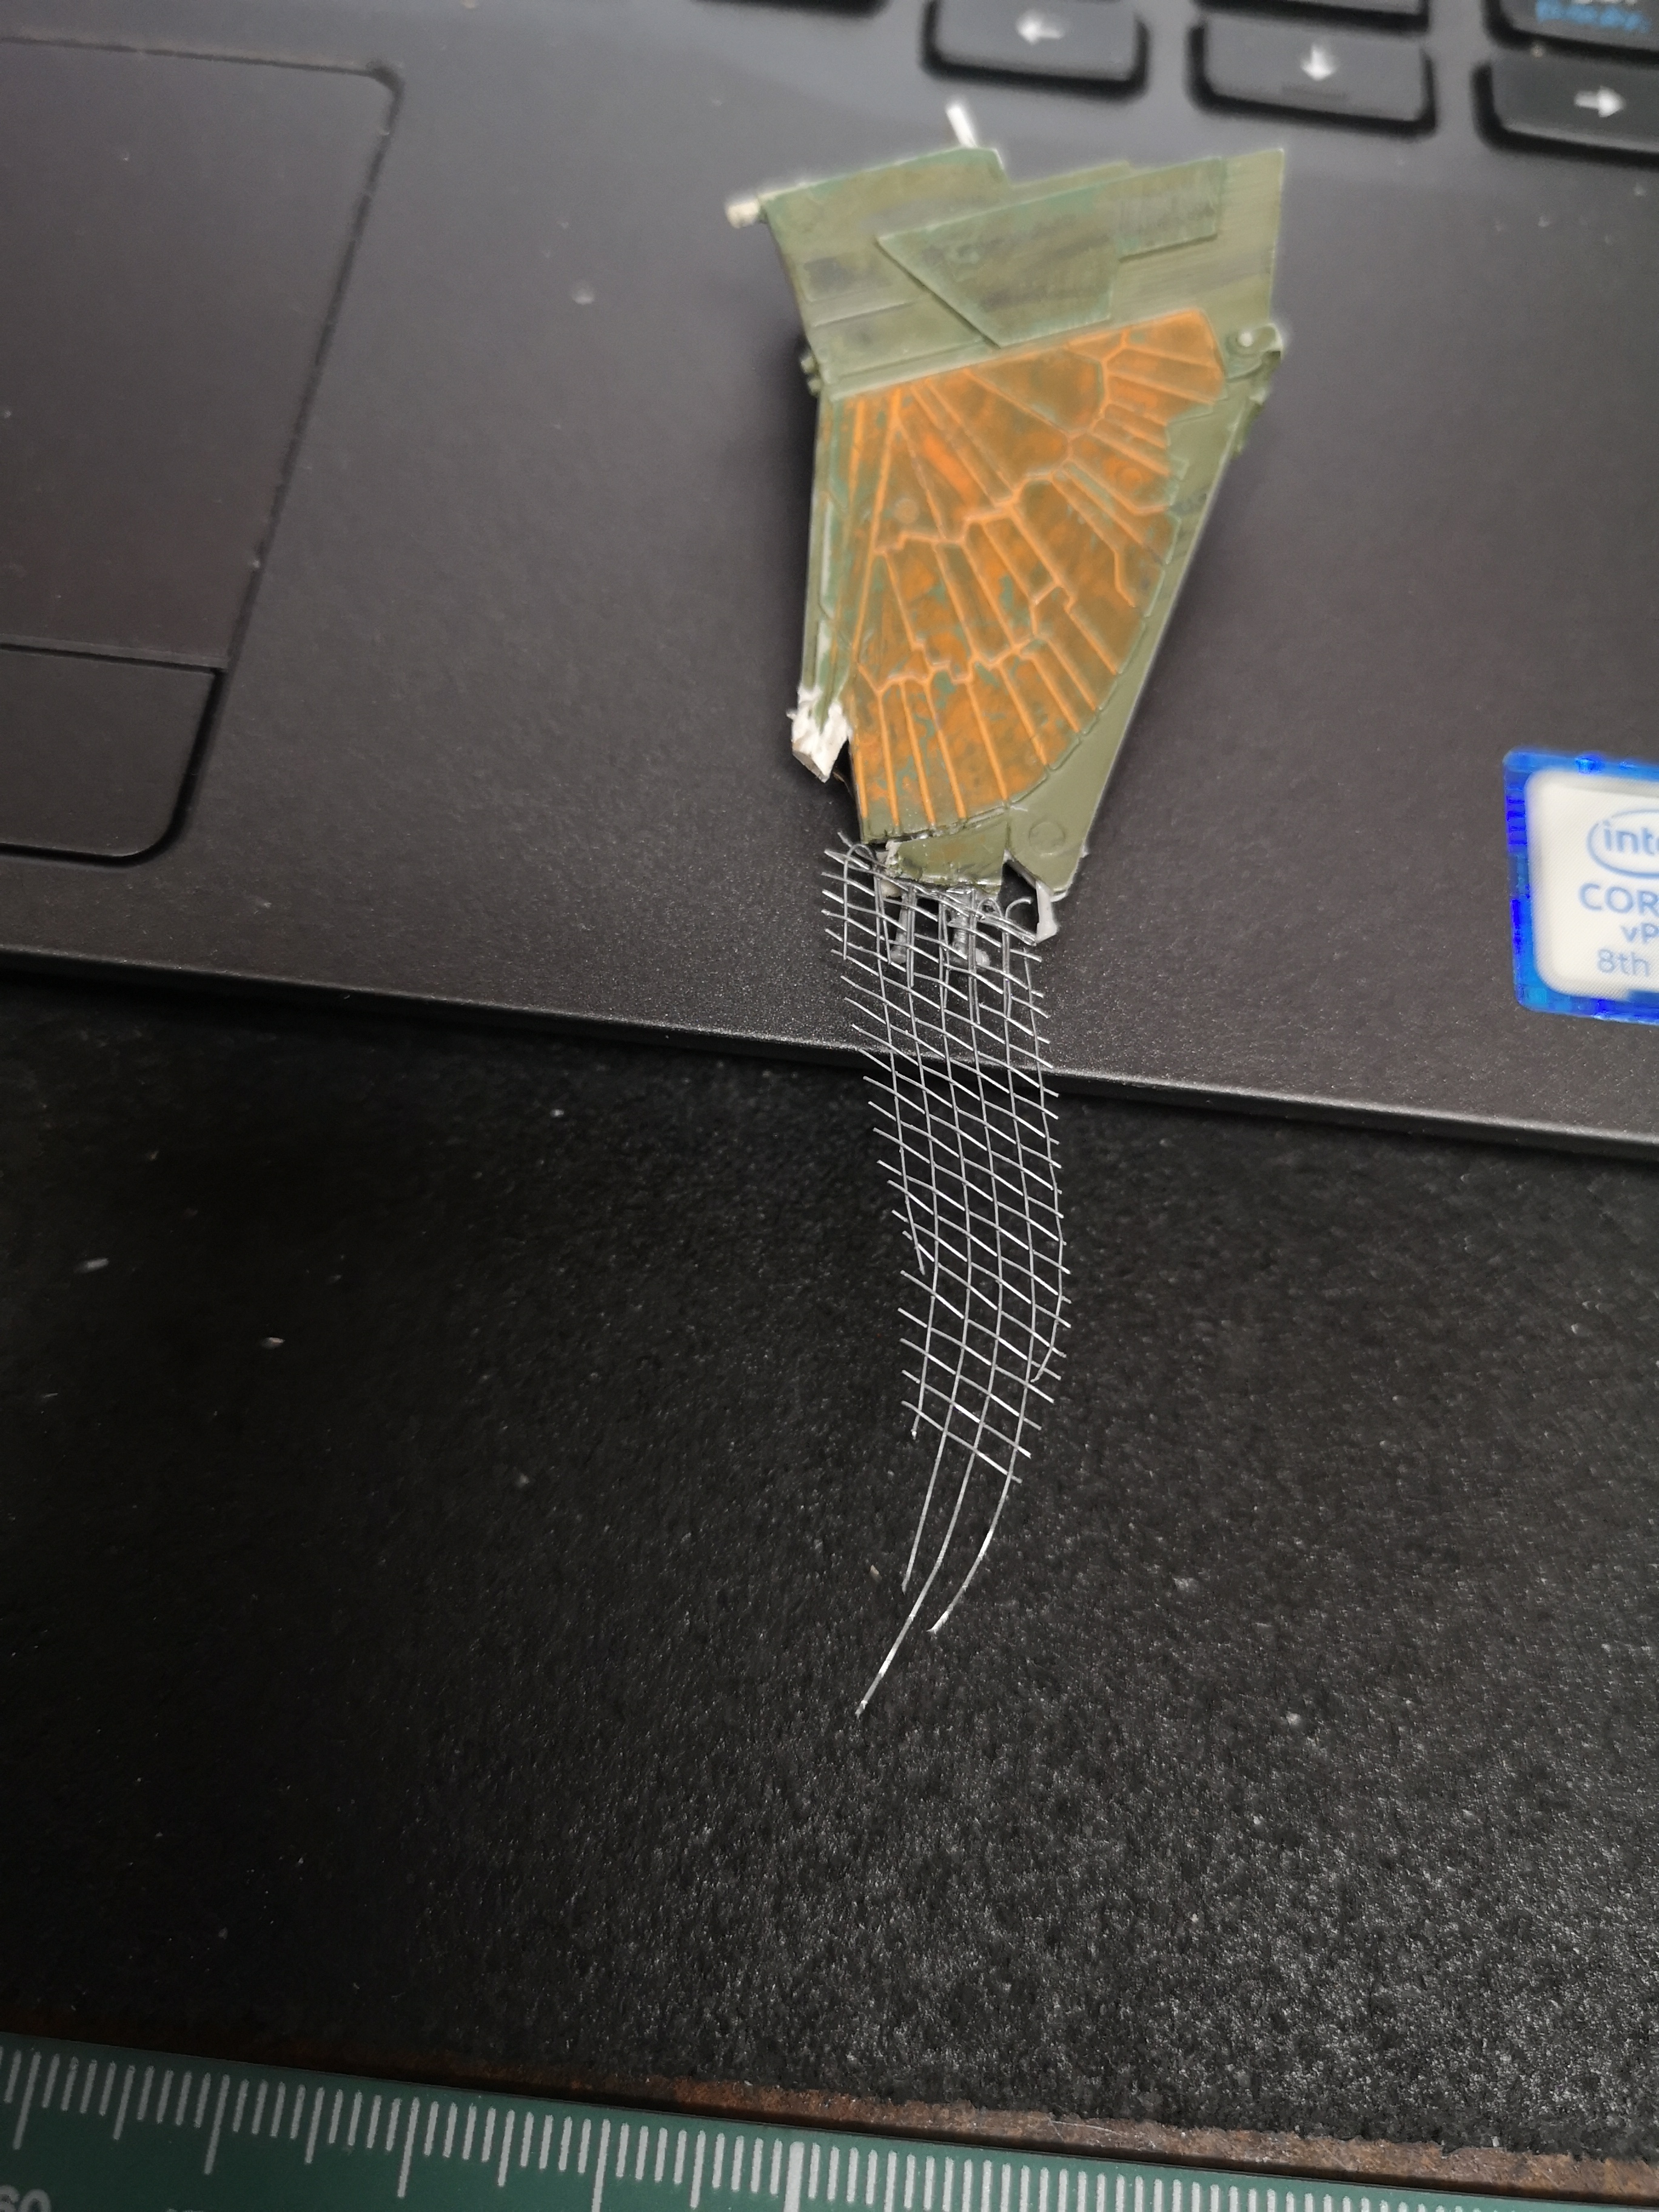
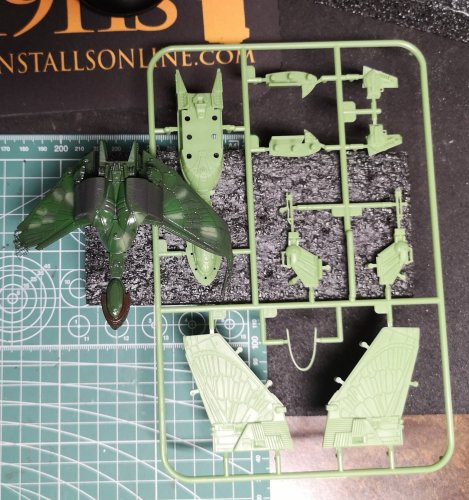
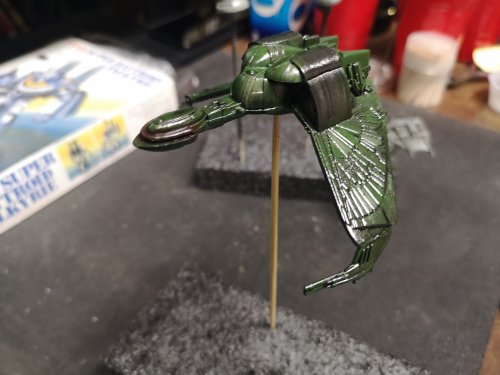
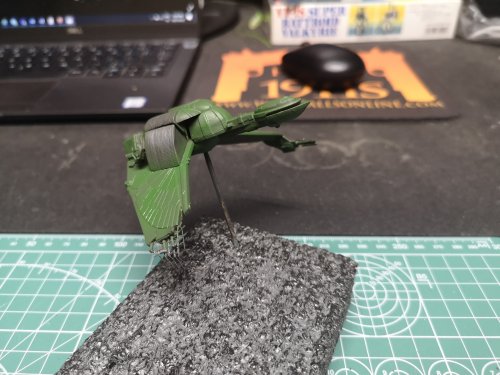
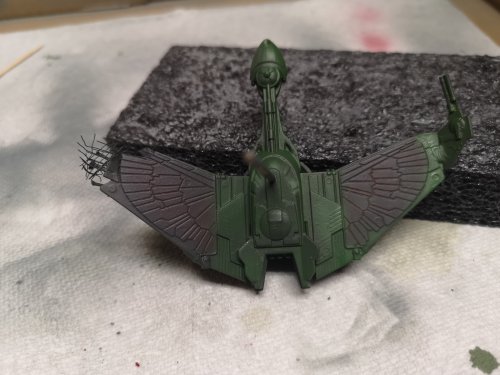
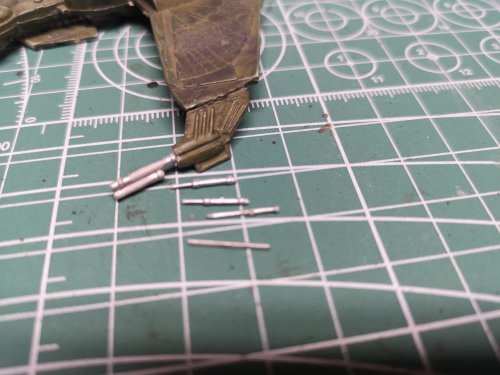
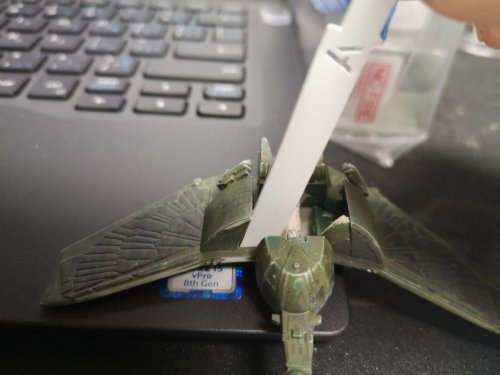
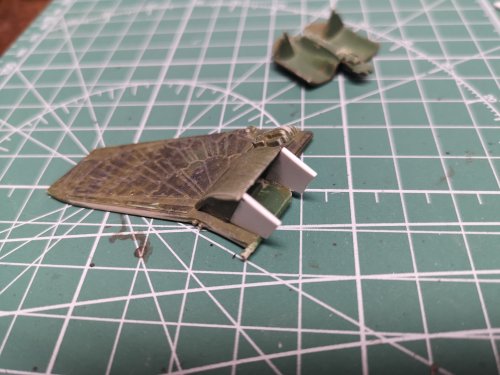
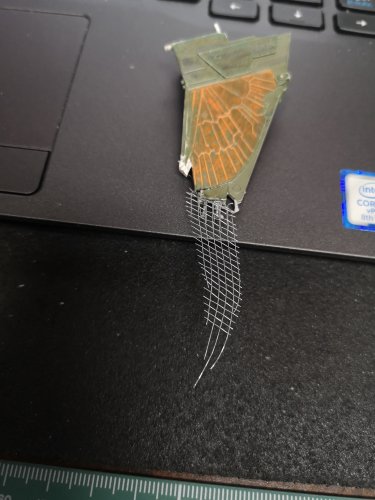
So while I'm waiting for the Pledge costs to cure on my Cadet series and my AT-AT, I decided to revisit that little BOP I found. It's missing all kinds of parts. An entire winglet, the barrels on the phaser cannons, a couple of panels to cover the baffle holes, and a peg for the right wing so it just flops right off. Rebuilt the cannons, not screen accurate, because I can barely see what I'm doing. I don't know what these are called, runner part markers? Anyway, I should just go out and buy some sheet styrene and keep it on hand, but for now, I just cut these sections off, sanded them thinner and cut them to shape (sort of). I used these things for the patch plates on my auto destruct Refit. I know, this is being Mickey Mouse. Port side cannon Starboard side battle damage. I still have to trim the mesh once the glue dries, but what I did was drill a few holes into the wing and stuck some pegs (might have been spare 1/700 destroyer AA gun parts) so the mesh had something to stick to. Also split the wing so it sort of looks flayed open. More to follow.


-
Oops, sorry for the confusion, I meant contact Round 2 for that Cadet series Klingon/Reliant/Refit set for replacement decals. But for the 537, if someone put a gun to my head and I had to build another one, I might try to either pencil in the Aztecs, or order them from HDA again. After all the fun and and excitement I went through with 537 builds, I think I deserve something nice like the 350 Polar Lights Refit. Apparently they are less headache
-
If the 537 is really pissing you off, you can always pour some hate into it like I did