peter
-
Posts
4487 -
Joined
-
Last visited
Content Type
Profiles
Forums
Events
Gallery
Everything posted by peter
-
Based on his abilities in DYRL, I'd say Max is more of a CQB/door kicker kind of guy, but I can also see him in a sniper role.
-
Hey, I've melted stuff with glue before! Lol, when I was building that 537 Refit, I filled the tail end of the secondary hull with nuts and bolts to counterweight the saucer......and the glue started to melt the hull.

-
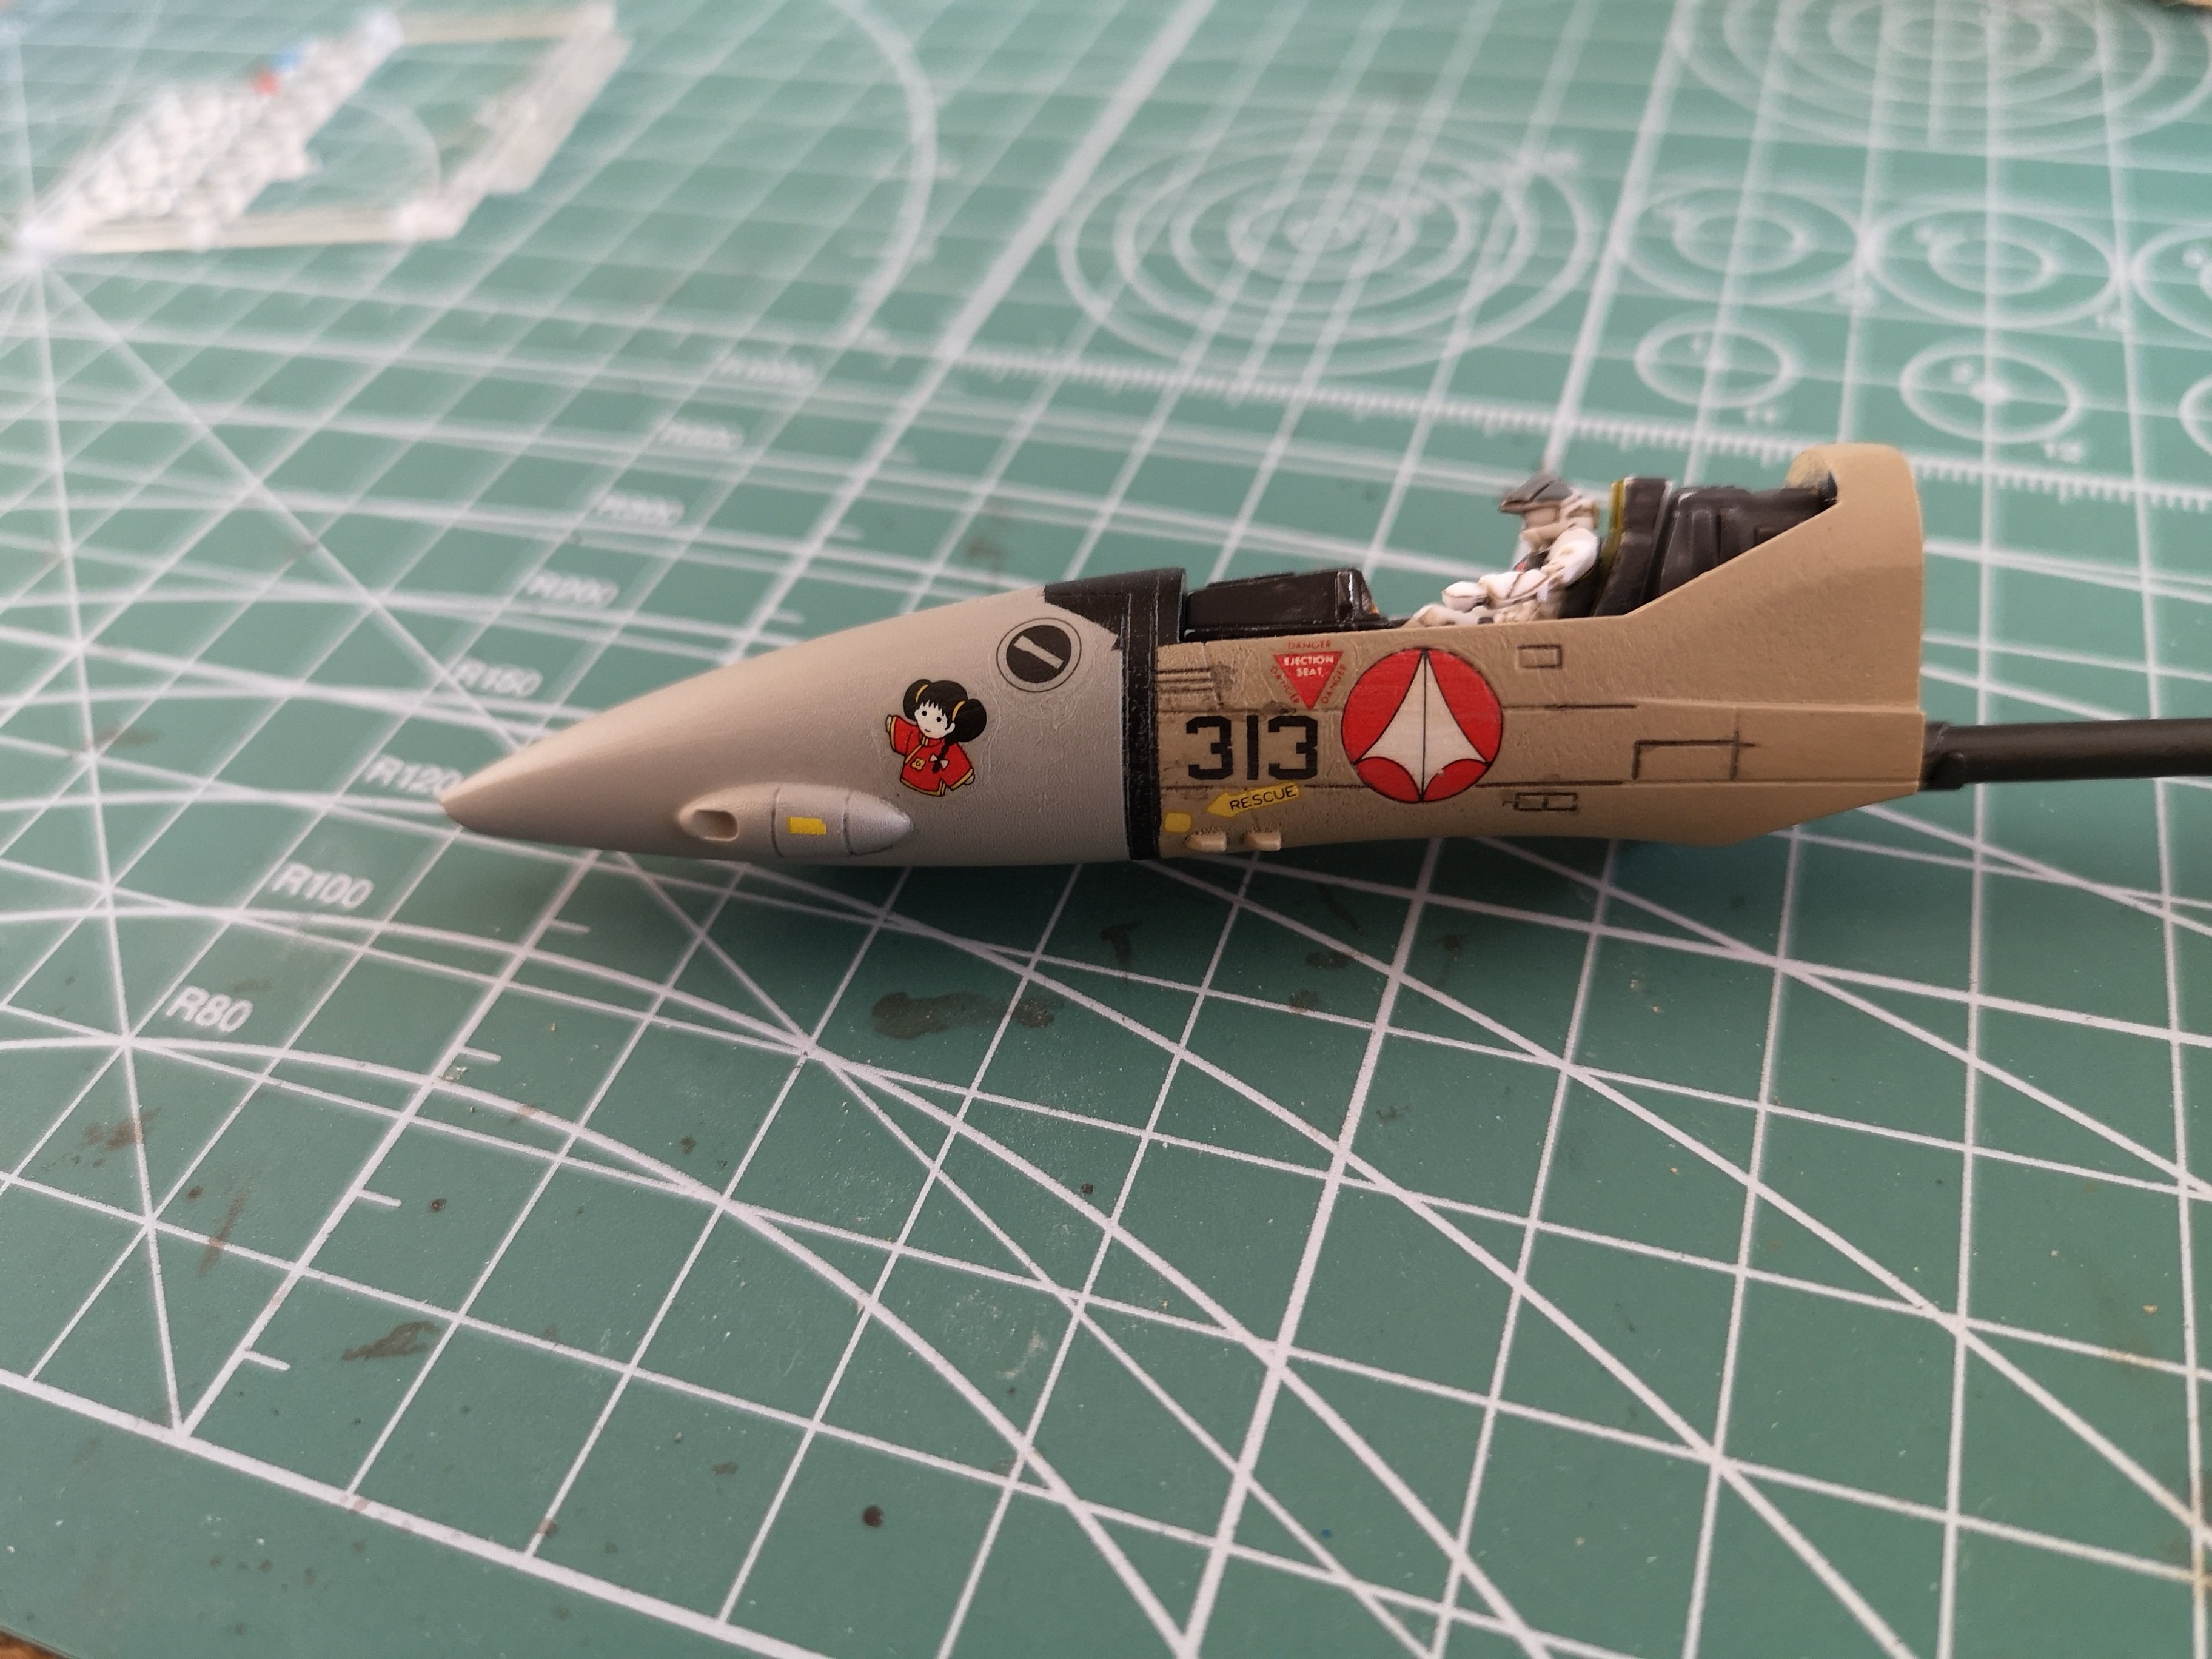
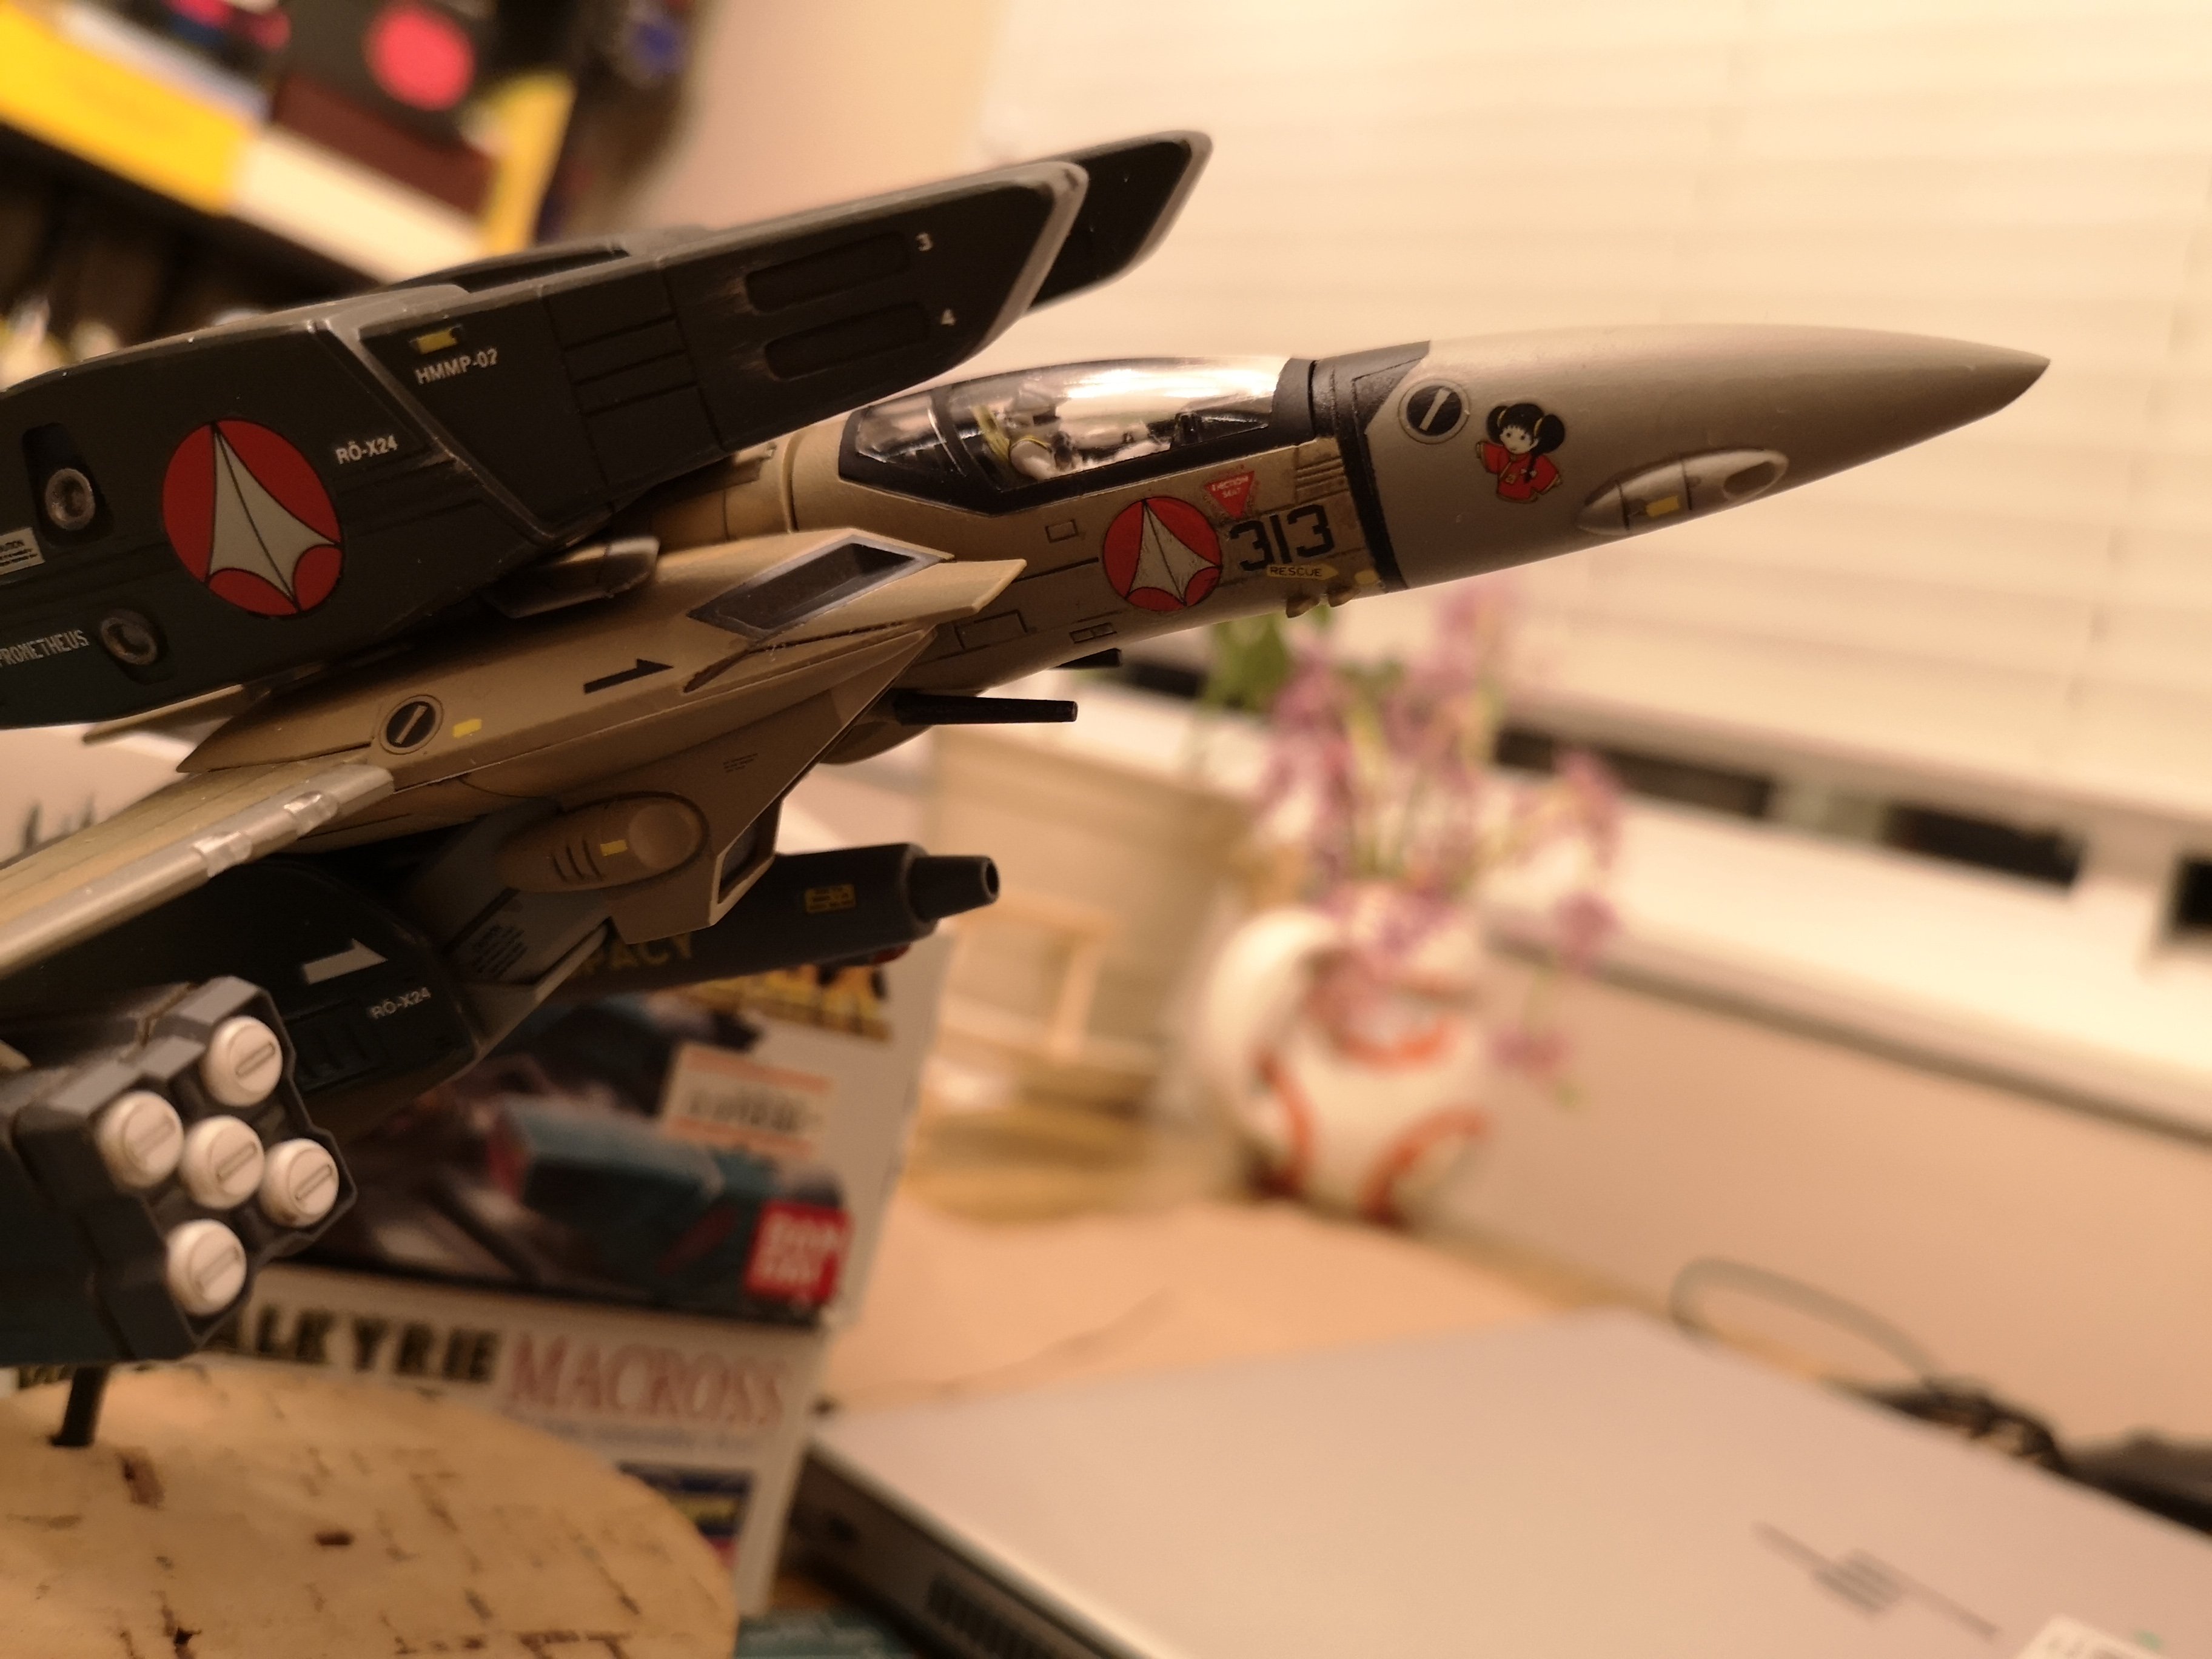
Thanks! Though I wish the finish would look as smooth as that fighter, just wow. Finally broke down and ordered an airbrush and compressor. I think I've gone as far as I can with rattle cans and a brush.......will have to learn a whole new set of skills.
-
Is it me, or do those female figures have really nice proportions? Lol, I know, it sounds like I've been in the field for a few days.
-
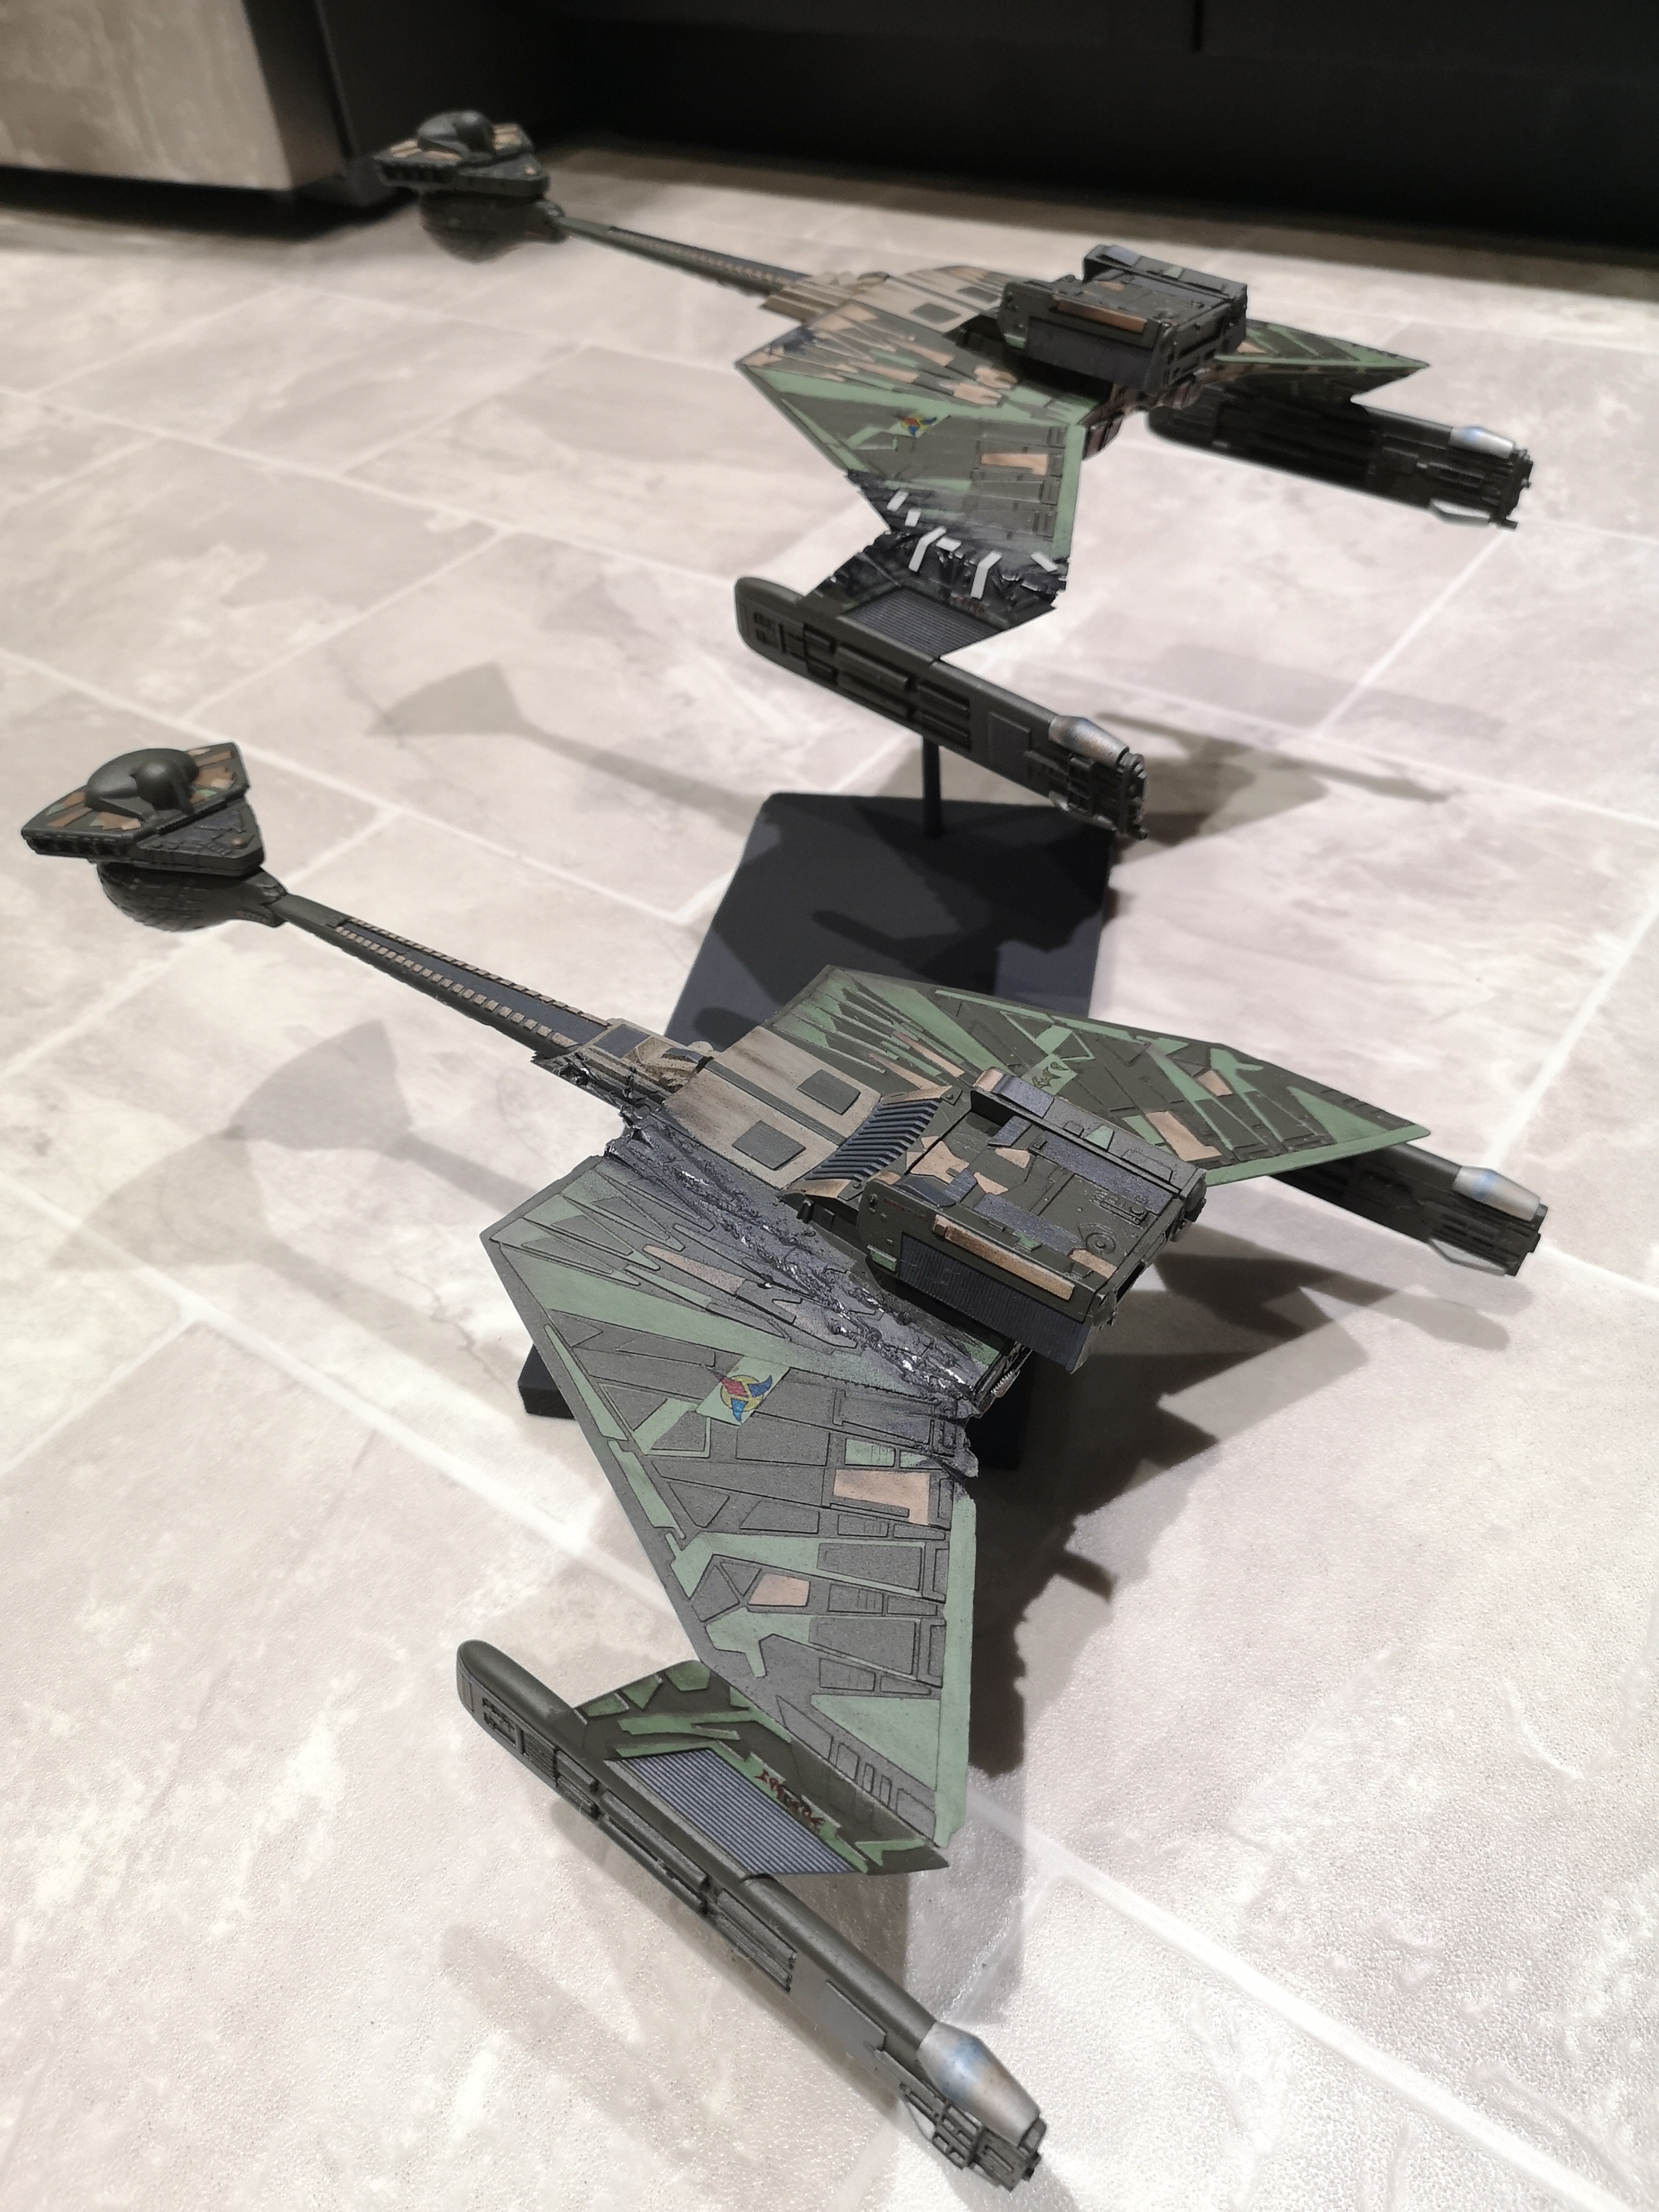
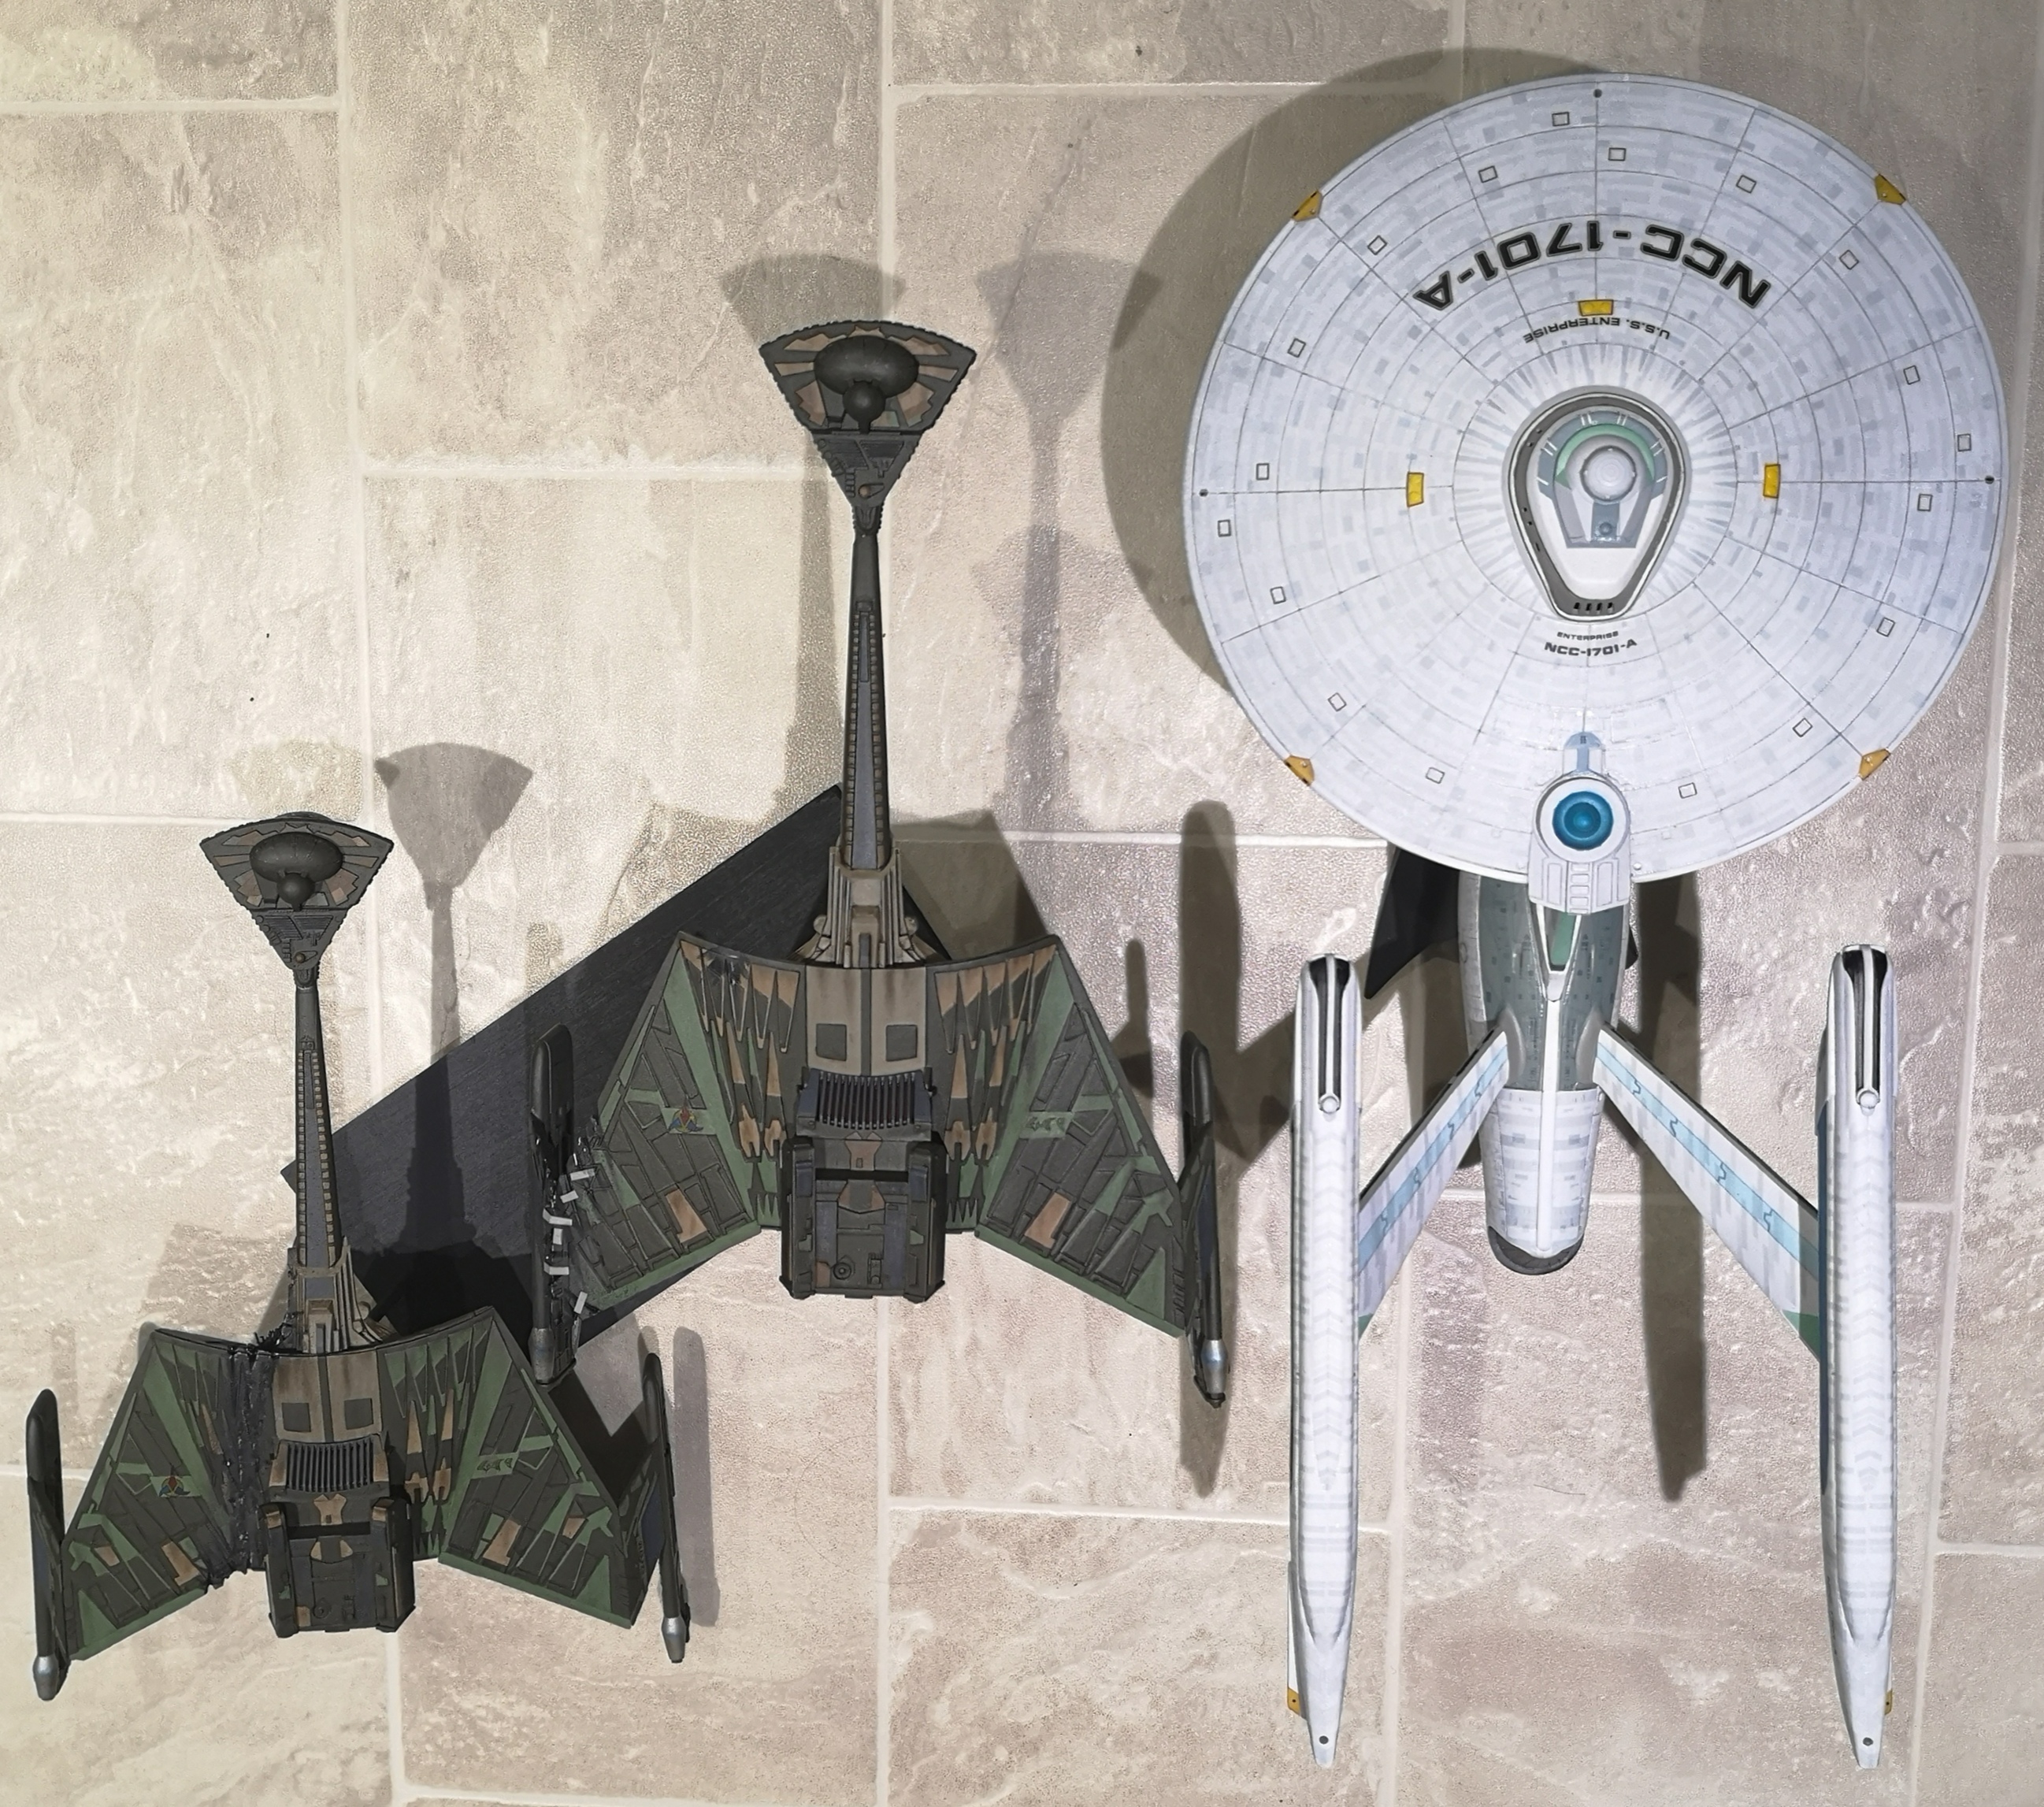
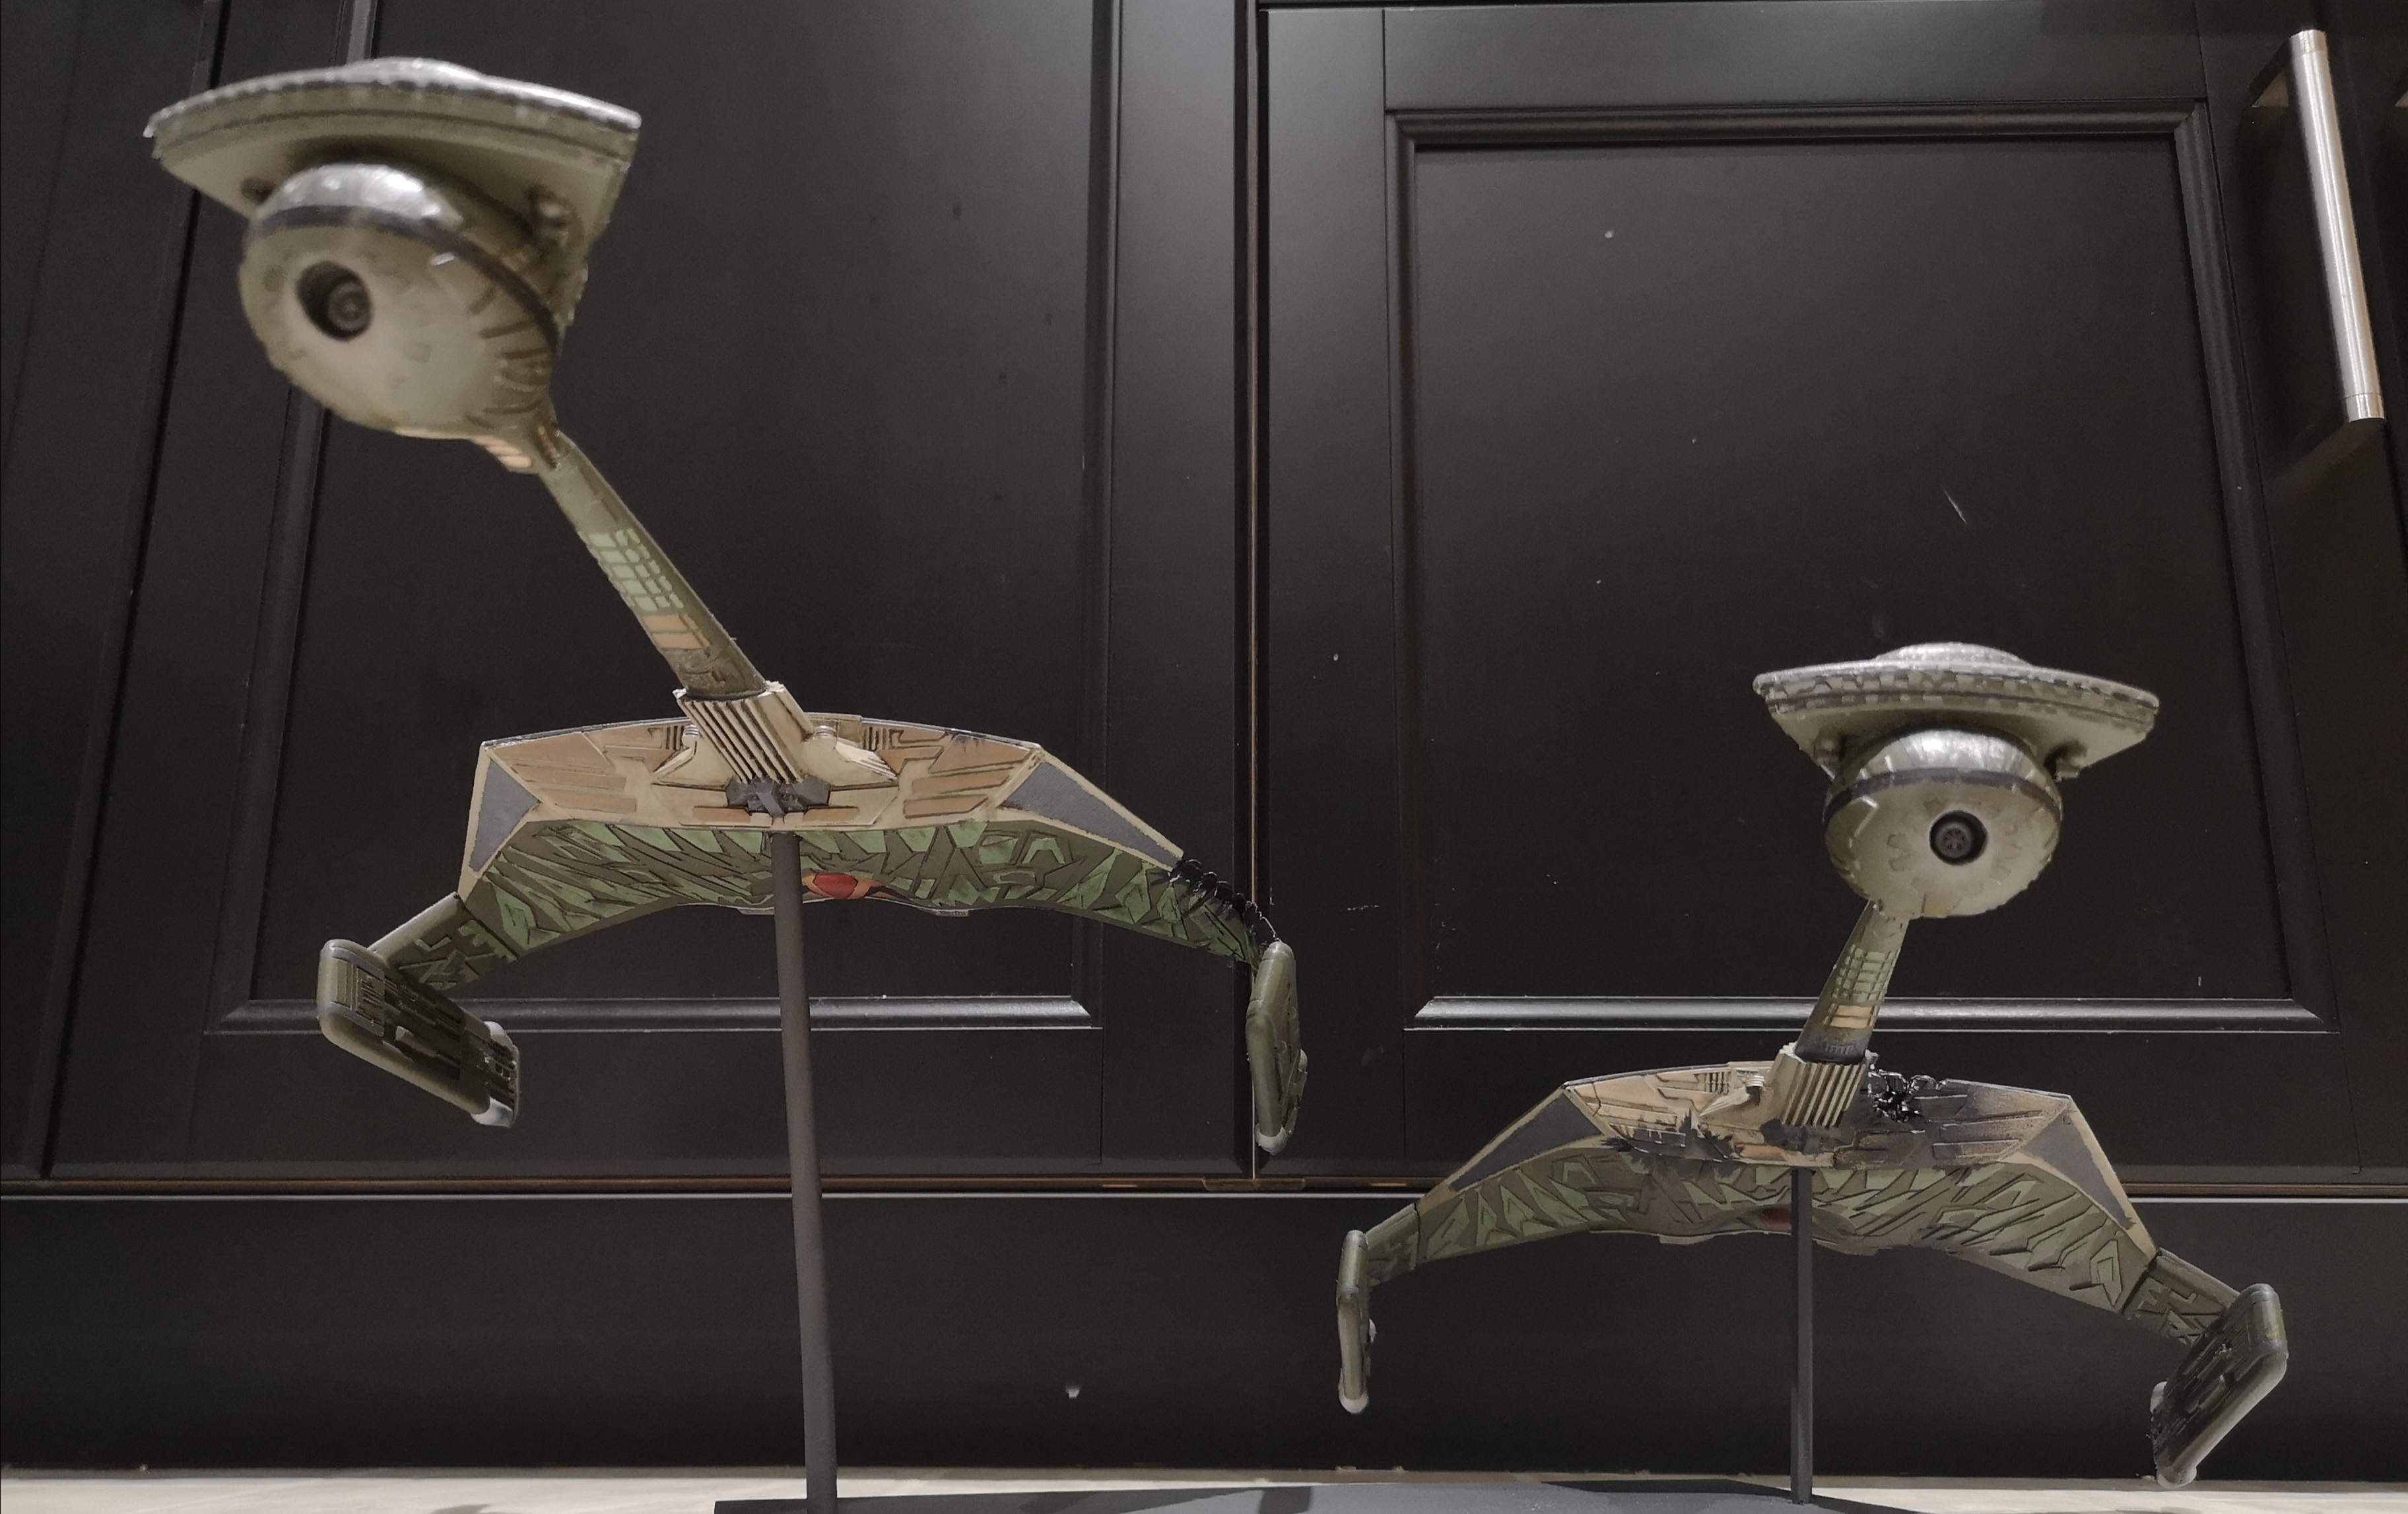
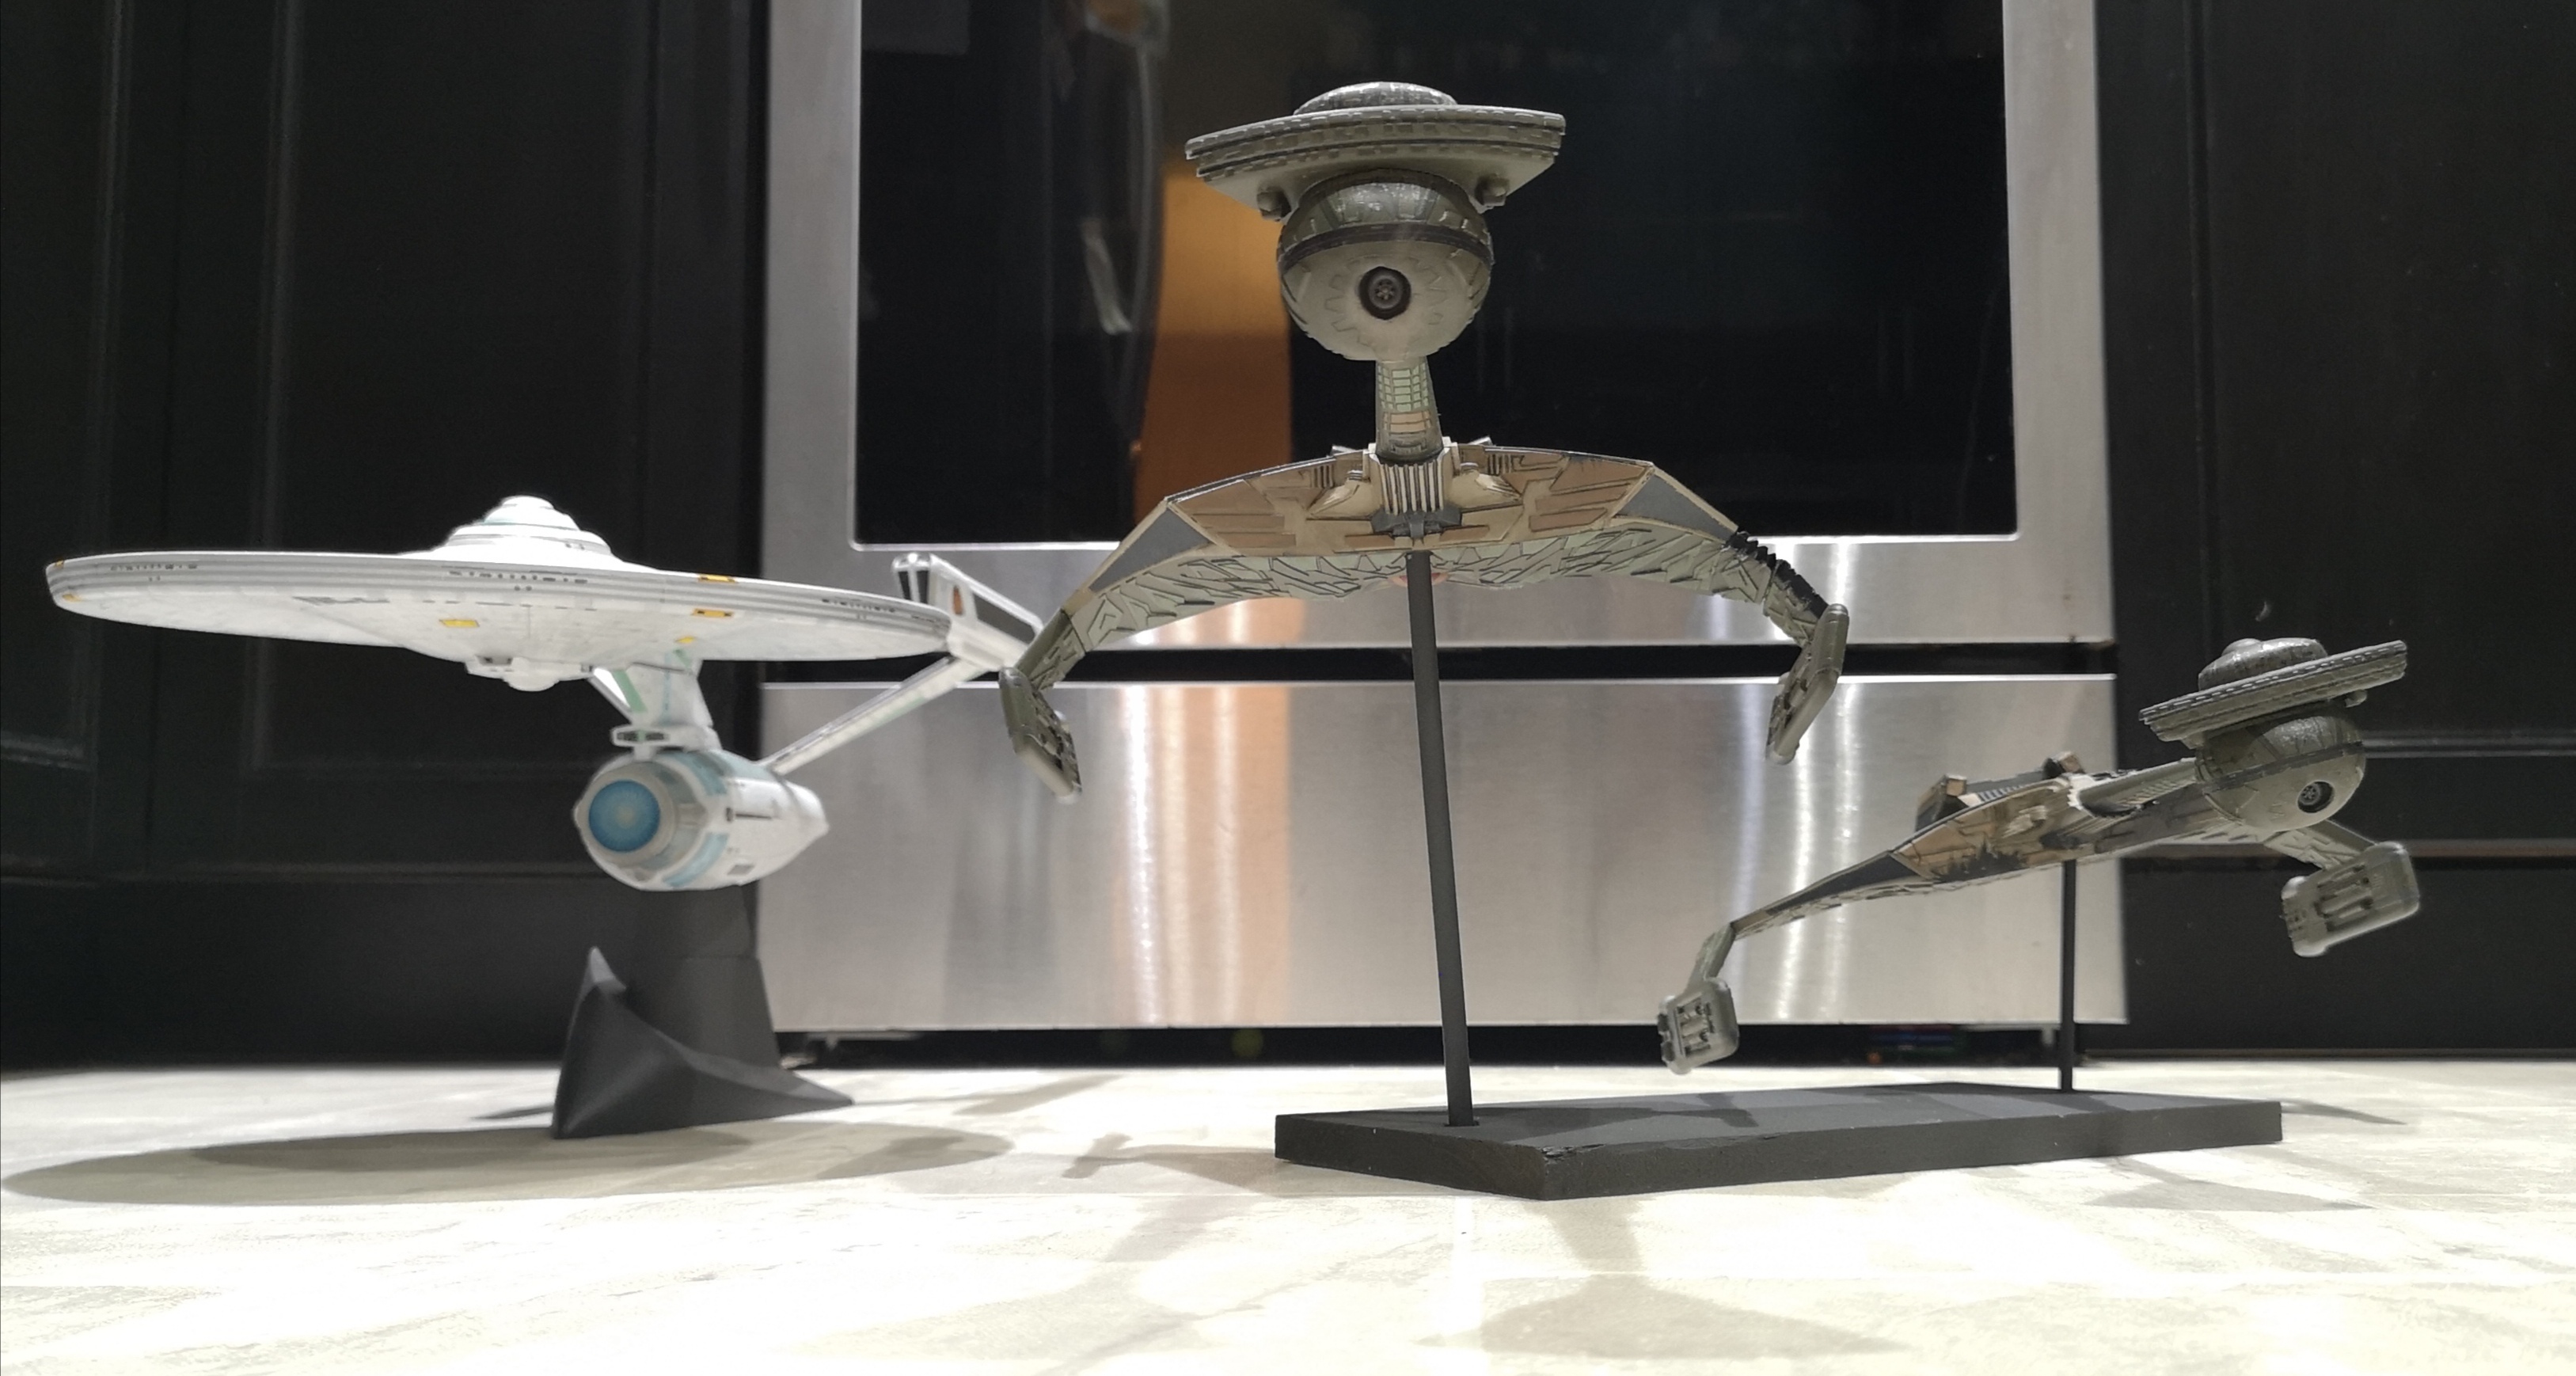
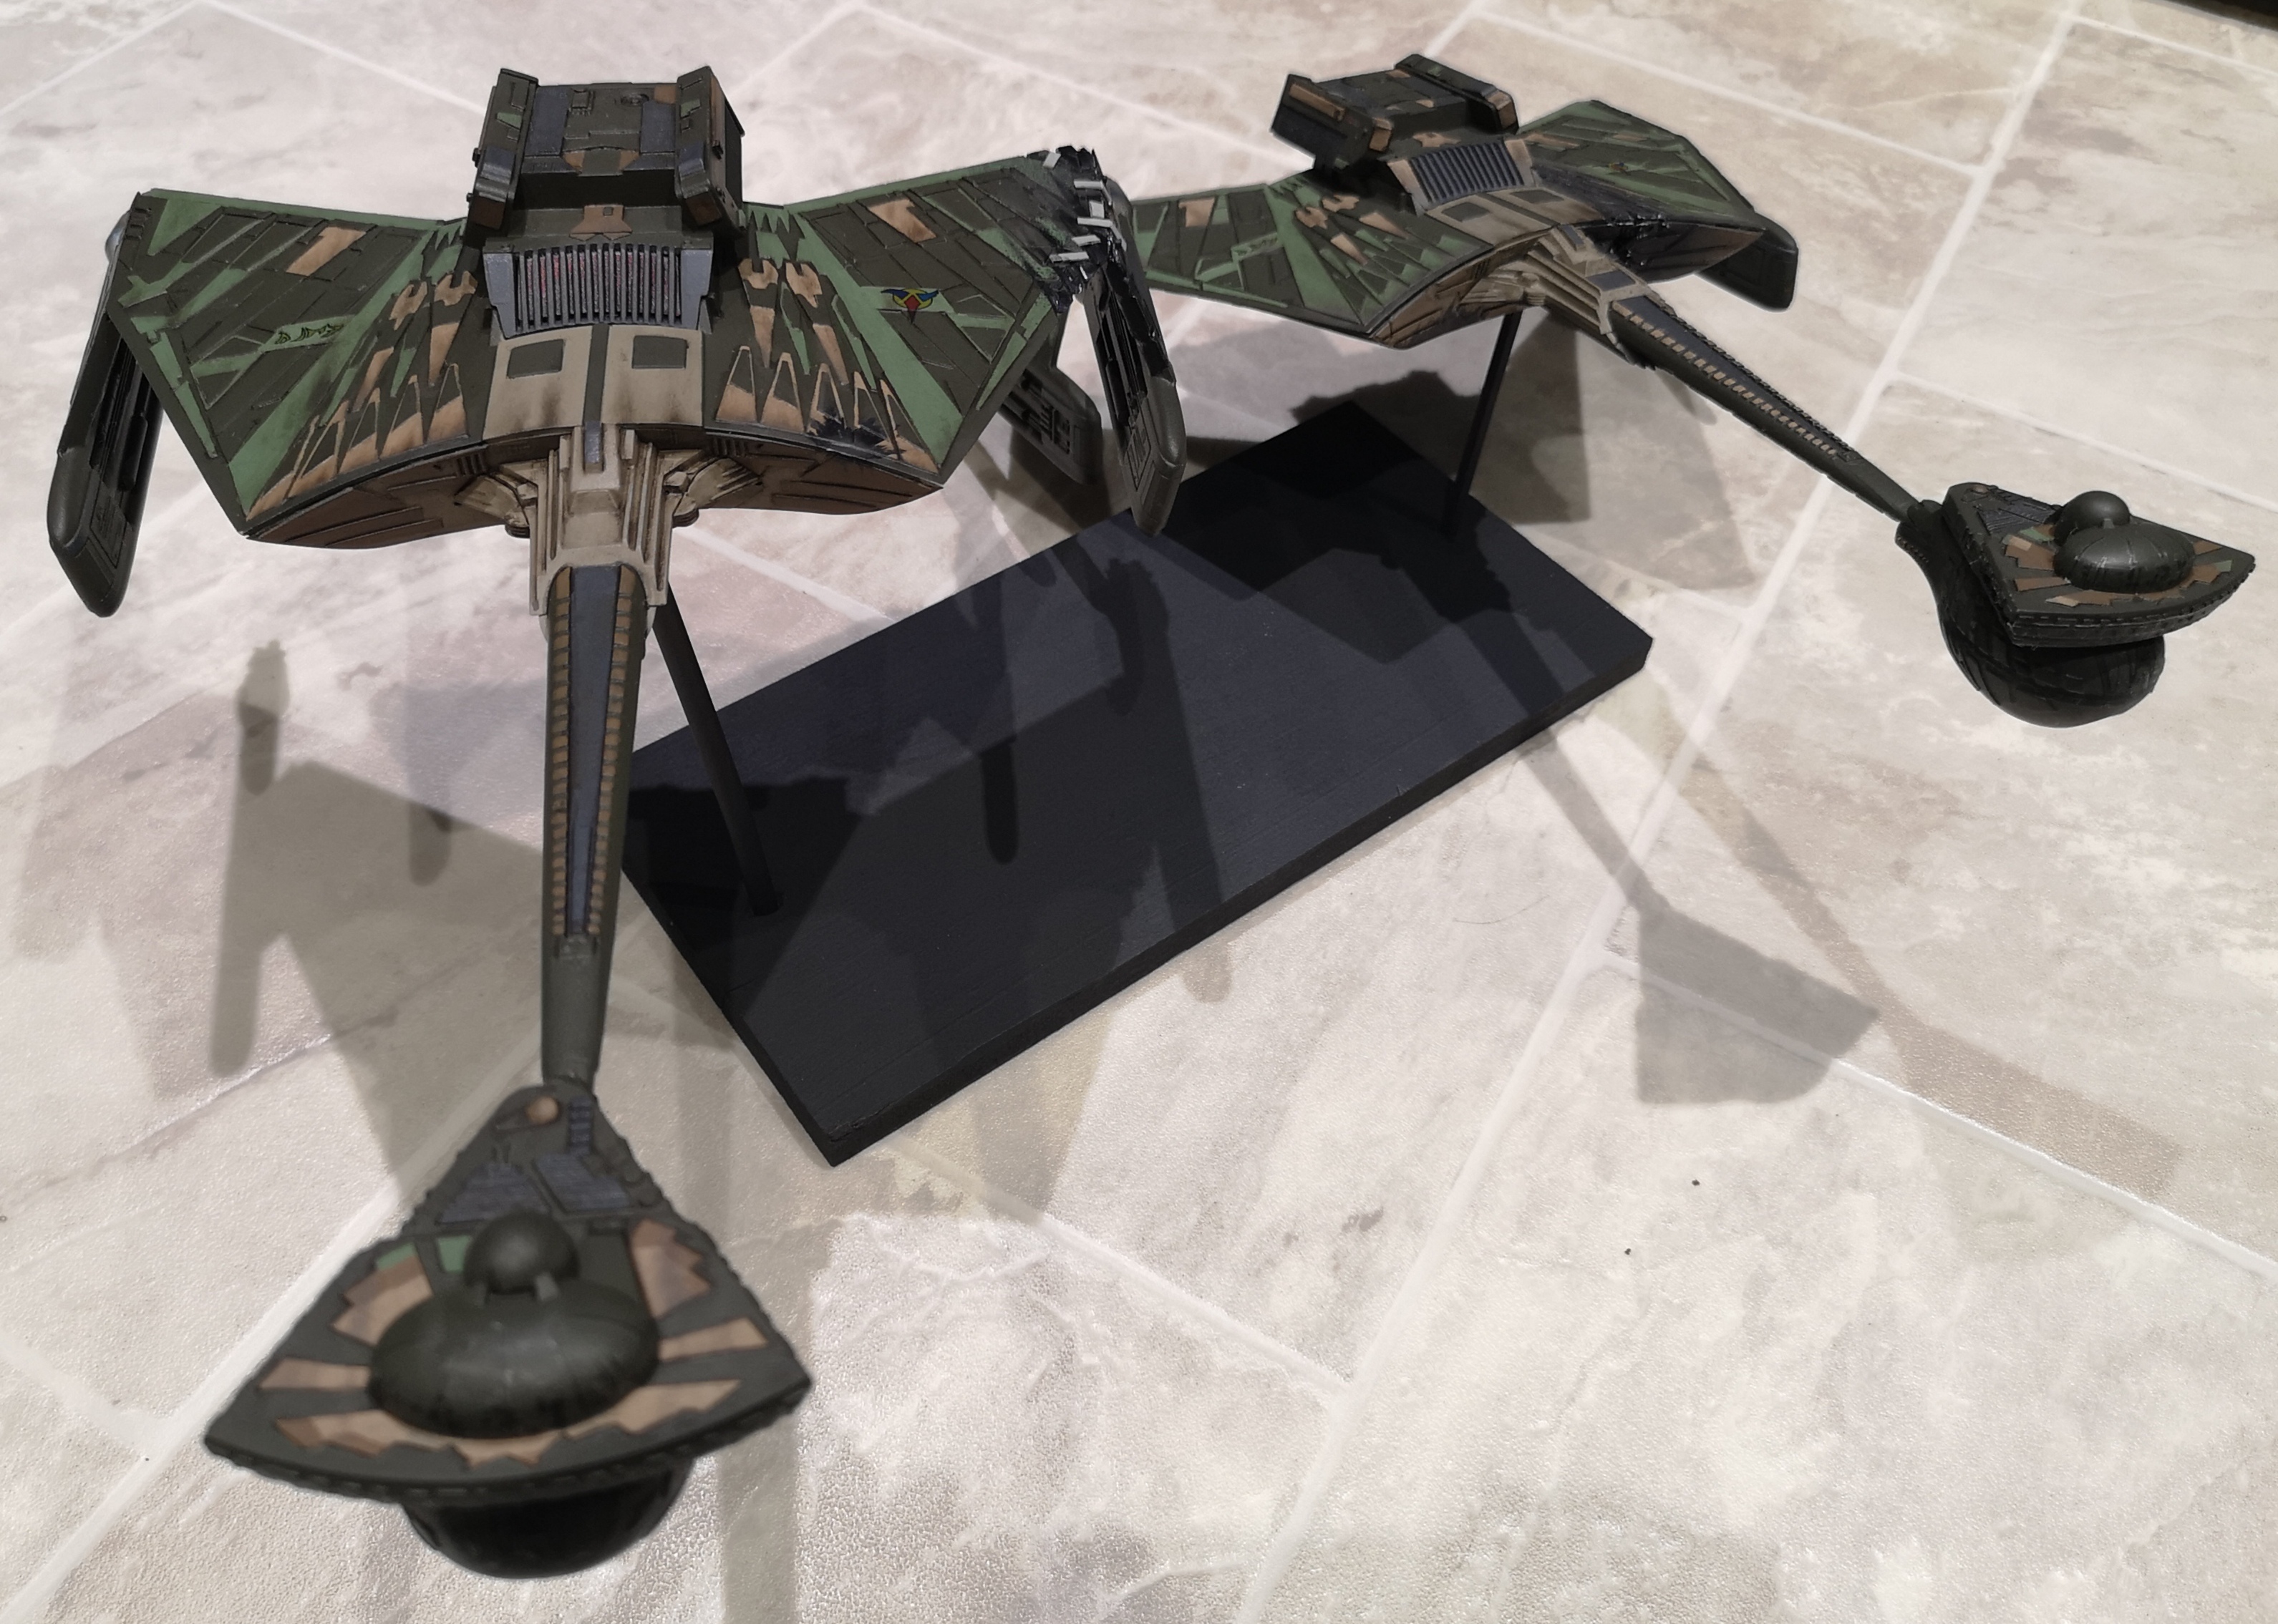
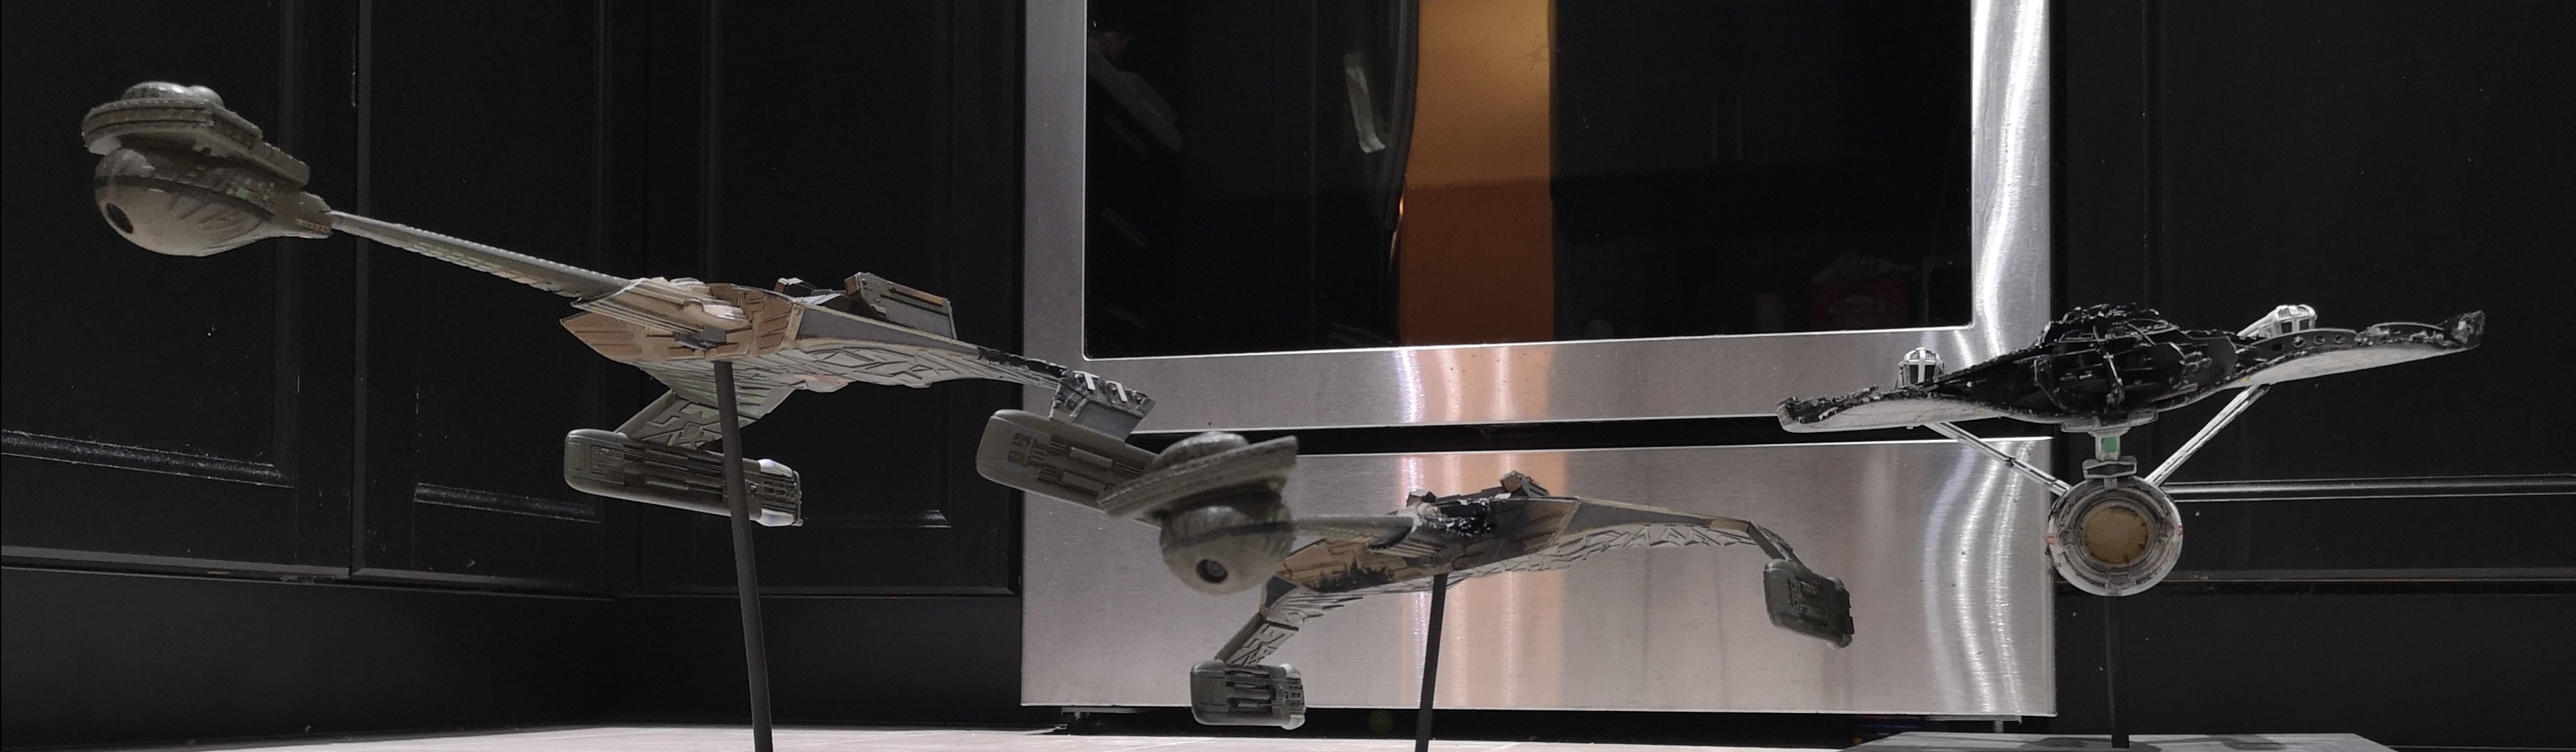
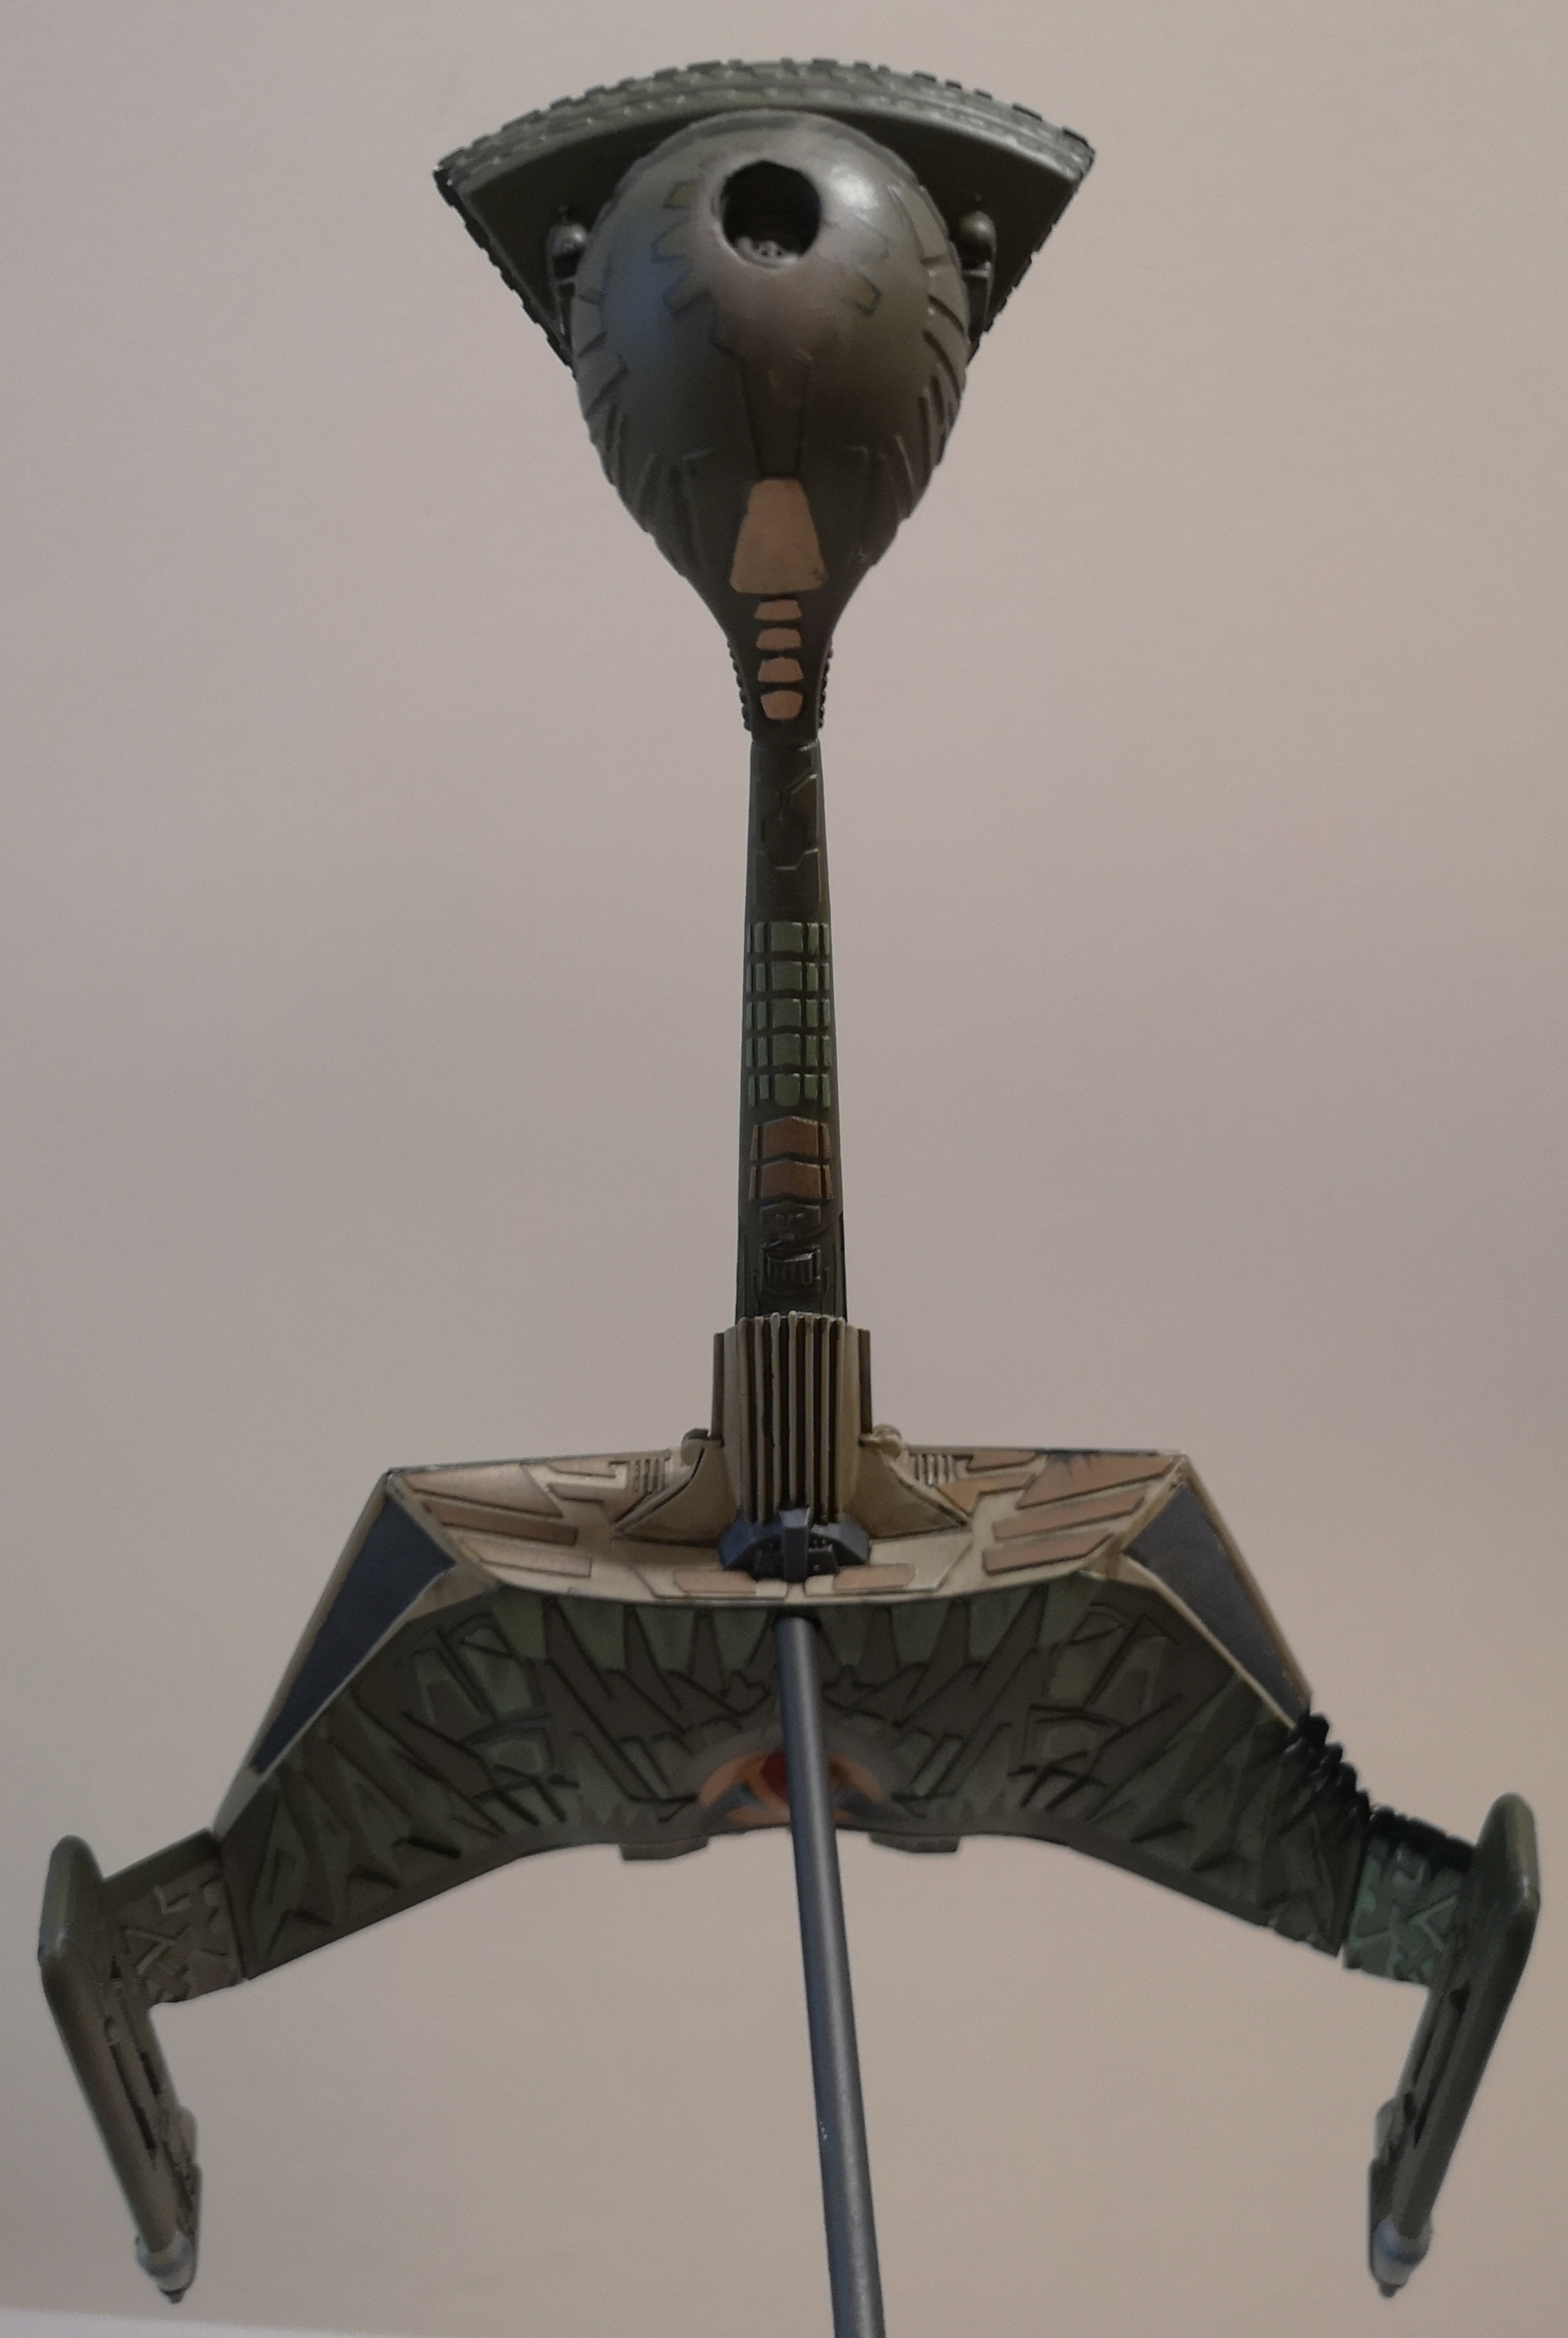
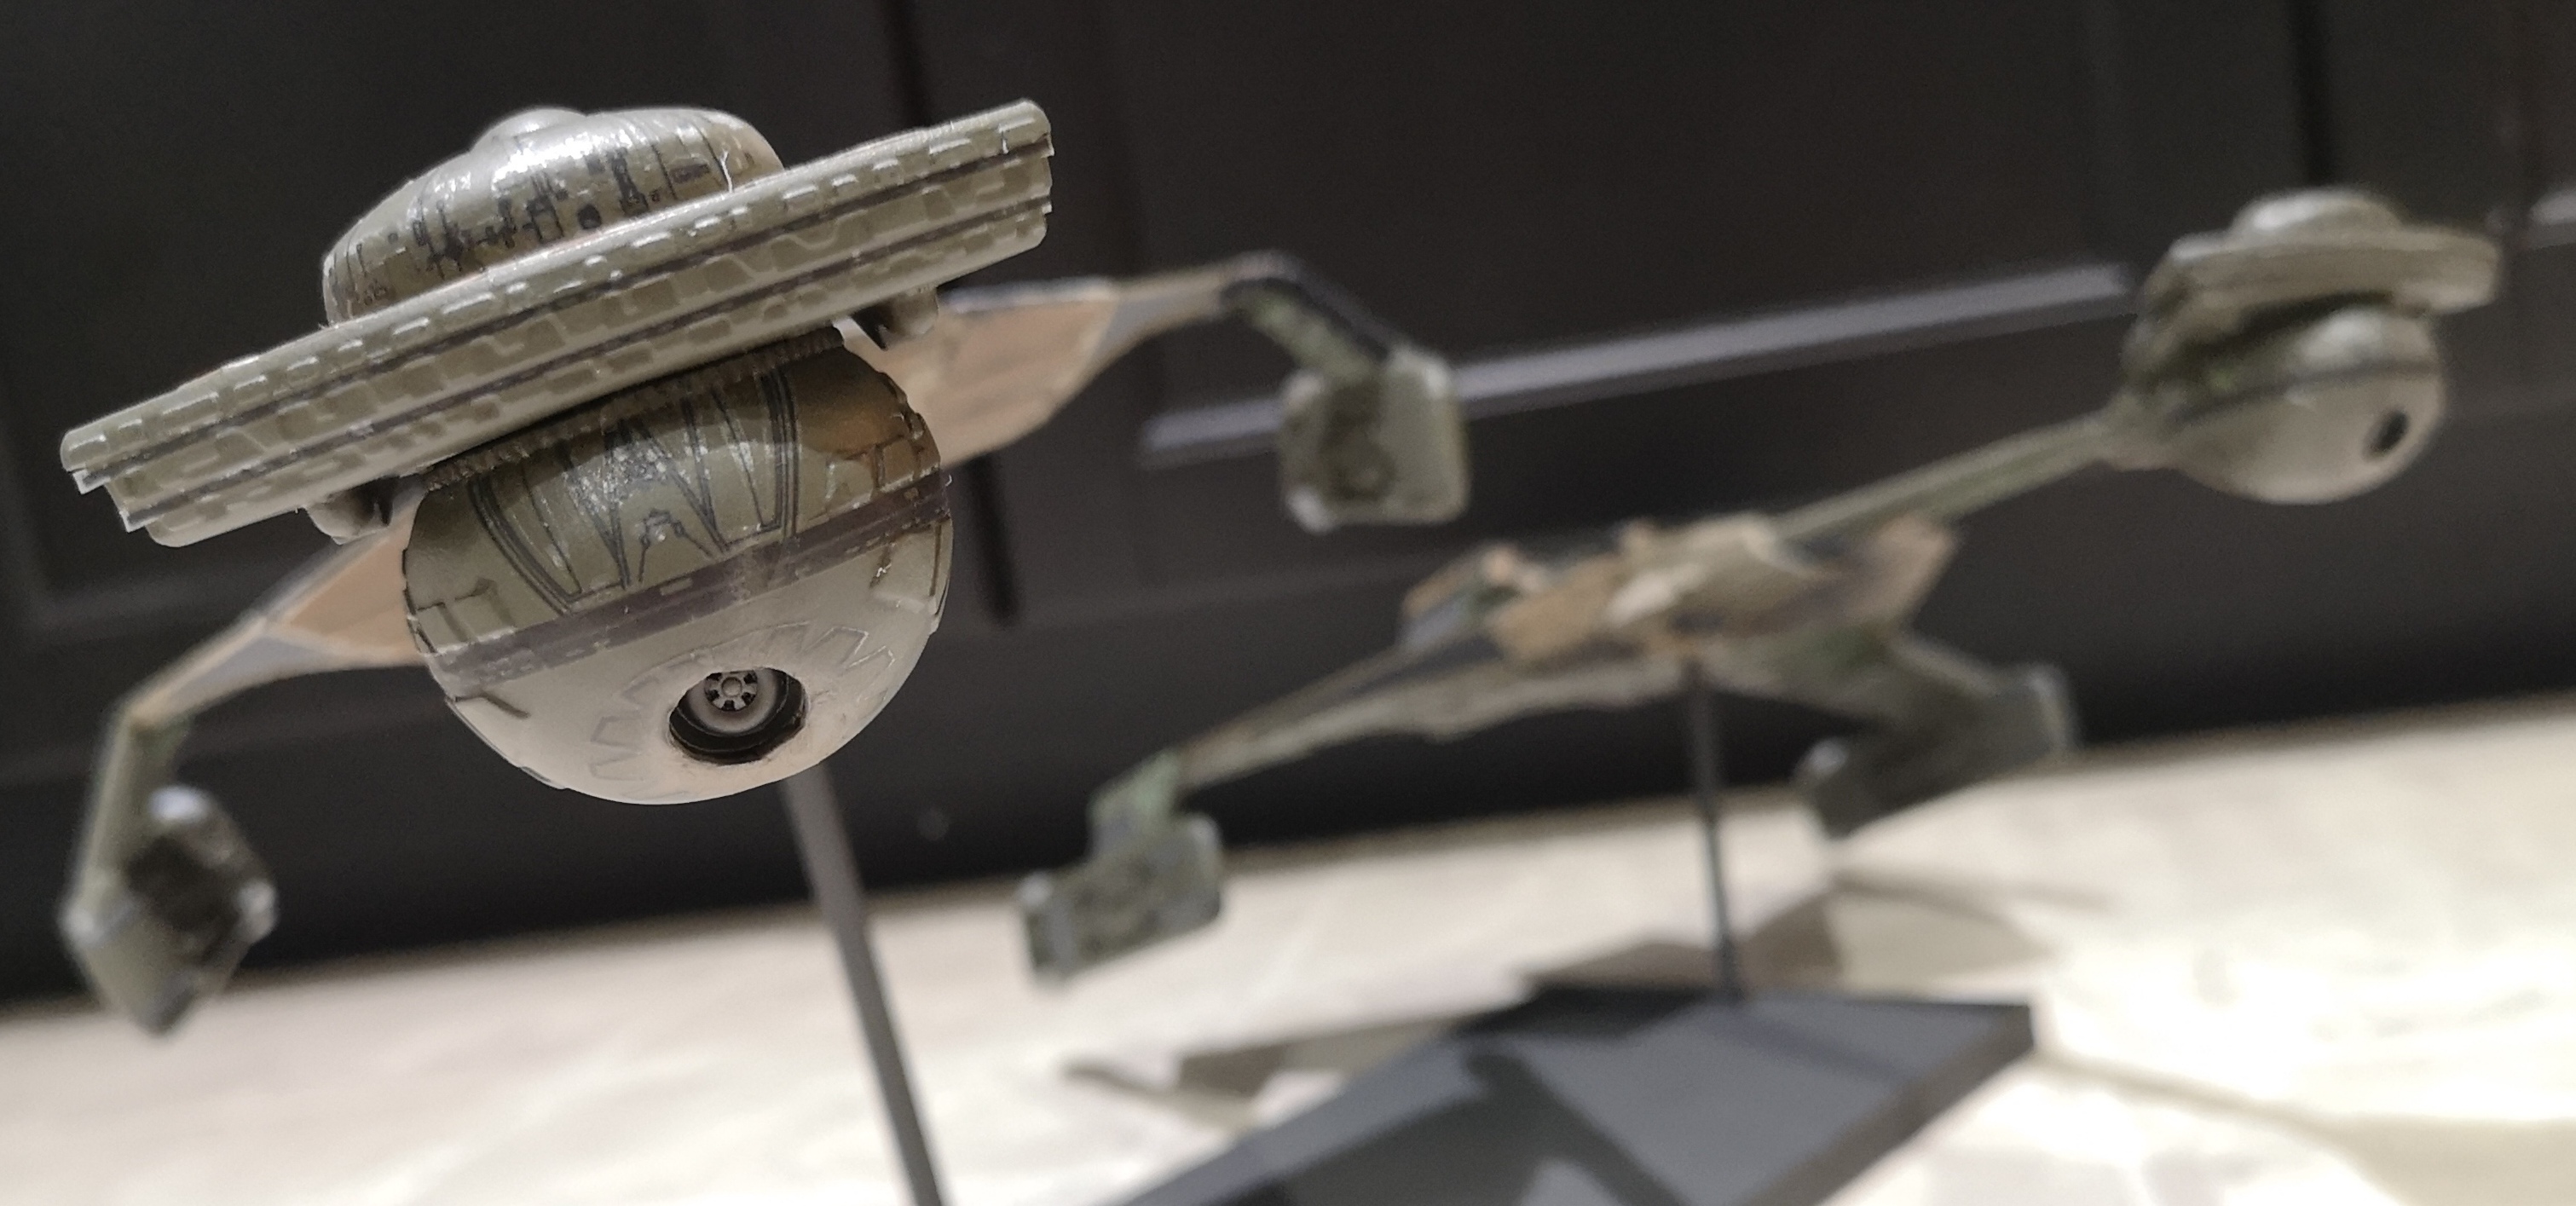
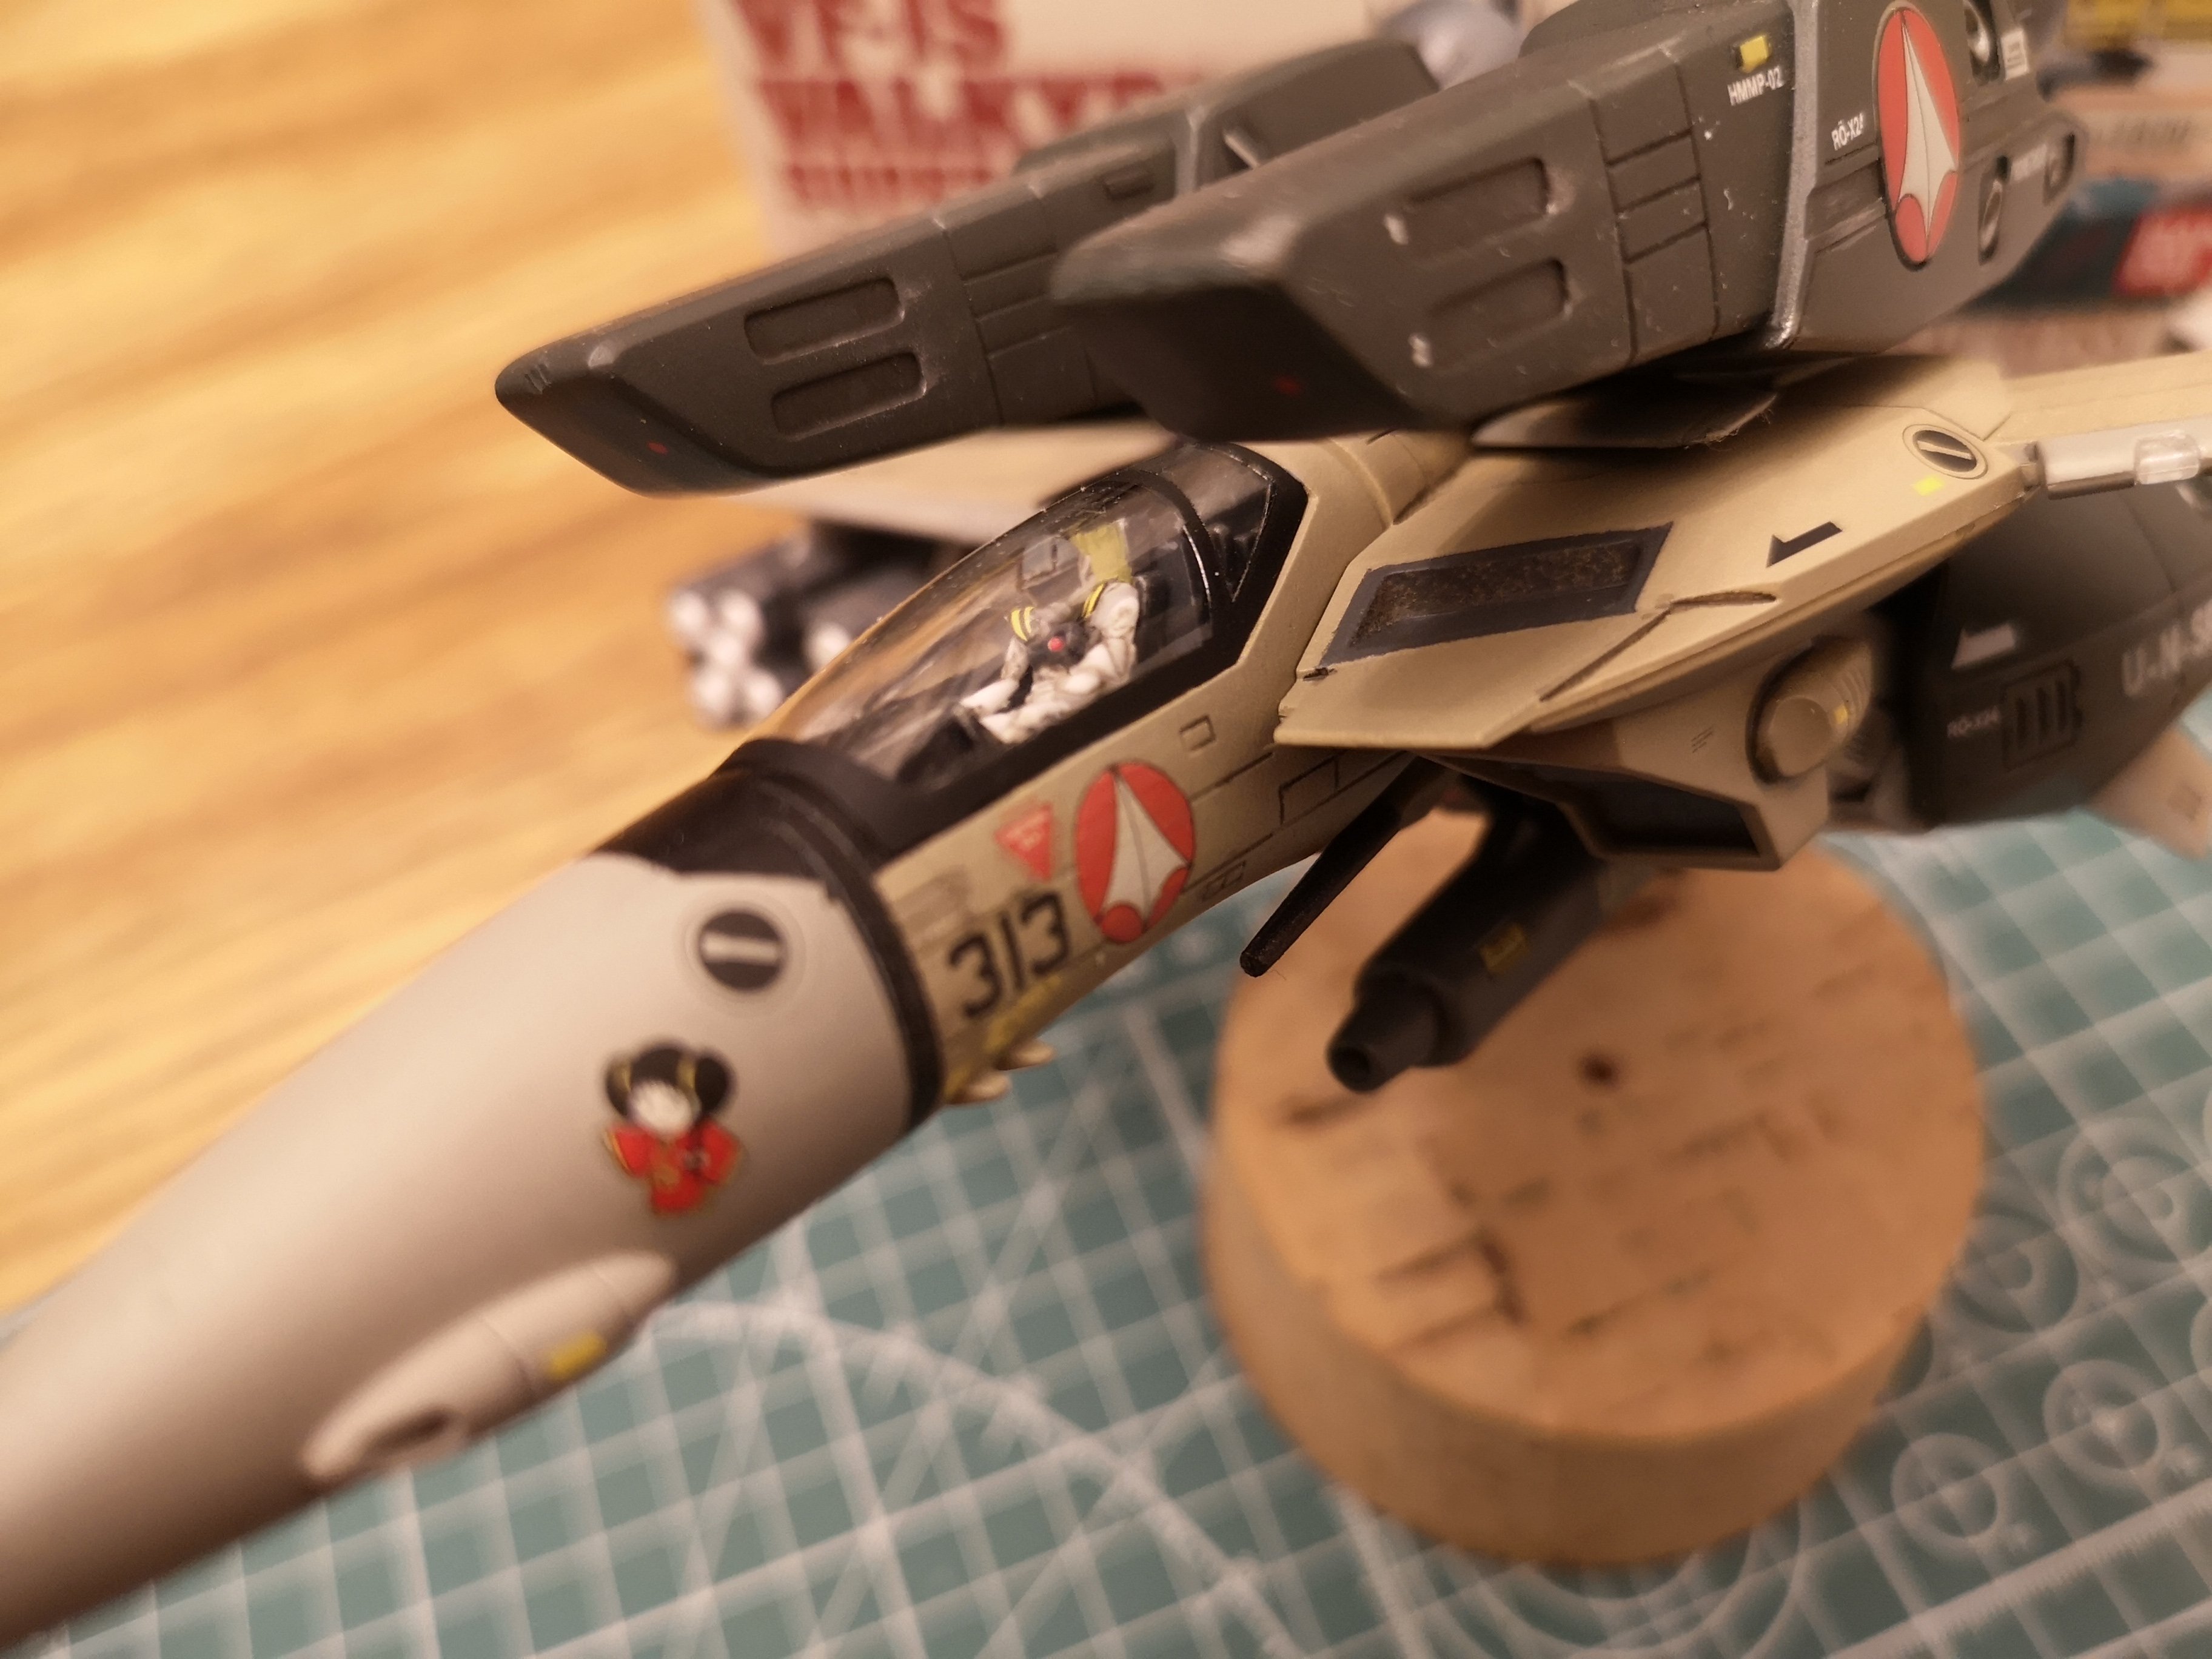
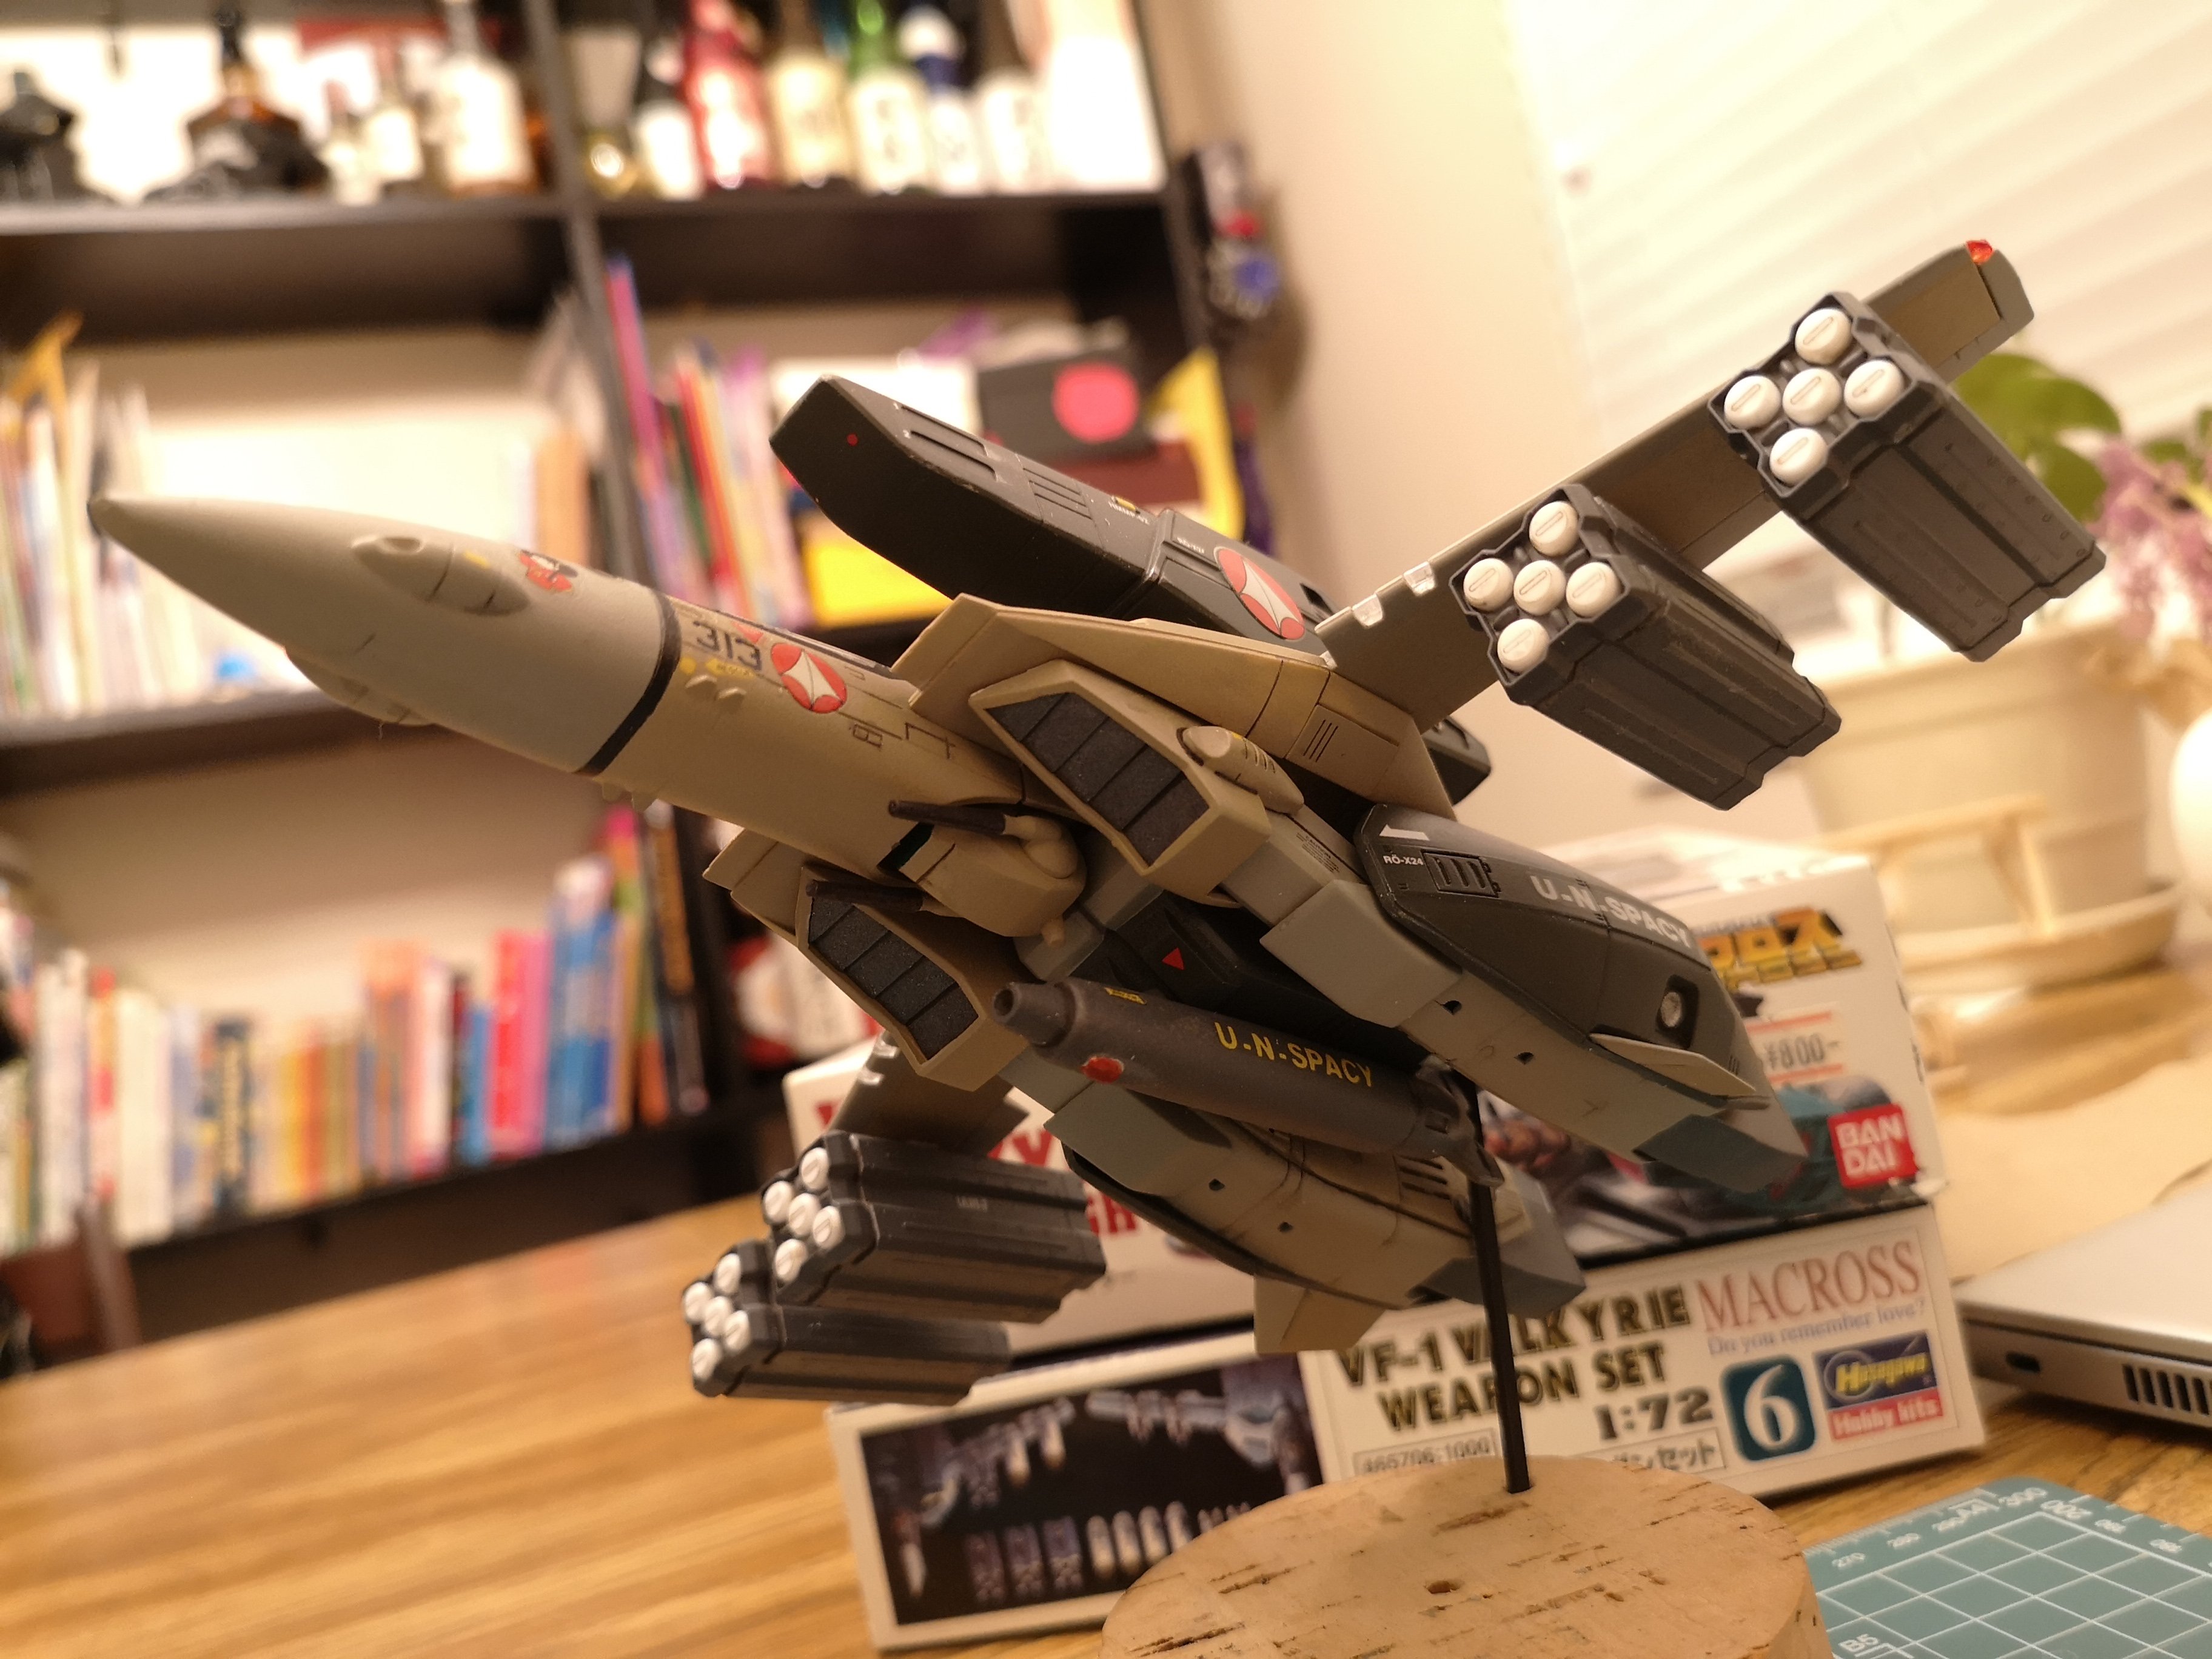
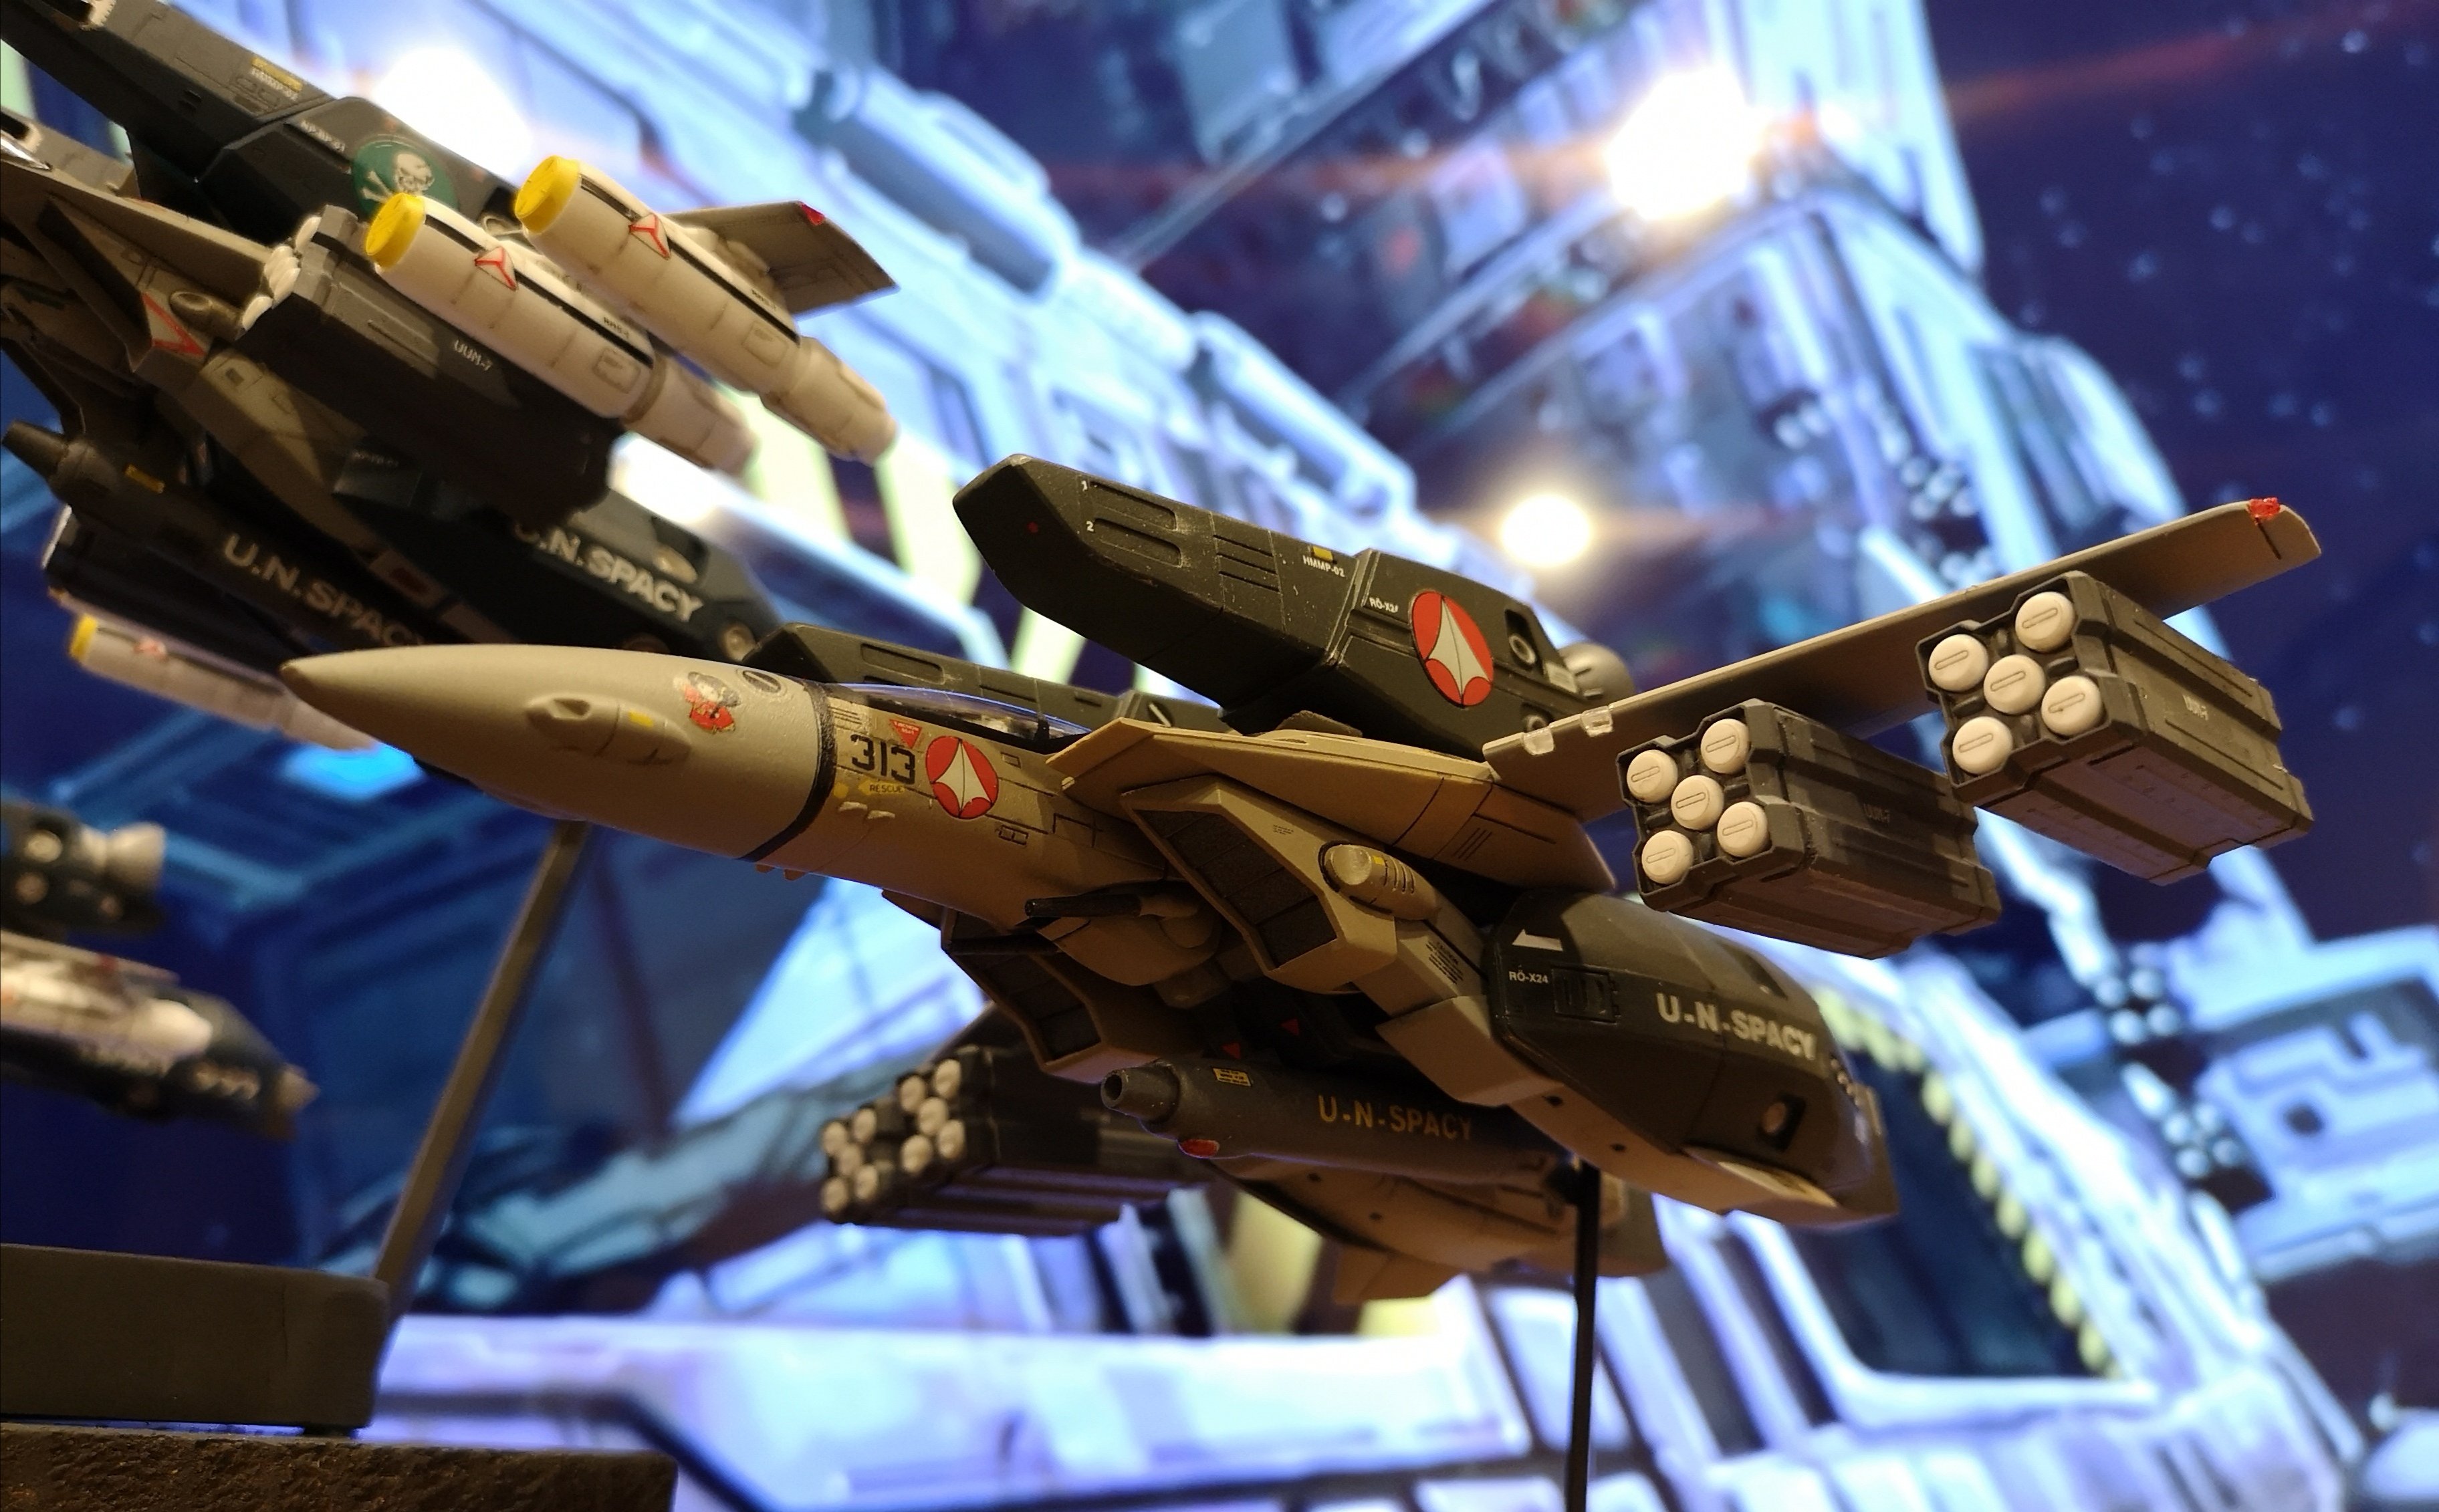
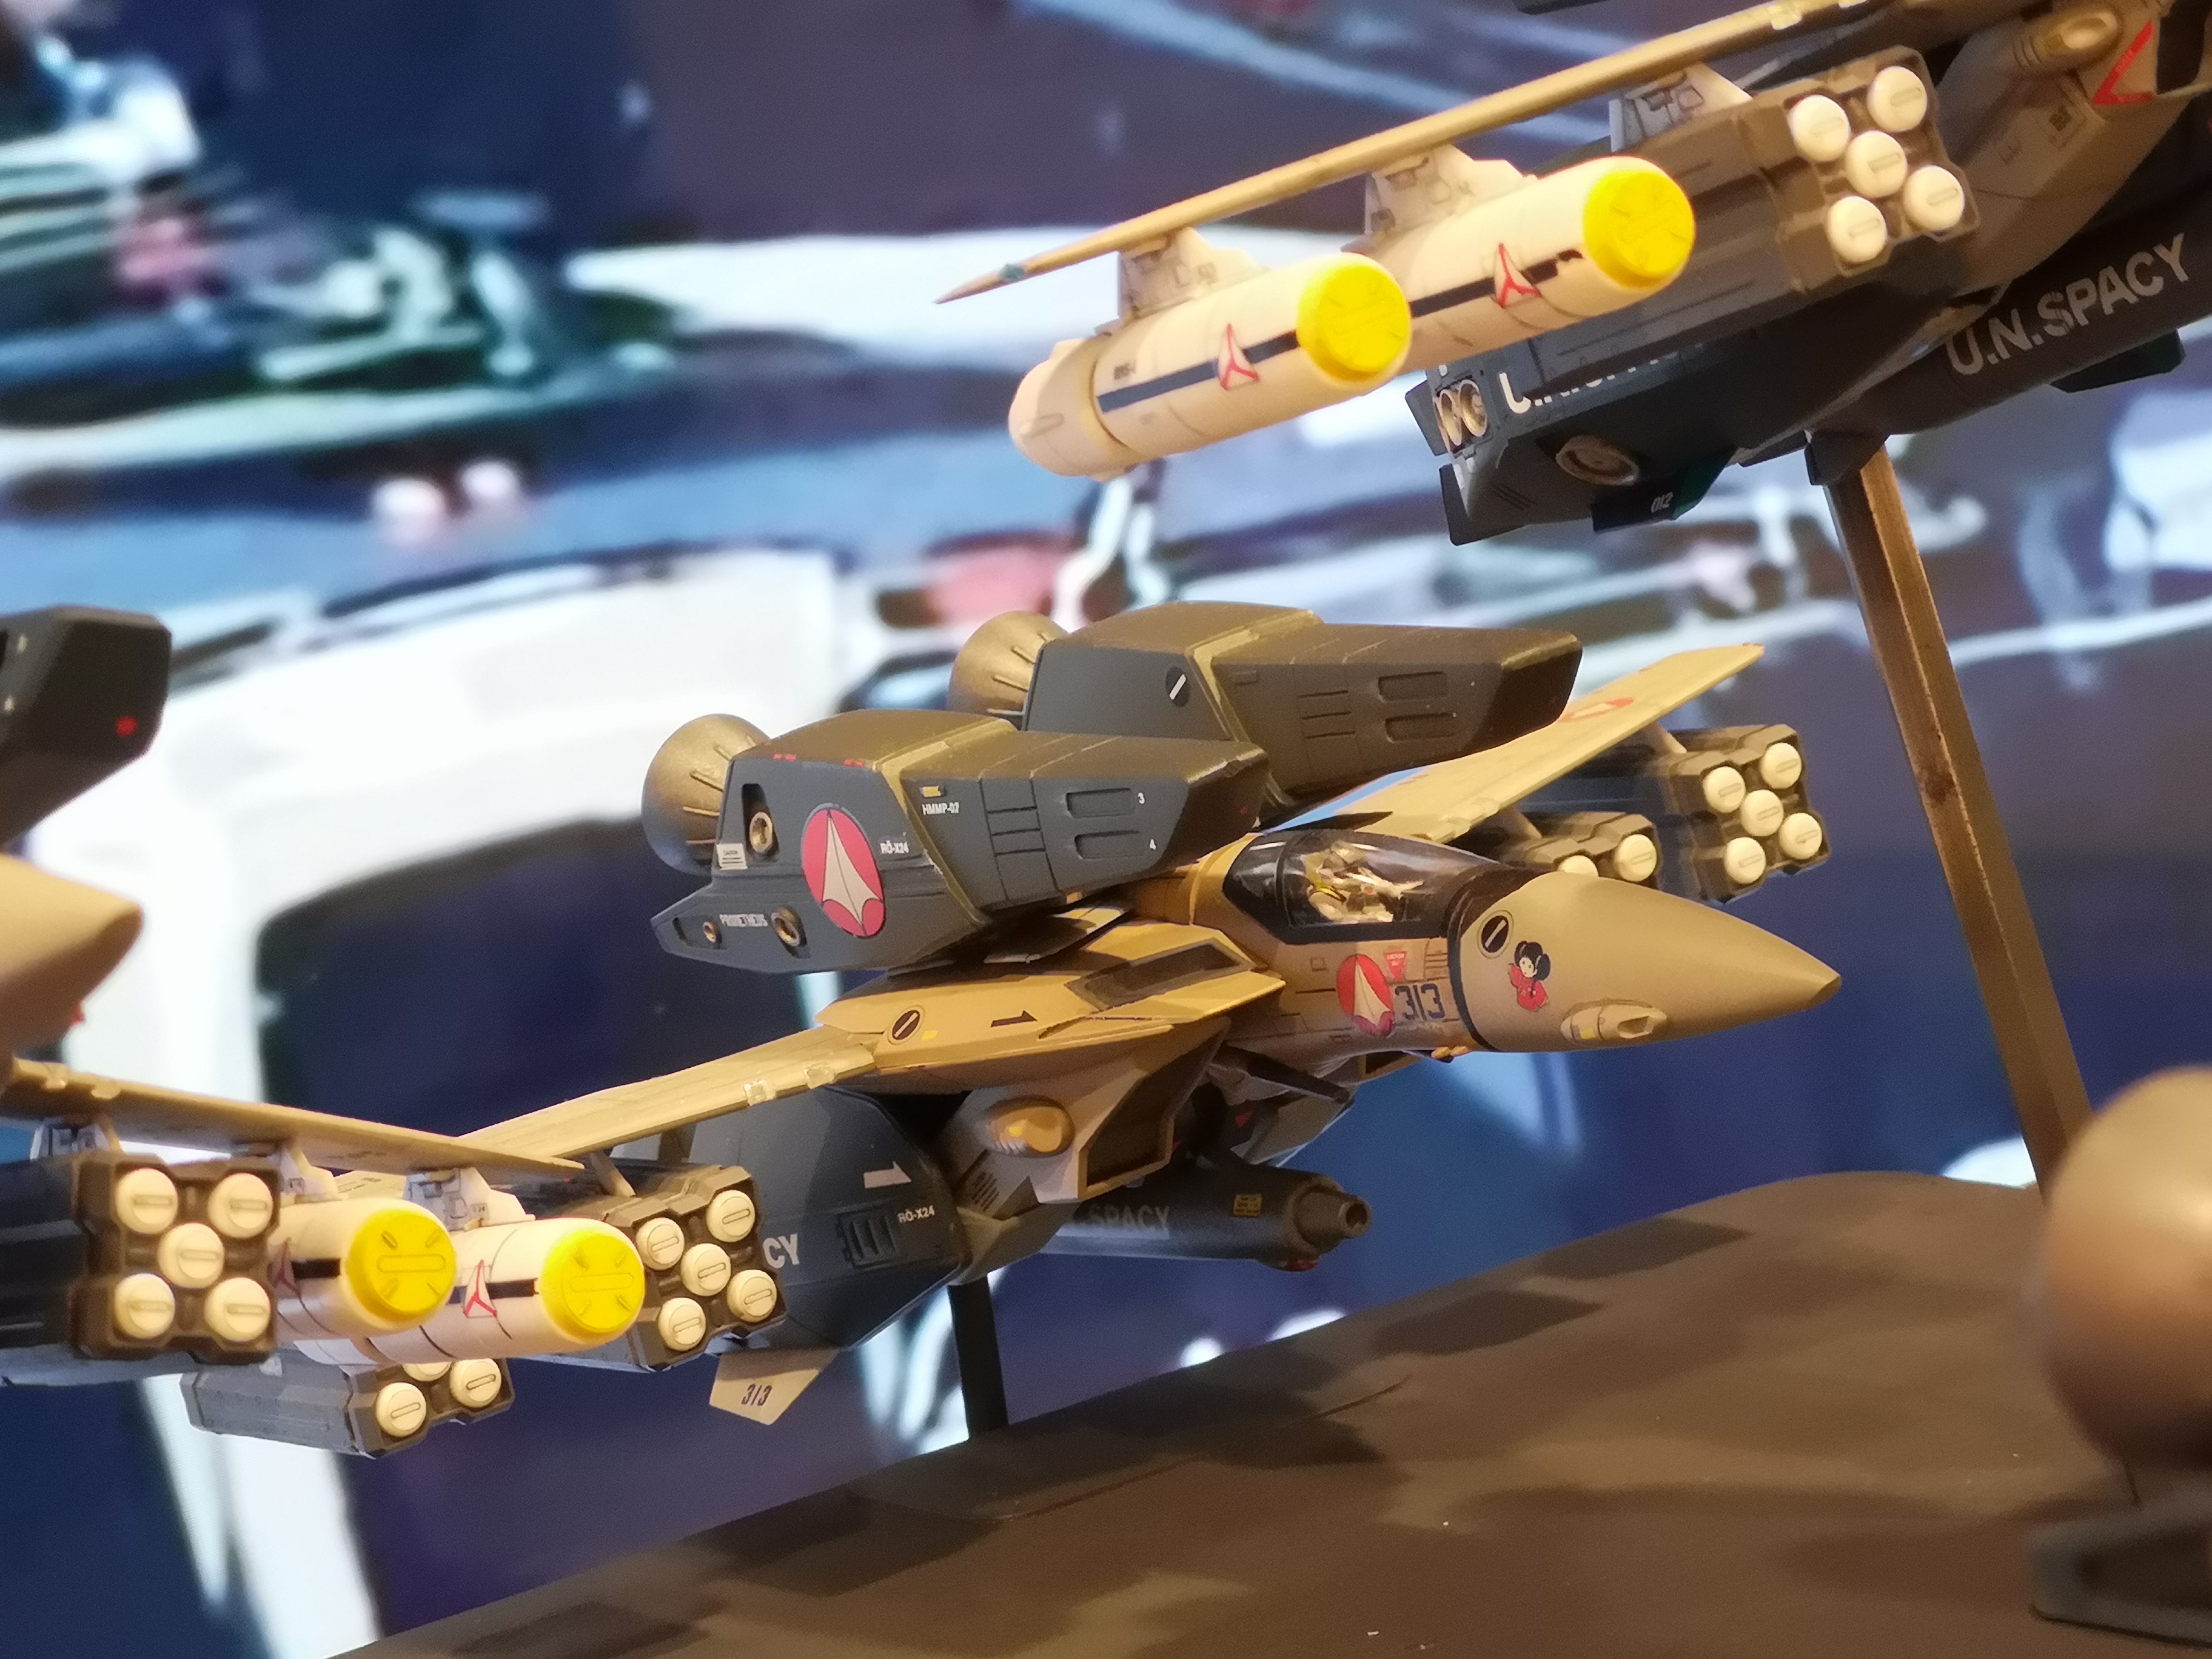
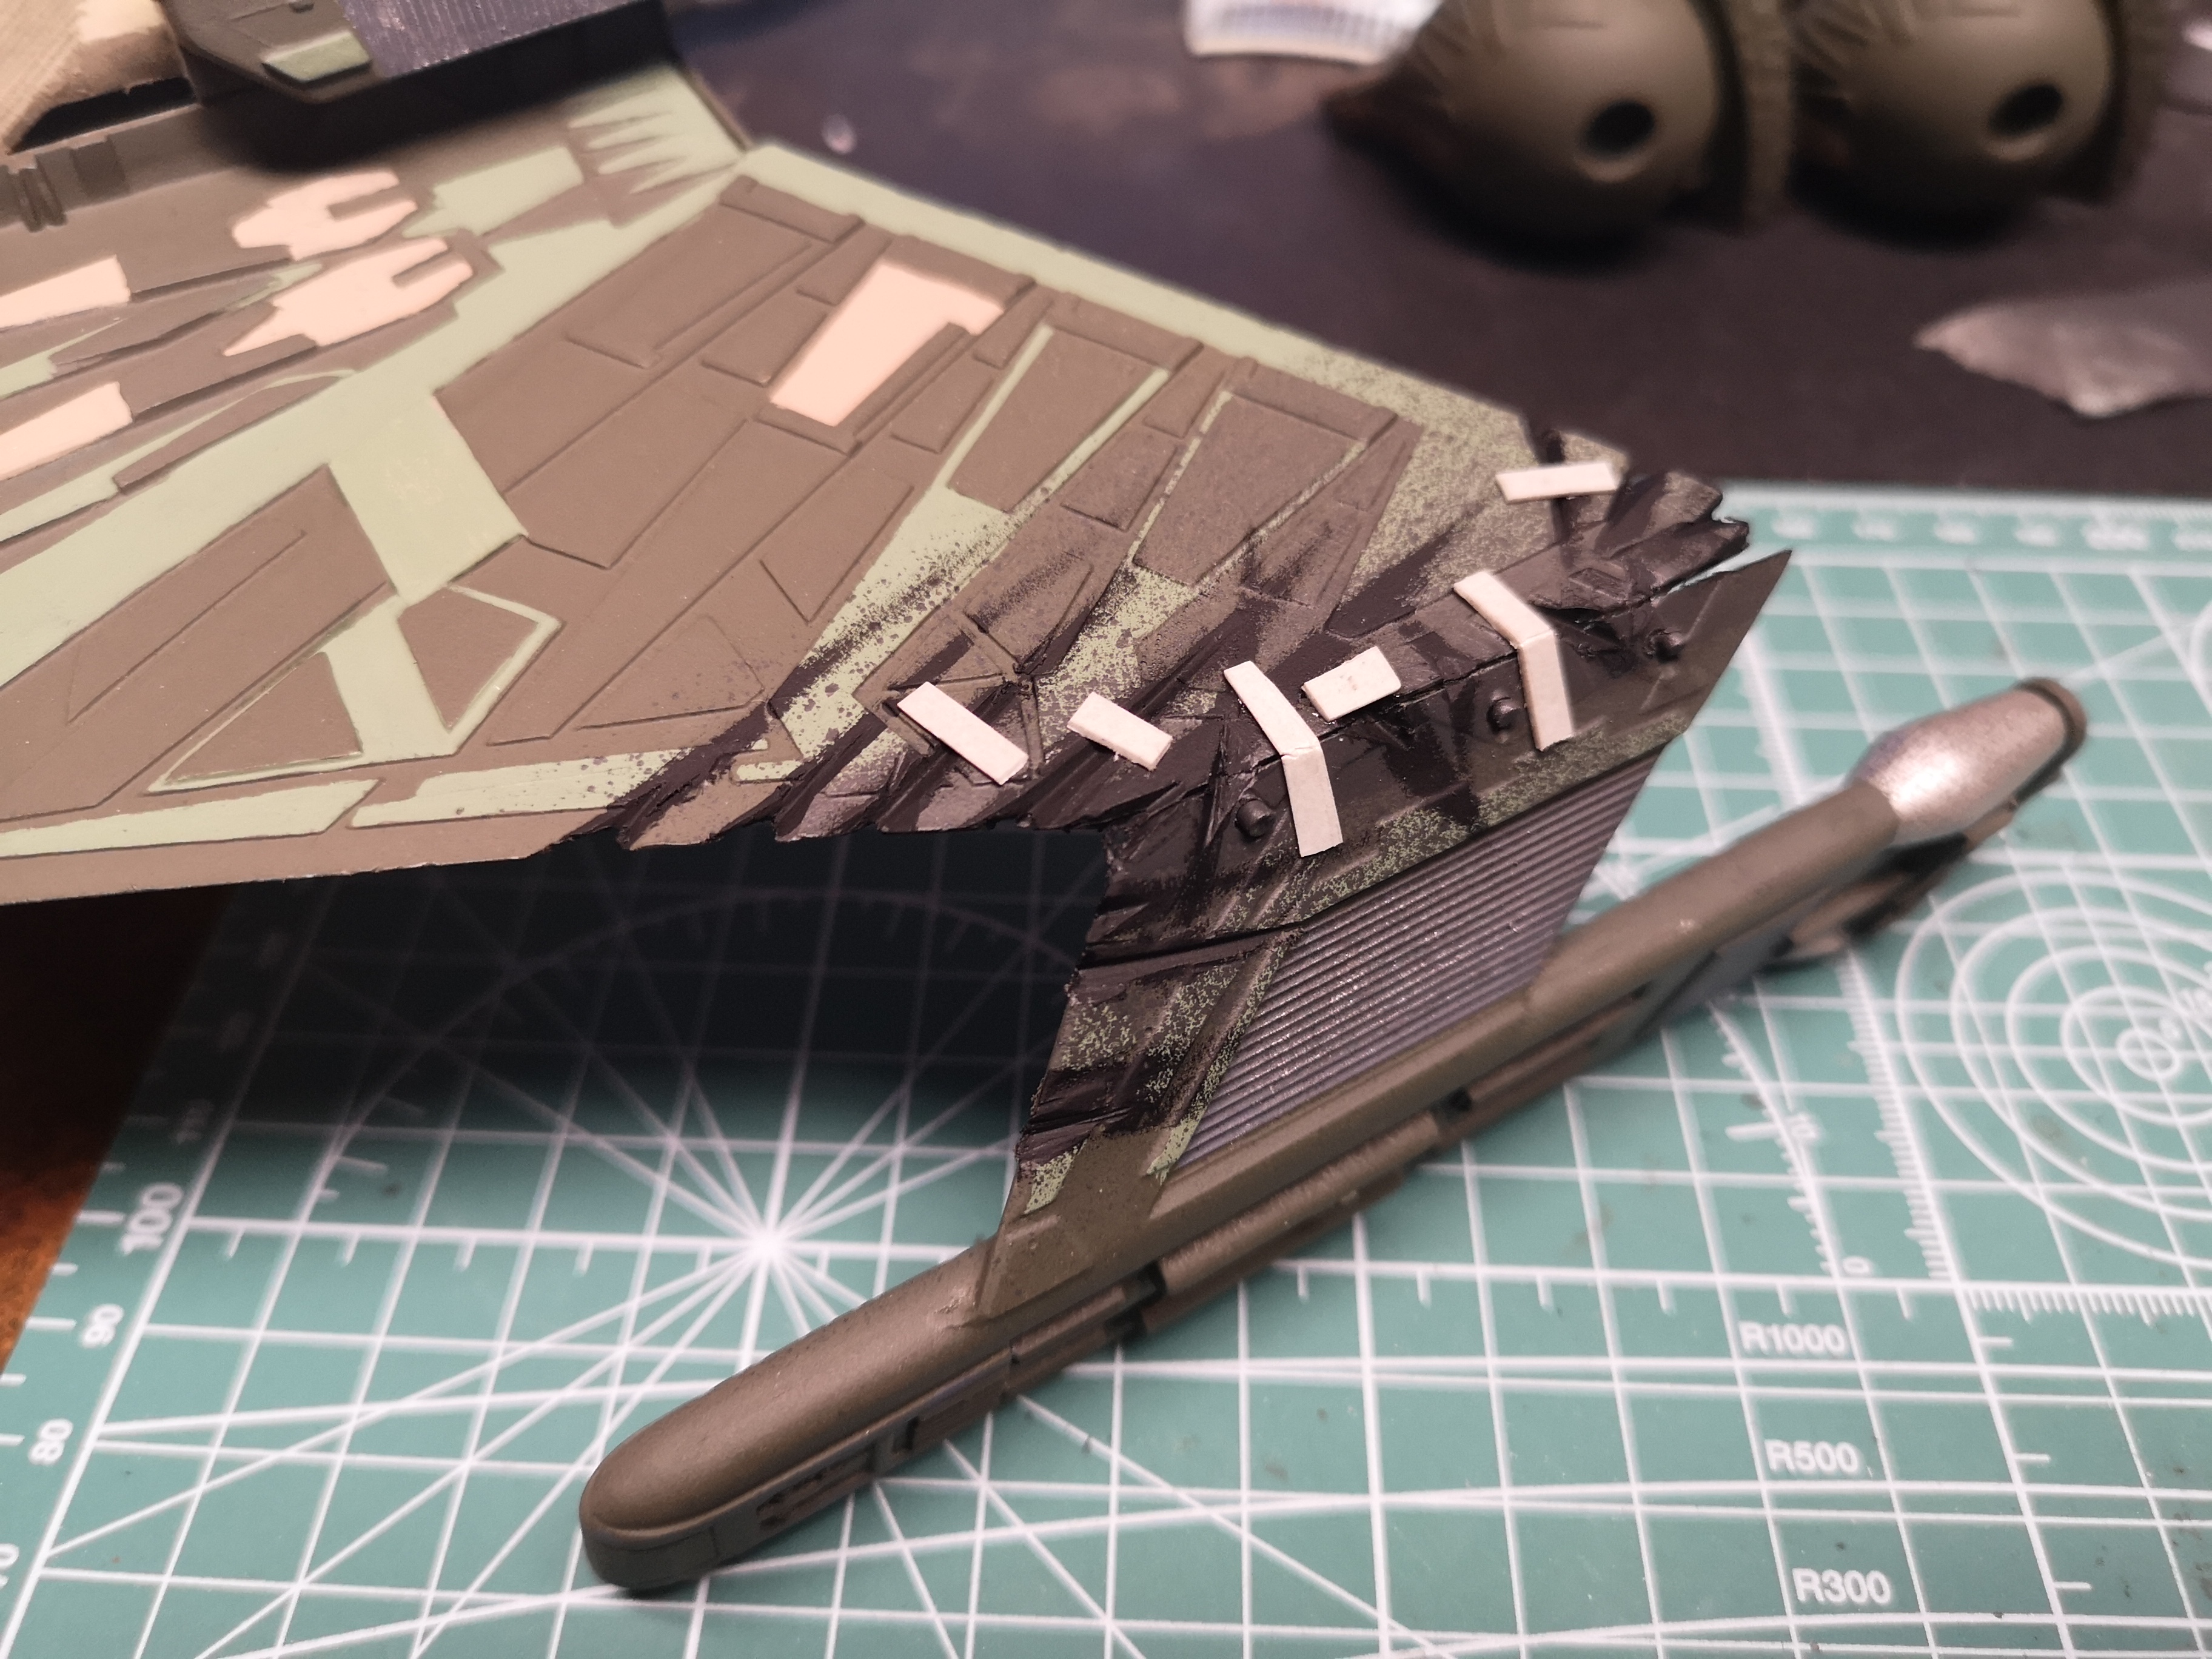
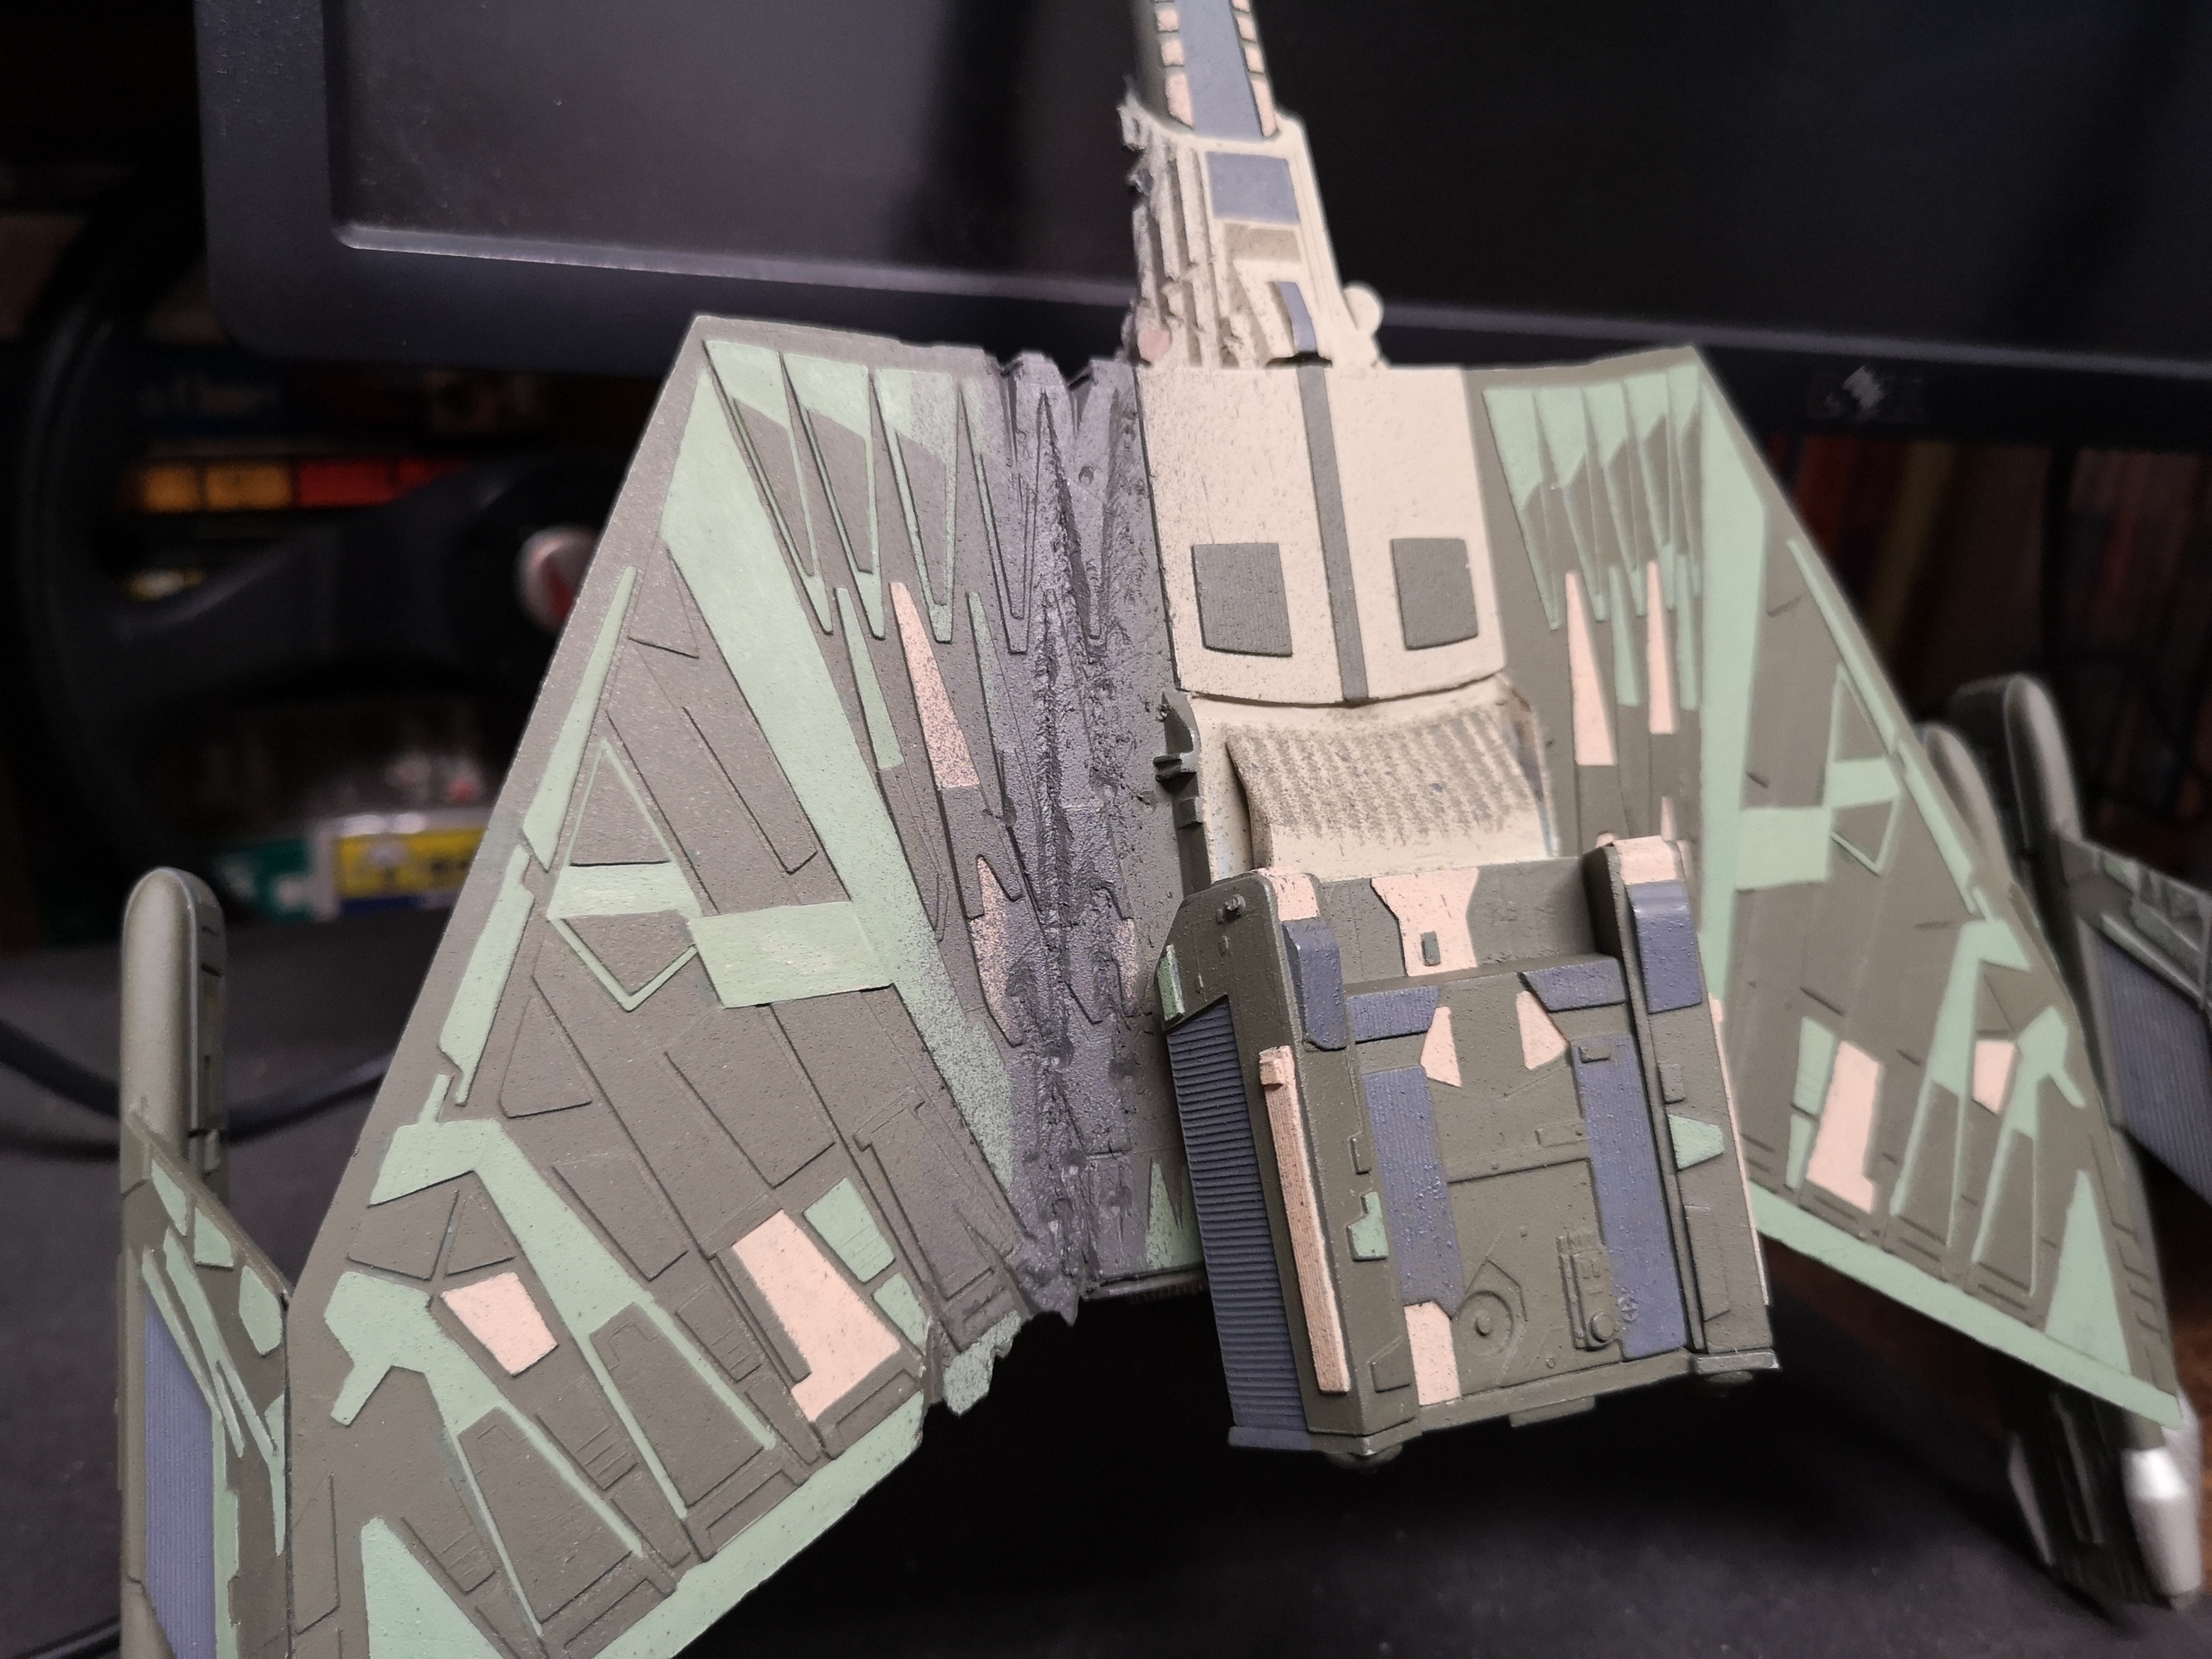
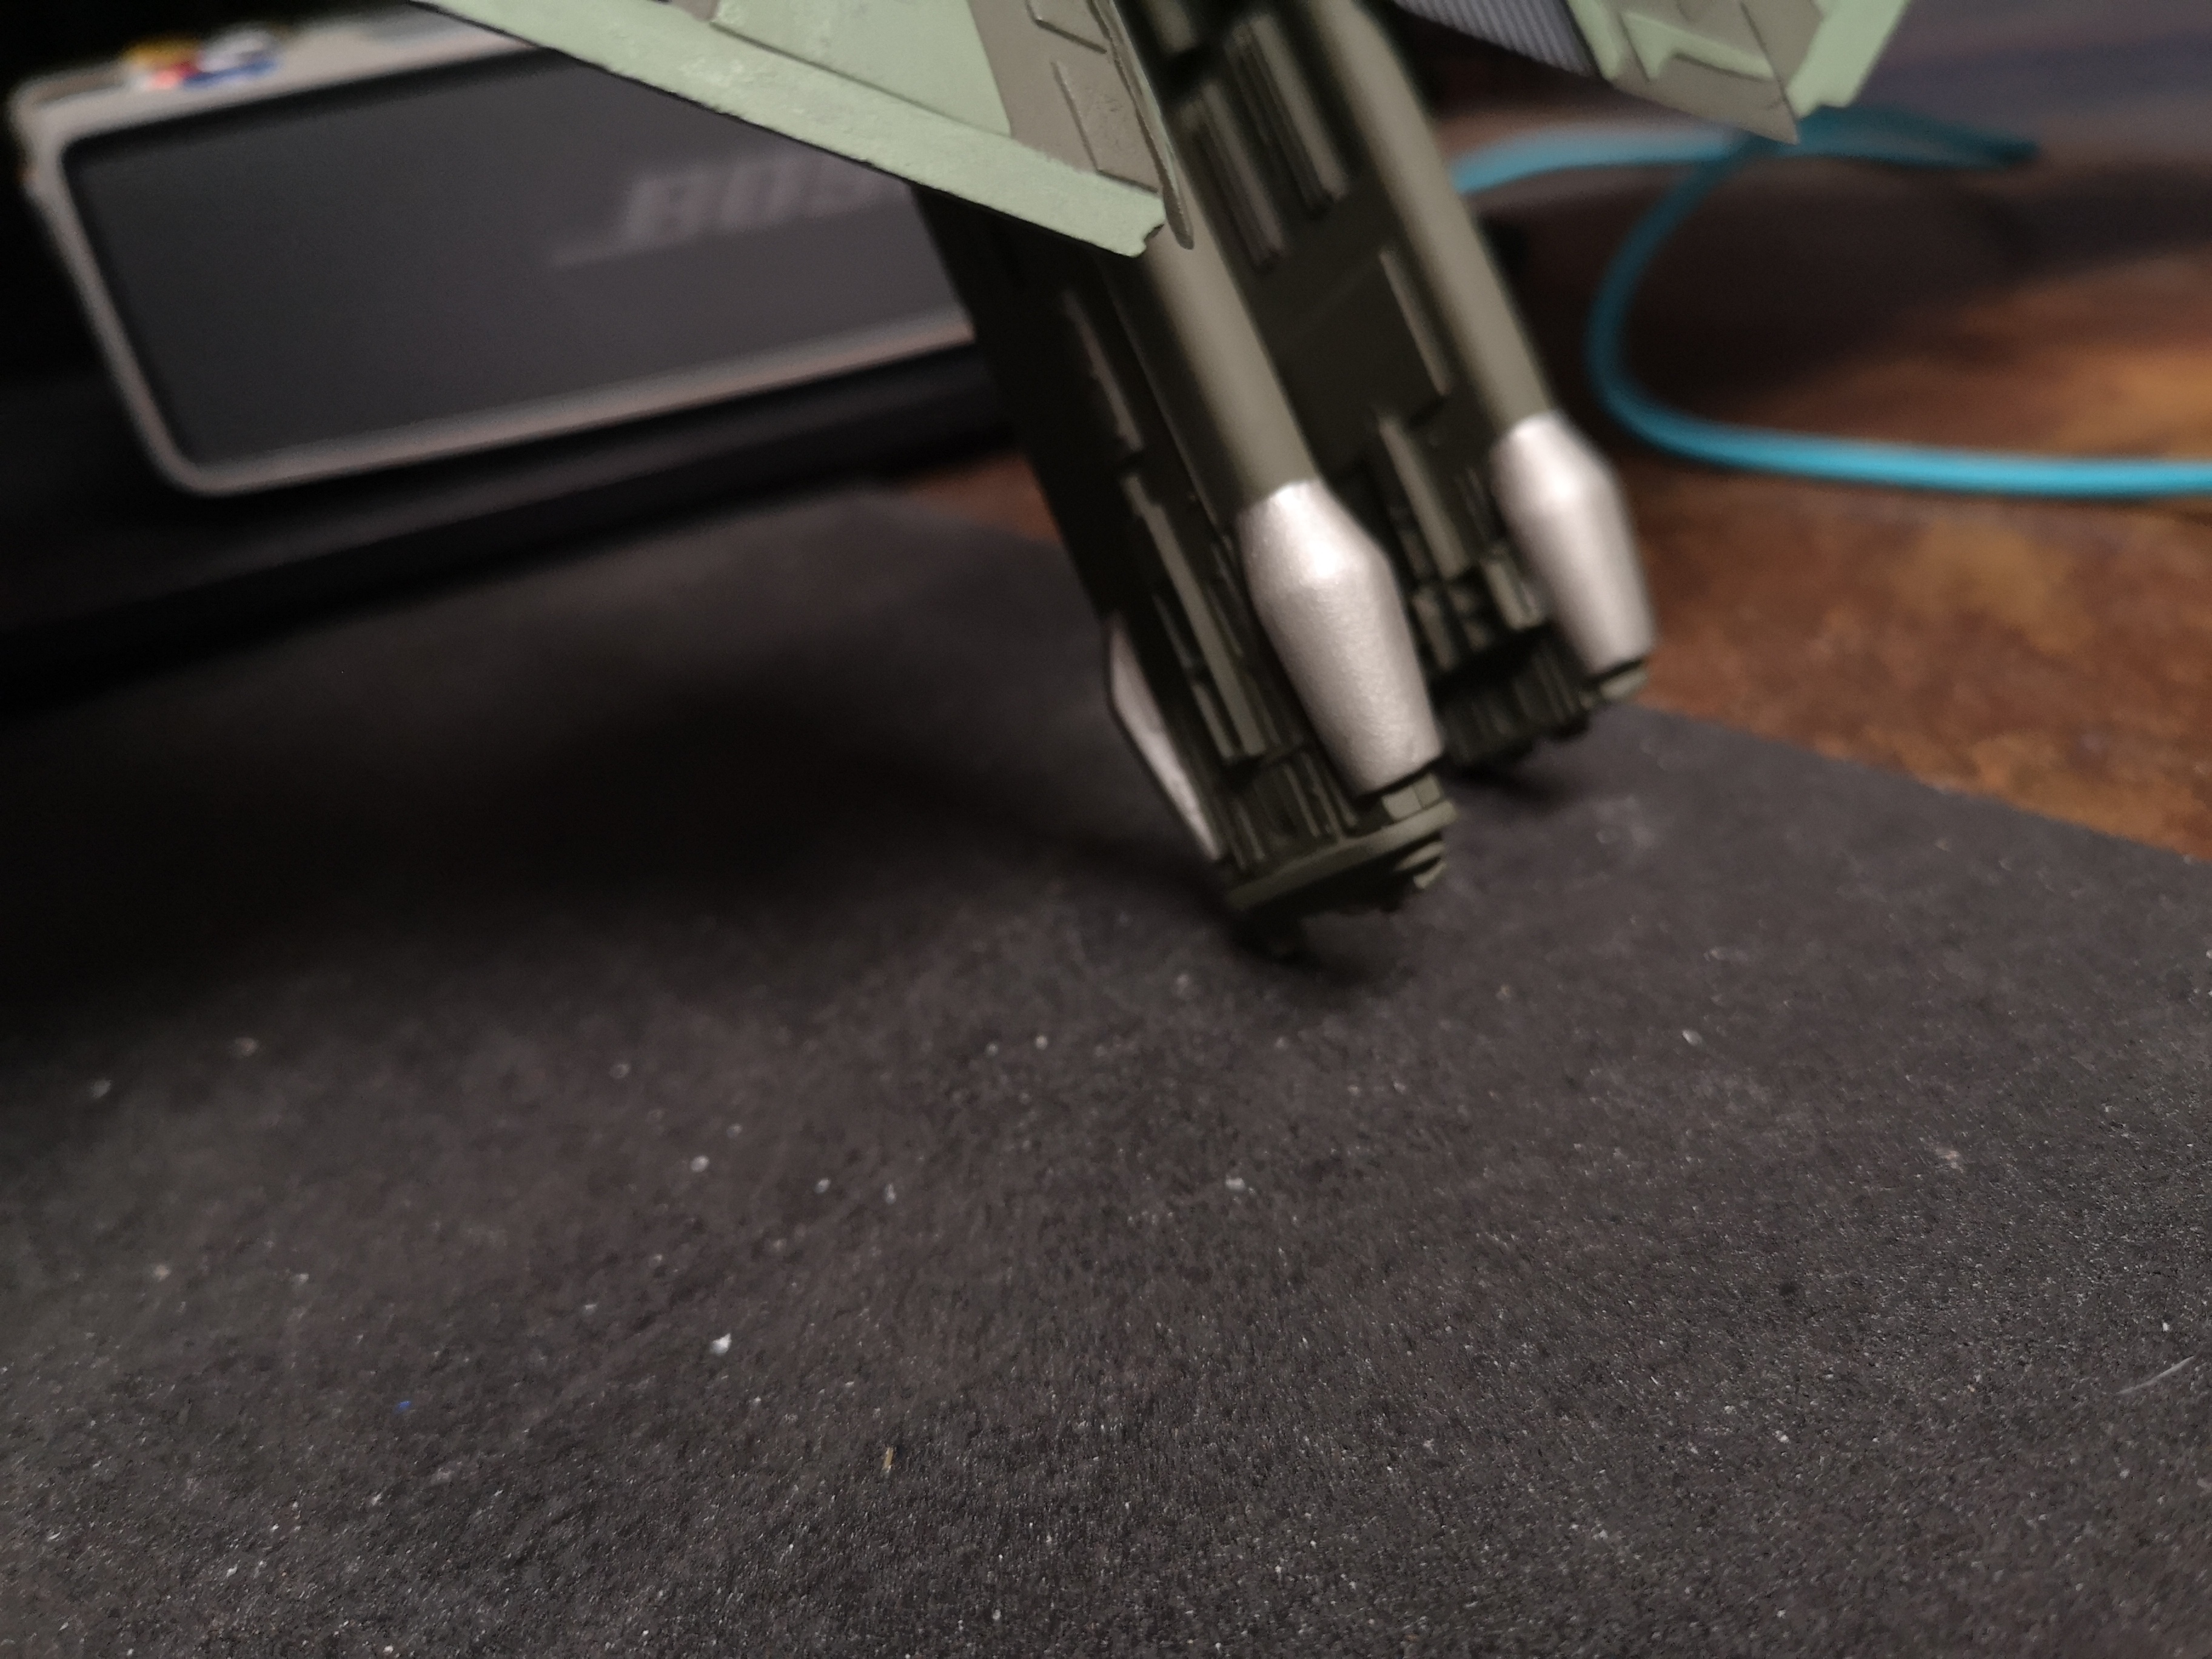
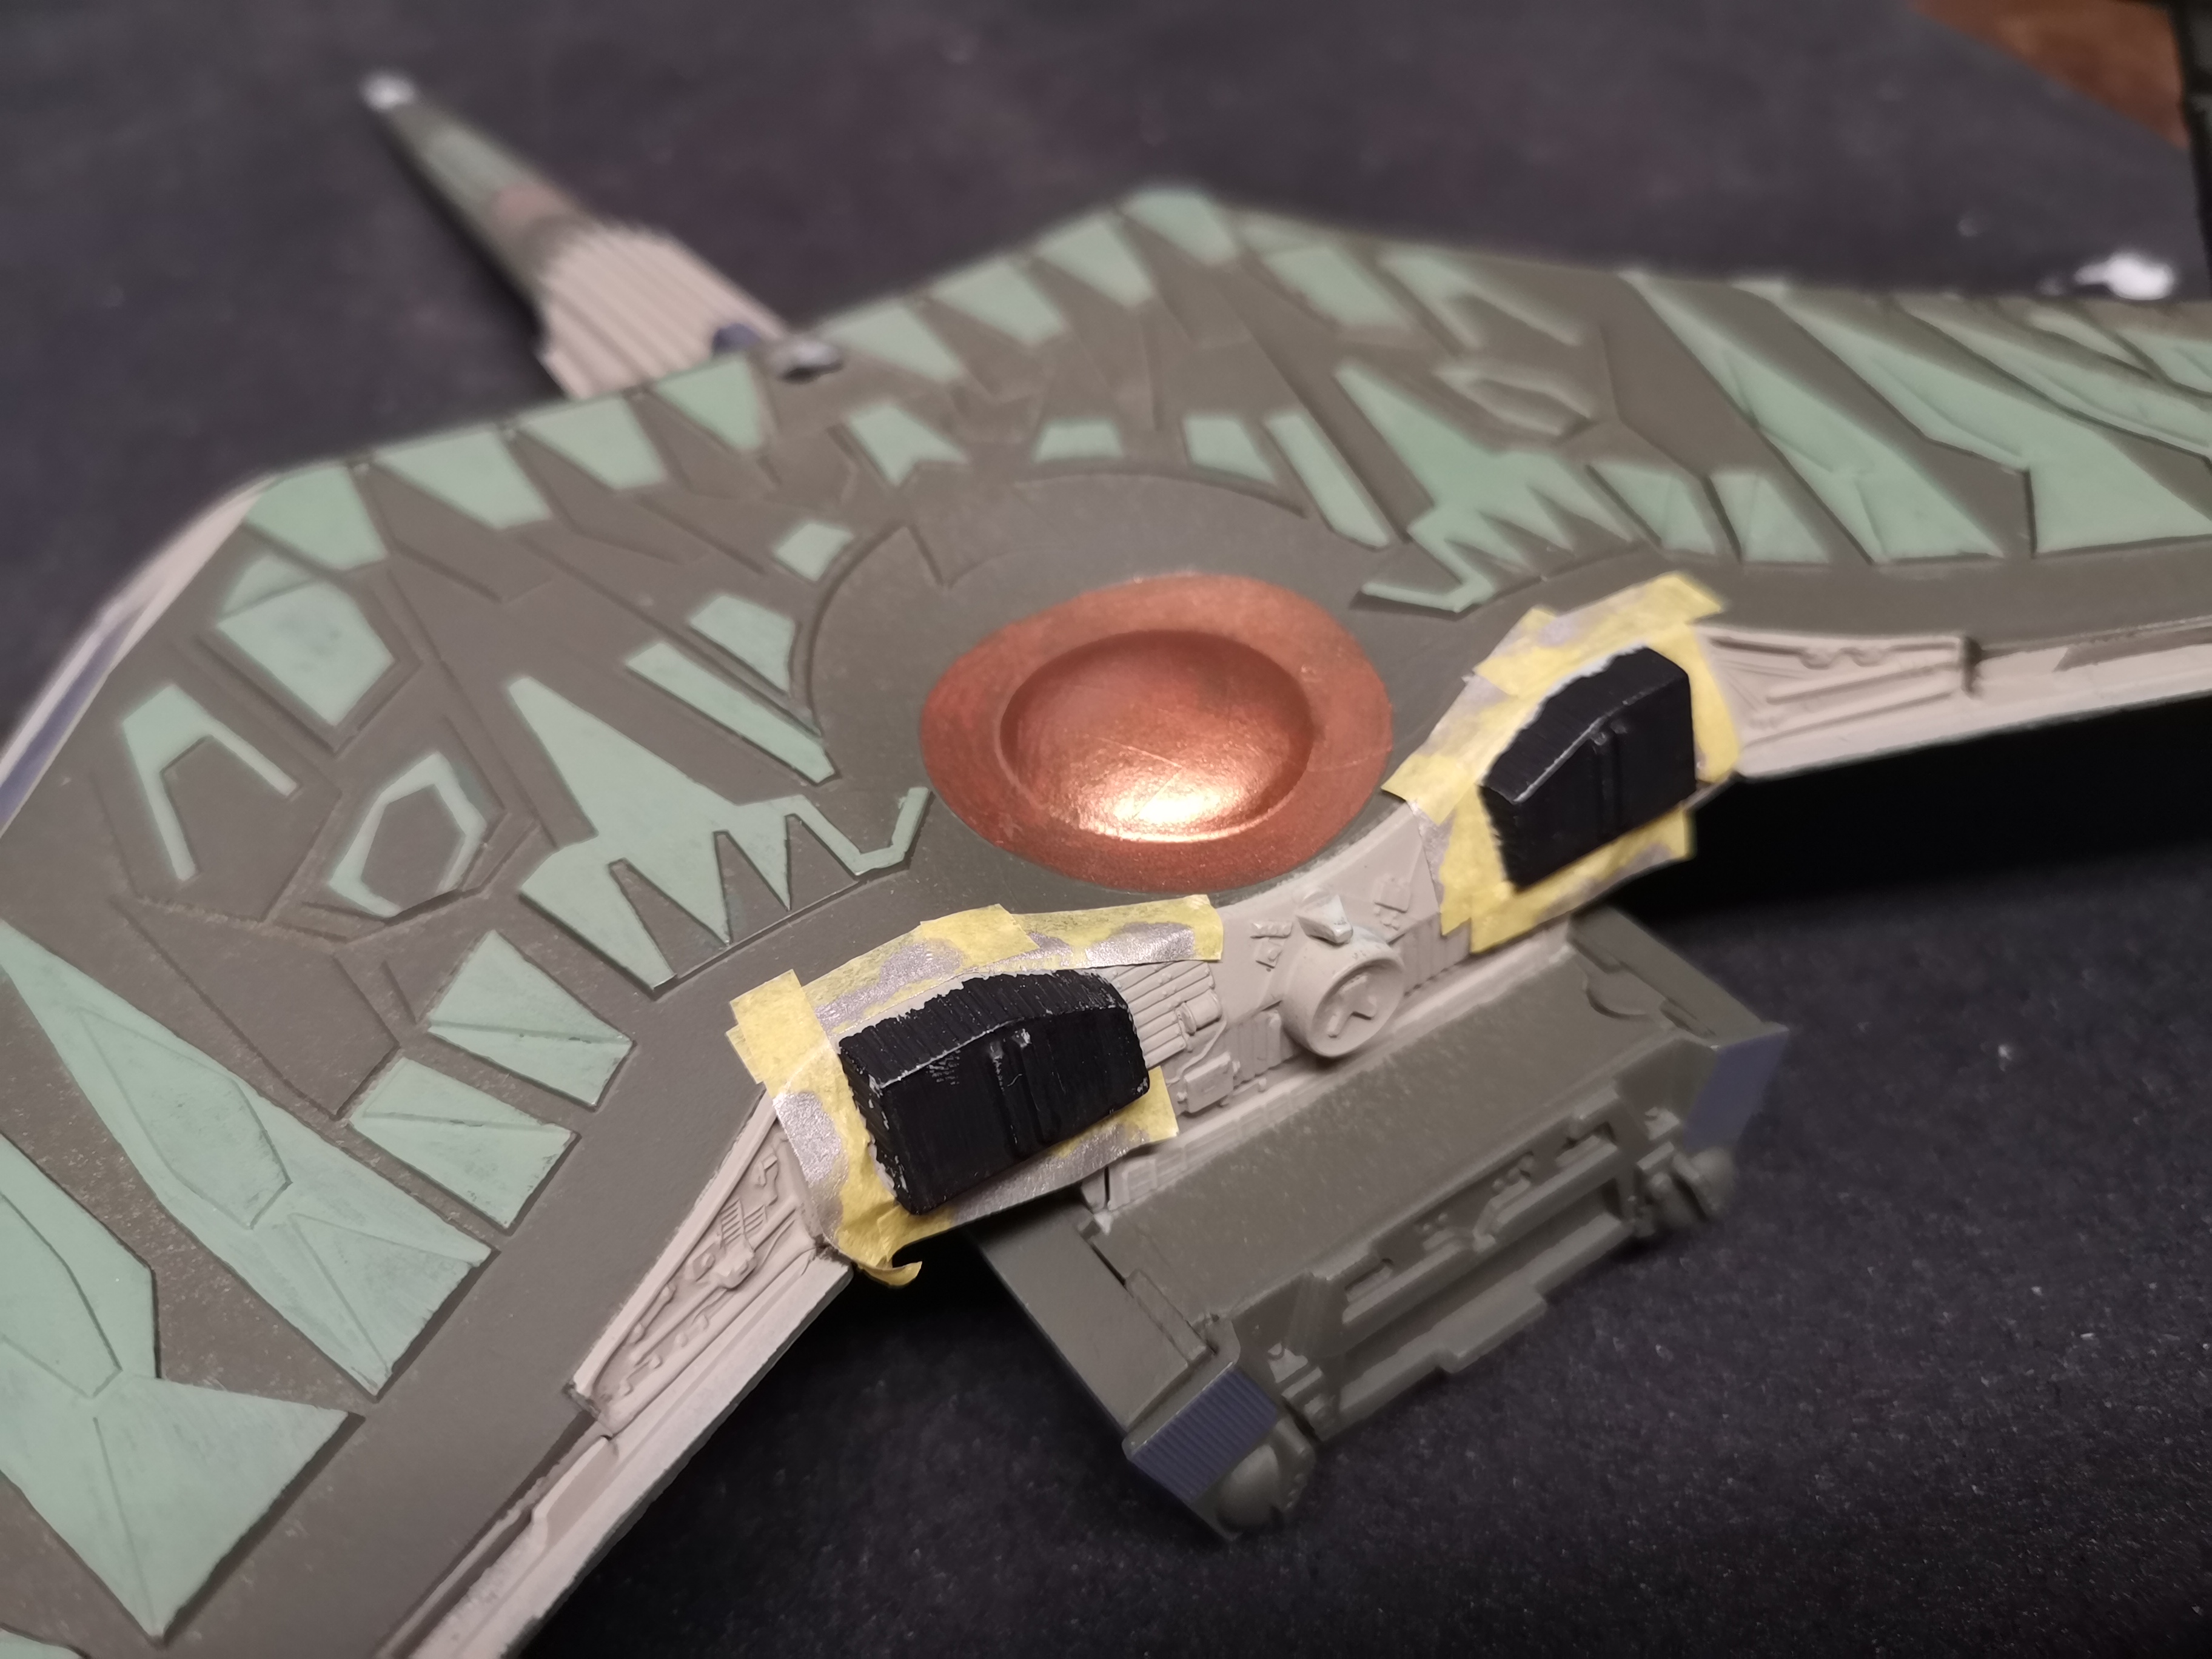
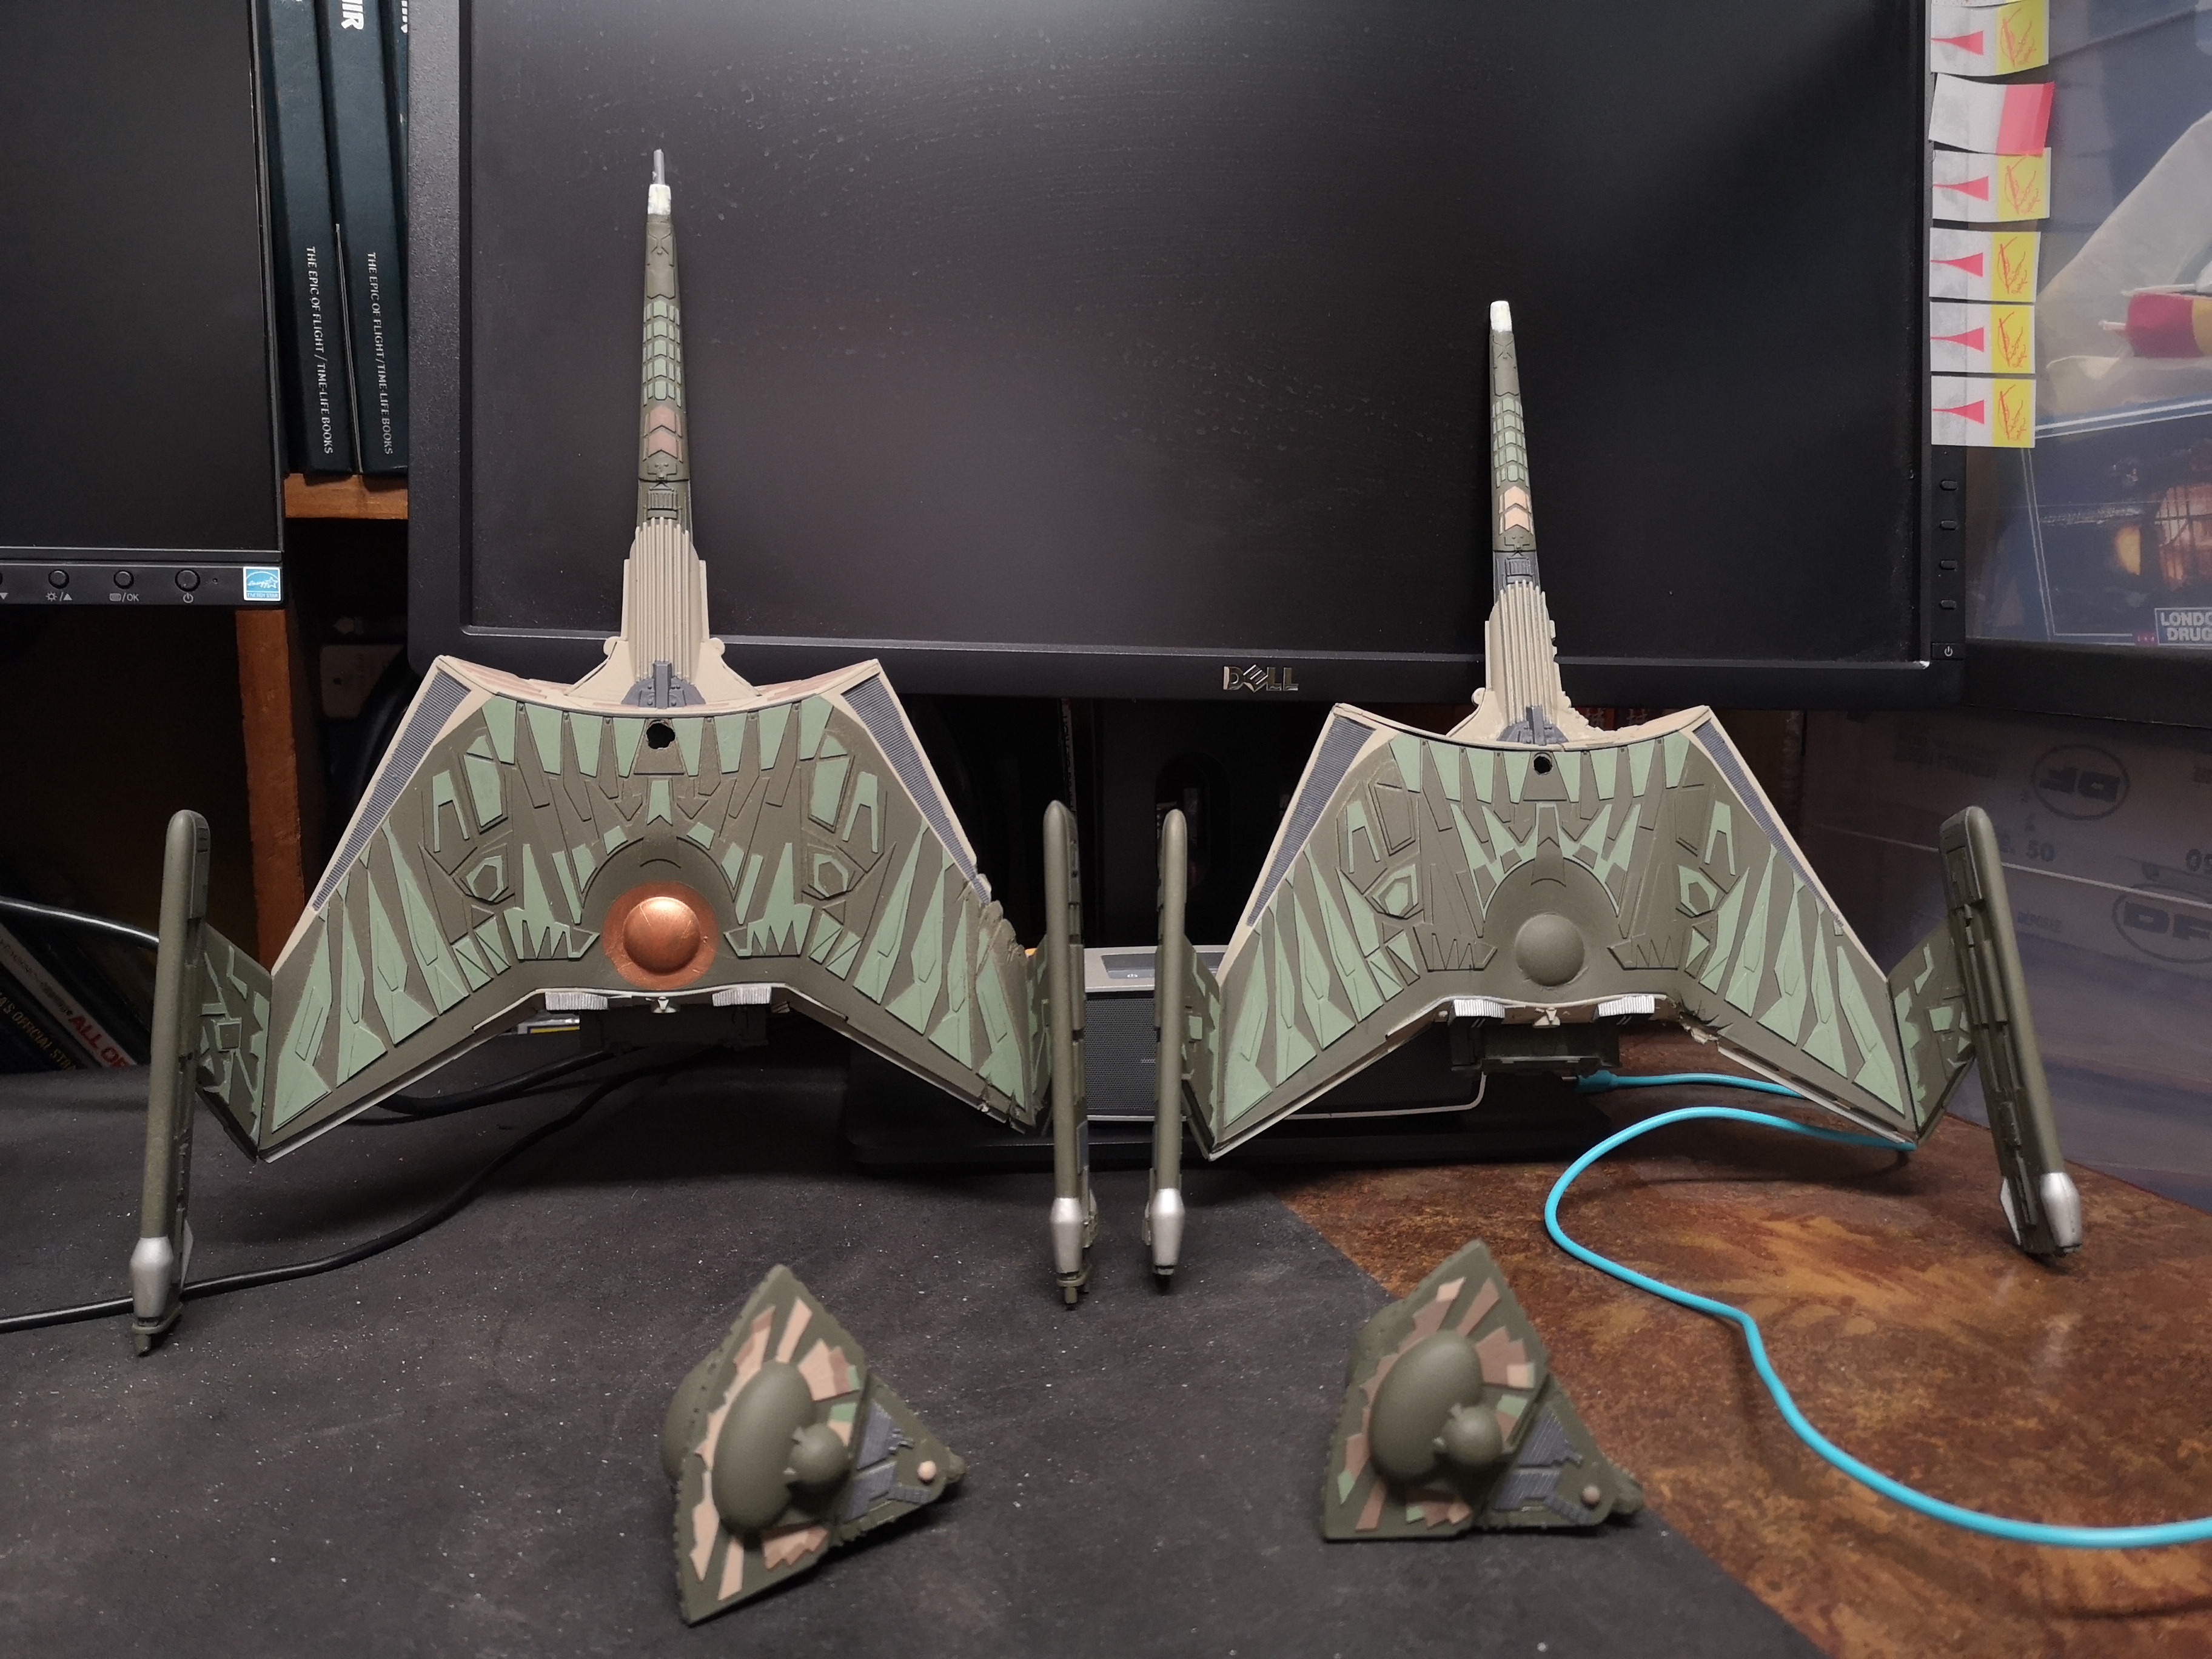
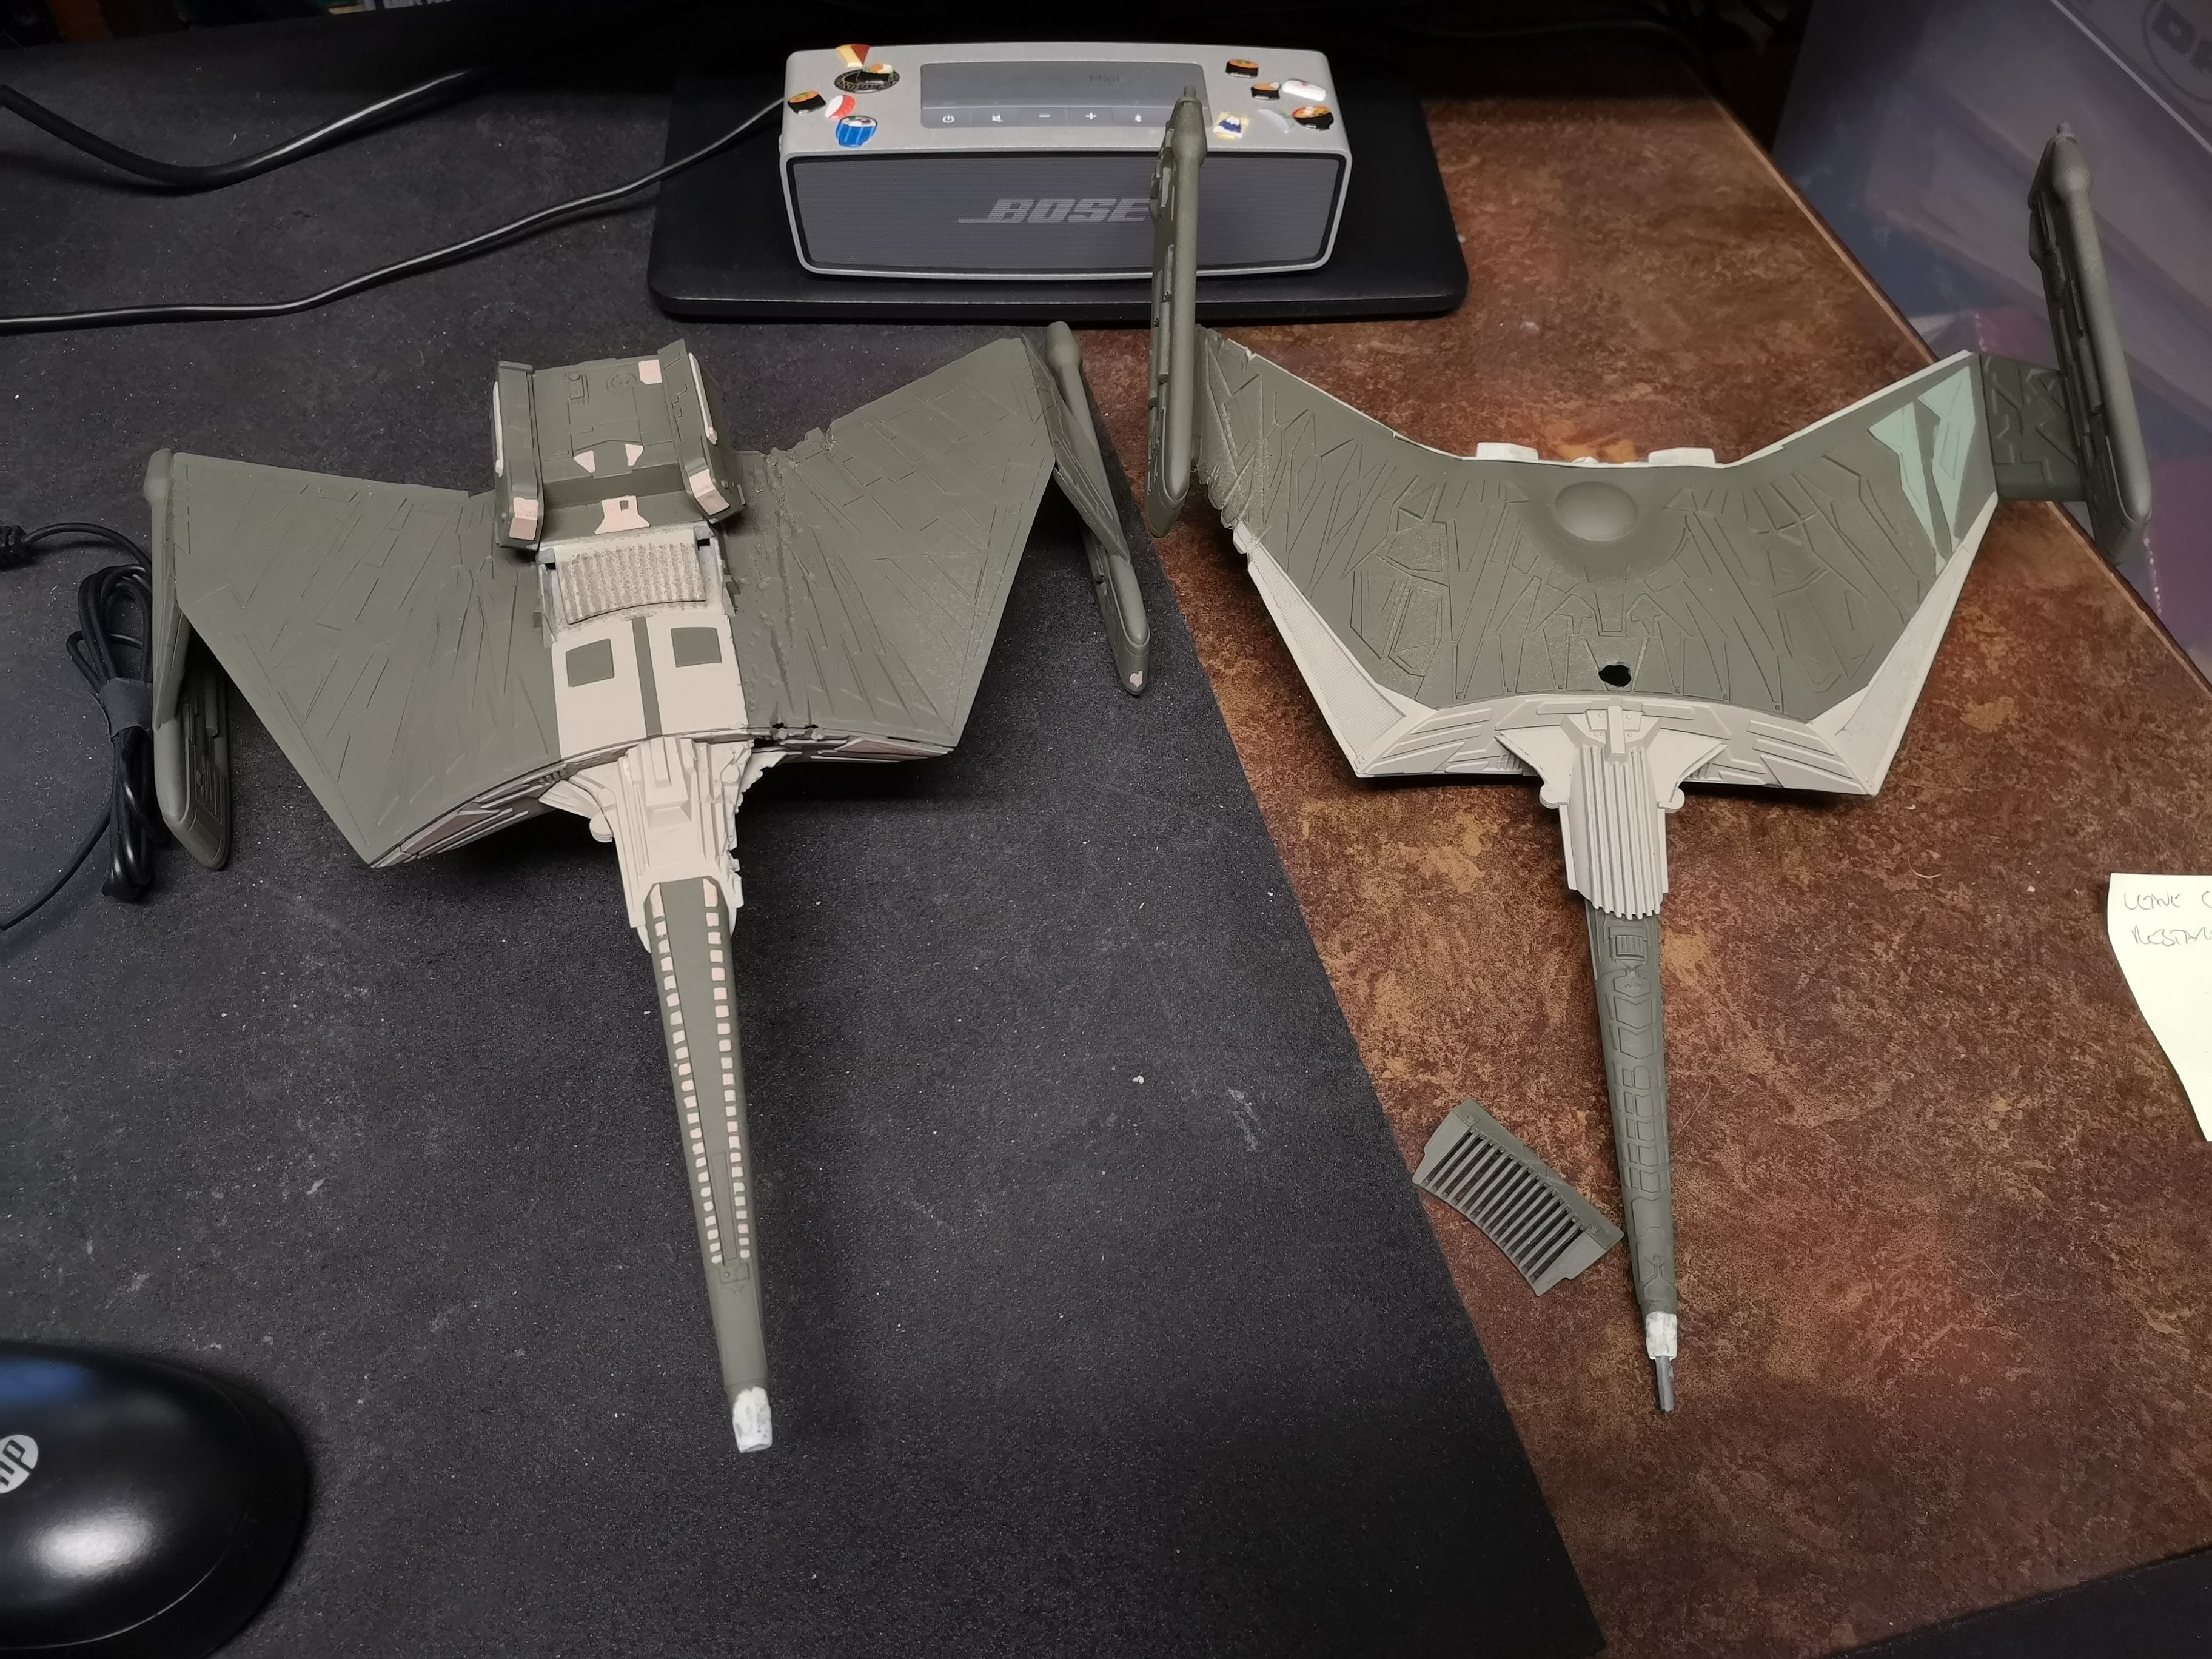
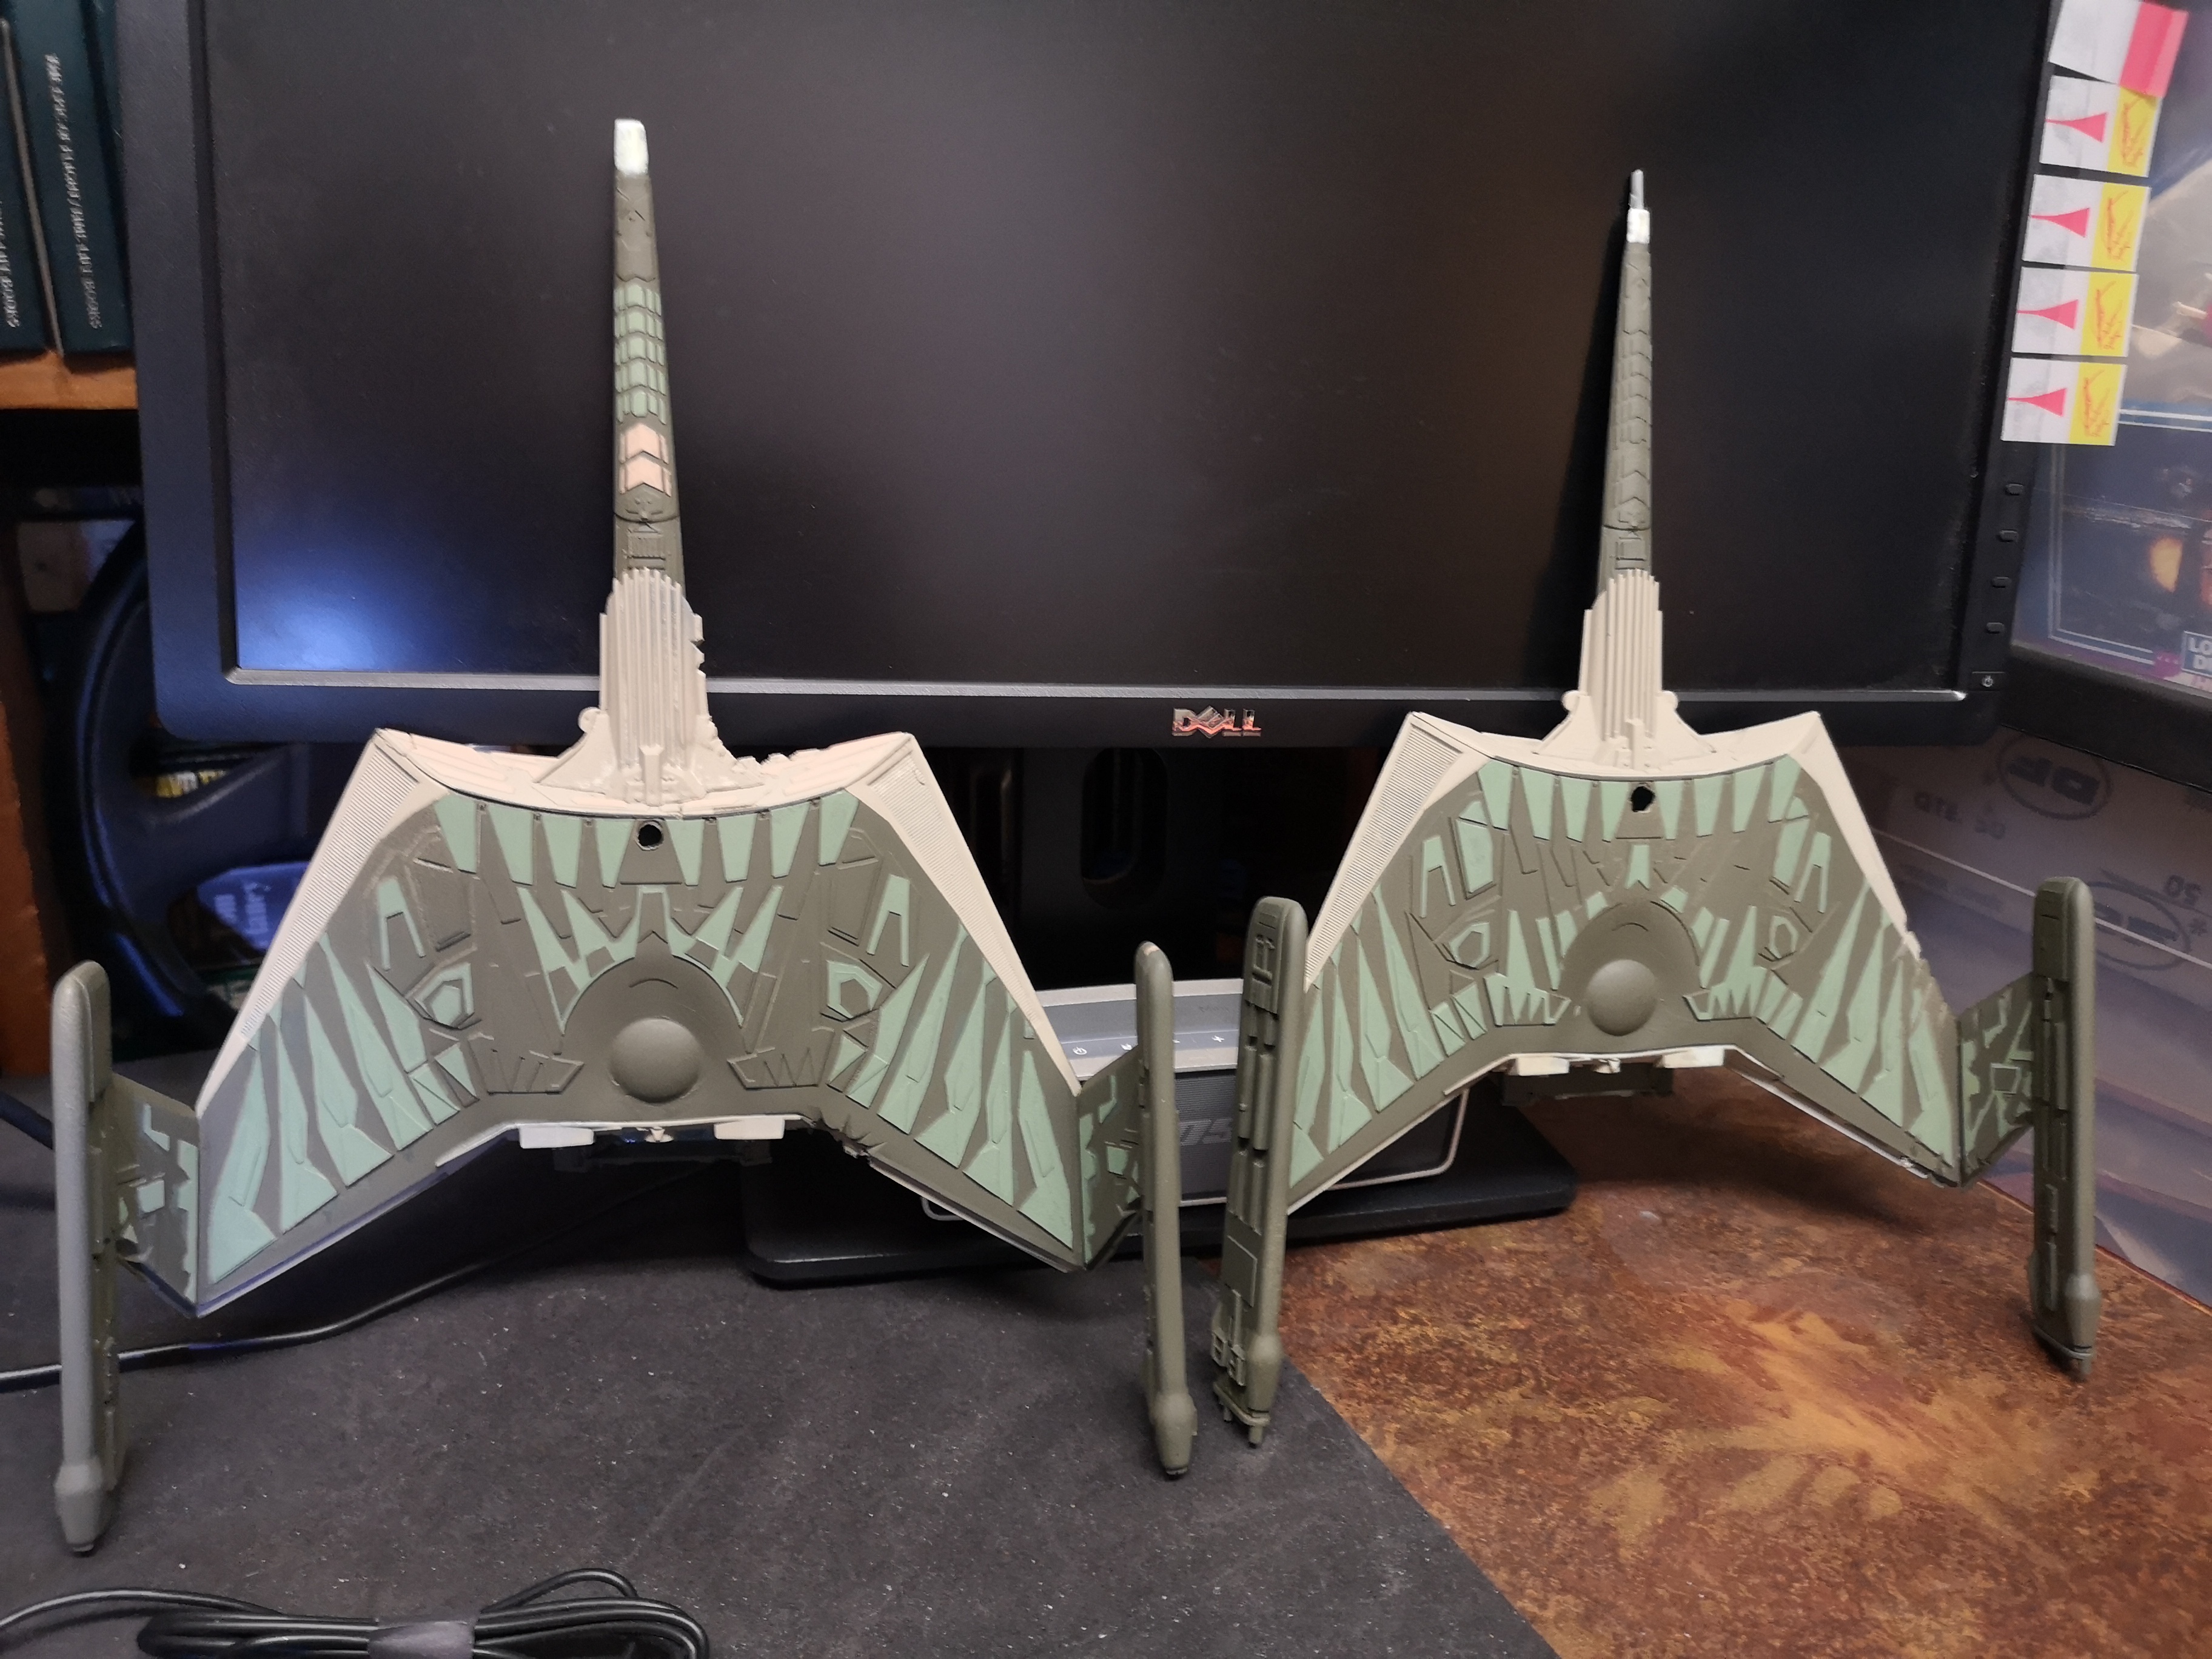
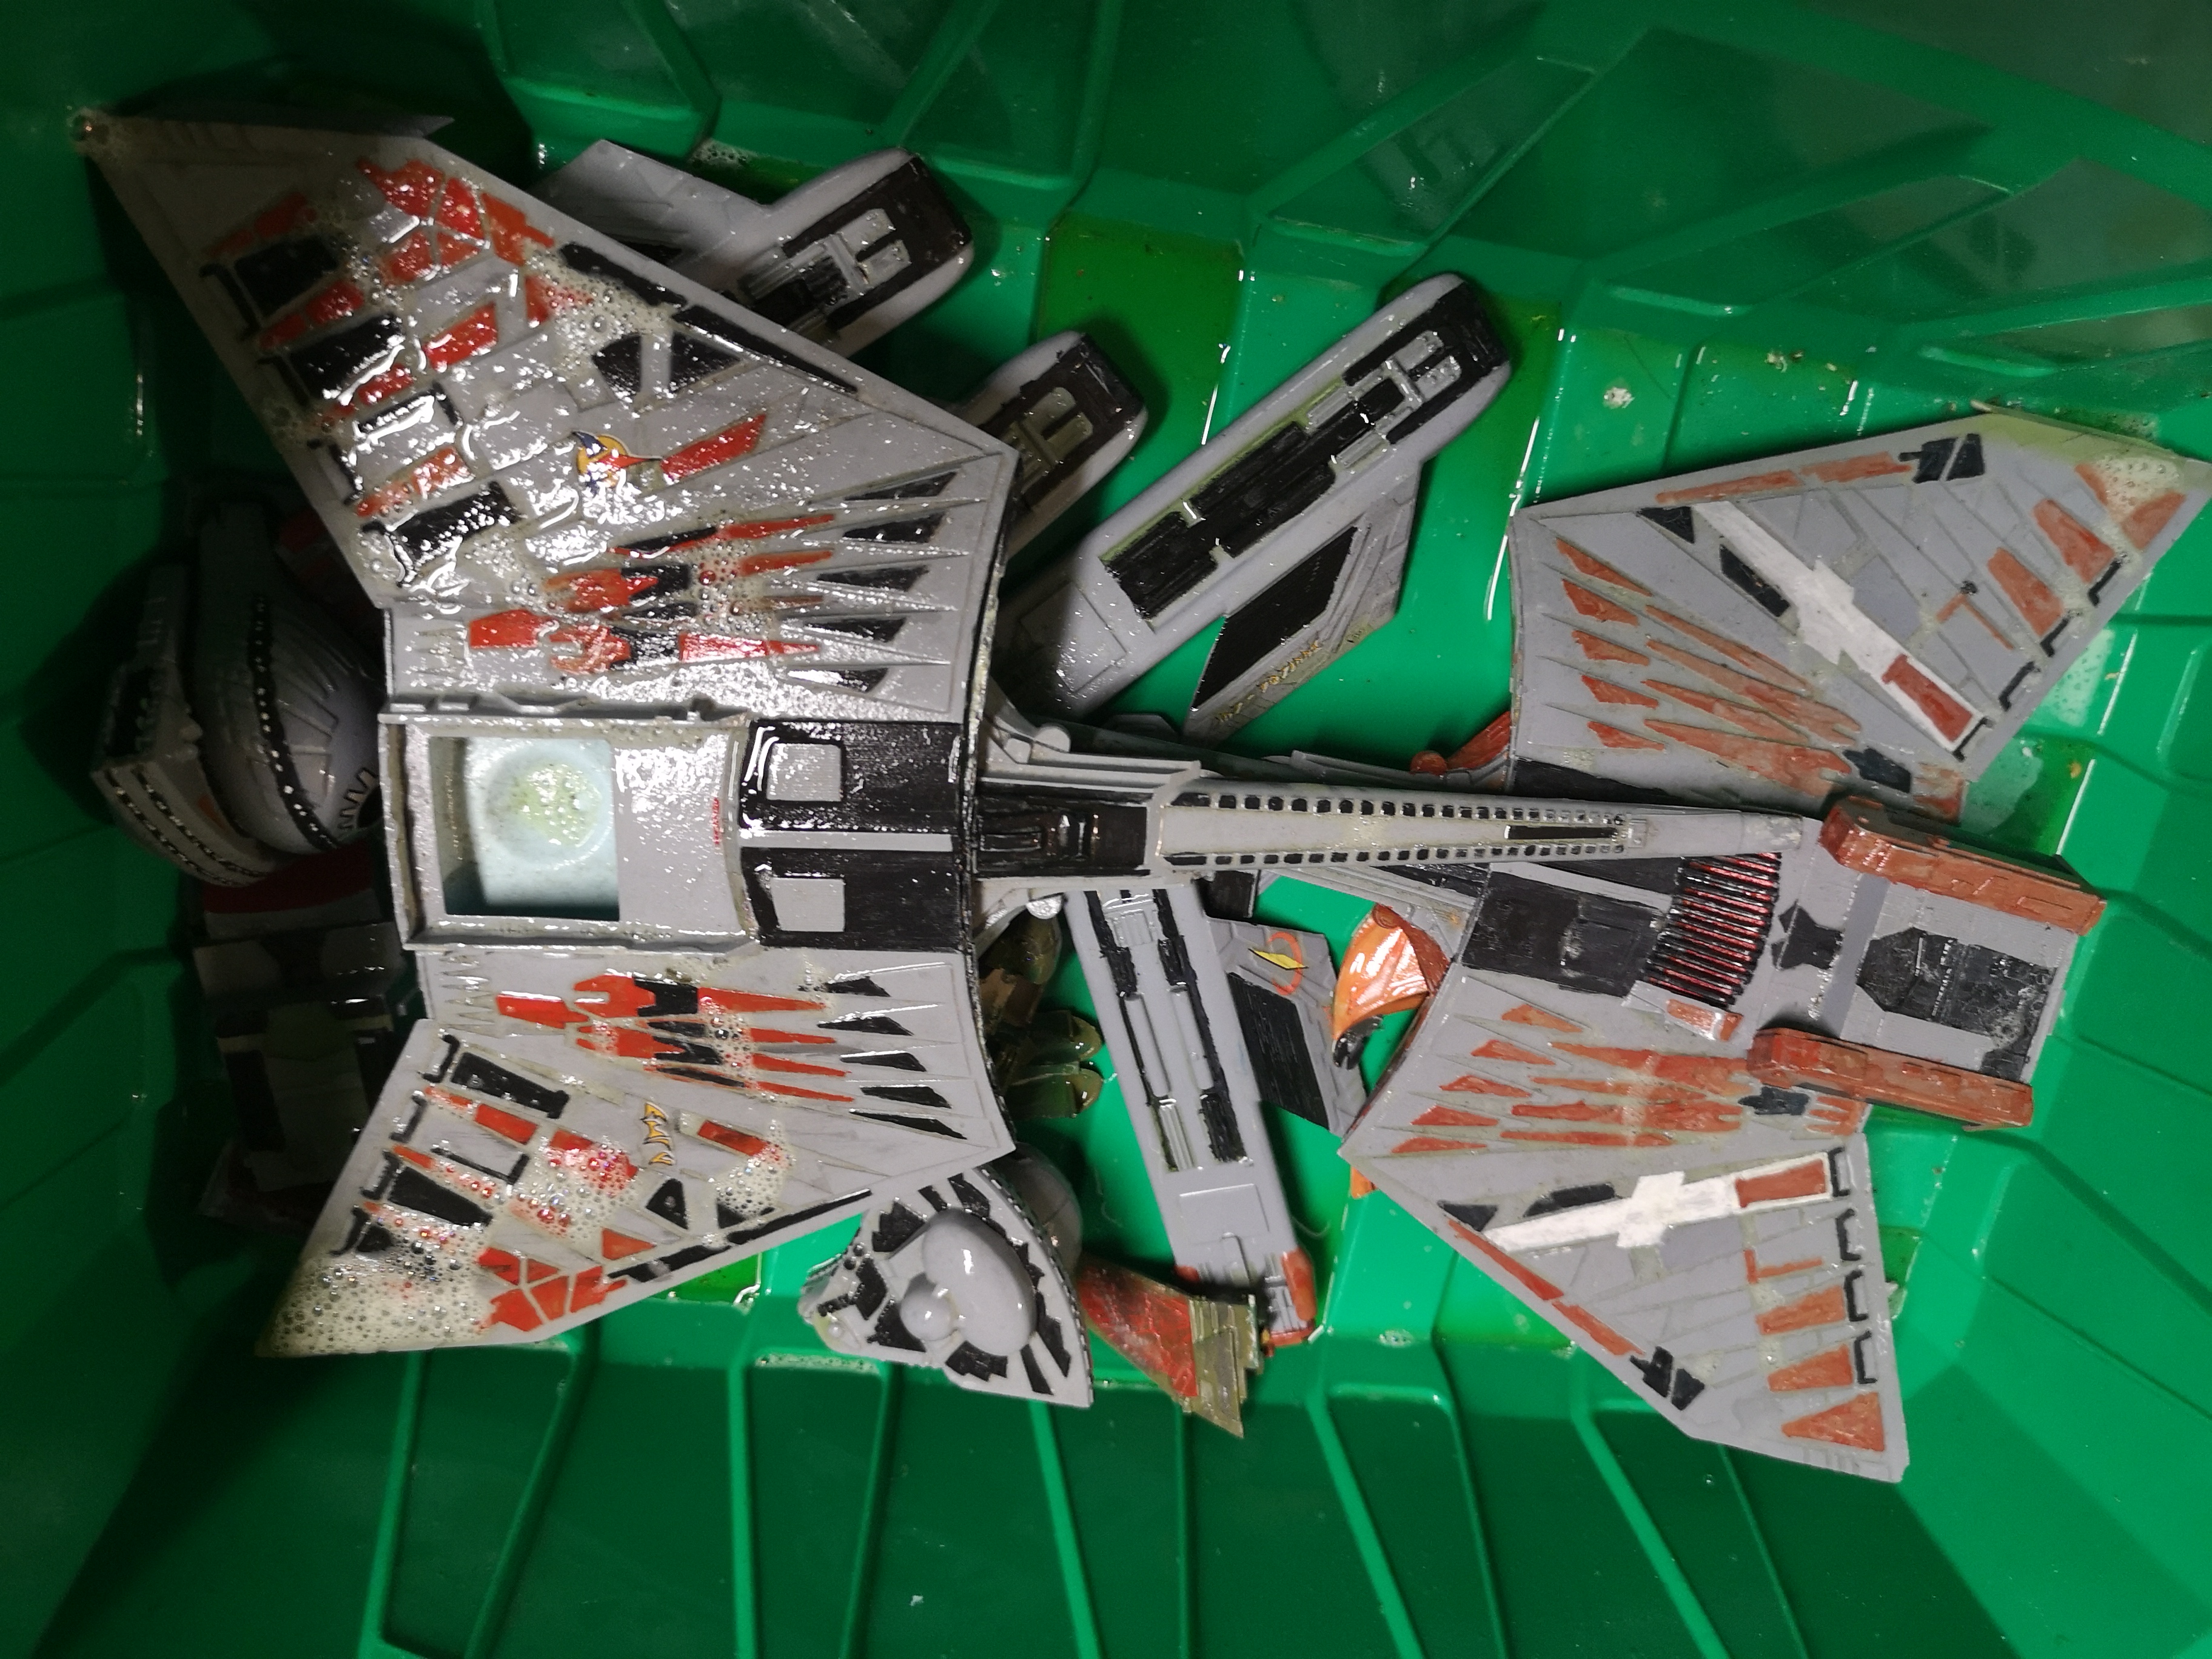
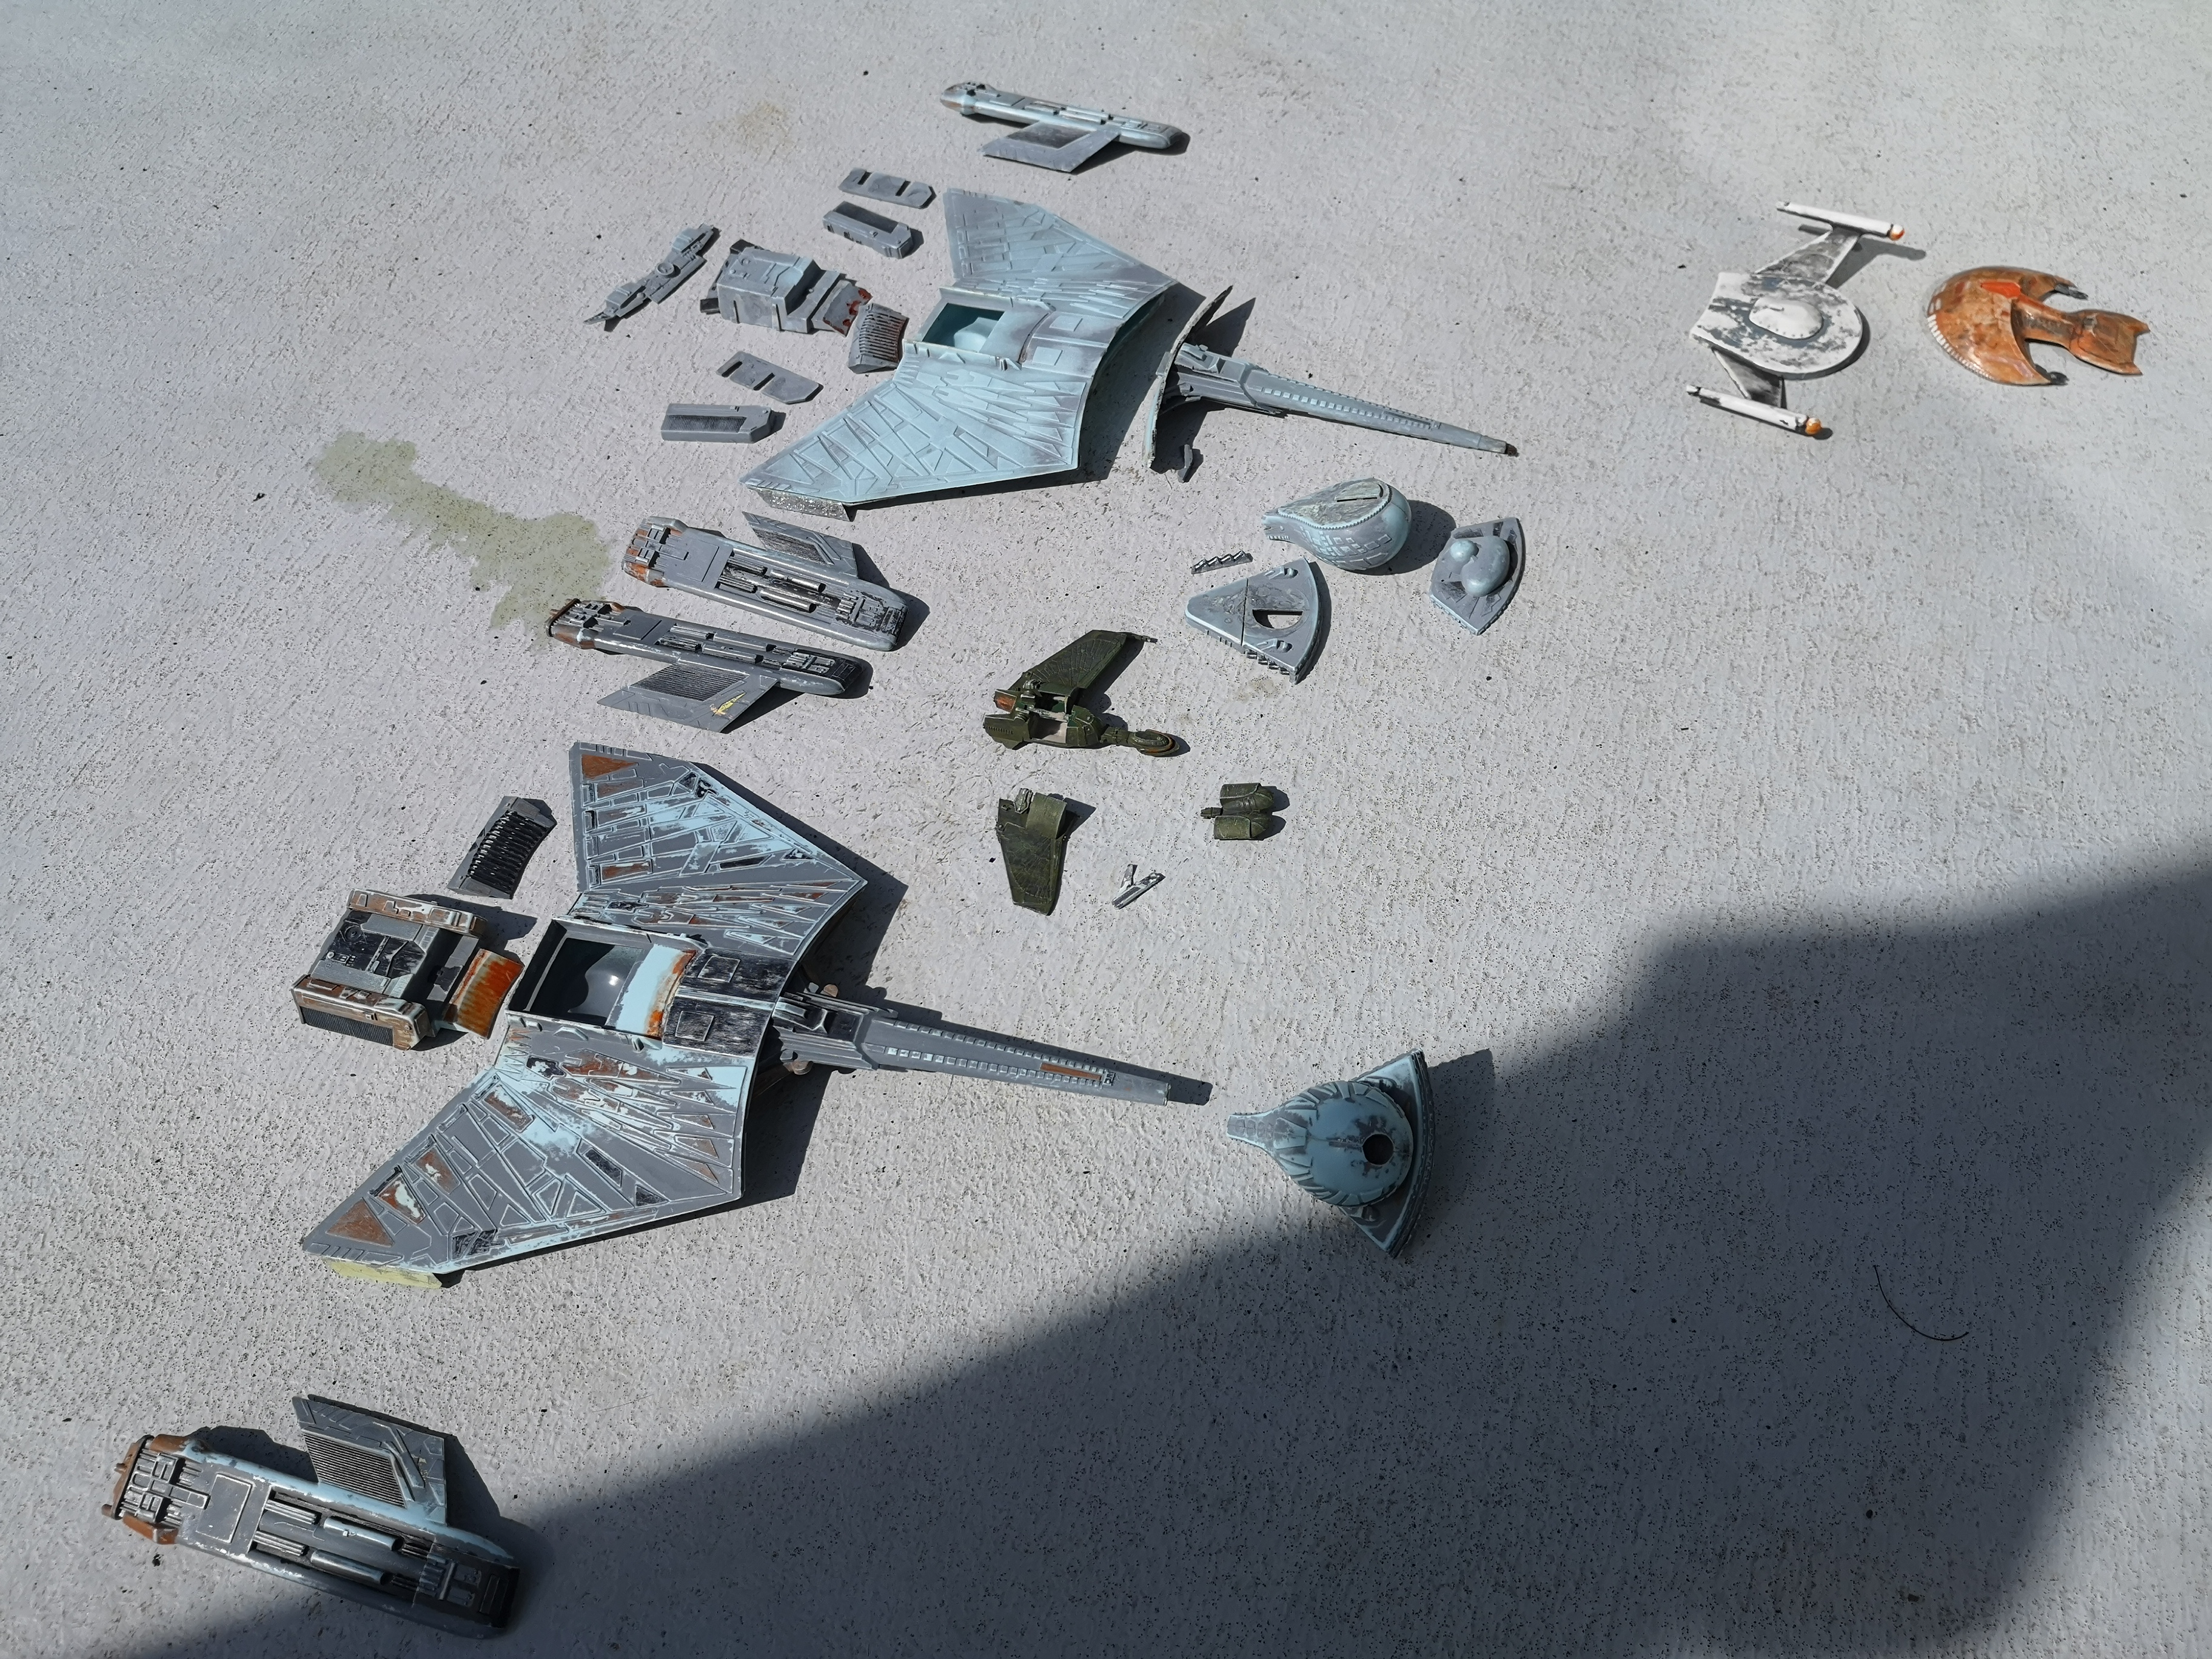
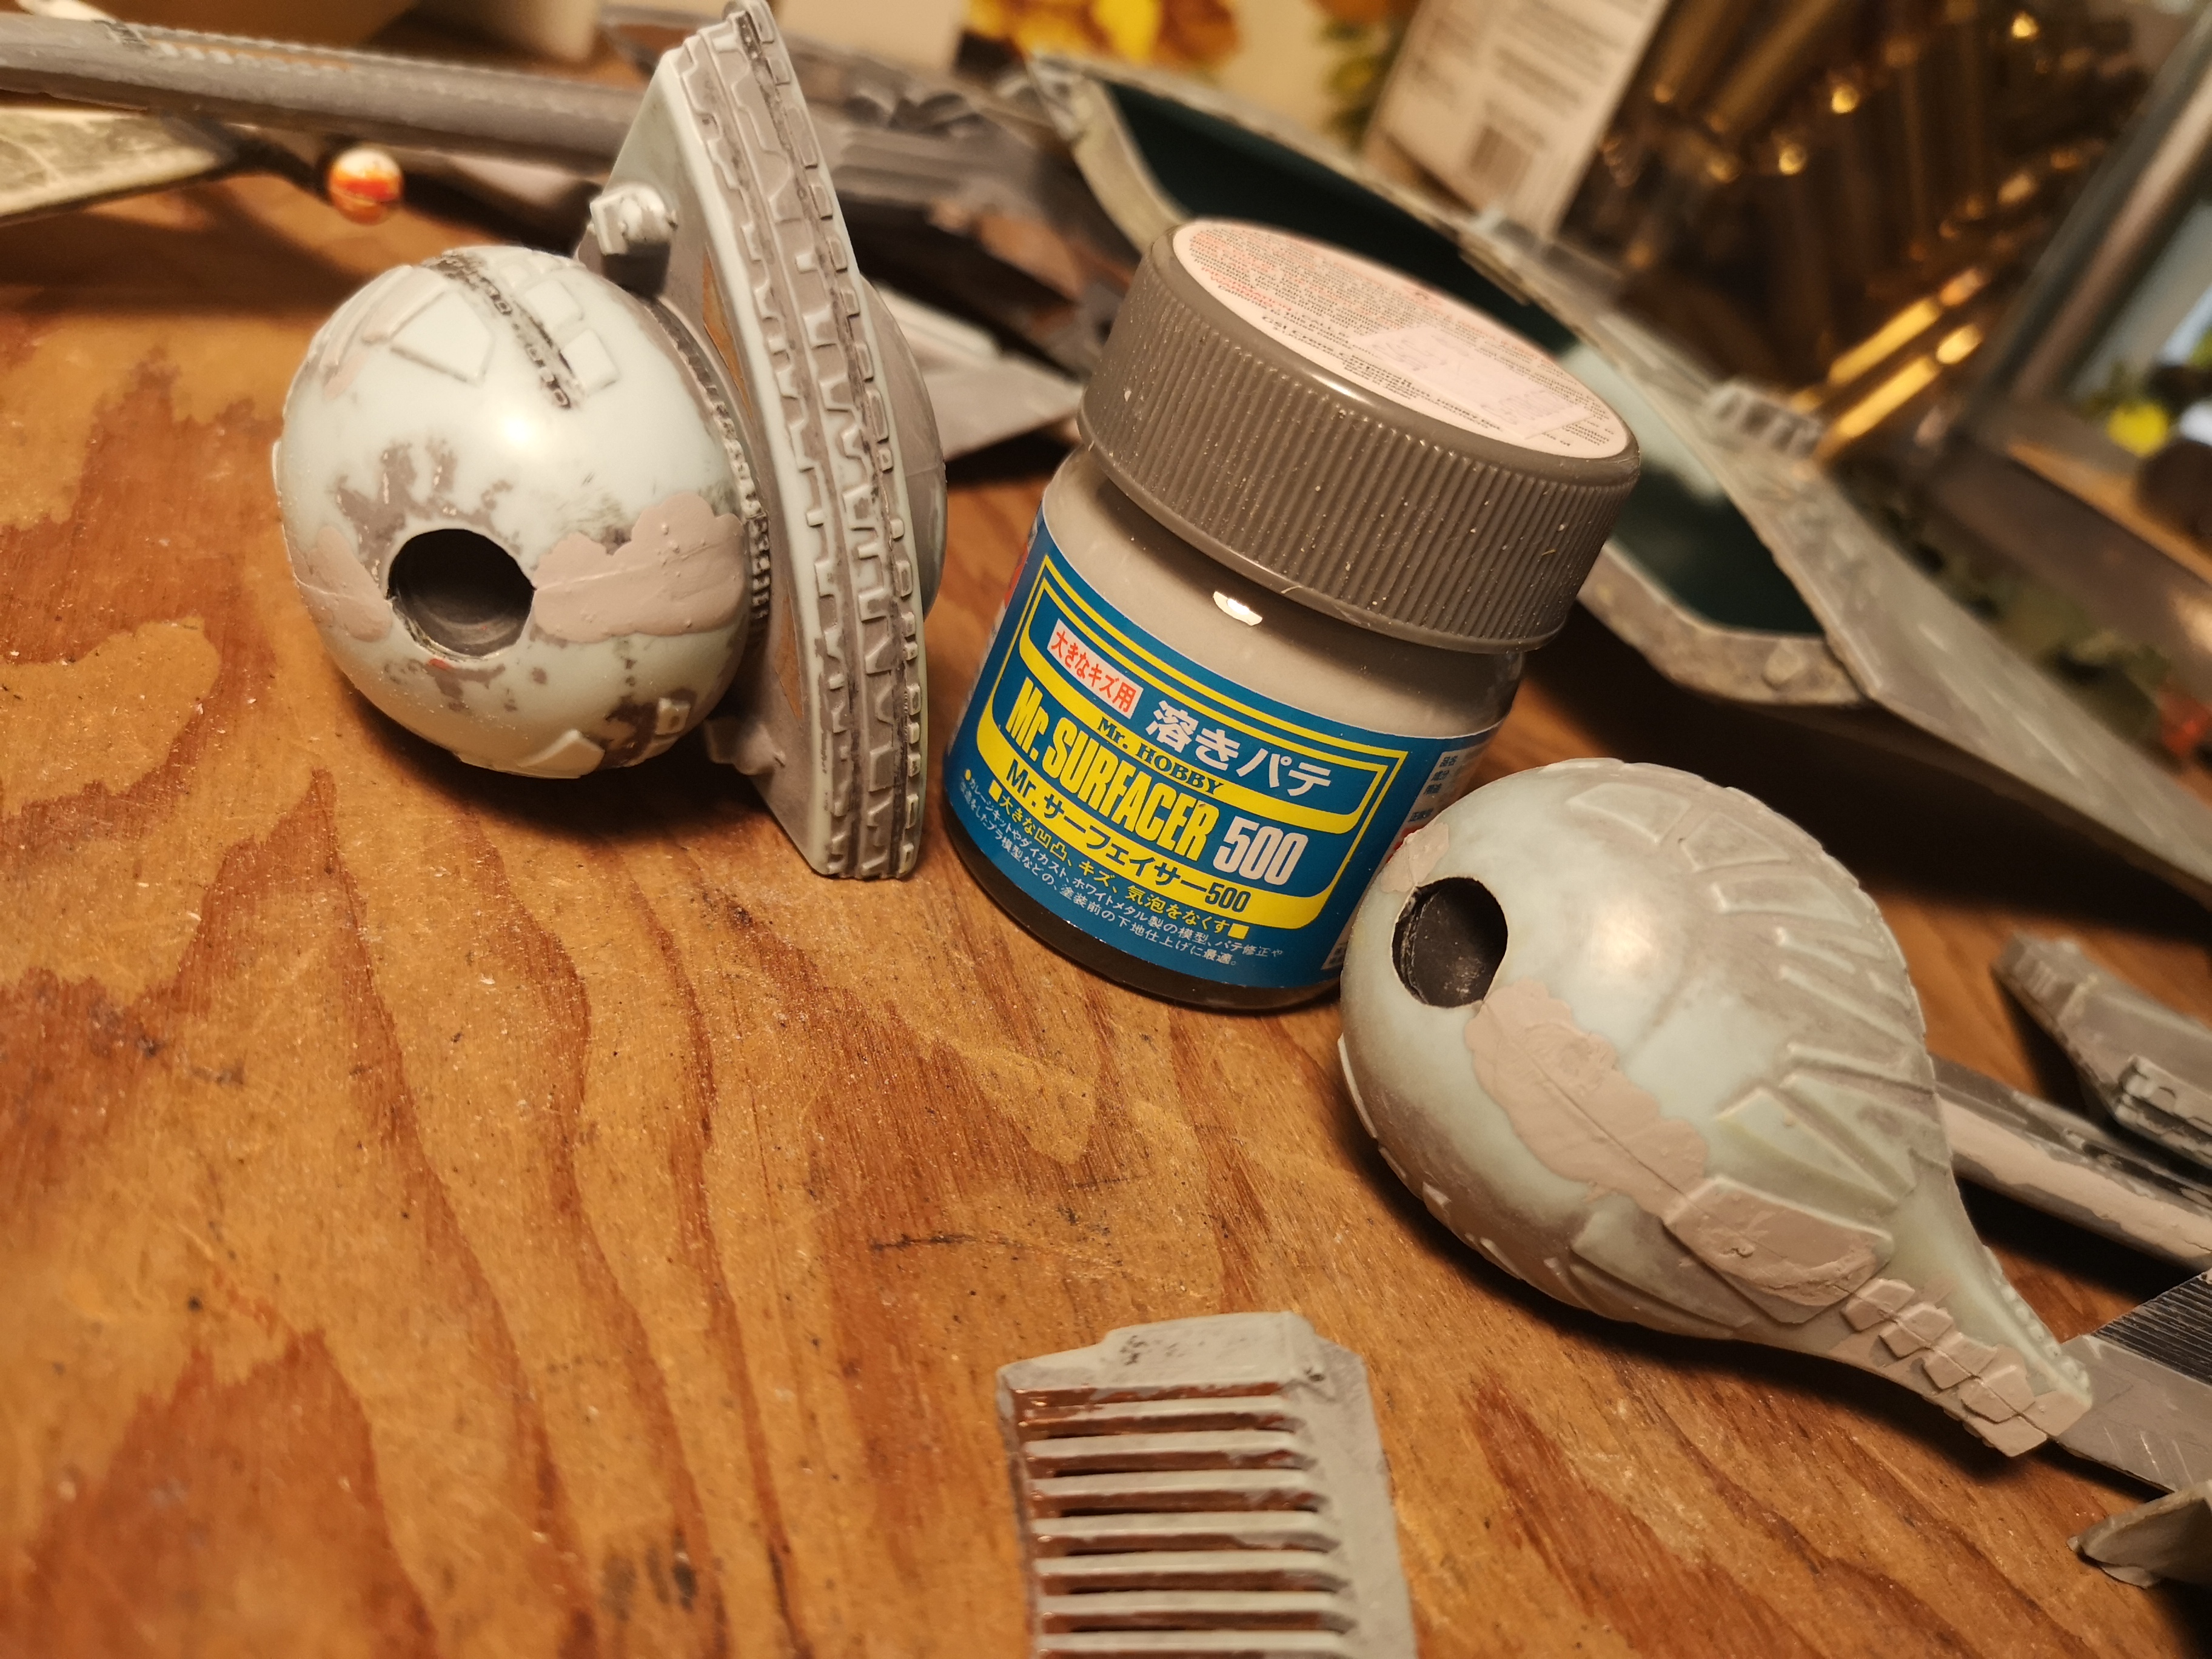
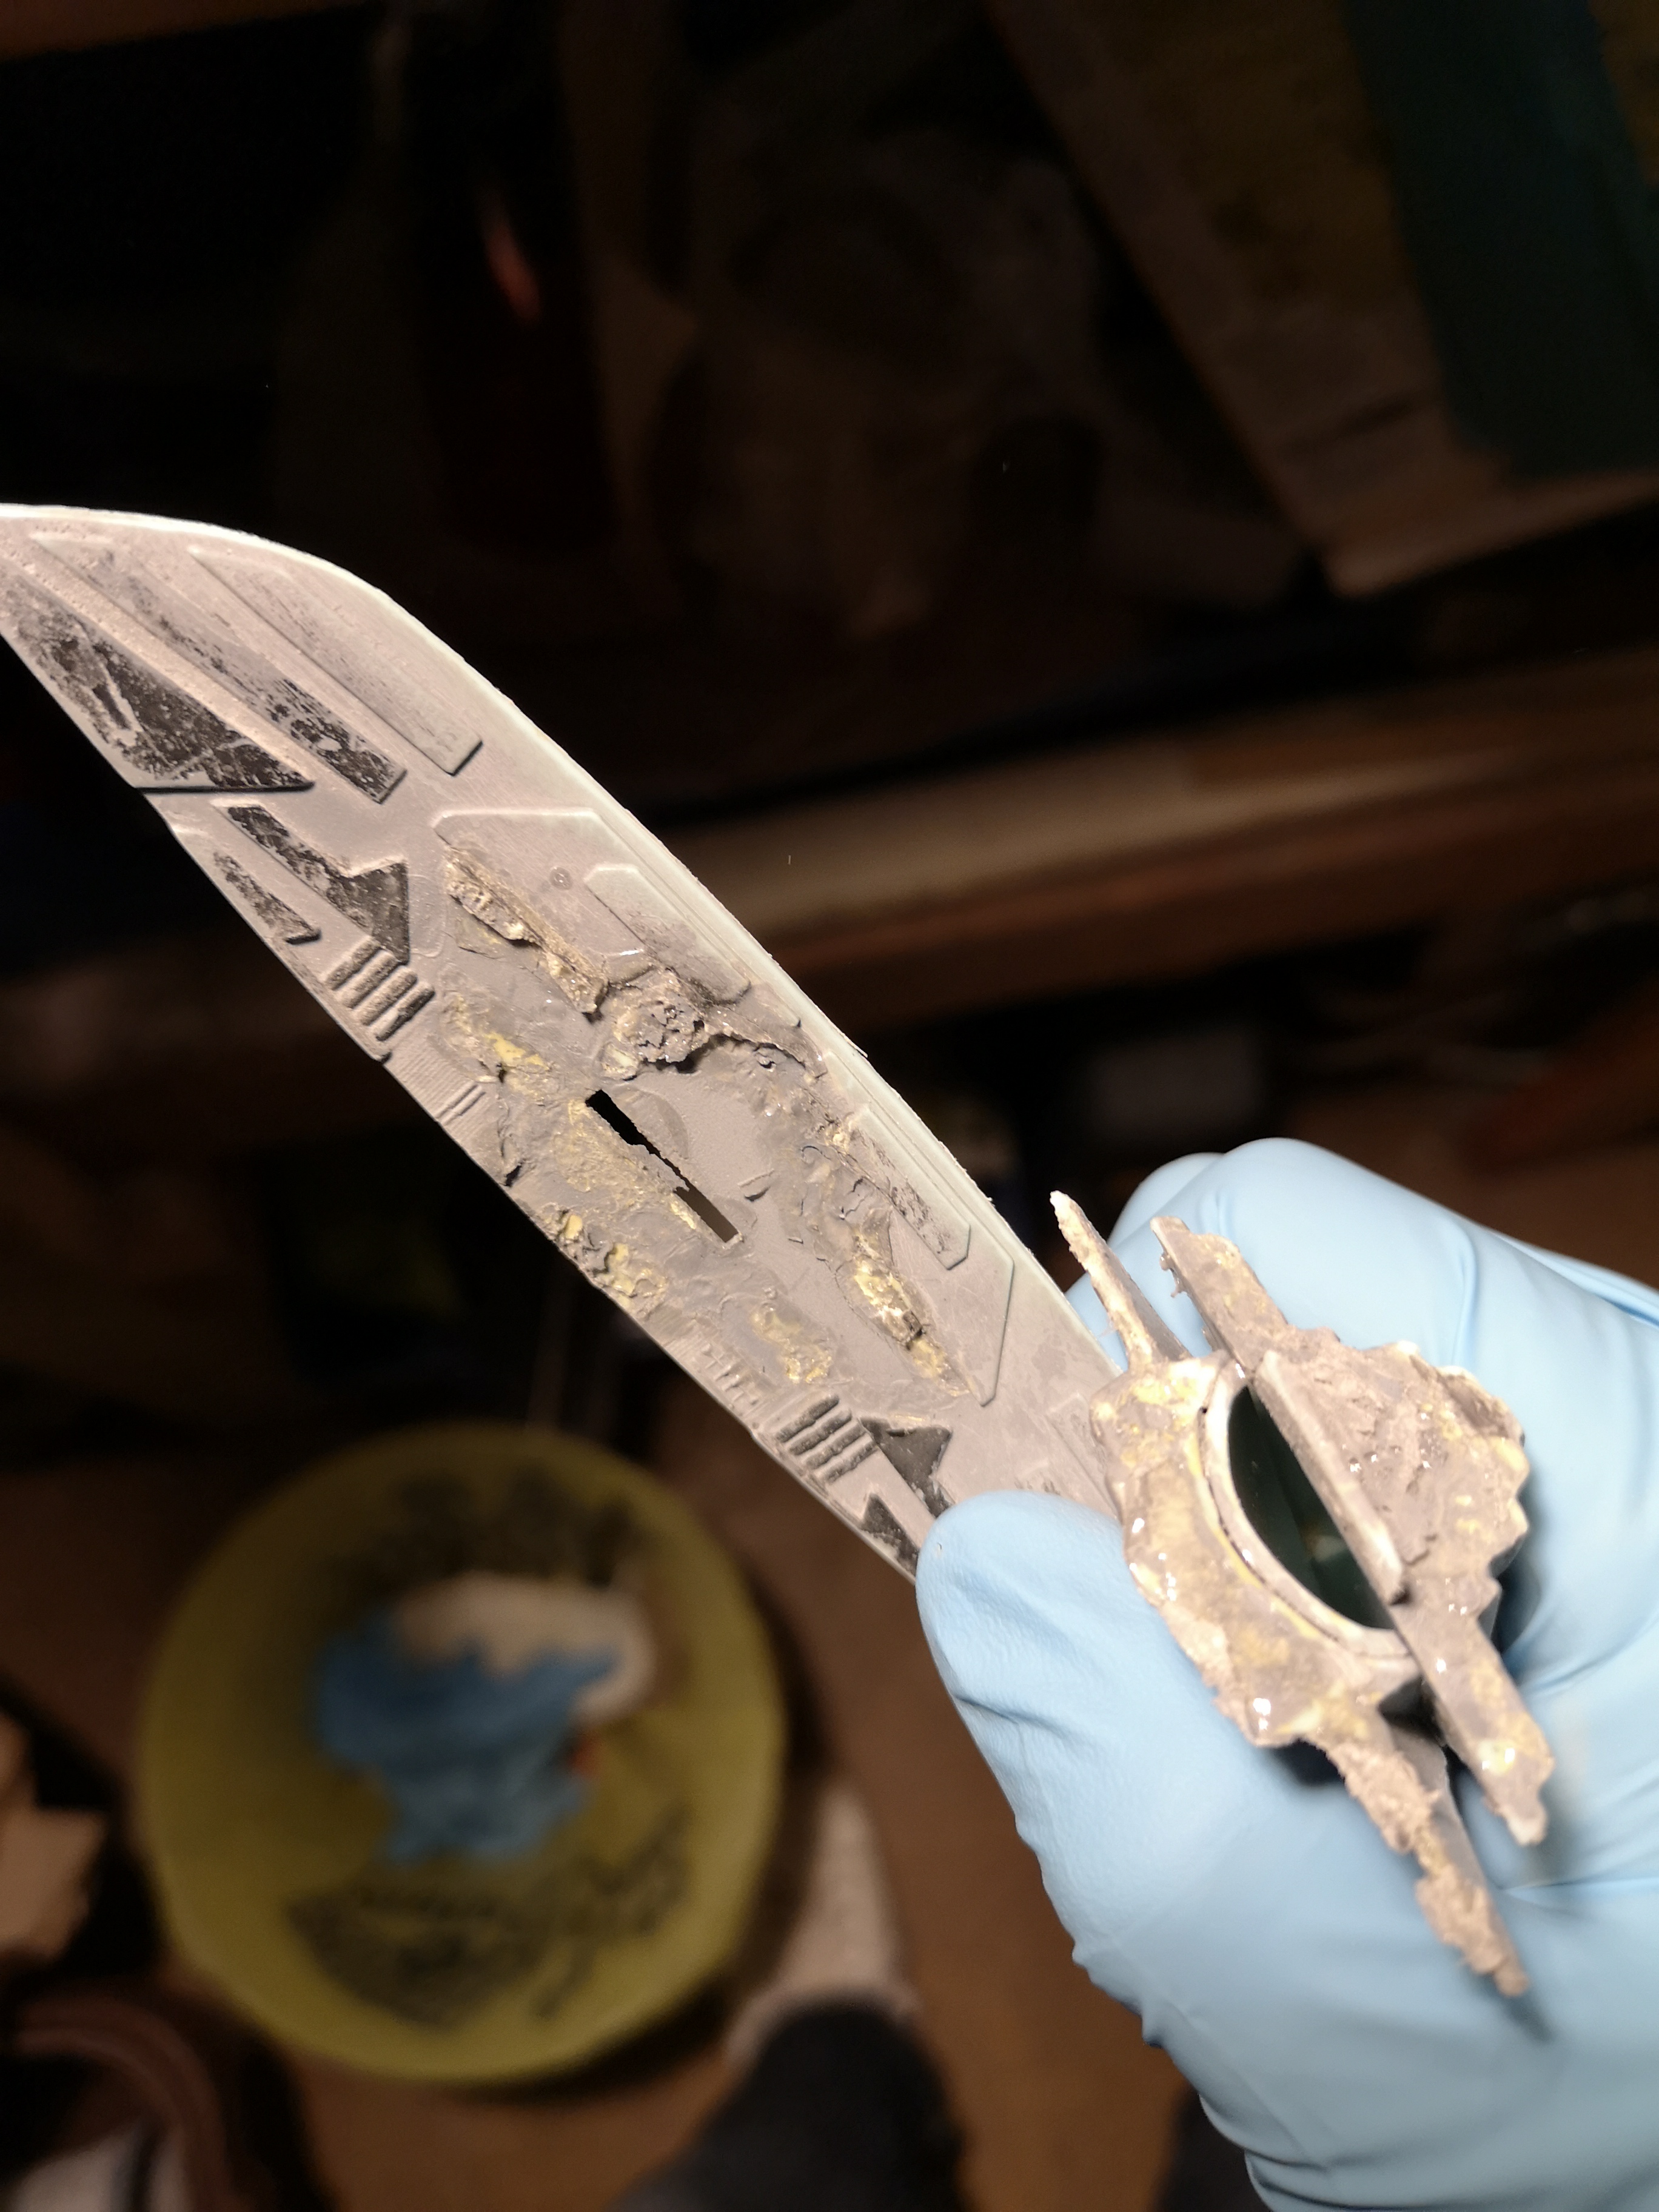
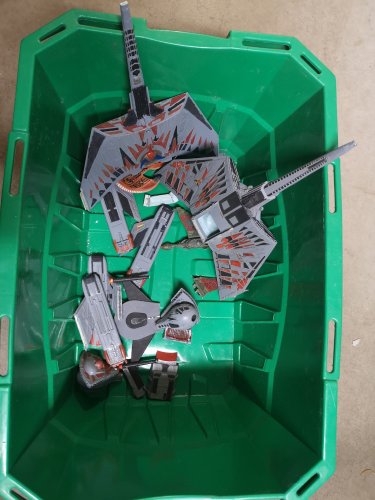
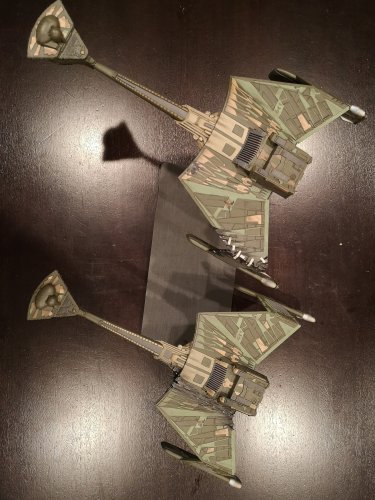
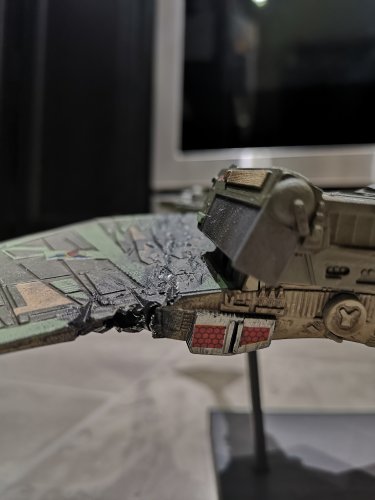
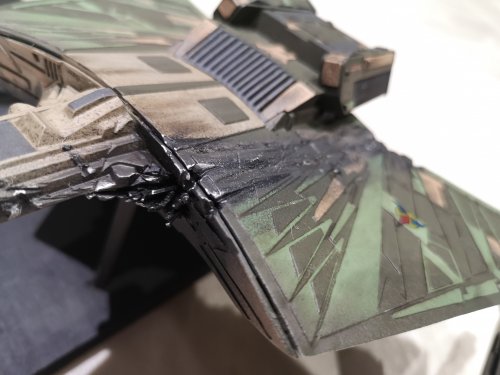
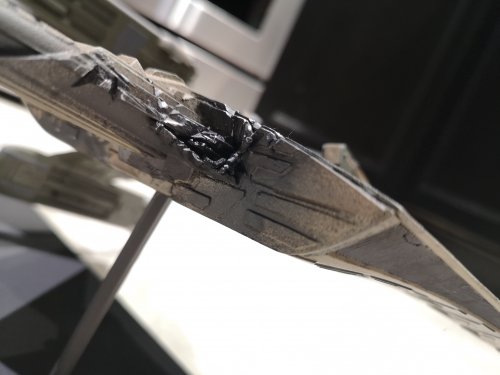
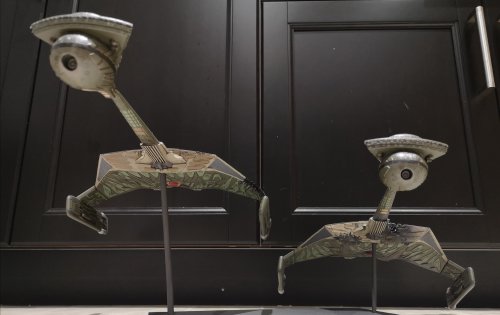
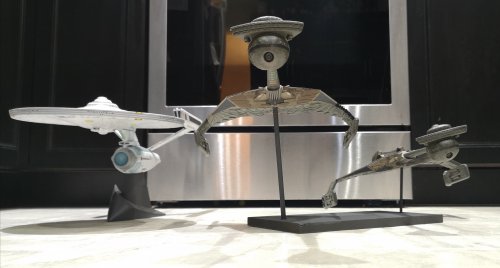
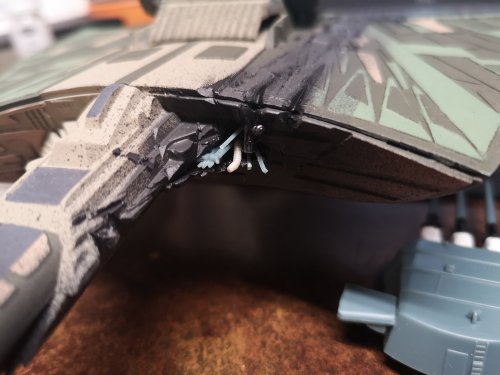
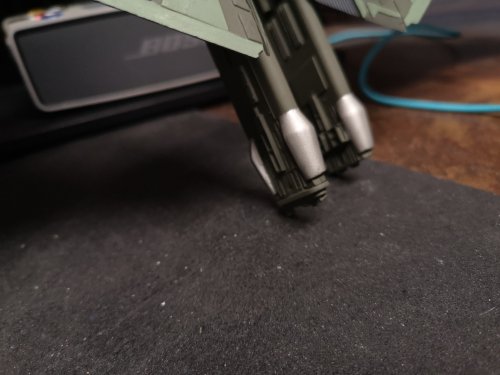
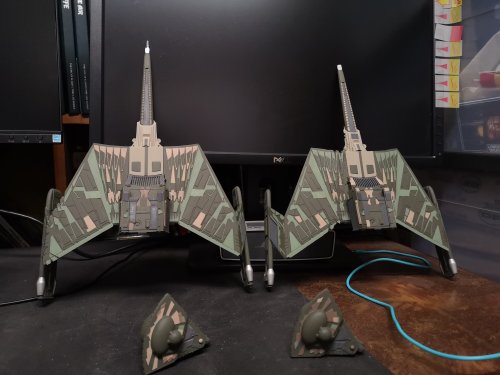
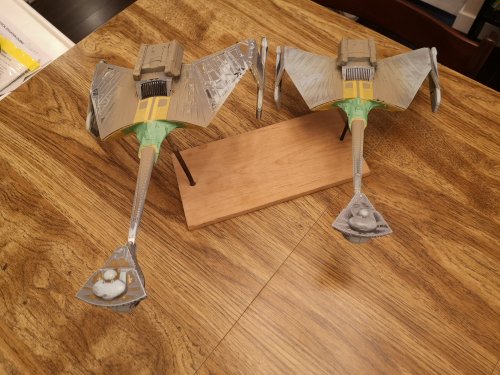
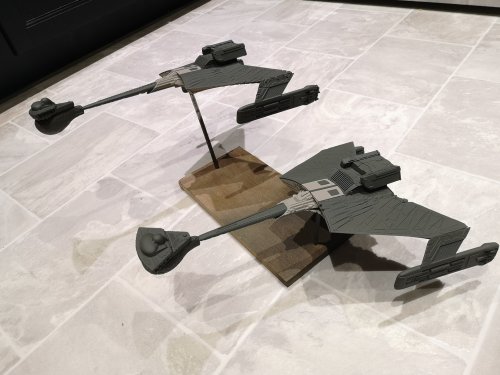
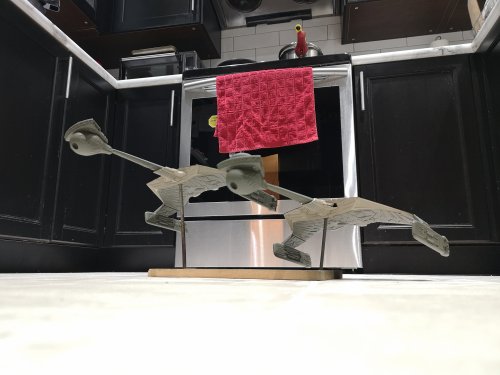
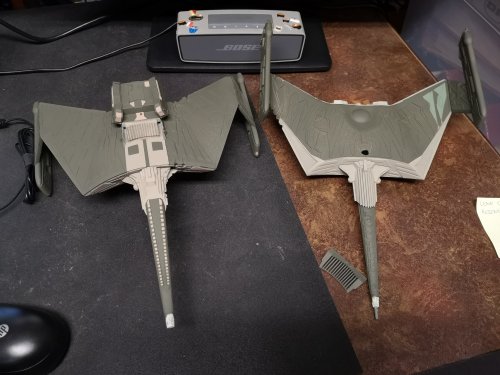
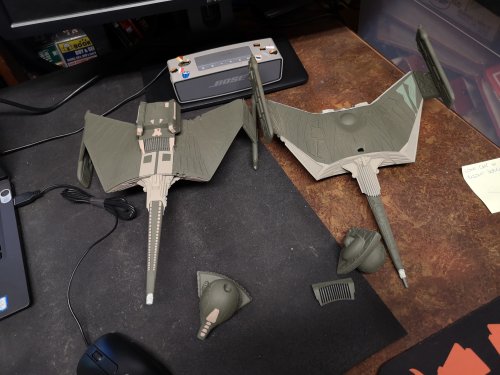
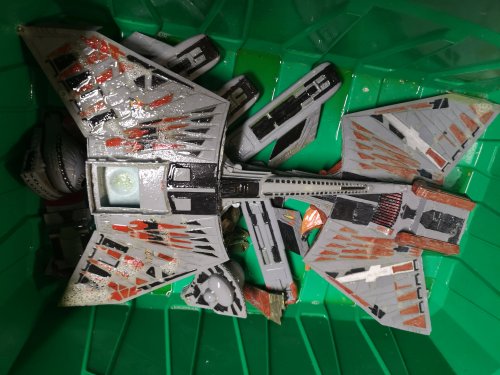
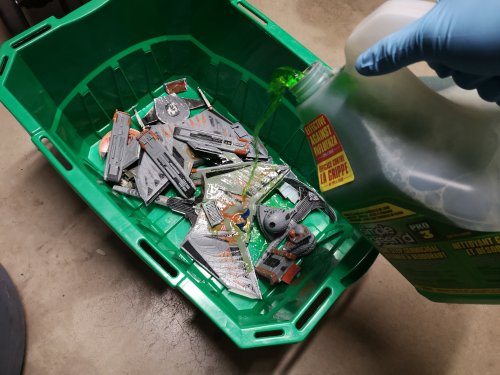
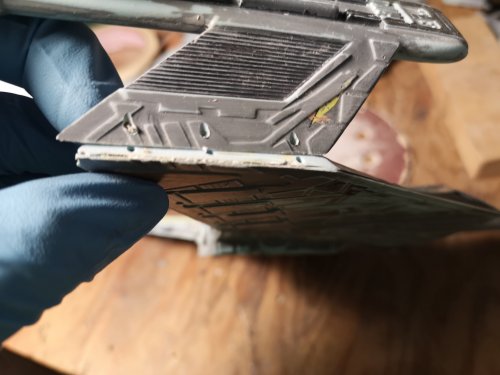
Ok, calling these guys done. Before After Just a quick Recap: Two AMT 1/537 Klingon K'Tinga class Battlecruisers, originally built about 25 years ago by my brother and I (and possibly some rando because I think we got one of them at a garage sale already built...badly). We broke them both from wooshing them around and then they sat outside in a cardboard box for about 2 decades. When I dug them out last summer, they smelled like really bad BO (and later on Simple Green), and covered in creepy crawlies. Gutted them, tried to strip the paint off with Simple Green (unsuccessfully) and cobbled them back together. They were missing parts so I ended up adding "battle damage" to compensate for gaping holes and missing pieces. Some of the gaps were so far gone from glue build-up that I didn't bother filling in some of the seams. Did not buy any new materials to refurbish them, just used whatever I had on the shelf, so color matching and screen accuracy right out the window. The only thing I put into these were decals from HDA. I did minimal masking so the feathers/plates were all hand brush painted (badly) so please don't zoom in to the pics. No airbrush so I made do with rattle cans. Just a heads up, Krylon and Rustoleum are not ideal for models you care about. And Rustoleum Matte Clear is not a substitute for Tamiya Flat Clear. The Rustoleum is more of a Semi-gloss. Also, they don't like decals or Tamiya panel lining, and they especially don't like thinner to clean the panel lines. Go easy guys, I know these are nasty, but I think they are improved over what I dug out of that box. With my Refit build With my Auto Destruct build That Tamiya Weather Master is great for adding soot. Please ignore the decal silvering....I just gave up after a few days and even poking holes and cutting the decals didn't help much....I should have smoothed out the textured Krylon and sealed it with a better quality Clear Gloss.


-
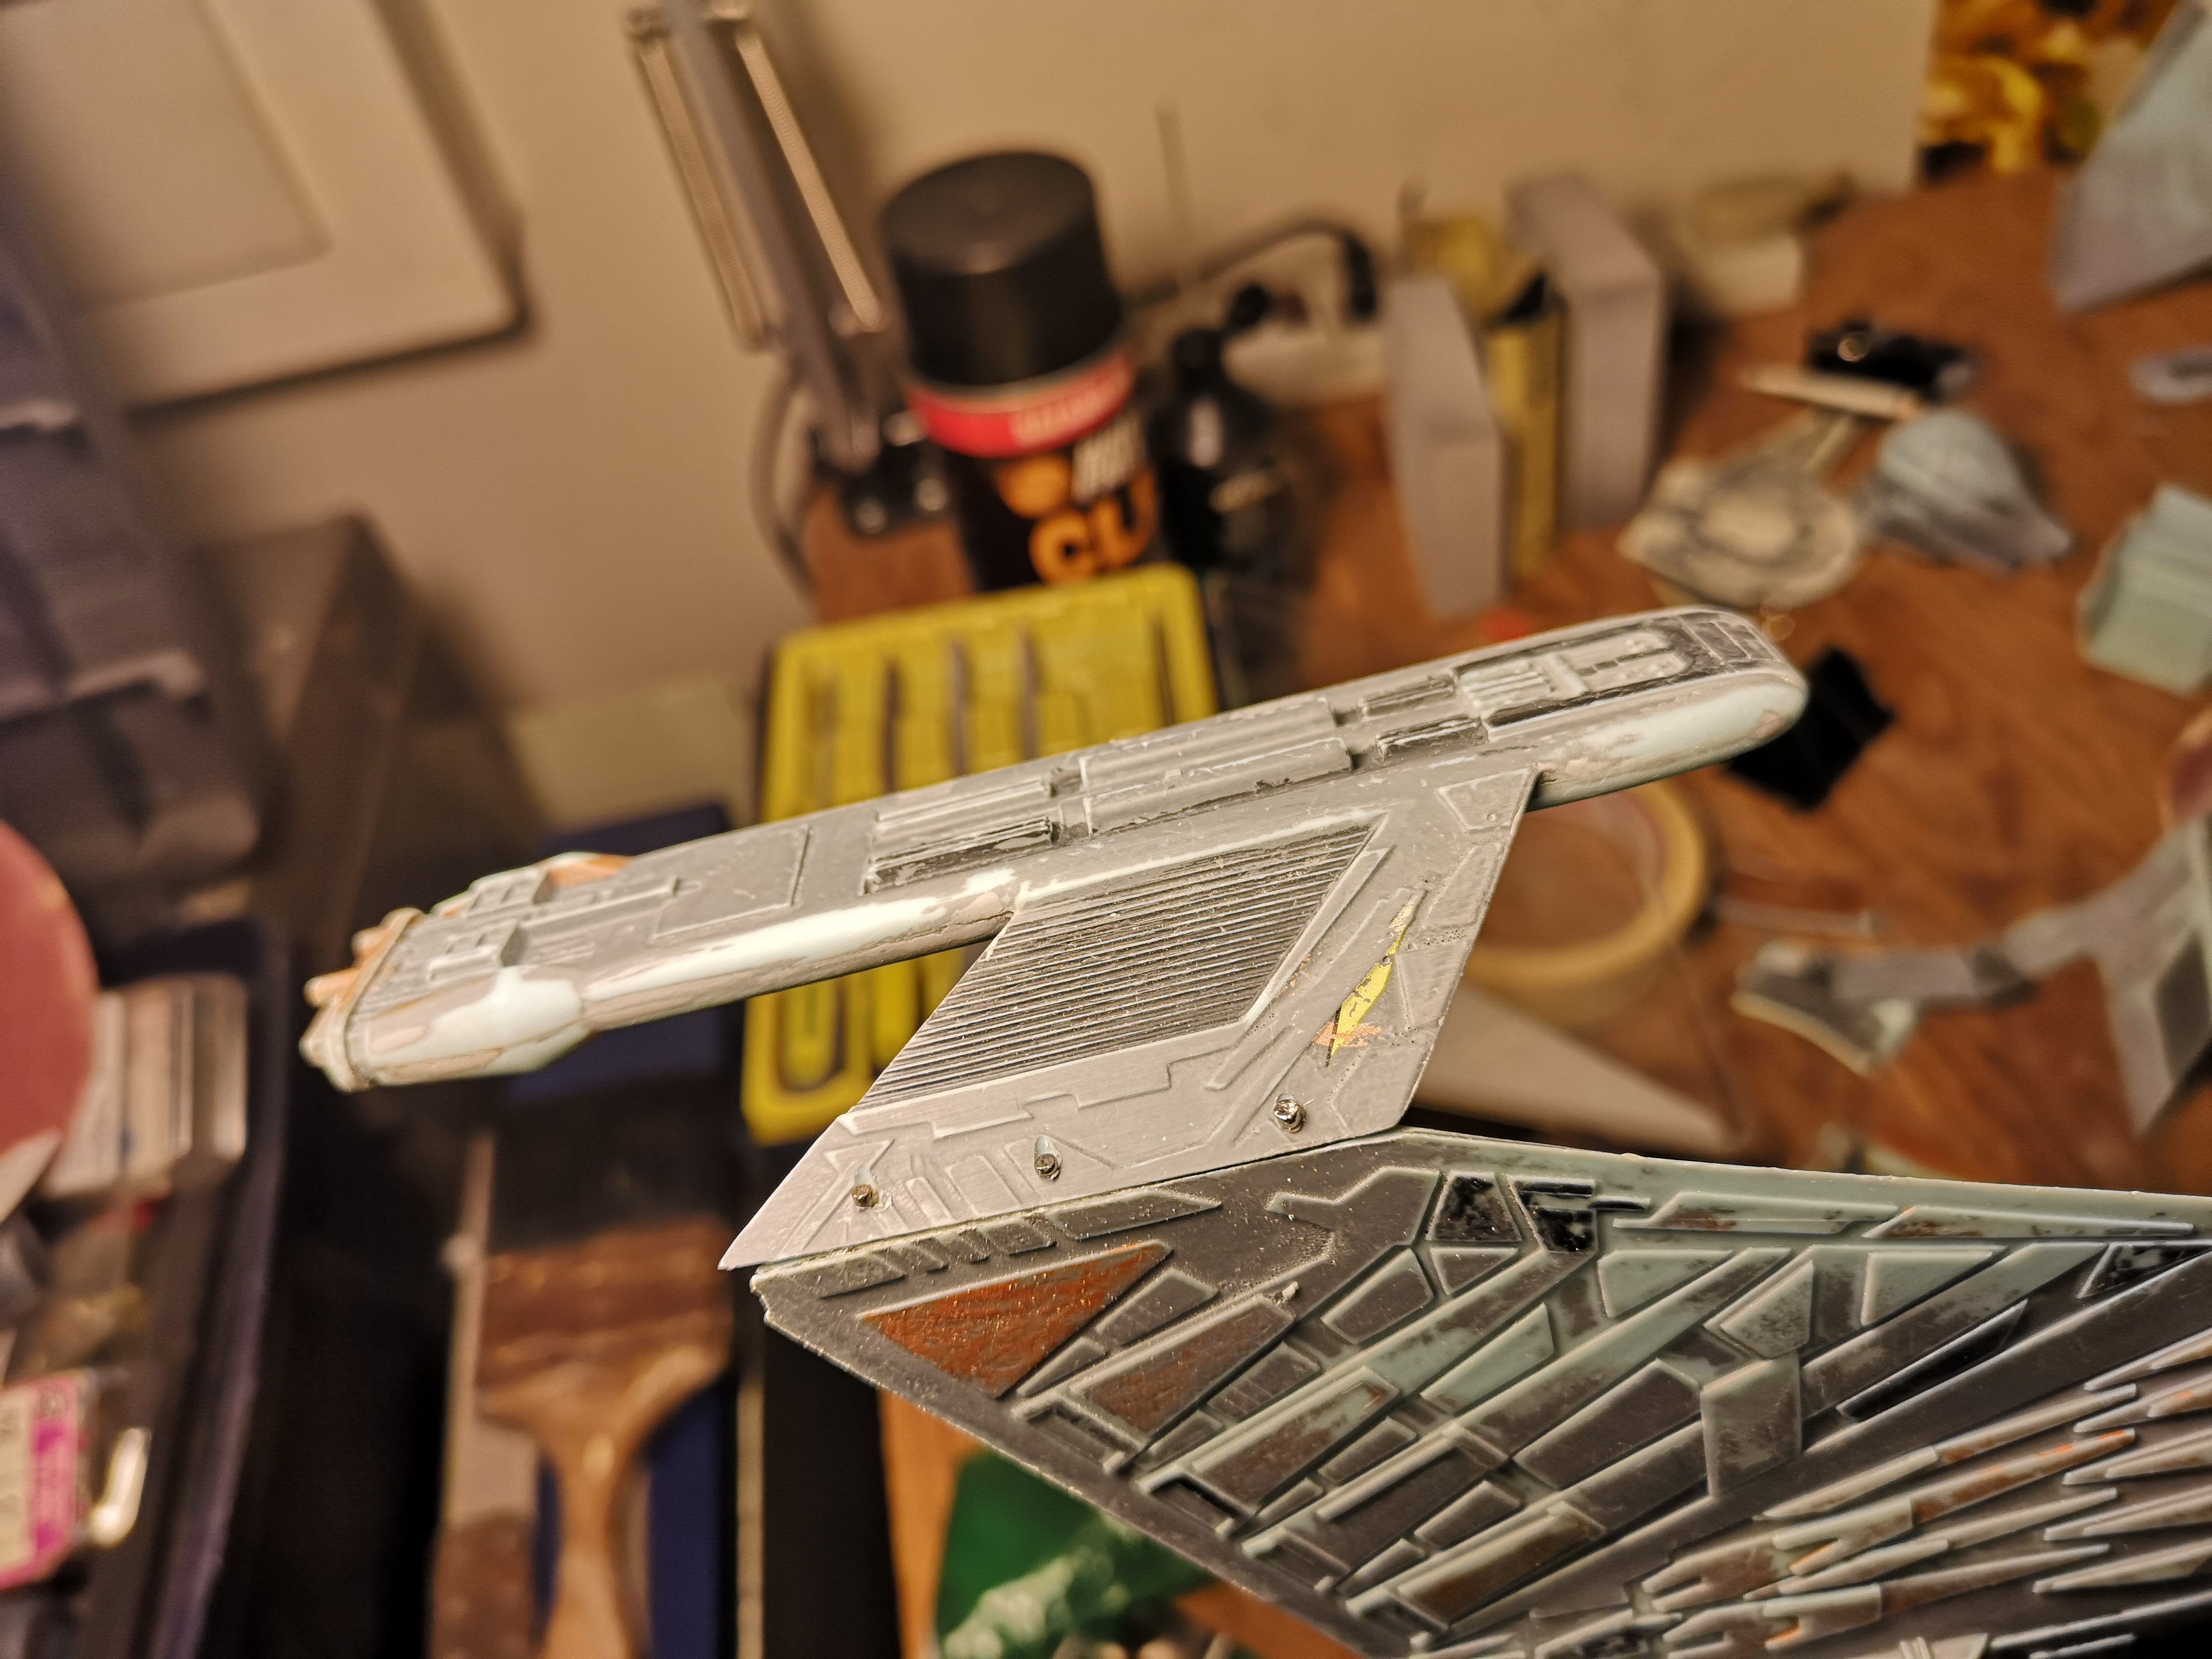
I know others have completely re-sculpted the nose. I just sanded mine as much as I dared but I'm no scupltor so mine still looks like crap. I just realized I have spare noses from my Hasegawa Elintseeker and Super Ostrich, so I probably could have just used that.


-
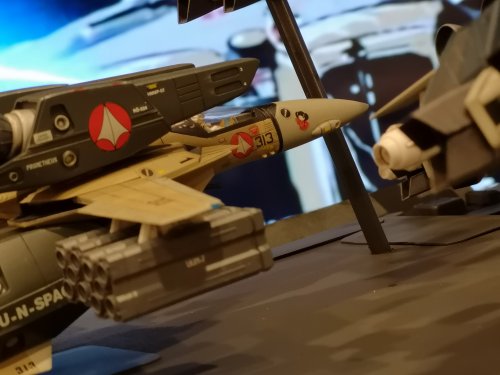
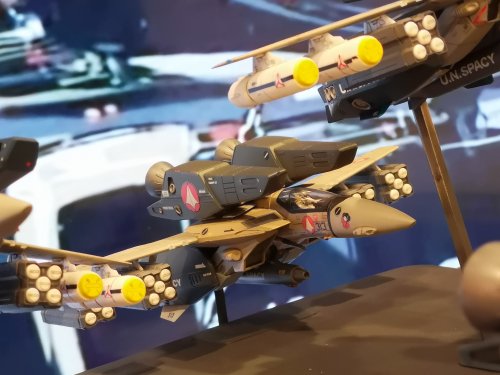
Hey, I built one of these a while back! Don't see many people building these anymore since the Hasegawa's came out. Added a few spare parts from Hasegawa kits as well as decals. I only used a handful of the original decals as many of them just looked too cartoonish. As to the OP's question, if you have a lot of Hasegawa 1/72 kits, you might want to look into spares from those kits, they look far nicer. In my opinion.

-
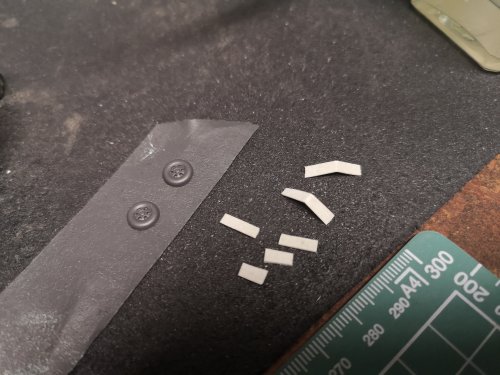
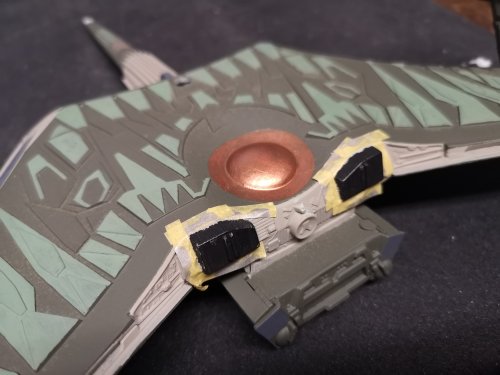
Lol, @MechTech Twigs and Berries instead of K'Tingas? I don't have an airbrush yet, so I painted some of the damaged parts with a rattle can. Just masked off a thin strip, then moved the mask further out and pulled the rattle can further back and sprayed again. Ok, greeblies was a complete after thought on these two. The photon torpedo tube always looked unfinished on these kits and I probably should have addressed this way before, but at the last minute, I decided to add some detail. Should be easy to recognize for anyone who's built a Hasegawa 1/72 Valk. For one of the K'Tingas, I was left with a gaping hole because I was missing parts, added a bit of damage around the area and was just going to leave it black, but figured I should put something in the hole. Hopefully it draws attention away from the gaping seam line between the front bulkhead and the rest of the hull, lol! I also decided to add some repair plating to make it look like some attempt of repairs were done. One of the nacelles broke at the stem/slot so it's held together with nails, lol! Then onto the decals. Clearly I forgot a step because I tried to apply the decals straight to the Krylon - a textured matte paint, lol! Left them on over night and the next day they came right off. Anyway, I tried to rescue the decals (HDA so pretty robust) and then hosed the cruisers down with gloss clear. Will reapply the decals and post pics later


-
@MechTech Lol, thanks! Yeah, pretty far from screen accurate, but I made the decision to refurbish these guys on the cheap with whatever I had, so I will be happy as long as they look a little better than they did before. @Thom Oh man, if you zoom in, you can totally see the shaky hands and the fact I was too lazy to mask a million feather plates. I worked on the K'Tingas a bit more, just more paint. I wasn't going to mask any of the rest, but some parts just didn't have a clear line on where the paint had to begin so I broke down and masked a bit. In retrospect, I think I spent just as much time hand brushing everything and cleaning up edges as I would have spent on masking and spraying (which would have looked a lot cleaner) For the Klingon symbol on the bottom of the ship, I decided to leave the circle unpainted on one of them because I saw another build like that and it didn't look too bad. Besides, the circle barely visible on that one, lol! Remember, these are refurbish builds, and I wasn't able to get all of the old paint off these things. Anyway, need to take a break, hands are shaking from all the hand painting, lol! Next step probably a bit of touch up, battle damage paint and weathering.

-
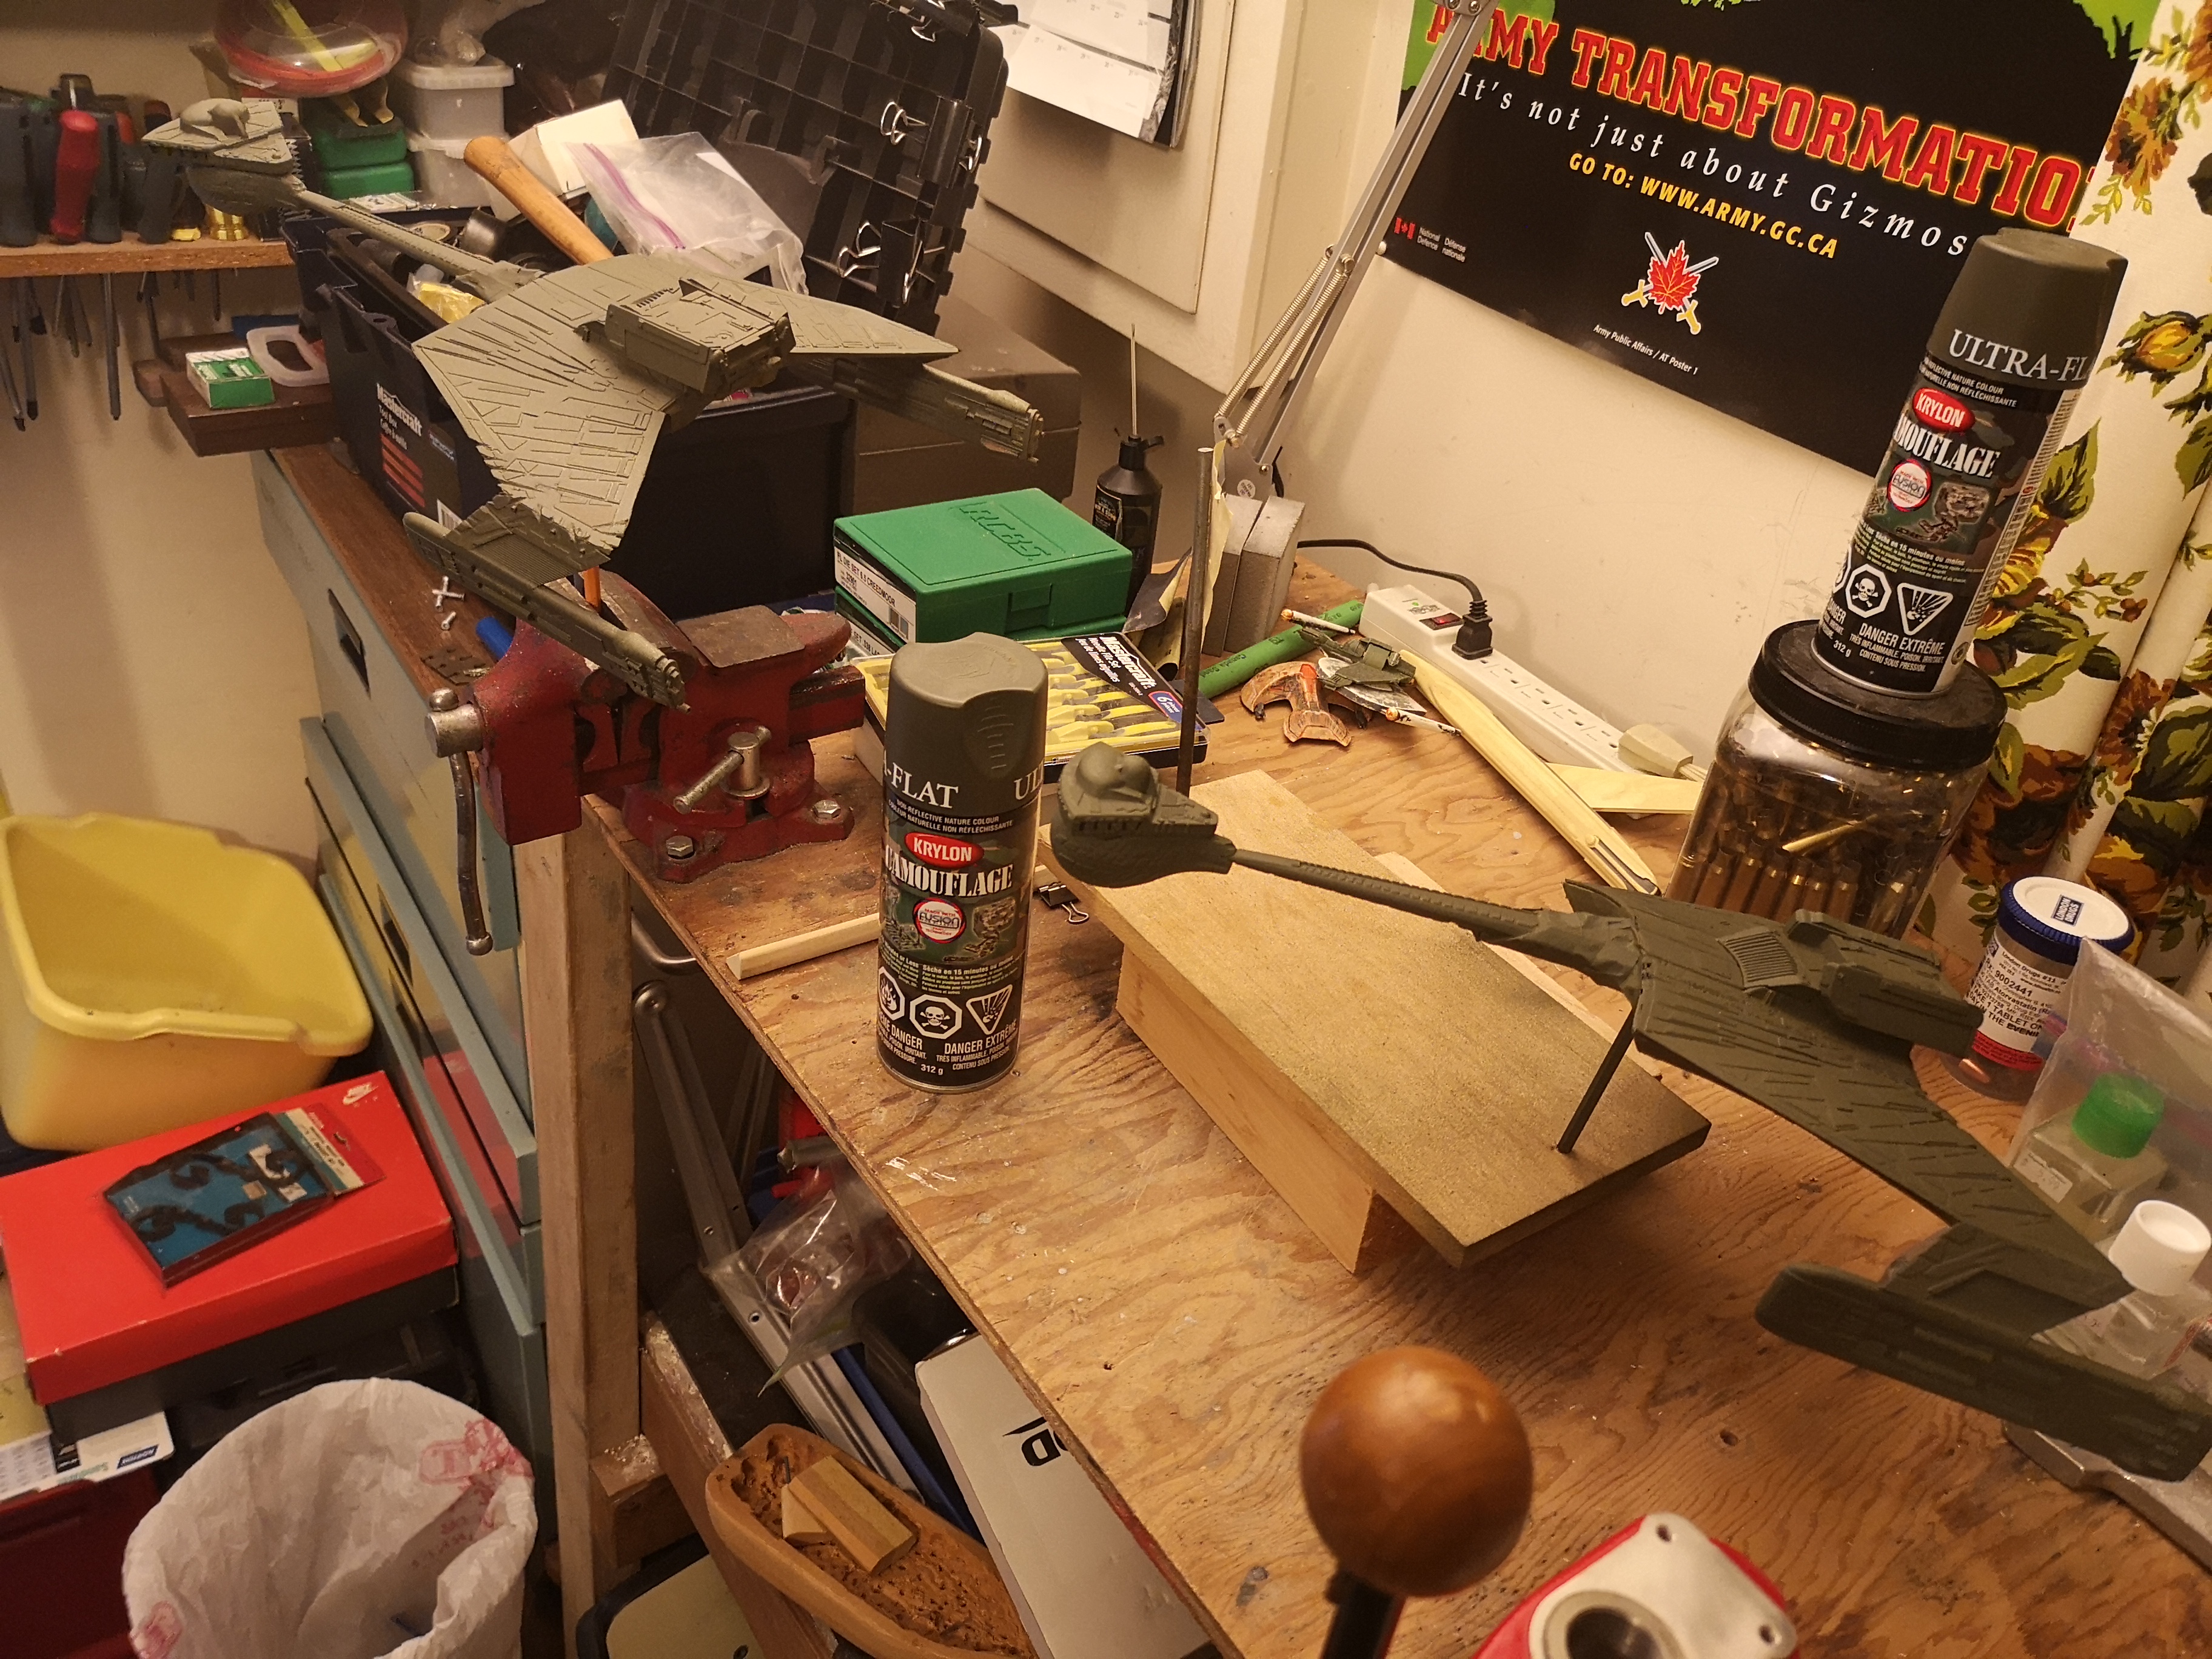
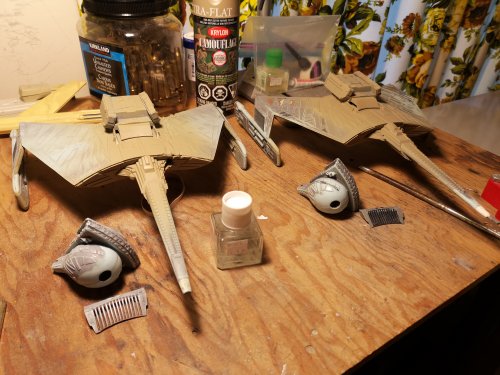
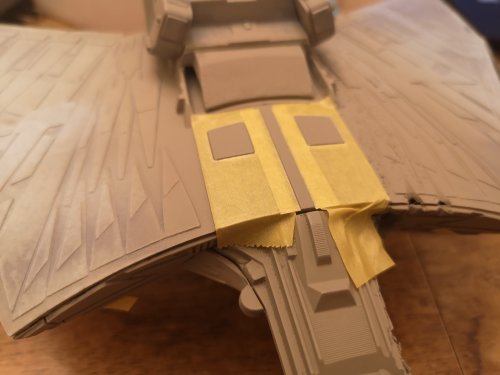
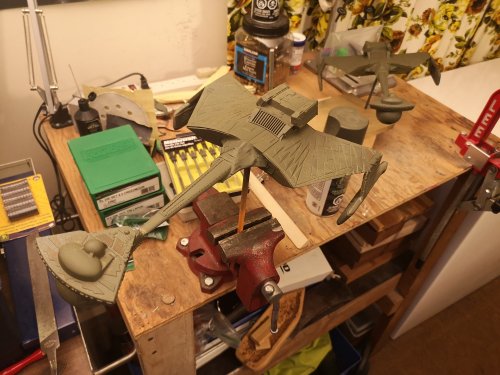
Anyway, I finally got off my @$$ and starting working on them again. I mocked them up and they were a bit of a mess. I used to think the 537 Refit was a badly engineered kit, well the K'tinga kits aren't much better, lol! The way it fits together makes filling in seams a collosal pain in the buttocks. It's like they decided to cut a line down a pile of panel (nacelle pylons). The bulkhead where the spindly stem of a neck is also a bit gross. Anyway, I decided that these kits were pretty far gone so they'll be basically repaints with a bit of weathering and battle damage to cover up the poor assembly from when I was a kid. Please don't zoom in, lol! hiand laid down some FDE then some masking over top. Since both stands were nowhere to be seen, I found a board, drilled two holes in it, and stucl a steel rod in one, and an old hex key in the other. Oh, I'm not sure if I mentioned, apart from new decals ordered from HDA, I planned to refurbish these kits with only what I had on hand, so whatever paint I have on the rack is all I have to work with. As you can see, the base coat is already off to a bad start. Nowhere near screen accurate is the Krylon OD green rattle can. I had tons of this stuff on the shelf because I painted my kid's Power wheels Jeep (can provide pics of that project if requested). Lol, it's WAY to dark, but I'm fine with it....screen accuracy right out the window. Not to mention the Krylon FDE (from painting my rifles) came out way too bright. So, I decided to mask some of it, then I made the dumb decision to hand paint the rest, thinking it would be less work. I'm not so sure now. It took me forever to get this far, just the bottom of the cruisers, and again, don't zoom in because it looks horrendous. The colors are clashing hard, but I still have a lot more painting to do. Also, once I do a wash, hopefully it will blend some of it together and it won't contrast so badly.


-
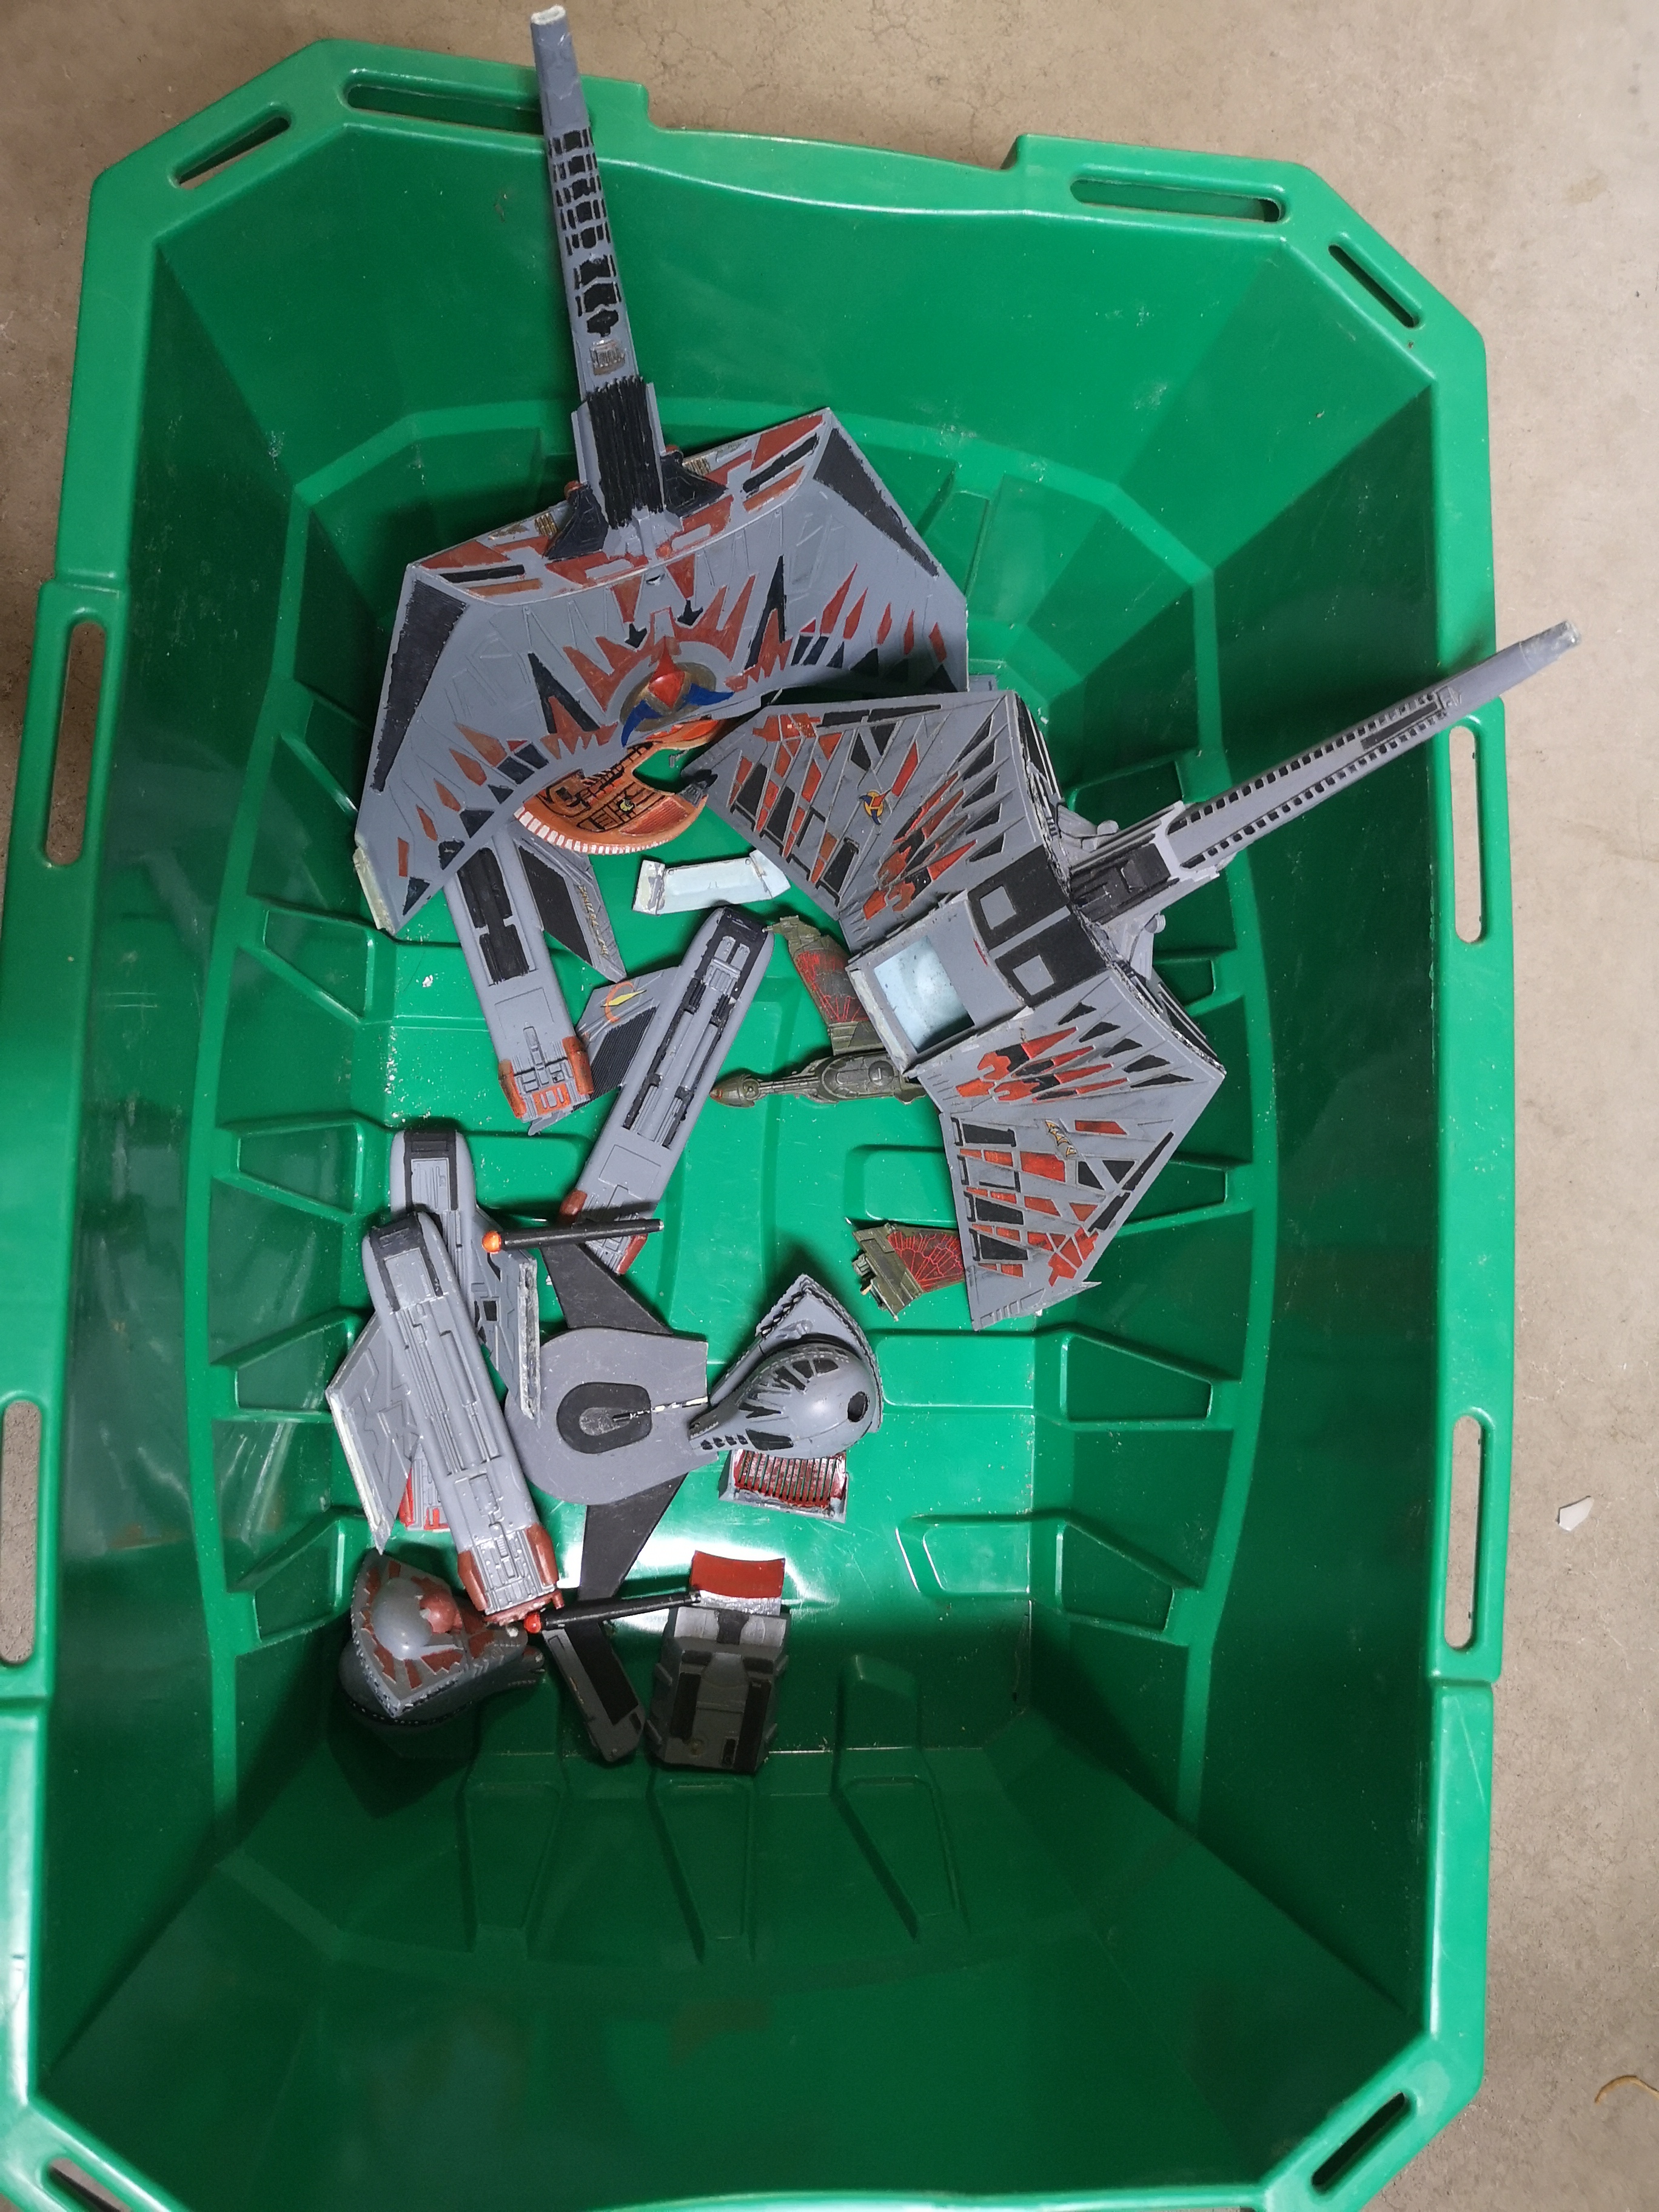
Hey guys, been a while, but I started working on those K'Tingas again, lol, remember those smelly things? These things had been sitting outside for maybe 25 years or so and they were a bit funky. I tried Simple Green to remove the old paint, which didn't work as well as I'd hoped. Then instead of smelling like BO, they smelled like Simple Green. I spent a little time filling in some seam lines... But some parts of these kits were just too far gone to get a precision build out of them. And I had to McGuyver some of the parts back together.


-
I still haven't watched Shin Godzilla, but I did see a few scenes here and there. His second form is pretty unsettling, lol! In this new film, I hope they do a blooper reel or something where King Kong is trying to shove a tree down Godzilla's throat, lol!

-
Has anyone seen this before? https://youtu.be/SW4pxzuMNwA
-
I know what you mean by sense of scale. There were a lot of zoomed in close ups of Godzilla with vehicles and people for reference, but in the later films, you sort of lose that sense of scale because it's just Godzilla up against buildings or other giant creatures. But what really gets me about these films is the humans in it. 30 rounds of 5.56 with the rifle set on fun is like watching a flea try to have sex with an elephant. Instead, it might be better to quietly flip the selector to safe, and open fresh pack of crayons instead.
-
Ok, I said before that Godzilla, a hard shelled reptilian with atomic breathe should be able to torch a fleshy mammal covered in flammable fur but since King Kong is going to be wielding Mjolnir, that changes everything.
-
1/48+fp's, 1/60+fp's, 1/72, 1/2k, 1/3k,1/100 and now 1/144
peter replied to VF-18S Hornet's topic in Toys
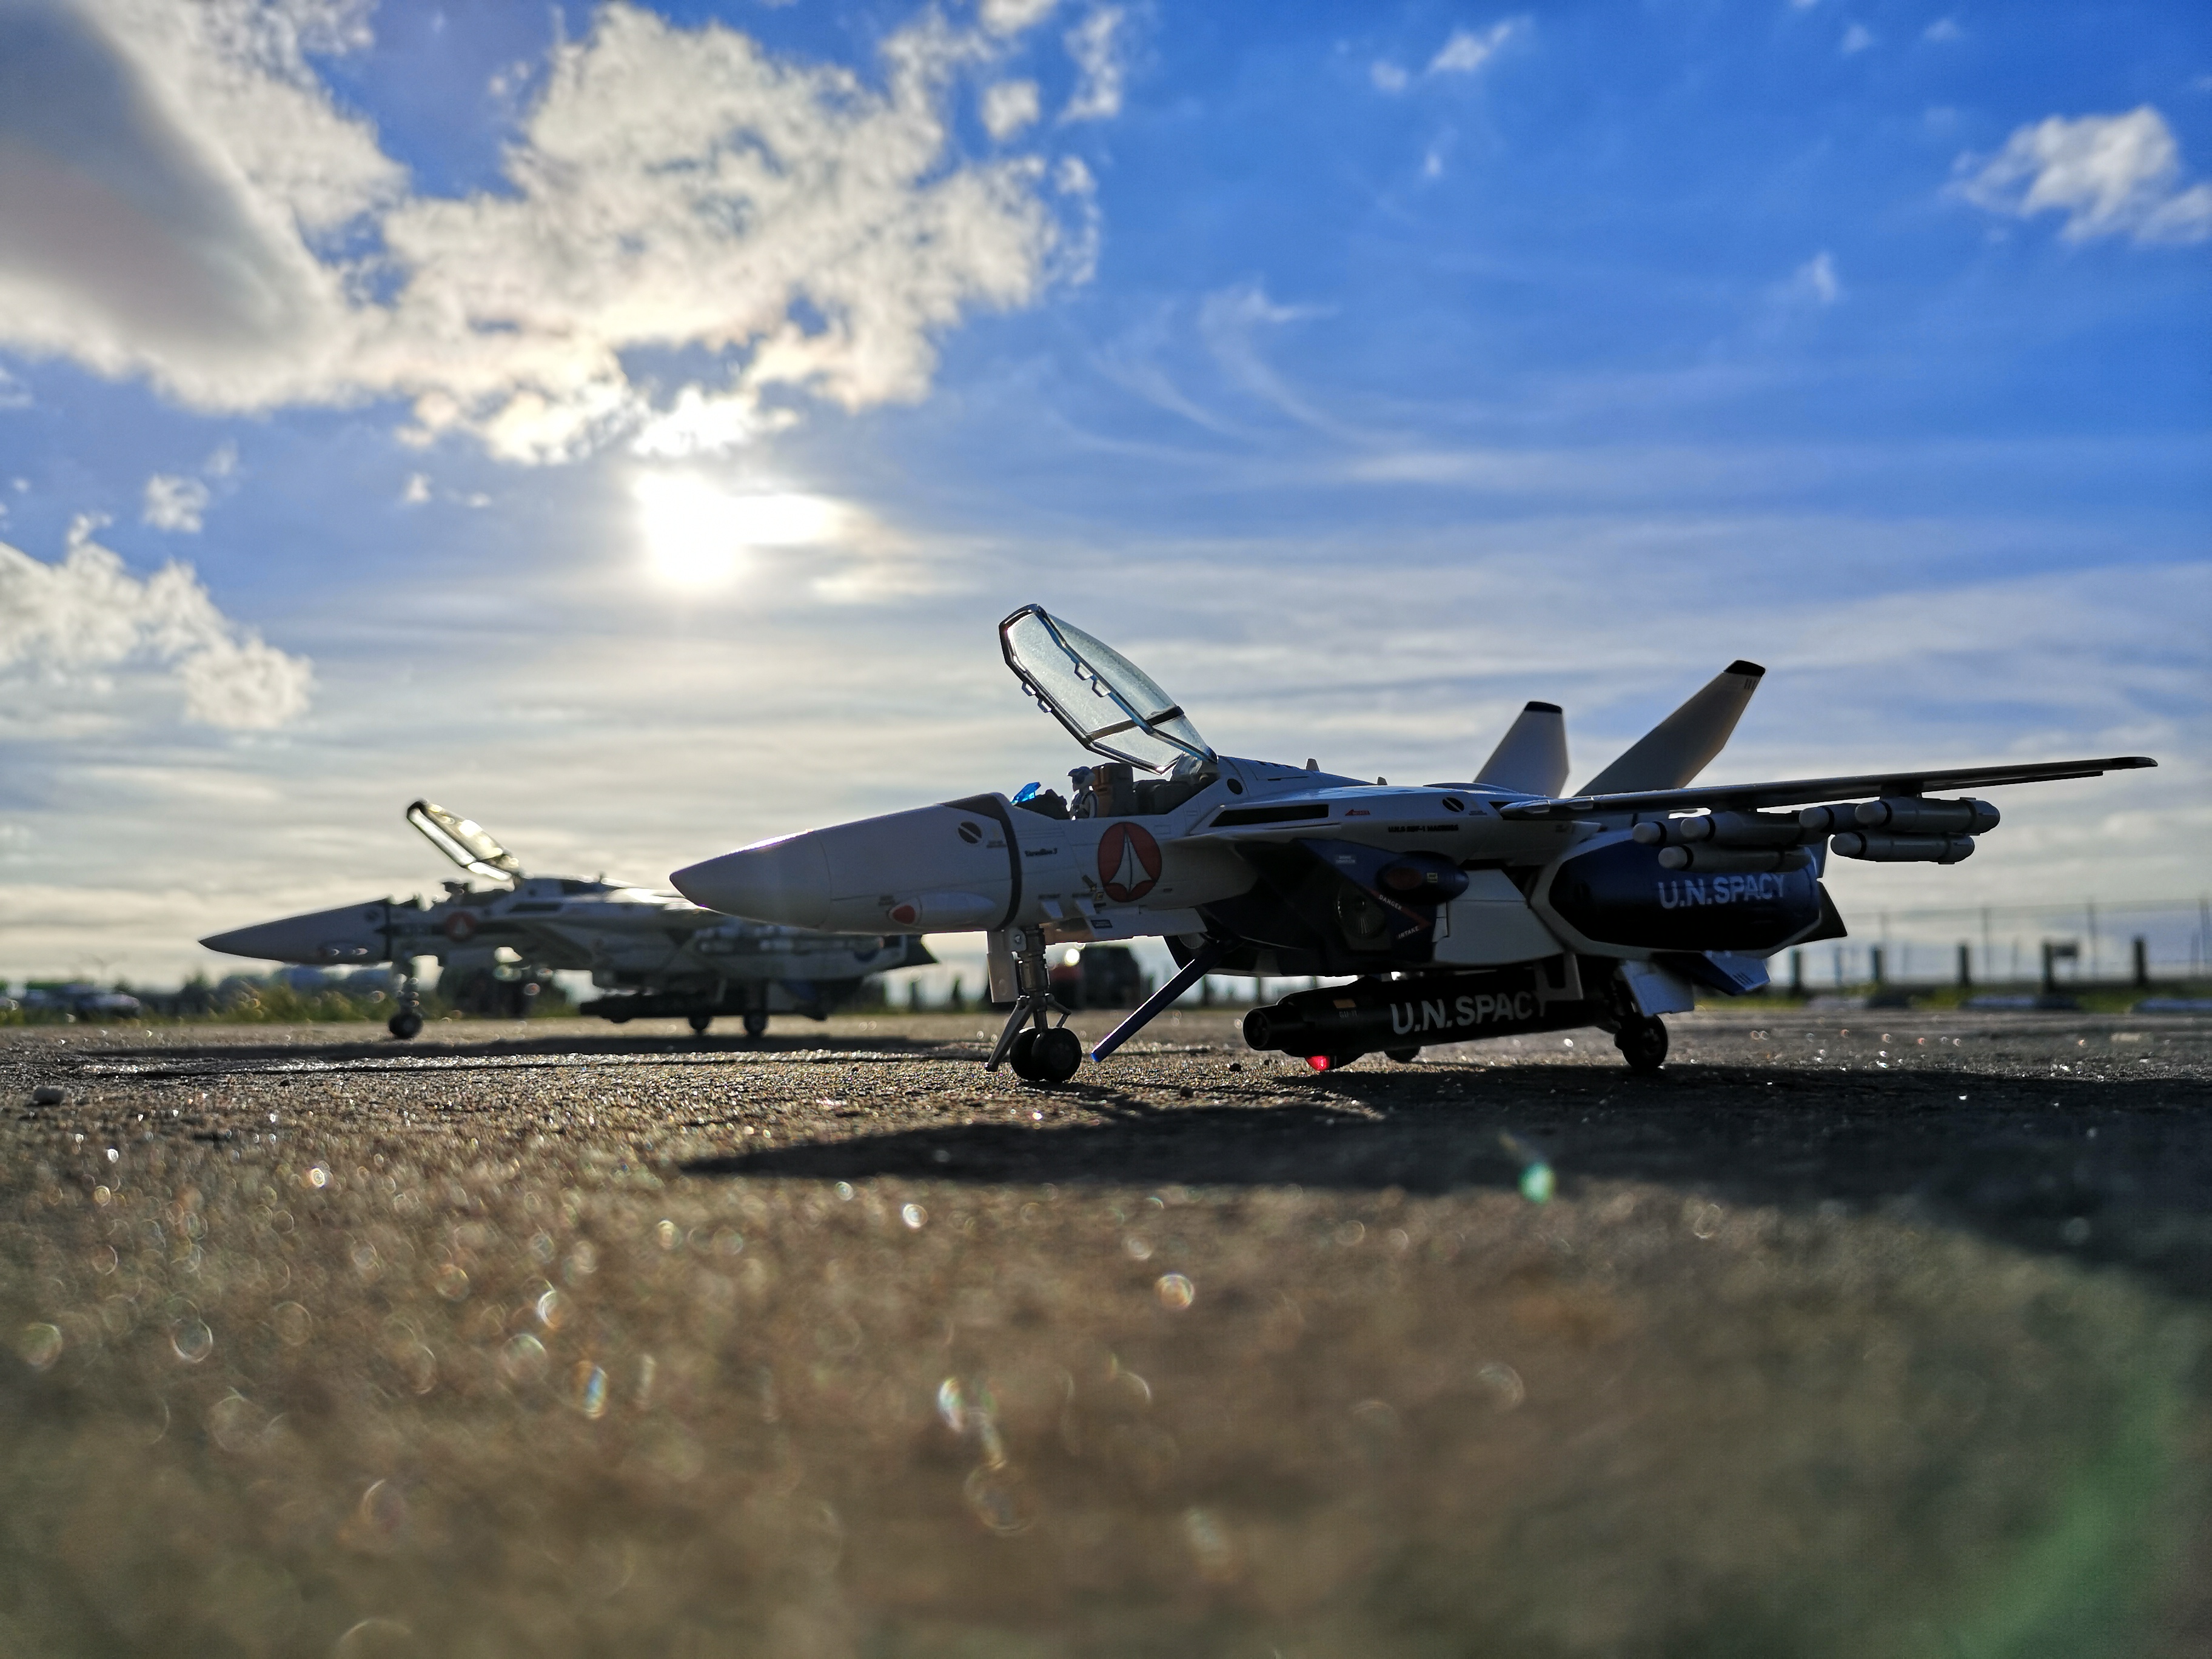
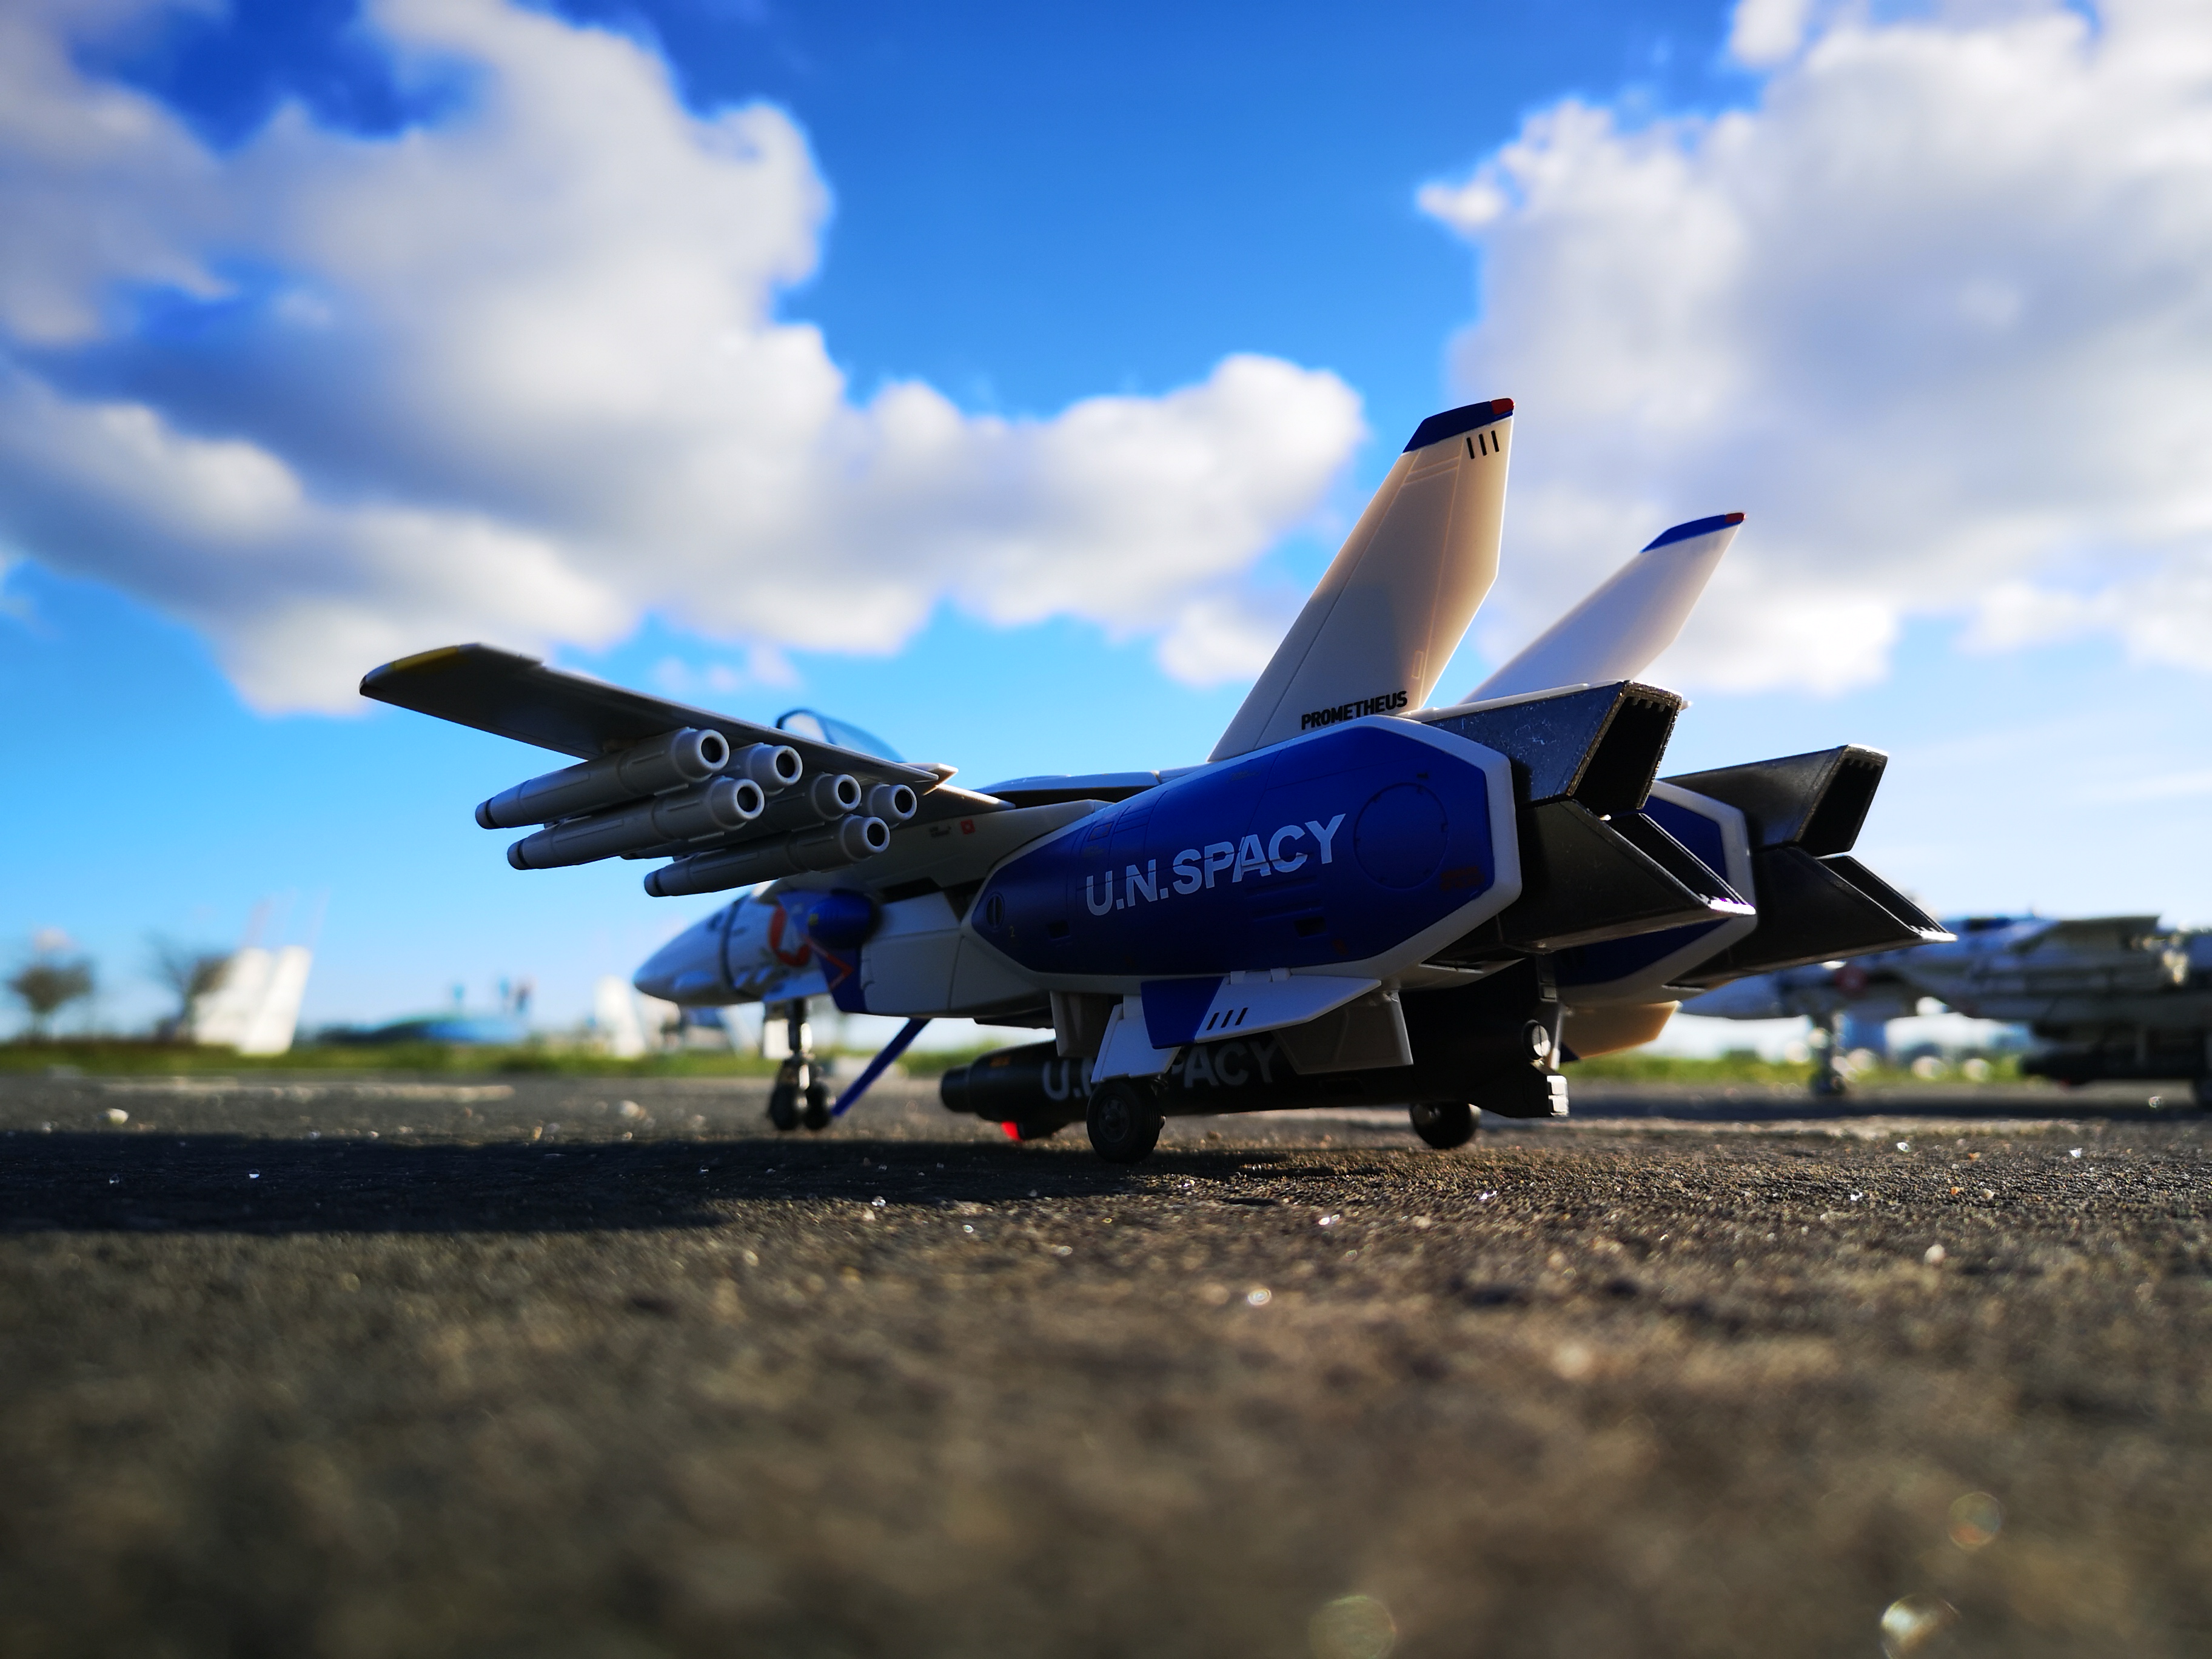
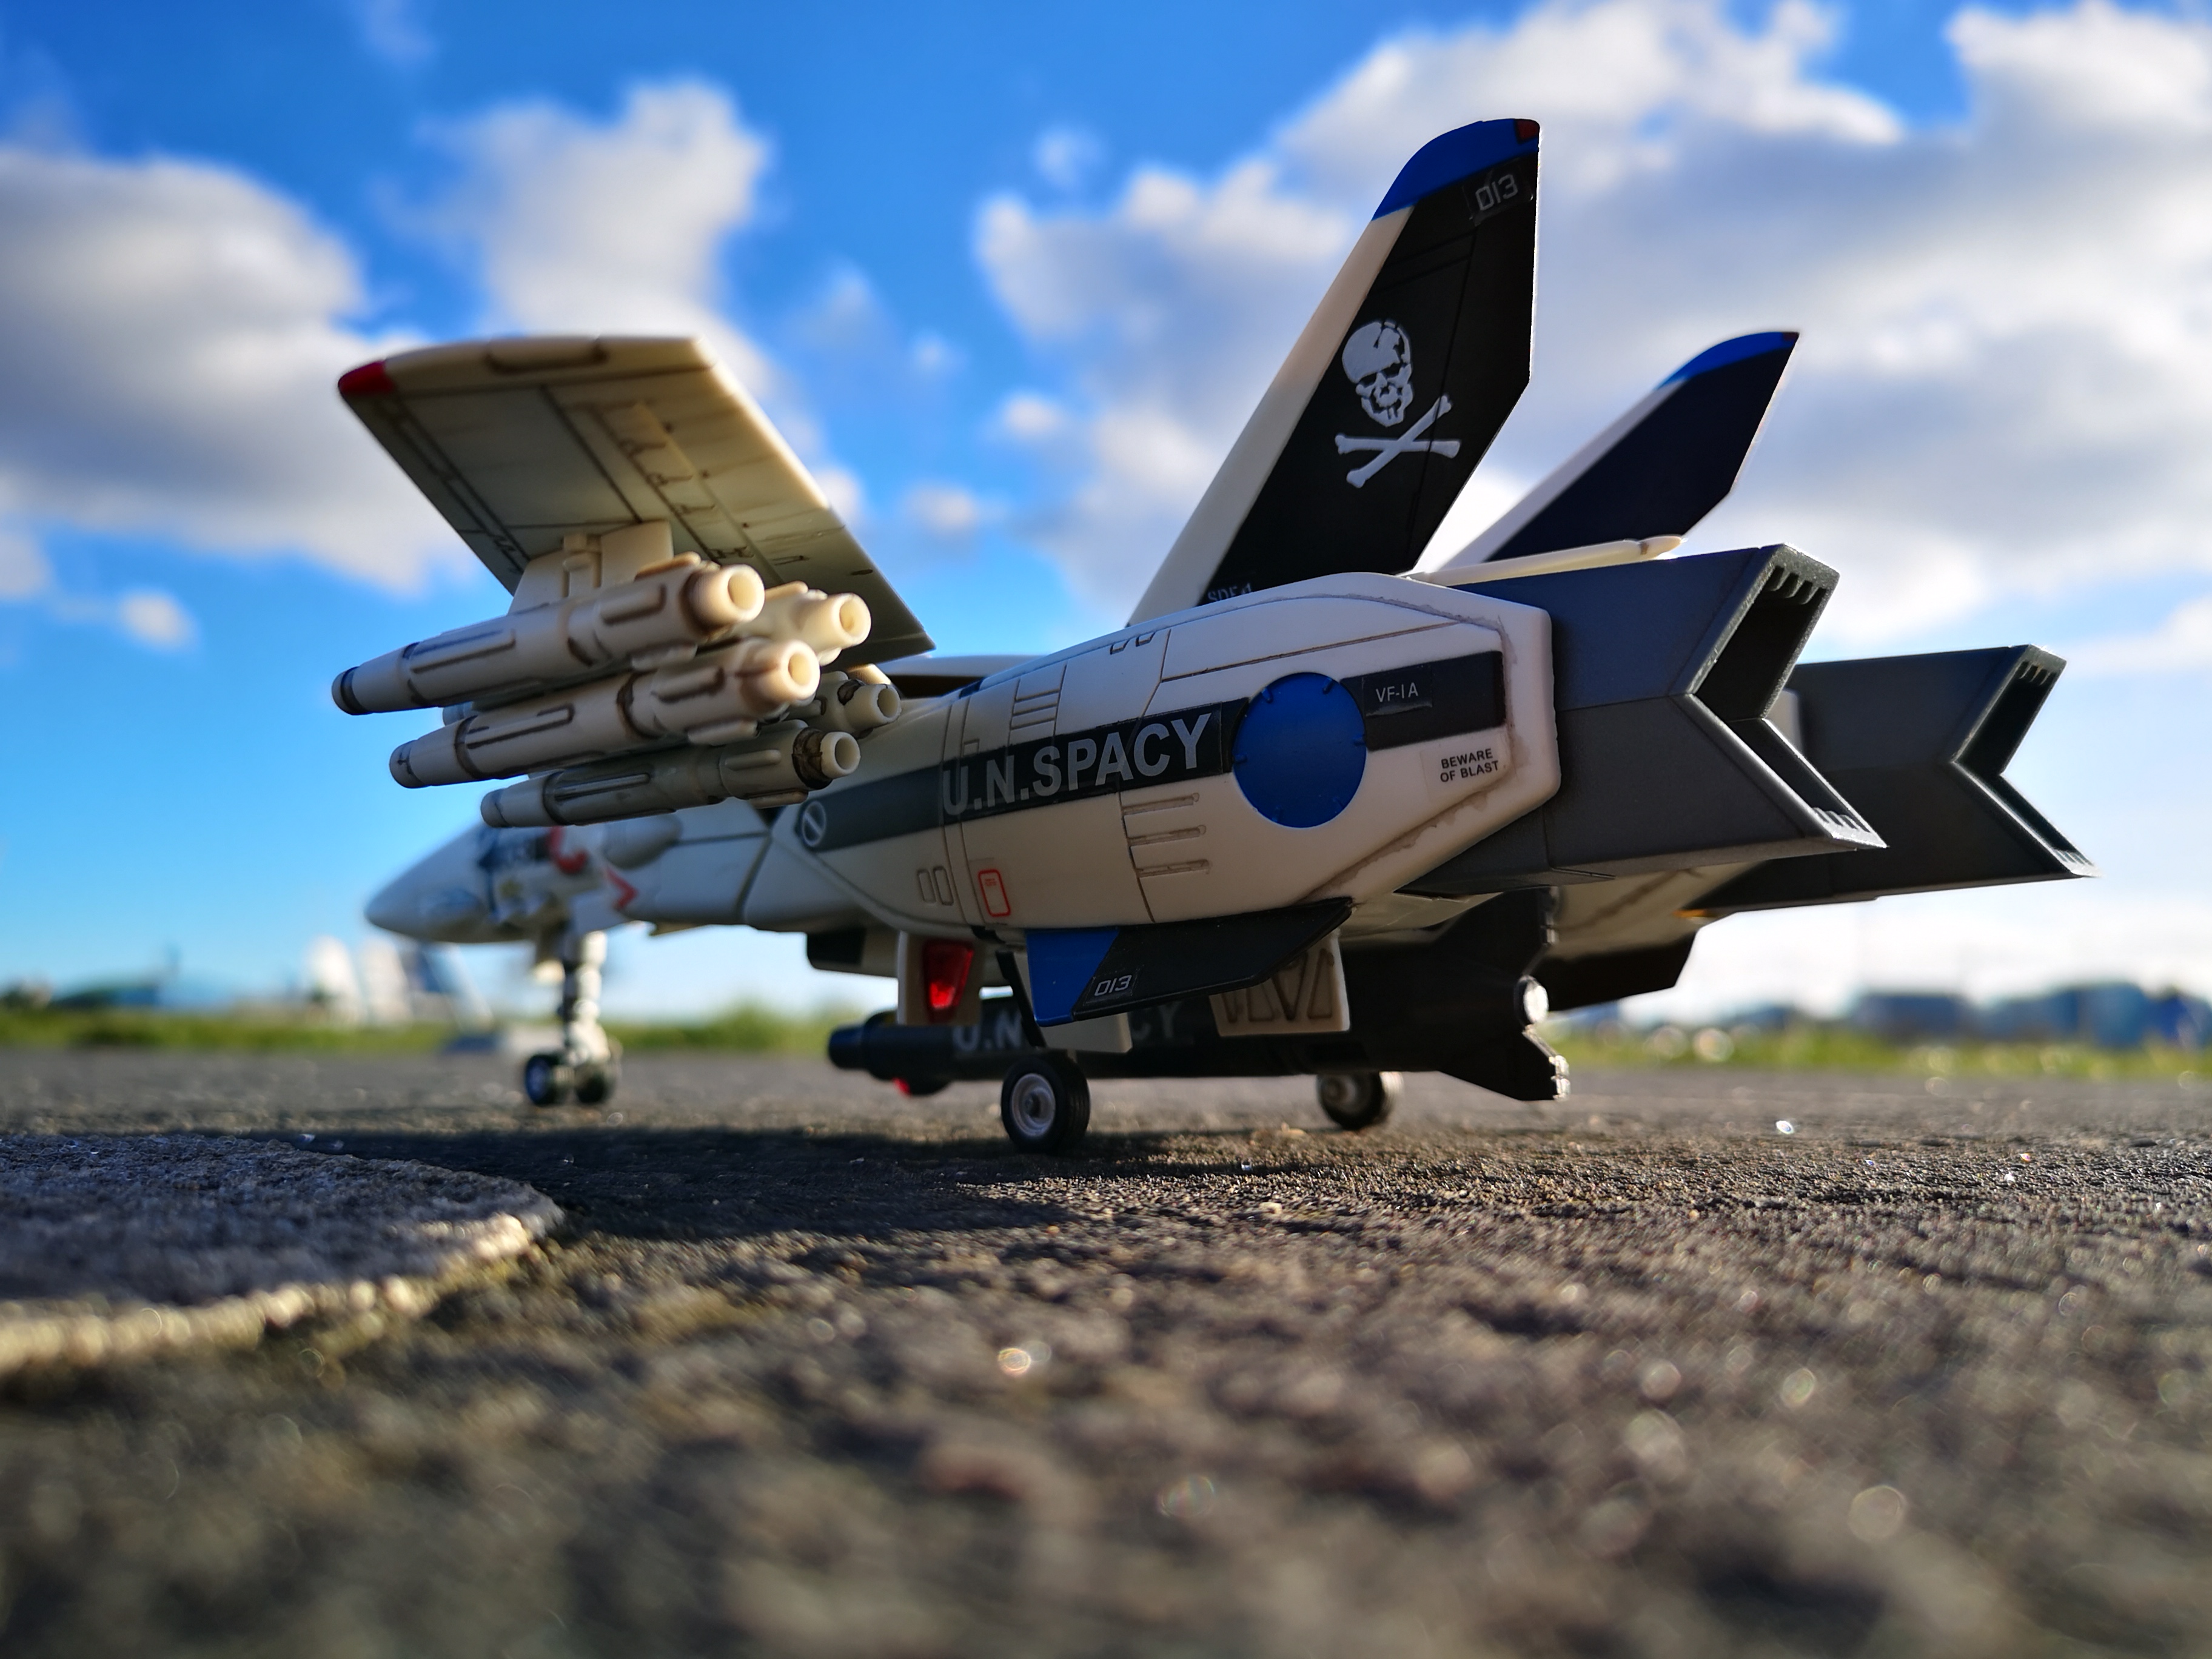
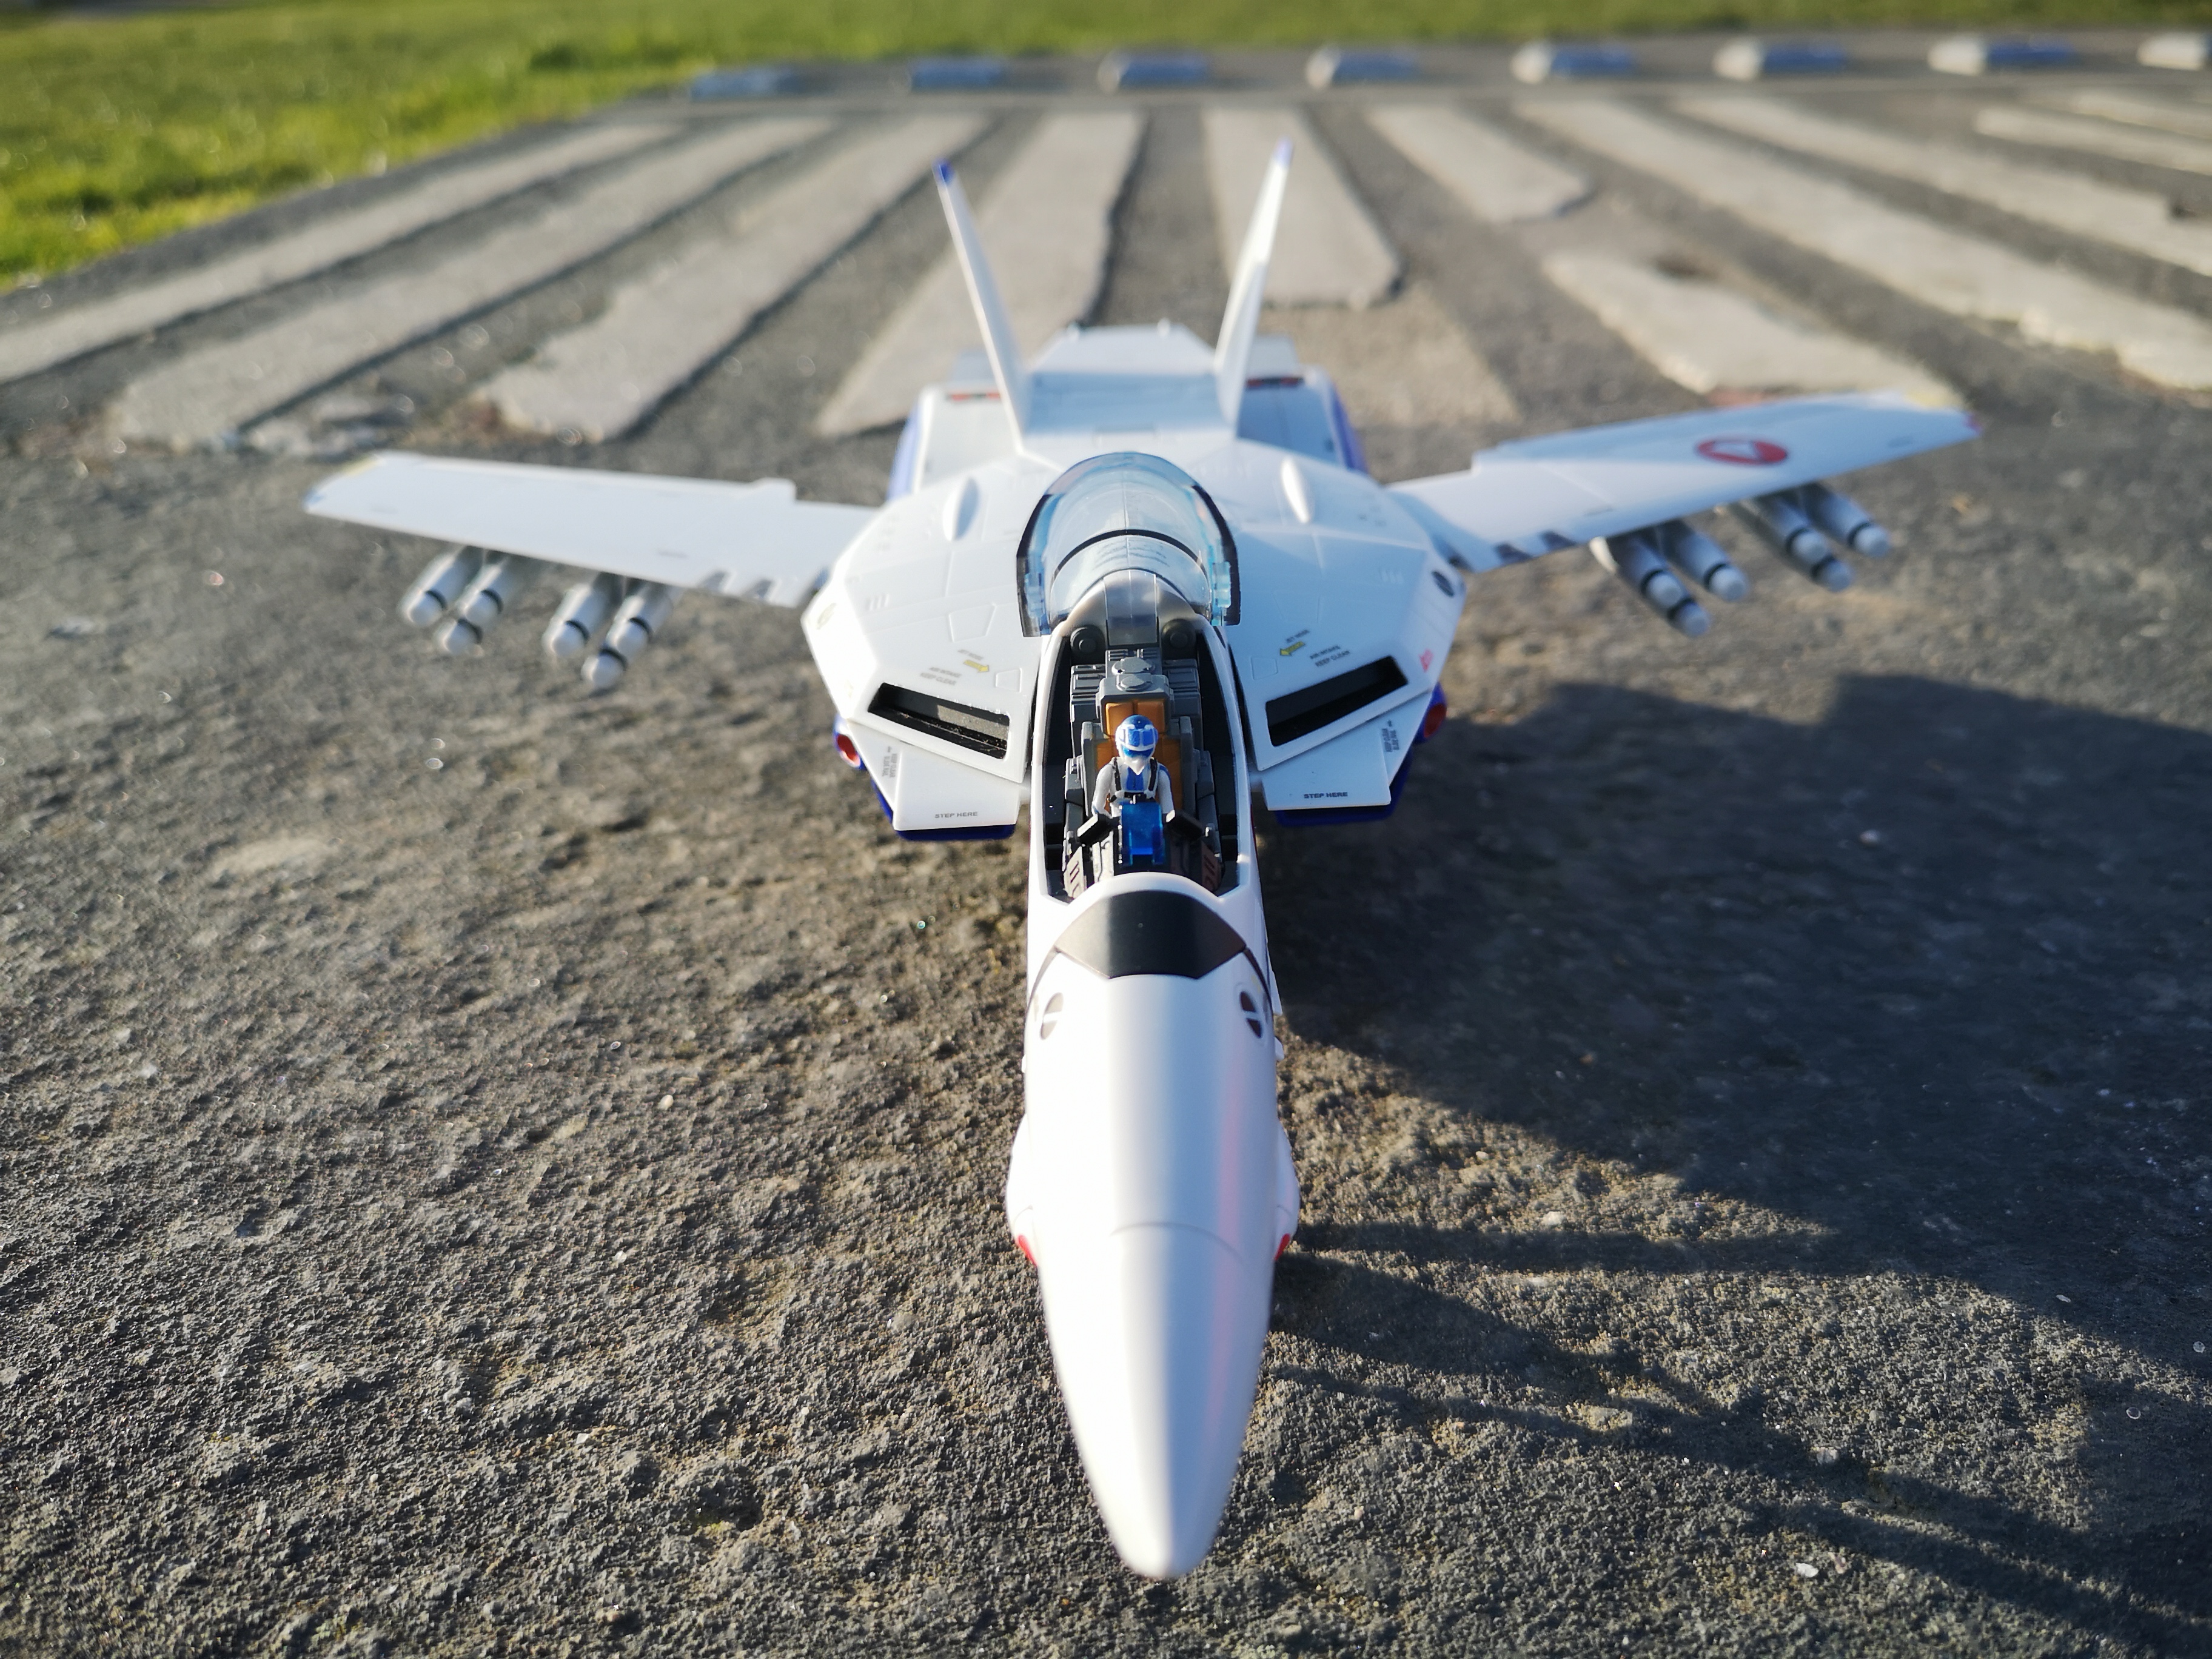
Lol, yeah, that was some intense sun out there, but these guys are usually in their boxes in a room that doesn't ever see sunlight. -
1/48+fp's, 1/60+fp's, 1/72, 1/2k, 1/3k,1/100 and now 1/144
peter replied to VF-18S Hornet's topic in Toys
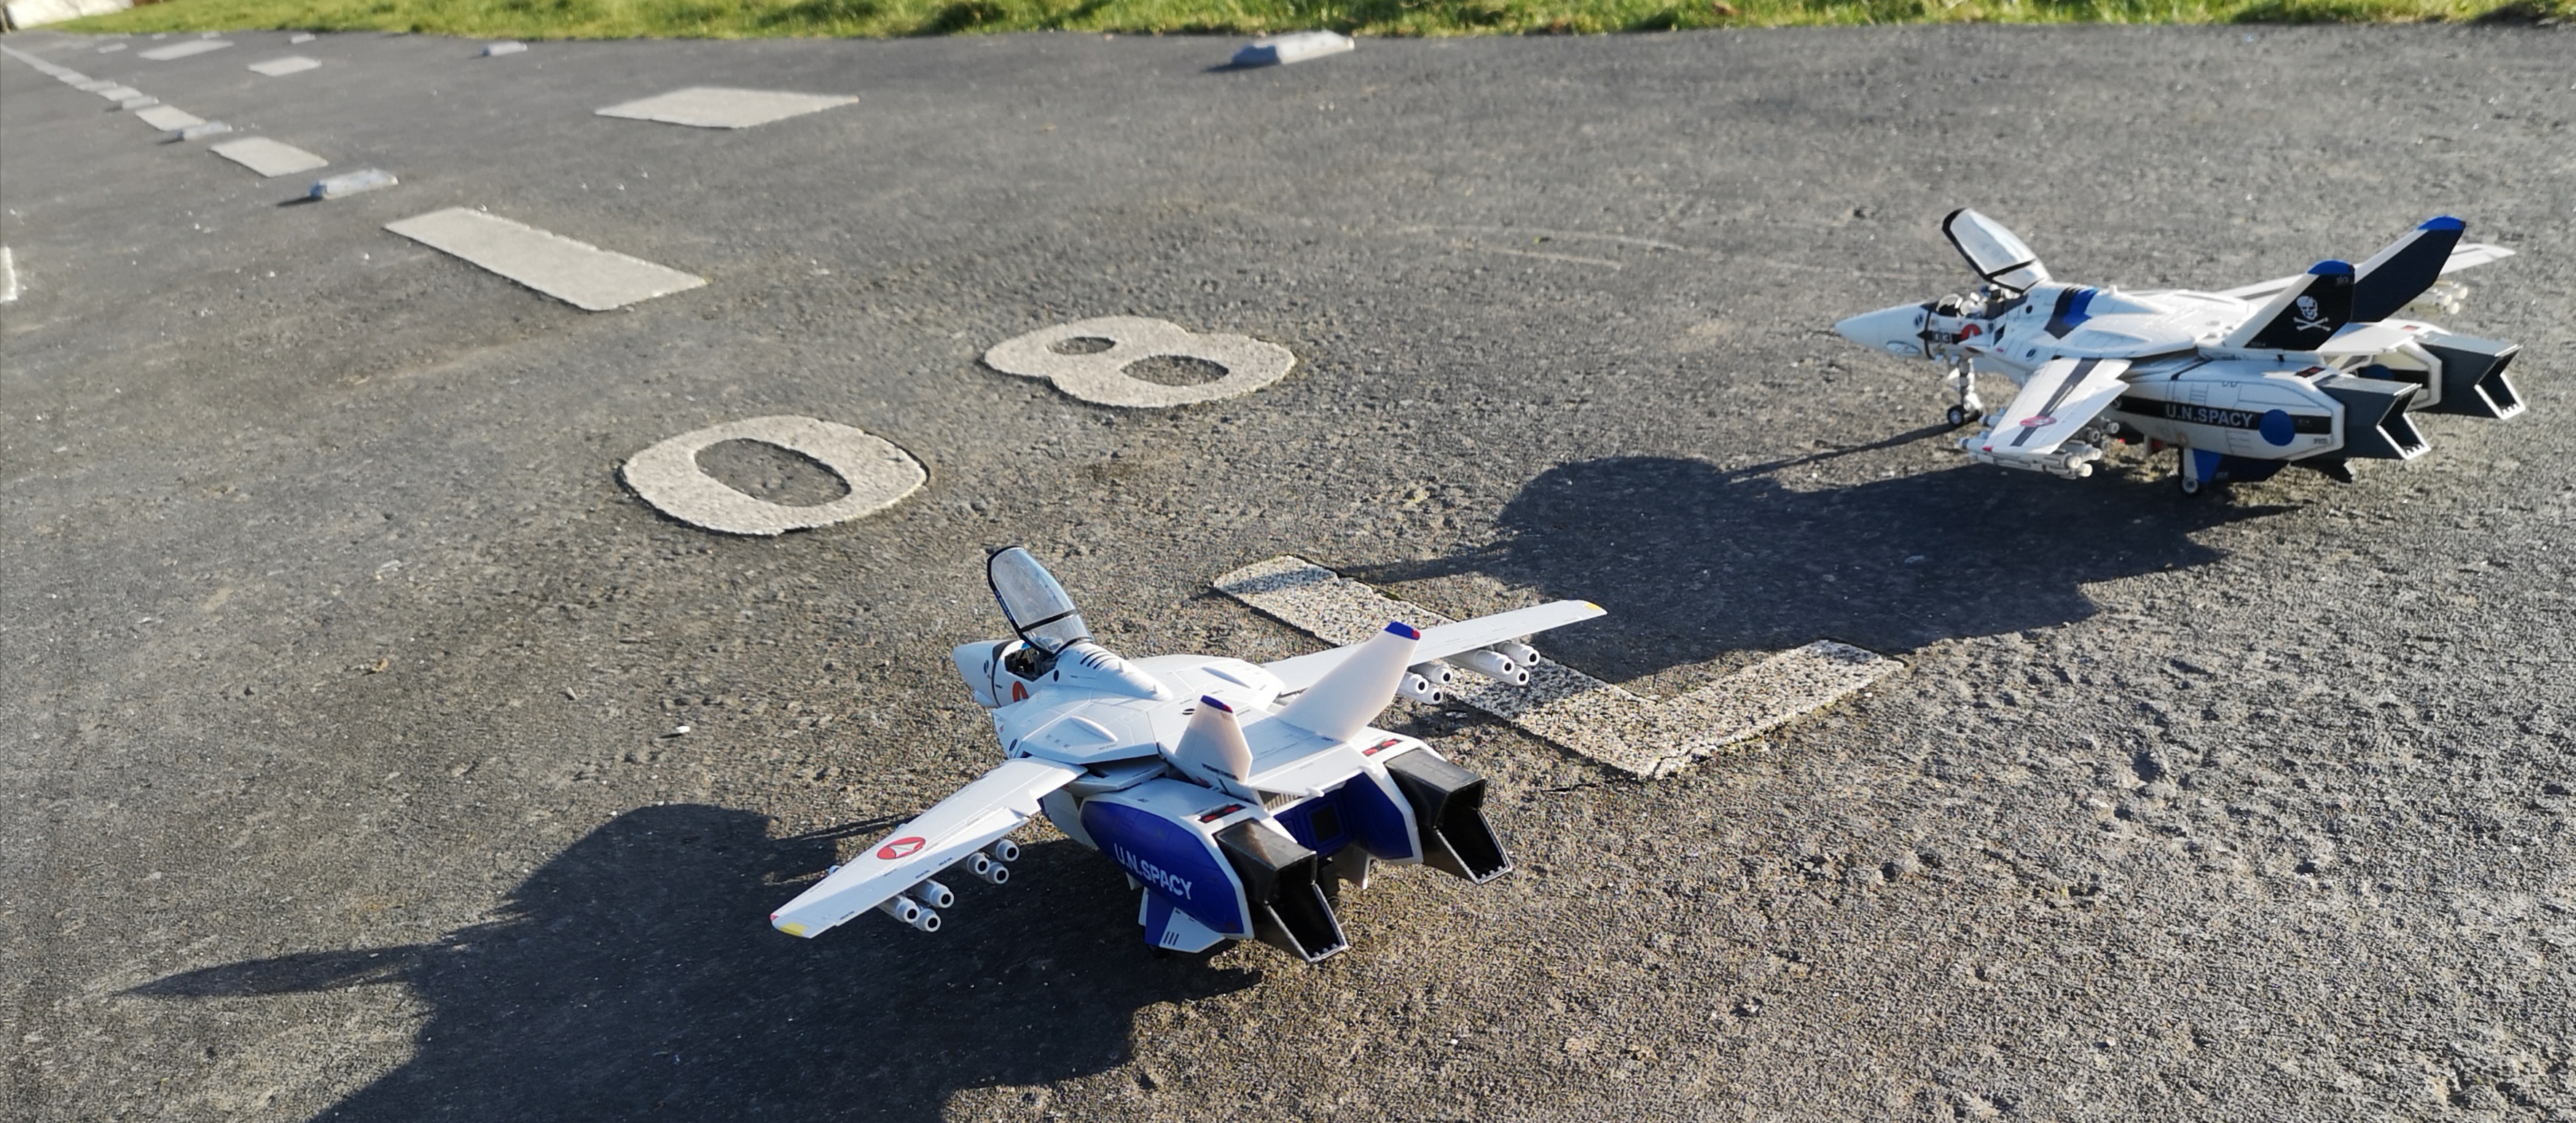
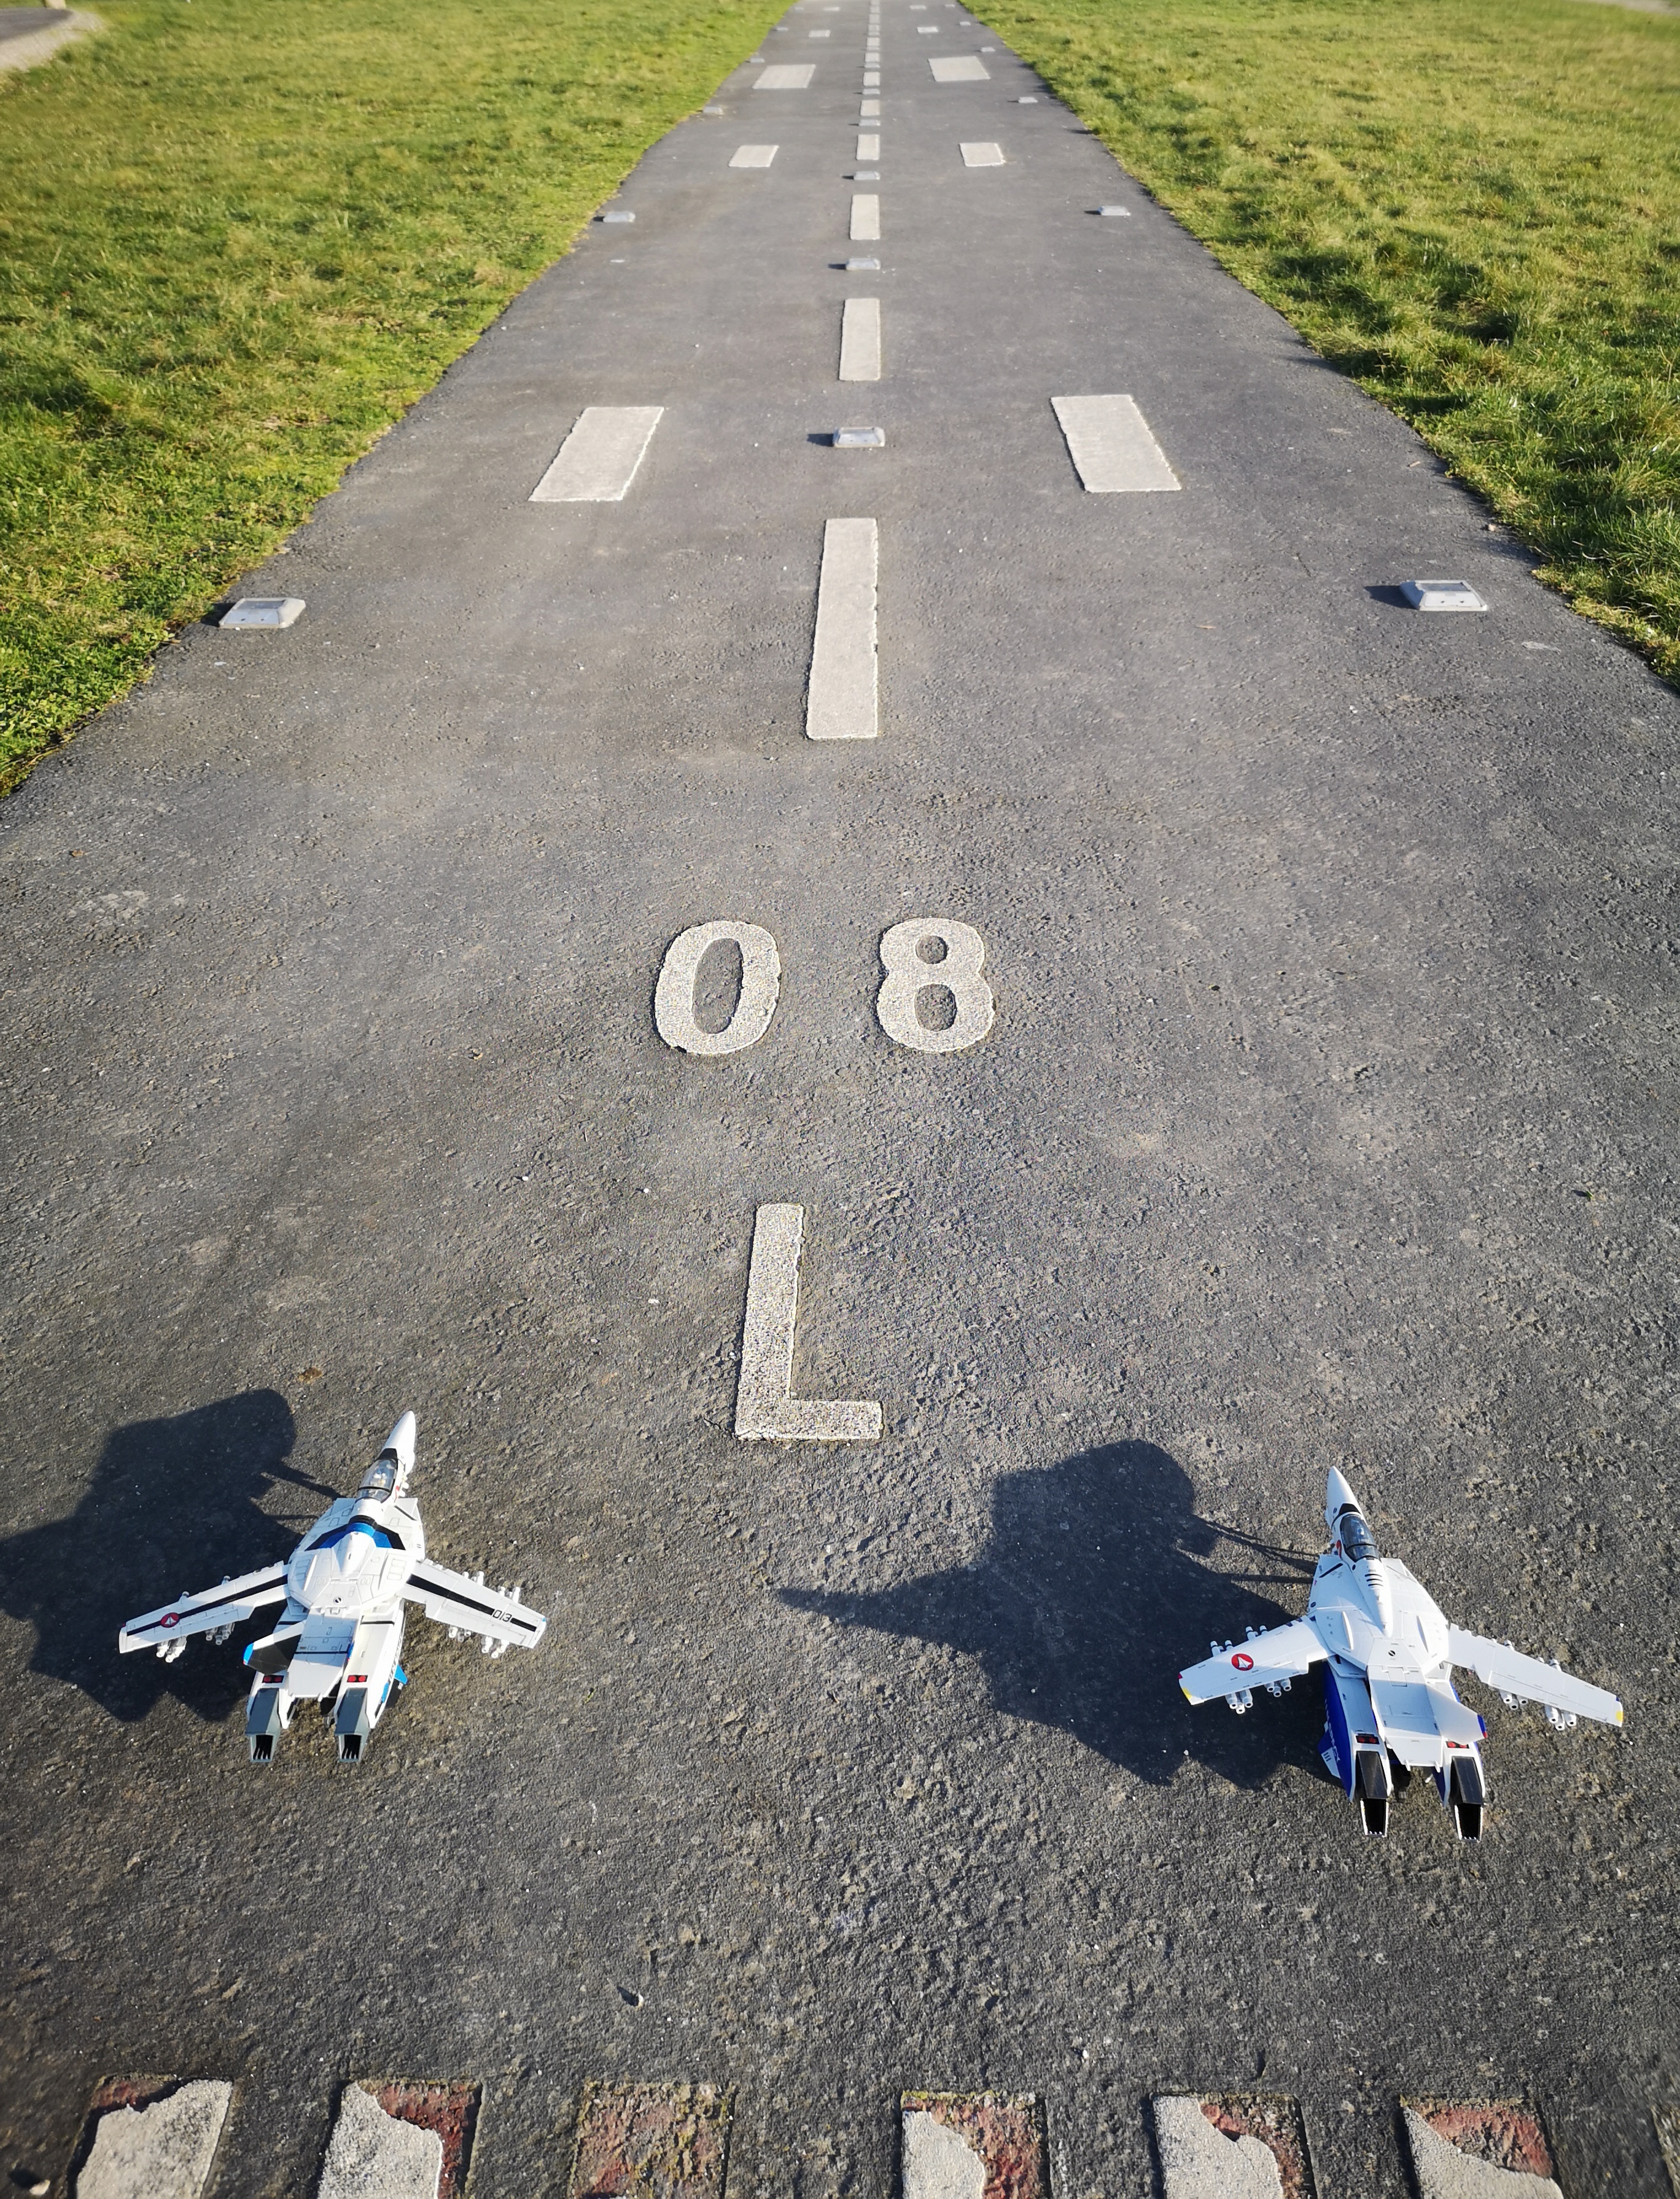
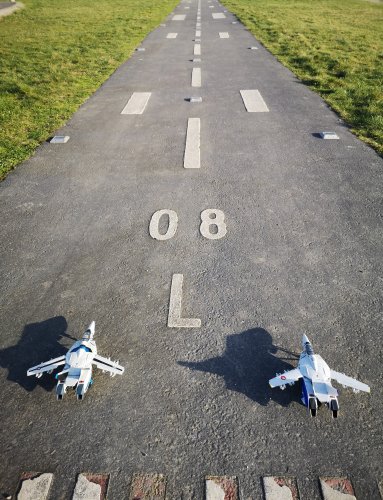
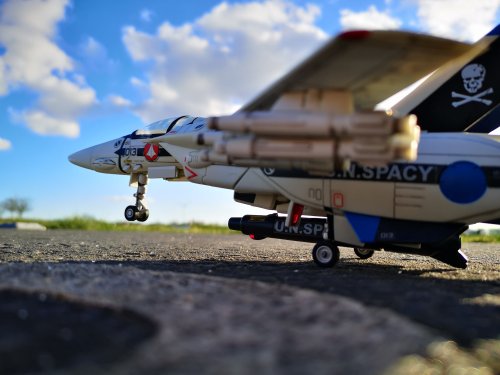
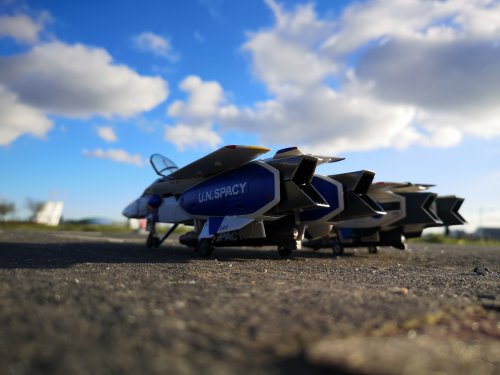
It's actually a playground for kids near YVR, with three runways and working lights. I was with my family and my oldest had a blast playing with the Valks and posing them for some of the shots. Obviously no drones or RC allowed as it is right under the flight path.

-
1/48+fp's, 1/60+fp's, 1/72, 1/2k, 1/3k,1/100 and now 1/144
peter replied to VF-18S Hornet's topic in Toys
Lol!!!! -
1/48+fp's, 1/60+fp's, 1/72, 1/2k, 1/3k,1/100 and now 1/144
peter replied to VF-18S Hornet's topic in Toys
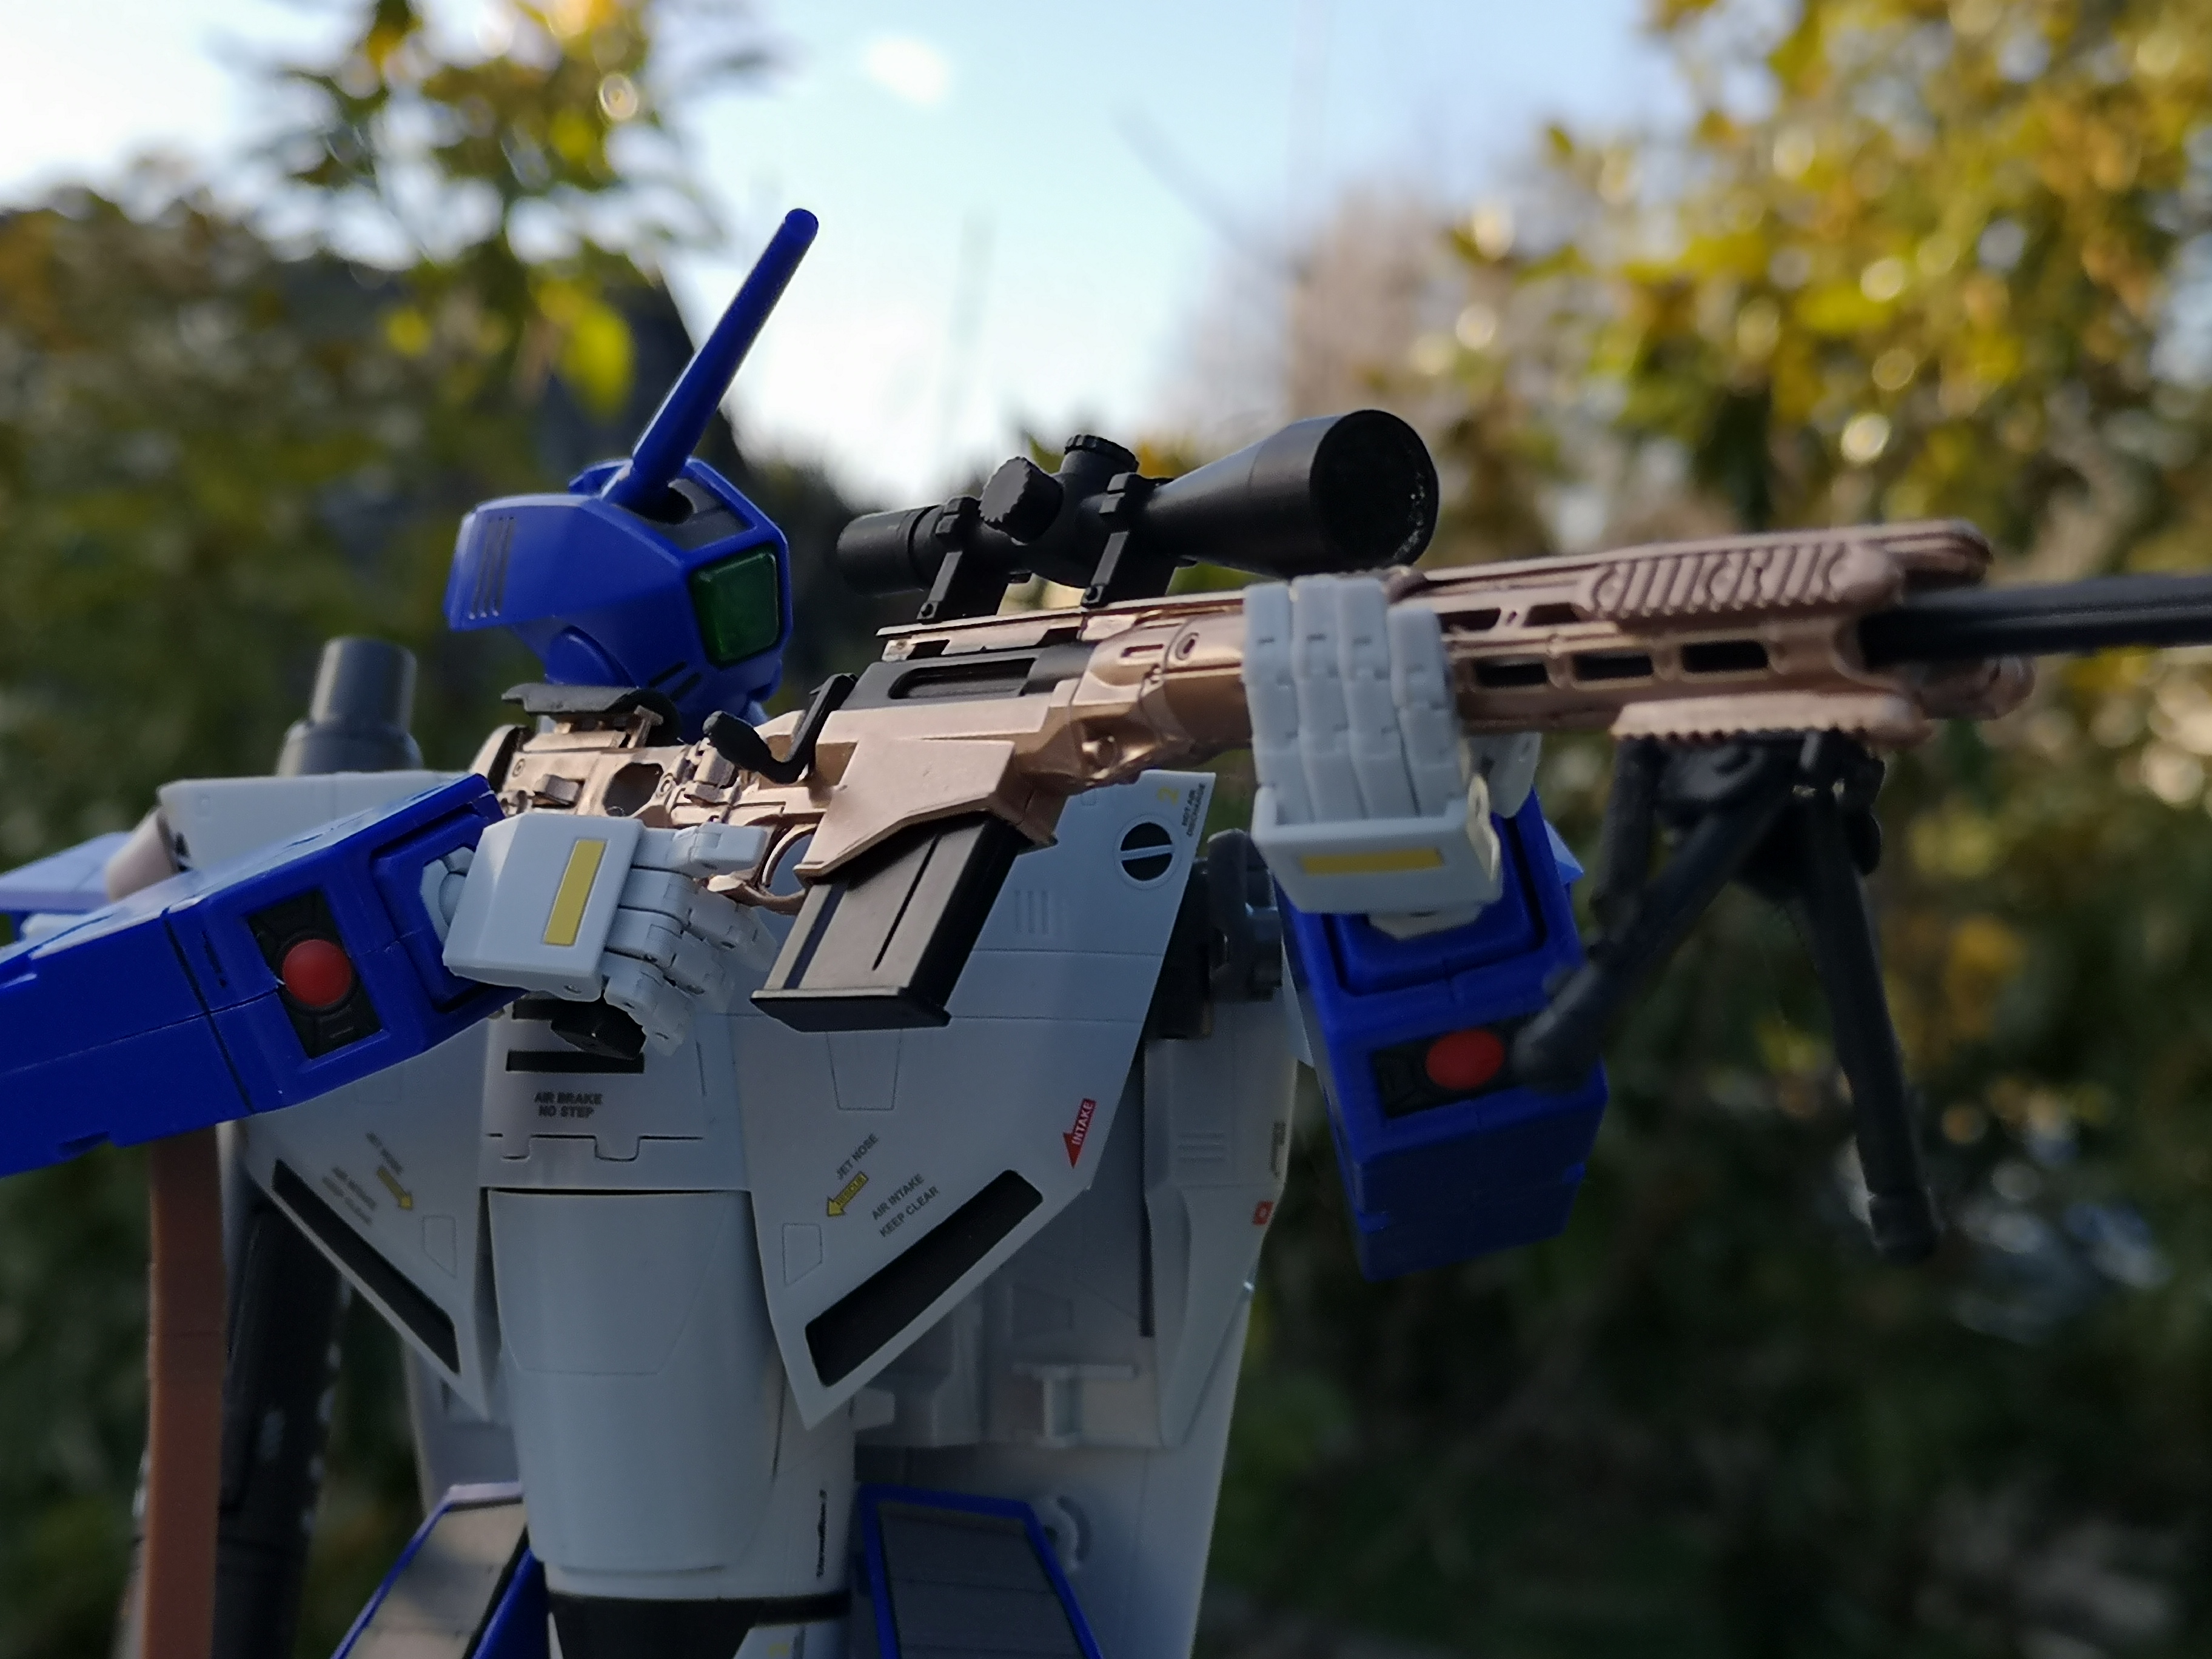
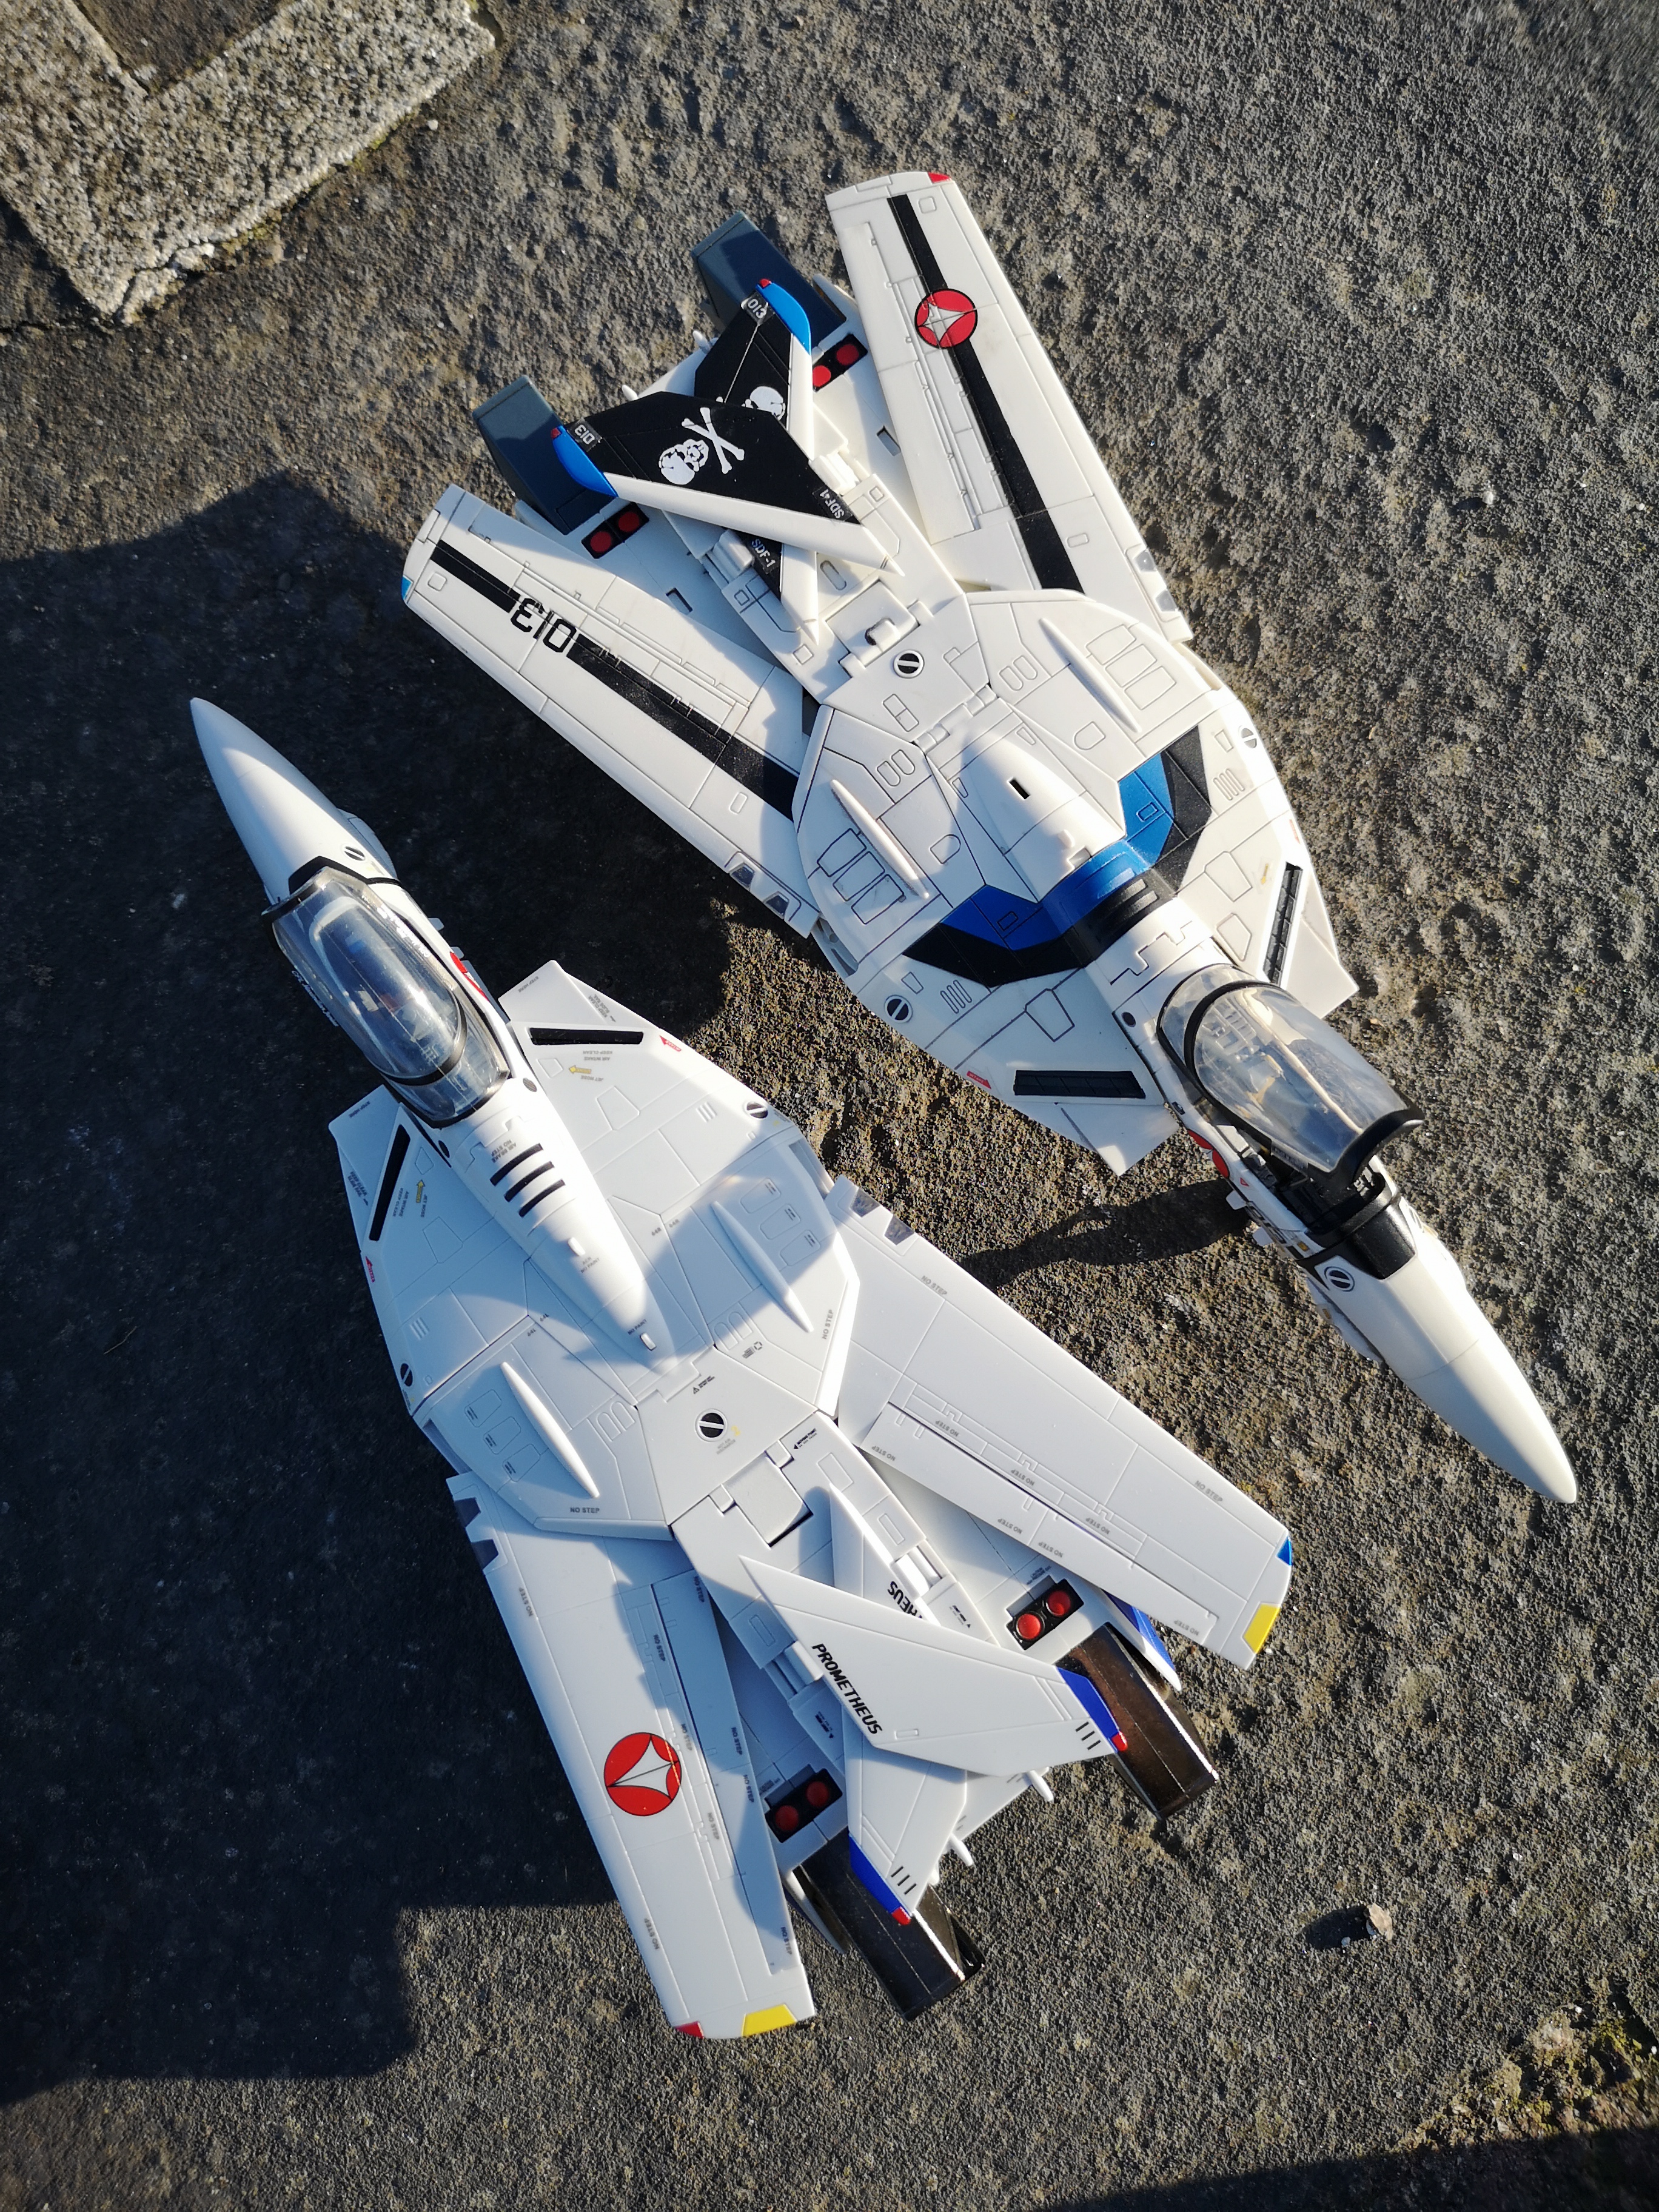
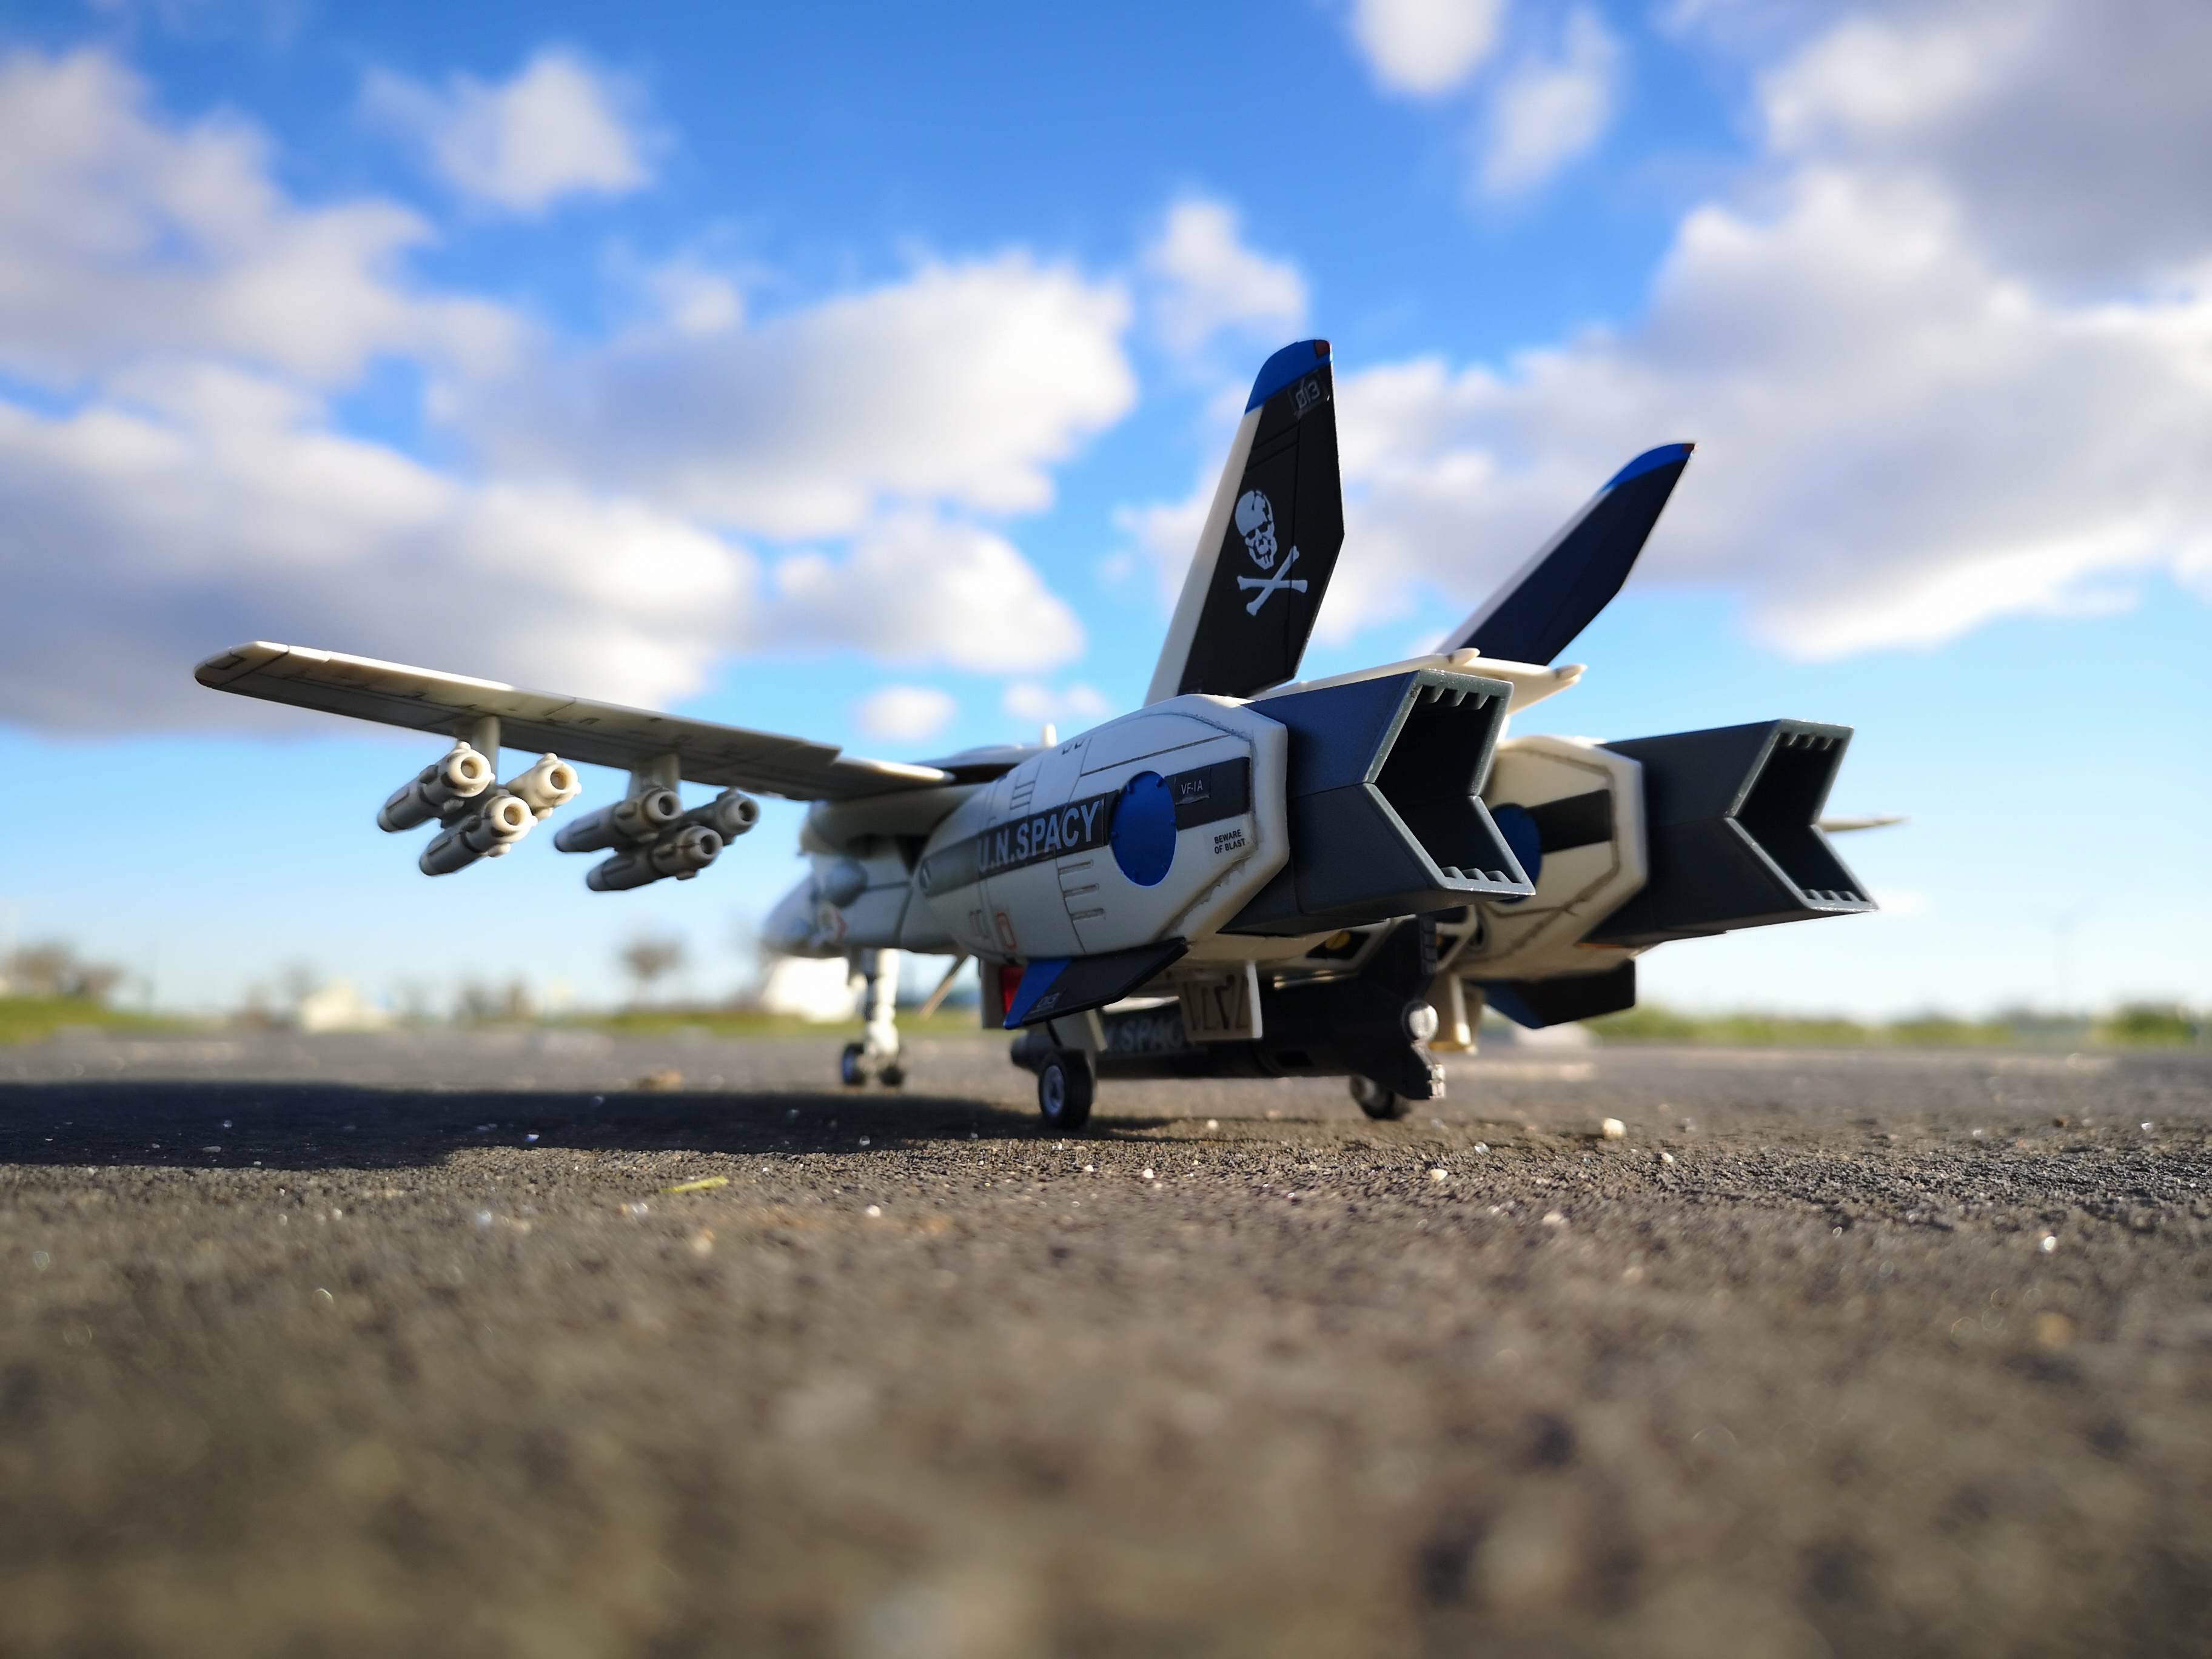
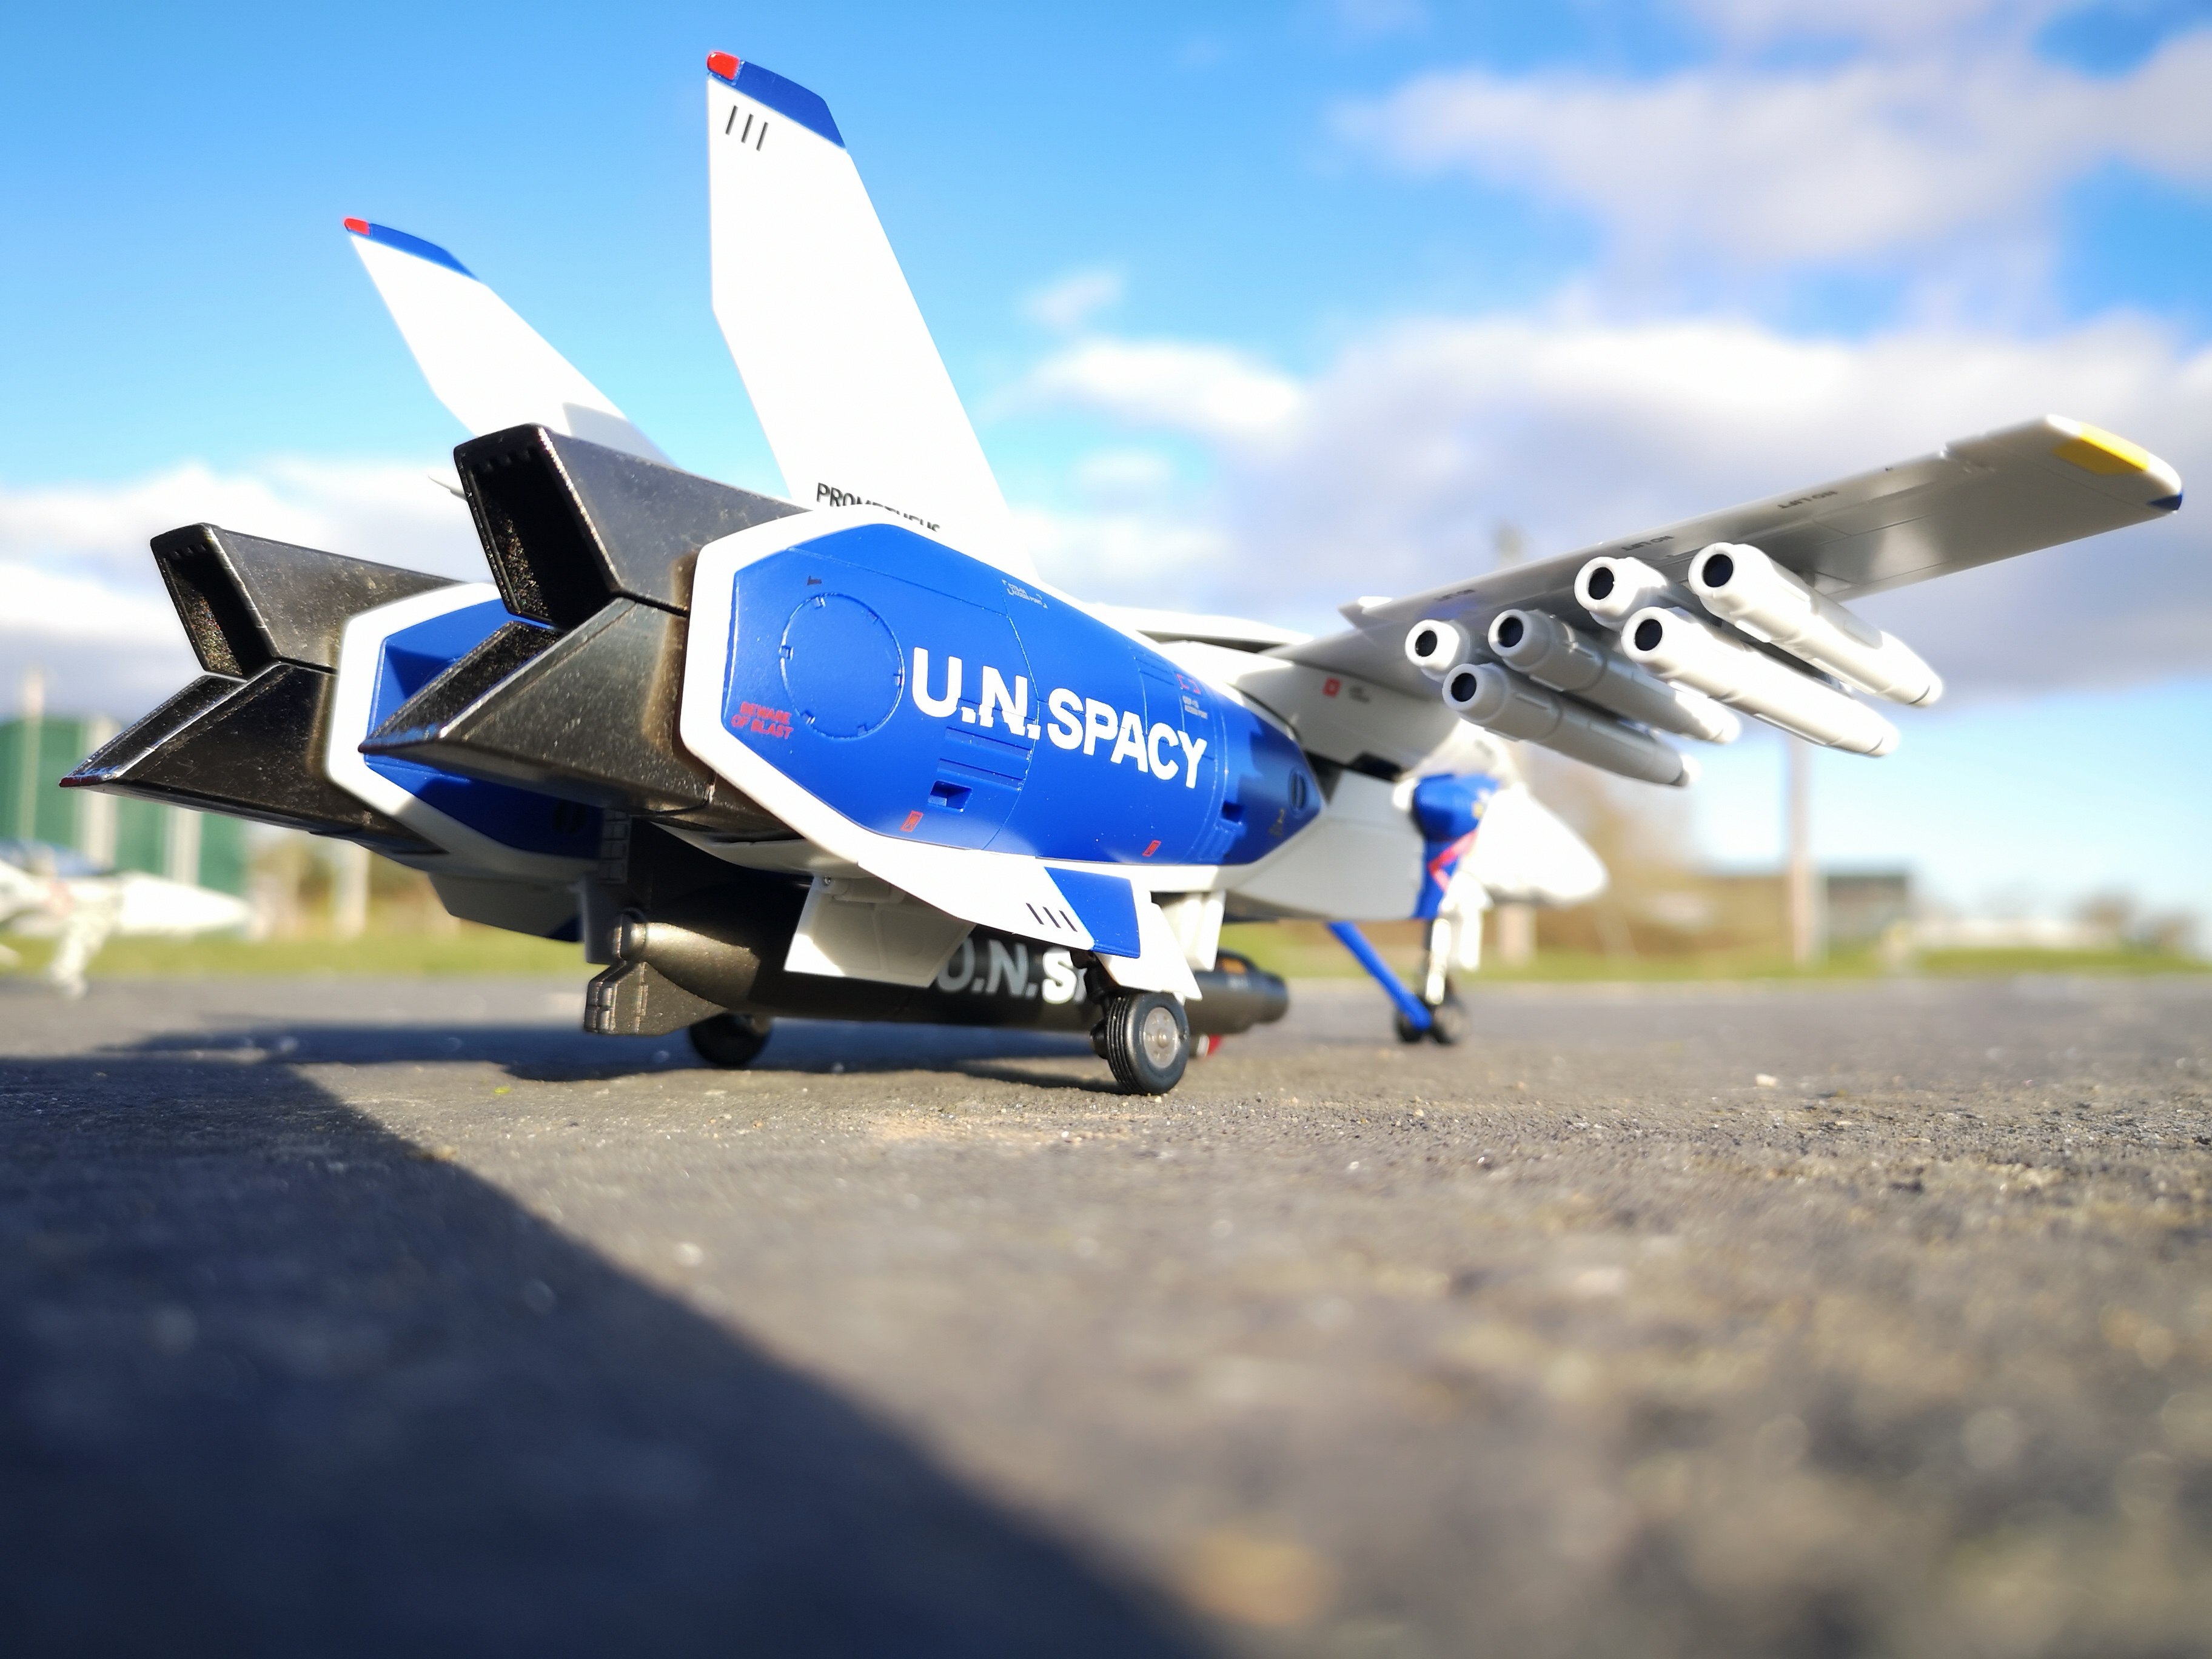
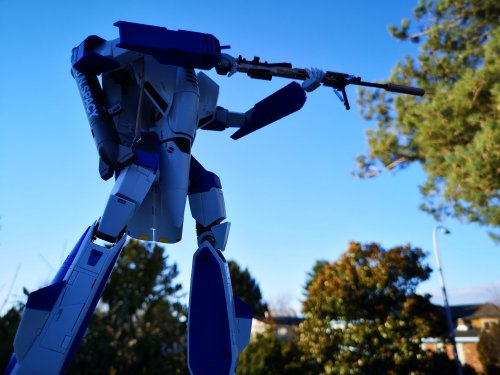
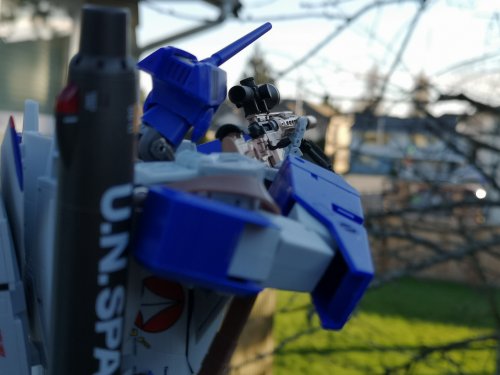
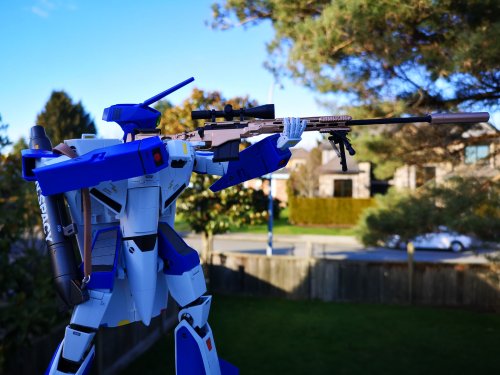
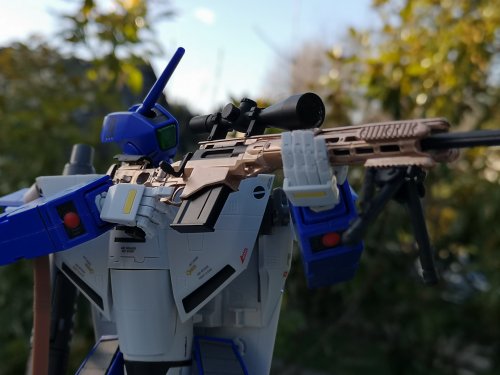
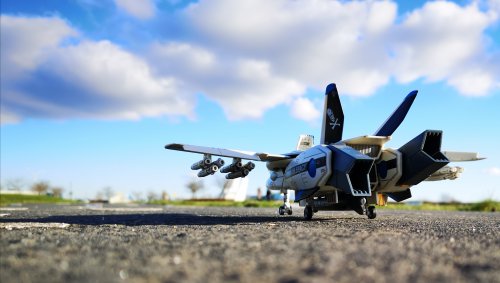
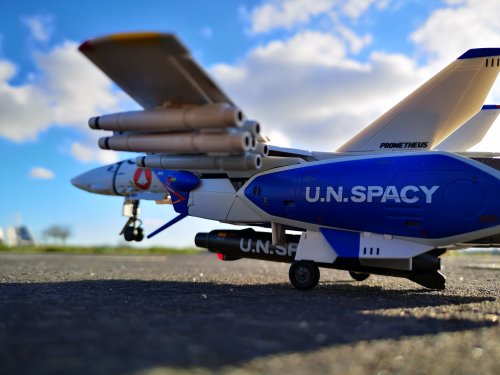
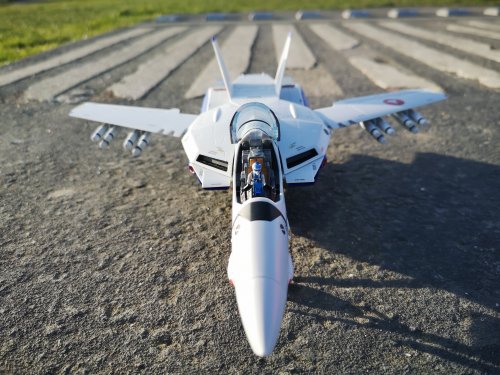
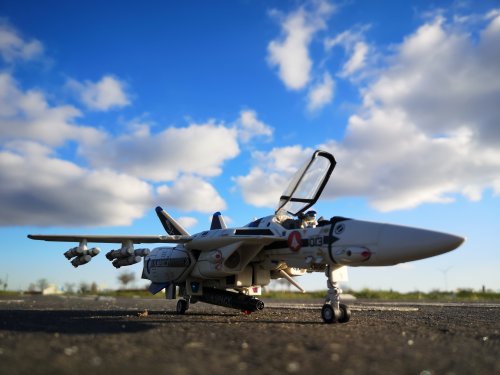
Sunny Day today, out mucking about with two Max 1As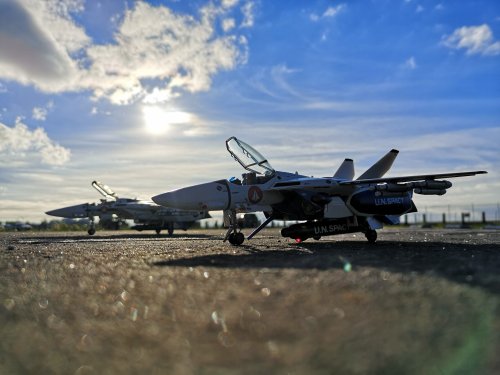


-
Weird, I felt compelled to get one for some reason as well. Guess maybe I've never had a 1D in my collection apart from a 1/72 Bandai transformable kit I built (made a mess of it) 35 yrs ago.
-
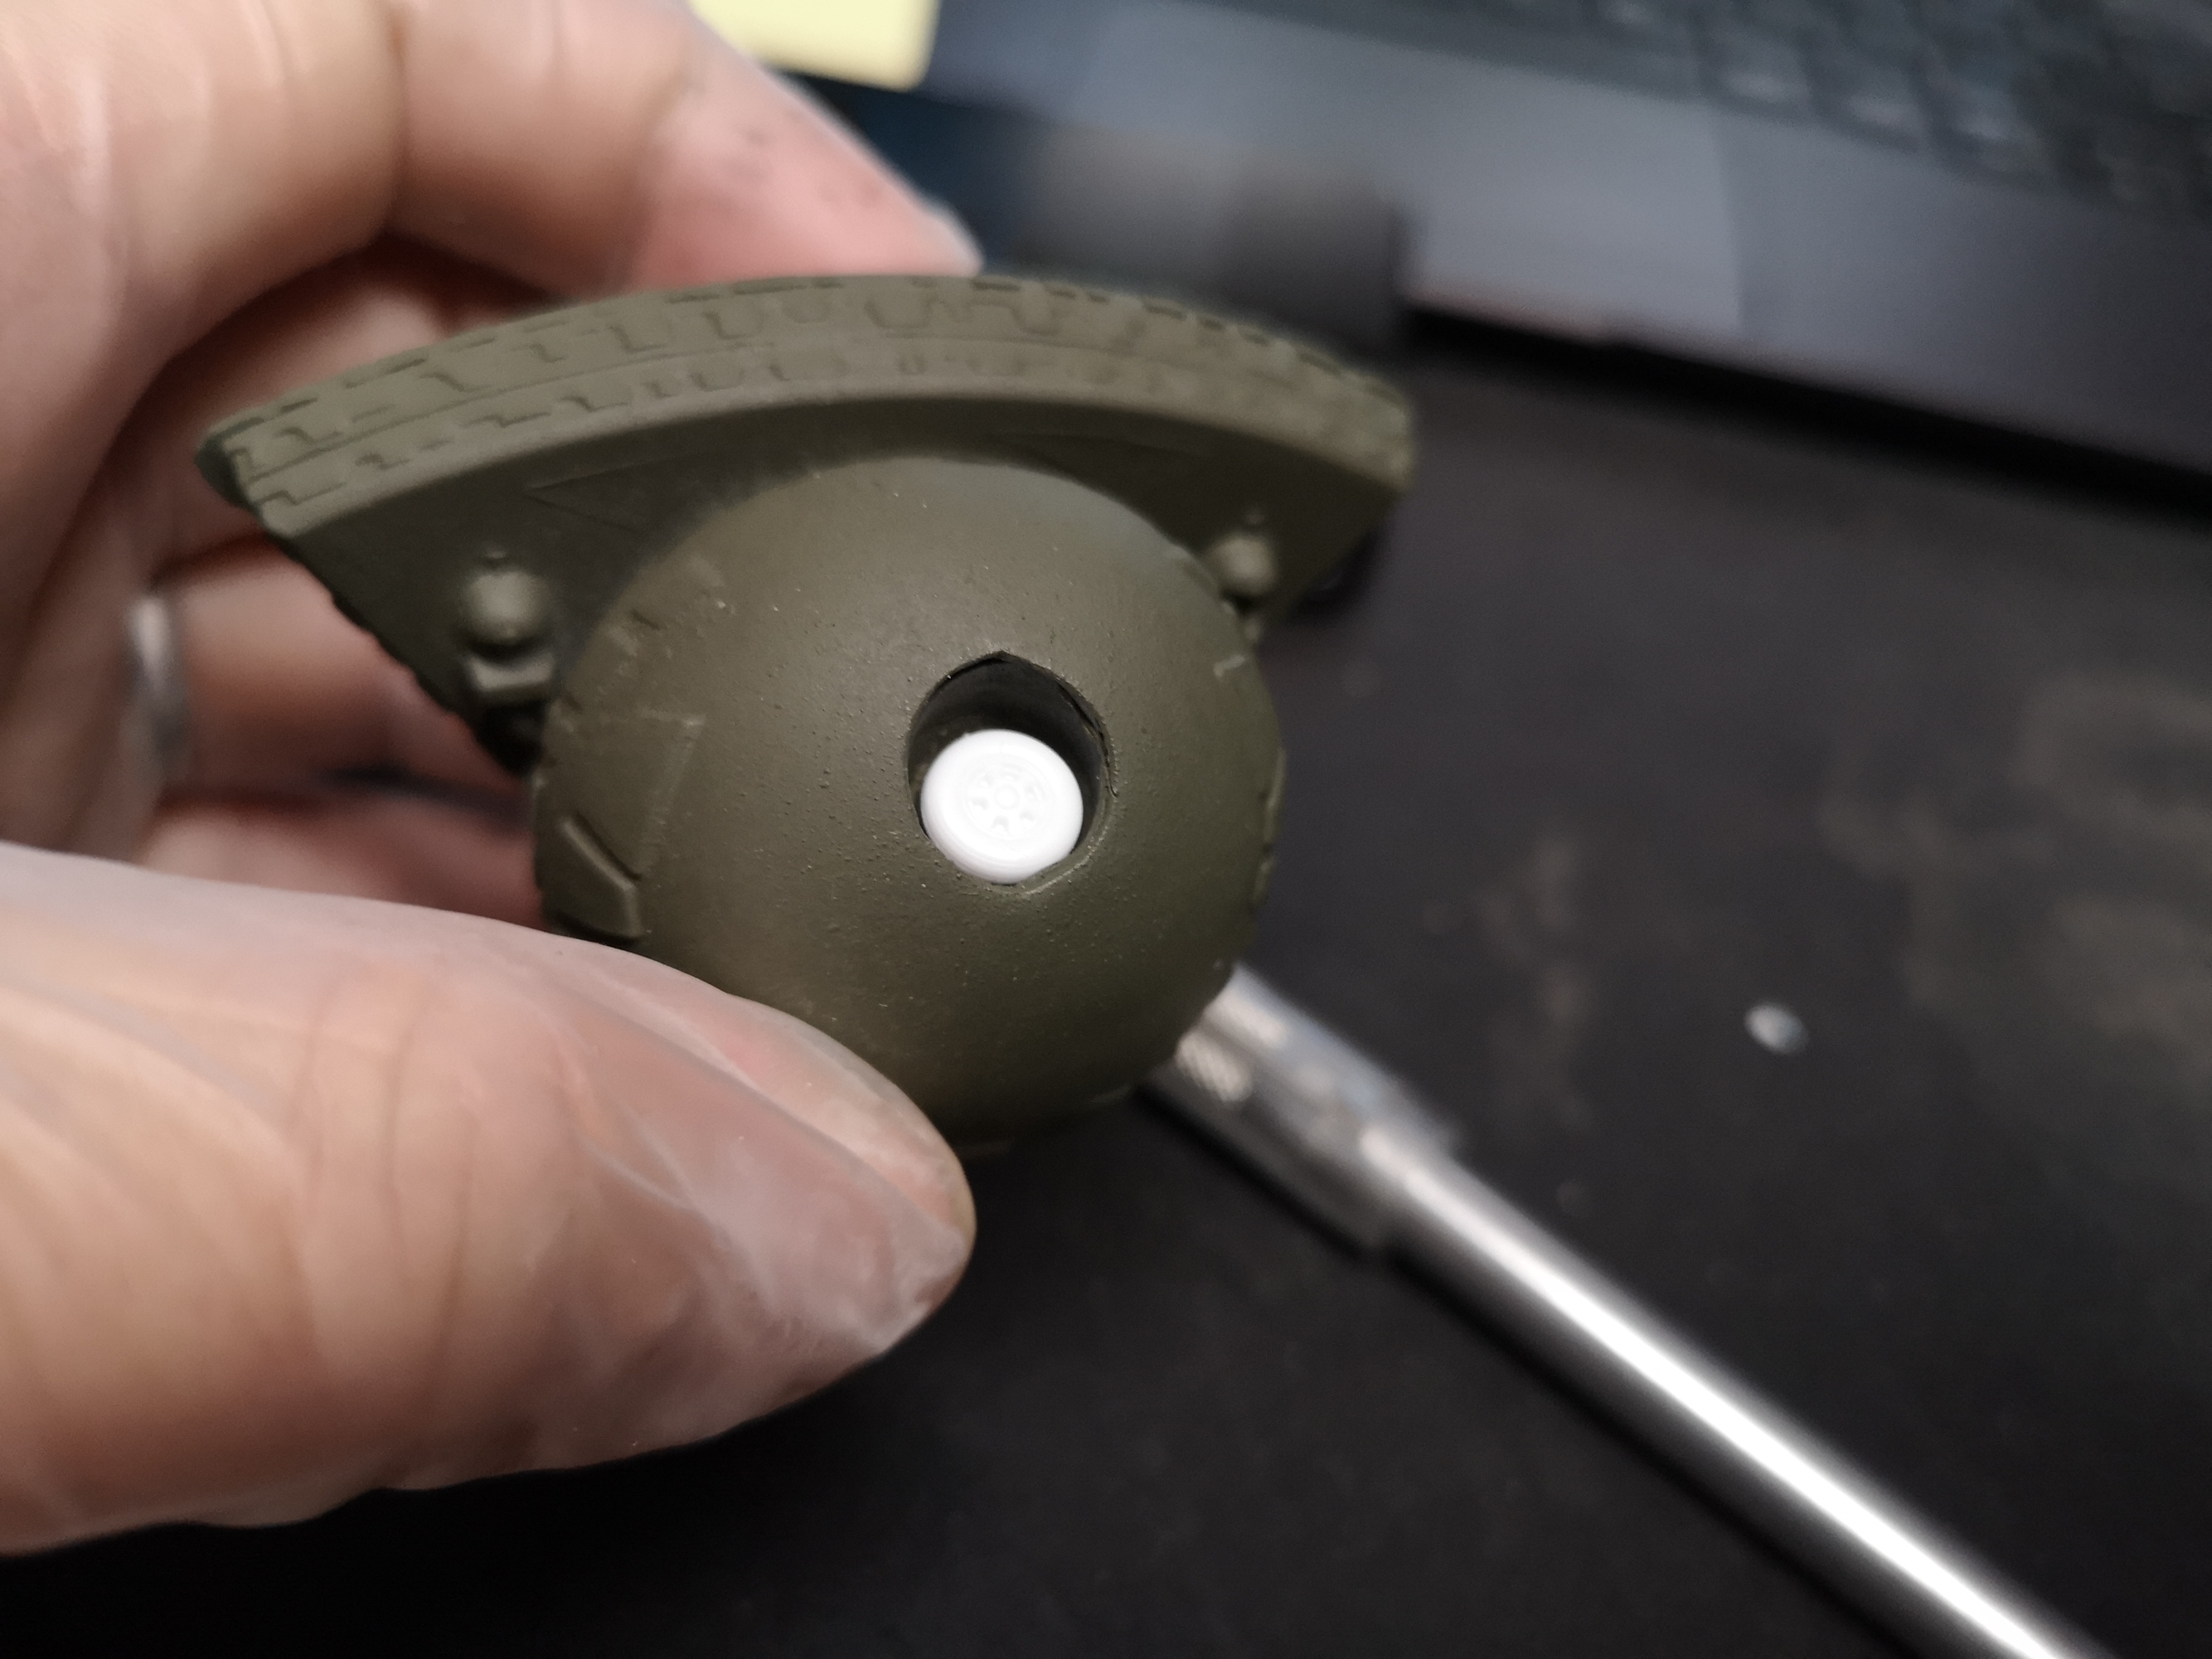
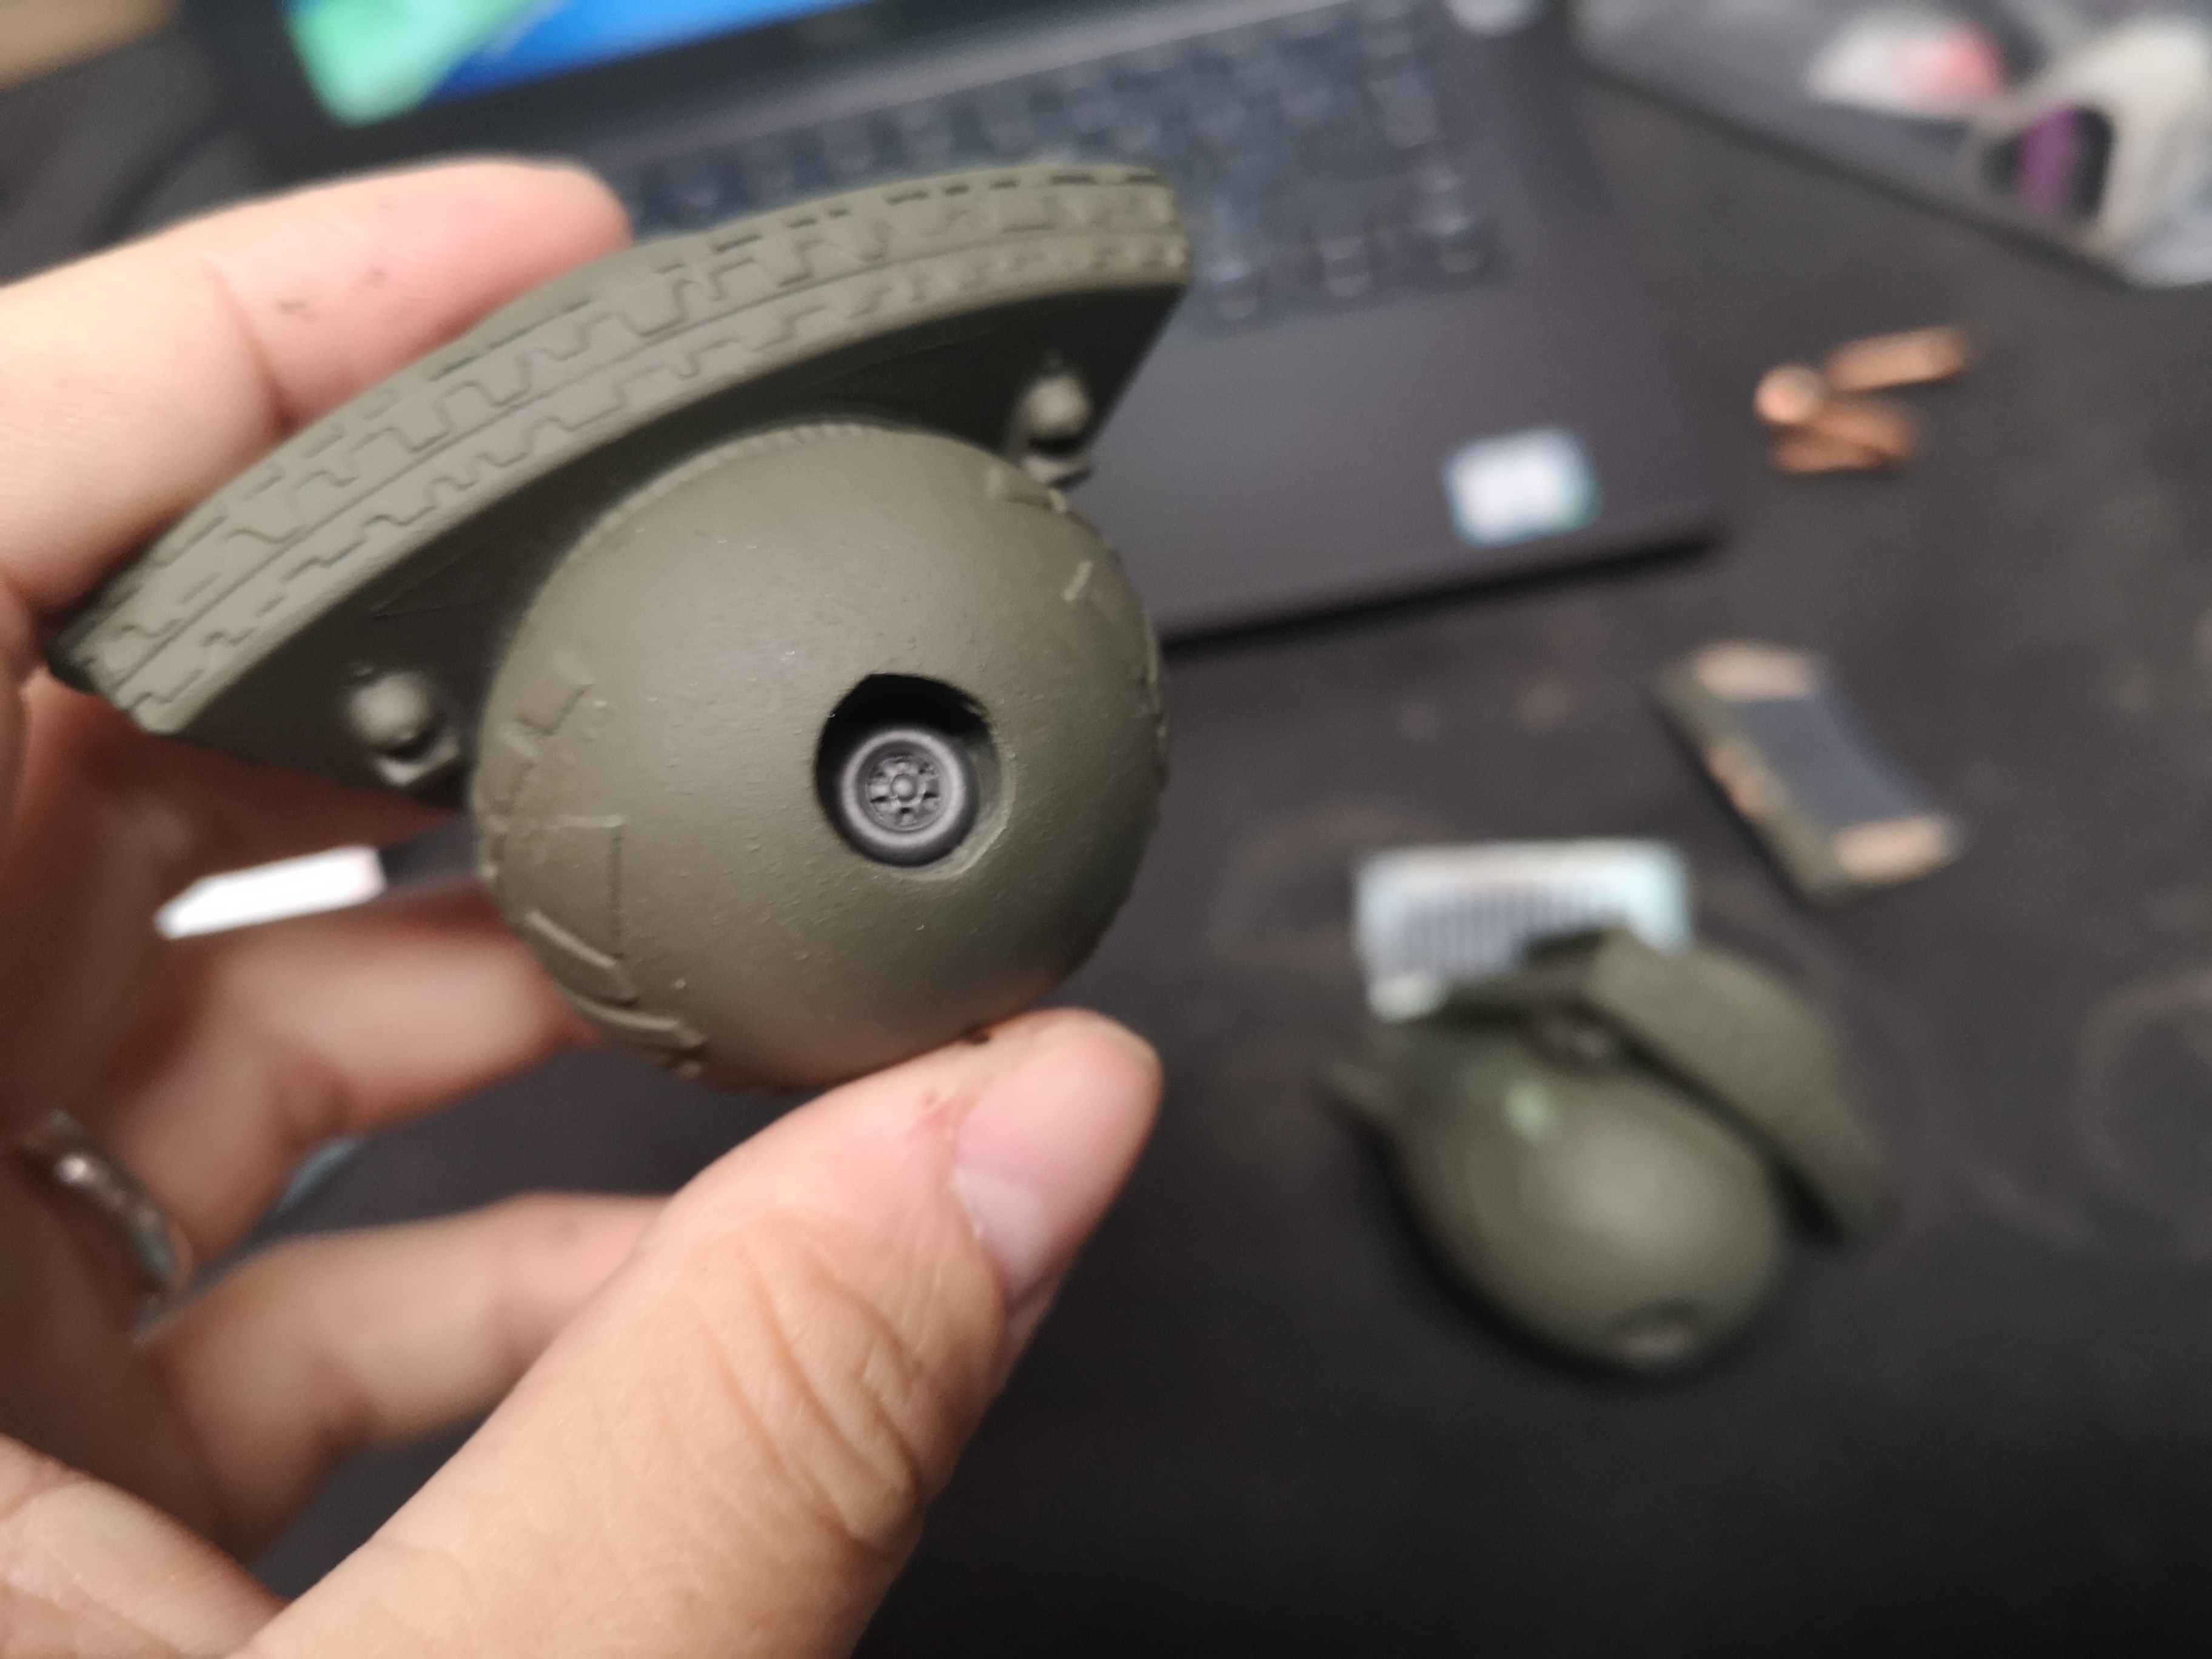
I dunno, looks a bit too fragile to hold the weight of a GU11
-
Would the rifle sling be made out of leather or synthetic? It looks like they made it appear to be leather, but what animal would it be harvested from? Humans didn't have tech to supersize cattle in SDFM, so did they ran whale skin or something?
-
Is it just me, or are there an absurd number of DX Roy's in the For Sale and Trade section? First few pages are flooded with them, and they seem to be moving fast too. Hard to see what else is up for sale since the Roy's keep flooding that thread, lol!
-
There's this one: https://www.aliexpress.com/item/1005001567853166.html
-
The Mandalorian - Star Wars webseries from Jon Favreau
peter replied to SMS007's topic in Anime or Science Fiction
Oh man, I would pay good money to see that worked into a future episode.- 1438 replies
-
- 1
-

-
- star wars
- the mandalorian
- (and 10 more)