peter
-
Posts
4487 -
Joined
-
Last visited
Content Type
Profiles
Forums
Events
Gallery
Everything posted by peter
-
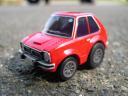
Man, that Minmei fig looks pretty good.
-
Ouch....NY....I've been waiting for strike packs since 2019.
-
That is so cool. I only had one gun in my entire collection with a blued finish - 1911. The rest were either parkerized, anodized, cerakoted and in some cases, krylon'd.
-
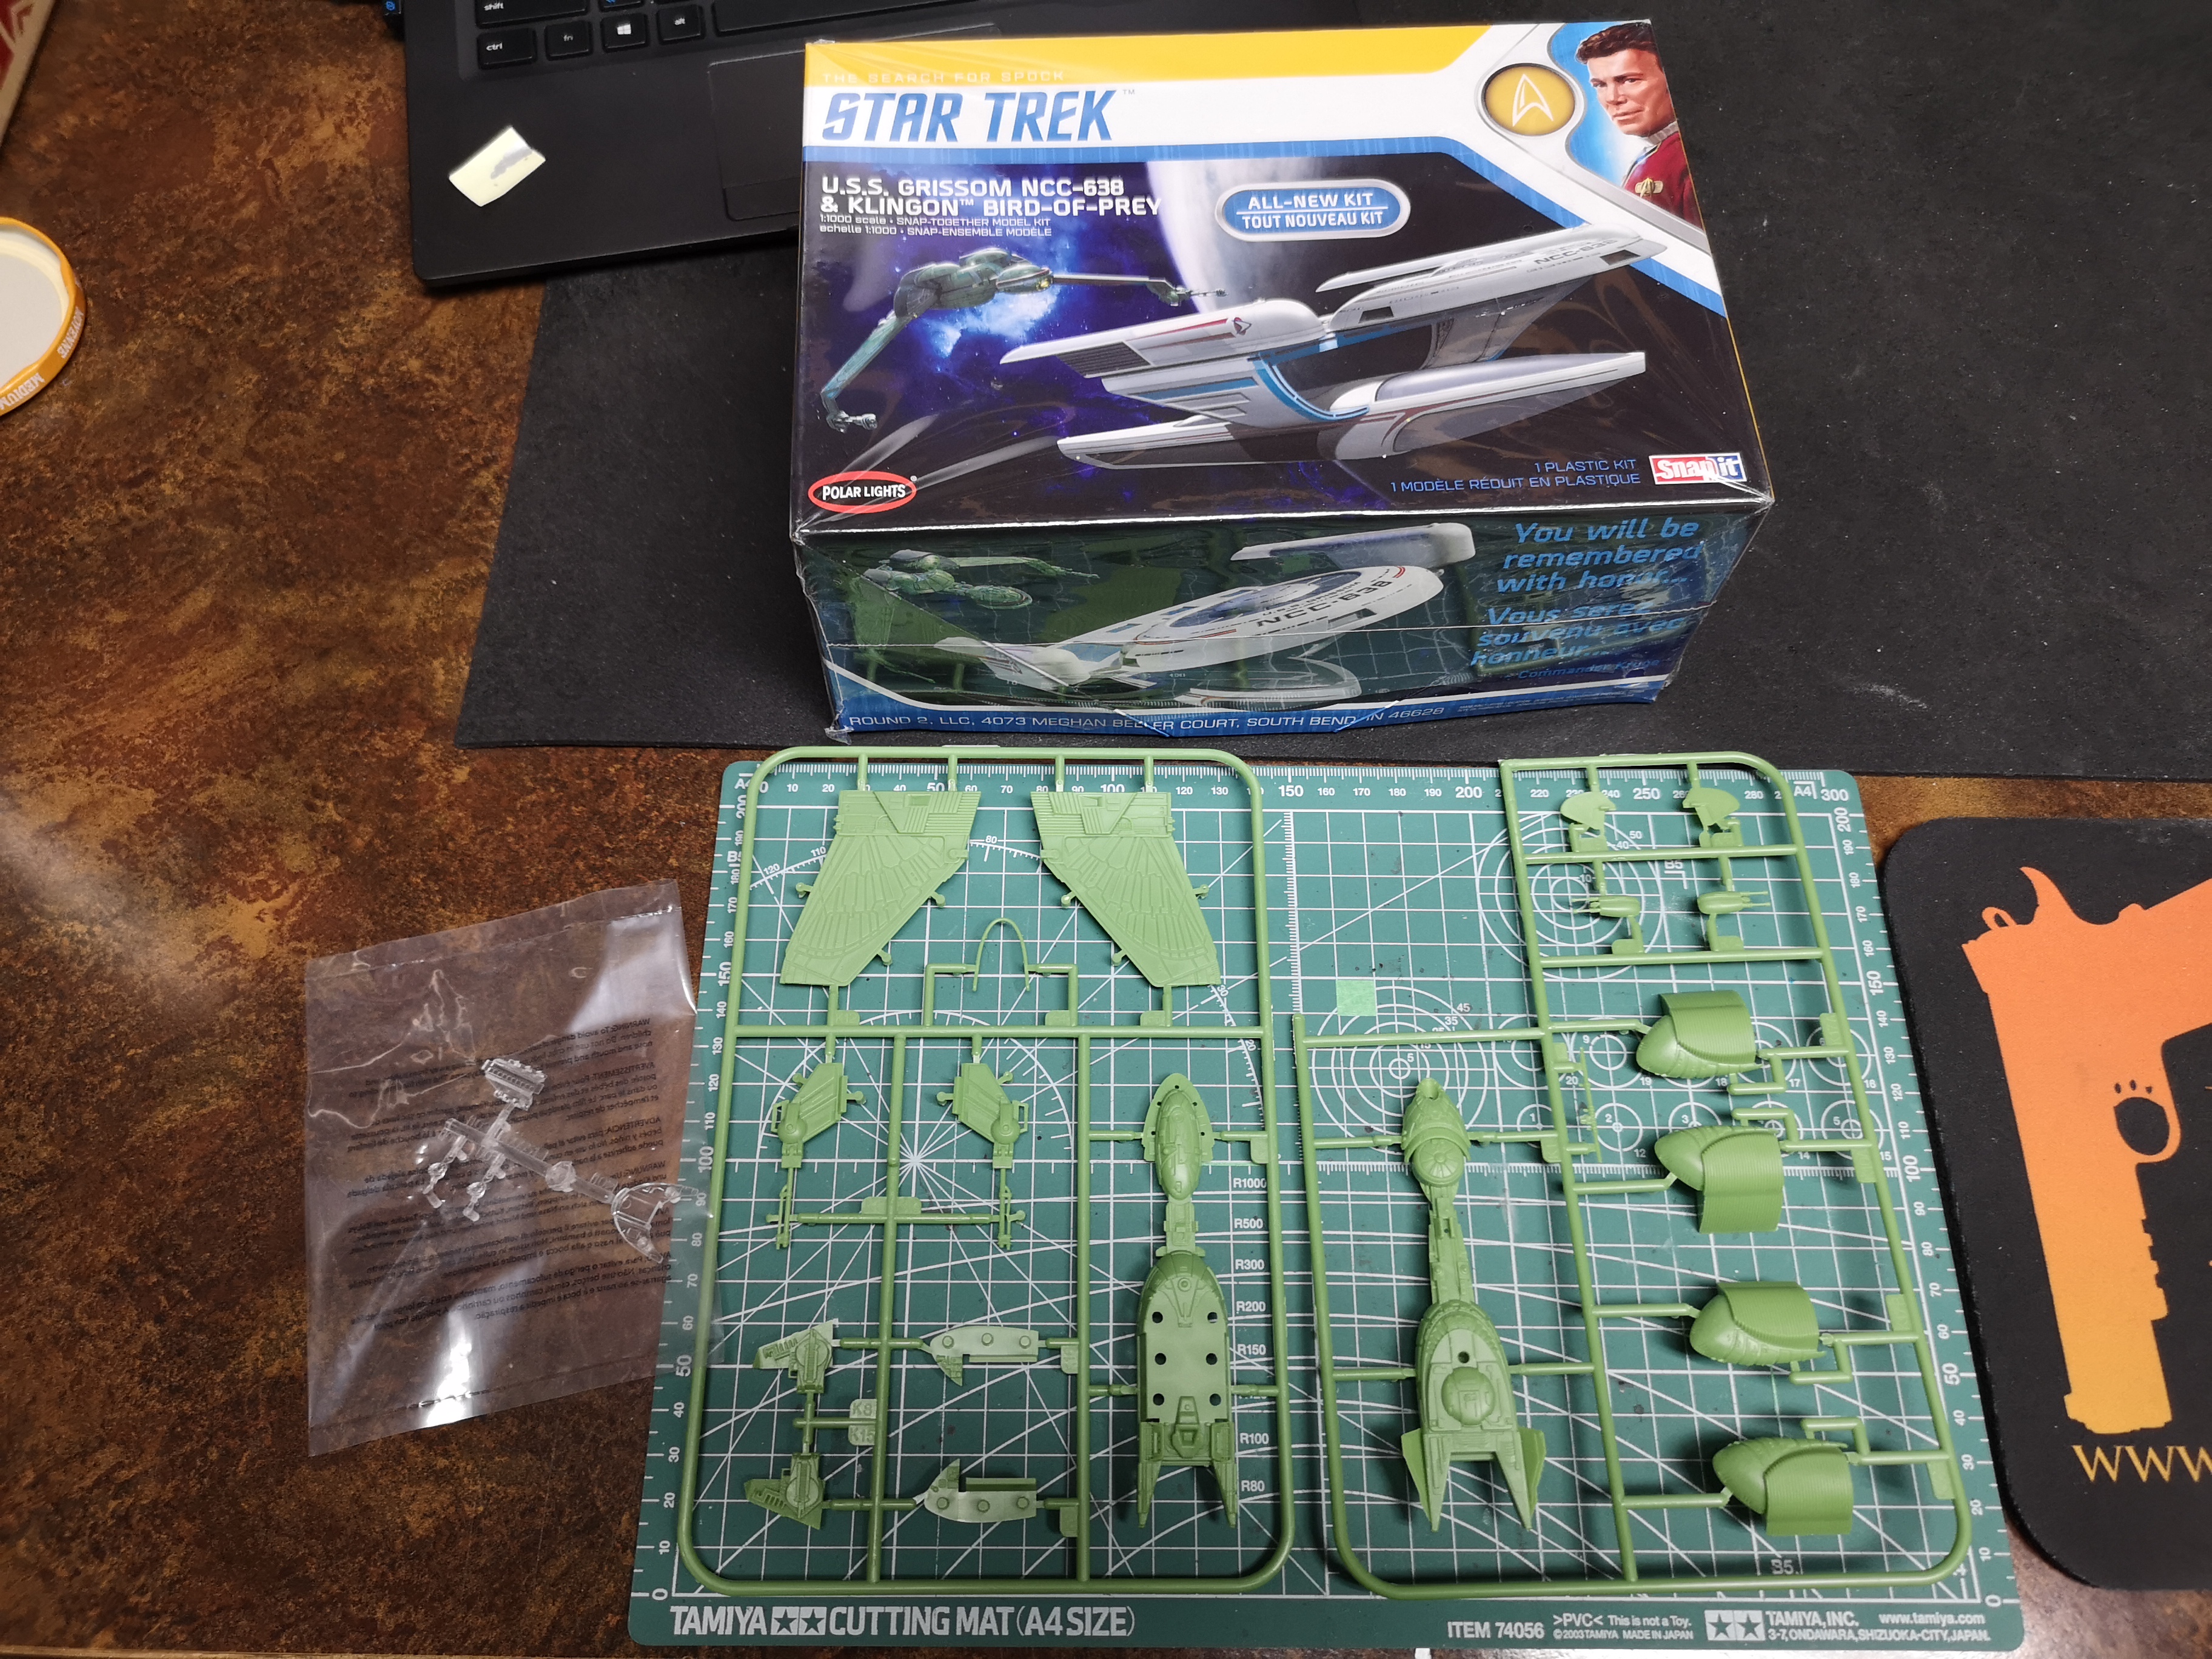
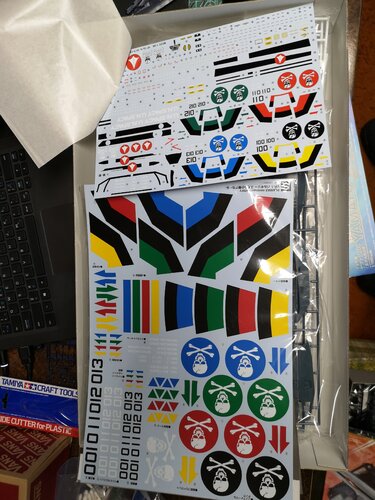
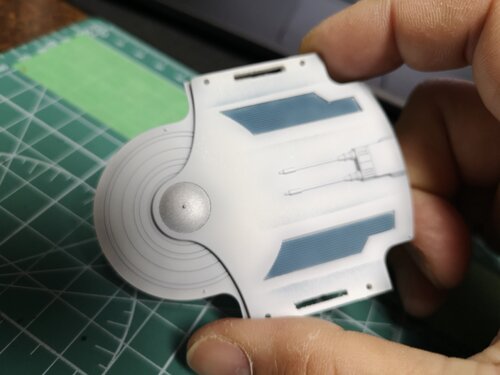
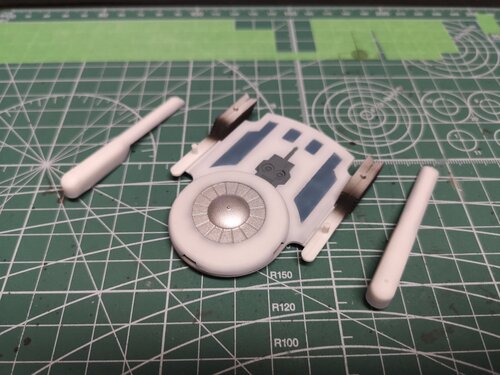
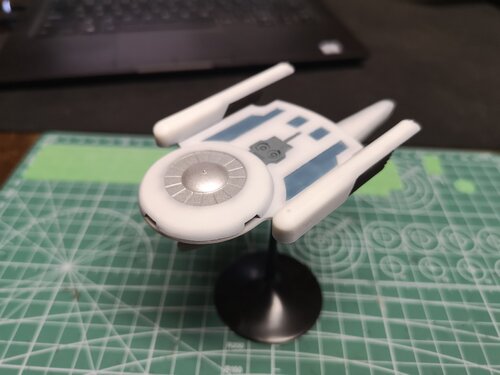
Speaking of decal, this came in the mail today..... Look at the size of these things. The smaller set are 1/48
-
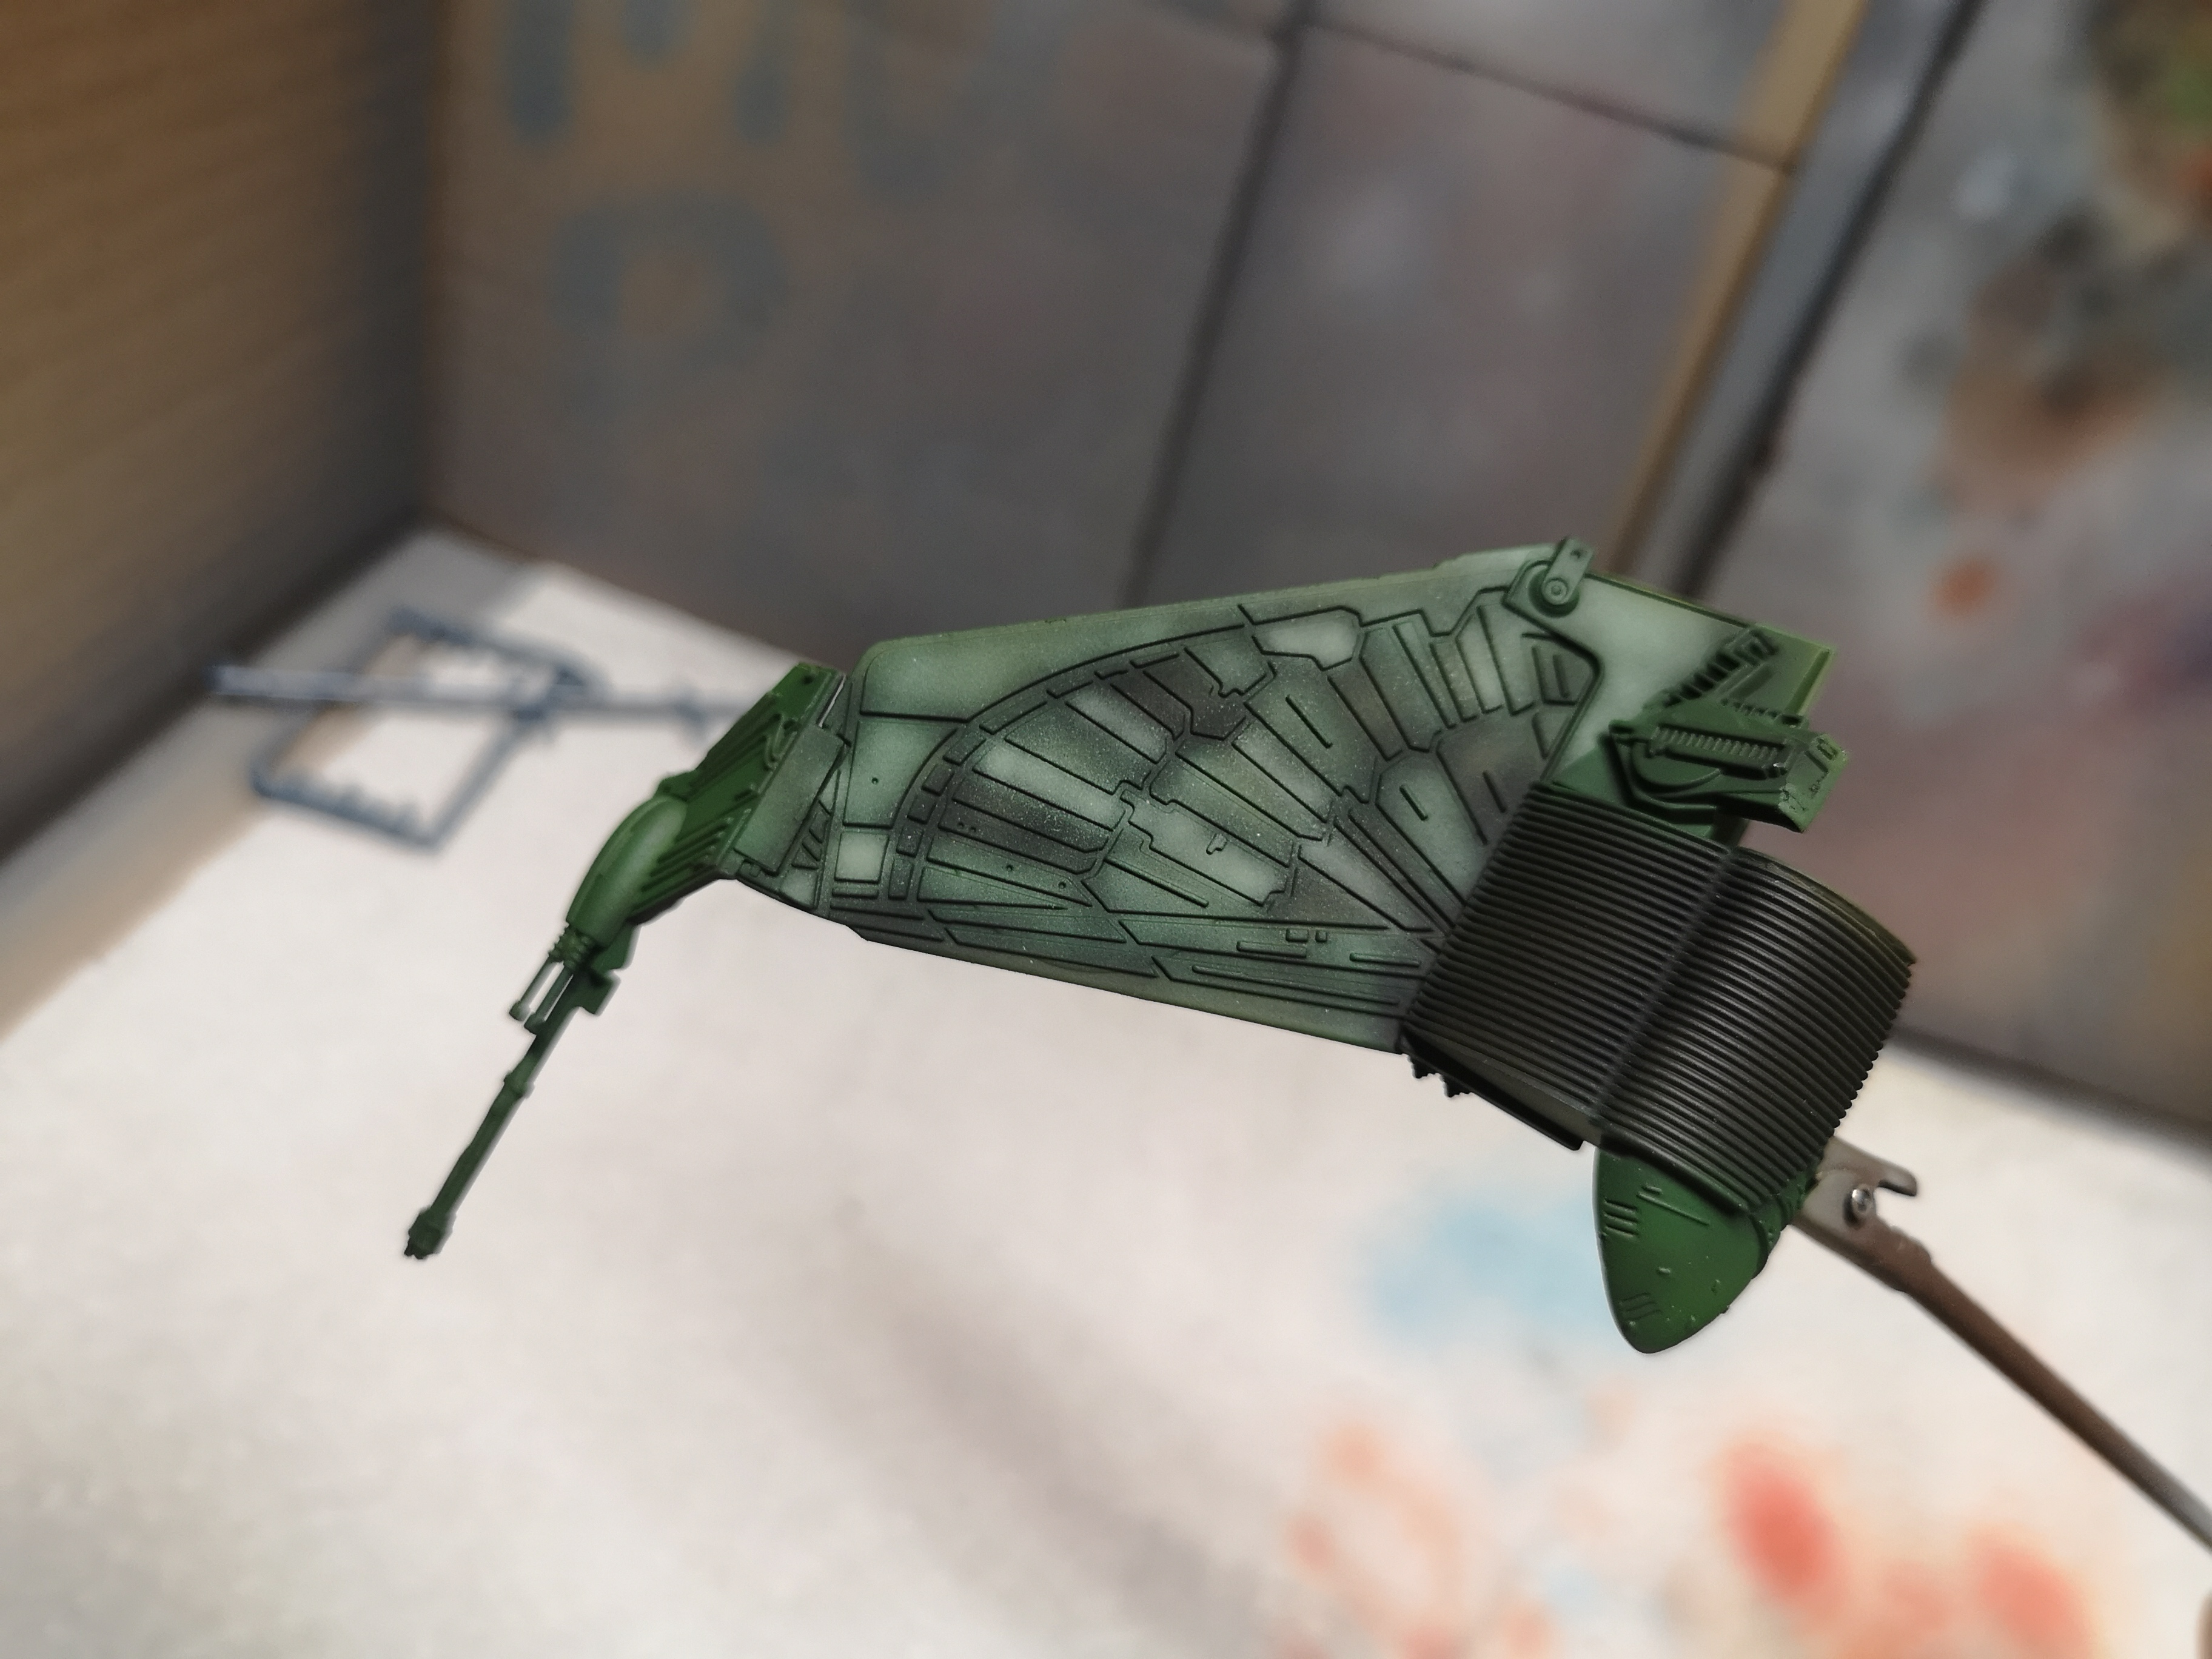
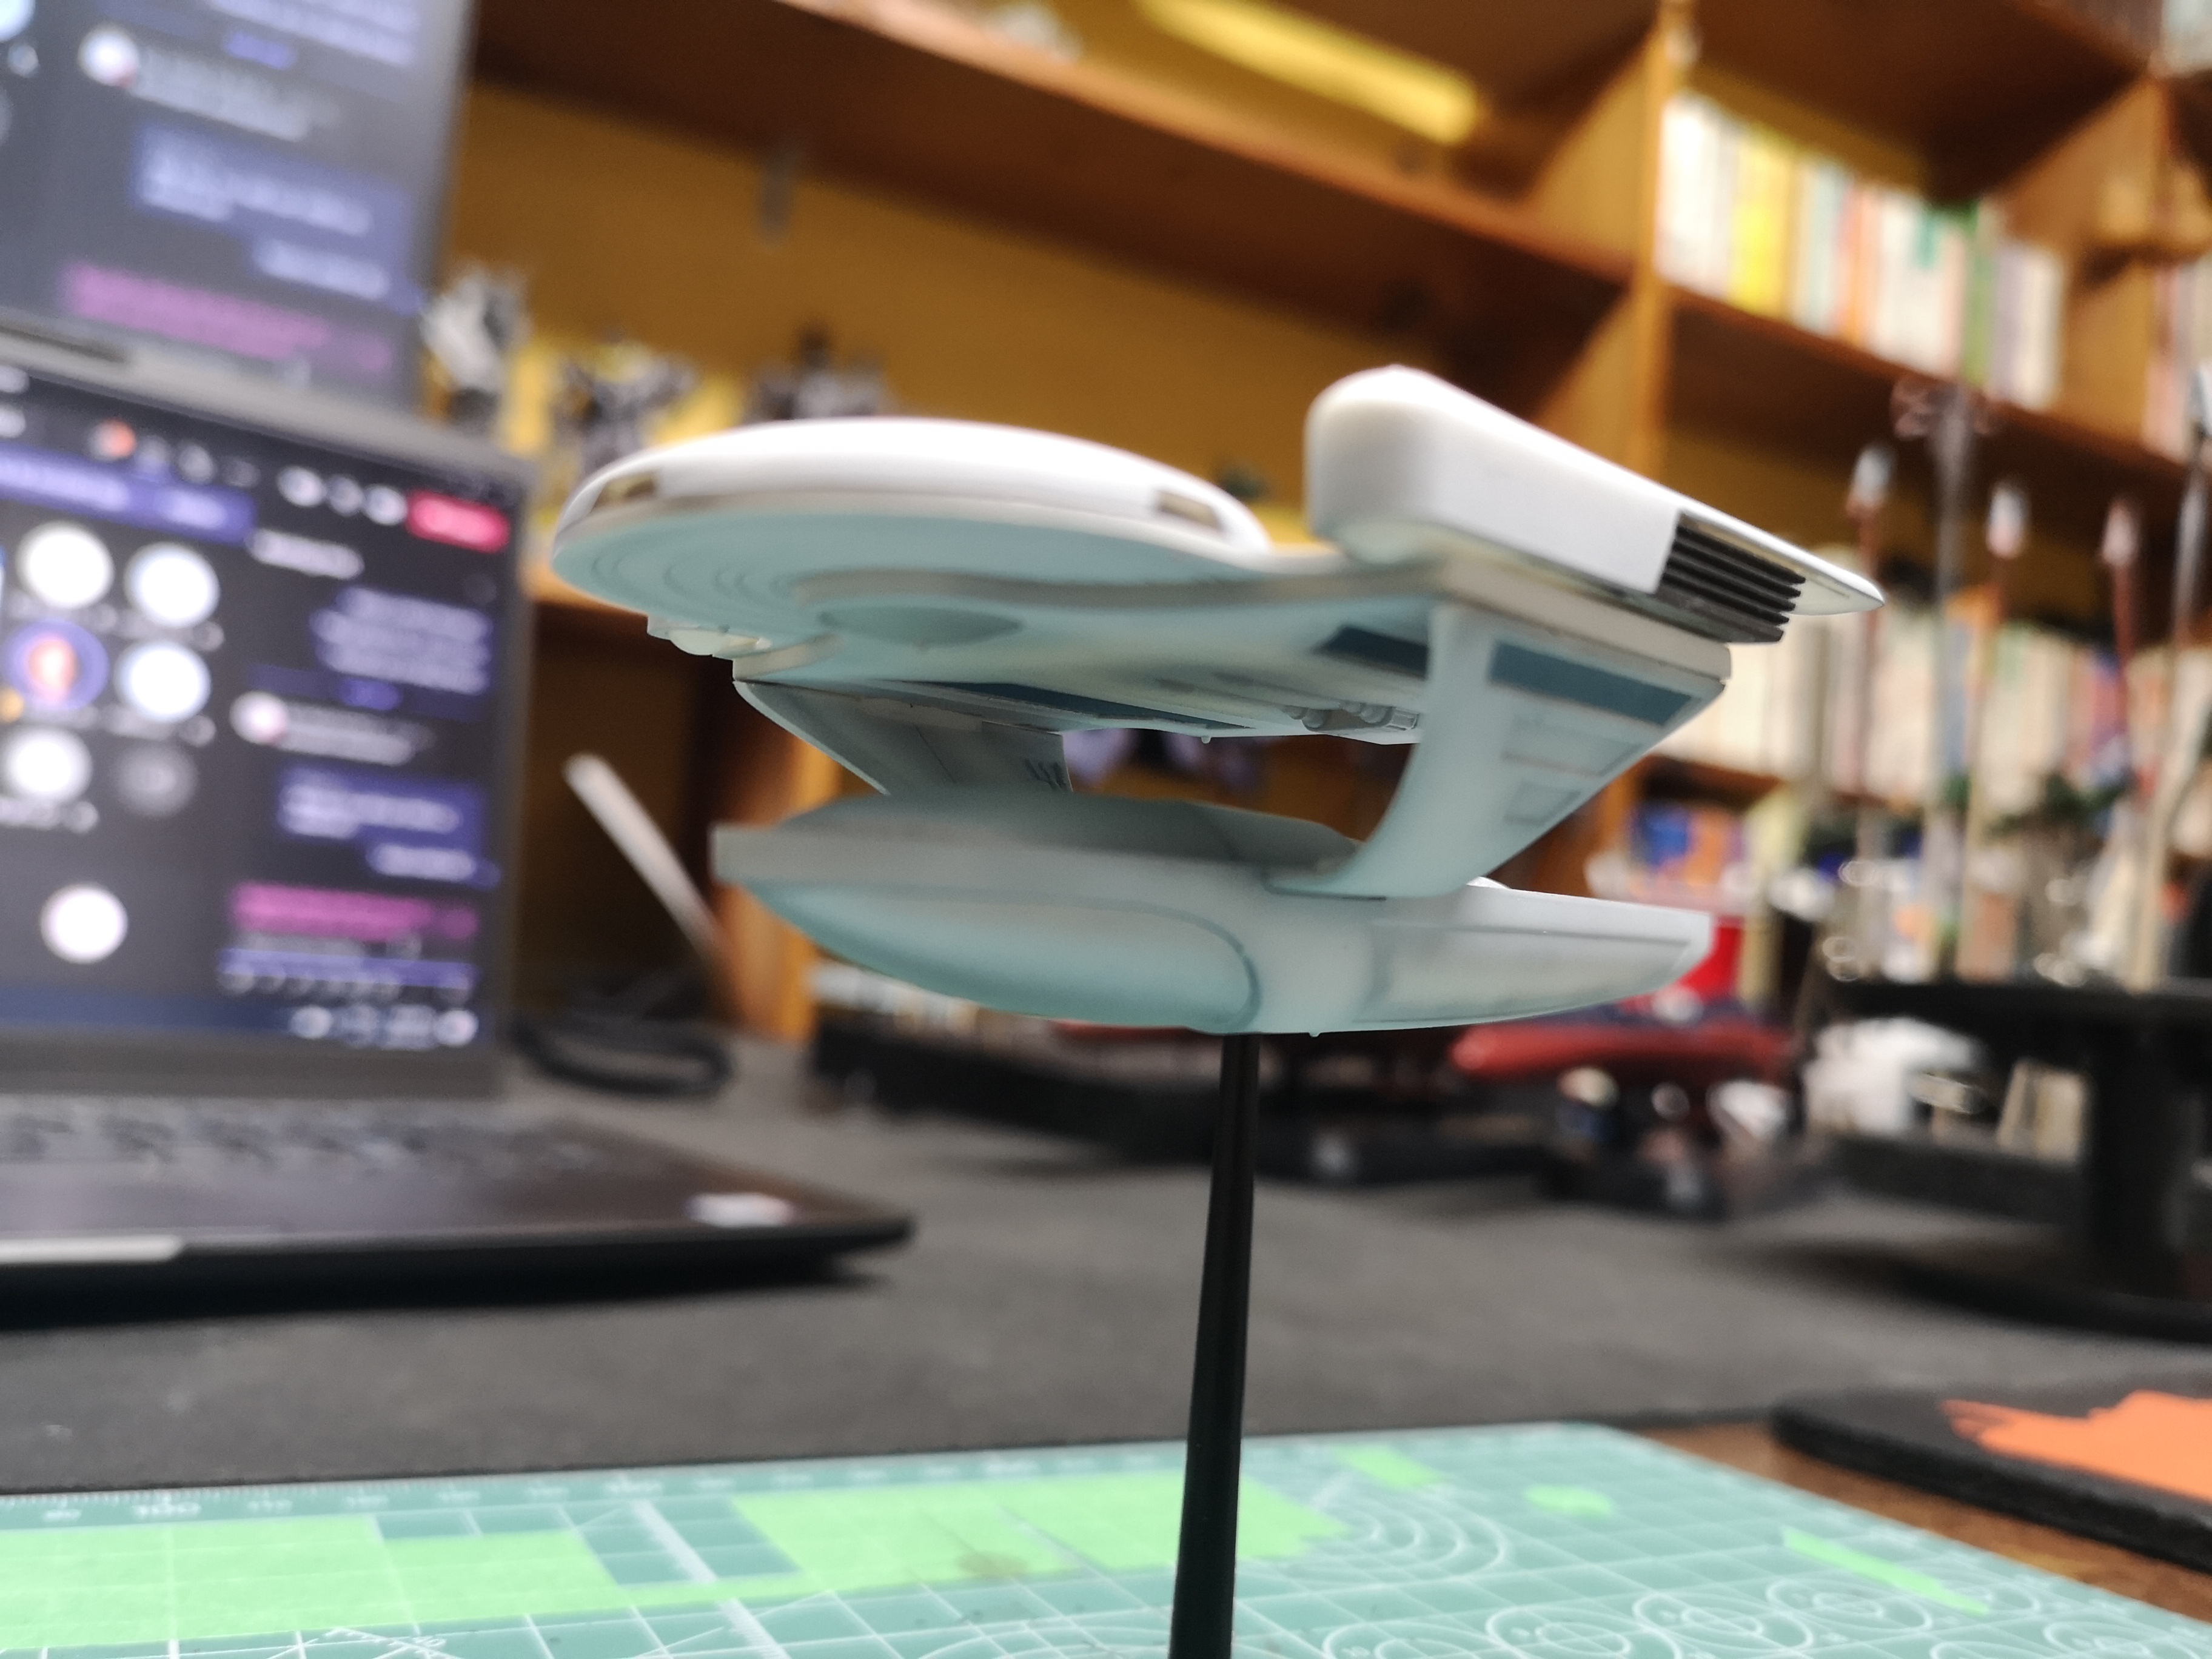
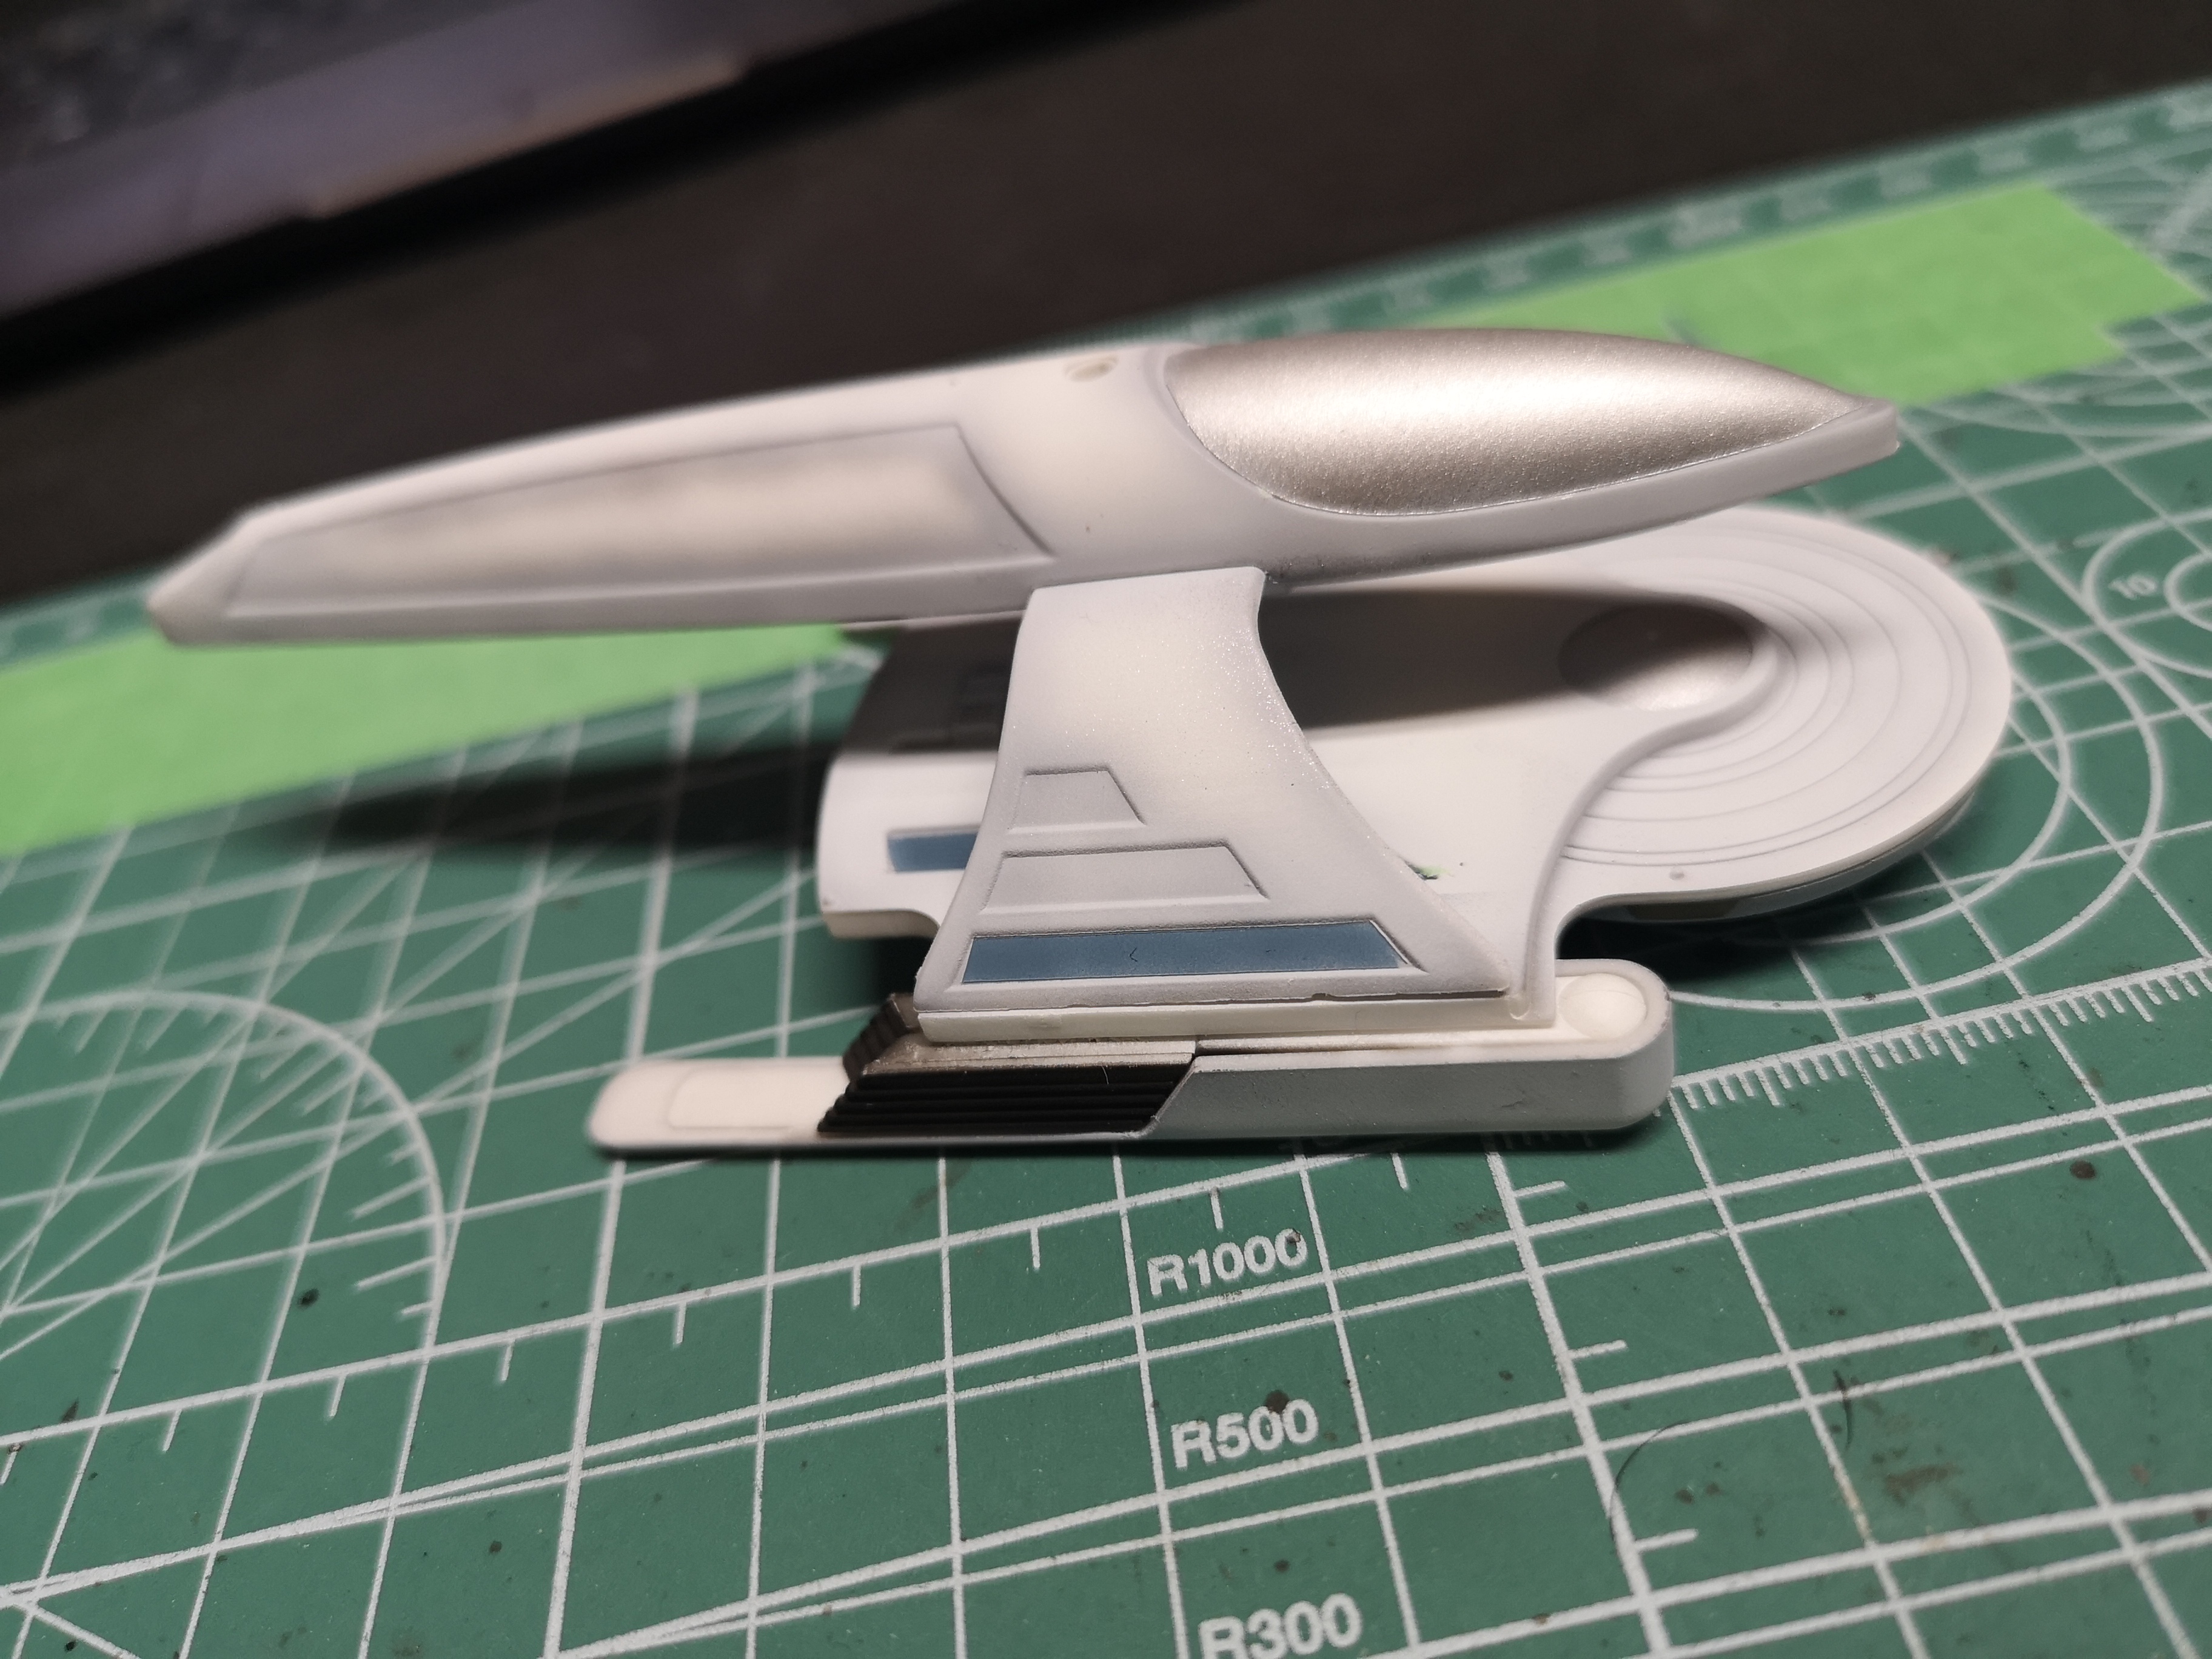
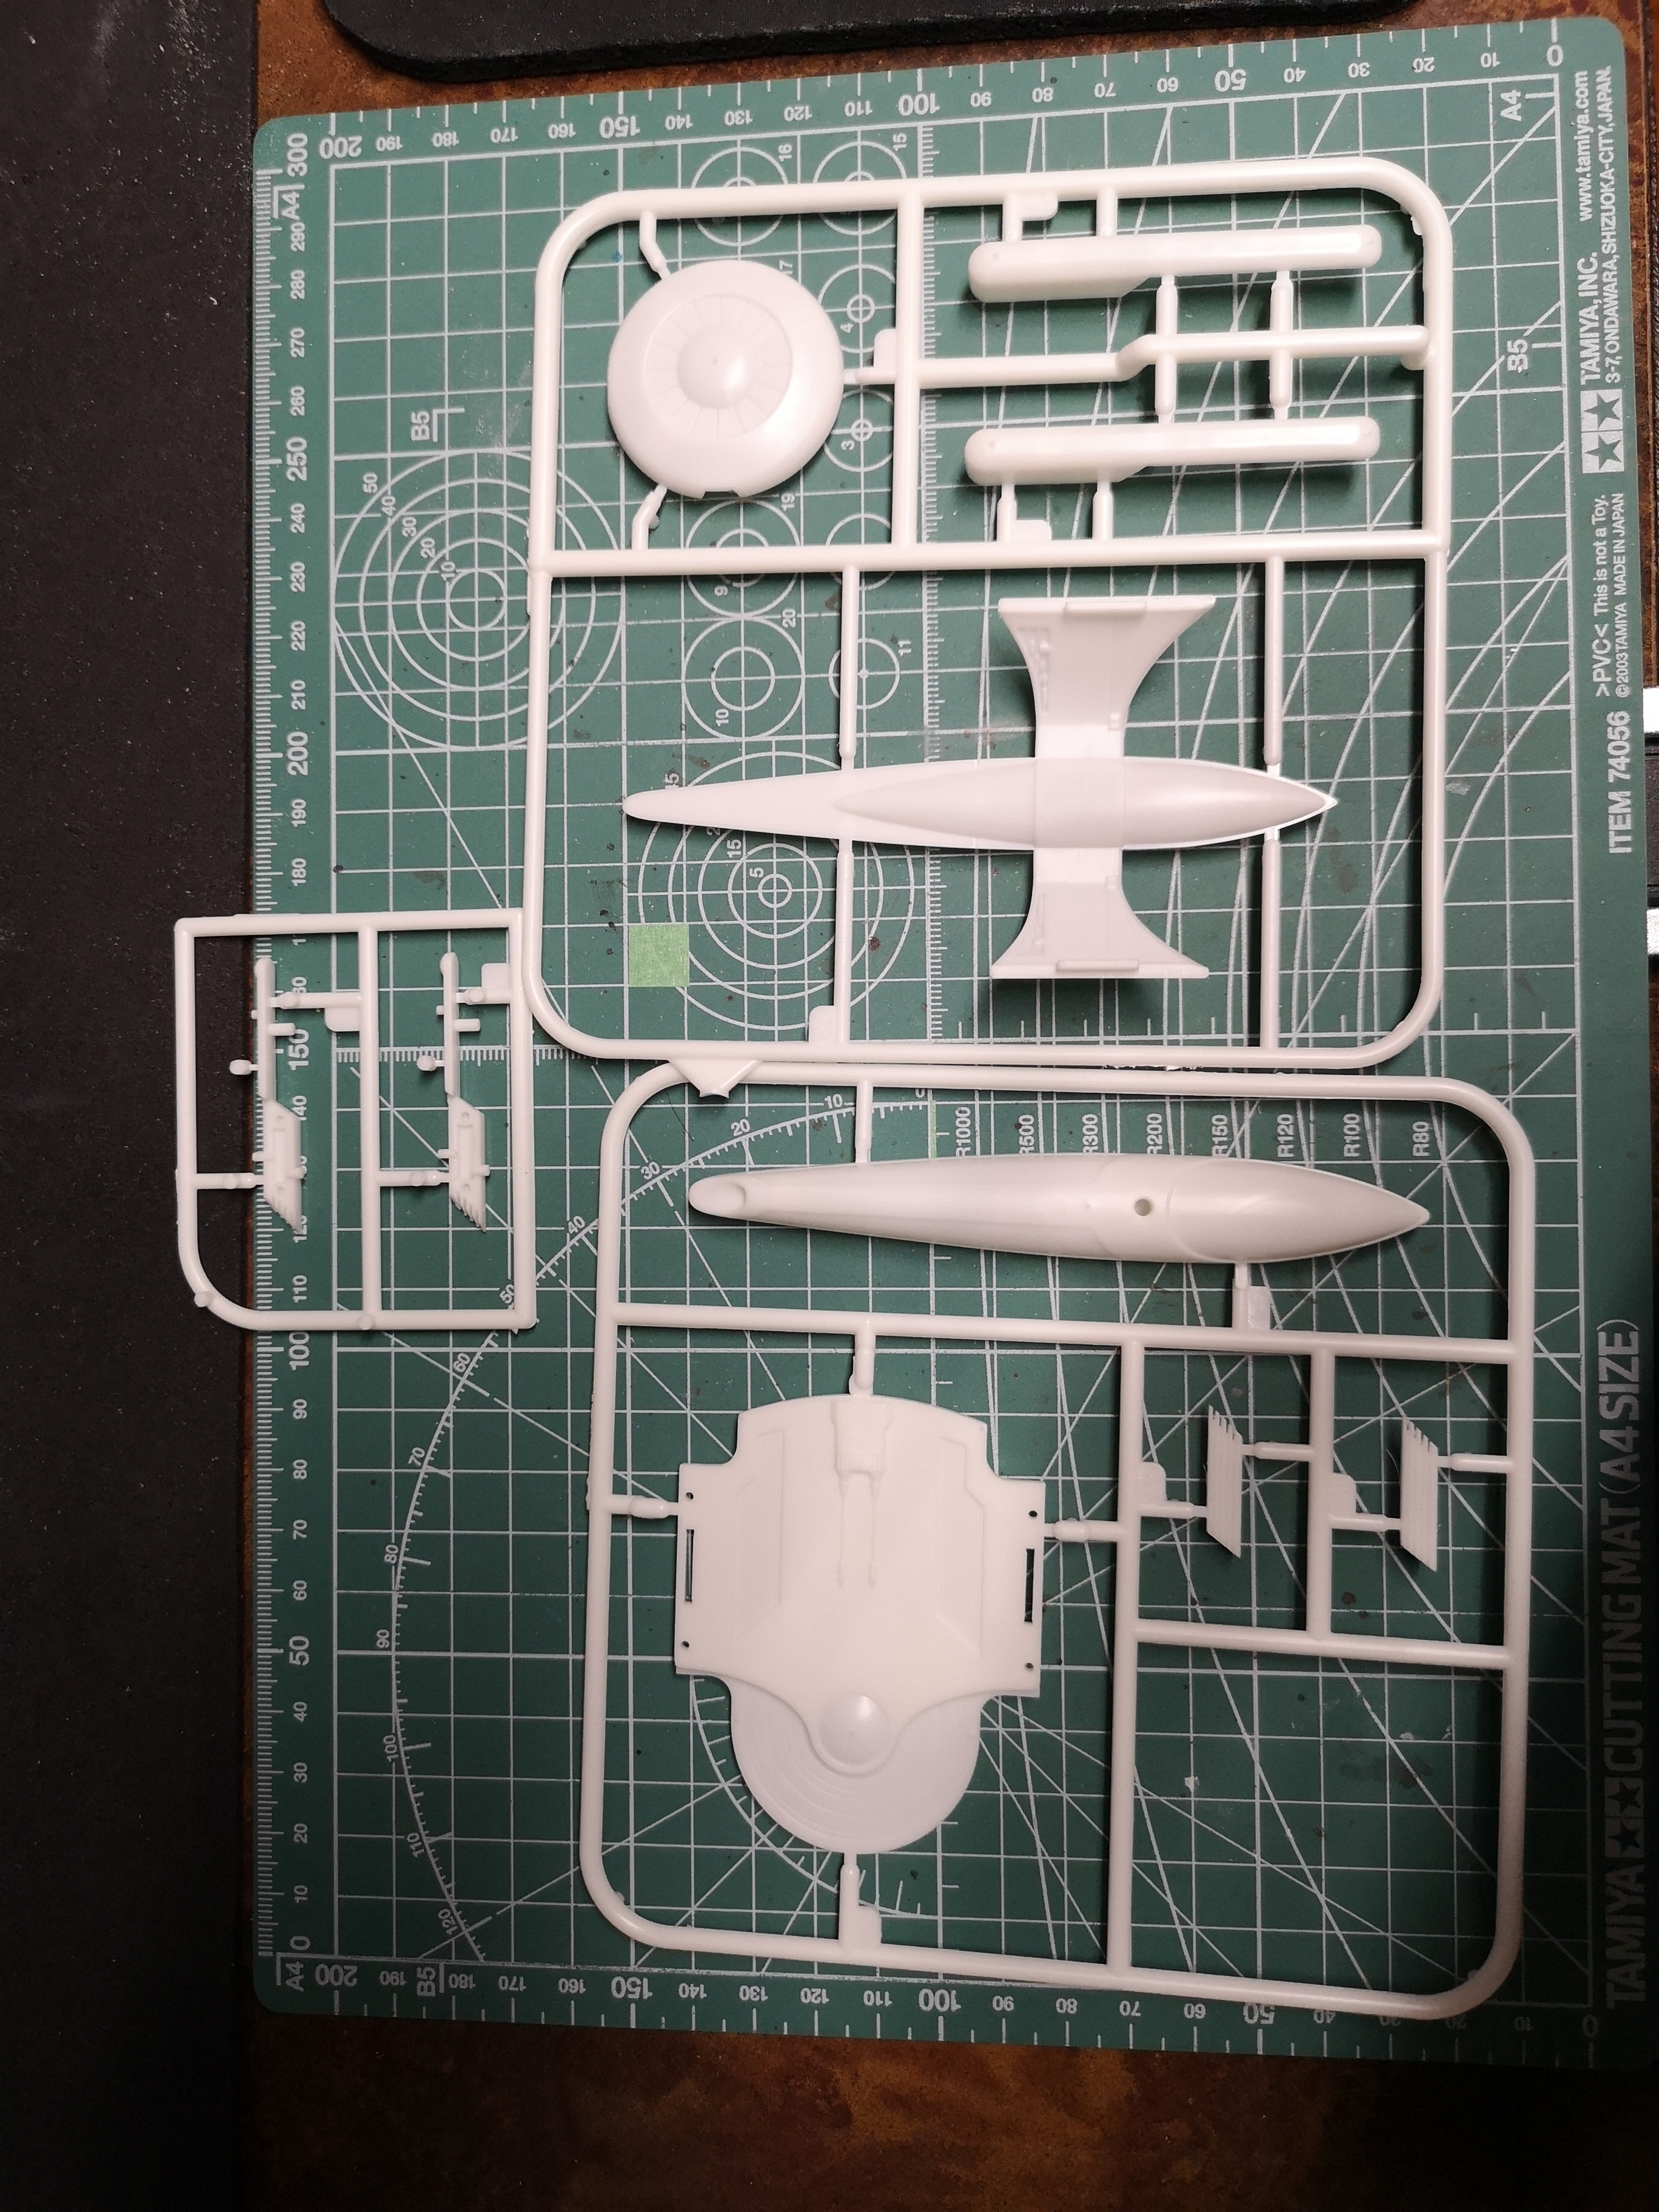
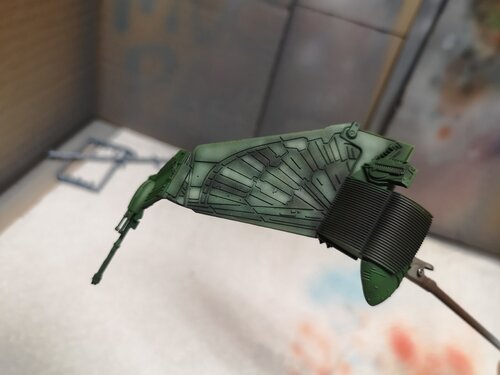
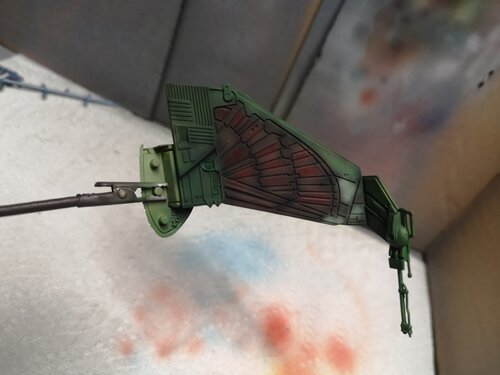
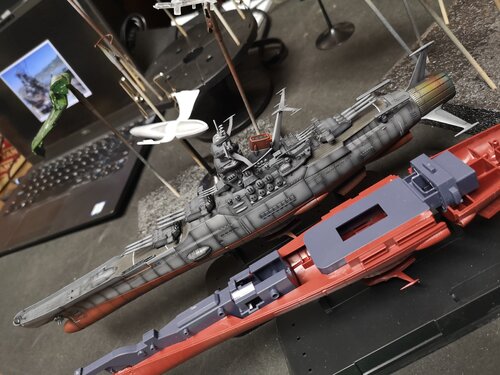
Did a bit more work on the BOP/Grissom Too lazy to mask all those feathers, definitely not screen accurate. The blue-gray came out a wee bit darker than I hoped. And a bit of over spray on the bottom side. I didn't fill in any seams or use any putty on this kit, though I probably should have. This was an extremely lazy build, and I know next to nothing about this ship other than the BOP blew it up. I didn't research a lot into what the studio model looks like so it already looks better than I was expecting. Next step is Pledge, then decals and maybe some weathering, then flat clear. Guess I better get back to the sister ships. I knocked back the brightness of the engine nozzles just like @pengbuzz suggested, looks better when it doesn't contrast so much, thanks again for the tips Ohhhh.... Just binge watched Yamato 2202 this past weekend so I'm pretty motivated to finish the second ship, though it won't be screen accurate, hahahahaha!


-
OK, good to know, thanks! I may decide to bin the idea of trying to do it myself and just buy decals in the end, but I probably won't even be able to see the kit for at least a year or so (at my in-laws in Japan).
-
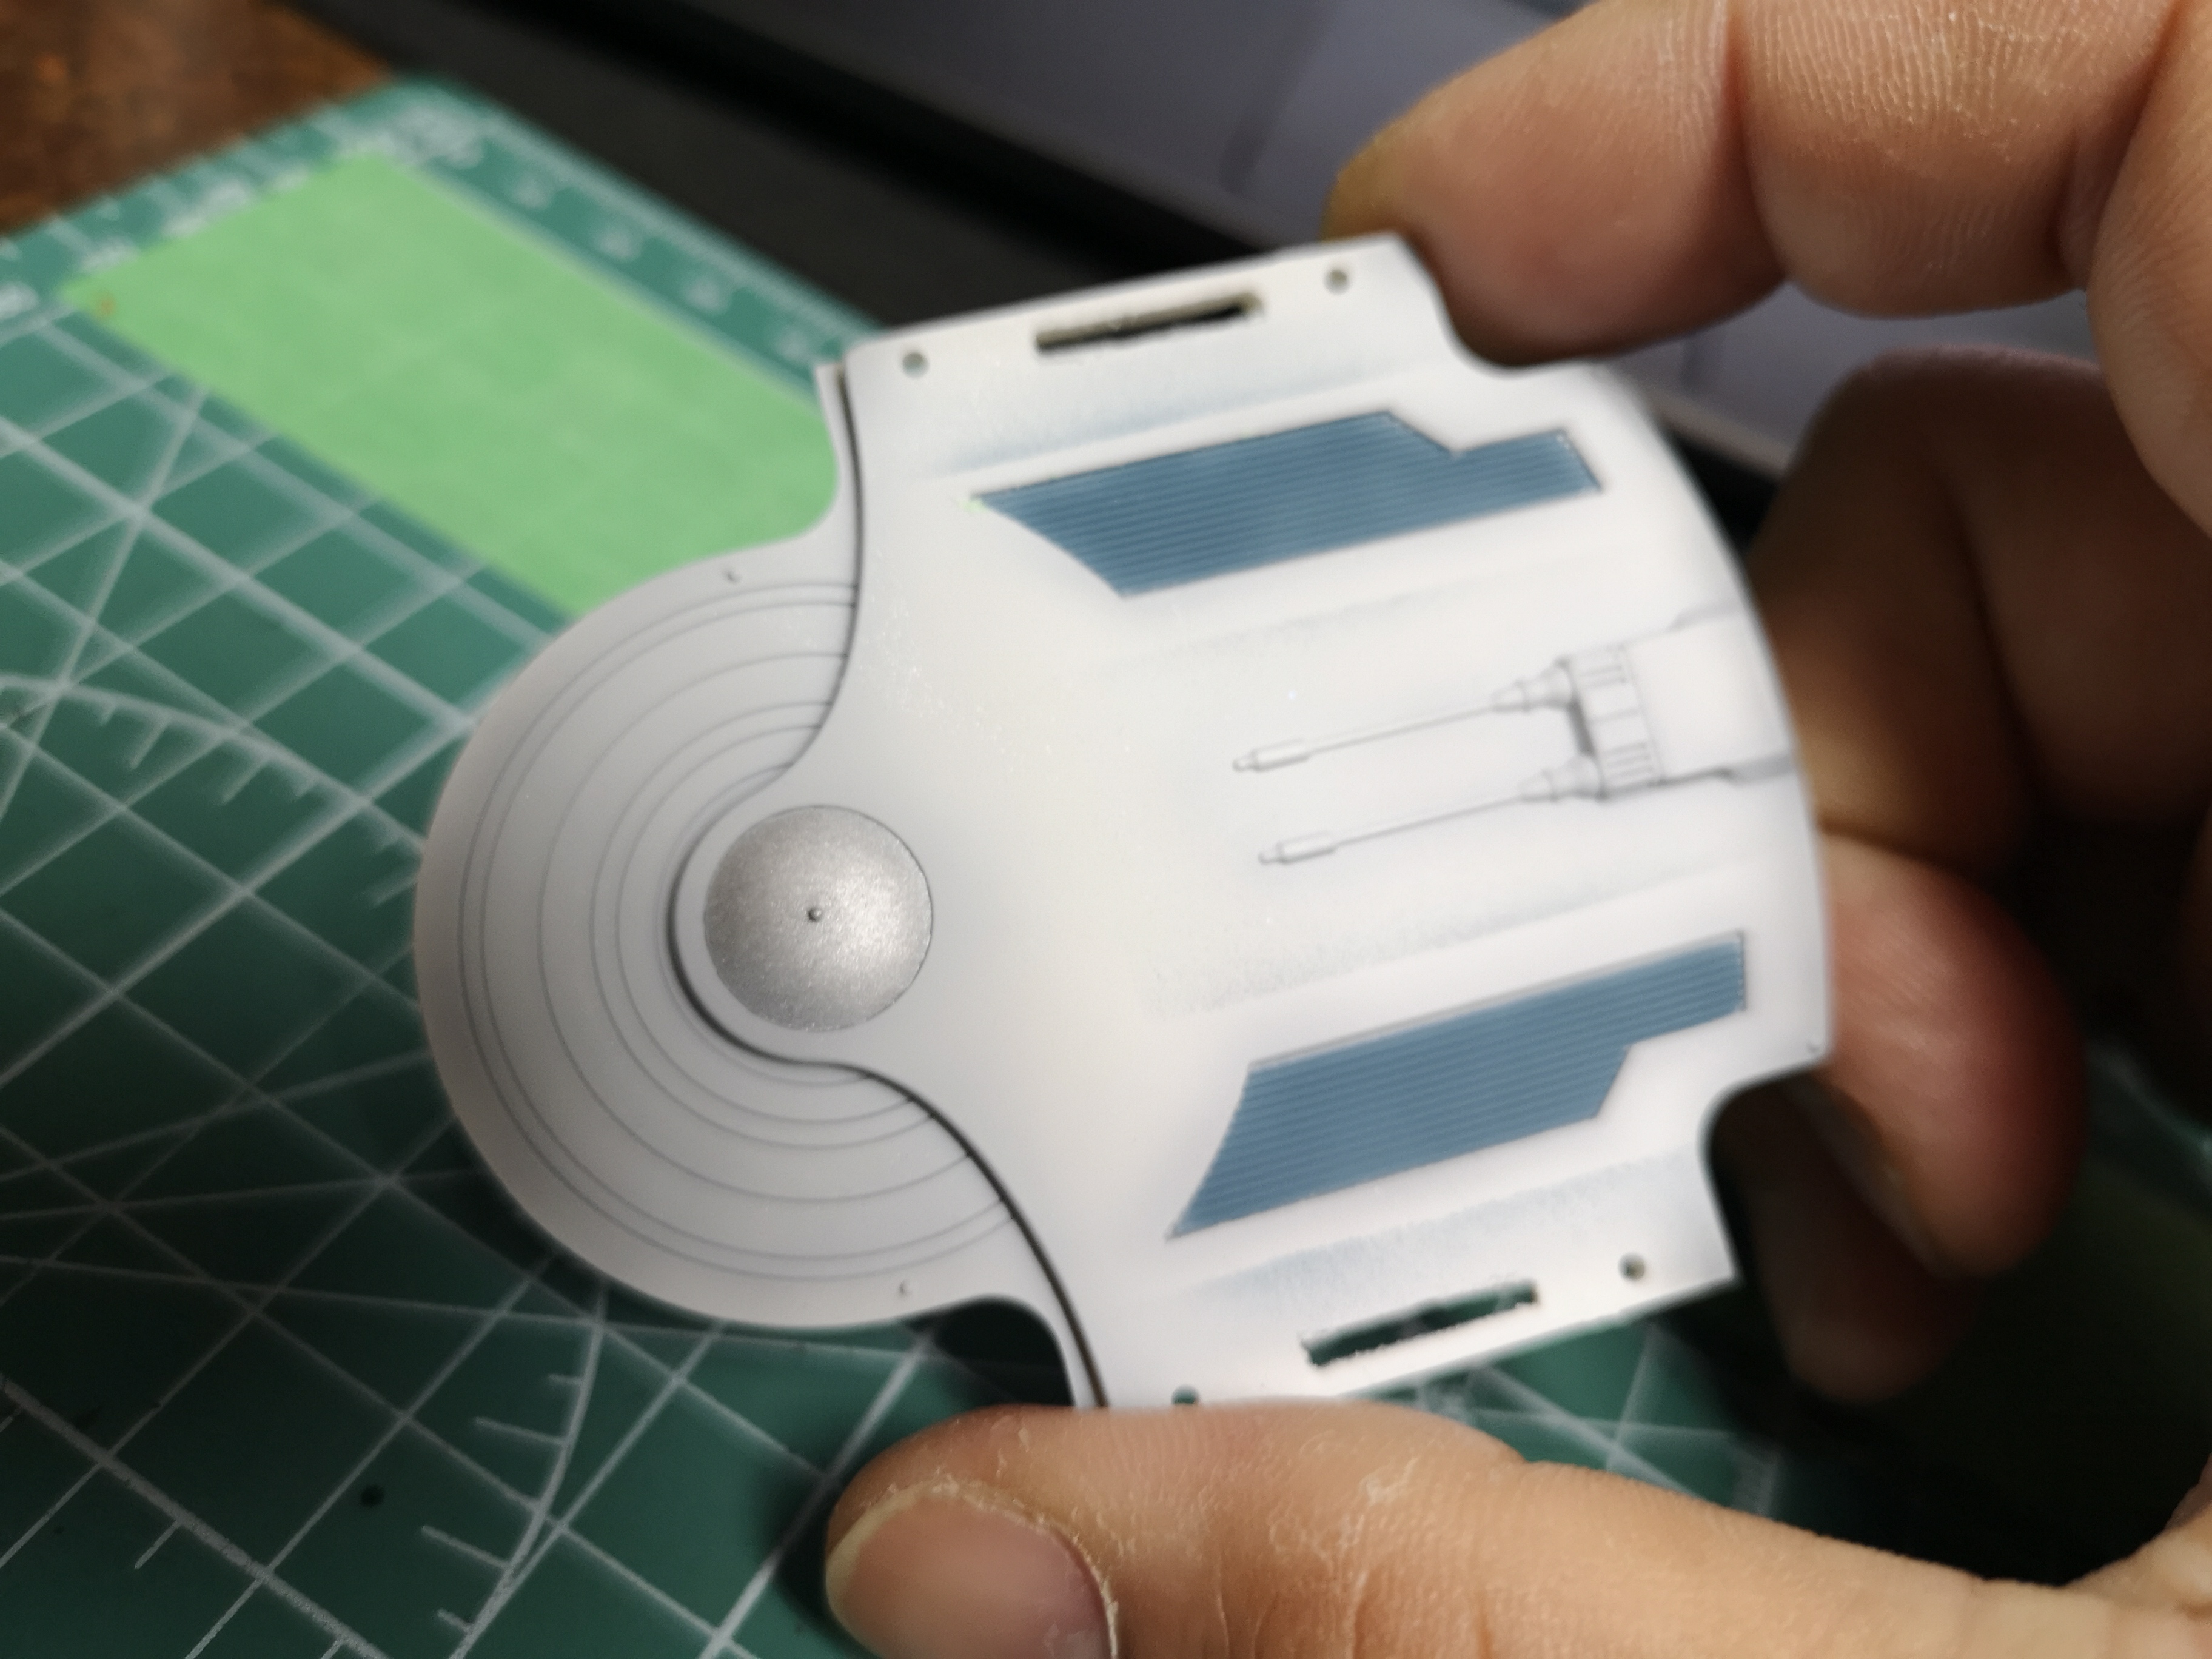
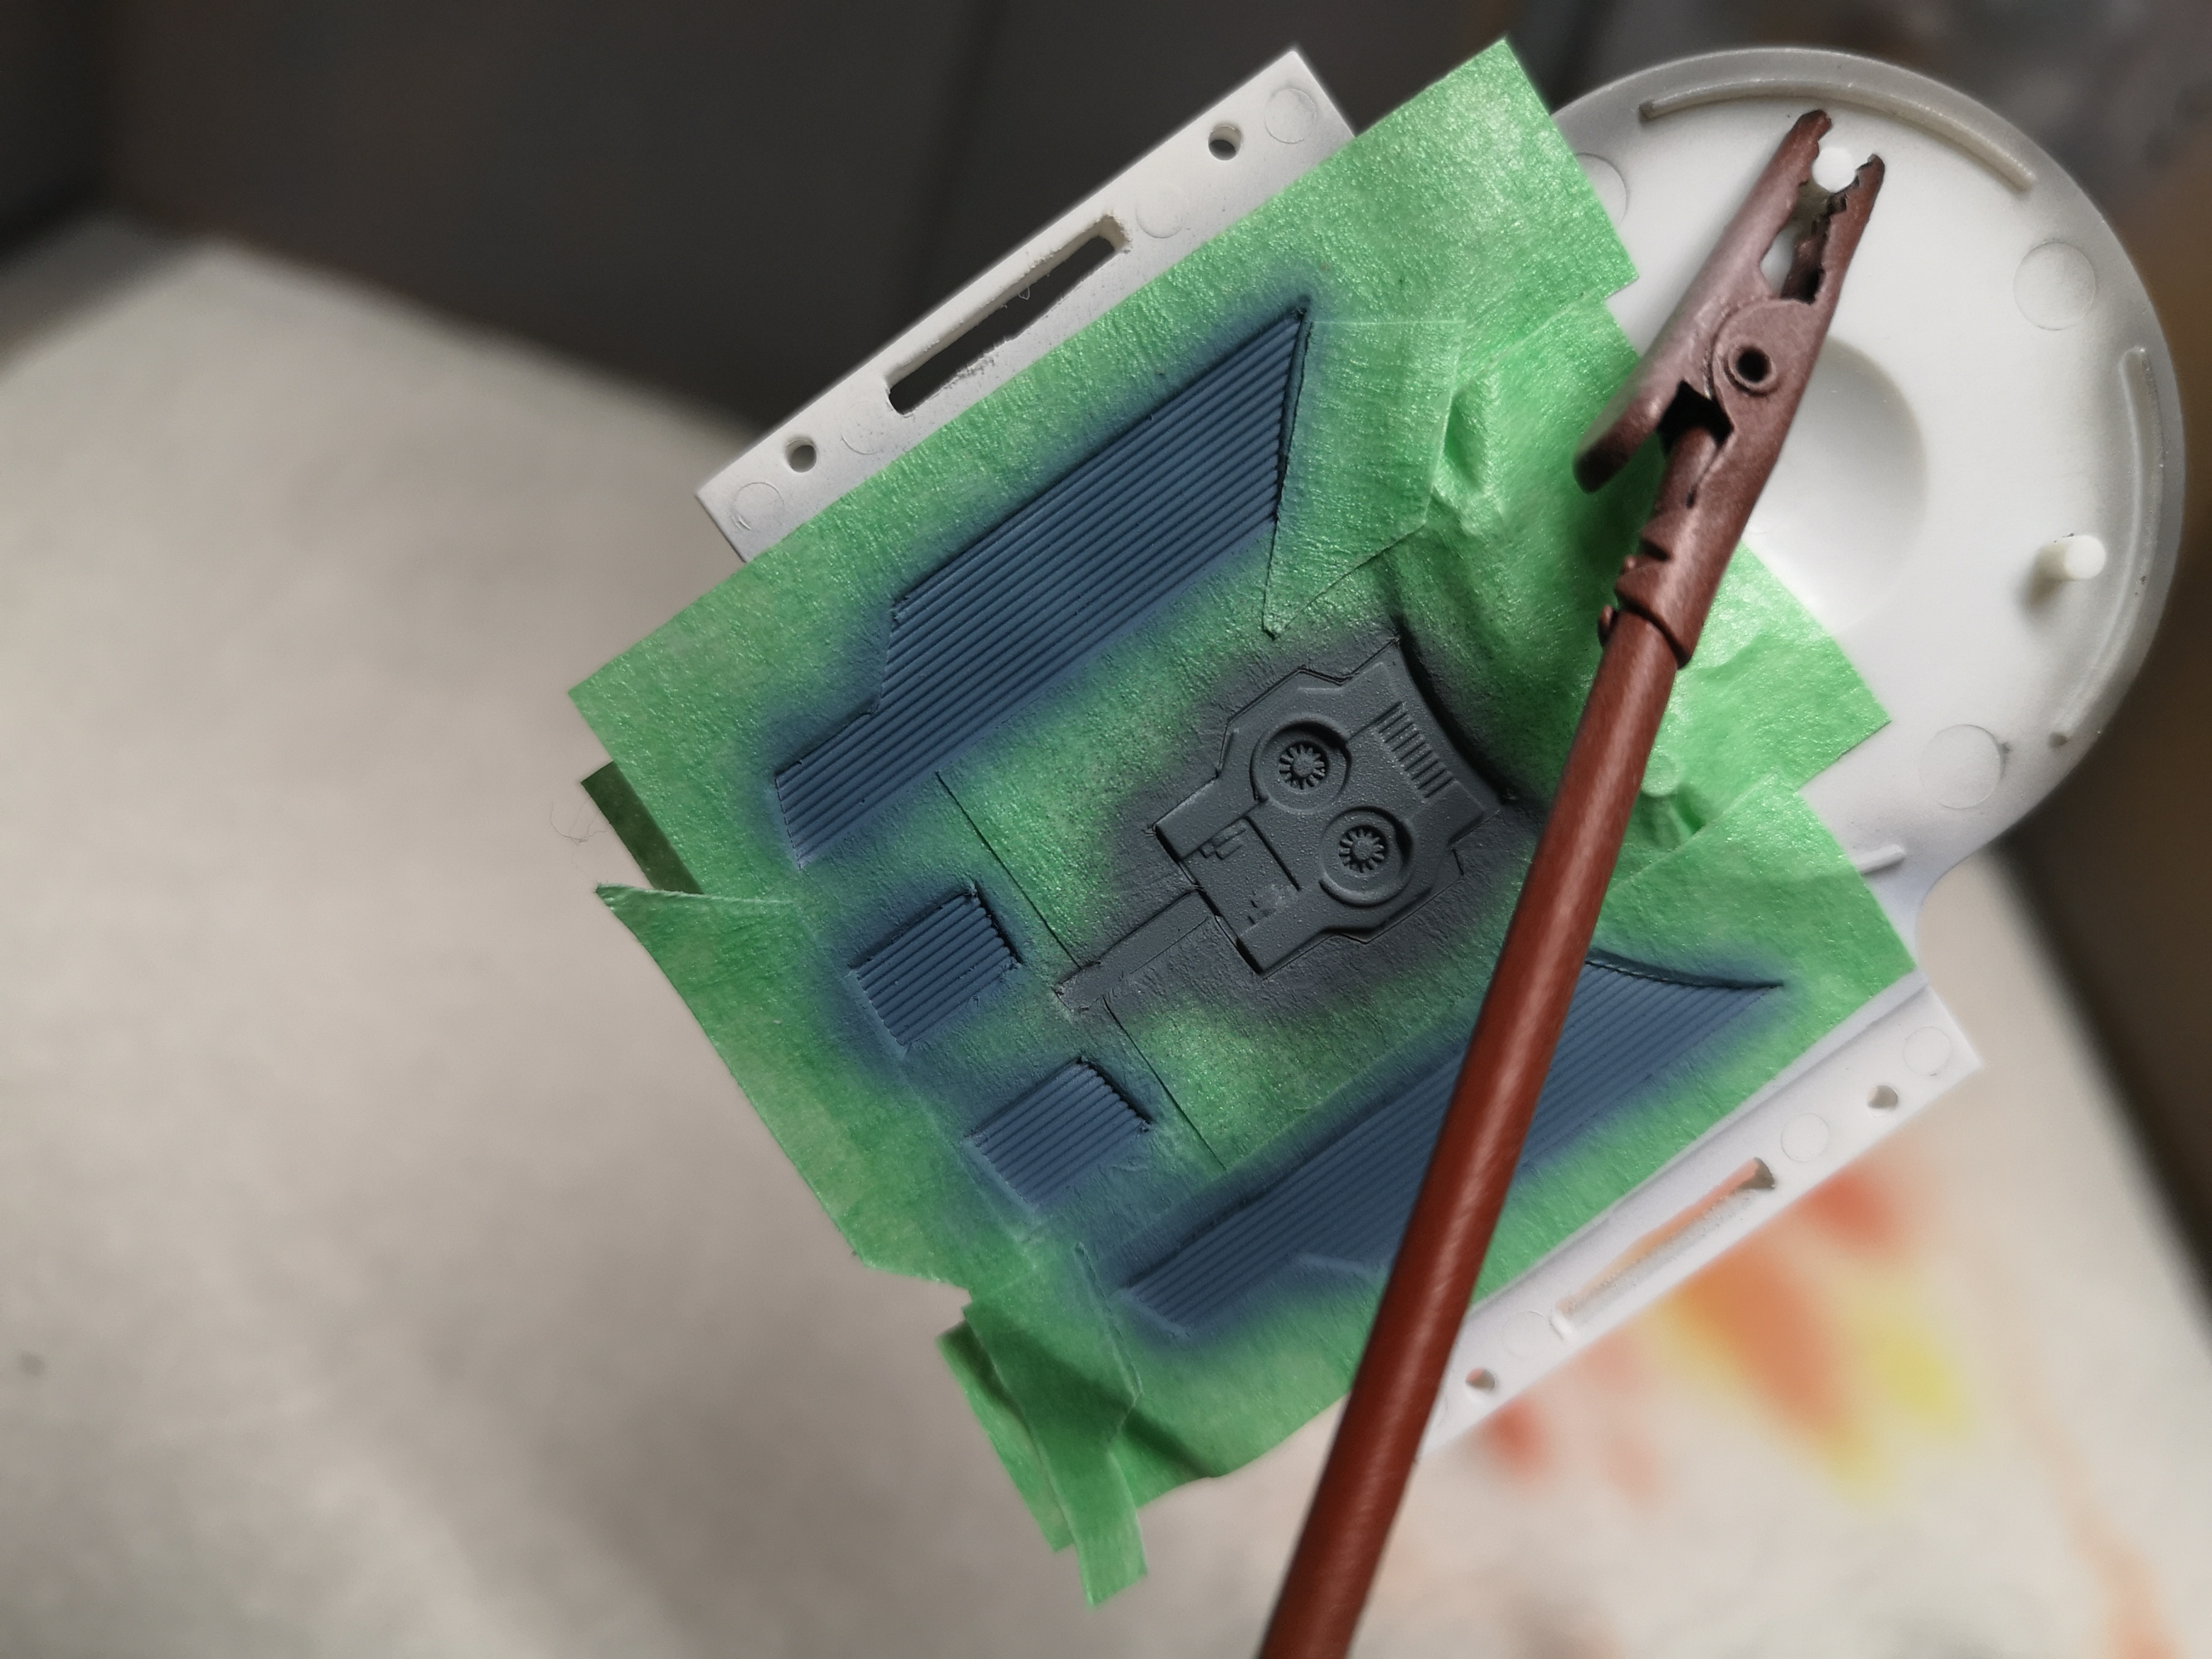
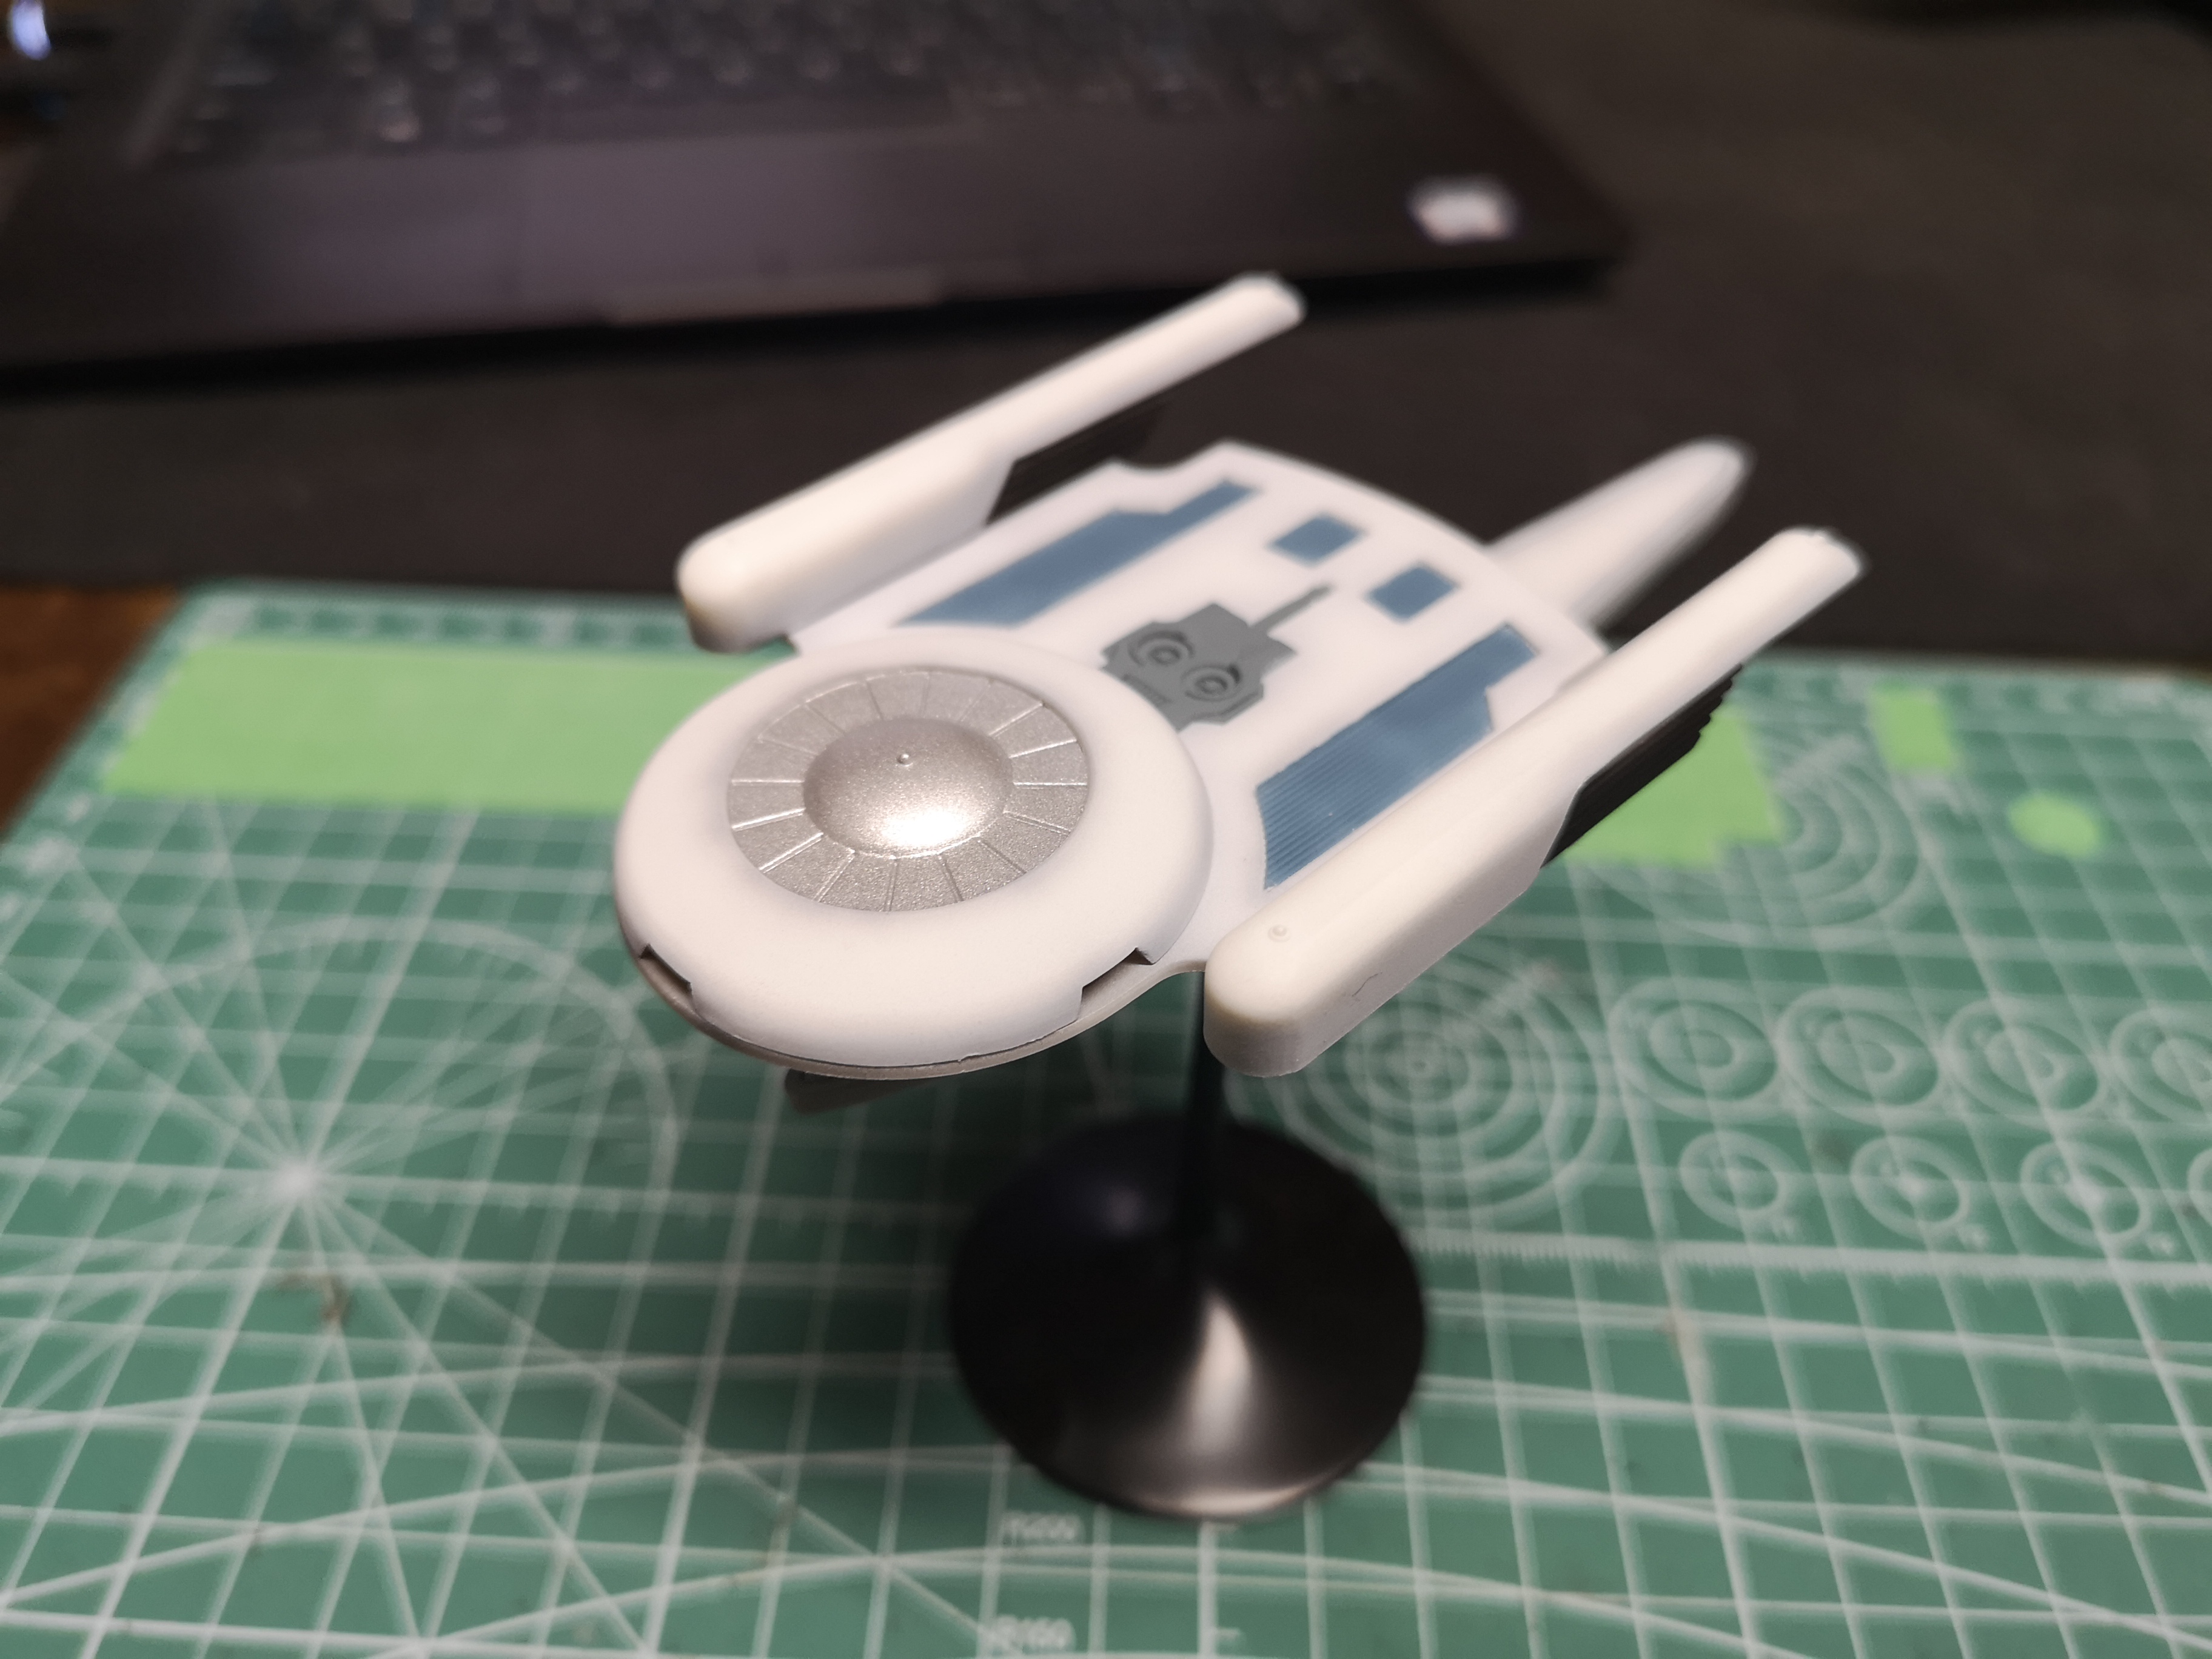
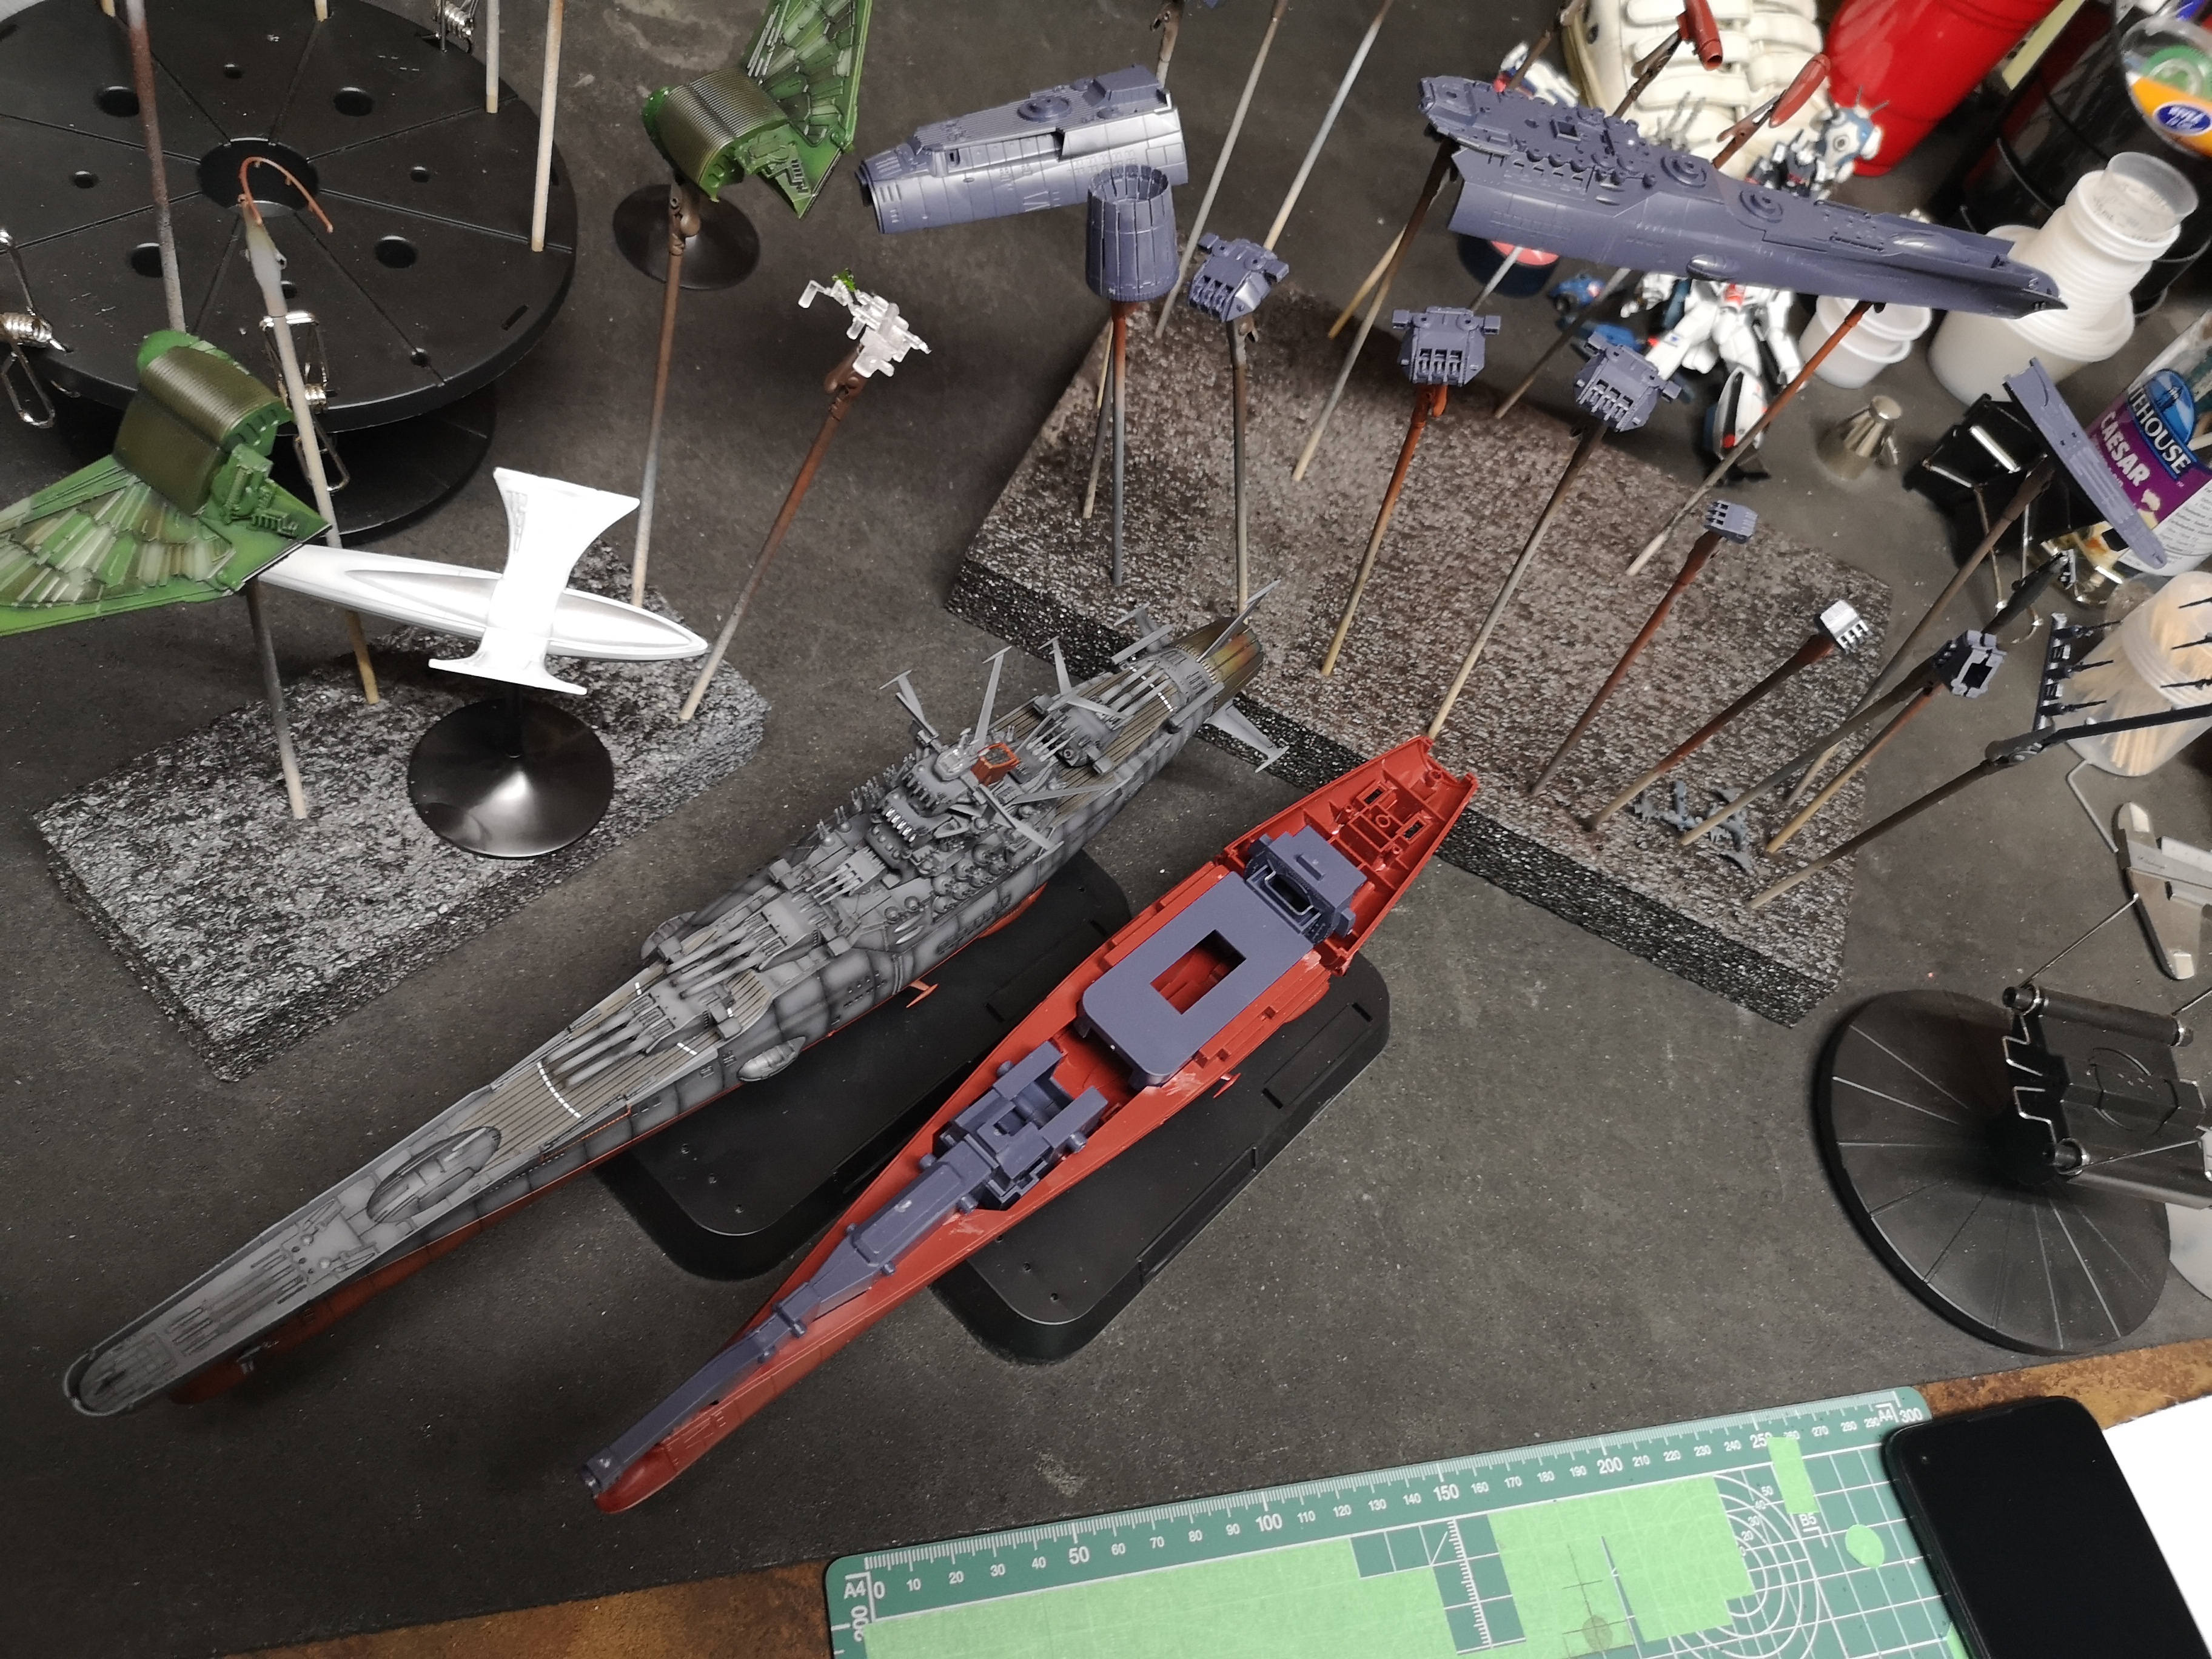
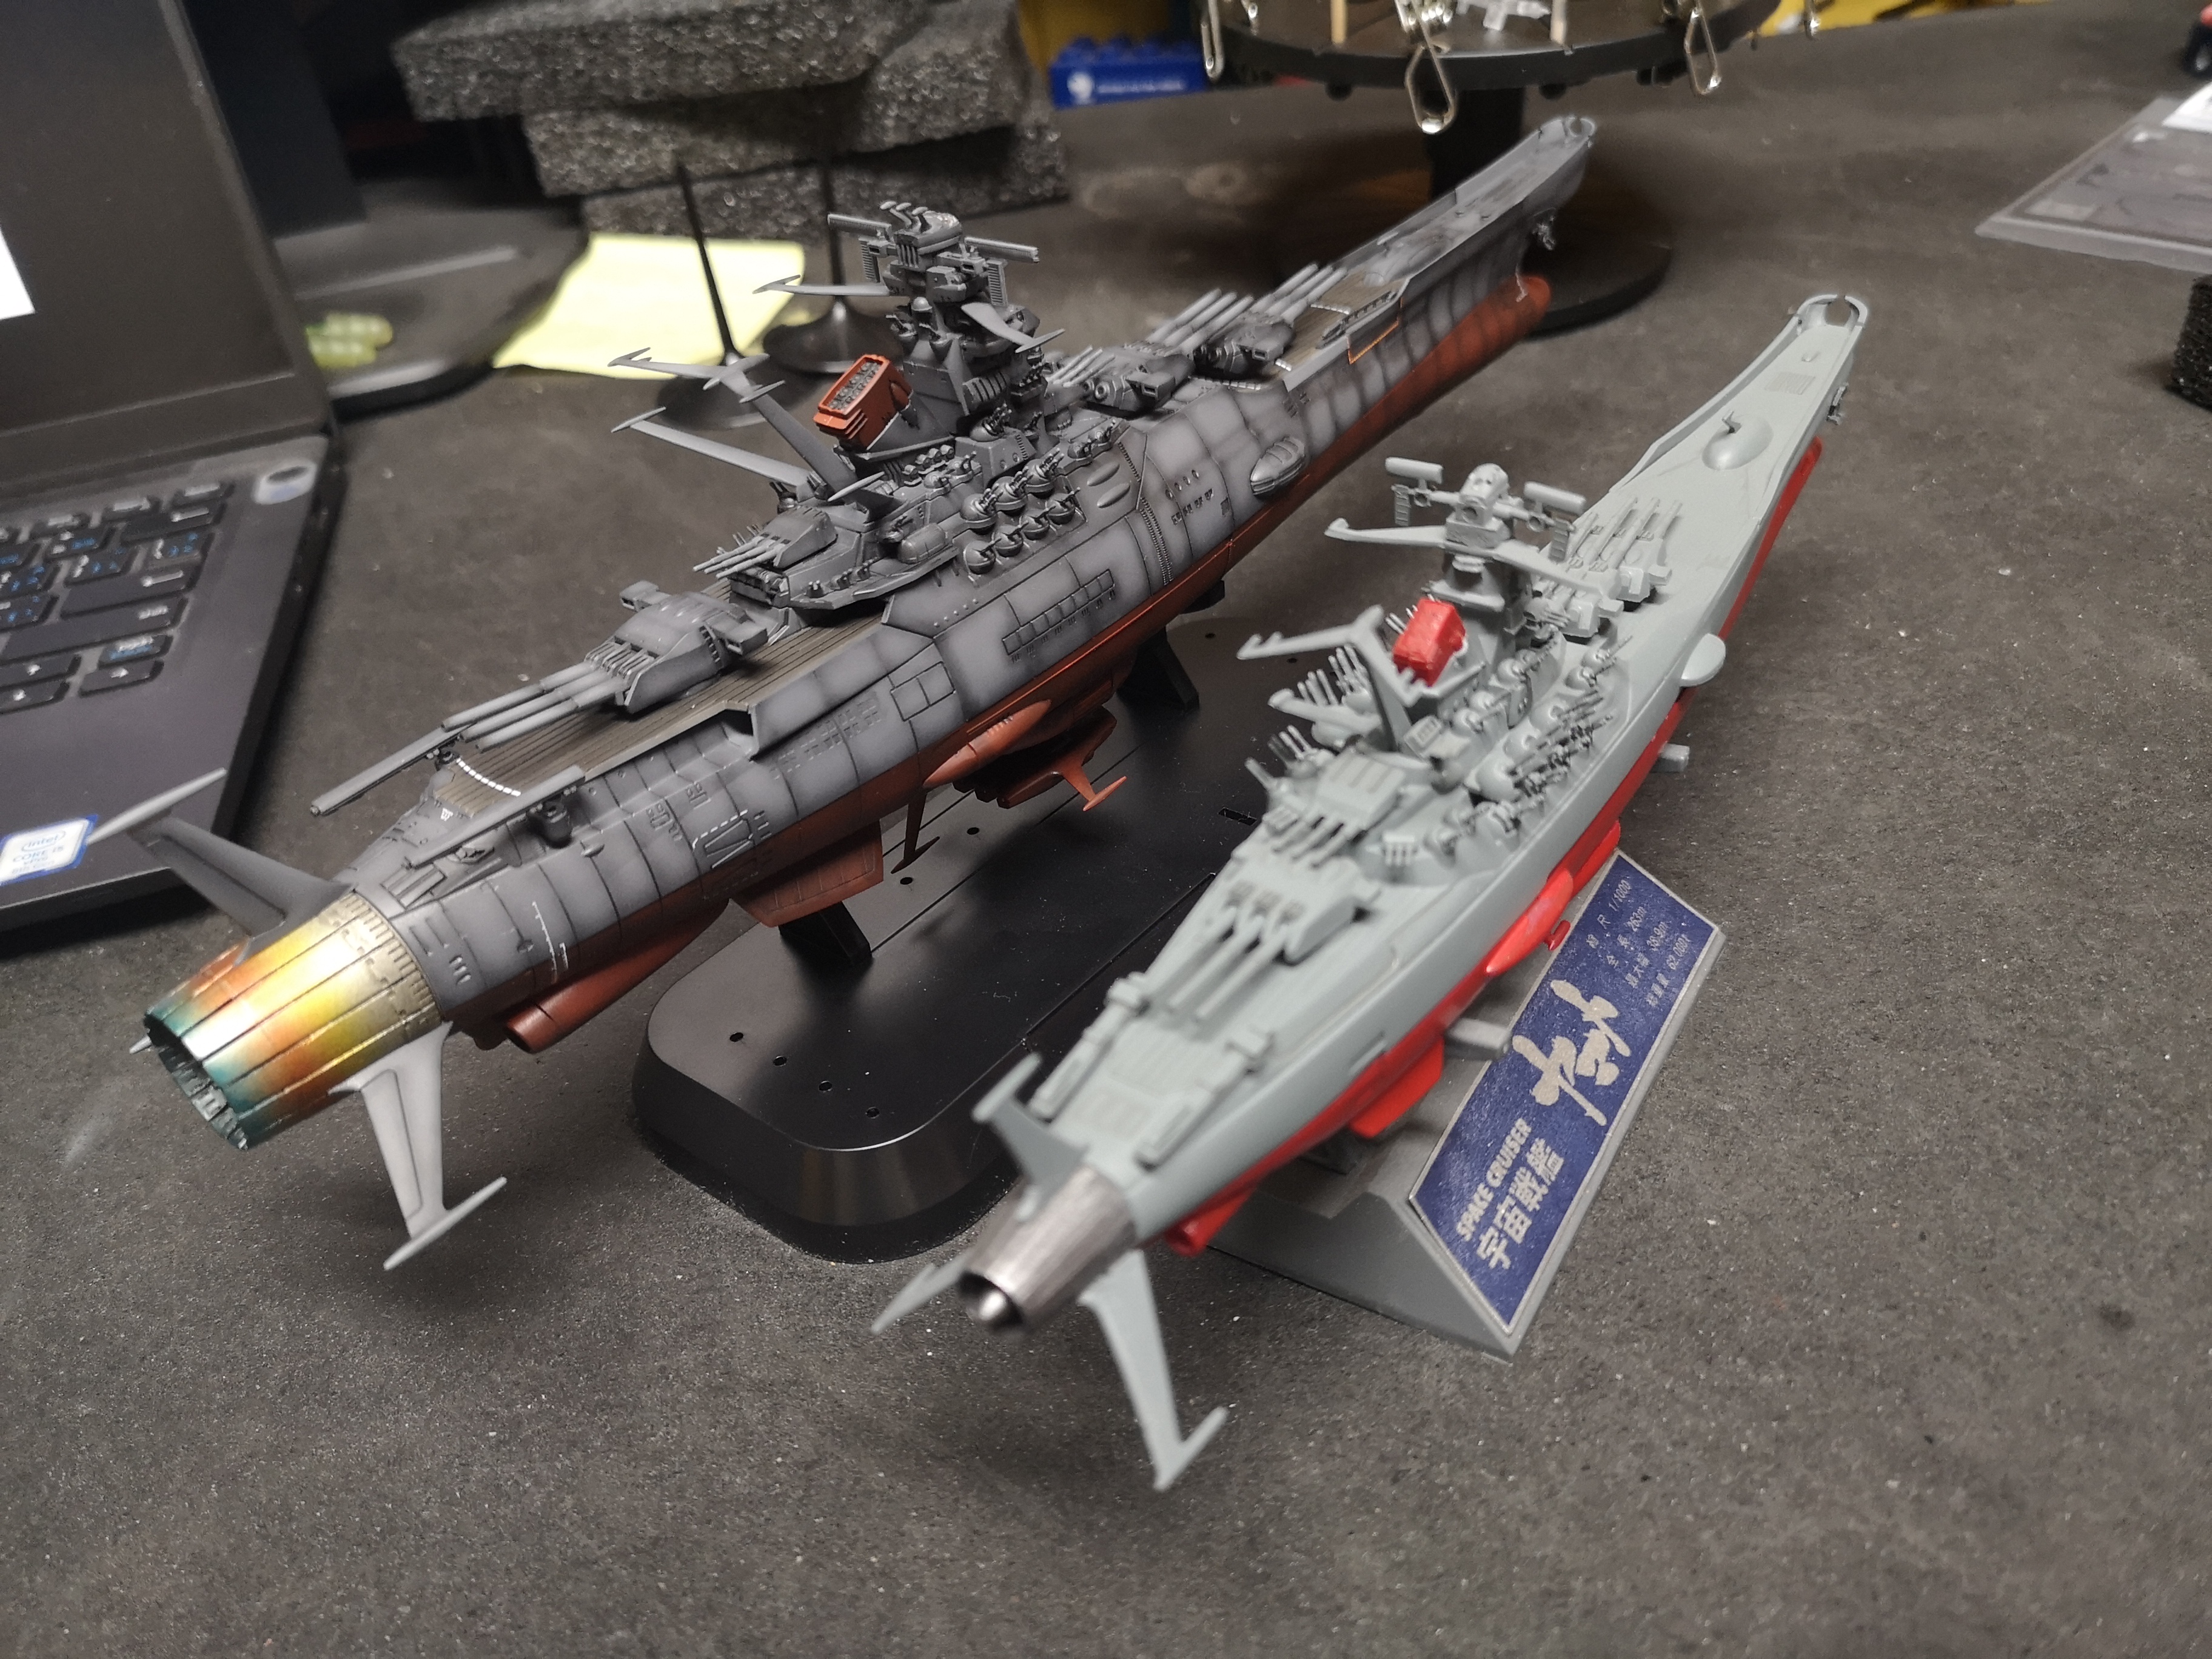
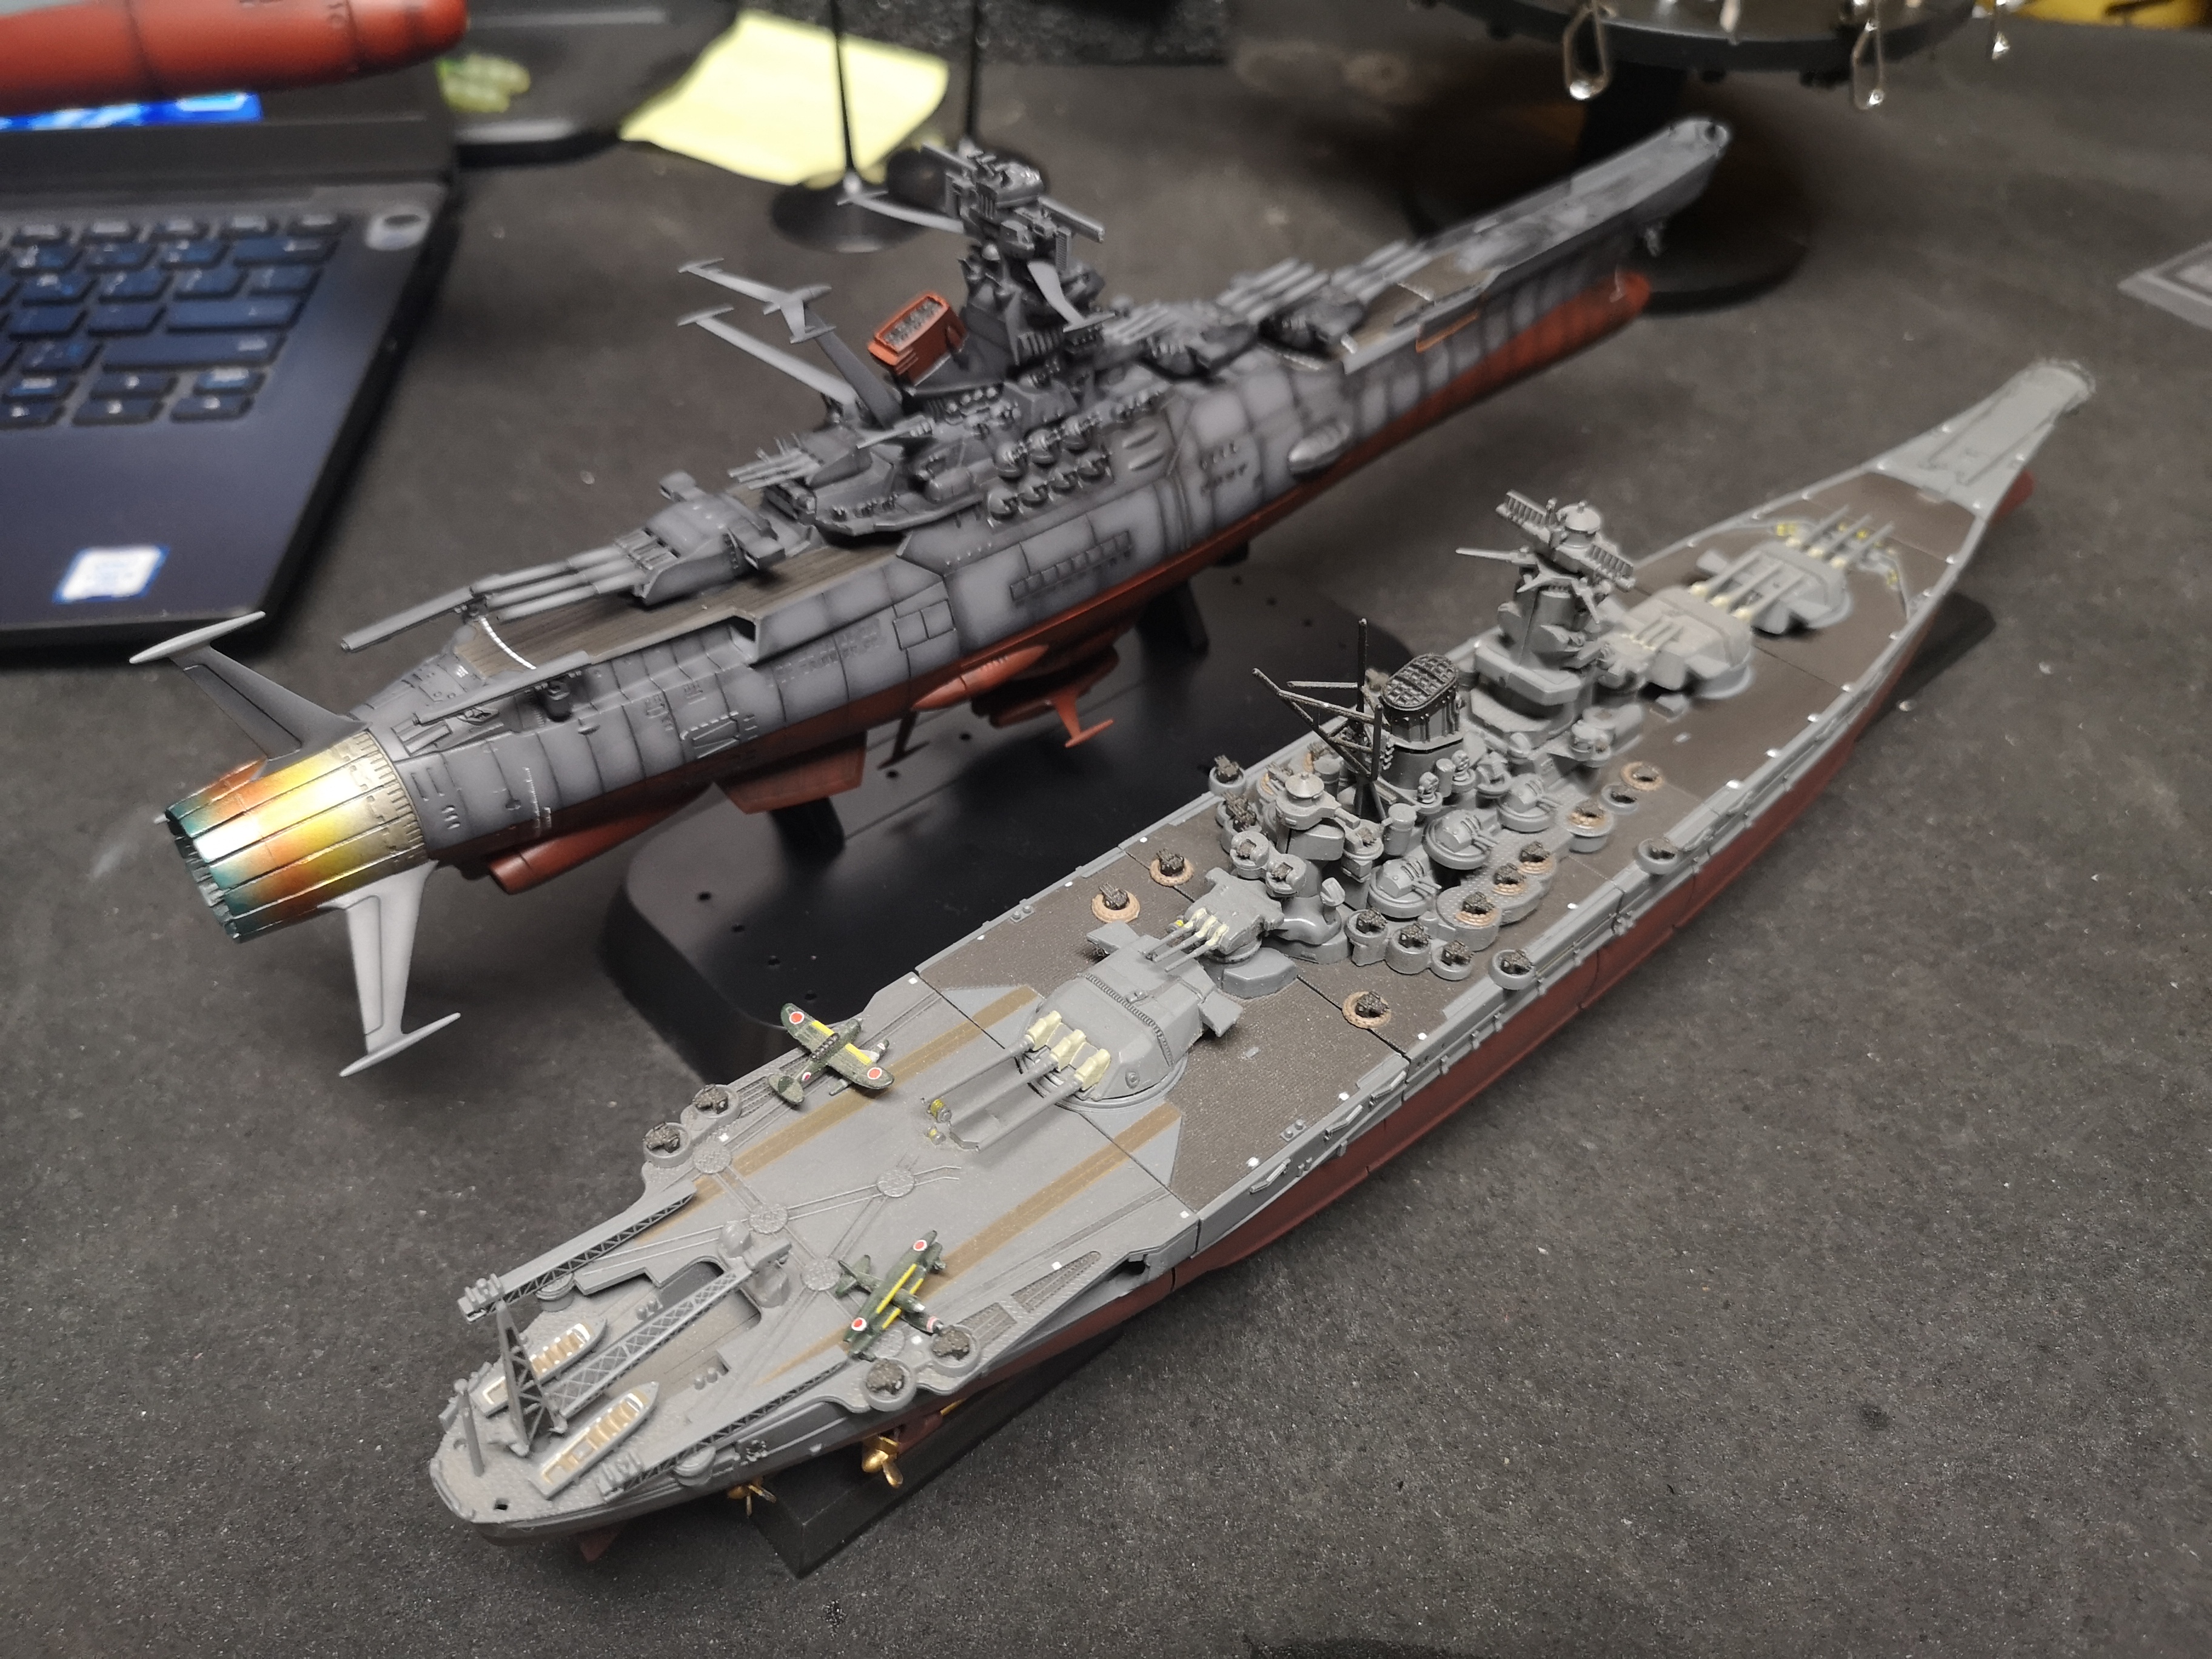
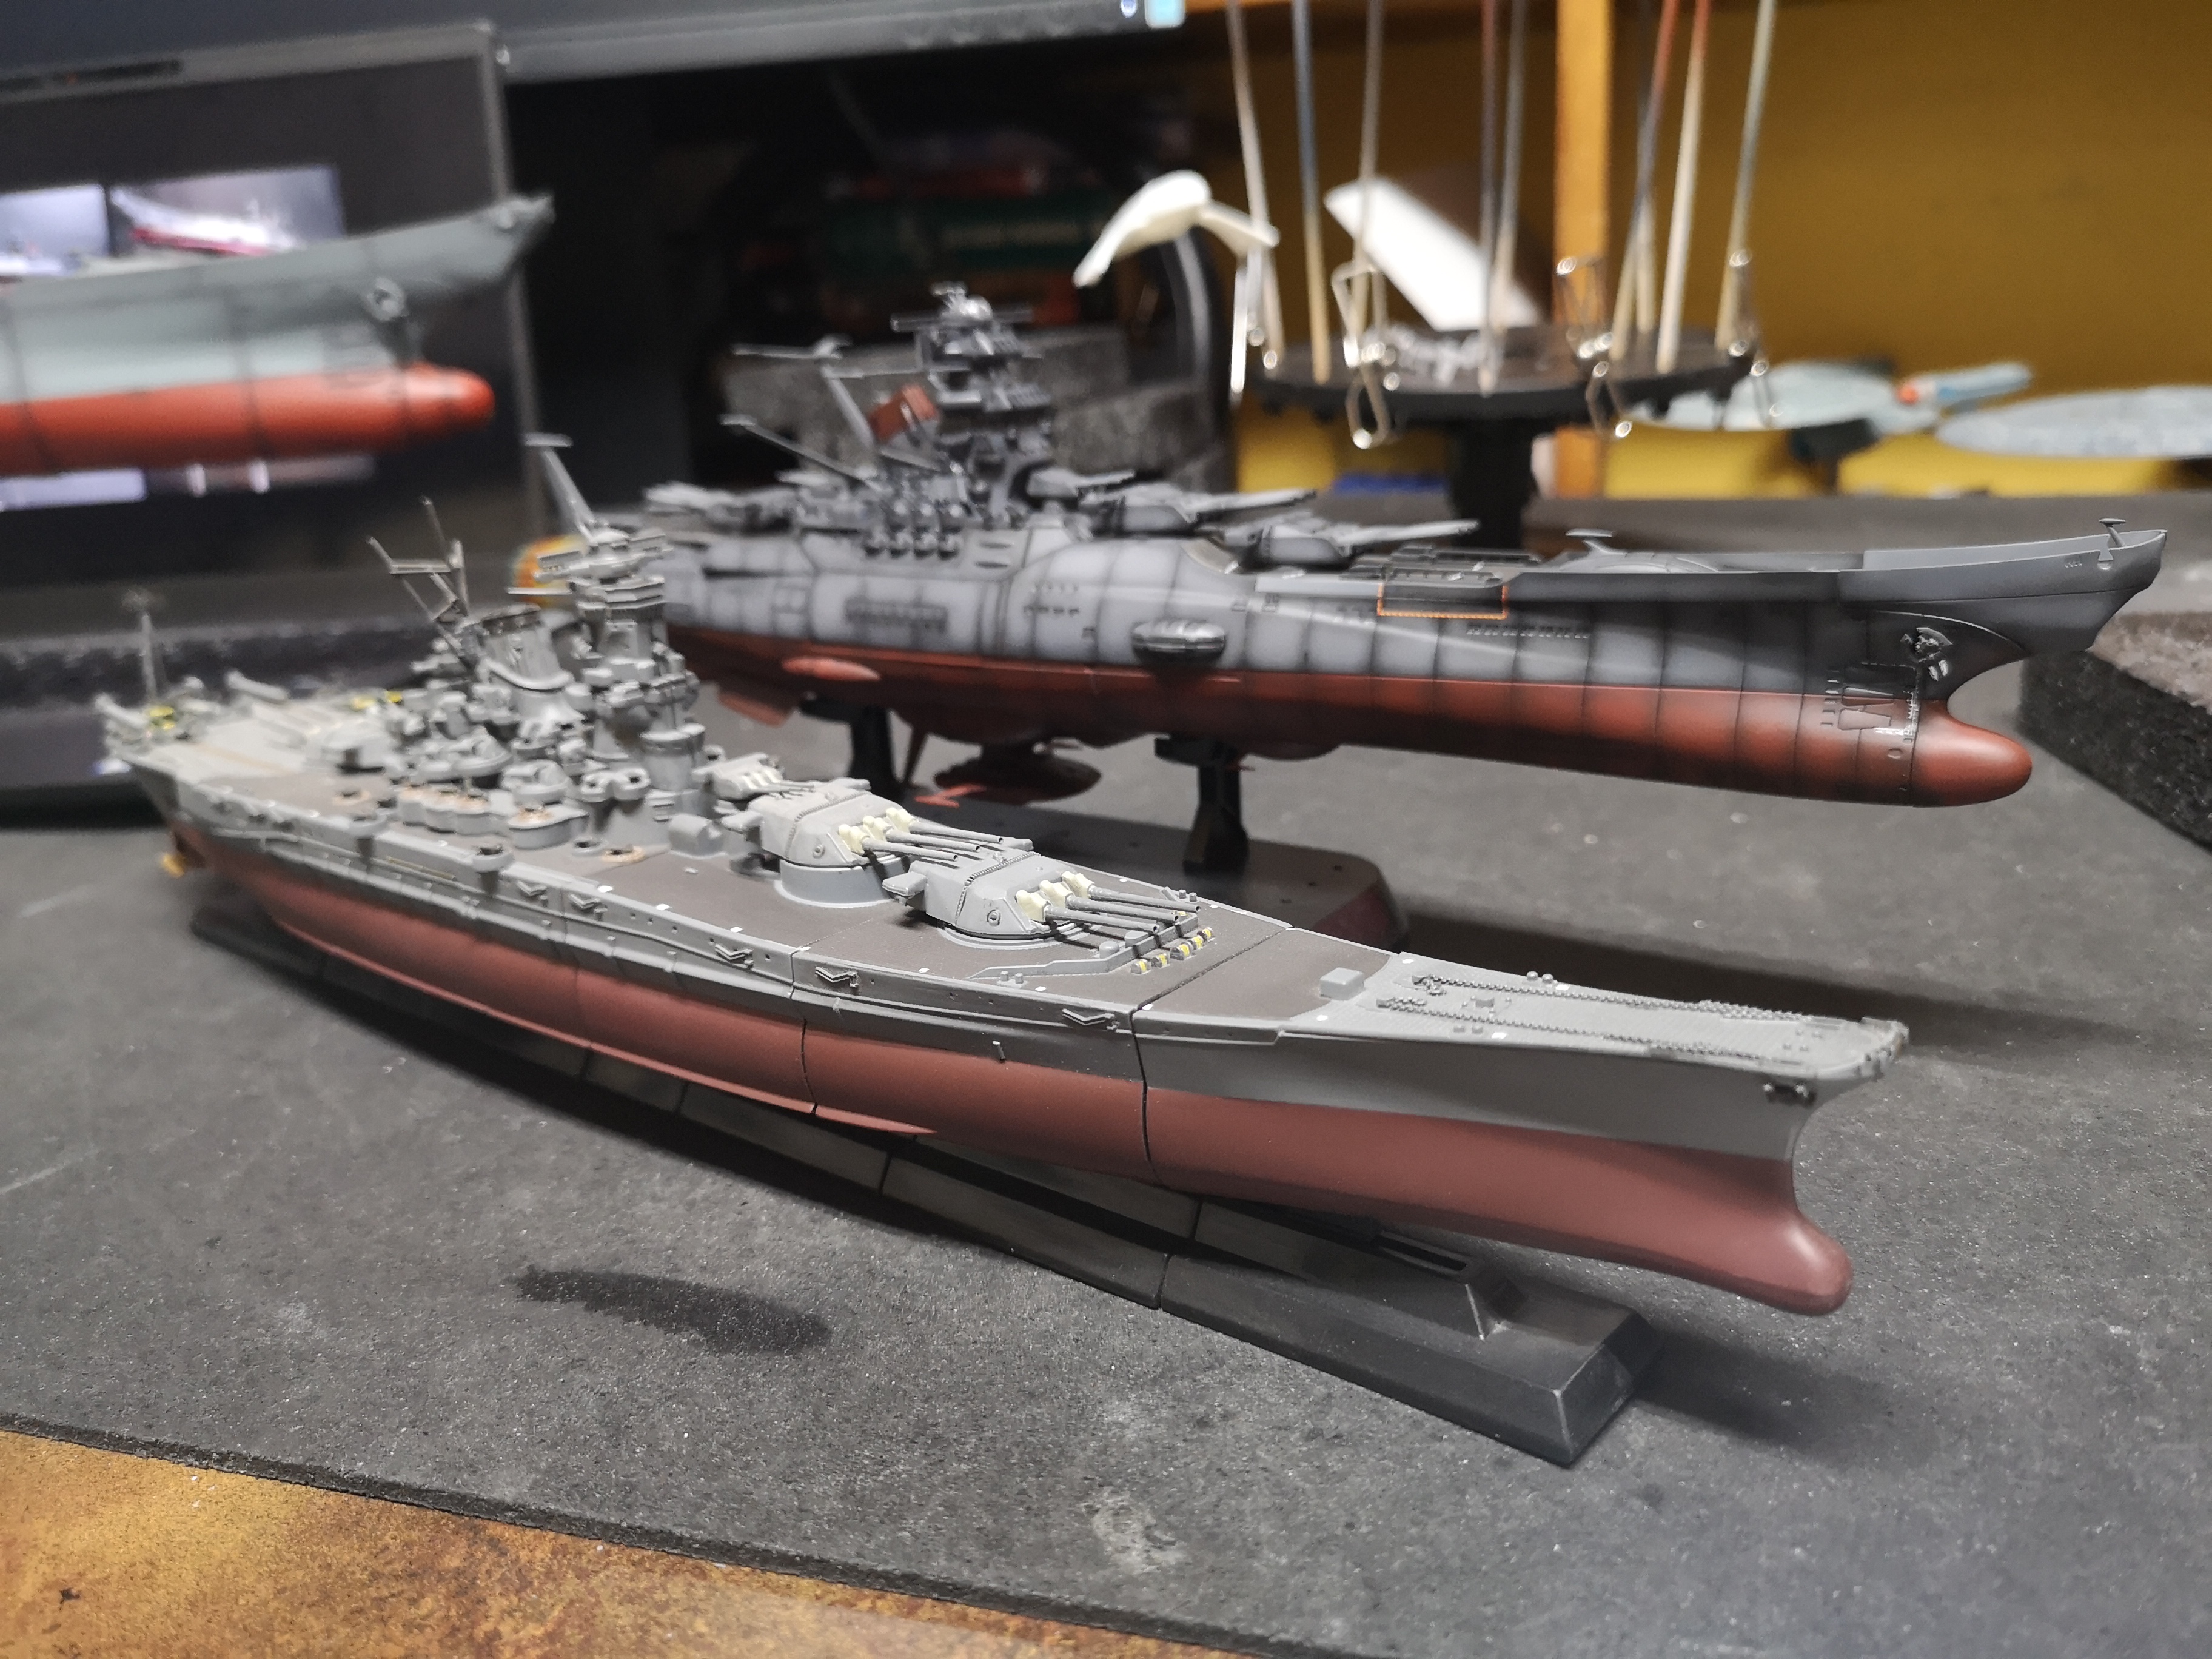
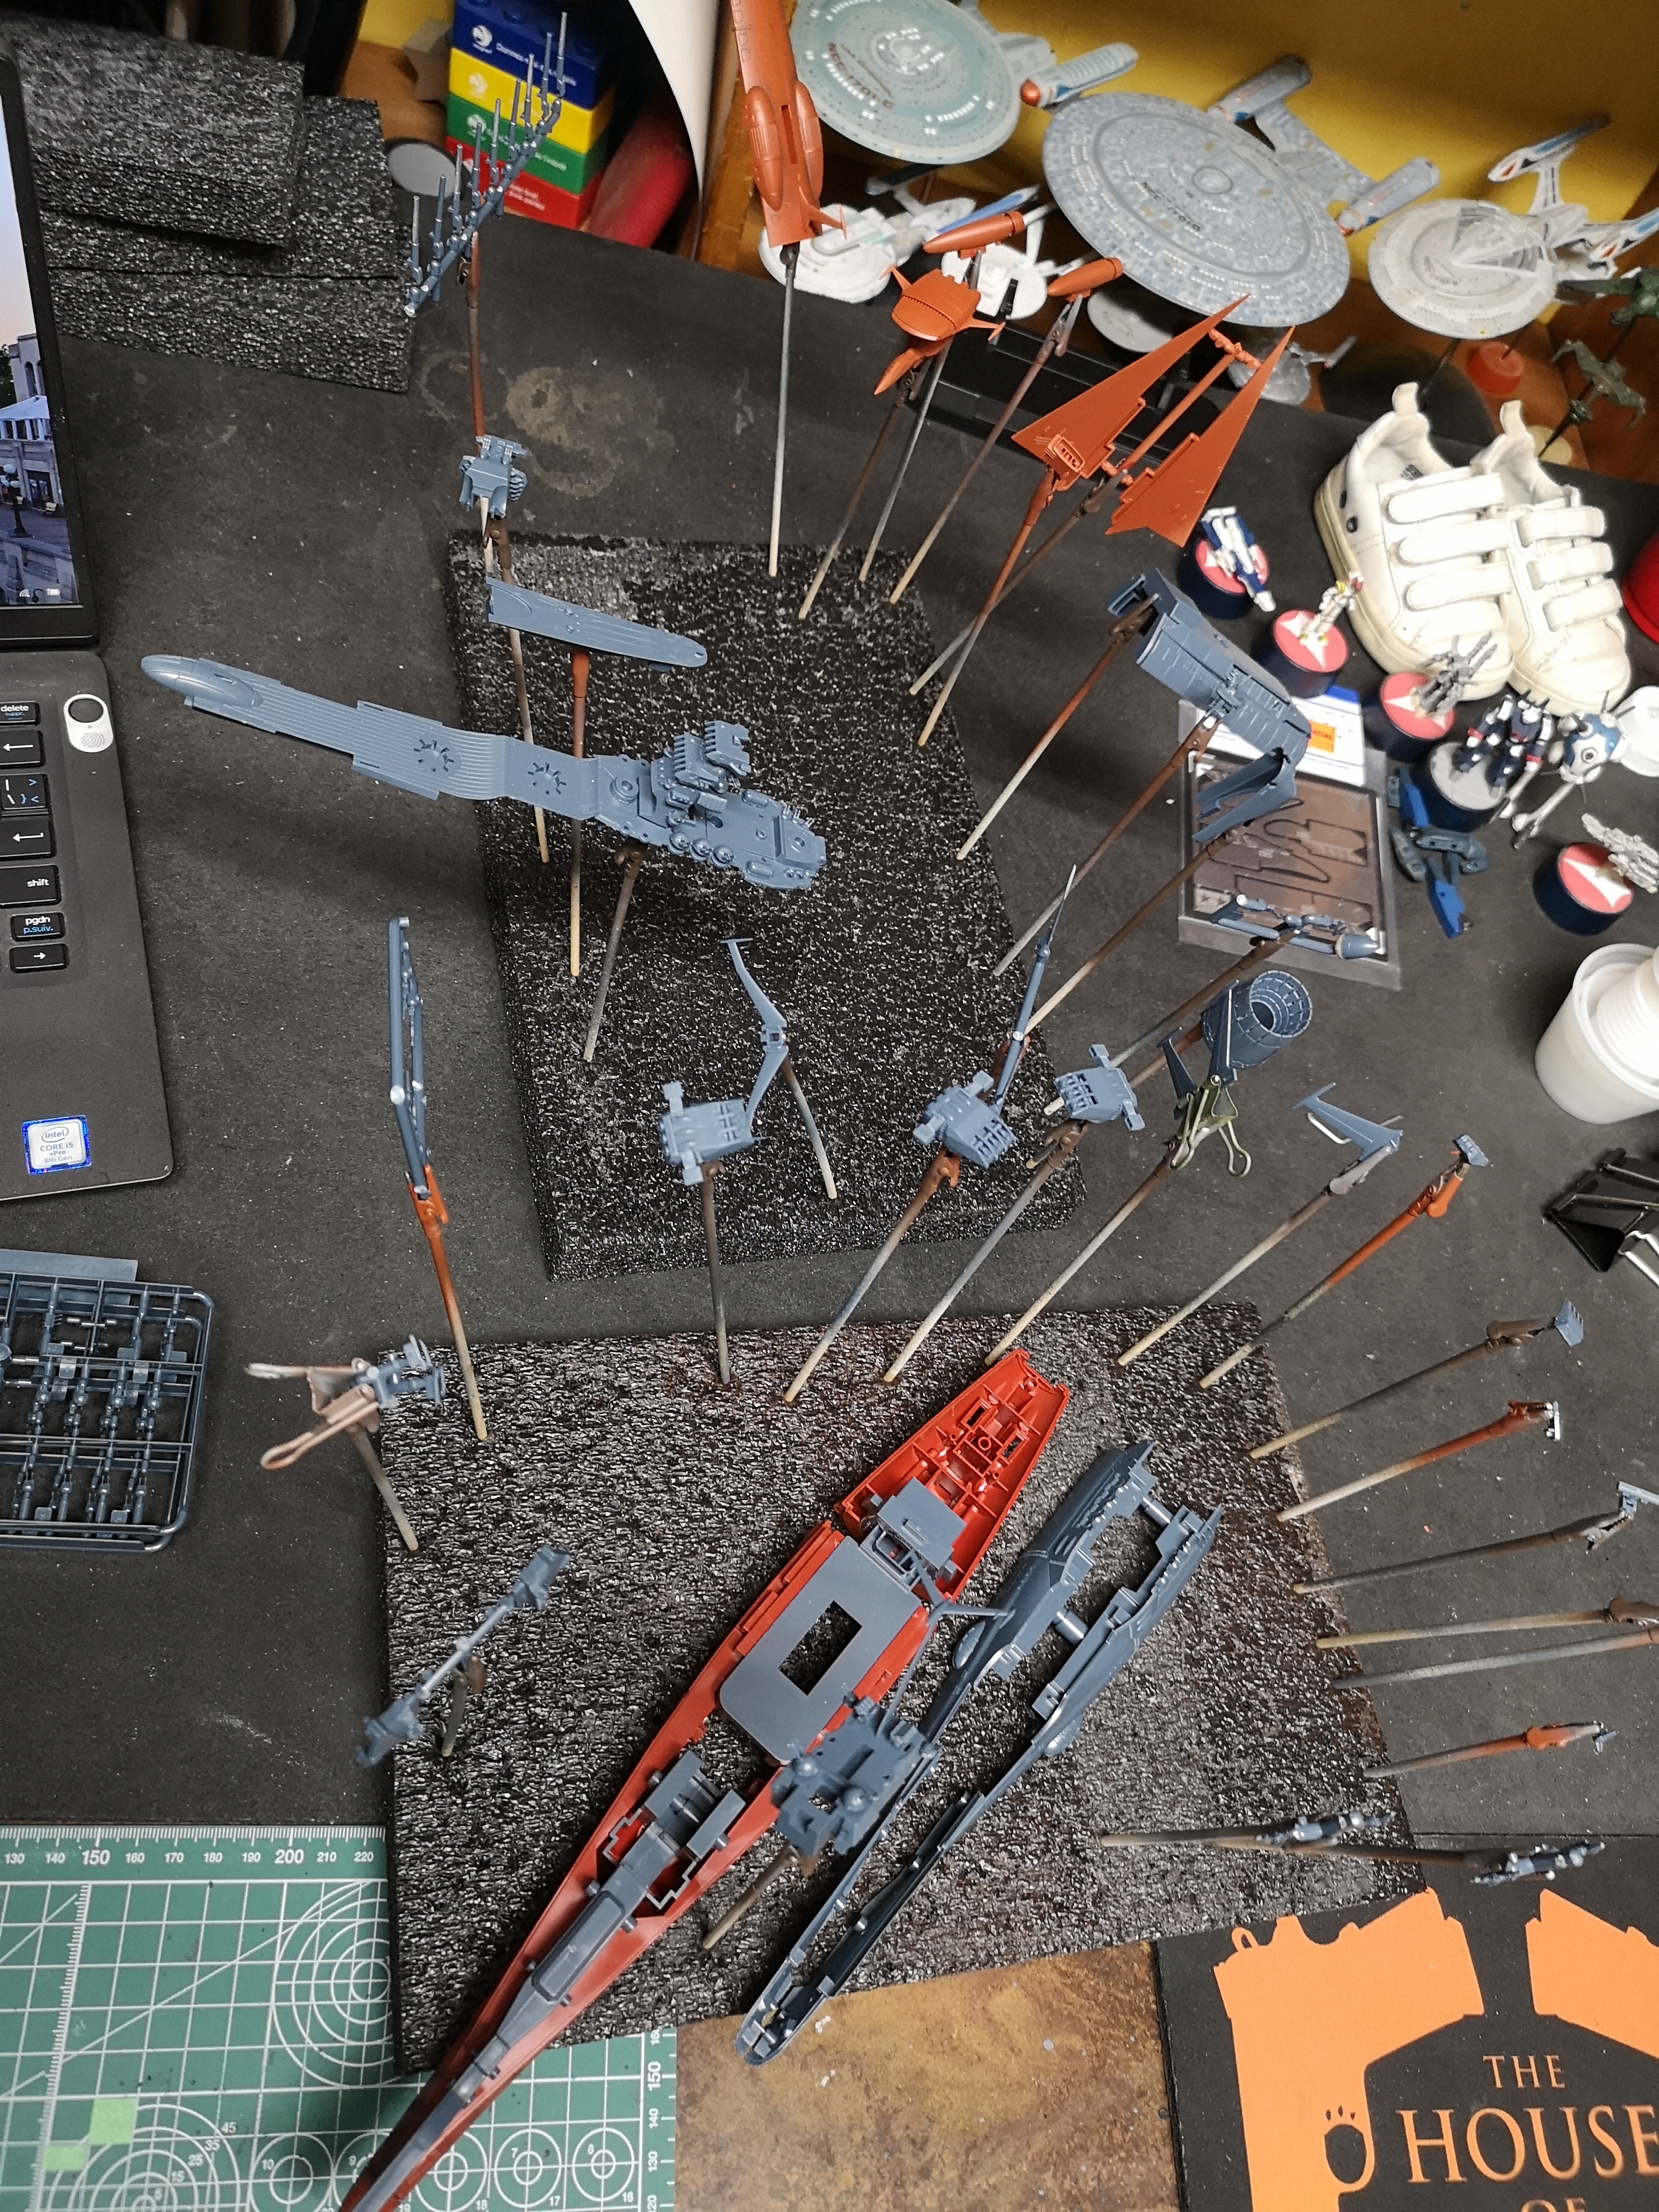
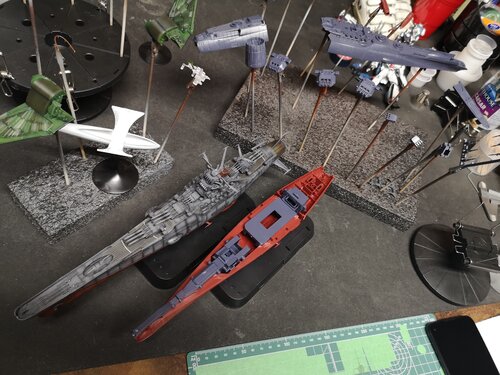
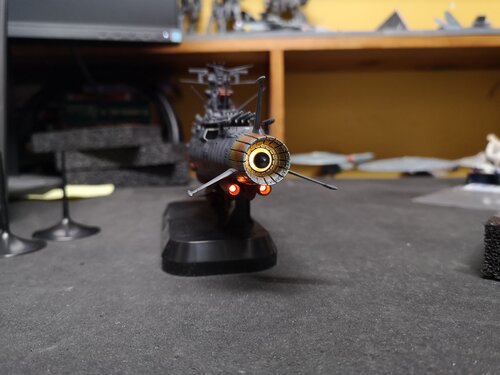
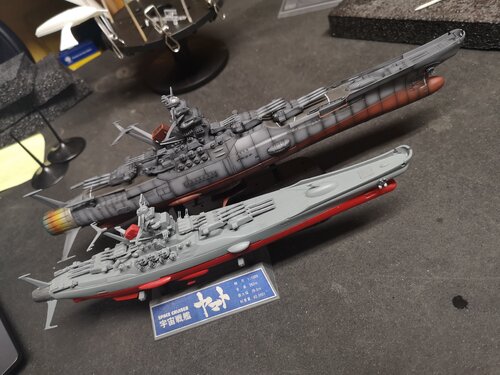
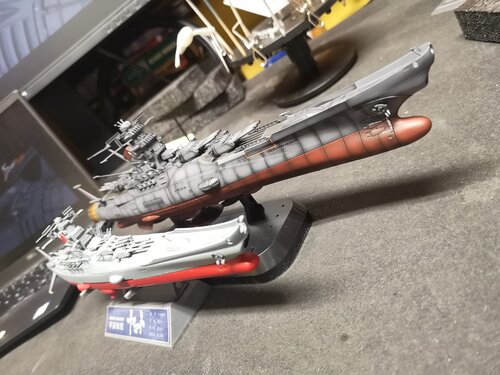
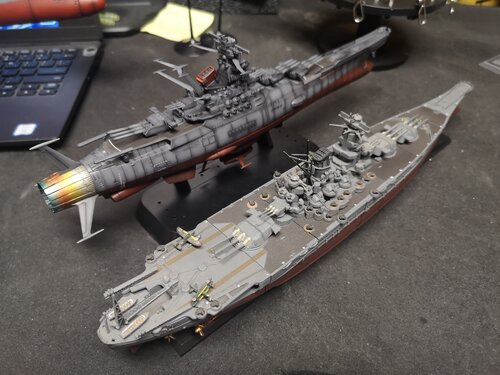
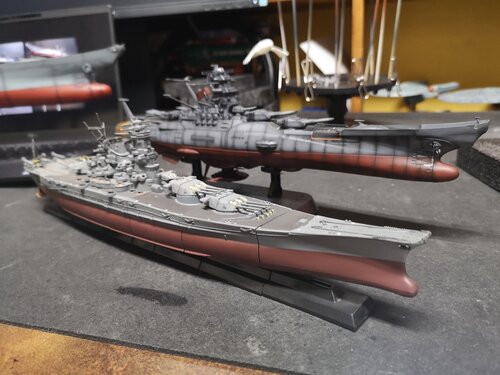
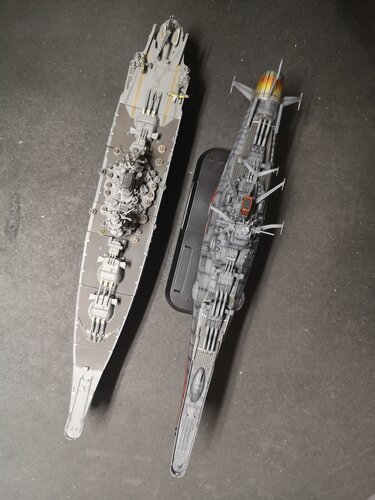
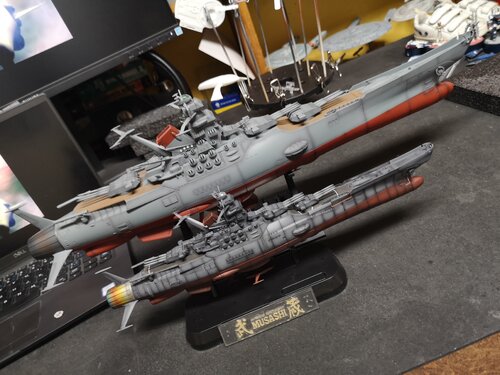
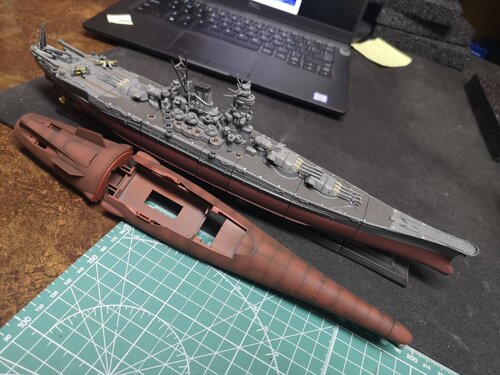
Yamato 2202 in 1/1000 more or less complete. First illuminated model, but honestly this kit was designed specifically to be illuminated. I think smarter people than me could do better as the Bandai lighting system is a bit of a pain. Need to remove two panels to access three different switches. Comparison to the older 1/1000 scale. One of the first models I built after a long break from building models. I think I built it two years ago? I just needed something to practice on before building the 1/500, which didn't turn out that well. Rattle can paints, no primer, no clear coat, no preshading or post shading, just two colors. This older kit suuuuuuuuucked to build, lol! A lot of fitment issues. Despite its shortcomings and how plain and boring it turned out, it was the cleanest model I'd ever built at that time. I tried to copy the deck color ot IJN Musashi. It looks like a closer match in person. Next to my older 1/500. The colors of the 1/1000 that I went with are definitely not anime accurate (WWII colors of Musashi). The panel lines look a lot bolder in the photos, more subdued in person, but I think in the future, I'll have to add a few more layers of paint next time to cover up more pre-shading. Engine nozzle is too bright and contrasts the rest of the ship pretty bad. Might use a darker metallic next time. Captain Okita's Room..... Way too small for me to mask properly and paint, so I just left it. Anyway, got to practice a lot of techniques on this build, made a lot of mistakes, got lazy in some parts, but overall, it doesn't seem horrendous. I think the next 1/1000 Final Battle version will be easier to build. I also want to figure out how to light my larger 1/500 2199 kit.


-
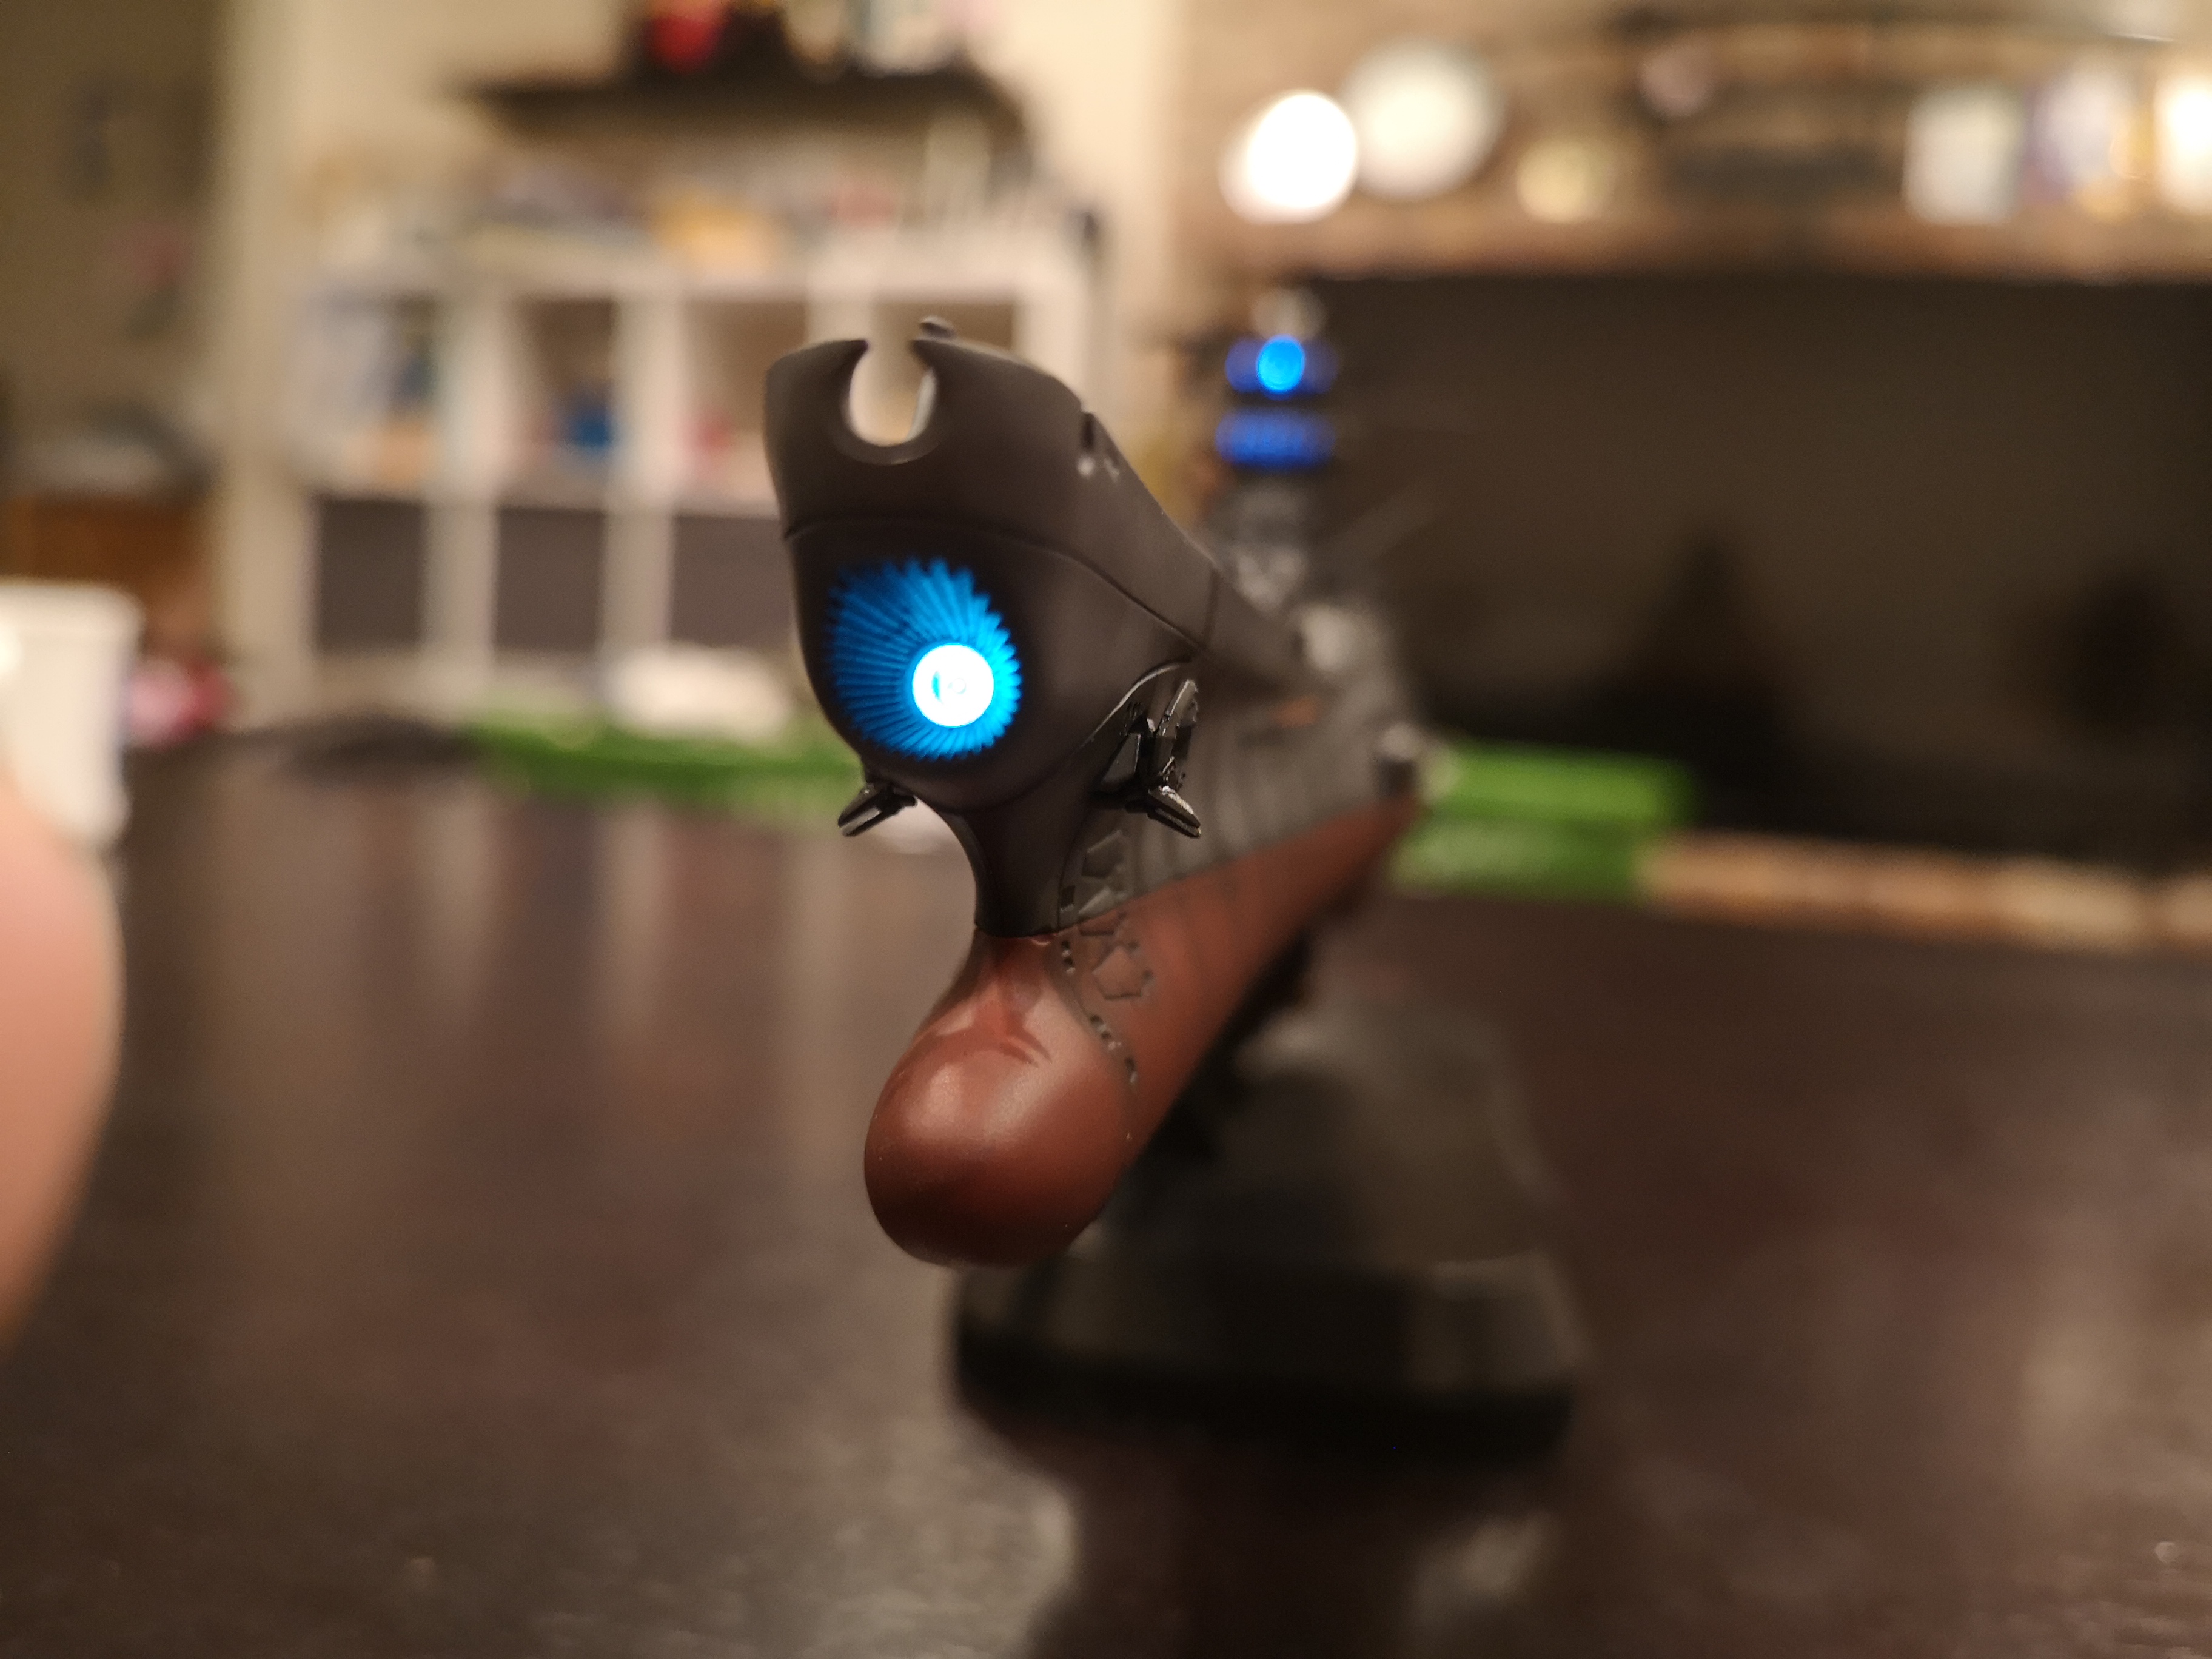
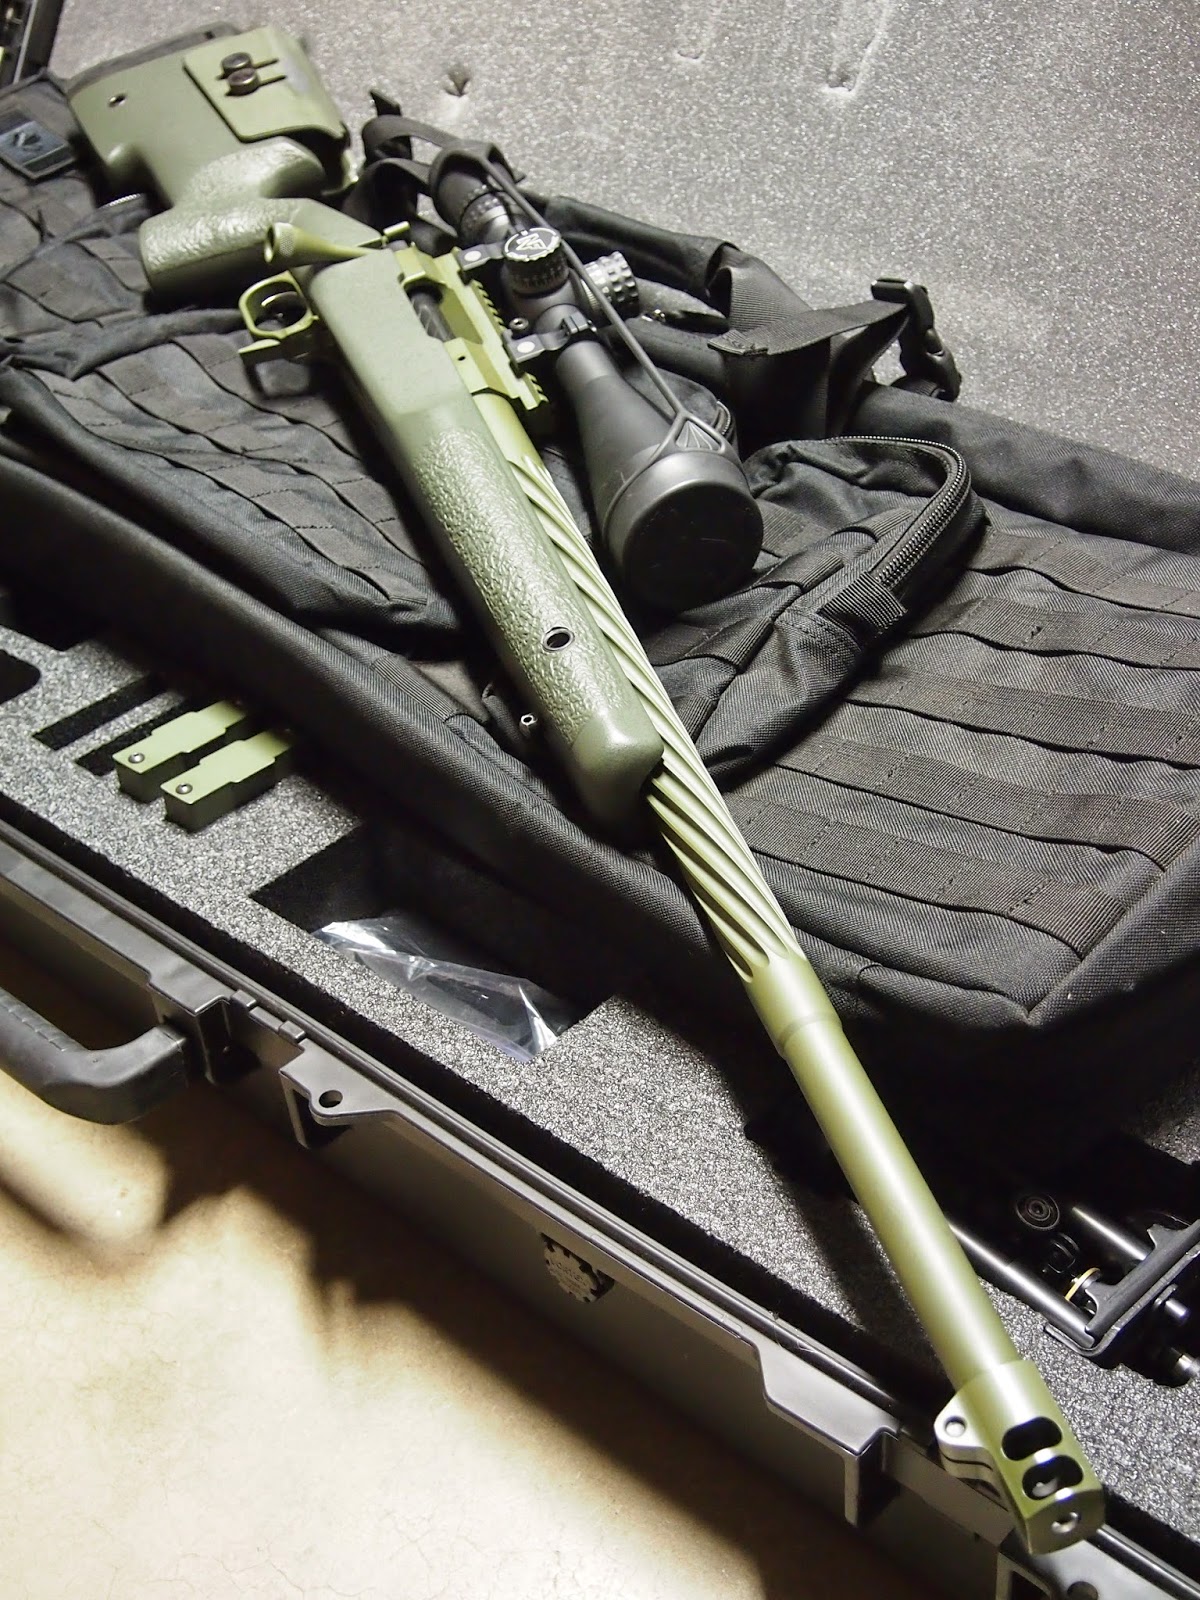
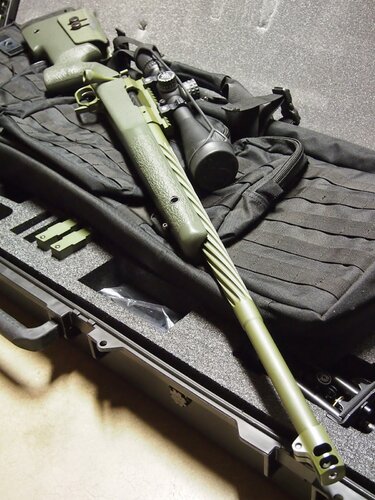
That rifle barrel is amazing.....the fluting on such a small scale, wow! The brake on my 50: Check out the fluting on my buddy's rfile:
-
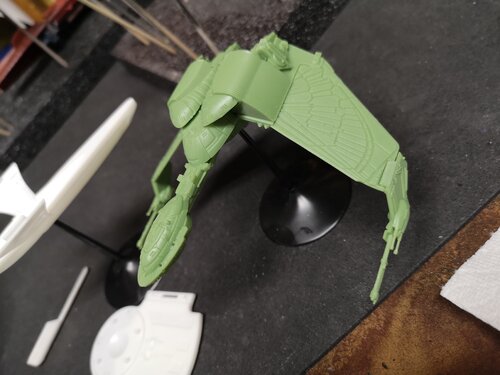
This one should have Born to Kill painted on the side of it. Bet the BOP would have had trouble taking this one out.
-
I think I'll definitely do a battle damage version, just have to decide which kit to victimize, Hahaha h! And that was definitely one of the images that inspires me to build.
-
Haha, maybe! Like Operation Ten Go. We'll see, I do want to do a battle damage version, or at least some weathering that appears more than factory fresh Yamato 2199, you can see the bow is more narrow: Final Battle Version (2202) with more AA guns and up-armored main turrets. Looks like a few extra catapults too. \ They beefed up the main turrets so they more resemble the WWII ship:
-
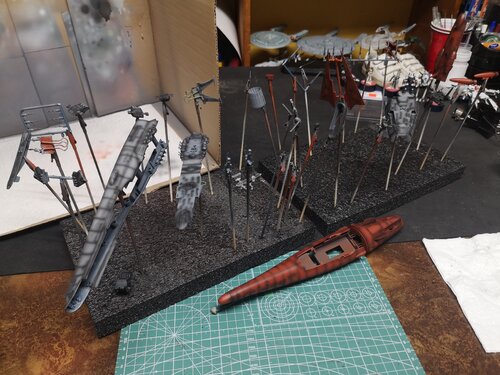
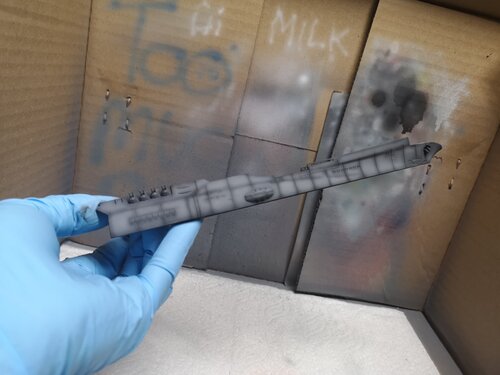
Slapping this together between paint coats on Yamato/Musashi. I don't eve.ike this ship, but I'll build it for practice. This thing goes together so easily. Seems a bit big.....


-
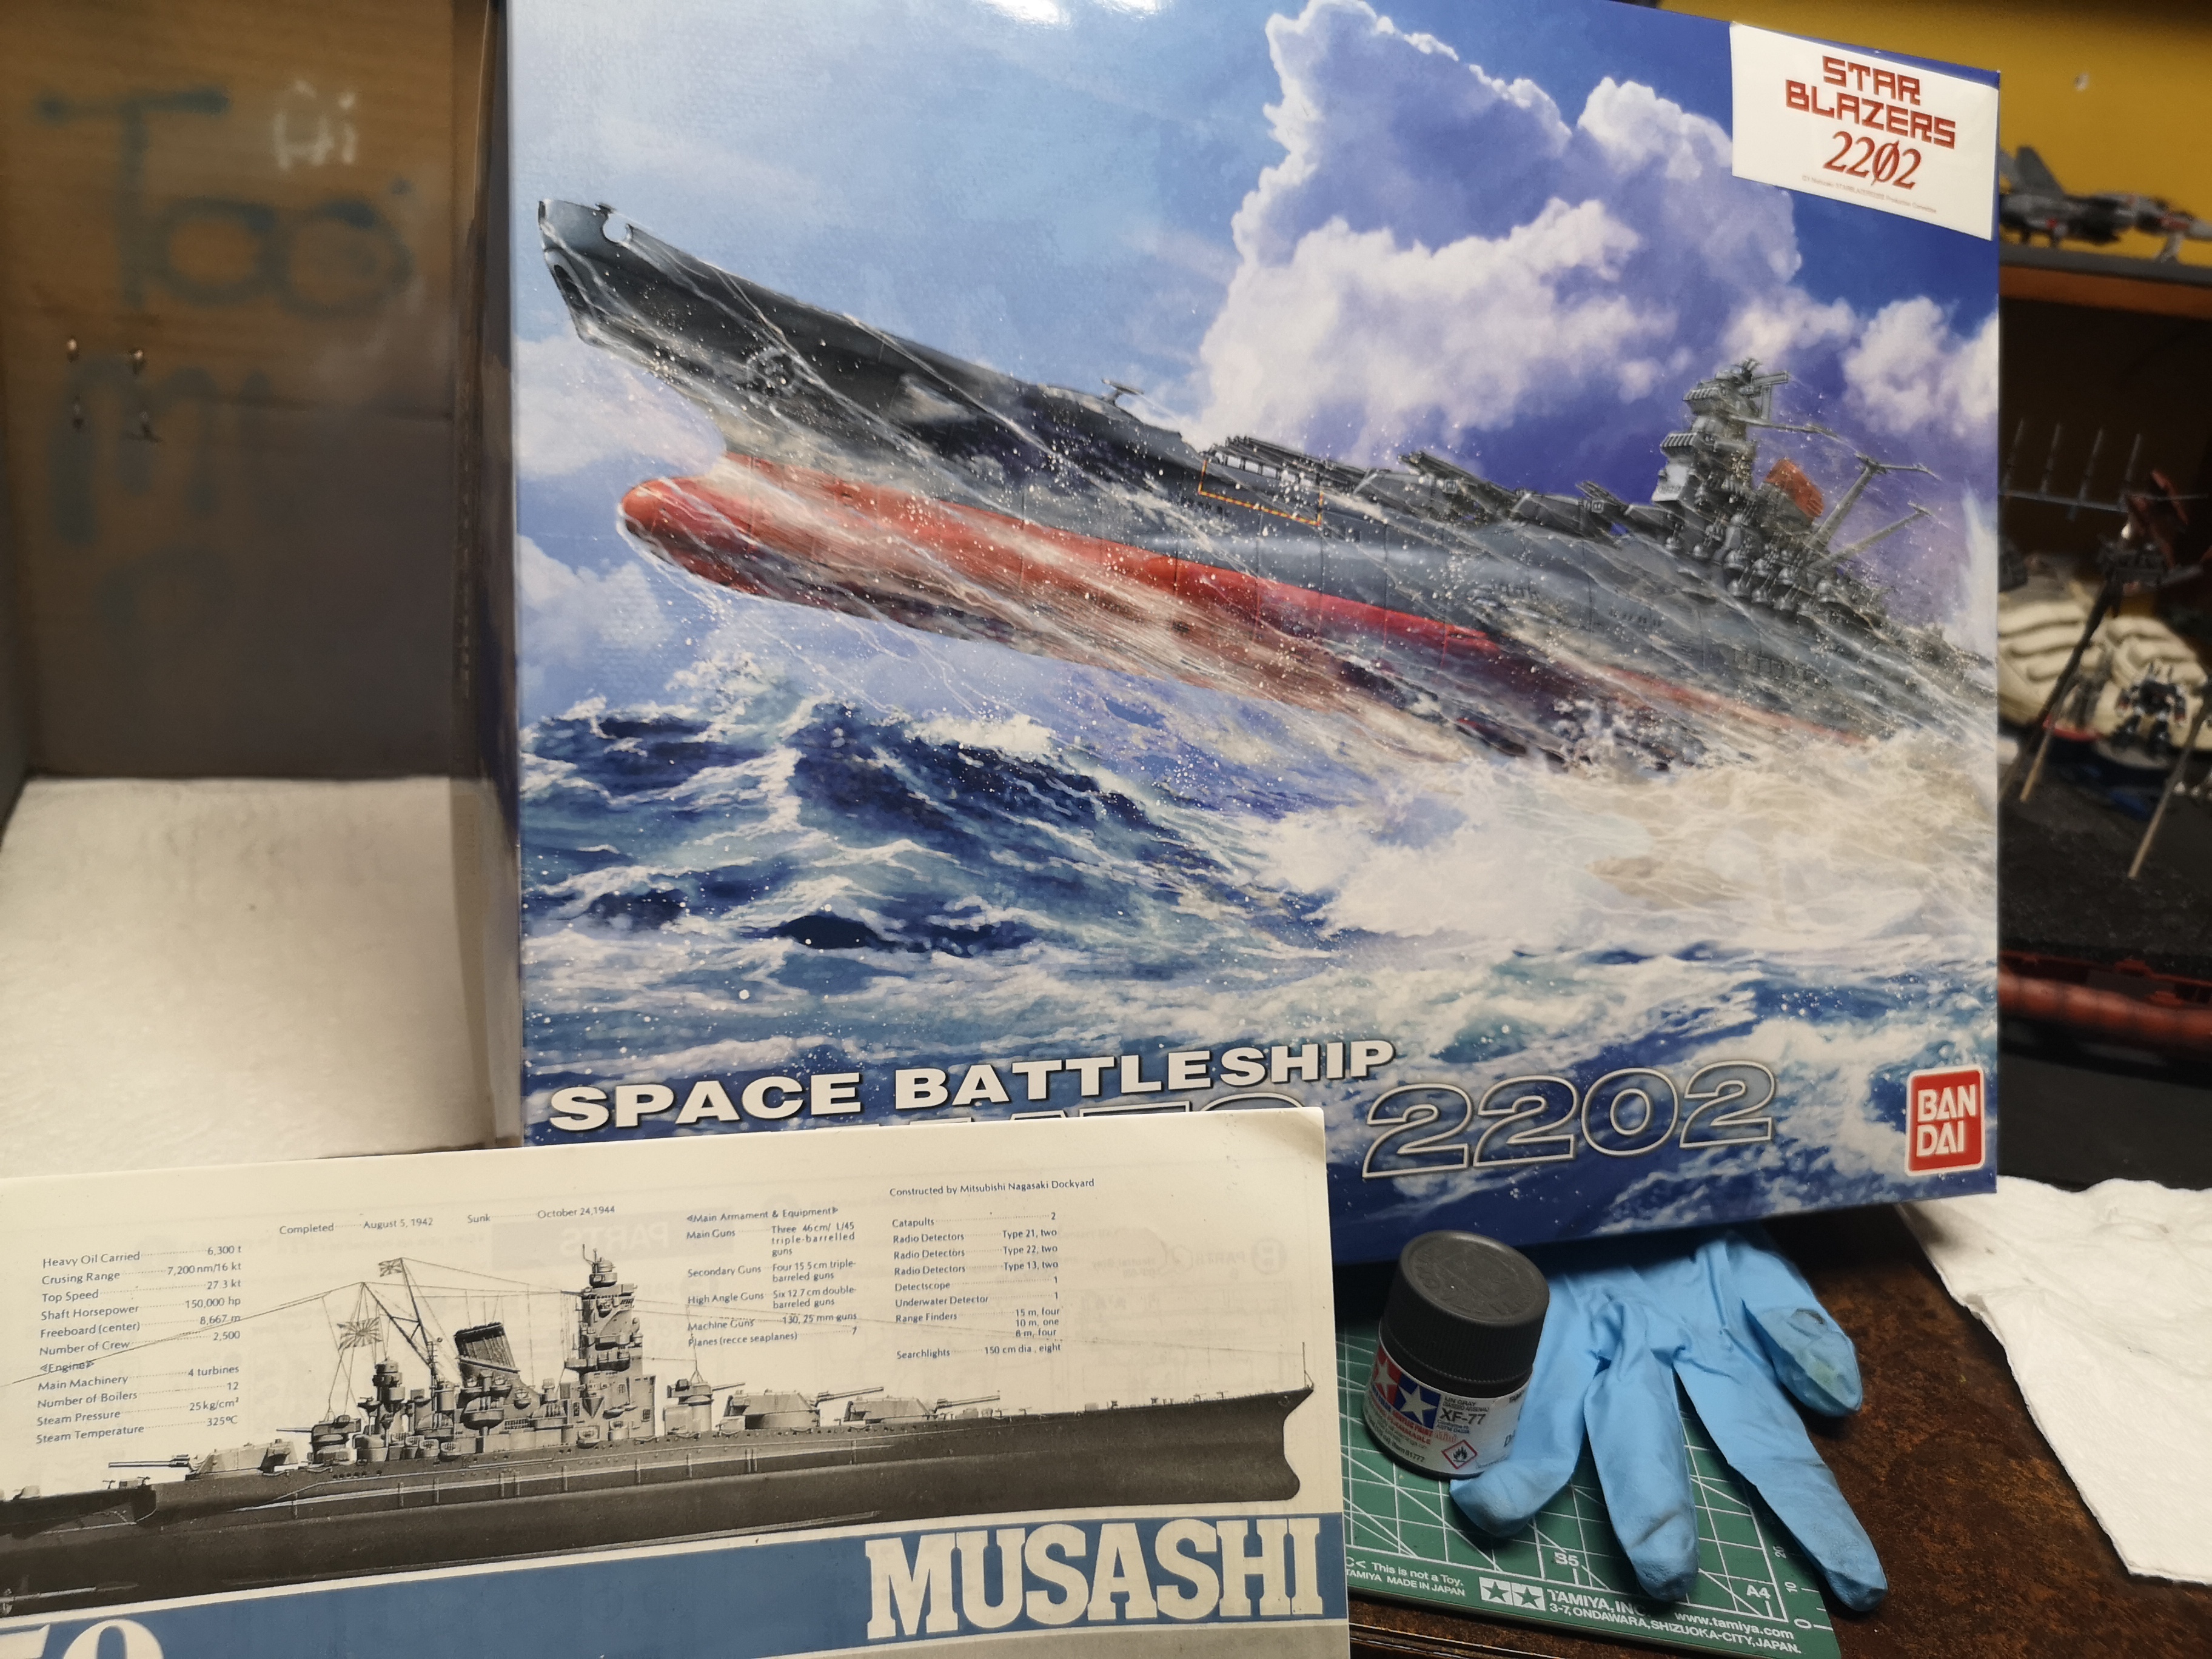
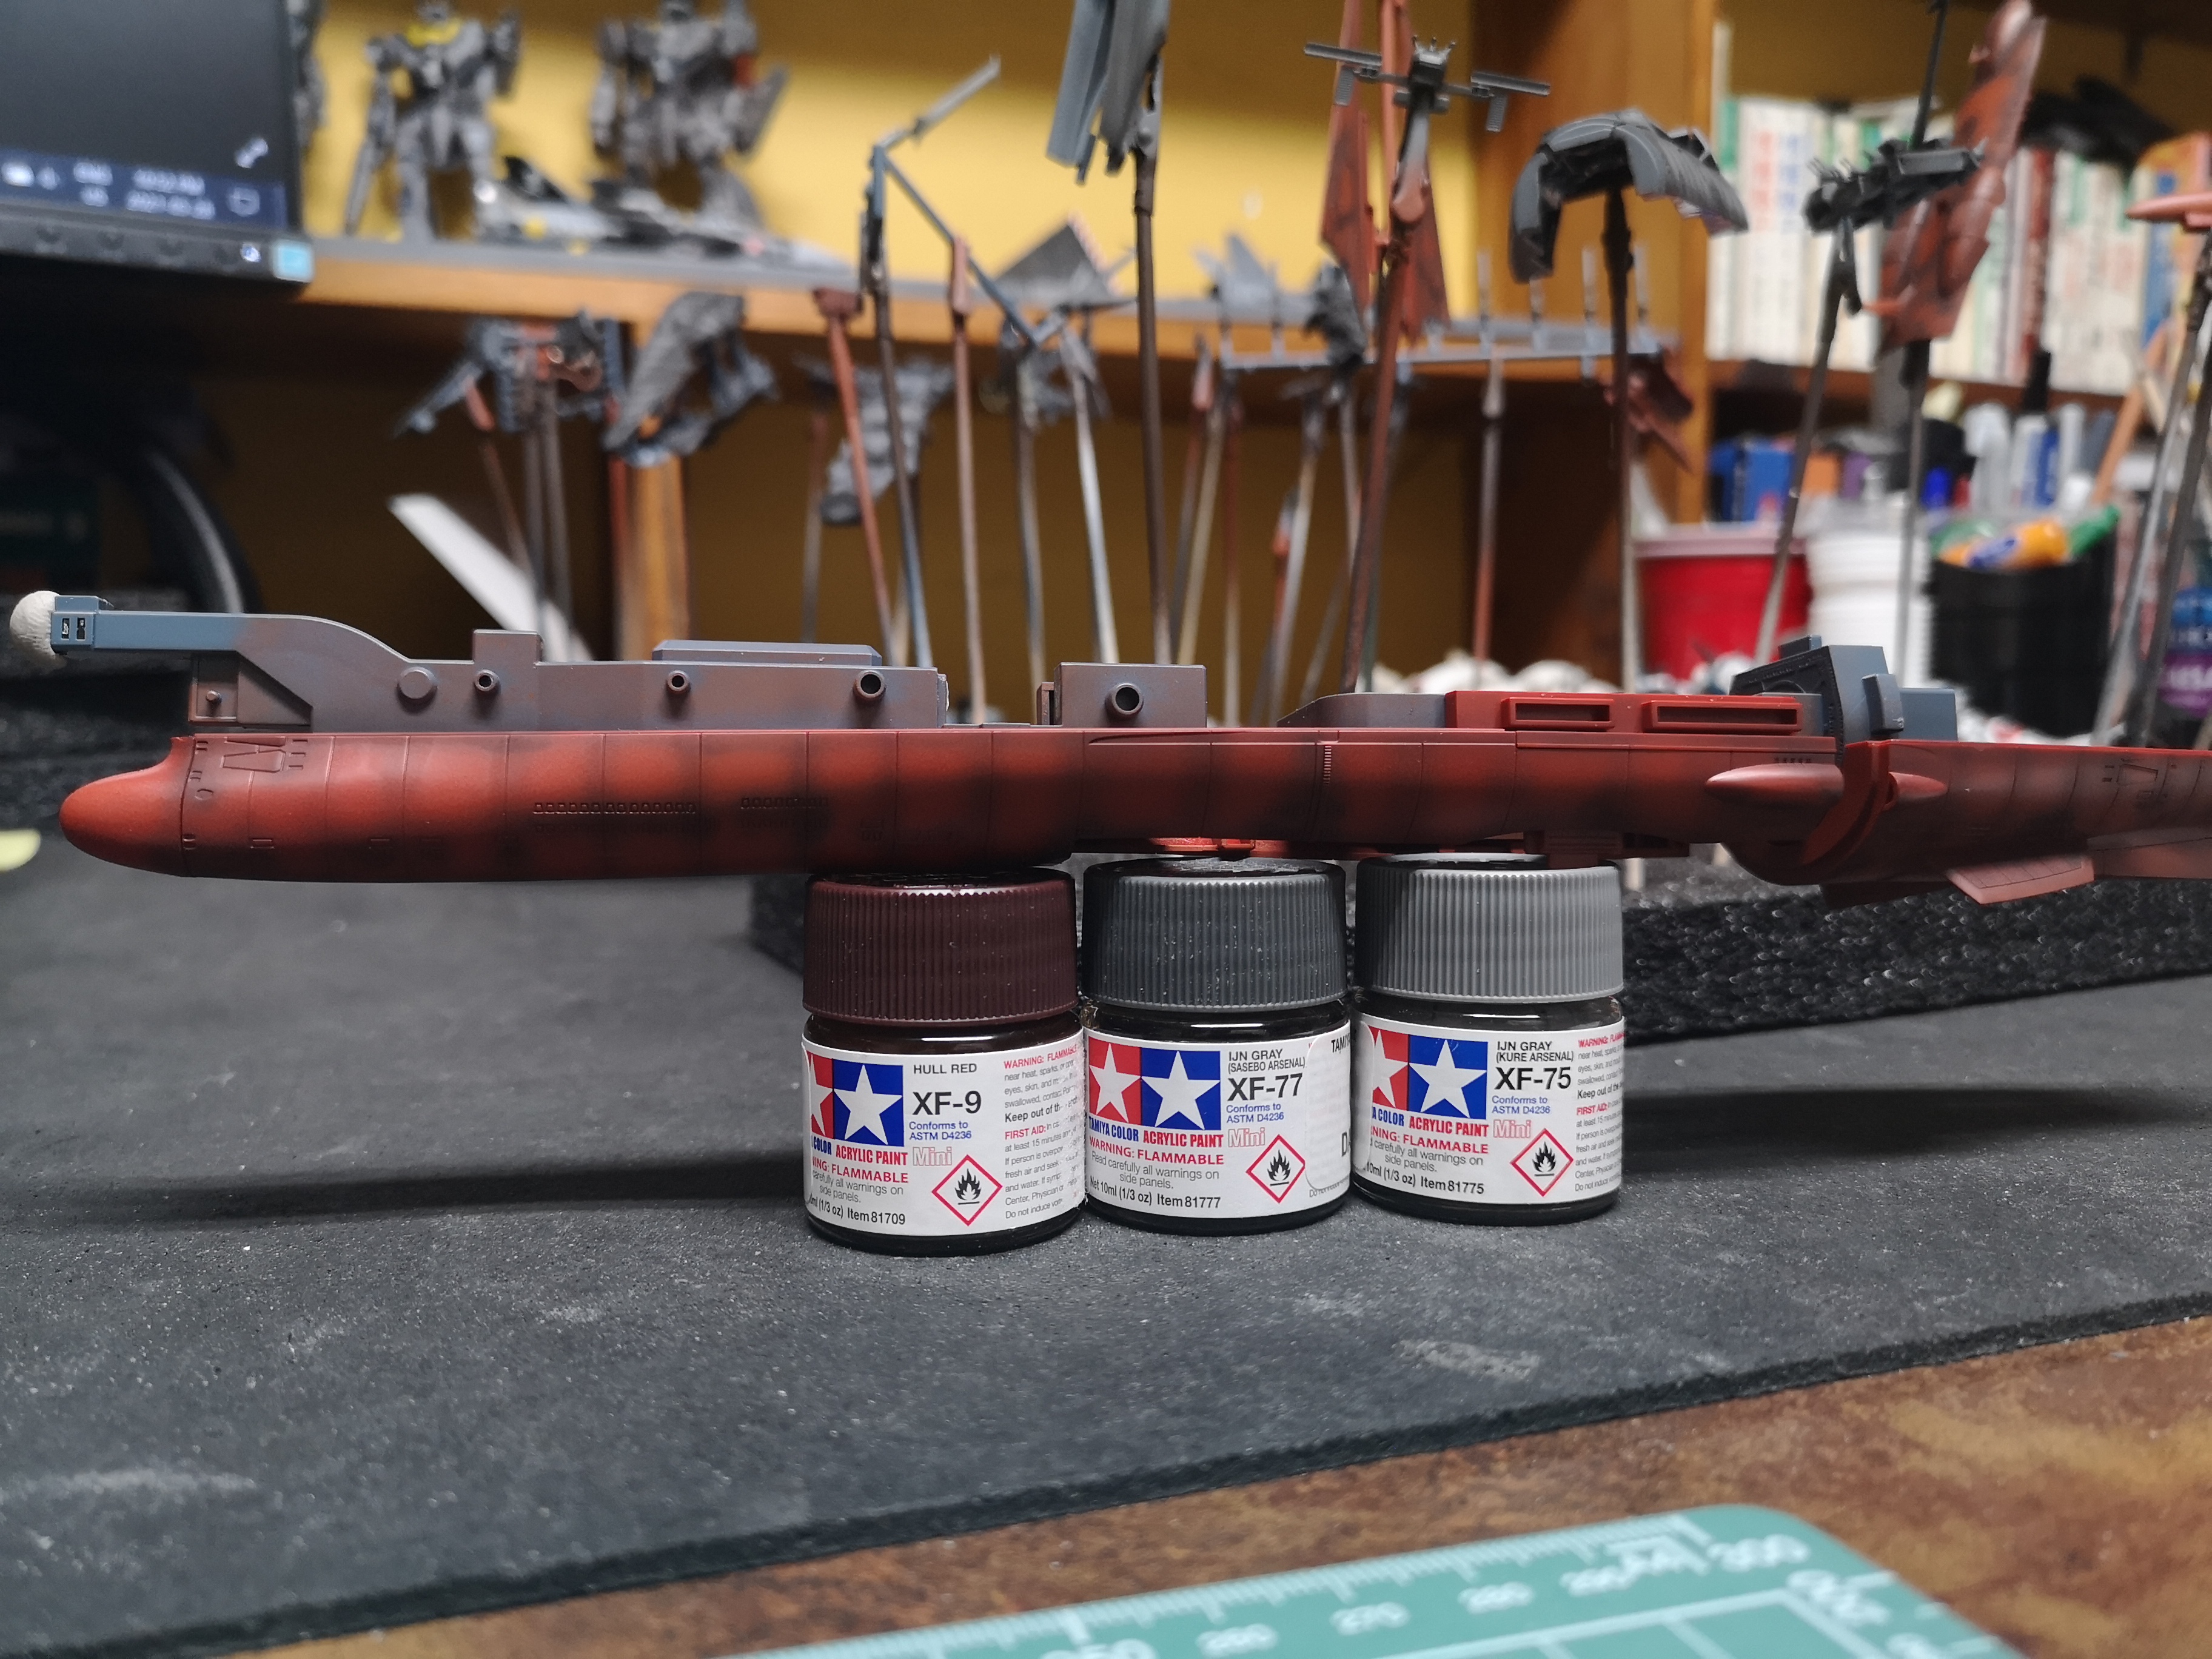
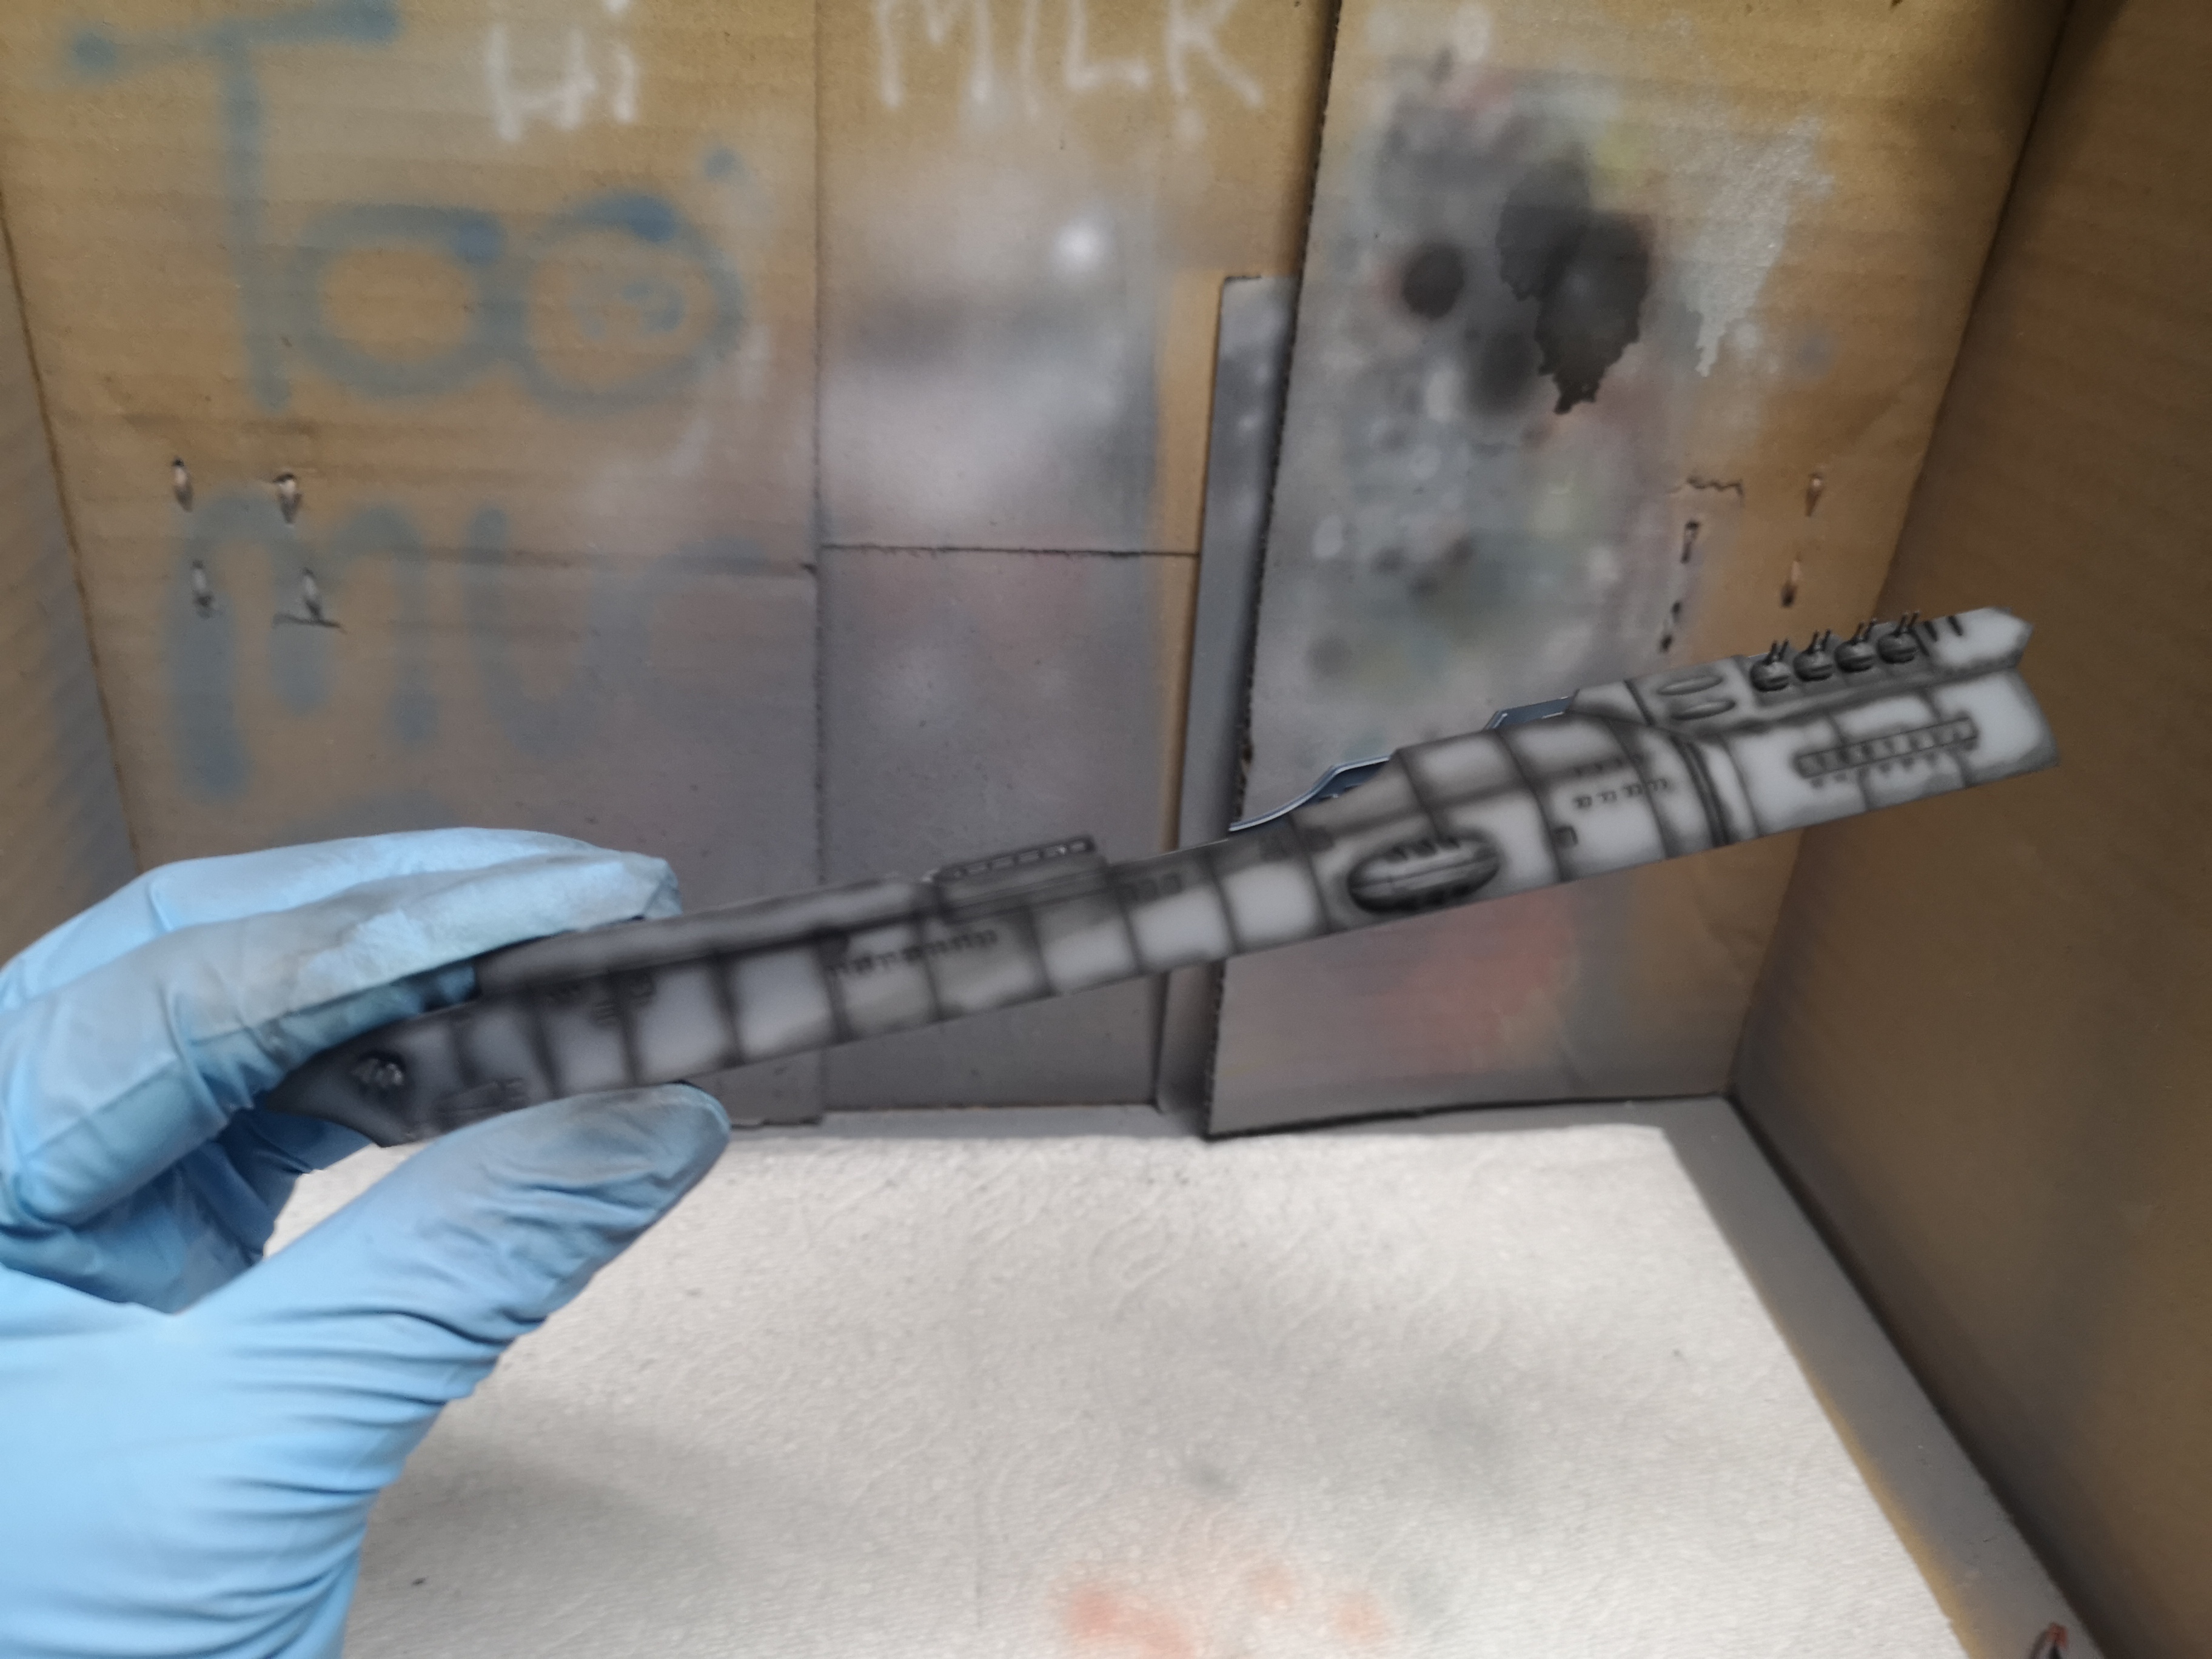
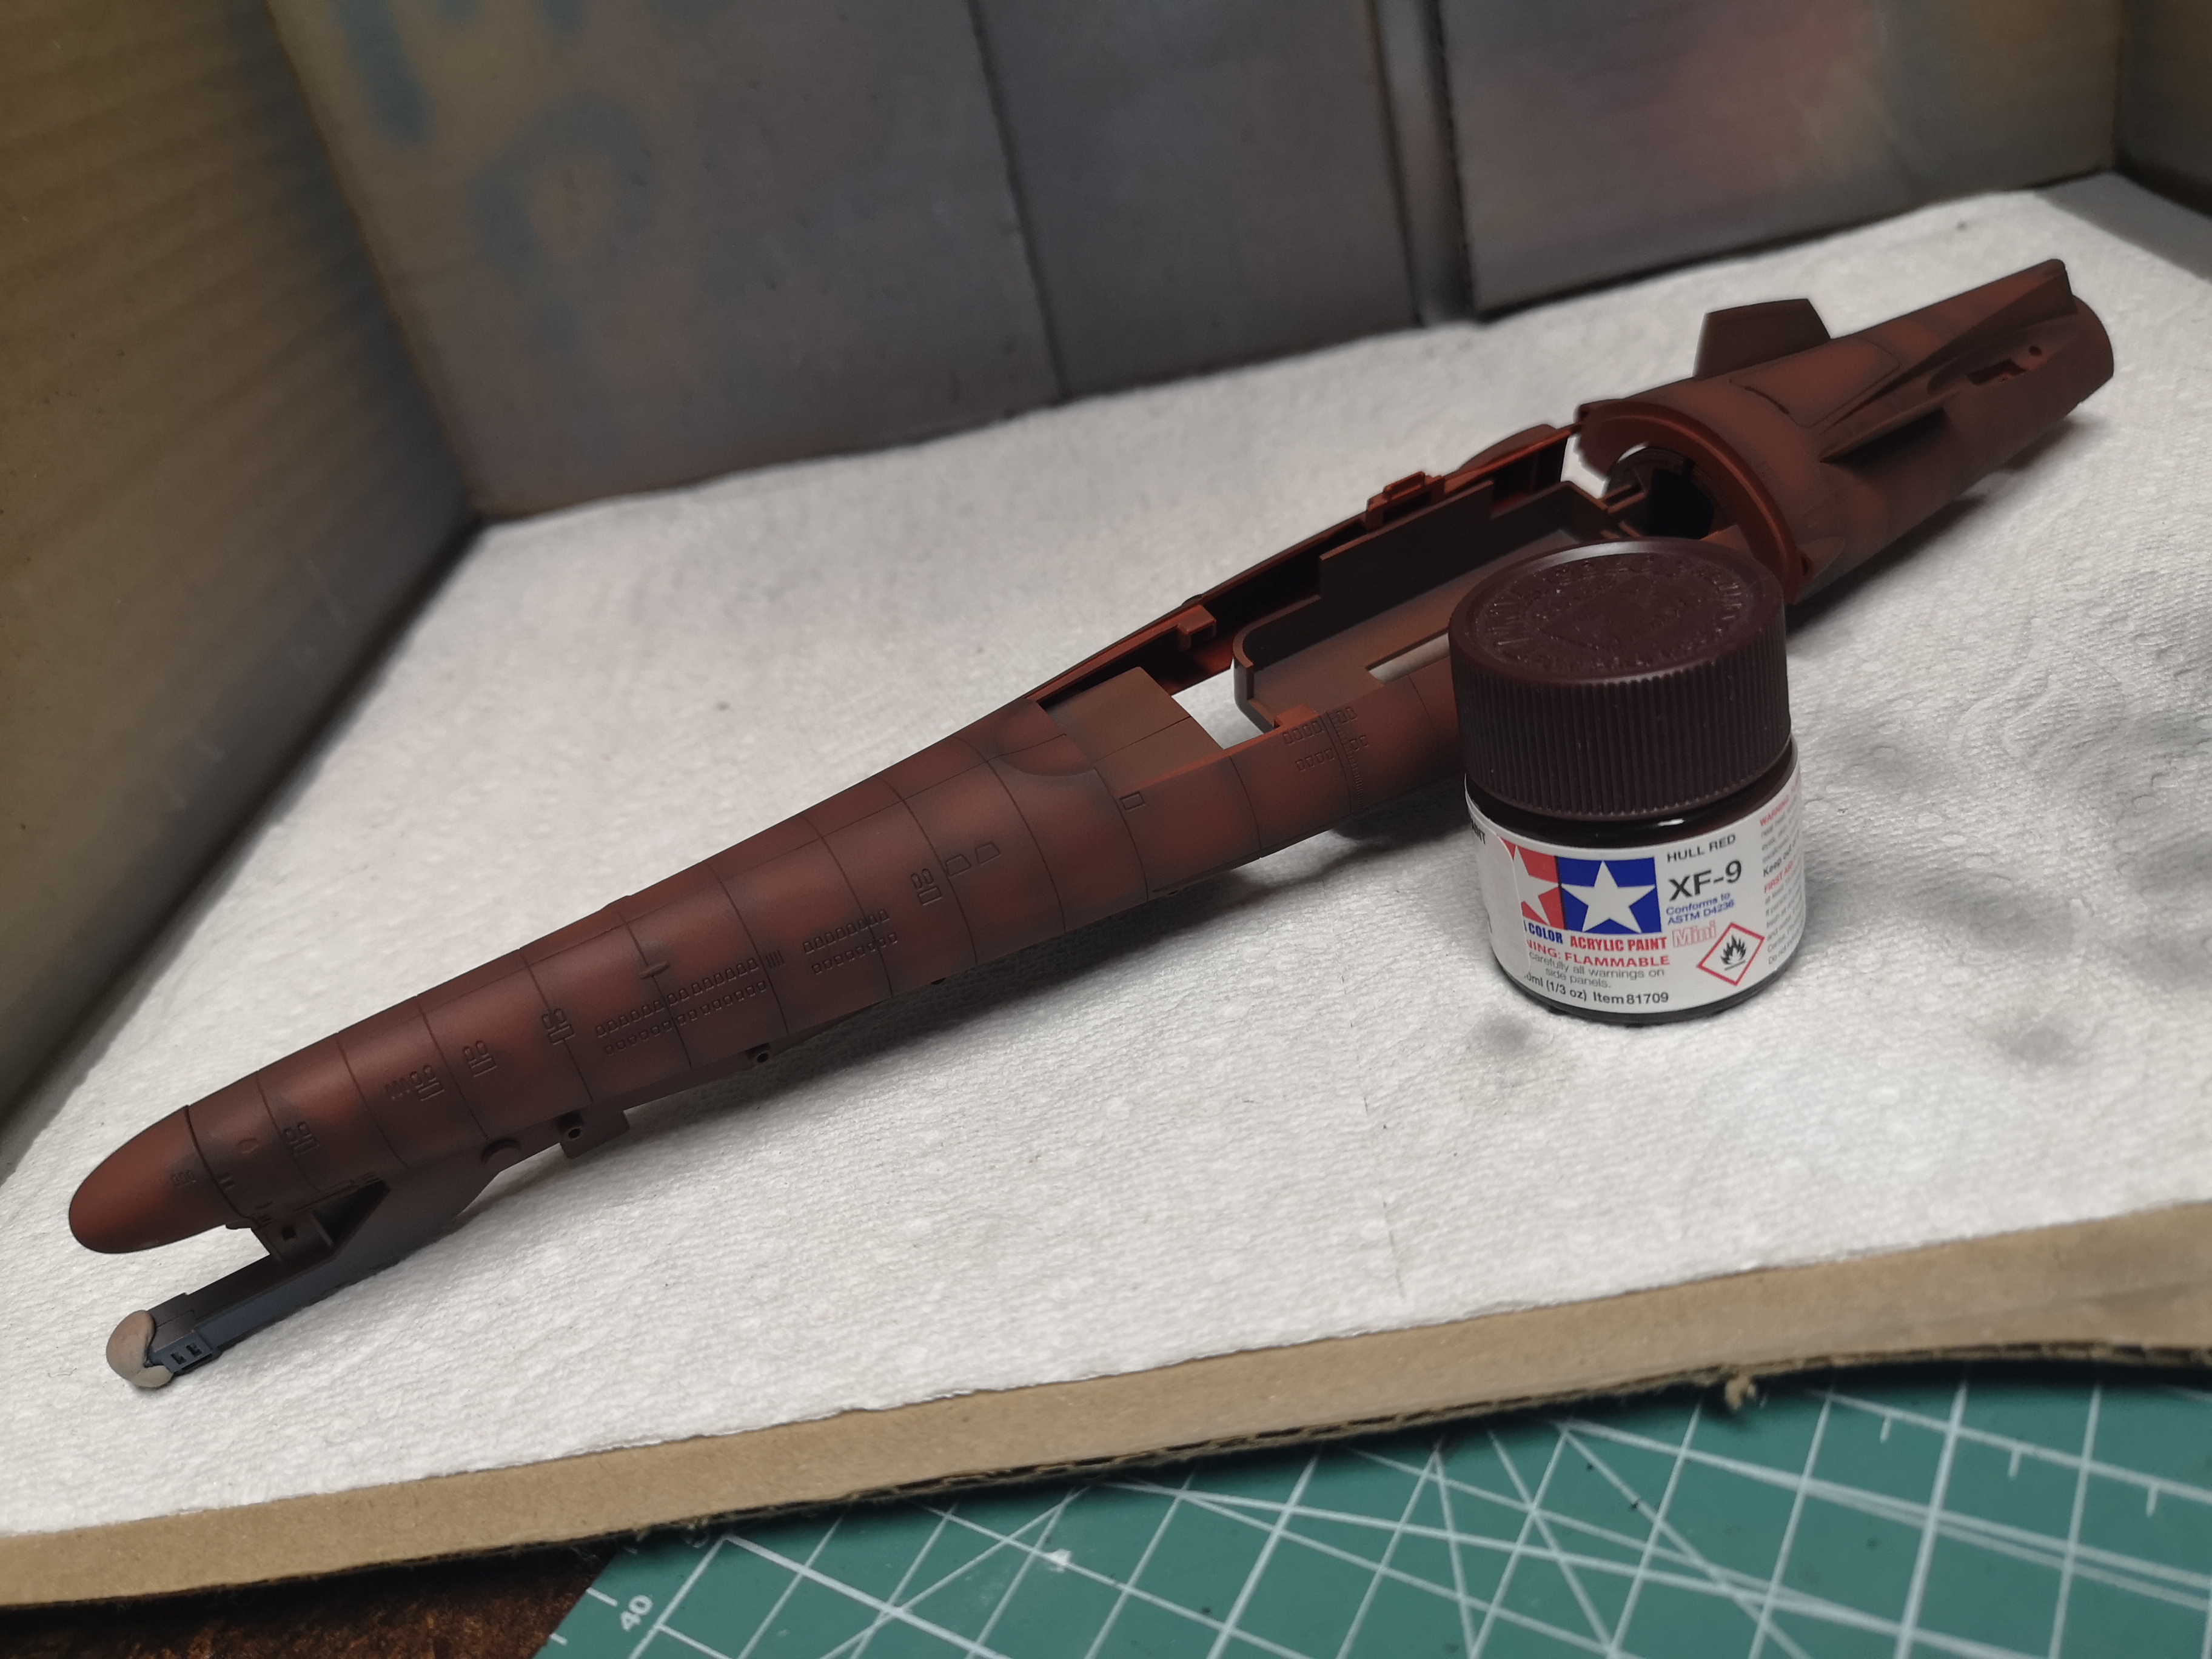
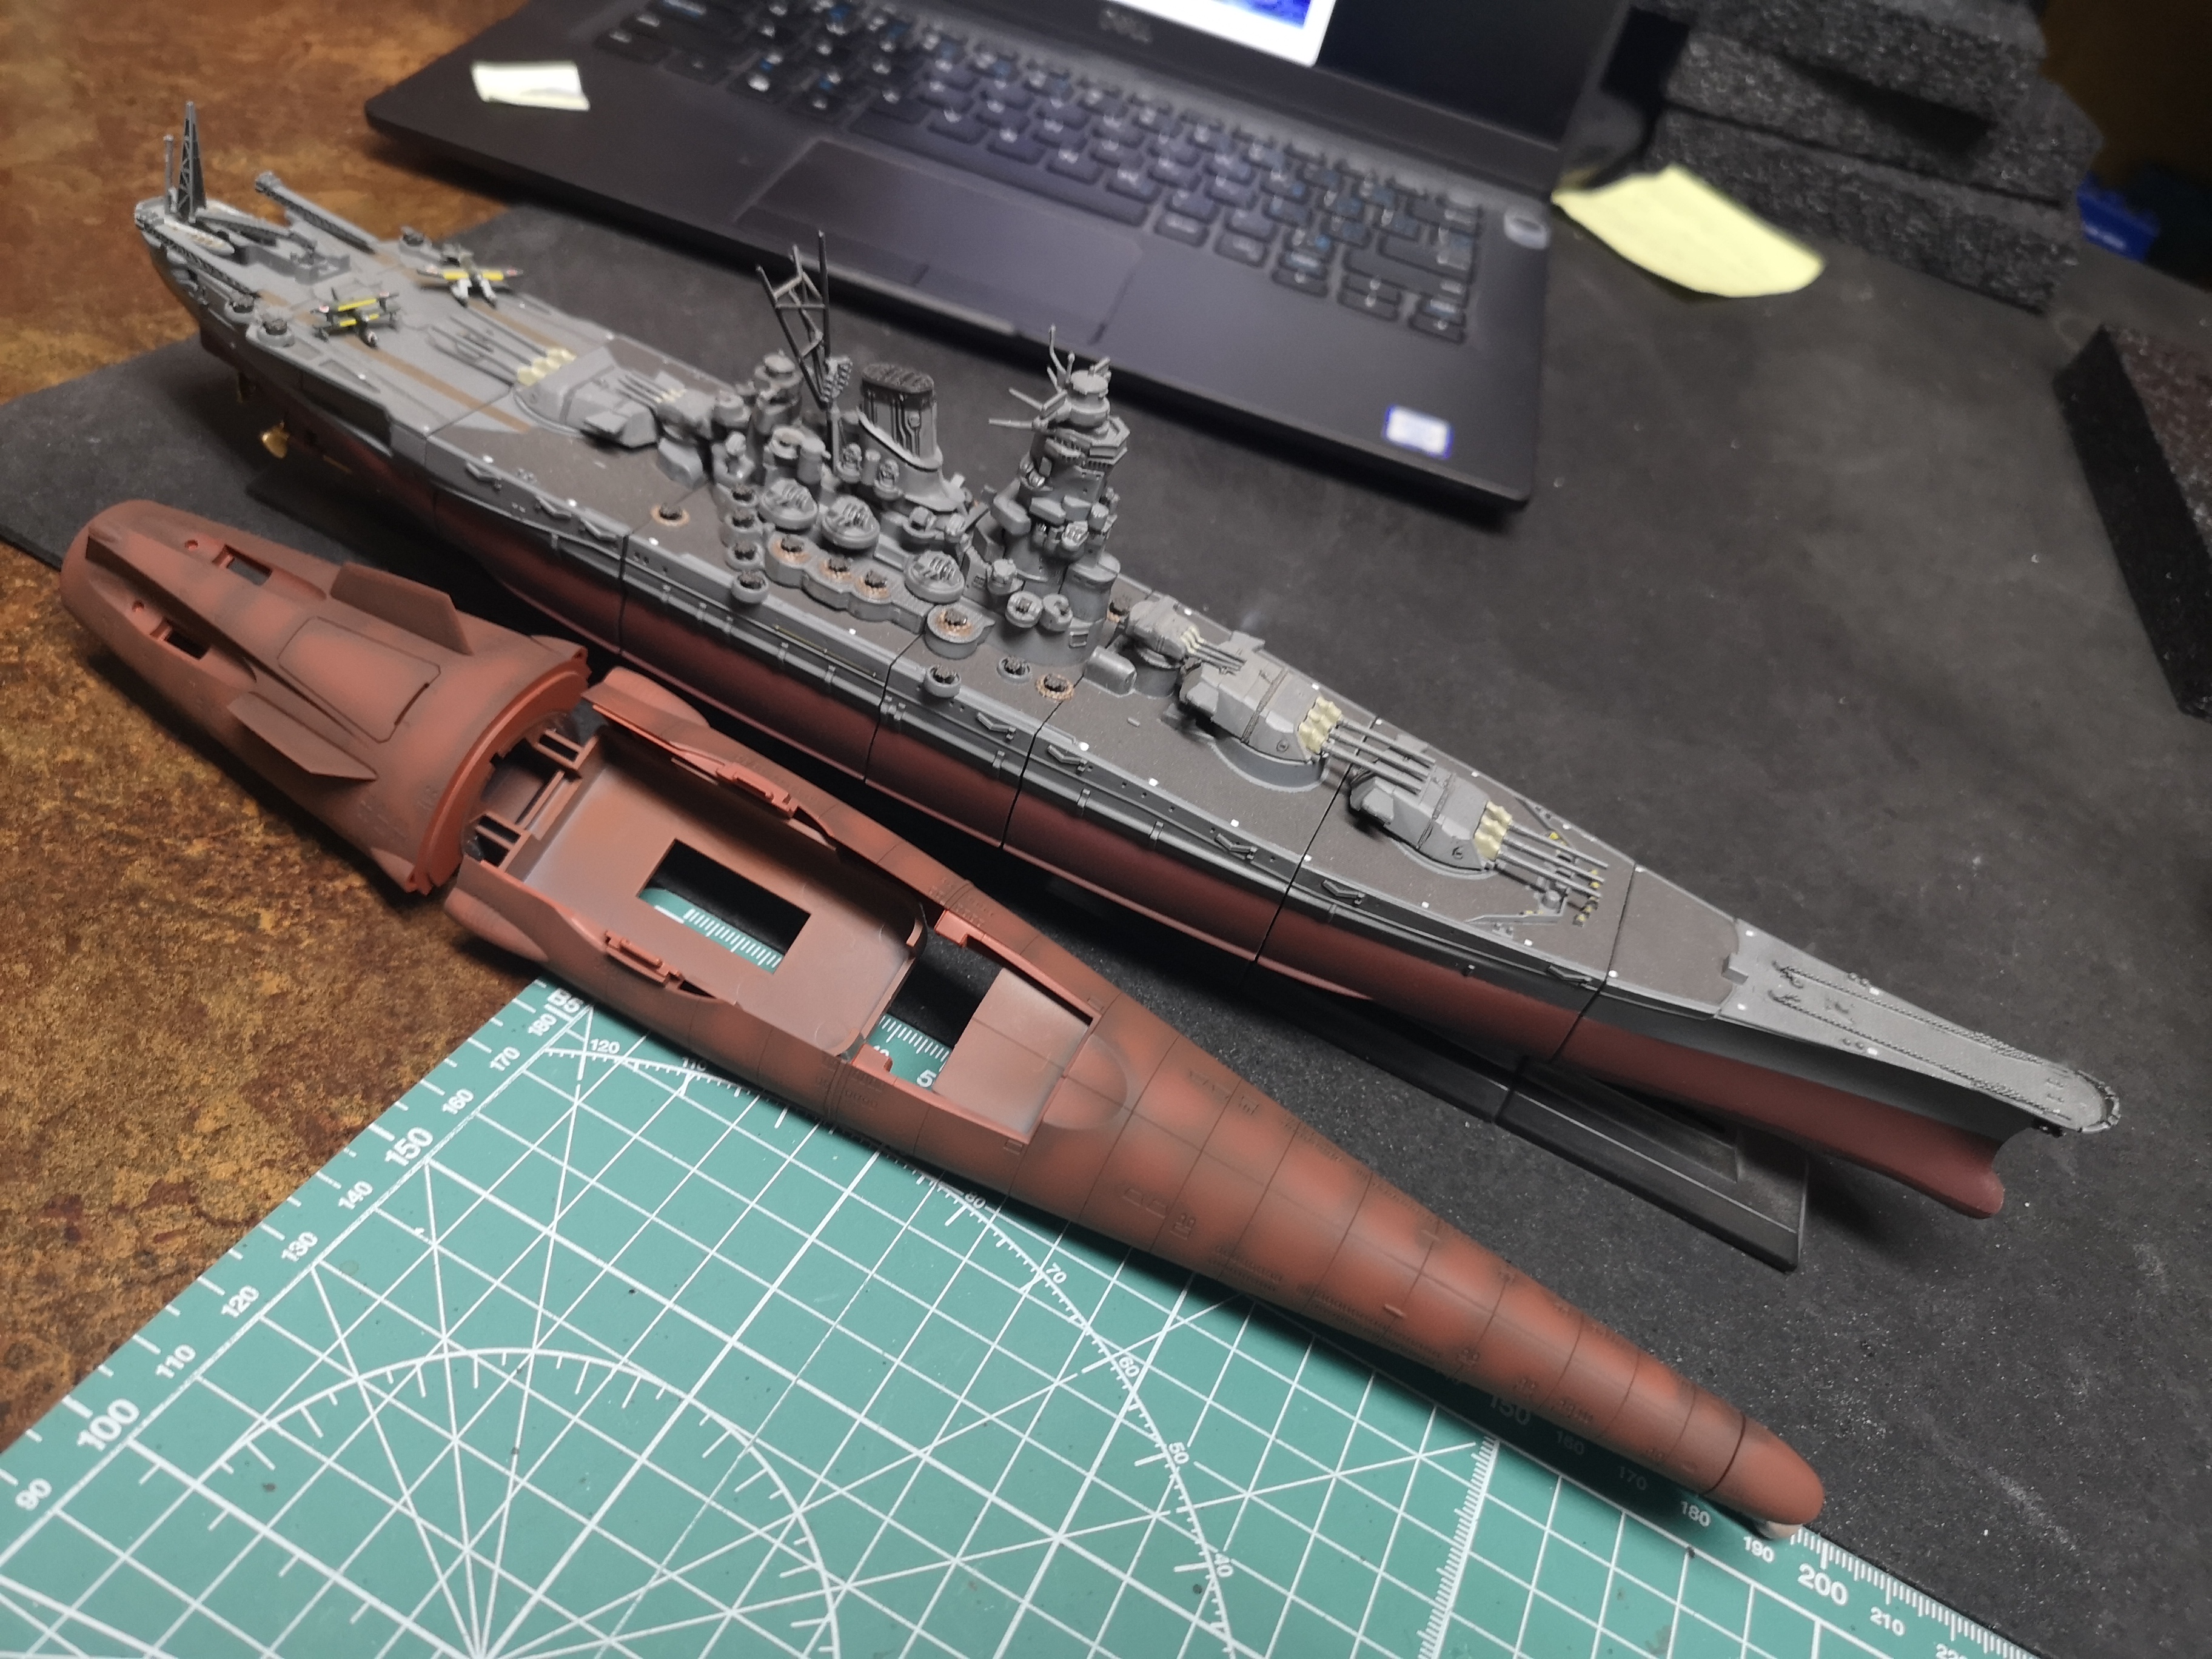
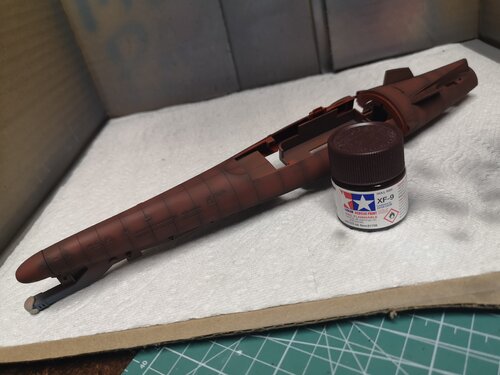
Space Battleship Musashi..... Lol, I know, there's no such thing, but I have two in 1/1000 scale, so I'm building fictional sister ships. I even got IJN Sasebo Arsenal, where Musashi was built. The other color, IJN Kure, will be for Yamato, which is the final Battle Version (beefier main guns, extra AA). I haven't even watched Yamato 2202 yet. Preshading. Sasebo Gray....and not anime accurate, lol! Tamiya's Hull Red though..... Ok, it's totally brown, lol! Looks like a close match to IJN Musashi though. More to follow.


-
Battle damage? Didn't they go into battle right after they got married?
-
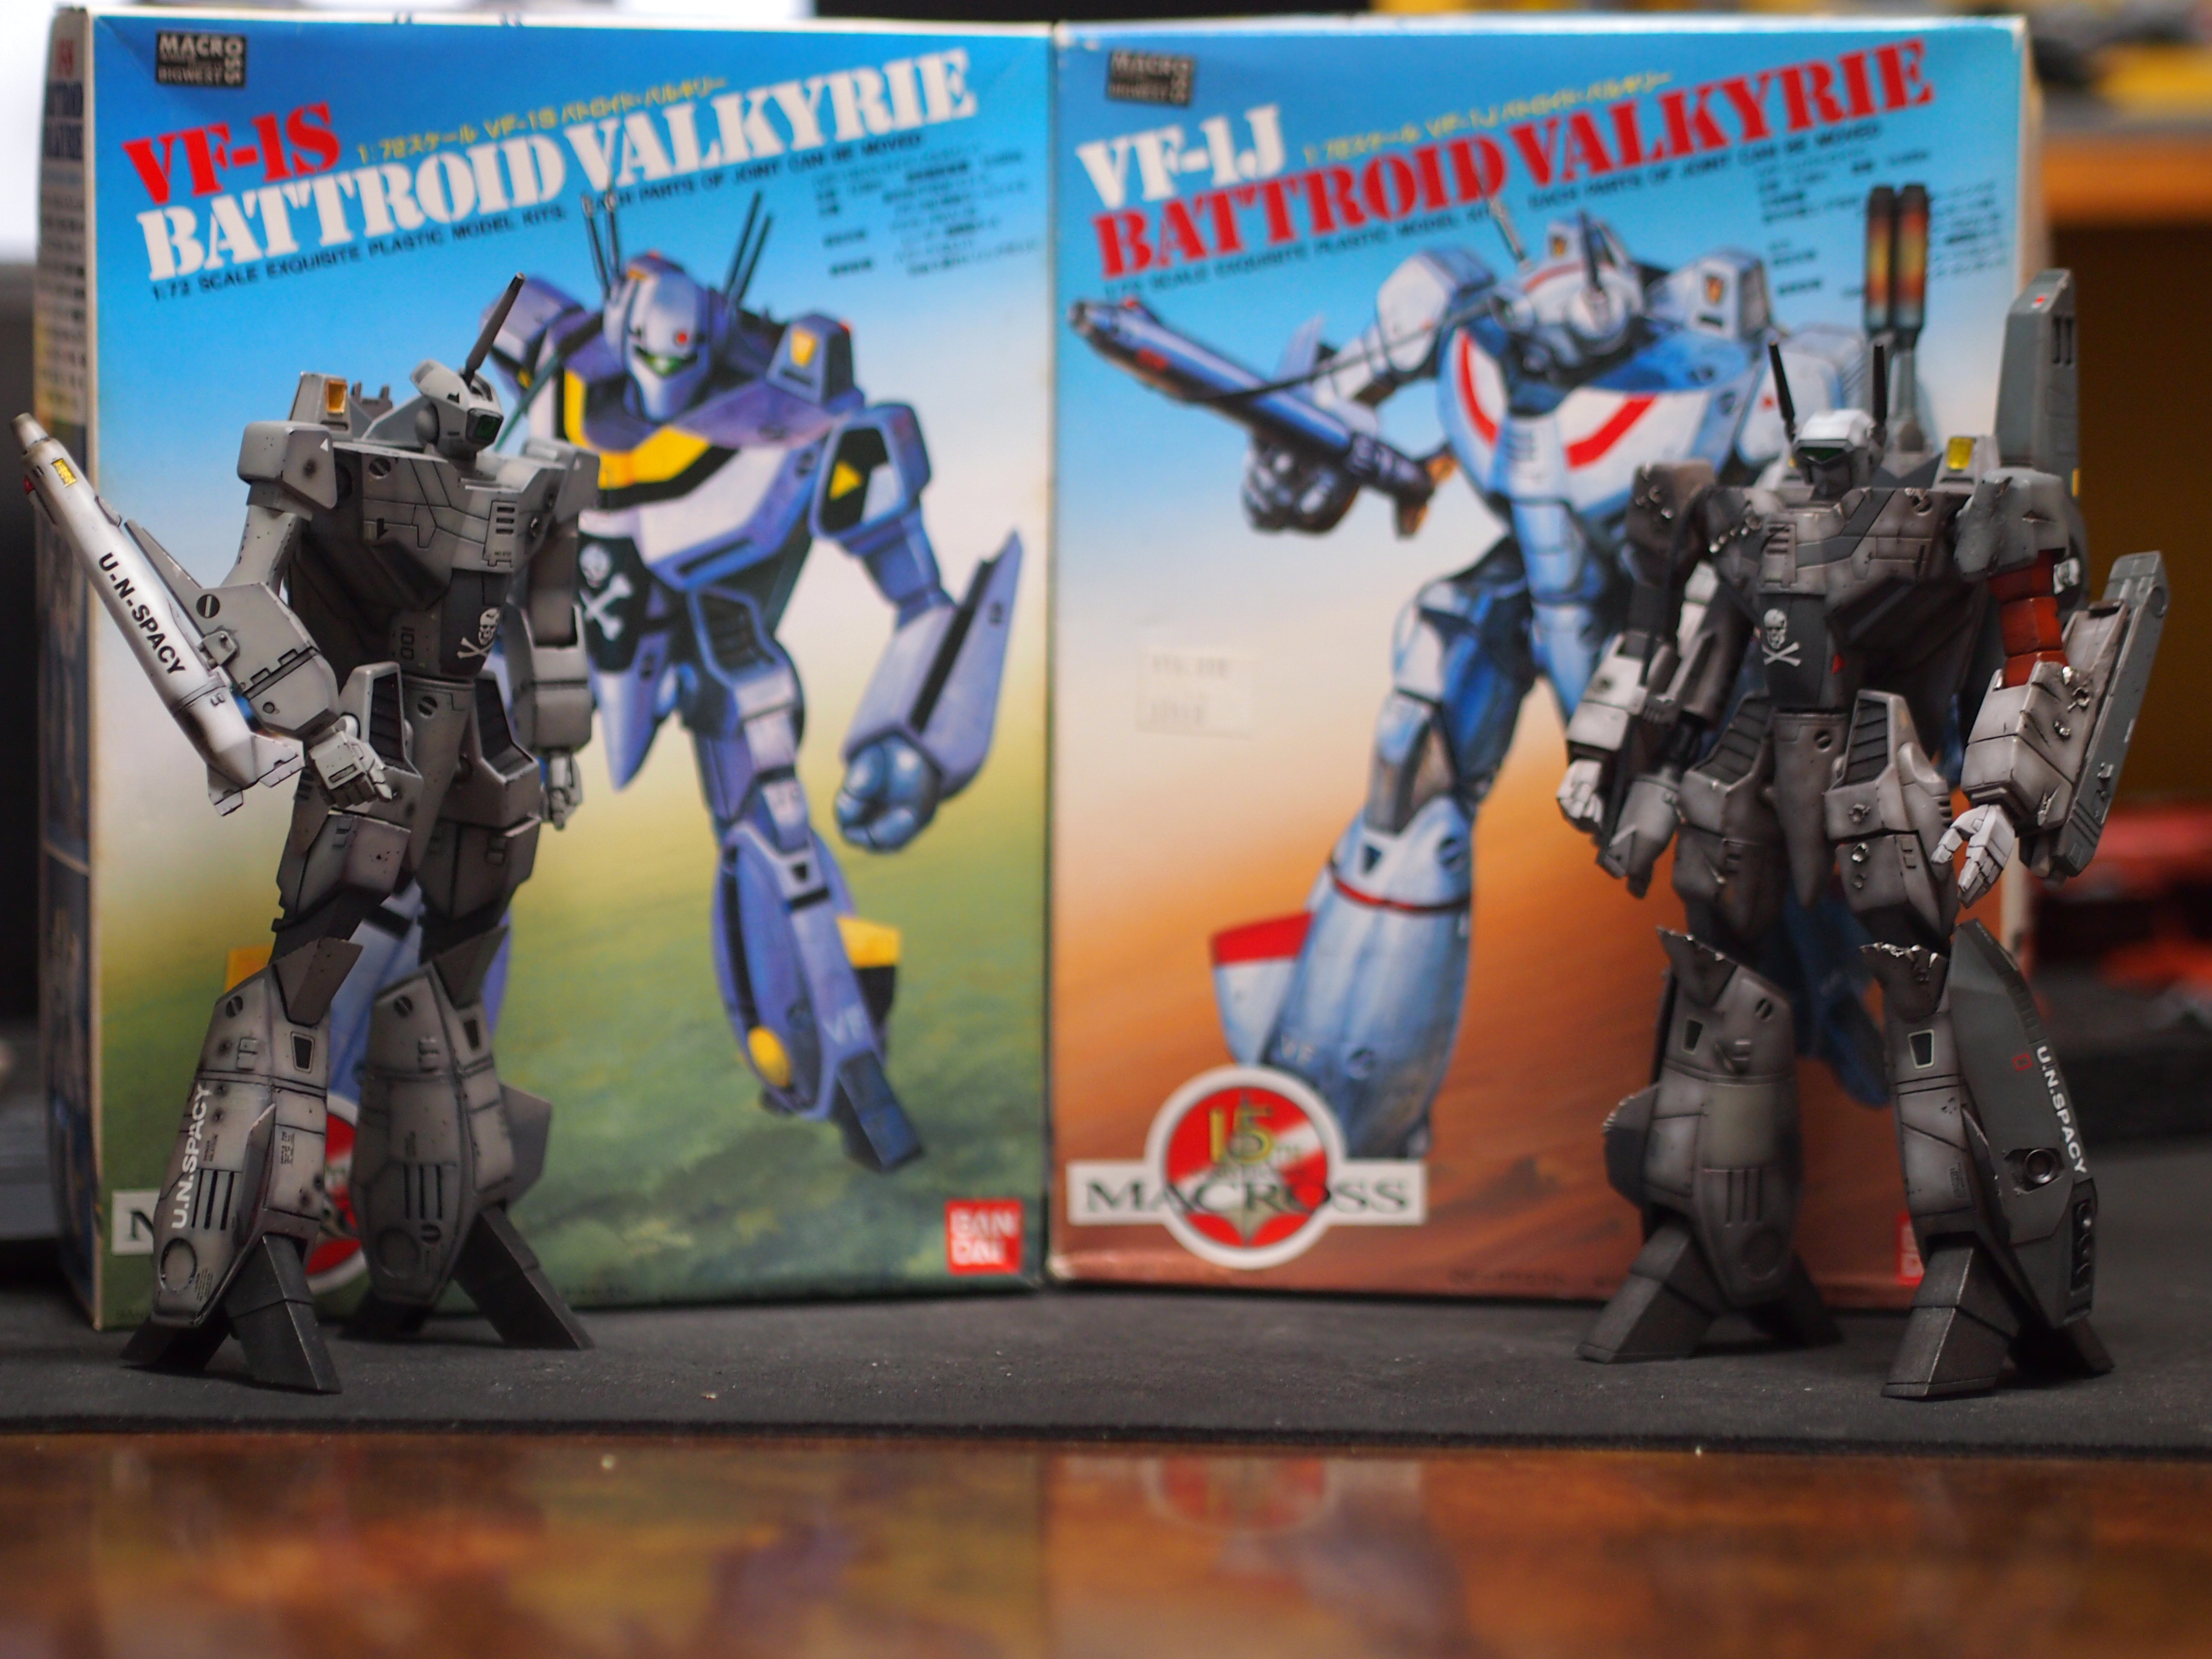
No glue.....that must be a pleasure to build. If only the 1/72 was that awesome. I'm really looking forward to building my 1/48....just a bit more practice with other models so I'm good enough to build it.
-
Lol, I want to see that in color, fully rendered....would be so awesome.
-
Man, that is awesome! Look at the muzzle brake on that thing! I used to love massive muzzle brakes, but the guys in the lane next to me always hated me for it.
-
 Haha, will definitely do that for future Hasegawa builds. This one is back together and on the self
 -
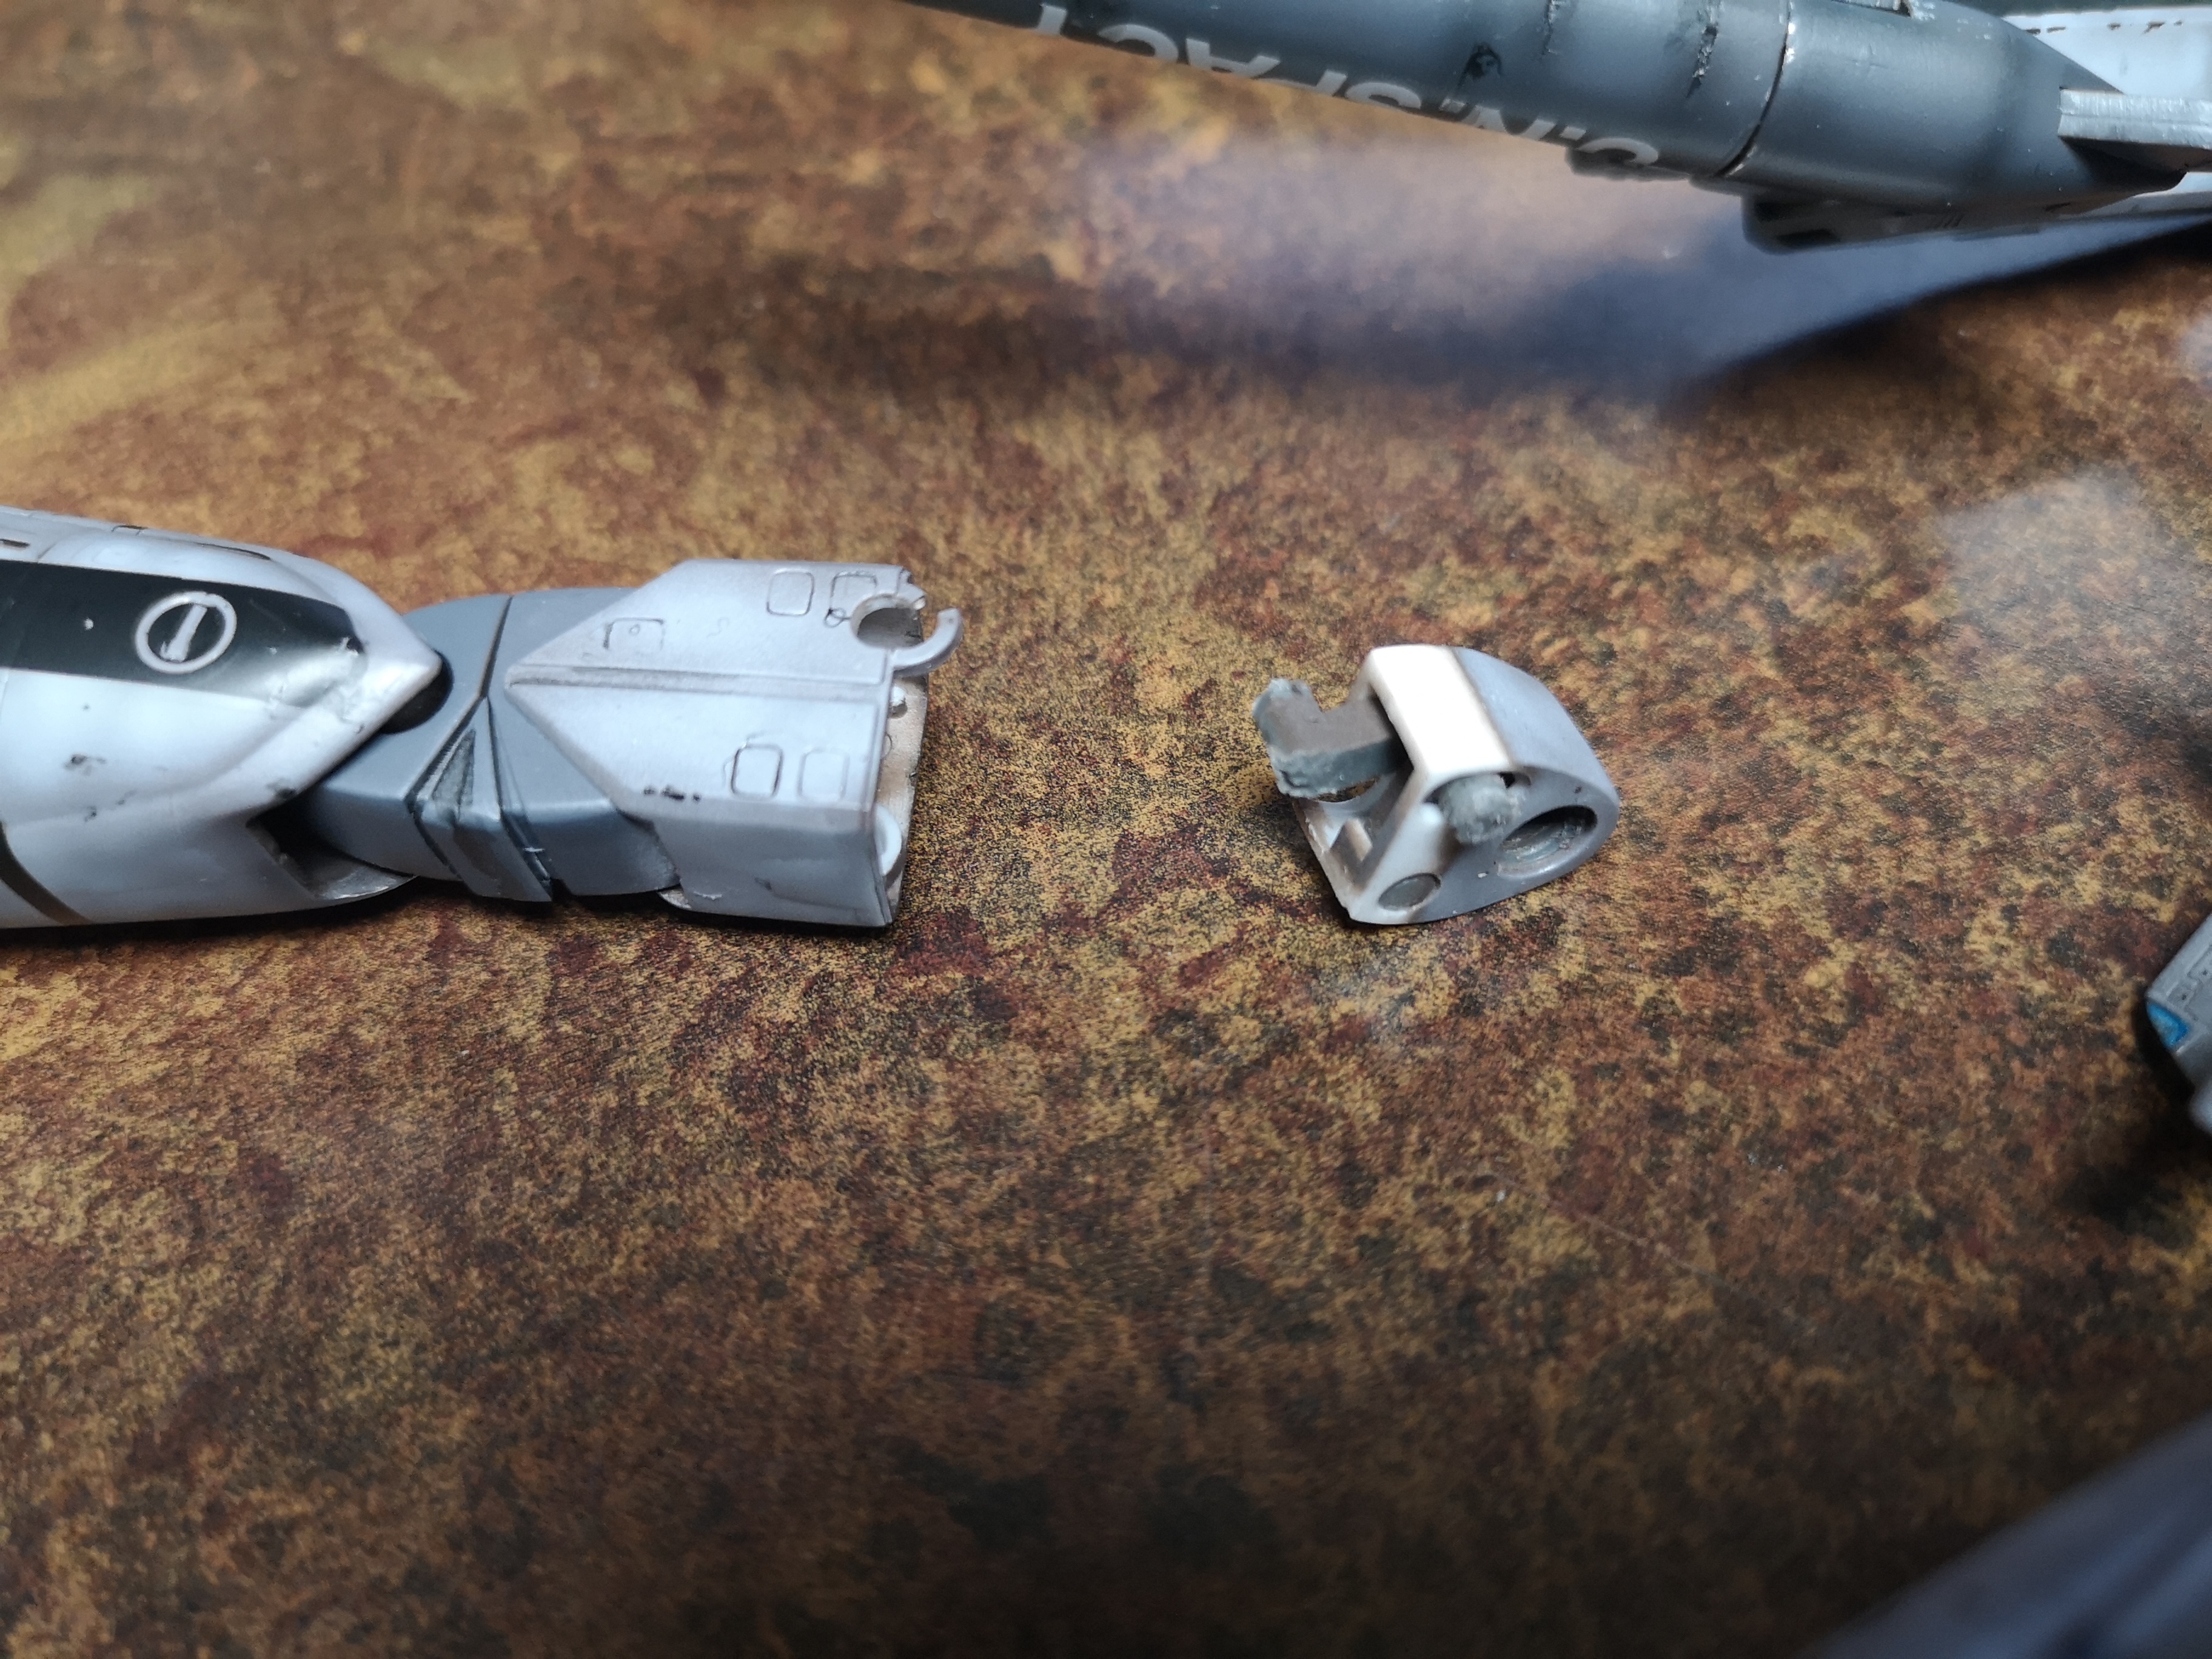
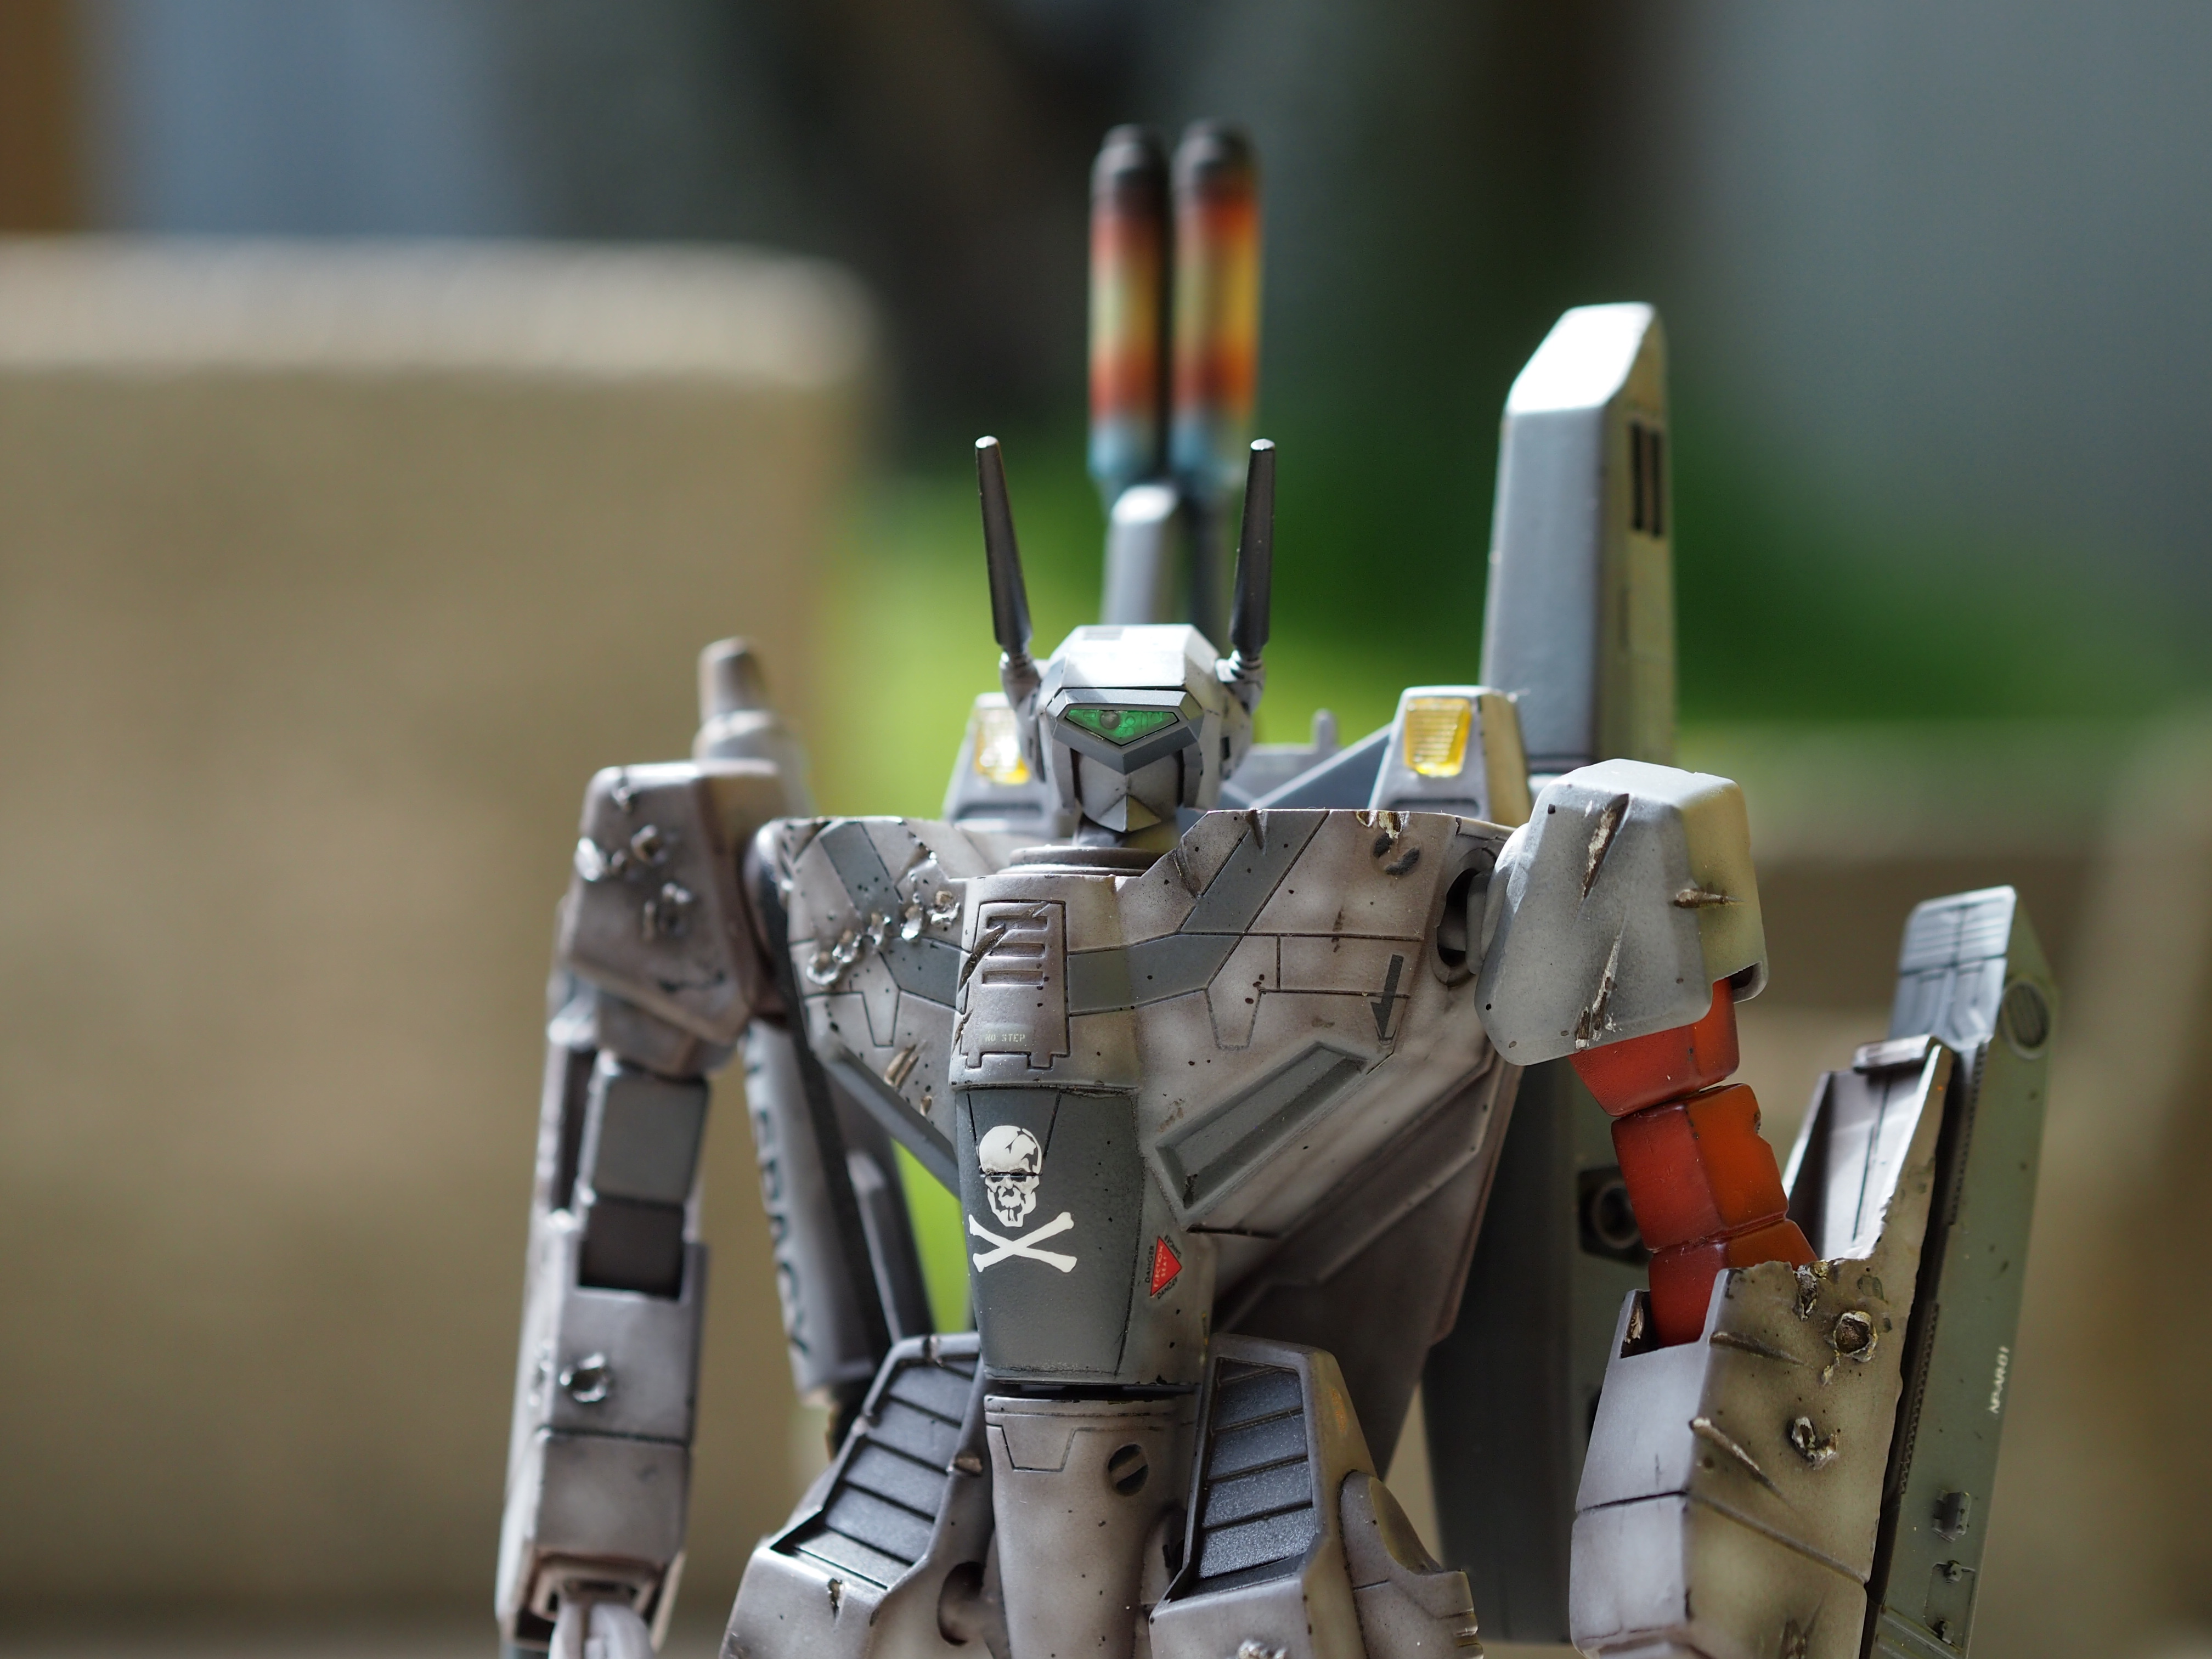
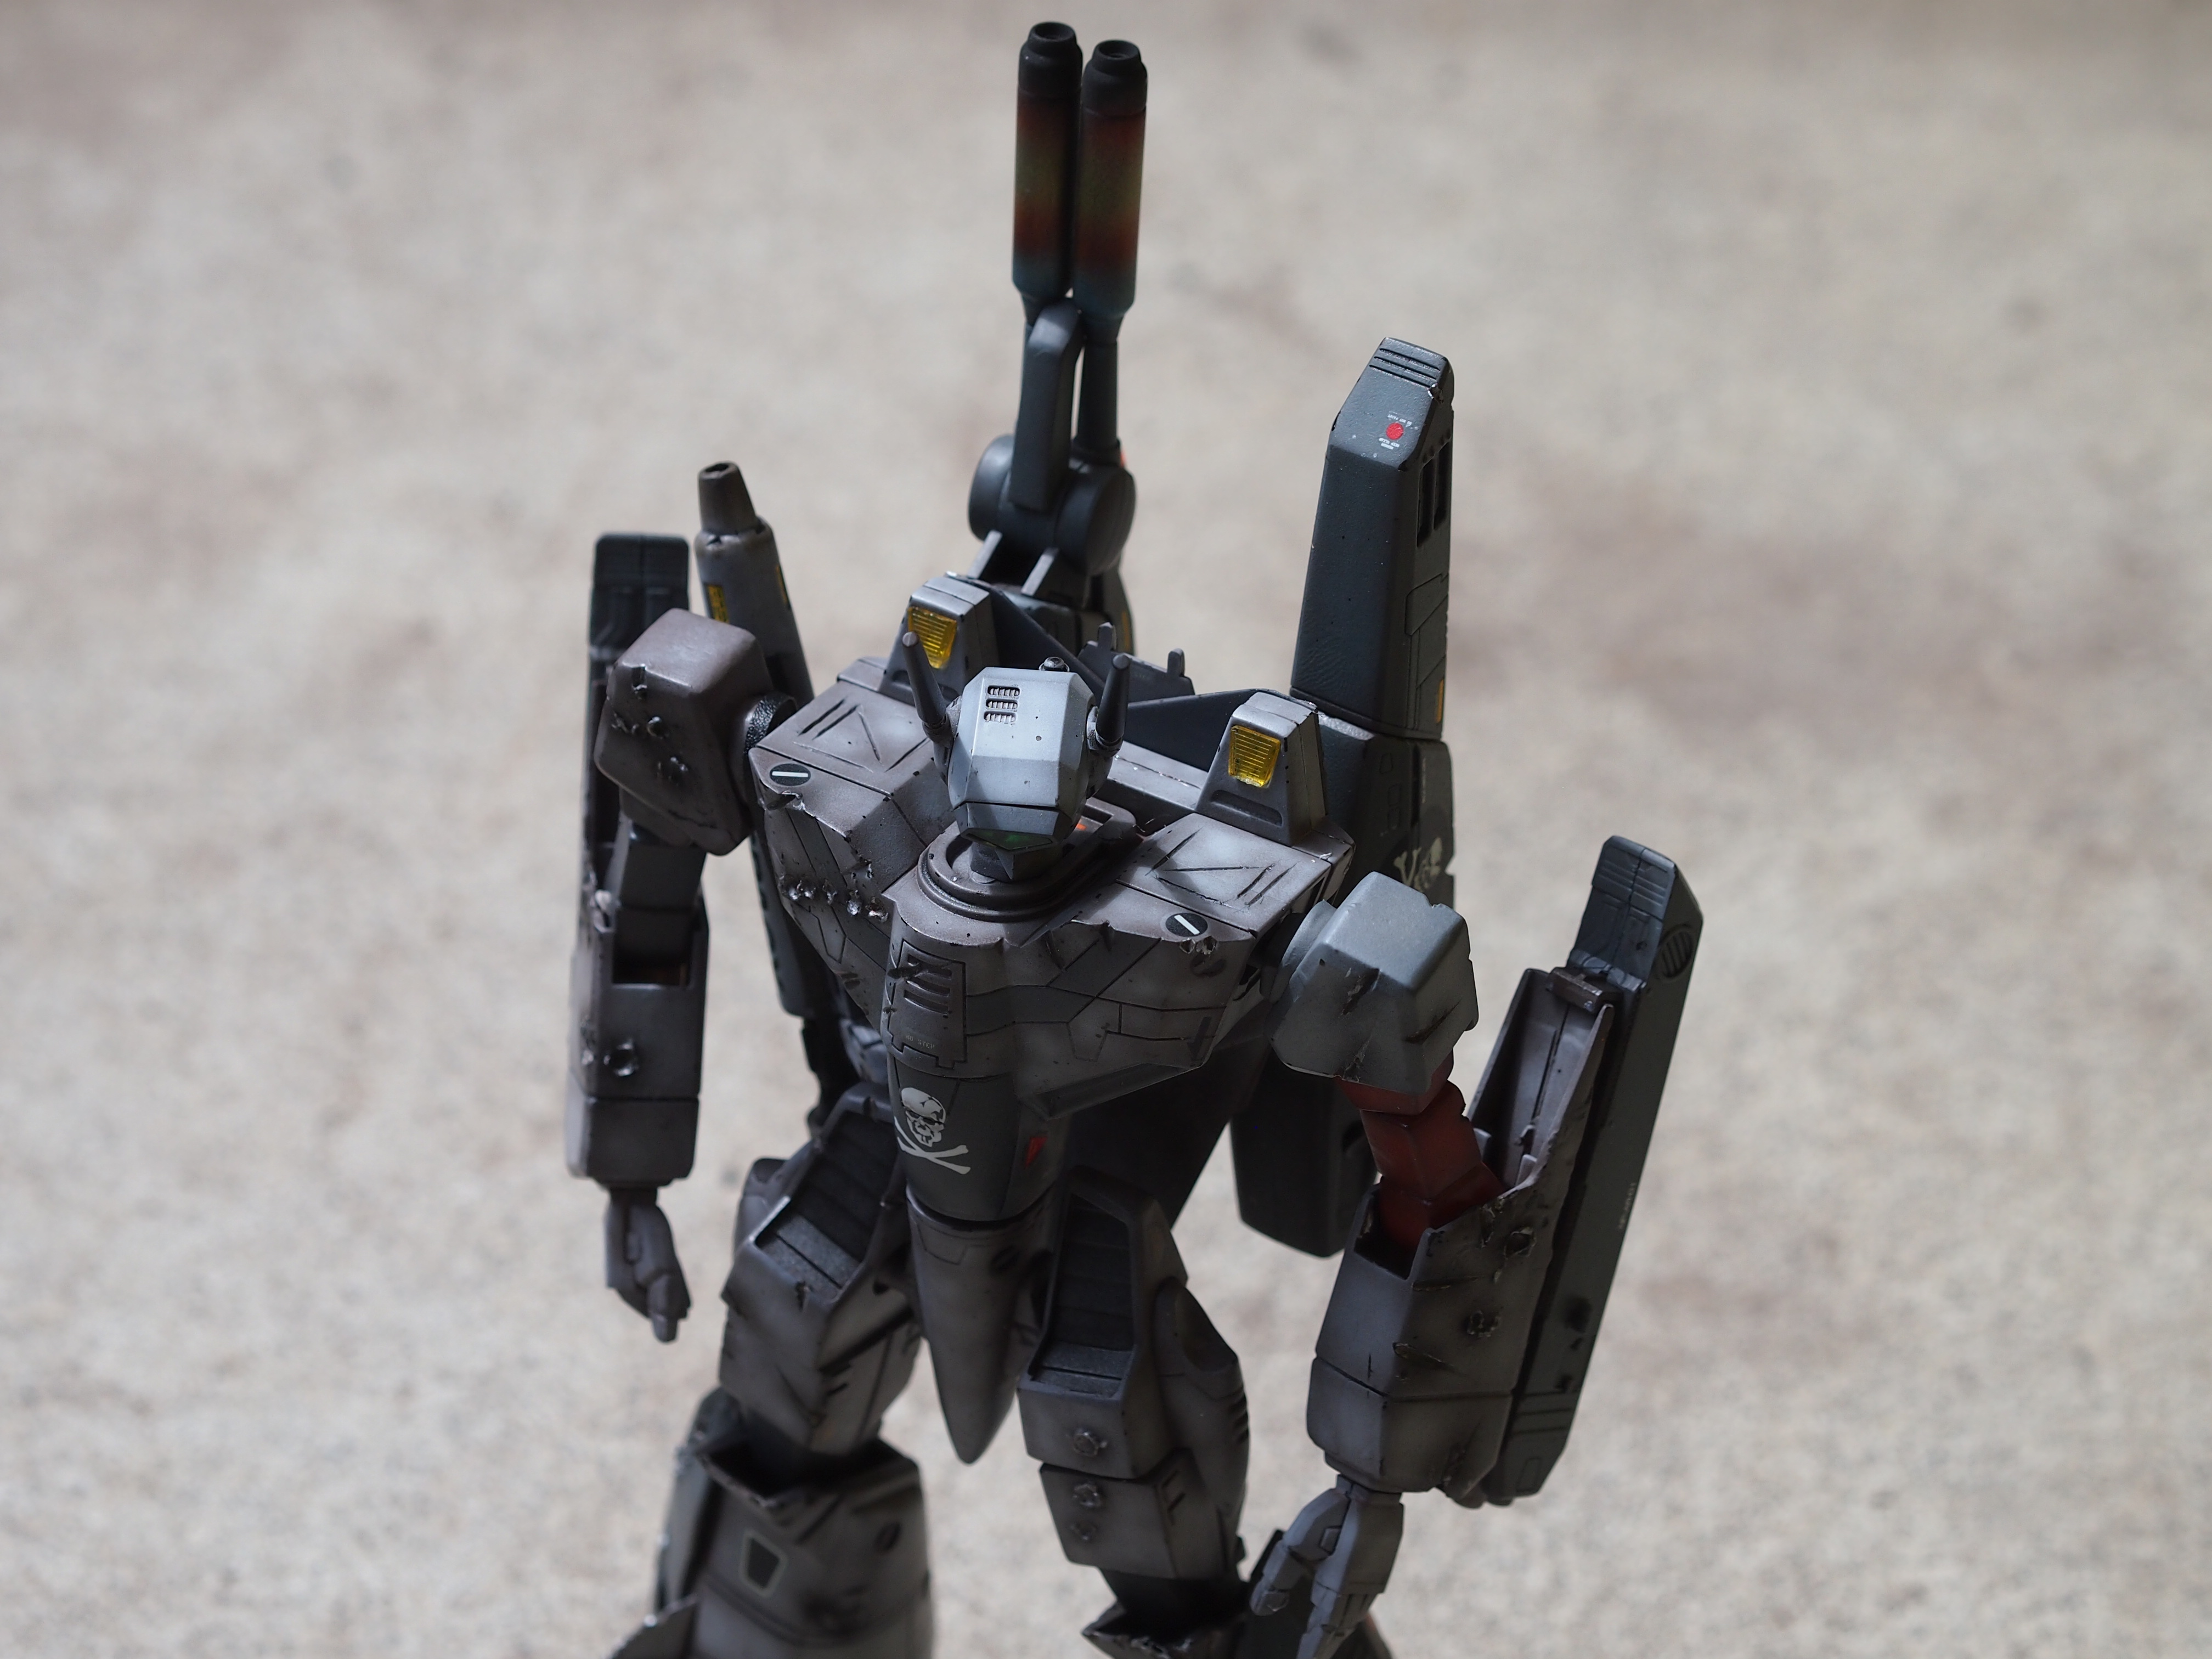
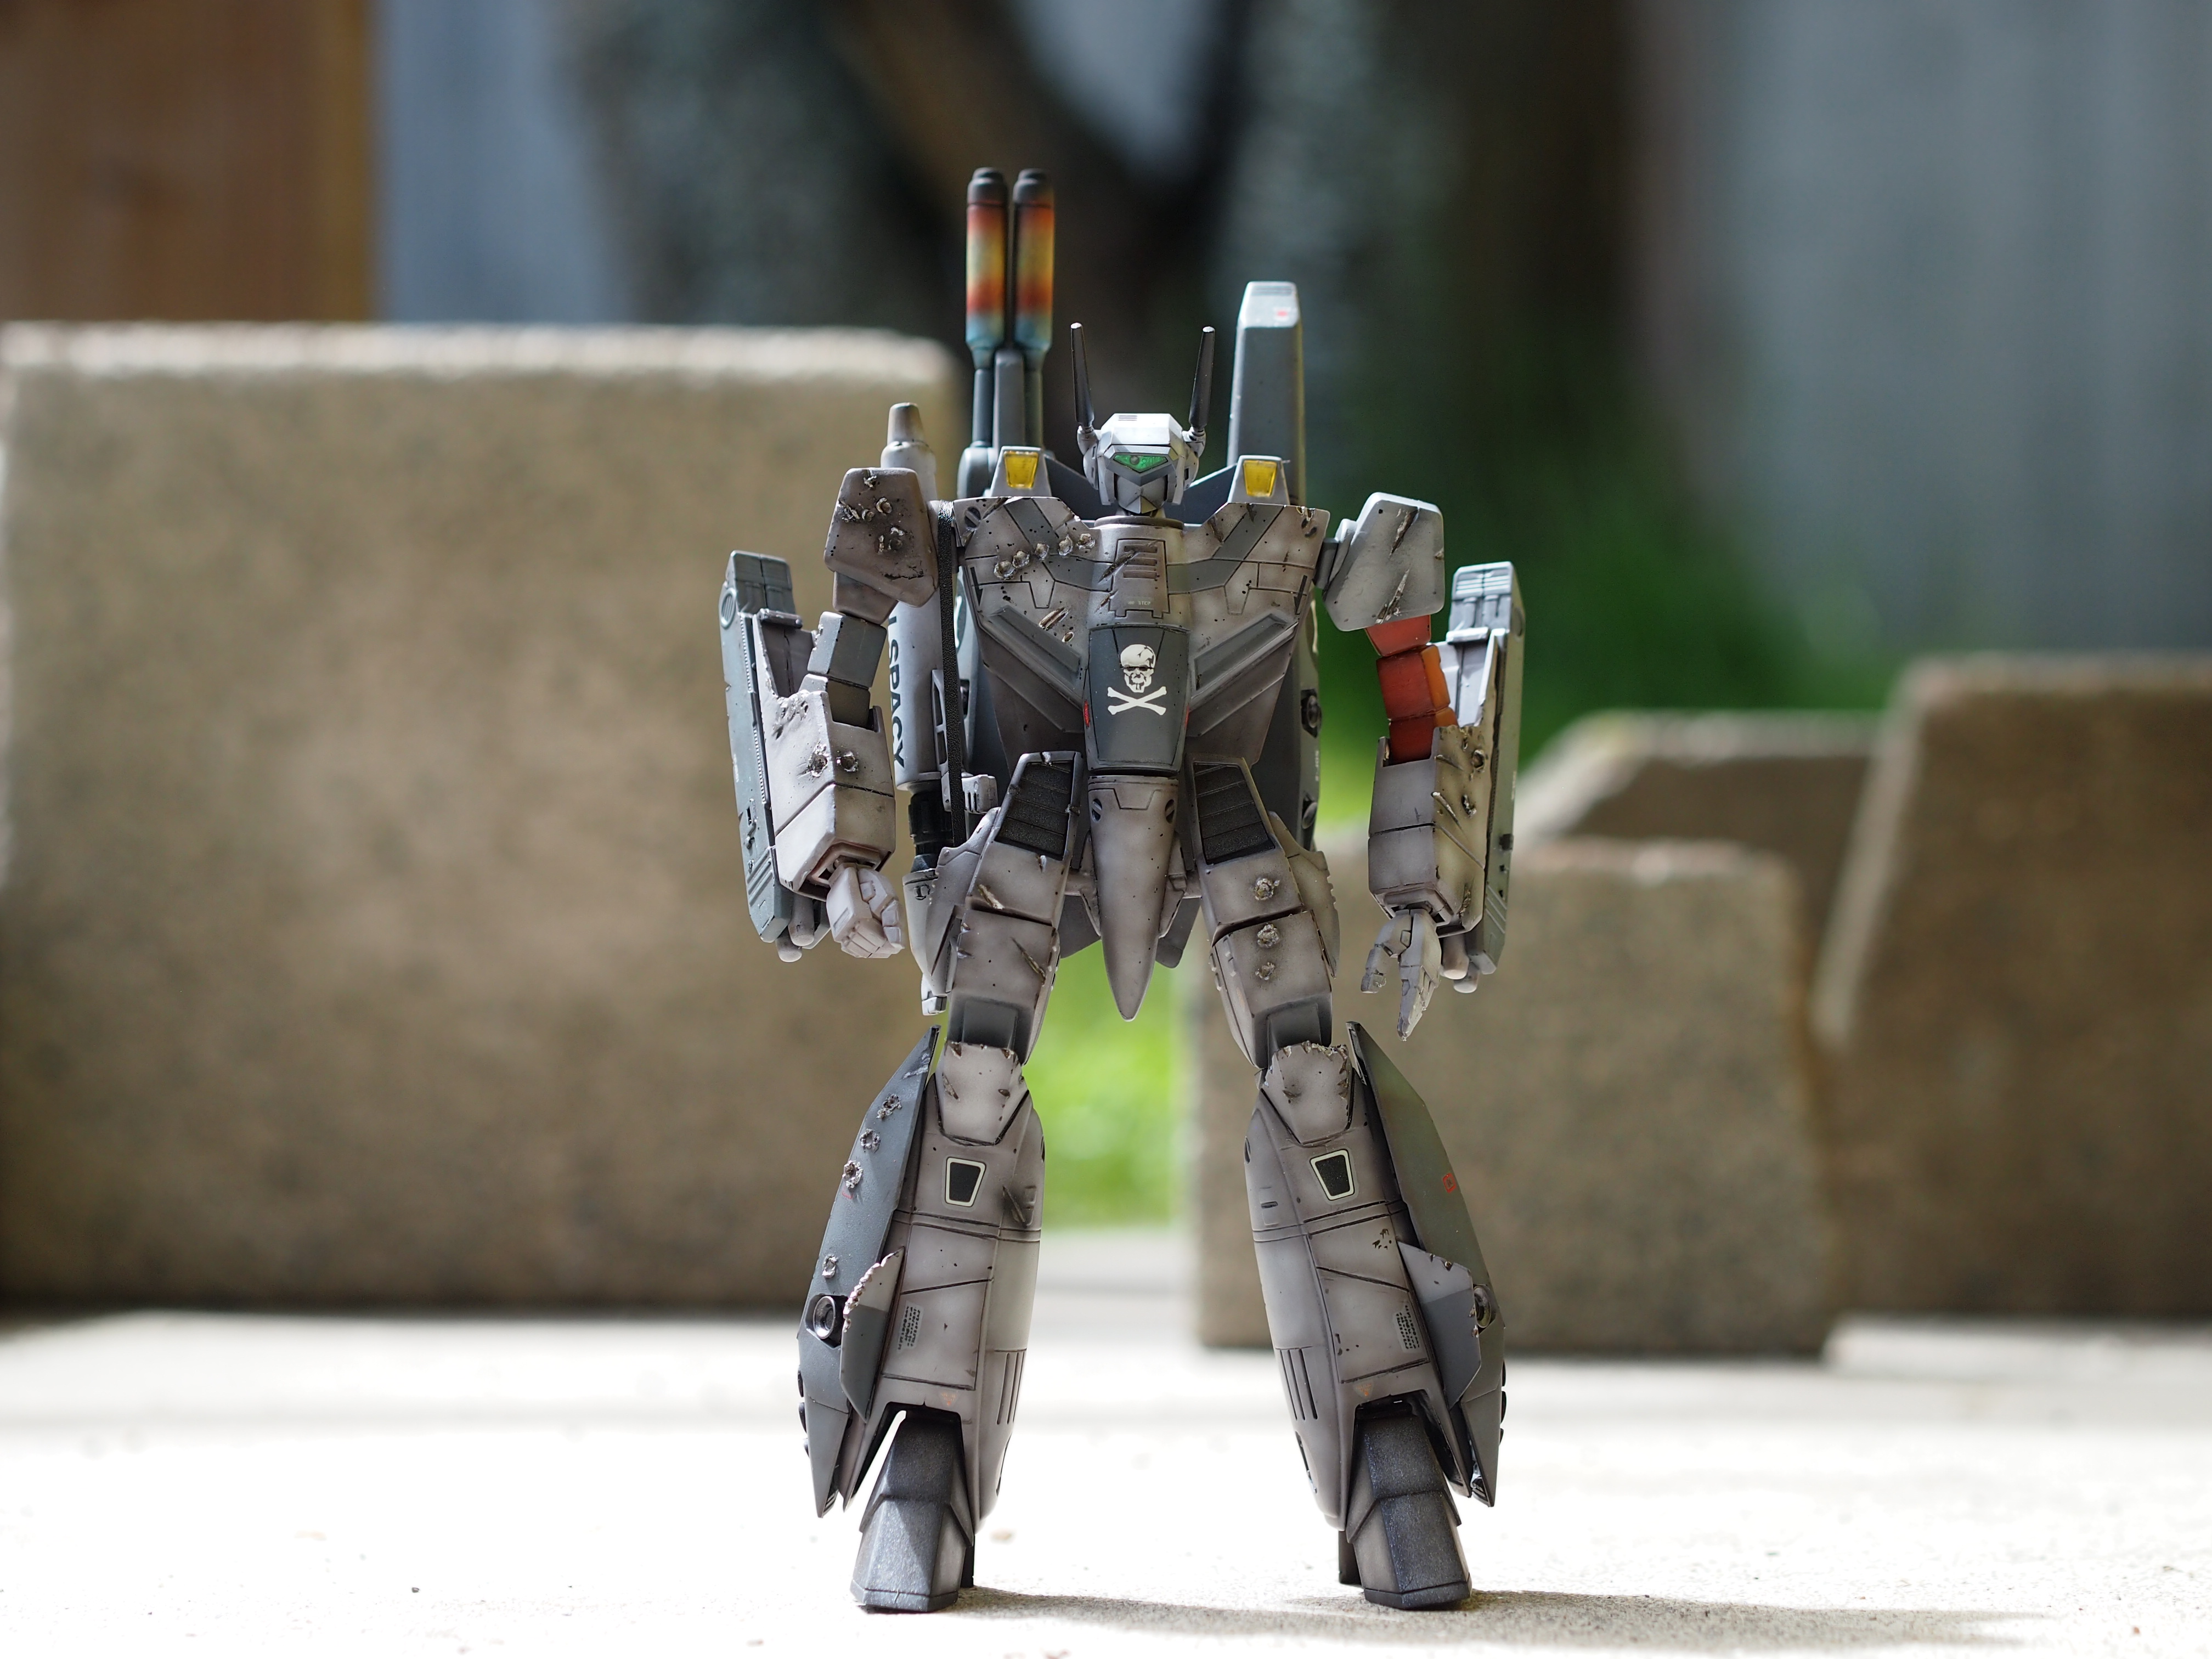
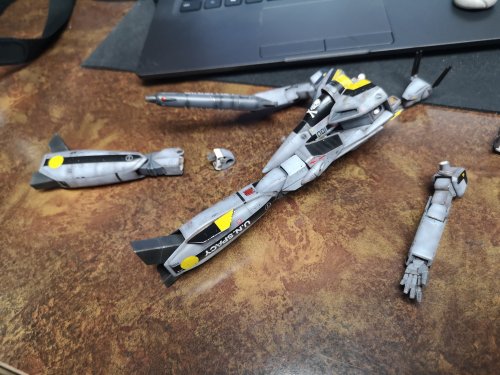
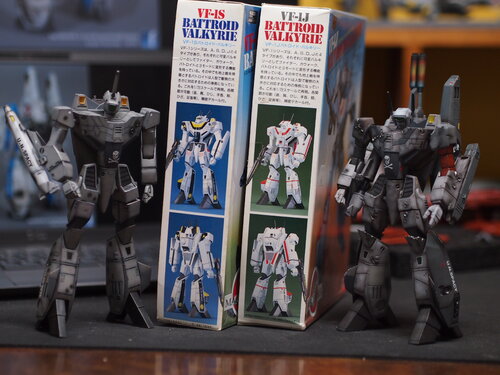
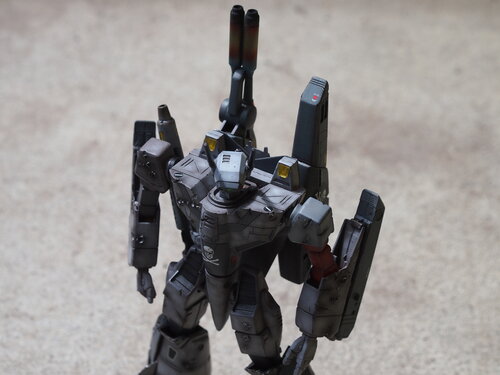
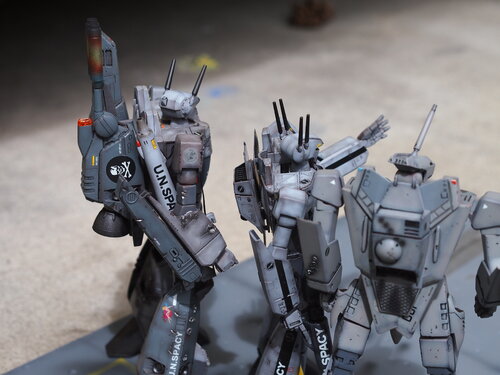
I discovered how fragile the Hasegawa VF-1 kits are......broke the battroid in two places just posing it for photos, so I've decided to just build them, pick one pose and never muck around with it again.


-
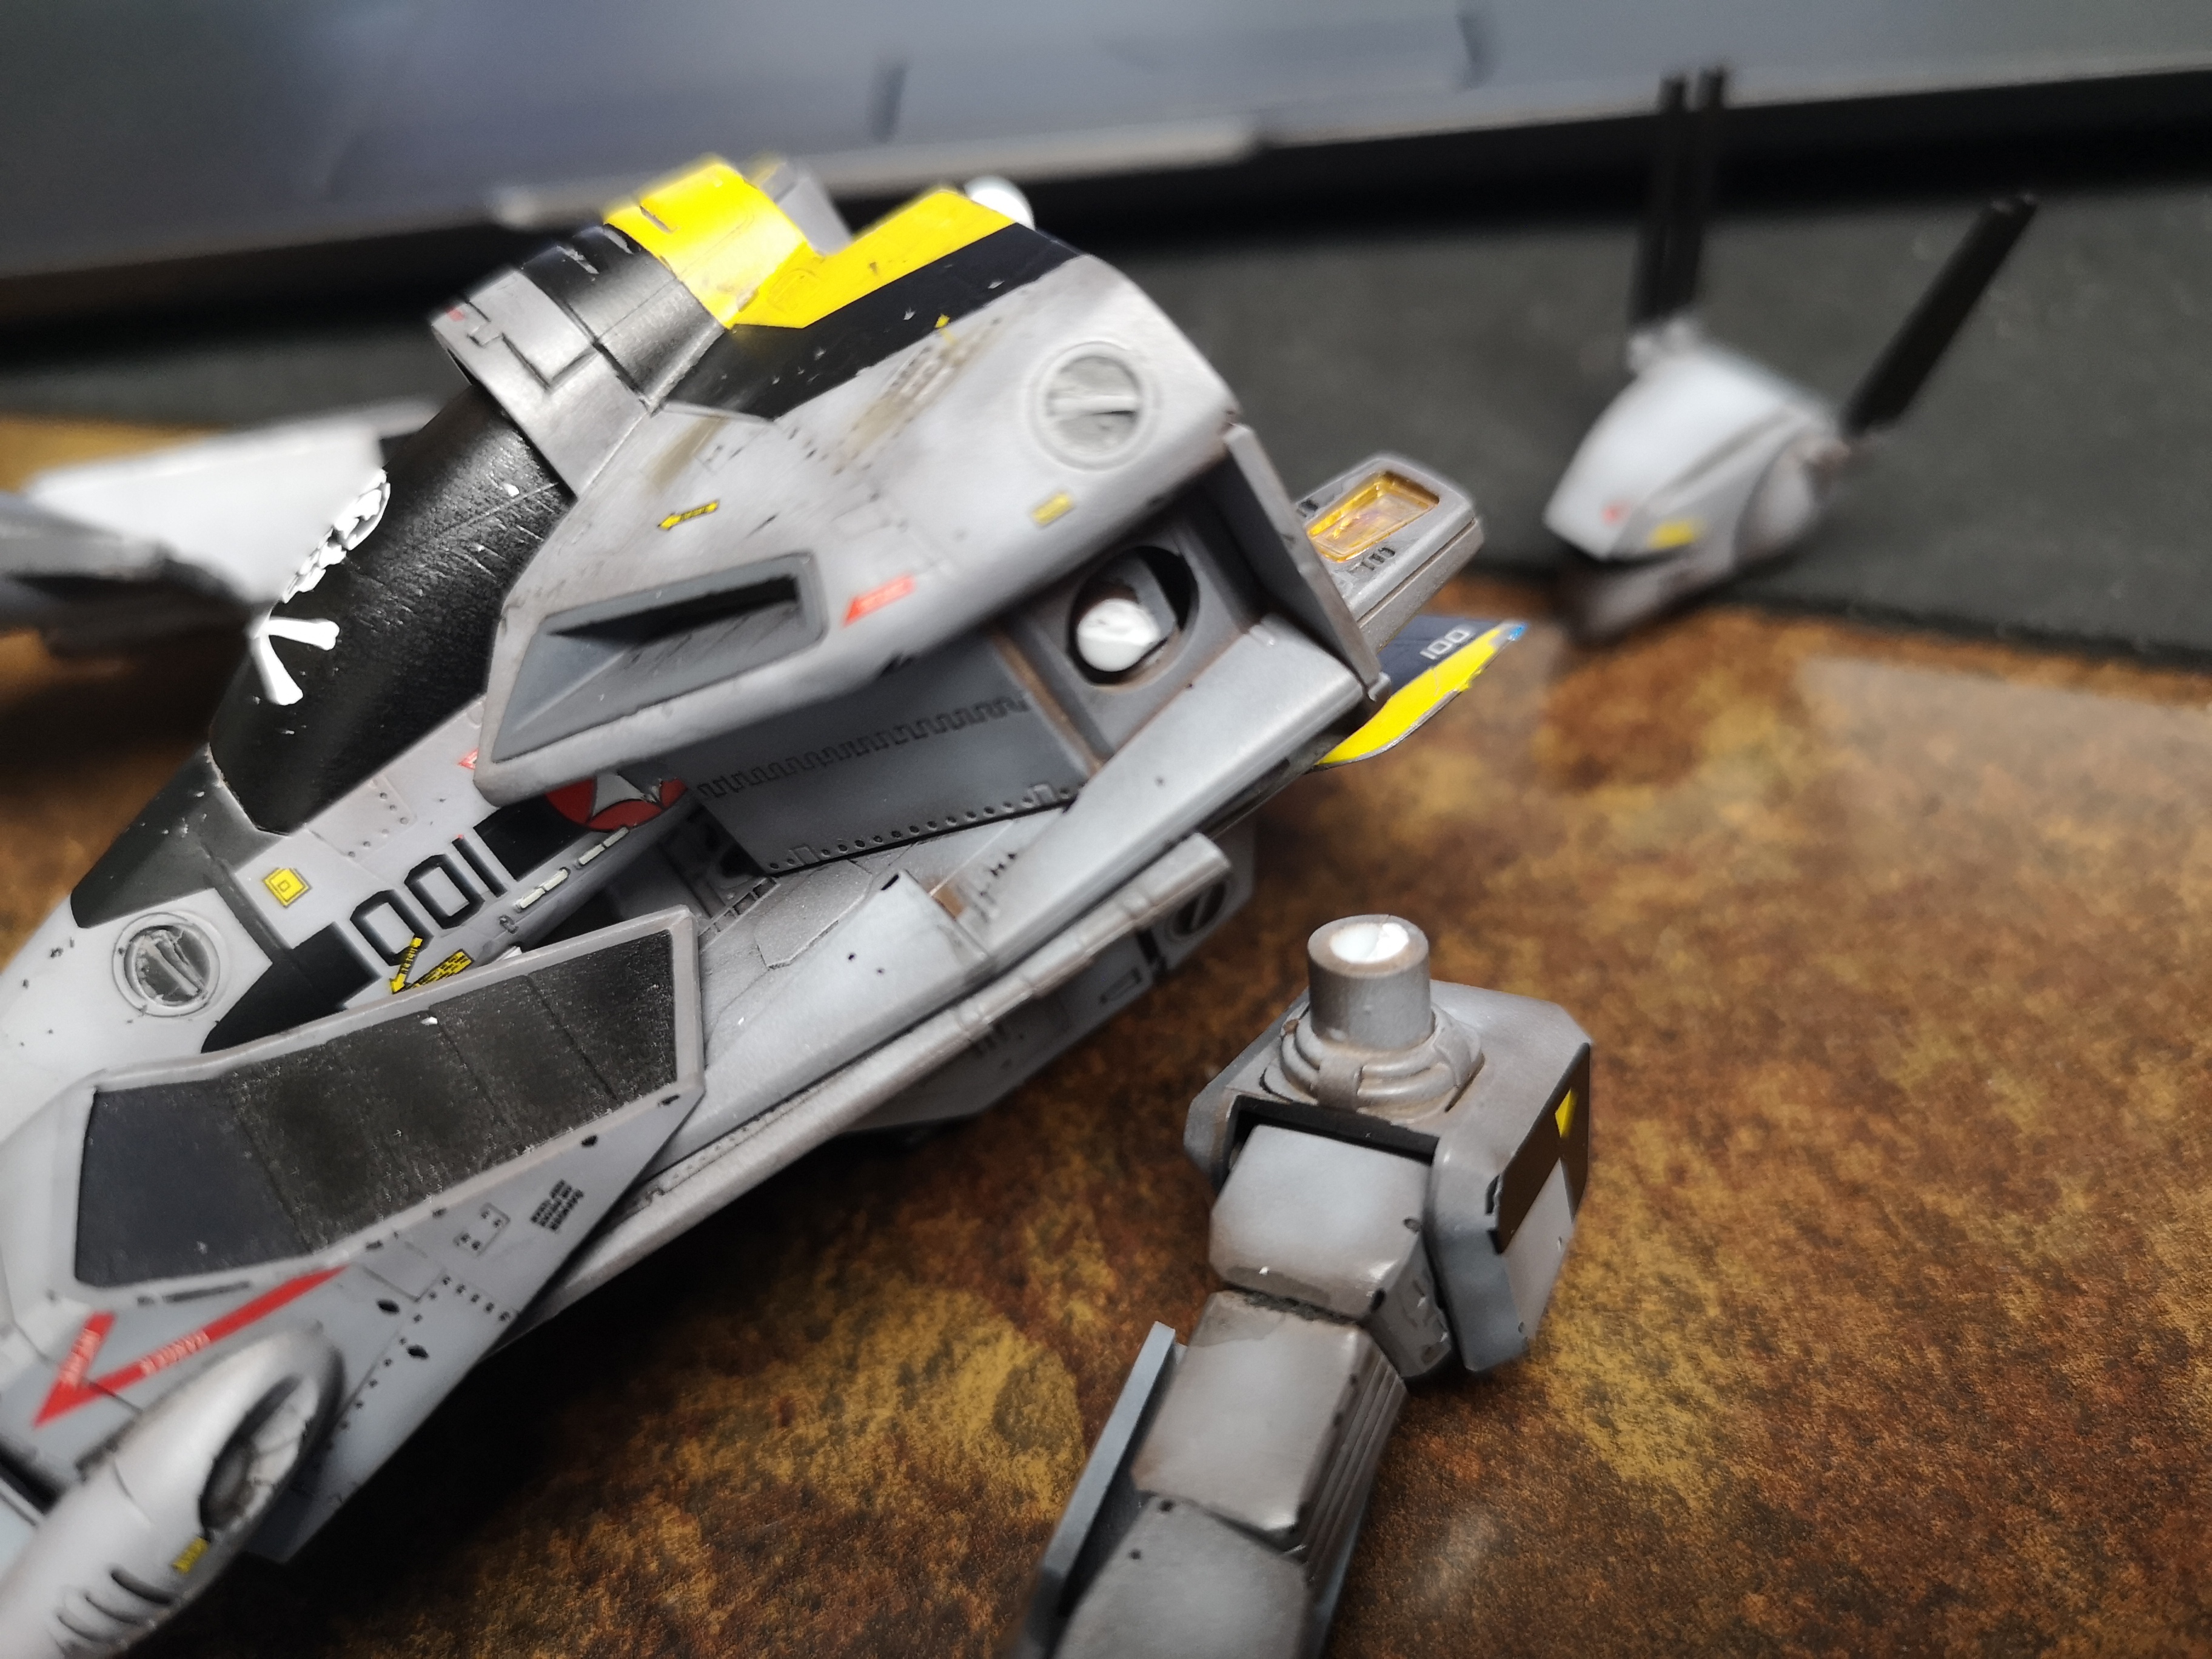
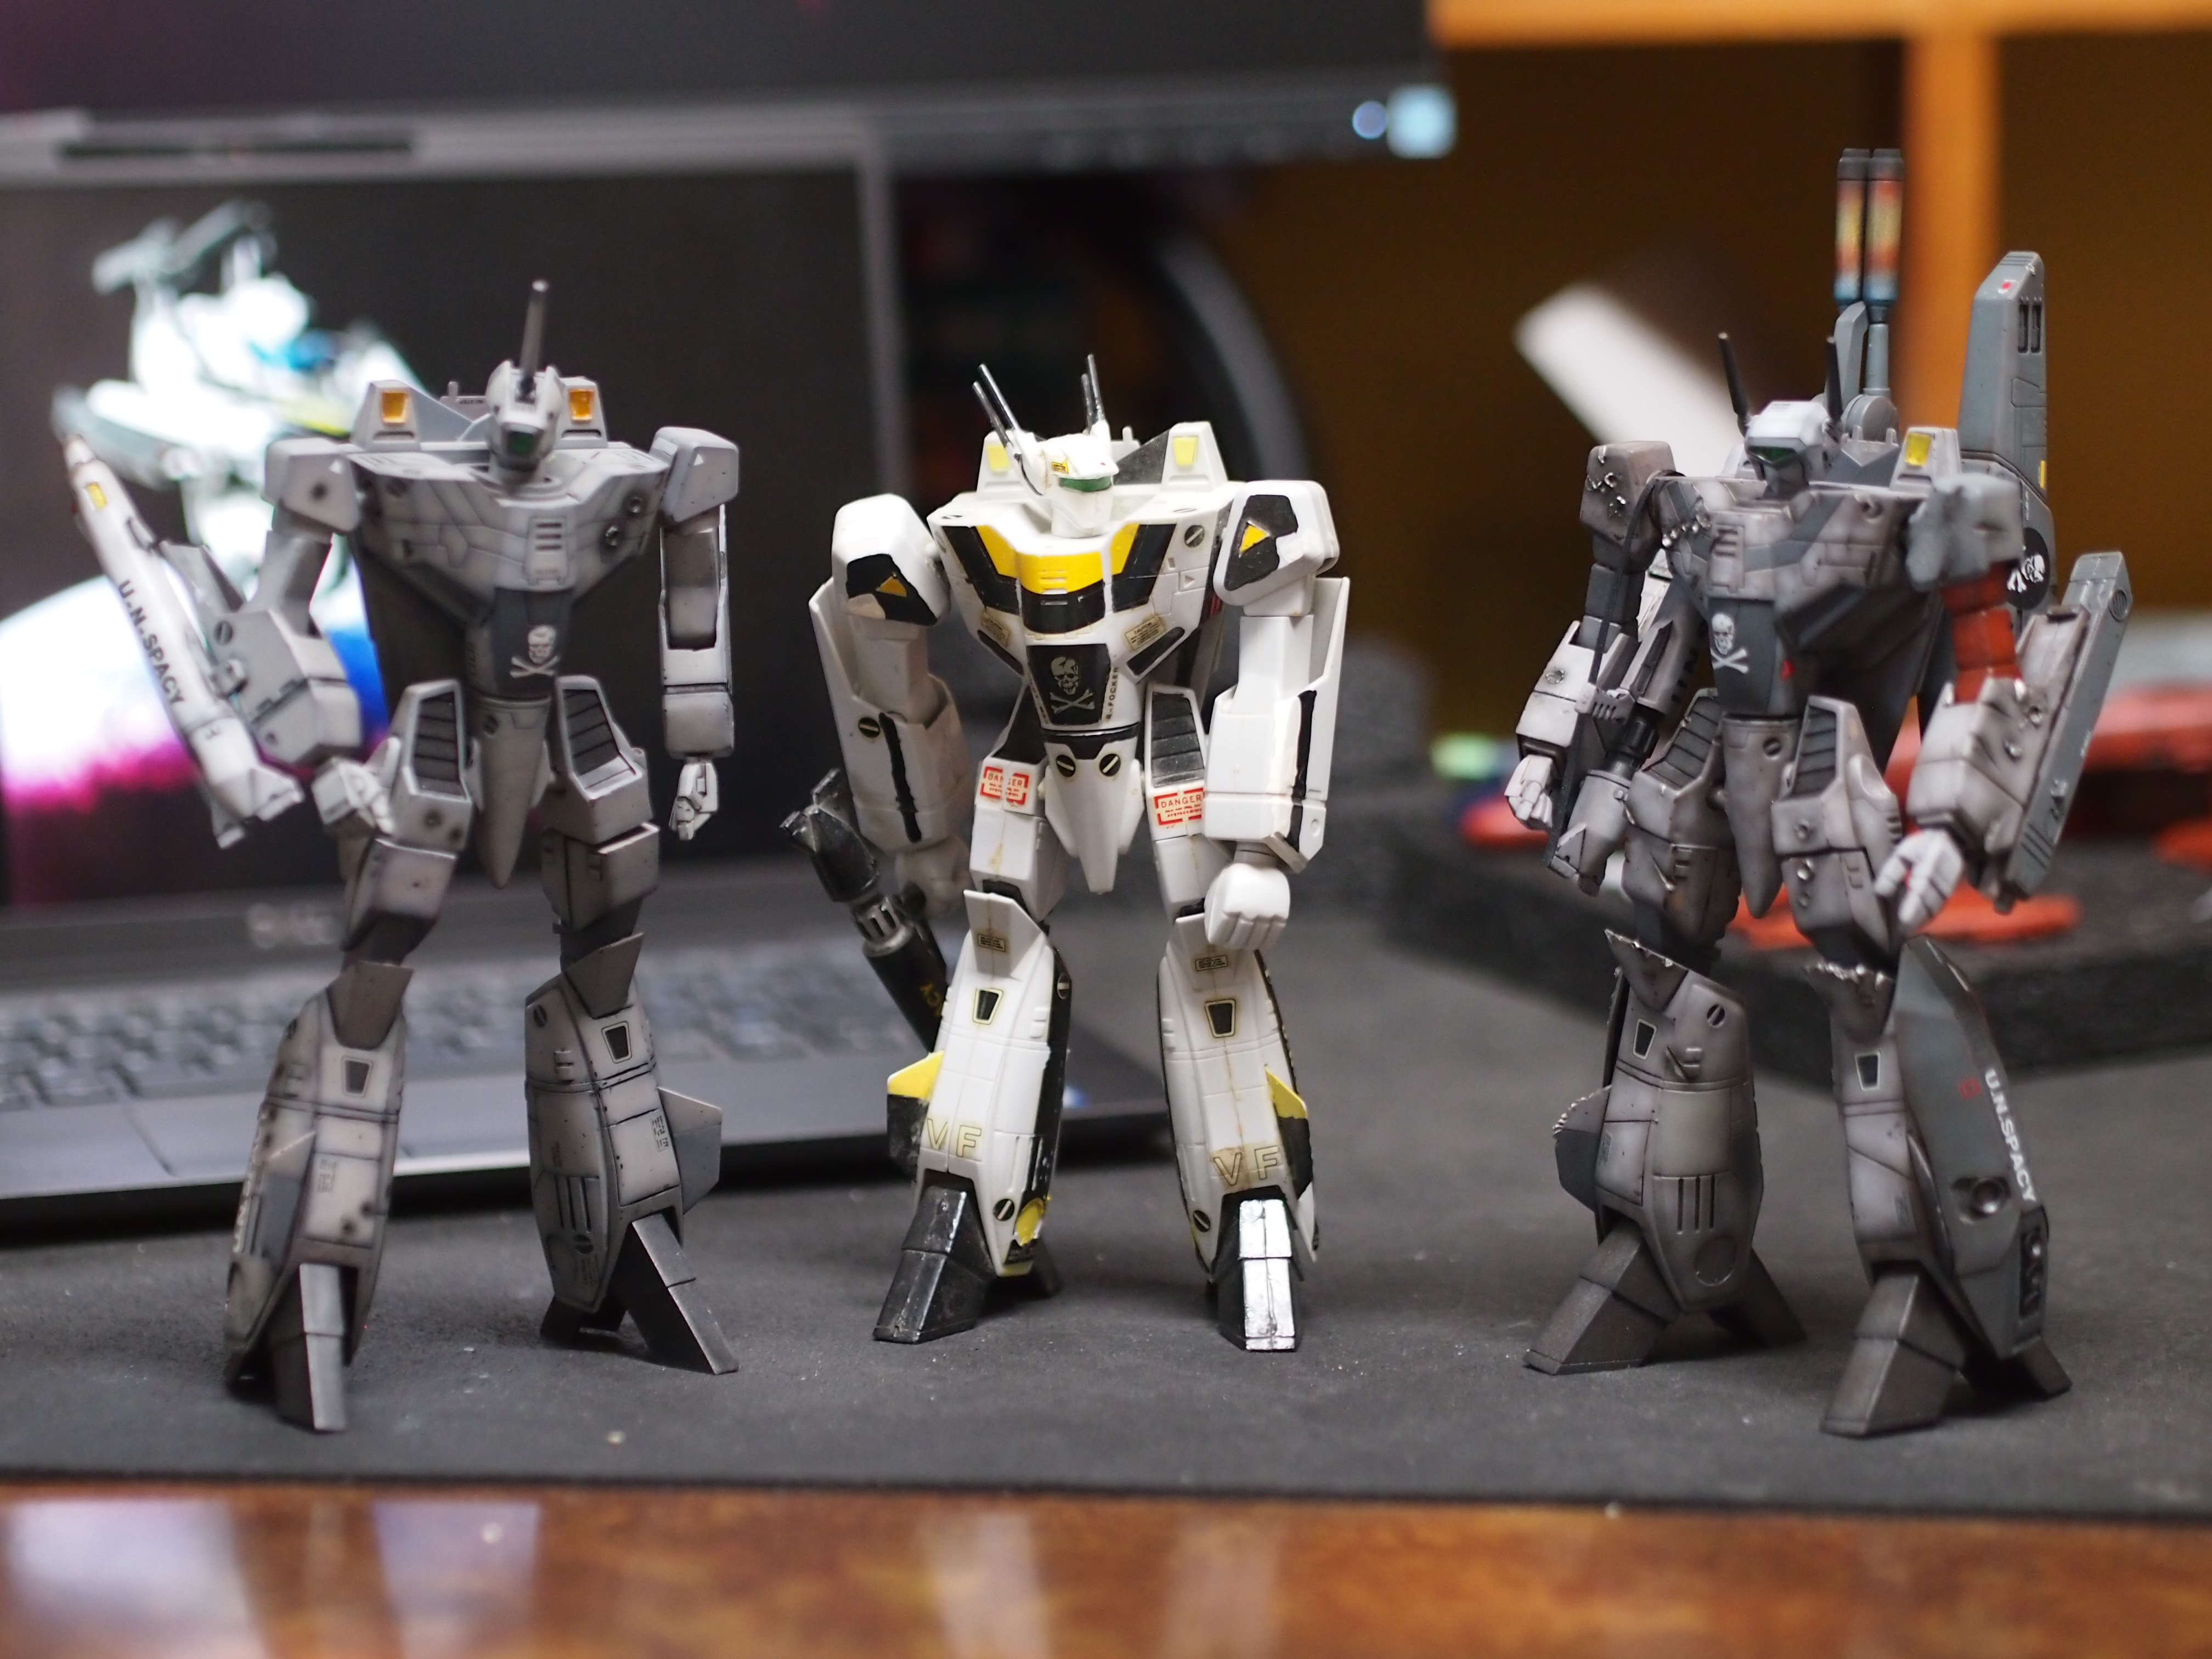
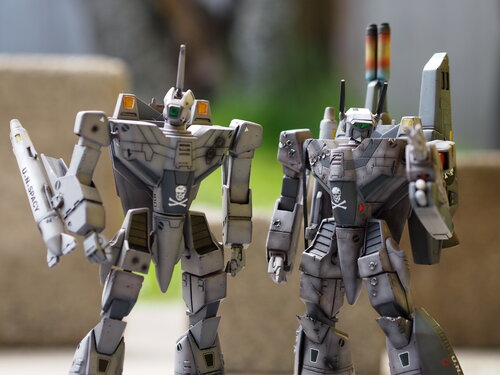
I rattle-canned 4 of these Hasegawa fighters last year, skipping the primer and going straight to paint. I was losing panel lines and other details left, right and centre, compounded with my messy sanding and filling work. I'm still not very good and sanding and filling seam lines, but using an airbrush really helps retain some of the detail when applying paint. Those Hasegawas though.....really shallow panel lines and they are easy to lose.
-
Thanks! I got the idea from you to have different color parts for this build
-
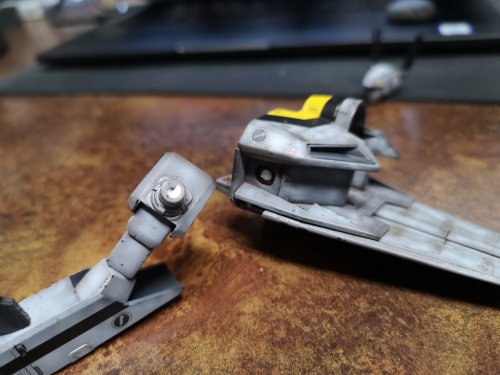
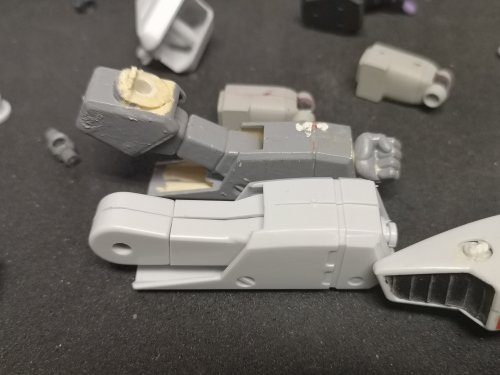
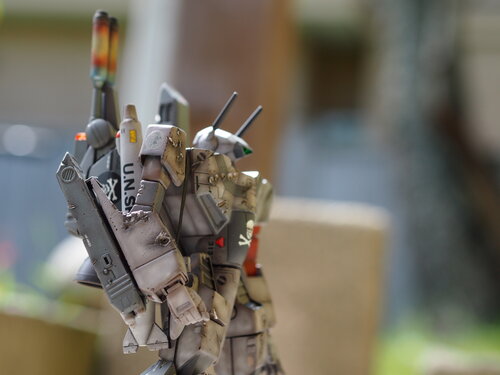
Comparison of the arms. That gray mess was cannibalized from the variable 1/72 I built as a kid. The other arm looked worse. I didn't sand off any seam lines, I brushed on the paint, and at one point, I ended up gluing the arms together for a fixed fighter mode, then they parts broke off at the shoulders, so these arms were a real mess. Still, they look better than the chunky's original battroid arms, which were almost twice as thick, lol!
-
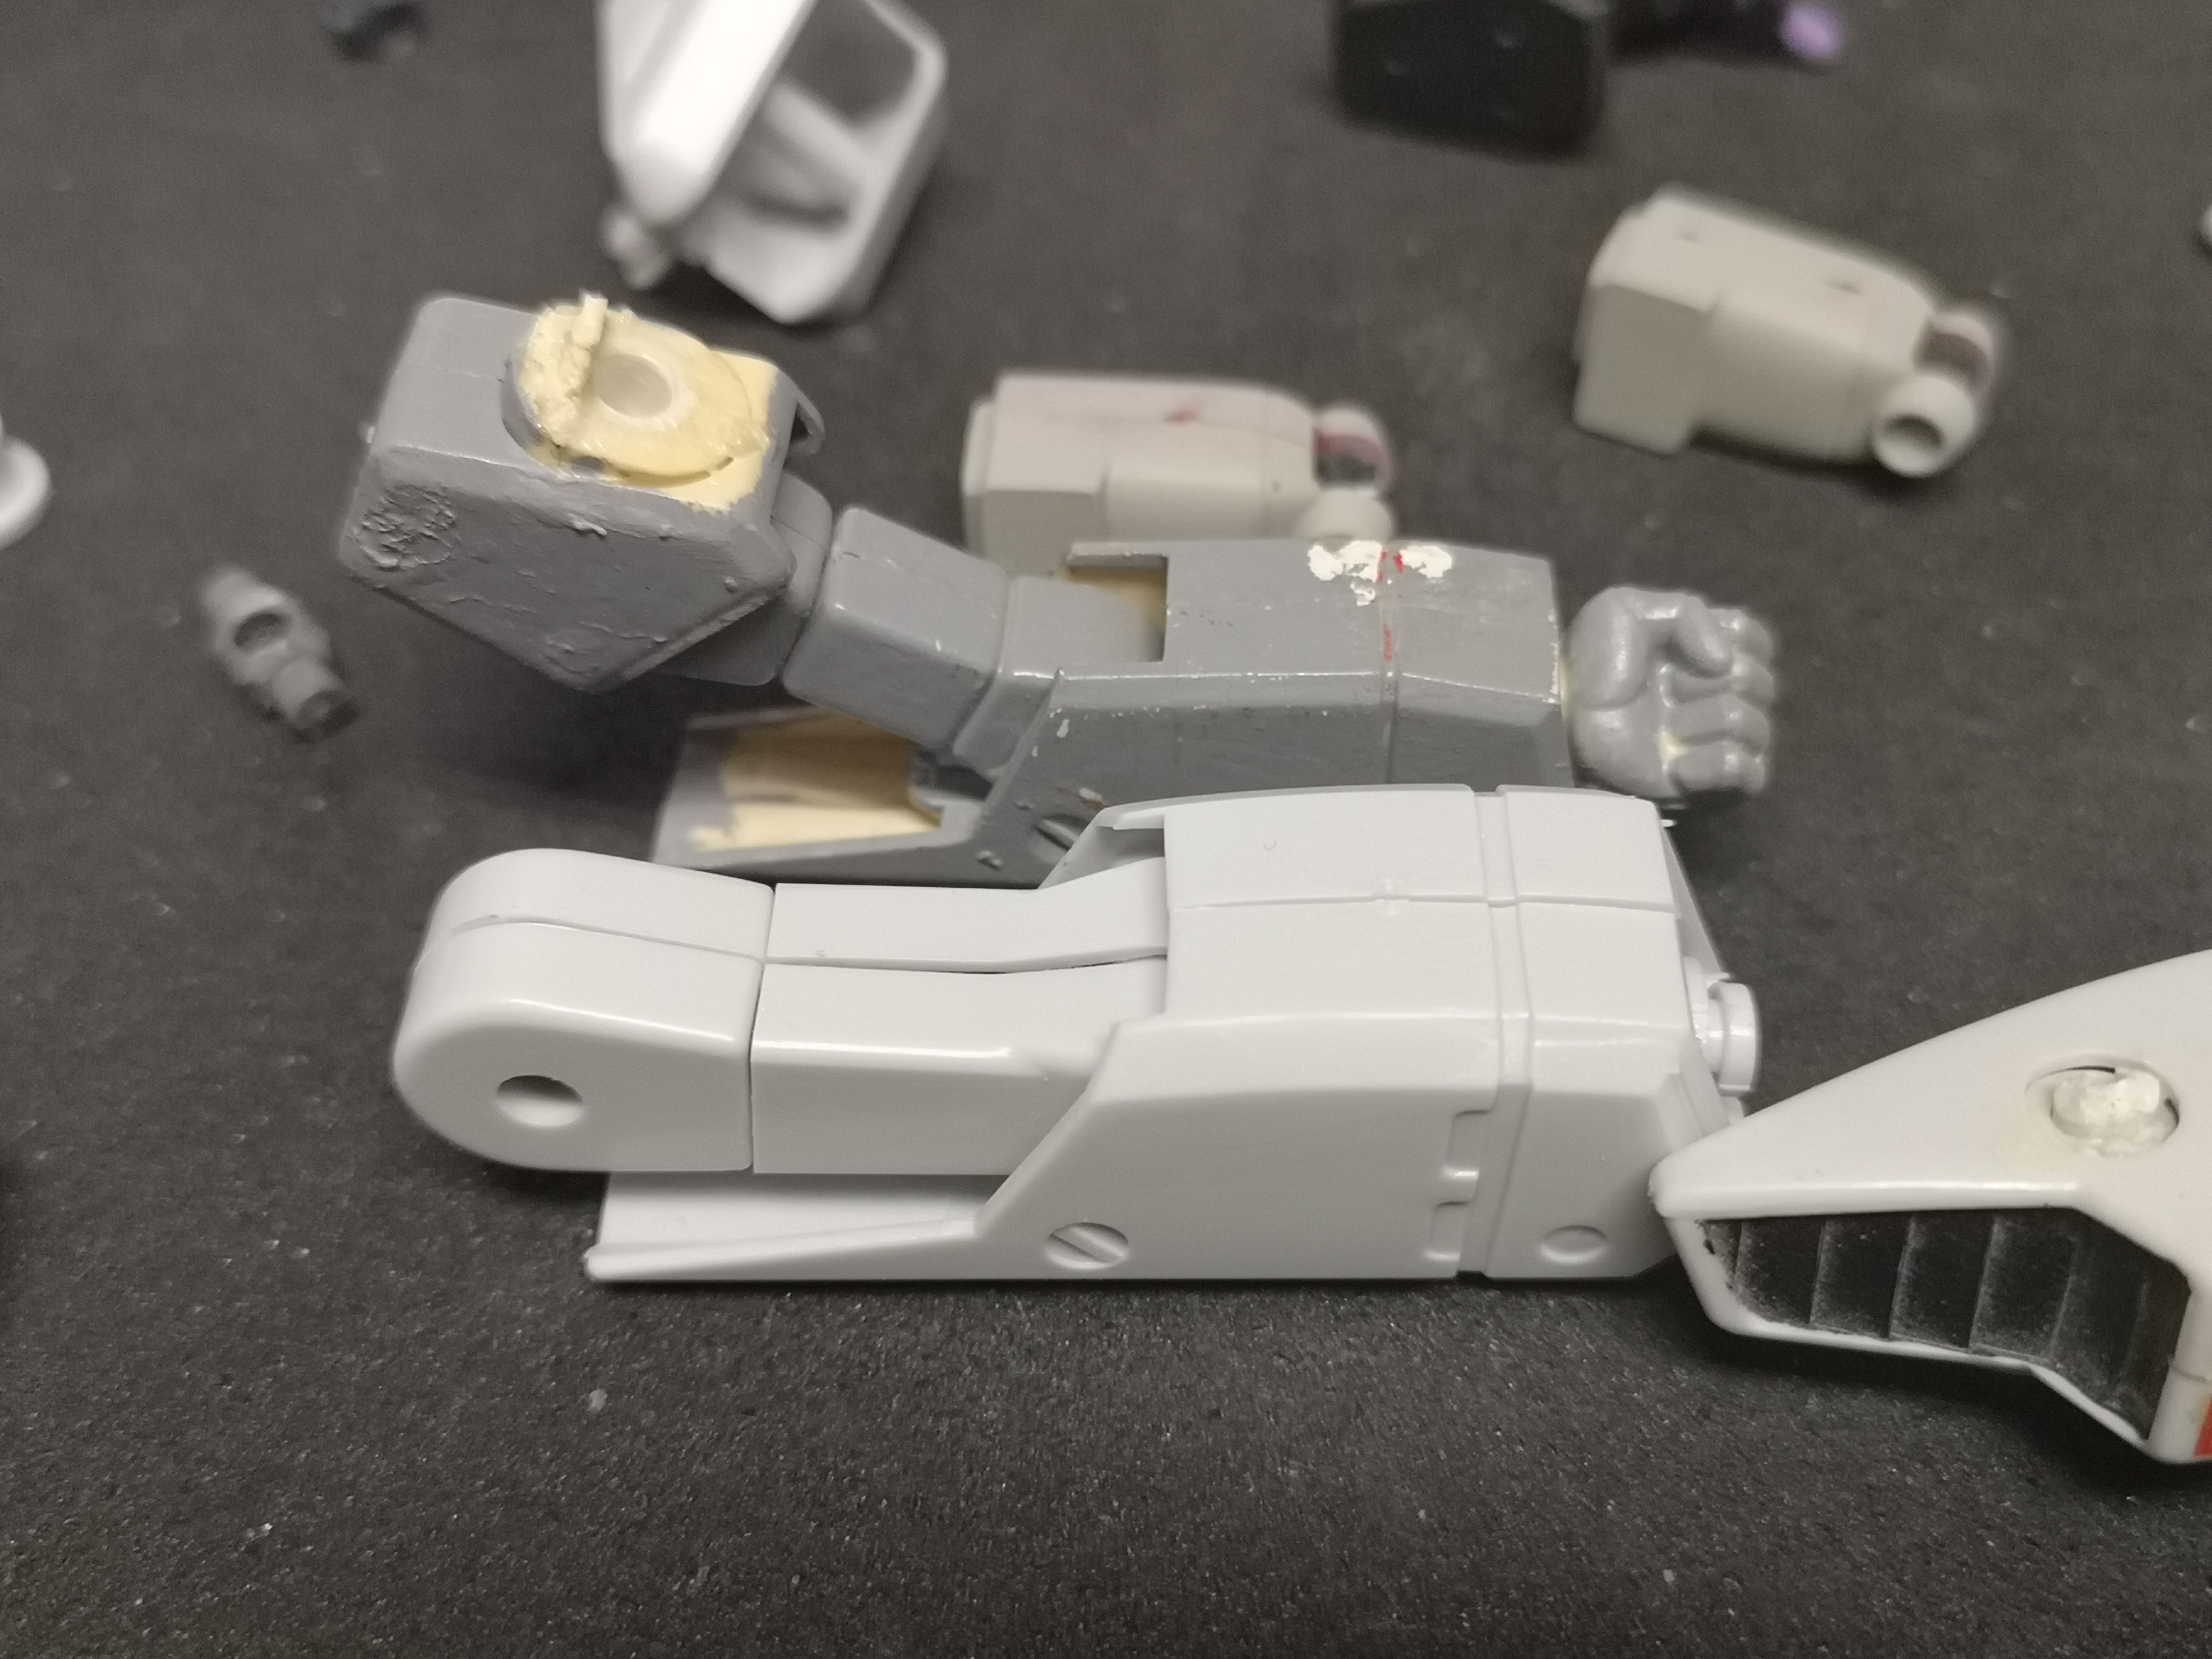
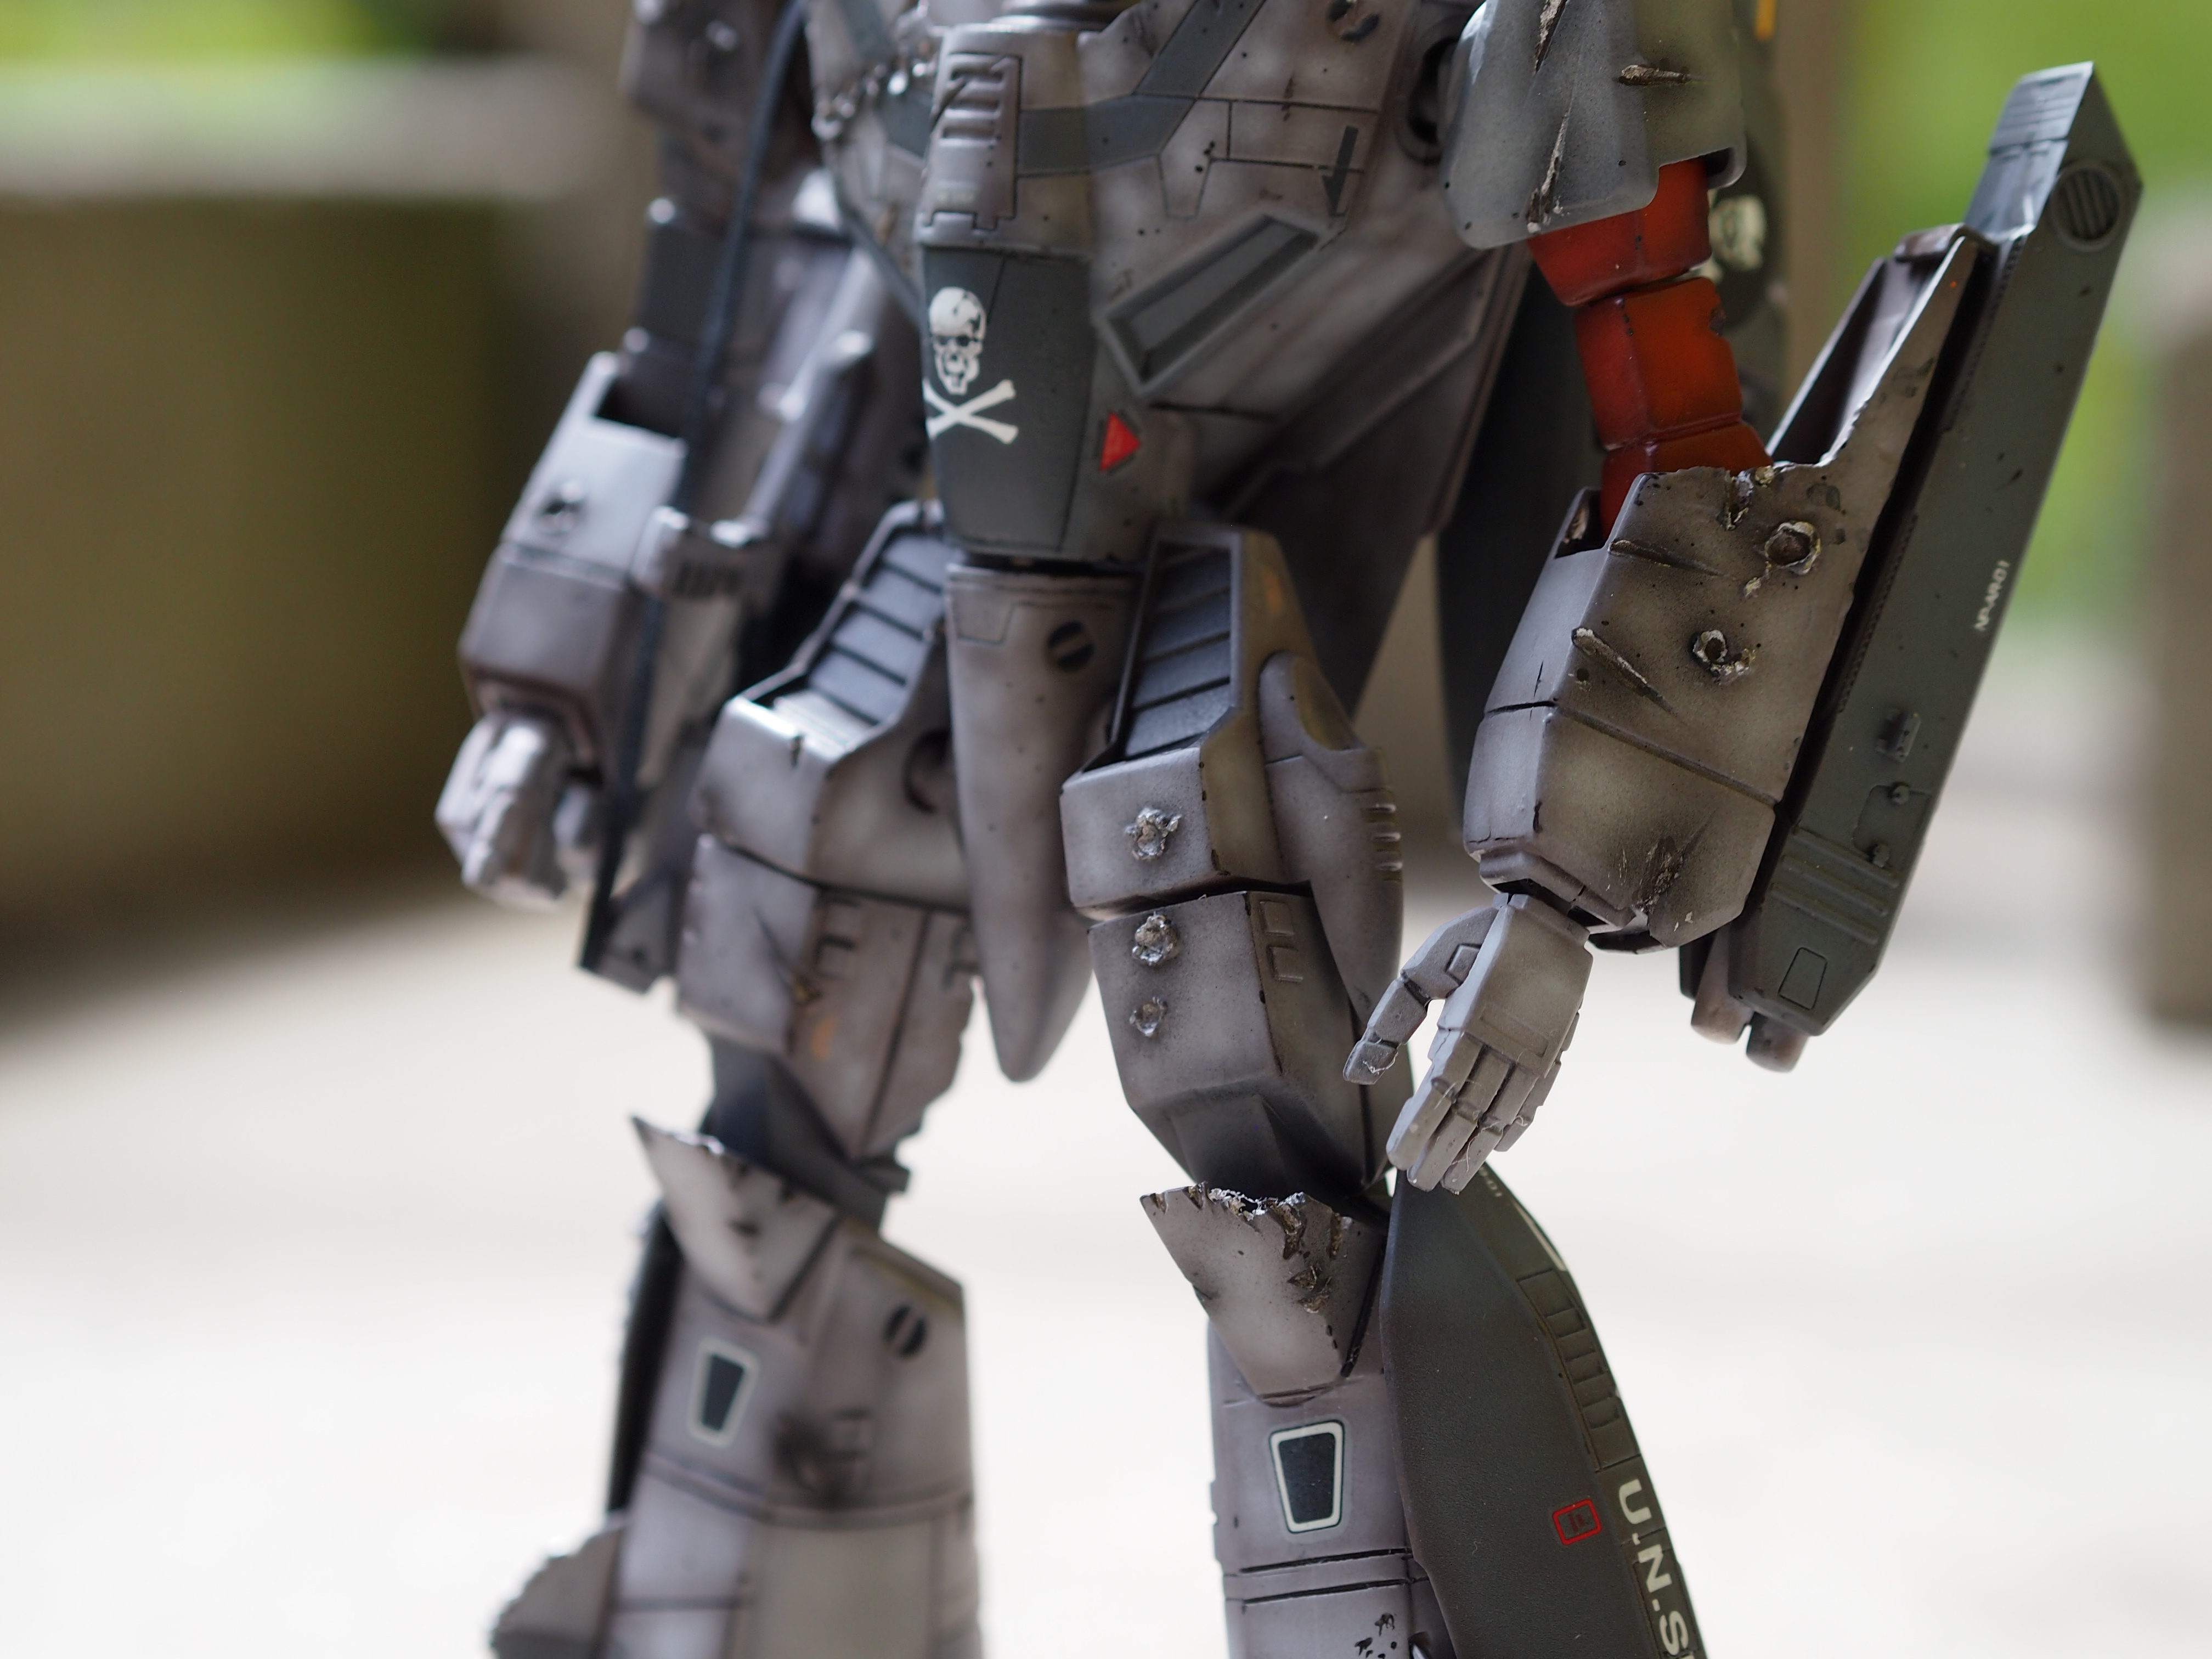
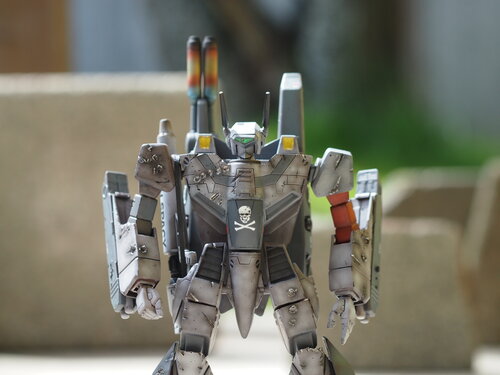
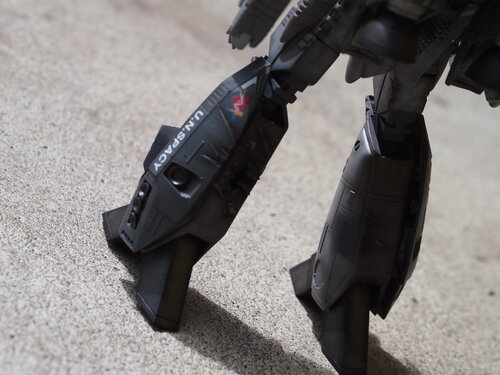
That hangar/factory is awesome, I've always wanted that diorama since I was a kid, but the prices they go for sometimes....yikes, just knocks it down the priority list. Yours looks good. I left mine red because I actually ran out of the Mr. Hobby Mahogany primer I was using and was too lazy top go out and get another can so I used Oxide Red on that one piece. When I looked at it, I remembered @Thom mentioning mismatched parts so I decided to leave it. The arm is from an old Bandai 1/72 variable I build as a kid so it is definitely mismatched anyway. I didn't realize it had a real C3P0 vibe to it (arm left in red primer) until after I started putting it together.
-
Lol, I noticed that too. I like oh-mee-gah....
-
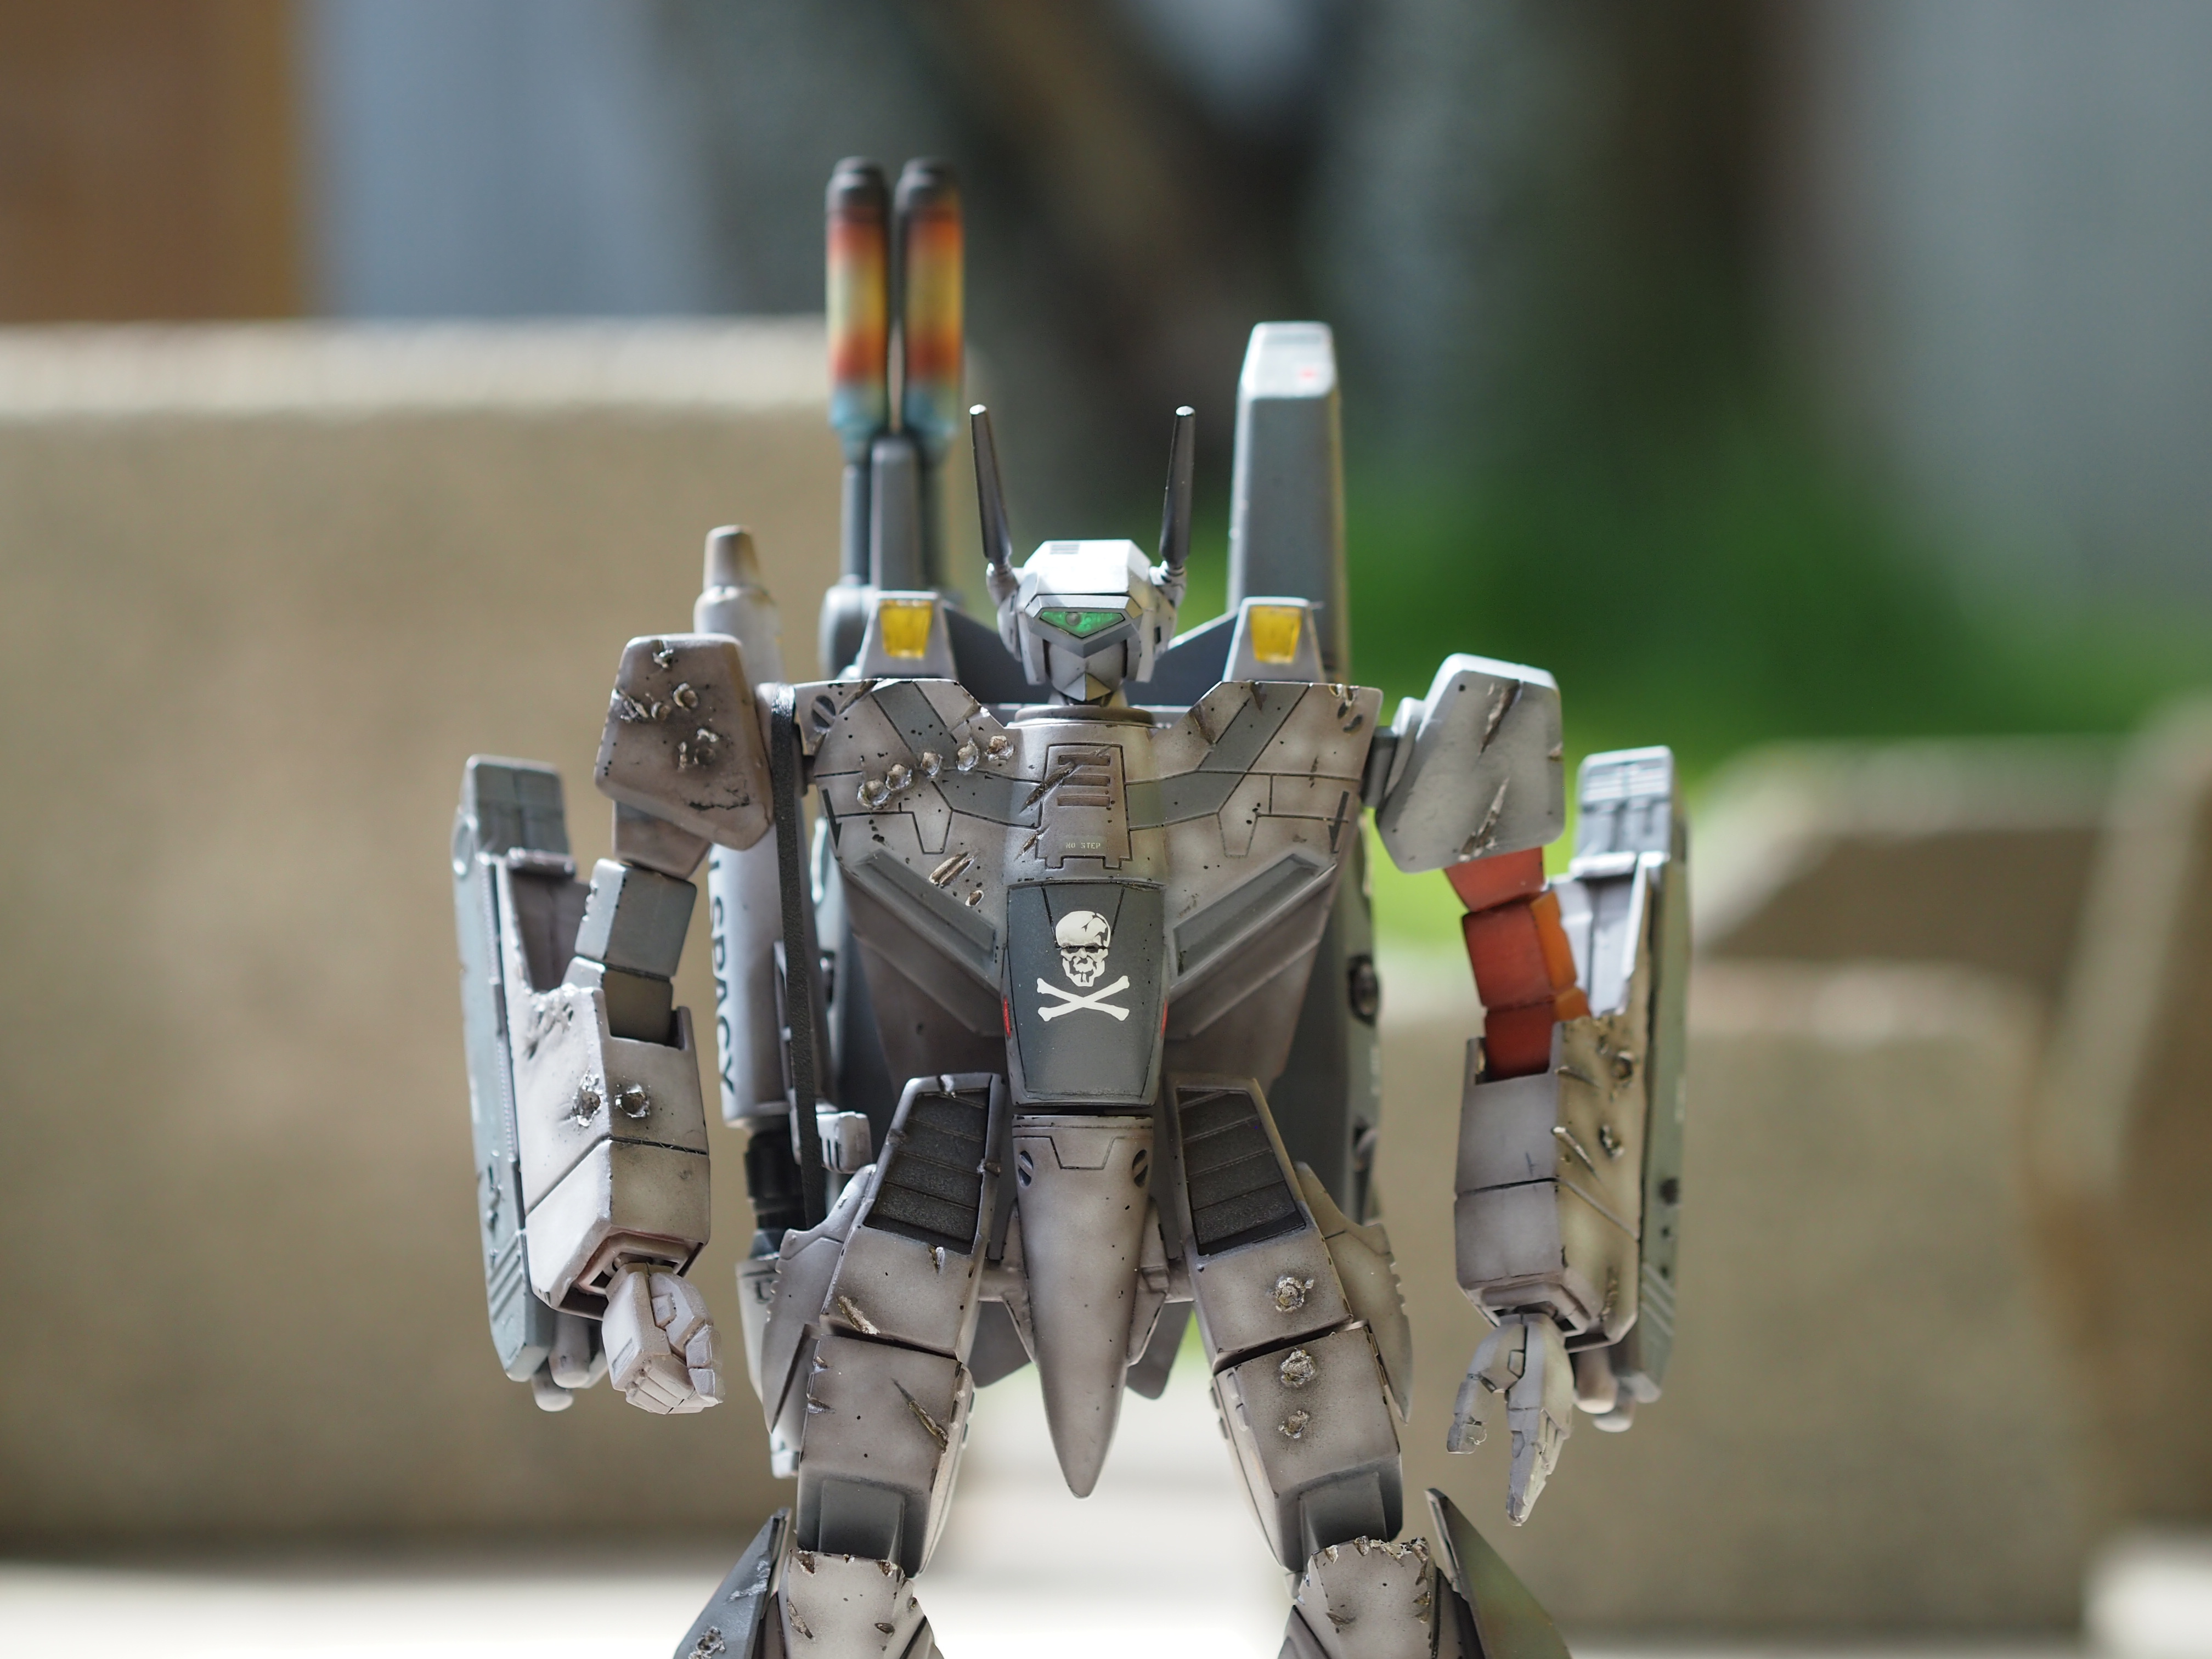
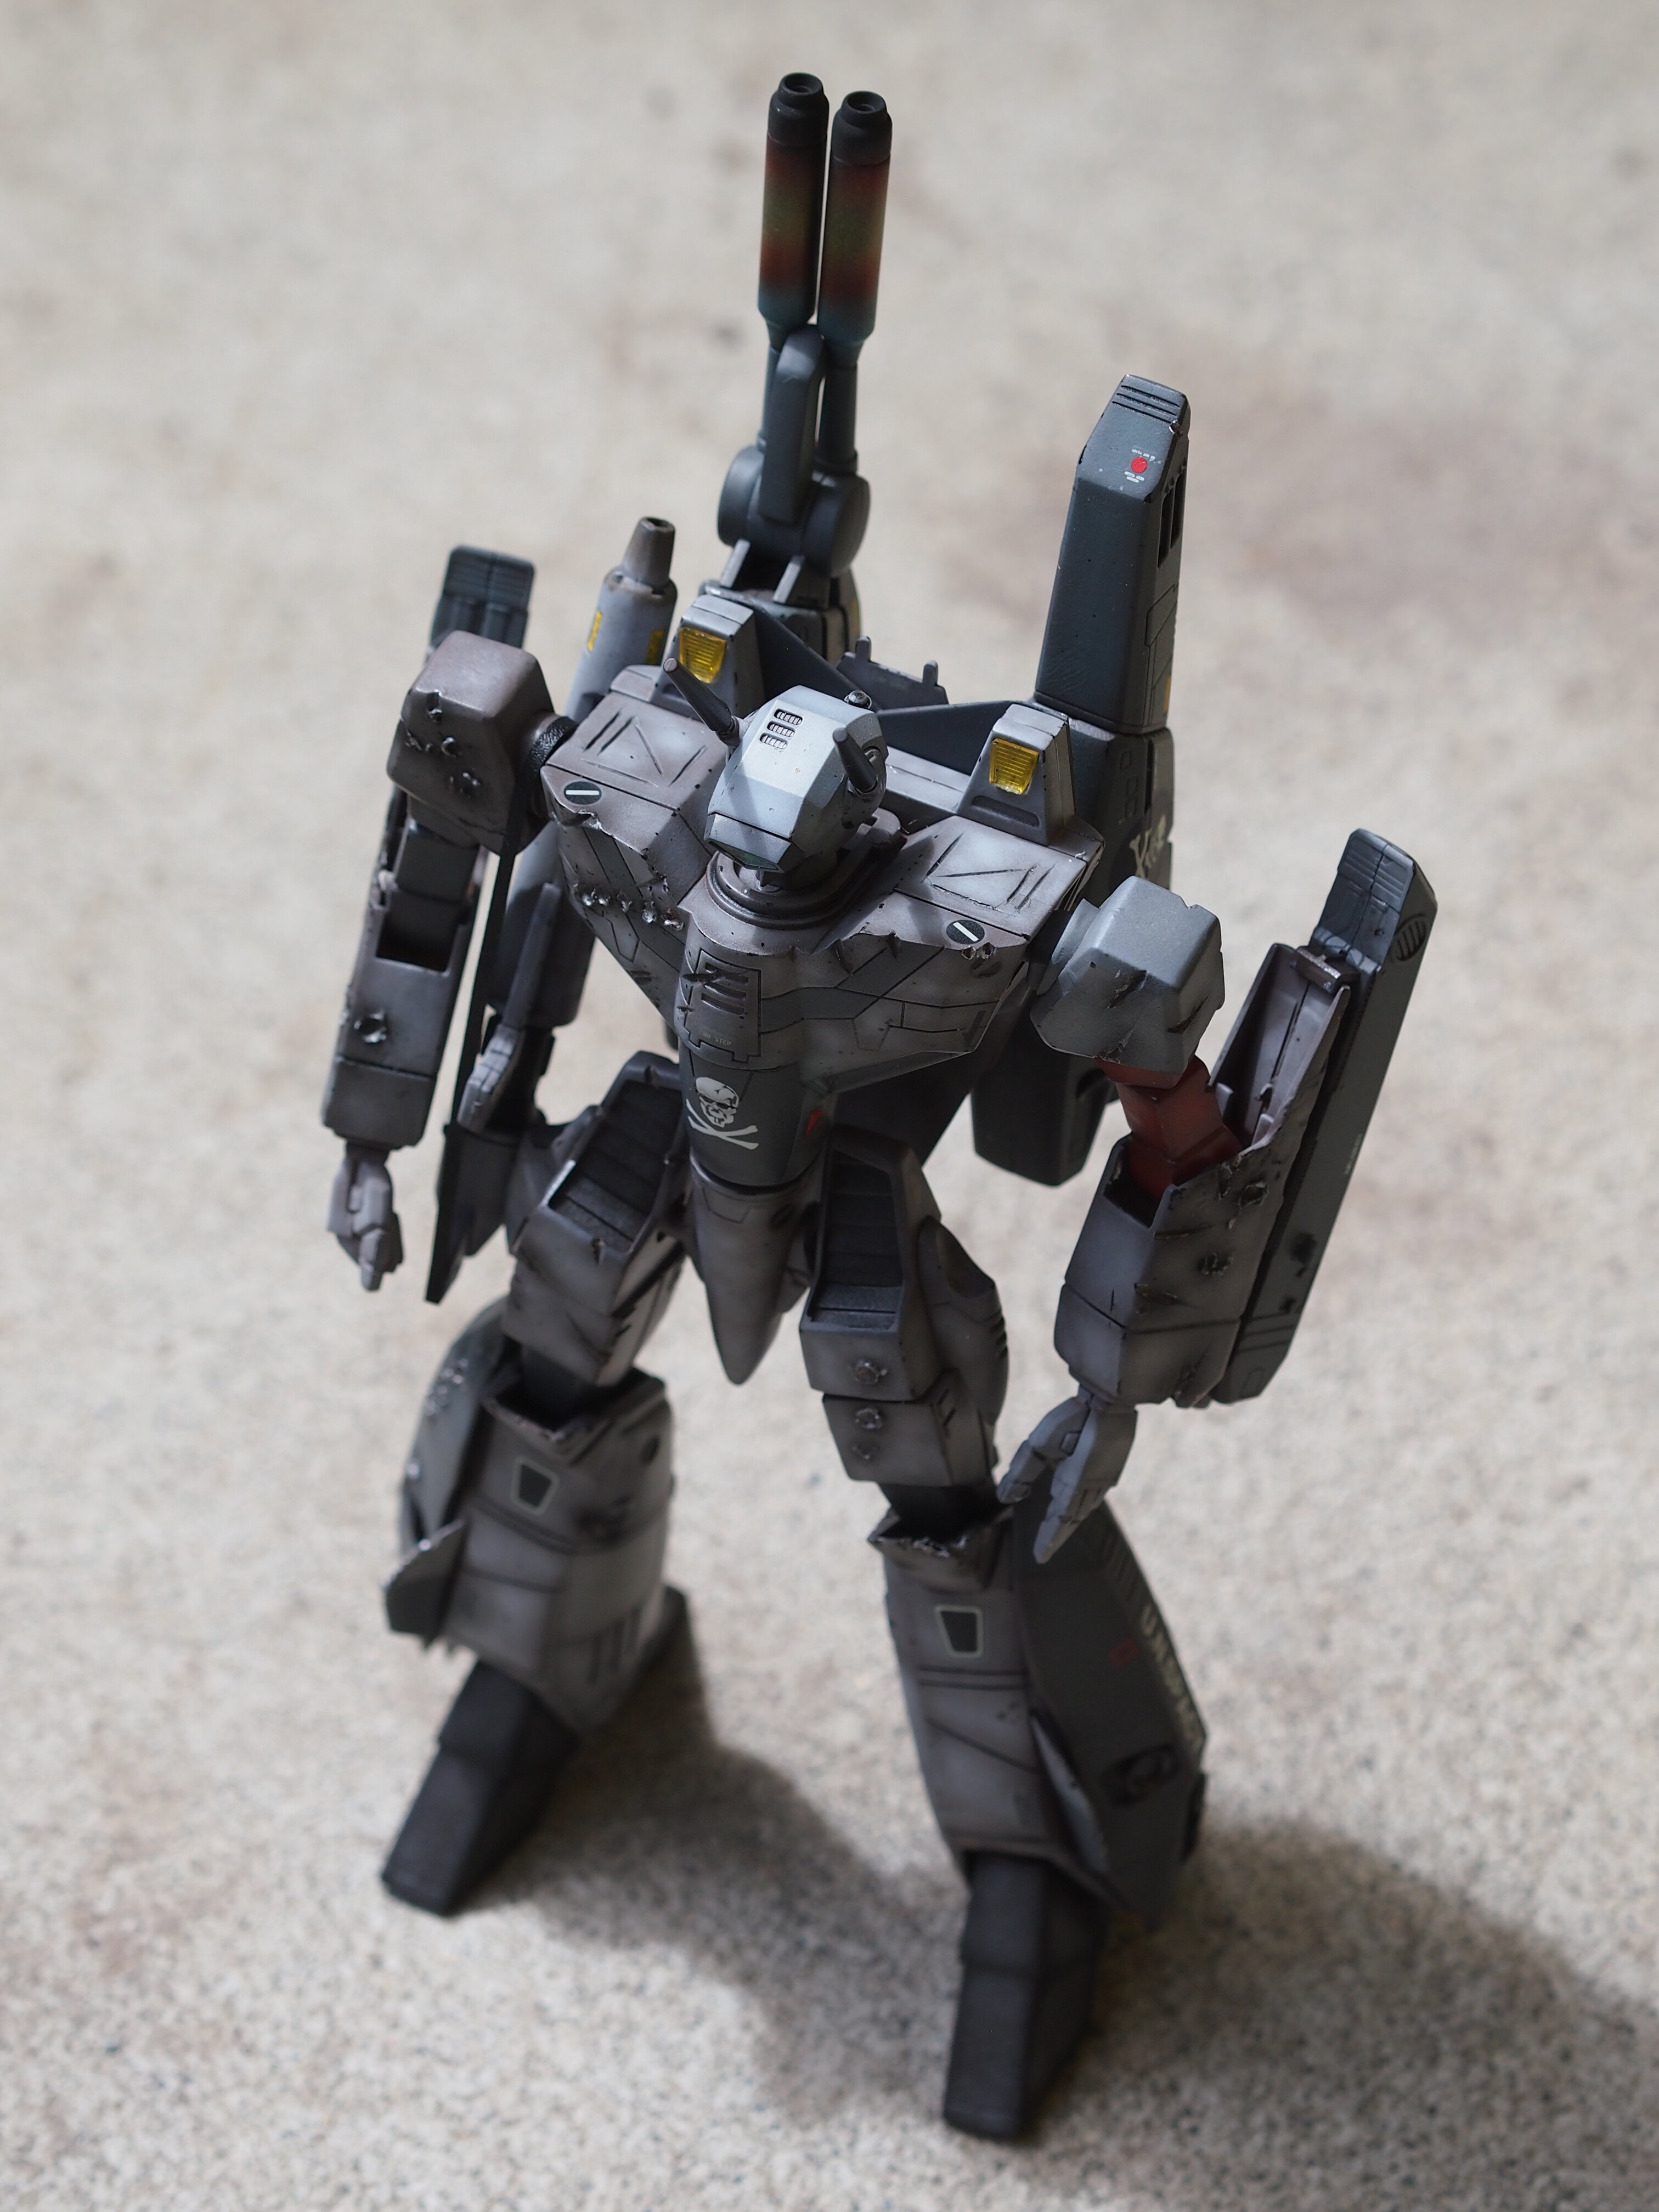
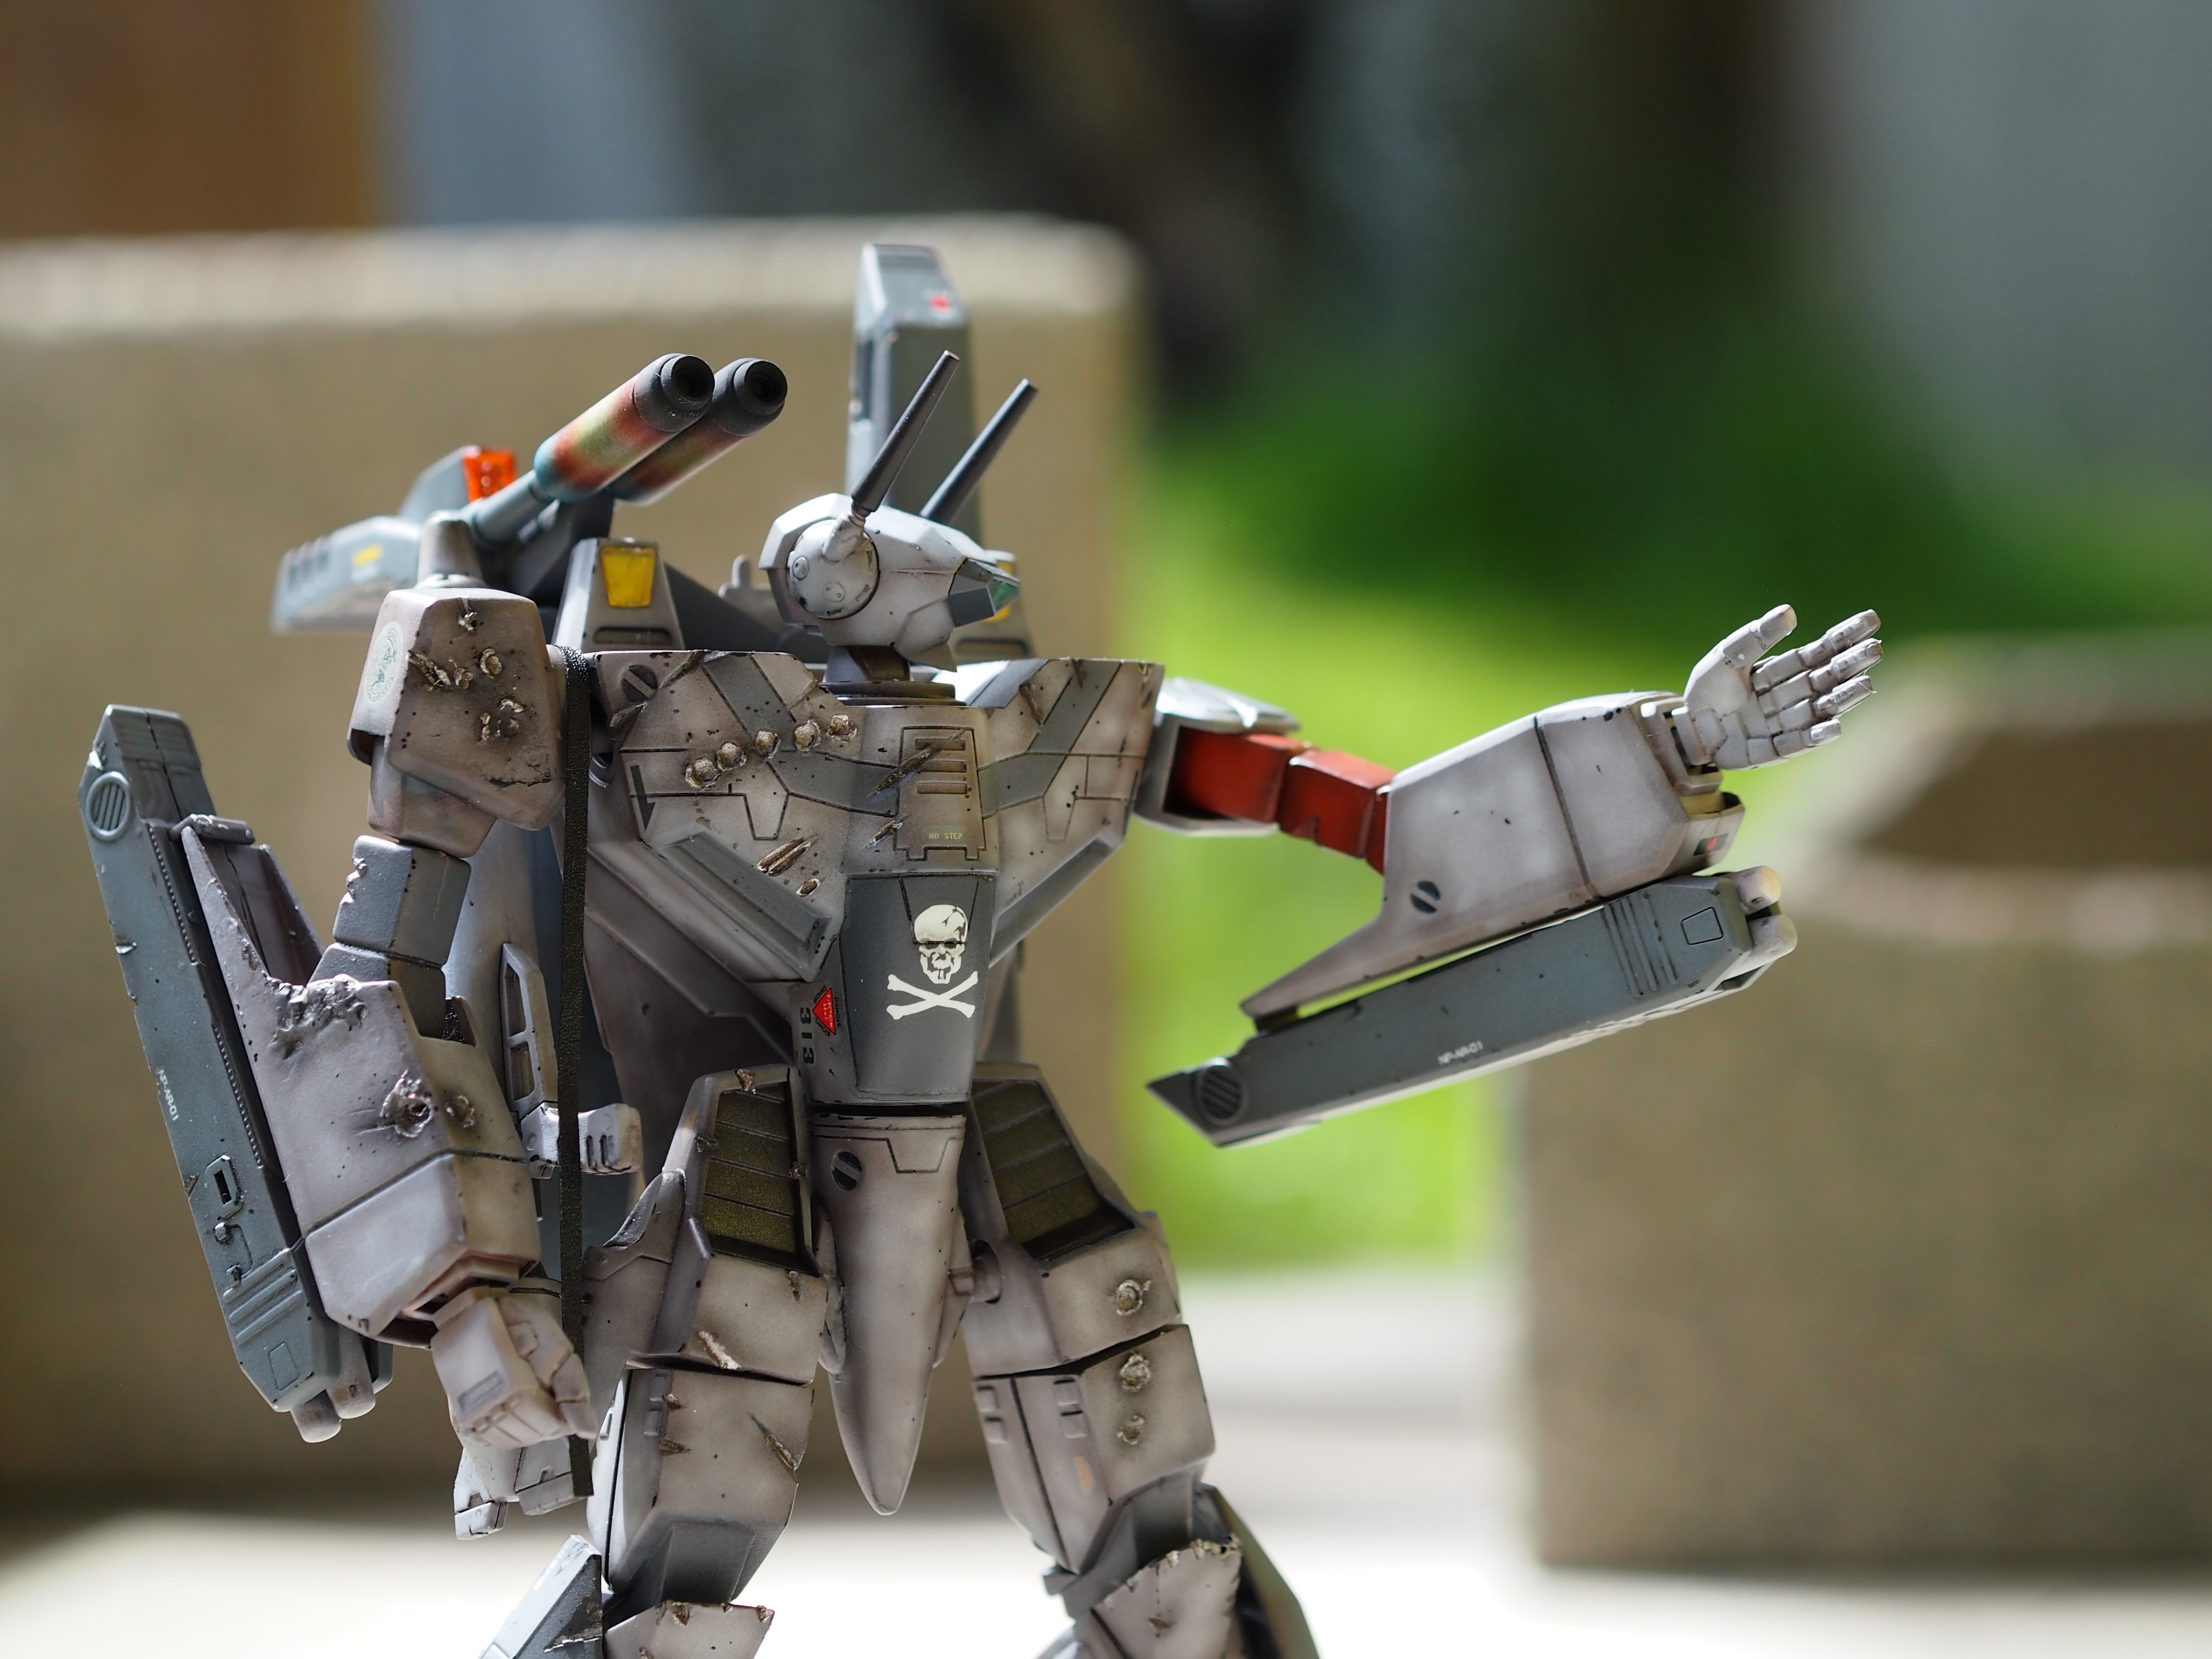
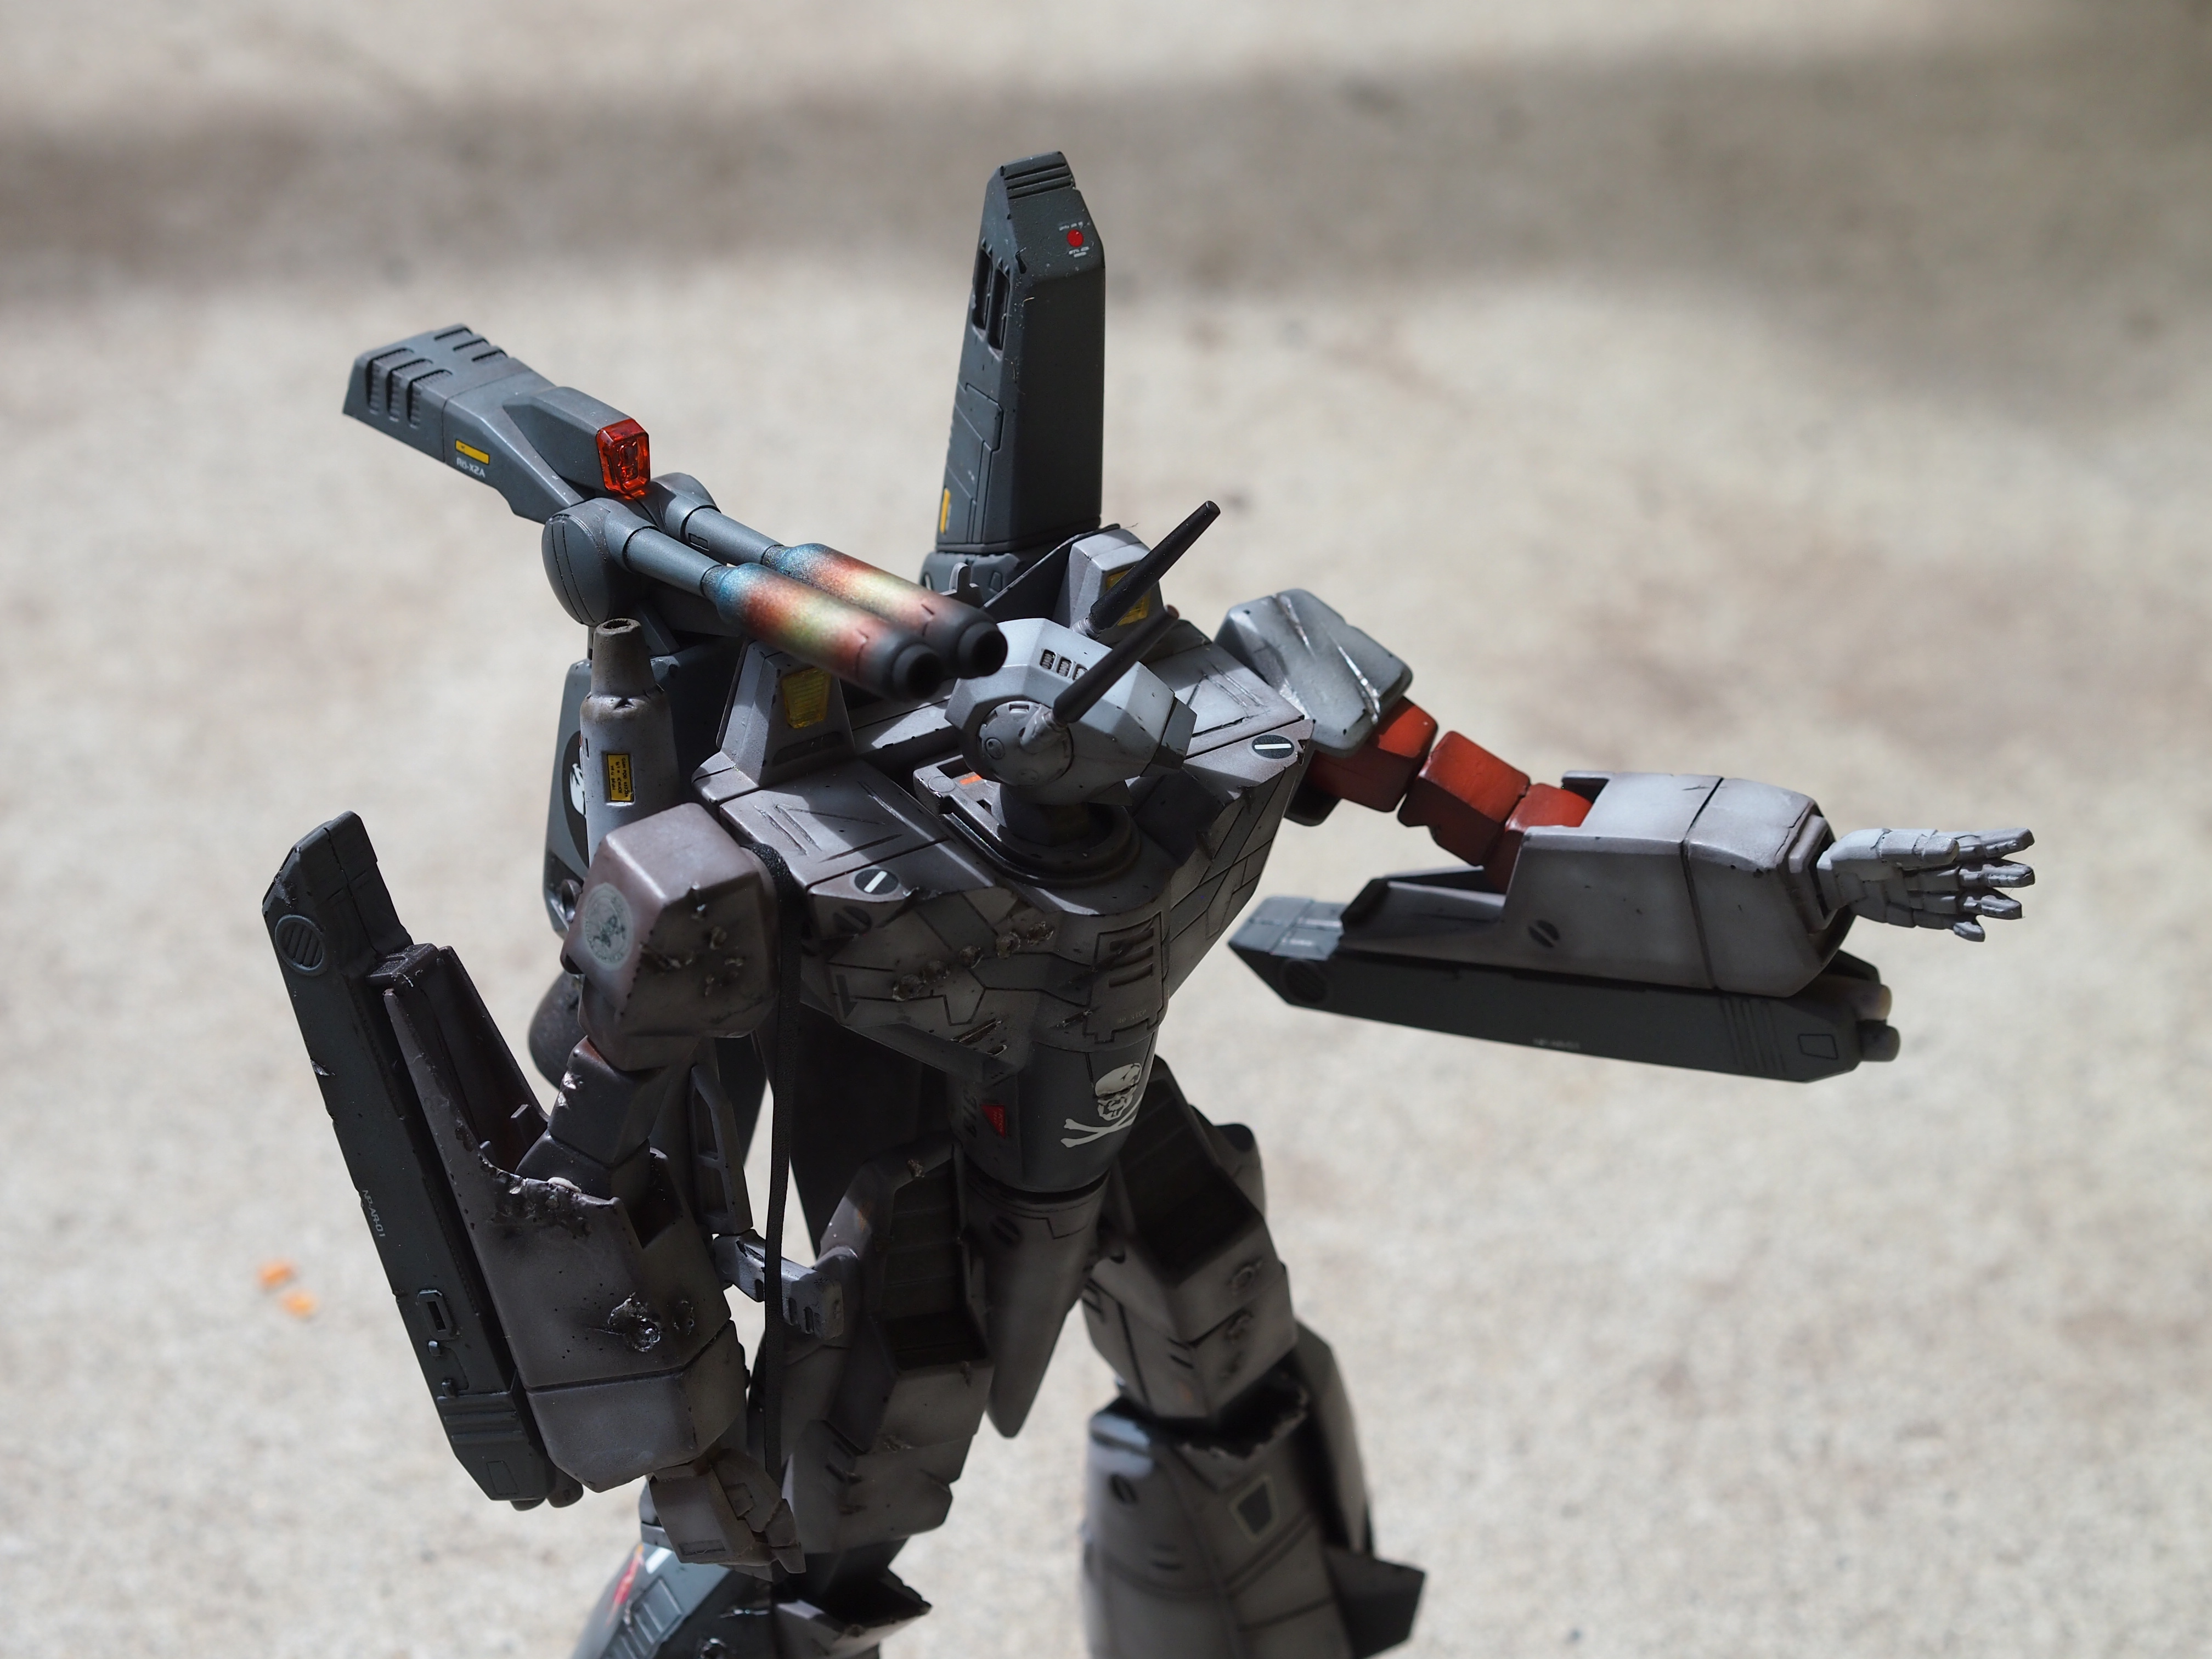
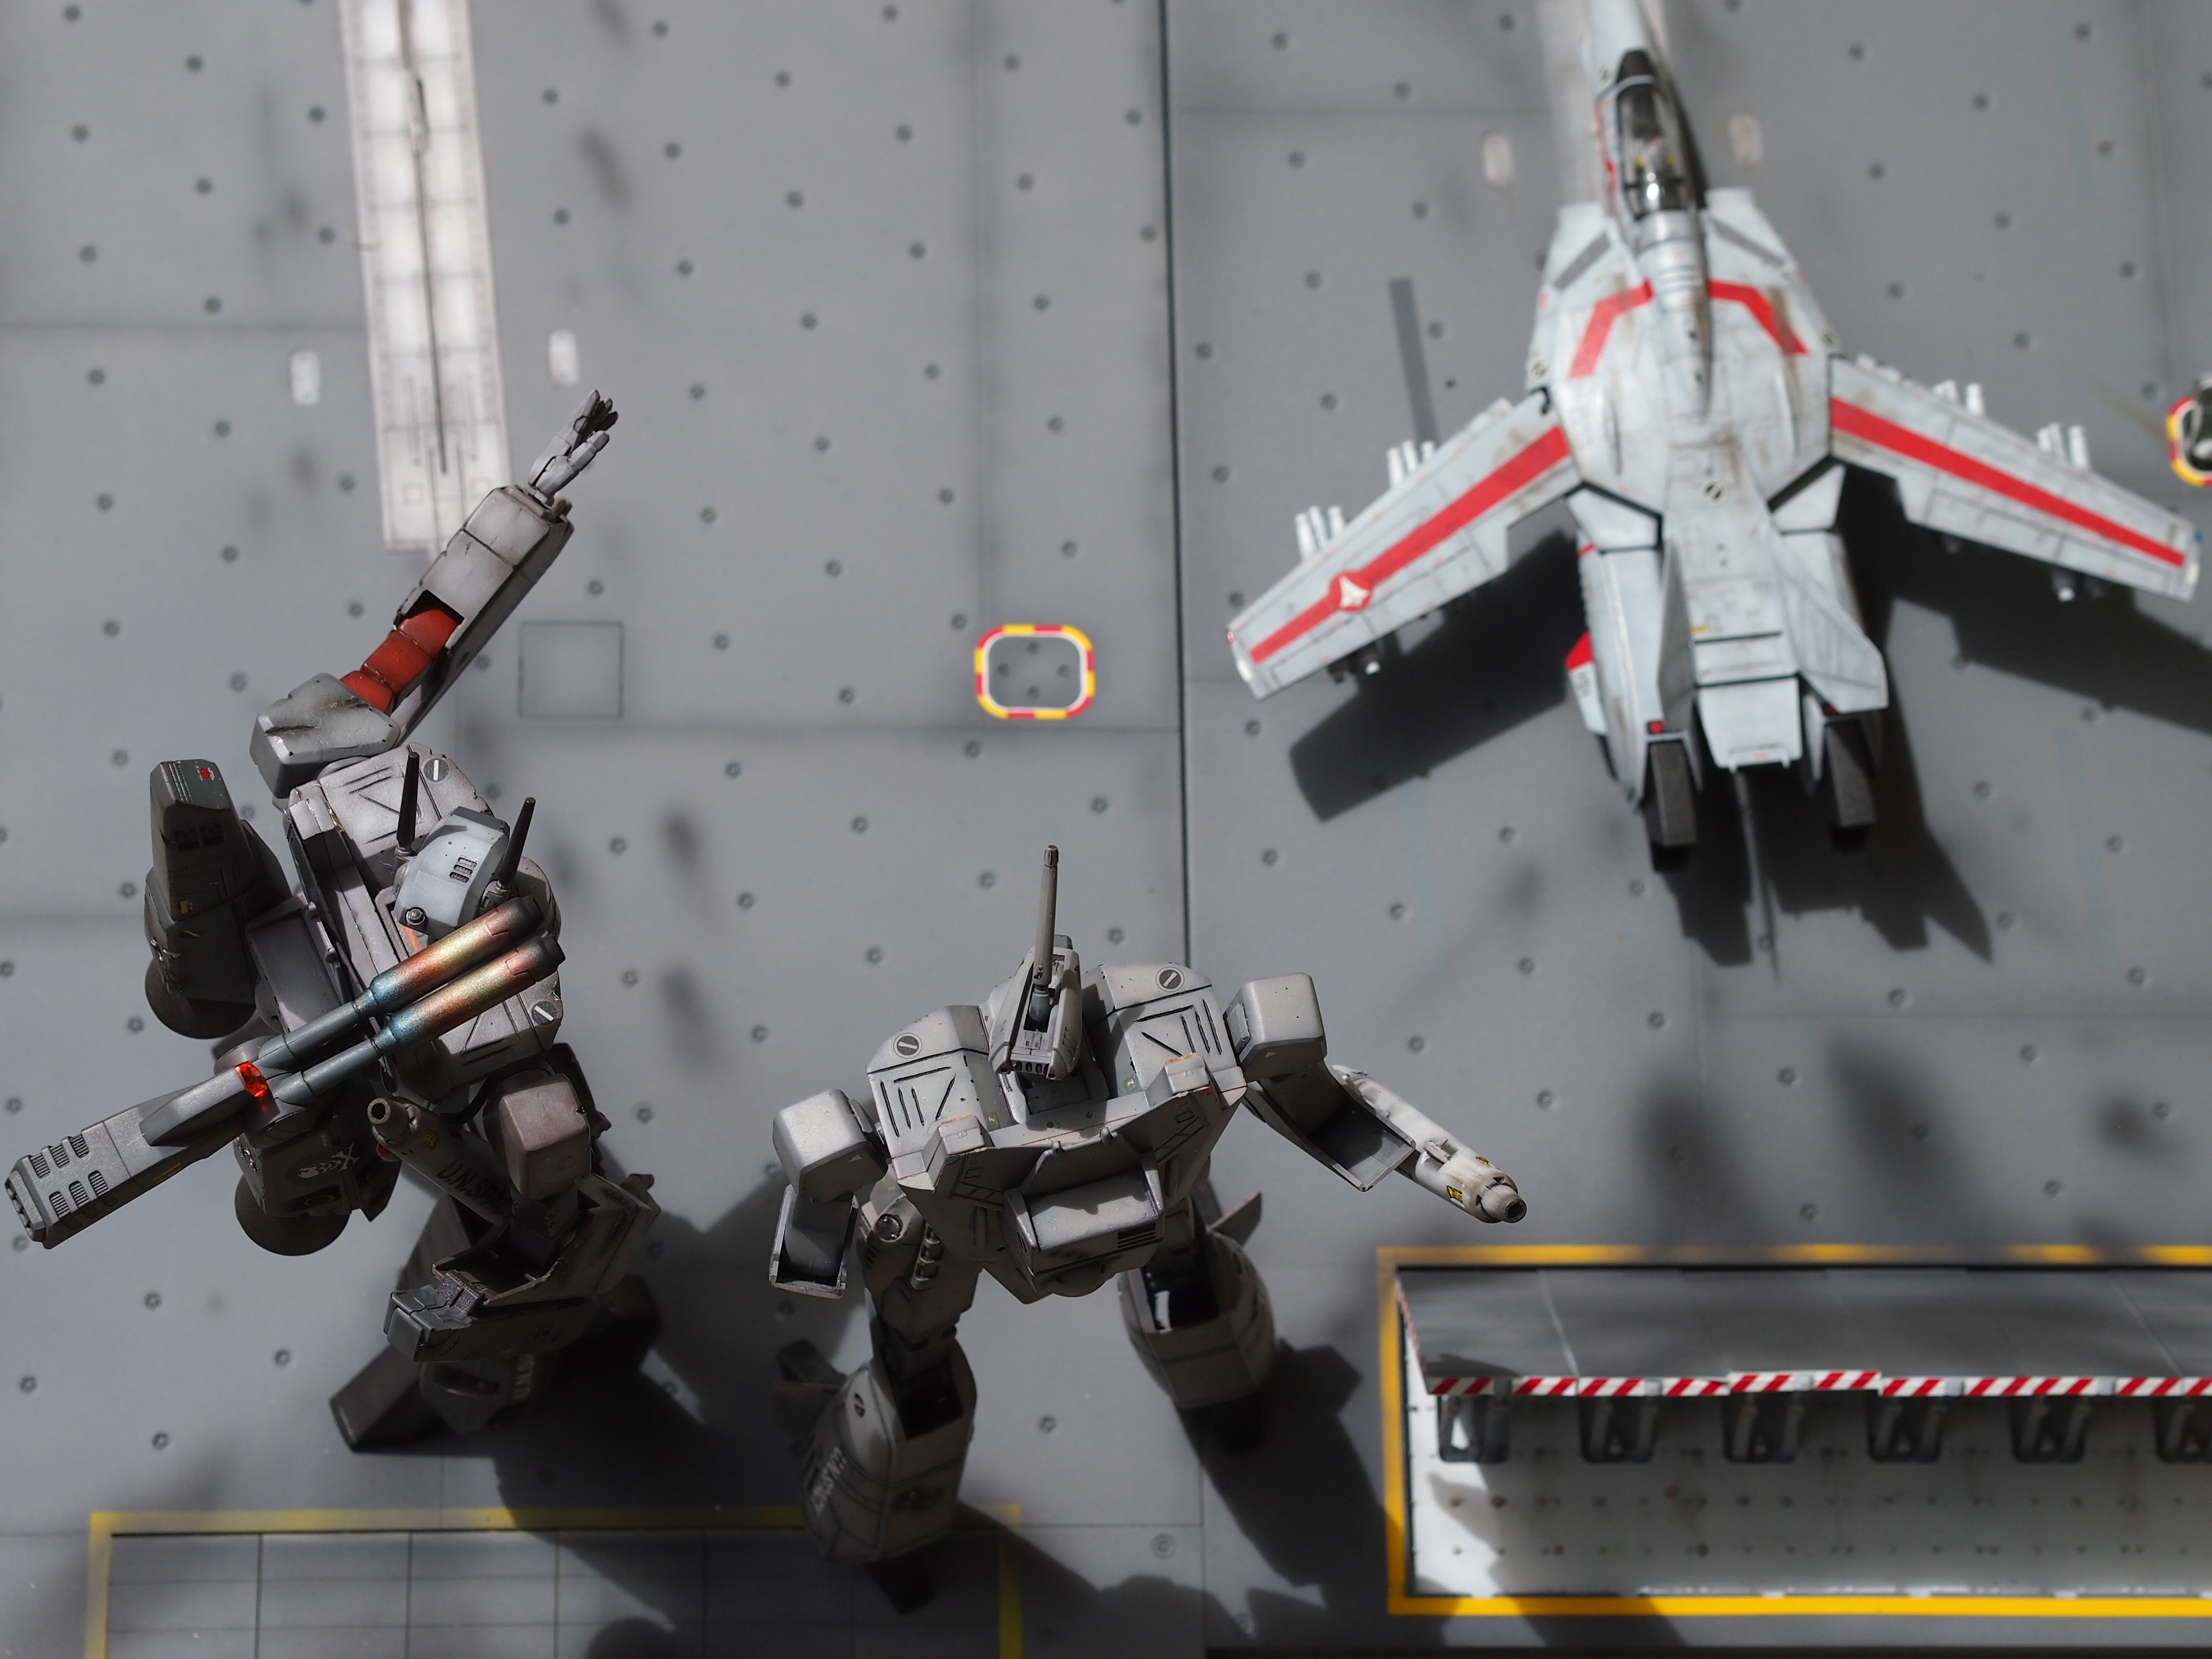
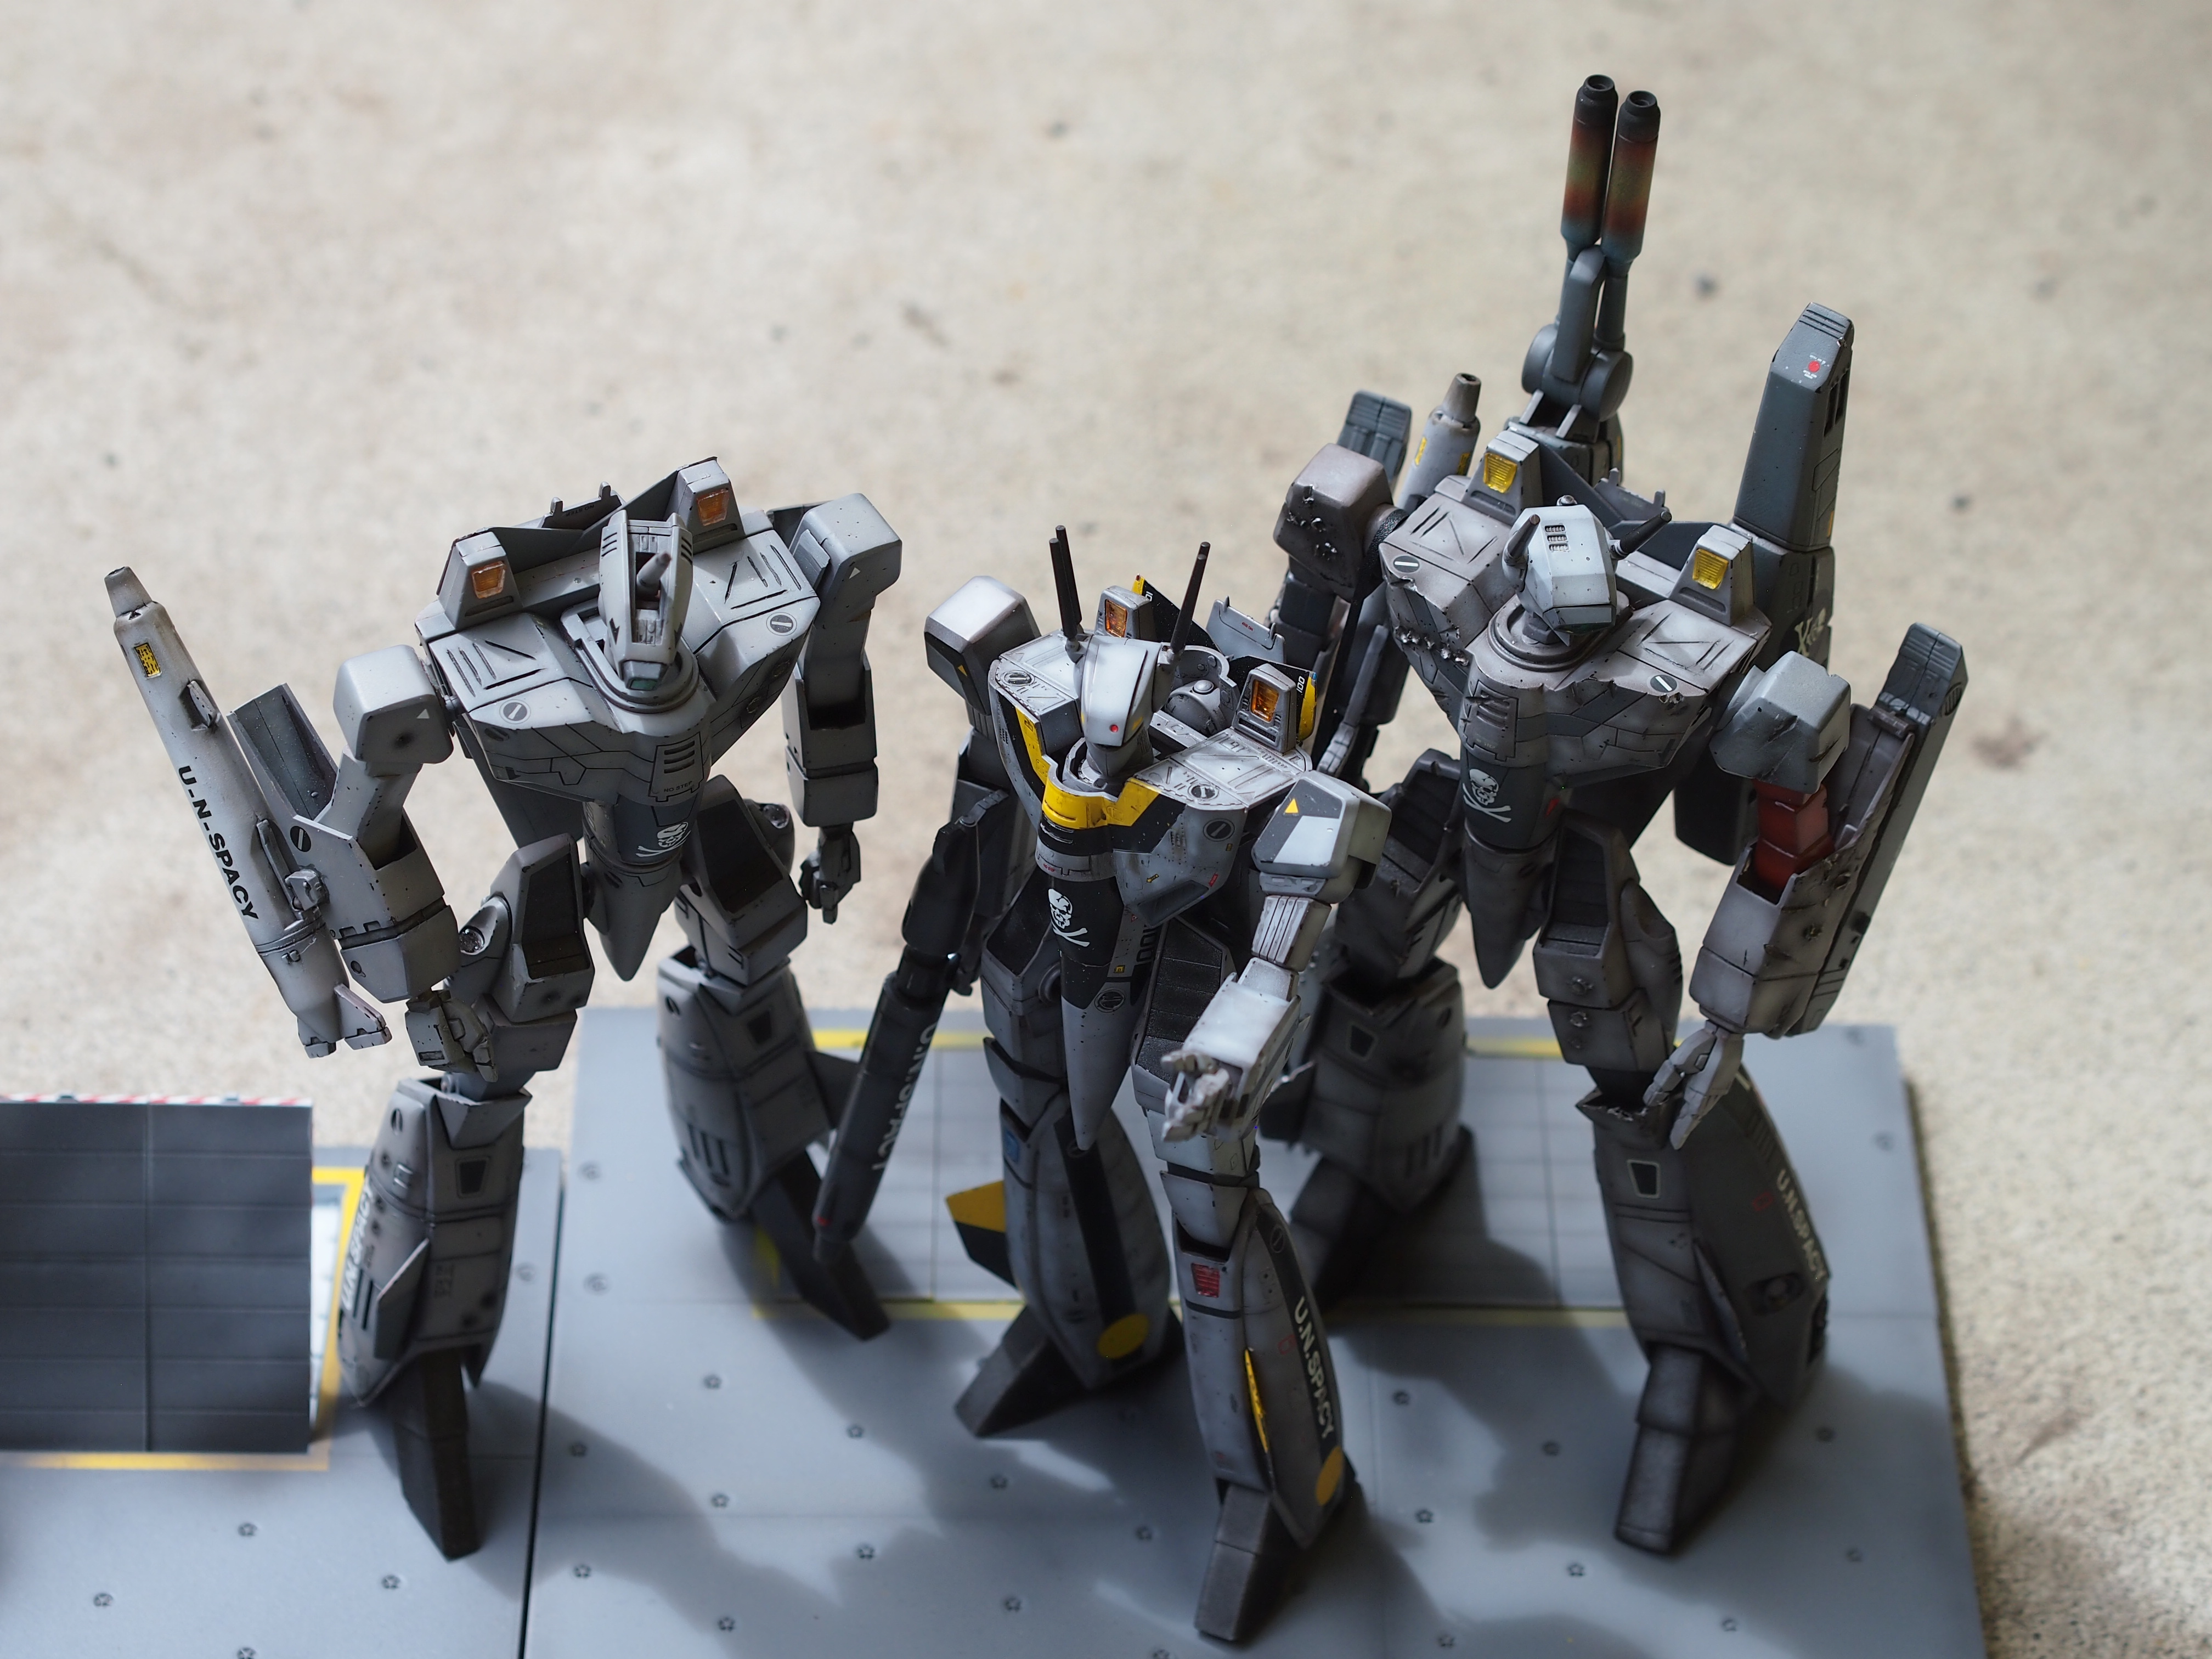
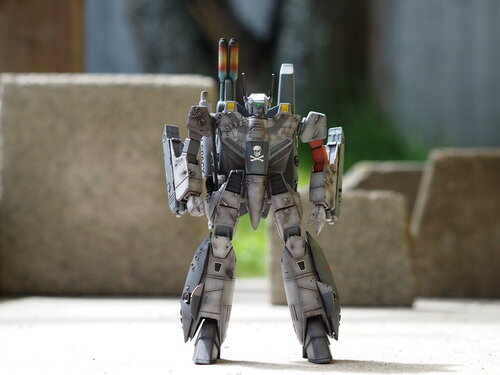
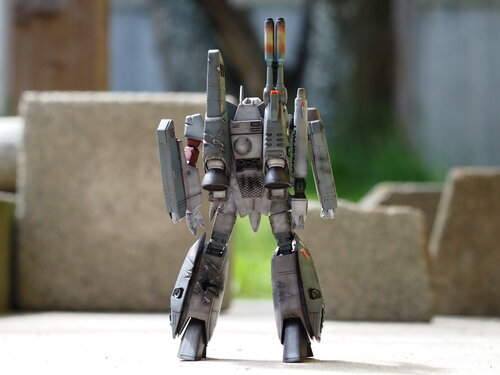
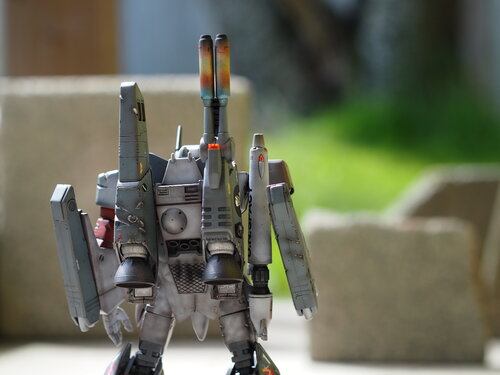
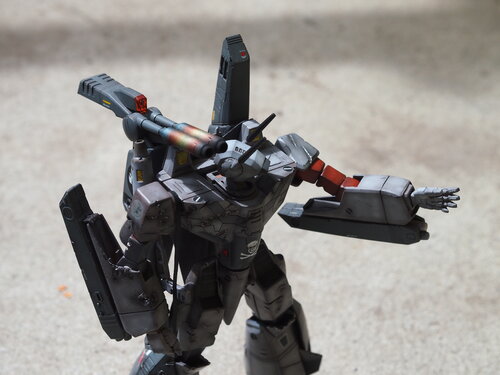
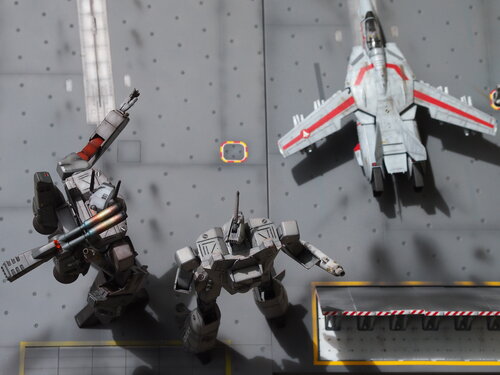
Reposting pics from the Workbench thread: Built up an old Bandai 1/72 chunky Battroid with a mashup of parts from old Gundam kits, hasegawa and other Bandai spare parts, along with a modern Bandai 1/72 Strike armor....it's pretty hdeous, lol! Next to my other 1/72 chunky. What they're supposed to look like. With the old chunky I built as a kid. Ok, I totally cheated and didn't use the armor for the backs of the legs. The 1/72's legs are so fat, I would have had to shave the armor down paper thin just to fit it, so I didn't bother.


- 1 reply
-
- 2
-