tekering
-
Posts
4283 -
Joined
-
Last visited
Content Type
Profiles
Forums
Events
Gallery
Everything posted by tekering
-

Neon Genesis EVANGELION General Thread
tekering replied to no3Ljm's topic in Anime or Science Fiction
No, but I've barely touched it. Like virtually all my figures, I opened it up, found the combination of pose and accessories I liked, and then placed it gingerly on a shelf. My toys may get moved around or photographed, but they don't get played with. However, I'm not above making significant modifications to figures I'm not happy with... like, if it can't hold the pose I want it to, I'll make whatever changes are necessary to achieve it. Perhaps you should consider the same. -
I always assumed they just didn't know the difference. They obviously didn't know what the word "android" meant.
-
Neon Genesis EVANGELION General Thread
tekering replied to no3Ljm's topic in Anime or Science Fiction
I've been waiting for an EVA-02 reissue with better paint app's, since RAH did such a great job with the new Unit 01... -
I'd pay to see John de Lancie perform it as Q.
- 2171 replies
-
- 1
-

-
- star trek
- patrick stewart
- (and 4 more)
-
So, Thanos turns out to be the hero! Interesting twist.
-
Is it any wonder? They shot it back in 2016, but it's taken this long to get any kind of distribution... Apparently, nobody had any faith in it.
-
Star Wars: Clone Wars animated series
tekering replied to BoBe-Patt's topic in Anime or Science Fiction
Guys! The vintage Kenner figures from the Sears Cantina Playset are now canon! Anybody else notice 'em?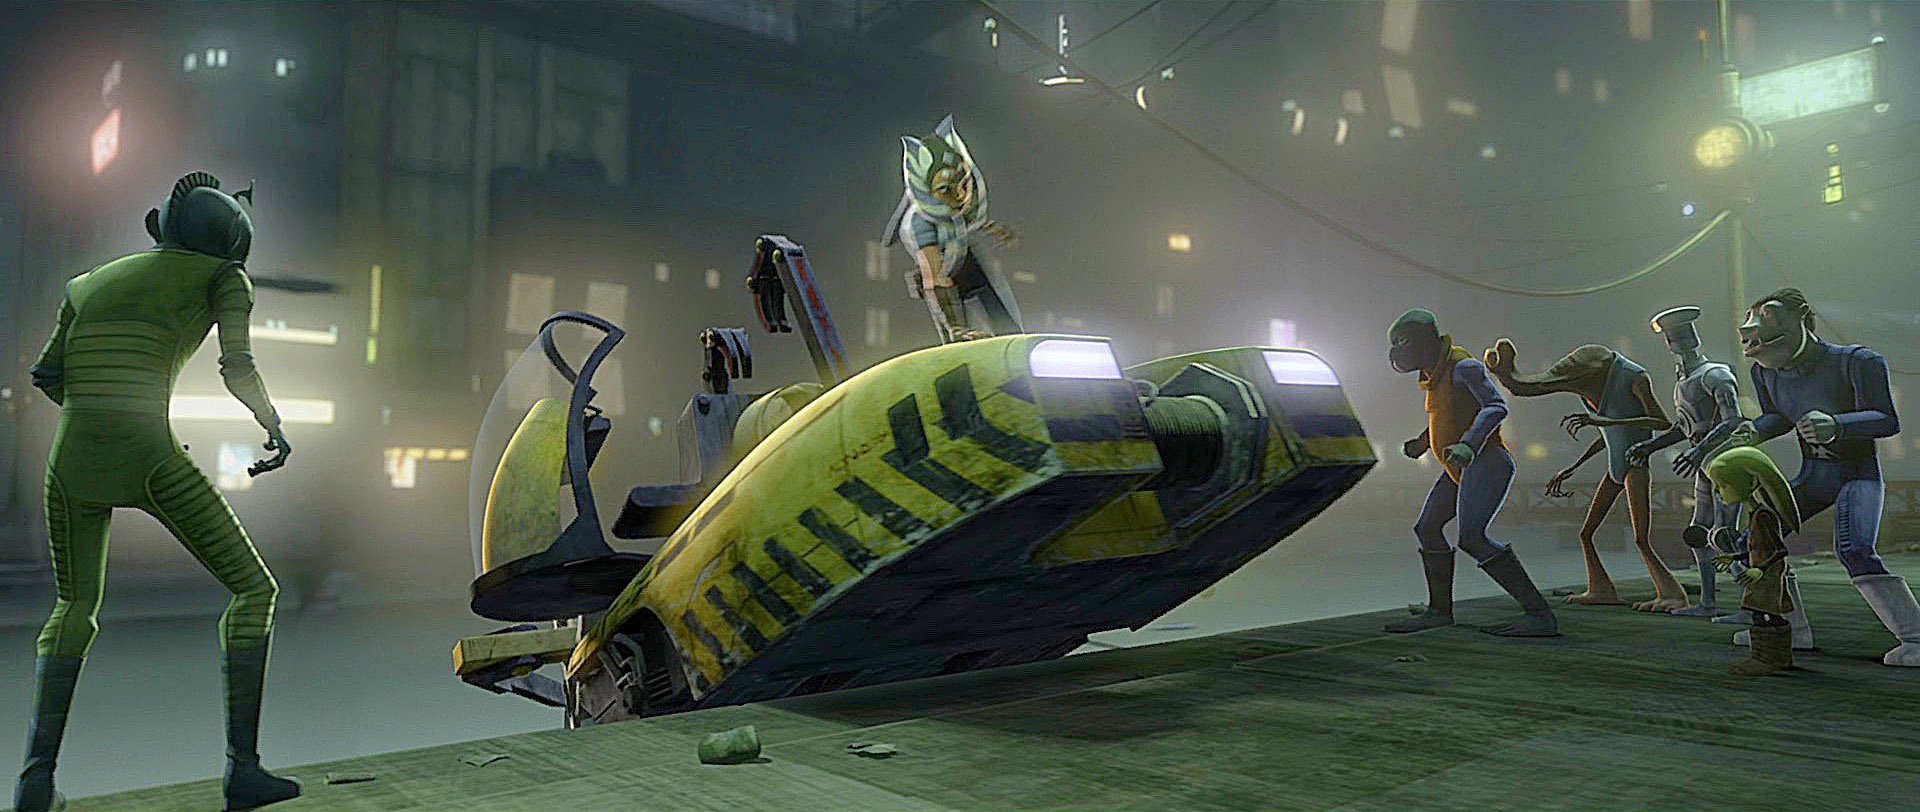
- 1217 replies
-
- 1
-
-
- george lucas
- dave filoni
- (and 7 more)
-
Consolidated Megazone 23 Toy/Model Thread for 2017-2018
tekering replied to RavenHawk's topic in Anime or Science Fiction
Much better, Bobby. -
If it's anything like Flame Toys' "Furai" Transformers kits, I'm sure you'll be pleased.
-
And, just when you thought it couldn't get any worse... here comes episode 9. Far beyond mere scripting issues, this was disjointed, poorly edited and badly directed. I wasn't really expecting it to get better, but I didn't think it was going to get this bad... I actually have higher expectations for Discovery season 3 at this point. Mind you, that Sutra chick was HAWT.
-
Your most recent Macross or toy purchase! General thread.
tekering replied to Gakken85's topic in Hall Of The Super Topics
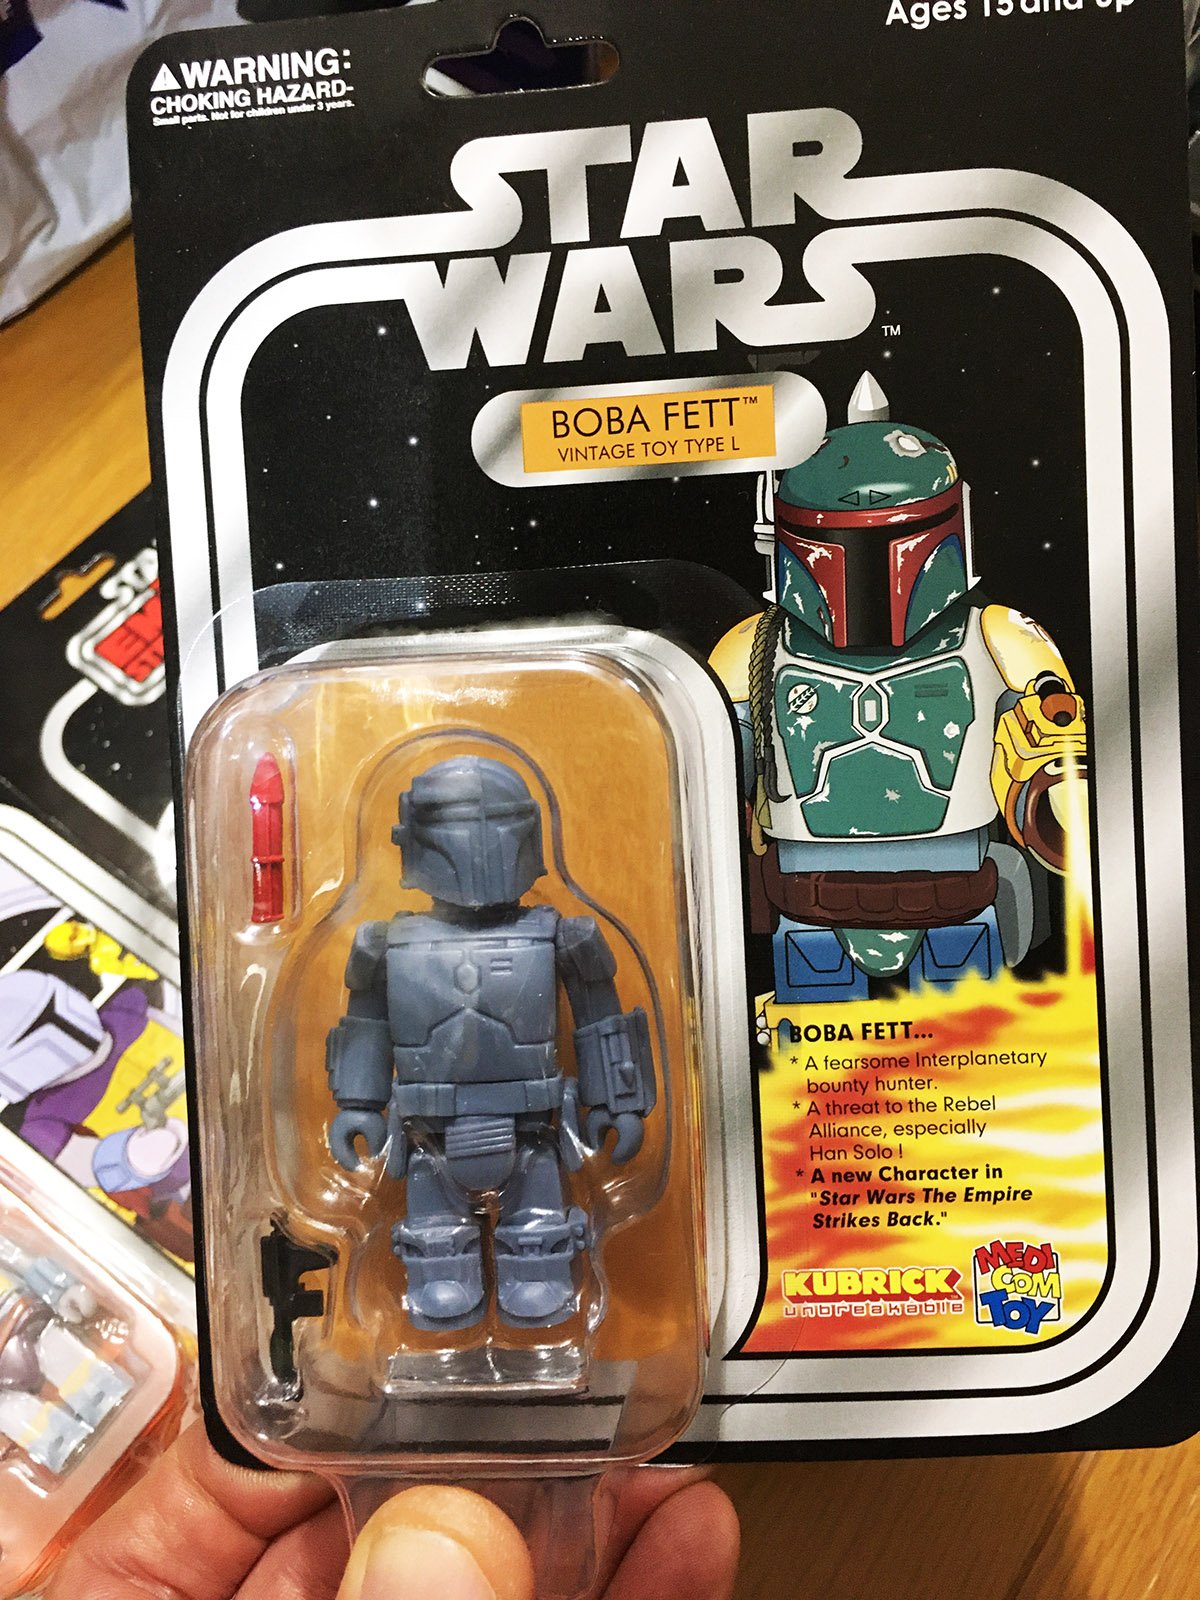
I did! In related news, I also picked up this event-exclusive: Isn't he Mandadorable?
-
That's weird. They expect those to sell? That's insane. They can't possibly expect those to sell.
-
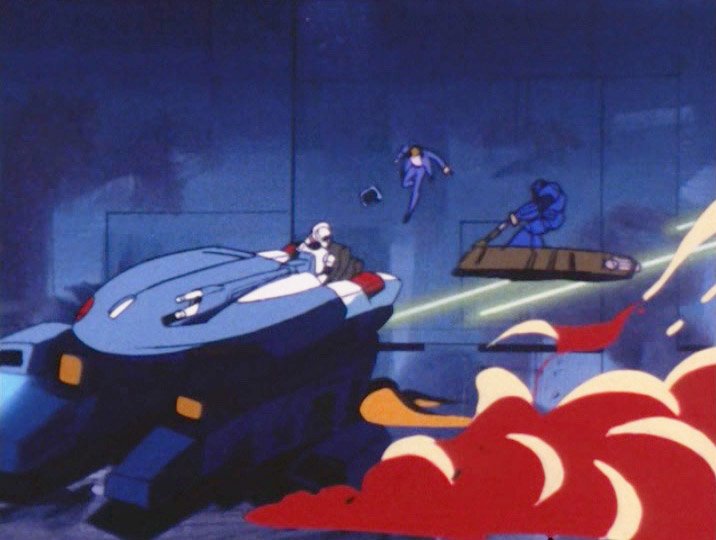
If only they'd at least added seatbelts... Poor George didn't even have body armor!
-
Absolutely. "The Beginning" was better than The Phantom Menace, and "The Director and the Jedi" was much better than The Last Jedi.
-
Your most recent Macross or toy purchase! General thread.
tekering replied to Gakken85's topic in Hall Of The Super Topics
The "Furai" IDW Optimus Prime model kit is 16cm when assembled... aka Voyager-scale. -
The Transformers Thread (licensed) Next
tekering replied to mikeszekely's topic in Anime or Science Fiction
I highly recommend 'em.
-
Gundam Figure Thread - Newtype GN-002
tekering replied to Black Valkyrie's topic in Anime or Science Fiction
Oh, I love the "Solid Essence Collection." How delightfully retro. -
Hey, c'mon... If it weren't for Robotech, this forum probably wouldn't even exist... and if it weren't for the ideal version of Macross that only exists in our heads, we probably wouldn't spend so much time and money trying to chase it. Rose-colored nostalgia fuels most of our toy purchases, be it Transformers, Star Wars, or Robotech Macross and Mospeada.
- 1934 replies
-
- 1
-
-
- robotech
- titan comics
- (and 1 more)
-
One of mine has a defective knee joint, rendering the articulation moot. It's so floppy, it barely supports its own weight... I never even bothered to pre-order one, but since they're 30% off on Amazon now, I bought one last week... It's sexy as hell.
-
Your most recent Macross or toy purchase! General thread.
tekering replied to Gakken85's topic in Hall Of The Super Topics
What's "The Tape Corps?" Are those just Masterpiece knock-offs? -
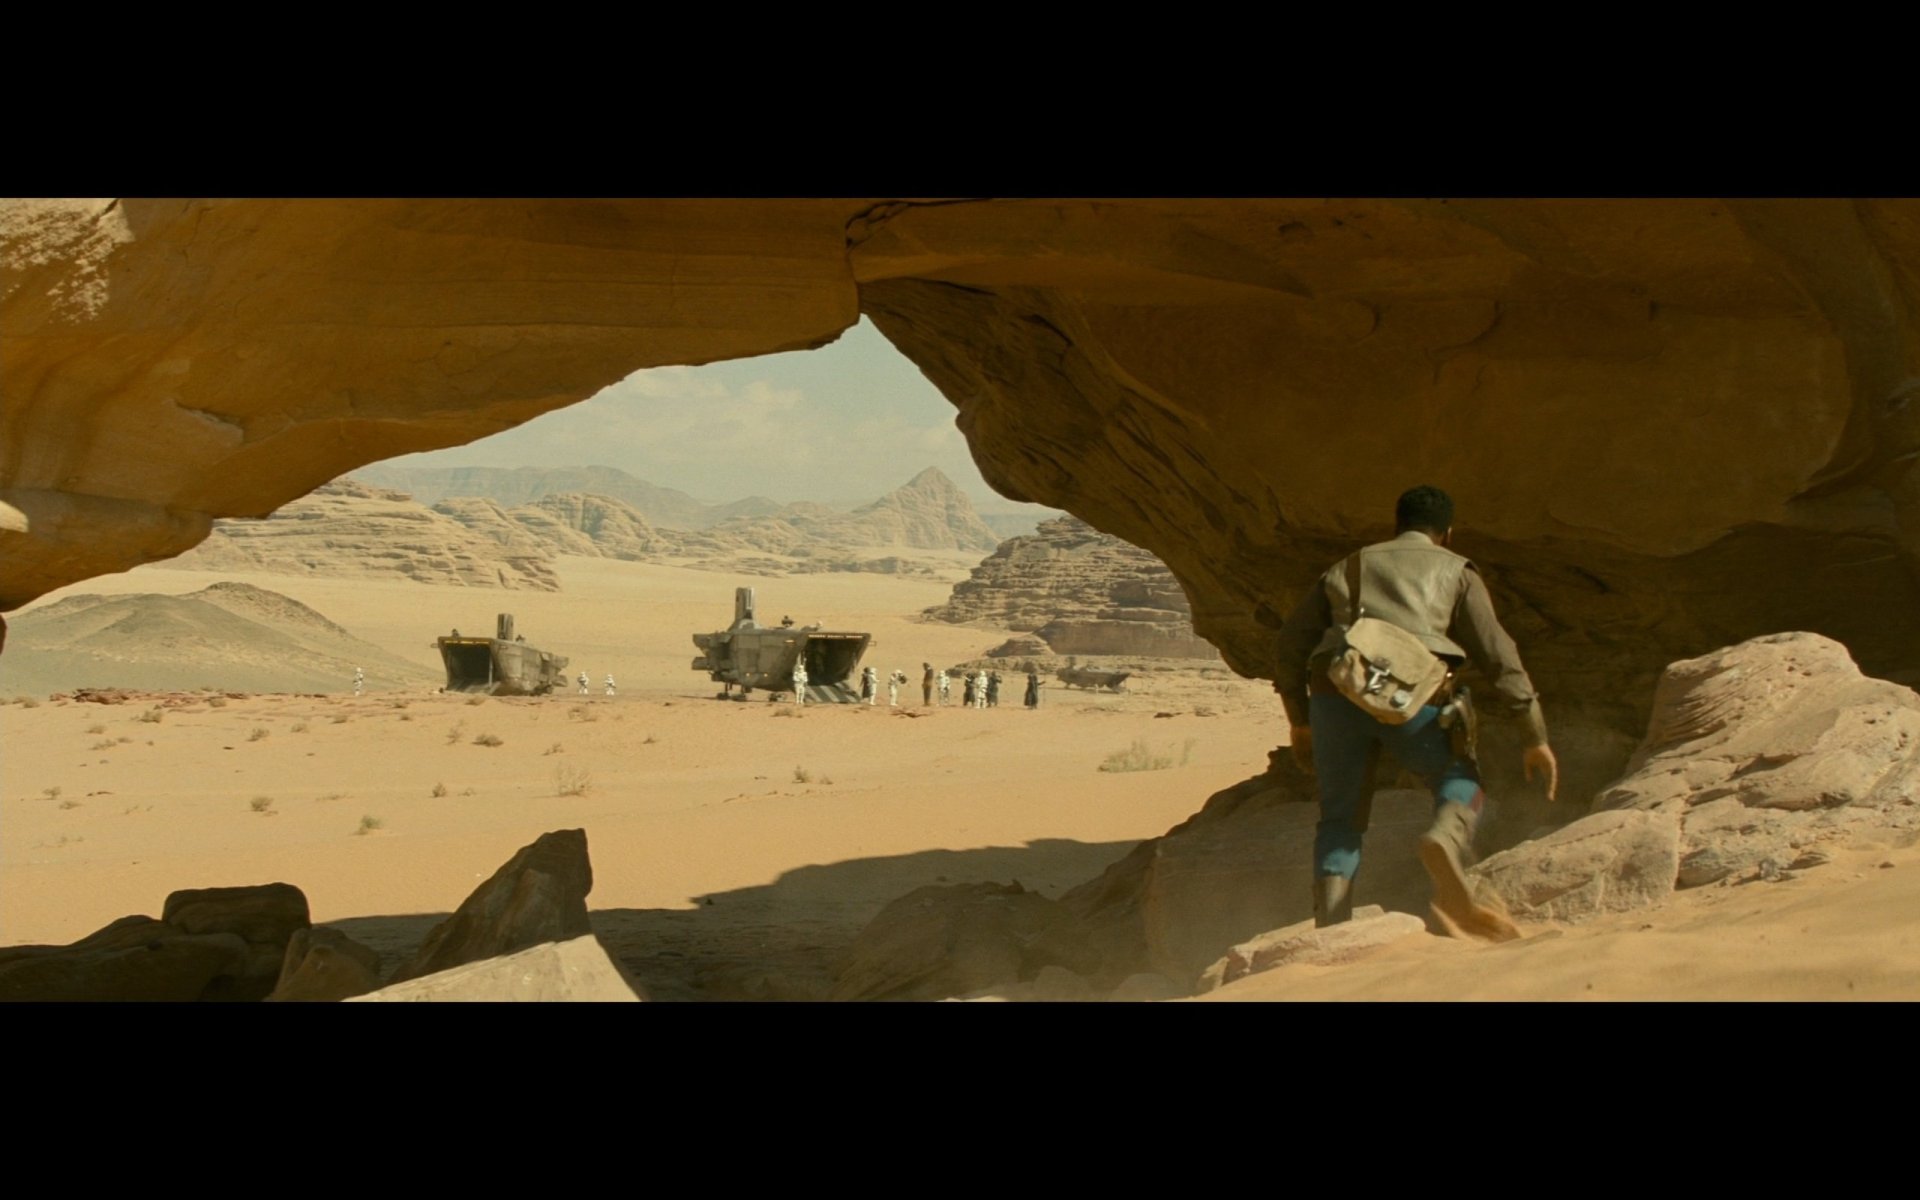
Yeah, I'm watching it now. So far, the story is as stupid as I remember it being... ...although Hux's sudden reveal that "there was another transport in the desert" (carrying Chewie) doesn't seem like such a cheat, now that I see it was visible in a quick establishing shot. Okay, J.J. I'll give you that one.
-
Star Wars: Clone Wars animated series
tekering replied to BoBe-Patt's topic in Anime or Science Fiction
I really hope this Echo "buisness" is finished now... the Bad Batch have gotten a little tiresome after four episodes in a row. Hoping for a new setting with different characters next week. -
In Brofessor's defense, I think this is an apt analogy. Just look at Facebook; among the myriad Robotech fan groups is one specifically for The Masters War (which is mostly fan art of Southern Cross characters and mecha). It has 1400 members. FOURTEEN HUNDRED.
-
Oh, so right back to the Comico days. It's the end of the circle.
- 1934 replies
-
- 2
-
-
- robotech
- titan comics
- (and 1 more)
-
Neon Genesis EVANGELION General Thread
tekering replied to no3Ljm's topic in Anime or Science Fiction
What the hell...? Who approved that fat-ass EVA? It looks like a fanboy wearing a costume!