

Rock
-
Posts
406 -
Joined
-
Last visited
Content Type
Profiles
Forums
Events
Gallery
Everything posted by Rock
-
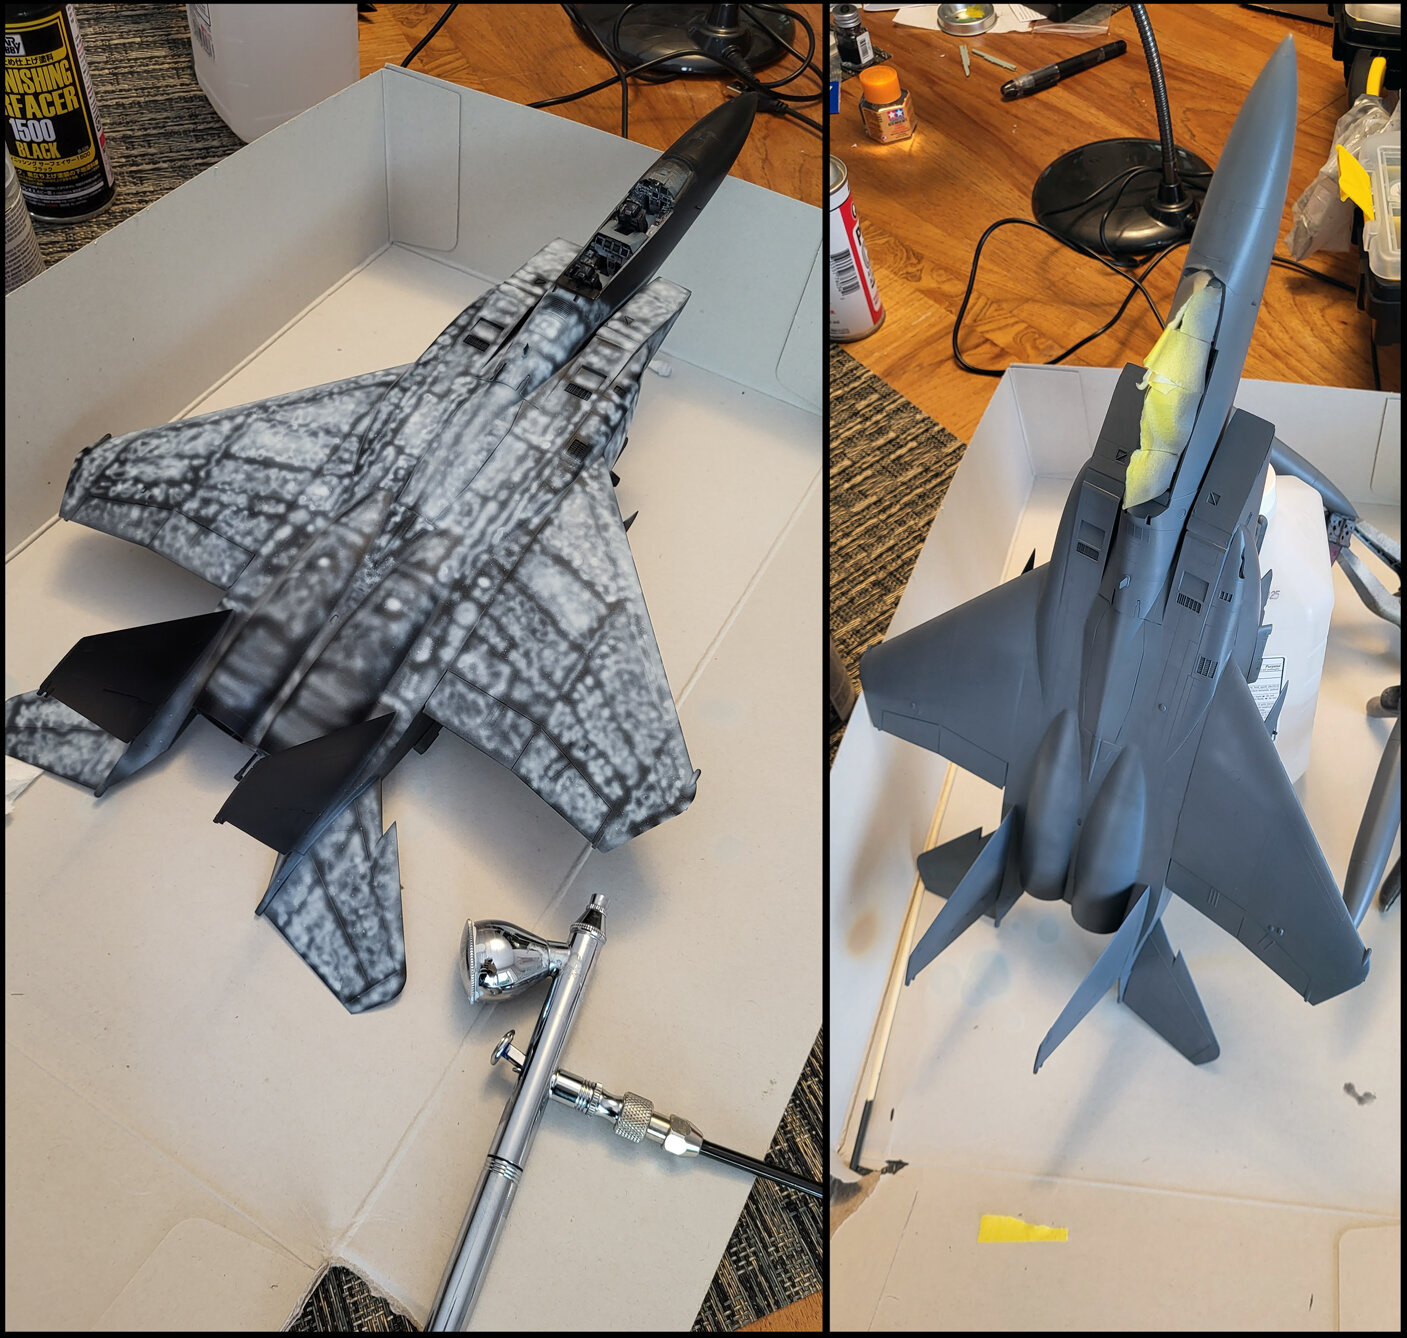
Hope everyone is having a restful holiday. Just got rid of the family and got a good amount of work in. Using AK's Medium Gunship Grey and their F15 Grey. The F15 grey has a warmer tone while the GGG has a more teal look to the color. I'm not to happy but, kind of expected the result. The grey just hides me pre-work all to well which is why I went for such a high contrast base effect. Hope the darker post work and washes get it where I want it. Live and learn.
-
Bit suprised they didn't go a man vs drone for the theme. Other than Mav's ass chewing mentioning them, no drones to be found..
-
Loved it and genuinely satisfied with it, how a sequel should be. Was a bit disappointed Payback didn't get a little bit of redemption between her and Hangman. She was a favorite against the new cast. Miles Teller did a great job of channeling Anthony Edward's Goose.
-
That is how I felt about the films at first. The. I went 6 or so years and watched them on their own, and they held up much better. I somewhat share that opinion on all series vs ova movie specials.
-
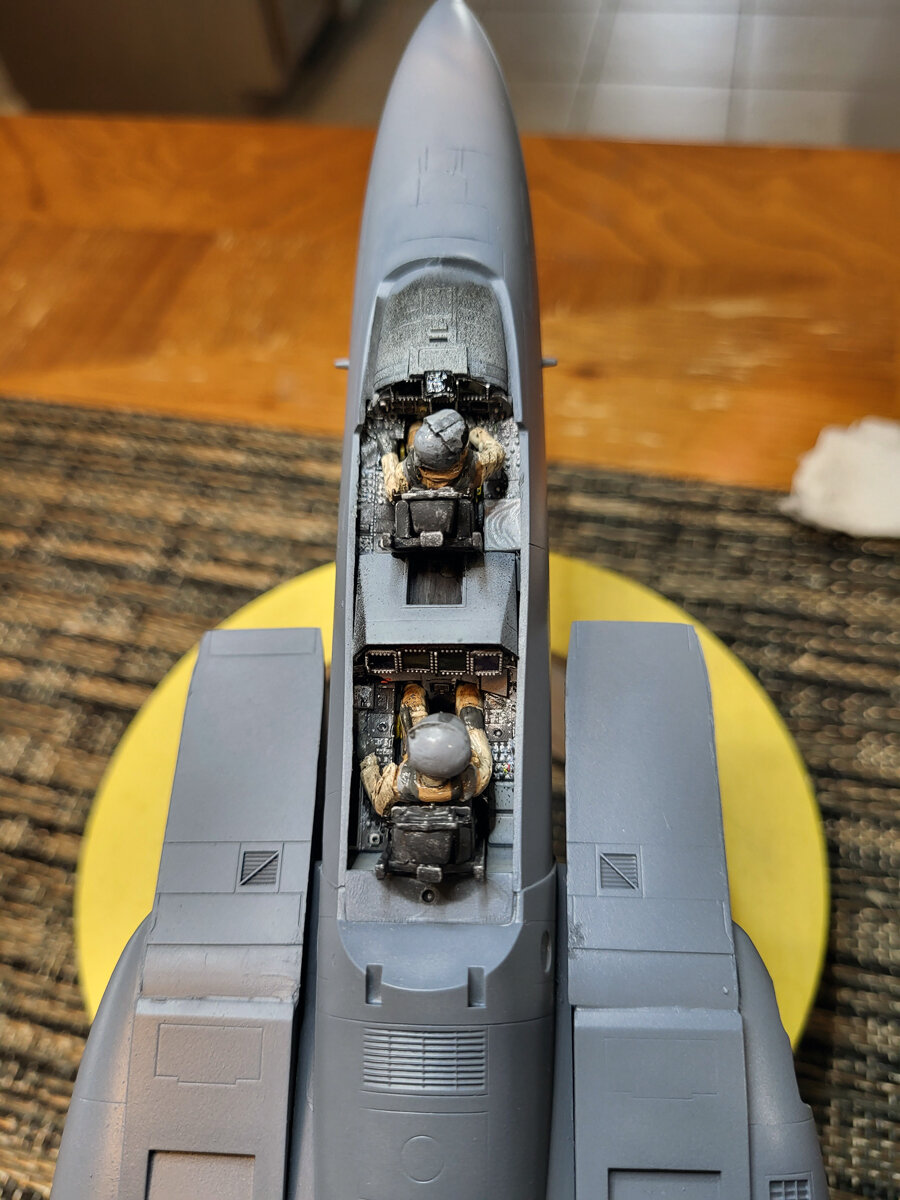
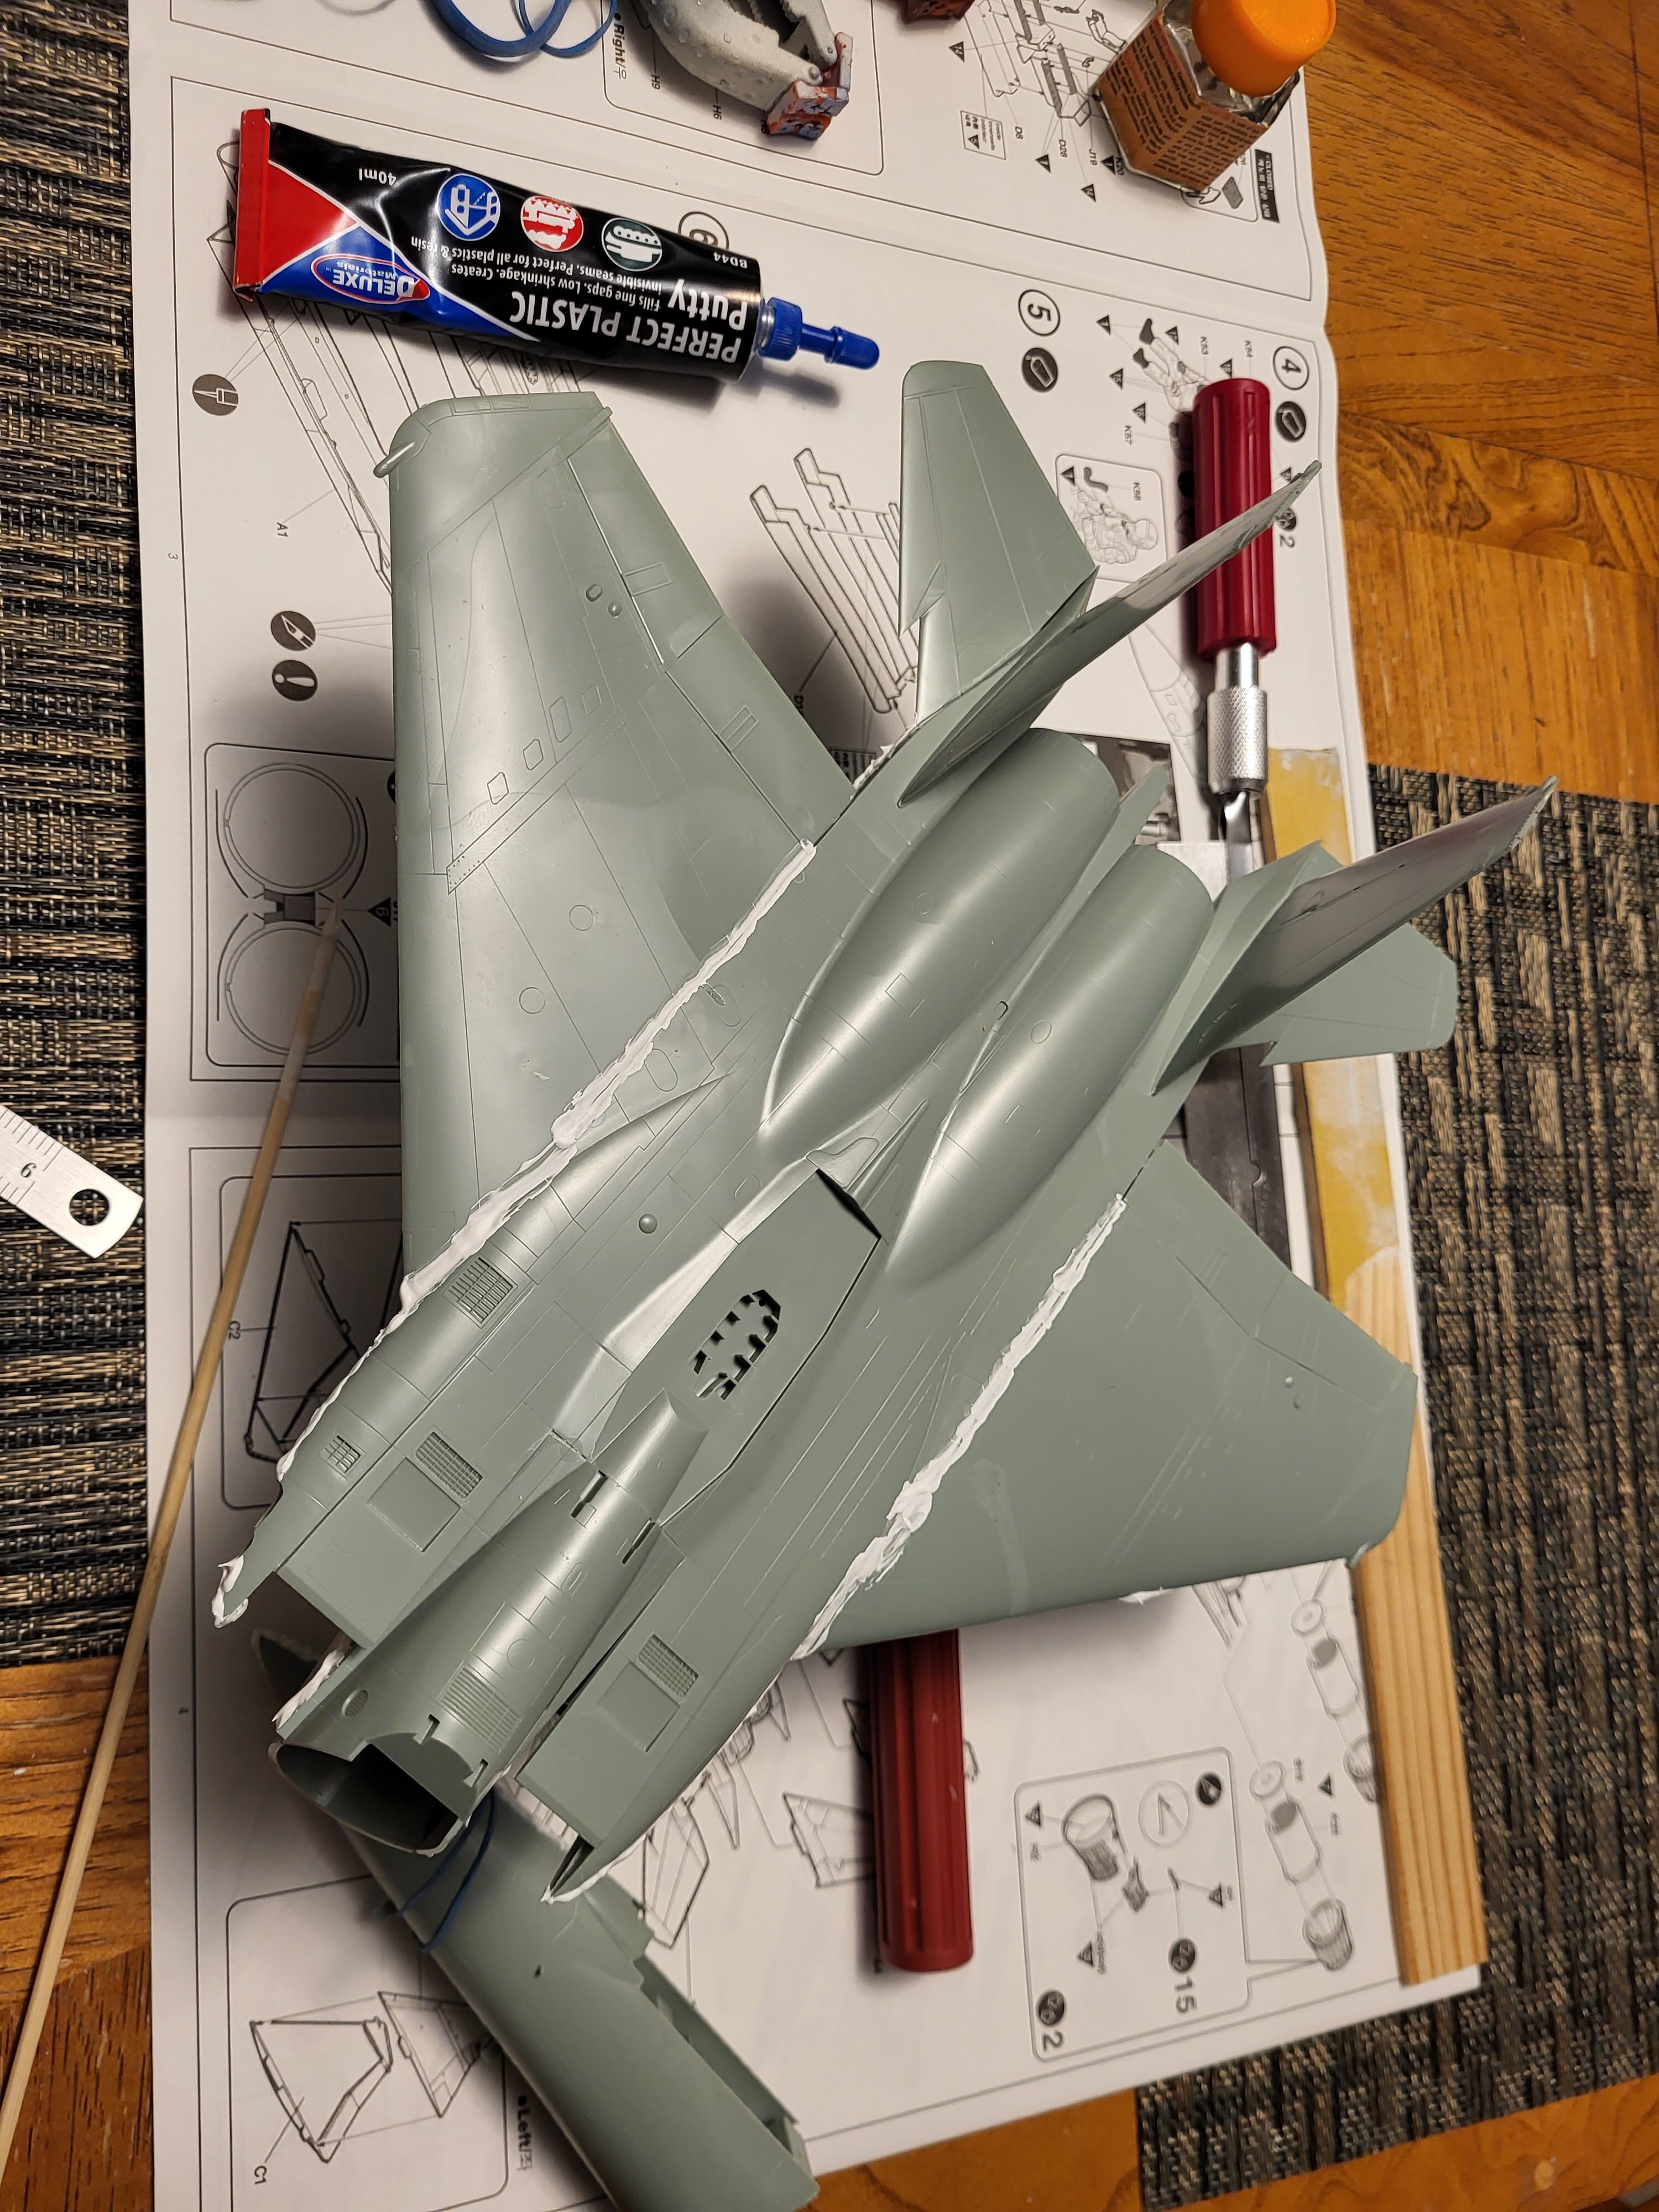
Onward. Gave in on the cockpit. Academy didn't even bother including the correct console. Nabbed some 1/48 details made for the Revell kit I'll try to splice in. Wanted to glue the nose to the body and get that last gap finished so together she went.
-
I'mm be waiting for SH's 1/60 Deathscythe. The HeavyArms they did looked mint!
-
Oh damn! Both showings are at a local theater 10min away! SOLD!
-
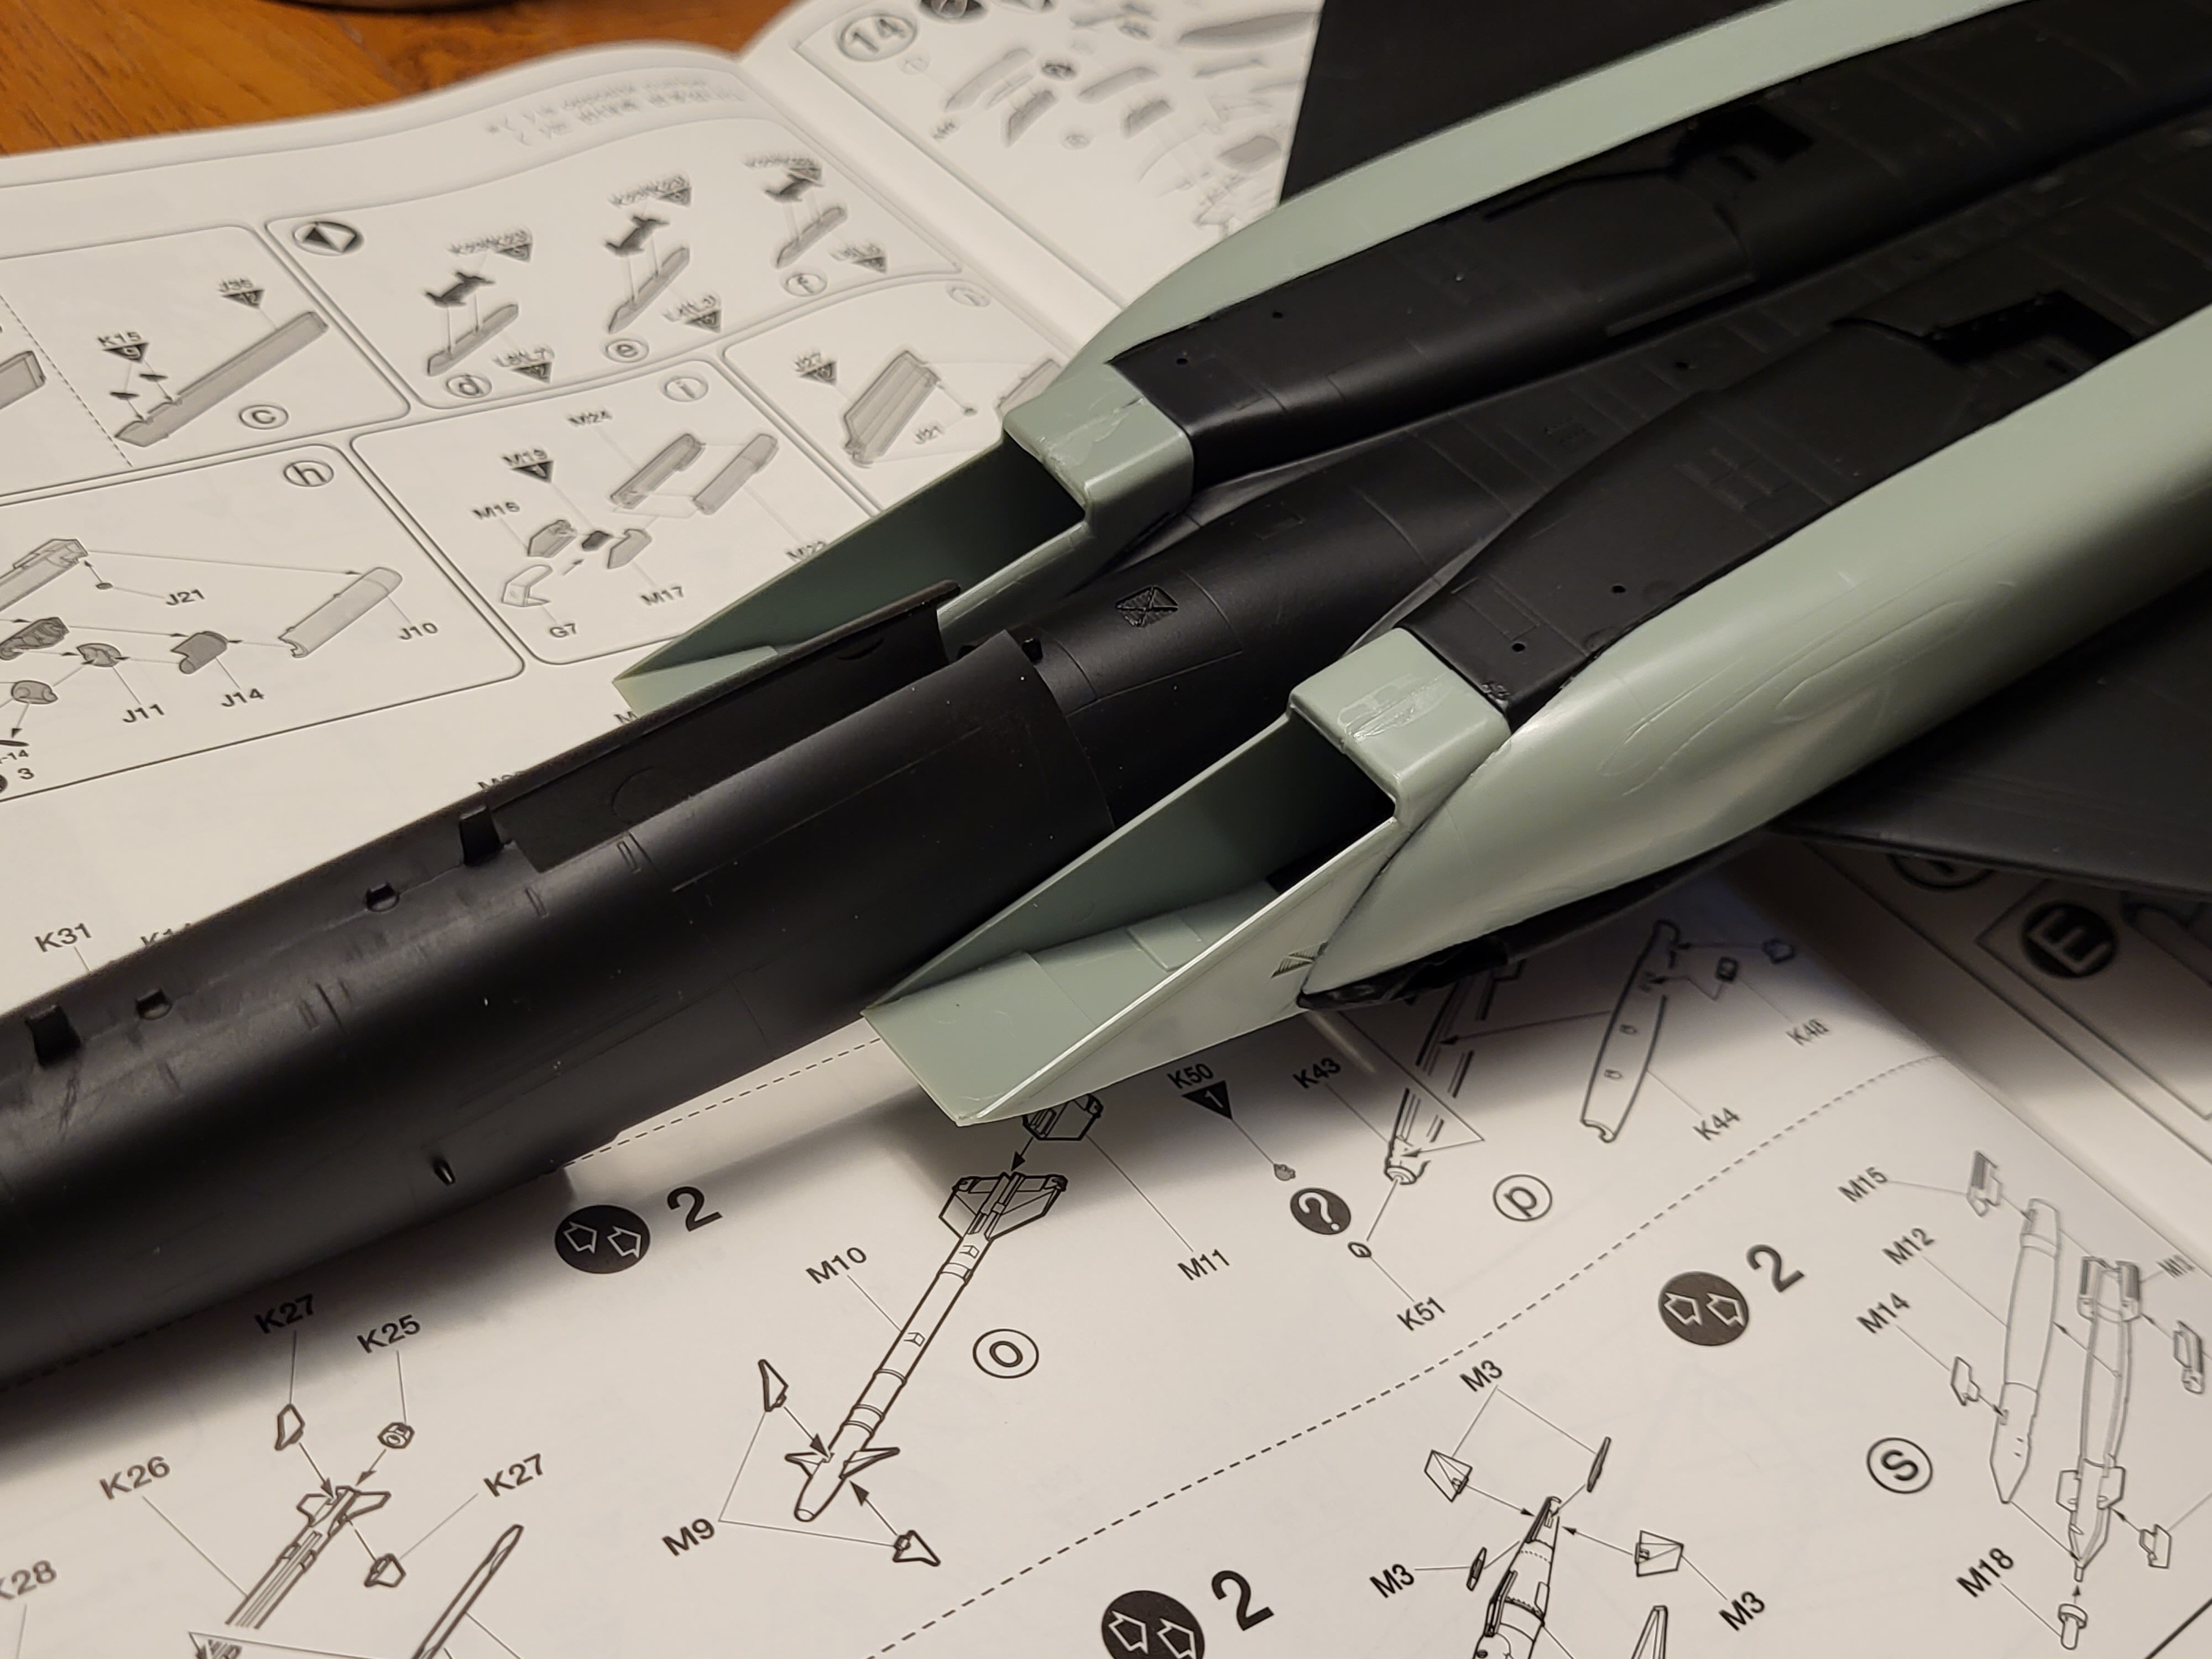
It is an updated version of an older kit. The F-16a then to the c/d and then tacked on parts to make an e. The E parts are afterthought crap... like saw parts off and then splice them onto the old kit with zero fitment/alignment aid. Luckily, dark colors, tons of weathering, and an impressive loadout should help distract from that. With companies like Minibase destroying the competition in modern aircraft kits, it is really hard to go backwards. Nevermind the past 20 years of advancement gunpla and that whole snapfit side has done. 'Least the next set of gaps are visibly welded onto the foghter so I can afford a little bit of a bead.
-
 If it makes you feel any better, so far the Wing MRS are slightly larger than 1/144 counterparts.
 -
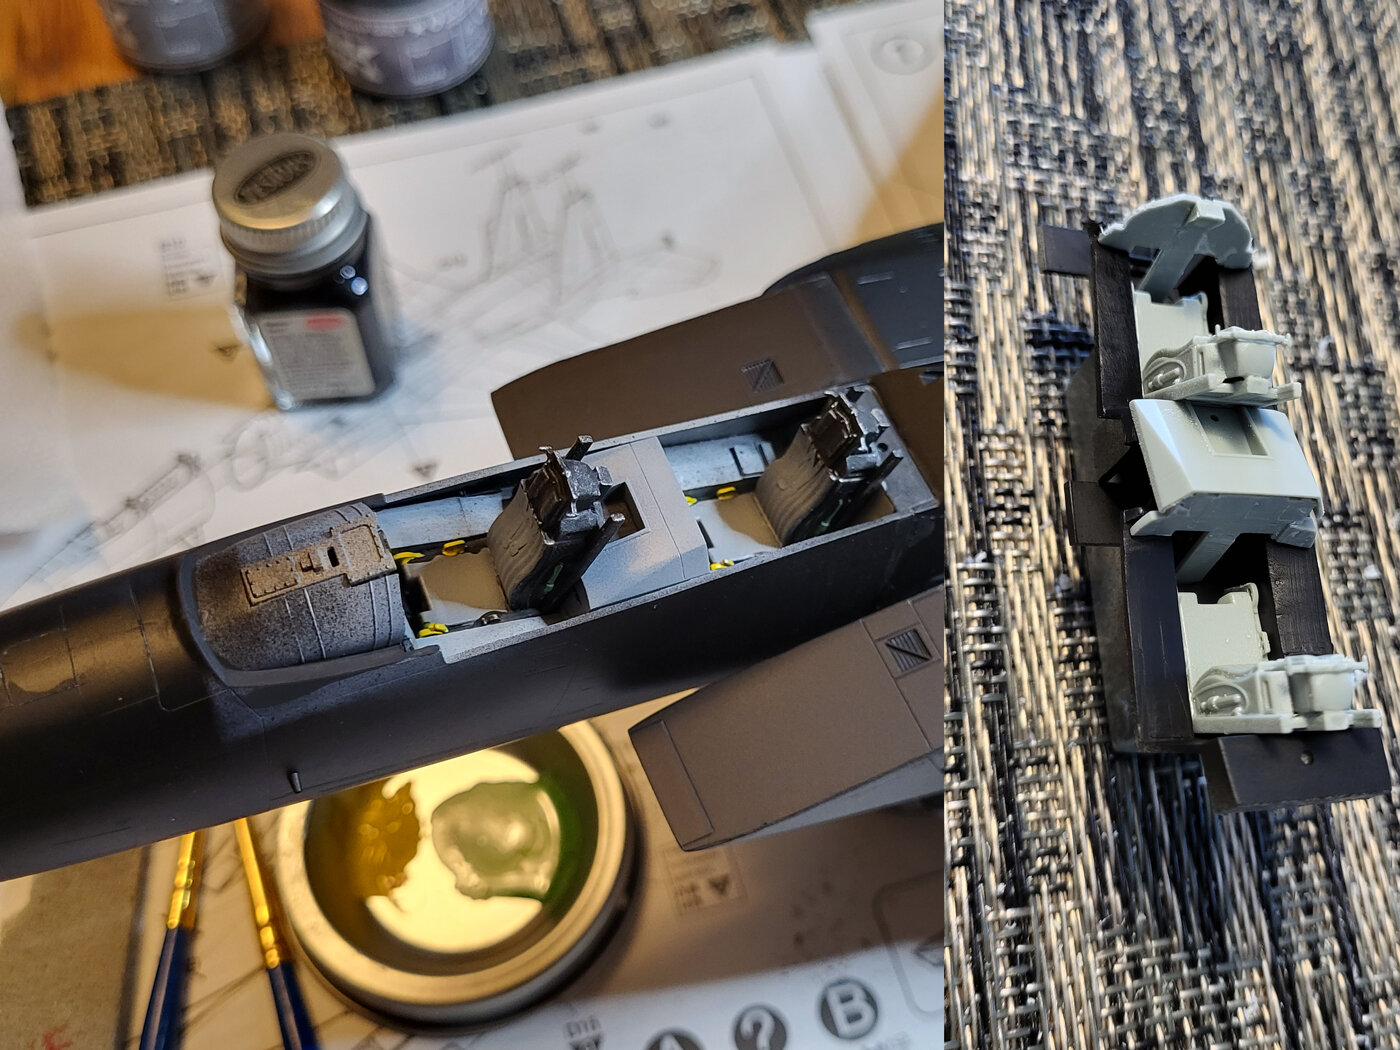
It's non-sand putty. Once the white putty is dry I'll use a cottonswab and some water to clean away the excess. Pretty handy on fine detailed kits and areas sensitive to sanding.. The joint itself is bonded with gap filling ca glue where tamiya cement wouldn't make contact. These days I gotta save myself headache where I can.
-
Really regret saving a few bucks, and going with the Academy's kit over G.W.H.'s. 10 parts make up the body amd not a one fit well.
-
The 'Hey look at this really cool model build I saw' post
Rock replied to Shawn's topic in Model kits
There isn't anything to see yet, just the 2 hosts in promotional material holding some random macross figures. Need a 3D printer file for this very reason! -
It sounds weird but if you can put him into an asymmetrical pose (one arm and leg more forward than the other for example.) You can then mirror/flip the design horizontally, anything wacky should now jump out at you that it is reveresed. You nailed the nose cone's dip! A design element I wish that was carried through into more designs.
-
1st with joint's no? >>>Please don't be $50. Please don't be $50.
-
RIP my wallet. I finally get a break with a few uninteresting Metal Build releases but, Metal Robot Spirits filled the void and then some. >_<
-
Here is for hoping a re-release of the Wing KA with the original colors 😛
-
I just got a ship notification from BBTS for Zero and Epyon today too! Good news all around!
-
Marvel Studios TV Shows and Animation on Disney+
Rock replied to sh9000's topic in Anime or Science Fiction
Didn't care for it going in but past episode 4 it turned over for me when Marc and Steven finally cleared the air. Pretty happy with the ending minus a few of the eyrolling Marvel clichés. Felt like a bit of a missed opportunity to not have Moon Knight do some more unique teamwork with his himself chamging between the suits. The post credit 'third' was a great wrap up without completely closeing the door. I like that the story was told without another season already being announced and a unneeded cliffhanger. -
I gave in and ordered another platz kit. Guess I'll re-attempt the cockpit laser, and the ram-air intakes. I remember seeing this build of the Super Sylph using F-16D parts to replace it's resin bubbles. I don't recall seeing anyone attempt the Mave's brick. Might be something in the 3-d printing market by now? As for the Jam... Just stare at it until cross-eyed and then blink REALLY fast. lol
-
Yup. An eternal build that may span generations at this point. I should probably need to have a kid to finish it. lol I don't know if it is just the Rei-look alike but it kind of looks like something Reflection would have sculpted back in the day.
-
I almost choked thinking they were finally going to do some plastic 1/72 kits! Still a must buy even if the older full resin block for a cockpit still is a PITA to model. I still need to find a translated copy of book 3 too!
-
GBWC will return in an online format for the first time since 2019! https://bandai-hobby.net/GBWC/japan/index.html
-
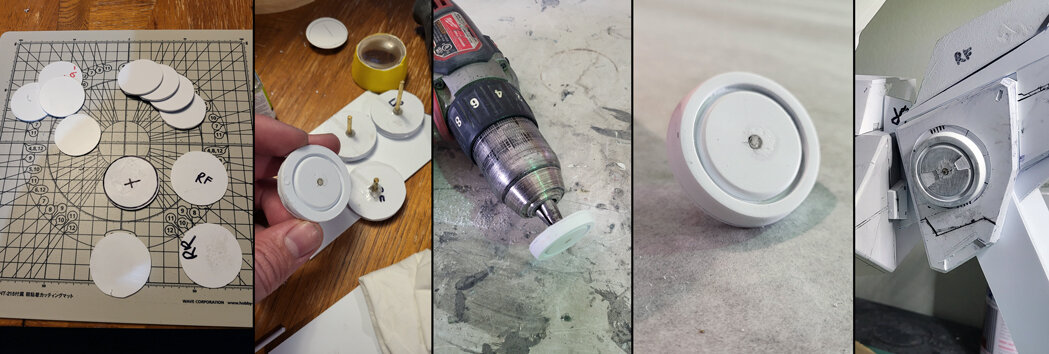
Looks lovely, are the eyes decals? They looks kind of faded. Did you actually watch the series? All I remember hearing of it was that it was a bad redux of Chobits. Gotta love when you repick up old projects and just breeze through them a 2nd time! -- 20 Years later and I still struggle with making round things. So close but, the final product came out a tad undersized. 😕
-
You forgot the surprise Labryinth of Time encore!
-
Wing Gundam Ver. KA: Drei Zwerg Deathsycthe: Rousette Backpack Sandrock: Armadillo Armor Unit, Unnamed- Trago Style(read:DOM) hover armor with shoulder mounted beam rifles, Armadillo Unit V2 (missile loadout), Combine Heat Shotels together to form a double sided weapon. Heavyarms: Igel Unit and Damselfly flight pack Shenlong: Liaoya weapon Vayate/Mercurius: A base jabber style transport craft Proto Wing Zero Tallgeese: Tallgeese Zi-Long Prototype, Heatlance, Heat Halbred Axe, developed into the Tallgeese F (Flugel) Tallgeese II: Tempest Heatlance,Heat Halbred Axe, Heat Saber Wing Zero Custom: Neo Birdmode, Zero System activation armor changes, Drei Zwerg Deathscythe Hell: Double Buster Shields, Twin Beam Scissors Scythe Sandrock Kai: TV styled shield, additional thrusters, shoulder beam cannons, get a unique Beam Buster Rifle Heavyarms Kai: same as EW design. Altron Kai (Nataku): Wings and Tail similar to the TV series design, beam cannon from a Virgo II Epyon Ver. KA: Sturm Und Drang planet defensor system/Zweihander attachment for the beam sword.
