Rock
-
Posts
396 -
Joined
-
Last visited
Content Type
Profiles
Forums
Events
Gallery
Everything posted by Rock
-
Any chance of anything for the Shizuoka Hobby Show?
-
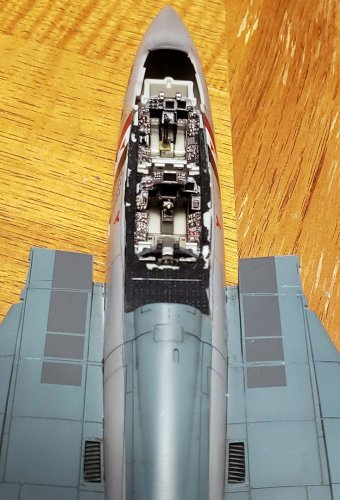
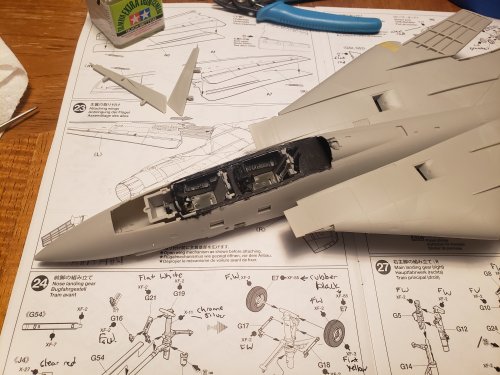
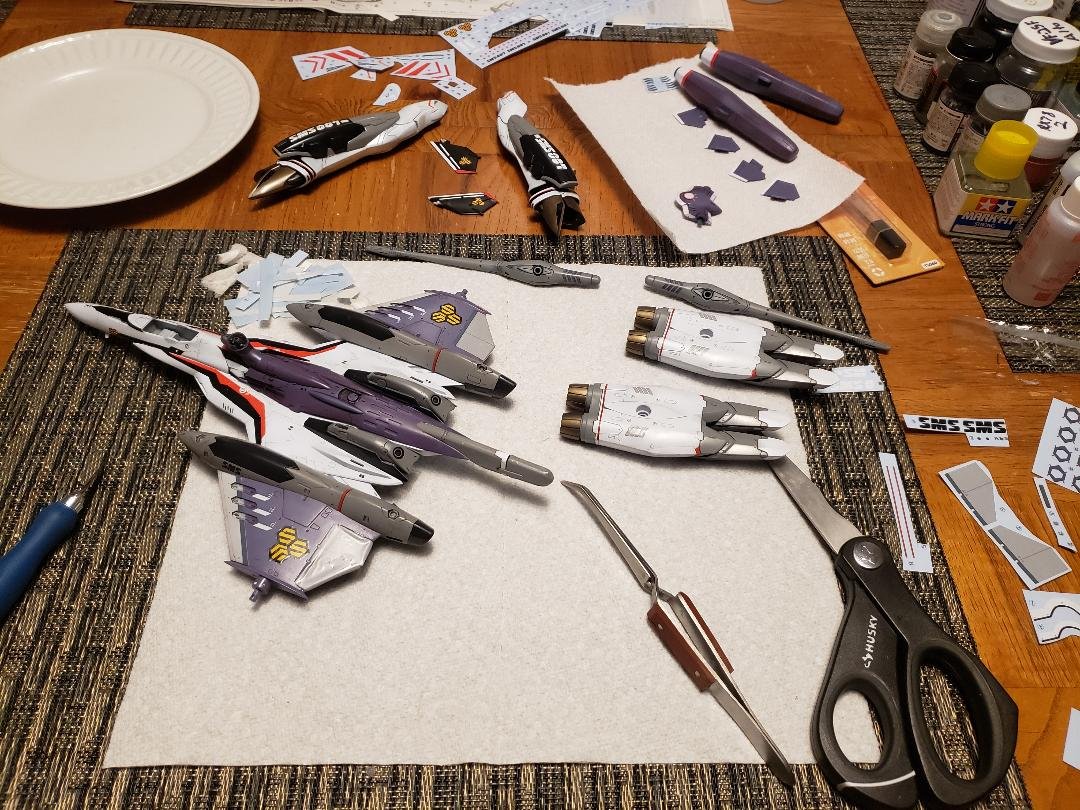
I only have 2 saved builds of the kit from a decade ago or so. It just has that wonky 90's kit look that doesn't age well for me personally. Almost every pic of the kit is from the top down so it is hard to show just how odd it is. Next to someones newer HGAC modelkit scaled up for reference. Not terrible but enough where it will require attention. -- Got my Tomcat (and other) bits in from Russia this weekend. A nice slap to the face with a $62 USD customs fee on top of the already expensive shipping. The Quinta Studio 3D decals are pretty slick. There are essentially 3d printed colored plastic details printed onto decal paper. First time trying them. I now know that I need to first remove the existing details completely to get them to lay flat, trim them a bit to help contour and make sure to do this process well before gluing the cockpit and body halves together. Will let the glue cure and attempt to blend in the white bare raised edges a bit with some paint. Should be fine for a closed cockpit... open cockpit will need a lot more work... I'll be more prepared when I get around to my smaller Flankers. I won't post the resin pilots and ejection seats I bought... they are pretty awful castings. I can't even tell a difference on the seat itself from Tamiya's minus some seat belt details... live an learn

-
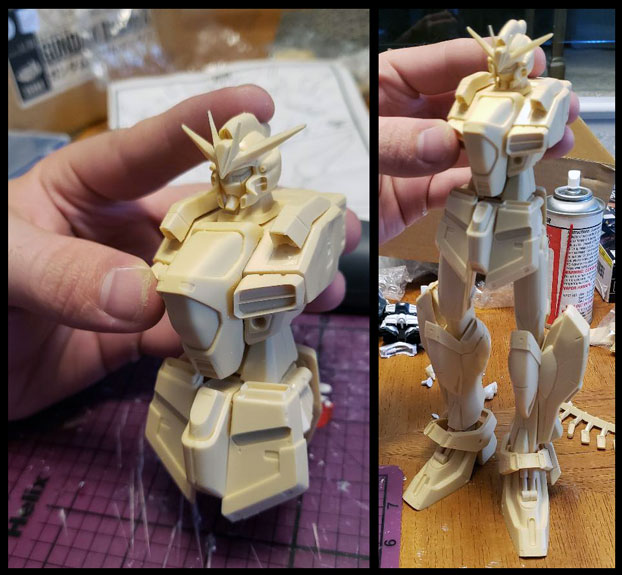
Tomcat's cockpit parts and decals have been in customs for 2 months now... from Russia with love~ Been in quite the slump for the past few months anyways with hobby and life and haven't done anything but spring-time repairs. Yesterday got a bit of a splash of inspiration when cleaning the basement and decided to start pinning/fitting my Atelier Sai Double X that evening. I'm not sure I'll go much further as the old girl is a mess. The Legs seem to be 1/60, the waist 1/100, the torso 1/72 and the head smaller than 1/100. I'm not sure I have it in me to correct it. I think buying the old 1/100 HG would be a good start as that would bump the head size up... but man- I have got to quit making everything into 5 kit donation project.

-
Most inkjets will do better by telling the printer your printing onto glossy photo paper and selecting the best print quality at a minimum 360dpi. ig your jusy doing stripes you can grab white decal paper instead of transparent too.
-
Preshade and wash went smoothly. Decals and off to the dirt and grime!
-
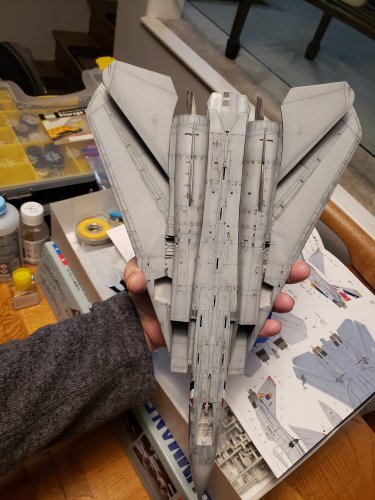
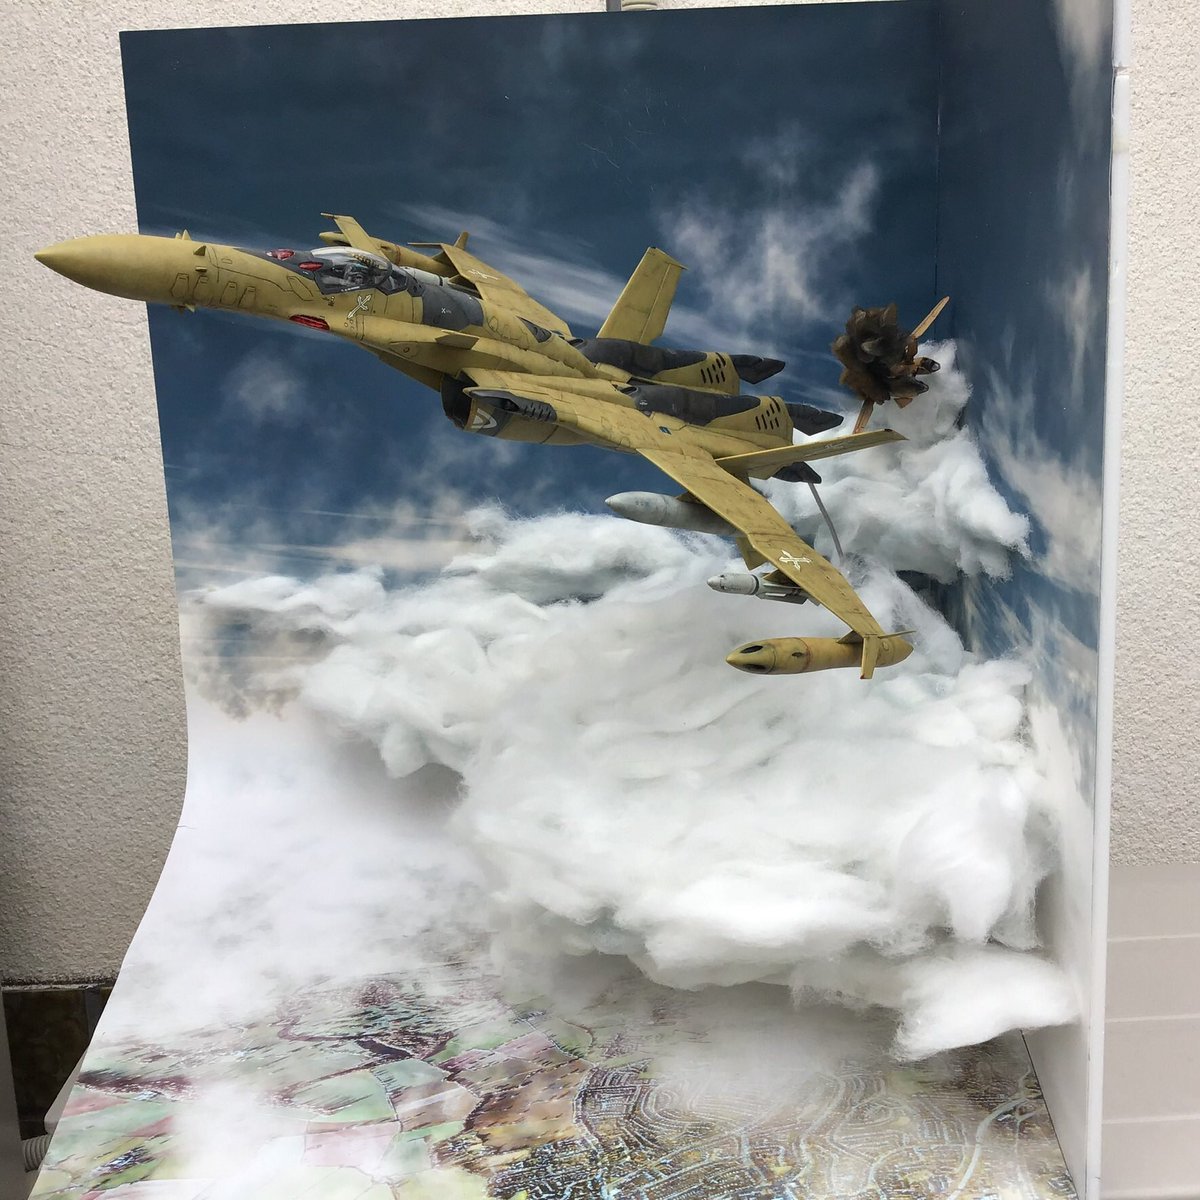
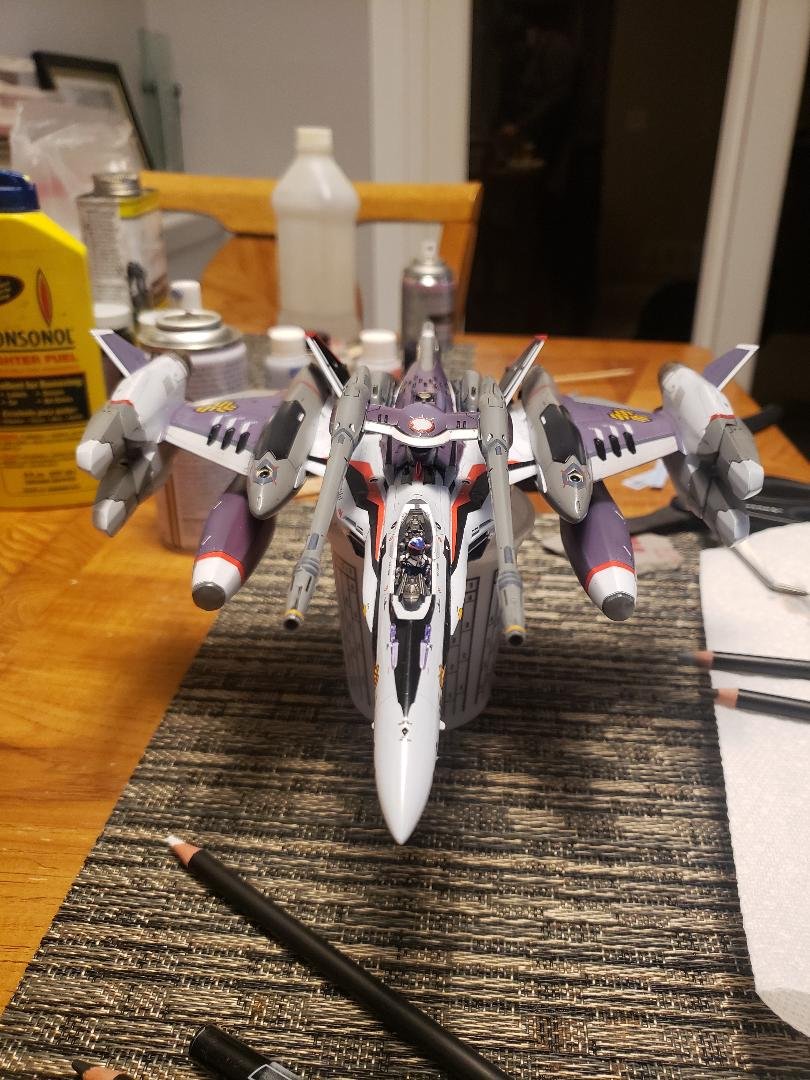
@Convectuoso There is a fixed resin fighter form conversion for the 1/72 Bandai vf-25f. Your still going to have to paint stripes though. Tamiya's 1:48 F-14D Tomcat. Had I known this kit was this amazing- I'd have grabbed some resin and metal bits to detail her up. I might have to grab the F-14A too for an open hatch build.
-

The 'Hey look at this really cool model build I saw' post
Rock replied to Shawn's topic in Model kits
-
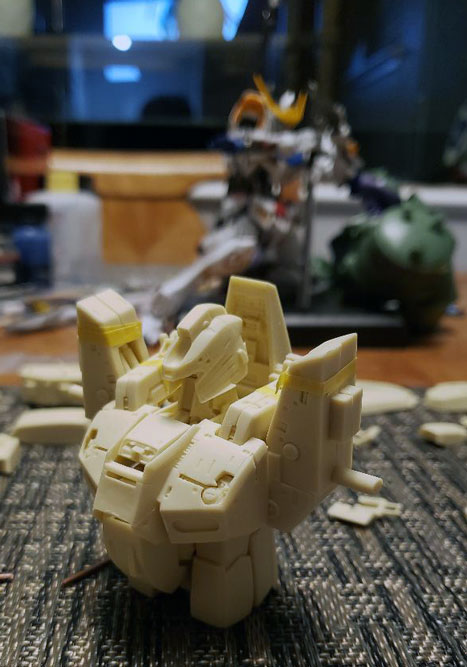
That was the original plan. I'm not sure it works for the S-Gundam though. The resin parts are much smaller than the MG kit creating a bad look. It might be more favorable for an Ex-S as the smaller torso and head are really needed on the original MG. I grabbed the 1.5 MG earlier this year to maybe see if that creates a better look. I used to have a link to Barber's Ex-S build of the MG that was done in the Fix Figuration portion/styling. In that he significantly increase the shoulder size to create the look in height and width. I may have to figure something else out as it is quite daunting to do so with the MG's transformation throughly intergrated into the early frame.
-
R, I've started on the mini EX-S last week too! I'm just noticing that the backpack of the 1/48 is of the S-Gundam [Bst] configuration given the 4 beam cannons. The alignment mark on the back piece make me think this is literally a digitally up-scaled kit from a 3d model. It has taken some tricky pinning on mine to get everything solid and still modular enough to easily remove for painting and cleanup. -K

-
"Oh I'll just see what everyone is building in this thread..." -21 new pages of posts. -1 hour later... Hot damn guys! Covid is slowing any of you guys down! The kits look great! I really want to join you but, summer time brings house and yard projects. :/ Hurry up and snow already!
-
The 'Hey look at this really cool model build I saw' post
Rock replied to Shawn's topic in Model kits
An armored-tornado and a pretty sweet diorama!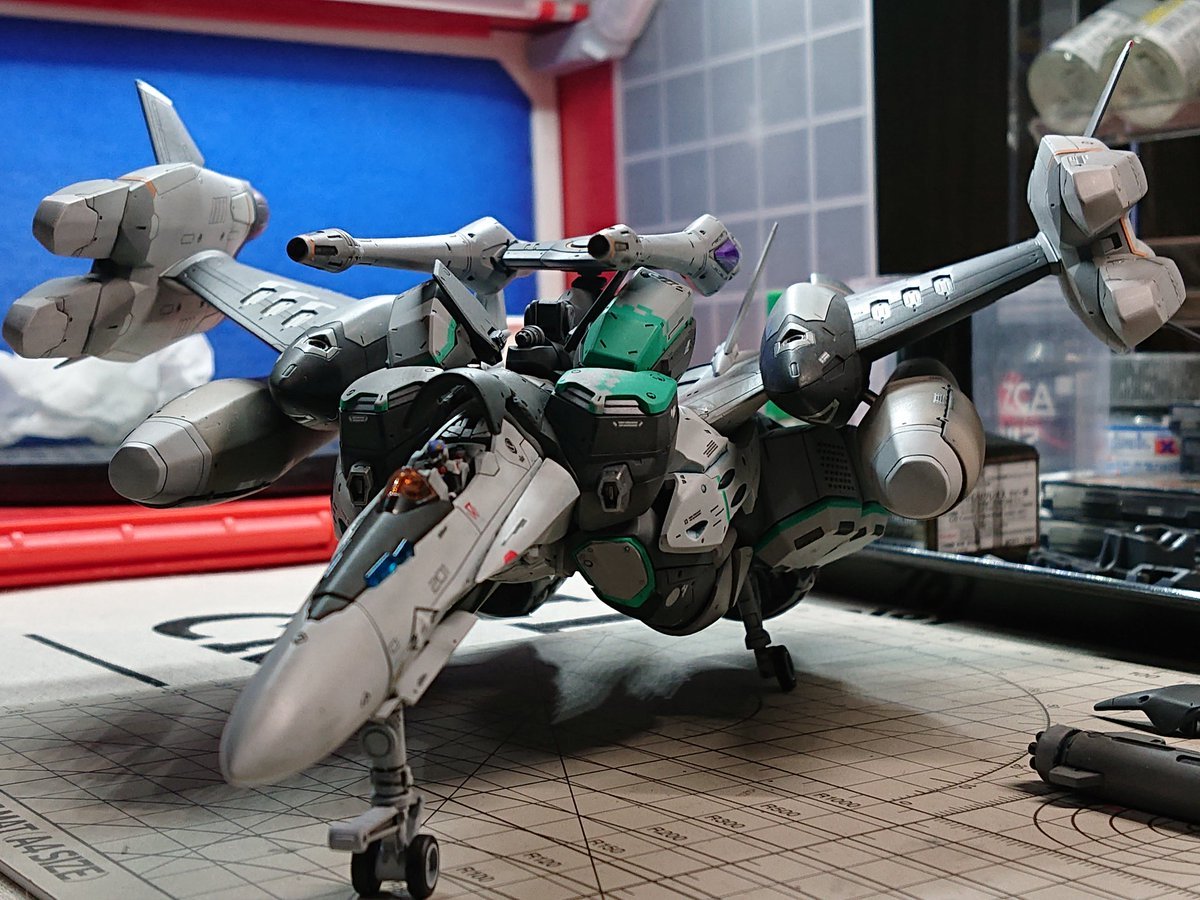
-
Bolt’s Blt comp entry#1 Neo Grade VF1 Armored Valkyrie
Rock replied to Bolt's topic in The Workshop!
There is actually not that uncommon to see the NeoGrade kit pop up on Yahoo Japan Auctions. Presently only the Yellow-Sub version is running though. I just with Shopping Mall Japan wasn't closing or I'd snag it. -
Wasn't able to finish even with the extra hour. Topcoat, canopy framing and weathering is all that remain.
-
Finally to the fun bits. Hand Painting from here on out!
-
I think you guys might all agree that it is always exciting finding a new tool that makes Macross modeling just a little bit more enjoyable, a little safer and a lot better looking. I hope you guys all will chime in on on your favorite tools of the trade, any cool finds, home-made tools and neat do-it-yourself or quality of life improvements that make building that much better. Any tool that might sit on one's workbench during the modeling process is game for discussion. Cutters, airbrushes, files, paint skewers, sandpapers even organizational containers, workbench setups/layouts, and ect... To start off with my most recent addition to the team this year is an ultra sonic cutter that uses no.11 hobby blades. This thing slices through plastic as well as a hot-knife without melting away material and stinking up the room. They are kind of pricey but, if you do a lot of kit-bashing, pla-plate work, scratch-building or solid resin builds then it will pay off itself in the first few projects. I do not miss spending 5min of cutting with a fine jeweler's saw or useing a dremel tool for a big, dusty mess and a lot of missing material. Here is the video that sold me on the tool: Super little effort to cut resin molding gates off. My only complaint right now is that mine feels cheaply made and way over priced. The price I'm sure is because they are fairly niche but, an ultrasonic cleaner and toothbrush are 300 USD cheaper.... just saying/ If your interest in getting one do pay mind to the specs, most are set up for Japan's 100W power supply and will need a converter to work in the west. Upcoming hobby dust vac system from japanese company GUNPRIMER, The VOID.
-
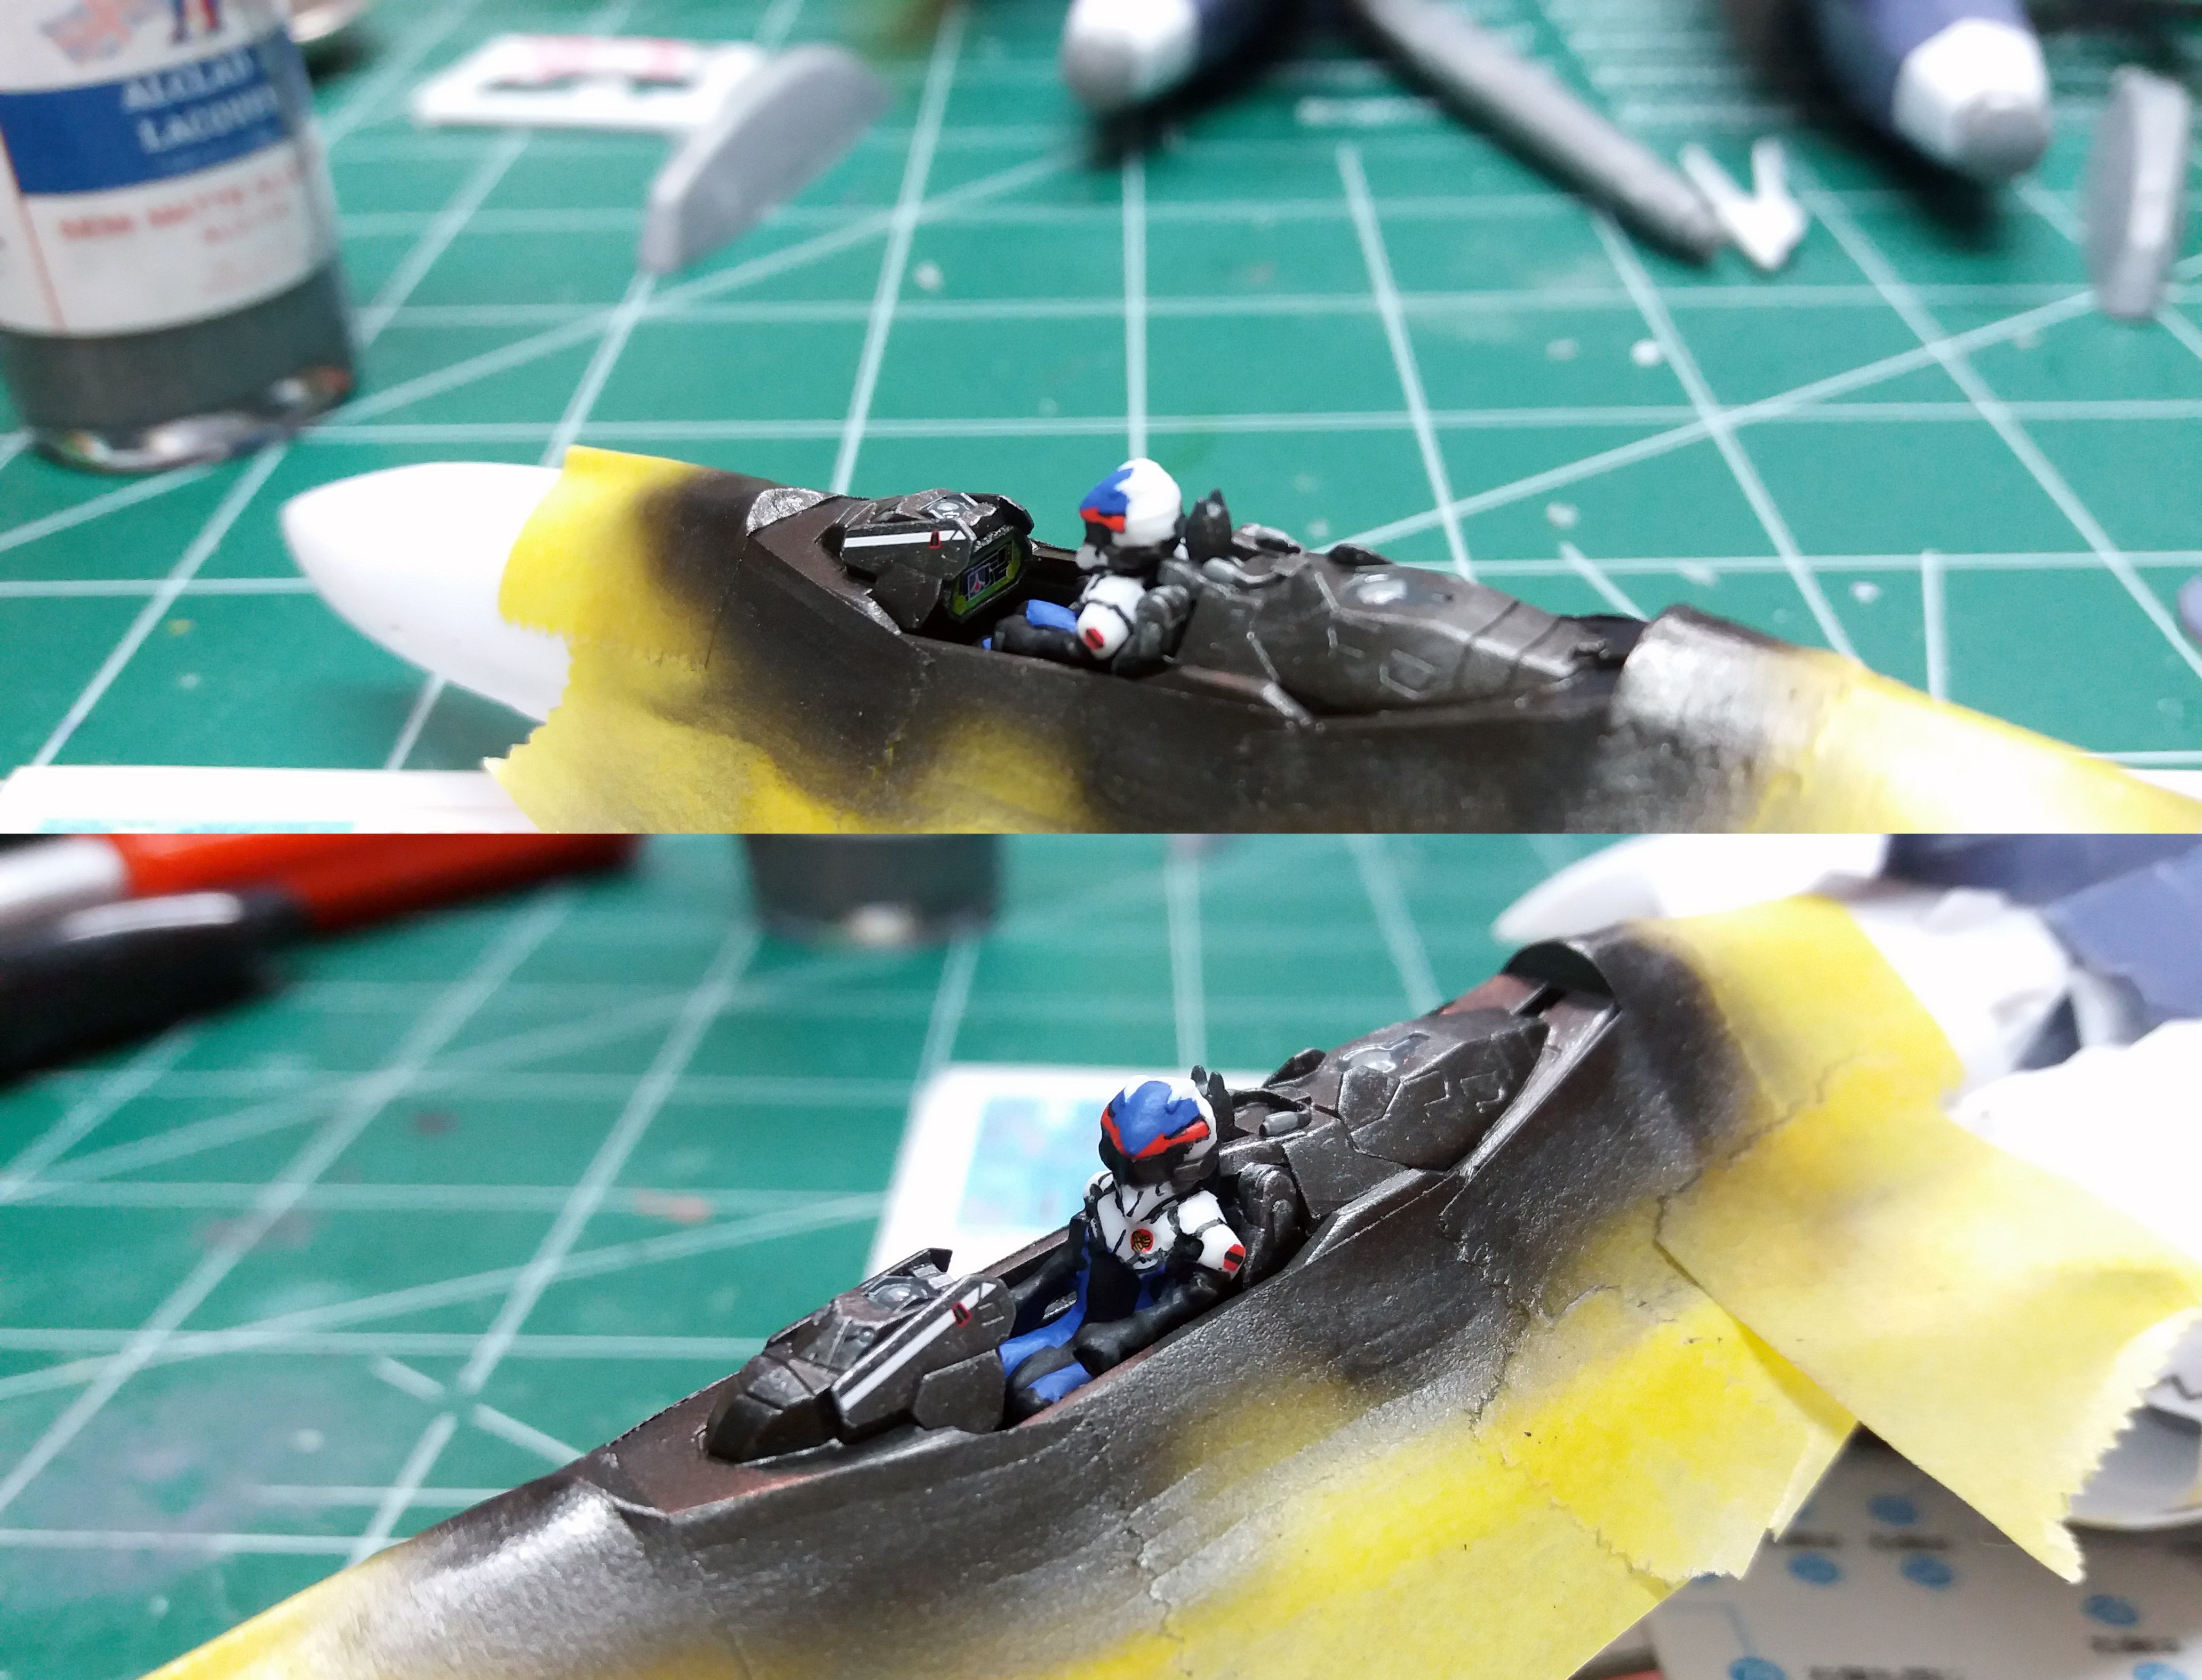
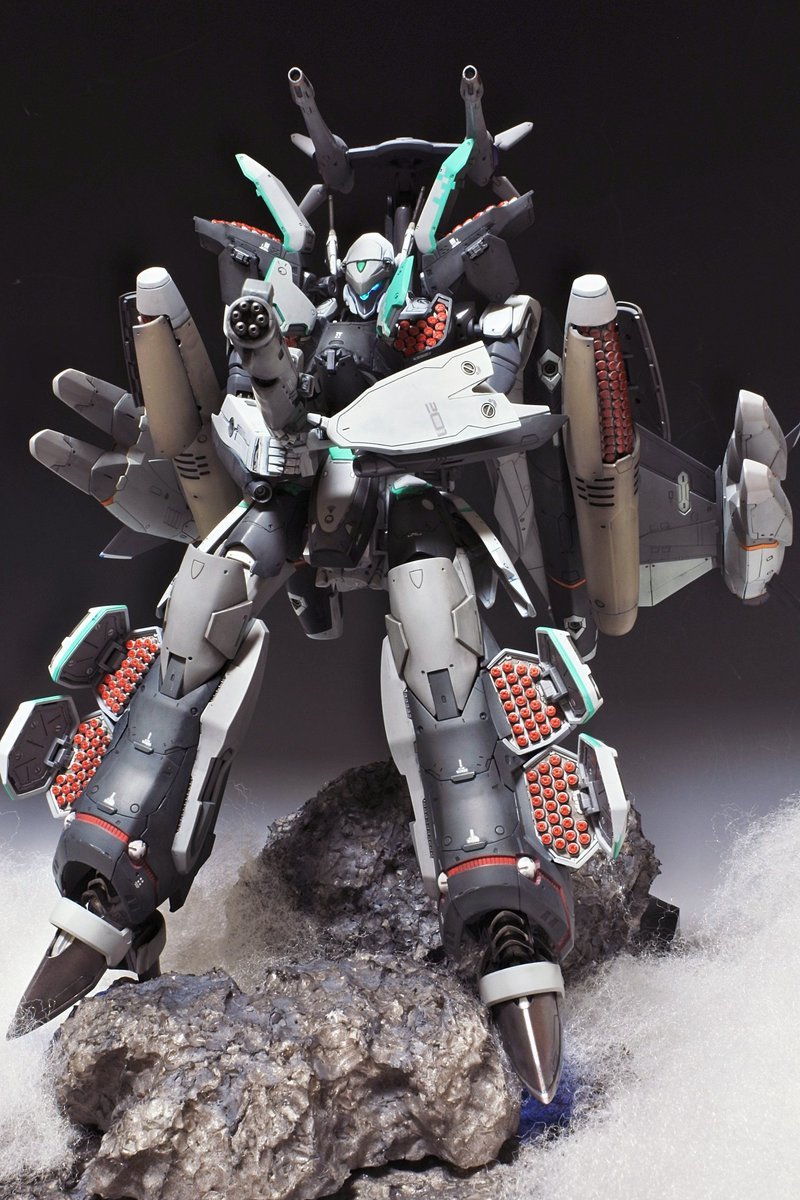
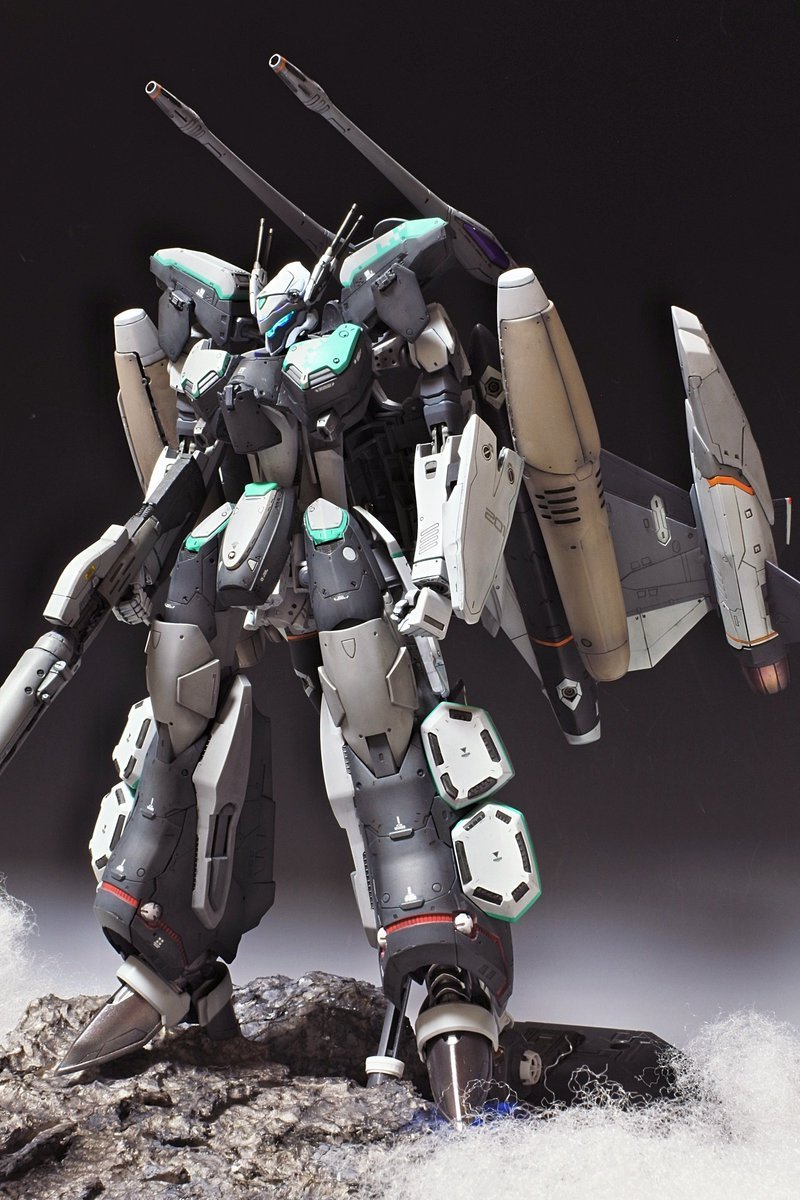
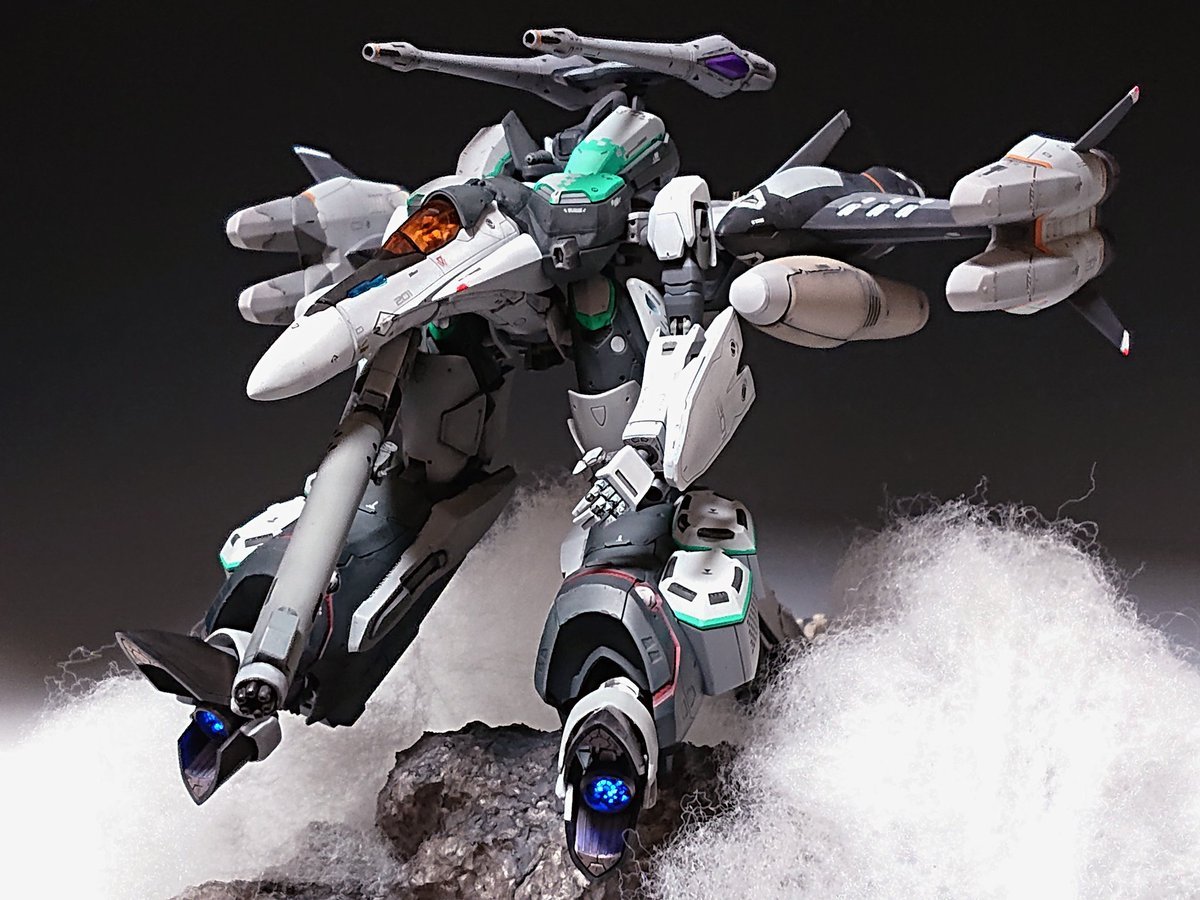
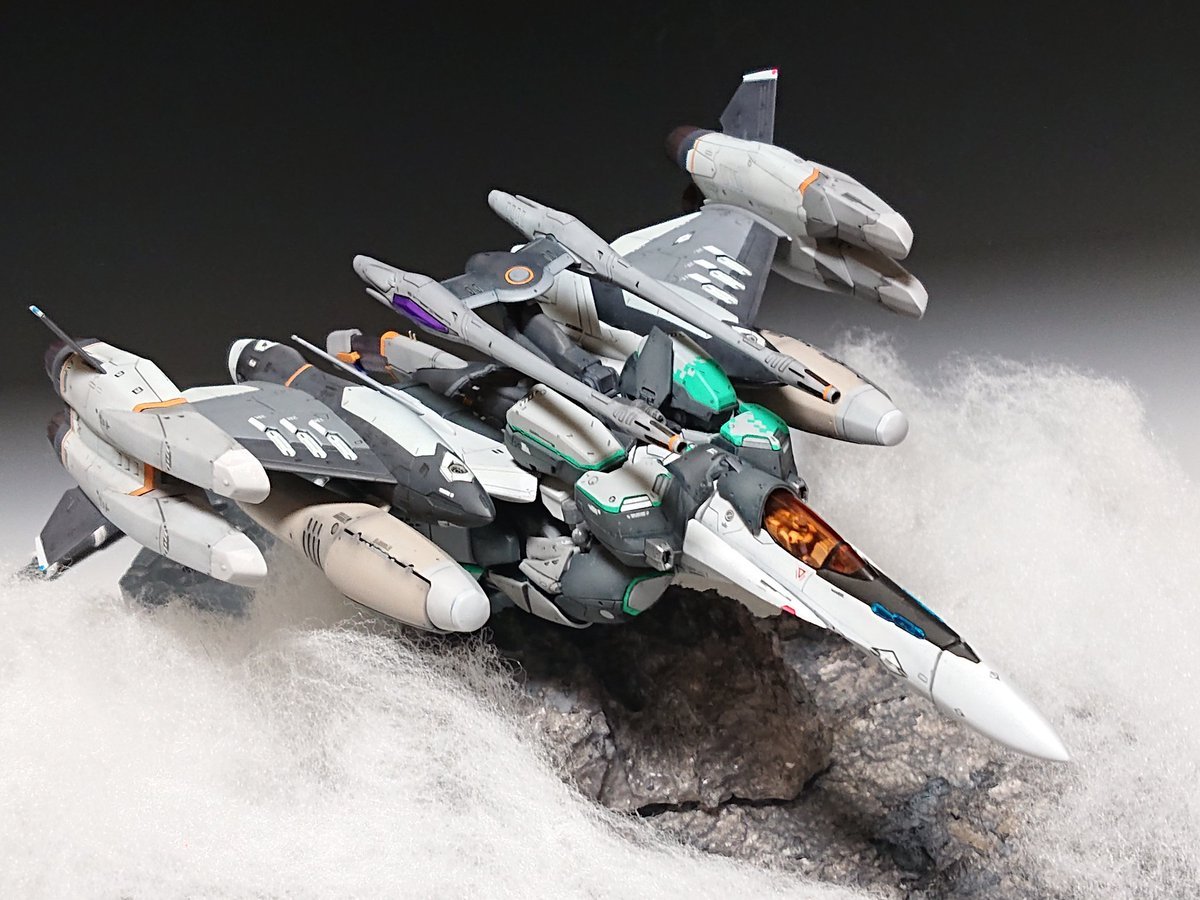
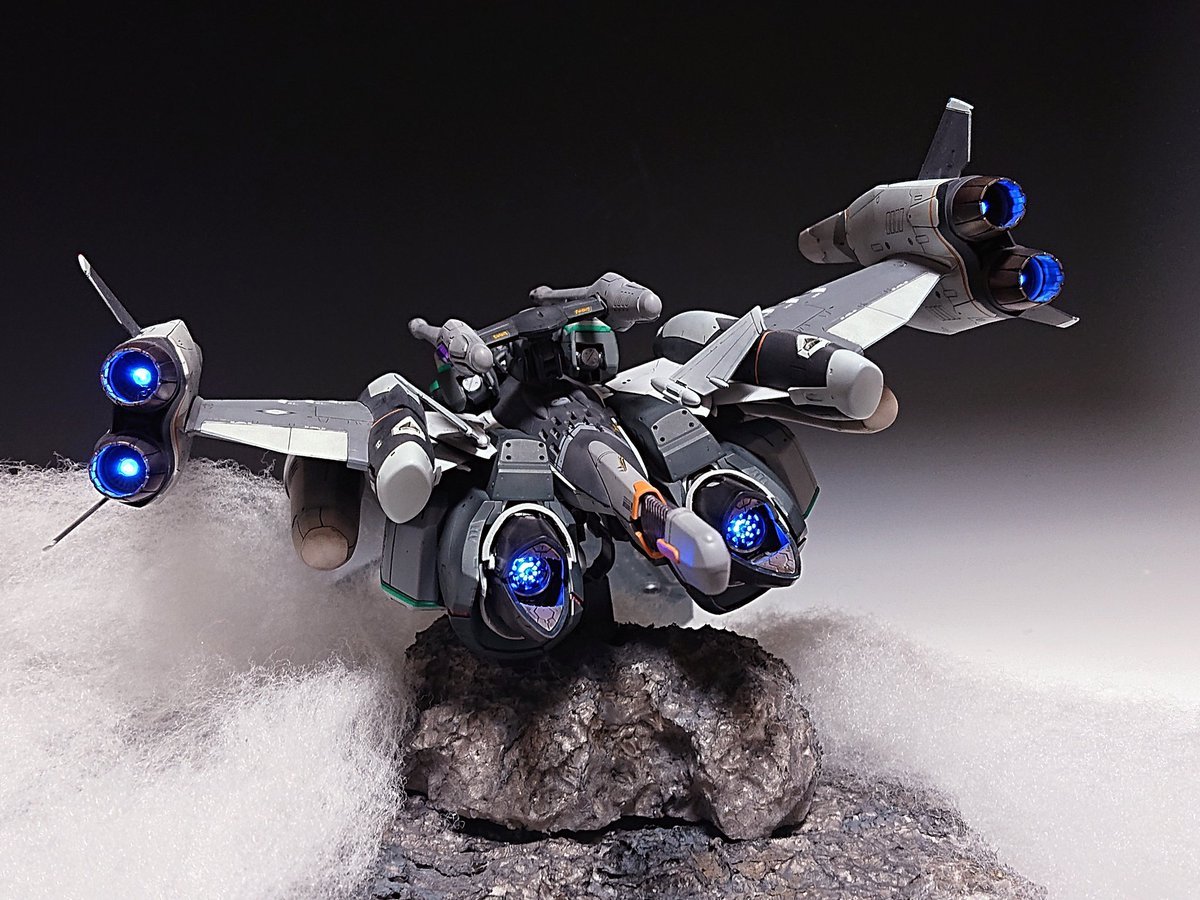
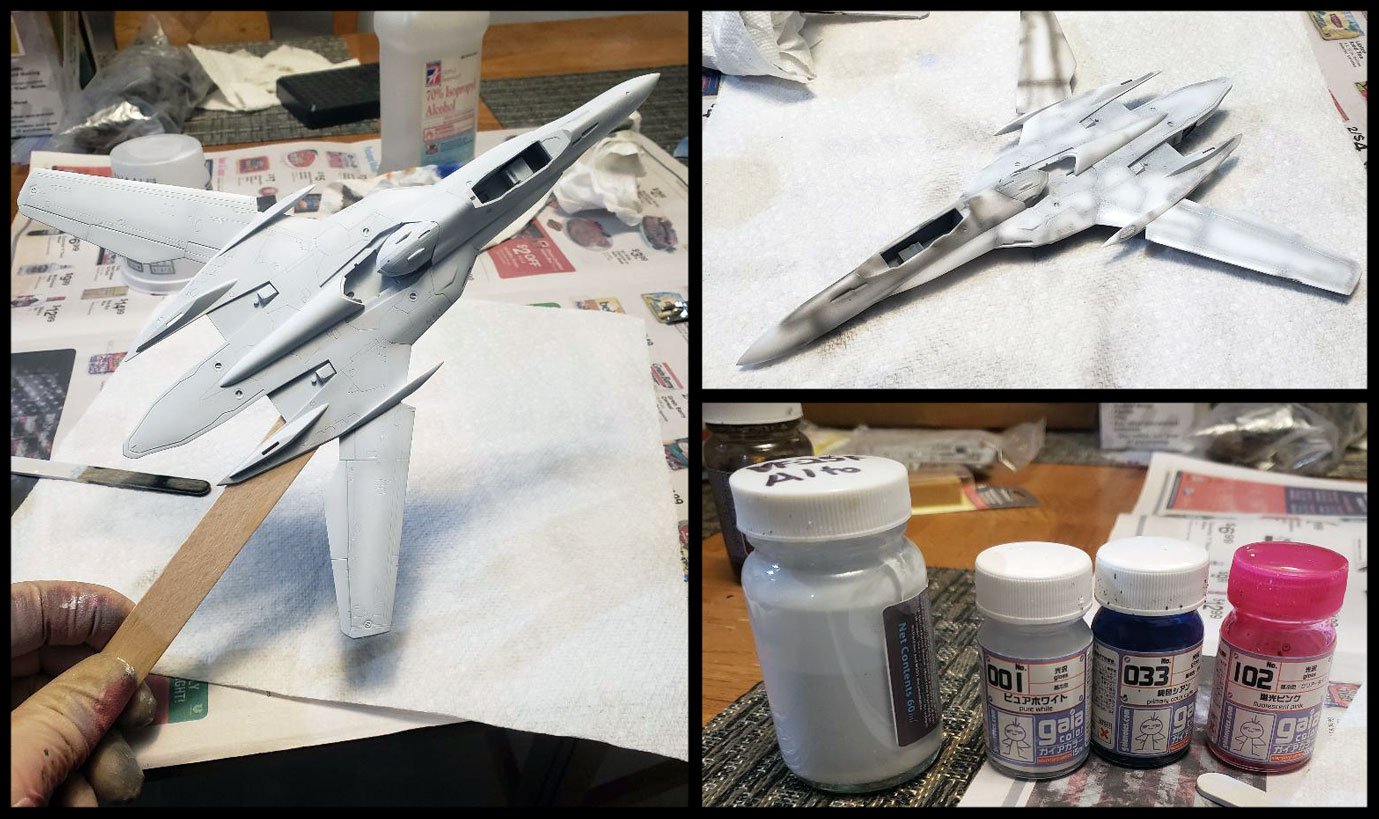
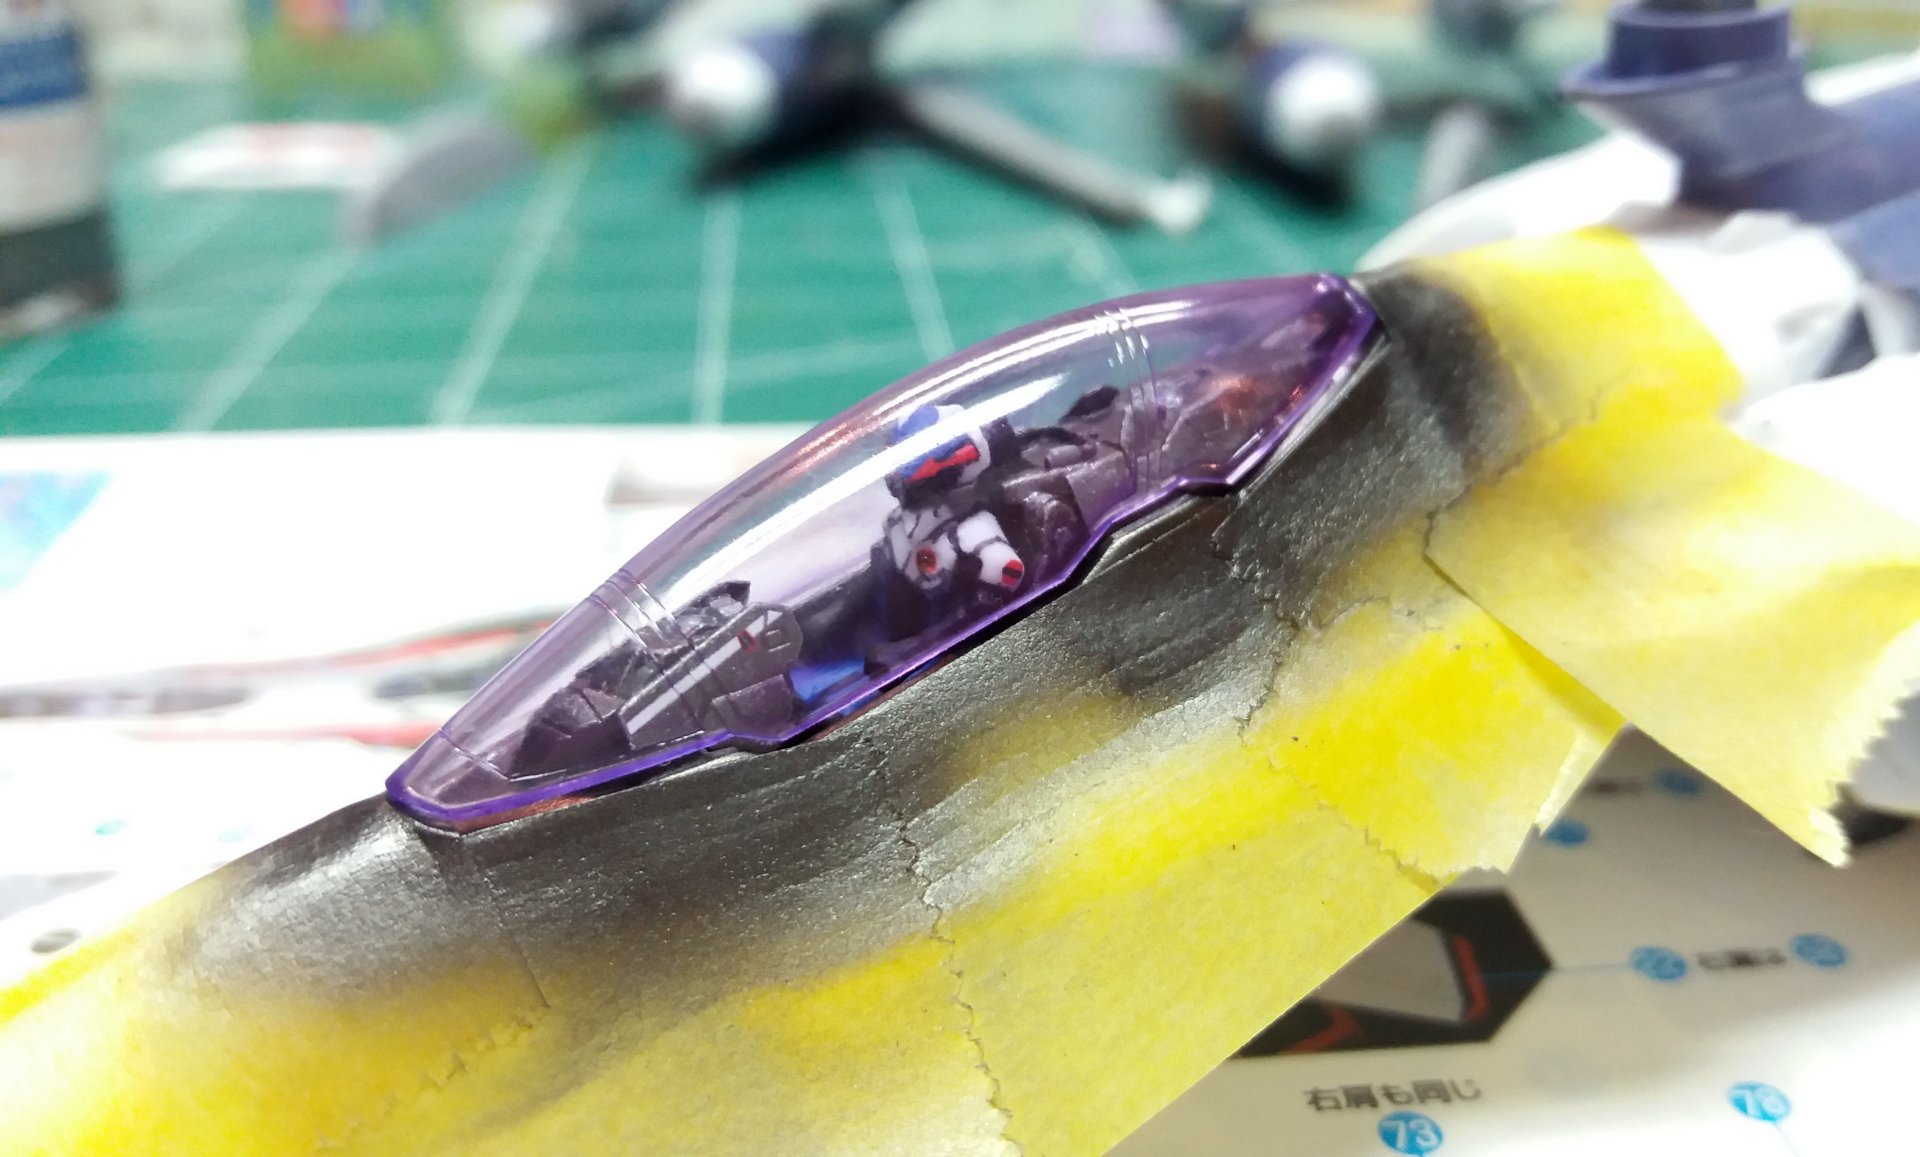
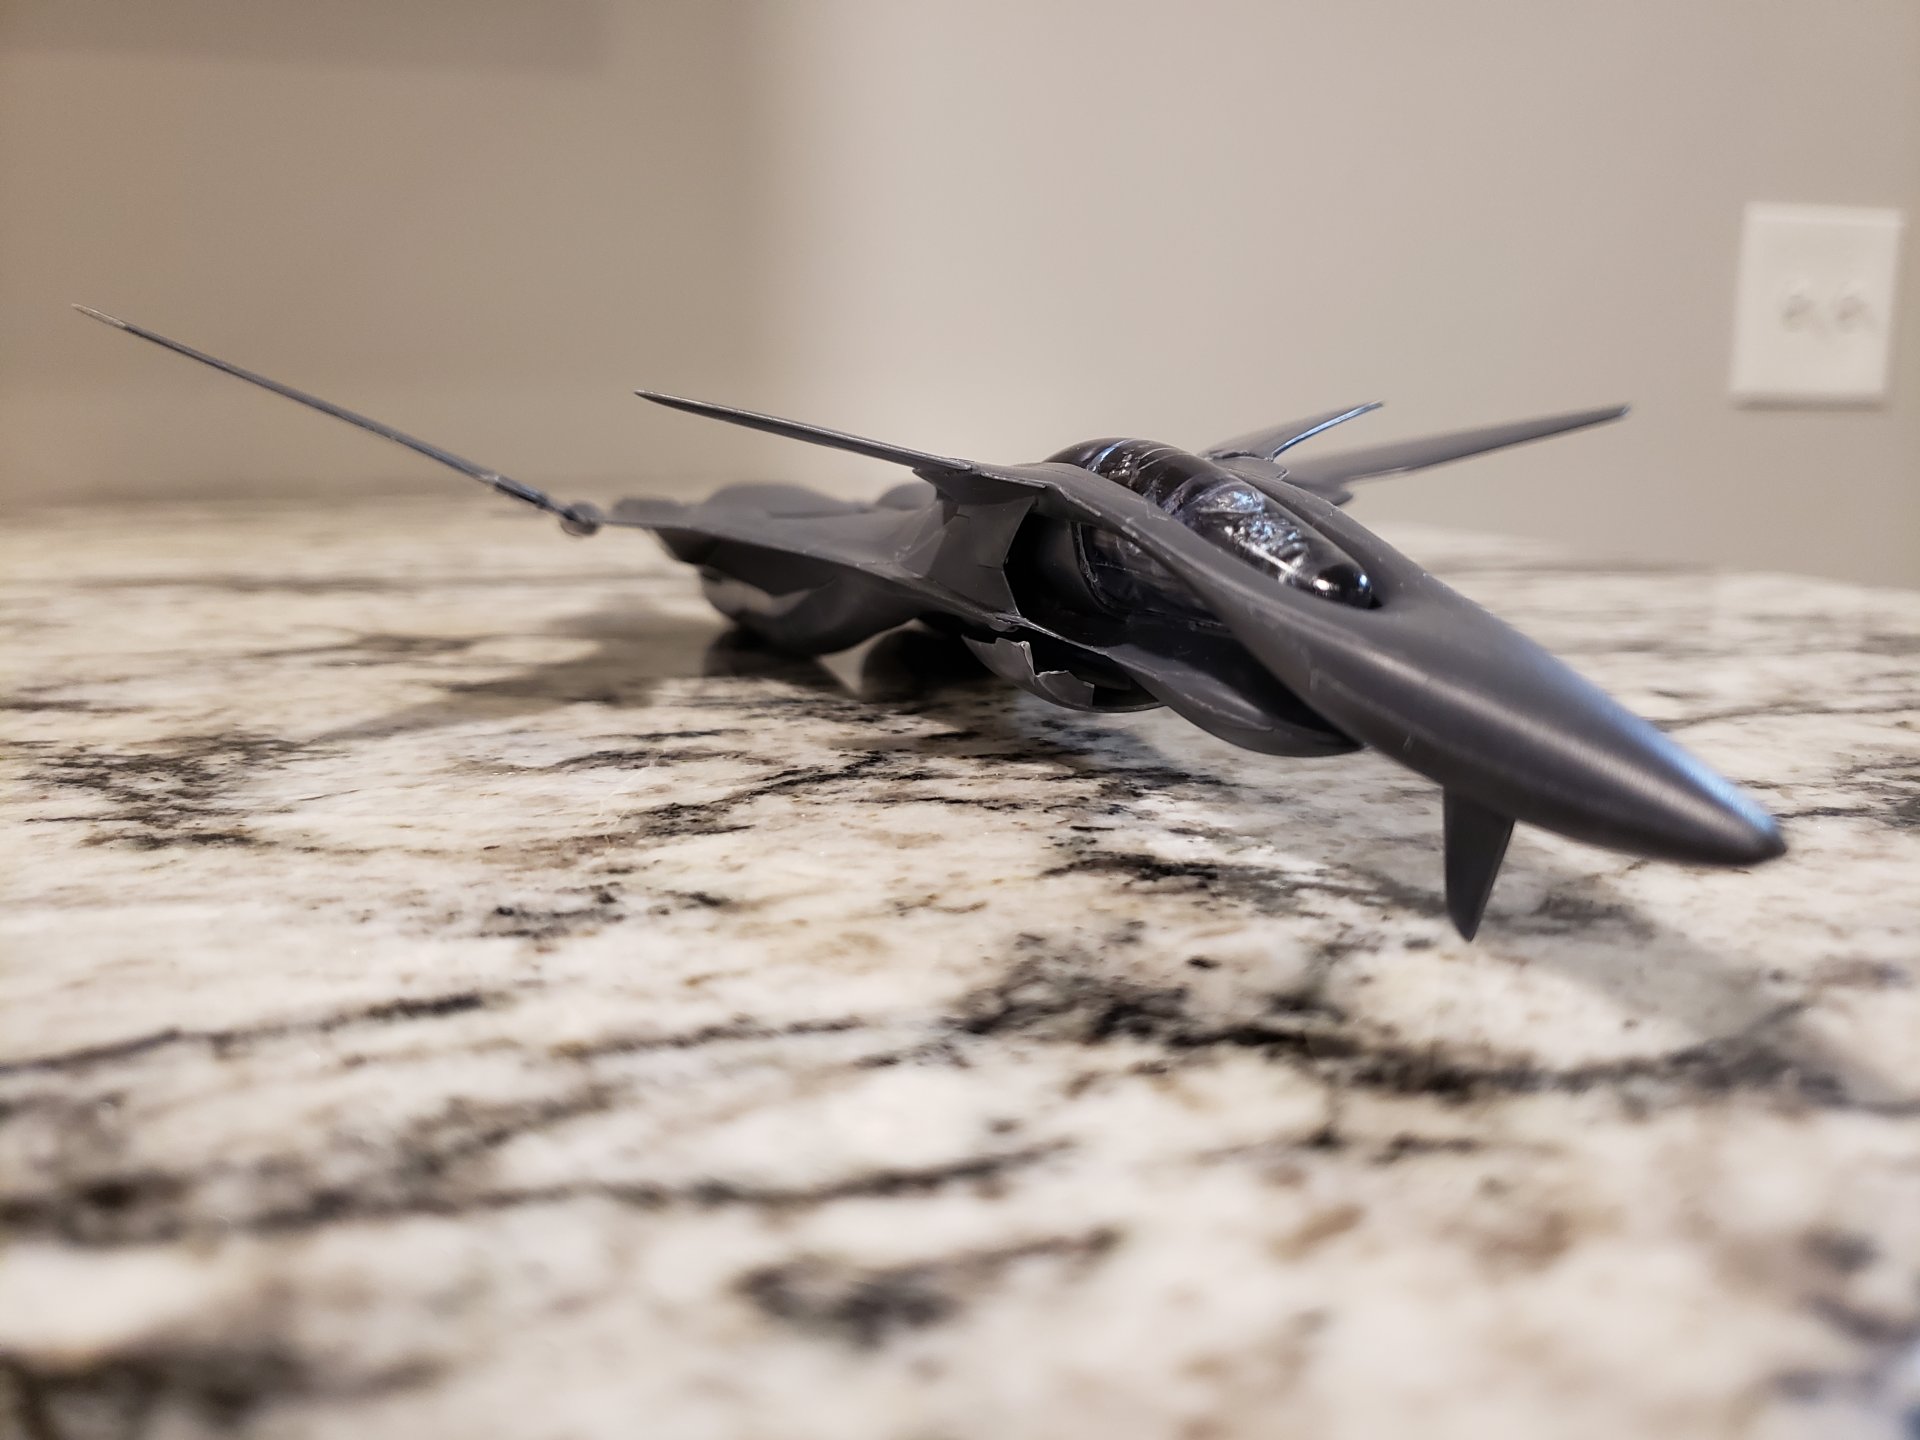
FFFFFFF that took too much effort. [deep breath] Previous mods/work undone, kit fully disassembled and then stripped during a 4+month soak in diluted purple power with a bit of easy-off (oven cleaner.) Then sanded, re-scribed, sanded, packed up for 2 cross-country moves, survived a hurricane, and then cleaned with 70% isopropyl alcohol, stored, resanded, lightly polished with tamiya's compound, recleaned and finally dusted with Mr. Surfacer 1500! to today. Finally got to put in some time while the other project is stalled for a bit. Got her out and managed to go through with a final prep for paintwork on the main body today tonight. After cleaning up the surface and re-reading my thread, (this one) I decided on a new approach to painting less repeat the same mistake. FWIW a jumbo popcicle stick wedged in between the gap behind the wings is a perfect way to hold the VF-25F during painting. Solid as a rock without any glue required! Round 2 see's me using more of a traditional post shading style with an overcoat similar to how real life aircraft might be done. First I applied an off-white base, a mix left over from my recent MG Perfect Strike Gundam I built earlier this year. IIRC it was a mix of Gaia's ultimate white and a bit of tan. I reduced and sprayed it at around a 70:30 (thinner:paint) mixture and only applied enough to hide the majority of the primer. Next up I over reduced some gloss black base and traced all the panel lines, part edges and details. After that was done a bit more black was added to make a stronger mixture and a few key areas (the shadows) were given a 2nd pass. At this point I intended to grab Gaia's Grey IV and Mr. Color's Deep Sea Gray and do a bit of dot filtering and surface modelling however I got a nice surprise in discovering I somehow bent the needle in my fine detail micron airbrush putting that on hold. So instead I mixed up some bright pure white and highlighted a few panels with pre-shading giving the model's surface more variation. I'm using a super bright white now which will be toned down next. One thing I've learned over the years is to always avoid pure white never is something in real life a pure white and doing so creates an undesirable high-contrast effect that can ruin the scale effect of any finish. Lastly I needed the final color. For this I mad a custom mix using Gaia Notes Pure White, Ultimate White, Primary Color Cyan and my favorite paint Flourescent Pink, such a handy addition to breath vibrancy into any dull color. The end result is a violet looking shade of white. I hope this will help tie everything together with a cool tone. It should really help with the purple cockpit hatch and tornado armor pack bits. This custom "Alto Mix" is was sprayed around a super thin 20:80 mix ratio blending everything together in long sweeping front-to-back passes, always making sure to start and stop spraying in front of and behind the model (an not directly on the surface) to not have the paint build up and edge pooling. At this point everything is blending together and Model Master's gloss clear lacquer was lightly airbrushed onto the surface. Before doing any additional surfacing, I've got to get them pesky panel line filled in. 4 year later. edit: also uploaded some older cockpit pictures since the old links expired.

-
Here is a good article on the differences between the MR. Surfacer lines. In short the # represents the build and grit of the product with 500 being more fore filling and 1200 closer to a slick paint coat. http://www.swannysmodels.com/Surfacer.html
-
Jasmine's creators is actually a member here. His ID is newca. He's released and sold tons of set from the VF-11 Thunderbolt to the VF-25 Messiah. Looking at his post history you should be able to pictures and item numbers. Unfortunately the ebay store and almost everything macross-related (except the full fram vf-1) has been removed from their site and store. Originating from Chine, you might try Taobao.
-
I had to take a brake there. The lock-on was getting to me. It doesn't help that call signs, aircraft names and target designations are all small text, often too hard to read against the sky background sometimes... For this mission I was in the F22 Super Tomcat with the long range lock air-to-air special weapon.
-
In for the F-Type armor!
-
Seconded, Throw in a Durandal too! You can finish your EVA 01 while we wait... ;P
-

-
The only fighter I love more than my valks!
-
Hobby Town USA on North Oak carries Tamiya's products...
-
Macross Δ (Delta) Movie Gekijō no Walkūre (Passionate Walkure)
Rock replied to no3Ljm's topic in Movies and TV Series
Plot twist. To save on production time, Mirage and Hayate's character have been combined. Mirage, now taking the spotlight, feels down due to the pressure of living up to her family name. That is until she meets a hopeful young idol Freyja and they together walk the path of pilot and star. Mirage, Freyja, Mikumo triangle certain. lmao ('Least Mirage would have a plot this round.)