derex3592
-
Posts
8814 -
Joined
-
Last visited
Content Type
Profiles
Forums
Events
Gallery
Everything posted by derex3592
-
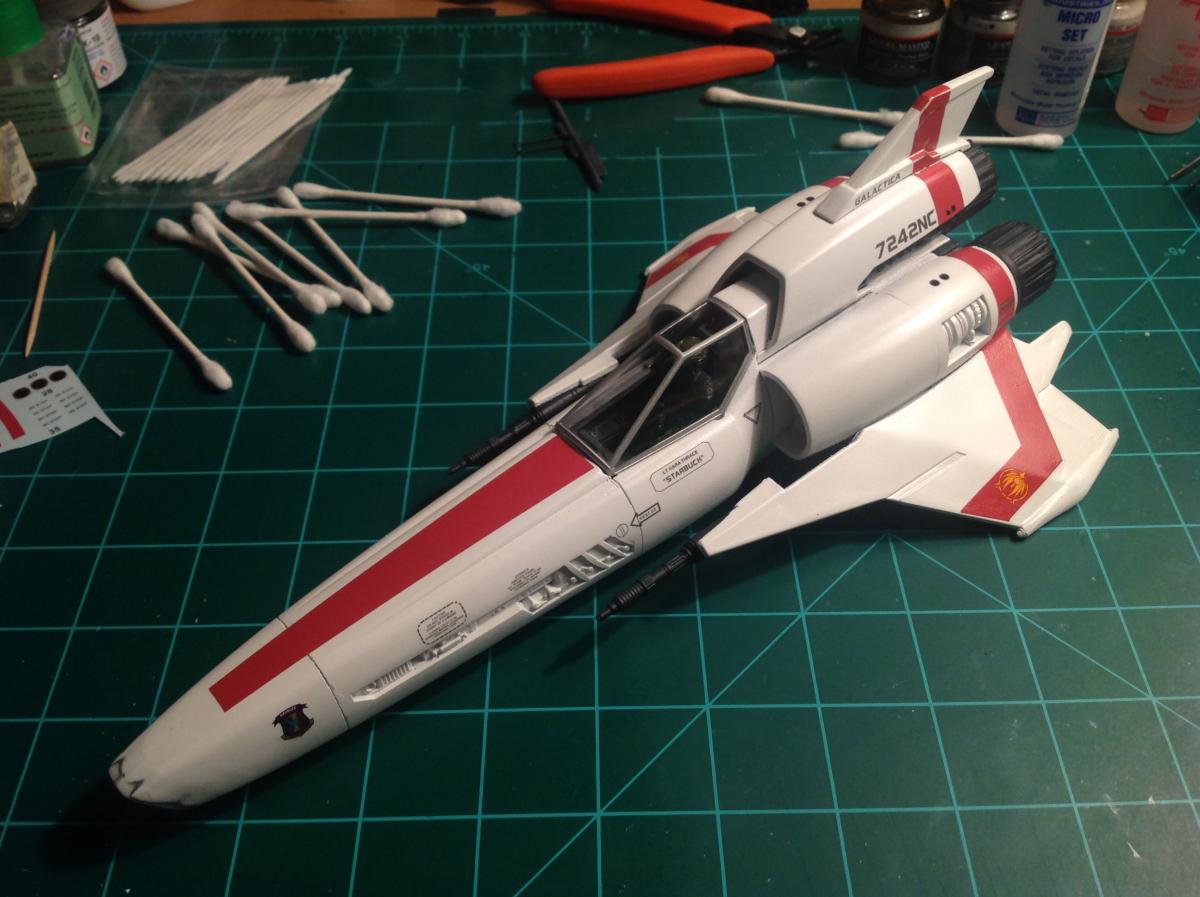
Thanks Thom! I've gotten to where I consider myself pretty darn good with water slides these days..they don't scare me and I actually look forward to that part of the model. After my Galactica build I went in knowing the Moebius decals might give me trouble so when doing the instruments in the cockpit early on I kinda knew what to expect. I find that most all water slides do well with the following method..now of course this doesn't account for one's ability to "wrap" certain decals around a 3 dimensional object...like a nose of a Viper let's say. Hope this helps any new guys out there....but this is the way I go about it now. 1. I have a warming plate that I keep my bowl of tap water on that keeps the water fairly warm..almost hot to the touch actually, that I dip my decals in for about 10 seconds. Some like the Moebius decals I did for about 15 seconds. 2. I let the decal sit for anywhere from 30 seconds to a minute and then just ever so slightly try to move it with my finger. If it doesn't move any, I let it sit a bit longer or maybe another 5 or 10 seconds dip in the water until it moves freely on the backing paper 3. I slide the decal to the edge and about half way off the backing paper and then use a slightly moist paintbrush to put it on the model. BEFORE I do this though I have of course gloss coated the model and then I brush some water on the model where the decal is going to go BEFORE I put it on the model. Some decals you can move around....others....like these are DOWN LIKE CEMENT if you don't put some water down under them and DO NOT put Micro Sol or Set down first unless you KNOW your decals are somewhat forgiving and can be moved around after placement. I use a moist paint brush to get the decal in place or a toothpick can be useful as well. I have used my X-Acto blade but you gotta be careful doing this! 4. After the decal is in place I use a Q-tip just around the decal to soak up any extra water . Don't touch the Q-Tip to the decal. (Also the Tamiya small pointy Q-Tip things are GREAT for small decals) 5. After a minute or so I ever so slightly roll the Q-Tip over the decal to get out any bubbles or wrinkles or just to basically kind of secure it down in place. 6. After another minute or so I'll brush Micro Sol or Set over the top of the decal and just let it dry naturally. 6.1...IF you are putting the decal over panel lines or other raised areas of any kind refer to the instructions of the Micro Sol and Micro Set, but I highly recommend you experiment first on some scrap model and old extra decals. When you get it right it does give a great "painted on" look, but in my experience it takes some trial and error to get right!
-
I hear you! I just didn't want to try to paint red right beside white. And I kiiiinda wanted the "Starbuck back from the dead pristine Viper" look if possible...I wish I had listened to 505th a few pages back and followed his stripes plan. Oh well. This morning I was clear-er headed and touched up the tail with a tiny brush and some good old basic Testors enamel red...looks pretty good at a glance. After some flat finish I think it will look ok. As for the nose...I do have a plan, and a back up plan. Just gonna take a little time to do it. Stay tuned!
-
Nice Tumbler!... In other news I tried to do decals today.....some of them were great.....some not so much. The wrap around nose was a disaster which i had to scrape off and now have to try and respray the white and then mask and spray the red stripe. The tail is just crap and i dont know how to make it look any better. I have to say this has turned out to be one of the hardest model kids I've ever tried to do. It is a not very well thought out kit. Two thumbs WAY DOWN for this kit.

-
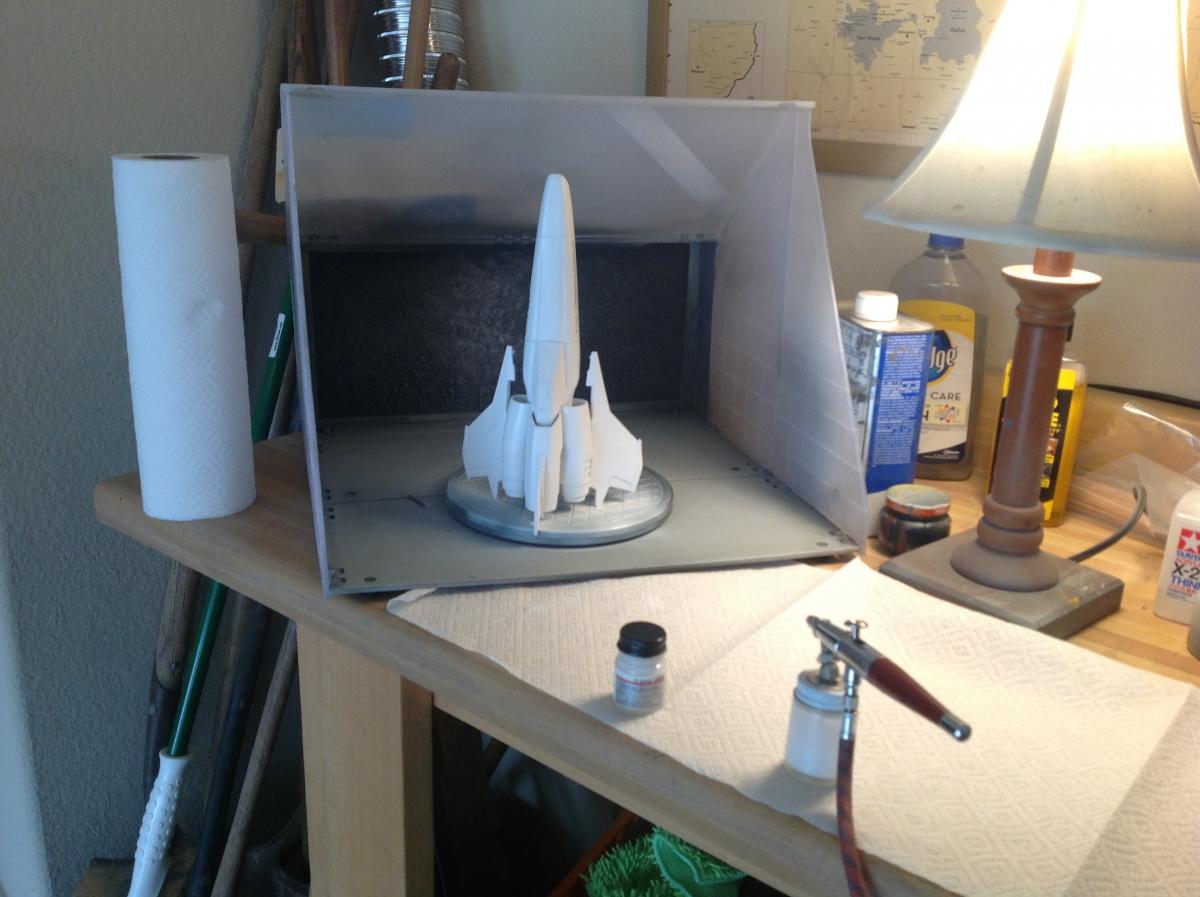
After several failed attempts at white spray paint I decided to actually try airbrushing classic white model master enamel.... Lays down beautifully.... who knew? Lol..

-
Incredible work . Super jealous over here. Ohh if they had only made the 2 other bikes...and even gone ahead and make Jim's/Lunks jeep! Didn't somebody around here make a custom in scale custom one at one point?
-
Looks like a promising first release from Arcadia! I agree the new canopy color needs to be on releases. I eagerly await the re-re-re-lease of the VT-1 Super Ostrich (crosses fingers)
-
How do you hide it in fighter and gerwalk?
-
NICE G1 collection! In my opinion (as a child of the 80's) the ONLY Transformers.
-
THIS! and nothing else! Hmm....perhaps I should start looking for an extra bike to purchase....
-
AGREED!!!!
-
The Chuck Norris stuff in 2 had me falling off the couch laughing at the awesomeness of it all! Loved it. Will for sure see the 3rd ! Harrison Ford and all the rest!!?? Are you freaking kidding me??!!
-
 BAHAHAHAHAHAHAAHAHAAHA!
 -
Already have 3 Yamato Roy's..DYRL,TV Roy and Low Vis Roy...easy pass for me..looks good though..probably just the pics but it looks WAY whiter than my DYRL. Looks like the TV white.
-
I agree---a video from battroid BACK to fighter would be useful on the 17!! I do it just often enough to forget everything!
-
1/48+fp's, 1/60+fp's, 1/72, 1/2k, 1/3k,1/100 and now 1/144
derex3592 replied to VF-18S Hornet's topic in Toys
this. -
First few rounds of white spray paint/sanding done on the Viper this weekend...

-
1/48+fp's, 1/60+fp's, 1/72, 1/2k, 1/3k,1/100 and now 1/144
derex3592 replied to VF-18S Hornet's topic in Toys
Great job on the red 17!!! -
ditto....amazing looking model. Great Job!
-
Going with the canon scheme.
-
White Snake, The Damn Yankees, Cinderella!!!, Motley Crue, Def Lepard, Iron Maiden, and even some Journey baby! ohhh yeeah!!!
-
So what are you willing to pay for Arcadia YF-19?
derex3592 replied to 1/1 LowViz Lurker's topic in Toys
I like the VF-X because it literally looks like it fell right out of the anime where somebody just decided "hey...I'm gonna write TEST real big down the leg!" It's a cool looking Valk, and as other's have stated..real darn close to a low vis grey paint scheme. -
I've never built this kit, but take the advice of guys on here bro....it sounds like you REALLY need to start off with something simple. Some models go together well, some don't. Please don't waste your time and money on something you will get frustrated with and fling it against the wall. Ask me how I know....
-
Well it would have to be way bigger than the E...I mean you can't fit a giant Brewery in just any old Starfleet engine room...
-
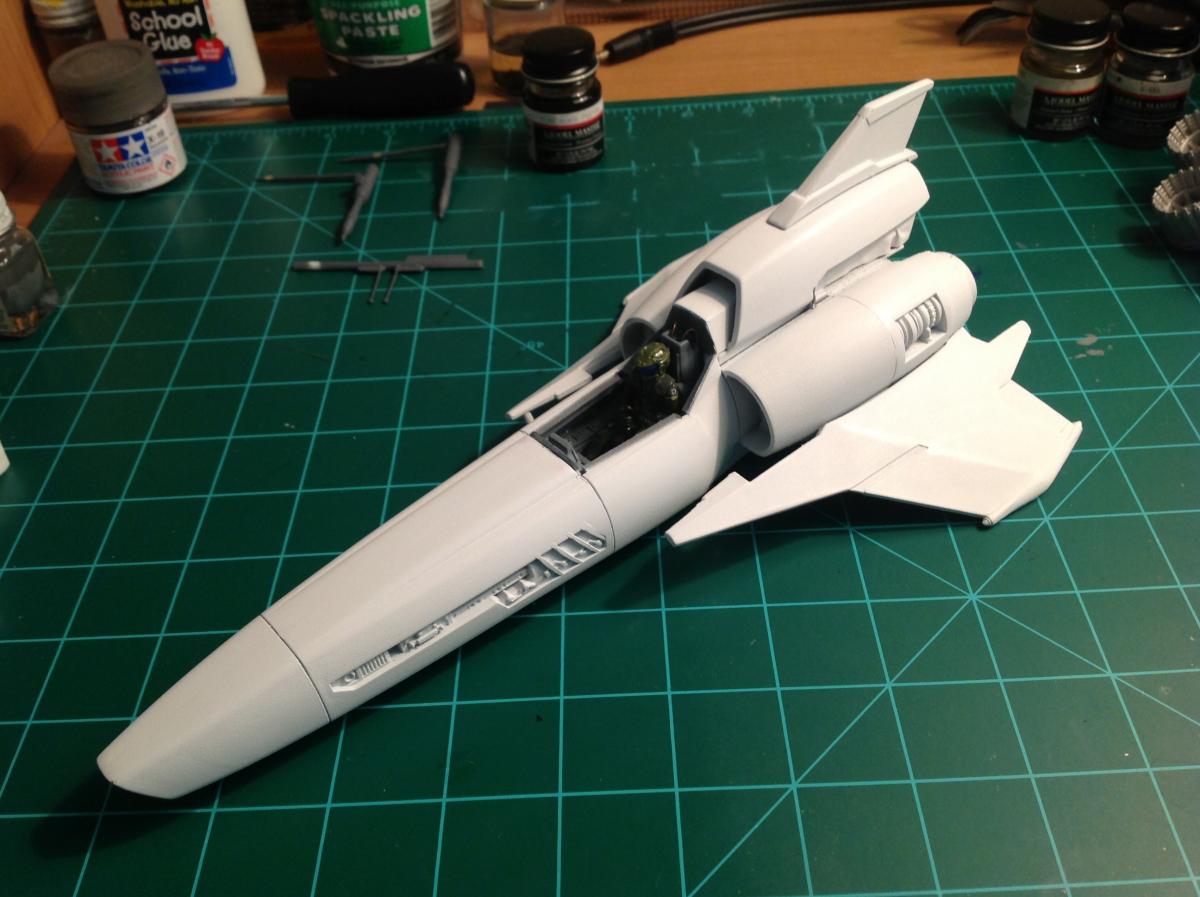
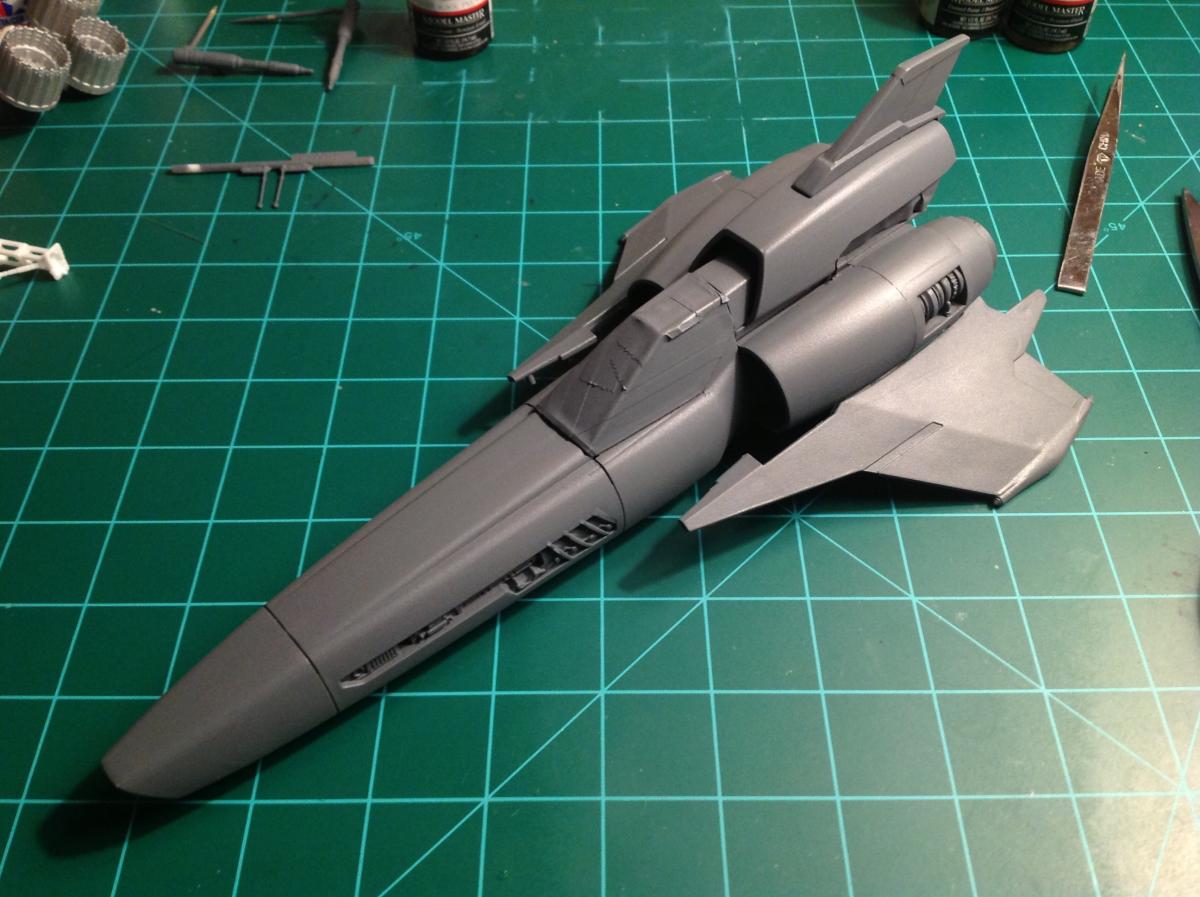
Ditto....viper is primed, puttied, sanded, primed again and sanded again...etc...ready for white paint...may the Lords of Kobel help me....
-
The red dress was redonkulous