

Urashiman
-
Posts
630 -
Joined
-
Last visited
Content Type
Profiles
Forums
Events
Gallery
Posts posted by Urashiman
-
-
On 5/28/2023 at 2:12 PM, Thom said:
@Urashiman Did the wash eat into the paint? I think I've heard of that happening with some washes. For an alternative, have you used or tried clay-based washes like Flory or ProModeller?
Well, it just straight went into the fine structures of the uneven paintjob. It wouldn't be that bad if the color would have been more glossy. Technically, I have to rub the color off, and then spray it again to fix the issue here.
@Big s Yeah, it is the tamiya panel line stuff. It is too thin. I will go back to oil color washes now. It smells more due to the turpentine, but works much better. I am p****d because the panel liner from tamiya worked great on my gundam and the 3D prints, even with mate colors. hurghghghghglgl!
@ahiachris Nice rabbit! Is it a scratch build or 3d printed?
@Bolt Yeah ... I kinda got back some motivation as the F-14 turned out that well. The VF-19 and the VF-22 looks nice so far as well. Sometimes the setback is just annoying as hell. -
@pengbuzz & @Big s, thanks a lot for the troubleshooting. I usually use gloss color or a gloss coat so panel lines and washes go great. From time to time, color is less glossy in some areas, the surface a bit more rought, causing the stuff to look super dirty. To fix that, In usually spray over it, so the model is recovered.
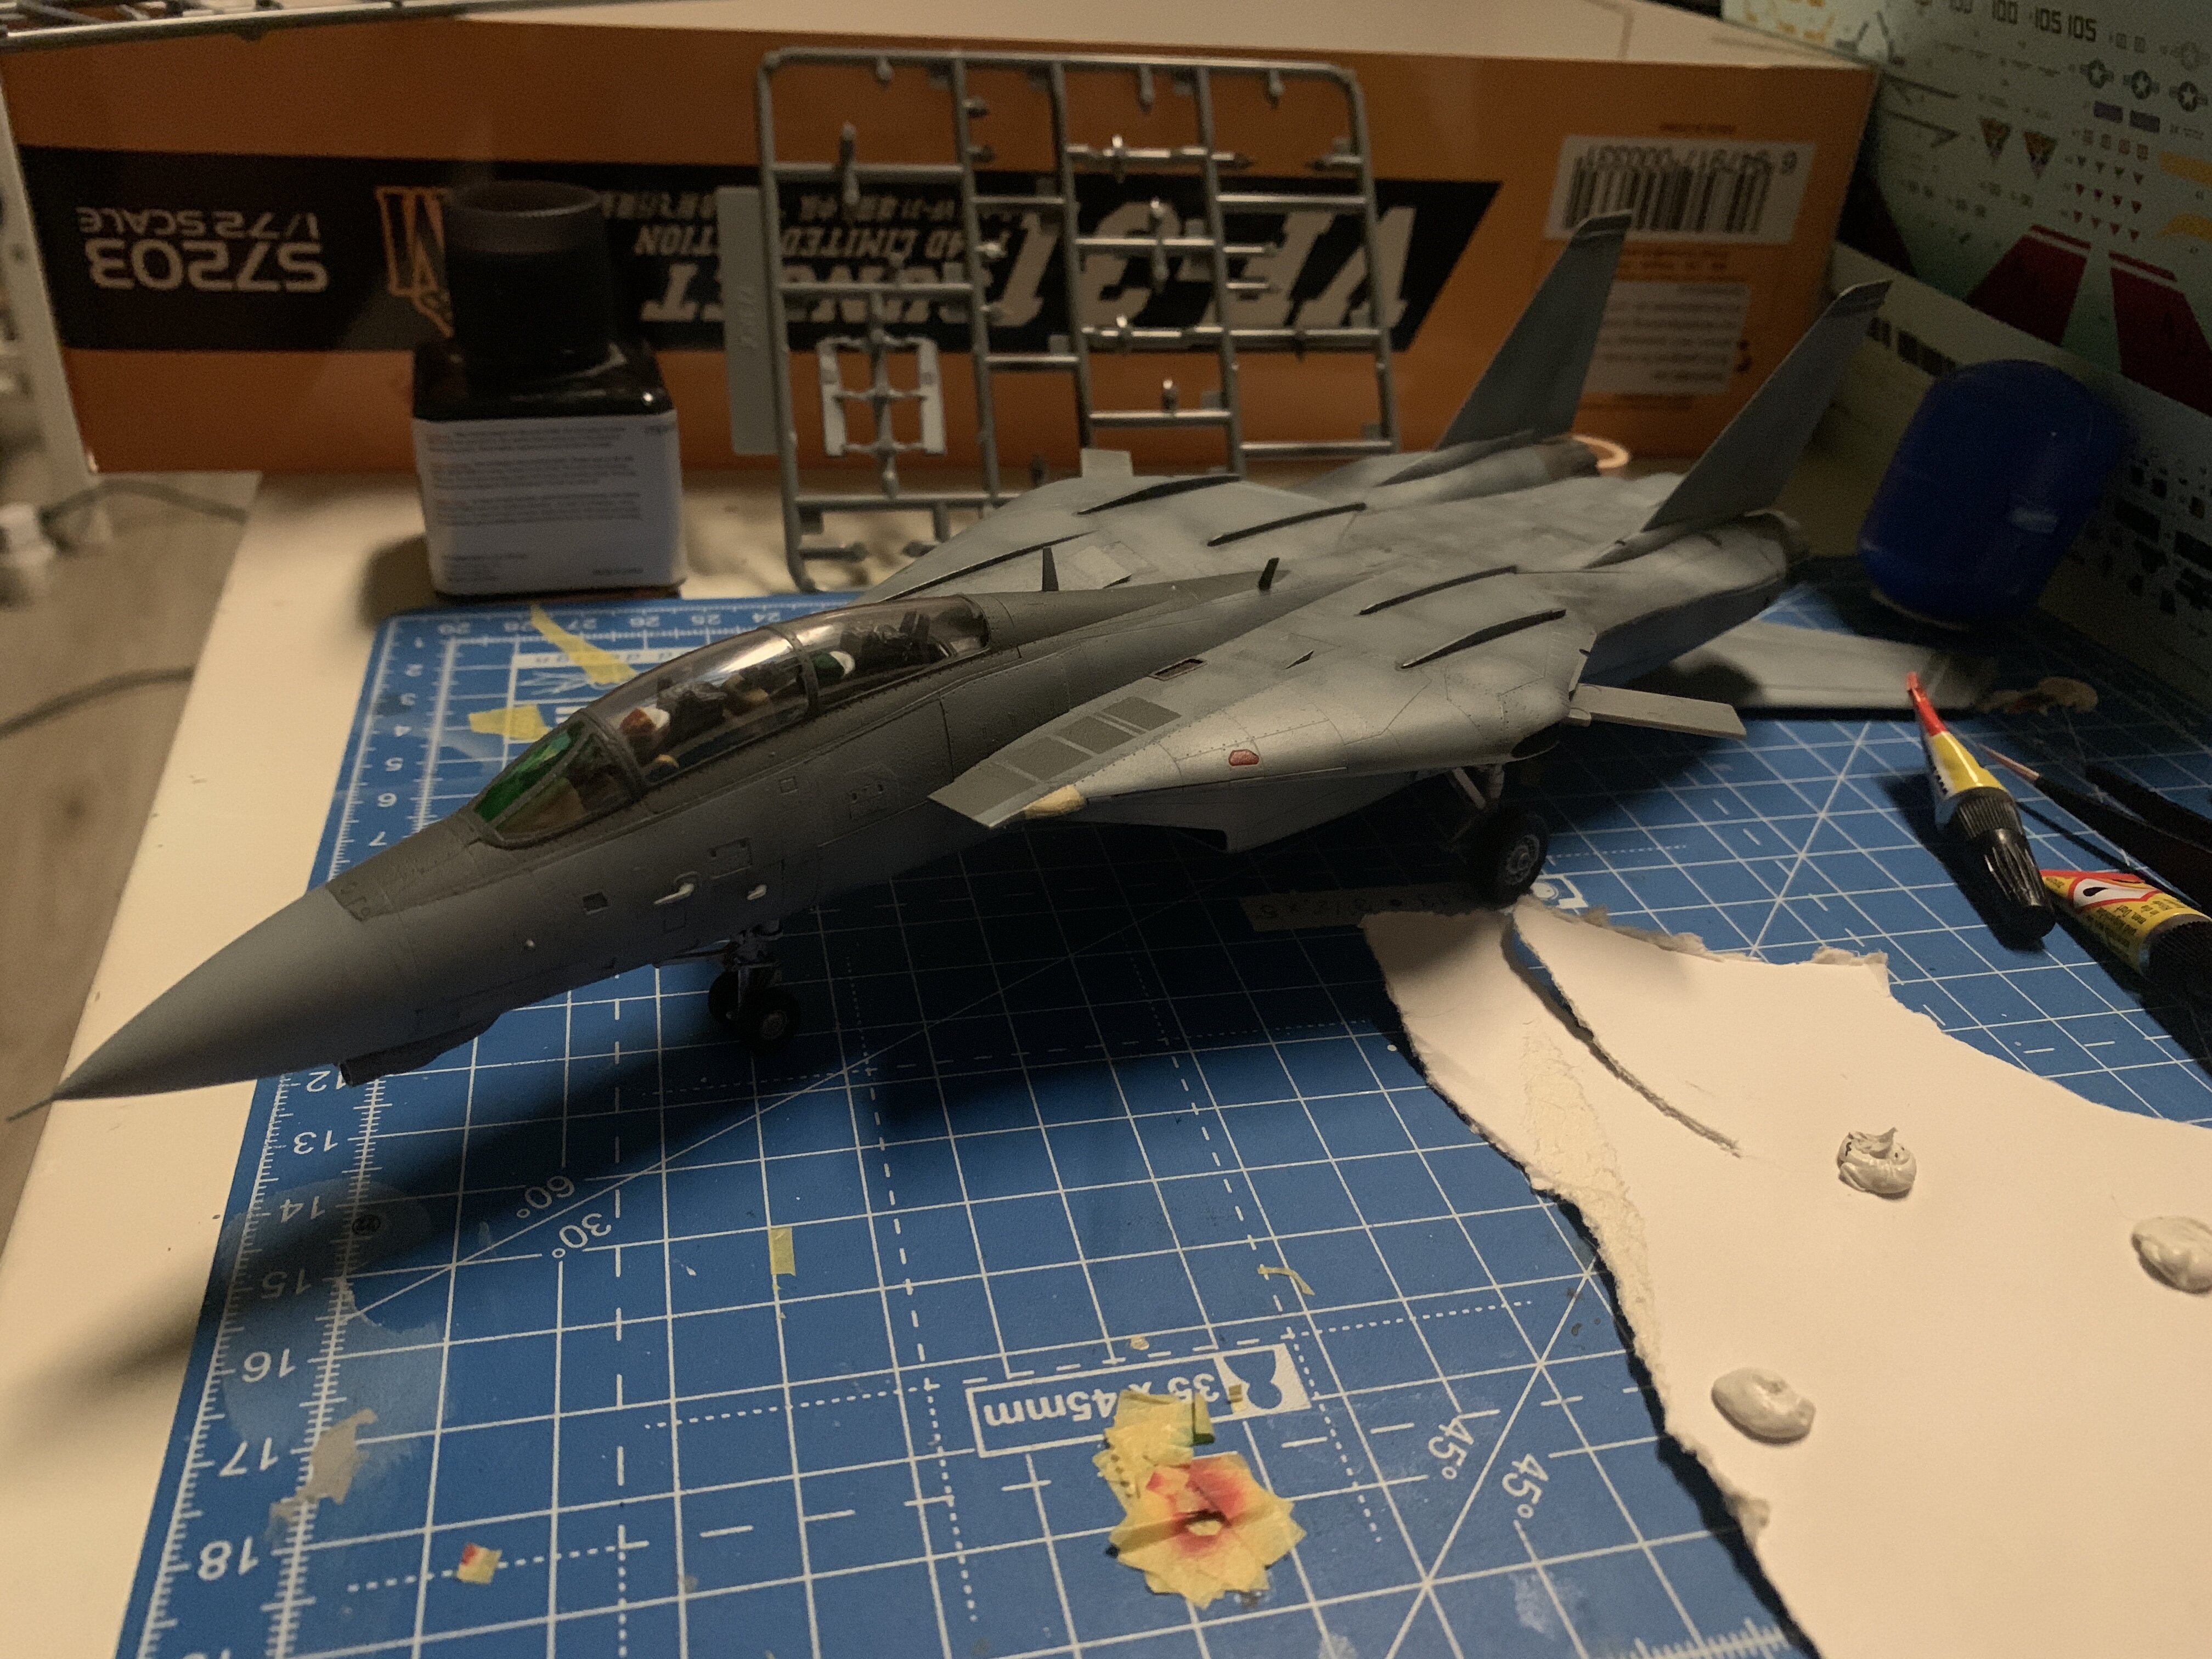
ps: my f-14 coming along well.
-
$%#@&!!!!!!
Never going to panelline and wash anything anymore ...
The wash went super bad on my Plamax VF-1. I am really unhappy, and I am at the point where I am just like "Argh ... **** it, just **** is, I am not going into contests with this."
And I think I forgot to paint something...

😒
-
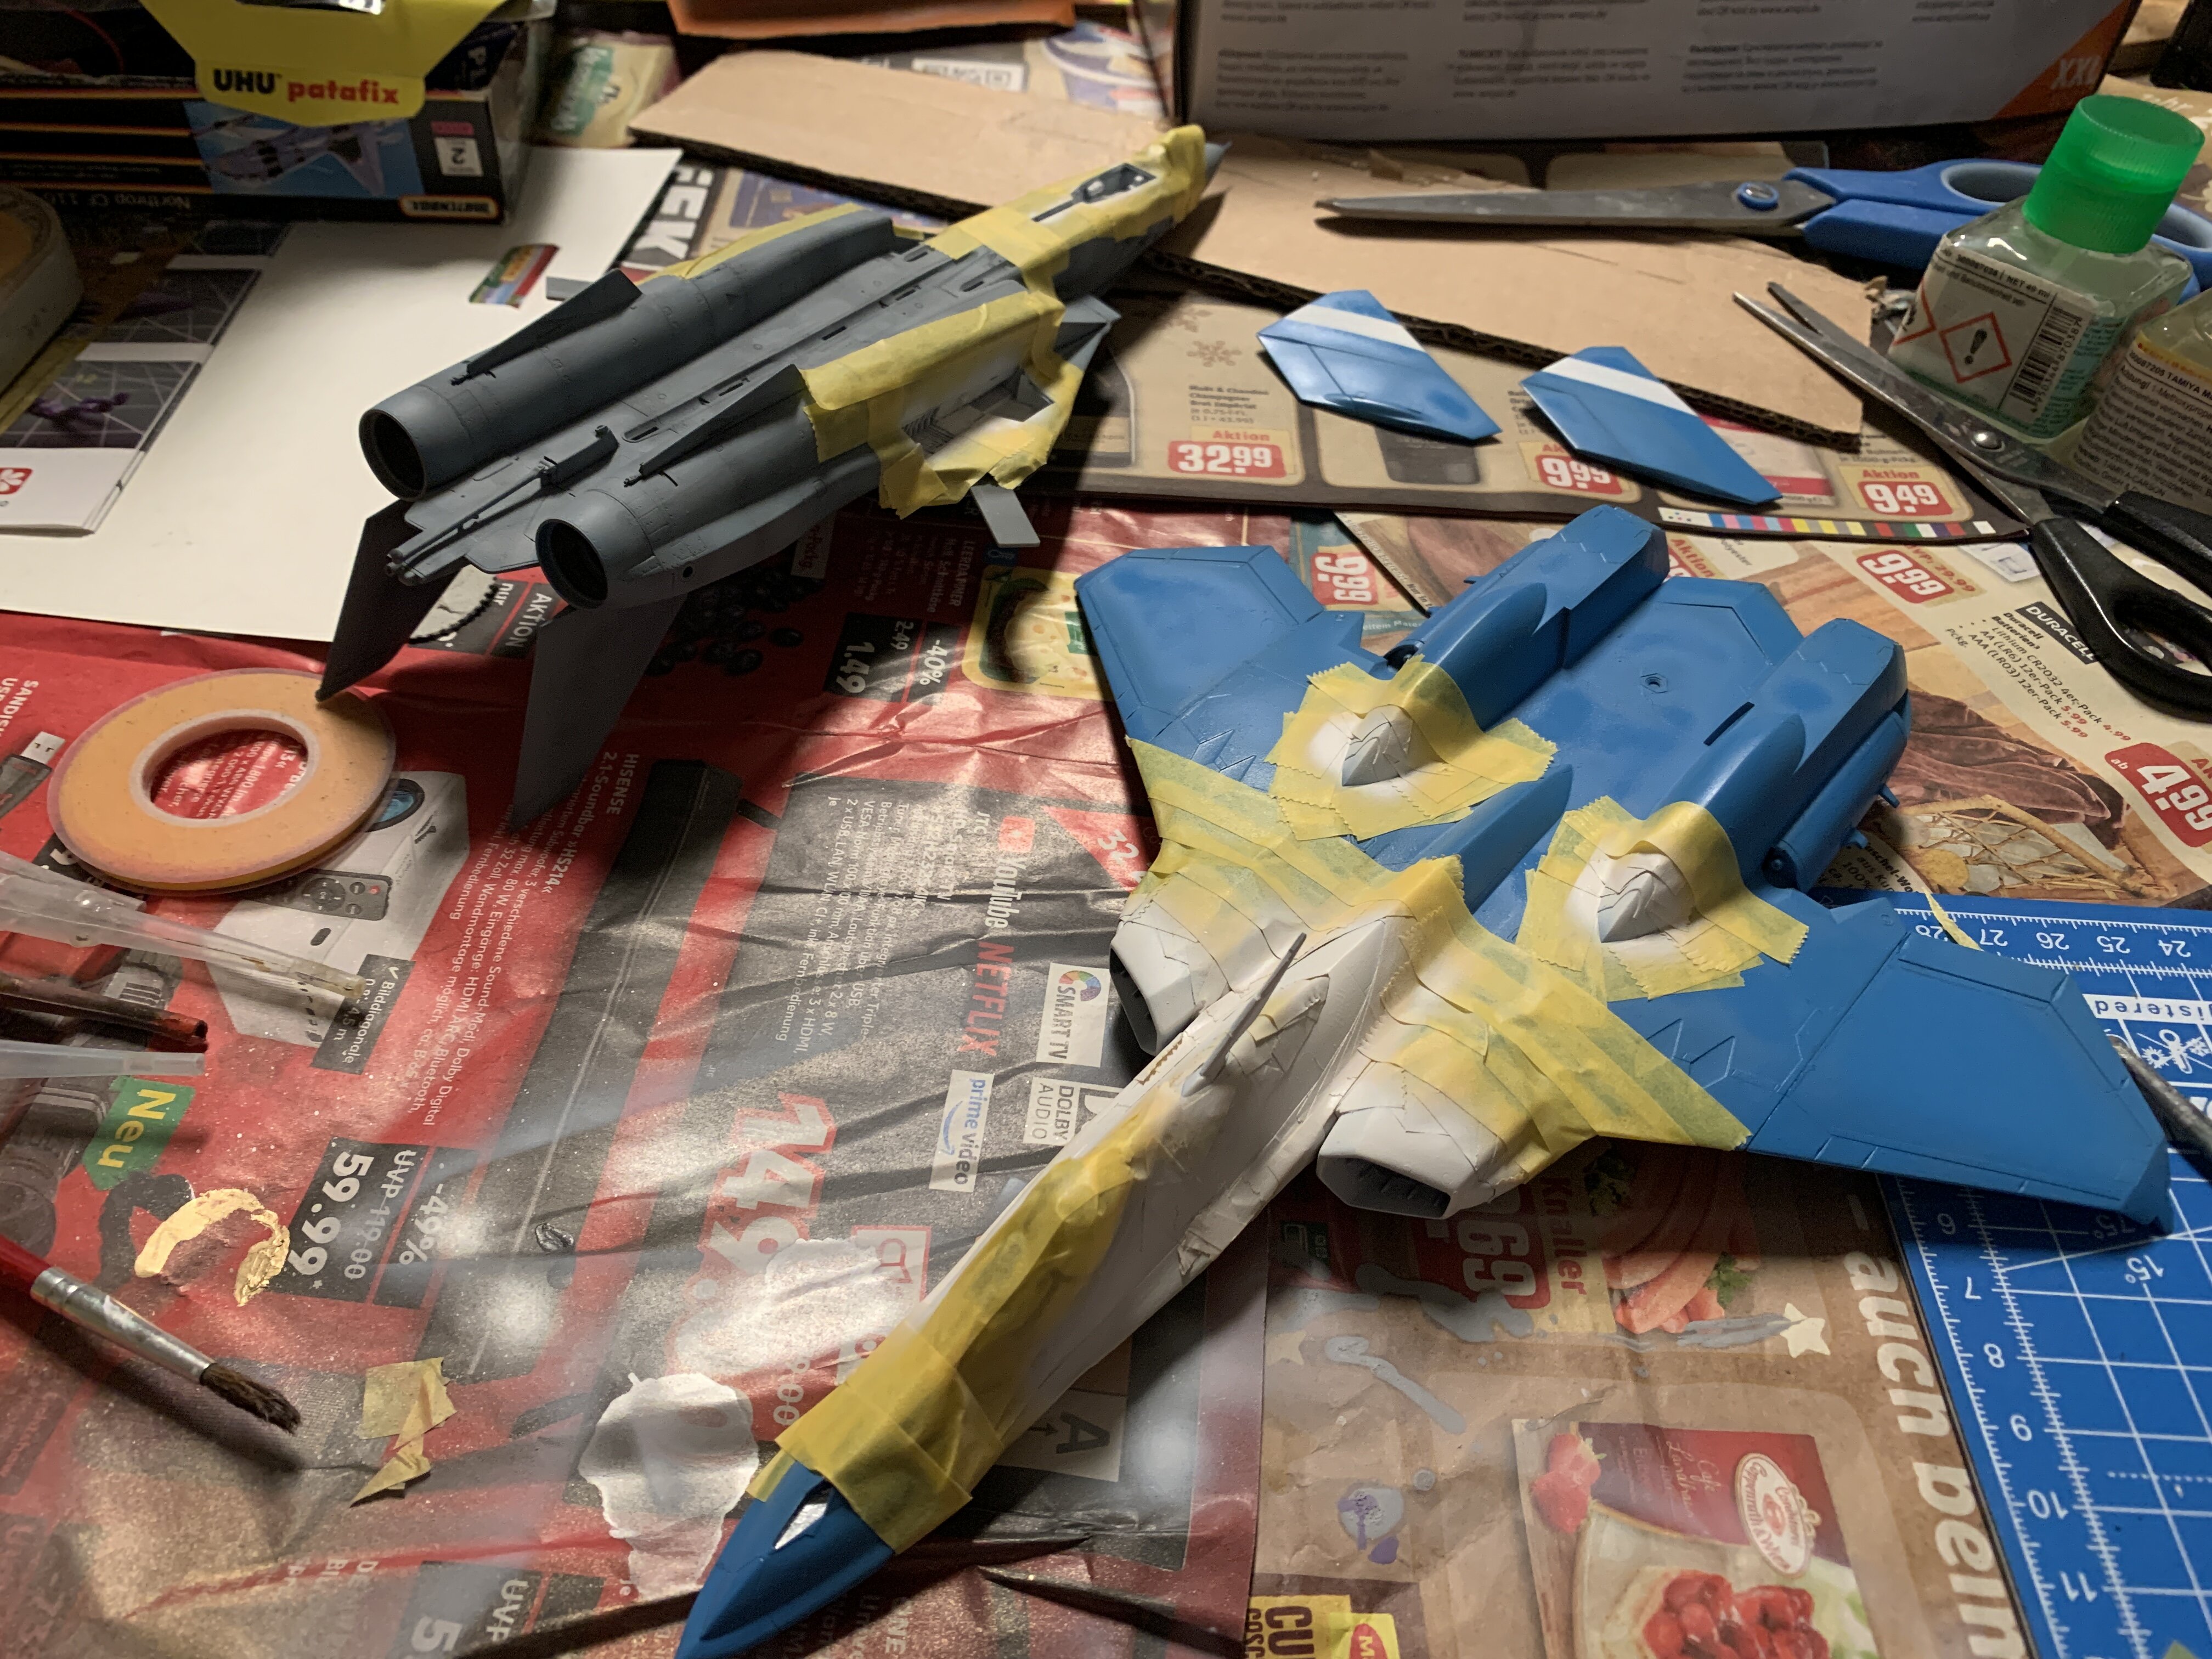
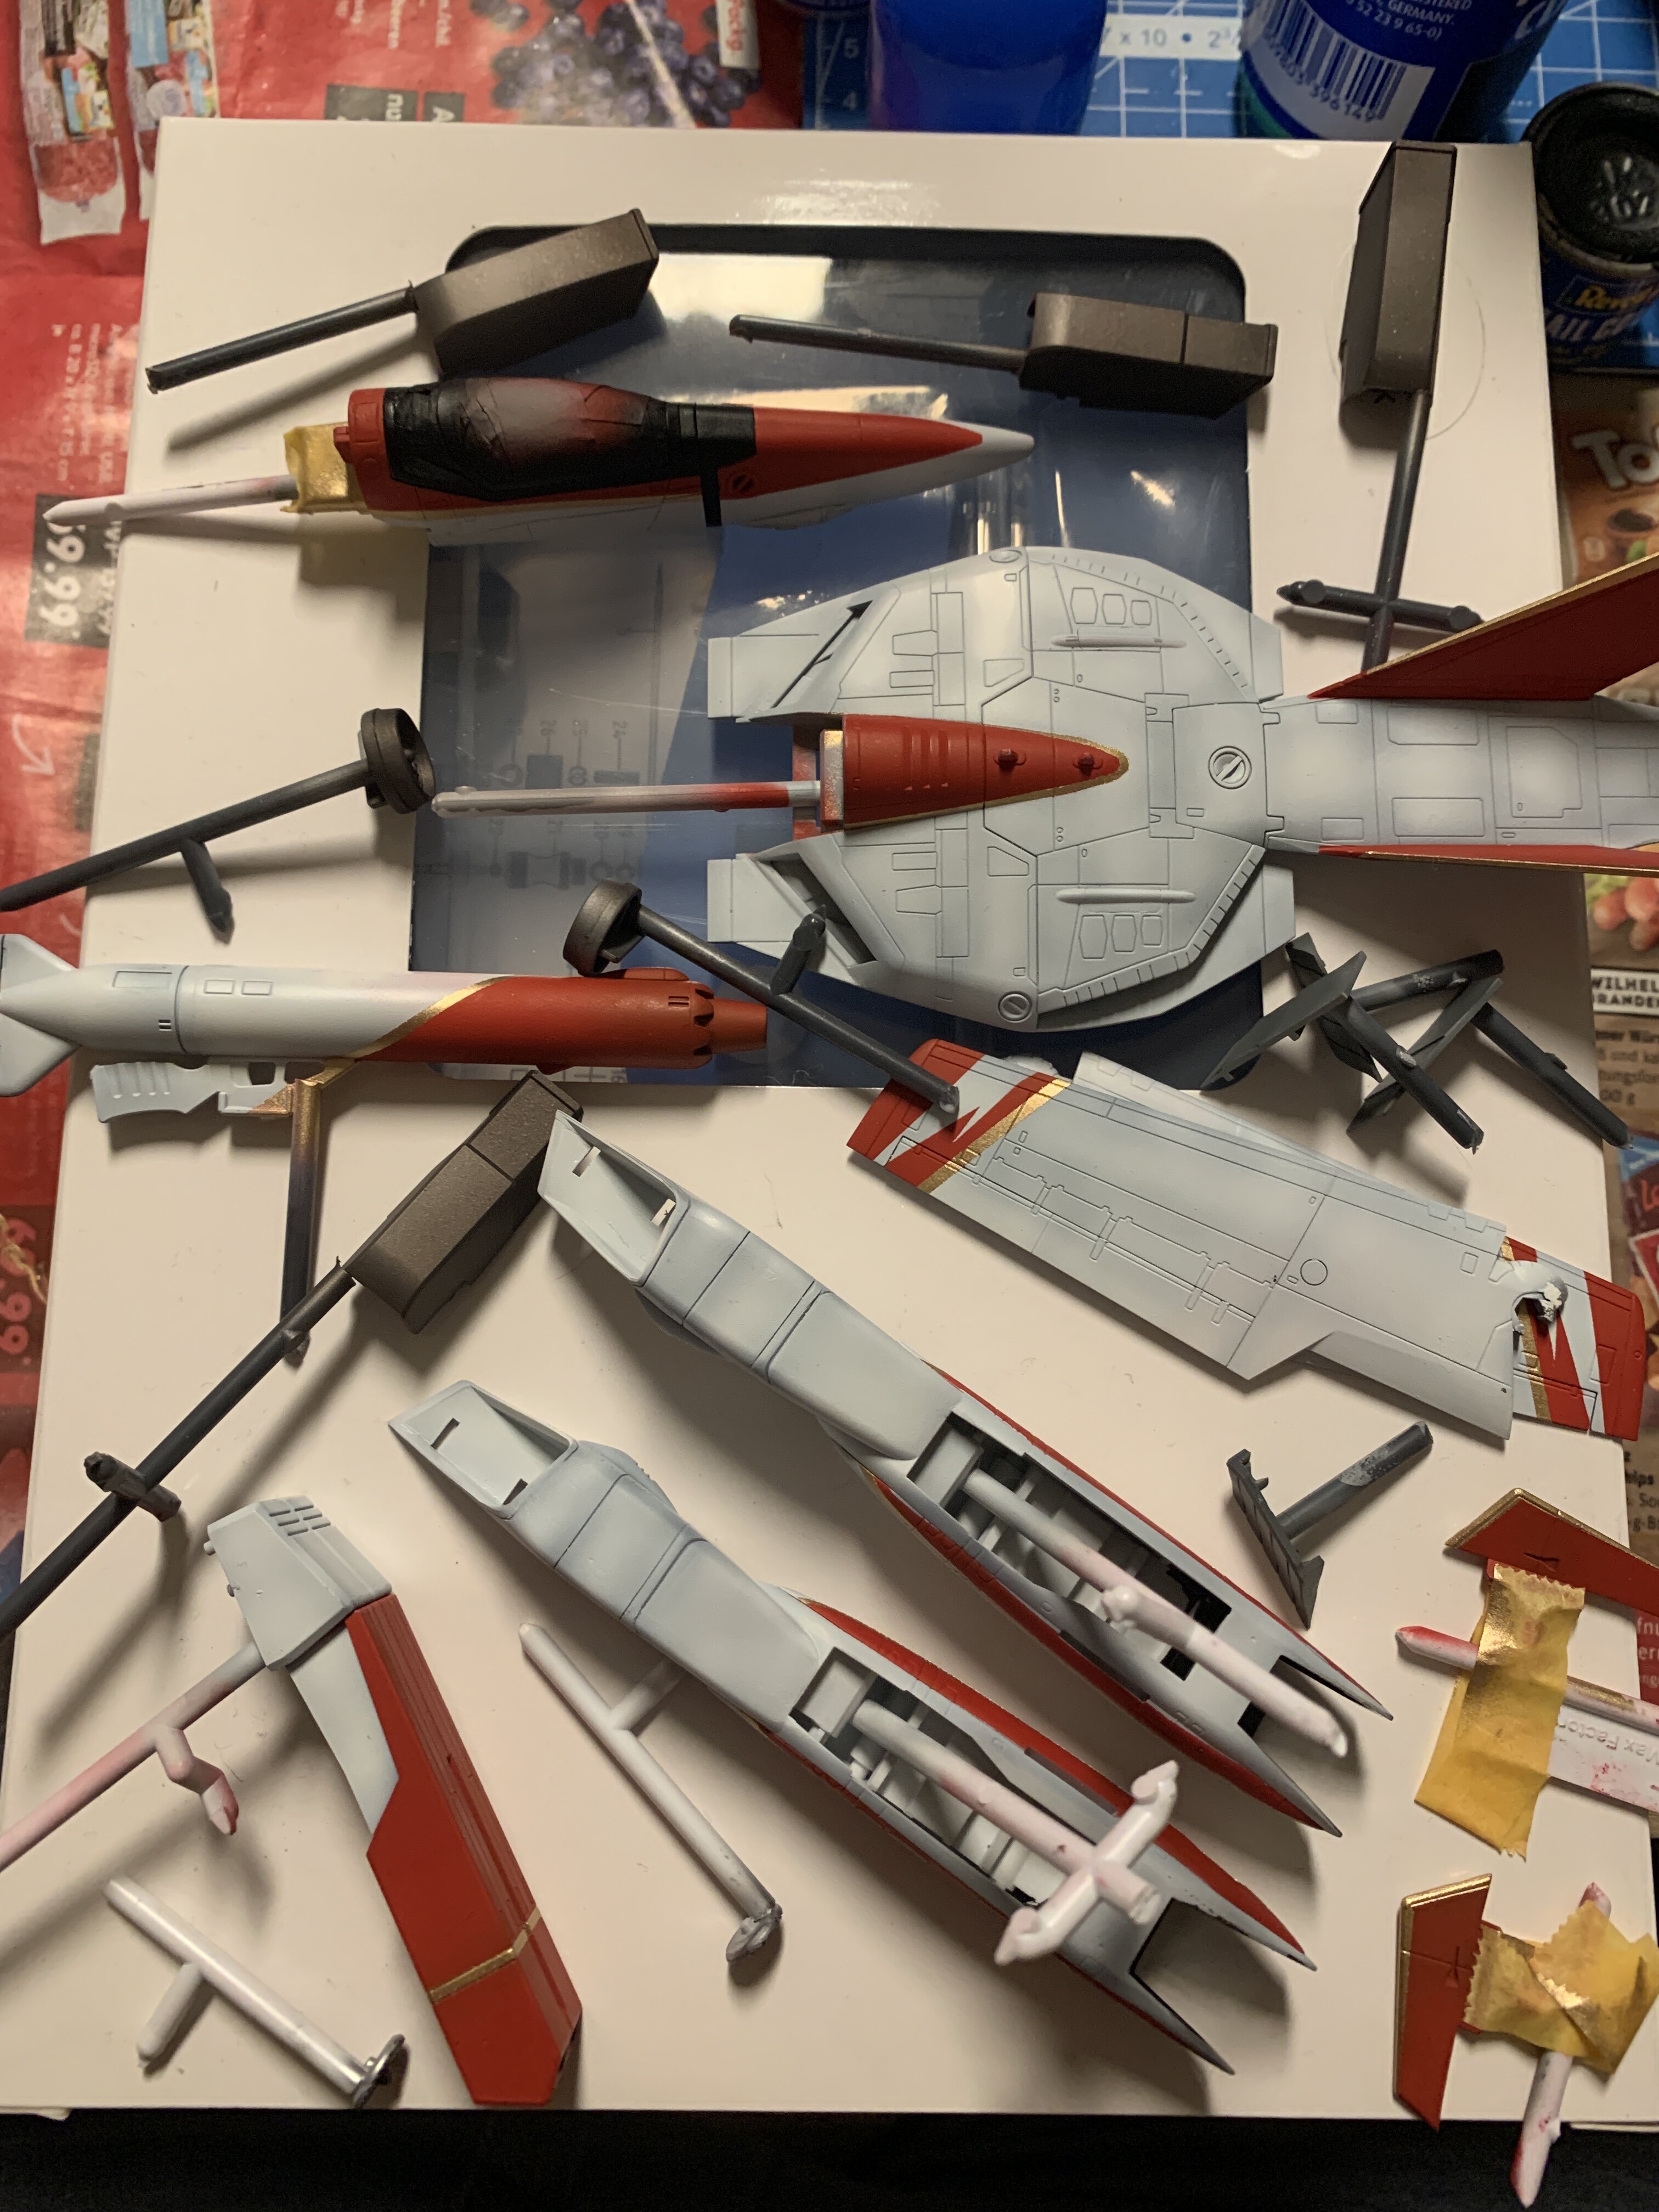
Was a busy building day today.
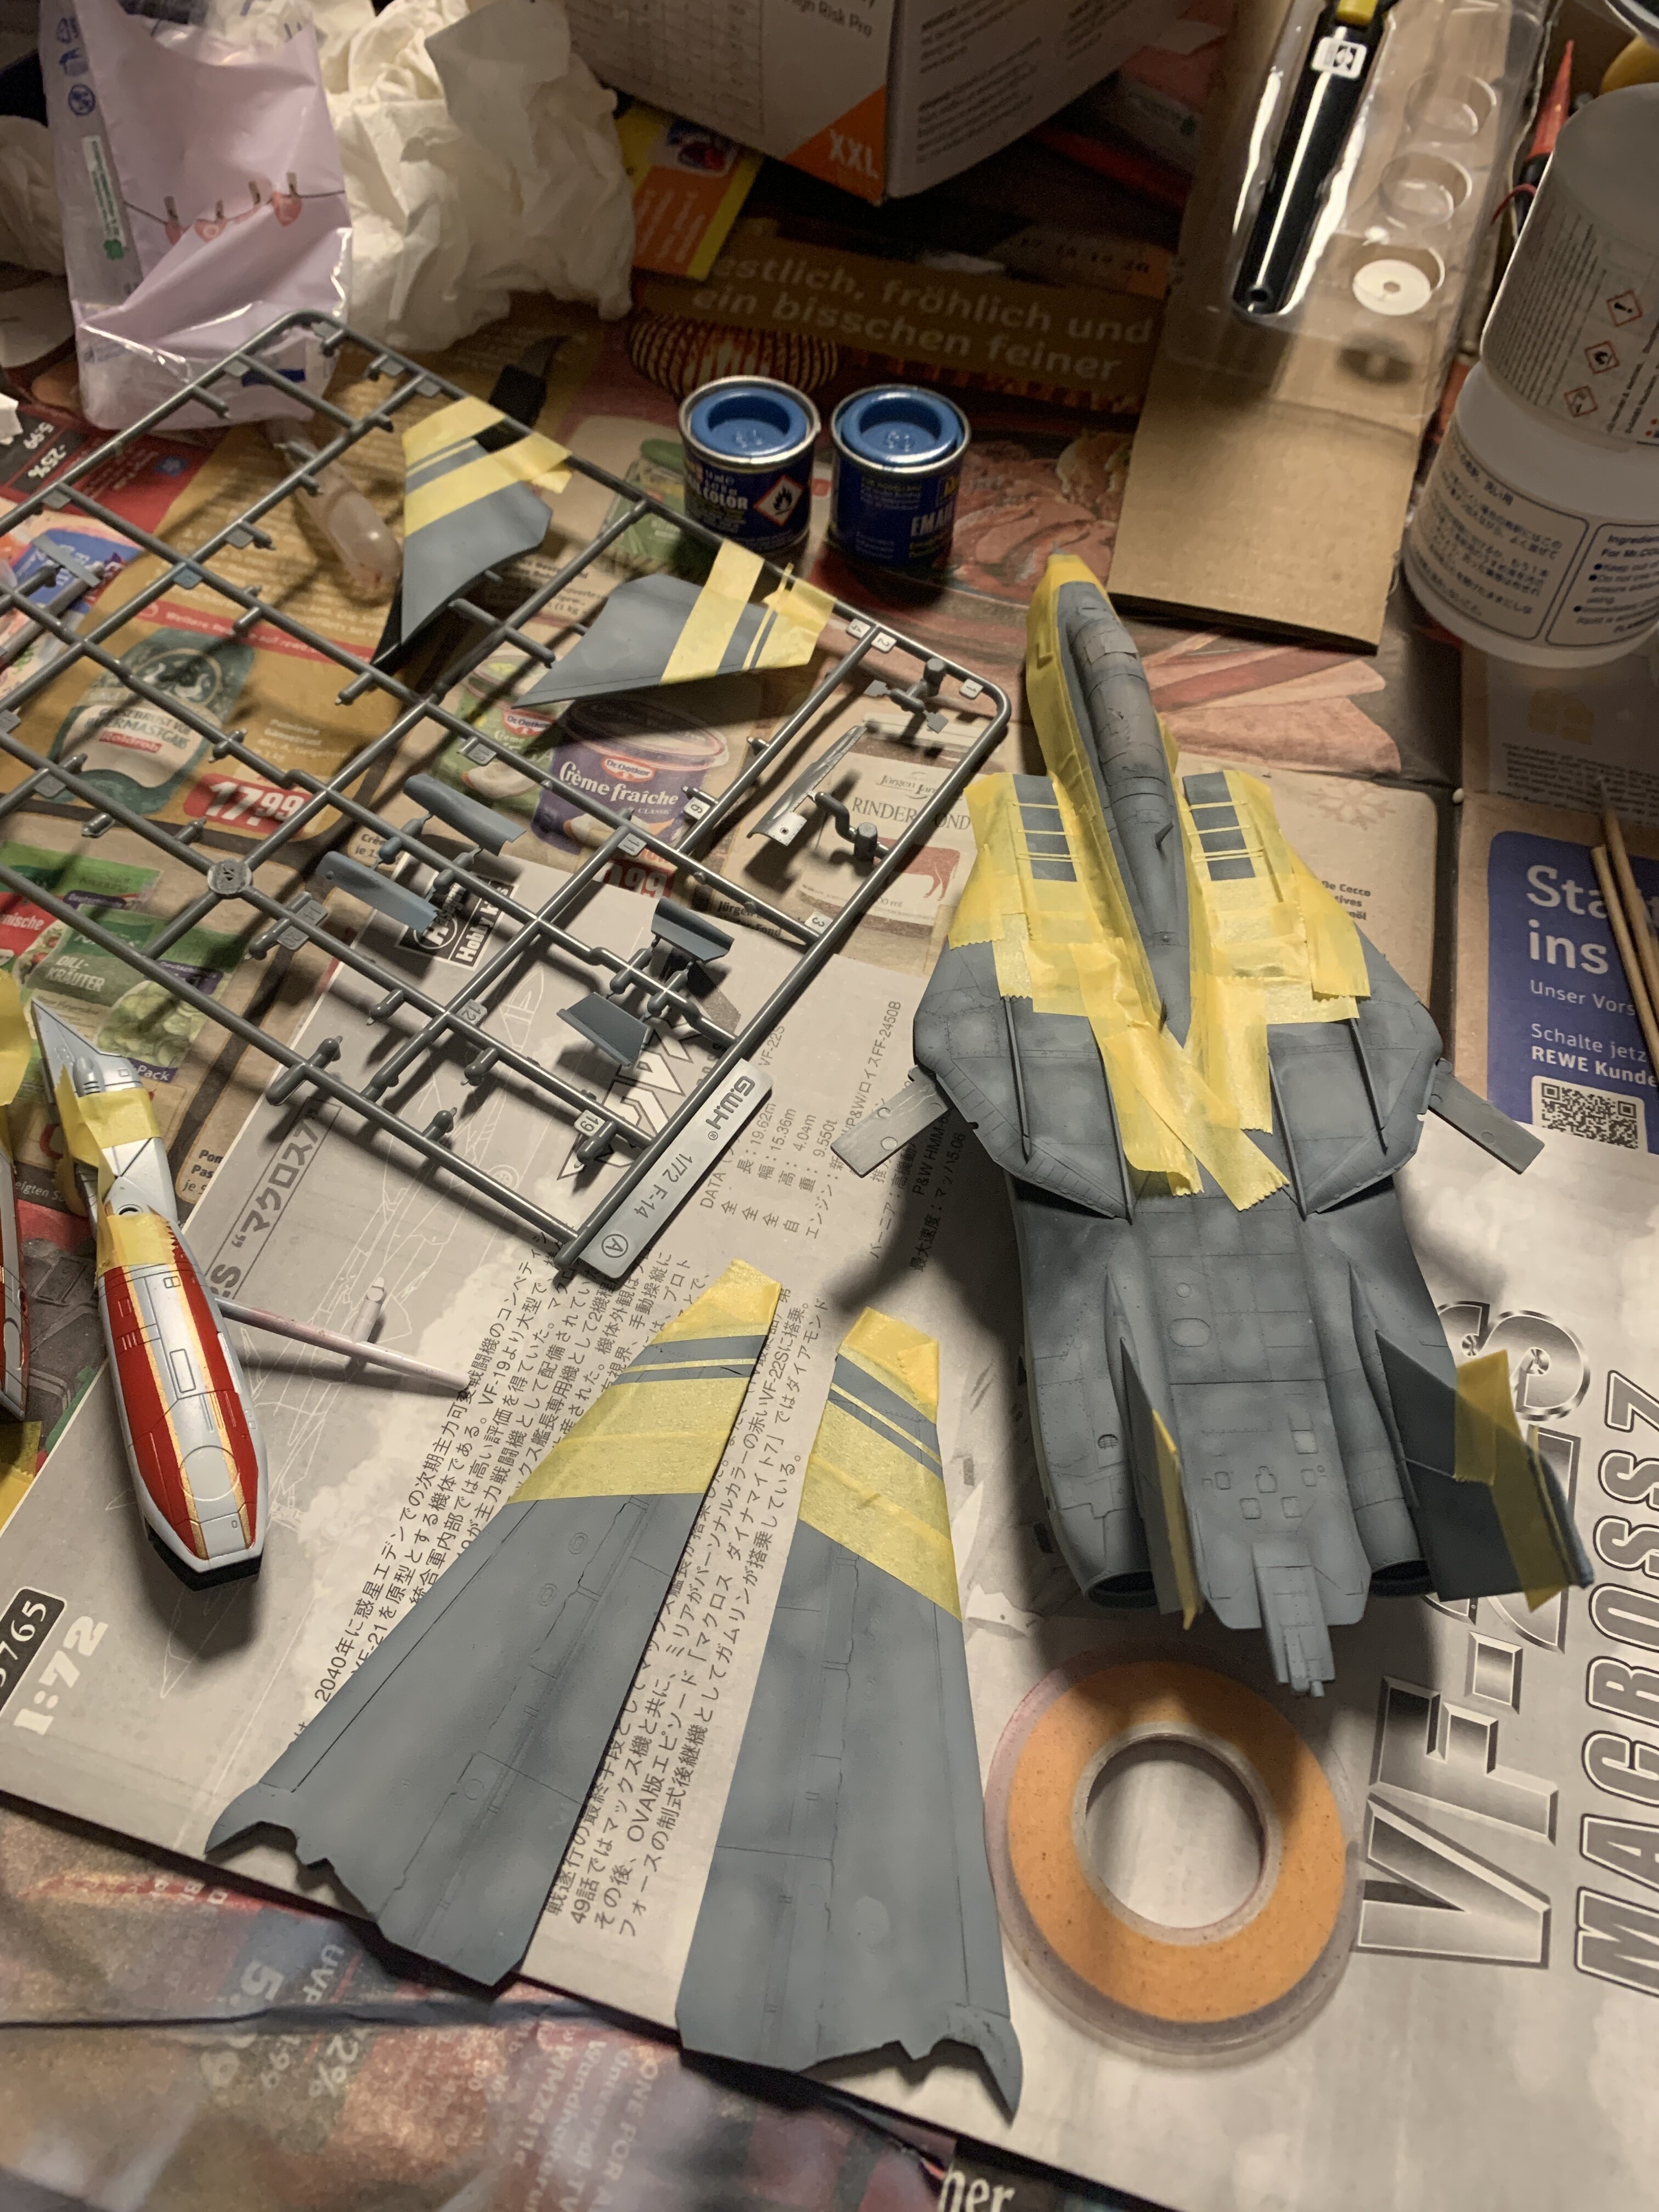
the VF-22 is nearing the finish line.

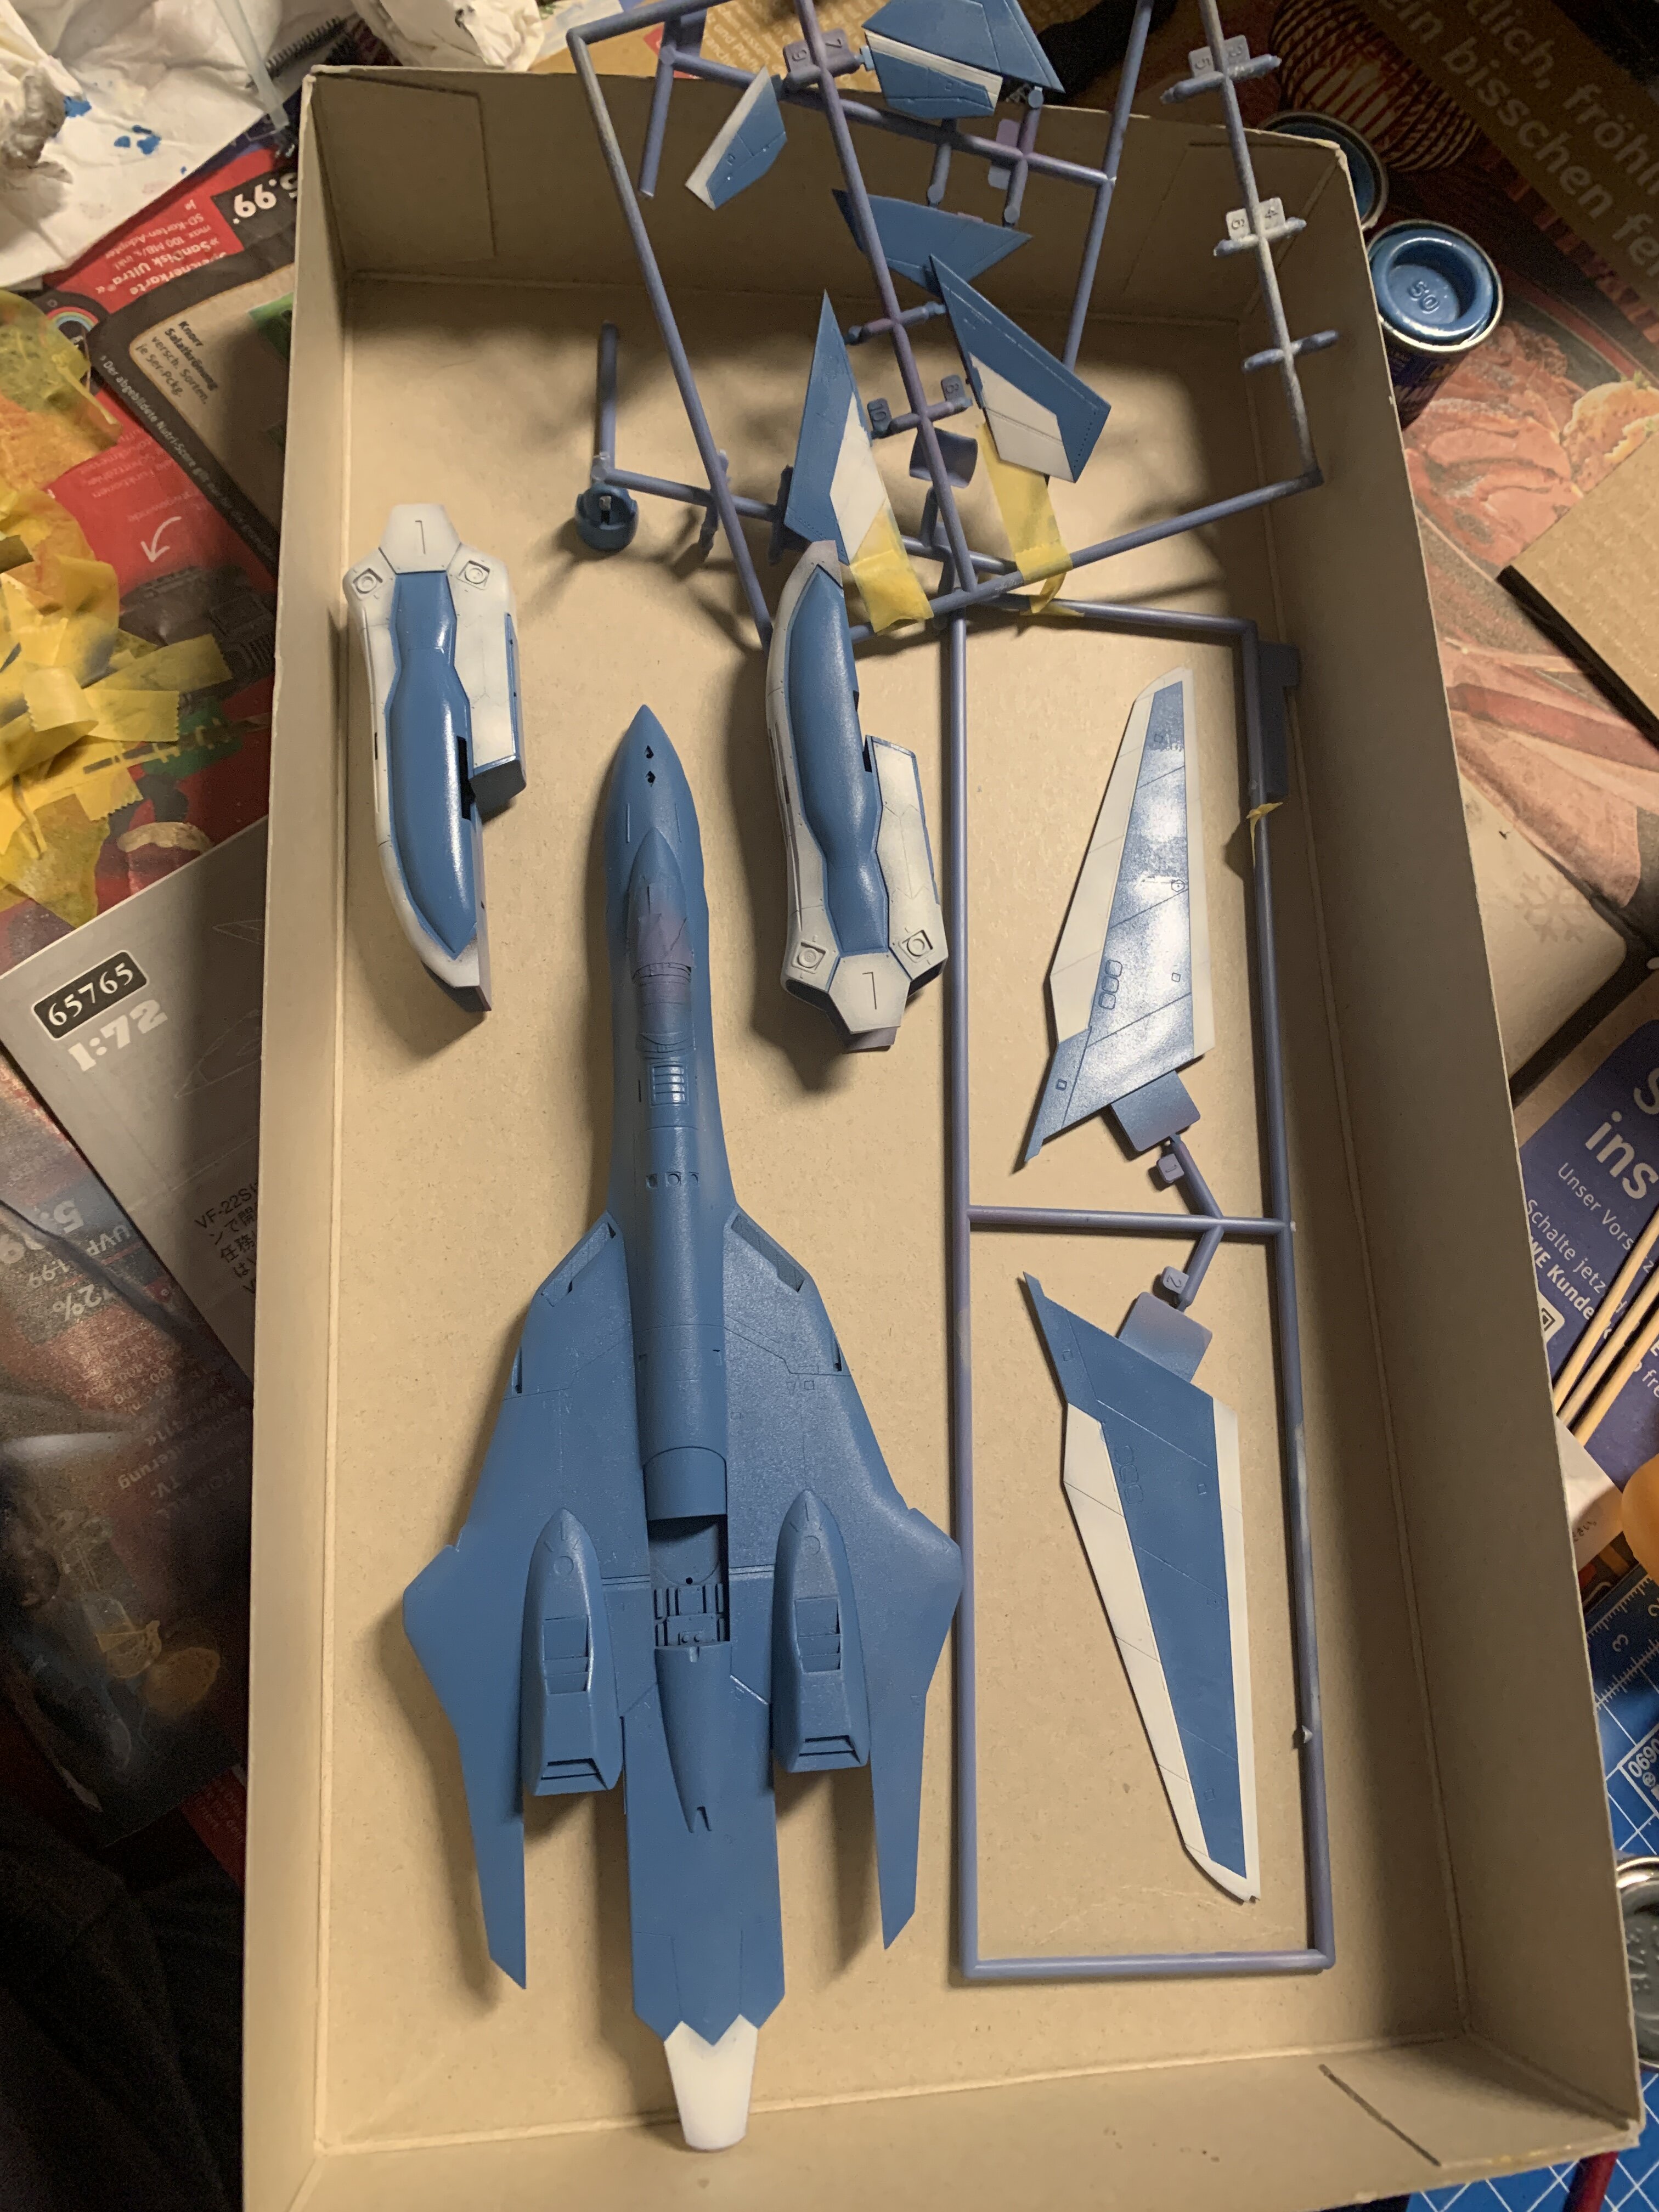
the vf-19 got the main color,
the f-14 got some masking and details.
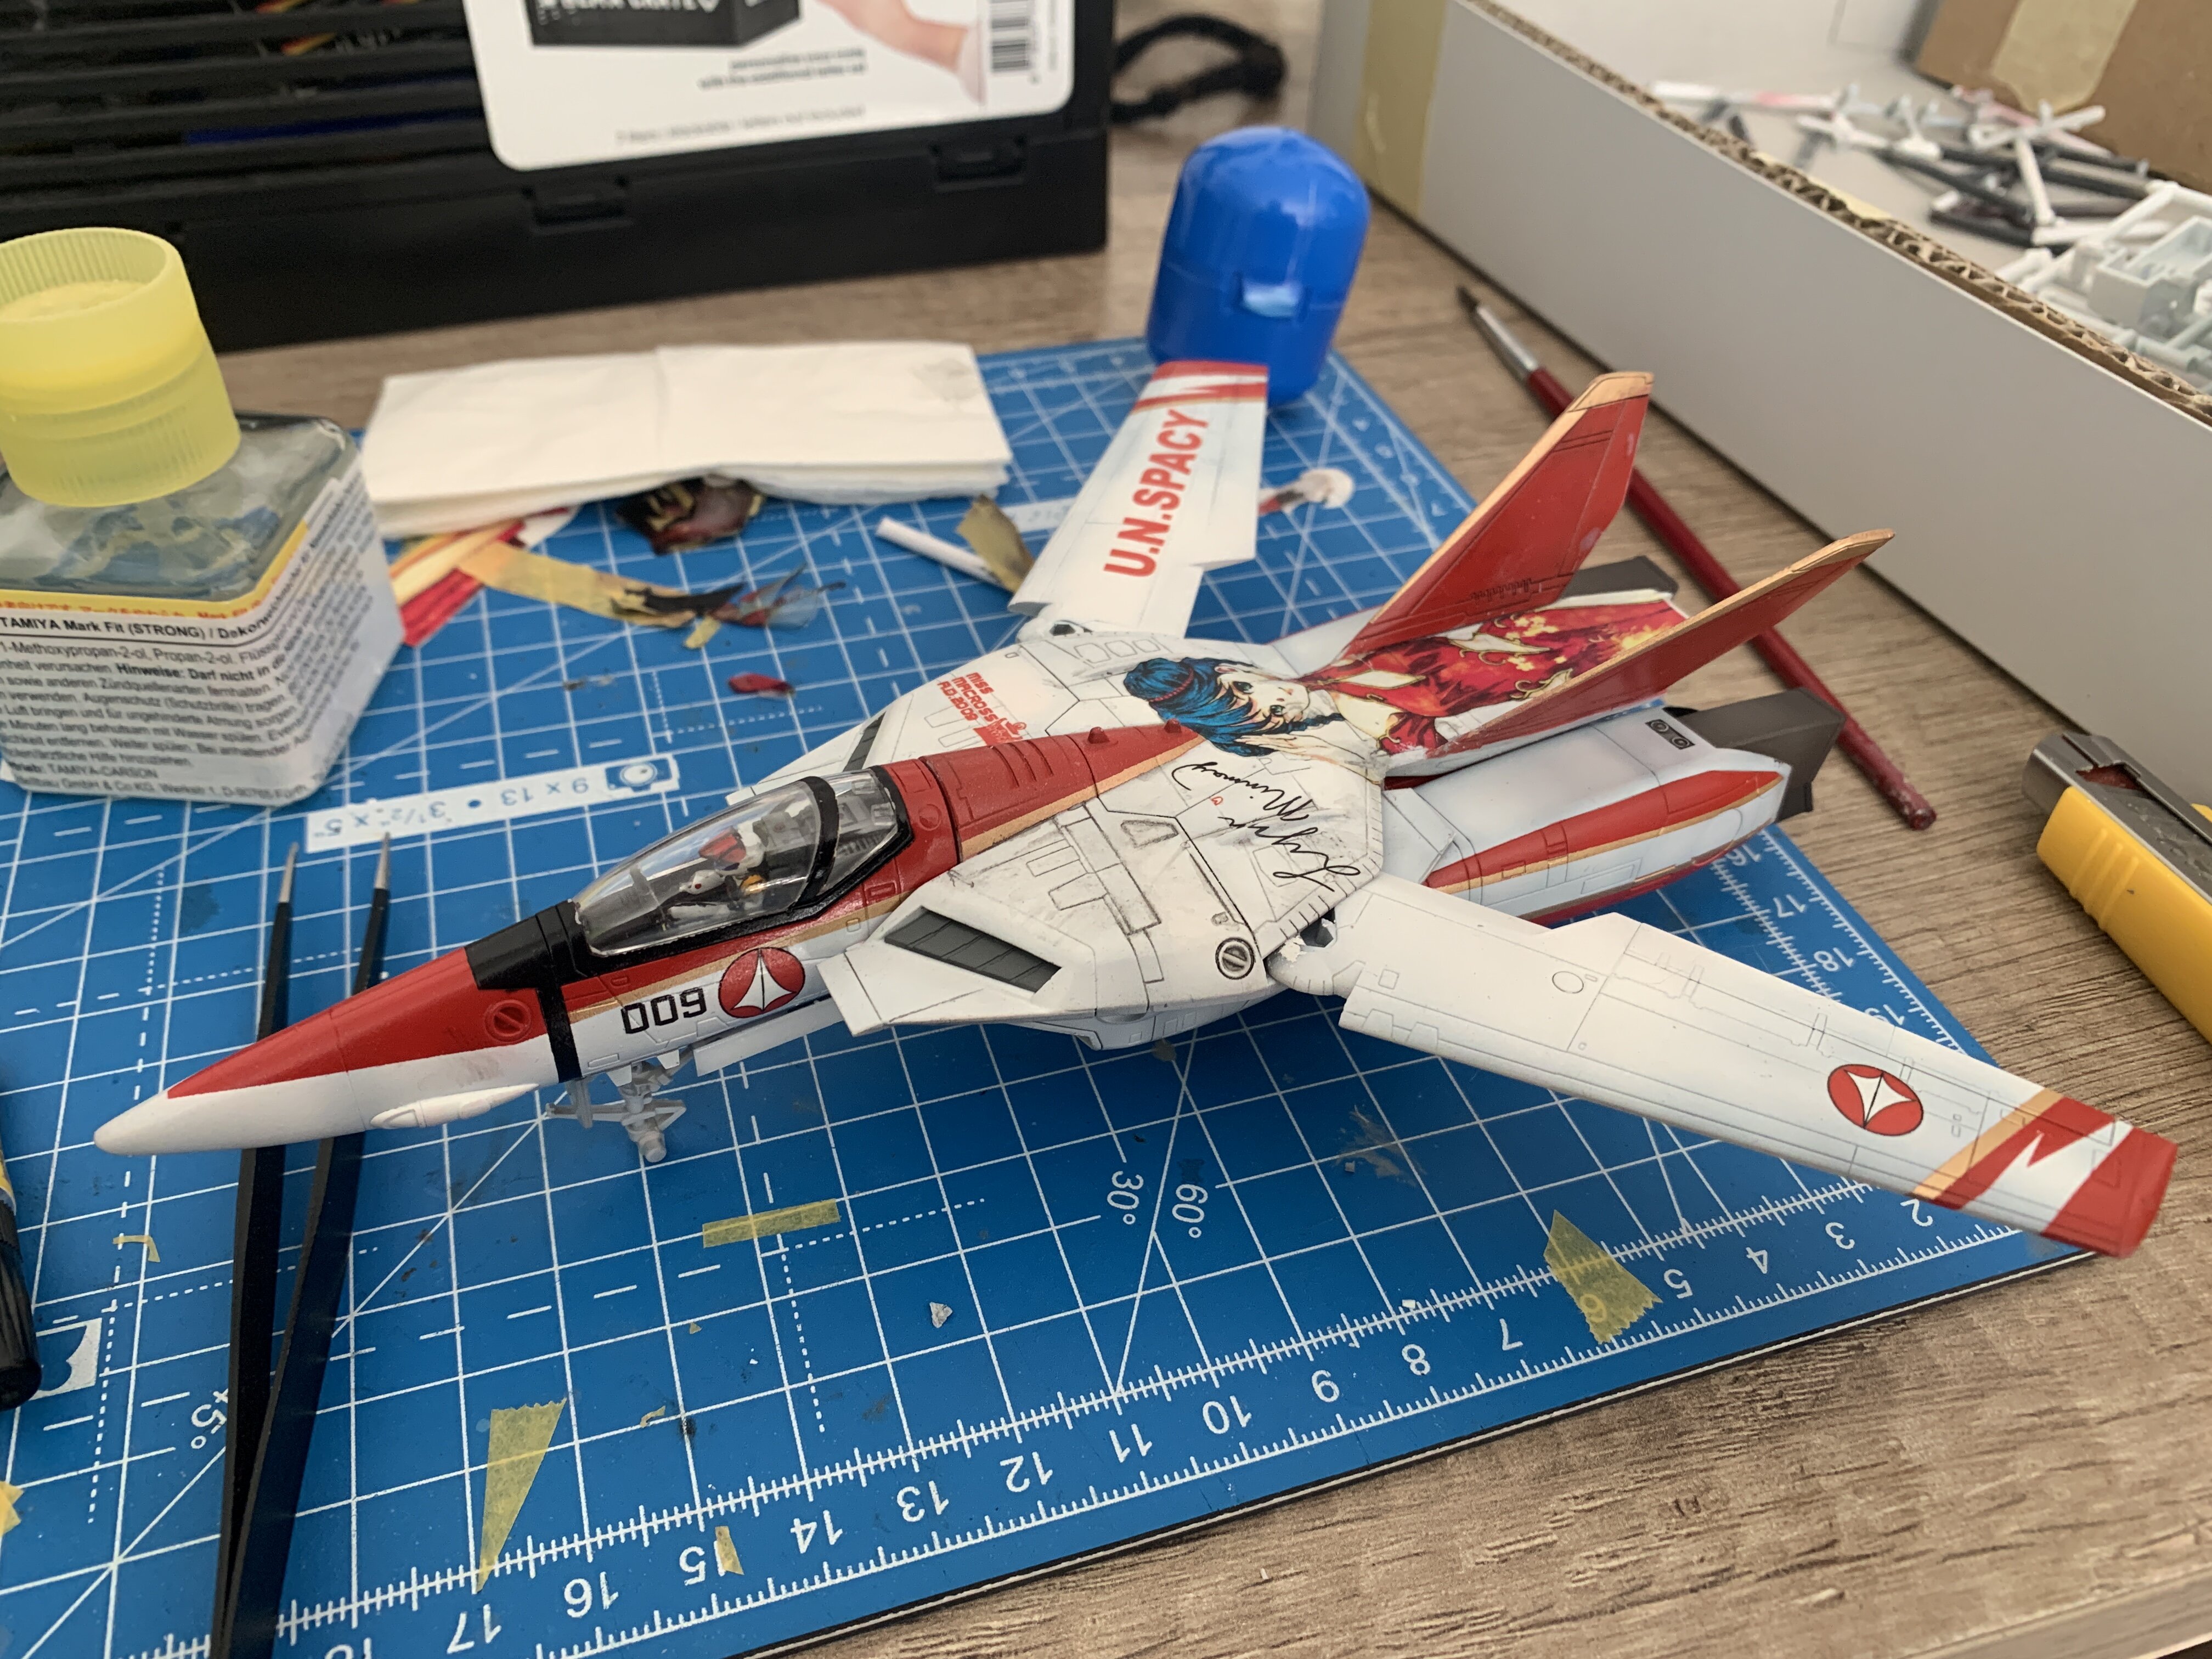
and a little horror story about me destroying my plamax vf-1…
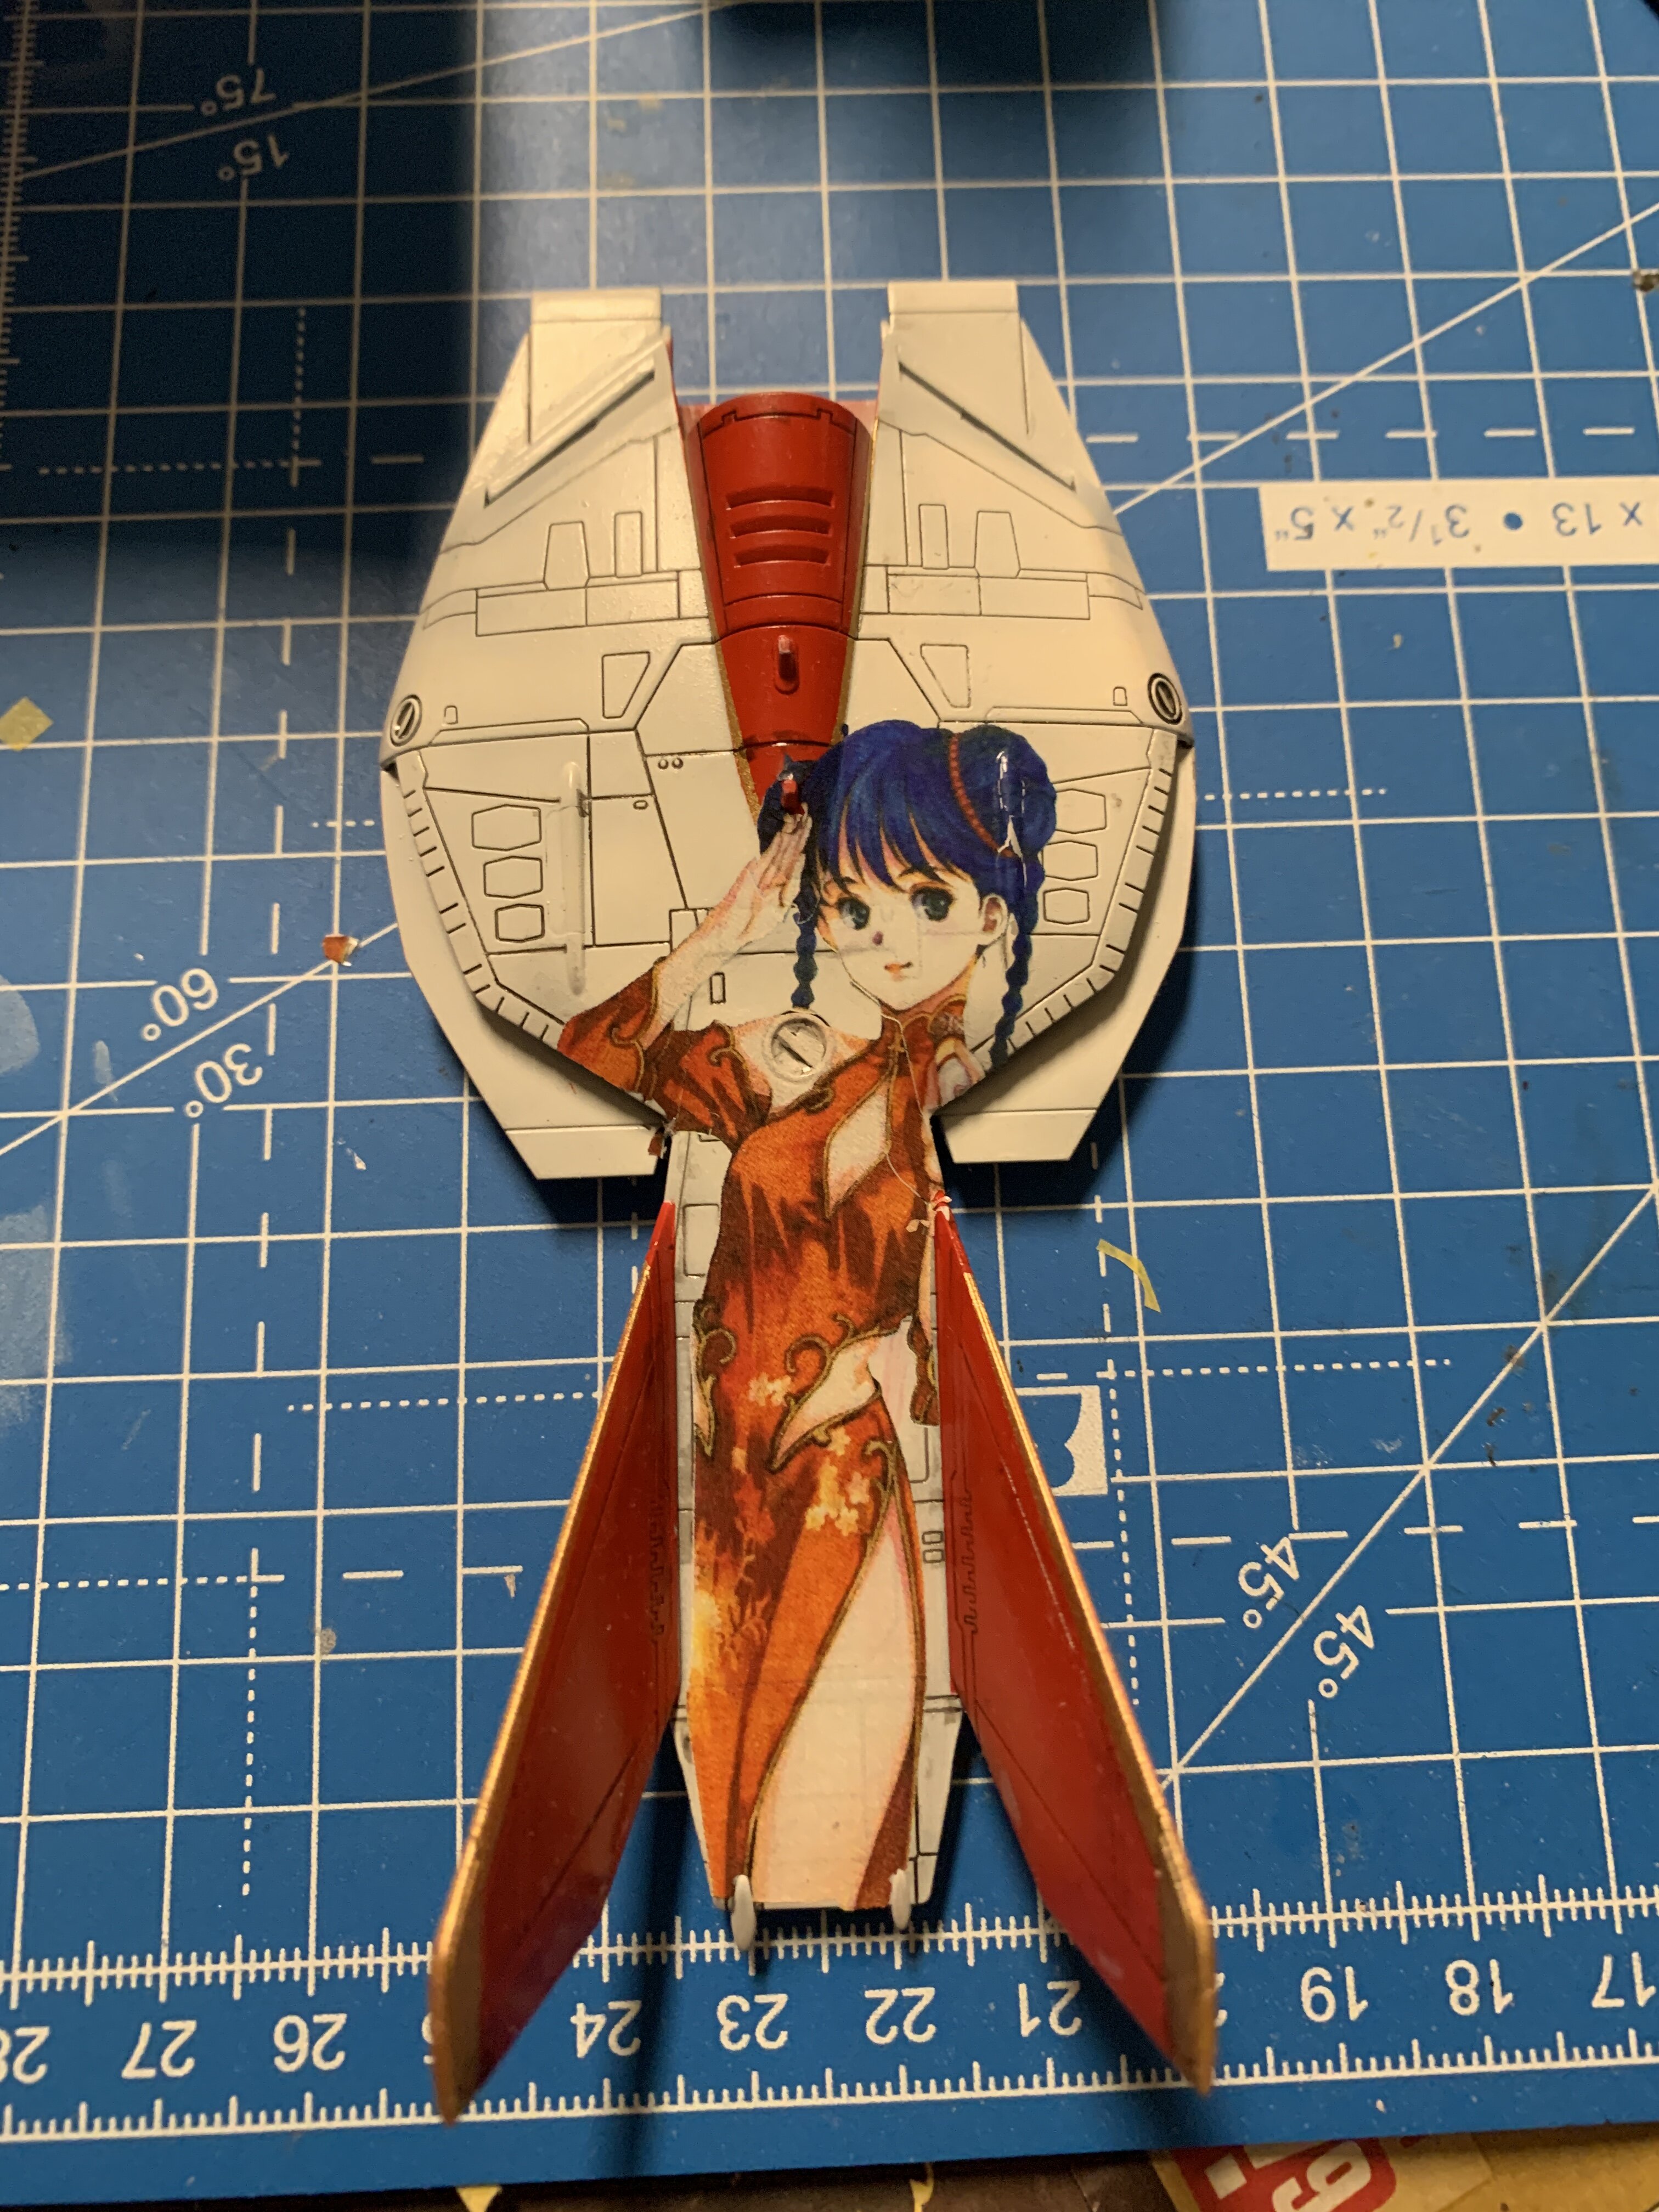
this morning I looked at the minmay decal on the vf-1 and was unhappy with it. I decided it would be best to take it off, and print my own with better quality. Sounds easy but… it was not.
printed decal versus the low quality chinese one.
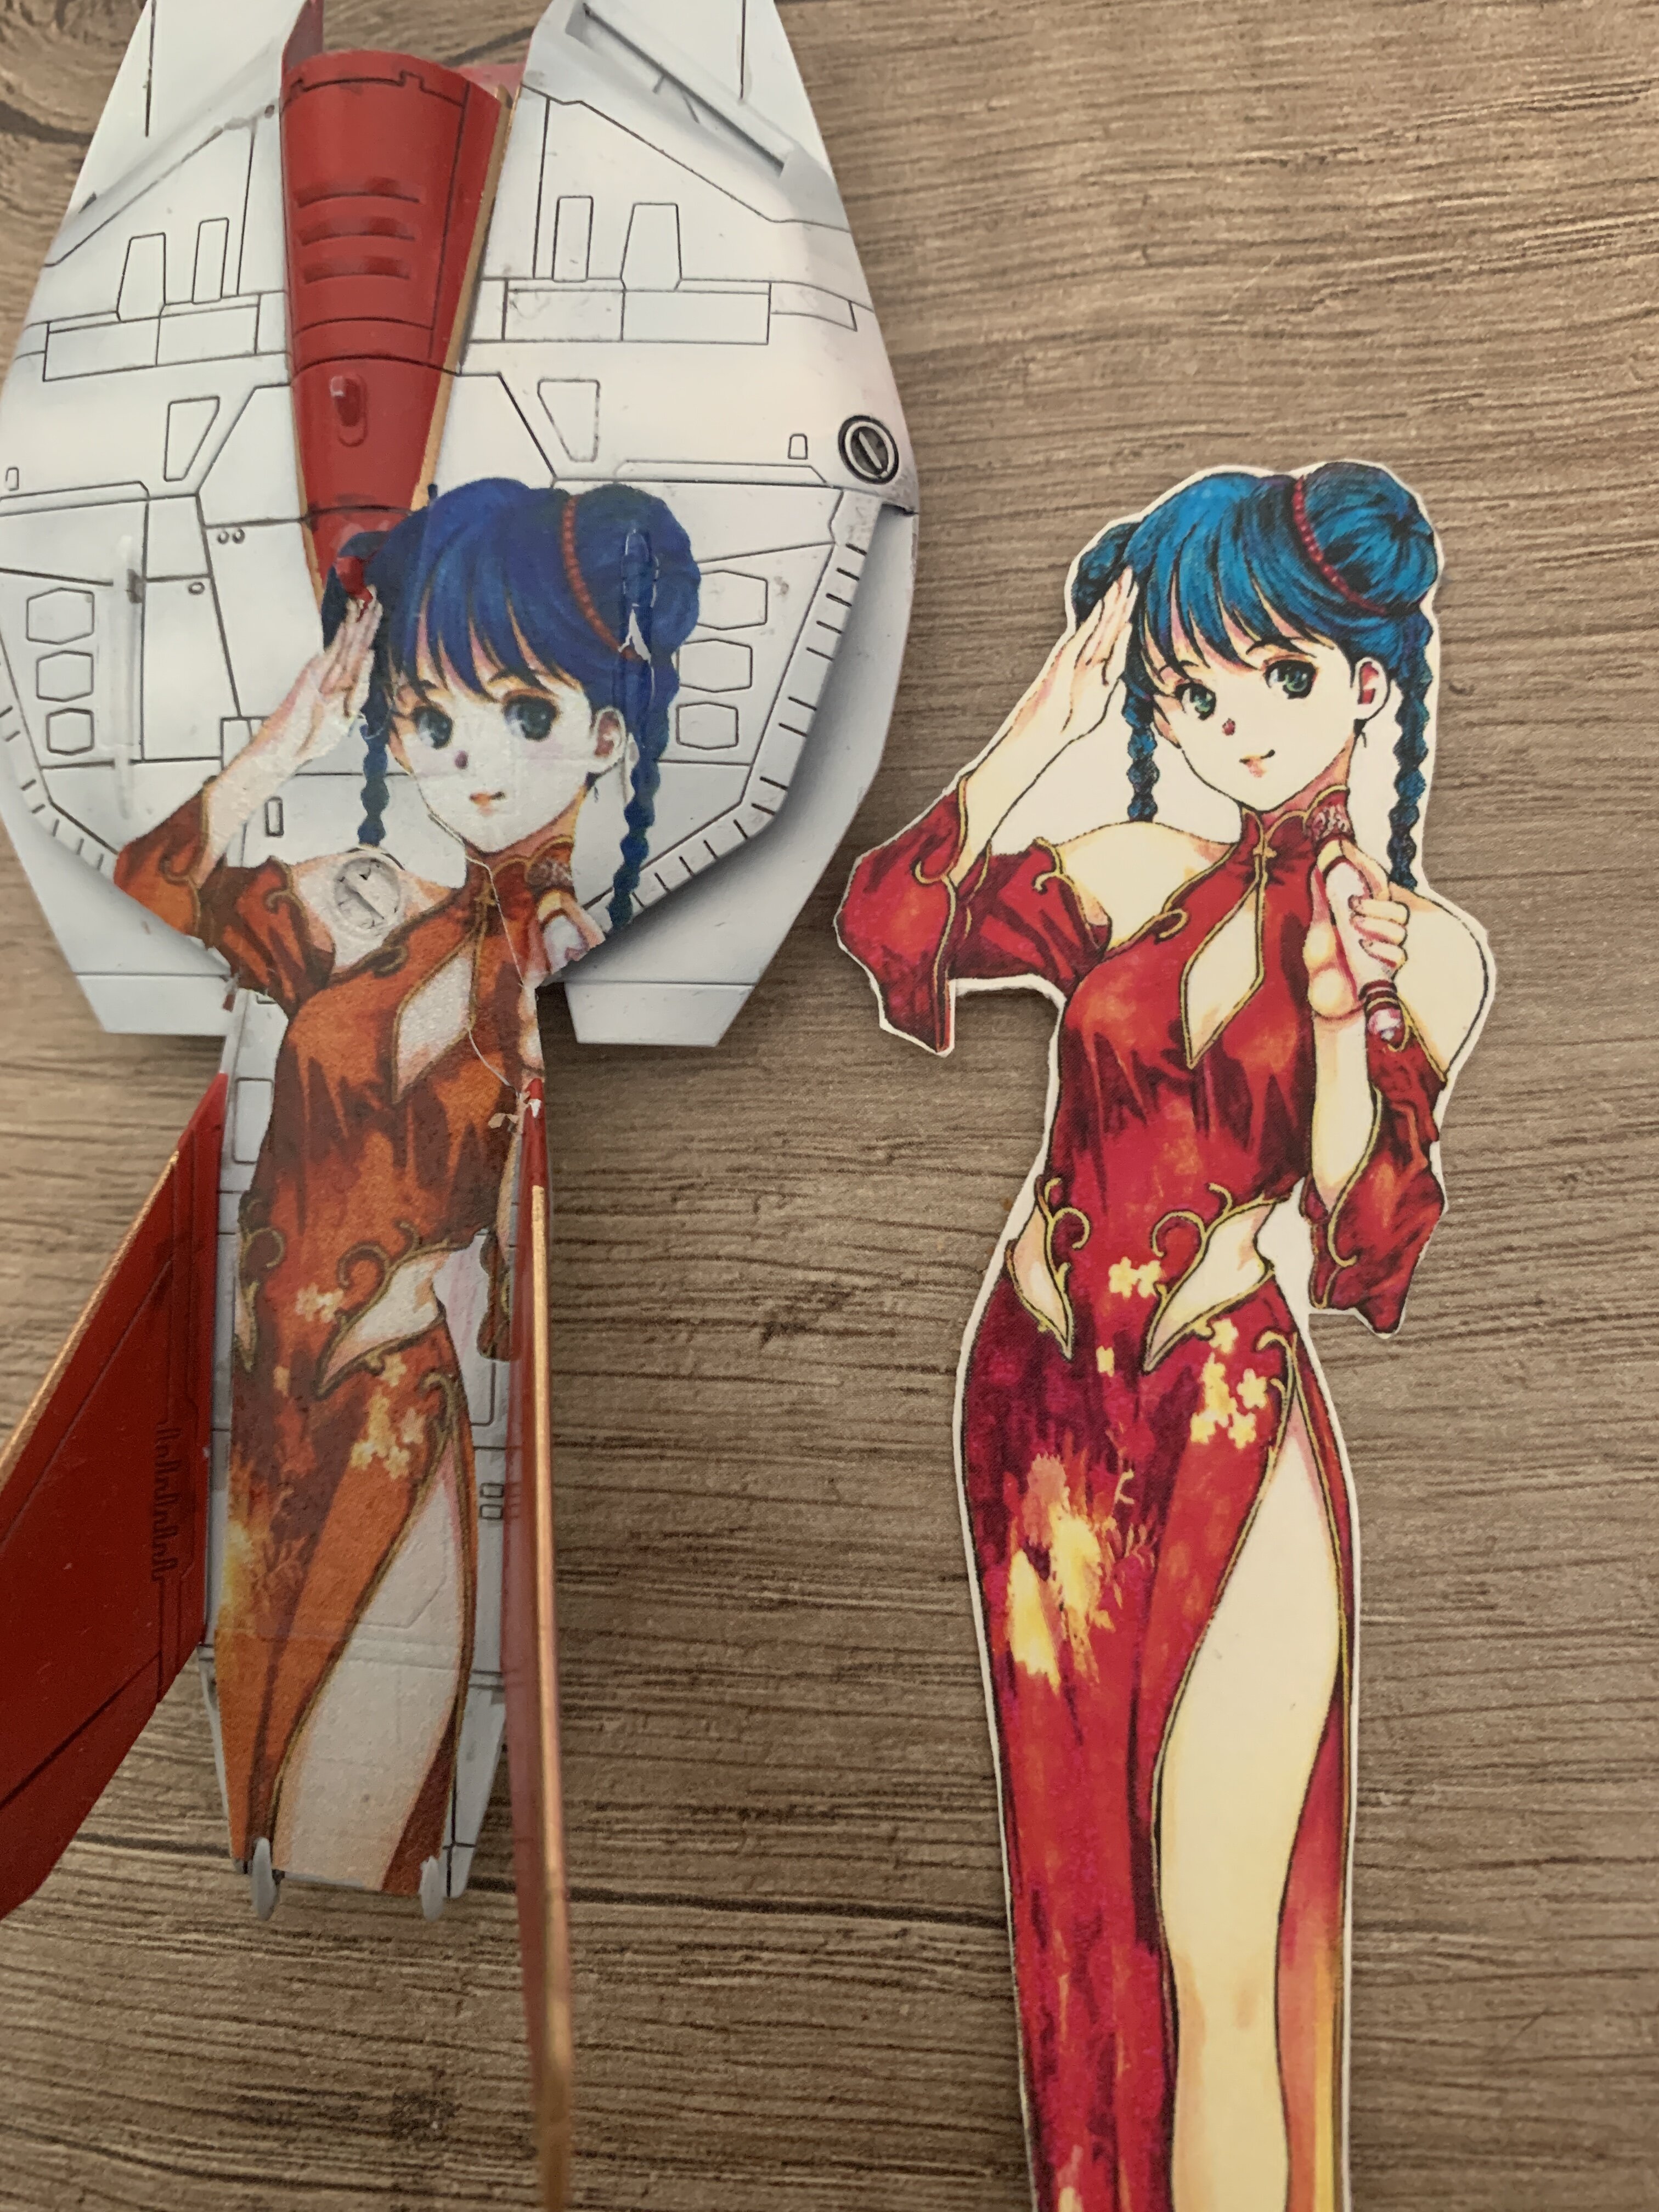
And guess what? It didn’t wanna come off, so I had to scratch the decal off….
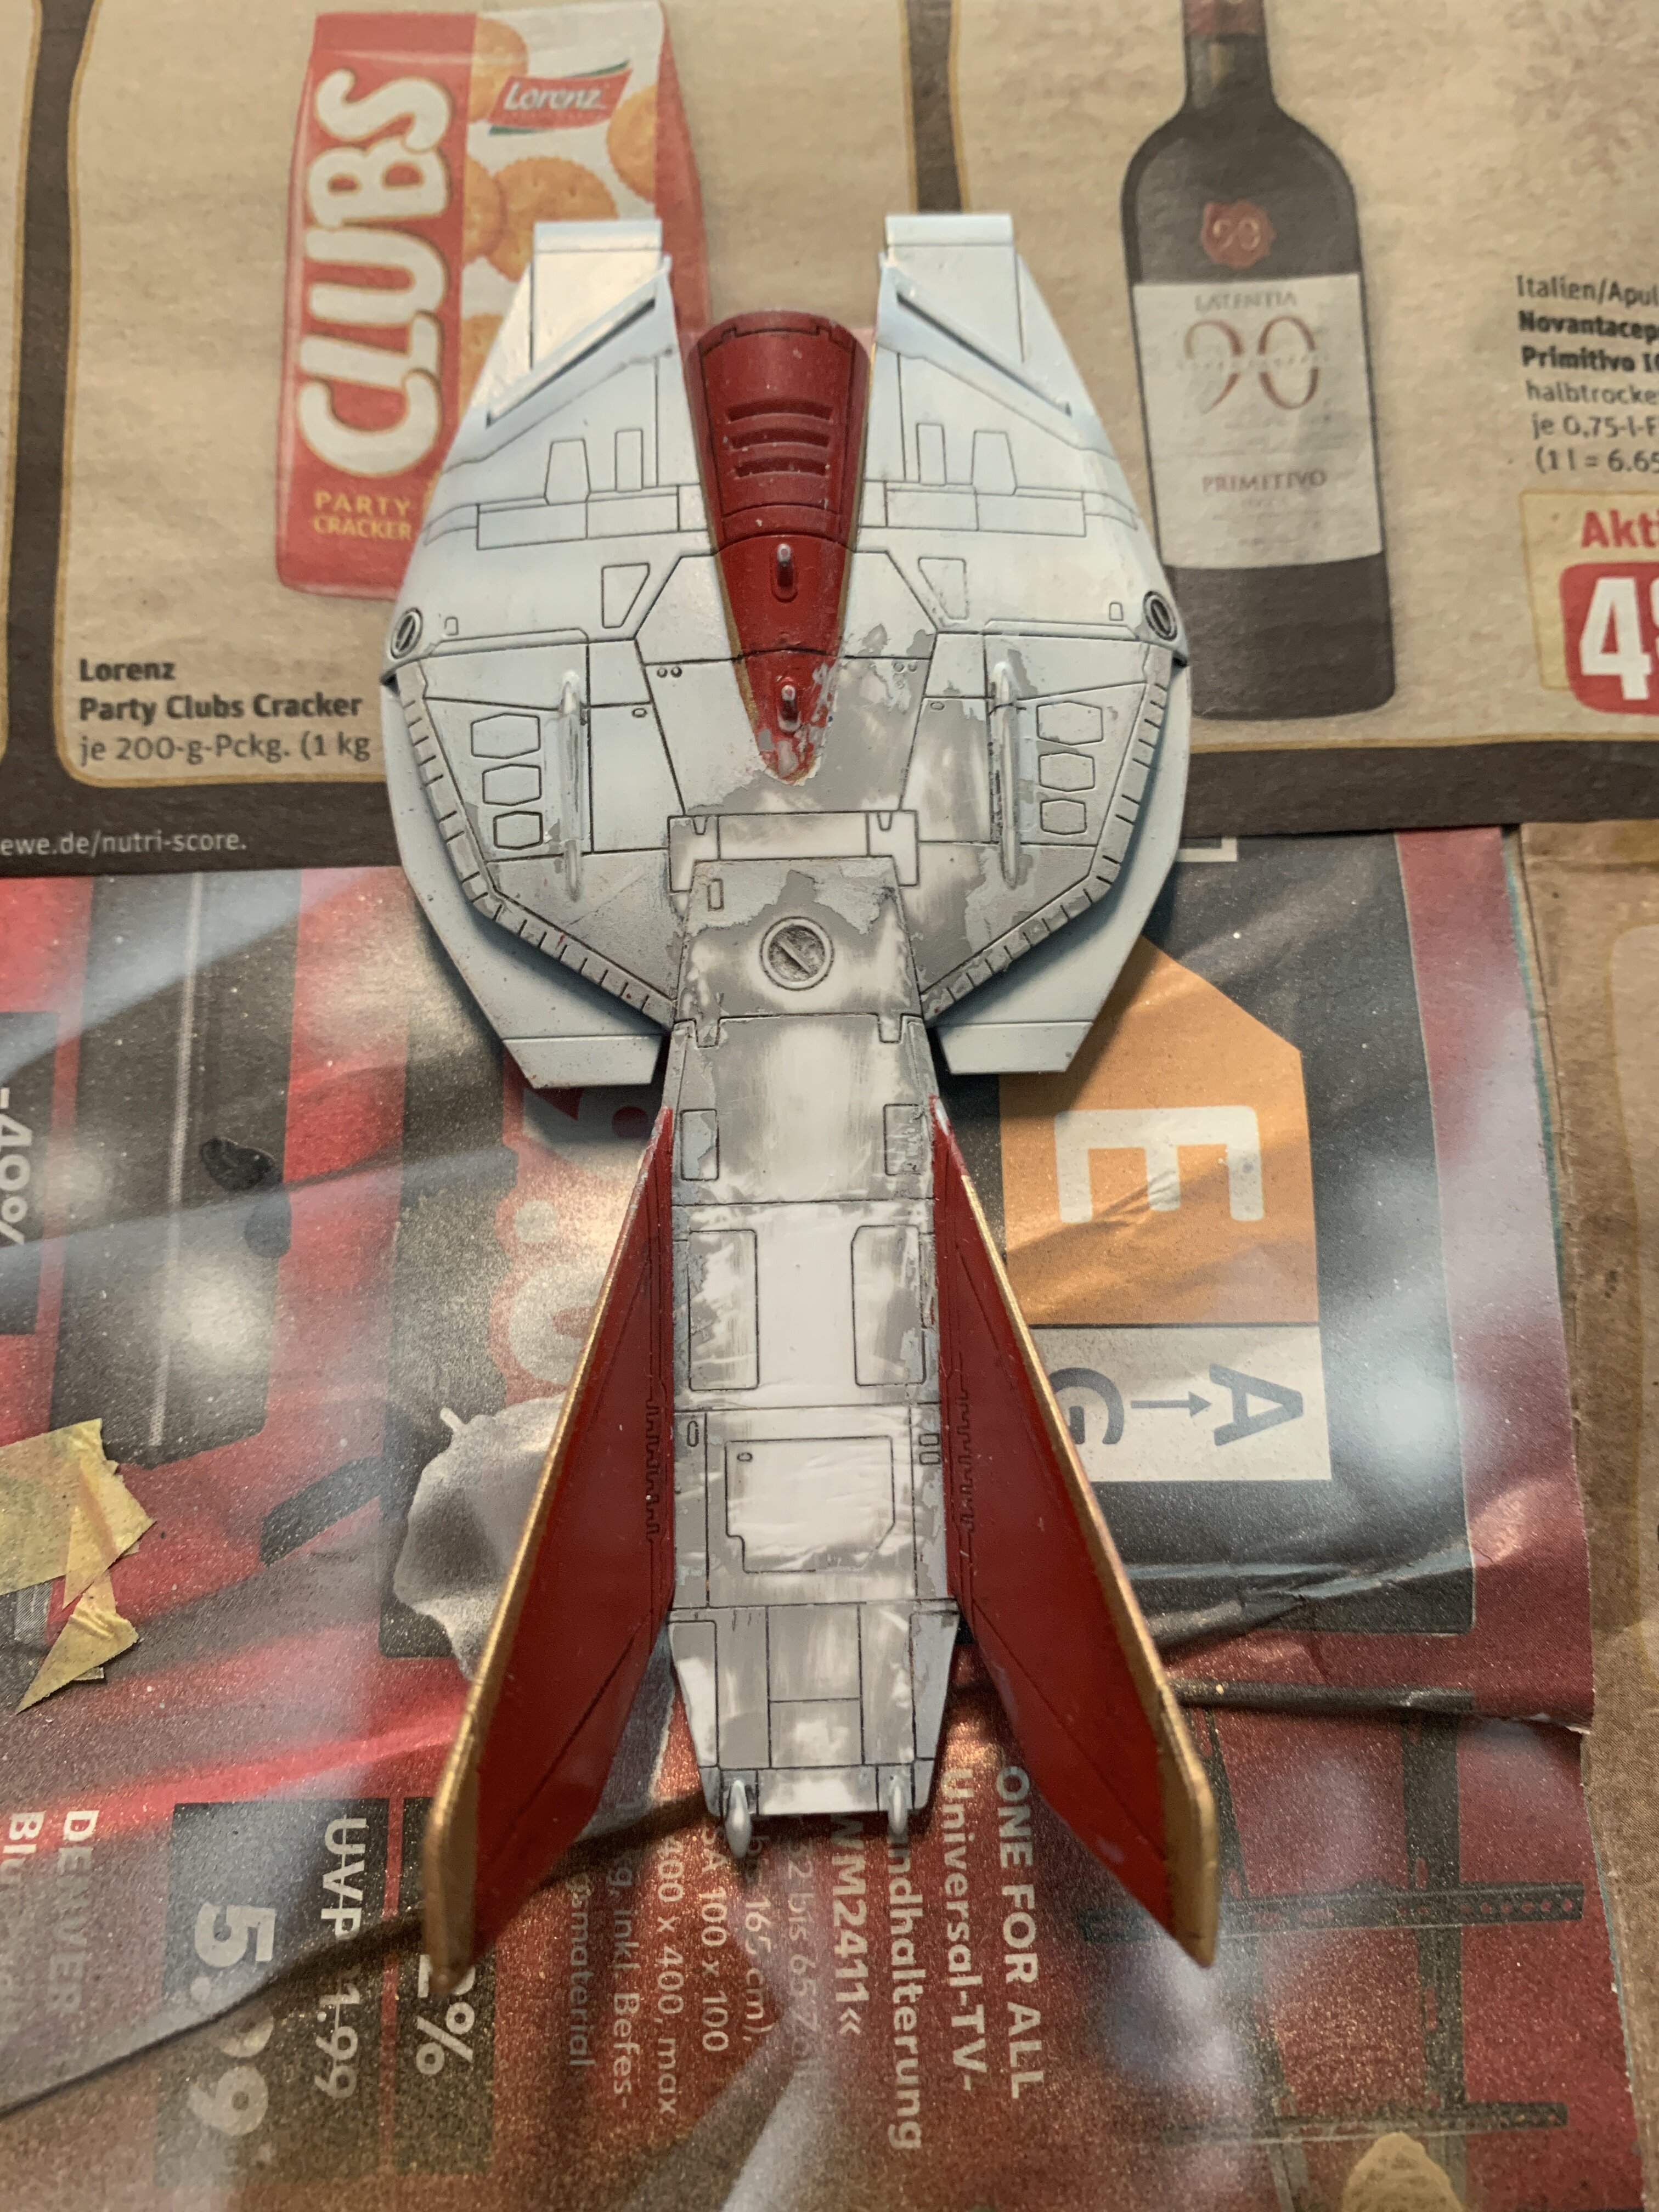
I hat to paint it again.
rescribing…
No decal on it yet, but soon. Needs to cure first.

-
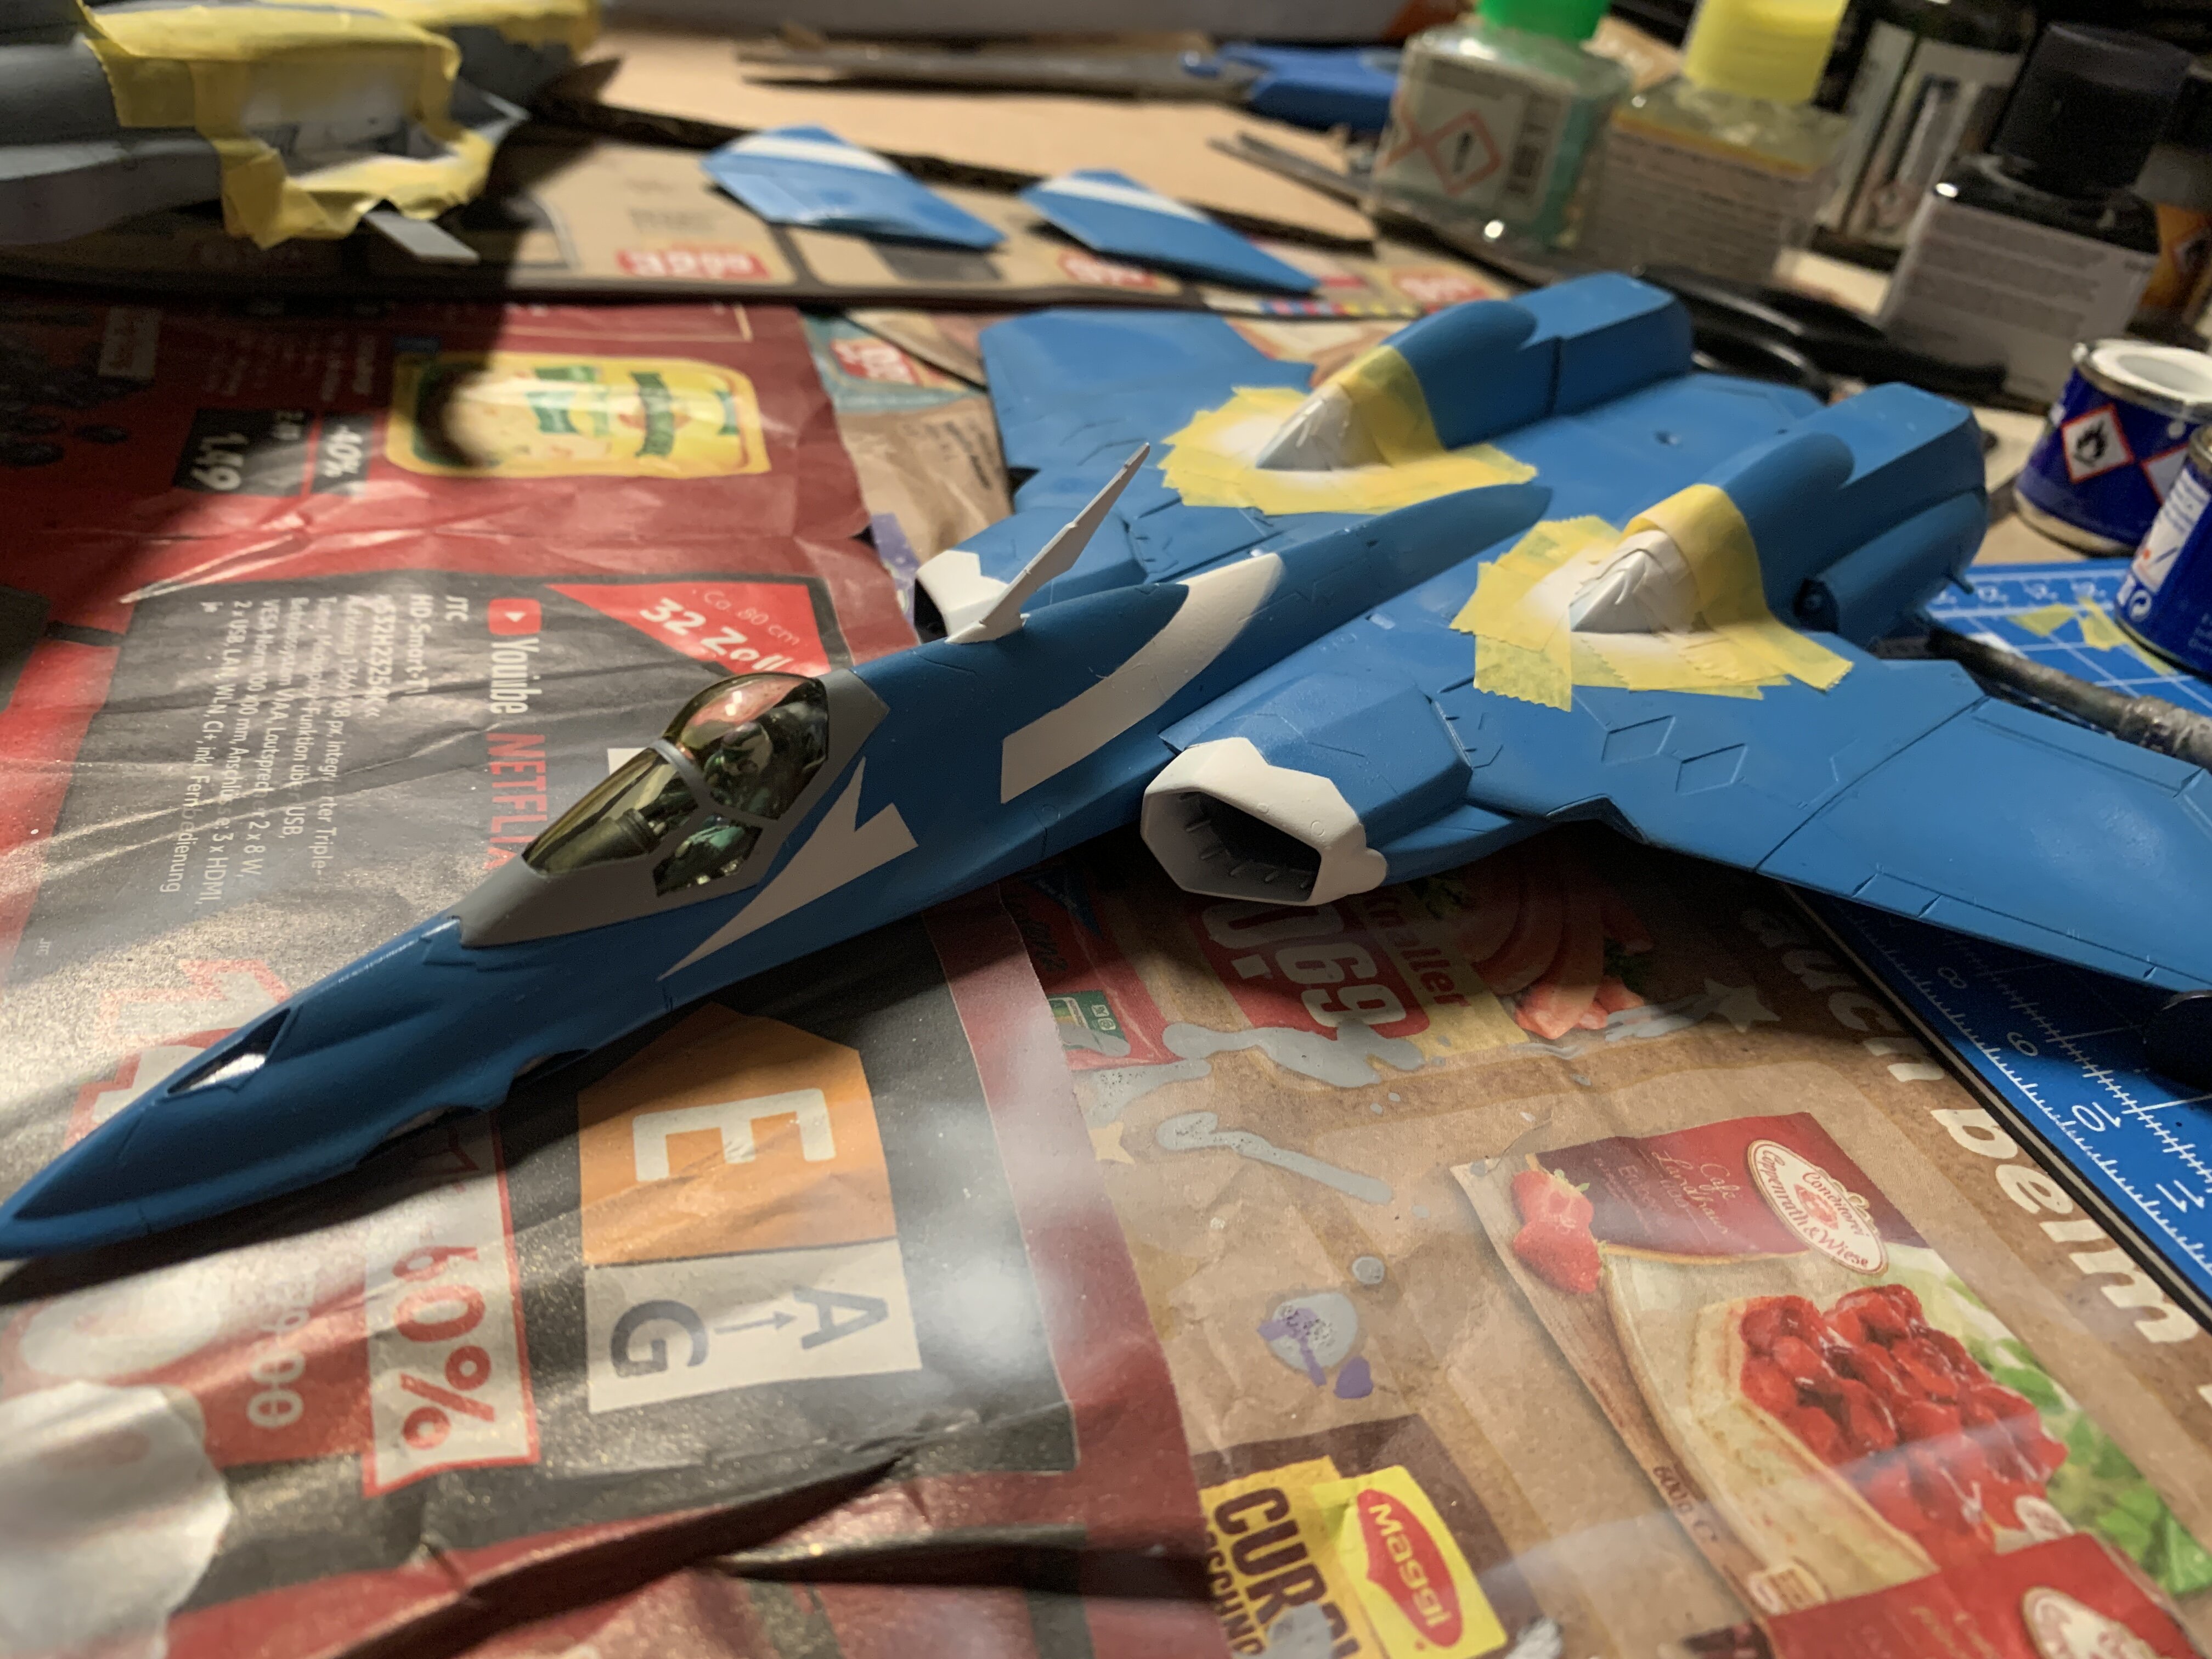
Progress!!!
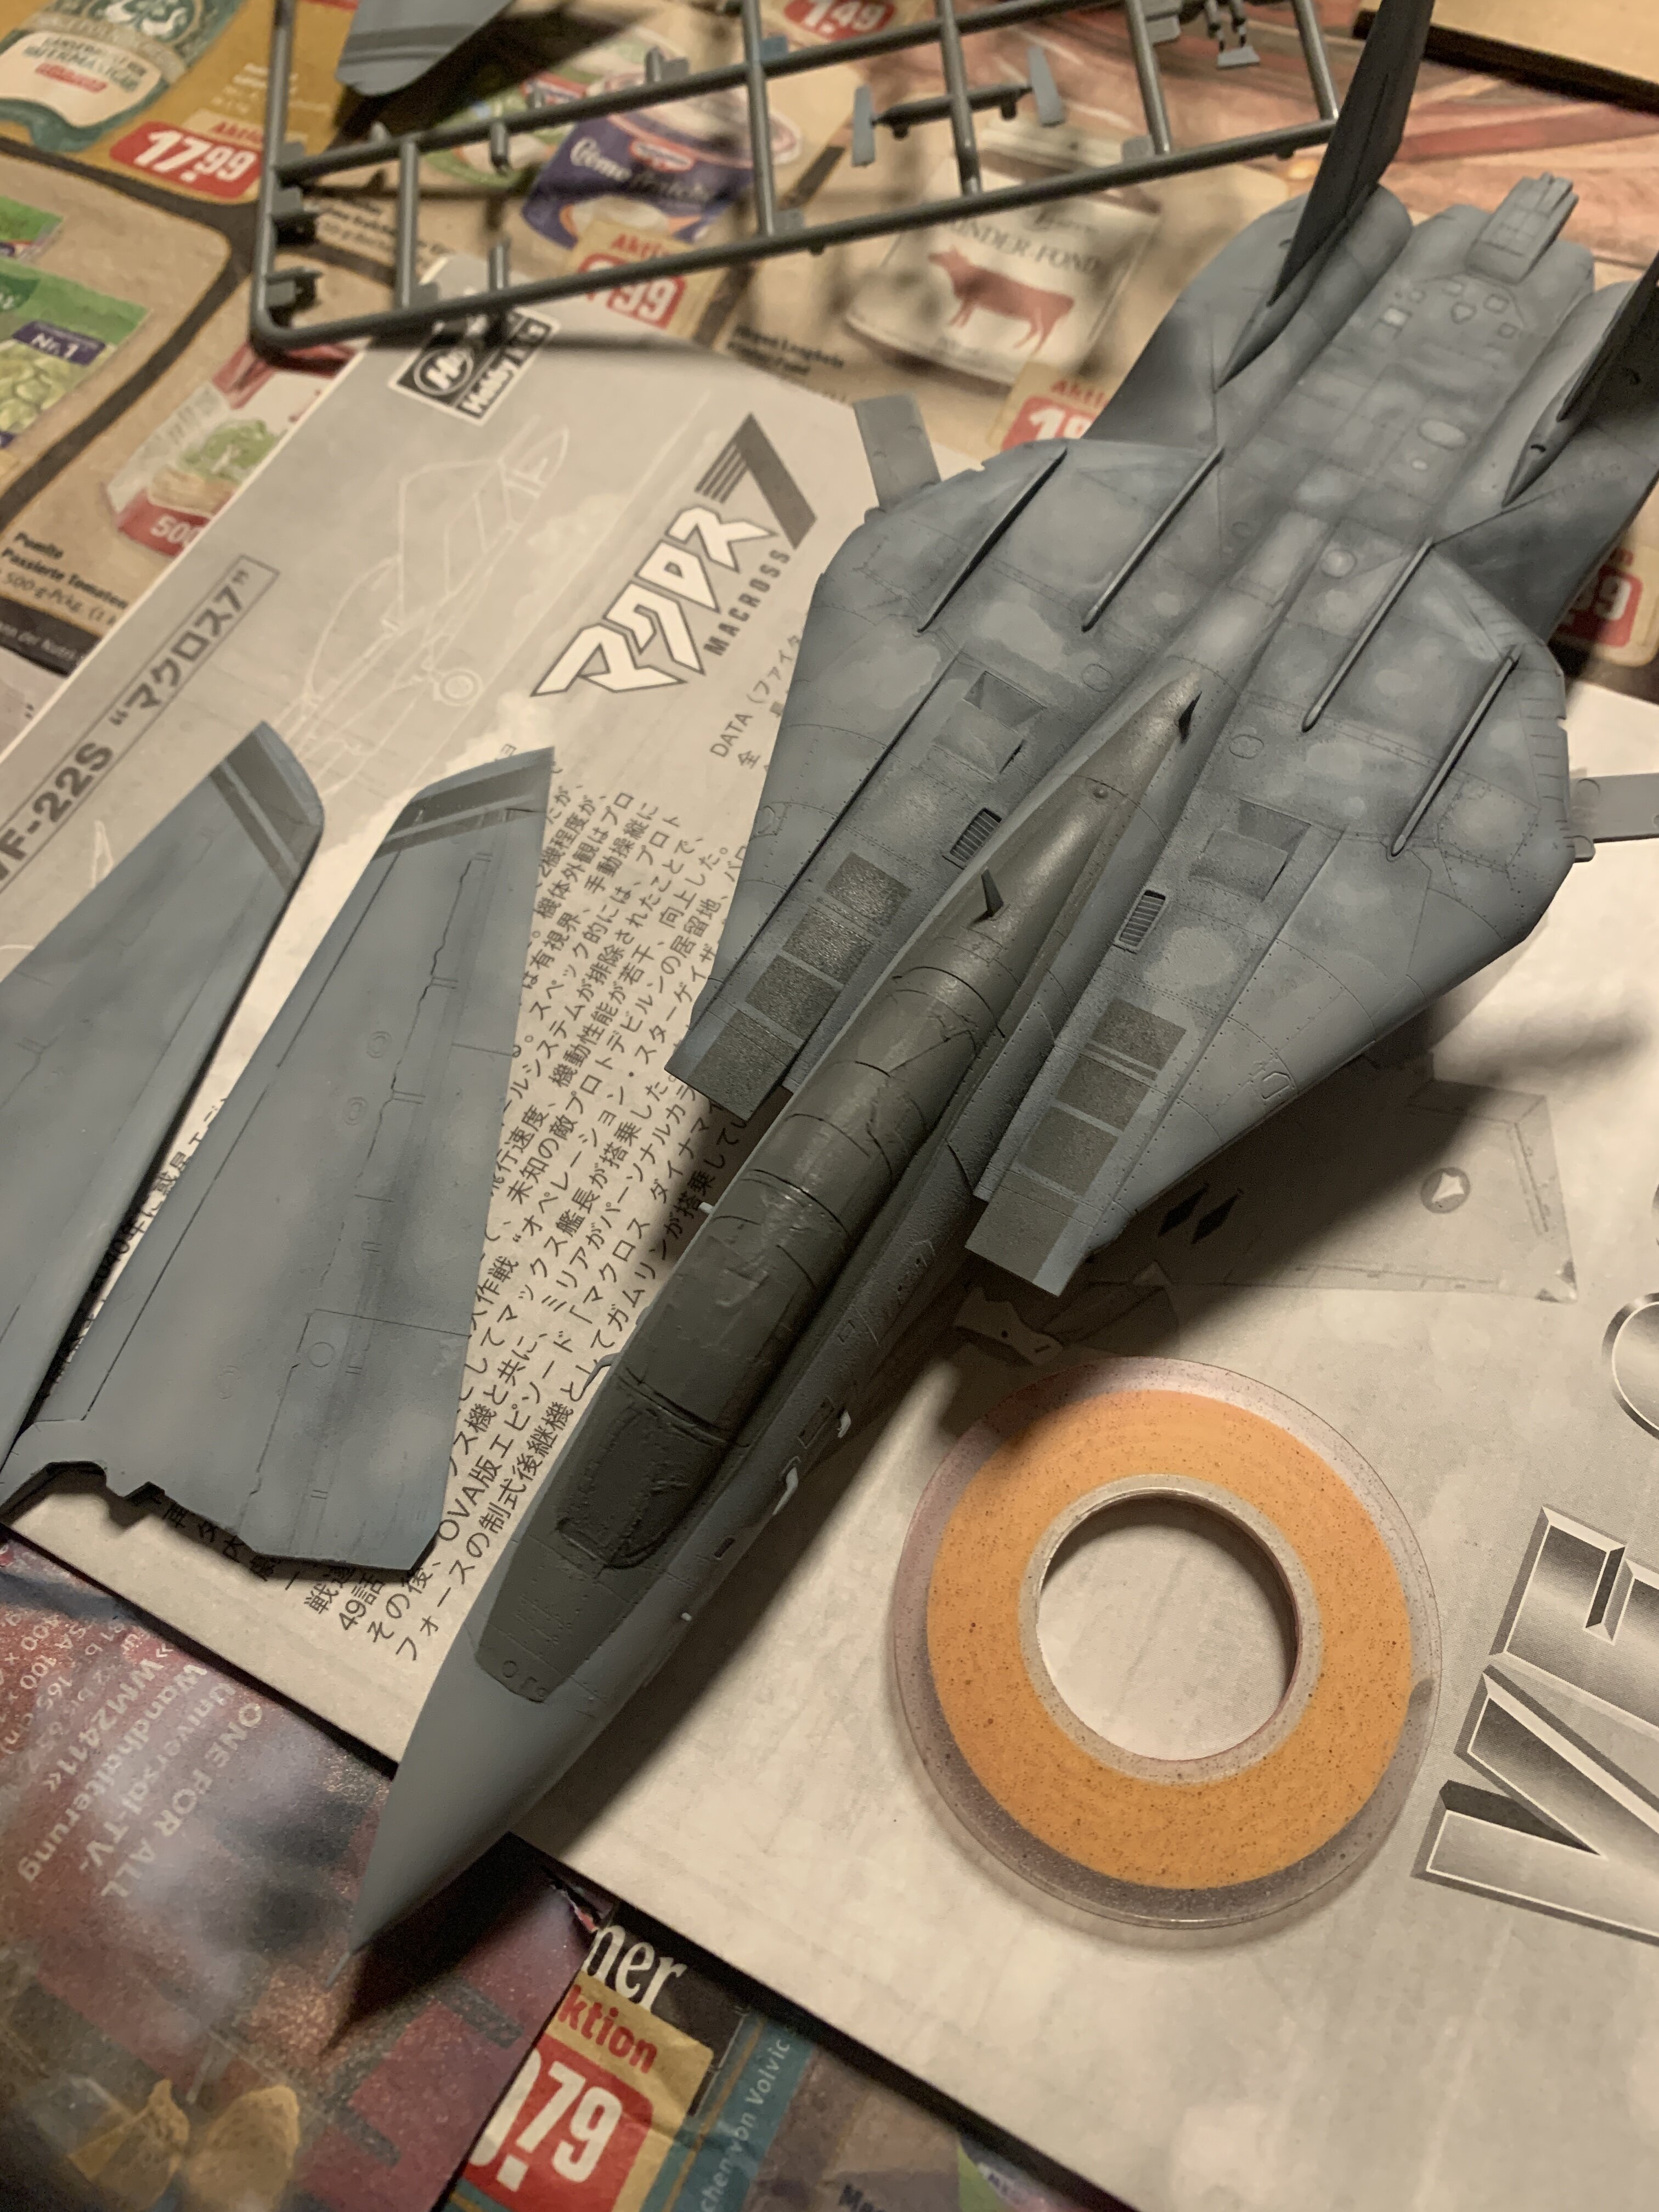
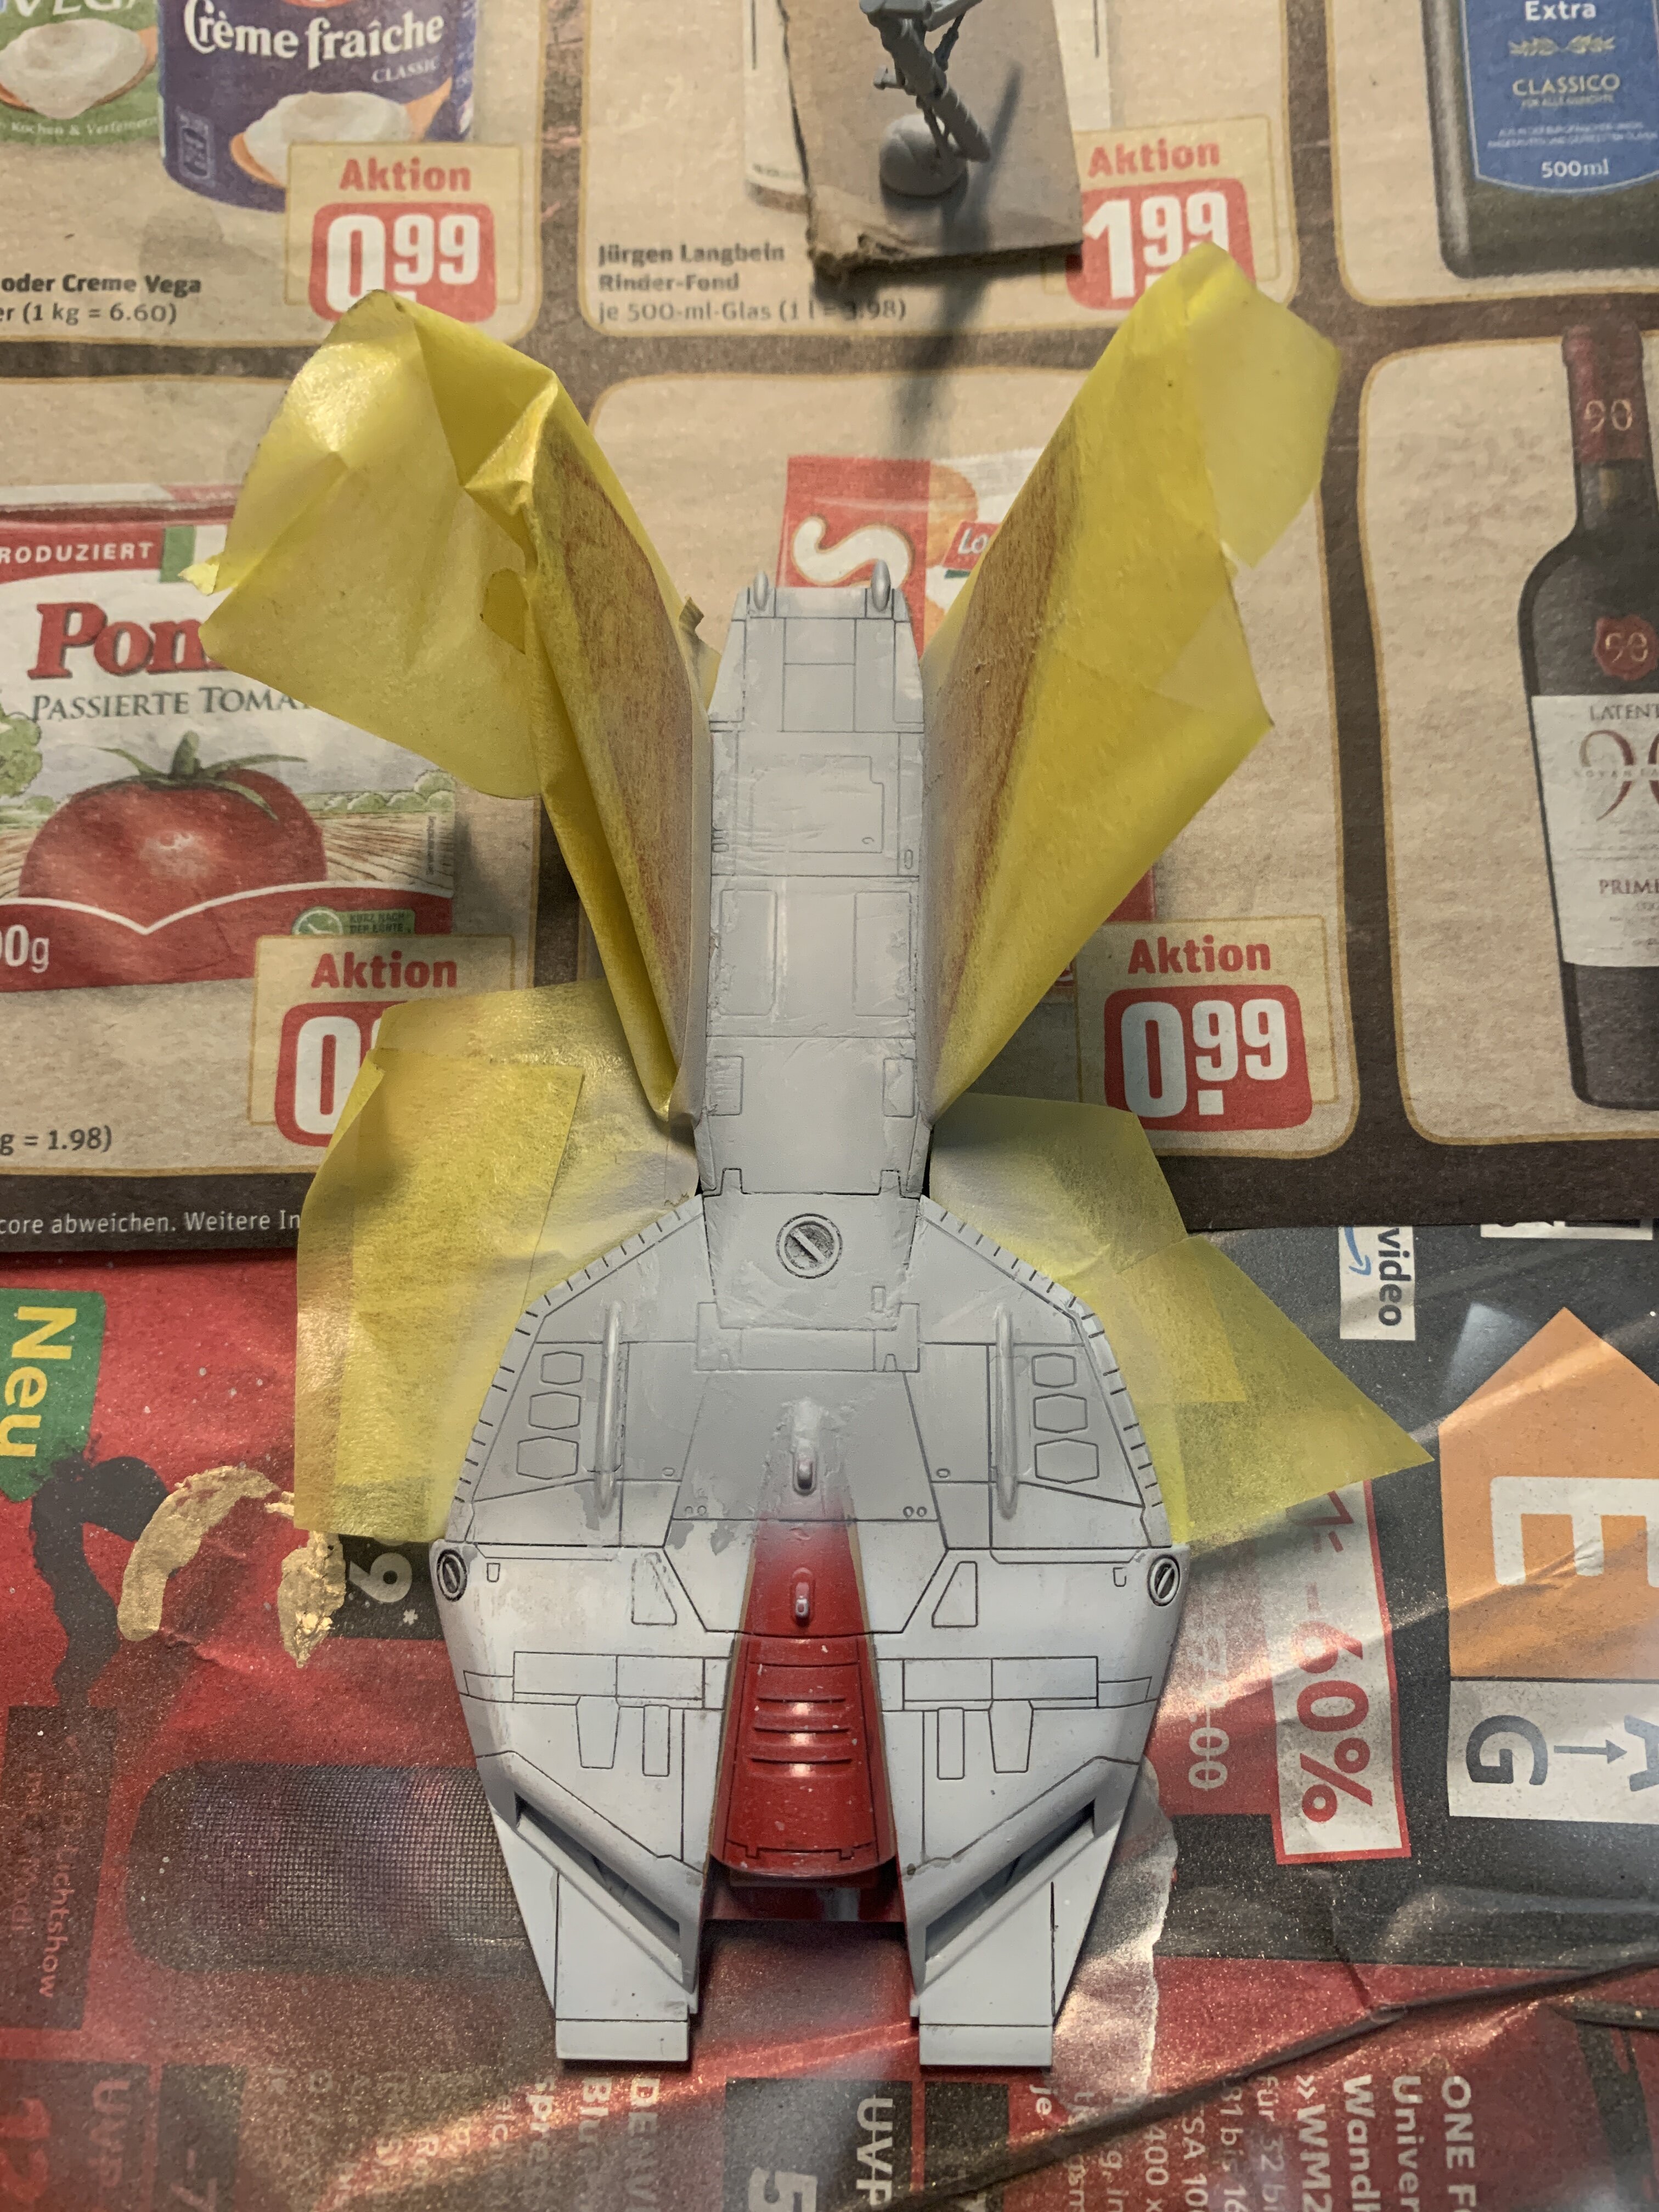
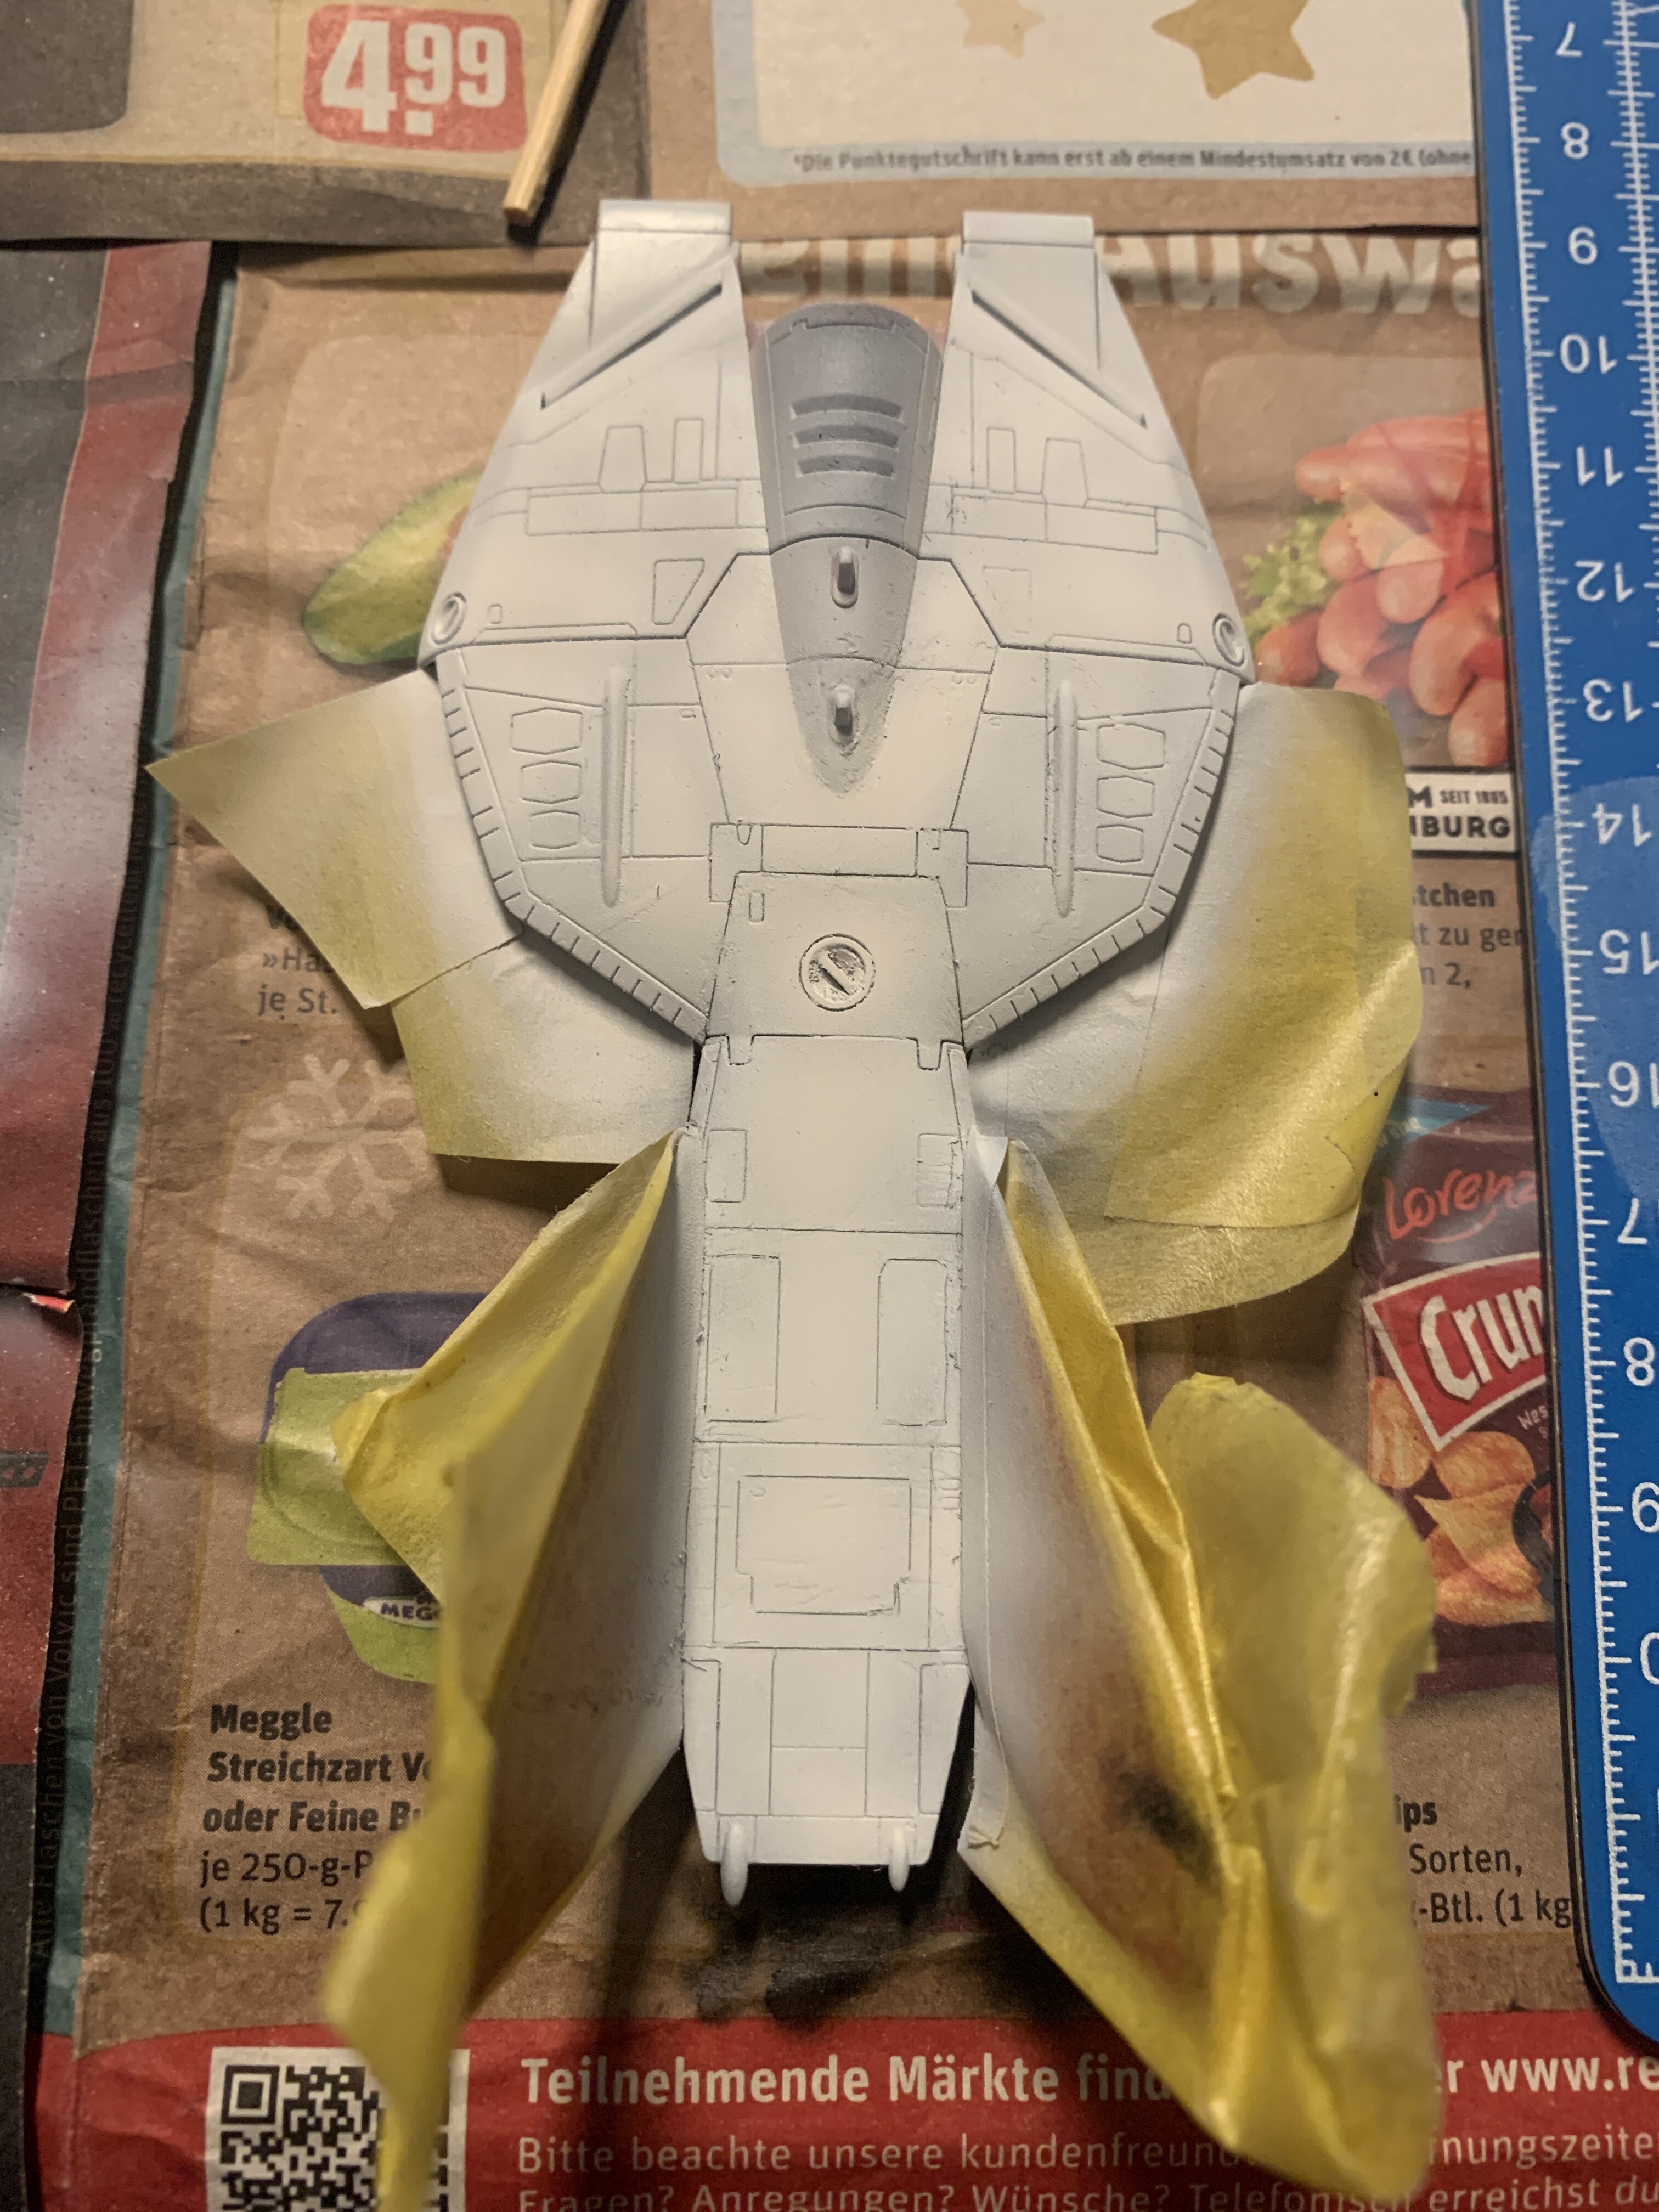
because I don‘t like large decals, I masked the VF-22. How to make easy masks? Tape the decal sheet to a clear piece and have fun.
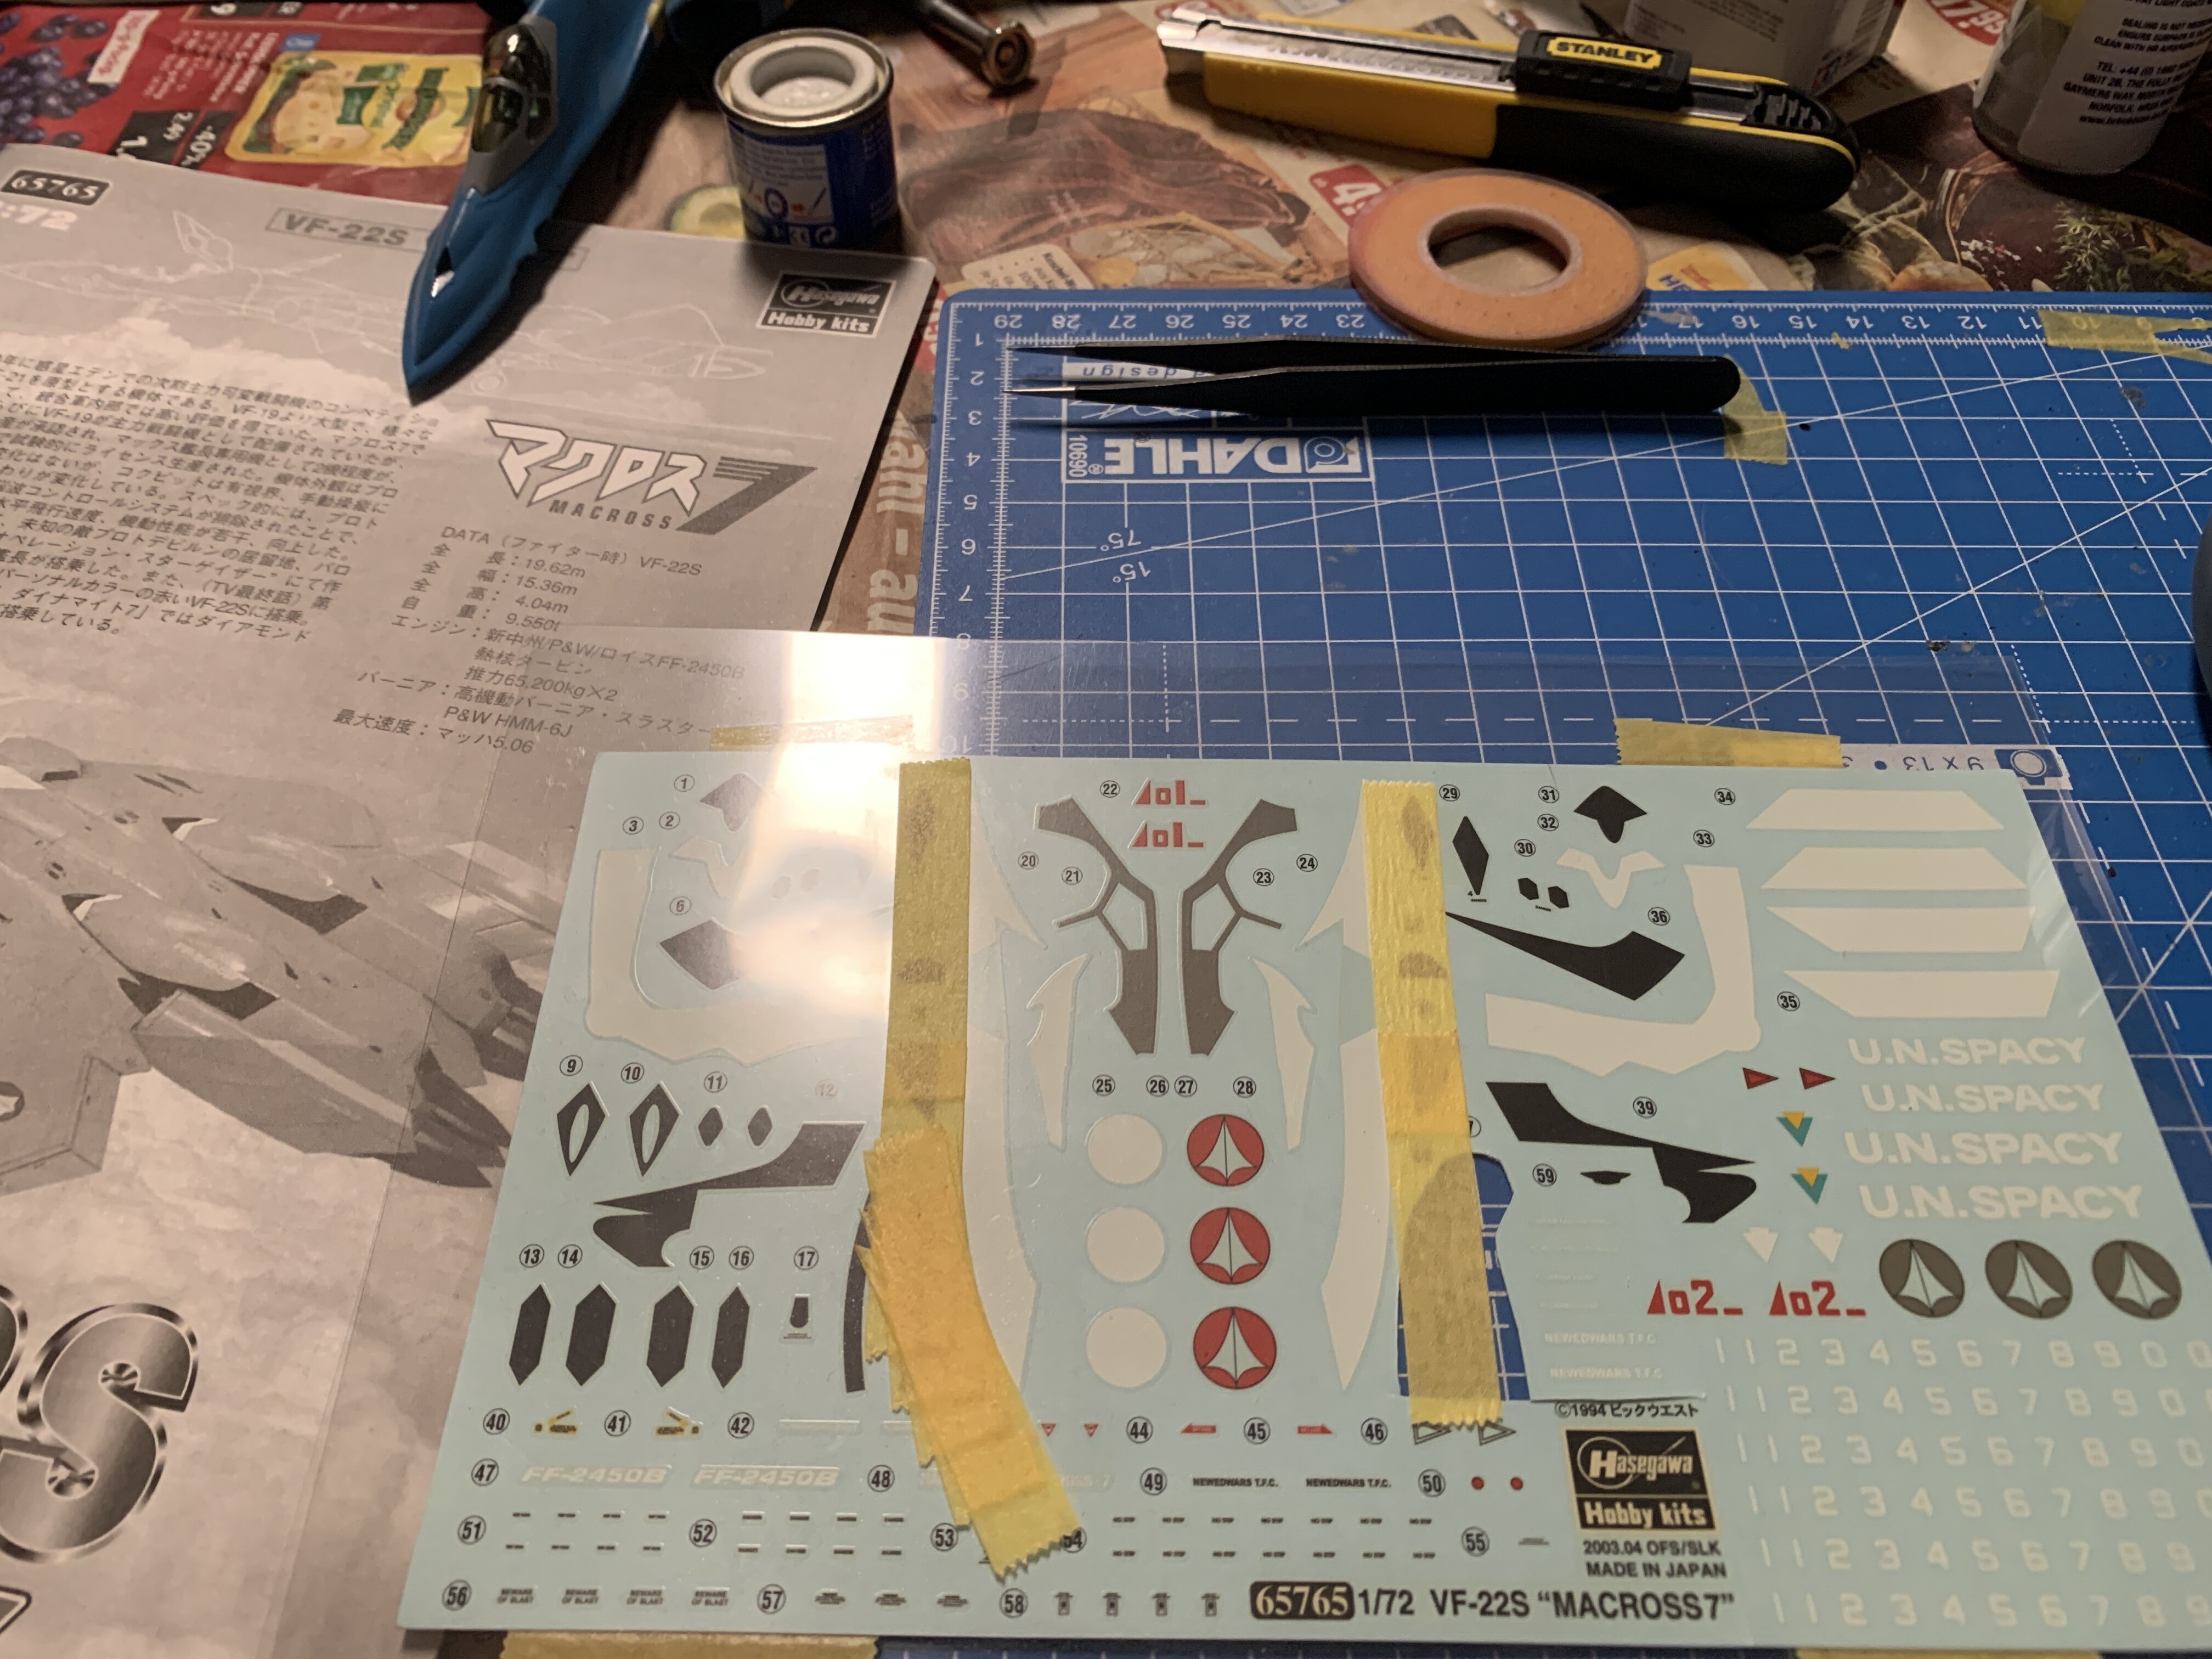
Then peel it off and stick it to the plane.
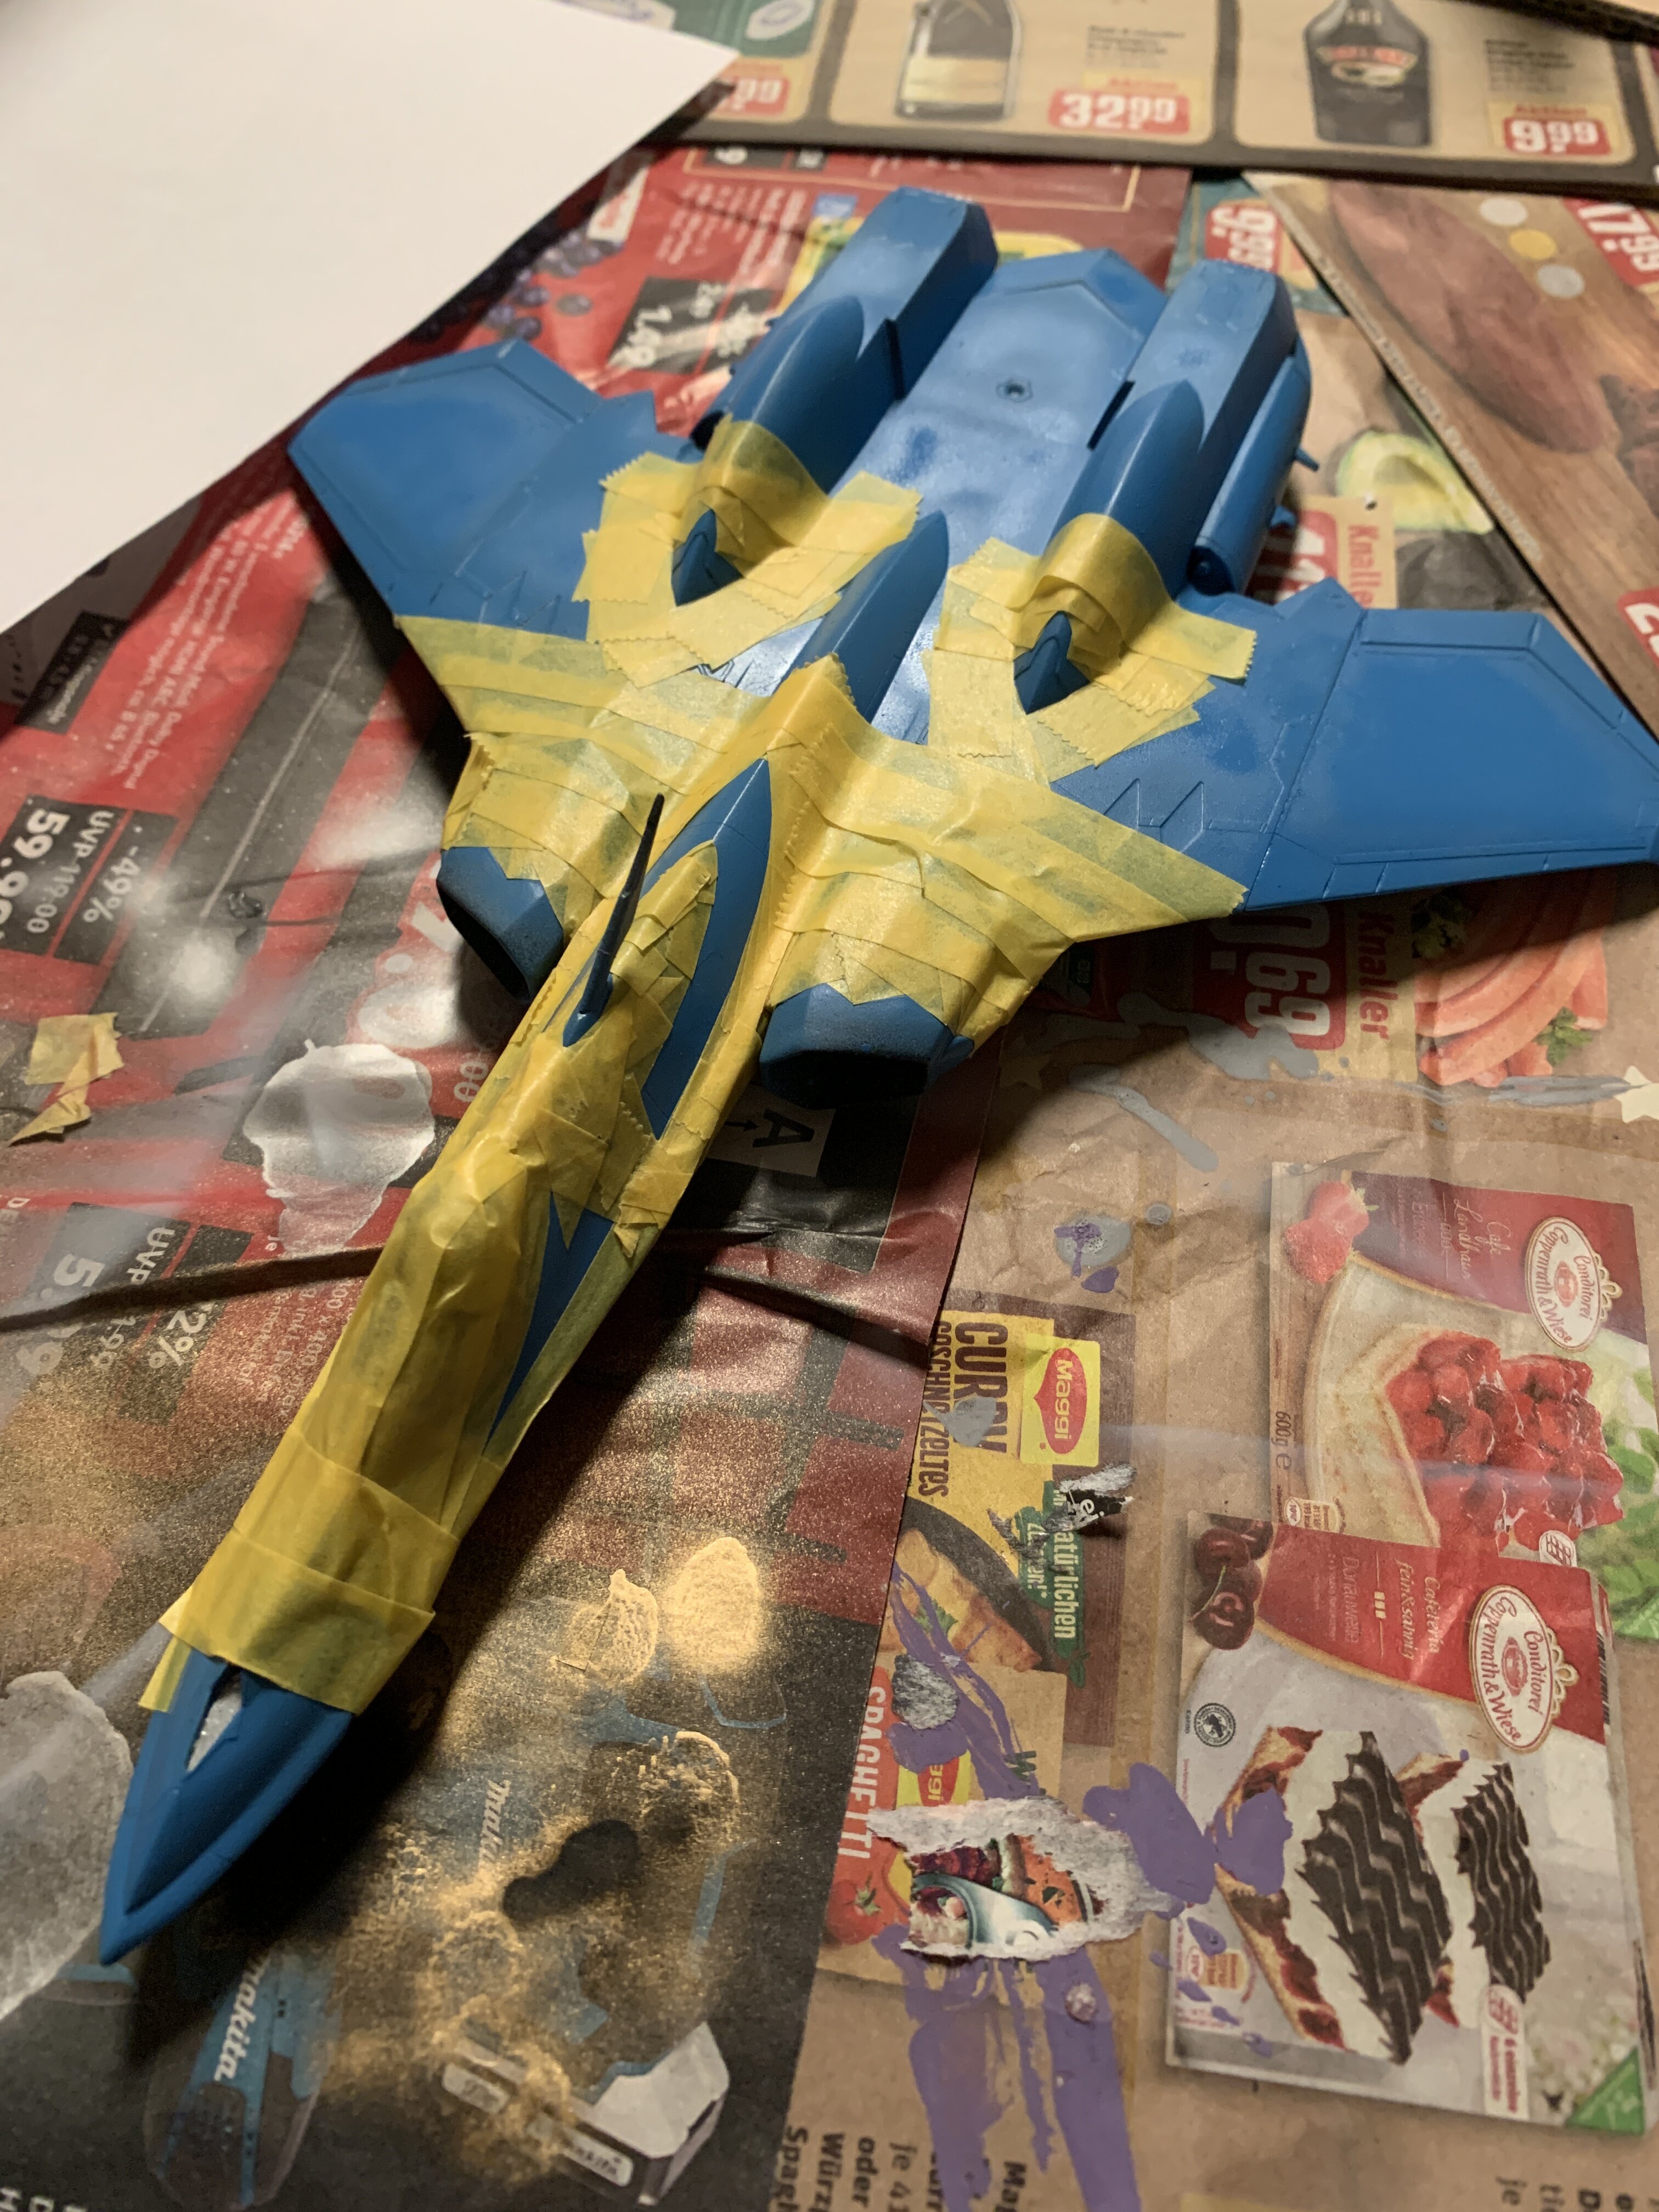
I did some progress on the F14 too (seen in the back here.
And I worked on the vf-1…
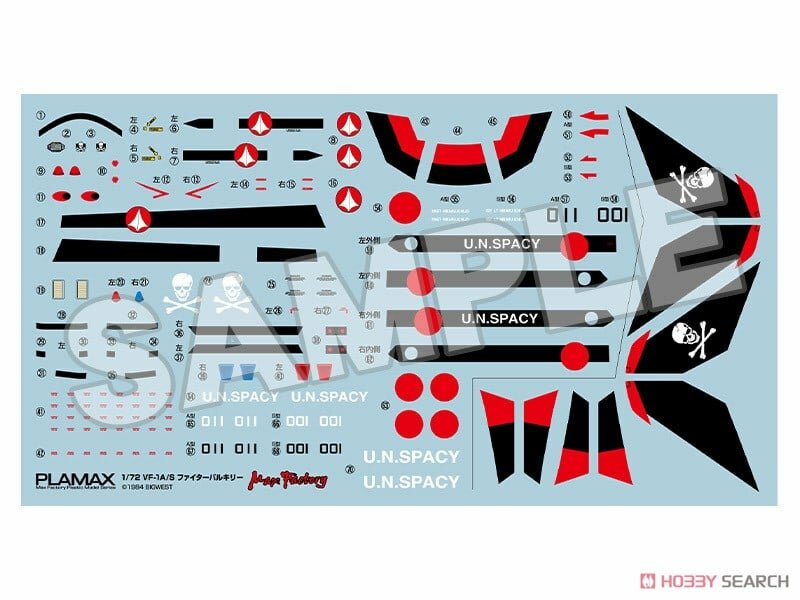
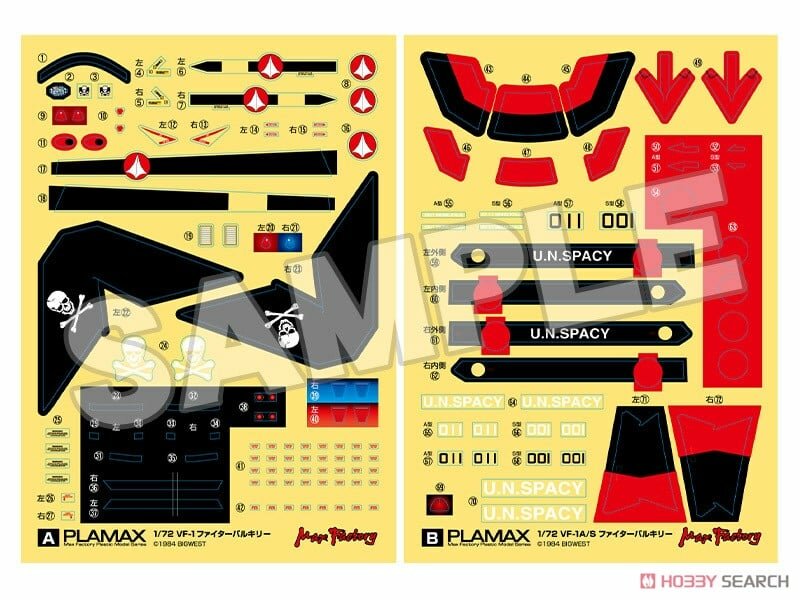
The chinese reprinted decal sheet is good for the small decals, but the large one are hardcore. It took me literally one hour to apply Minmay, as the decal was super thick and sturdy.
will do the rest tomorrow and then the vf-1 will be finished. After that I will get the vf-22 and F-14 done. Then the VF-19.
-
3 hours ago, Big s said:
 judging by pictures it looks like the pro modeler for the package just did it as a sub assembly, painted them and then put the wings and everything together. There’s a seam showing at the sides in fron of the wings that I don’t know if it’s ugly or not. But I think they just did a lazy method. I can’t decide if it’s something that would bug me or not. I’ll probably do a test fit to see how it looks and maybe decide after checking out the battroid images to see if it’s a consistent seam there
Yeah, that is exactly what they do. I didn’t want the seams, so I went the c-clamp route.
-
28 minutes ago, pengbuzz said:
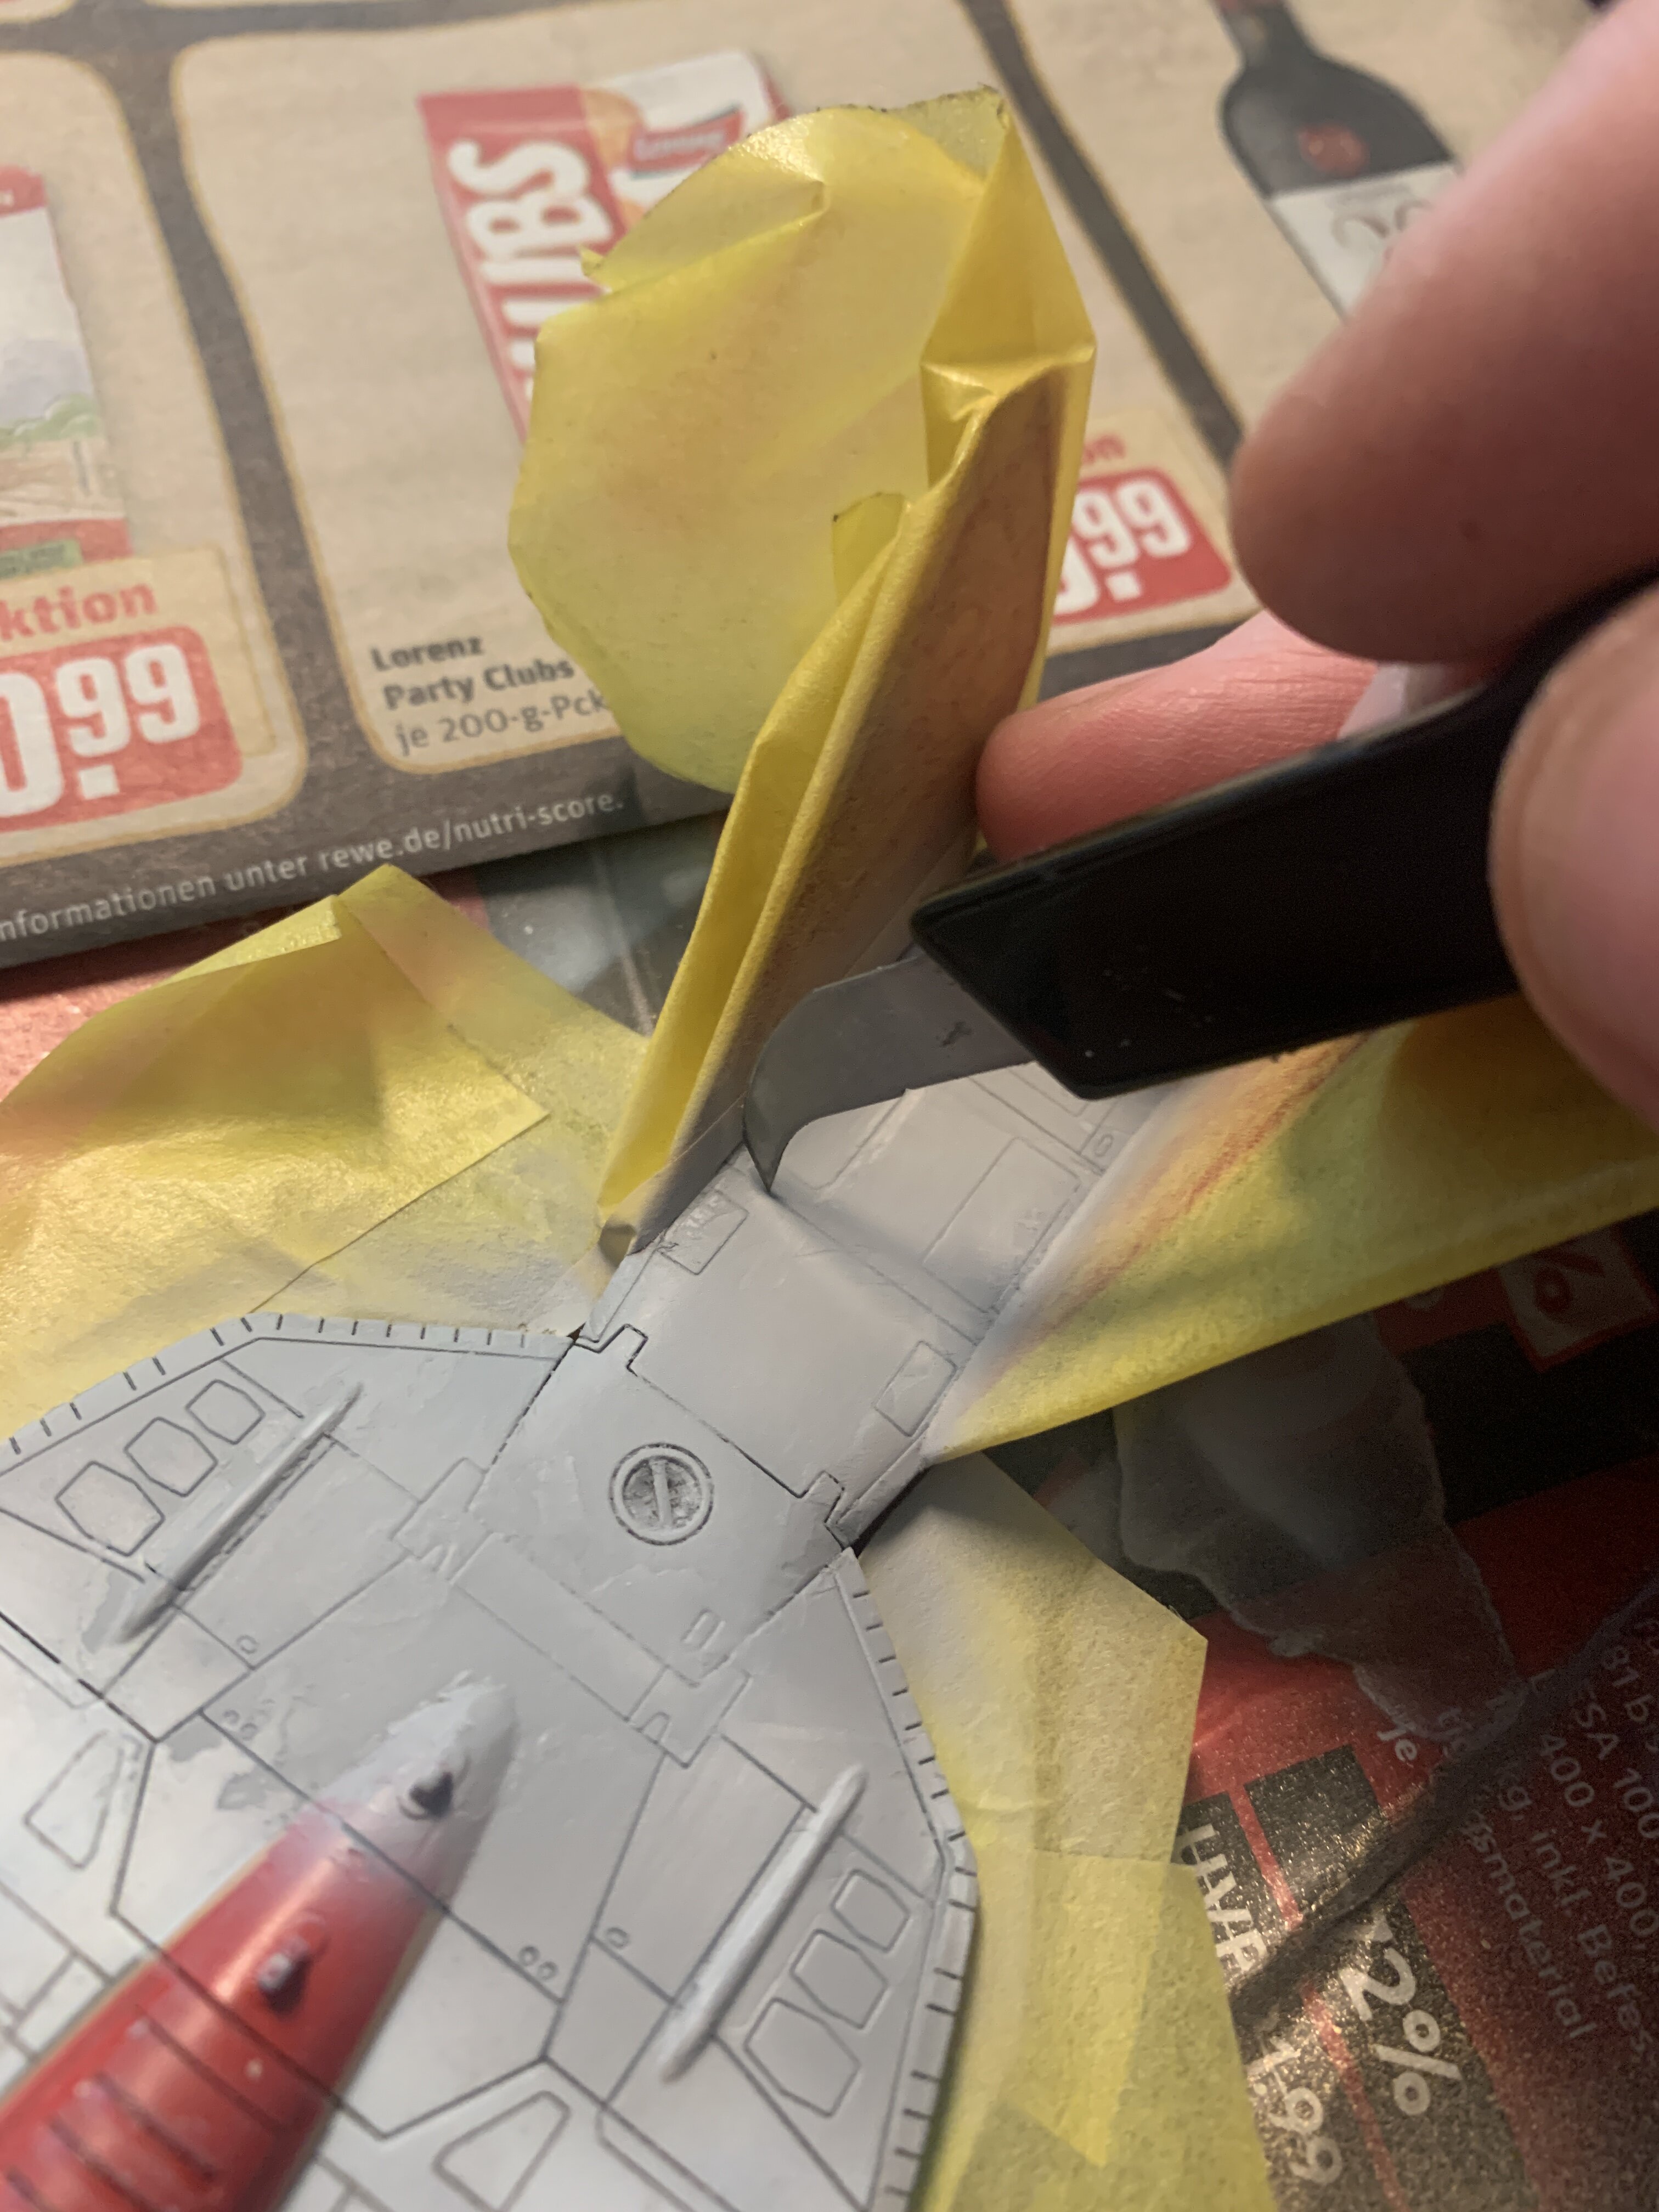
You could always carefully cut the top of the fuselage (following the panel lines closest to it) and remove the precise area above the wing pivot:

Once everything is dry and in place, simply re-glue the fuselage sections back into place; the panel lines should disguise the glue joint. I ended up doing a similar operation for my X-wing fighter when I had to rebuild the x-wing scissor joint, and it came out pretty decent.
Another way you could do it is to locate the hinge pin inside the fuselage, trim if off and drill out a hole for a new hinge pin to be made from part of the sprue tree. Once the wing is in place, trim the new hinge pin flush with the hull, glue into place and touch up where is shows up on the fuselage. I acually did this one on one of my Imai Vf-1 transformable kits.
I think your second option there would work well, as the underside would be covered by the engine bay/legs. So drilling the hole from the buttom of the fuselage could work.
-
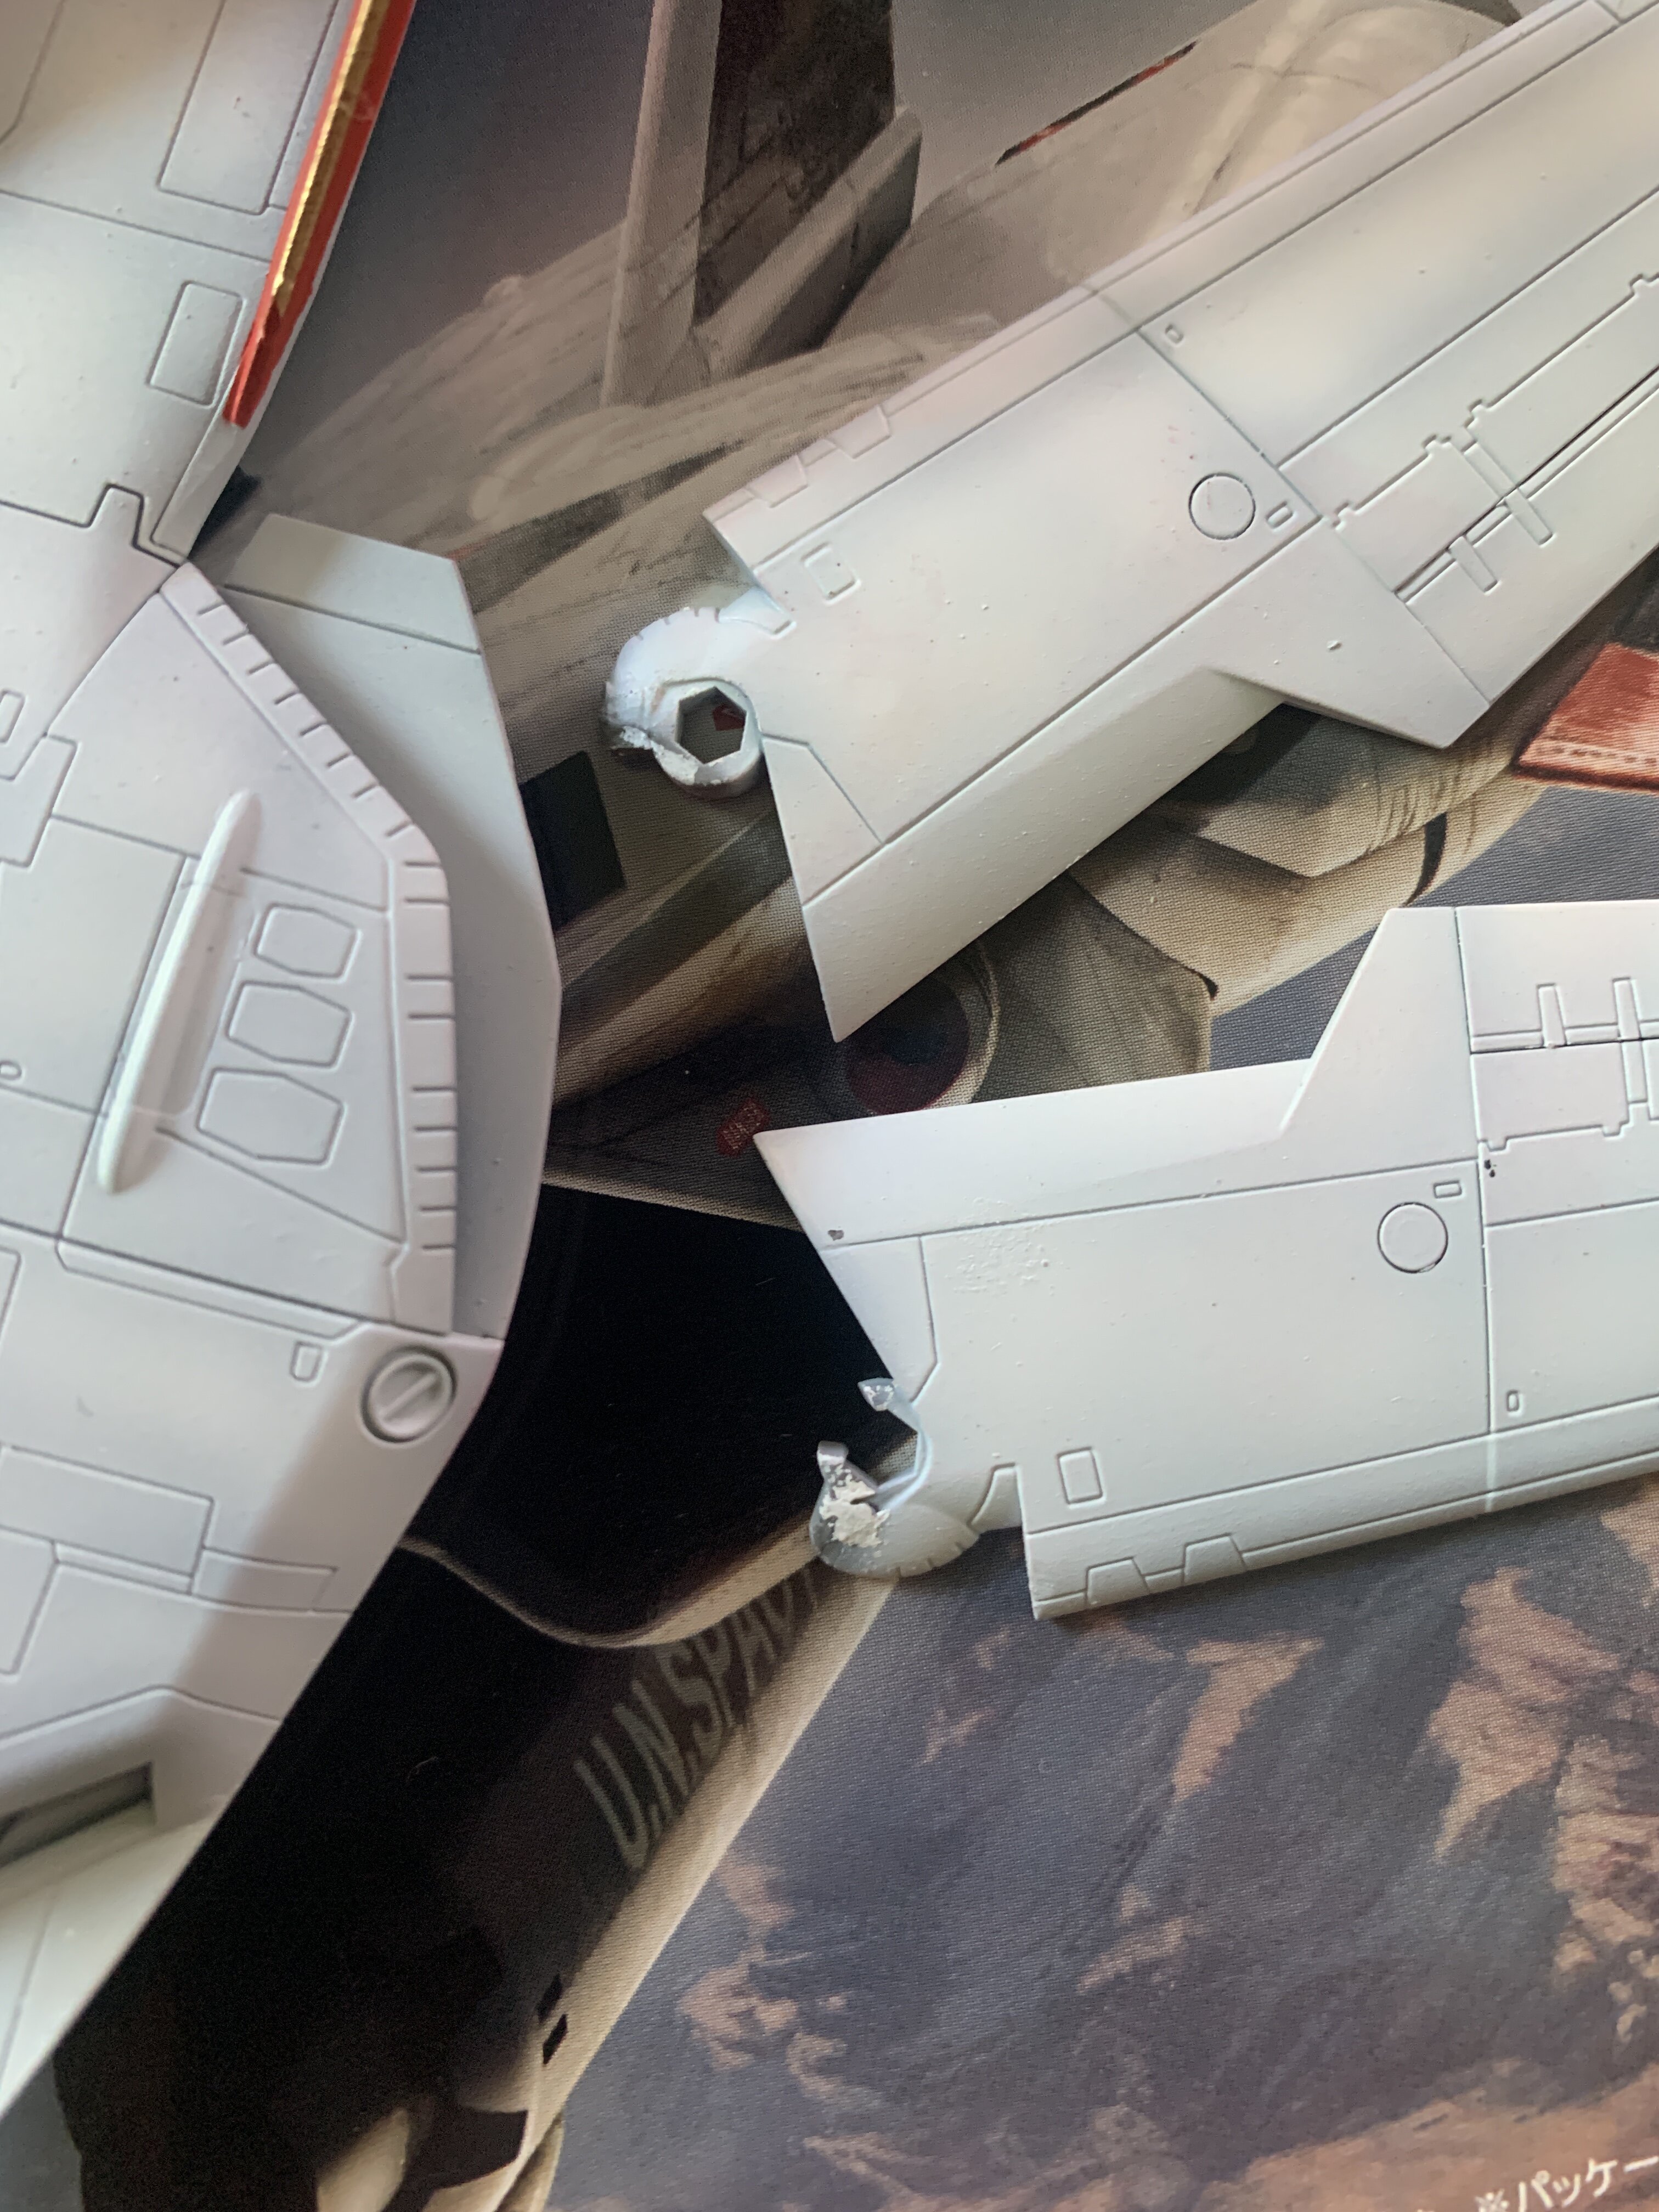
2 hours ago, Big s said:
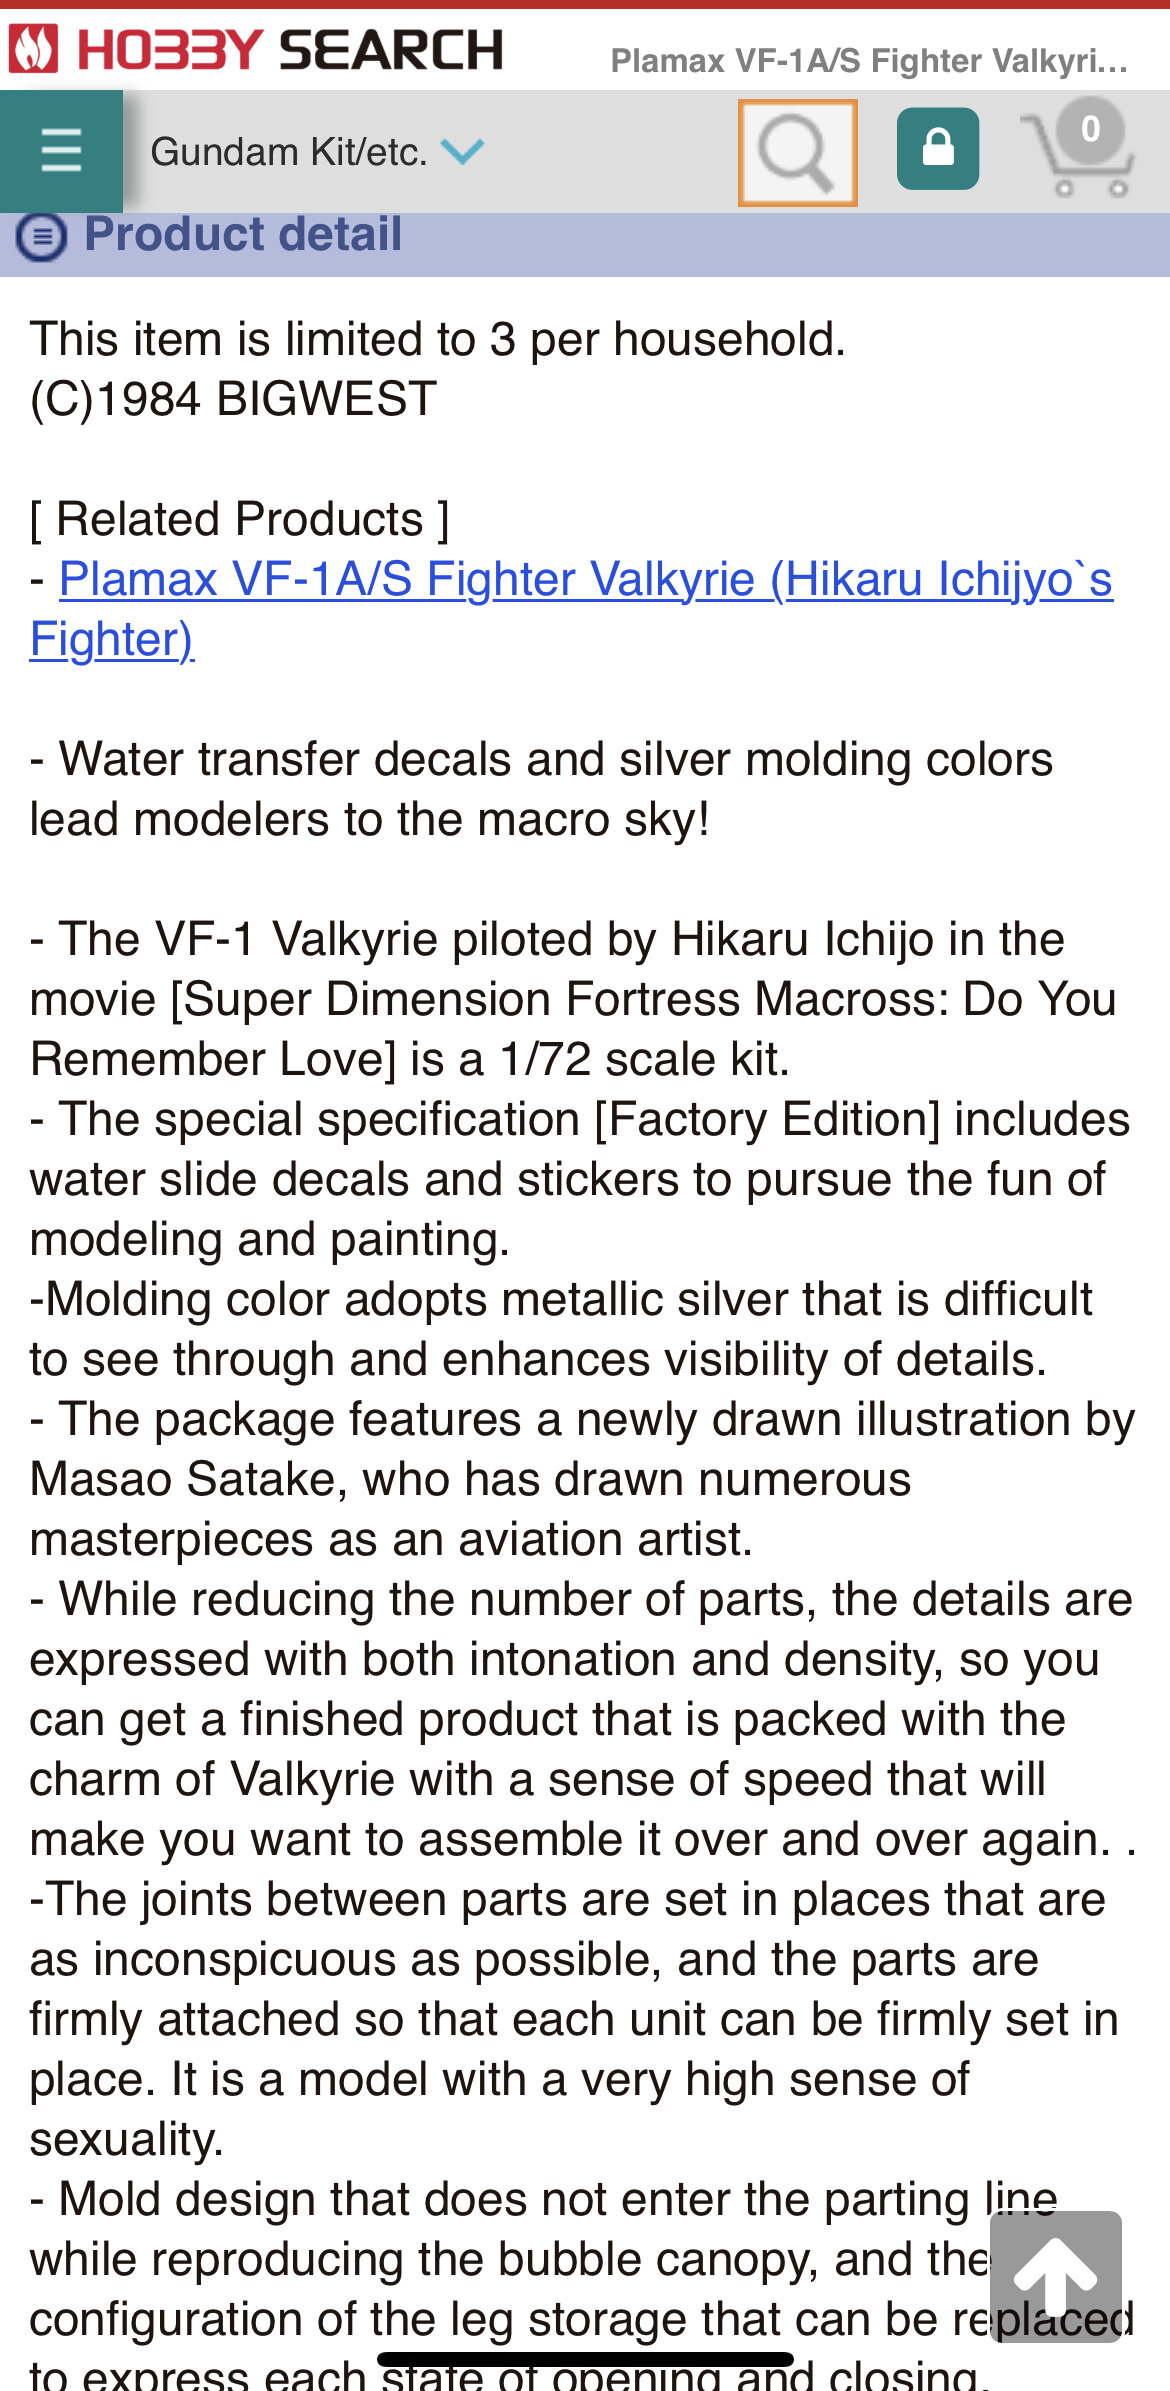
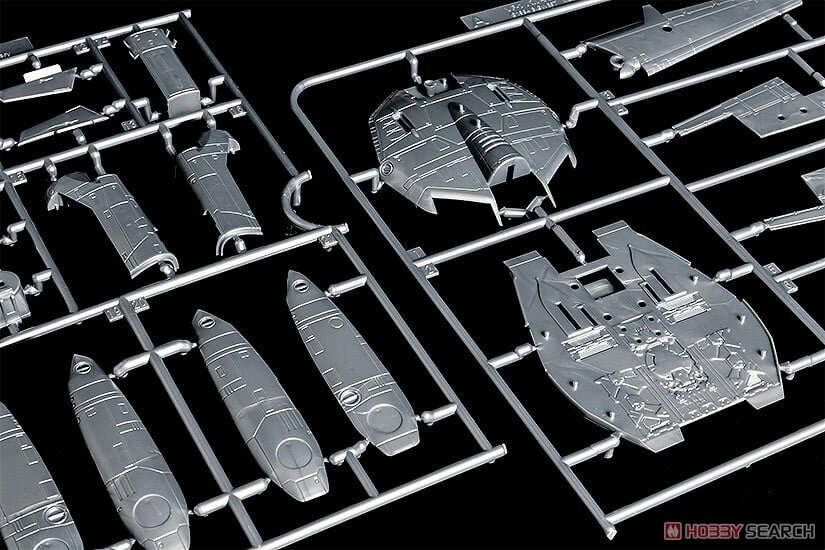
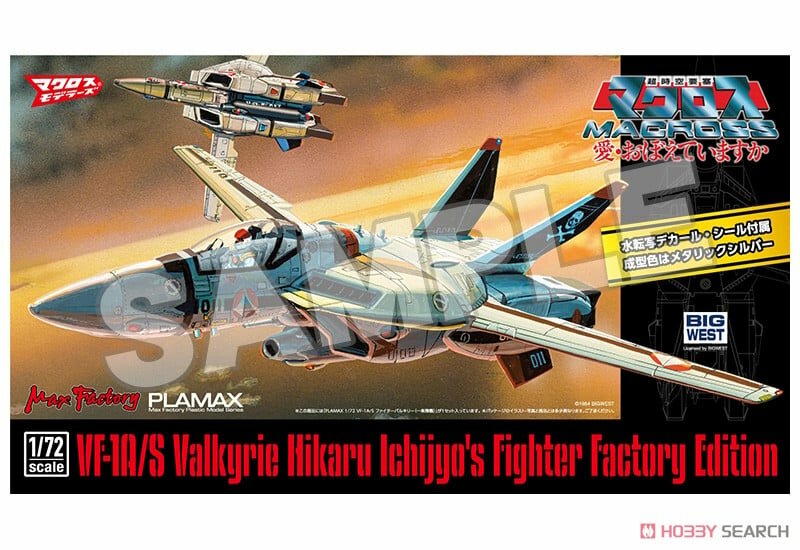
That’s the 1/72 one right? I preordered the version that comes with decals and just curious about your thoughts on this kit. It looks a lot simpler than the hasegawa, but also appears to be more anime detailed rather than real world detailed like the hasegawa version.
It’s looking good so far
Yeah, the 1/72 one. I really like it. The only downside is how the wings are working. The Hasegawa kit has this pin like setup where you can stick the wings onto the fuselage later. The plamax kit has a bad solution. Just two pylons you stick the wings on and then close the fuselage. What to do about it?
1. Live with it and close the fuselage after painting everything.
2. C-Clamp trick. Enforce the bearing at the end of the wing and cut off a piece, so you have a c-clamp, which you can snap onto the pylons in the fuselage.The Plamax kit looks a bit more bulkier than the Hasegawa kit as well. I will compare it to my Kakizaki VF-1 once the Plamax thing is done.
-
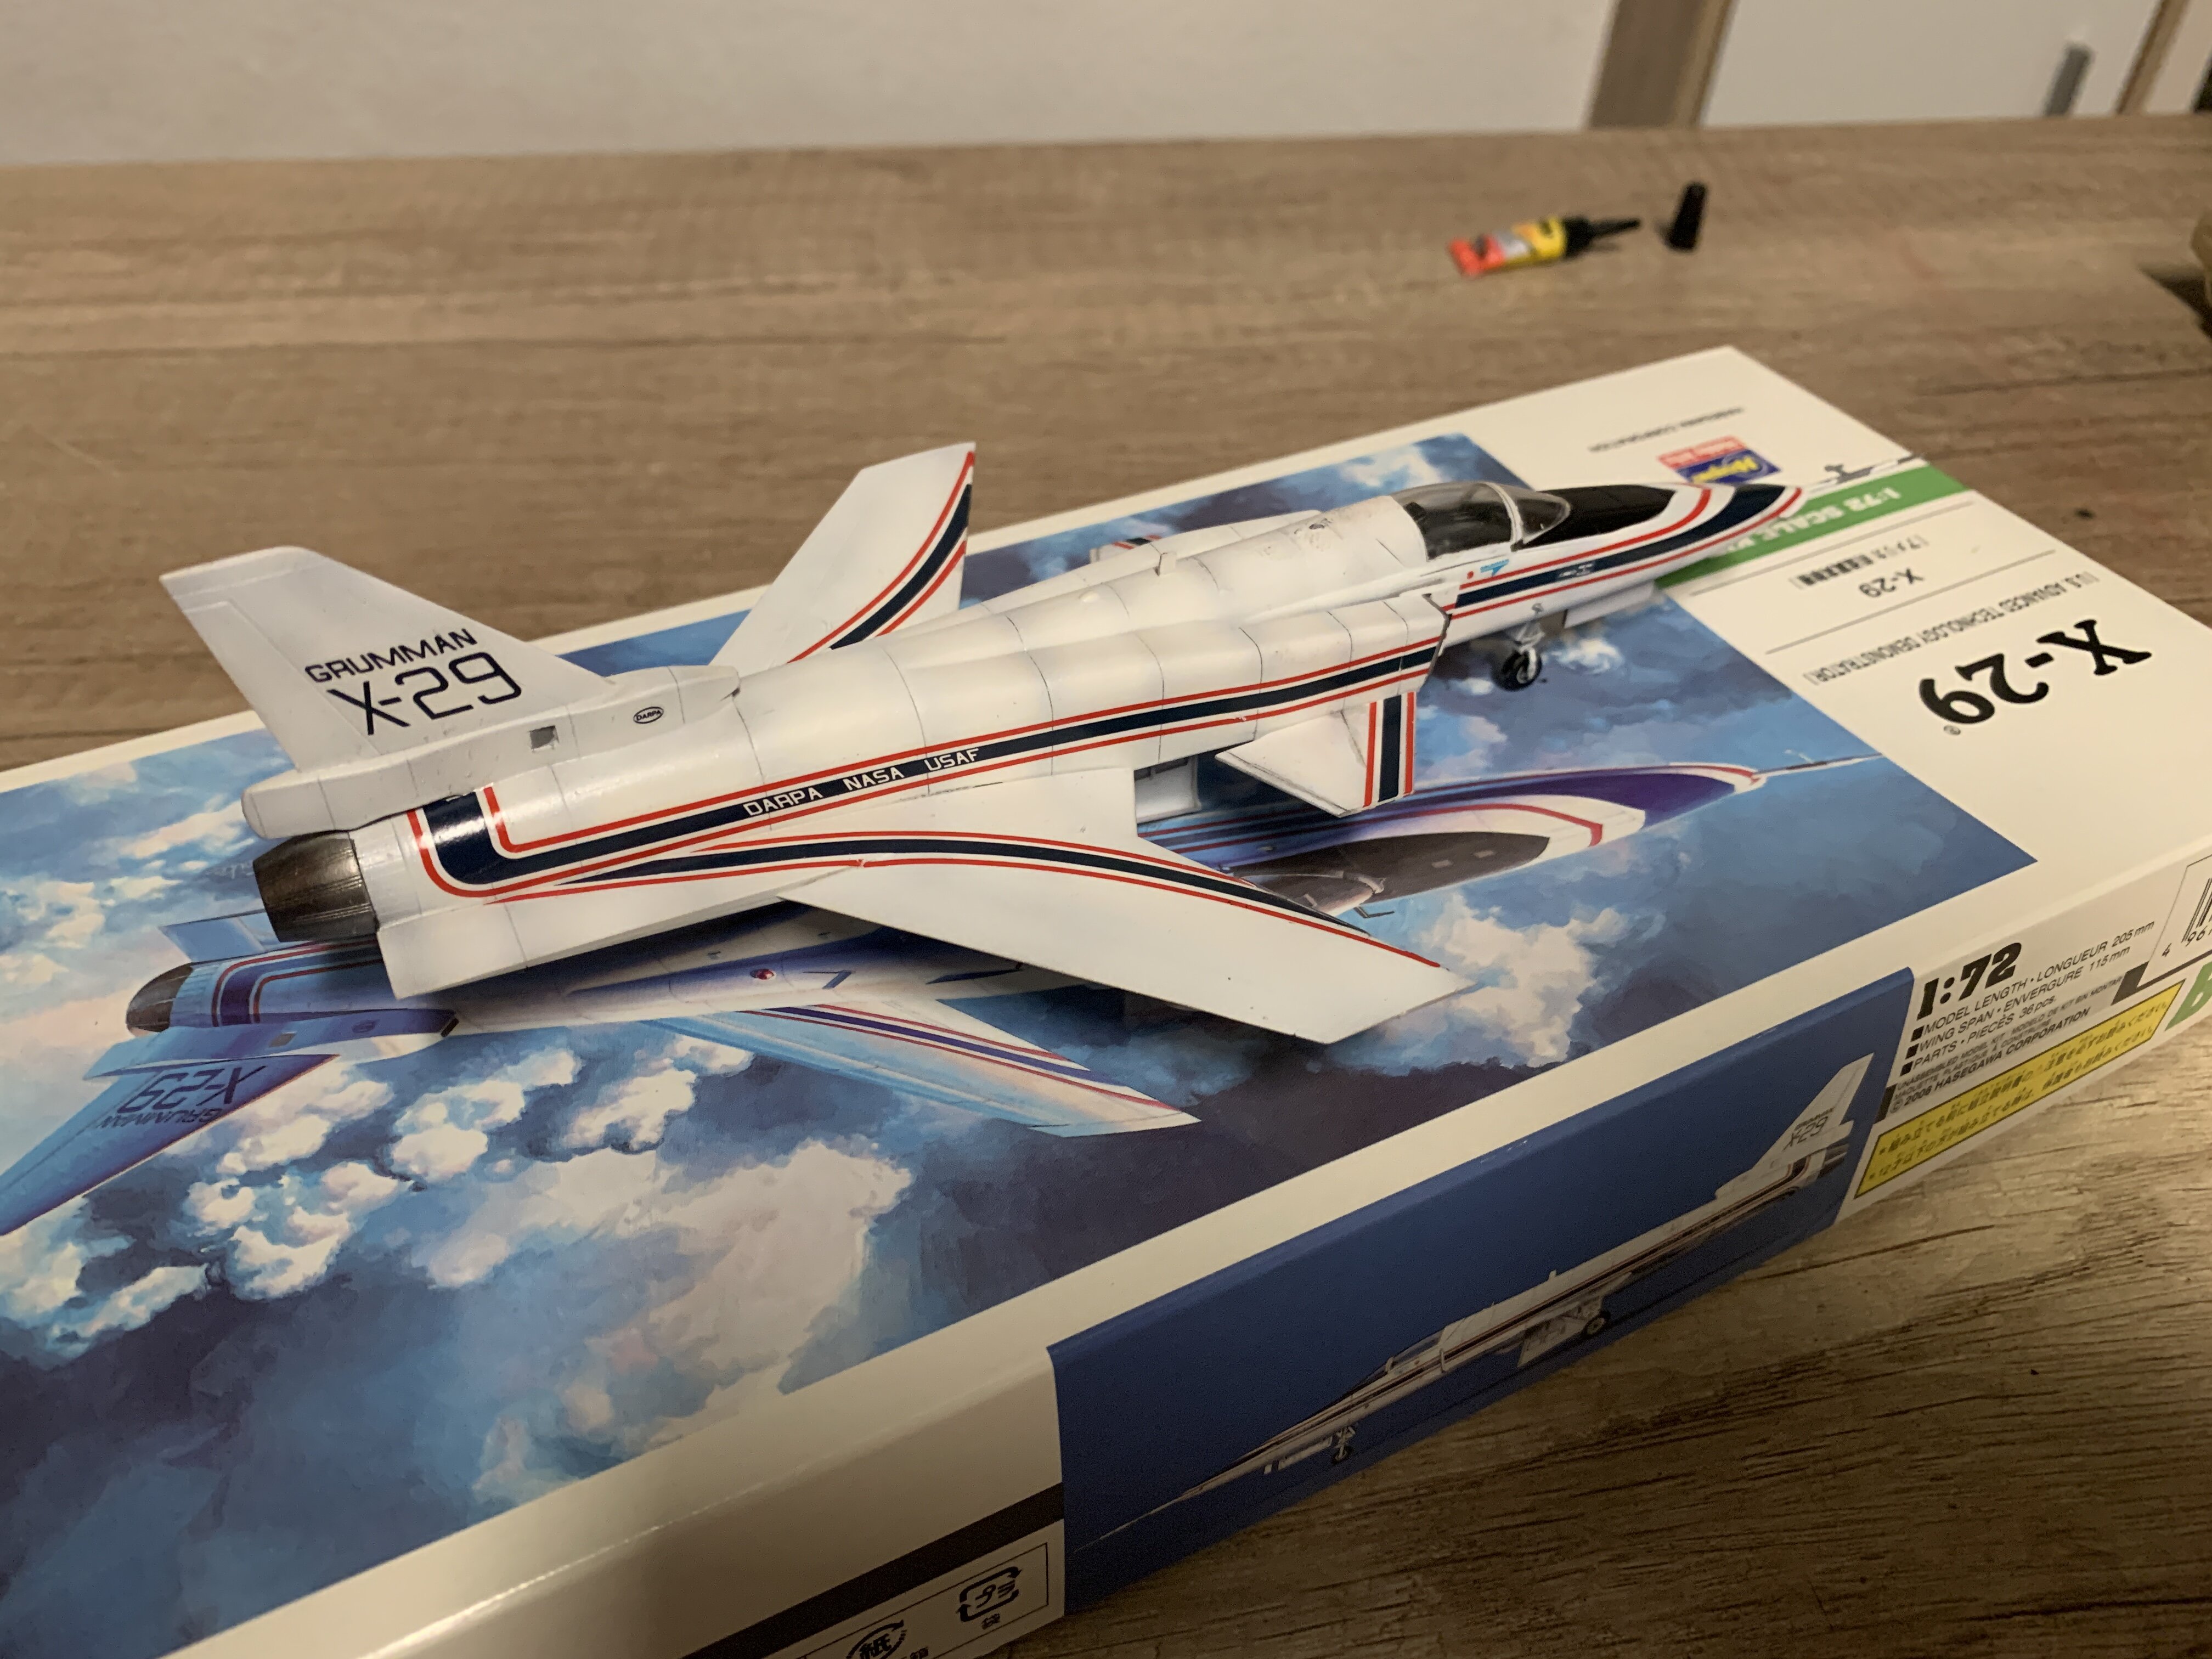
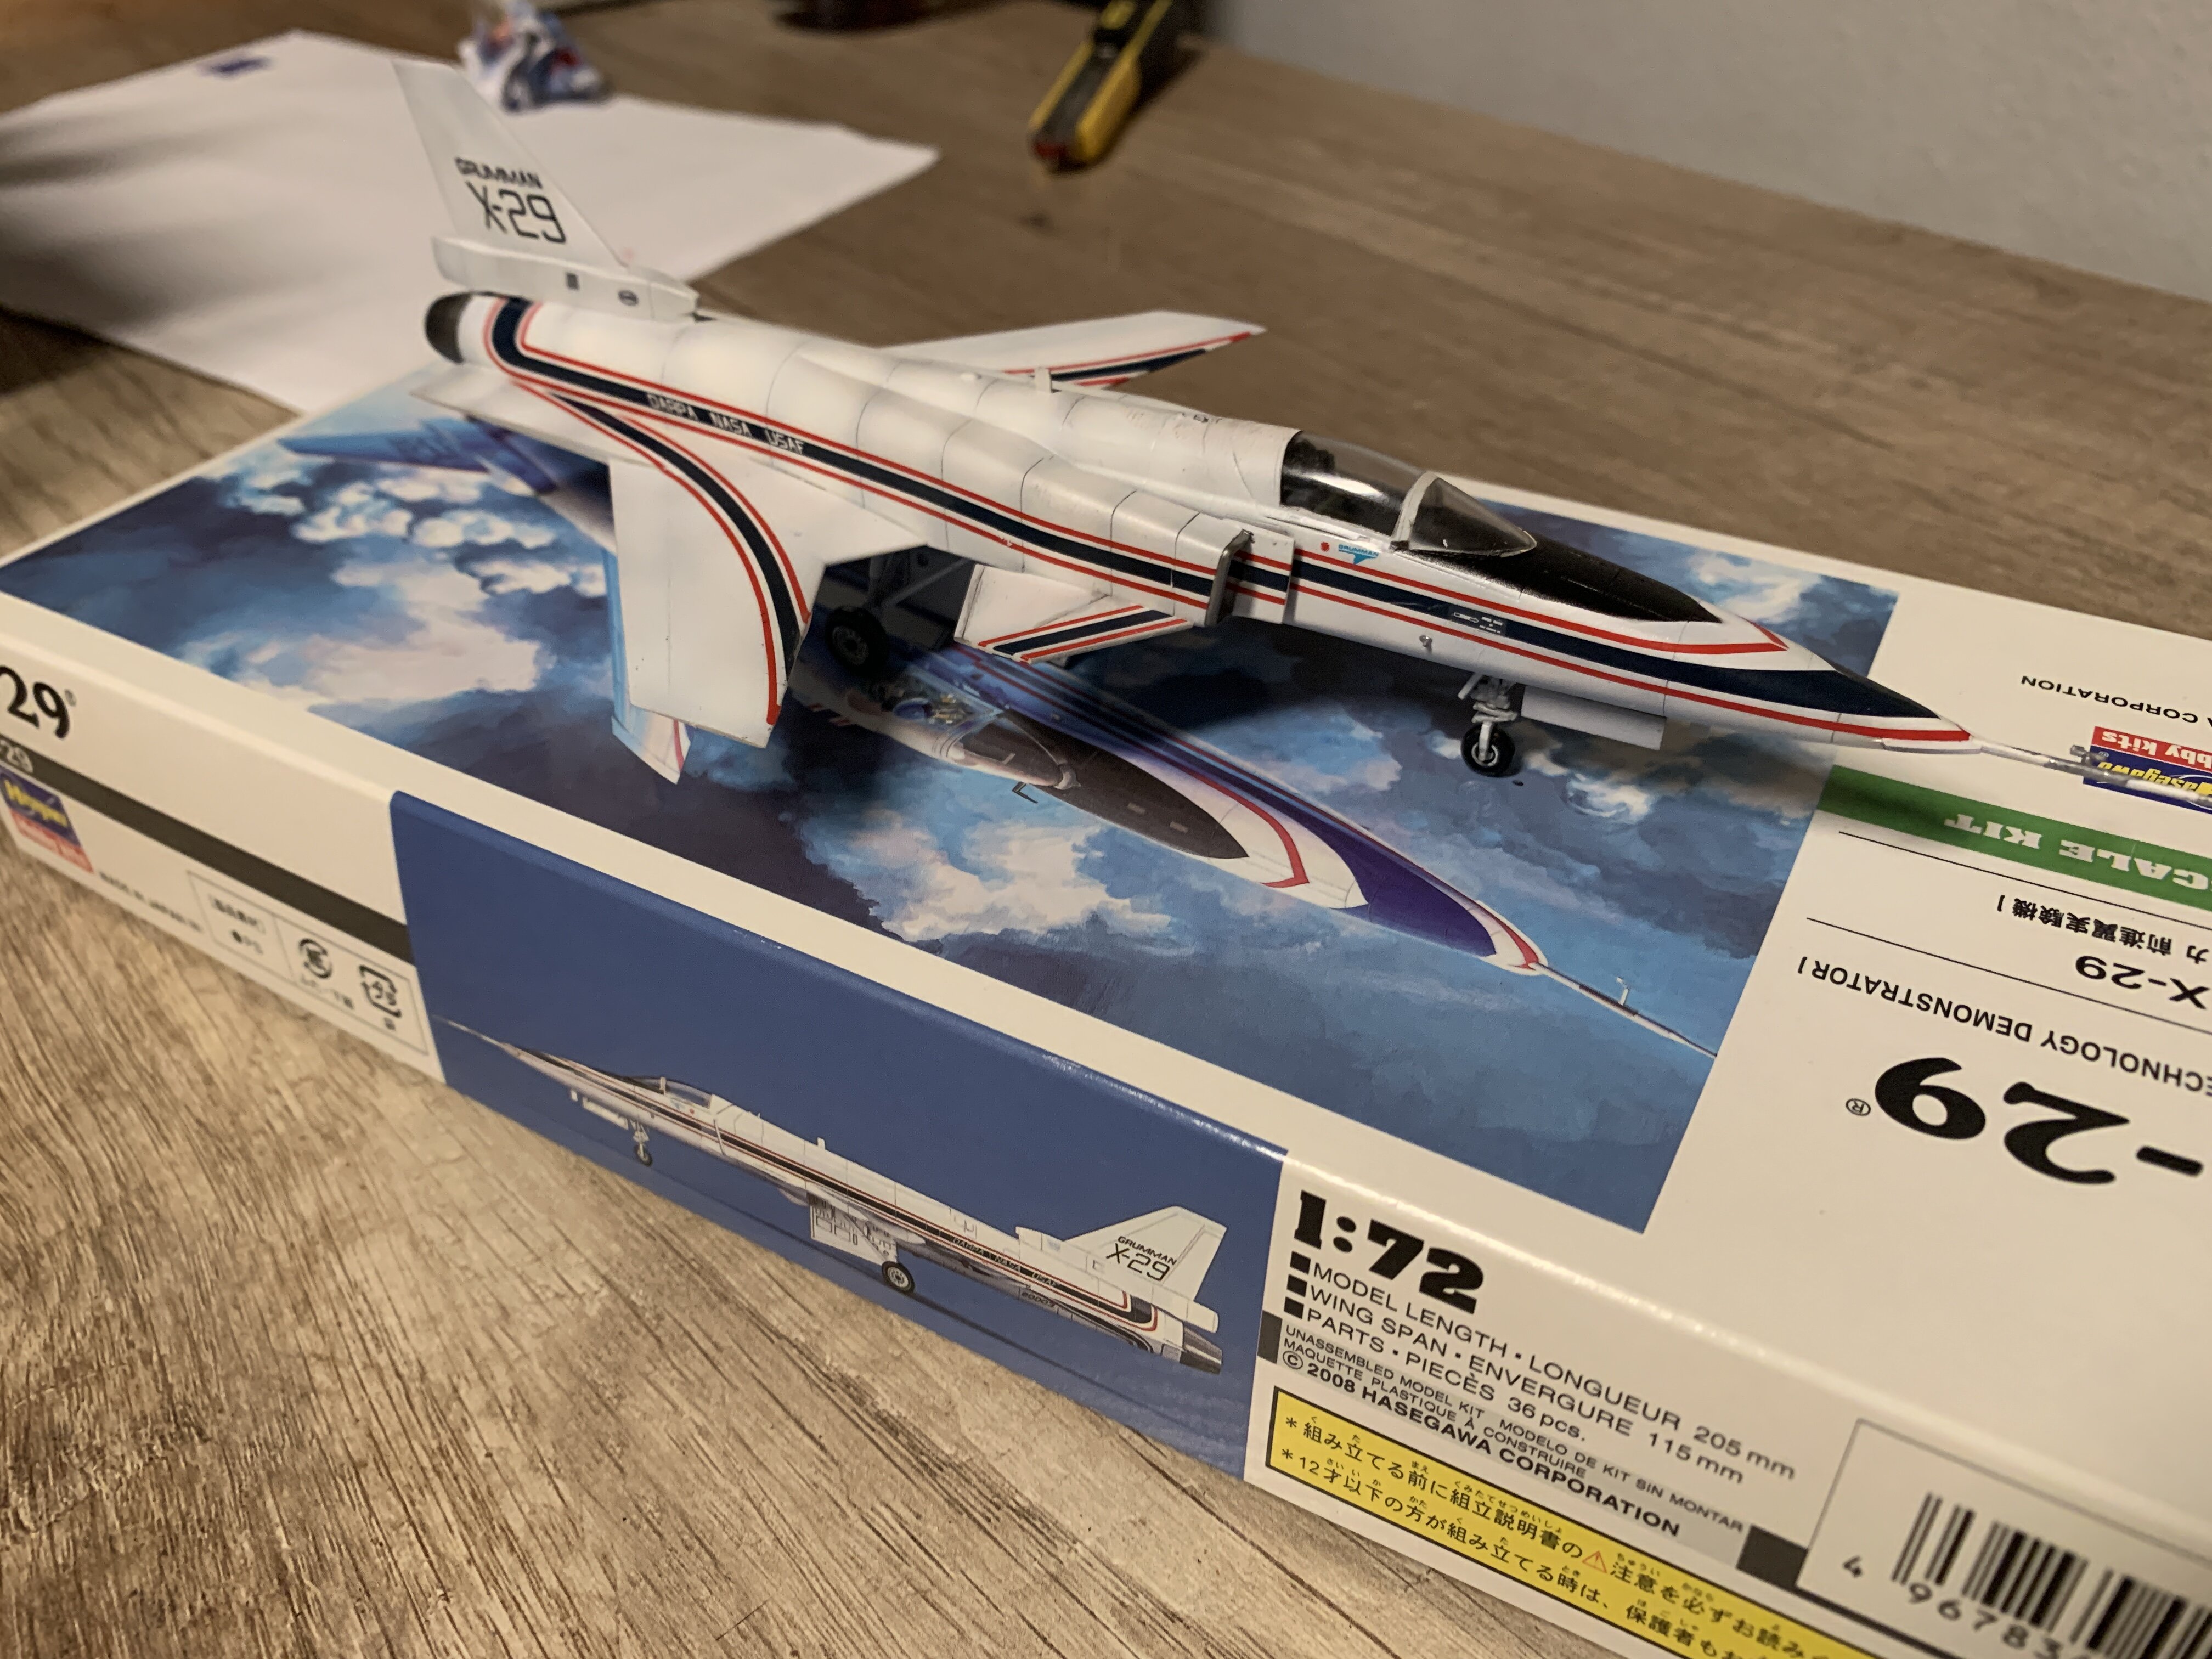
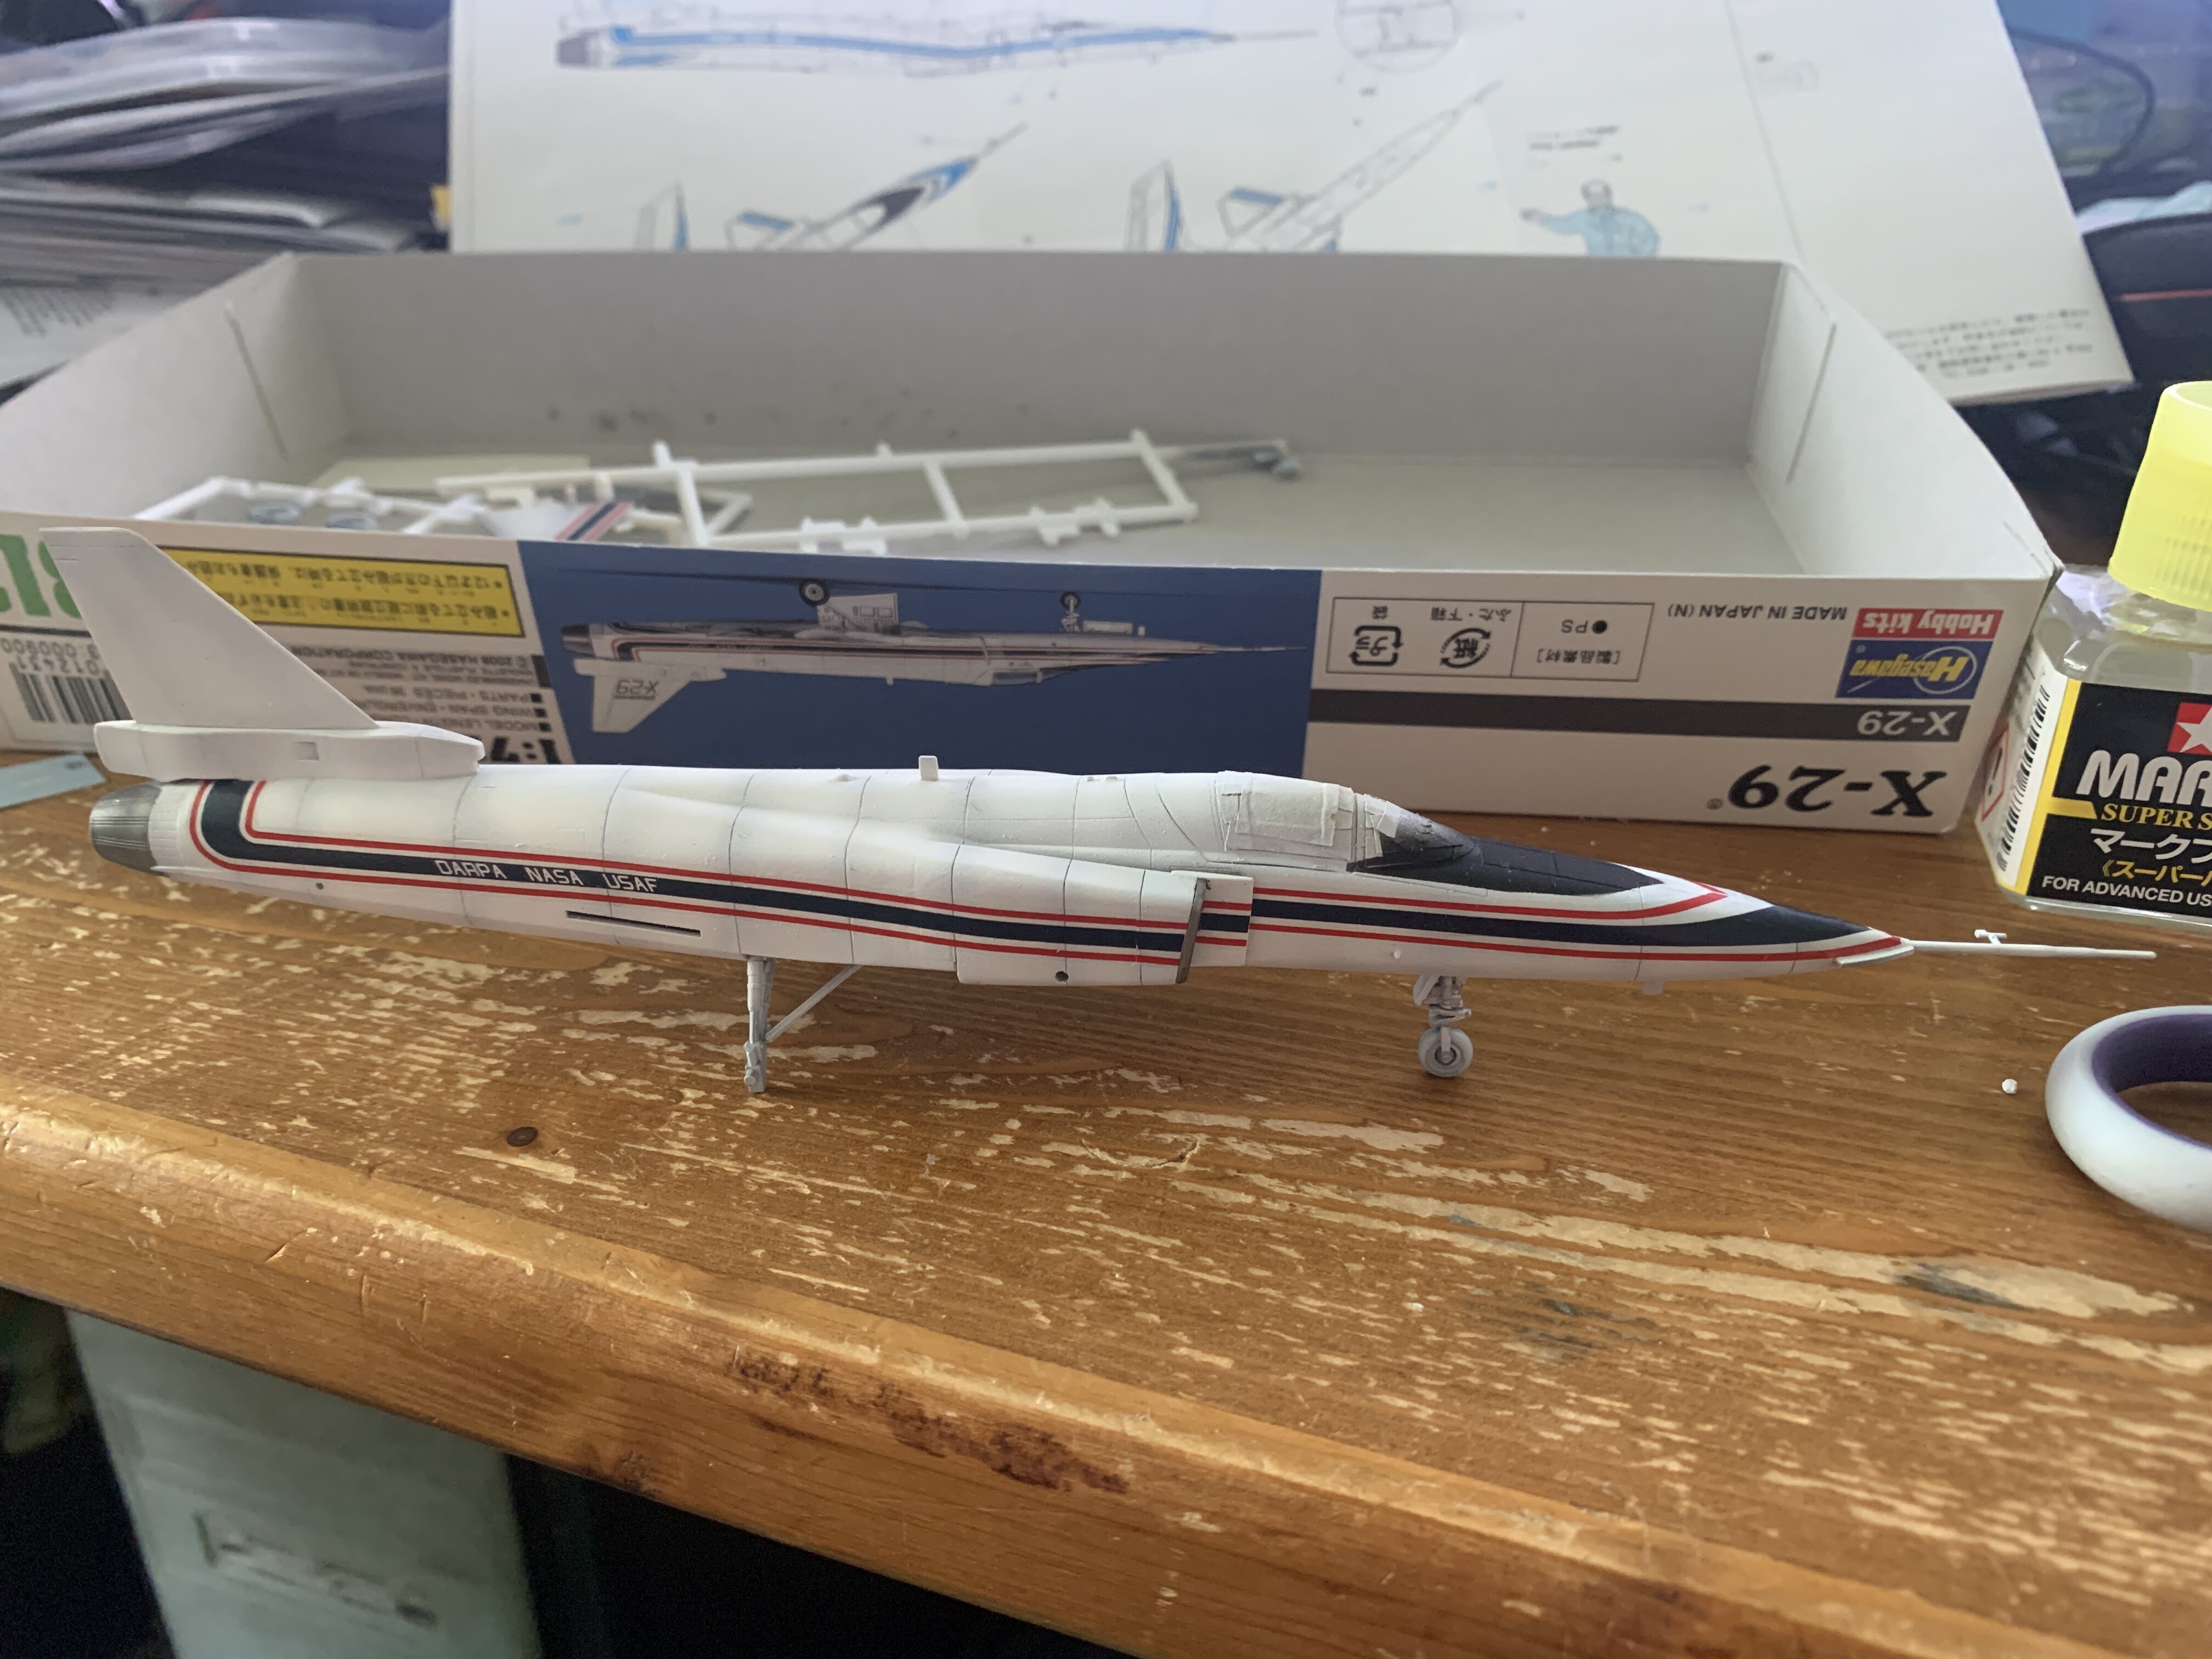
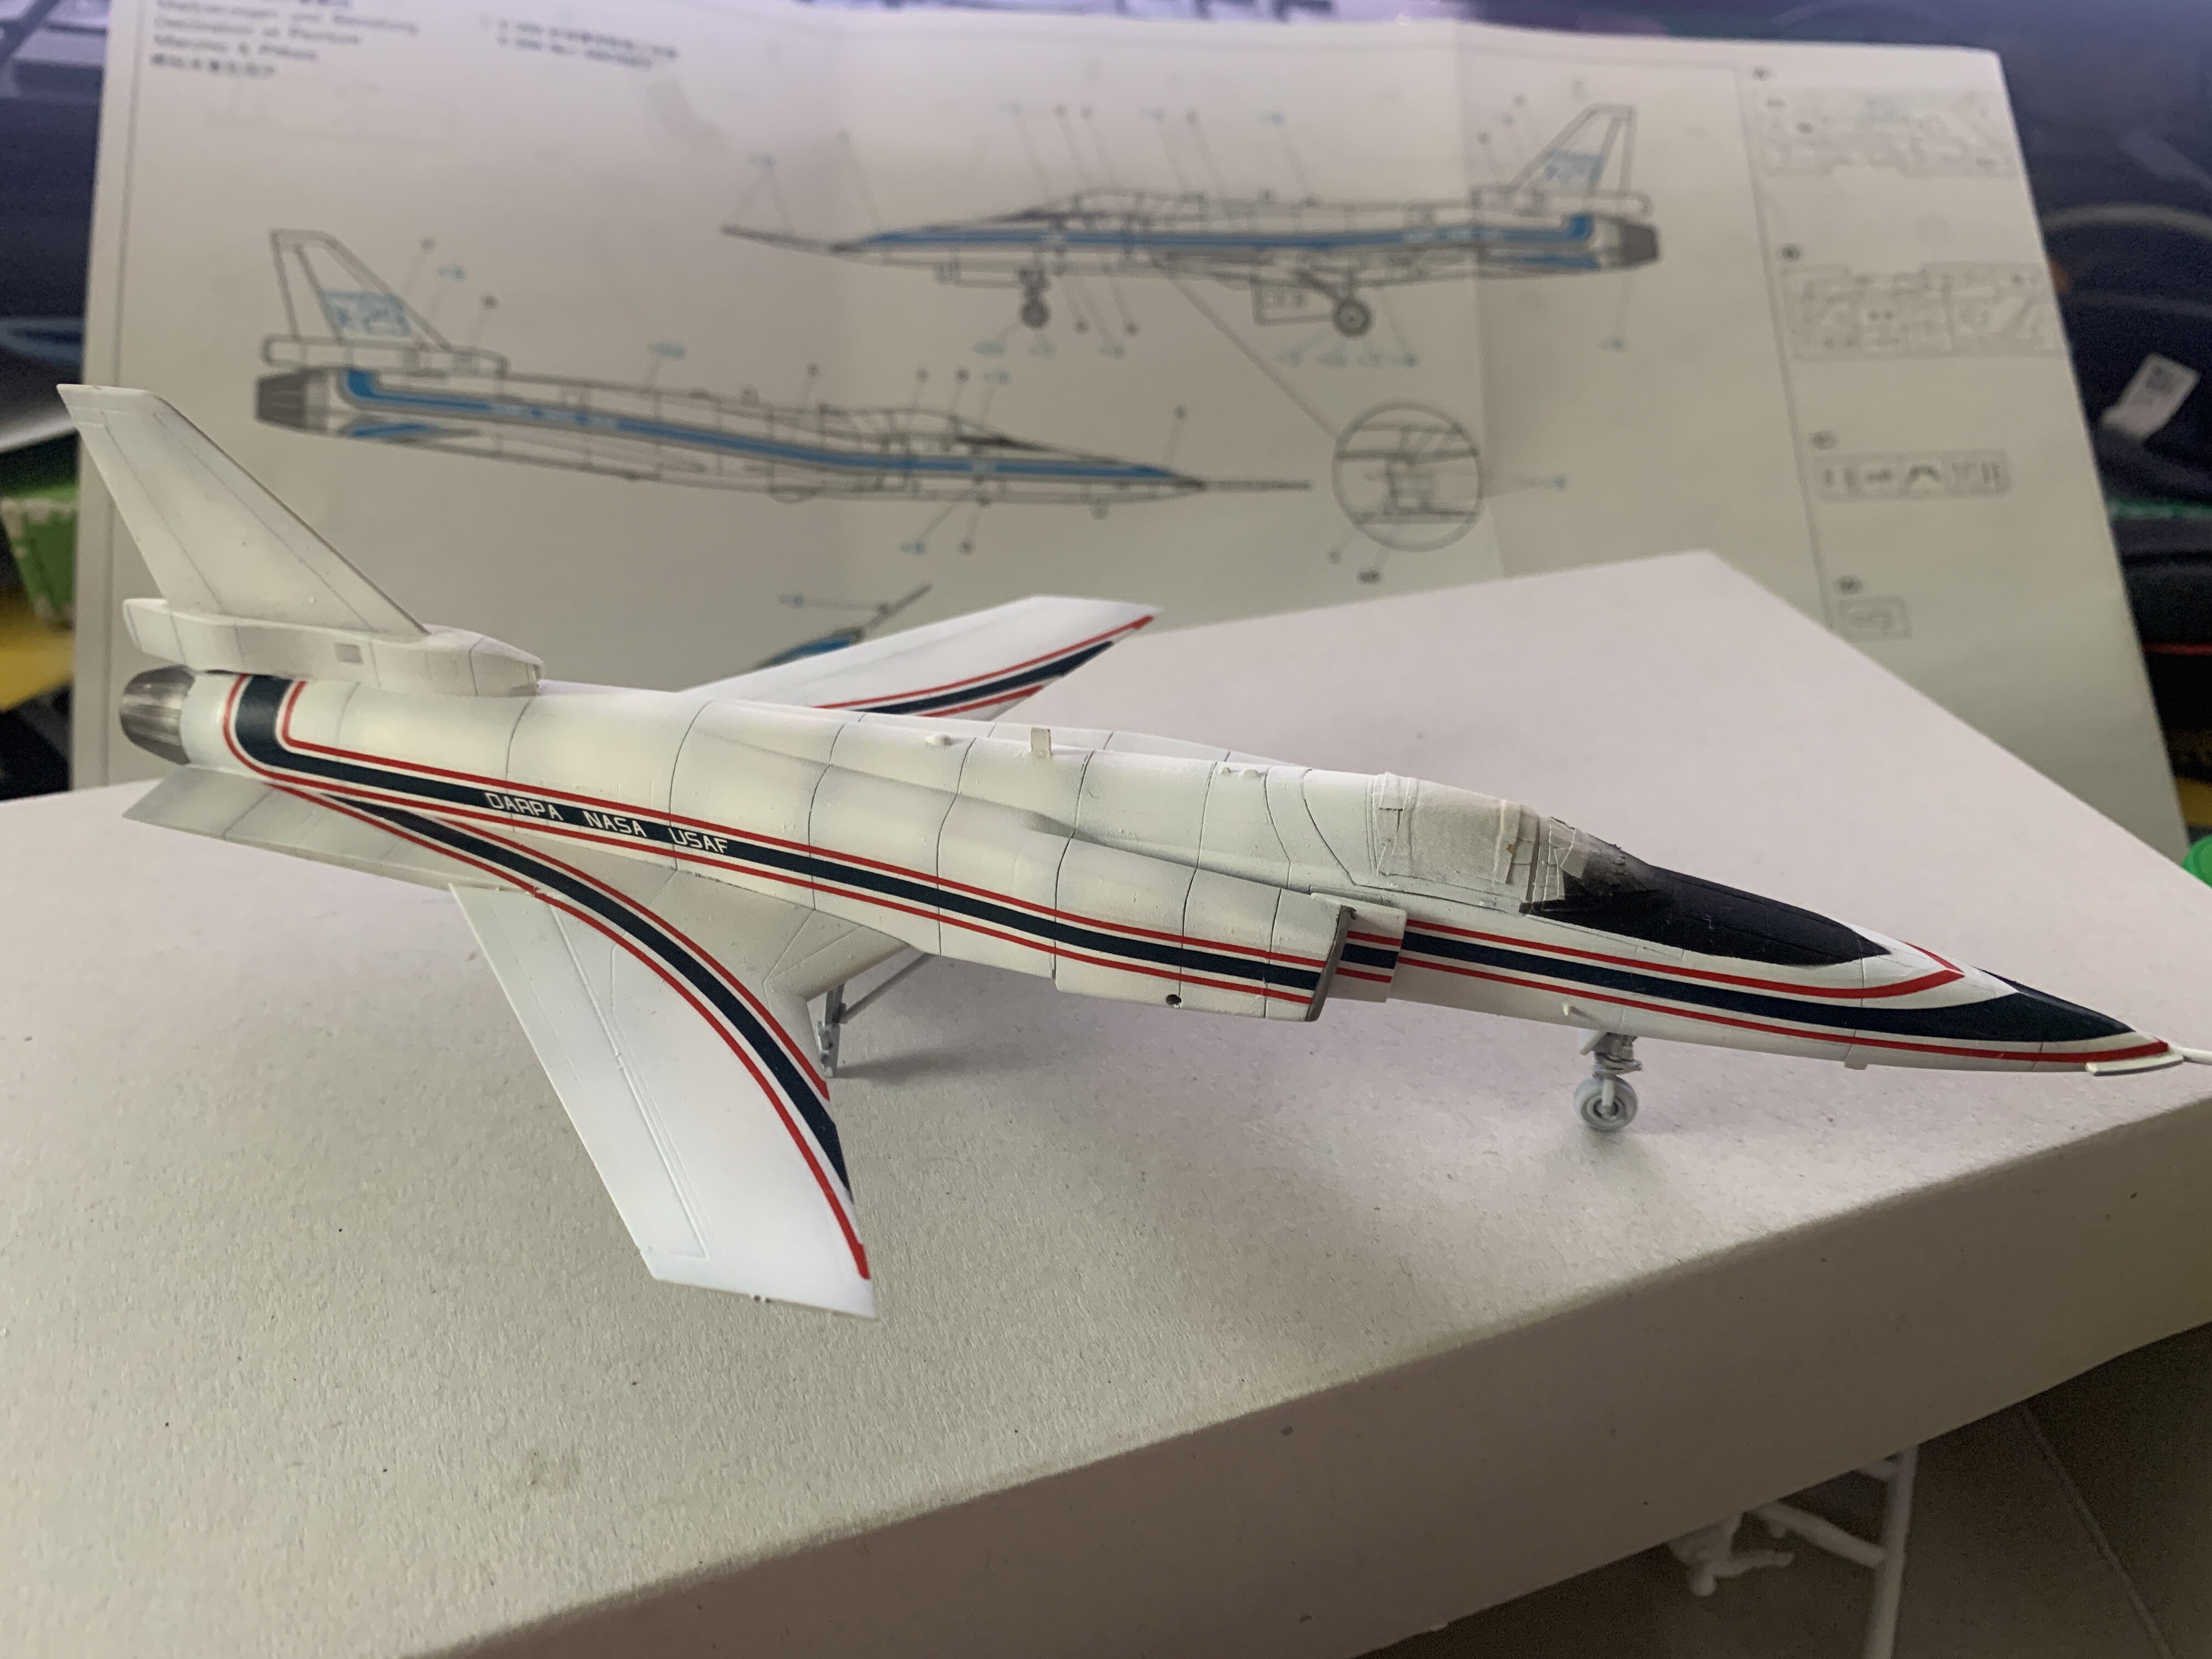
Finally, some time again and I finished the X-29.
the plamax vf-1 made much progress today as well.
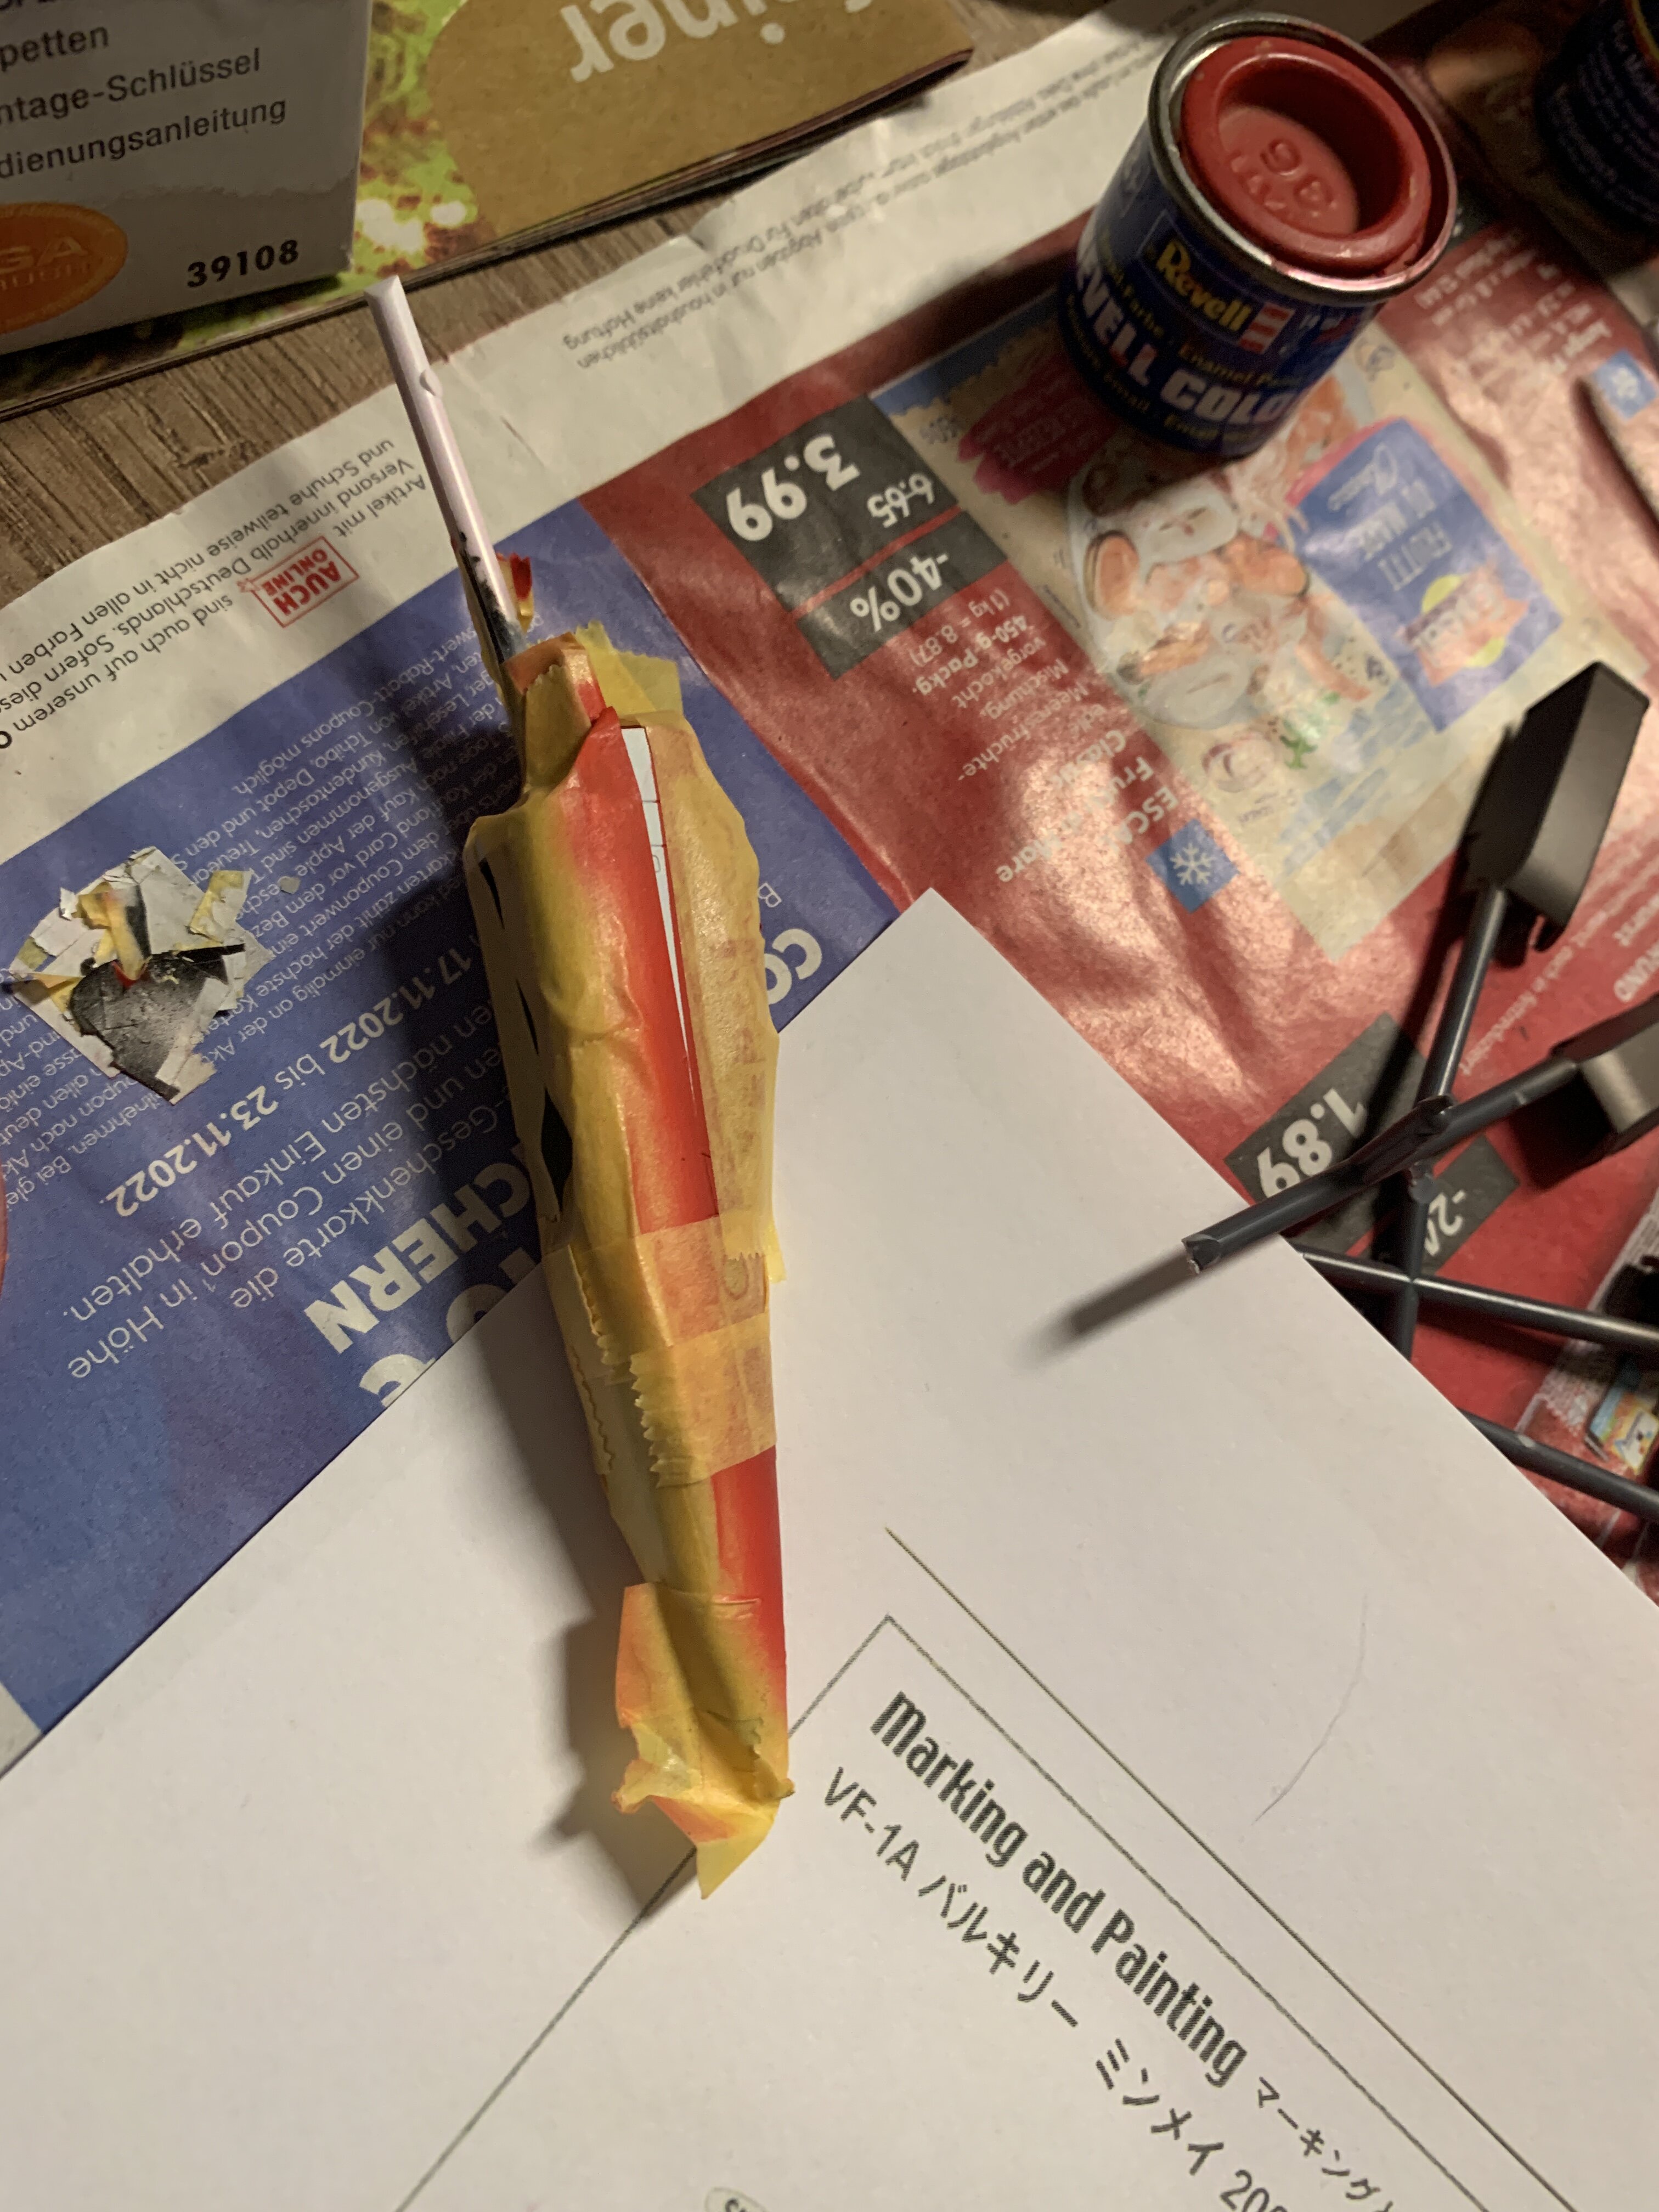
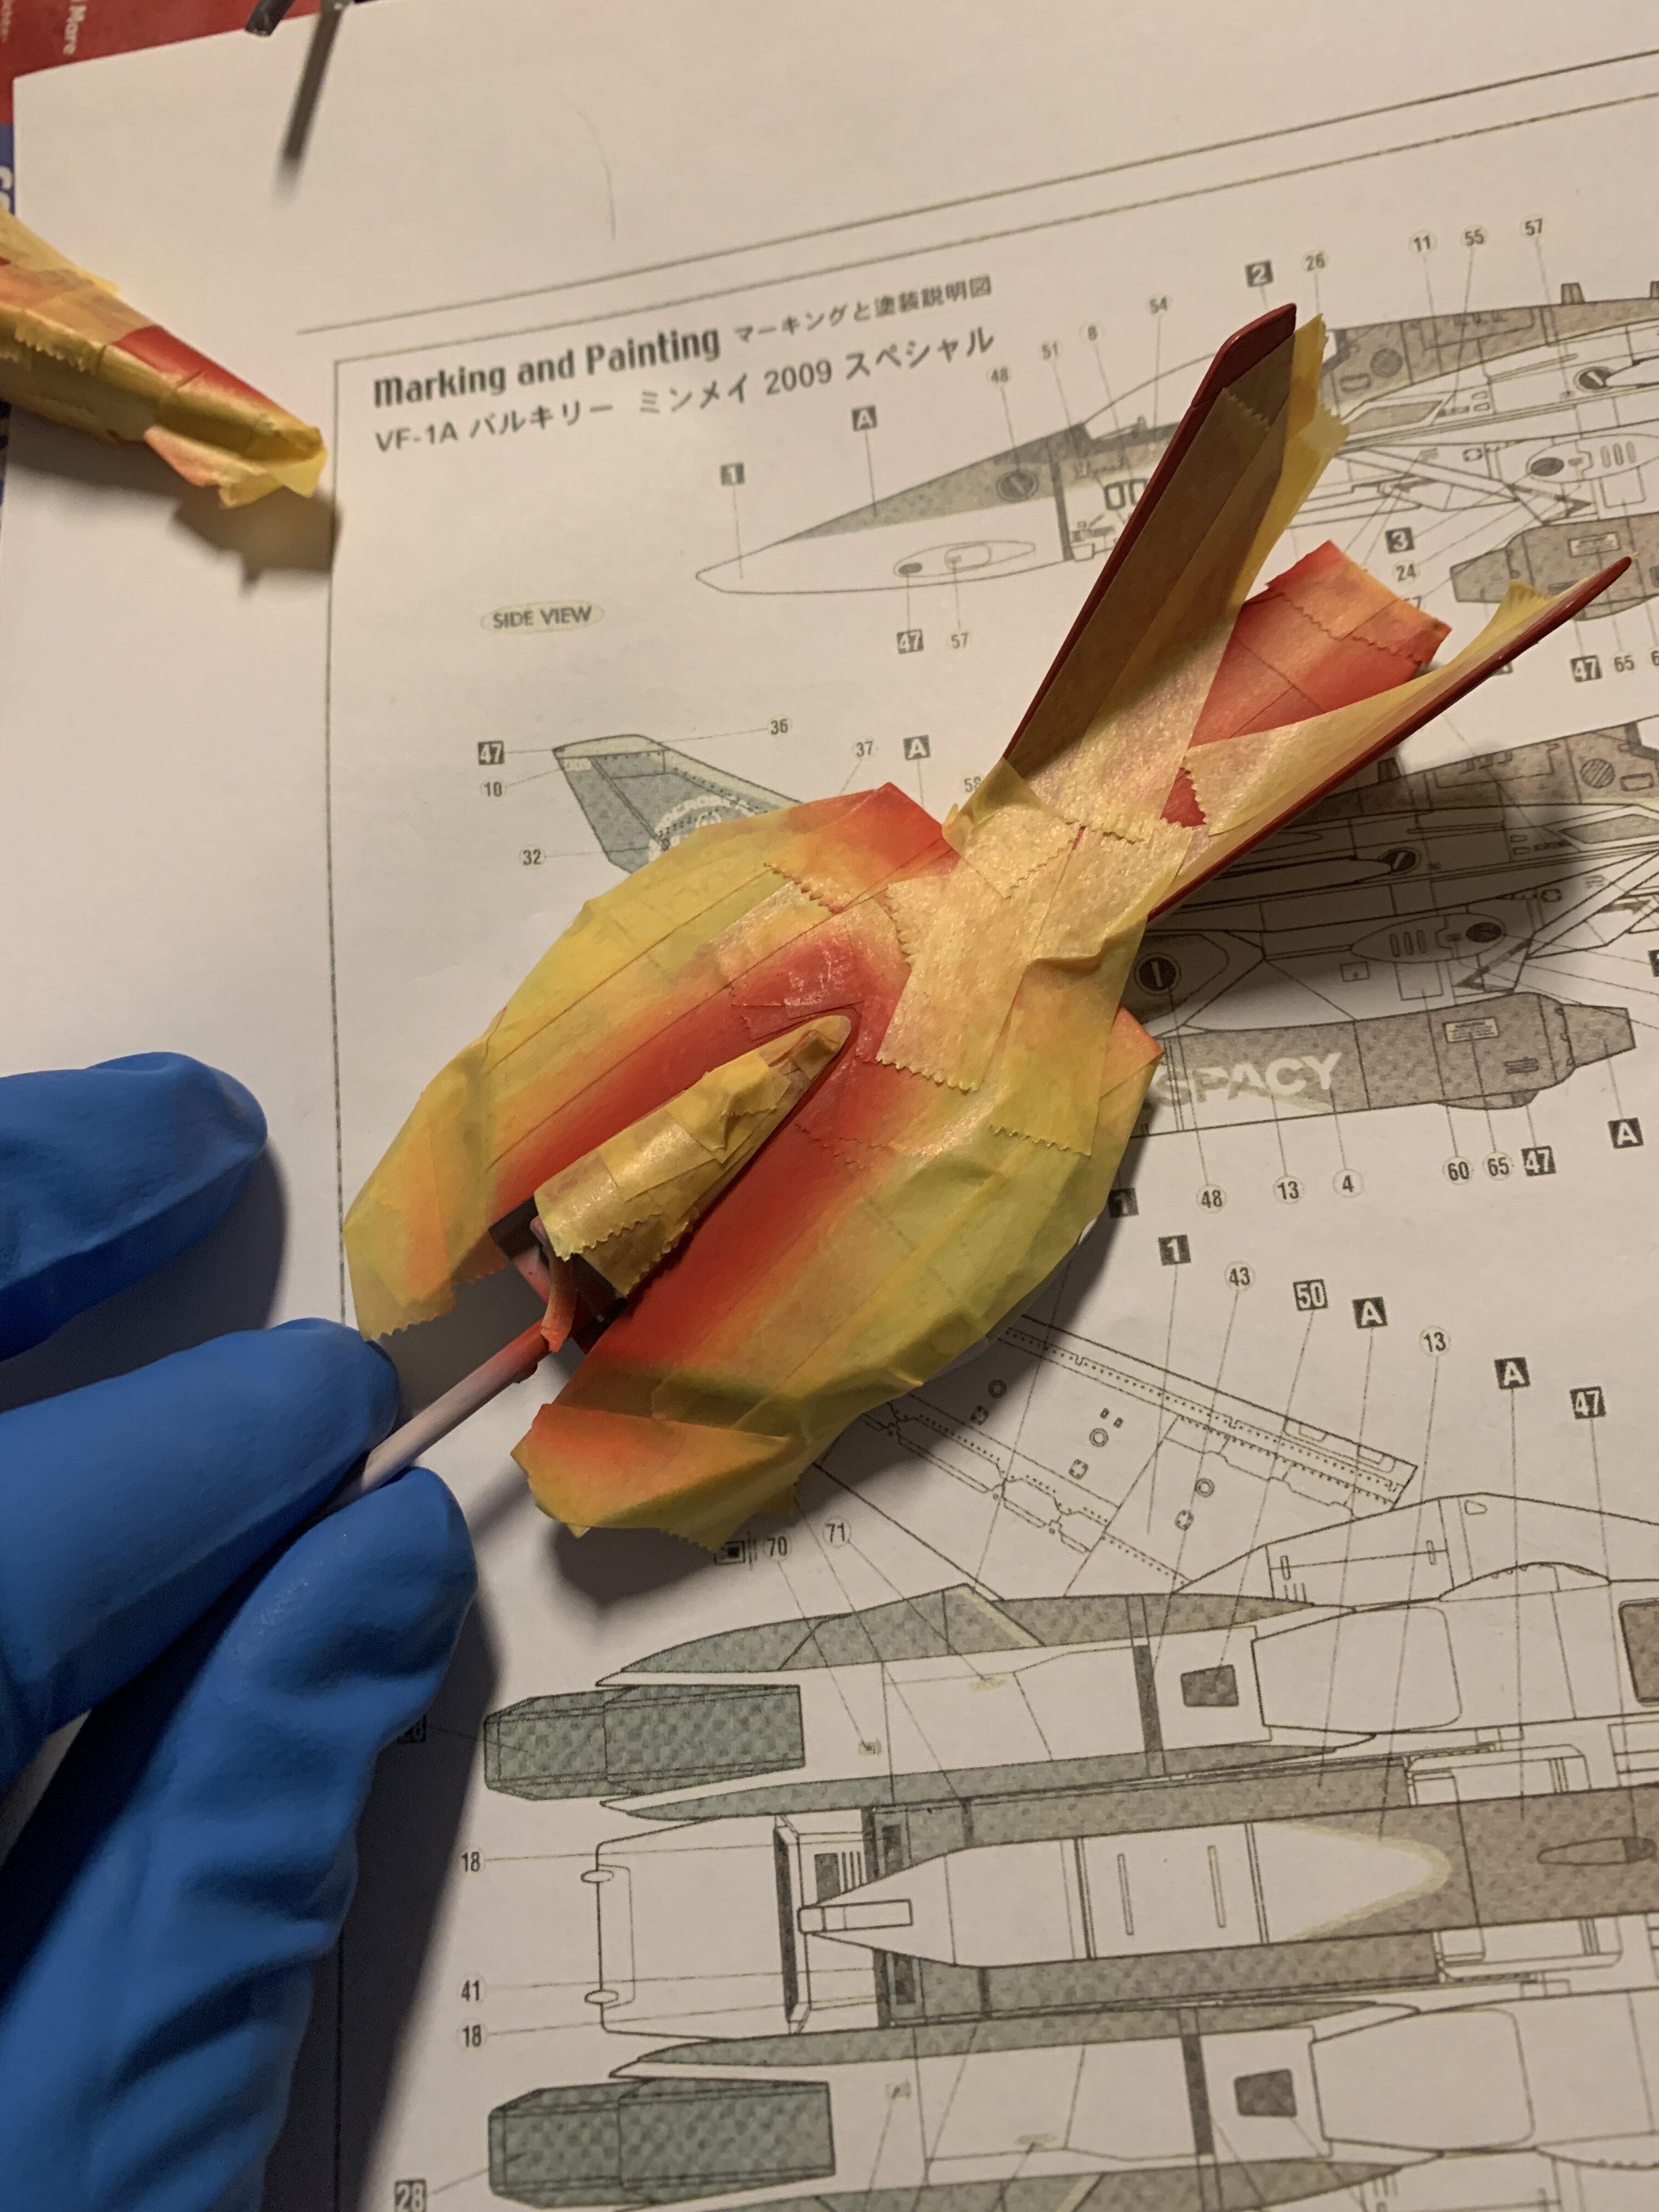
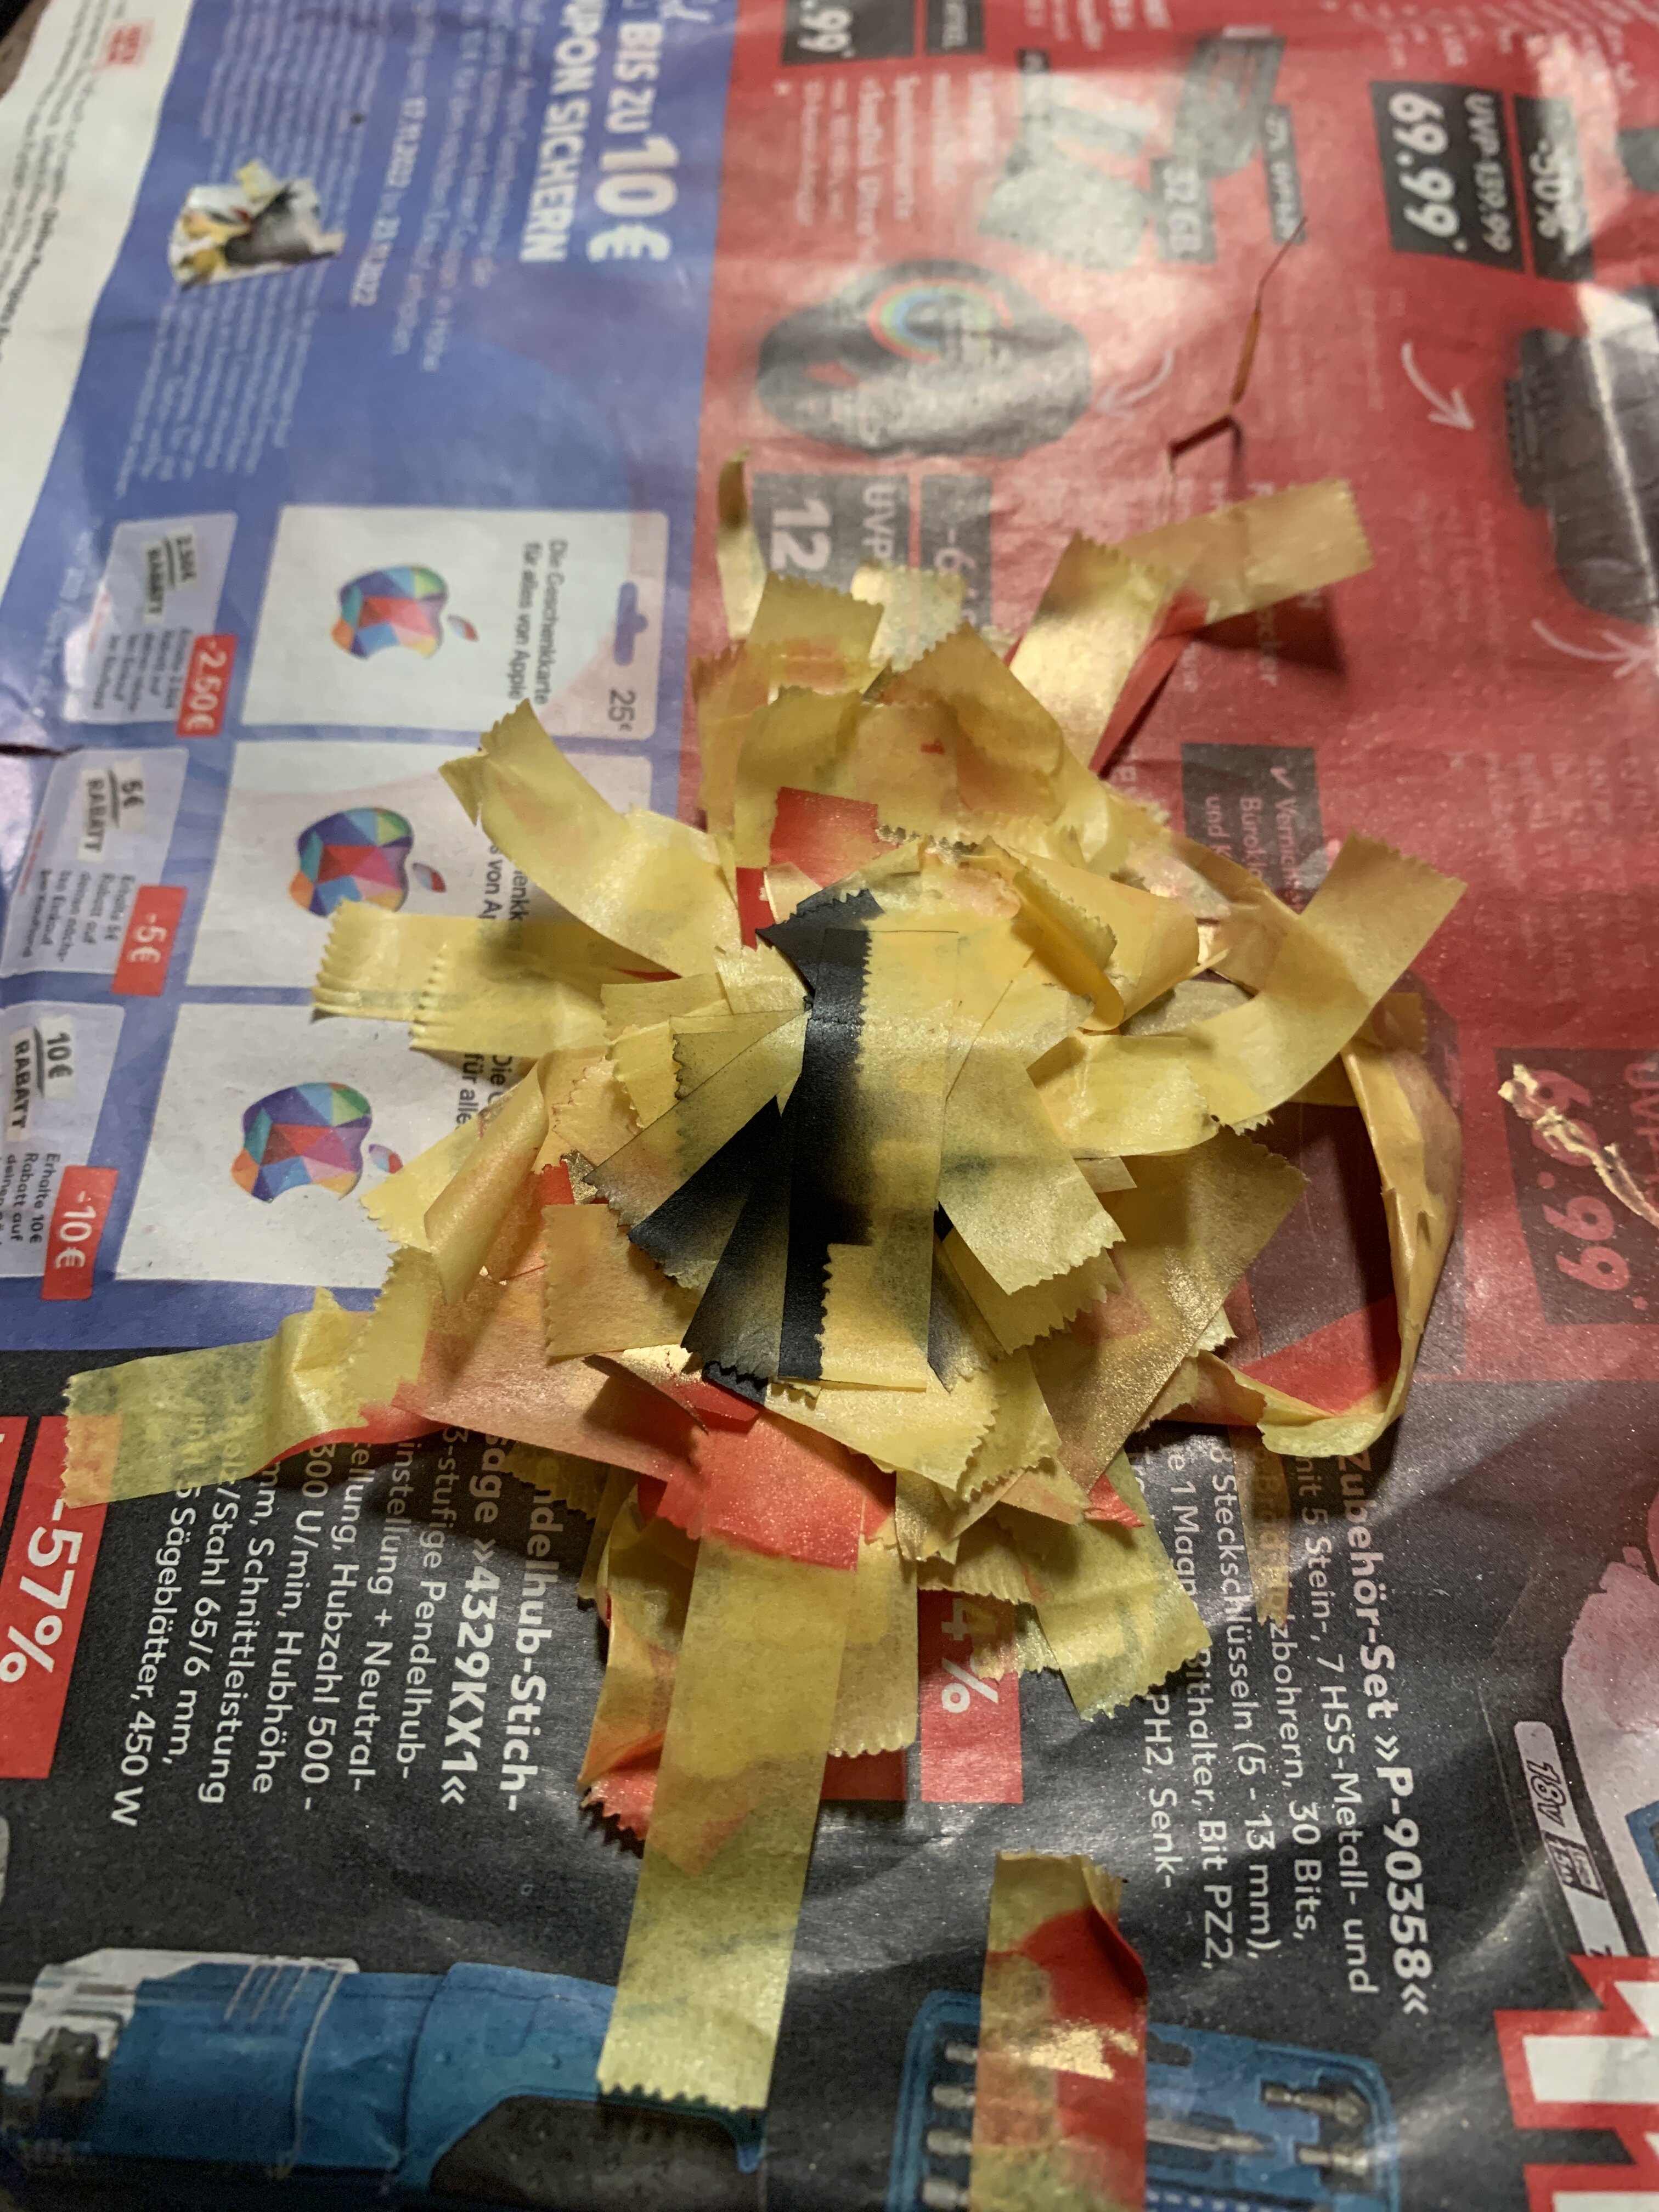
masking stuff everywhere!
Maybe I can get it done tomorrow, but lets see. I need to finish up the VF-22, VF-19 and F-14 as well. The most annoying thing will be the Decals on the VF-1, as I am going for the Minmay 2009 scheme.
-
16 hours ago, Bolt said:
Yes indeed! But I only have one of each right now. So I would have to replace both! 😅
I think there are VT-1's in stock at HLJ. They are harder to get by.
-
10 hours ago, Bolt said:
Nice. I really want a VT-1 in Gerwalk.
Get a VT-1 and a VF-1 Gerwalk and mash 'em together
")
-
3 hours ago, Big s said:
Ah weird ... I haven't seen that. Thanks!
-
3 hours ago, Big s said:
Glad they got smart and decided to do a release with waterslide decals
where does it say that?
-
5 hours ago, derex3592 said:
Speaking of packing VERY delicate models for a trip..... Titanic is going to it's new home this afternoon! Ignore my wife being silly as always.. 😜
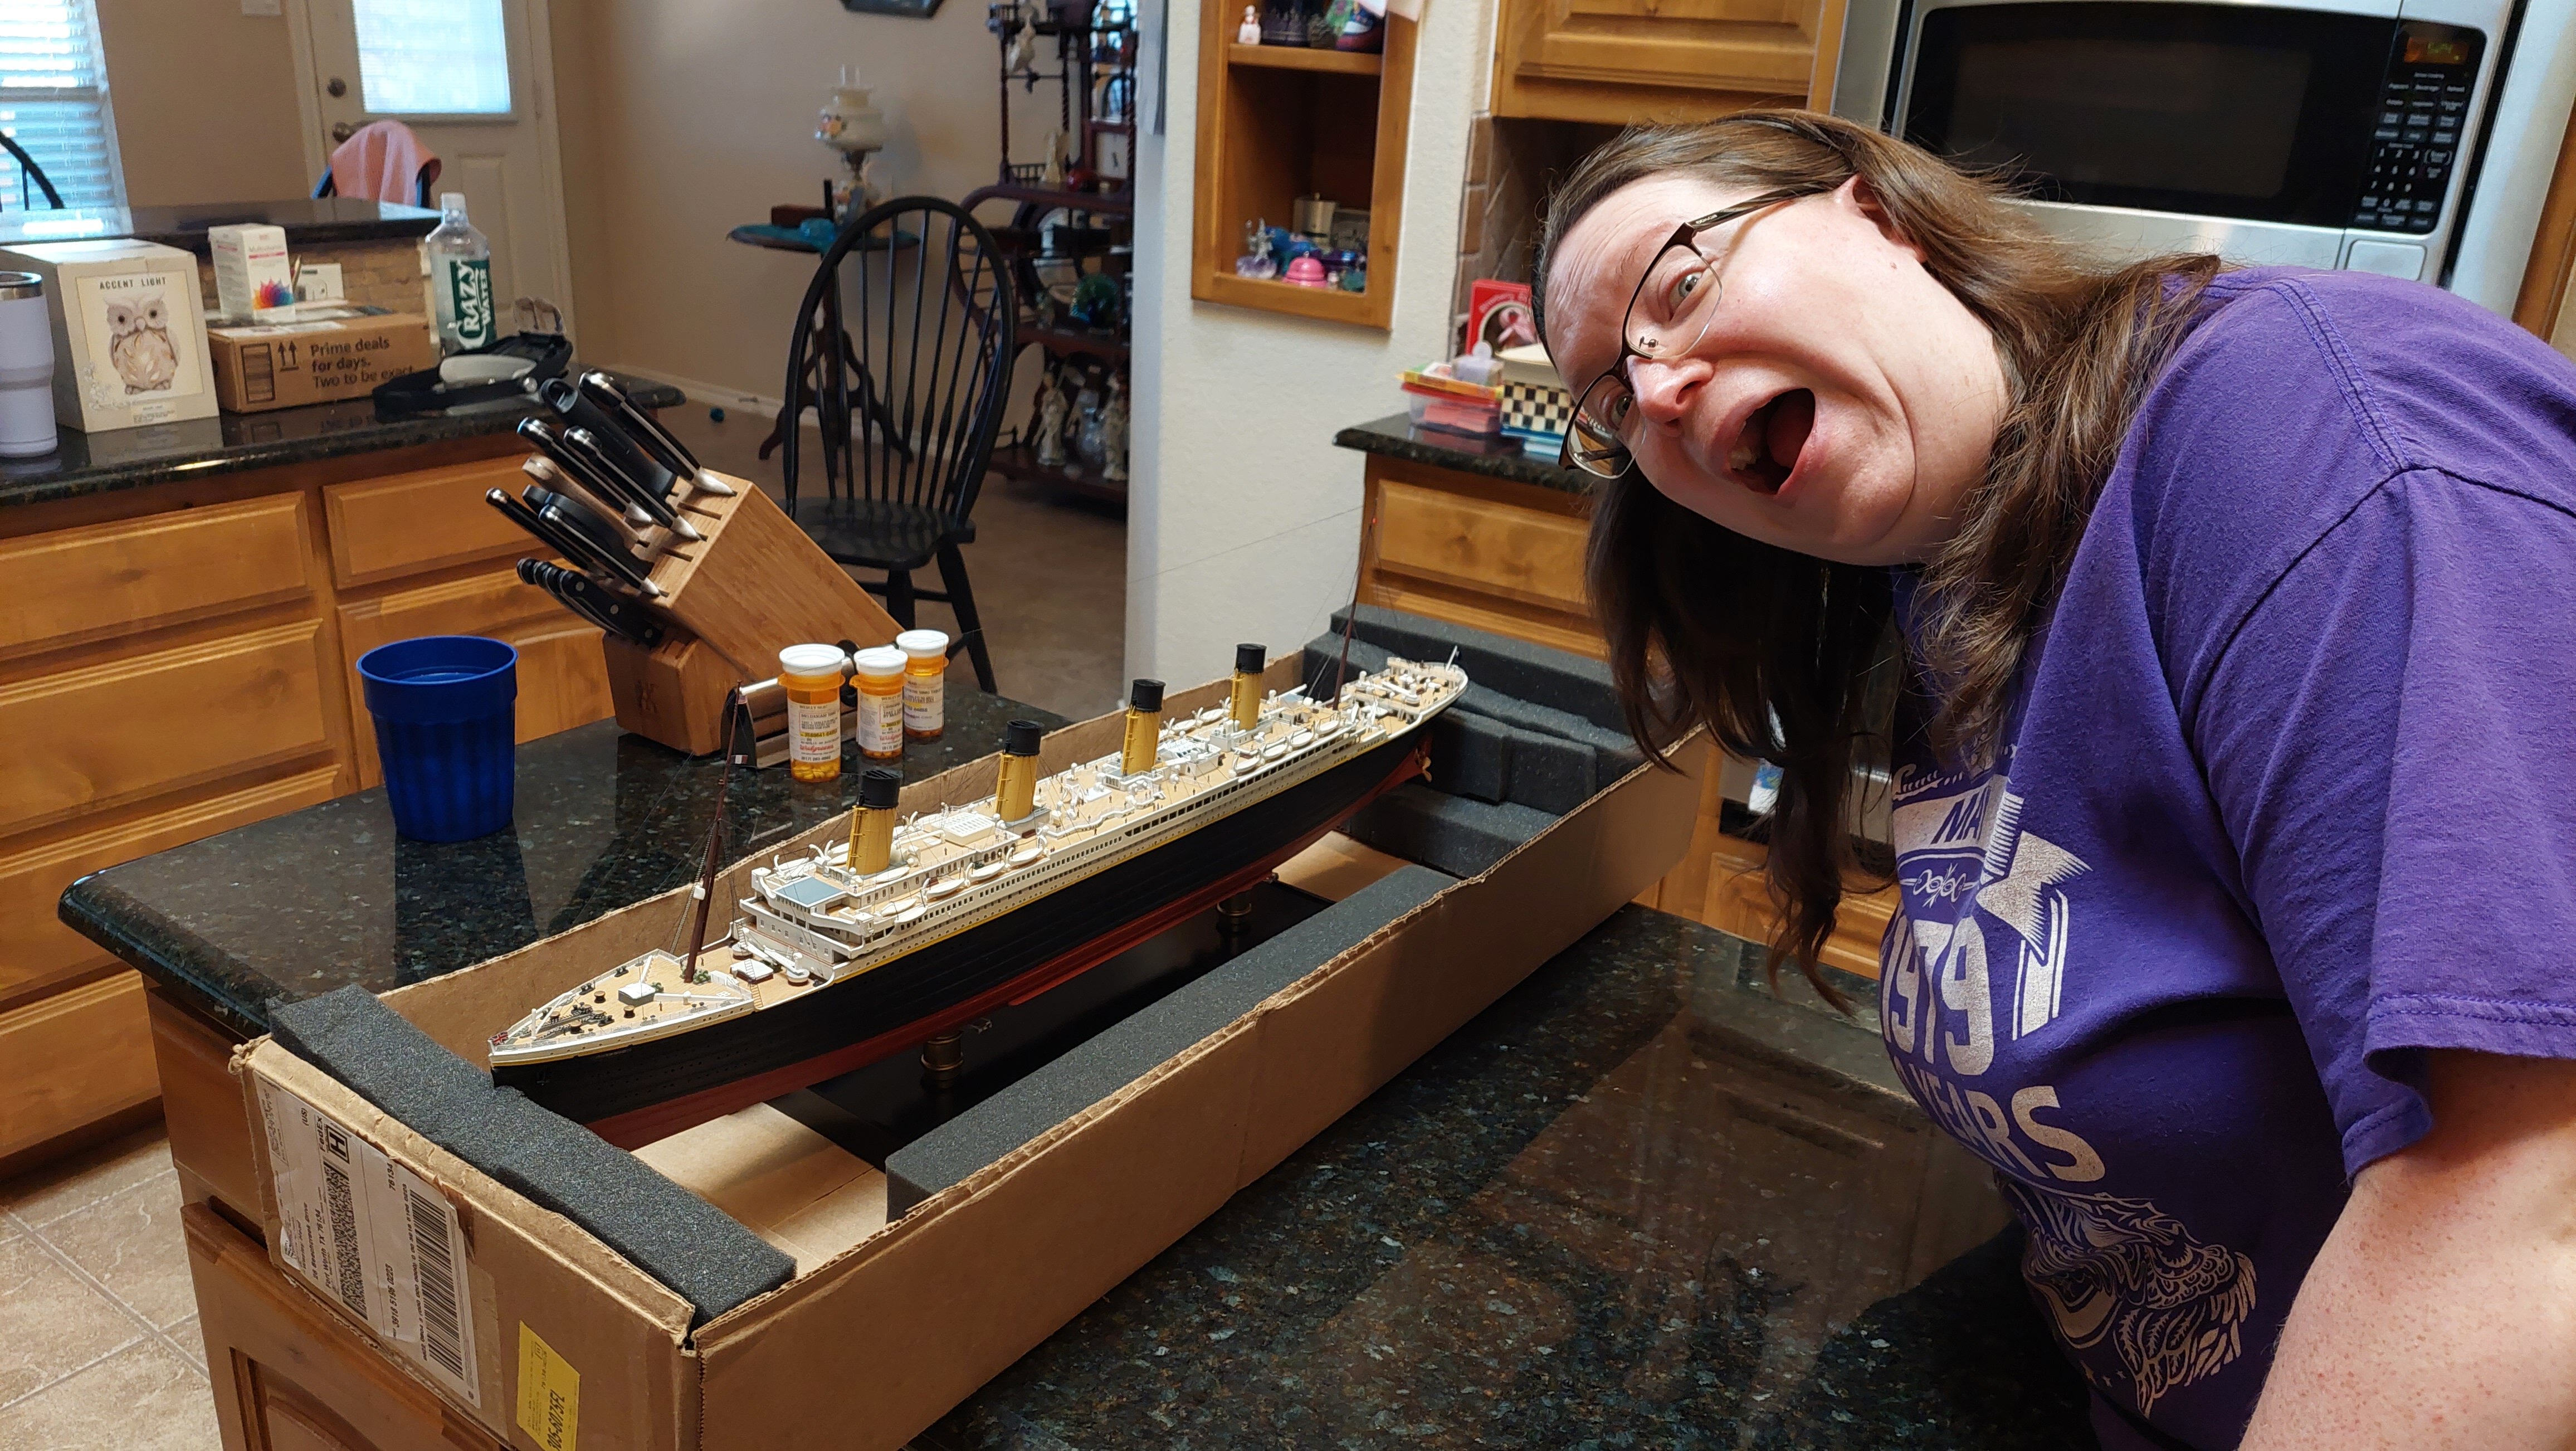
no worries, silly wifes are the best! Watch out for the non-silly ones. They tells you to sell your stach or throw it out and want you to quit your hobby,
-
On 12/14/2022 at 2:16 PM, TMBounty_Hunter said:
I didn't see it until now but Luca's boxart is absolutely fantastic

I am only seeing this now, but the Luca fighter nose package design is very funny XD
-
16 hours ago, wm cheng said:
Nice recovery @Urashiman!!! I love seeing that model done up again - I still have mine when I built it in high school 35yrs ago 😛
That NX-01 looks amazing @derex3592 - how big is it at 1/1000 scale?
LOVE magnets @MechTech - so ingenious.
Nice rescue @pengbuzz - man this is down memory lane, I had that raised lines D back in high school too (the latest Picard has me re-looking at all my Star Trek kits again)
Thanks man! This is actually my second go at the X-29. I build one around 1999ish already. It got destroyed several times by my siblings and I had to glue to together again, but it never was the same again, as the glue I used yellowed in the sun, so the seams could be seen. The kit was a horrible build anyway, so I gave it to once of my nieces as she liked the plane. The one I build right now is my replacement.
-
Okay ... I think I saved it.
I spend an hour in PS, scanned the instructions, then I redrawed the GRUMMAN X-29 logo and tweaked here and there. Then I did the first testprint on standard 90g paper.
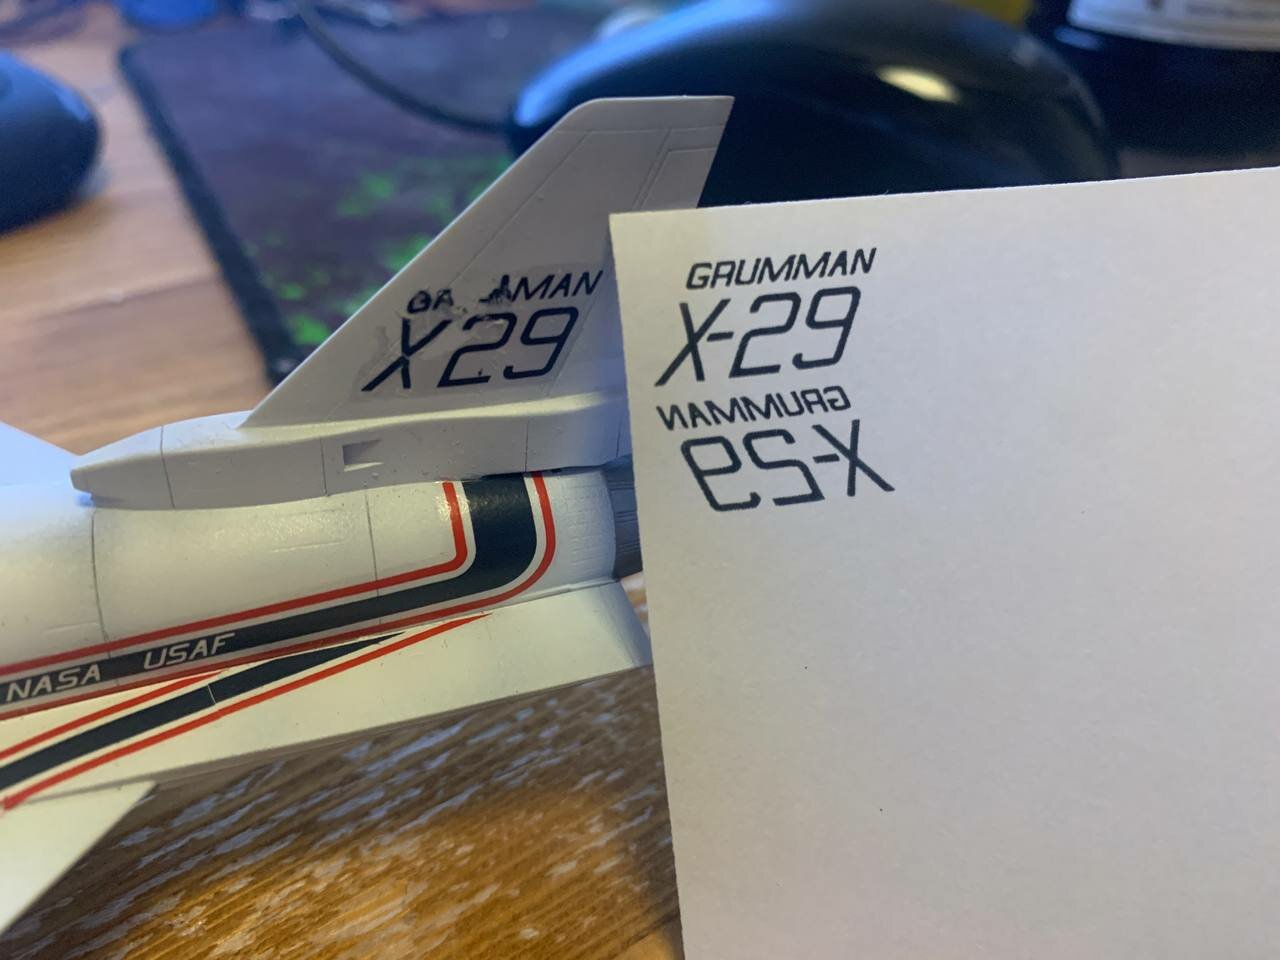

The size is correct and it looks detailed enough. Time to rub off the old decal with solvent (IPA and decal softener).
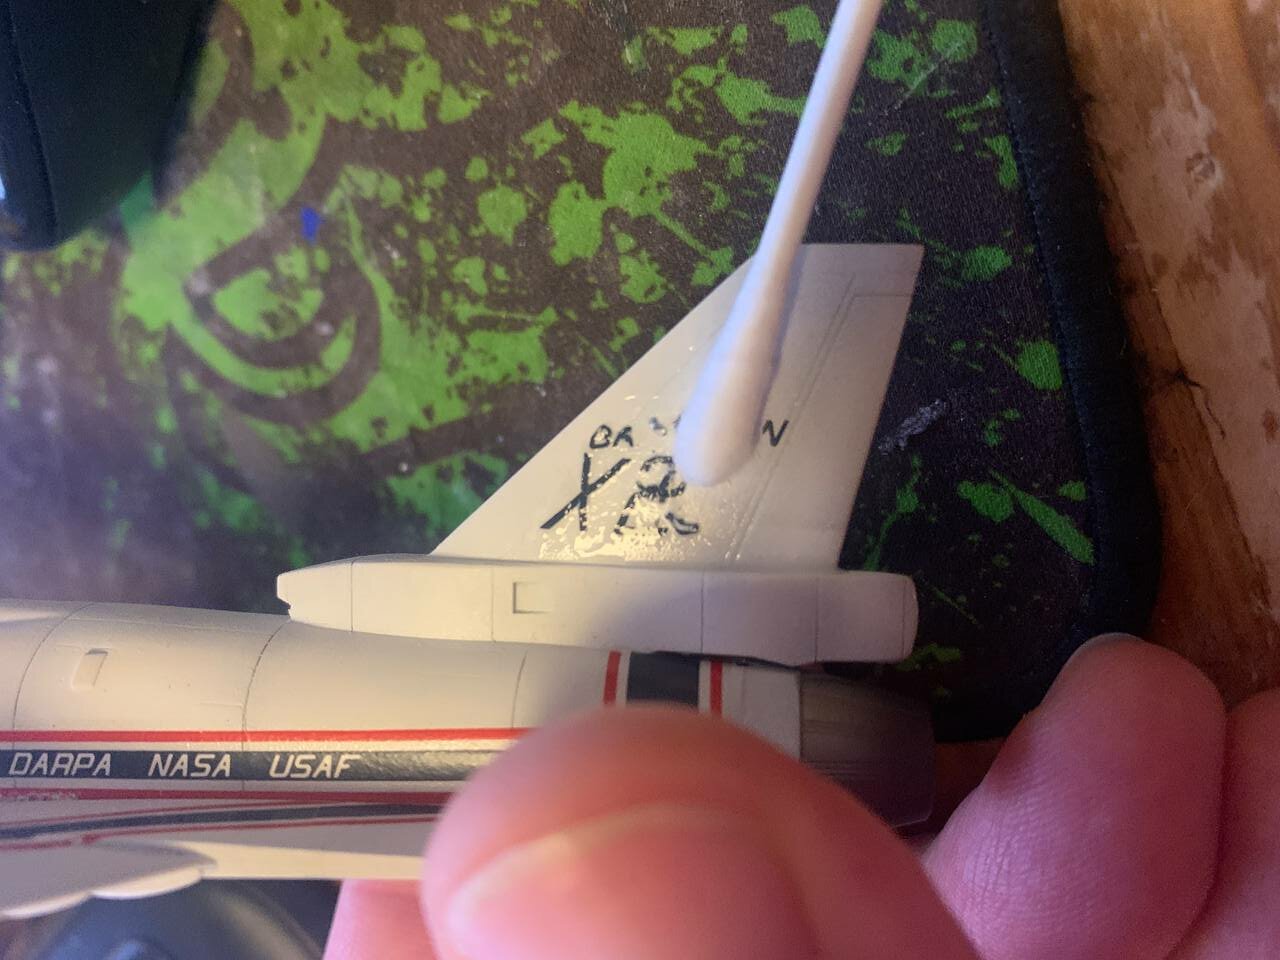
As good as new, I guess.

Then I printed to the transfersheet and cutted out the decal, putting it into warm water to detach.
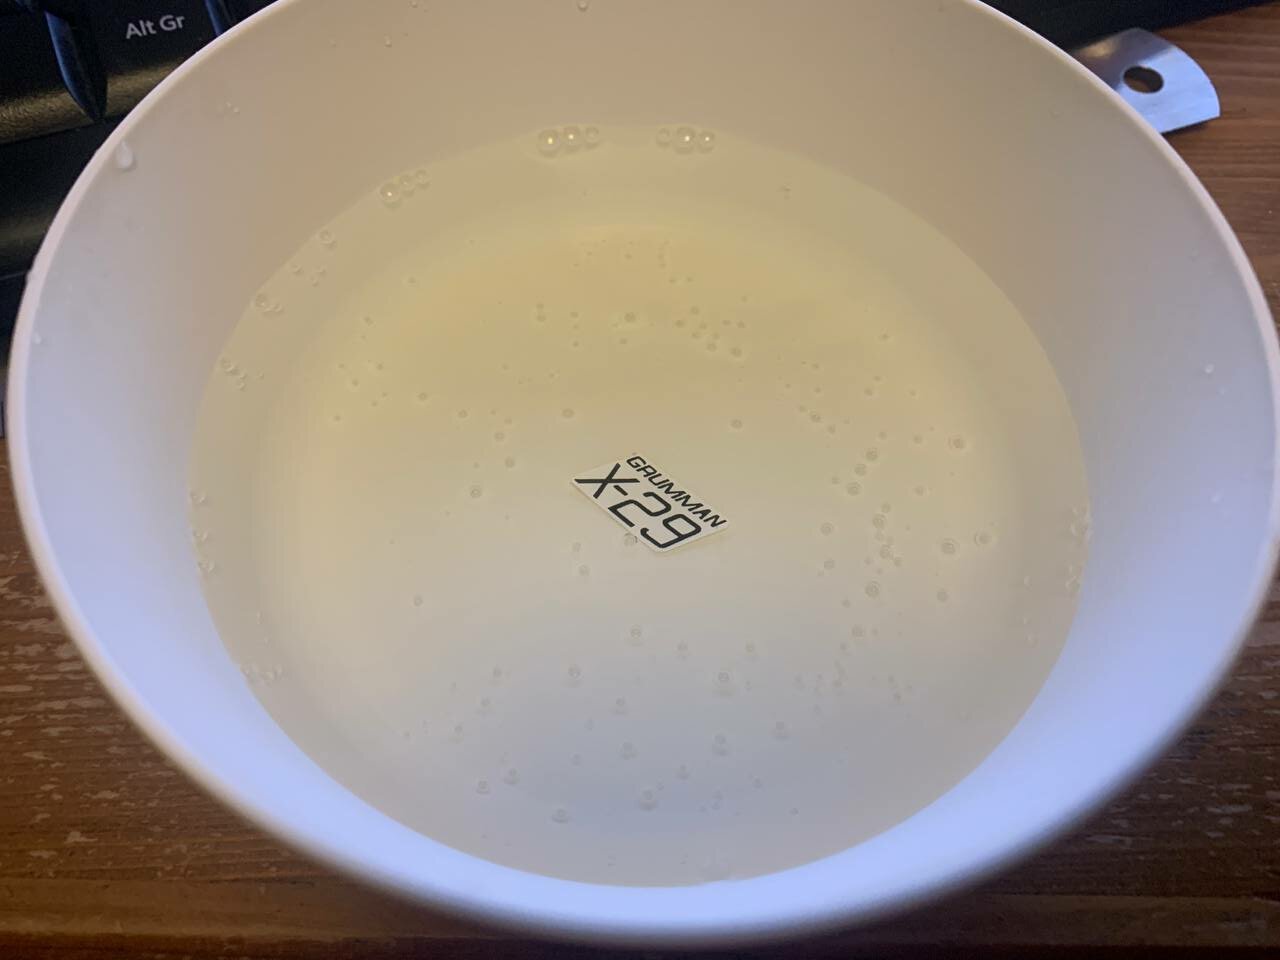
Et voila! It worked!
The gloss will be matching after coating the modelkit.
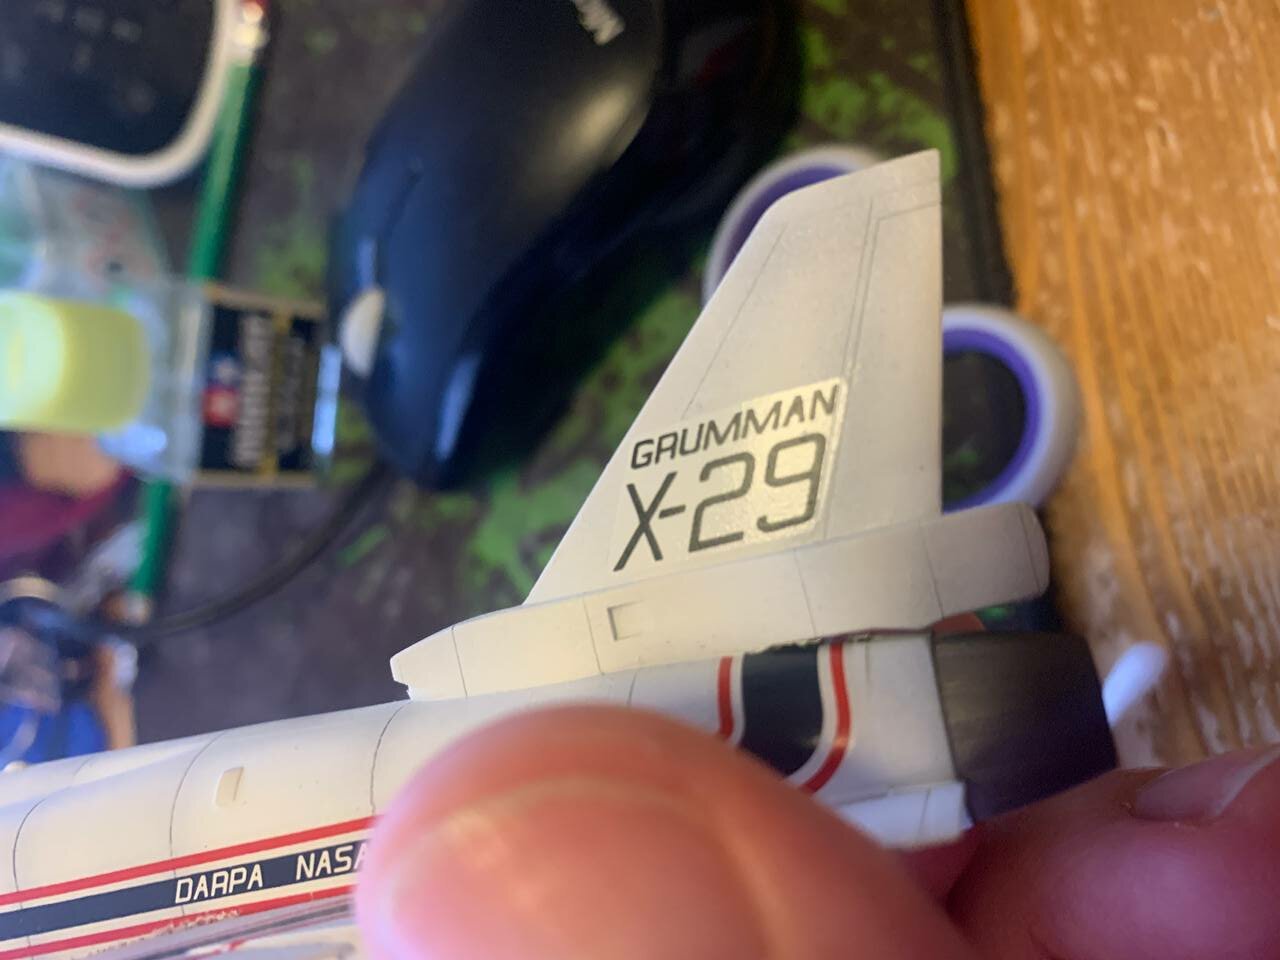
MUAHAHAHAHAHAH!
-
careful with the papercuts man
-
1 hour ago, Big s said:
Those big thin decals can be tough. I have less trouble with them since I stopped using decal glue. Just water and a gloss surface. Then something like micro sol after the application and a bit of gloss over the top. I do have occasional rips and tears with those, but the water seems a bit more forgiving about wrinkled messes and repositioning.
Are there any decal sets that have that one on the tail that you could use. I think hobby search had quite a few in their aircraft or military section
No worries, I have decal transfer sheets for toner based printers. I’ll just scan it off the instructions and work it in PS then print it.
-
@electric indigo that looks awesome.
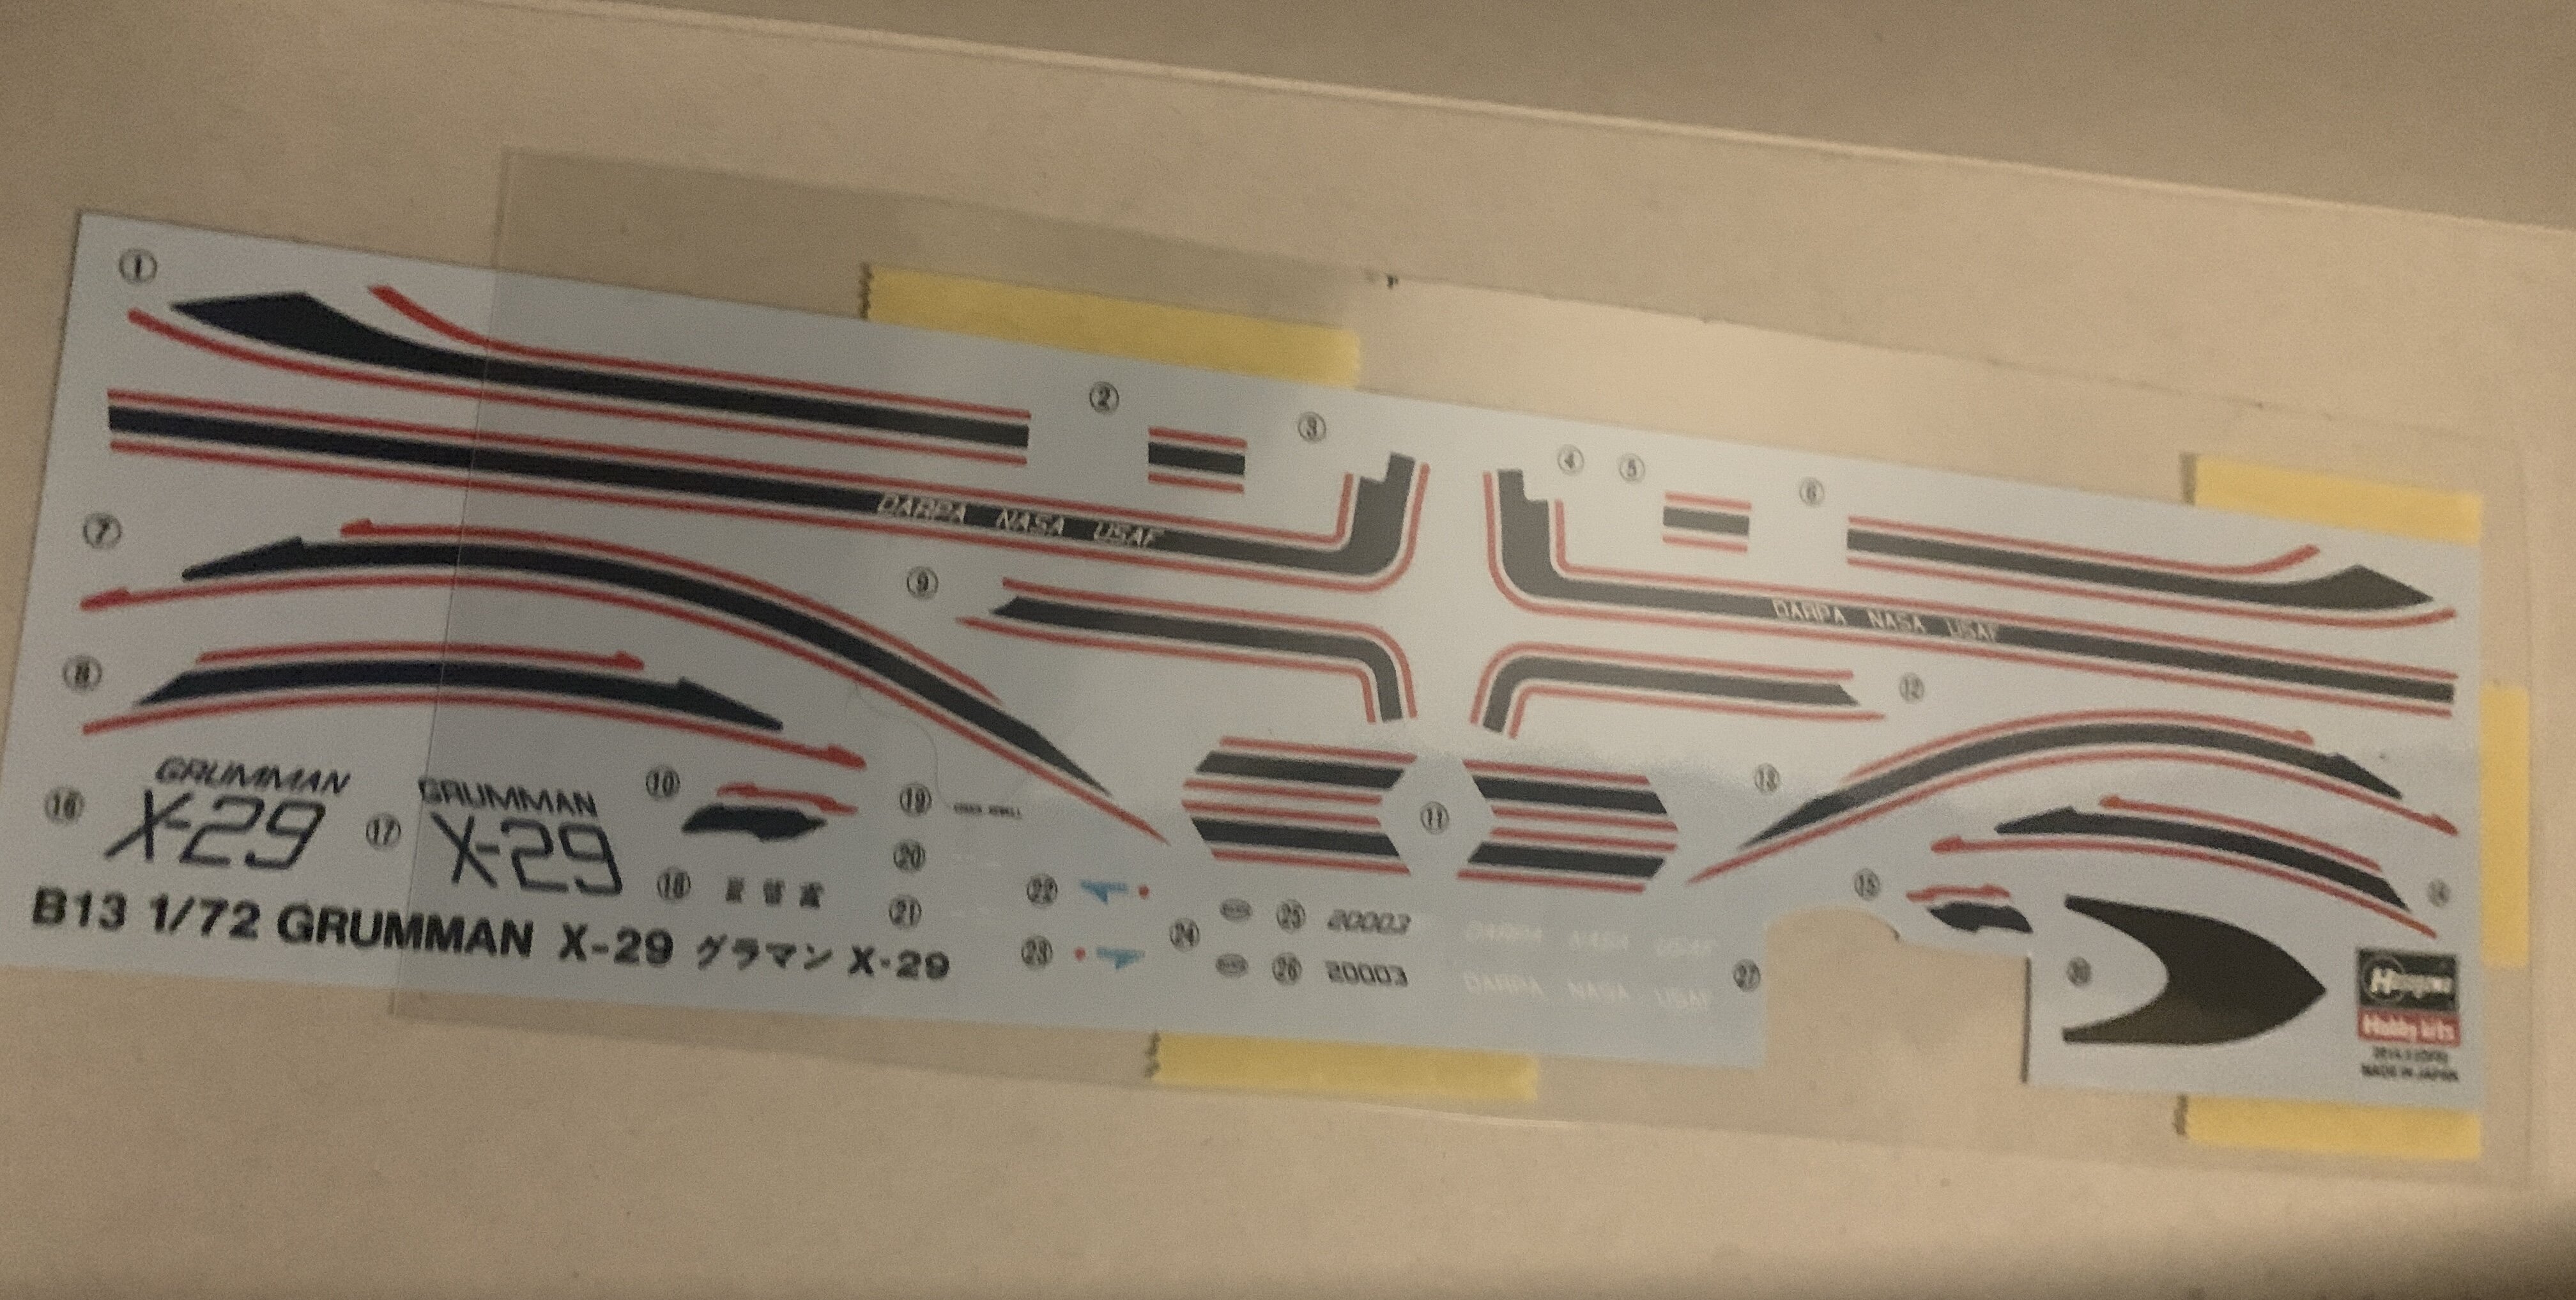
I‘ve been making progress on the X-29.
I hate super large decals. If they didn’t came off the transfer sheet in some space they just rip apart. Got some cracks in this already, but was able to fix with tamiya mark fit super strong. Except for this piece of #$&@!? of a water decal. It just crumpled up under my thumb when applying decals to the other side.
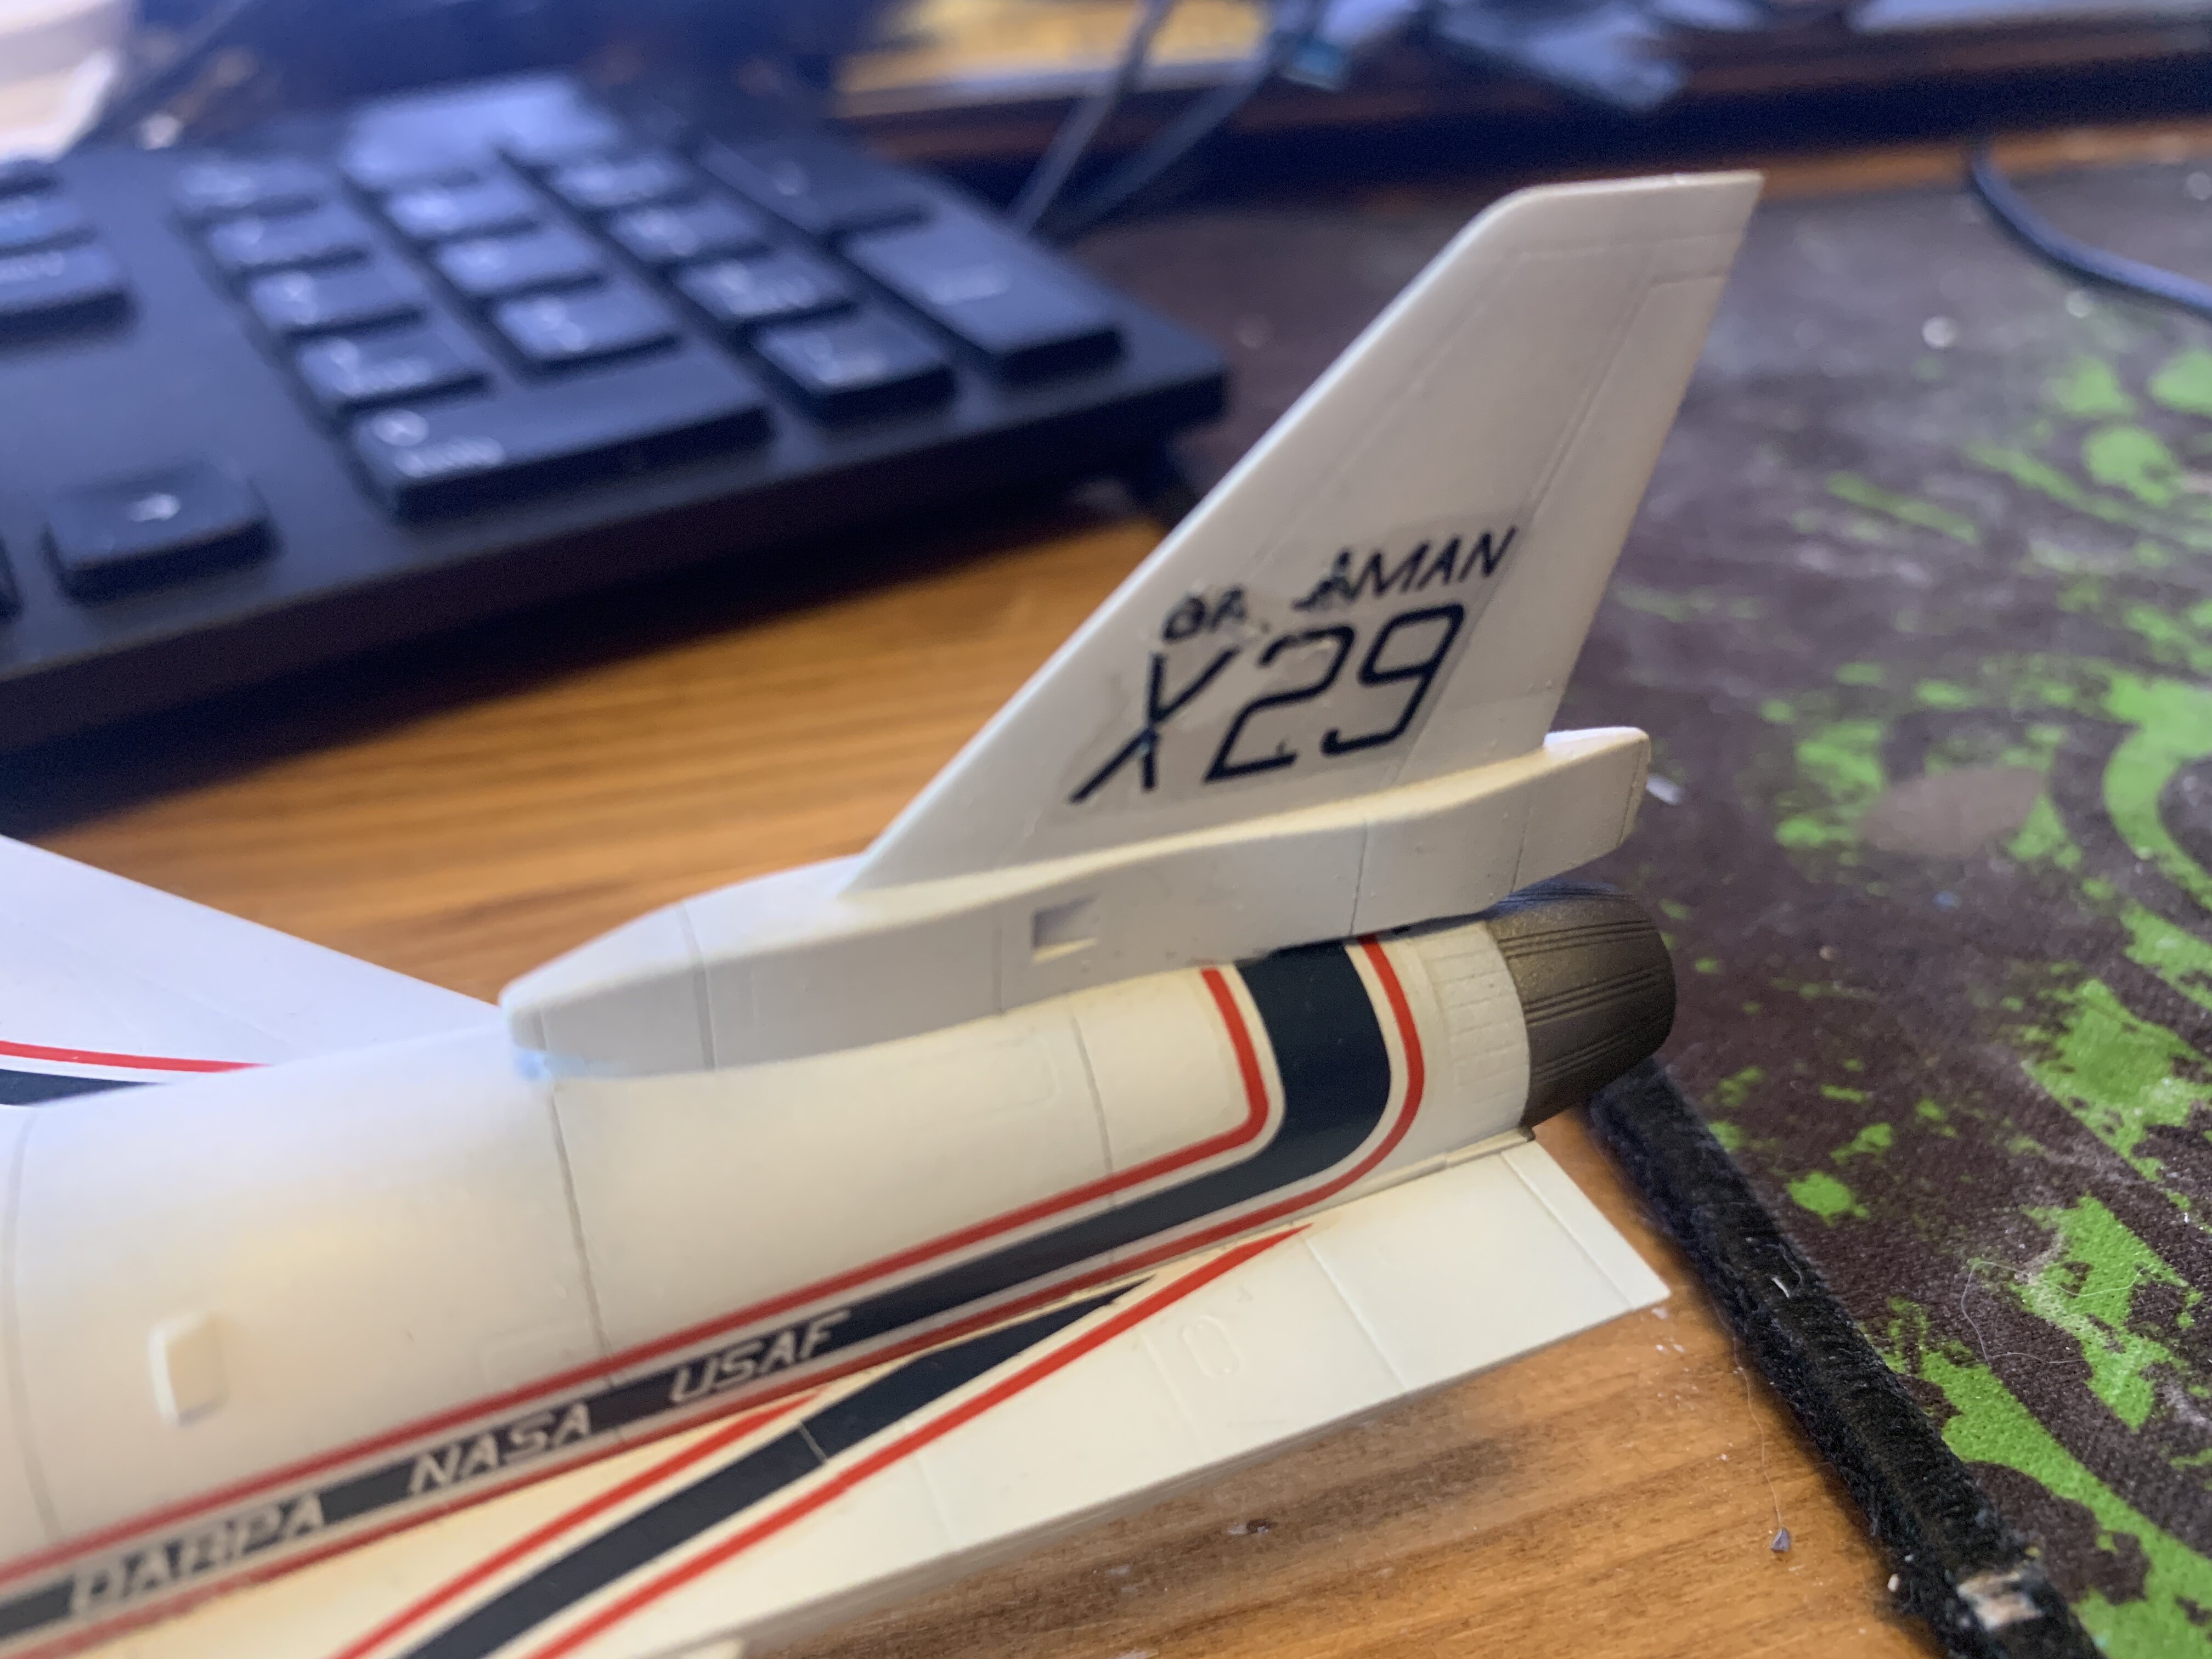
I either have to print a new one and apply that or will draw on the letters by hand.
Not happy man! Absolutely not happy!
-
1 hour ago, foundshaian said:
Hey guys, I am about to attempt to re-prime my gundam. How many coats of primer should i put on before painting? The parts are extremely small for a 1/144 kit and most of the parts are no wider or larger than an average thumb.
Depends on the primer. If you use Tamiya spray can primer, just once will do.
alclad primer can be okay after one coat.
revell primer needs two coats.
not sure about other primers.
-
8 hours ago, MechTech said:
@pengbuzz Looking good! Hikaru's ride is almost ready!
@Urashiman Cool! You gonna paint the Chuck Yeager figure that comes with the kit? - MT
Nah, I left it untouched in the box.
-
Some progress on the x-29.
I airbrushed the black stuff on the nose and the engine exhaust.
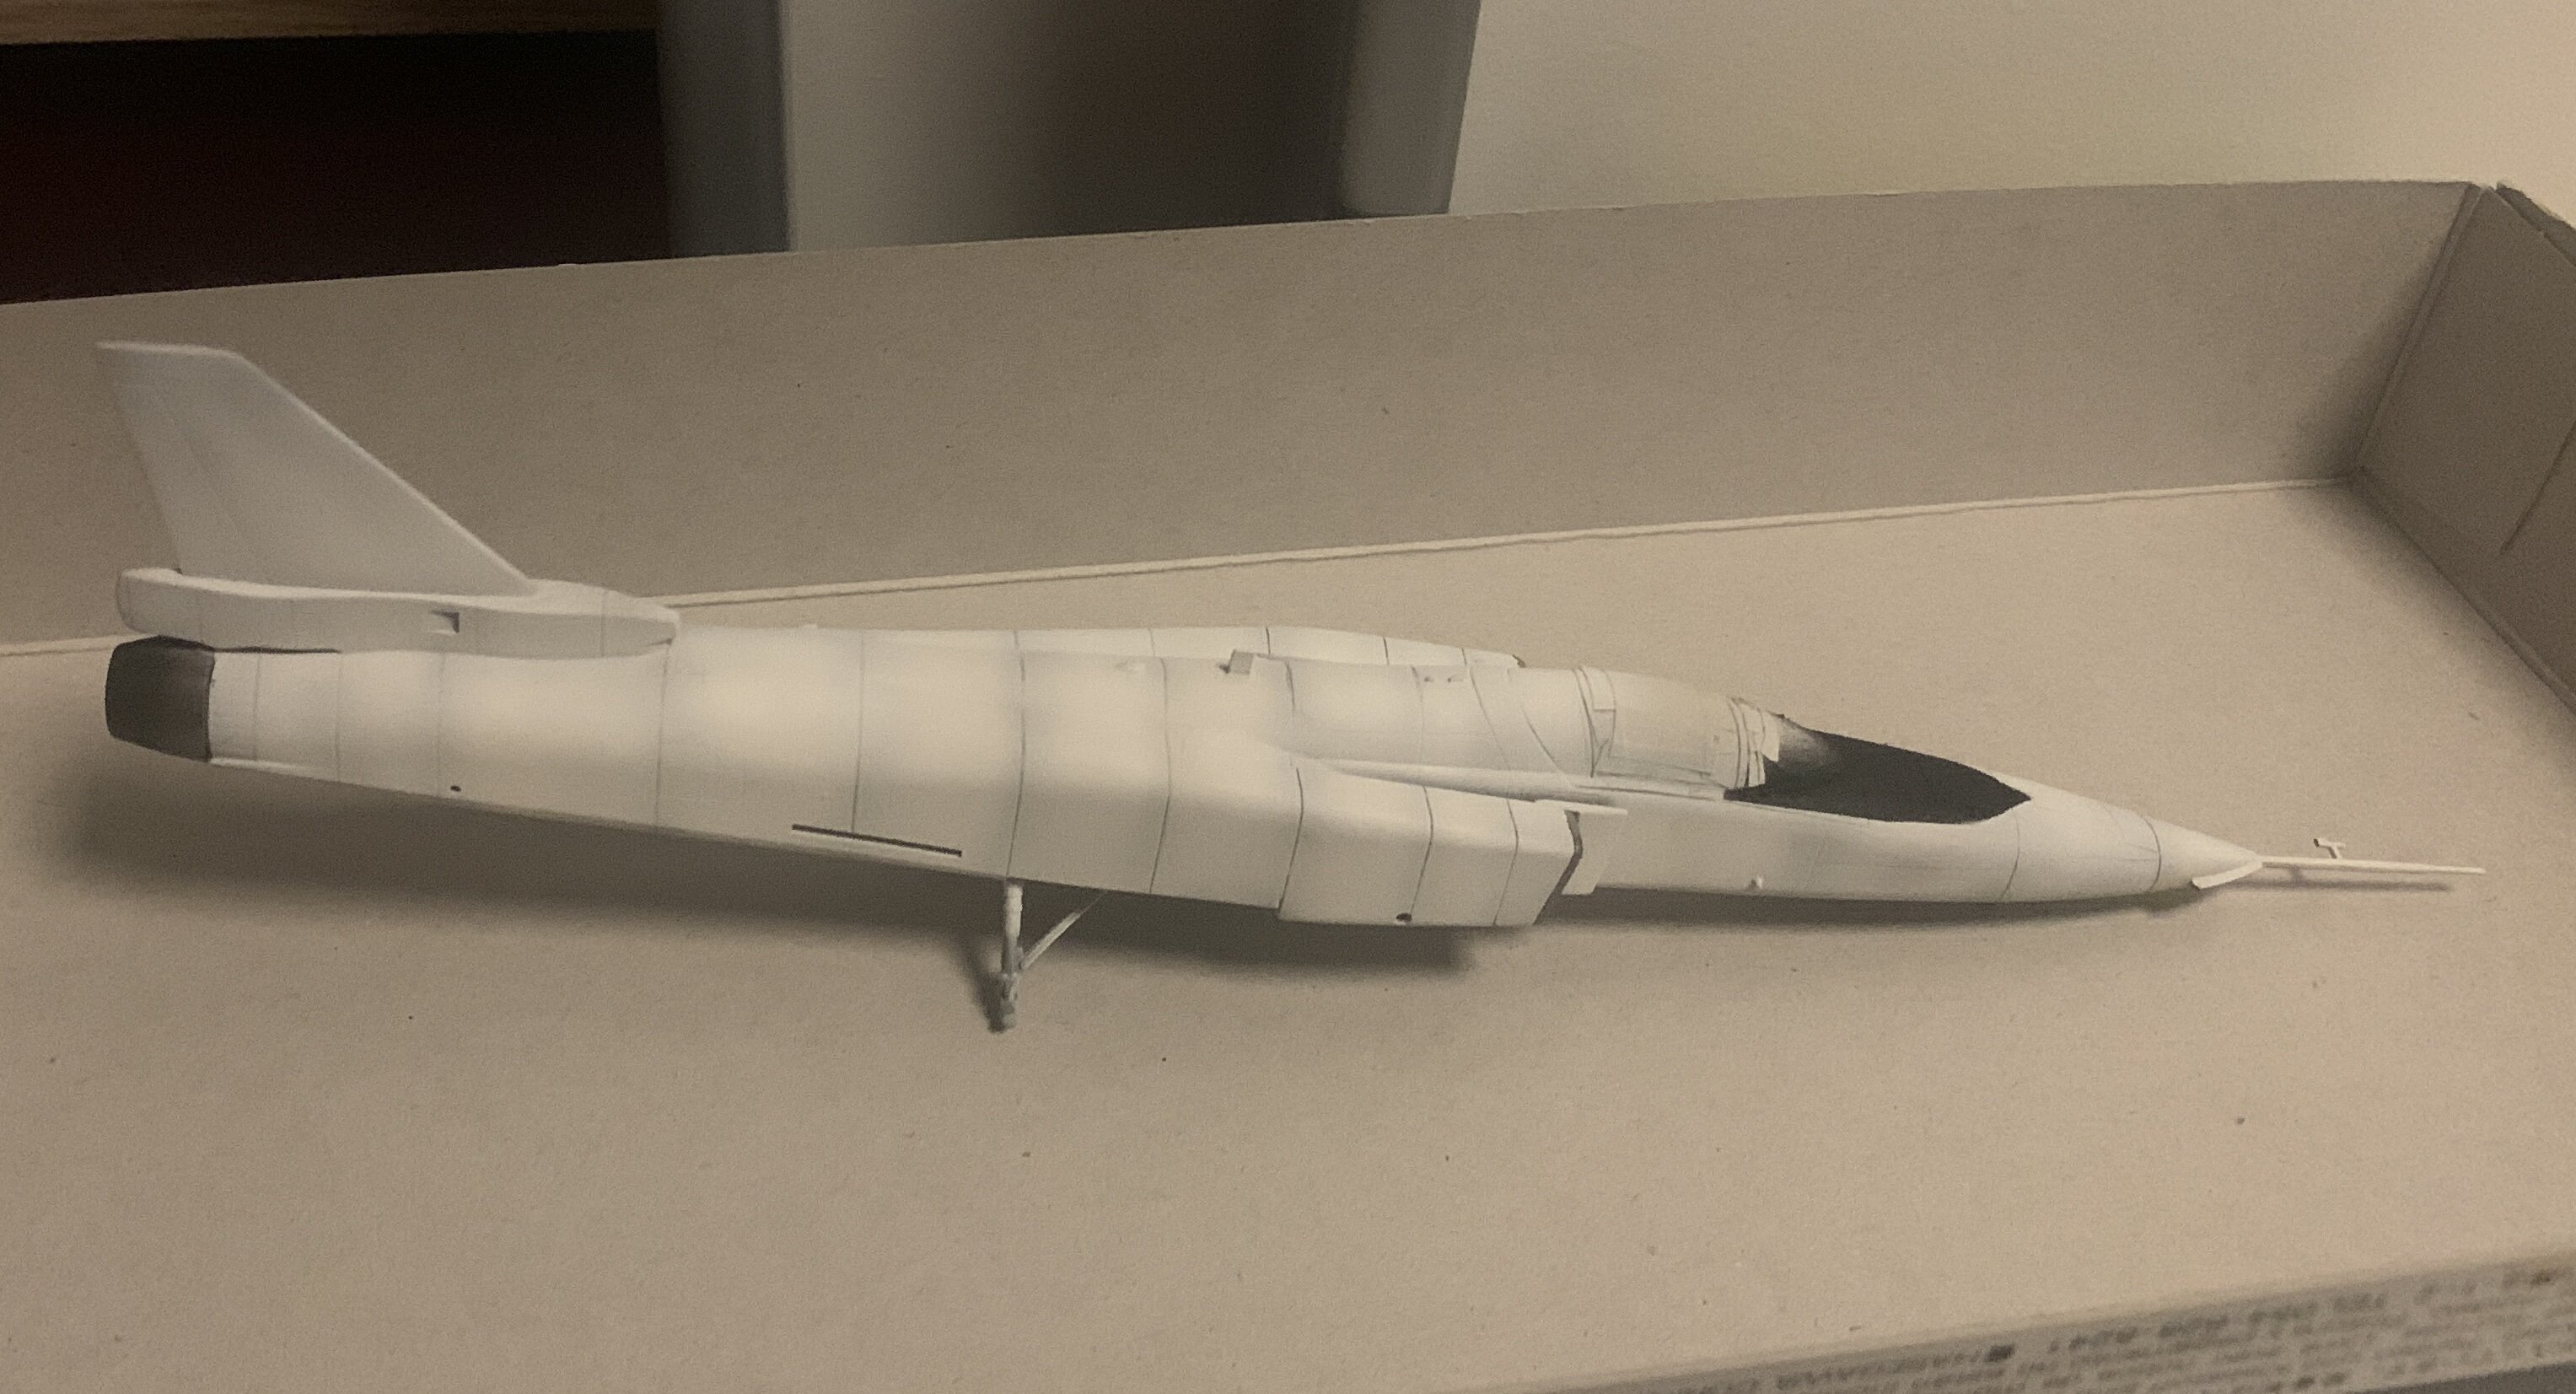
next step:
decals :S
after that, I‘ll apply a coat and do panel lining and weathering.
-
On 4/7/2023 at 5:22 PM, Big s said:
I’m really glad it worked for you. I’m still a bit worried about trying it myself
I let I cure for 48 hours. I noticed, when doing it to short after applying the color or the coat, the color rubs off.
Whats Lying on your Workbench MK IV
in The Workshop!
Posted
I‘ll go with a careful rub on this one now.