
Urashiman
-
Posts
763 -
Joined
-
Last visited
Content Type
Profiles
Forums
Events
Gallery
Posts posted by Urashiman
-
-
On 7/23/2024 at 1:30 PM, Lord Sputnik said:
I'm glad to see that 6 people have read at least one chapter from the link I posted. (Inkstone tracks reader count.) I was hoping for some feedback since I'm stuck writing chapter 15 at the moment, but I understand it is a commitment to read every chapter, and I don't really have anything to give in return.
Hey there - I've only read a bit of it. Usually fanfic writers write stories for themselves - at least that is what someone said once somewhere on the internet. From the courses I had about writing, it is always like this:
- You have a story living in you
- You want to share the story because you like the story and think that maybe someone else will like it as well
- You think the story is worthy enough to put it down into written word
If it resonates with you, it doesn't mean it will resonate with others - and that doesn't mean it won't resonate with others. The group of readers for Macross fanfics is rather small. That said, let's look at chapter 1. I will be rather honest, which is my duty as a German, so it is not meant to be devastating, but meant for encouragement and feedback. I will look more into the writing and the writing style here. The story is yours, and I am not to judge the story that is living inside you.
Chapters usually are around 1200 words, so chapter one here is at ~1400 words. Some writers (I am look at Burkowski here - yeah ... you there *pointing angrily*) where a chapter was just a single line "nothing interesting today". That is a stylistic choice and can play with the reader. Anyway - the creative process is interesting. Depending how much imagination you have, your written word will bring the reader into a world unknown in, let's say, various degrees of quality. Where one writer merely states "The sun is rising.", leaving open much to the own imagination of the reader, another writer might phrase that differently, going more into detail like "The orb of yellow and orange hues moves behind the vast blueness of a wavy sea, making it's way up to the fluffy clouds, joining them." One is stating a fact, the other is transporting the emotion/the impression of the scene. In my experience, pacing is an issue with most fanfics, depending on how interested the writer was at the moment about writing that scene. Keeping a consistent style is important. So let me put down some points here
The pacing is uneven
- Use better transitions and break up long descriptions into sentences with varying length (depending on the rhythm of a sentence).
Character development feels somewhat one-dimensional
- You basically smash in names for people and give a rough explanation to them. Might be a stylistic choice, though - maybe you want the reader to get interested in them and want to have the reader "get to know" the characters along the story.
Show, don't tell
- Instead of saying things like "Roy getting excited", show these emotions through their actions and dialogue.
Use more descriptive language
- It is all about "sensory input" - the smell, the feeling, what does it look like... and so on.
Chapter breaks
- Instead of using giant lines to separate the scenes and events, you can use a "soft fade"... hard to explain. For example, you have this here happening:
"The concert roared on!
Deep below the ocean on Planet Aquillane, a certain entity started to stir.
"...Spir...Spiritia...""
Maybe something like this?
"While the concert roared on, unbeknown to Roy and Oscar or anyone else, an entity deep below the in the oceans of planet Aquillane started to stir.
"...Spir... Spiritia...""
I hope the above is valuable feedback for you.BTW: An appendix is an appendix, meaning, it is at the end of your story, not at the very beginning. To explain some of the things and terms of Macross, you probably want to create a prologue for world building, explaining the world and the timeframe the story is happening in.
-
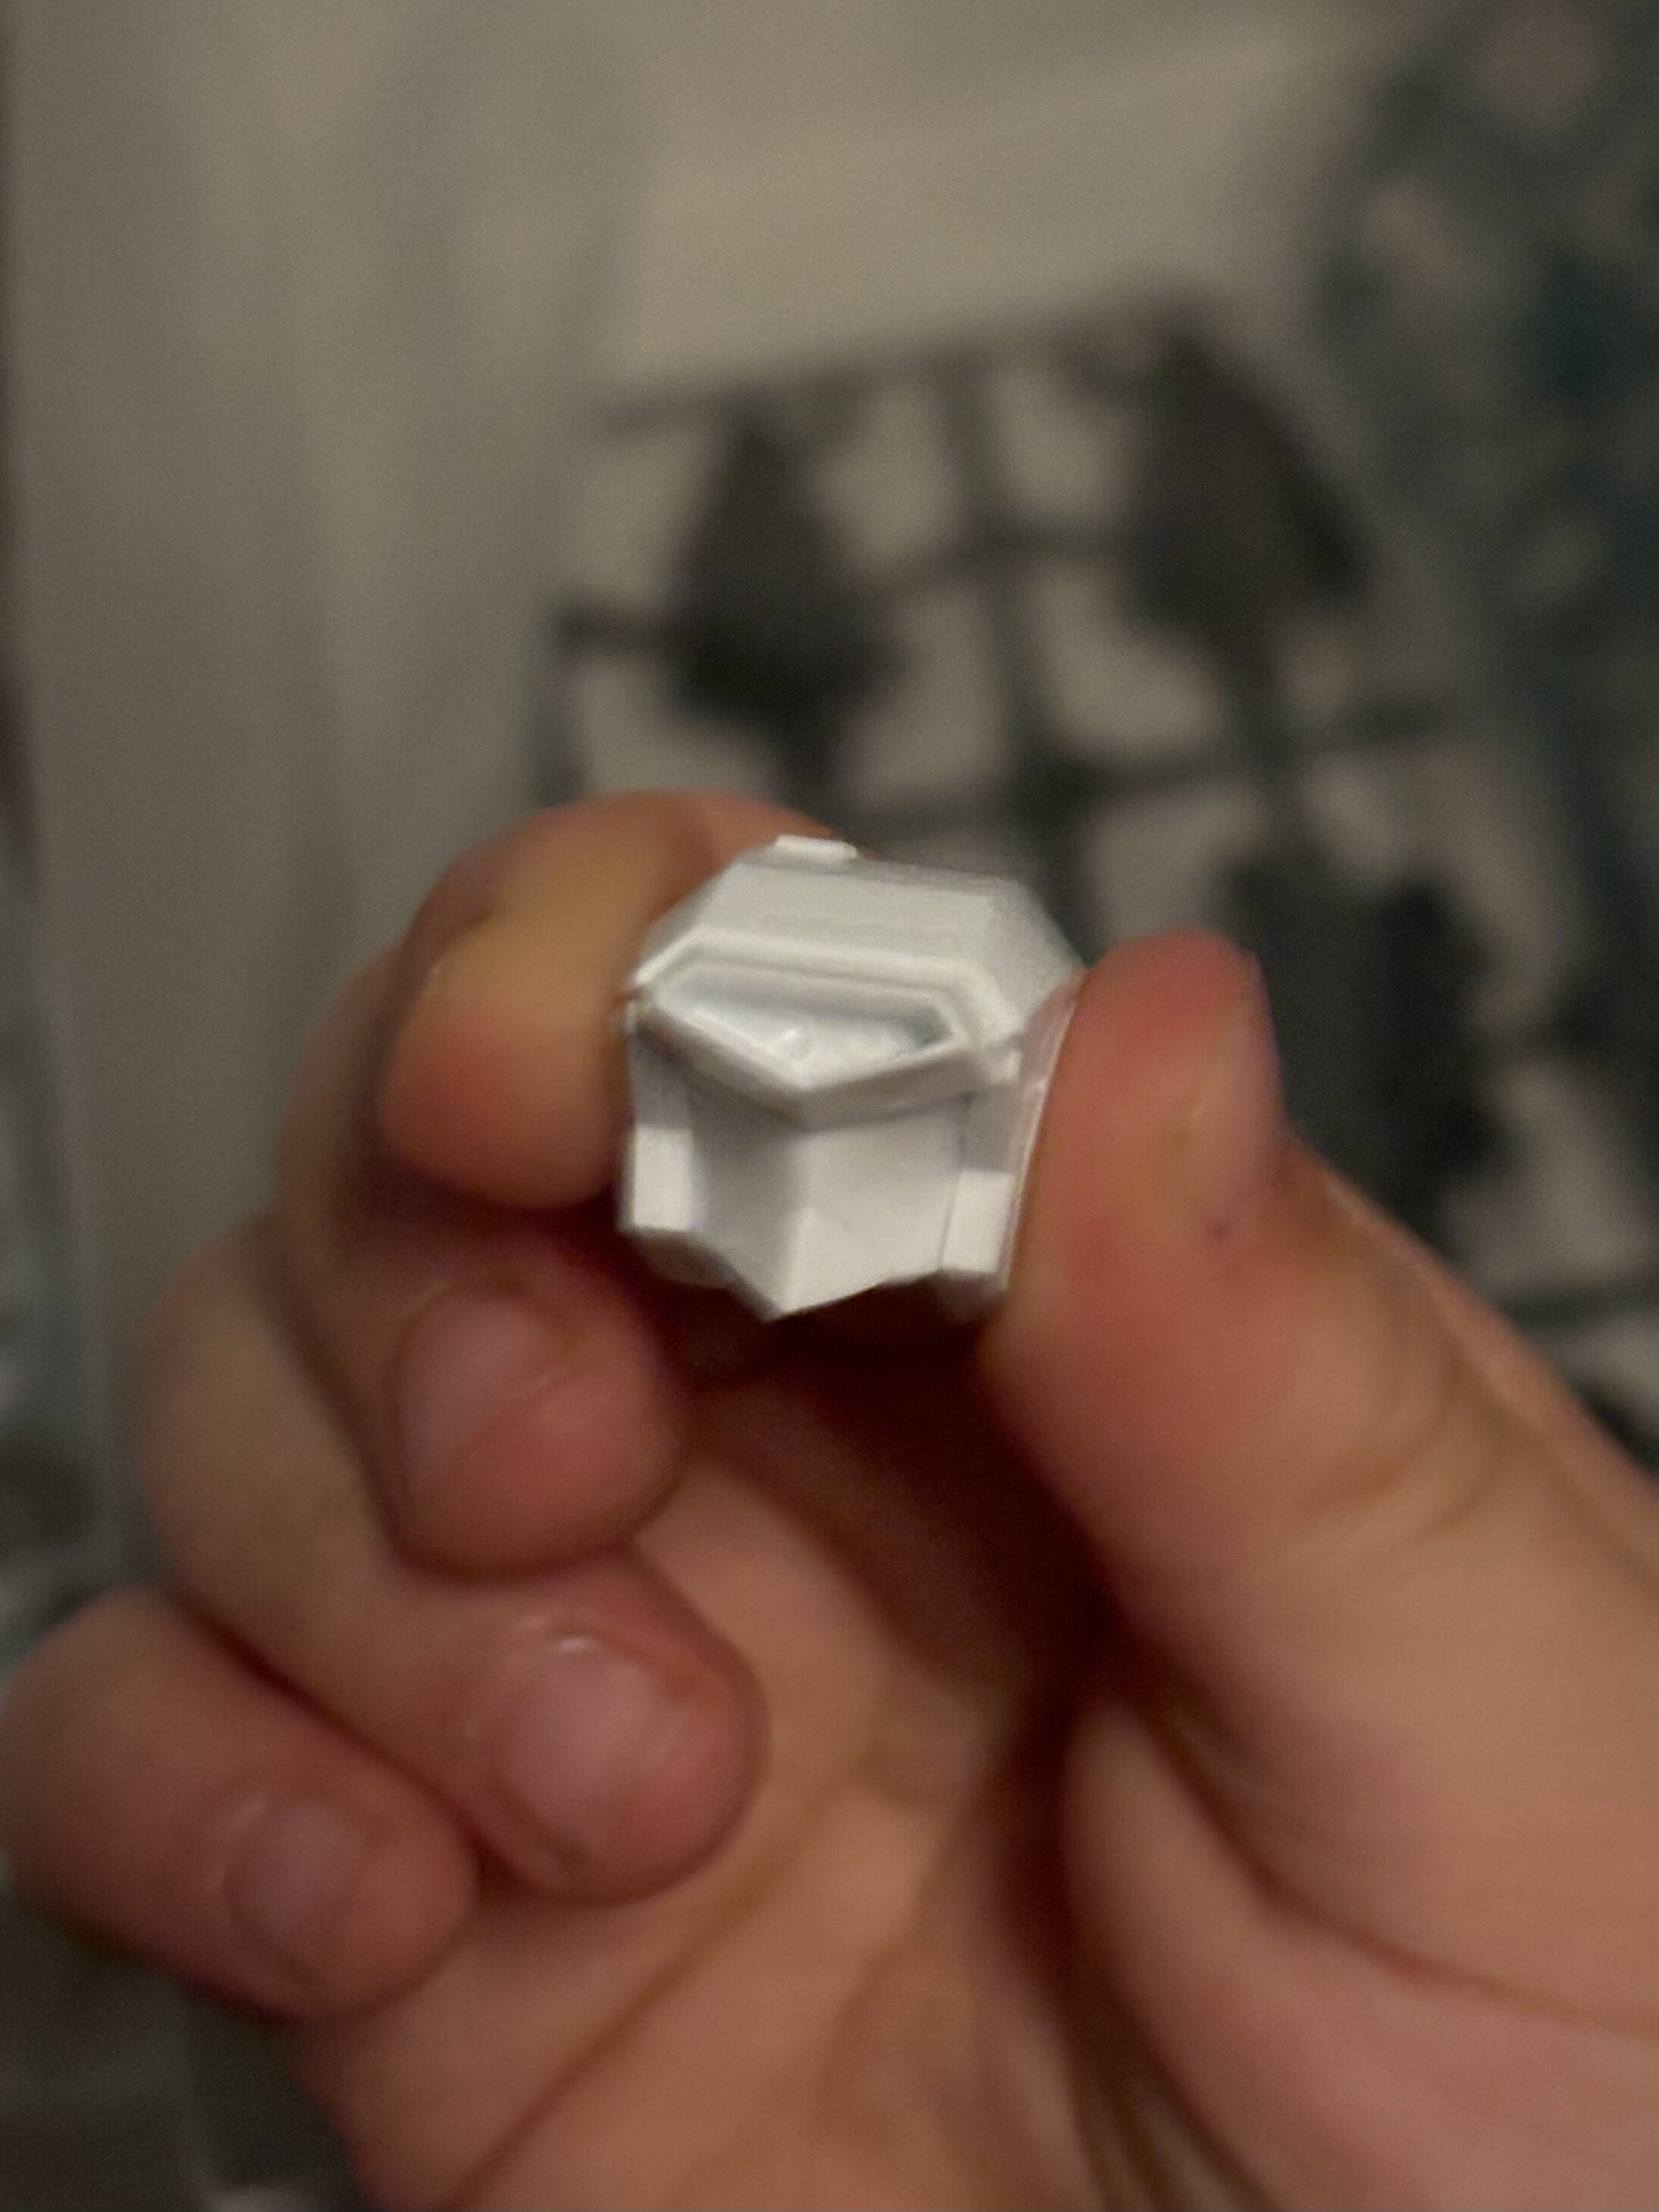
16 hours ago, nonner242 said:
Apple seed😆 always gets me confused I don't know why
No no no… that is an AV-98 Ingram
")
@Wewyllenium btw: now I remember why the pilot looks so familiar. That is my Macross M3 milia pilot figure, but with added „tanks“. Hahhaha
-
17 minutes ago, electric indigo said:
The ARTPLA Ingram kit is just awesome.

Yay, patlabor!
-
57 minutes ago, ivan74 said:
hola a todos, soy nuevo en este foro . alguien tendra modelos de robotech para armar en papel.??
There is stuff on my site www.sd-sascha.com
download it for free, print it, build it.
-
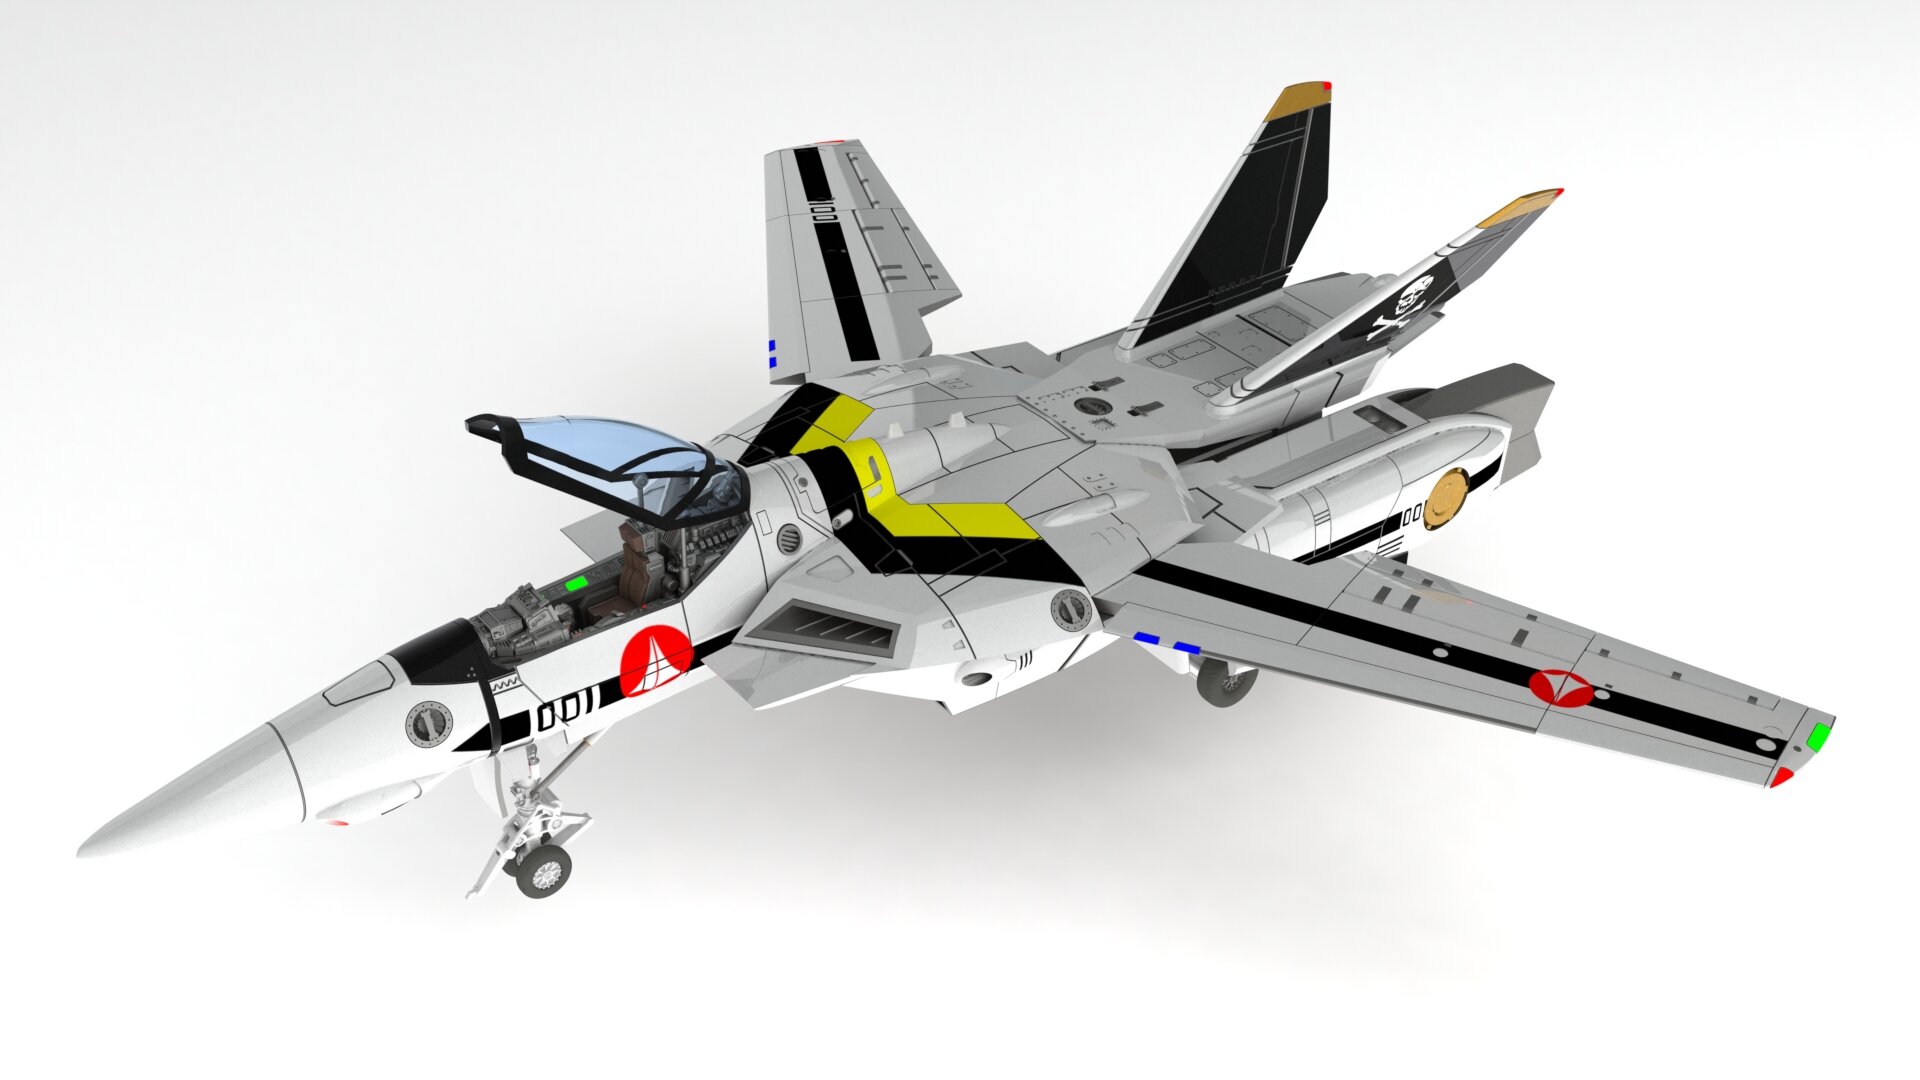
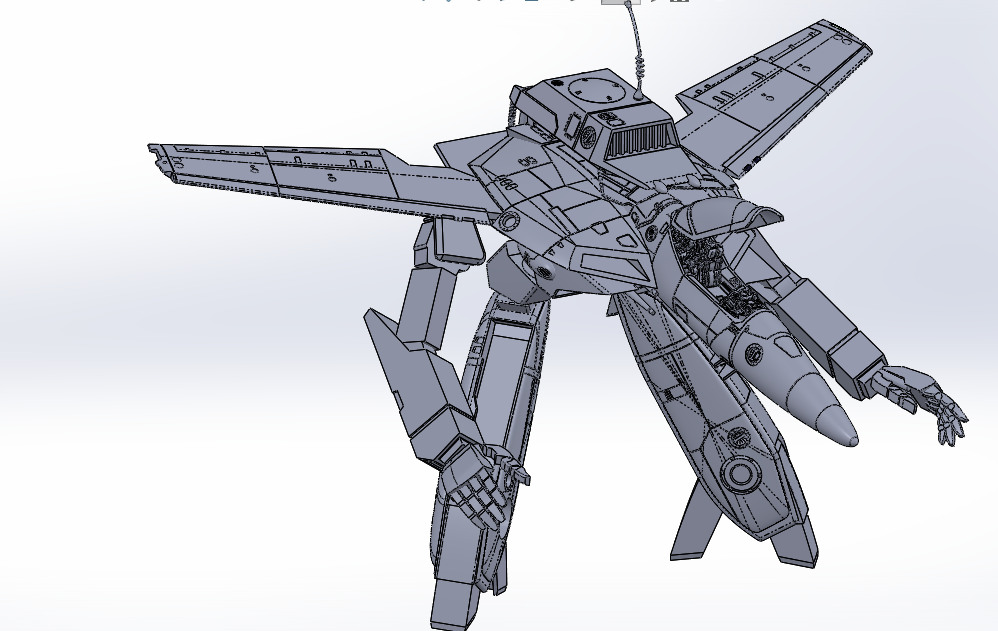
4 hours ago, TMBounty_Hunter said:
Ah! A PLAMAX VF-1S Strike Valk. Awesome!
-
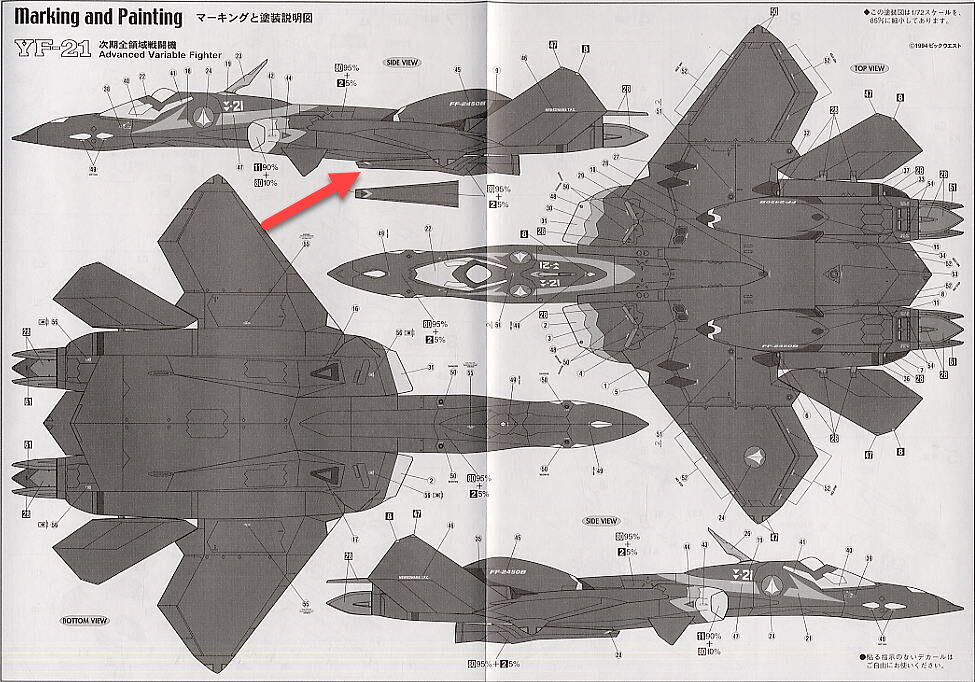
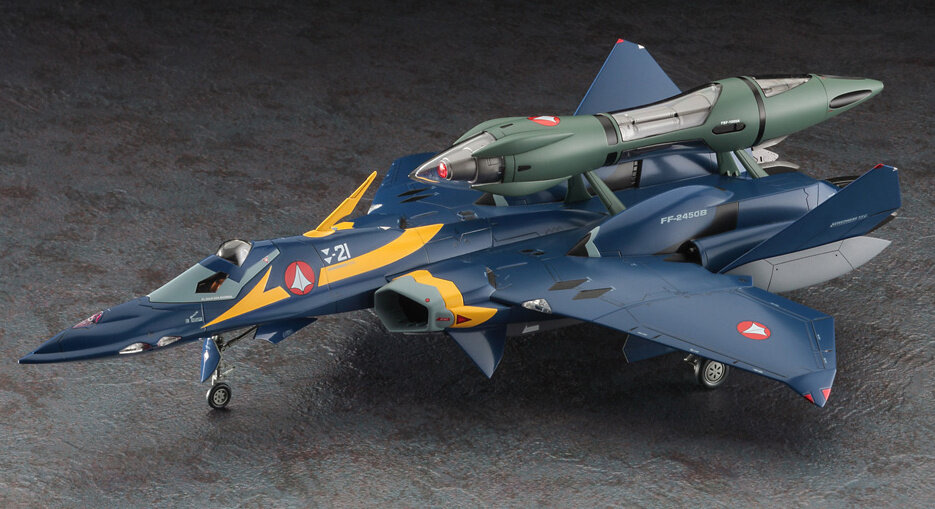
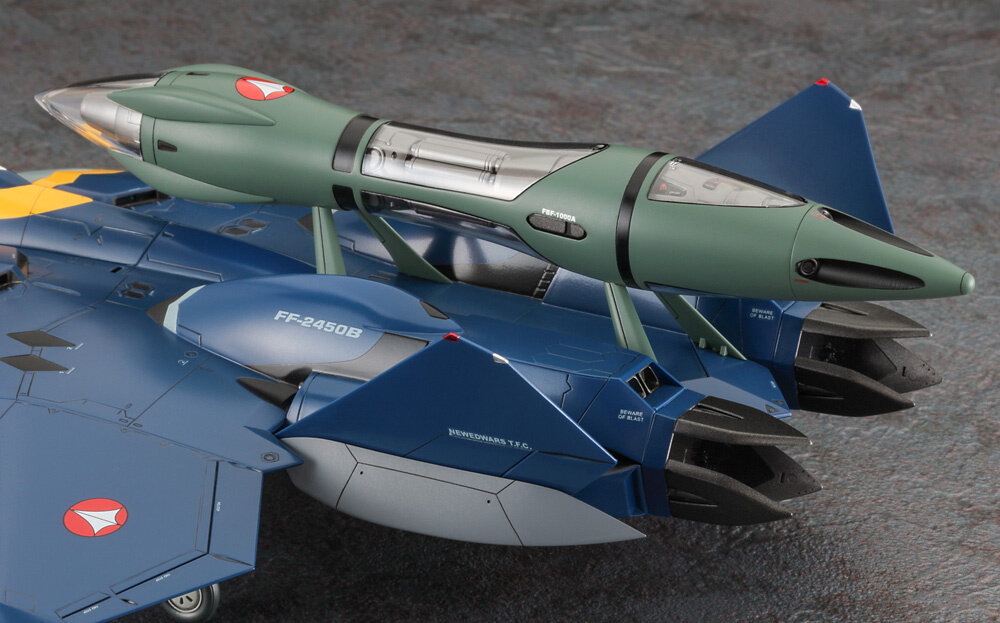
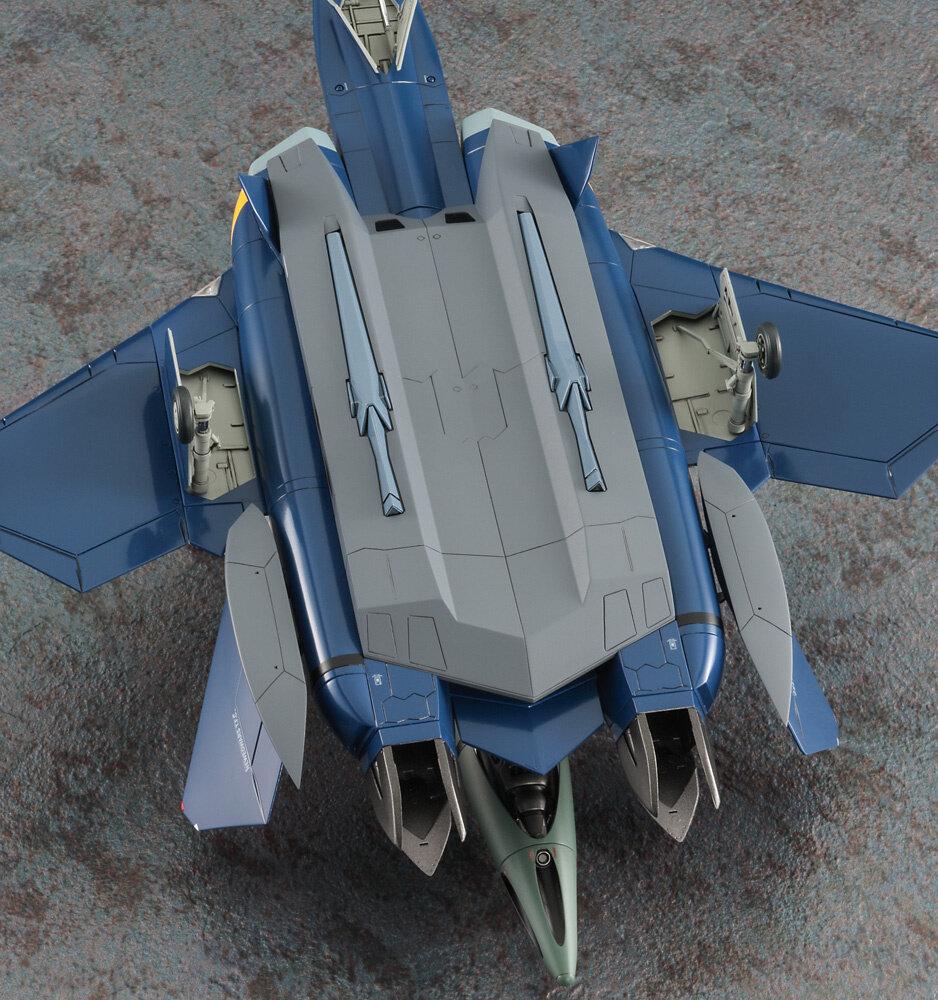
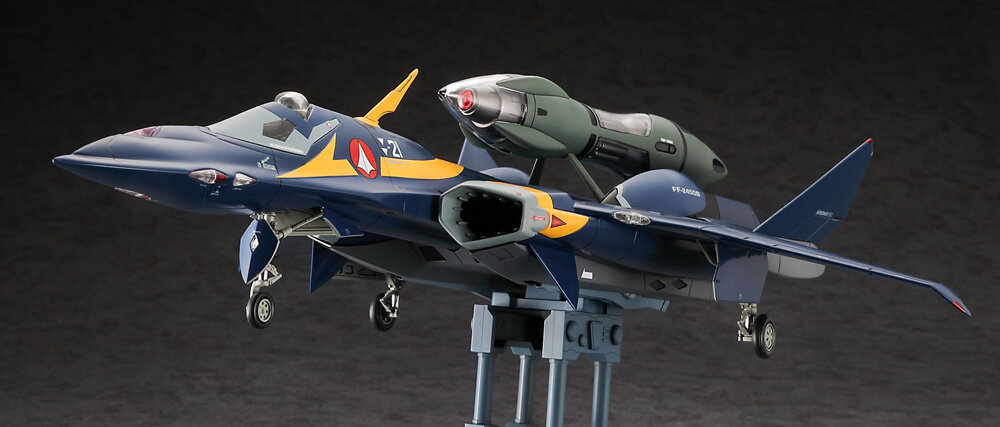
Well - the original HASE YF-21 has two gunpods with it already. You could just use them and saw off the fast pack holes and use the original pods.
-
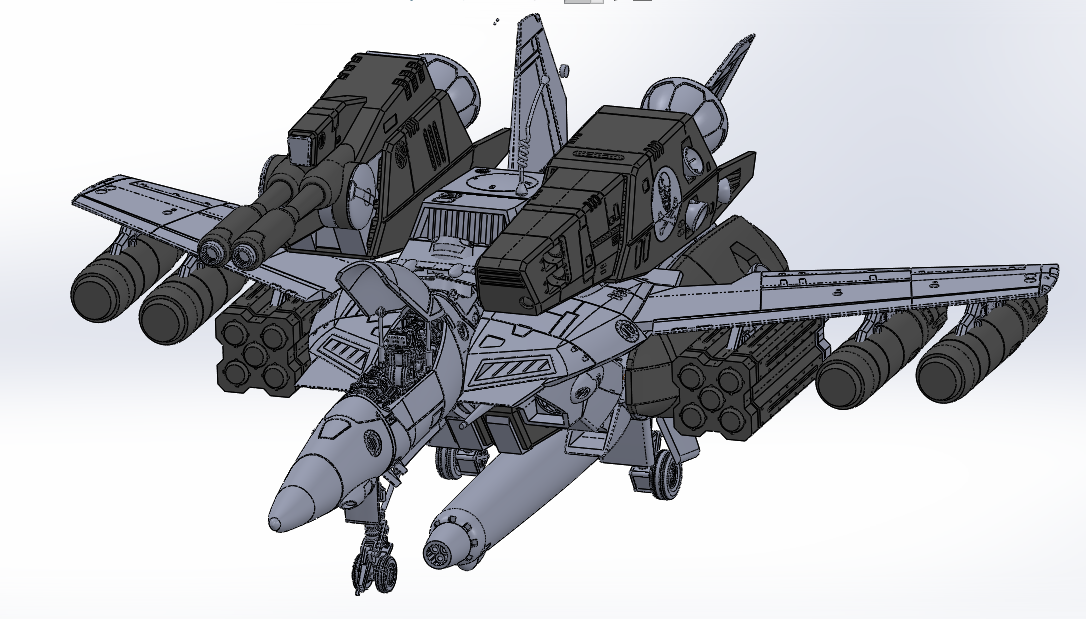
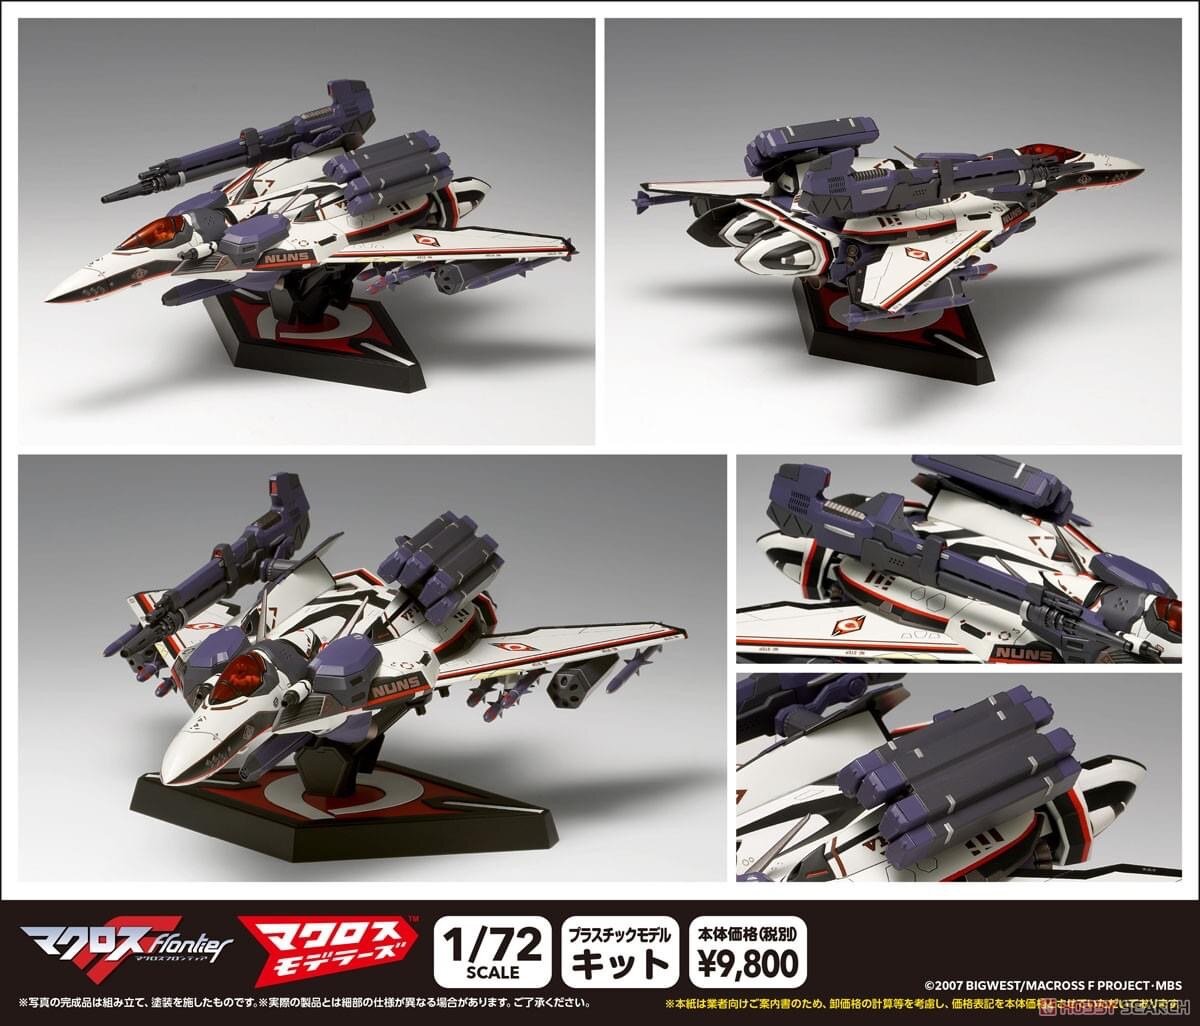
well - that was kinda predictable
https://www.hlj.com/1-72-scale-yf-21w-fast-pack-fold-booster-hsg65887

-
dude ... 420 - hahahaha
-
On 6/28/2024 at 7:35 PM, pengbuzz said:
Now he just needs a surfboard!

Eureka 7?
-
On 6/7/2024 at 8:41 PM, starbuck said:
A few pics of what I've built so far, I haven't taken the time to get individual shots yet
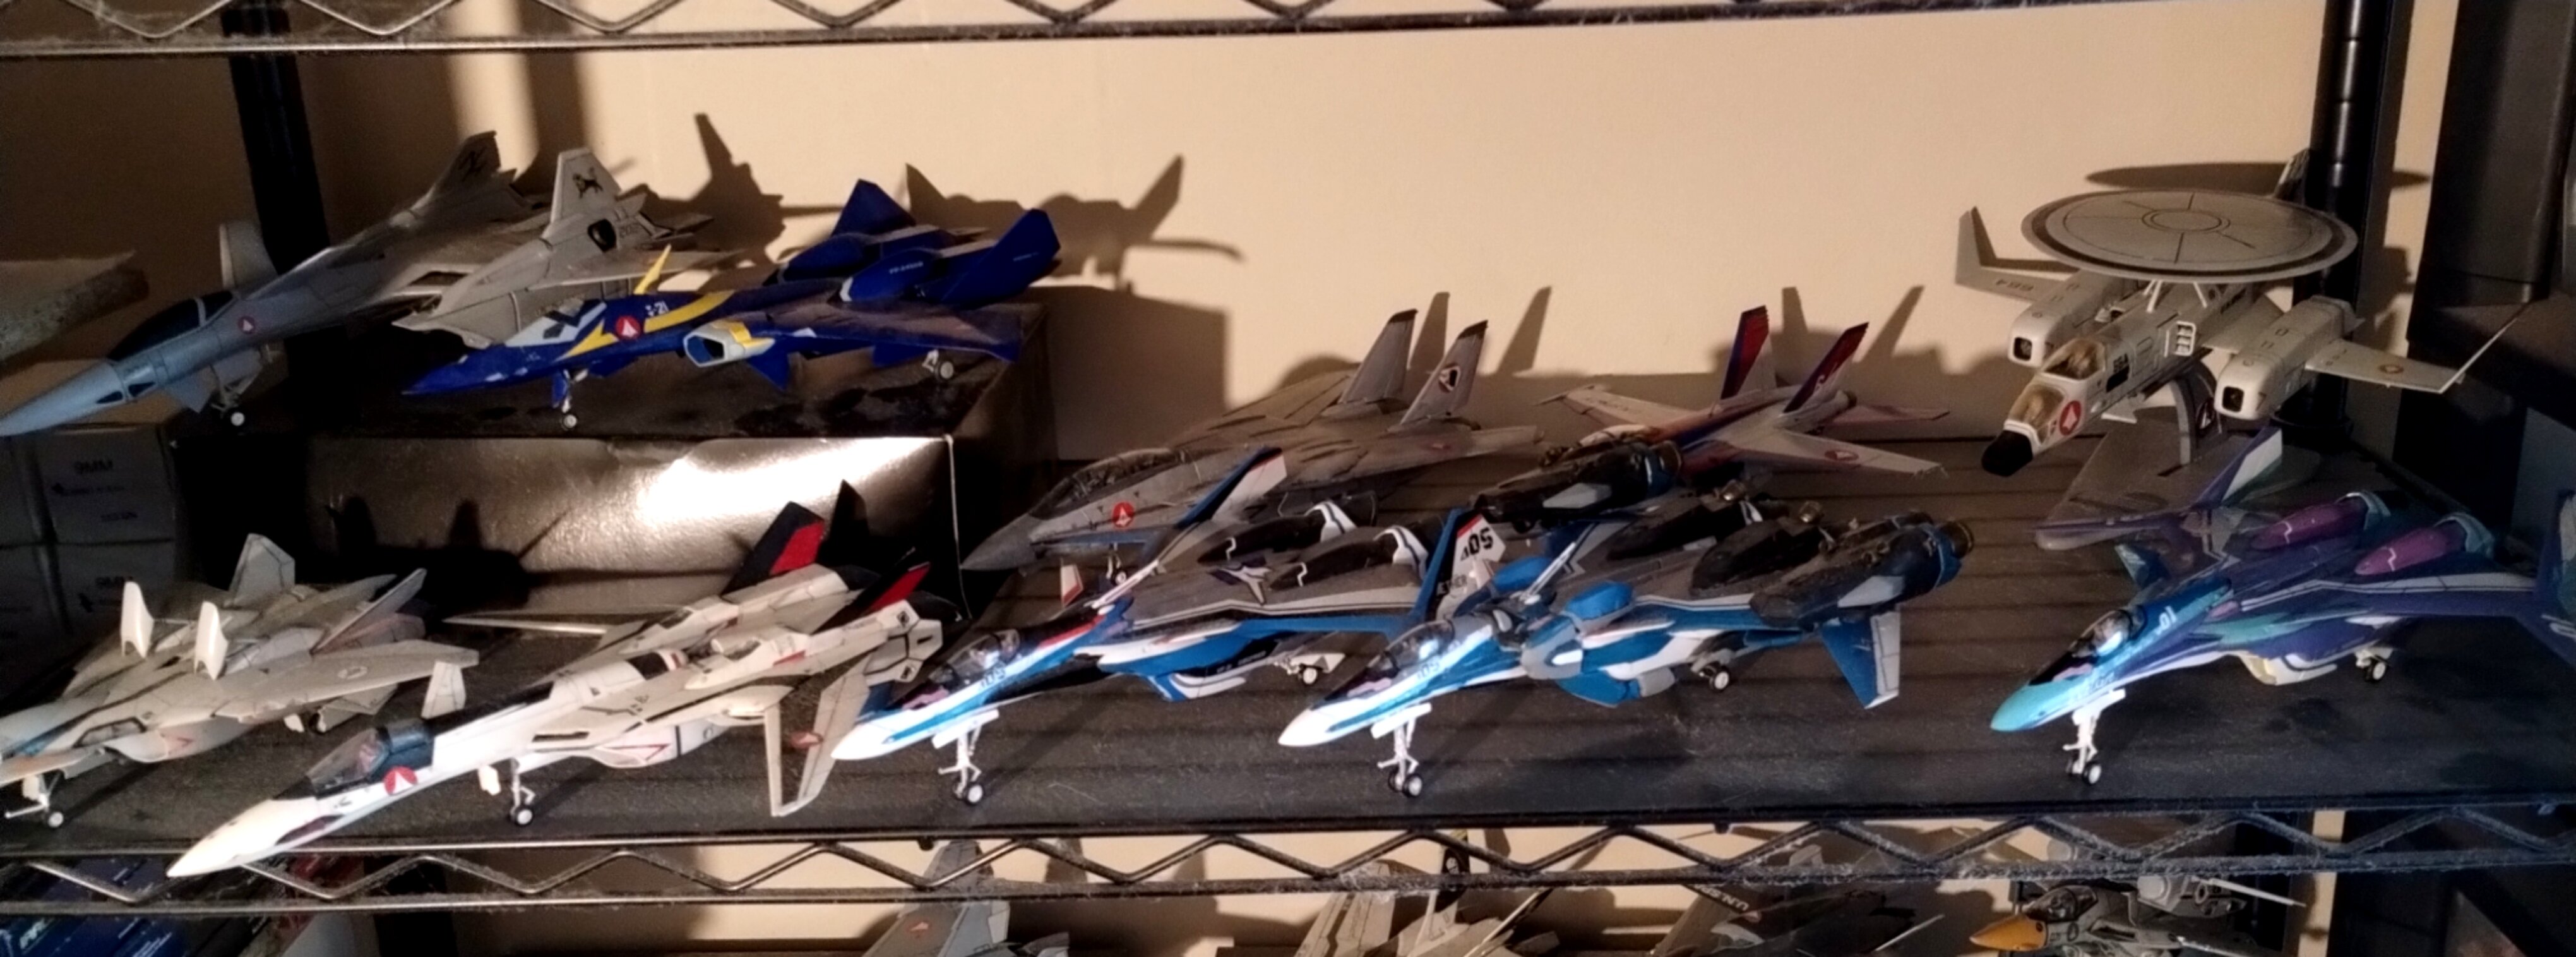
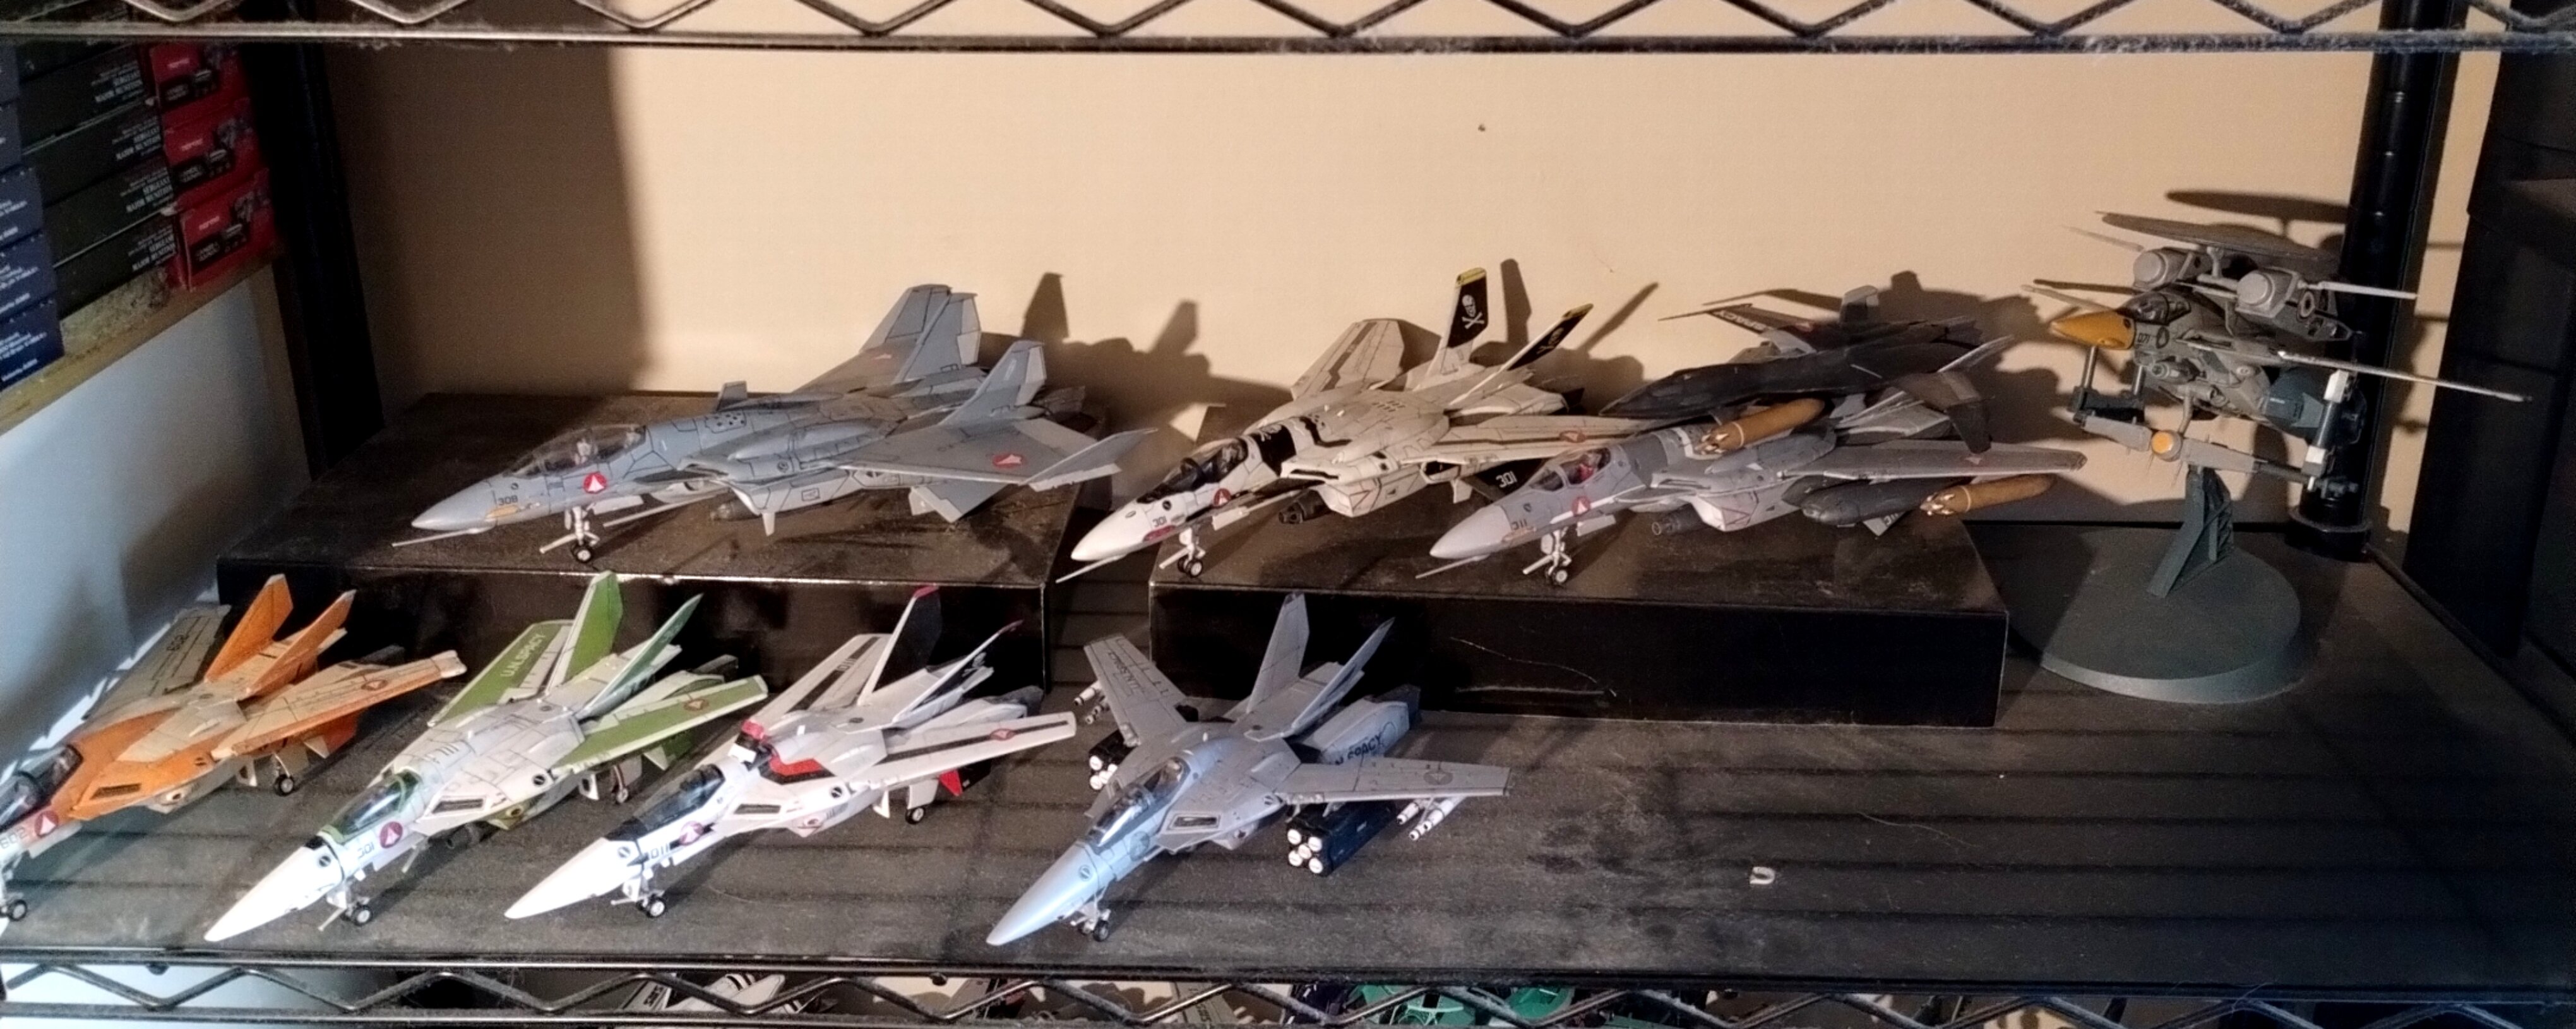
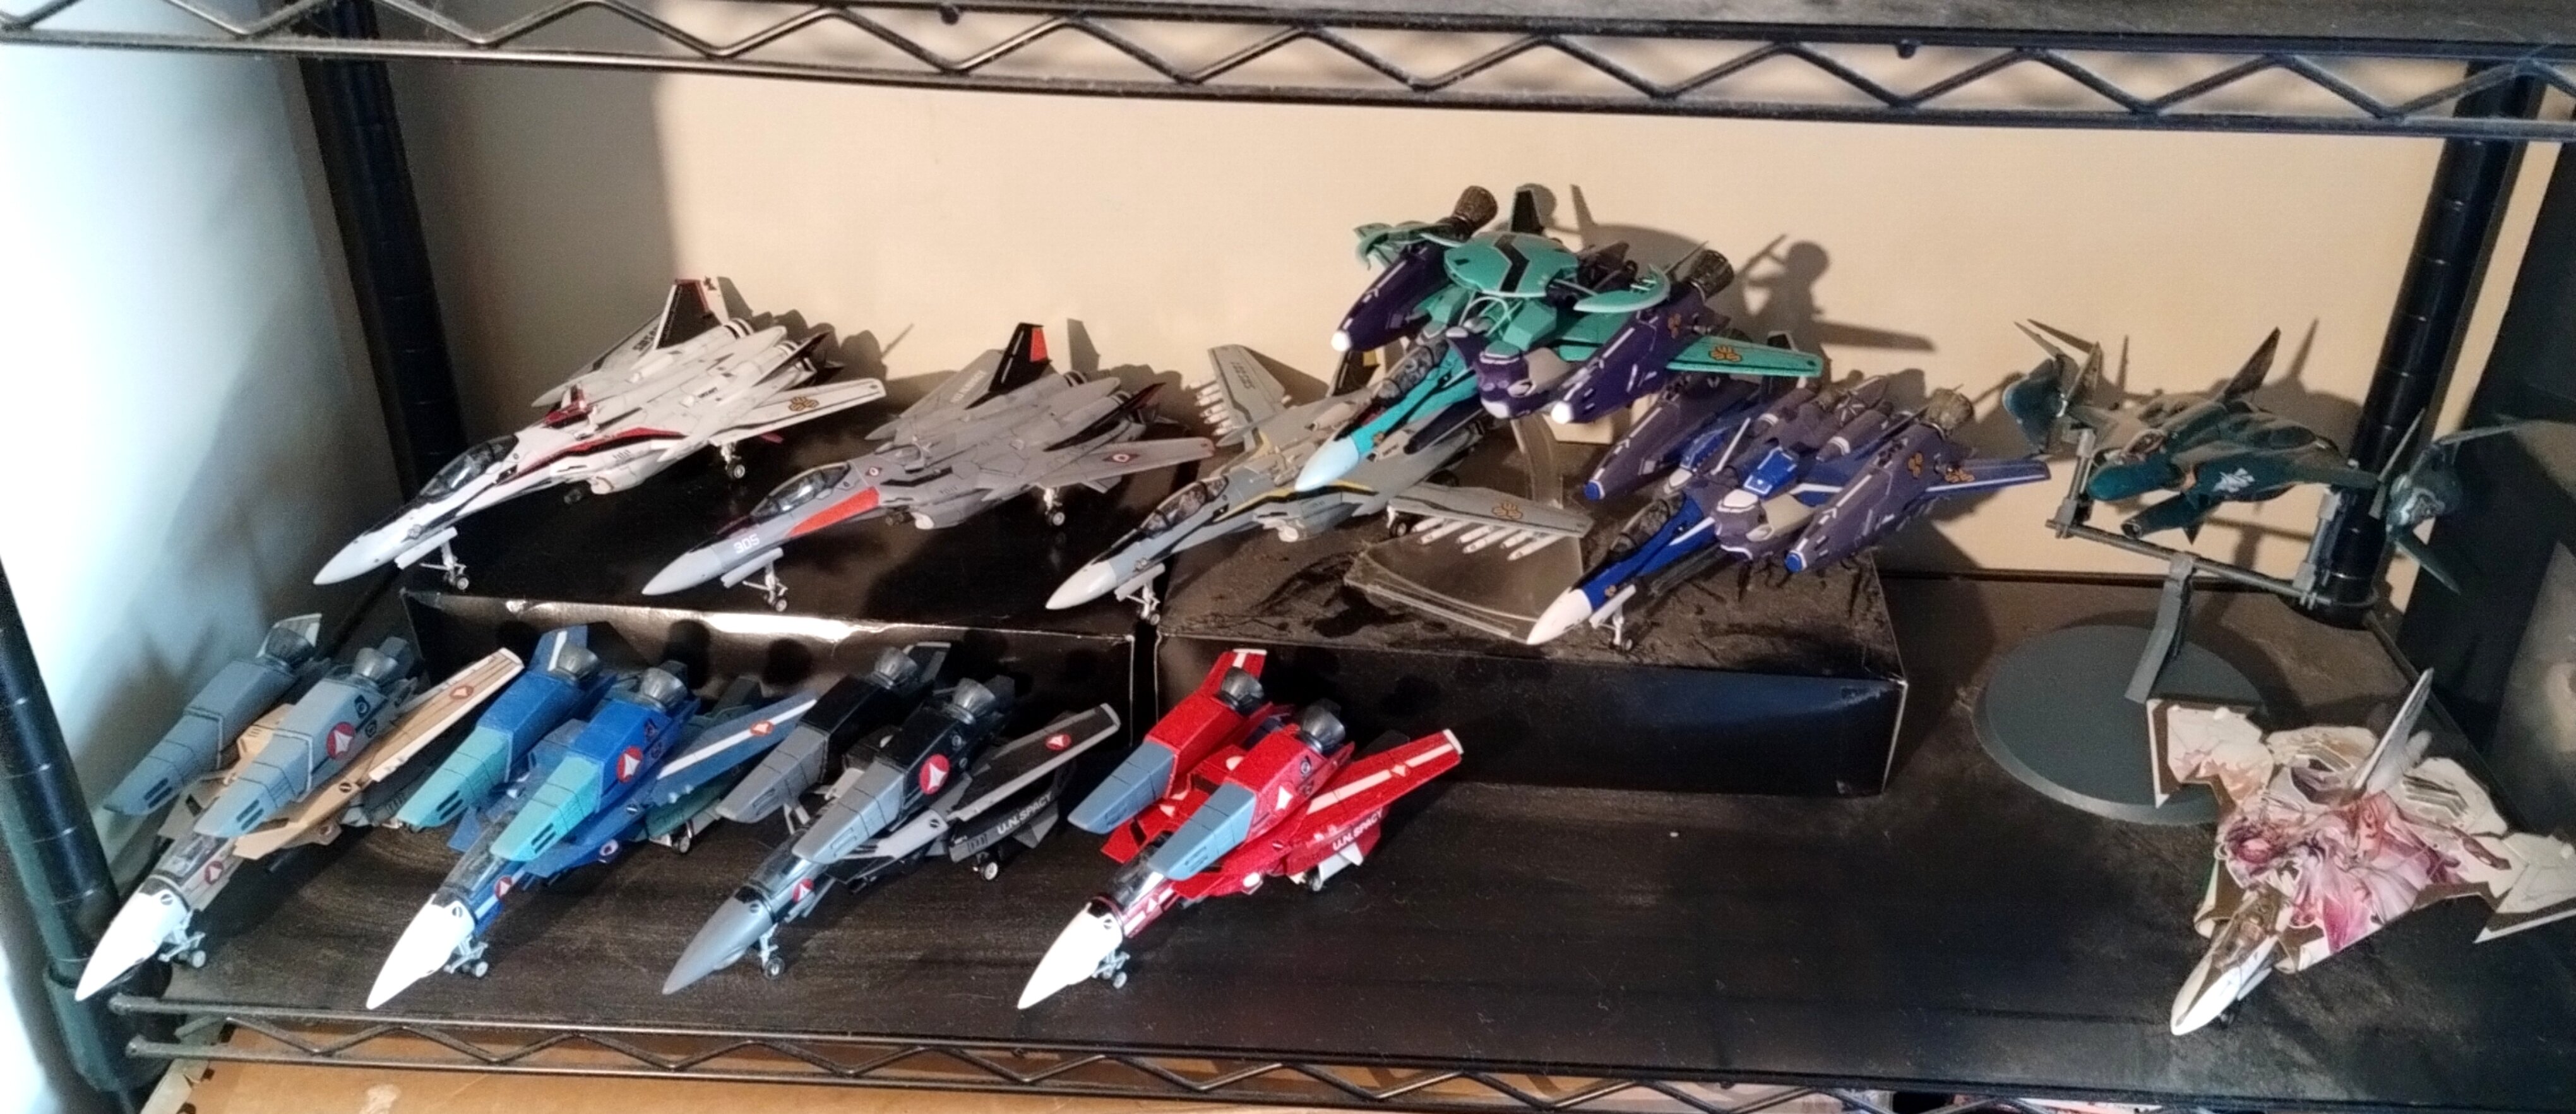
nice collection
-
Got this from Aliexpress. I was purchasing some rechargeables and they advertised „no shipping fees“ if I purchased something else for at least 2€.
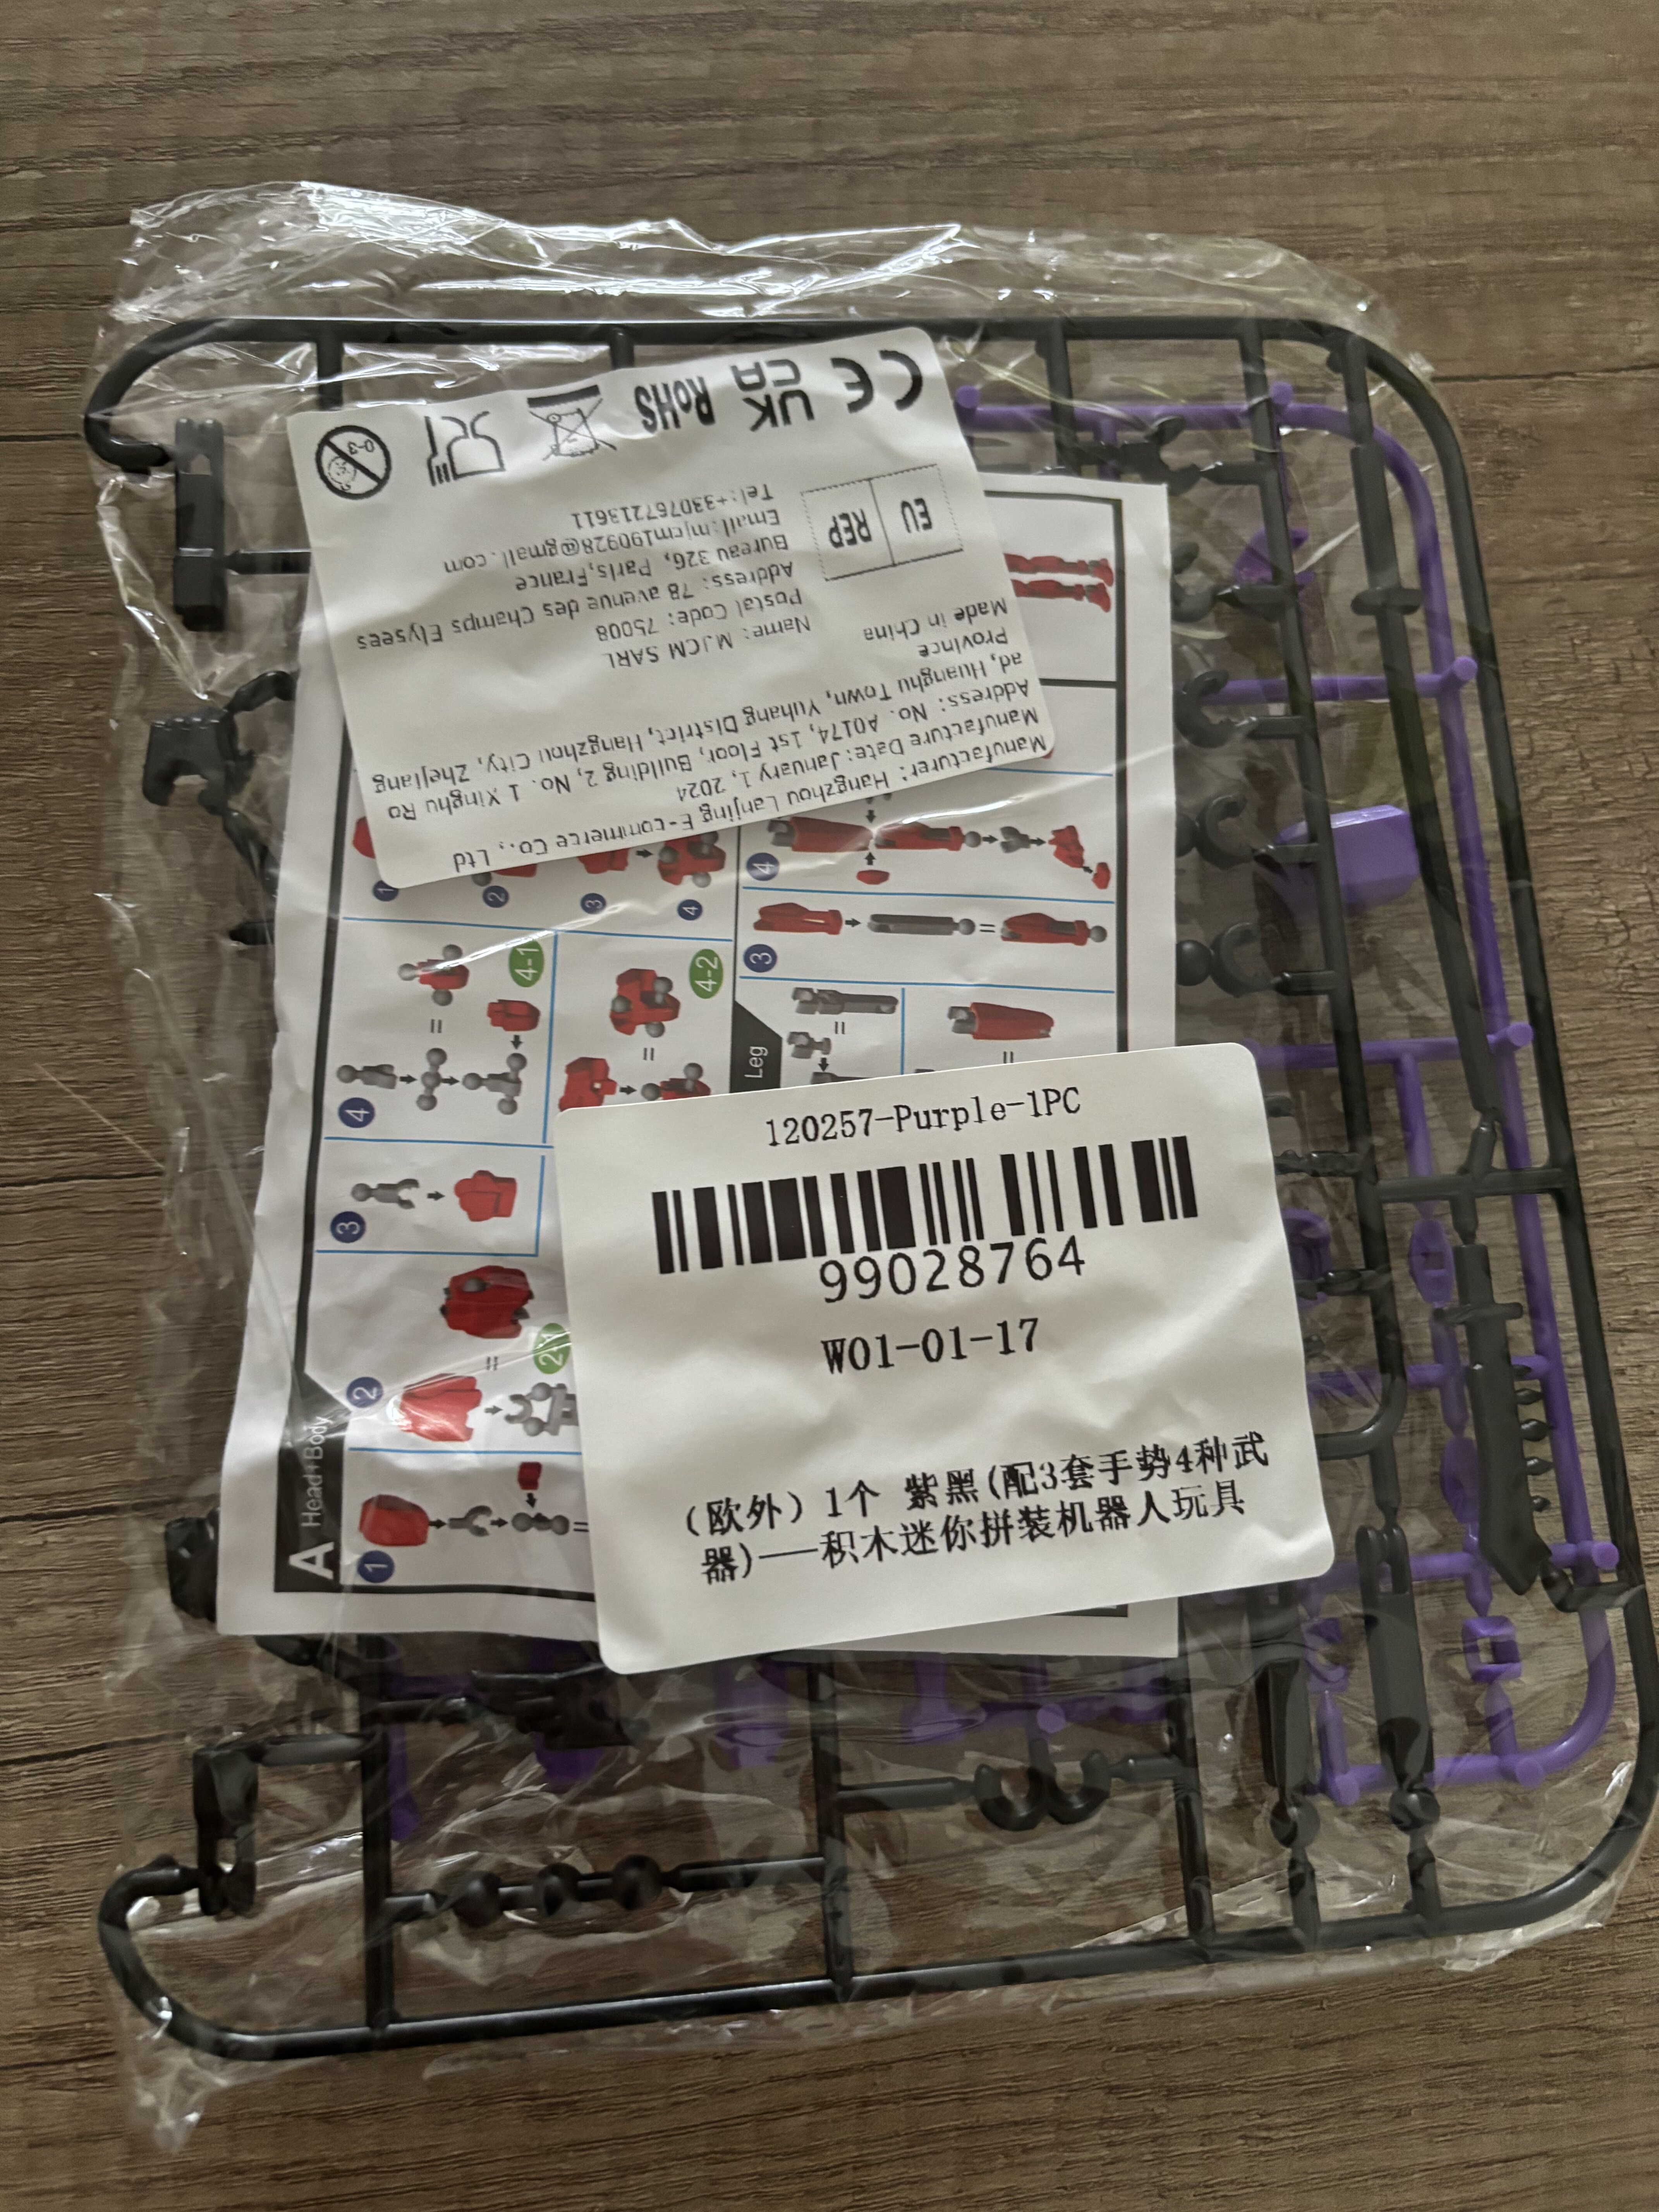
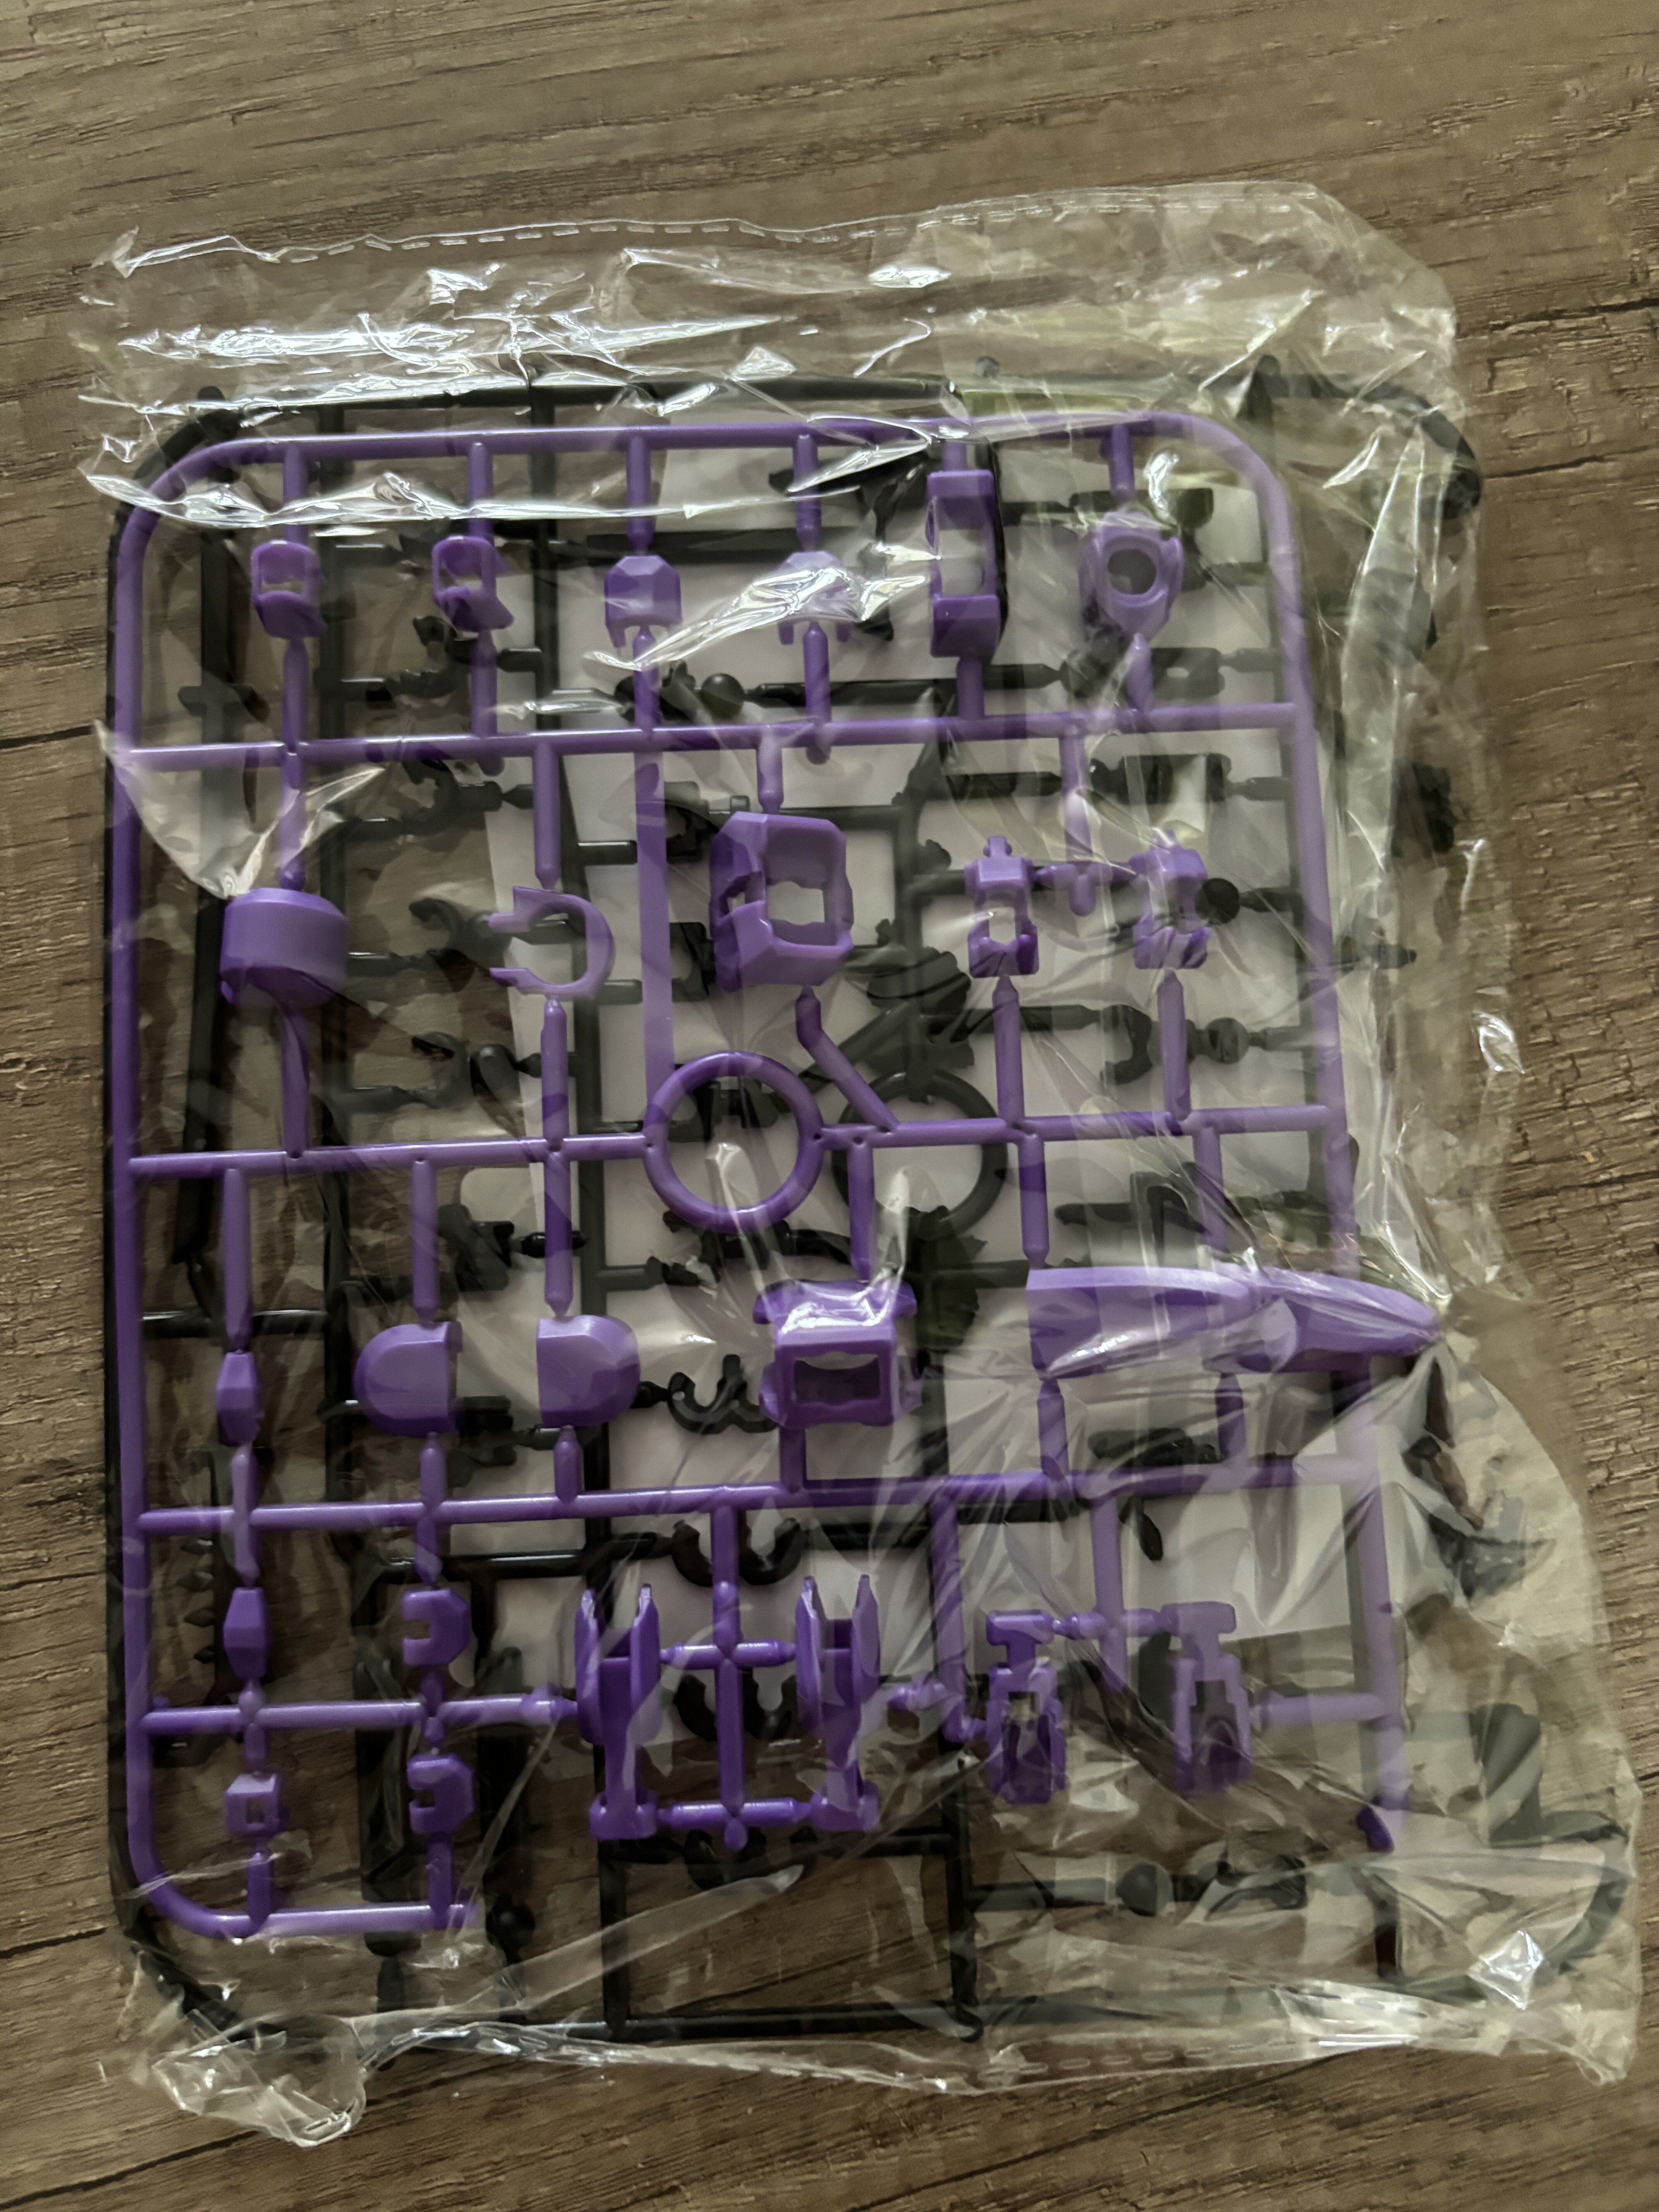
was a quick Build. faster than I thought .
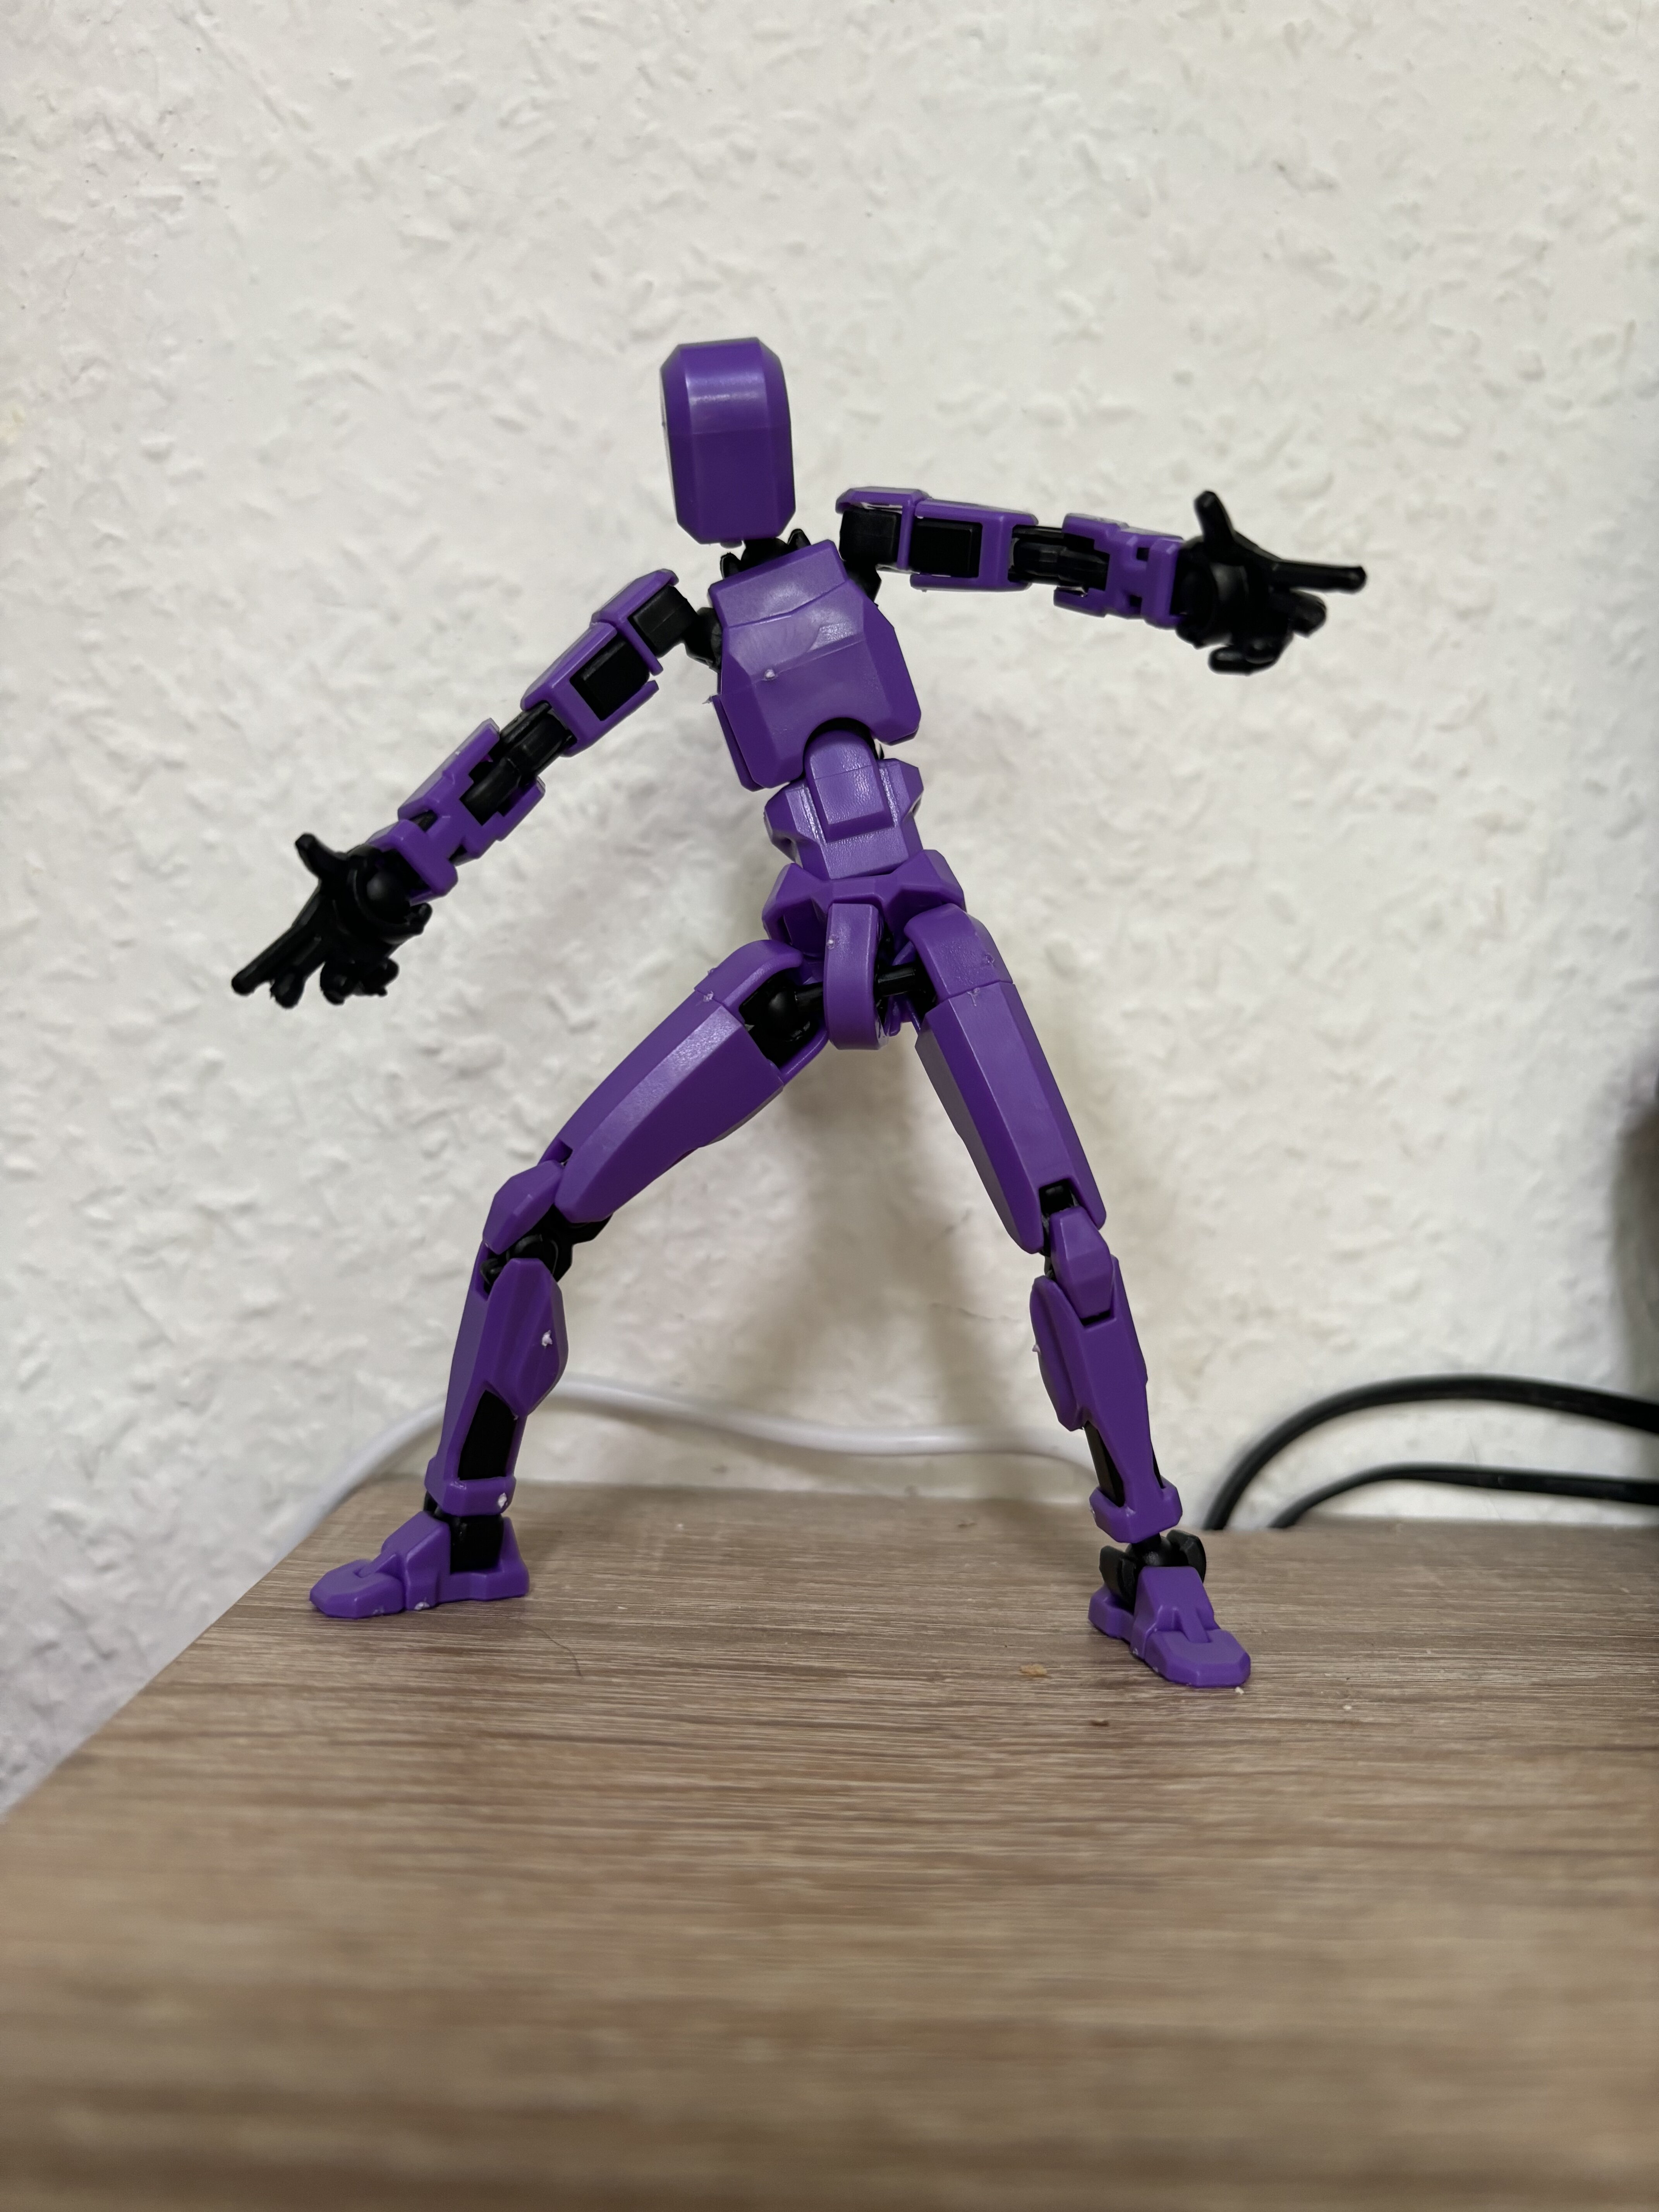
fully poseable
-
On 8/7/2021 at 6:32 AM, ProtoX said:
Do you plan on re-releasing the files somewhere else?
-
-
4 hours ago, KOG Water Dragon said:
Vermilion? 😅
Hahahaha yeah
-
34 minutes ago, Big s said:
I’m sure it’s not too different than an insignia red, I’ll have to double check. The color guide and my Translotor on my phone don’t seem to get along. It just says red parts red, gray parts green gray so I’m not 100% sure on any of it. My plan was just to wing it with most of the colors
It‘s a slight orange red tone.
-
2 hours ago, Big s said:
I wish I had more spare time. I still haven’t gotten the hands all put together or the gunpod ready for pictures yet.
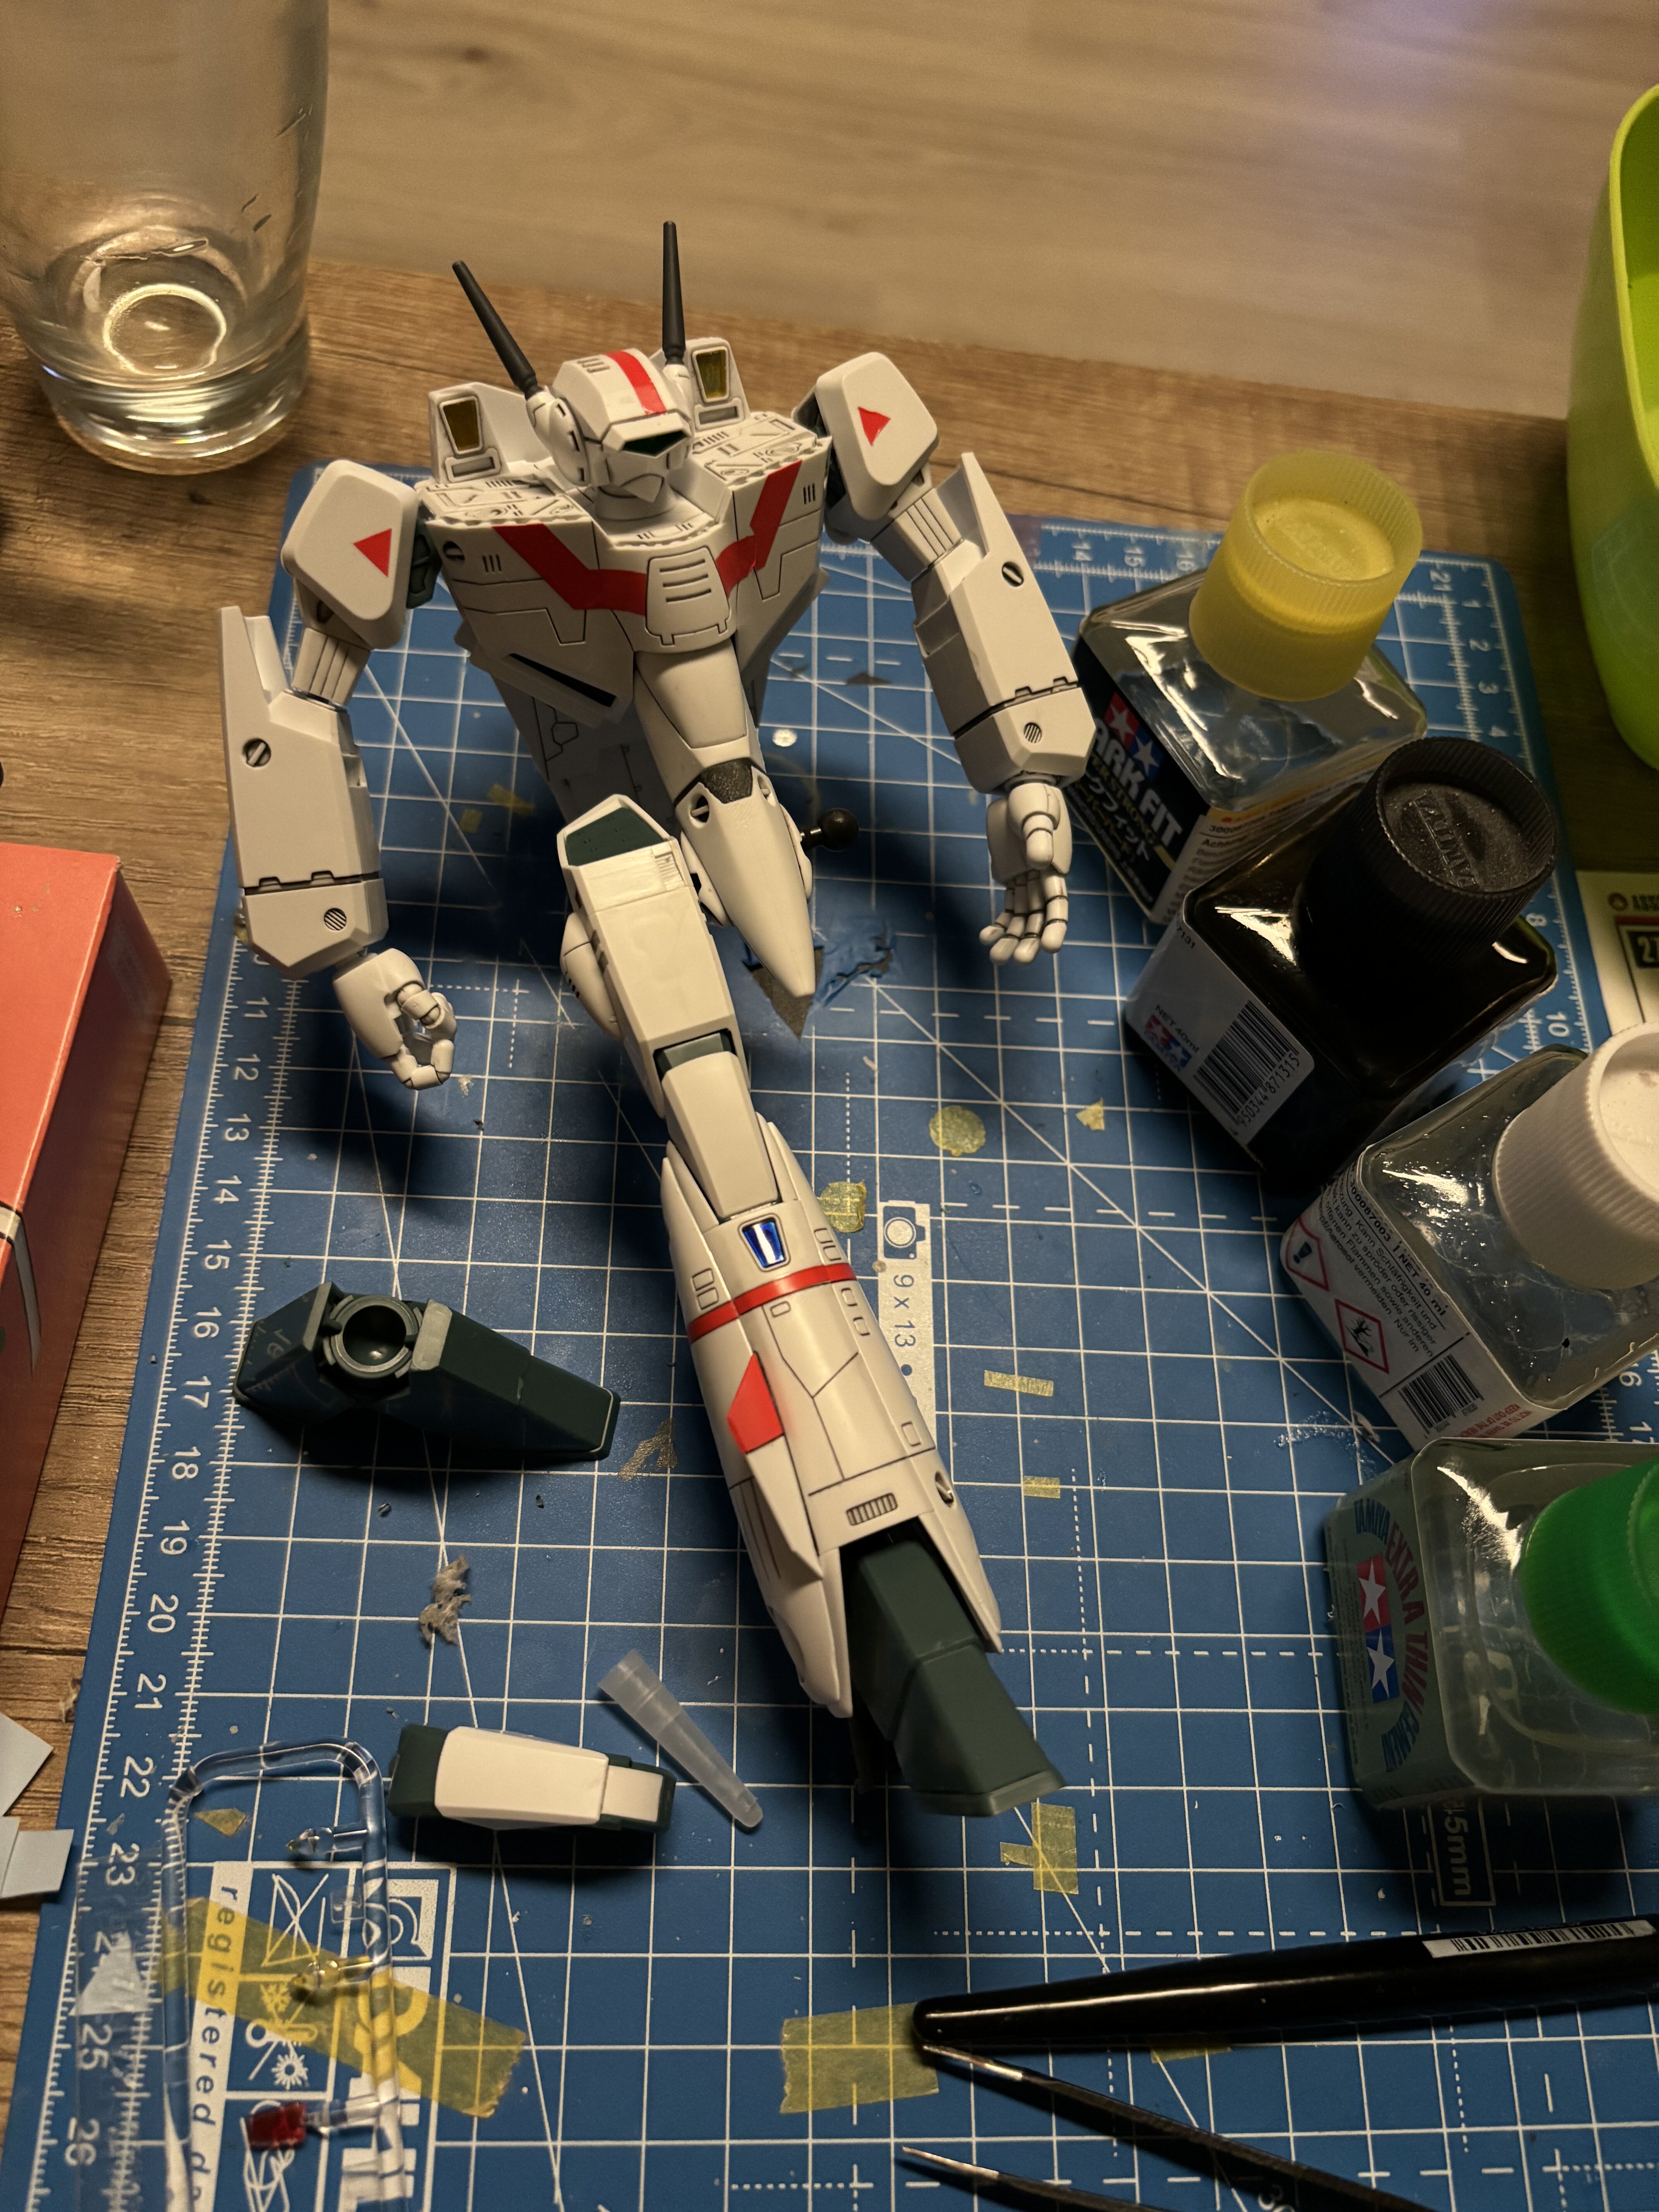
Just noticed that red stripe looks like it had a little accident. If you wanted to fix it it could just take a quick bit of masking and some red paint, or you could do some battle damage since Hikaru gets shot down a lotYeah, the decals are rather allergic to tamiya mark setter strong. :S
Not sure if I have the right red tone to fix it or the muse to actually fix it haha
-
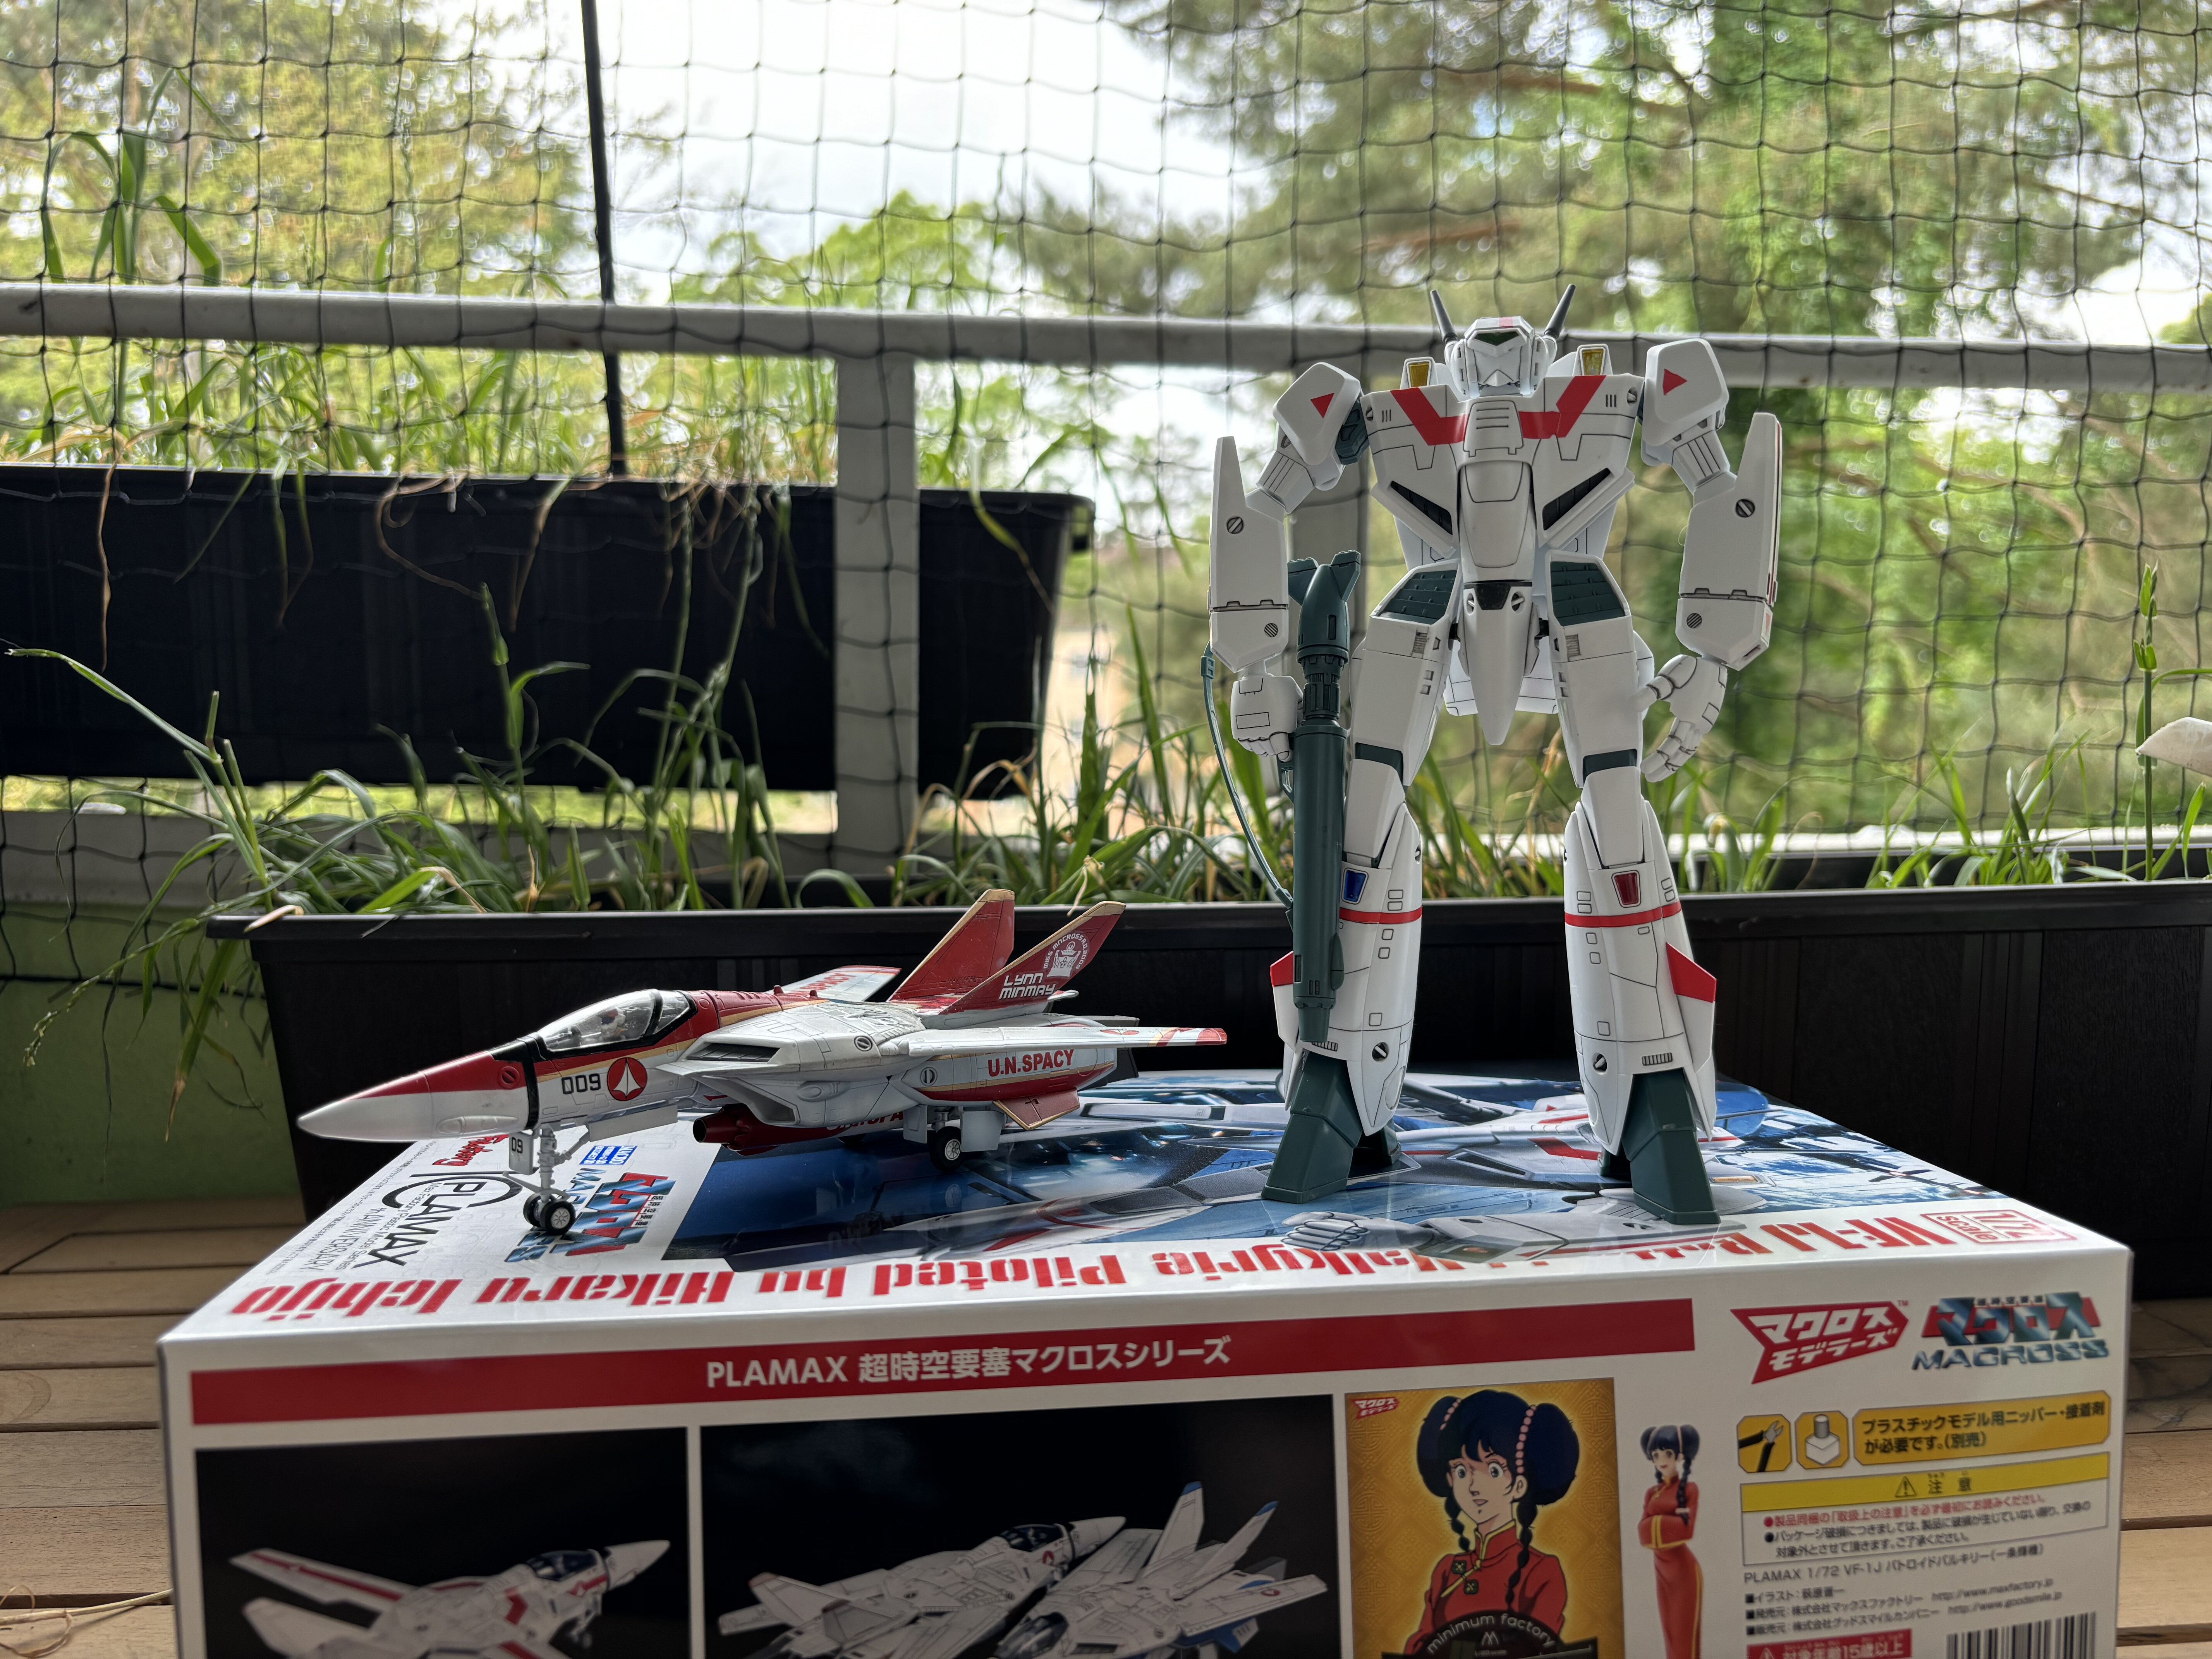
Finished Plamax VF-1 fighter and Battroid.
-
7 hours ago, Chas said:
Is that blue light/lens on the leg a decal? A sticker? or paint?
It‘s a clear part. There is a decal for the blue on the decal sheet, but I painted it with revell clear blue.
edit:
and done
-
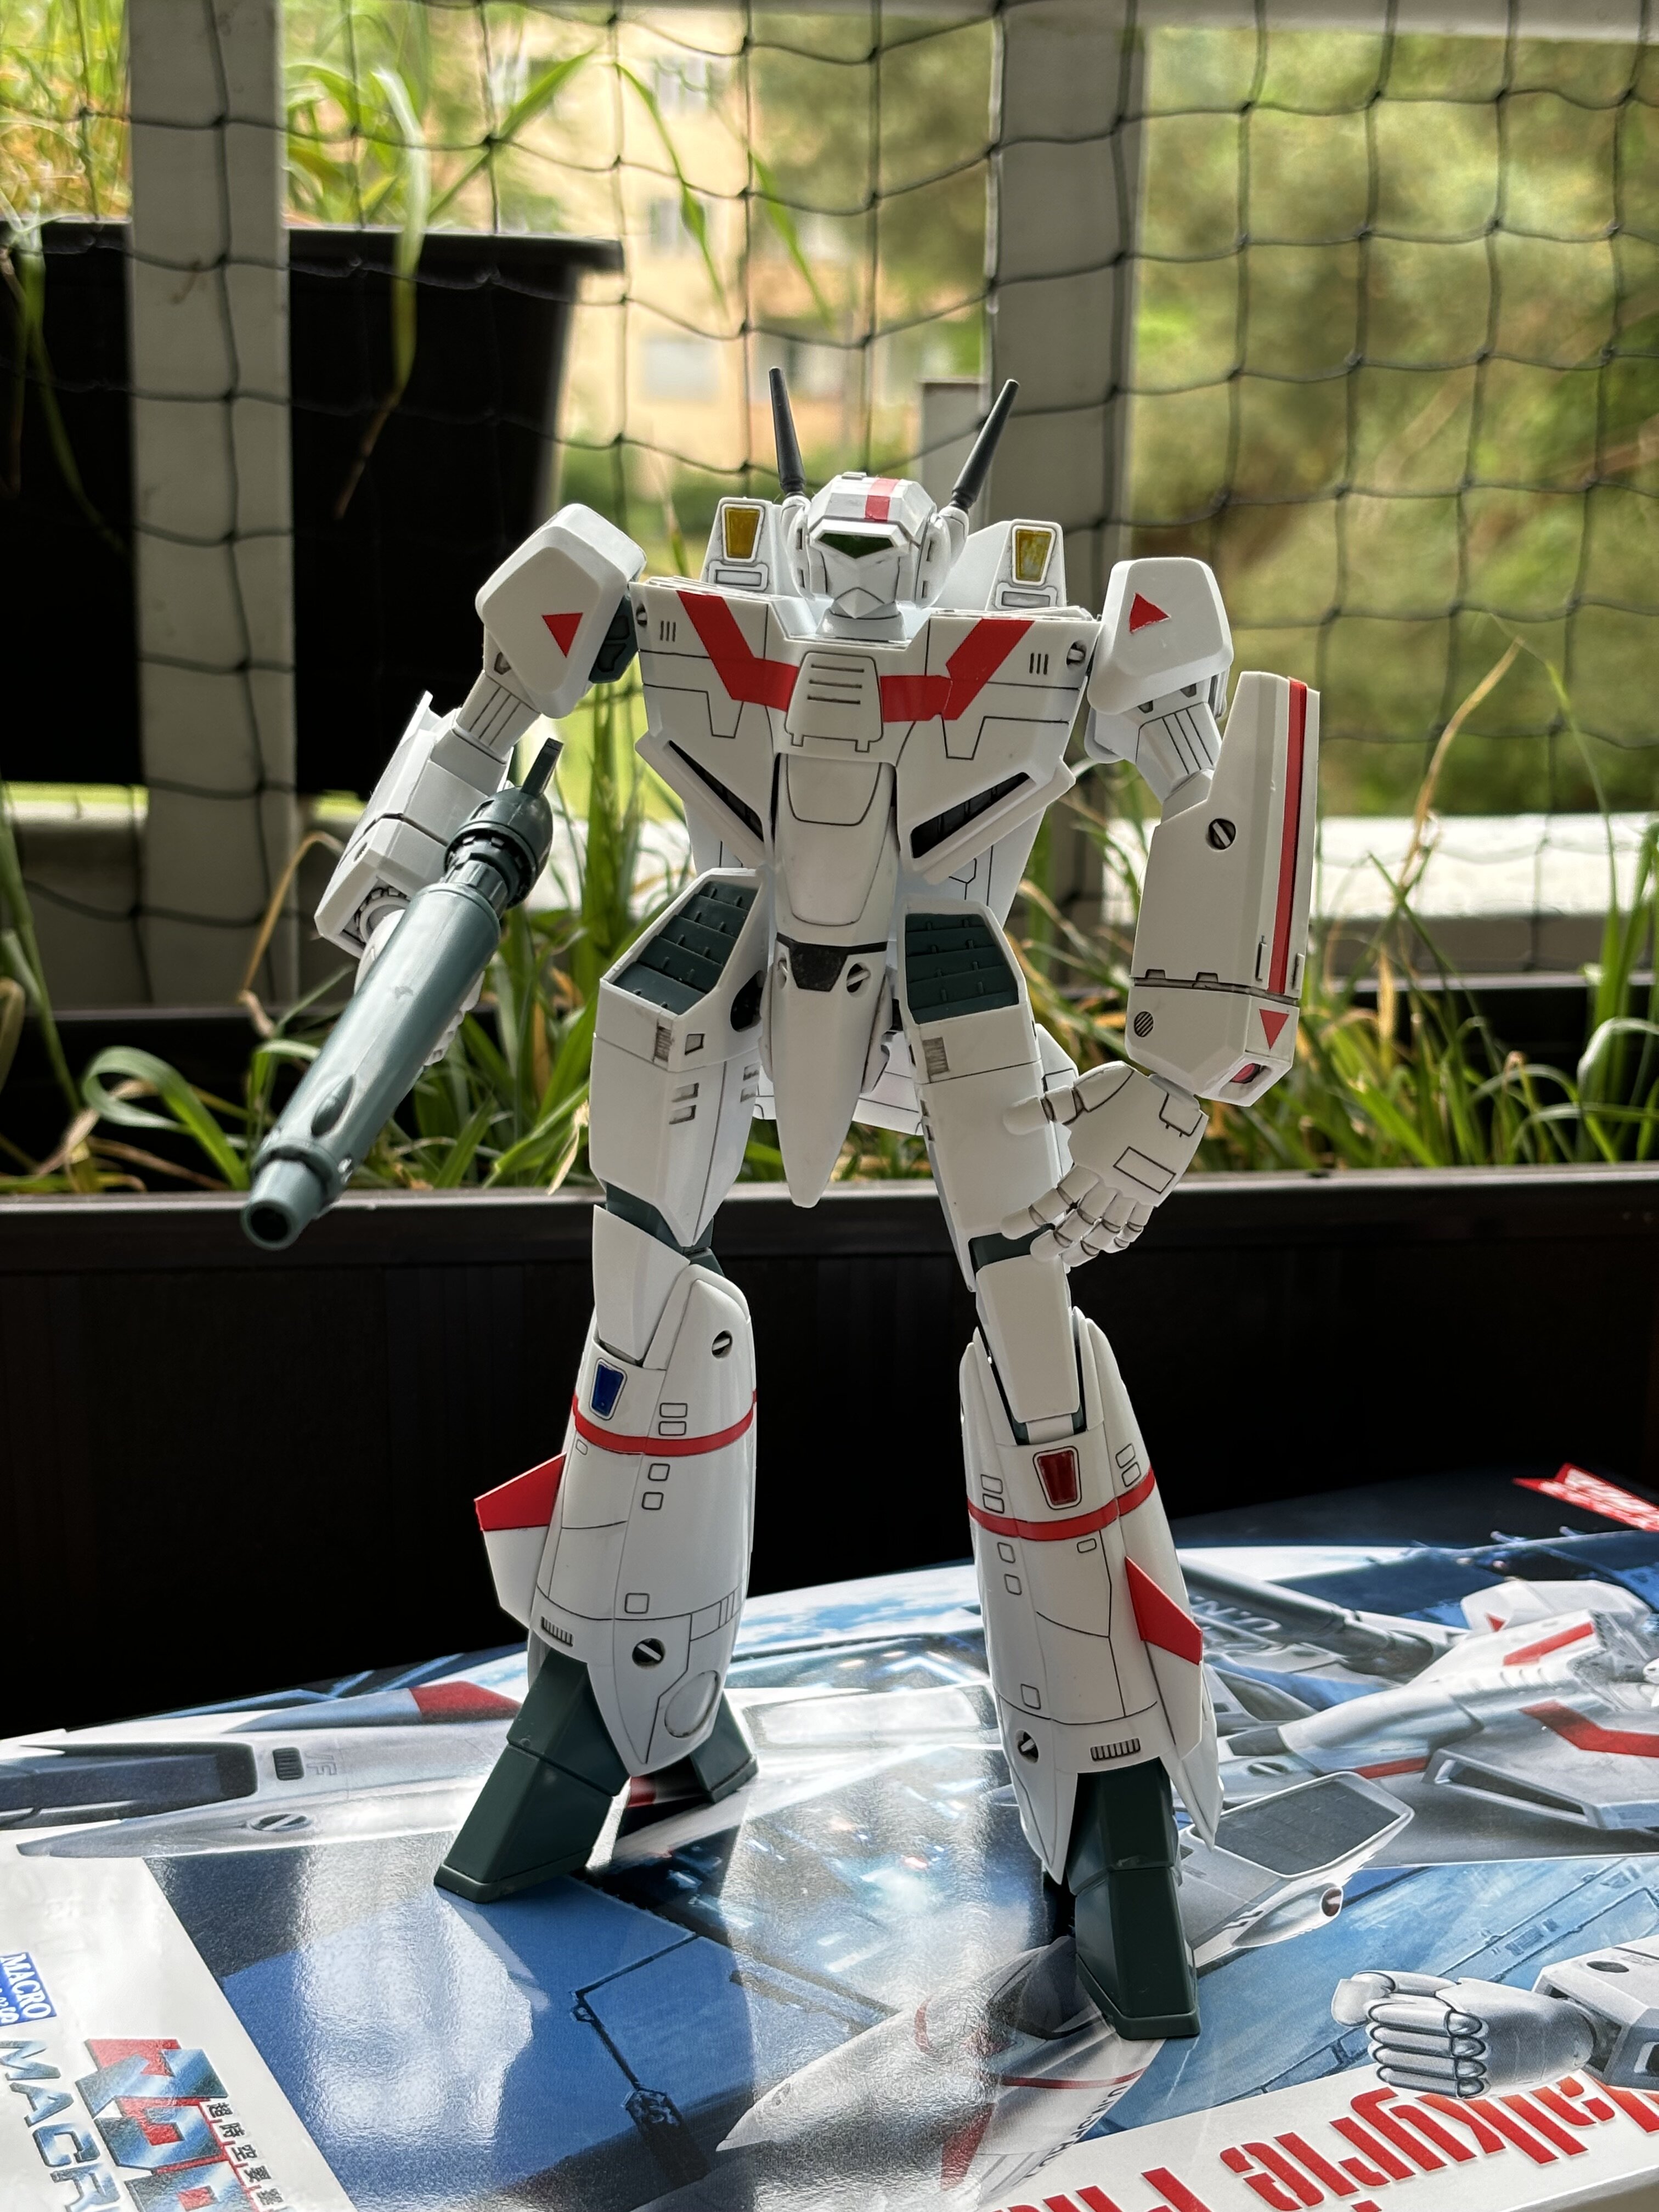
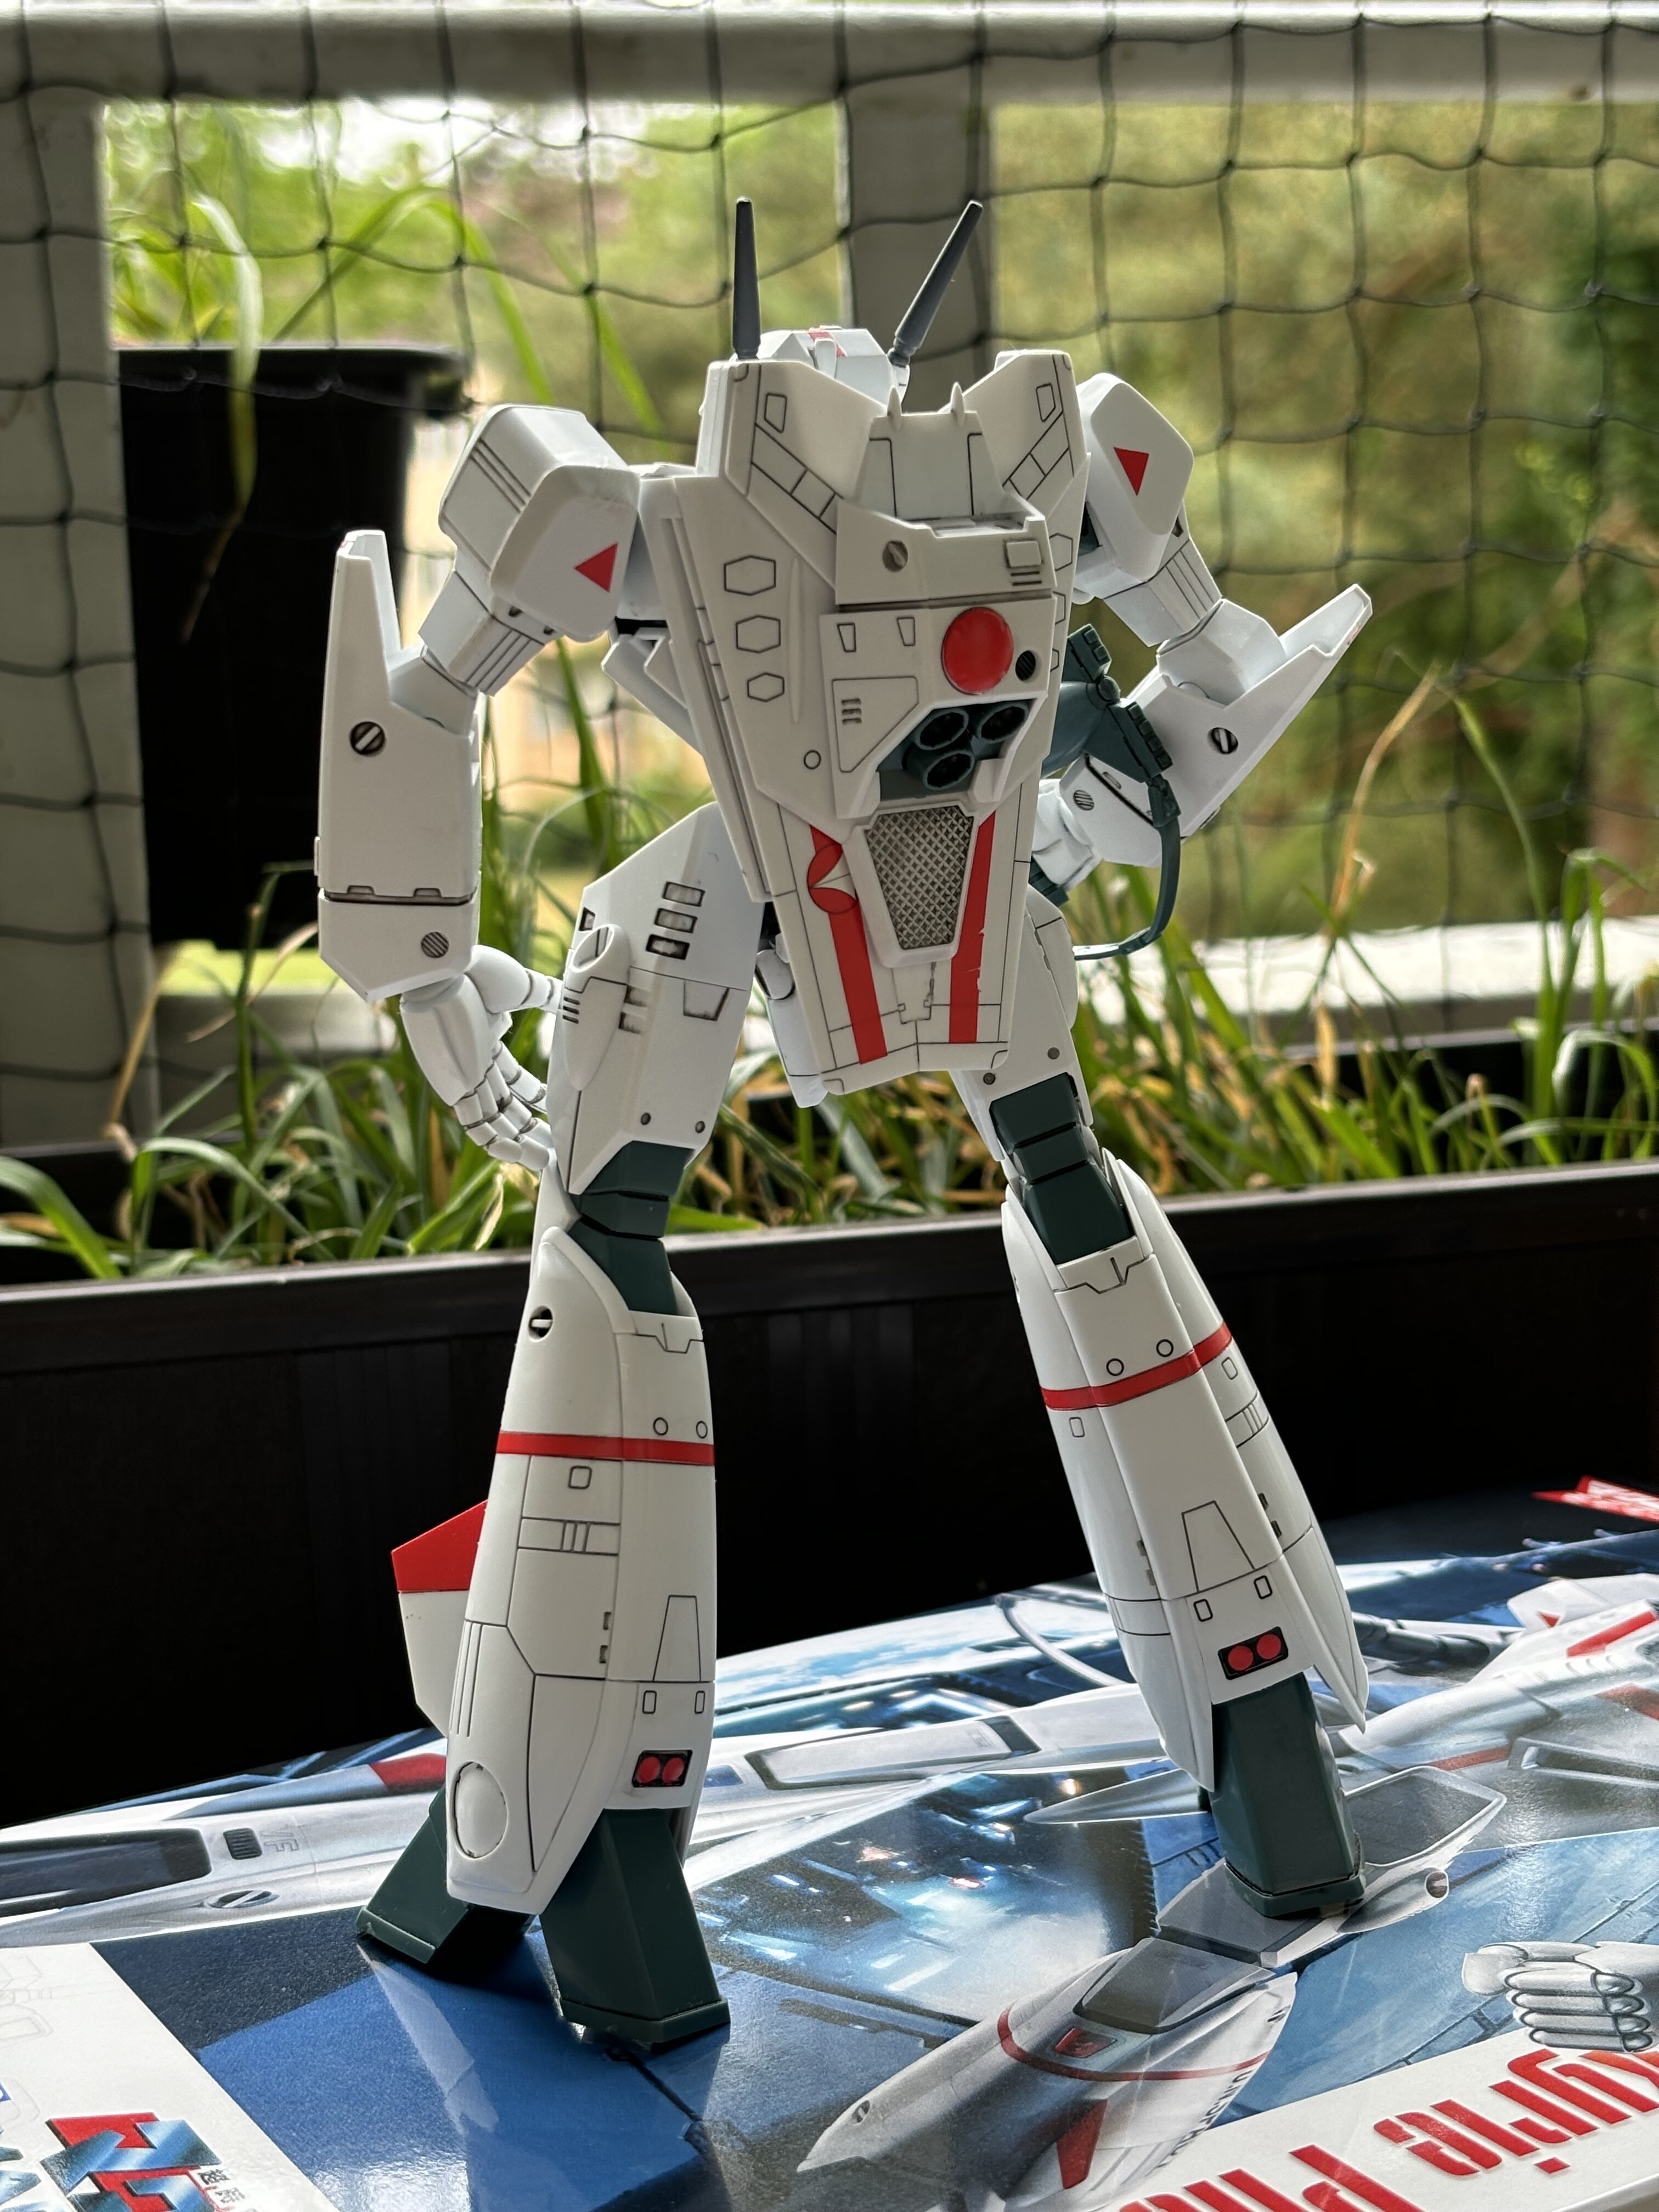
@Big s yeah! Just look at the pics below. I think the kit is satisfying to build. Stuff just fits, sometimes a bit loose but nothing that would make one angry.
@MechTech oh you have no idea… so many parts… I‘m not done yet. Option parts as well. Panels, hands …
picture time!
First time for me to use PLAMAX decals. They get loosened really quickly, even in cold water. And with a little mark setter they wrap around any shape.

the red dome is done by a decal wrapped around the dome.
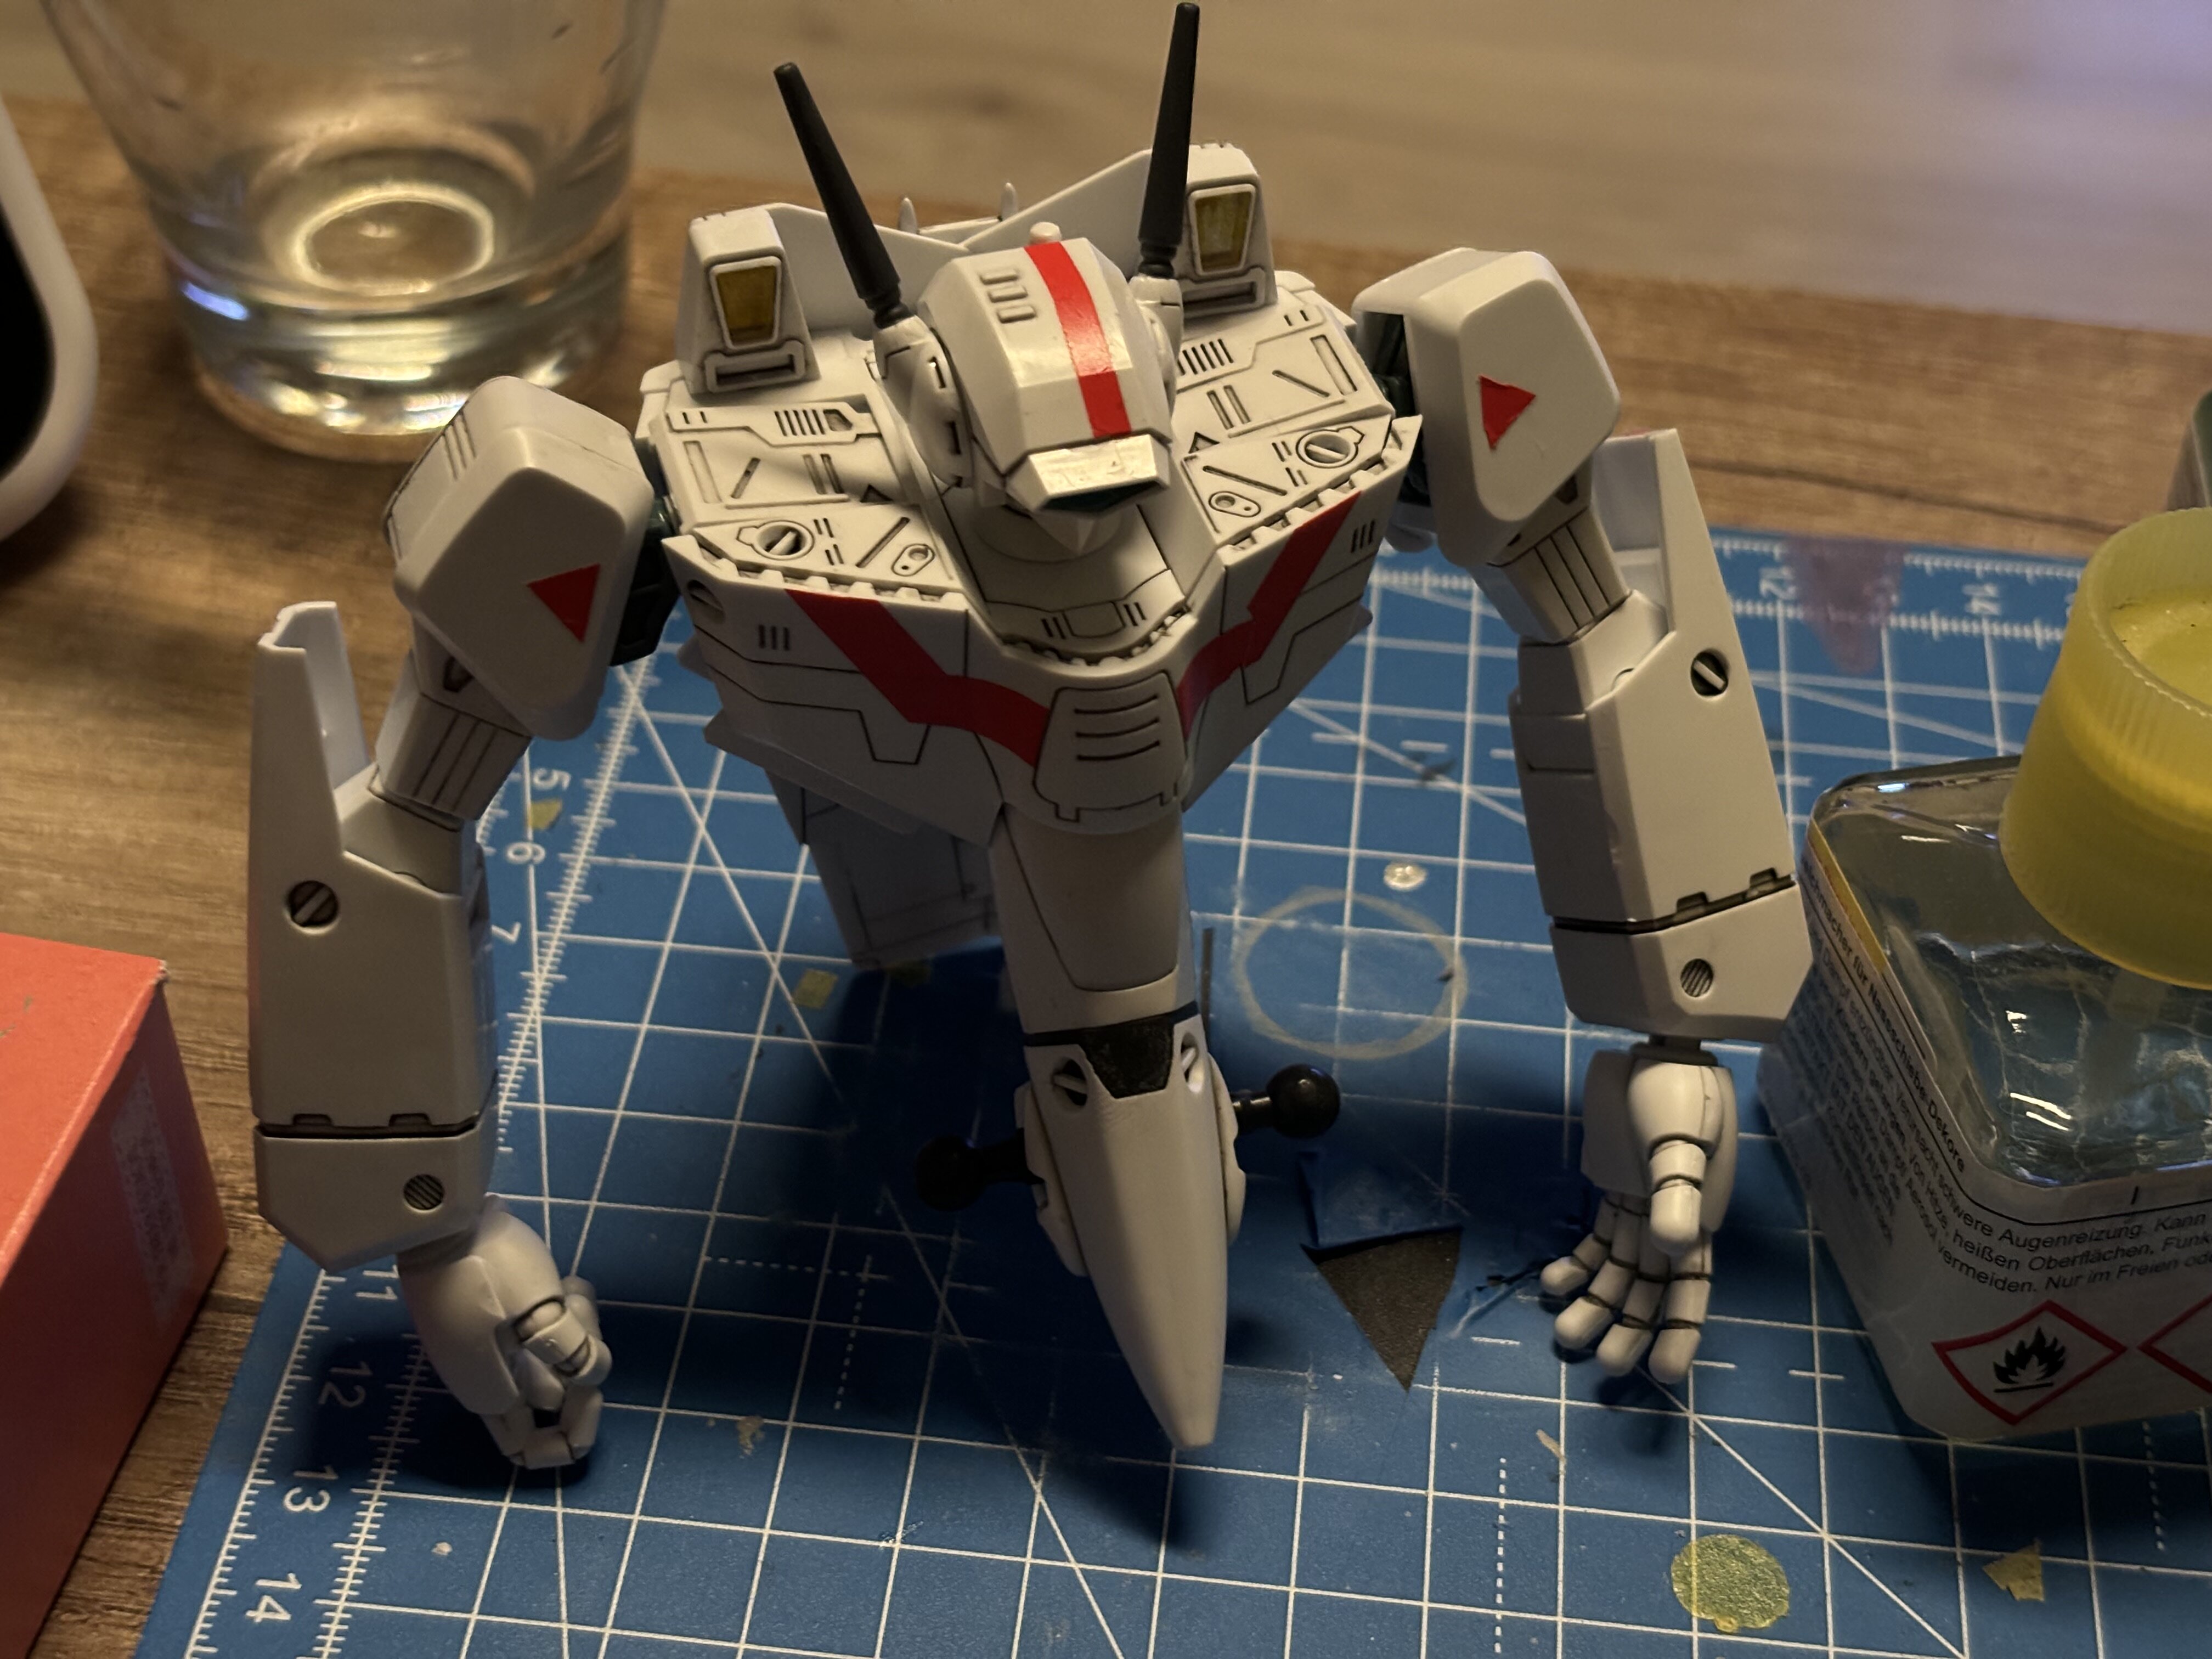
the other leg and the gun pod will be taken care off tomorrow. Really a nice kit so far.
-
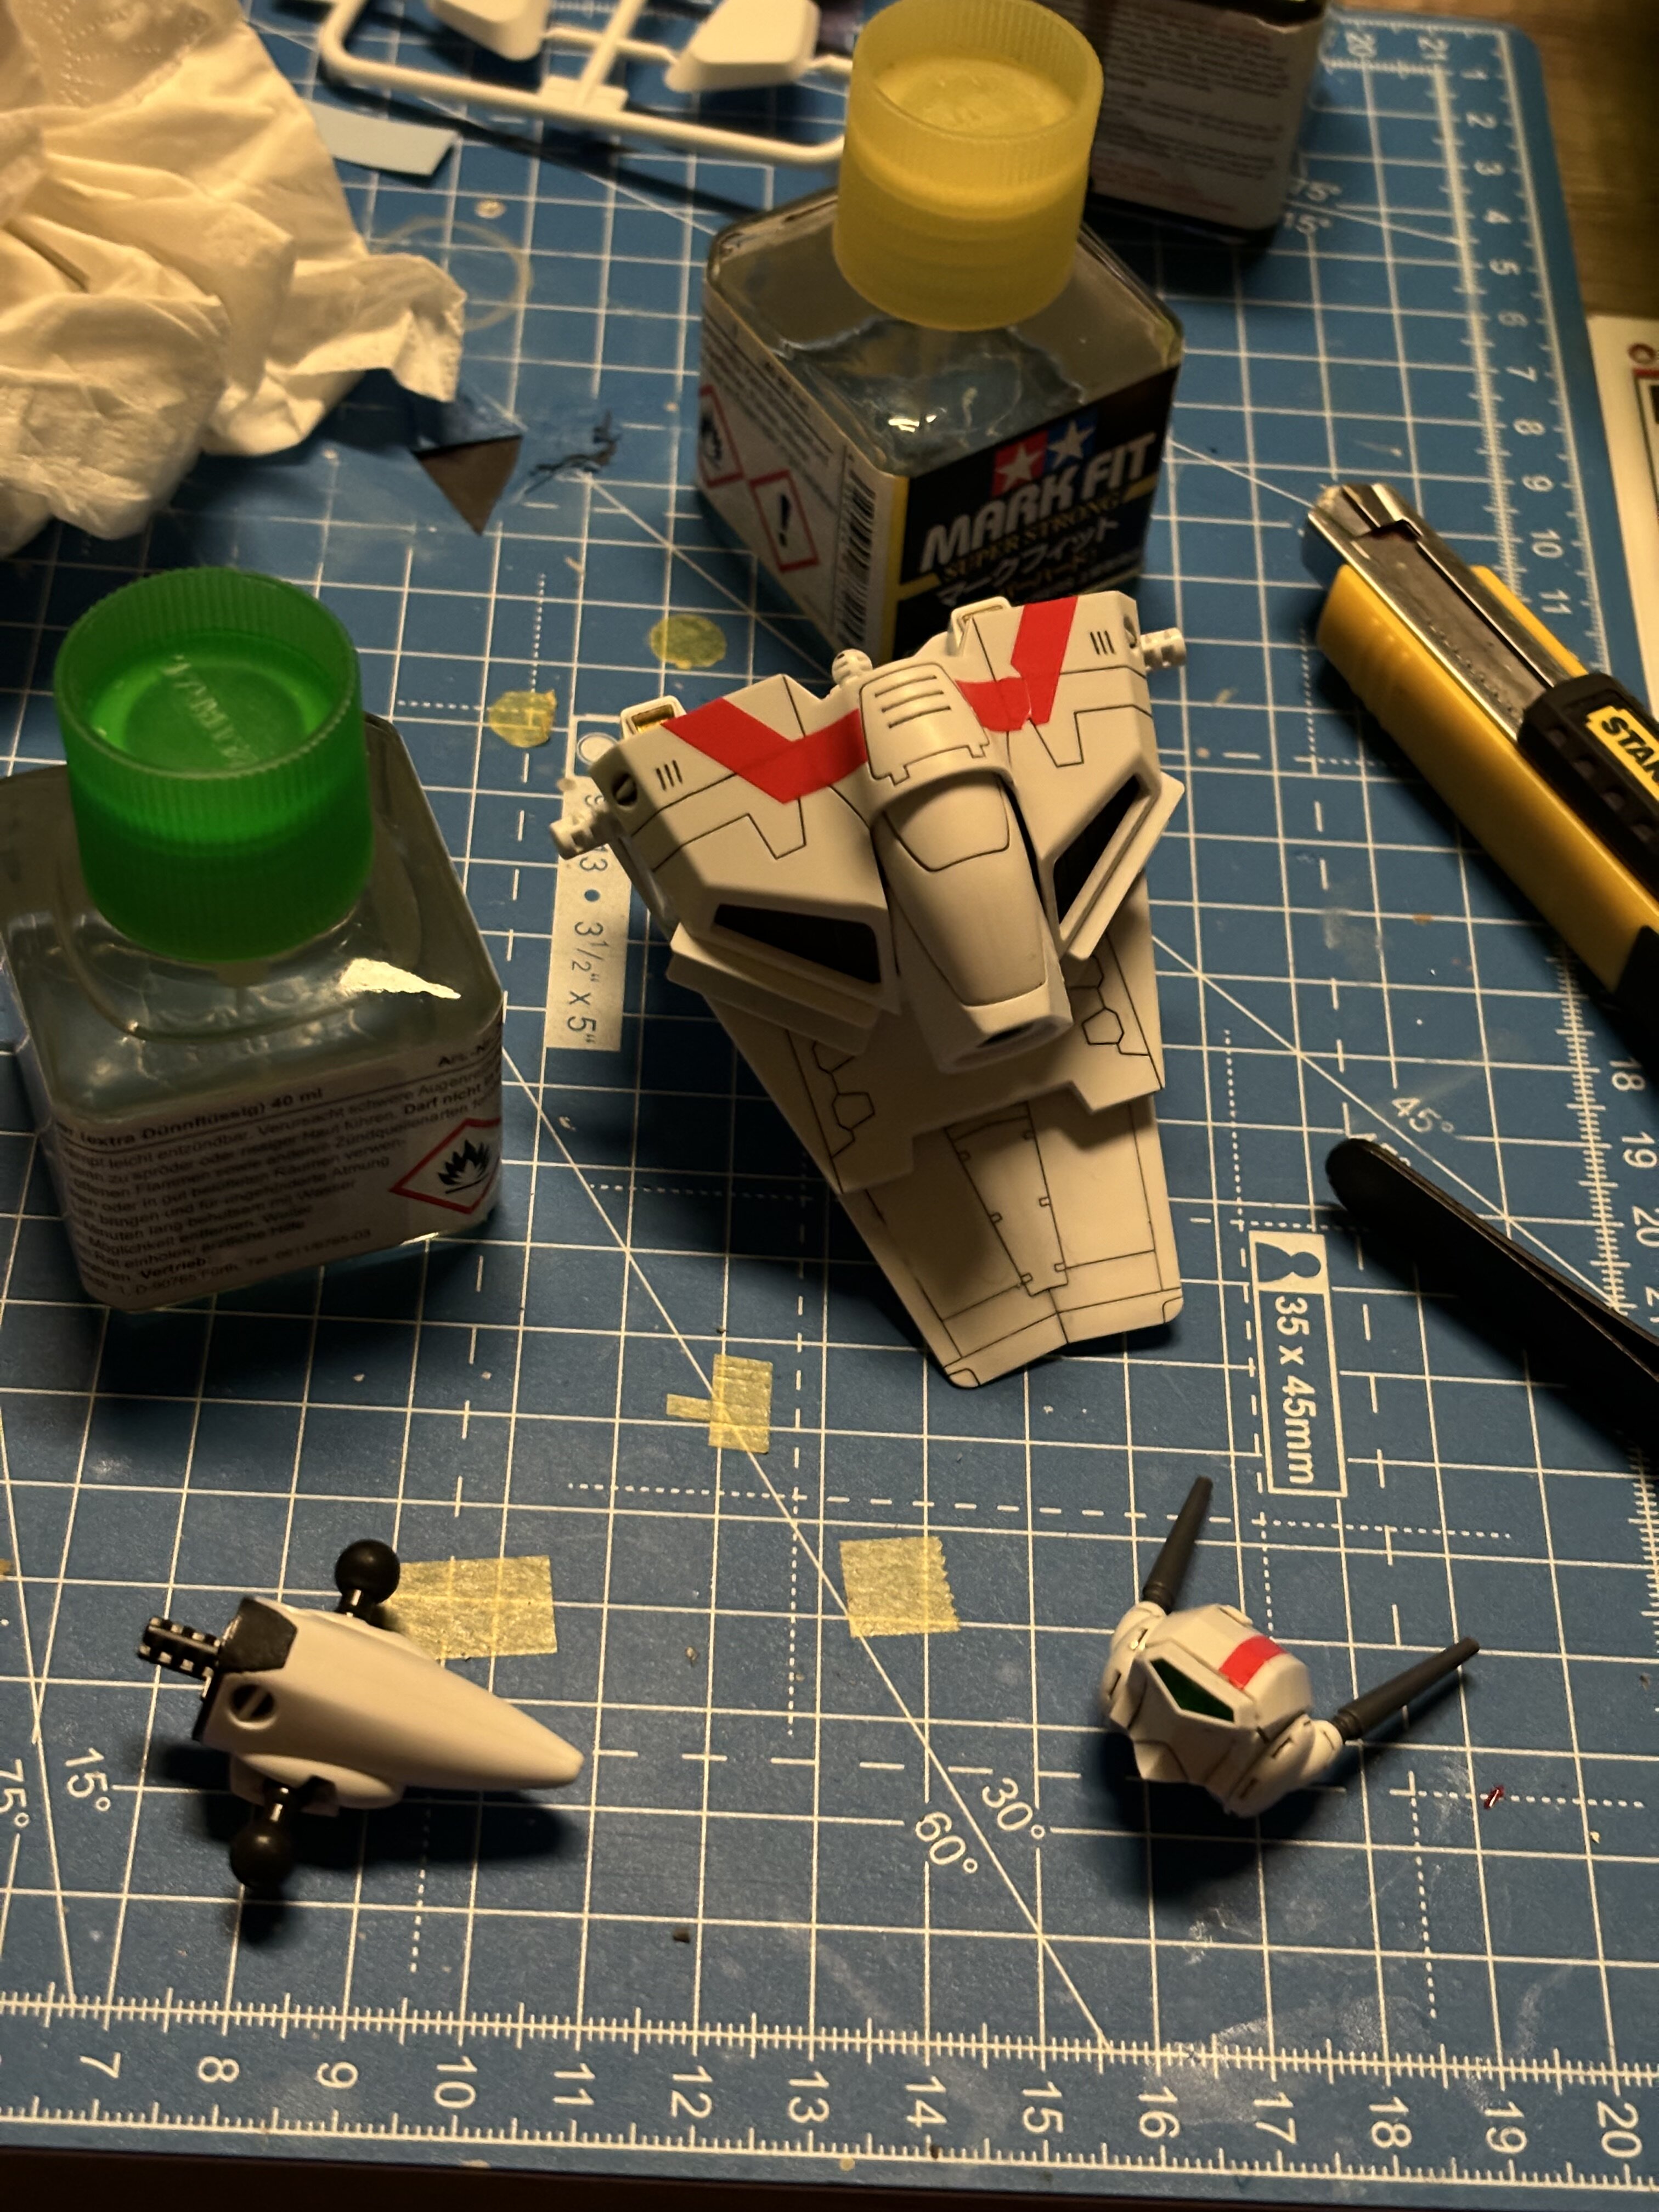
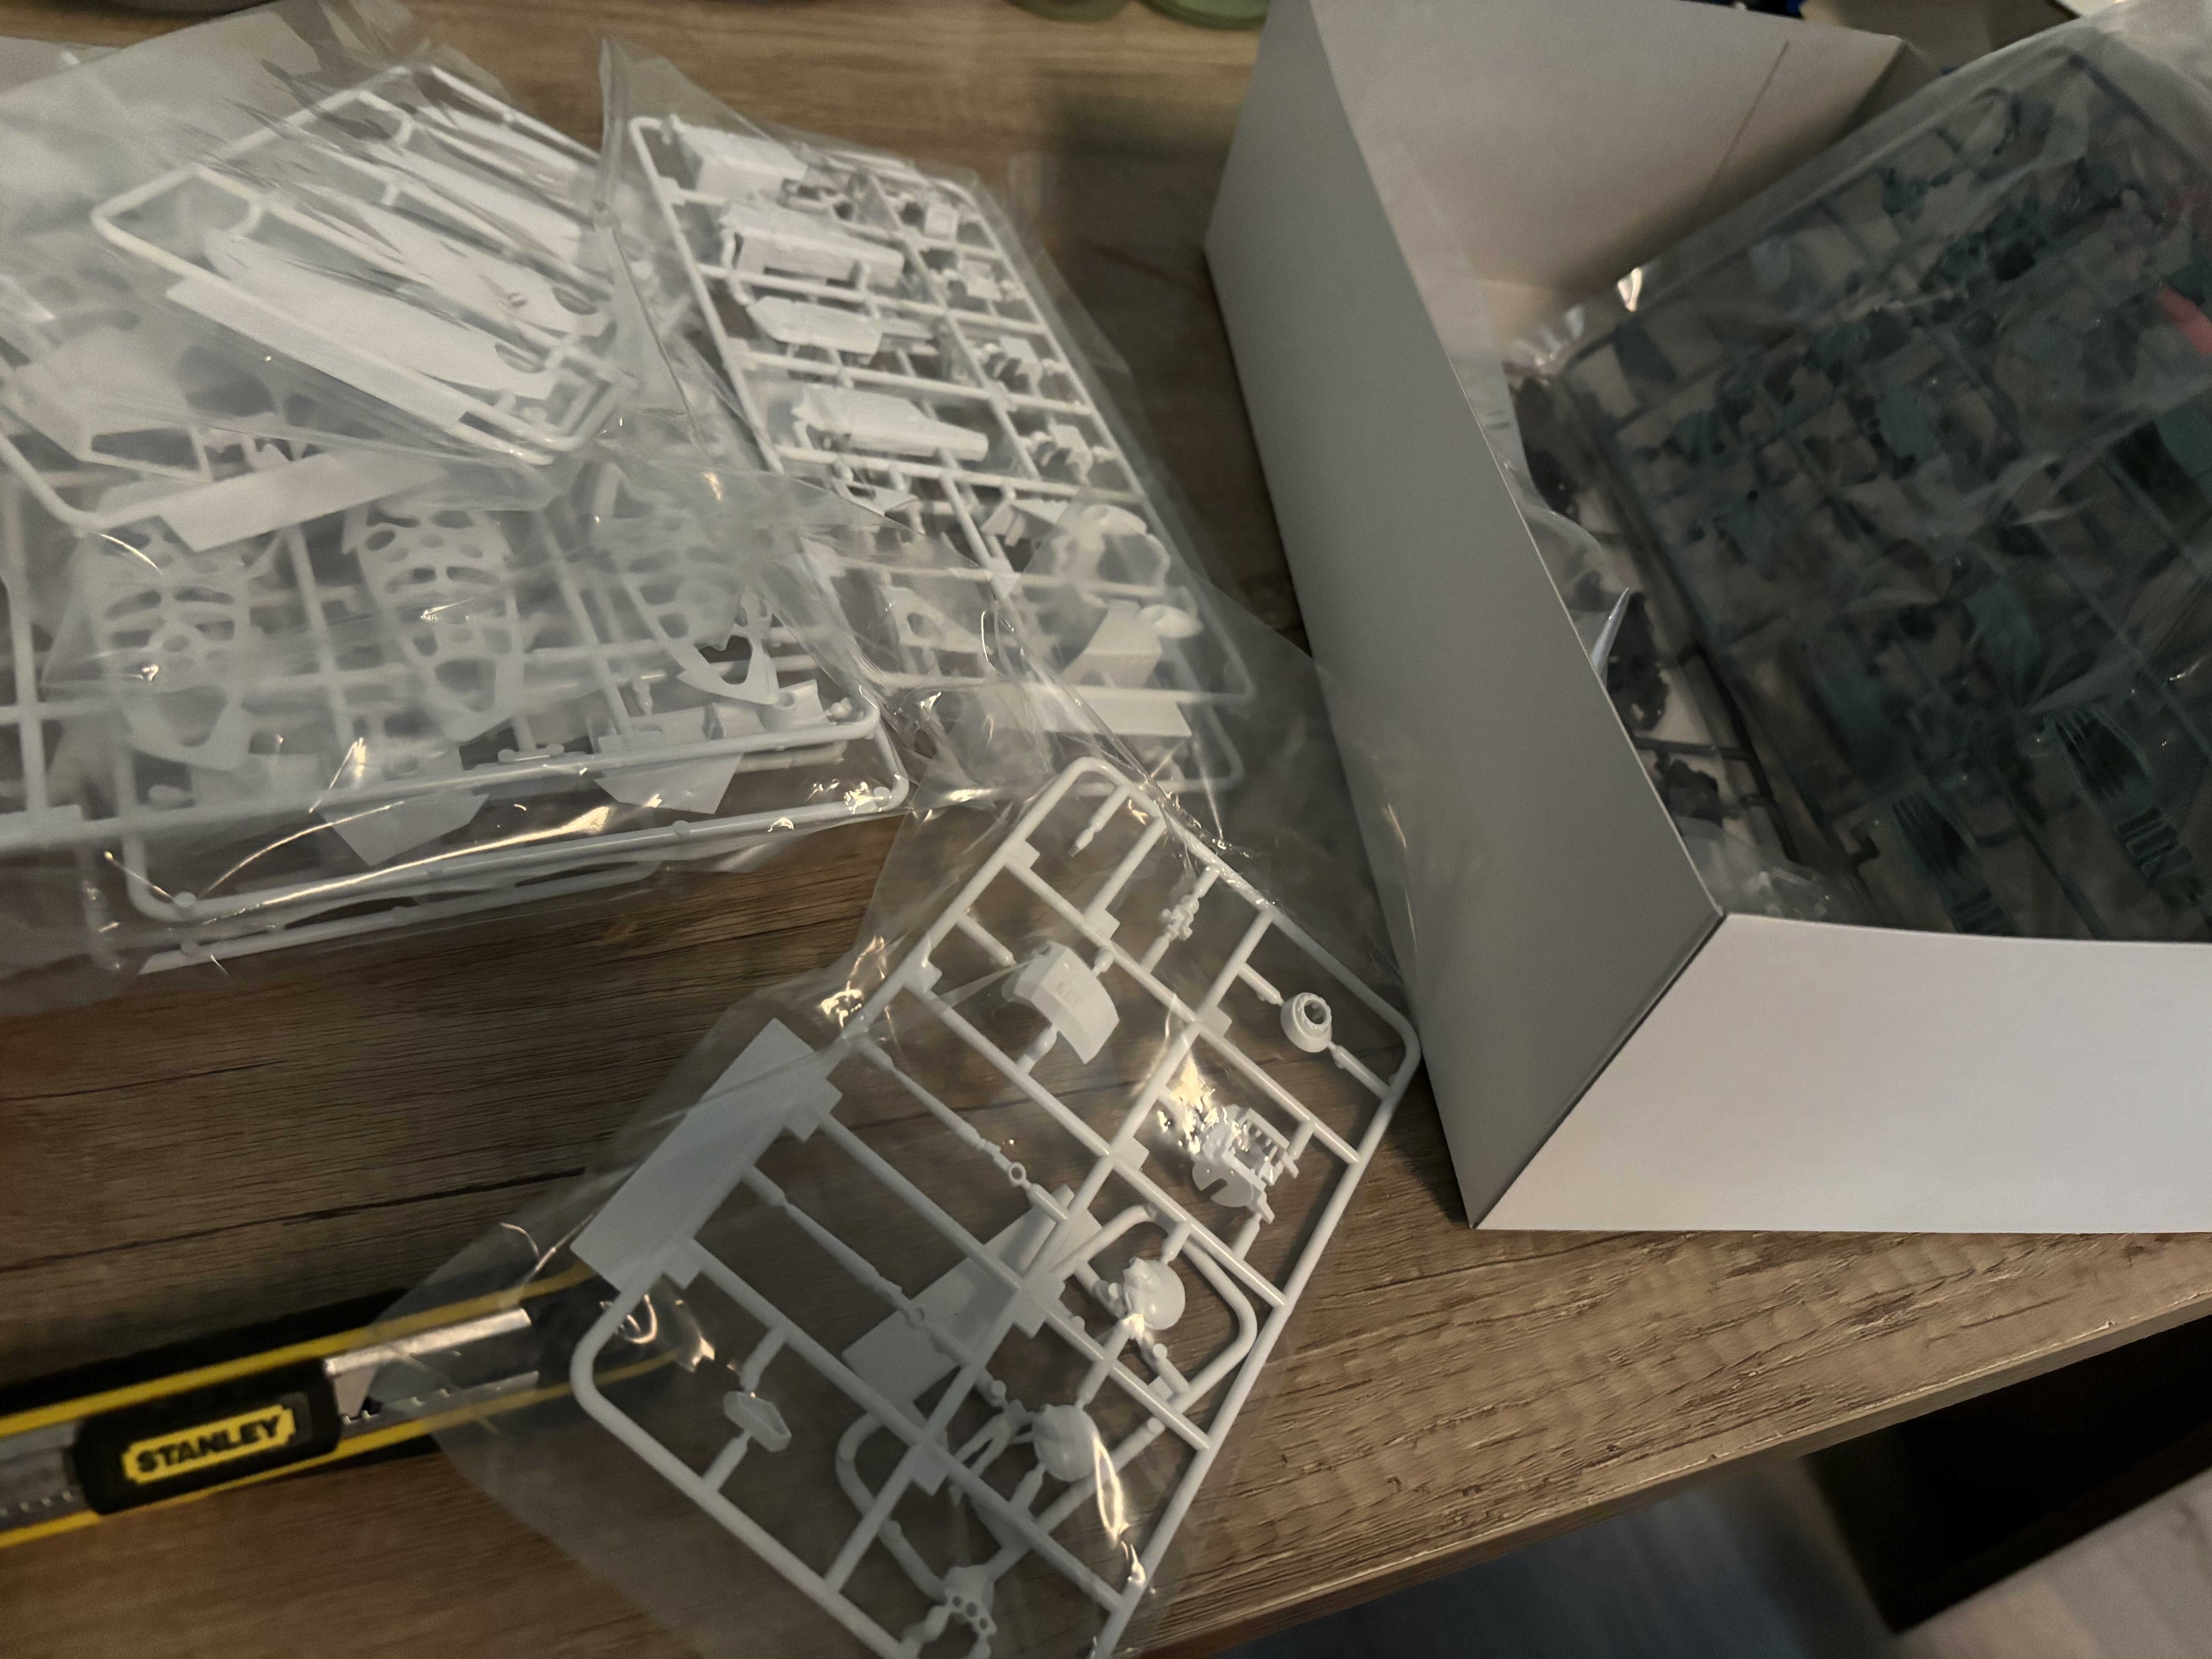
Workbench time!
the kid and I are building the plamax VF-1J today.
it‘ll be a GUNPLA style build. Little color, heavy panel lining maximum fun

-
Muhahaha
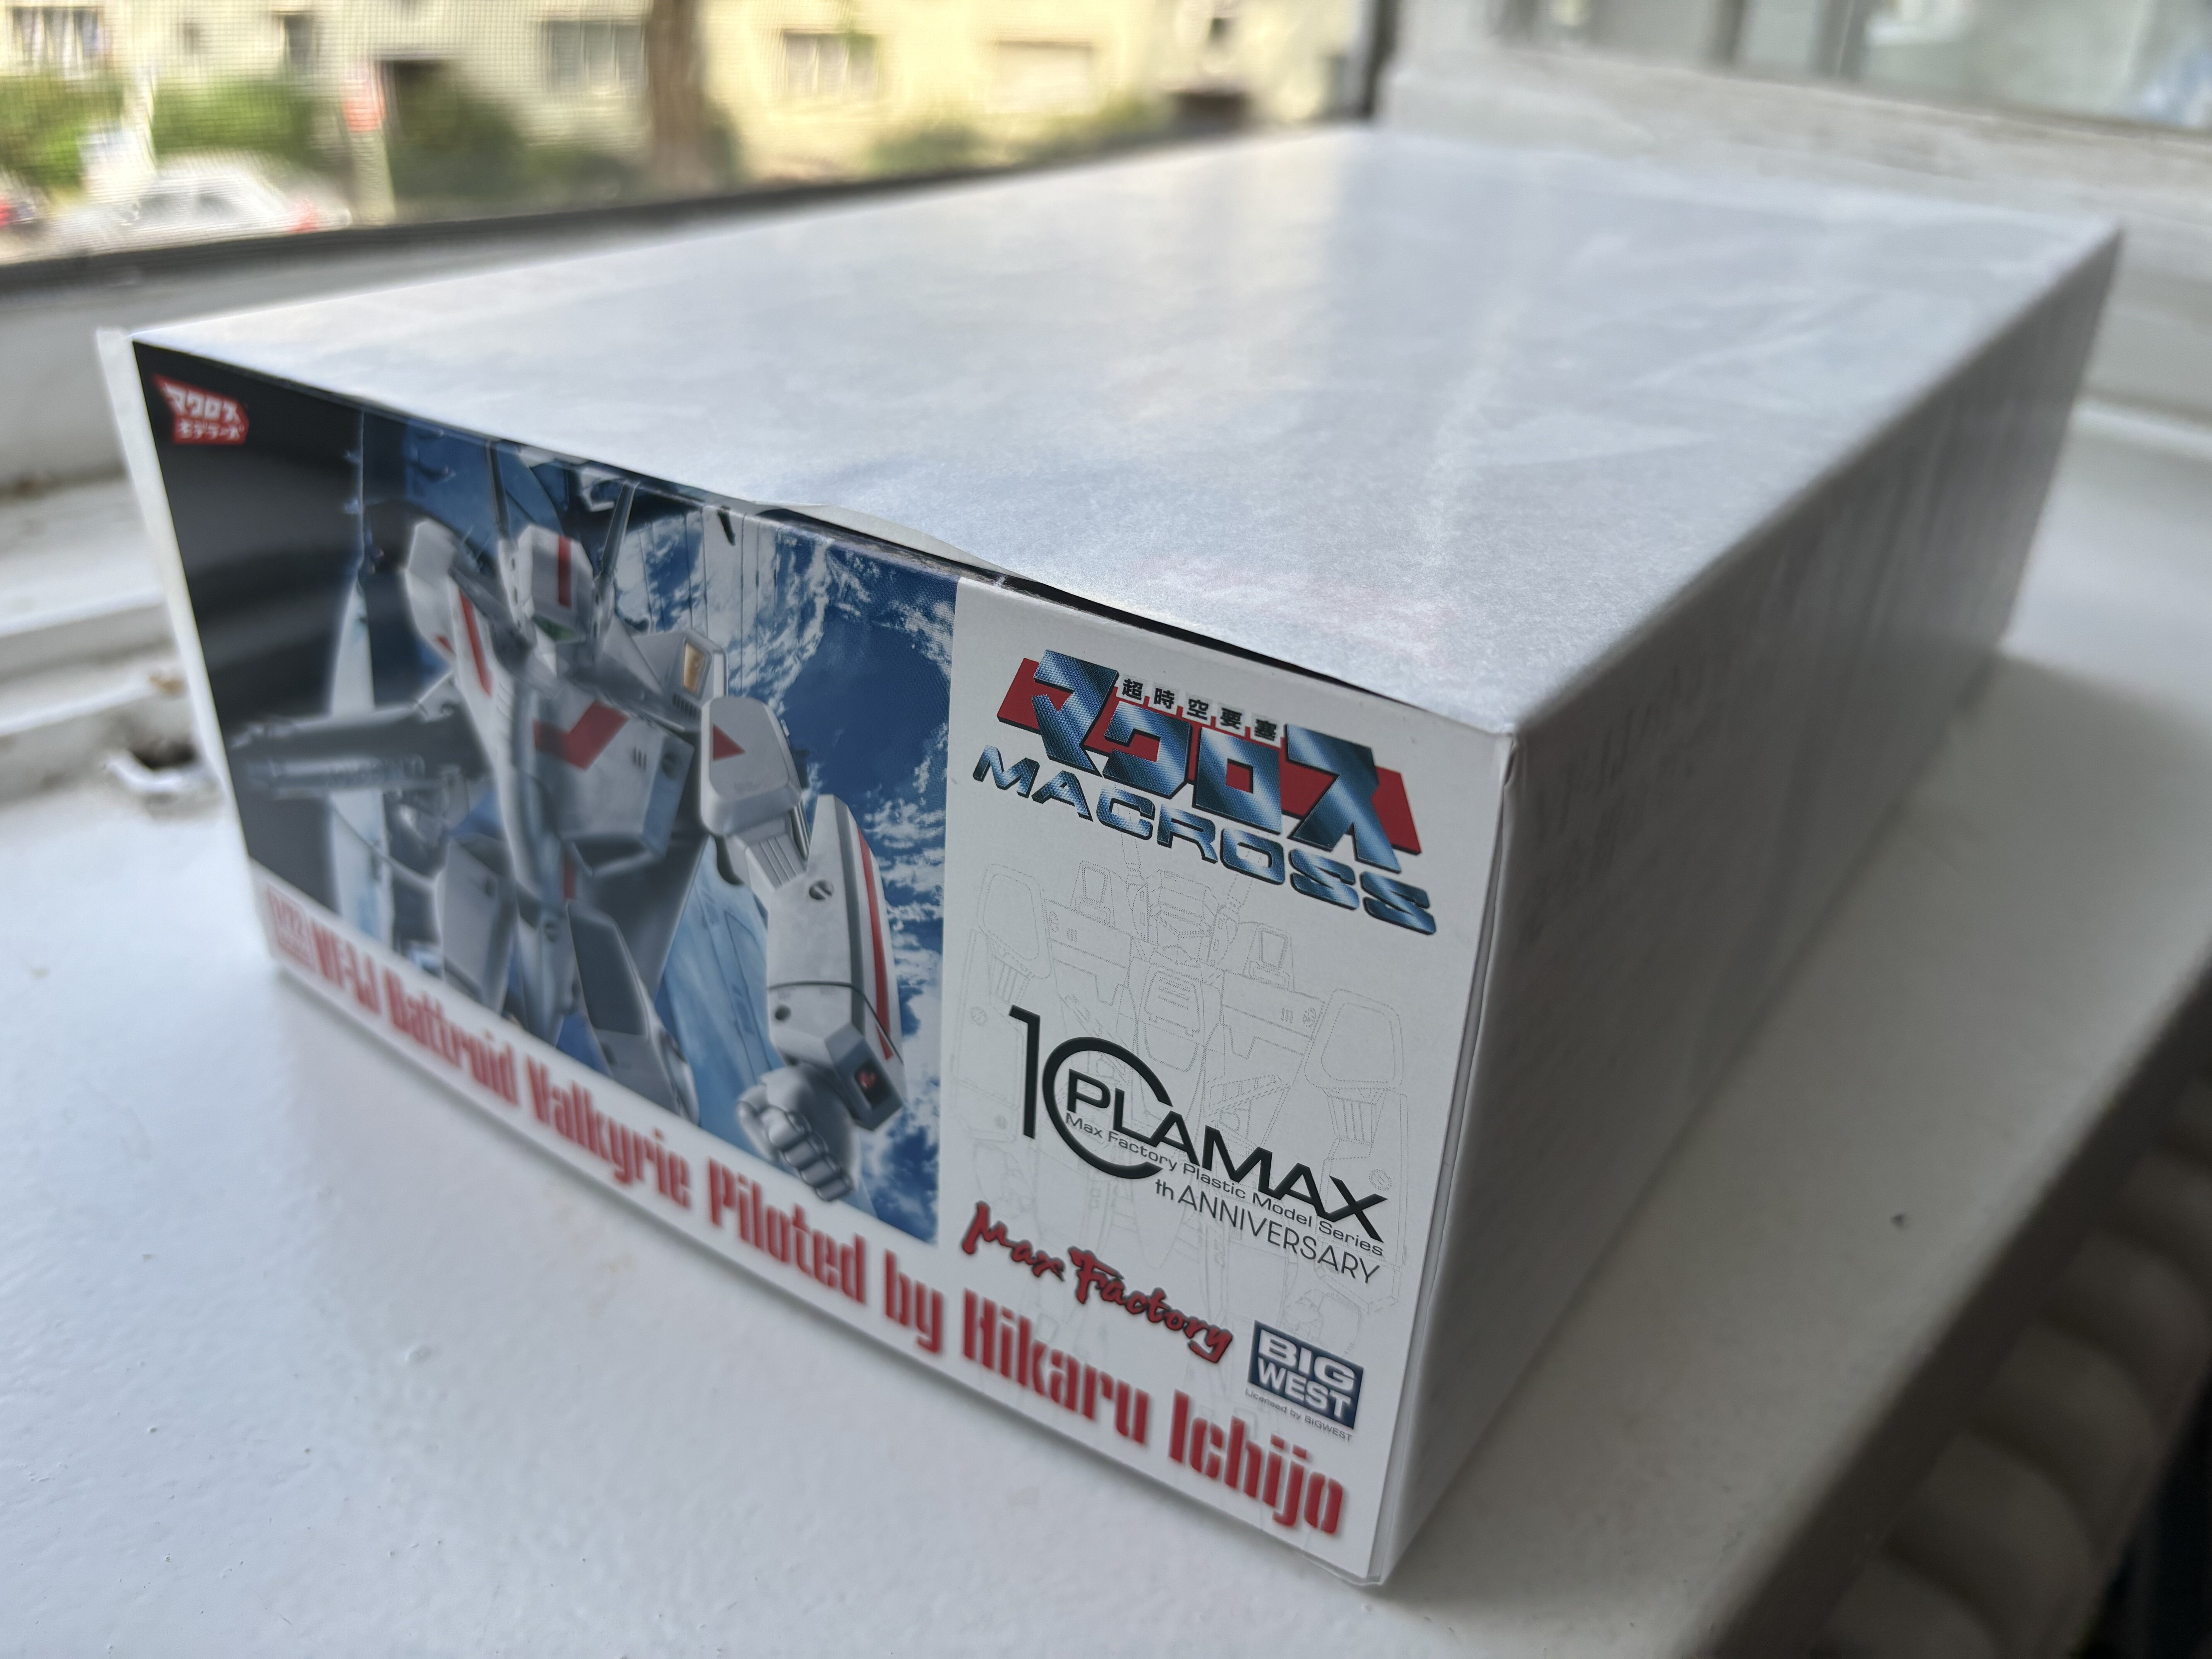
got mine today.

I like that they have Hasegawa format
-
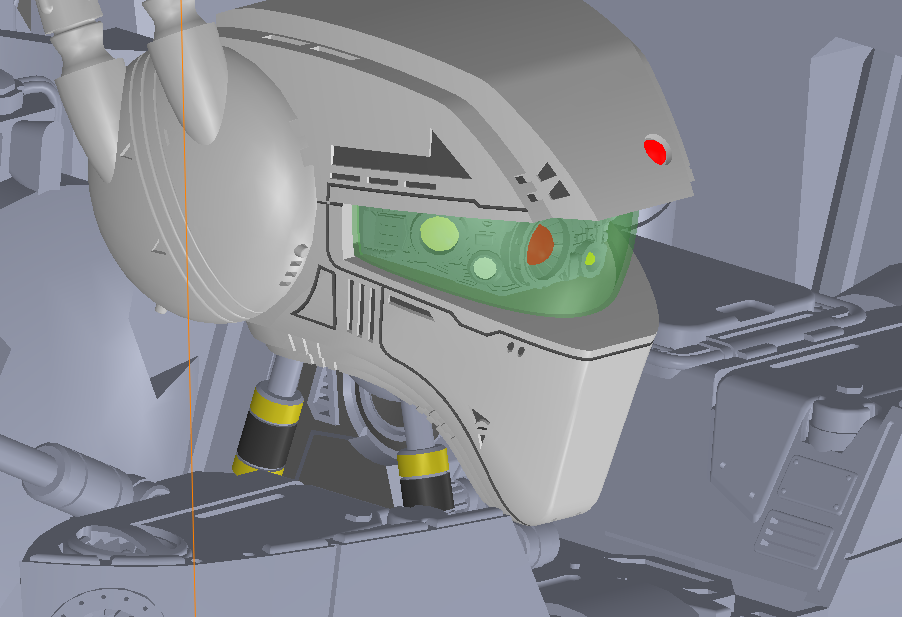
2 hours ago, Big s said:
There’s a few little details that could use a touch of paint though. The head lasers are all white for instance, there’s really only a few other little things that need touch ups
Thanks for the heads-up 👍
-
14 years later ...
hahahaha, but good thing you didn't quit on it, like I did with my SV-51 Nora, after I lost a piece while moving.
-
33 minutes ago, Big s said:
Just make sure you got some glue, this thing has little bits that will just plop off . It’s a pretty fun build so far though
I have so much glue ... I plan to GUNPLA this thing. Dissolving some sprues in tamiya glue to fill gaps and then sand the thing and then only decals and panel lining
The only thing to receive color will be the clear parts.
.PNG.2f4f8e3806b5fc2fdedb7da71c5d08a8.PNG)
Macross Destiny (A Macross fanfic)
in Fan Works
Posted
No worries - you'll eventually get there.
Writing is art, the more you do it, the better you get. I have a bunch of friends doing this, two writers, one mangaka and actually one working for an editorial office to check the books of people. Like, just check your first chapter versus the following chapters. Sentences got simpler, you are using more dialogue form, focusing more on the interaction between humans. So it is going from a rough style into something more polished. Your style is more leaning towards some sort of movie script writing, which is it's own version of story telling. It is a different approach to writing, as you just write out the scenes happening in your head.
If you want to do this in a more planned approach put together these (if not doing already):
Scenario:
- Where is it happening? Timeframe?
Events:
- Events that happen in the story. You can do that like modules, and move them around to check which events should happen when and so on. Build a timeline was dates to have it sorted and consistent.
- Which events should happen in what chapter? Are there "side quests" or minor side events?
Characters:
- Build out charactes fully, their appearance, their history, their motivation, their ways of handling things and personality, how they move and walk. Friends and family? Build them out as well to avoid the "surprise cousin" trope. (book recommendation. "The Idiot" from Dostojewski - whenever he introduces someone, you are sure to read 3-4 pages about the charactes history before the story continues)
Songs:
- write out the full songs on sheets for later use
No worries - I've been struggling with proper descriptions as well. There are some exercises to that. Like, take a simple picture, try to put it in words and ask someone to draw a picture from the words you have written. Or just look at, I dunno, a simple object like a fork and try to explain how it looks. Train your adjective vocabulary.