
Urashiman
-
Posts
630 -
Joined
-
Last visited
Content Type
Profiles
Forums
Events
Gallery
Posts posted by Urashiman
-
-
1 hour ago, Big s said:
For oils I usually use mineral spirits or 70% alcohol. Anything higher than 70% seems too harsh on the paints and top coats. Some people love zippo fluid, but I’m usually not around the smoke shops
I just tried it with Mr.Color thinner. Seems to work without rubbing off the enamel color, so that would be my way to go from now on
")
-
14 hours ago, Big s said:
I remember that one, that story has made me paranoid about the tamiya panel liner ever since. I usually test it out before use on extra spruce pieces and find it to be particularly harsh on certain plastics.
Ive never been able to find the flory’s washes, but I usually either use an oil wash or water color pencils.
usually I use oil colors as well, and then rub it off with a cloth, dipped into turpentine. I have the tamiya panel line color now and look for ways to remove excess color.
-
On 4/2/2023 at 11:14 PM, Rock said:
Round 1 of chicken pox!!!
I was wondering - how do you wash off the "chicken pox"?
-
On 4/1/2023 at 7:04 PM, Rock said:
Coming up on a tail end of a nasty week long cold (flu,) I'm finally getting my fine motor skills and routines back.
On to getting the arms together and the details painted. I don't remember what I used exactly (possibly alcladd duraluminum) but after a black primer coat I was able to directly spray the center to get a nice shaded effect.
It was on about by the time I painted the sixth landing bay door, like the wings, I remembered the bottom of this bird is white and not the topside color. Oops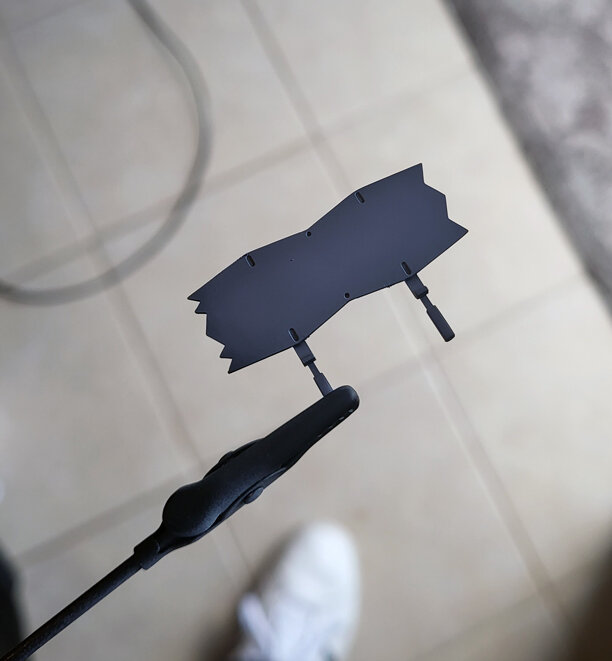
Finally getting sub-assemblies together. First time seeing it up on it's own wheels too. I really like the way hase made the landing gears not require cement like most aircraft. Should make for a much more pleasant detailing experience.
Got the wash mixed up as we speak so really moving now!Awesome man!
-
-
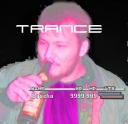
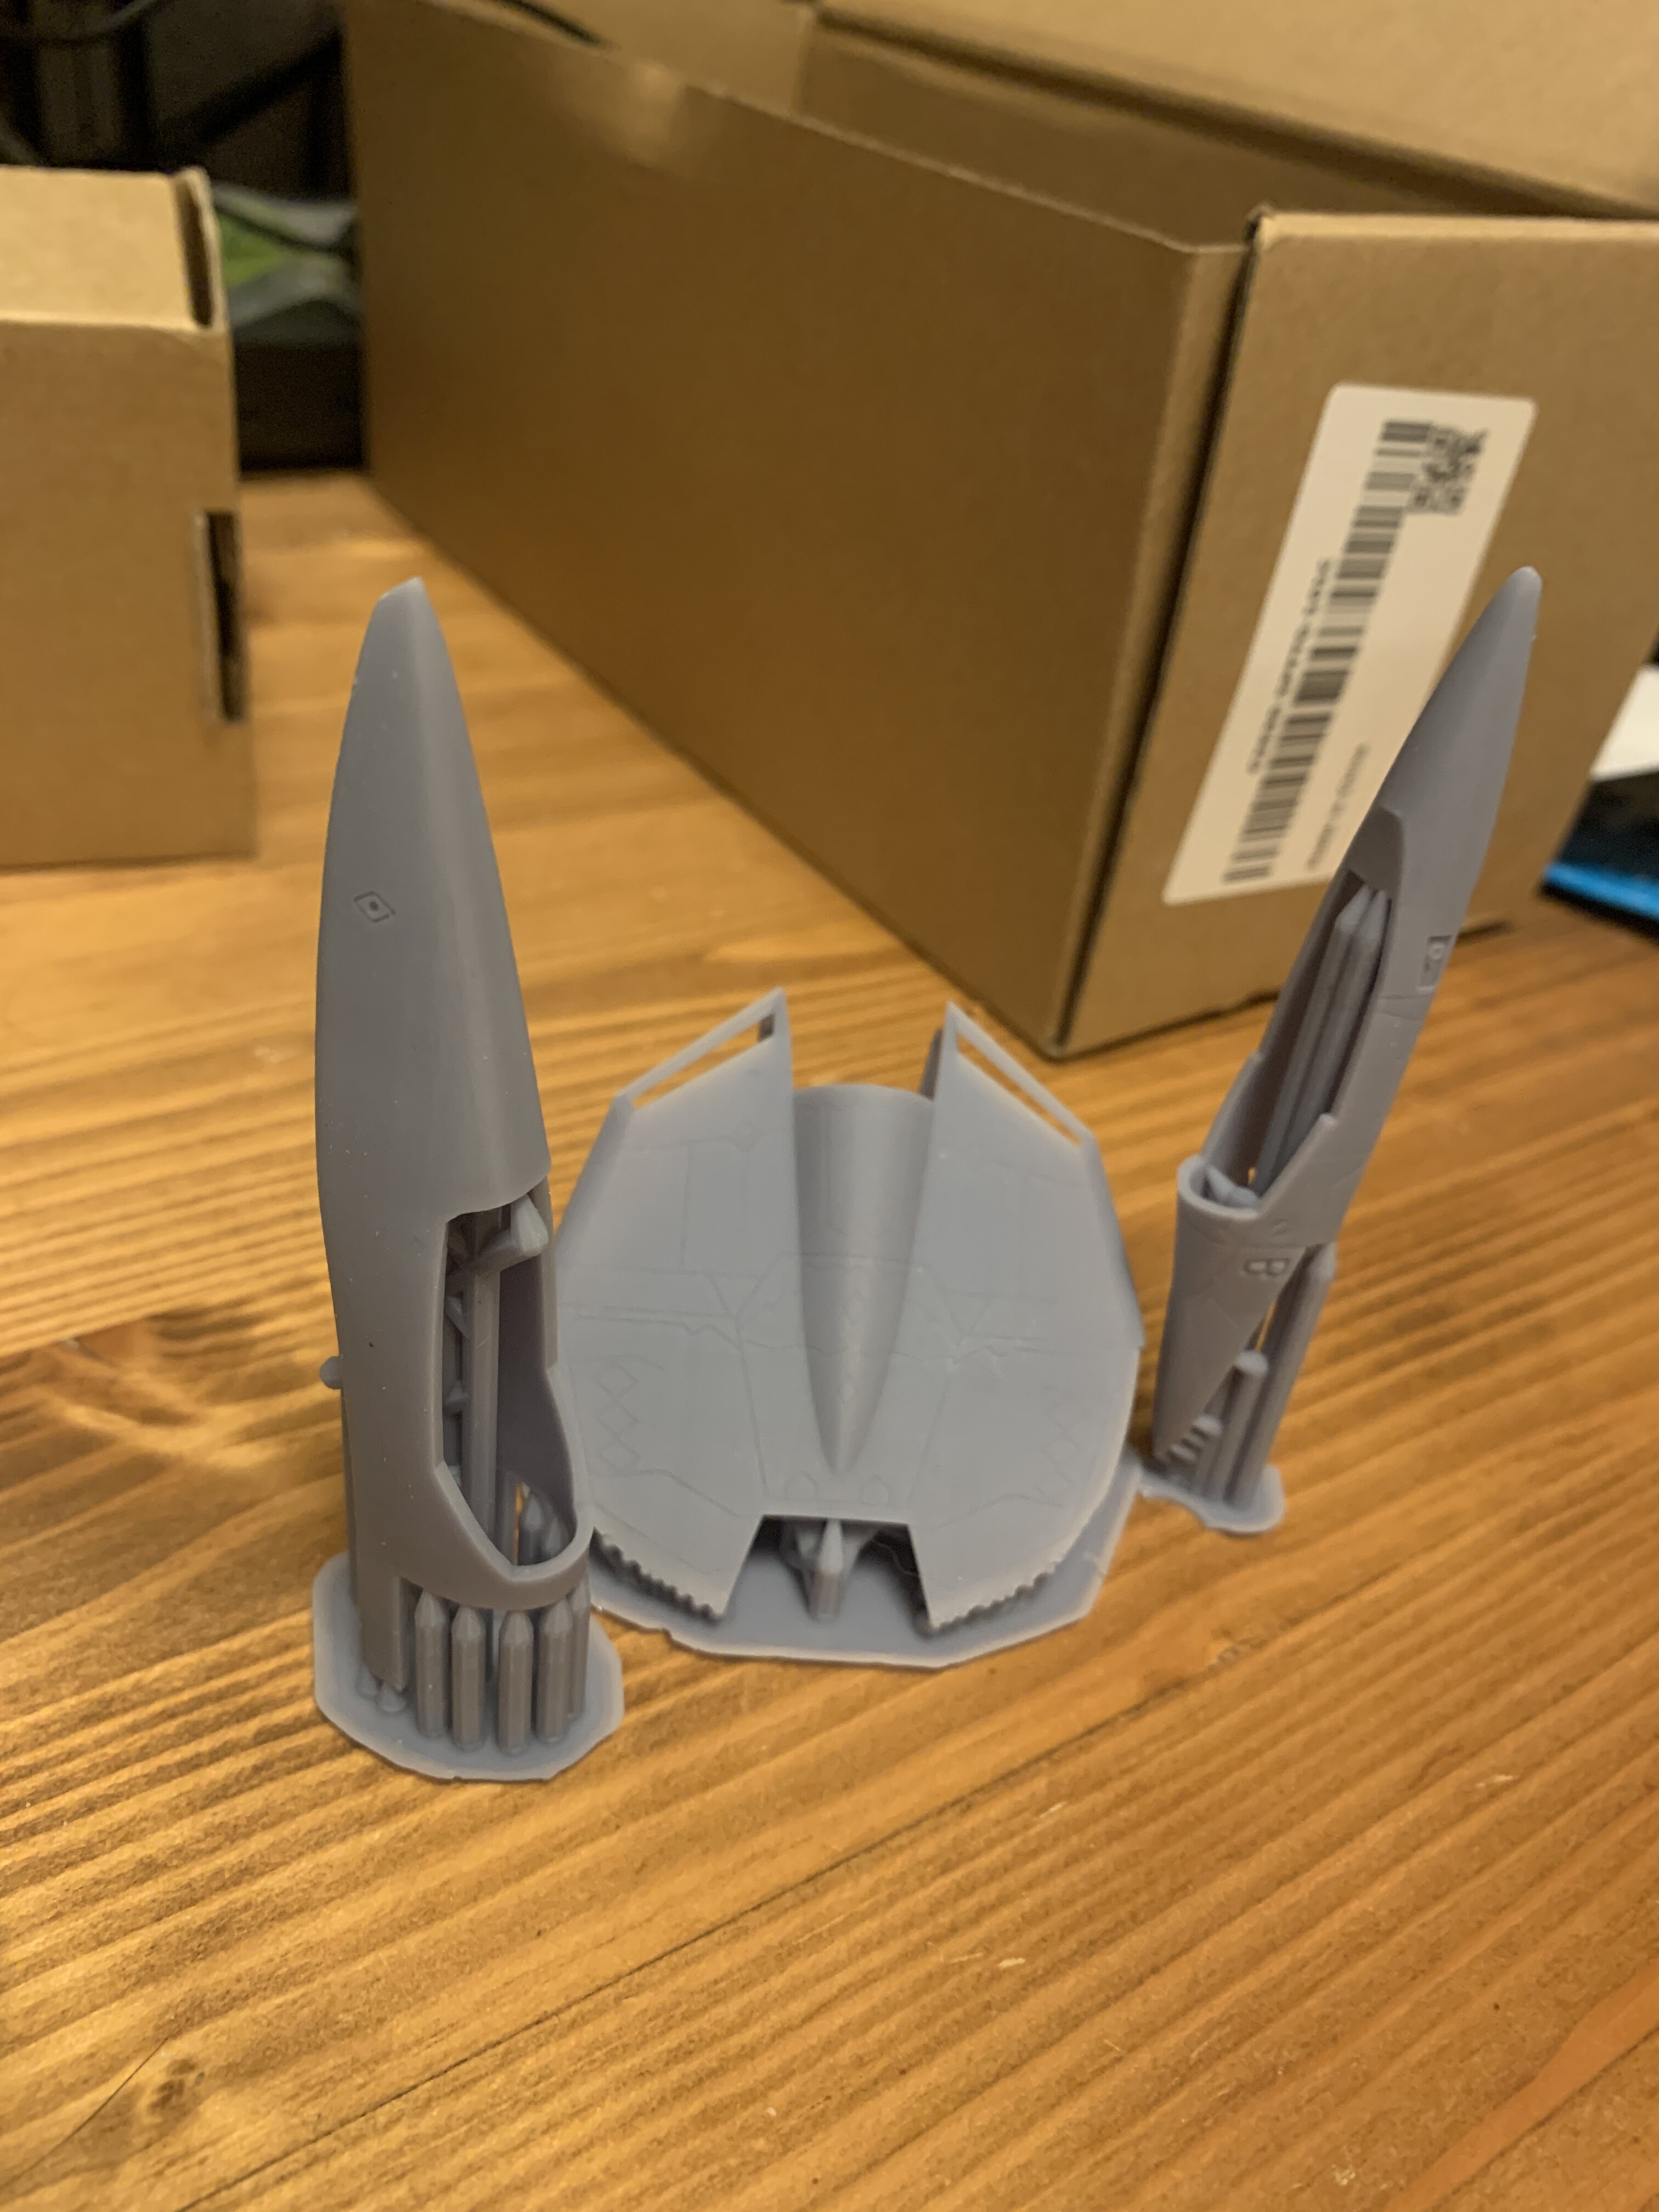
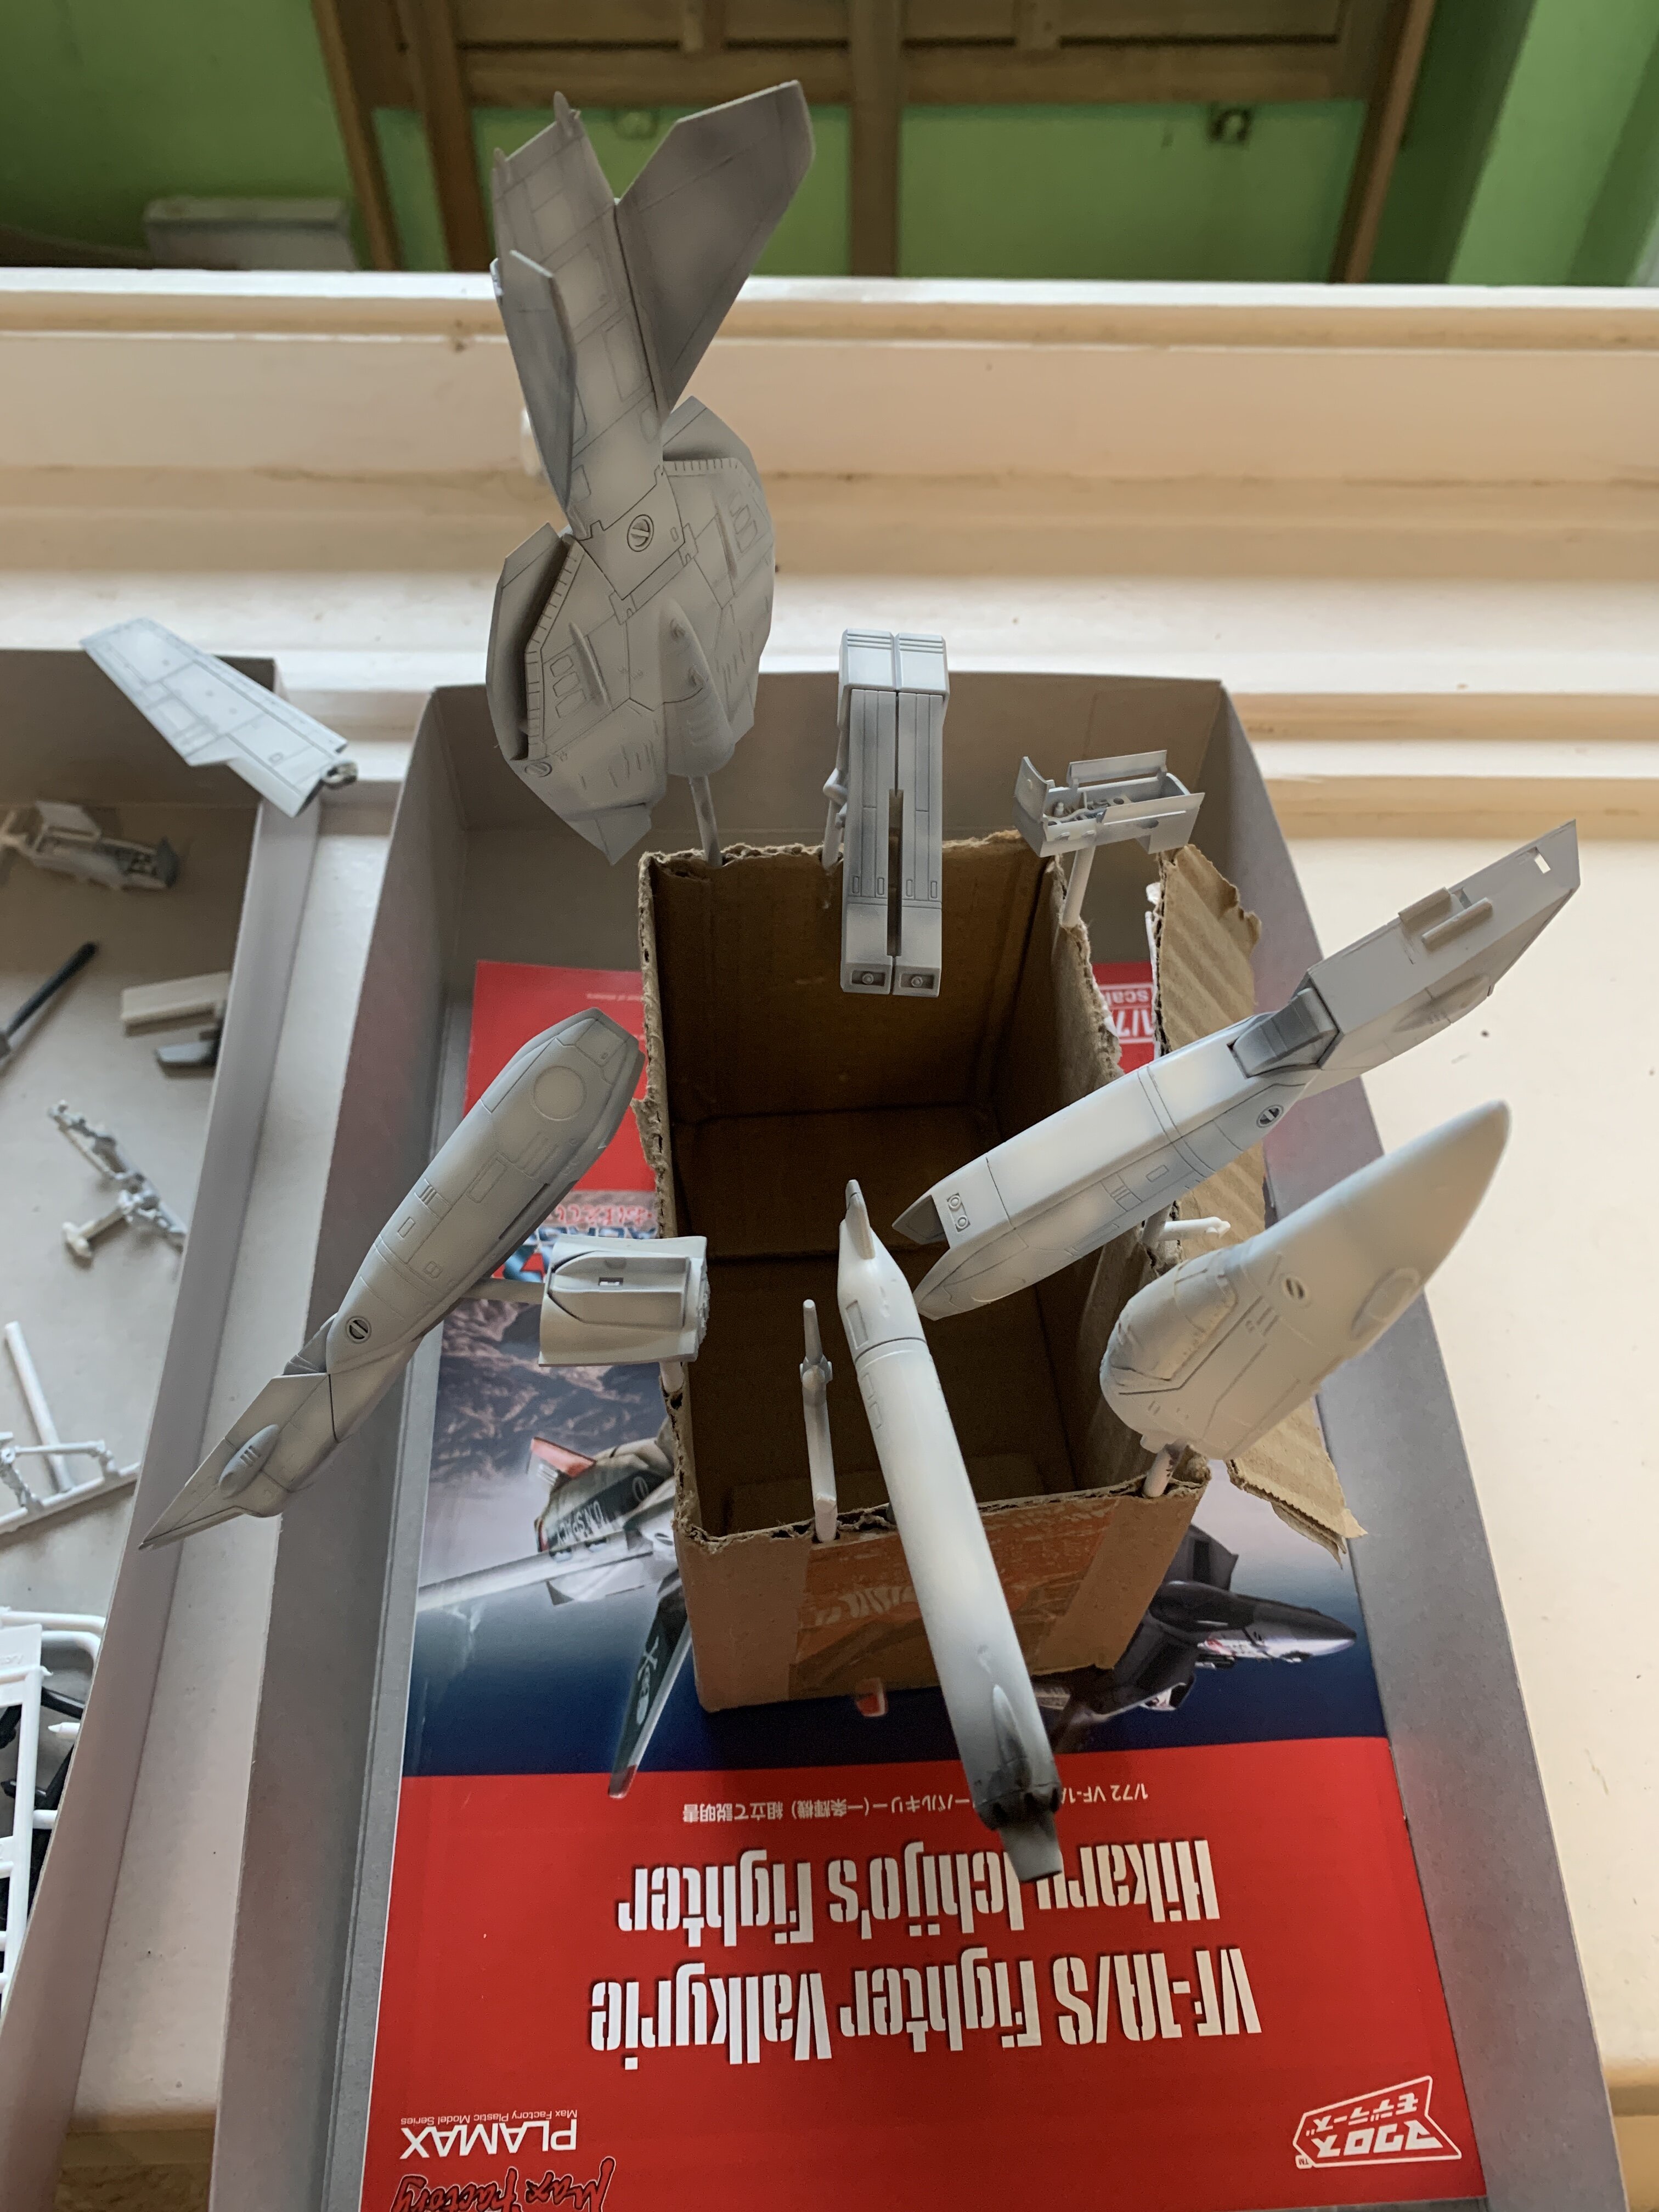
I purchased the ABS like resin from Anycubic and made some test prints today. It smells a bit more than the eco resin (which is really low odor), and leaves a weird white residue in the print bed and on the print. Using Isopropanol, I was able to remove it, but still strange.
it seems a bit more flexible, which is good. Here is a picture.
from left to right:new VF-1P nose, work in progress
old VF-1P fuselage, needs to be reworked to be thicker.
new reworked VF-9 nose, done.
-
4 hours ago, Rock said:
Tool time!
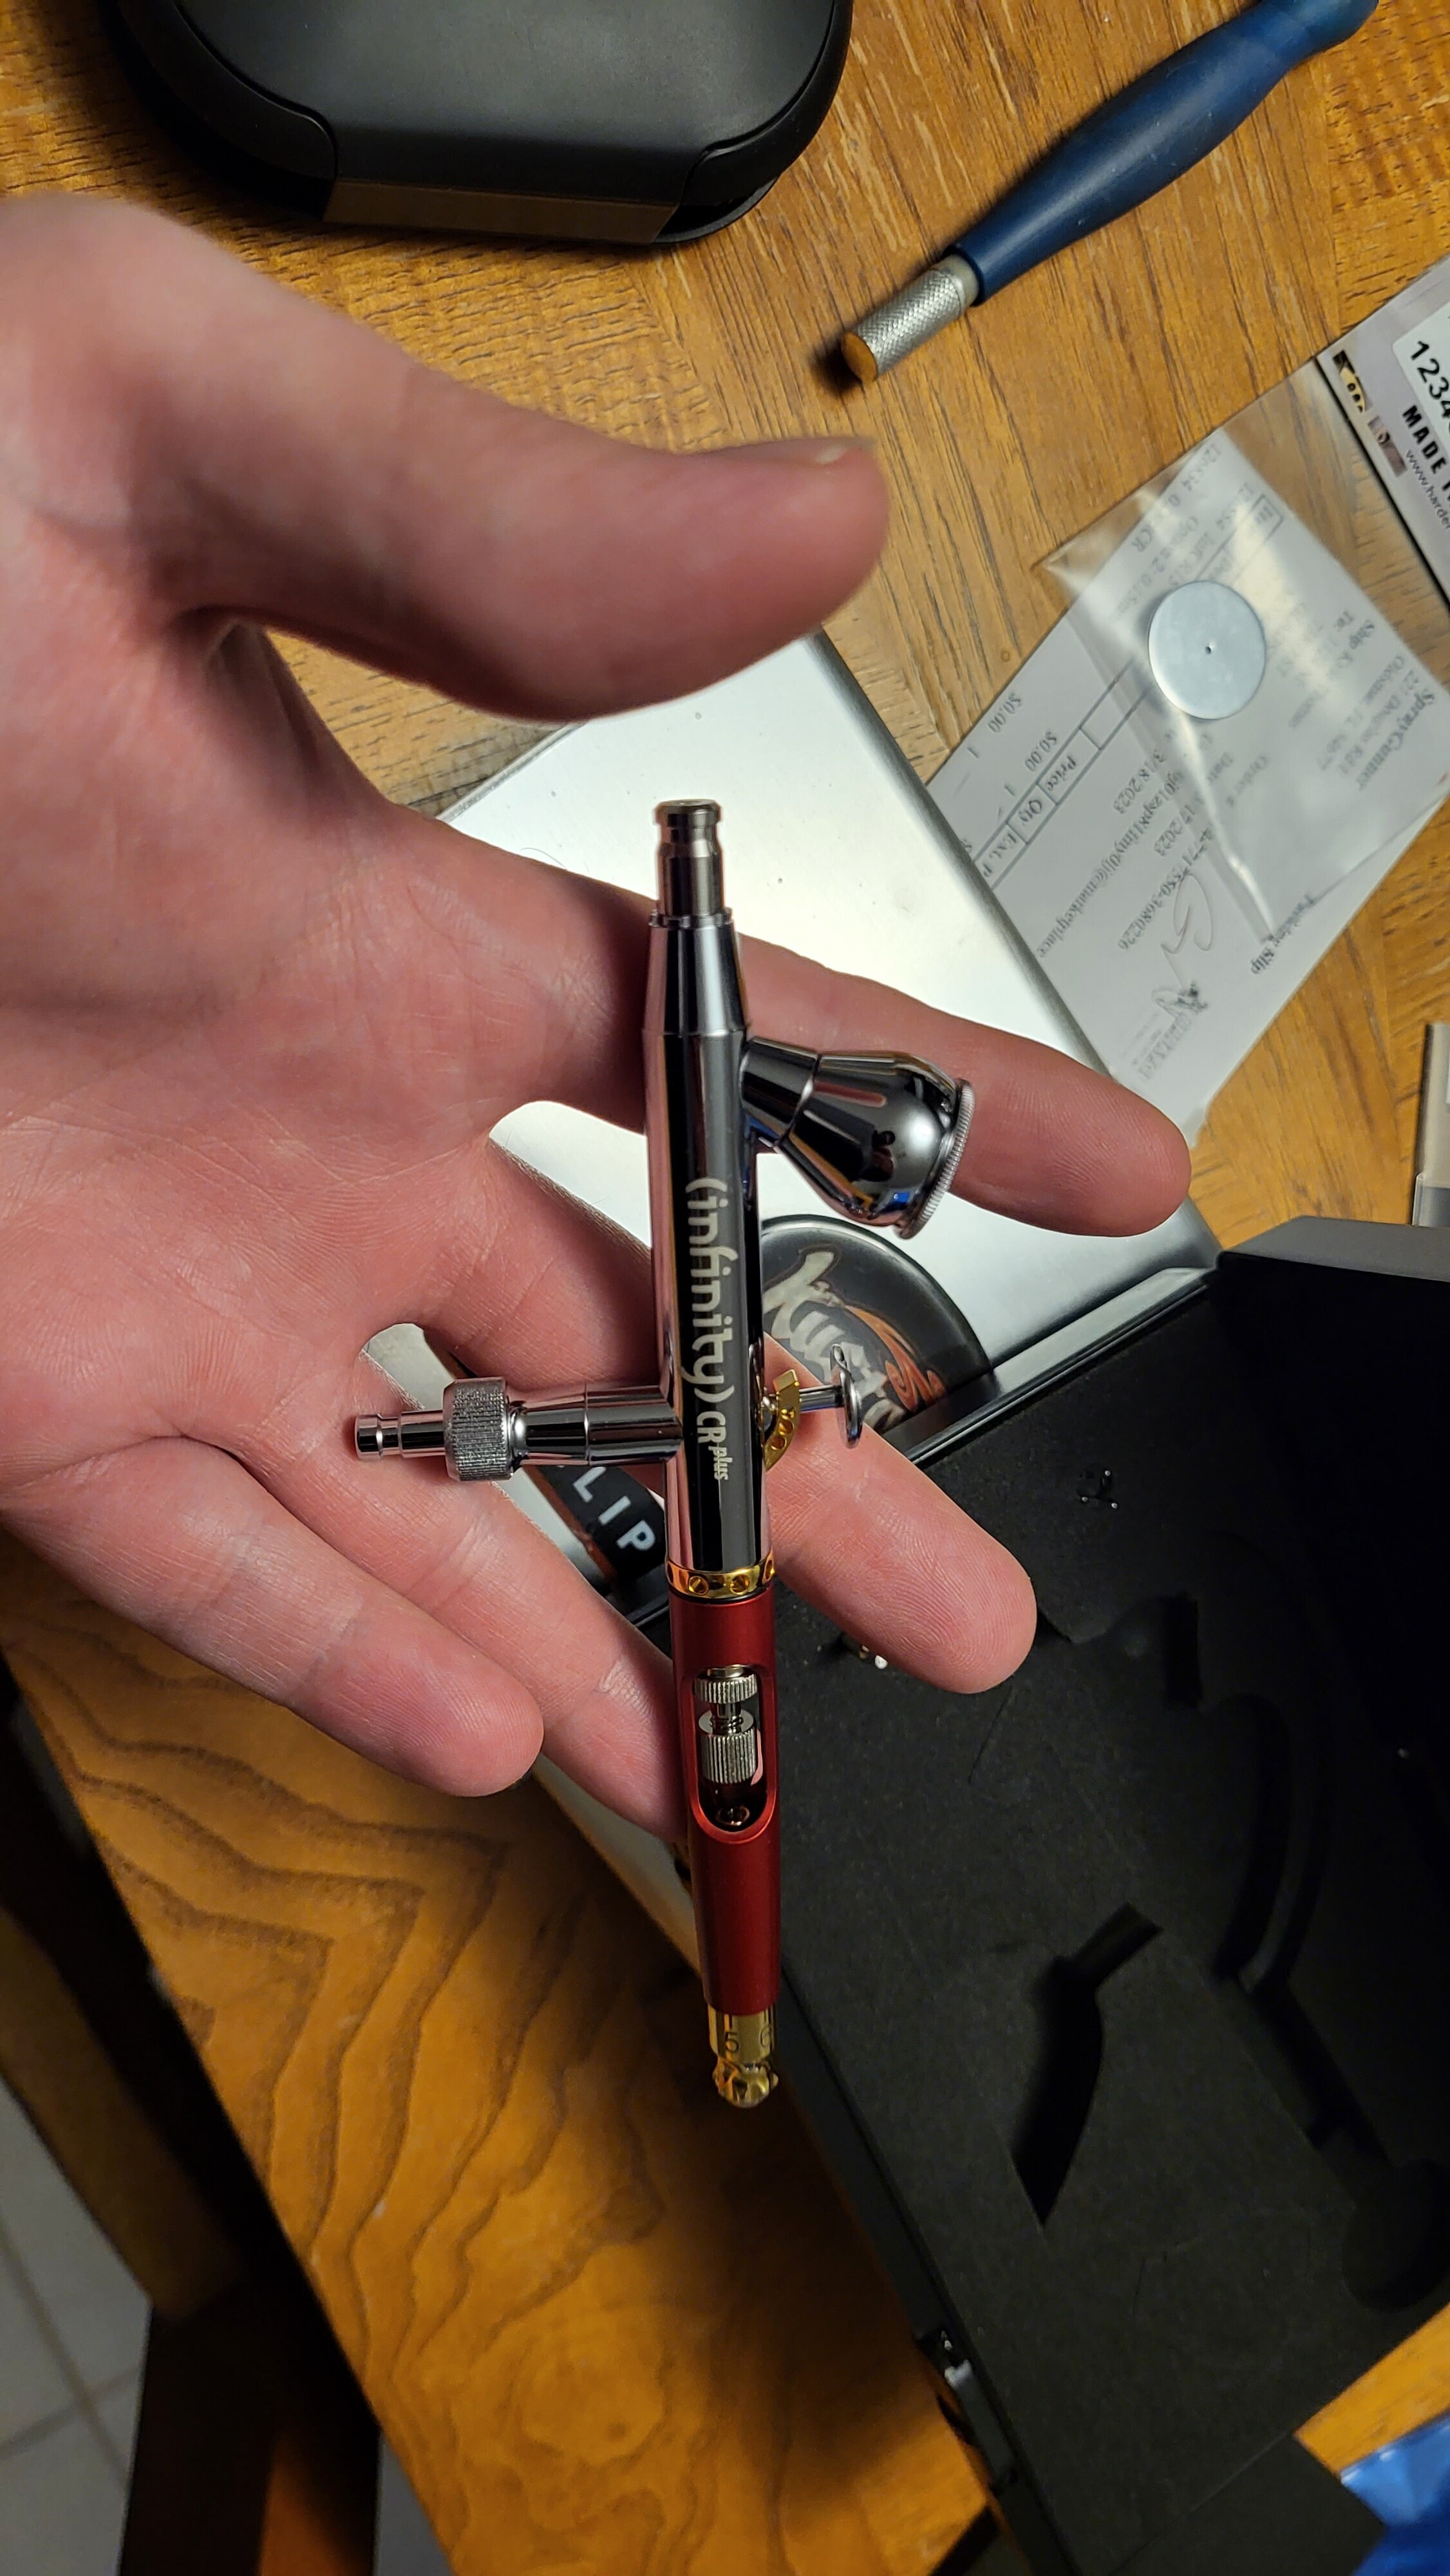
Looks like a dragon ready to blast!
-
11 minutes ago, Bolt said:
Ah so. Thanks for that @Urashiman 👍🏼 I just checked my stencils, out of curiosity . Here's the two (that i have) side by side. The stencils on the left look closer to the "Blue Roses" pattern, IMO. I Couldn't find the original zip lock with label, and I don't recall what it's called, though. As you can see , I've used them once, already. Flecktarn (at least that's what Fallout Hobbies is calling it) is the unused set on the right(obviously).
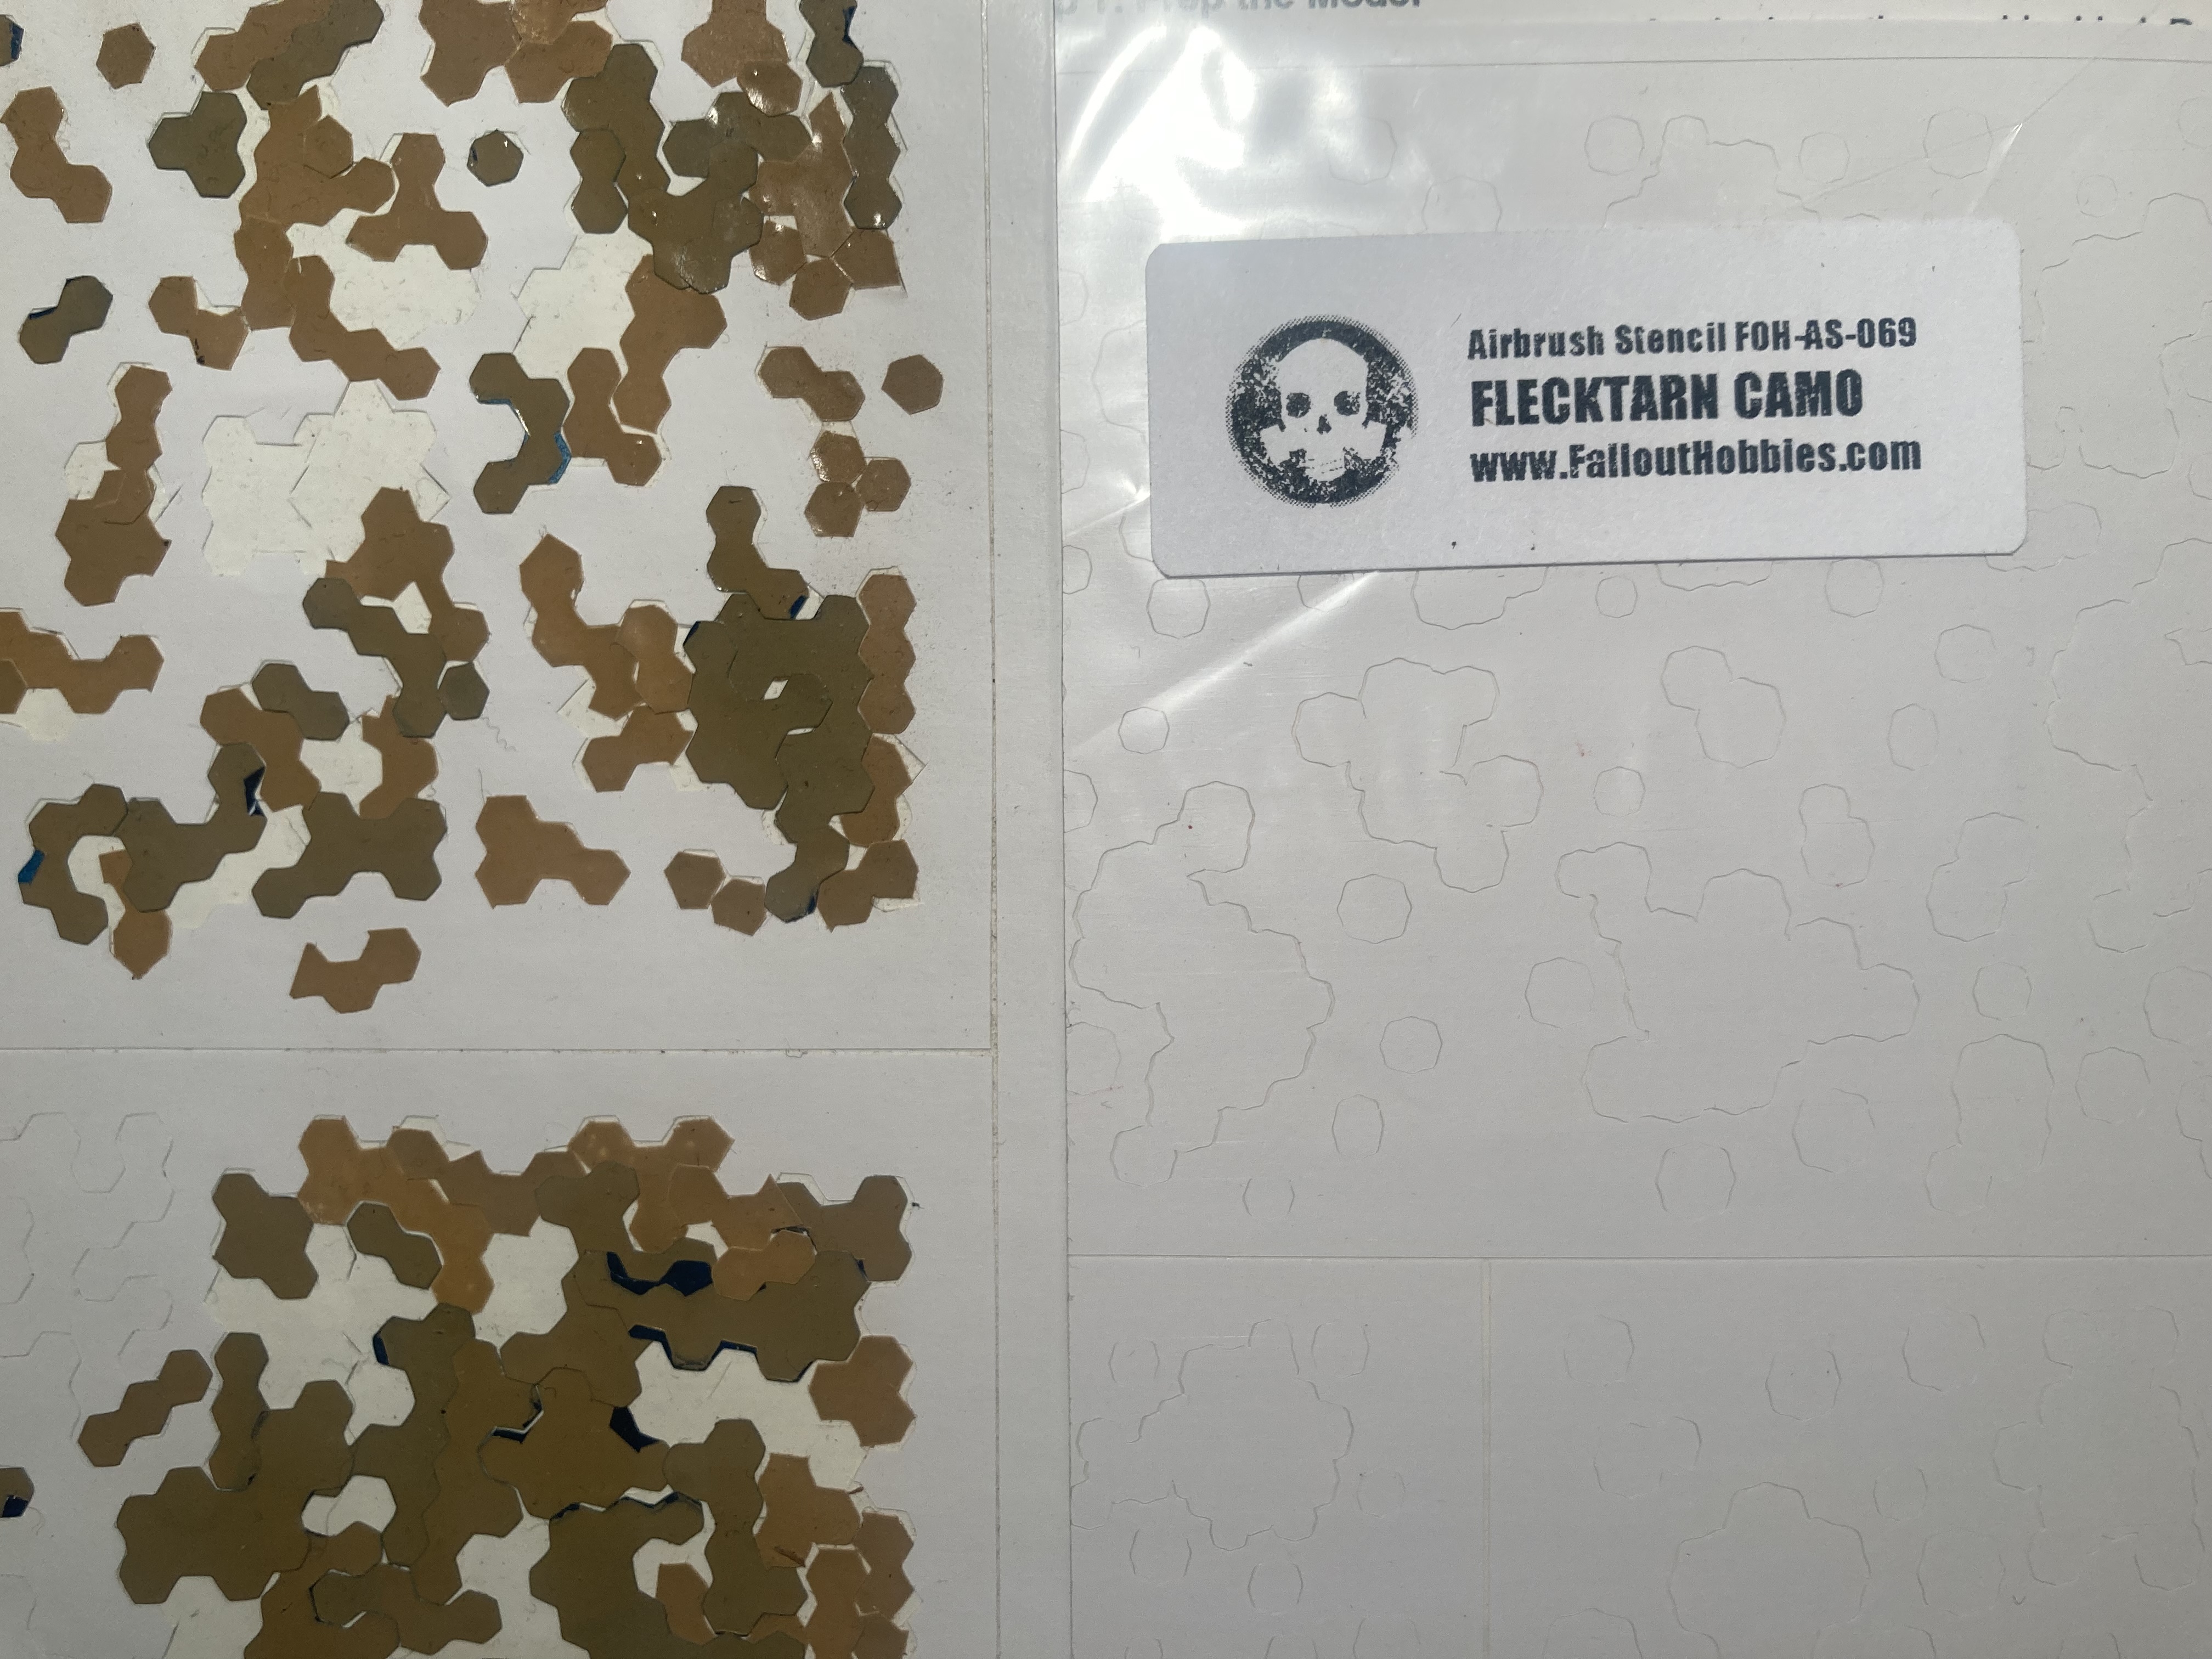
Yeah, the one one the left is Hex Camo style, the one on the right looks more like flecktarn. Flecktarn is more like splattering drops onto your stuff.
-
8 minutes ago, Bolt said:
Thanks @wm cheng ! My next VF-4 (i have a second Hobbyexpro) will be the "Blue Roses" scheme . What do you call this camo pattern "flek tarn"? I've got the stencils already and the water slides.
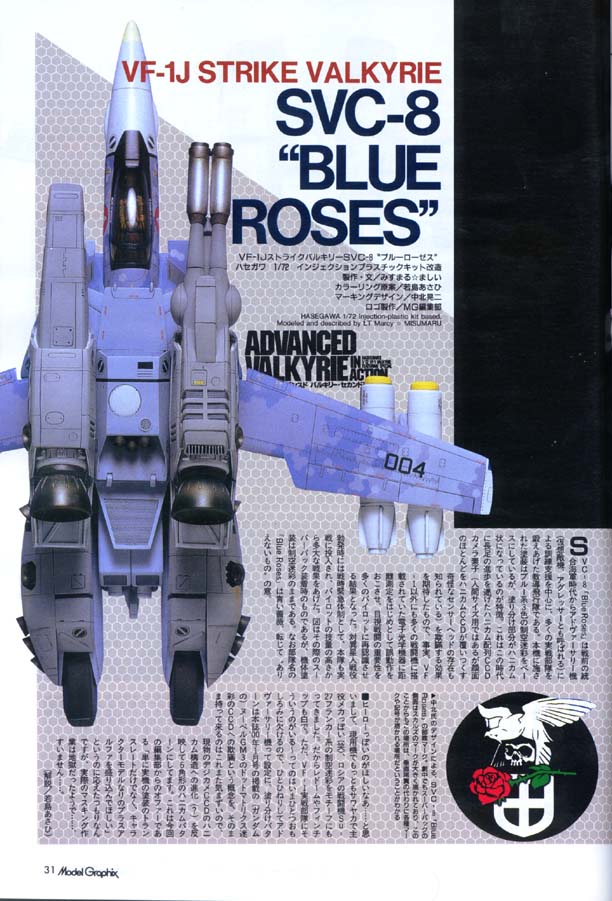
The Wave kit looks pretty good, I'll admit. But I'm such a monogamous Hasegawa fan, that I'd buy that one first 😆. Plus i still have a Retppu and Musasiya VF-4 ,each in 1/72. So.. no hurry for the Wave. Lol.
Yes! It was offered here on MW several years ago. In multiple scales. And even painted , as an option! I'm really keen to see if anyone went that route. For mine, I'll probably do something different ( for me) and stick really close to the original DYRL paint scheme.
"Fleck Tarn" is used by the German army. Translates to "spot camoflage".
-
5 hours ago, pengbuzz said:
At that scale, you could always just draw them in with a mechanical pencil.
I have some carving tools for 1/72. no worries
-
On 2/18/2023 at 7:14 PM, Rock said:
twitter.com/FUEN_FGO/status/1261594210861346816
oh man ... this looks horrible. Kinda like the VF-22 color from VF-X 1.
And regarding the wings ... I did the same to my VF-19A hahaahah.
-
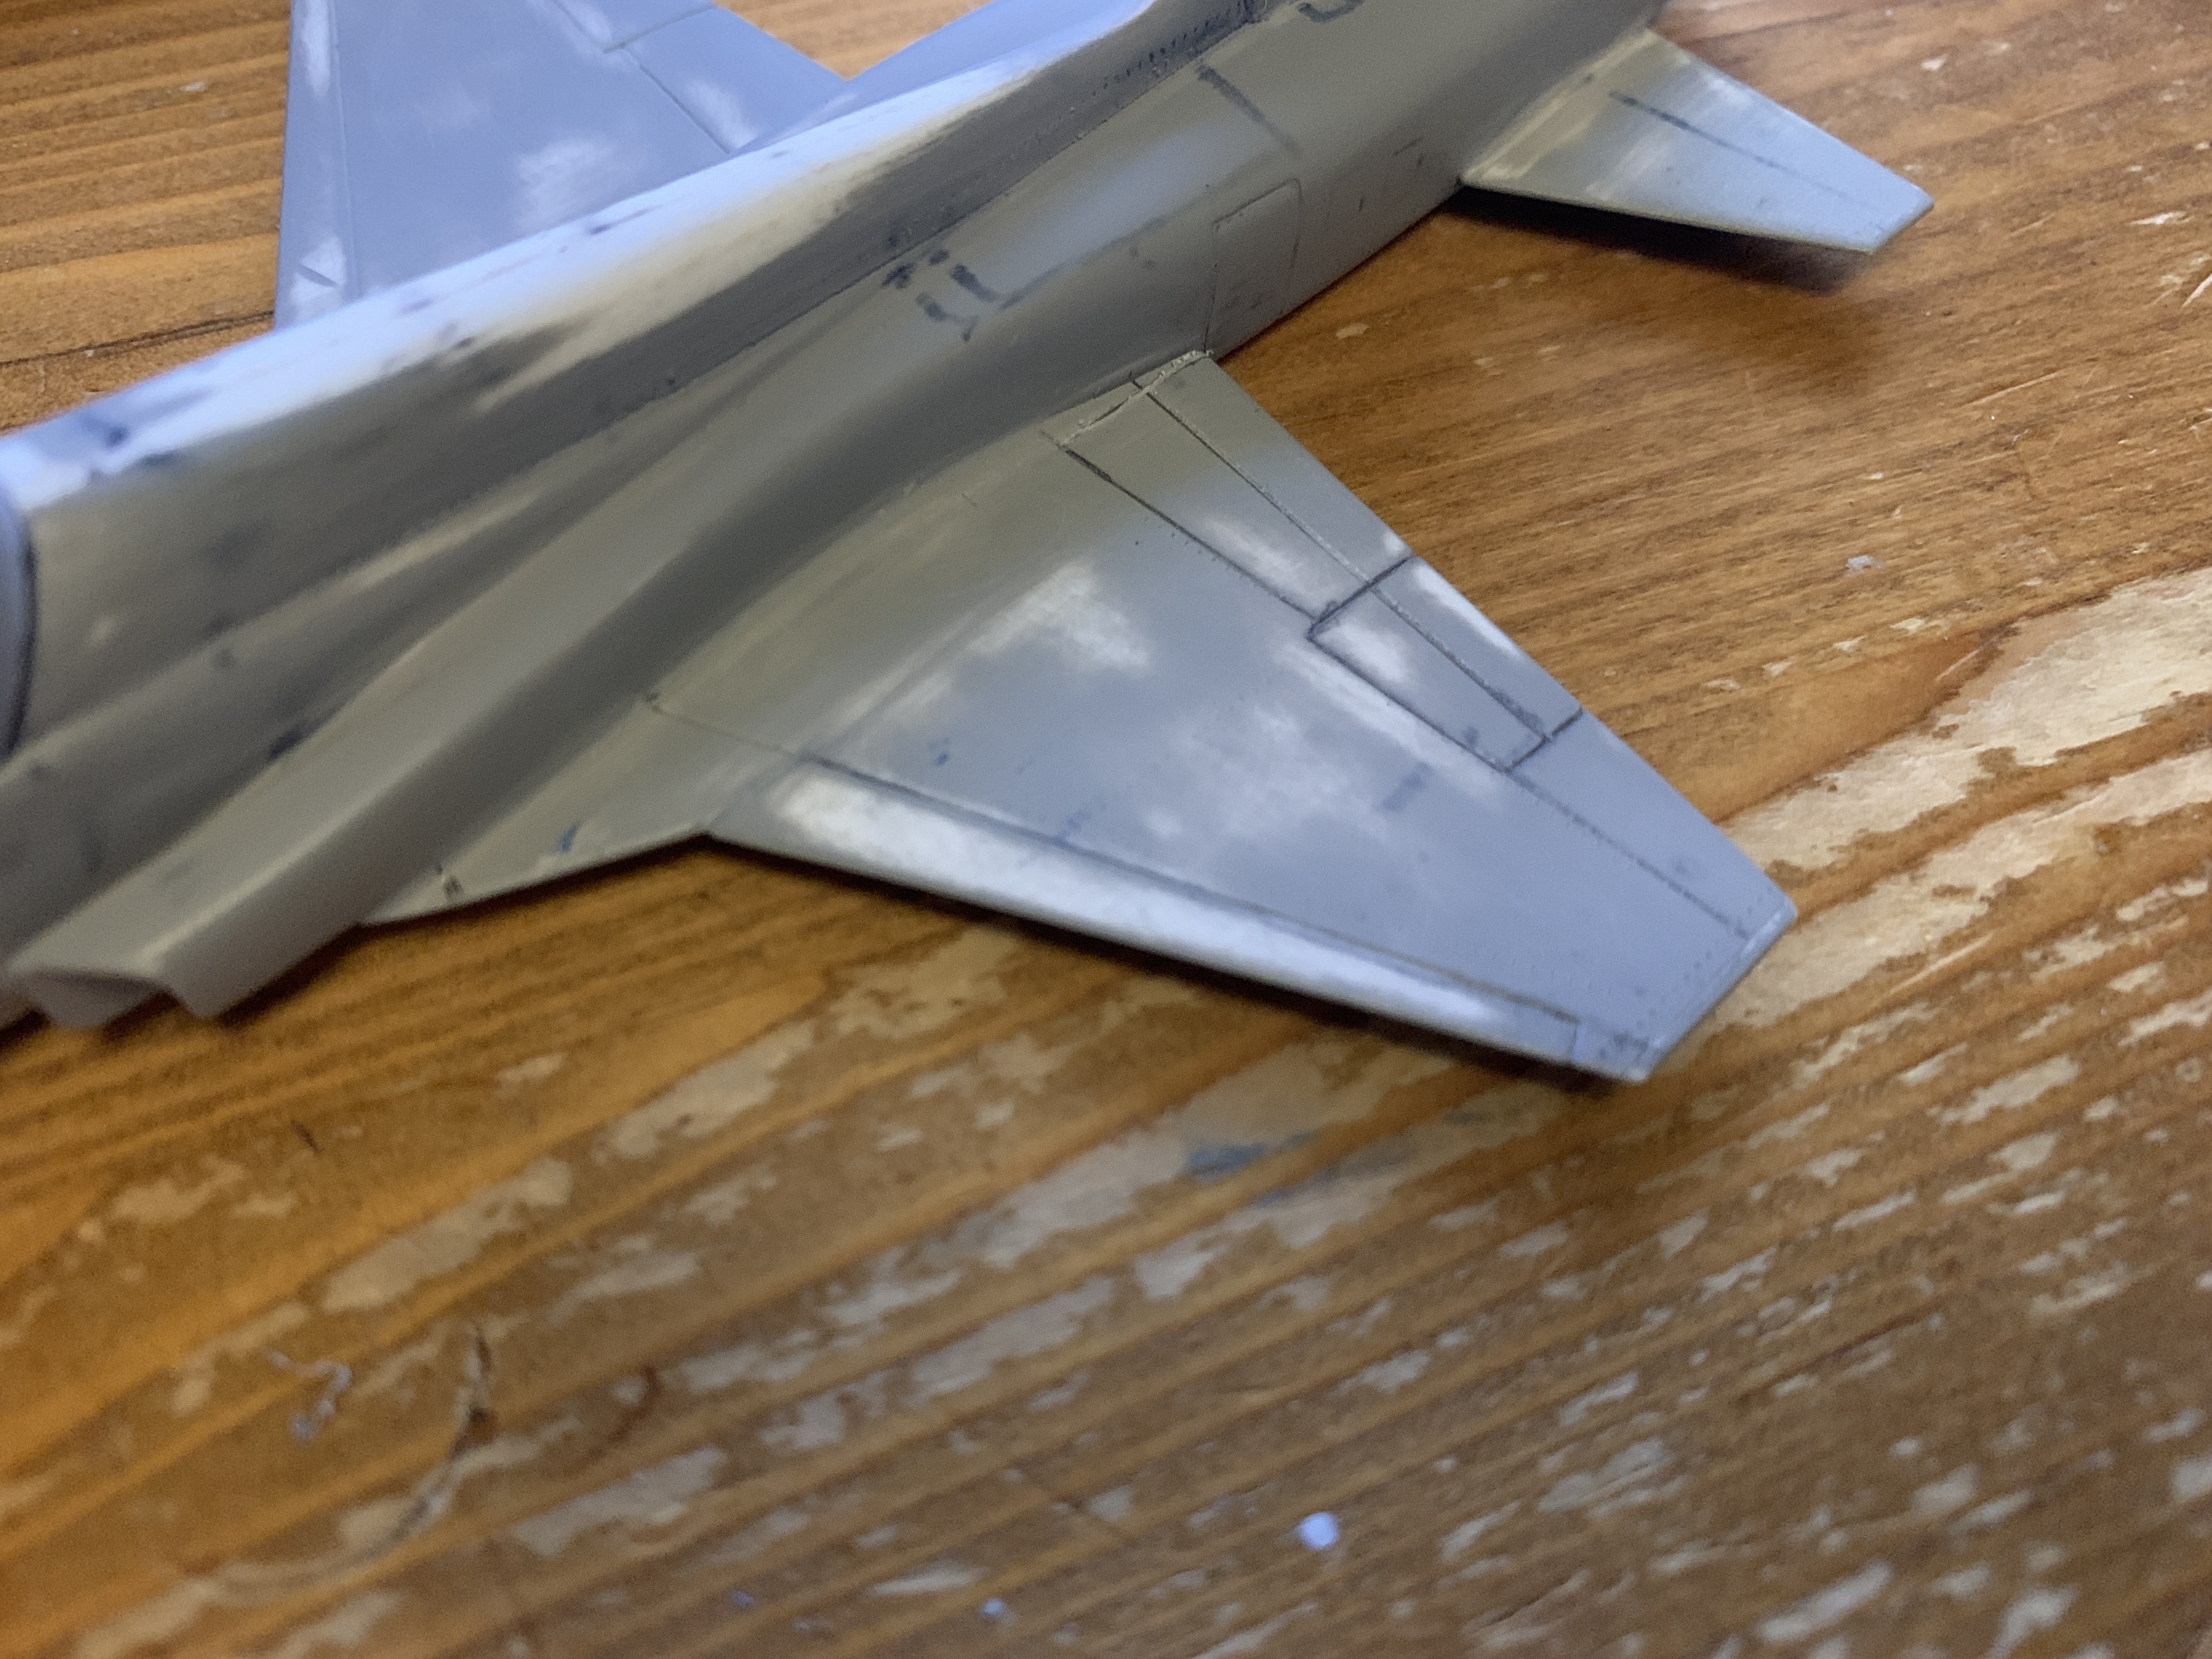
@Thom I usually try to keep the original panel lines as well, but for this kit, the panel lines were sacrificed during the process of fixing the kit. I had no other choice. I probably have to putty away the already done panel lines again, as I mixed up the F-5 versions. The F-5B and the CF-116 have slightly different panel lining. UGH
-
5 hours ago, Bolt said:
Another little update. I managed to finish the gunpod, but the darker gray jagged markings didn't come out as dark as they should have. I will more than likely do a few dark washes over them. And though the gunpod won't be as visible, I would still like to mount it under the main fuselage and position the UUM-7's next to the RMS-1's. Which will require shaving down the pylon mounts a bit. I've also finally just started working on the pilot.
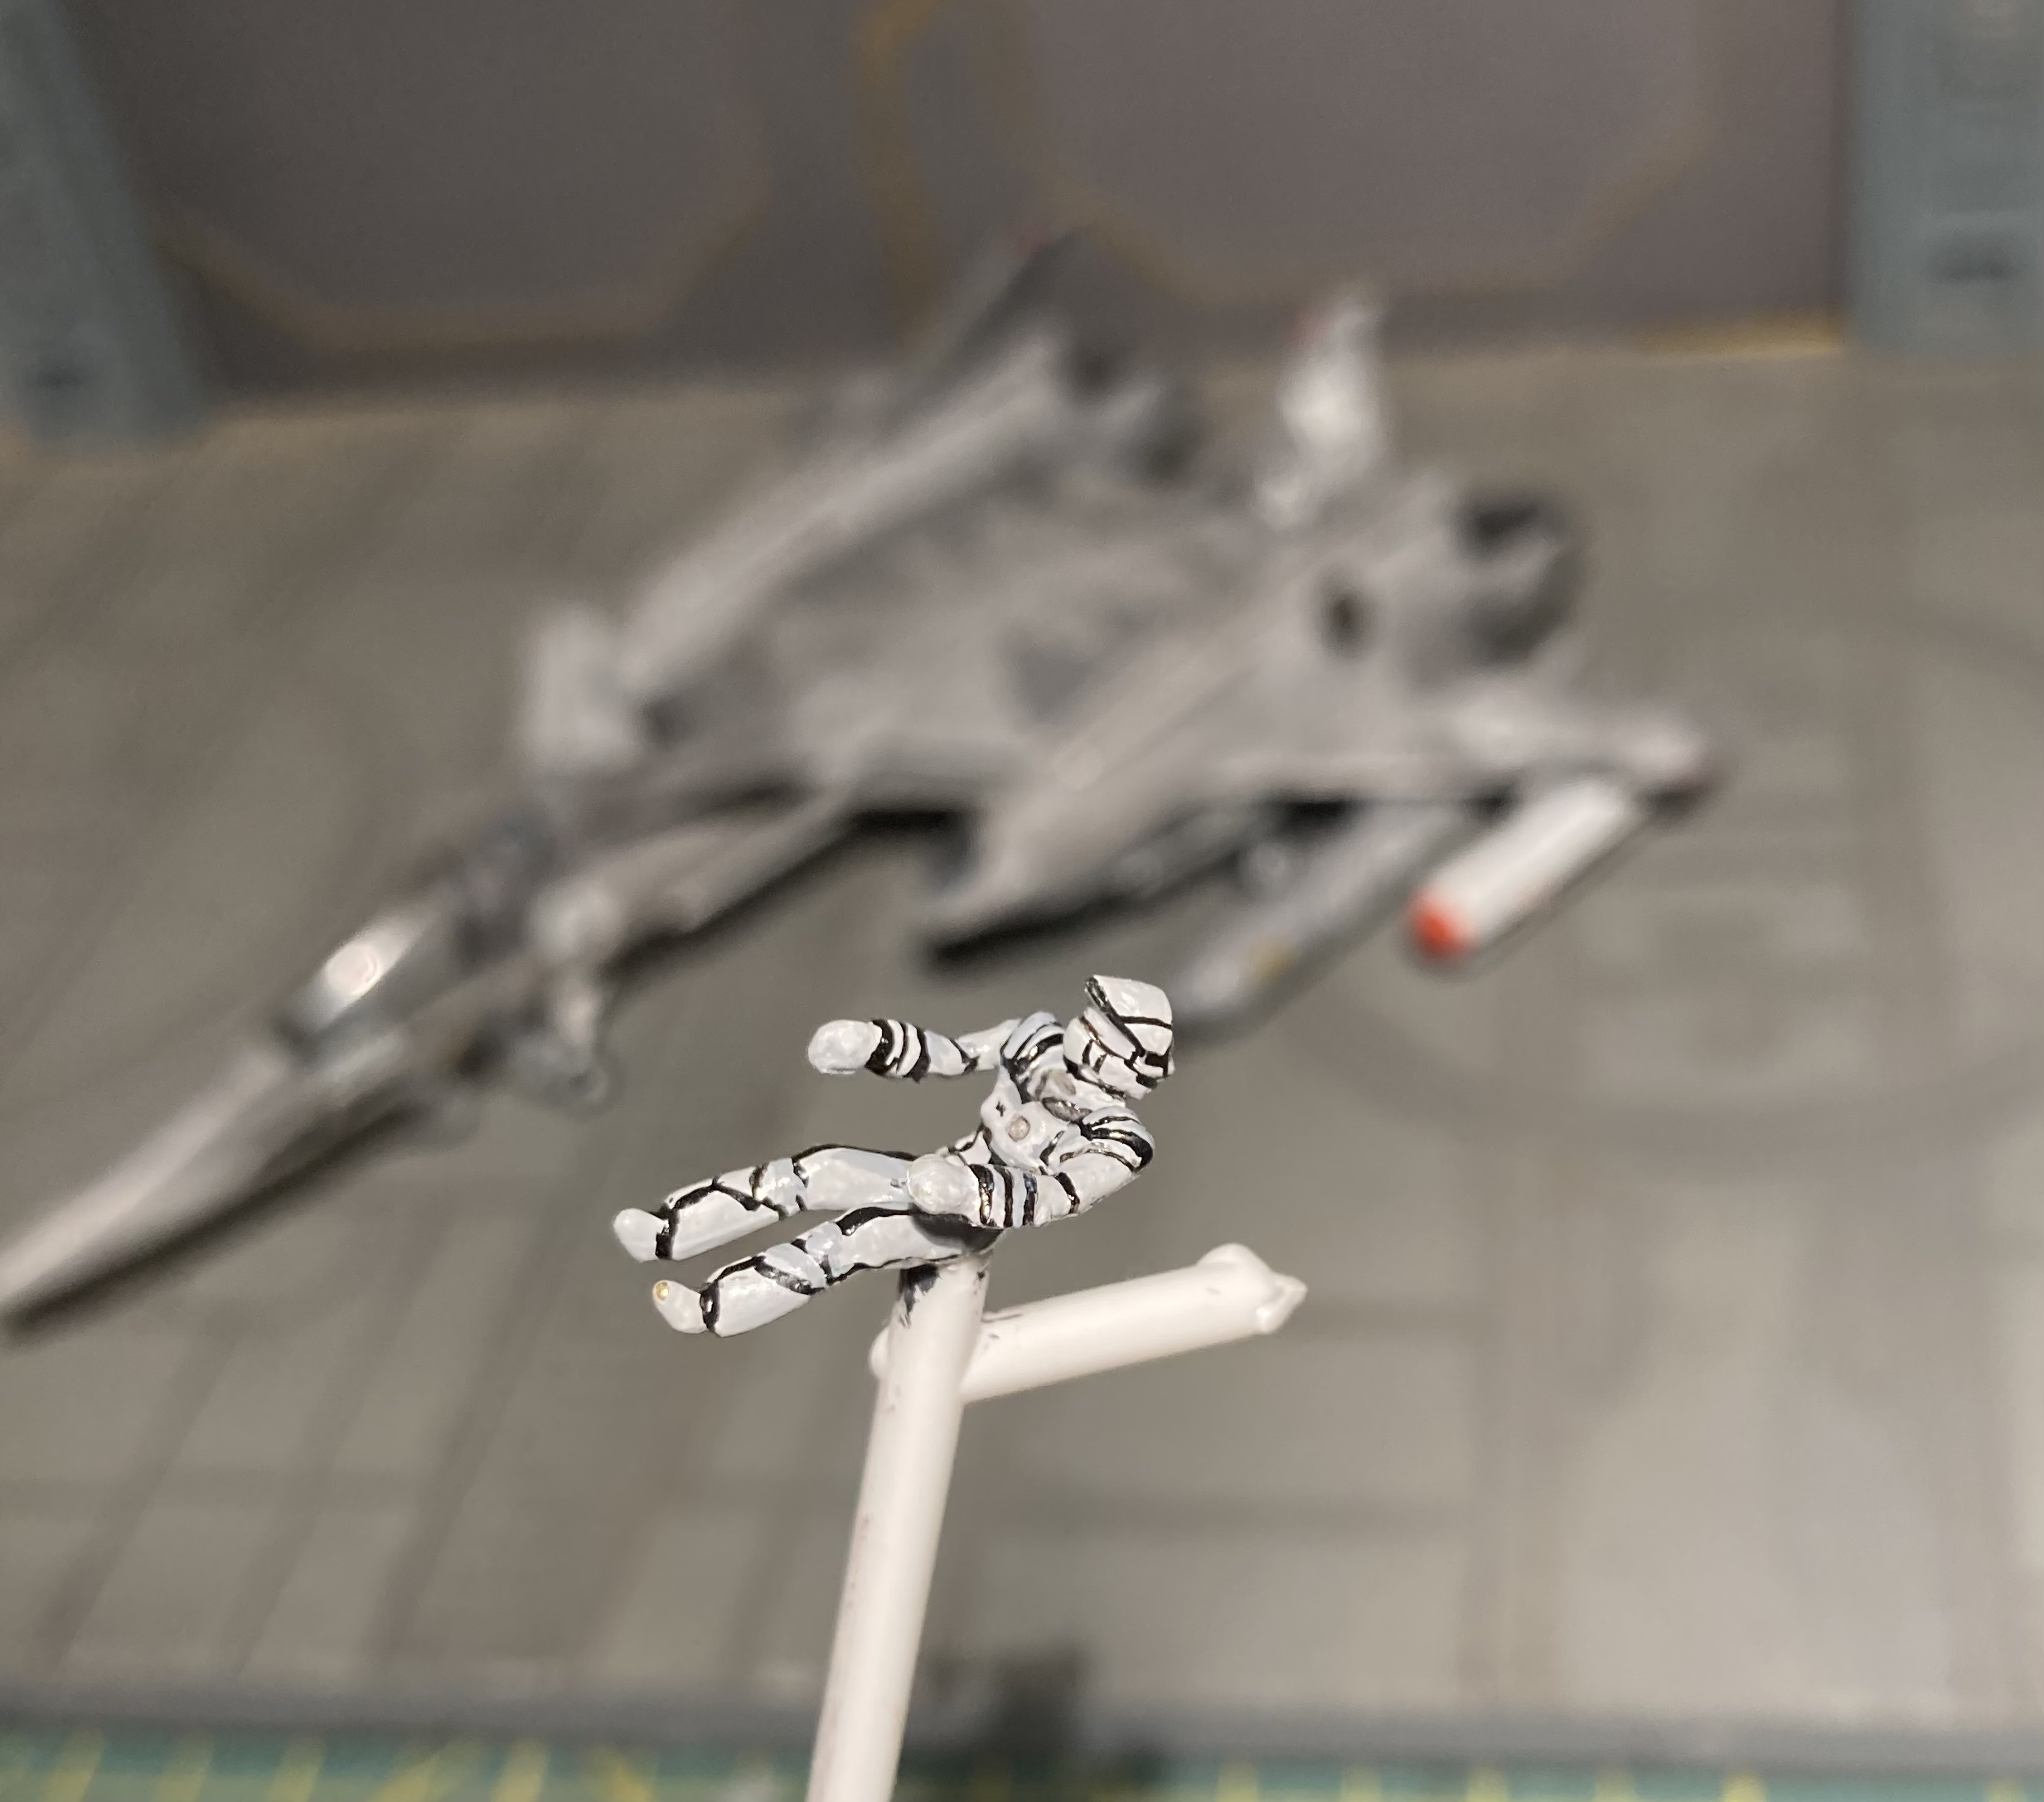

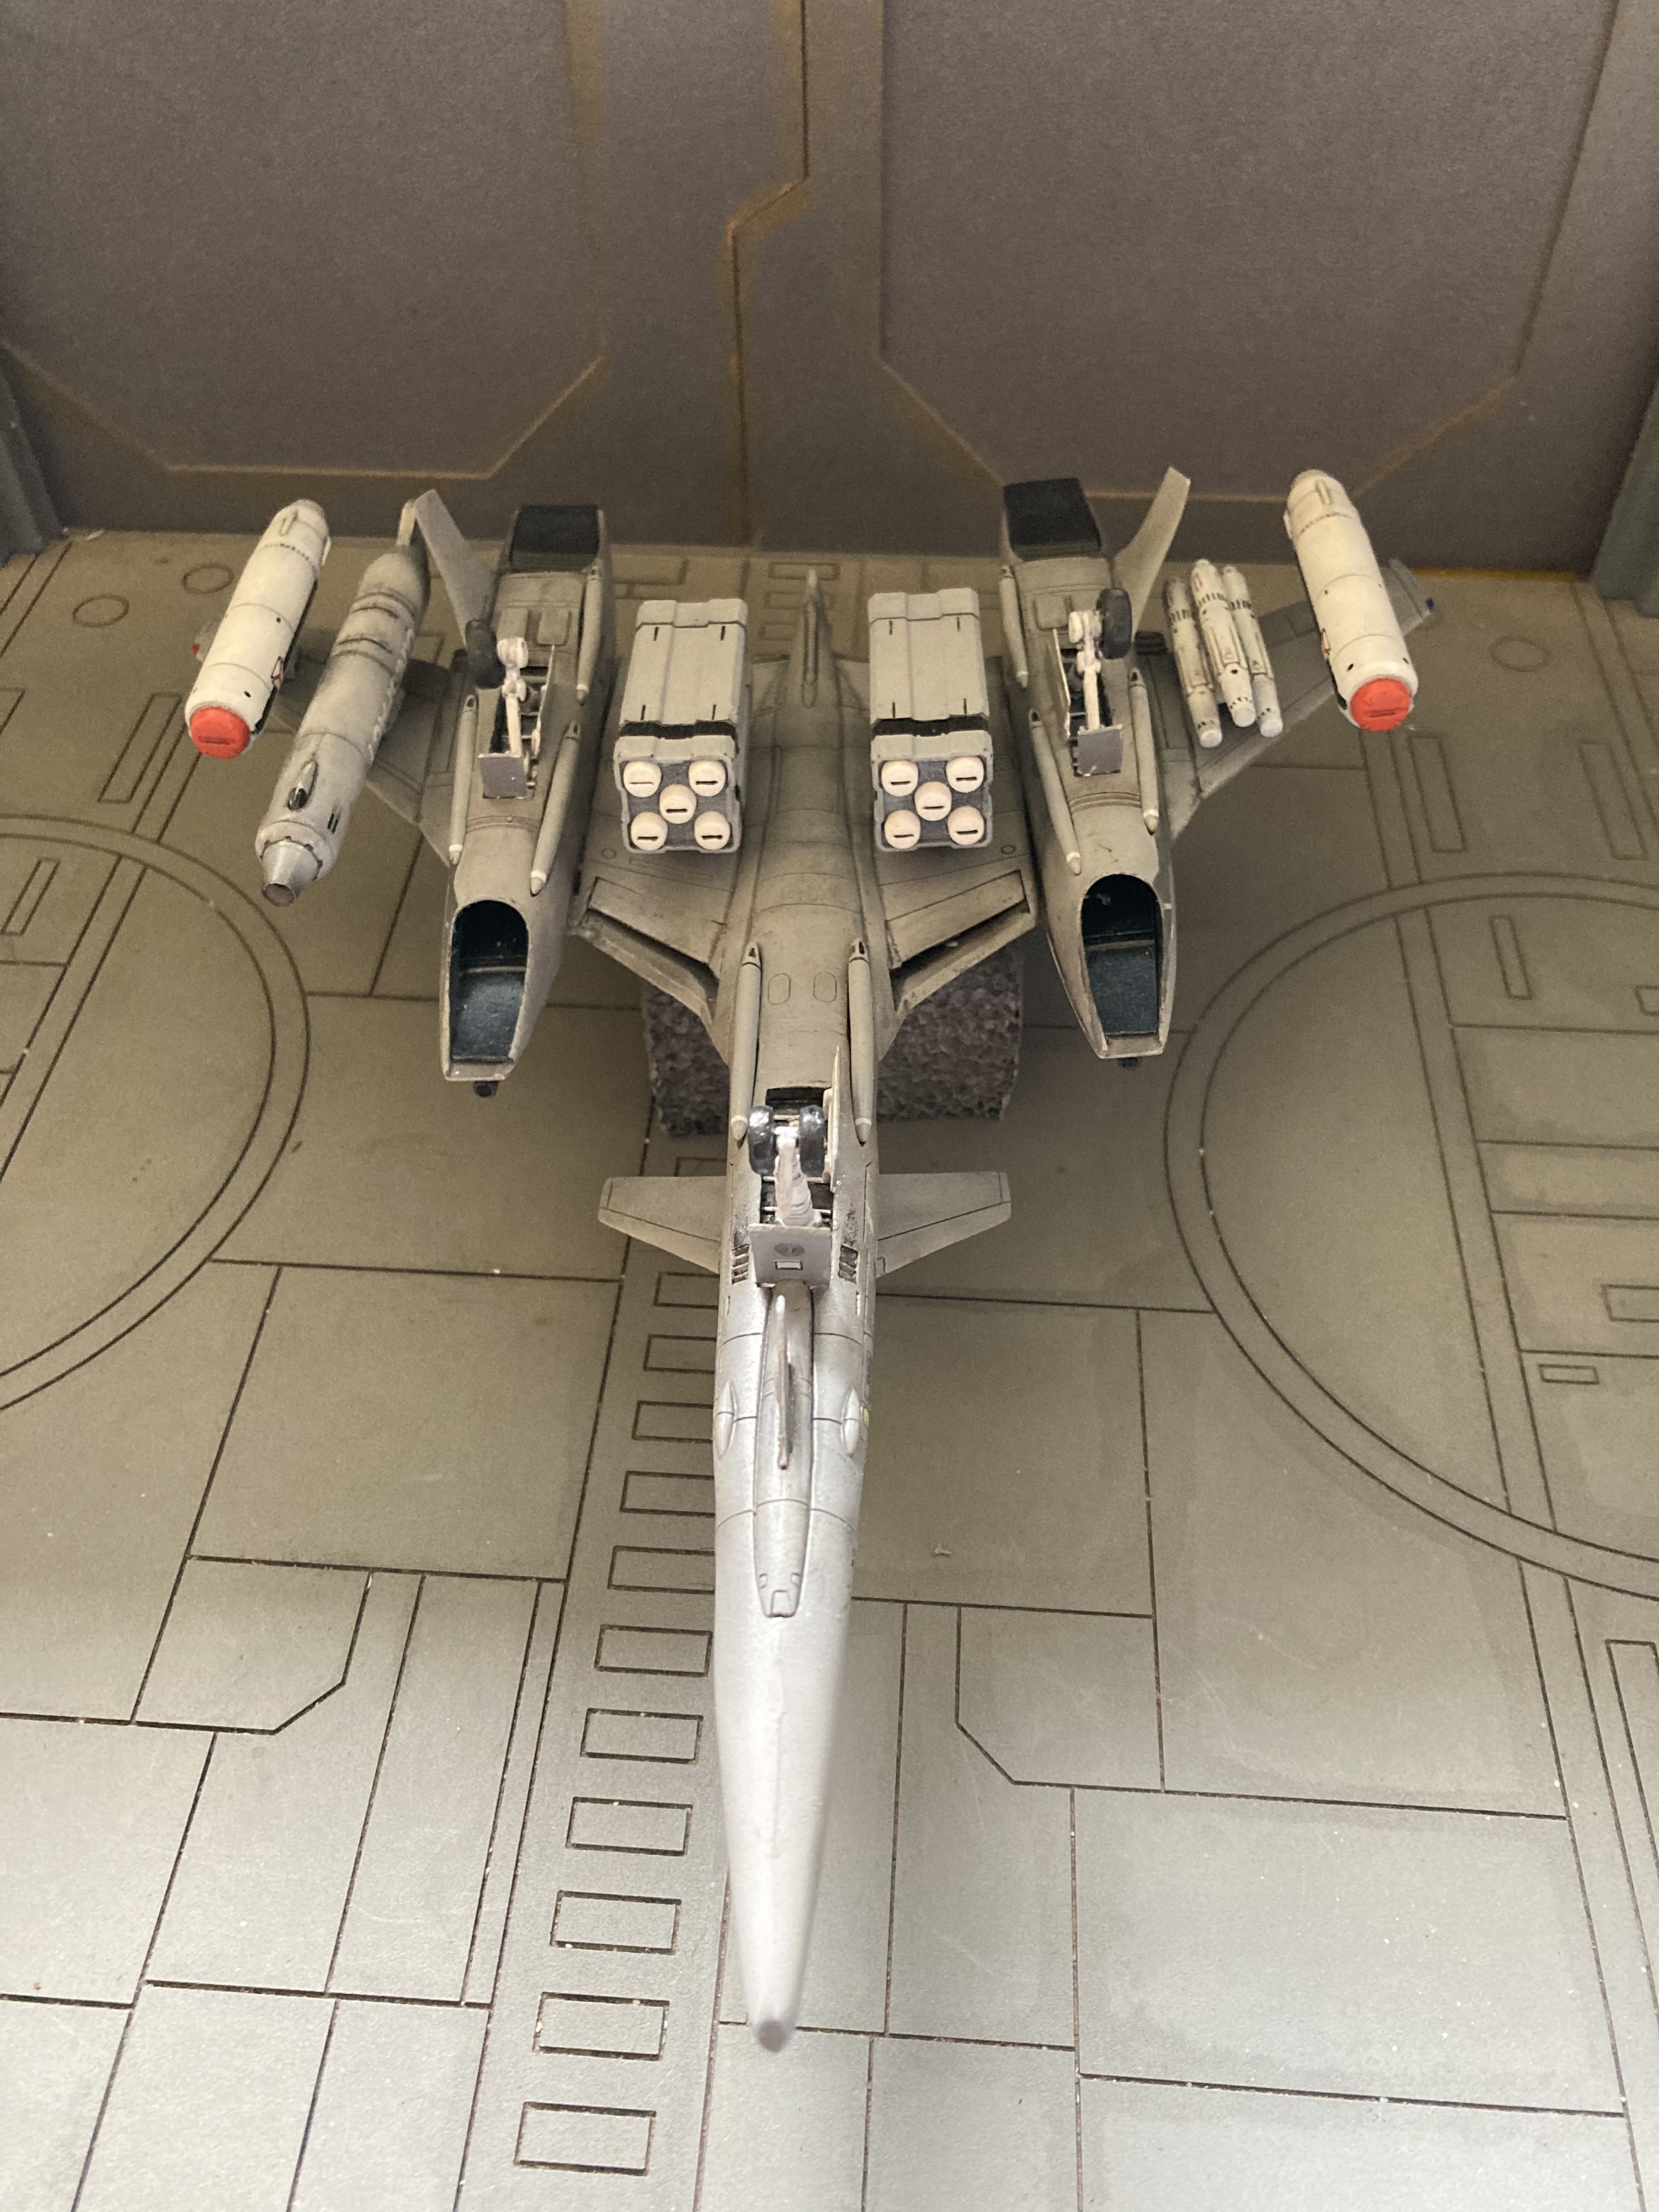
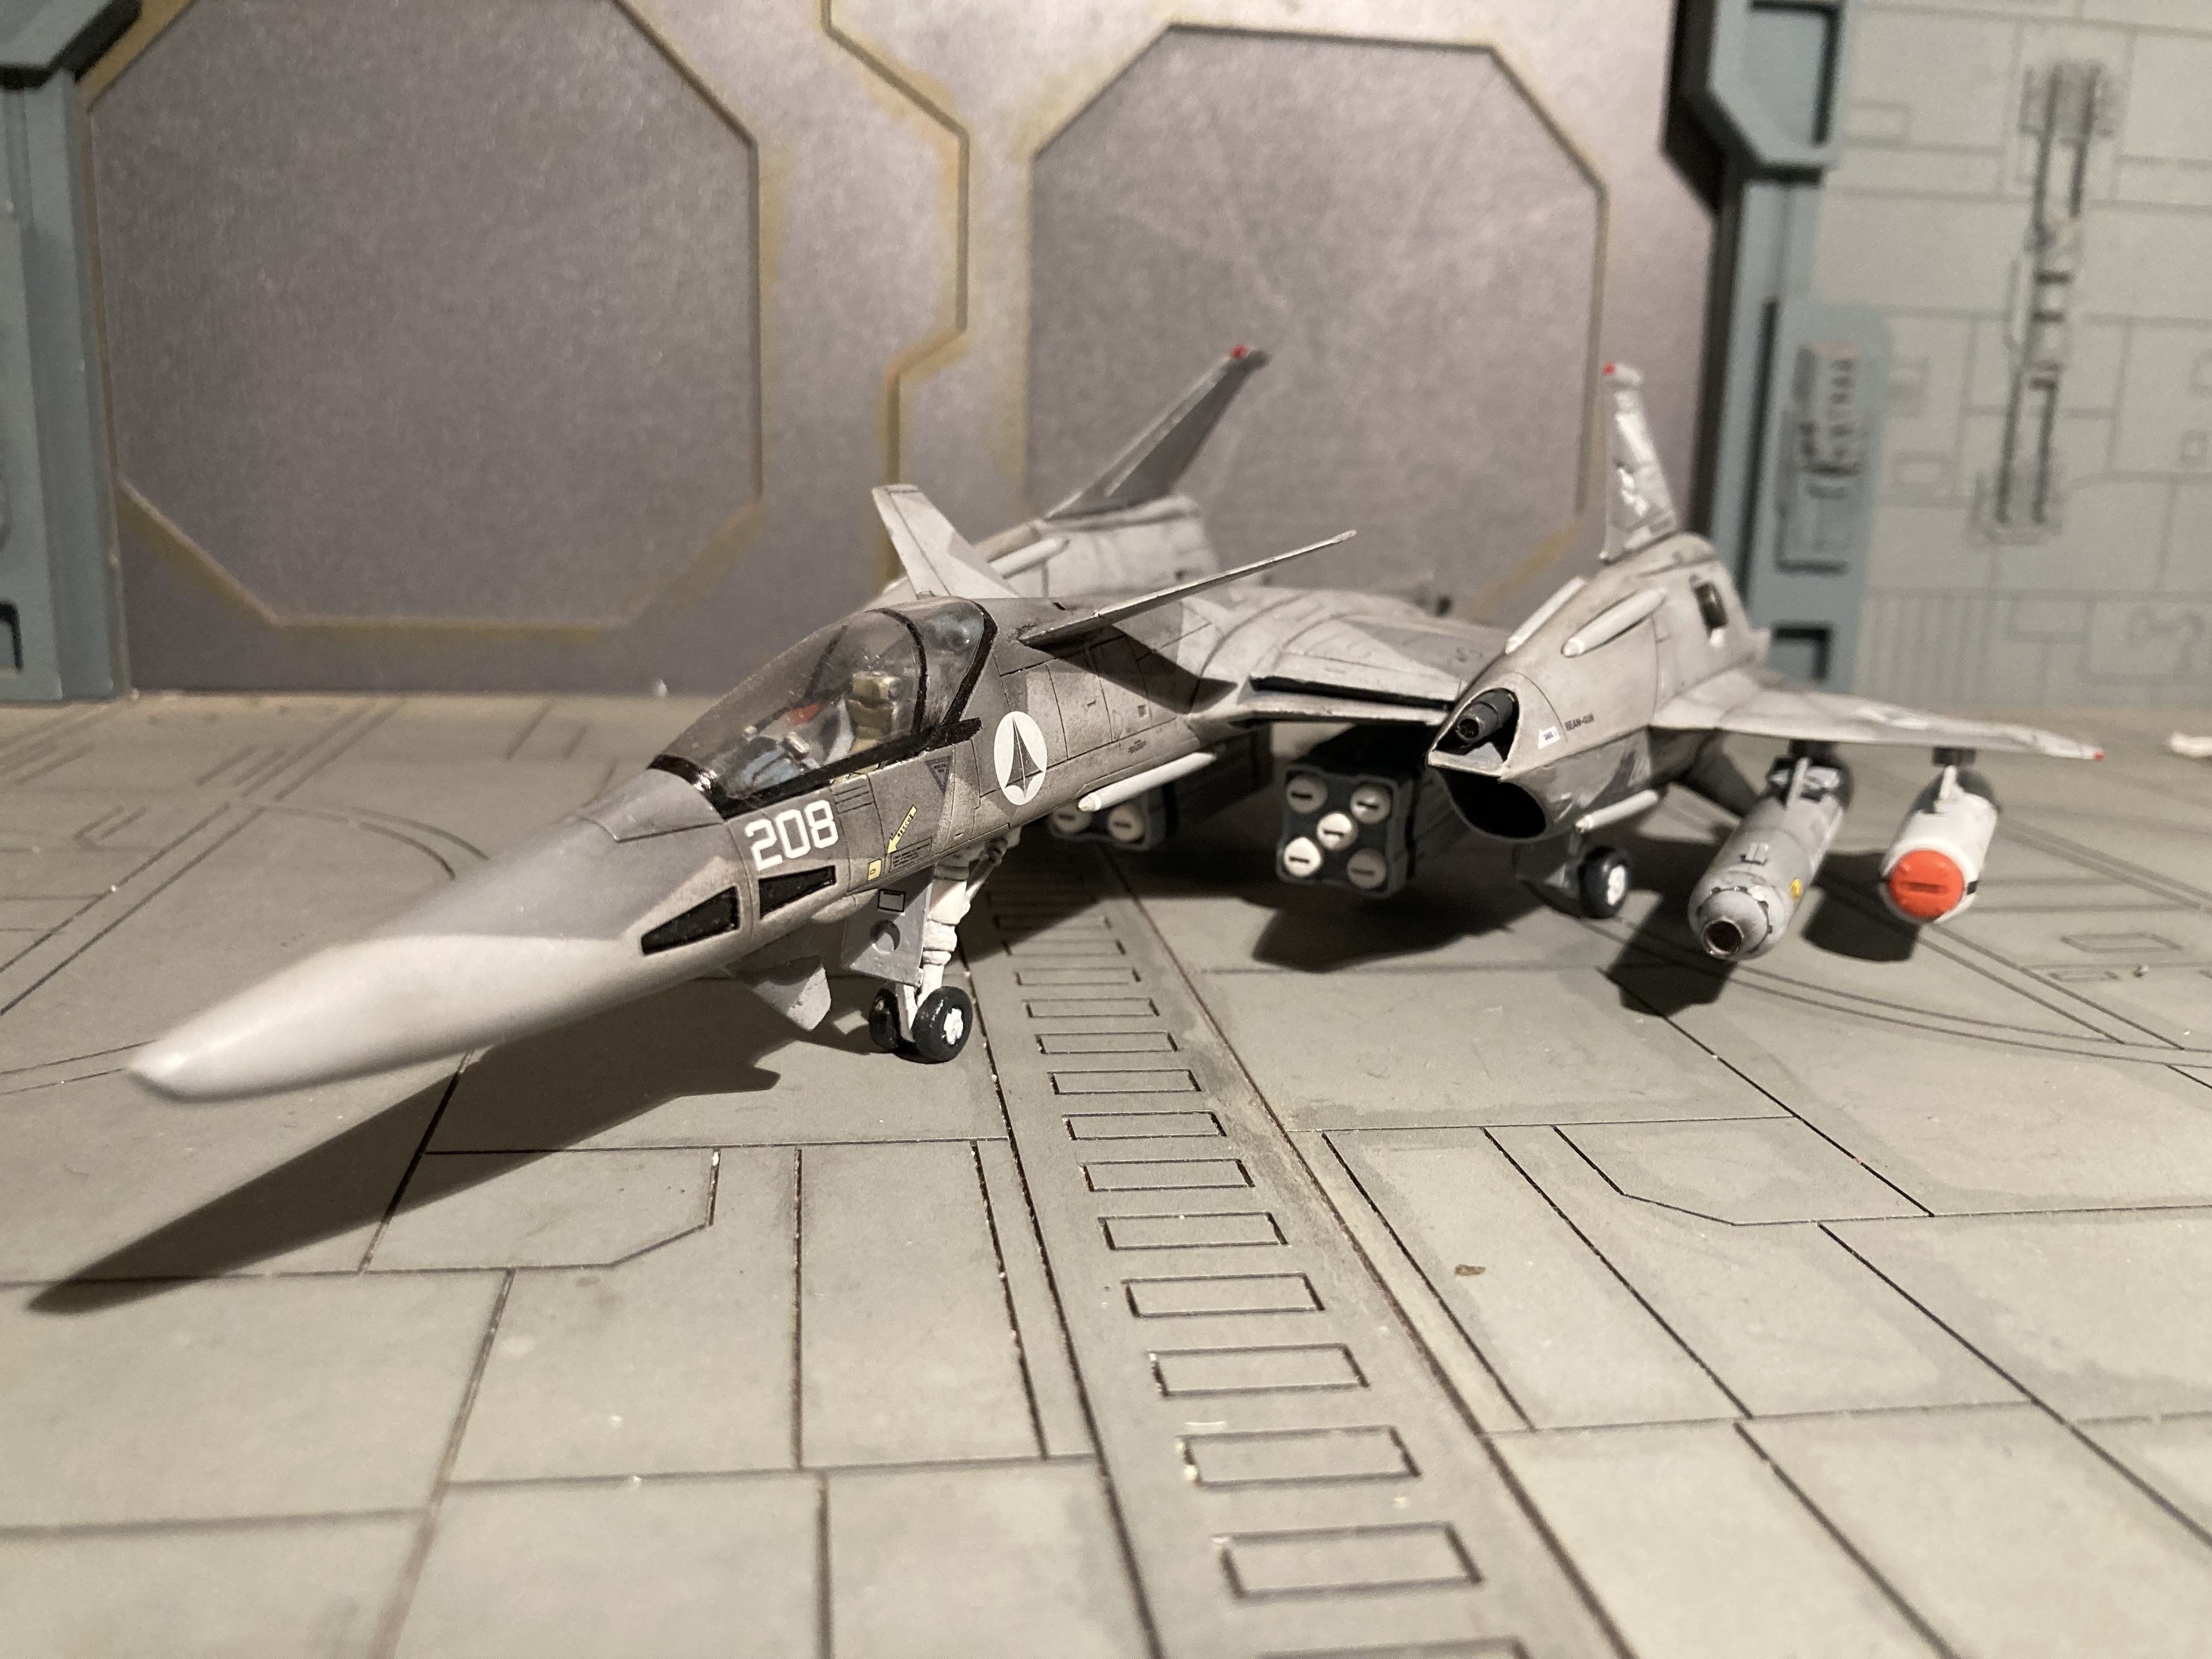
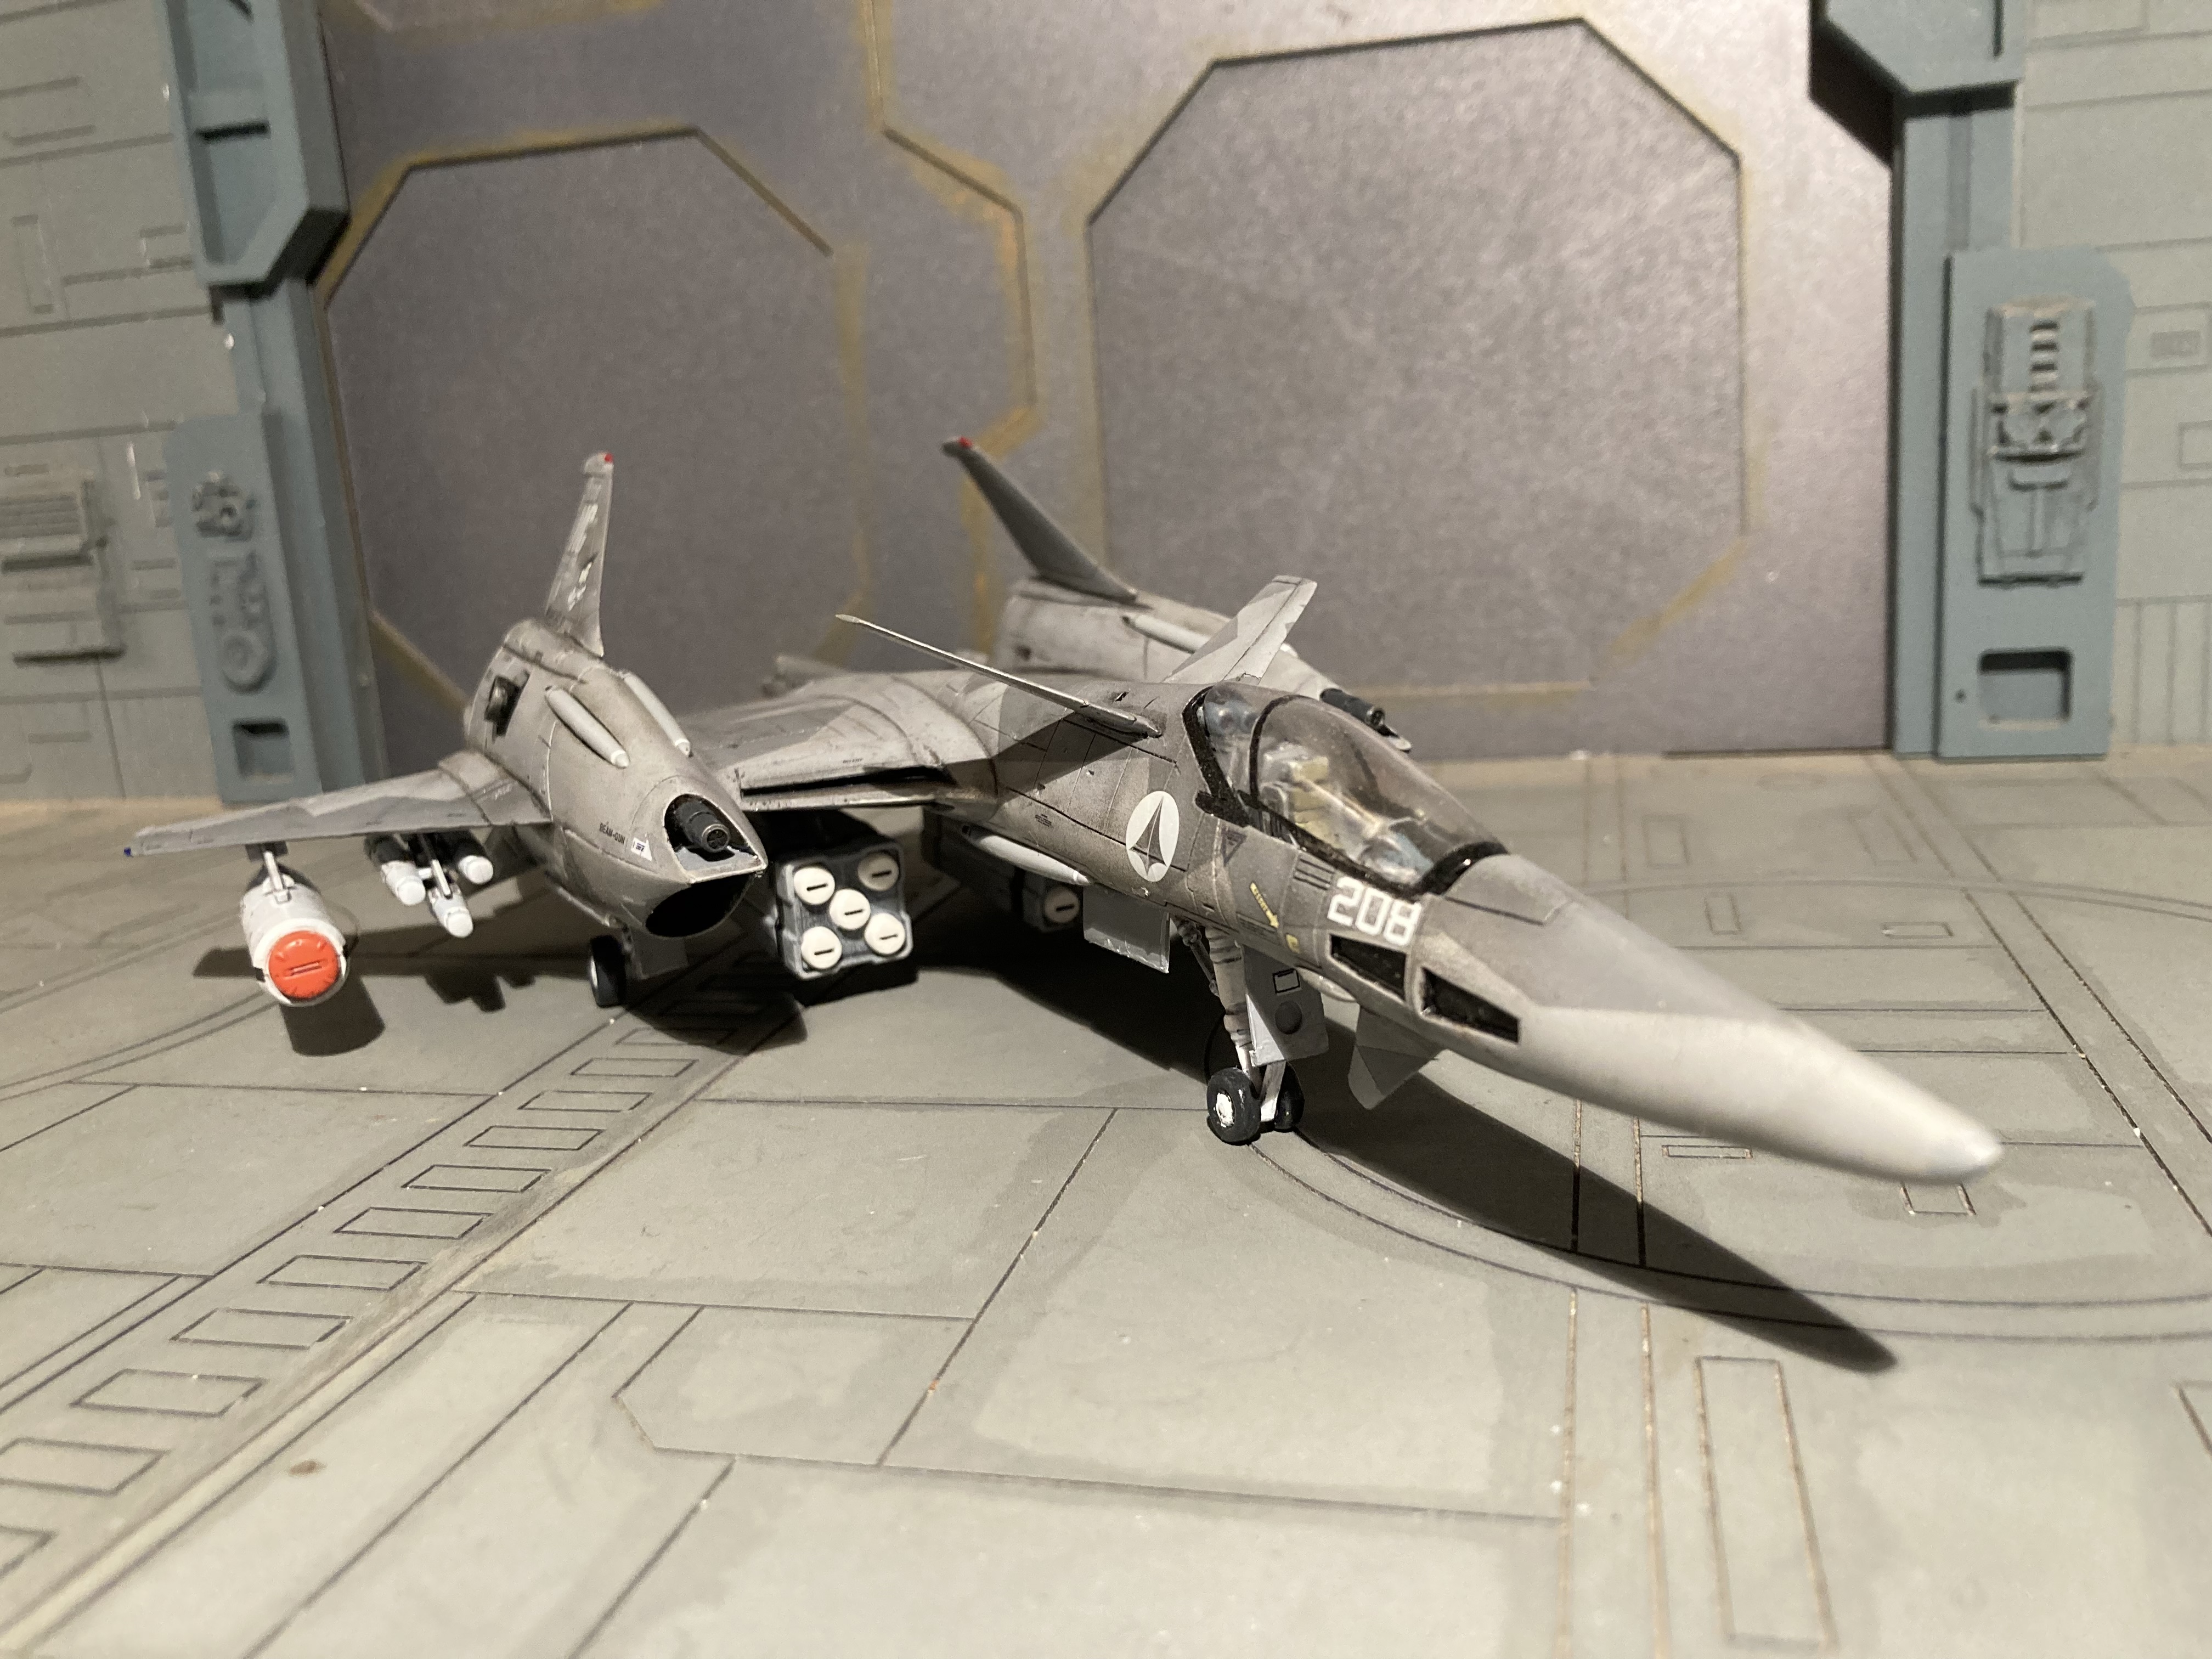
Thanks for beaming in. See you Space Cowboys next deculture💫
Awesome VF-4! I like it!
Yesterday I started scribing new panel lines on the CF-116 (F-5B). So annoying, but I will do this slowly and carefully.
-
49 minutes ago, derex3592 said:
Any of you airplane buffs wanna give me your opinions on which 1/72 F-35 kit is the best? Hasegawa? Tamiya? Italeri? I'm leaning towards Tamiya just because I've watched guys building the 1/48 version and it's an extremely well-designed kit, I'm assuming trickle down methods apply to the 1/72 kit...
All opinions welcome!
Hasegawa HAE46 F-35 Lightning II B Version US Marine Model Kit, 1:72 Scale (amazon.com)
I had the Italeri one in a double pack with the X-32 as the X-35. The kit was building okay, but it lacks details. It seems that the italeri kit on your link is a completely new mould and has more details though.
-
@Bolt thanks!
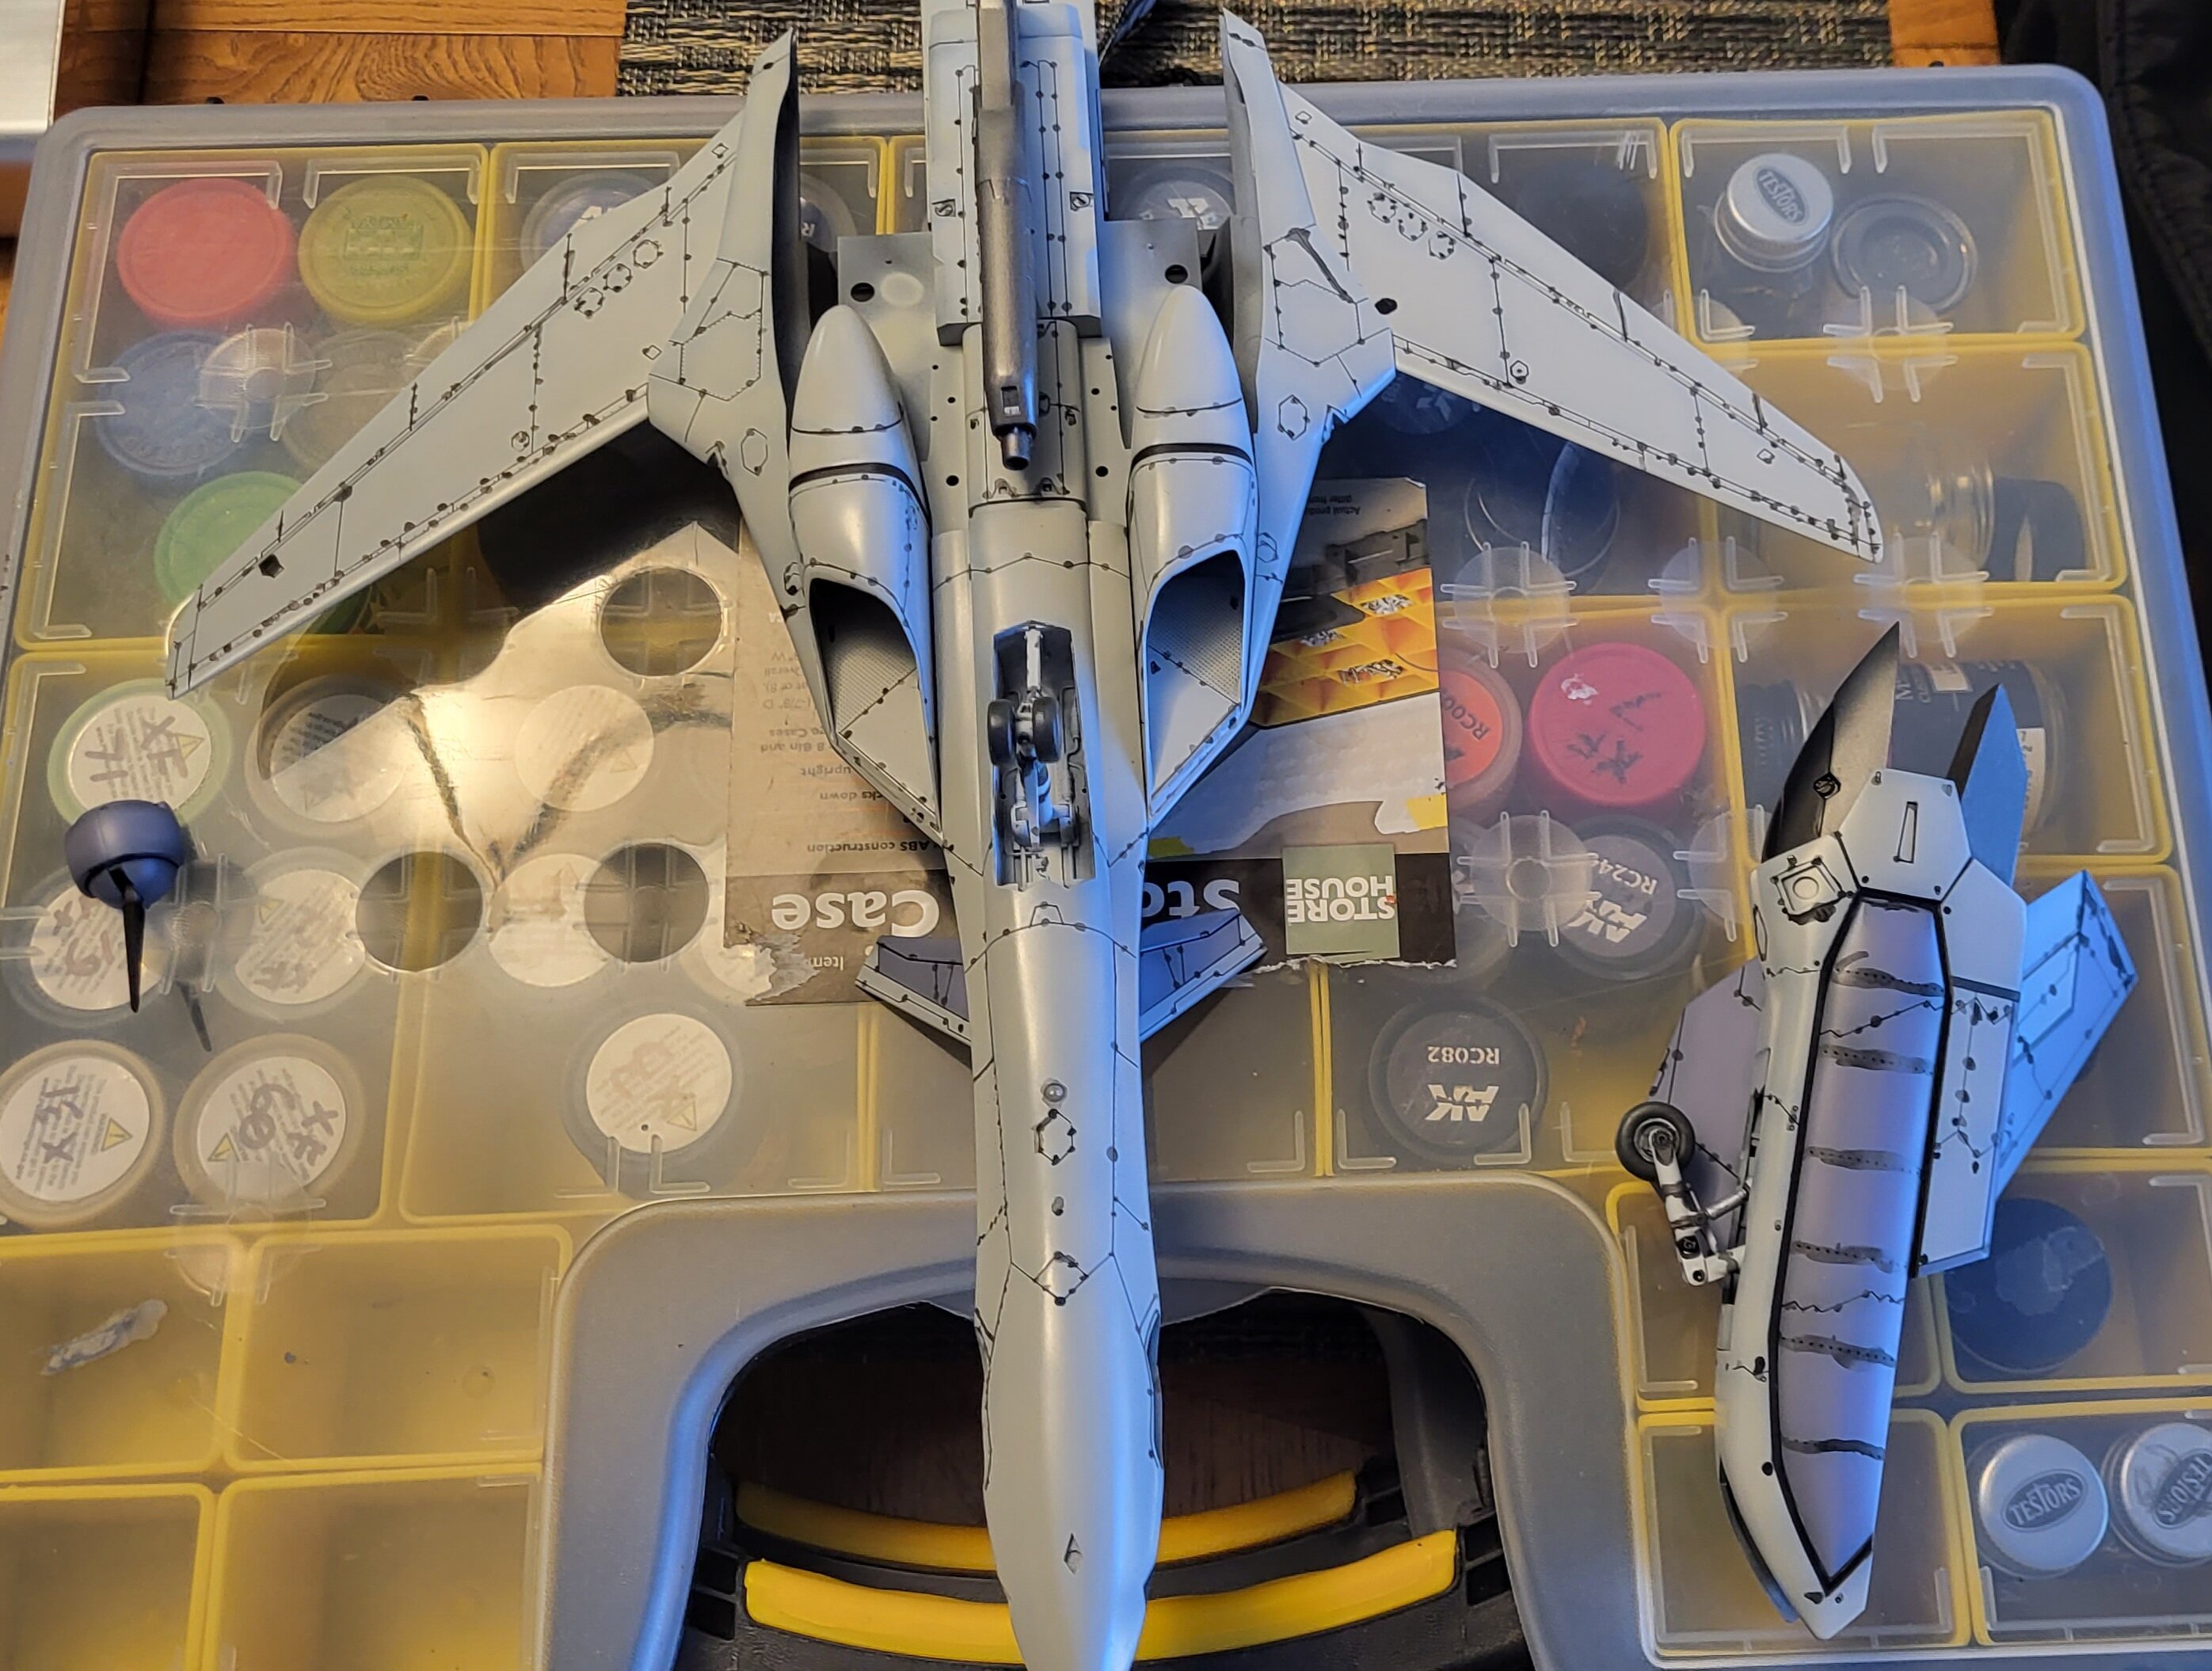
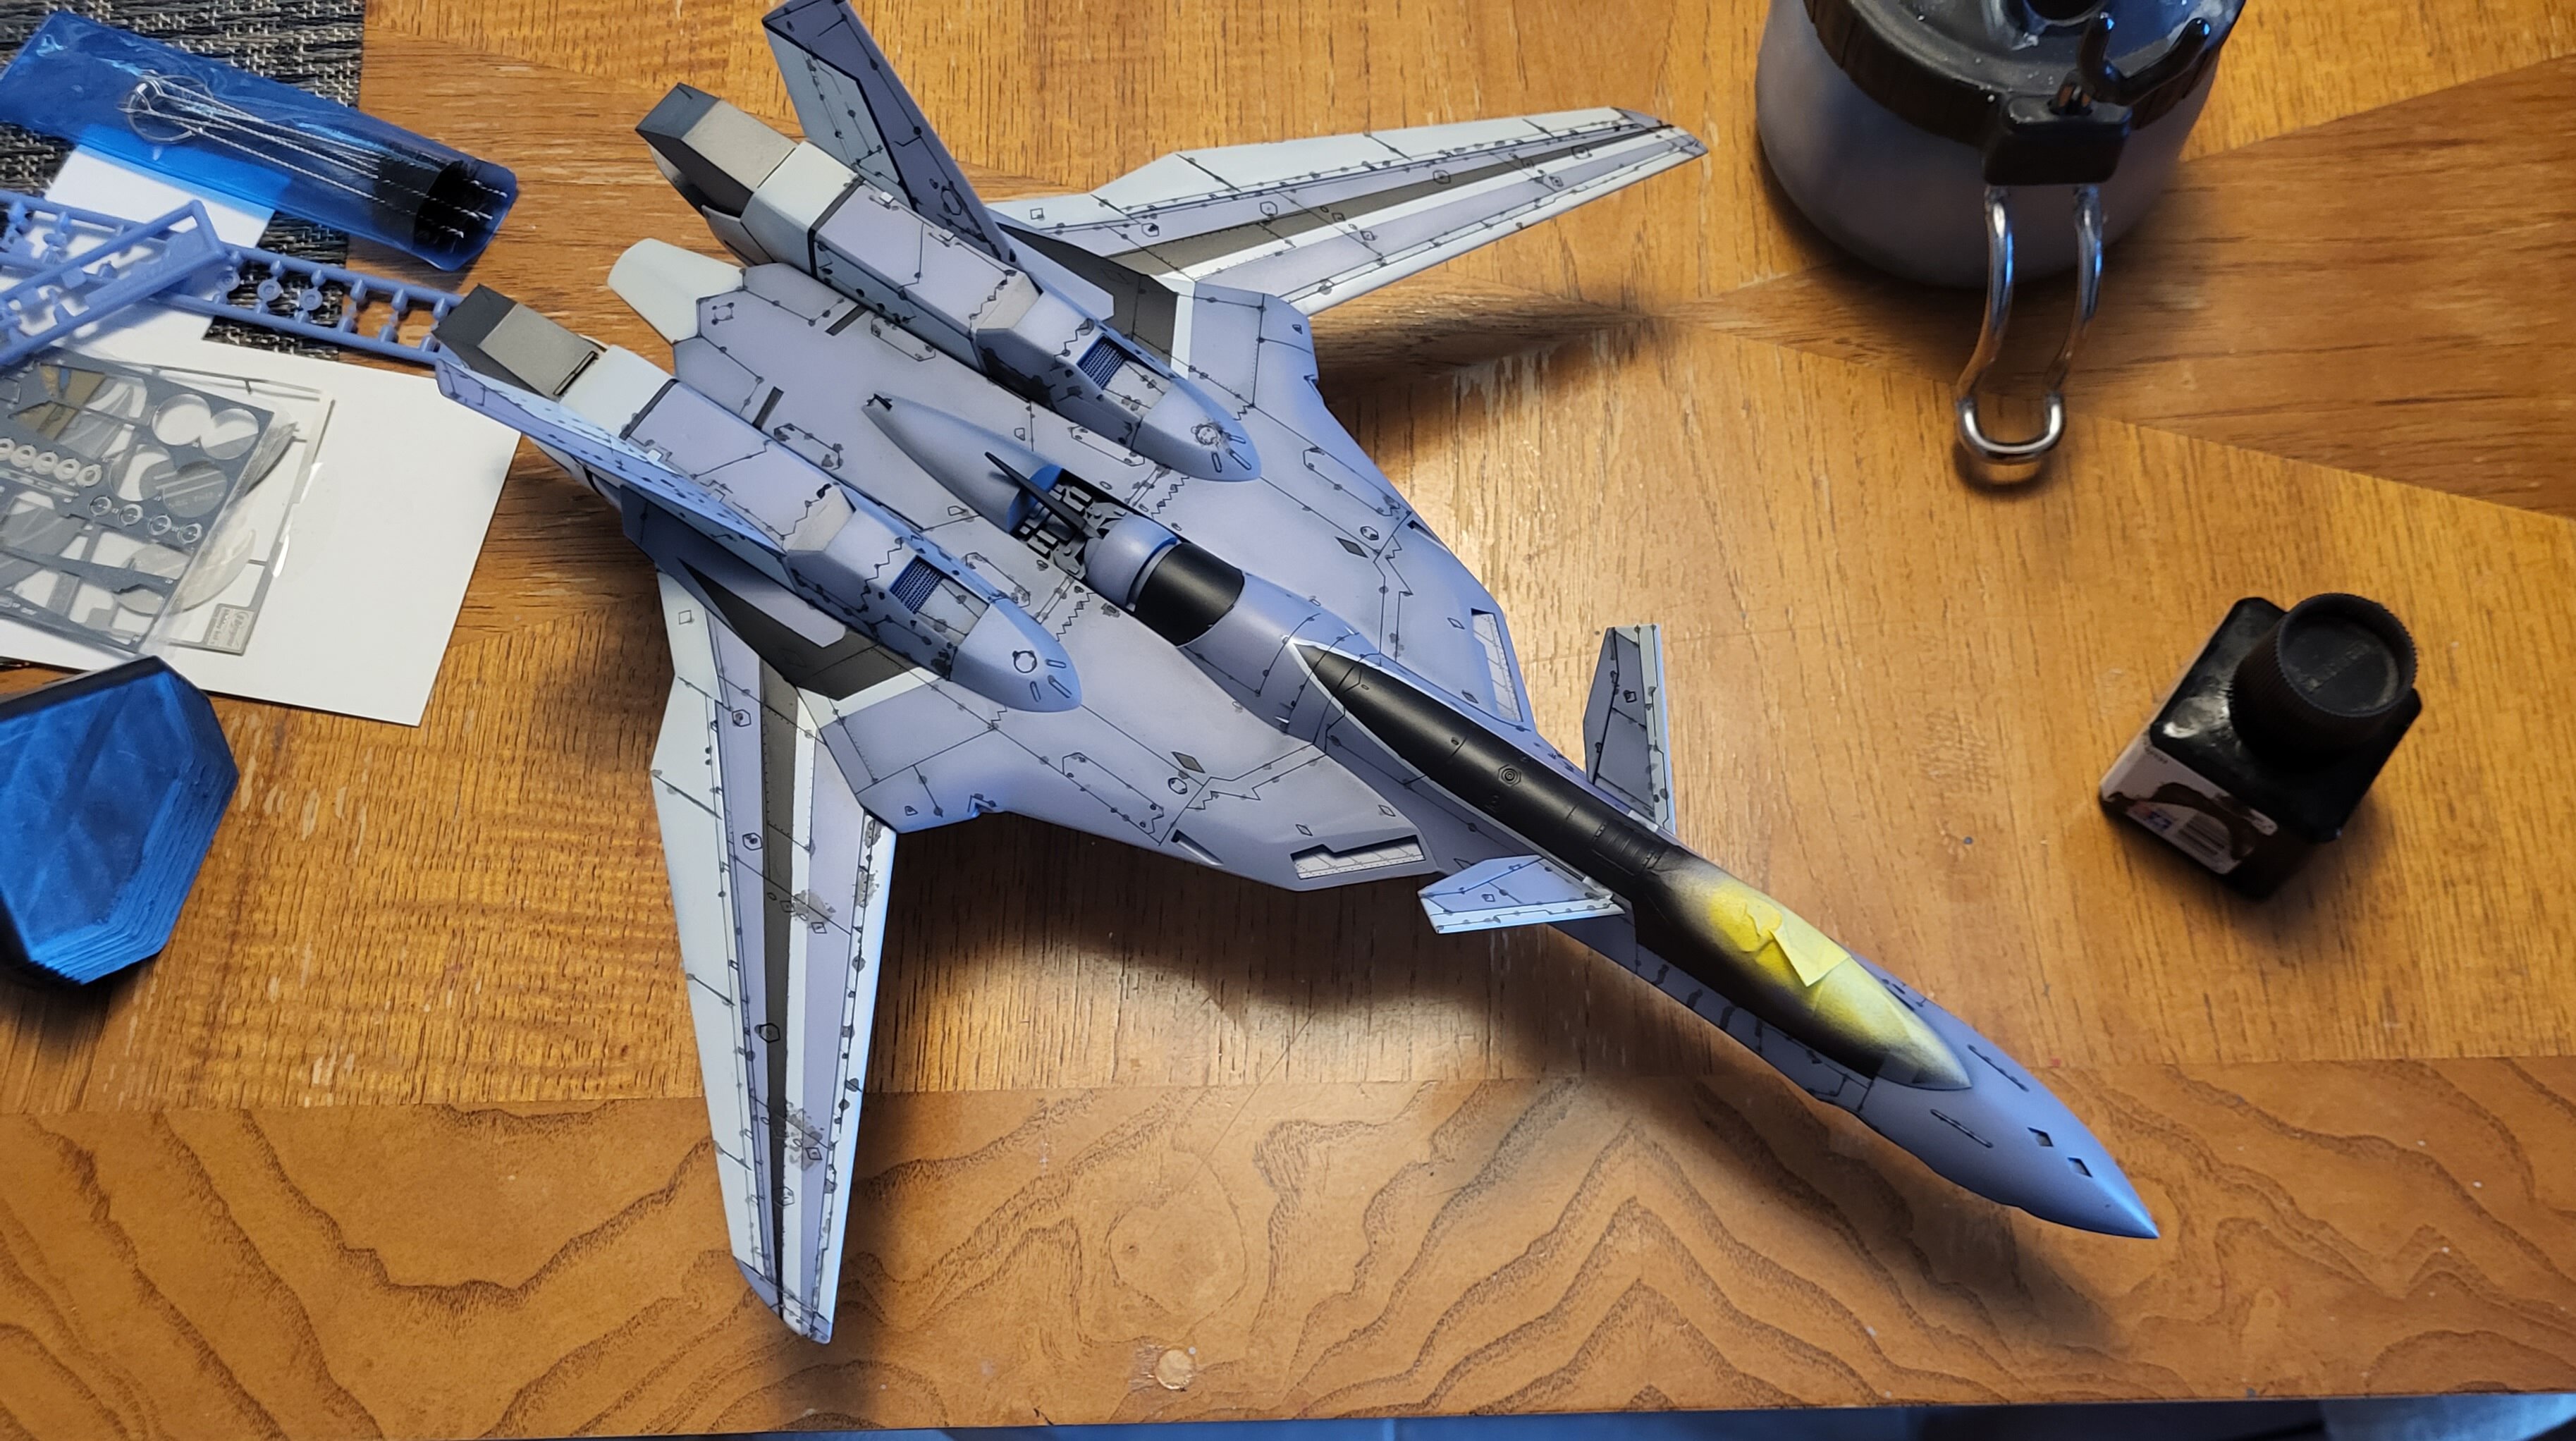
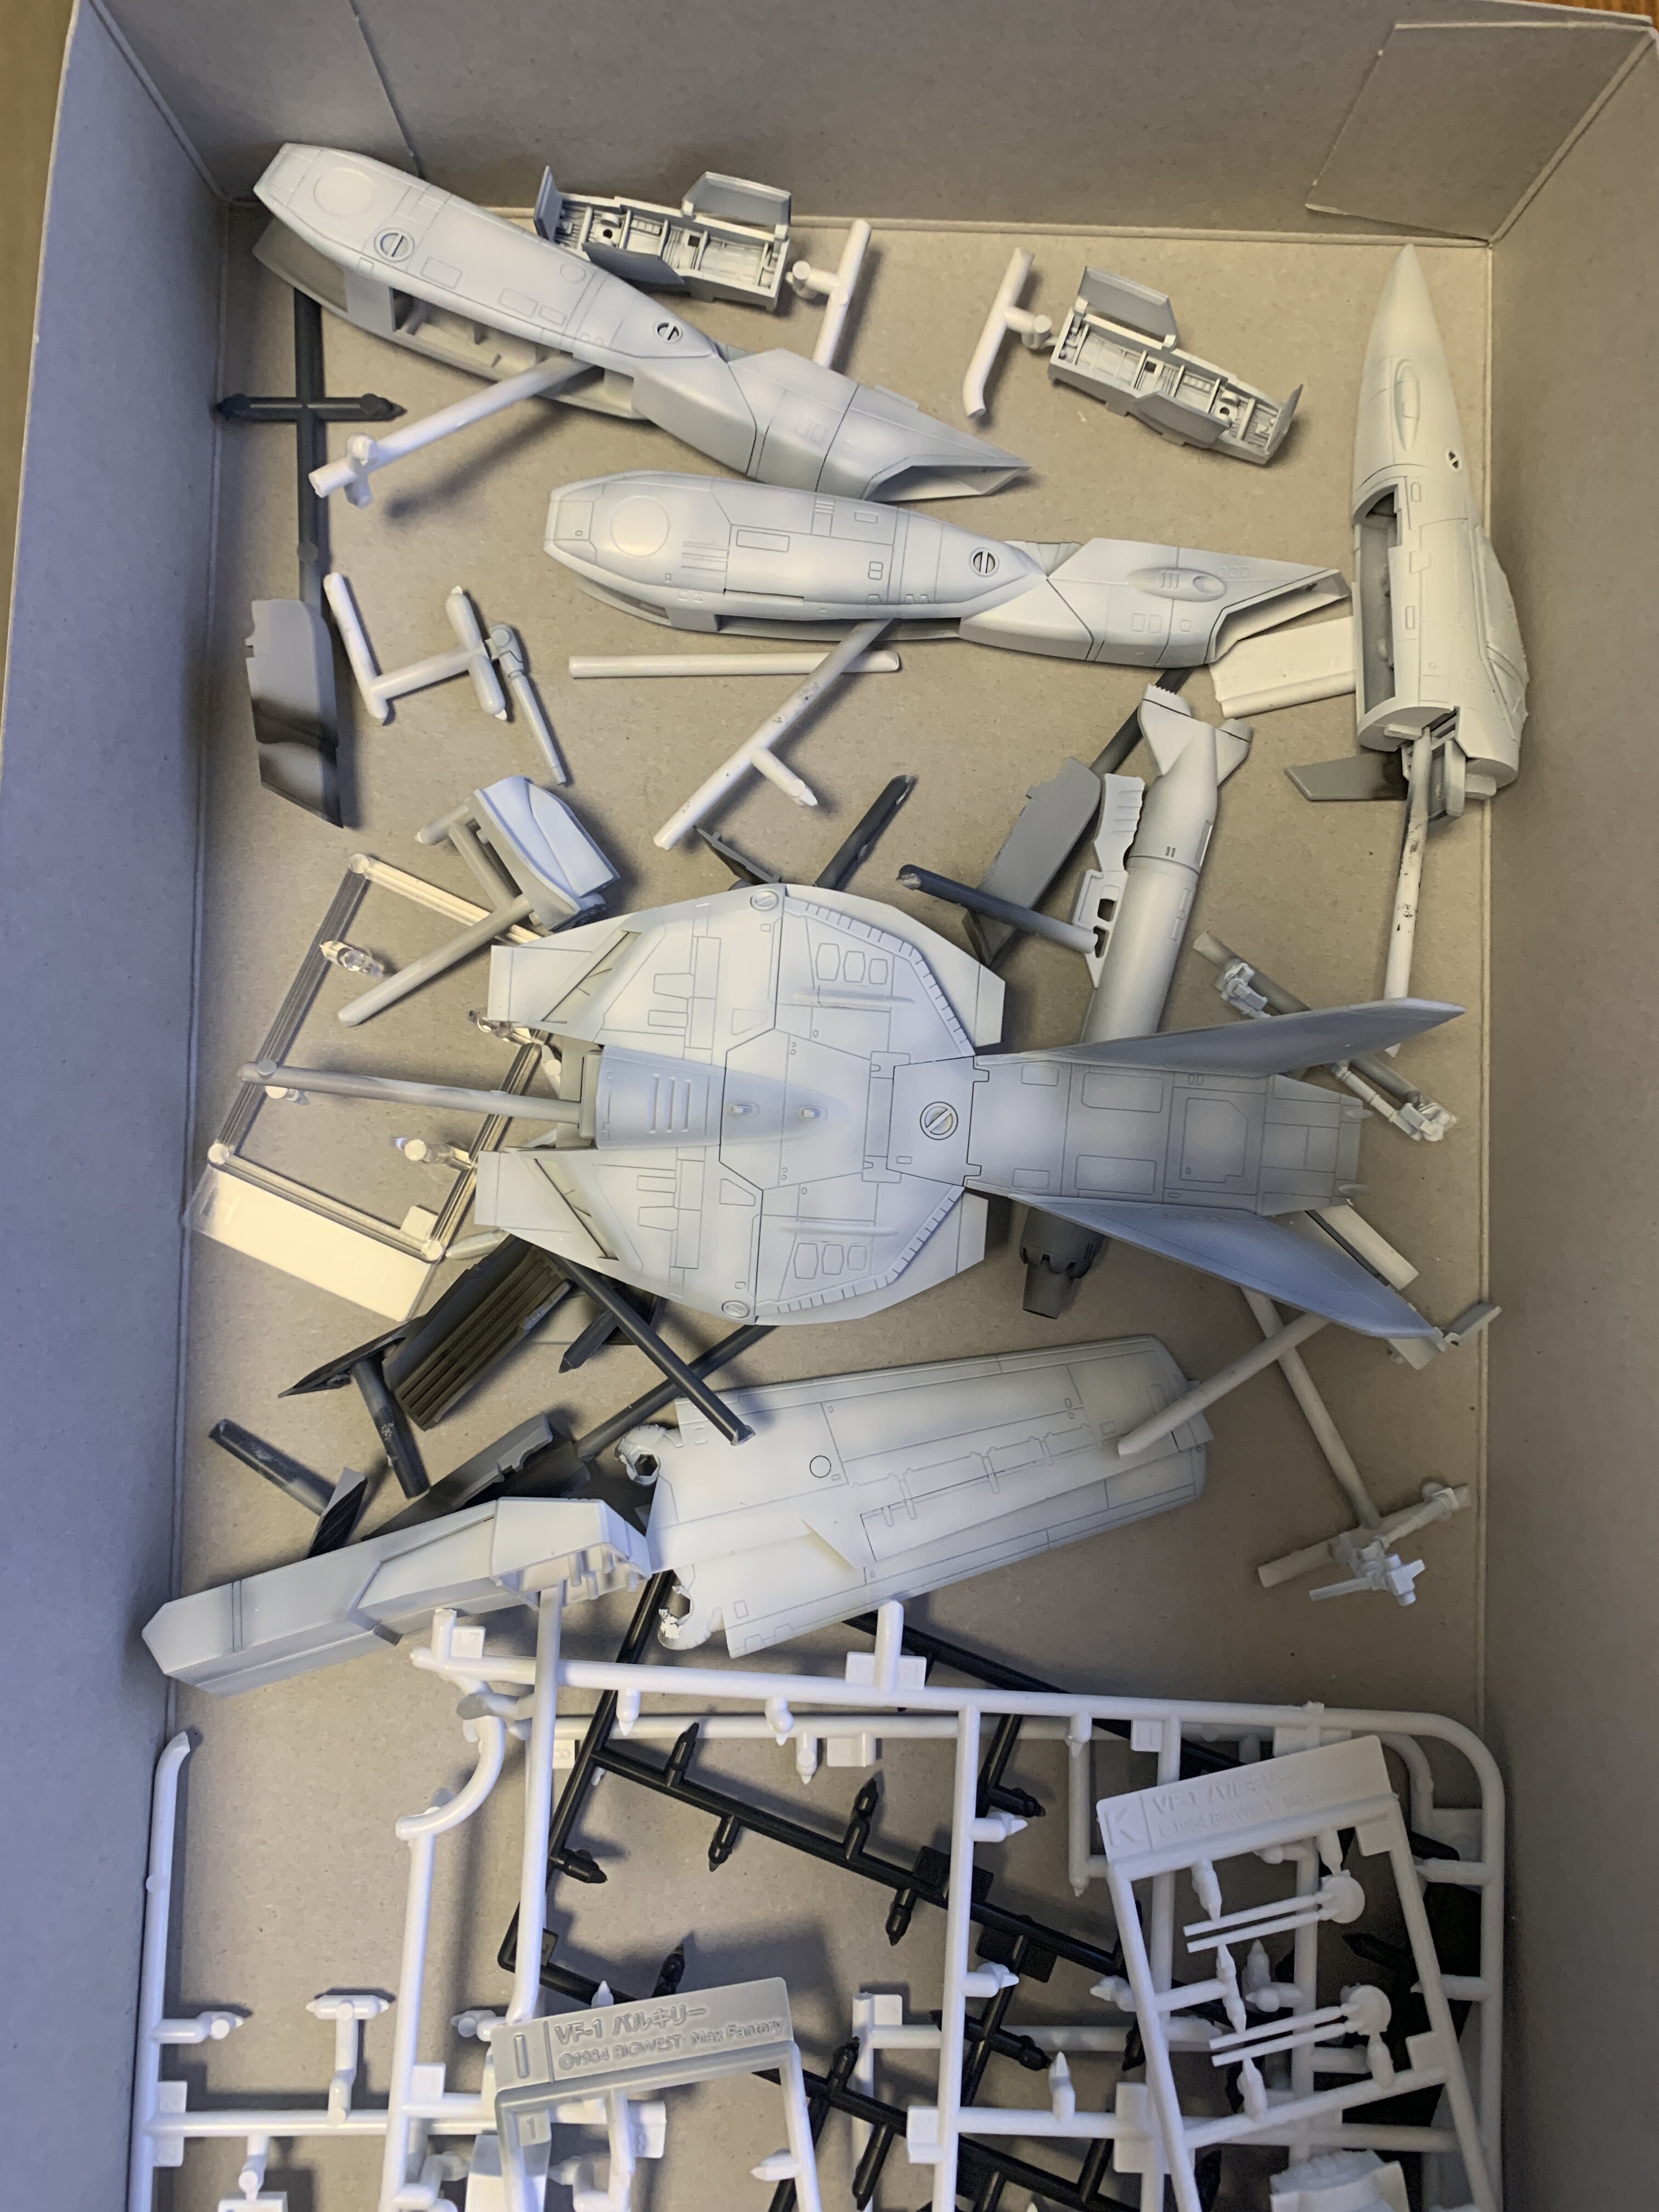
Plamax VF-1 time!
While doing the first round of white…
… something caught my attention. A seam I puttied, but forgot to sand. So careful sanding was done.
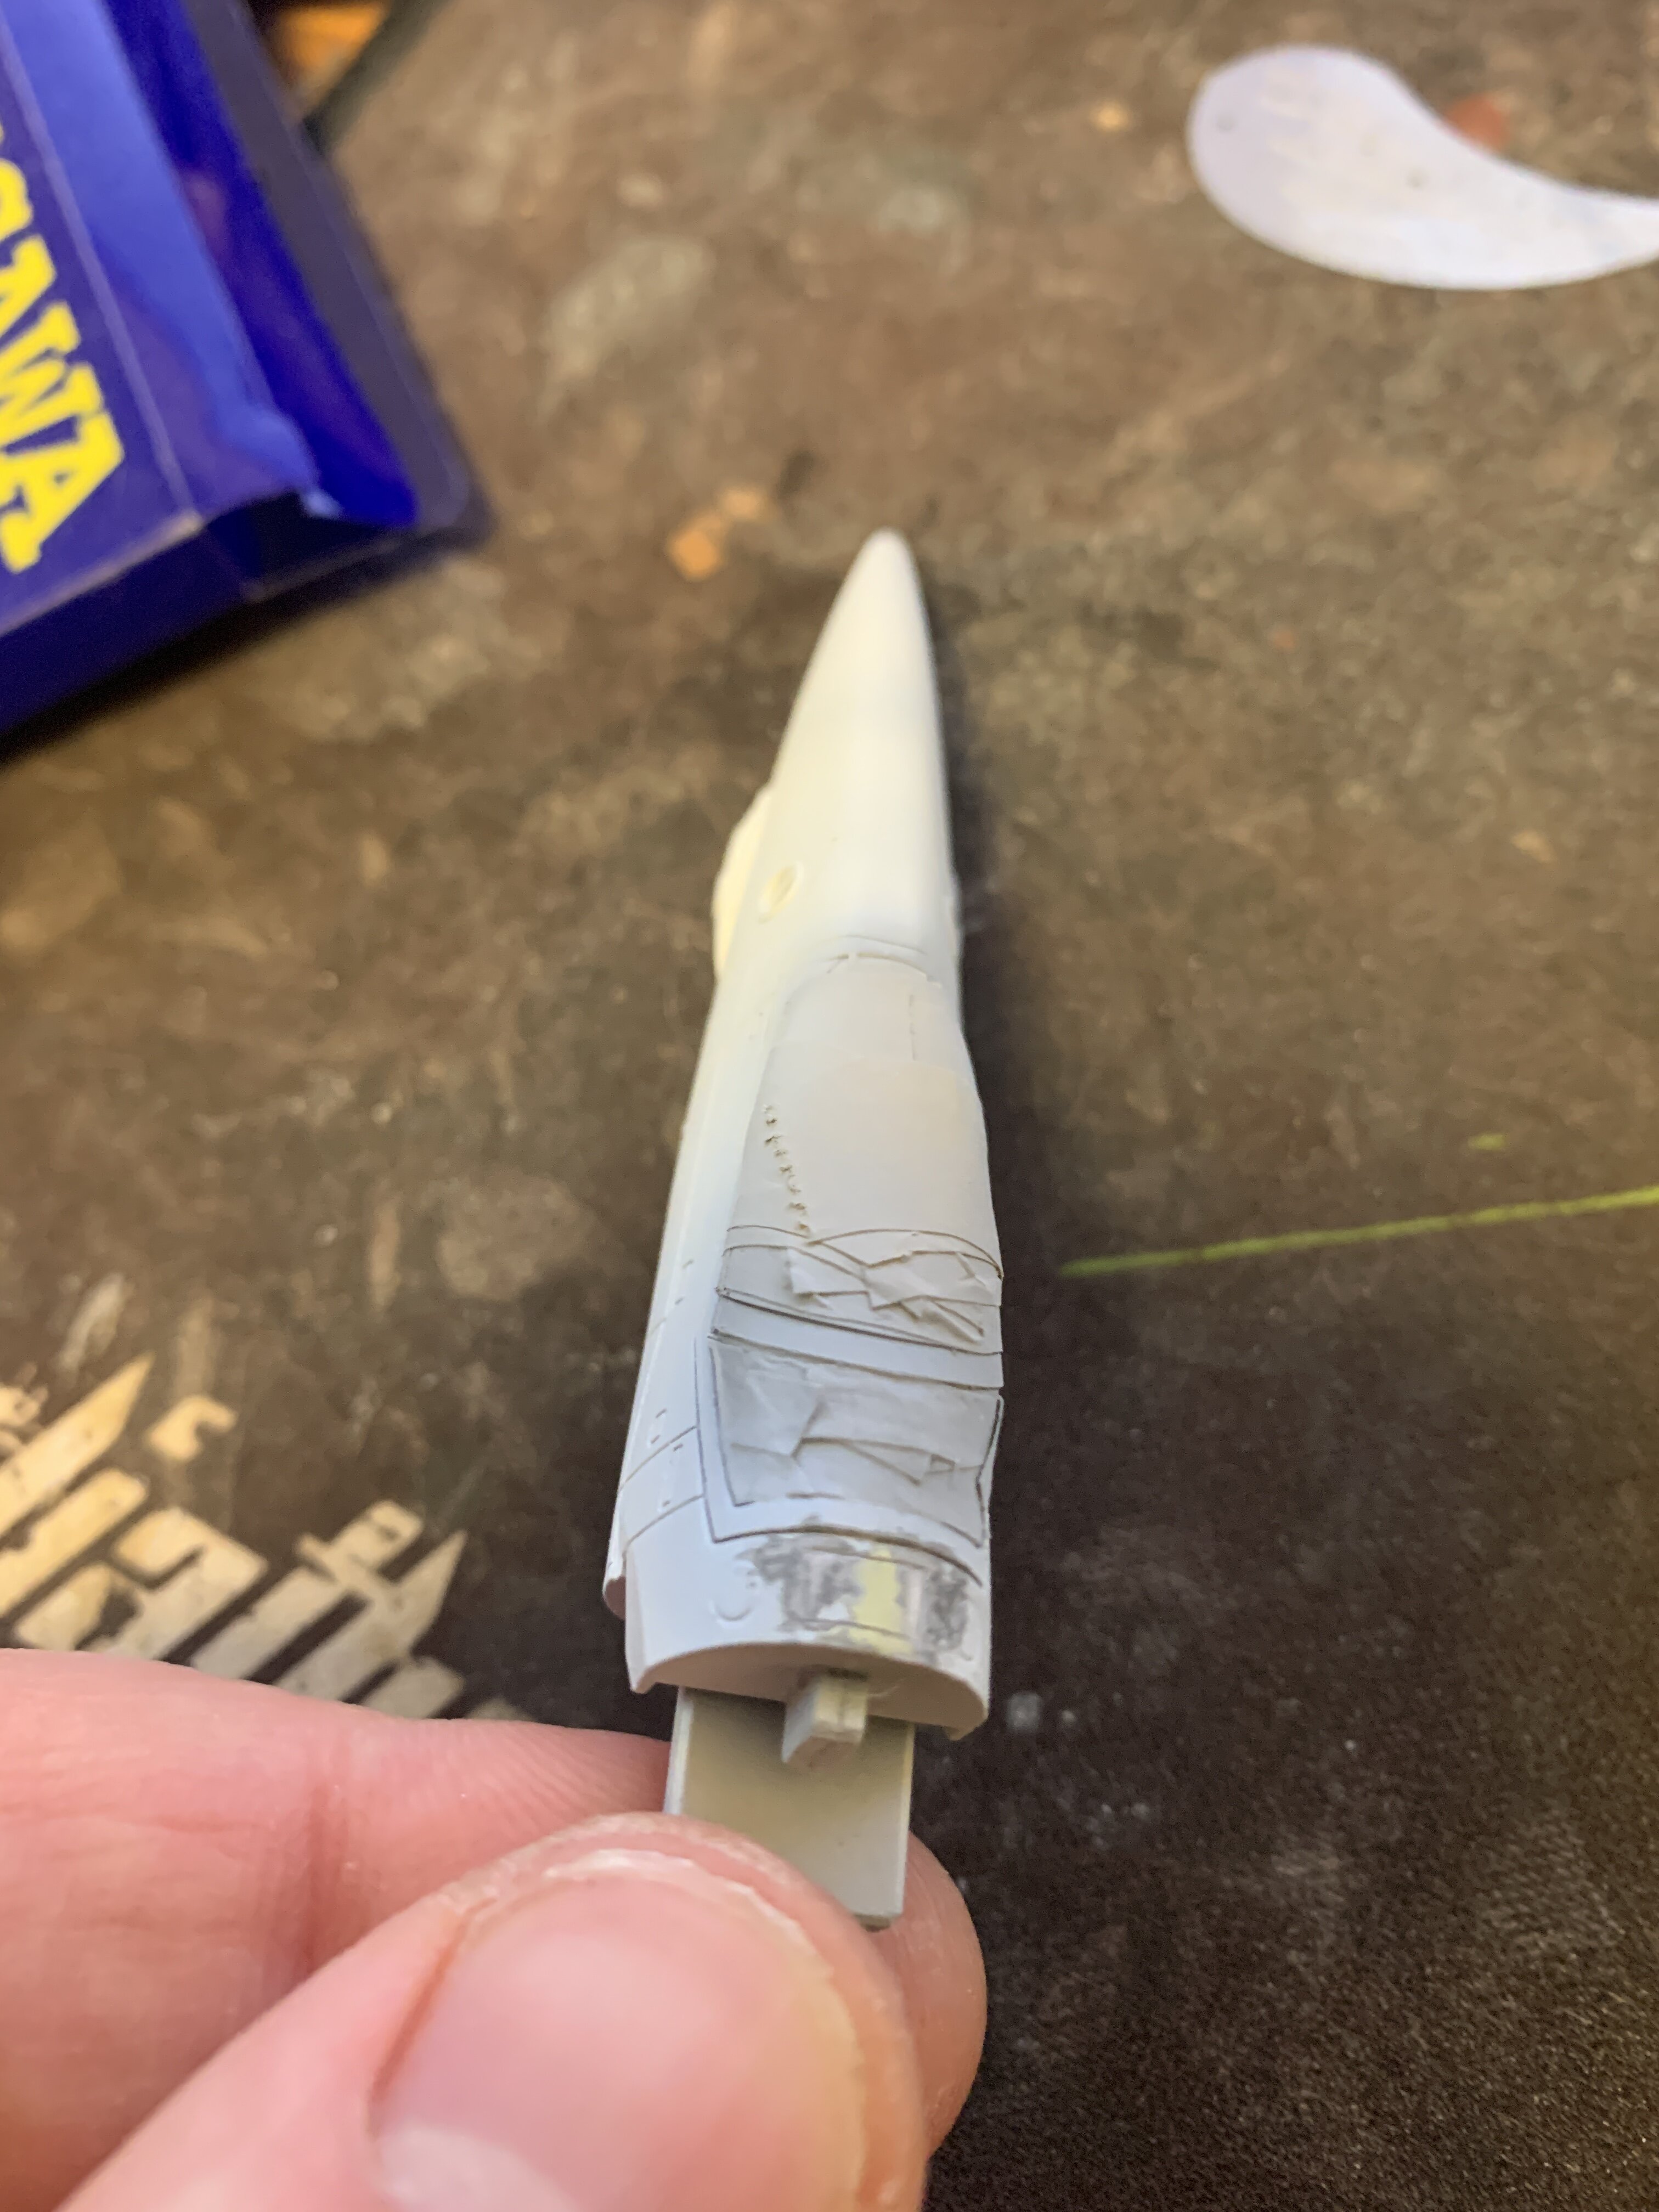
But now the first white is done
-
@Kurt WB! That is a great GP38! I like it.
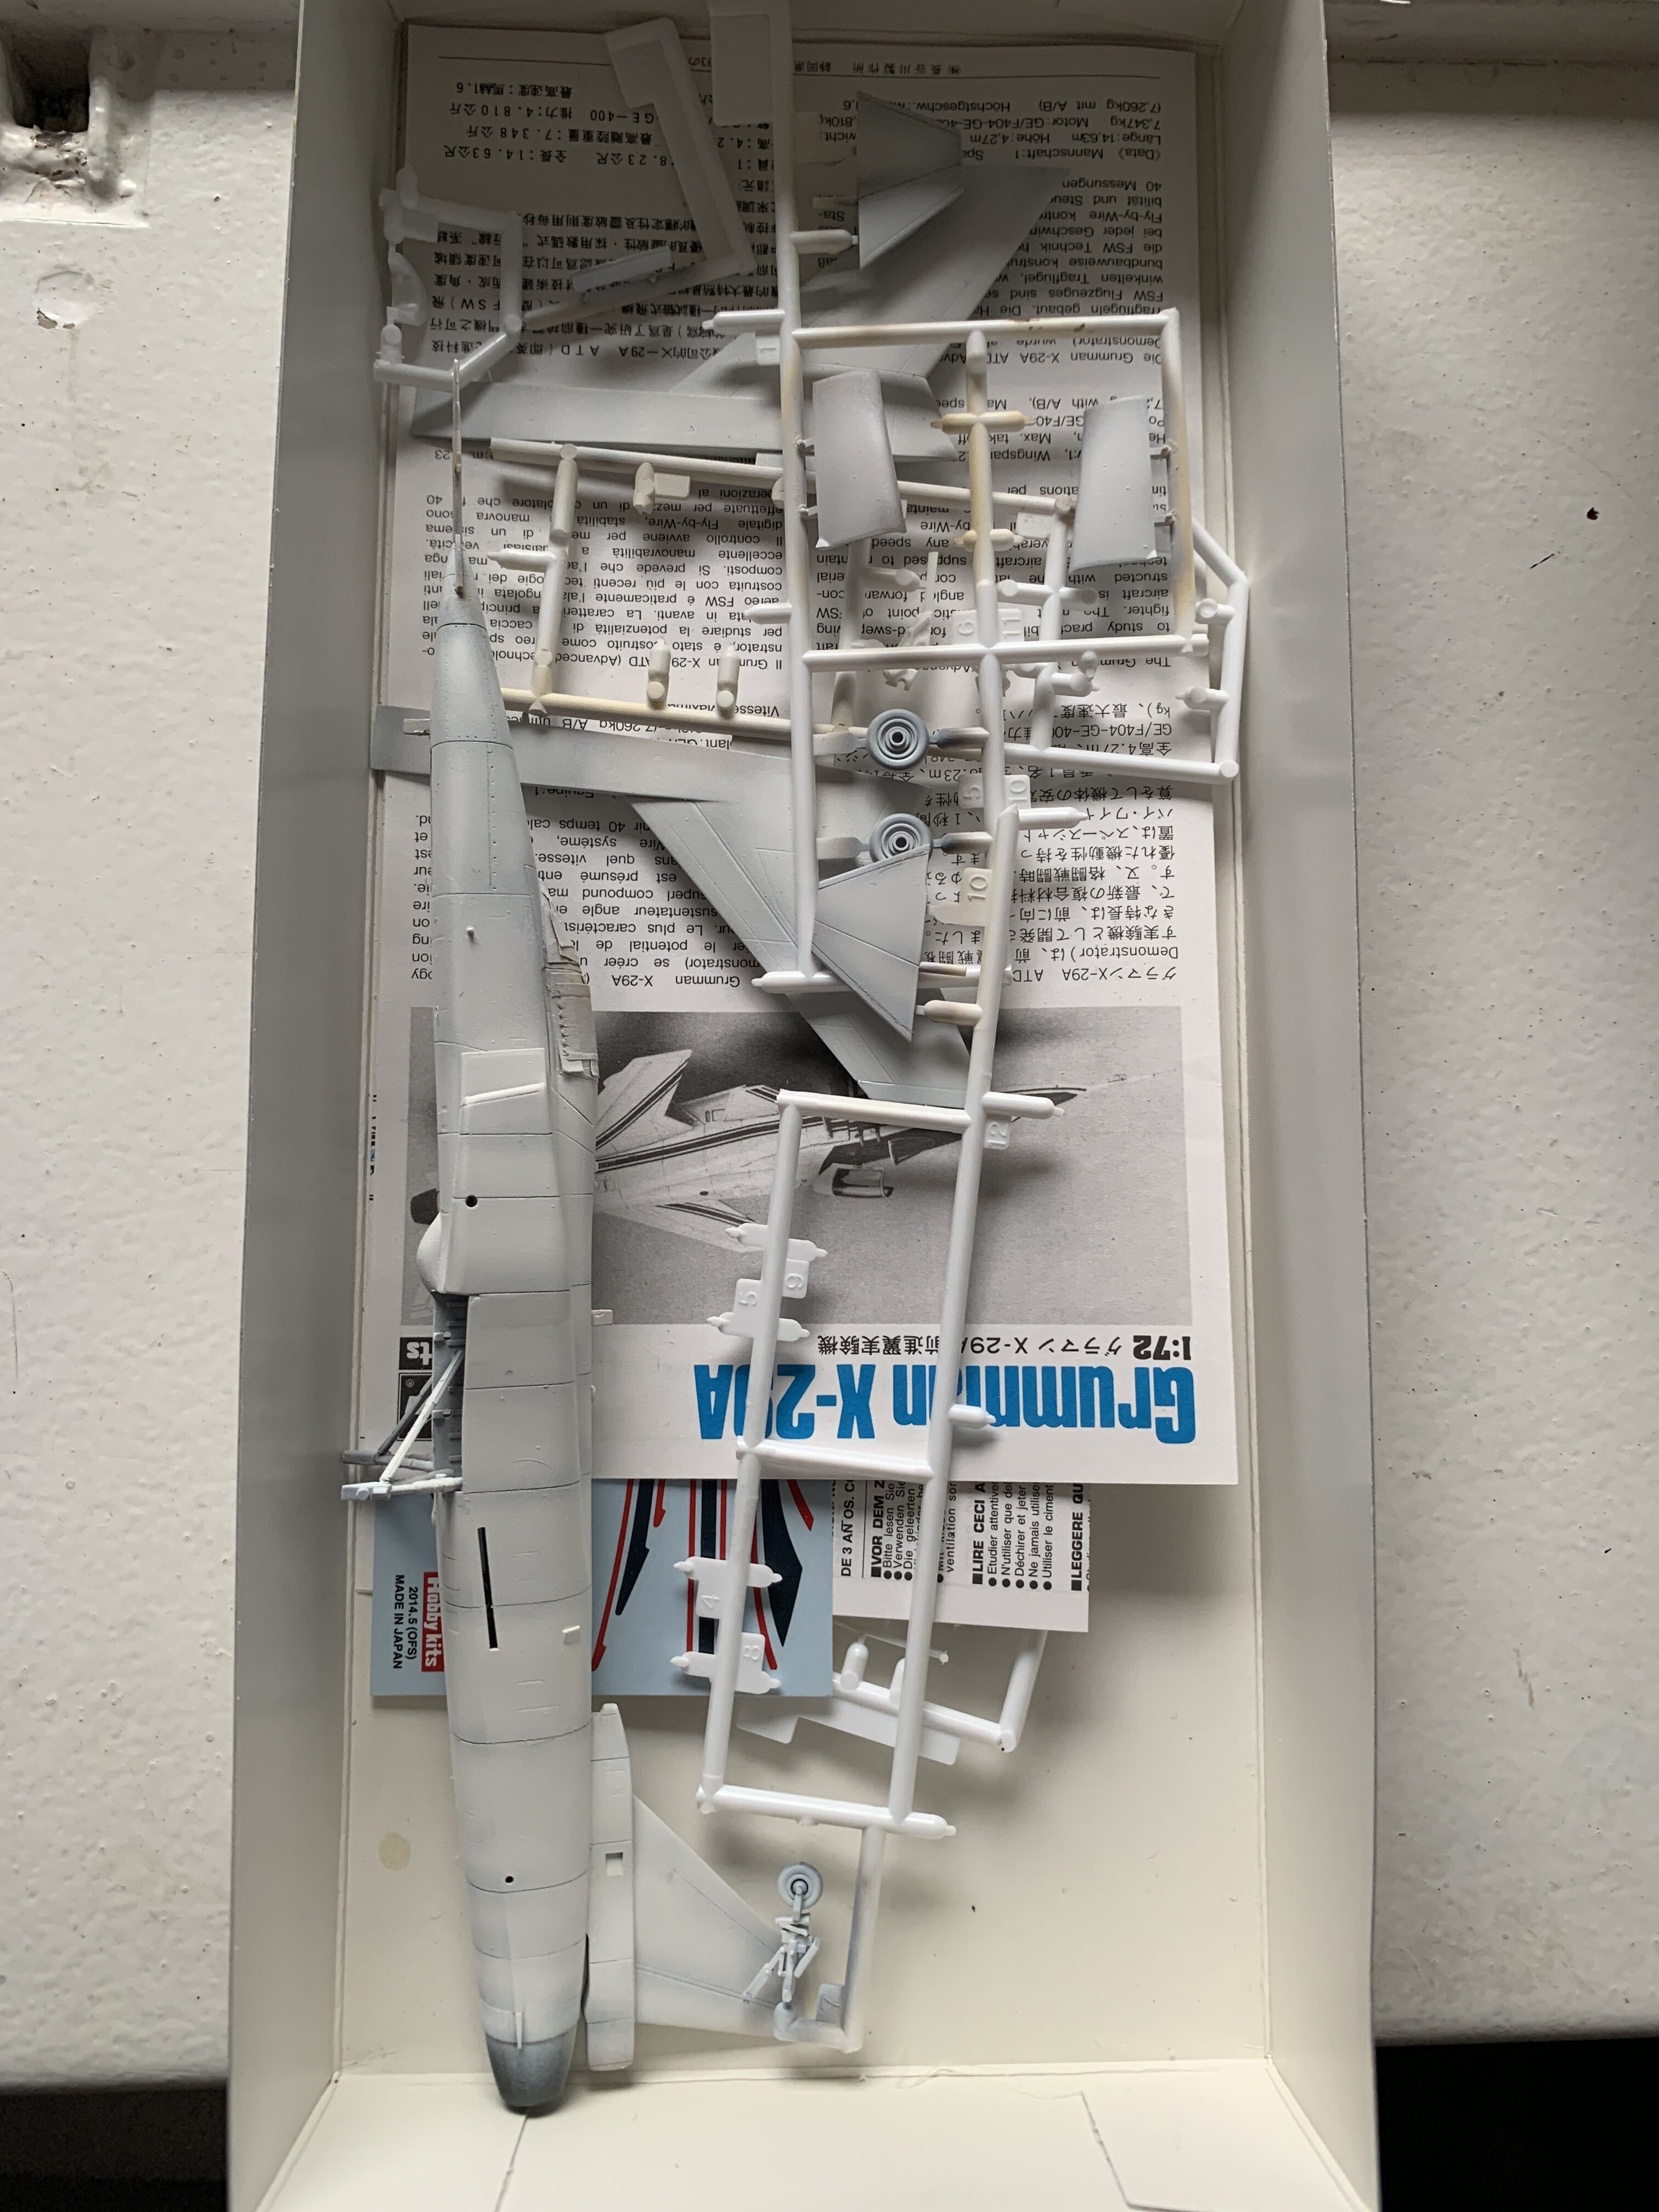
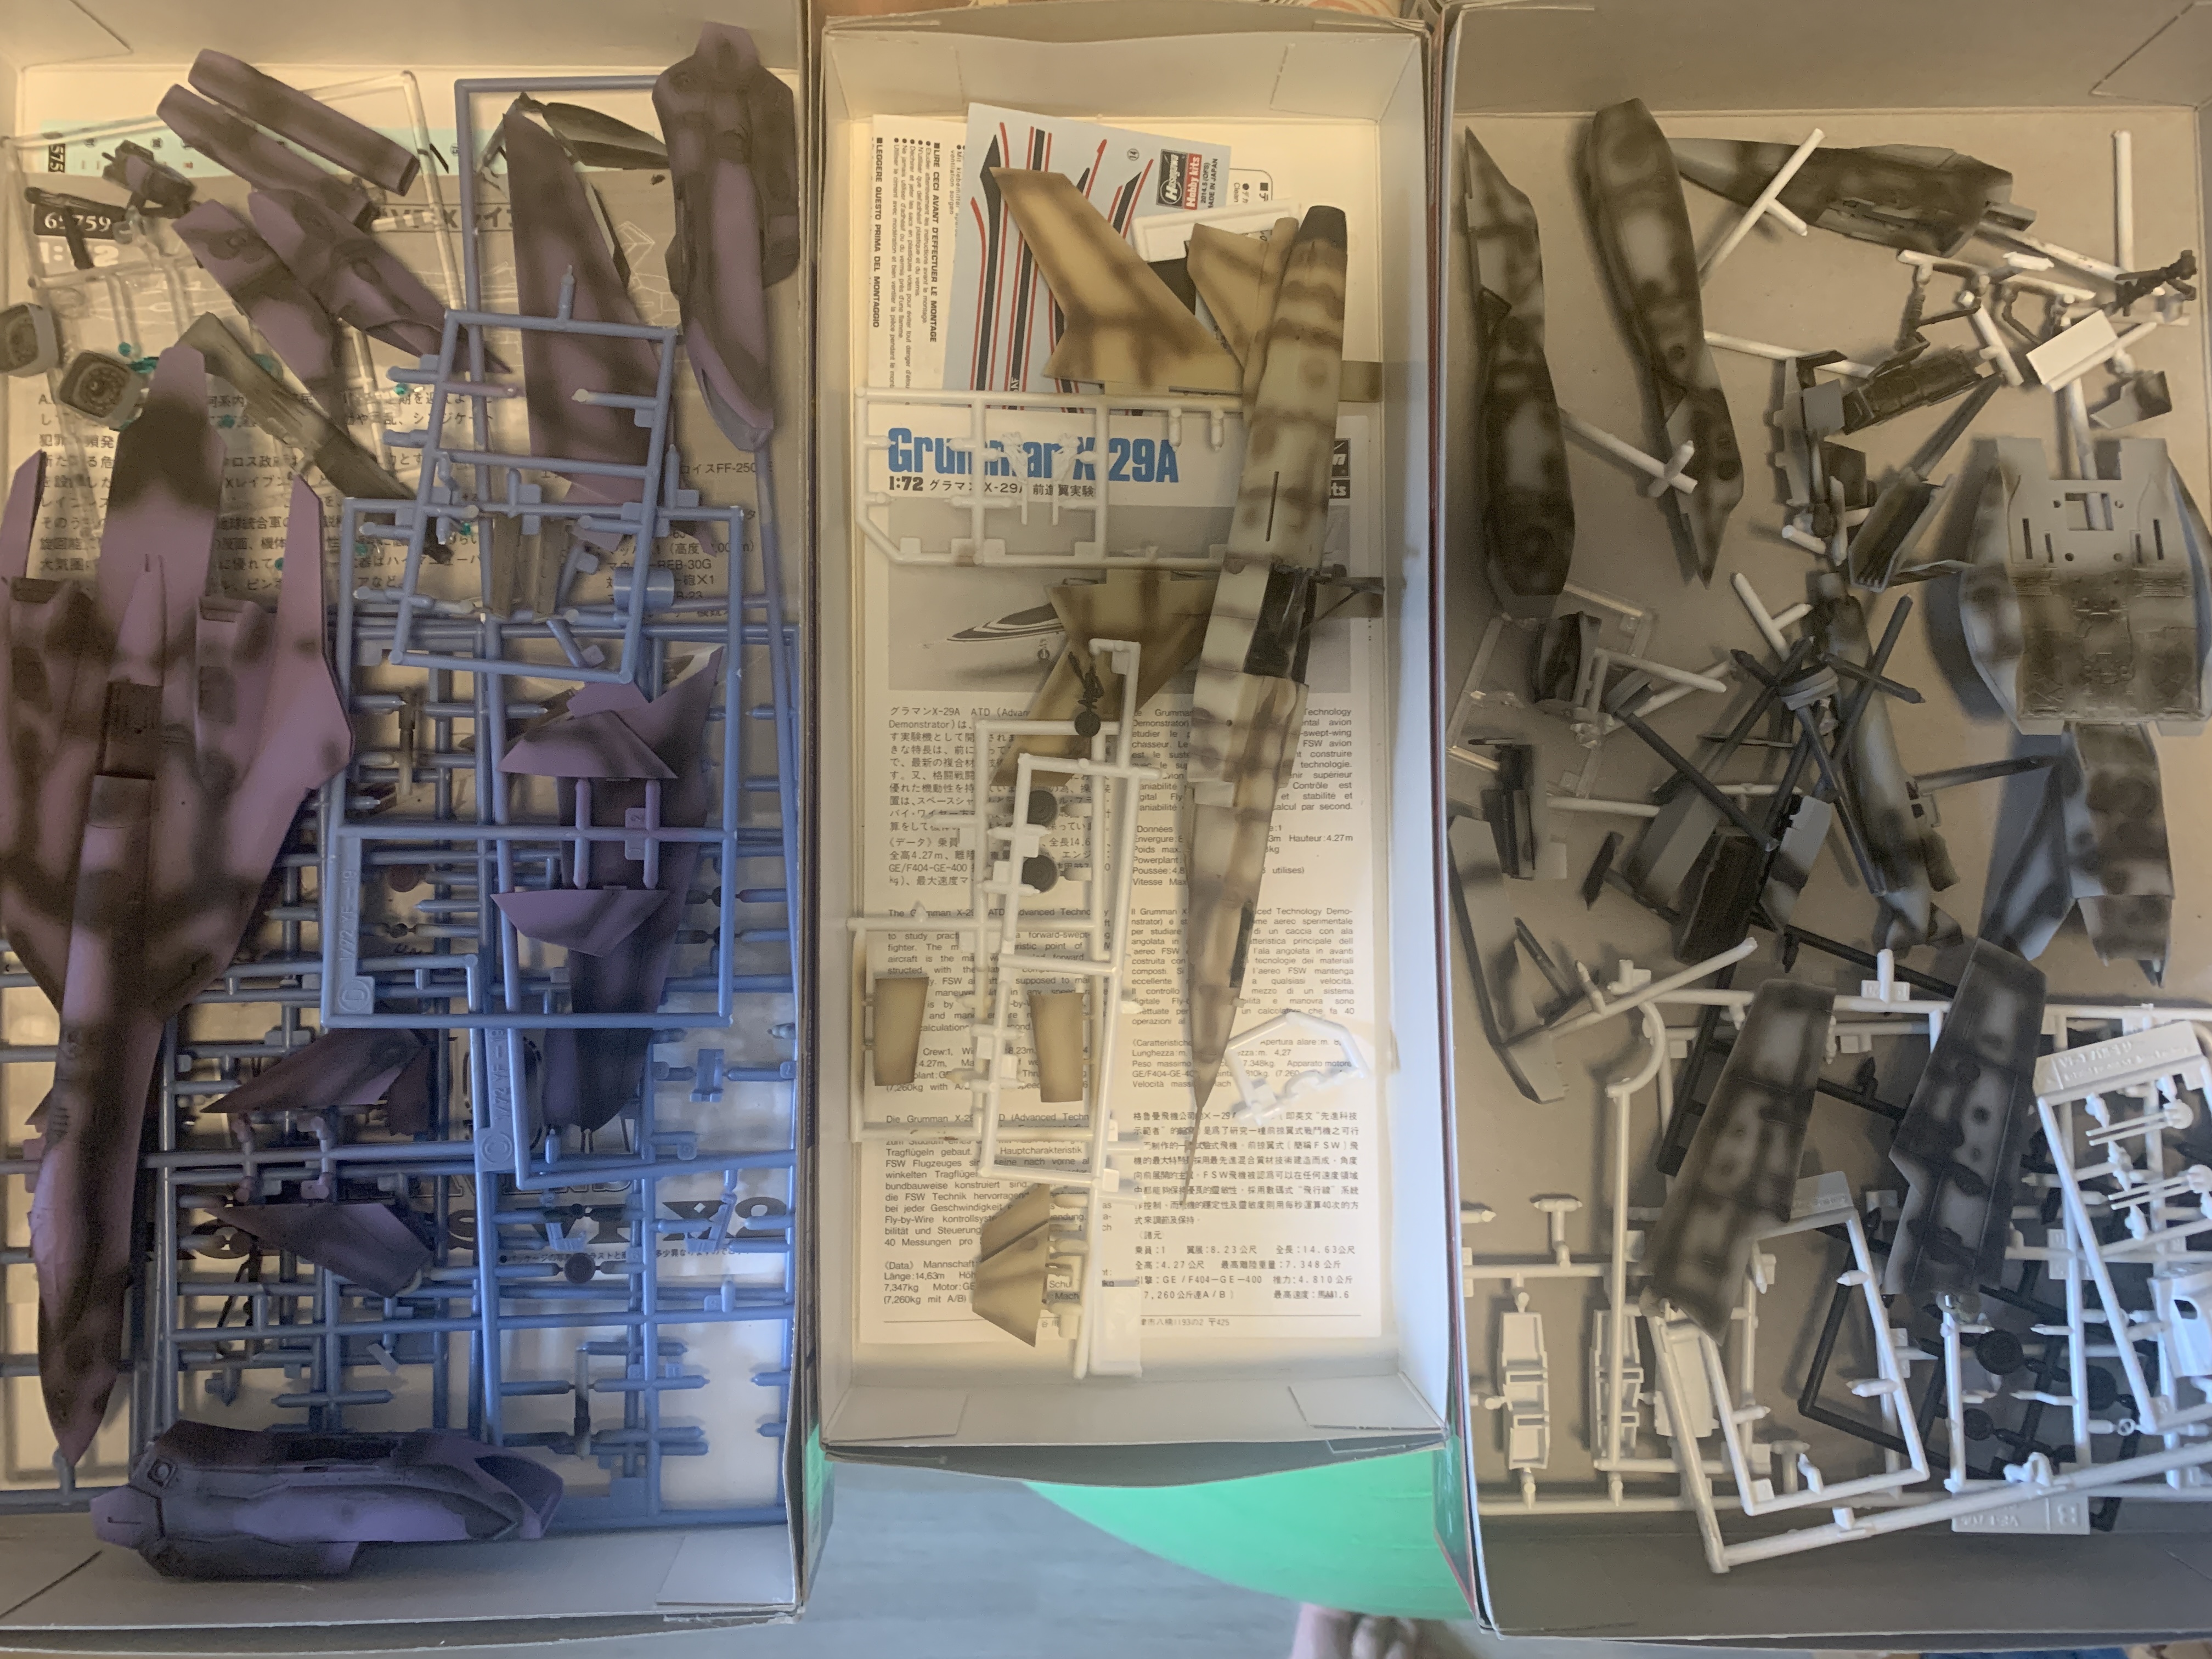
So I had some time today to work on the VF-19A and the X-29.
by the pacing and masking needed, I think the X-29 will be first to be finished.
-
2 hours ago, arbit said:
good feedback. Thanks. Maybe I can adjust a bit for that kind of pose.
But you know, the legs are pretty long in the line art.
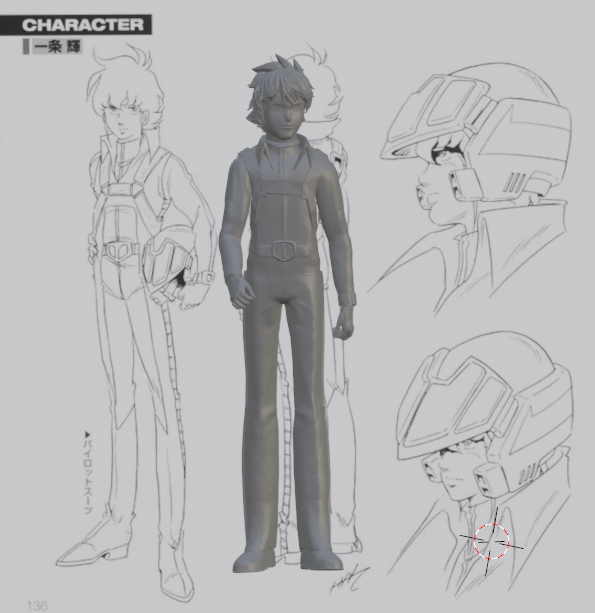
That is what they call "superhero legs". Proportionally too long legs for the characters in comics and mangas. Just look at hand drawn females and such. It is just over the top. It is troublesome to draw men with realistic shorter legs. The characters look really weird then. You can either choose the manga/comic style and keep the long legs, or do realistic style but shorten the legs. The inbetween causes the uncanny valley to trigger and something seems off all the time.
-
On 2/14/2023 at 1:30 AM, Rock said:
Yeah it is on the red side. Used 'ol PS to analyze it a bit more.
The 3 dabs Were each pulled form the images shown. Using the color picker I was able to compare the RGB (Red Green Blue) that make up the colors swatches. The blue and green values of all 3 colors were insanely close. The red was a tad higher in my mix. I don't think I'm willing to dial it back by adding a bit more blue and green though at this point. I may use this excuse as a good time to see what a green dot filter can do.
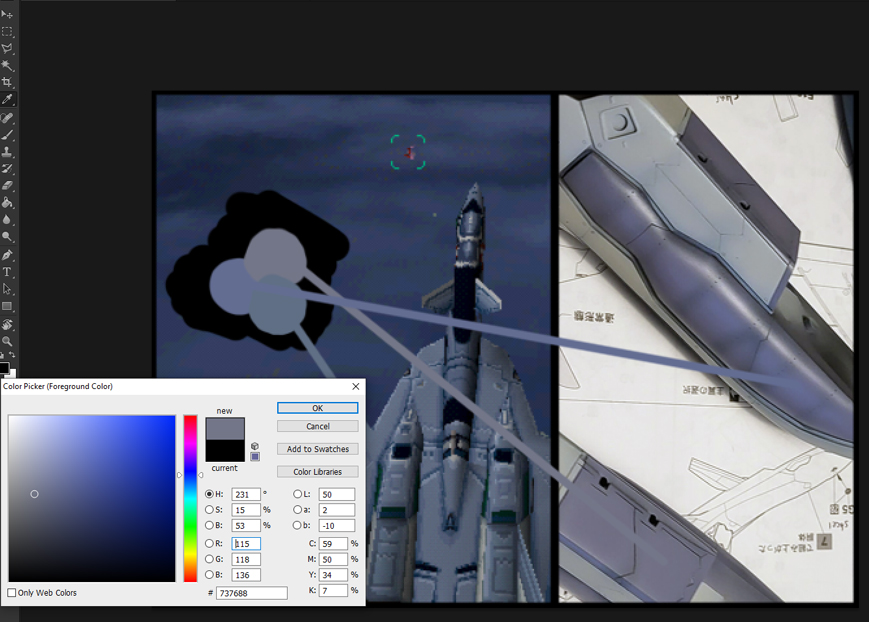
Top Right: My mix on the area's with more black showing through. (R:115)
Bottom Right: The color pulled off the wing in the screen shot. (R:98)
Left: Color pulled off the top of the leg with less black showing though. (R:106)
Weird enough the thing just looks grey in some of the pics.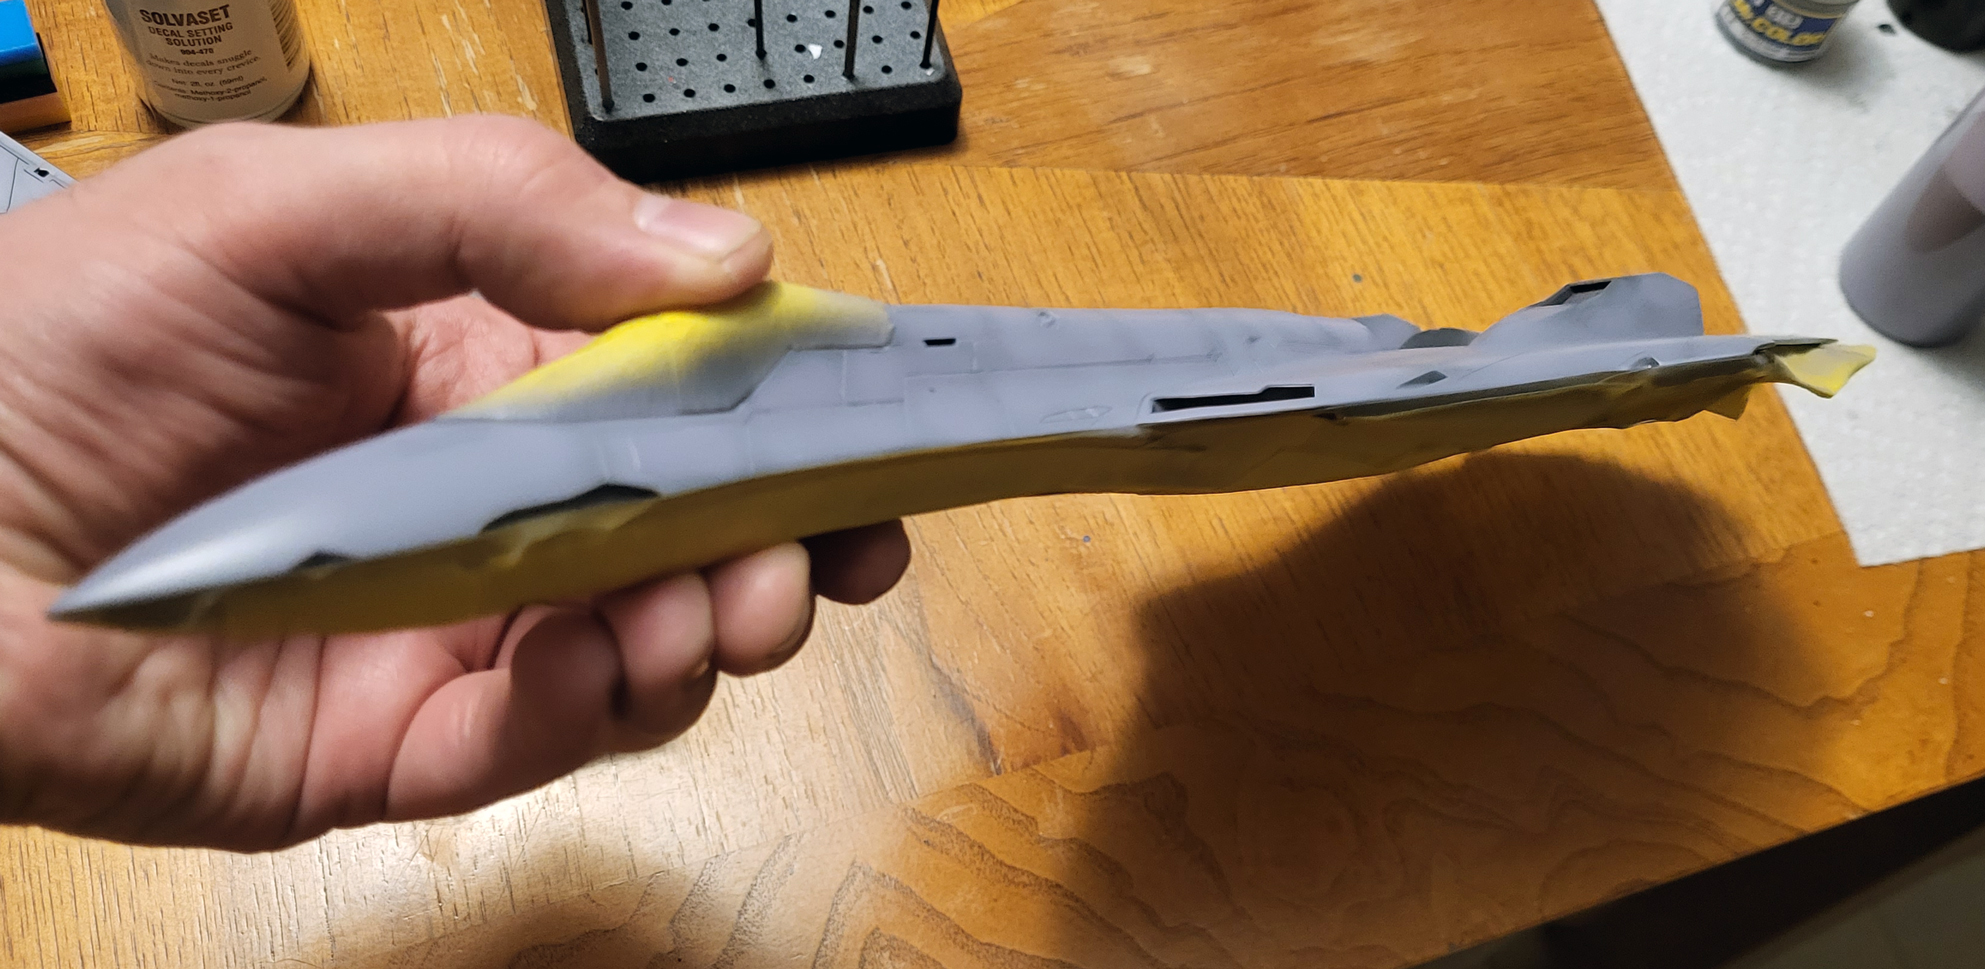
Interesting! Well - keep up the good work!
-
10 hours ago, Big s said:
That’s an impressive use of what normally would just be trash.
My dad once build an RC model boat from old cardboard and basically drenched it in clear lacquer color to make it waterproof. It worked!
Unfortunately it tipped over due to a large wave and sank, but hey, that was the risk of RC boats in the 80s.
-
-
21 hours ago, electric indigo said:
When you don't have any F-18 walkway decals...

Awesome man!
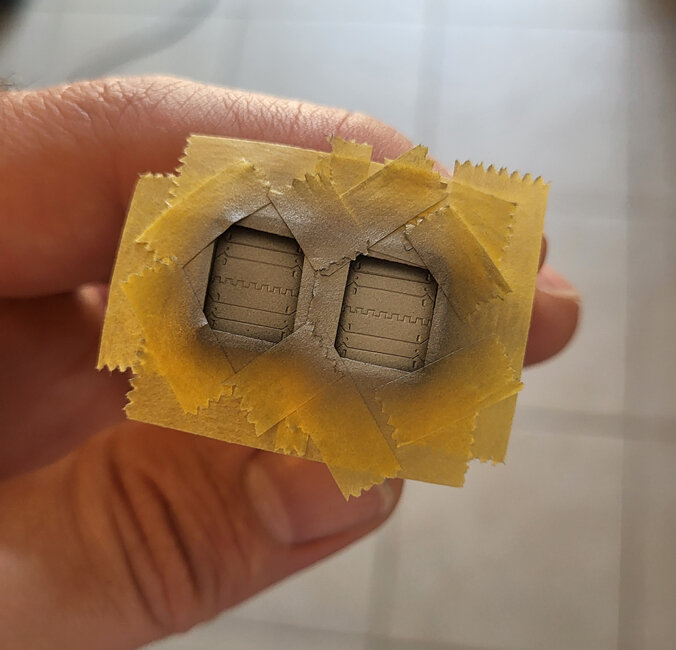
I‘ve done some paperwork yesterday.
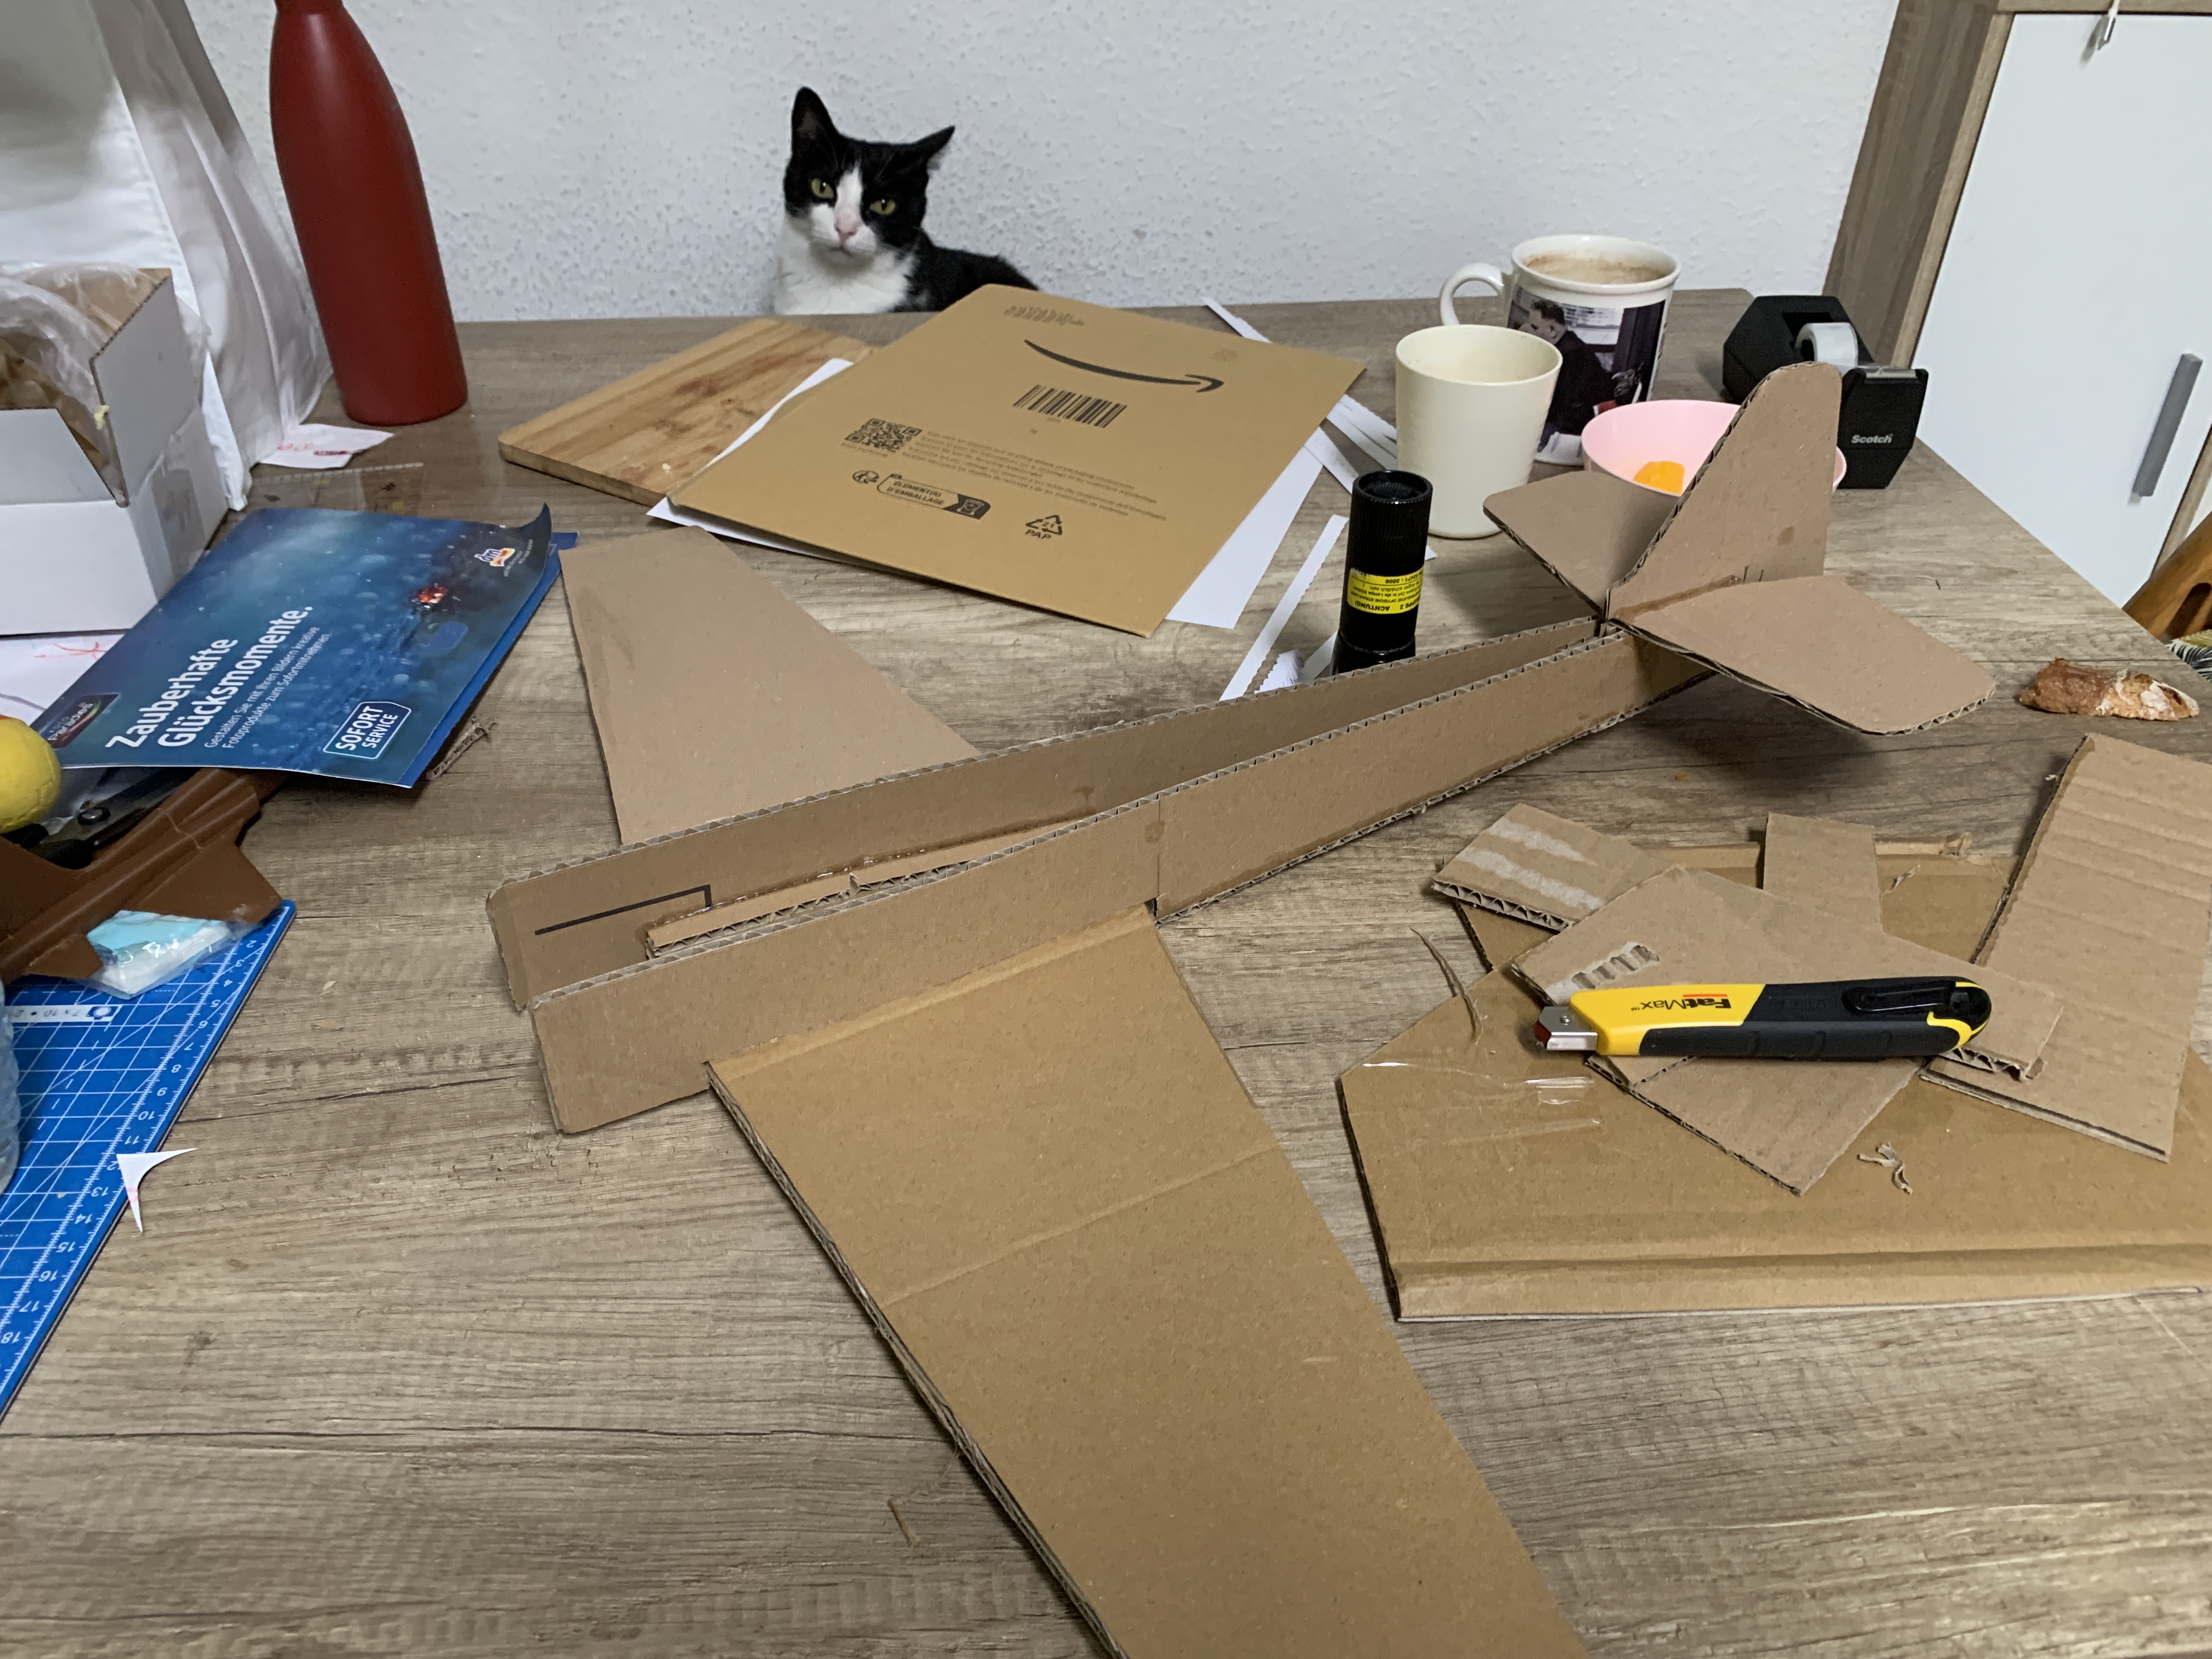
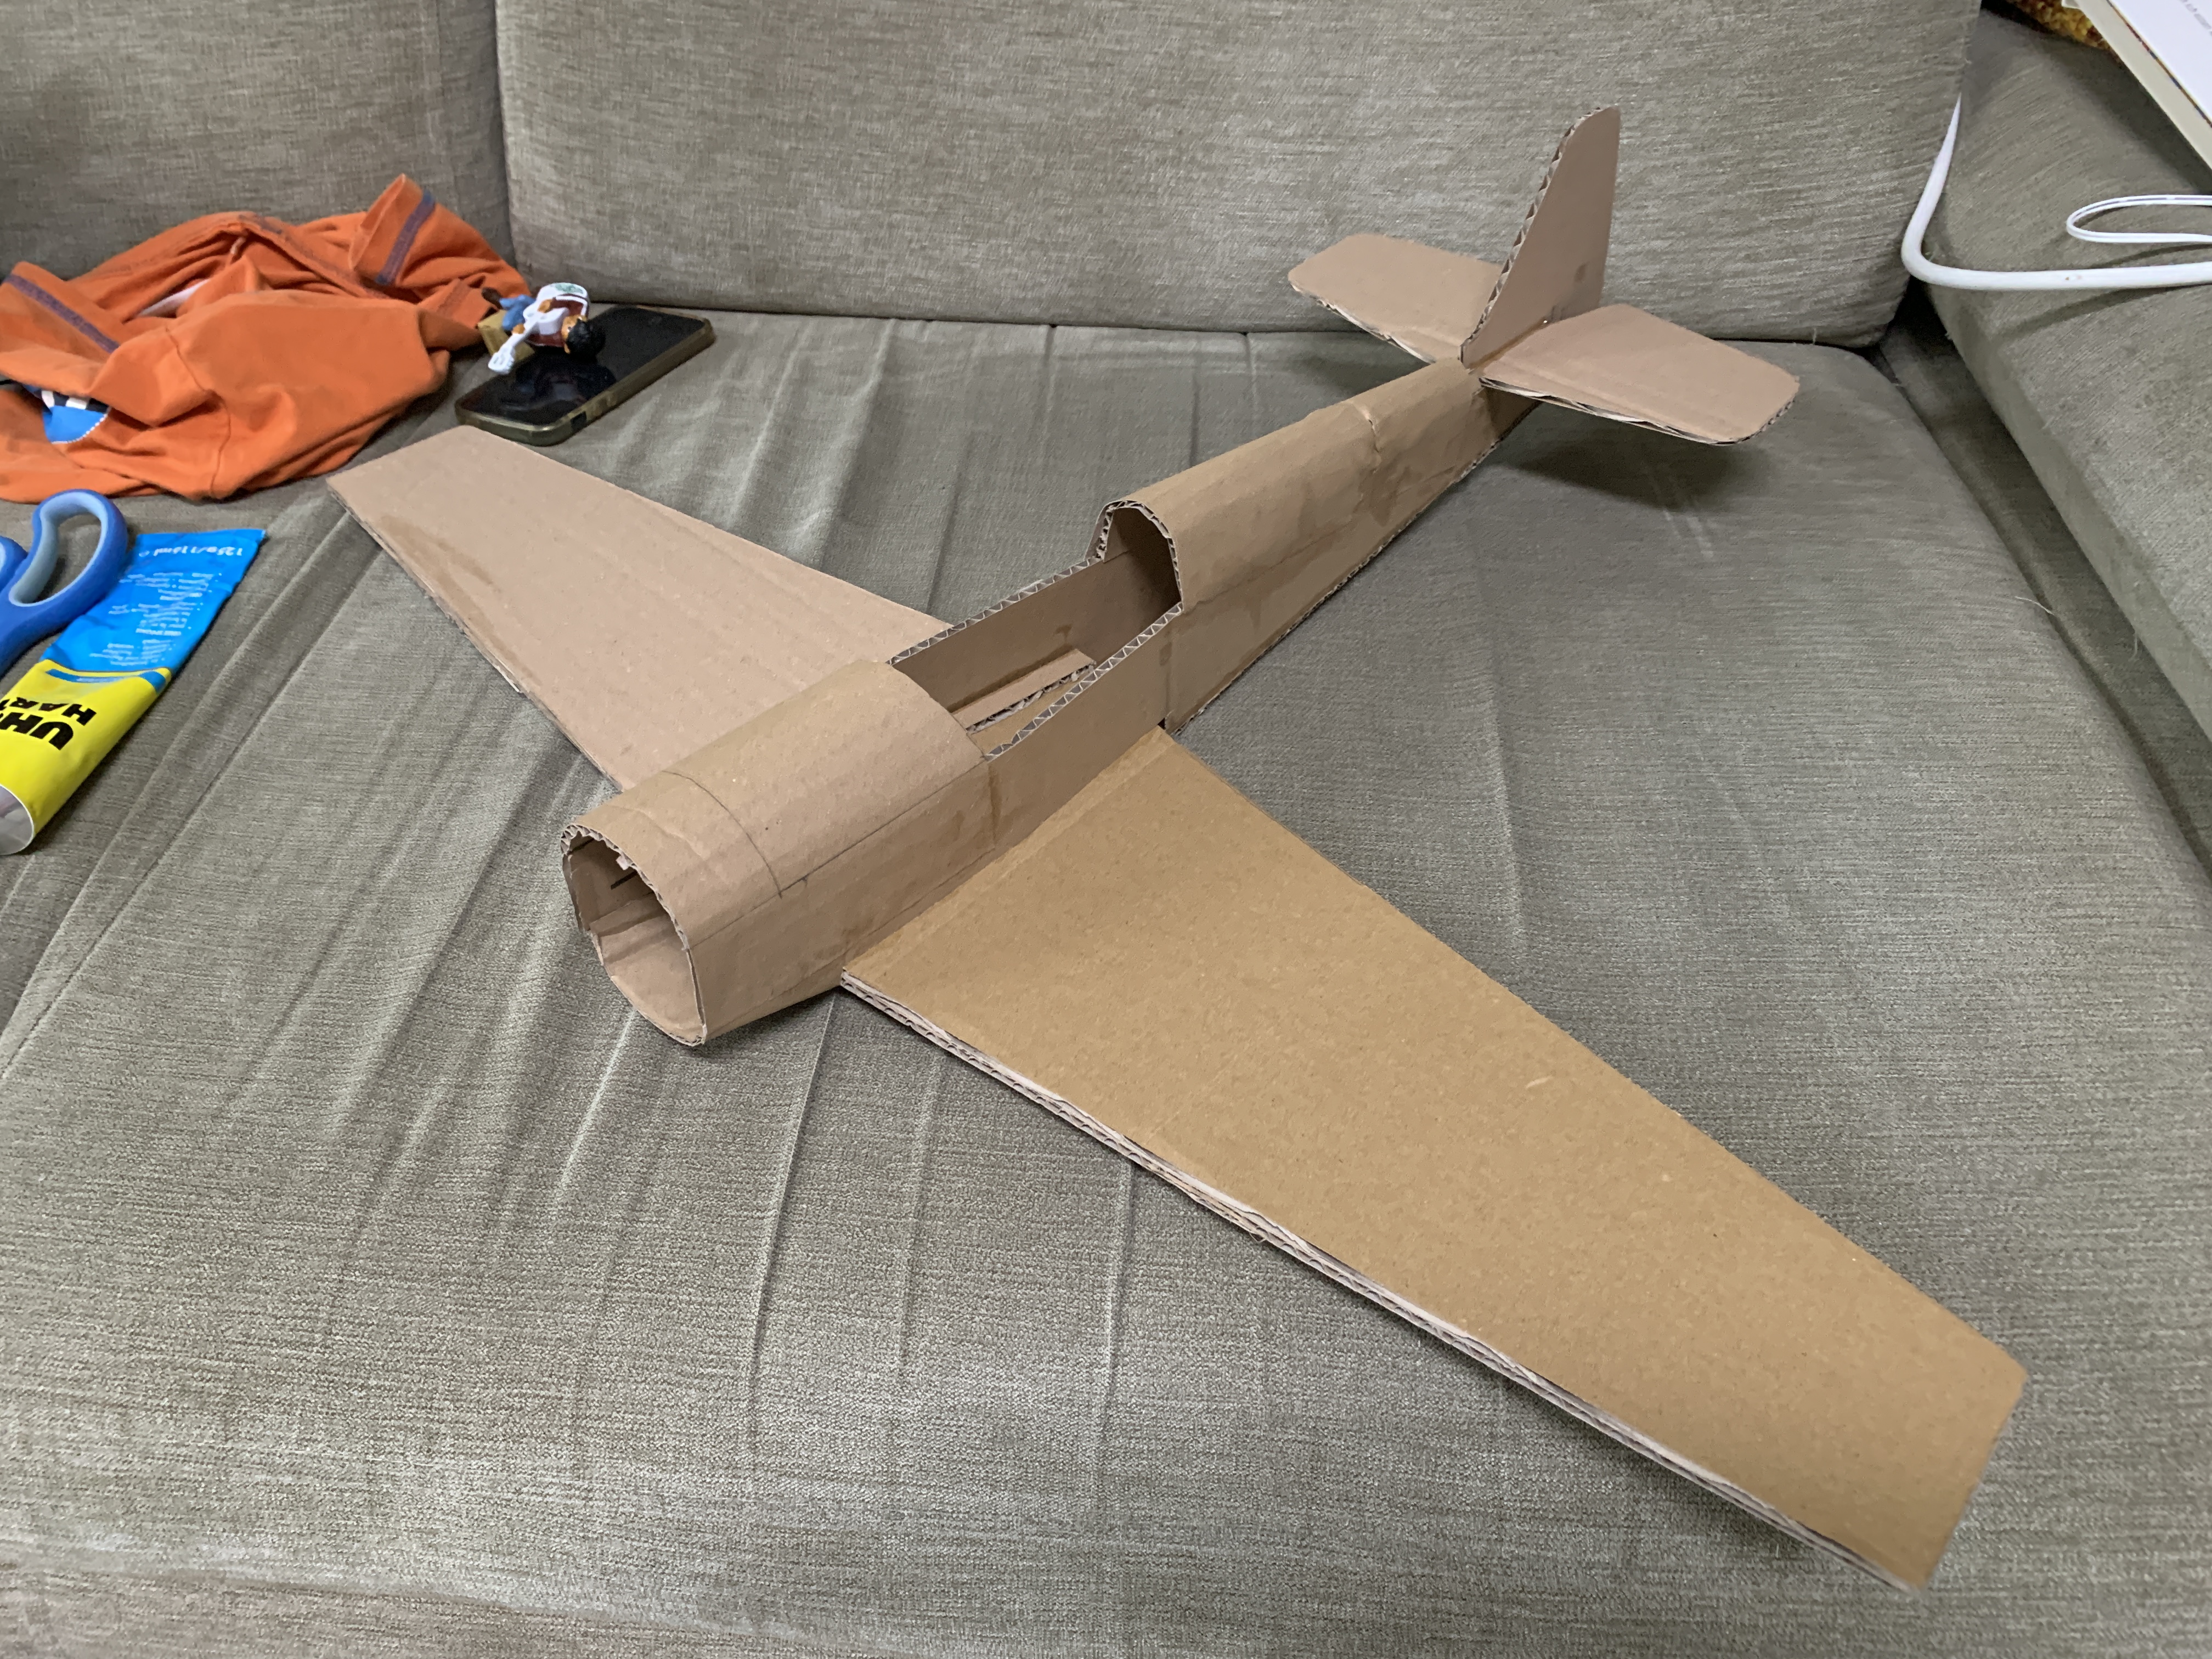
had to many cardboard boxes flying around and decided to build this. Glides through the air like an unfolded box. Hahaha
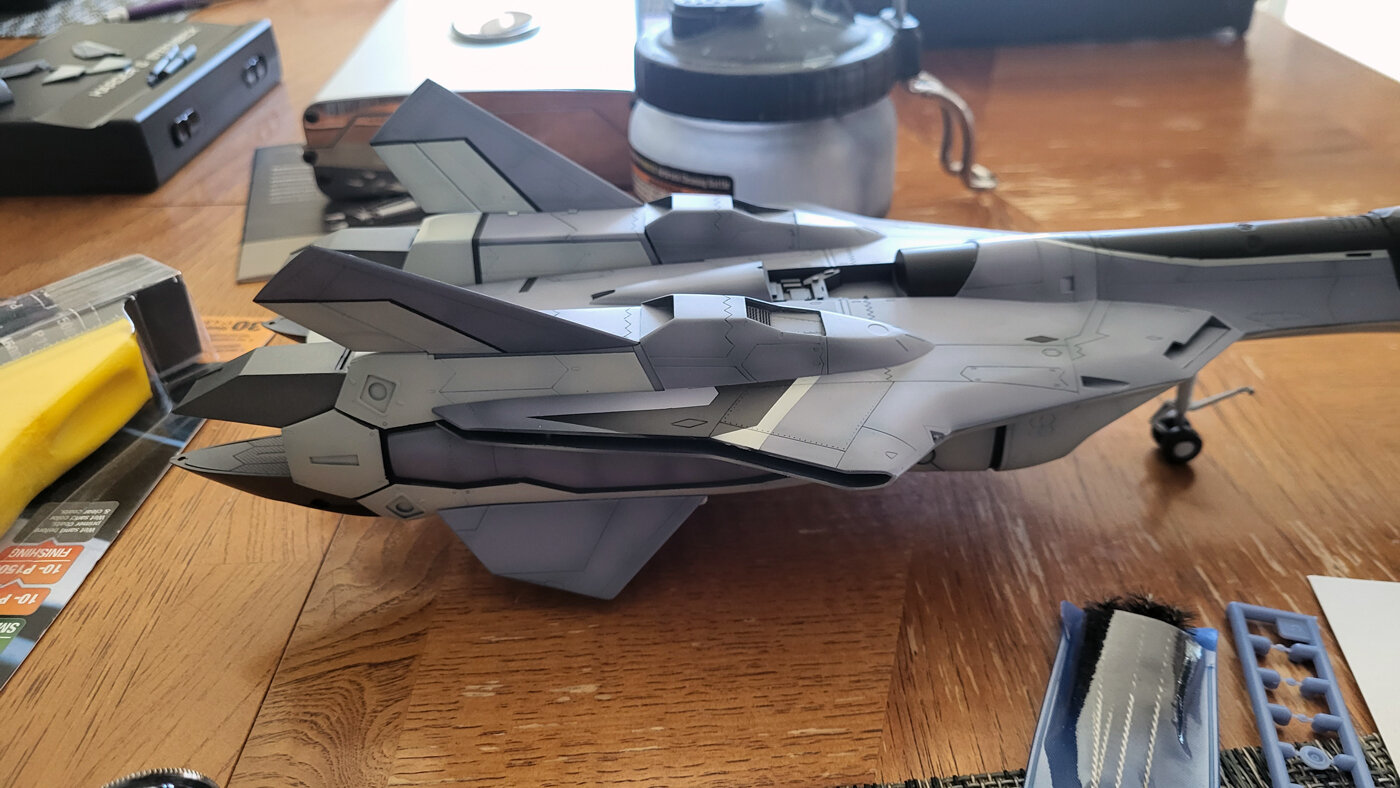
did some pre-shading on the VF-19A, X-29 and VF-1A.
-
8 hours ago, Rock said:
R, the mix is of Mr. Color (#80,110, and 3.) I'm 100% the mix is right or what Hase wants as I'm mixing by weight. It's just not what I expected from what I've had seen.
----‐-
After doing some testing I ended up leaning into the gray tones by adding some more cobalt blue and light gull gray. I guess real world aviation tones are rubbing off on me. I wasn't too sure on its own but next to the light gray... well, I rather like the result!
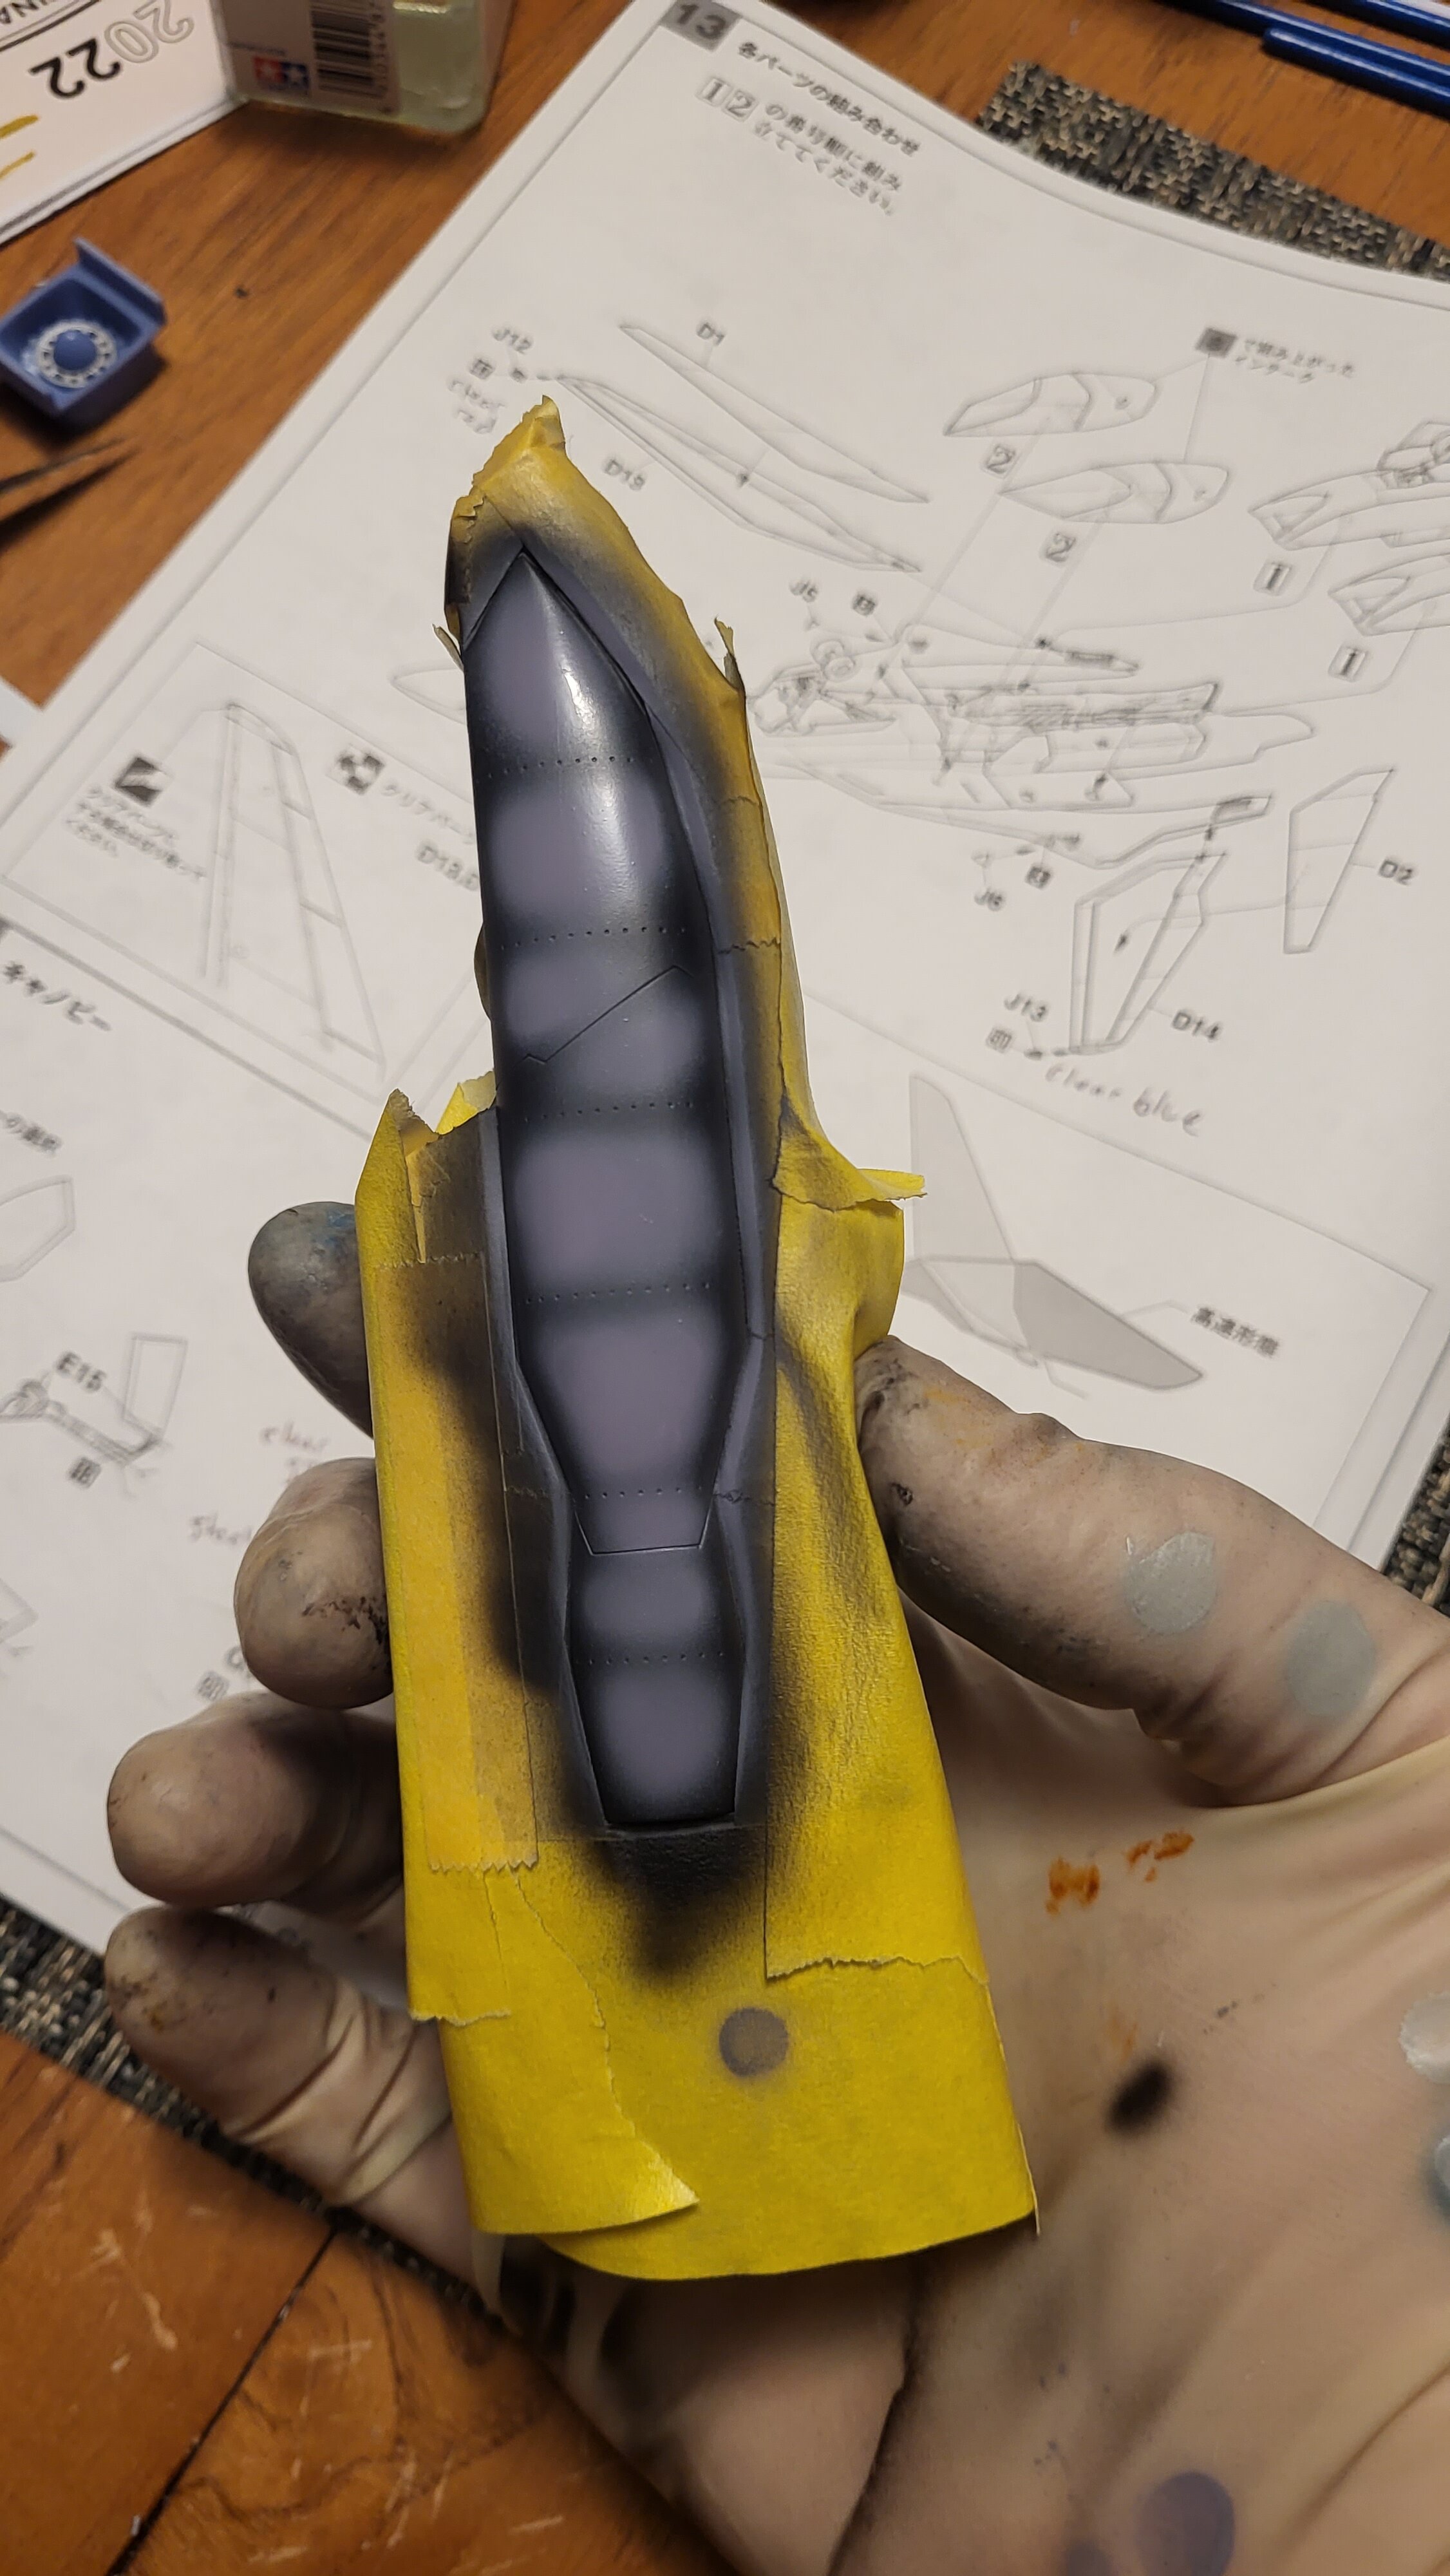
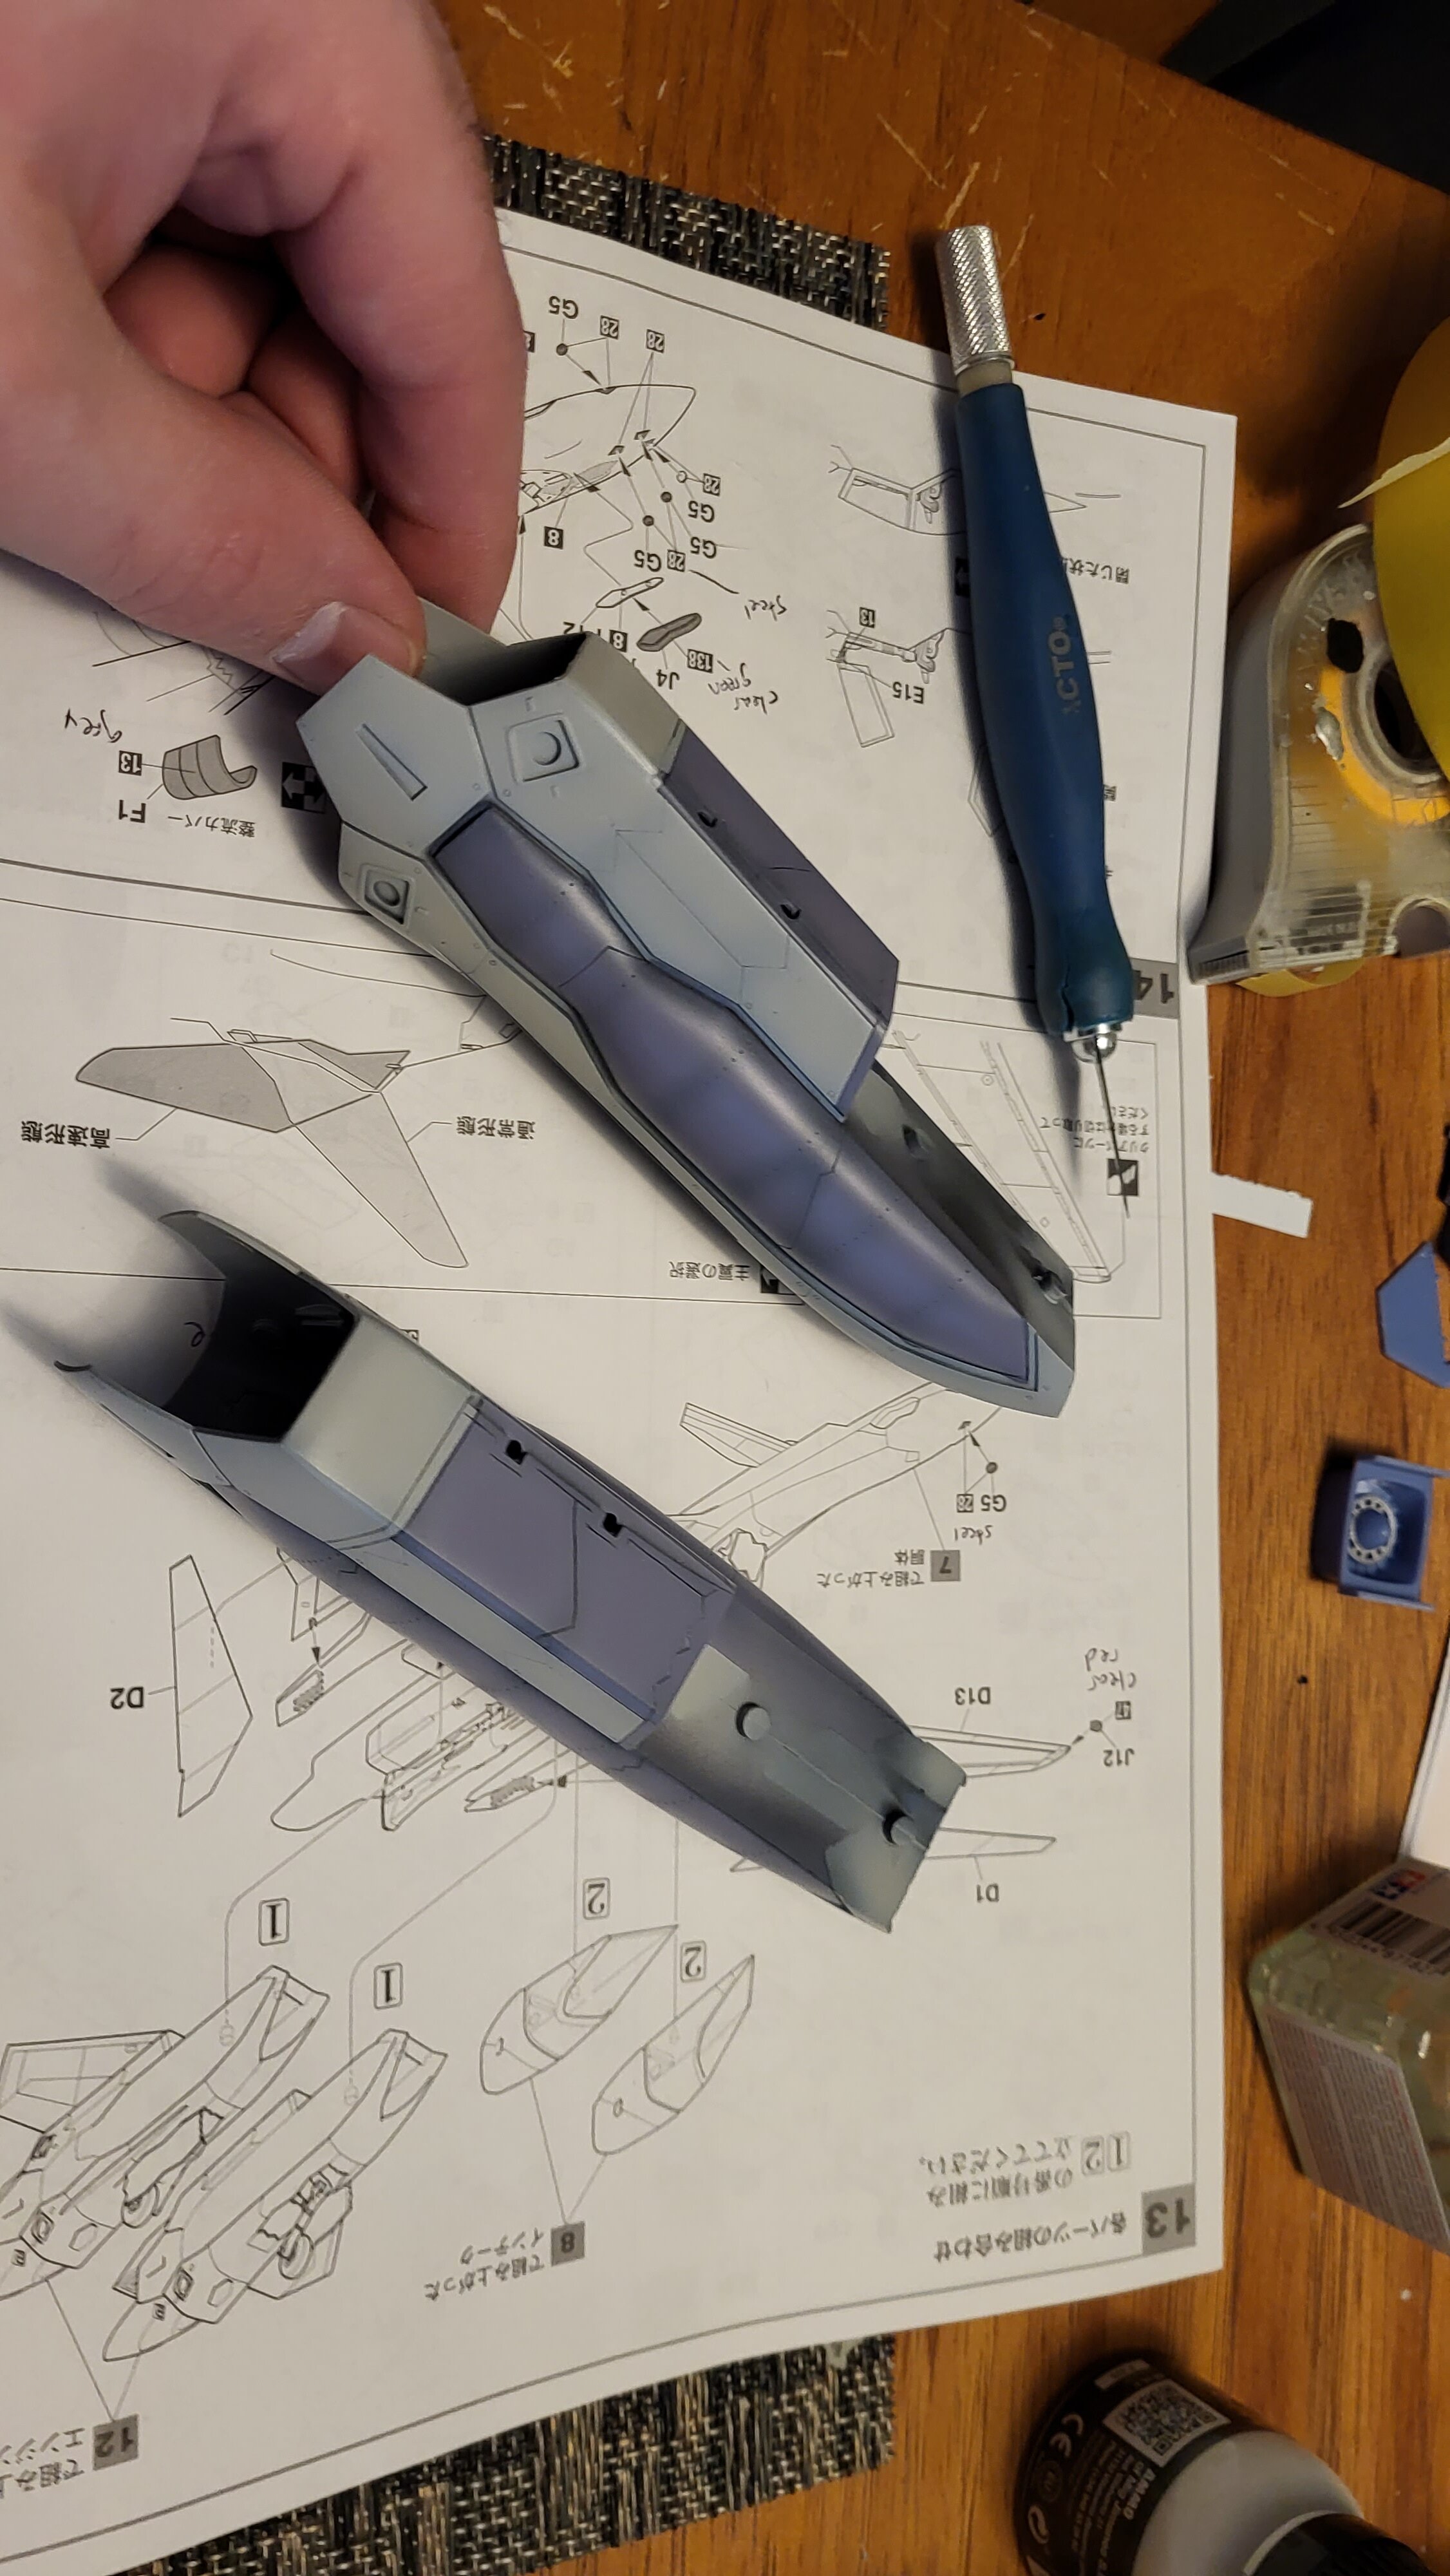
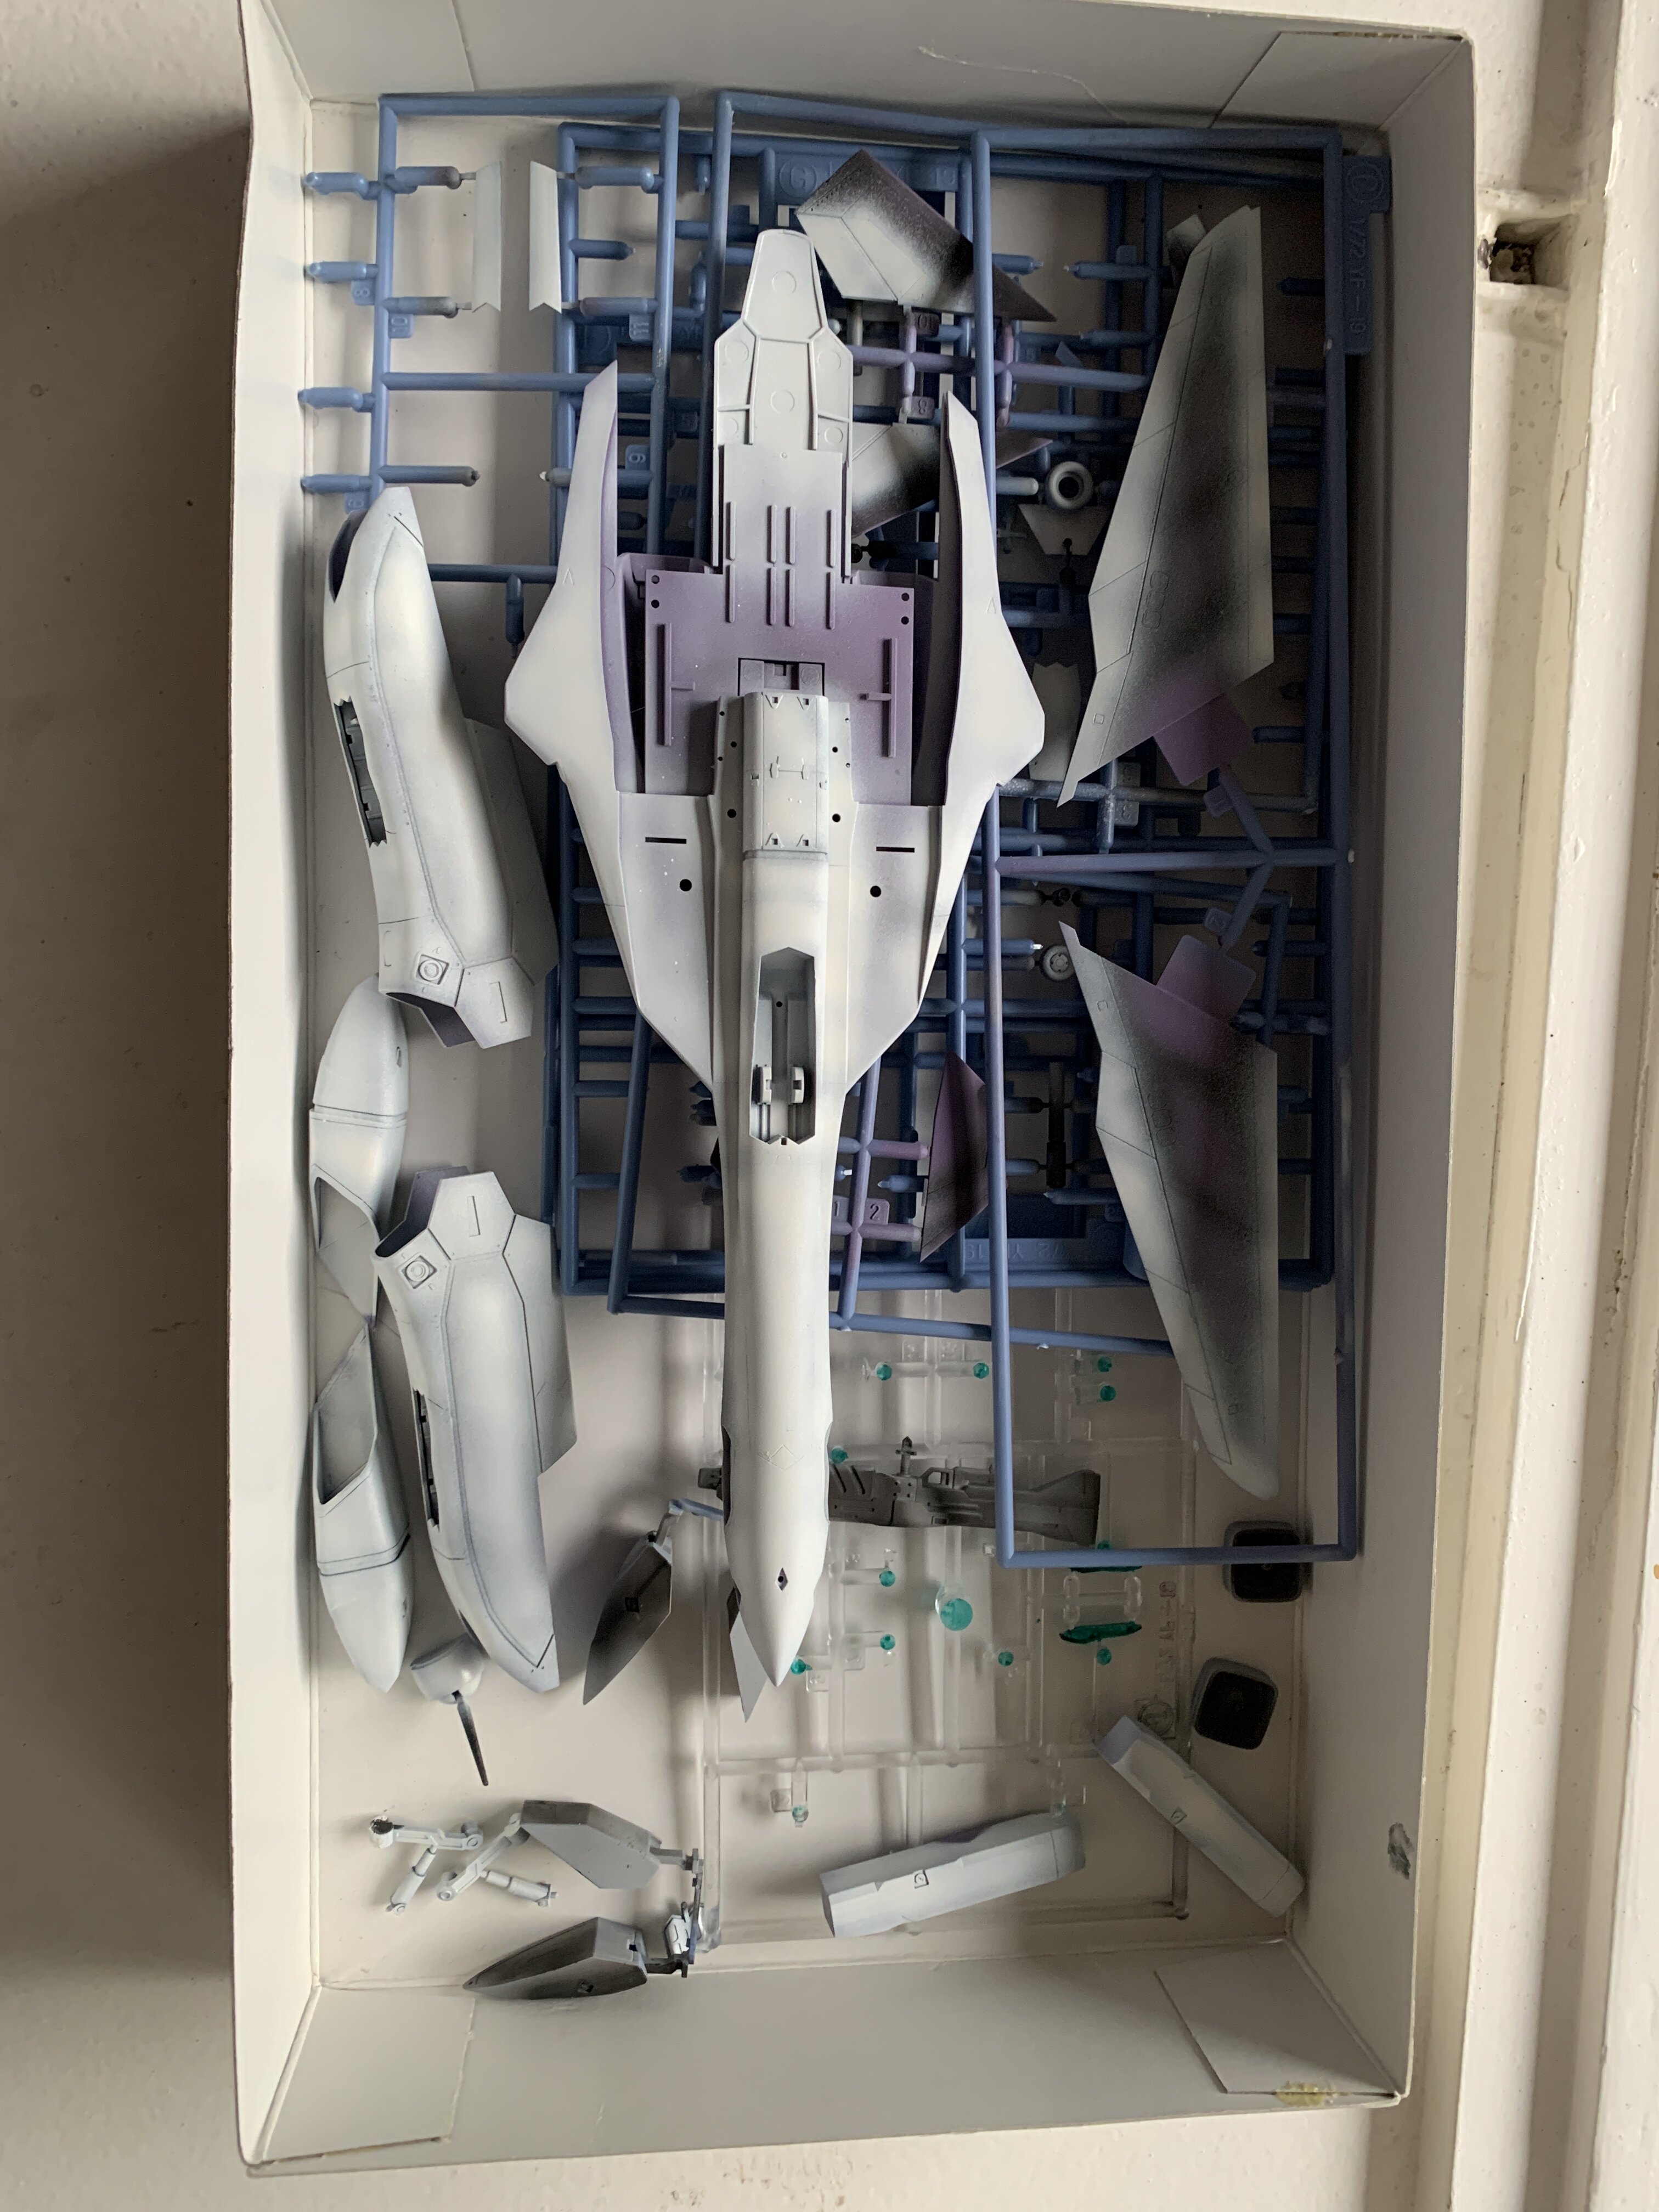
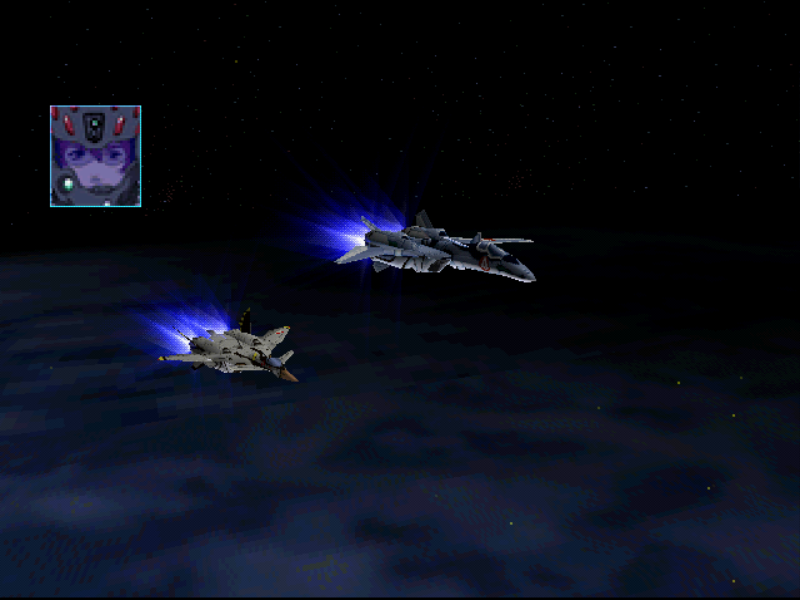
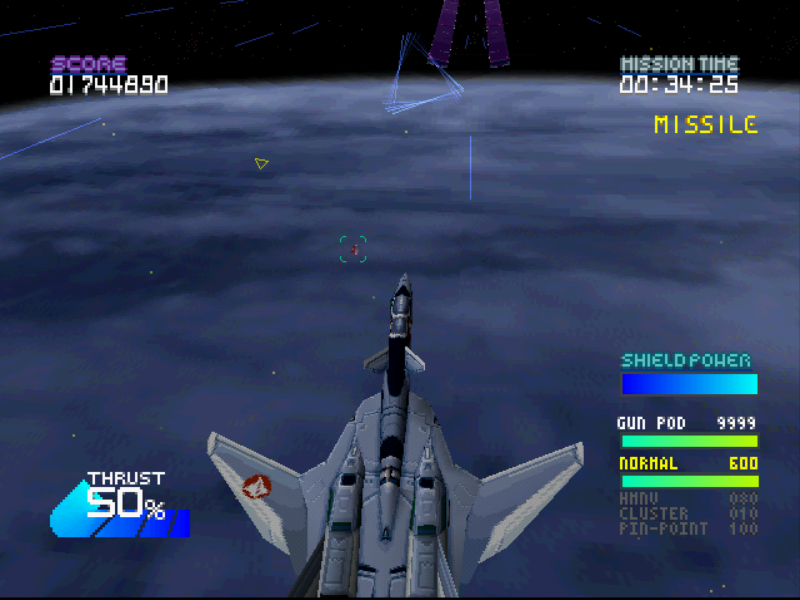
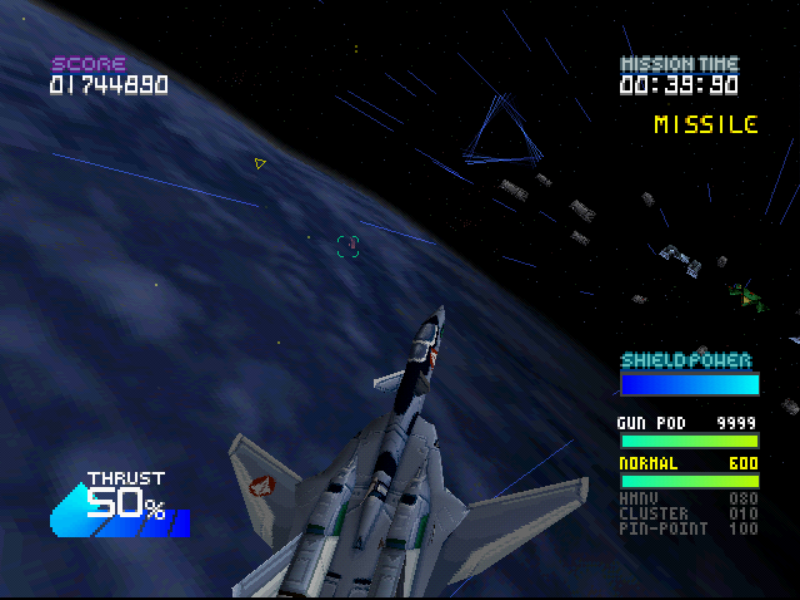
This looks more purple than blue. On the original artwork and the Macross VF-X 2 game itself, it is more a cerulean blue with a slight purple tint. That is why I am doing purple as a base shade for my 1/72 VF-19A and then going to spray cerulean blue over it.
I took some screenshots from the game to show. This is the after the My Fair Lady mission, in earth orbit, fighting against a ghost V-9 prior to the battle against Macross 13.
I mean, your color looks really awesome, just not game accurate
-
4 hours ago, KOG Water Dragon said:
I'd like to see the Dullahans in 1/48
Well, just get the normal yf-19, paint it black and add carbon fiber details
-
17 hours ago, Bolt said:
My prayers have been answered!
April 20th!

https://www.instagram.com/p/CoOEkQWyb80/?igshid=YmMyMTA2M2Y=
You know what would be cool? A YF-19 re-issue with fast packs and a fold booster
1/48 VF-19A Excalibur [VF-X RAVENS]
in The Workshop!
Posted
I used humbrol satin coat. Didn’t rub off, and decals weren’t harmed.