

Urashiman
-
Posts
619 -
Joined
-
Last visited
Content Type
Profiles
Forums
Events
Gallery
Posts posted by Urashiman
-
-
23 hours ago, Big s said:
It could be due to oils or release agents on the surface. Some companies really go overboard with the stuff and it makes it tough for glues or paints or putties to stick.
Well, it is a really old kit. So maybe that is the reason. The plasto stuff ist sticking though.
-
Oh man ...
I love milliput and I have used it on many kits, but not on Revell ones yet. I puttied like crazy and got this.
Then when sanding, the effing stuff just came off! It didn't stick! This never happened before. I am confused. The interesting part? It was sticking to the hull without issue.
So ... I had to use Revell Plasto again.
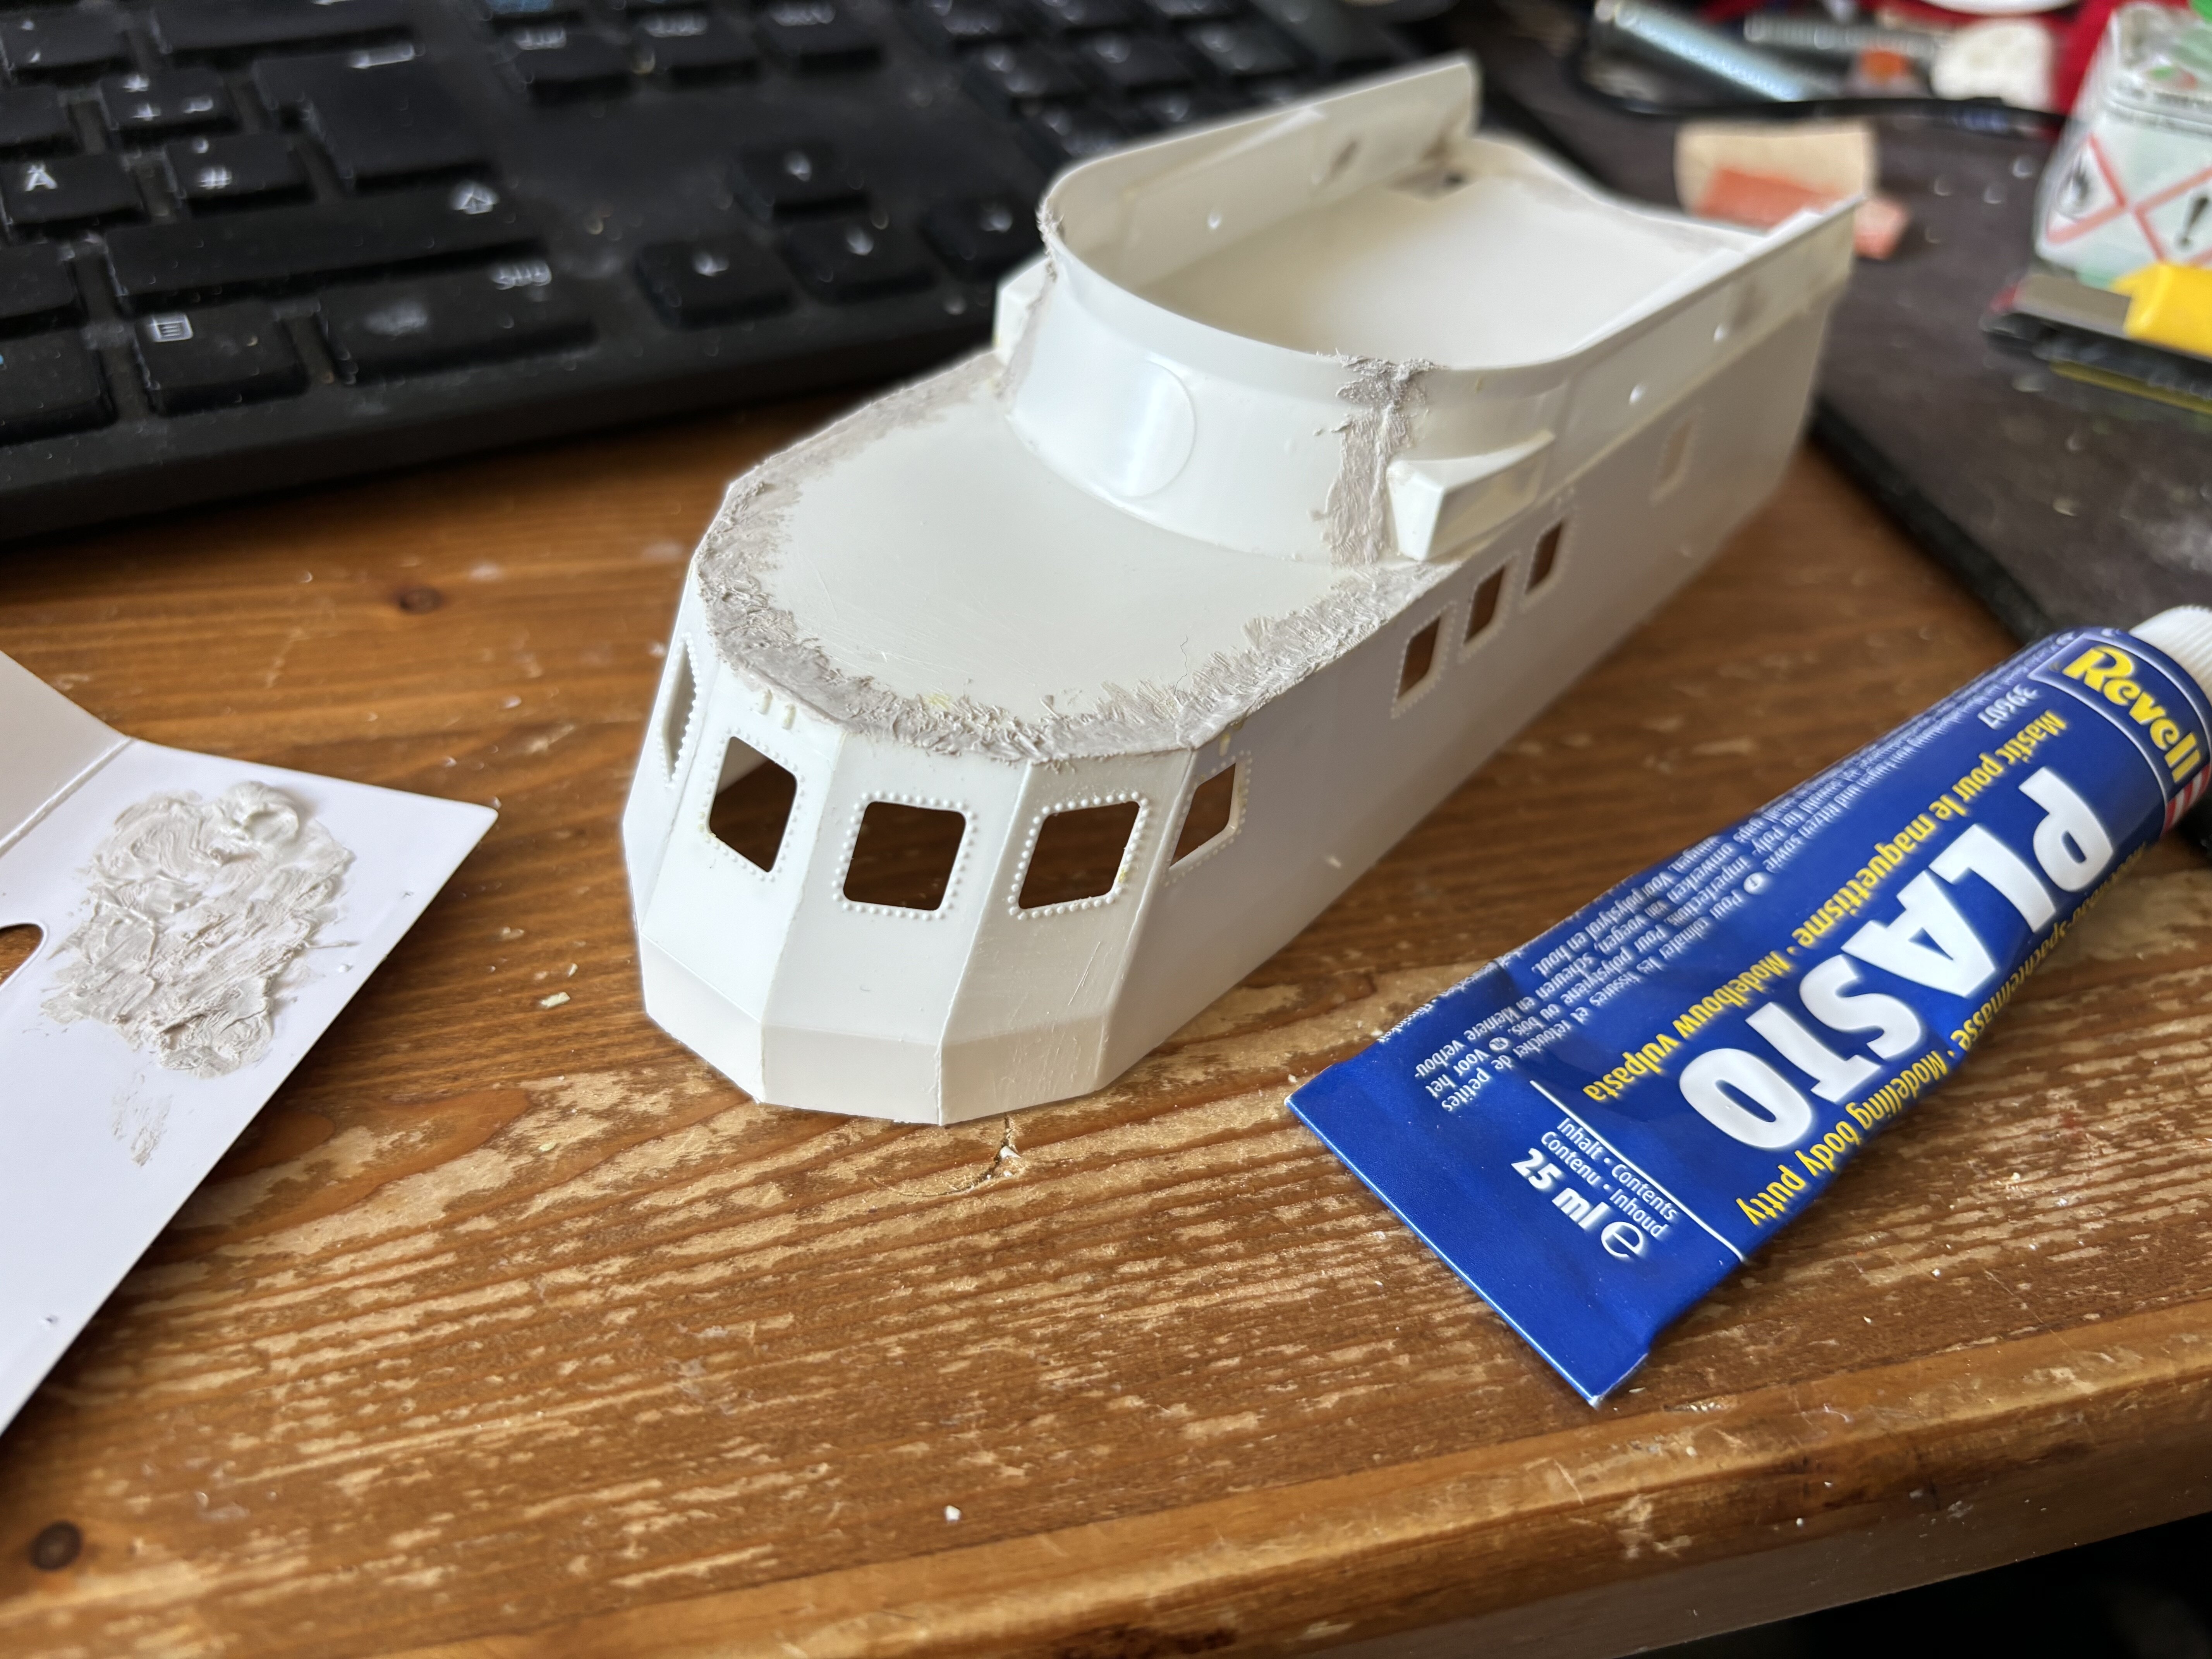
Needs to dry now for a bit before I am going to sand this again...
-
got my notice as well. Send for shipping now, will be in my hands in 4-6 days
")
-
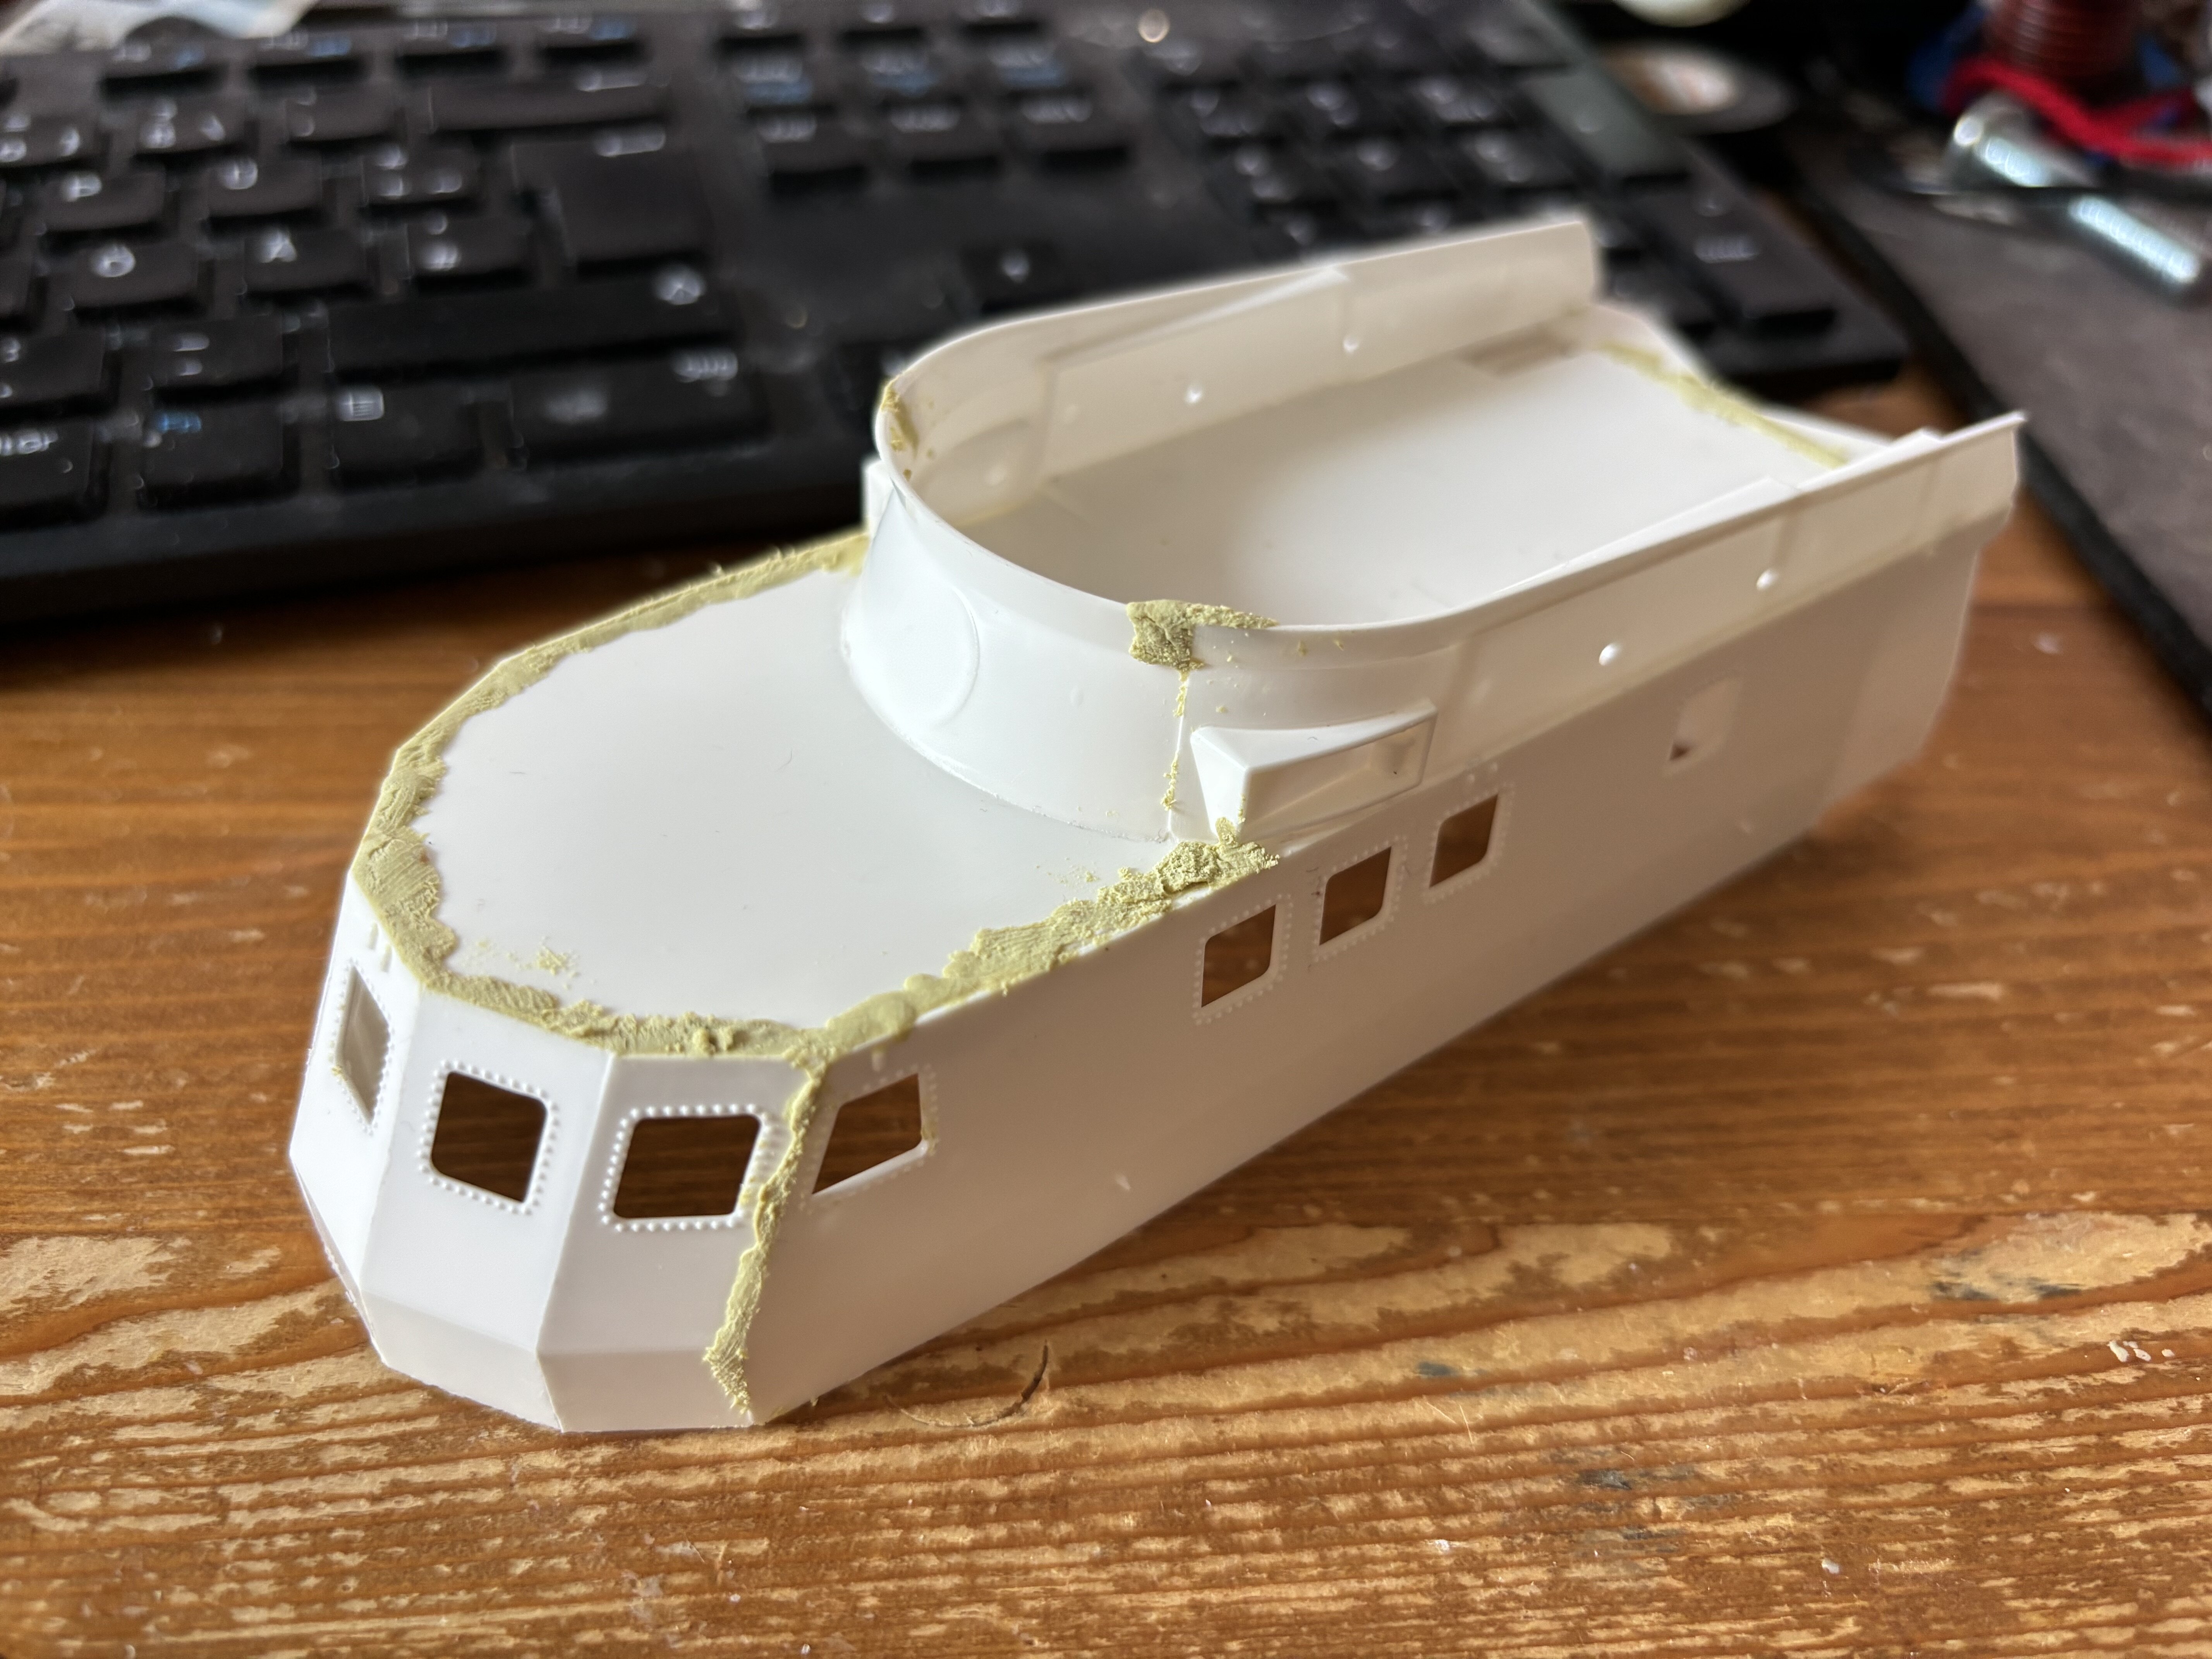
And now for something completely different.
Build a RC boat out of a 1:72 revell kit? Possible - but it is still a revell kit. The stockholm syndrom of any model kit builder.
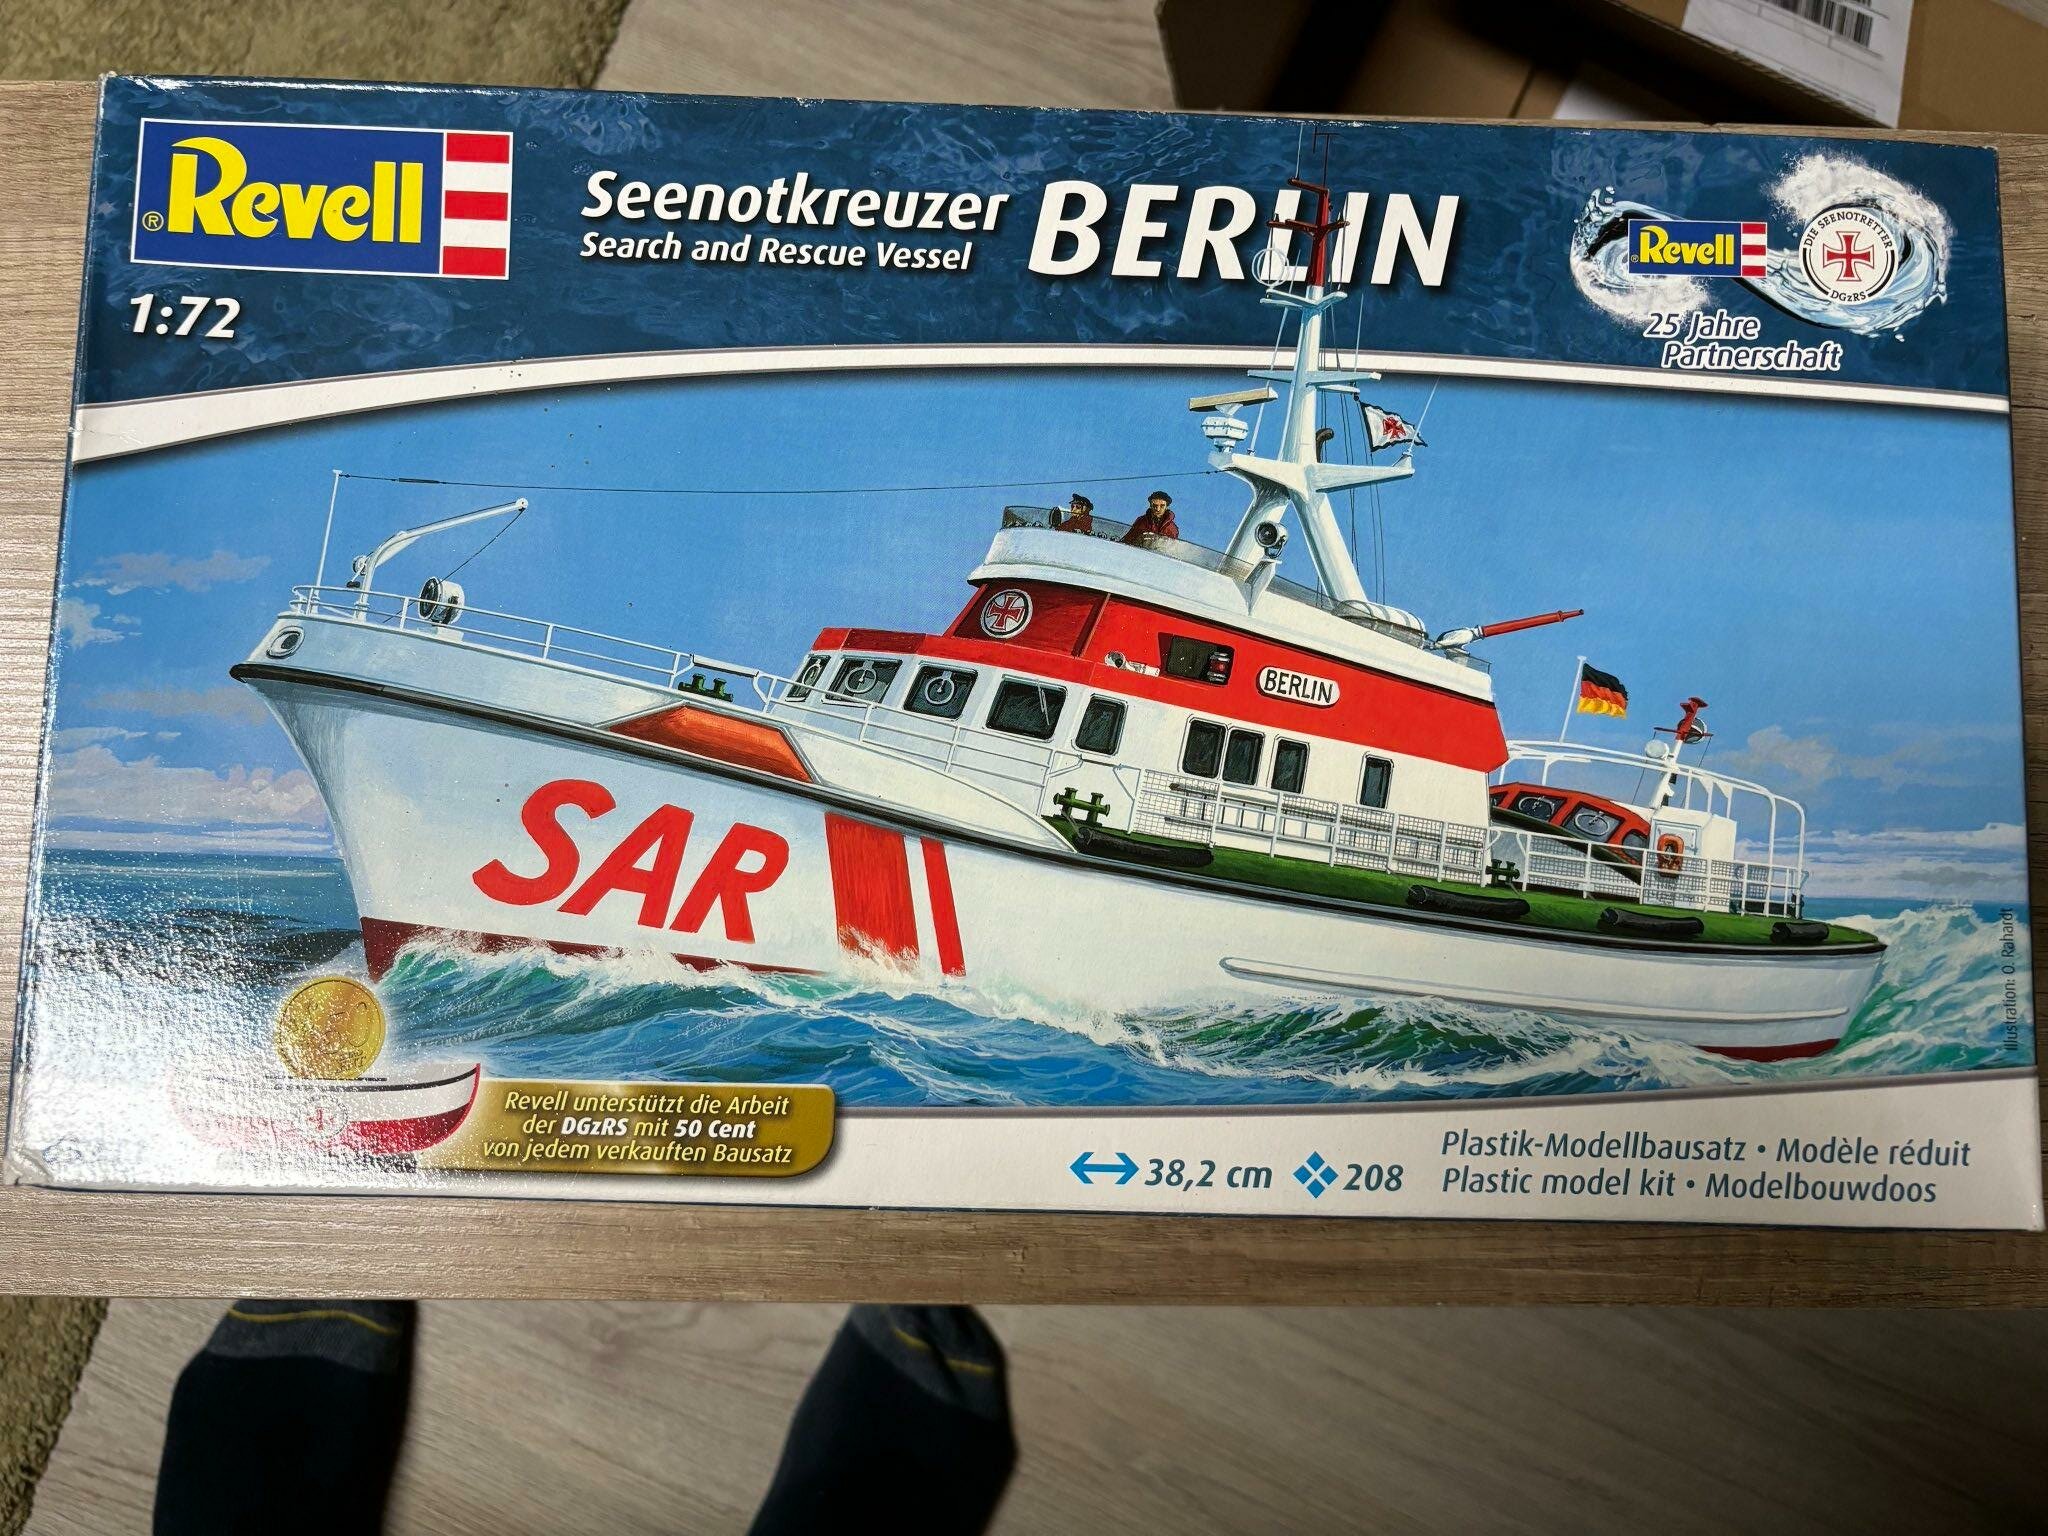
So, what am I building? A rescue cruiser with the name "Berlin". This kit first popped up in 1988 and it shows.
https://www.scalemates.com/de/kits/revell-5226-seenotkreuzer-berlin--120489
One thing I really recommend to anyone touching revell kits: if the mold was made prior to the year 2000, don't touch it. Unless you like putty and sanding like crazy.
And well - there is a reason Revell doesn't distribute this kit anymore.
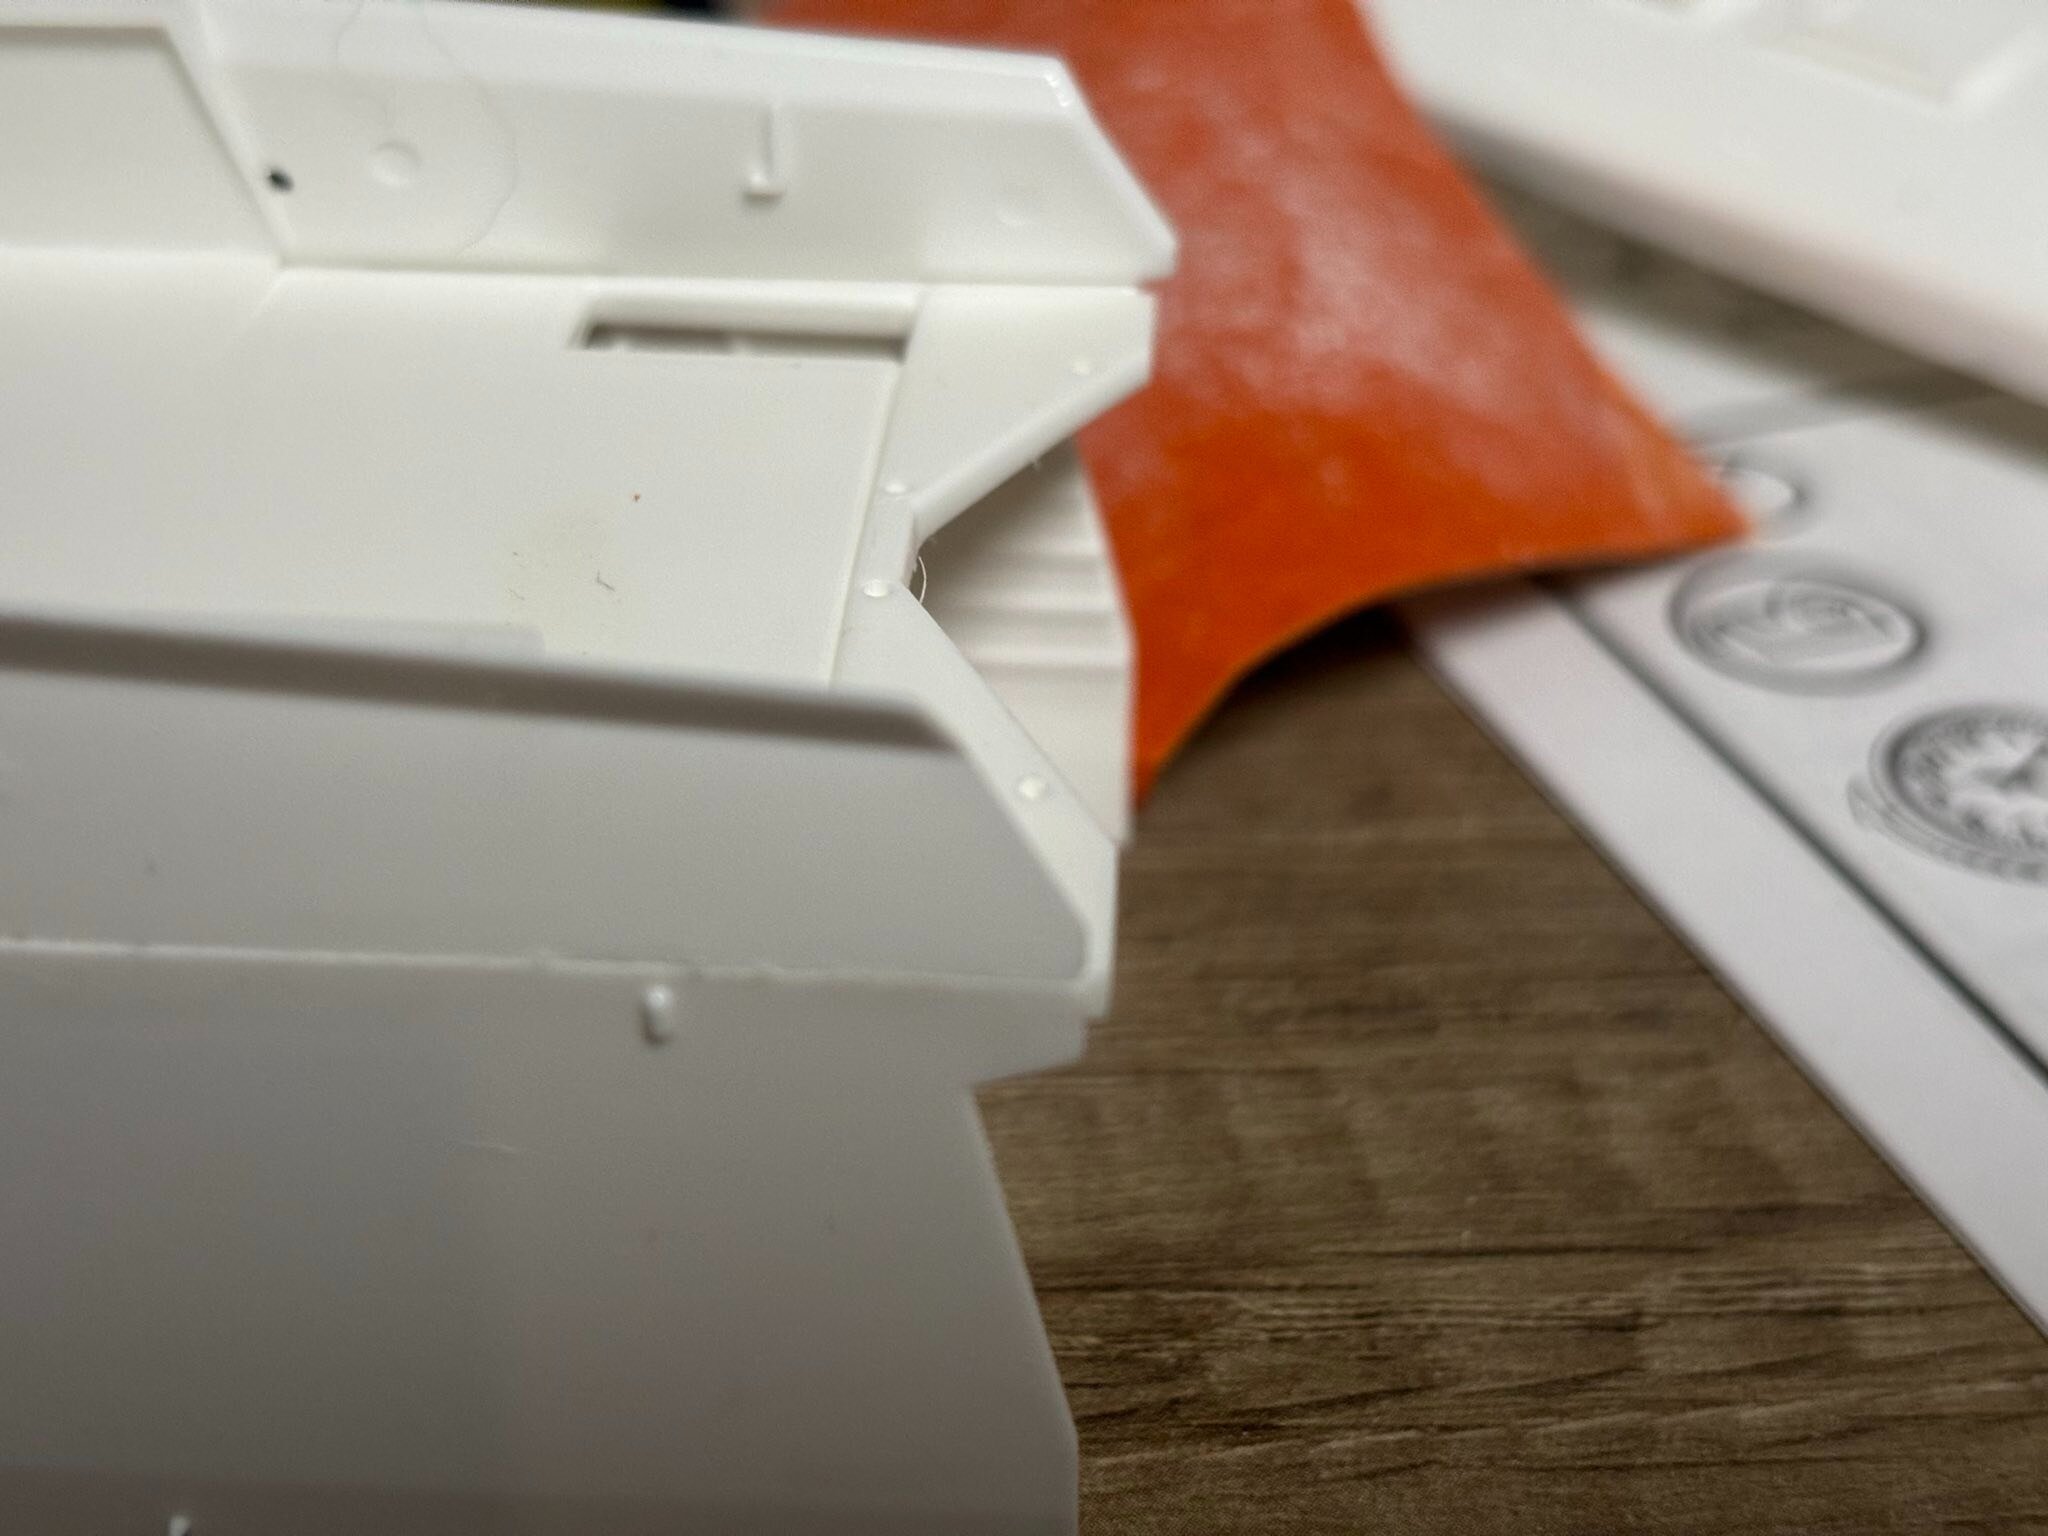
Gaps ... Gaps everywhere!
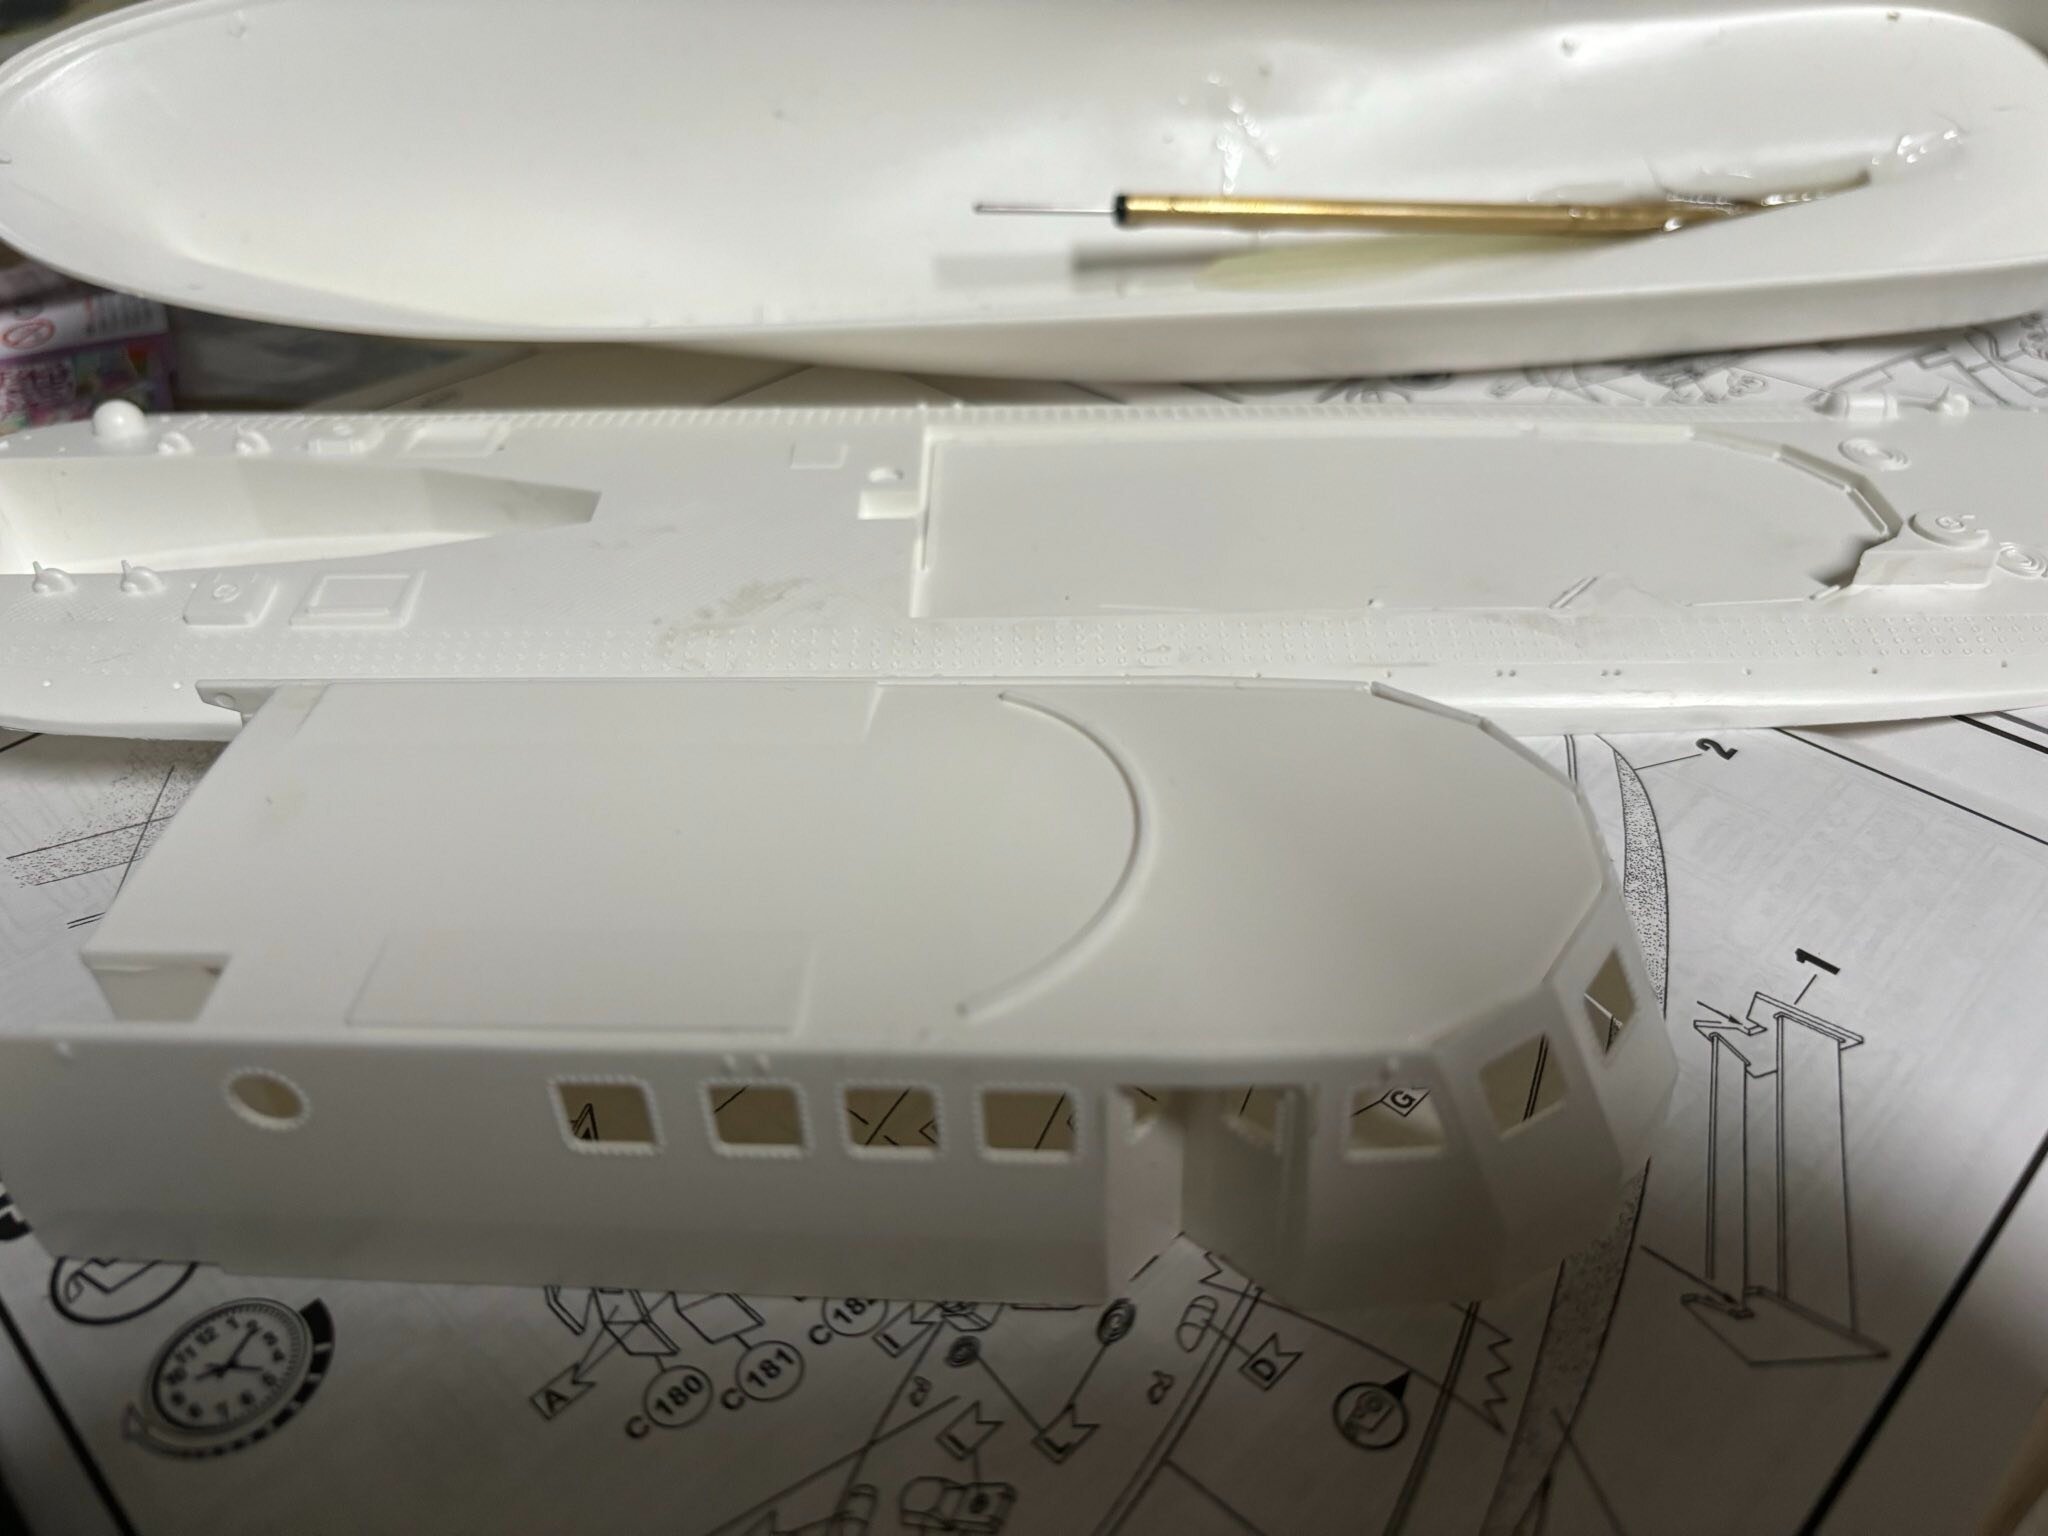
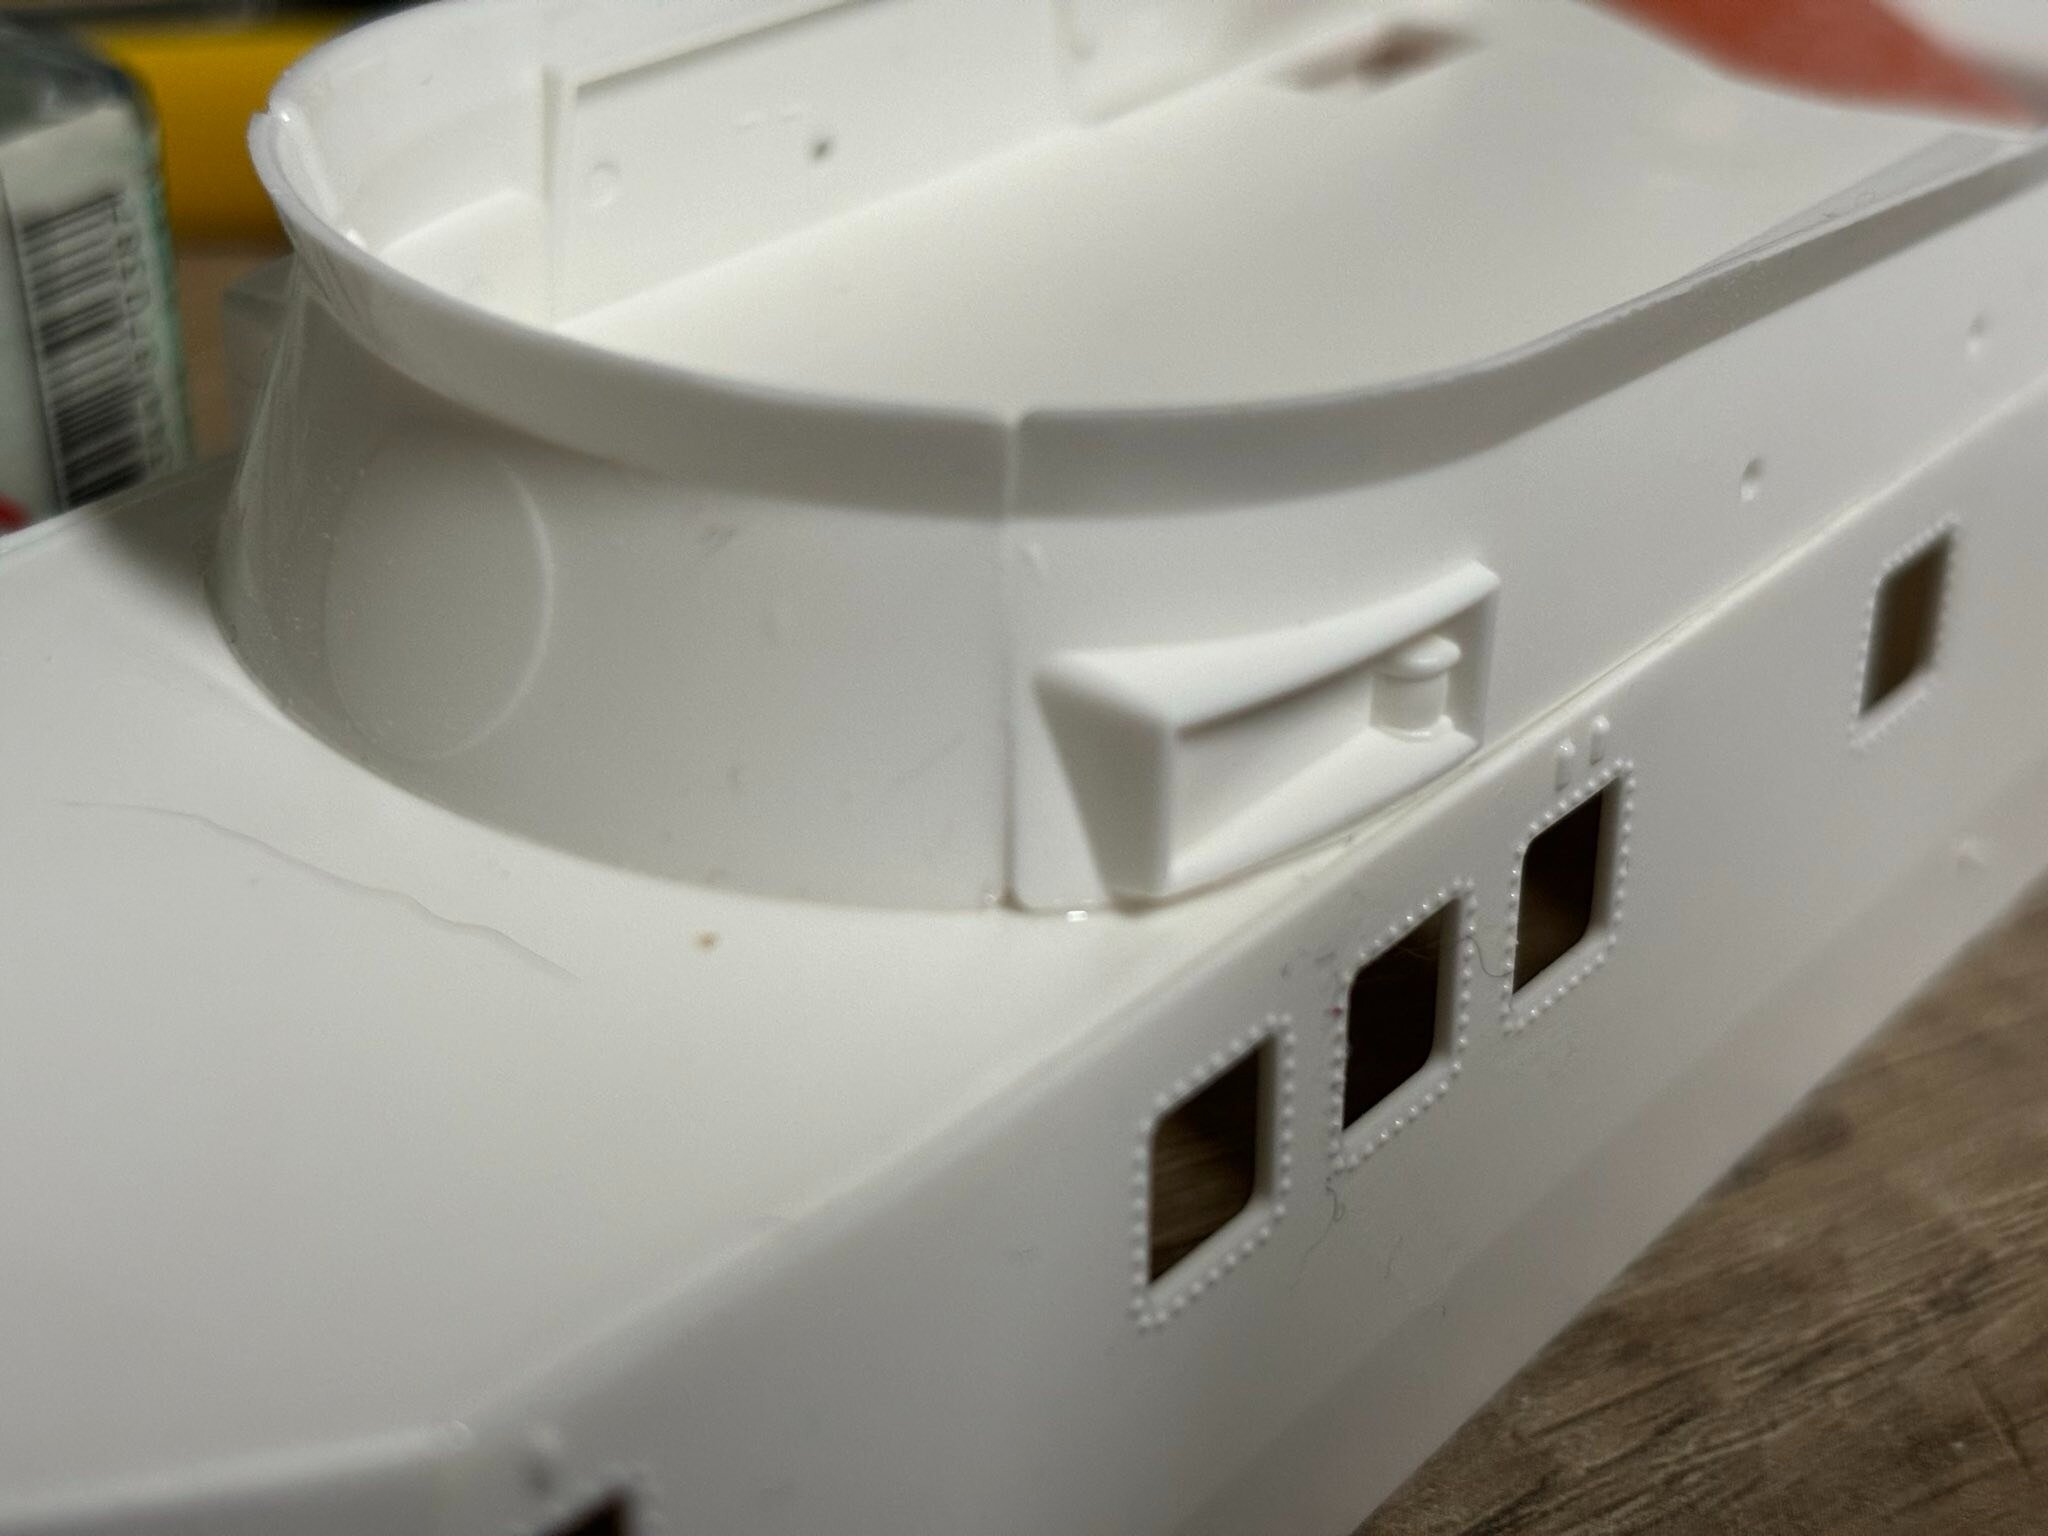
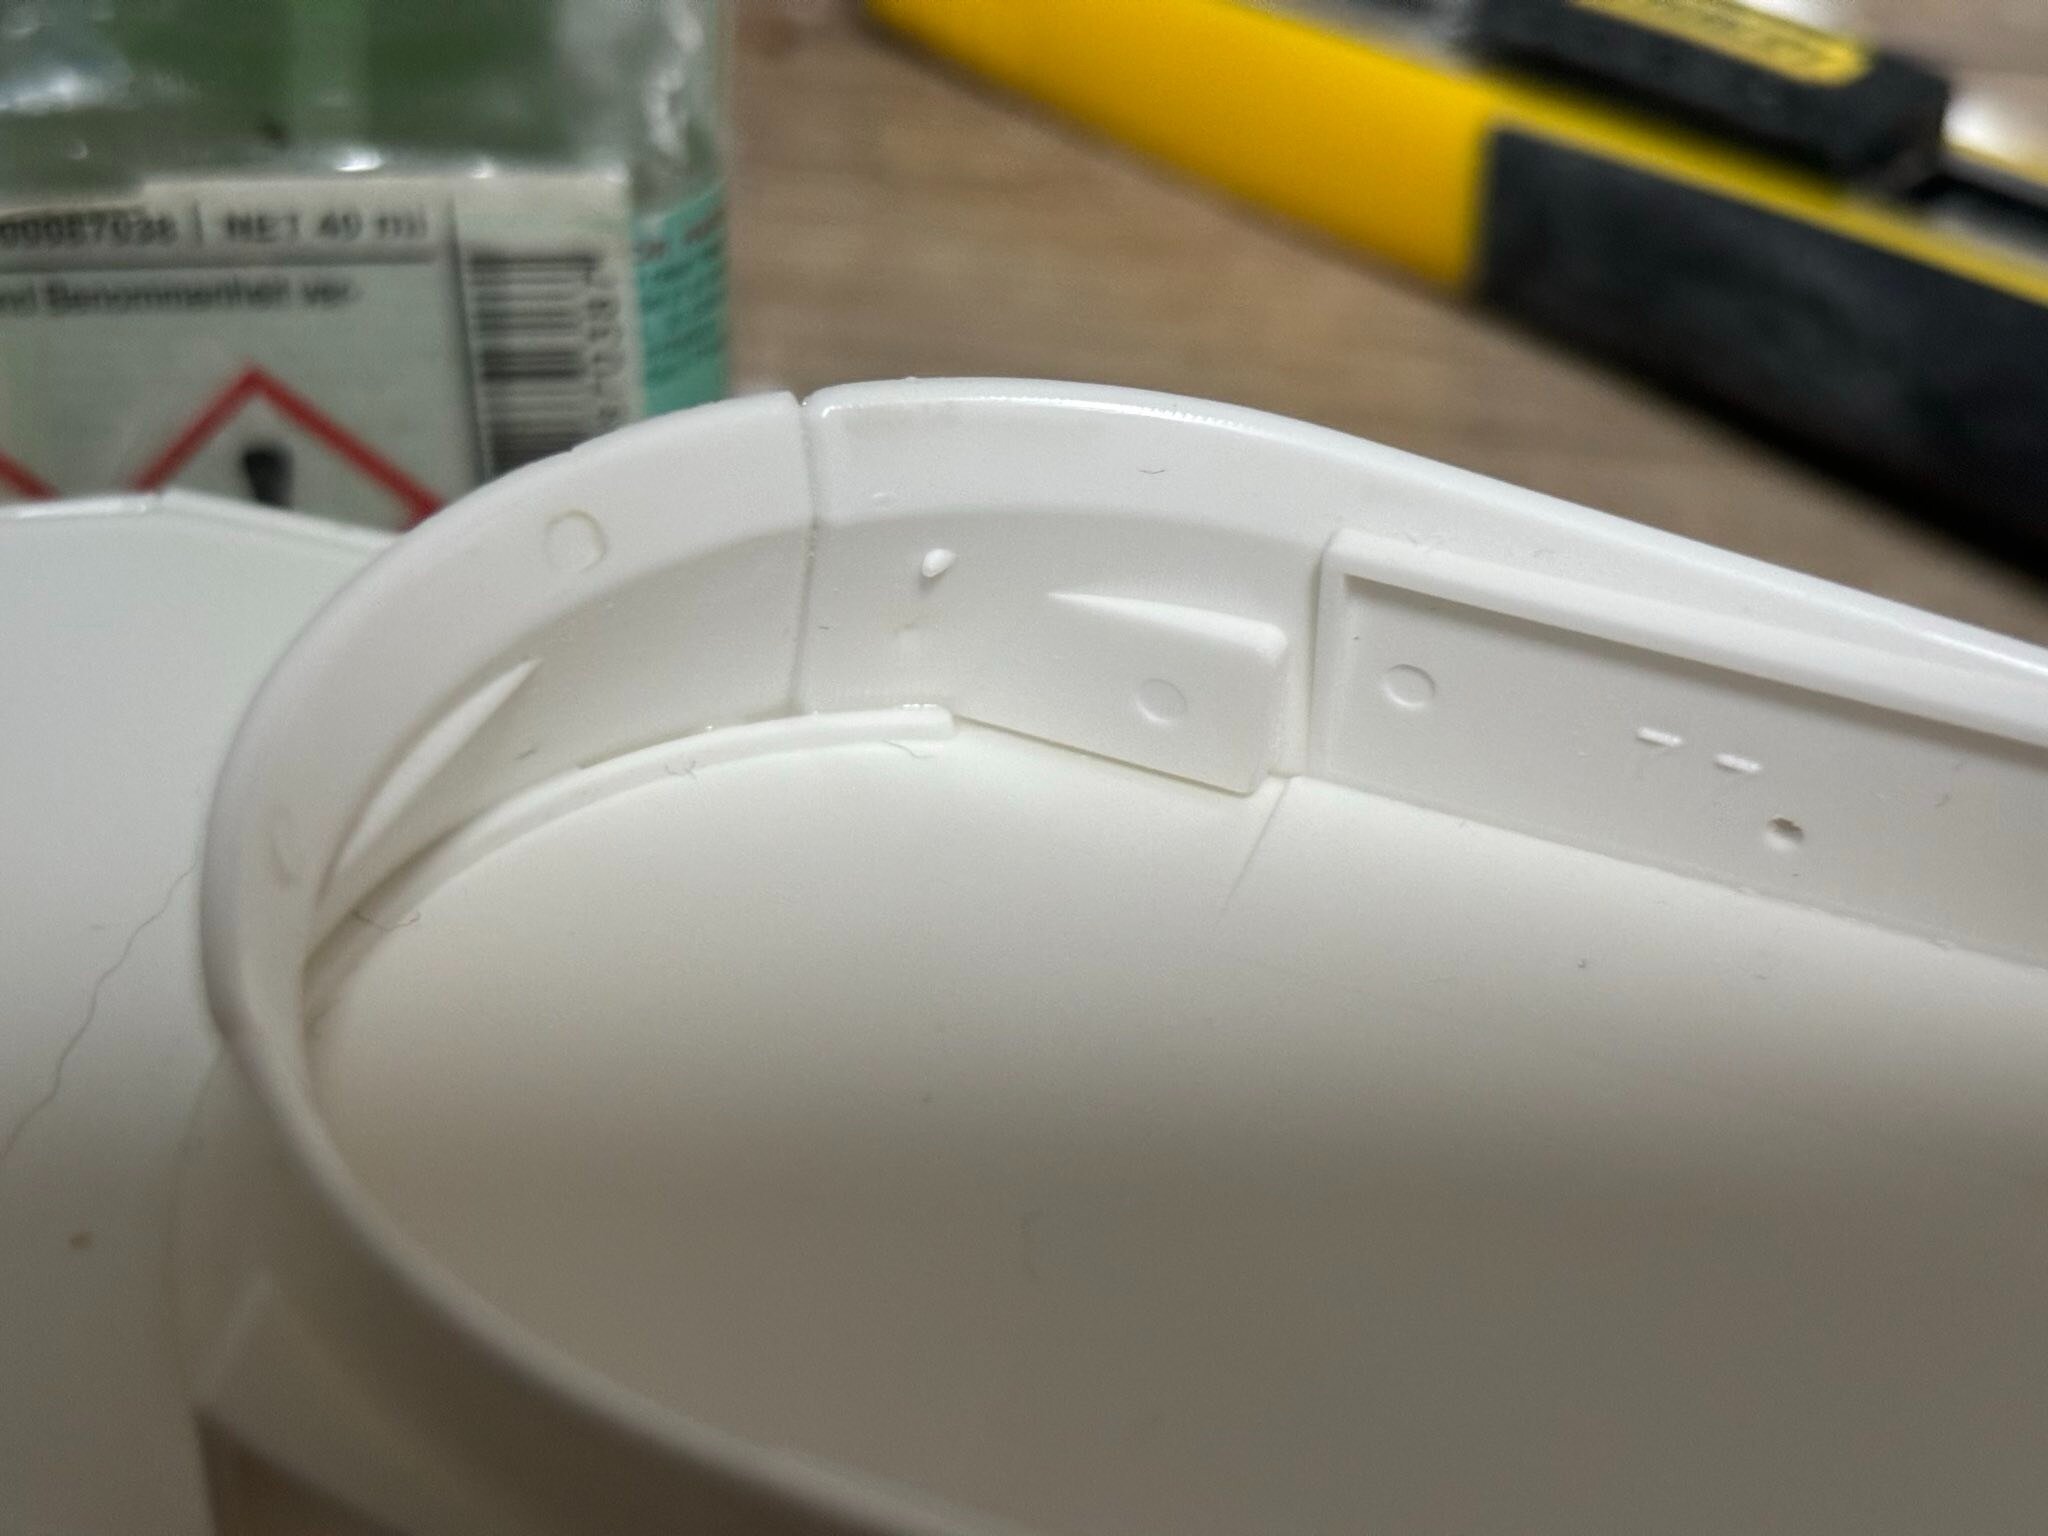
I mean, looking at it from far away is okay. It looks nice and so on.
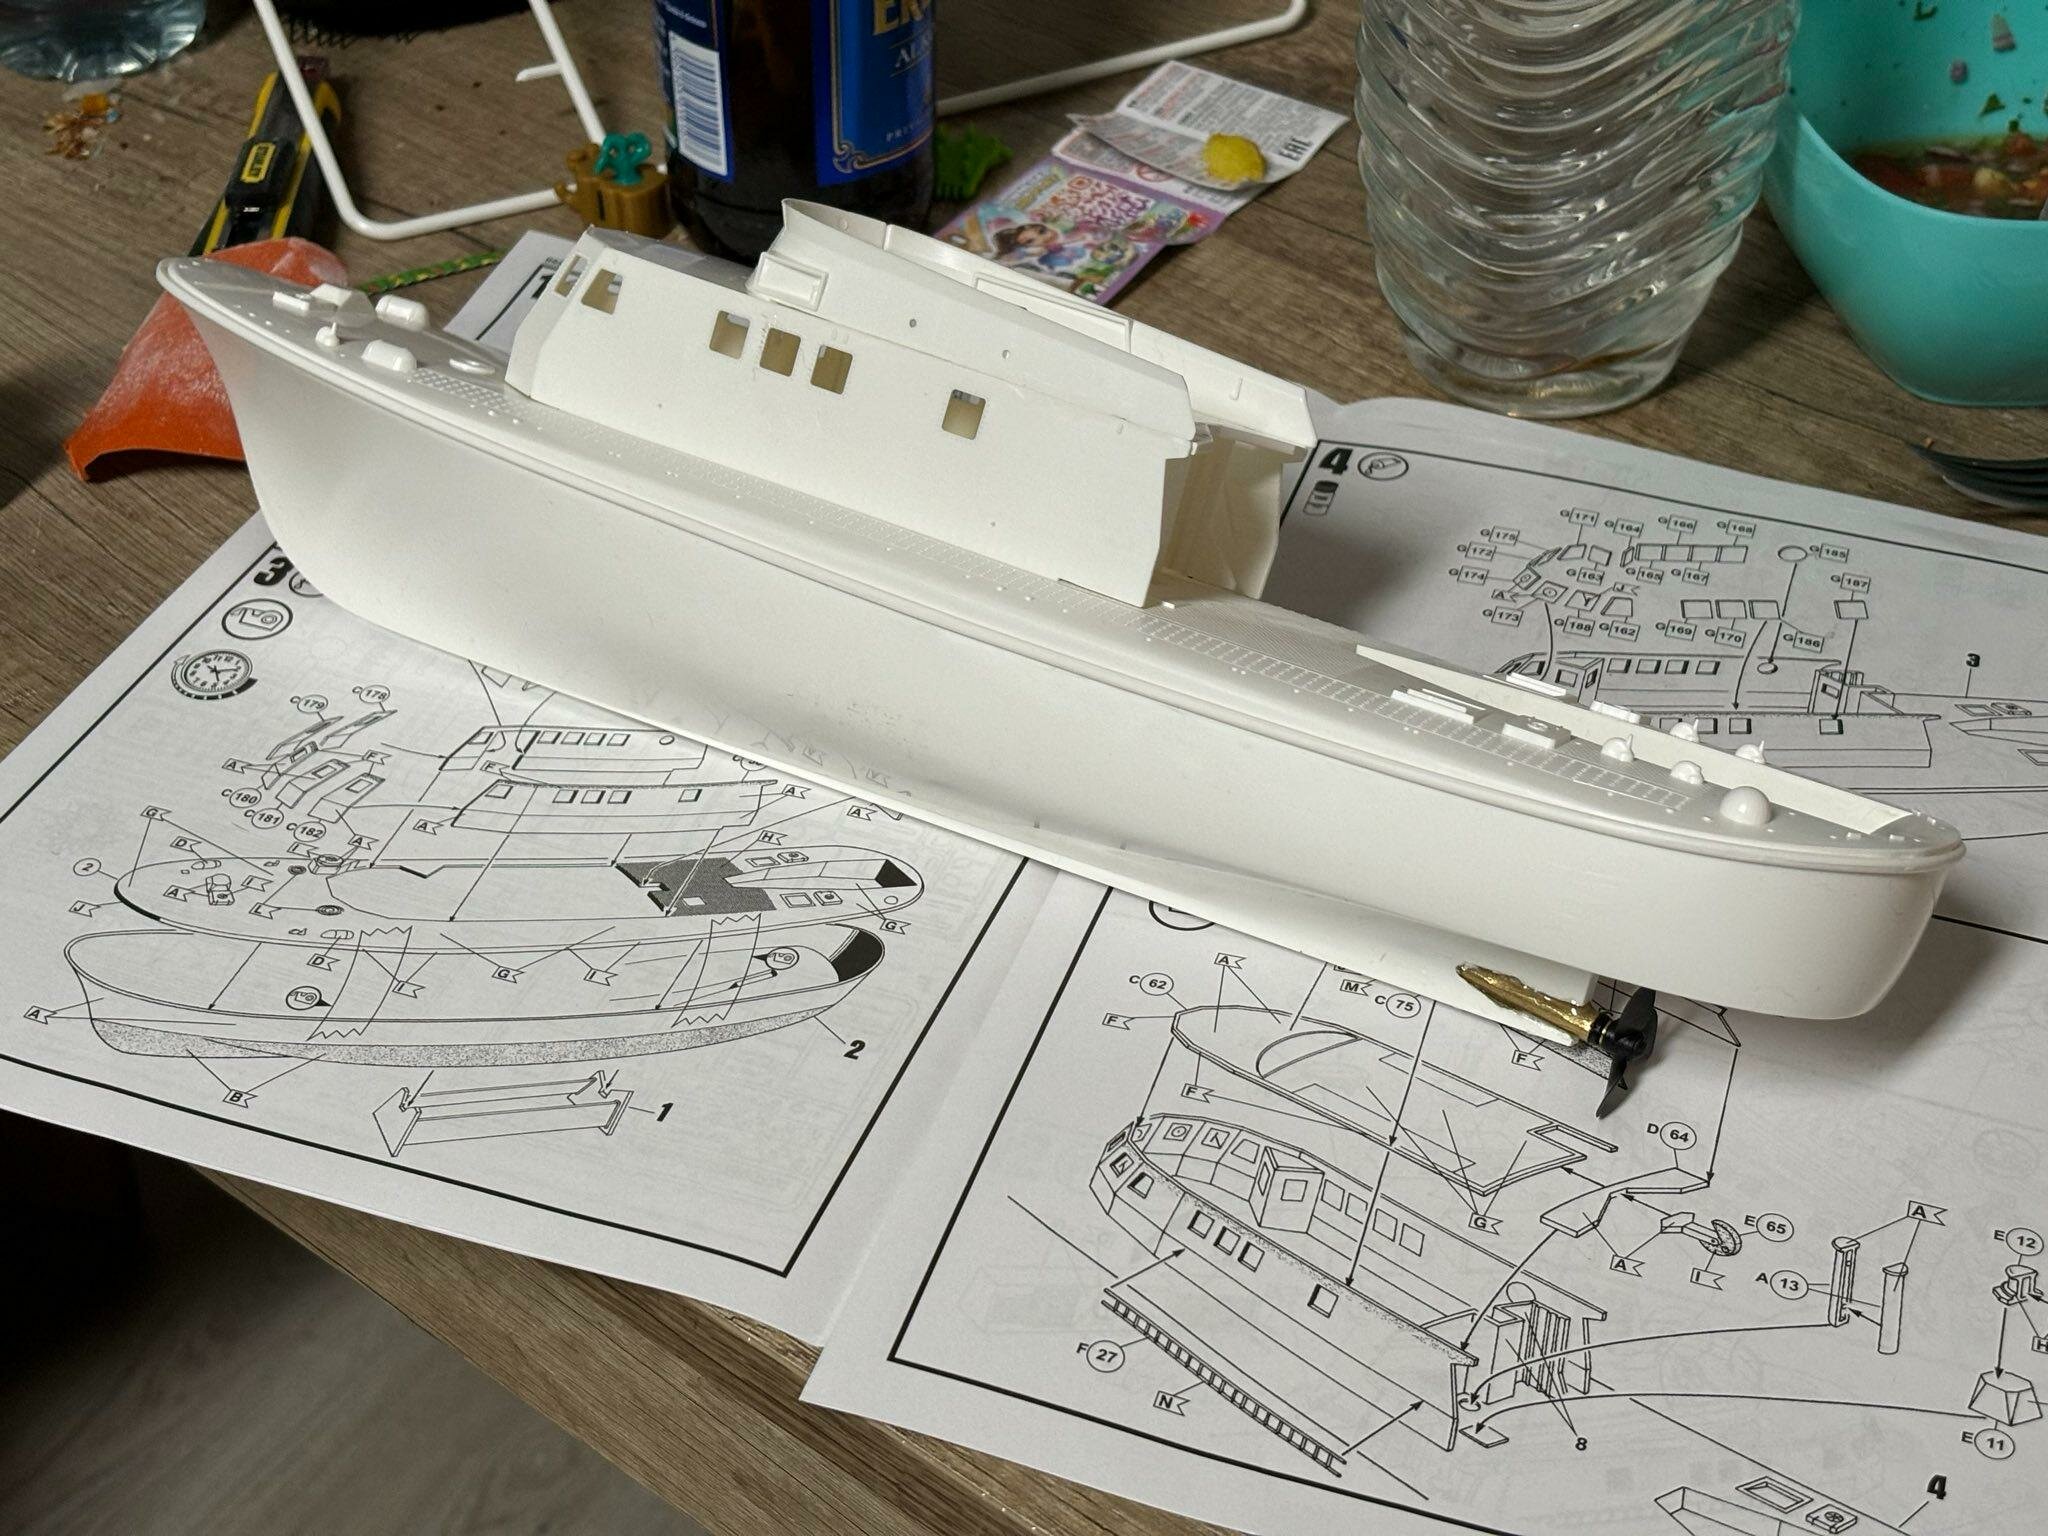
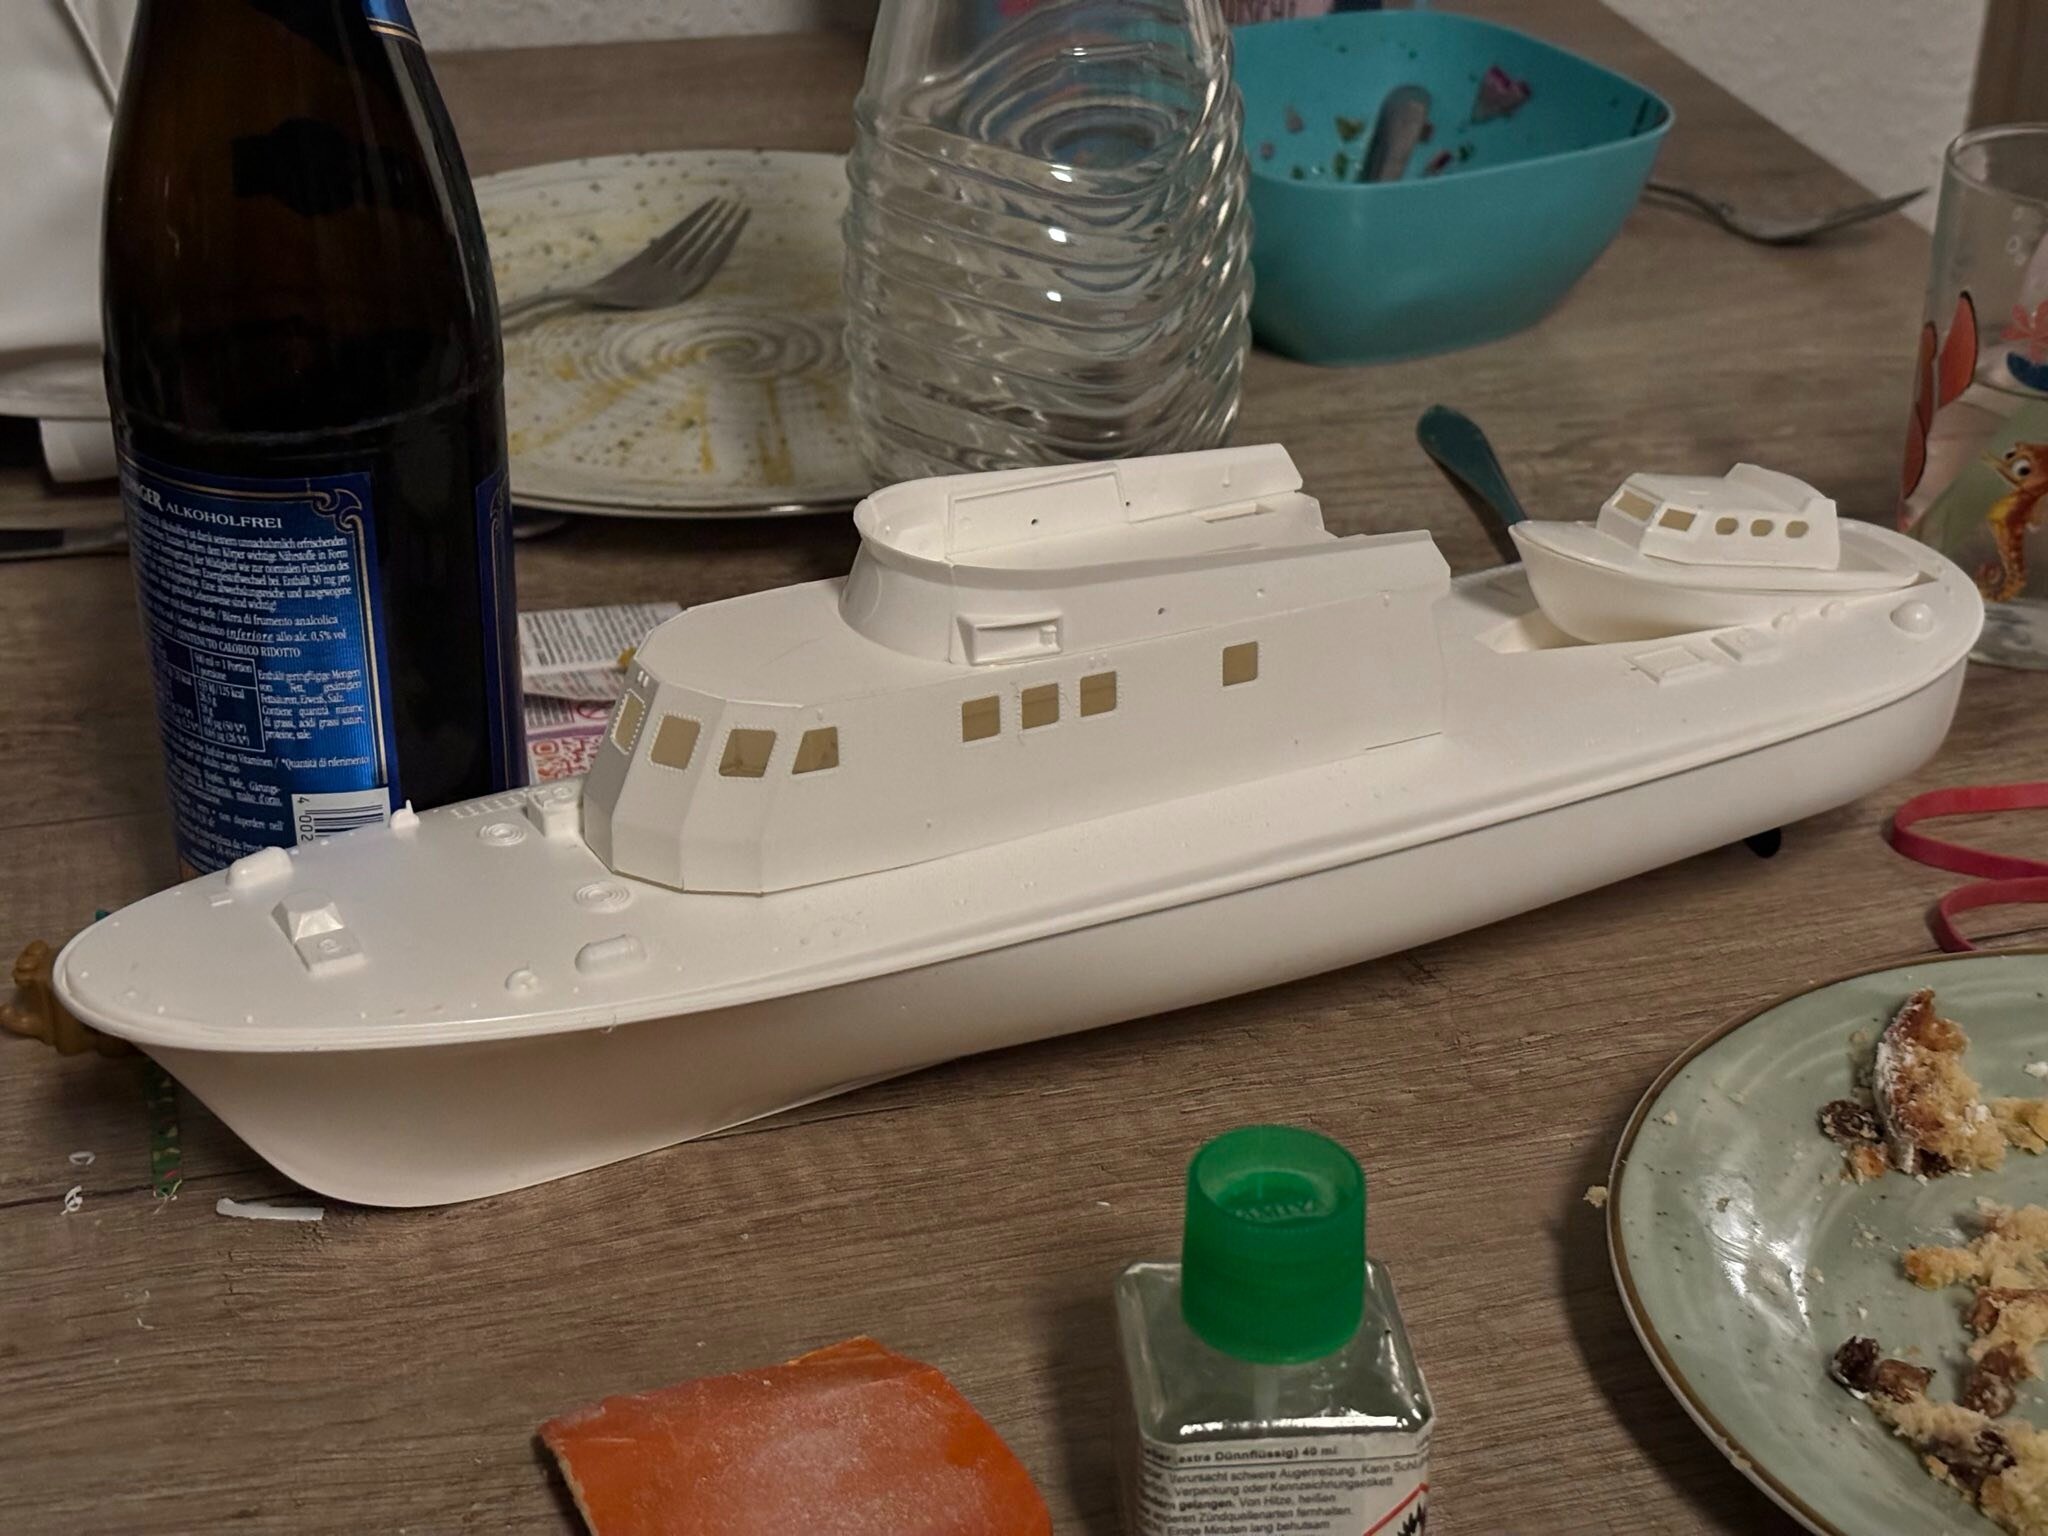
Ah yeah, and here a floating test, just to check if all the RC components are not too heavy.

-
Nice build! And welcome to the forums!
-
4 minutes ago, Big s said:
I think if you were to do some simple panel lining a lot of people would be mistaken in thinking you did those modifications yourself for added detail
I'll add some panel lines later with Tamiya Panel line stuff haha.
-
8 hours ago, Big s said:
It’s a fairly recent one actually. That’s the entry grade NU Gundam if I’m not mistaken. No poly caps and separate eye piece. And doesn’t appear to be the fin funnel version.
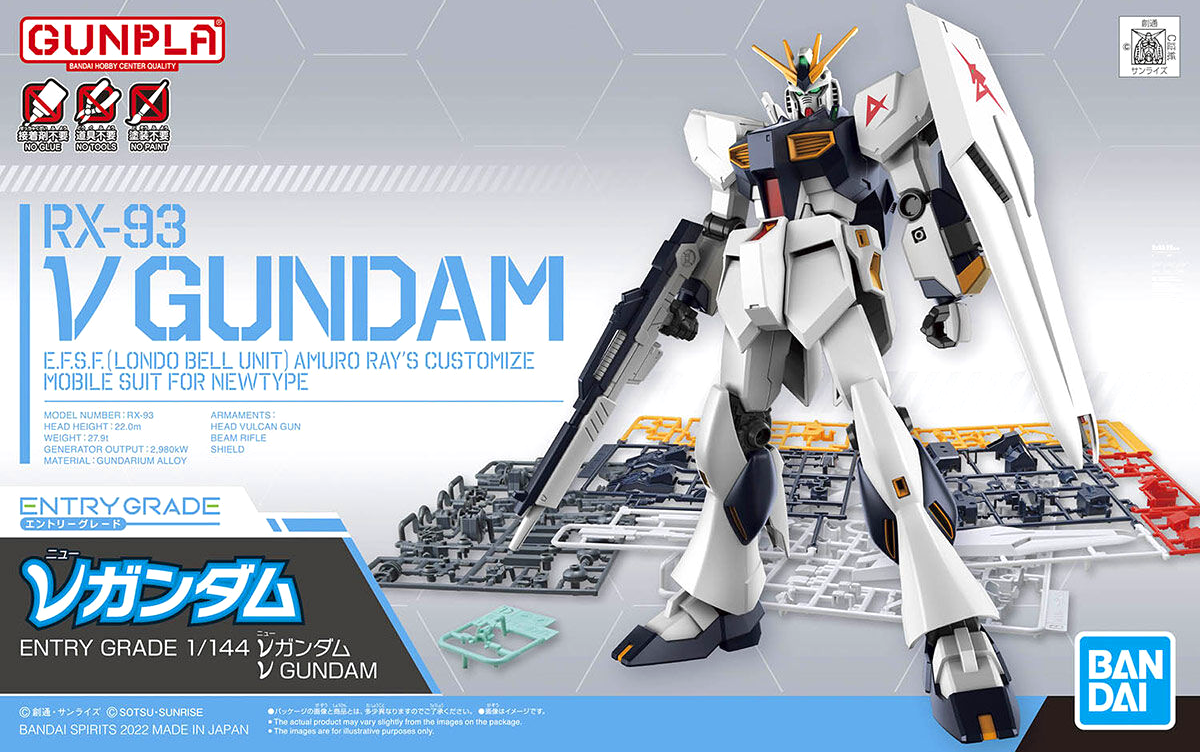 oddly, it looks like they added a few bits of detail to the kneecap armor and around the side skirts
Ah interesting. Yeah, there are some more panel lines.
-
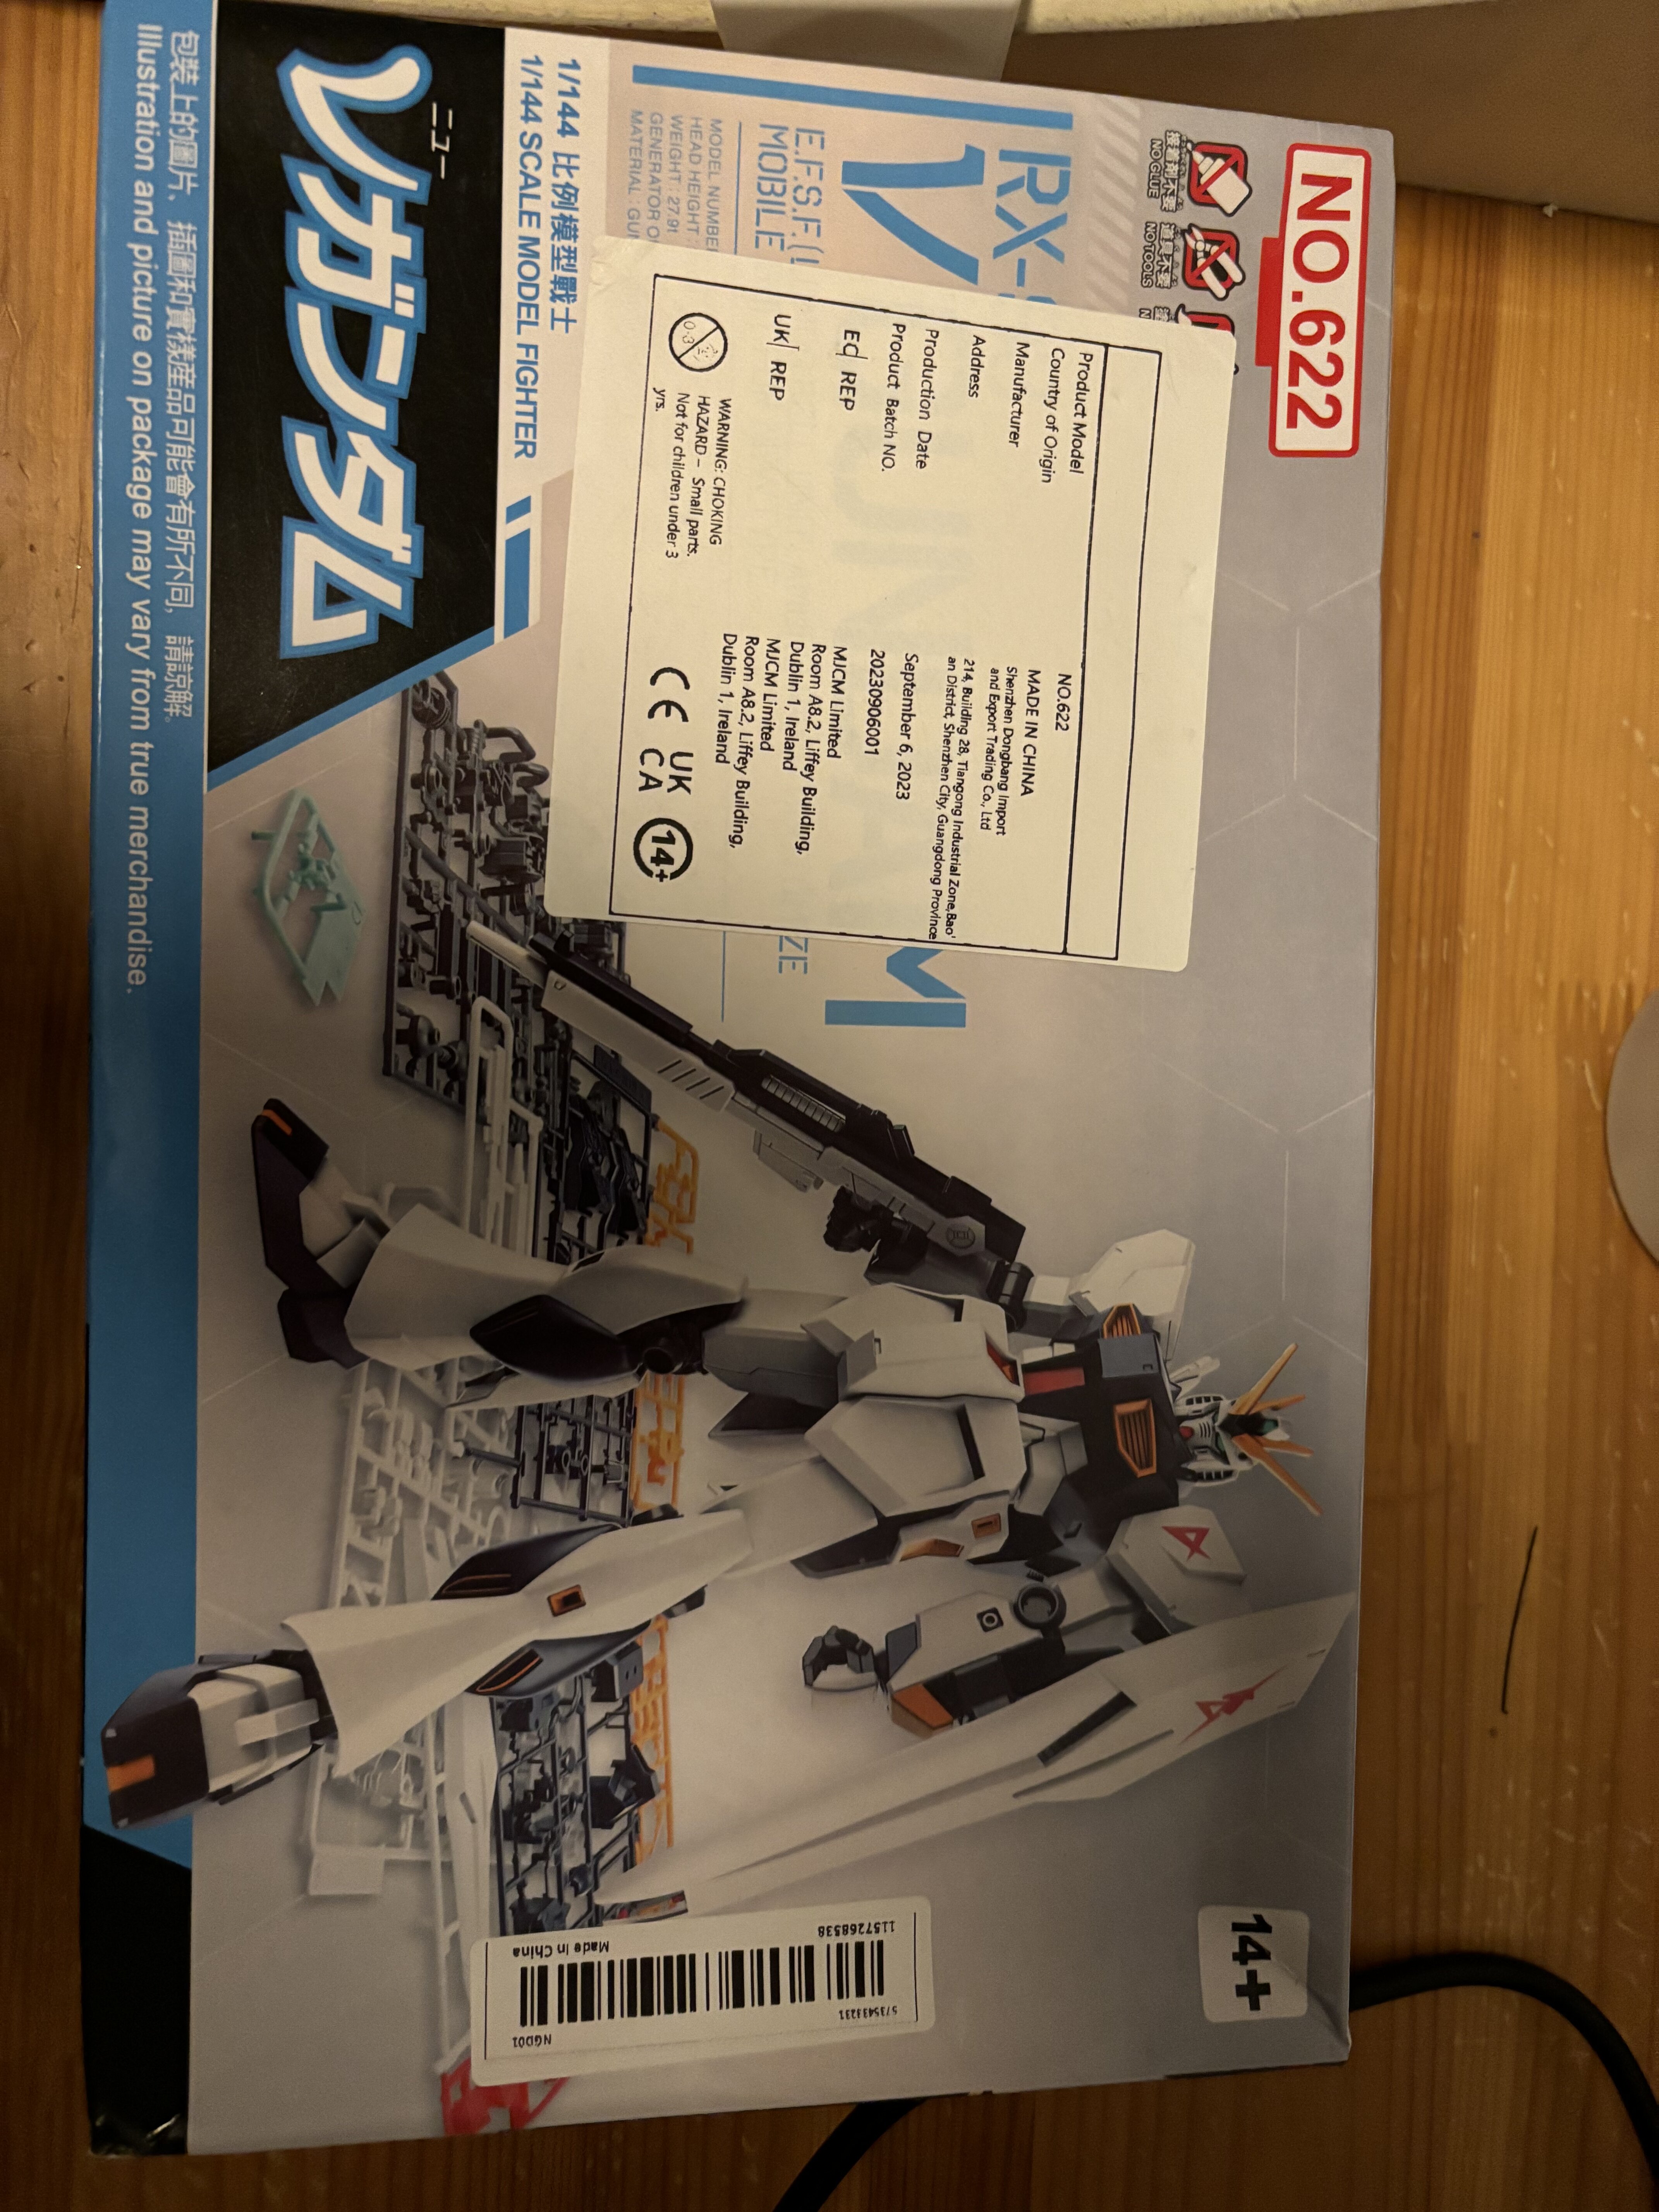
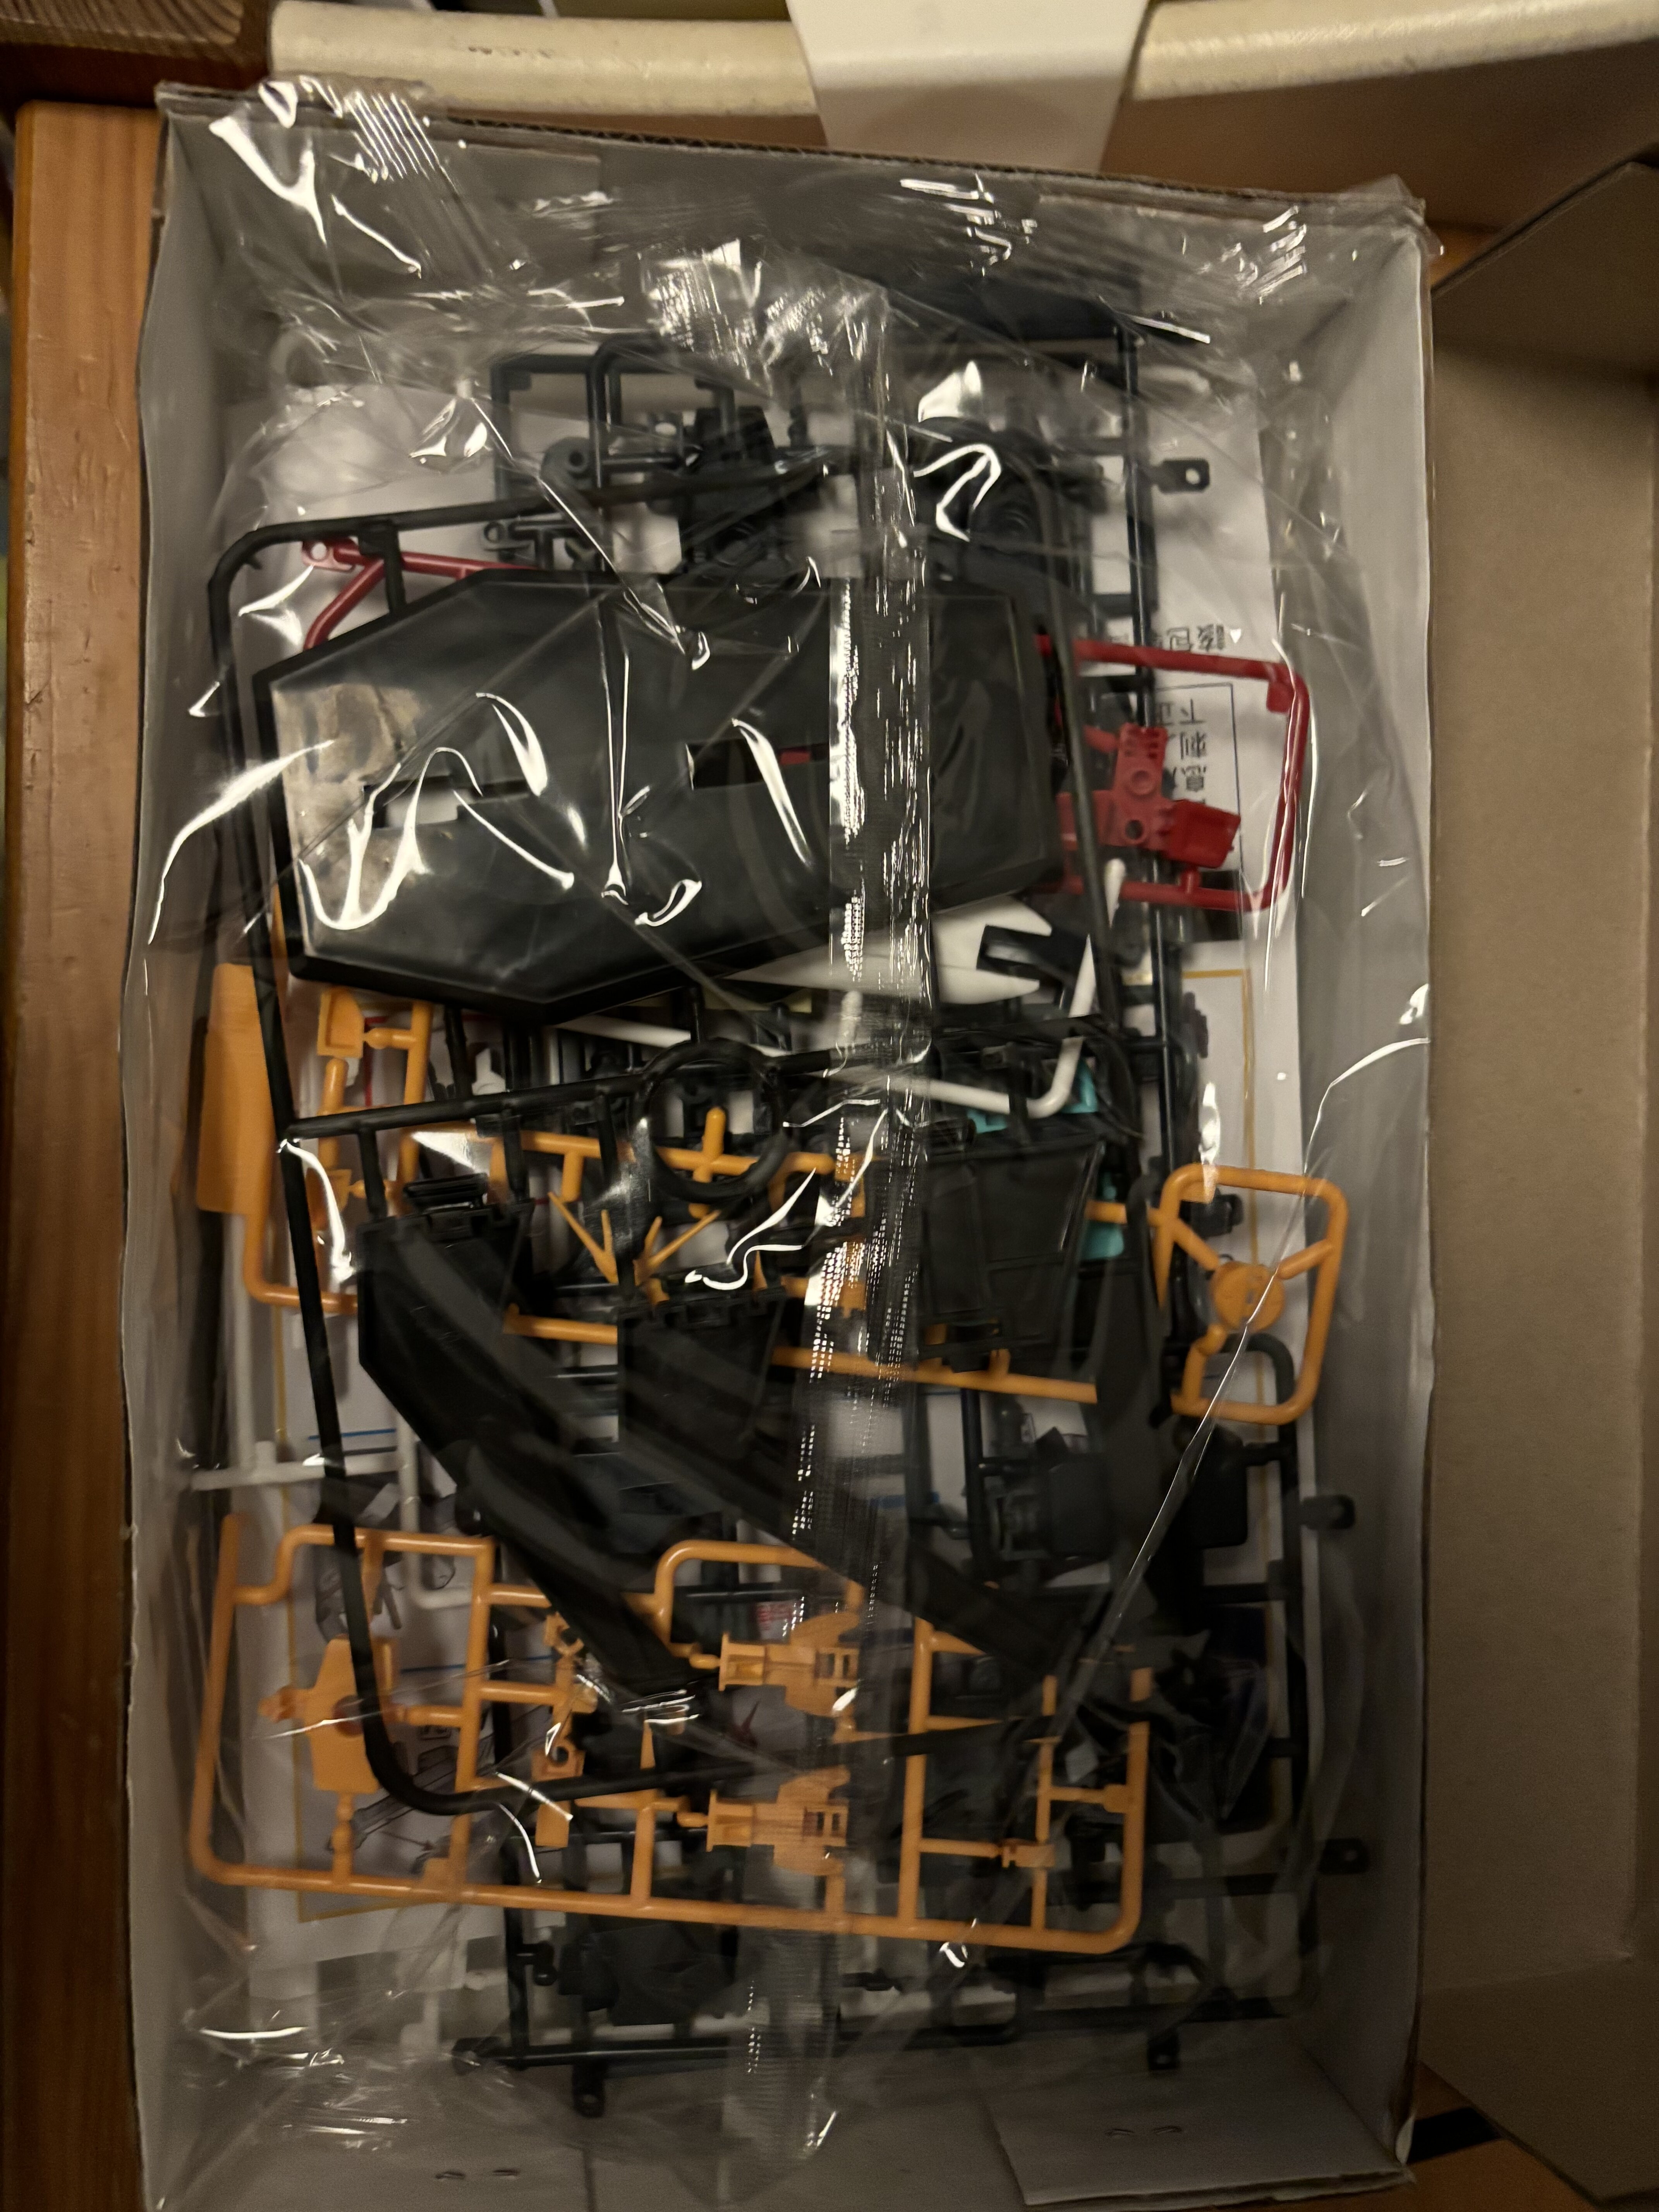
Finished this thing today. V Gundam „China Ware“ in 1/144.
Super easy snap kit (probably an older HG from Bandai, copied). The parts fit tightly, so no glue, no paint. Just snap fit.
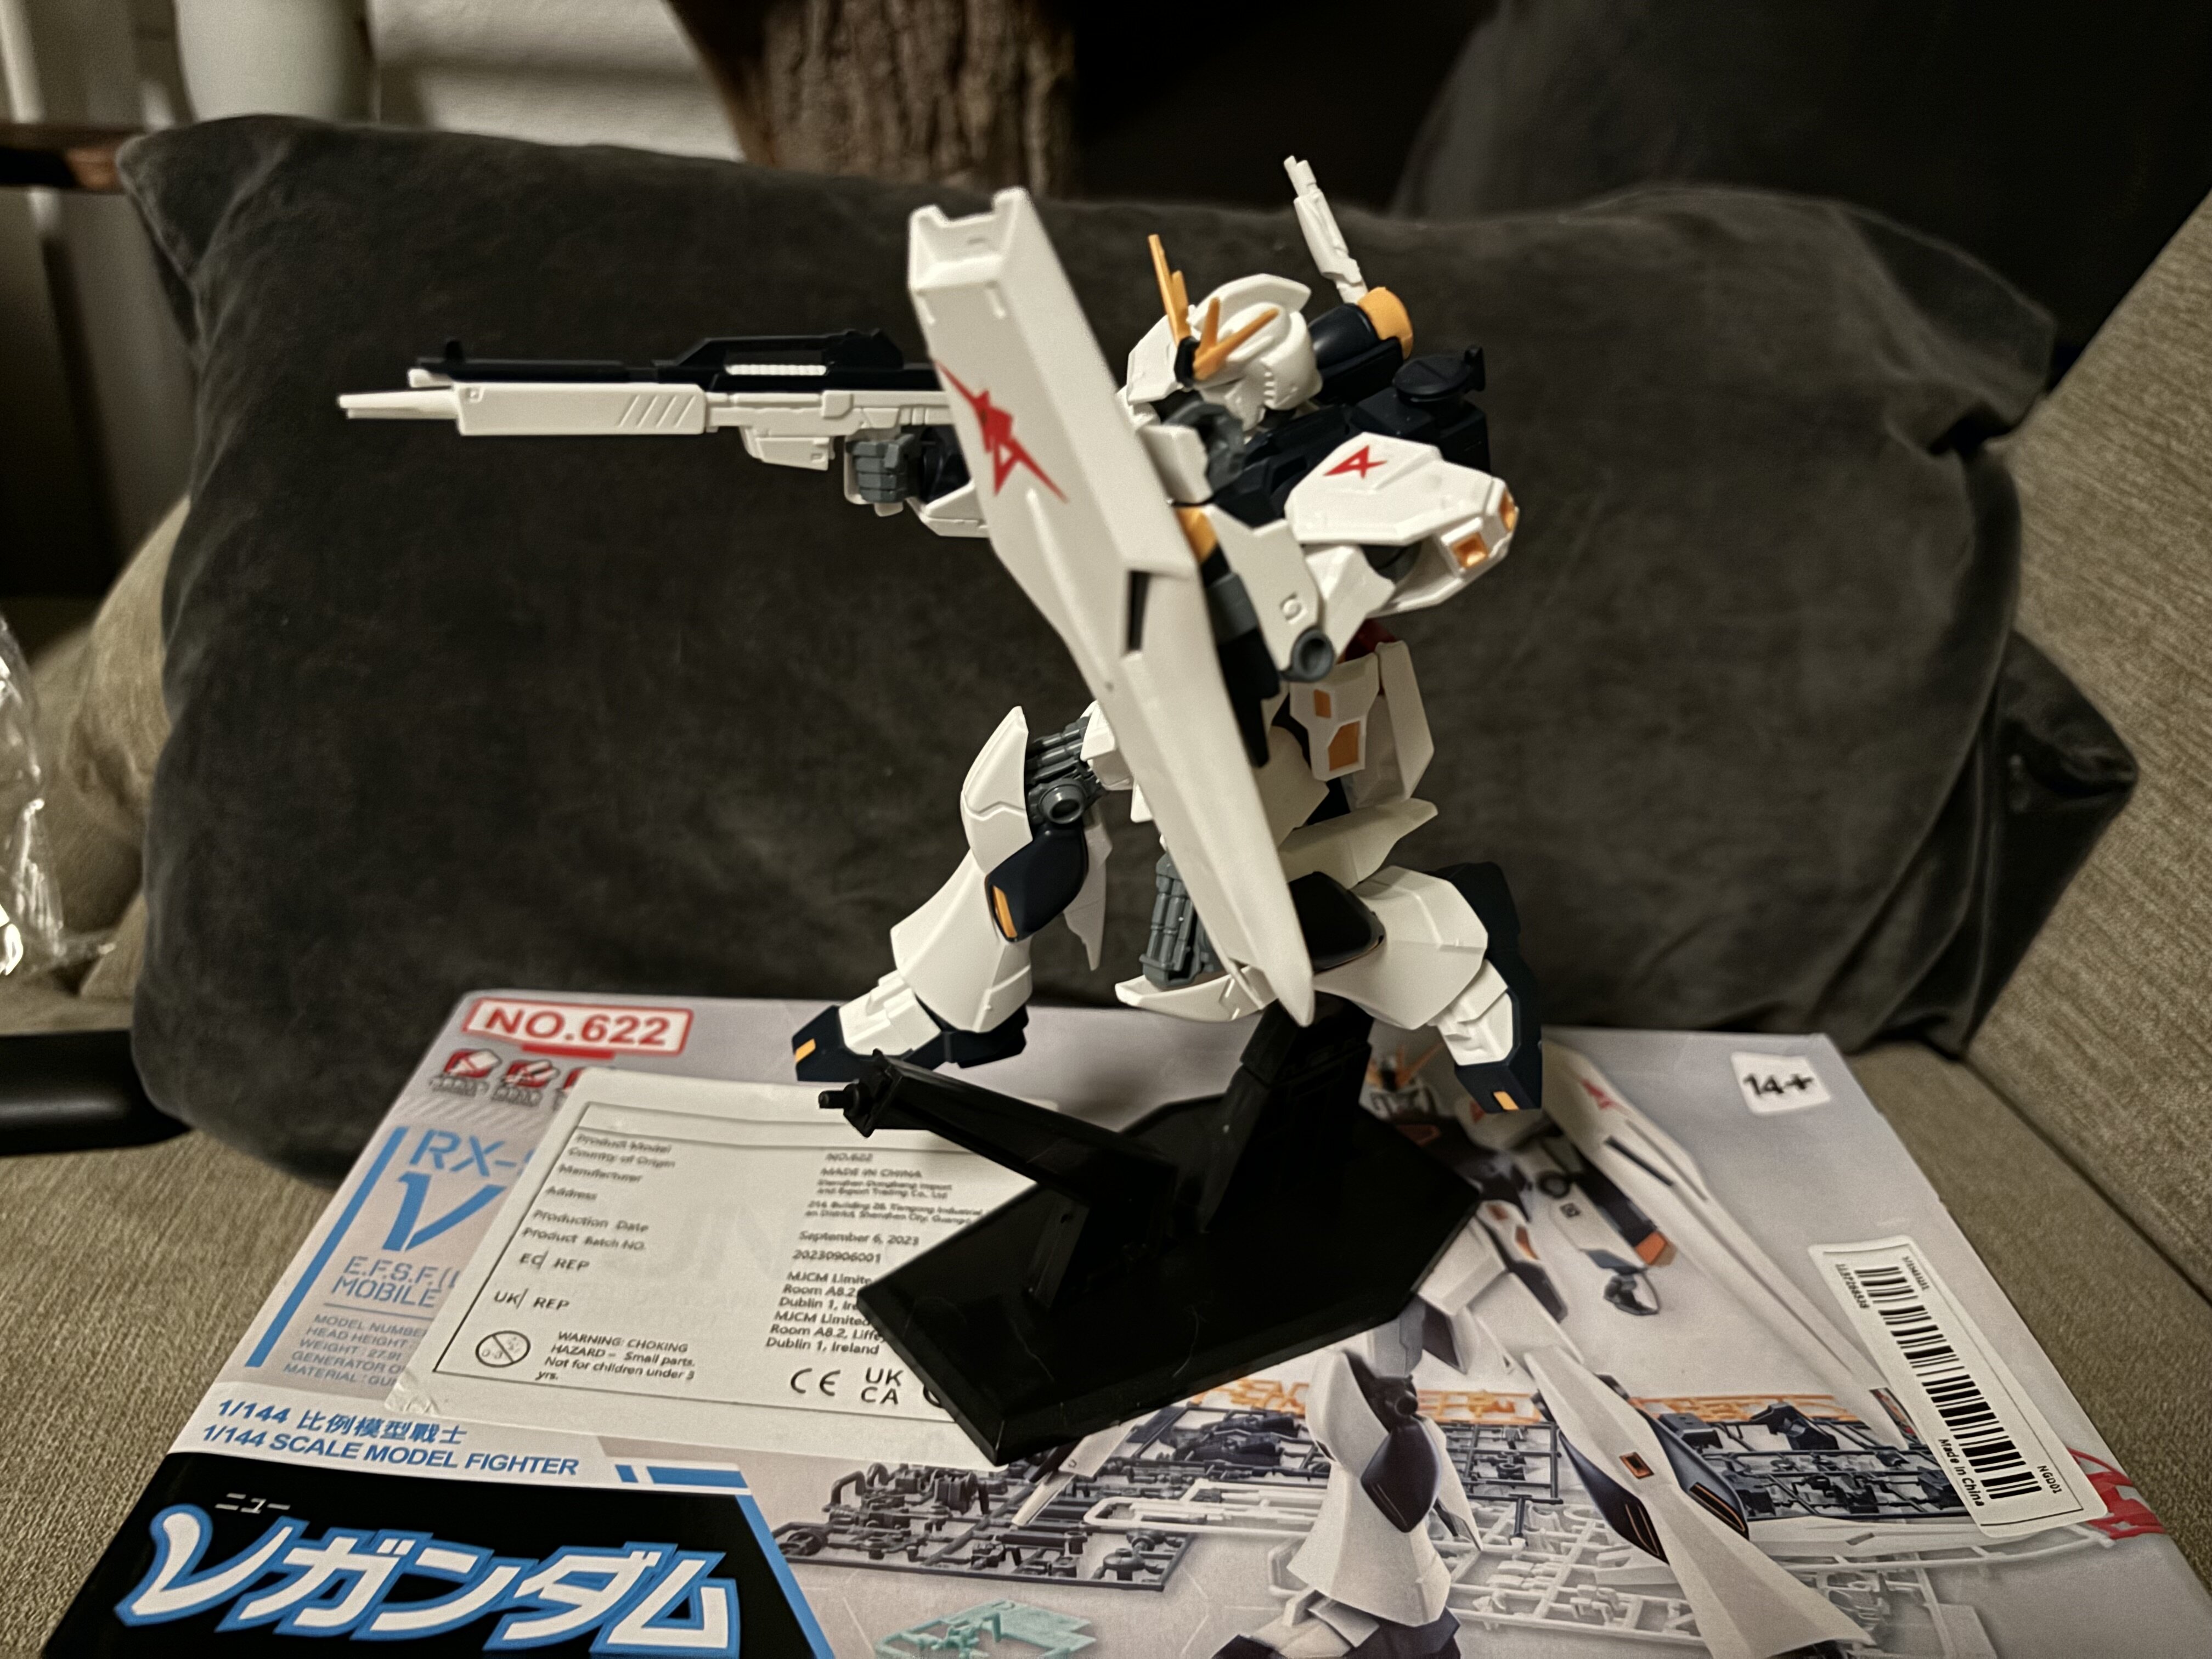
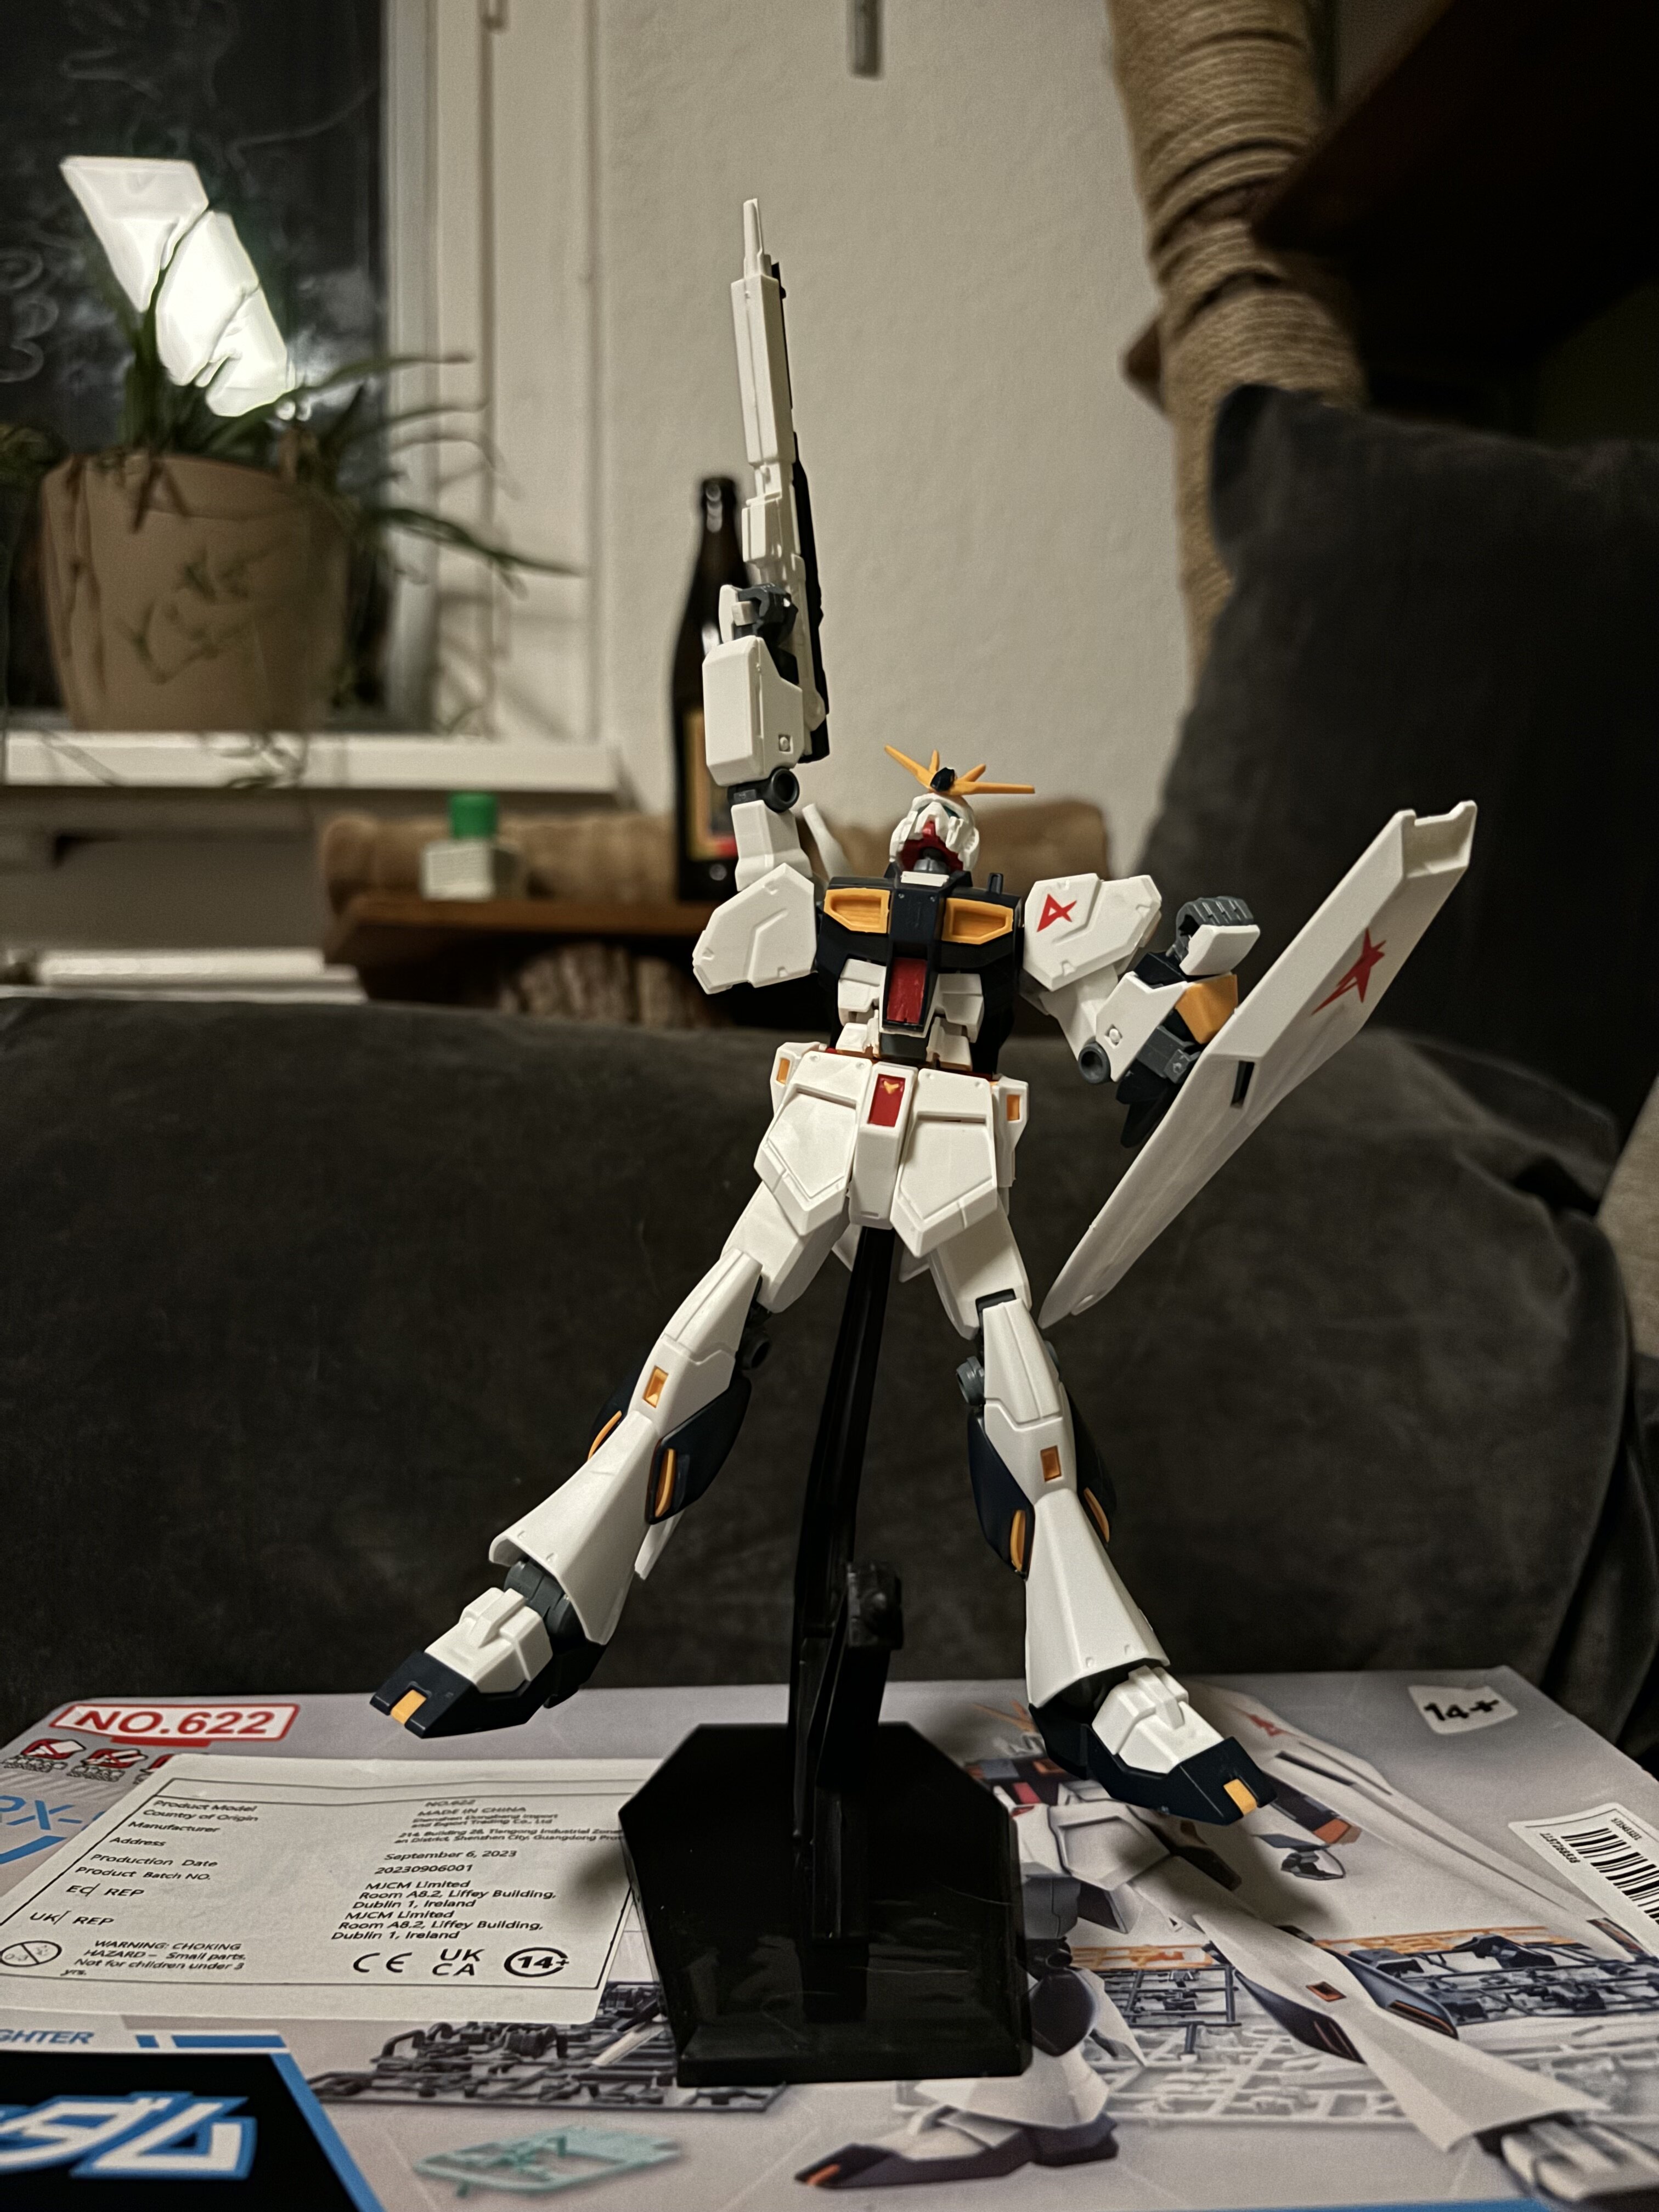
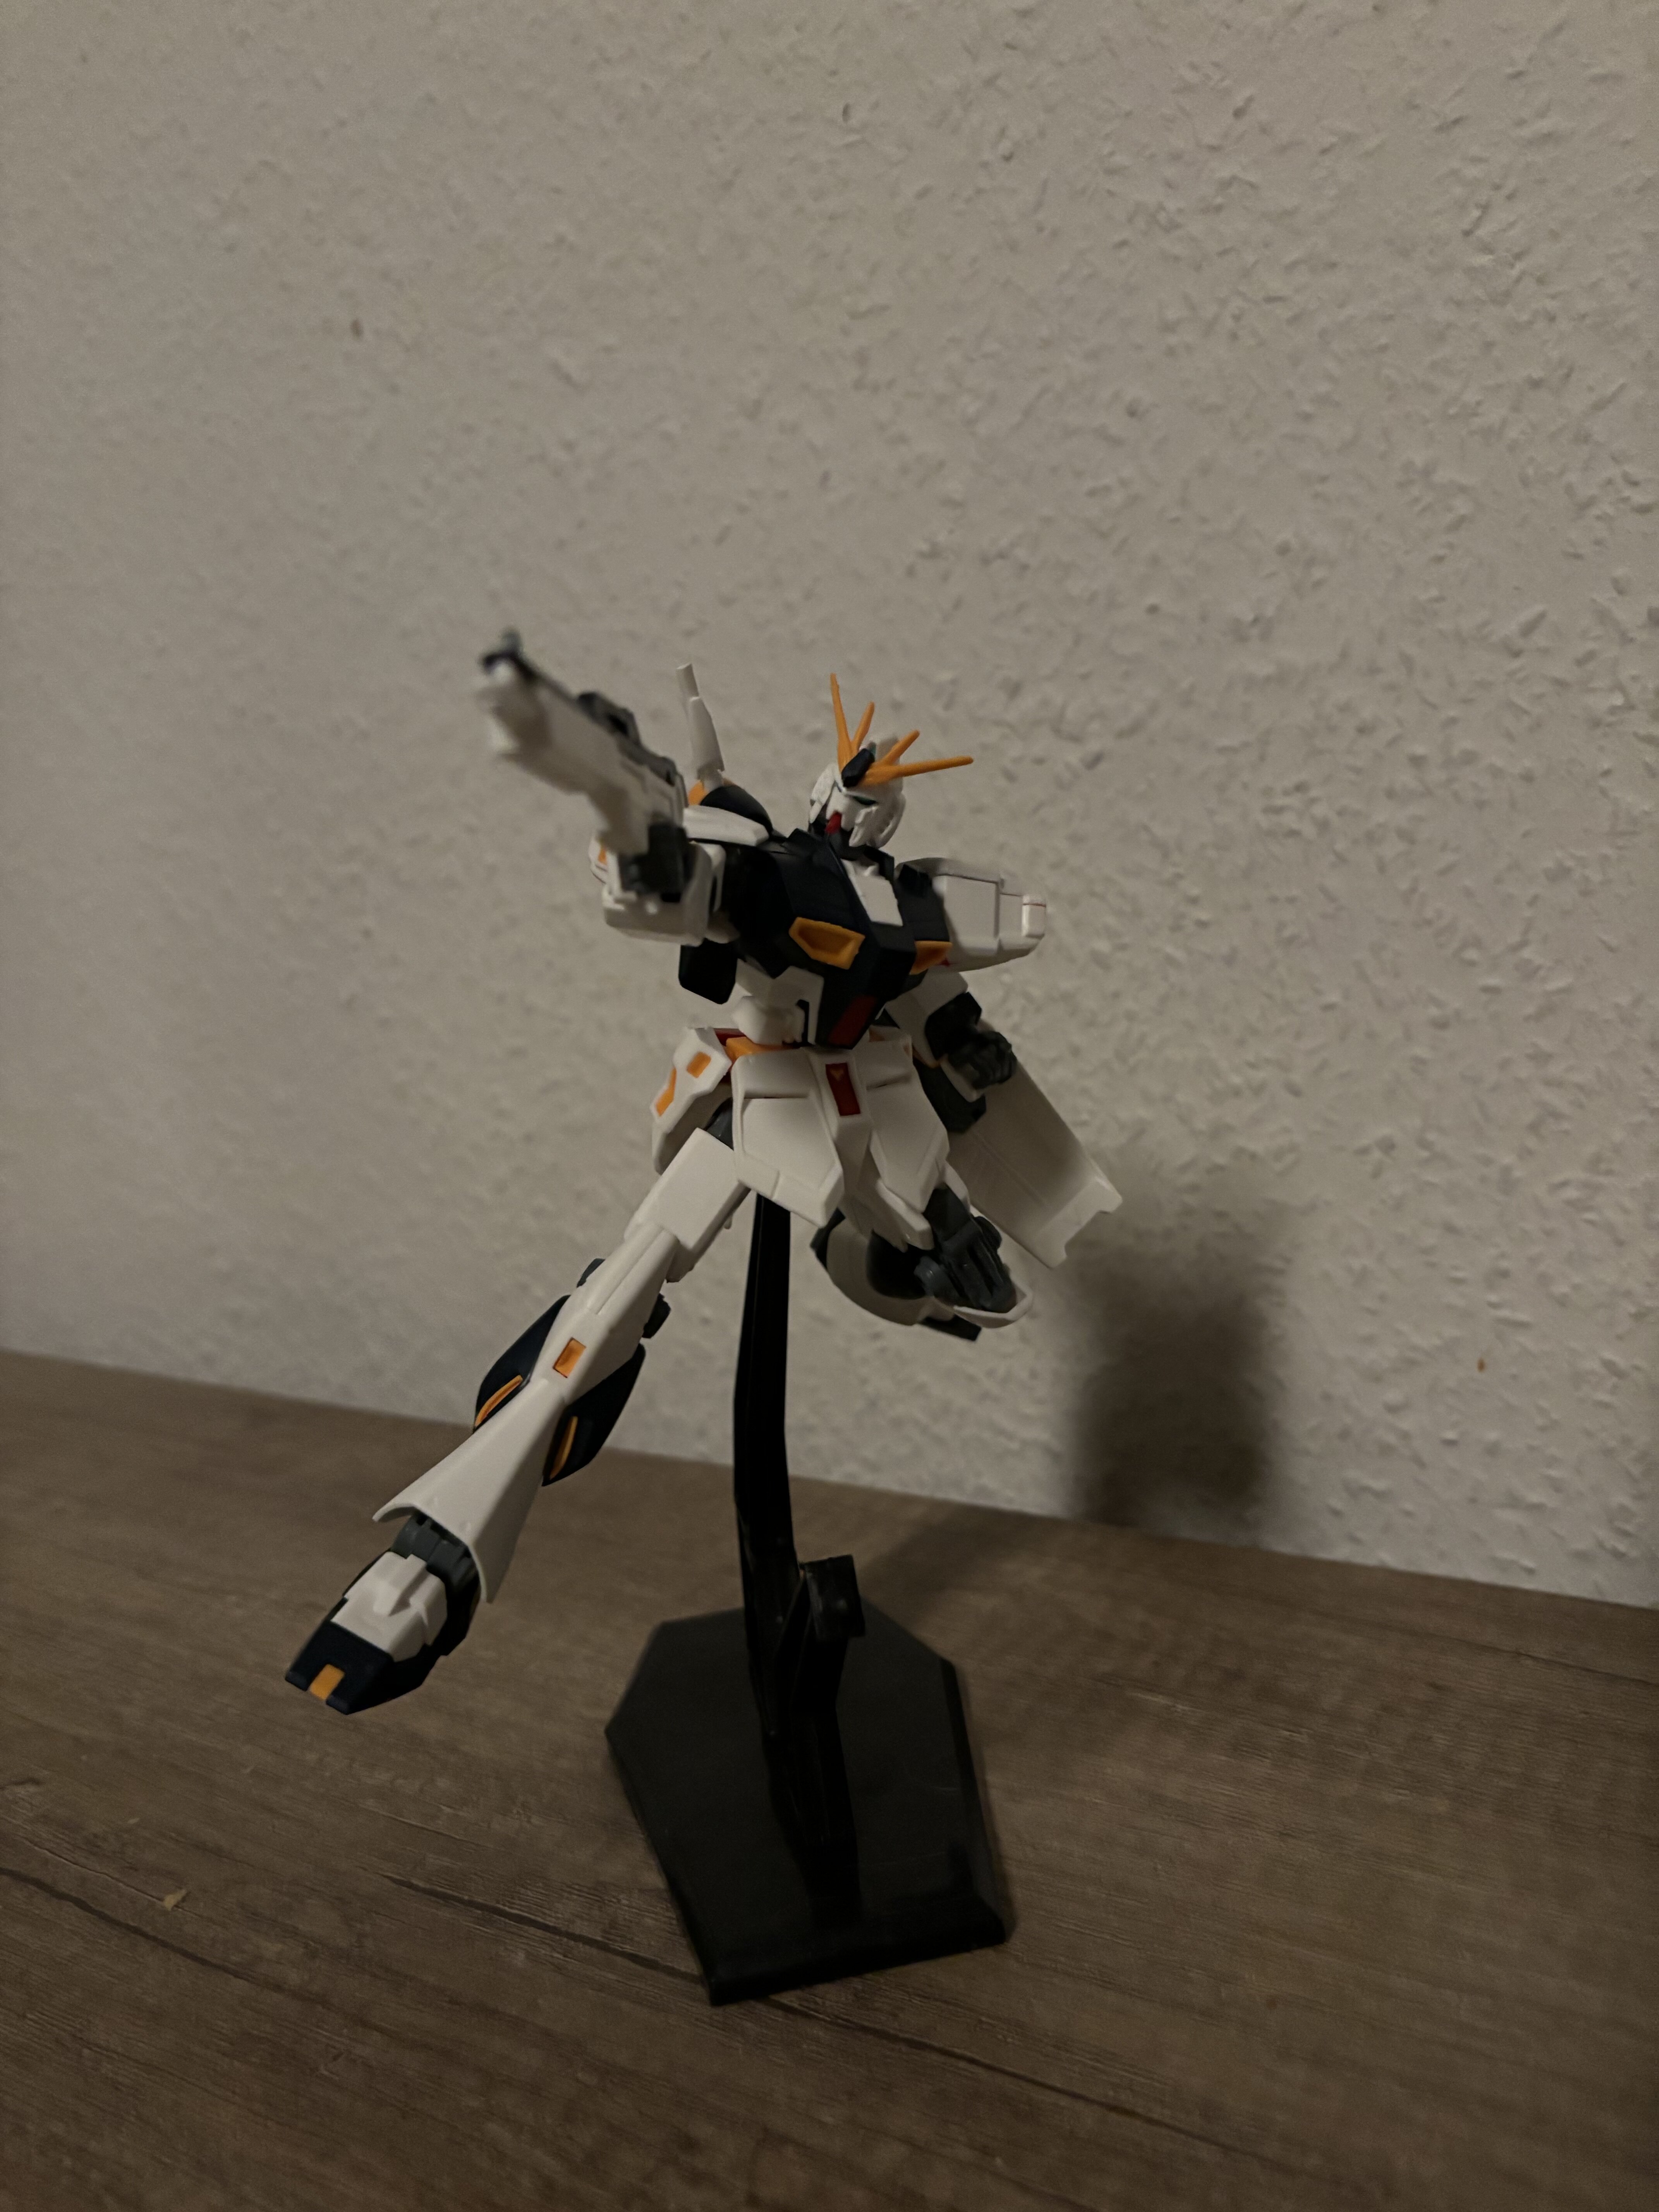
For 5€, I cannot complain.
-
7 hours ago, Big s said:
From my experience, the tamiya gloss is good if it’s thinned down a lot and used in thinner layers. If it goes on too thick then it takes a long time to dry and gets a little gummy almost rubbery. When it’s thinned though I’ve never run into problems. Just try not to use water. I find it’s oddly better with lacquer thinner
That is my experience as well. Thin down the tamiya stuff a bit and it'll work good. I usually don't use tamiya colors, except for a few clear ones or metal colors. I mostly use Revell and Humbrol Lacquers.
-
22 minutes ago, MechTech said:
@Urashiman Those bubbles are inside the resin somehow. Looks like its mostly just at the bottom too!? Weird! In Europe, the floor wax is Pledge, last I heard. It MAY fill in some of the bubbles better and it has a great translucent effect to it in certain light.
@Bronze Knight You're making that nightmare kit look great! Lots of parts not fitting well with that kit. Great looking, vibrant paint colors too! - MT
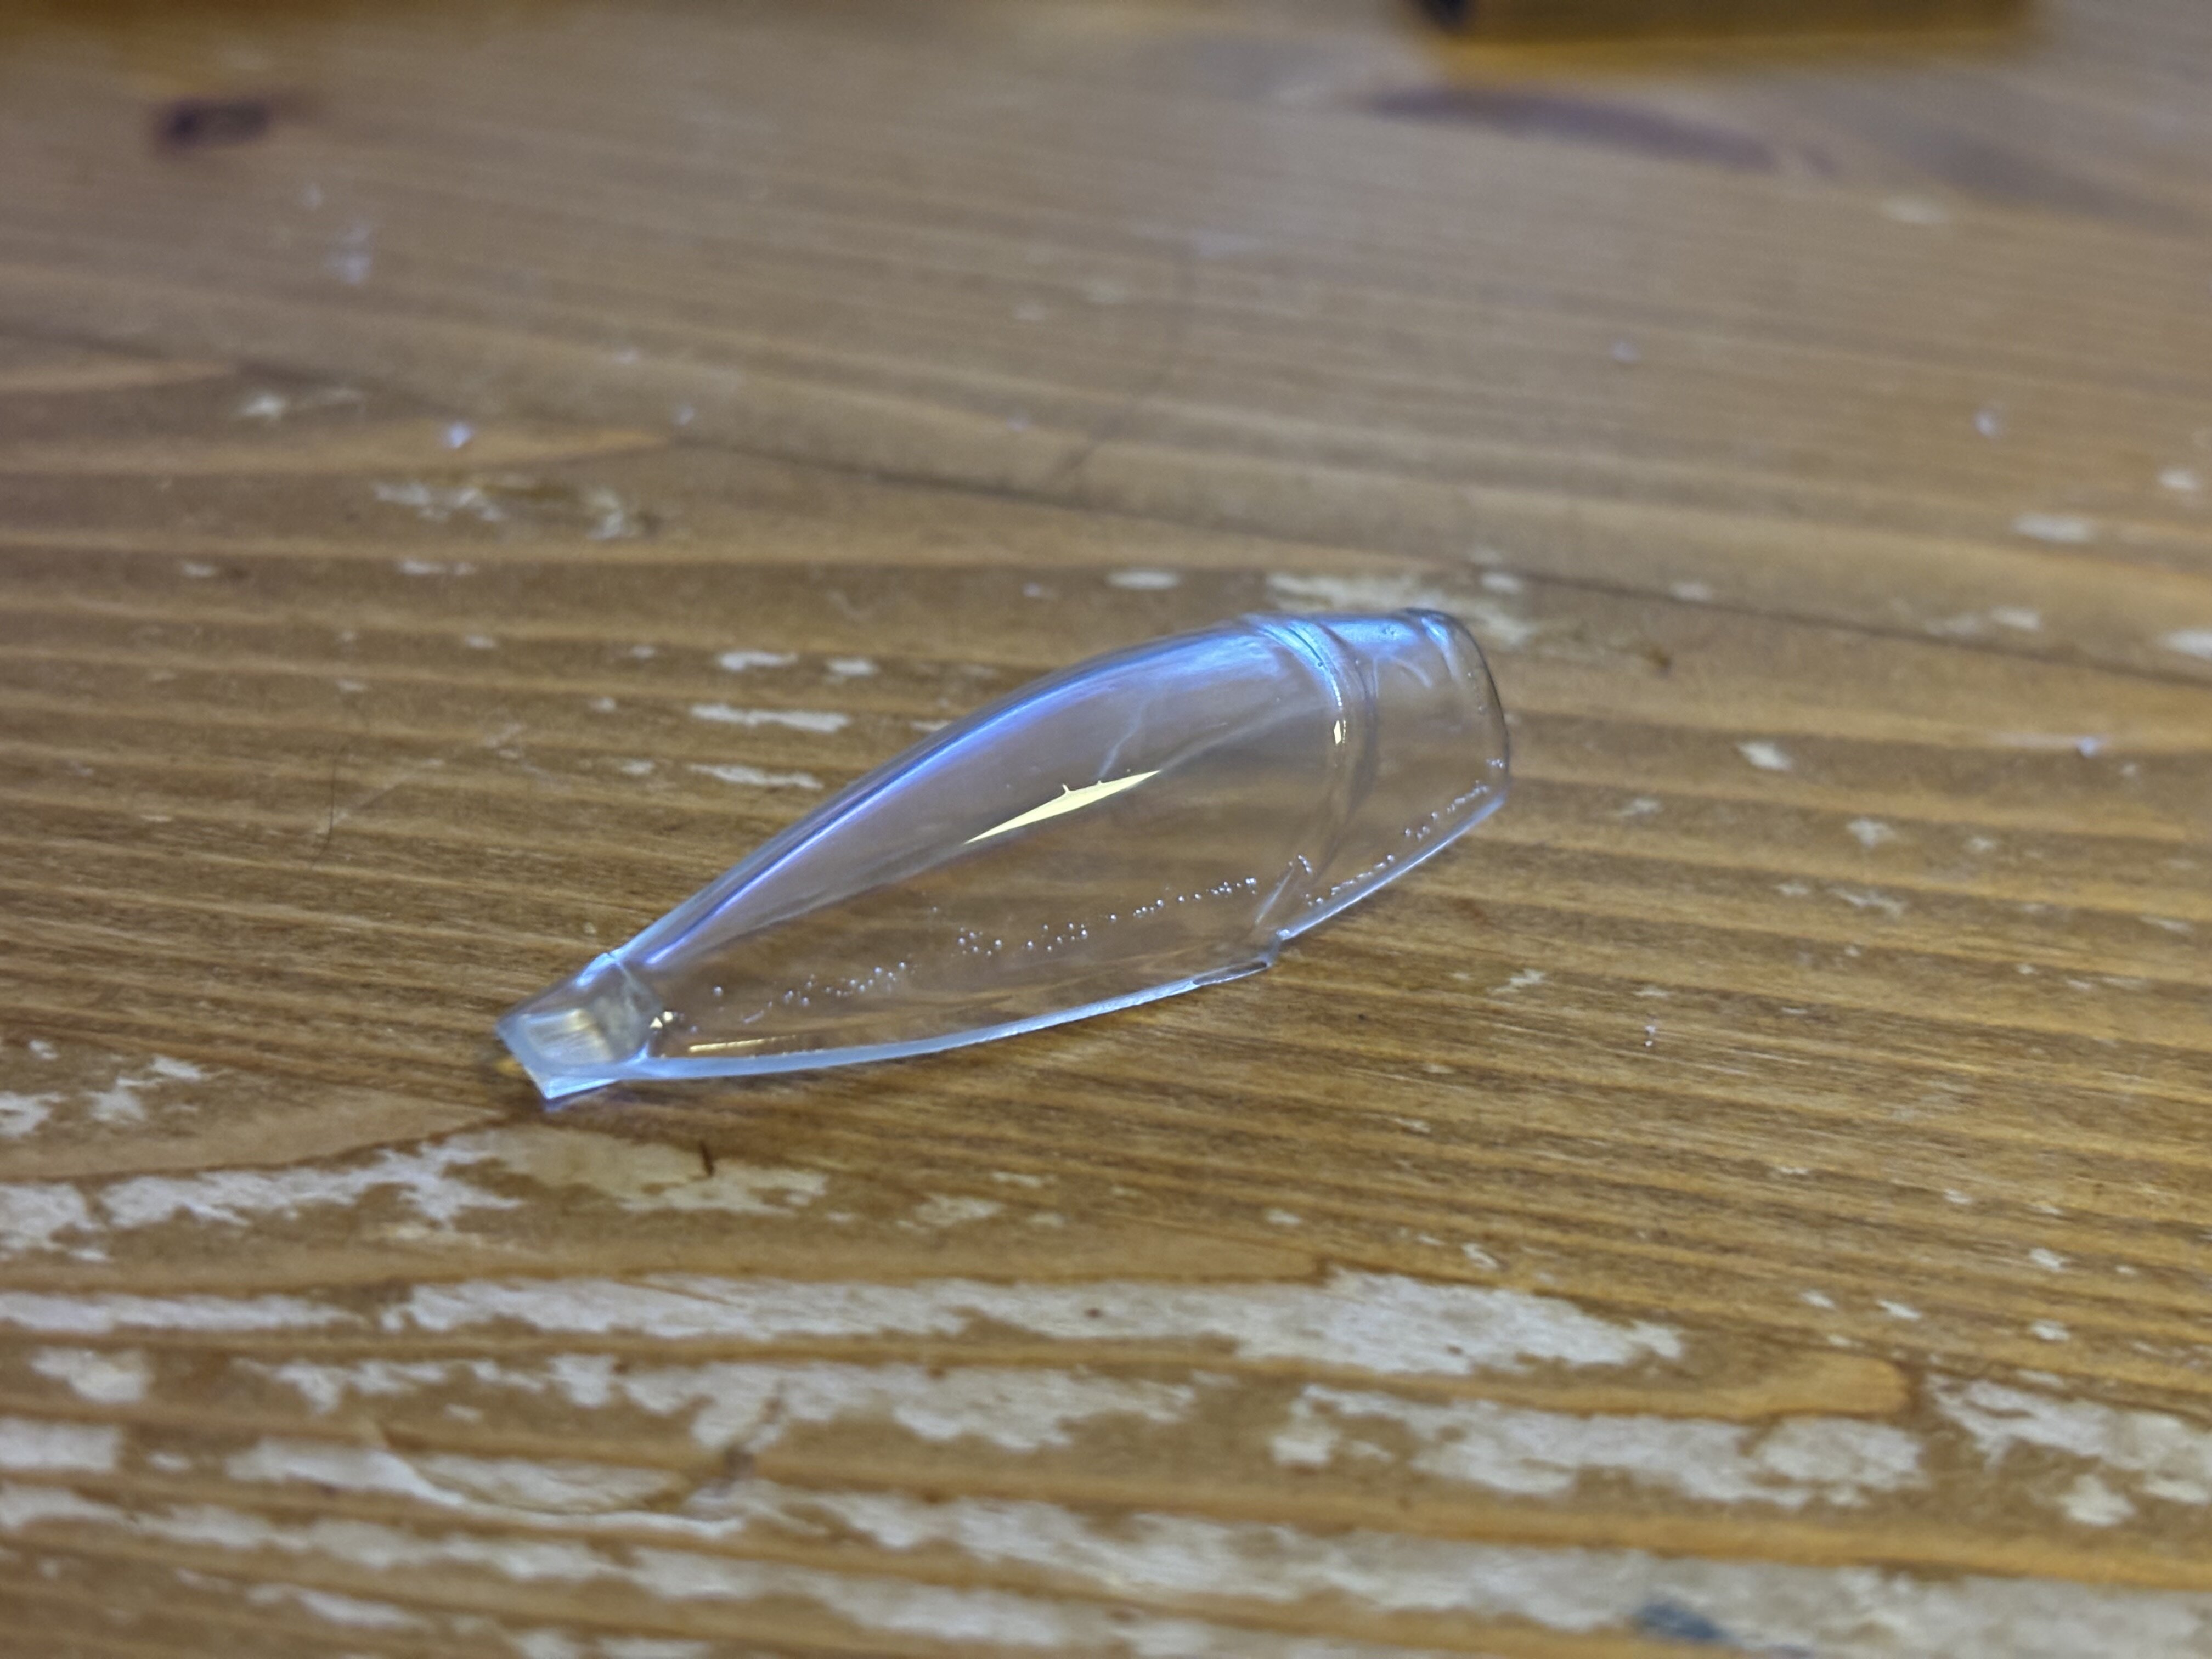
The bubbles are inside the resin. That is what i try to explain the whole time. It is not like I could pin into them with a needle because they are inside the print, and not on the surface. The „buttom“ of the canopy is actually one if the sides, as during the print, the canopies hang from the print bed. No wax will fill up those tiny bubbles. The bubbles are around 50 to 70μm. Maybe it is called pledge in the UK. I‘ve never seen it in any store in Germany.
btw: I got this on a Chinese online store for roughly 5€.
-
1 hour ago, pengbuzz said:
I wonder if Caranuba wax would help at all? Maybe test a little bit on one of your spare canopies?
It could, but unfortunately it has a natural yellowish tint to it. There are processed versions of it, but they don't run as caranuba wax.
-
@SteveTheFish Haha, yeah. The Future Floor Polish. We don't have that here, but we have similar stuff. Unfortunately that stuff yellows over time, same as Future. As far as I know, Future is discontinued and the model kit community in the US was going nuts for the hunt of Future bottles. I think it was re-named to "Pledge floor gloss" so they get that now. Indeed, any acrylic wax can do, not just Plesge. But, instead of using that, I was going the actual "coat" approach, checking what colours are actually developed to be coats. The Revell gloss and mate coat stuff is really bad. I didn't have luck with vallejo coats as well. The Citadel Ardcoat is kinda working good, but it has to be coated on several times. I had best results with Tamiya X-22 for anything acrylic based and humbrol coats for anything lacquer based. In the past I would have used Model Master clear top coat, but they are hard to get because they have been discontinued. I haven't gotten to try the testors top coat yet, as it is super expensive. Testors is not widely available in Germany.
@Chronocidal Thanks! Well, it is challenging, but it can be done. So far no canopy broke. Just gentle sanding in steps 180, 320, 500, 1500, 2000 and 2500, then microfiber polishing and done. When I polish the next canopy I will go through each step and take pictures. The most annoying part is sanding the inside, because my fingers barely fit into the canopy.
-
18 minutes ago, Thom said:
I like your dedication to the canopy-issue, but have you thought of making a solid buck and doing a plunge mold for the canopy?
@pengbuzz Sorry to hear there is a set-back. I'm sure you'll overcome it.
hehe... I actually did, but that would be the easy way out. Imagine you want to print something clear that is a little bit more complex than a canopy... plunge molding wouldn't do for that.
-
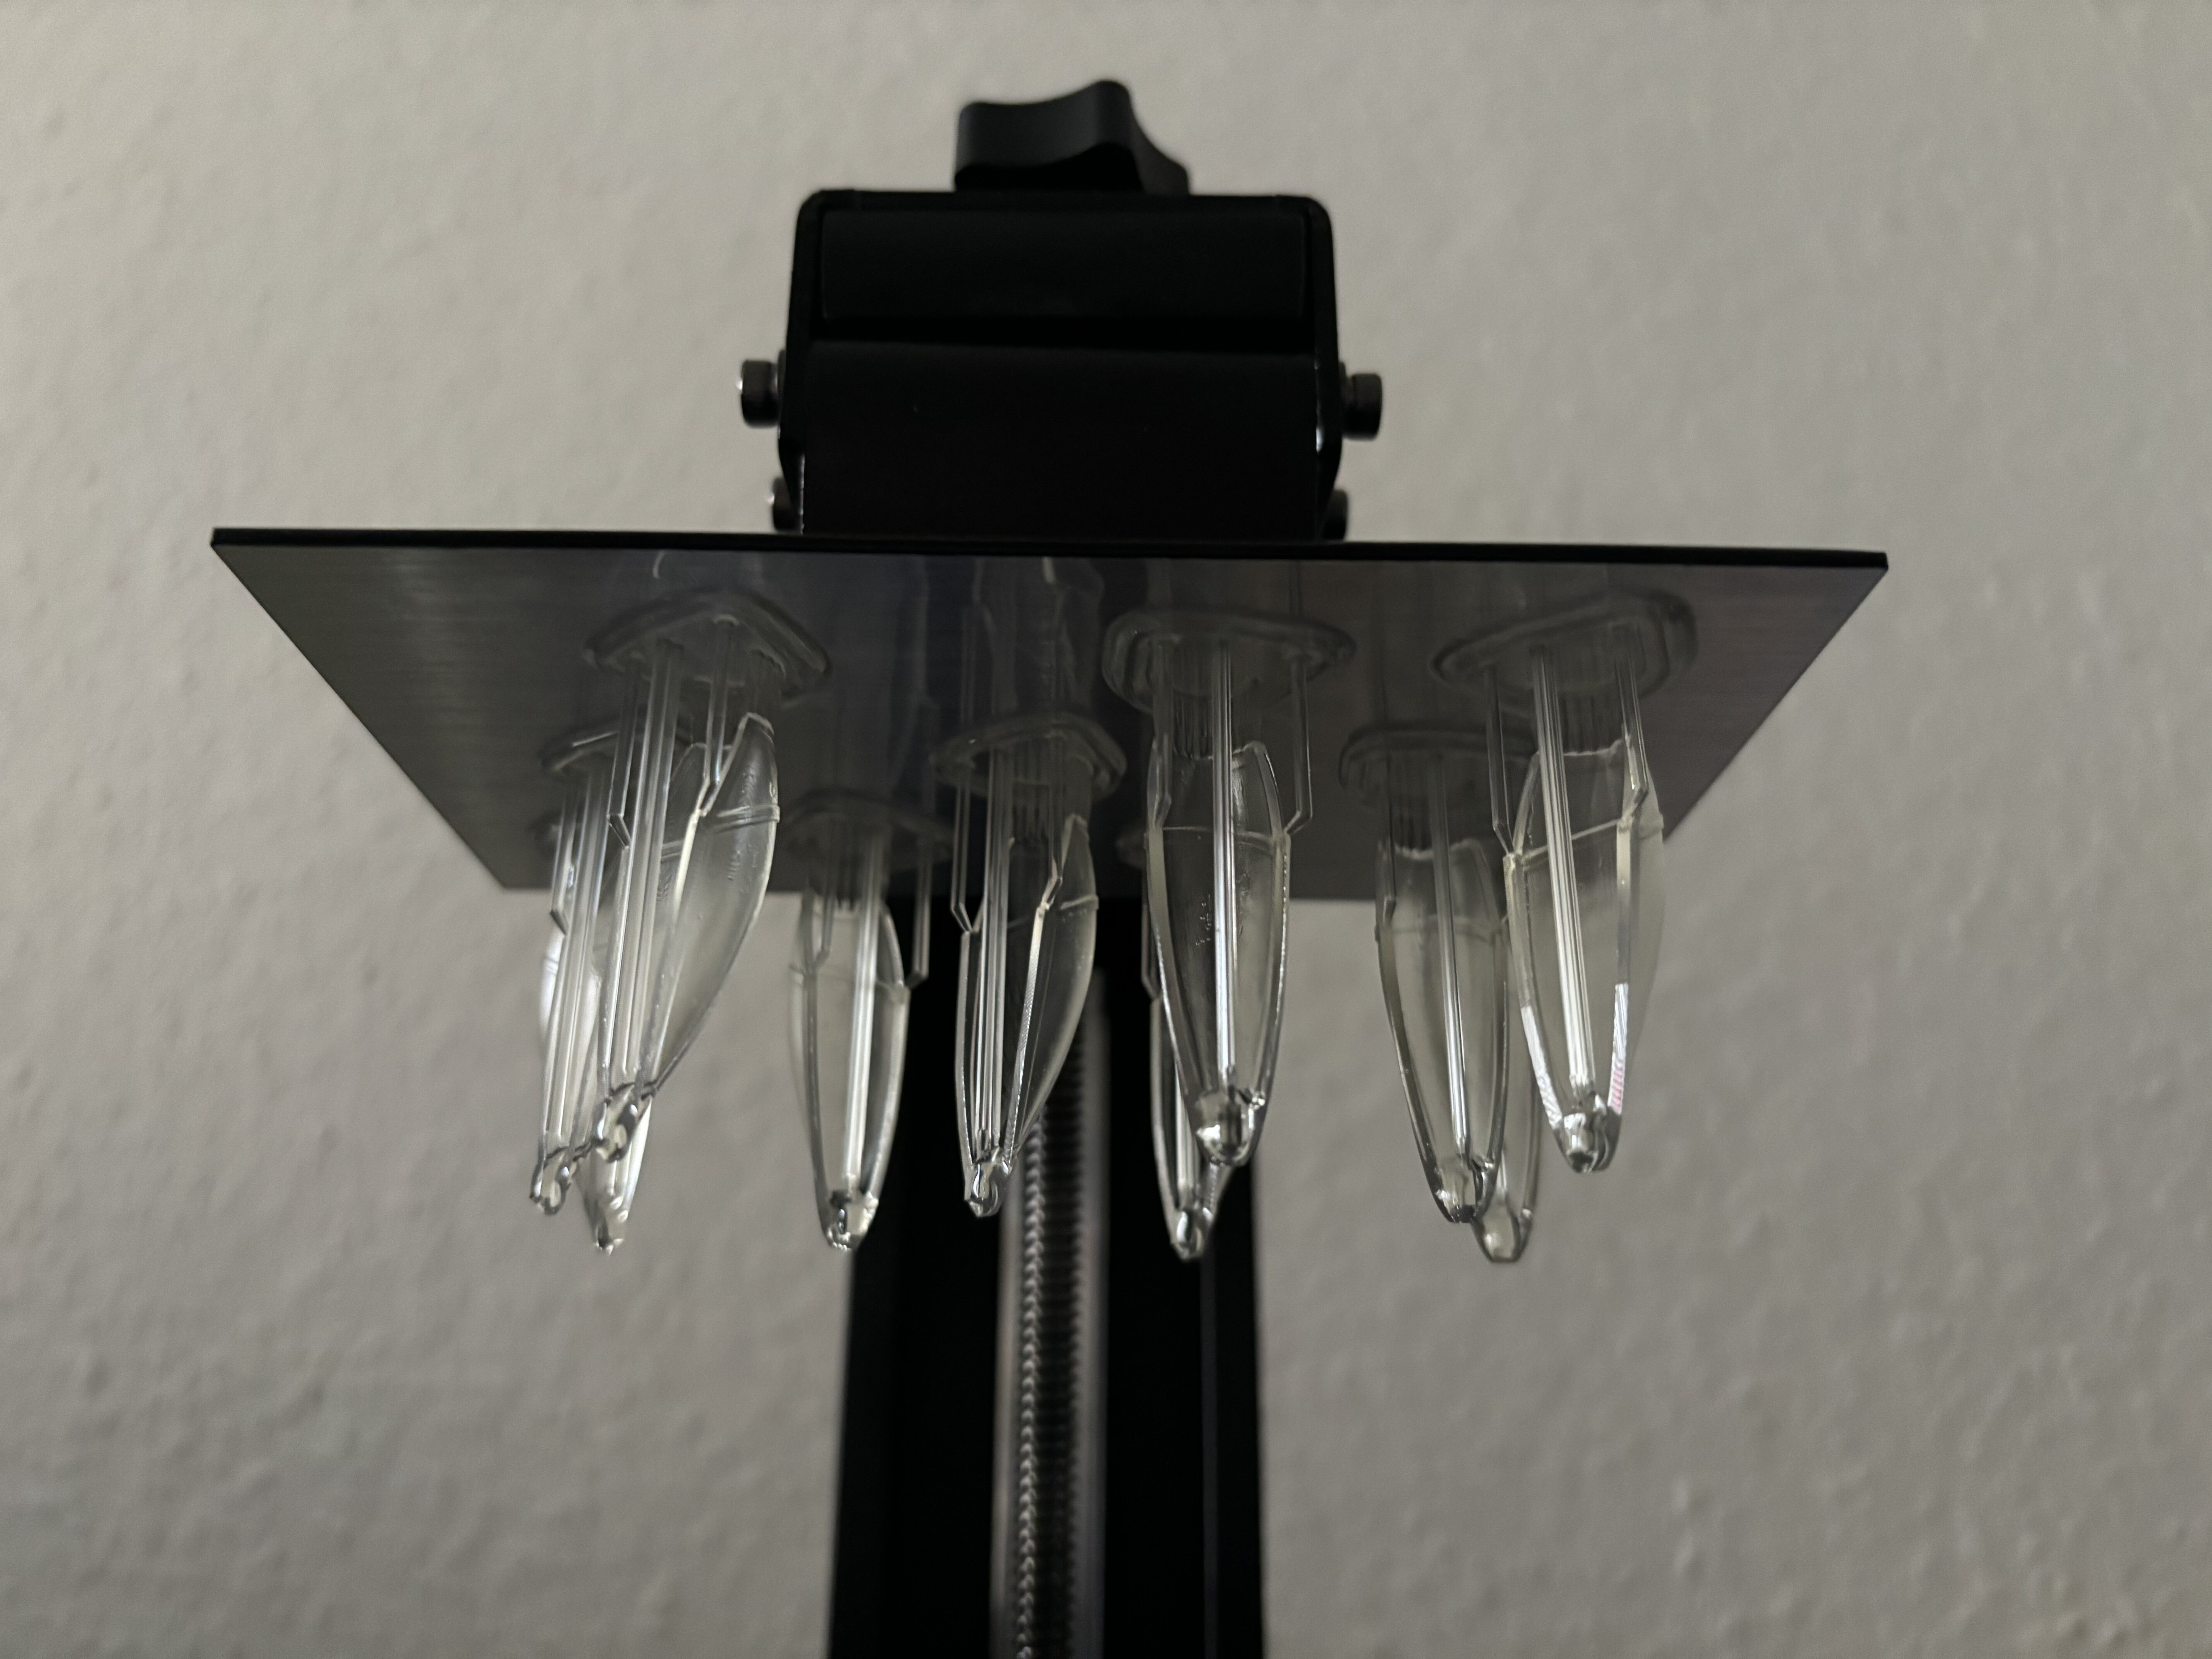
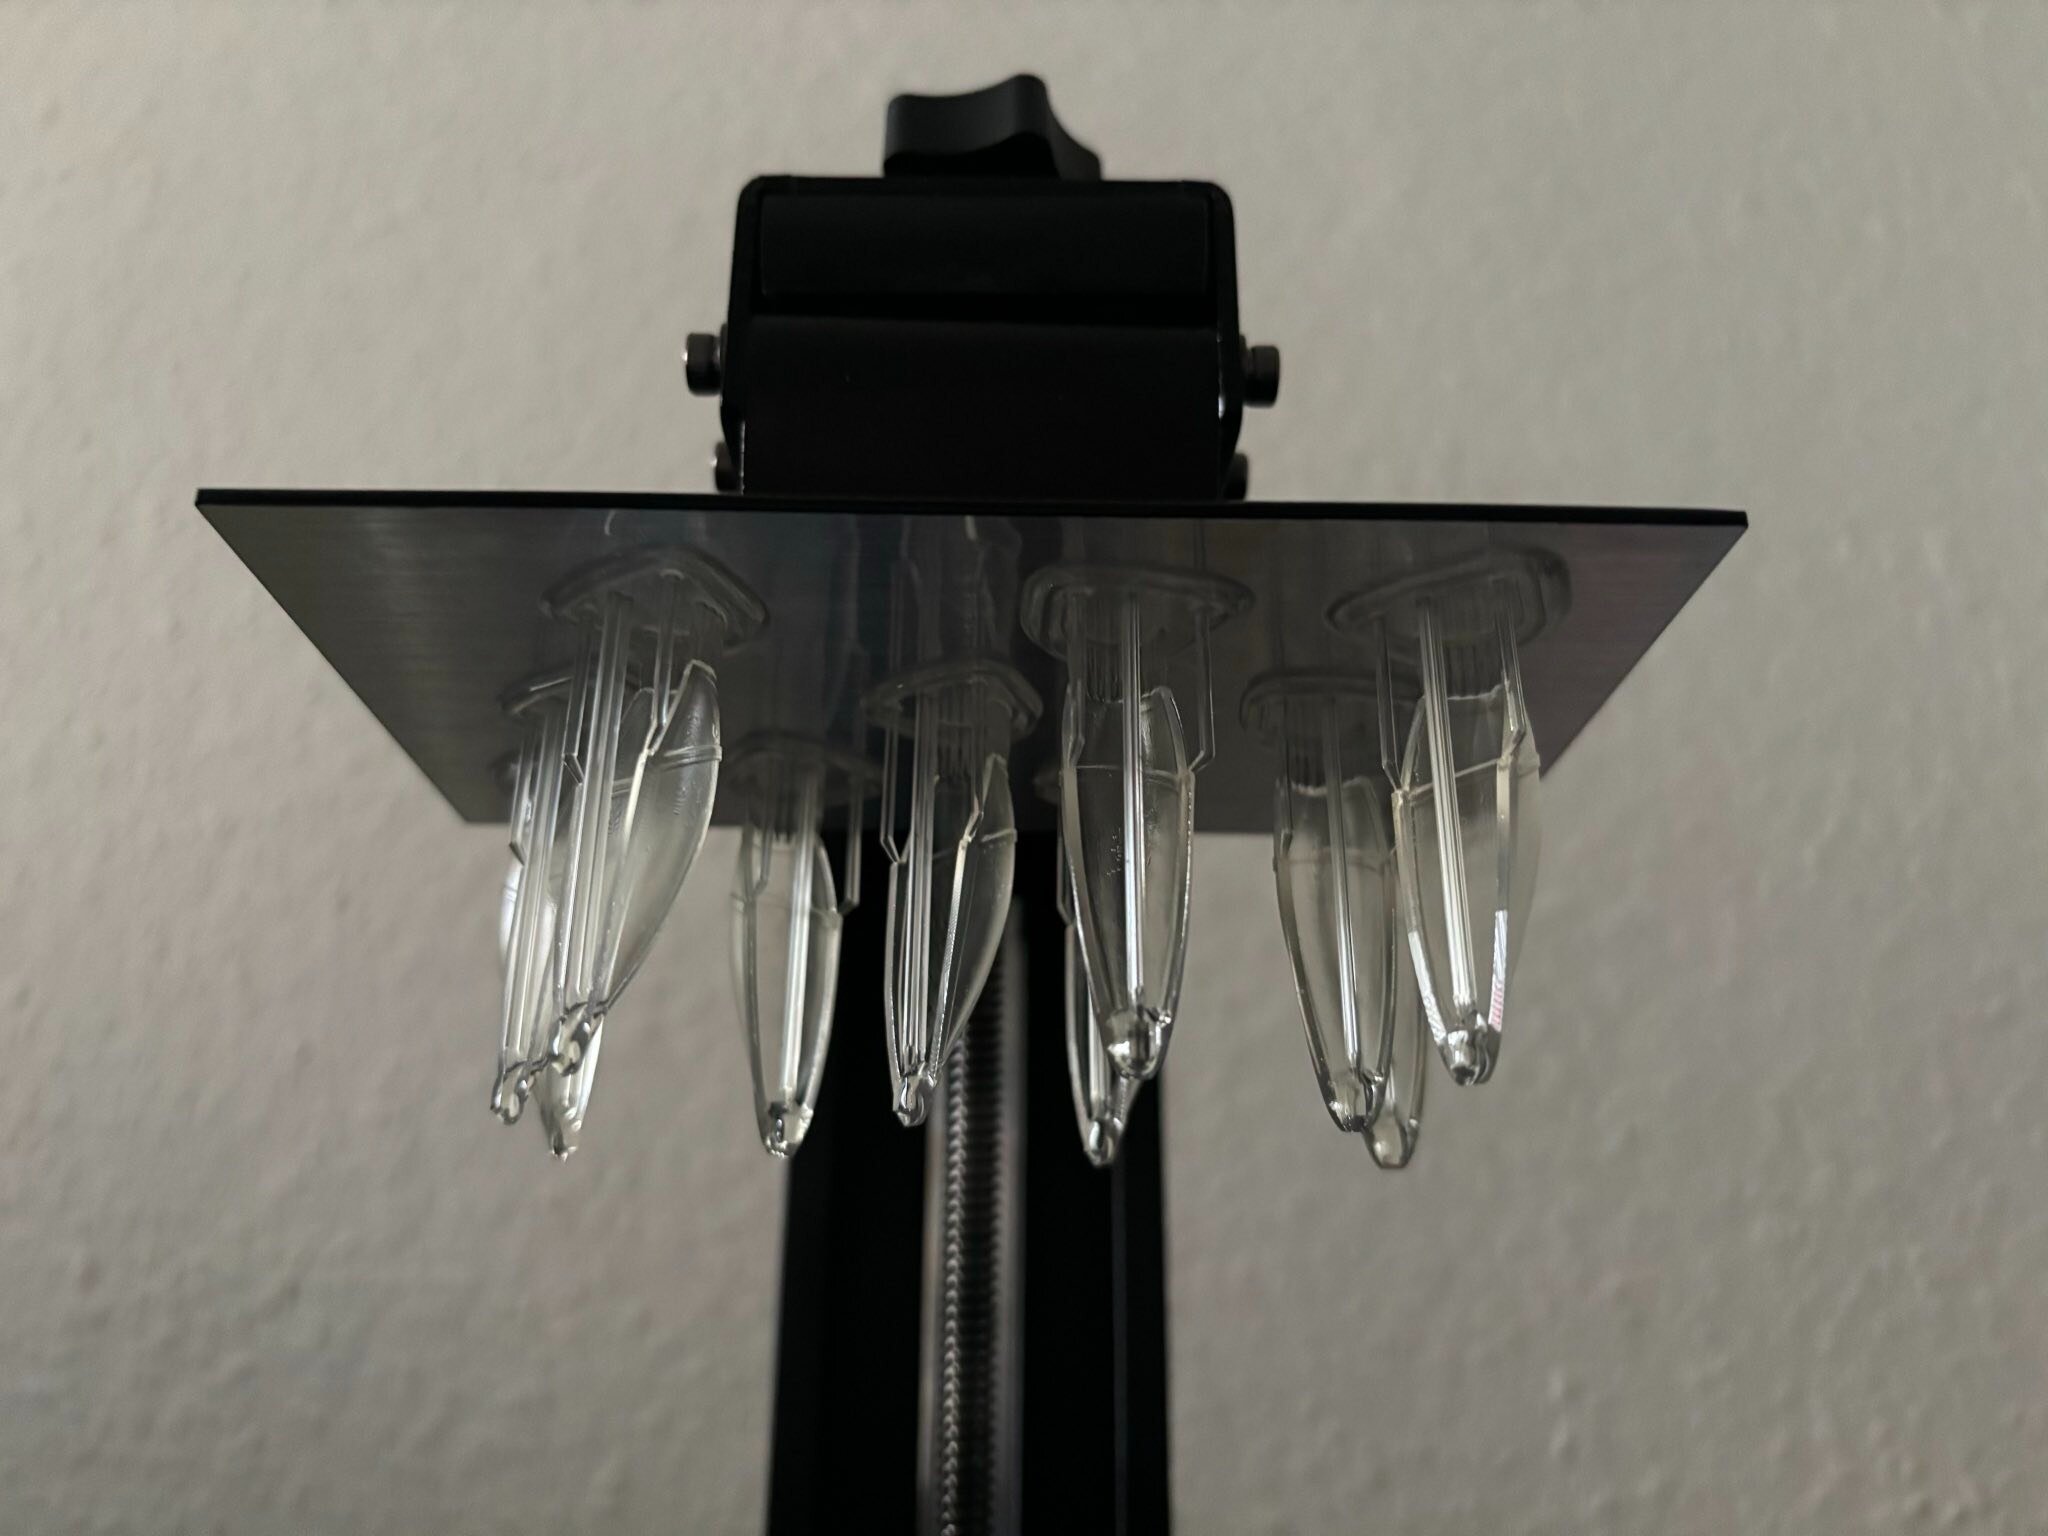
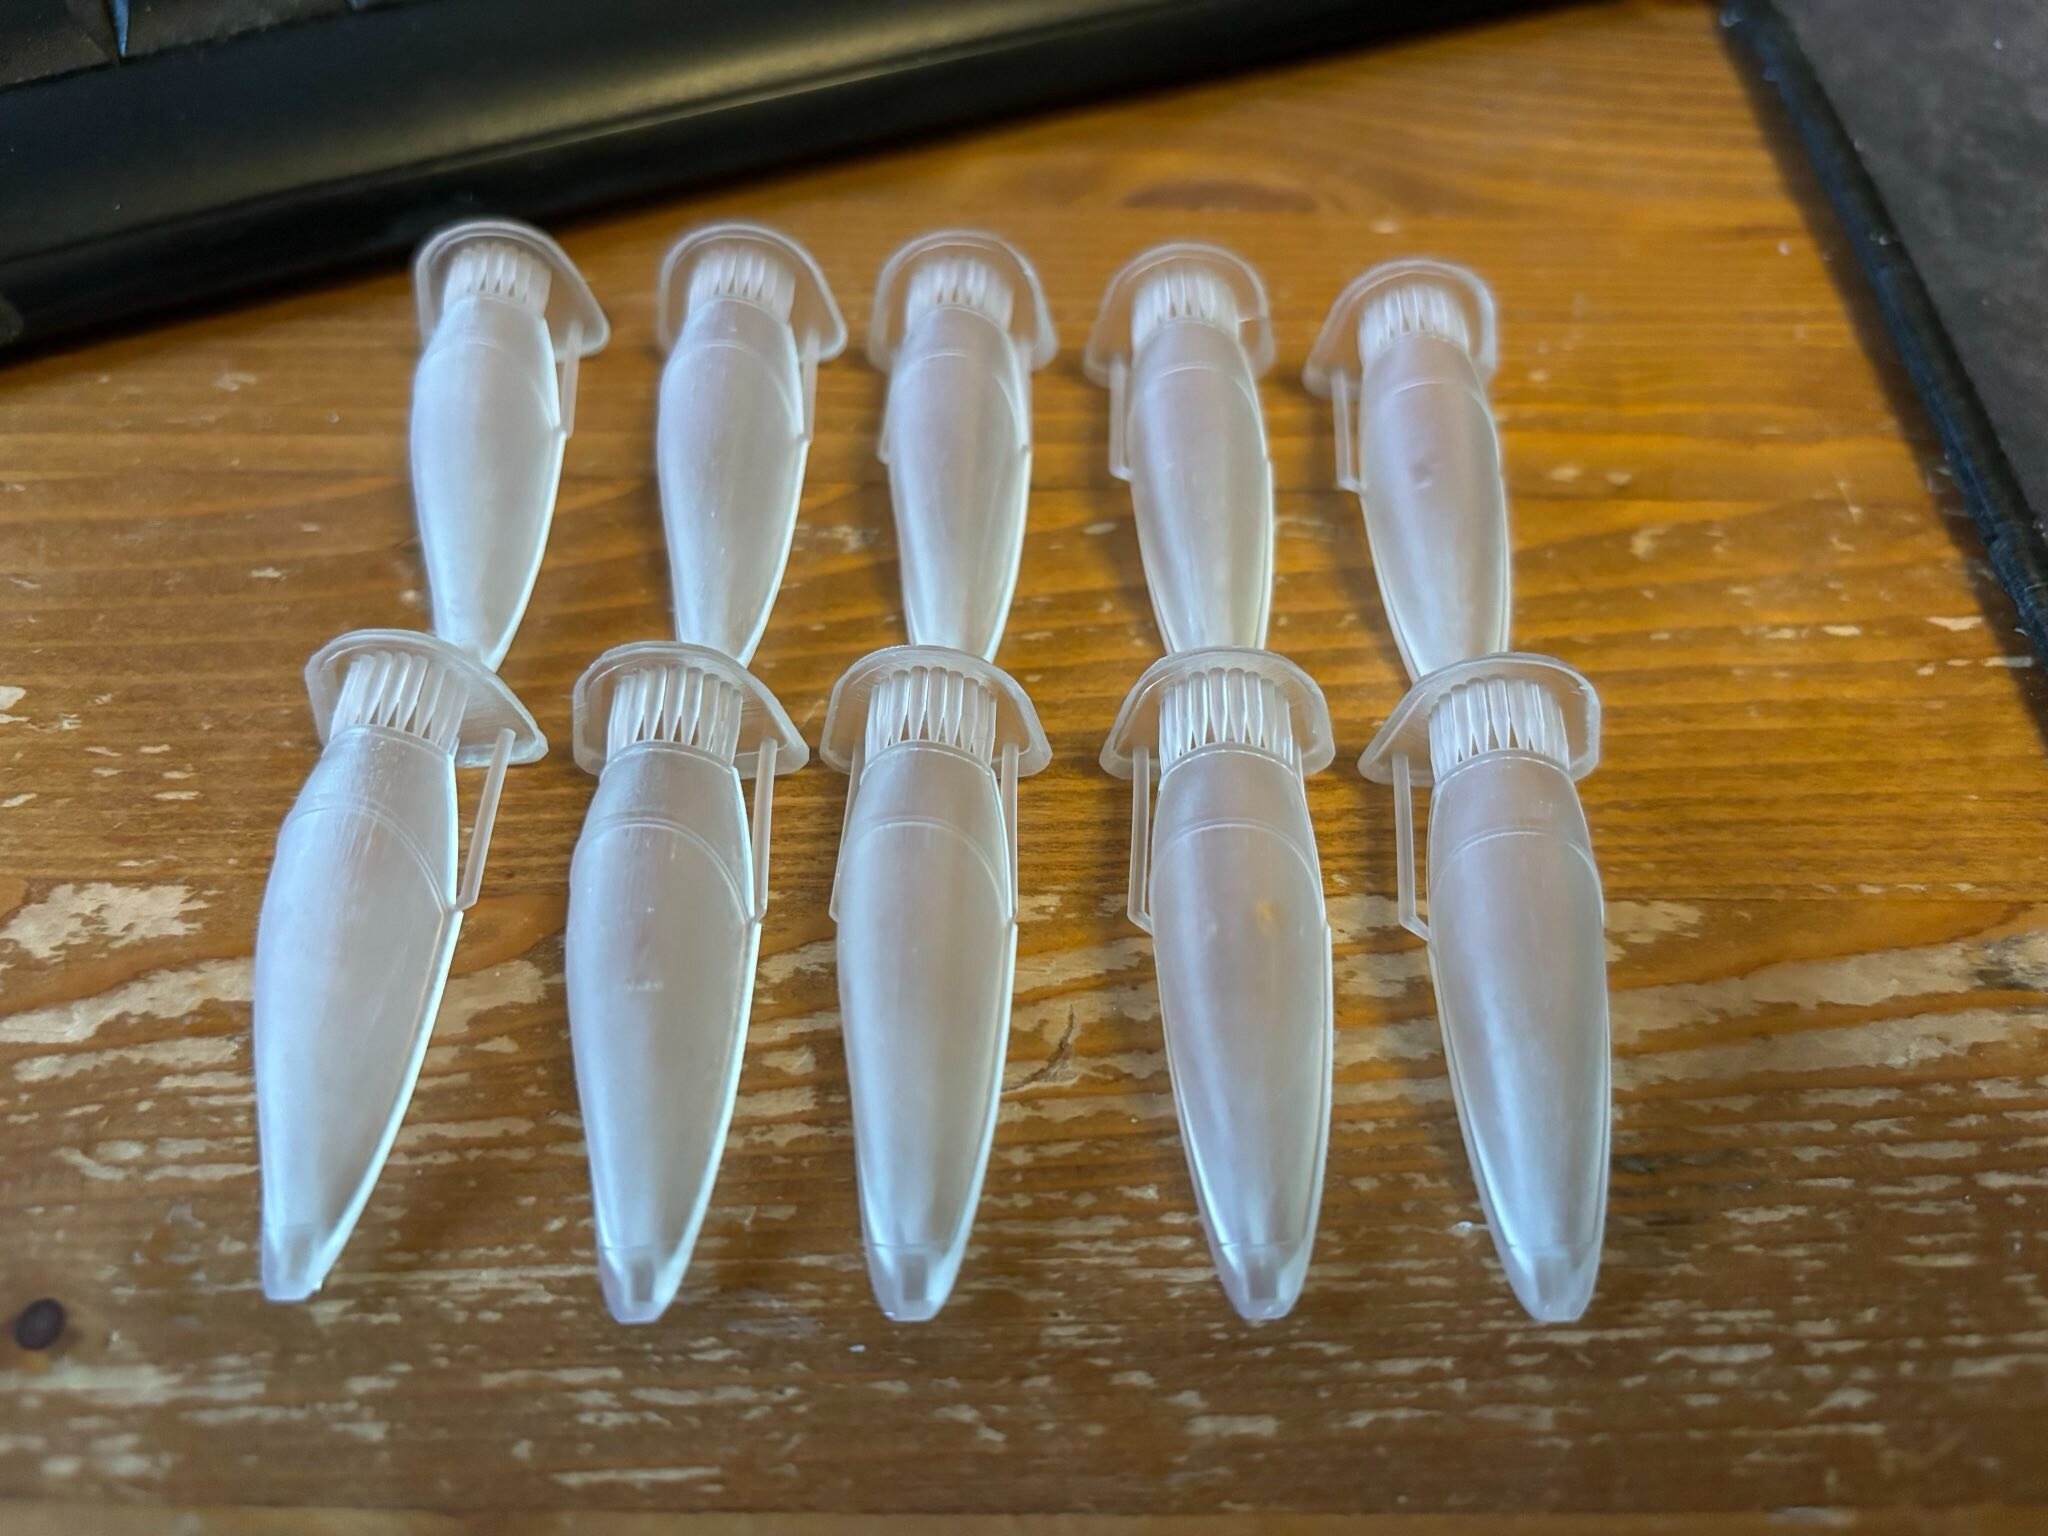
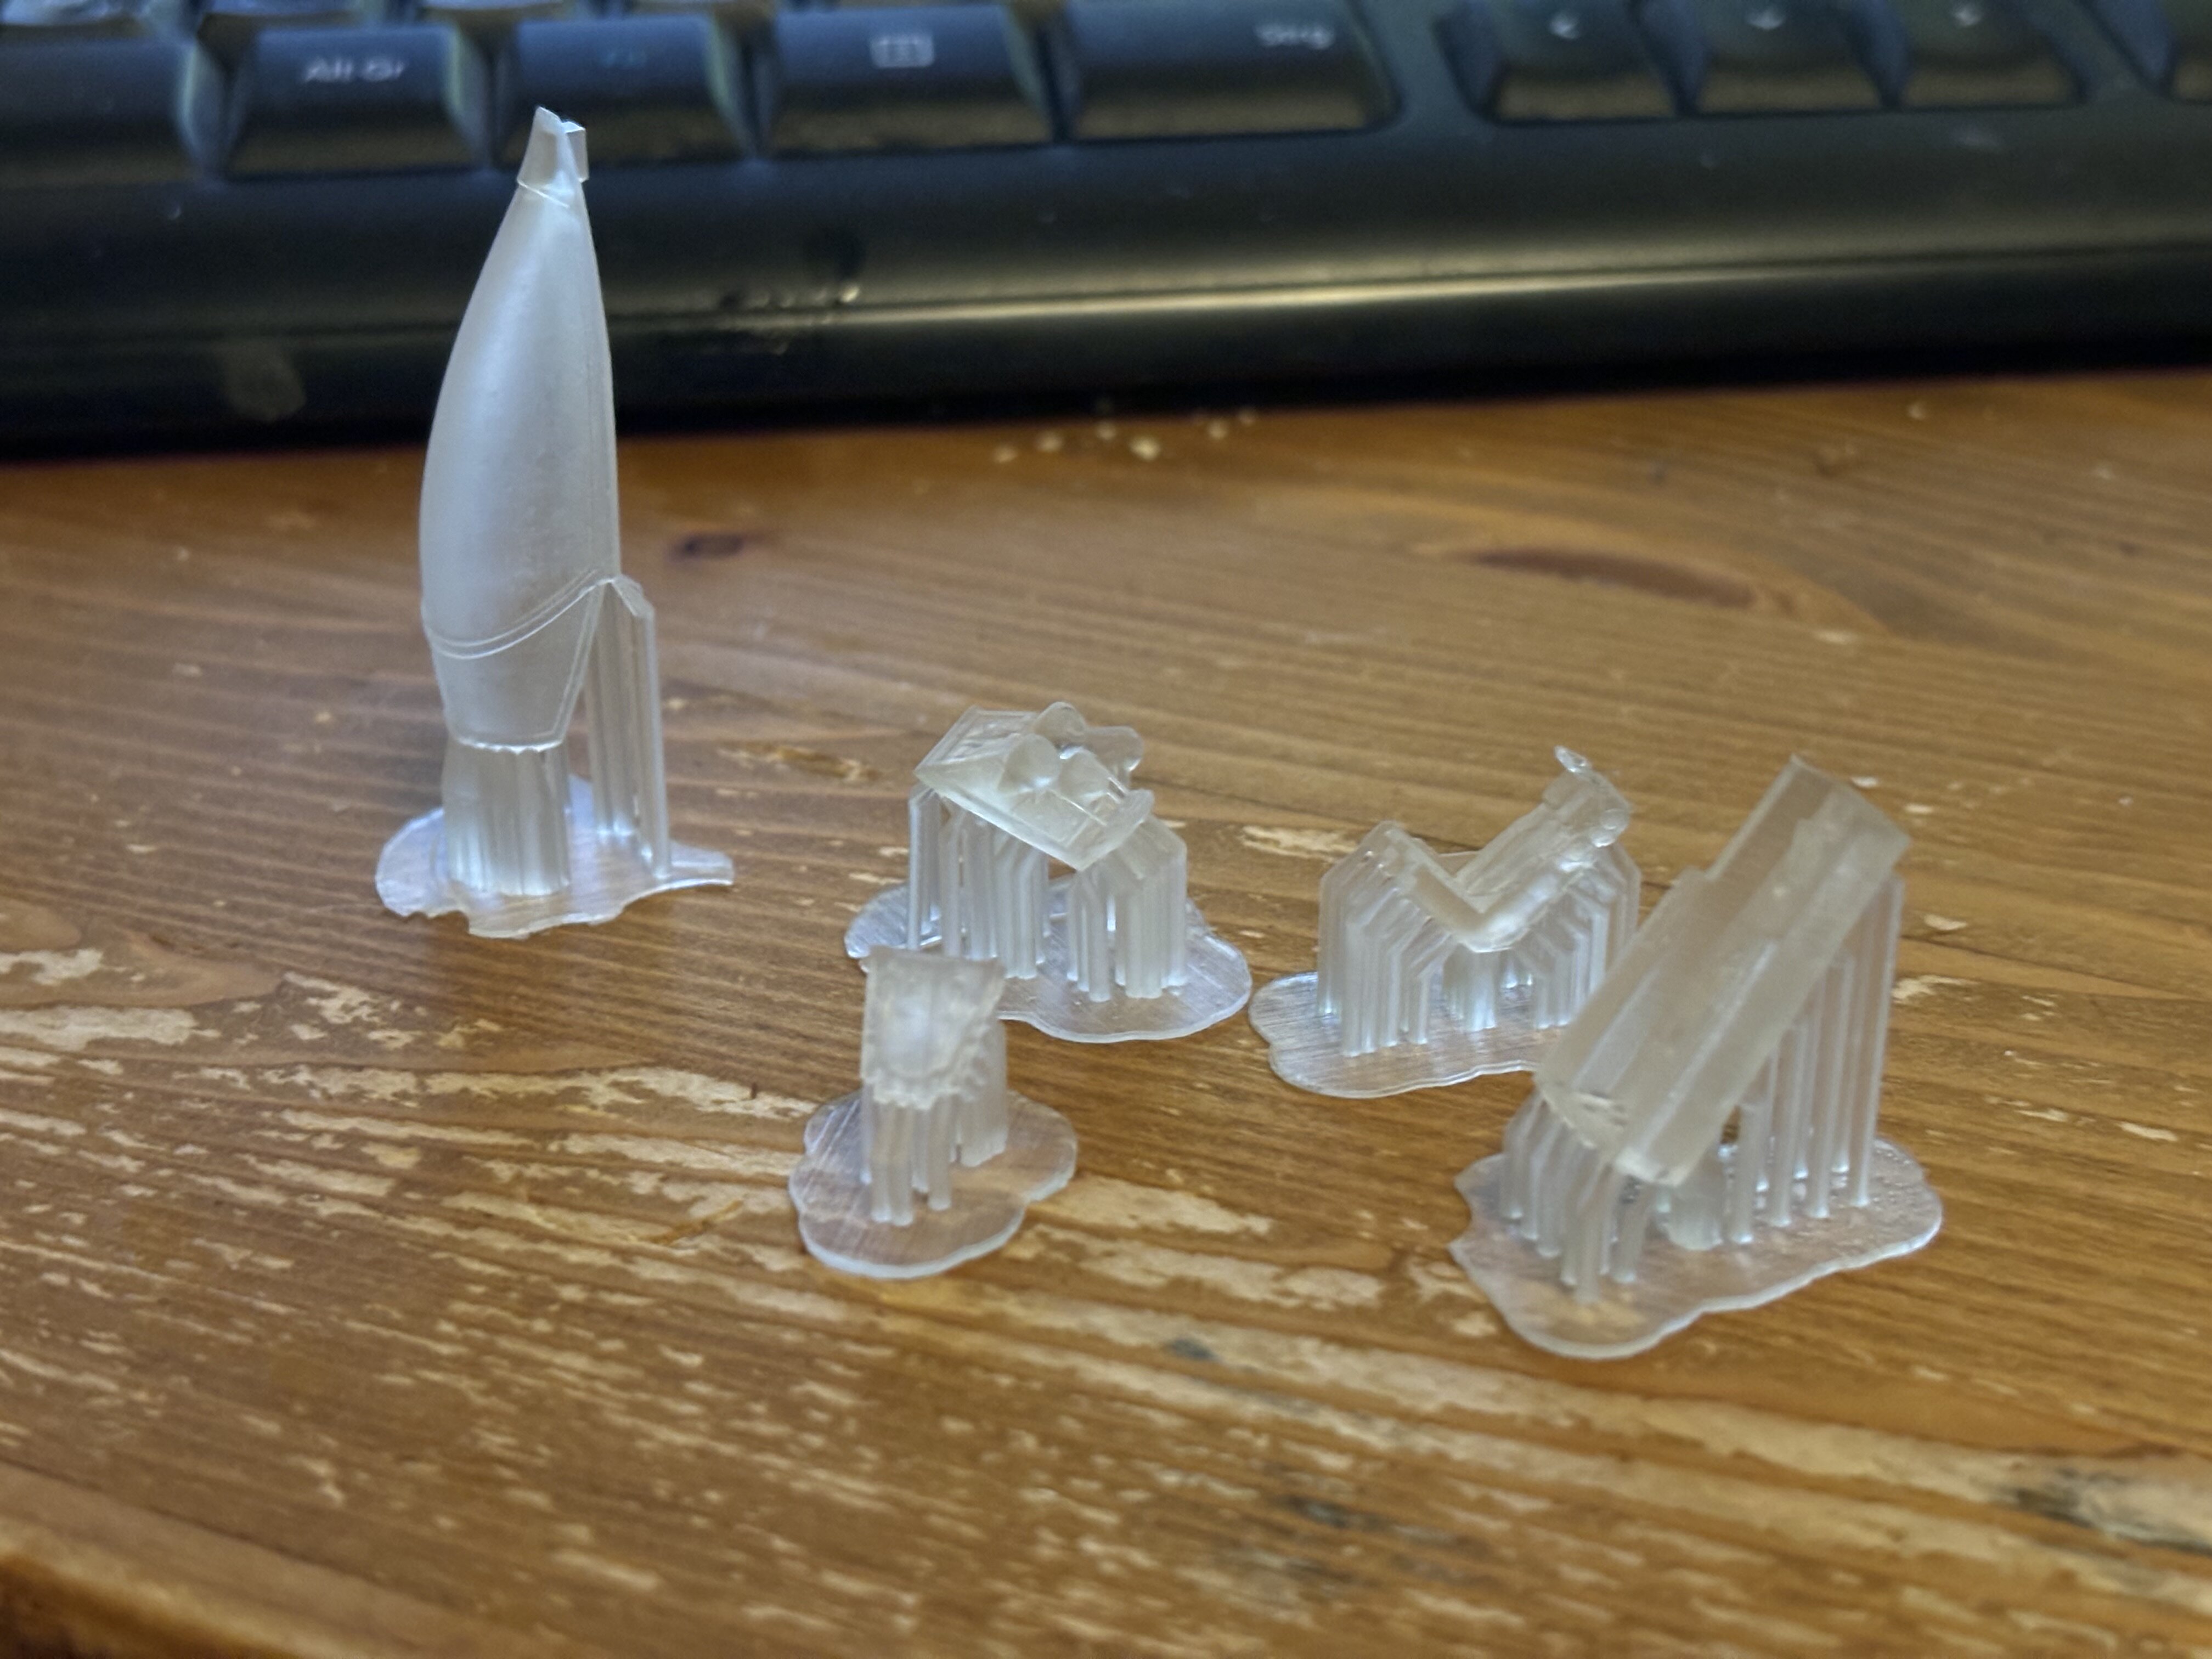
Got some stuff to show again. I have been testing around with polishing the clear resin stuff and basically came to the conclusion, that even with microfiber pads on a hobby drill to polish the stuff and using polishing compound, the canopies stayed slightly milky and never went full clear. So I went another approach.
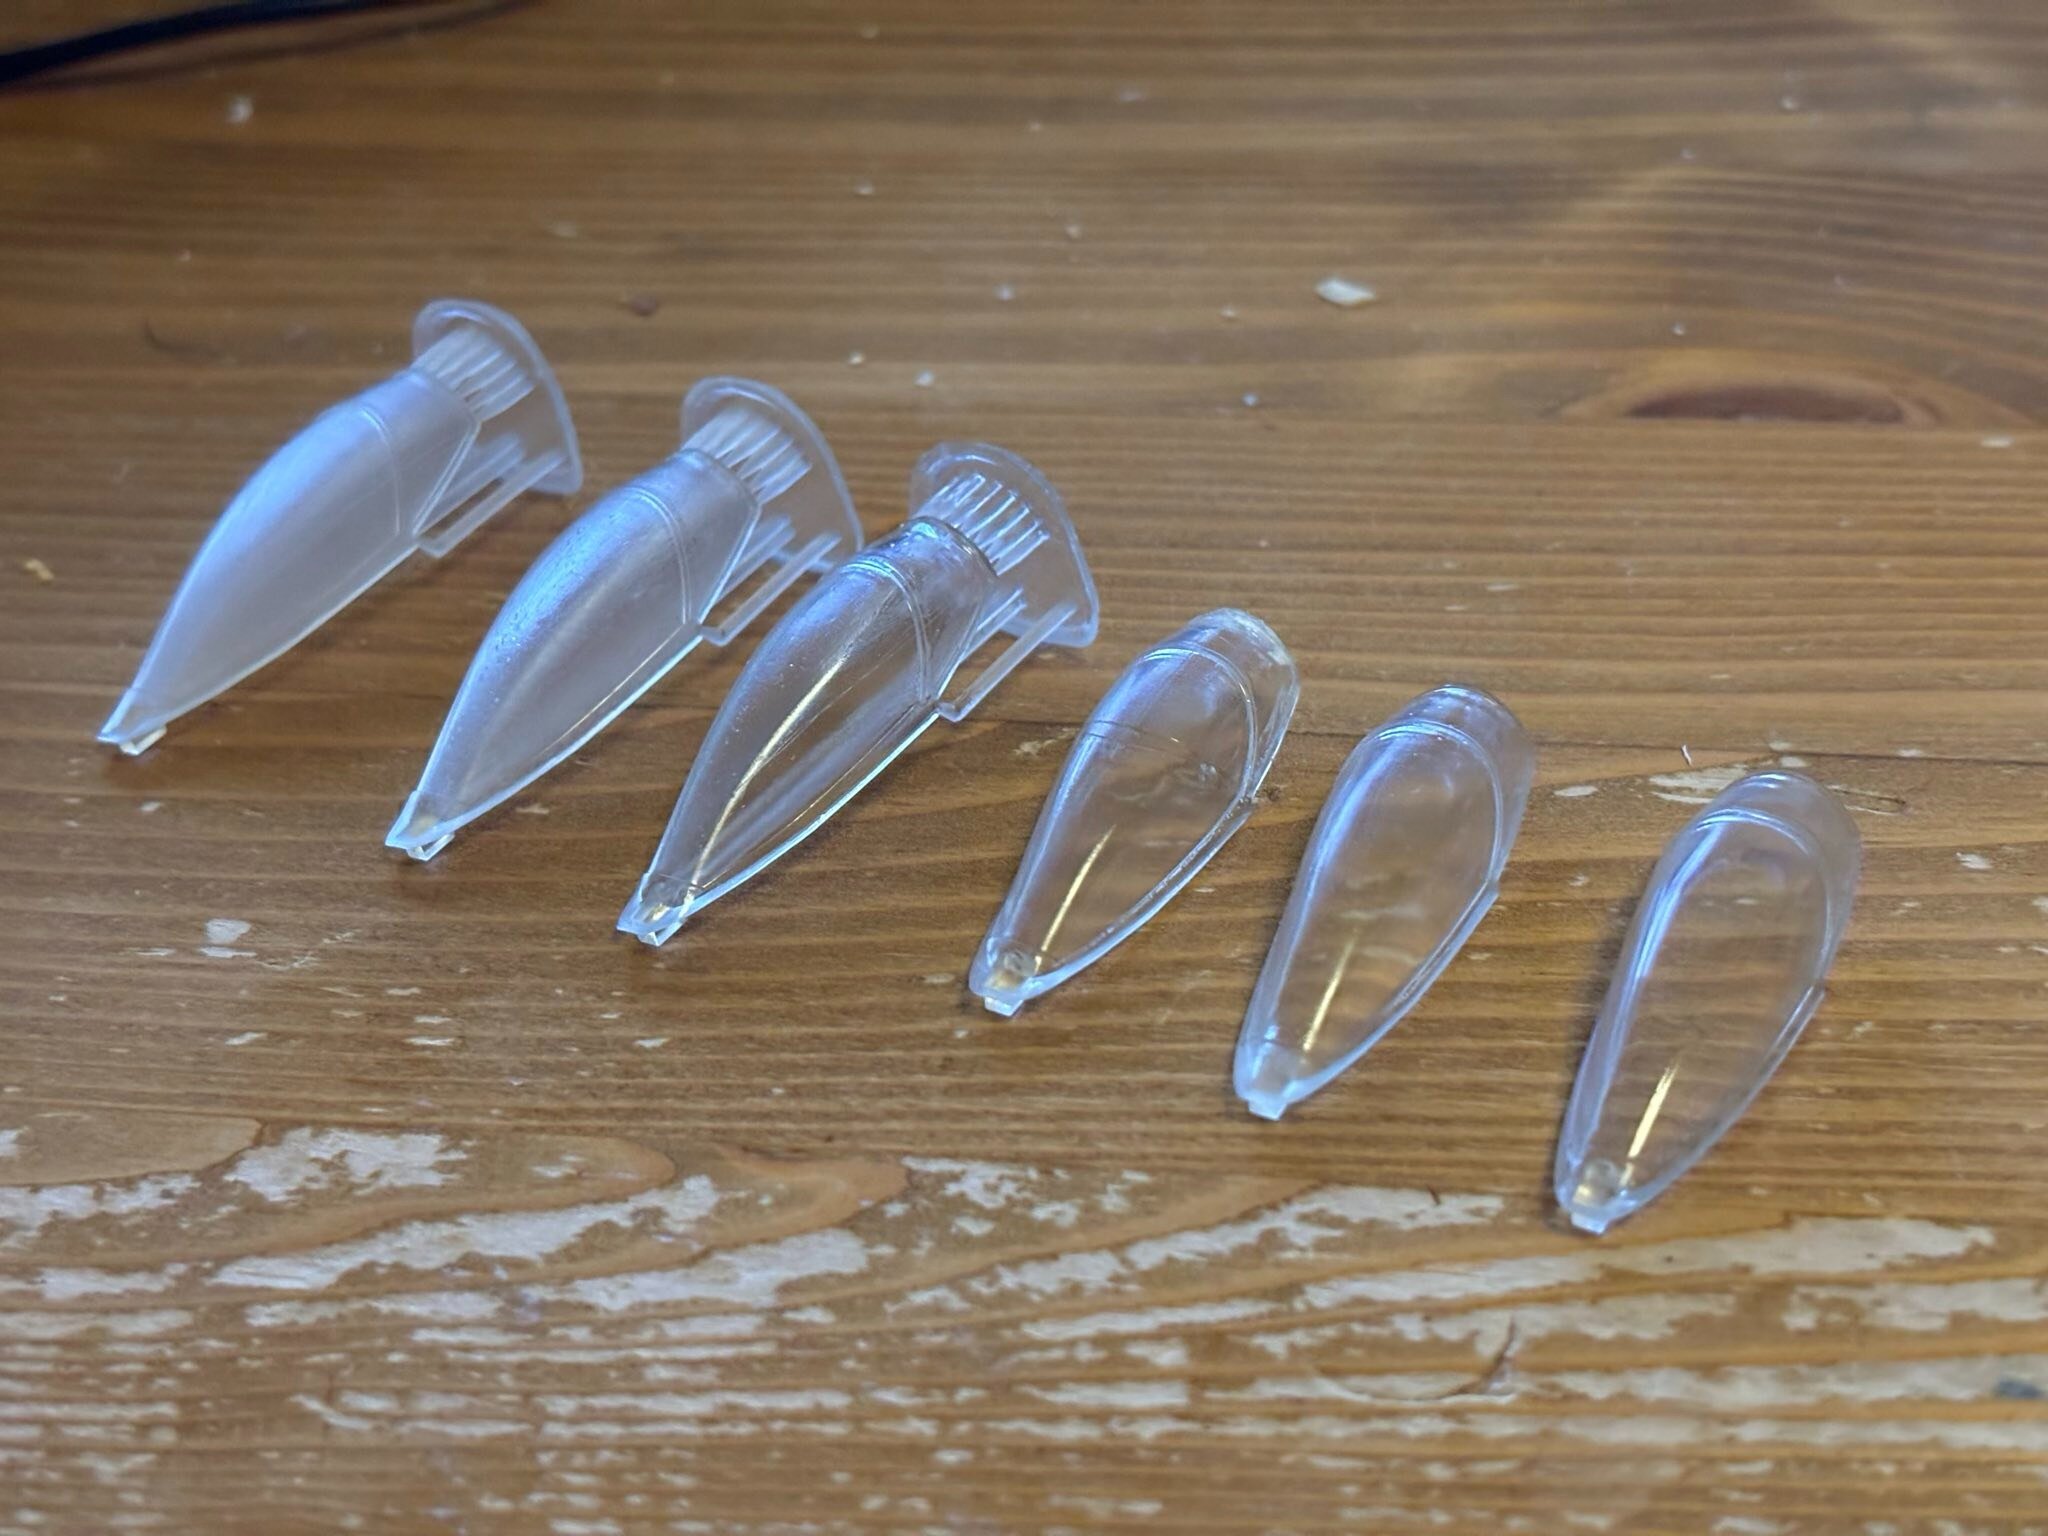
Left to right.
- Unprocessed cured print of the canopy
- Unprocessed cured print of the canopy coated with hairspray (because someone told me, they coat their models in loreal hair spray)
- Unprocessed cured print of the canopy dipped in Tamiya X-22
- Unprocessed cured print of the canopy dipped in Humbrol Laquer Clear Coat
- Sanded (up to 500 grit) cured print of the canopy brushed with Humbrol Laquer Clear Coat
- Sanded (from 180 to 2500 grit and polished with microfiber) cured print of the canopy, dipped in thinned (mr. color leveling thinner) Tamiya X-22
The last one on the list is by far the clearest and shiniest of the canopies. I used the failed prints with the bubbles inside to test around, so no worries. I will pick one of the good prints later and start sanding and polishing, then dipping in thinned X-22. That should be good I think.
@pengbuzz sorry to hear about that... hope everything is okay.
-
@Thom Anyone can print that now. I released the model.
@SteveTheFish Here you go, have your friend print this:
https://cults3d.com/en/3d-model/art/1-72-macross-m3-milia-pilot
-
@wm cheng this is so awesome to! Great work! I‘ll need a minmay for my VT-1 as well haha.
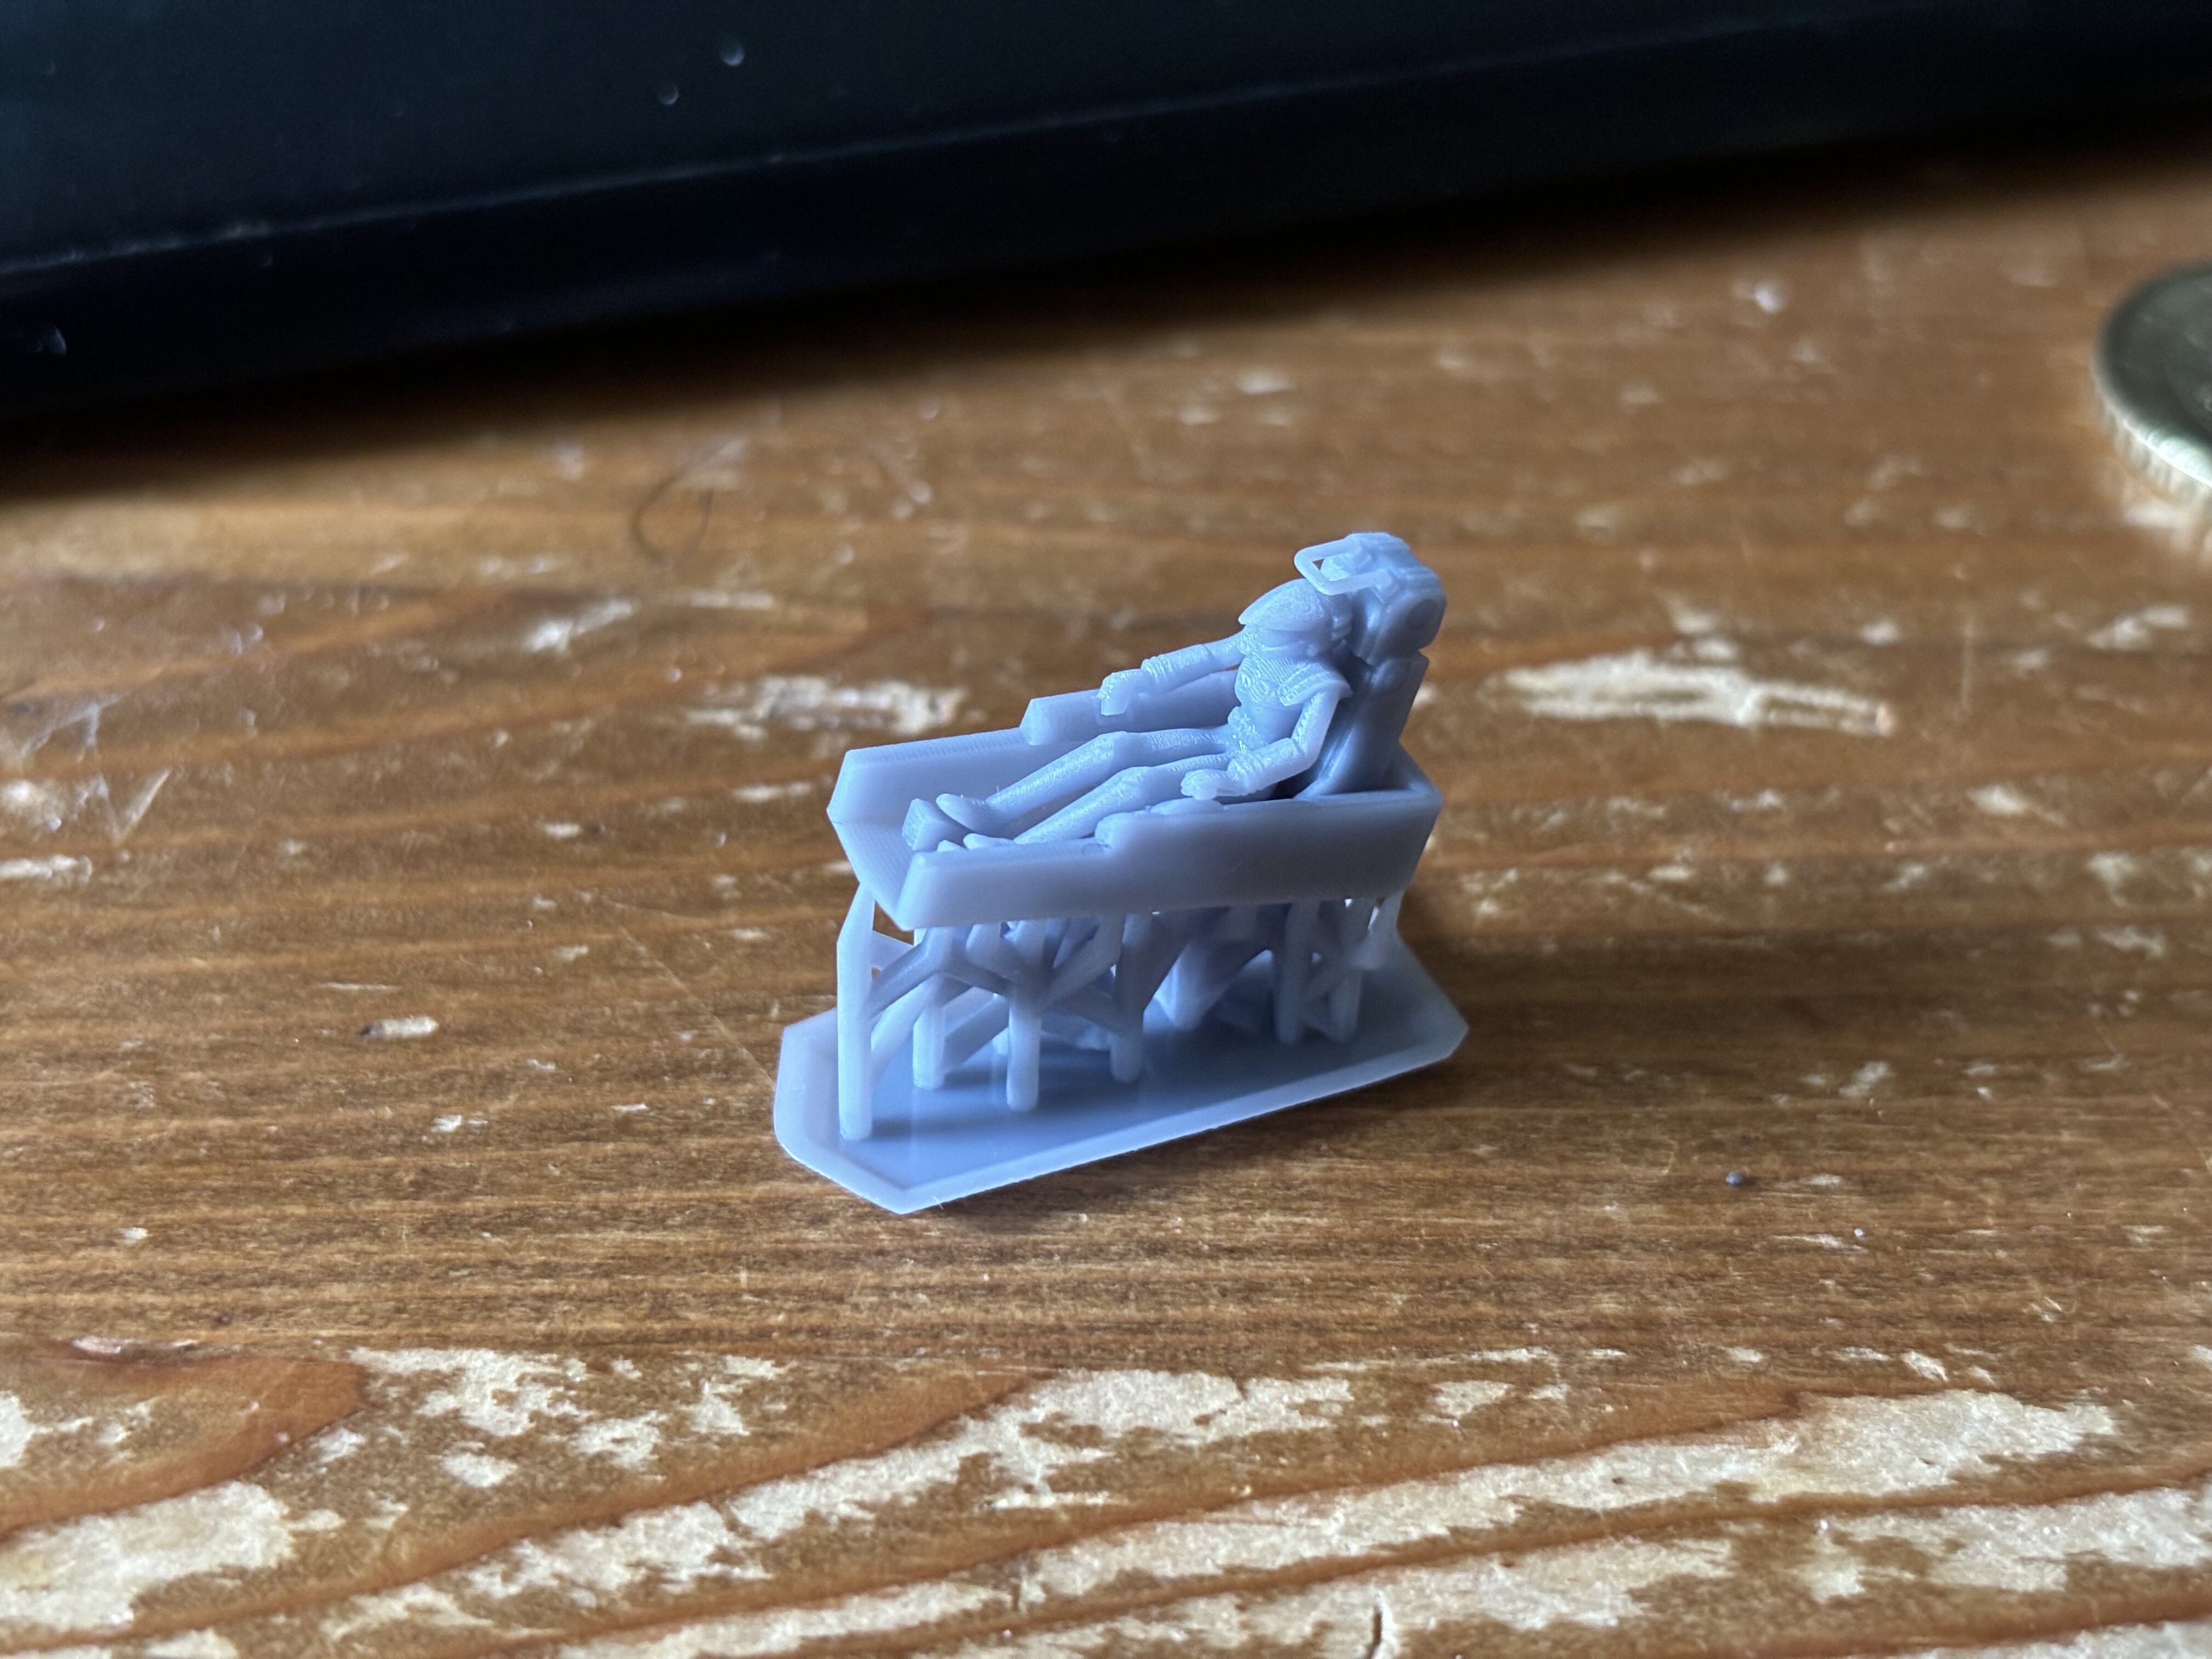
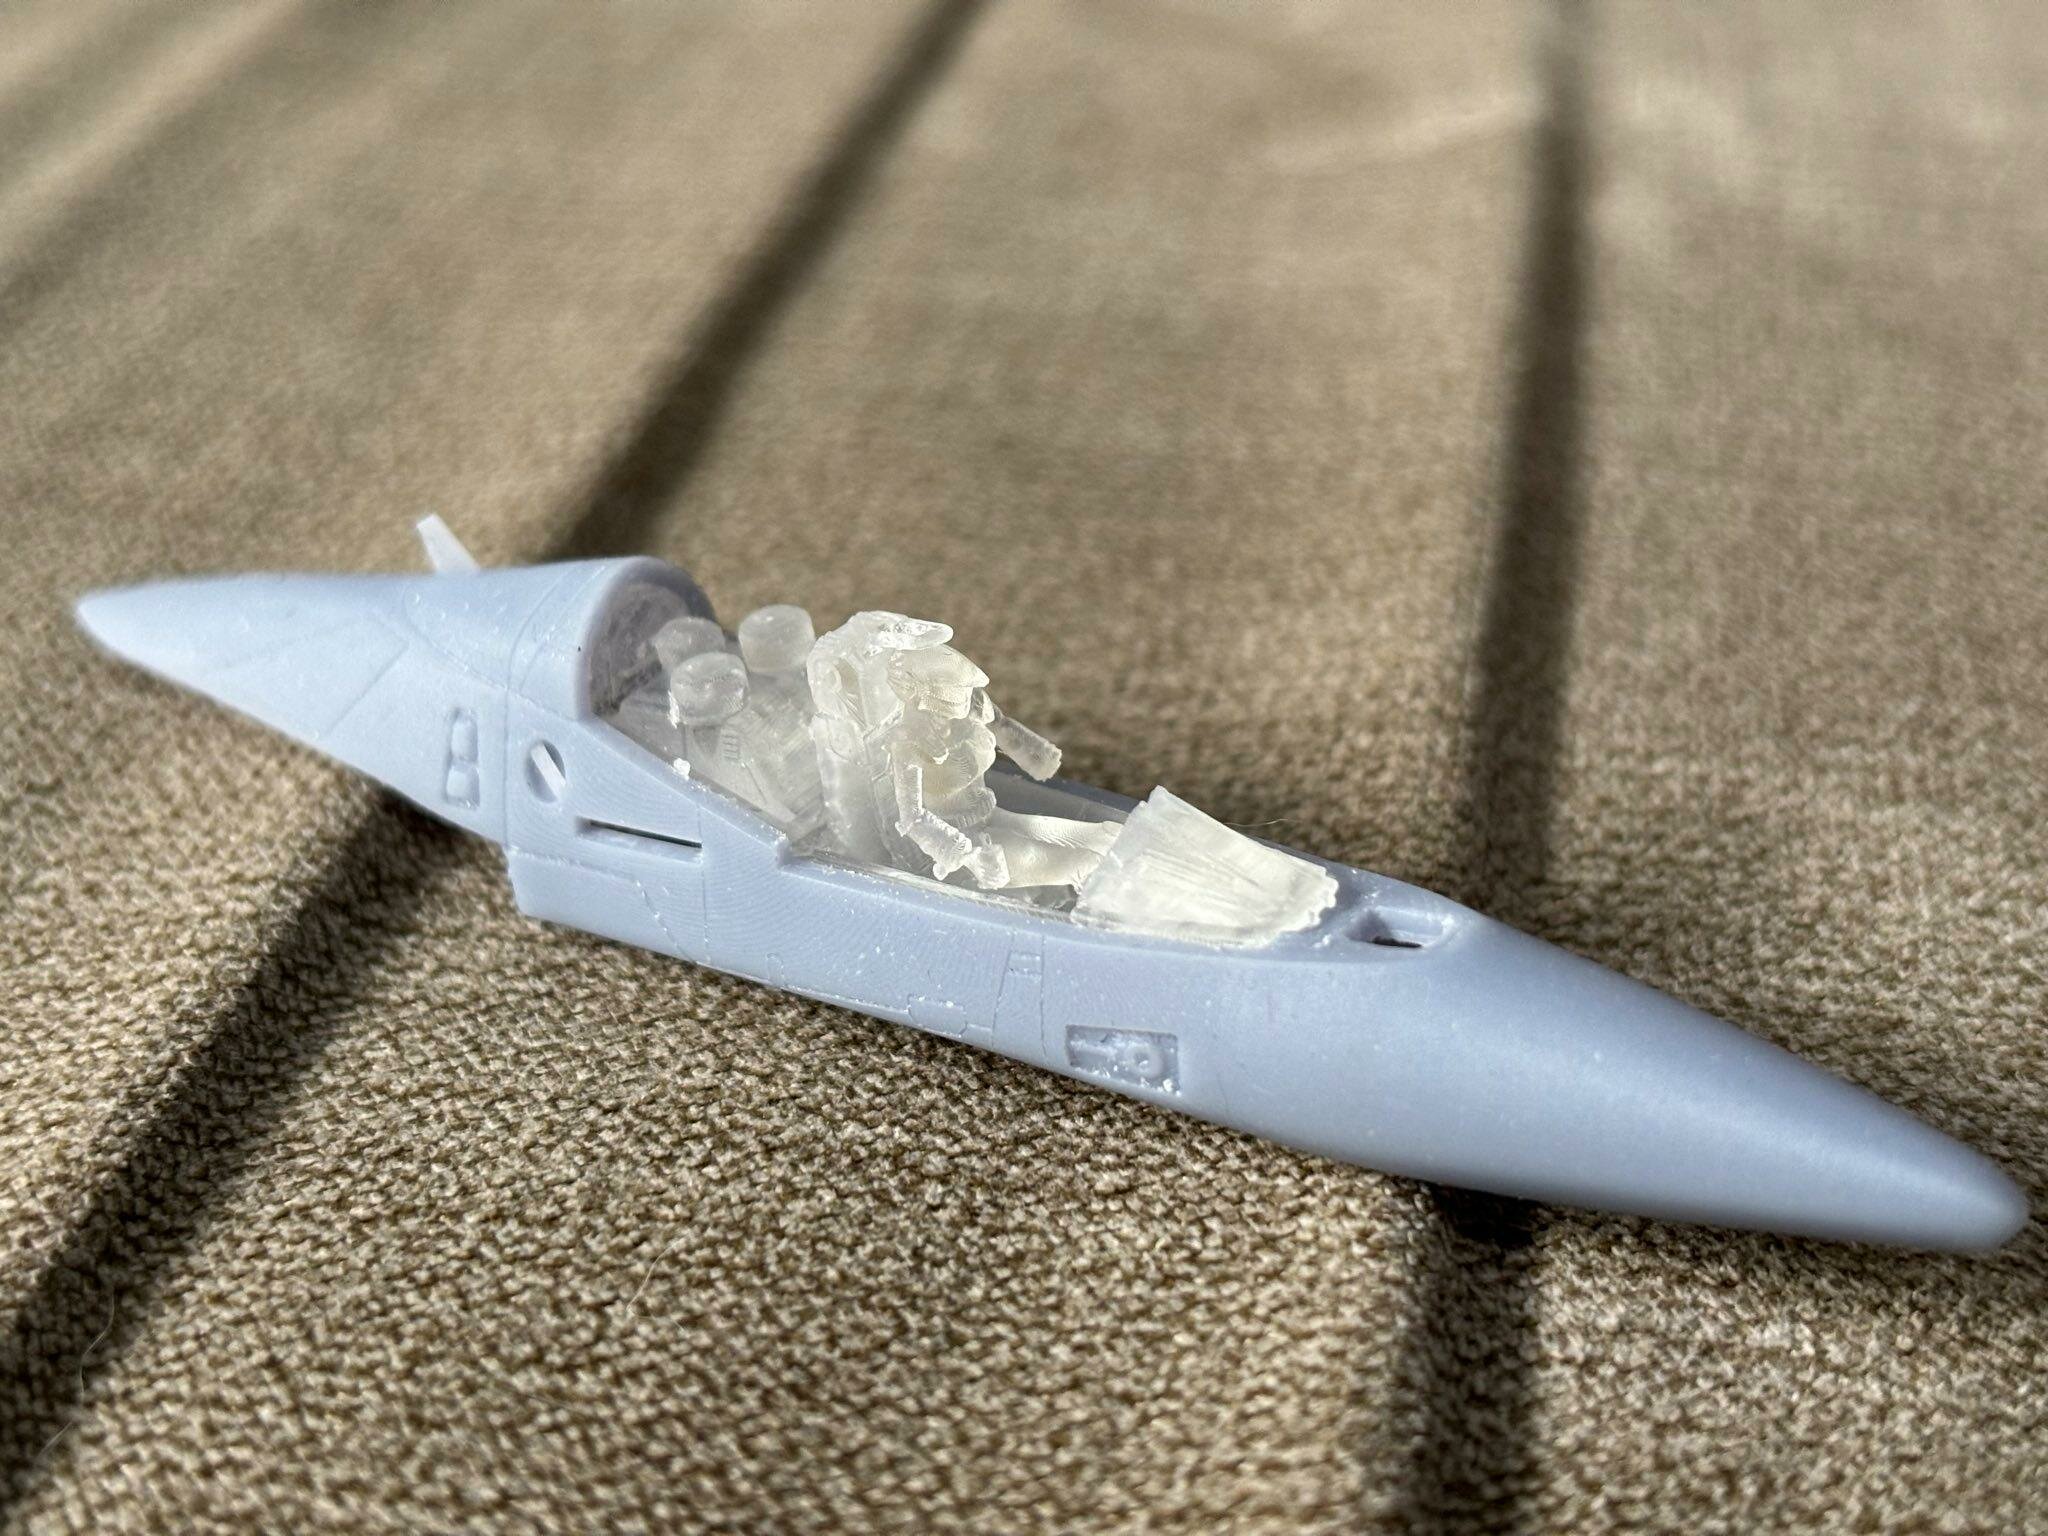
I spend the night fixing my M3 Milia. Test printed her three times and seems so work now.
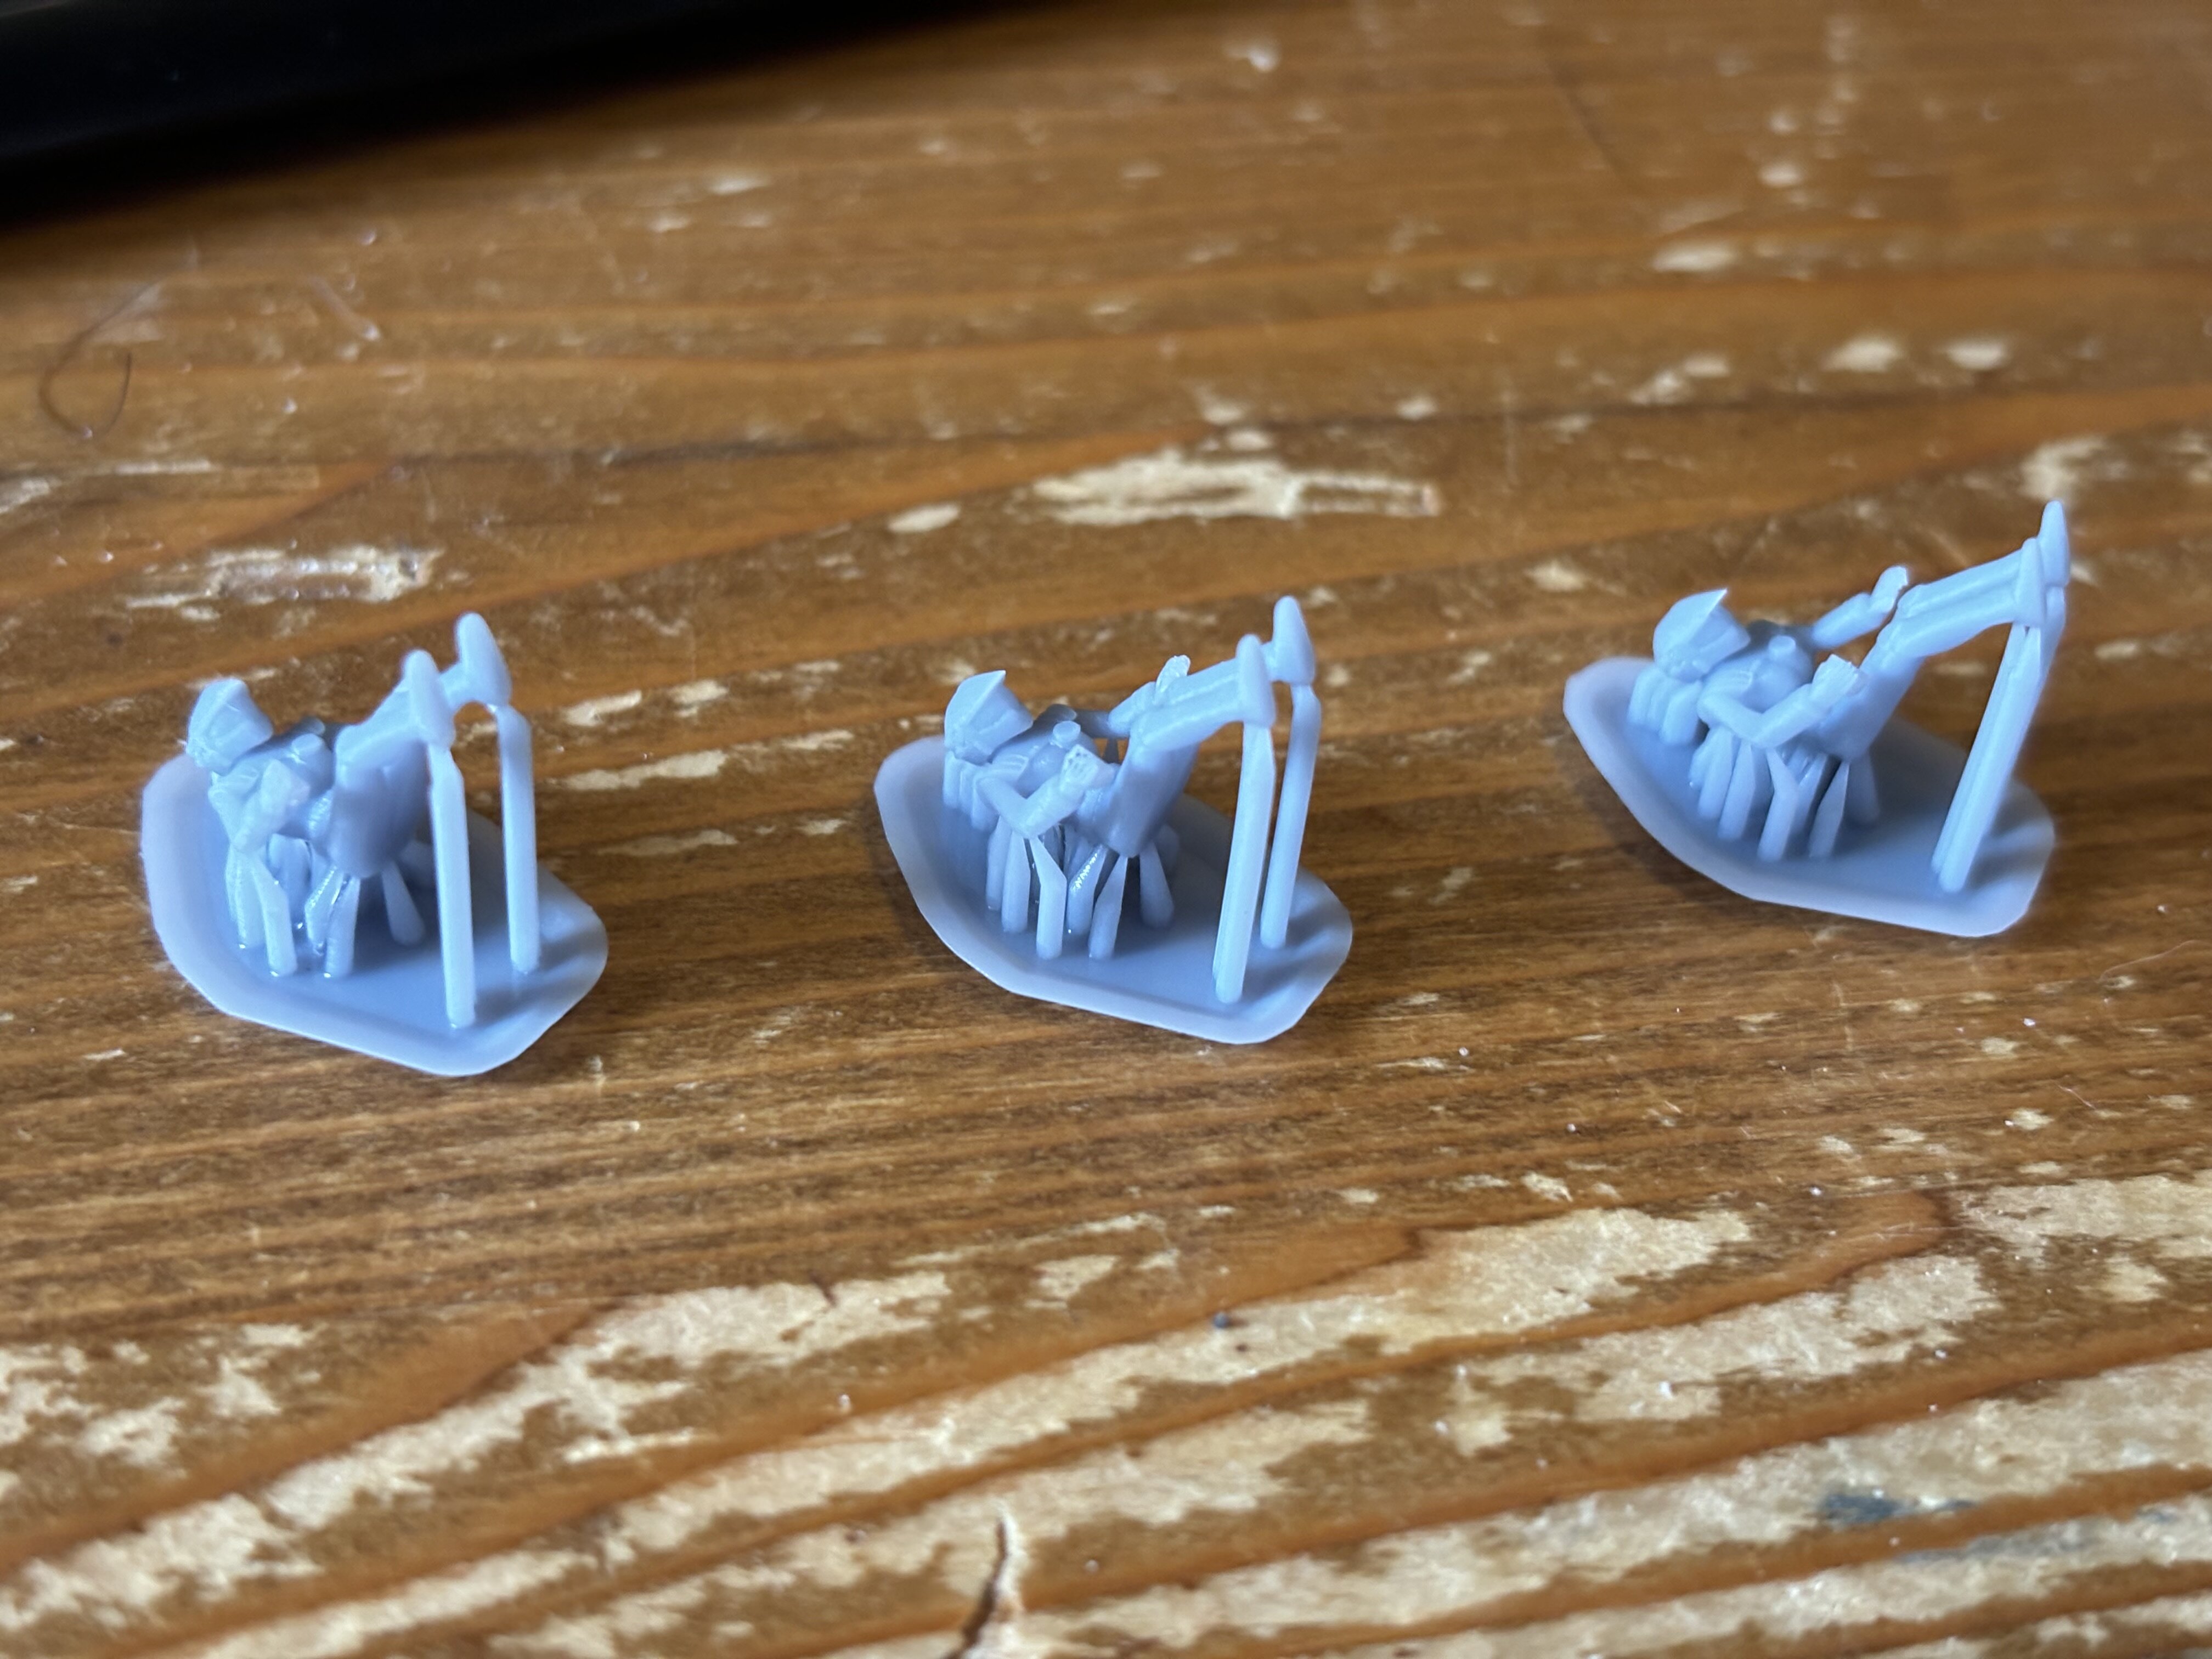
detaching from the support went easily, nothing broke so it has enough strength.
and it fits the VF-9 pilot seat.
I will upload the STL later the day, so who ever wants to print an army of Milias can do that.
-
@SteveTheFish That's okay - no one can know everything. Well - the game plays kinda like VF-X 2 with enhancements that make the gameplay a bit weird. In VF-X 2 you would have been able to solve a mission without ever switching modes, so you could be in fighter mode all the time. In M3, you have to switch around. You cannot finish the first mission without switching around. The game is a bit hard due to the tight time constraints, but can be played through in roughtly a day. The M3 is referring to Max, Milia and Moaramia. So no Komillia. Moaramia is an adopted Zentradi/Meltrandi. The story is simple. You fight Zentradi fundamentalists... and bugs ... that's that.
@arbit I use "chamfer" for that. Let me show you.
Let's make a cube.
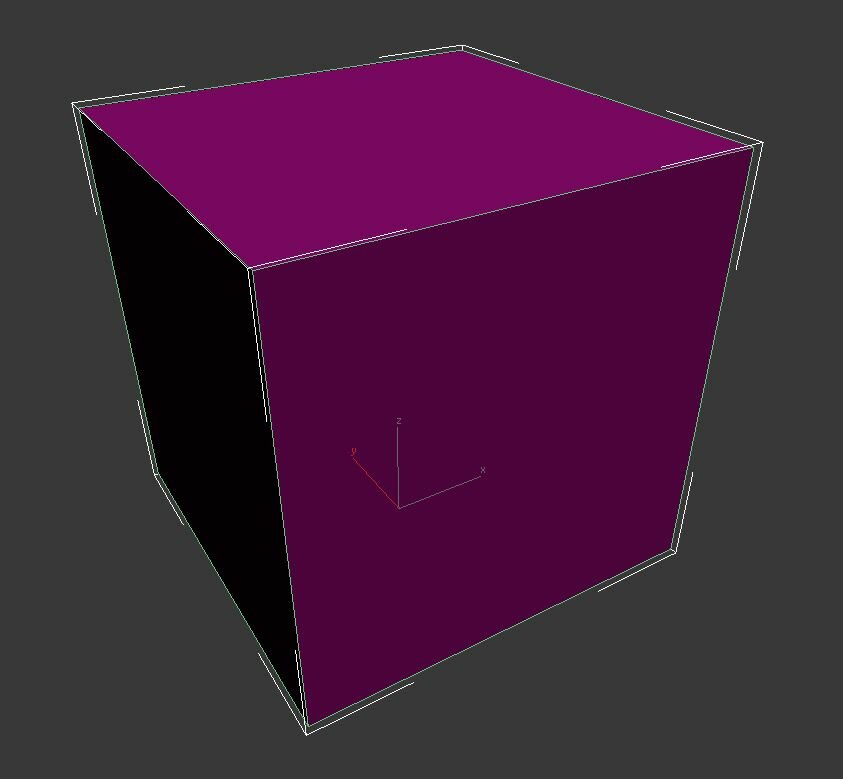
Turbo smooth it with 3 iterations, you basically get a weird ball.
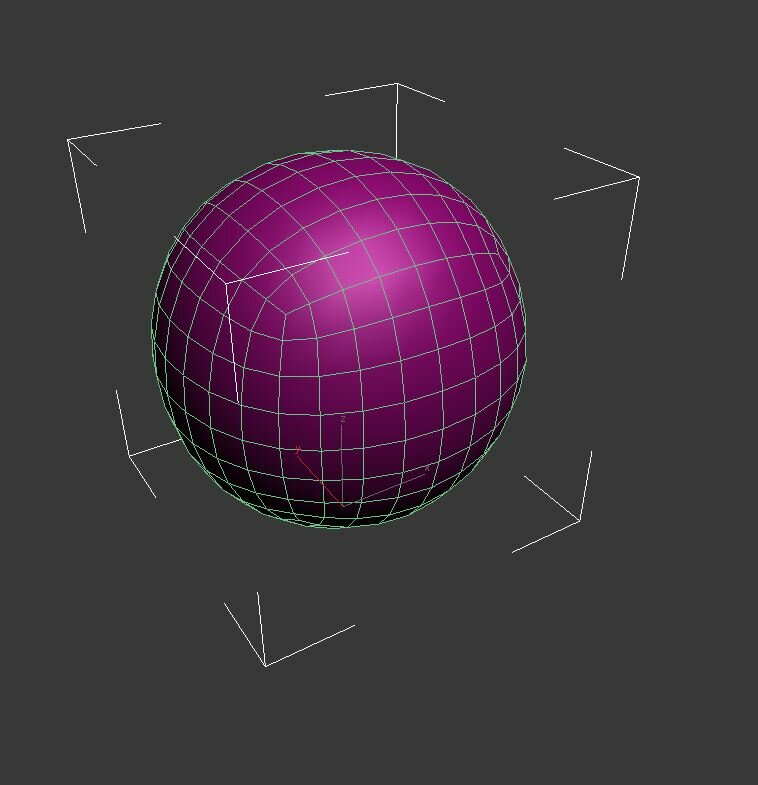
Go back to the base and chamfer some edges.
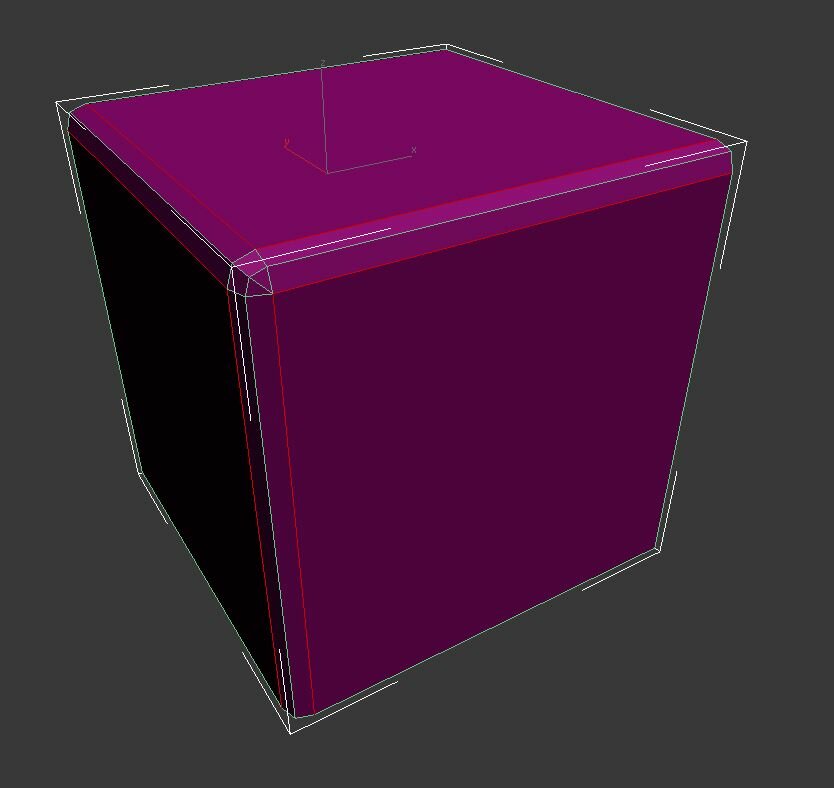
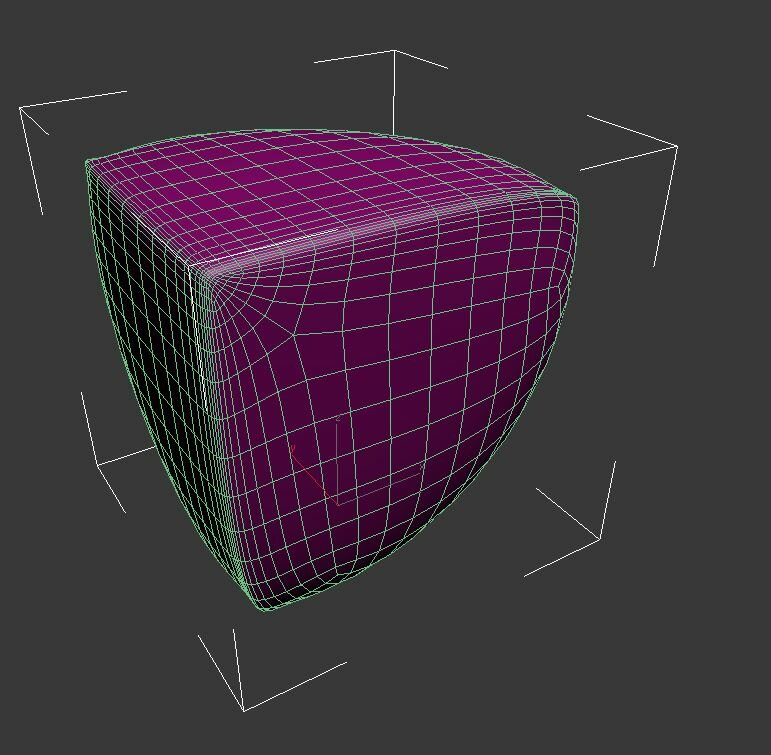
Then check the turbo smoothed mesh and et voilà... fun commences!
-
58 minutes ago, Big s said:
If there don’t end up too many and they aren’t too big, you could try a pin prick and filling with gloss coat.
Well… the bubbles are super tiny and inside the print.
-
12 hours ago, SteveTheFish said:
Where did you find the .STL files for that Milia figure? Has anyone made a female pilot figures wearing the regular pilot suits? I don't have a 3D printer, but my friend in PA does. He says he is gonna print the Hikaru and Minmay figures that are made for Hasegawa's Super Ostrich kit. Can't wait to see those.
I only recently learned how hard to find polyester putty is in the States from watching a video by Leona's Workshop on YT. Here in Japan it's just another hobby supply to use. I have a tube of Wave's Morimori poly putty, but unfortunately I'm already running out of the hardening agent! It comes in such a small little plastic vial and there doesn't seem to be enough to go around to use with the rest of the main tube. Tamiya's poly putty comes with the hardening agent in a seemingly larger tube. There is a hobby shop walking distance from where I work and I stopped by there to ask the shop owner if perhaps the hardening agent is sold separately, and he said that he has not seen that. I wonder if the home center "polyester hardener" can be used with my poly putty. It's only about 400 yen, so it's worth a shot.
I've been using the poly putty on the Imai Armored Valk kit I'm working on. I've used it to secure the Wave ball joint sockets for the arms and the waist. It sure dries super hard! I wonder if I should still reinforce it with some epoxy putty. I'd hate to have the parts painted up and have the sockets collapse when I try to pop the pieces into place.
I found the .STL by navigating to the folder where I saved the exported STL.
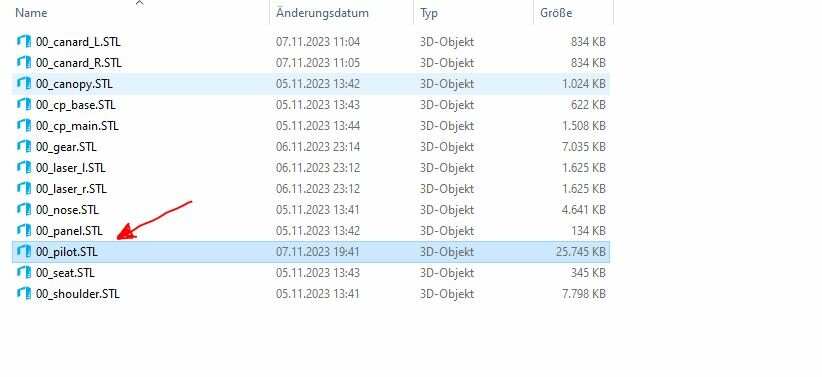
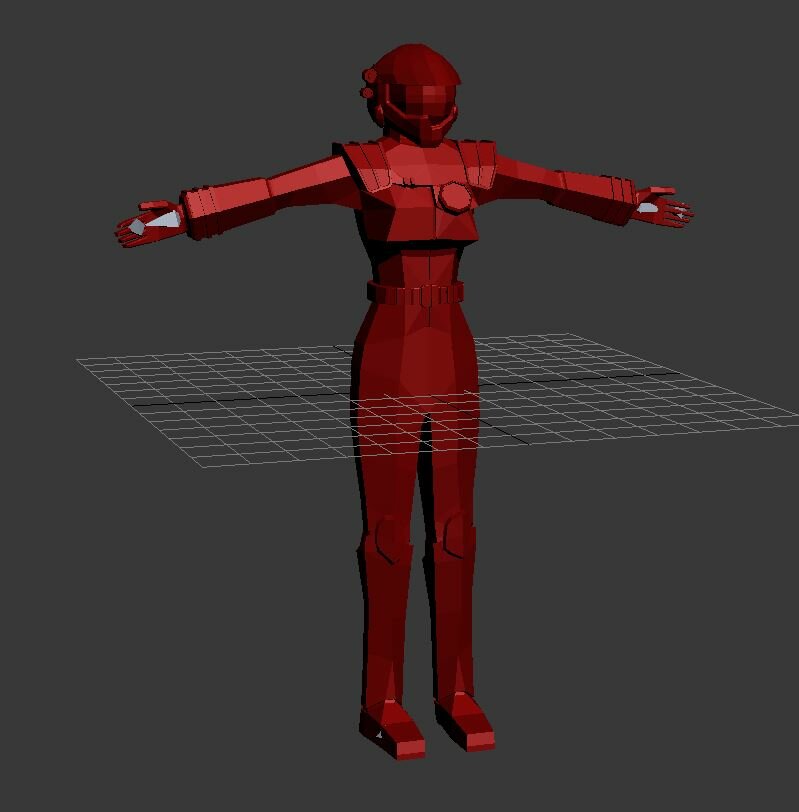
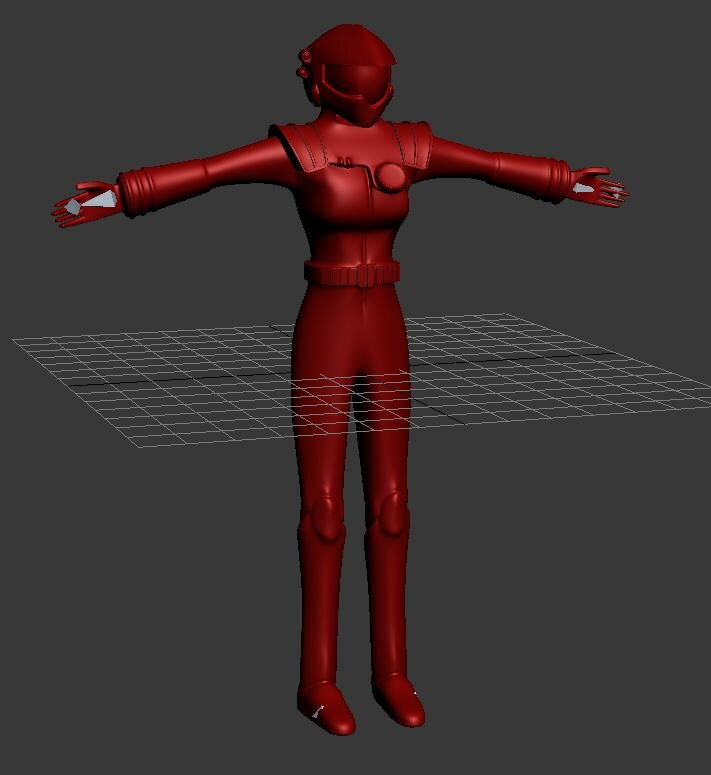
You probably haven't found one online because there is none out in the wild, I think. I created this pilot figure myself, because there are no Macross M3 suit pilots out there.
I can send it to you after I fixed it. The proportions are a bit bad, as I basically created this with only little reference material (the Macross M3 intro and the back cover of the Macross M3 booklet in the disk case). She got a bit too ... "ample" as well. I am not good at 3D modelling people...
I did it by low poly modelling the pilot and then running turbo smooth over it.
Another thing... I wanted to print a bubbleless canopy for the VF-9, so I went by the "evolution approach". The more the merrier
Here is what I did:
- Filtered the liquid clear resin through a 0.05mm grid filter
- Let it rest in the resin basin of the printer for 24 hours
- made the print bed move really slow during printingFrom the visuals, it looks like at least three have bubbles inside. I will know more once I polish them all a bit.
Any advice how to get rid of the bubbles?
EDIT:
@SteveTheFish I remembered that @Xigfrid was creating a set of male and female VF pilots. You can find them here:
https://www.shapeways.com/product/VJ23S29SZ/1-72-scale-pilots-for-vf-1j?optionId=299297325&li=shops
-
4 hours ago, electric indigo said:
@Urashiman The level of detail is amazing!
_
I think I'm in the final round of putty & sanding work on the fuselage.

And it's starting to look like an Invader

Thanks a lot! That is the goal - getting as much detail as possible
Your invader seems to be fun as well. So much putty...
Have you tried Revell putty? I use that stuff mostly, but can be trouble as it sometimes "melts" styrene in the process of binding. It can be too thick and I usually thin it with revell Contacta glue 1:1. It can be brushed on with a brush when thinned that way and usually can give you smooth seam covering. For larger gaps I use milliput. Another hack for small seams is to use Mr. Color Primer 1500. Due to it's properties it fills small gaps easily. But don't use it in case you are using lacquer colors. It can crack.
-
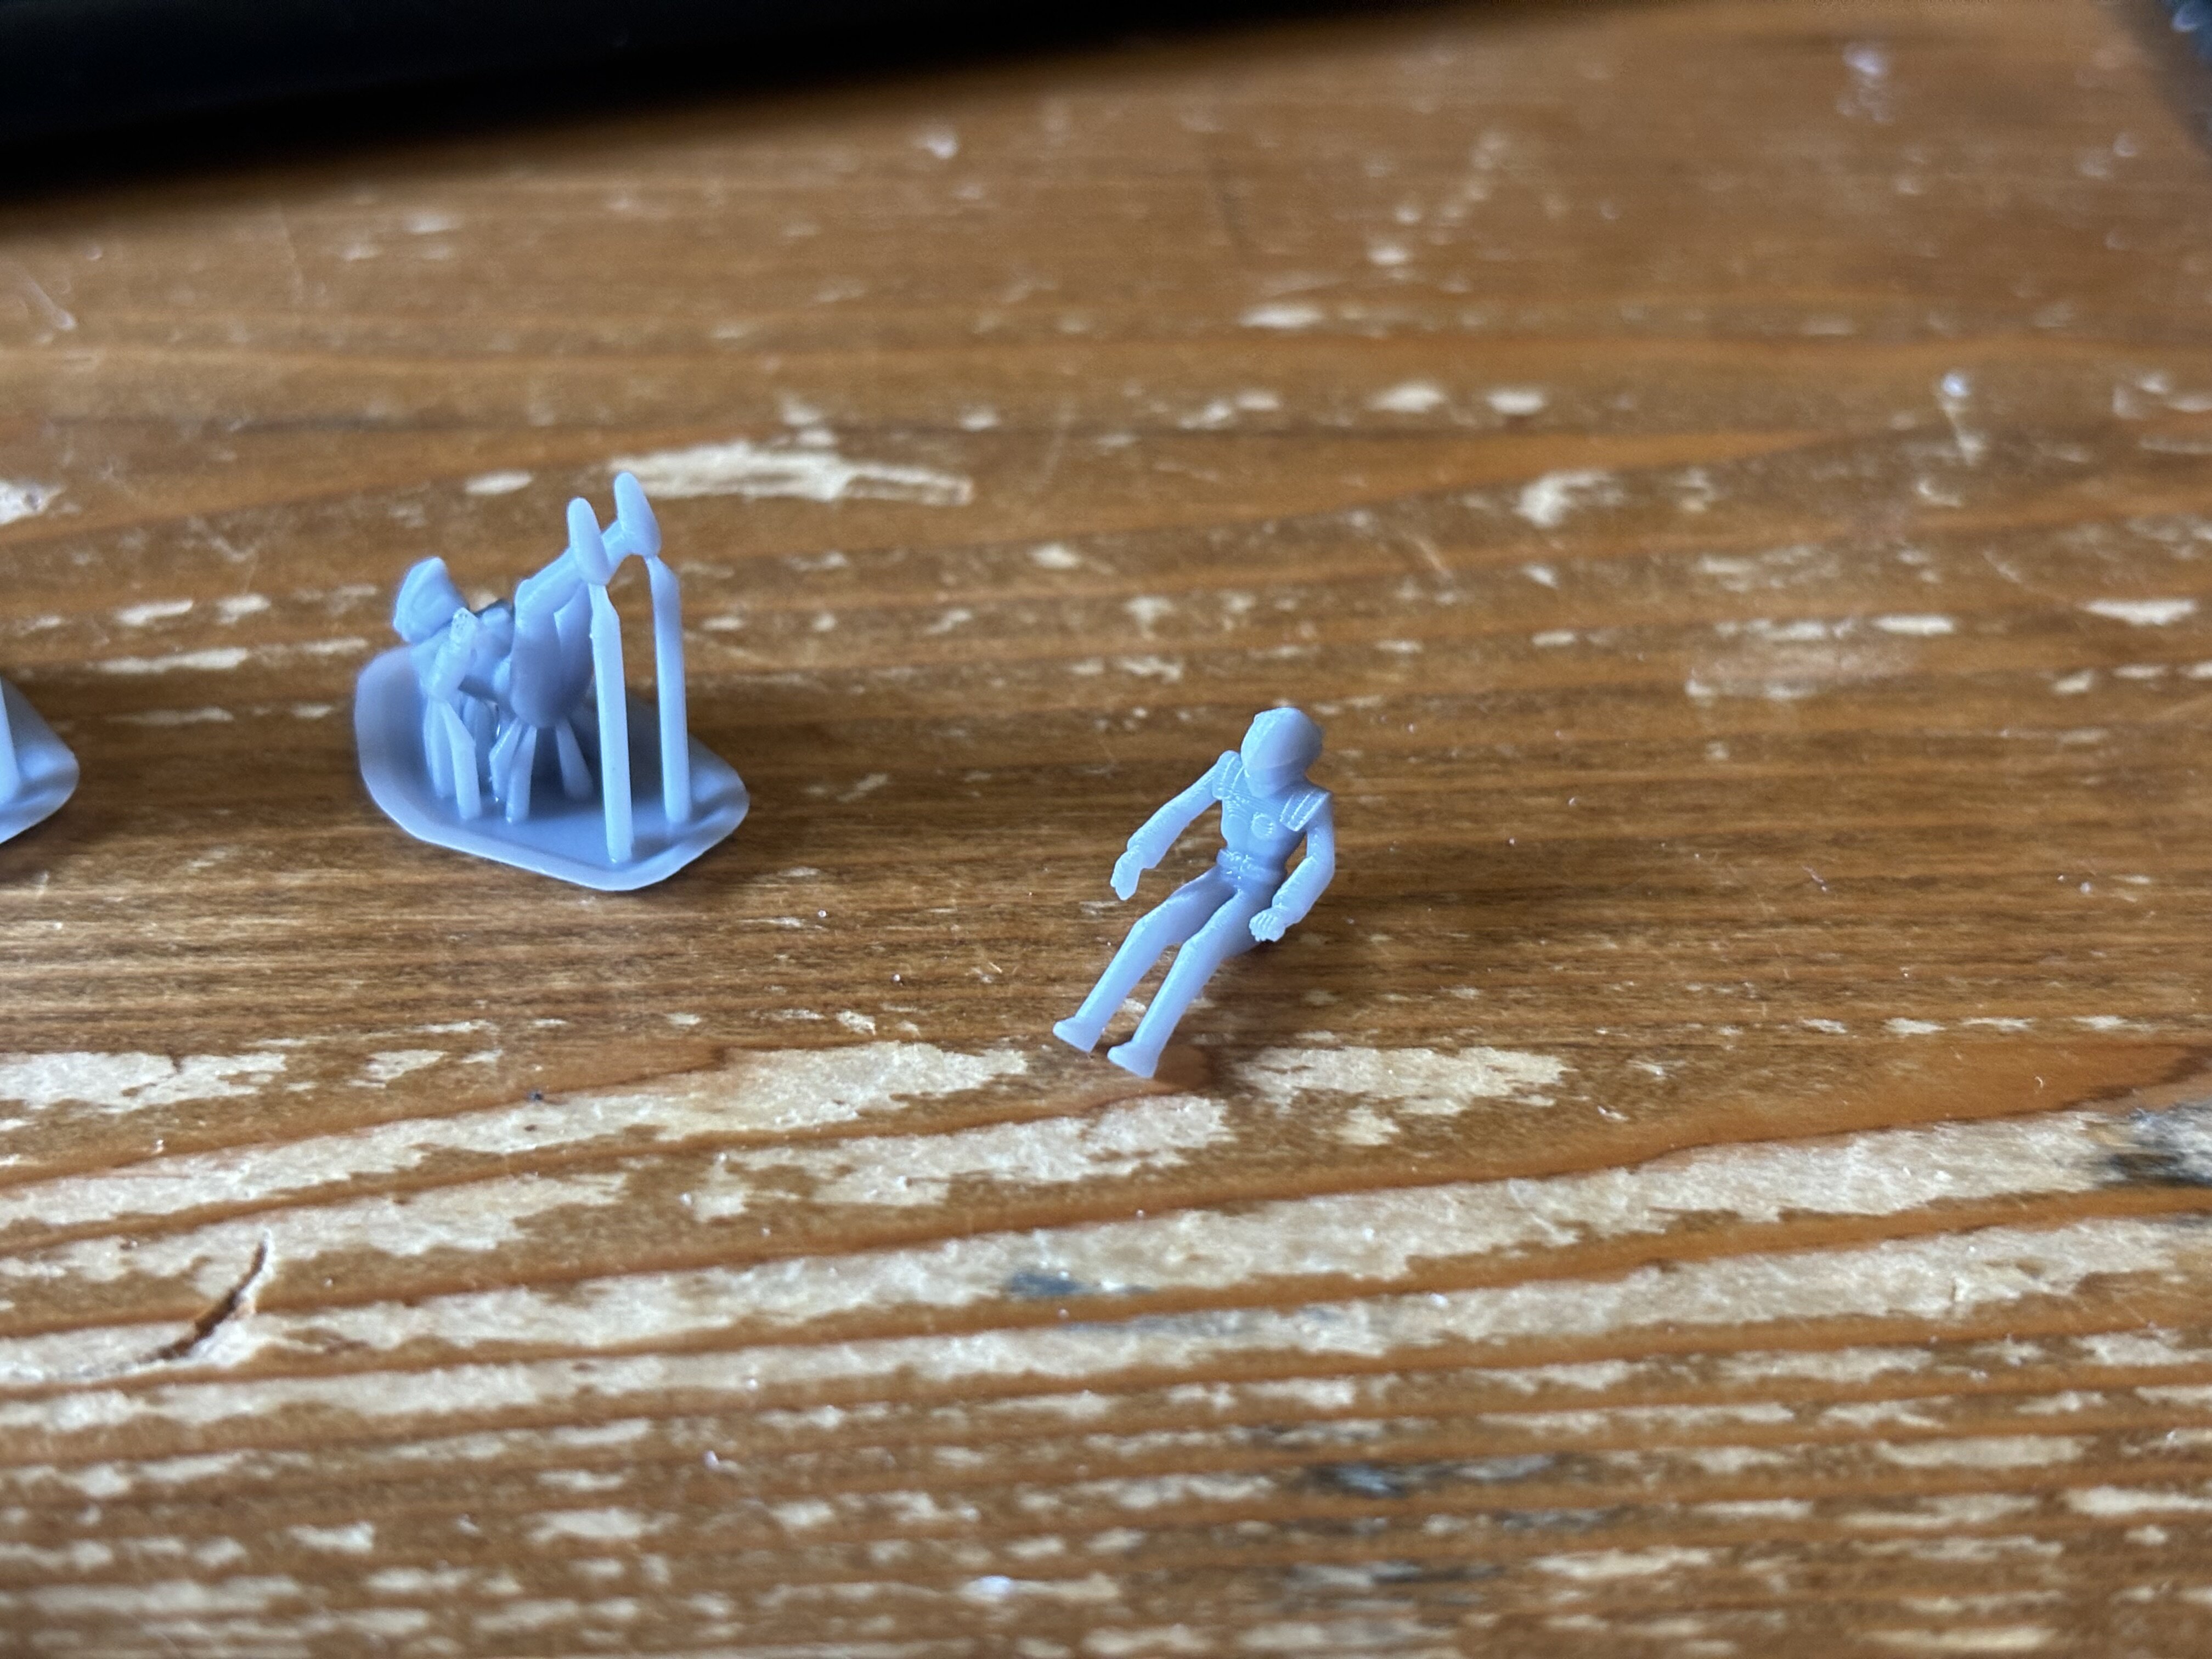
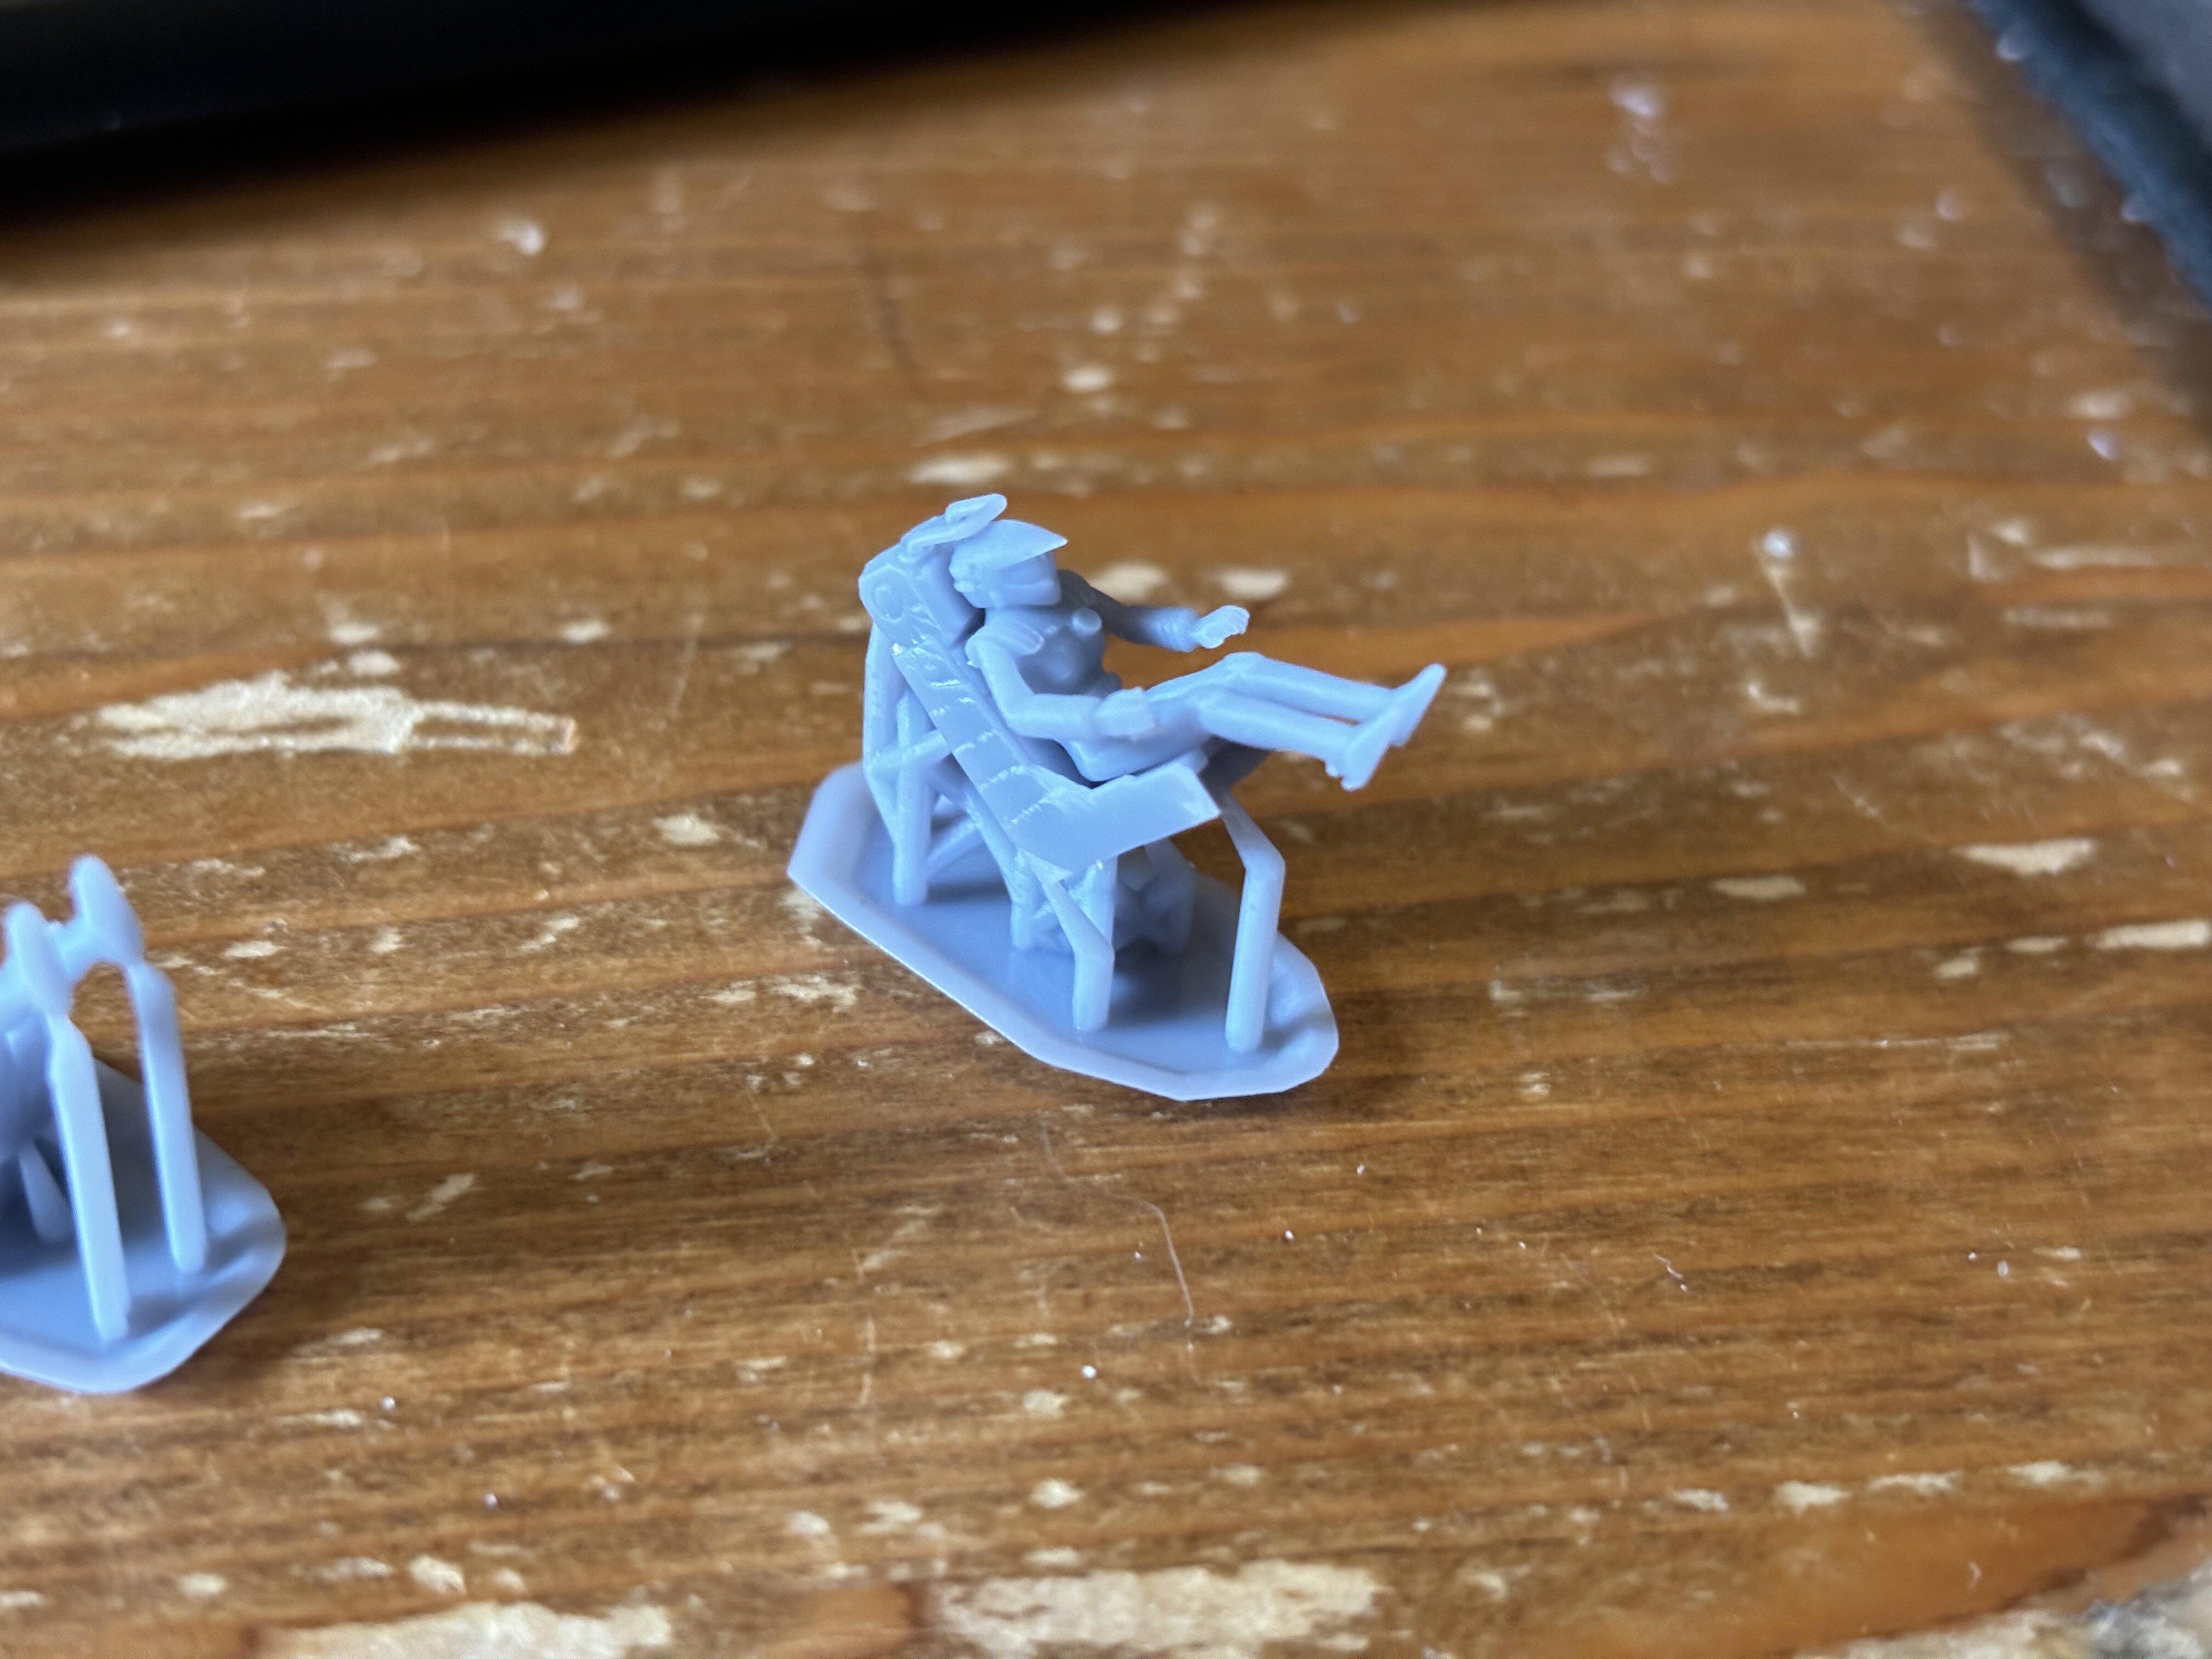
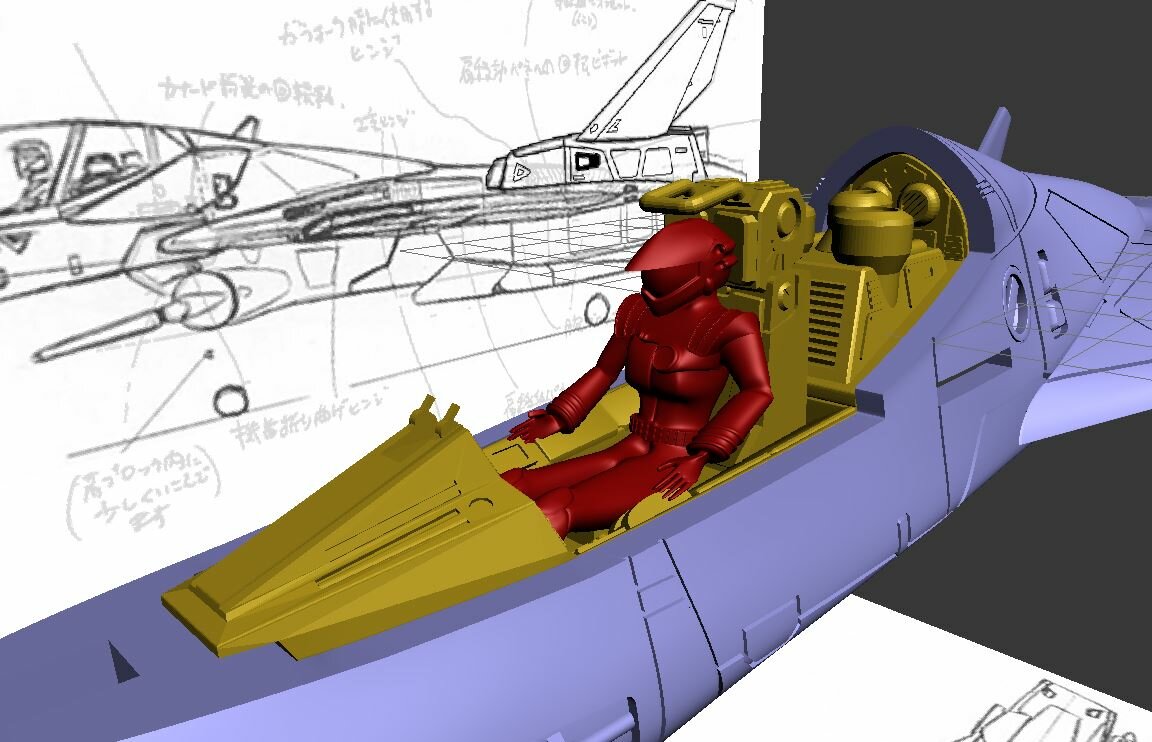
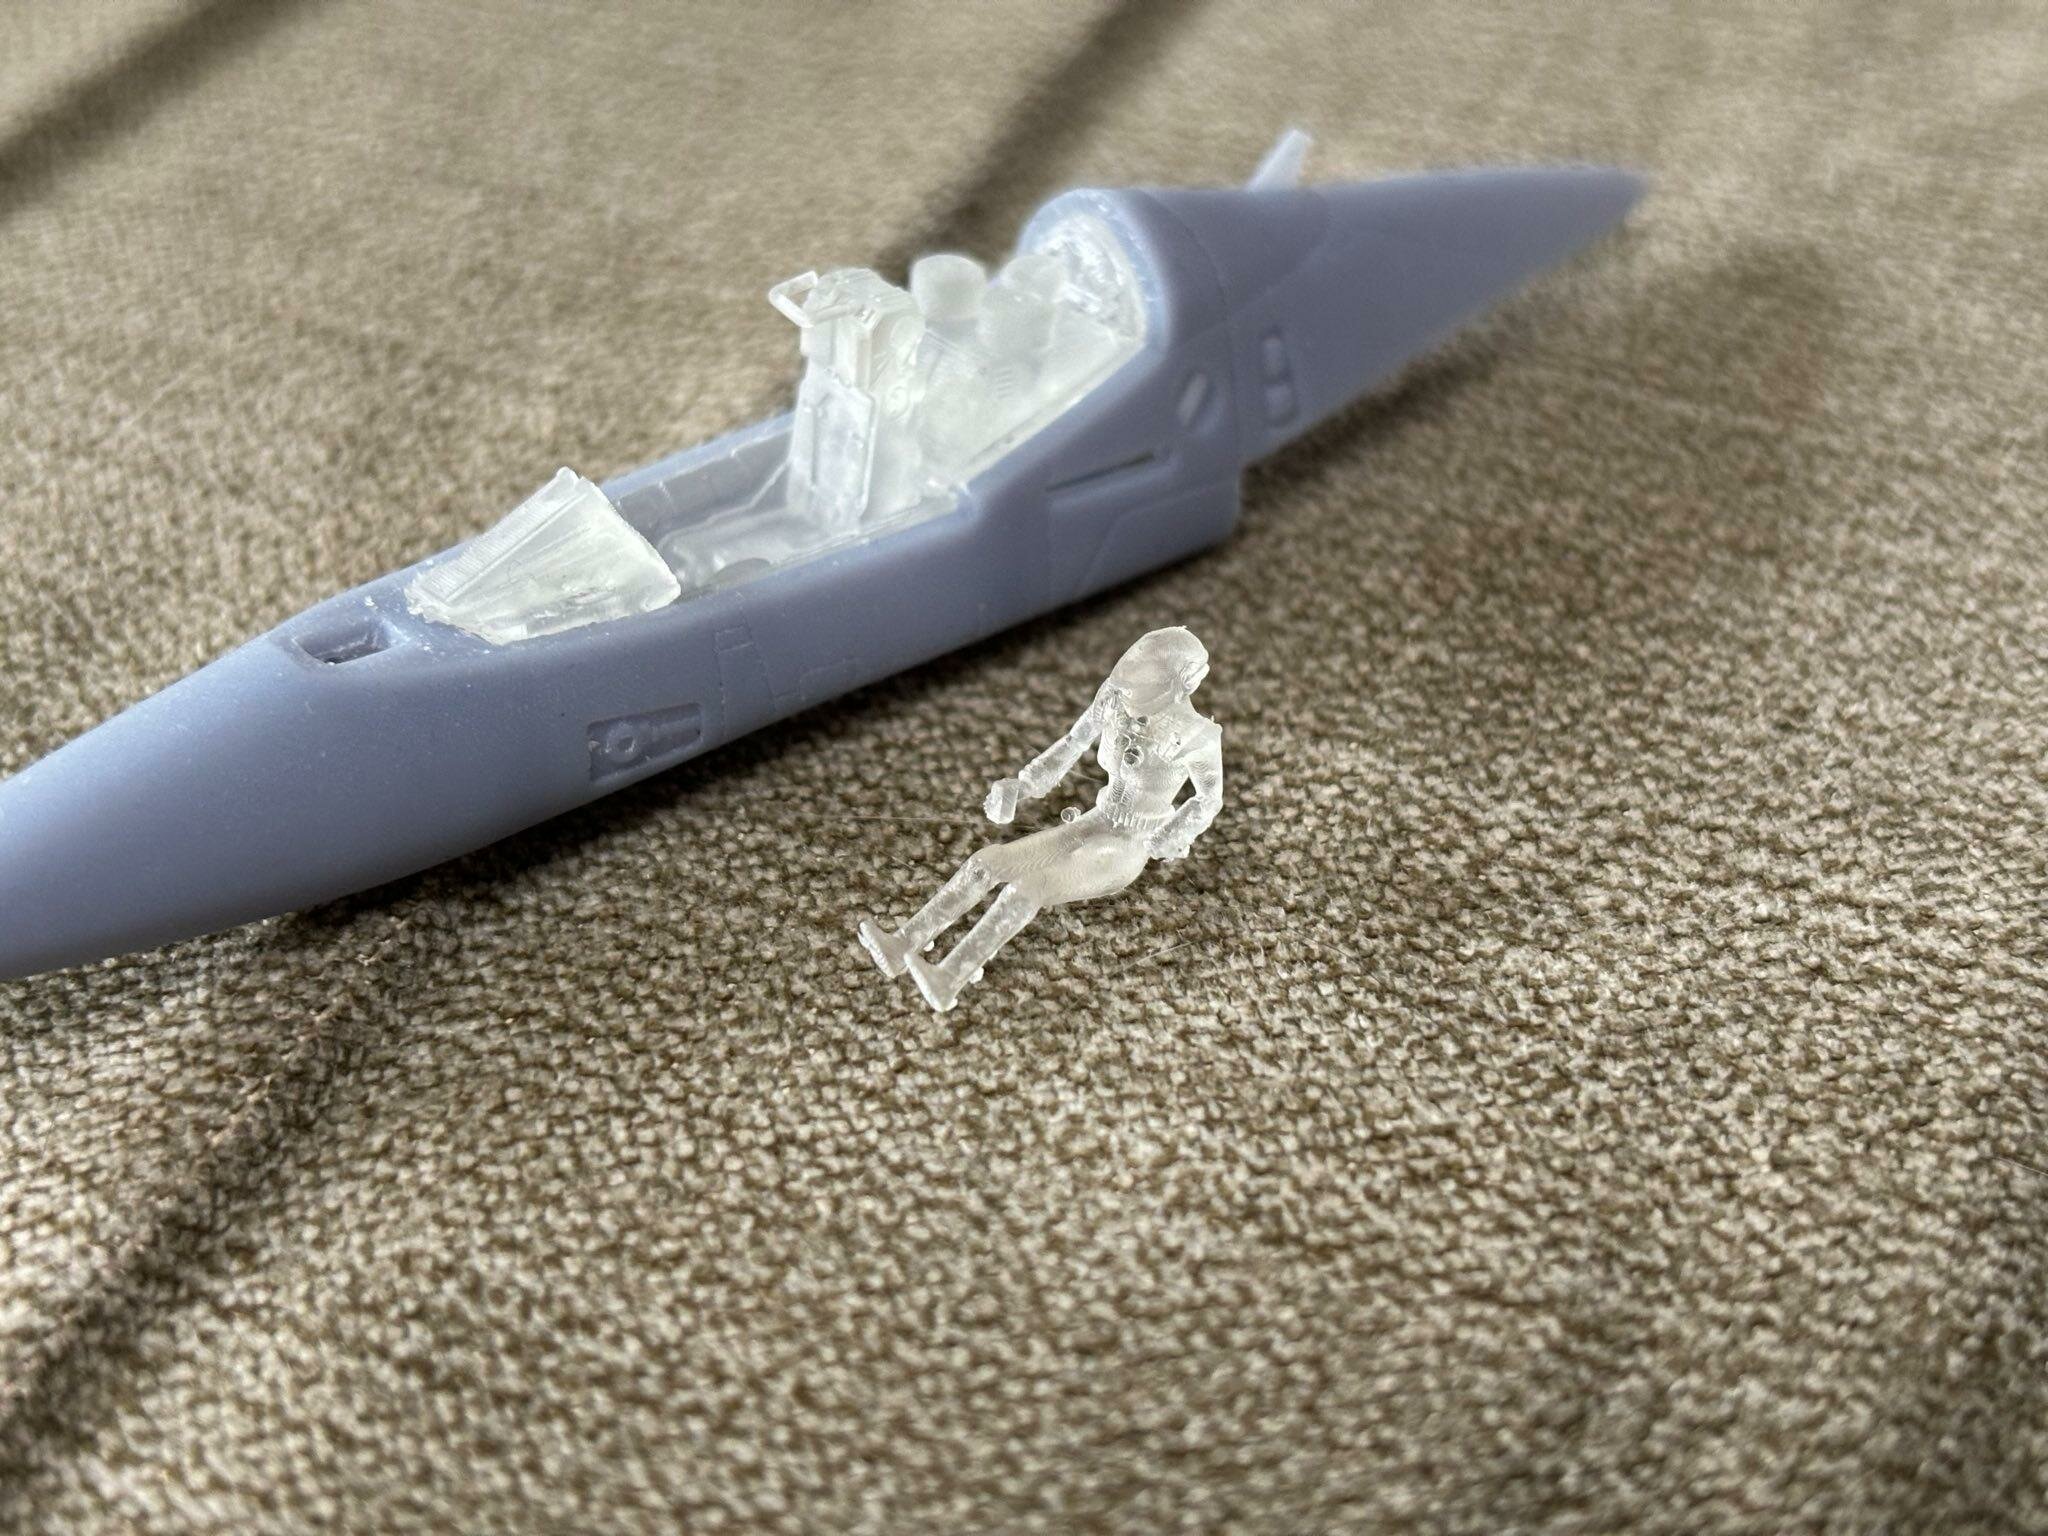
Printed the pilot figure for testing. It is Milia in a Macross M3 pilot suit (which for some reason is body tight...).
Anyway - the wrists are to small and brittle and the torso is too long. One hand came off while detaching the supports. The figure barely fits and broke the seats ejection handle.
-
@MechTech Thanks! Floor polish haha. Yeah no, I was thinking more of actual polishing compound going from grid 2000 to grid 10k and stuff like that
@Thom Ooooh yeah!
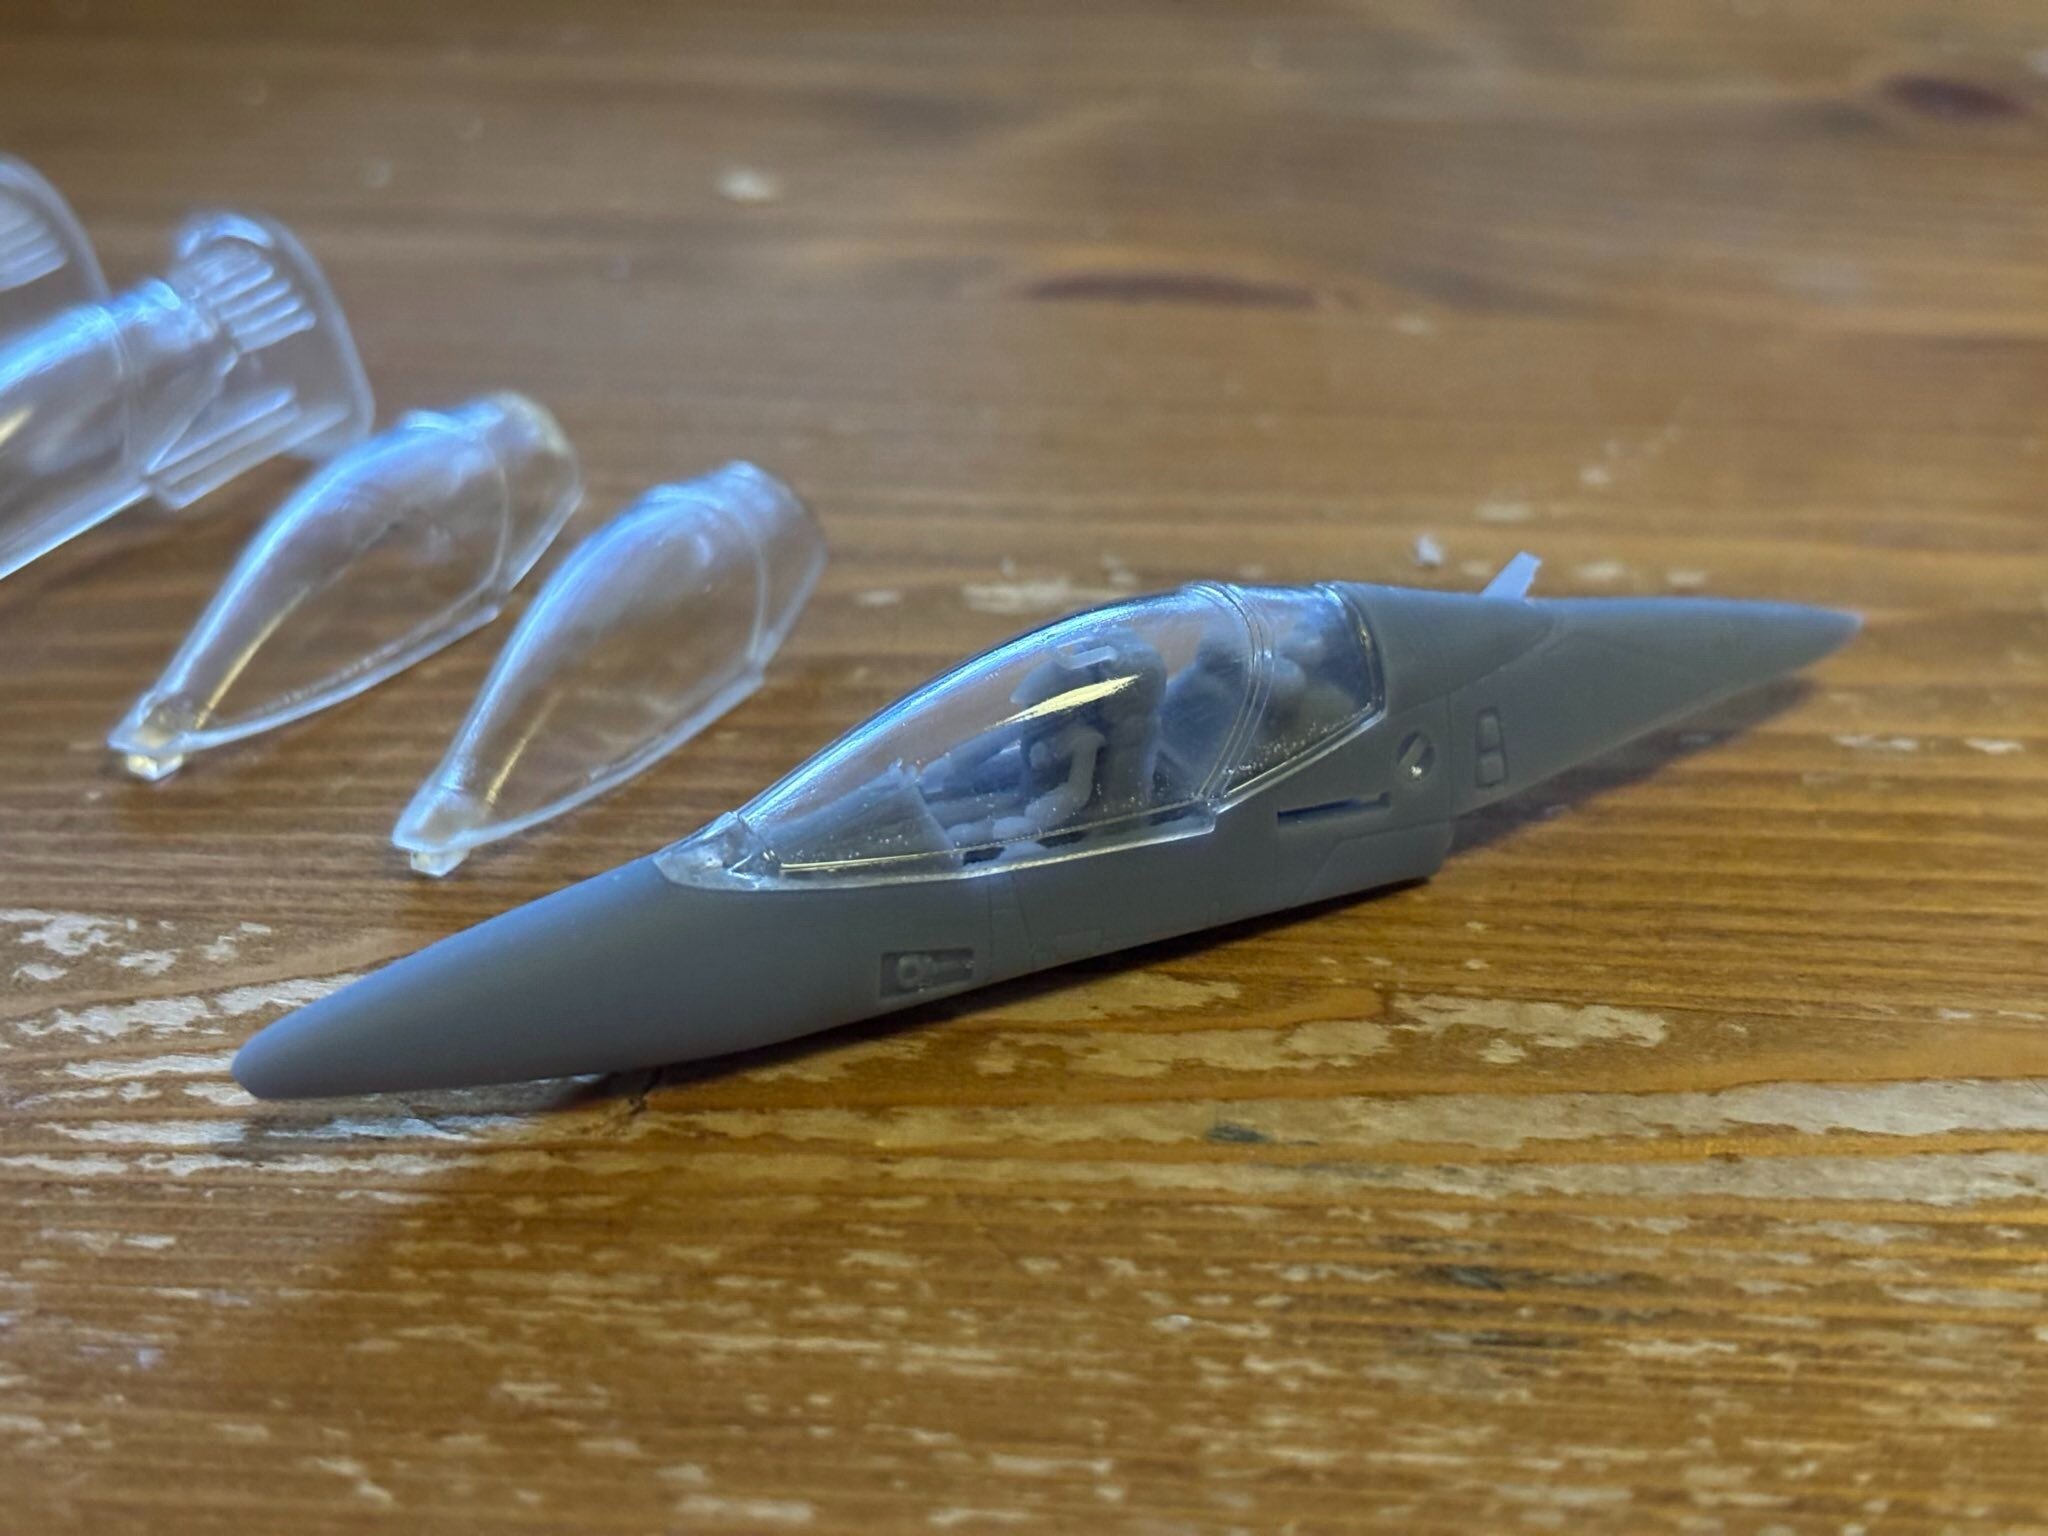
Just to test, I printed another VF-9 nose, checking the fit and everything, and it works nicely.
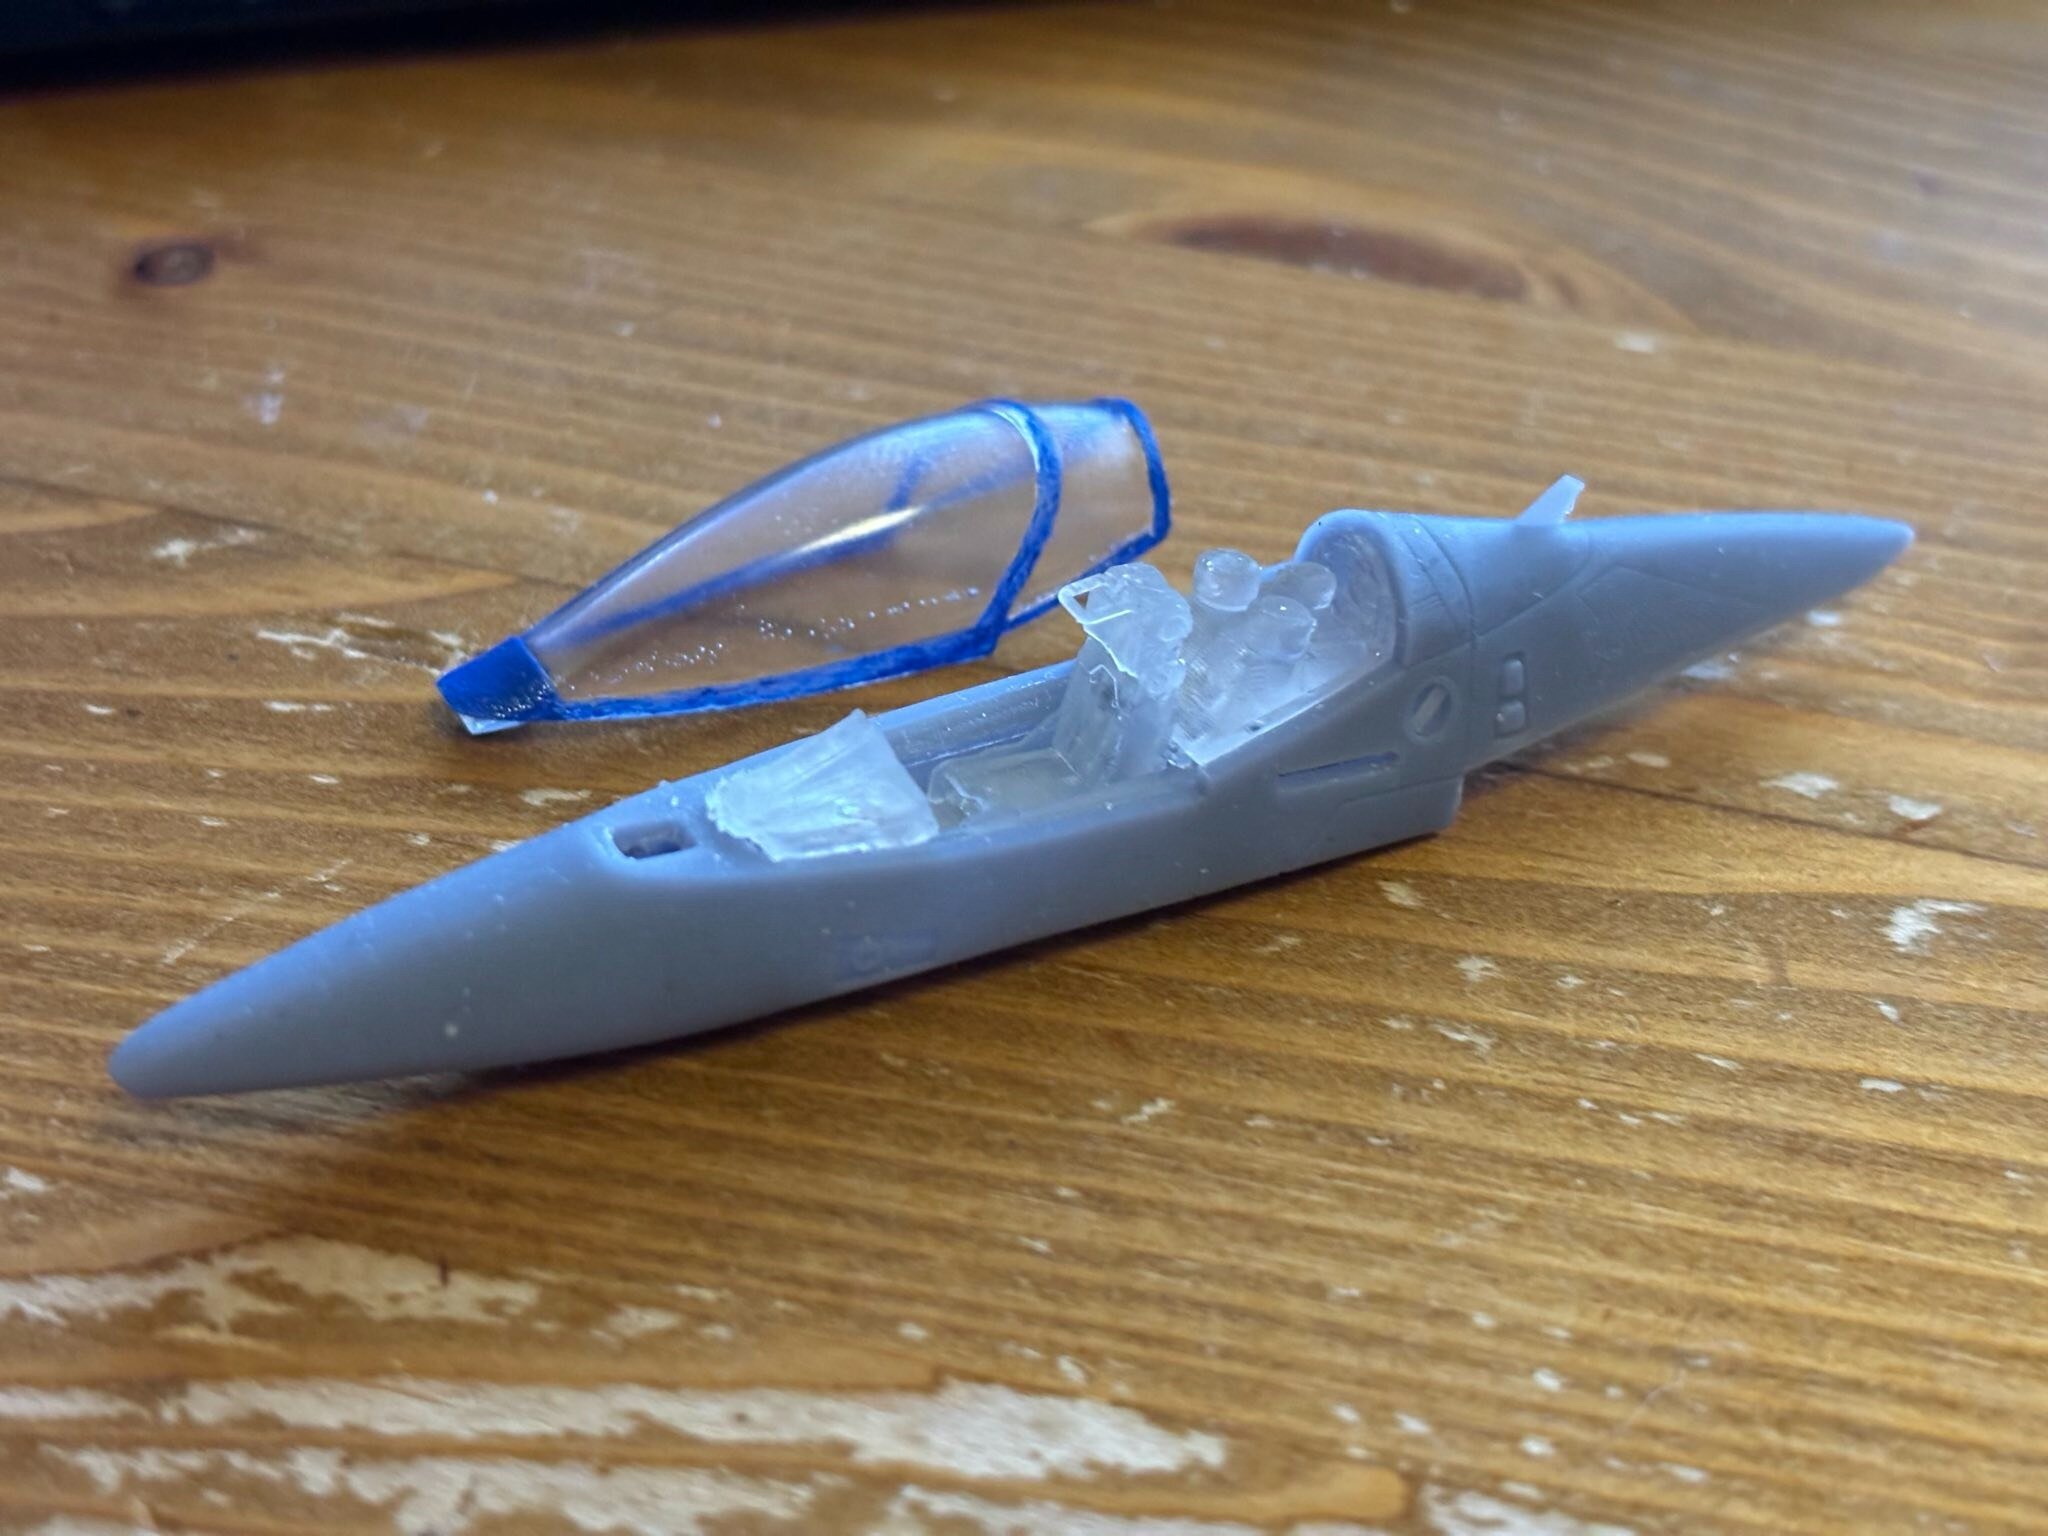
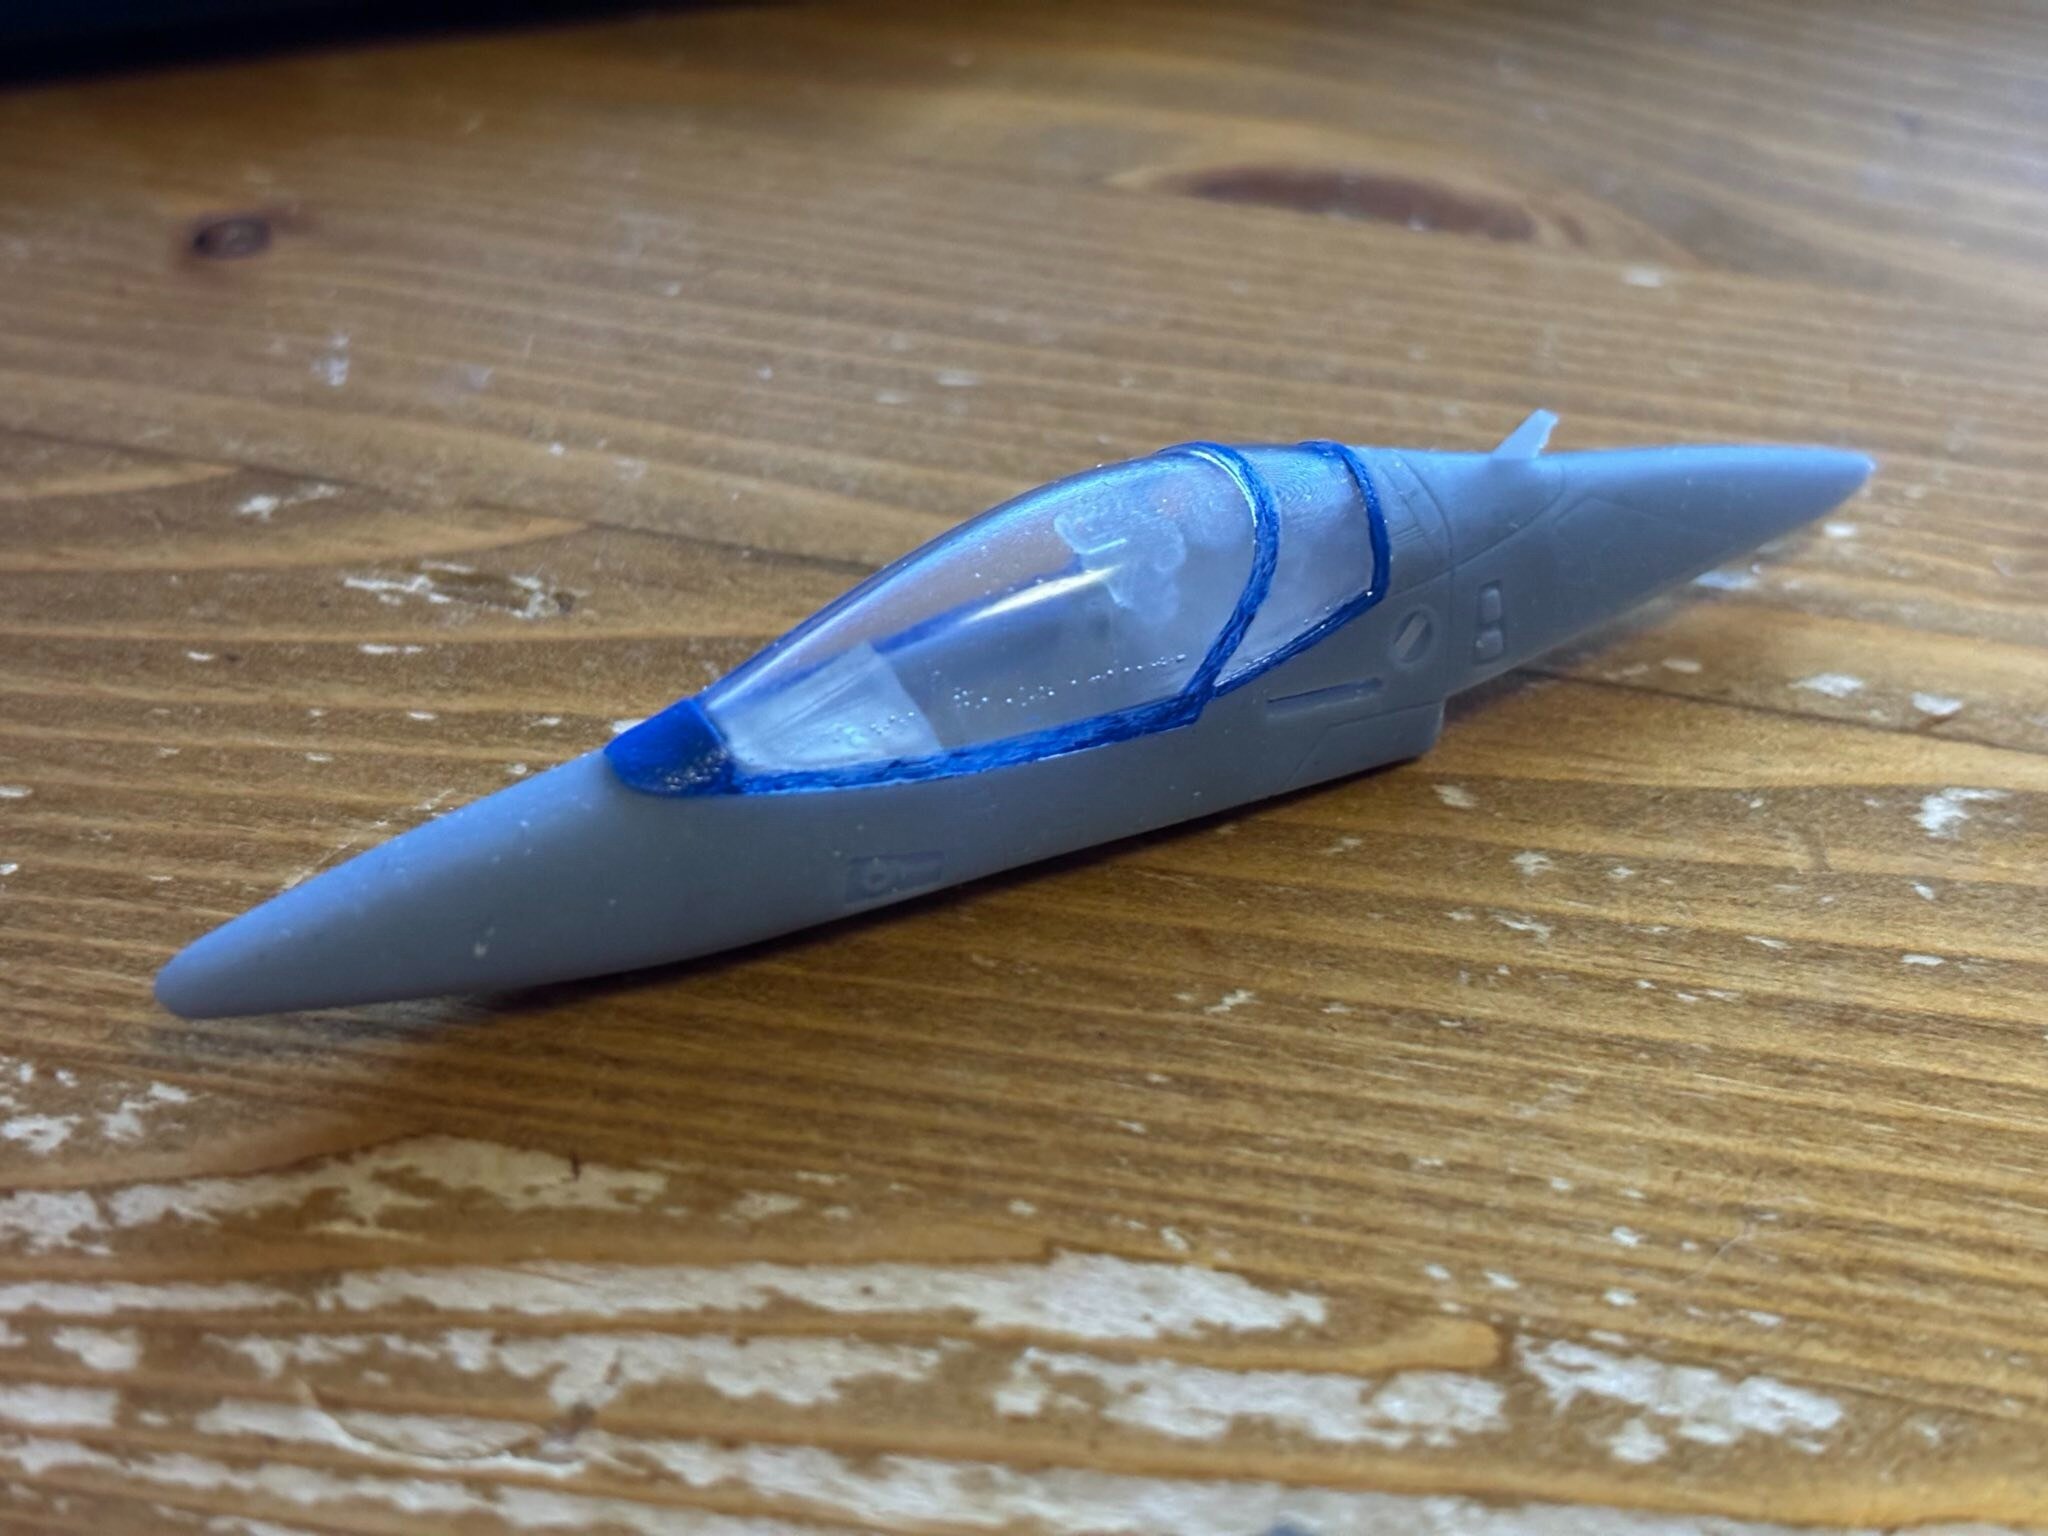
But as you can see, the canopy is rather "milky" and not full transparent. That is why I want to try with polishing compound, as dipping things in clear coat or polishing finish liquids doesn't work out fully.
-
25 minutes ago, Big s said:
A polish would probably do the trick. Maybe even a gloss coat, but with a resin print the polish would probably be better
Yeah… just tried it. Polishing kinda git me there, but I would need proper compound now, as the resin would just suck up my toothpaste.
I gave it the clear coat treatment- et voilá:
unfortunately, the print went bad. There are some bubbles in the resin. This one was for testing anyways
-
5 hours ago, Thom said:
@Urashiman That VF-1 is looking great. Love the decals.
Great to see your collection growing @pengbuzz, and your plans for more!
@derex3592 The BONE sure is a sexy plane. There was a proposal in the early aughts to reengine it and turn it into a missile truck, called the B-1R (regional) Or, wait for it... BONER.😜
Thanks a lot!
did some test printing with clear resin today. Printed the new cockpit pieces and the canopy. I think I need to polish the canopy. When still wet, it was clear and see through.
Whats Lying on your Workbench MK IV
in The Workshop!
Posted
#$%&!?
I kid you not ... almost every second piece on the cruiser I build looks like this.
I truly believe the REVELL skill level is based on the mark the mold maker got during their mold making exam or something. This cruiser is set as "Skill level 5". Meaning they got a 5 for delivering something but being really bad at it. In the US that would be like an F on your exam.
Anyway...
... you can get something decent from it, I think.
I am constantly reminded why I am not doing REVELL kits anymore.