

MacrossJunkie
-
Posts
3249 -
Joined
-
Last visited
Content Type
Profiles
Forums
Events
Gallery
Everything posted by MacrossJunkie
-
My Nora was finally available in the PW. I am unsure what I actually paid though. HLJ's site says they charged me 315 something for the SV-51 and 66.50 for shipping. The emails I got say I paid ¥36,800 for the SV-51 and ¥7740 for shipping. I really hope it was actually in Yen because it's cheaper than the USD price they show.
-
Mine's still showing as processing, but not in my PW yet. If I click on order details, it gives my an Error 500 page.
-
Those are YetiStands made by ChaoticYeti. He's had to stop making them for now I think due to time constraints with his day job and probably other factors.
-
Poor Nora, her own thread has been largely forgotten about 😄 I've started going back to Macross Zero to take reference pics for weathering Nora's SV-51. The weathering on hers is not as visible as Ivanov's in most scenes and surprisingly there don't seem to be a lot of scenes with her ride. Especially not up close, I only have a few reference shots I can really use and will likely have to extrapolate from those for the rest of it.
-
Looking forward to this one so I can complete my Arcadia M0 collection. The Yamato one was okay, but the Arcadia versions fix most of my complaints about the Yamato ones. Already have a new decal sheet in hand for this coming release. Hope this one doesn't come with two right feet or something.
-
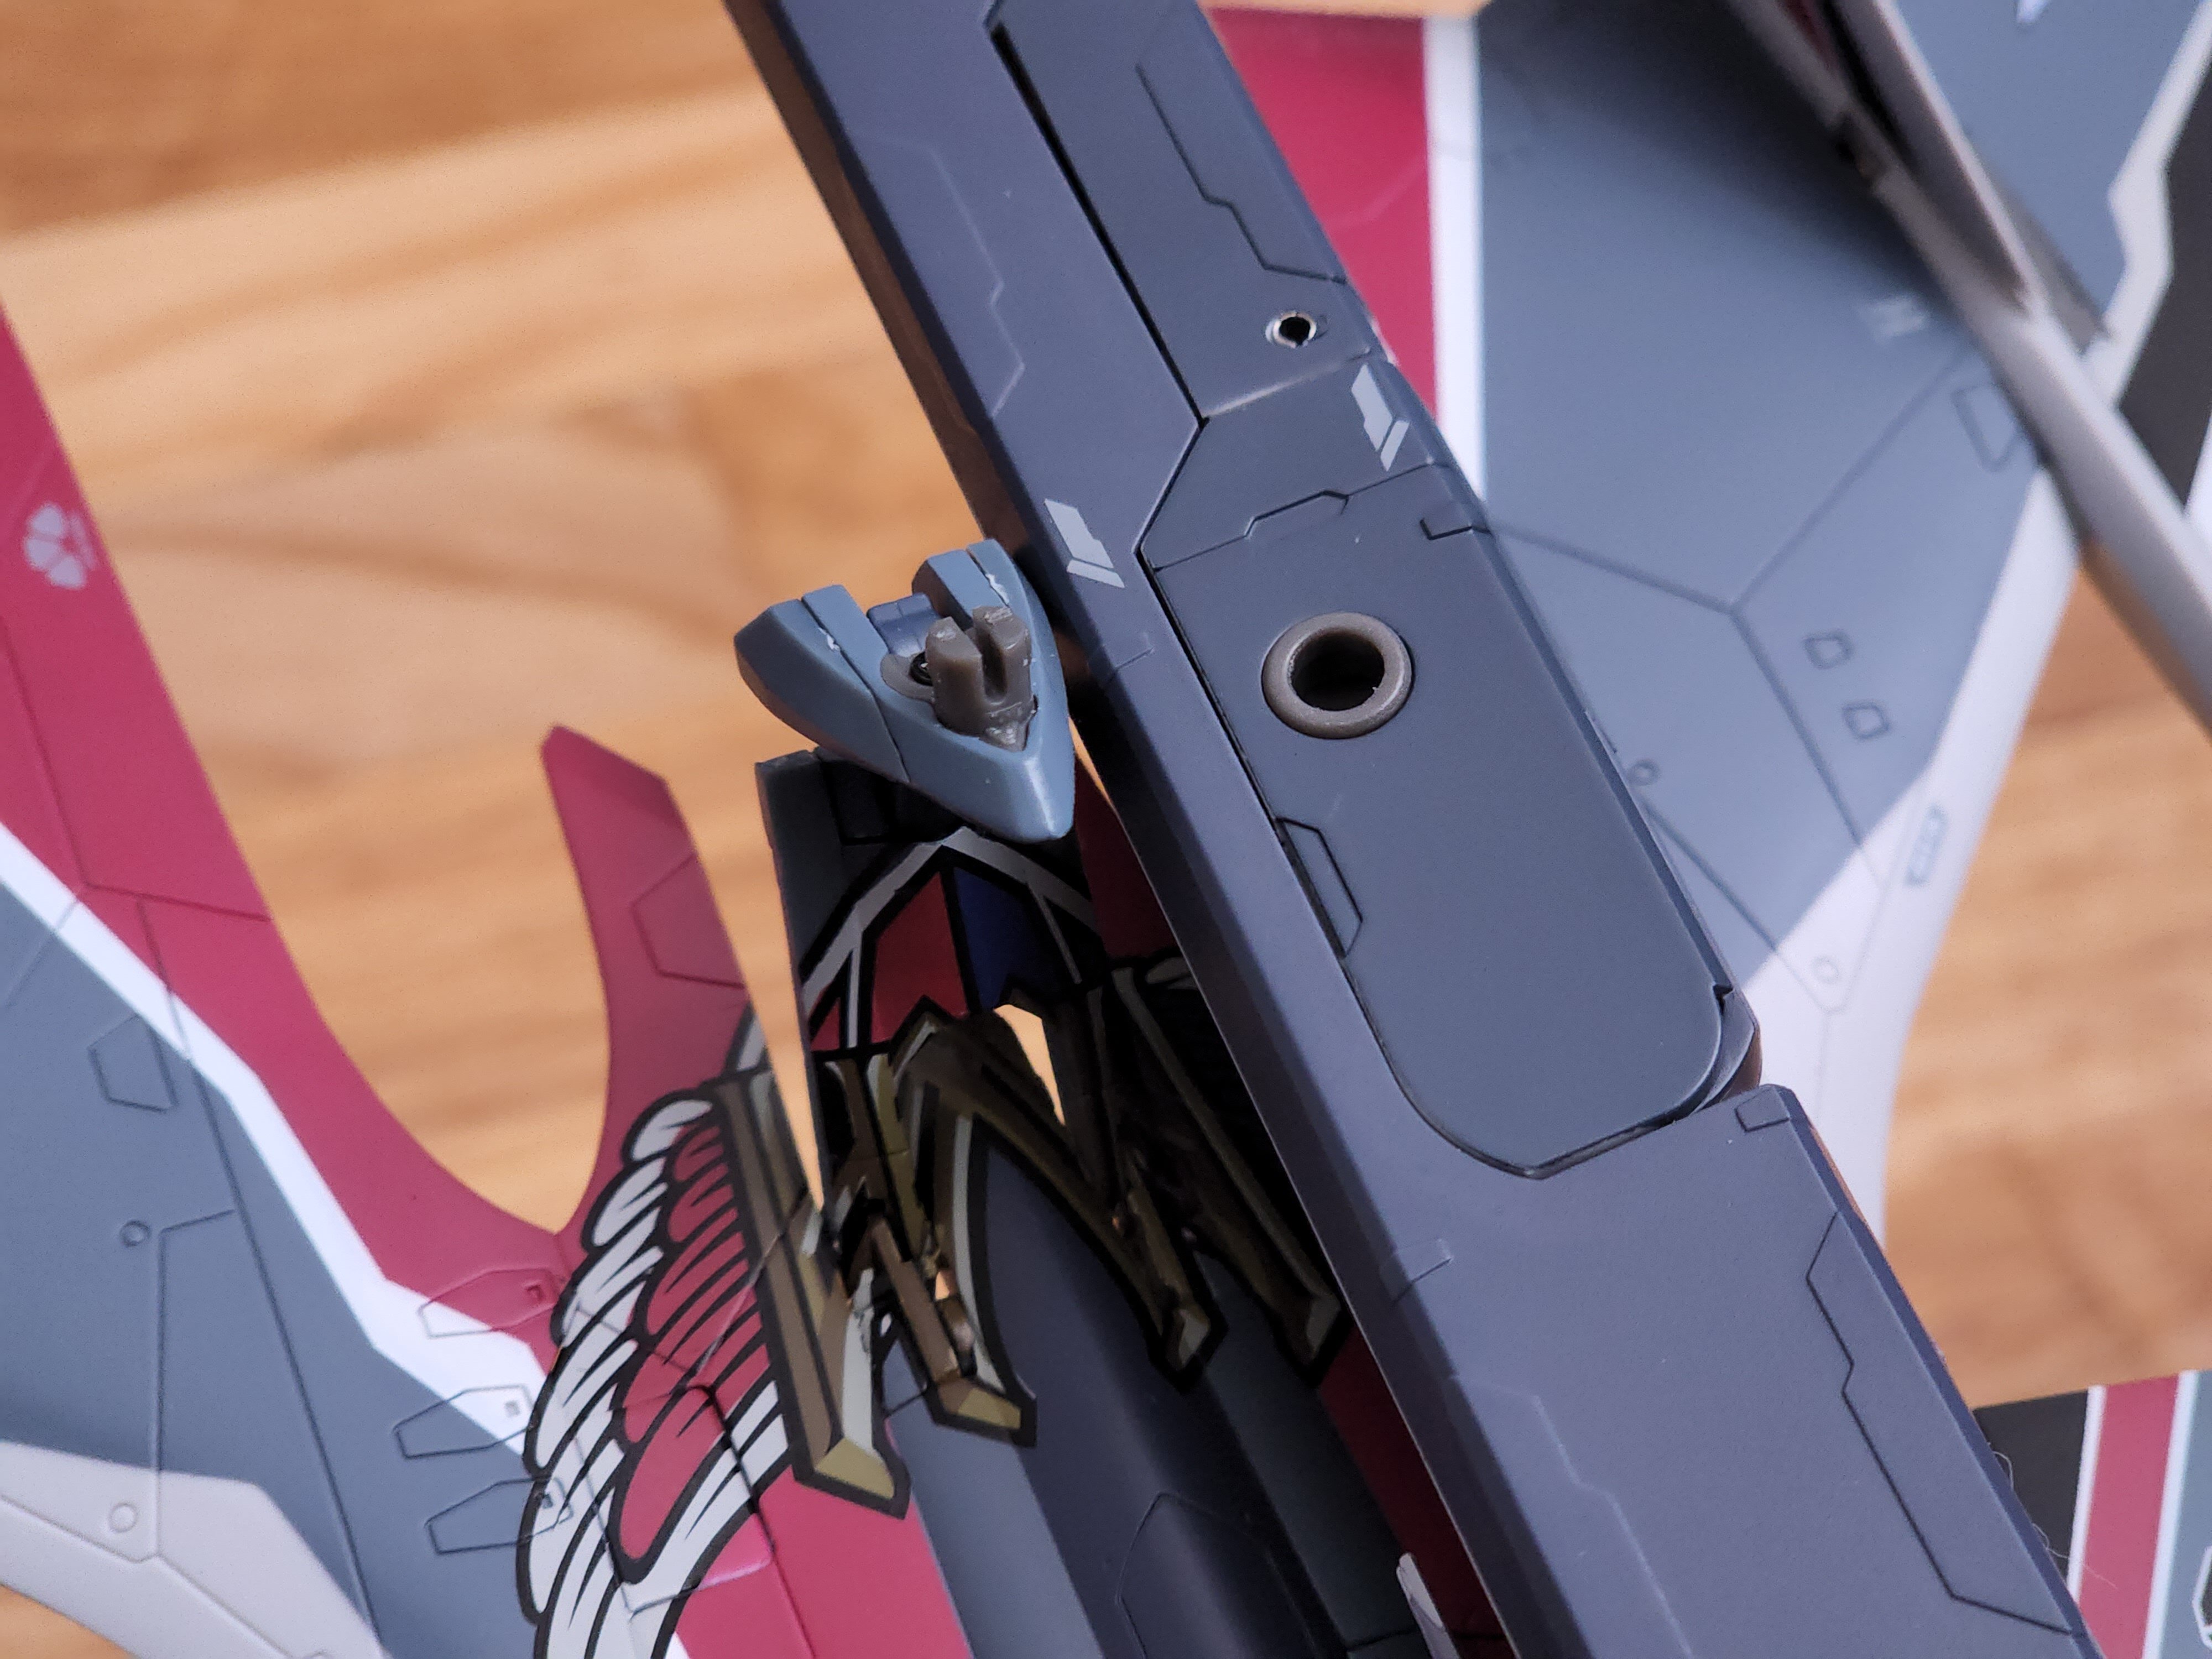
Looks good! You're also the only other person I've seen that has posted a pic using the alternate destroyed pylon parts. Or at least I don't recall ever seeing someone else post pics of it. Did you decide against using the photo etch parts in the end?
-

DX YF-29 Durandal (Maximillian Jenius Unit) WWM Release
MacrossJunkie replied to no3Ljm's topic in Toys
Might not look too bad. I have a set of the supers for the anniversary edition which also has the dark grey metallic color, so I'll give it a shot when Max's 29 finally comes out. Not sure why the wing pods are pure white, but the boosters and the covers are the periwinkle color when the CG render seems to imply they're the same color. Even the box art they previewed shows the same color and not white. I really hope they fix that before release. The white pods just feels a little too much white. The CG and box art version looks a lot better. -
Thanks. I tried with a lot of force to push them in while it was in fighter mode and they just would not go in. I tried it in battroid mode and they snapped right in for some reason. I tried it in fighter mode again and it also started snapping right in without any effort. I have no idea what changed.
-
I have both and I would unreservedly say that the Arcadia one is much better. 1. They both do have diecast parts, but the Arcadia one has more, but not noticeably so. They're both mostly plastic. 2. This part is mostly true. Particularly the gap in fighter mode where the head is is smaller and there are now built in covers to further cover the hole below the head. 3. True, but the old stand takes up a lot of space and is chunky and you're better off with an alternative stand, in my opinion. 4. Other than the head area, the gaps between the seams in fighter mode are relatively similar, perhaps just a little less on the Arcadia. 5. True. The Arcadia version feels tighter and even the wings stay up and straight without additional support. 6. See 3. Other positives of the Arcadia version: It's black which is the correct color vs the dark gray of the Yamato version. Comes with a pair of the smaller micro-missile pods which I believe is the "more correct" loadout instead of 2 pairs of the large ones that the Yamato came with. The panel lines are much finer and better on the Arcadia version. The shoulders are much more adjustable and can be angled properly on the Arcadia version. (see pic for comparison. Left Yamato. Right Arcadia. Ignore the weathering I did to the Arcadia version) As others have said, having the two left feet won't cause any issues with standing or balance. It is solely a cosmetic issue.
- 2024 replies
-
- 2
-

-
- macross zero ivanov
- sv-51
- (and 1 more)
-
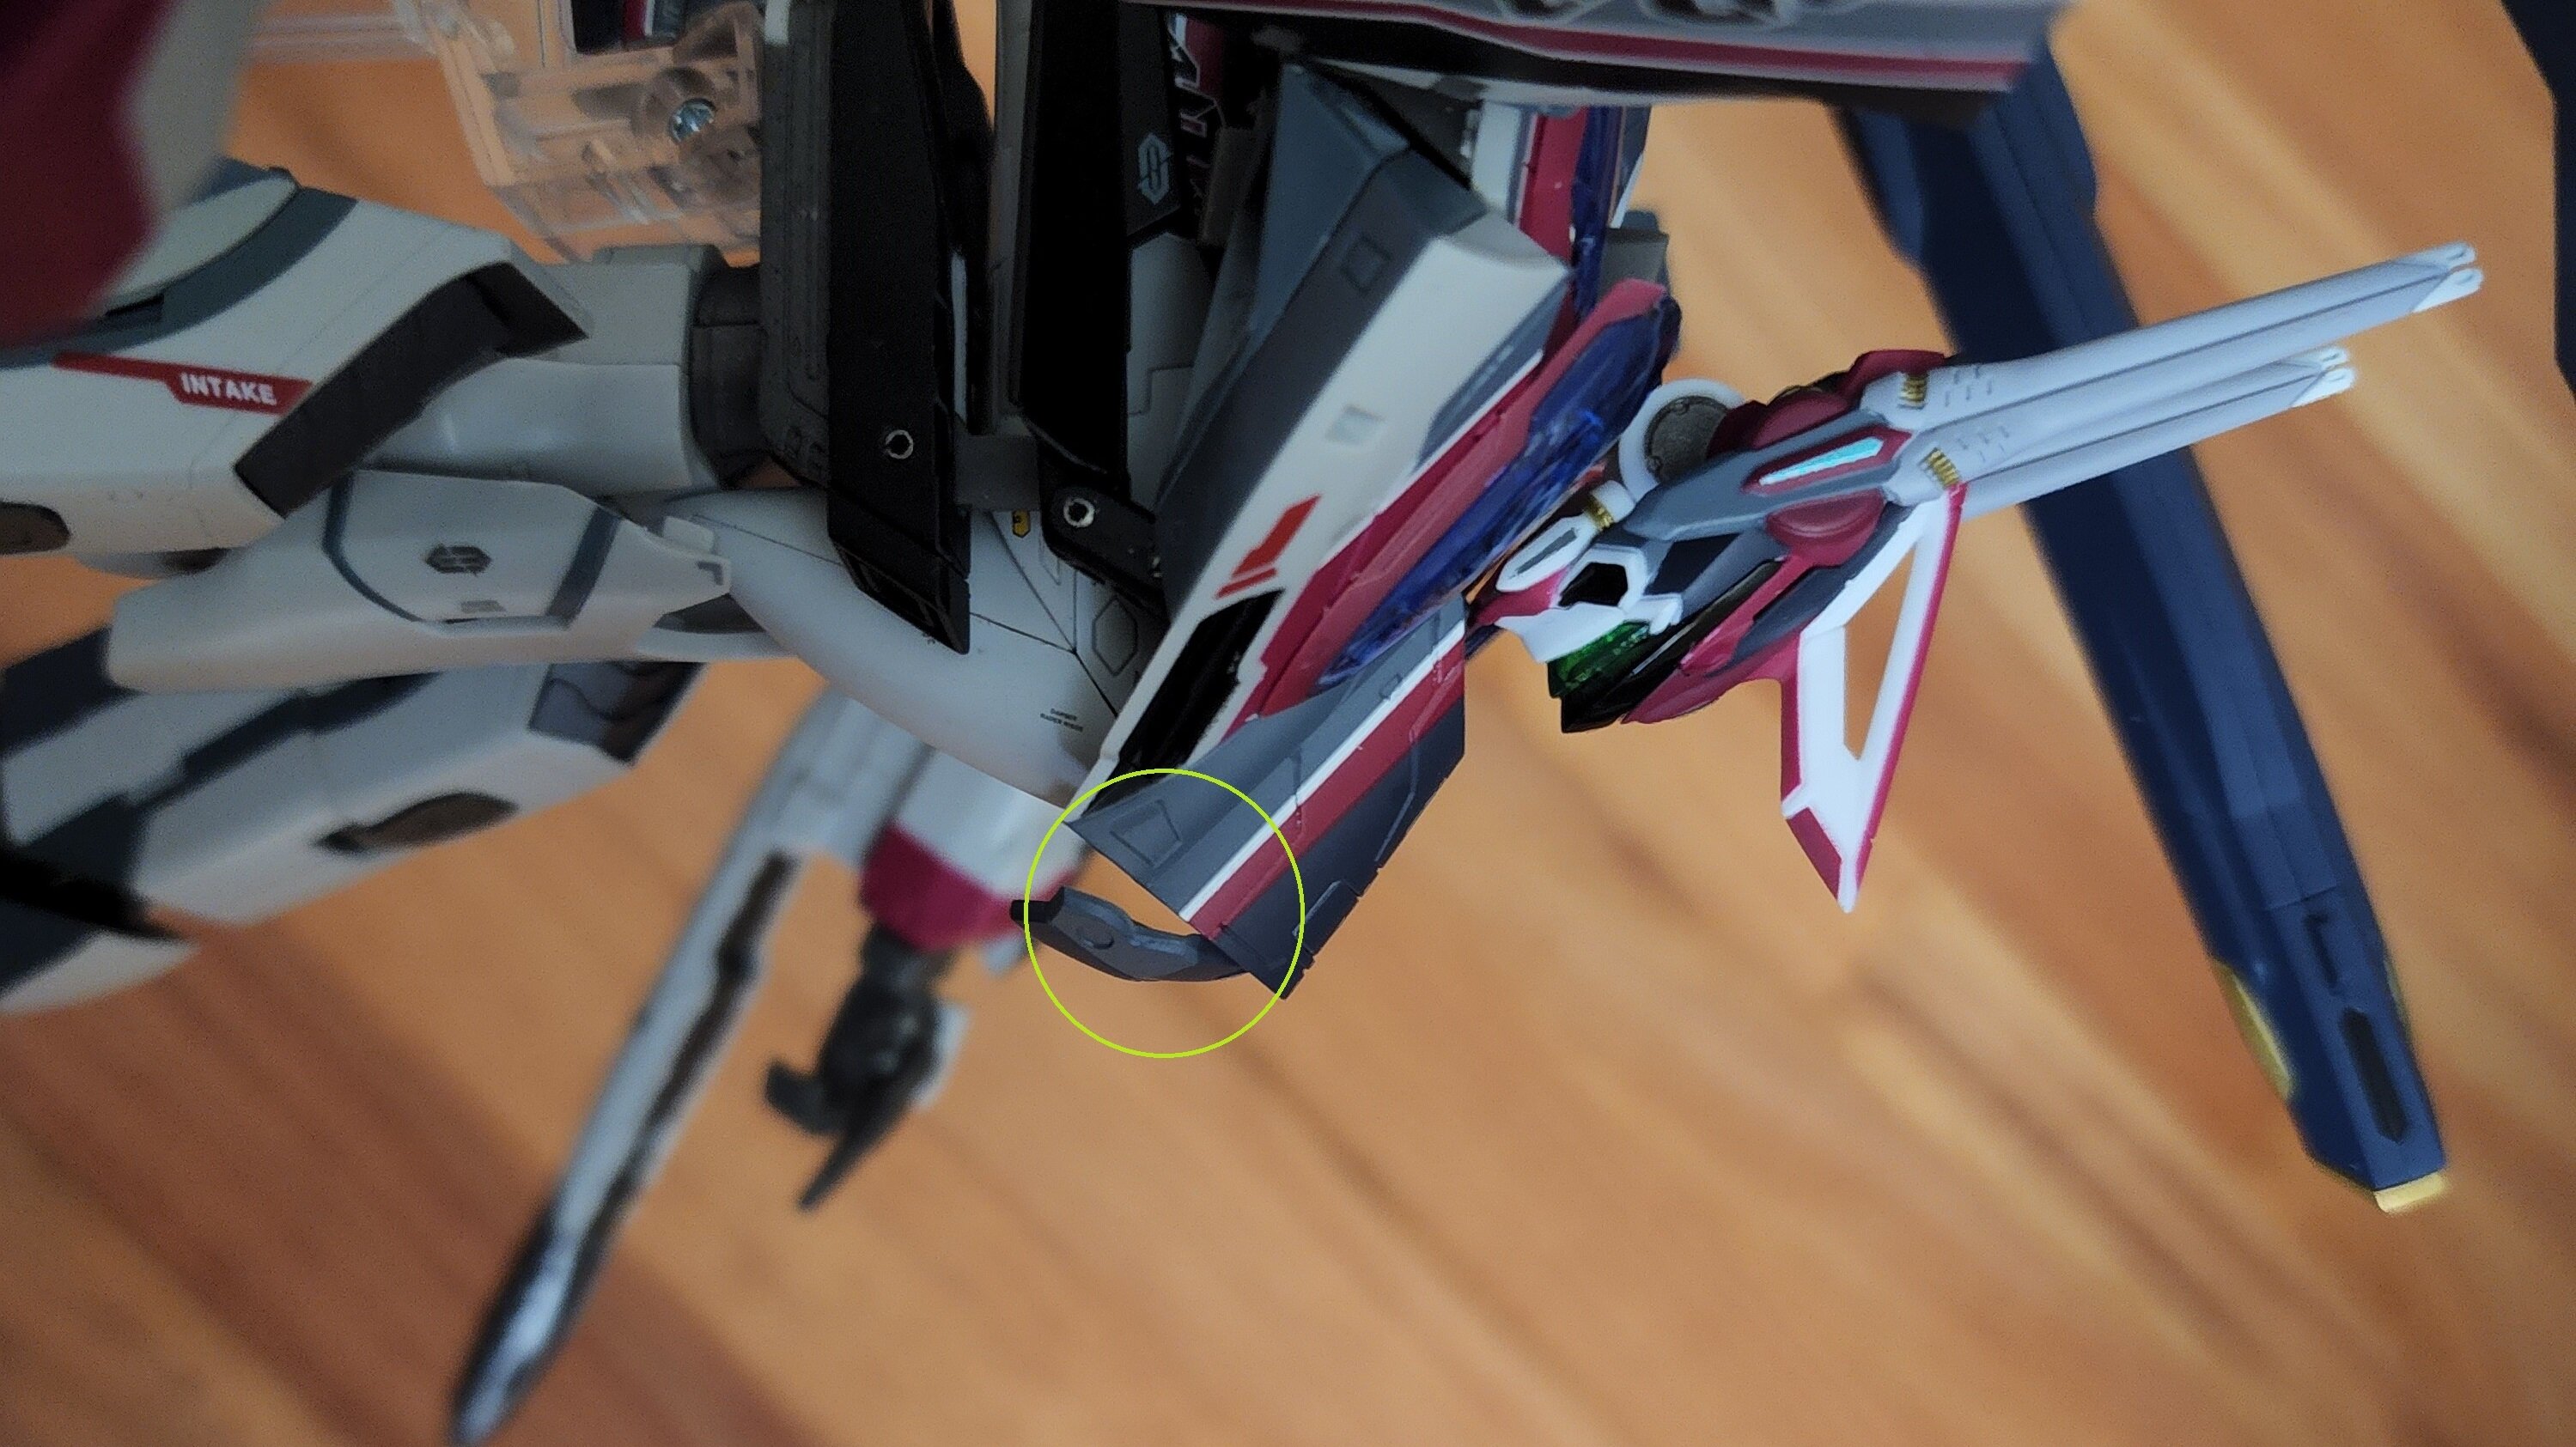
Picked up mine today. Apparently USPS tried to "deliver" it on June 2nd and claimed I wasn't home and said they left a notice. Except, they never tried to deliver or else someone would have showed up on my Ring doorbell camera on the approach and registered a doorbell press. There was also no notice in my mailbox. I only knew because I remembered to check the tracking yesterday and would have been returned to sender on the 7th. I got no explanation on why they lied about the delivery, but at least I got it when I went to the post office. The left leg armor seems to have difficulty staying in place and the forearm shields are much looser than what I would have expected from something attached to the hardpoints which are usually very difficult to actually remove. Instead, these things fall off with just a little pressure. Thus far, the 31 AX is a mess of failures.
-
Thanks for that! What is that in? I only have the old designworks book which precedes Zero.
-
But the centered lasers are the inaccurate ones. The ones that are off center are the ones that are accurate to the line art. I just think the alternate ones are strange because there's no reason for them to exist. They just have the line art accurate ones on the wrong sides (left laser is on right side and right laser is on left side) in the pic I pointed out.
-
What's the deal with the two different head lasers and why are most of the pics using the inaccurate one (the one on the right in the side by side pic)? Edit: I guess they must be removeable/swappable since the lineart accurate ones are on backwards in this pic I don't see any justification for why the alternate, centered head lasers are there though or where they came from.
-
Lol, nice. But I thought you'd be taking the temp from the other end 😉
-
There's no change. It's the same as every VF-31 variant before it. @Toonz Just hold onto the base of the spine mount, grab the container with the other hand and twist side to side while pulling. It should come right off.
-
In my specific case, the Hayate version is actually better and Mirage's is worse.
-
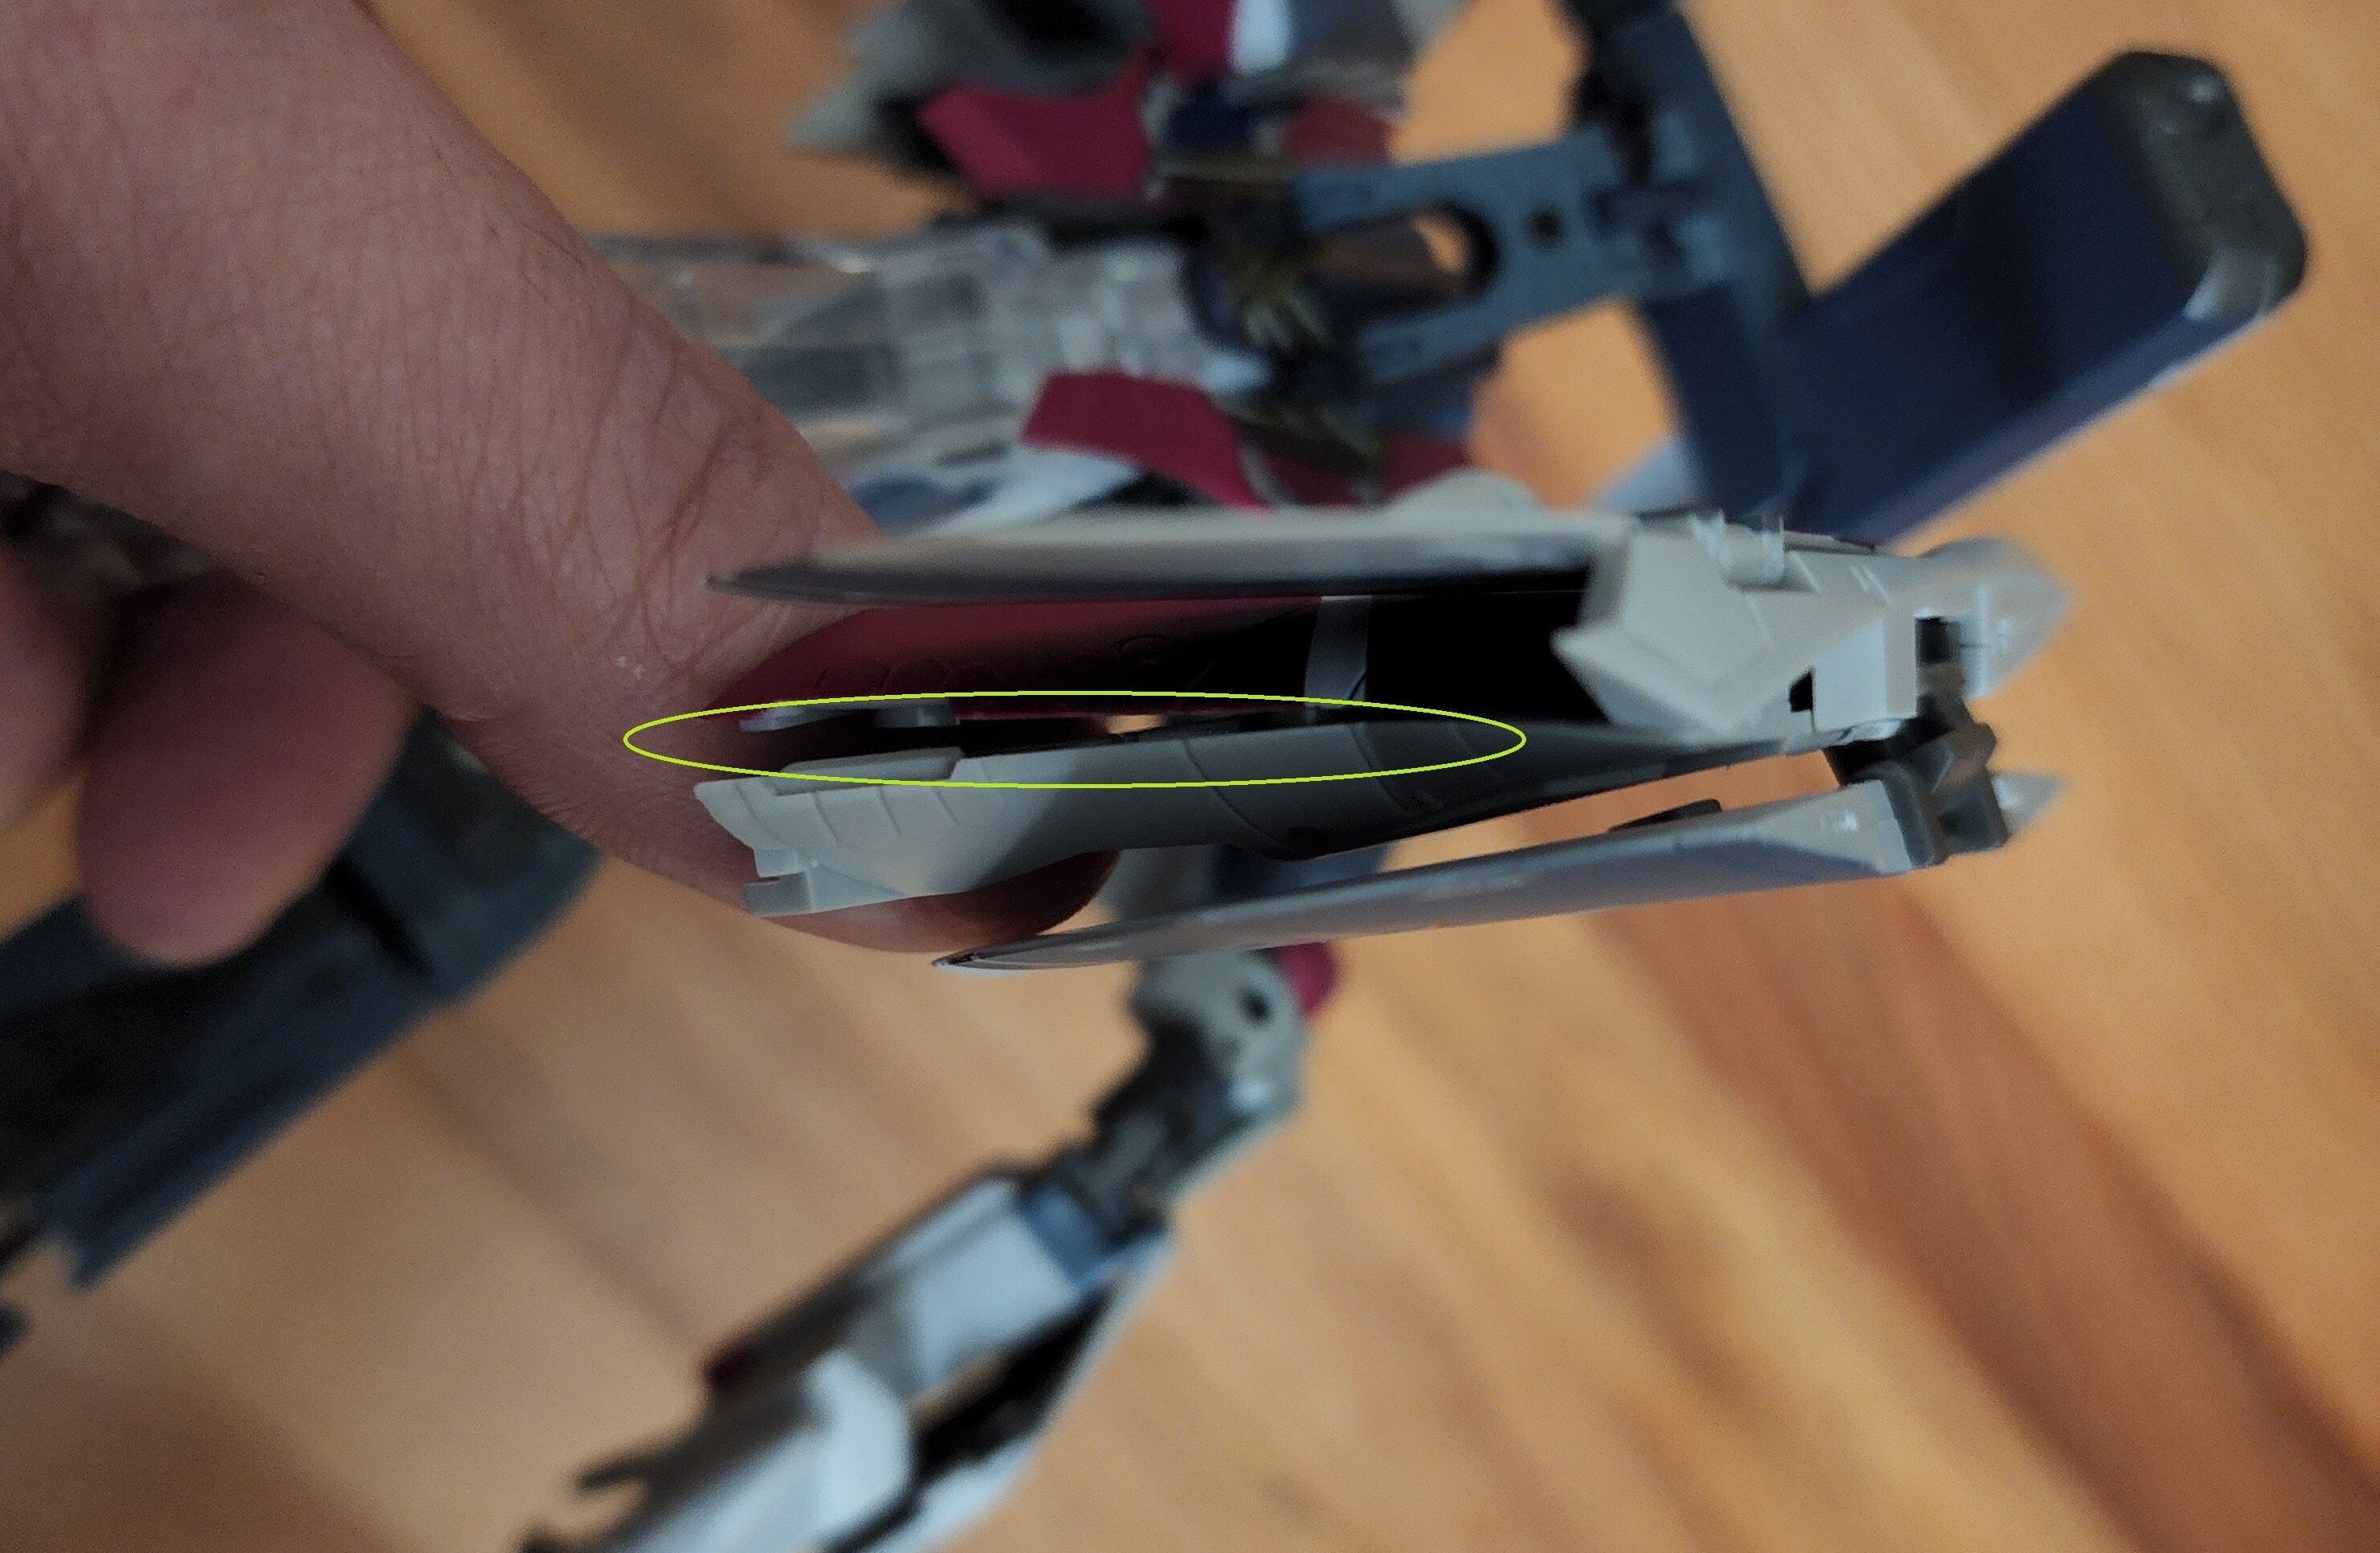
I got mine today and I have to say that they somehow made this worse than Hayate's. While the pegs in the wings seem to fit in the legs they don't stay in. Also the back of the right wing appears to be missing something as it won't stay together and probably needs to be glued. This is especially bad when the wing is pegged in or at least attempting to, as it forces it apart even more. The front chest flap is also so loose that moving the figure back and forth is enough to make the flap well... flap around. Not an ounce of friction keeping it in place. Holding it face down just makes it open like the pic below. Overall, the joints feel looser too. Not very happy with this.
-
If that wasn't so bad, I'd think it was kind of hilarious that they slapped a big ol' "WE CARE" sticker on your mangled boxes with a meaningless apology. "We hope this incident did not inconvenience you (and if it did, oh well!)" 2nd pic, while zoomed out, I thought the cat's tail was the crowbar they accidentally left behind that they used to bash your boxes in with. 😄
-
DX YF-29 Durandal (Maximillian Jenius Unit) WWM Release
MacrossJunkie replied to no3Ljm's topic in Toys
I don't think I ever had a Best around here, but I sure as hell remember Service Merchandise. Used to look for transformers toys in those catalogs. -
Arcadia 1/60 Perfect Transformation VF-0D for 2015
MacrossJunkie replied to Dark_Ghost's topic in Toys
Yeah, they should re-release the non-PF 0D or at least one without the weathering but keeping the tampo printing, but with all the improvements done to the mold with the PF and using the same color plastics as the PF. My original release 0D is literal trash. It falls to pieces and joints are all loose despite not having really touched it. The PF version was a huge improvement in every way. -
Well... one thing is for certain, they're not going to be as cheap now as they were back in the Yamato days. I think I got mine for $70-80.
-
DX YF-29 Durandal (Maximillian Jenius Unit) WWM Release
MacrossJunkie replied to no3Ljm's topic in Toys
Pretty sure they're just part of the paint scheme. The 29's simply aren't as adventurous with their paint schemes as even some of its contemporaries. -
Gosh, that paint scheme... It's like they had a meeting to try to figure out the ugliest combination of colors they could come up with and bring it into reality and this is what they came up with.
-
I really wish they'd do a re-issue. I'd like another one to put the armor on.
-
I used the stickers that came with mine. I initially looked into painting with glow in the dark paint, but it didn't look good to me. They turned out like blobs when trying to paint them with a paint brush and even cutting out little rectangle masks with some tamiya masking table still ended up with paint seeping under the tape when using a paint brush, The stickers were the best way for me to get rectangular windows and I would even cut them into smaller rectangles as needed. Here's my build from years ago for reference. Customized 1/3000 SDF-1 I remember there was a way to embed a flickr album into a post, but I can't remember how to do that.