Jasonc
-
Posts
6319 -
Joined
-
Last visited
Content Type
Profiles
Forums
Events
Gallery
Everything posted by Jasonc
-

Super Dimension Convention October 28, 2017
Jasonc replied to sh9000's topic in Conventions and Local Gatherings
Glad you enjoyed yourself there. I know I had a lot of fun as well, even though there was a lot of running around for staff and I. I did see a lot of great things in the vendor hall, as well as the artists that were there. I bought several things from artists and vendors, and even sold some of my own stuff. The cosplayers were great, and a lot of various characters from all of Macross. Mari's concert was exceptionally good this year, and the mini Walkure/idol contest was a blast. By the time I got into the main hall to bid, the Tenjin sketch already was above my $1K limit, but I know who it went to, and it'll be in a very good home. I missed the first two panels due to having to attend to matters, but Reika's panel was really good. As one who's cosplayed only a number of times, I was fascinated at the attention to detail and the speed at which she makes her outfits. Truly a professional of the highest quality. Overall, it felt and is still a Macross convention, and I'm glad it still had that feel. For all of you that came, I'm glad you were able to make it, and I hope you all had a great time. We're looking to improve next year as well, and we hope to have good surprises next year. I'll try to put up some pics we were able to get.- 44 replies
-
- 1
-

-
- macross
- super dimension
- (and 4 more)
-
Yes, it is. I have a second one as well. I have versions from all who made them. After comparing them, they're all vastly different, but all retain the specific look of it.
-
Yes. I'm going to try with a clear red. I think it'll add the warmth and hue that it needs. I remix today, among convention chores.
-
I'm color matching the white that Yamato has for the balk, which would eliminate a need to paint the entire thing. So far, it looks like just the wings will be painted. I already painted them, so I may add a little pink to give the perfect blend.
-
I know it's just early work, but here's what I've done so far. Sorry if the size is too big.

-
I hate to say it, but the Messer VF-1 looks ugly. It's not much better than something the other copying franchise would put together. Just sayin'.
-
that looks amazing. Great work!!! I guess it really depends on who you like, and since it fits you, if you ever decided to cosplay, who you'd want to cosplay as. Maybe Roy?
-
Super Dimension Convention October 28, 2017
Jasonc replied to sh9000's topic in Conventions and Local Gatherings
It's always a work in progress. We have some things we're working on, but we are always trying to get in new guests. -
Super Dimension Convention October 28, 2017
Jasonc replied to sh9000's topic in Conventions and Local Gatherings
Mari Iijima is confirmed as a guest this year, and will be performing, as well as signing autographs. -
I'm sure it is. I'll probably go down the list as my paychecks come in. question though,,, what do you suggest I start on first? should I start on arms, legs, or a specific body piece that needs to be done first? Also, do you have a list of screws and extra parts that are needed? Sorry, I know that's a lot of questions.
-
Along with all the other stuff you make, this is a definite want. I'll just have to buy part by part. At least it'll give me time to work on each piece as I get them. Also, thanks for the reply in paints. I have most of those paints already, so I'll start off with this very slowly.
-
Wow, I'm thoroughly blown away by the detail and movement of this figure. It's truly a work of art. What colors did you use for your build? the colors look great on it.
-
Arcadia Premium Finish Max and Miria 1/60 Super VF-1J
Jasonc replied to davidwhangchoi's topic in Toys
Looks good. I'm taking sack lunches to work already to save money for these. -
I'd lift them off. Once you cut from the frame, the material still carries the spongy characteristics with it. If you don't cut them, you will end up with a tiny section that has a different feel to it. Just my suggestion, but do all you can while it's on it, then cut it off, and then while the main body is all ready to go, coat the parts you cut. You can always sand the part to where it's supposed to be, so don't worry too much about that.
-
With so much time before the Premium Max and Milia come out, I kept my old preorder for the standard edition Milia, and on top of those premium finish versions, also preordered a regular Max for my own Christmas present. Well, I can have my wife get that for me for Christmas, so I just need to figure out what she wants. This Macross toy collecting is serious business.
-
Sometimes I think the same thing of my own skill in doing it. It's all just practice, really.
-
The wing on yours is quite solid. If it warps, then it was next to a heater. Task resin is good stuff. Any issues, just contact me. I'll be happy to fix it.
-
I preordered the anniversary color scheme Sheryl. I had like 3000 yen bonus at CD japan, so it came out to, with shipping, about $22. I already have the Megahouse Blue and Red versions, so a new color is definitely cool. I don't really need another as the same color as what I already own, but that said, Sheryl is waifu material.
-
it's been extremely hot, so I wonder if during shipping it was left in a really hot area. If you want to try and fix it, the best thing is to follow the same rules for getting it straightened out. If you want to send it back, I can straighten it out and then ship it back. The painting part would just require a bit of sanding on it, then repaint the area by spraying a light coat of the Tamiya Orange TS-12, then follow up by matte coating the entire piece again. Send me a PM if you want to see what we can do.
-
Ah, OK, I did see those. they look great. I'd have to pull mine out to get a good color comparison, but I haven't printed his to compare. The ones I do won't be too much different, but just cleaned up hi-res copies of the original. Xigfrid, I'll have a set for you once I get to working on them. Between projects, work, and convention planning, my life is in overdrive.
-
I'd need to see his. I haven't seen them, but they are the official decals, so if he's already done them, then I may not need to make them. In any case, I will make a few sets. If you can link me to his, I may be able to get a better idea of them.
-
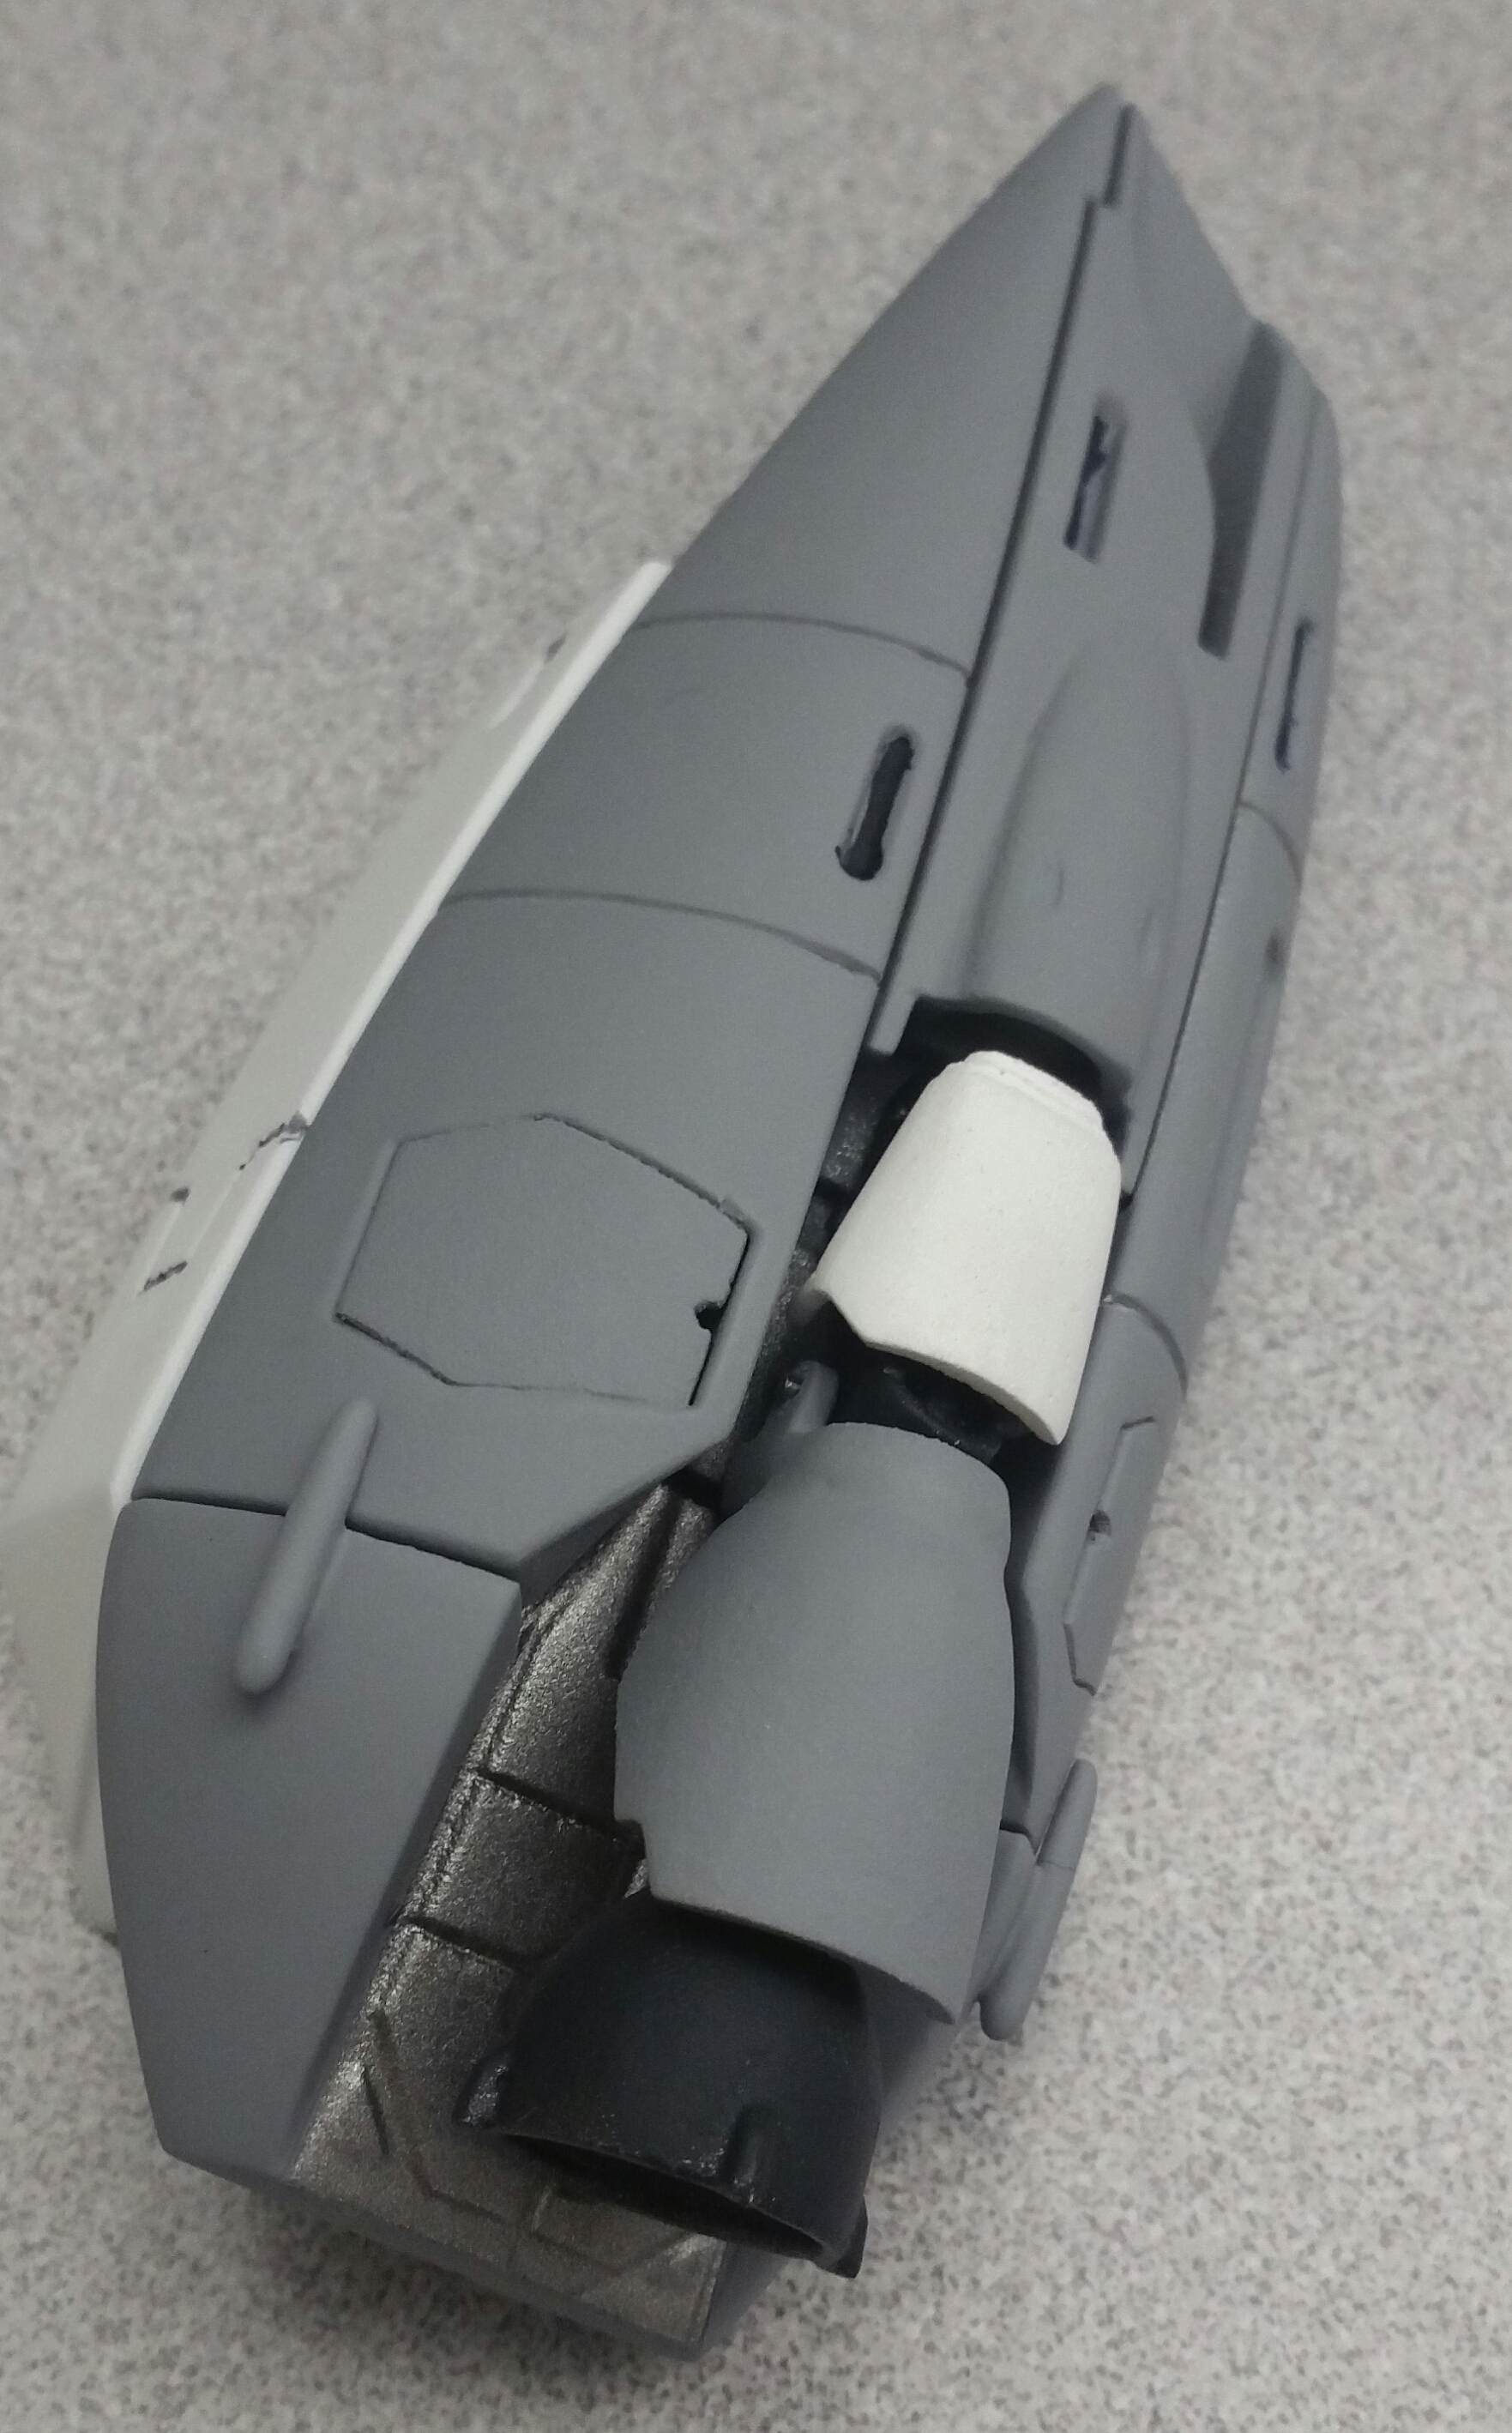
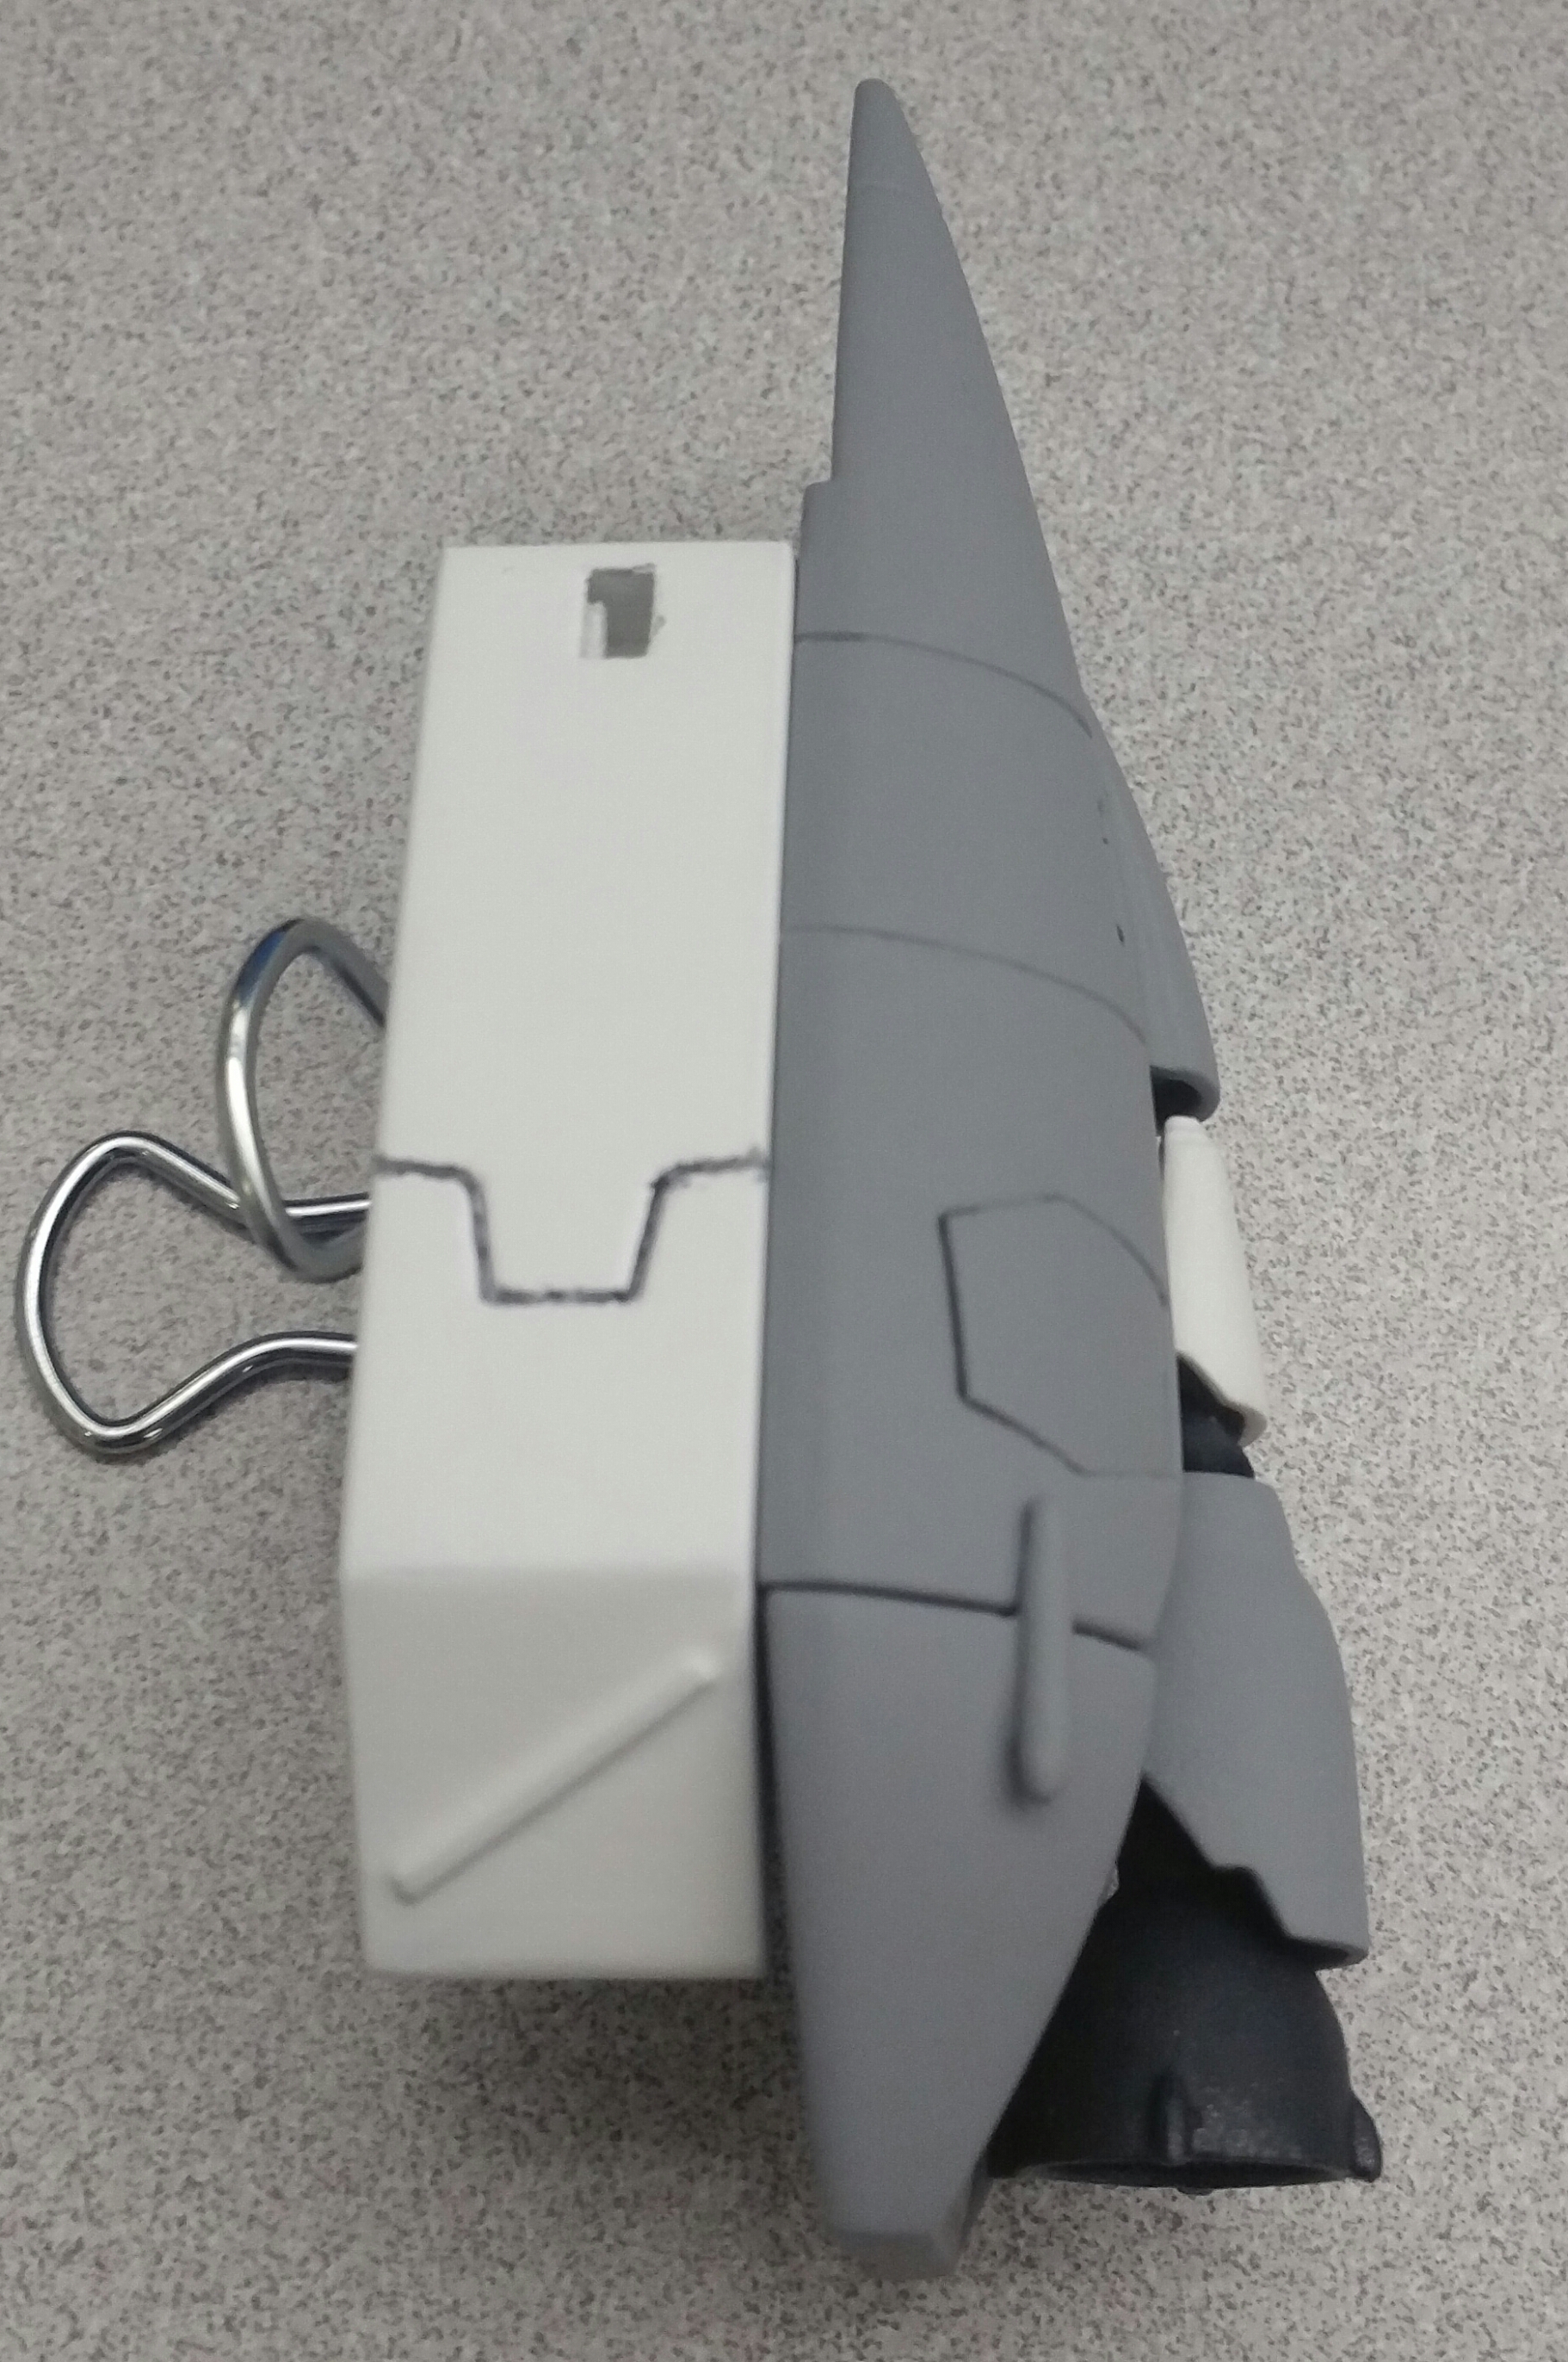
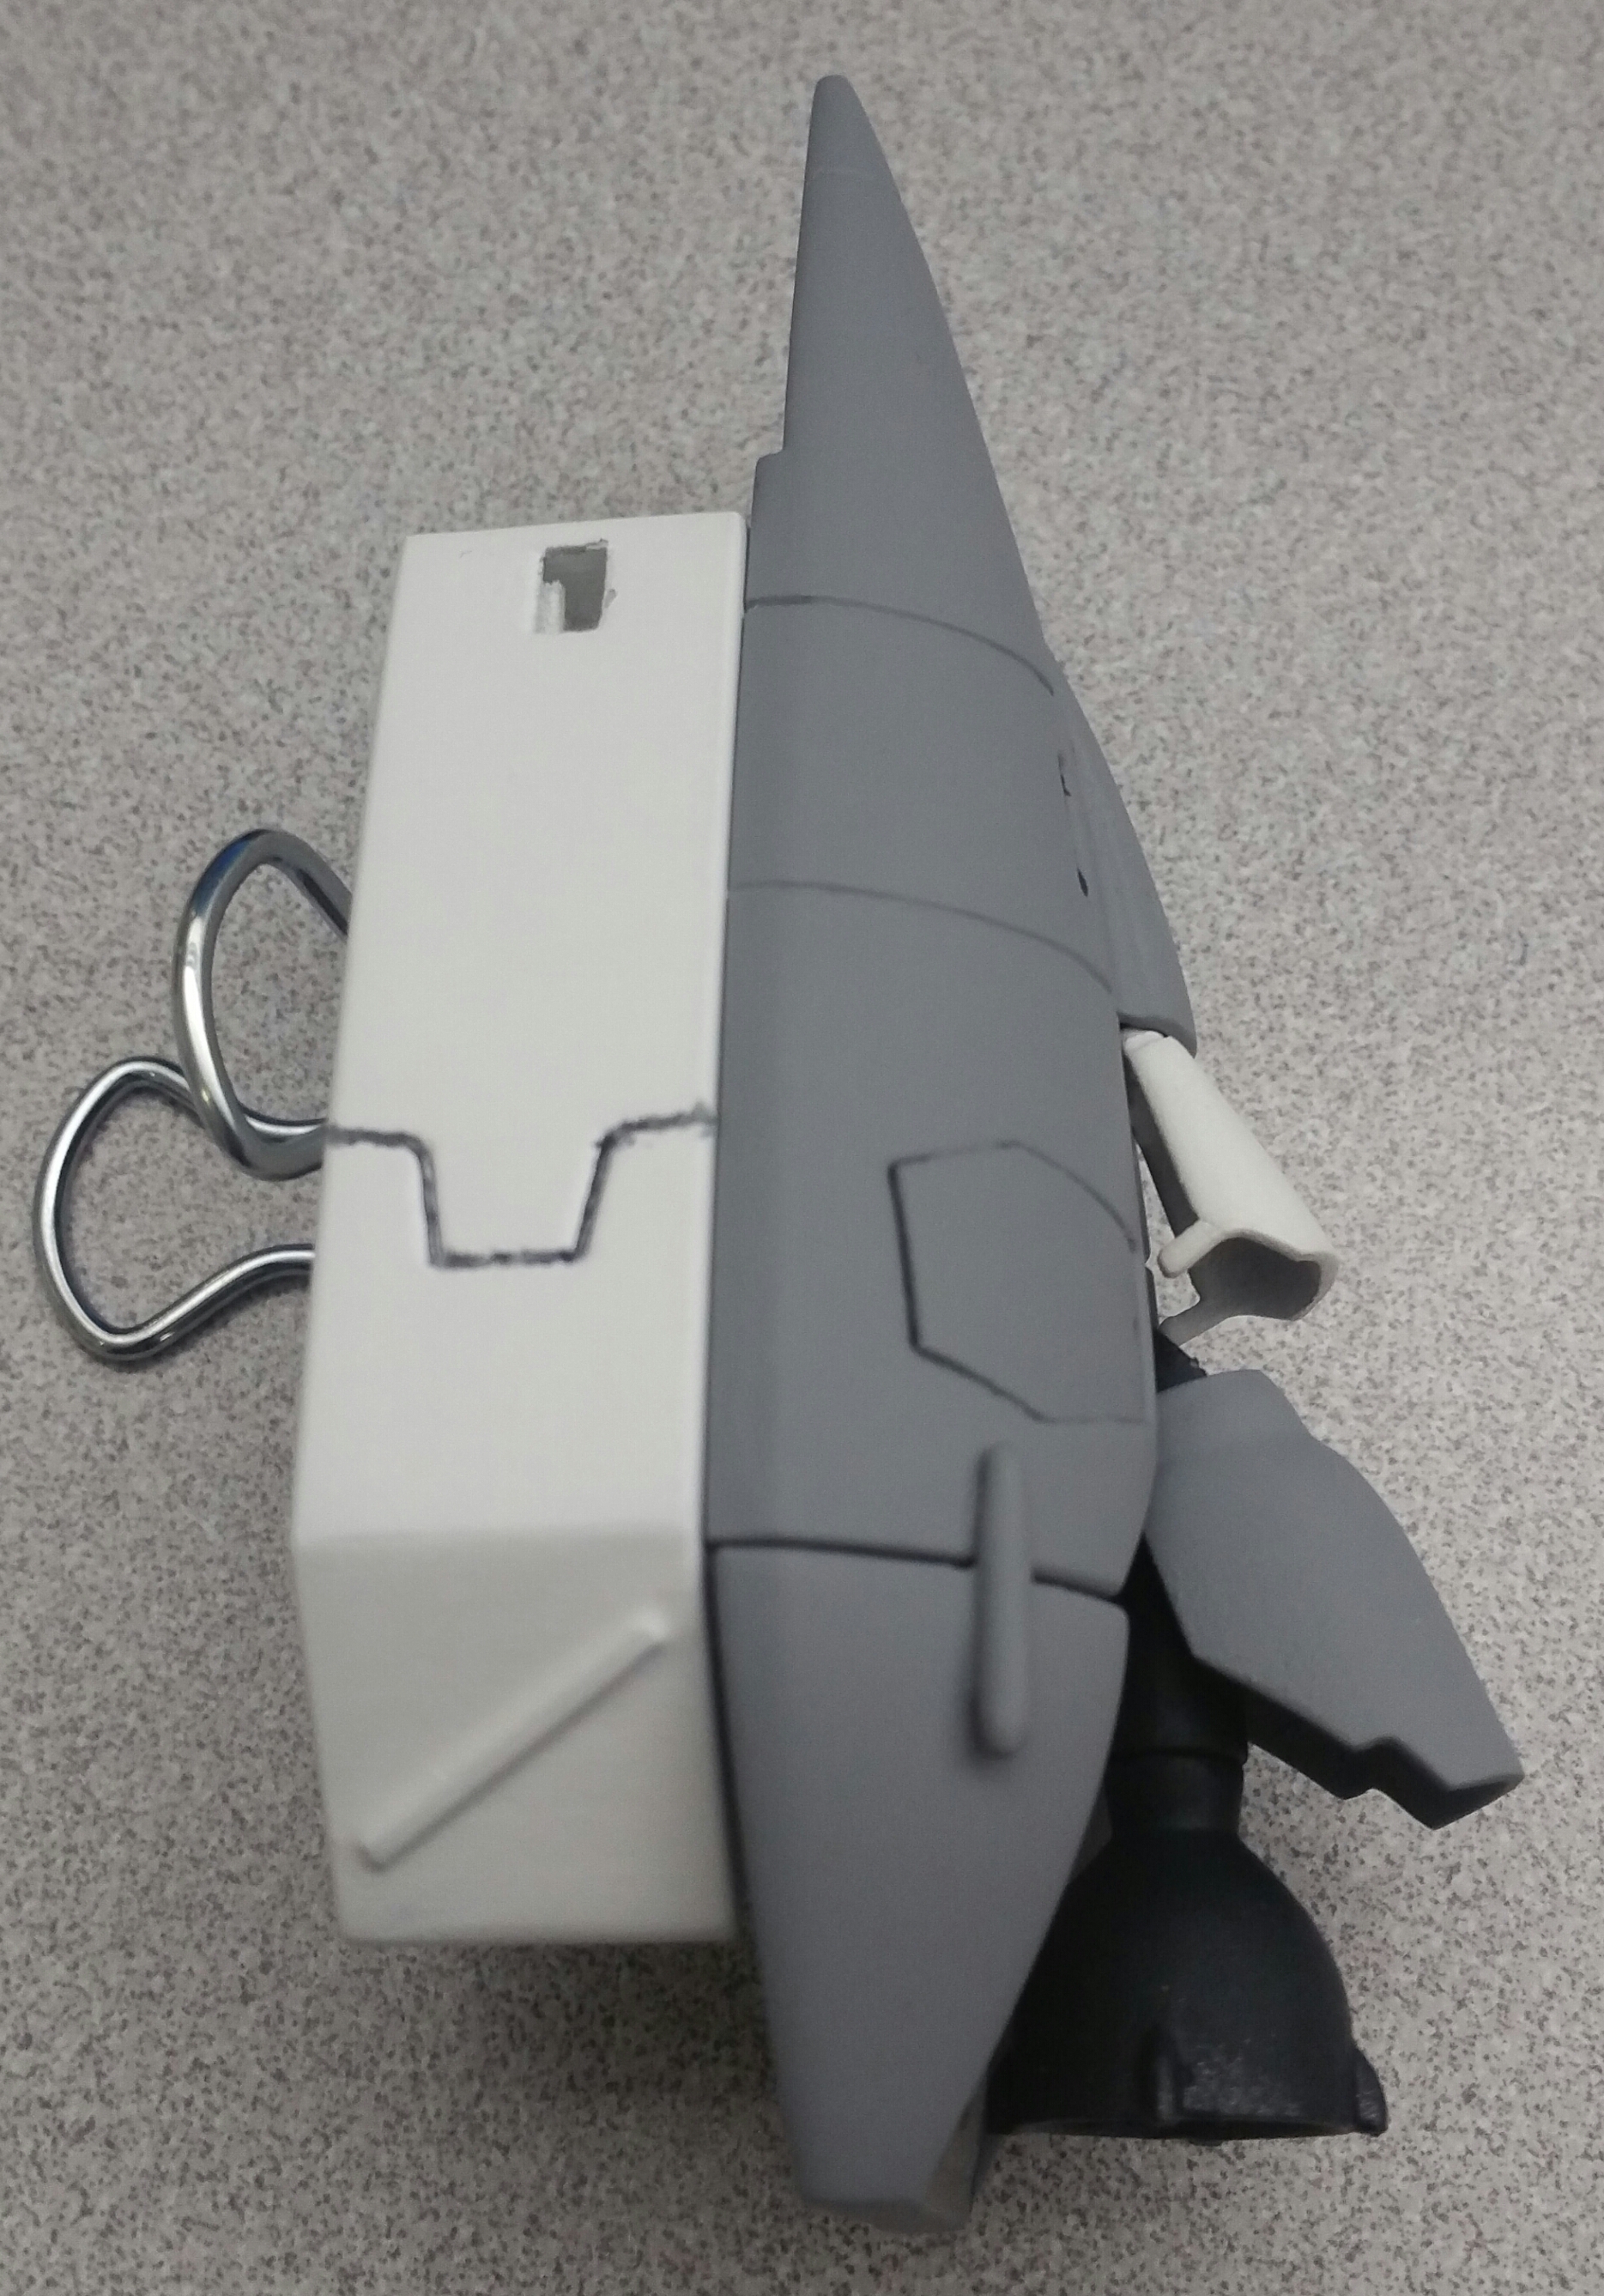
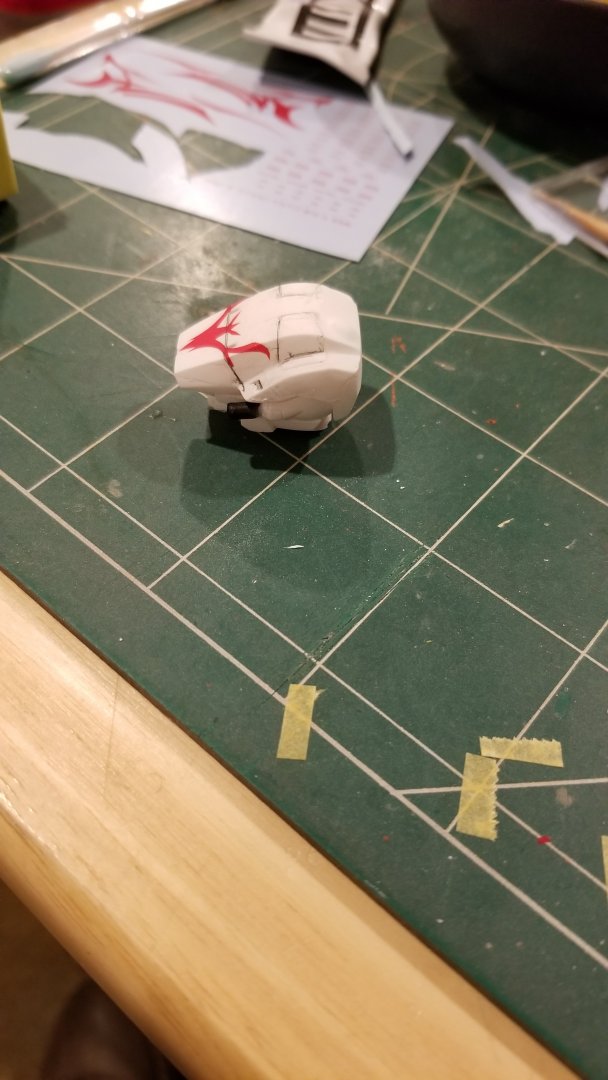
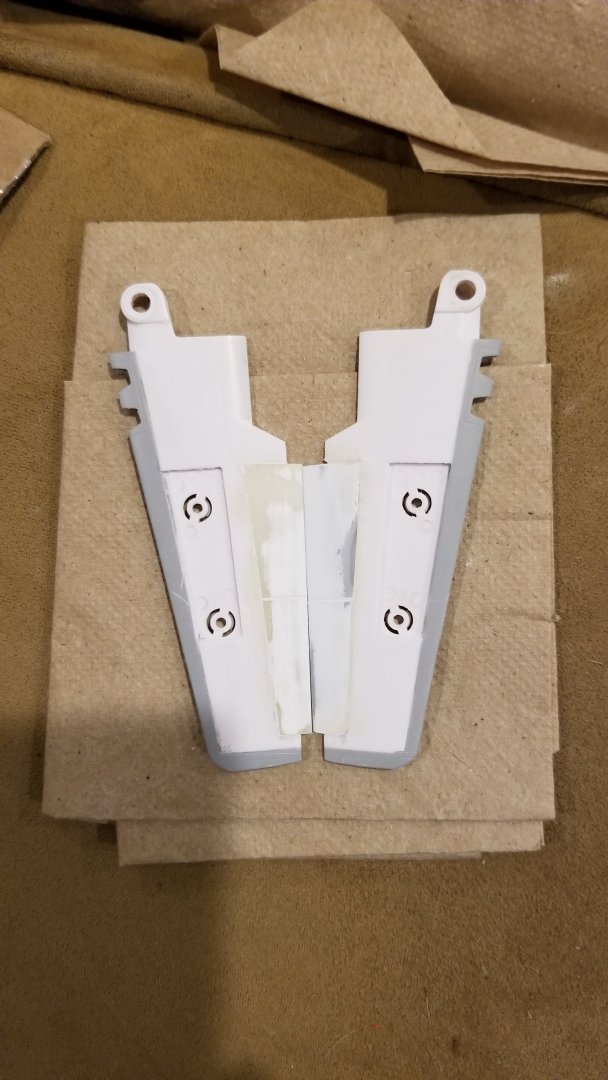
Looks great!!! I'm trying to work on some decals if anyone is interested. I have two sets from Frameout Models' kit, so I am going to do a hi-res scan, and then put them on some sheets. I have to try them out myself first, as I don't want to ruin any of the original sets. I'll probably tweak them a bit, but if anyone is interested, pm me. They're just the orange/red tribal decals, and nothing more. there's no "no step" or any other detailed ones, but those can easily be found, or used from another VF-1. As for the set I'm doing, I probably won't gloss coat them. The matte finish looks best with the finish on the VF-1, so it'll most likely stay like that. I just did the feet. Those were a bit of a challenge due to the screws that were on the directions. I decided to not use the screws, and instead, used some filler to gap fill the space in the insertion part, and then Gorilla glue, which is really strong and also foams and expands. The result is what I wanted. I did have to line the feet up by angling the foot in the bridge where the foot goes in while it rotates, so that it wouldn't get caught after it dries. The process of the feet was a bit cumbersome, but they came out great. For the area where the wing meets the body, I may actually cut these. In the line art, it looks like they separate in transformation, so I am going to line them up to the seem line of the body where it folds in half, and then make my adjustments. The wing front and side, as well as the extra flap that is on the examples is also being worked on. I am cutting the flaps off of the wings, and I will be 3D printing an extended flap to replace it. Once done, I'll need to recast the wing, as I want it to be solid for transforming purposes. As the lead edge parts, because those are thicker than the wings themselves, I can just design those to fit over the wing and the side. Lots of stuff to work on. I'm hoping to have it done before Super Dimension Con.
-
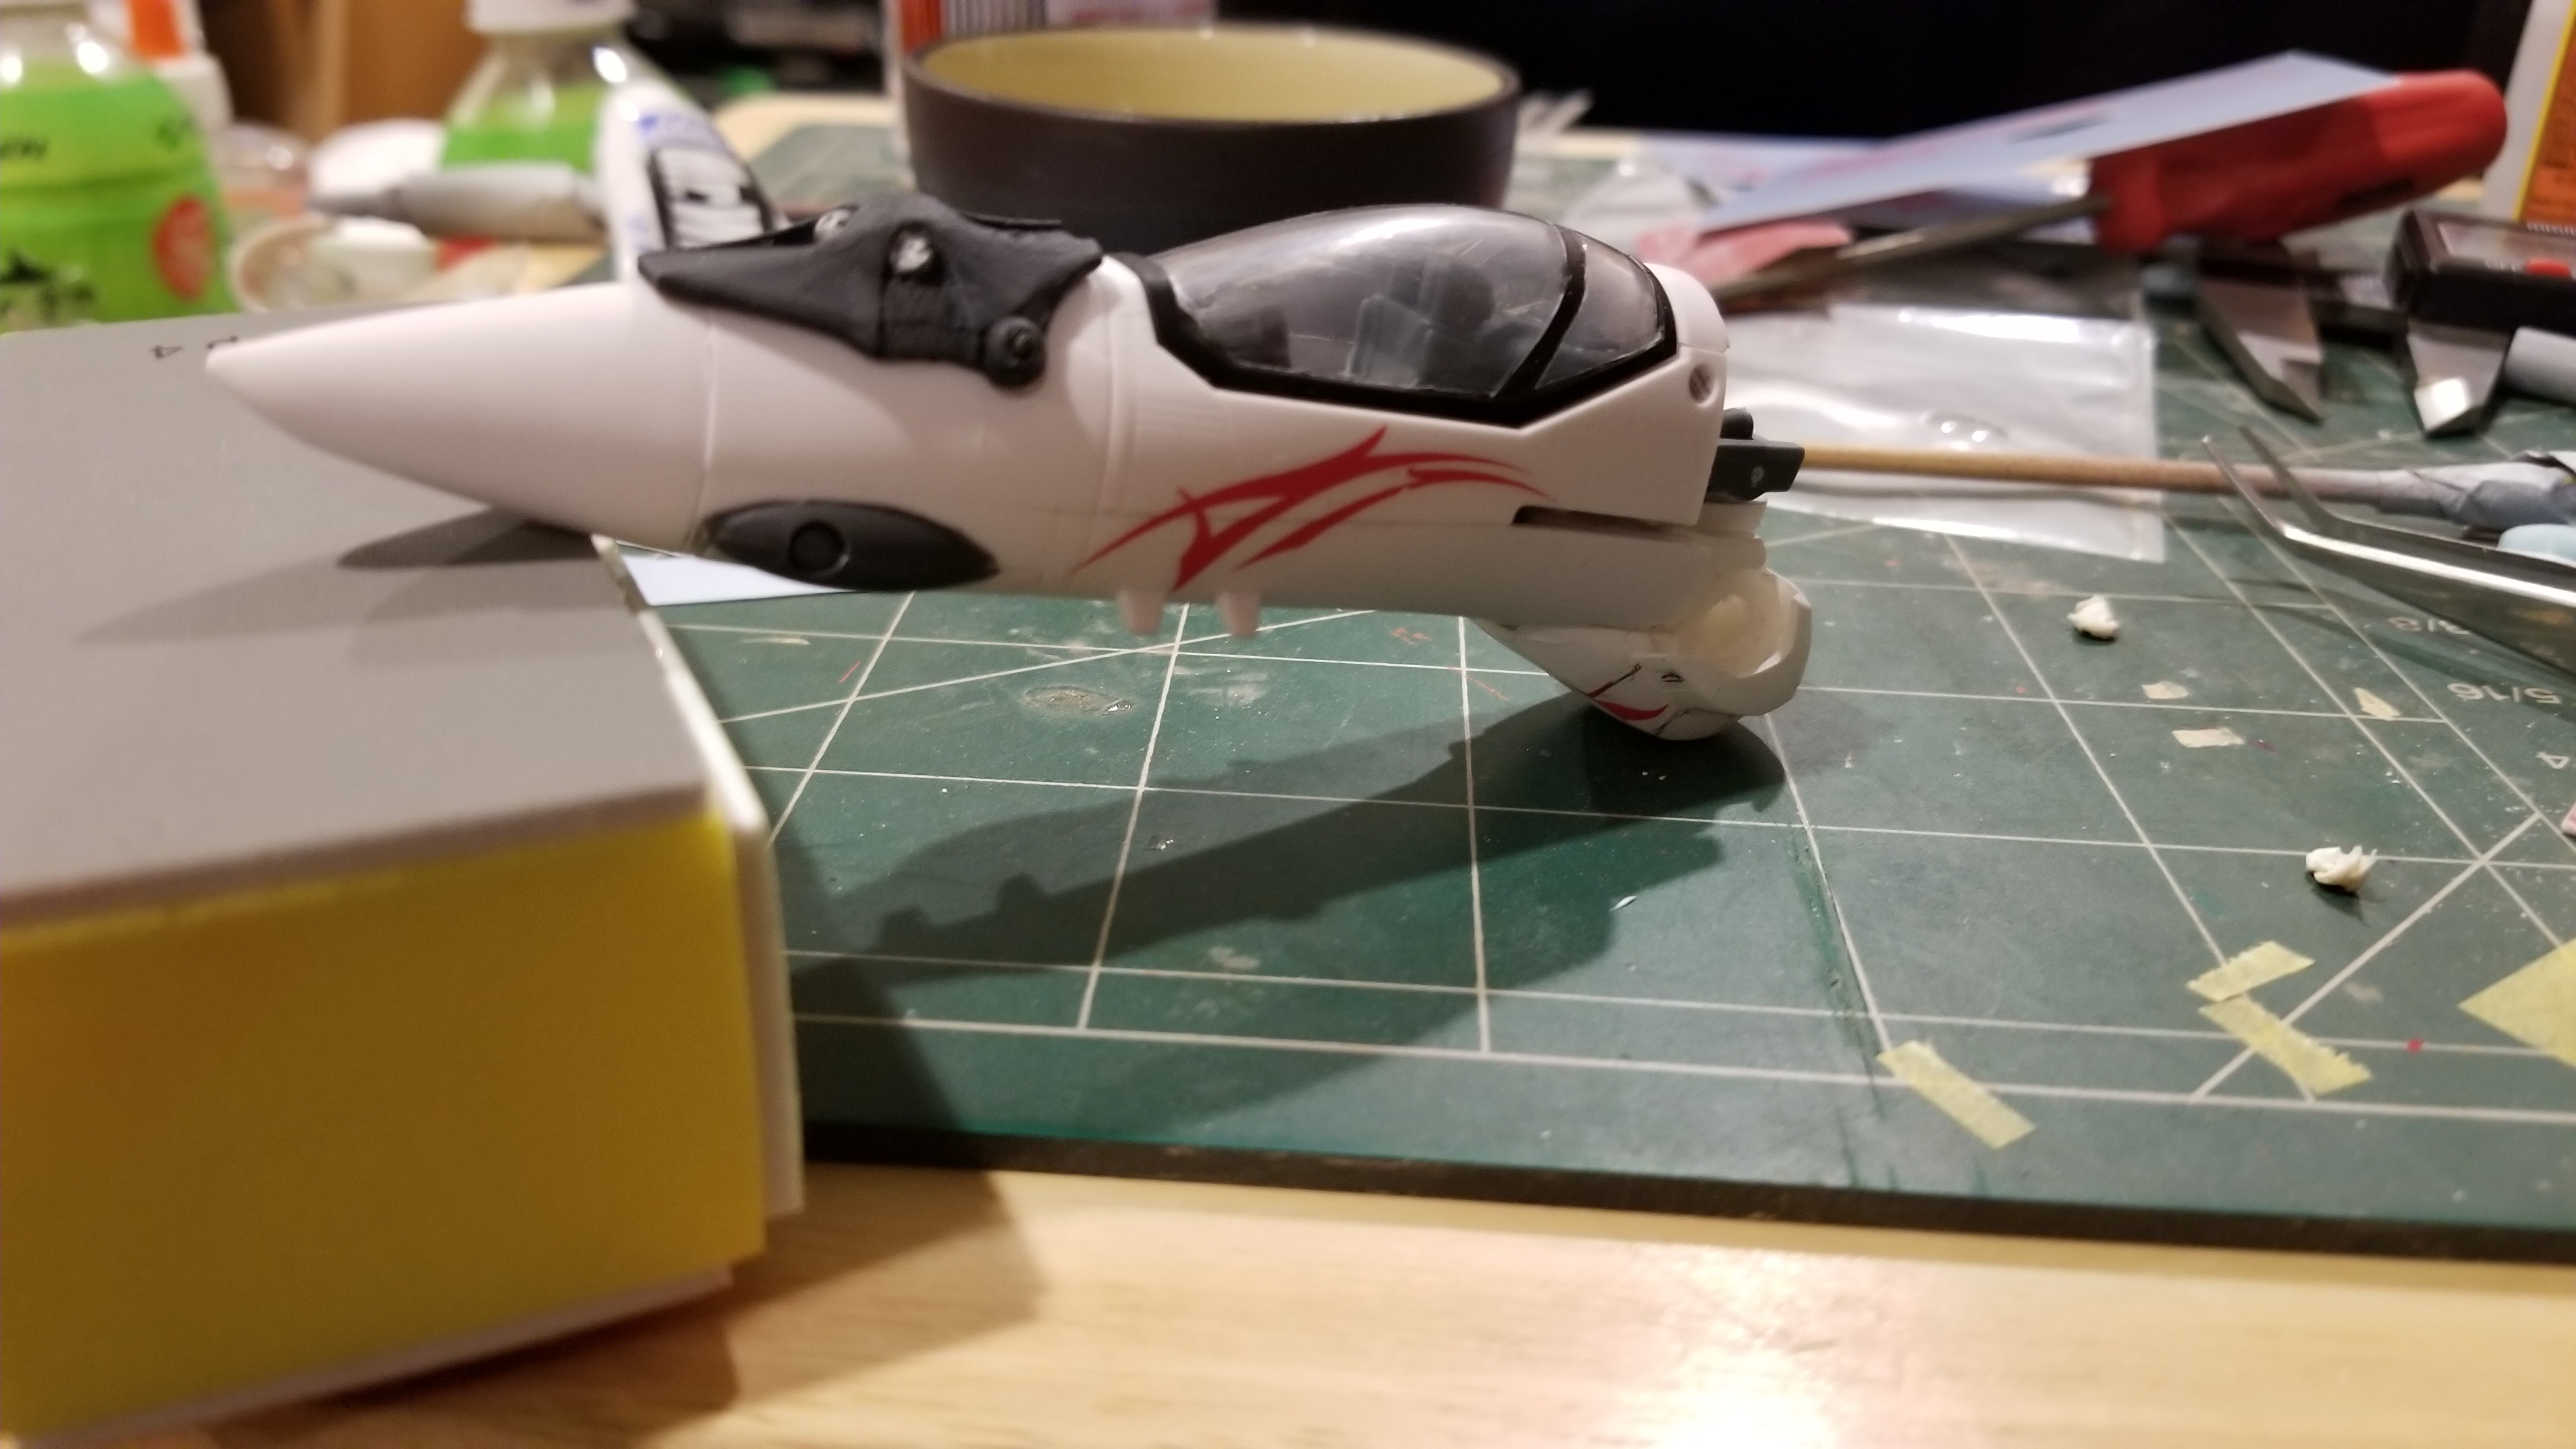
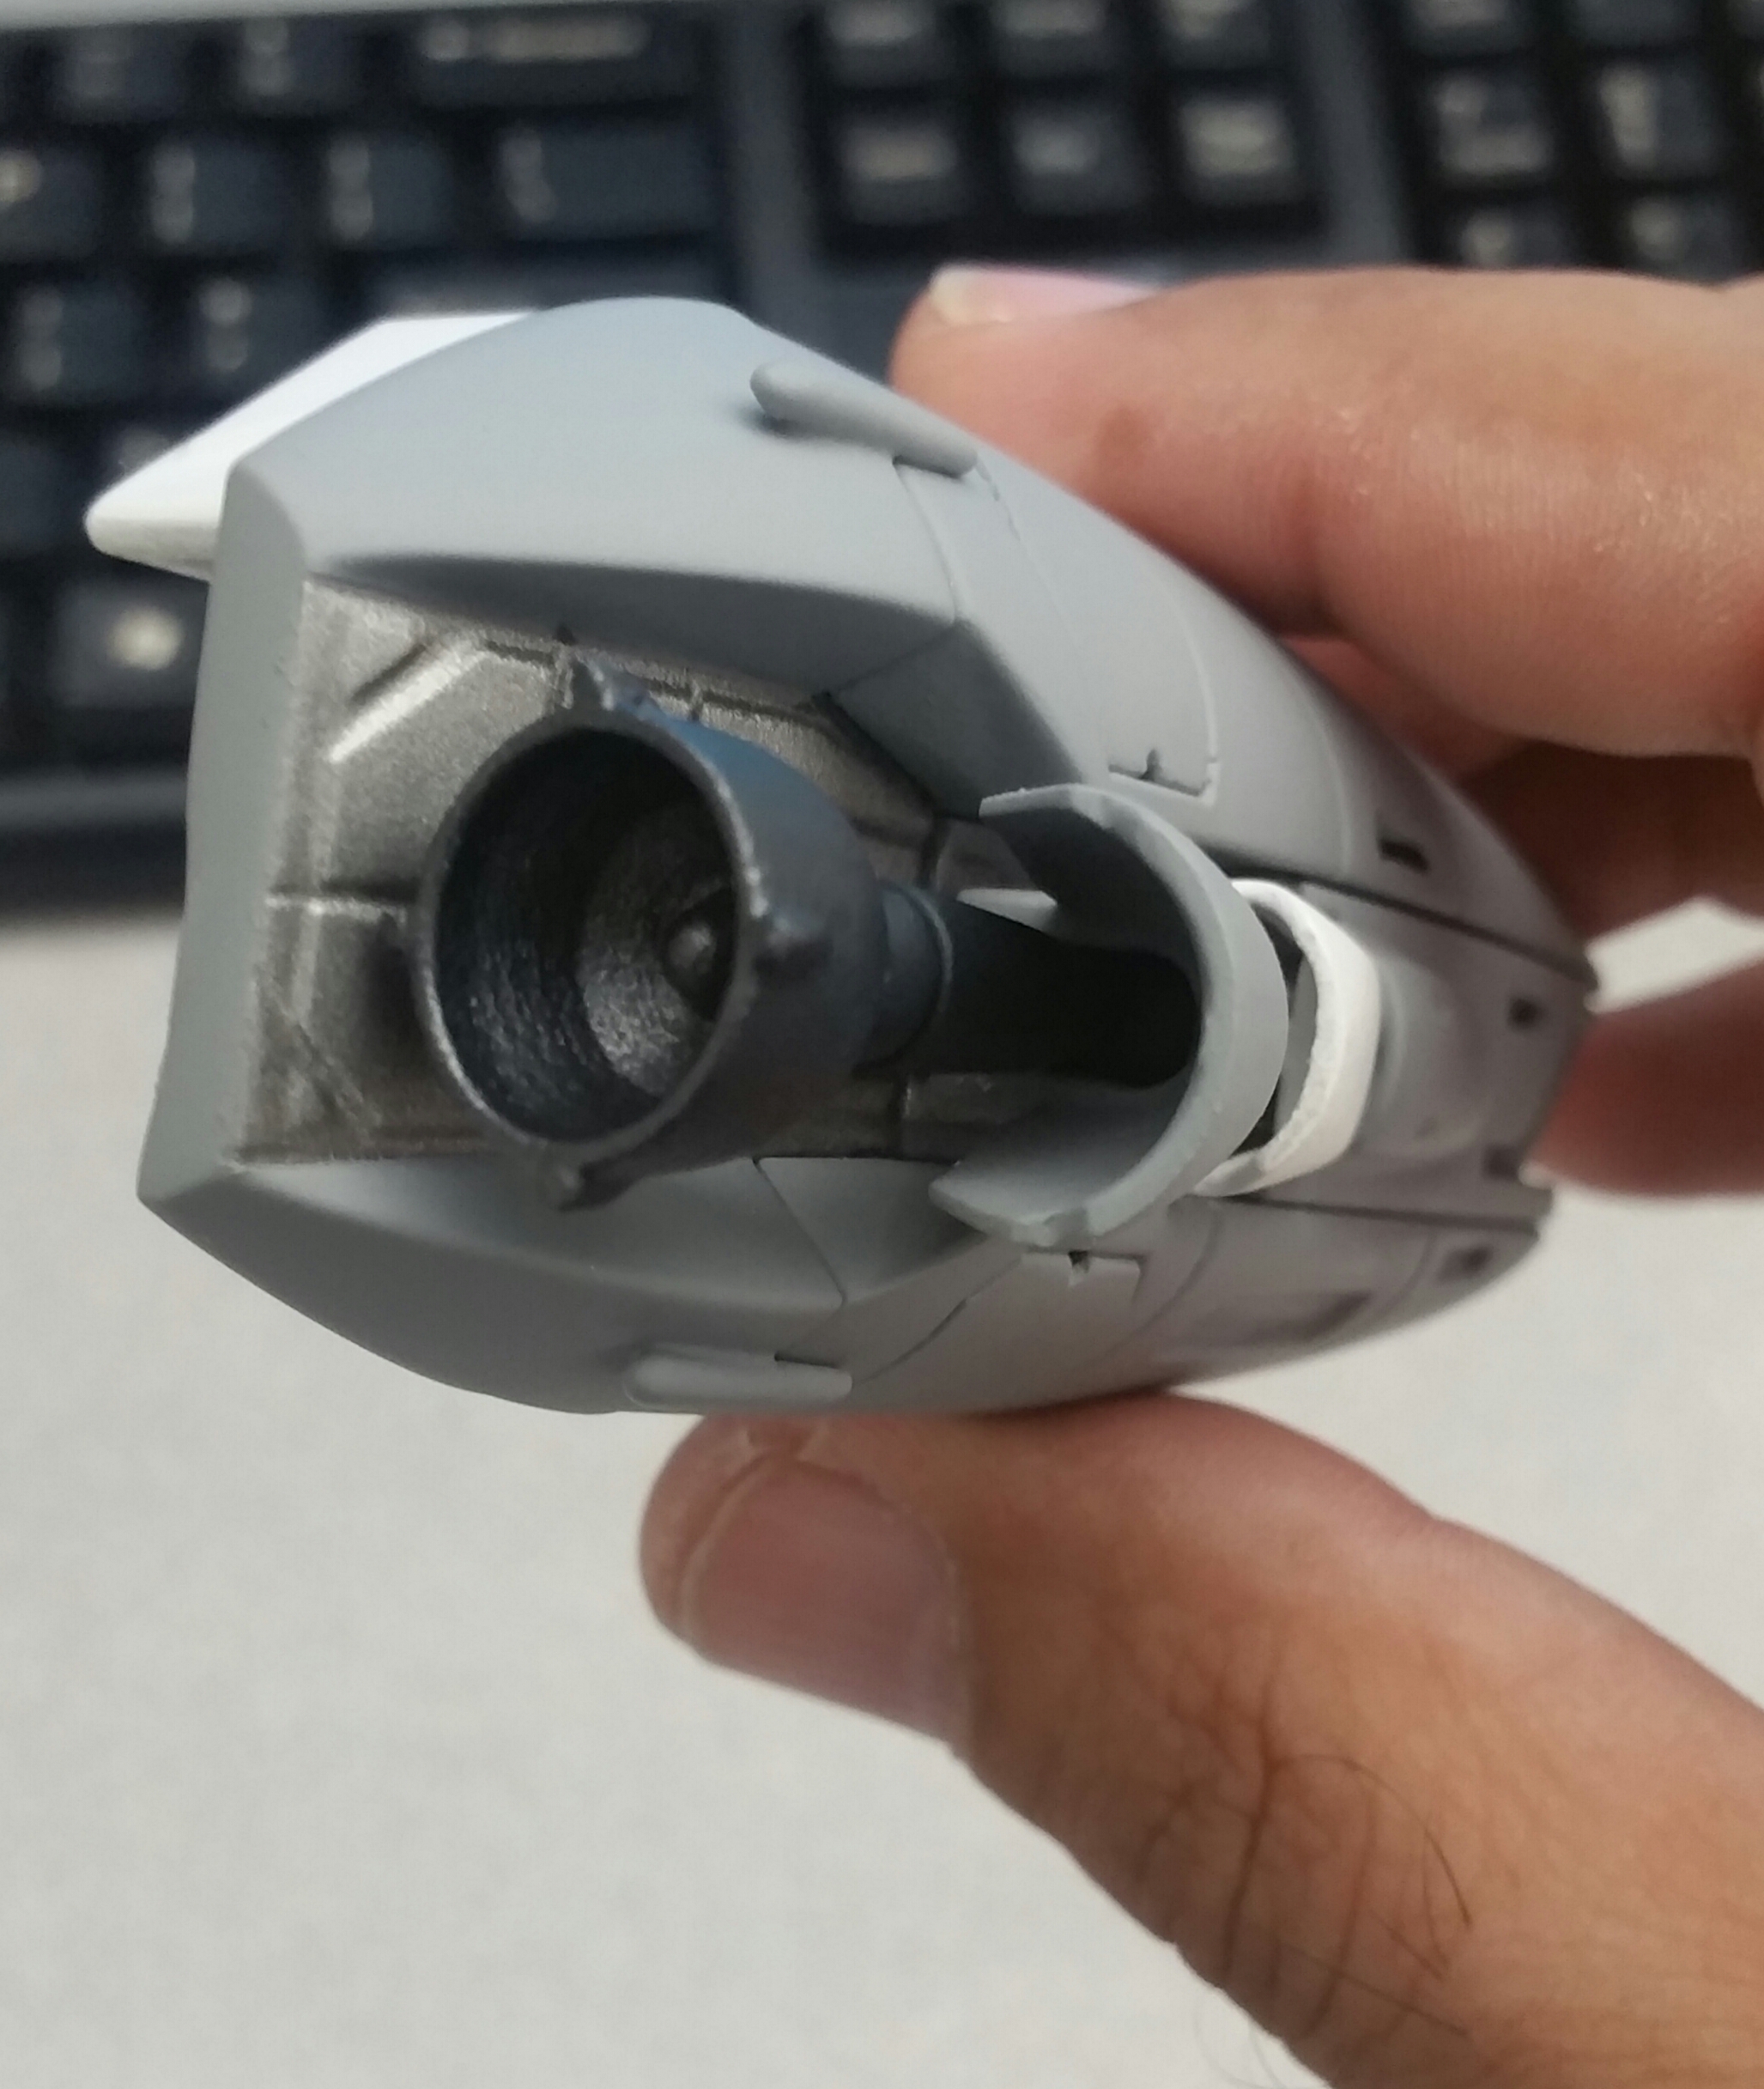
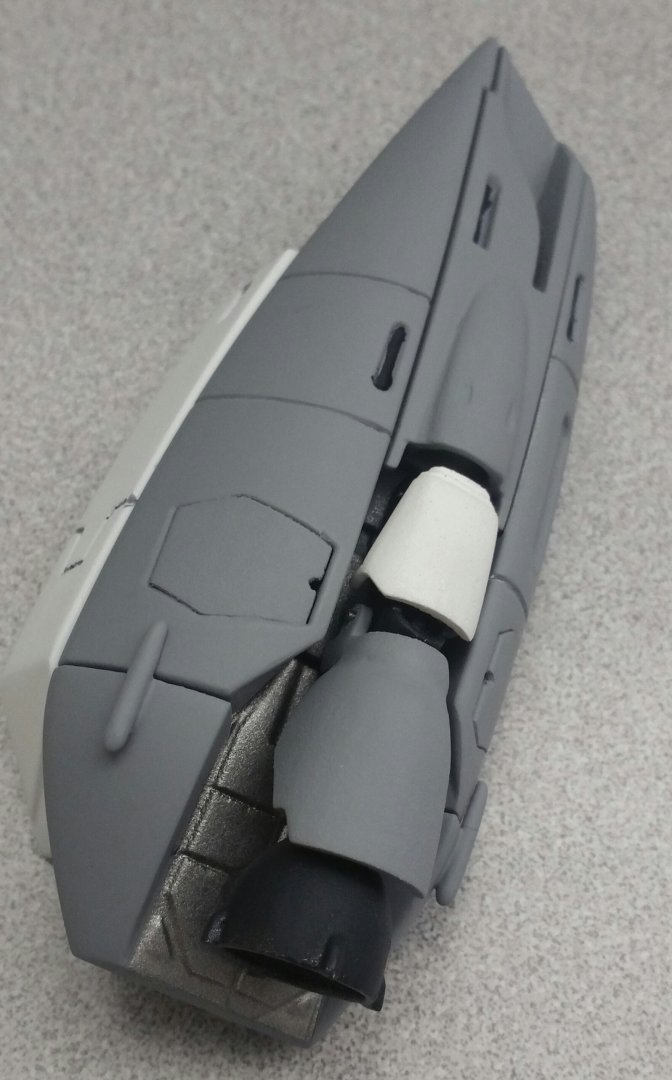
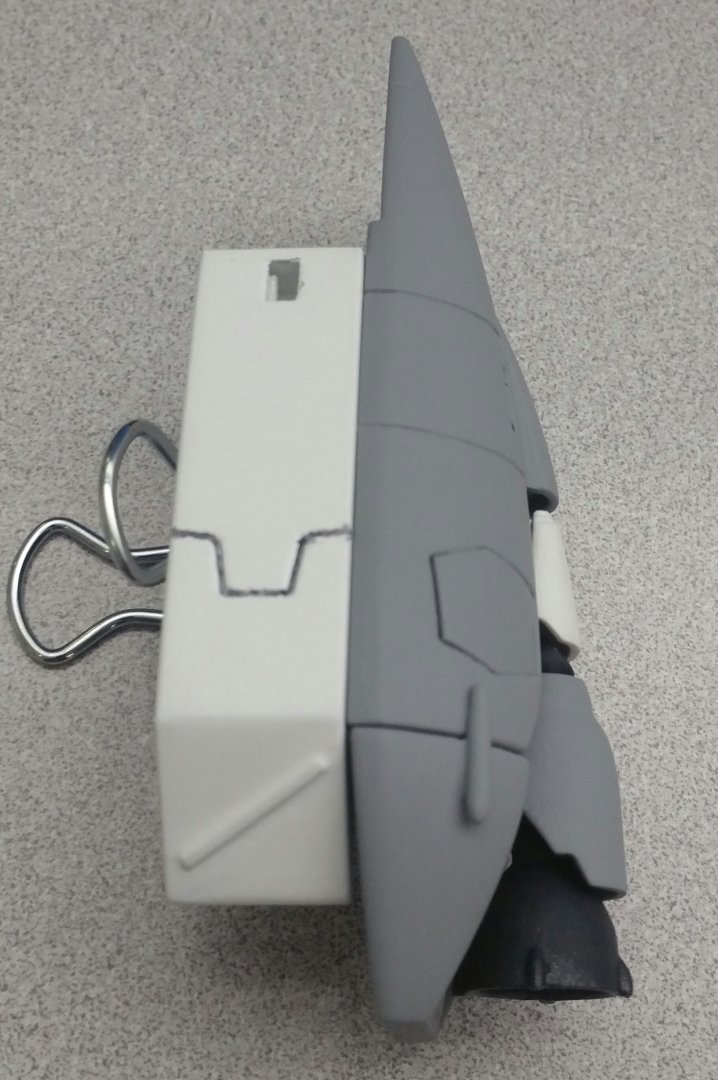
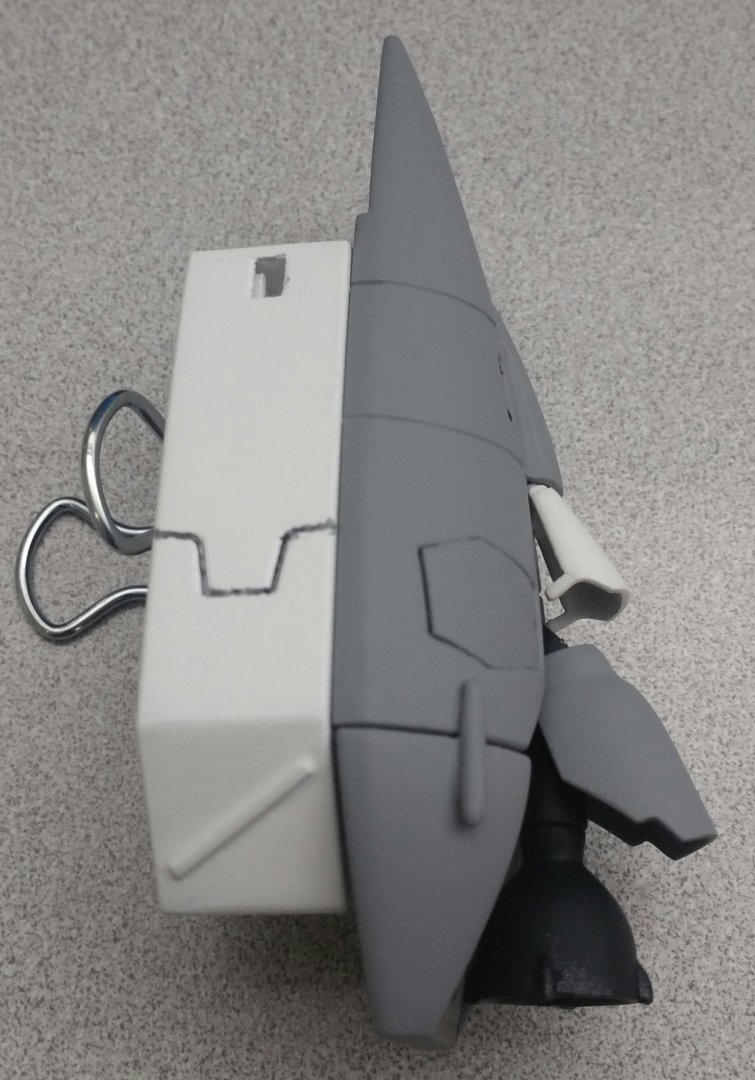
Ok, so leg piece for the right side is done. I also just finished the feet, and found a great color by Tamiya called rubber black, that is a bit lighter than regular black and is a matte finish. I used that for the feet and booster nozzle and engines, and used gunmetal inside the booster. The grey is simply Tamiya grey fine surface primer, and the whitend is model master super fine surface primer. The section under the booster is stainless steel metalized on black.

-
I'll eventually get to these. I know it's a different topic, but in regards to working with the WSF material, the hardest part is the small crevices and panel lines, but in any case, I was able to find a 1mm file to use in place of sand paper where the sandpaper cannot reach. that being said, I am still using both methods to fill the WSF (multiple layers of paint/sanding and the putty method). for the putty method, I have found that using a very thin layer of it is best. going too thick can make you lose perspective on where the base of the actual material is, and don't put it over panels and detailed areas. for that, I use the heavy primer/paint and sanding method. I'll try to put samples up here later today if I get time. To stay on topic though, I know I'll be happy with the product once I order these.
-
Boiling water will make the resin soft in a split second and will probably overheat it to where it just sags. It's best to cover up the parts you don't want heated, have a bowl of ice water, and a hair dryer. heat what you need to shape (heat it slowly) and adjust with straight things like rulers, popsicle sticks, etc. Then you can plunge it in cold water to cool it. If you're working with Task 2 resin, it takes more heat, but same rules apply.