MechTech
-
Posts
4701 -
Joined
-
Last visited
Content Type
Profiles
Forums
Events
Gallery
Everything posted by MechTech
-
Thanks CE - very punny! I'm going to try! I keep having setbacks like the connector on my ramp breaking (who knew the wires would break in the spring tube and the connector). The good news is the ramp is all skinned and I just have to do the end sides and some flashing LED's for warning (nothing that big would move without a warning light/horn). Pictures hopefully coming soon...
-
The diorama (and videos) look awesome! I'm LED'ing myself now too. Gotta love all the soldering! AWESOME pictures AND work! Thanks for sharing! - MT
-
Neptune and Cowie, the Tomahawks look great! Neptune, for added realism, get a small brush with some thinner and write in scale letters, "wash me." It is heavily worn and tired looking alright, but done great! - MT
-
That looks awesome! It's huge too! Stick a handle on it and it could be the ultimate Macross lunch box! - MT
-
Parts cleanup requires "Preparation H" to reduce the swelling . - You gotta love knock-off's! - MT
-
If only they were in 1/200th! I got some spare cash for that! They look awesome by the way! - MT
-
OK, I just gotta ask. If you flex your arm does it transform . Sorry, I couldn't resist! - MT
-
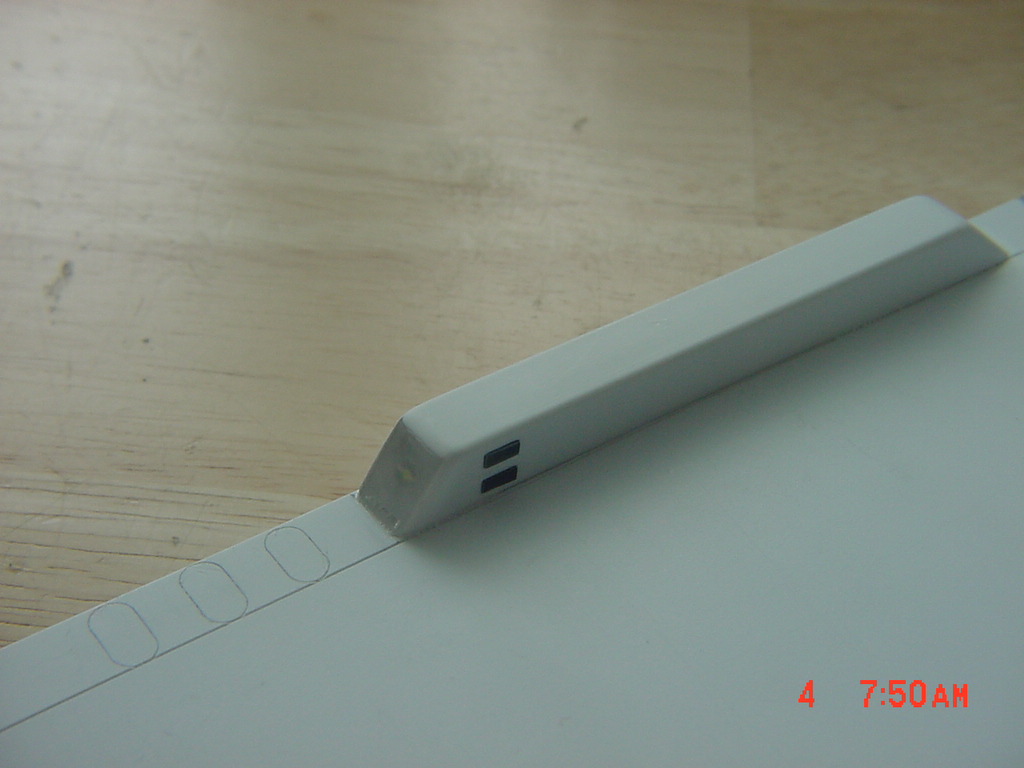
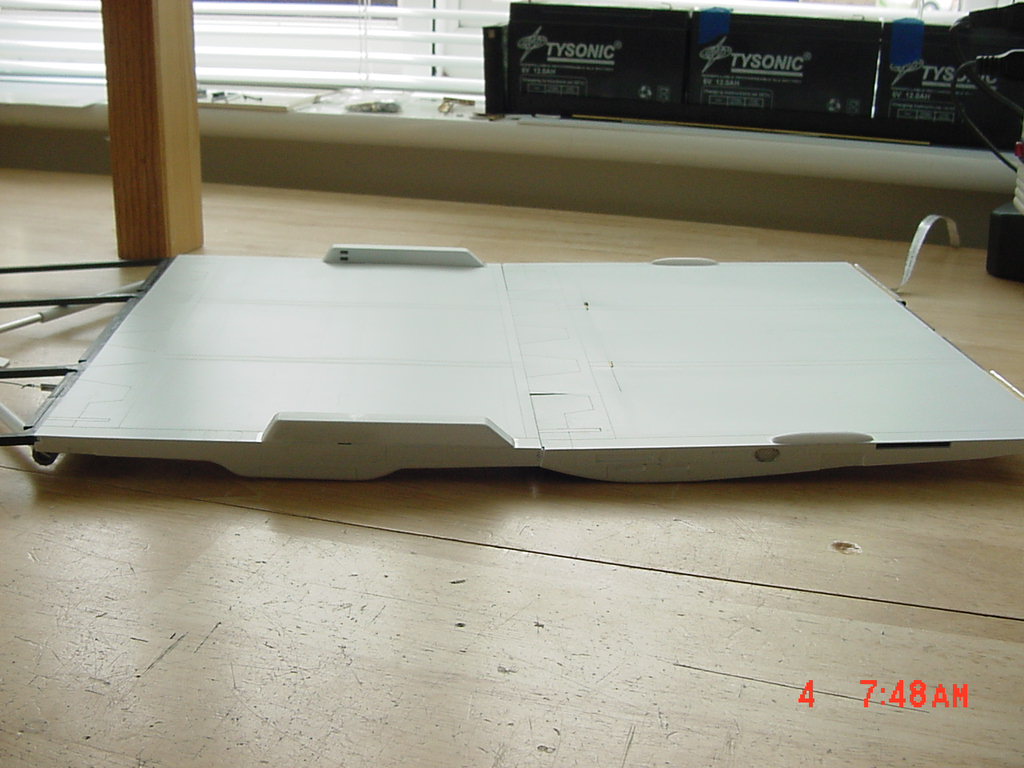
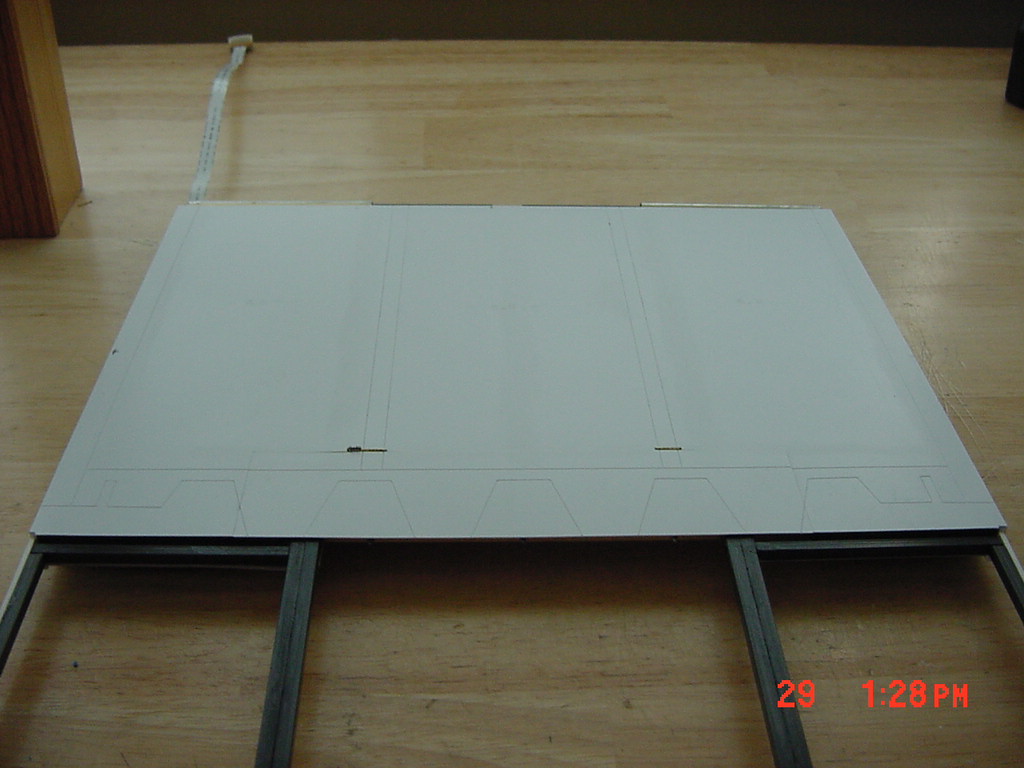
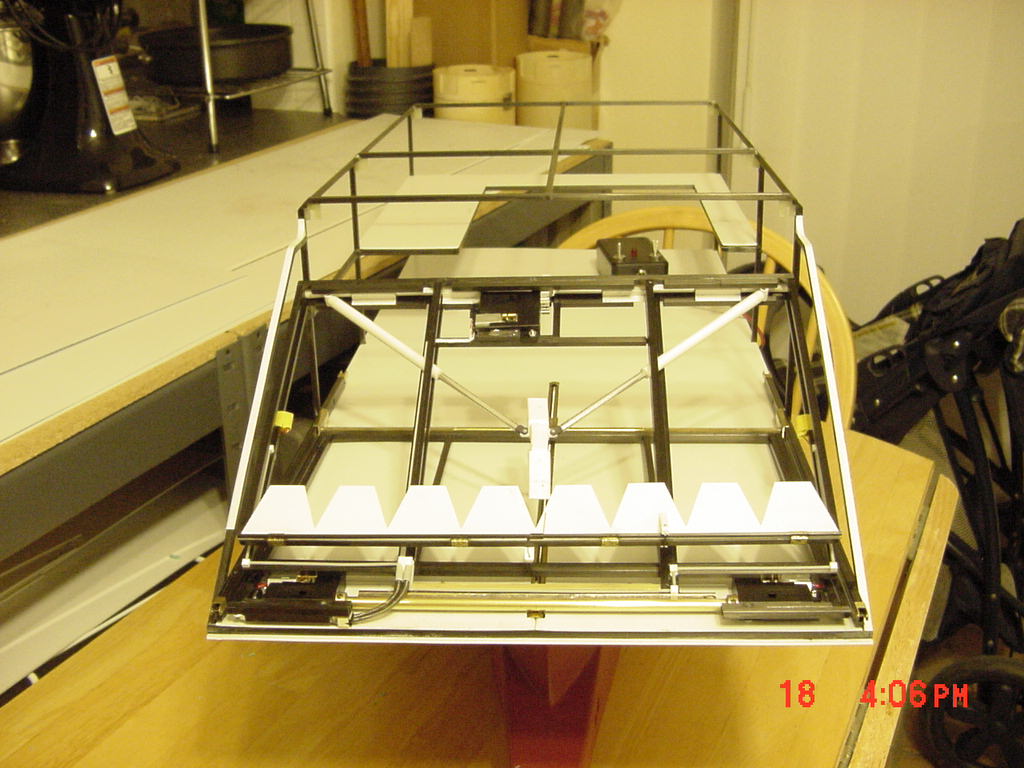
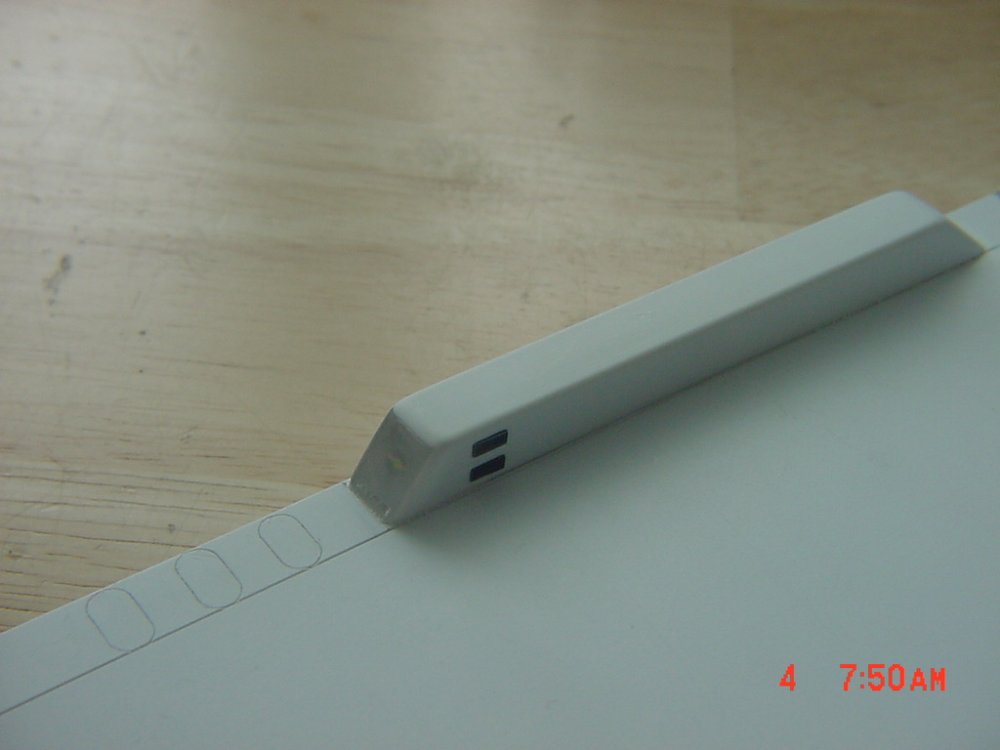
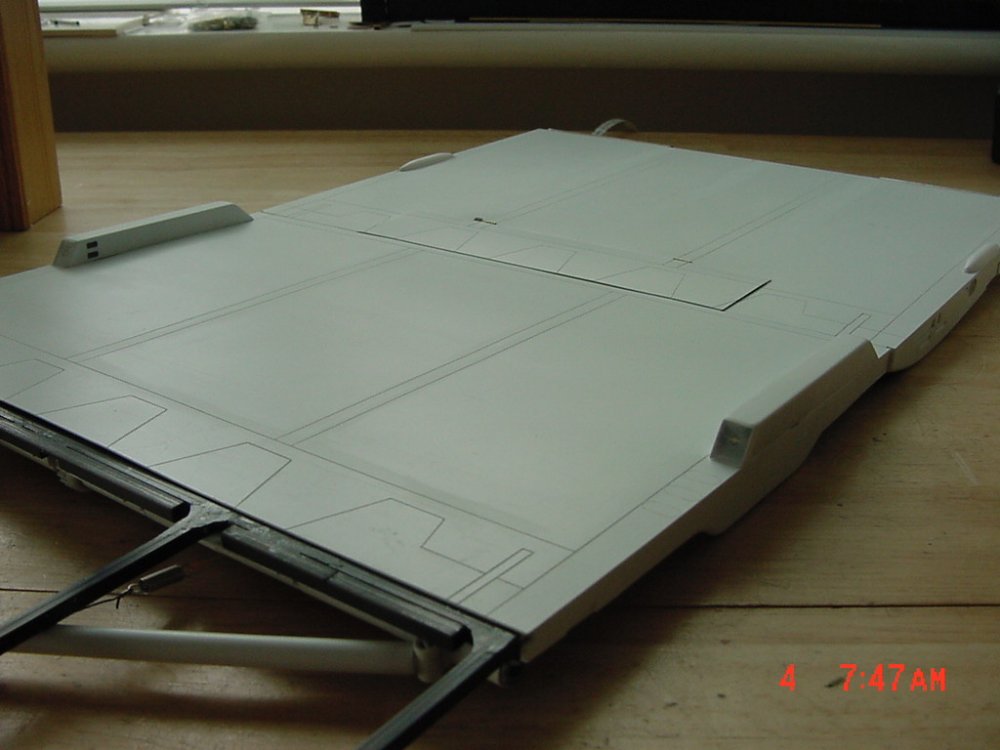
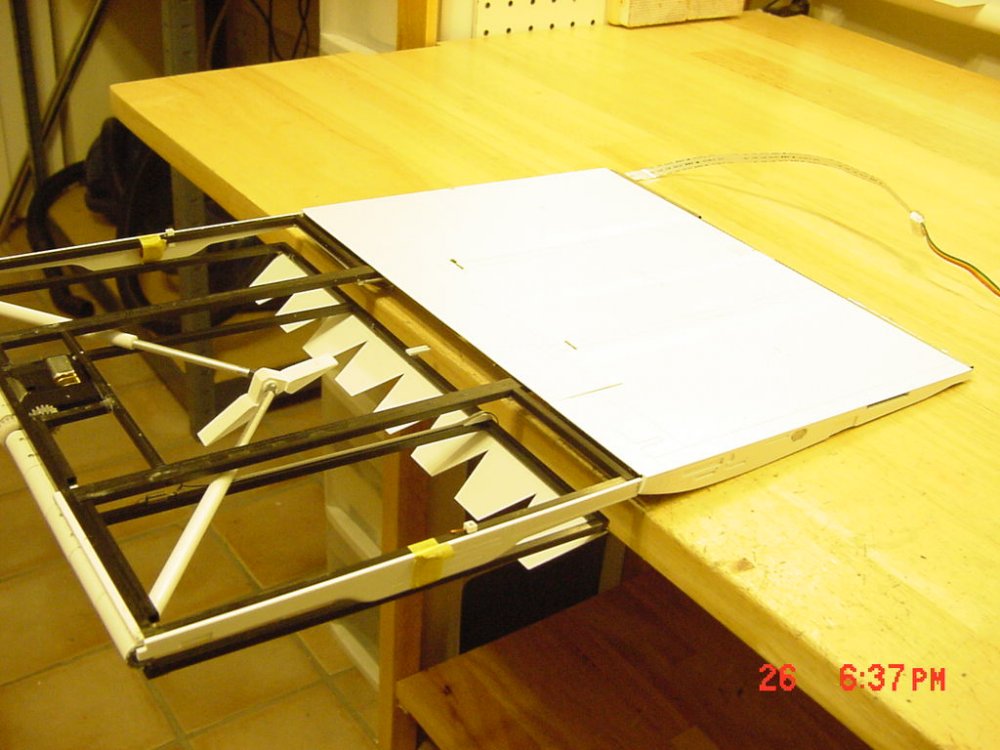
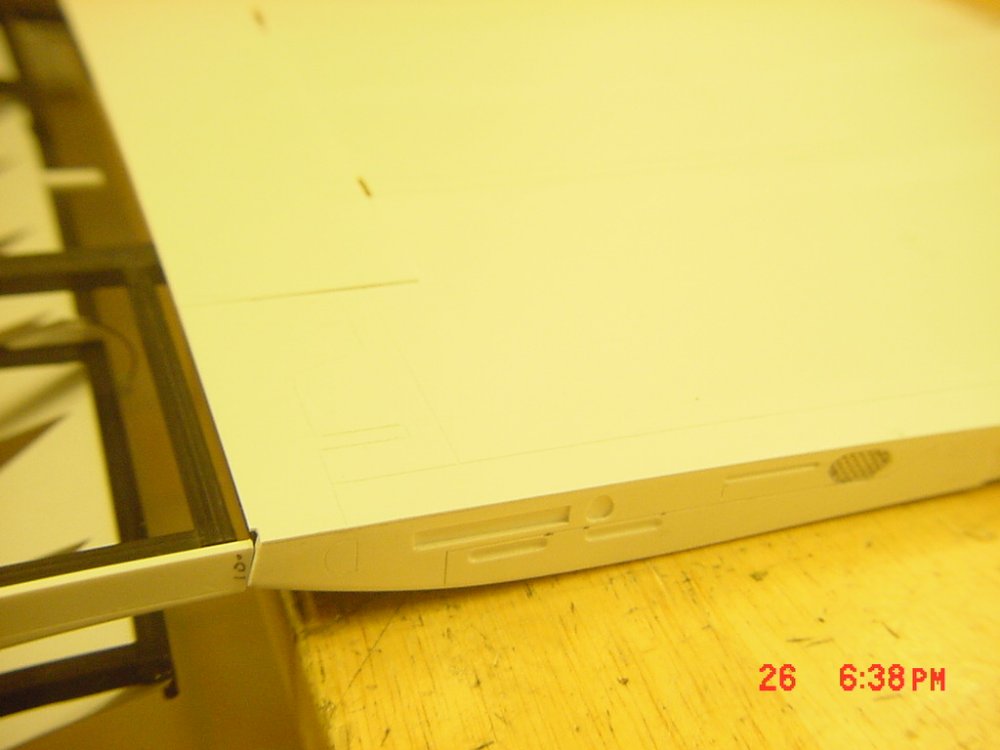
UPDATE 4 MAY 08 So no one thought I just sat on my butt this weekend (OK, a lot at my workbench), here's some updates. I'm still paneling and engraving the ramp. There is still A LOT of work to do so what you see is all still very rough work. The pictures are kinda dark so the panels lines show up. Last week's pictures didn't show the engraved panel lines. Mid section (this week's work). Ramp sides so far... The mysterious humps; I put side and front lights on them (nothing worse than tripping down a GIANT ramp in the dark). The rest of the frame needing to be "clothed." The little bits and light connection are next after some surface clean up. That's it for now... - MT


-
Does this help for sizes? I know it's DYRL... - MT

-
Looking great so far. Two tough colors to work with together. - MT
-
I just saw this too! Looks awesome! Congratulations! - MT
-
Thank you guys very much for all the compliments. After the bow section is done, it's all downhill from there! - MT
-
Looks great guys! Makes me want to work on my destroids, must r-e-s-i-s-t! - MT
-

Moscato Atmospheric Booster + Hasegawa Valkyrie 1:72
MechTech replied to PetarB's topic in Model kits
Nothing much more to say other than awesome (and the stuff everyone else said)! It looks as real as you can get for 1/72nd! Any live action Macross movies coming up? - MT -
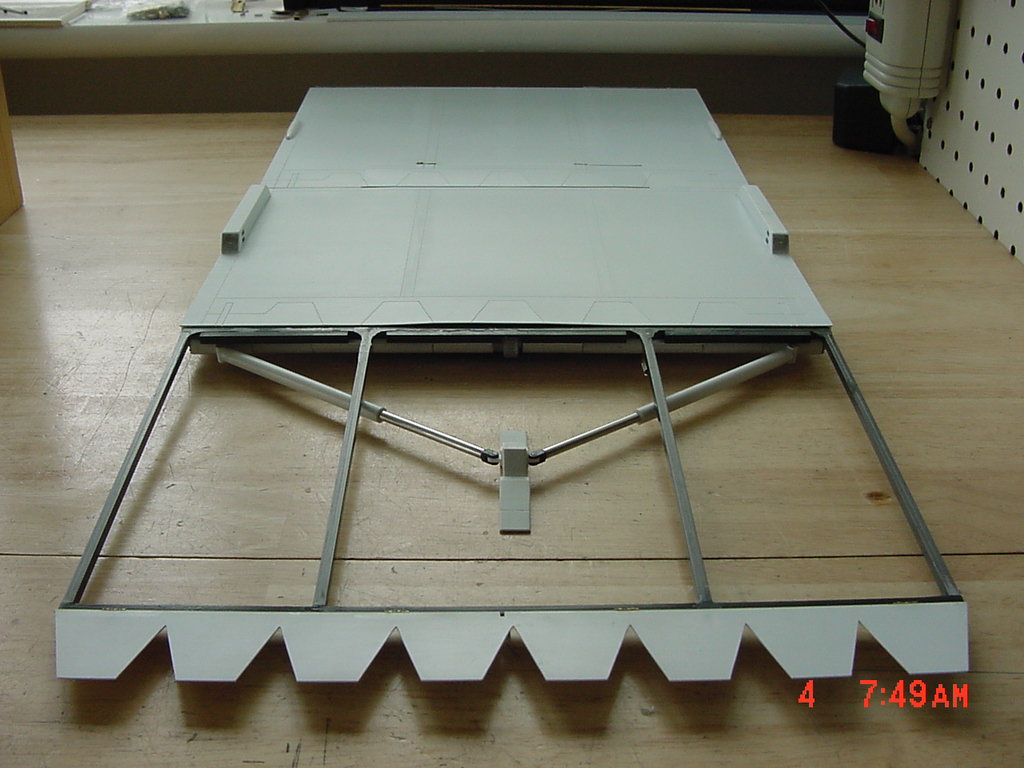
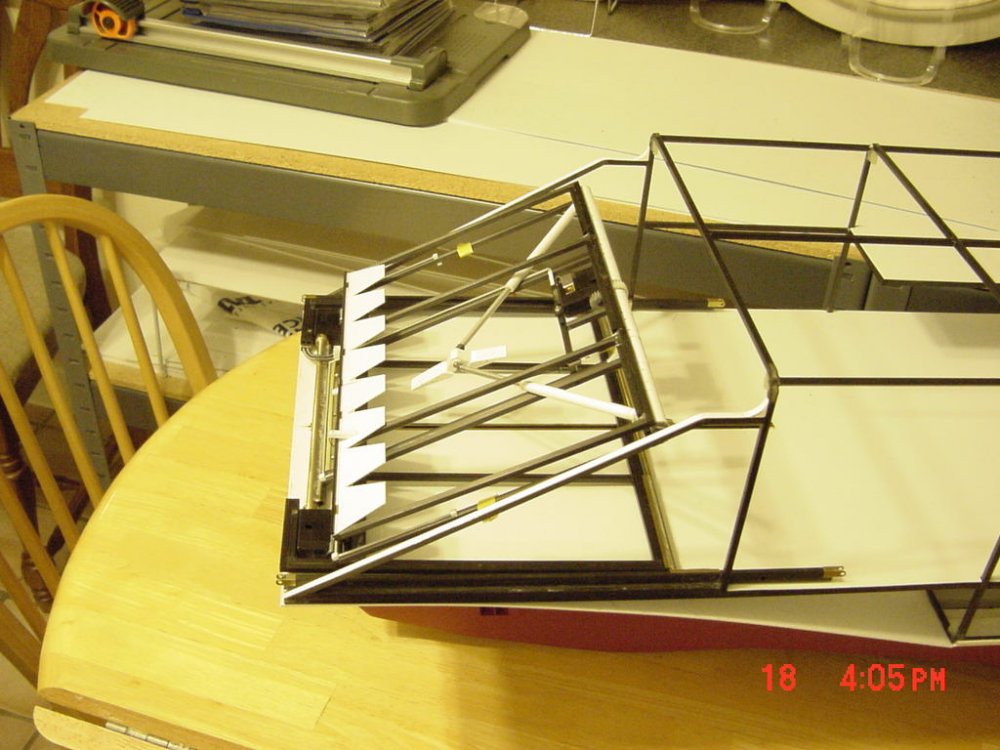
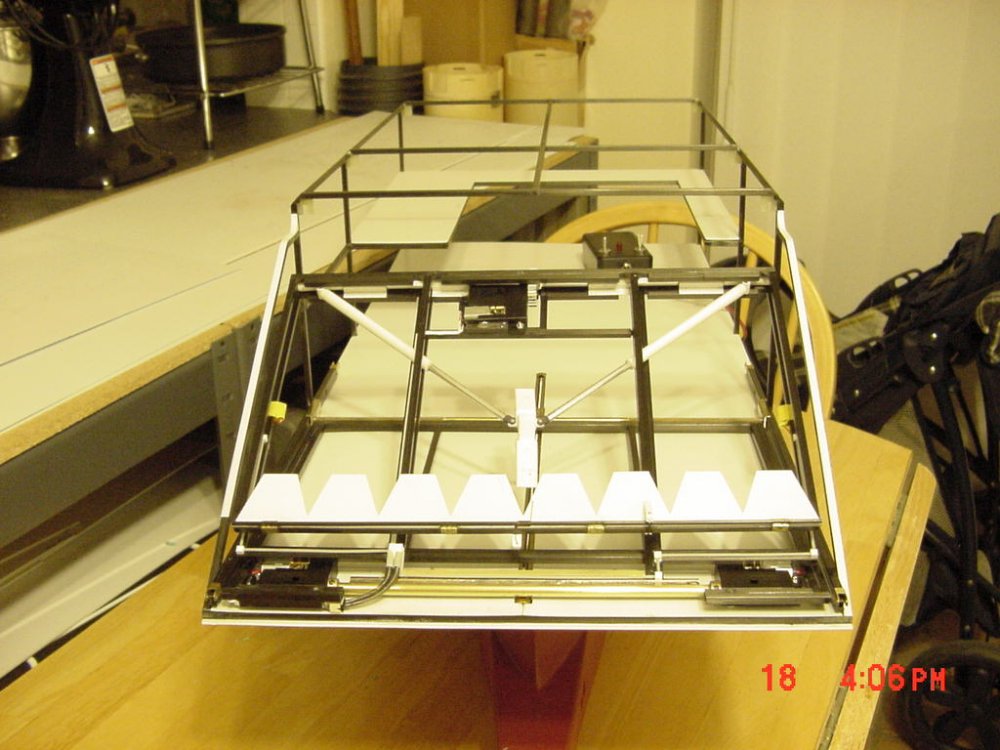
Thanks for the kind words guys, I'm humbled. UPDATE 27 APR 08 WITH MOVIES One warning, we're limited to 500MB uploads so the movies are SHORT. I took movies in 5 second intervals. This is only the ramp in ATTACK MODE, not ASSAULT MODE (landing). The noise was amplified by the camera being on the table too, otherwise the servos are really quiet. Note the flap on the joint to allow room for opening up, it fits smooth and flush when the ramp is opened. These are just teasers until I finish skinning the ramp and painting it. You can't see all the panel lines yet in the photos until a good wash goes down. Ramp_Up.MPGRamp_Up_II.MPGRamp_Stowed_Back.MPG Going up... Ramp_Down.MPG Ramp_Locked_Down.MPG Going down... More photos of the ramp folded with all mechanical parts. All joints and even the tip "serrated edge" move automatically. That's it for now. Time to skin the rest of it and get the far end edges covered with the facade. - MT P.S. Something's up with the post and things are slightly out of order. - MT
-
That thing is awesome looking! Totally awesome job on it! It looks like it would do Mach8 right off the rails!!! - MT
-
Absolutely awesome work!!! I gotta ask, are you doing ant CAD/CAM CNC stuff? All the parts look it. For sloppy rivet lines, you sure laid them down straight! I've been panel lining this week on the ramp and it's driving me nuts. At least all my runs are on level surfaces. Keep up the awesome work Moscato! - MT
-
Those are awesome! That's skillful. - MT
-
I've never seen the Spartan either and I thought I saw it all! Please share if you got 'em! Thanks! - MT
-
I would recommend using the sprues from the kit and practice on them - with all the chemicals you spoke of. Melt or screw that up instead of your kit first. Panel lining is as difficult as getting a fine tip mechanical pencil and running it through the lines! A wash of water based paint will catch the other areas and recesses. If you haven't, do a search here for a lot of your questions. It's all been covered before in depth. There's just so much info it would take hours to type! Have you been here: Truffles Ansley, Nuneaton, Warwickshire, CV13 0BX Telephone: 024-7639-5749 Craft Goods Retailers. Hobby toy and game shops, stores Hopefully they are not too far away and even carry what you need (unless you've been there). Just mess with the kit's sprue (runners) and see how everything works out. - MT
-
Bandai 1/72 Scale Macross Frontier Plastic Models
MechTech replied to Graham's topic in Hall Of The Super Topics
I know Bandai can do it, the question is will they? And what kind of goodies can we expect with the kit (armament - fast packs [if there are any])? They have some of the best prototyping and molding gear in the world. Will they take the time and skill? Questions, questions. - MT -
Looks great HWR! Thanks for posting those. What's that, like 50 pounds of resin all together? - MT
-
Hey wait a minute, you can't be mixin' Gundam up with Mospeada weapons! That's just not right (in a styrene kinda way). With the weapons on the back opened up it looks a lot less like a nutcracker now! Cool model! - MT
-
I've seen less milking being done on a dairy farm! I love Hasegawa and all, but I think it's time to pick the needle up off the record and move on...on...on...on And yes, the "1/200th guy" owns SEVERAL of their kits - just in case... - MT