tekering
-
Posts
4273 -
Joined
-
Last visited
Content Type
Profiles
Forums
Events
Gallery
Everything posted by tekering
-

STAR WARS Merchandise Episode - 2
tekering replied to Black Valkyrie's topic in Anime or Science Fiction
That was a perfectly legitimate excuse... before the advent of home video. -
Seven Walgreens? All on your way home? Sixteen? Has Walgreens bought out Starbucks, or something? How the hell can they have so many locations?
-
The Alien/Predator/Aliens vs. Predator Thread
tekering replied to VT 1010's topic in Anime or Science Fiction
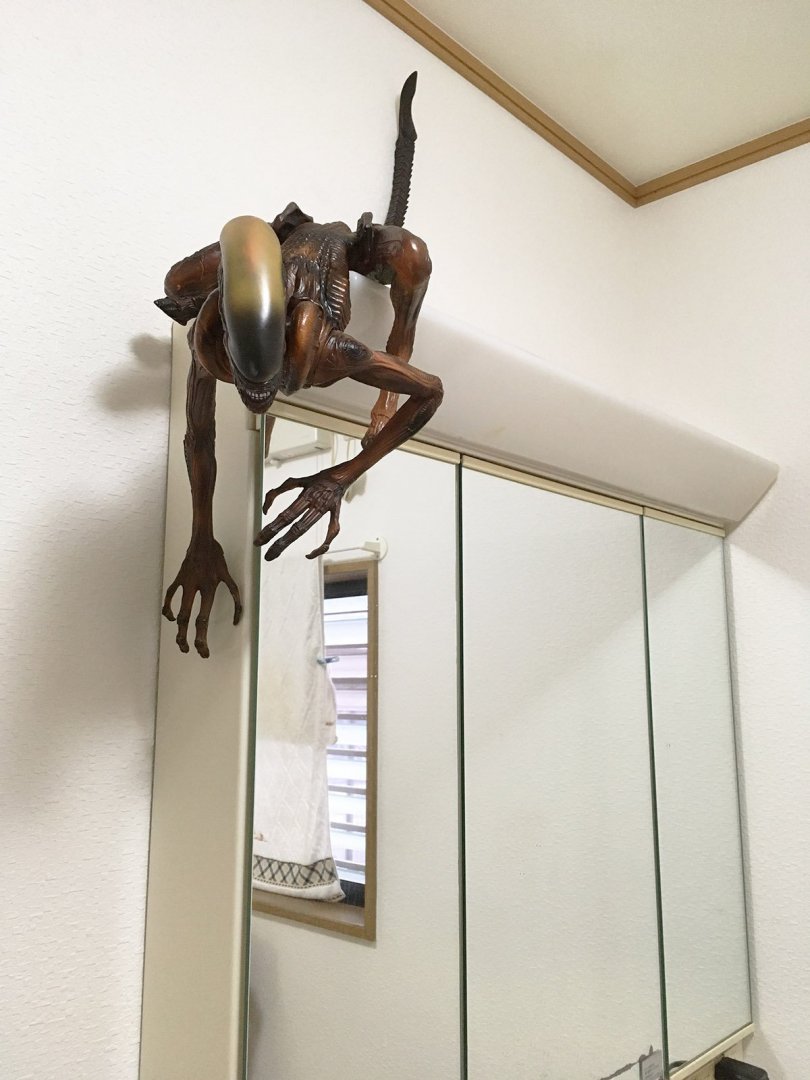
That's Tsukuda Hobby's "Alien Creature." -
The Alien/Predator/Aliens vs. Predator Thread
tekering replied to VT 1010's topic in Anime or Science Fiction
There's another quarter-scale Xenomorph I'd almost forgotten I had, since it's been hiding in a box for the past five years... The next time the wife comes to do laundry, she's in for a nasty surprise.
-
Your most recent Macross or toy purchase! General thread.
tekering replied to Gakken85's topic in Hall Of The Super Topics
The 1:72 YF-11s aren't worth the trouble of sending back, much less the cost of shipping. -
"...swapped figures"
-
STAR WARS Merchandise Episode - 2
tekering replied to Black Valkyrie's topic in Anime or Science Fiction
You mean Kathleen Kennedy? She's the one calling the shots now. If Lucas were even consulted, it would only be as a courtesy. -
There must be a translation problem here.
-
The Unlicensed Third Party Transformers Thread
tekering replied to slaginpit's topic in Anime or Science Fiction
Mech iDeas did a great job with "Bluster" and "Trench" (their Animated Huffer and Pipes), yet sales were disastrous -- five years later, and retailers still have them on clearance -- so I doubt any third-party would be willing to take on the financial risk now. Plus, direct head-to-head competition seems to be motivating 3P character choices nowadays. -
The Alien/Predator/Aliens vs. Predator Thread
tekering replied to VT 1010's topic in Anime or Science Fiction
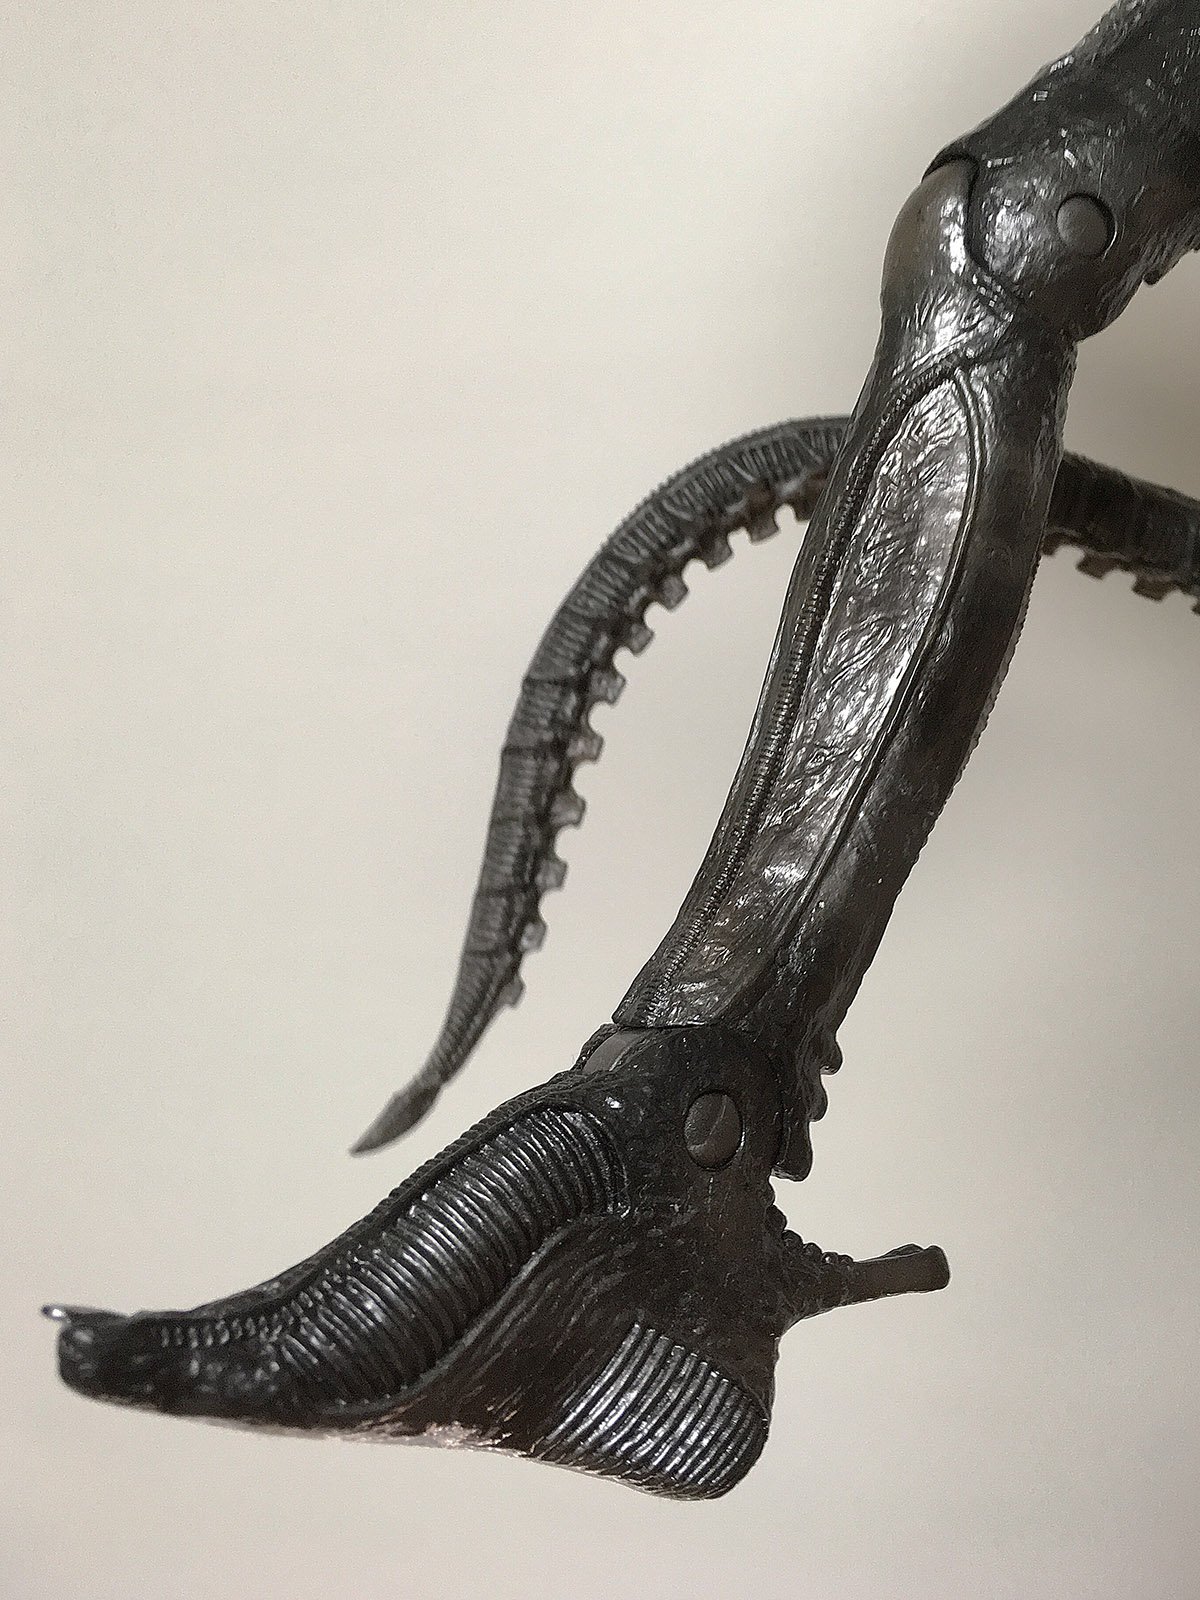
It's a clean break. Just needs a little CA glue. I can't even see where the break was.
-
The Alien/Predator/Aliens vs. Predator Thread
tekering replied to VT 1010's topic in Anime or Science Fiction
I'd keep it lower to the ground, if I were you... It's a significant weight, and a fall could result in significant damage.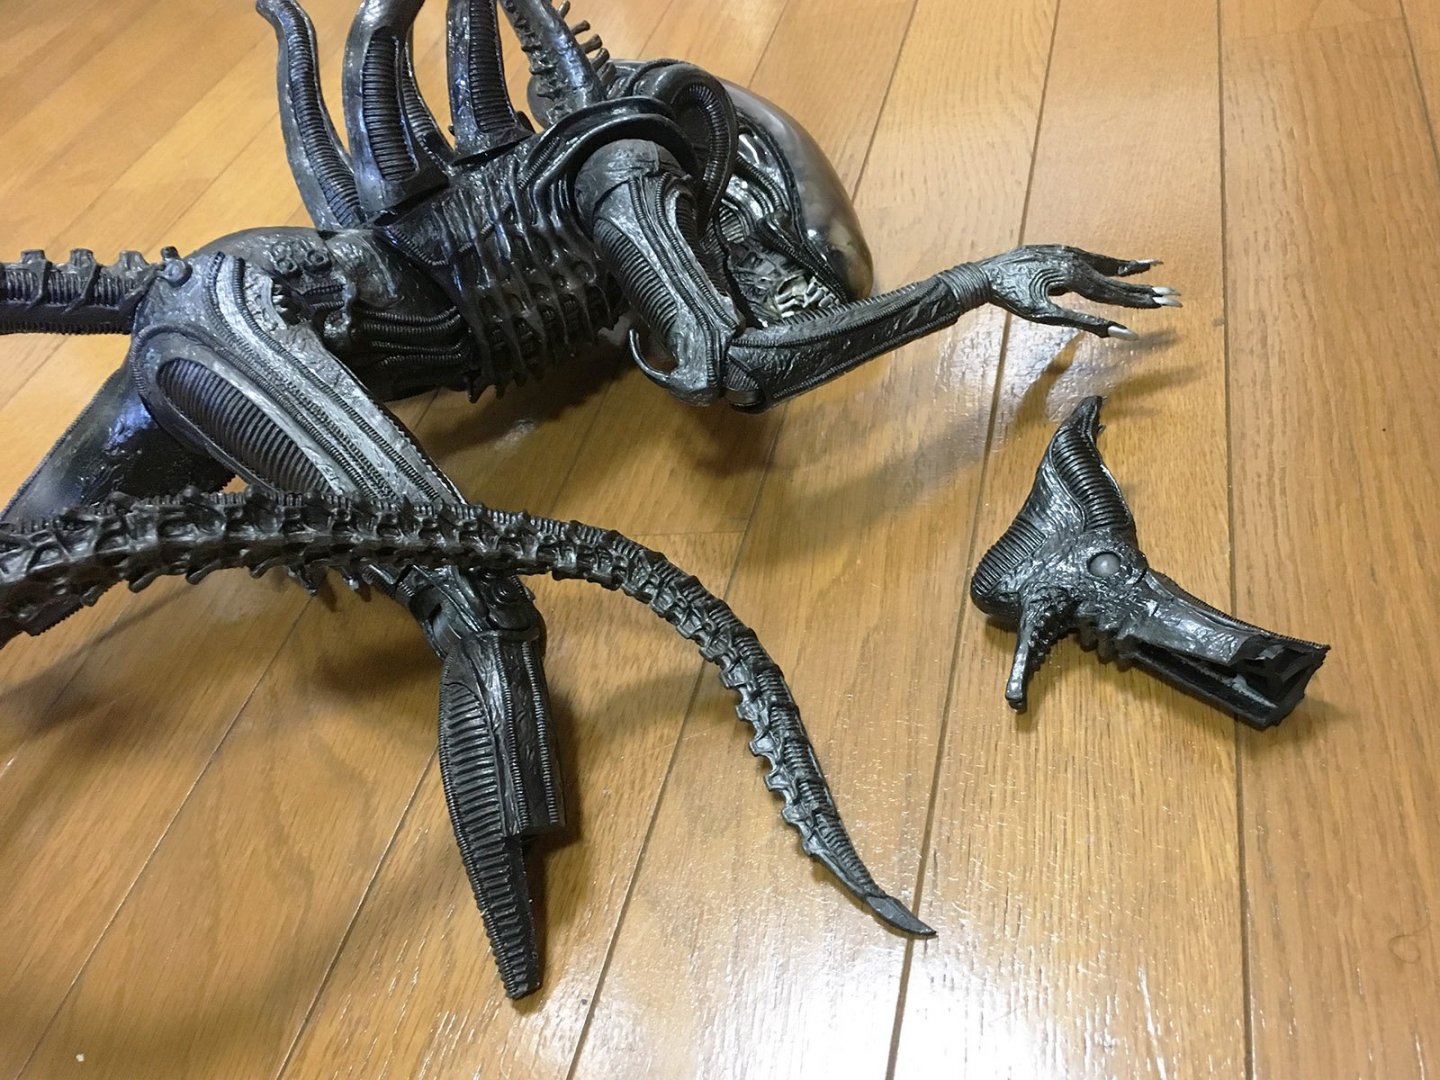
-
The Unlicensed Third Party Transformers Thread
tekering replied to slaginpit's topic in Anime or Science Fiction
Magic Square rocks. Love the wires under the face!- 9500 replies
-
- 1
-

-
- fans toys
- mastermind creations
- (and 19 more)
-
Oh yes, this page is full-on Marvel. Ridiculously enough, however, it's the best Robotech comics have ever looked...!
-
Omega Supremely tiny!
-
The Alien/Predator/Aliens vs. Predator Thread
tekering replied to VT 1010's topic in Anime or Science Fiction
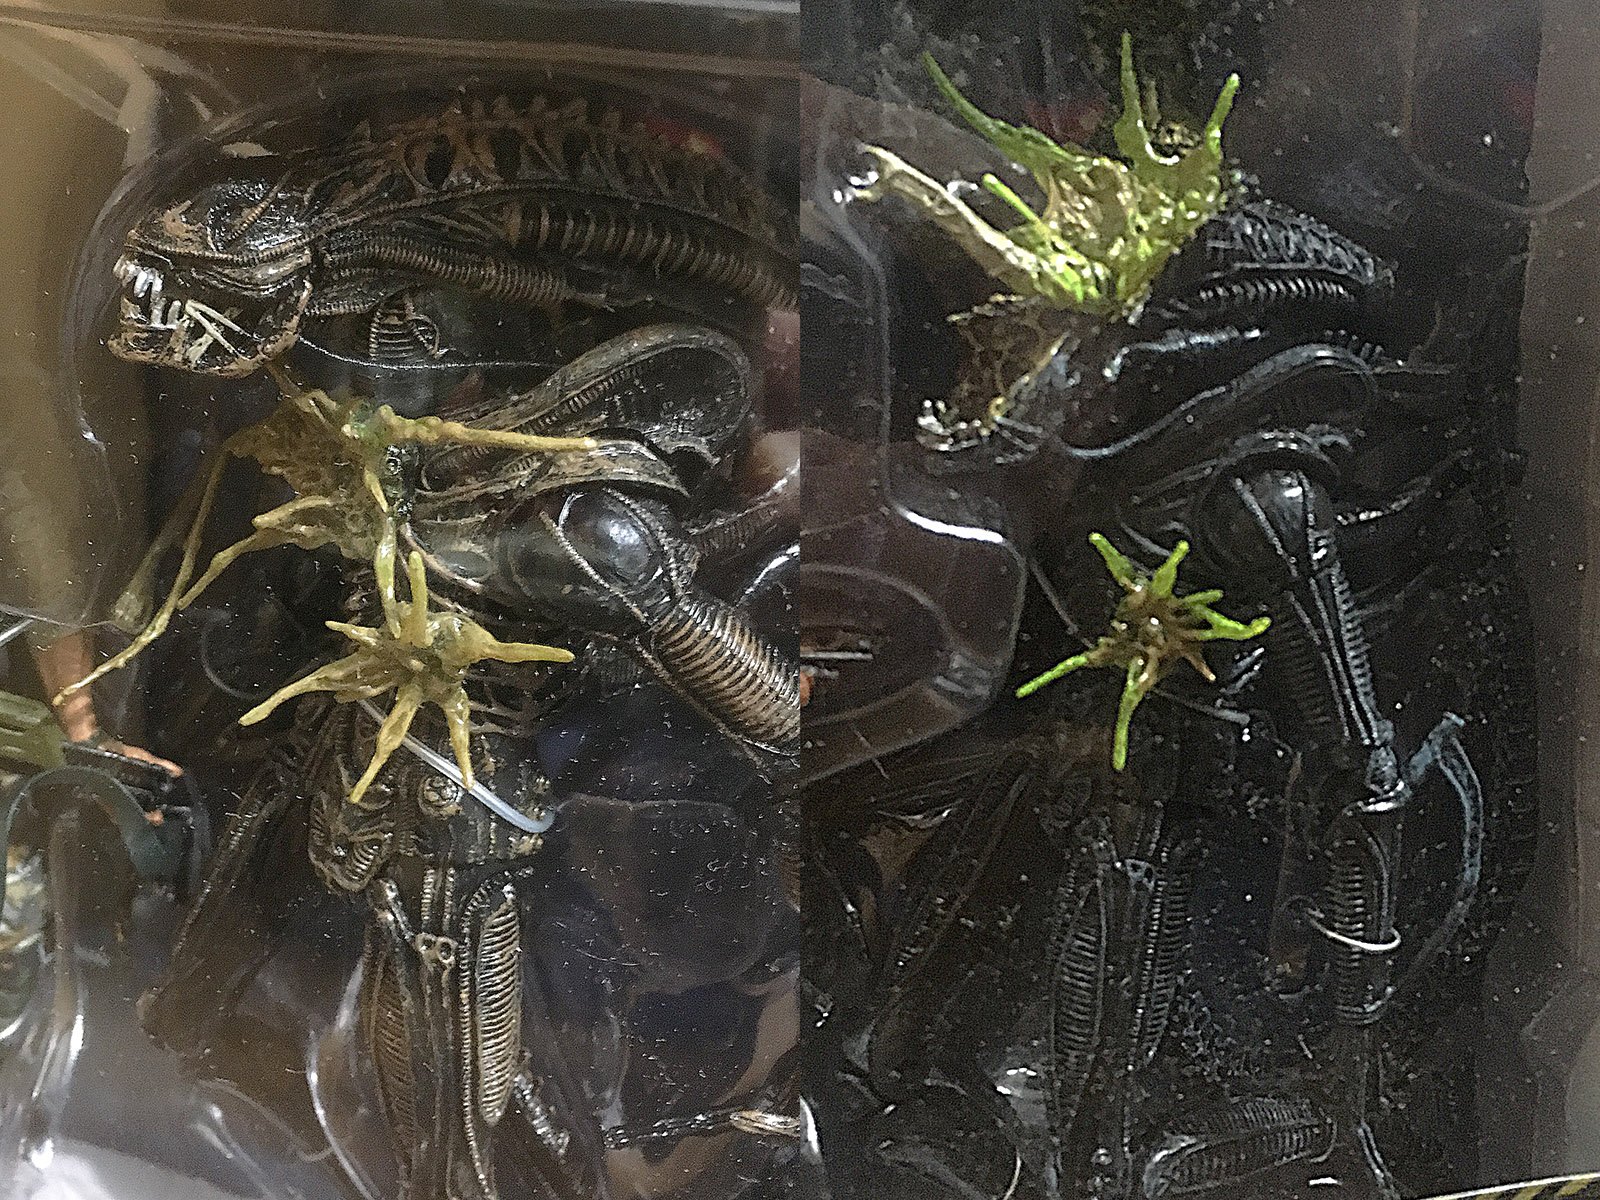
Yes, the Big Chap takes up a lot of space.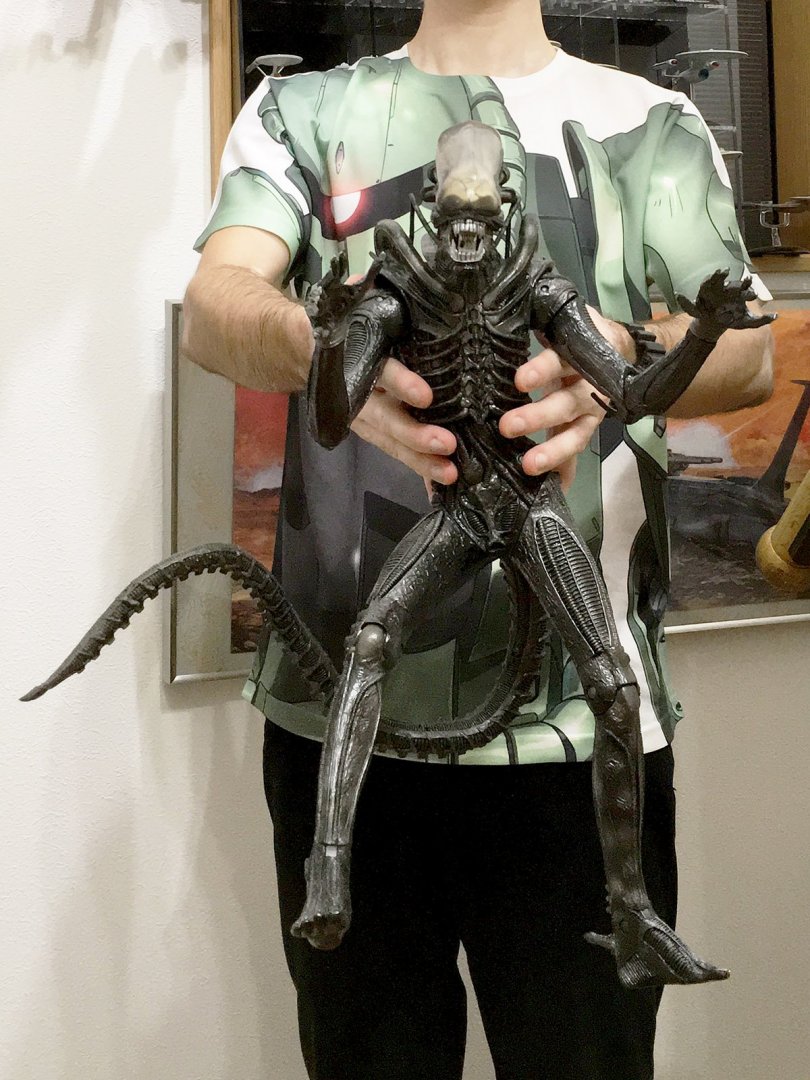
-
Your most recent Macross or toy purchase! General thread.
tekering replied to Gakken85's topic in Hall Of The Super Topics
Excellent posing, Saburo! -
The Alien/Predator/Aliens vs. Predator Thread
tekering replied to VT 1010's topic in Anime or Science Fiction
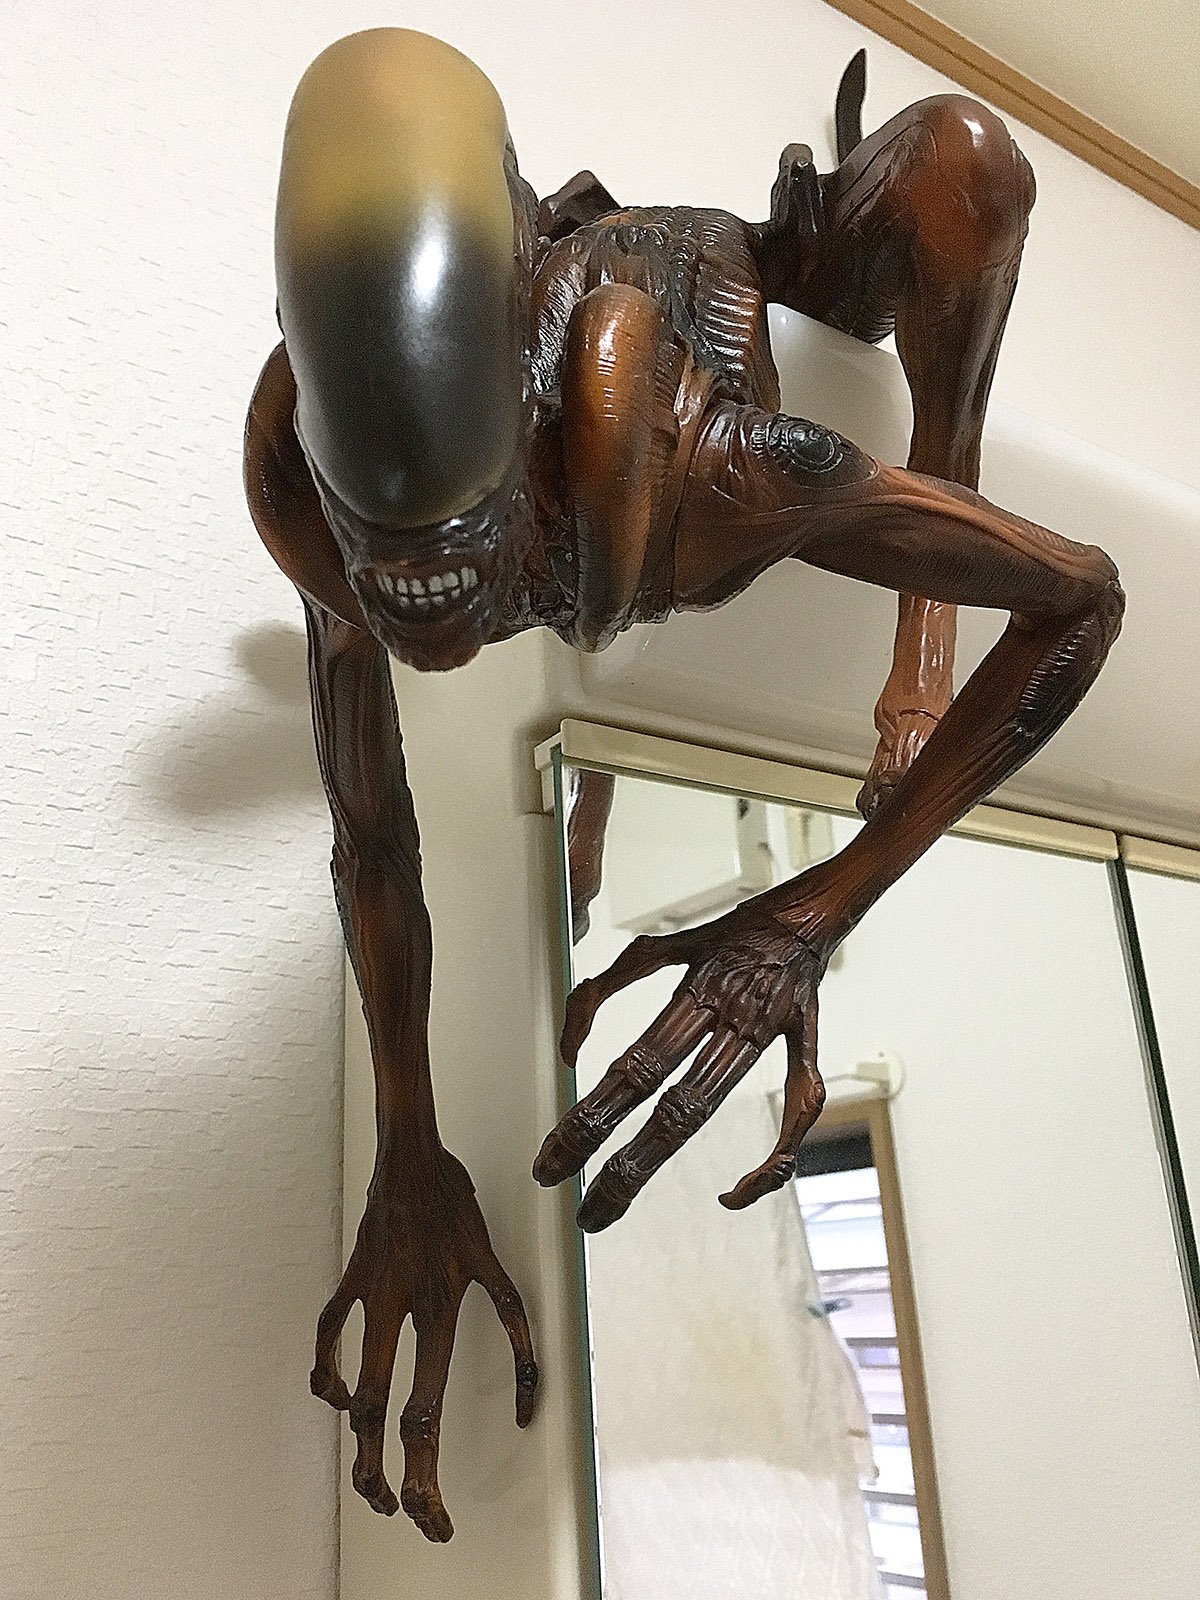
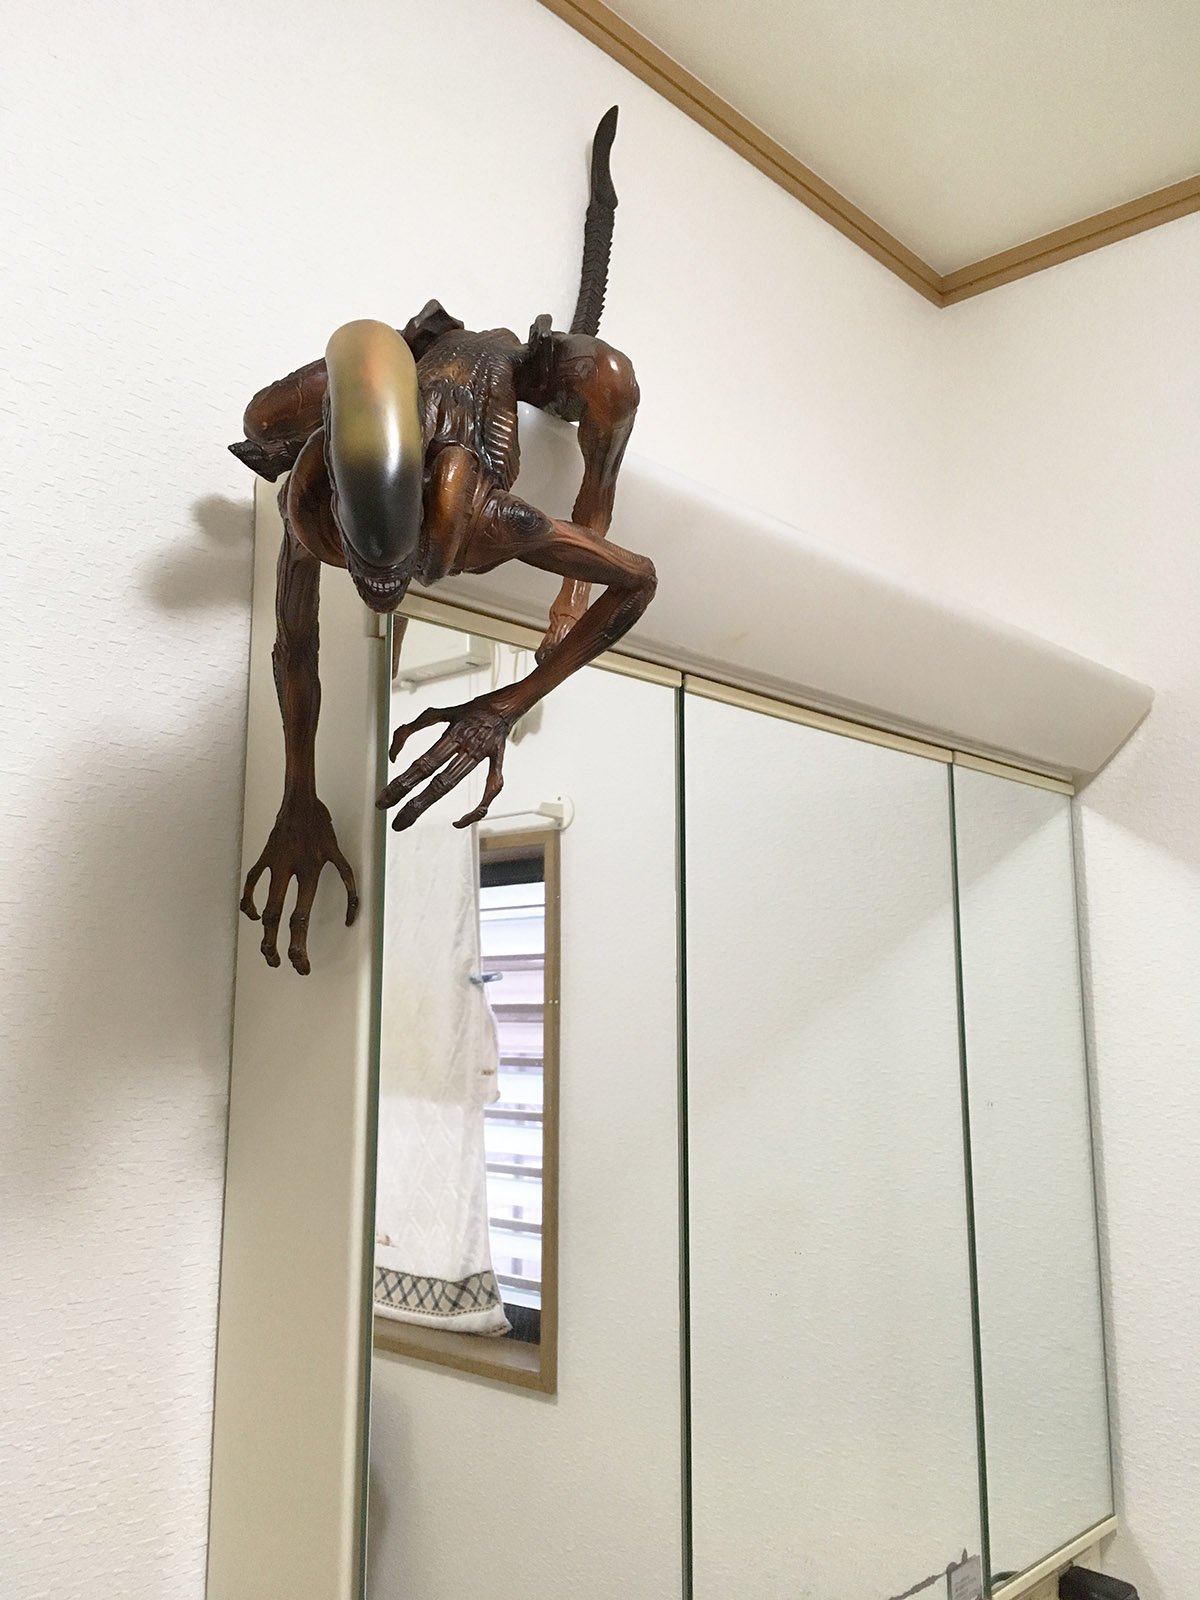
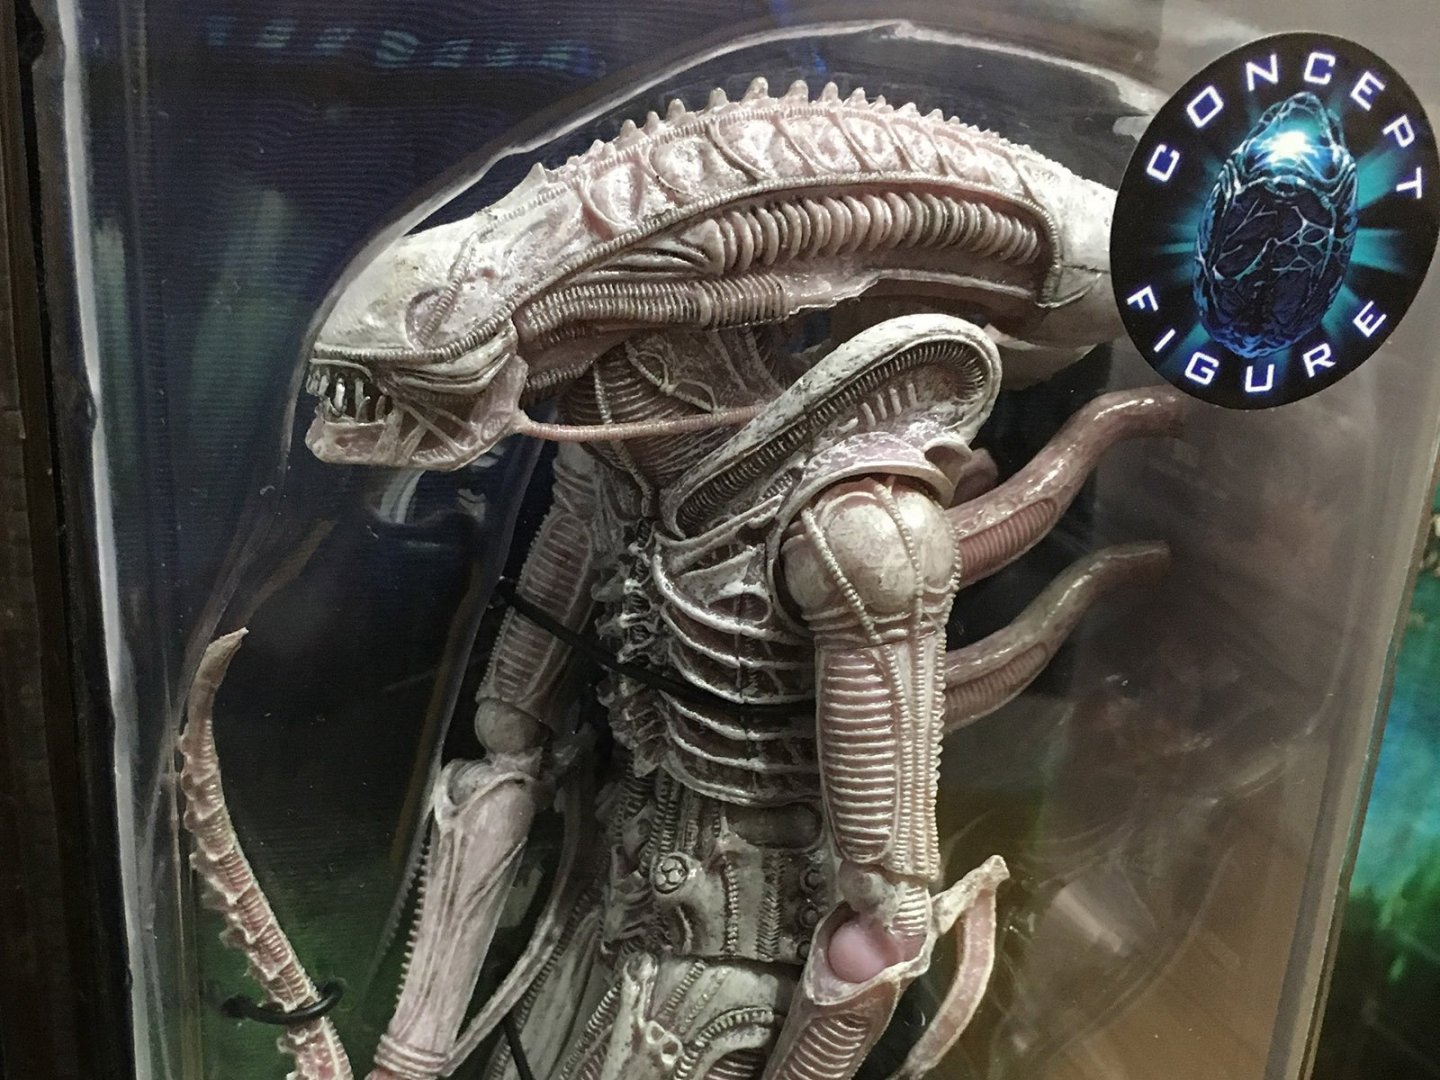
In that case, I'd recommend you hunt down this version: The "AvP2" warrior design incorporated elements from Giger's original Alien, Cameron's redesign for Aliens, and the longer appendages from the later sequels... and, since it's neither blue, nor green, or brown-tinted, it's about as "generic" as a Xenomorph figure can be. It's also the largest of NECA's drones at this scale.
-
Your most recent Macross or toy purchase! General thread.
tekering replied to Gakken85's topic in Hall Of The Super Topics
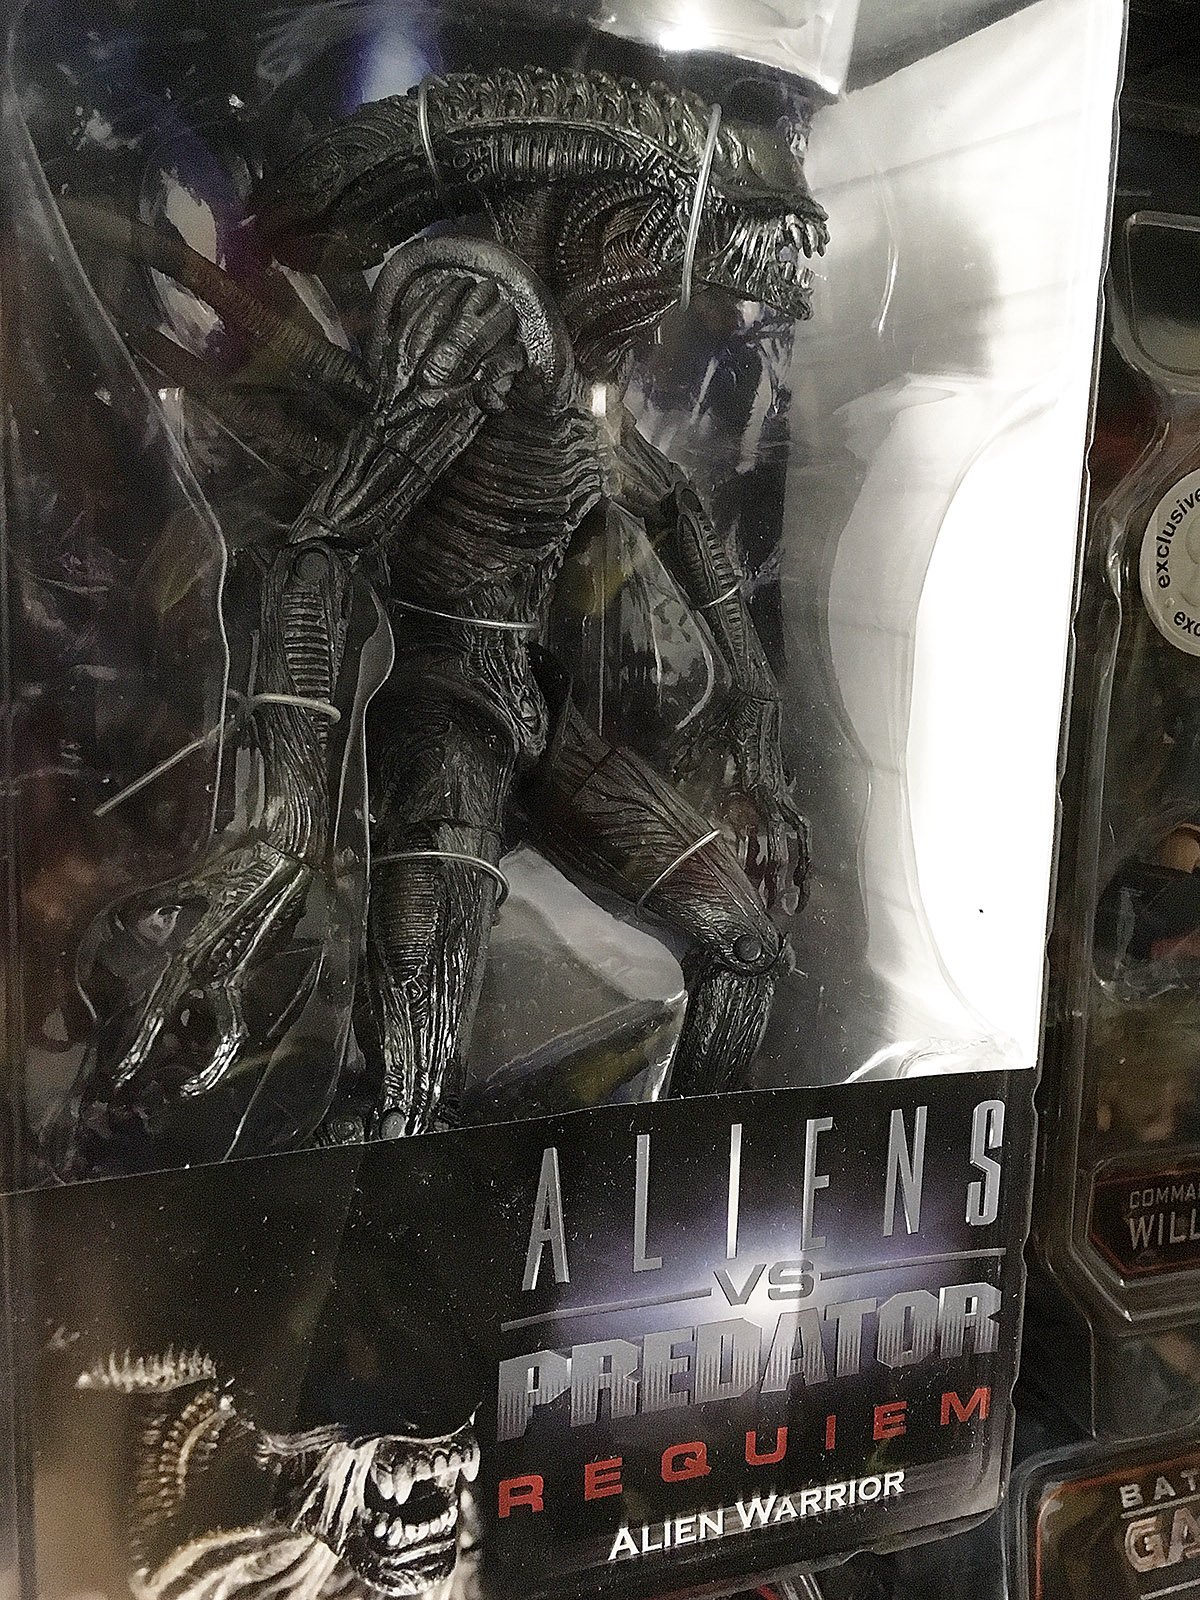
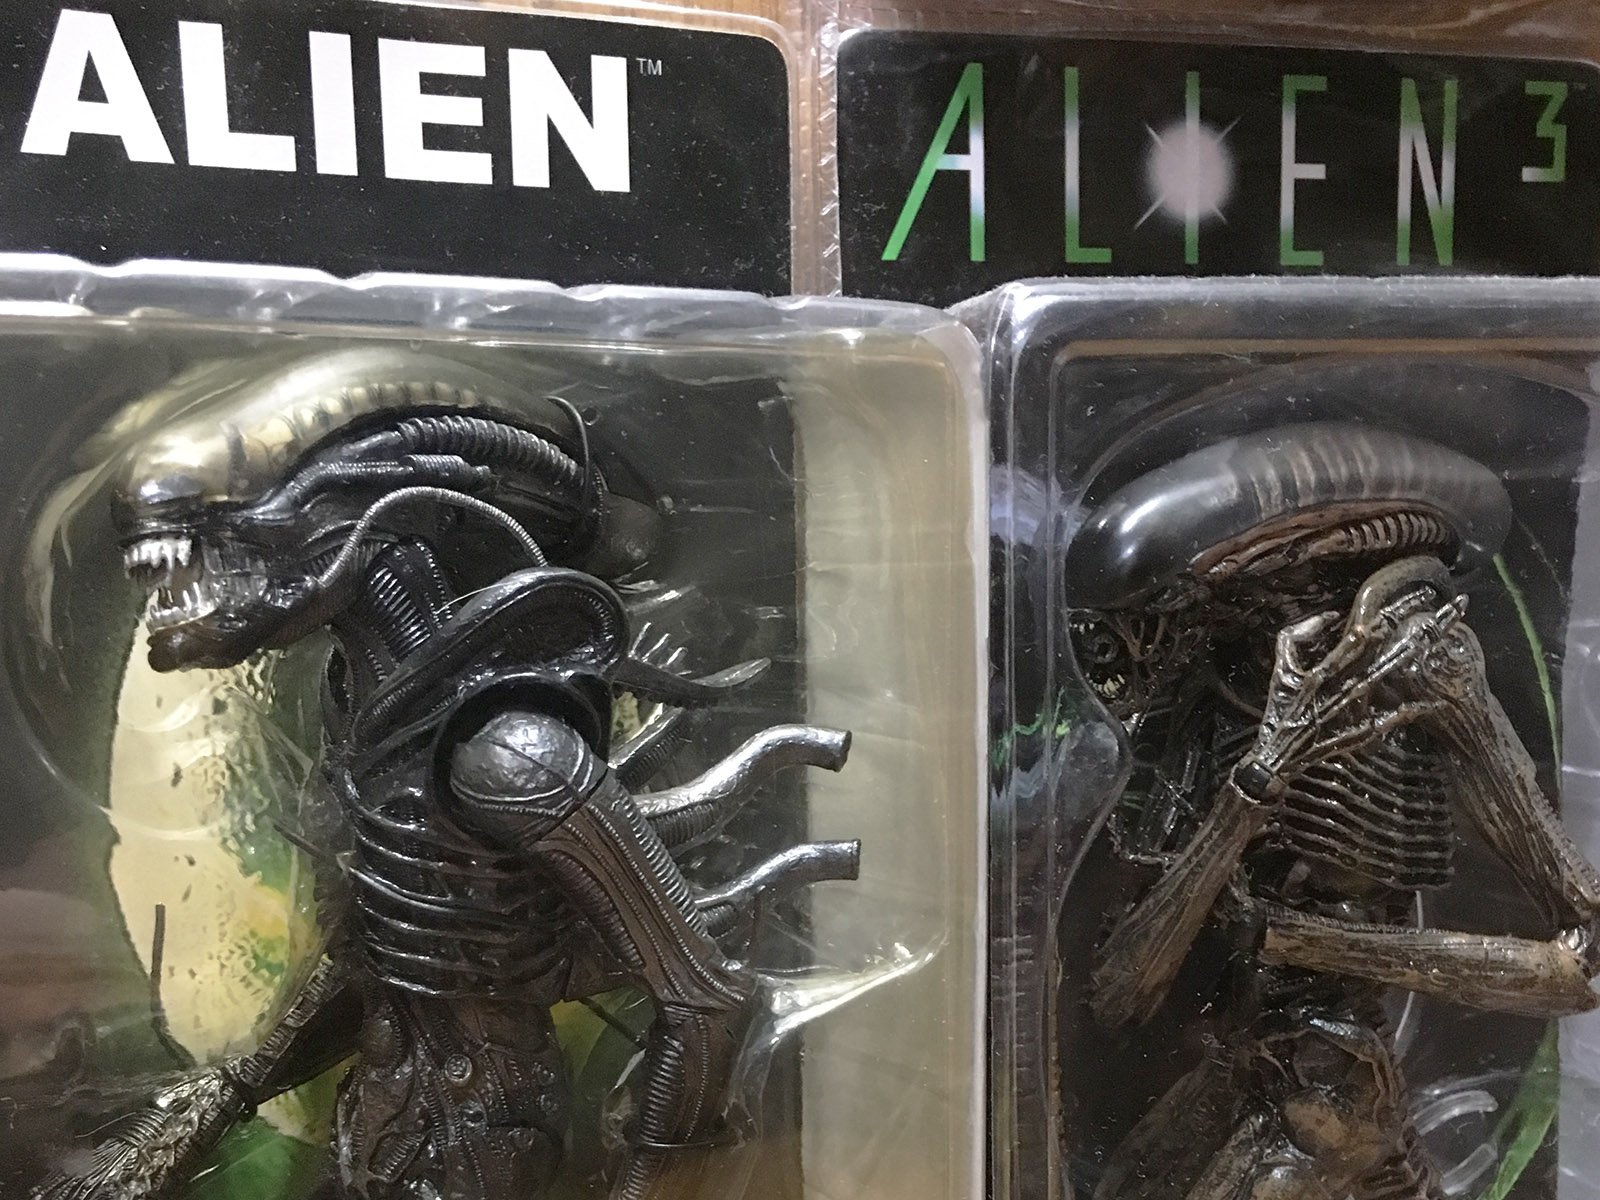
Whoops! That's the latest NECA release, from their new Alien Resurrection line. It stands about nine inches, fully erect. I ordered mine from BigBadToyStore.com. Who's Simone? http://www.macrossworld.com/mwf/topic/44143-kitz-concept-robotech-toy-line/?do=findComment&comment=1482839 -
Simple answer: Mospeada merchandise has always been superior to Robotech merchandise, just as Mospeada is superior to Robotech.
-
The Alien/Predator/Aliens vs. Predator Thread
tekering replied to VT 1010's topic in Anime or Science Fiction
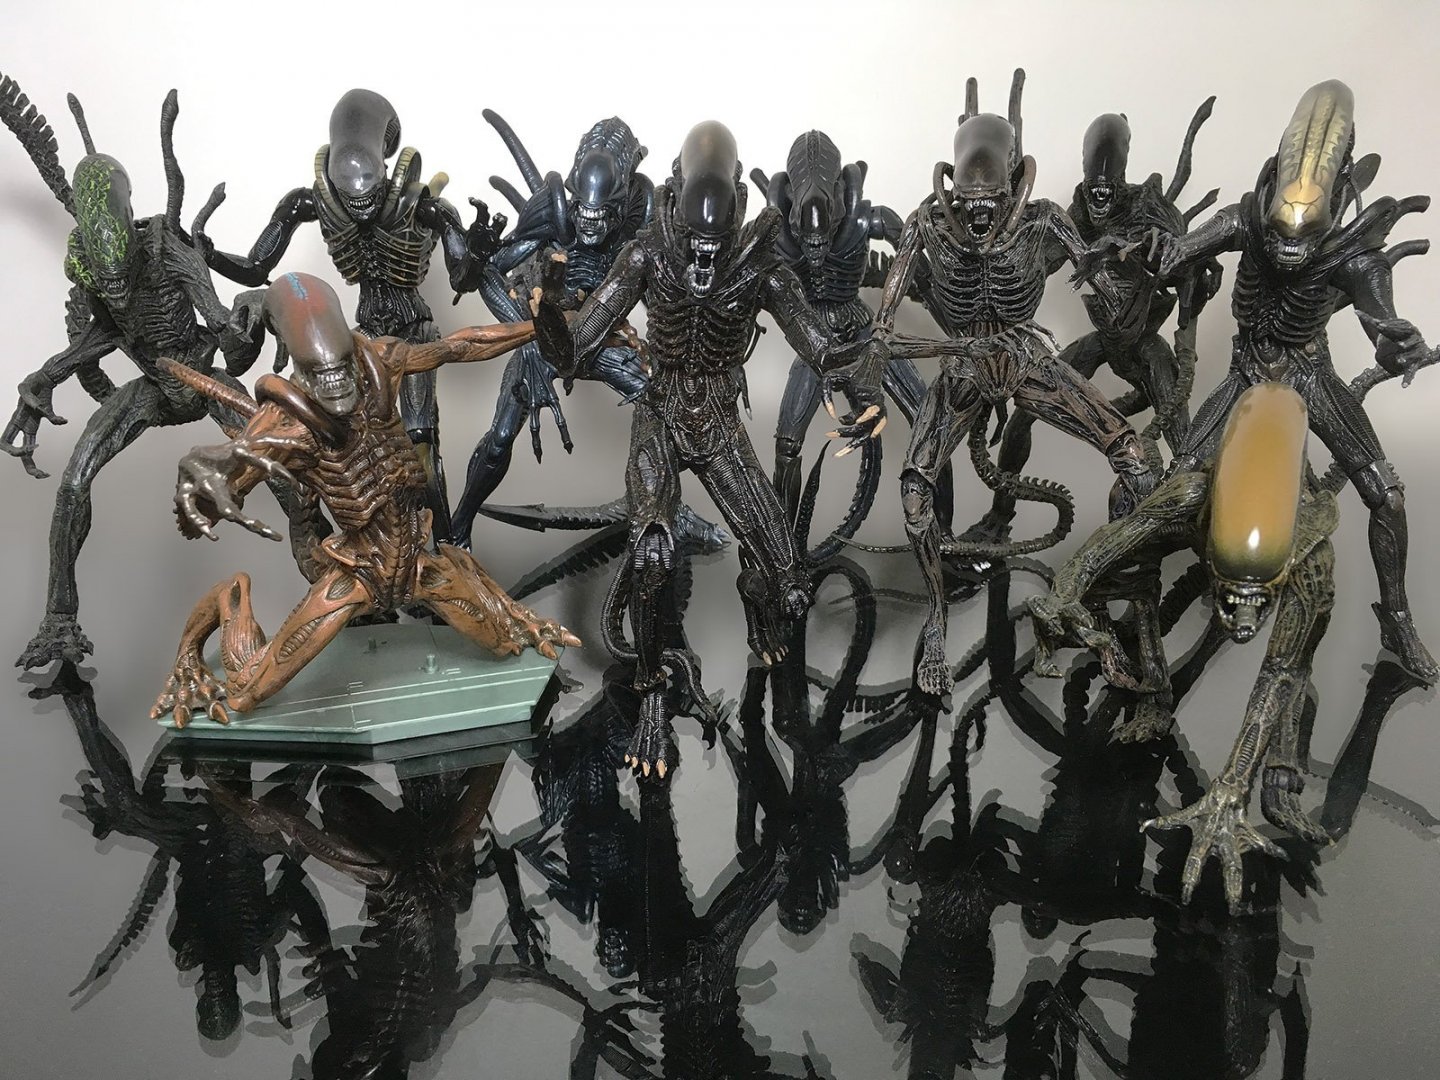
Well, that's the easy answer, obviously... ...but I assume he meant "warrior" Xenomorph, as opposed to a chestburster, facehugger, or any other representation of the life-cycle (not to mention variants like the neomorph, queen, "newborn," "Predalien," or "Deacon"). Of course, that still leaves numerous options... ...without even considering battle-damaged variants... ...film or toy concept variants... ...or comic and video game variants. I think you'll have to be more specific. I mean, the typical Xenomorph drone has appeared in seven films over the past four decades, and every single film has redesigned the suit... ...and between Kenner, Aoshima, McFarlane, NECA (and several other manufacturers), there are several competing versions from each film. Some have a preference based on the quality of the film they represent... ...some have a preference based on the aesthetics of a particular design... ...and some just gotta have every variant of every figure from every film!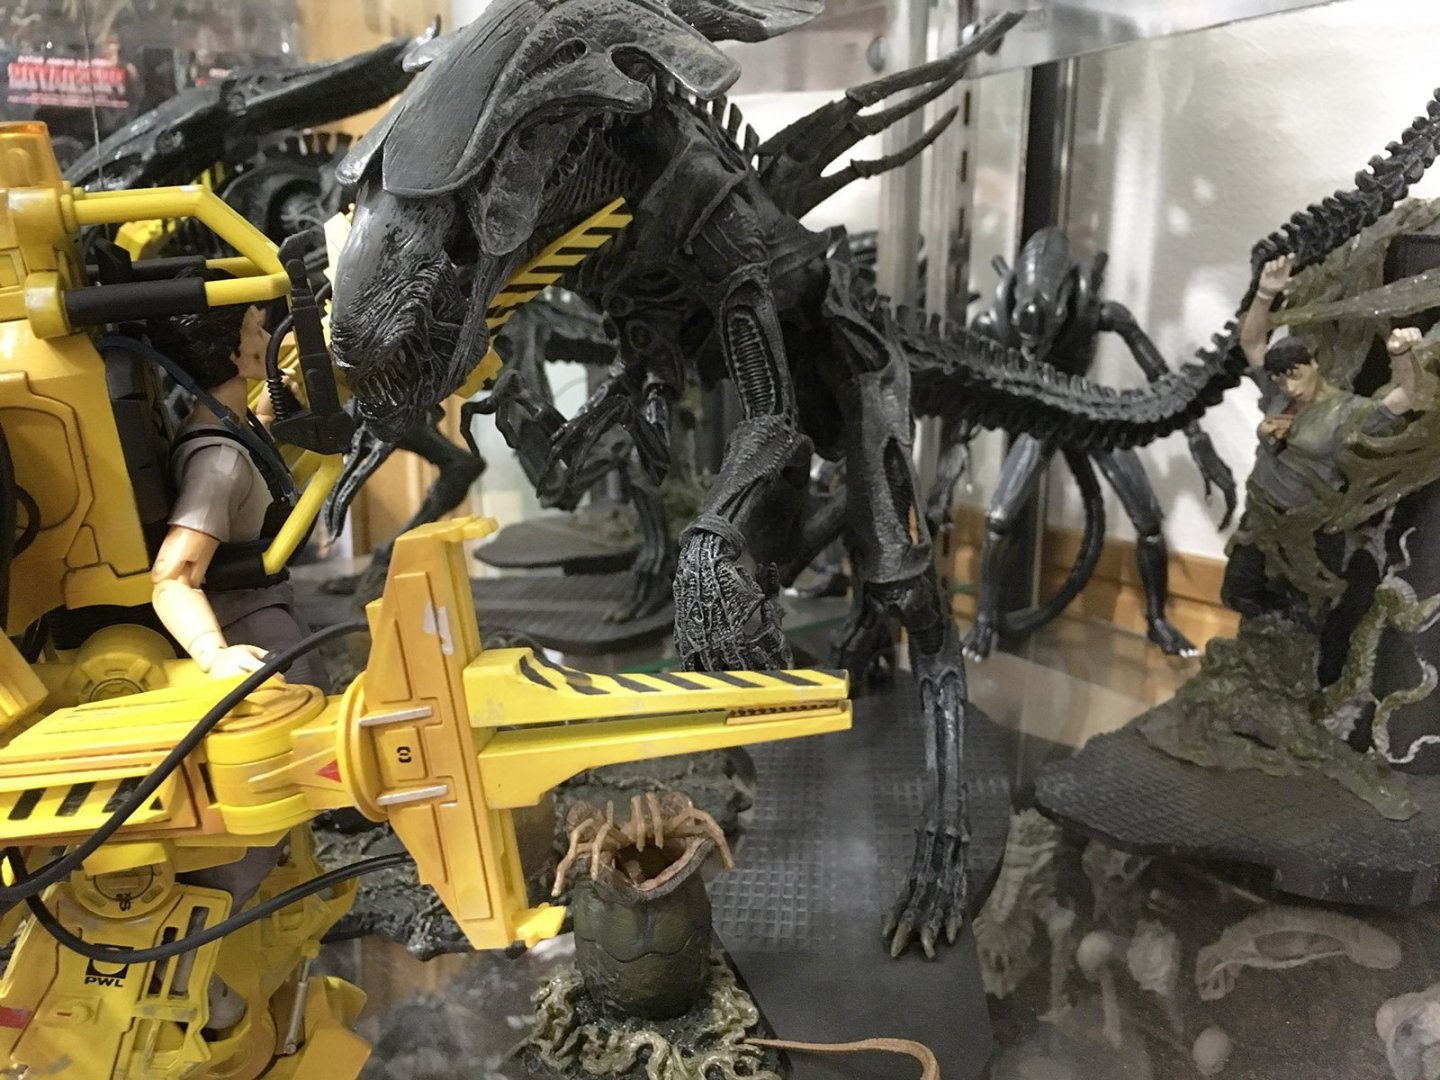
-
Were you aware that Toynami issued a recall on that particular model? As much as I laugh derisively at "the high level of quality that our customers expect," I must grudgingly respect them for taking responsibility for that particular dumpster fire. That doesn't excuse the rest of their product line, of course, but it does suggest that the Shadow Alpha was, somehow, even worse. Refunds were issued, no questions asked, for a full two months after the announcement.
-
Medicom/Hot Toys and all 1/6 scale figures
tekering replied to EXO's topic in Anime or Science Fiction
Phicen figures will spice up anyone's collection. -
I built it myself, using a combination of kits from several different manufacturers. Lots more pics back here.
-
Yes, many blame Bandai for underproducing their DX Chogokin line, thereby creating a secondary market for scalpers to exploit.