derex3592
-
Posts
8873 -
Joined
-
Last visited
Content Type
Profiles
Forums
Events
Gallery
Everything posted by derex3592
-
Your most recent Macross or toy purchase! General thread.
derex3592 replied to Gakken85's topic in Hall Of The Super Topics
@sqidd - OK dude! Now I OFFICIALLY hate you! That's AWESOME! Where did it come from?! -
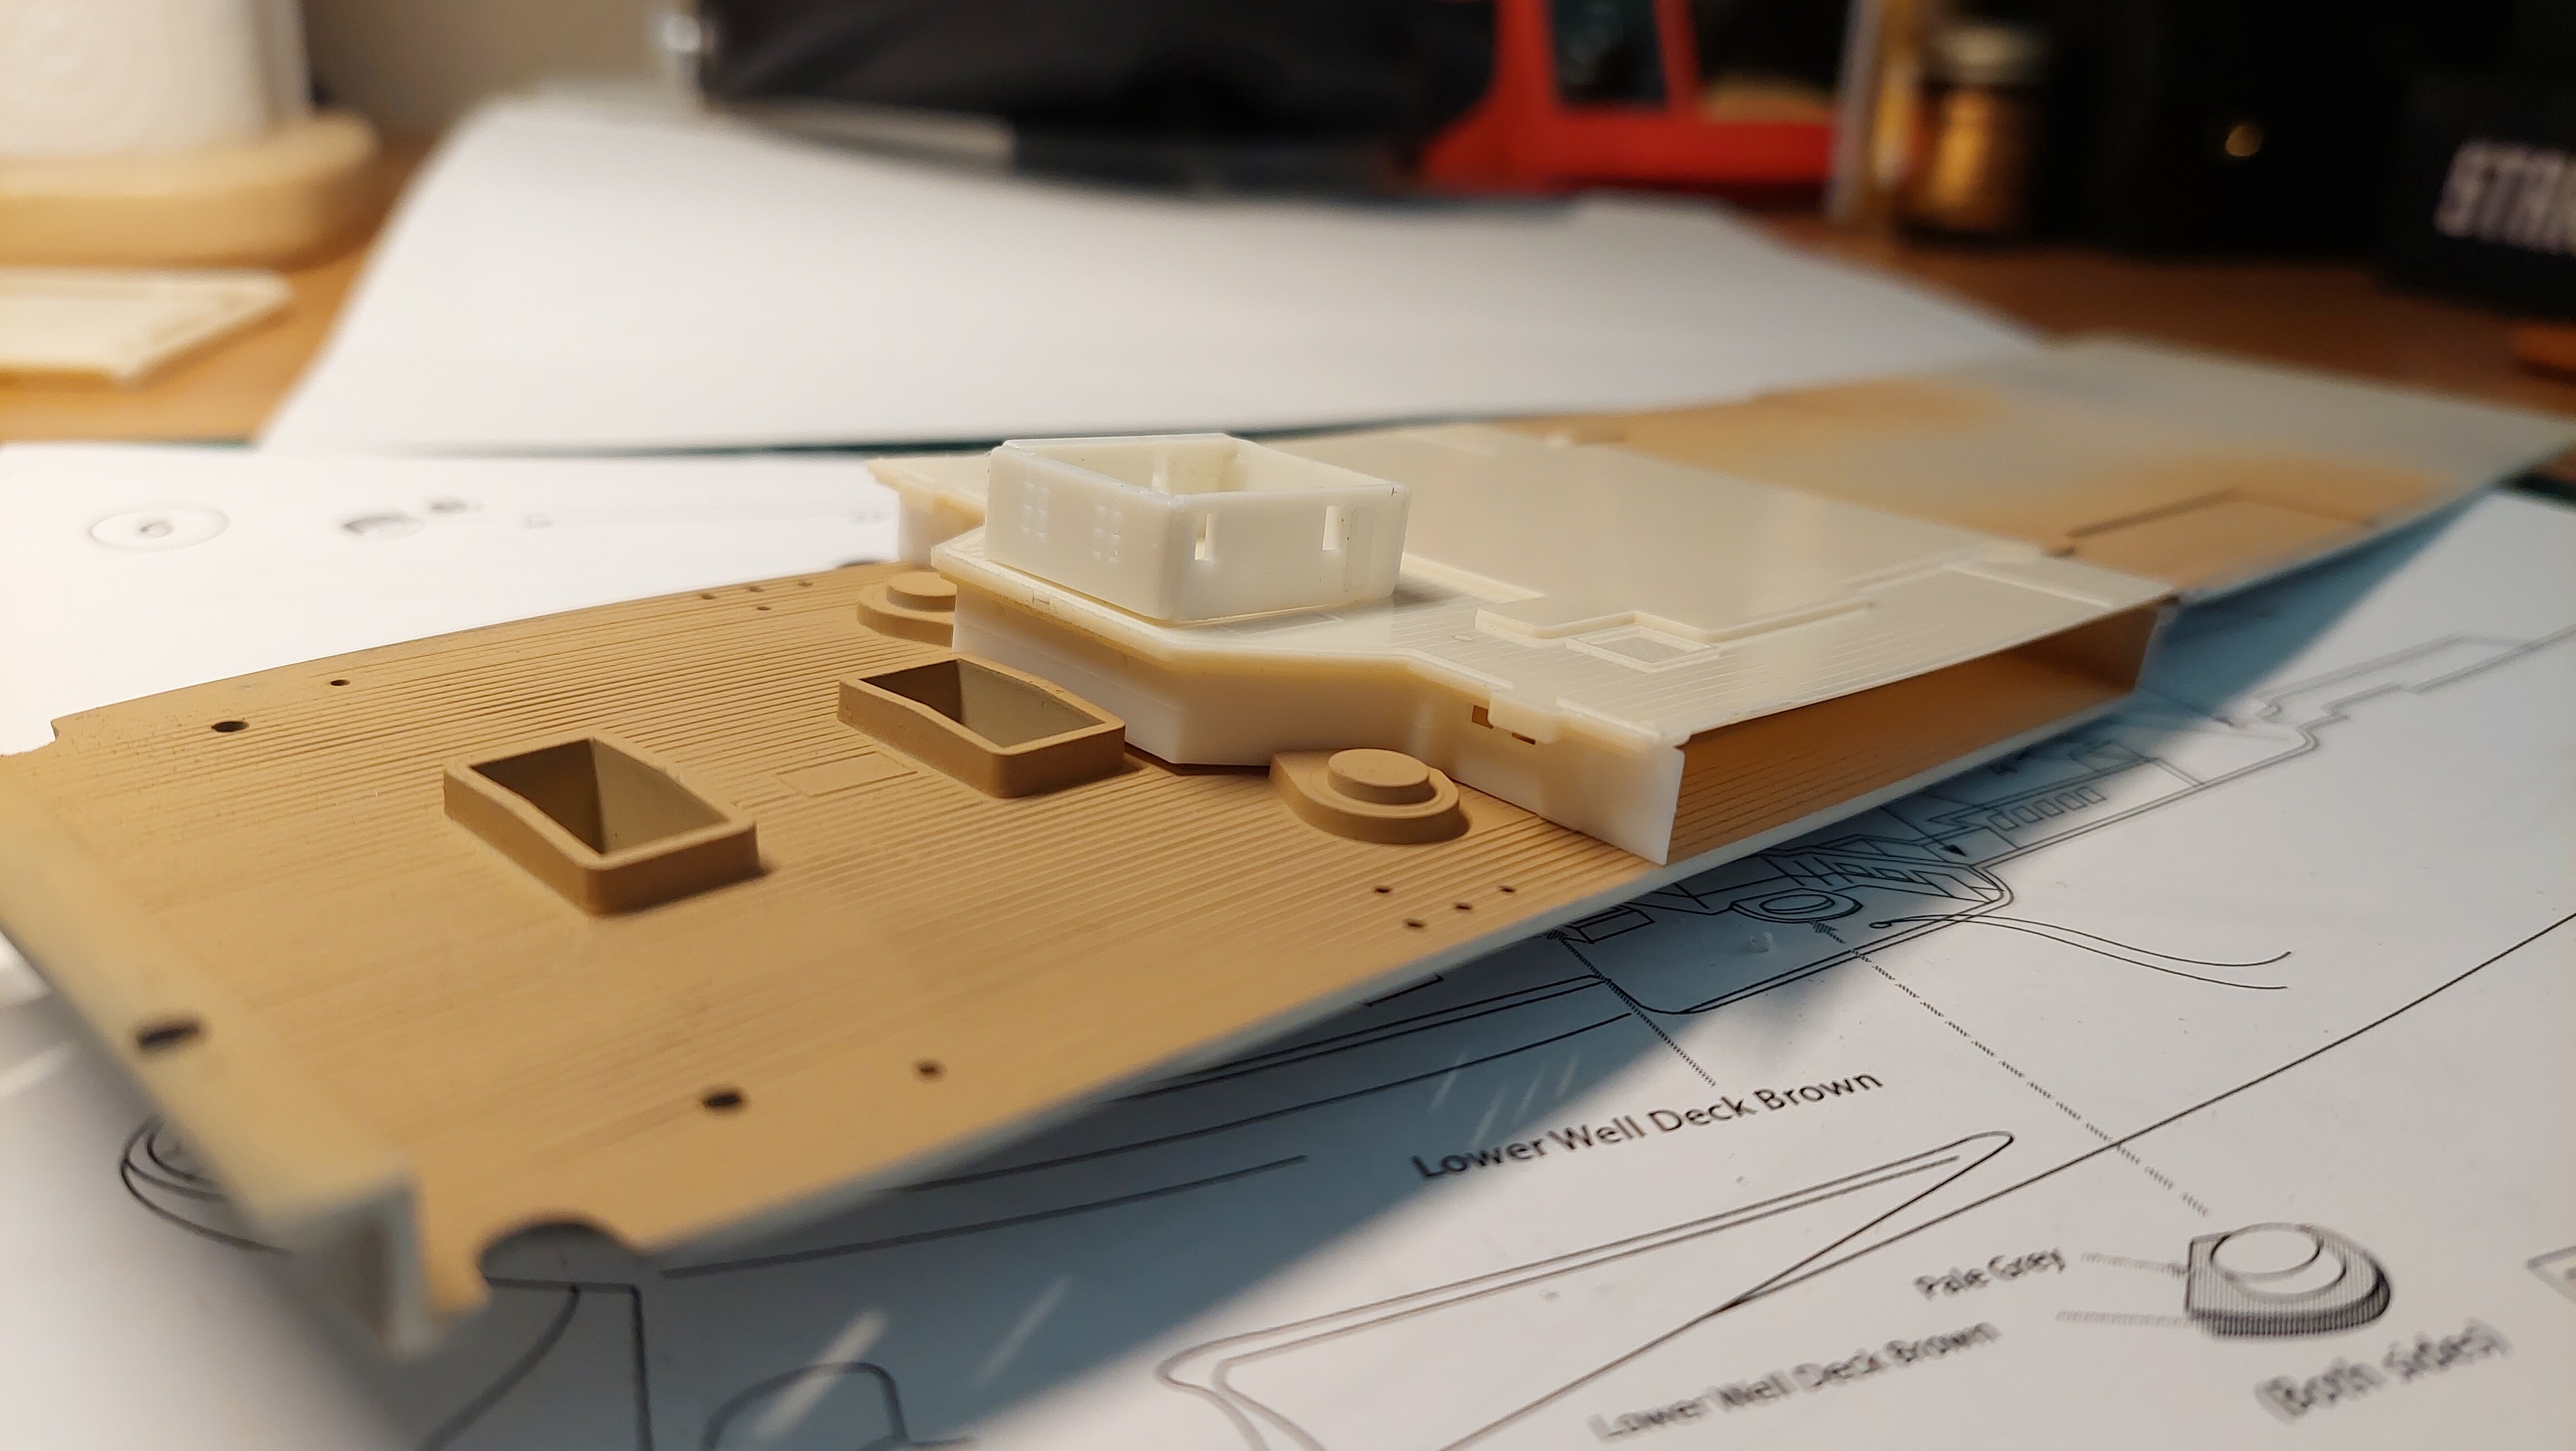
Small Titanic update: Decking coloring continues slowly and painstakingly. This morning I attached the first four rigging lines to the main deck utilizing my E-Z Line before I attempt to permanently put it in the hull. Also began some small deck assemblies. This model is true old school. There are no sub-assemblies, no snap tight Bandai goodness, tabs that DON'T line parts up right and have to be snipped and sanded then glue the parts together. And for me, before I go to far, I have to look 3 steps ahead because of the lighting. It's kind of like driving an old muscle car, without power steering or brakes or any modern comforts... it's looks good, but you have to DRIVE it. No modern BS to help you out!


-
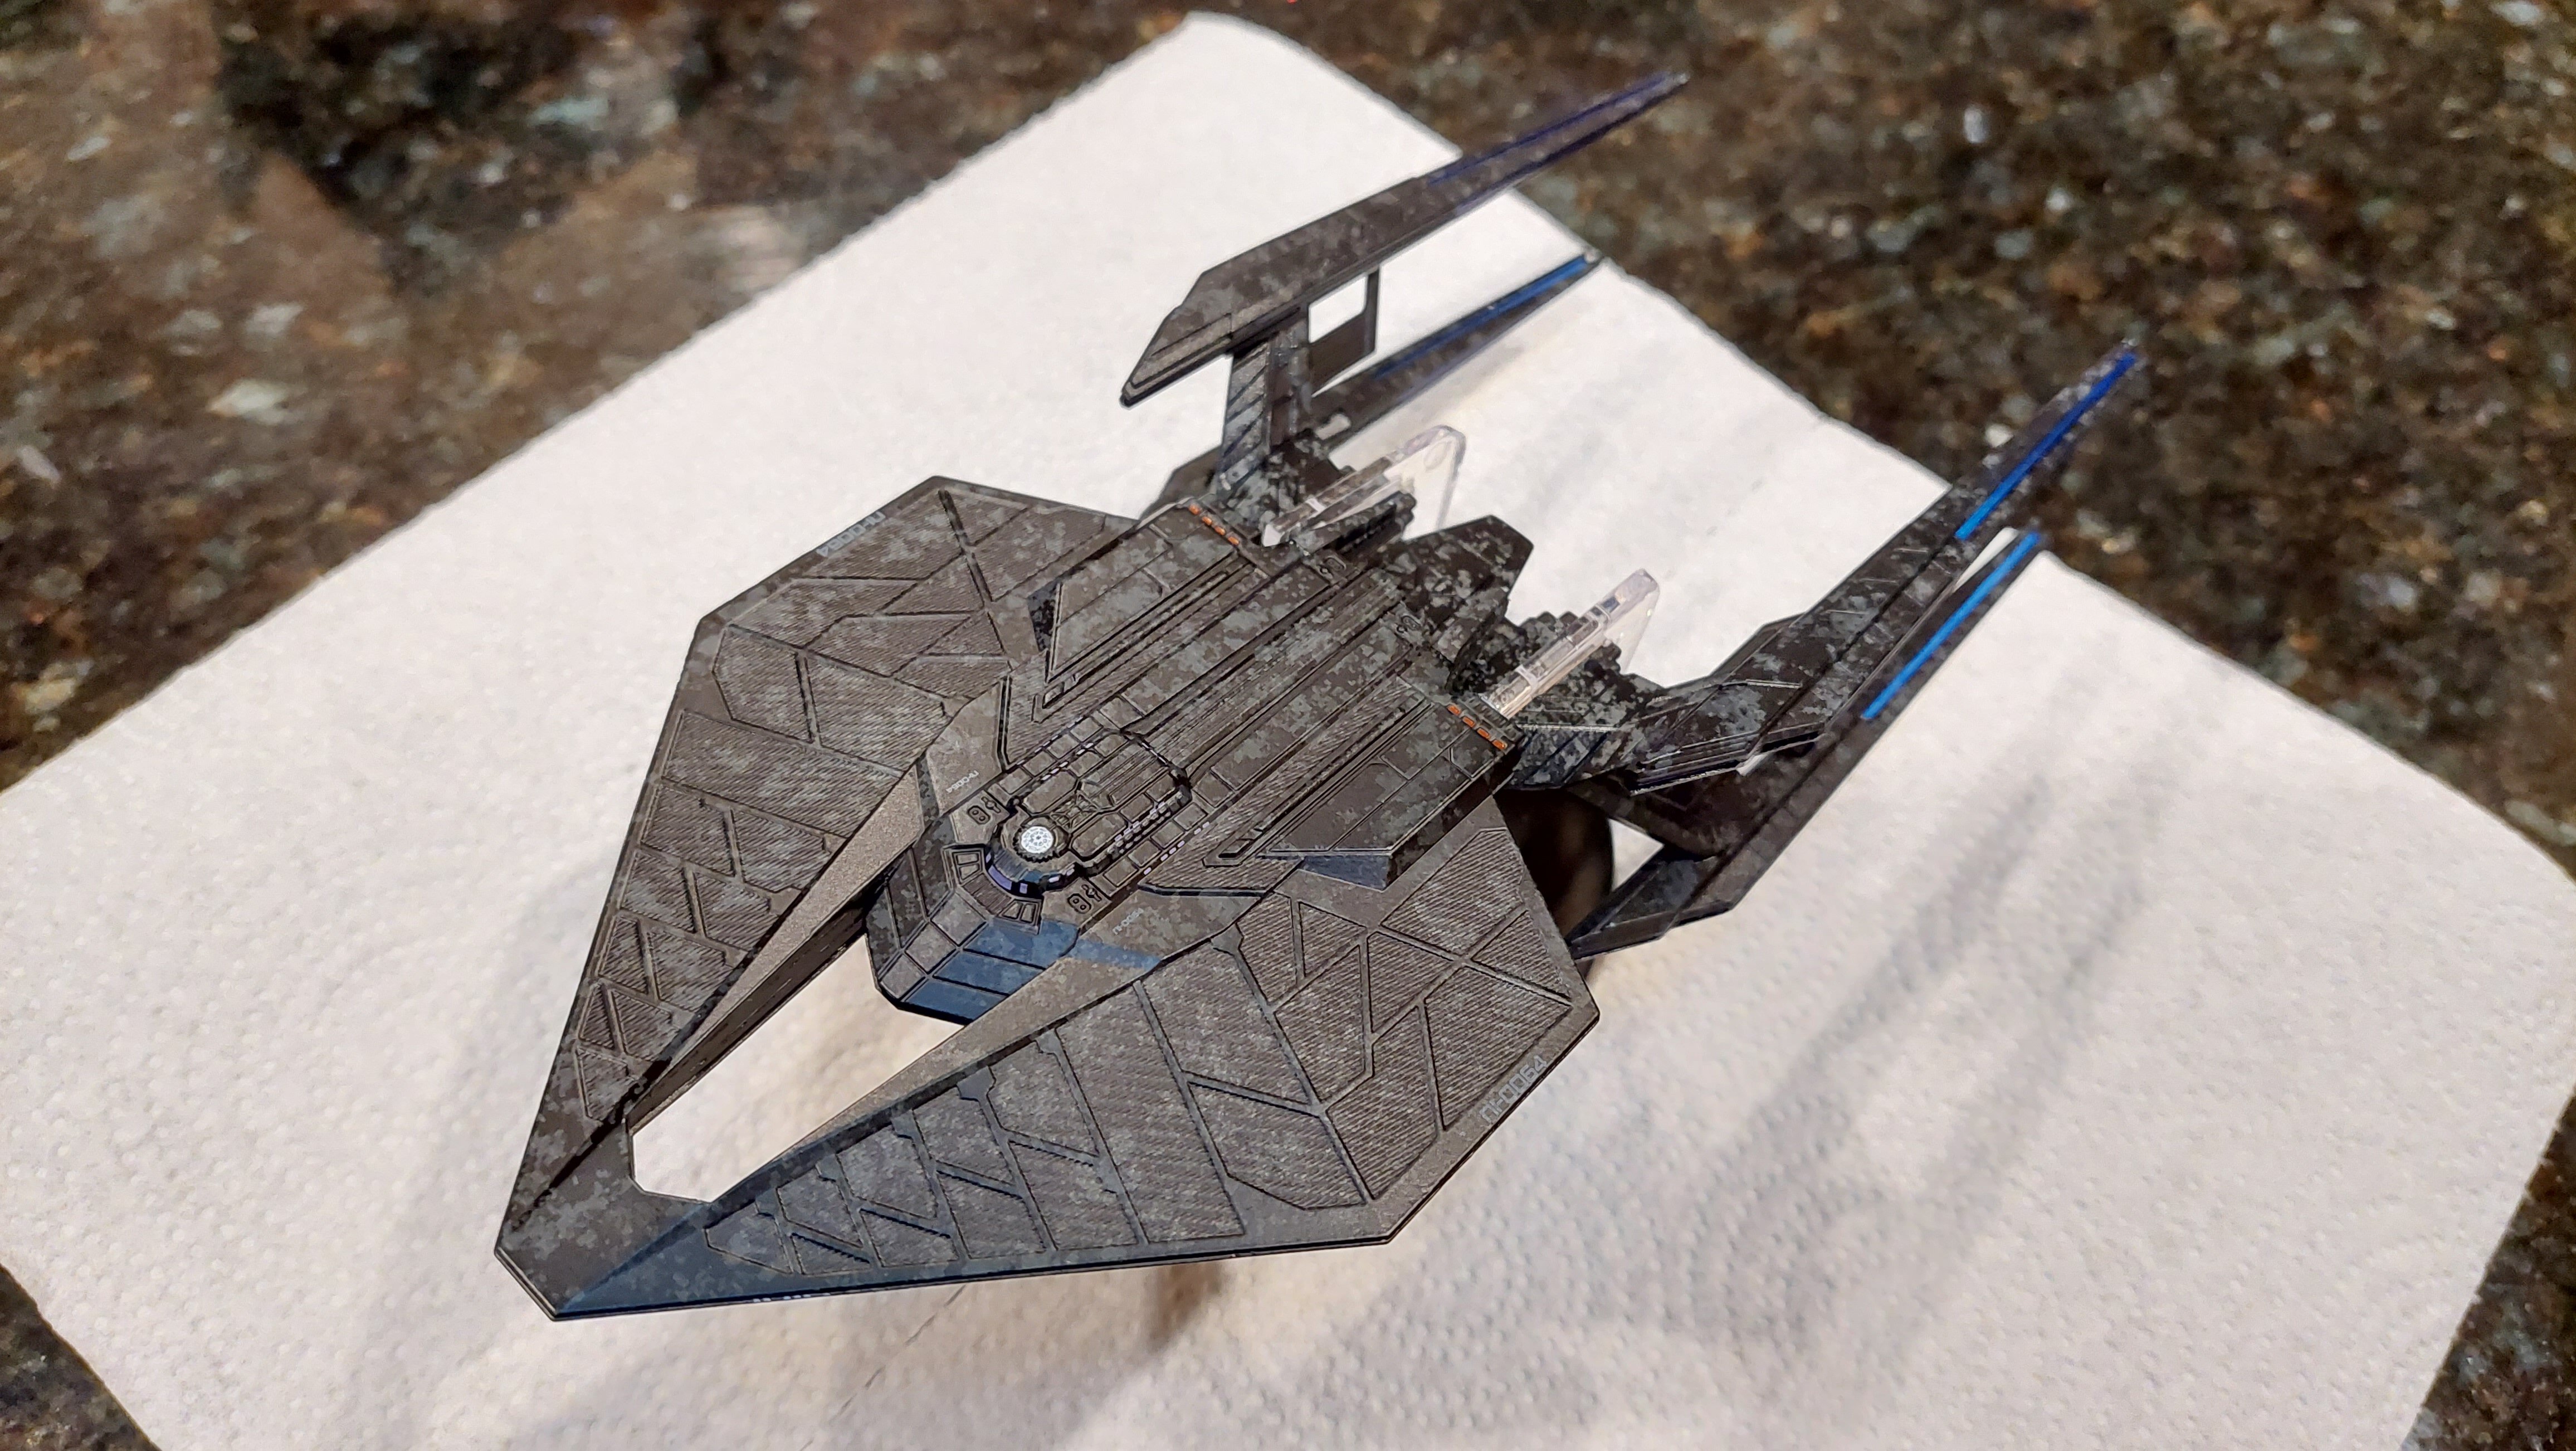
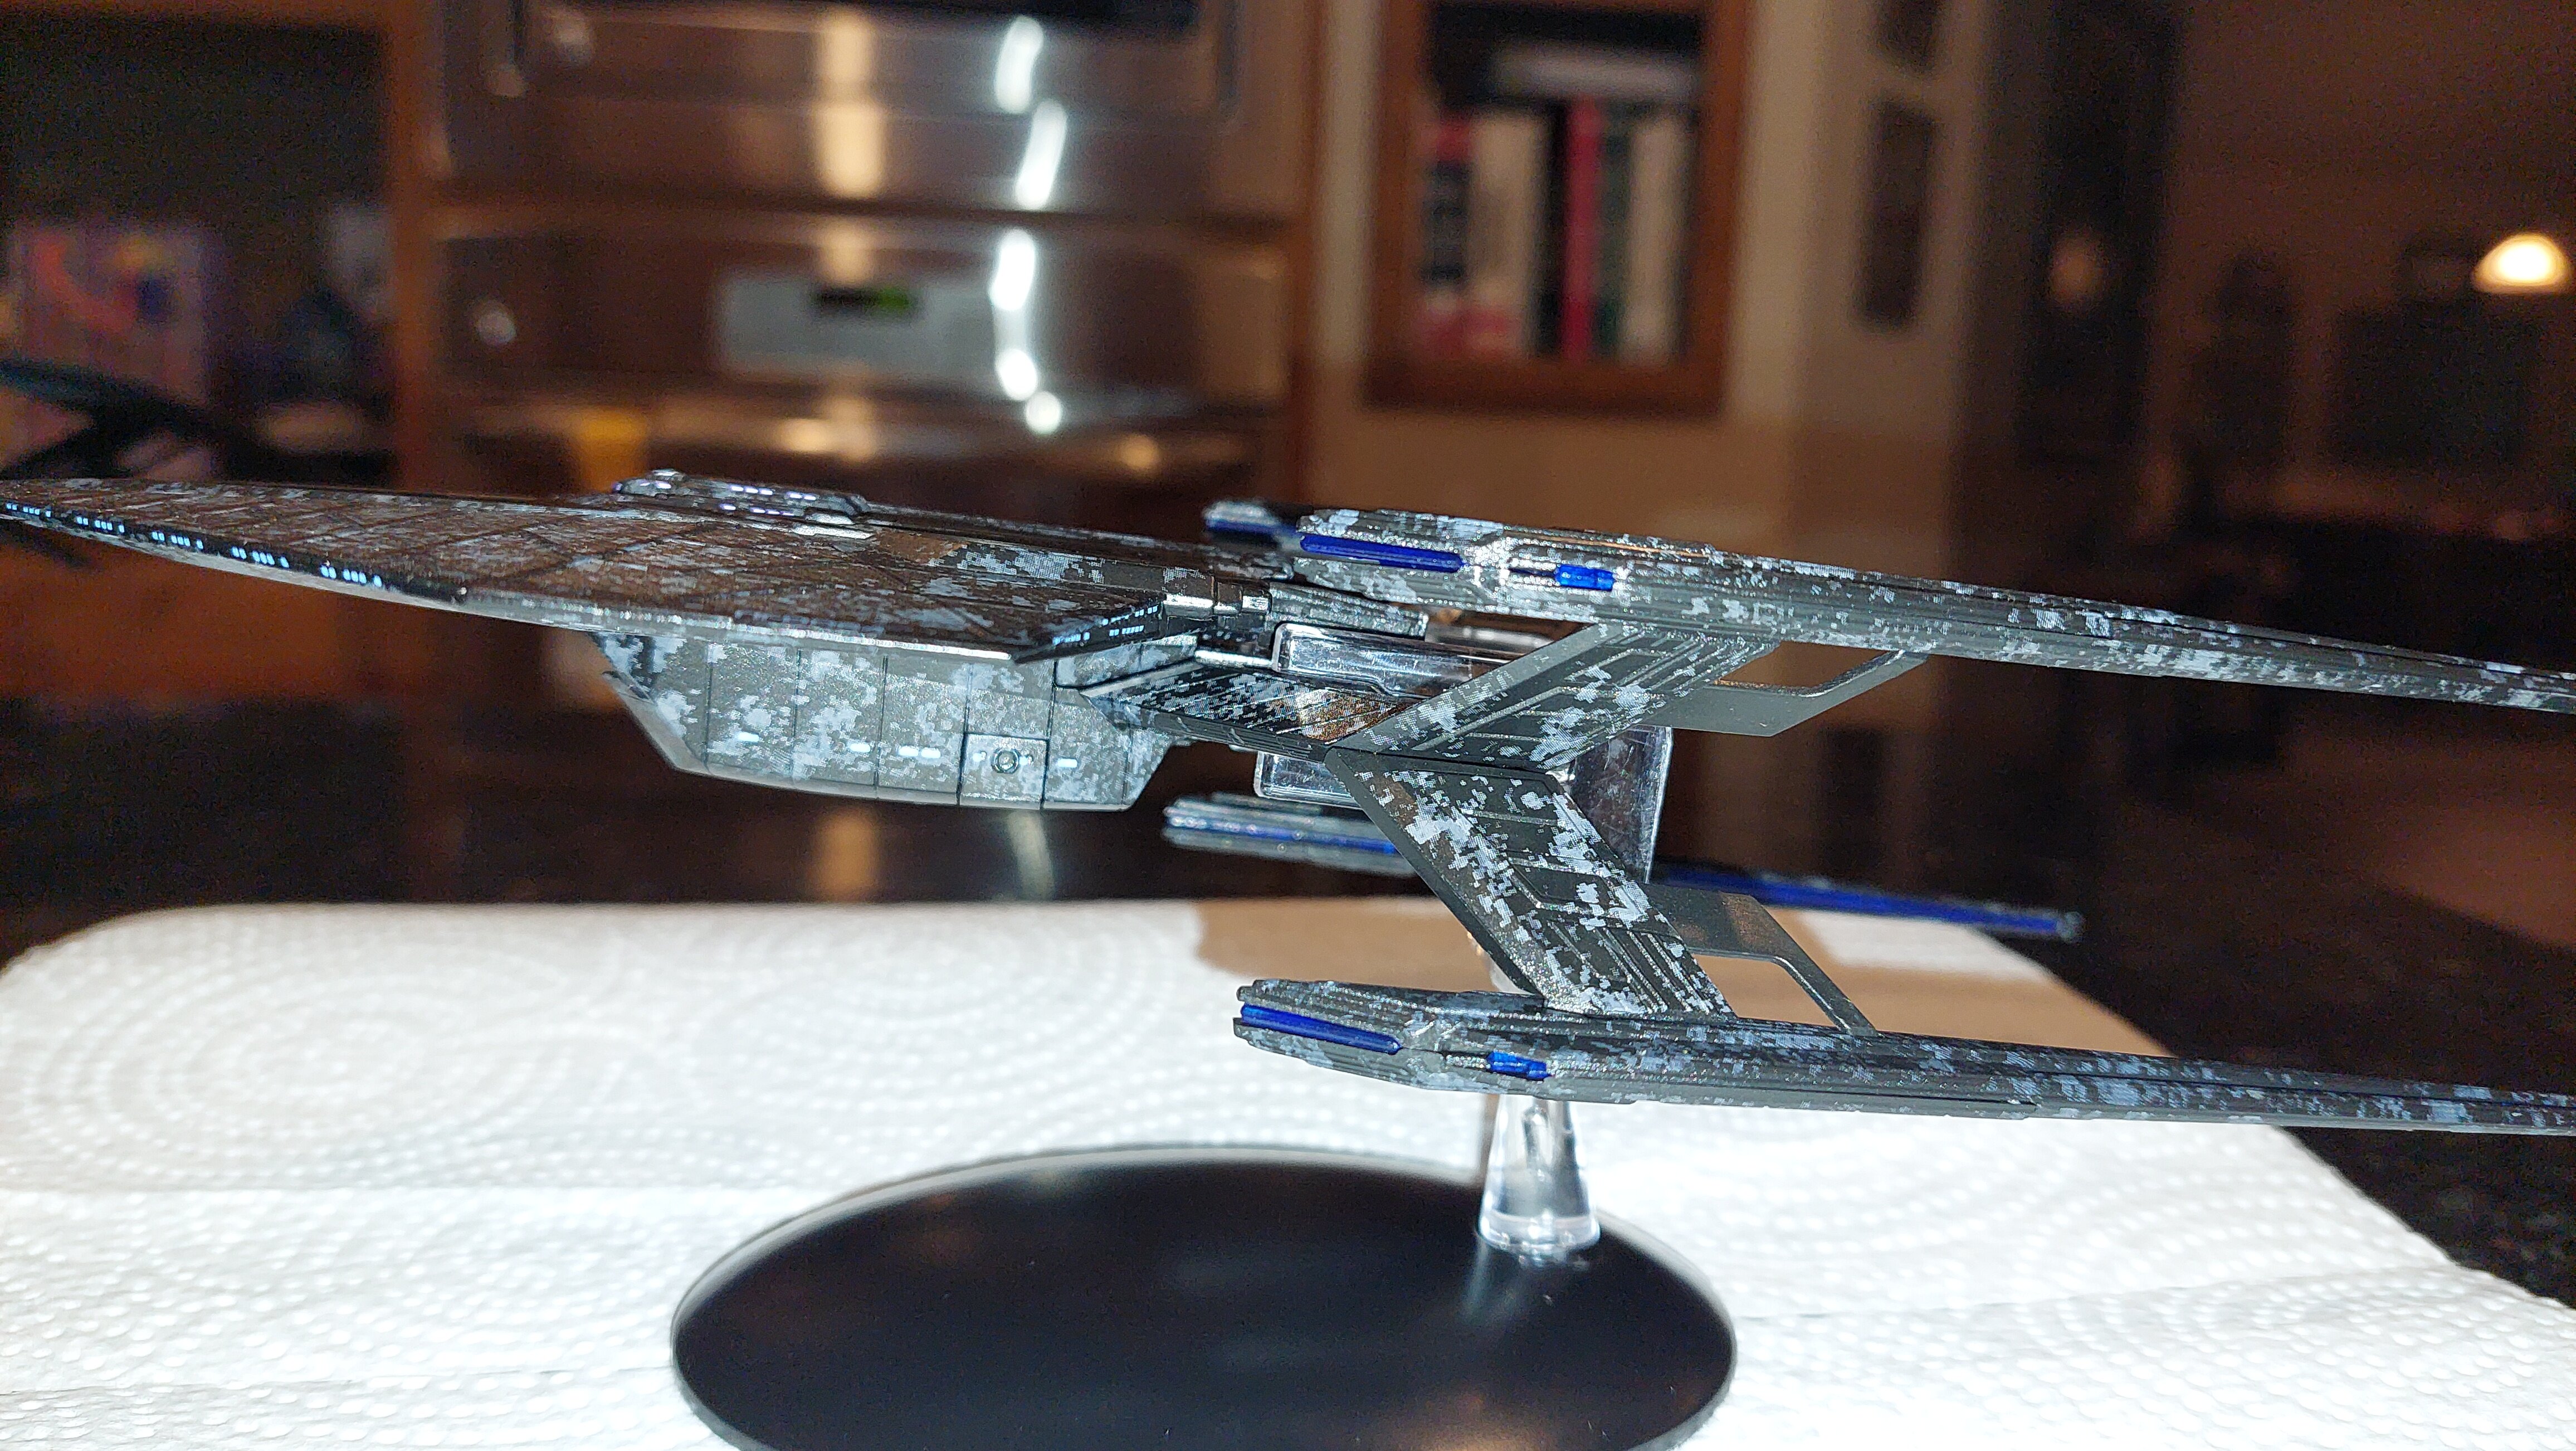
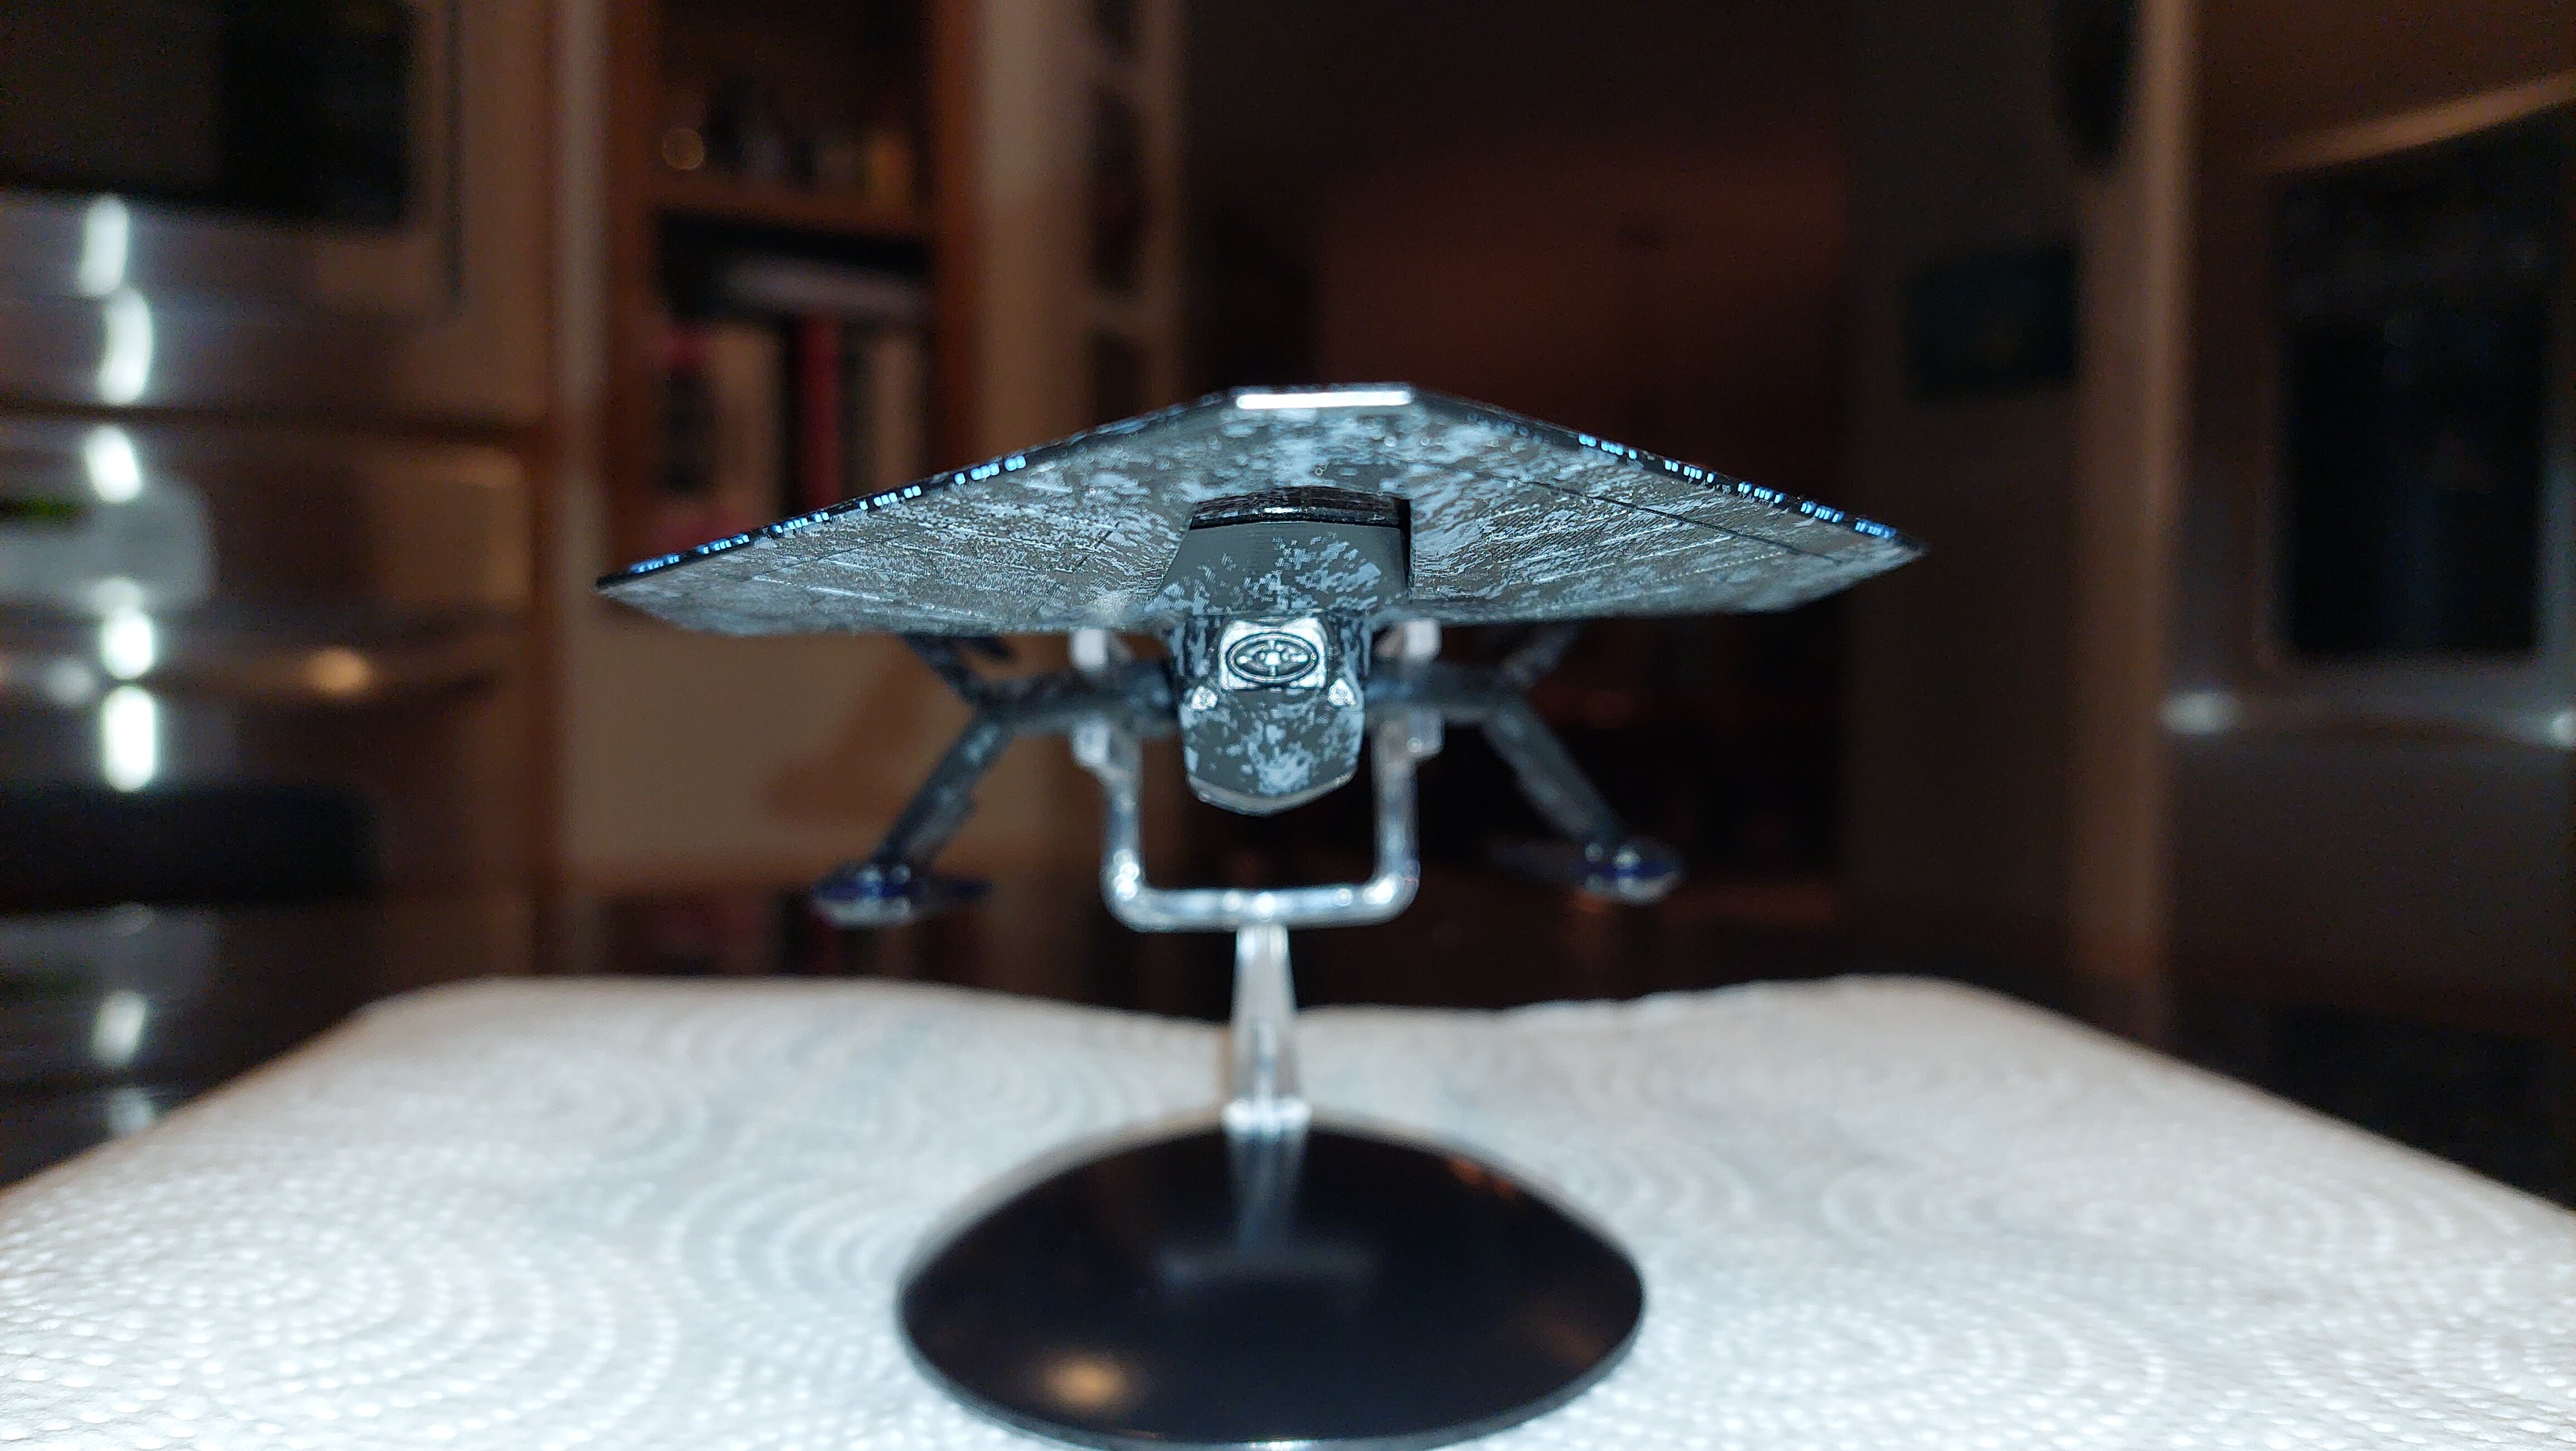
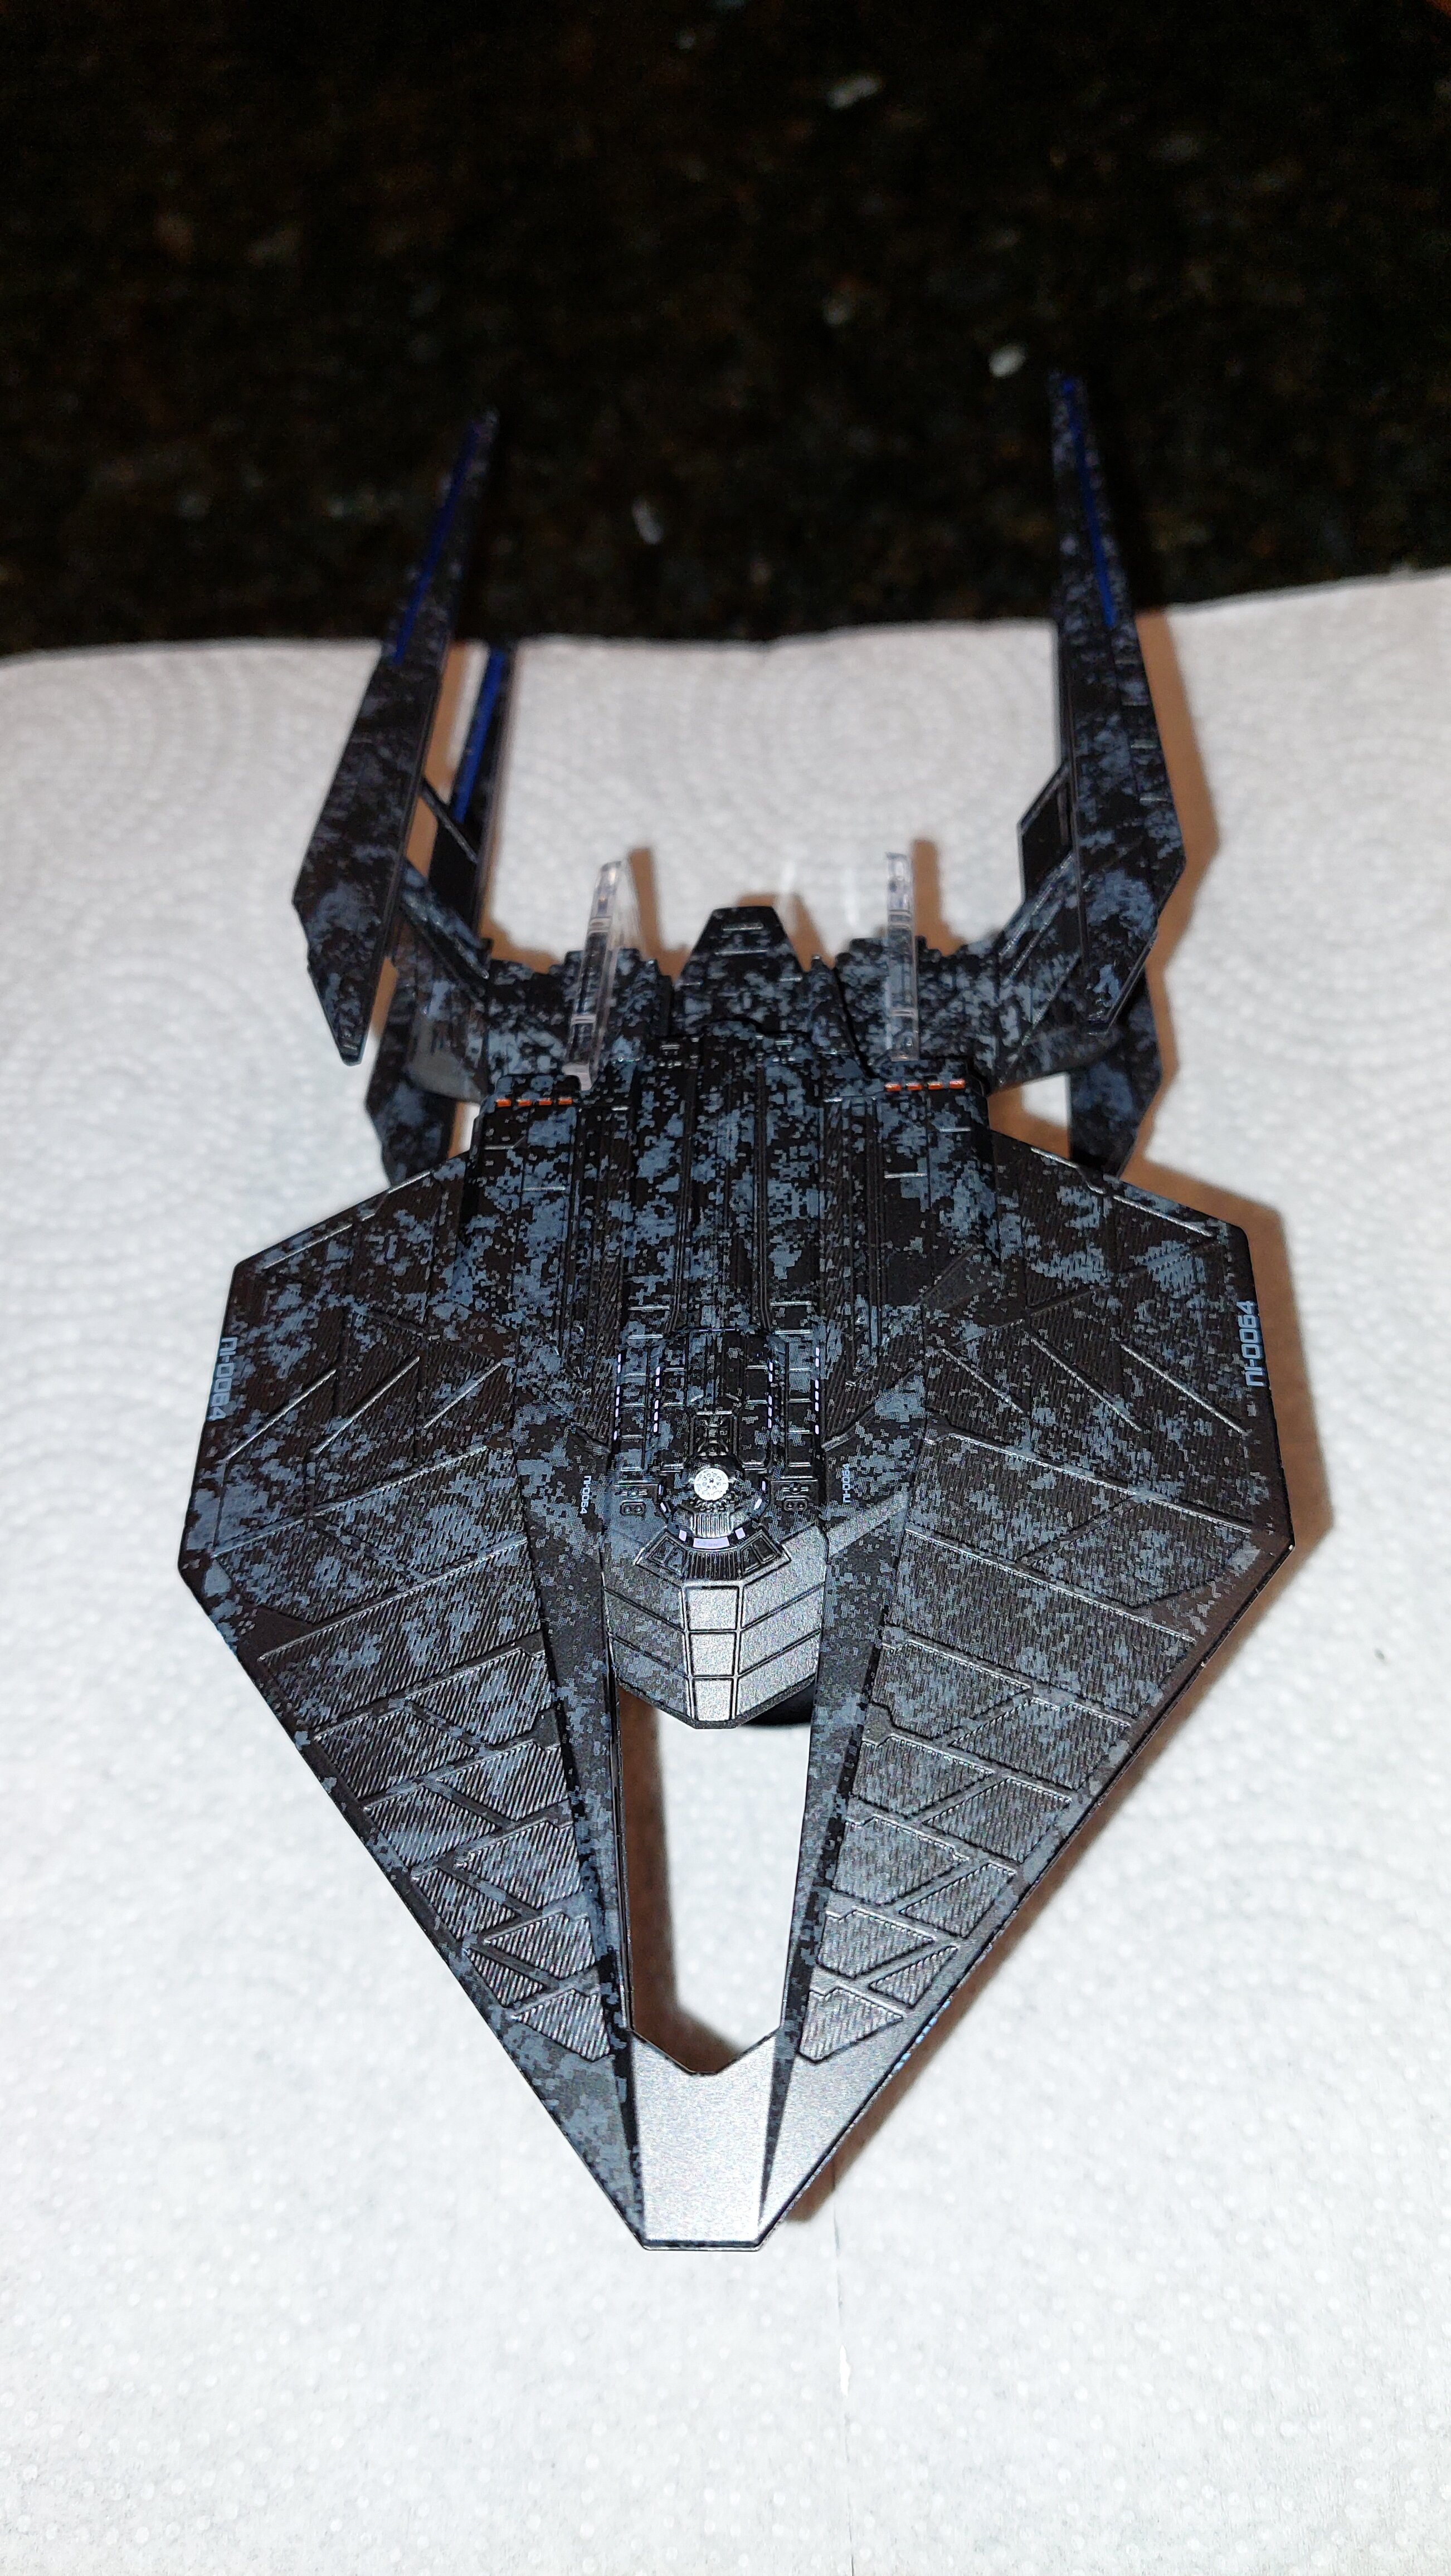
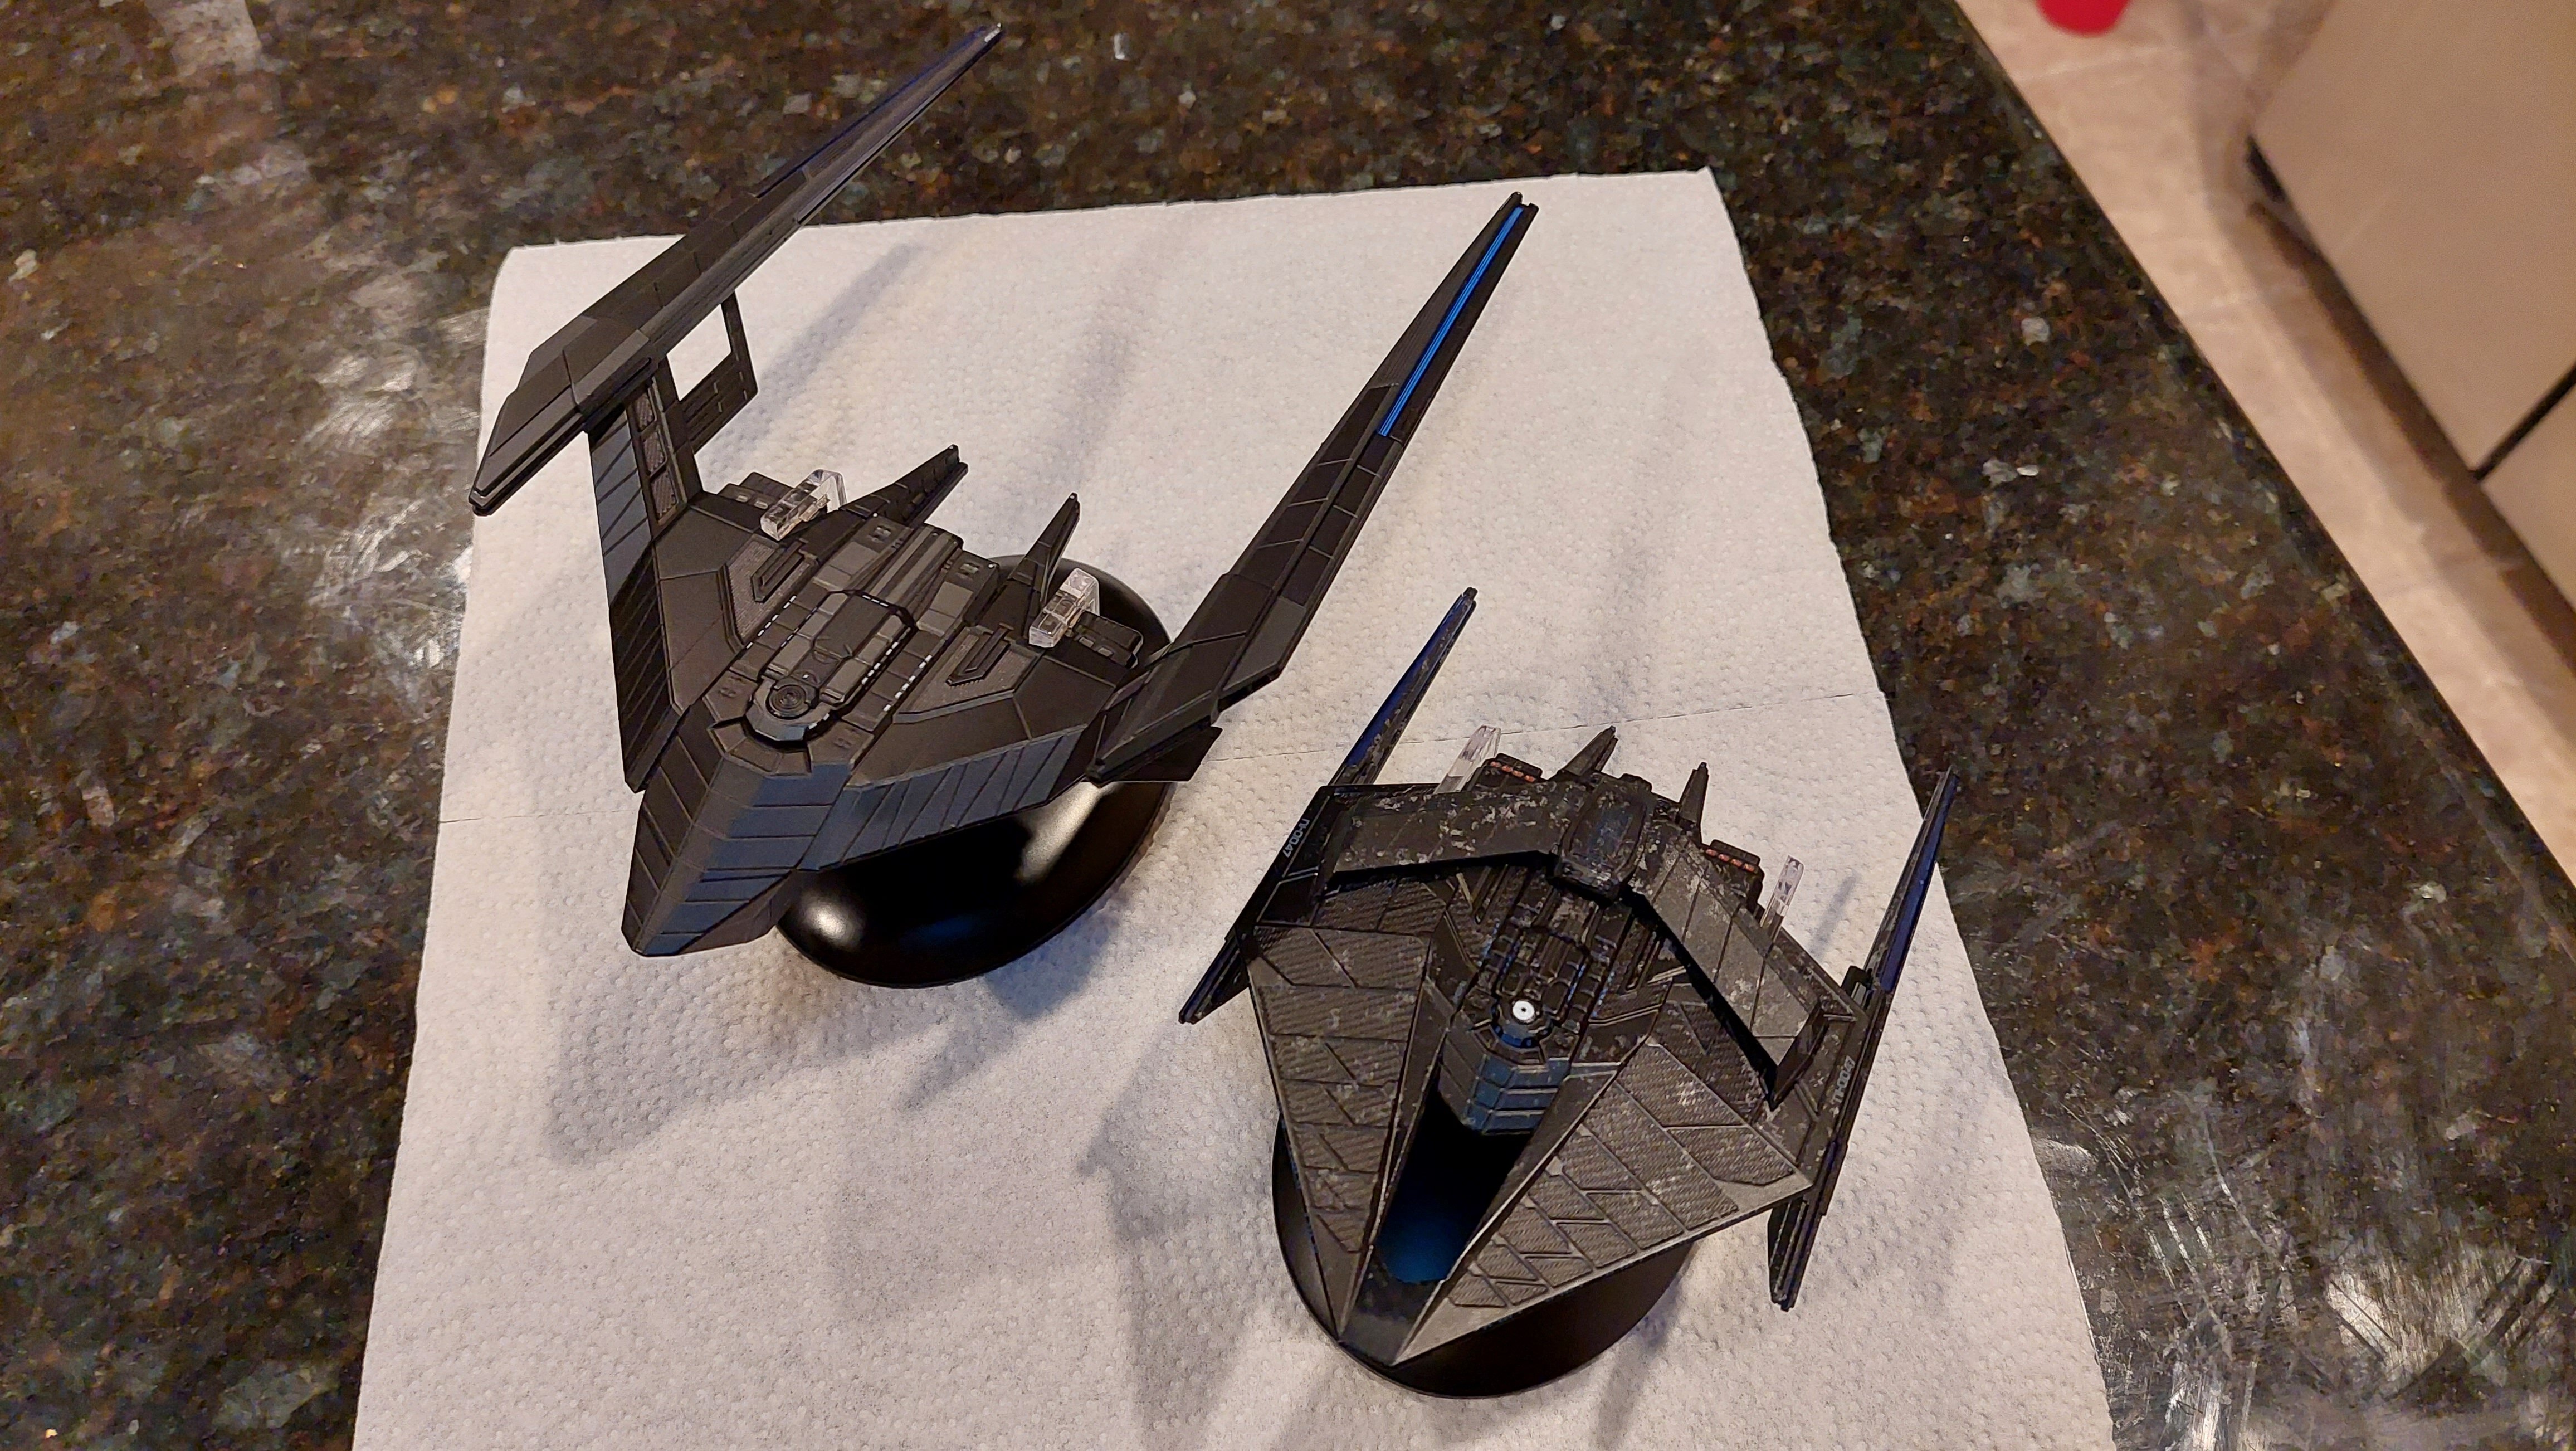
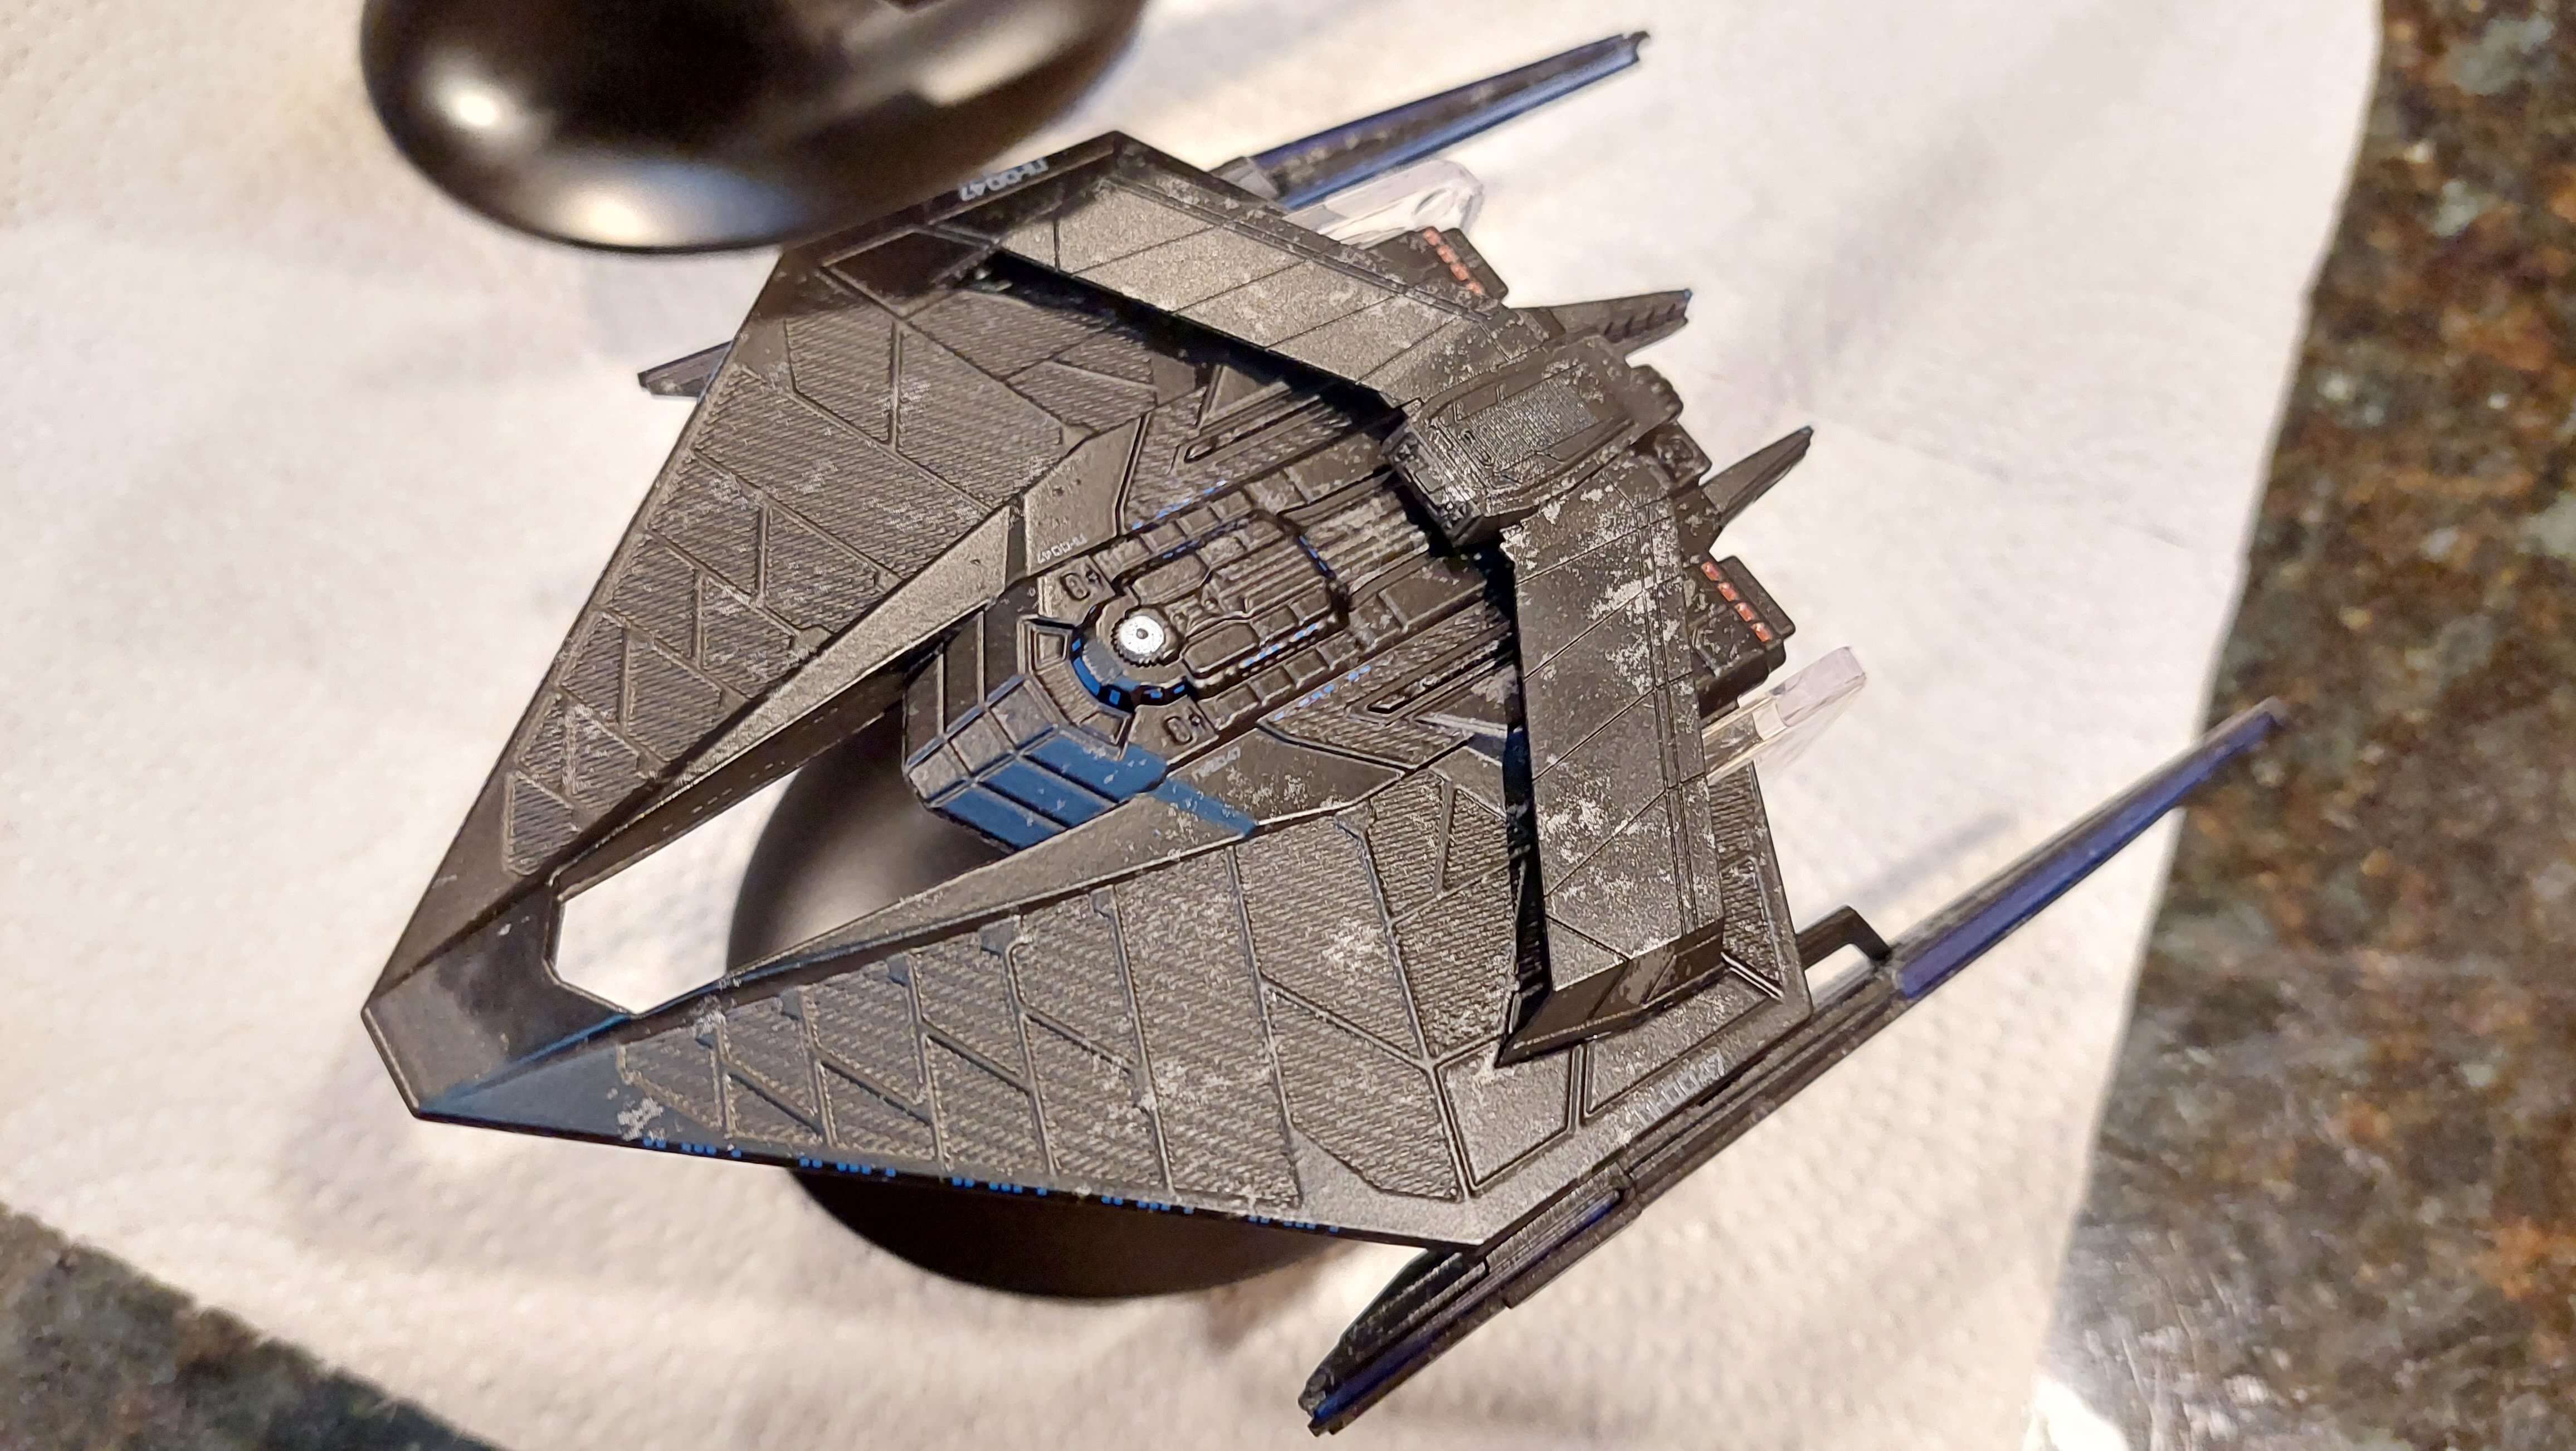
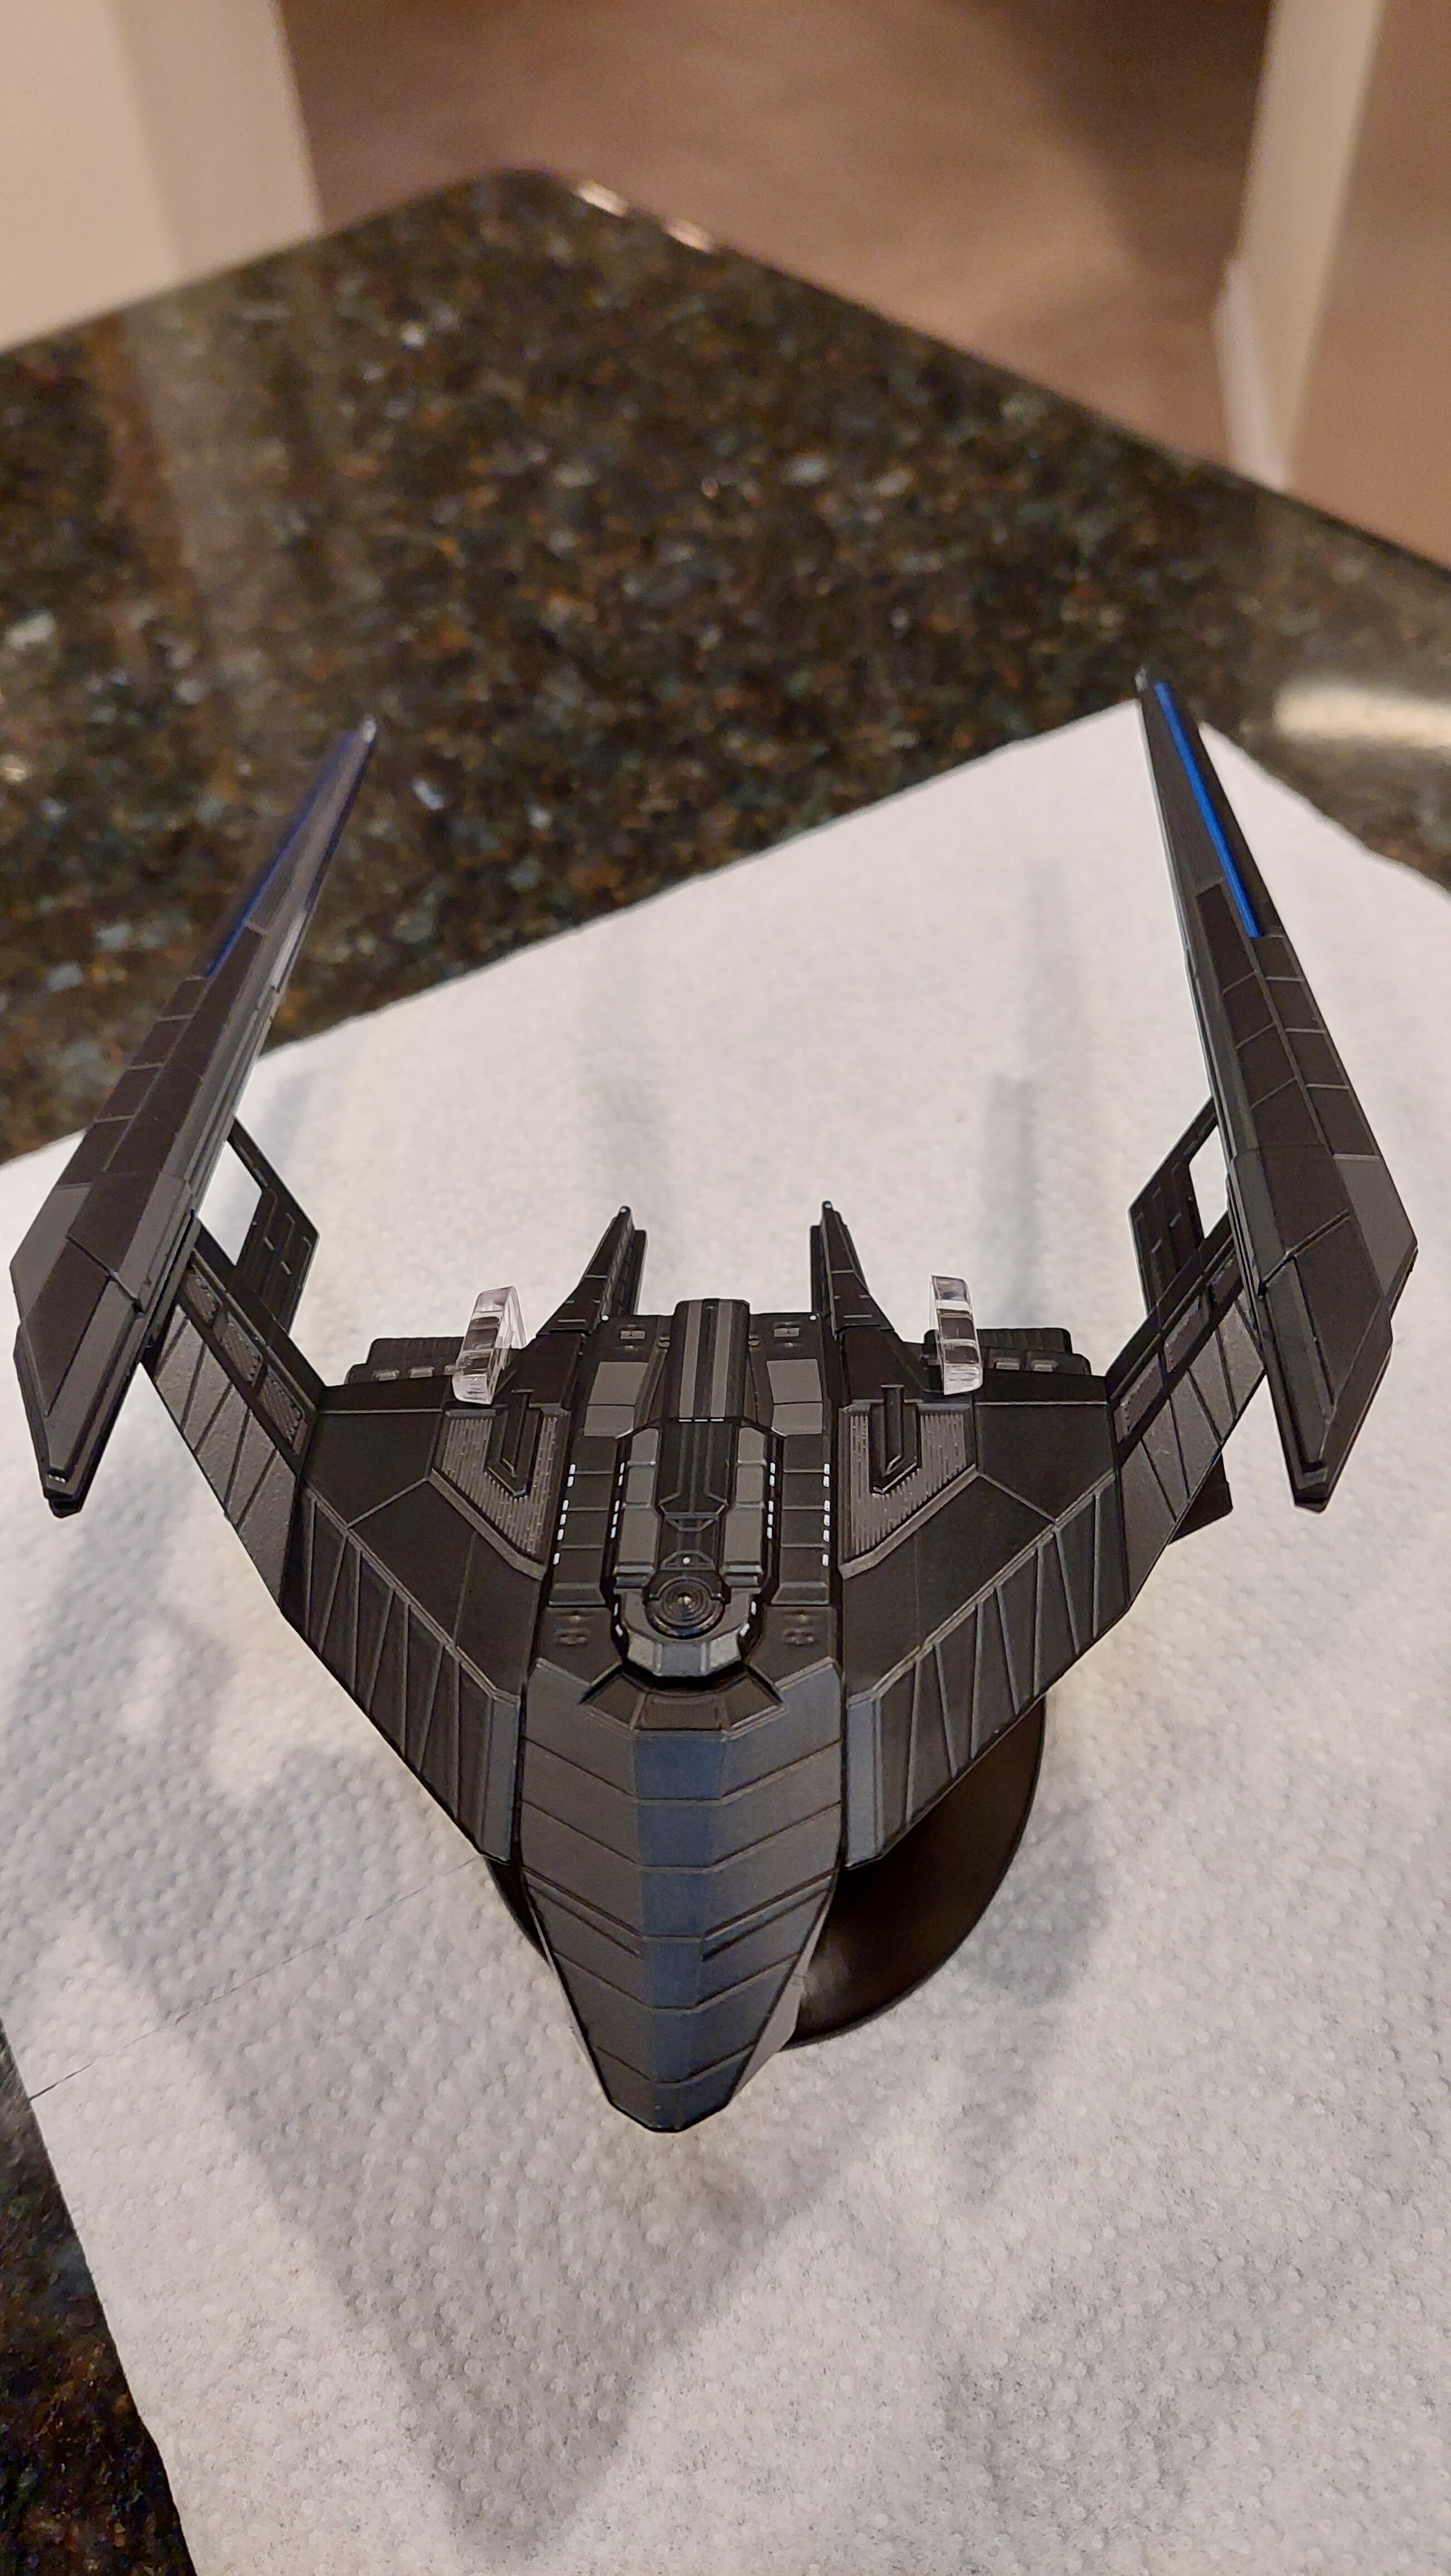
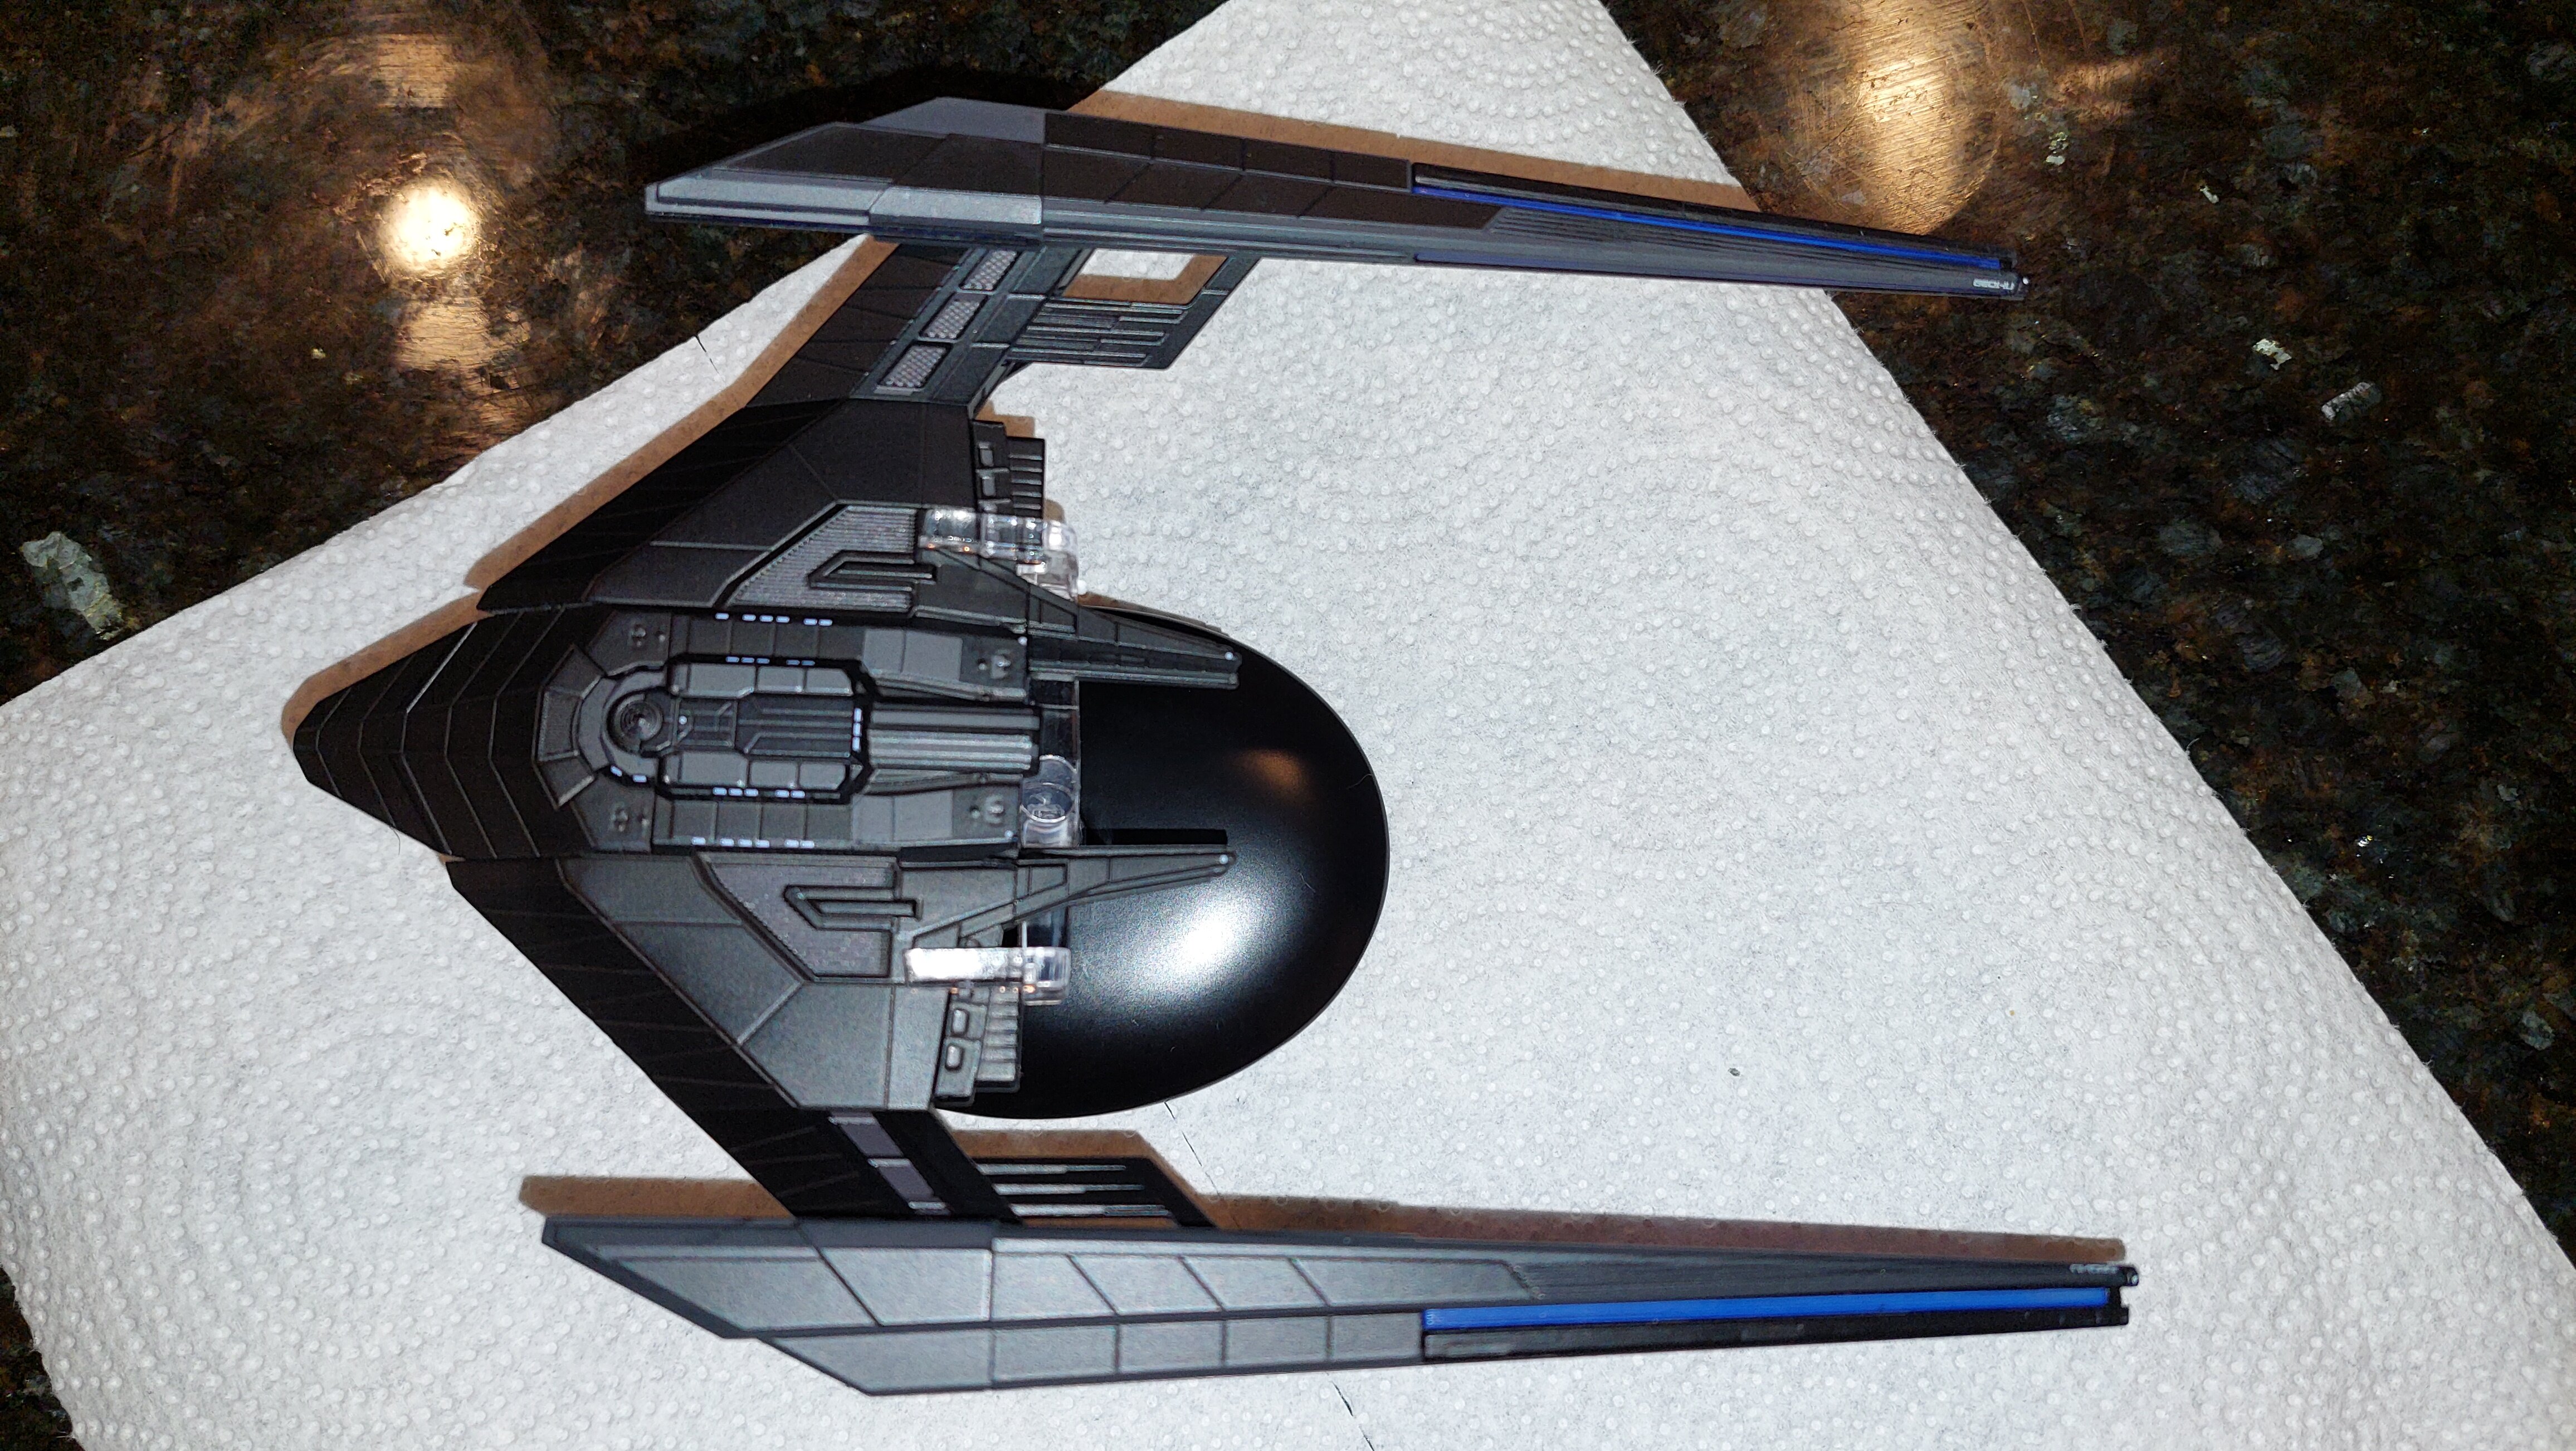
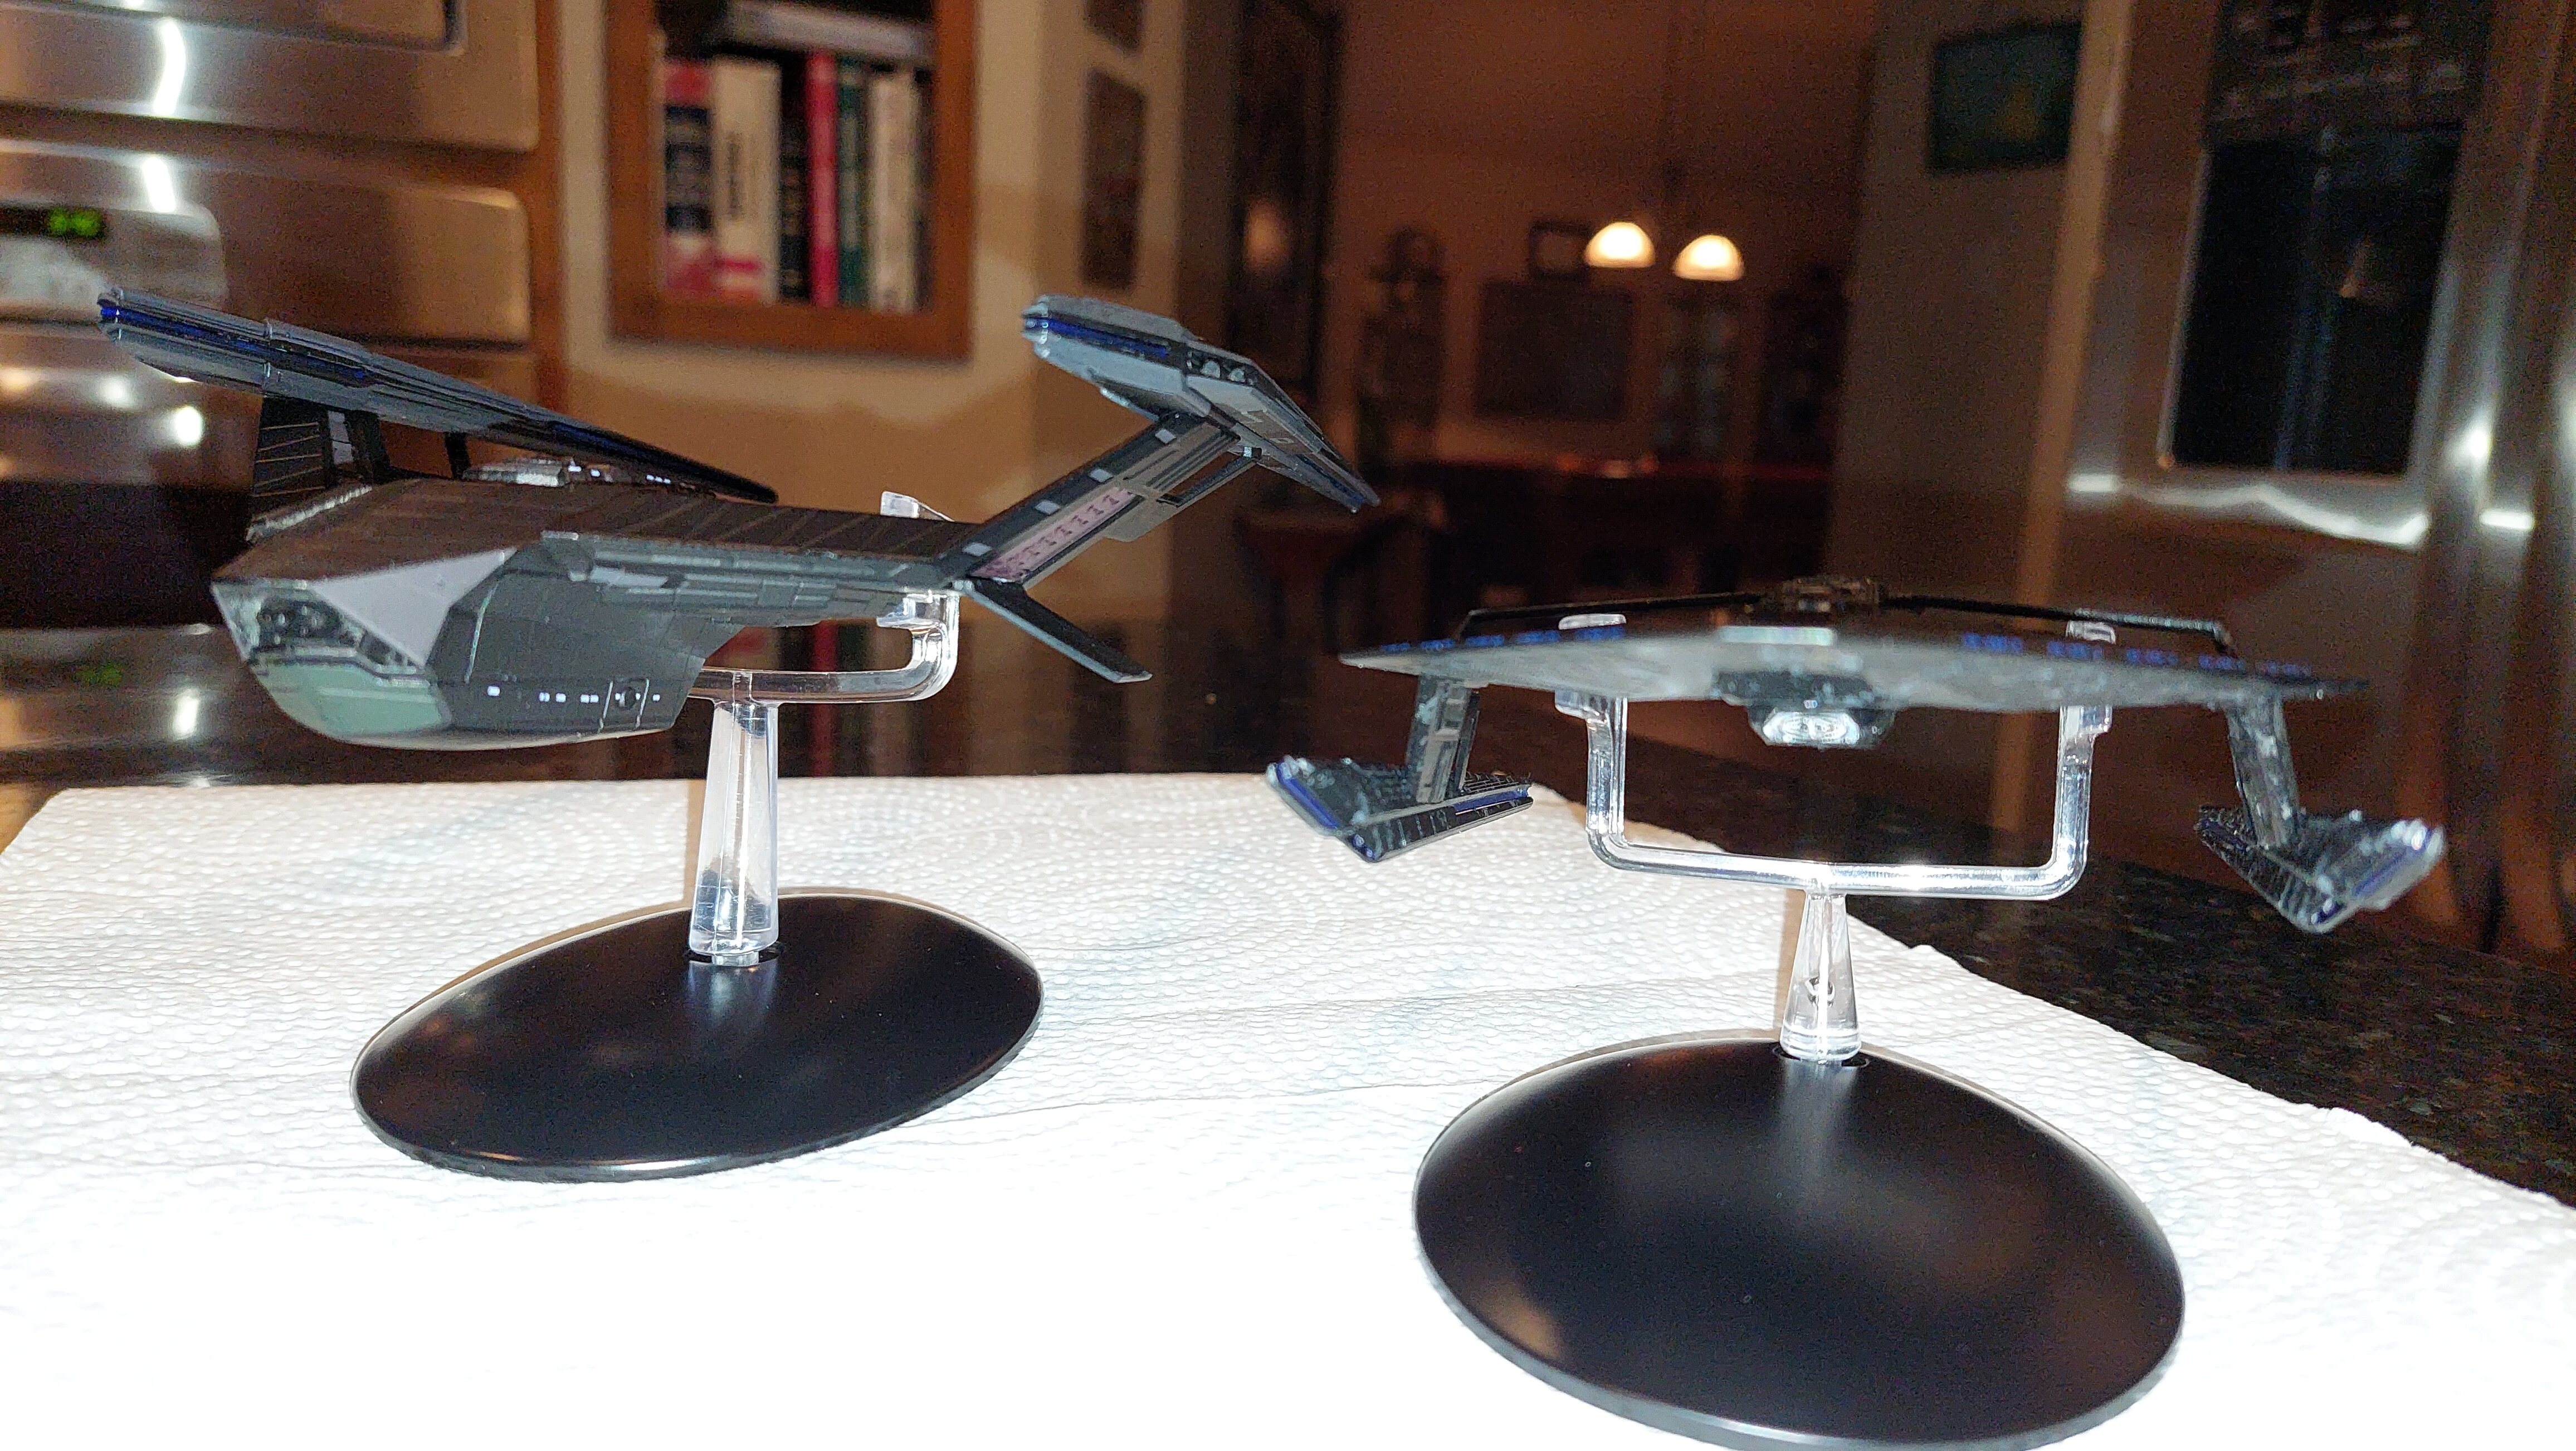
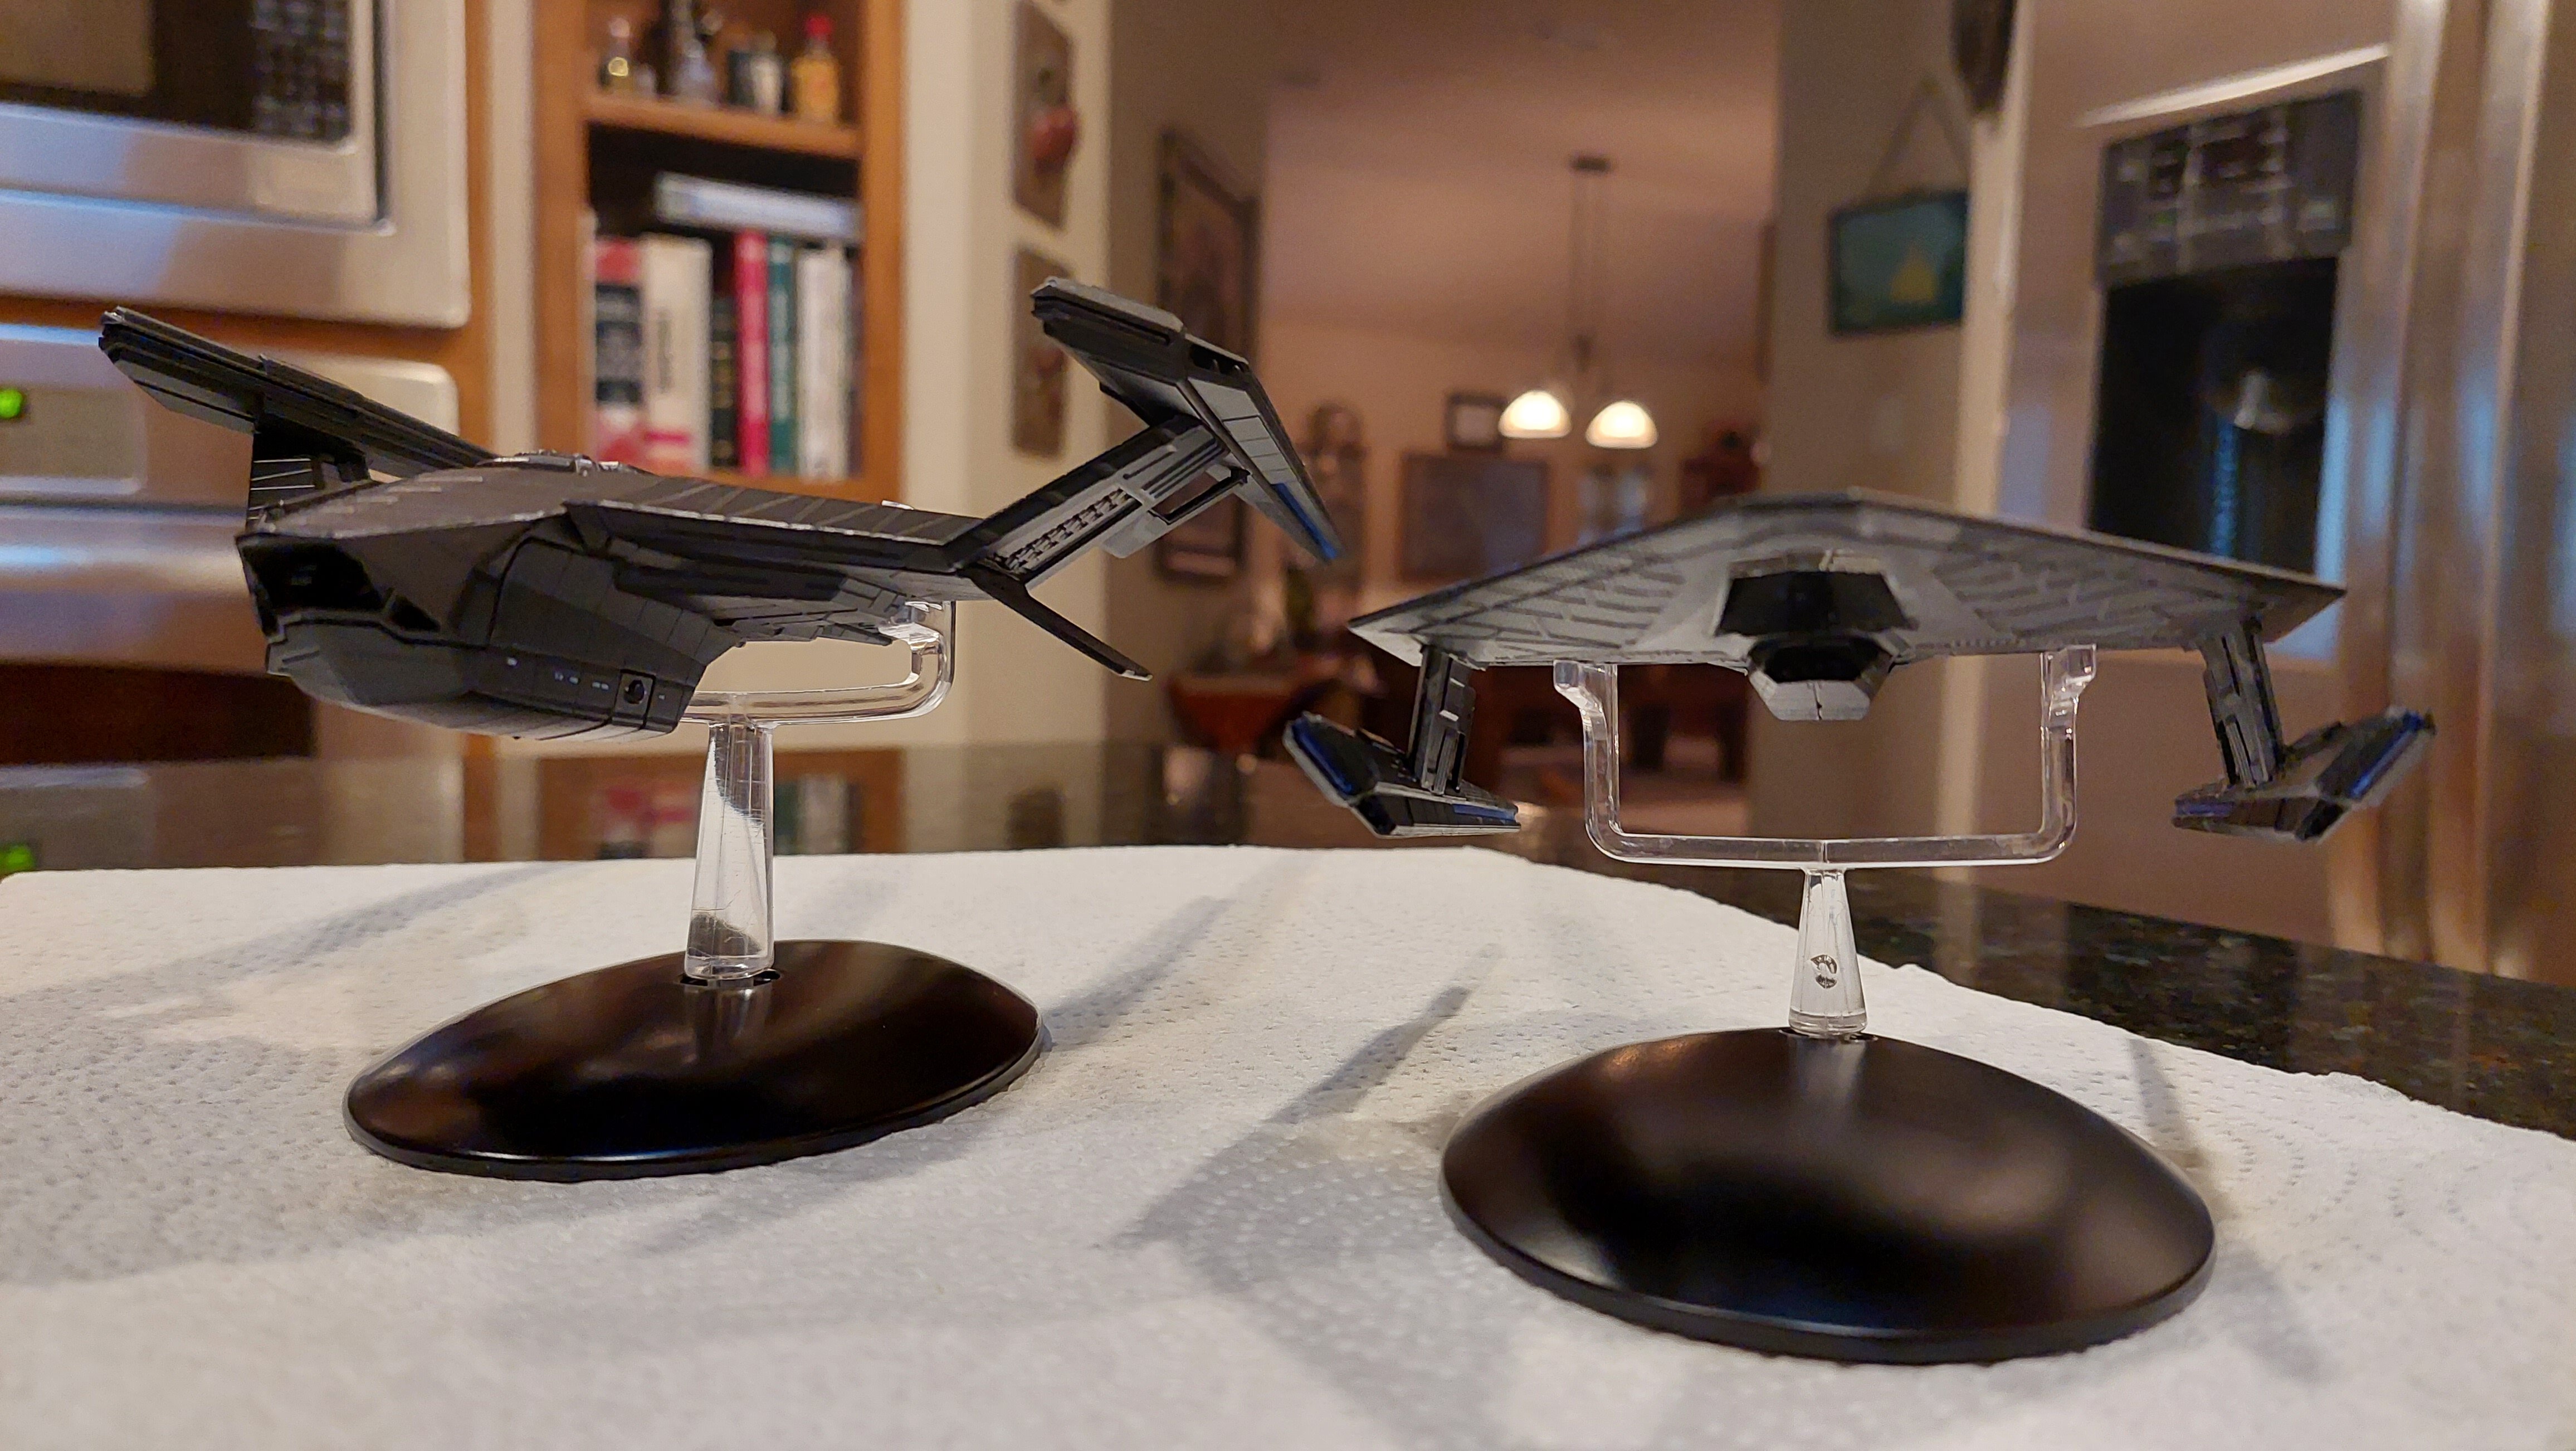
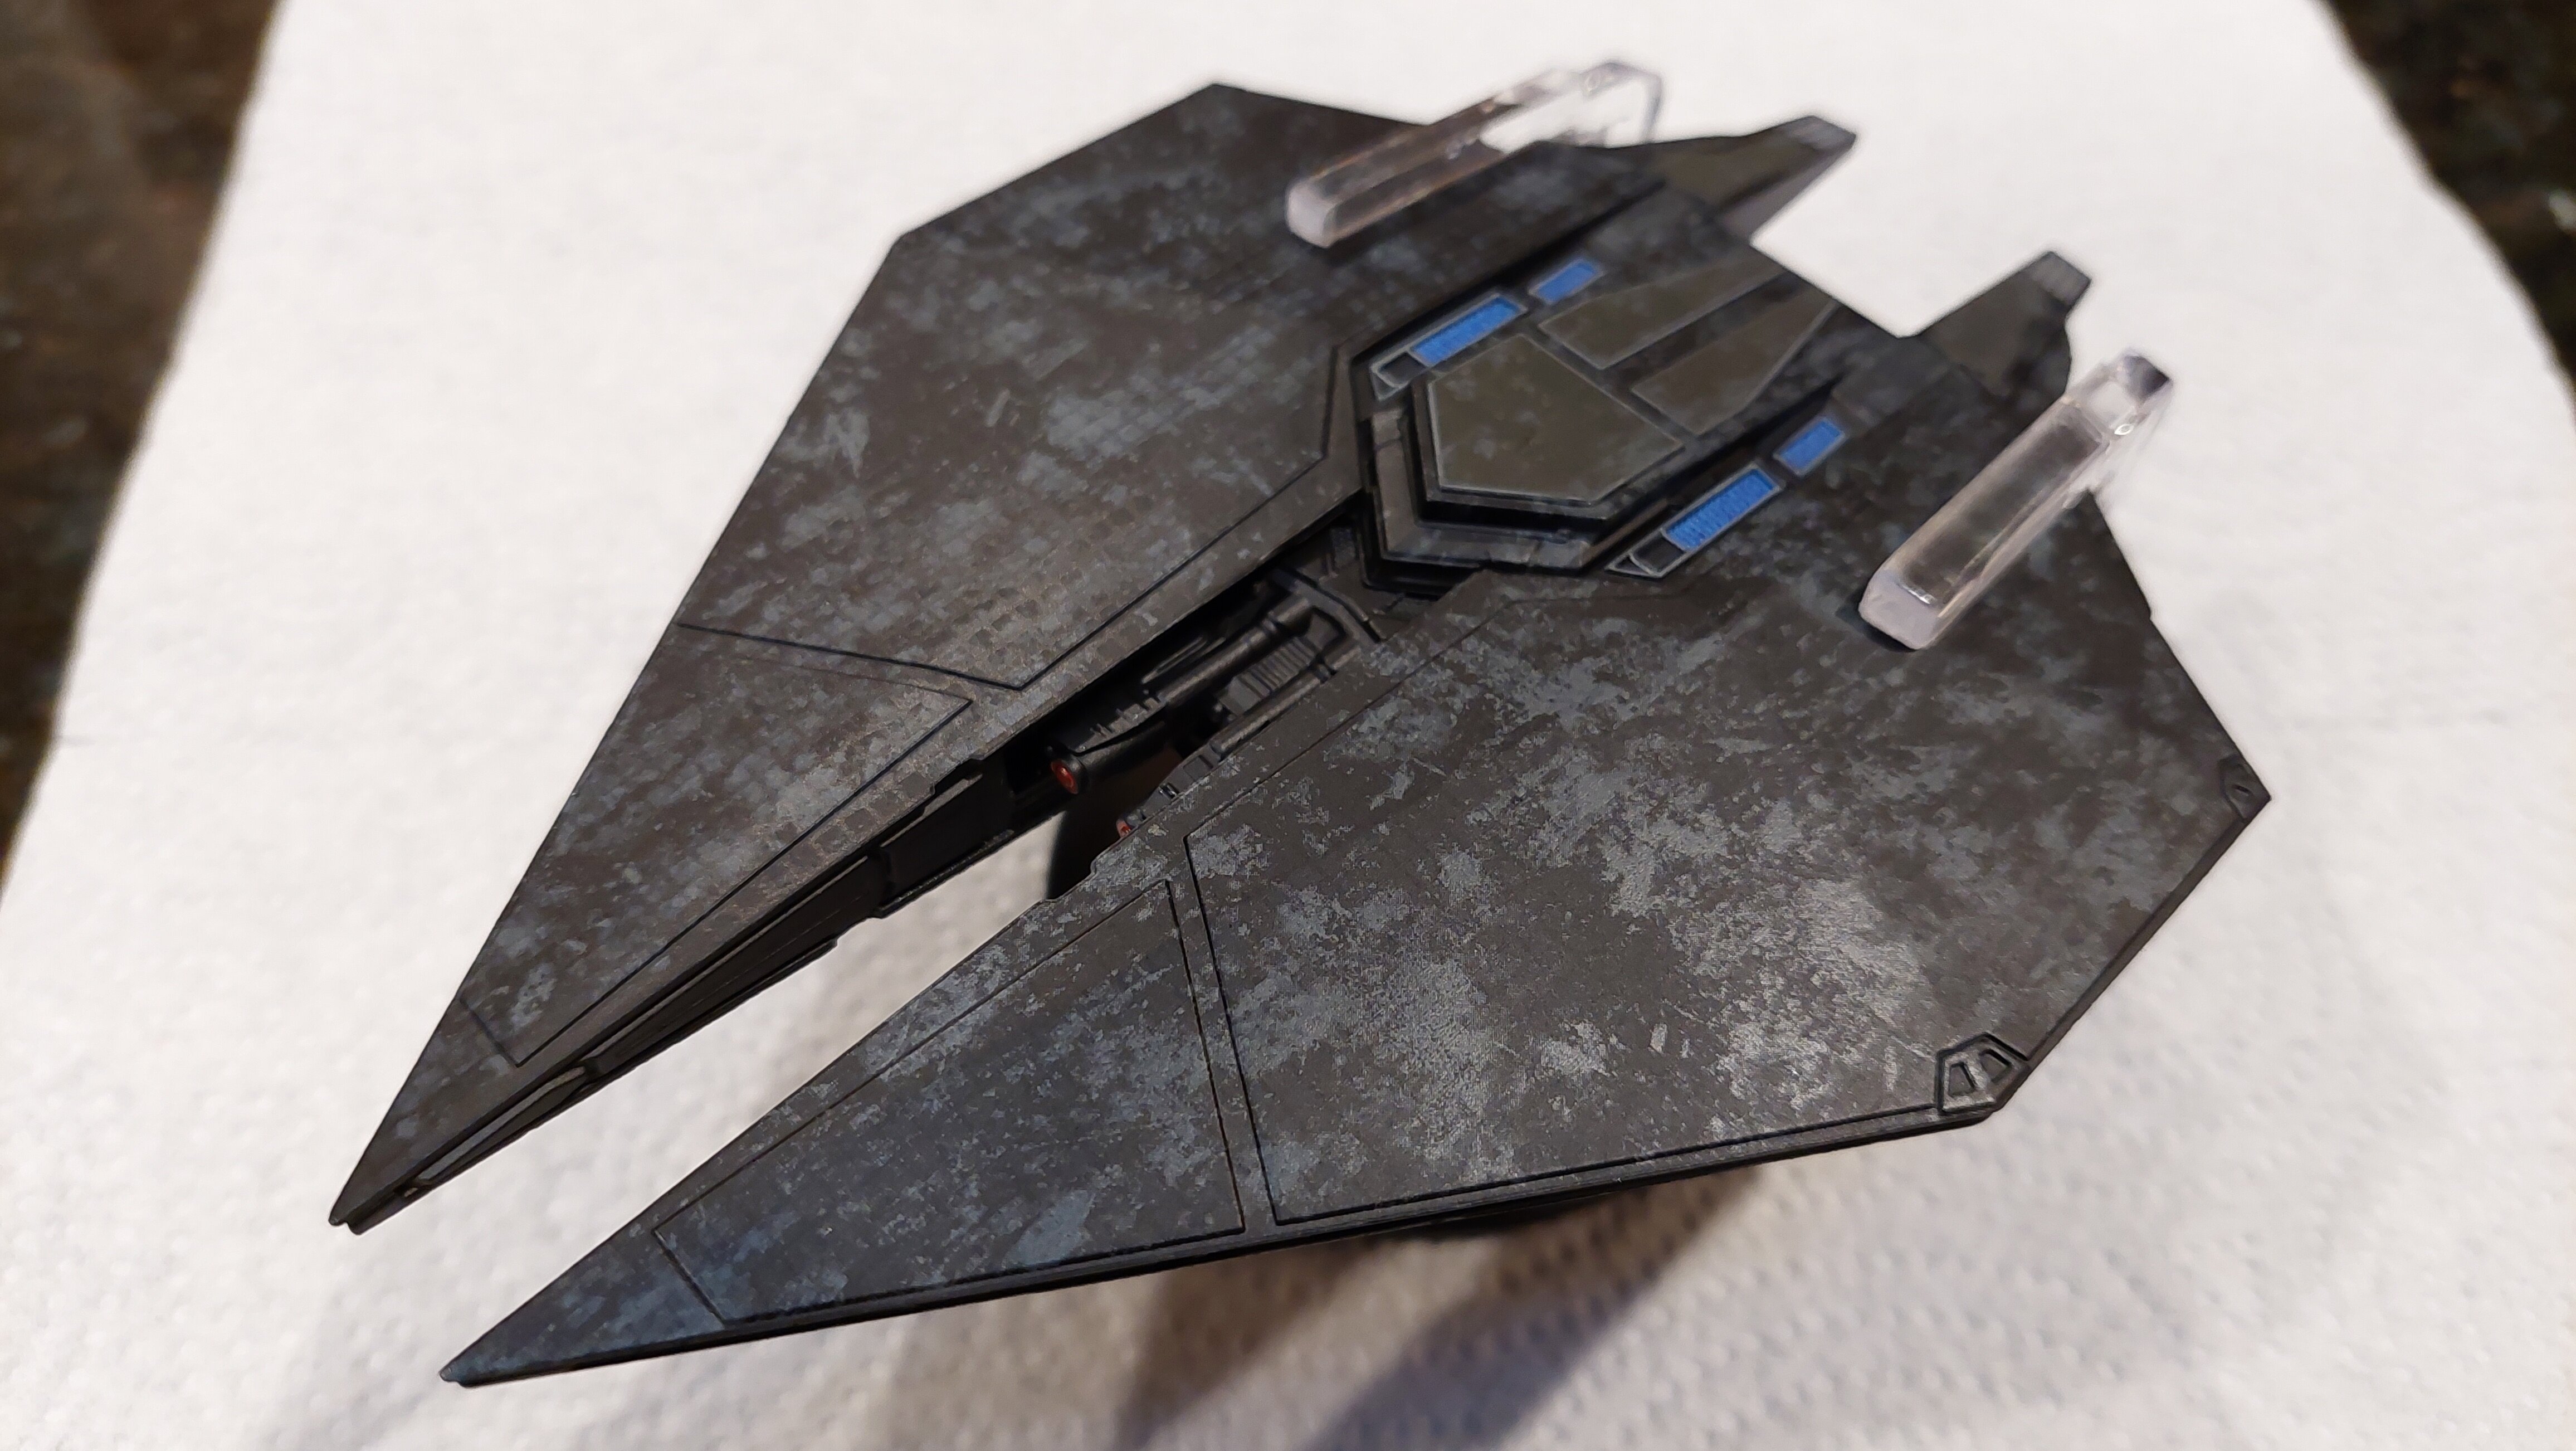
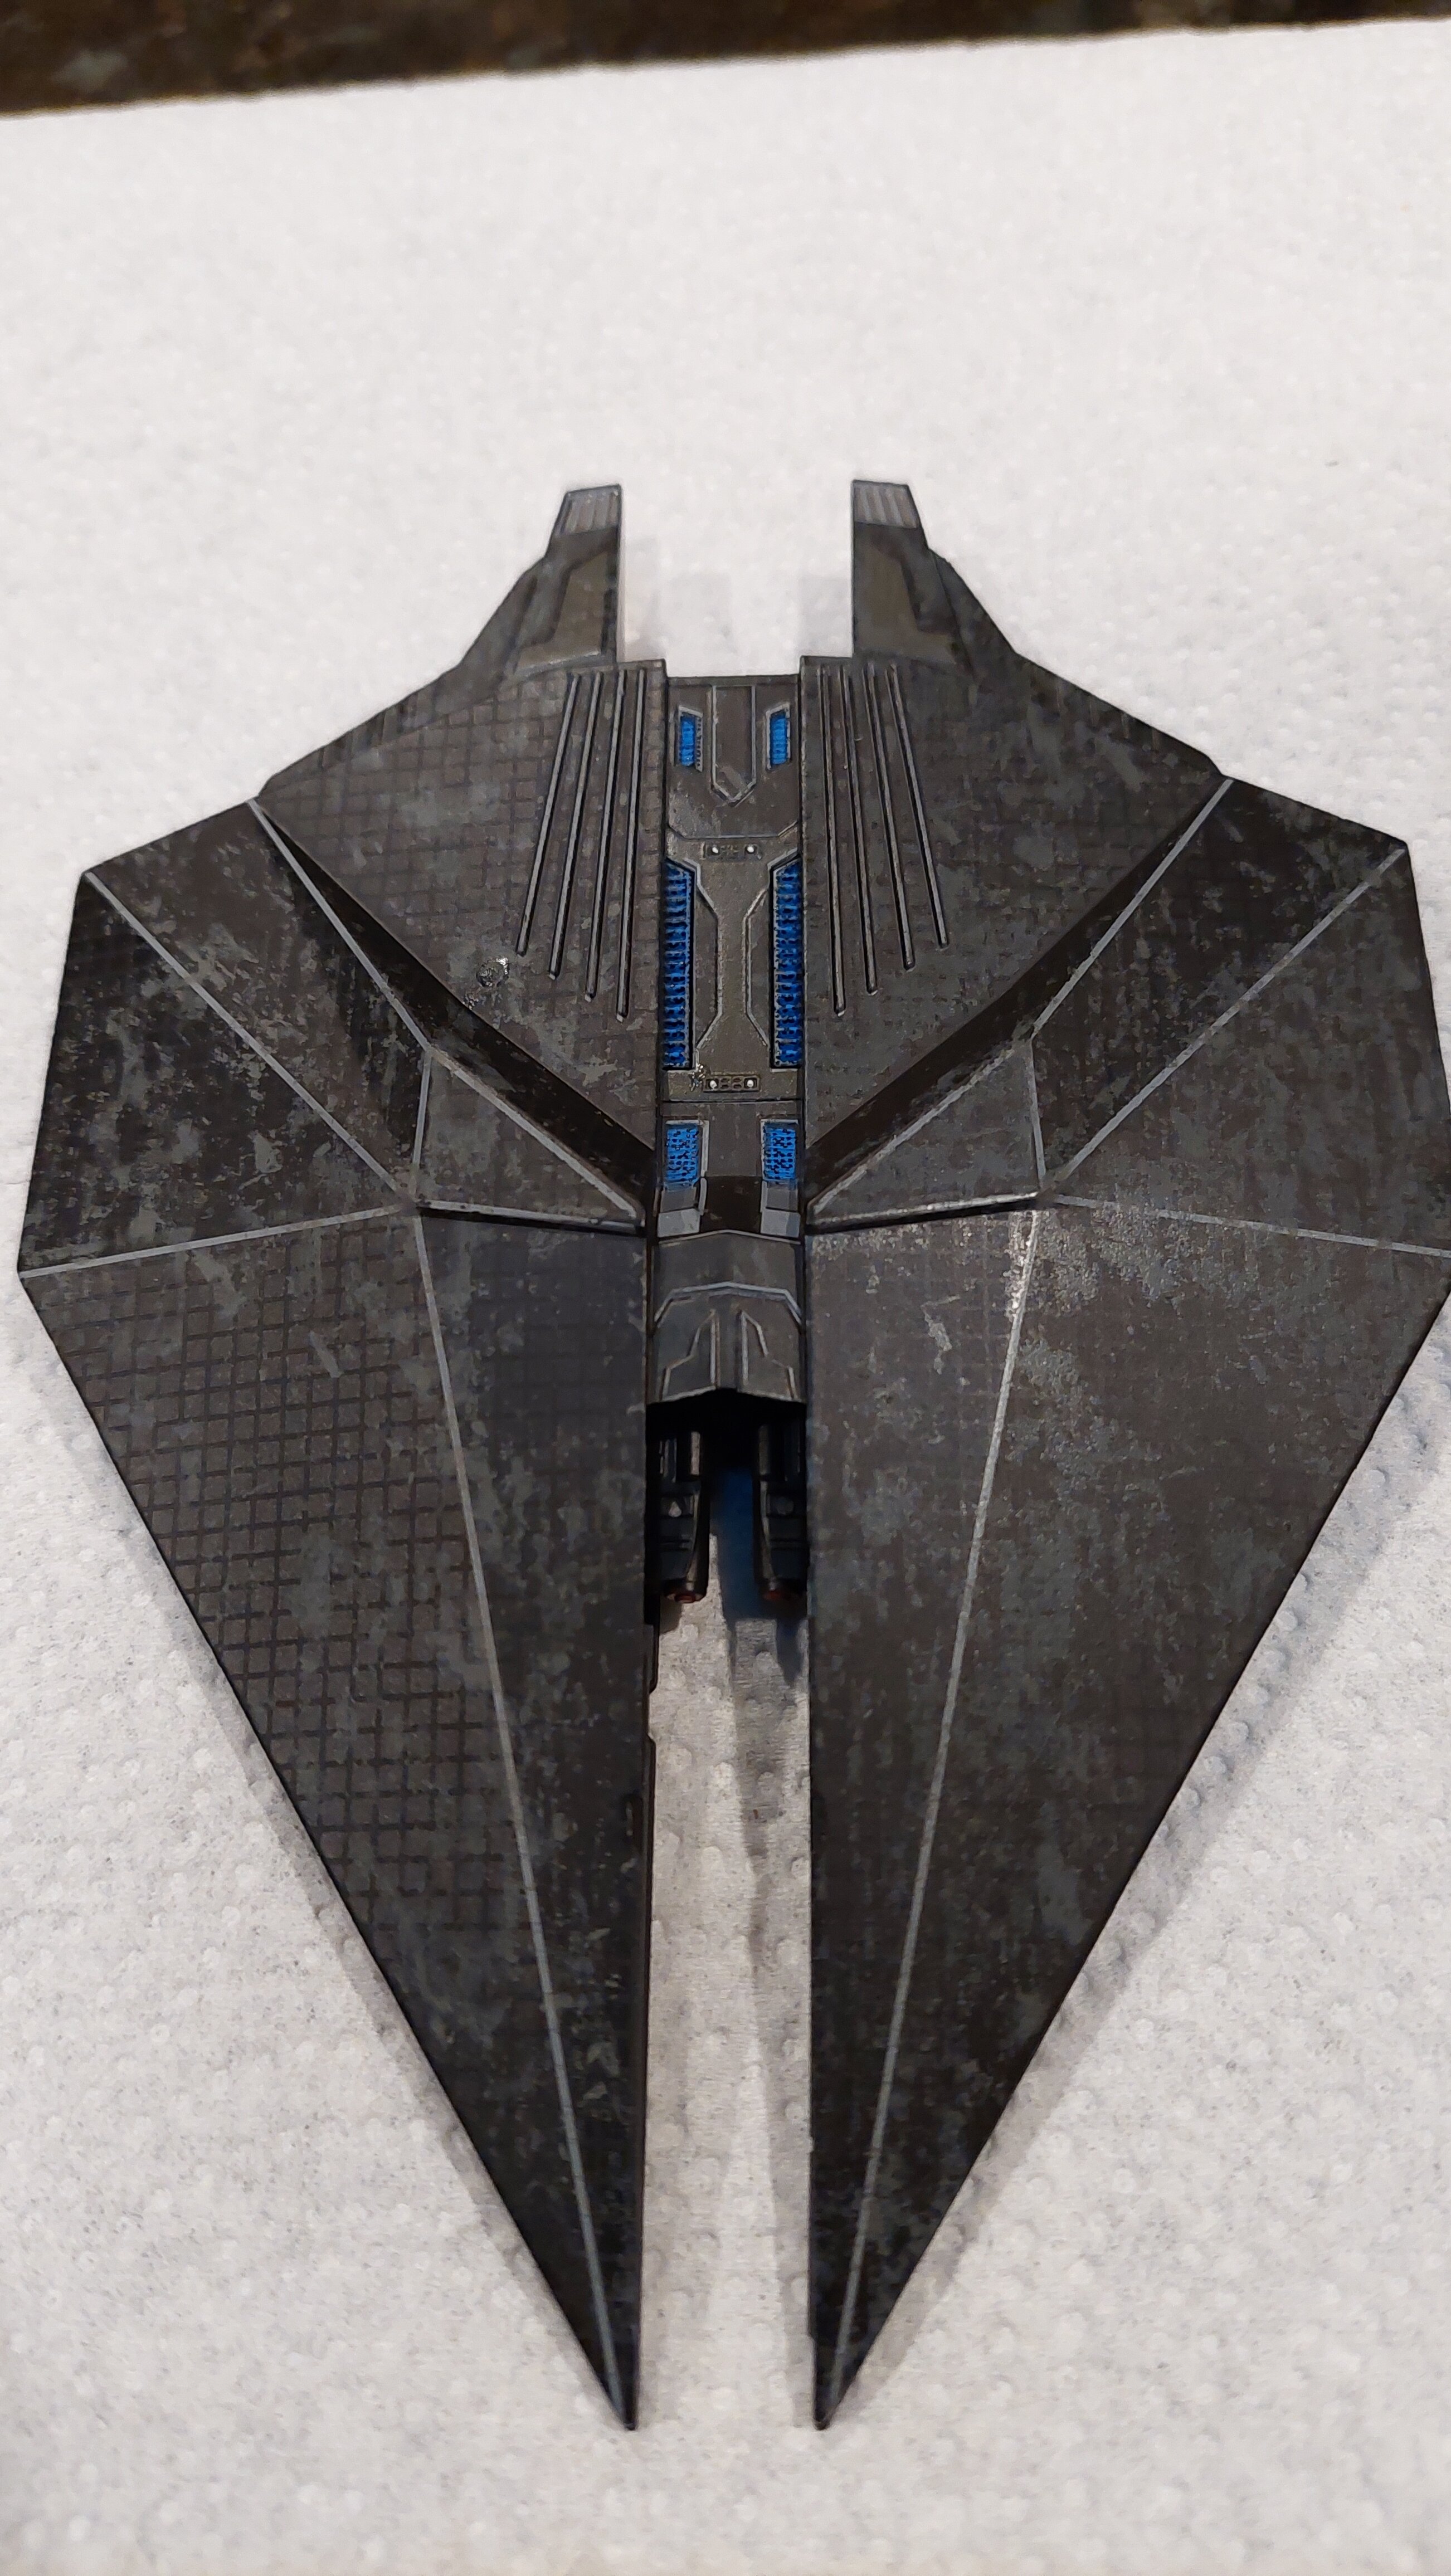
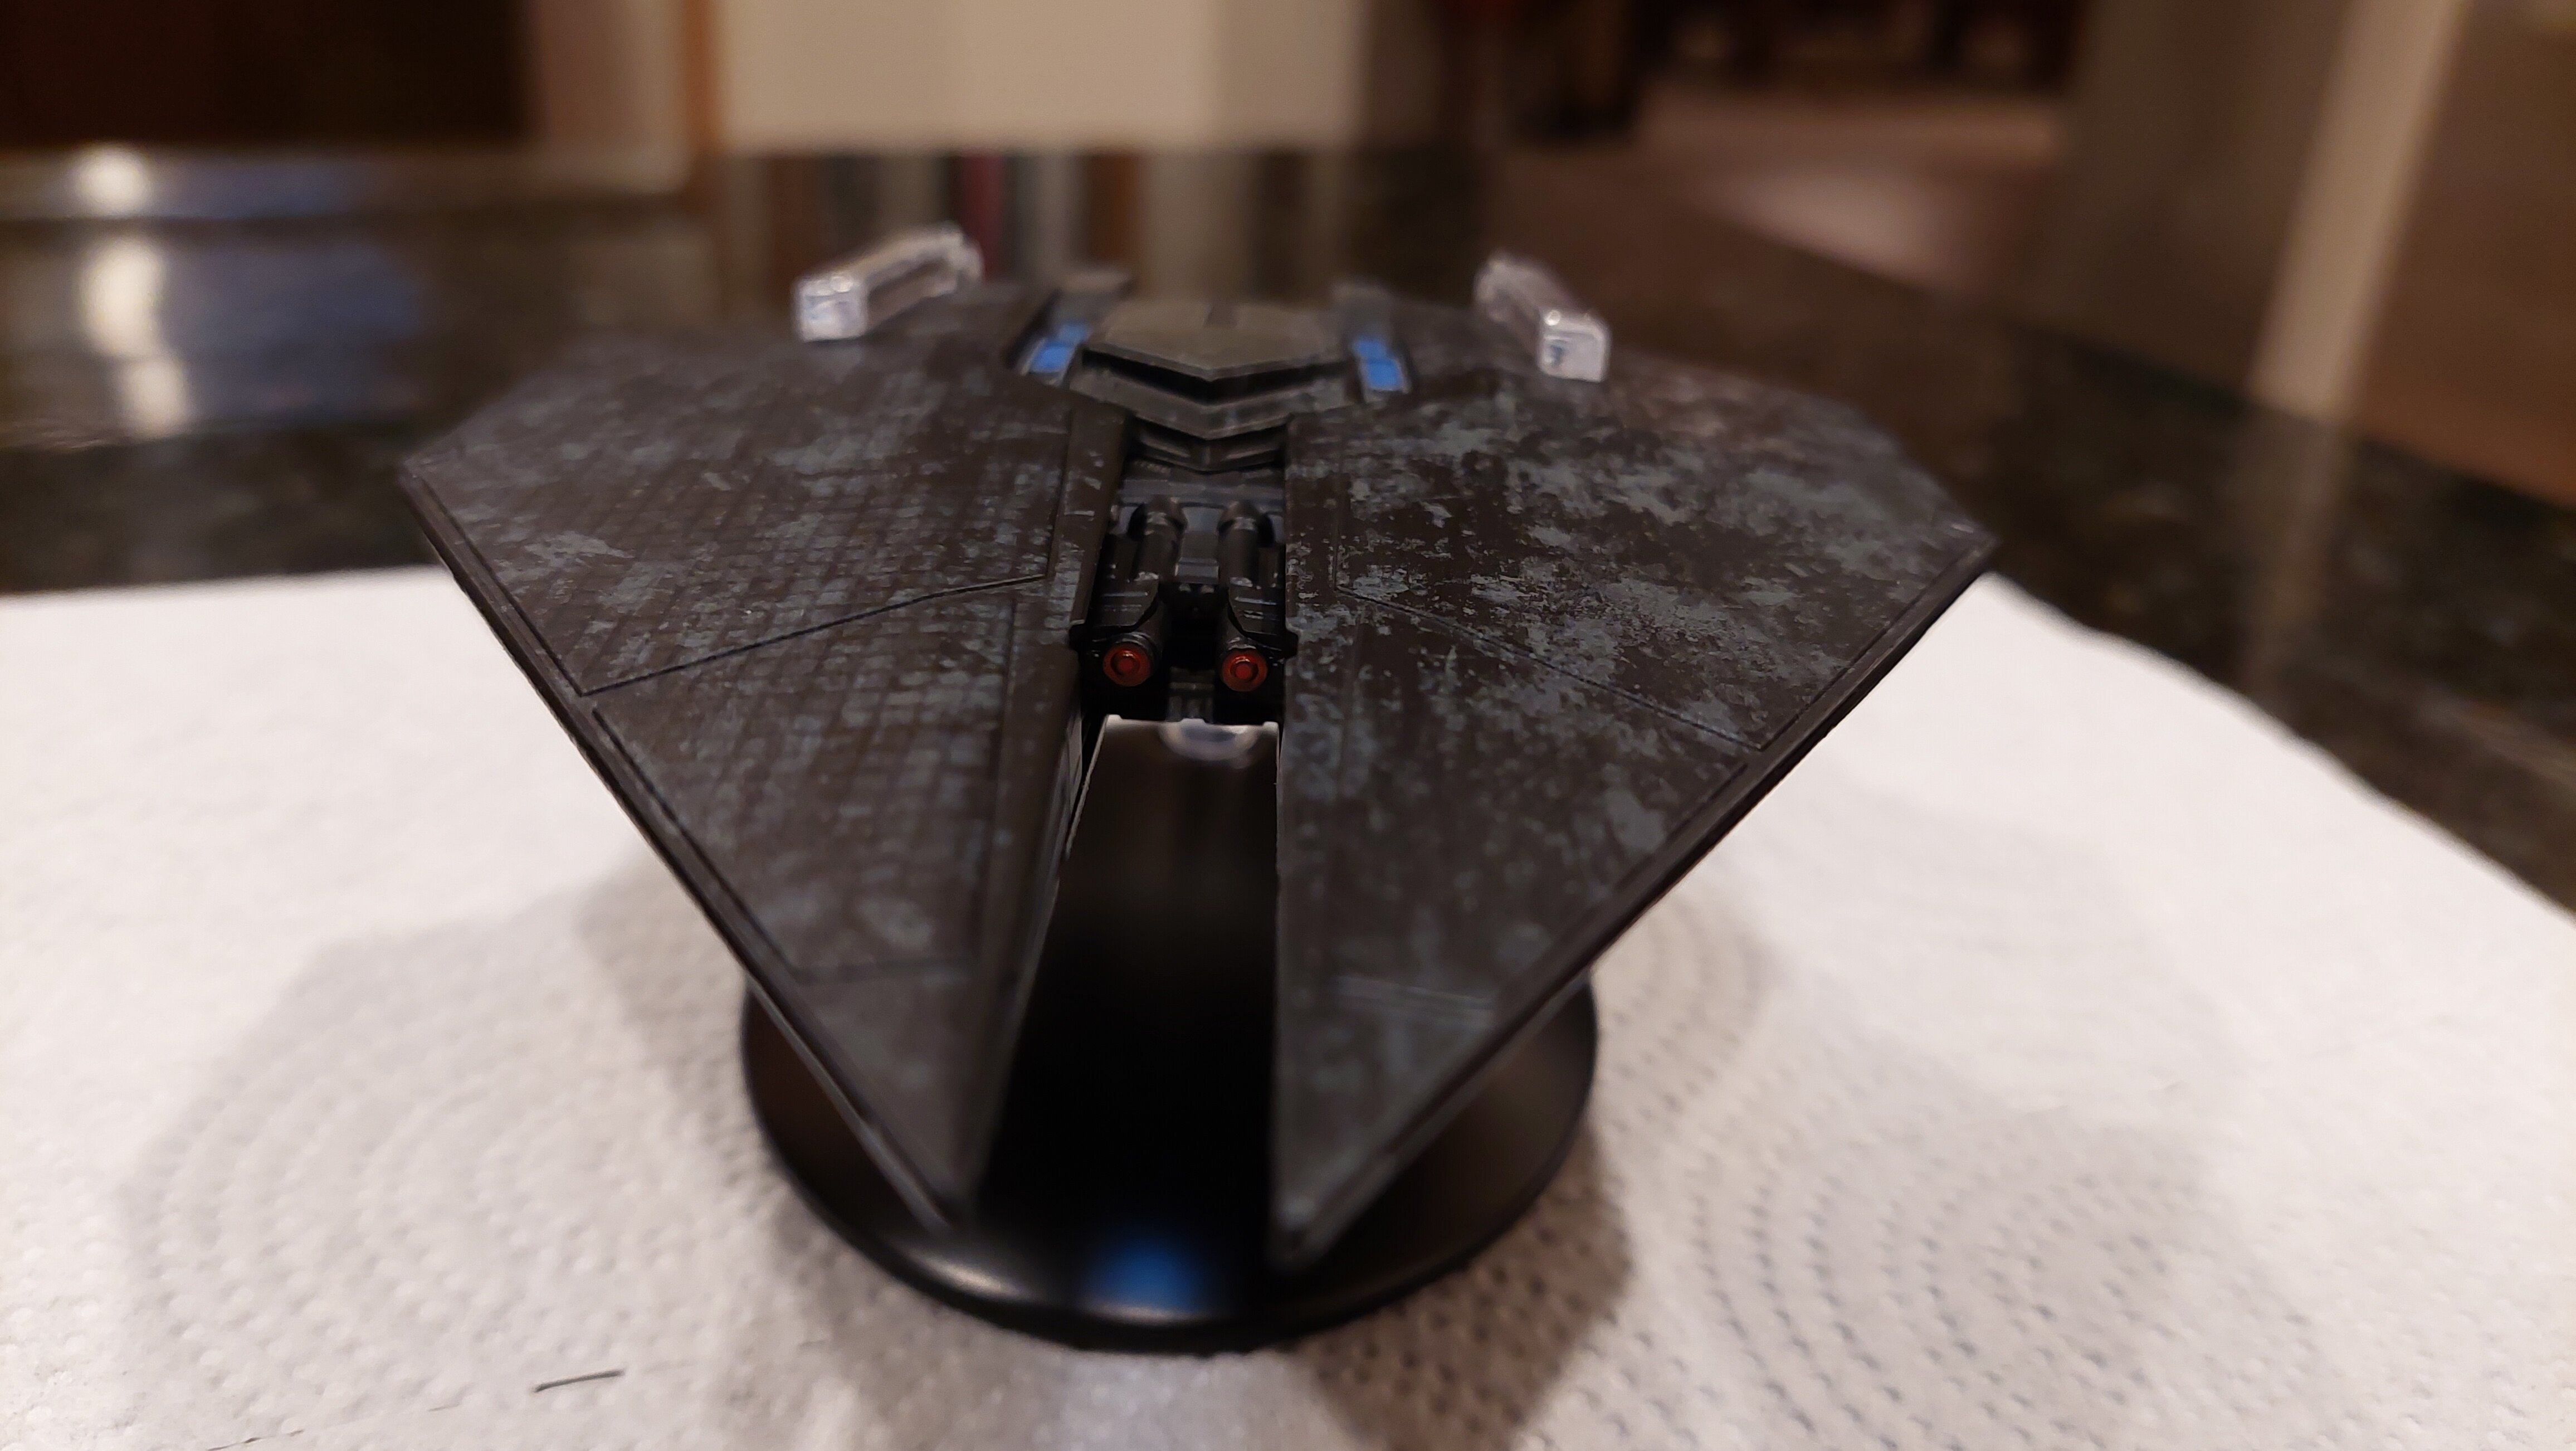
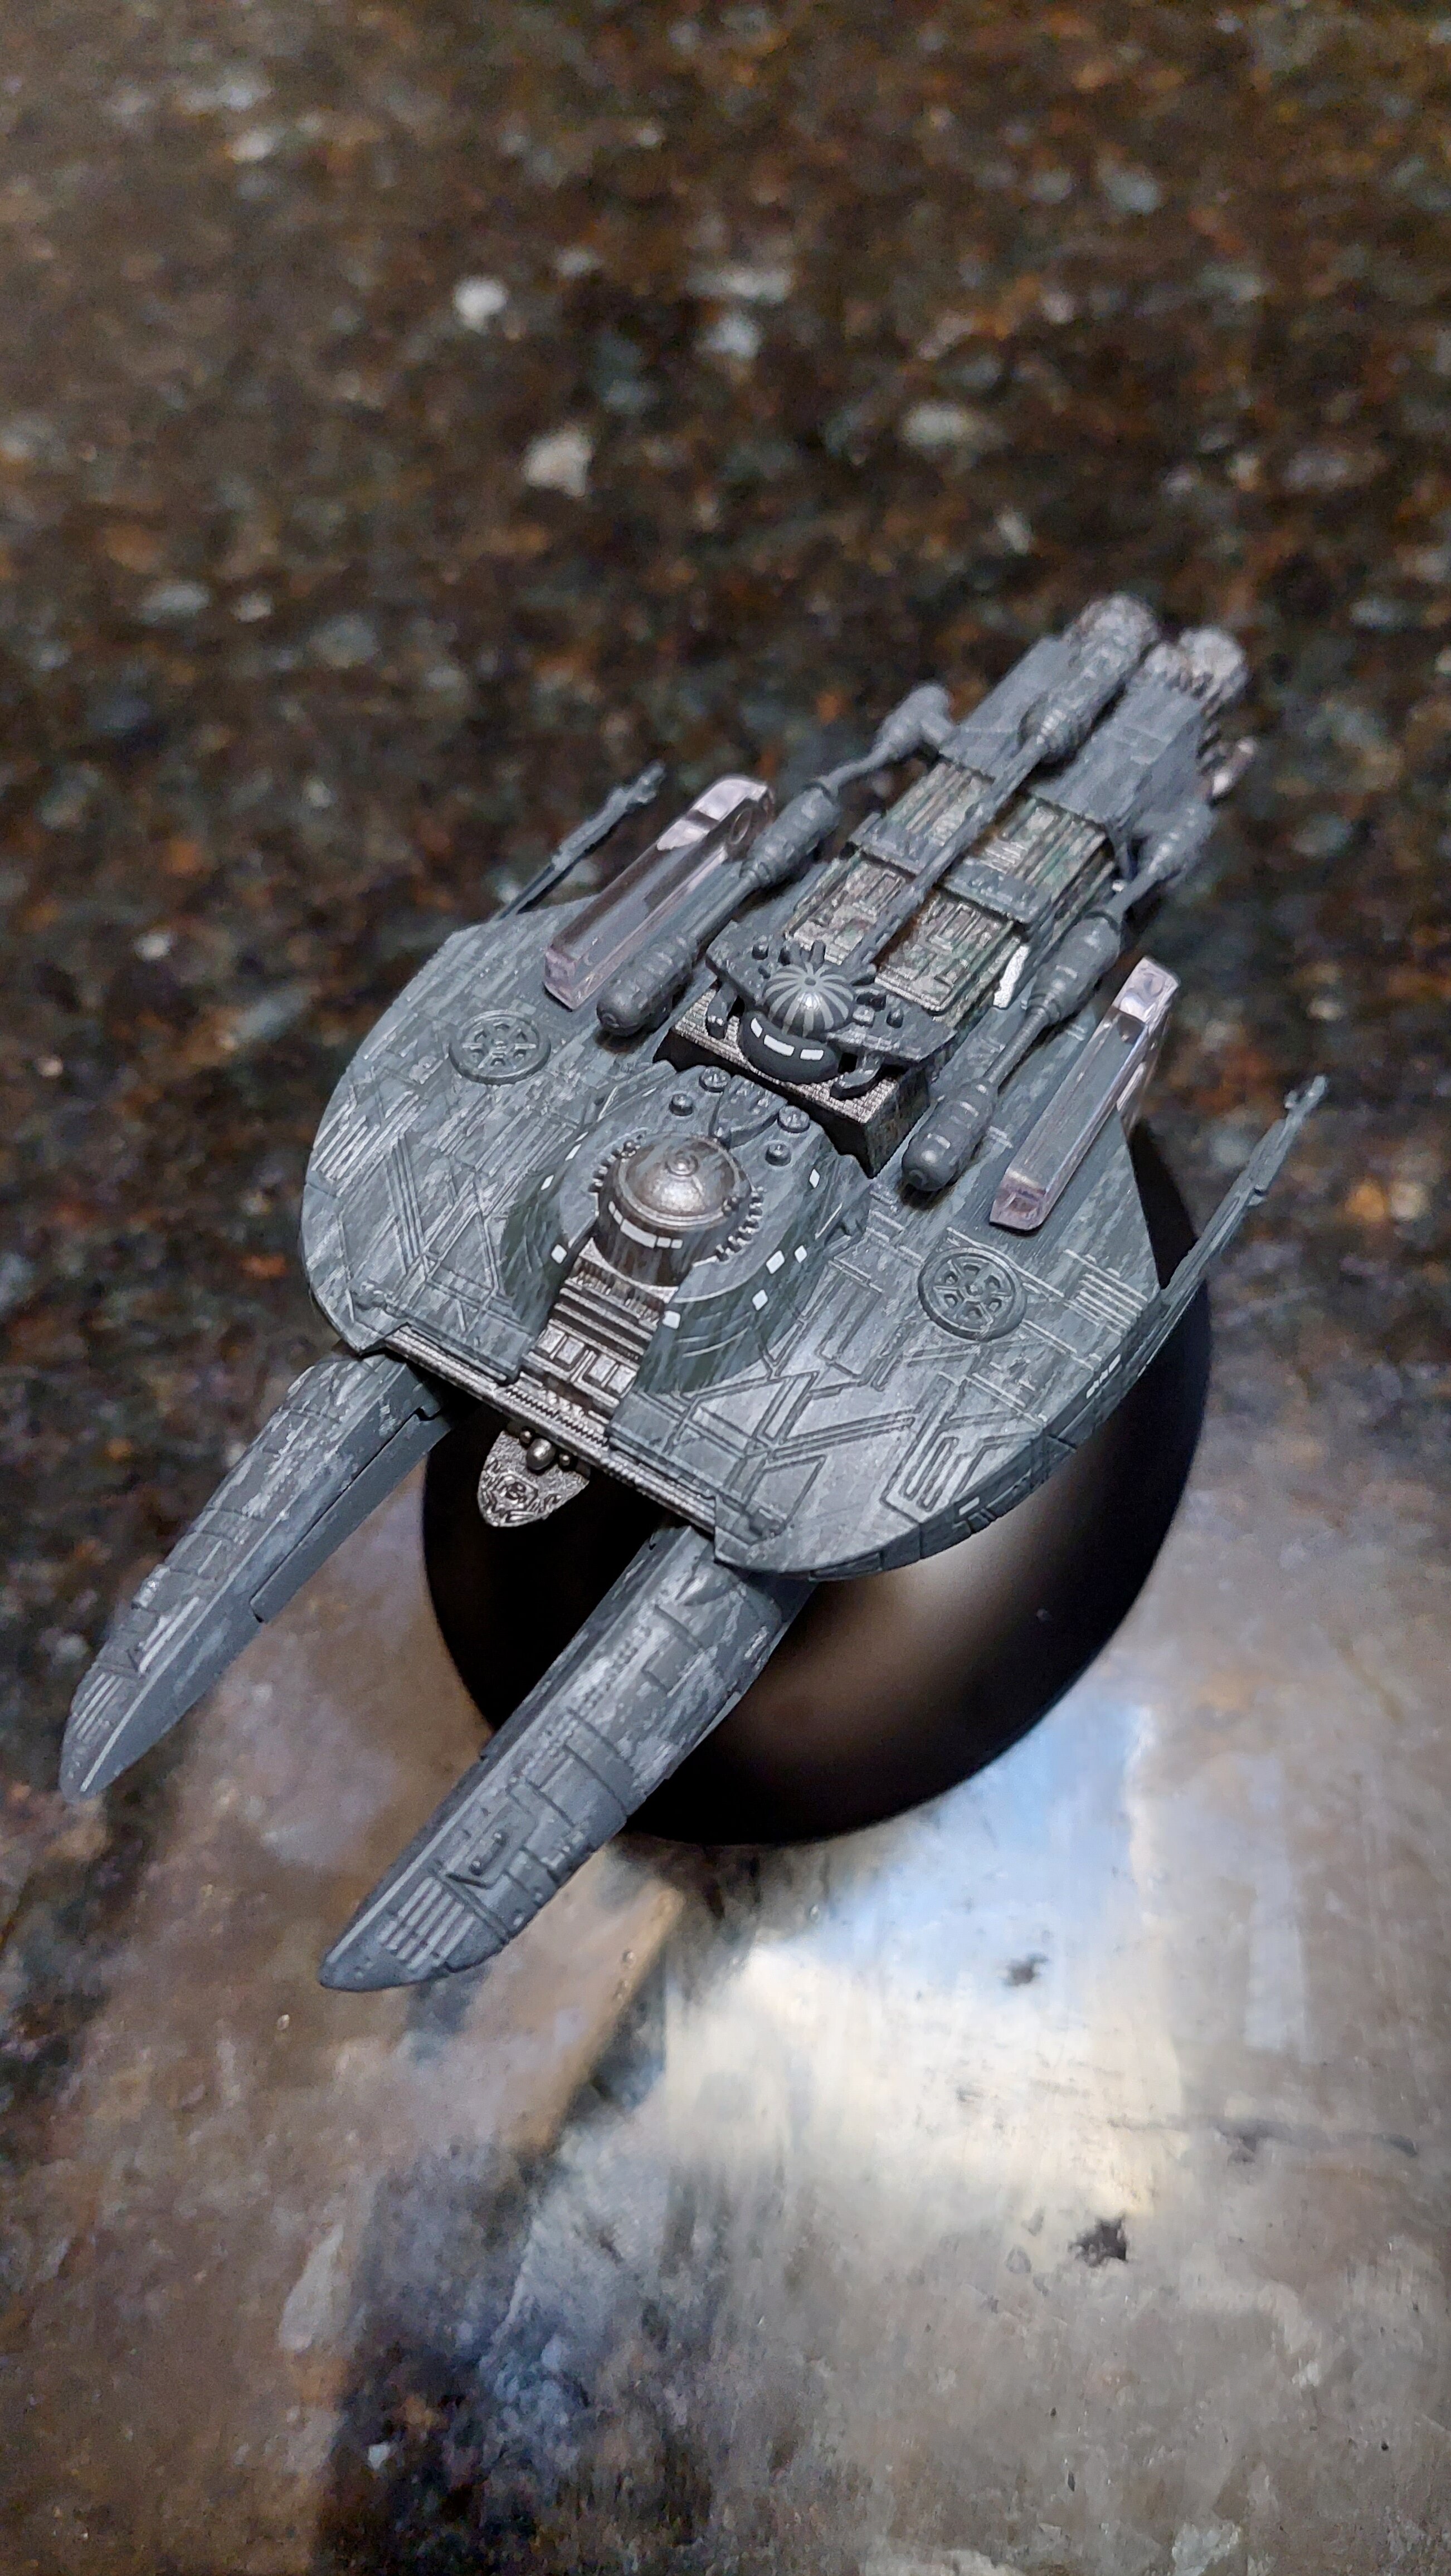
@Chronocidal - Yeh, I hear you on the odd paint job on the 3 of the 4 ships. The "Stealth Ship" is just all black, which works, but beside the others with the pattern, looks kind of basic. Honestly I wasn't sure whether I was going to like the paint jobs or not. Once in hand though, it is pretty cool. Kind of like some sort of space age carbon fiber hull or something. I haven't watched the show so I have no clue as to whether it looks like that one screen or not. The effect in normal room lighting is much less than with the flash obviously. It's almost hard to see unless you are really looking hard at the ships. The 4 nacelle version is the most prominent, but still, in person I like it. YMMV. The drone ship in my mind is something straight out the The X Files/Area 51/UFO lore, it's jut wicked cool looking, has a very faint grid pattern all over it that's hard to see, but it's there, and that sucker is heavy!
-
General TV & Streaming series thread
derex3592 replied to Tking22's topic in Anime or Science Fiction
So Say We All. -
Can't do subtitles on an english movie, too distracting when I'm trying to get into the story, low dialog?..crank up my center channel to +10, which is honestly more or less where I keep it now with wifey pooh watching TV and movies with me because the subwoofer and surround sound is "too loud honey...turn it down"....🤷♂️😑
- 406 replies
-
- 1
-

-
- dune
- frank herbert
- (and 18 more)
-
I was gonna watch it tonight on HBOMAX....but then I found Natural Born Killers and Backdraft....LOL. GOD the 90's had some epic movies! I'll get to DUNE later this weekend.
-
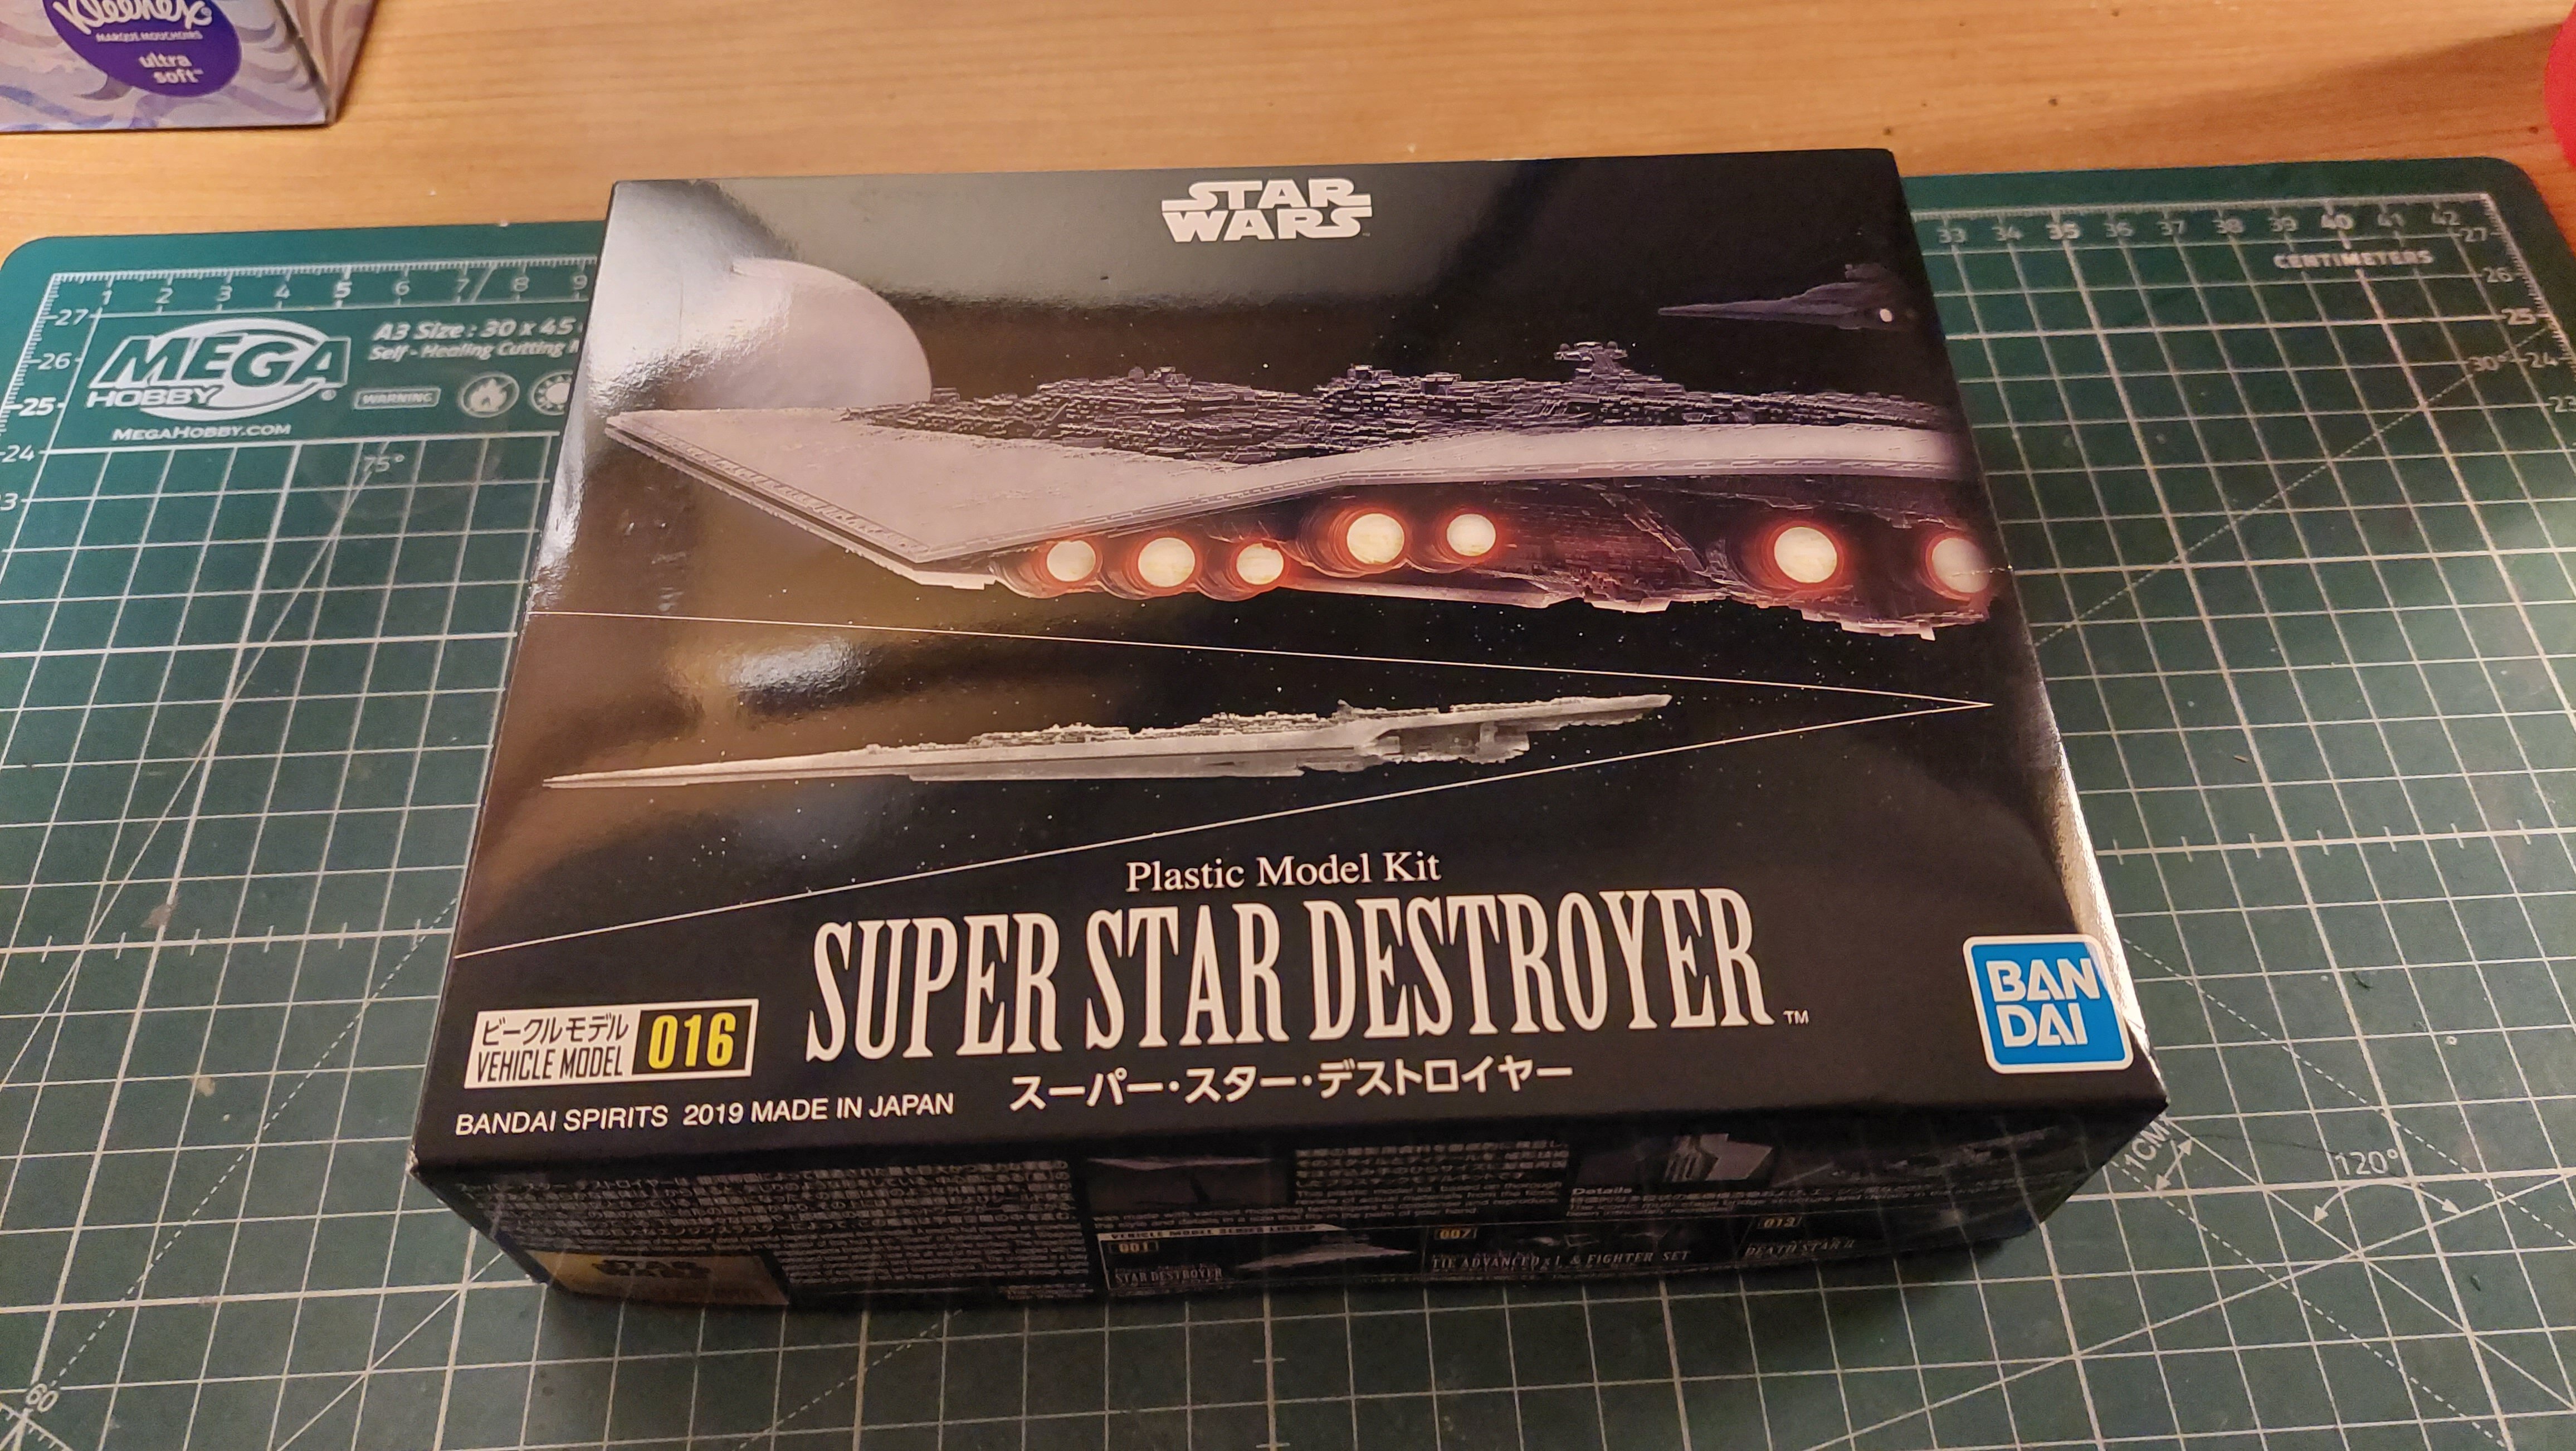
I pre-order the clear kit. I had the old kit in the 80s and I was just ecstatic to build it. It didn't look very good.. LOL. I'll see how it works out this time around! 😁
- 153 replies
-
- 1
-
-
- Jan-Michael Vincent
- Ernest Borgnine
- (and 2 more)
-
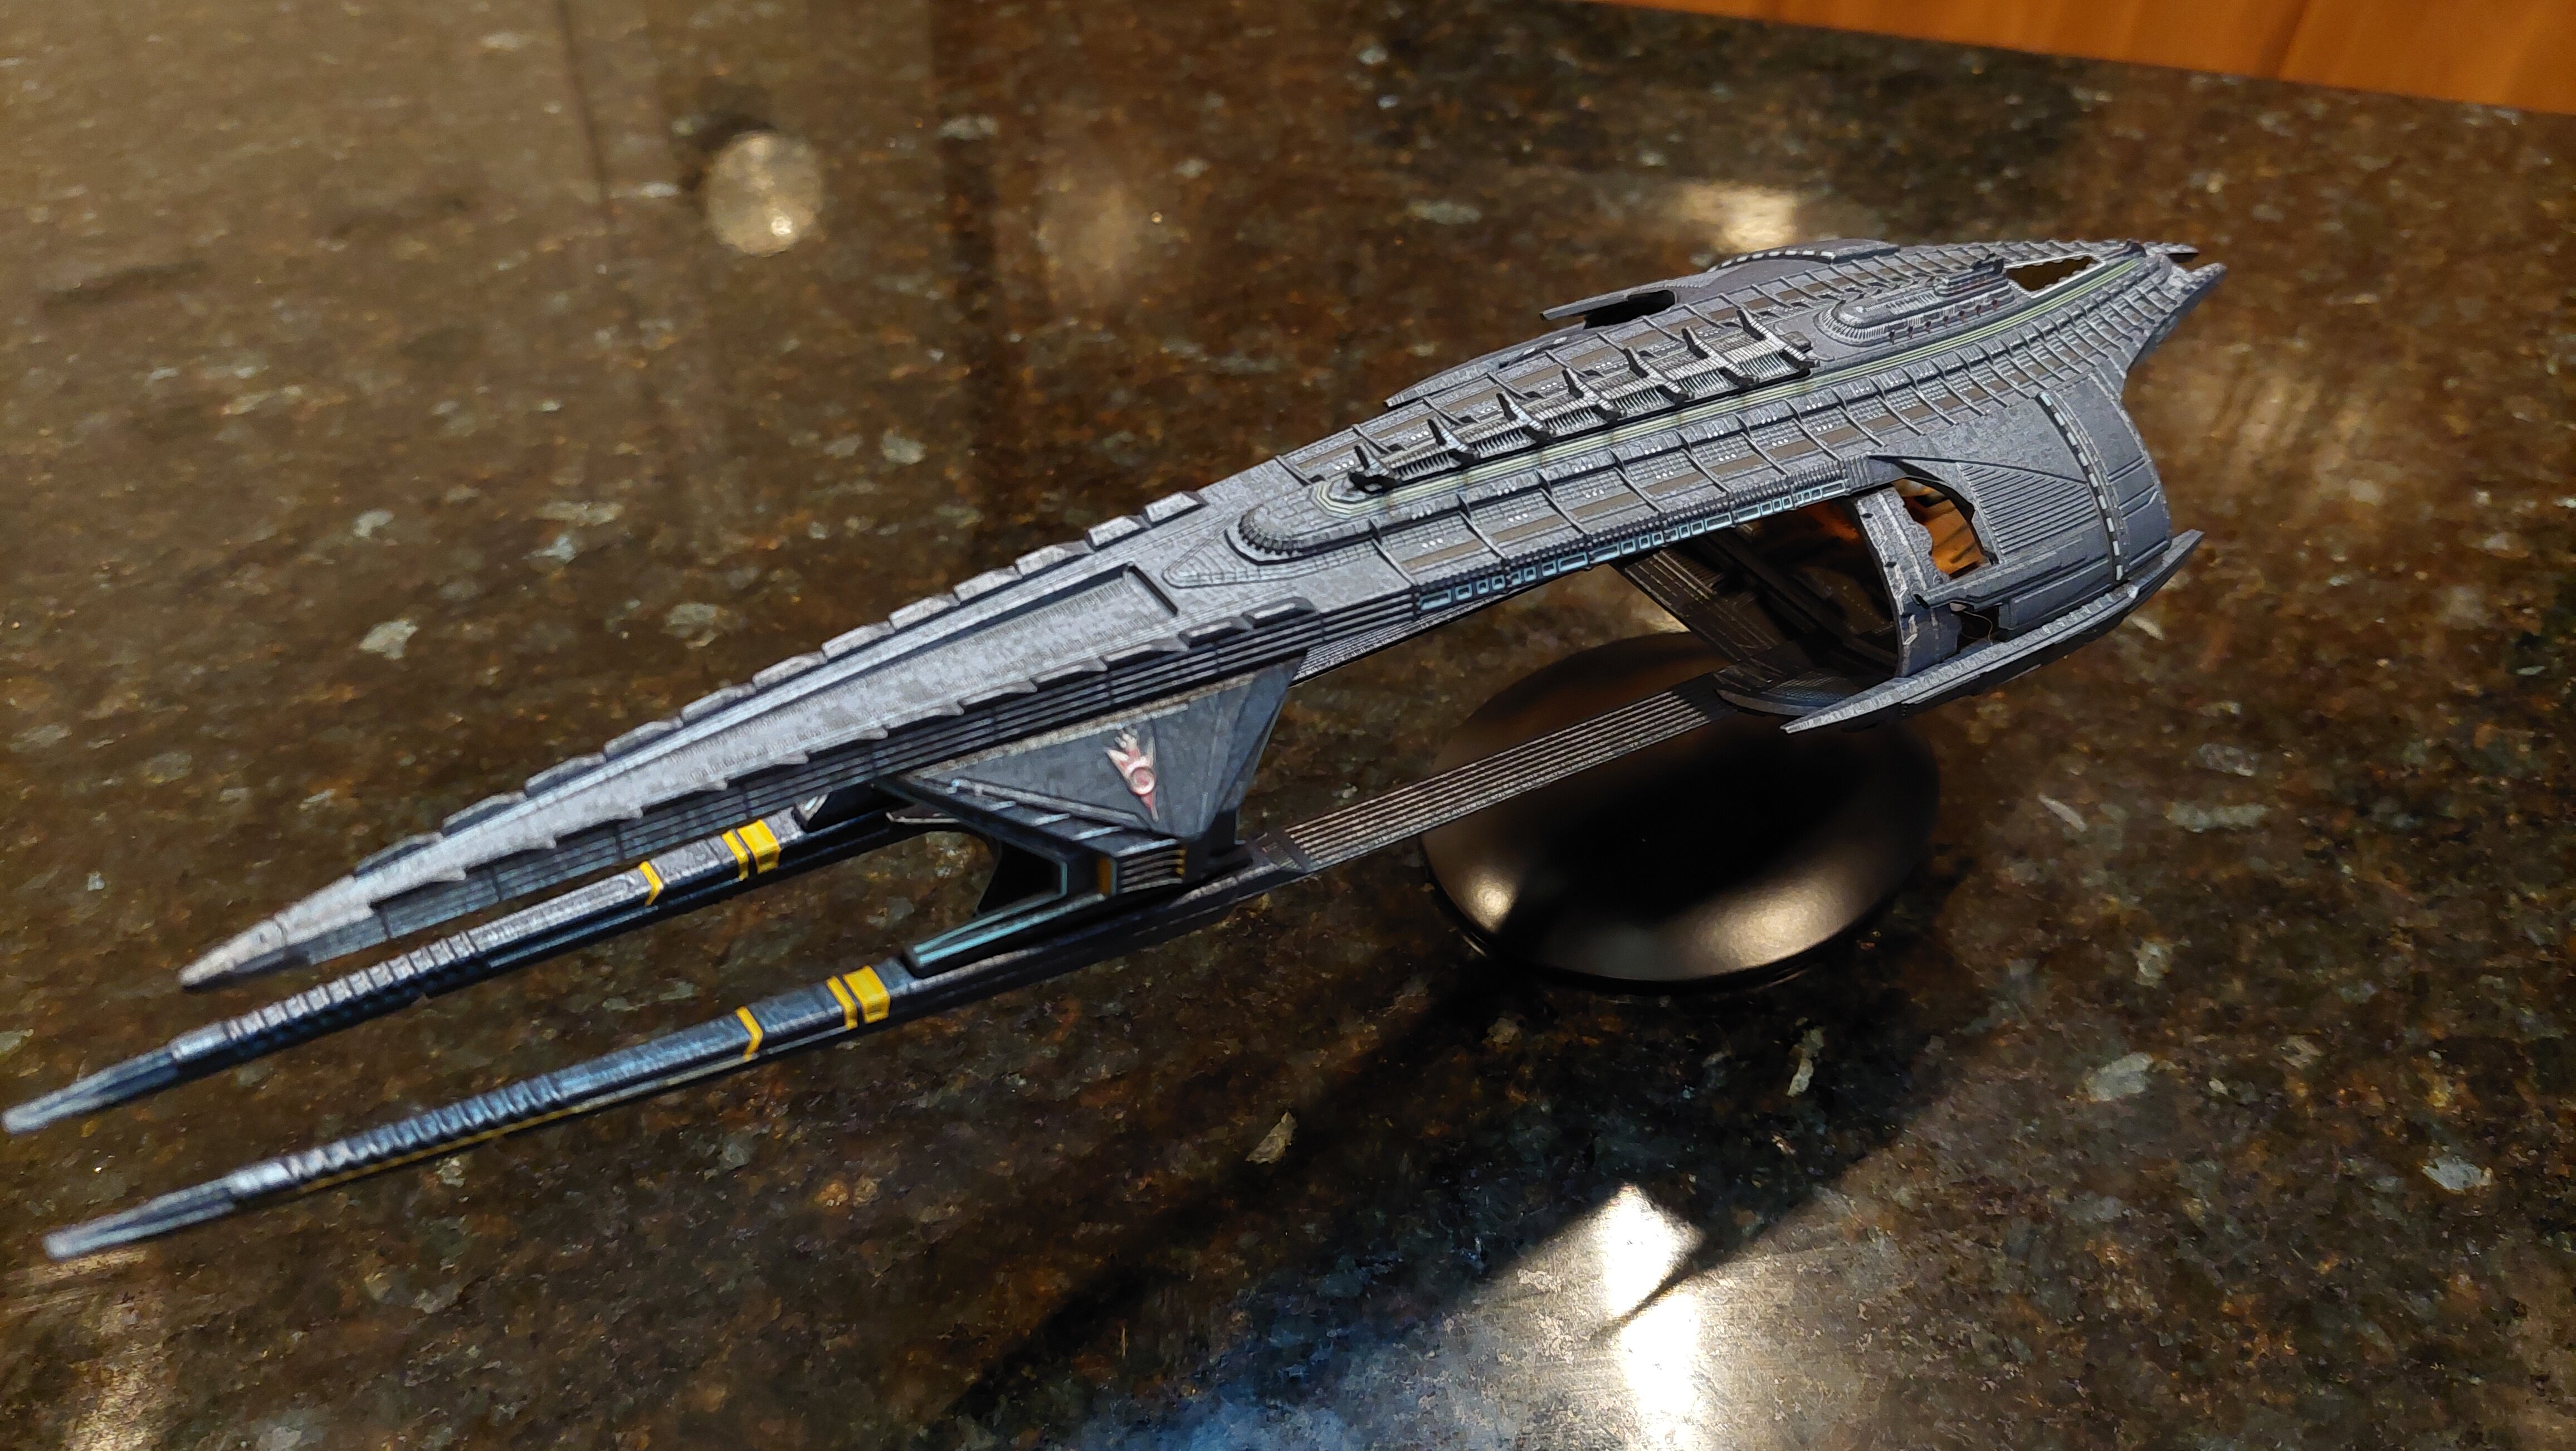
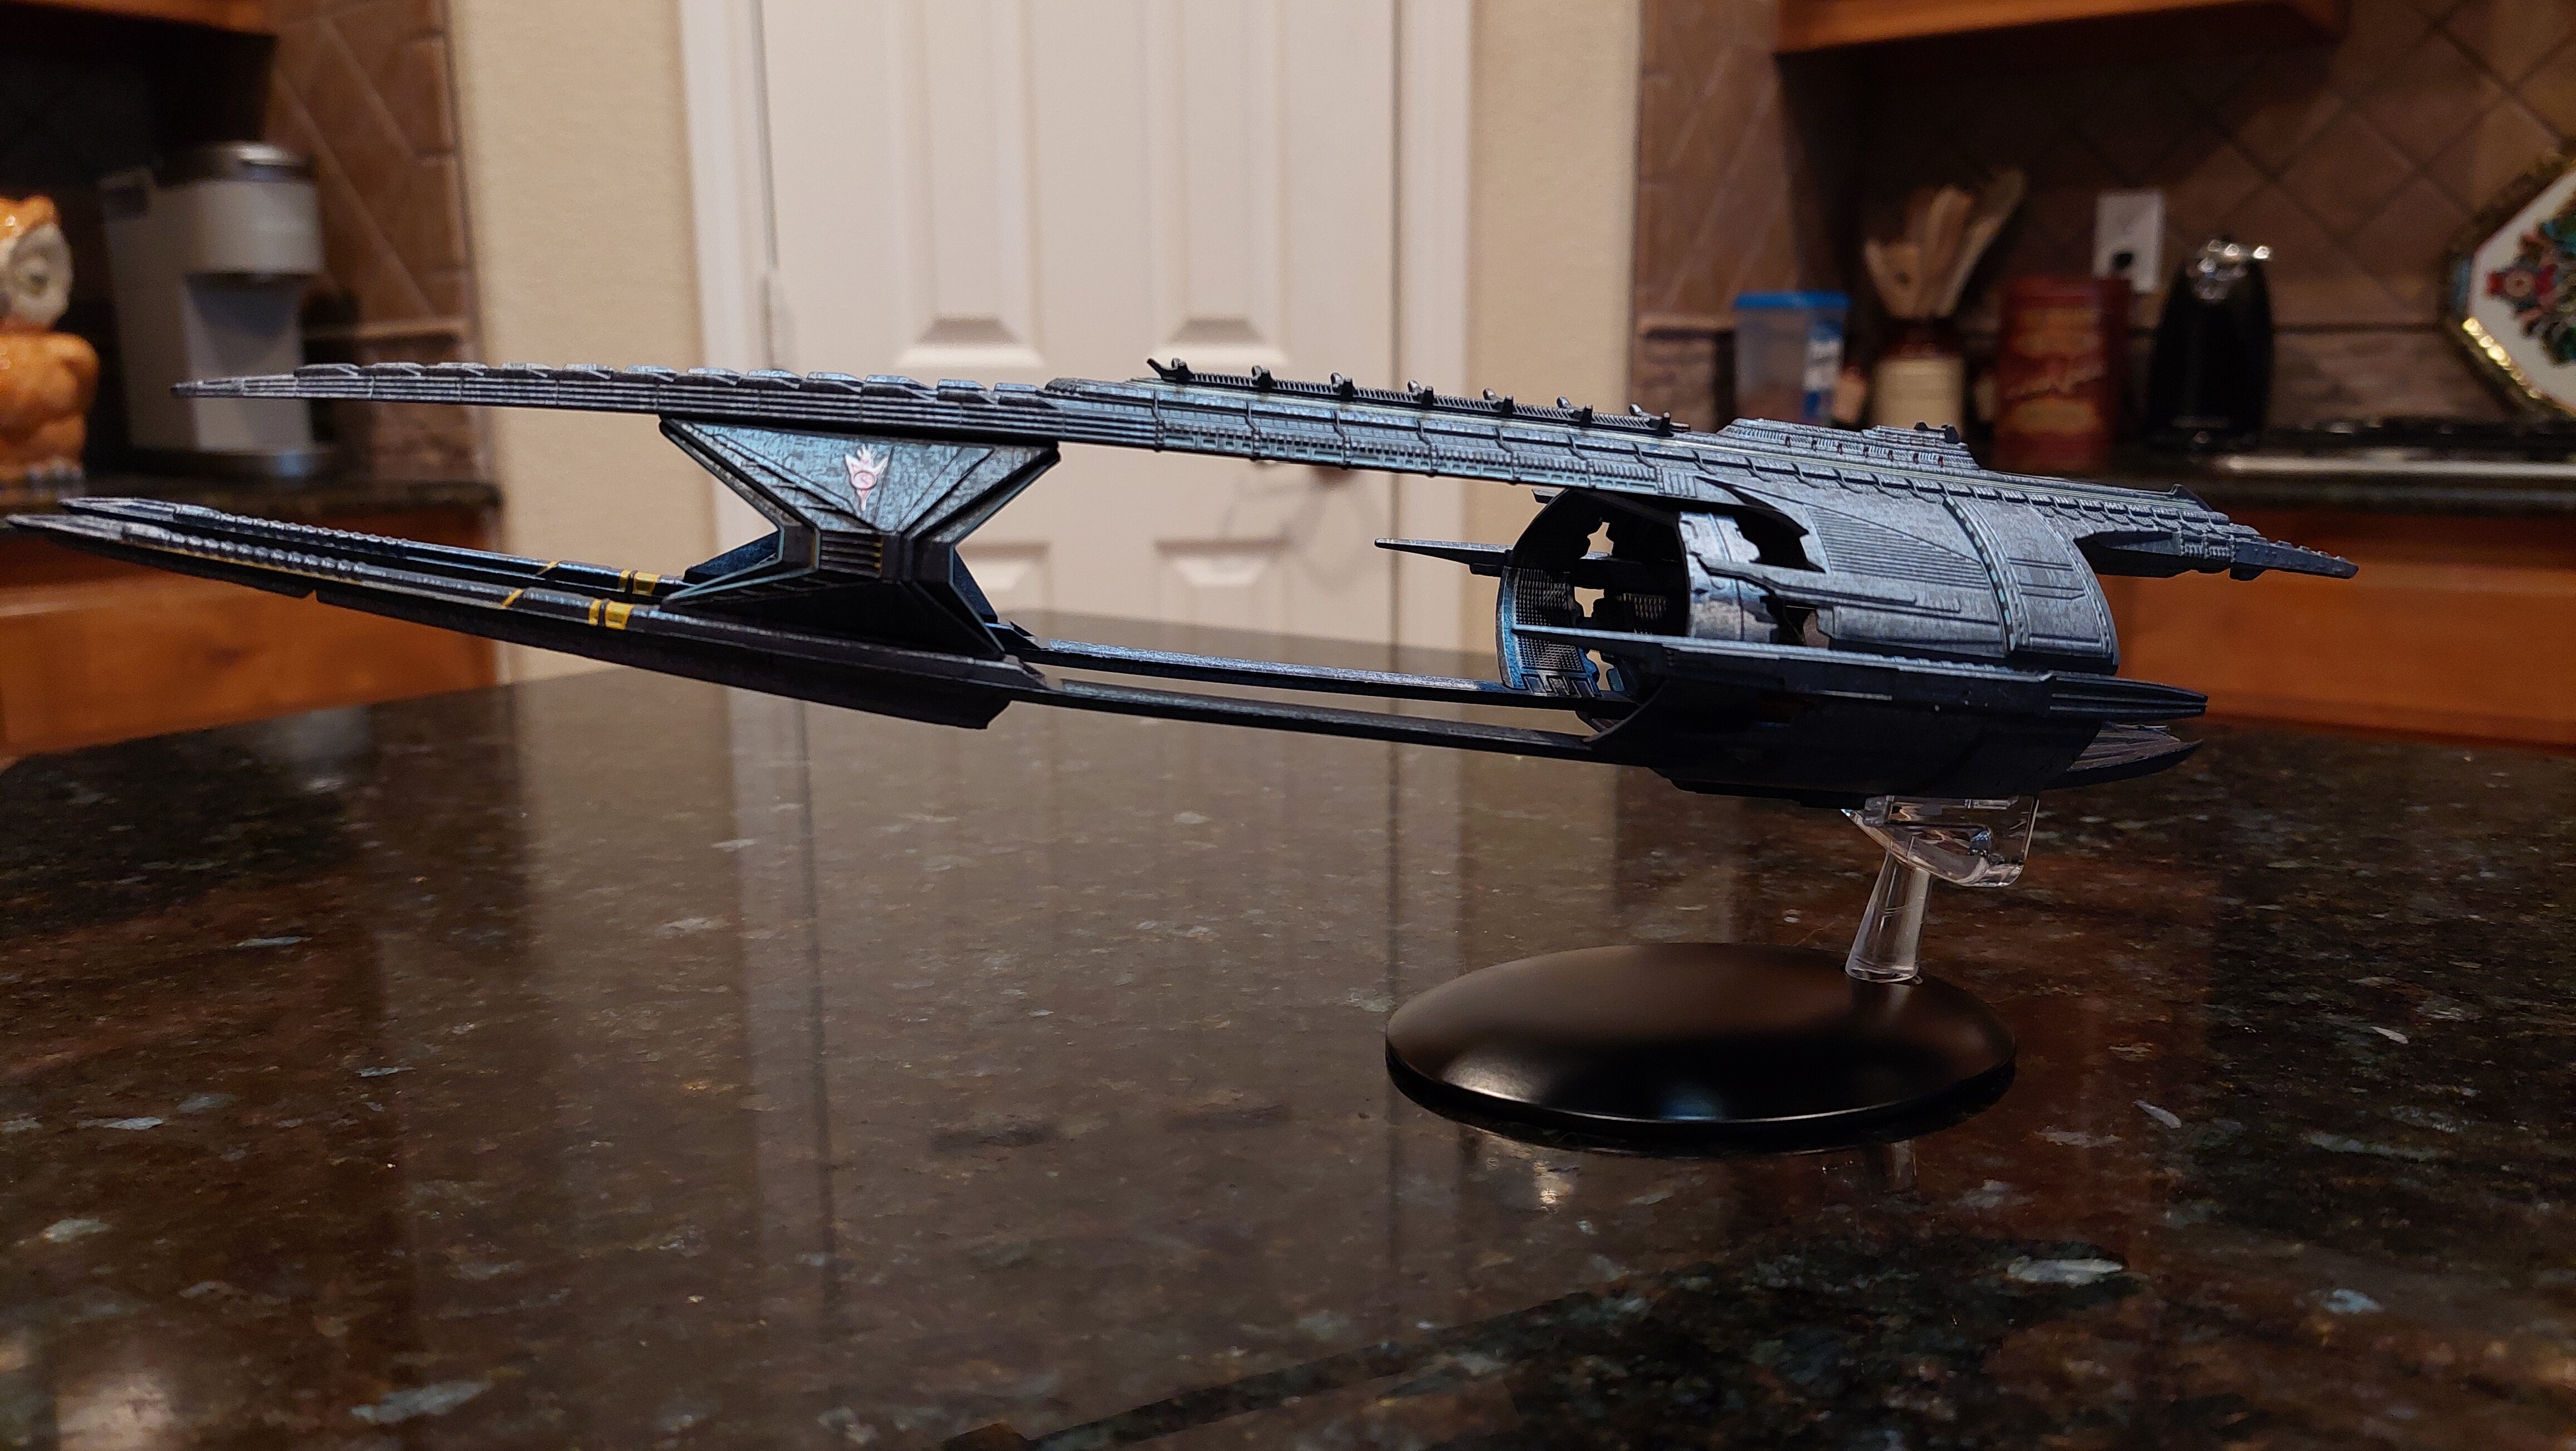
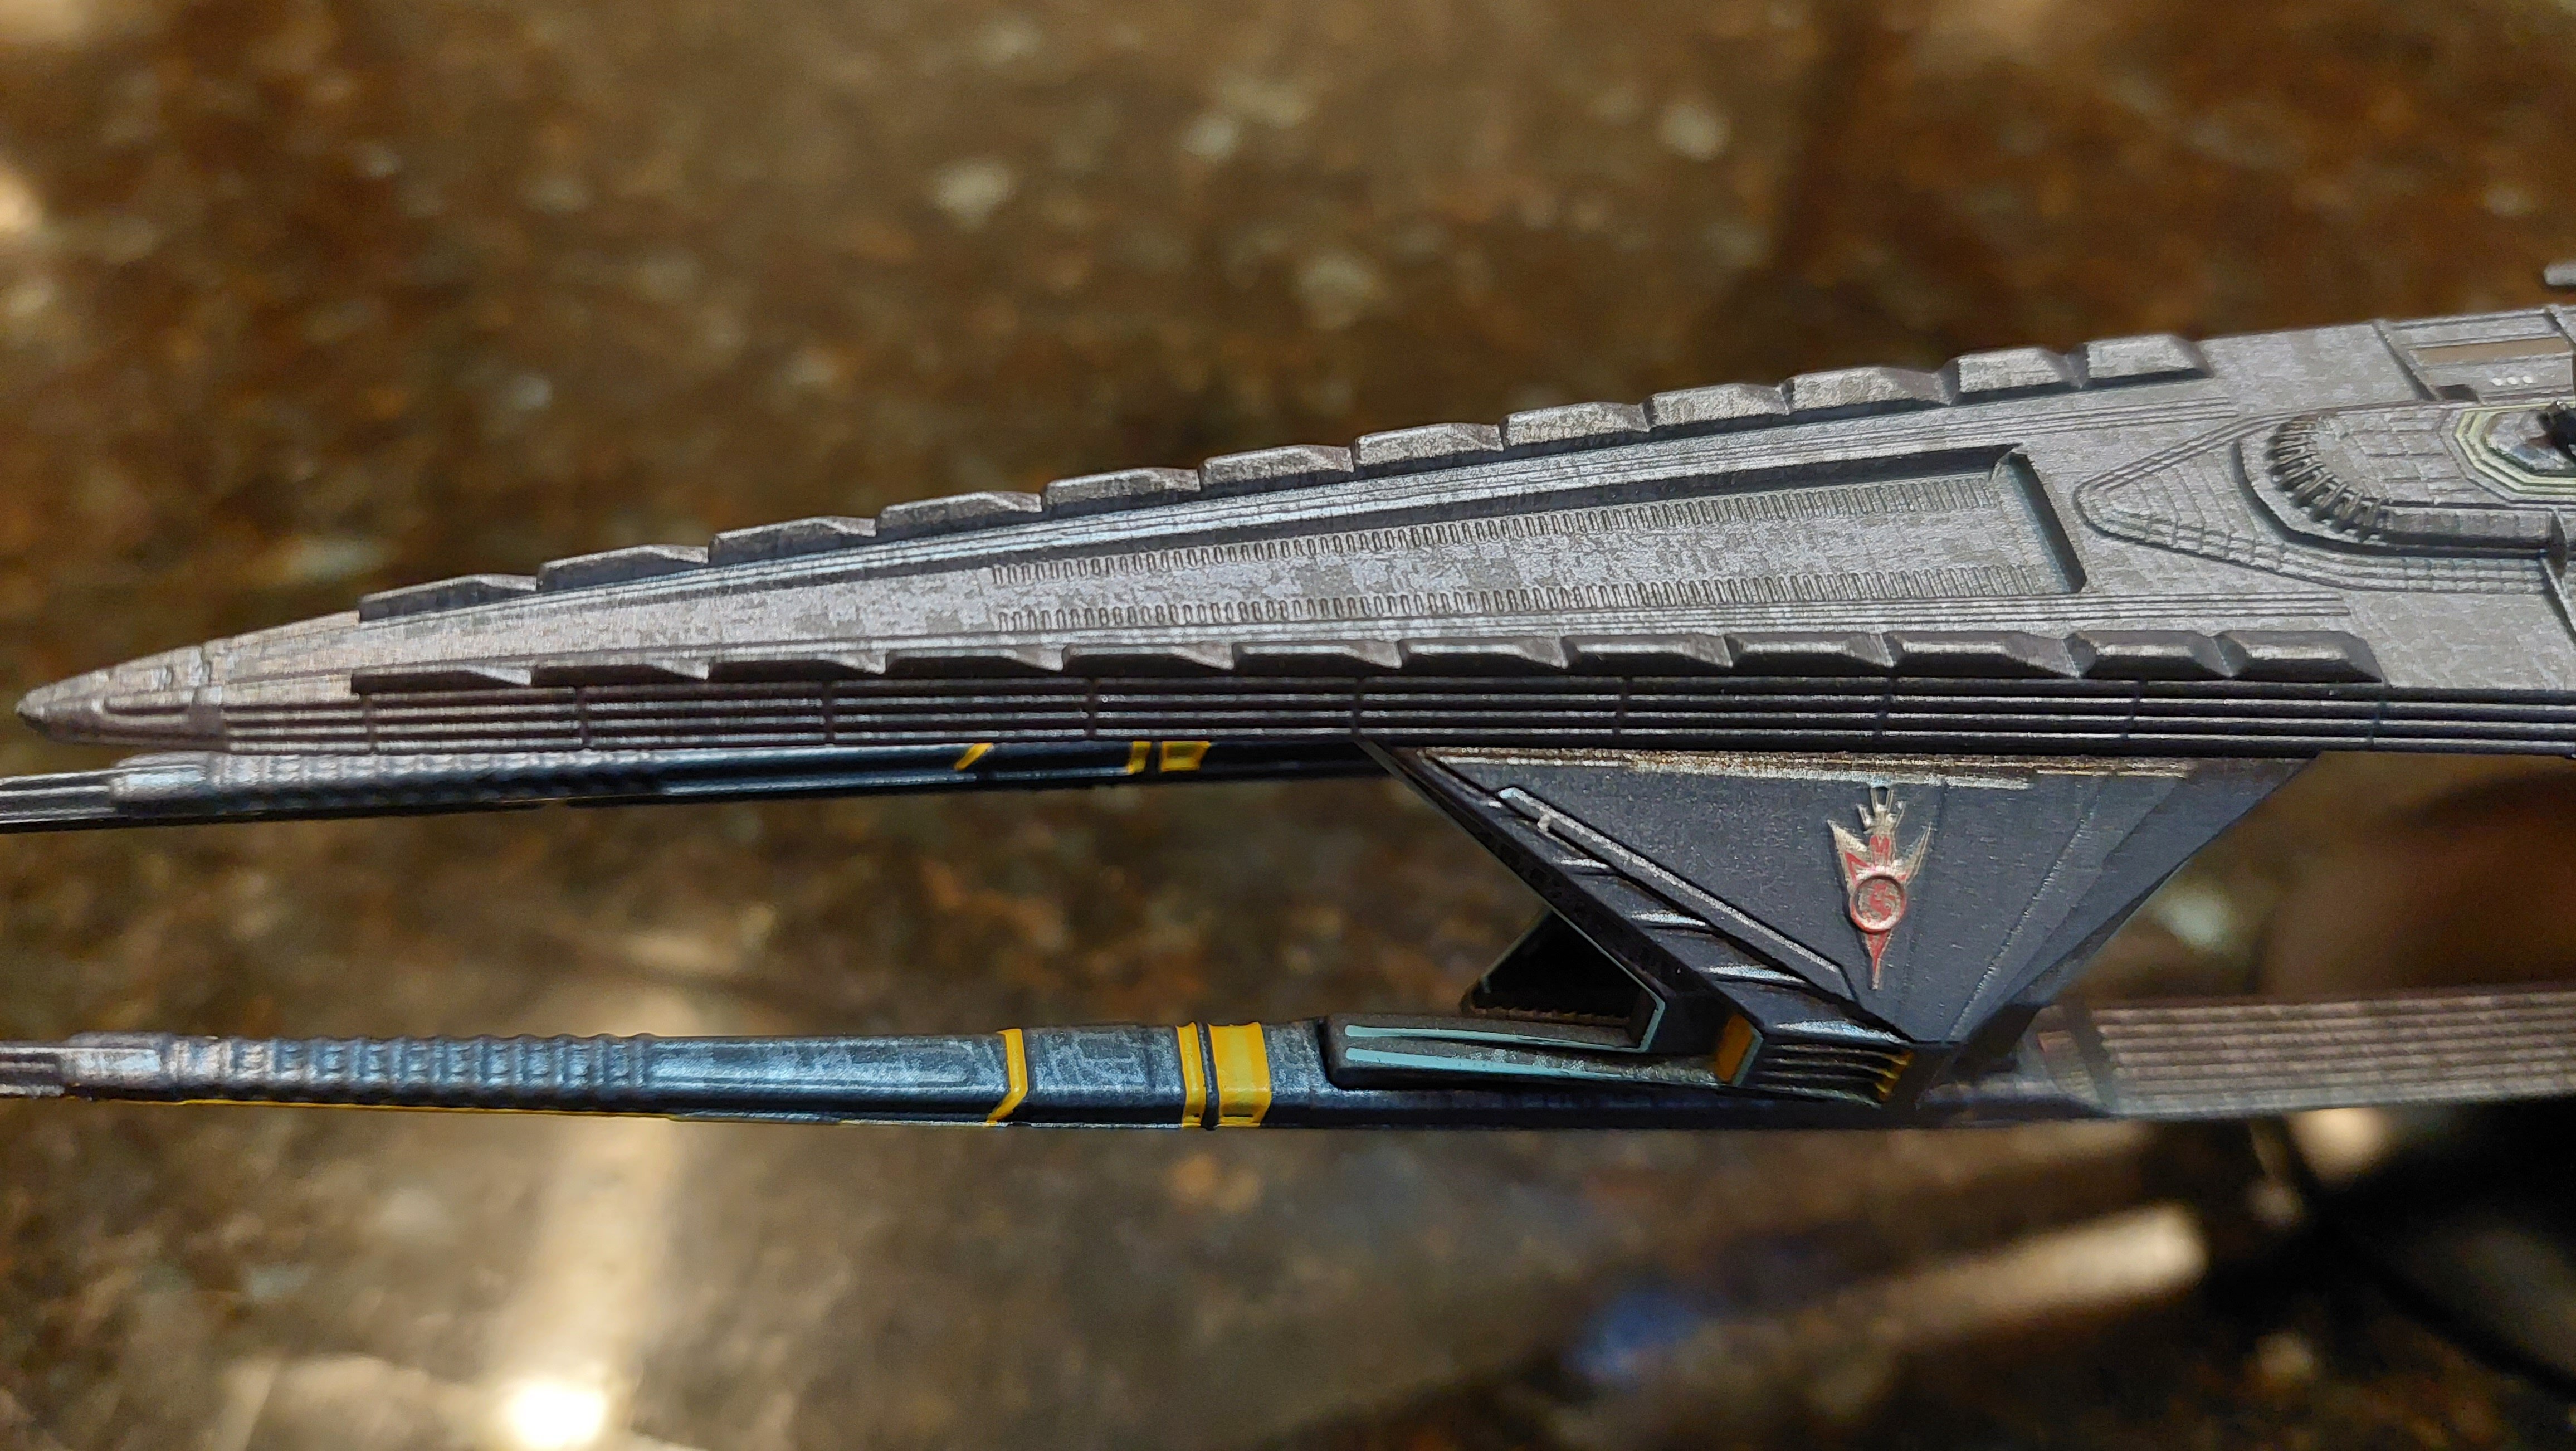
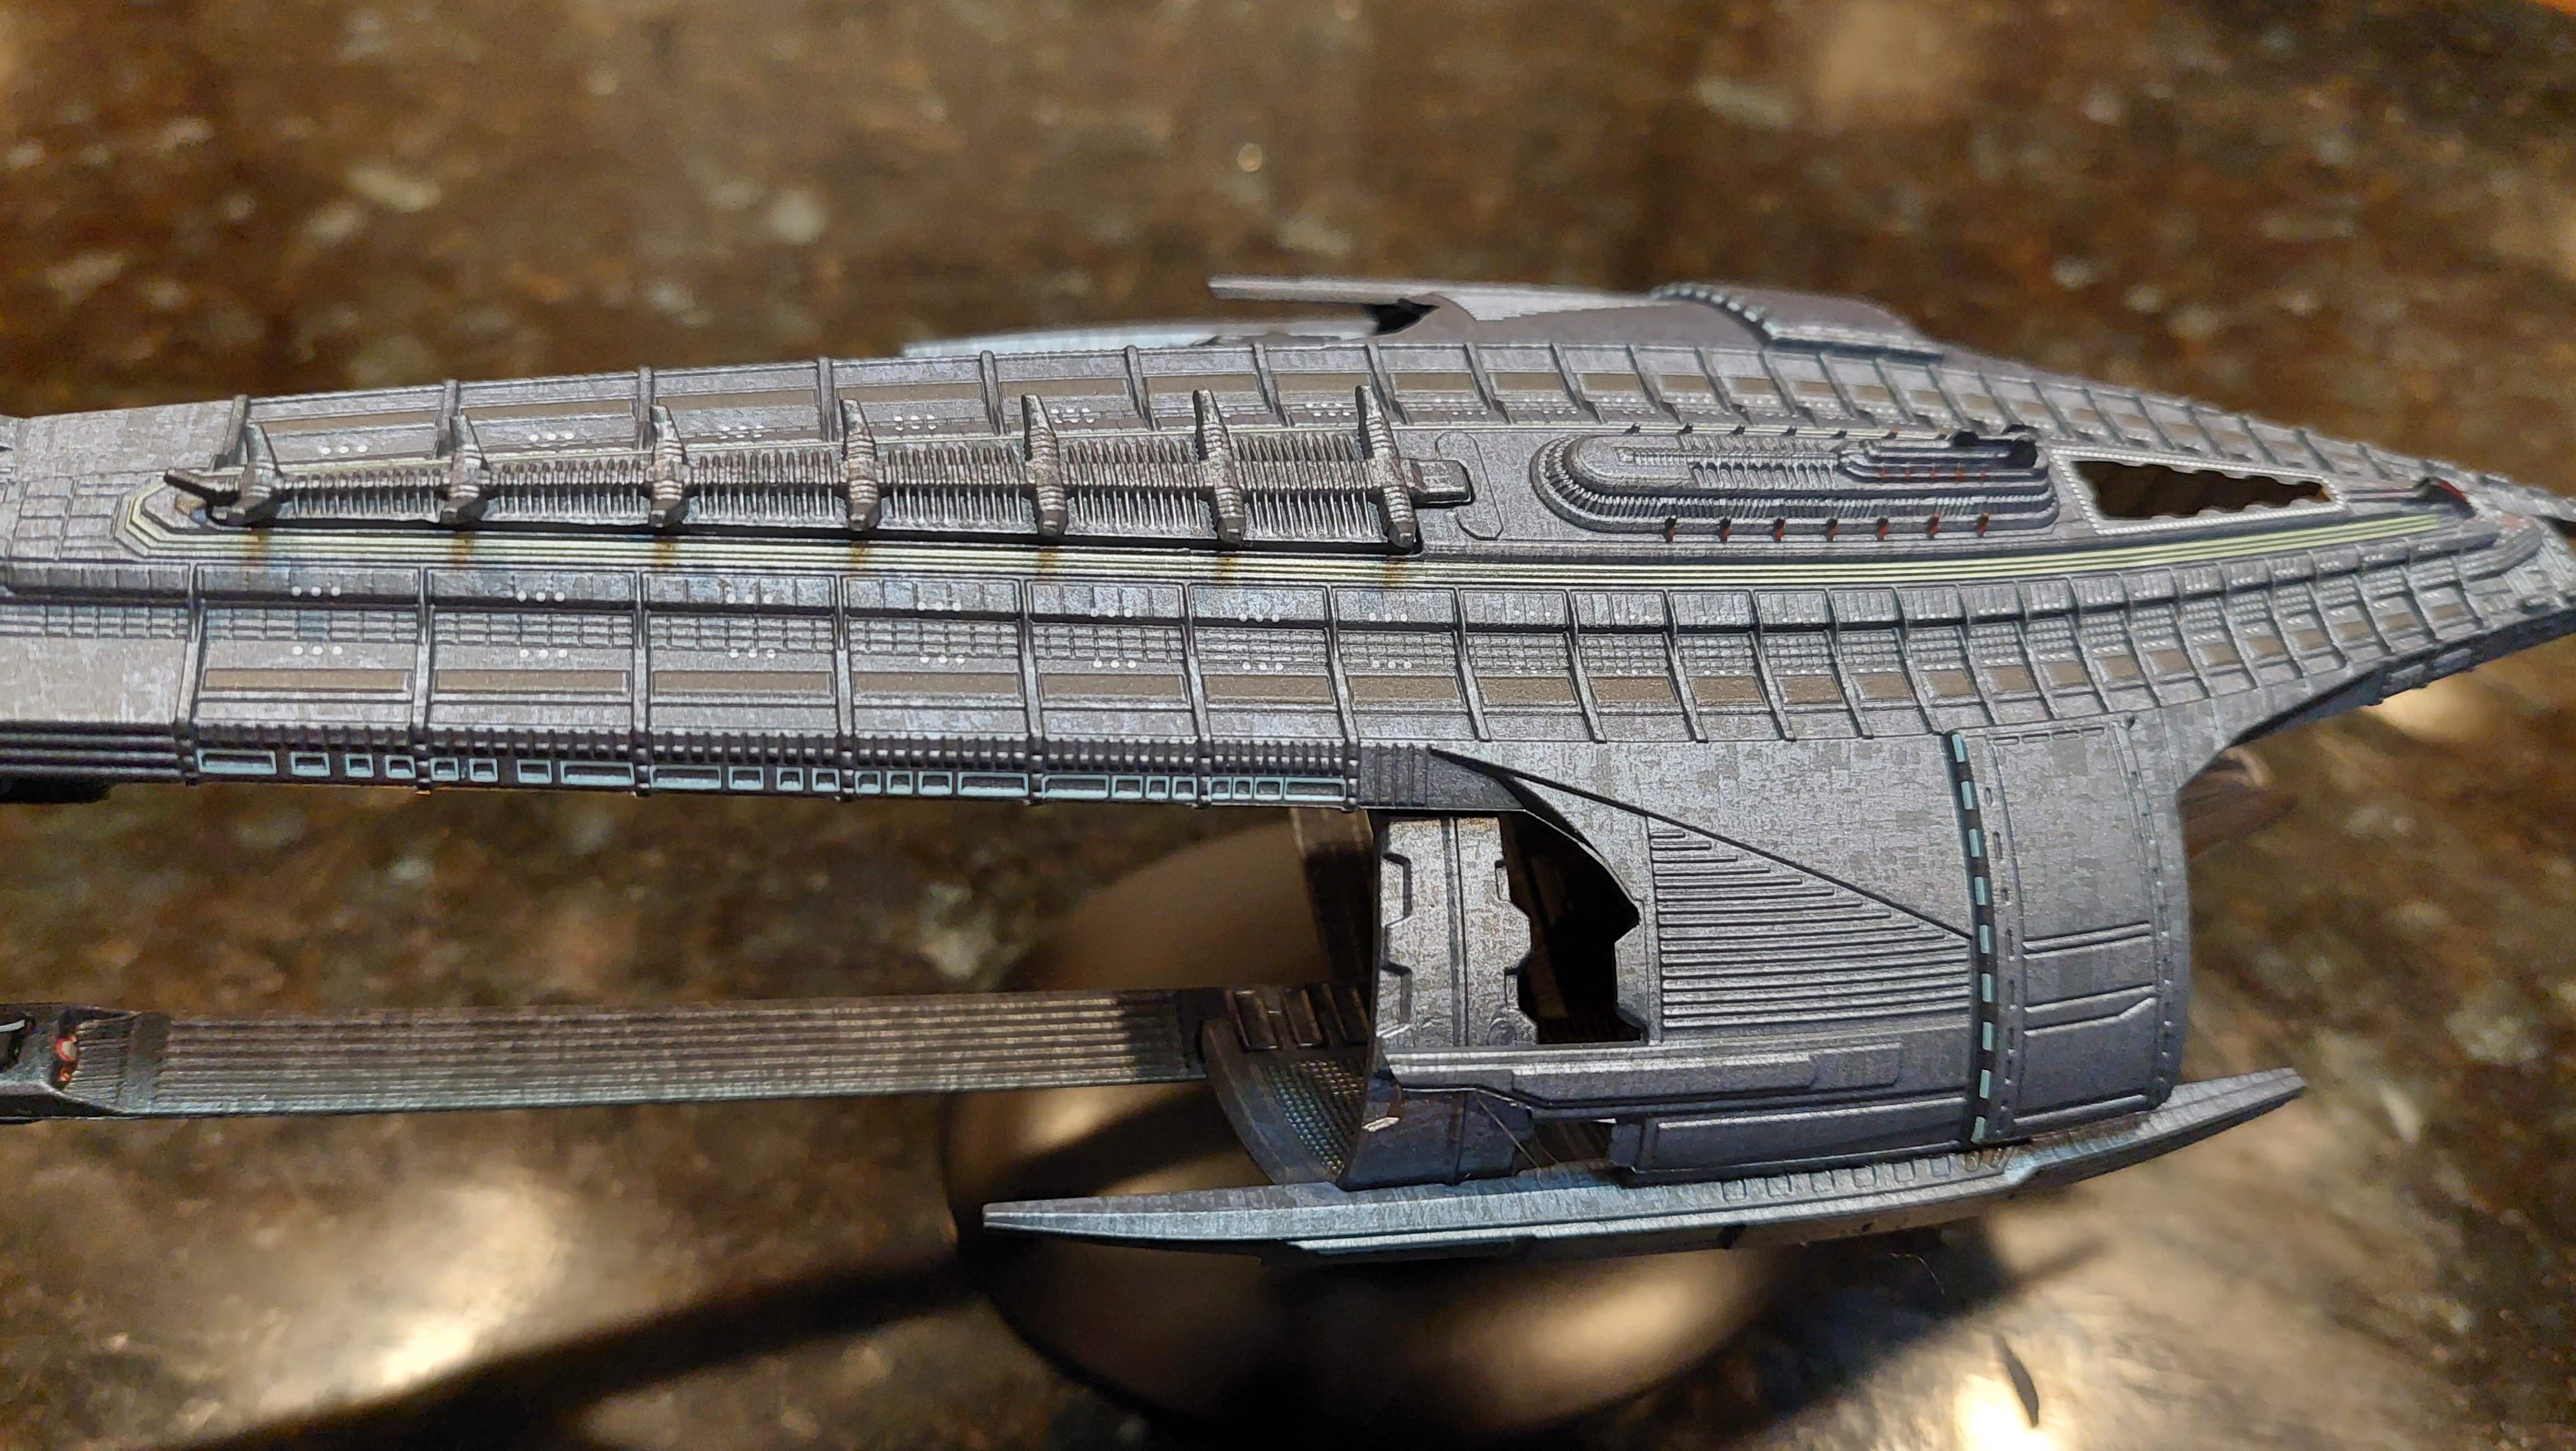
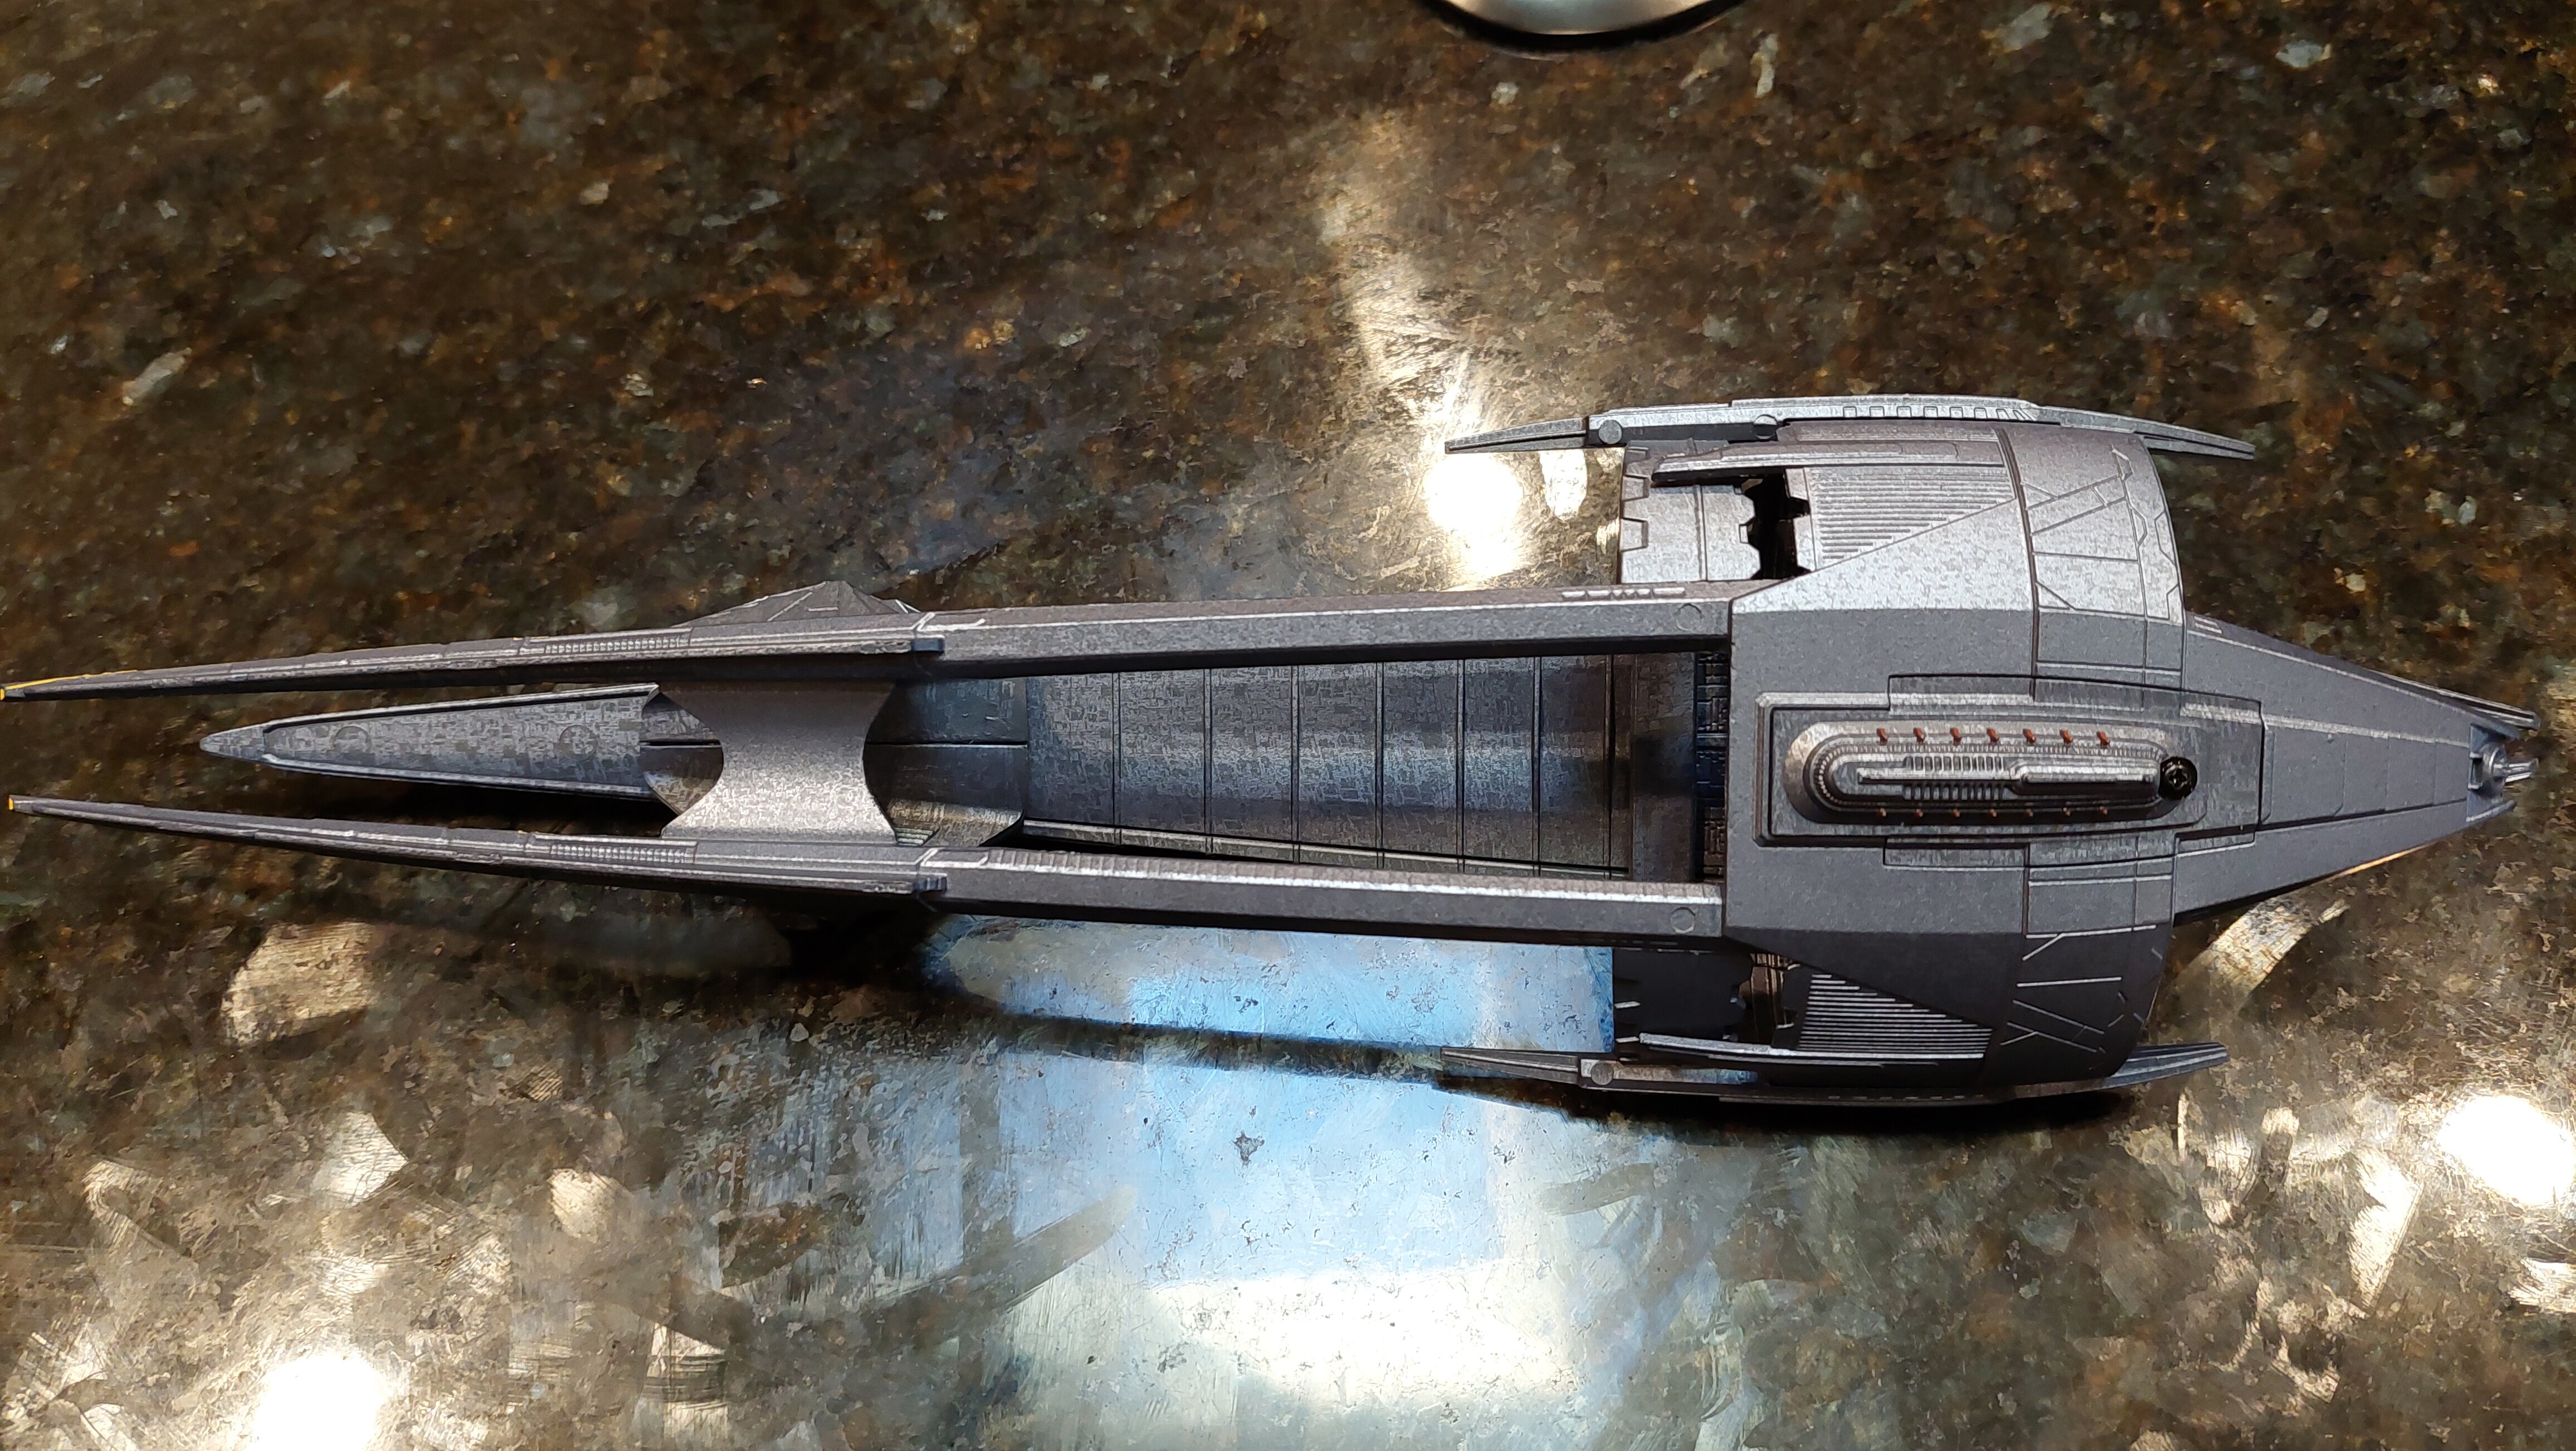
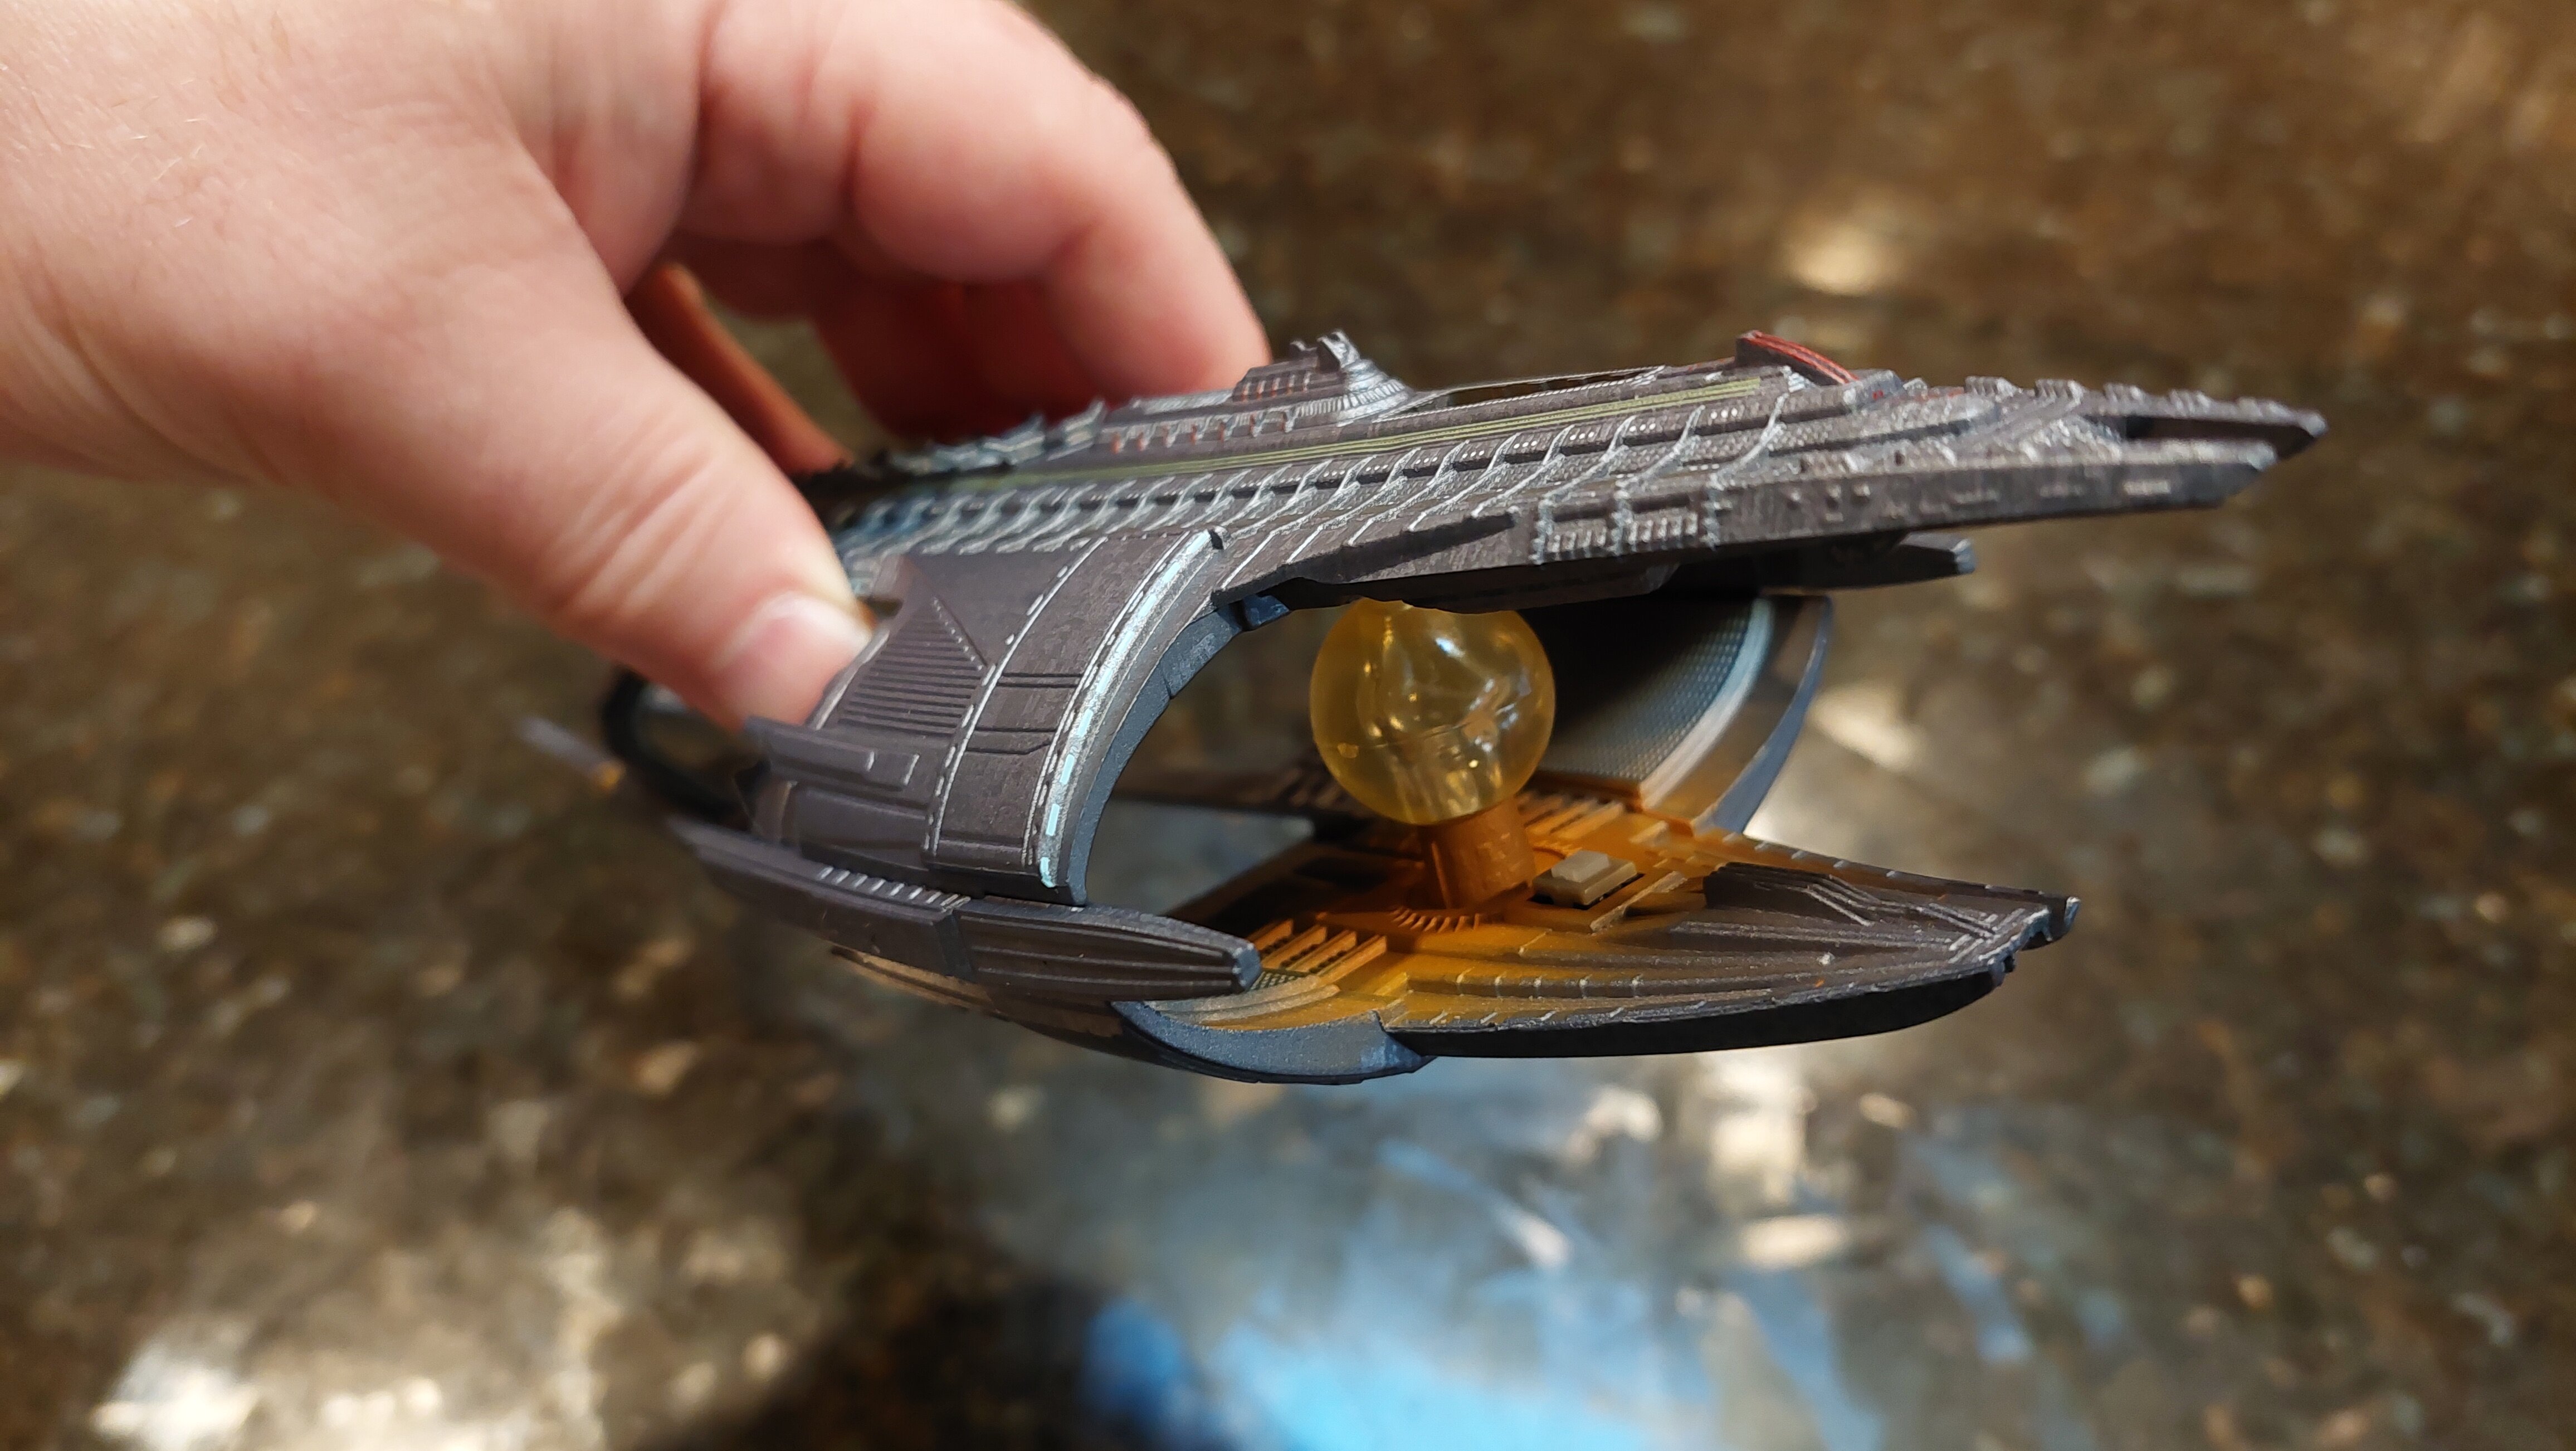
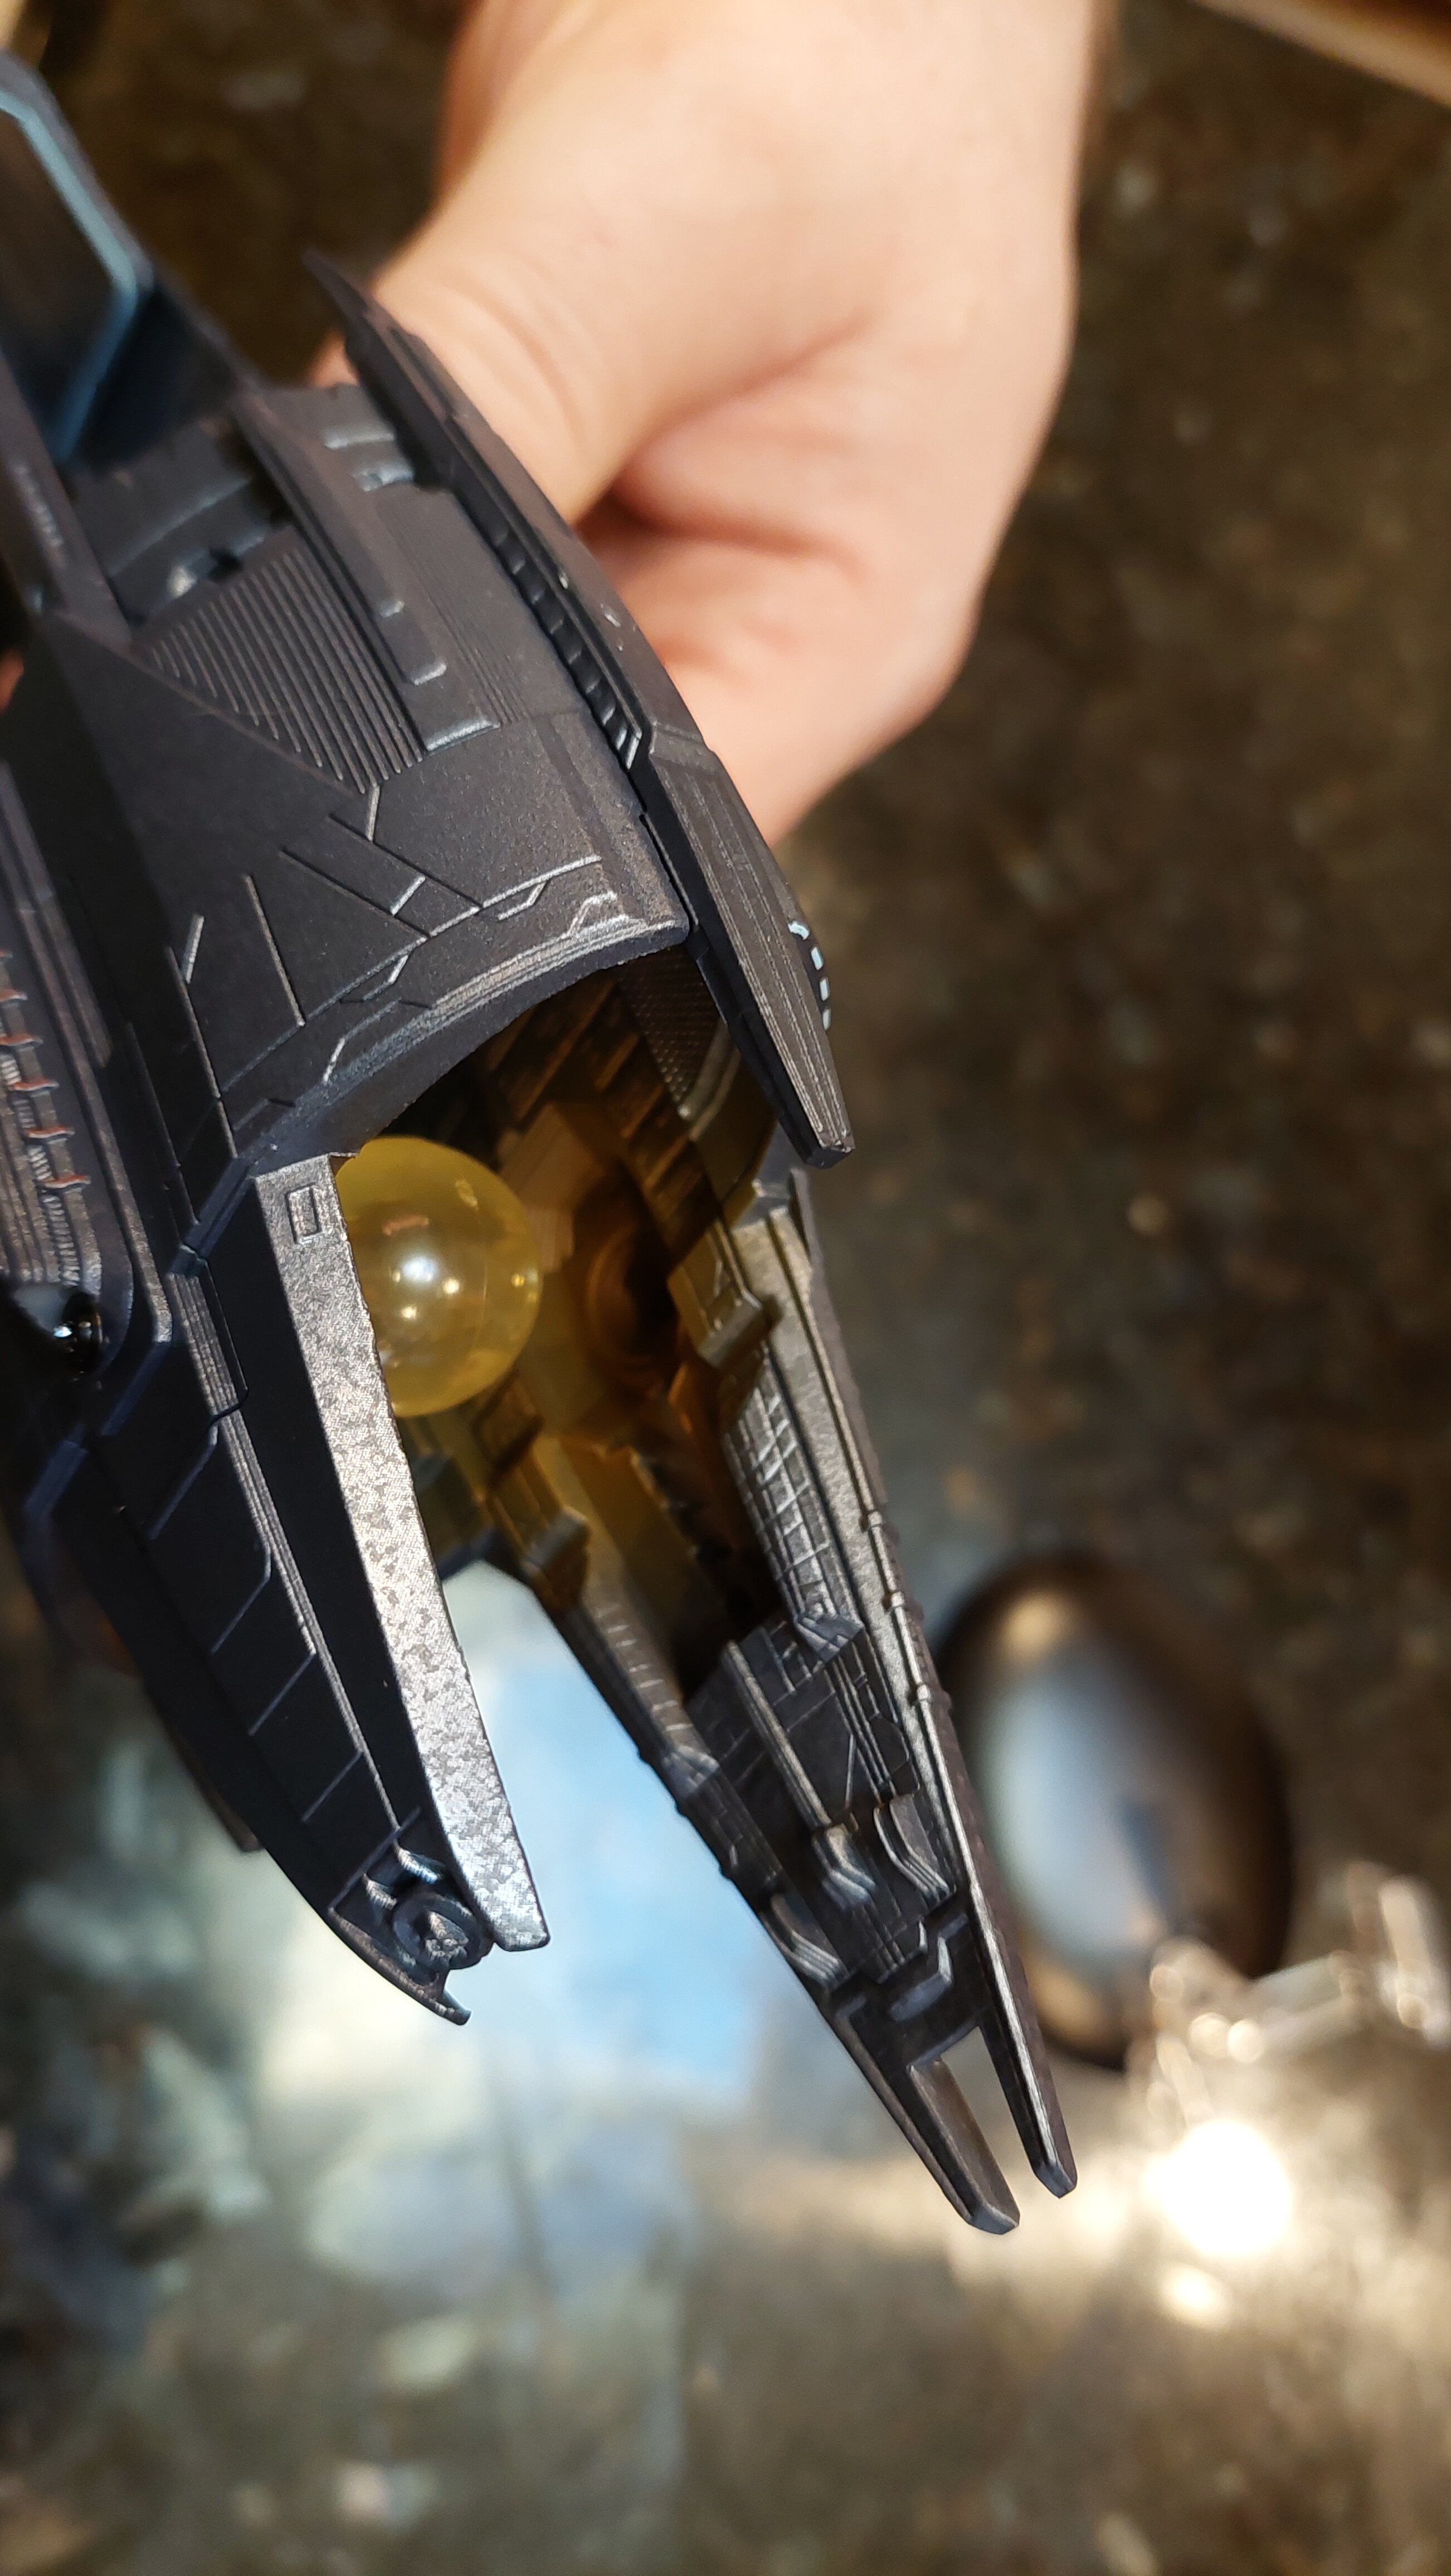
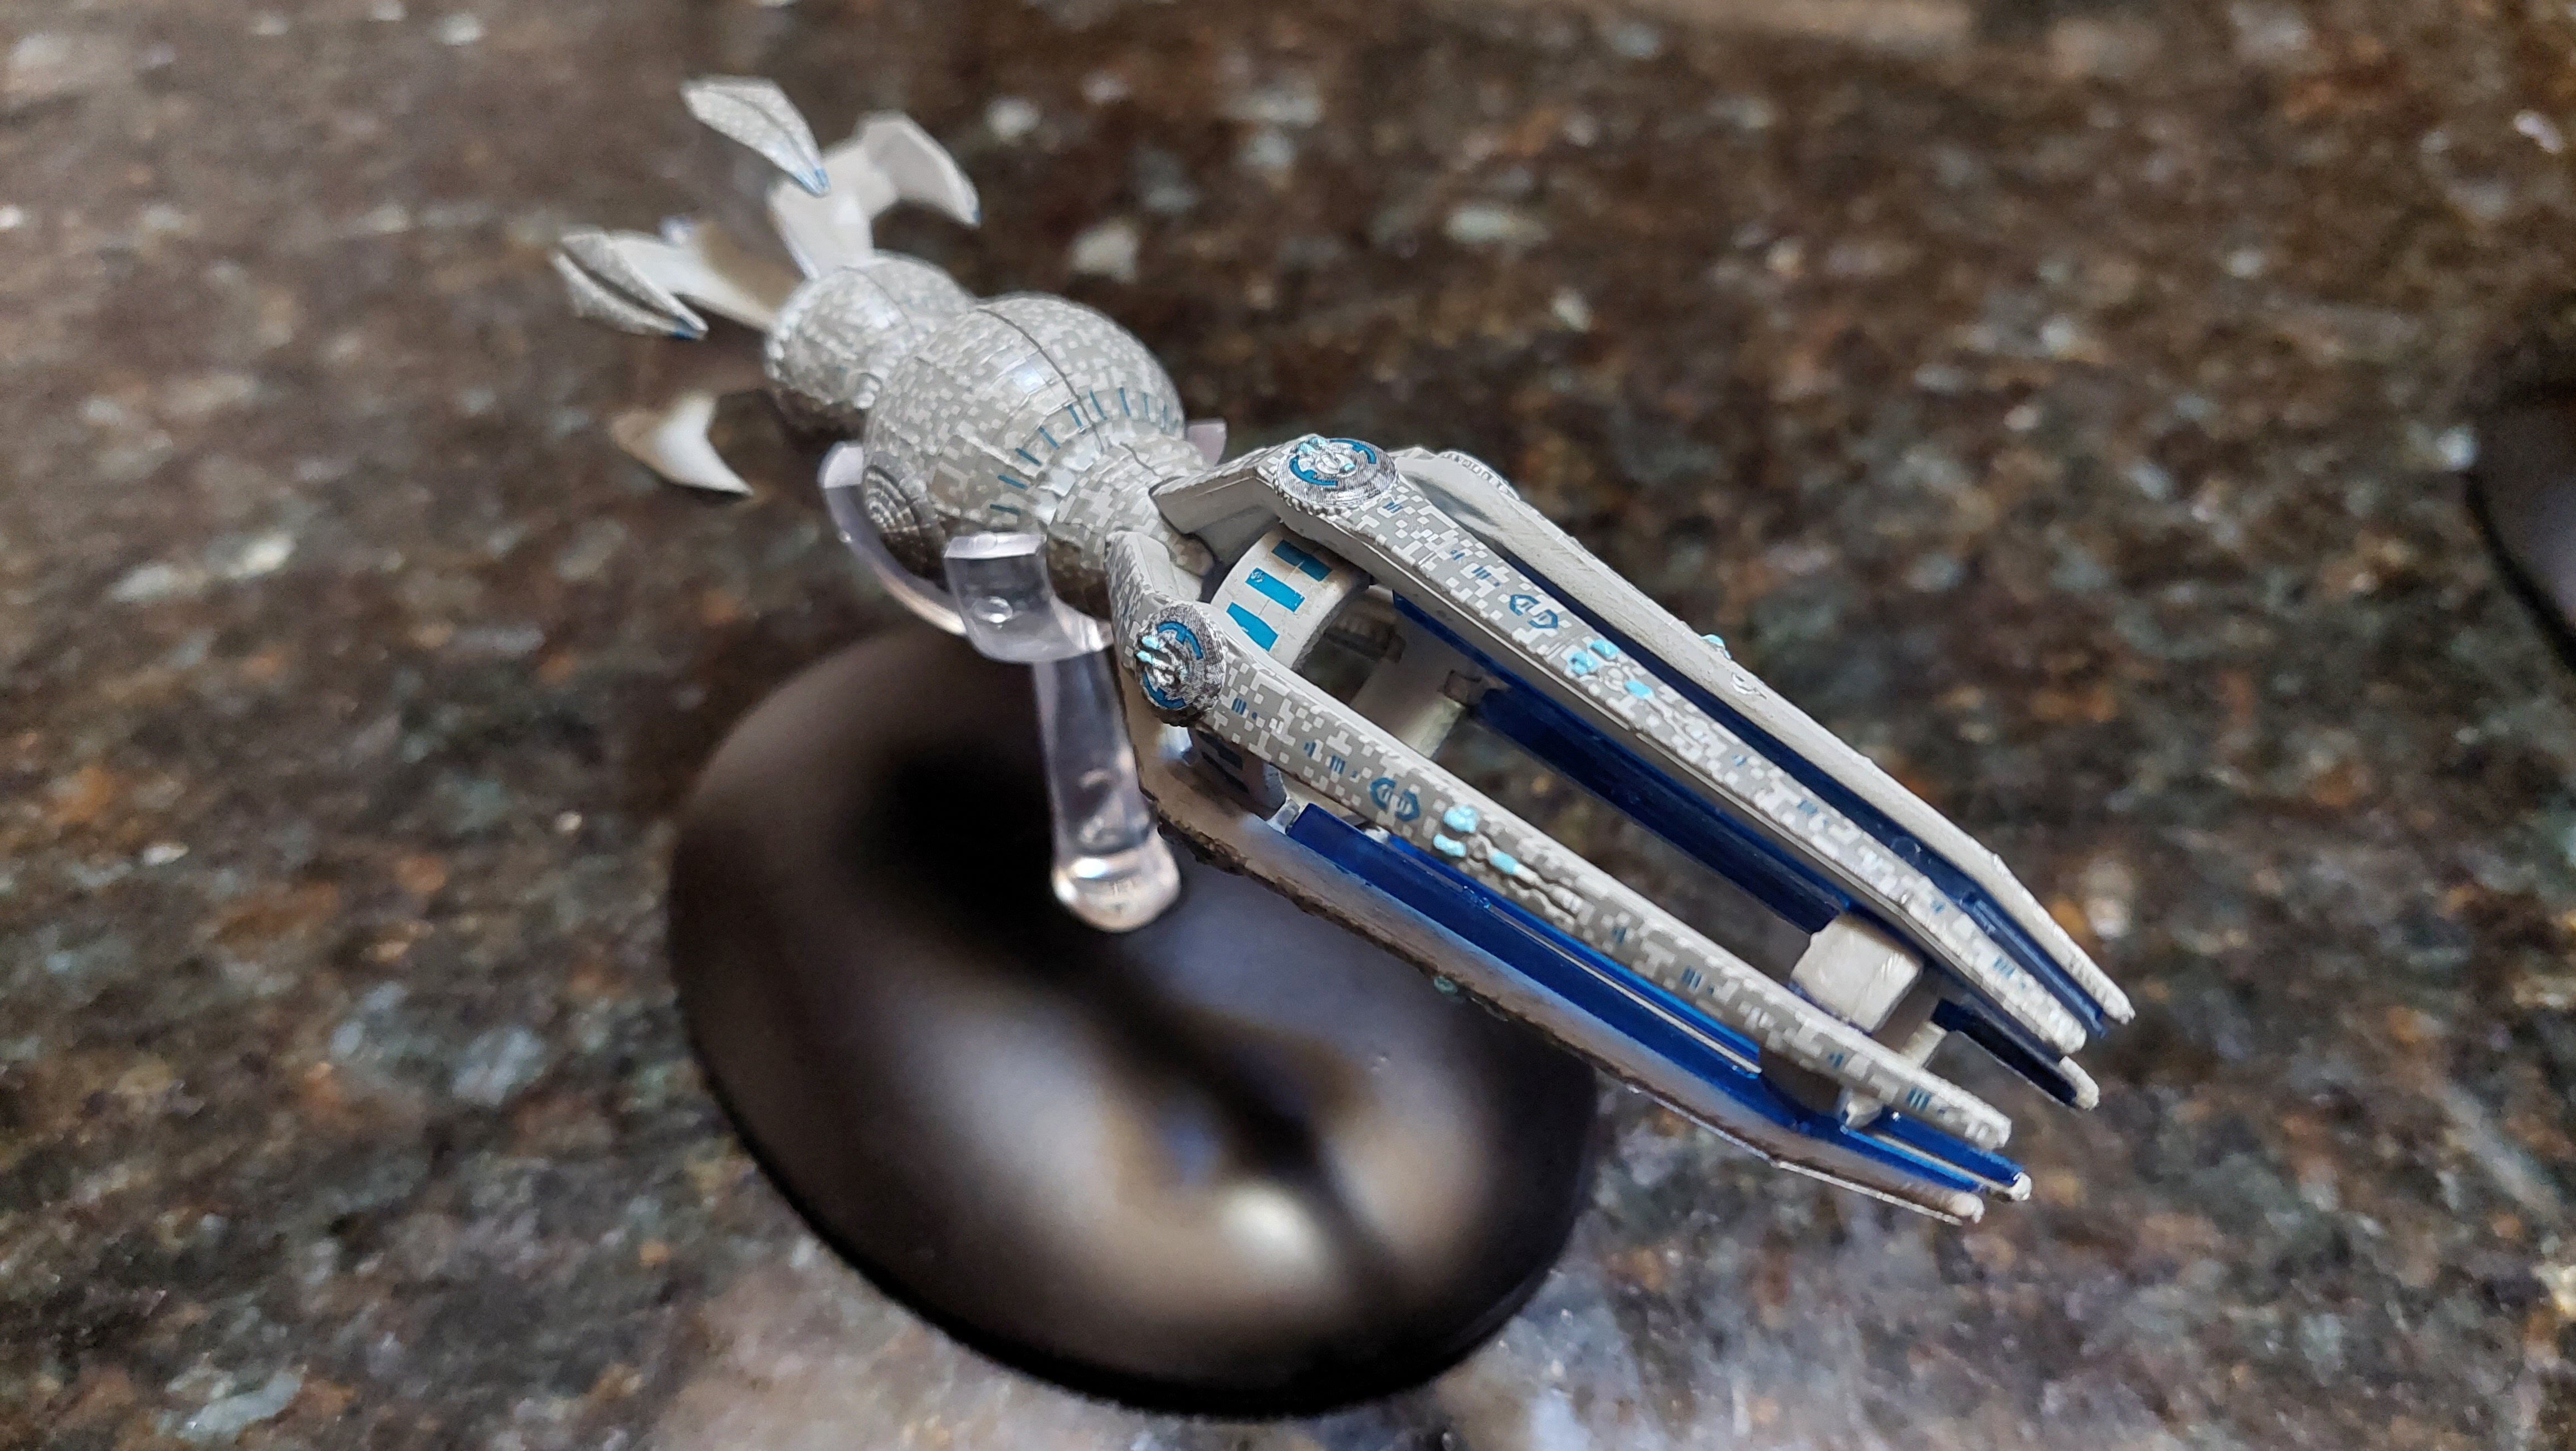
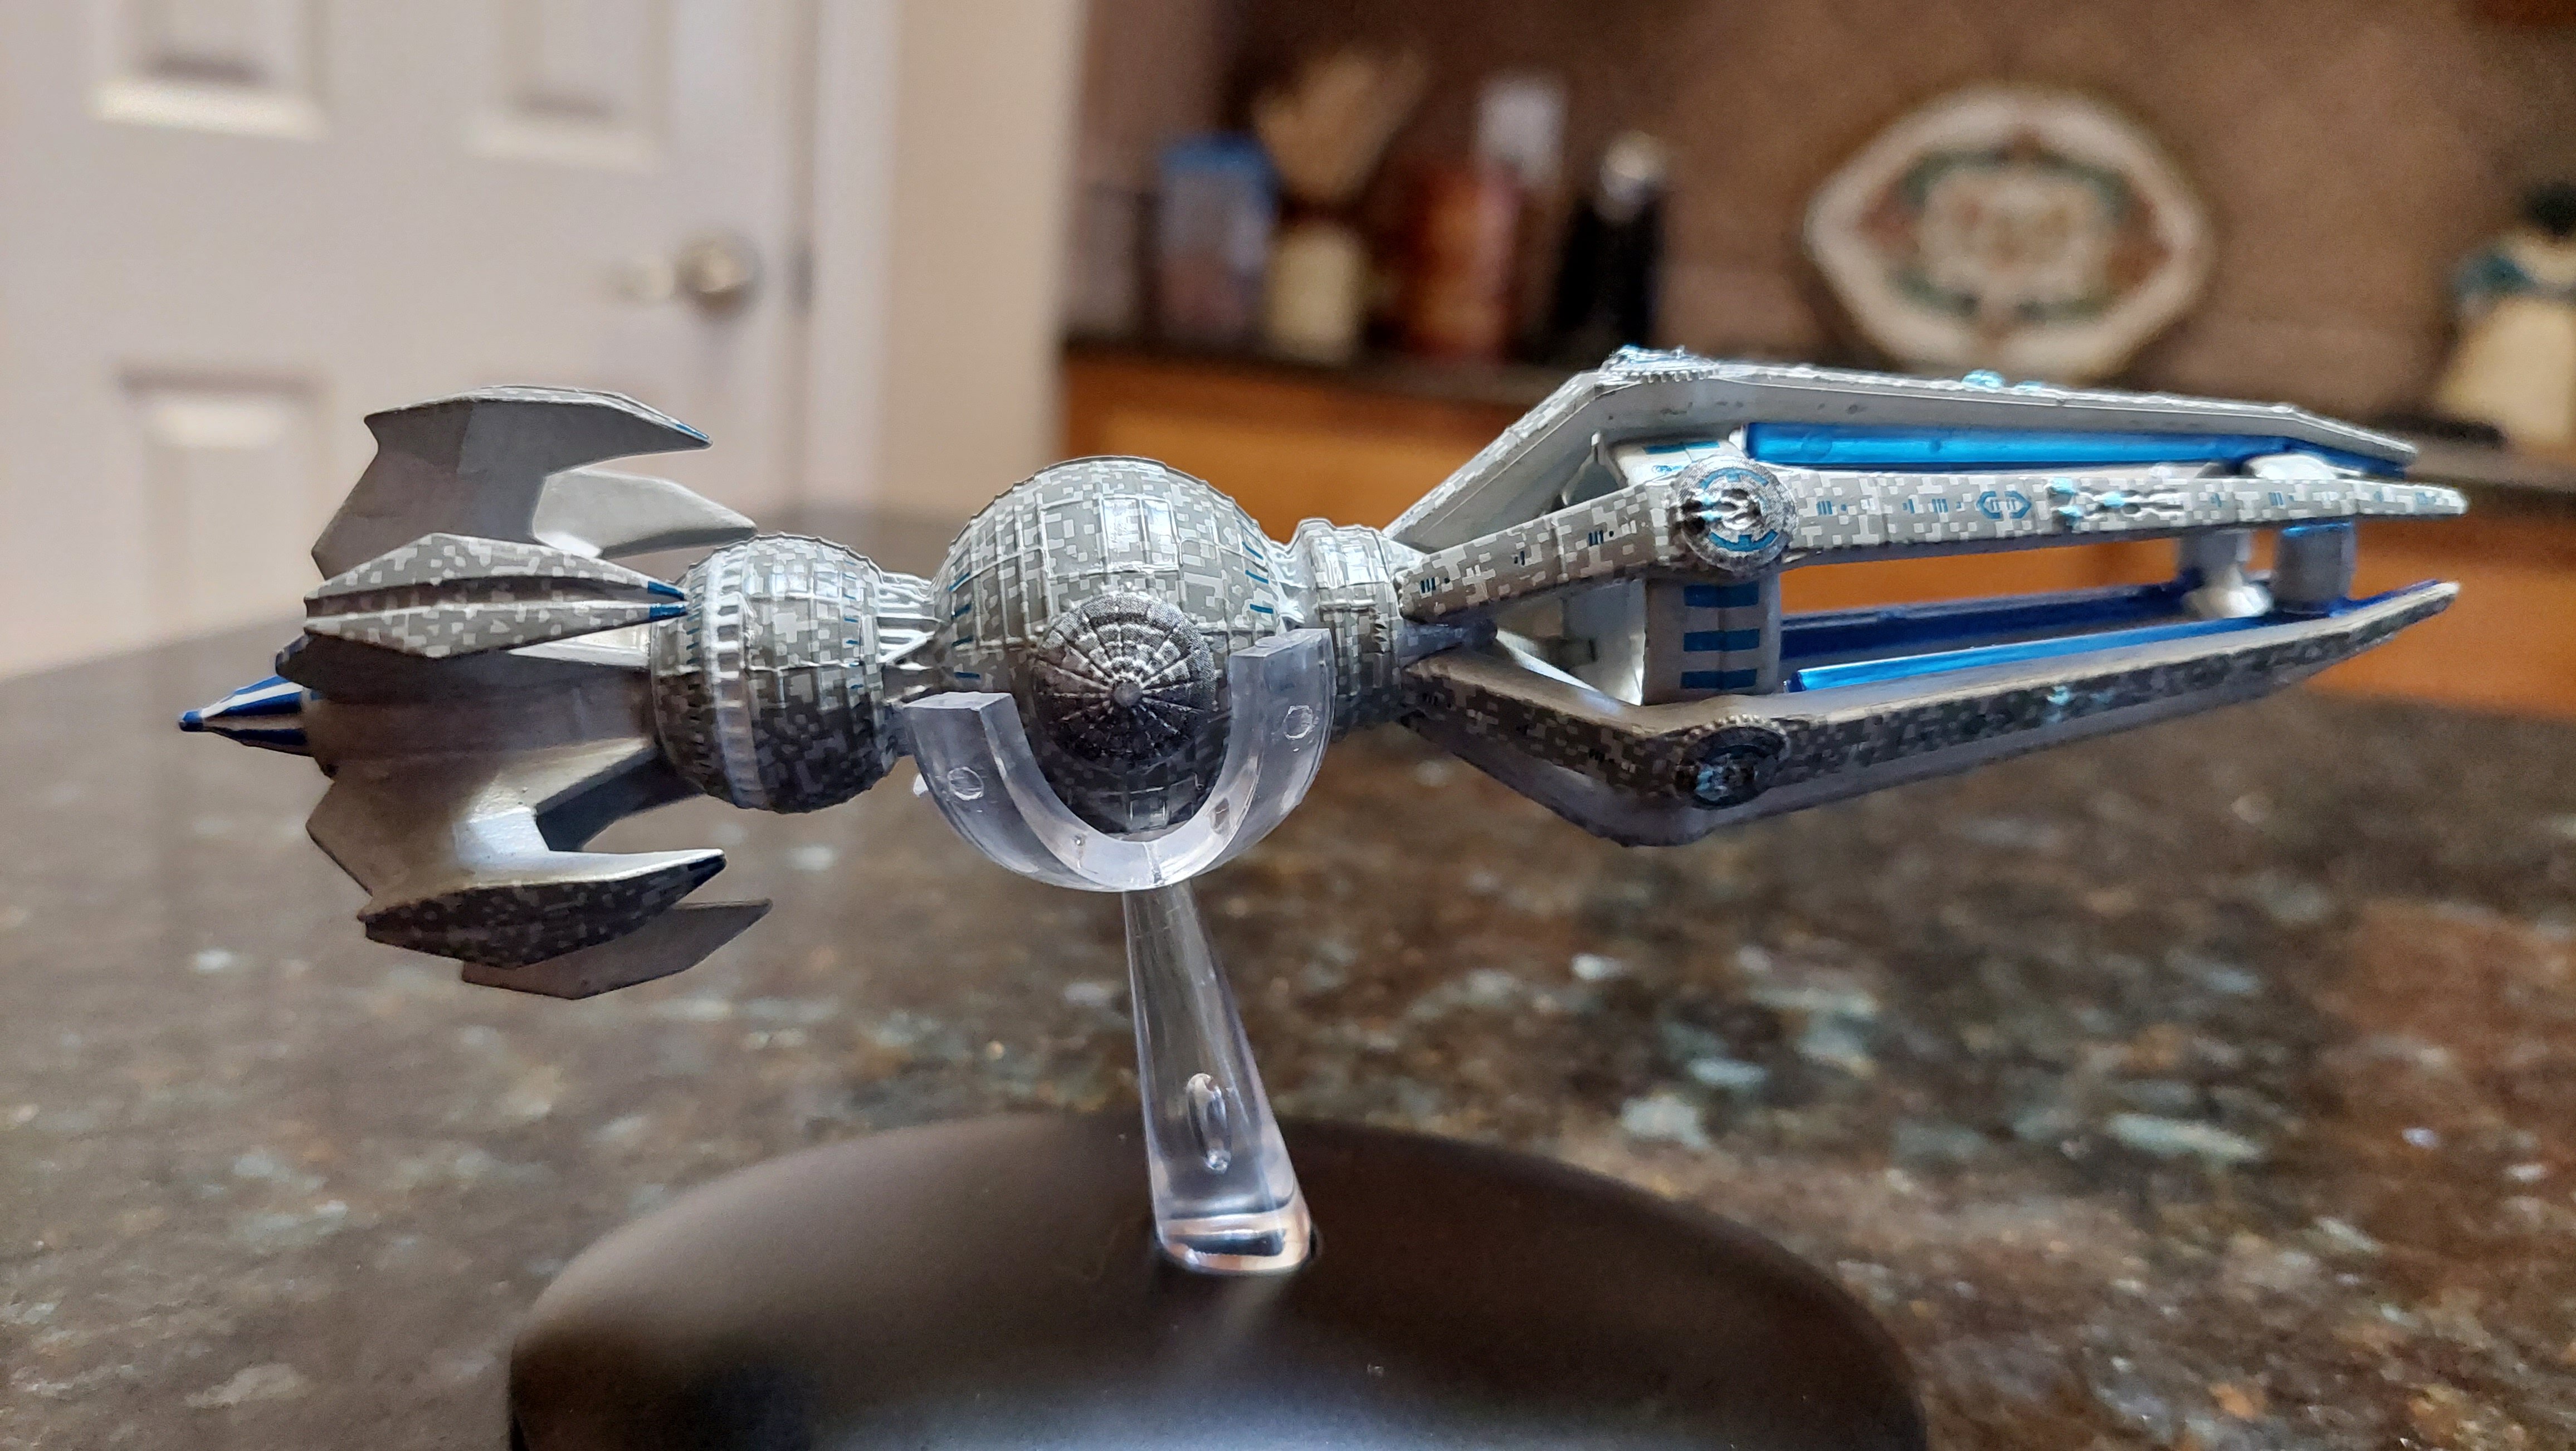
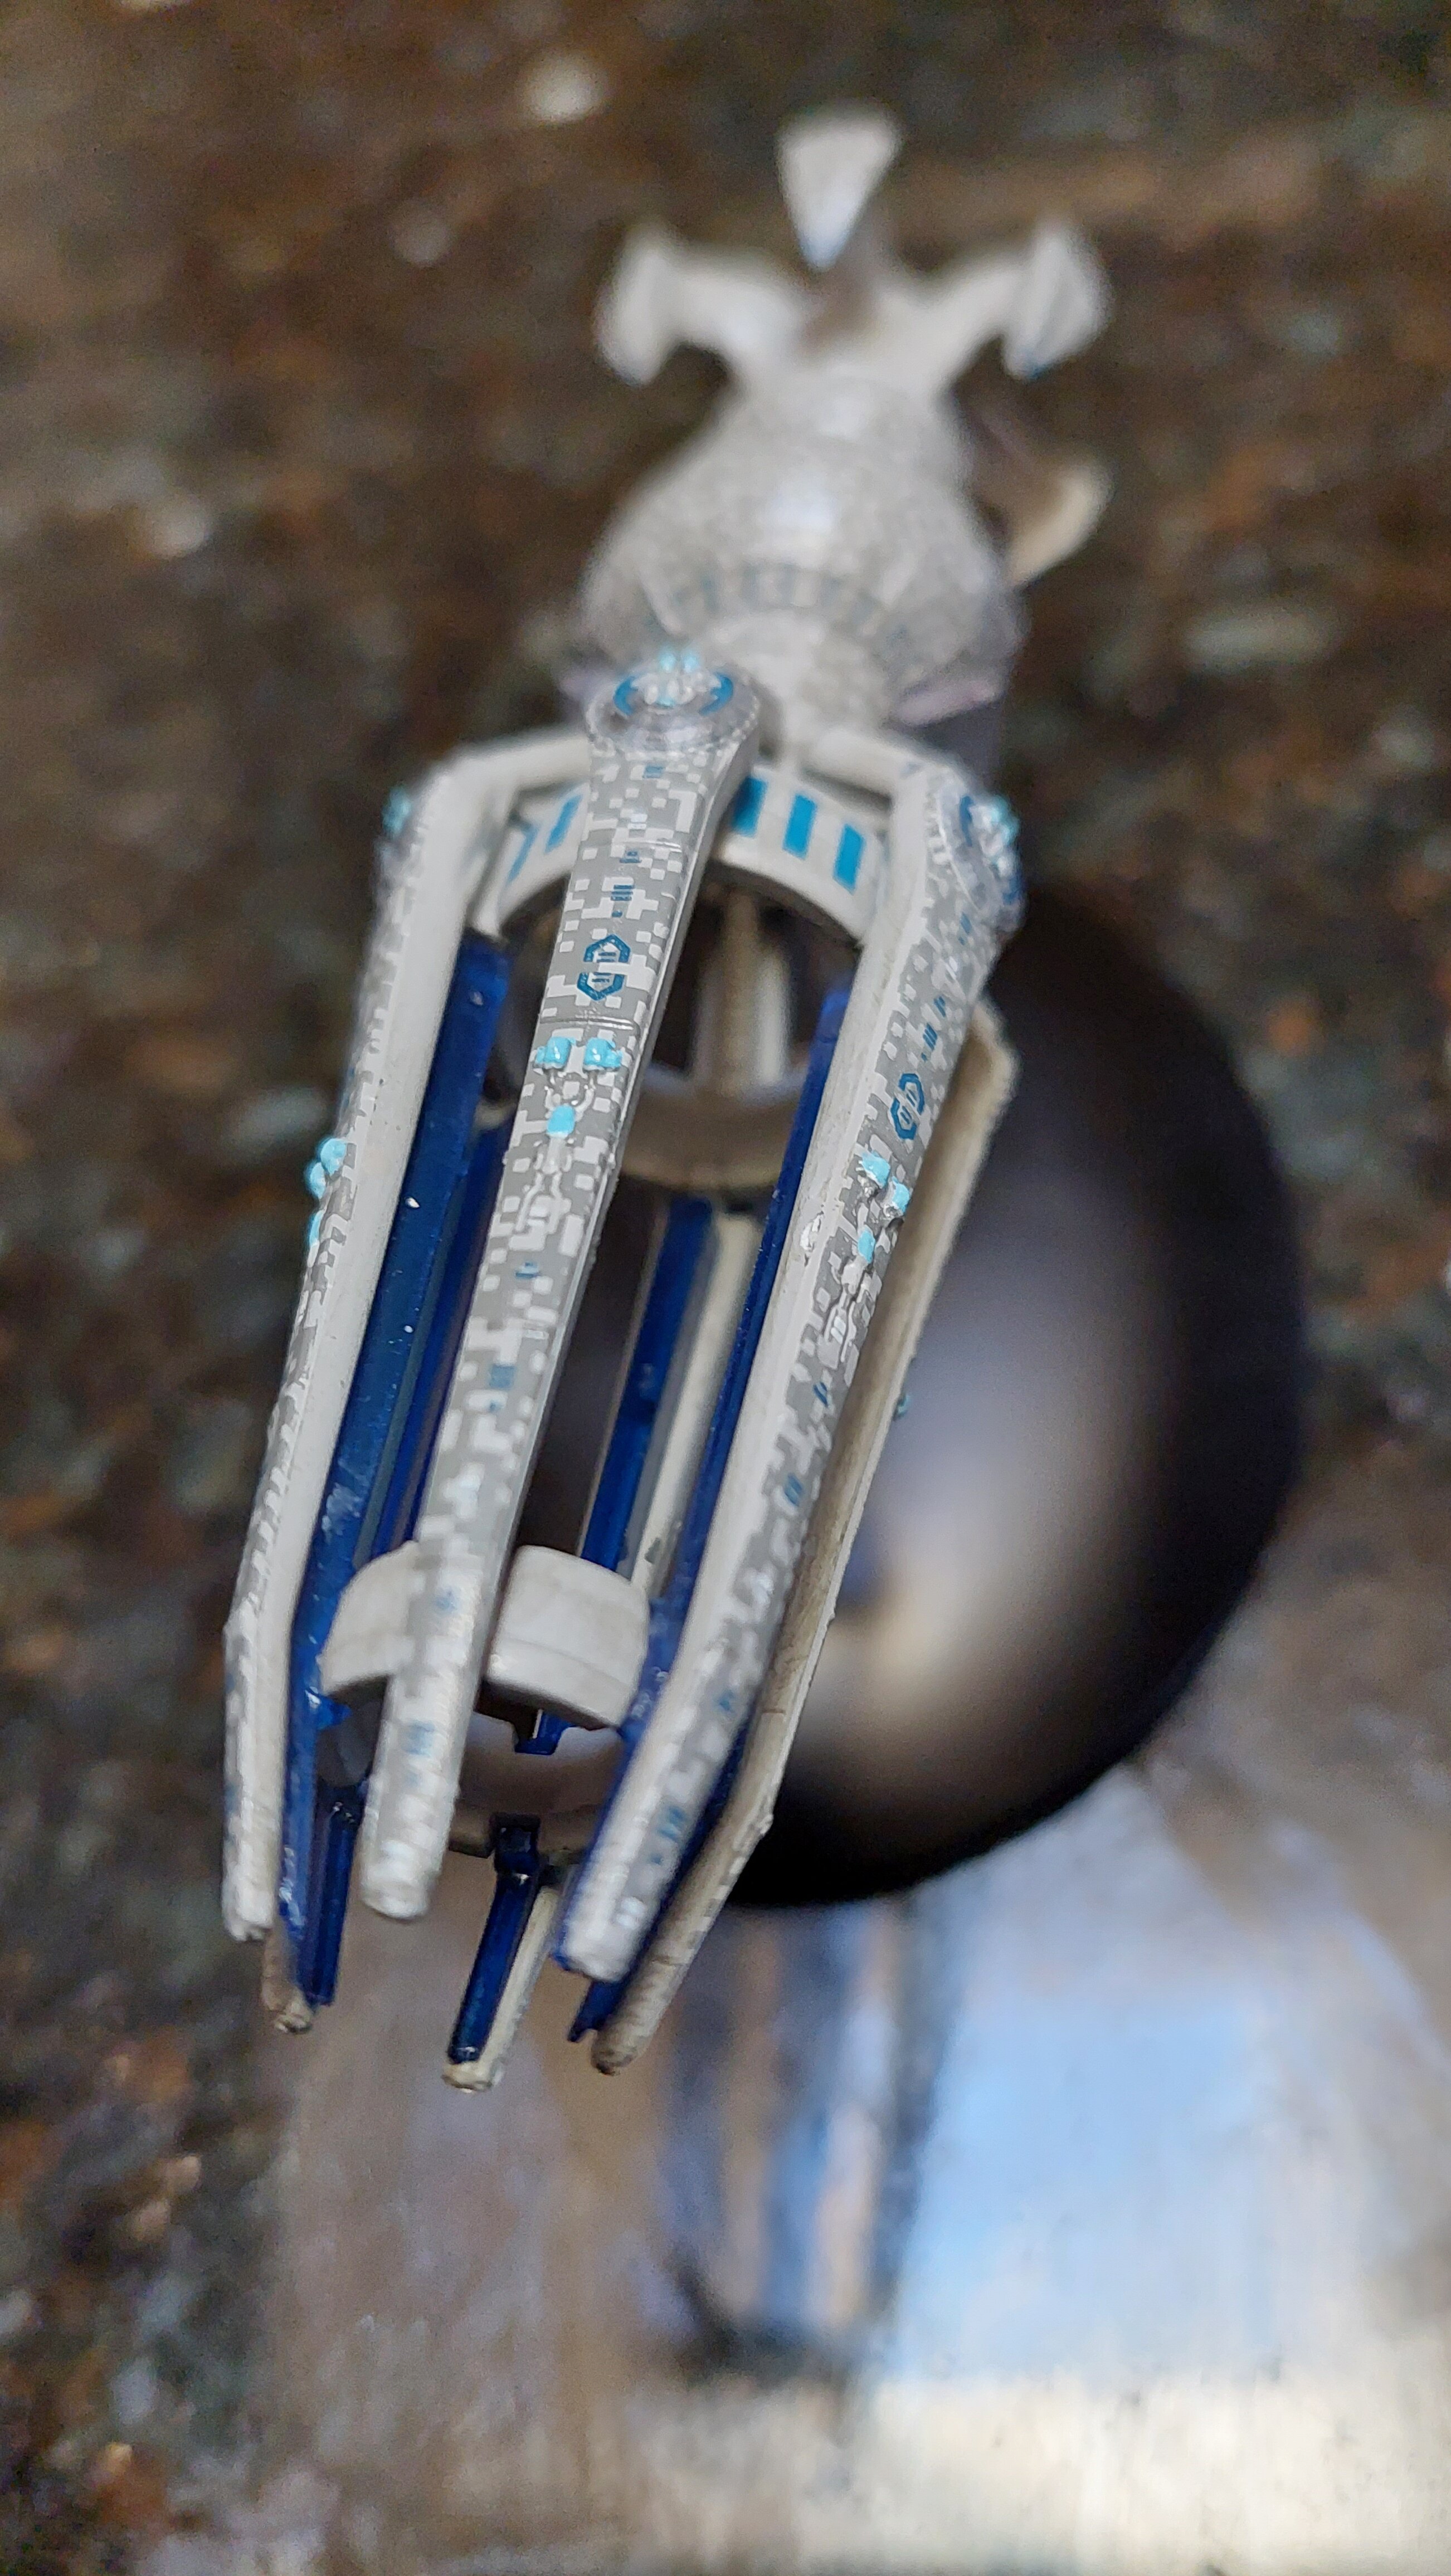
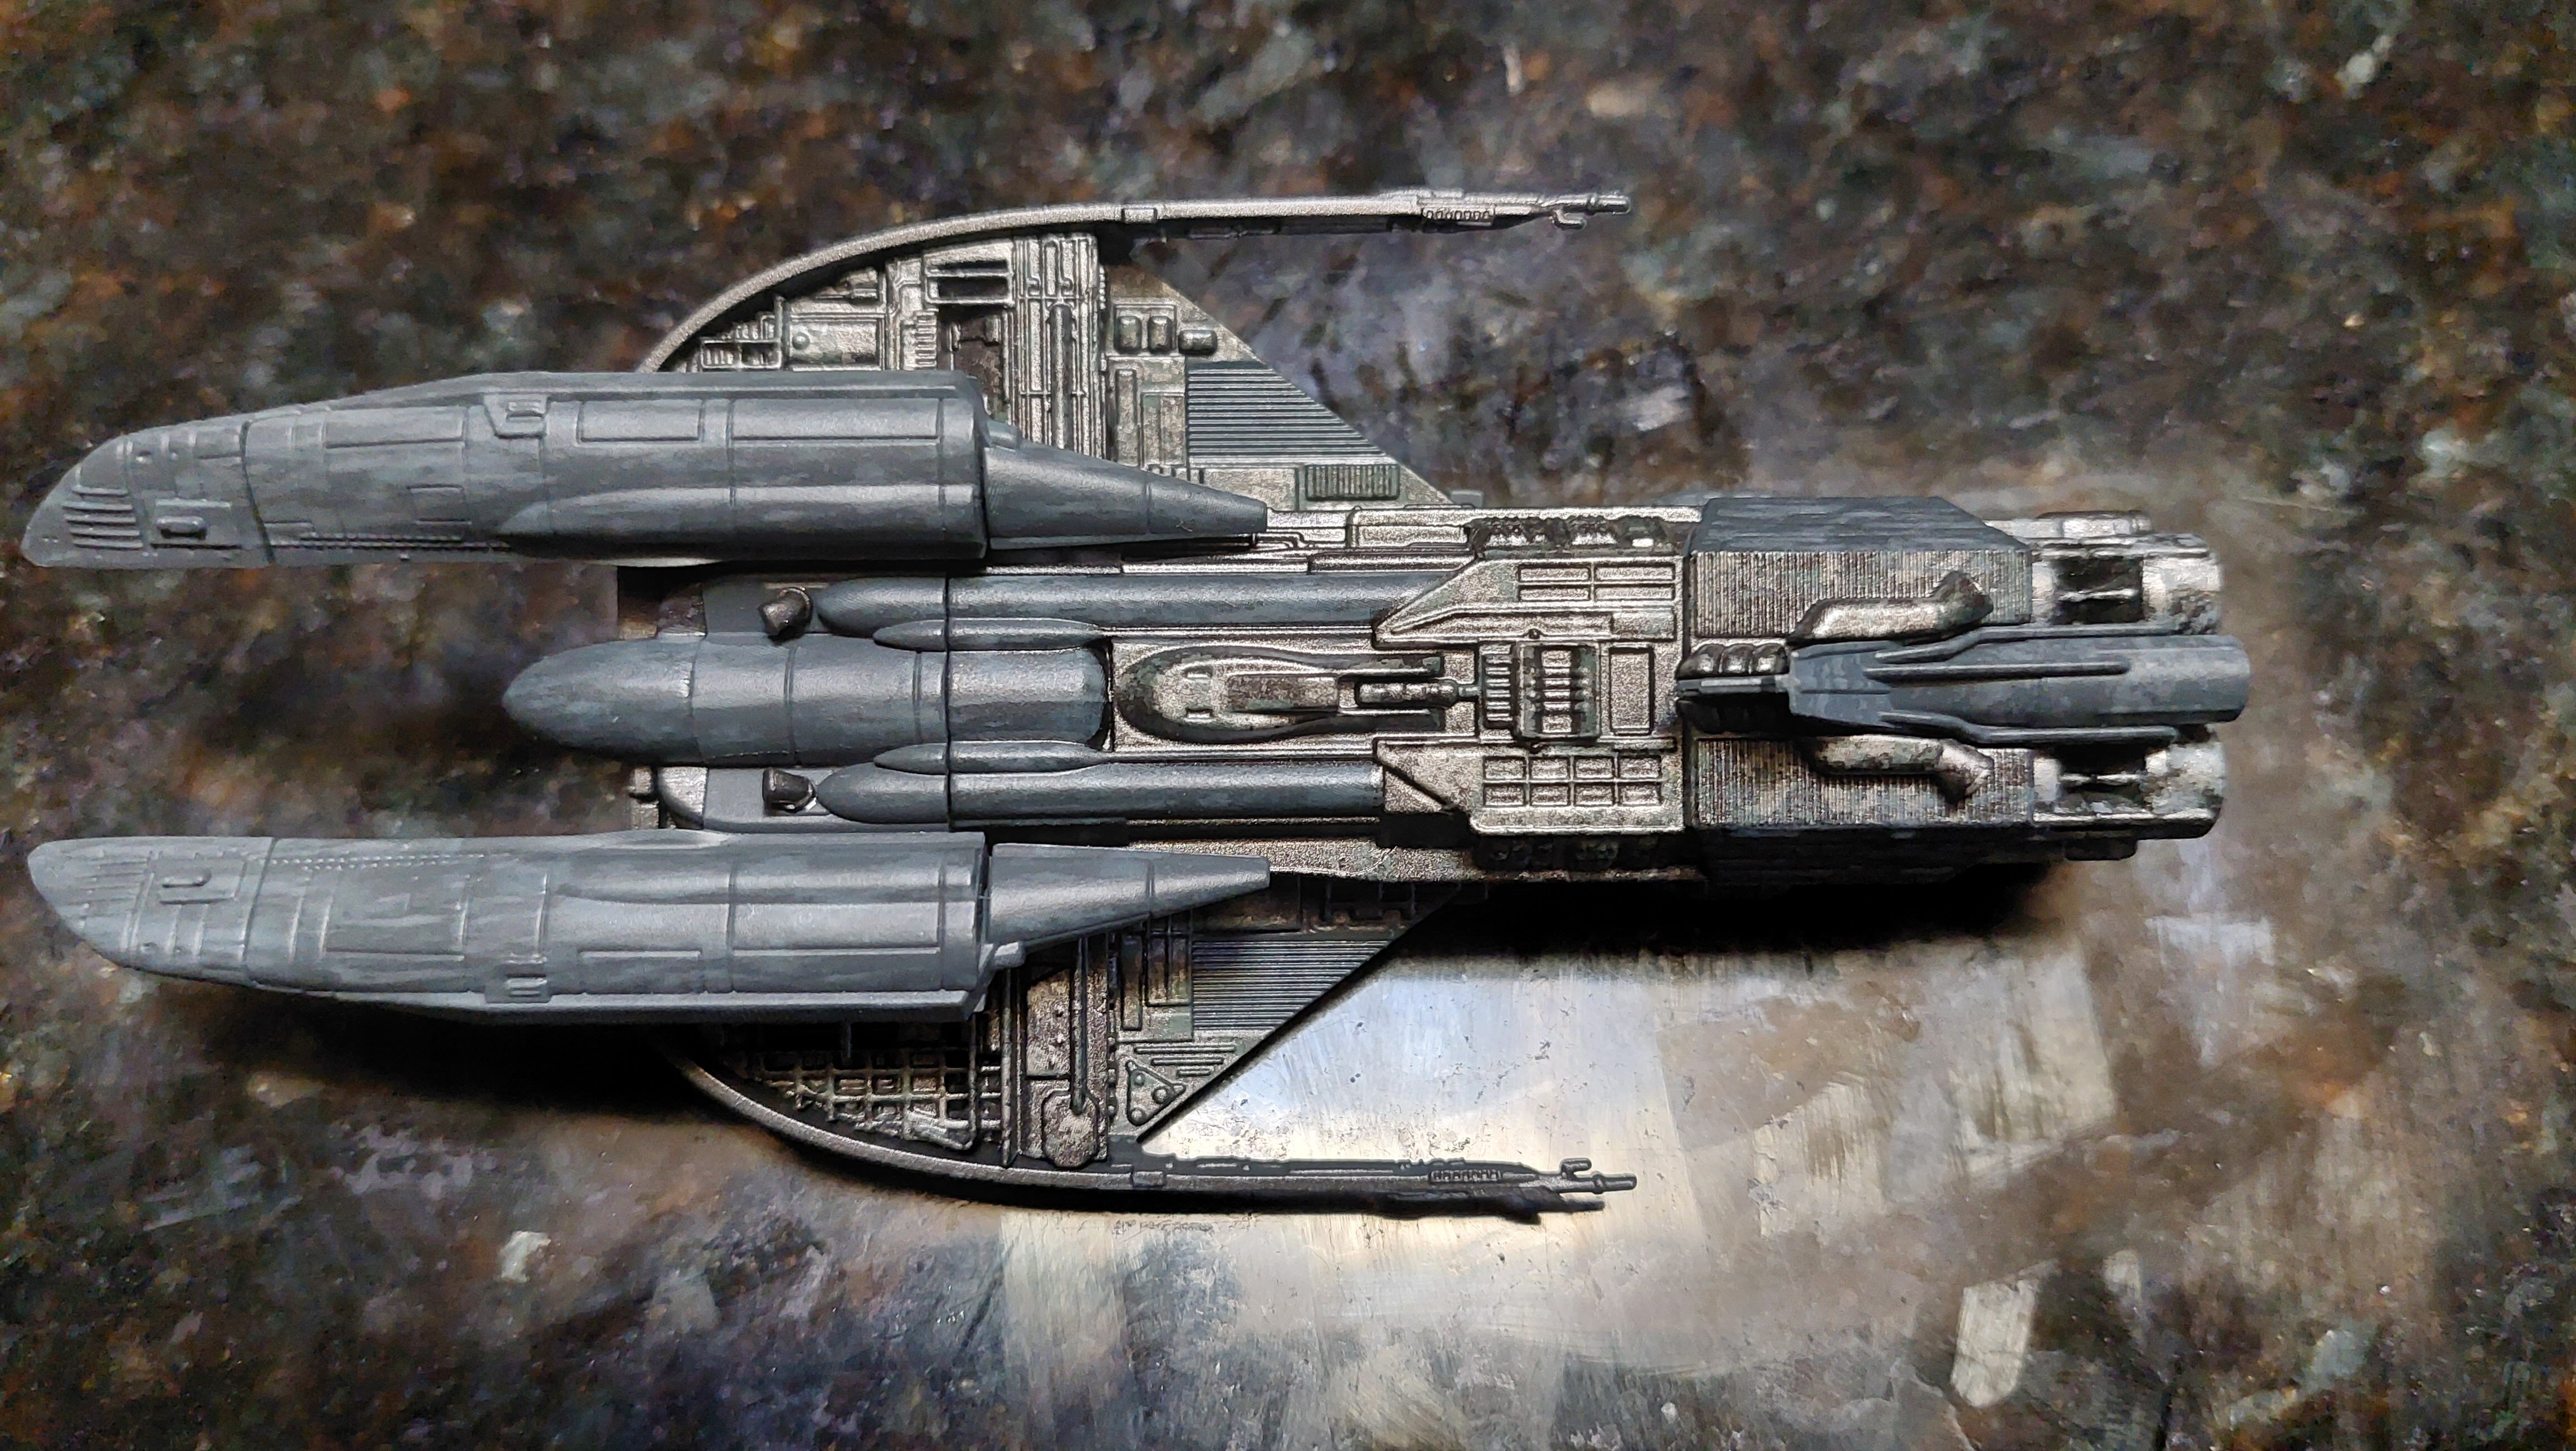
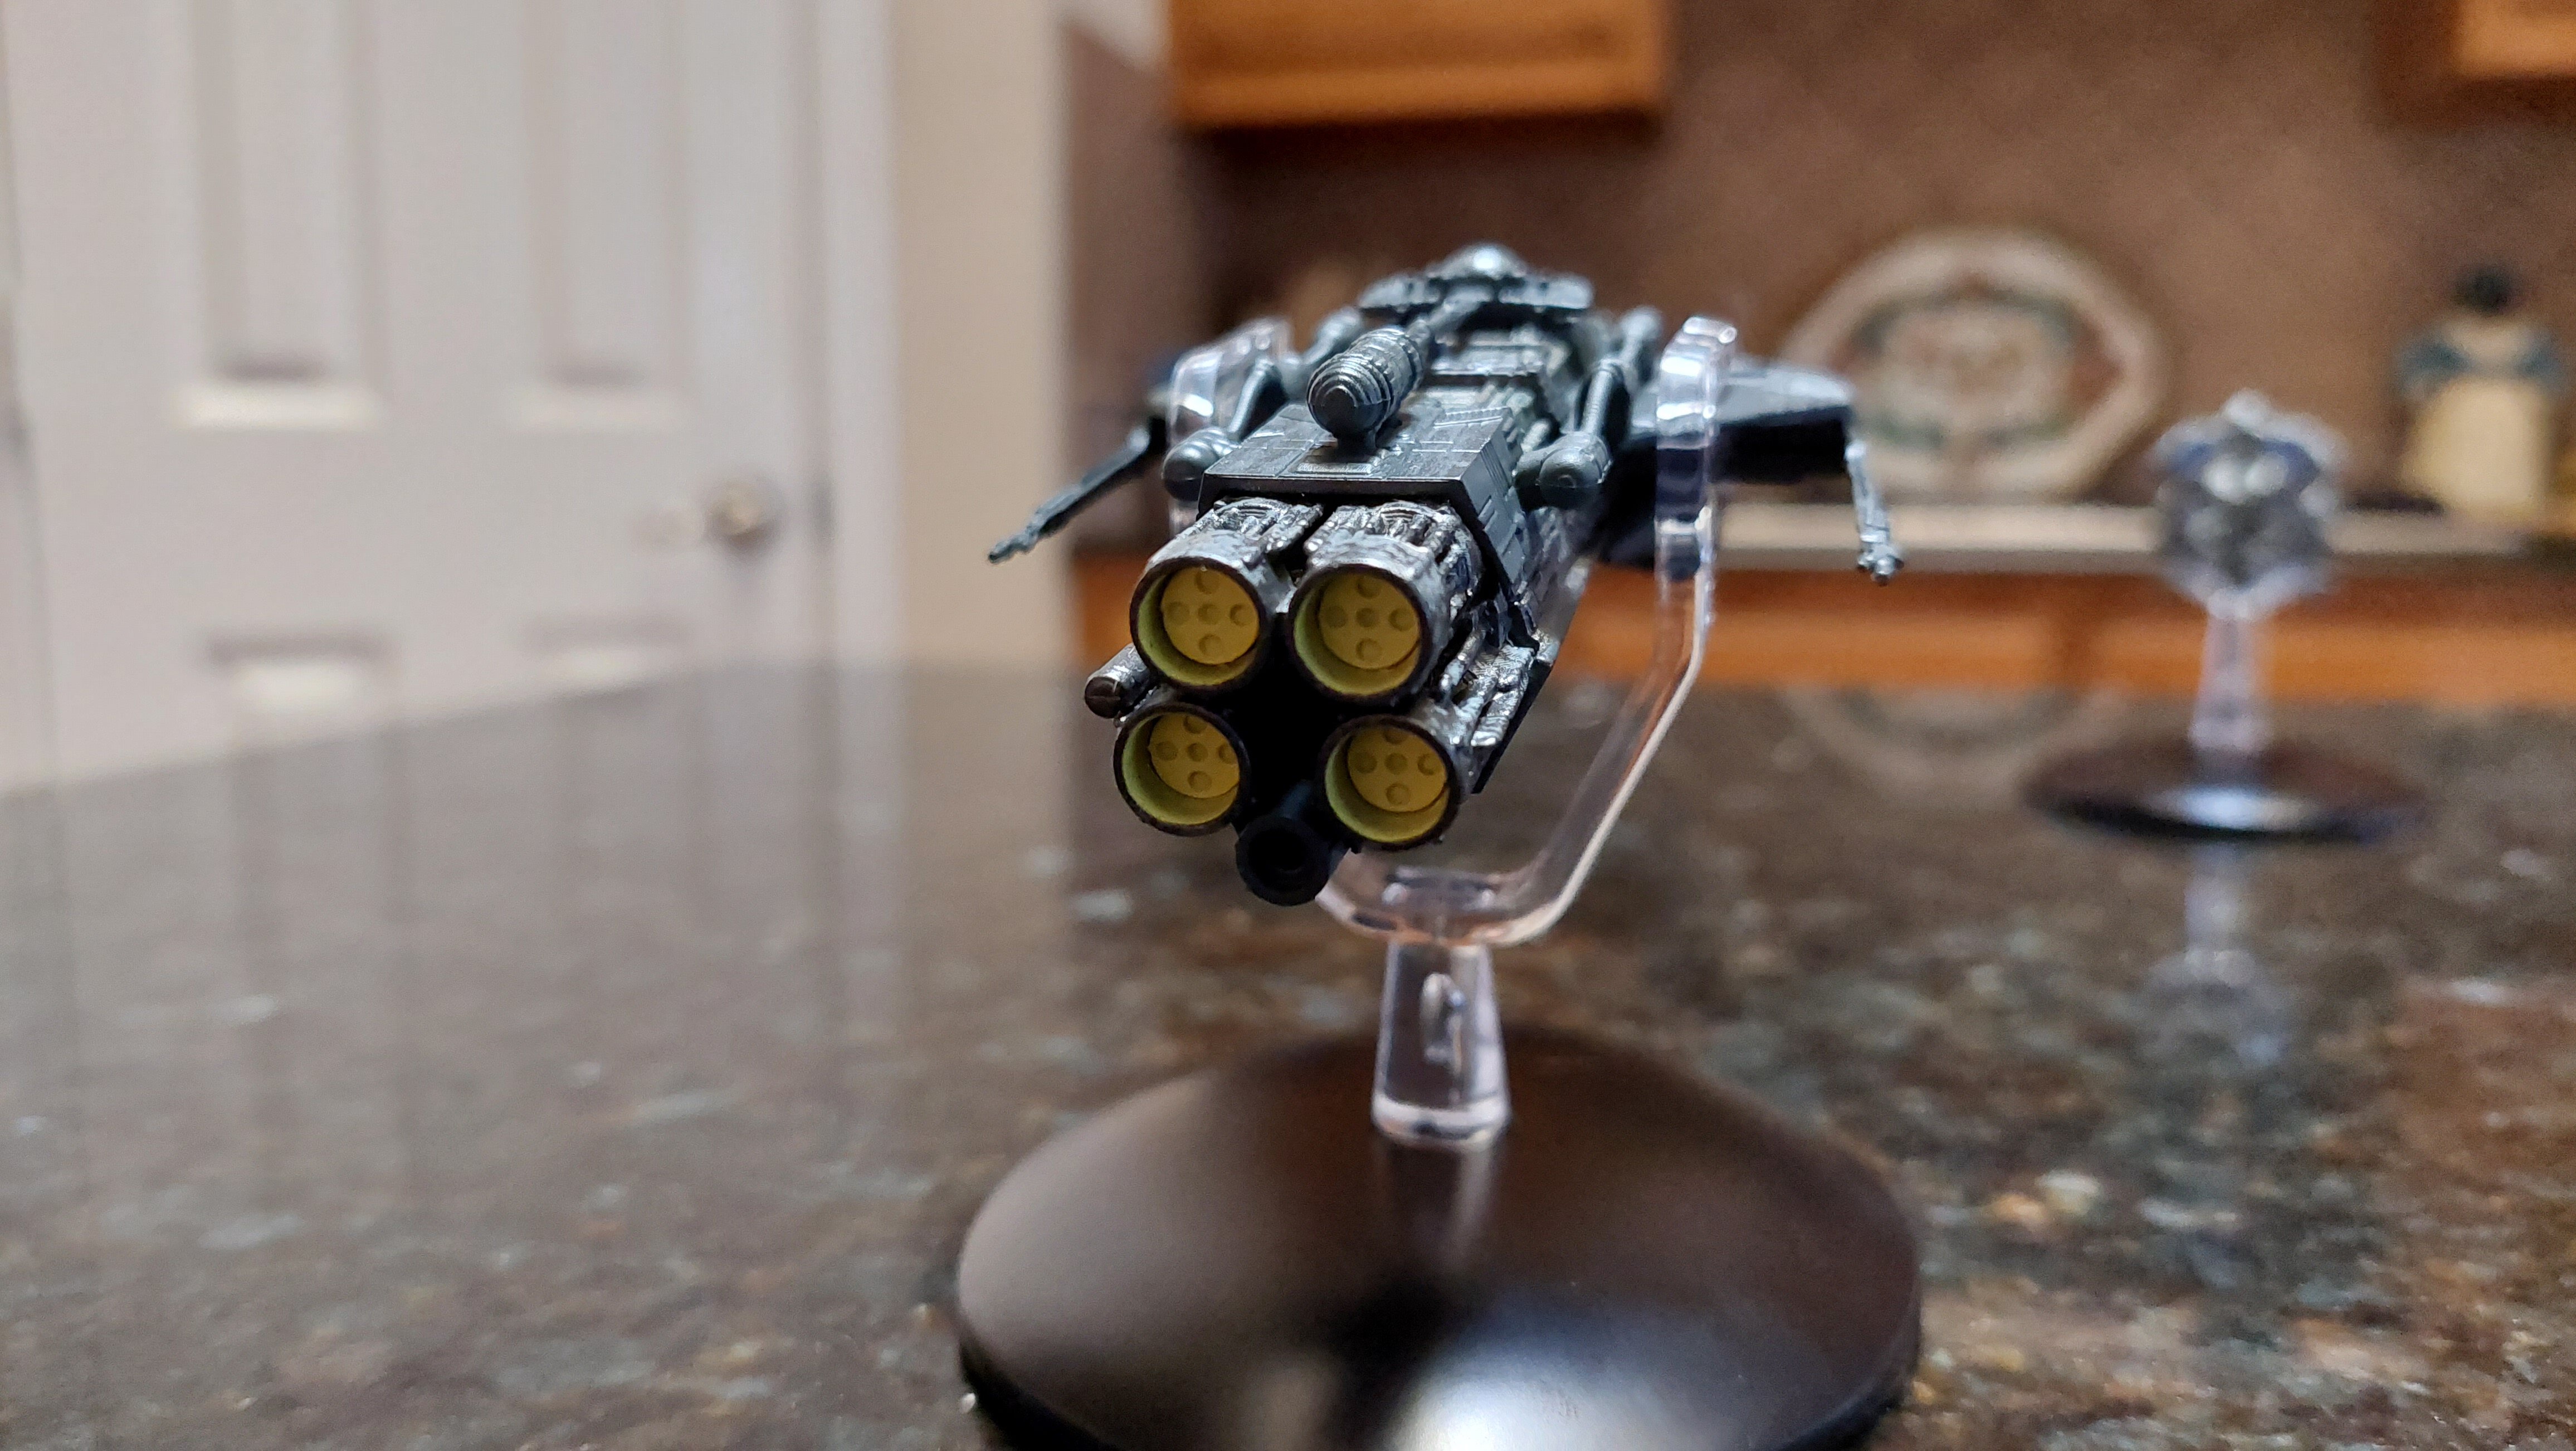
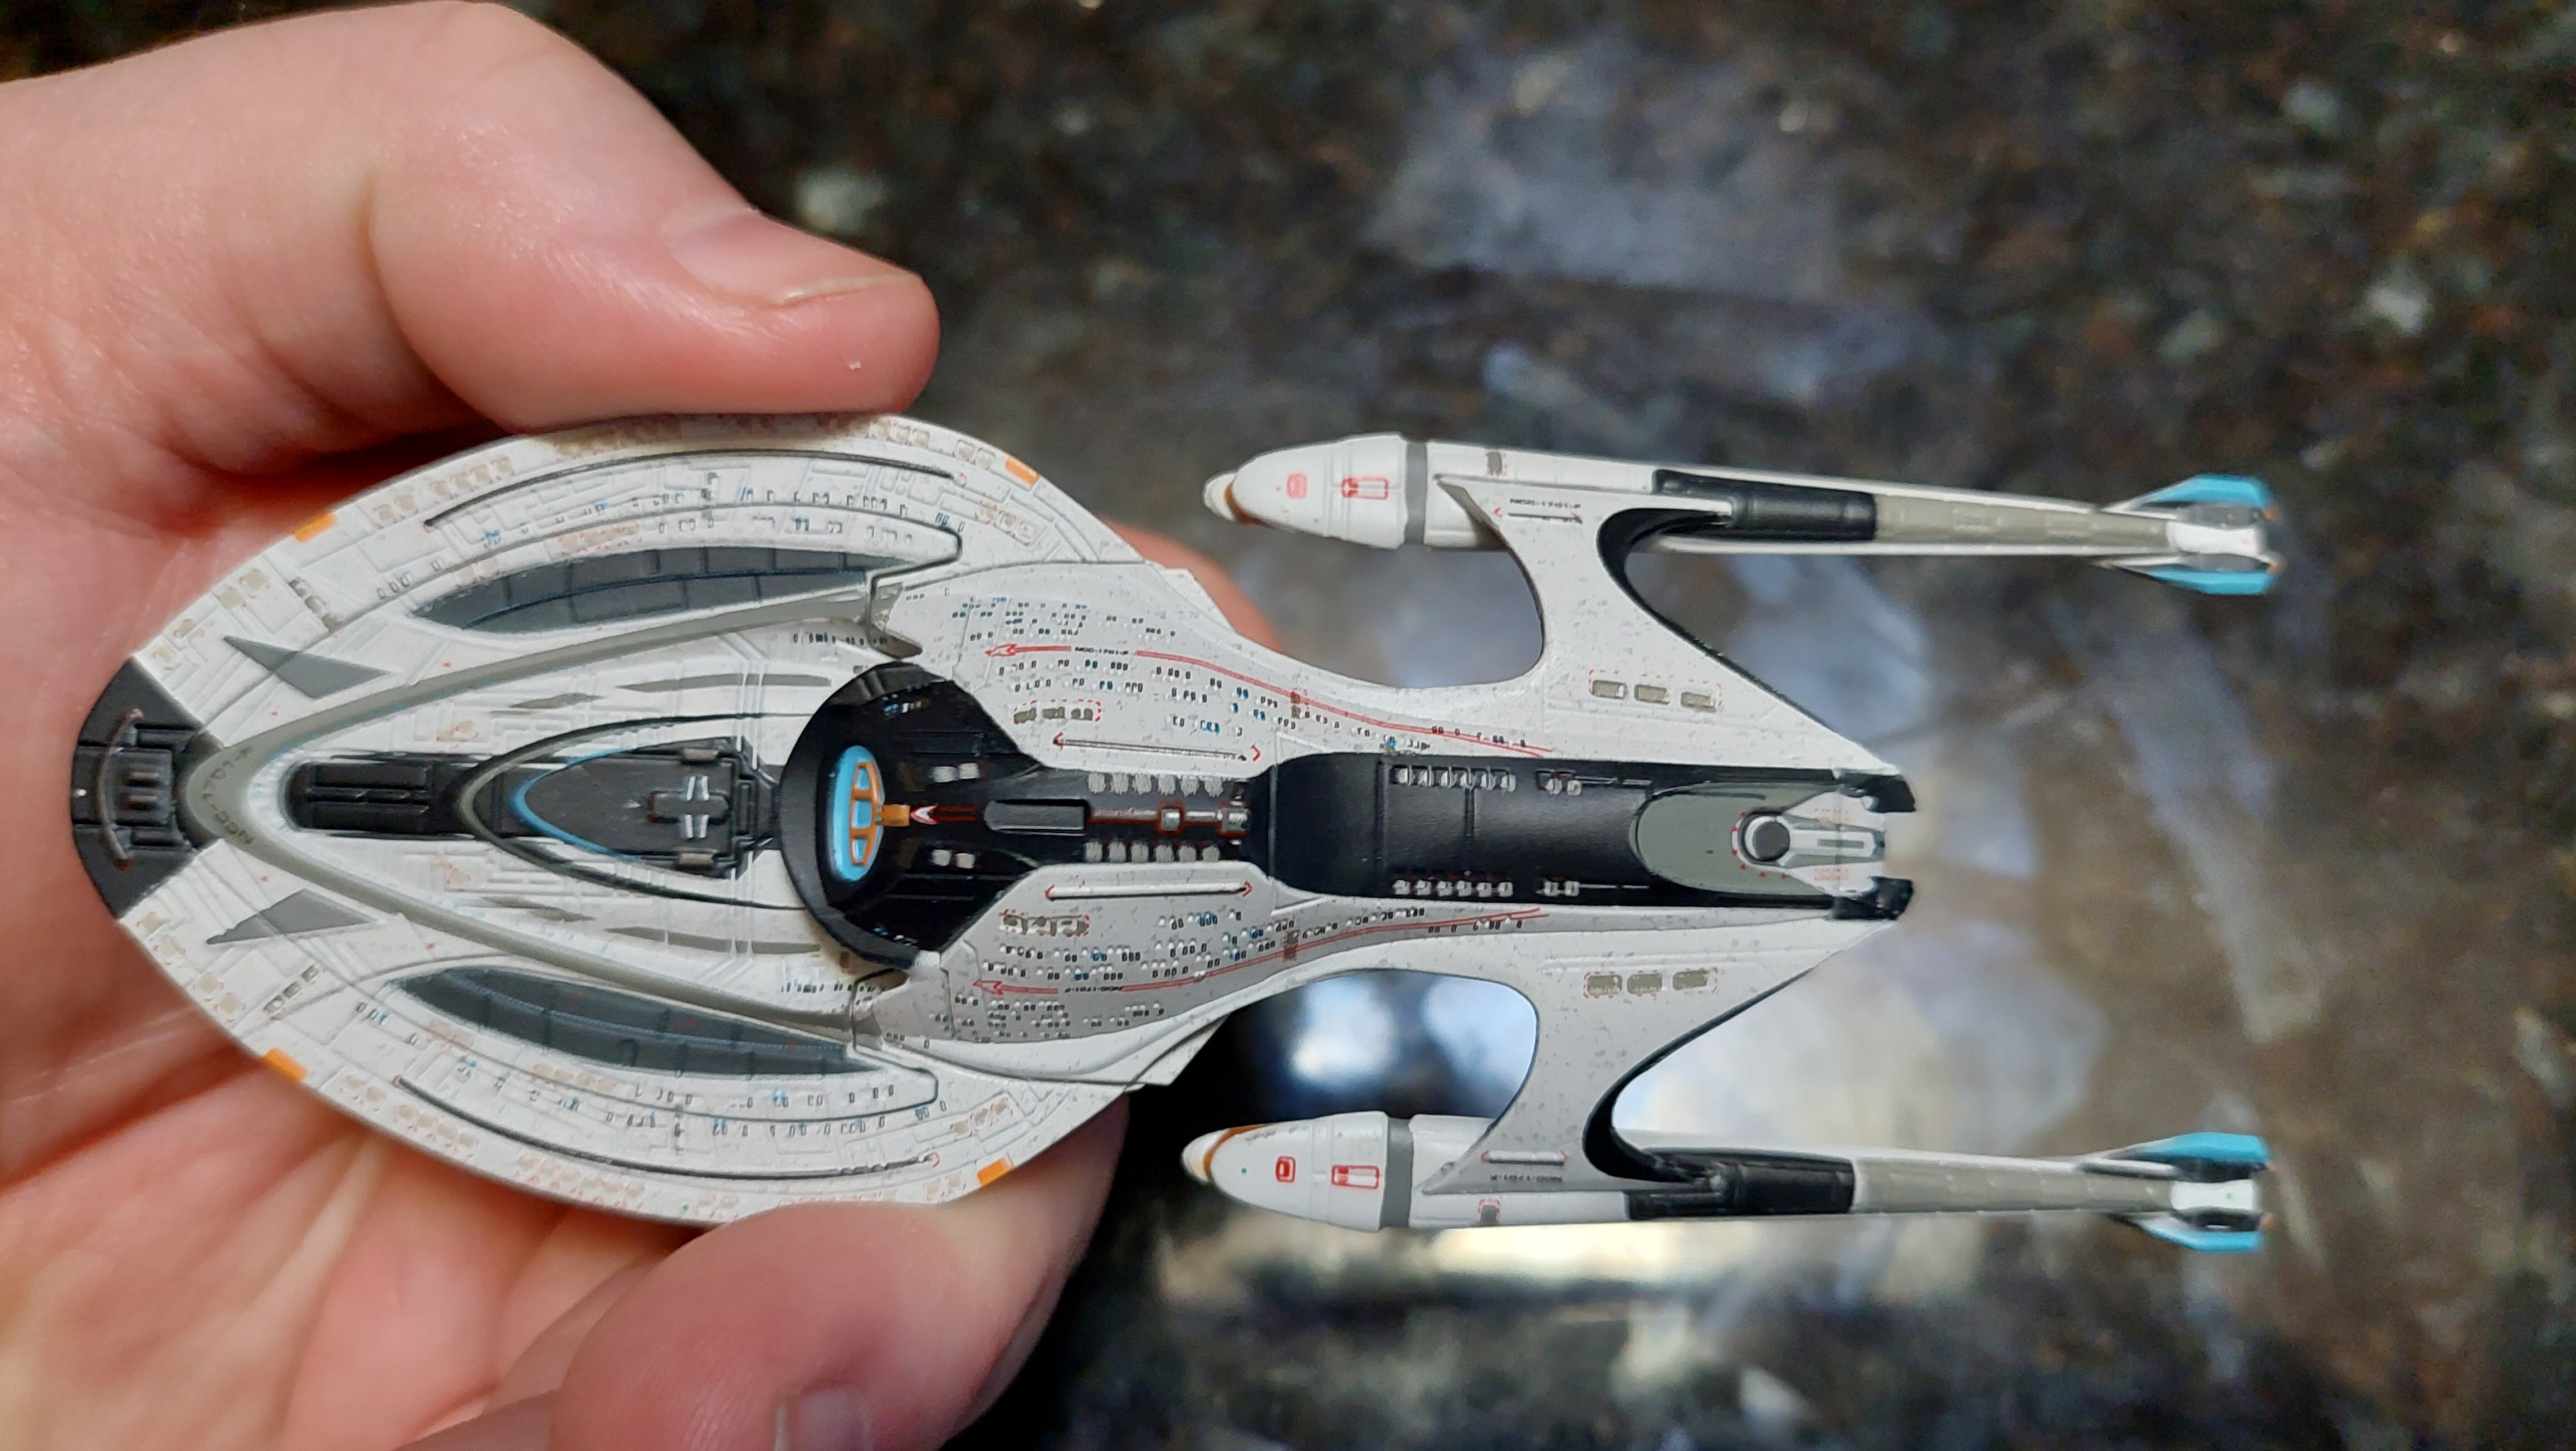
So next up, I went full bad guy Star Trek Discovery! Now I'm NOT a fan of this show AT ALL, however! I will say I think some of the ships are just BADASS! So as all these were over half off I went for them. I will say this.. The ISS Charon is the best thing Eaglemoss has ever done IMHO. It is absolutely incredible in person! I don't have a battery to light up the core yet but I will tomorrow hopefully!


-
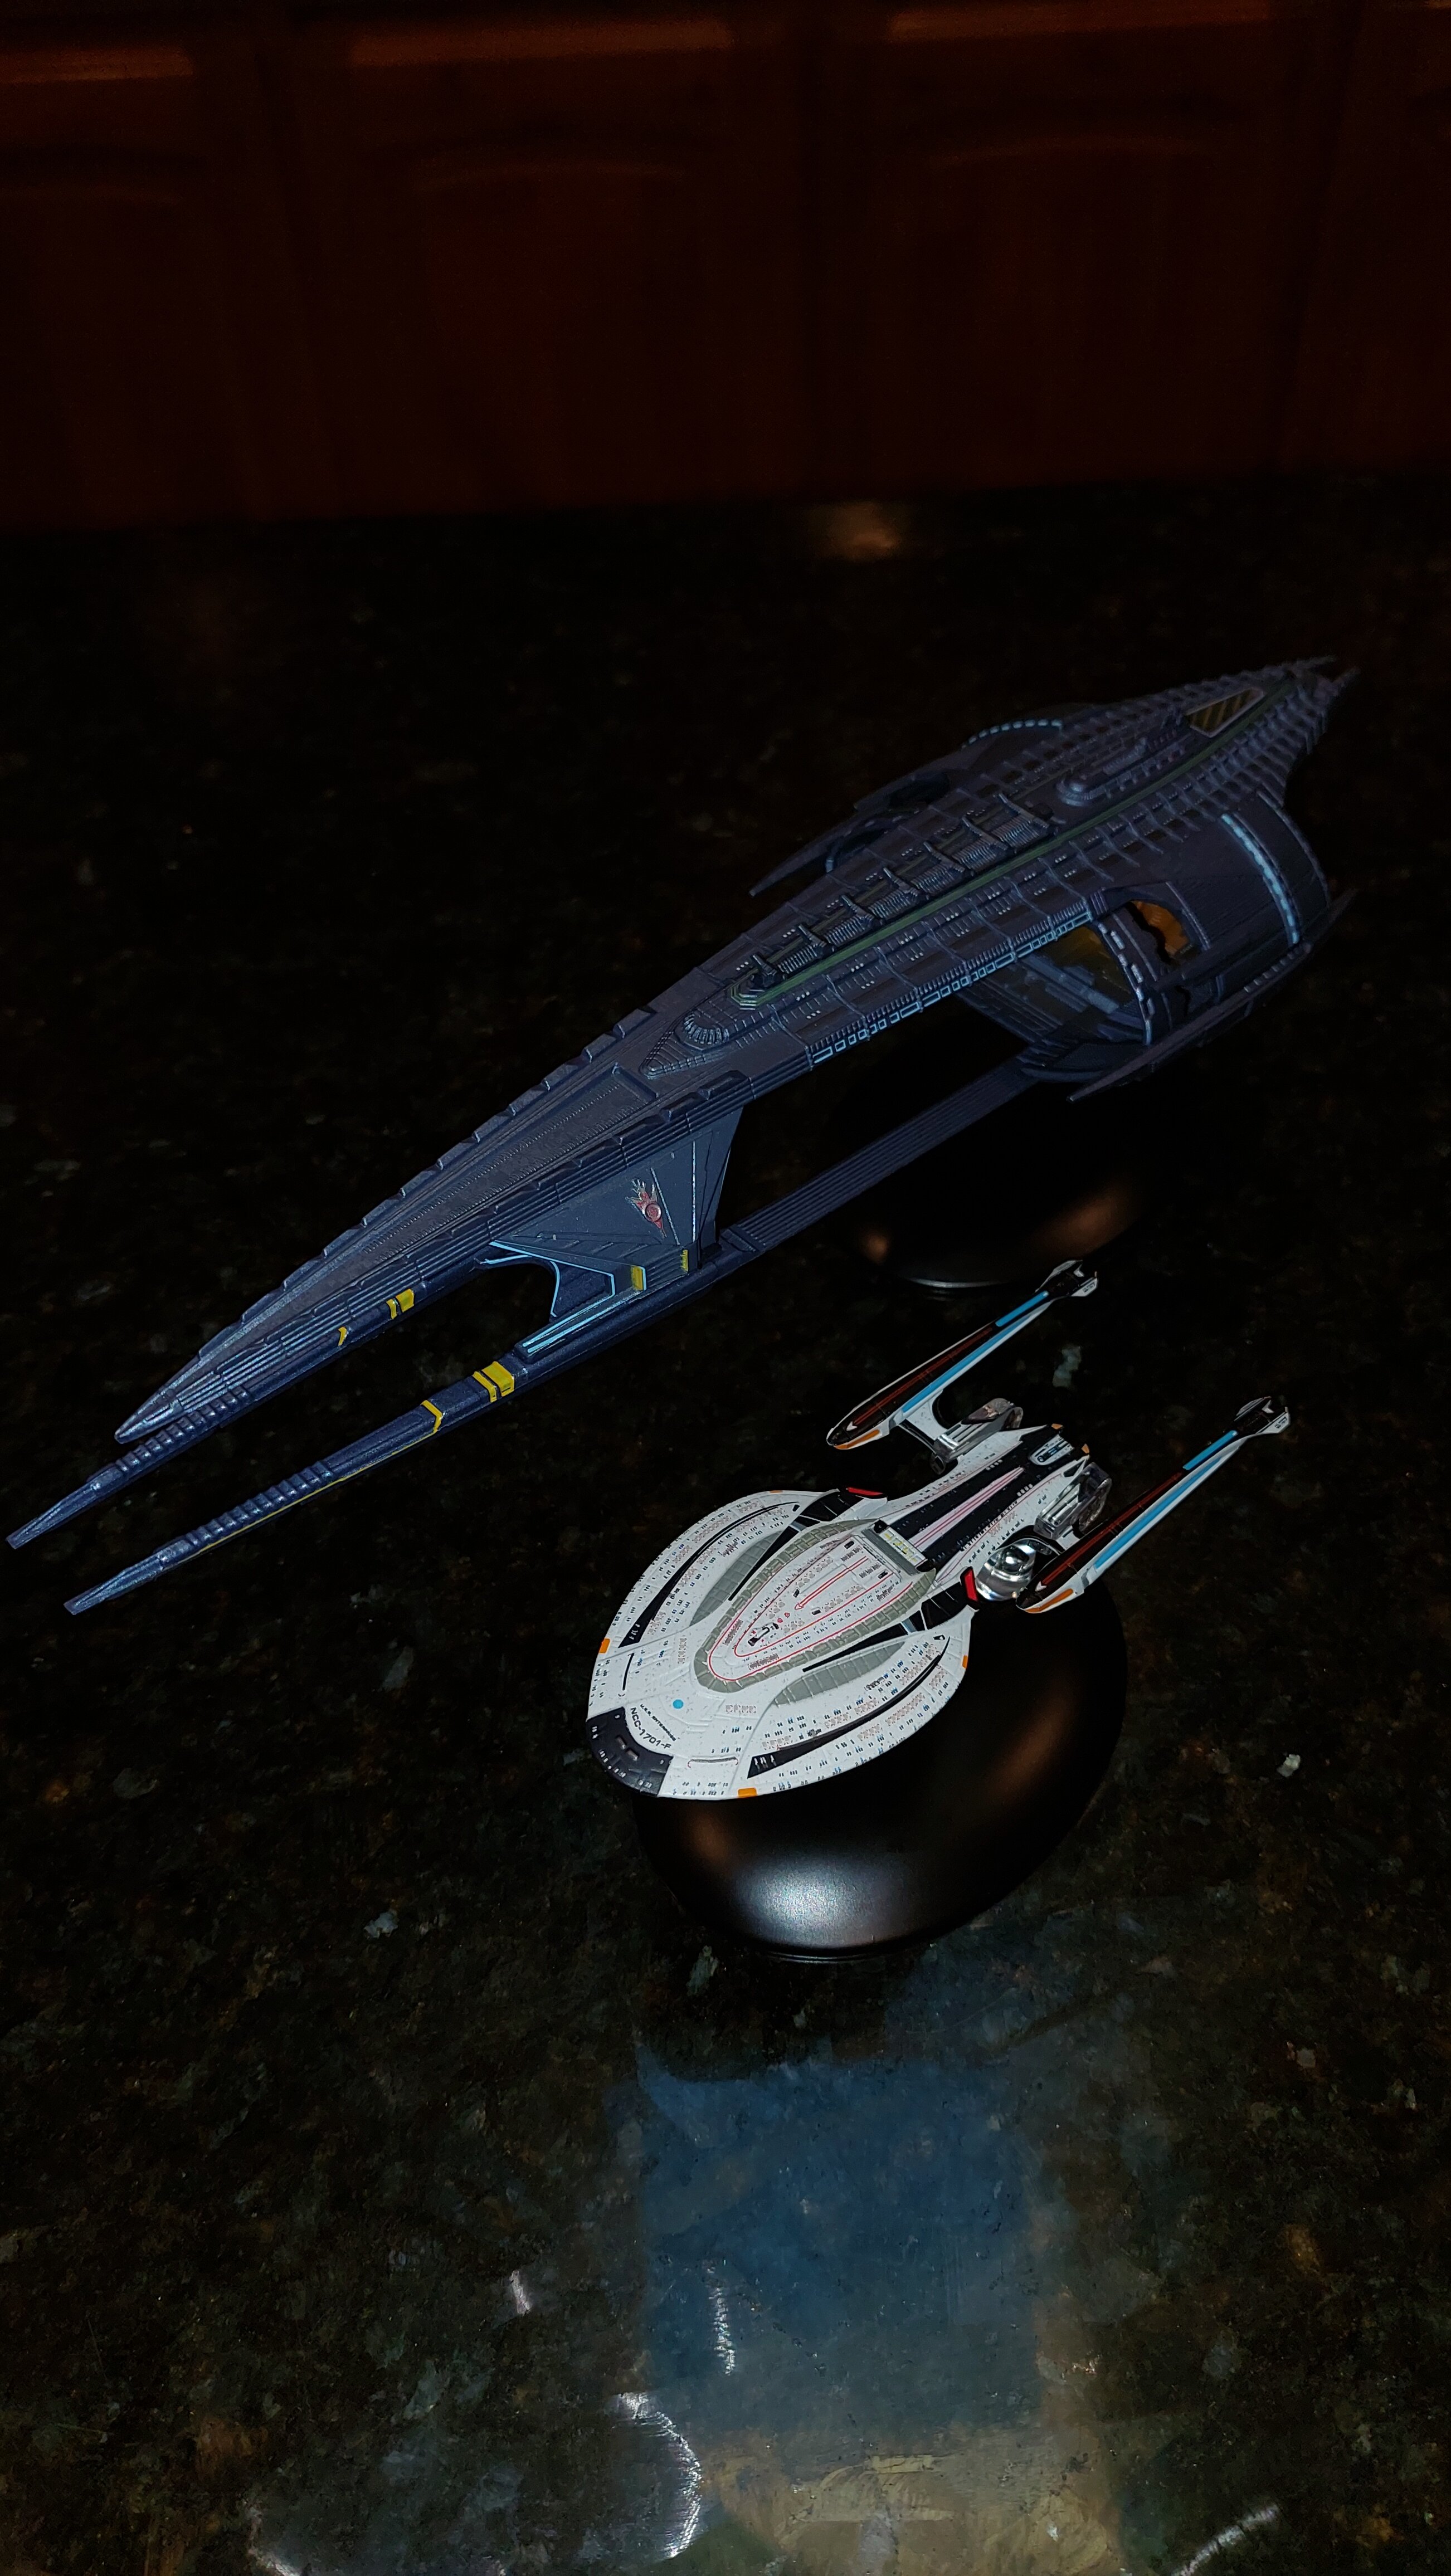
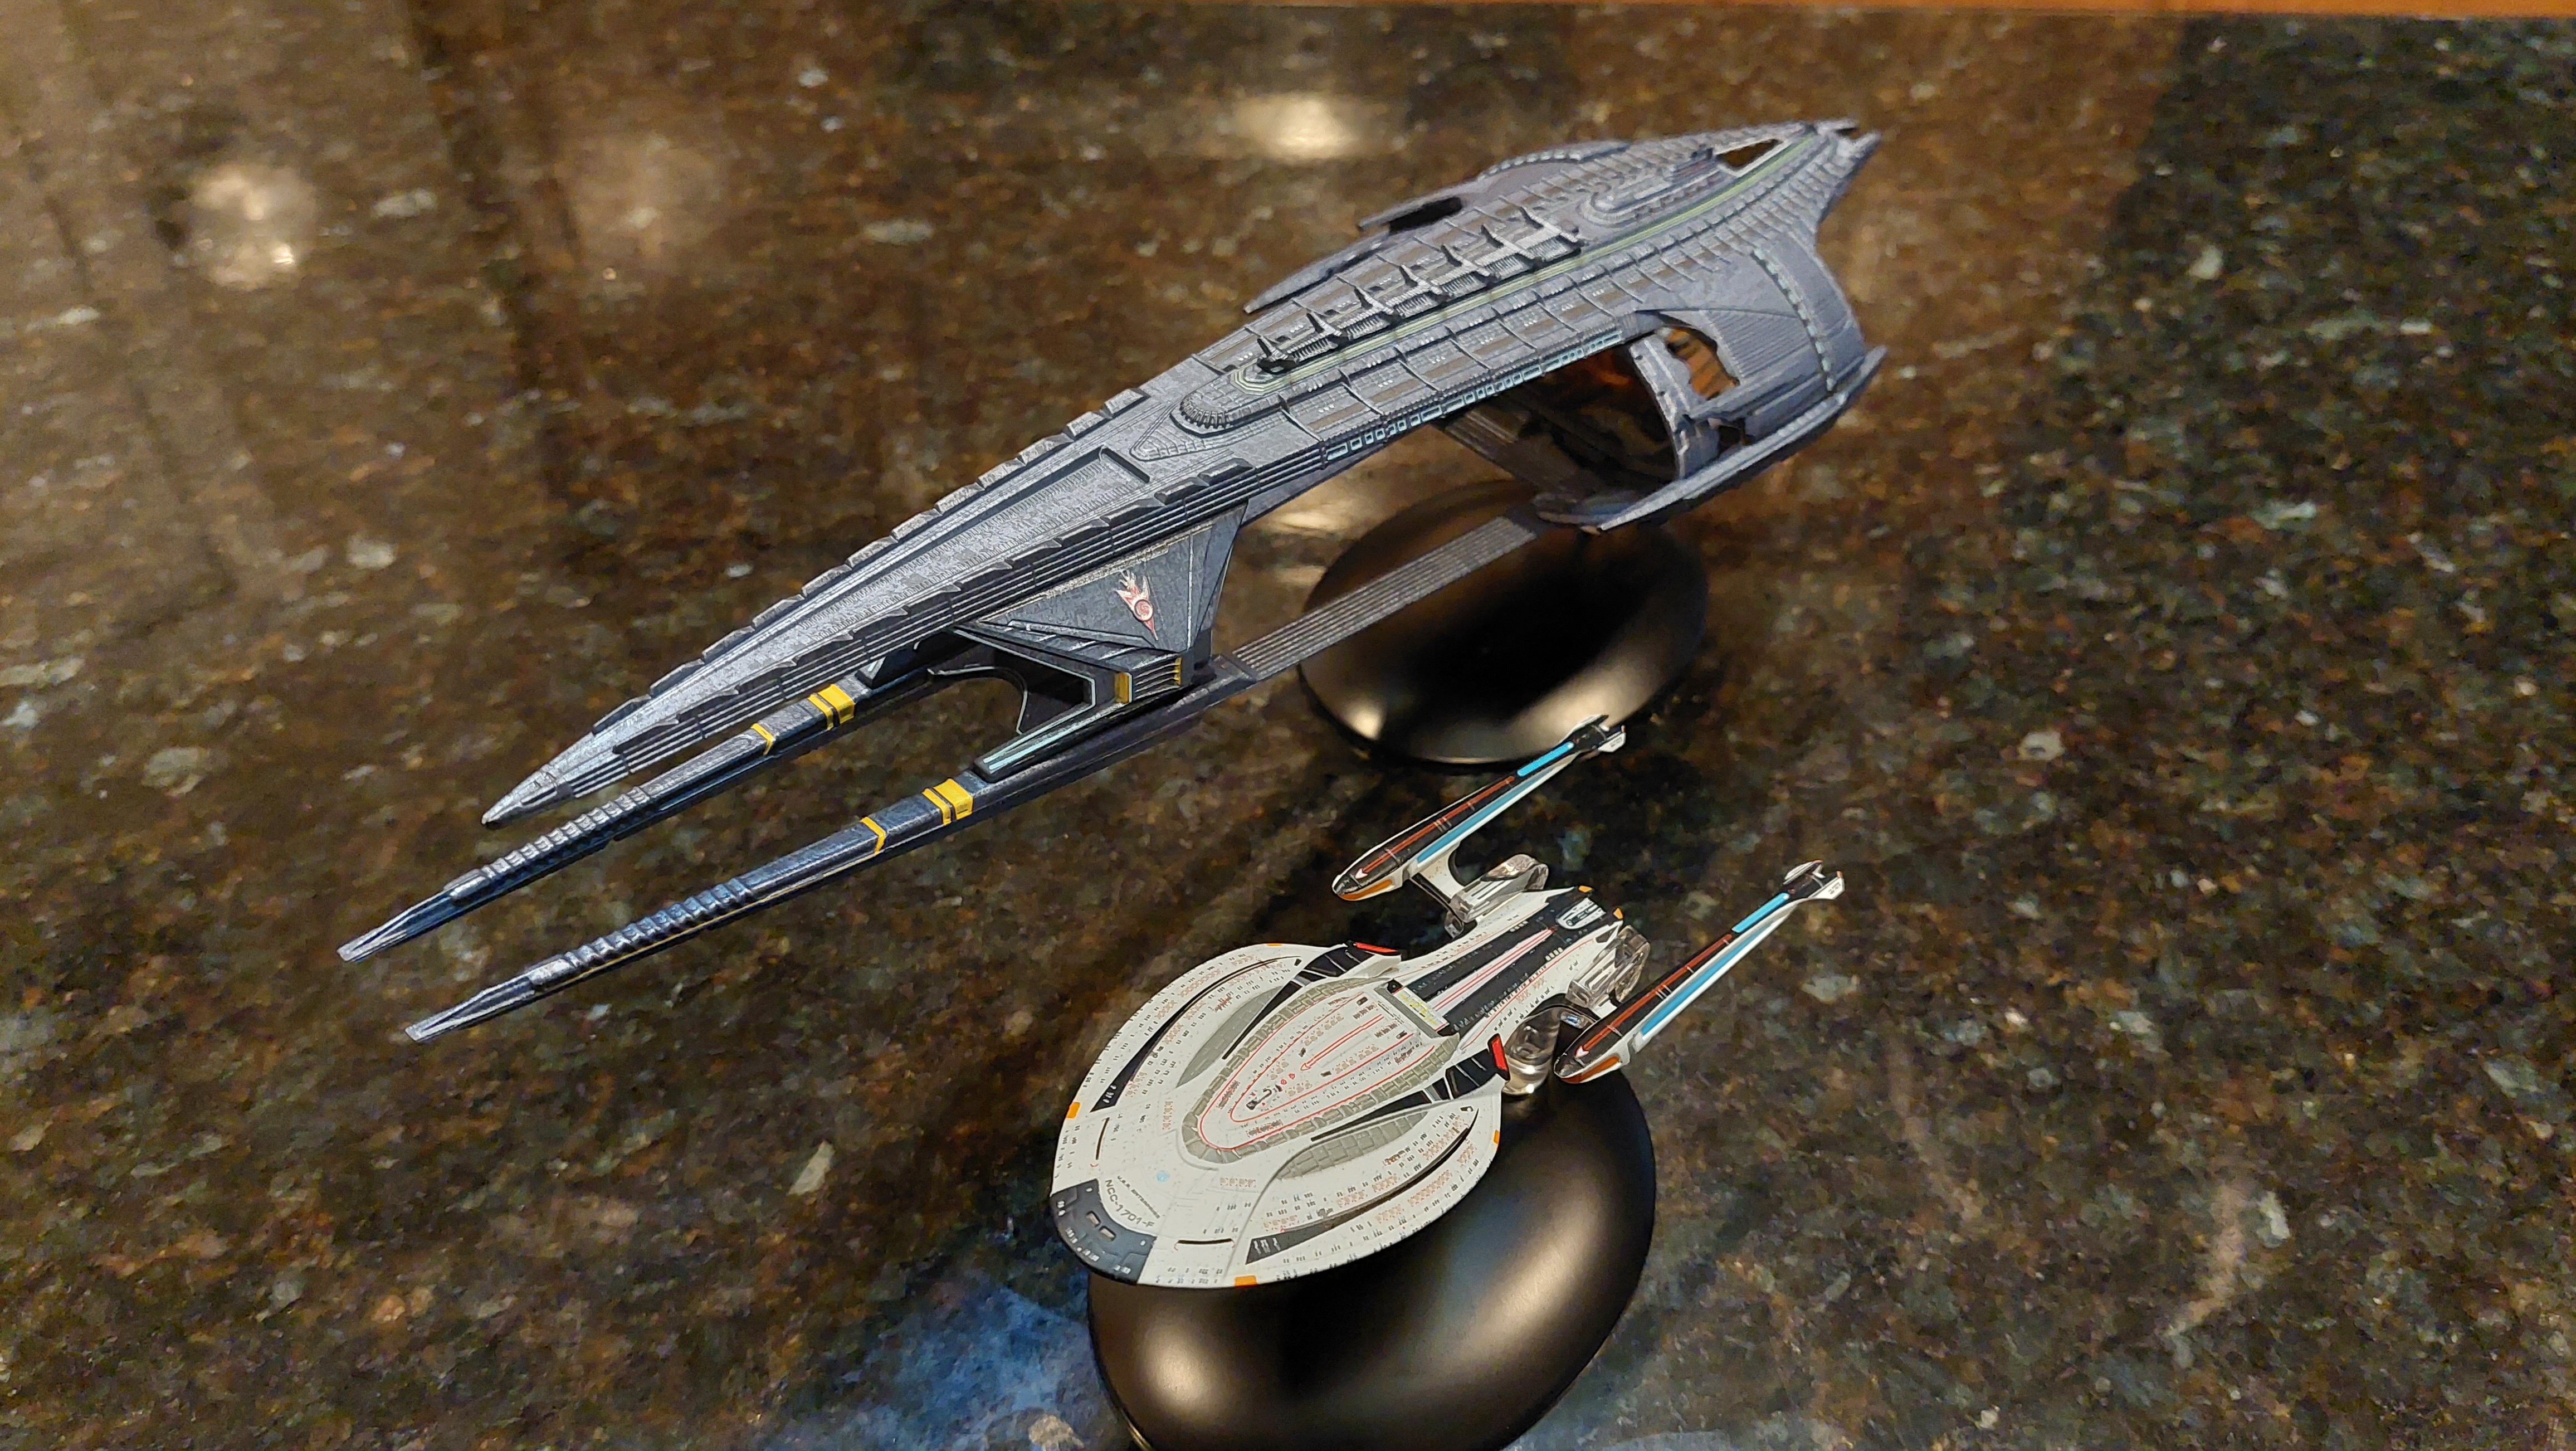
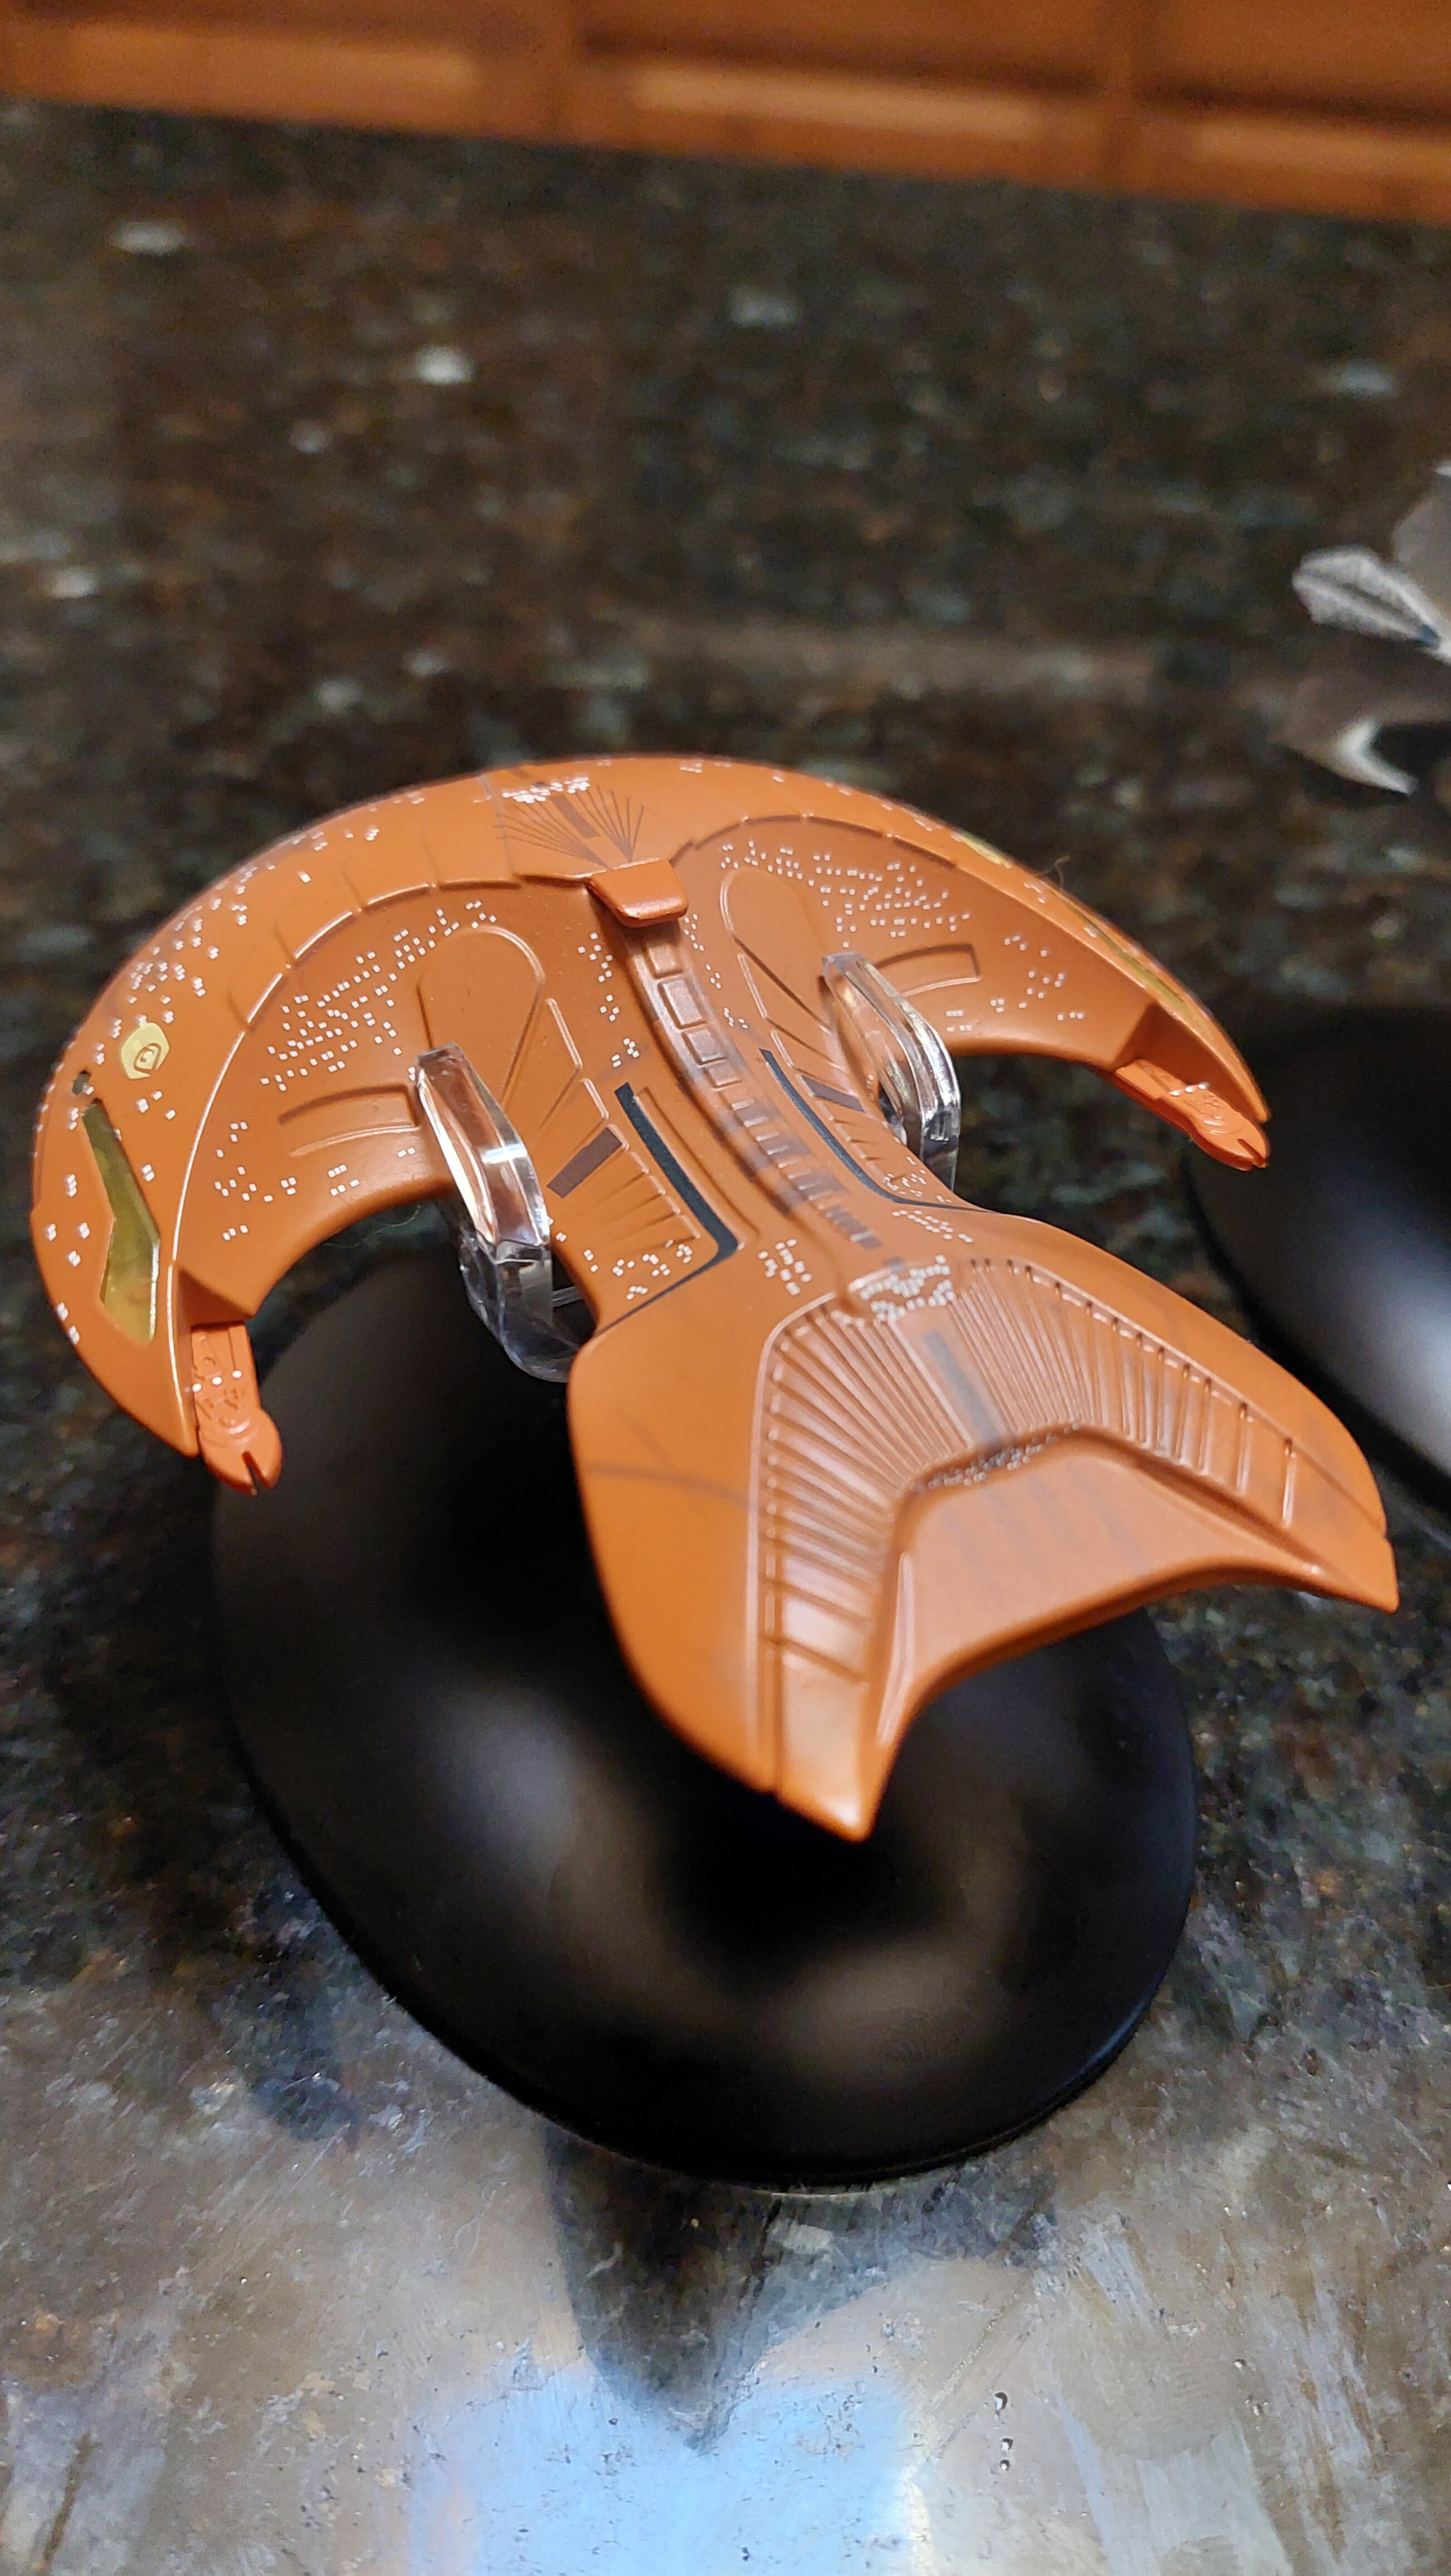
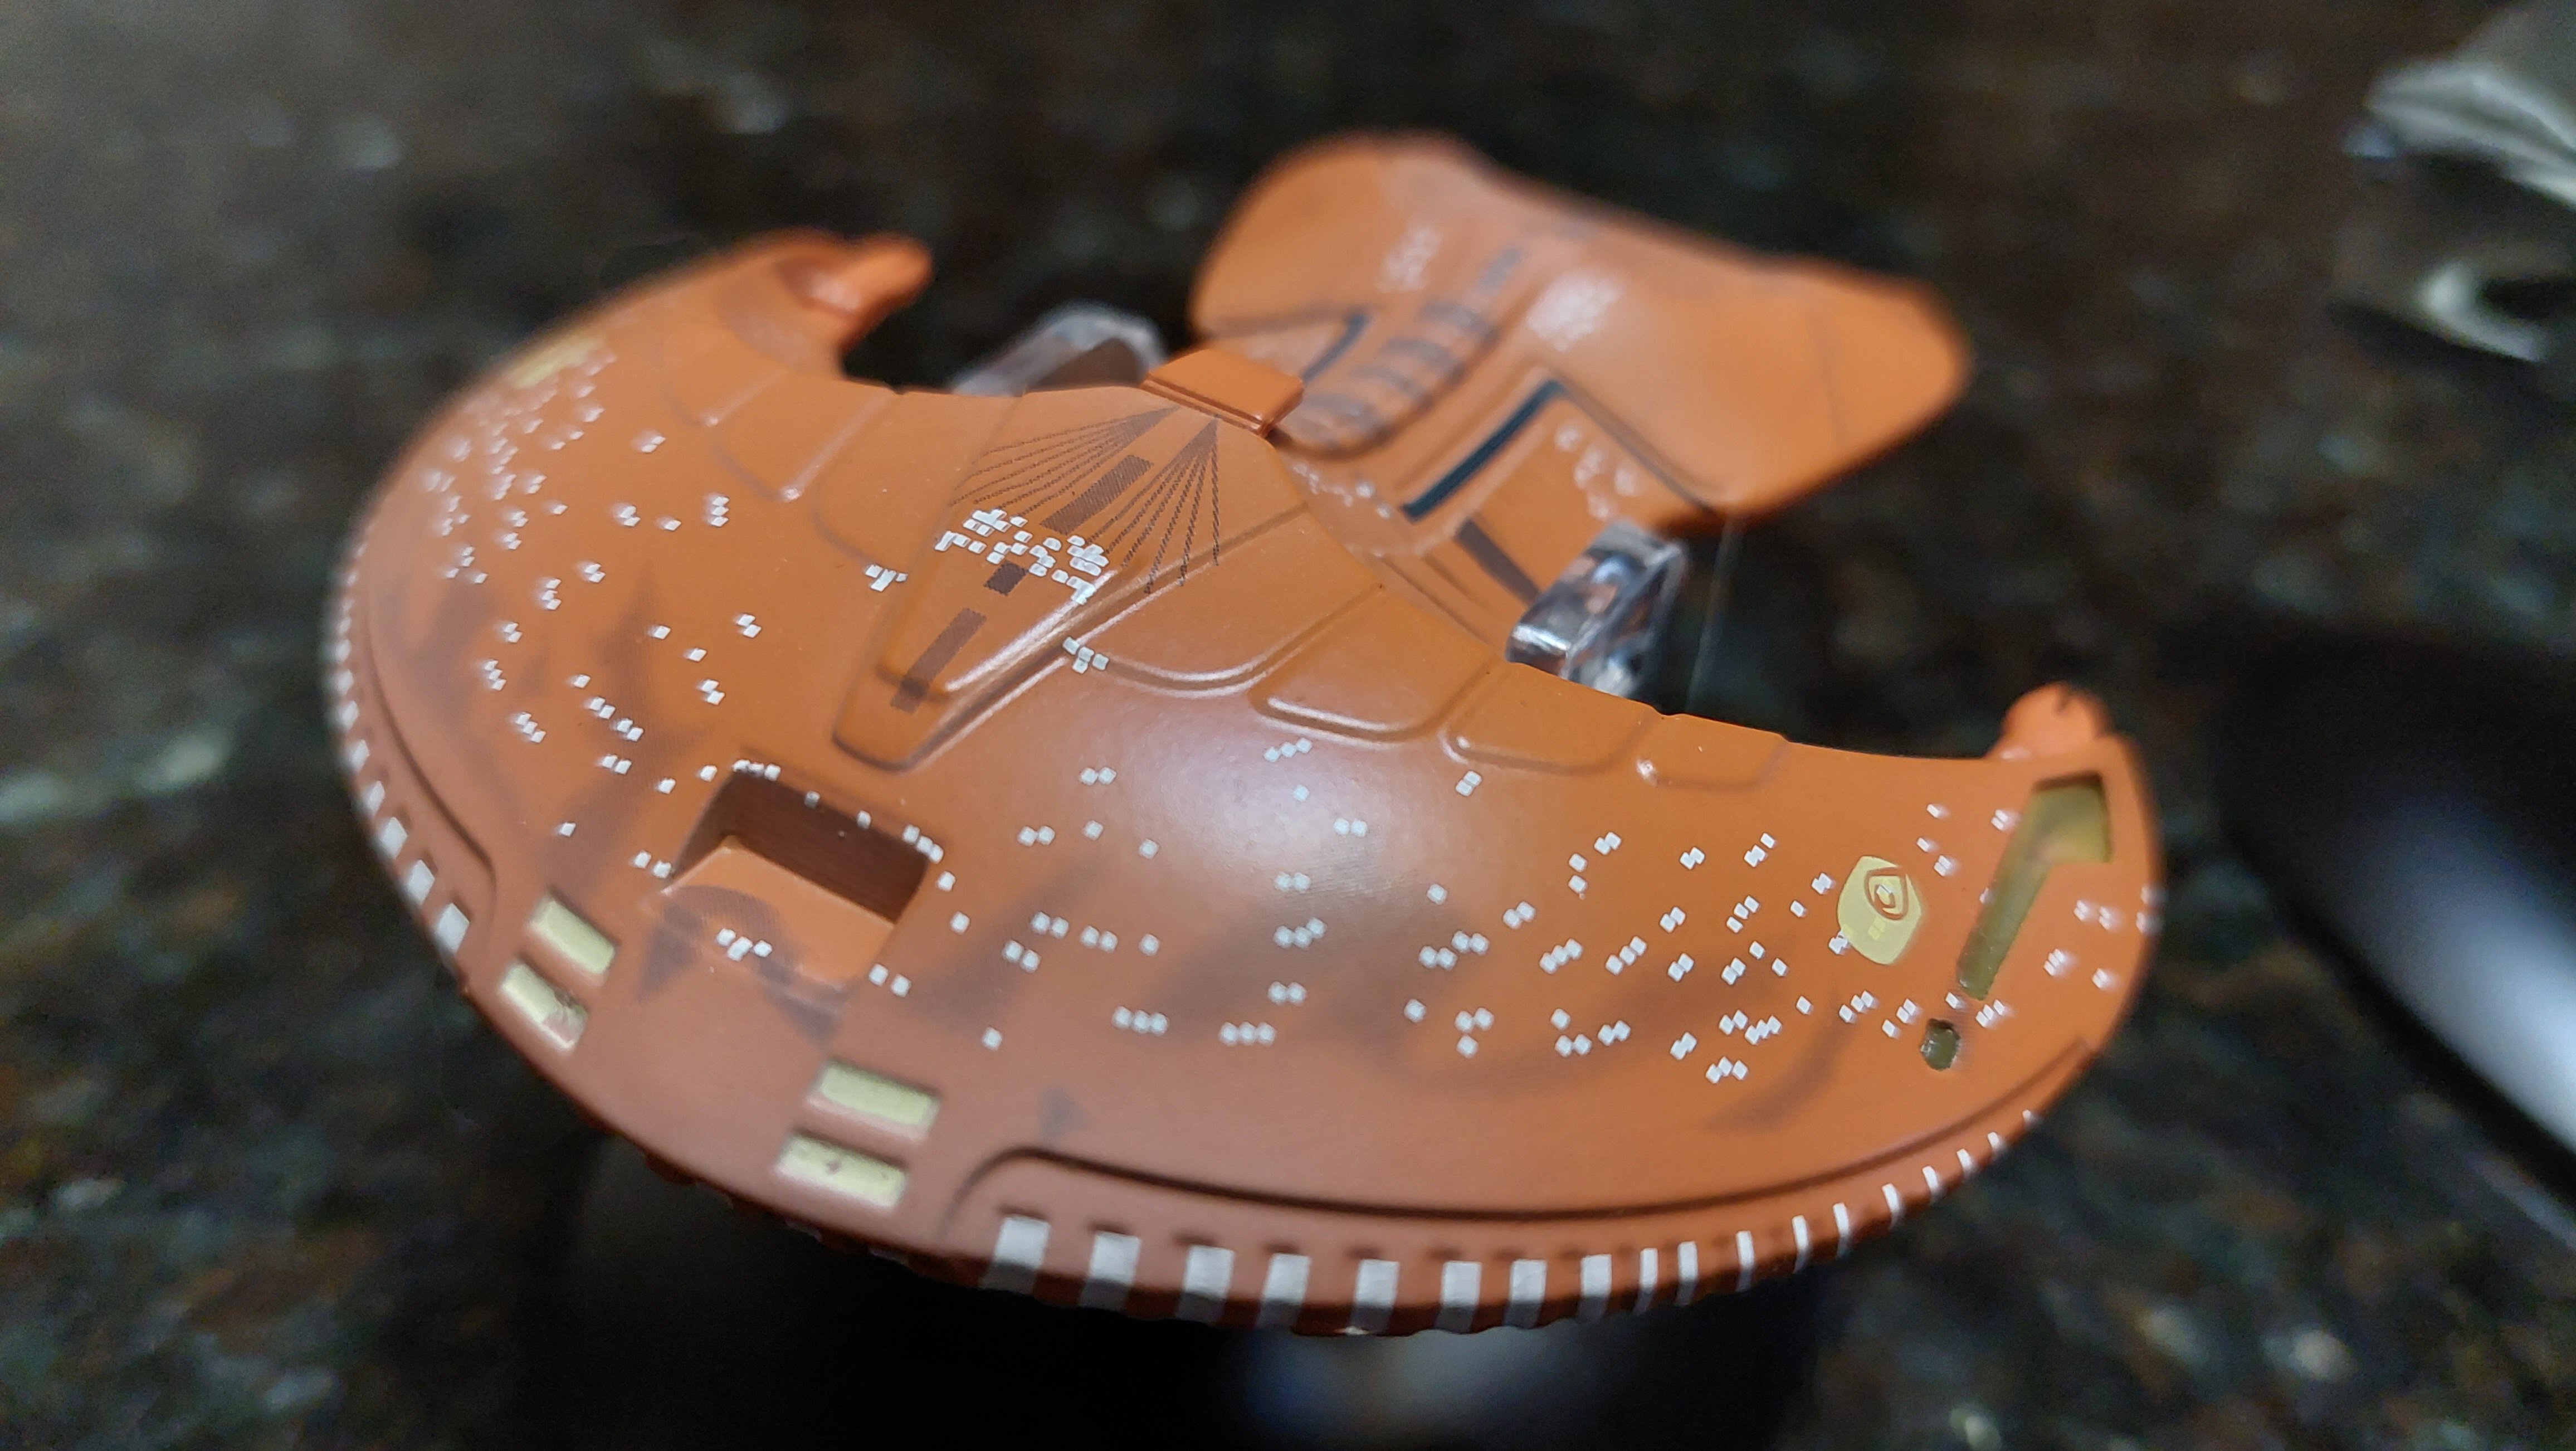
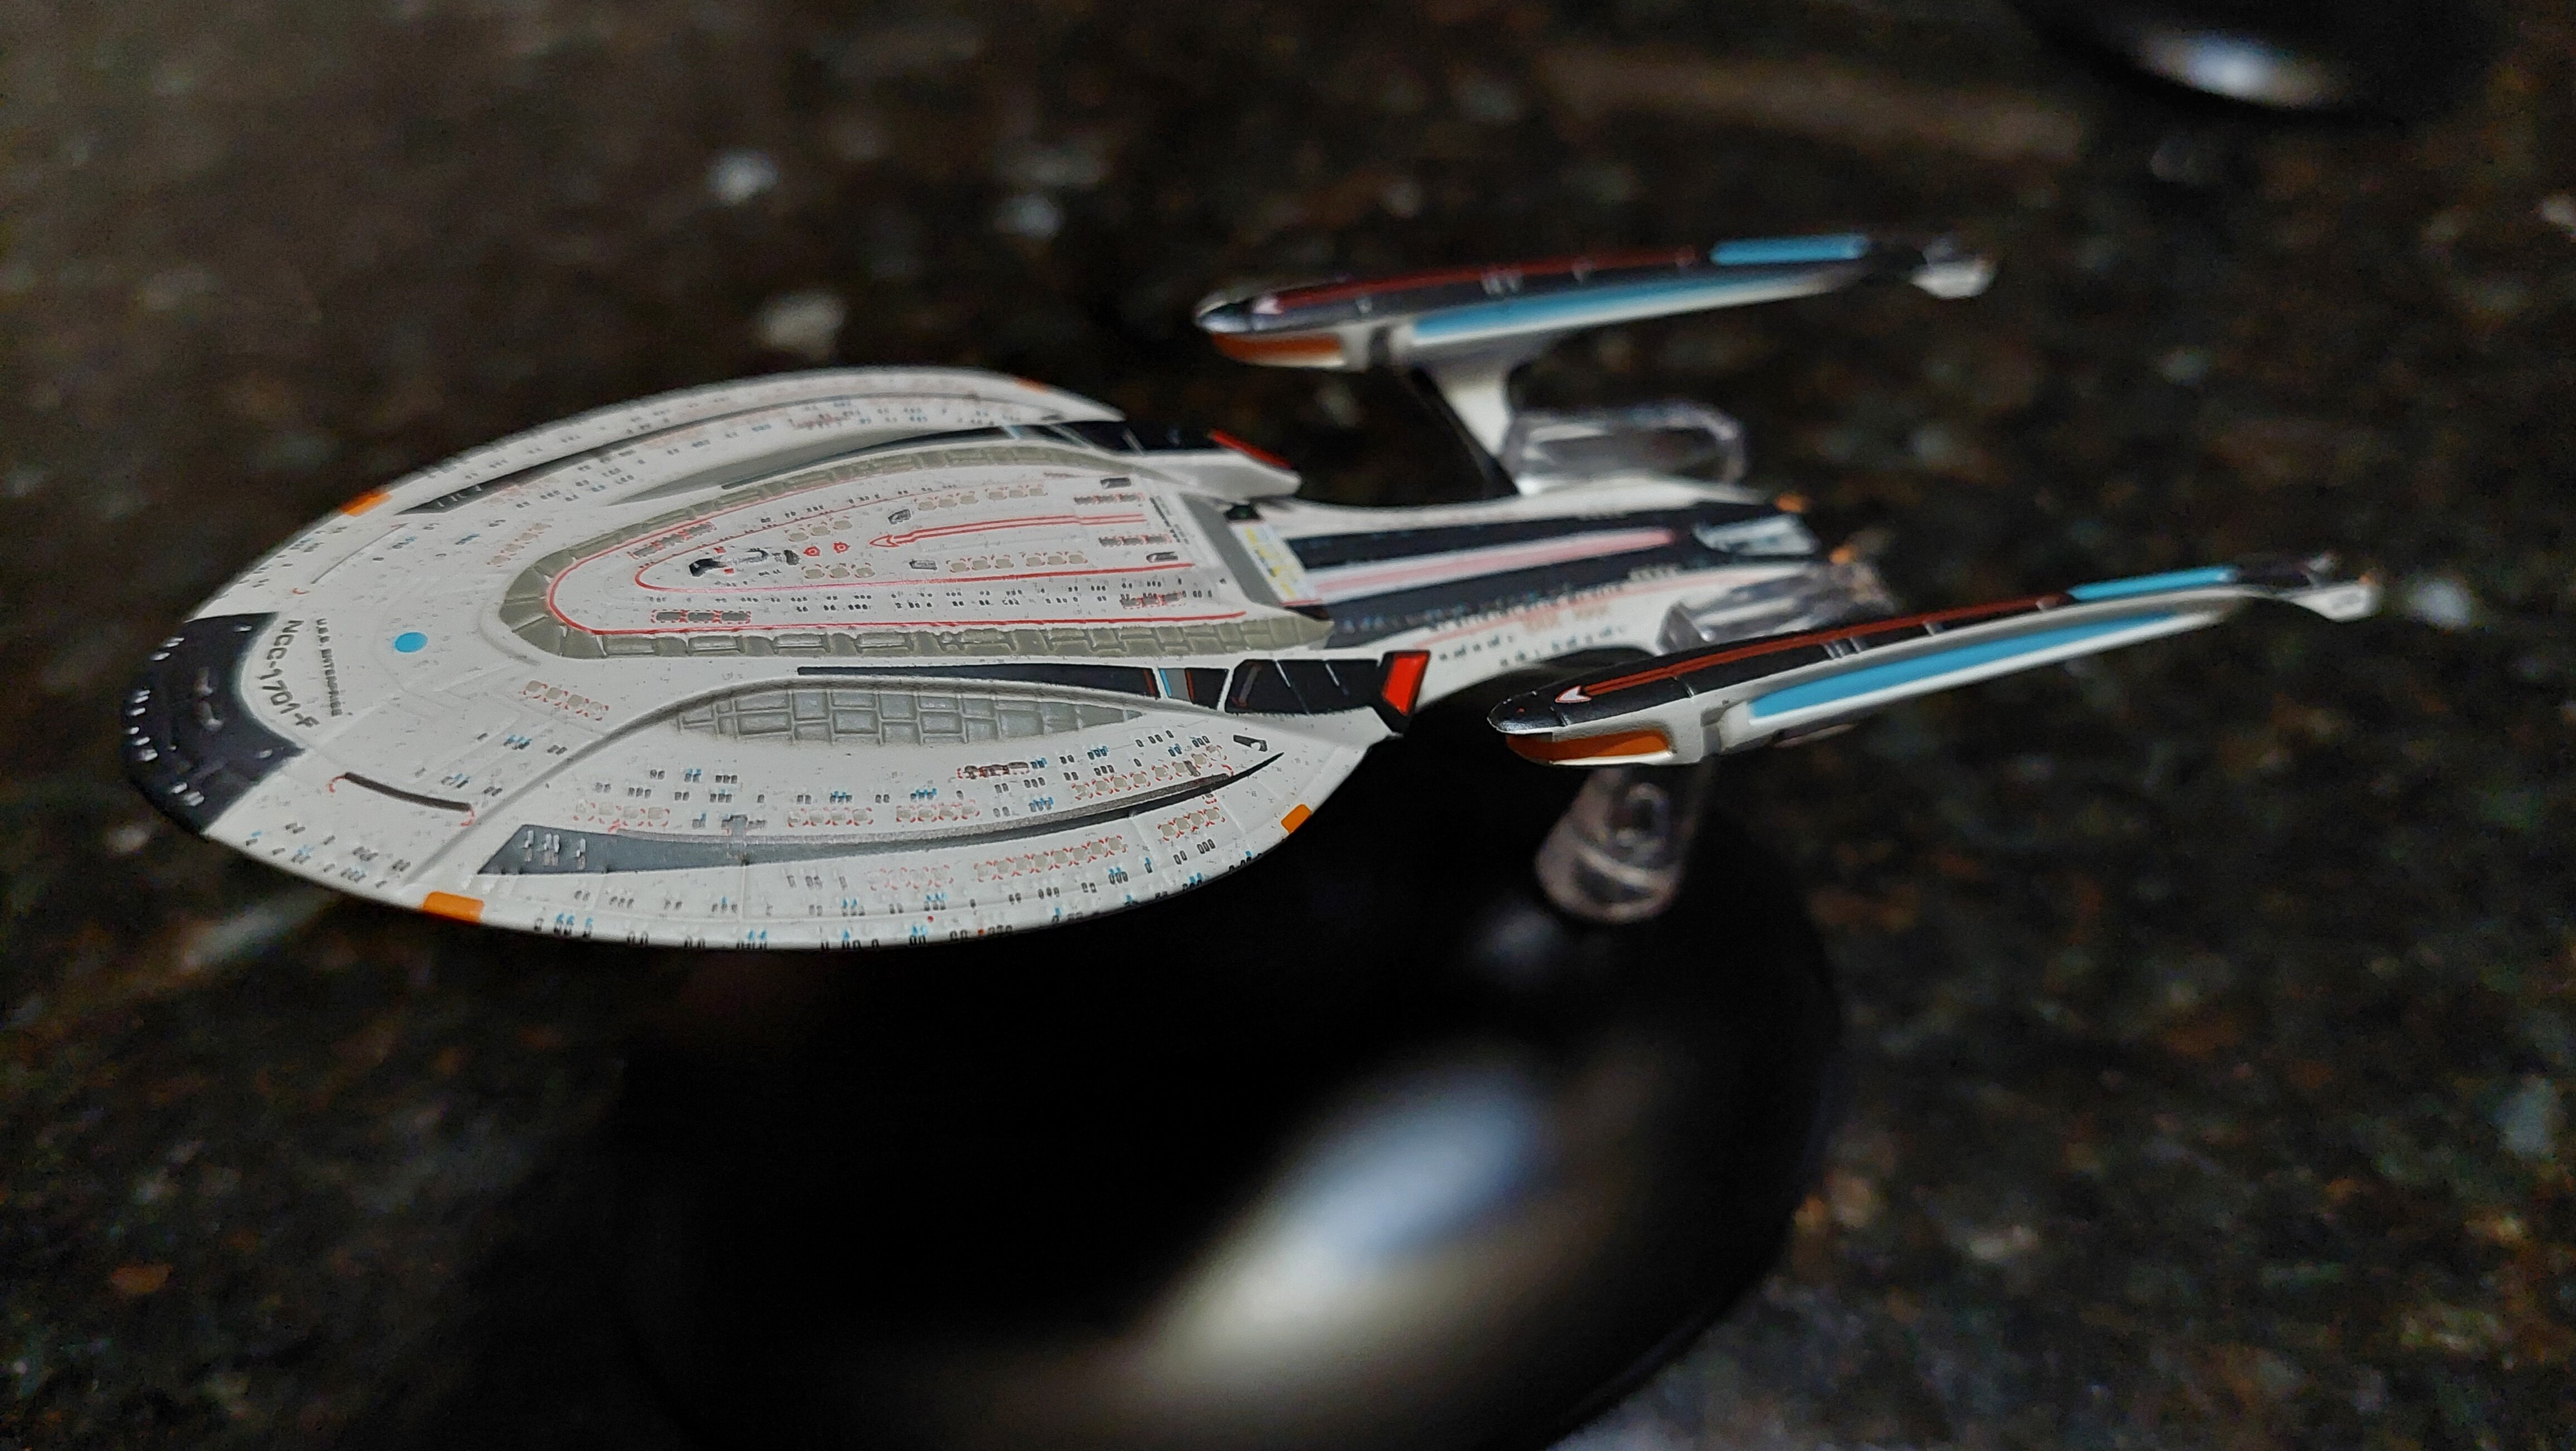
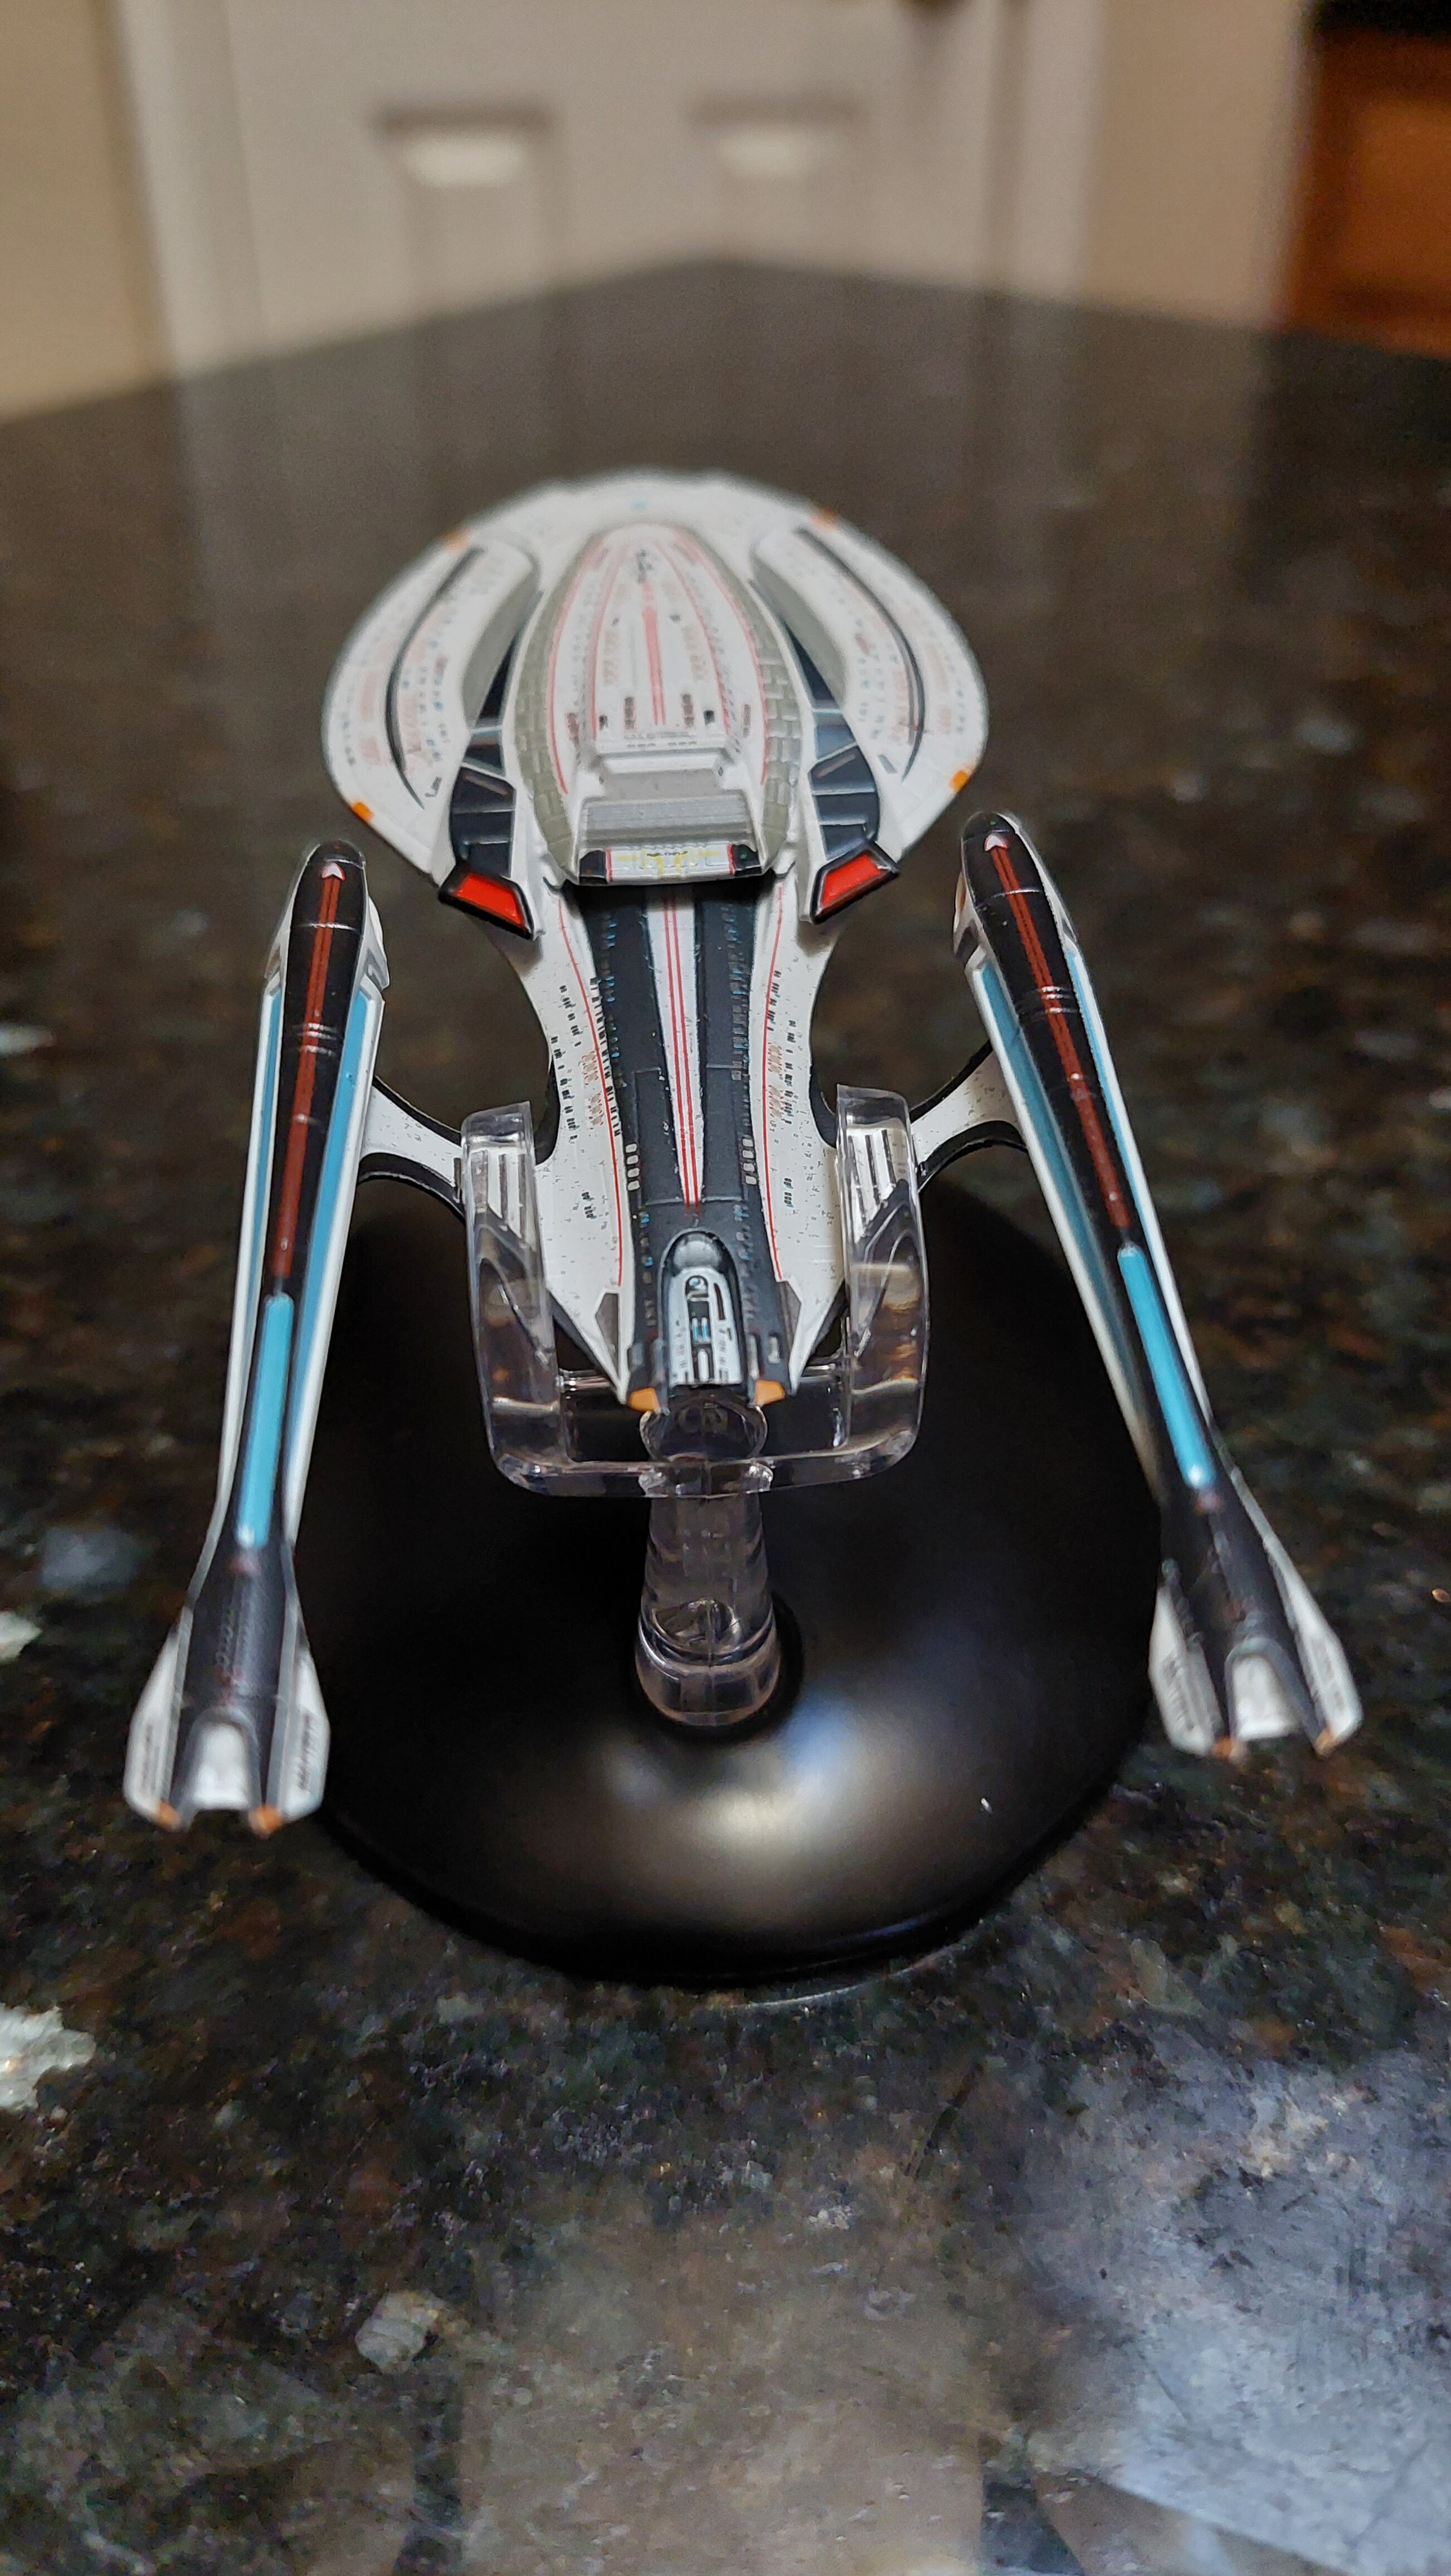
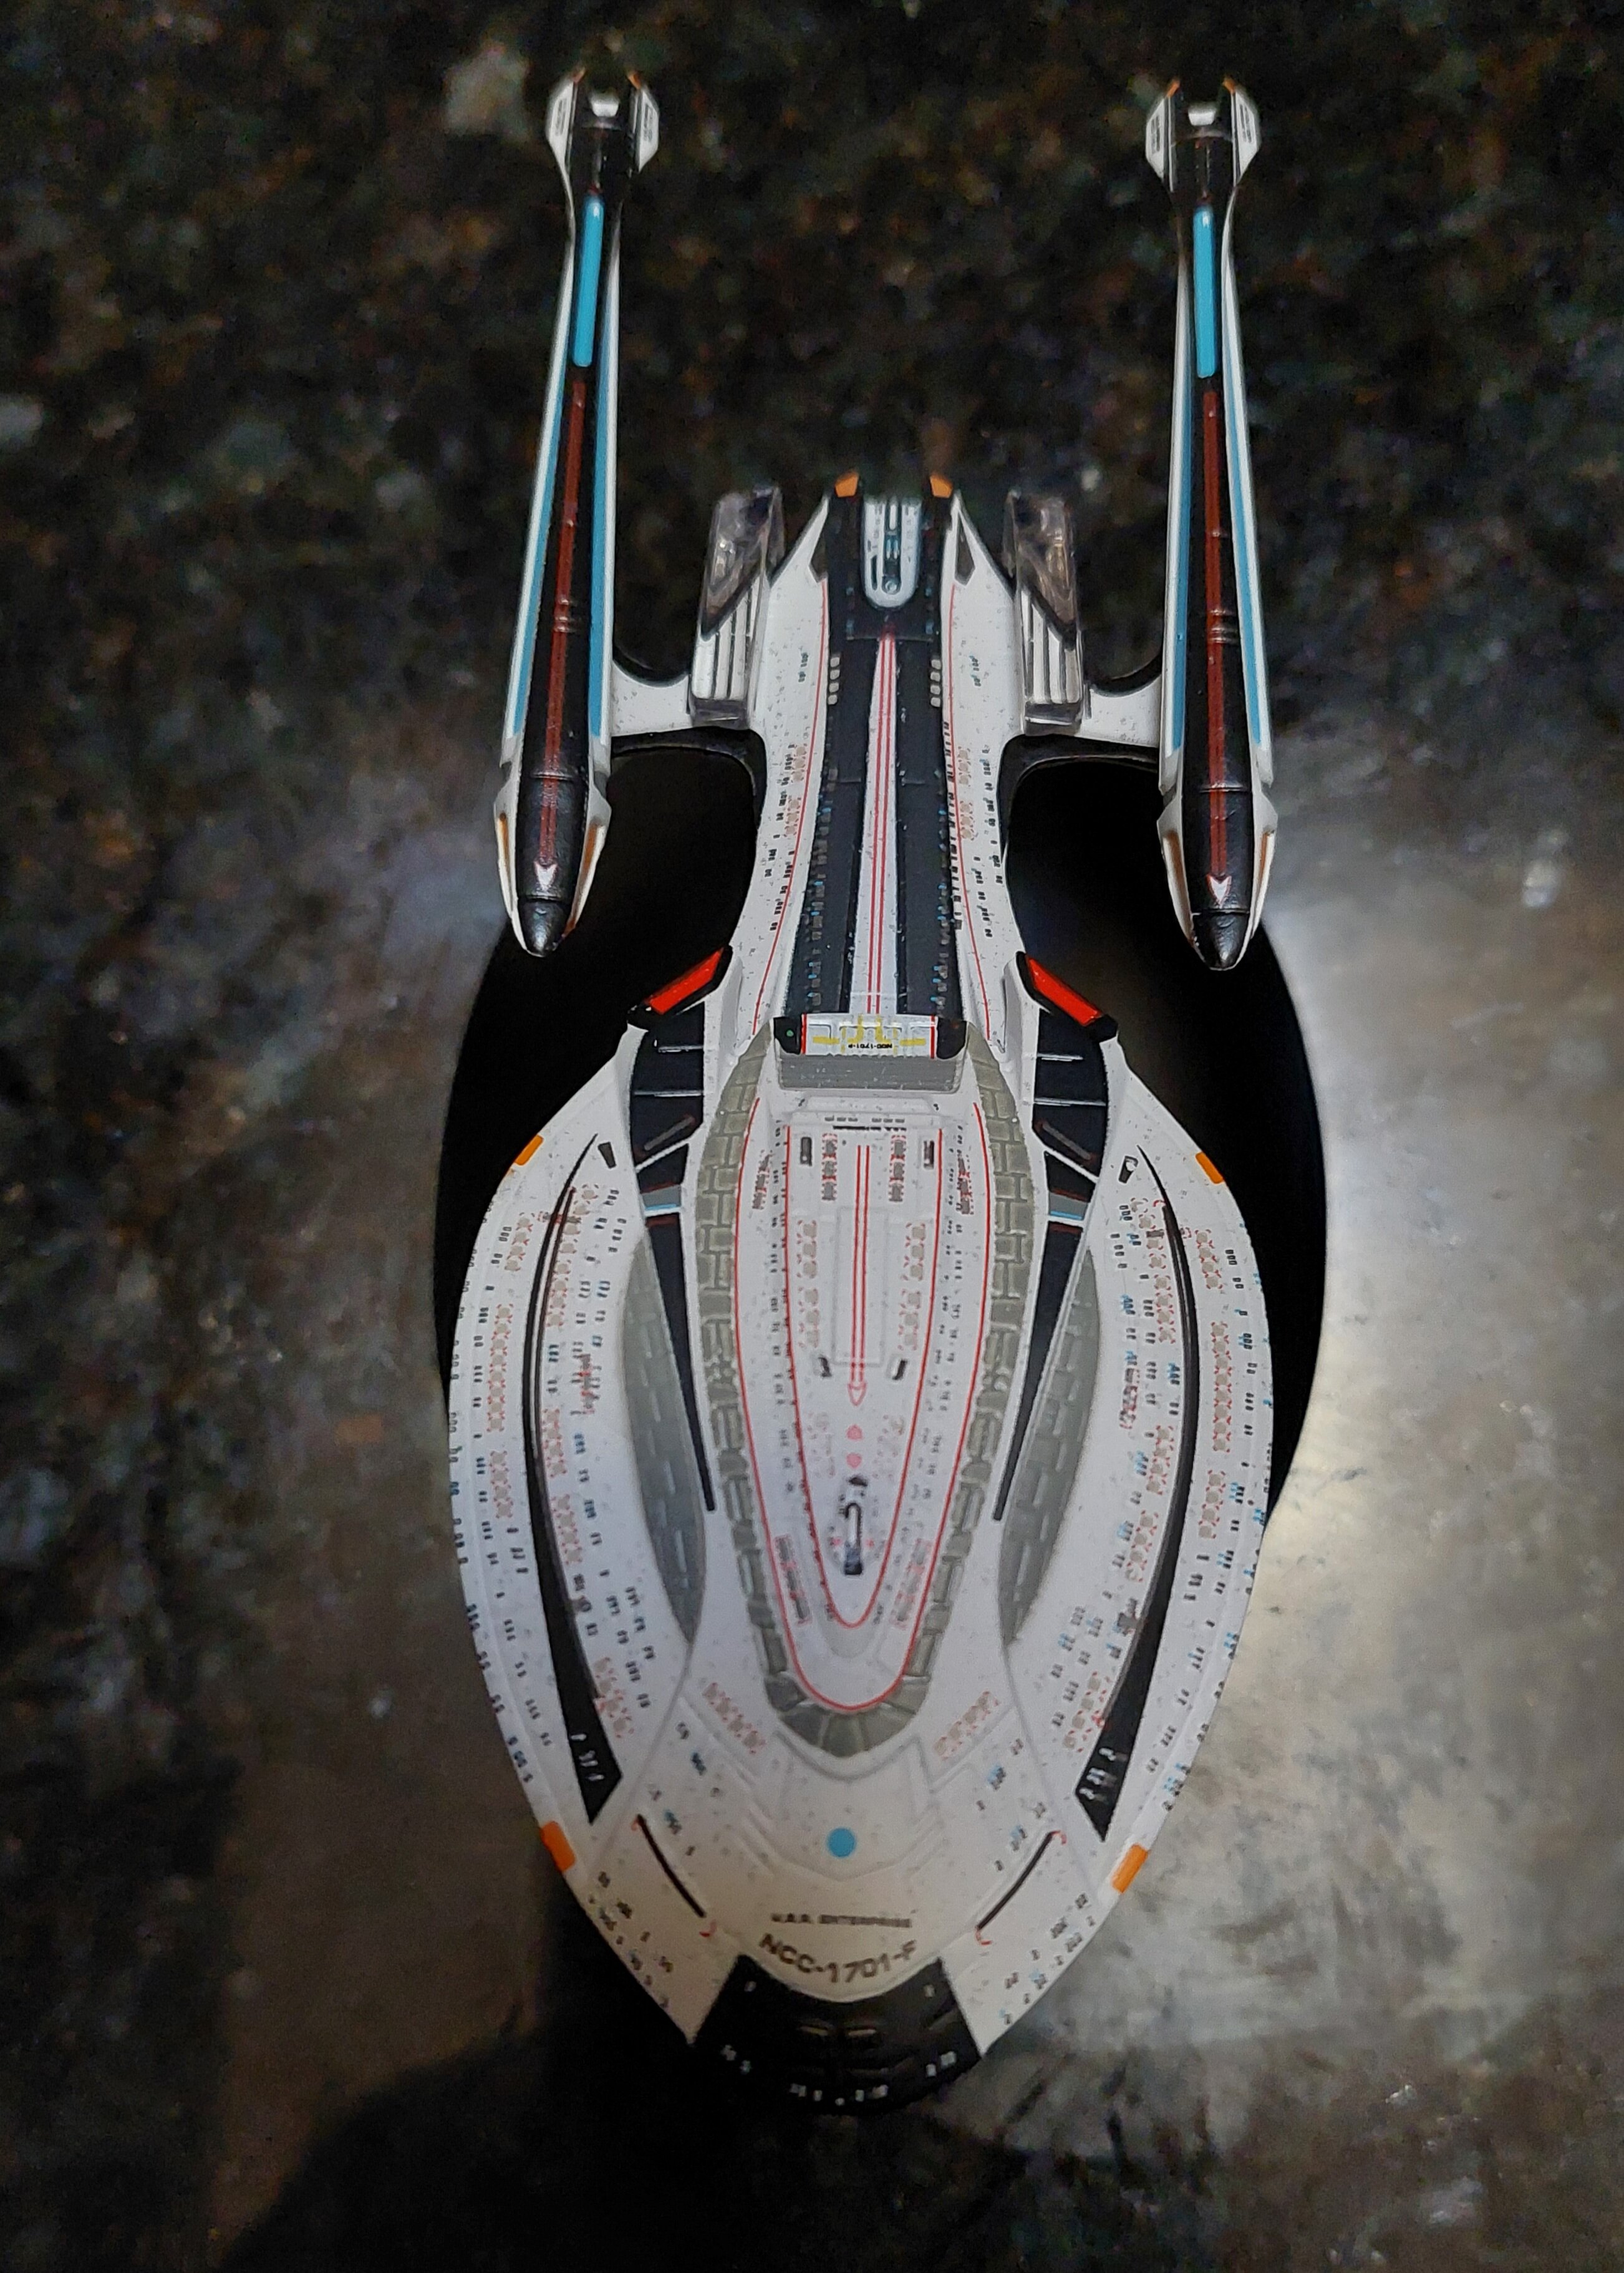
My box of deep discount Eaglemoss showed up along with the brand spanking new Enterprise F Refit! The sleeper of this bunch is the Sheliak warship. The paint job and detailing is absolutely 1st rate! Enterprise F is very good as well! 2nd Round coming up later tonight!
-
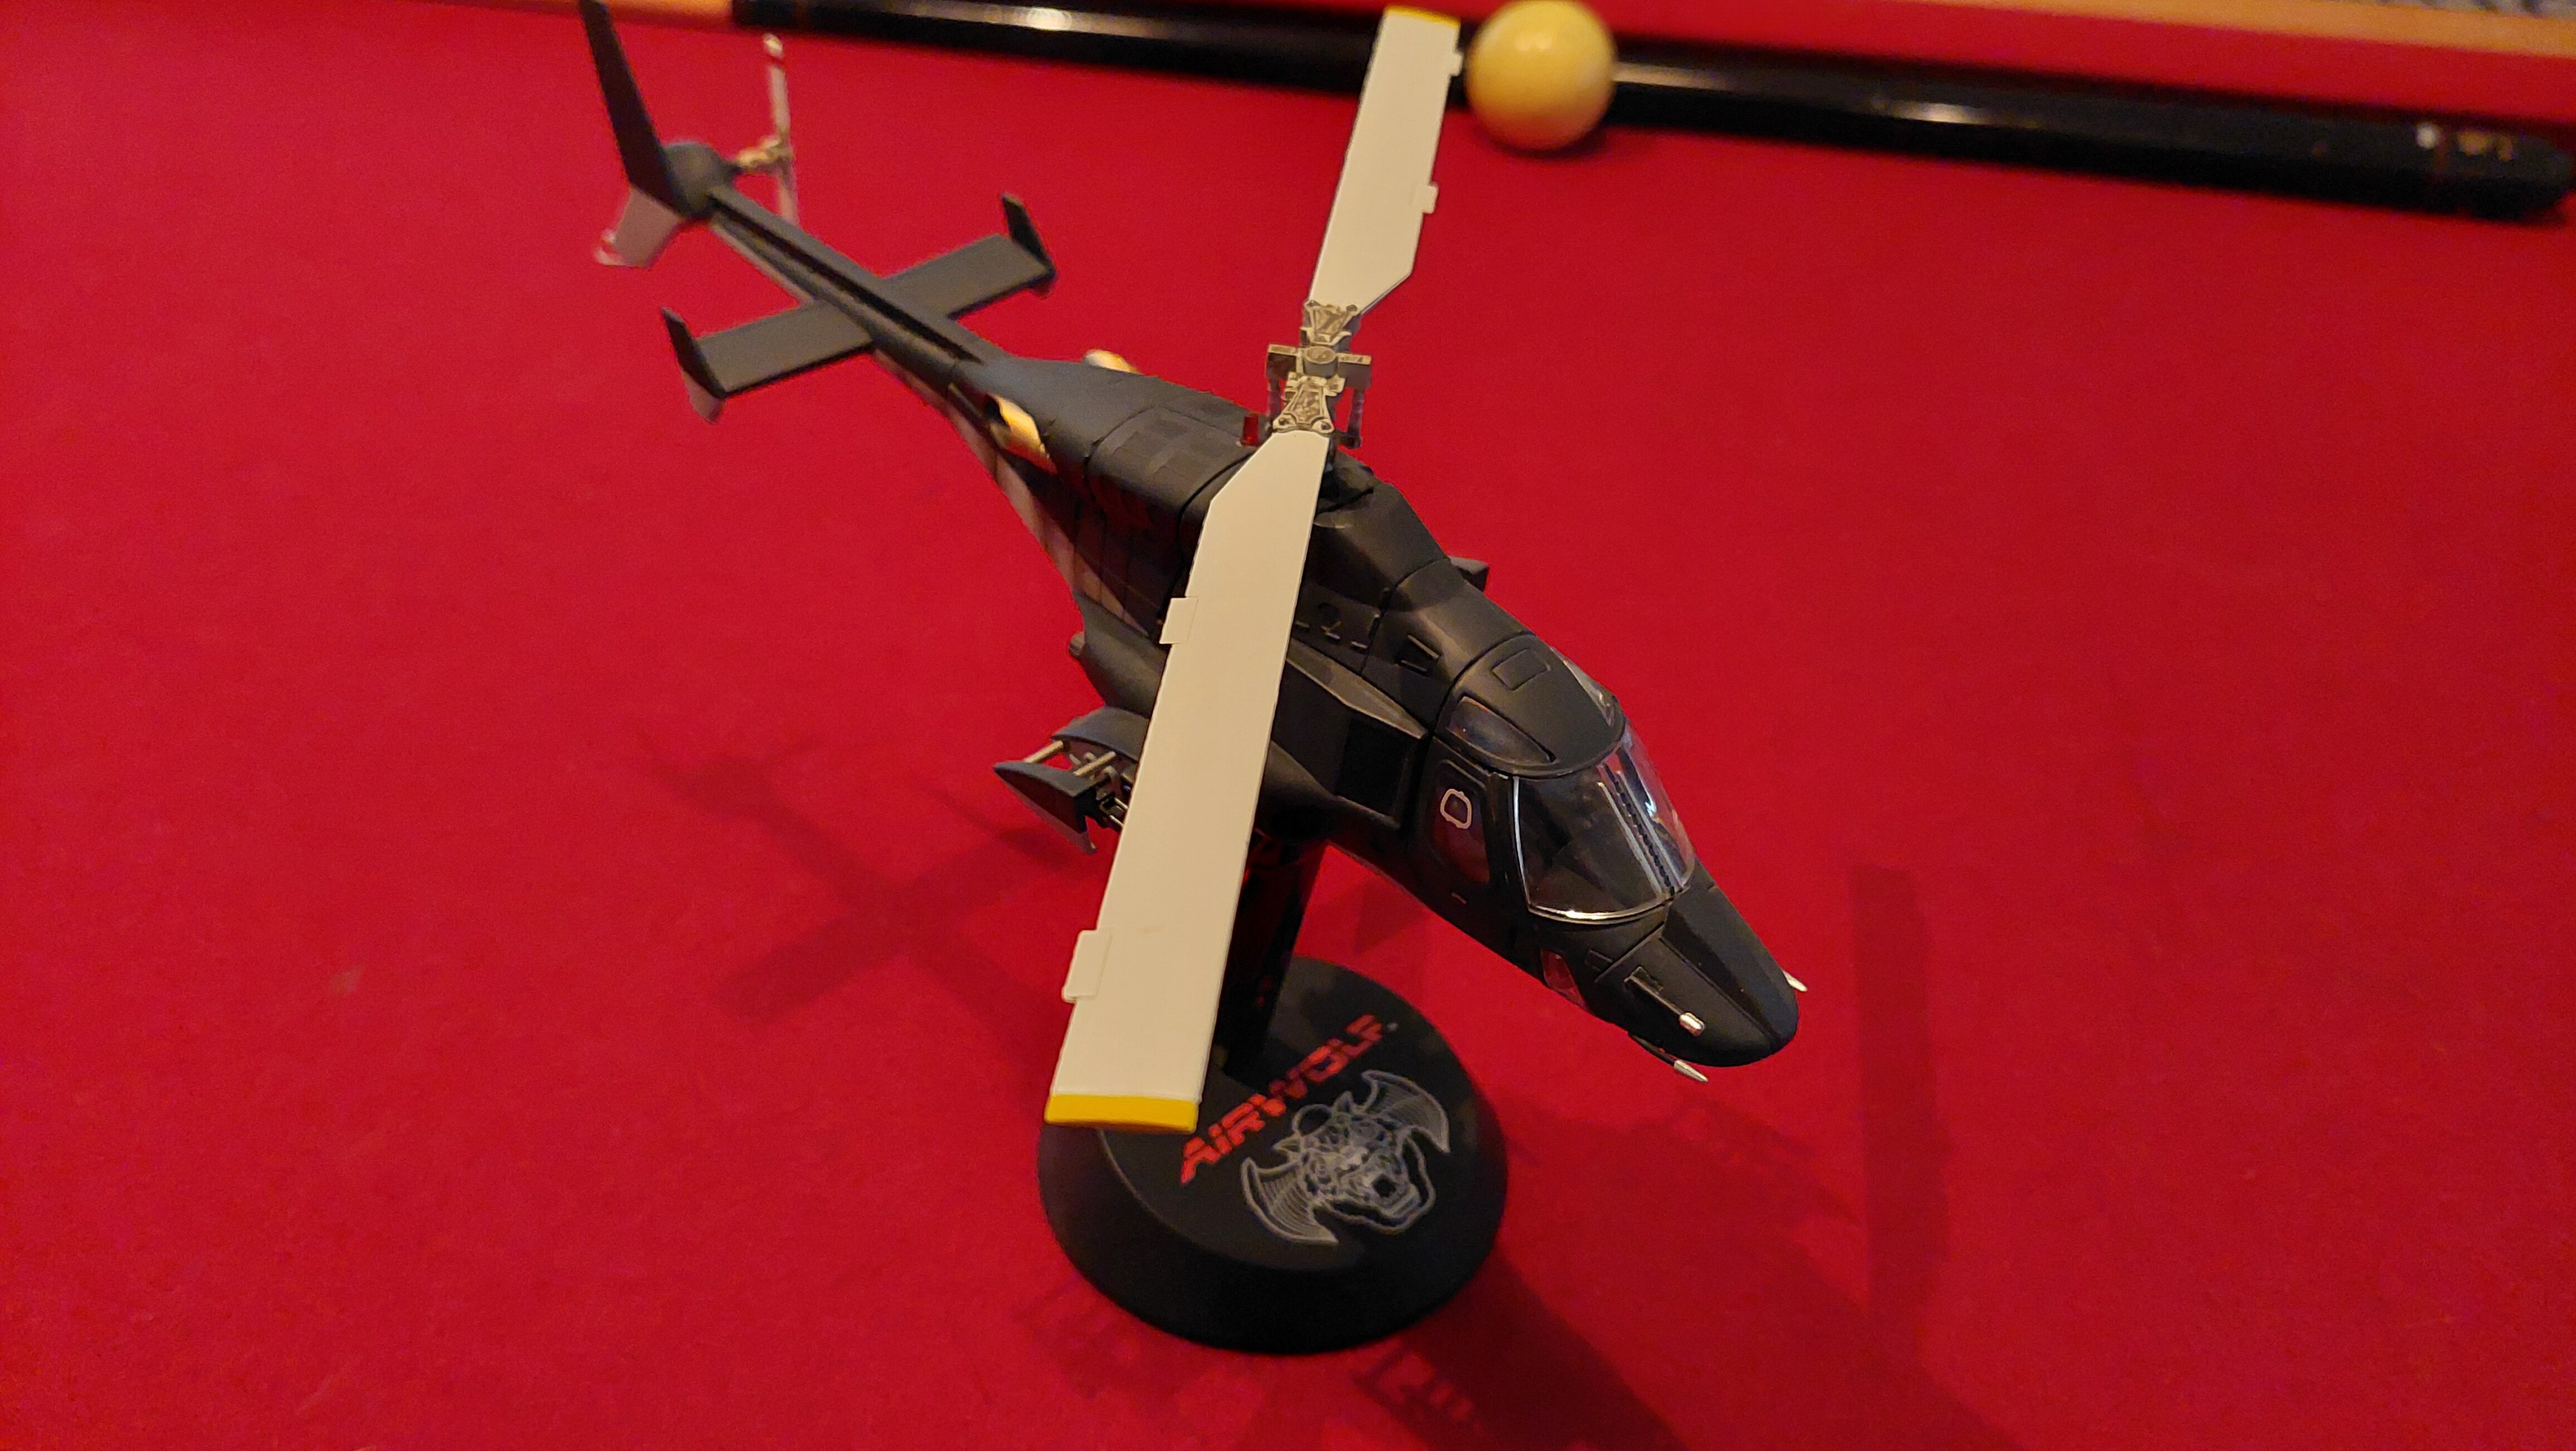
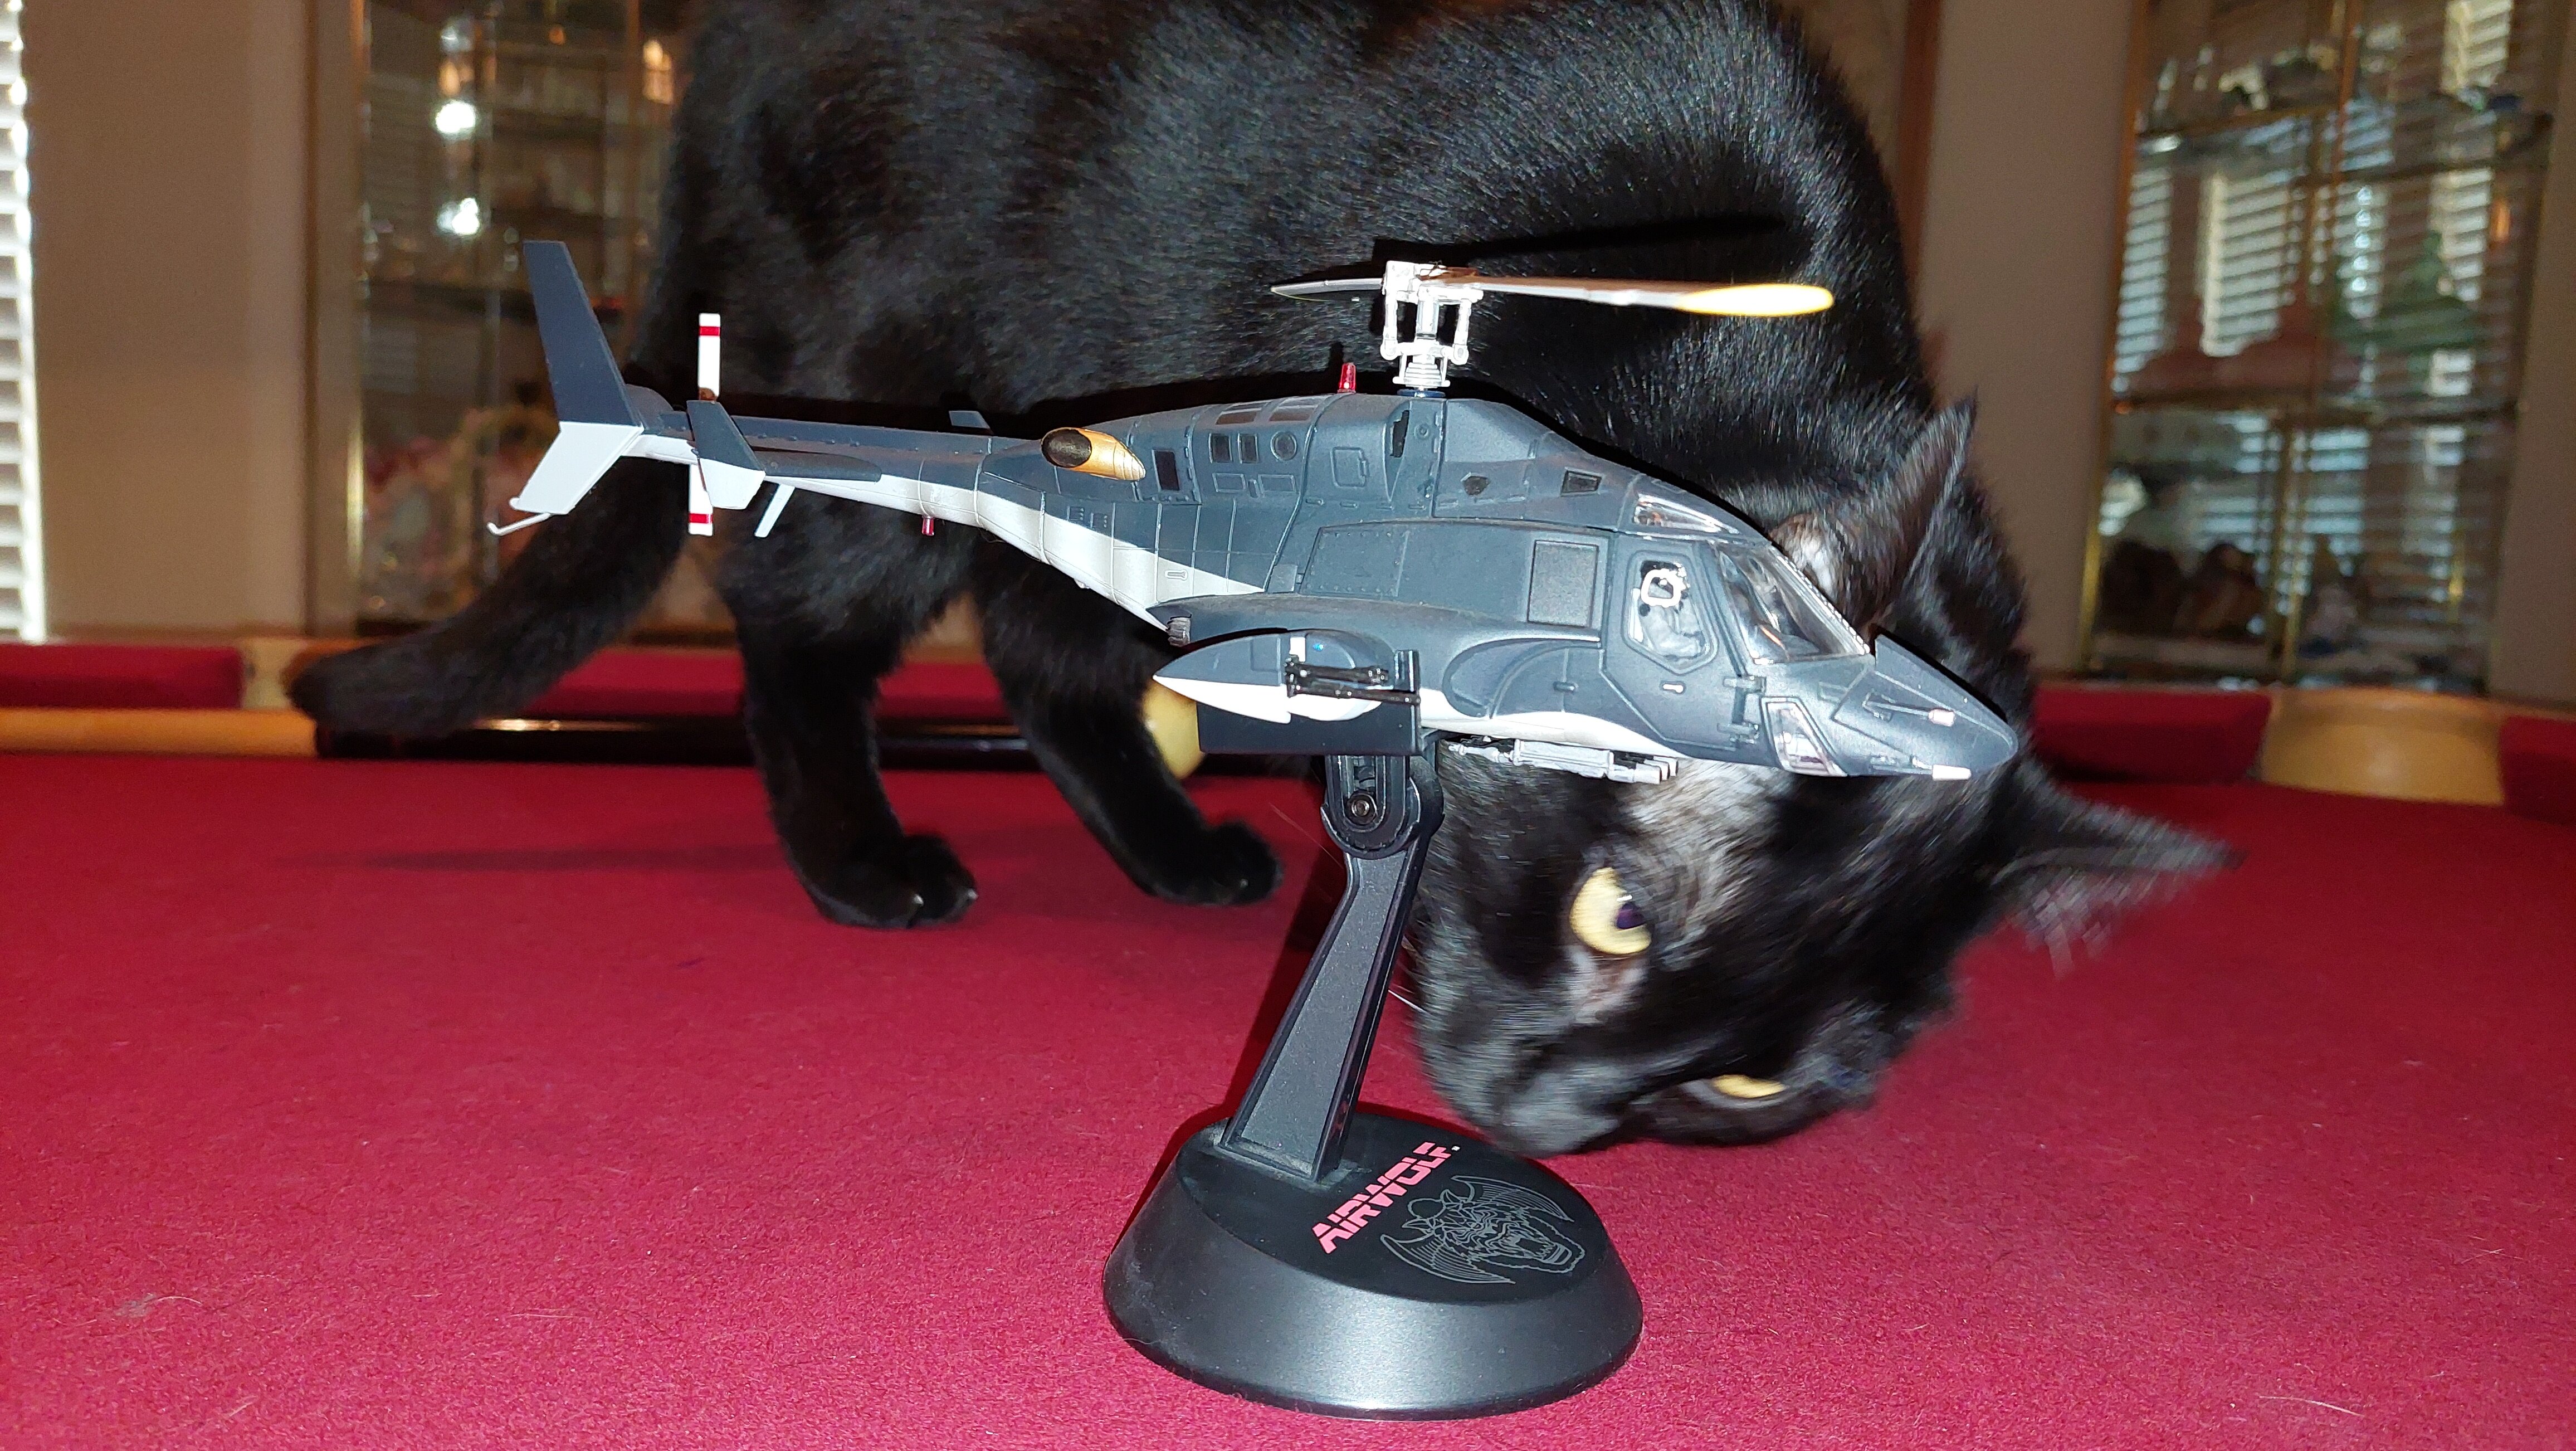
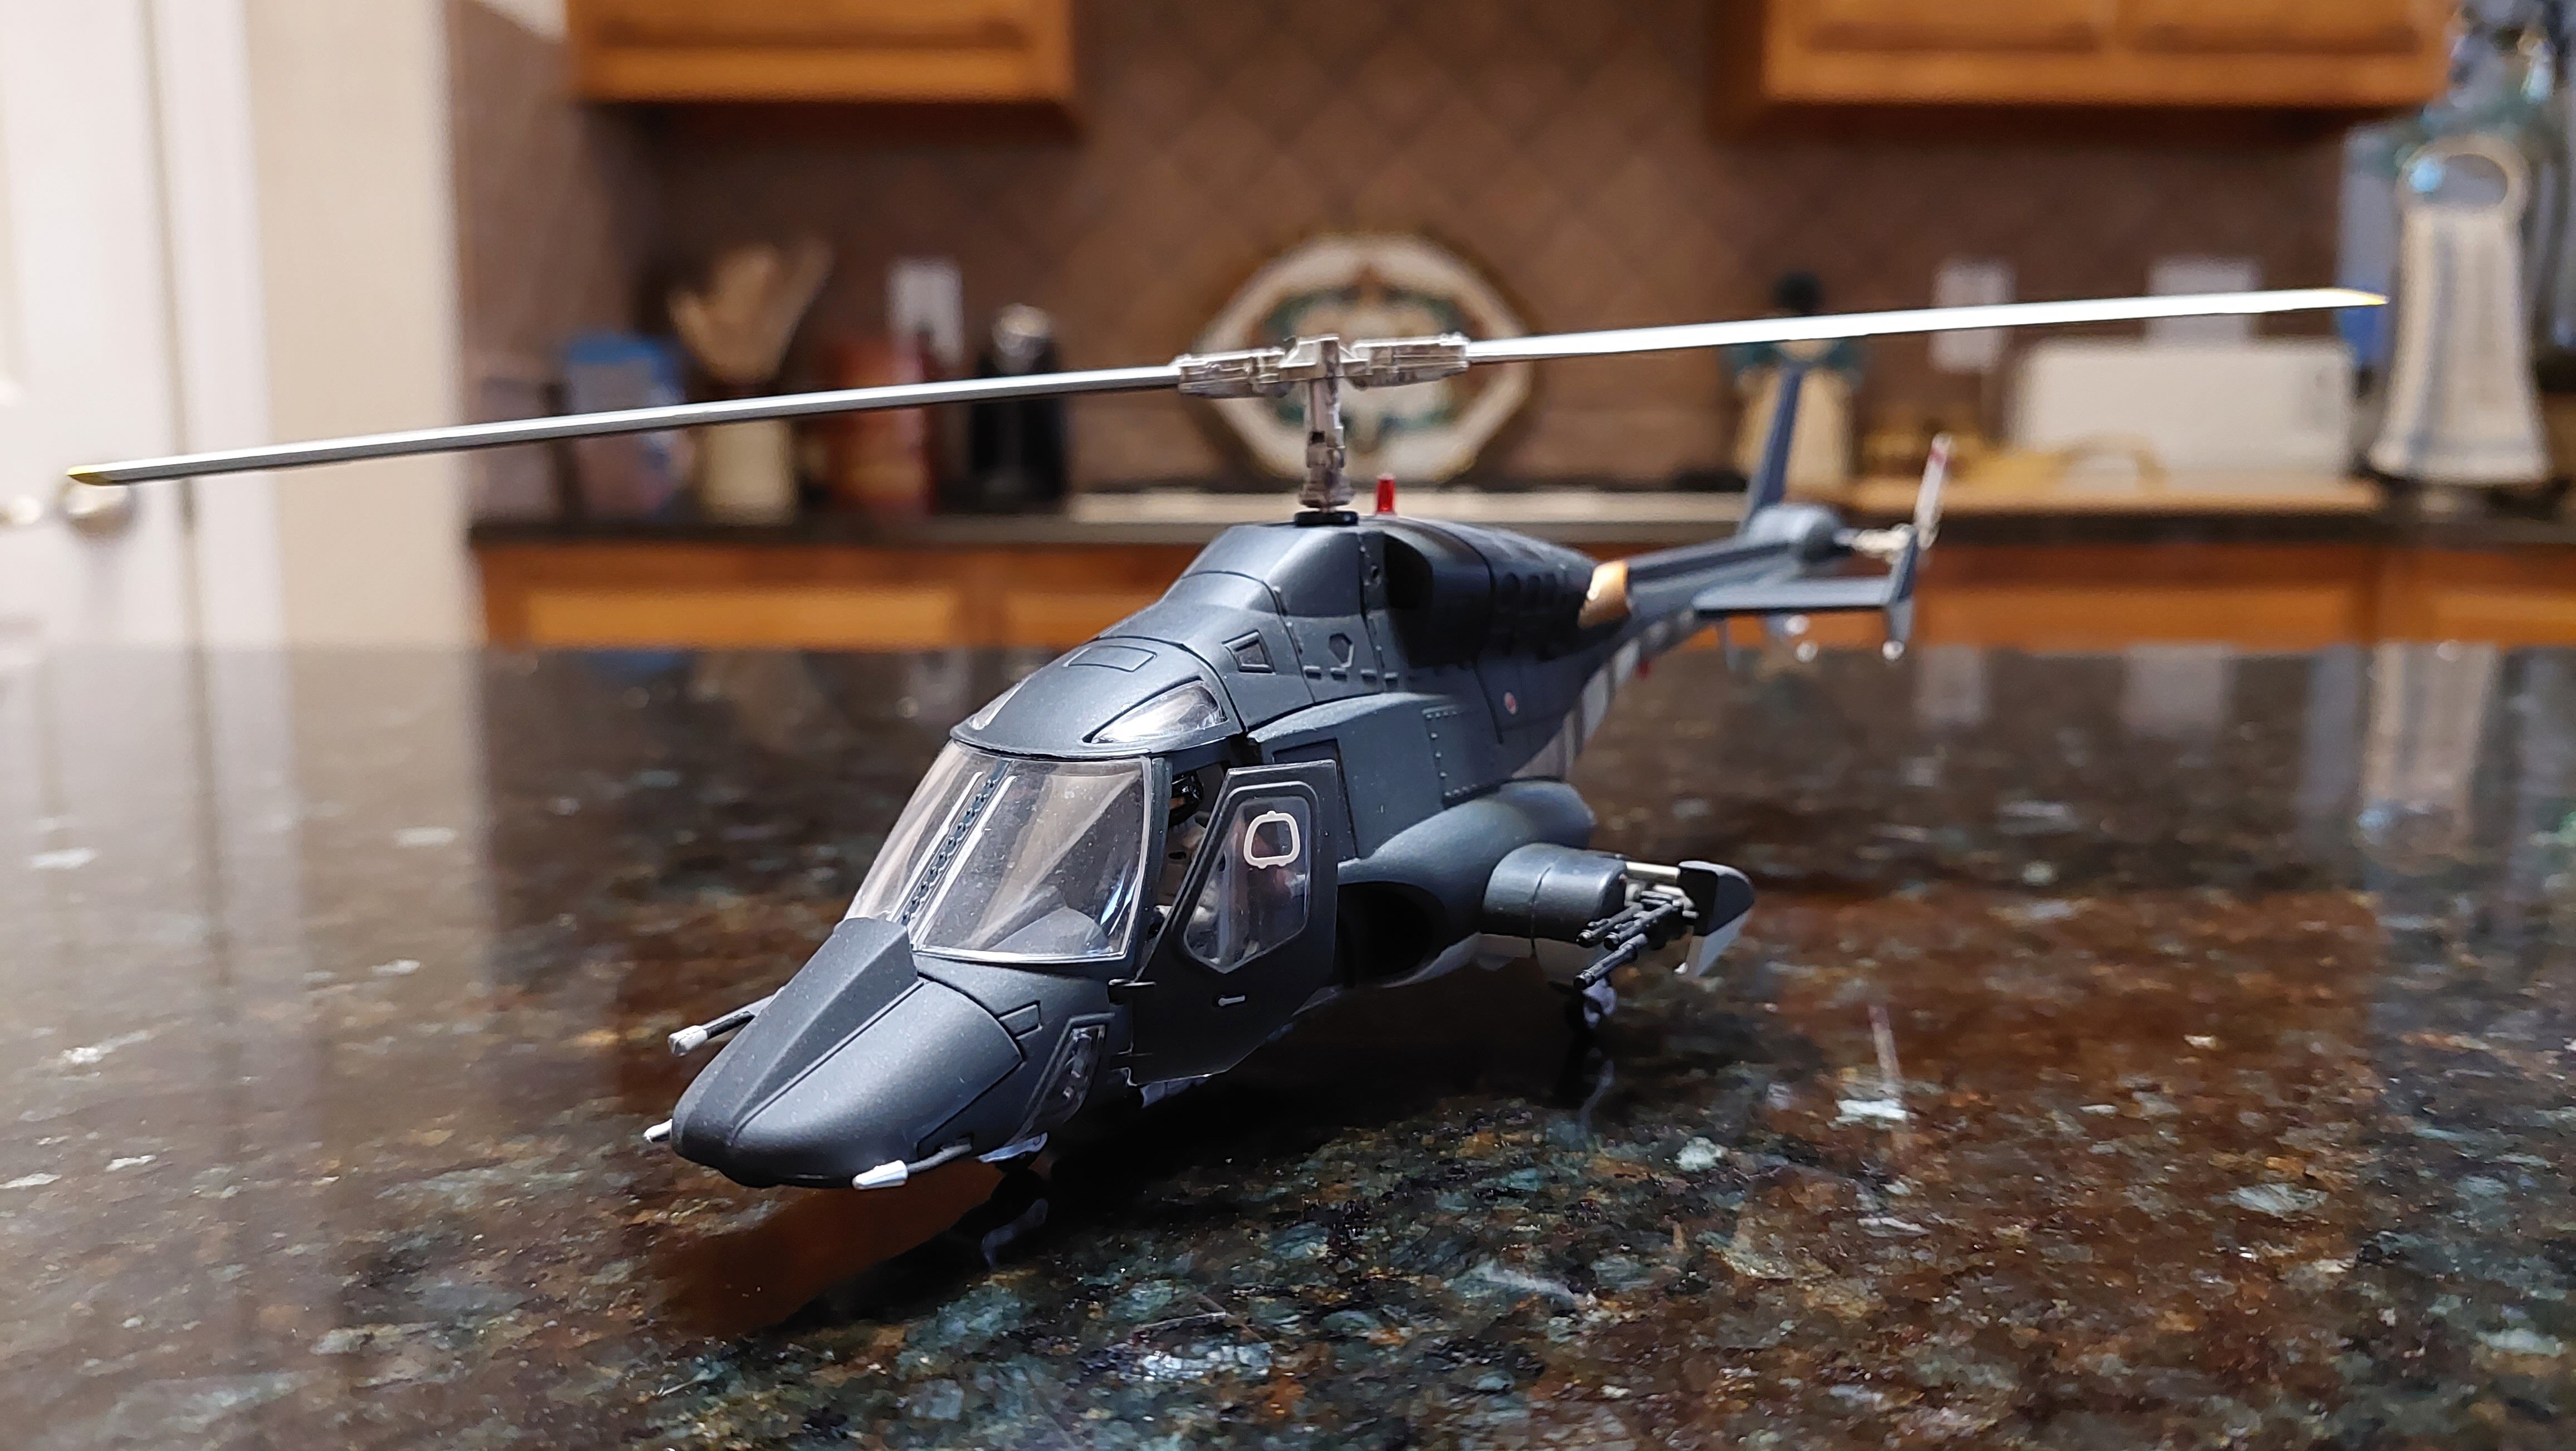
@sqidd Sorry for the delay with pics work's been crazy this week.. Here is the matt black weathering version. Had to change locations... Pyewacket the cat wanted to help out... 🙄
- 153 replies
-
- 1
-
-
- Jan-Michael Vincent
- Ernest Borgnine
- (and 2 more)
-
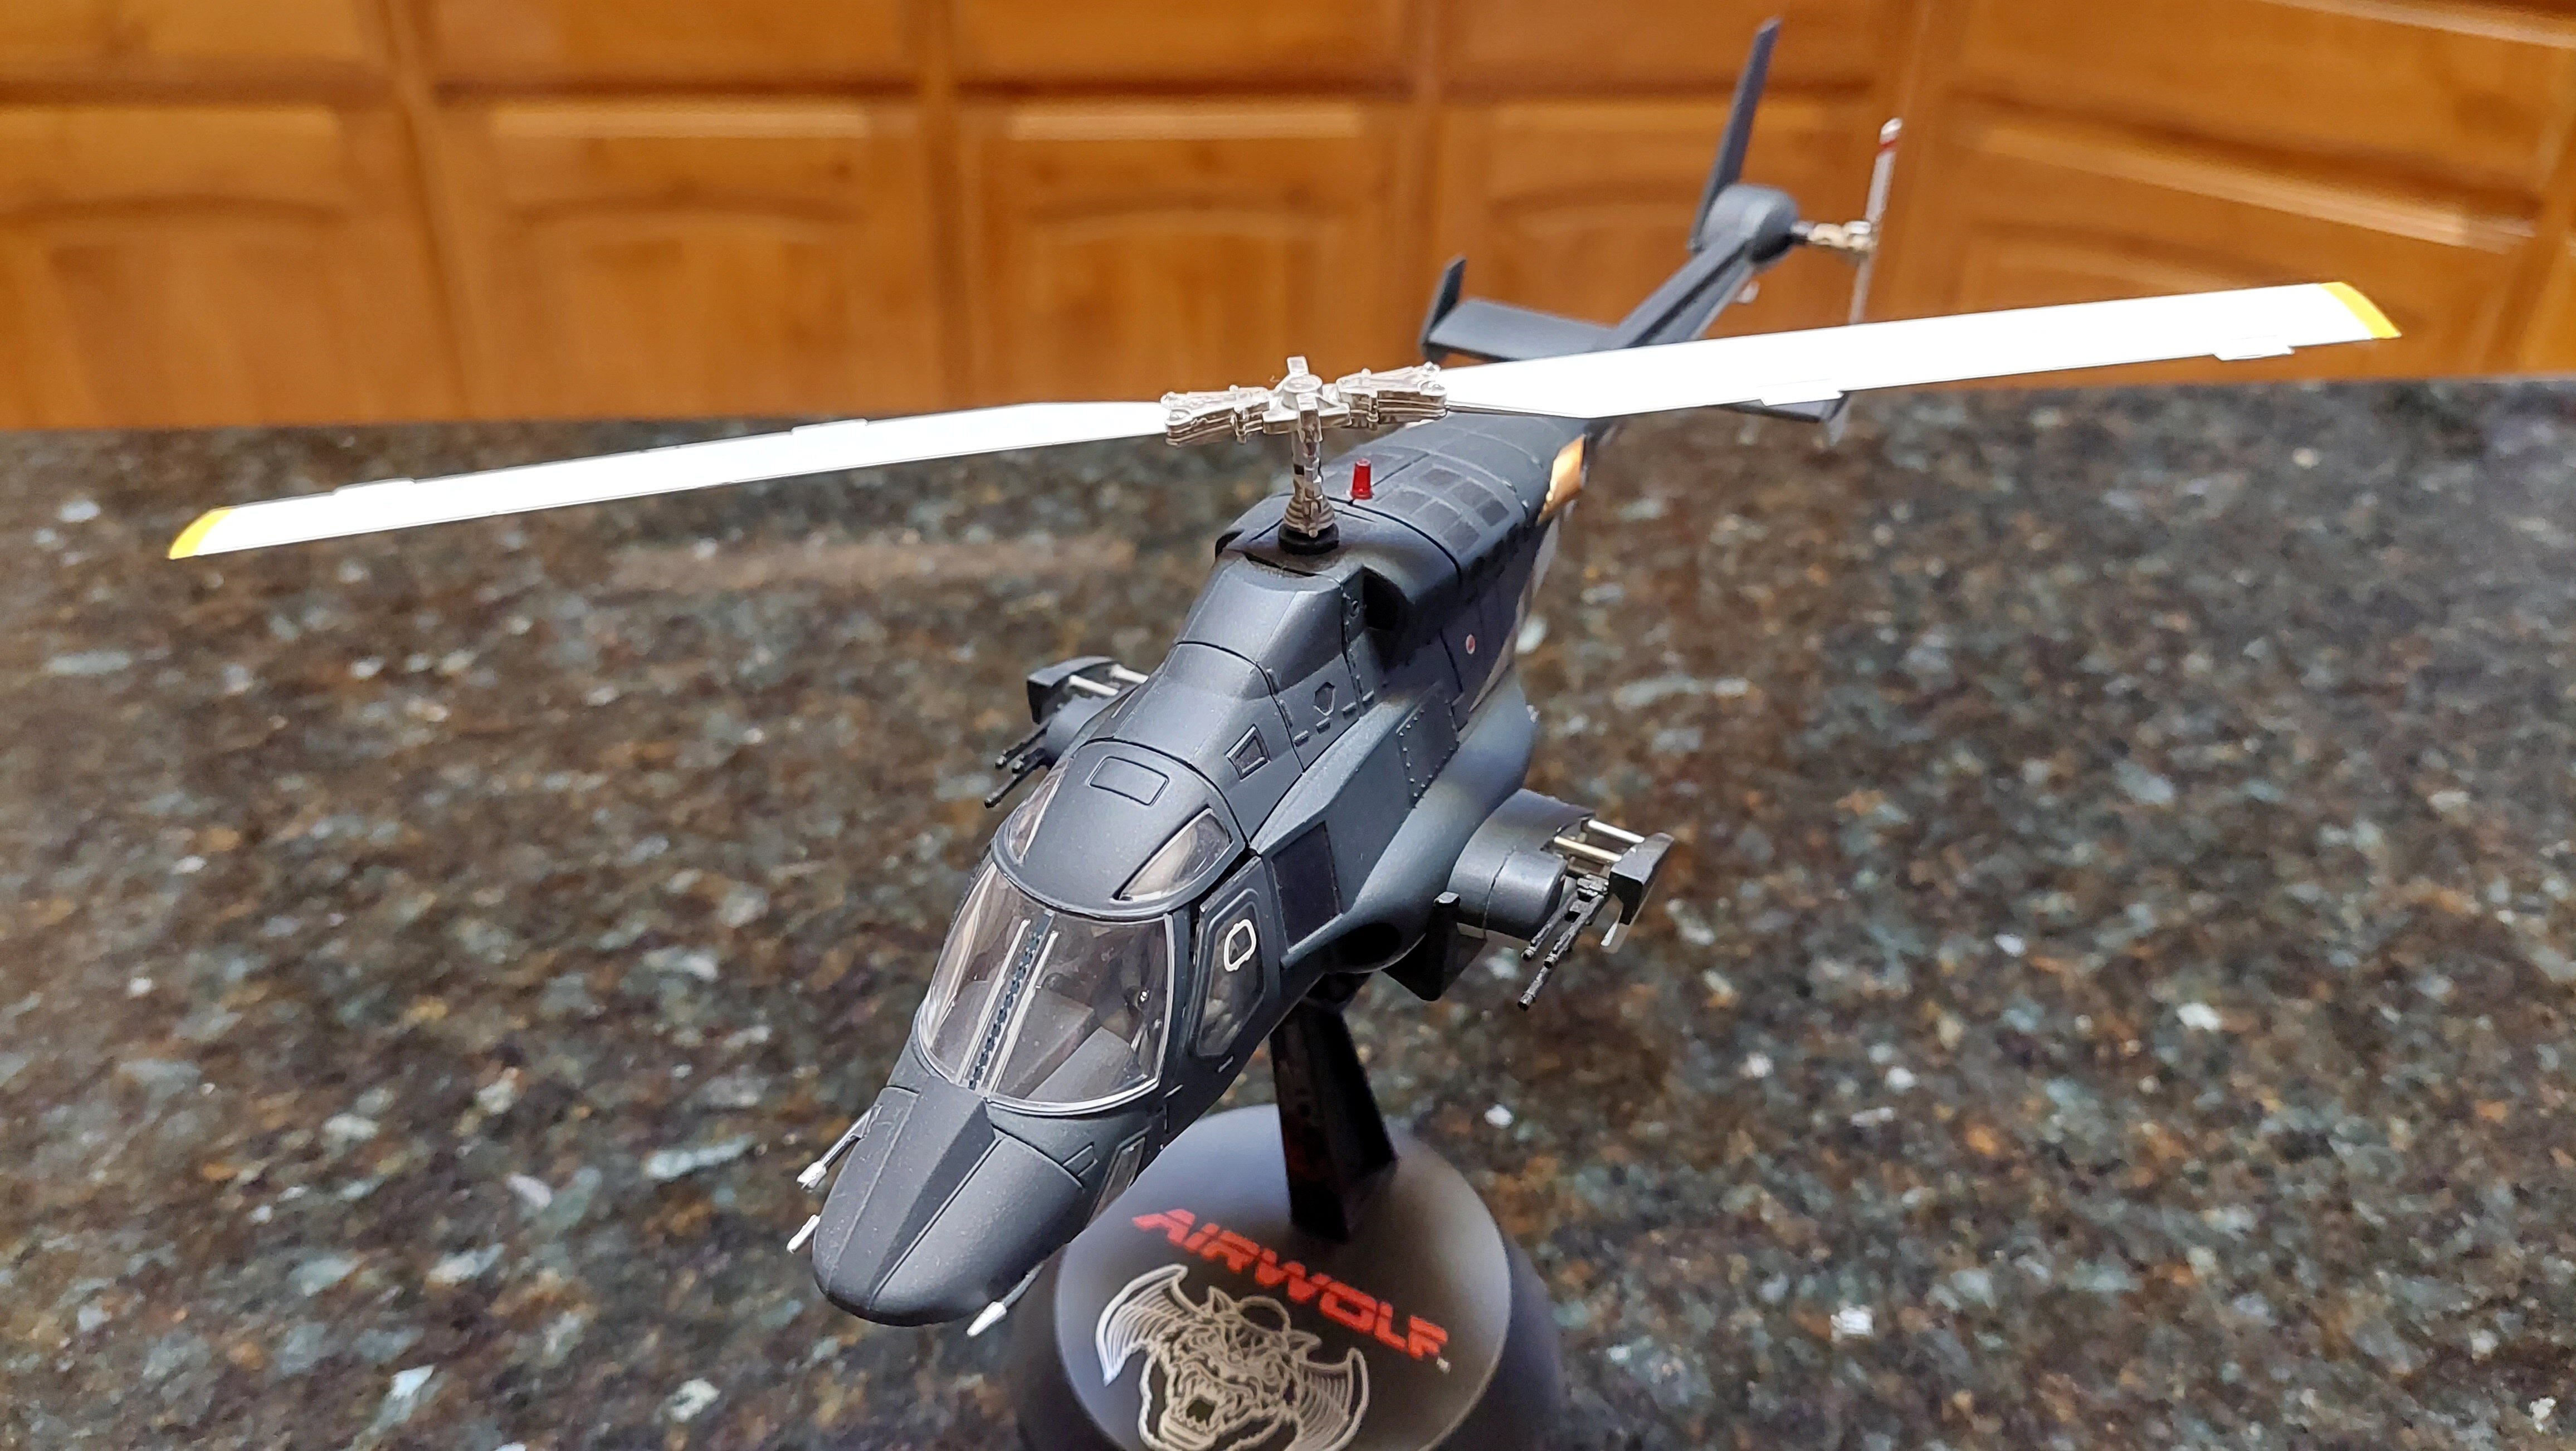
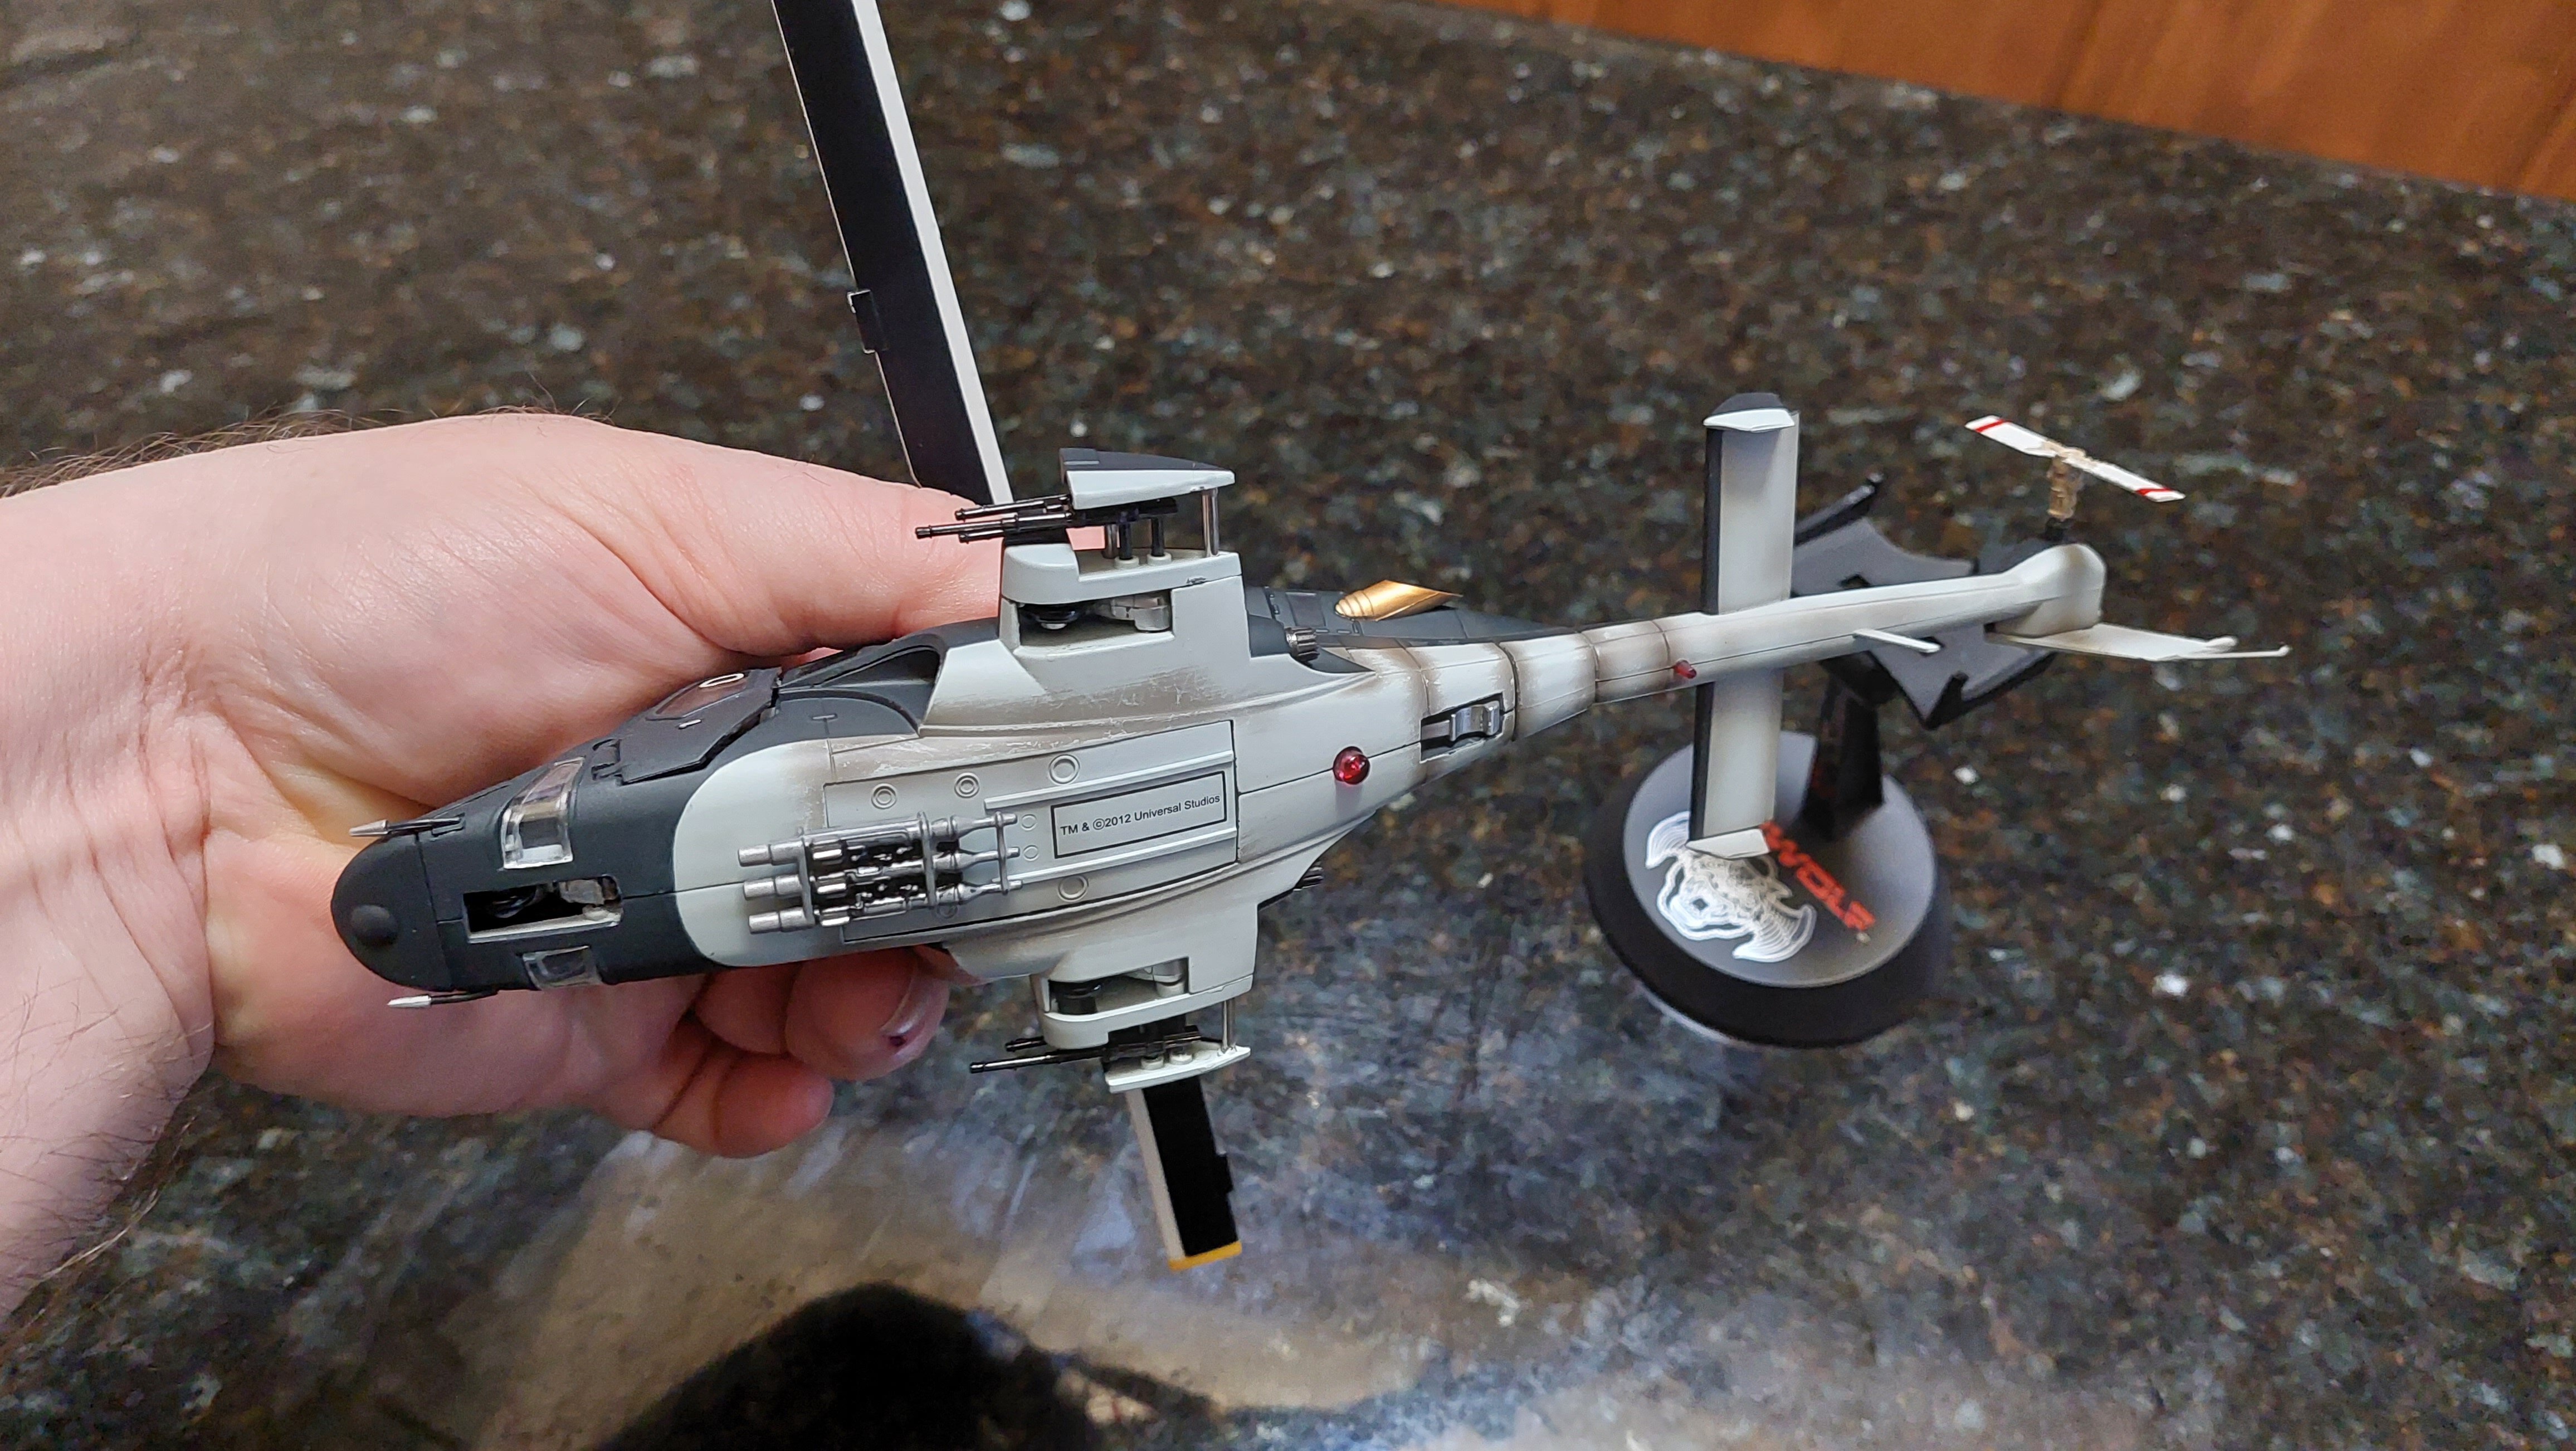
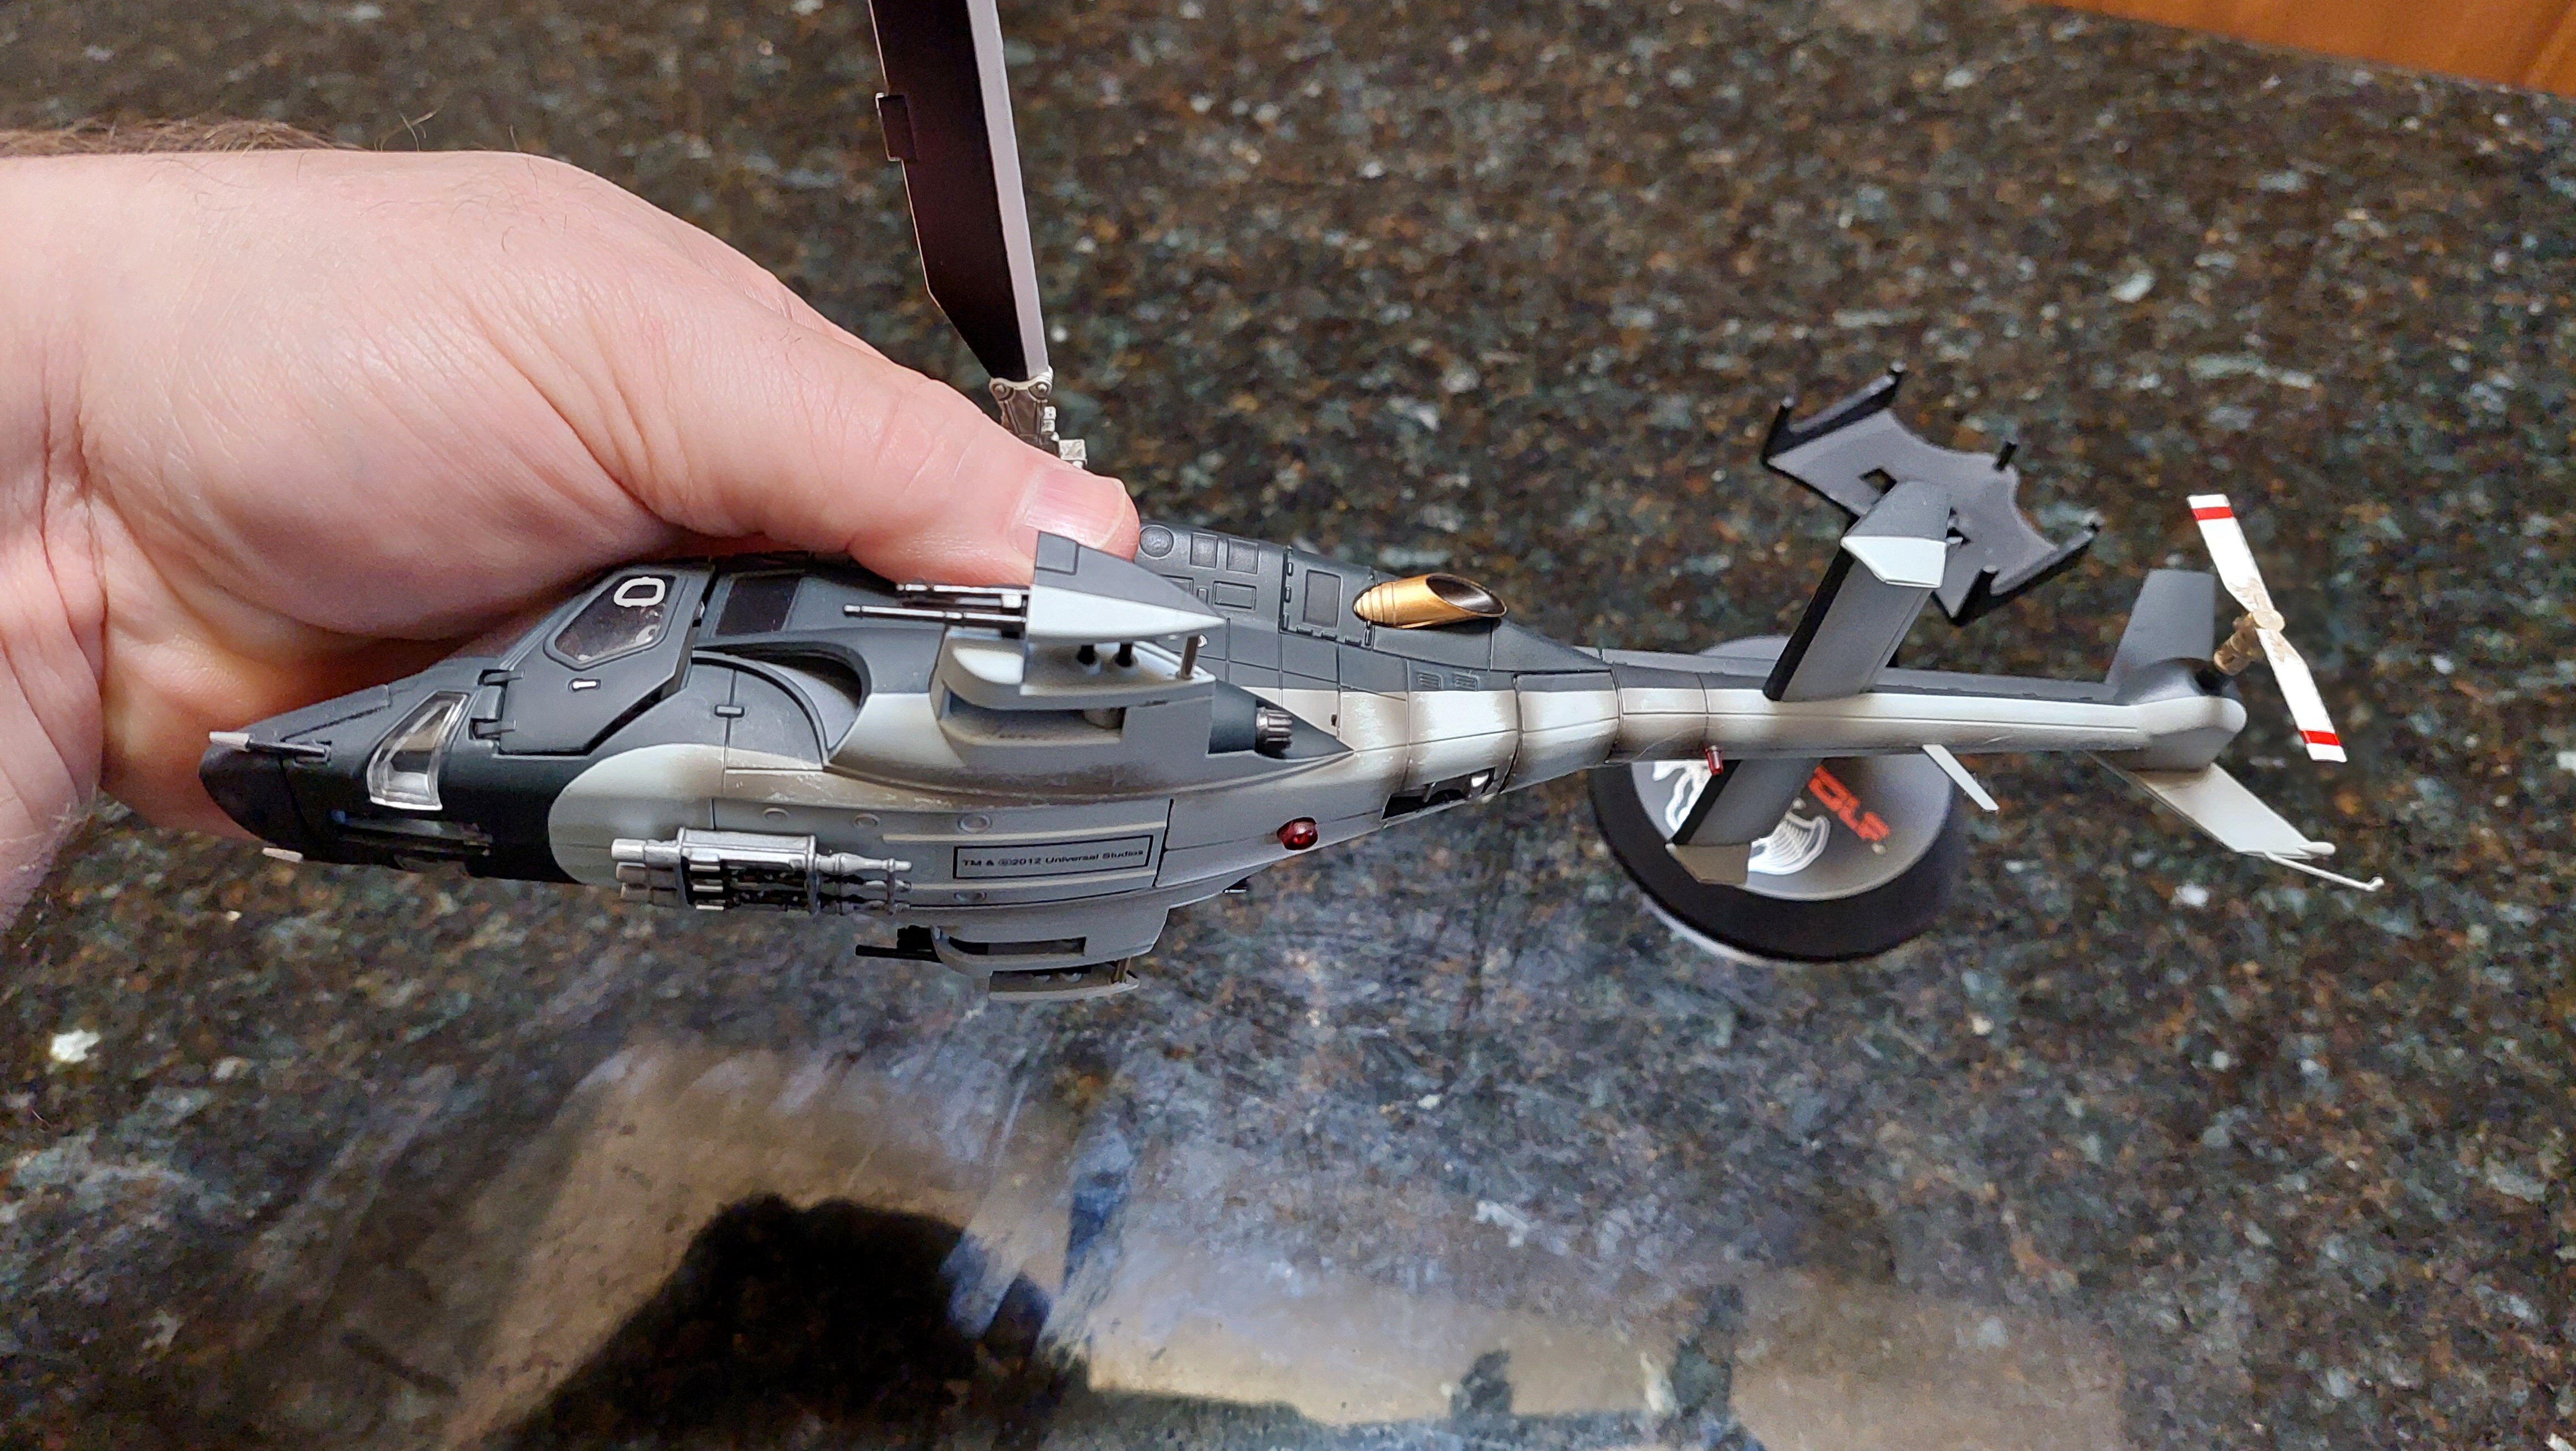
This. @sh9000, I bought in years ago when they were released and went with the matt black and "weathered" version as to my eye it looked the closest in the promo pics to what I remember on TV. Well...almost a win. I can post pics of it if you want. The black is very matt black, no weathering, the bottom half is light grey with heavy streaks of weathering which is kinda odd looking in person, kinda reminiscent of the Yamato "Weathering Special" VF's back in the day. It's an awesome helicopter display, but my motor died without cause a few years in and one of my doors is sprung and doesn't close all the way now which kinda sucks, but whatever, it's still a good looking bird. I have plans to try to repaint the underside at some point...maybe.... Your Blue Thunder is EPIC! Who made it and where did you pick it up?
- 153 replies
-
- 1
-
-
- Jan-Michael Vincent
- Ernest Borgnine
- (and 2 more)
-
Loved The Fall Guy growing up!!!
-
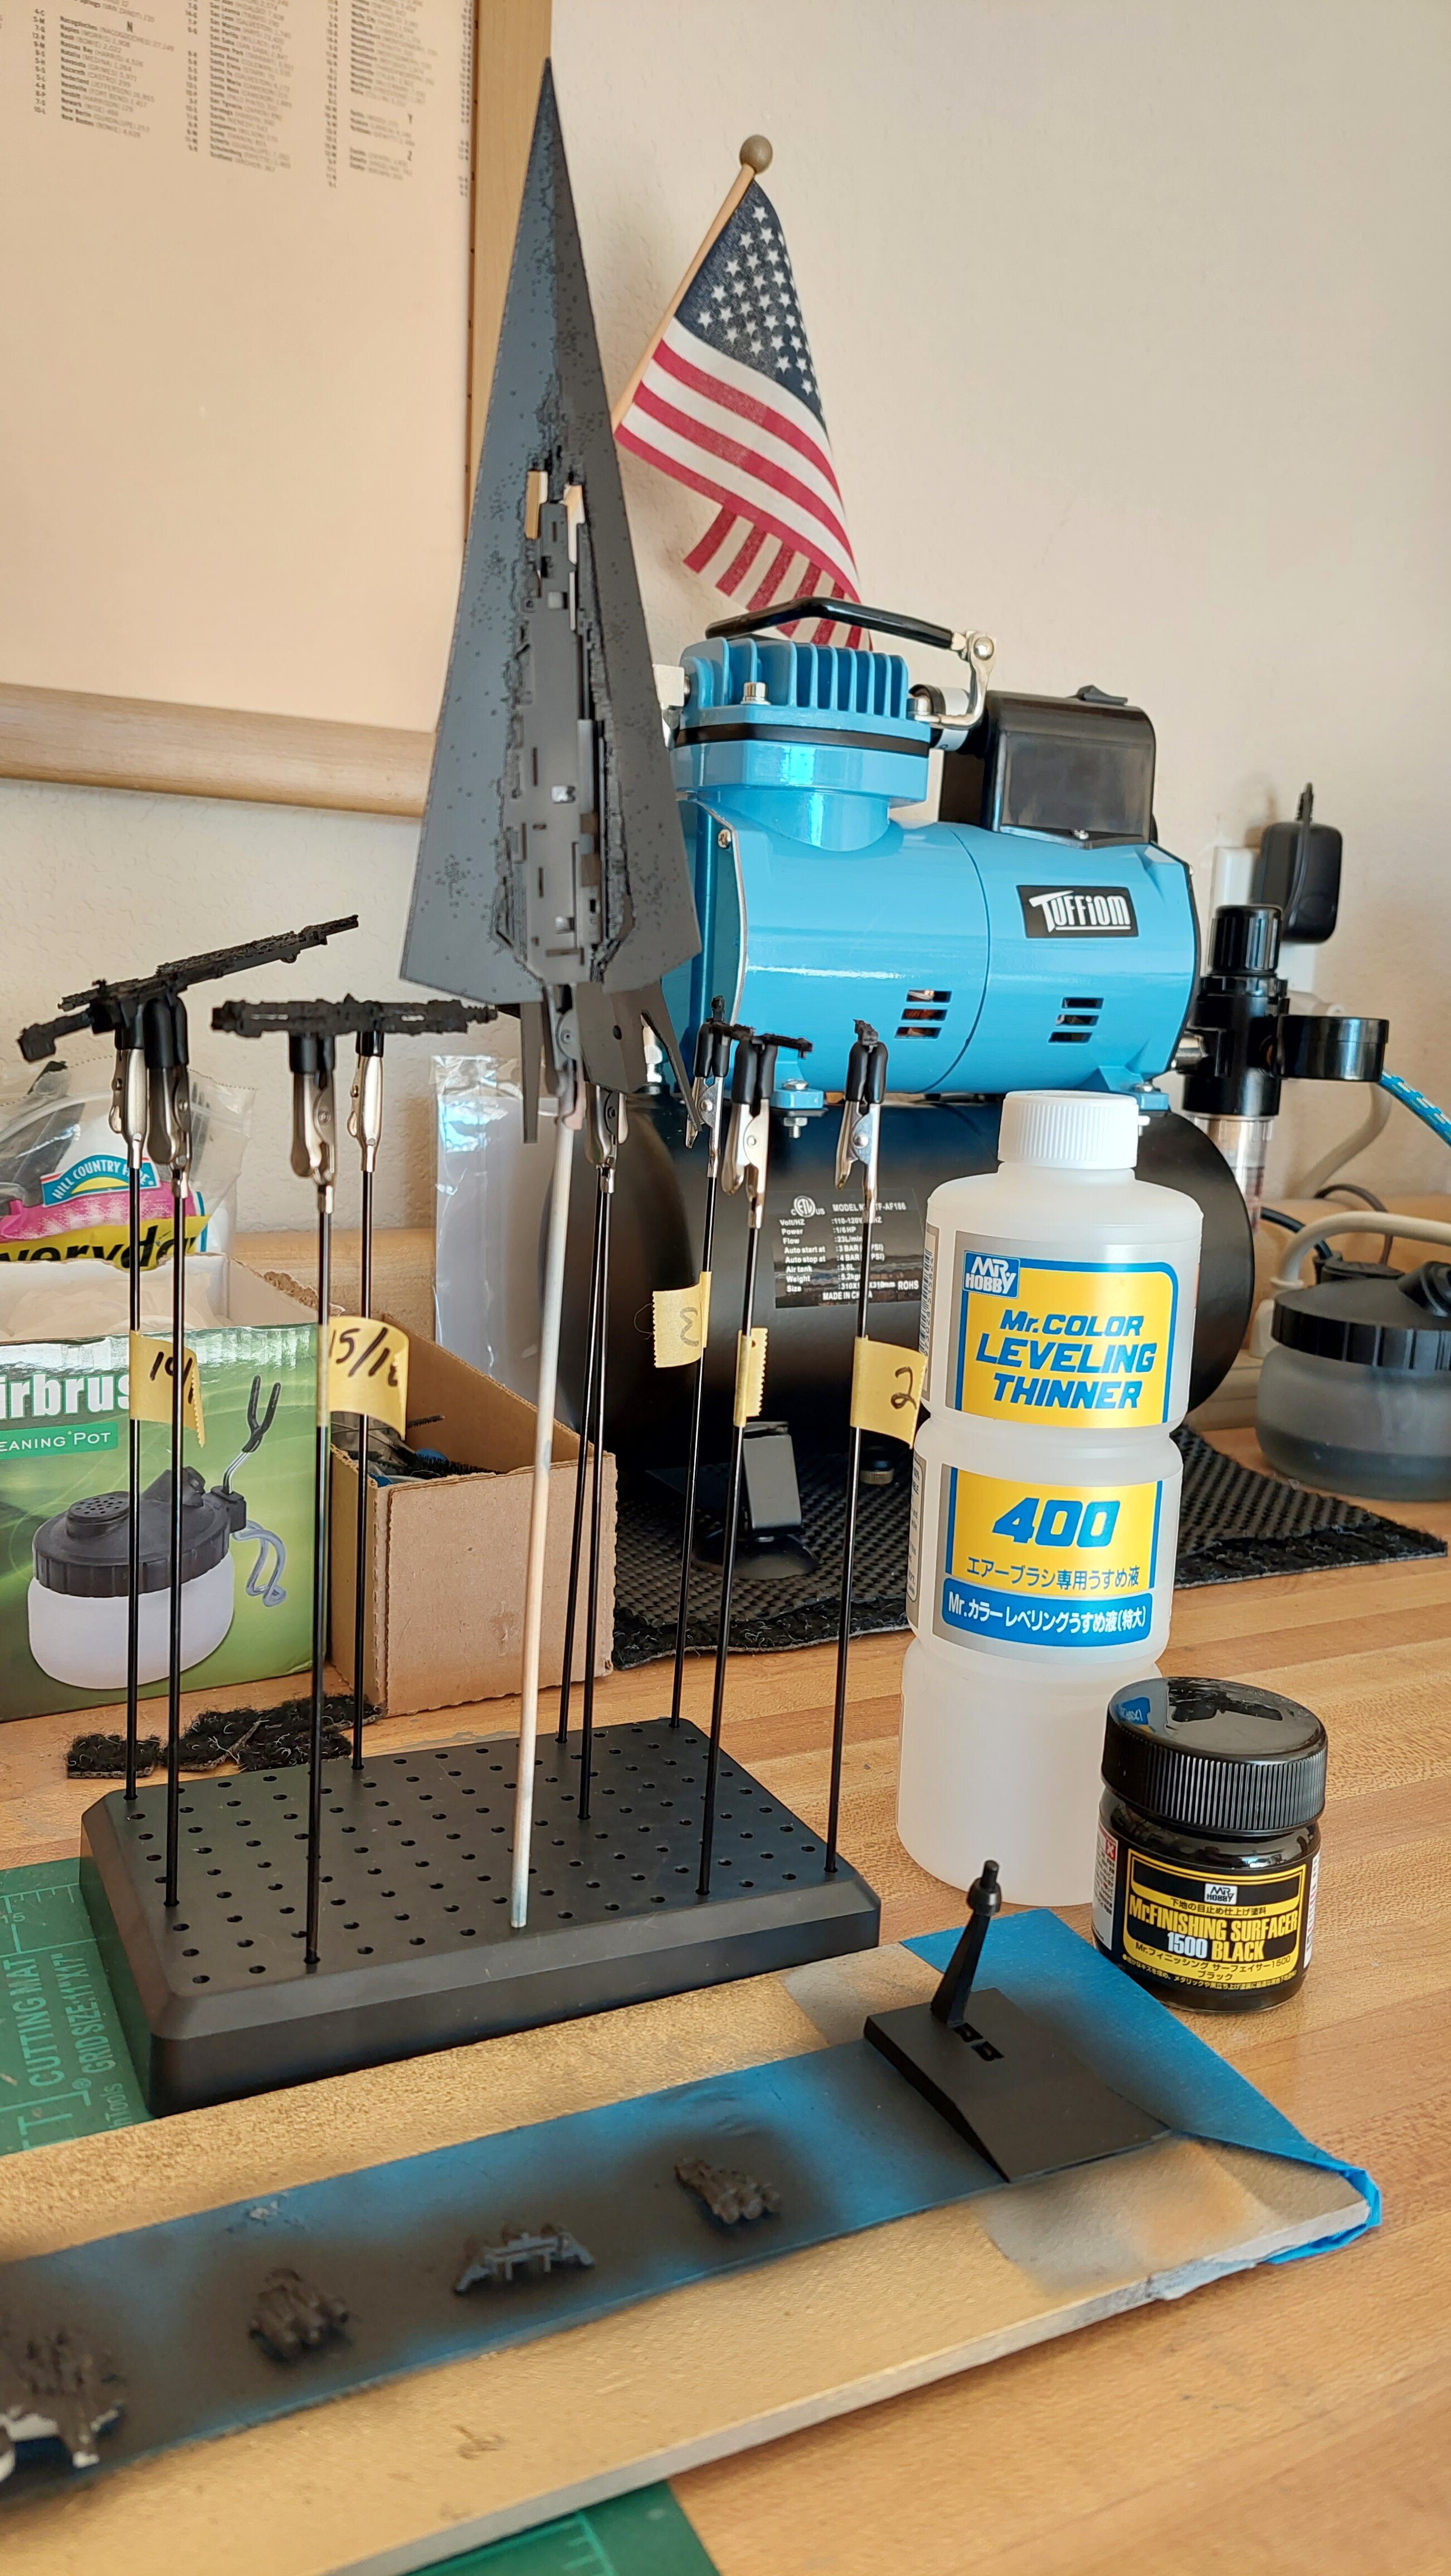
Primary painting done on the SSD. 70 degrees and 30% humidity in the garage this morning....Heaven. Didn't break a sweat painting for the first time in a long time. Mixed Tamiya Sky Grey and Flat White for the light grey and Medium Blue and Flat White for the darker sections.

-
My history with airbrushing primers has never been a good story, I normally default to Tamiya Fine Surfacer Primer in a can, which is absolutely fantastic for almost anything. However, after watching a lot of model airplane guys use Mr Surfacer 1500 Black thinned 1:1ish with Mr. Color Leveling Thinner through an airbrush, I had to try it. I get it now. It's nice! Not cheap!, but nice! Comes in other colors as well...
-
Ok... see...THOSE two things are why the good lord above didn't make me rich...LOL. I would have an air force of cool SH*T like that!!!!
- 153 replies
-
- 1
-
-
- Jan-Michael Vincent
- Ernest Borgnine
- (and 2 more)
-
@Ignacio OcamicaMy GOD the detail on that kit is just.....wow...this was Captain Americas ultimate achievement IMHO, I can't wait to see it complete!
-
Max got NO LOVE!
-
@505thAirborne I am loving that build! It looks like a DX! But without the stupid exploding waist! 🤣 Over here I needed something small and properly engineered to build over a weekend to get the bad taste out of my mouth over the past two years of old kits that don't fit together well..... before I jump back into the Titanic...which was designed in the 70s...LOL
-
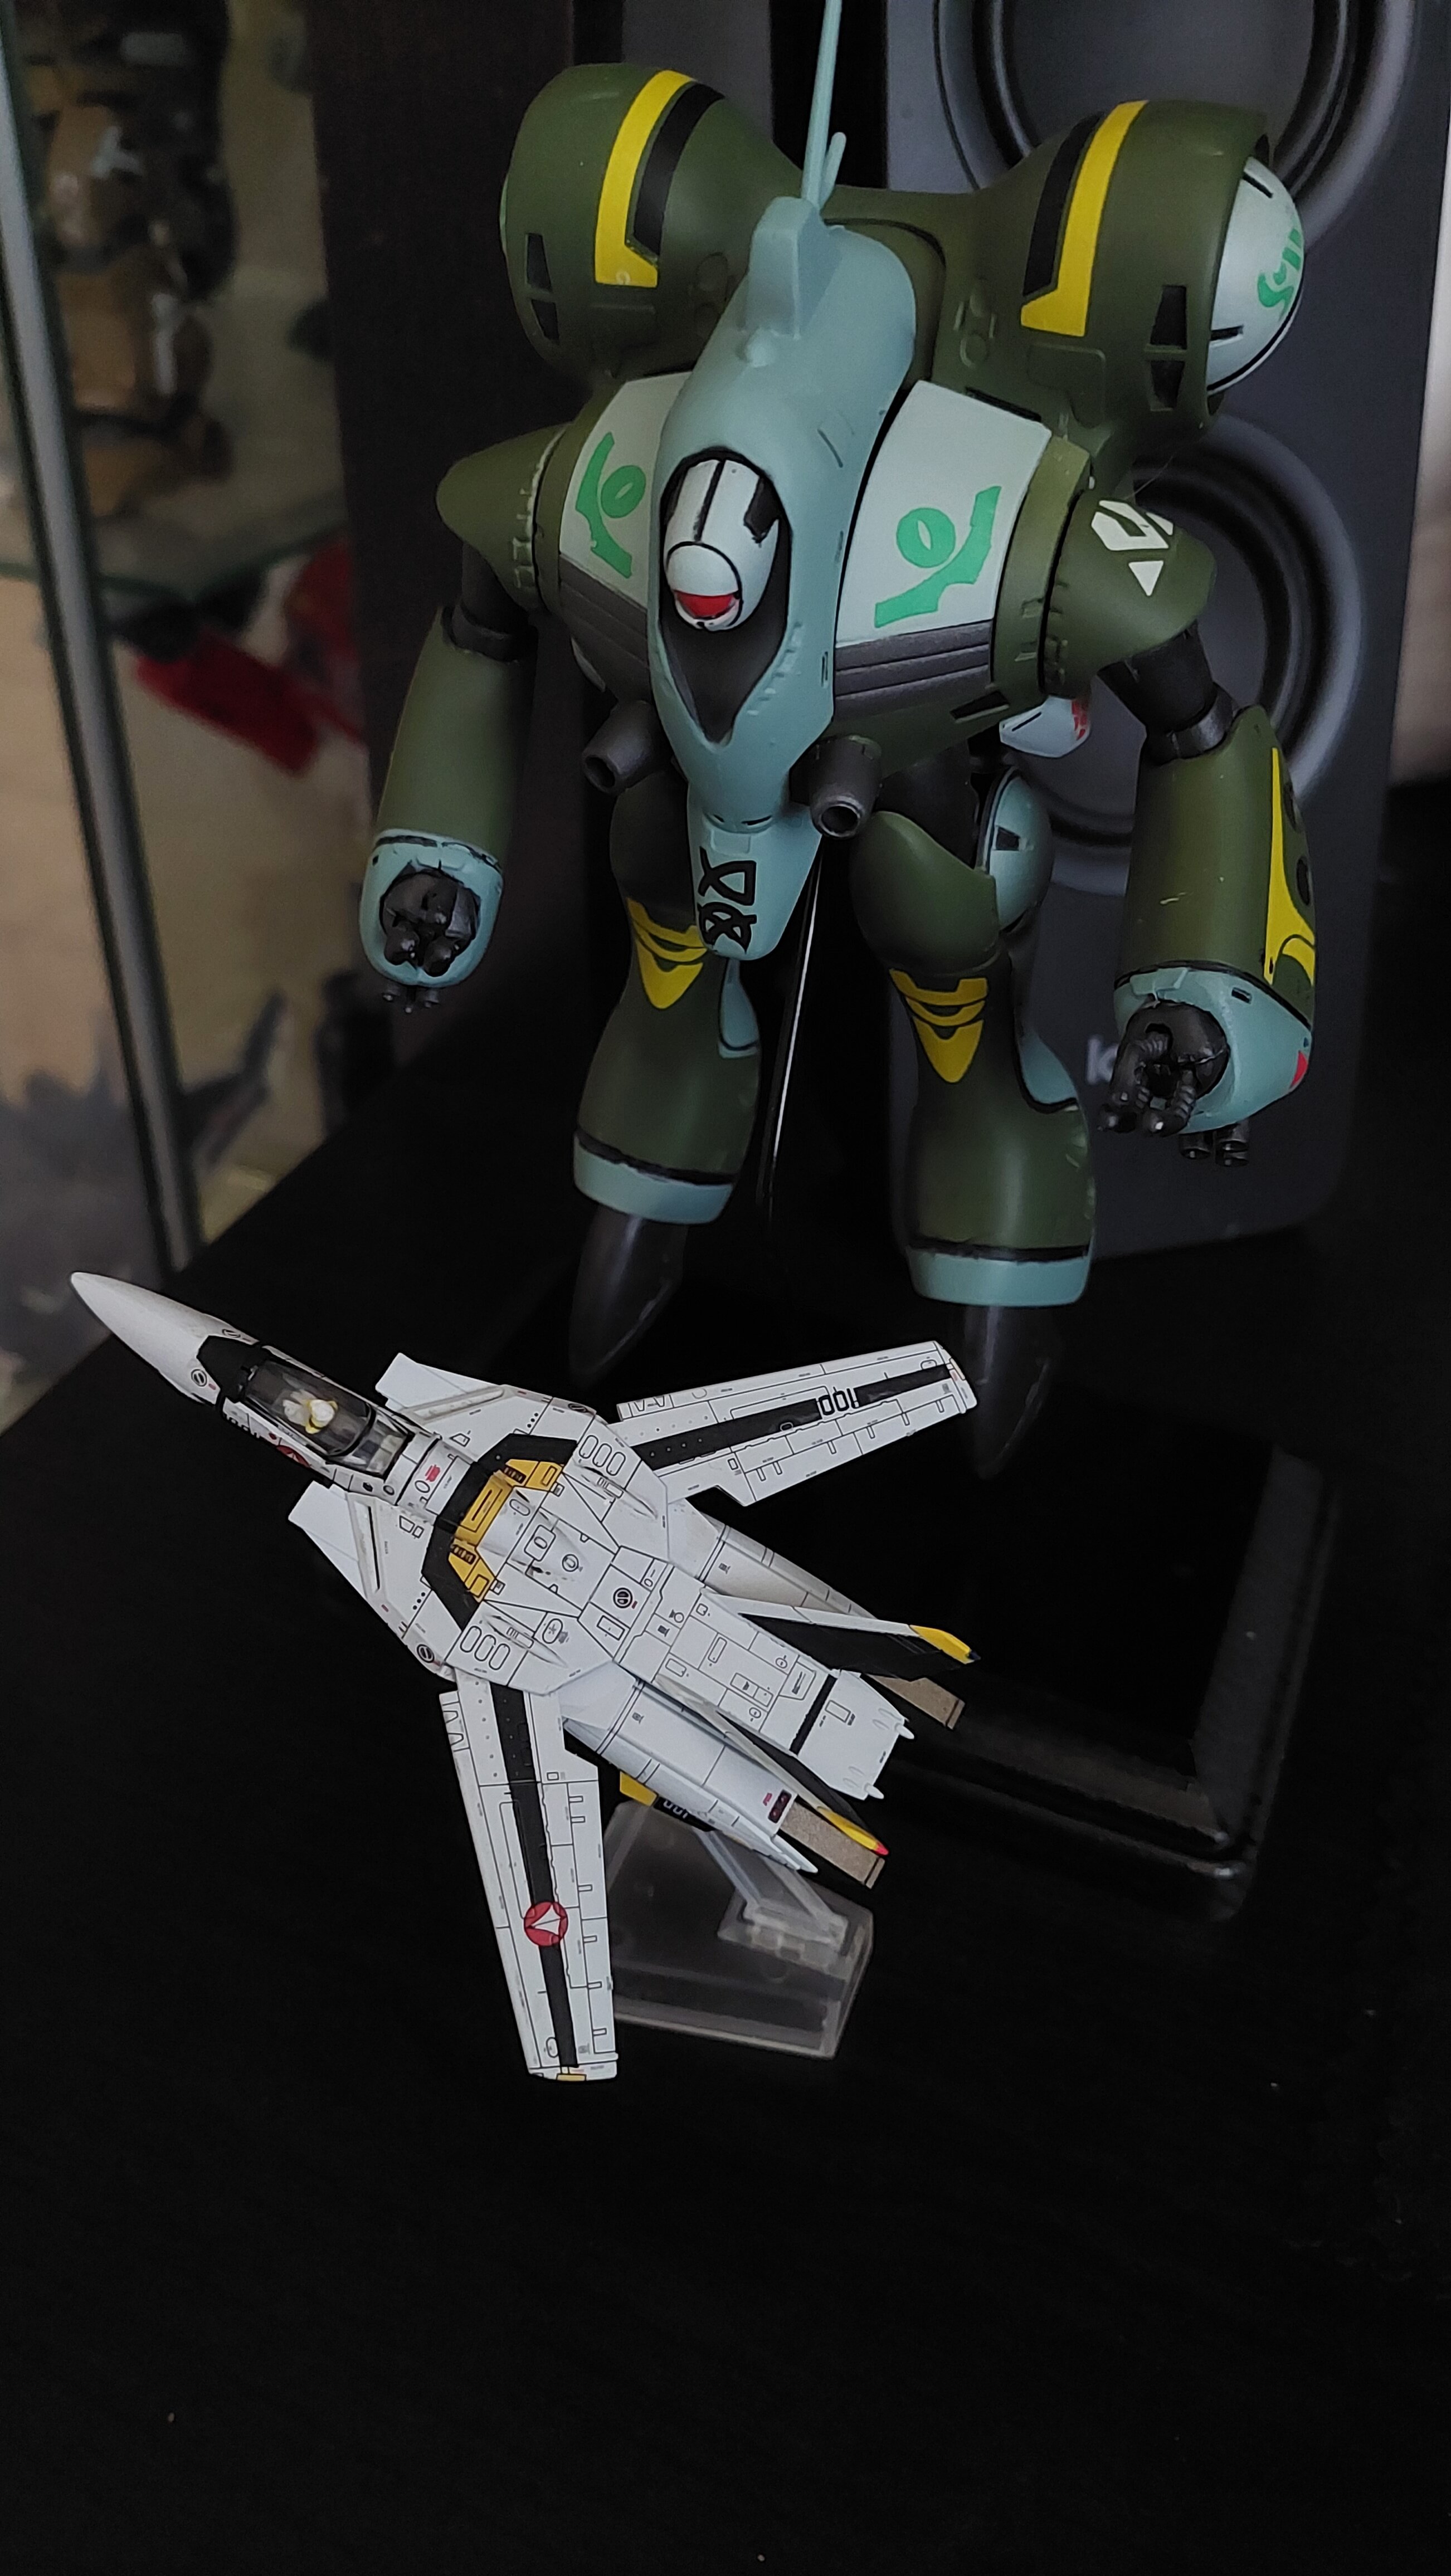
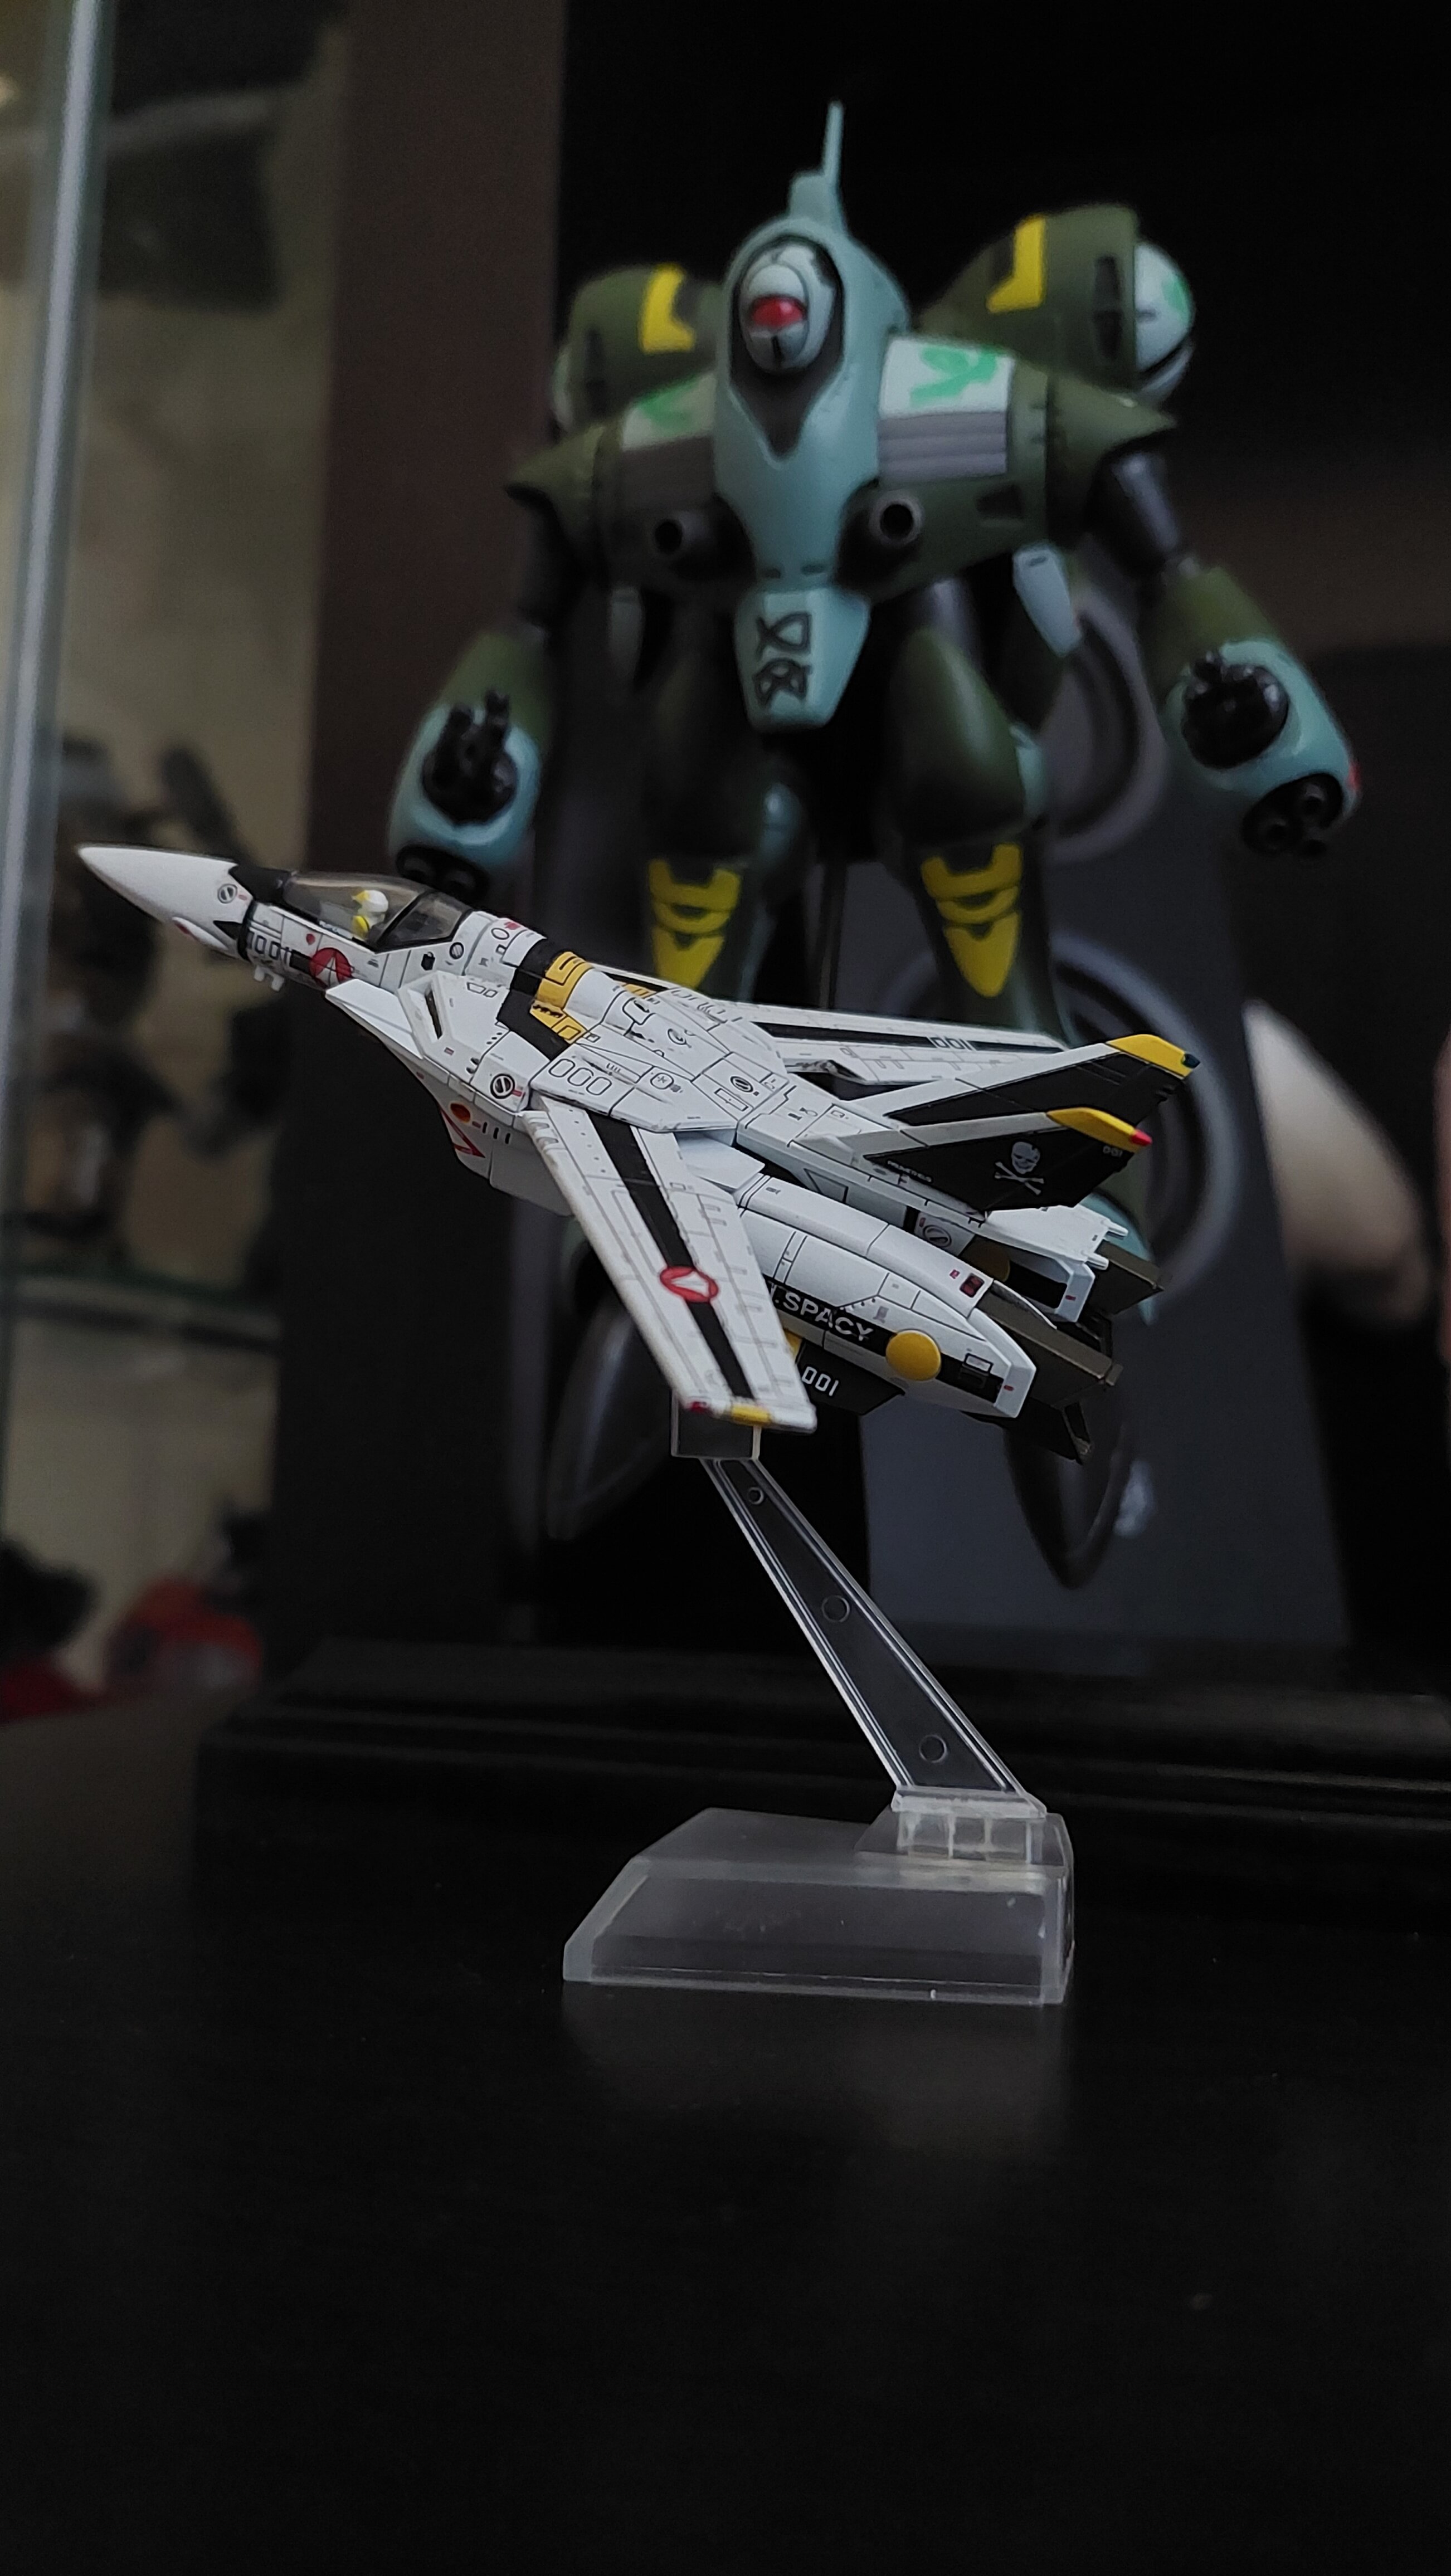
Two more actual "in scale" 1/144 pics with Tomytech Roy!
-
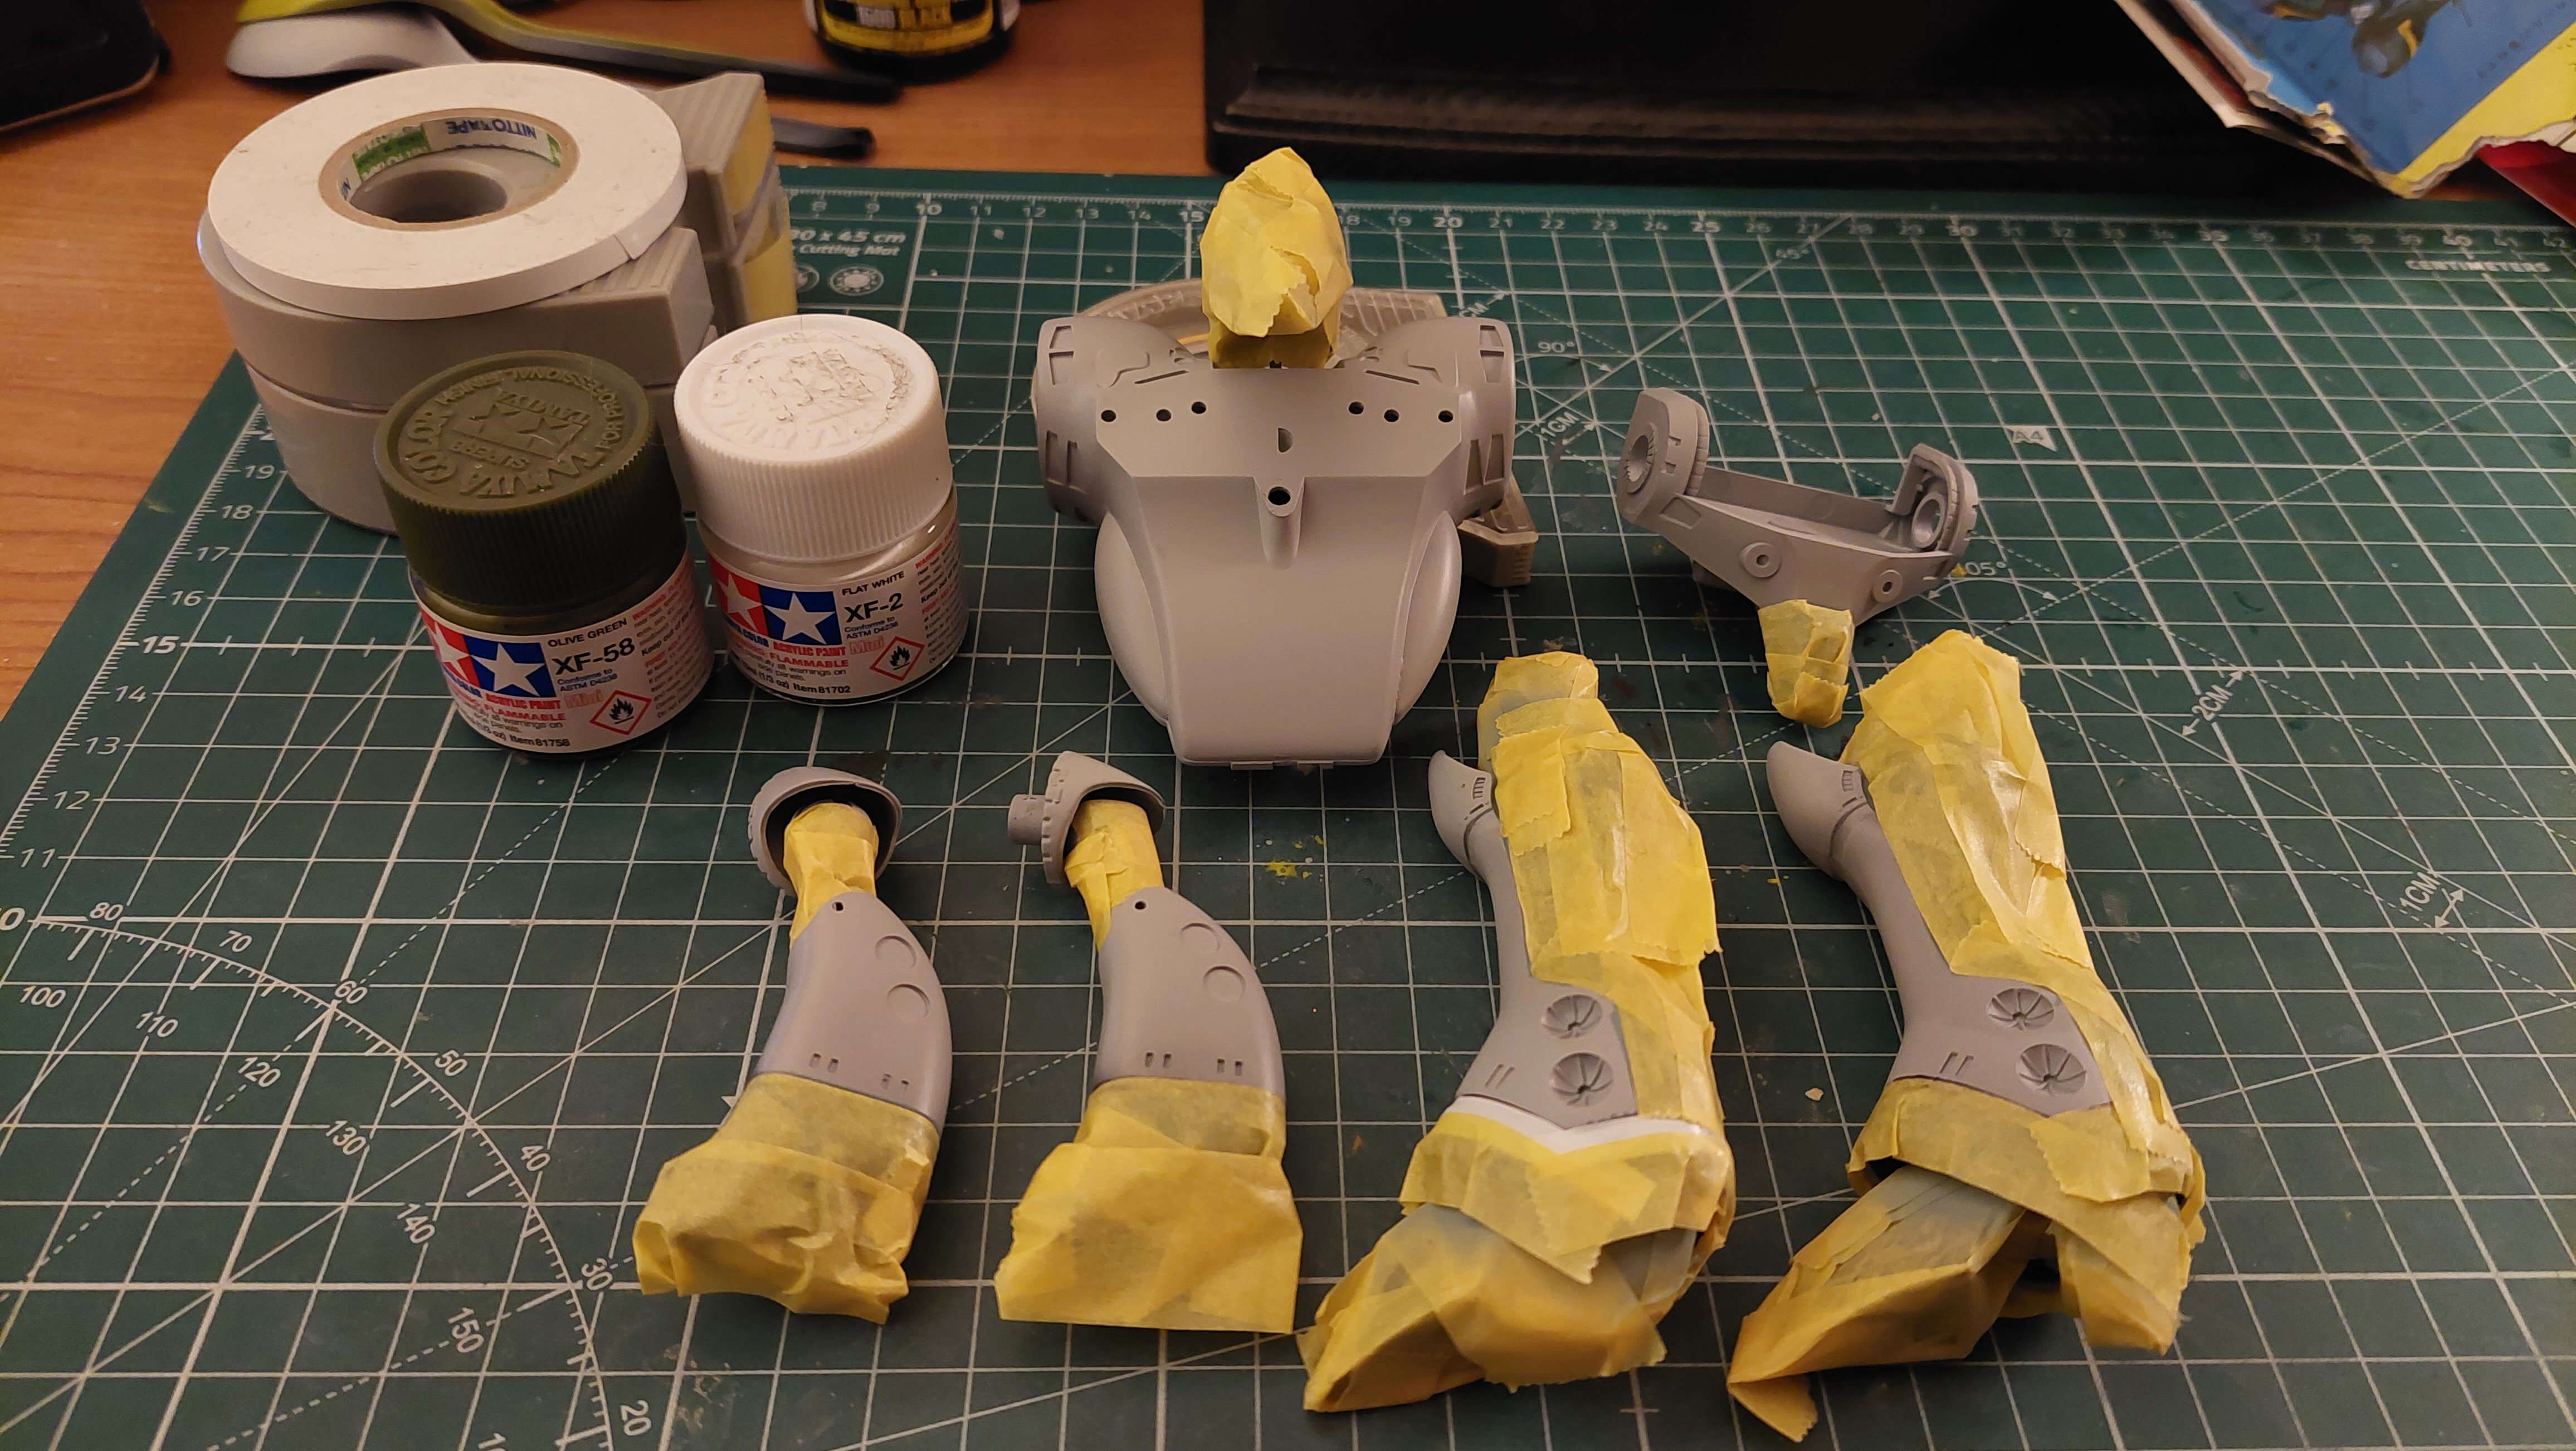
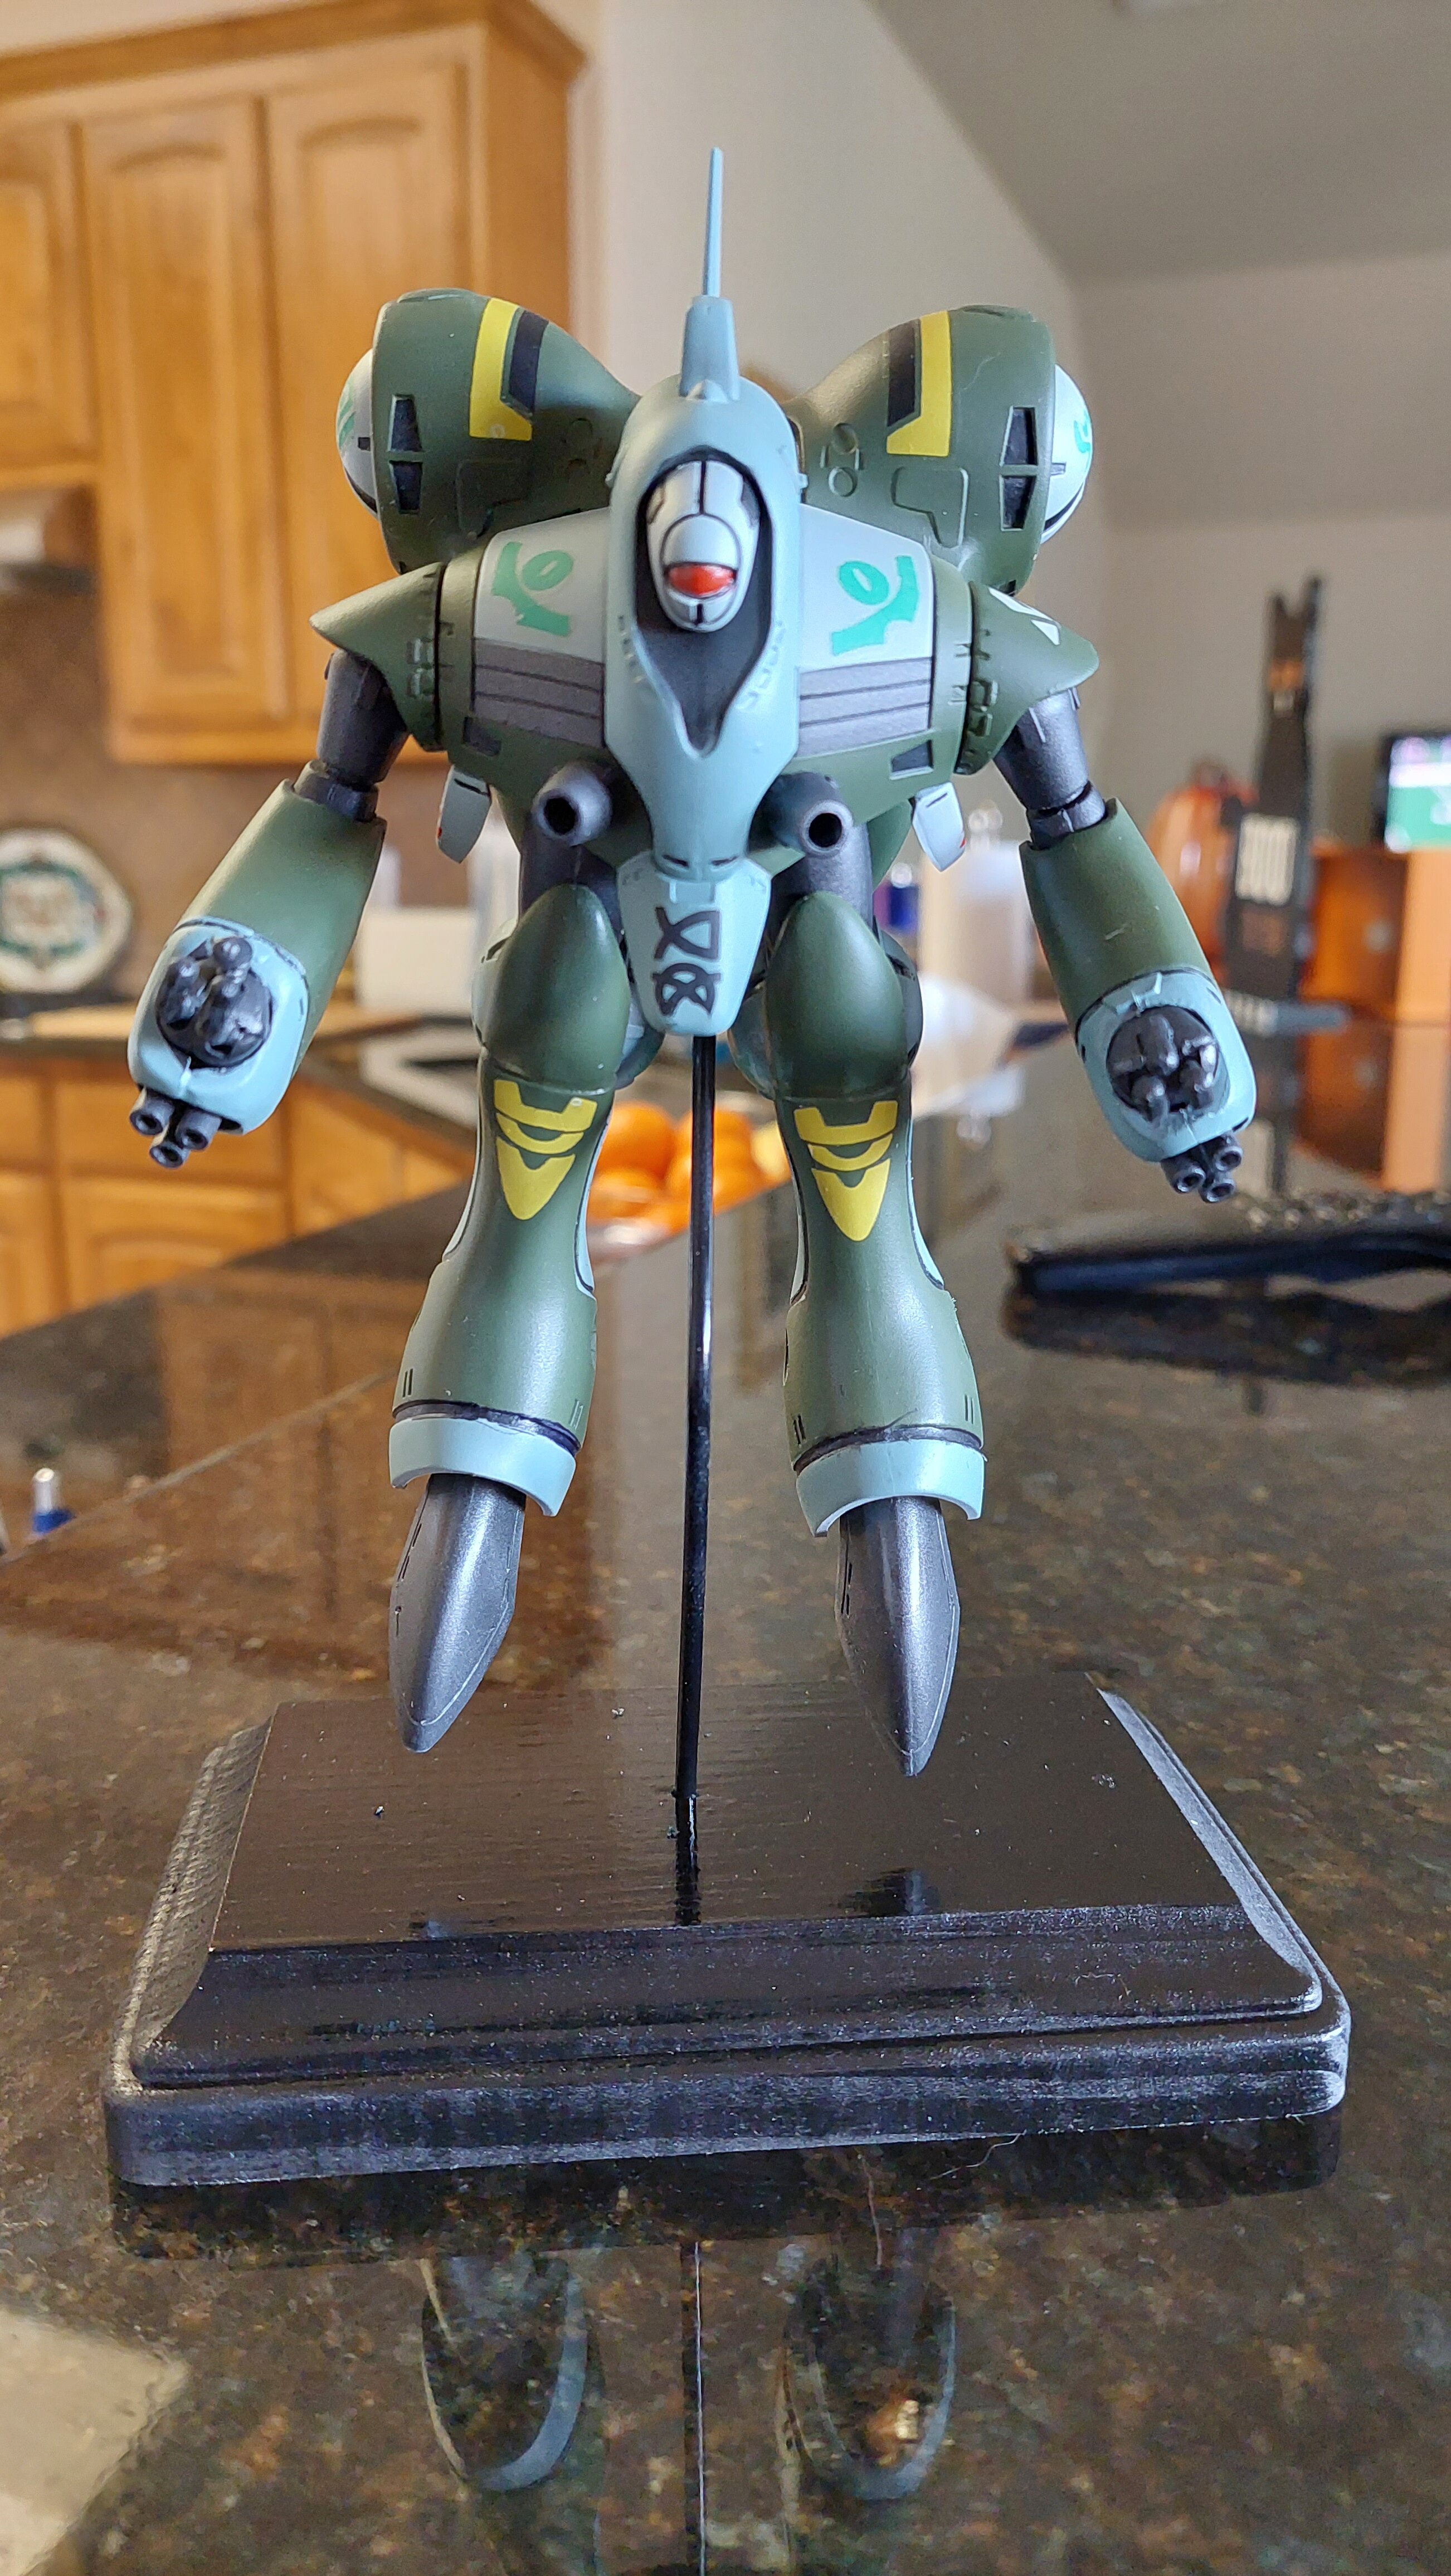
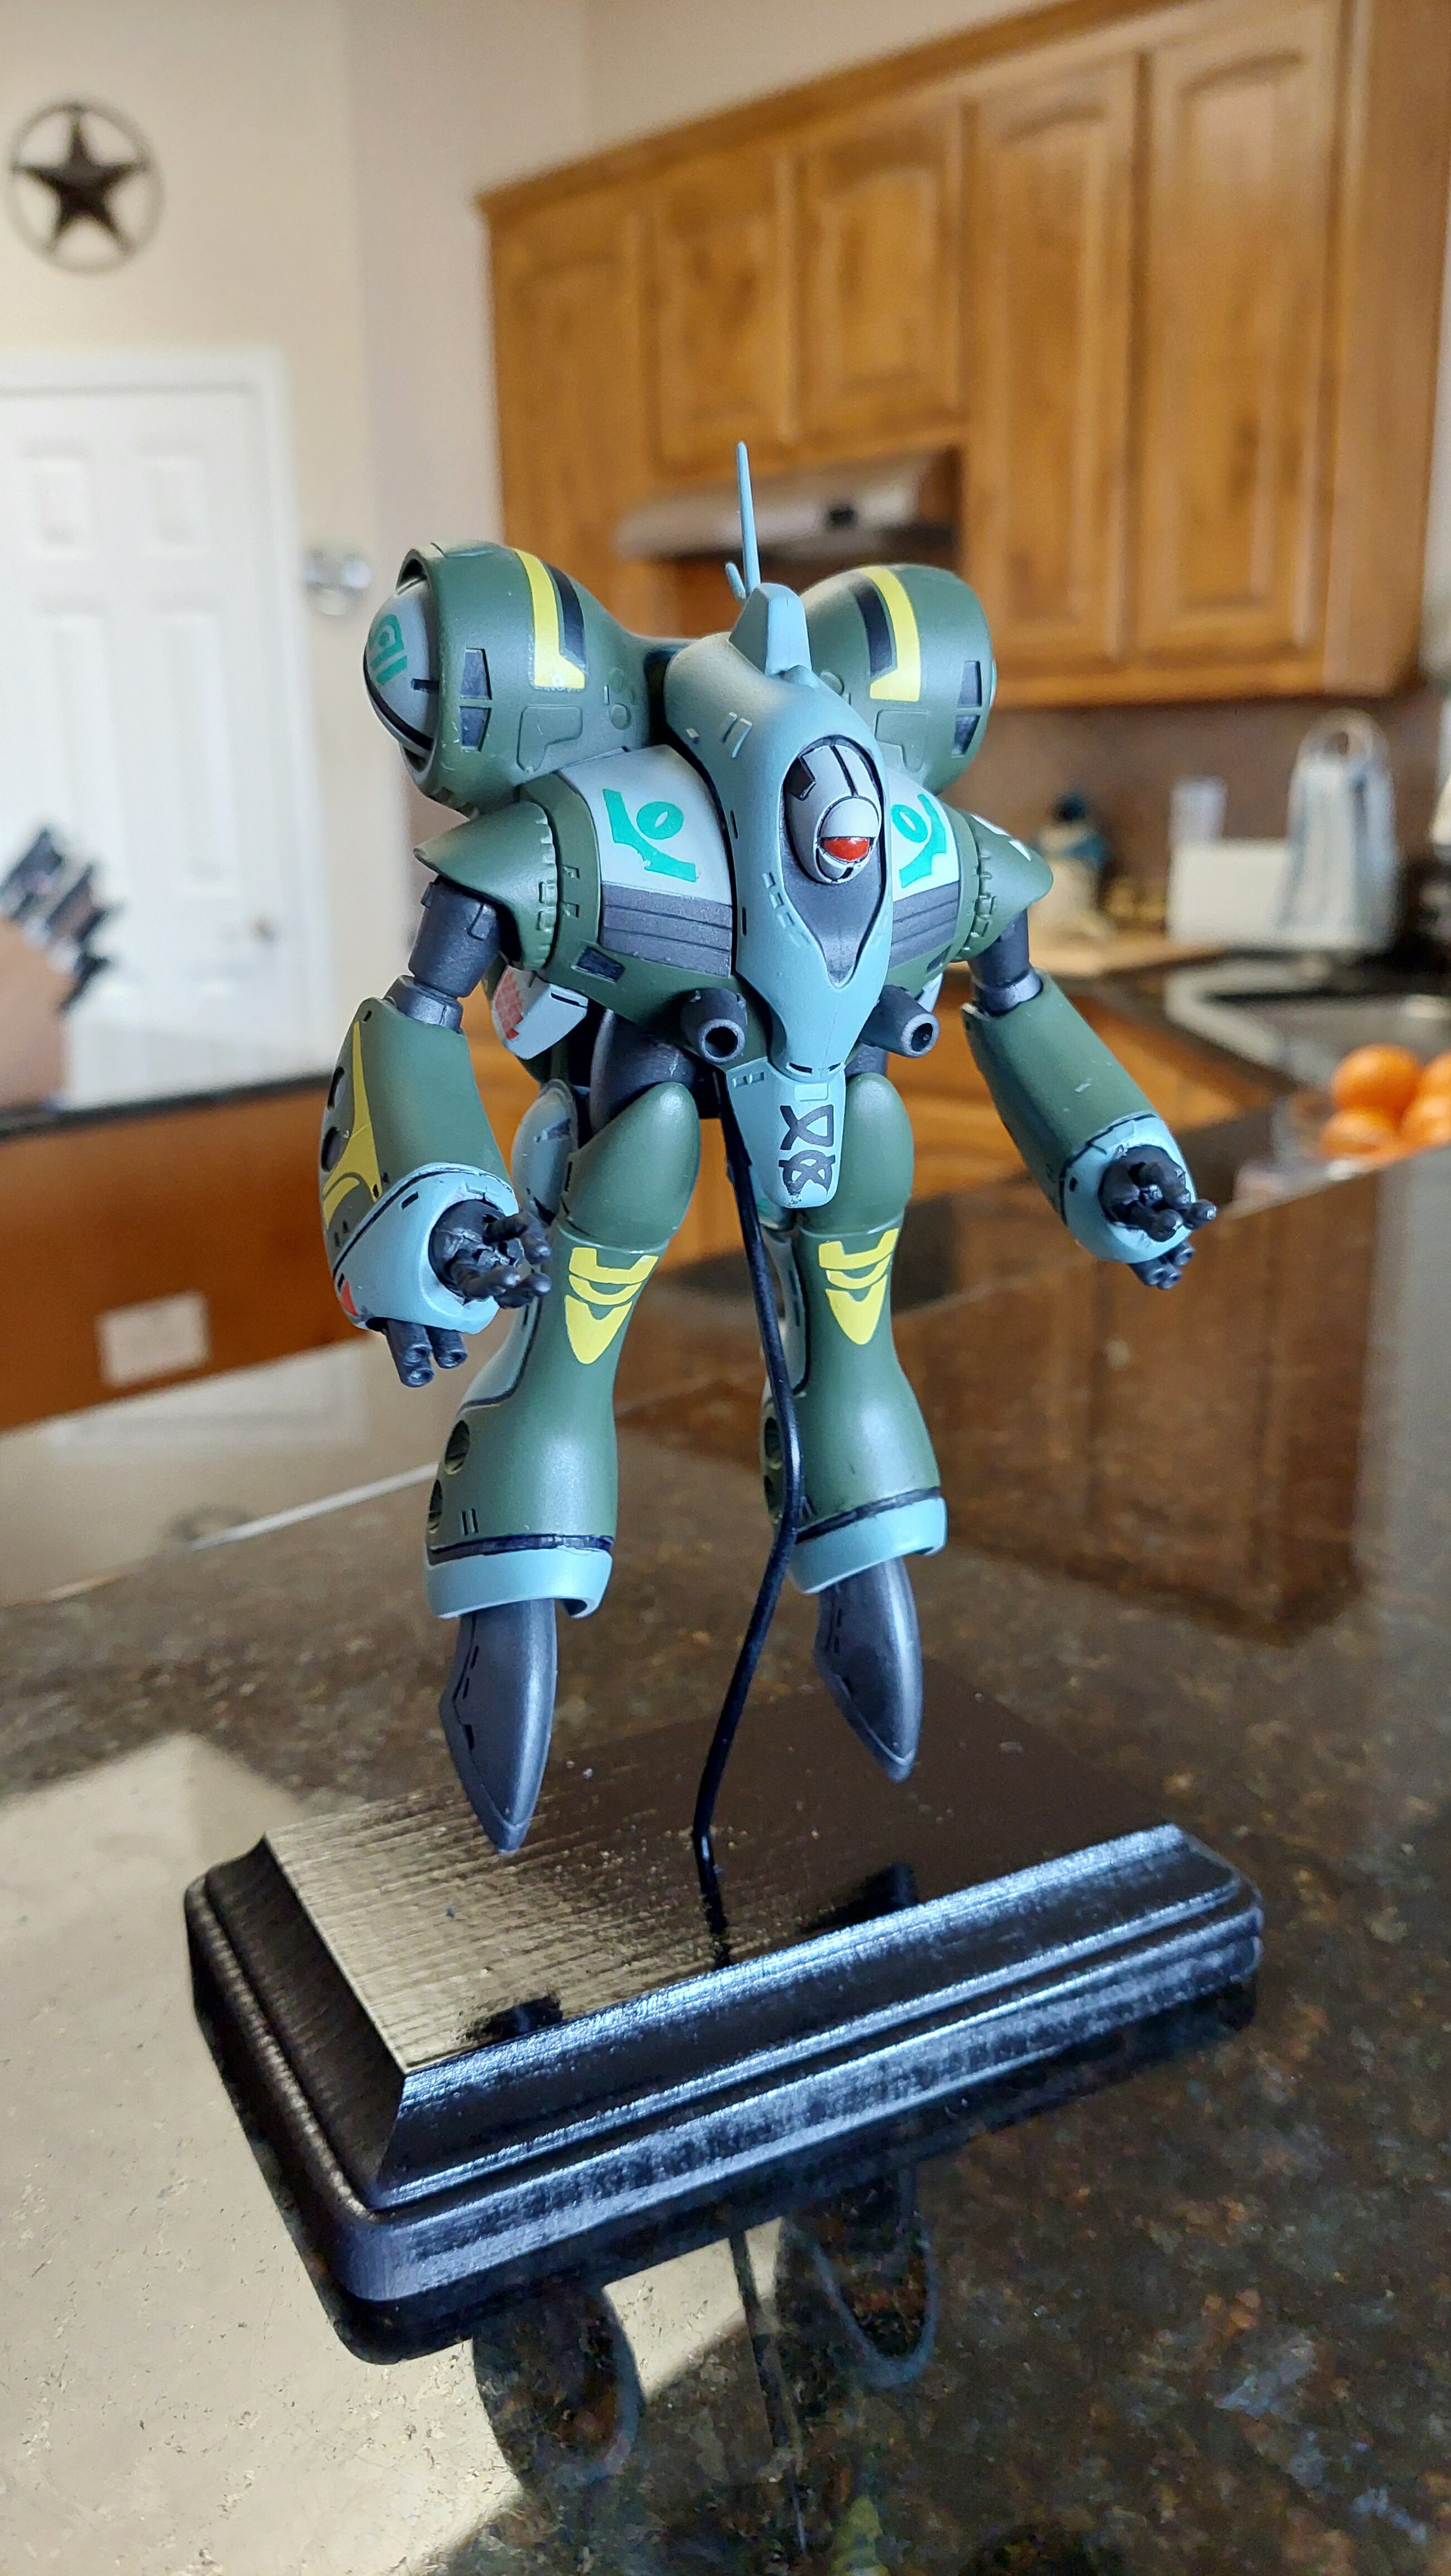
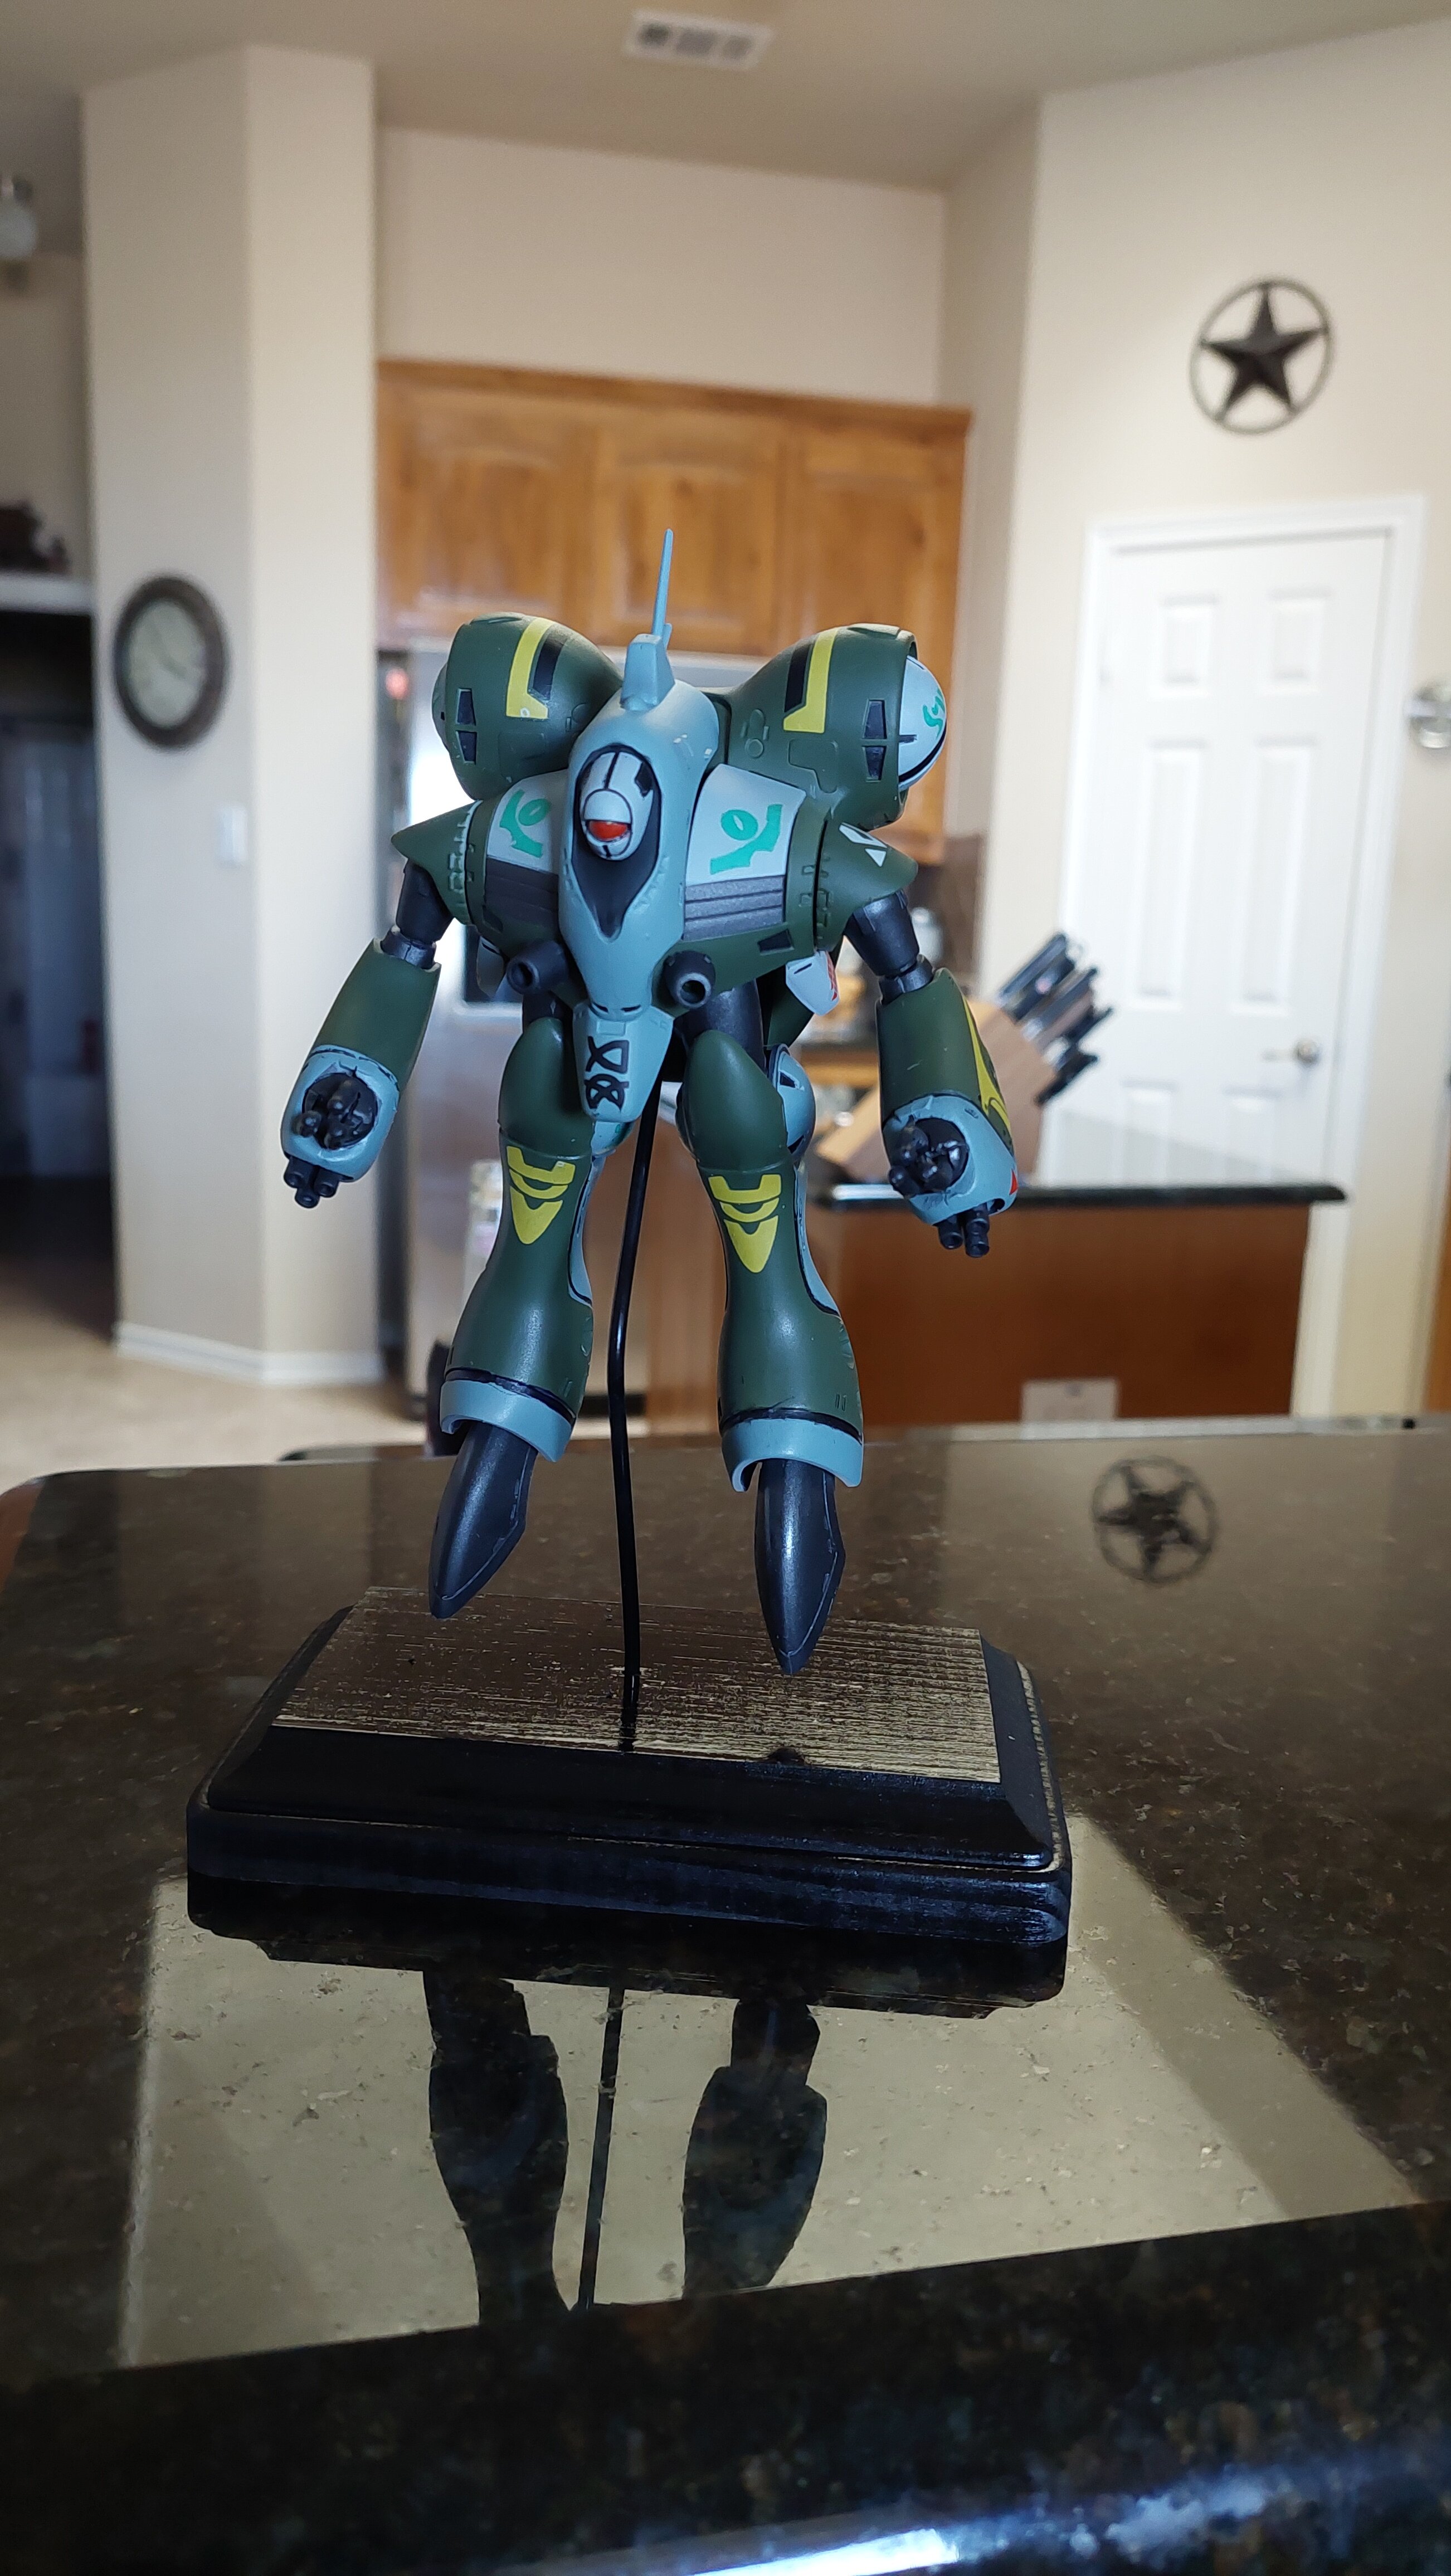
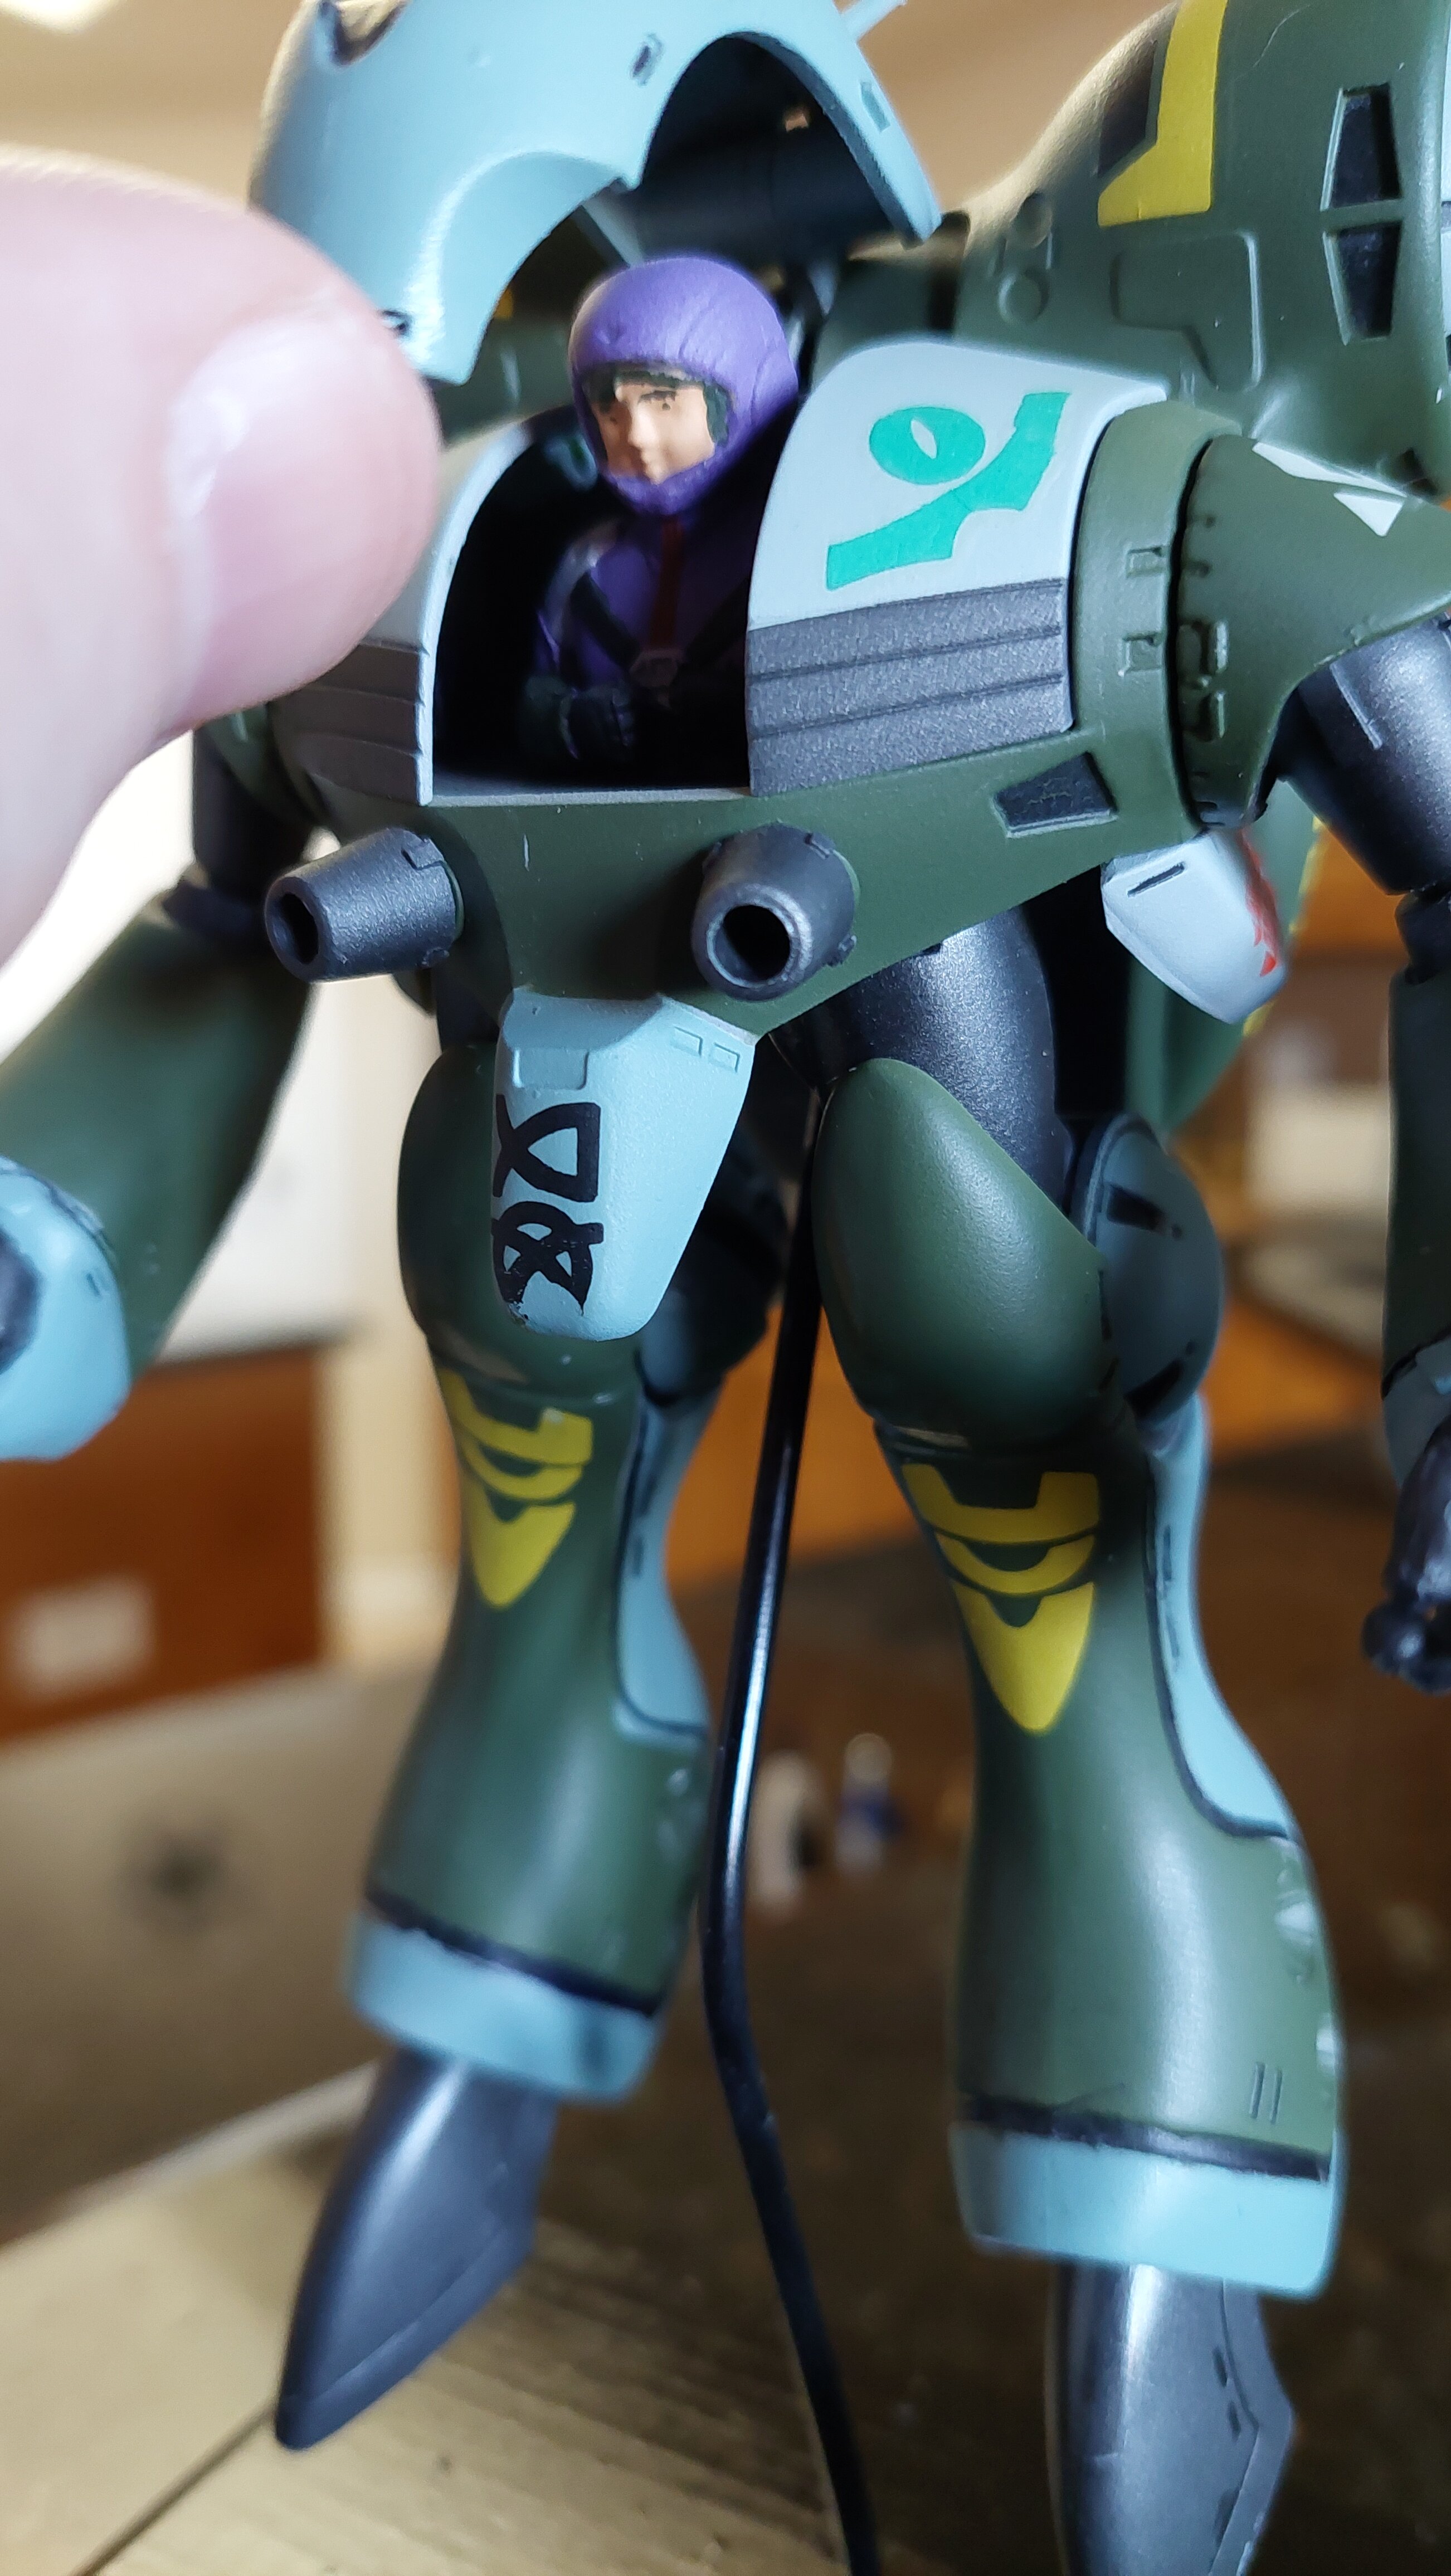
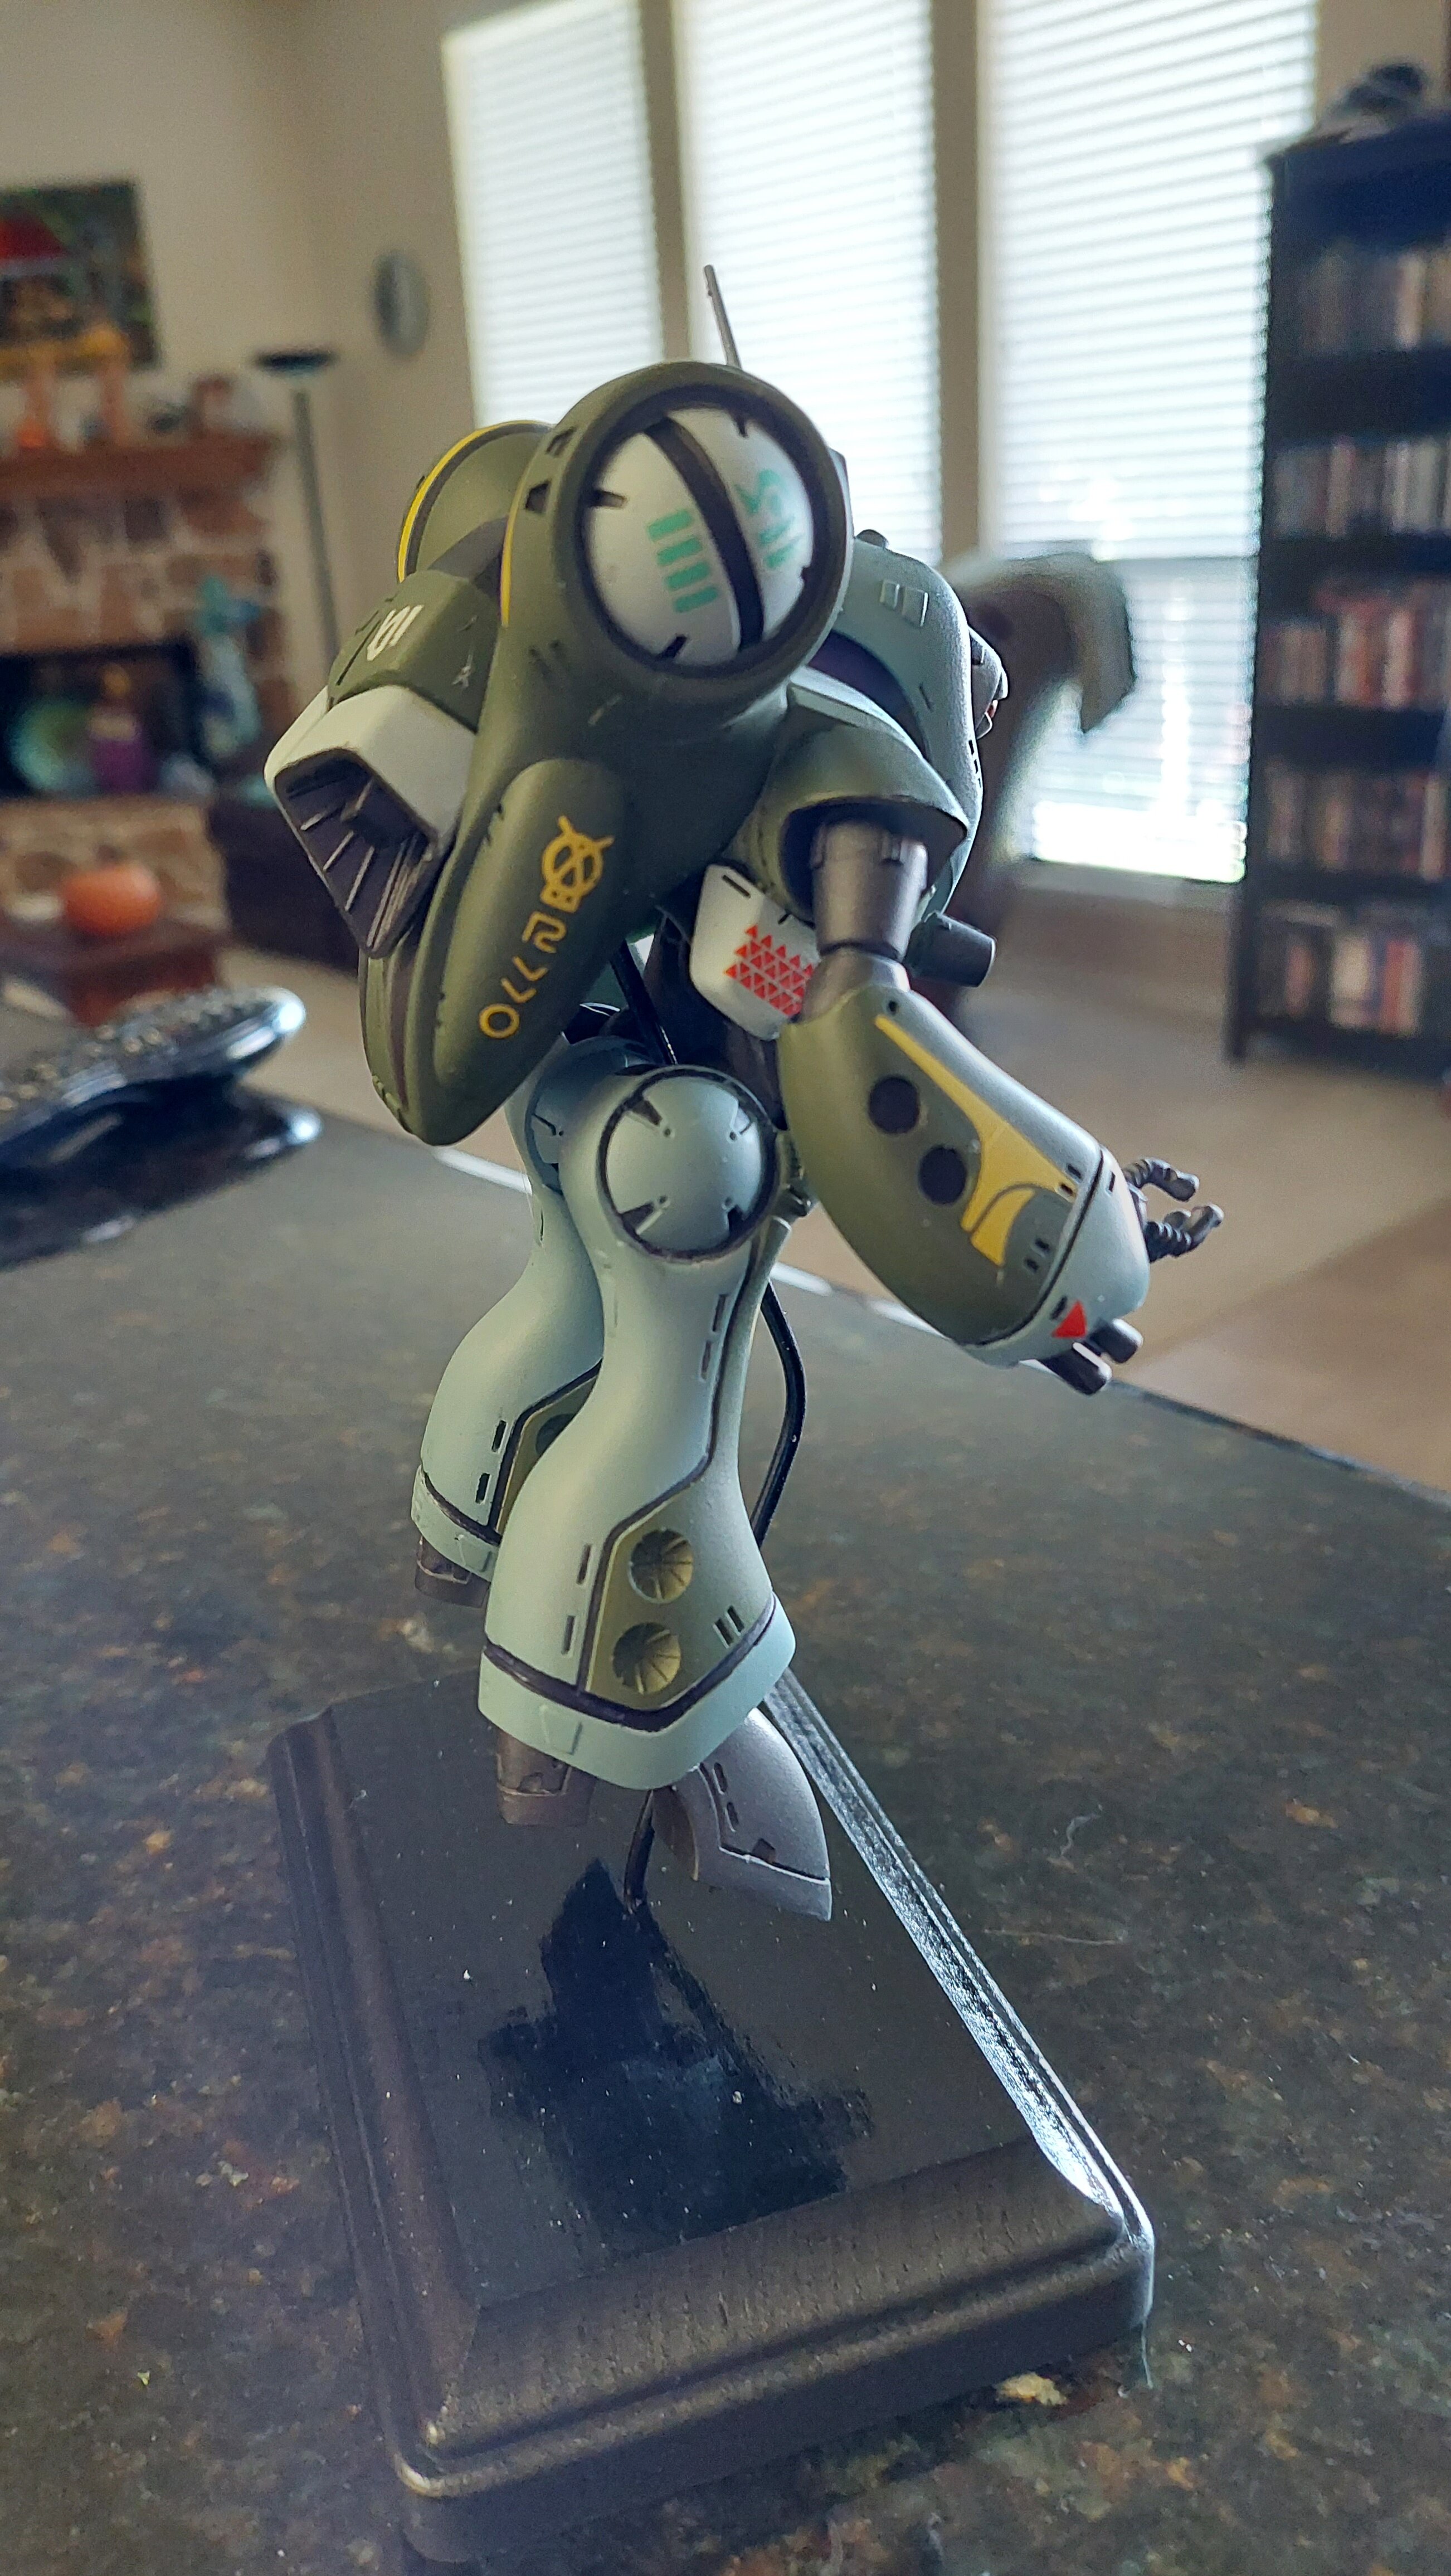
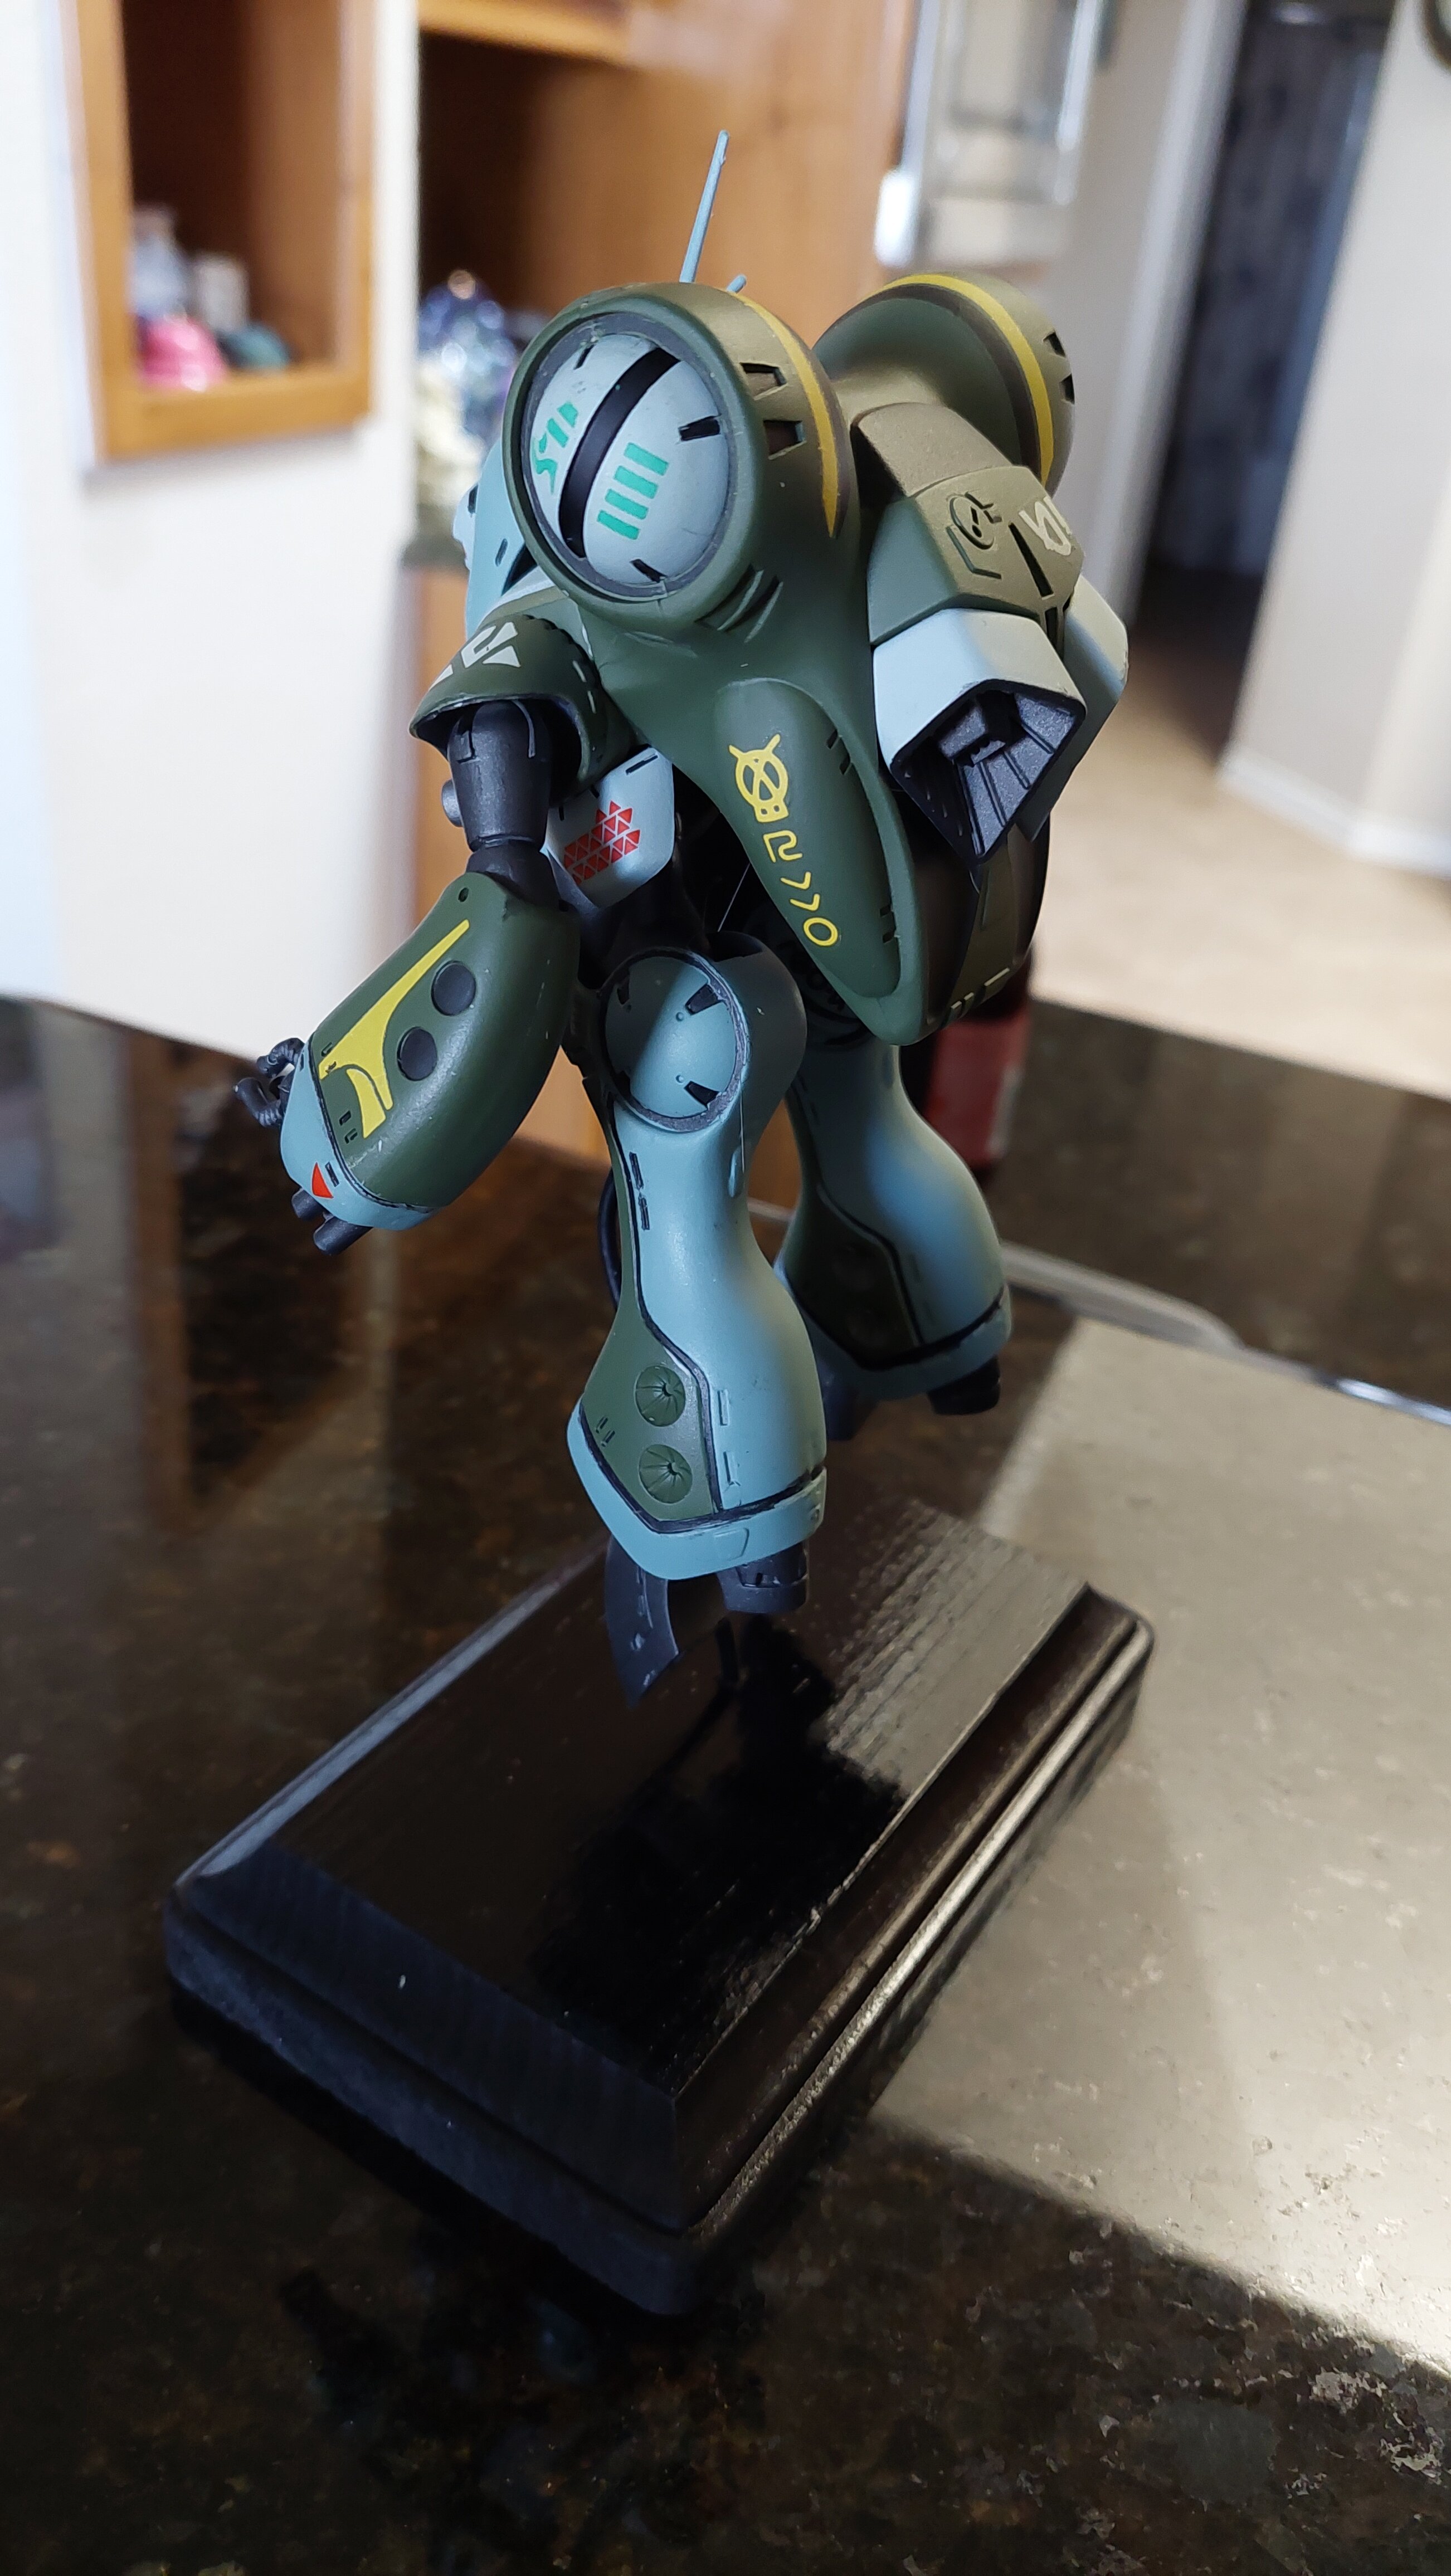
QRau is finished. Whatever. I know these old 80s kits are what they are, but I still hate them! There, I said it. However, it is my all time favorite Zentradi mecha! Decals almost all went down good. I lost two, not bad for over 30 year old. Again, whatever, it's as finished as it's going to be. No, I didn't weather it because I'm lazy and it's gonna go with my HM-Rs so it'll look like them. I will be the first one in line to buy a new HM-R QRau! This kit is terrible. Avoid it all costs unless you like pain and suffering. Yes, I originally put the thigh assemblies in the wrong leg like 2 years ago and didn't notice until yesterday, so the legs are not right. Again whatever! Movin on.
-
I think it looks great!!! I LOVE the weathering and panel lining! Looks like a ship that's been in lots of battles, which it was! Outstanding work. I hope to see more of your work here!
-
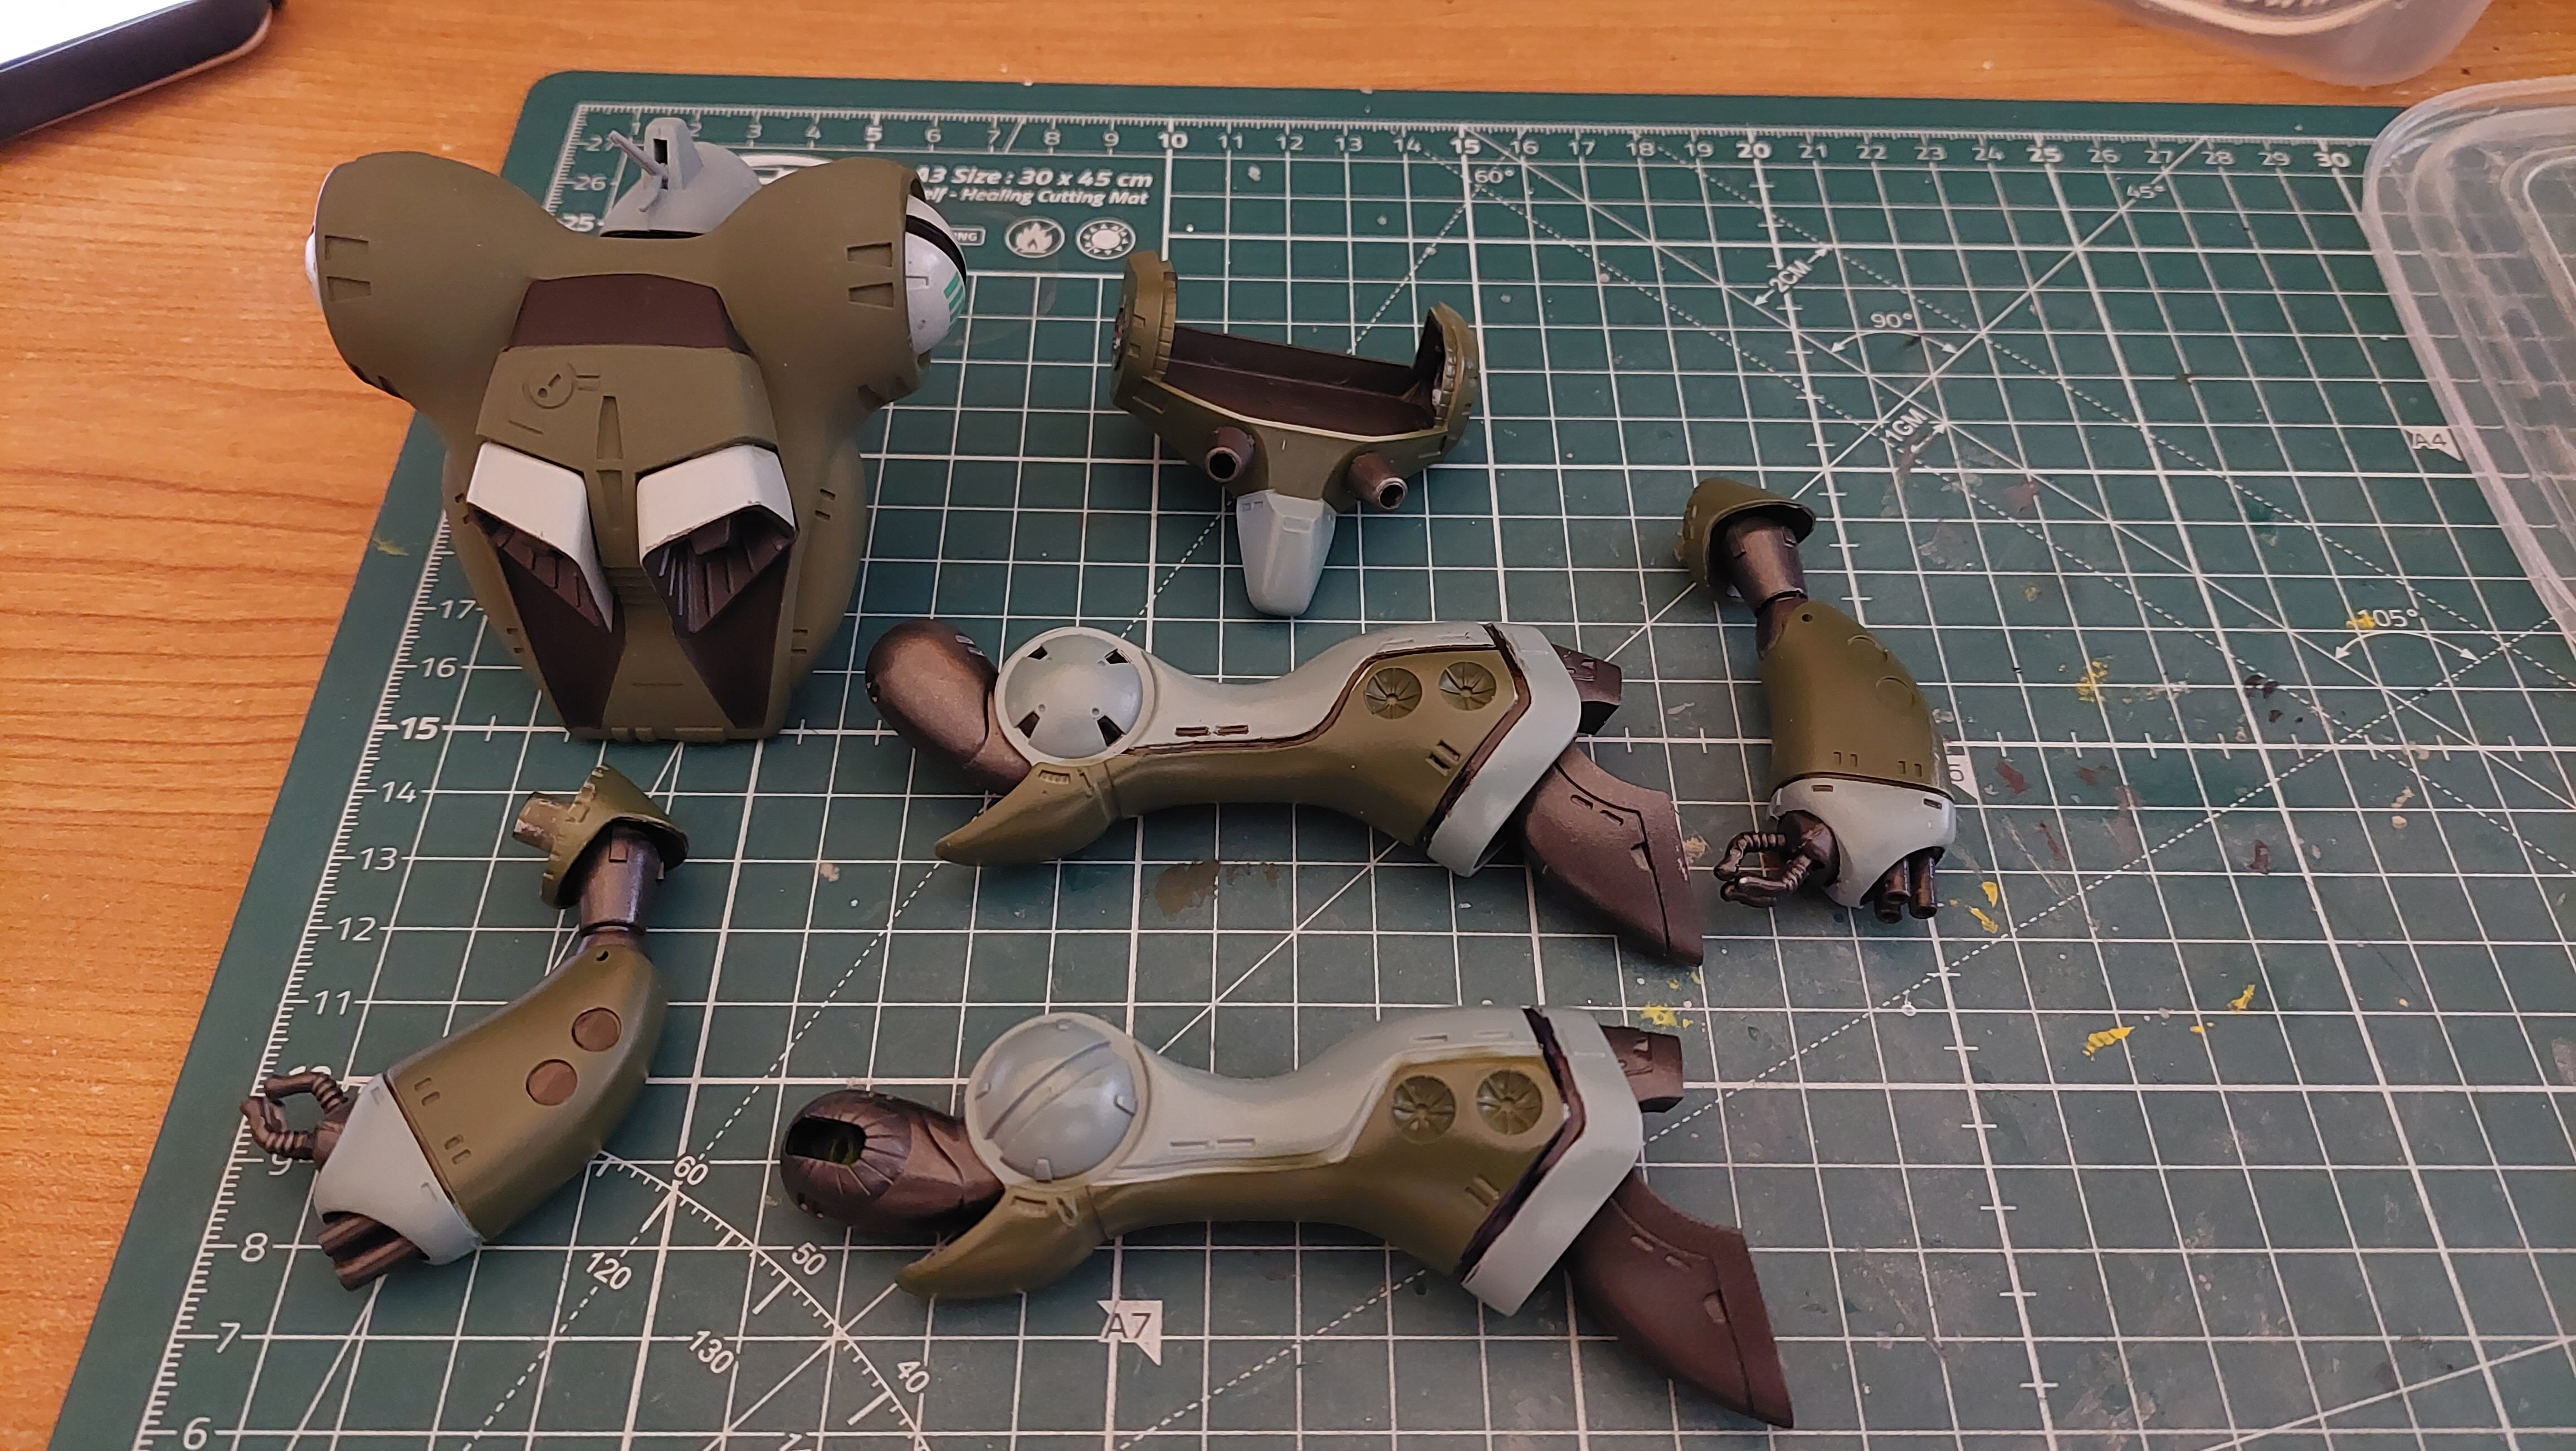
Mrs QRau is now painted. GAAWWD I had forgotten what a royal PITA these old Macross kits are to paint! I'm hoping that some creative weathering, detailing and the kit decals cover up most of my mistakes... IF they come off the 30 some odd year old decal paper... Hopefully will get this finished up this weekend... Bodolza willing...
-
Your most recent Macross or toy purchase! General thread.
derex3592 replied to Gakken85's topic in Hall Of The Super Topics
@Special Sauce -- what he said! DO IT! That was my exact experience as well with the GX-71. -
It's the old model kit from the 80's. The OG QRau!
-
Heading to the paint bench tomorrow morning for the final large green color parts for Mrs. QRau!