derex3592
-
Posts
8788 -
Joined
-
Last visited
Content Type
Profiles
Forums
Events
Gallery
Everything posted by derex3592
-
Had to work today, so preshading will have to wait, but we are (sub) assembled, primered, and ready for the paint bench!

-
paid for my 2 with AmiAmi, now the waiting!
-
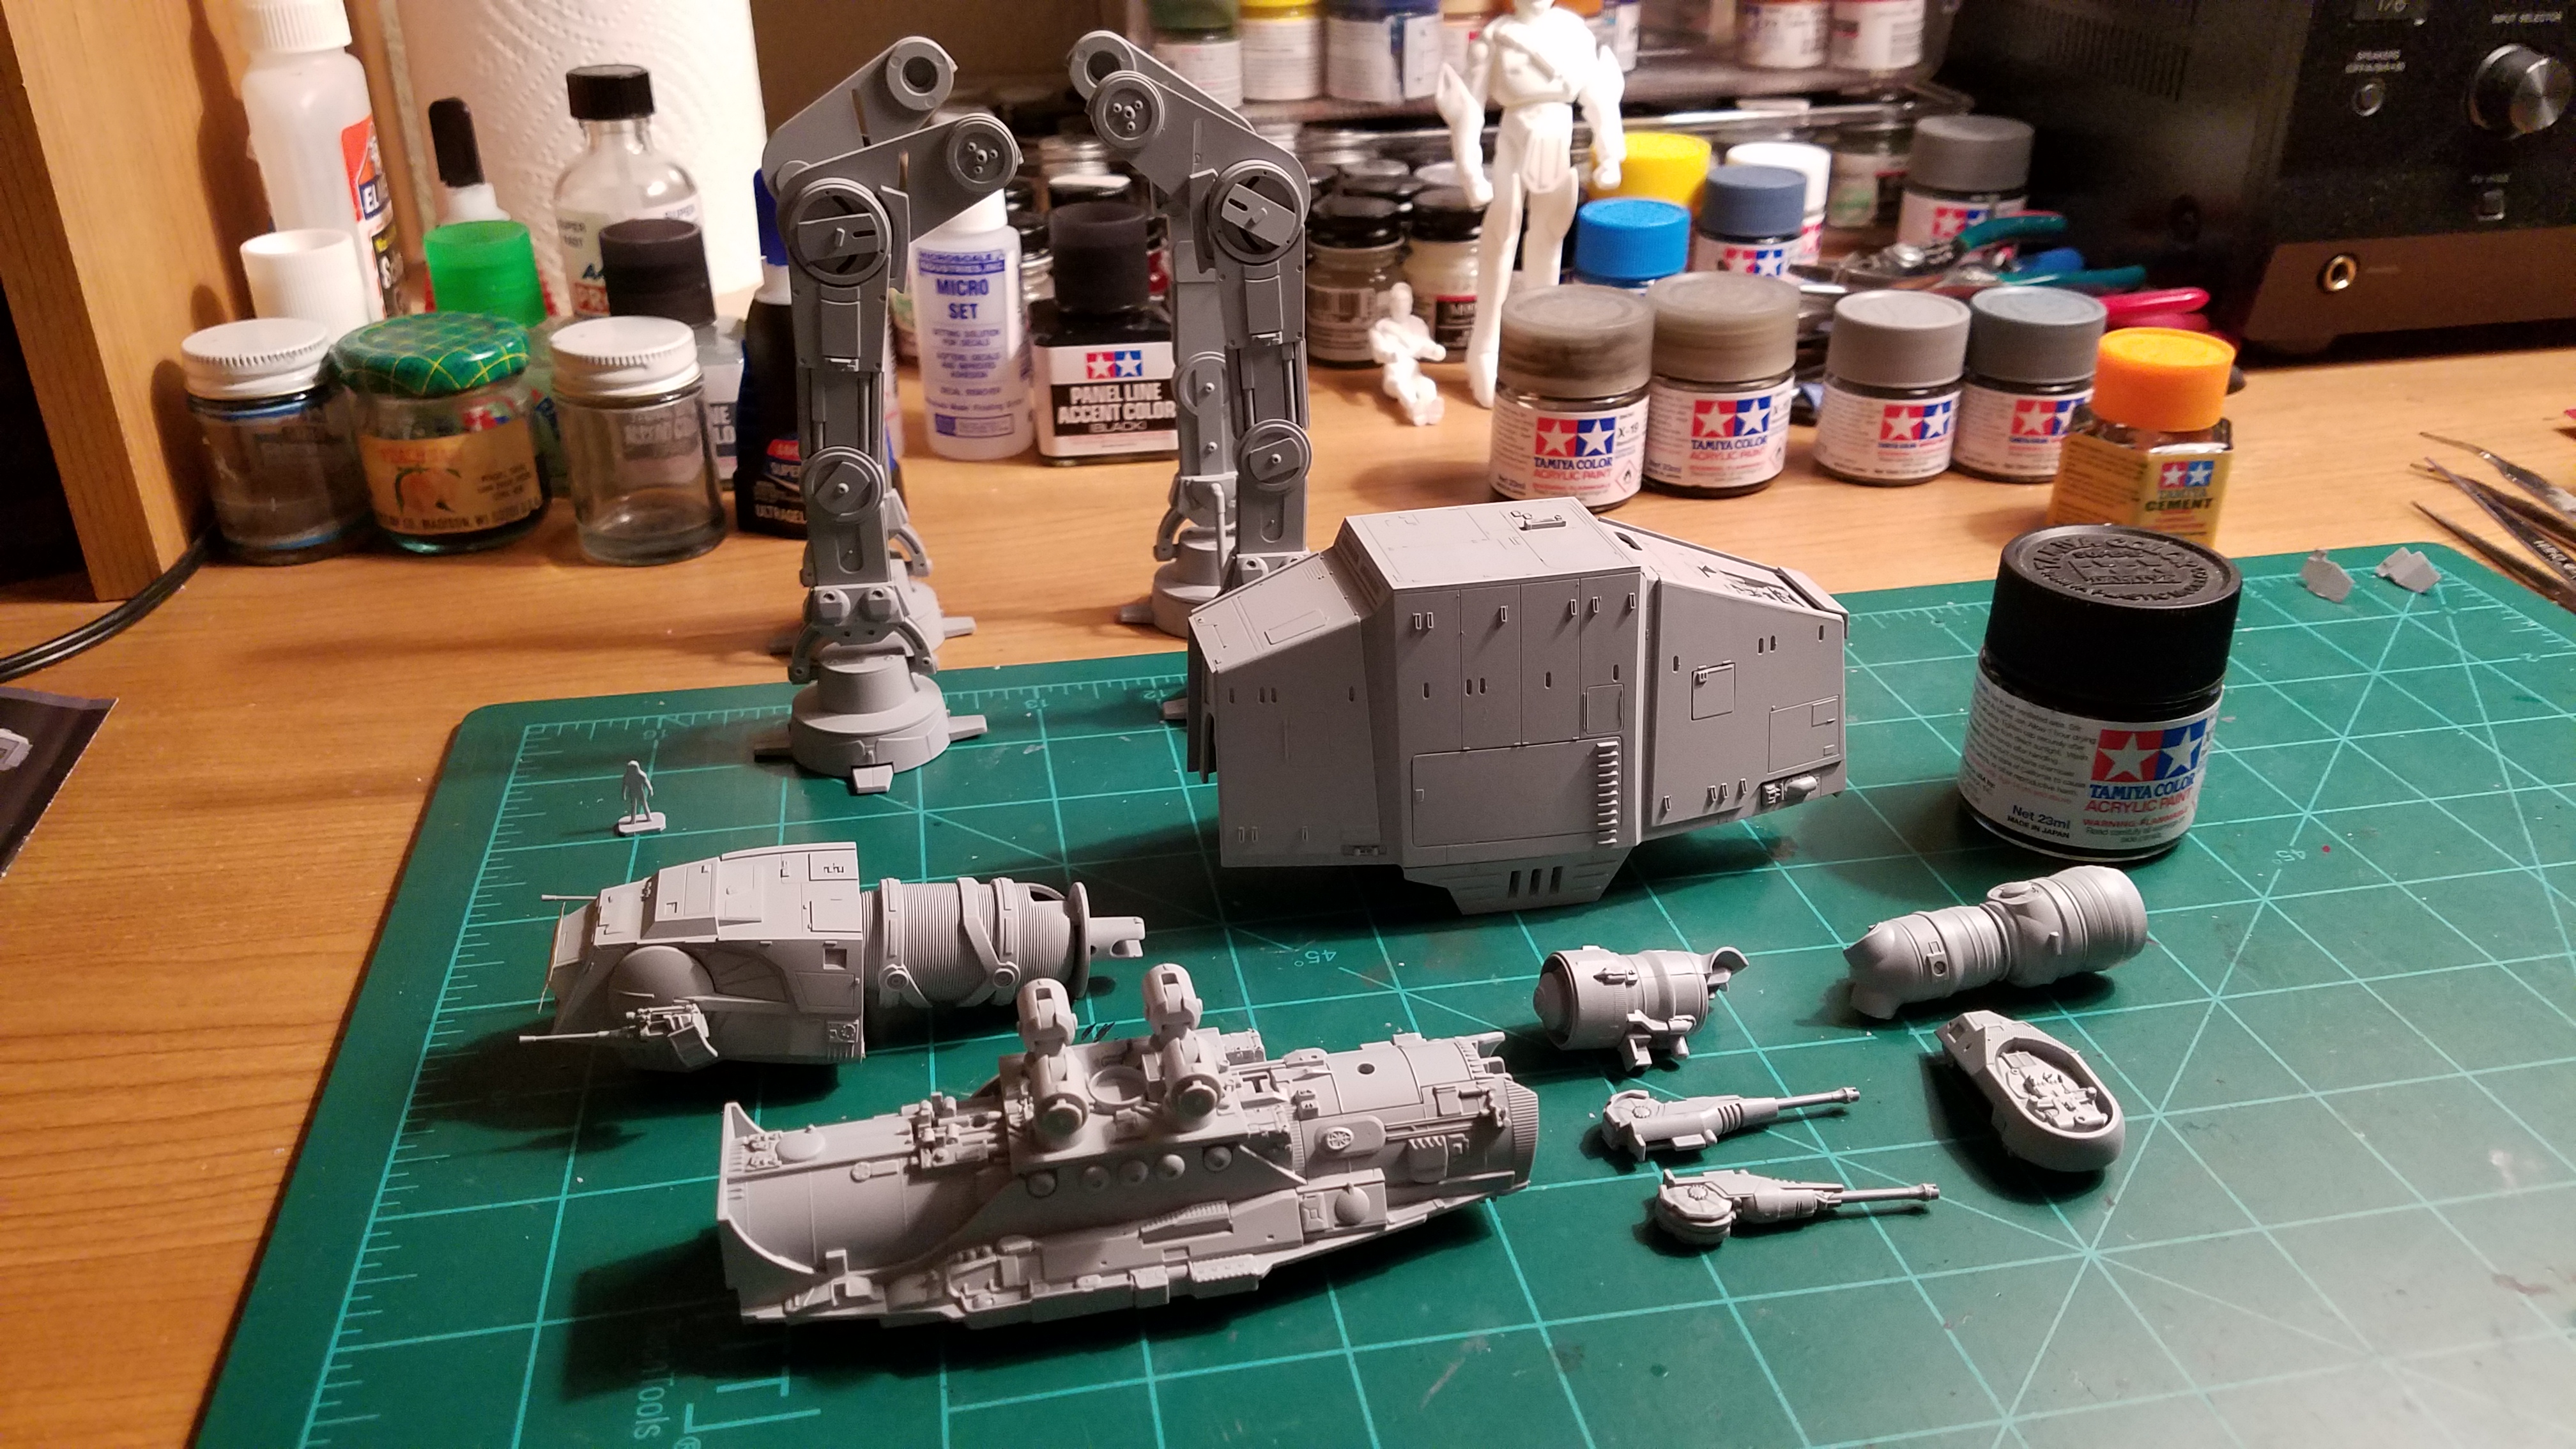
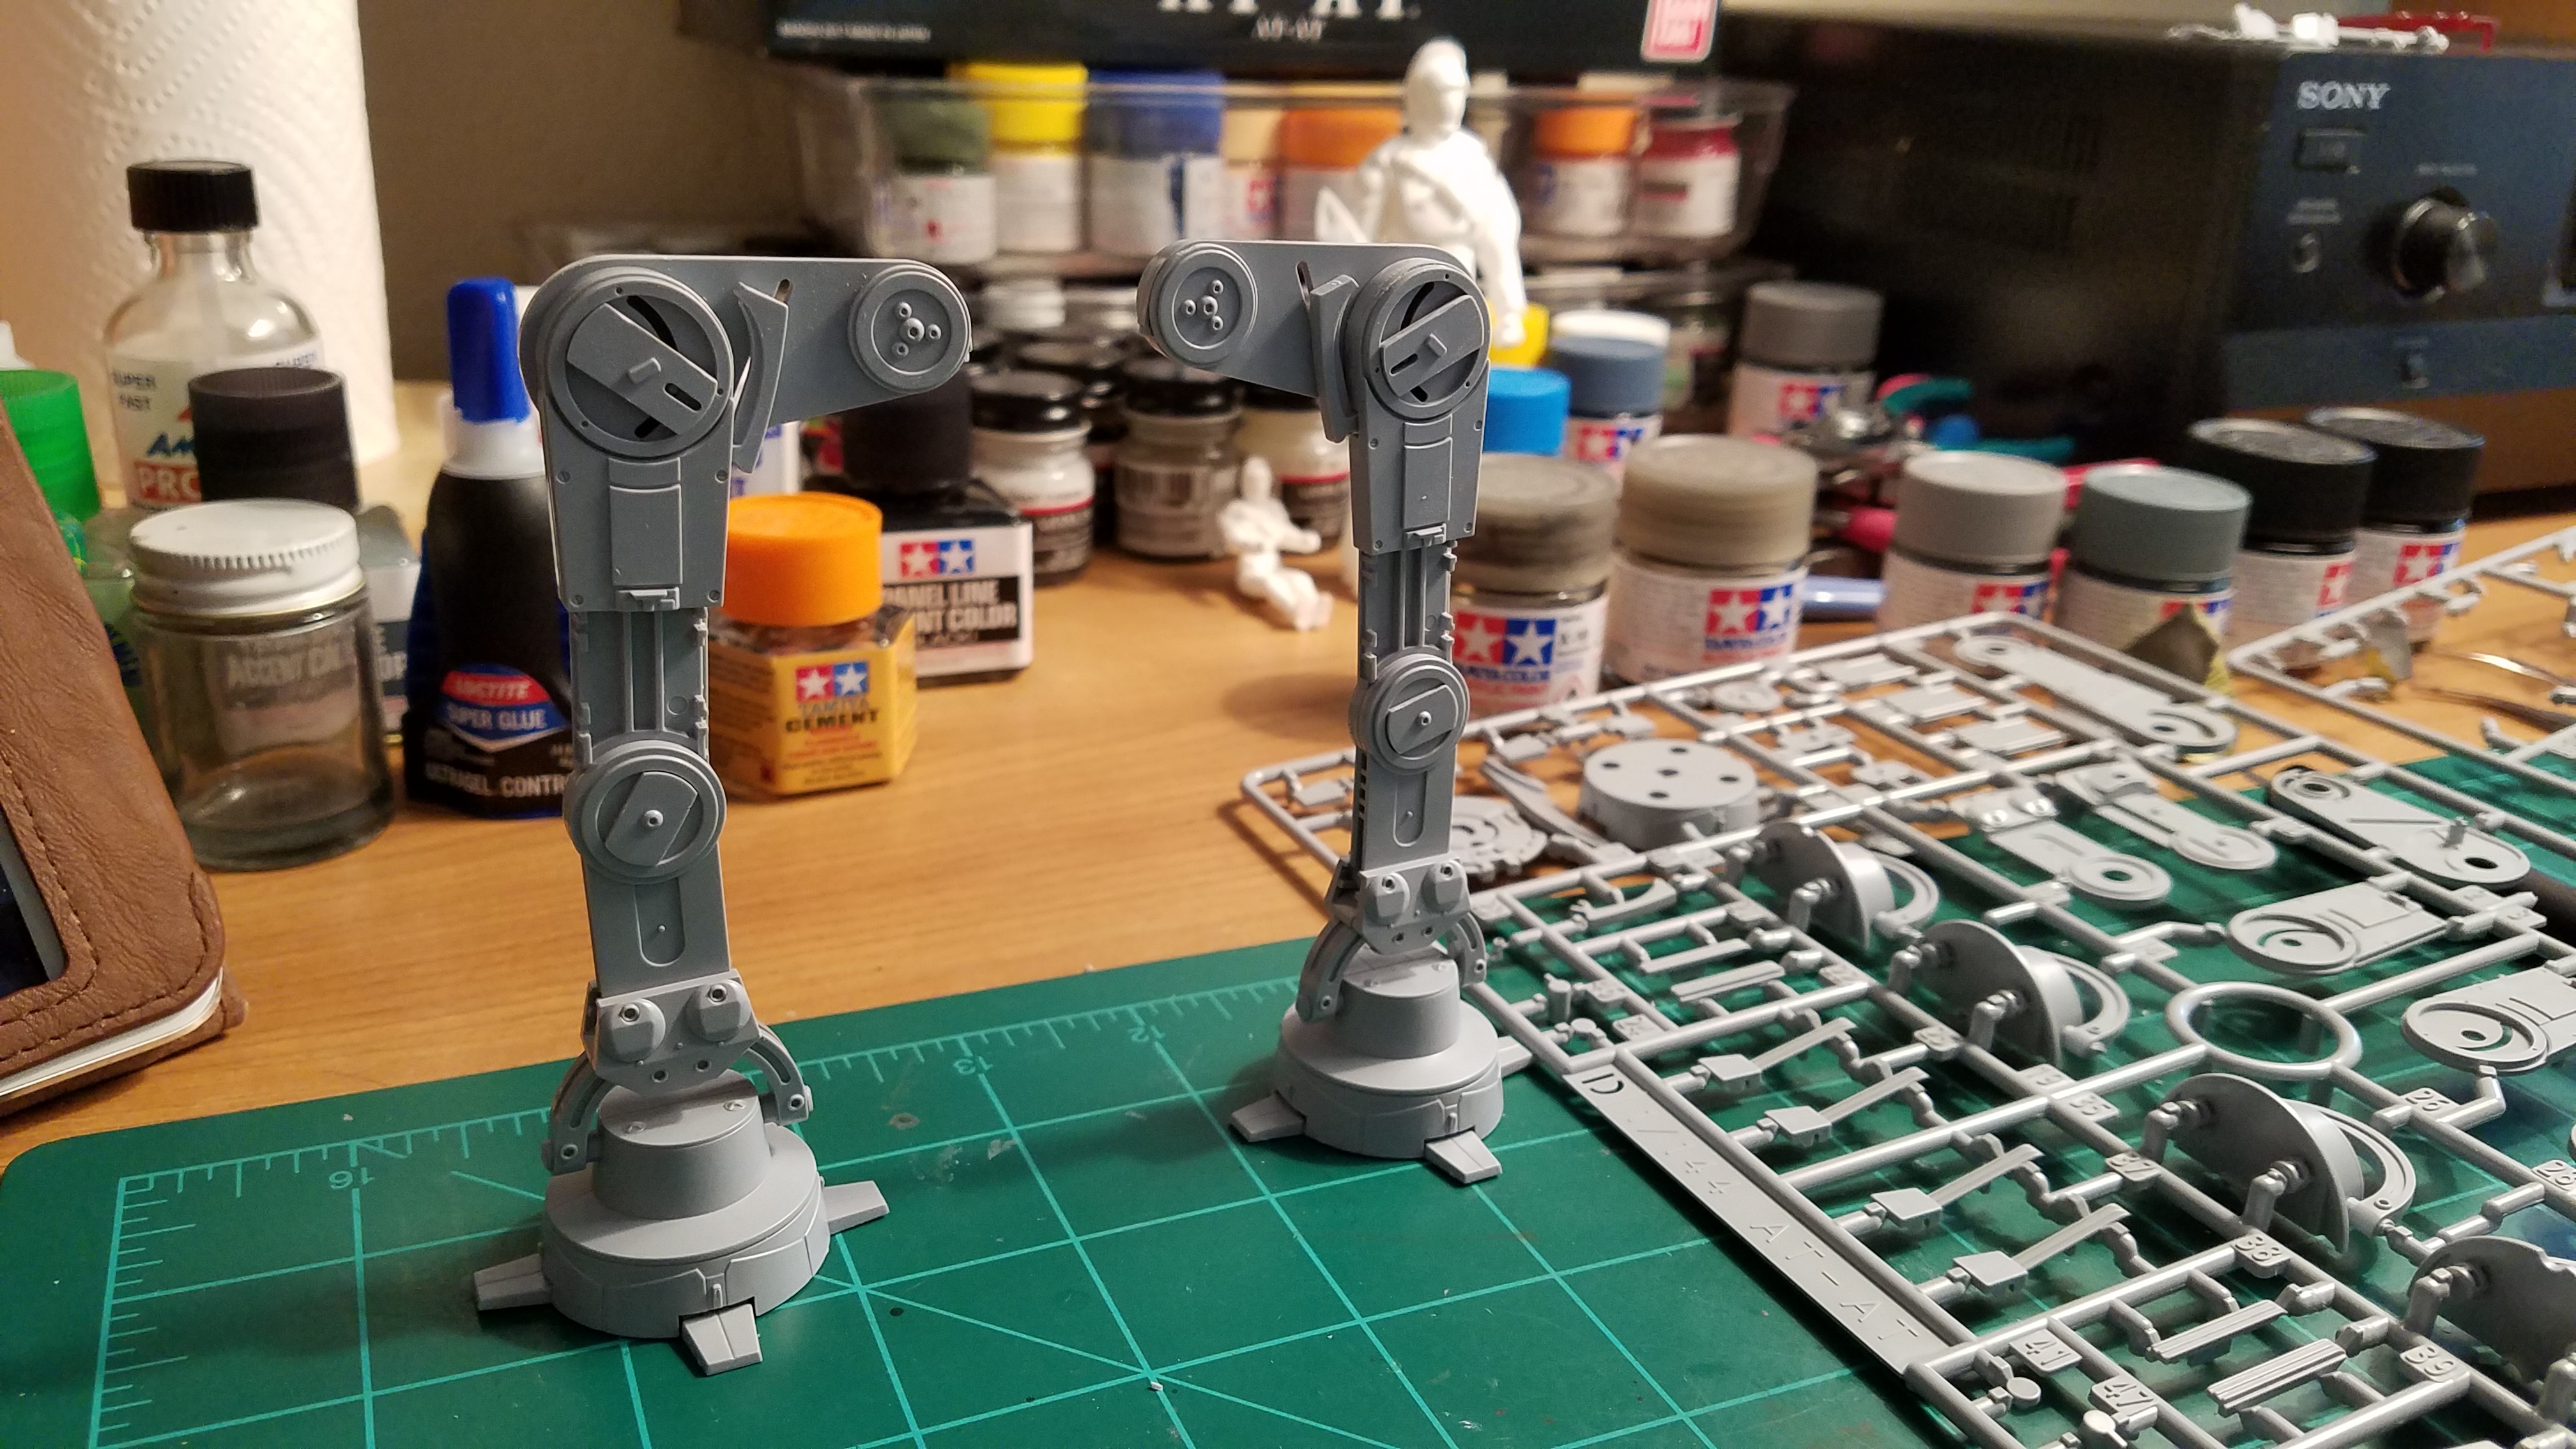
It's leg day at the gym... err... bench!

-
Yes, what he said!
-
No emails from AmiAmi on my end yet for the Spartans...
-
Everyone should boycott Spanner for his egregious behavior towards the HM-R line....
-
Fighter Mode needs to hang on the wall in my office in Roy or Hikaru paint scheme..FACT
-
I think it's the lighting they are under, the Monster's arm doesn't look that pale green in real life, it's much darker. Holding out hope Bandai gets it right with a light tan color!
-
Alien: Covenant (formerly known as Prometheus 2)
derex3592 replied to taksraven's topic in Anime or Science Fiction
Fiancé agreed to go with me to see this! Prob next weekend though due to work. -
Definitely looking forward to seeing this with a Jenius review
-
shouldn't be a problem. Use it all the time over acrylics.
-
Flory's Dark Dirt clay based wash worked great. Easy to apply and super easy cleanup.
-
The VF-0S is a thing of beauty. Rock solid. And I'm not a Zero fan.
-
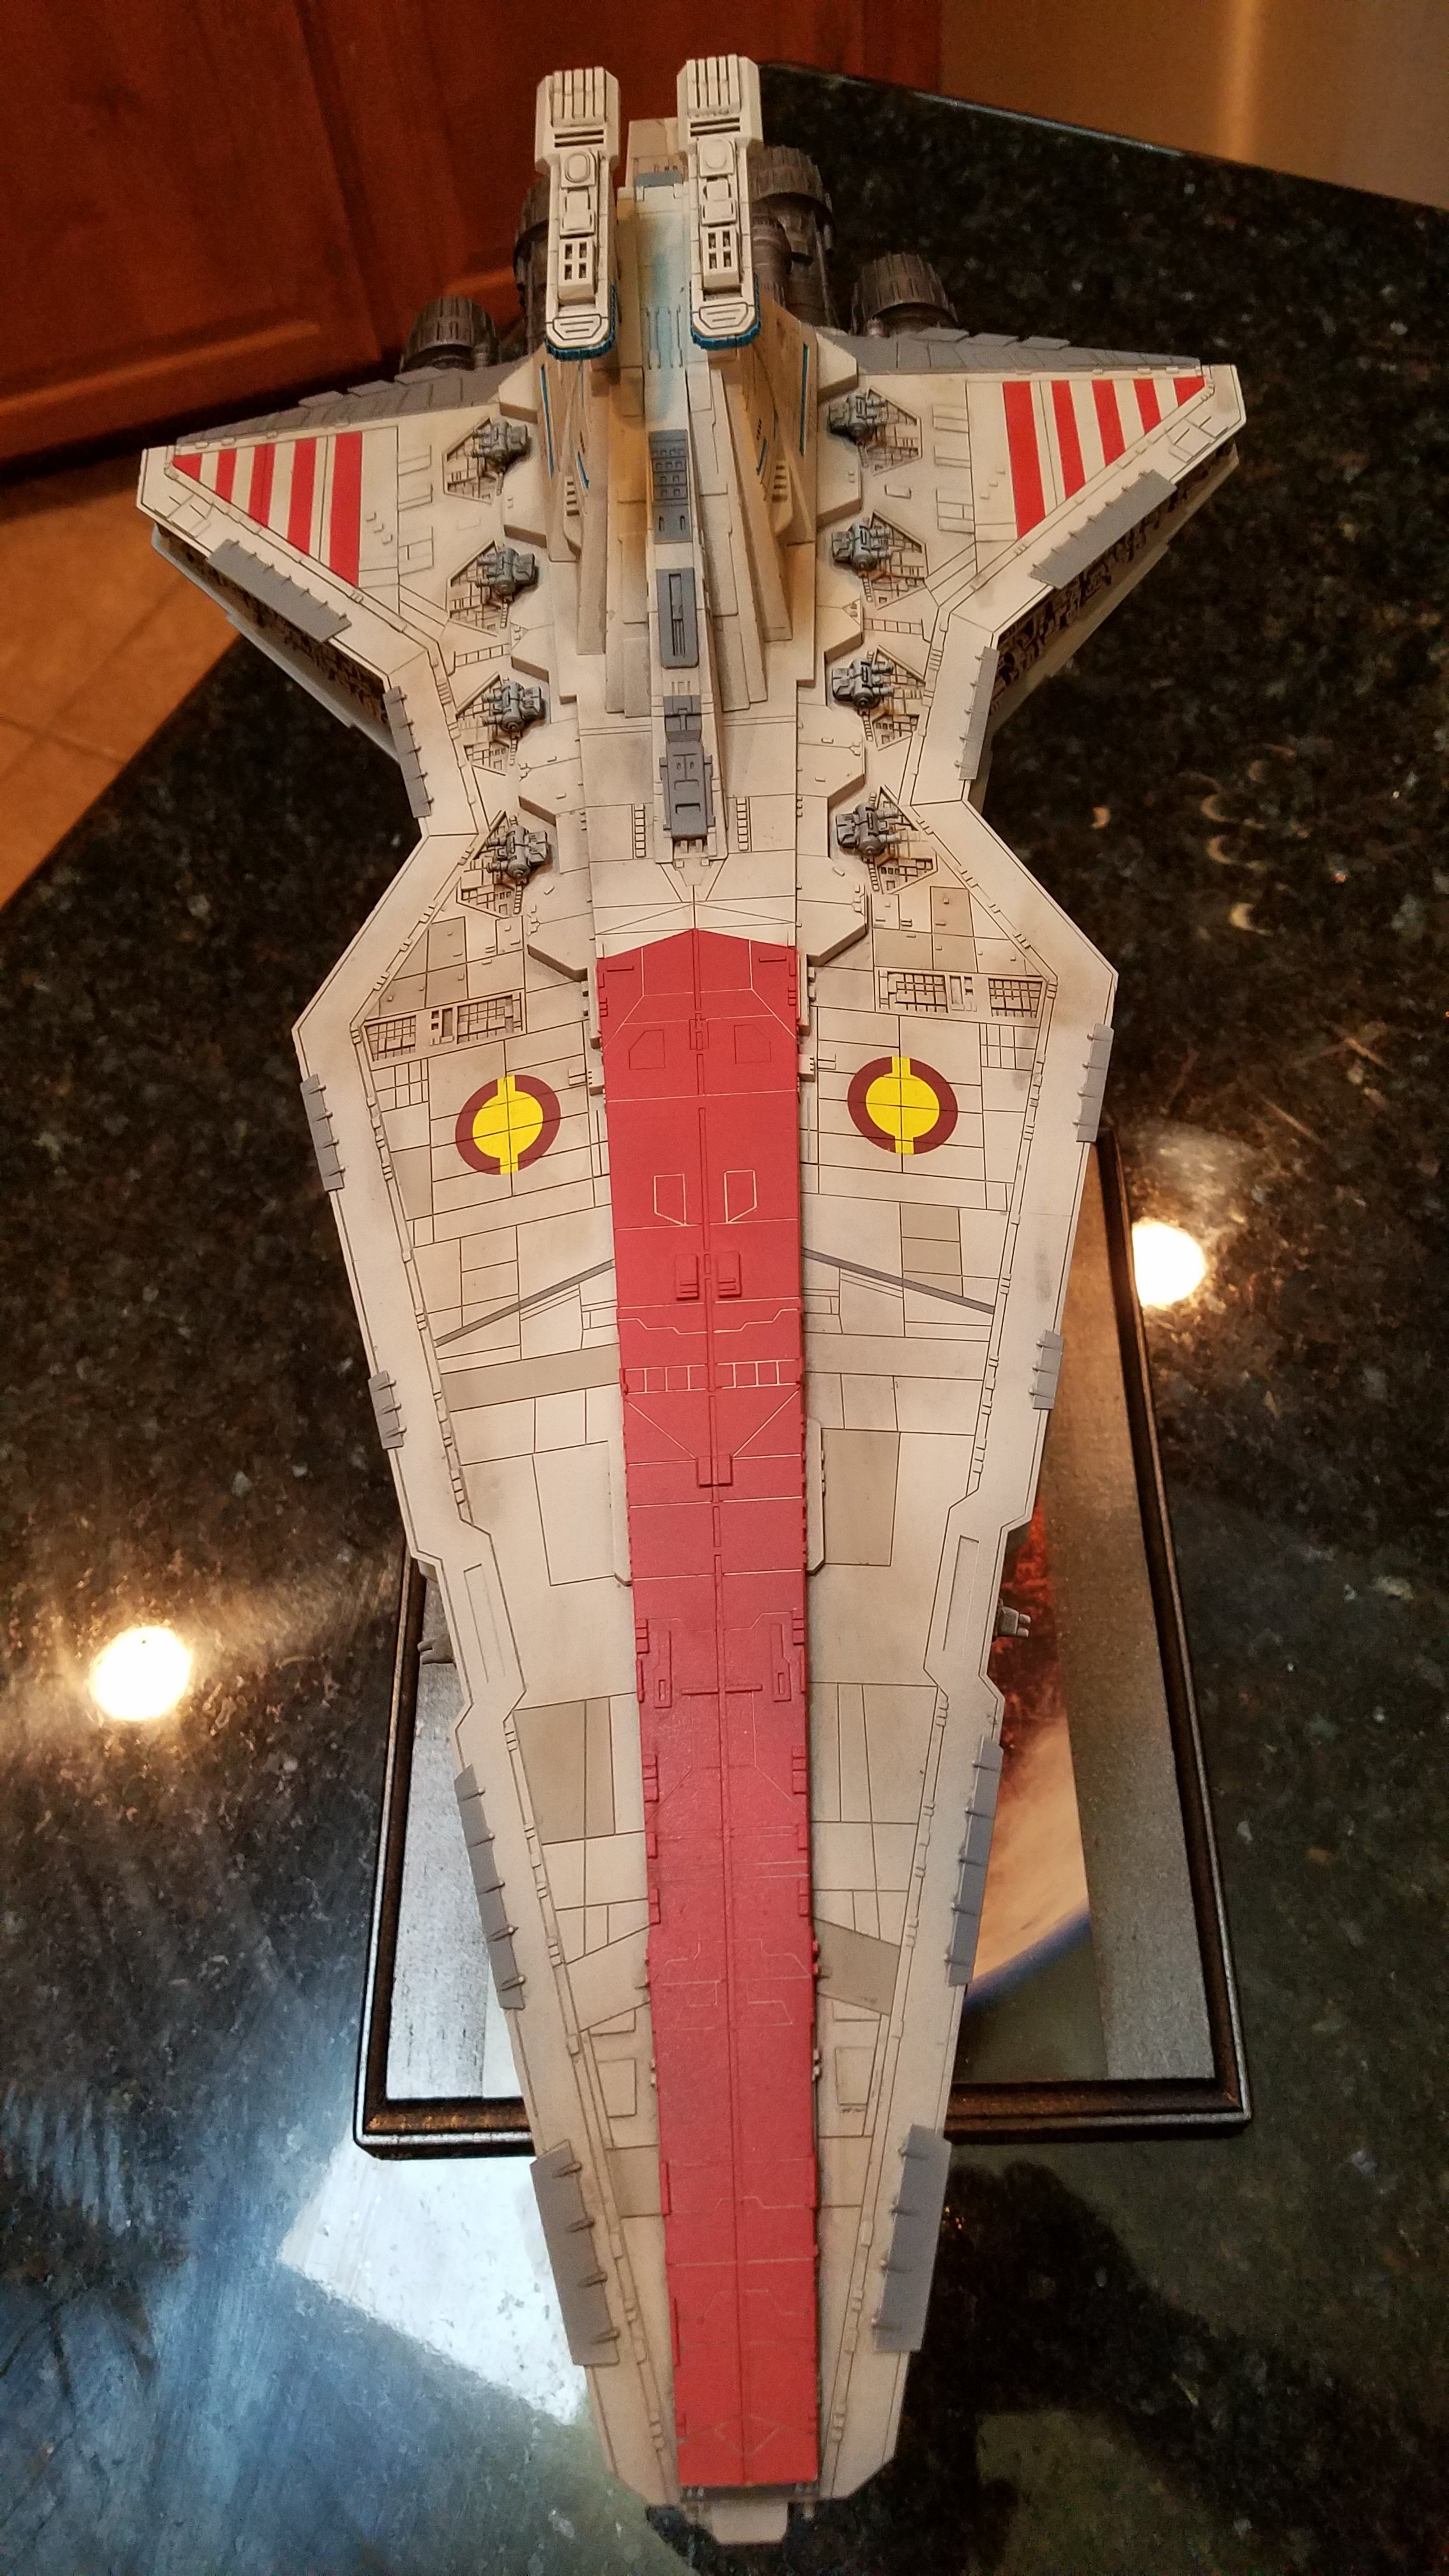
Thanks for all the compliments guys! I really appreciate them! @Xigfrid -- I black coated the entire model after primer, then base color, then black Tamiya panel line wash and Flory's Dark Dirt on the side panels, very randomly, then a very thin coat of base coat color again back over everything on the sides with all the greeblies and randomly on other parts of the ship, came out giving a cool dirty recessed effect I think! @Arbit -- I've been really trying to up my game with my airbrush and painting skills, been watching YouTube builds of ModelChili and others. what I did do this time around was seal in EVERY layer of things I did with Tamiya Gloss Clear out of the spray can, which can get $$$, but that stuff SEALS each layer and then you can build the layers up as you wish and always know you can cleanup if need be layer by layer. For example, lacquer base coat, SEAL, enamel panel line wash, SEAL, then acrylic panel paint details, SEAL, Then finally Flat Clear at the end.
-
Medicom/Hot Toys and all 1/6 scale figures
derex3592 replied to EXO's topic in Anime or Science Fiction
that's awesomeness! -
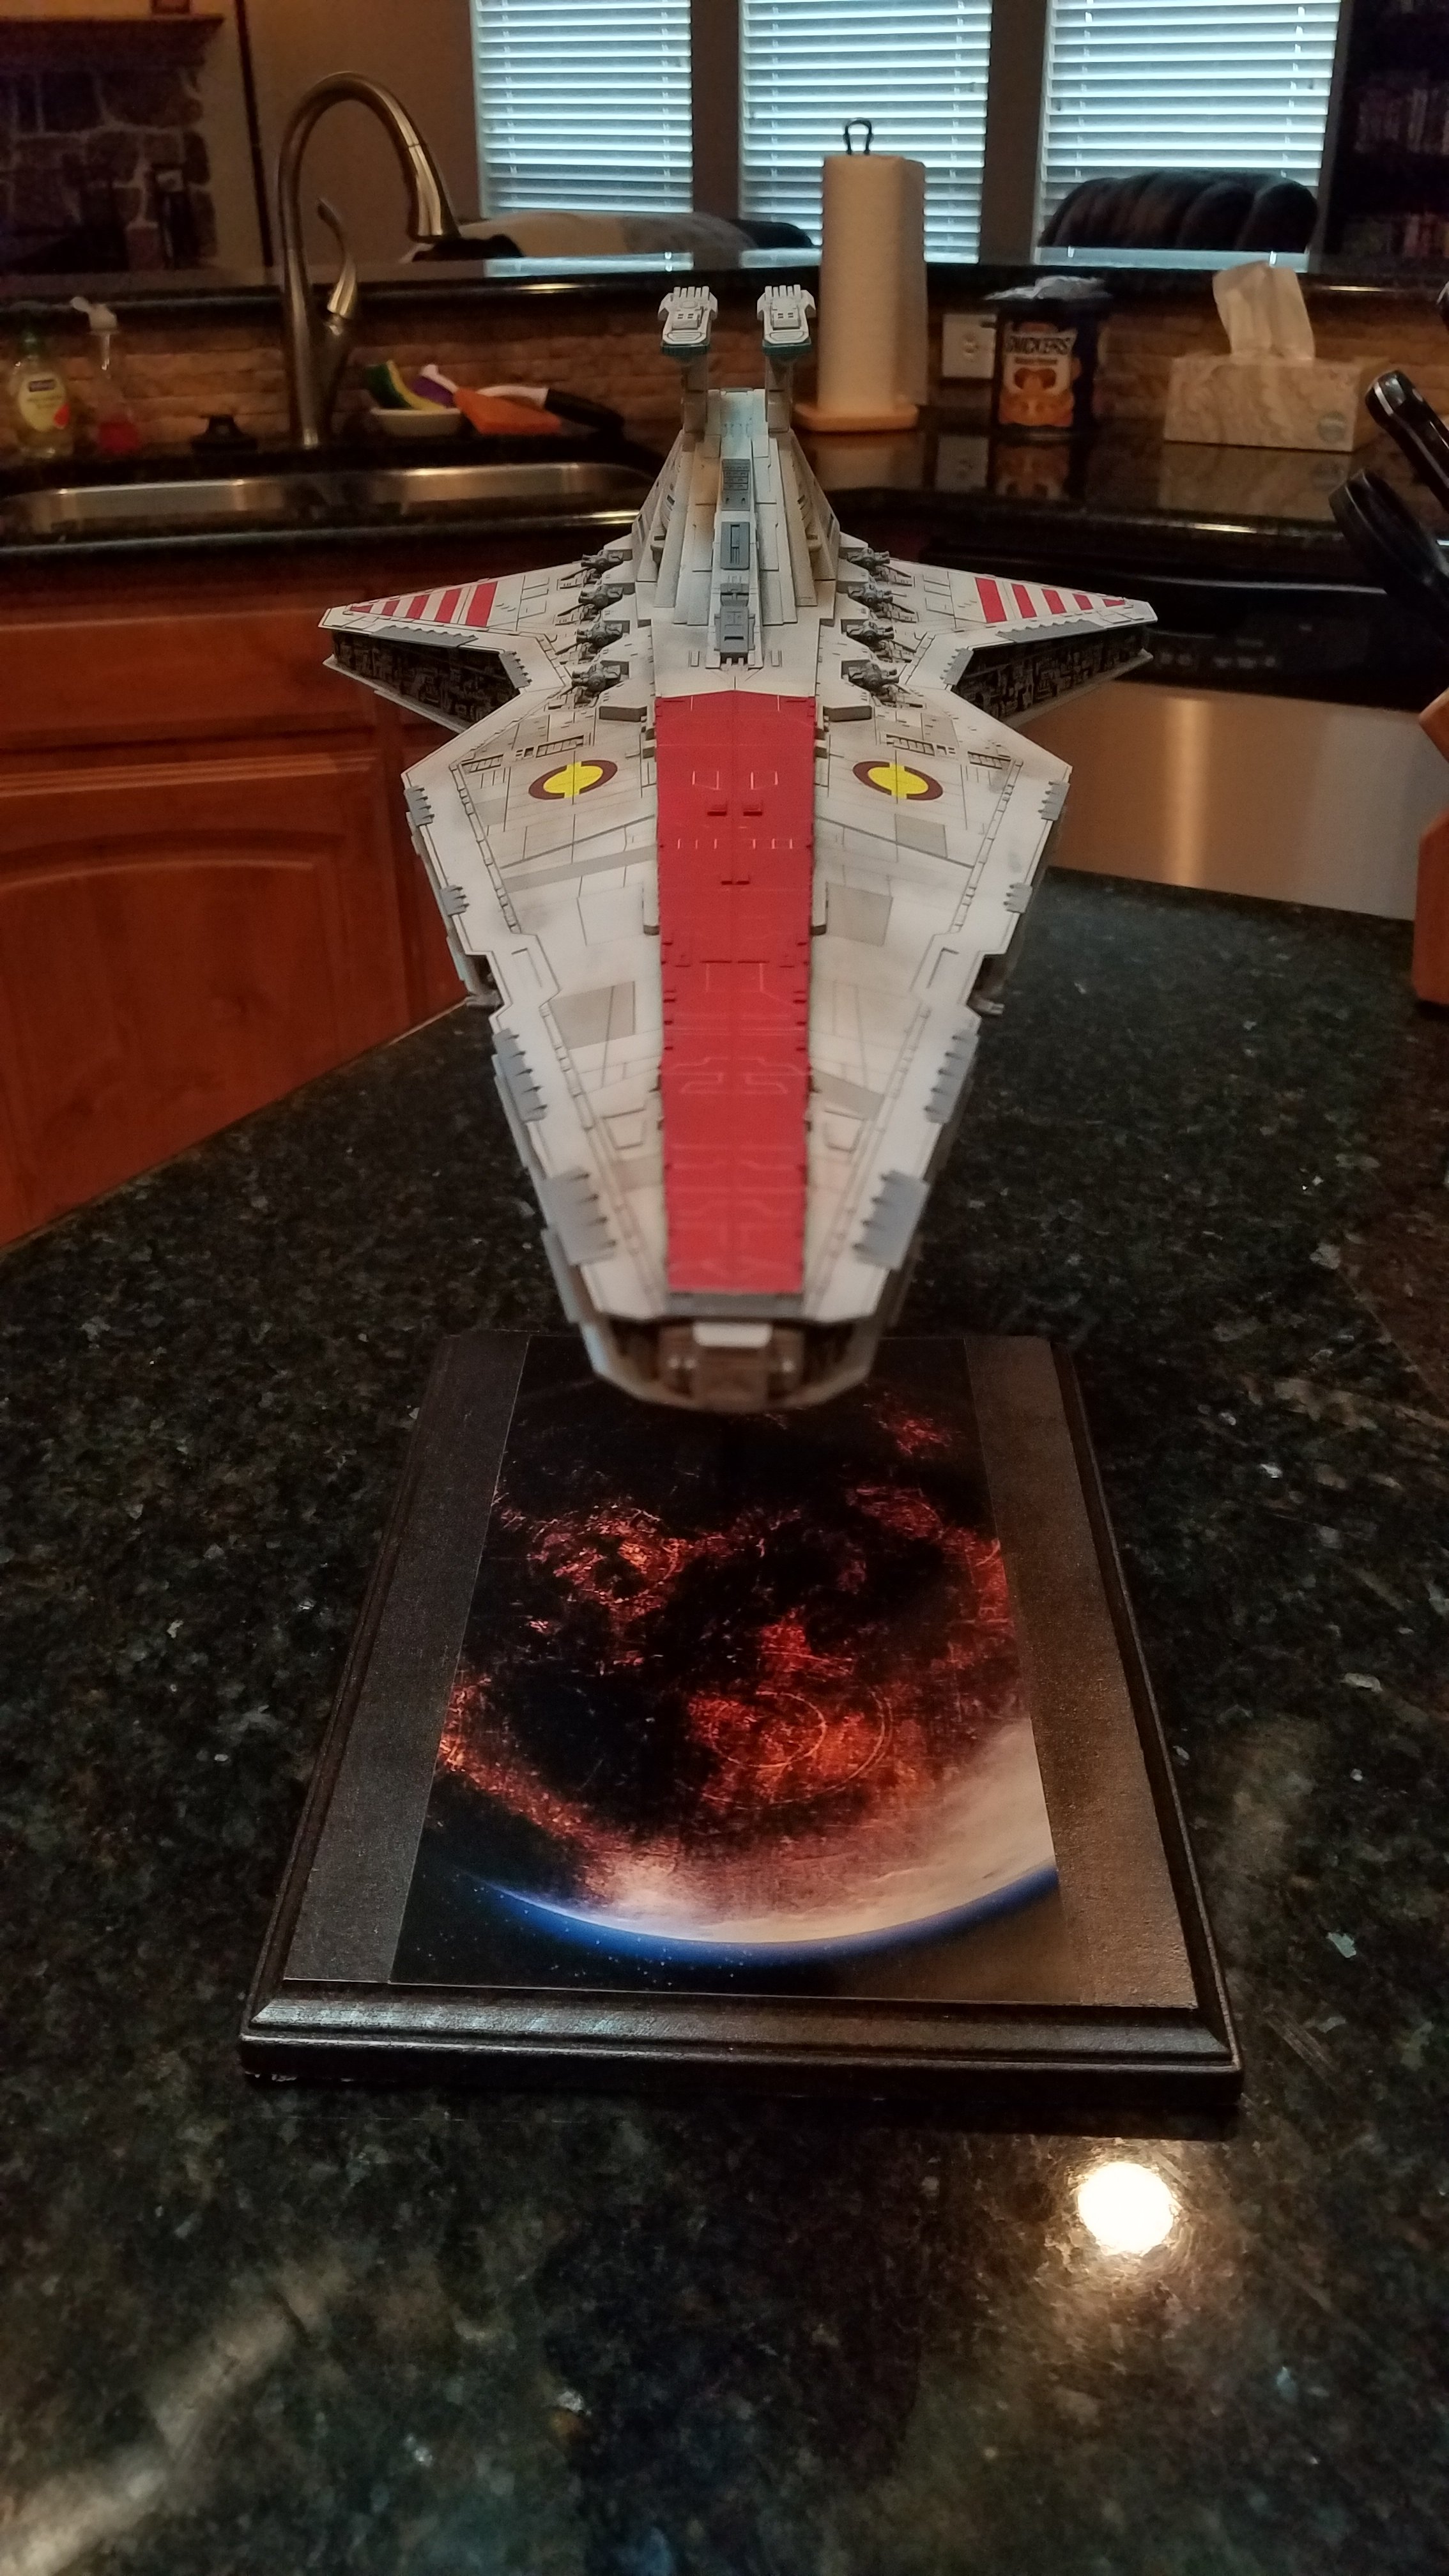
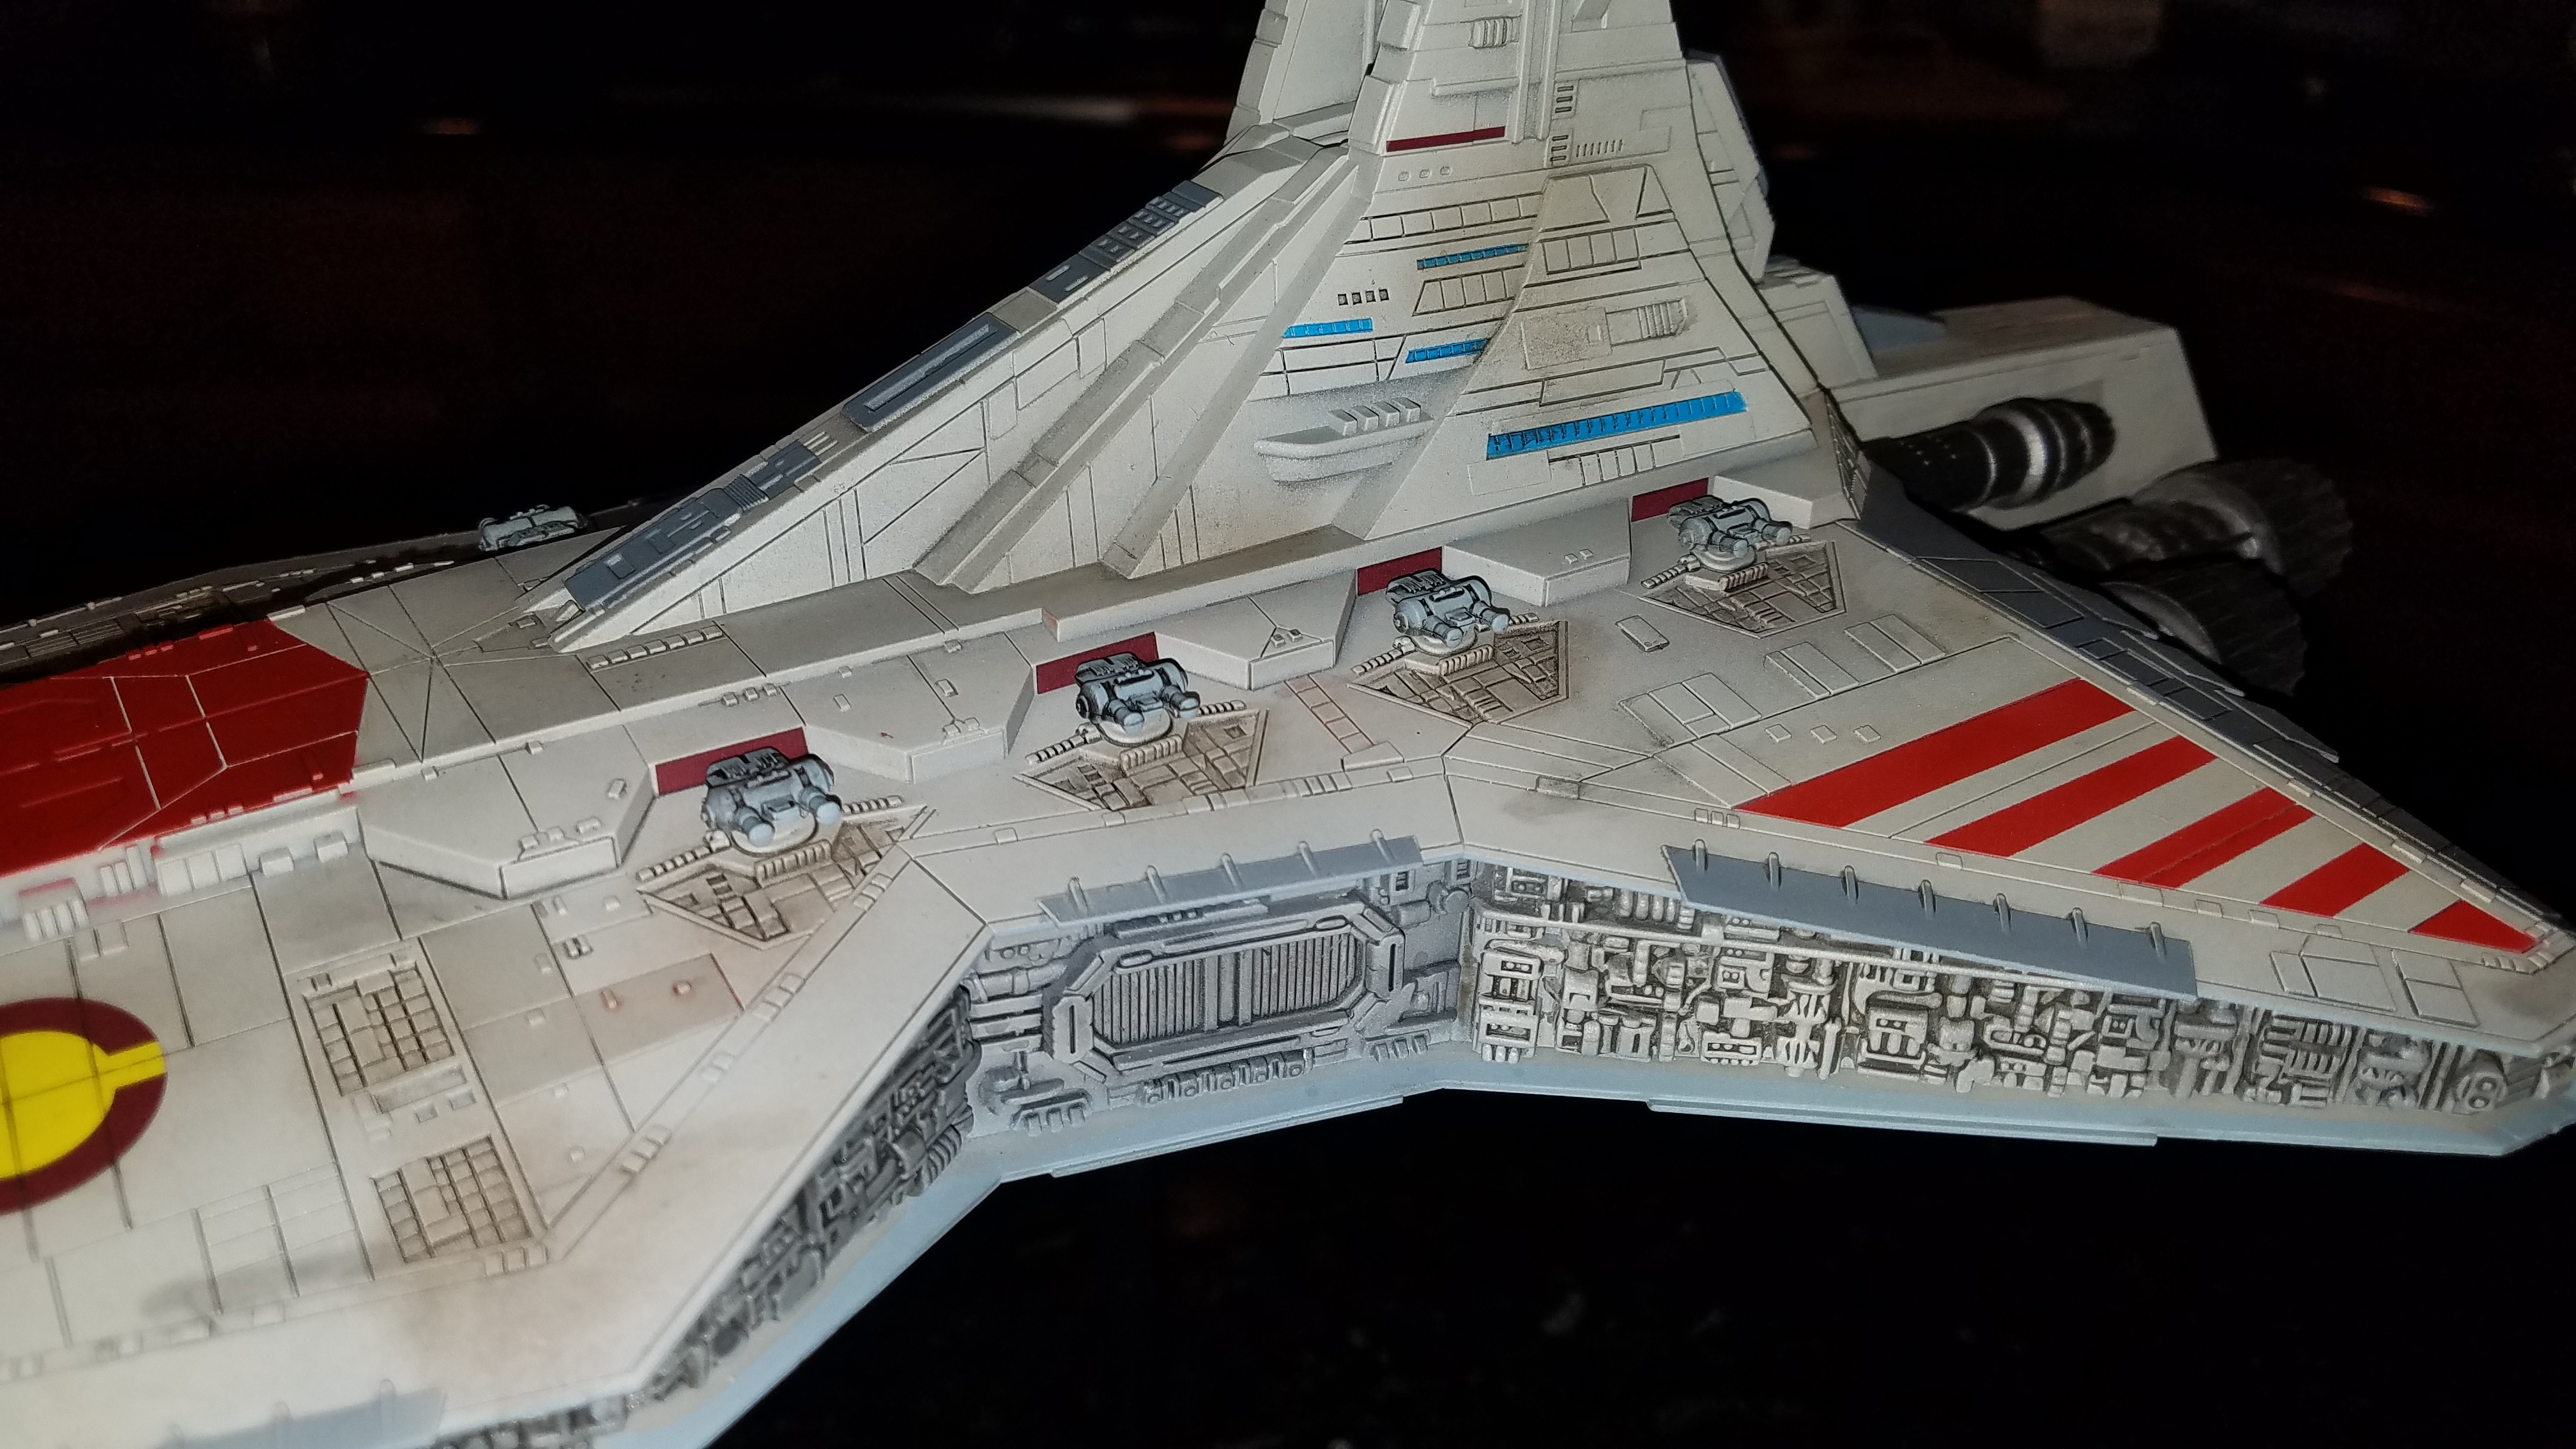
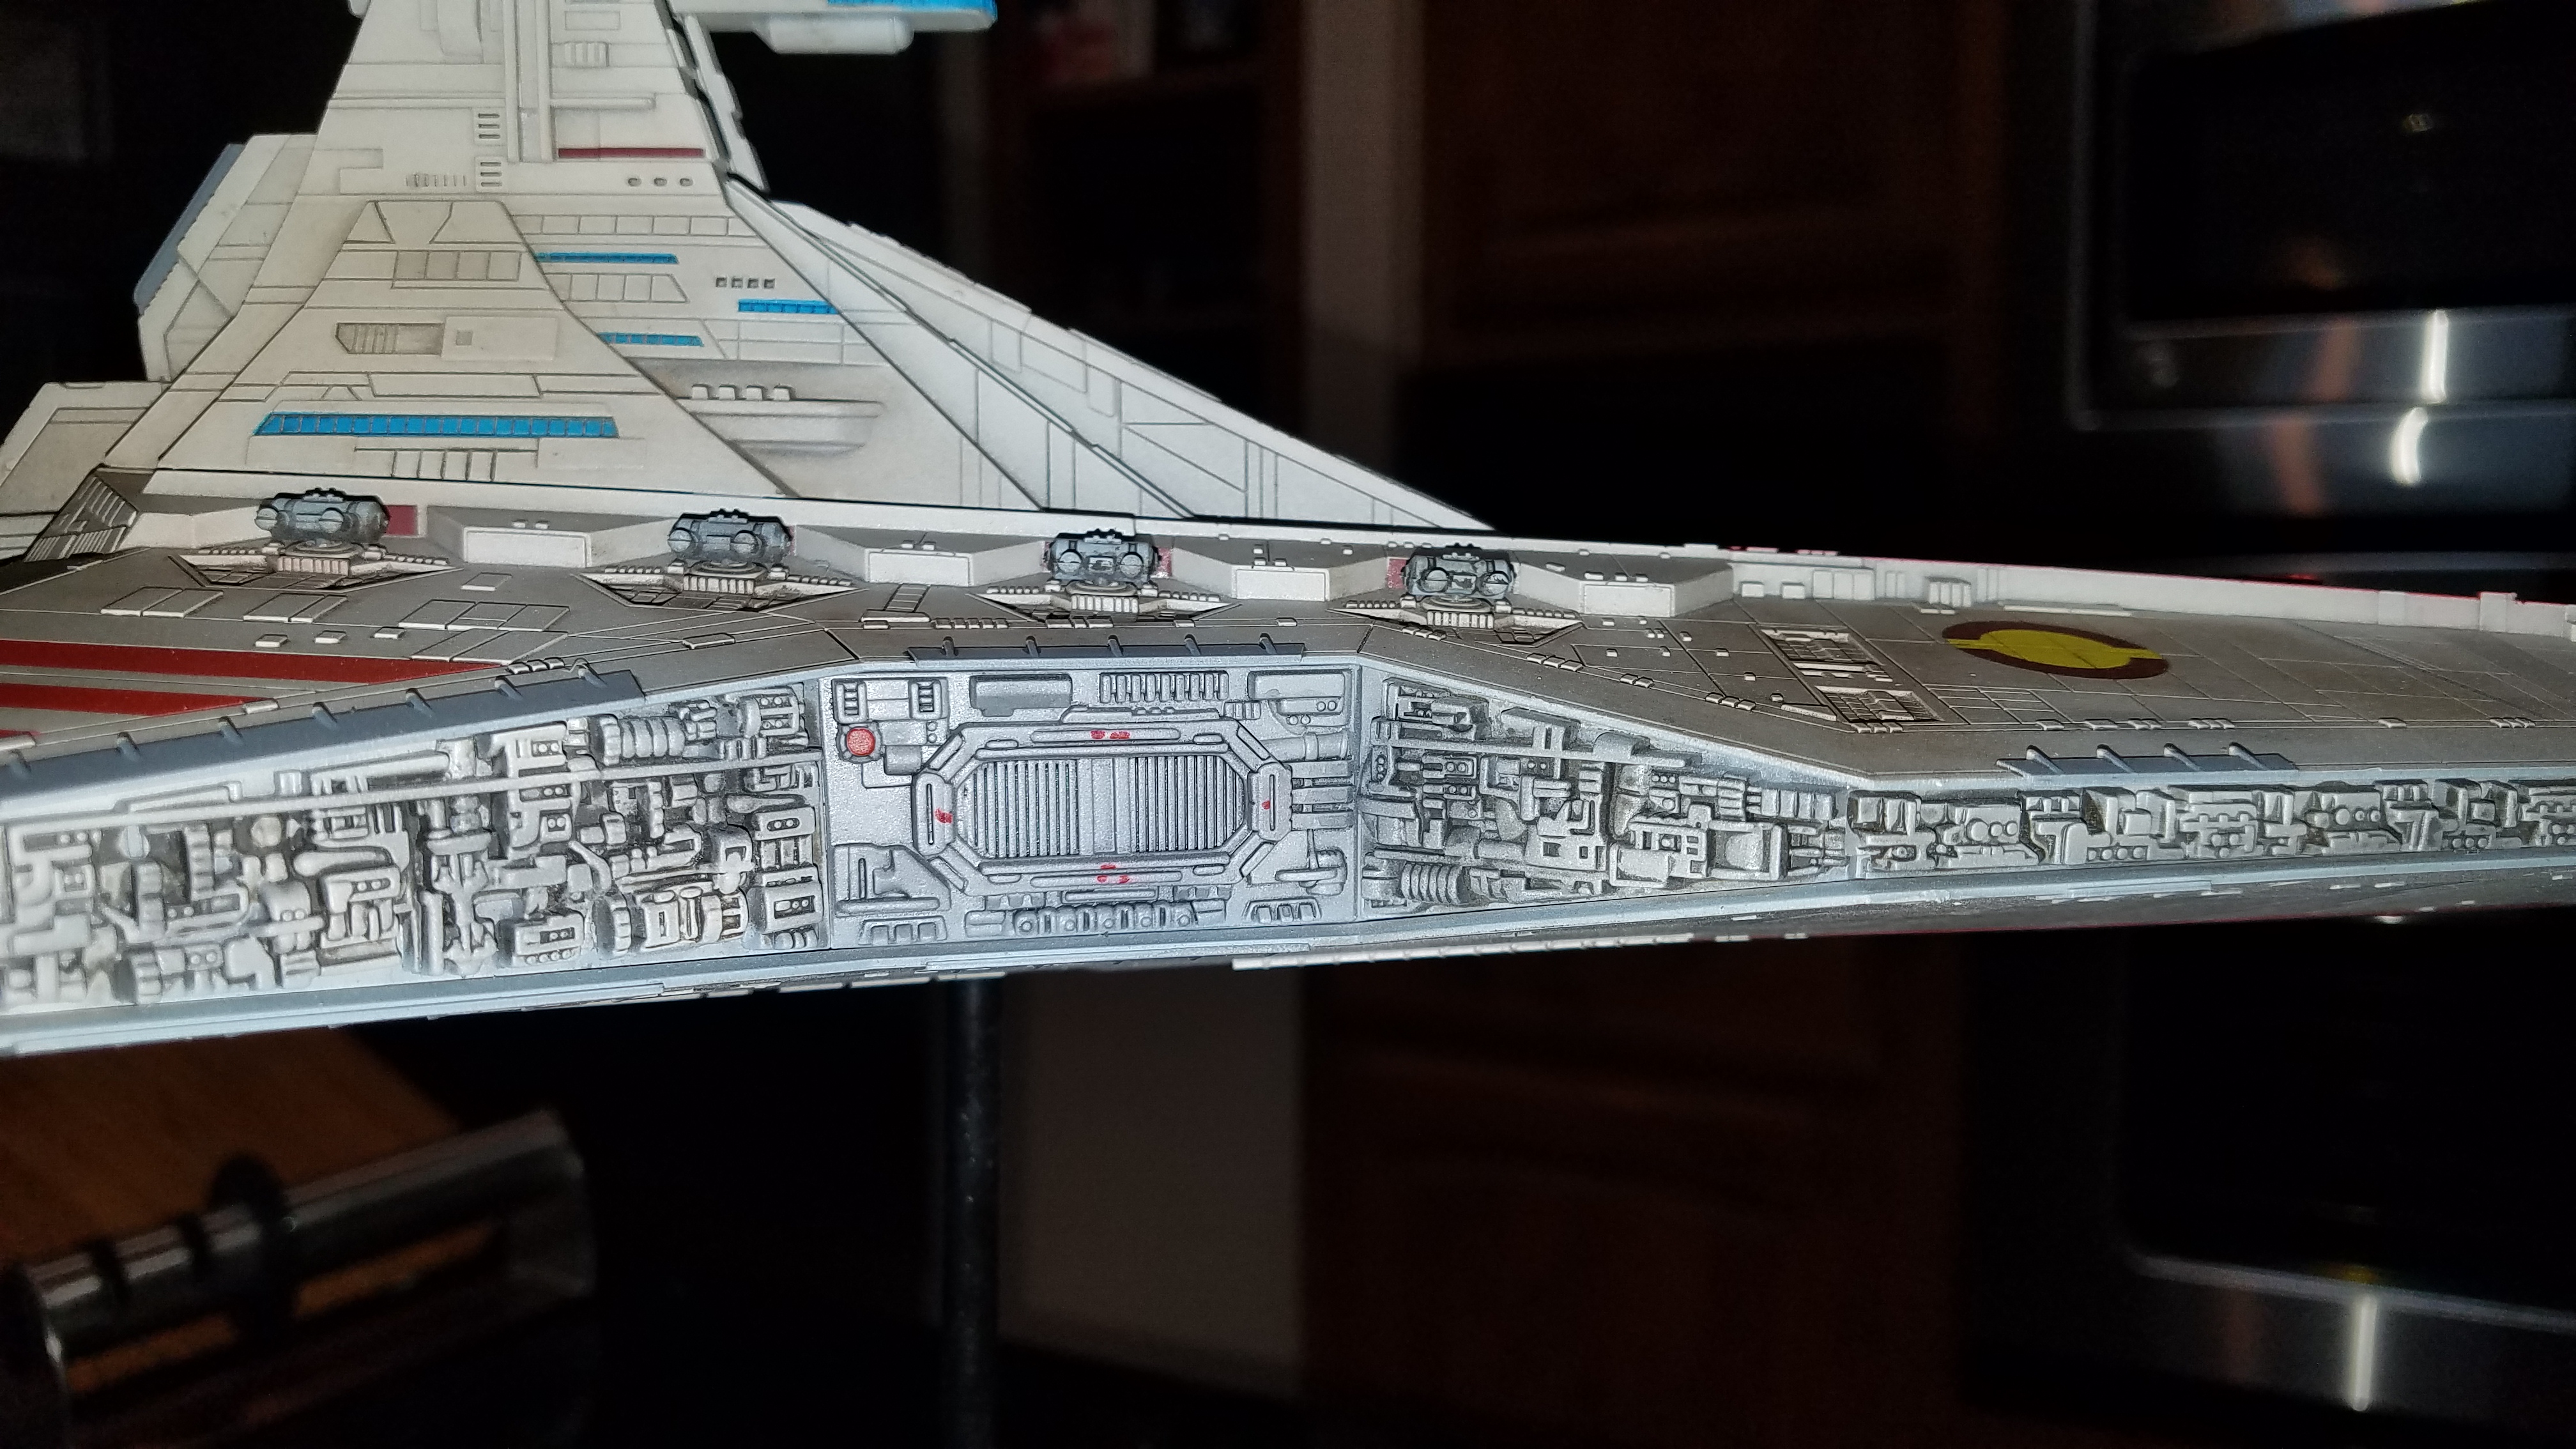
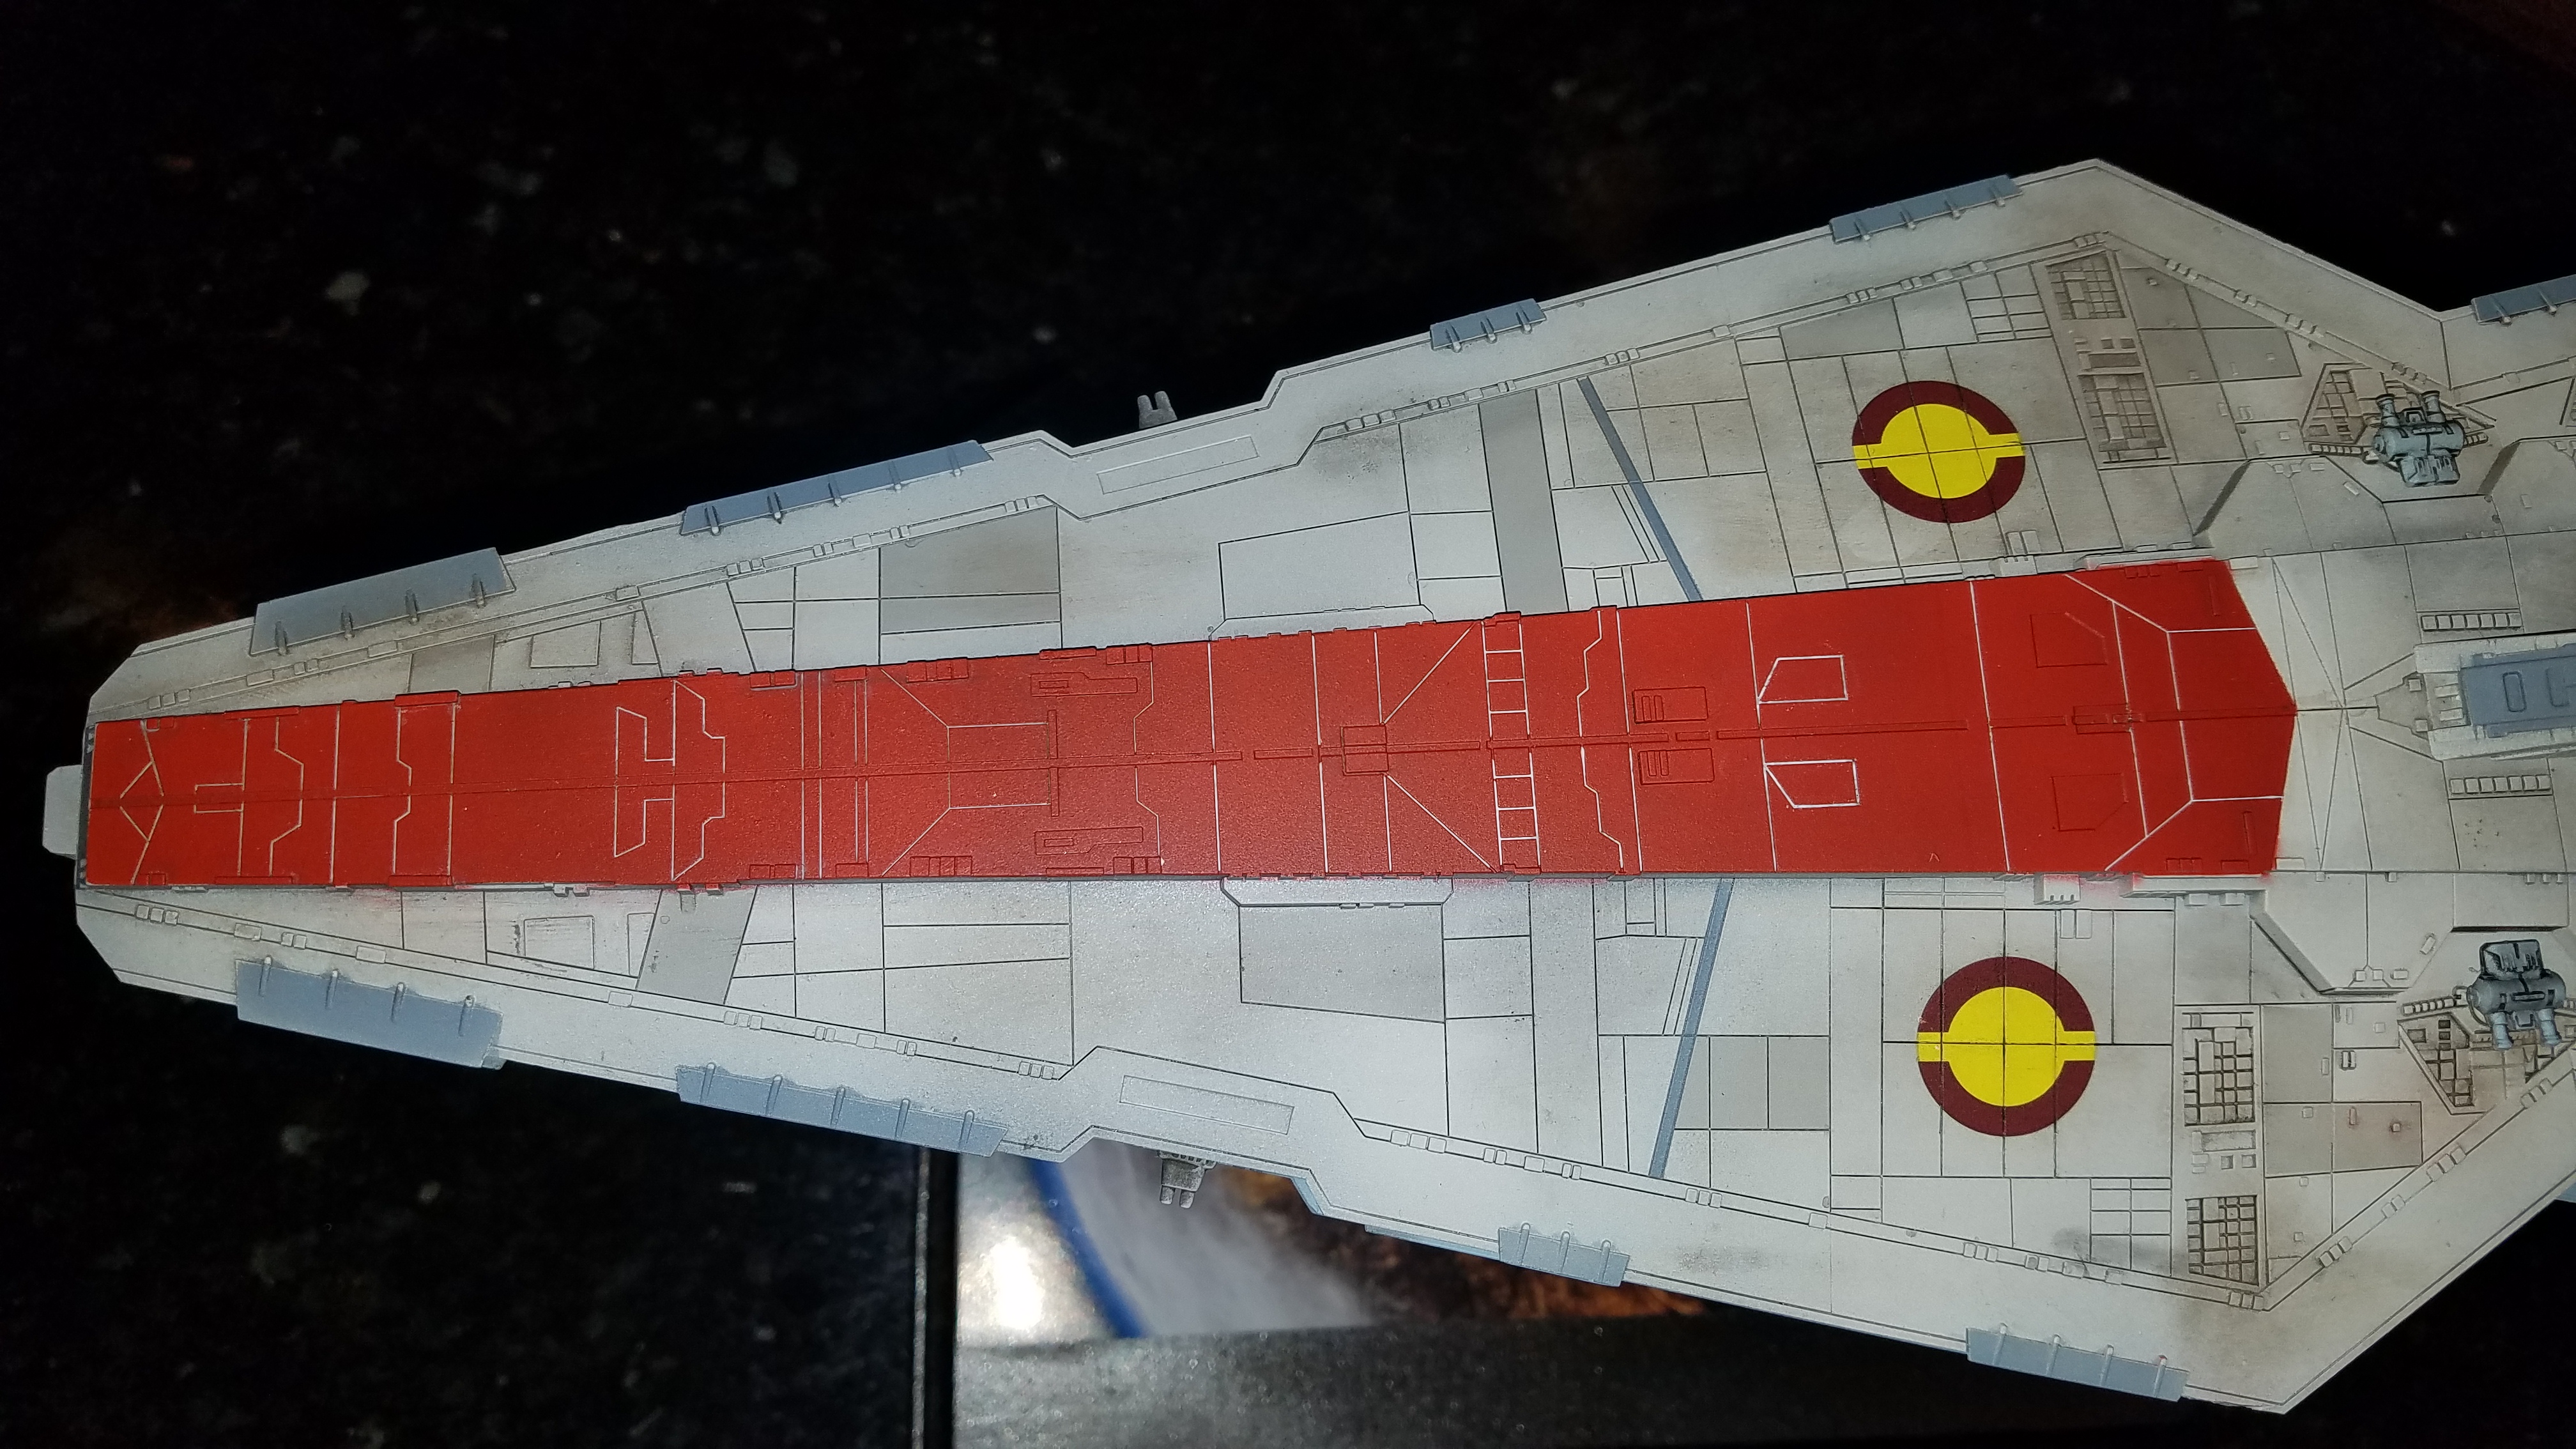
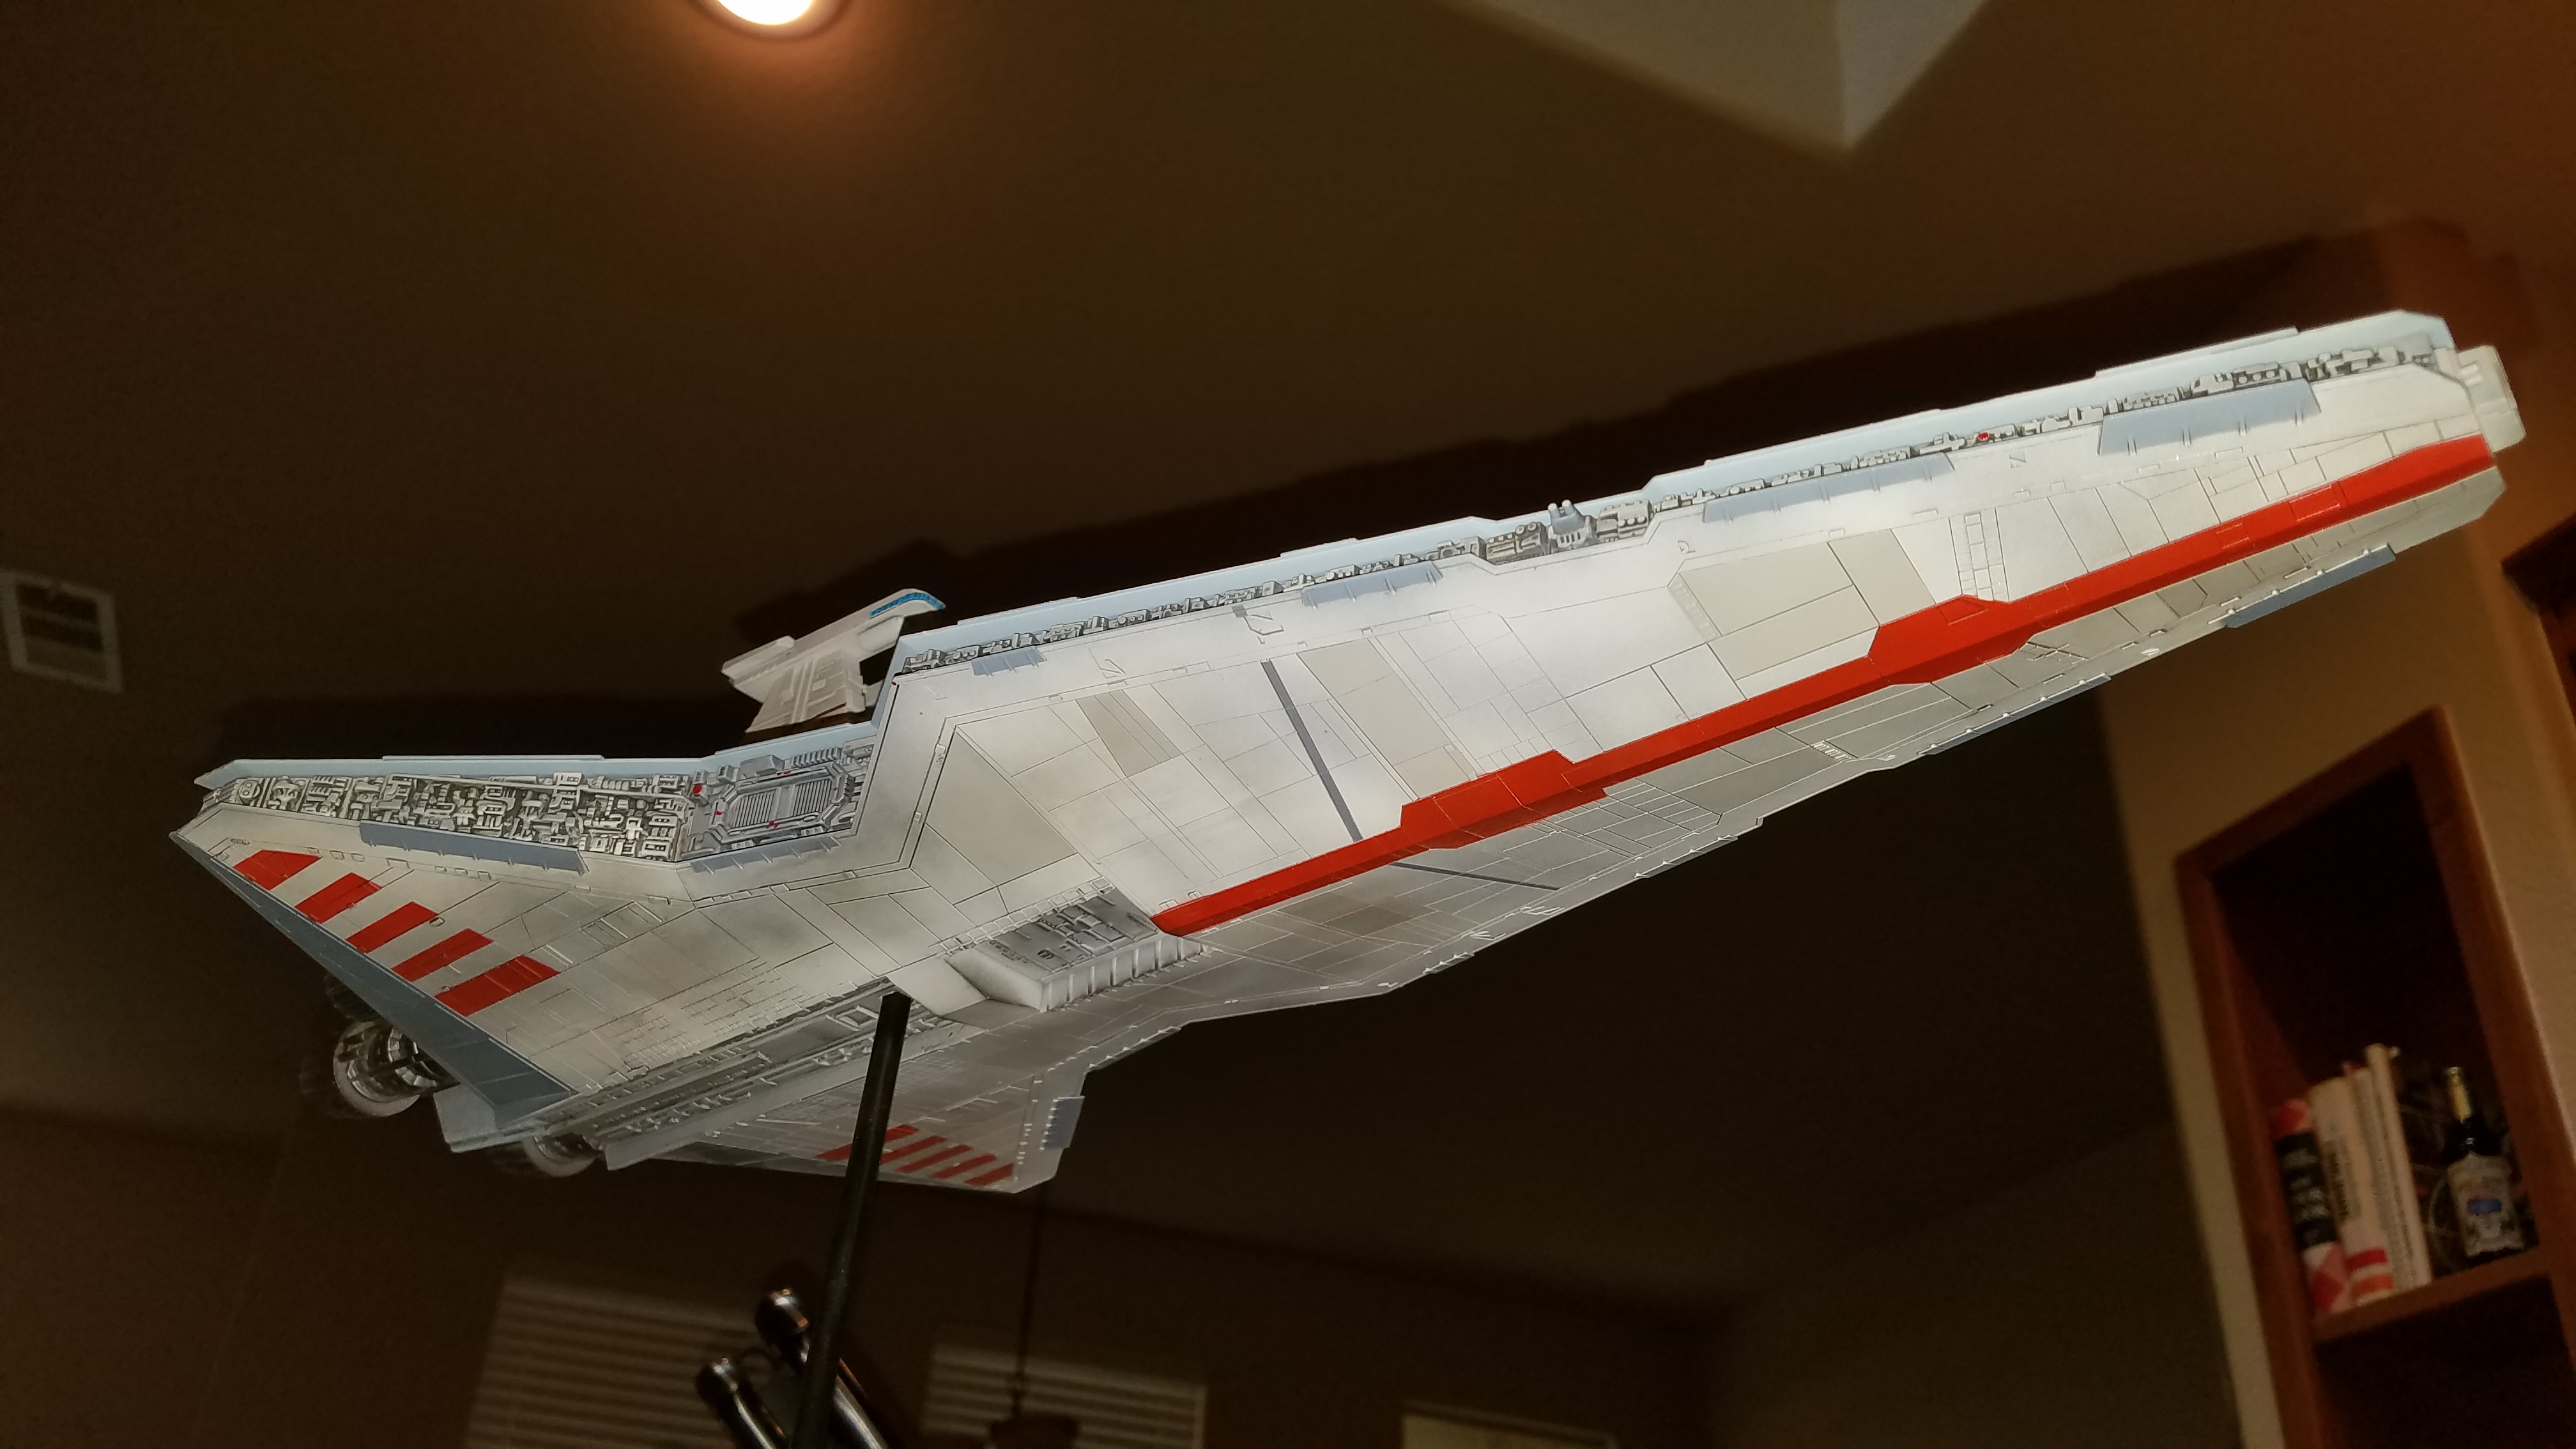
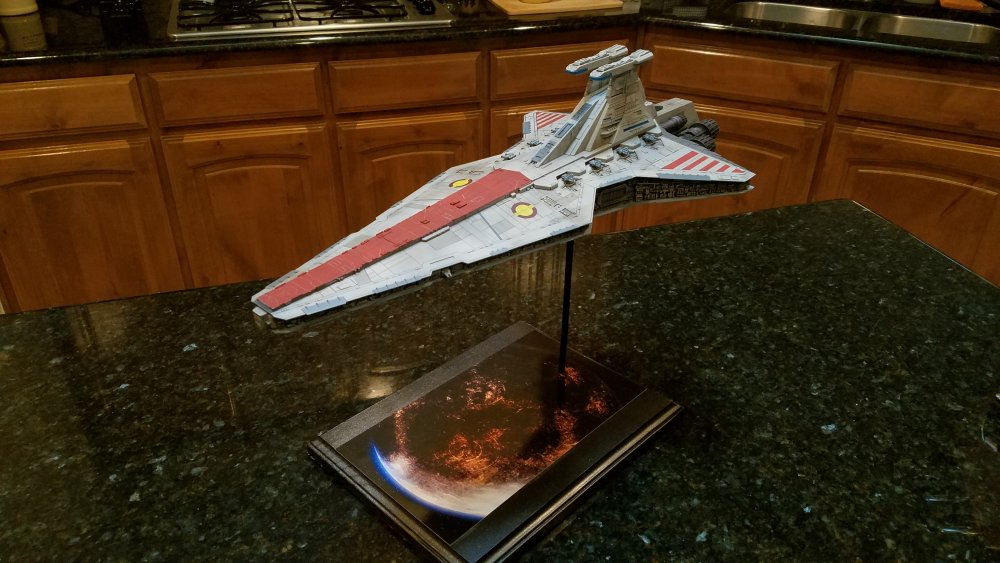
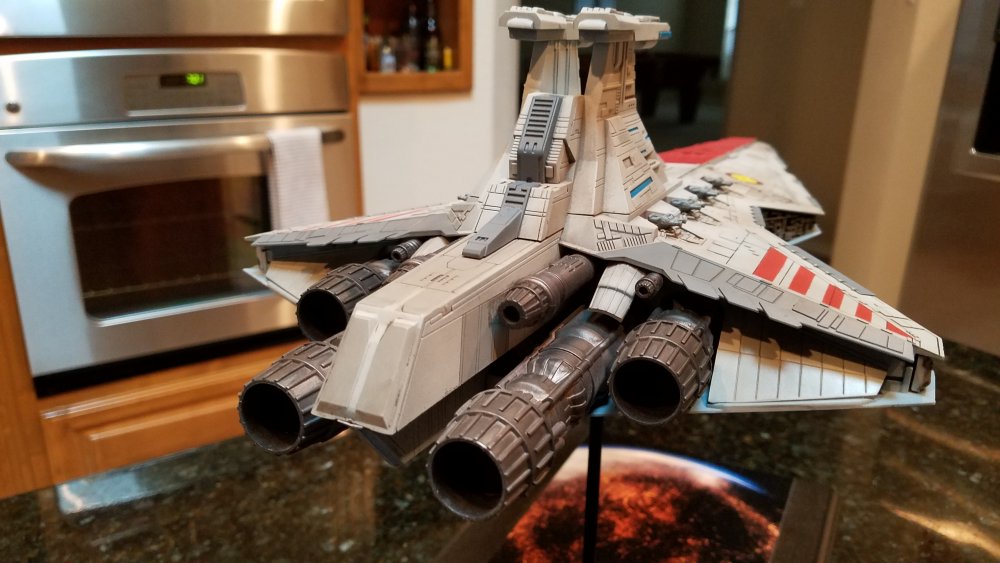
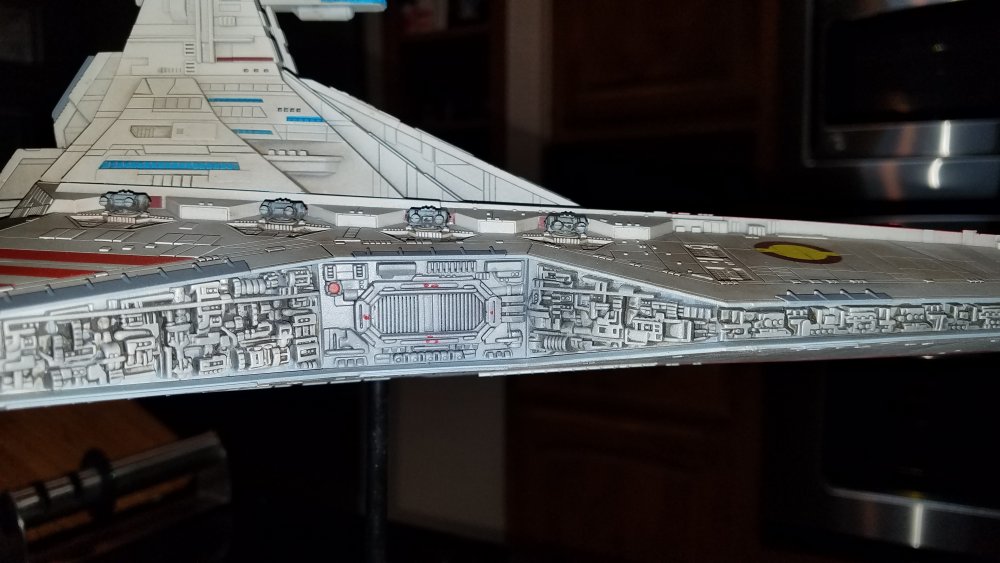
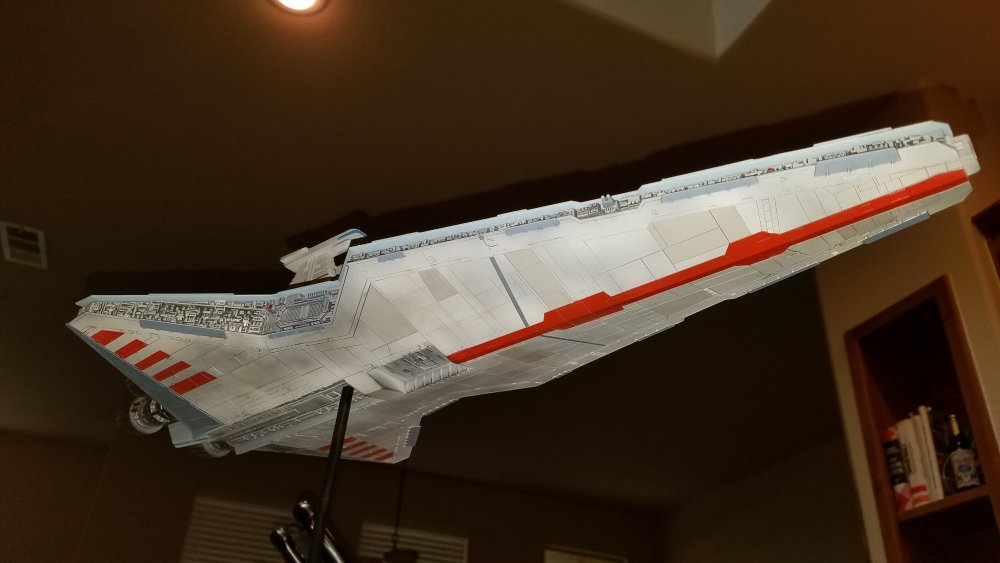
Revell 2005 Republic Star Destroyer finished, good kit really, no problems, fun and easy, lots of masking and weathering. Had fun practicing on this getting ready for the upcoming 1/500 Yamato project!


-
I just really wish the Lil Drakken's were a different color!
-
i eagerly await both of these good sir! So a year from now, when i do it again, i'll have a video to watch! Edit... and also so my new wife will not look at me very strangely when I'm screaming at a piece of plastic on the kitchen table a year or so from now ....
-
I was always a fan of the 27s,.... I thought it was really wicked looking. Although it didn't help that it was only ever in pink and green
-
yes, Florys Dark Dirt. Just traced the lines with a small paint brush and let dry for a few minutes, then lightly wipe away excess with a mildly moist finger or a make up wedge works great as well. Just one lick, and you're good...LOL
-
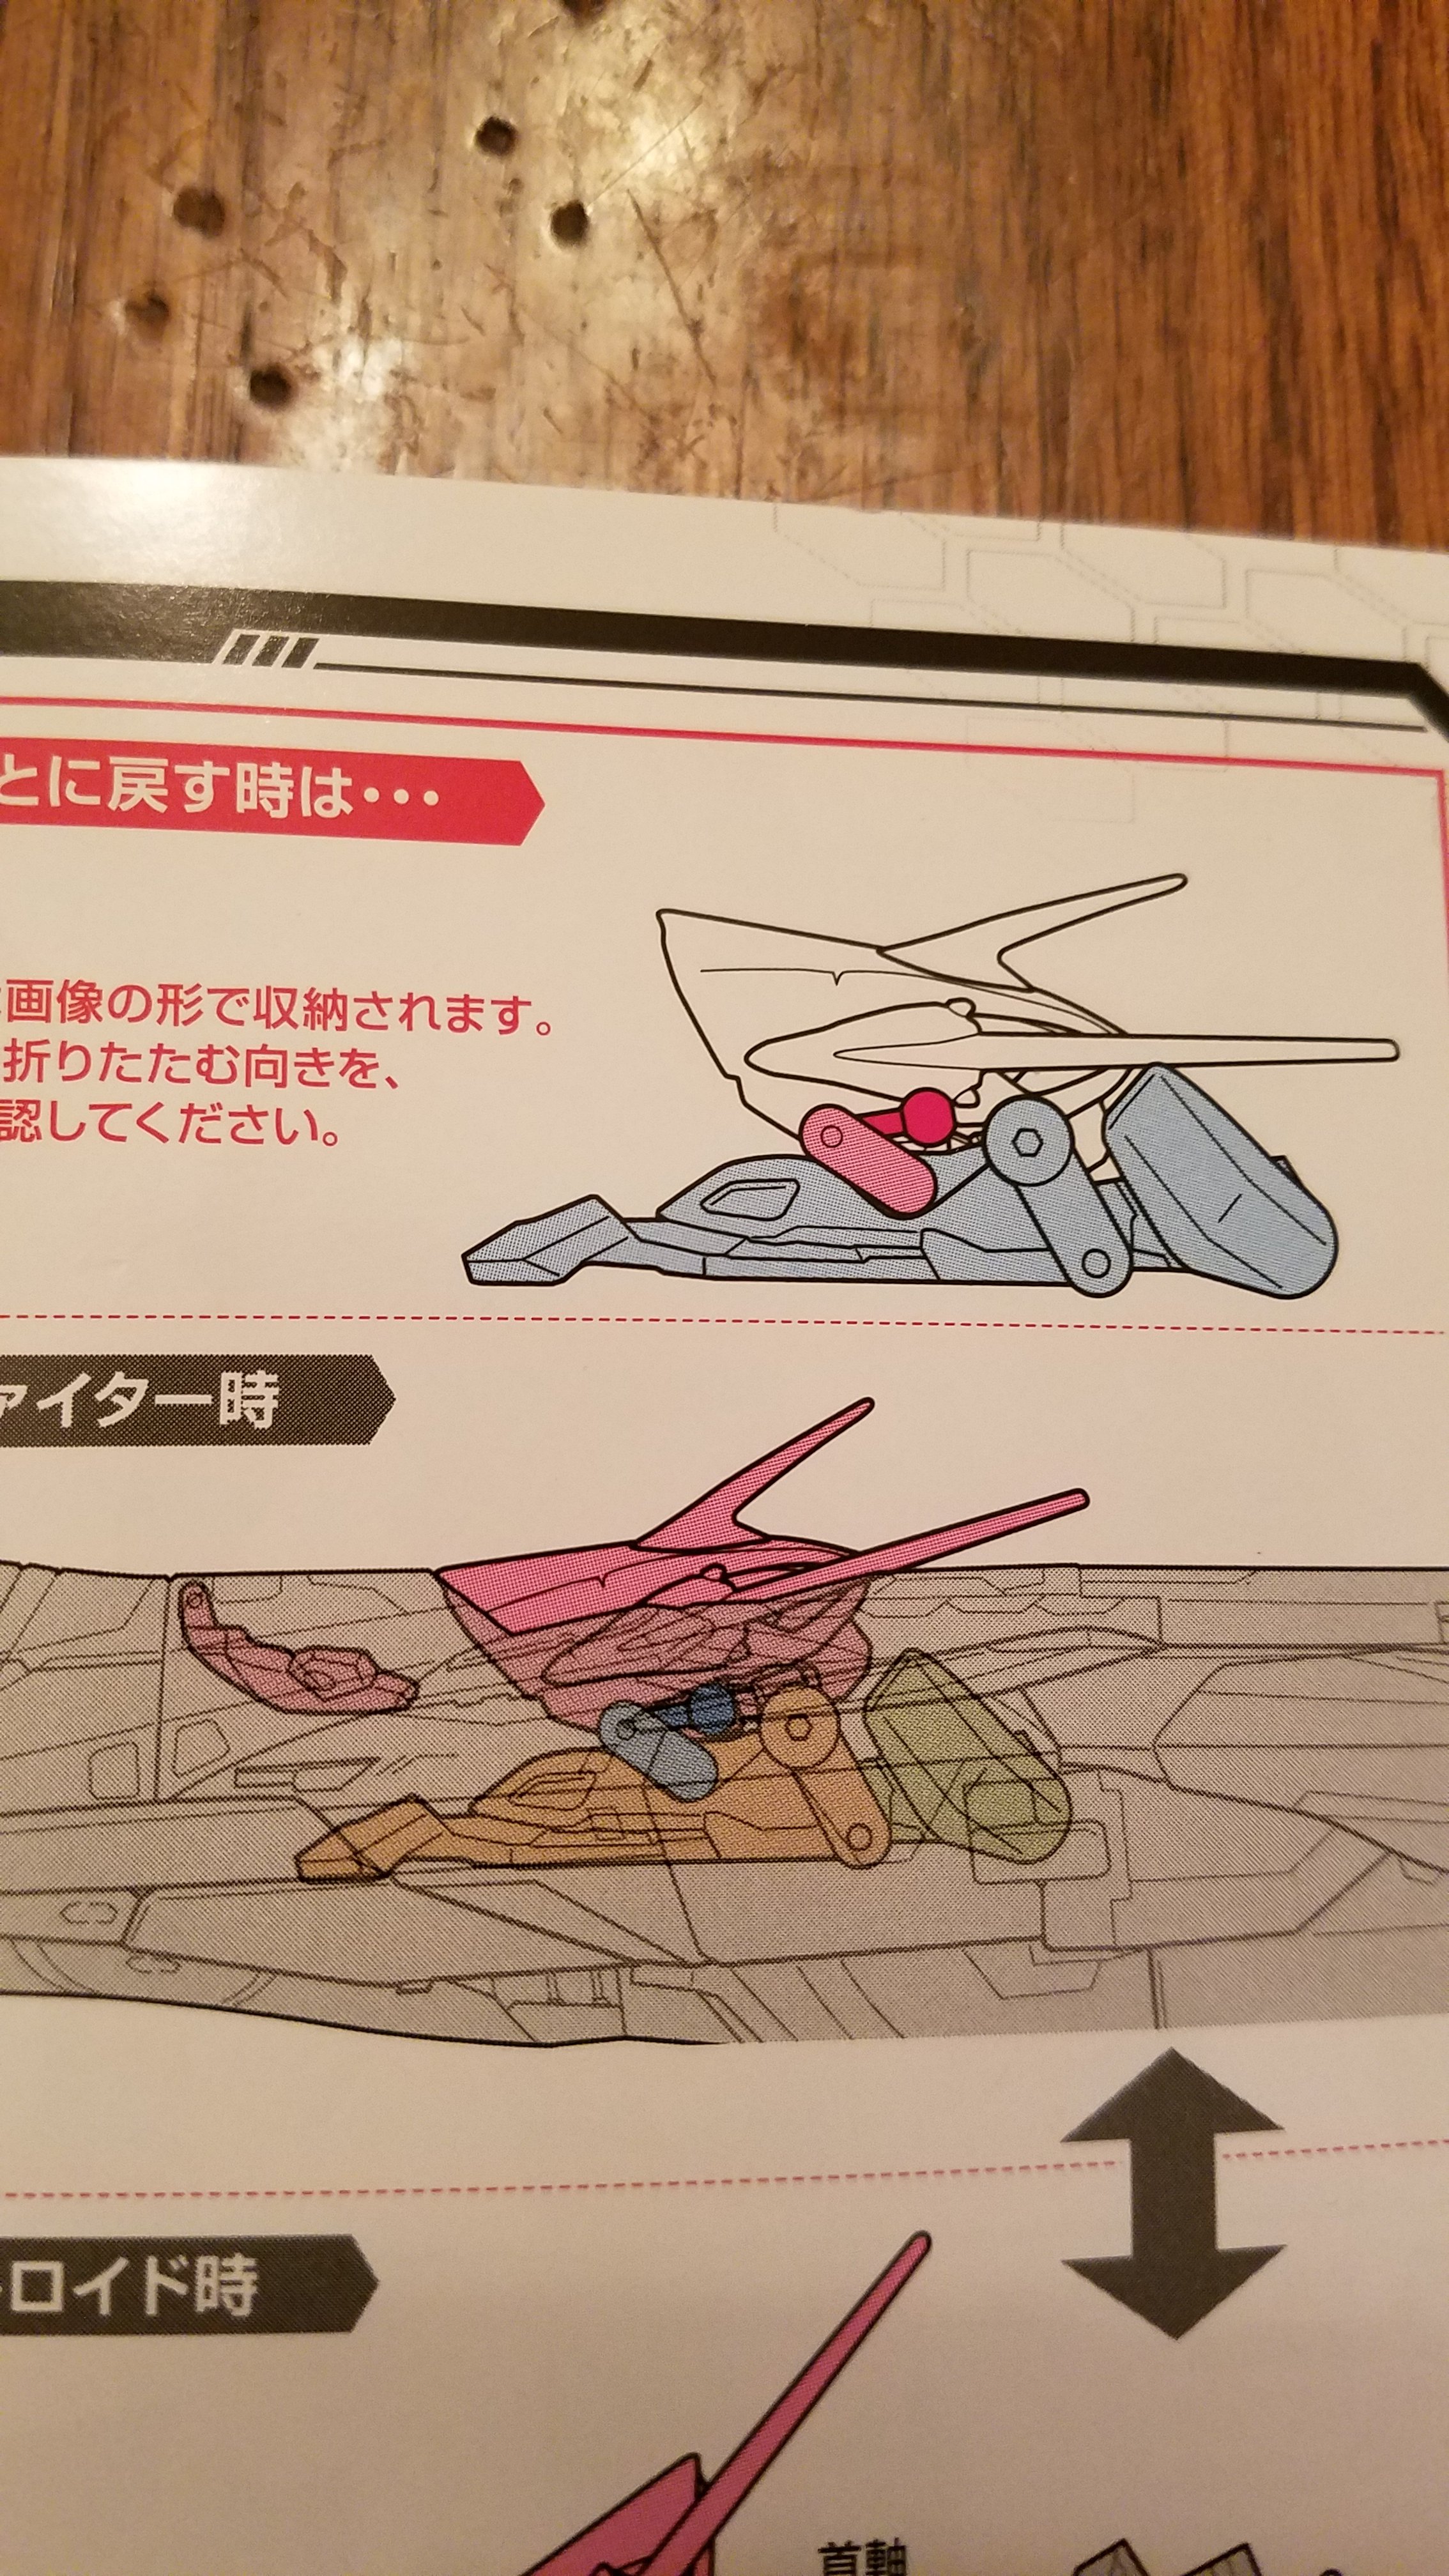
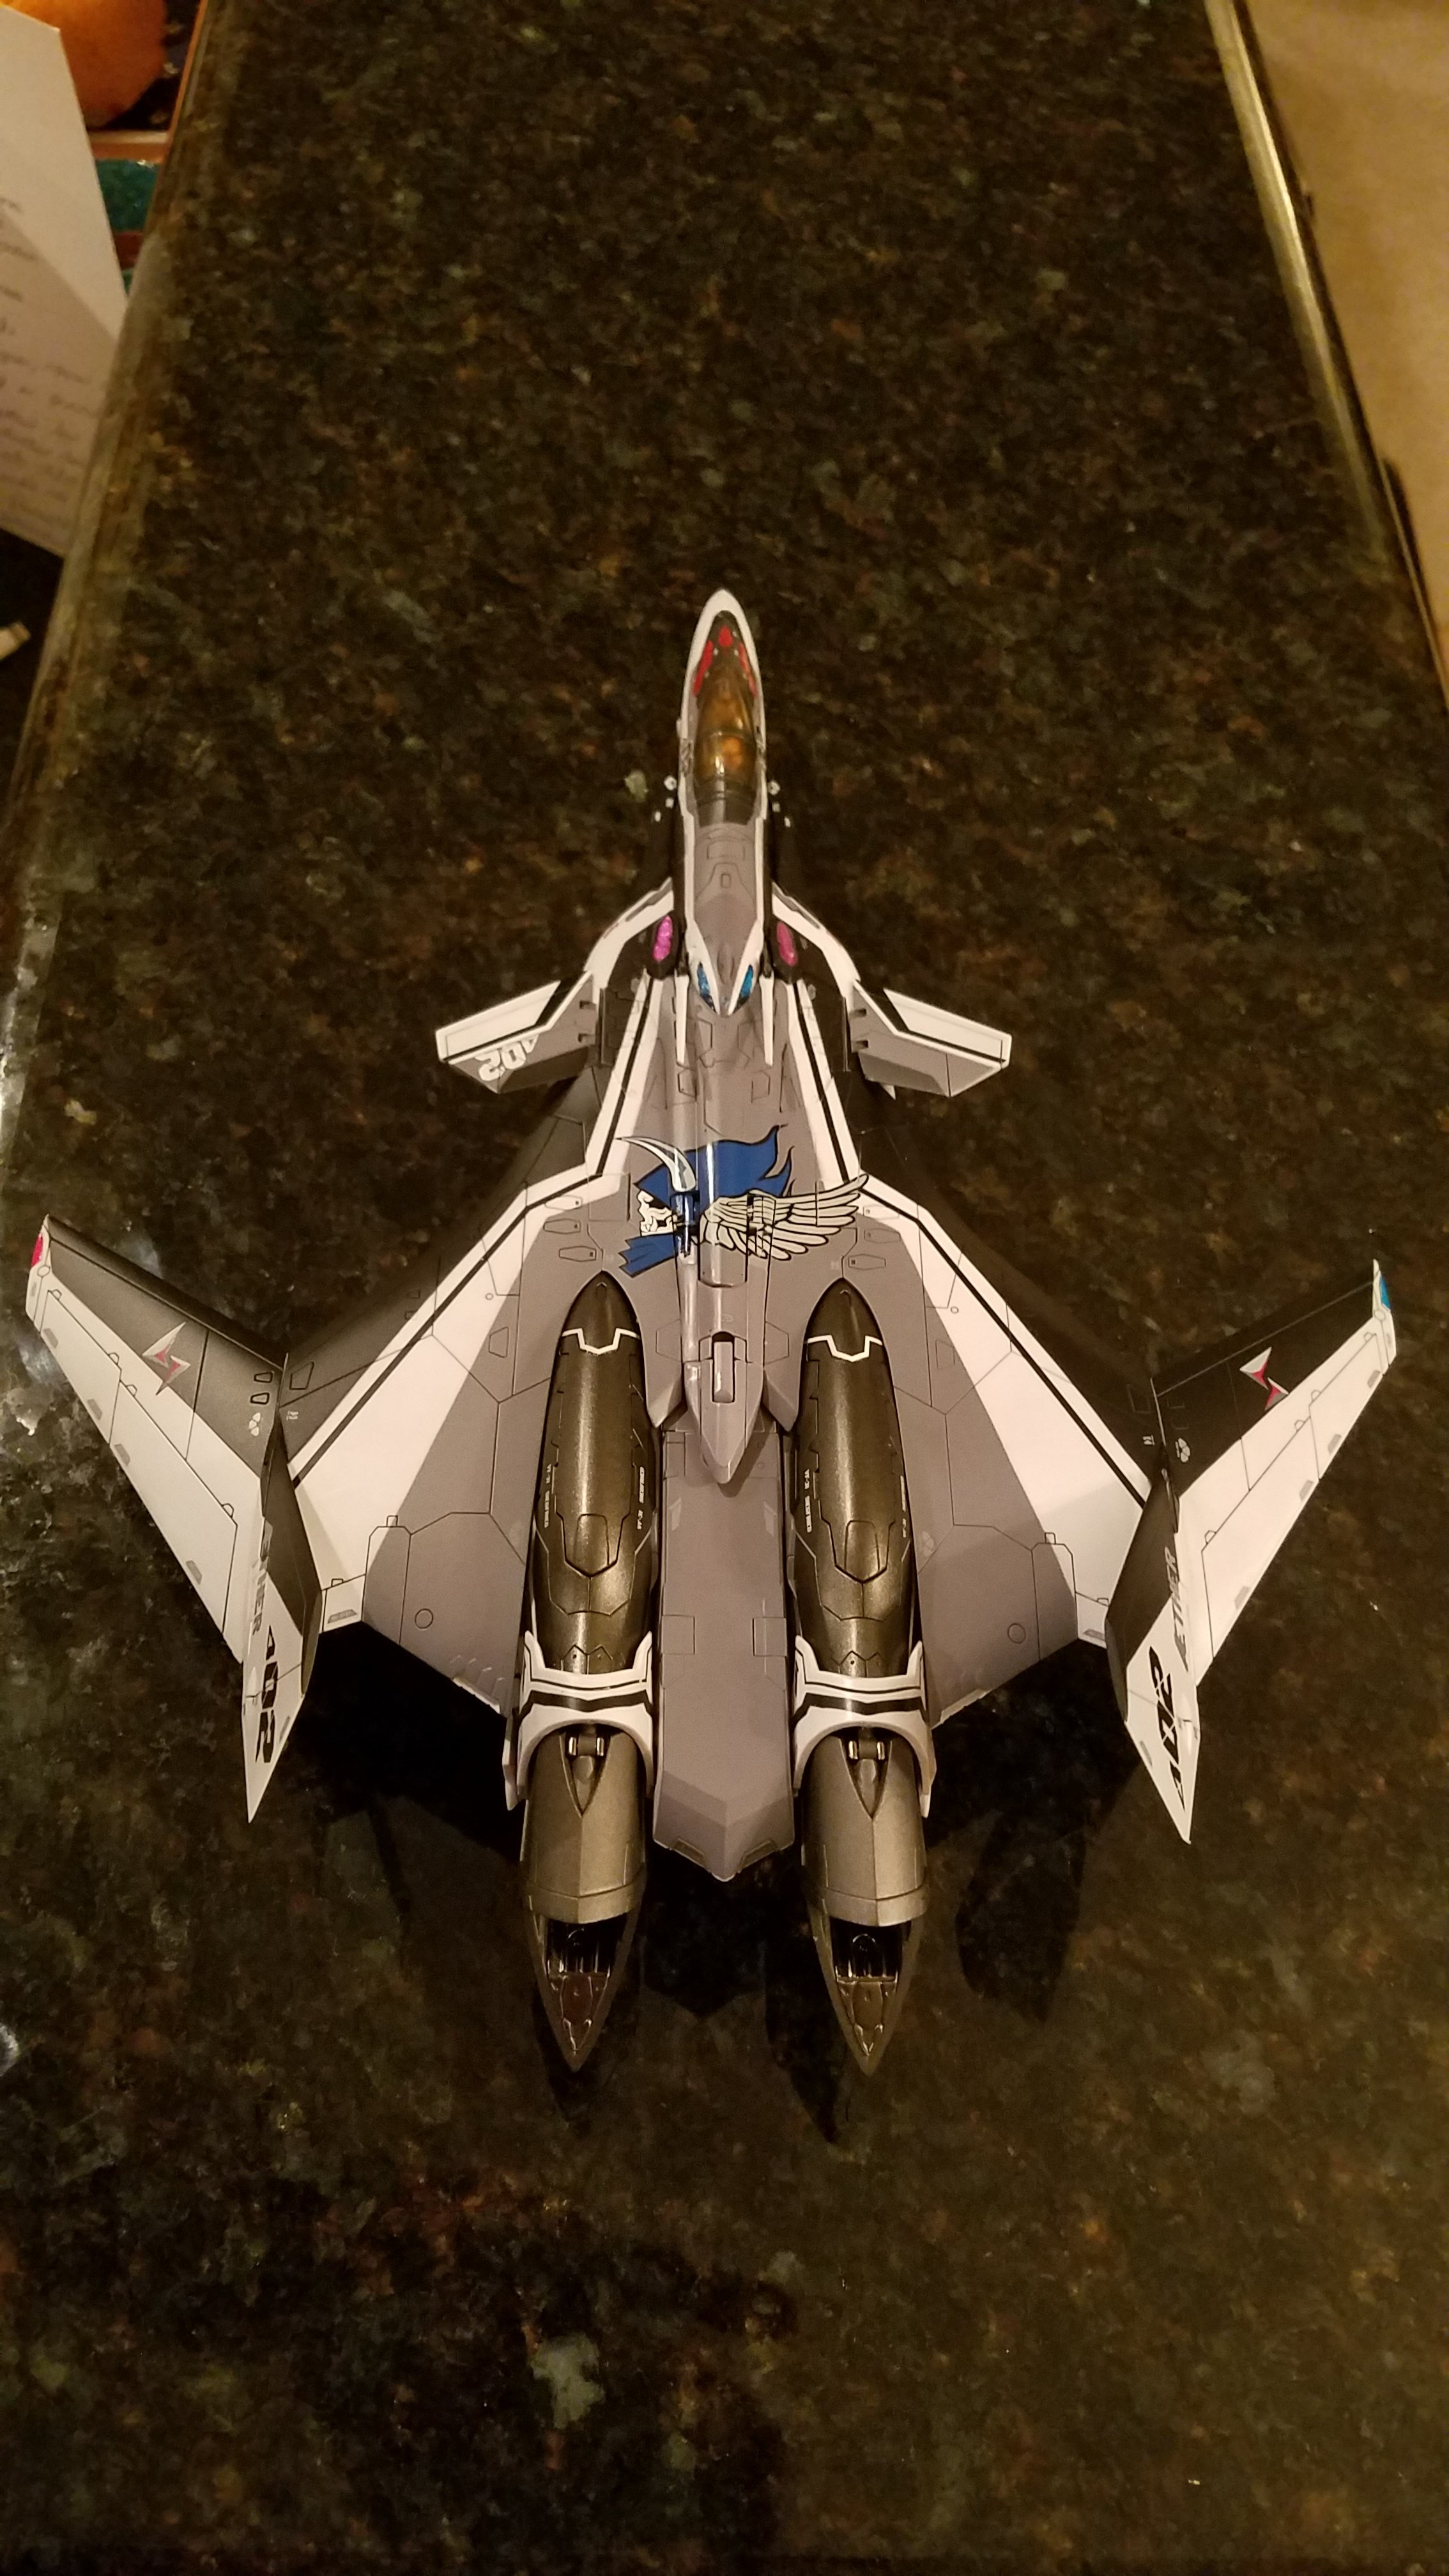
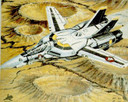
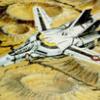
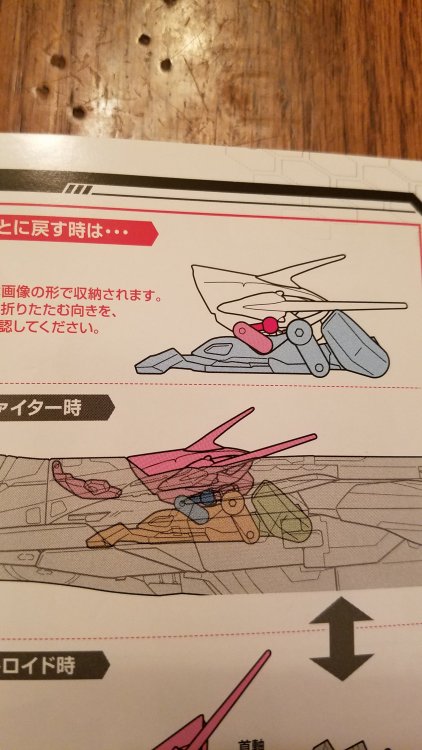
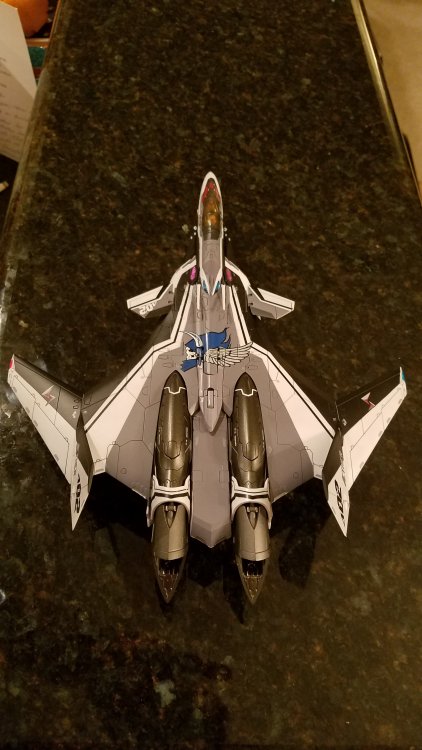
ok... finally.. jeebus.... that was a little rough first time back, anyways, page 15 of the manual, top right hand diagram that shows the neck and head collapsed.. HIGHLY recommend you study that picture, it helps. Props to Bandai for a decent color instruction manual. And a couple of shots of fighter mode, with panel lines done.. goodnight all!

-
has anyone done a video of putting this thing back to fighter mode from battroid because I swear to God I'm about to throw it against the wall extremely hard.I thought this was supposed to be an easy Valk, hell I don't have this much trouble with the damn Drakken Edit...my problem is getting the head neck parts to lay flat....
-
Your most recent Macross or toy purchase! General thread.
derex3592 replied to Gakken85's topic in Hall Of The Super Topics
Nice! Can't imagine that one was very easy to track down! -
STAR WARS Merchandise Episode - 2
derex3592 replied to Black Valkyrie's topic in Anime or Science Fiction
OMG THIS!!!! I WANT freakin windows in my Star Wars cockpits!!They look so STUPID without anything in there! I'm NOT filming a f*cking movie Bandai!!! I am sick of cutting tiny clear plastic bits to glue in! FineMolds 1:48 Tie had it right! Snap in clear part behind the frame! DONE! At least they did it for the A-Wing kit. -
The Transformers Thread (licensed) Next
derex3592 replied to mikeszekely's topic in Anime or Science Fiction
Still haven't tried it...maybe next year sometime...