

Urashiman
-
Posts
630 -
Joined
-
Last visited
Content Type
Profiles
Forums
Events
Gallery
Everything posted by Urashiman
-
@Raikkonen here, have all the runners and a dry build


-
Good I purchased two…

-

Advice wanted on building a Hasegawa VF-1 Fighter kit
Urashiman replied to SteveTheFish's topic in Model kits
hey ... I actually follow you on youtube and watch your stuff. I think you are doing it like most people here. The VF-1 from hasegawa breaks down easily into build groups. I am doing one by one so you have: - The nose with canopy and cockpit - The main fuselage - Jet intakes - The "Backpack" - Jet engine bays (the legs) - wings and stabilizers - wheels and landing gear bay panels I usually do priming on the cockpit (partially build), the engine bays and the main fuselage first. Then painting. After that I will put together the different build groups one by one and sand them. Then priming again, checking for imperfections, sanding and priming again. Then the paint job, decals and sealing. done. After all of this, I am putting the groups together. Let me check if I have some pictures of old VF-1 builds... In the beginning of the above video, you have the pieces for the jet intake colored already and then glue them. I usually put that together in one go, safe for the fan, that will be added after painting. Edit: didn't find anything from mine yet, but just check rocketpunch.biz, he has a great build log there. https://www.rocketpunch.biz/wip-hasegawa-vf1a-1/ -
Ah.. that kit is awesome. I wish they did a 1/72 version. Most if not all YF-23 kits are based off of the dragon mold from 1991ish.
-
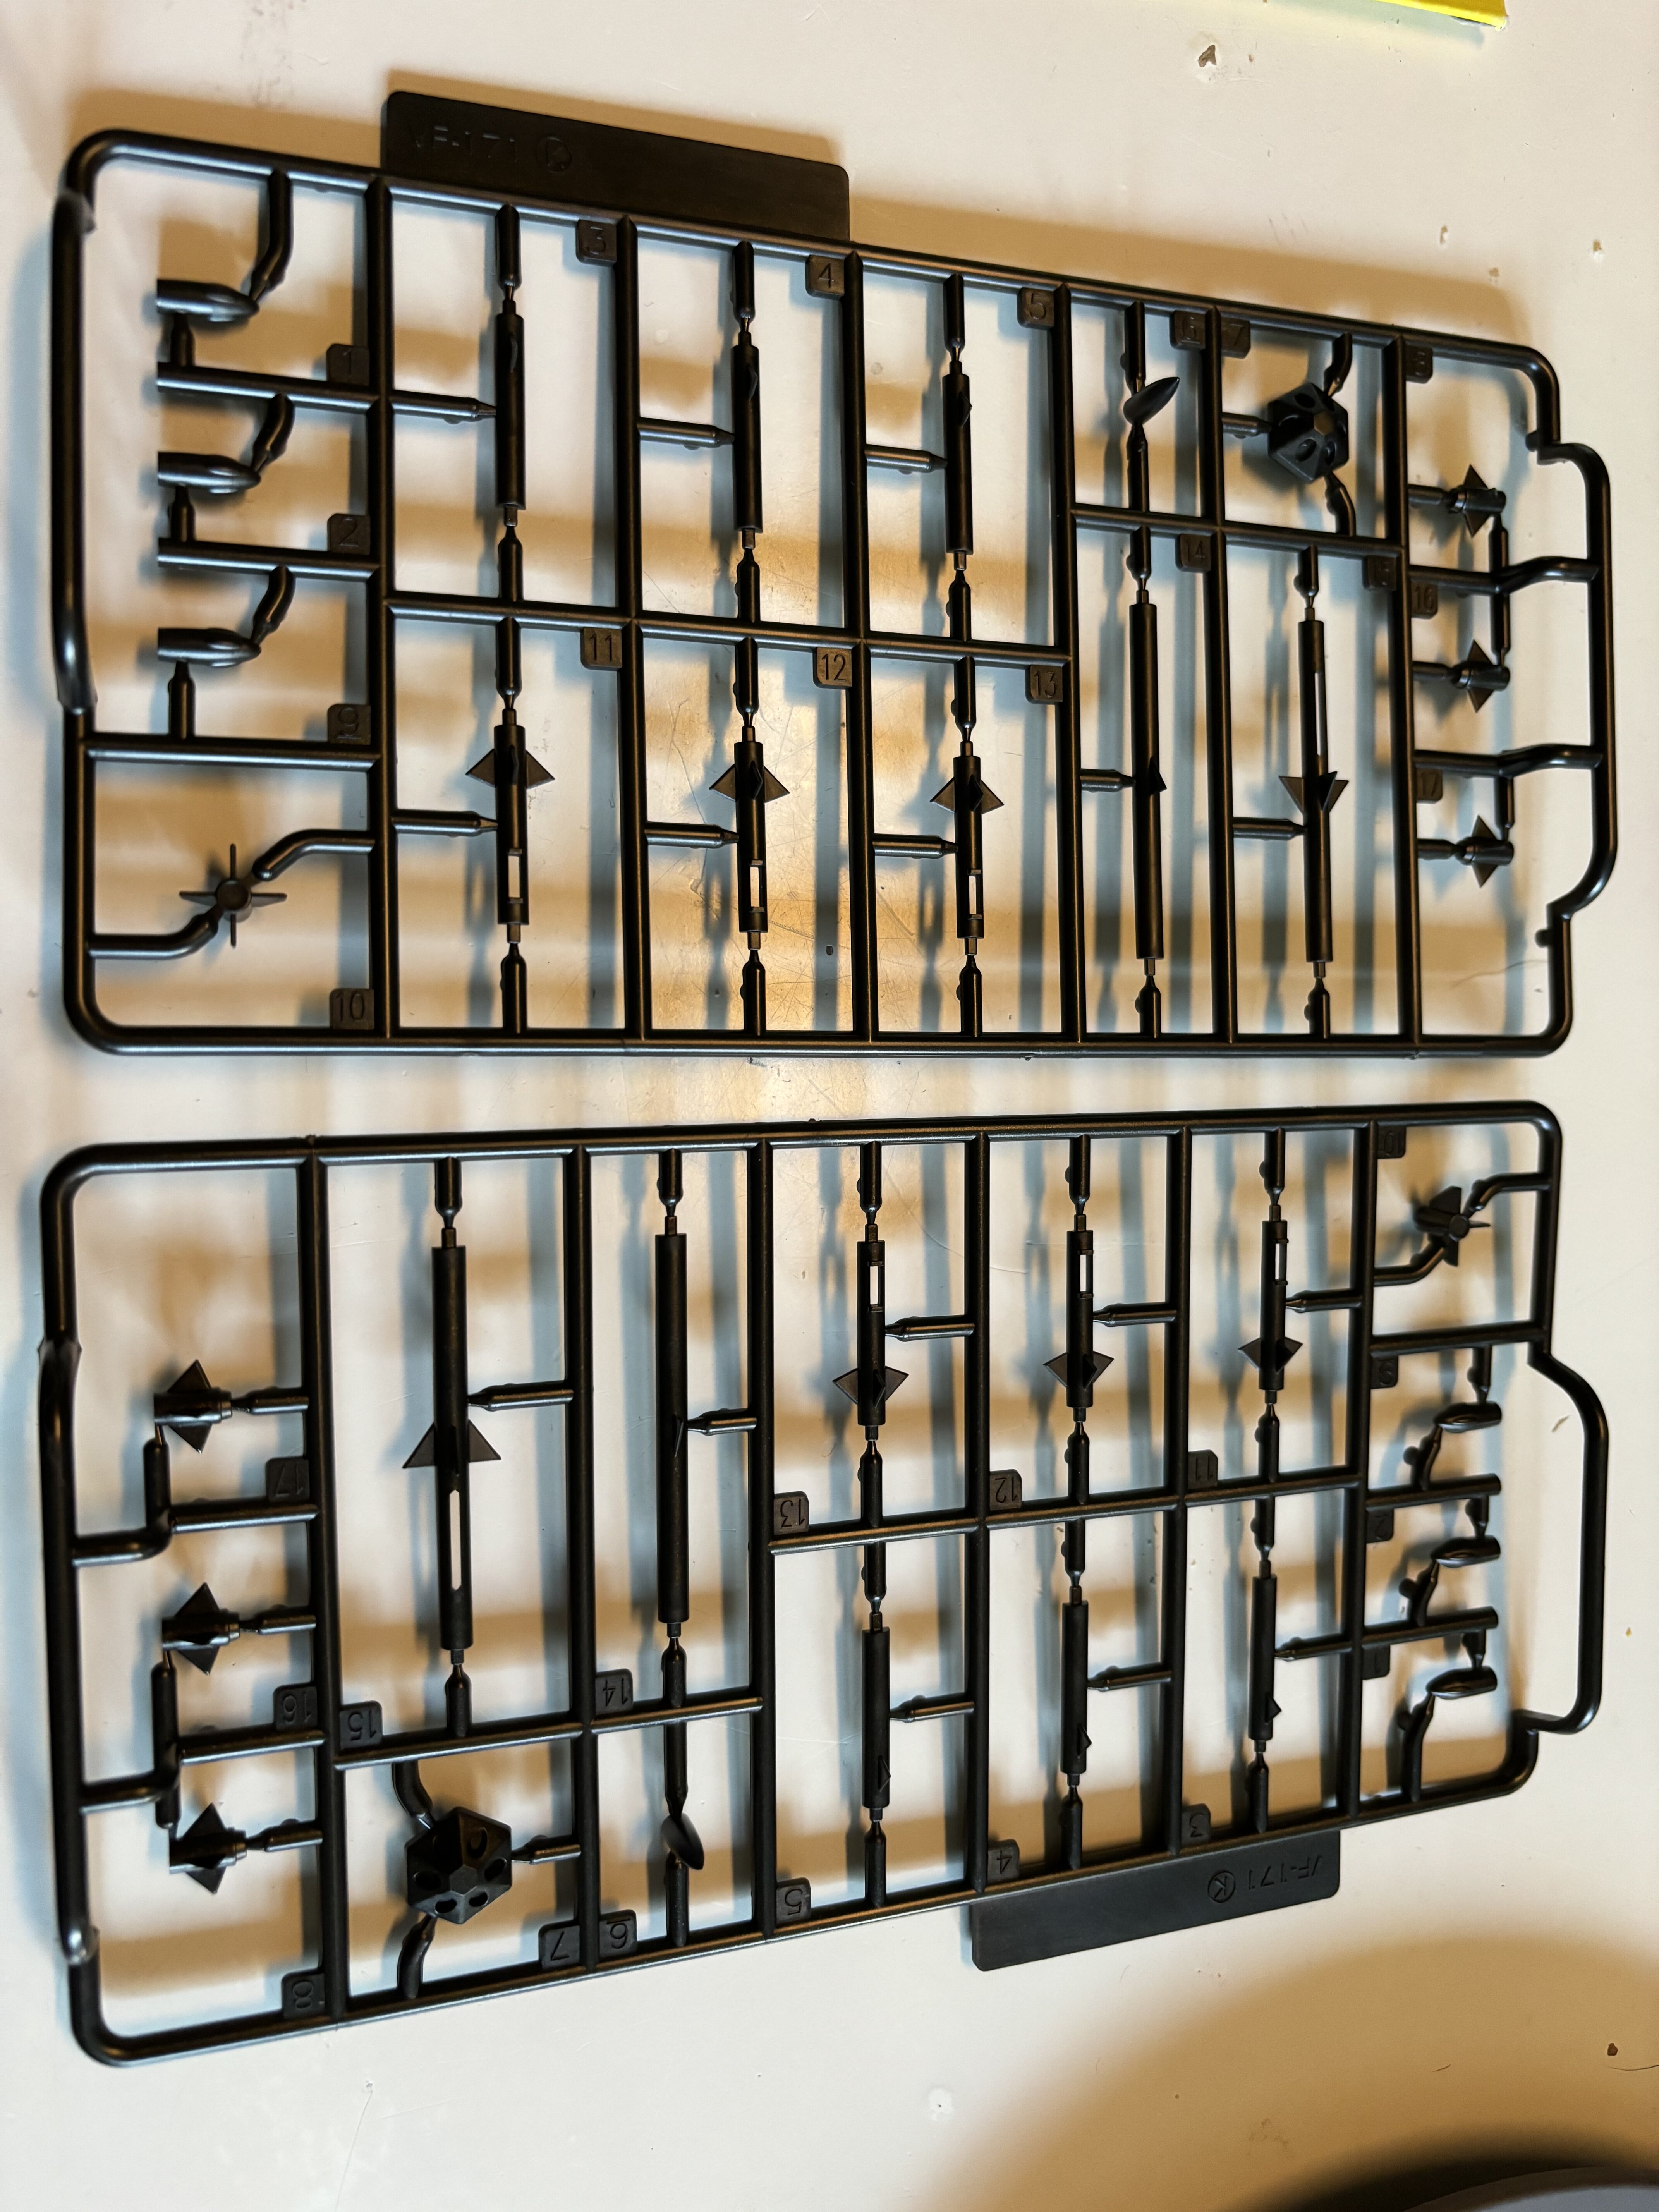
The did something boneheaded and molded the pylons onto the wings. So there is two sets of wings.
-
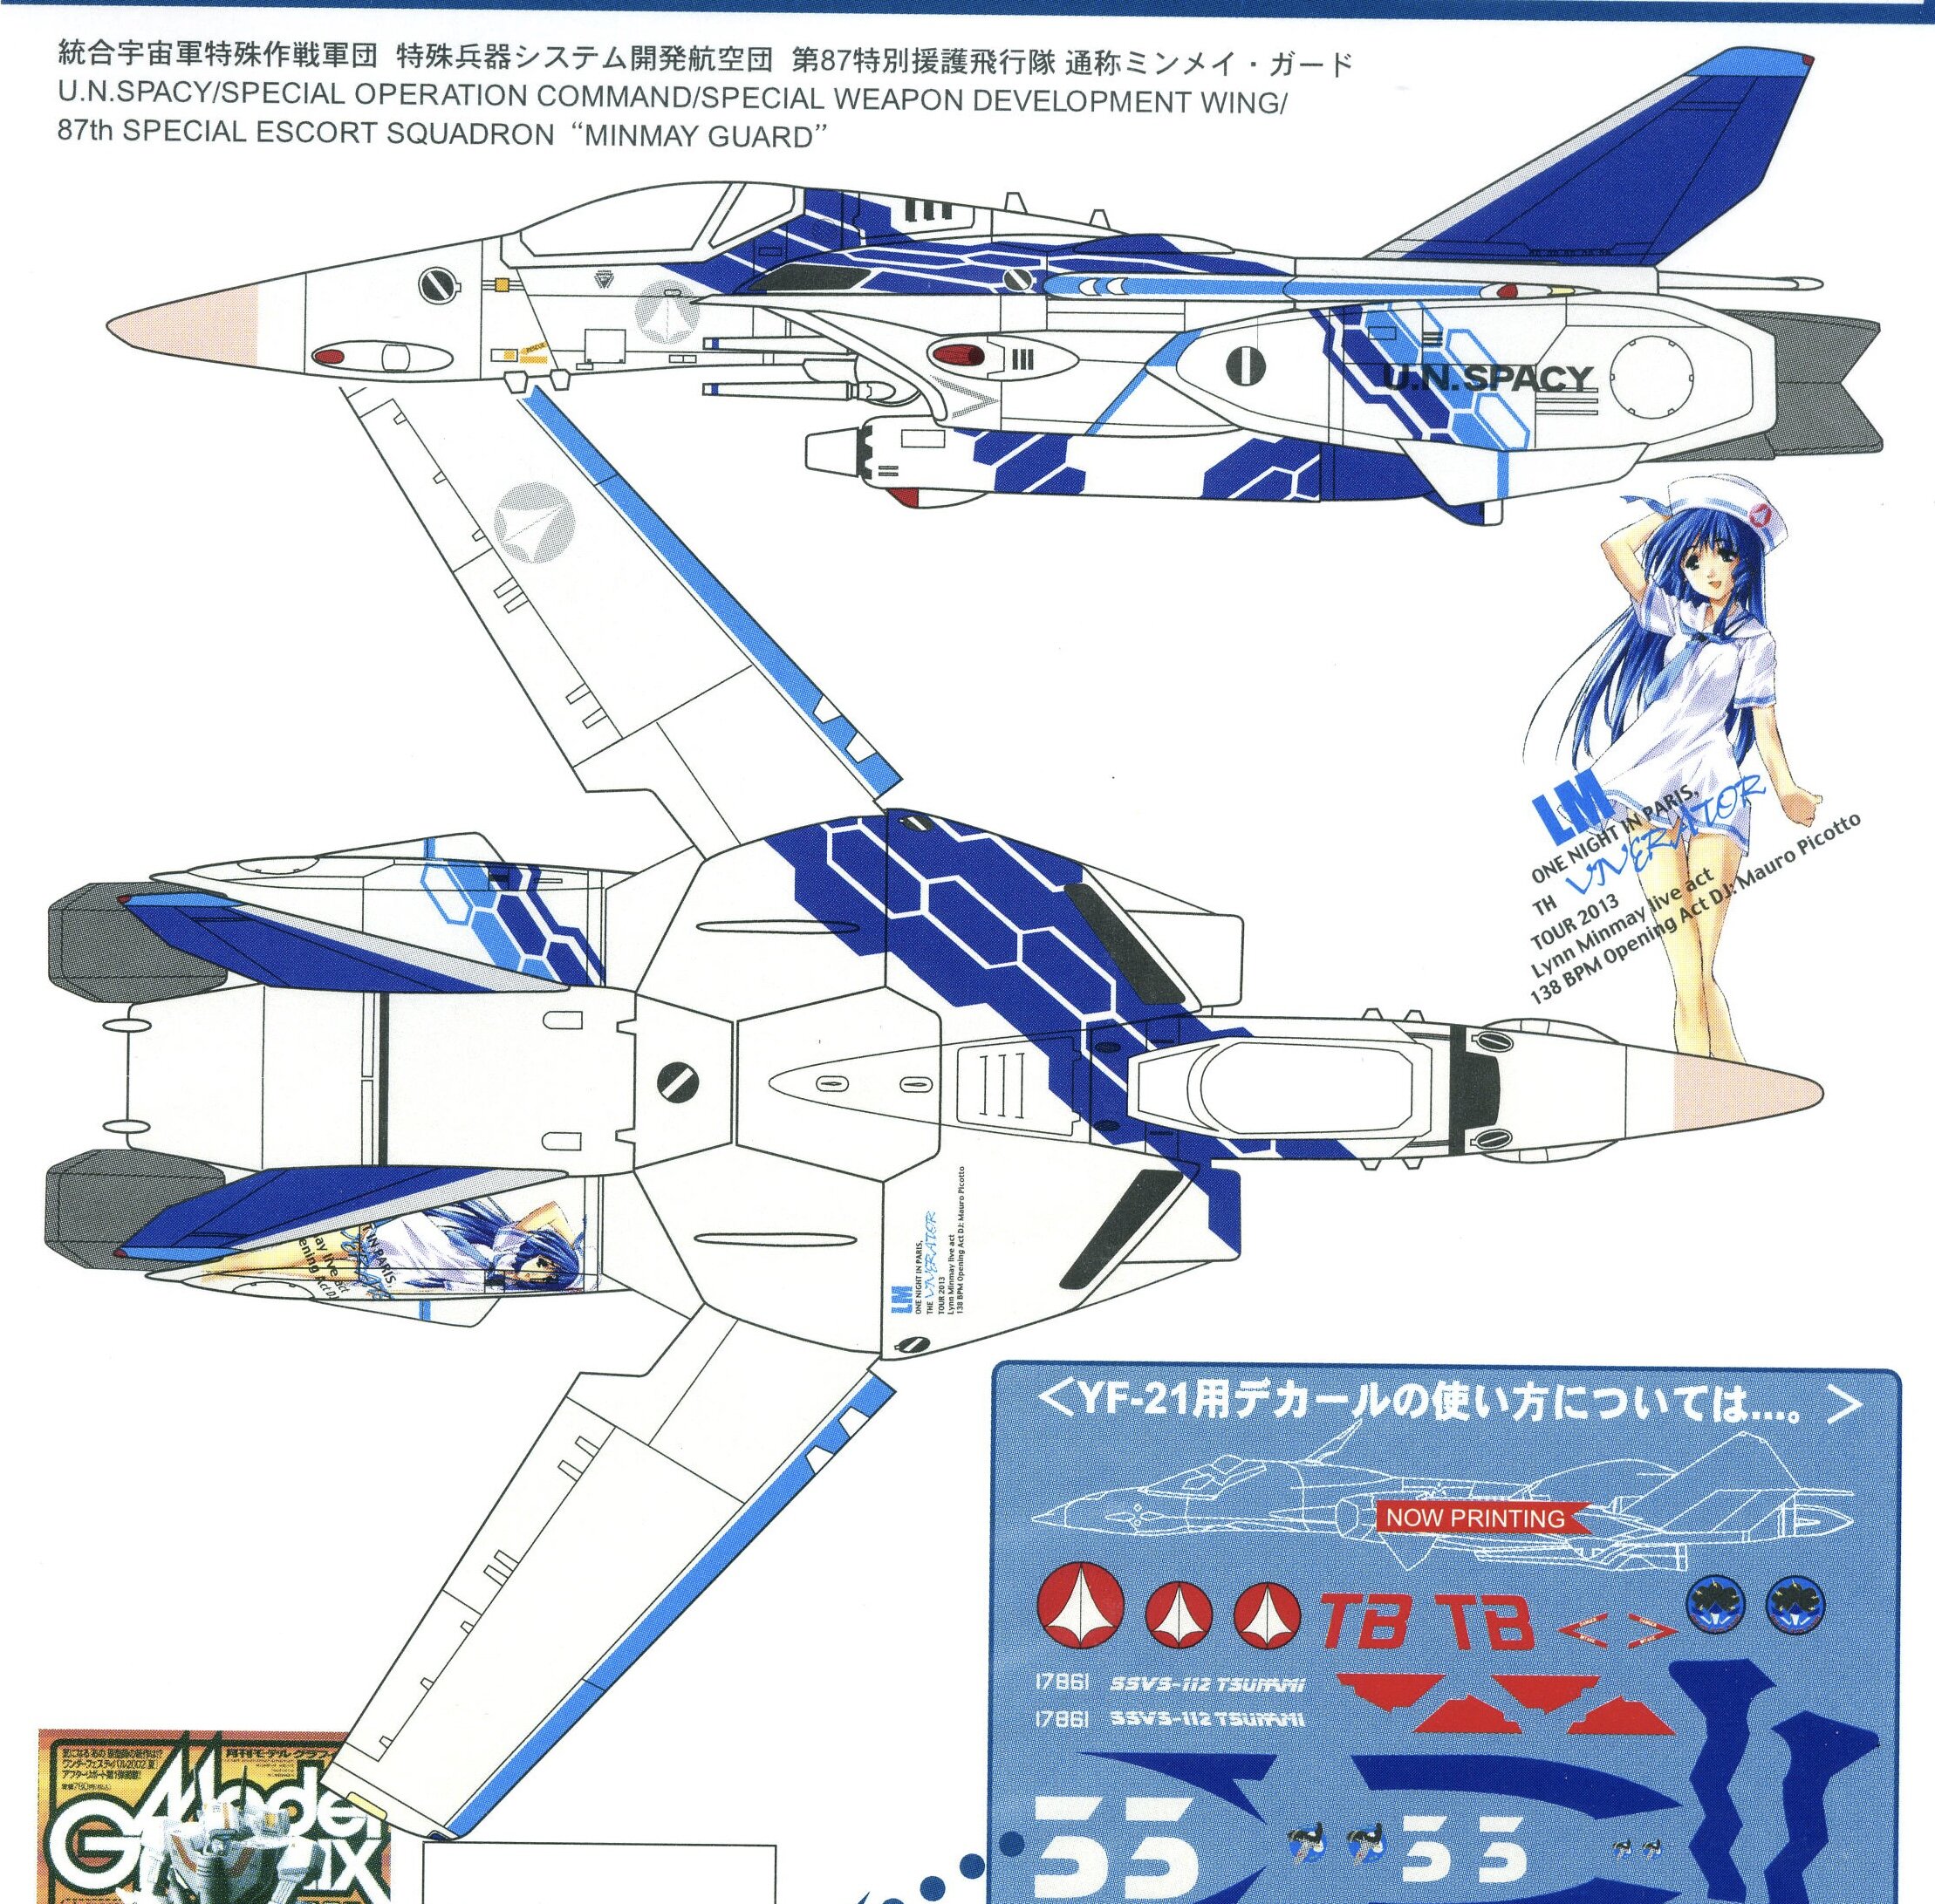
@Gabe Q It is decided then. The blue Paris Show Minmay Guard scheme it will be. @Big s Yeah, but that'll be a really bad tire profile from last century then hahahah.
-
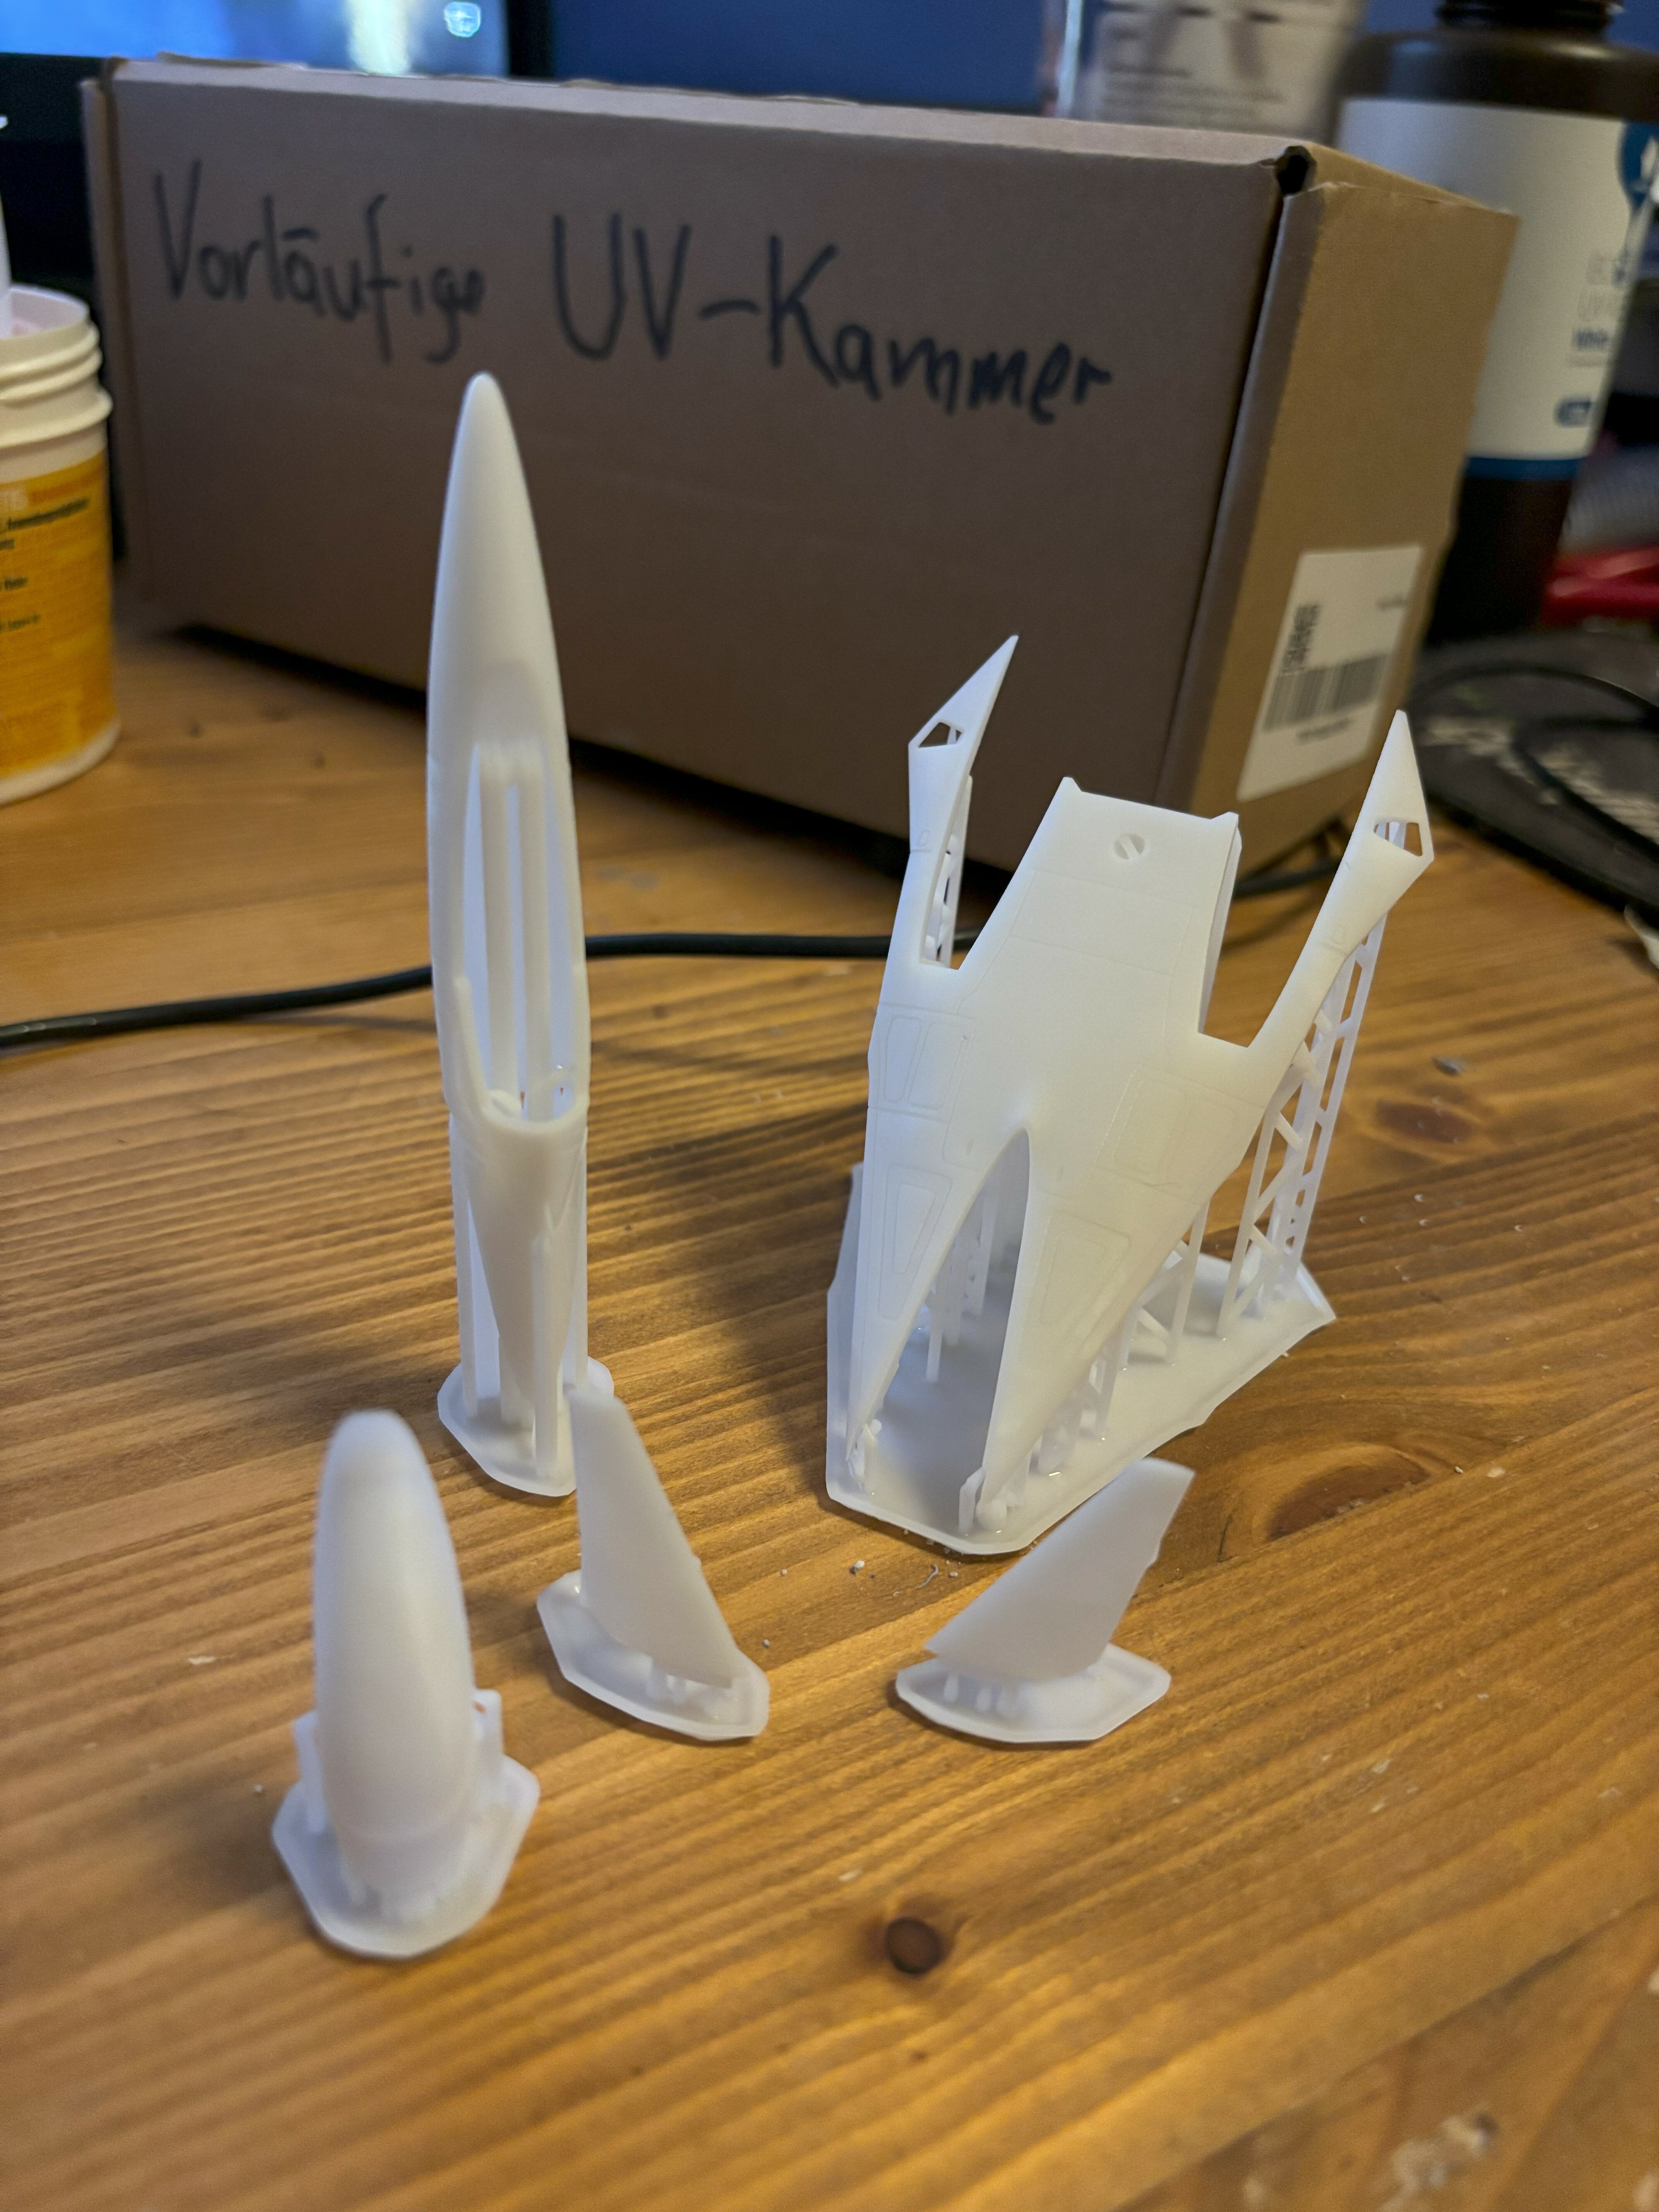
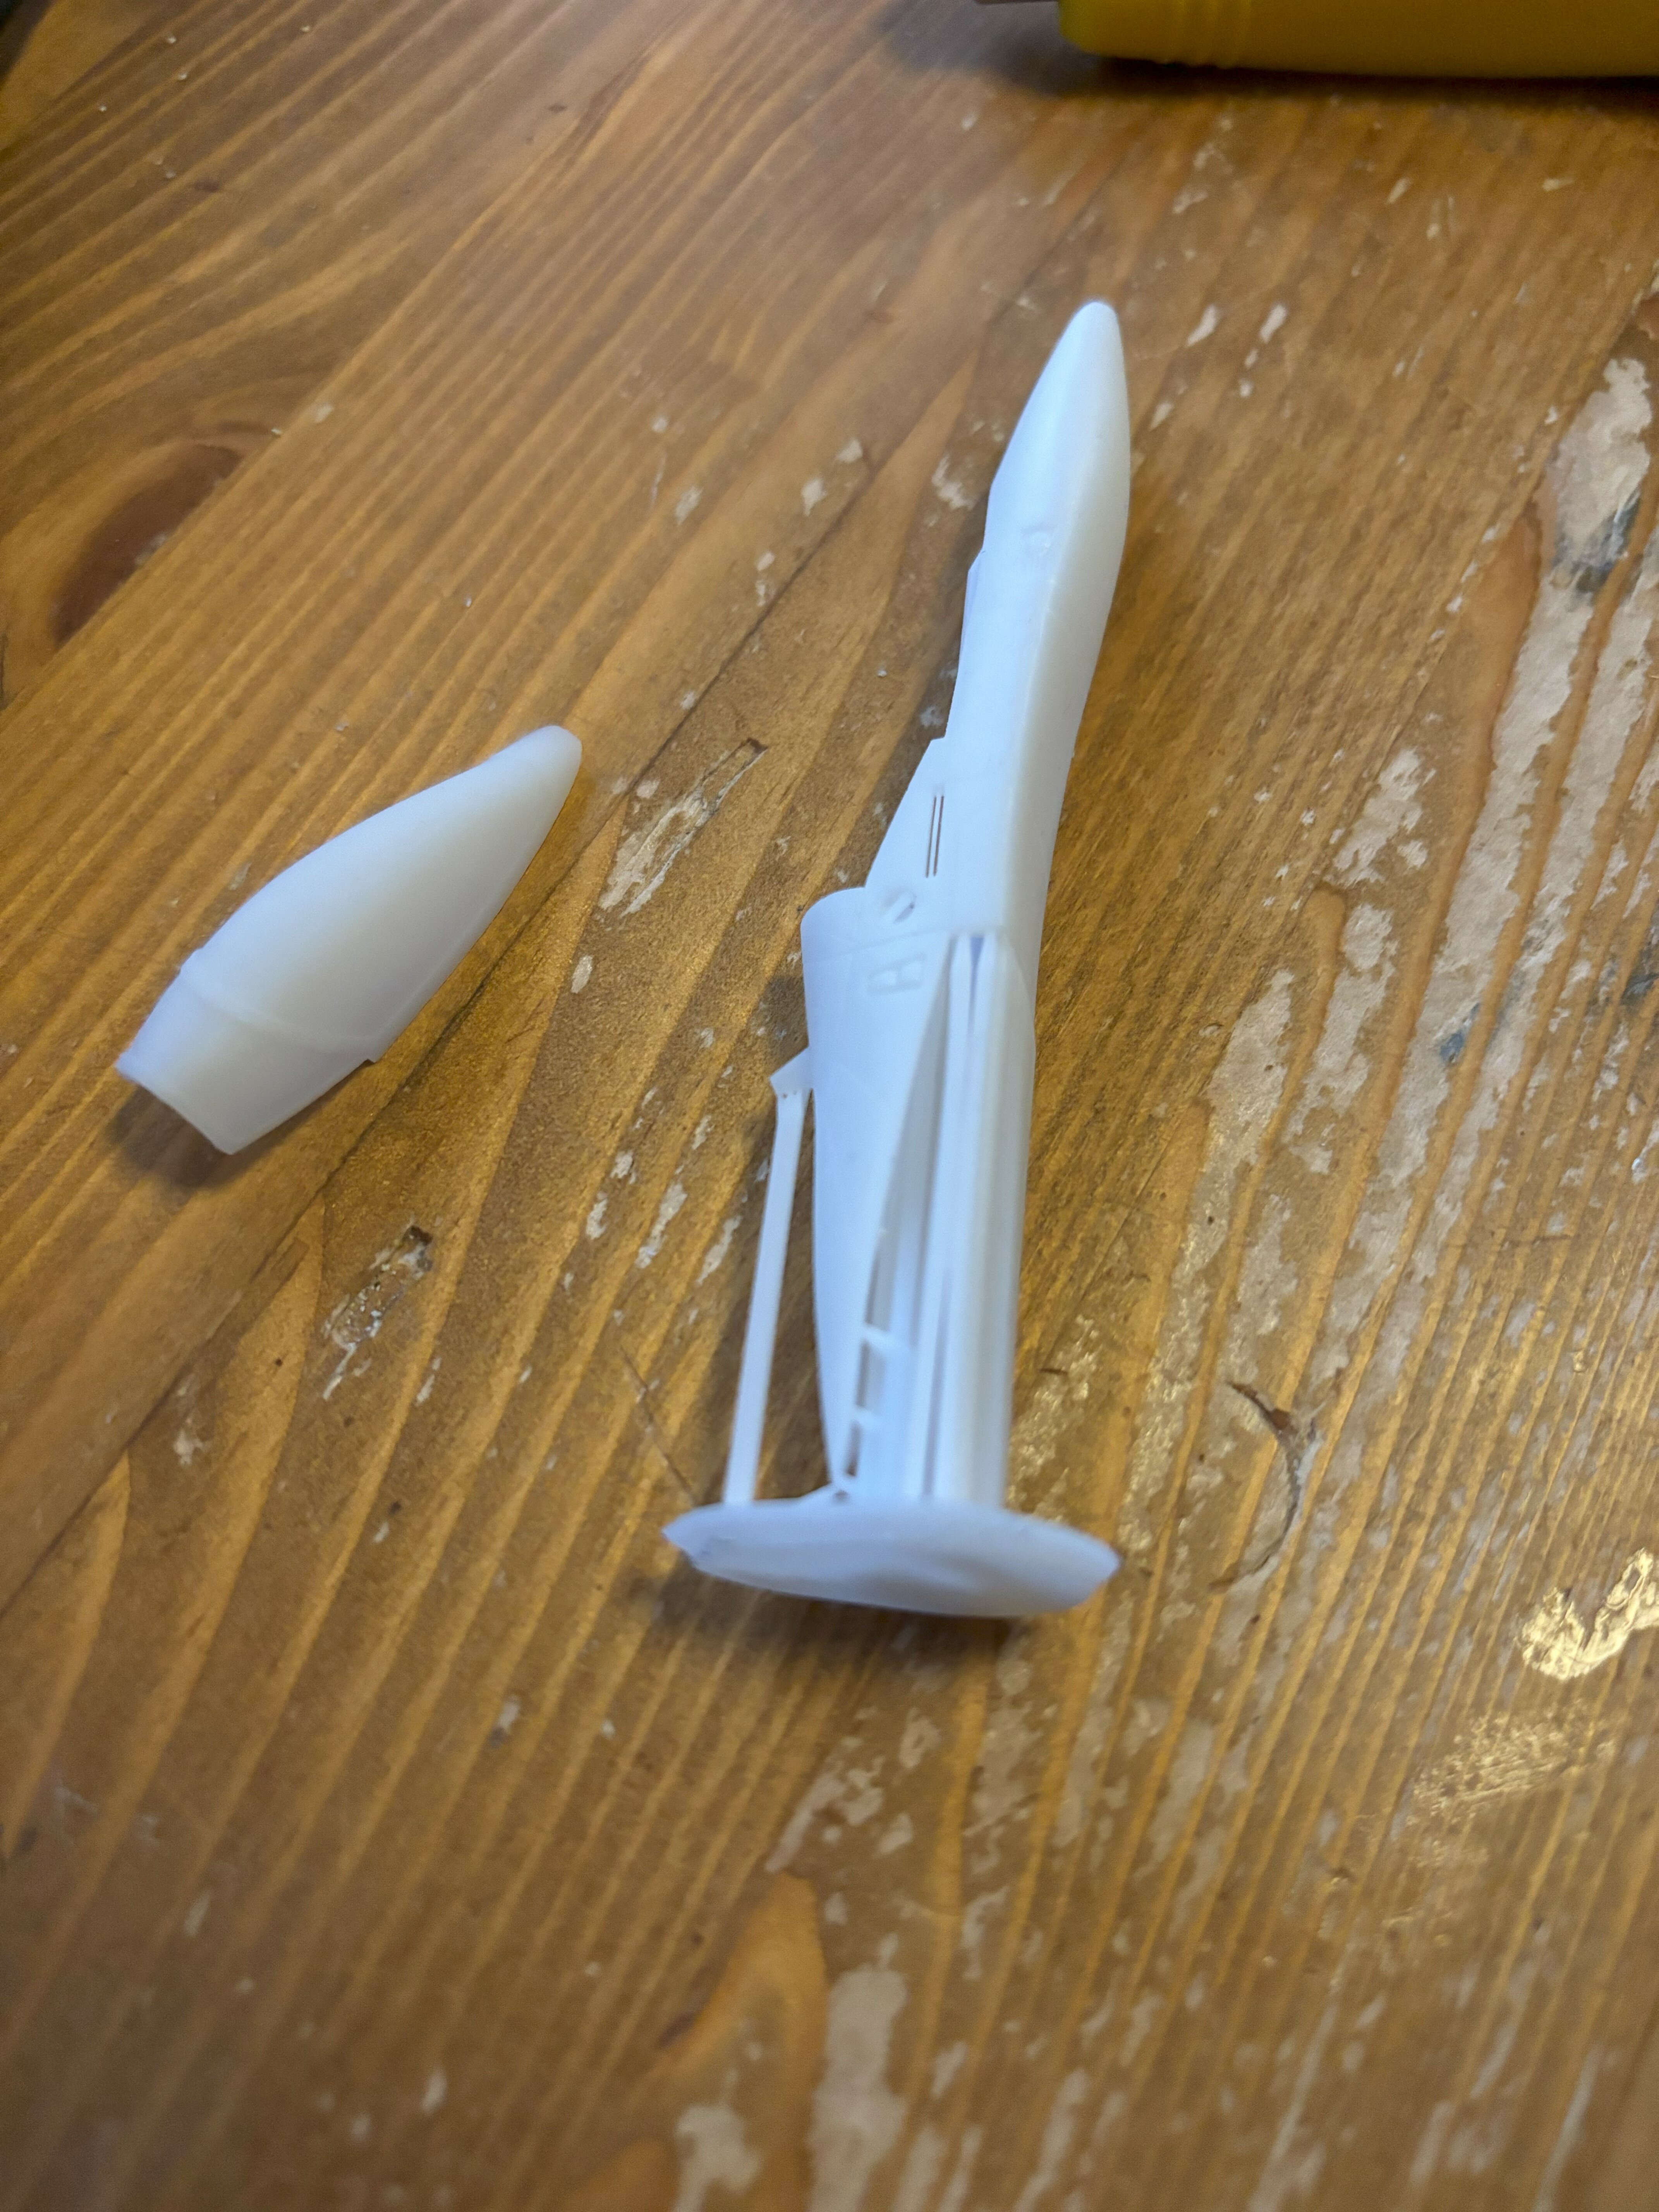
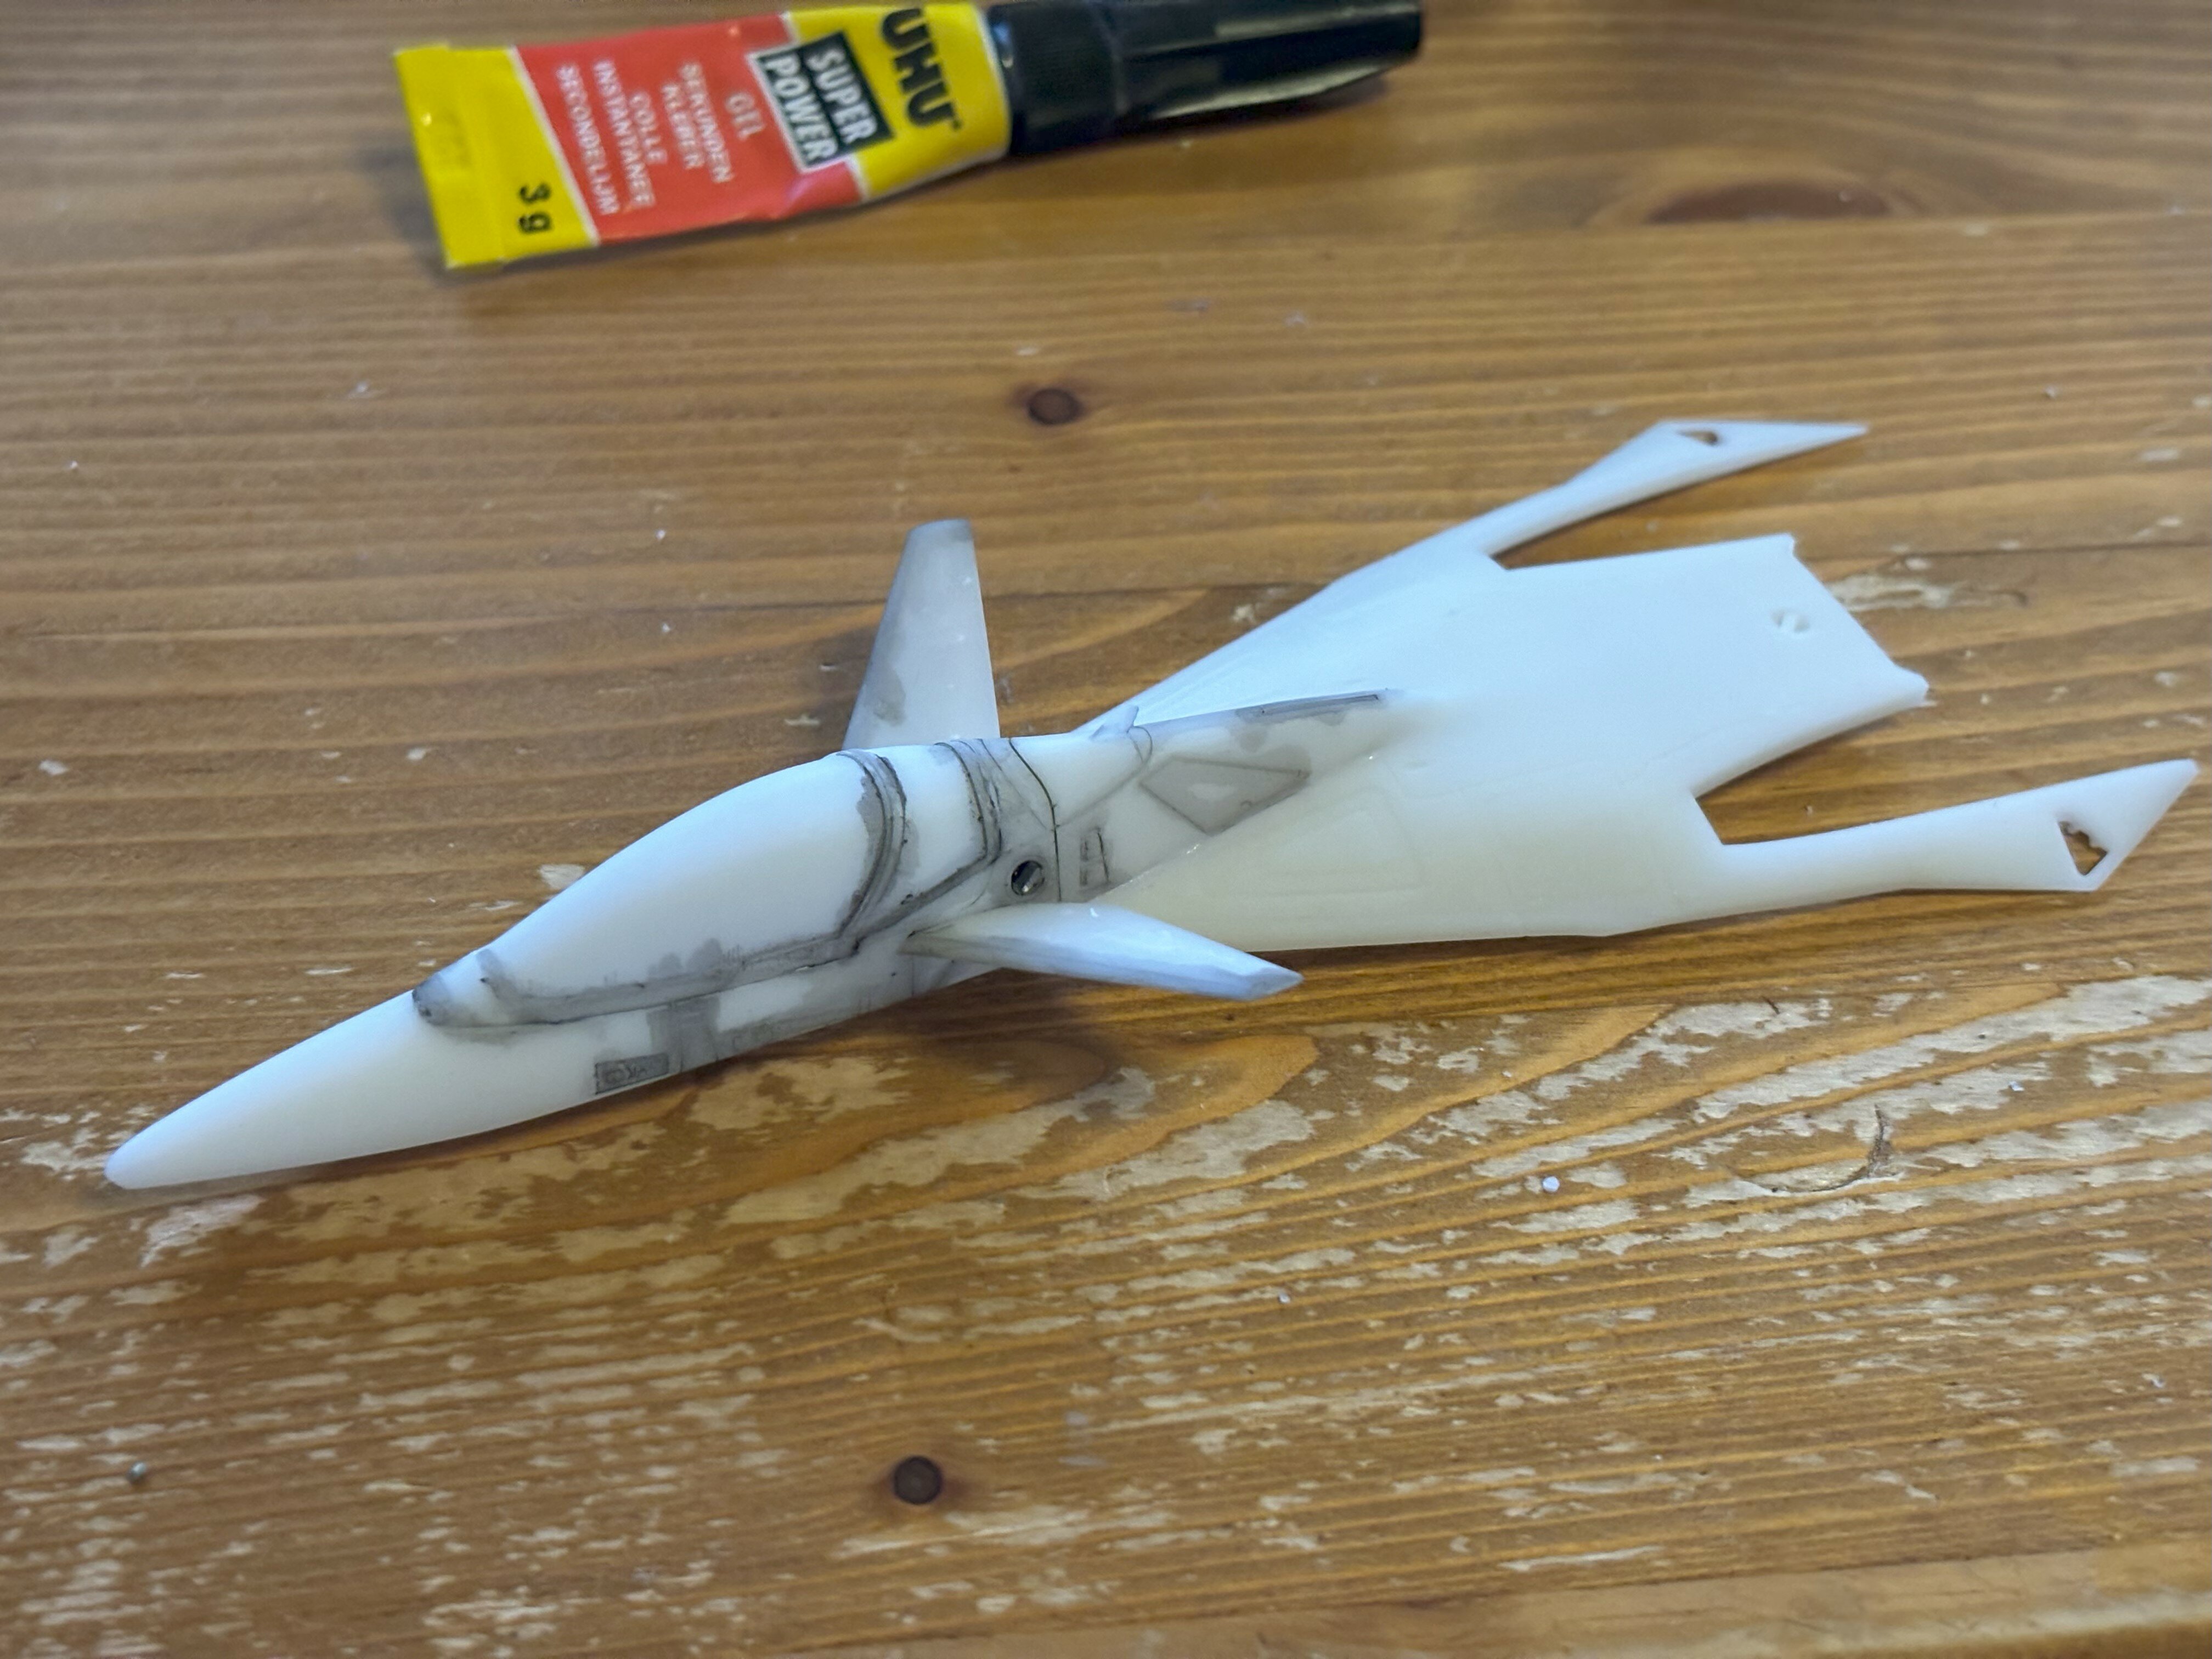
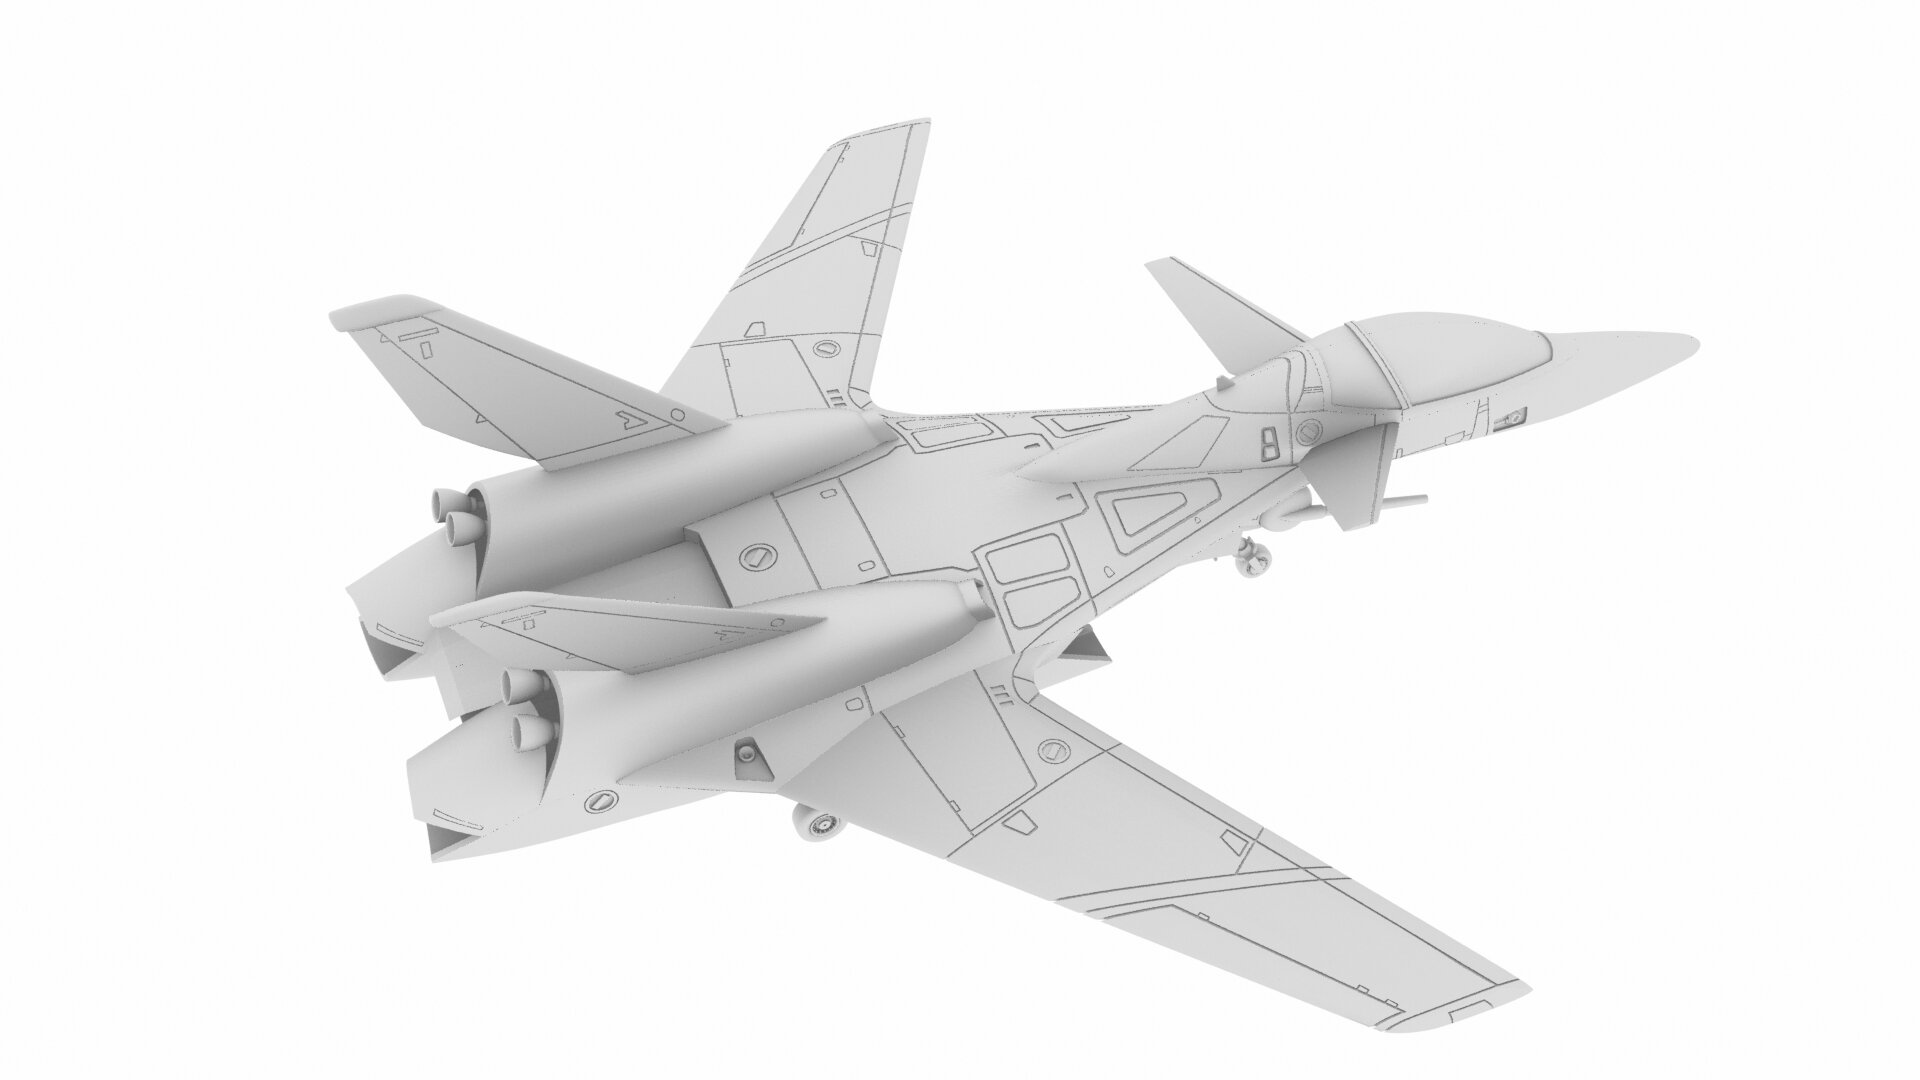
Some VF-9 stuff again. I decided to do a test print of the fixed parts with "3D" RCS. In my ultimate wisdom, I decided to print them in white resin... which kinda is bad to actually notice any significant details. As my wisdom is endless, I then decided it would be a good idea to use Tamiya panel line accent color, only to find out, it will be sucked up by the fine lines of the print layers ... duh. but here, have some pictures. Old v1 prototype print versus new one. As you can see I had my fun with the old print here and there. I have to prime the second test print and then panel line it, just to check how it looks.
-
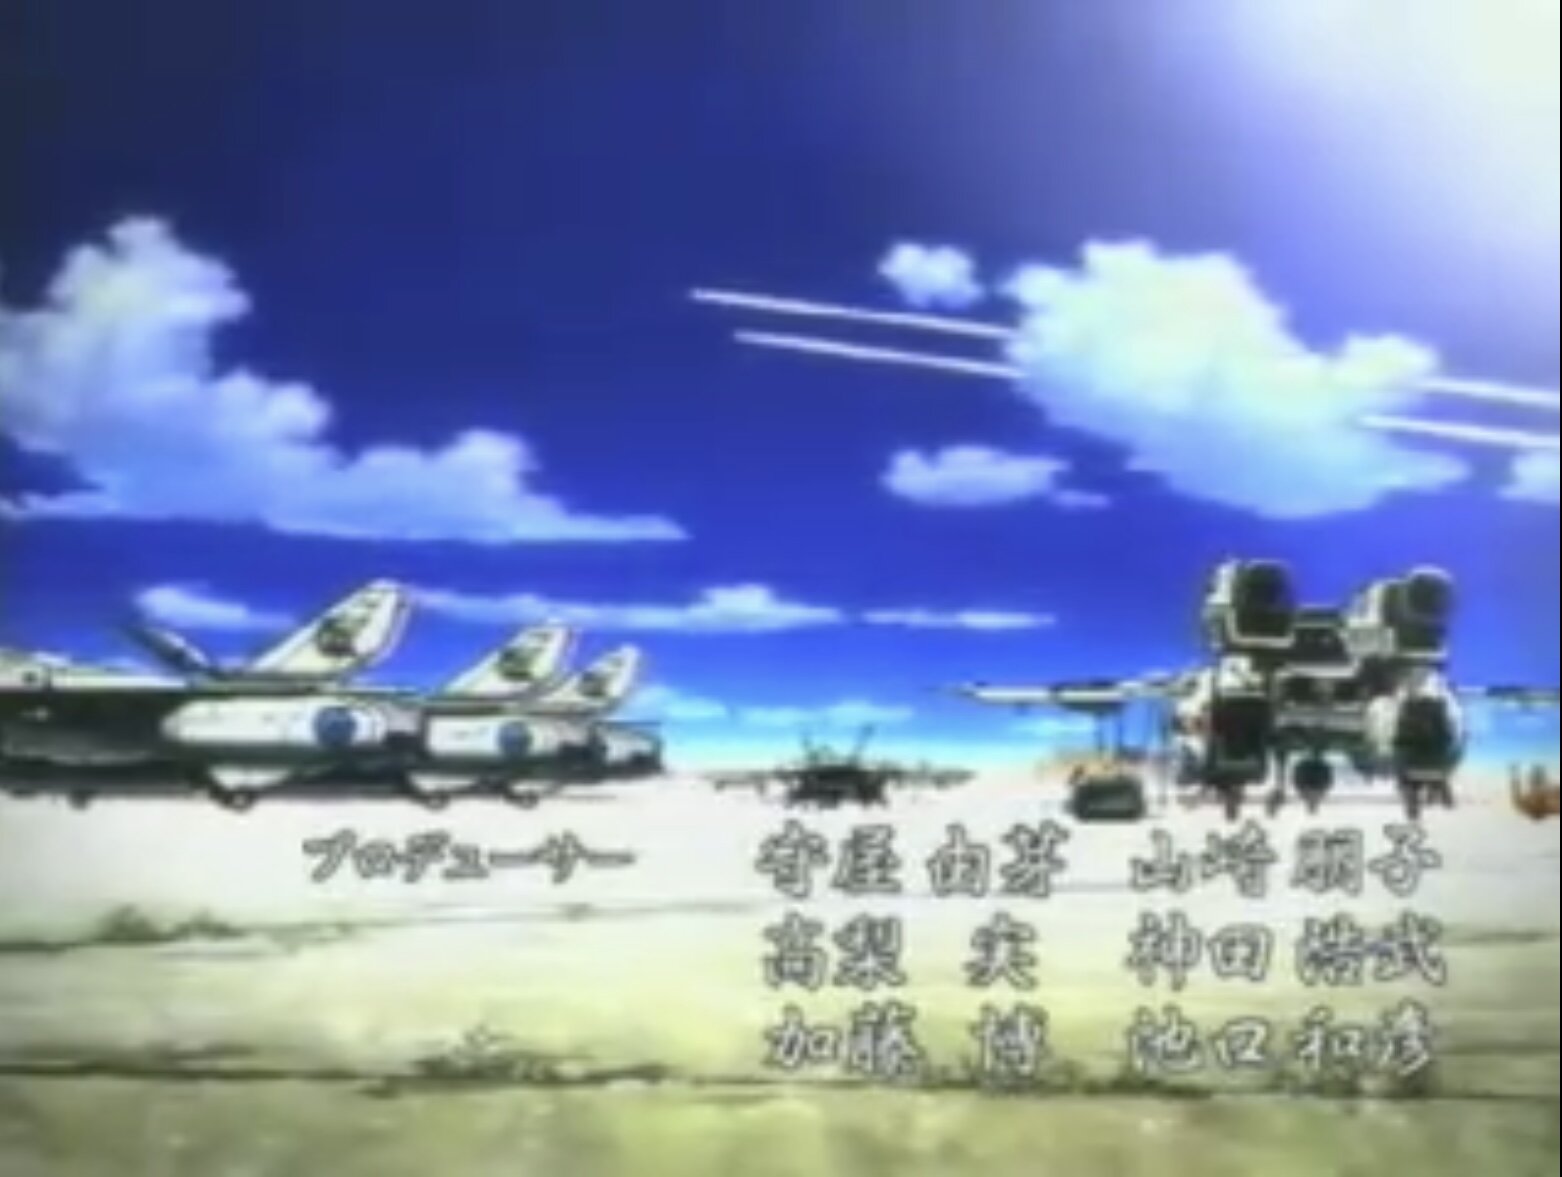
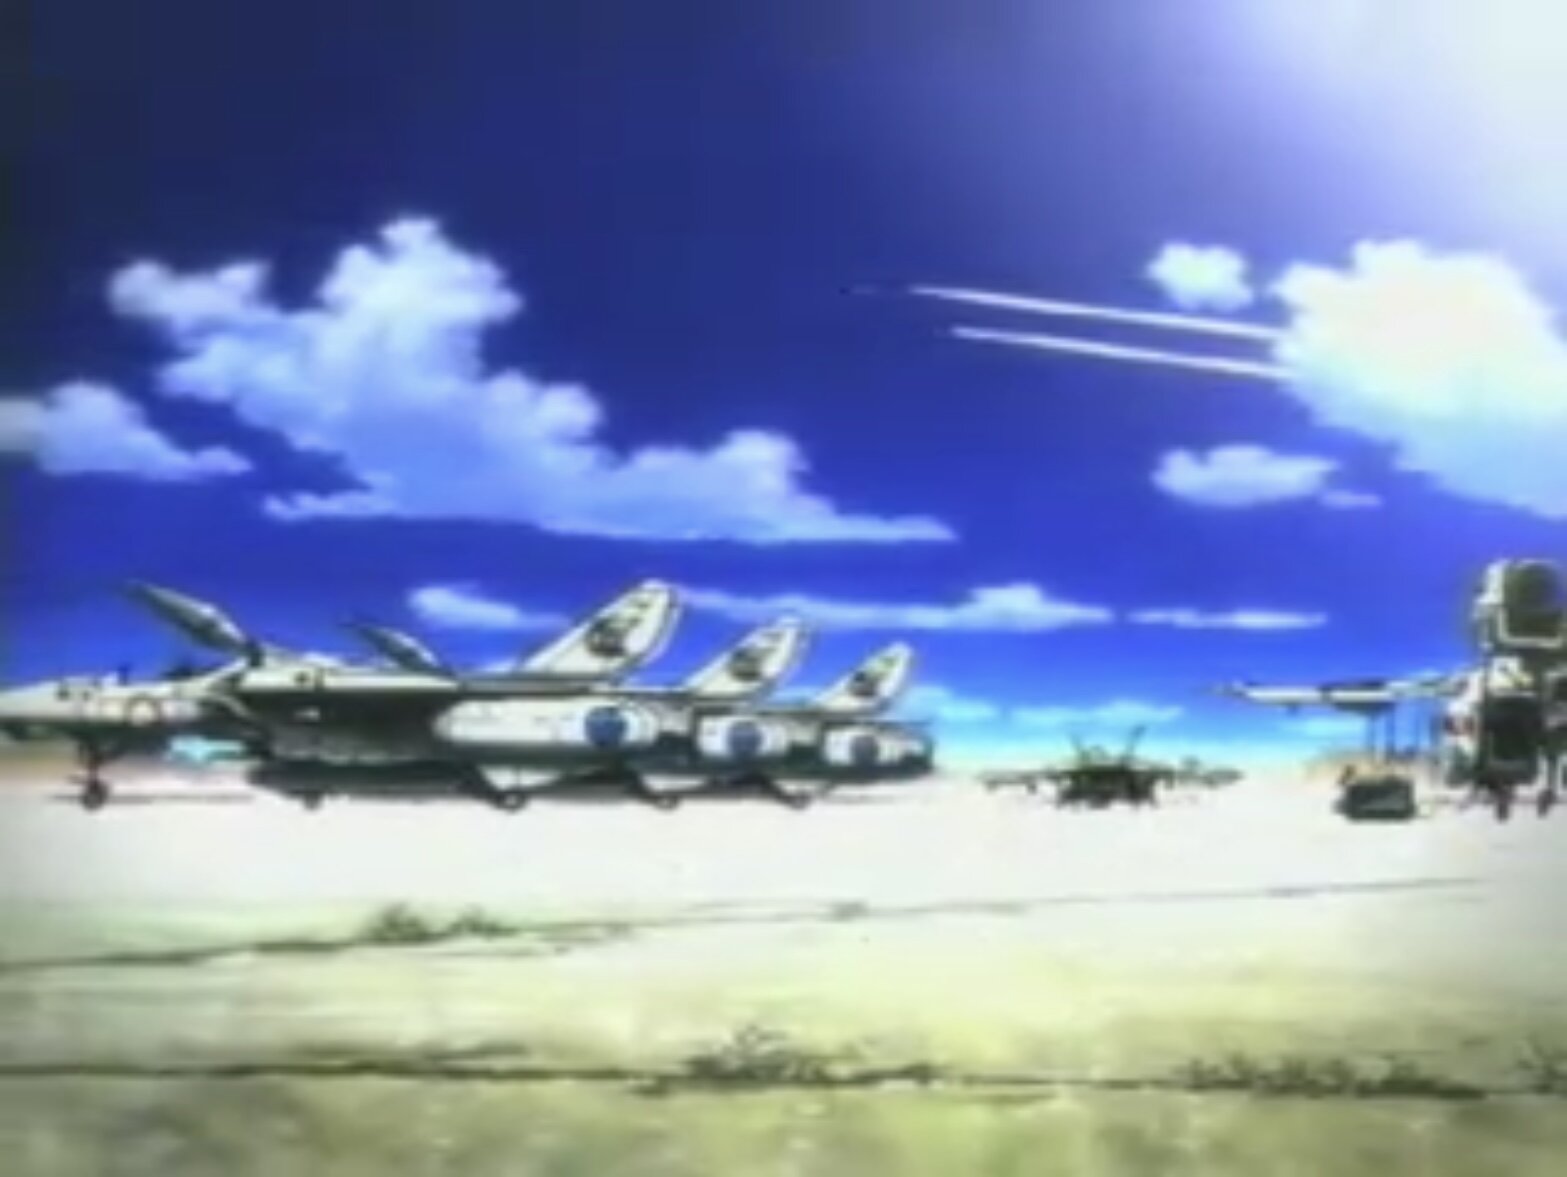
I‘m not the diorama type guy… unfortunately. But you are right, by the time of Macross D7 the VF-1‘s are really old, so heavy weathered VF-1‘s are out there. Here are some screen caps from the intro: and in macross D7 they have the commercial Valkyrie, VT-1C aswell. @Thom yeah, the minmay one is my fav so far.
-
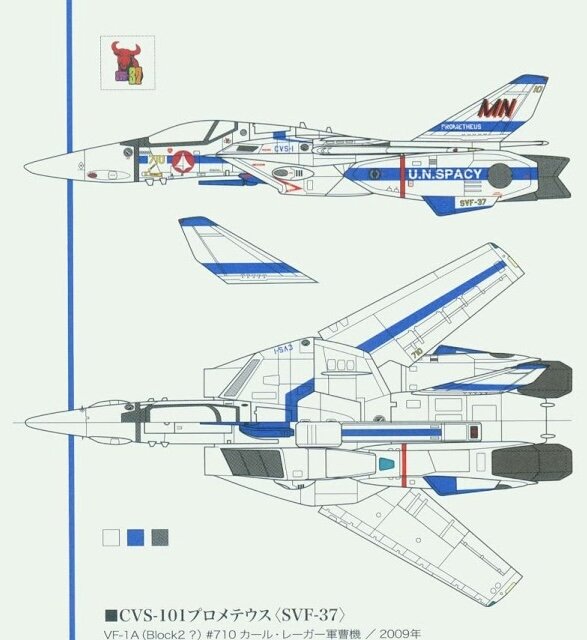
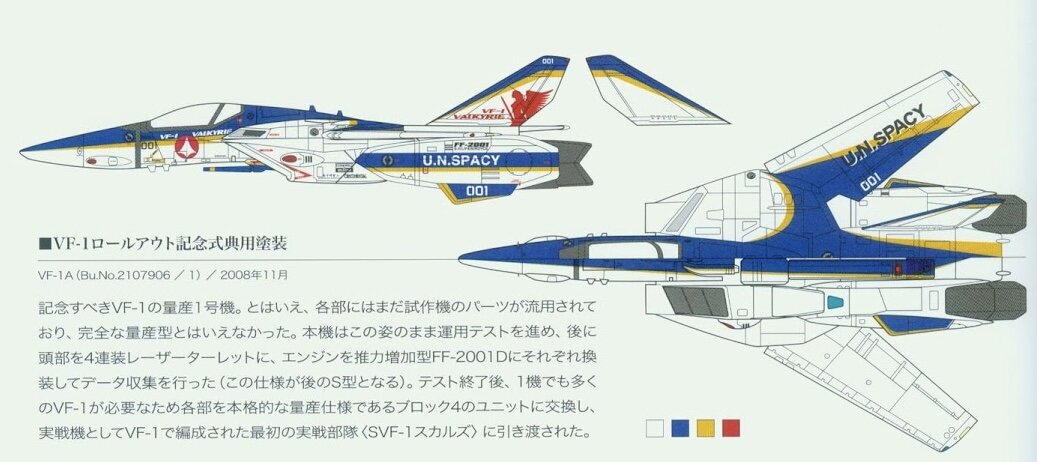
You‘ll laugh, but I actually considered the Macross The First VF-1 as well. I wanted to either go super clean or heavily weathered with a blue and white scheme. I remembered there to be some VF-1‘s flying in the Macross 7 Dynamite intro, which always intrigued me. Kinda looked like this but with way more white. I‘d do that with heavy weathering and ordinance. I was also thinking about the pink/purple minmay guard scheme, as well as the blue one here which looks pretty awesome: And then, of course the first production rollout model: these would all be clean builds.
-
I‘m out drinking with some friends for a while but will take pictures as soon as I am back. Edit: here you go
-
It'll probably be even bigger...
-
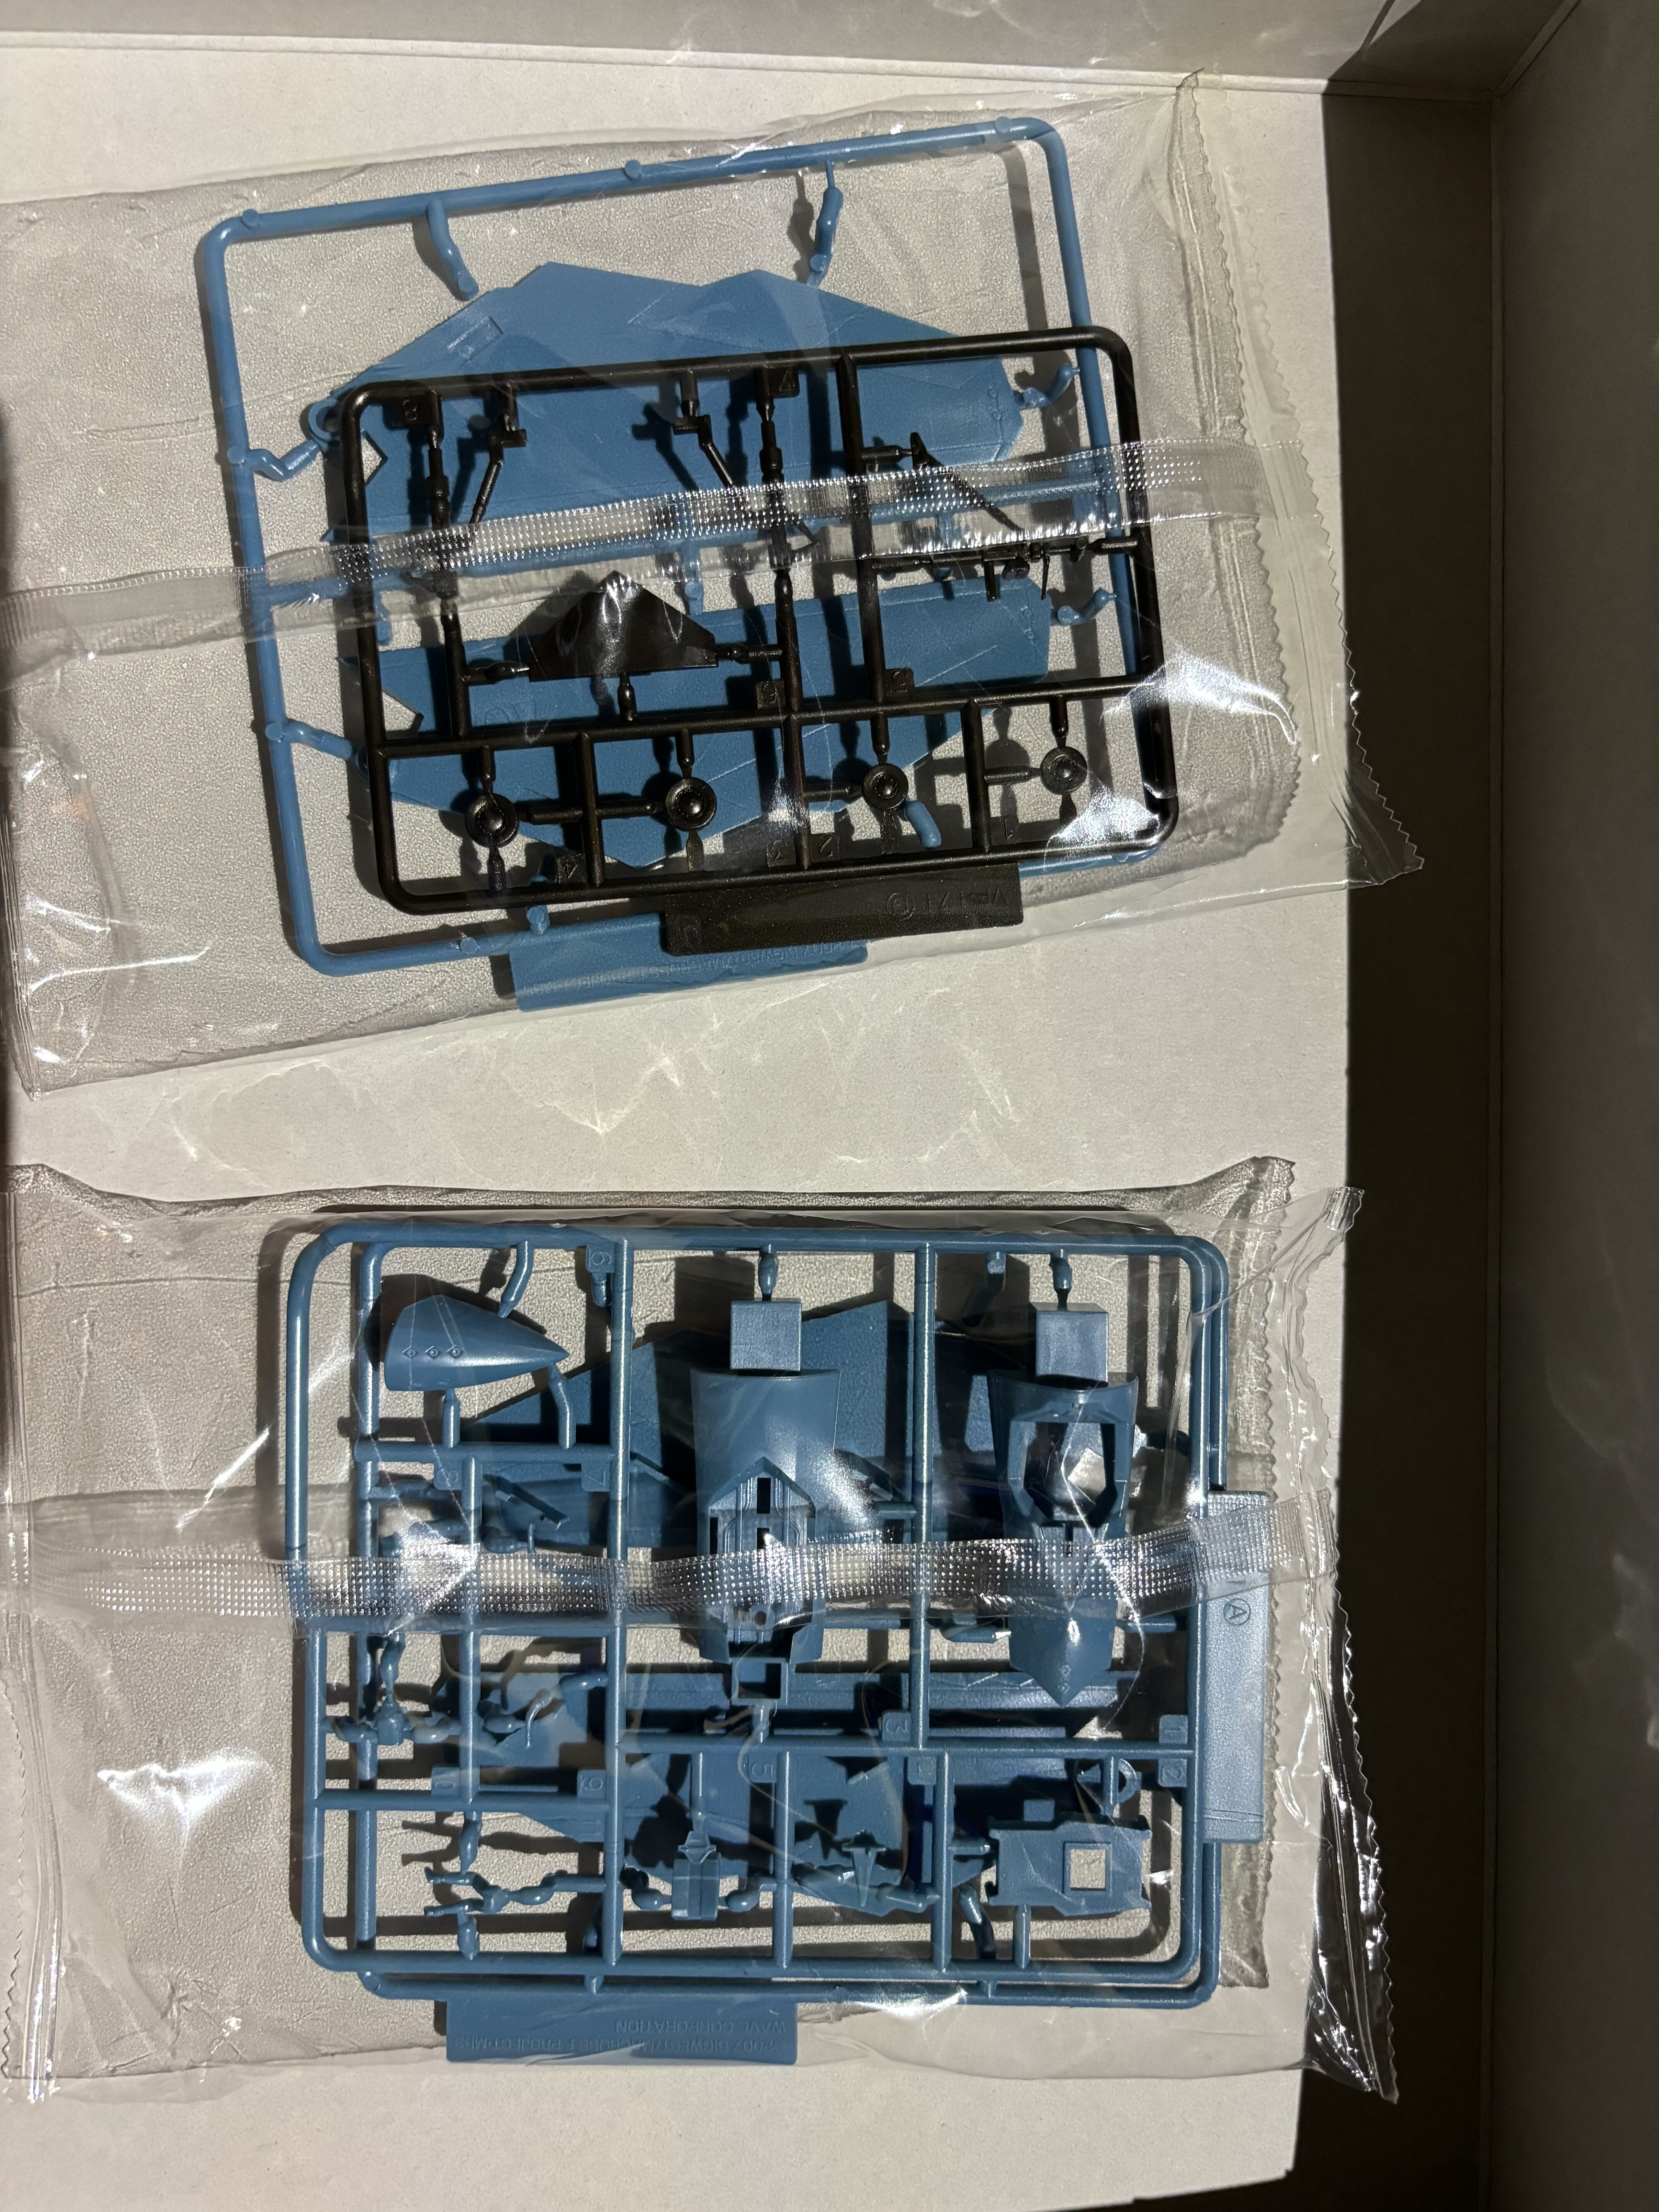
should I get them out of the bags as well, or can I leave them in mint condition?
-
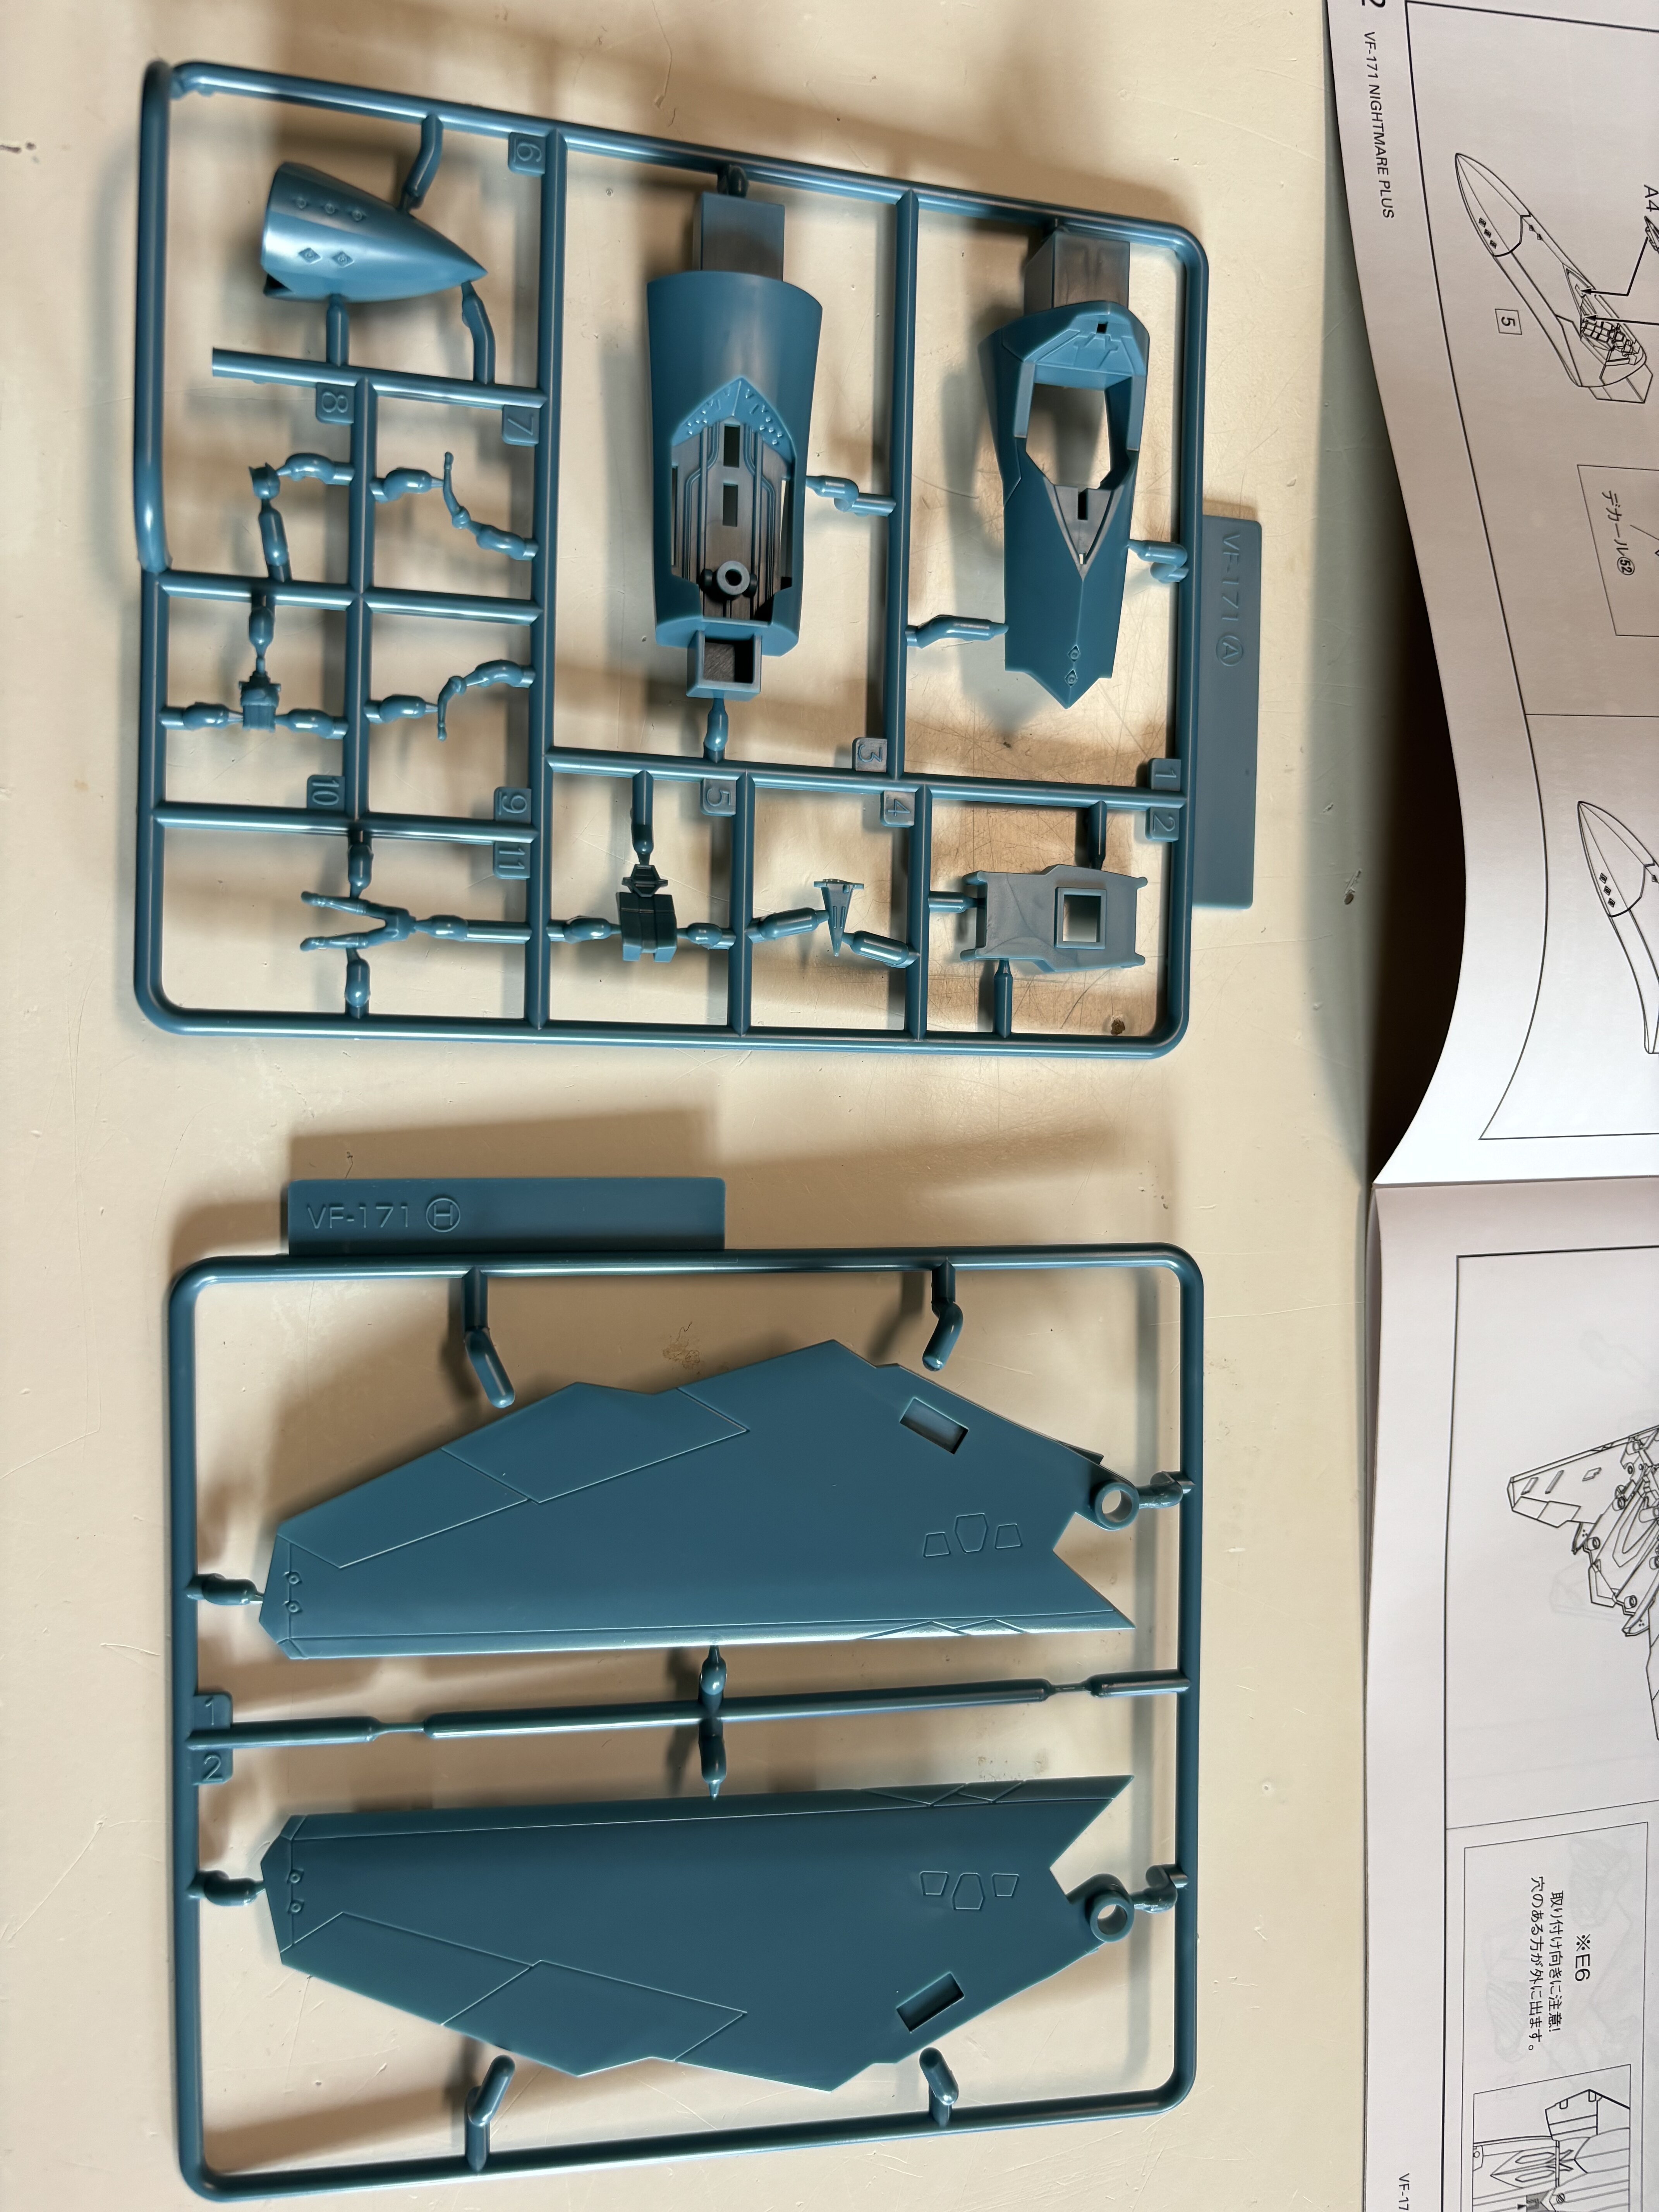
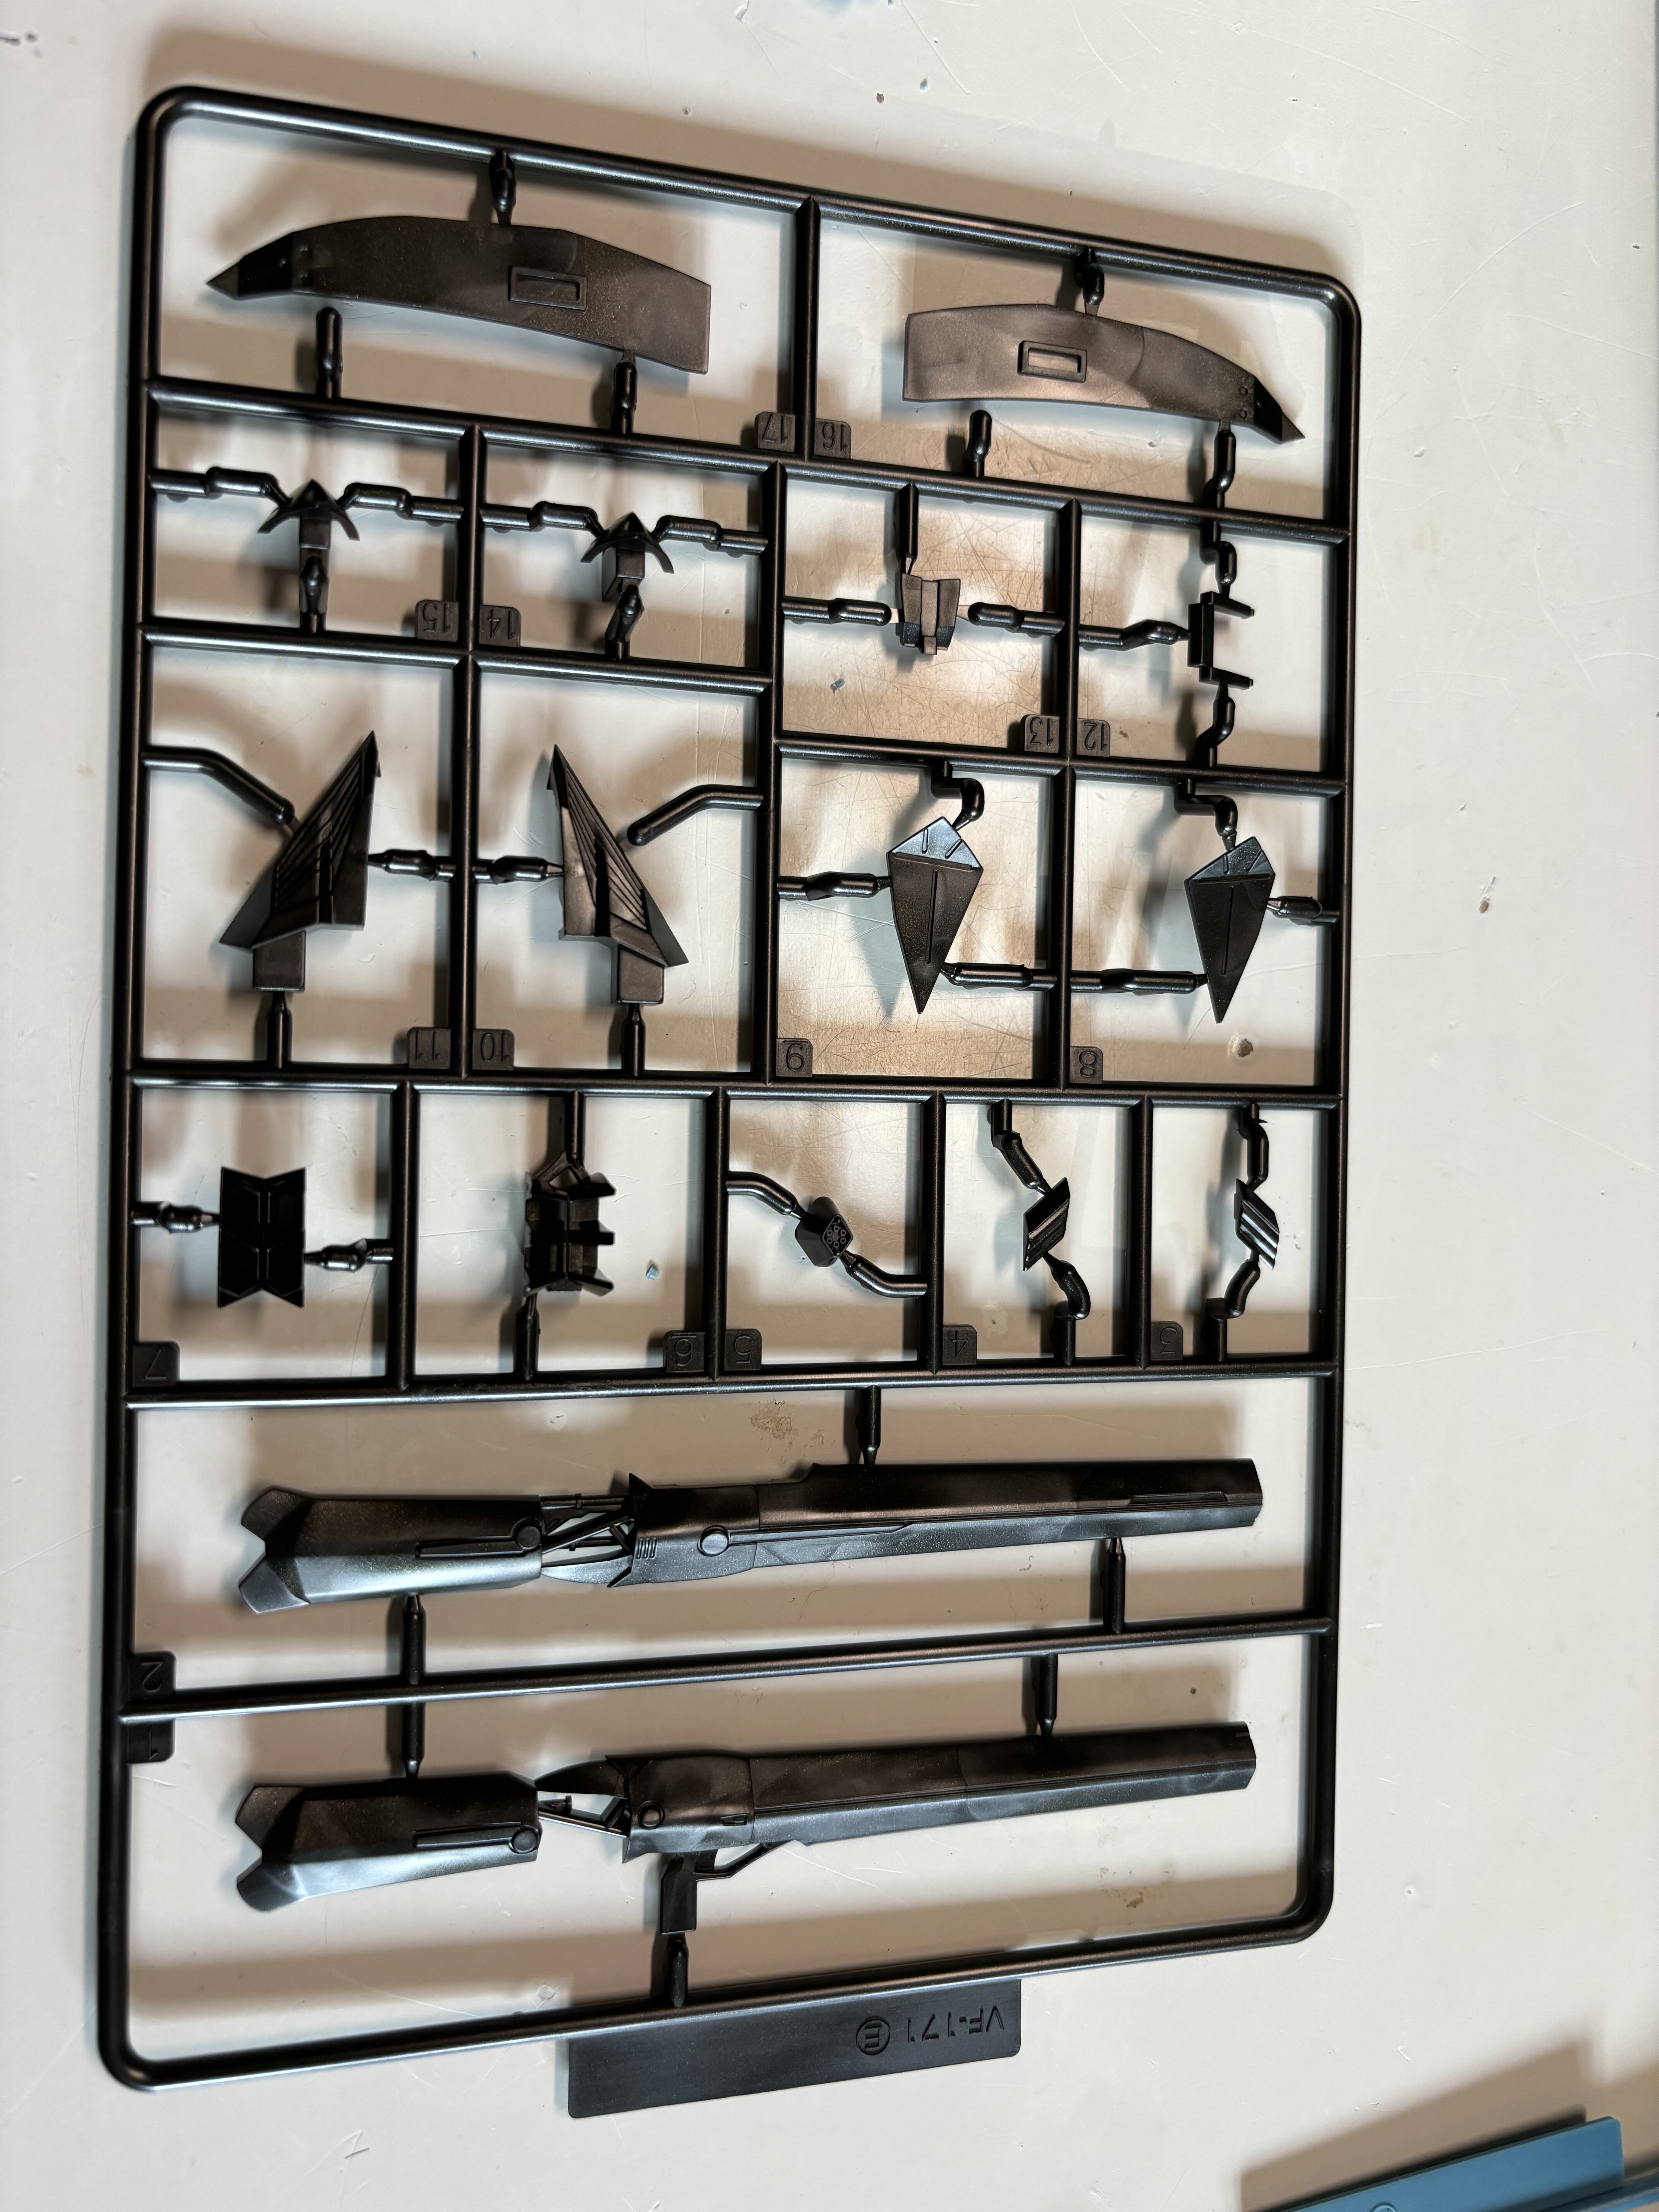
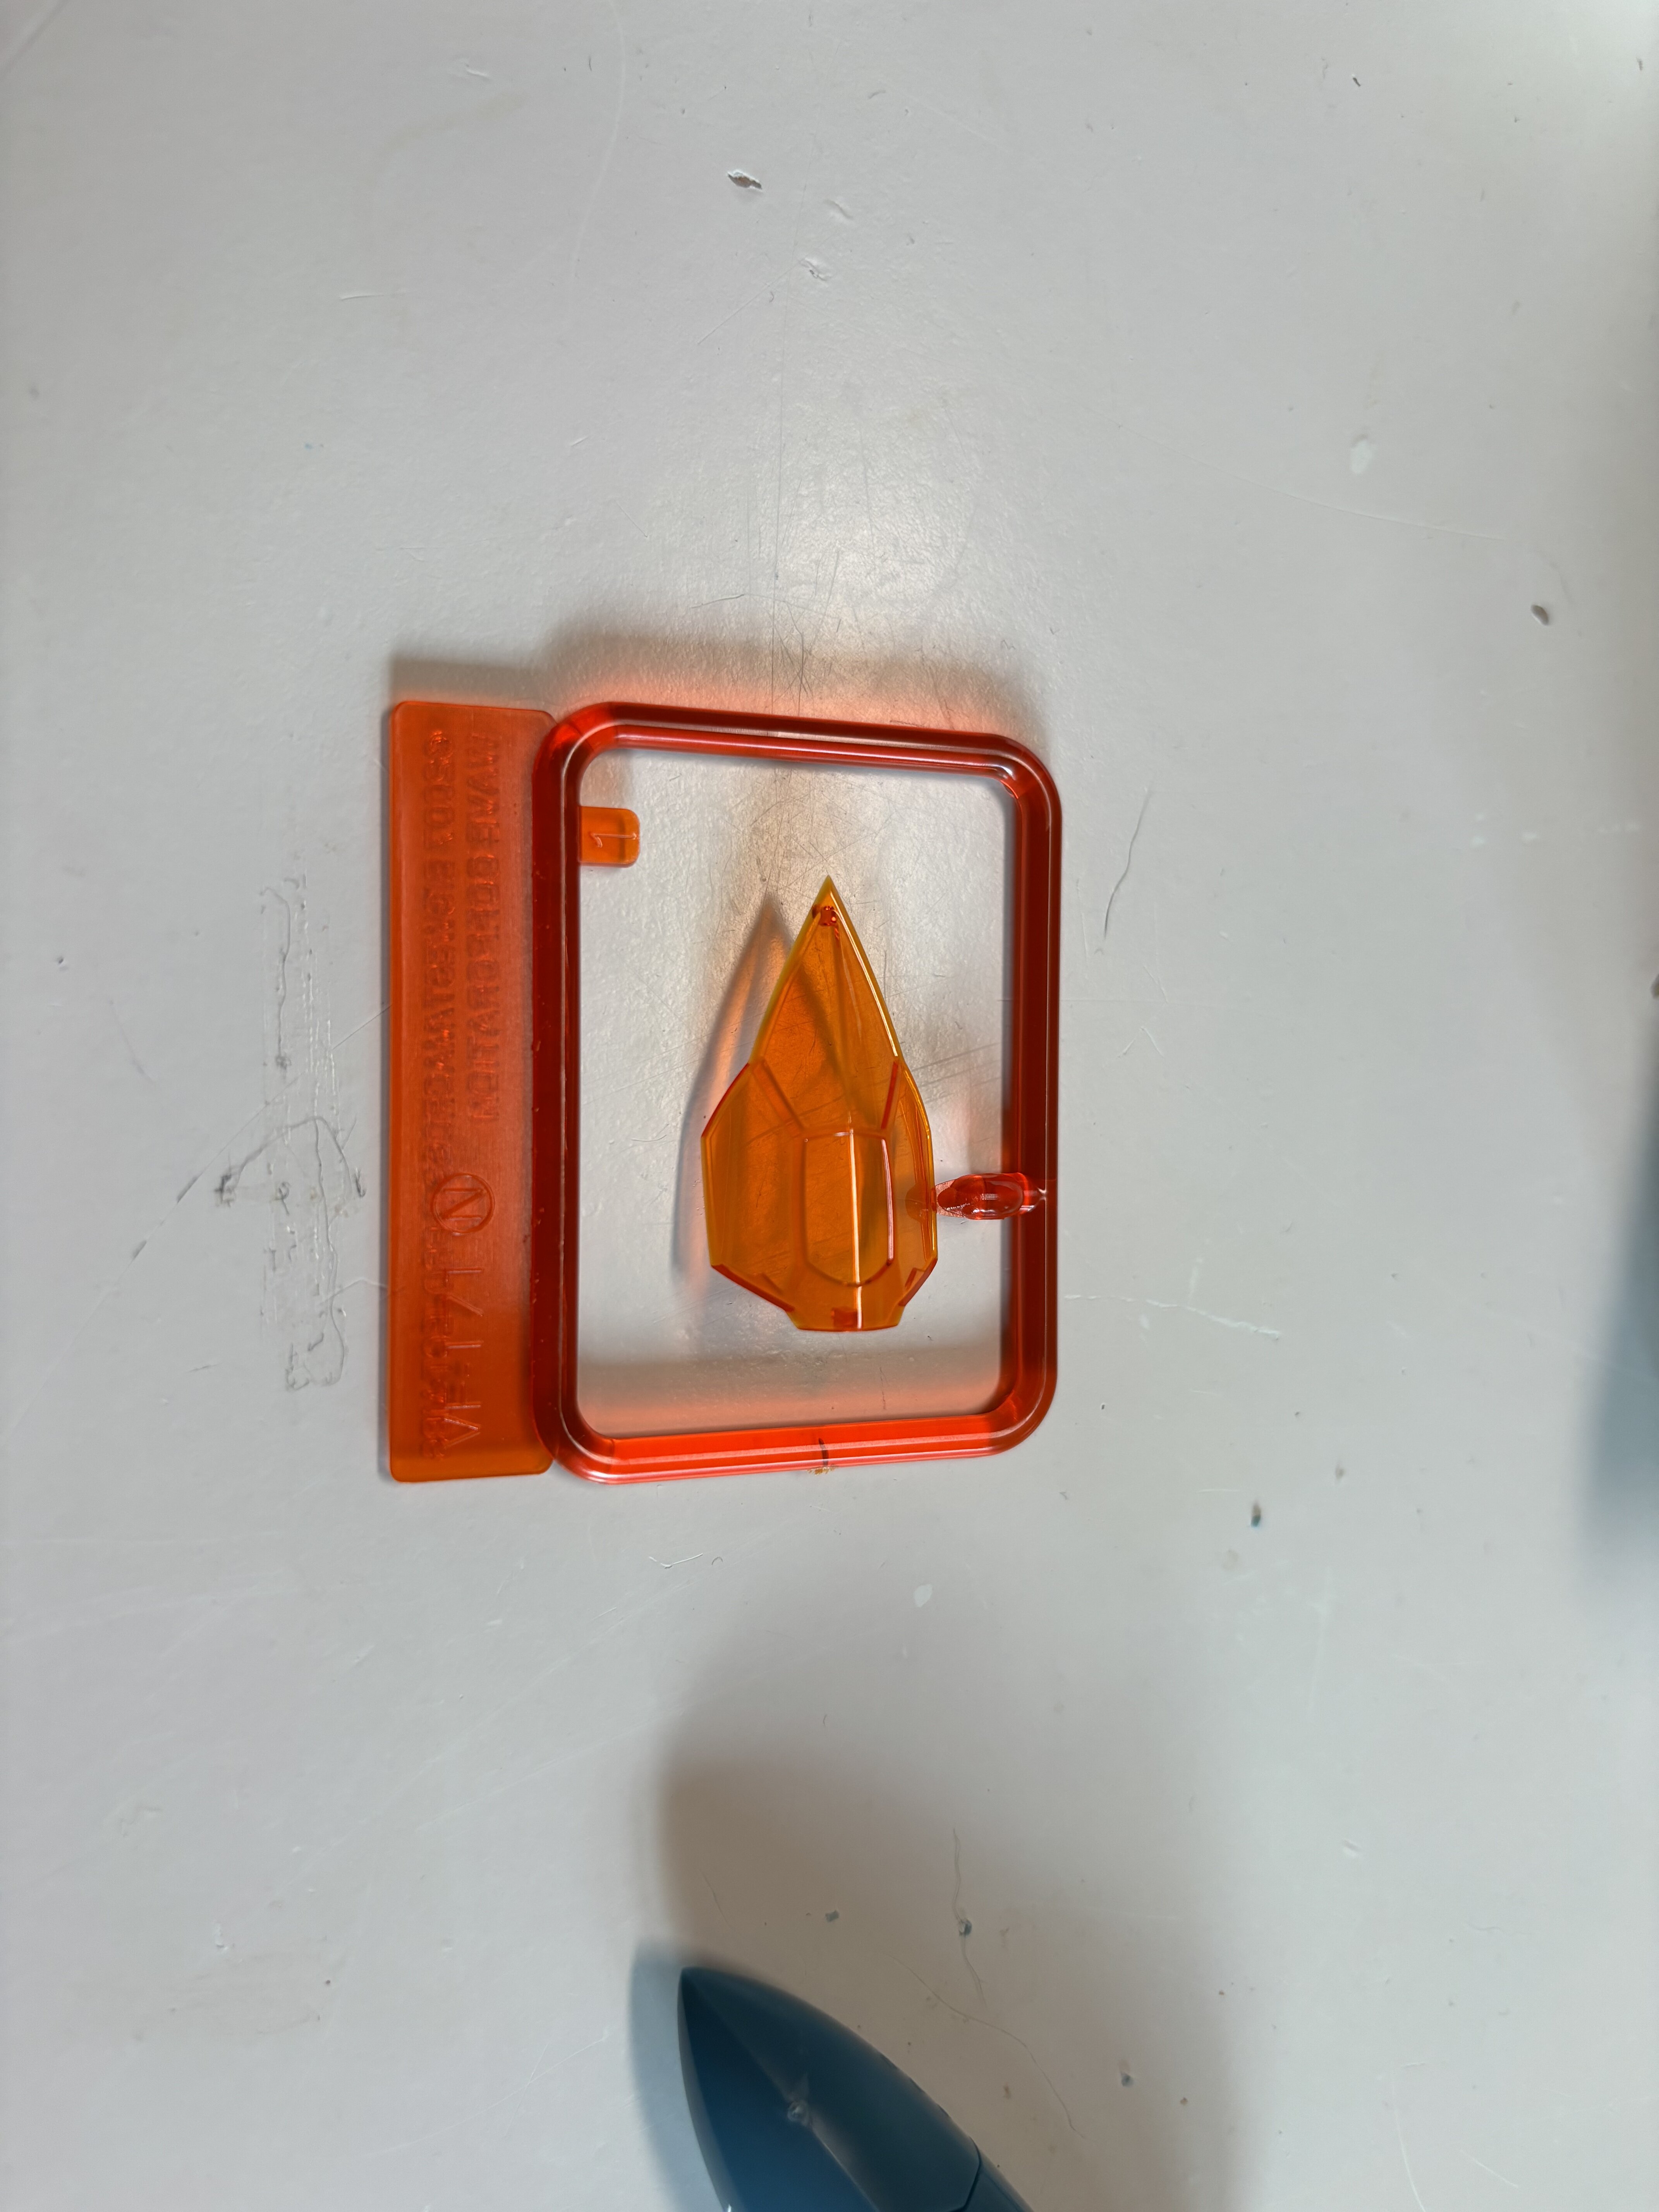
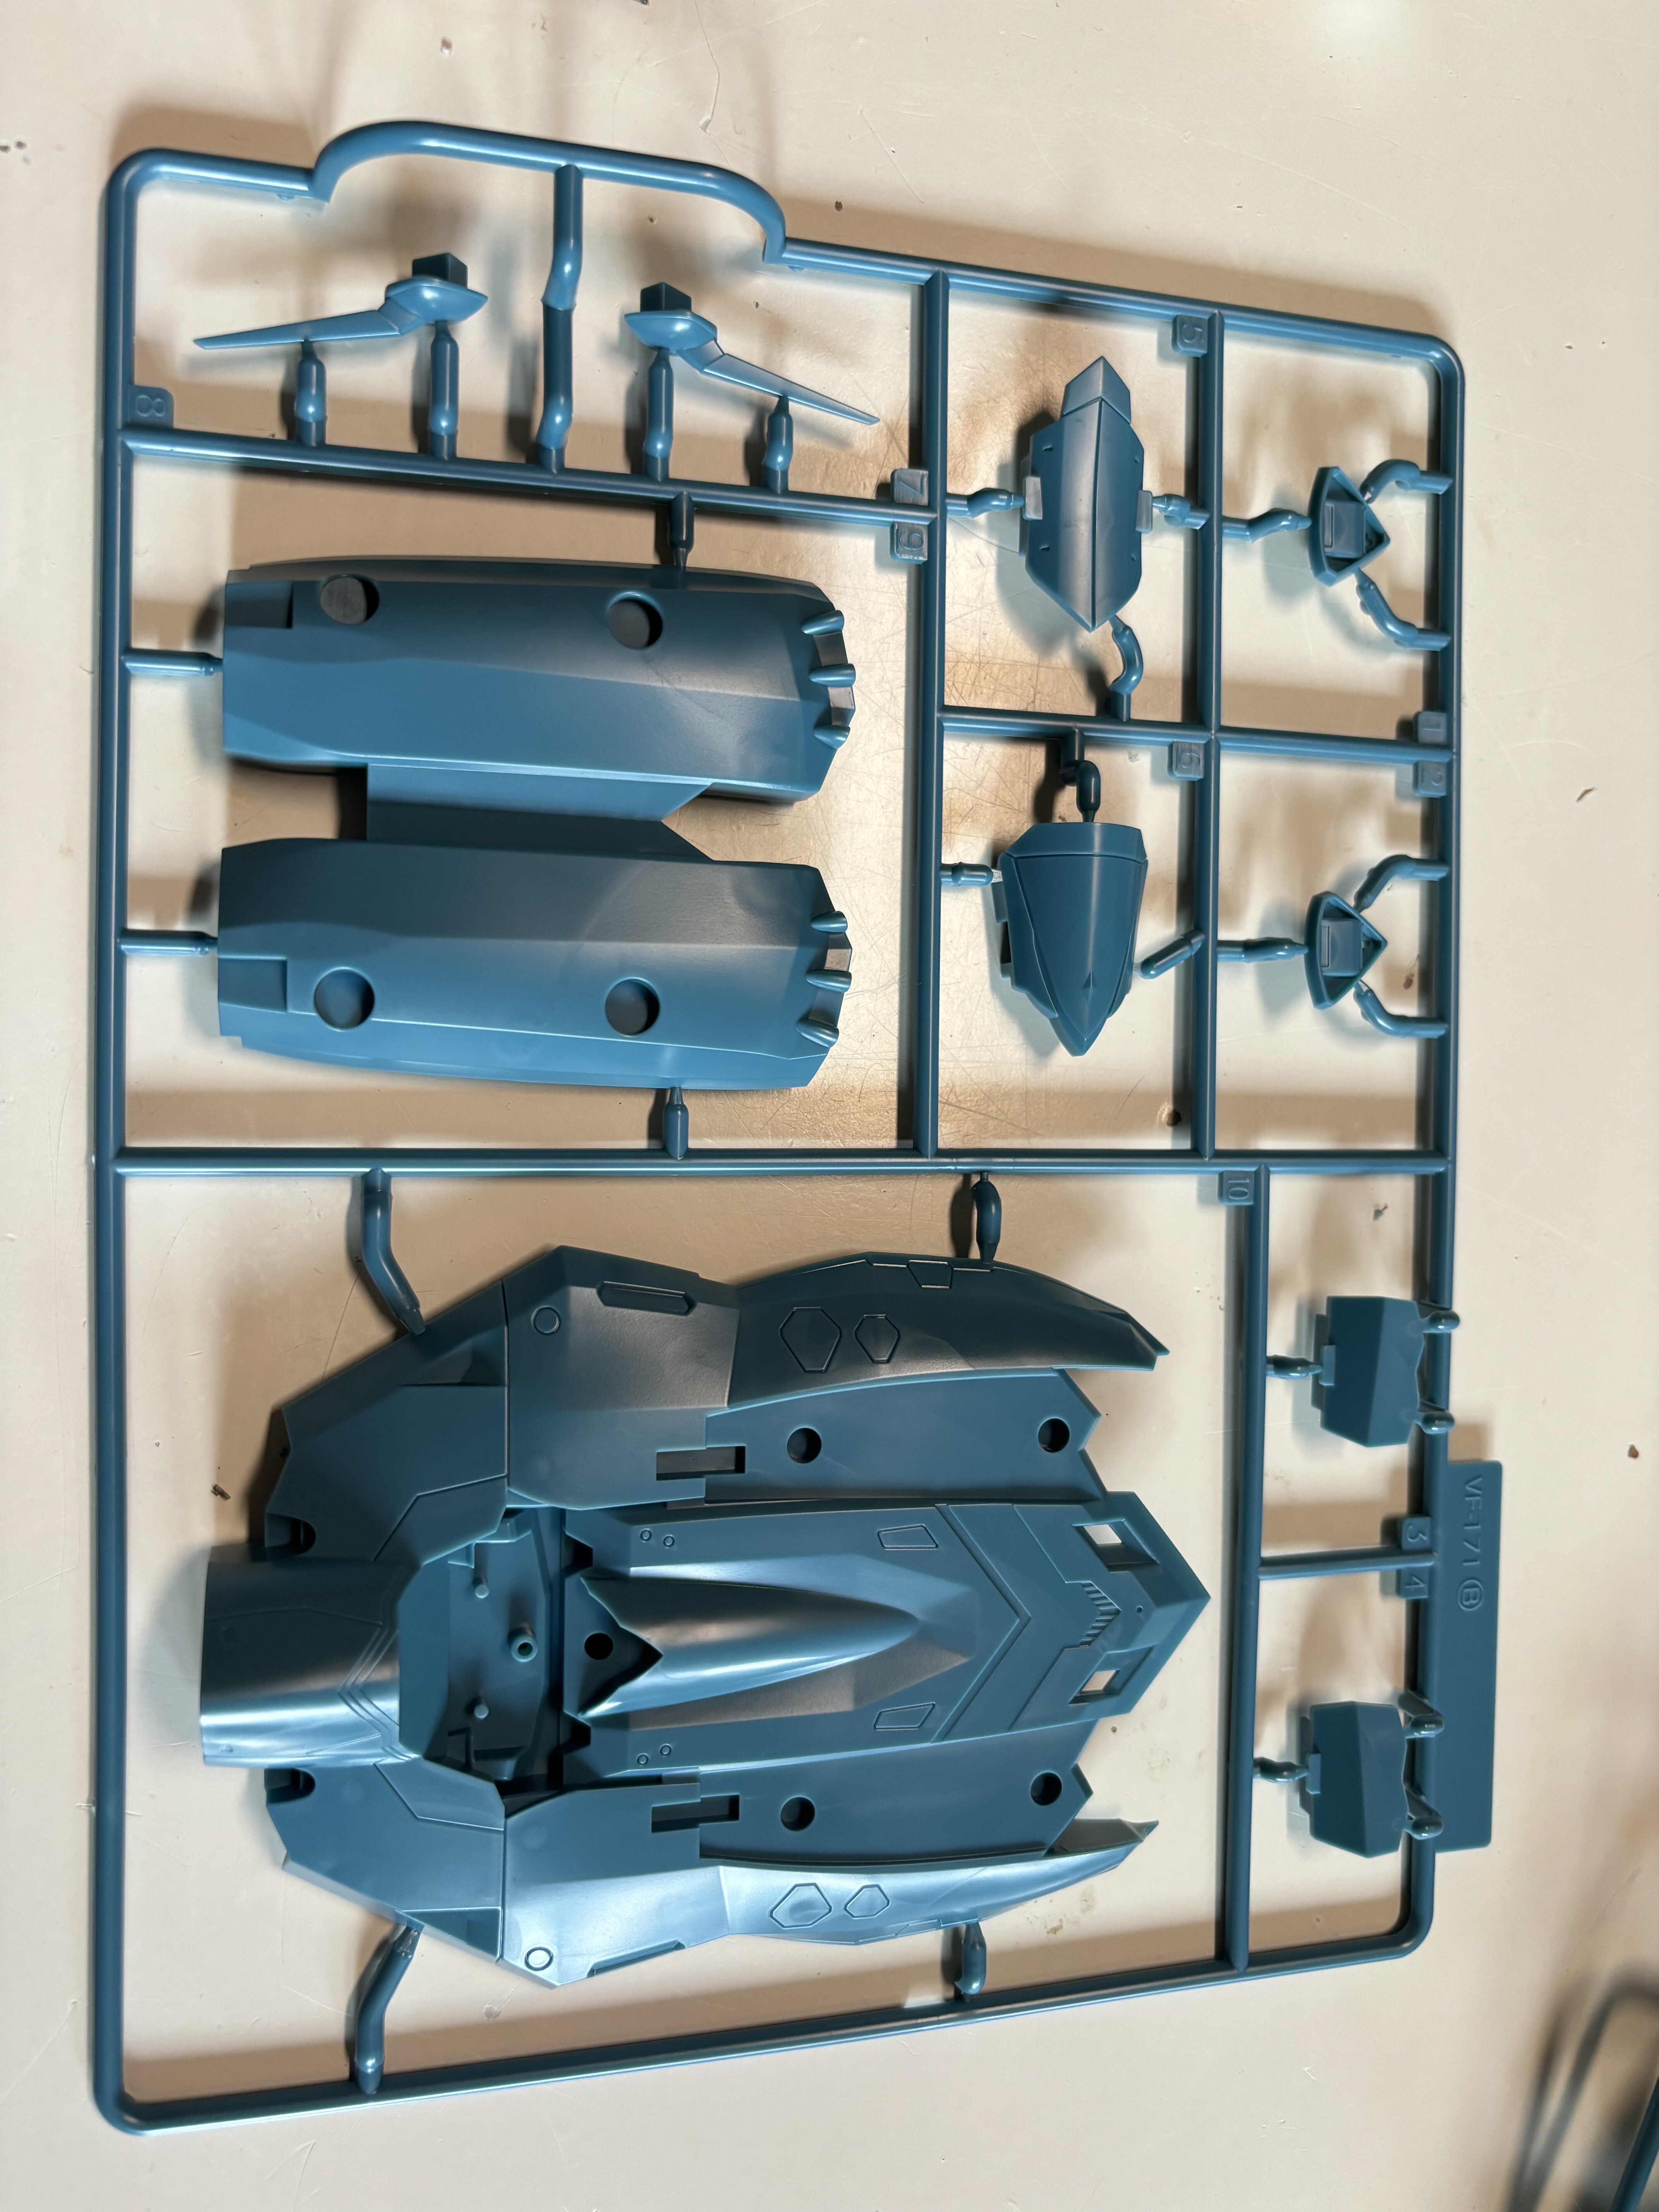
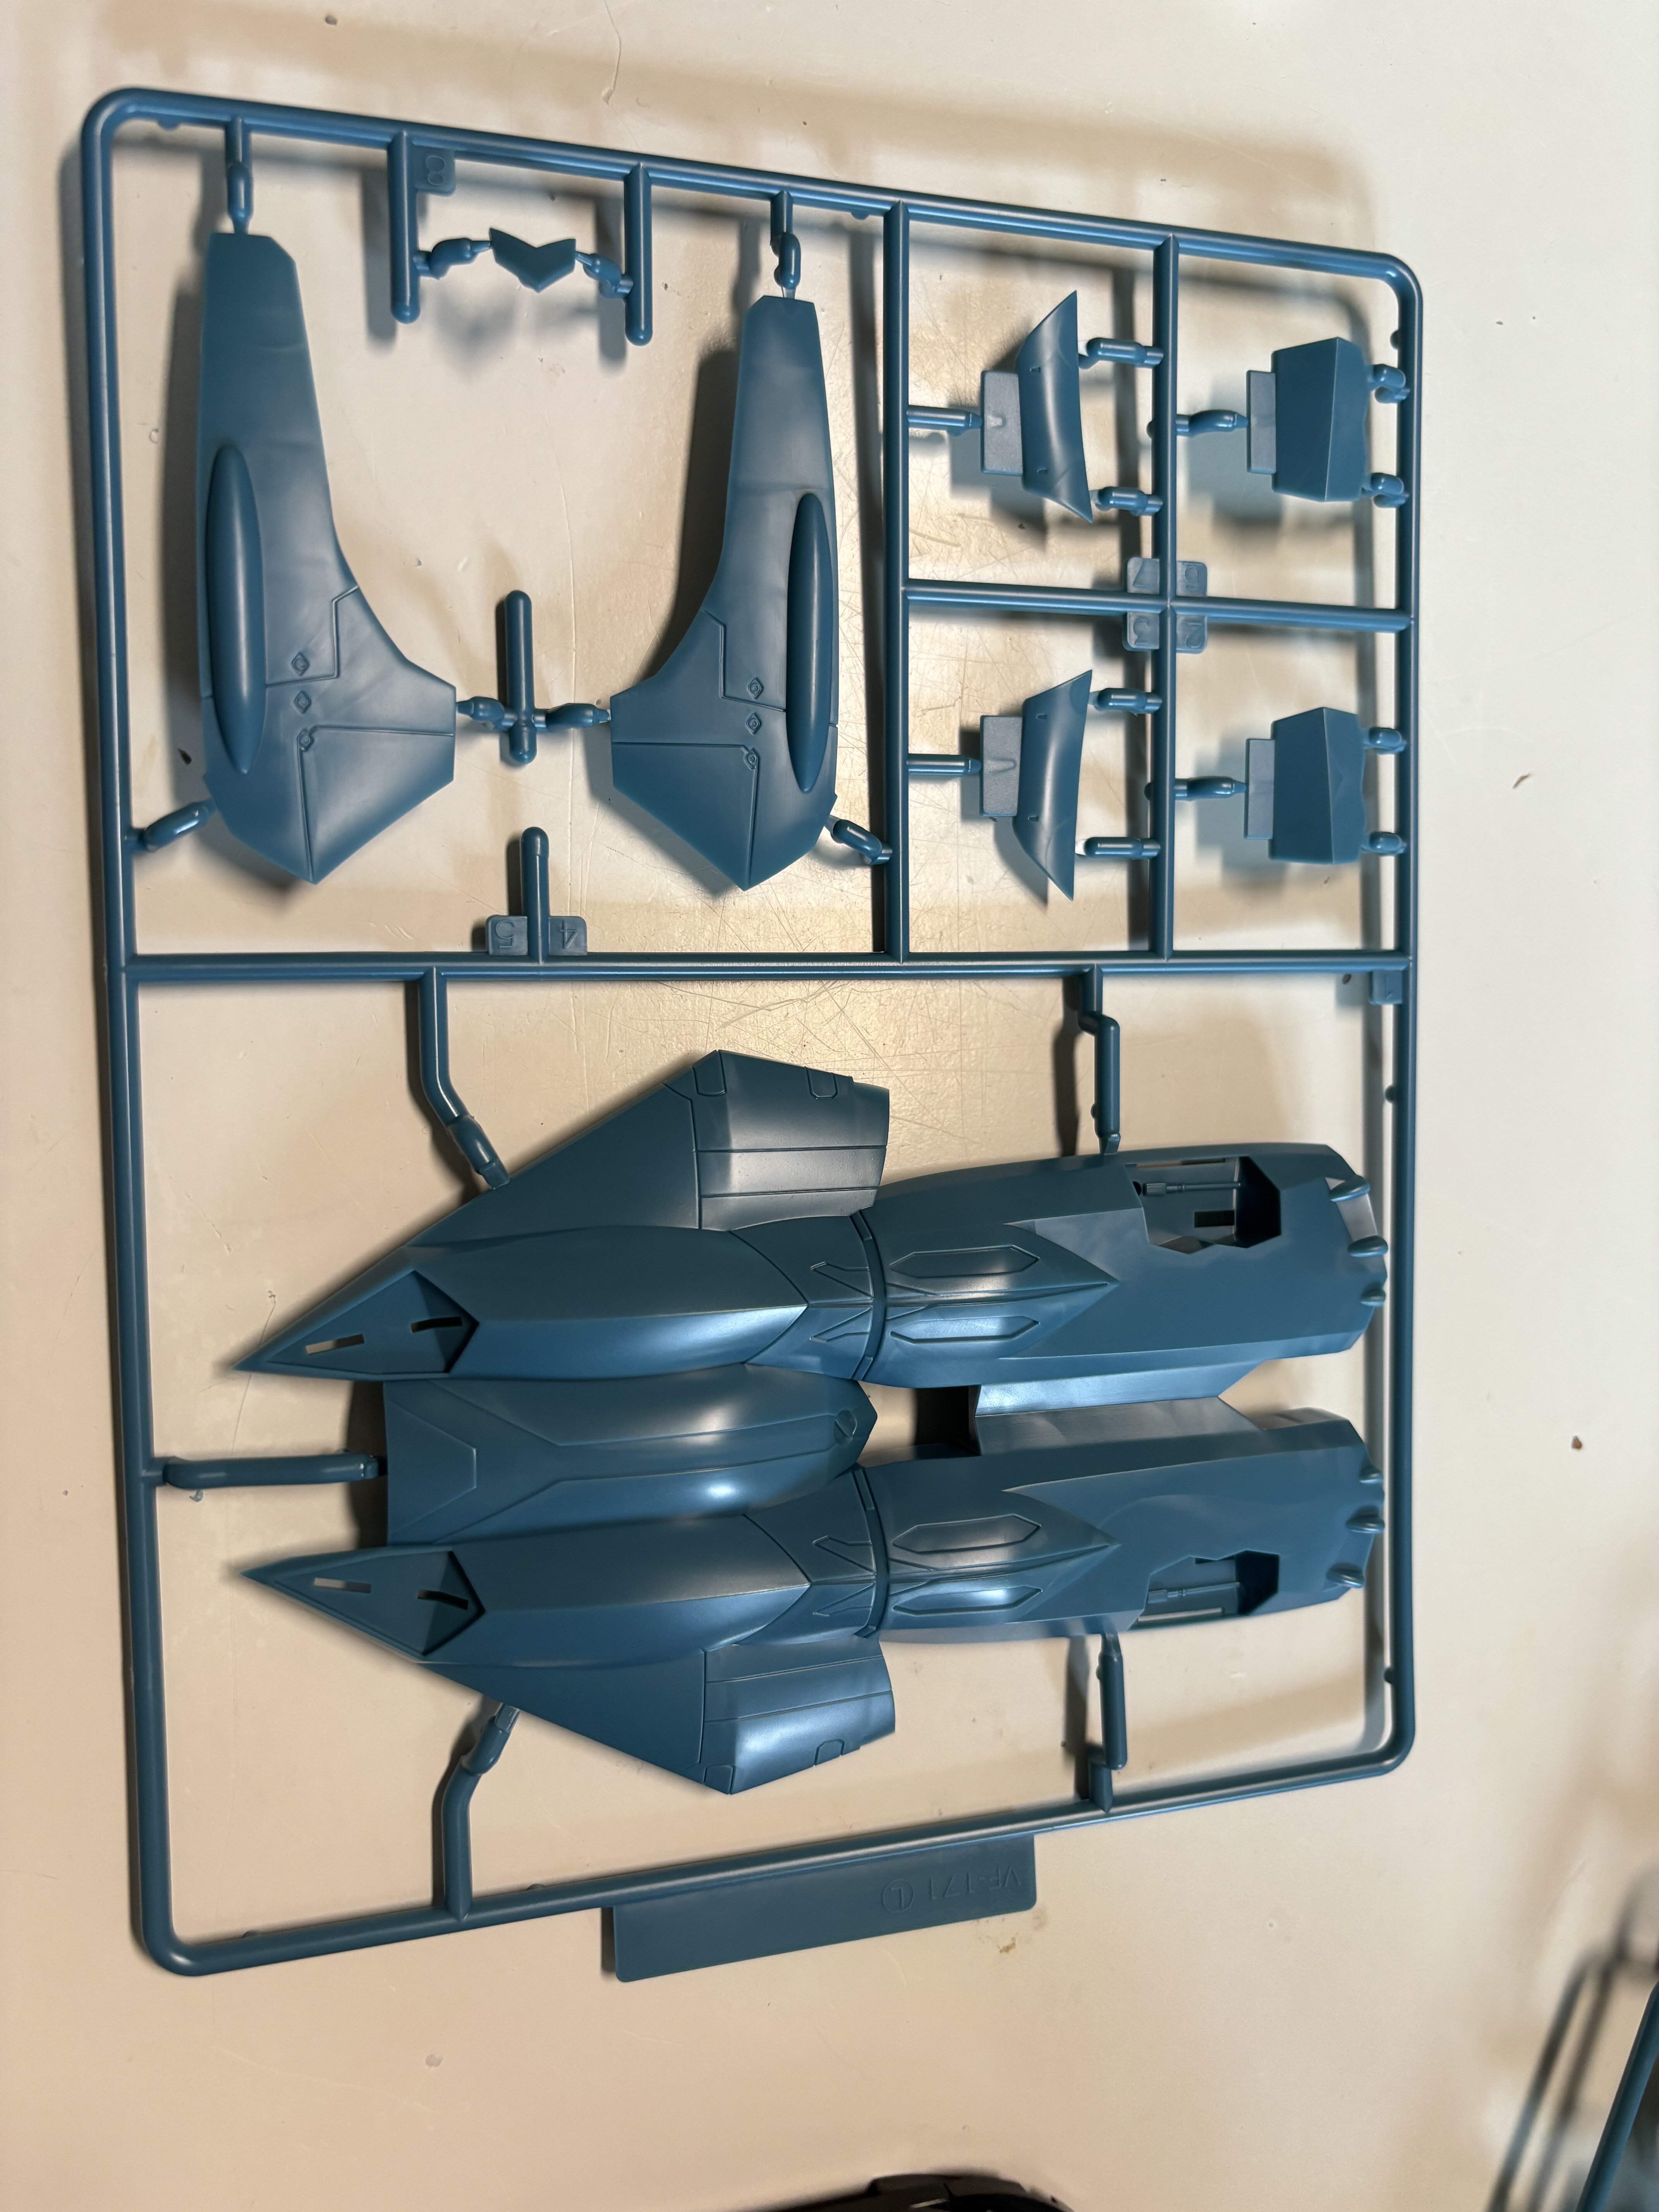
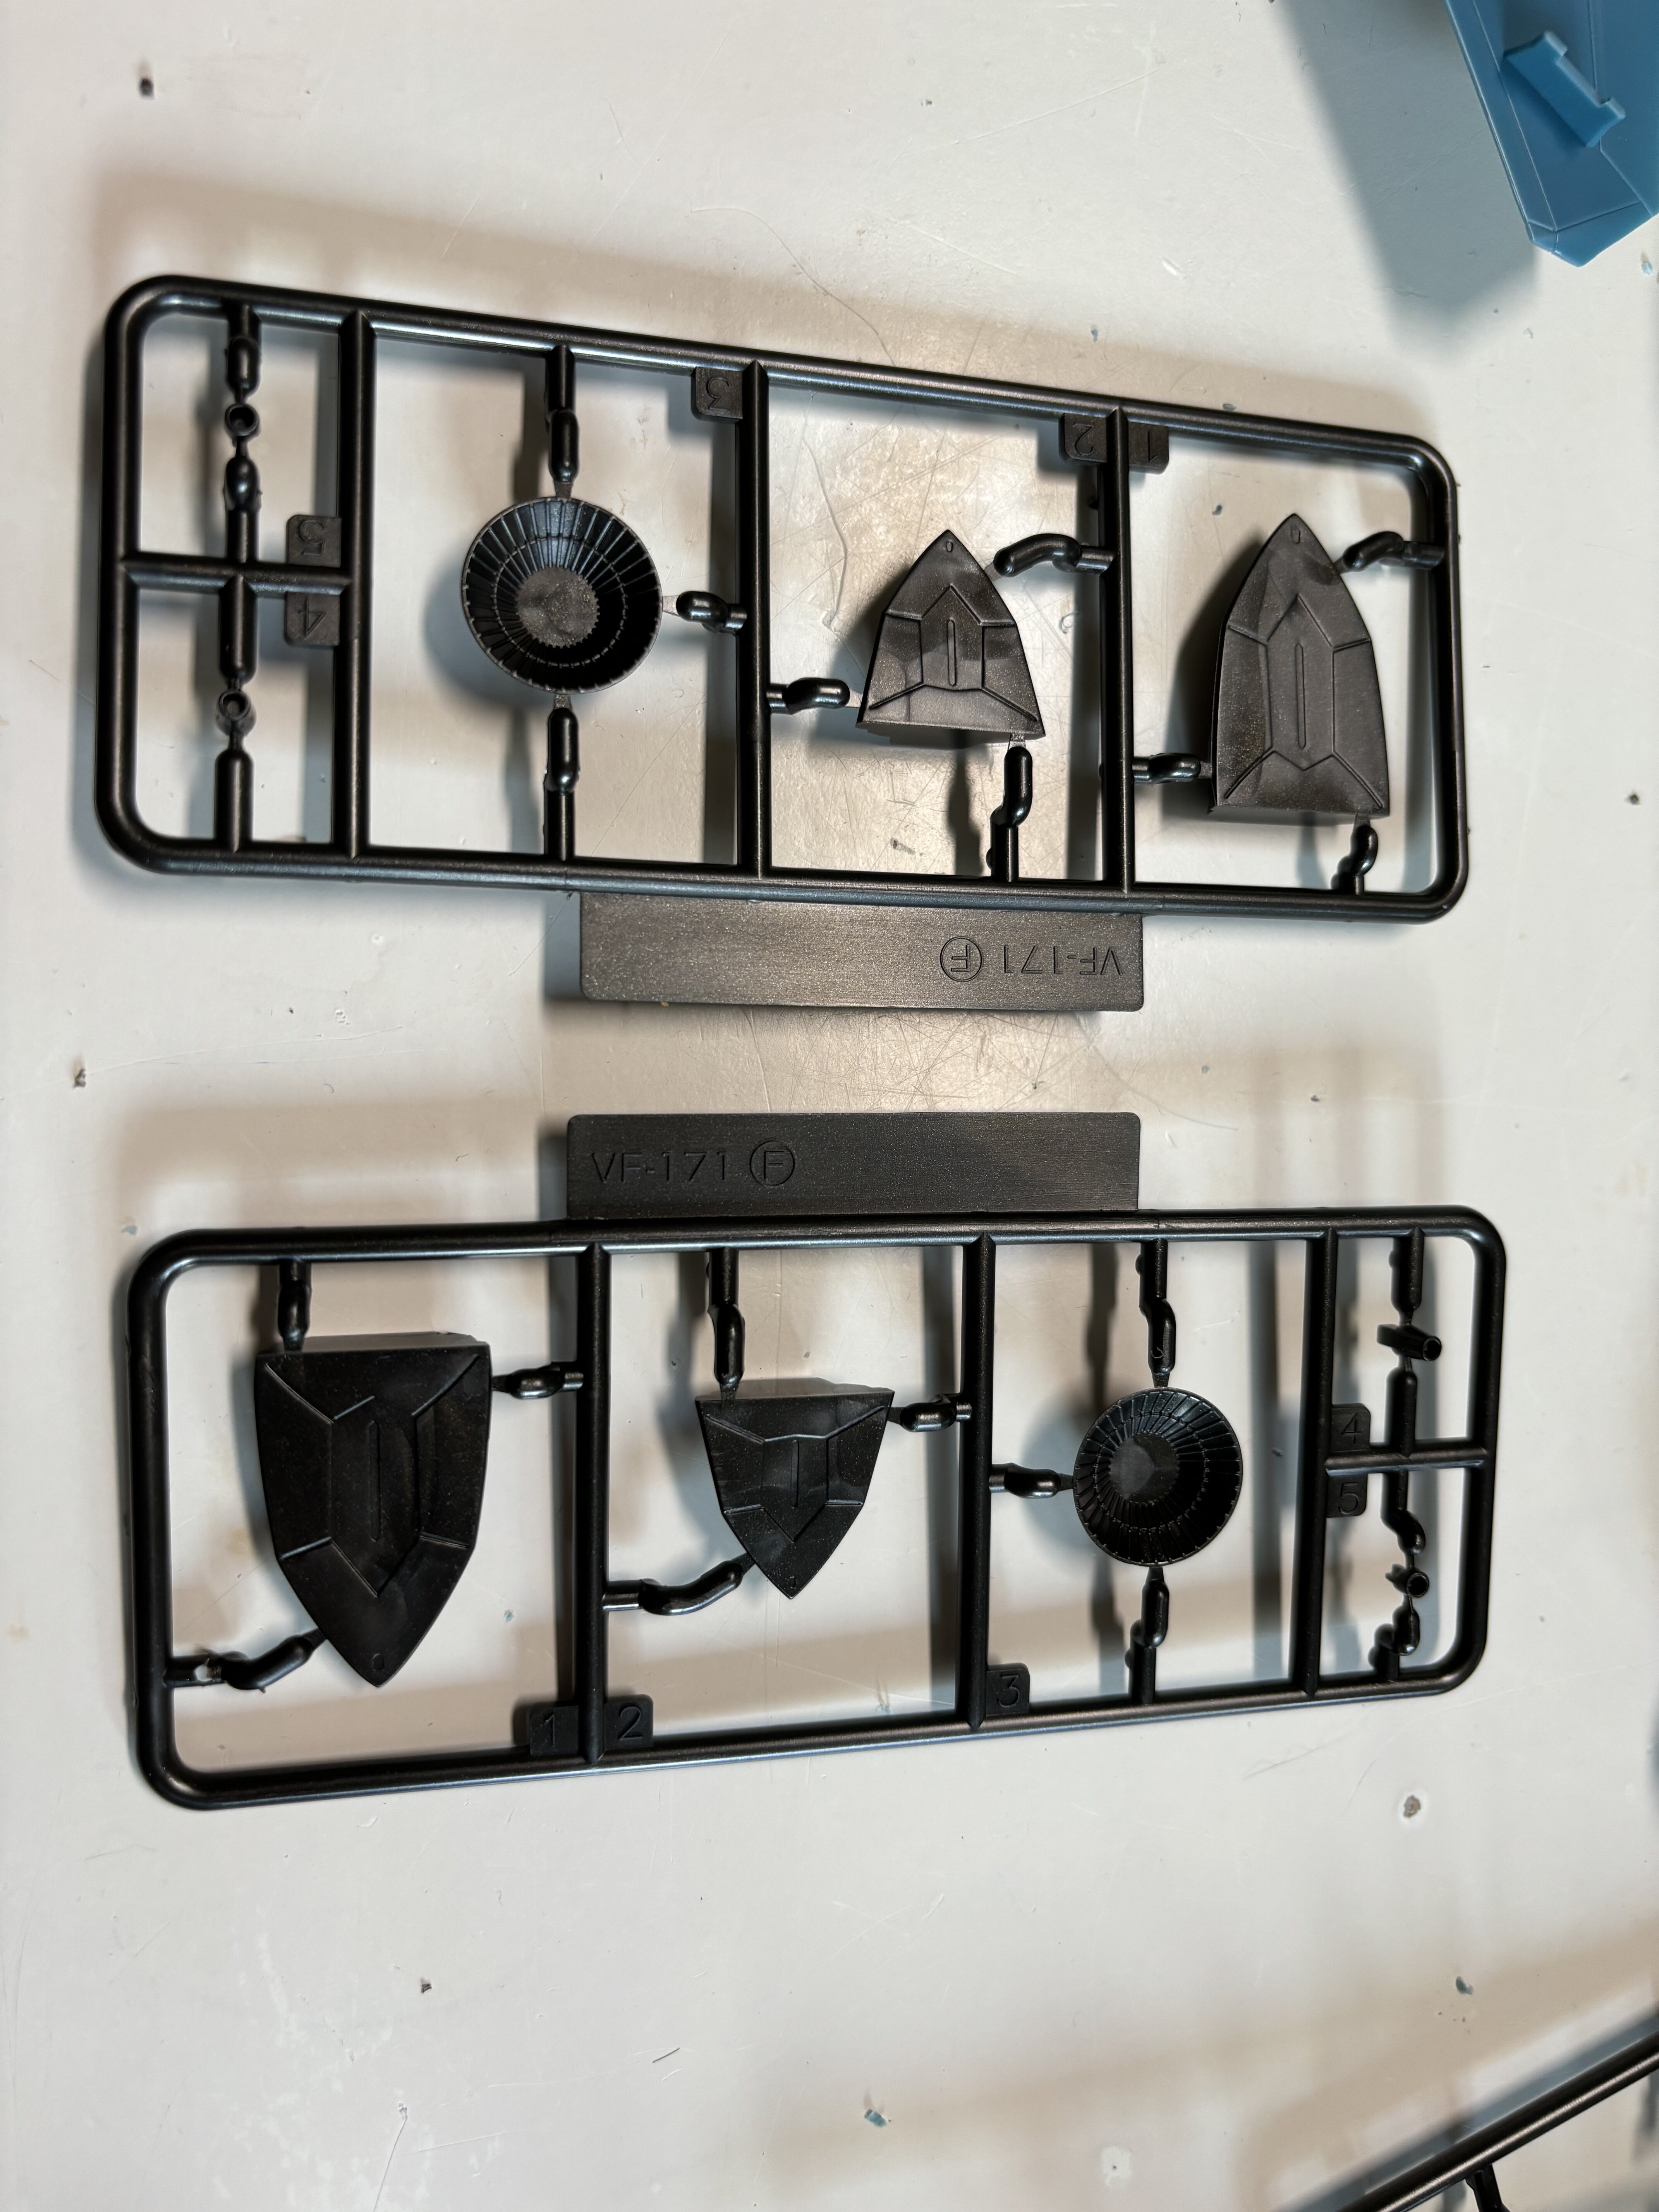
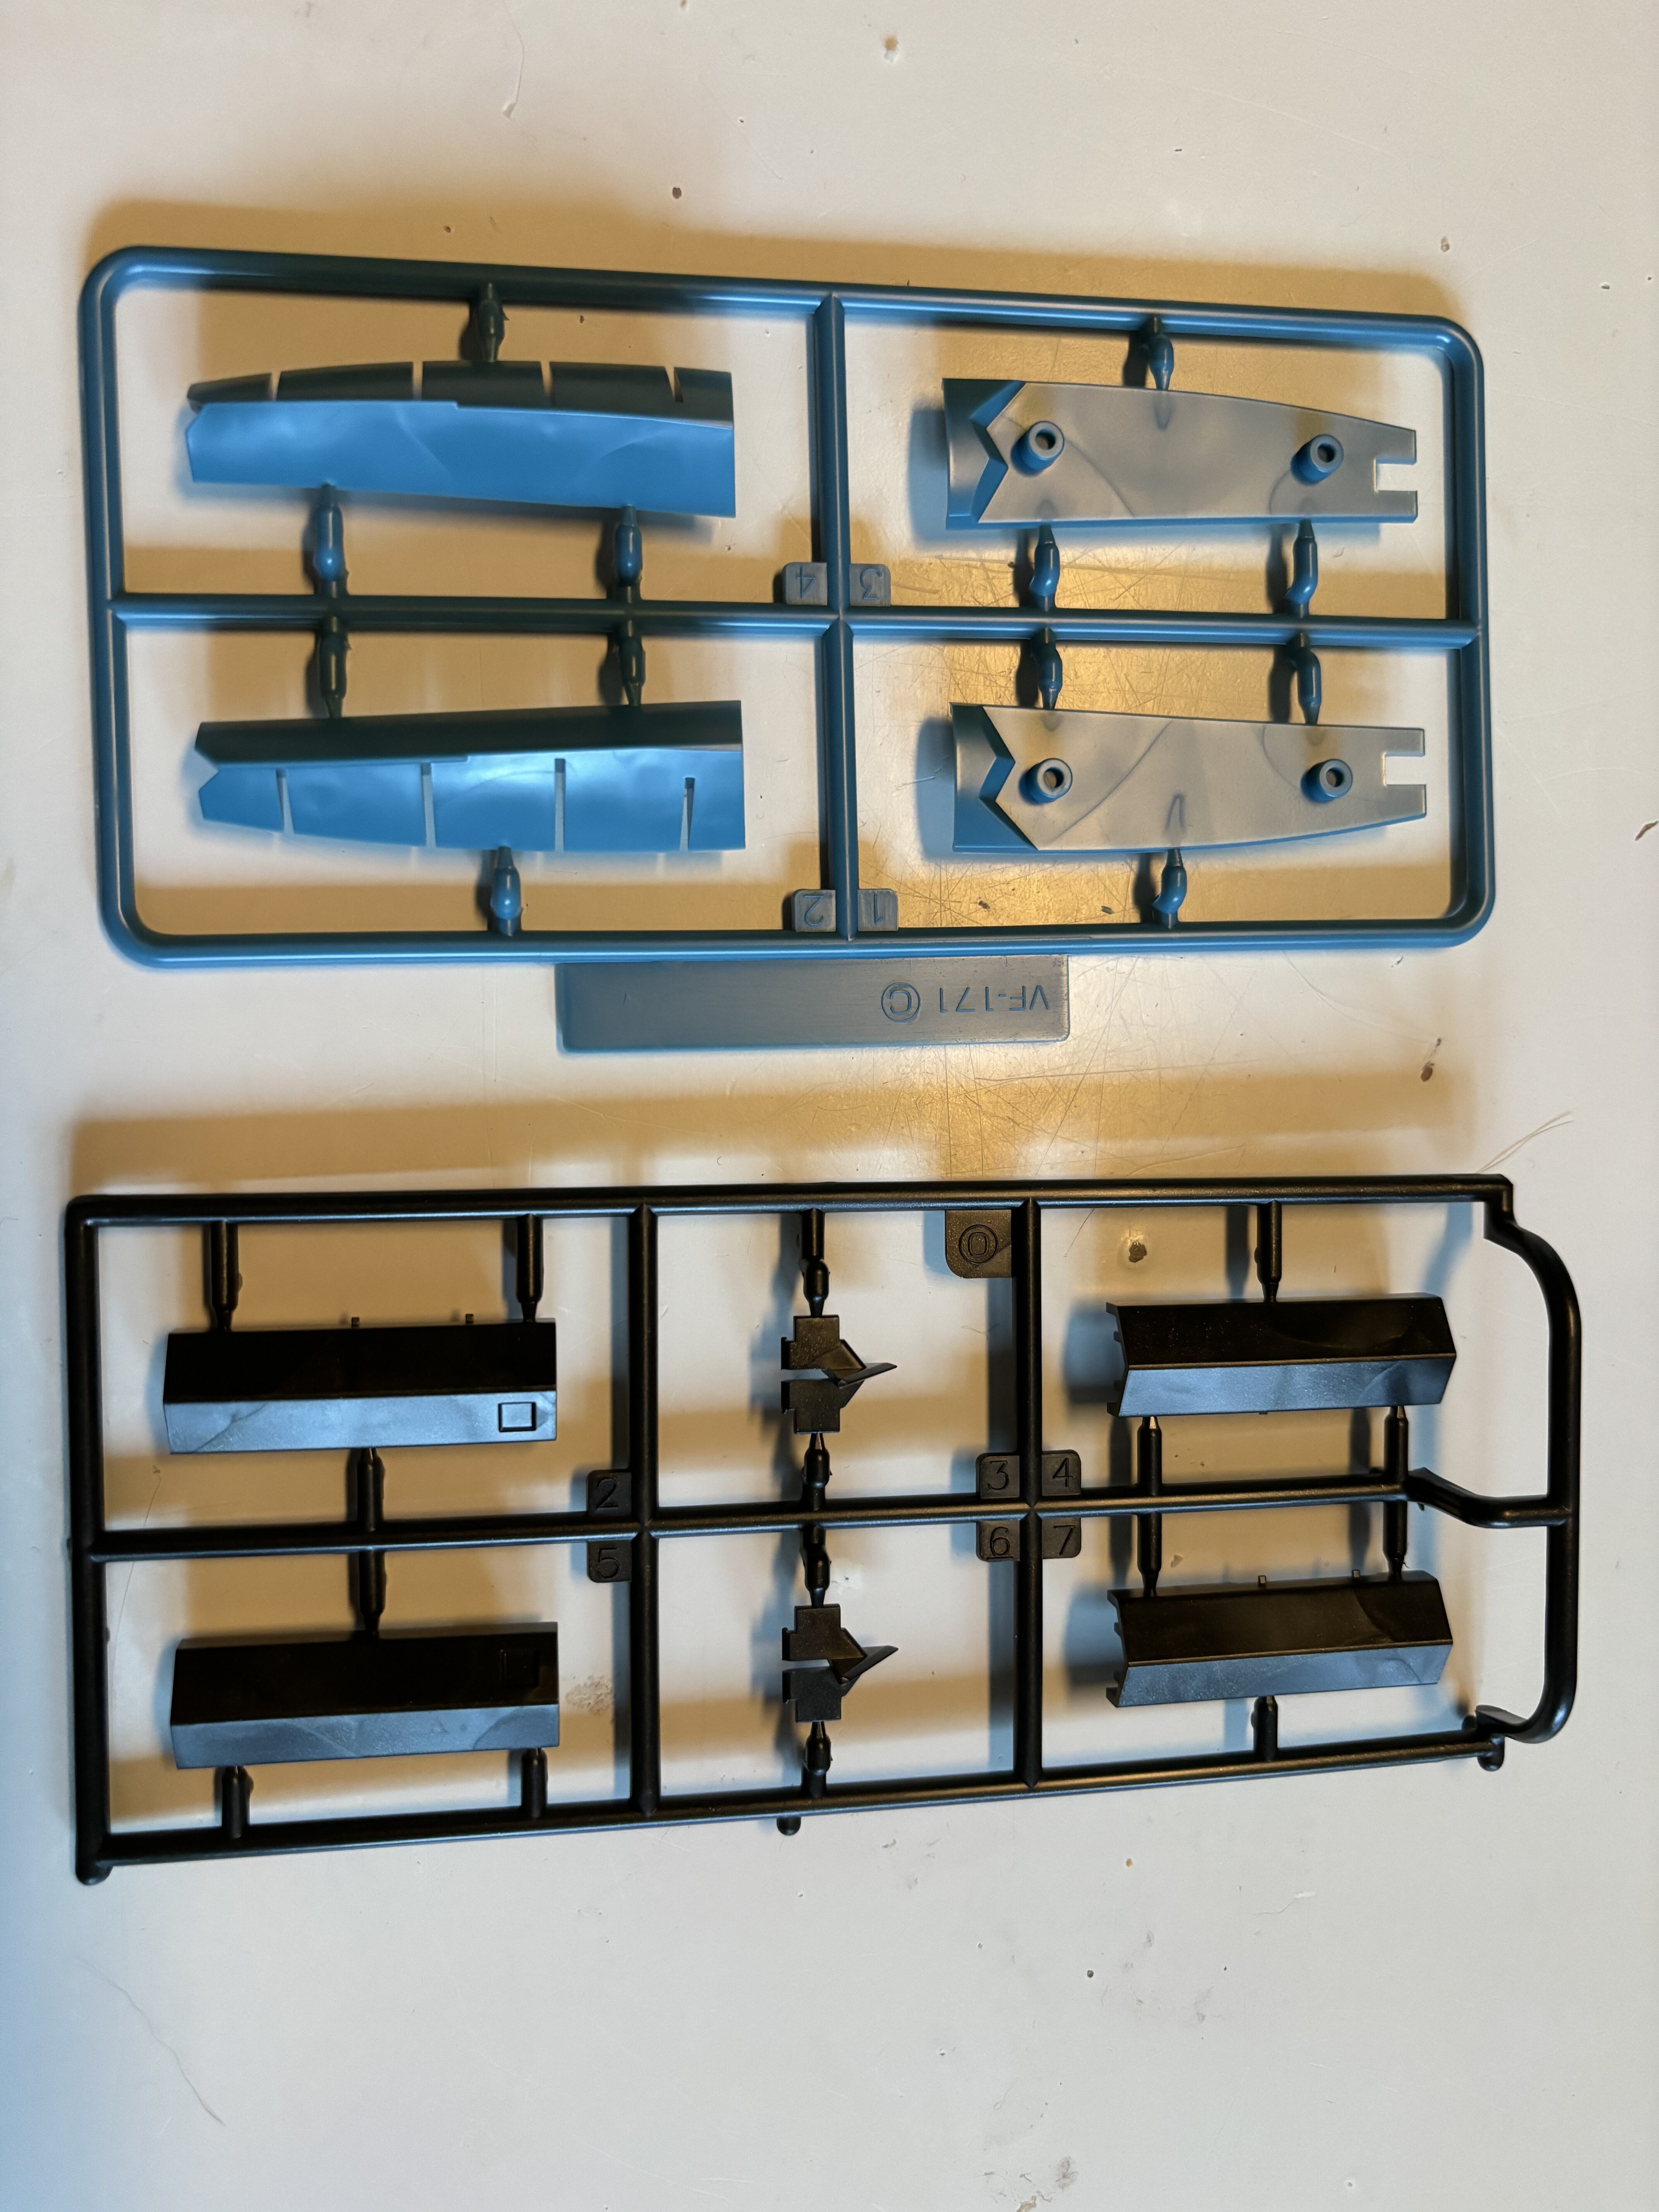
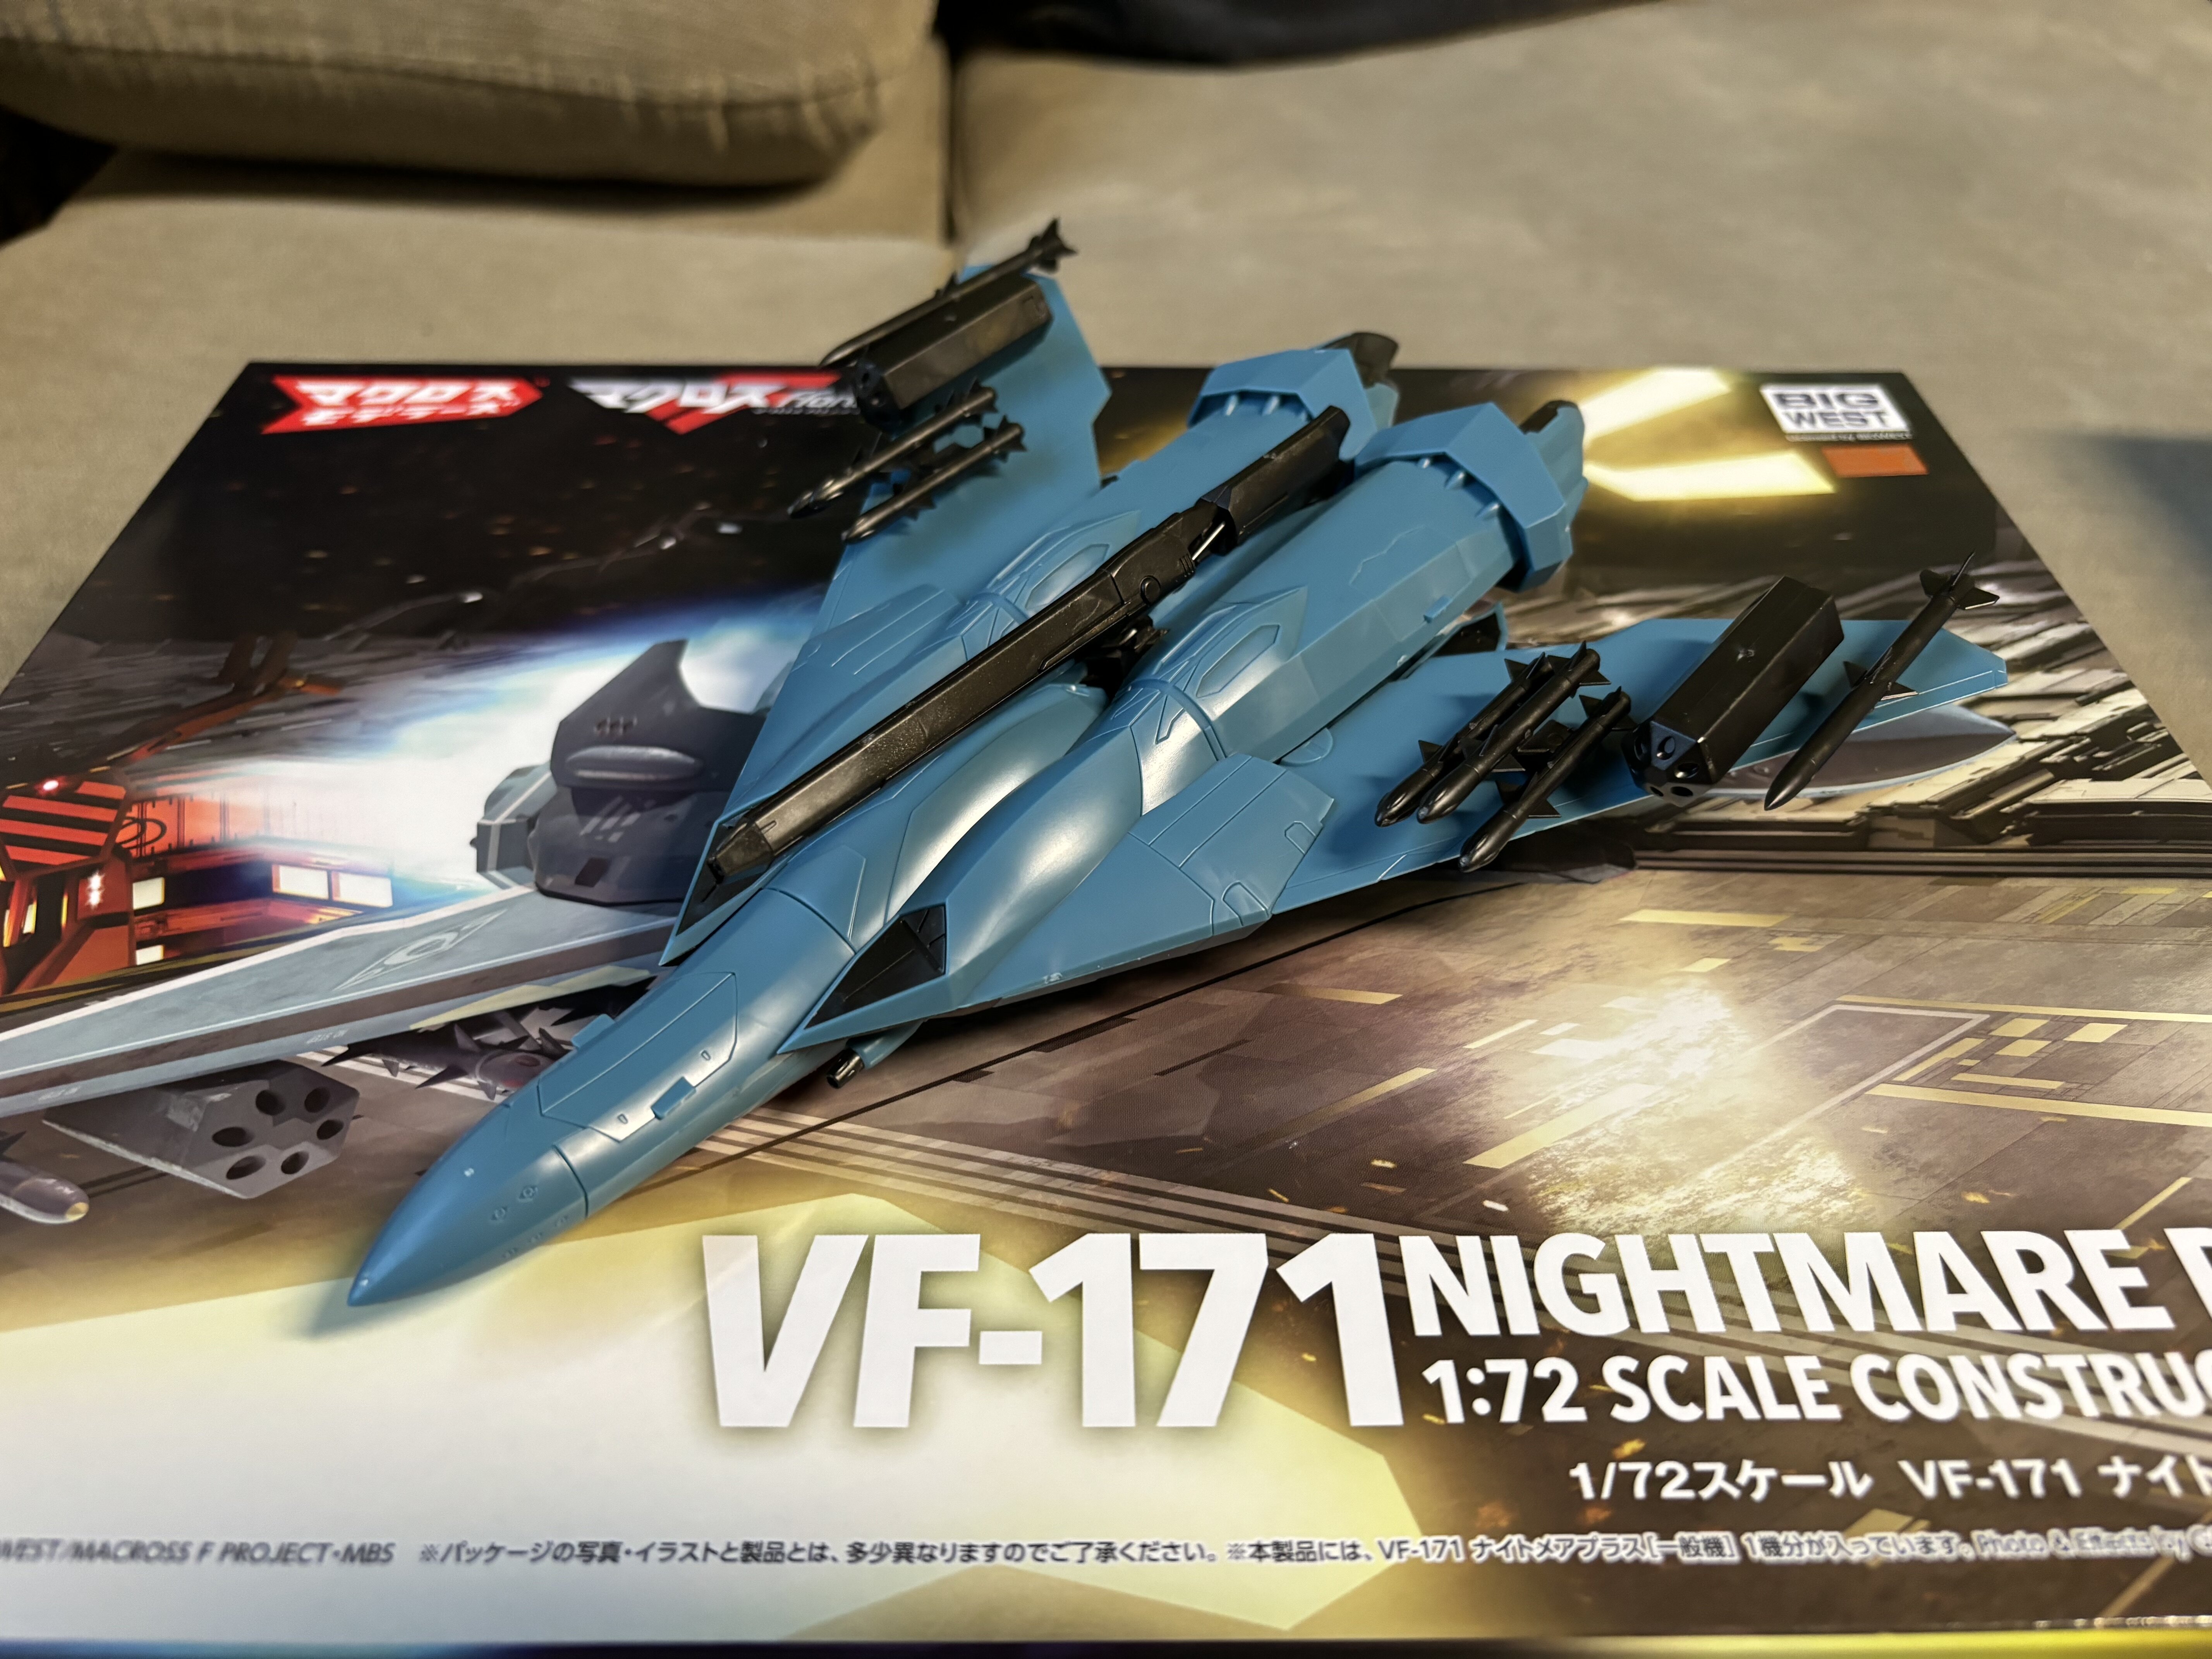
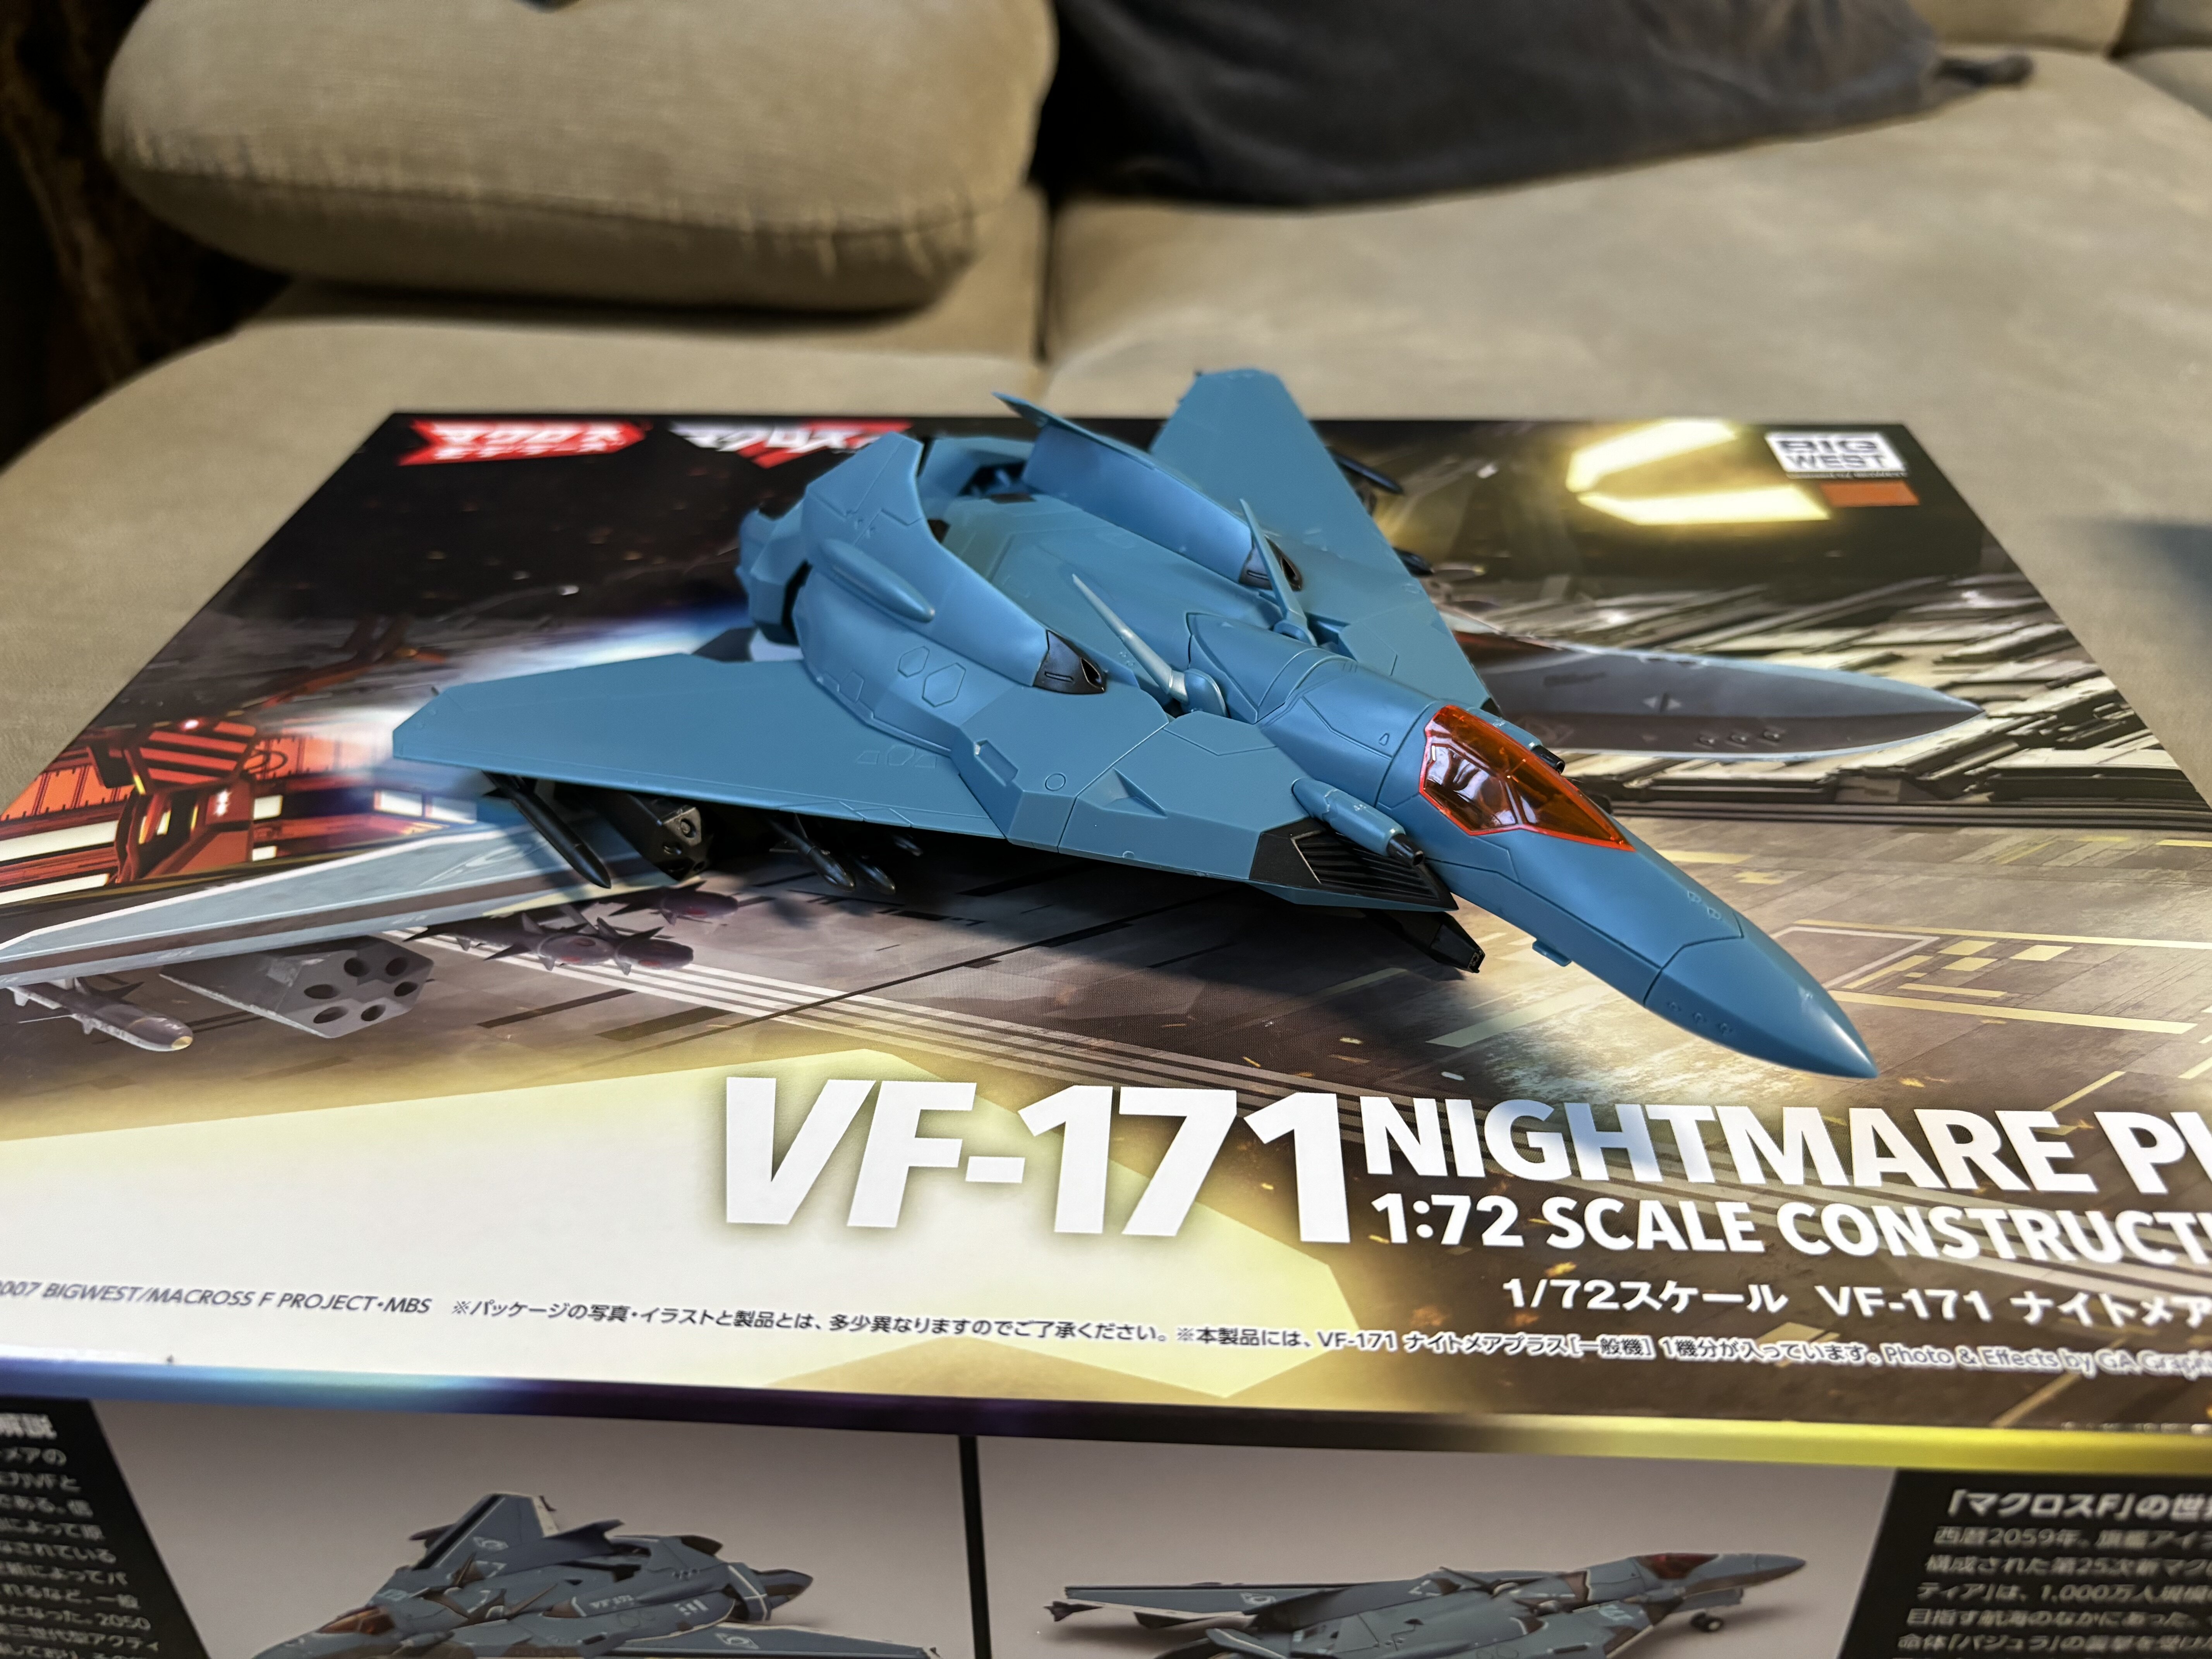
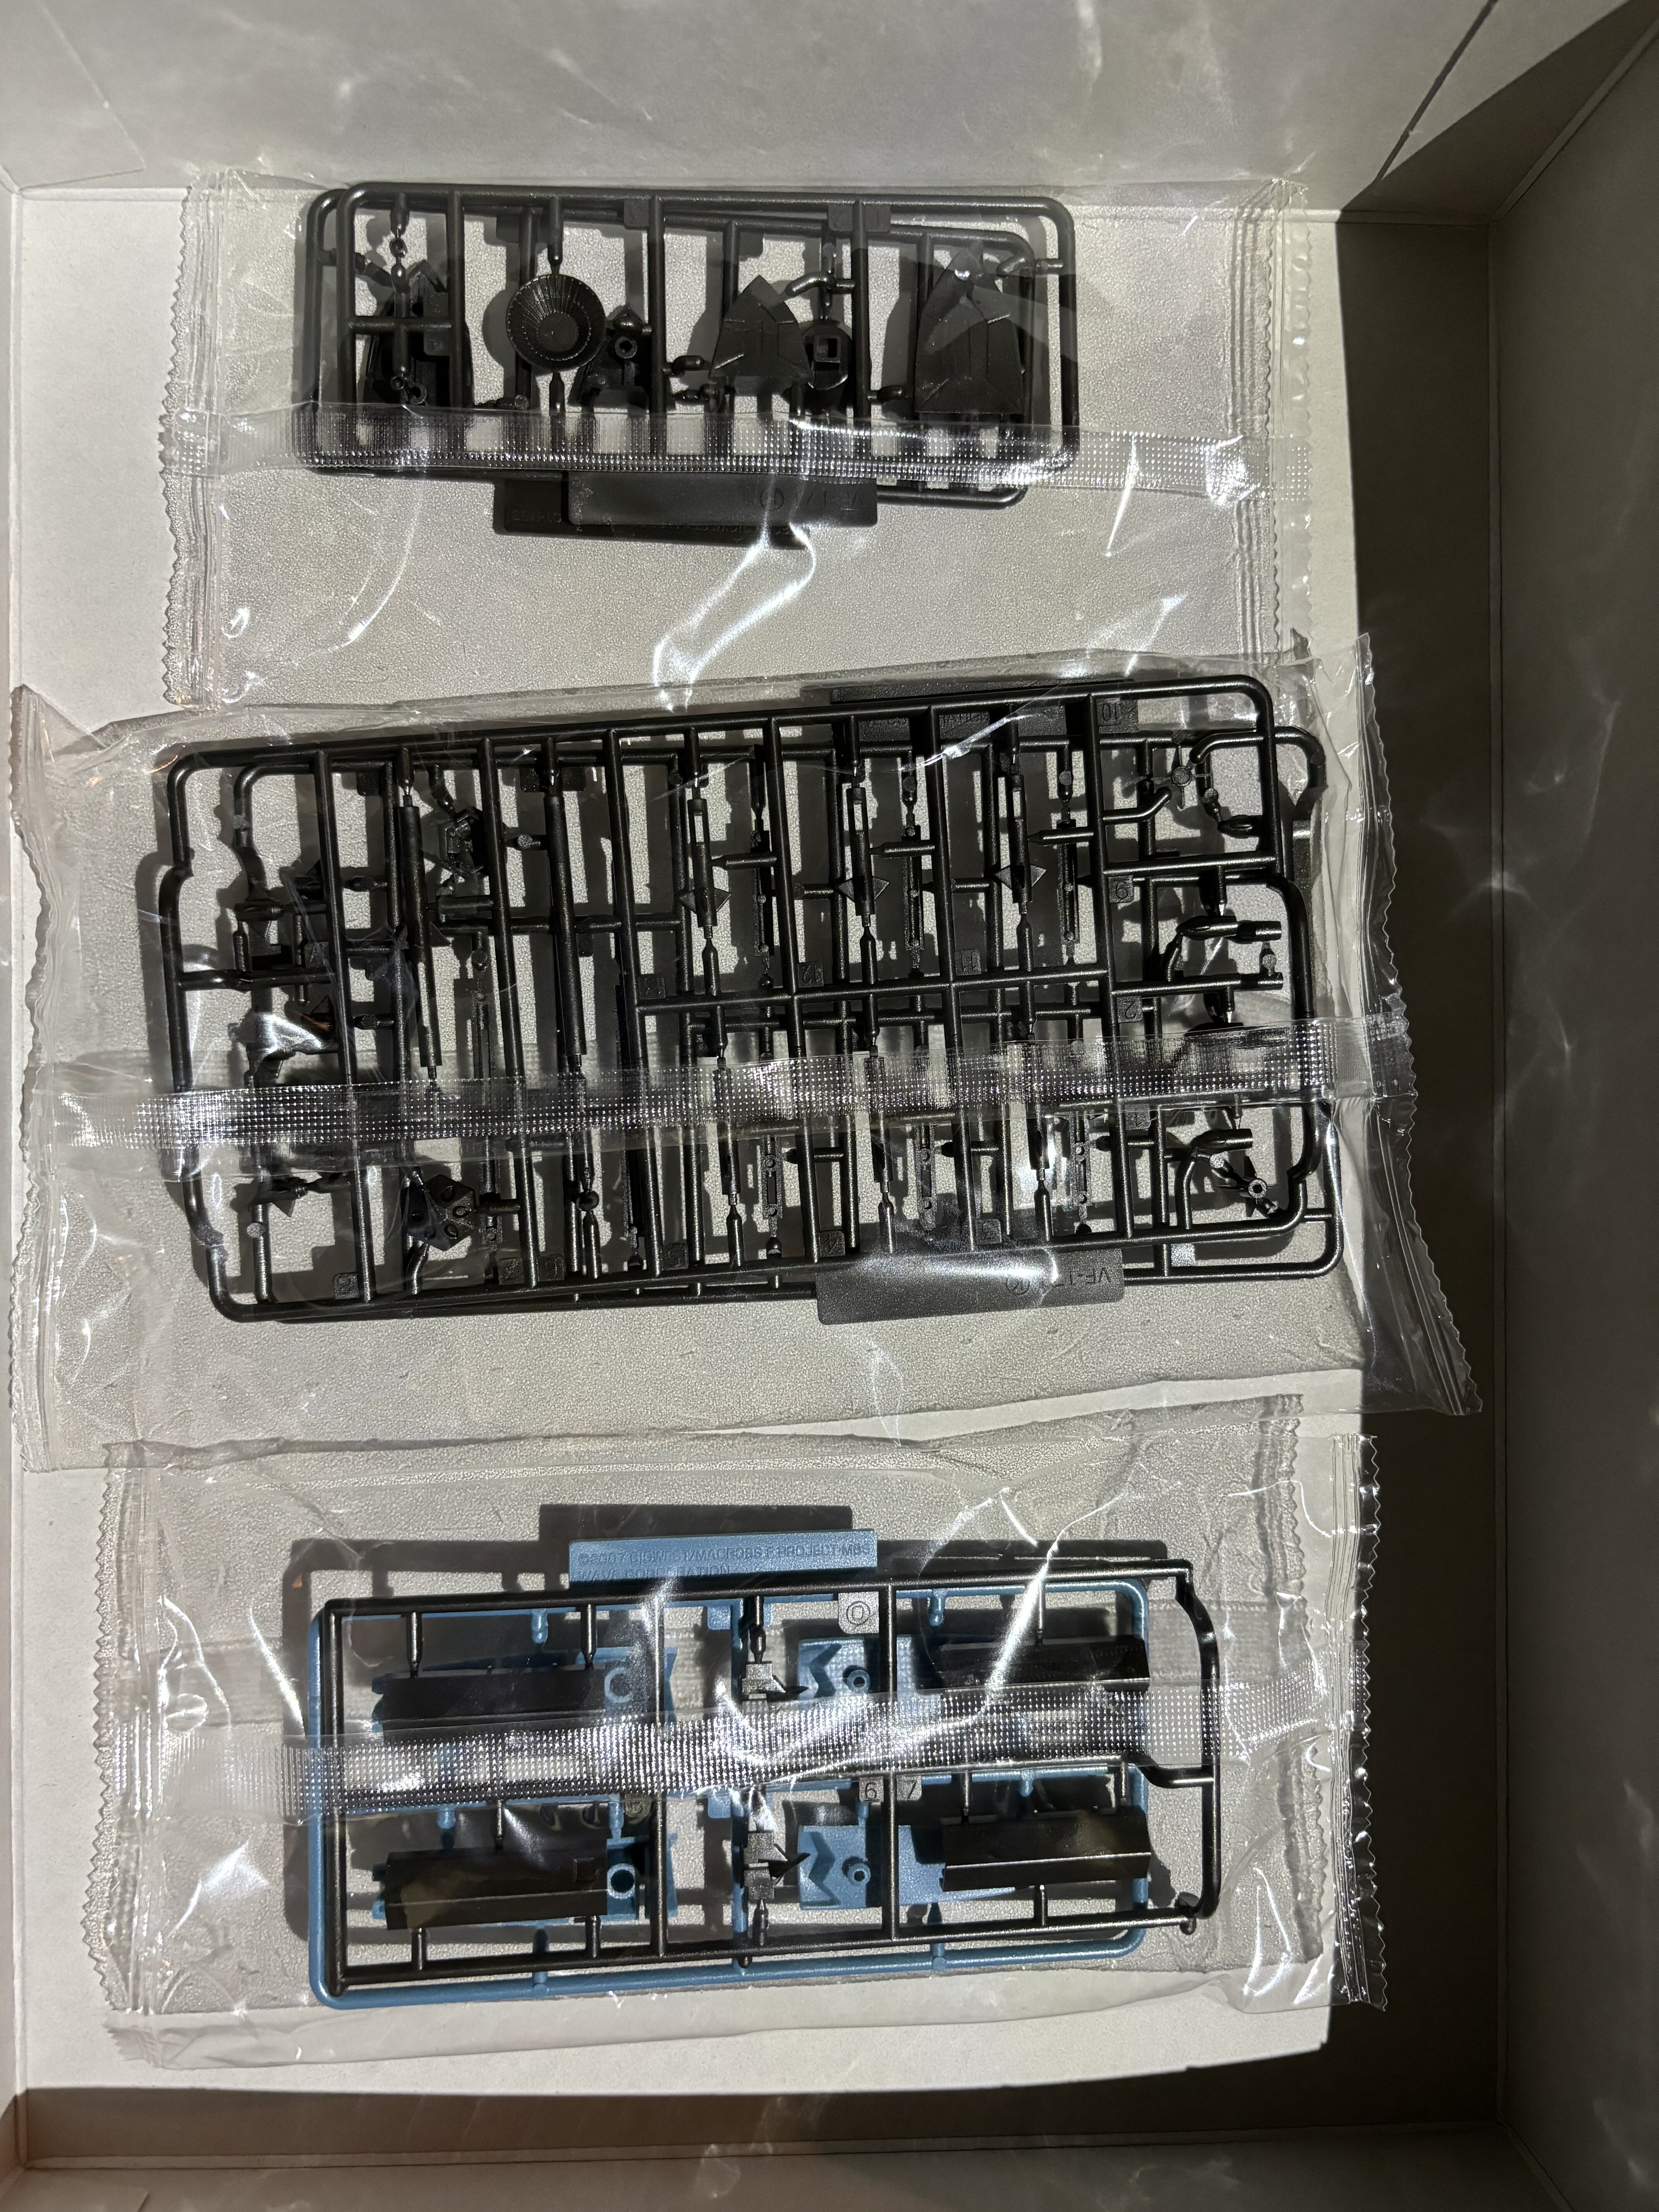
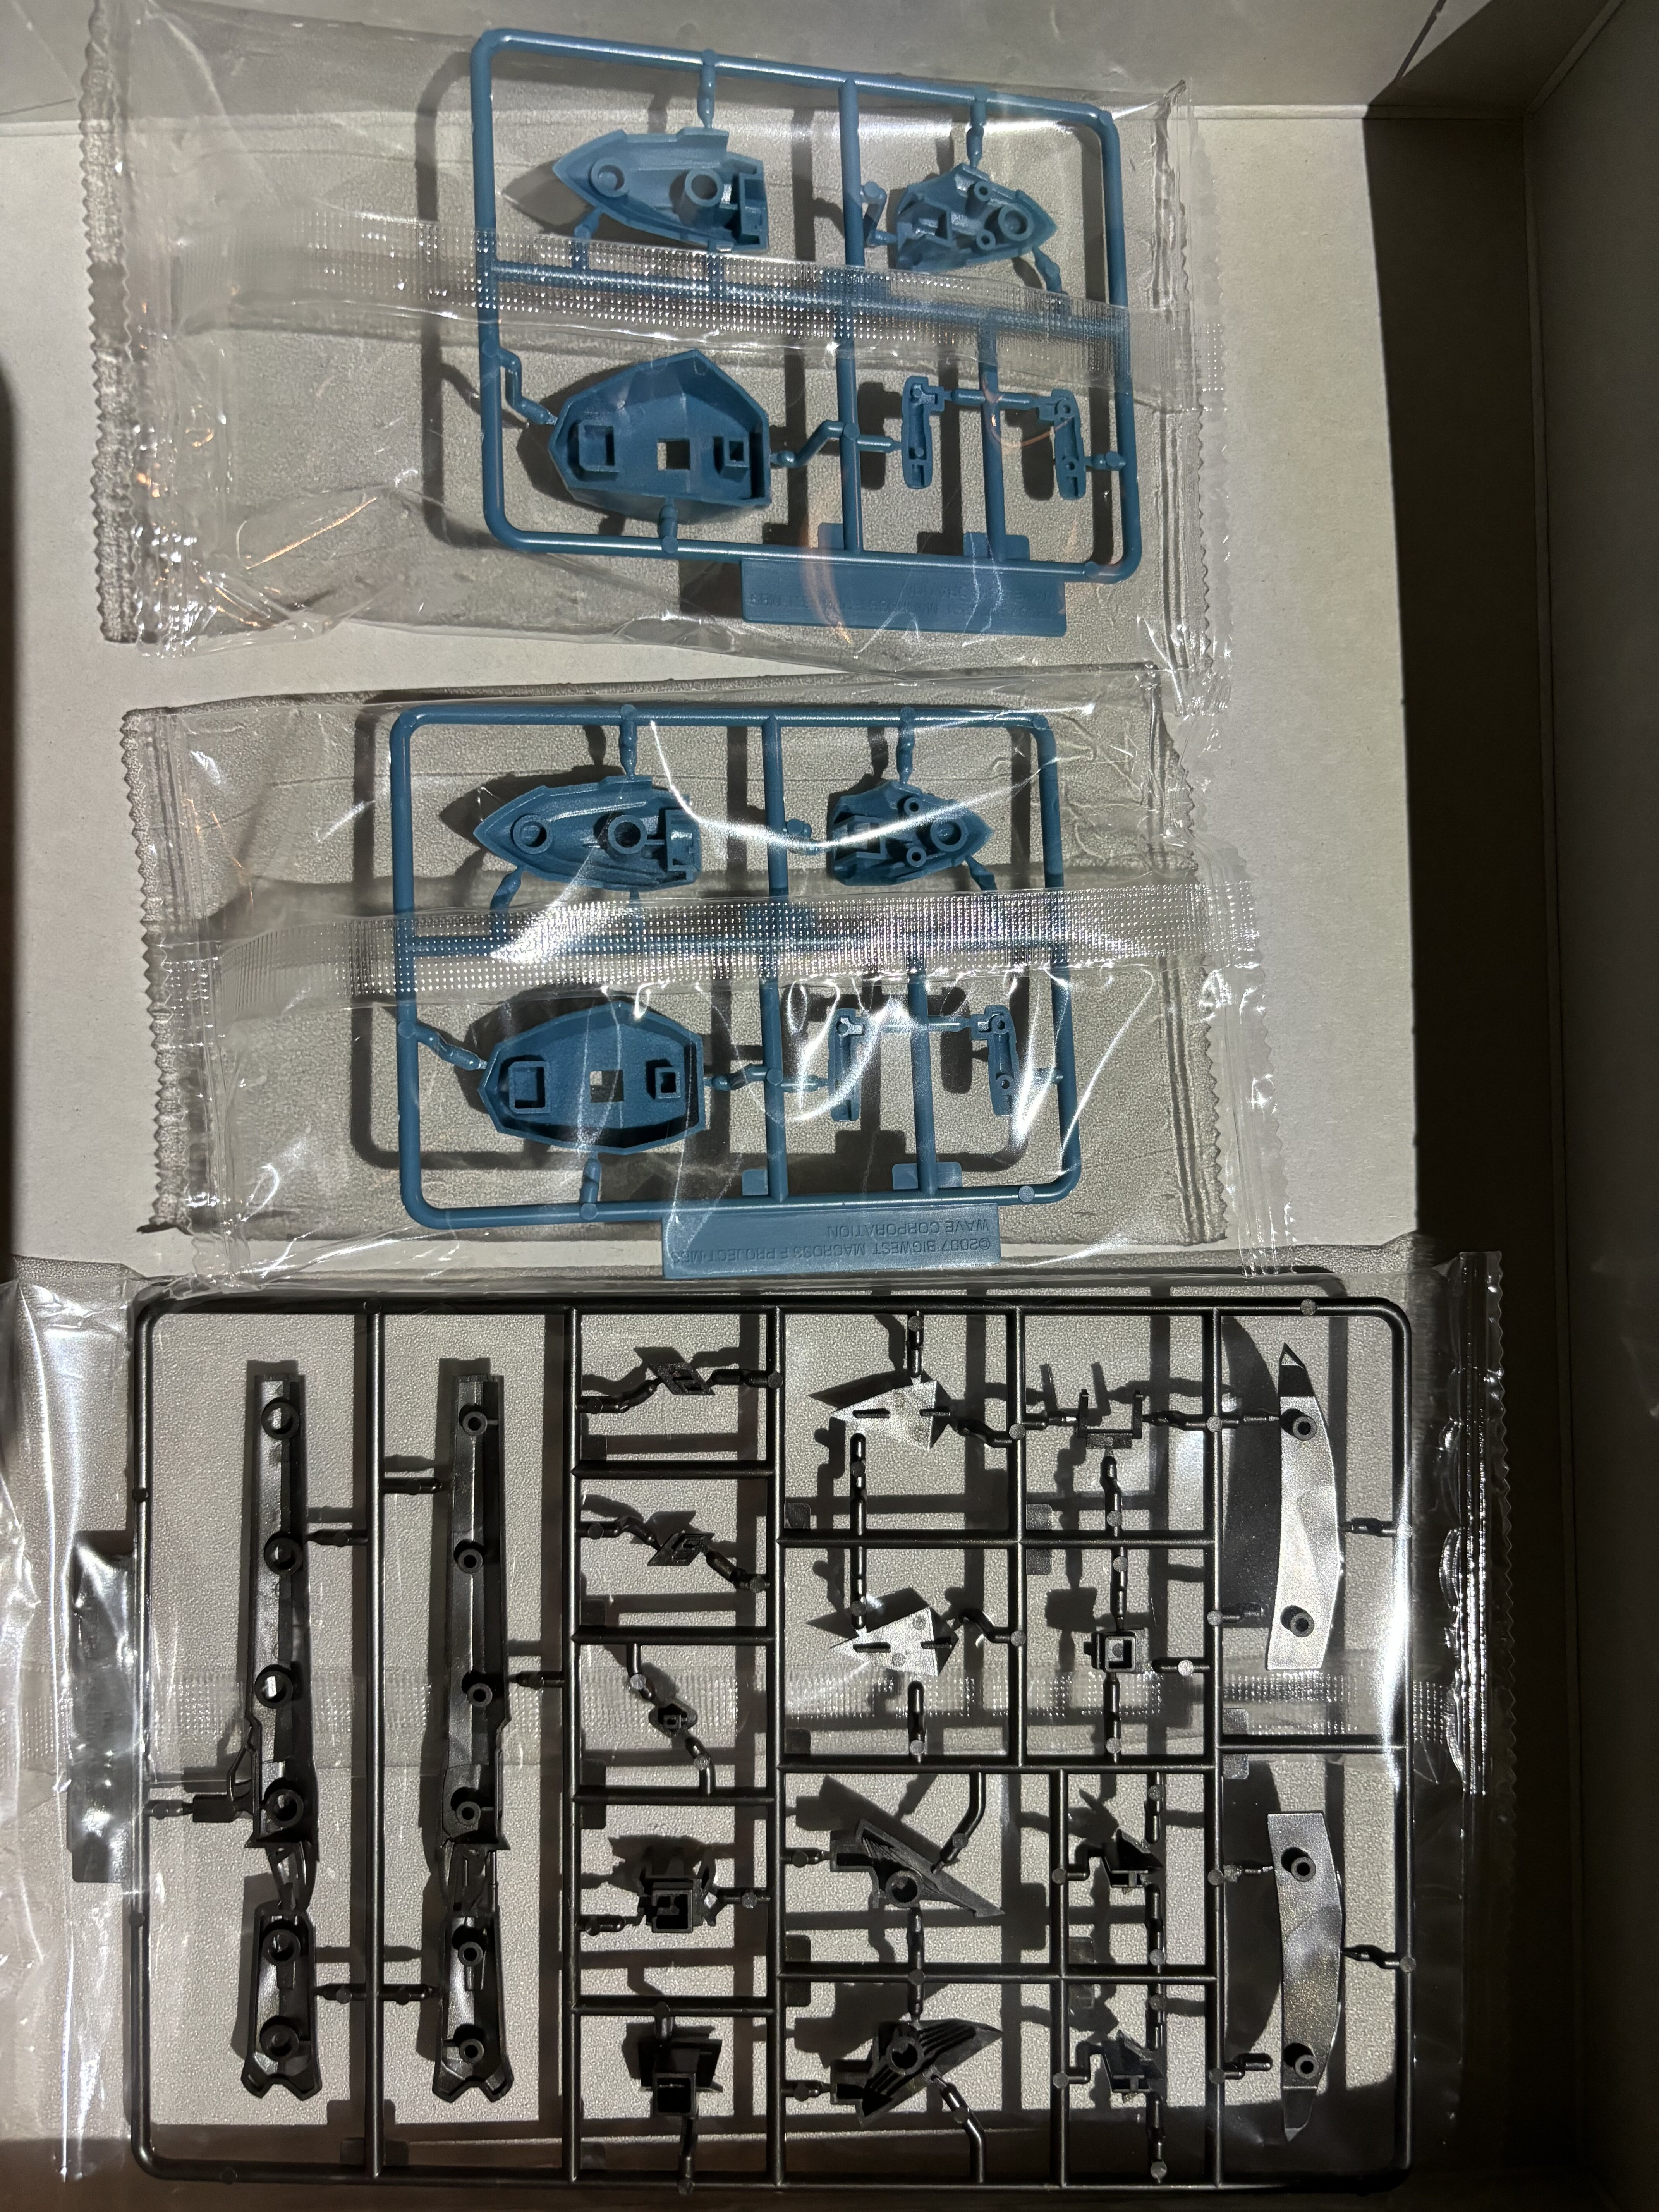
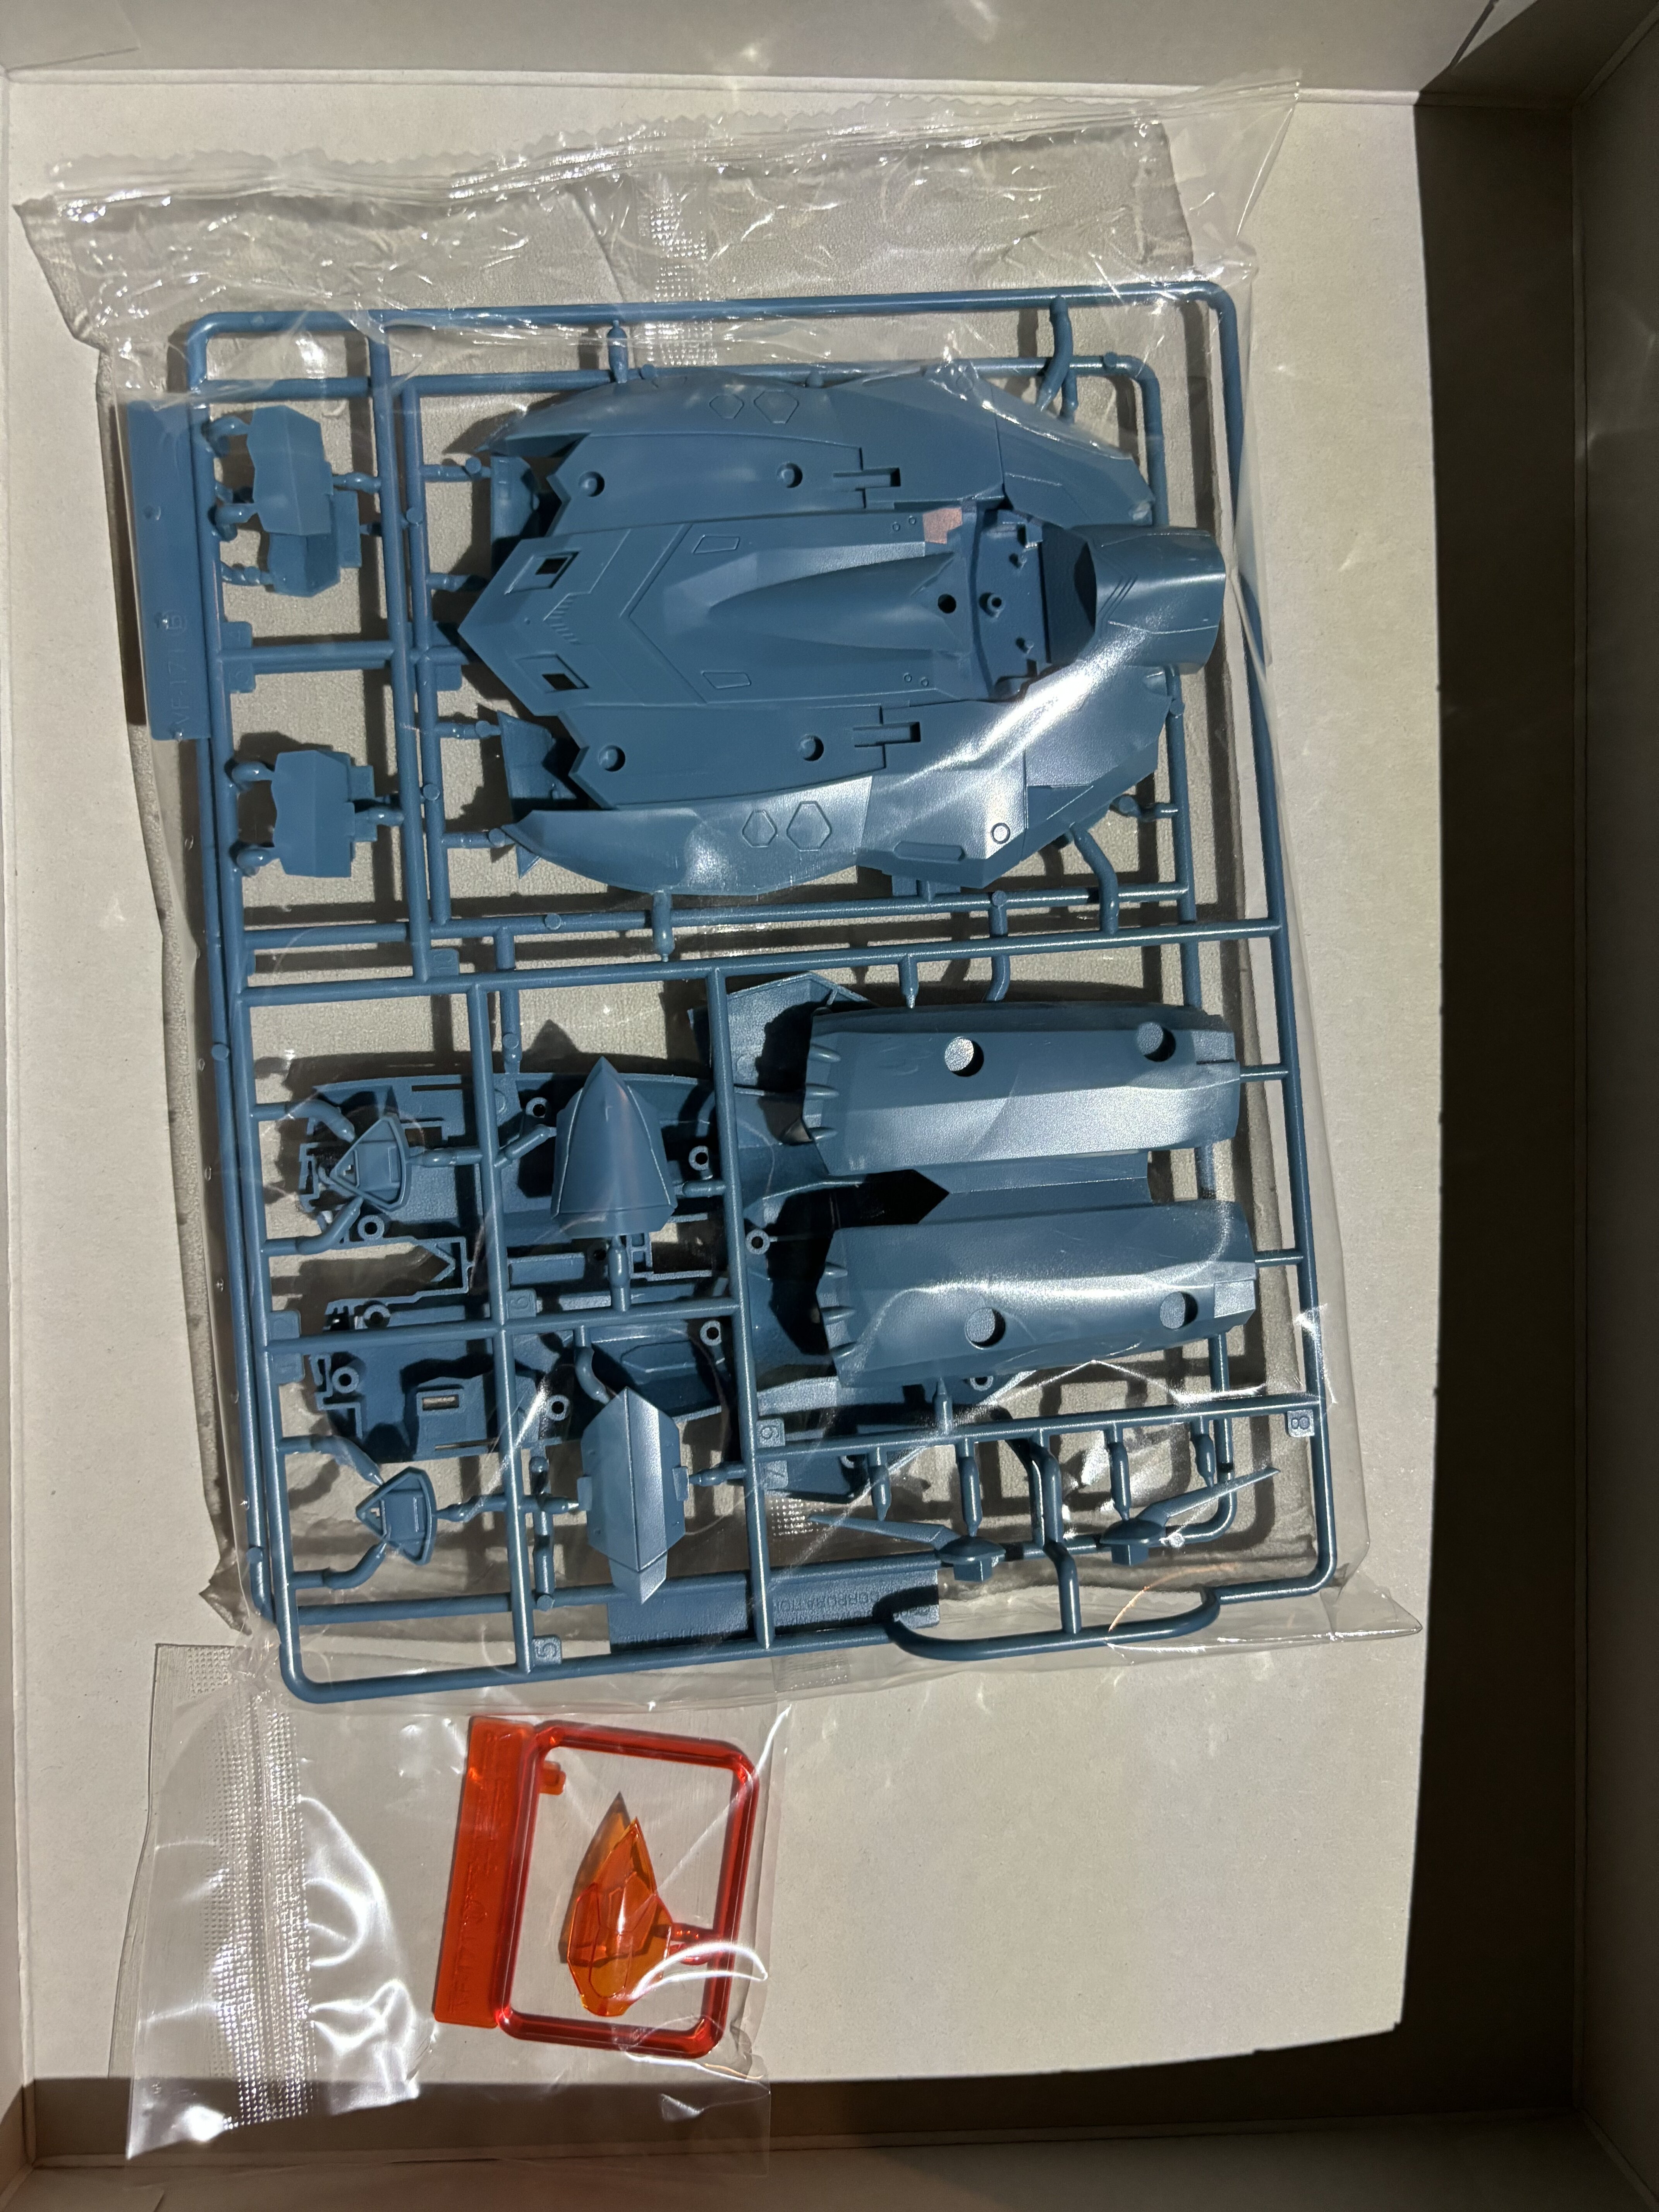
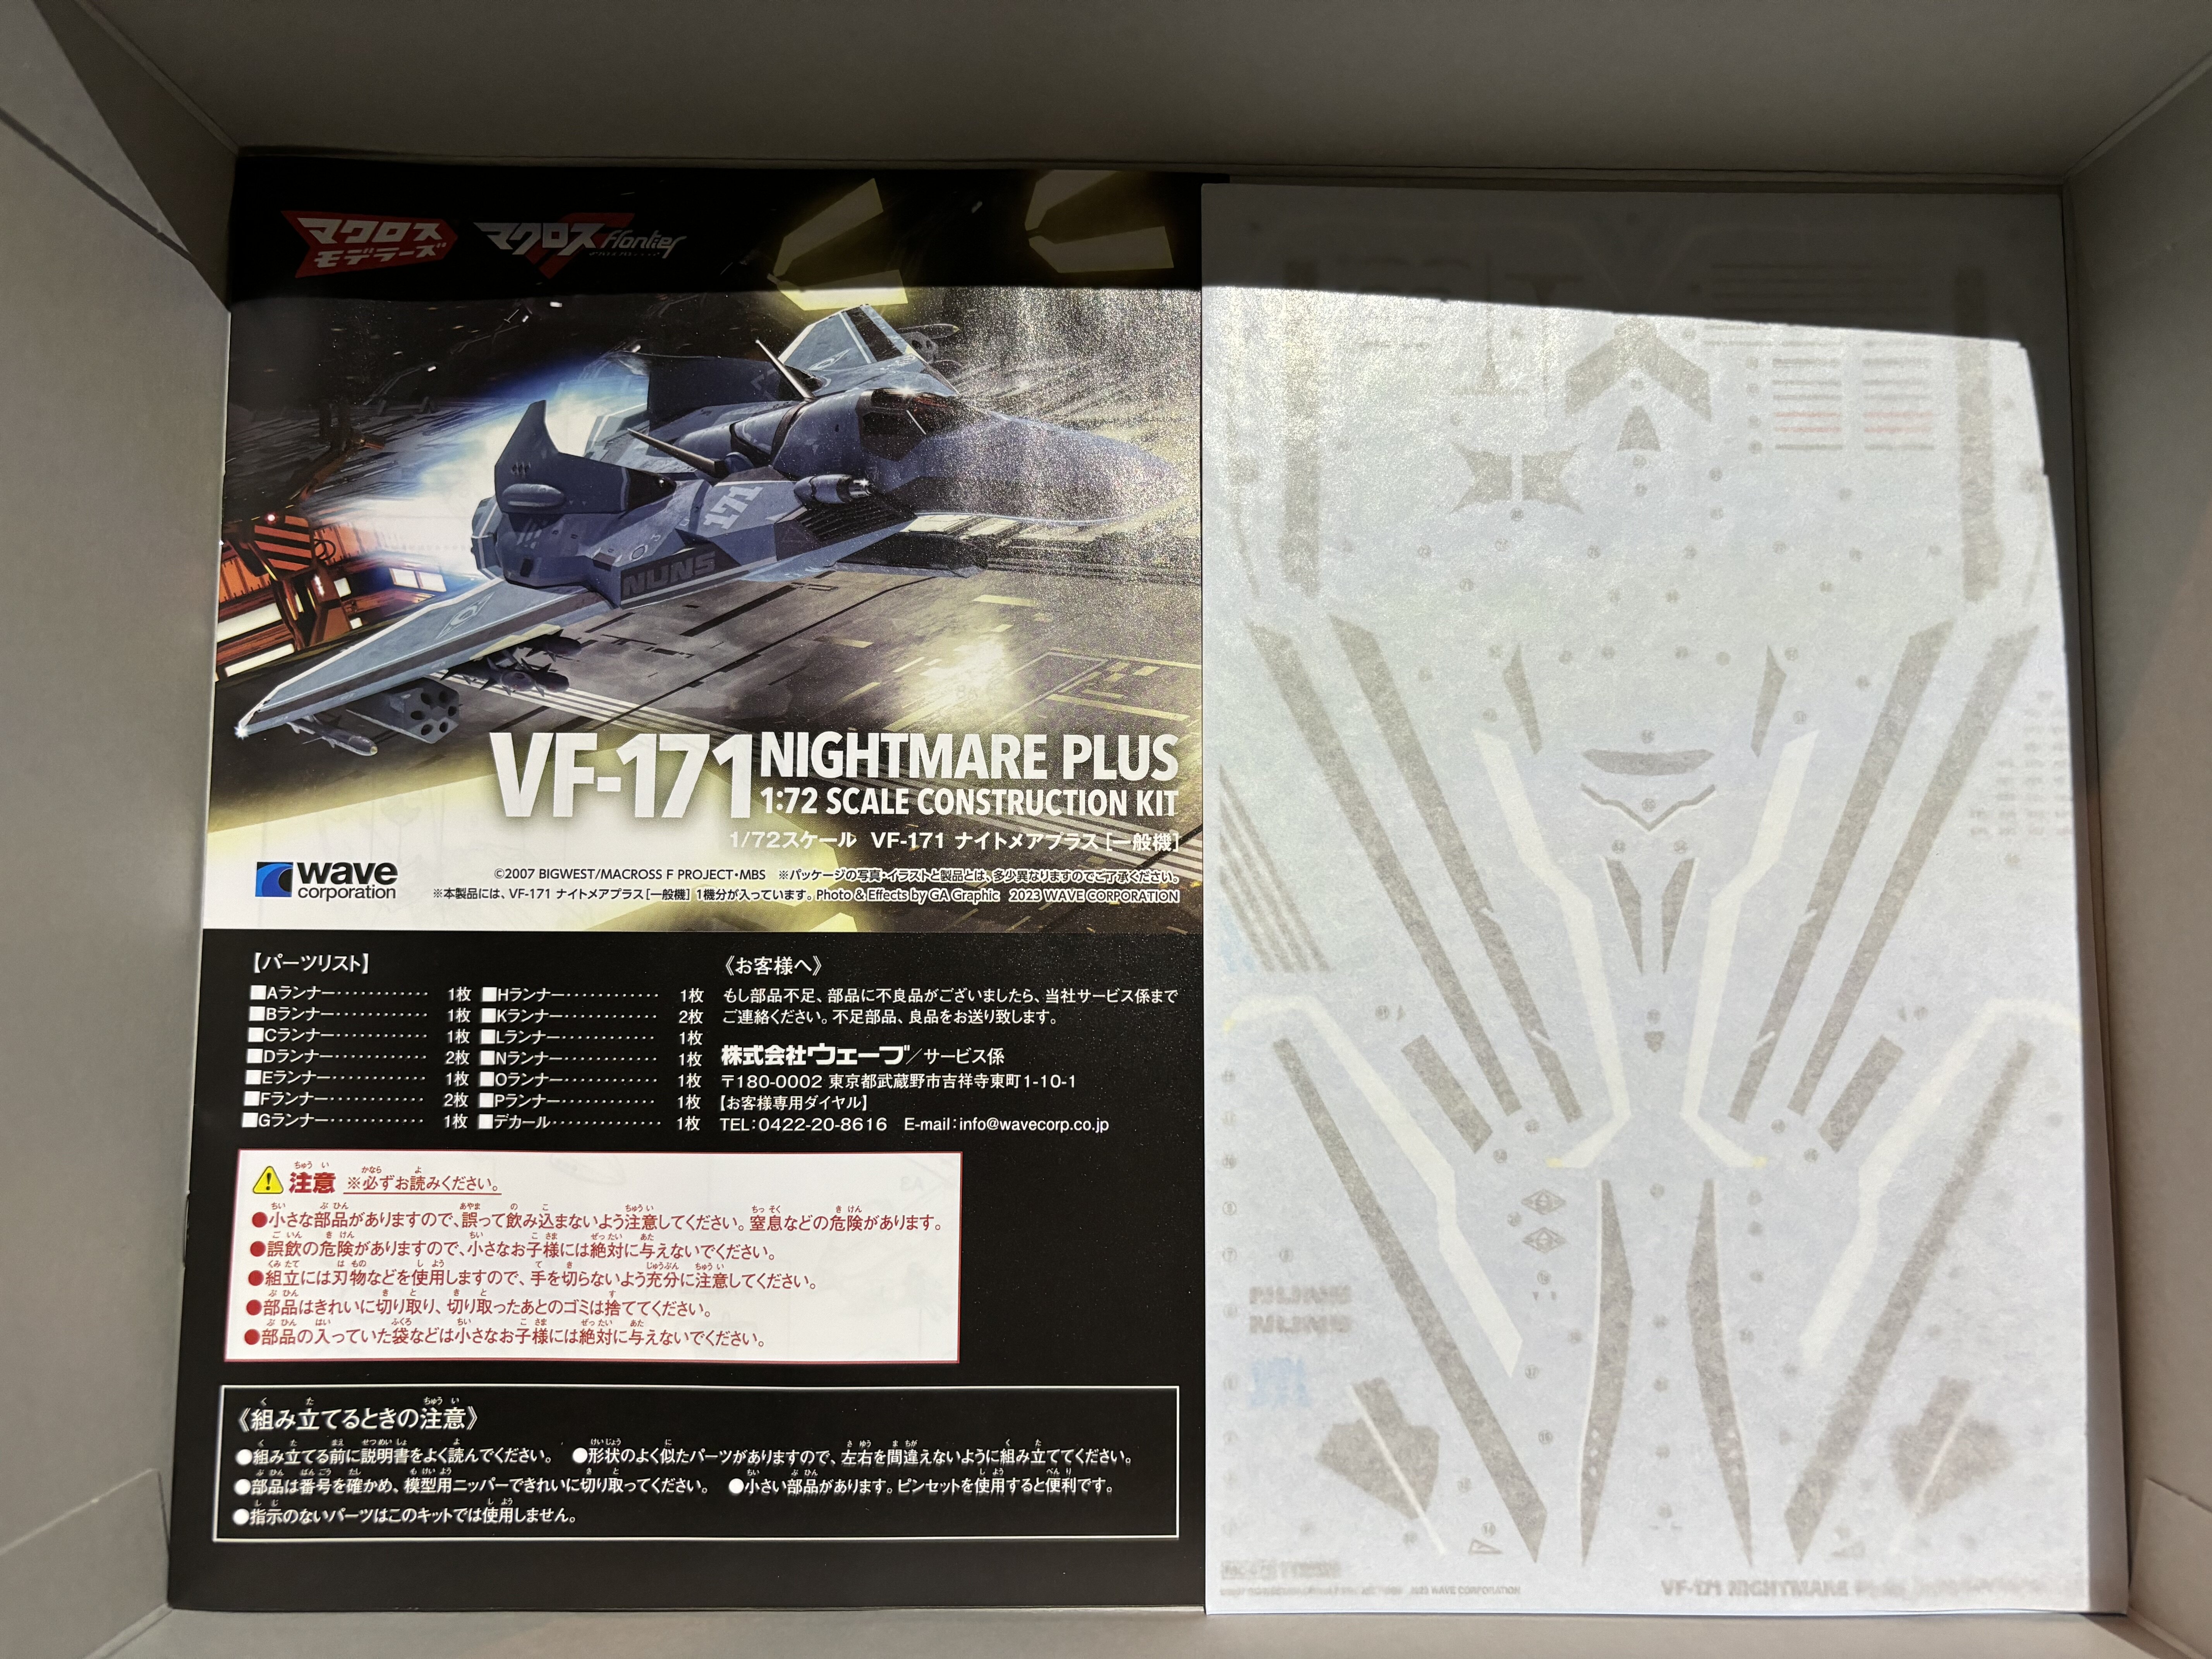
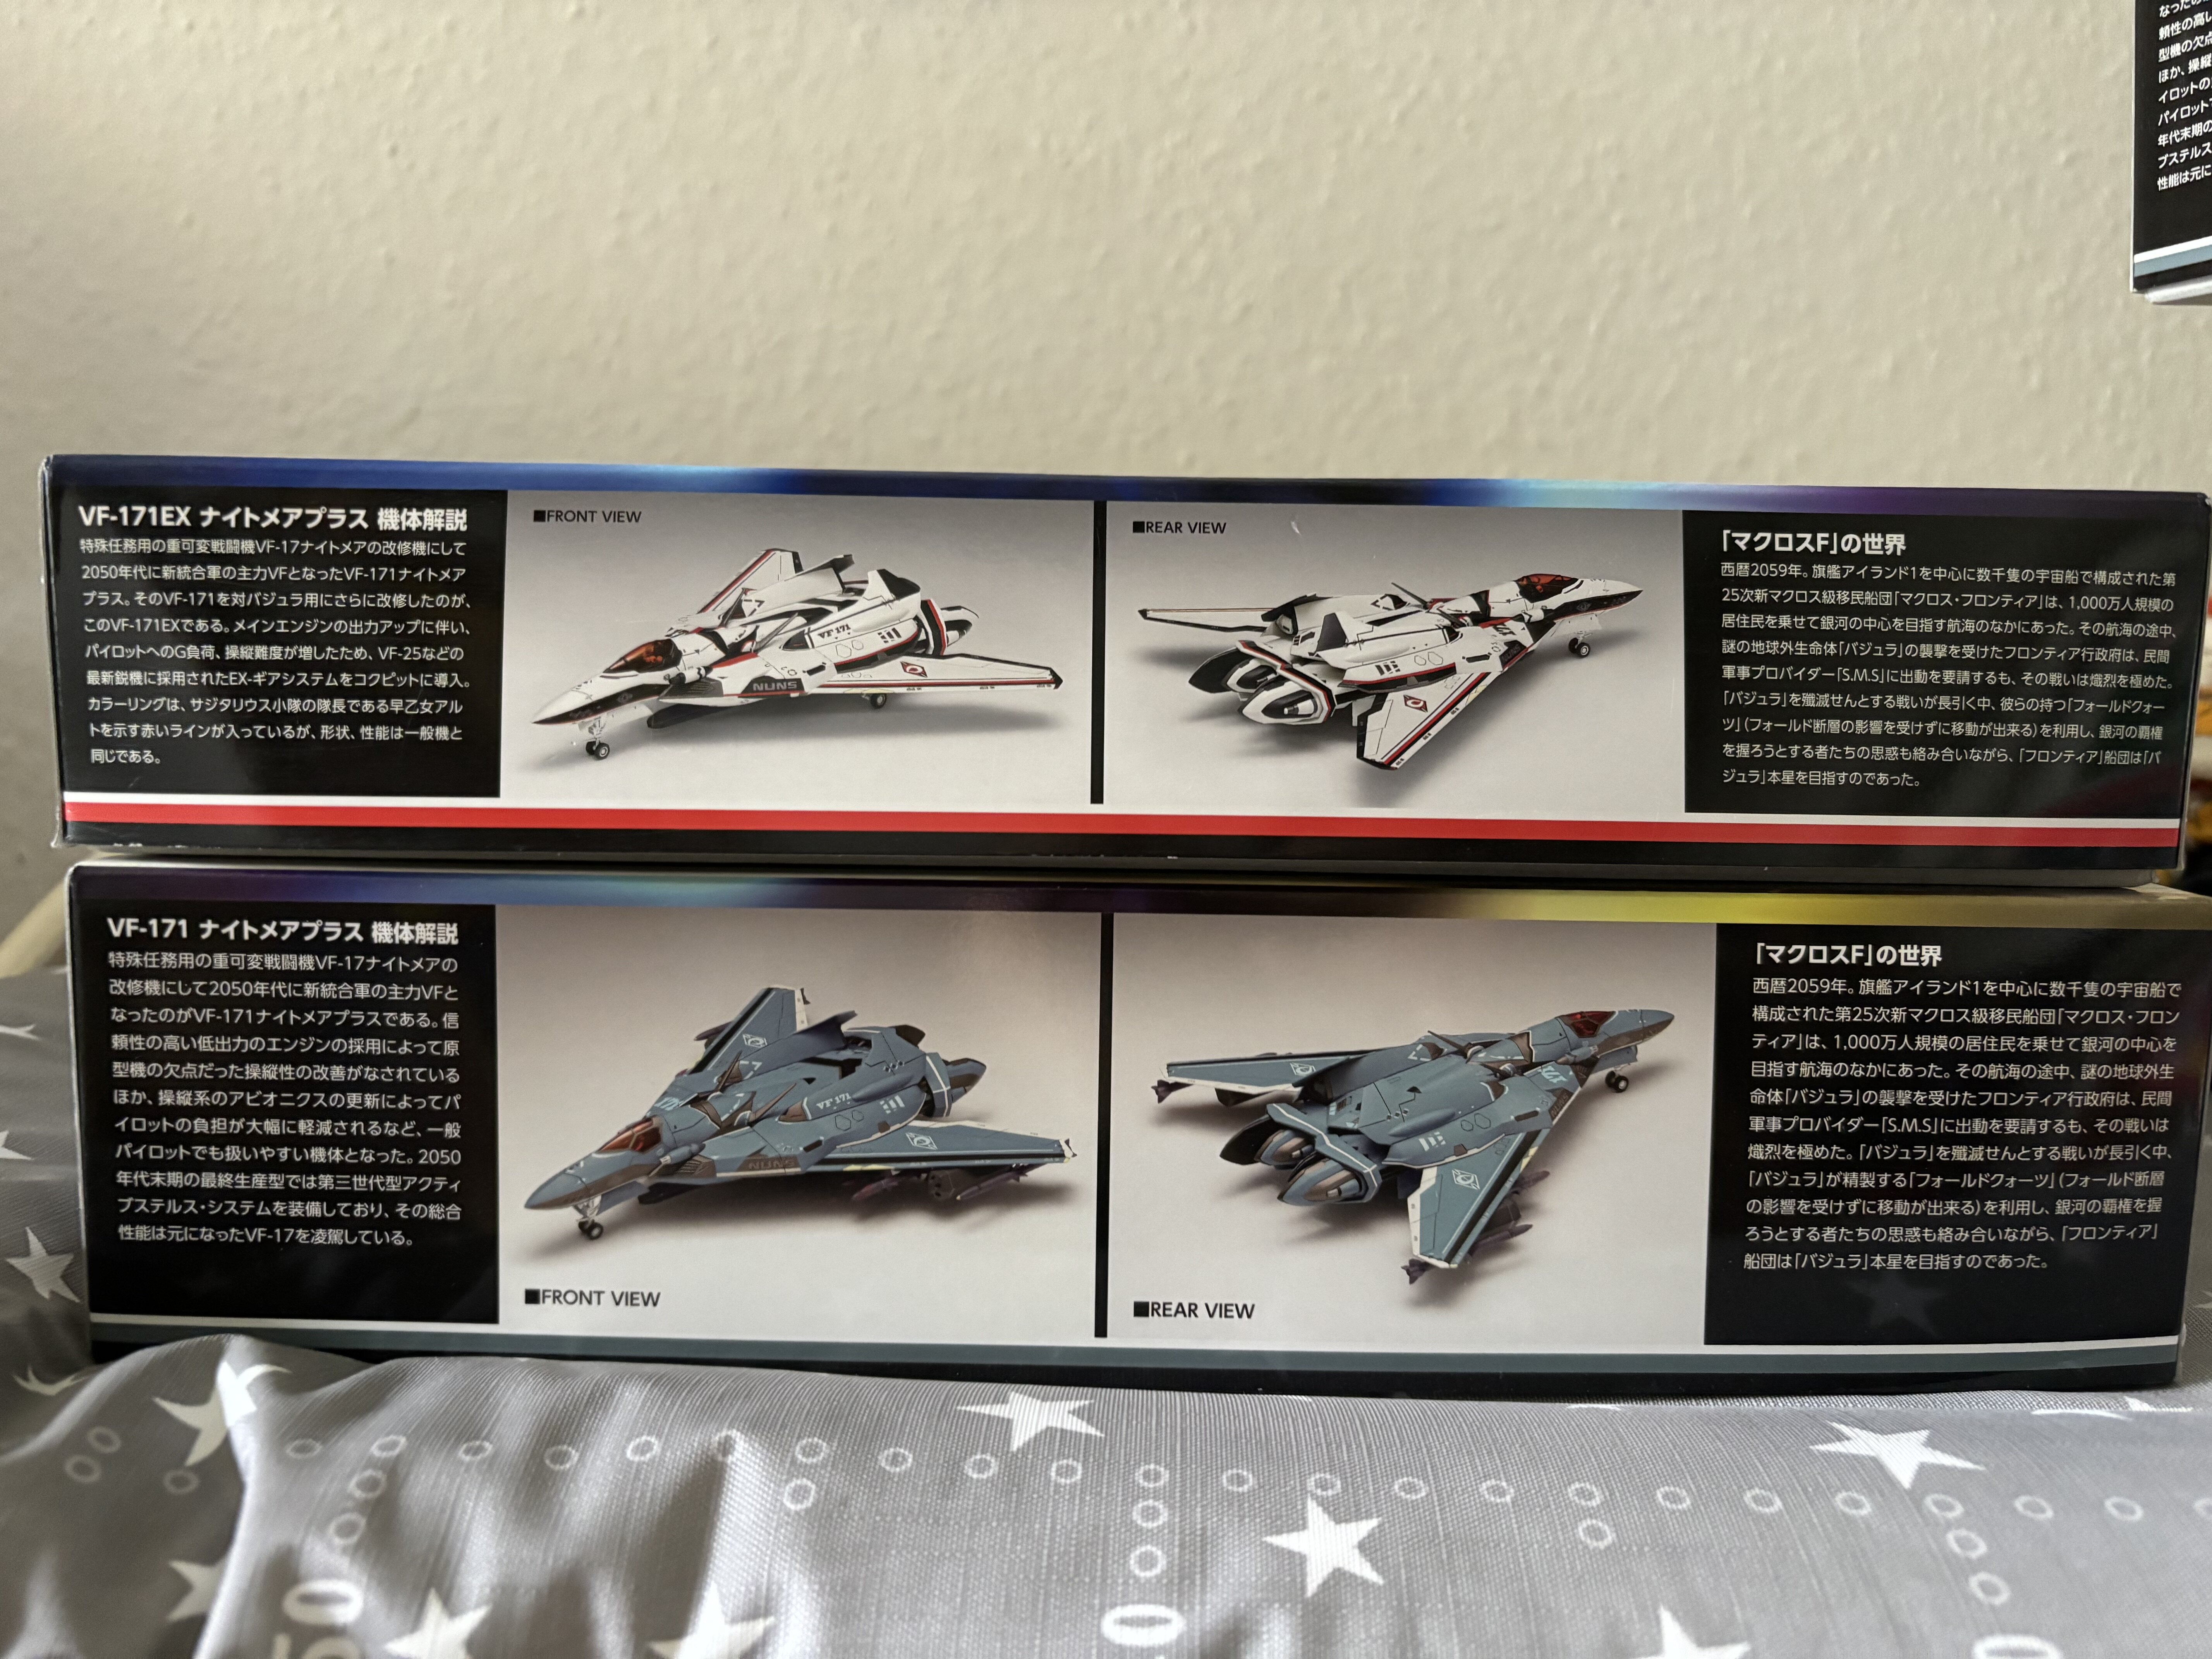
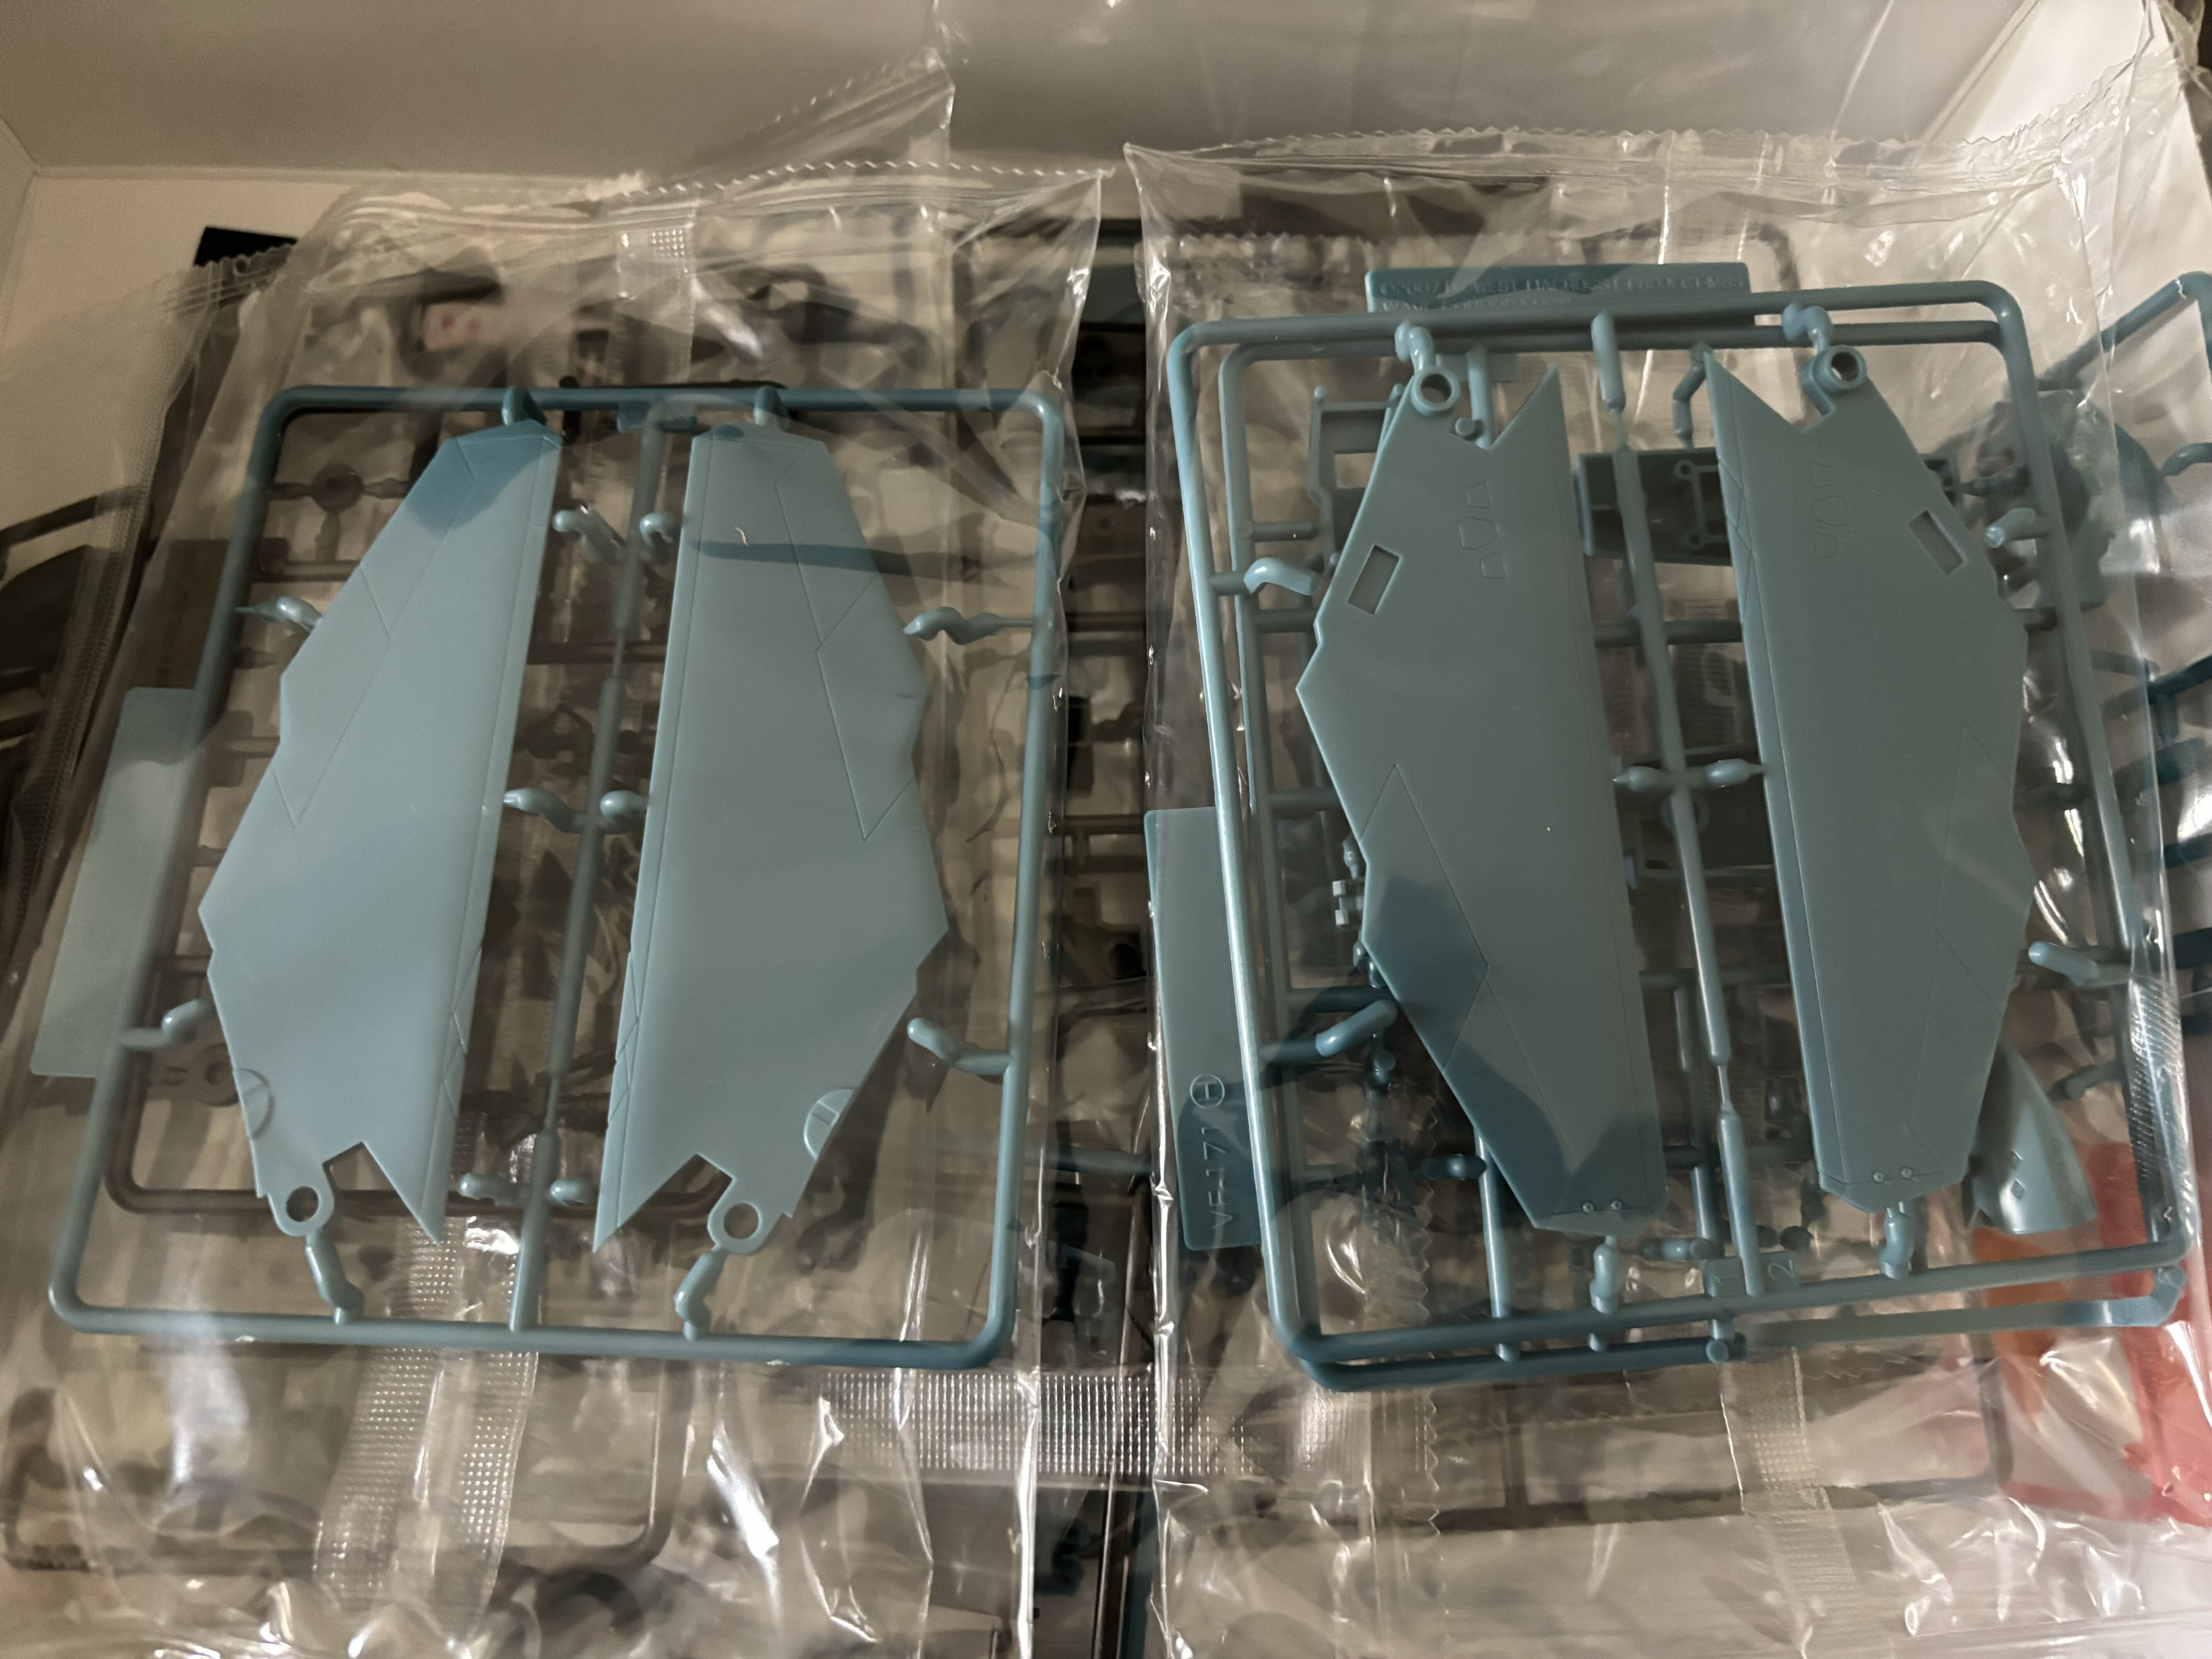
Got my VF-171 nightmare plus today. The box is bigger. The fun part? The pieces could have fit into the Hasegawa double size box (the one you would find the YF-21 or VF-0 kits in) easily. Instead WAVE decided to use giant boxes… meh. and yes, there are two sets of wings in the box. One with pylons, one without.
-
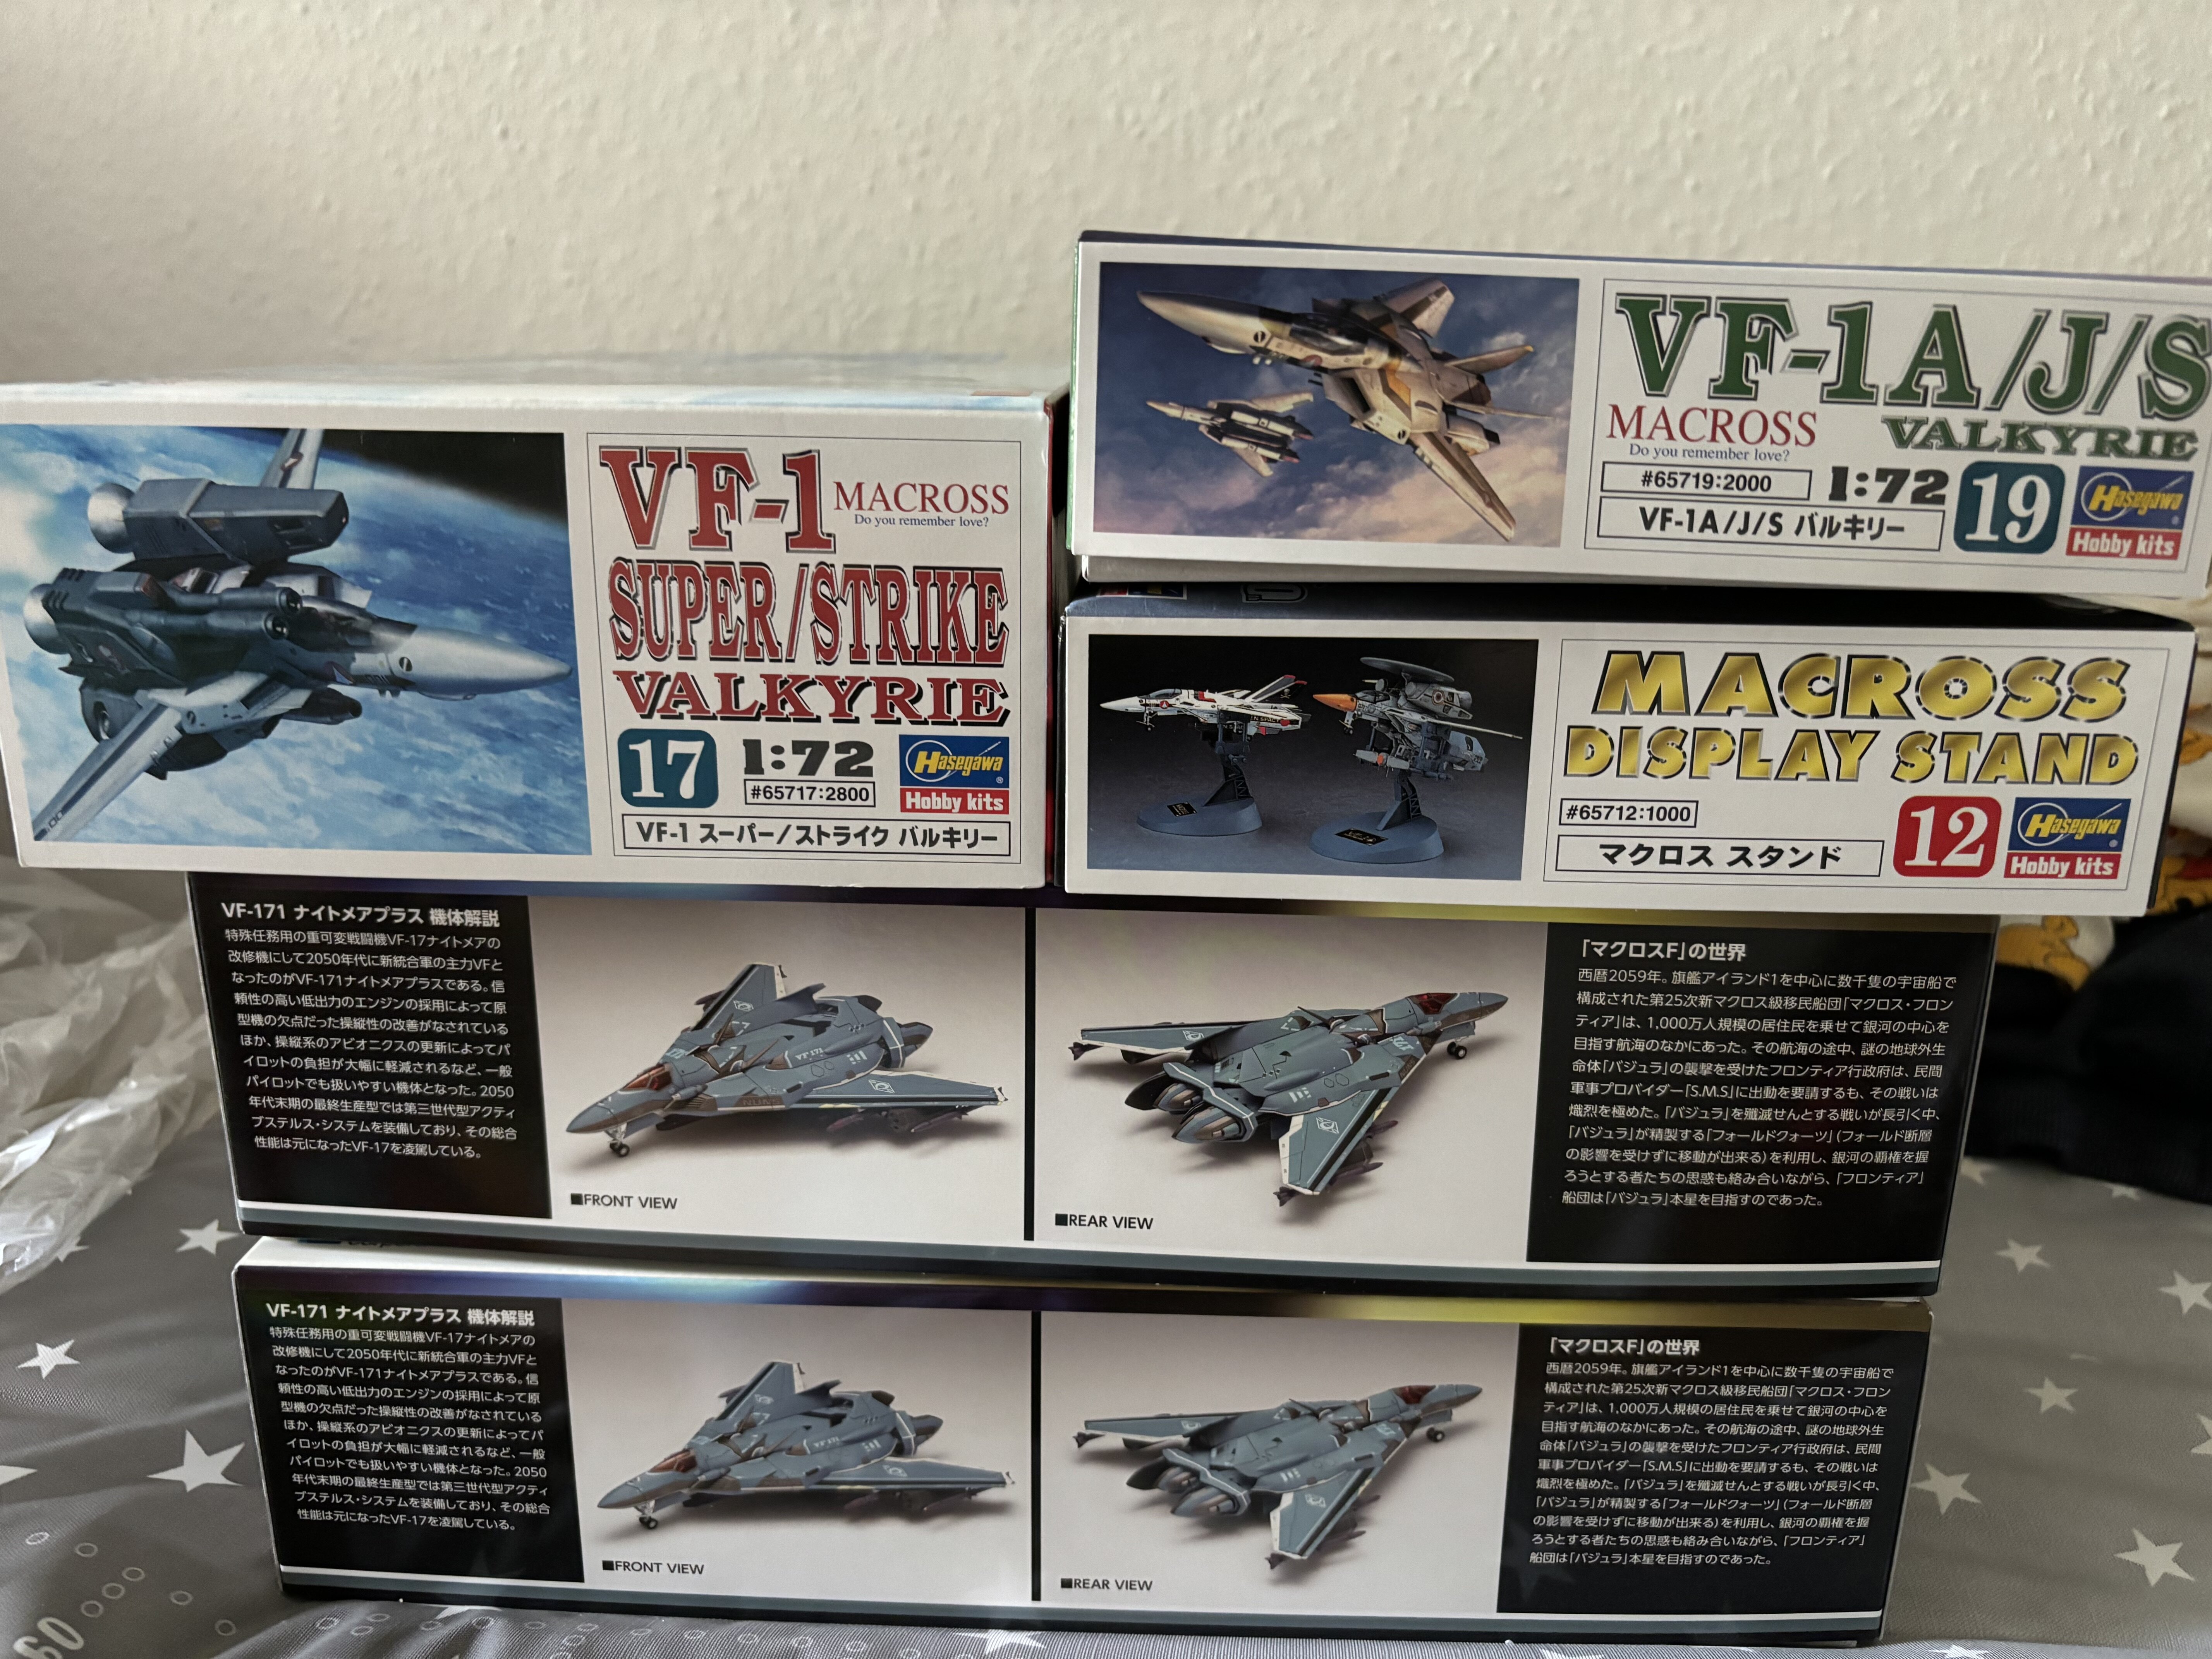
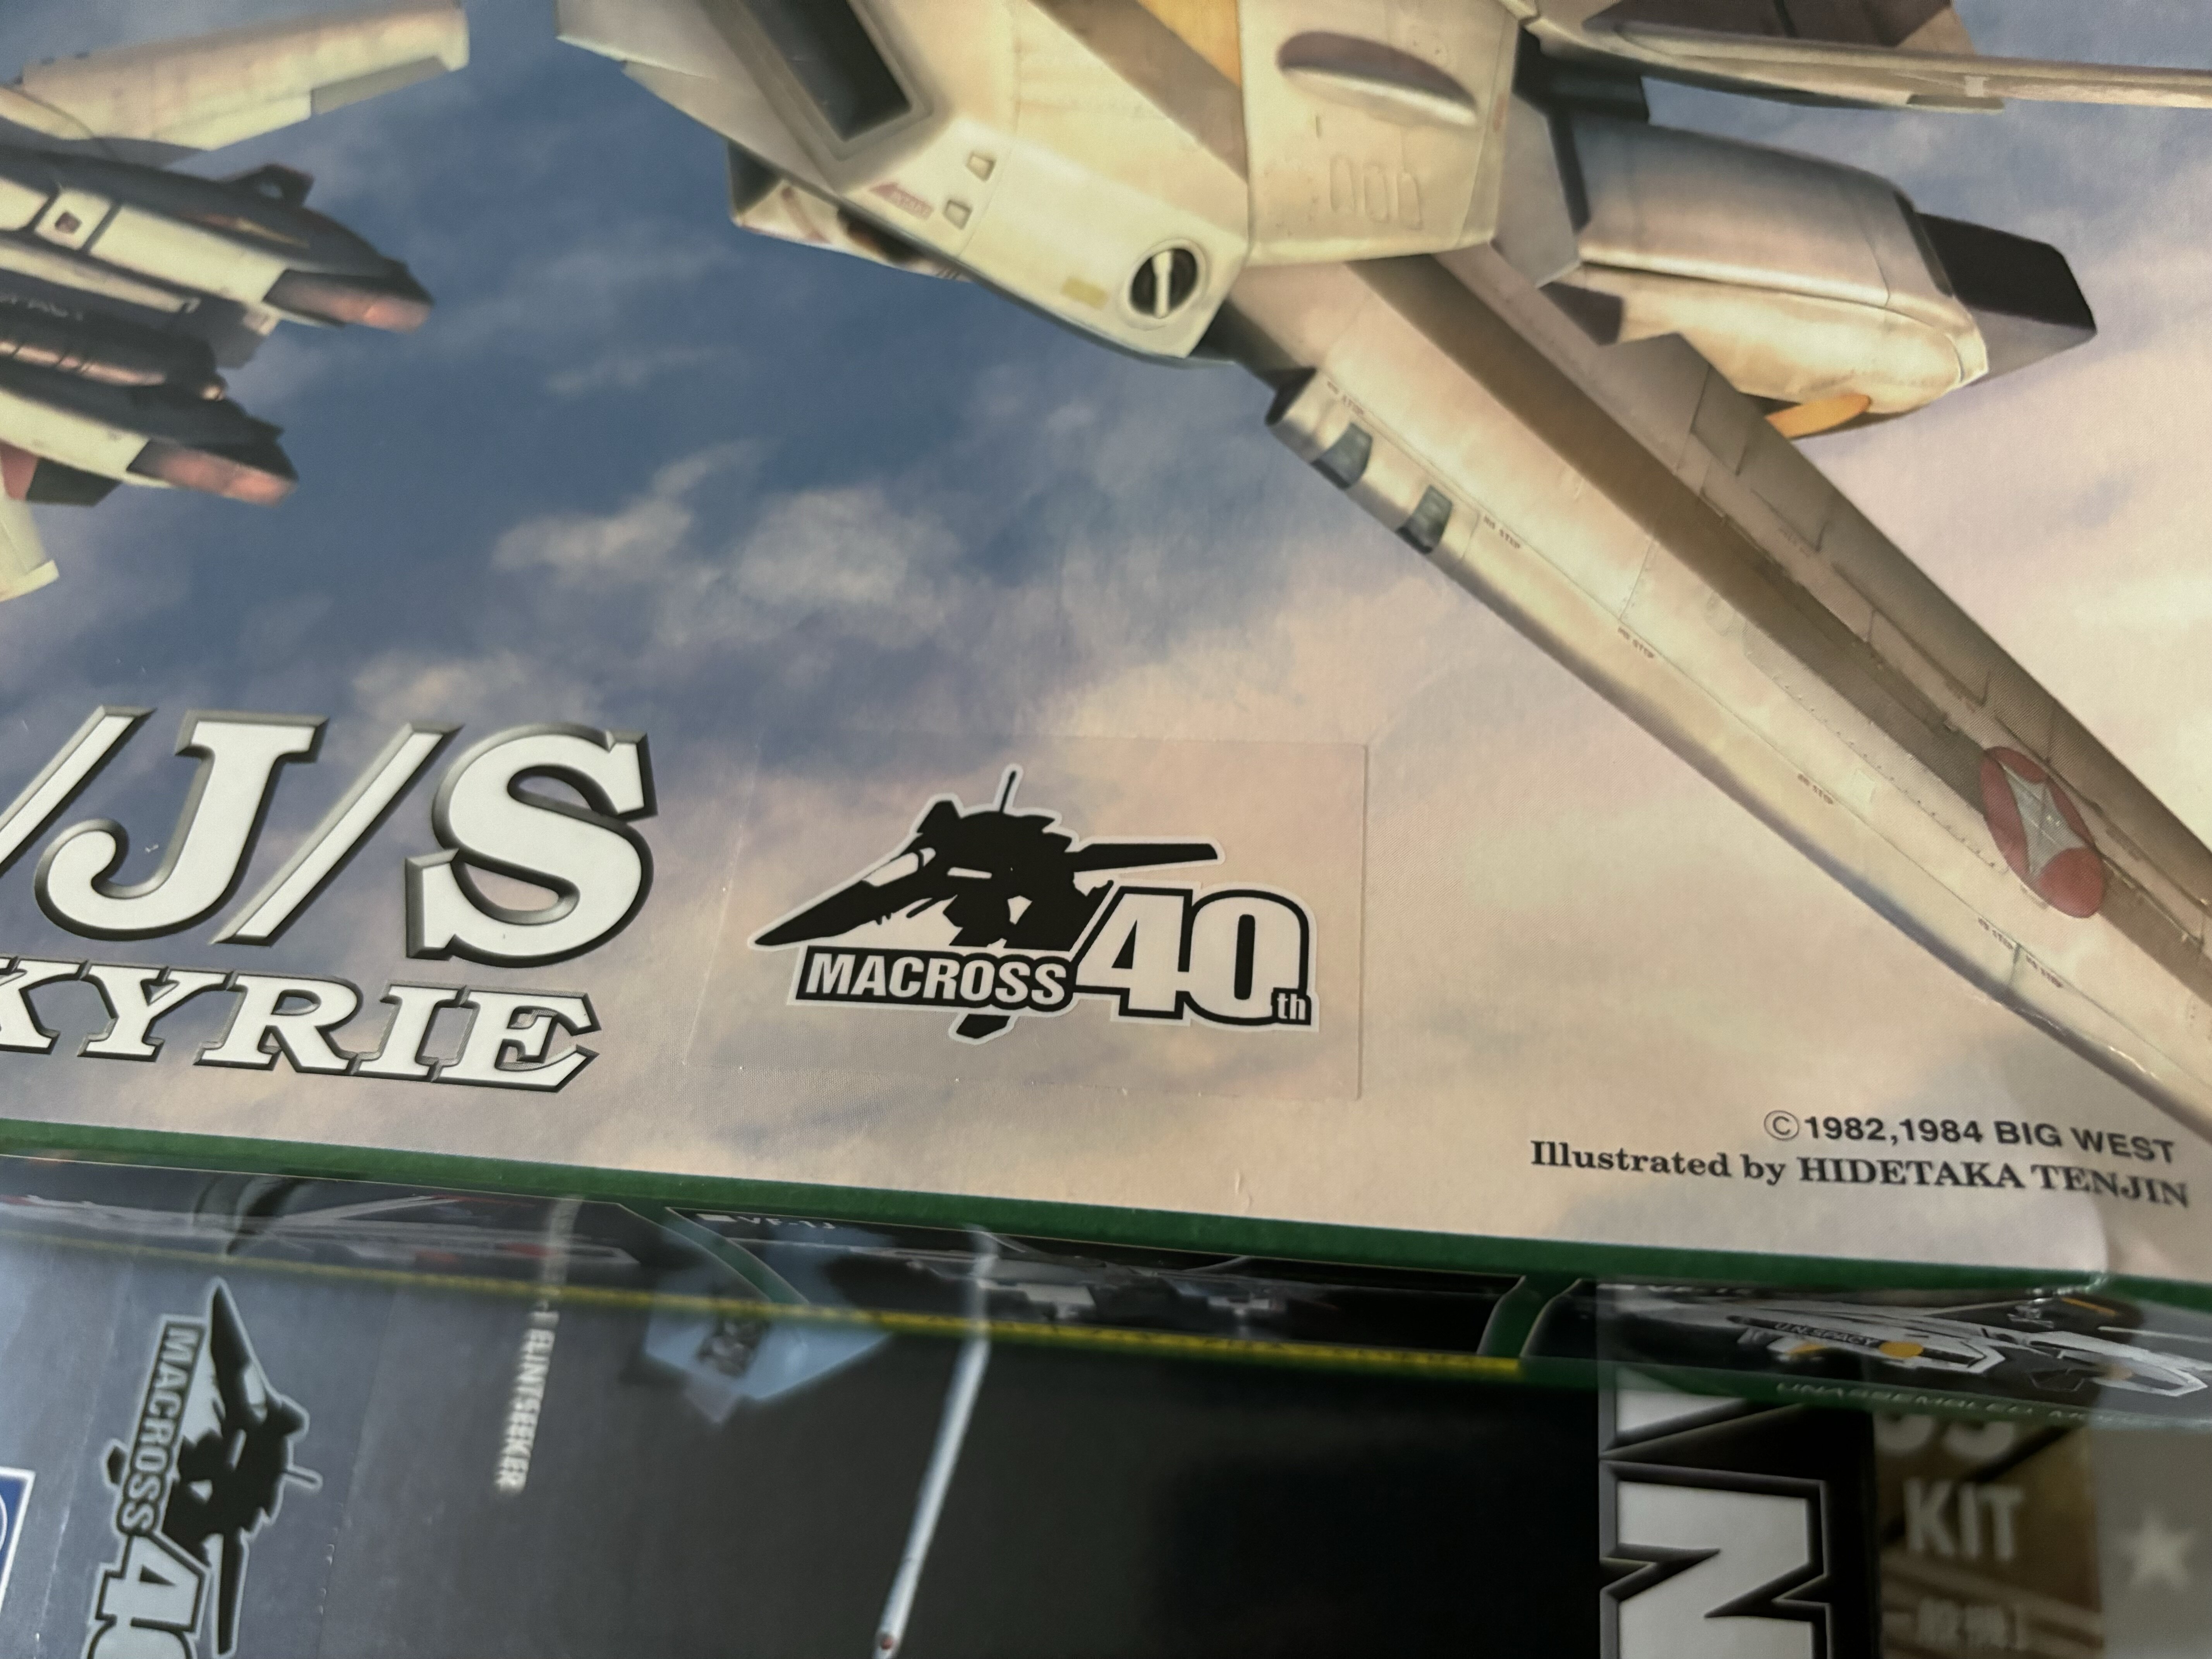
New stuff for my never ending stash. The stash must grow. little macross 40th anniversary stickers on the Hase kits now. BTW: Any ideas for the two VF-1's? I bought them like "you need new VF-1's - always... there will be a time they will come in handy", but I have no idea what scheme to use on them... I know what I want to do with them. I want to create 3D printable upgrade parts like better RCS and a better cockpit and so on.
-
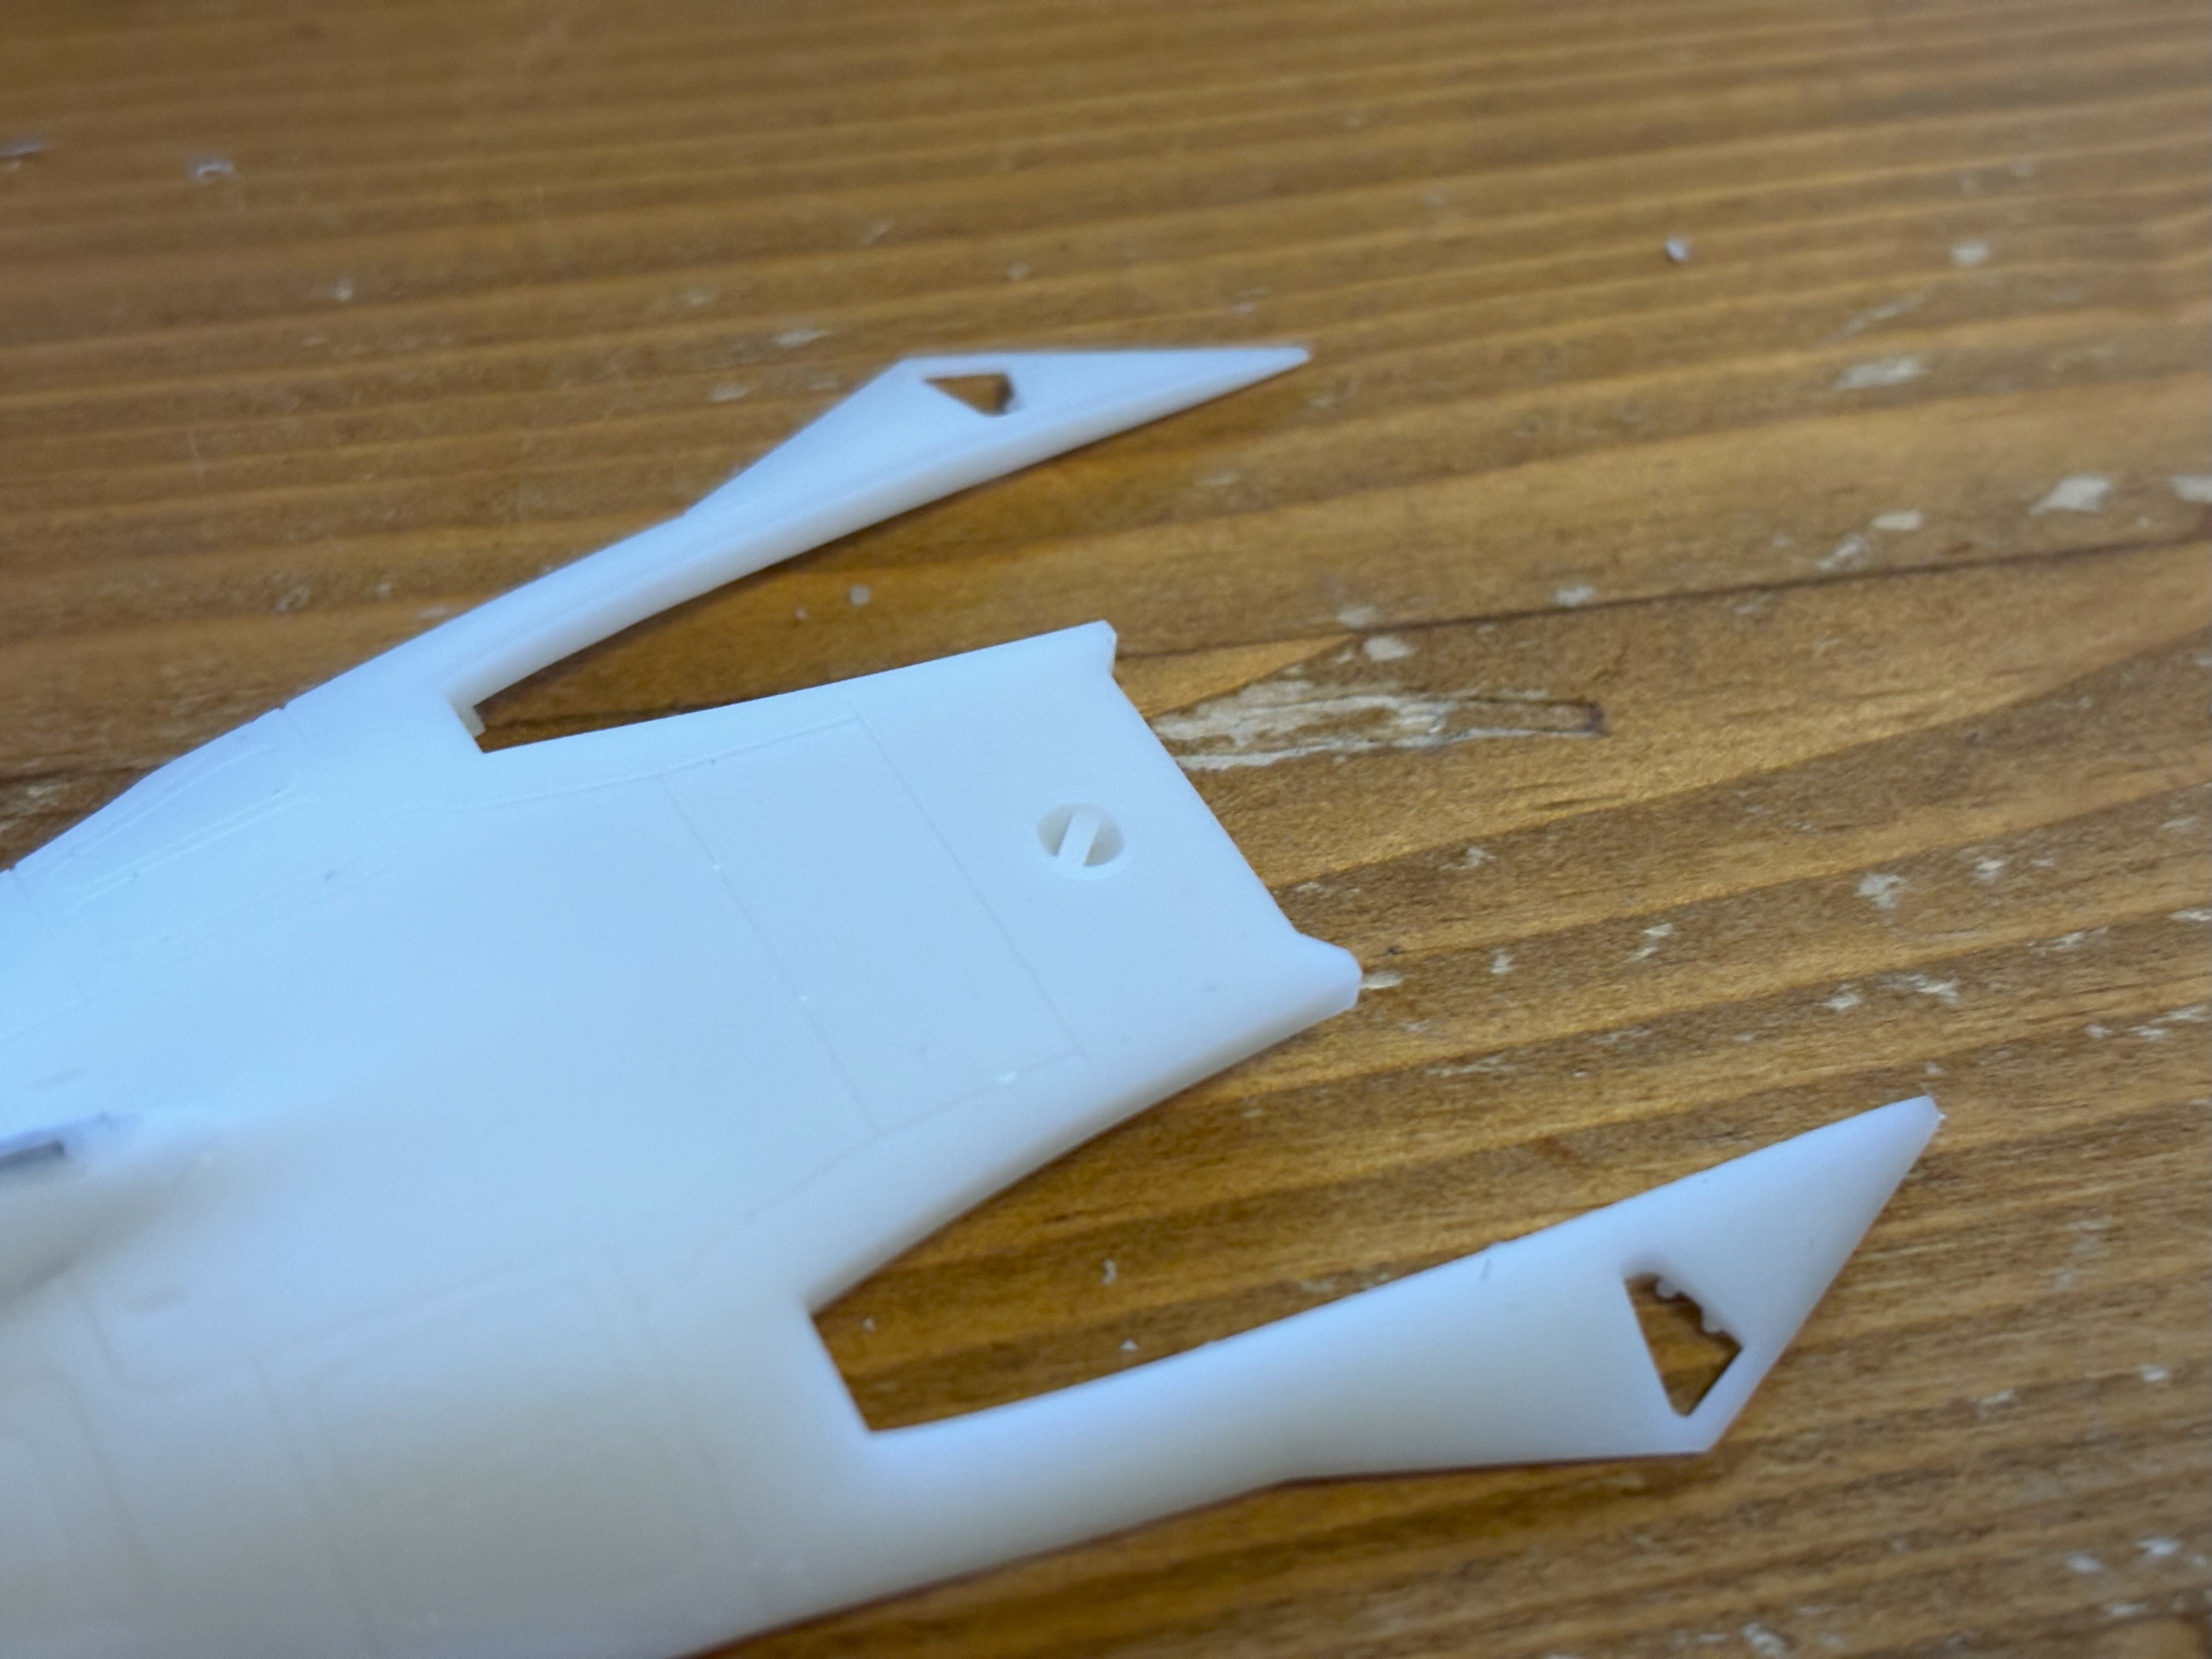
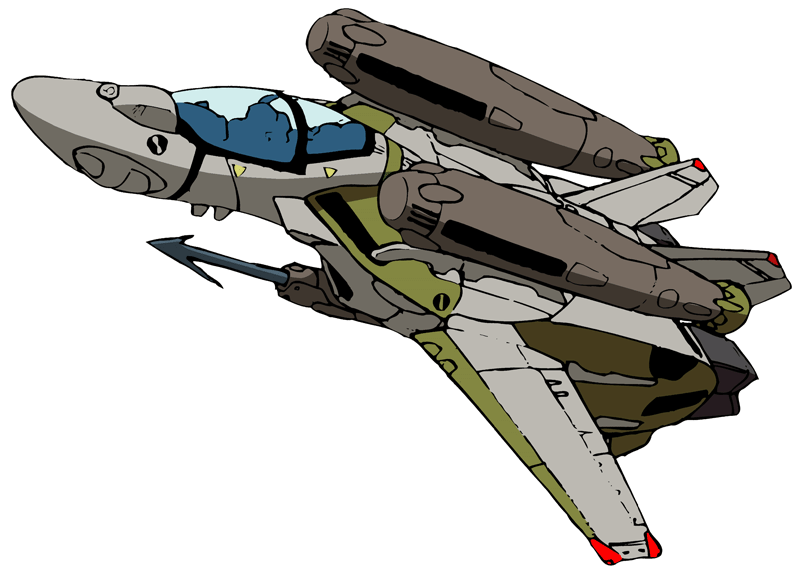
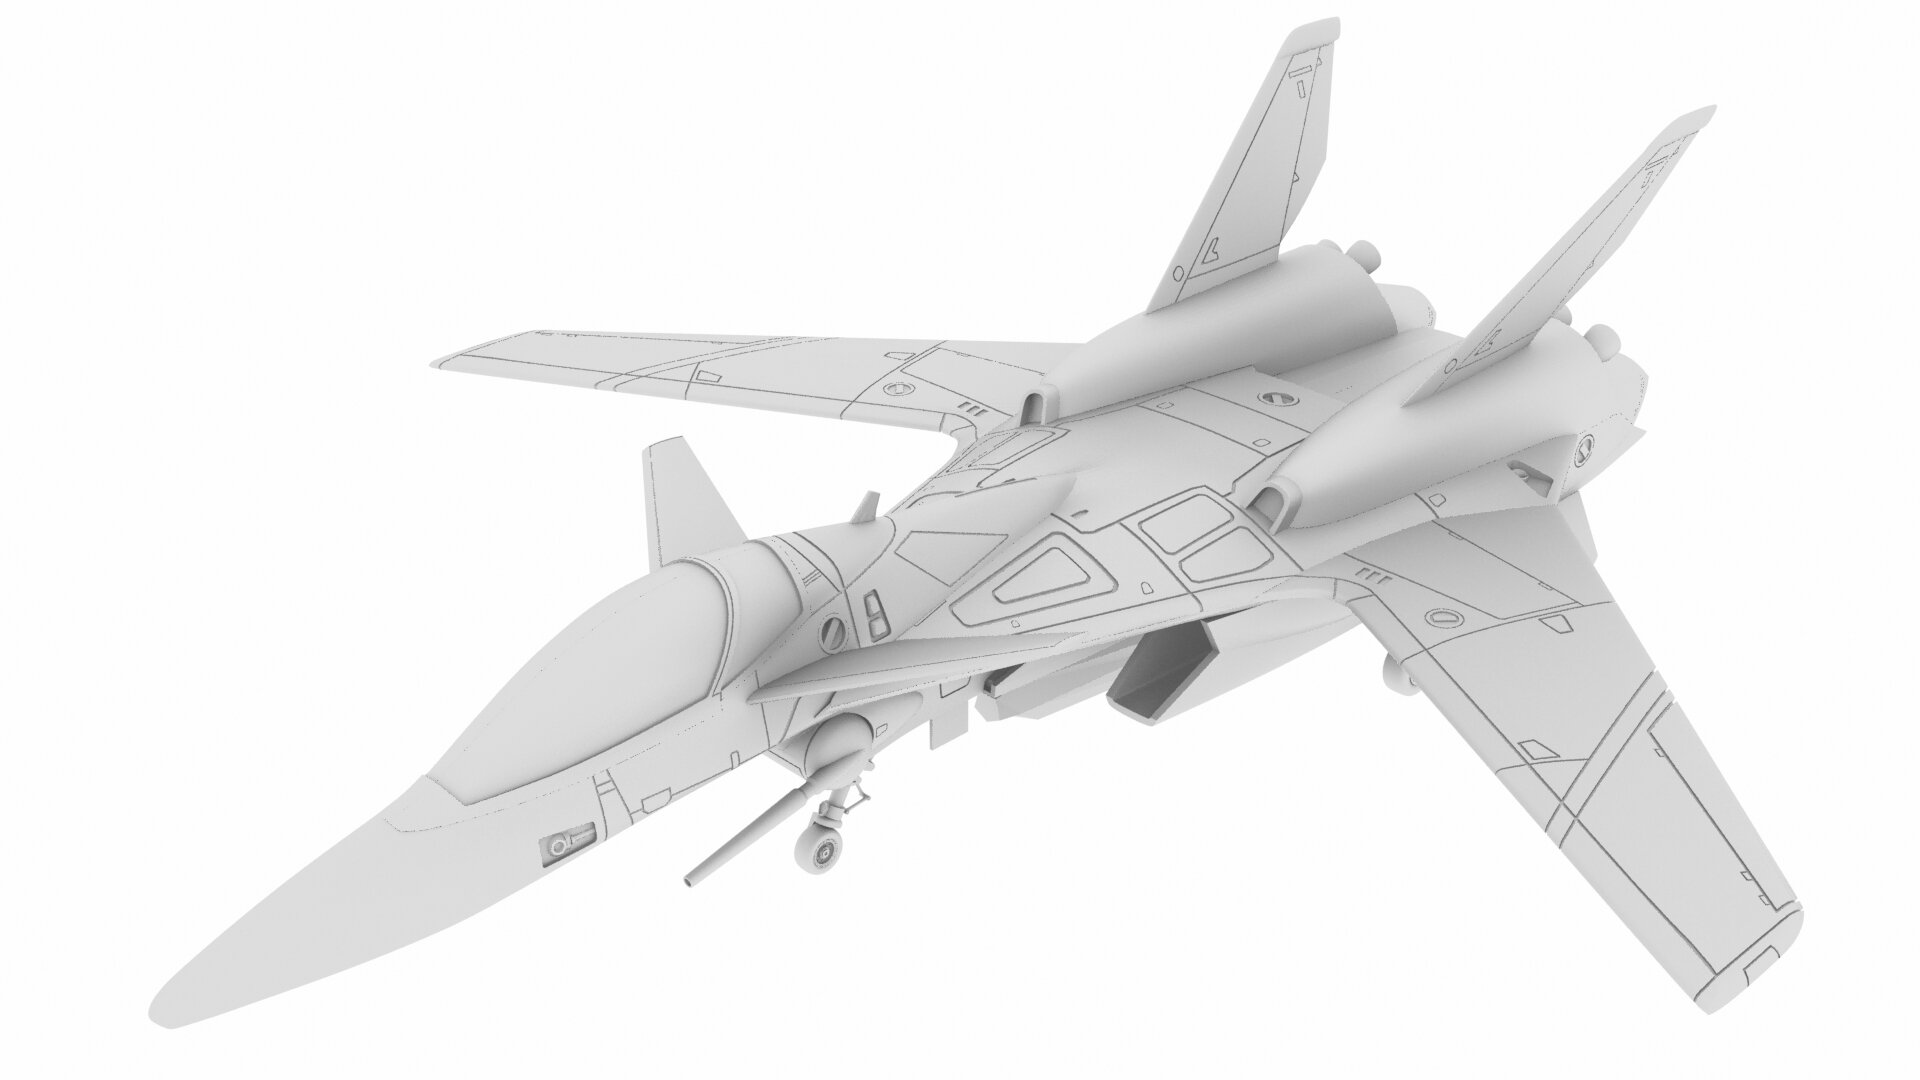
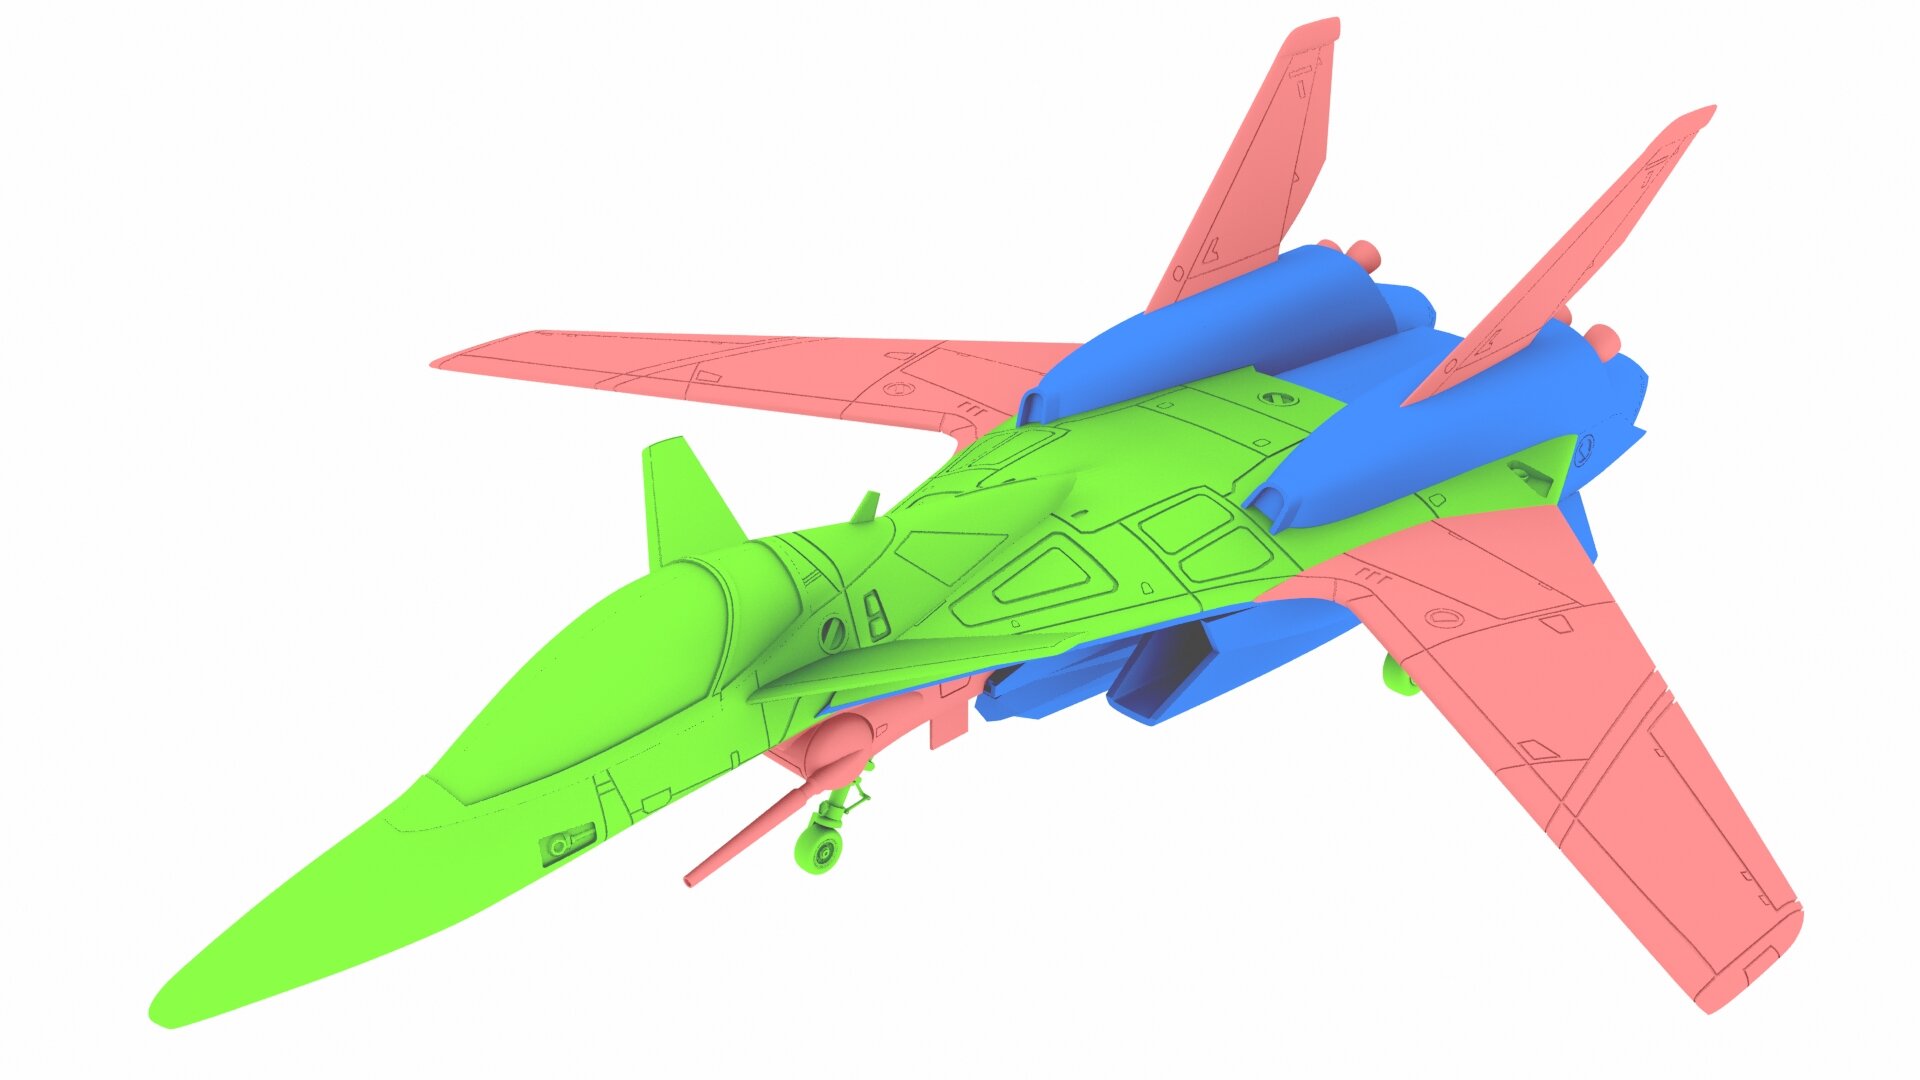
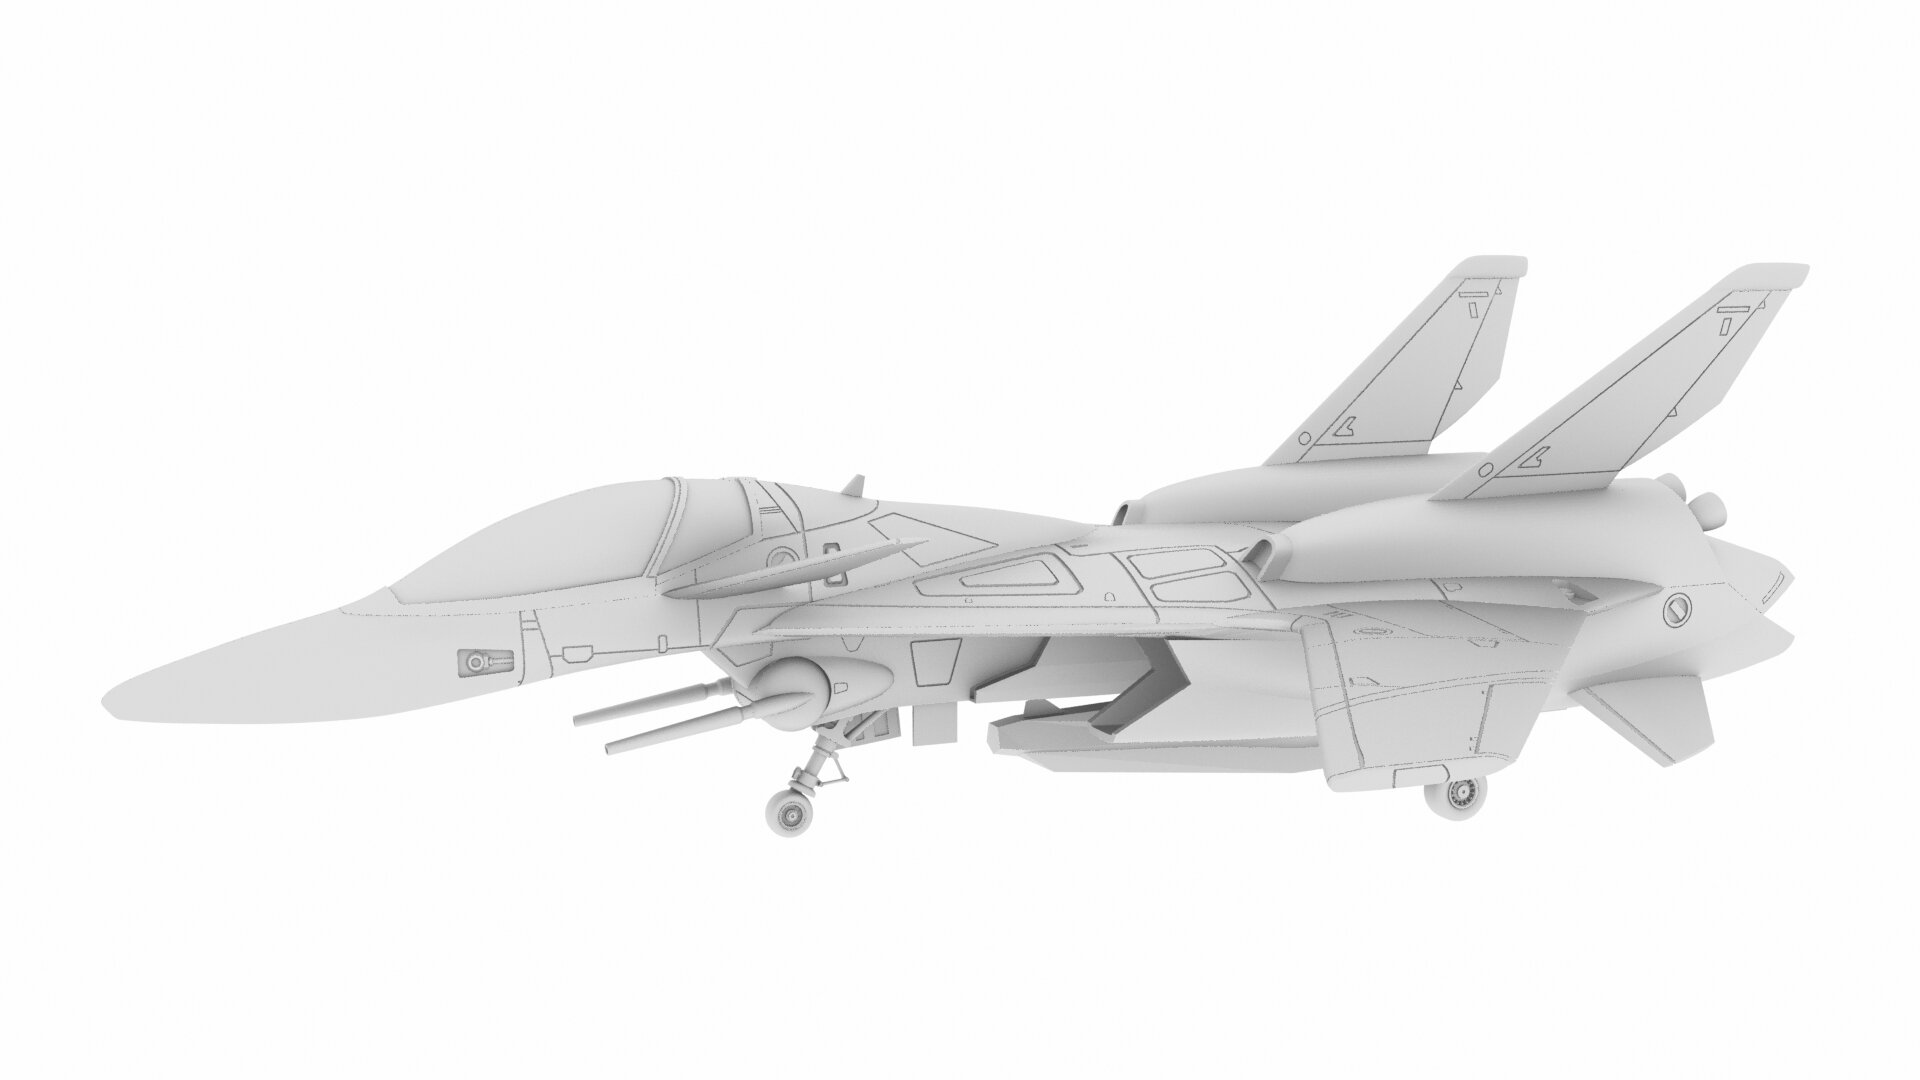
I was fiddling around with the VF-9 and was like "man - these RCS could be 3D and not just panel lines". Just like on the Plamax 1/72 VF-1 or the 1/48 Hasegawa VF-1. So ... I did that... In the process I was unhappy with some parts - so I have a plan to rebuild some. Green = Done Blue = In progress Red = Planned for a redo. I hope I will get this VF-9 thing done some day. hahahaha... The RCS is really delicate, so I would have to print it, to test if is works. If not, I will have to revert back to the panel line RCS.
-
Hahaha - the guy from Max Factory hahahah
-
Okay - that solves the discussion. 2024, eh? ... well, let's put back some money for the release.
-
Mhmm ... that sounds plausible, but I think WAVE will do the full kit. They did that on the VF-4 and the normal VF-4 is discontinued.
-
well, looks like I can stop working on upgrade parts for the VF-171 to equipt it with heavy armor as it seems. I hope they will sell it as an upgrade pack. But - thinking of how the ordenance is connected on the nightmare plus, that might be wishful thinking. The pylons are molded into the wings, so I guess this will be a full new kit.
-
well ... not sure if I am going to purchase this, because I don't like the YF-29, or I am going to purchase it just because I want a complete collection of VFs/YFs
-
wait - is this legit?
-
I ordered the VF-171 nightmare plus
-
Well, it is designed for 1/72, but you could always rescale the stl to 1/48.
-
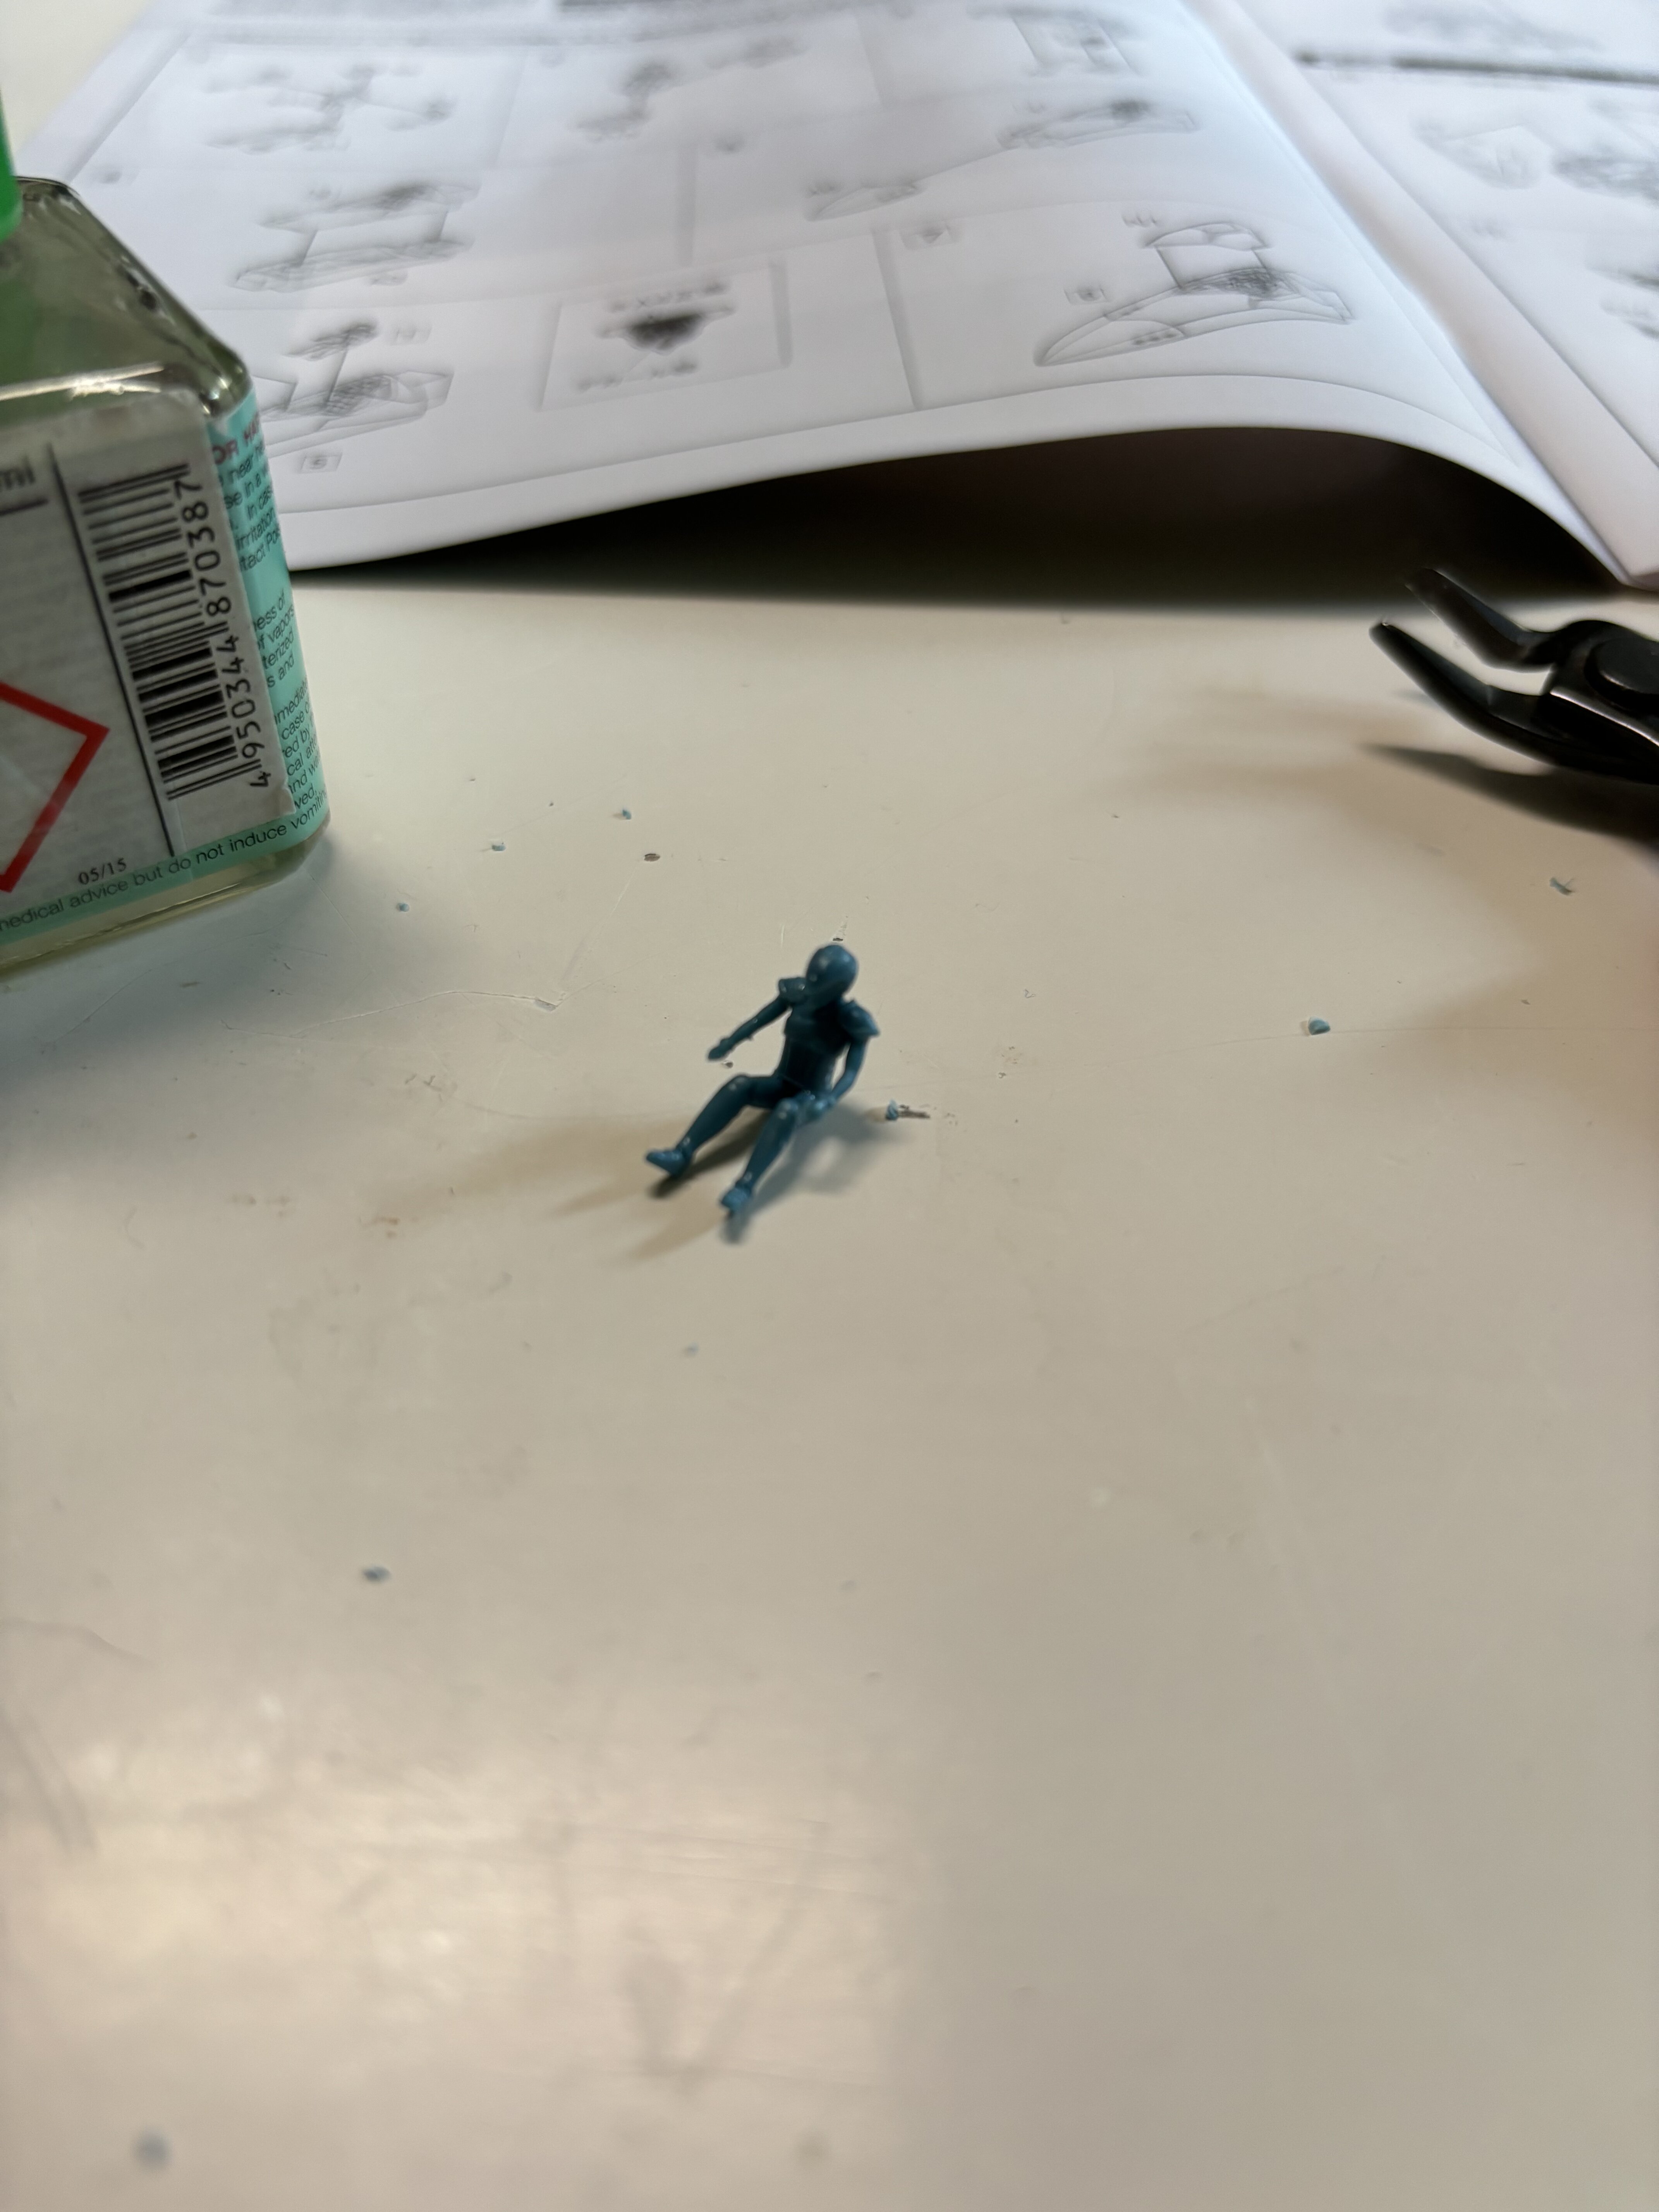
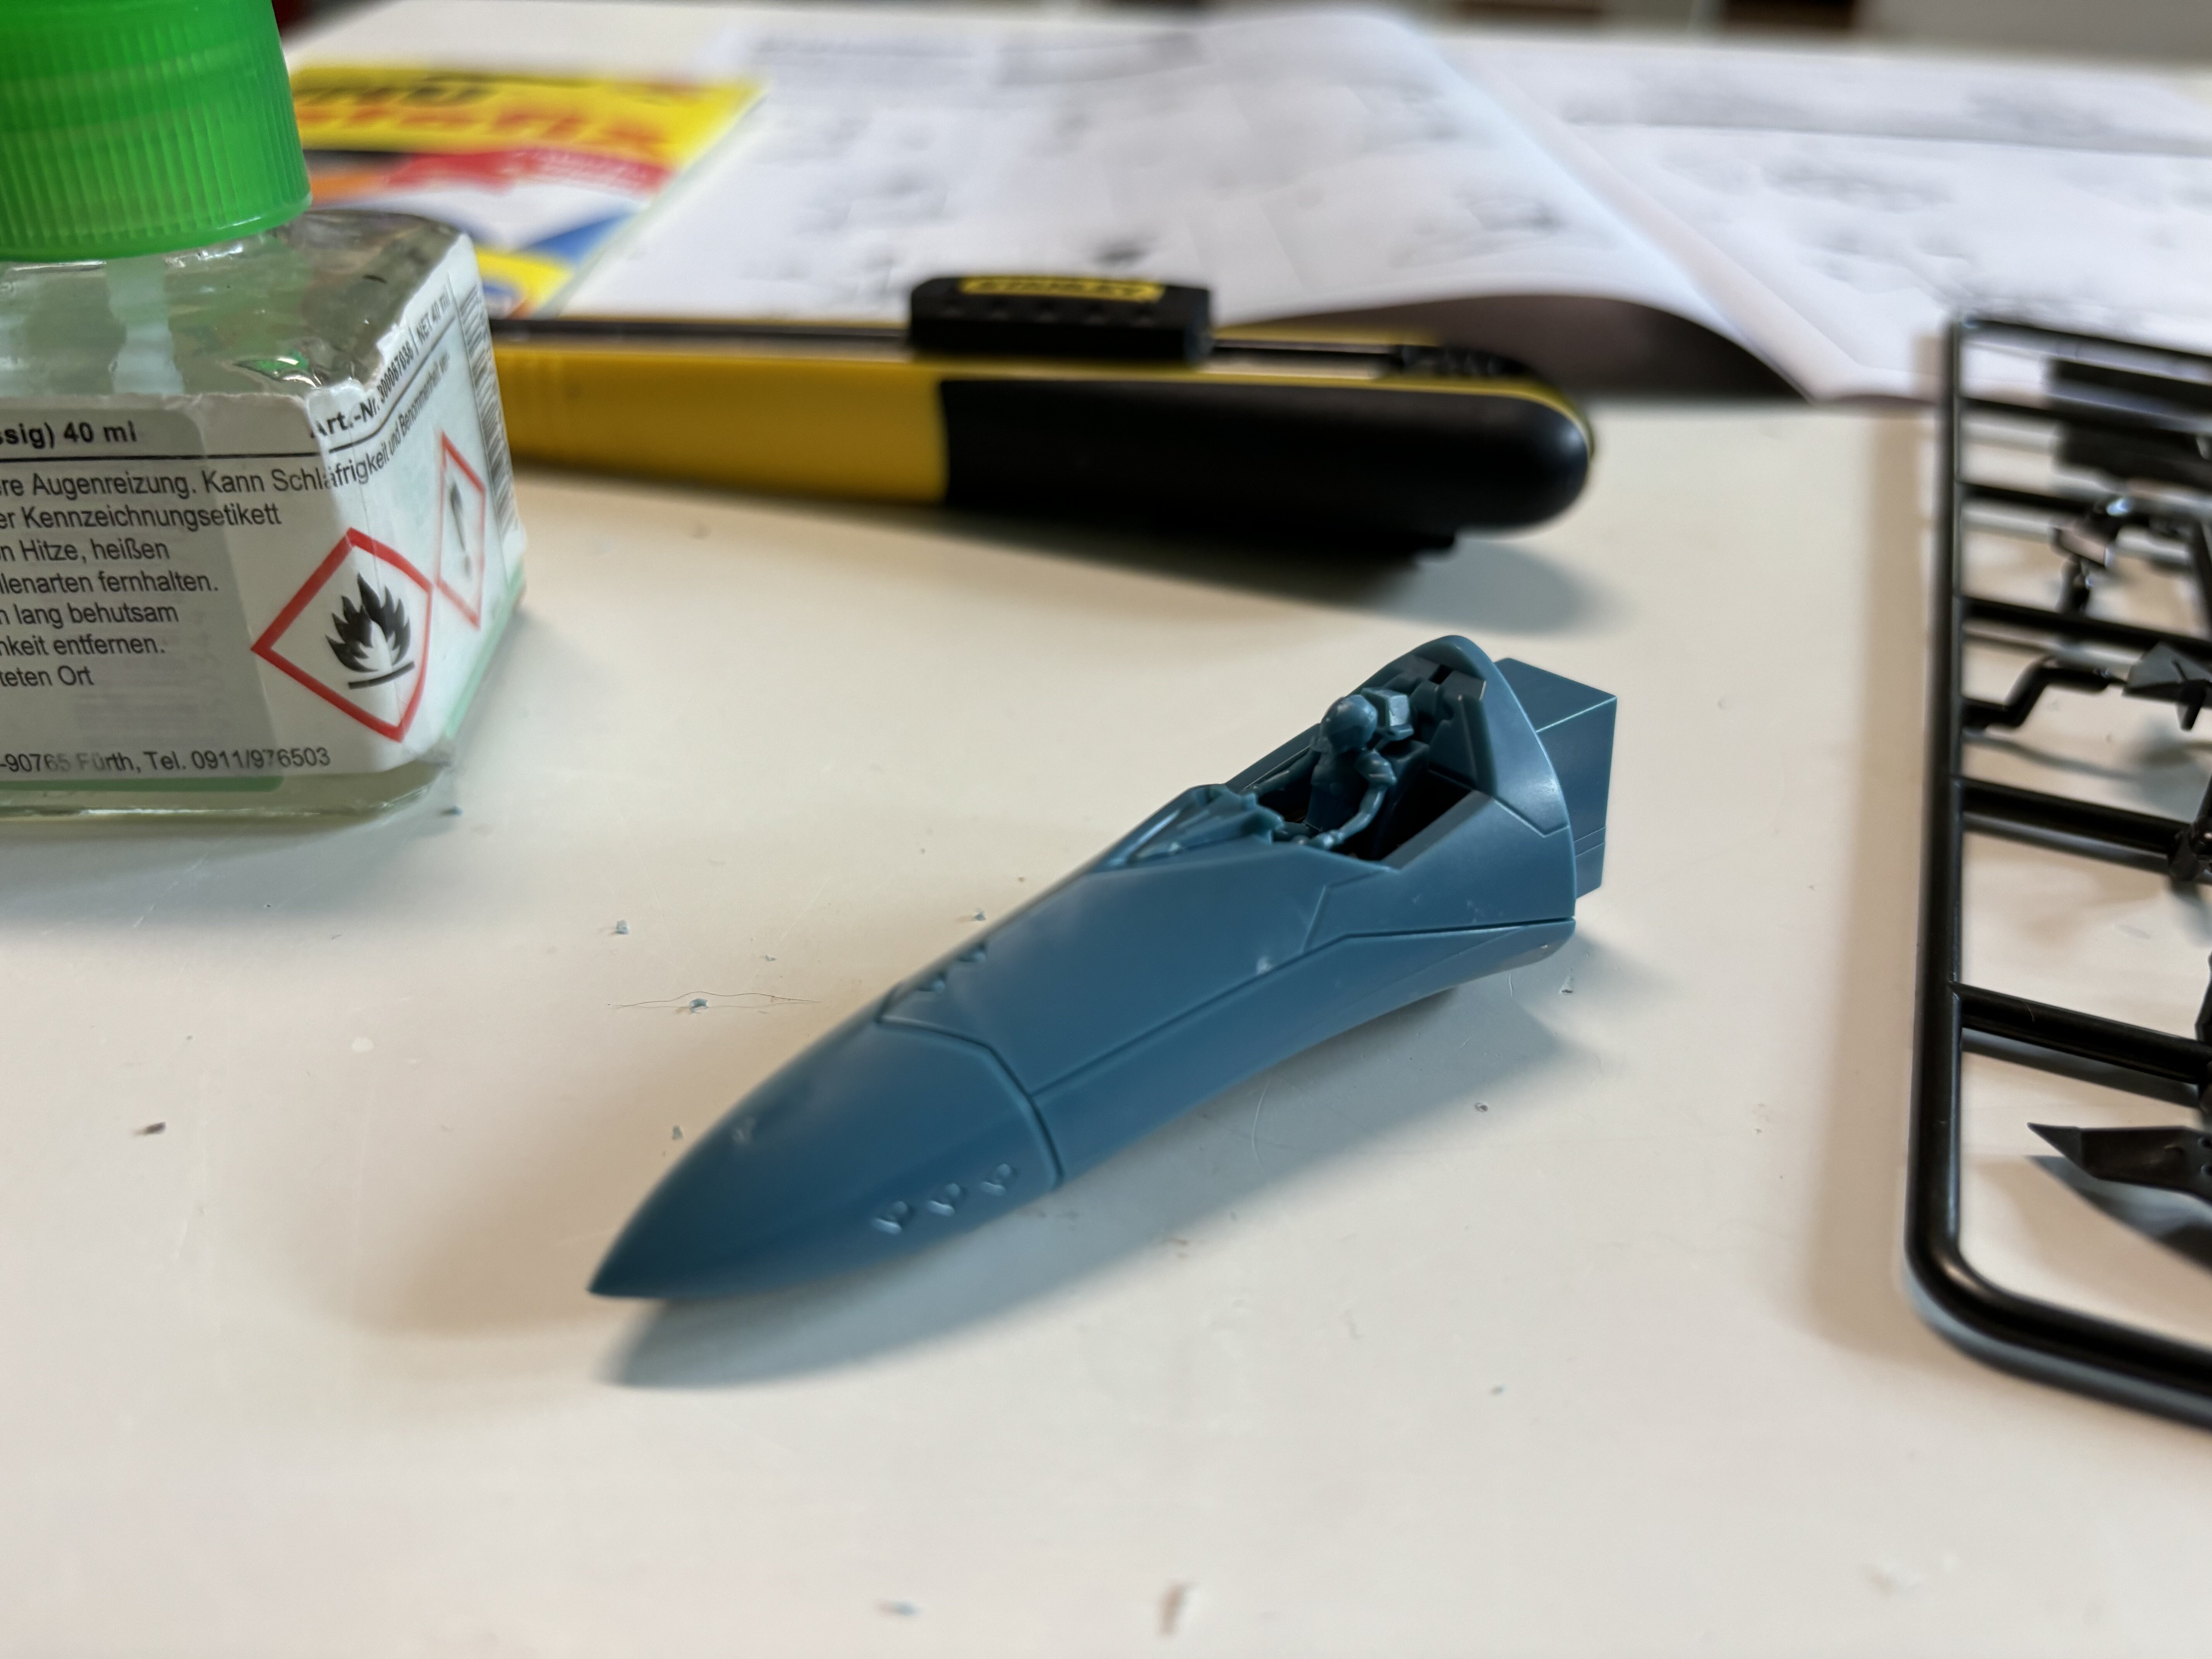
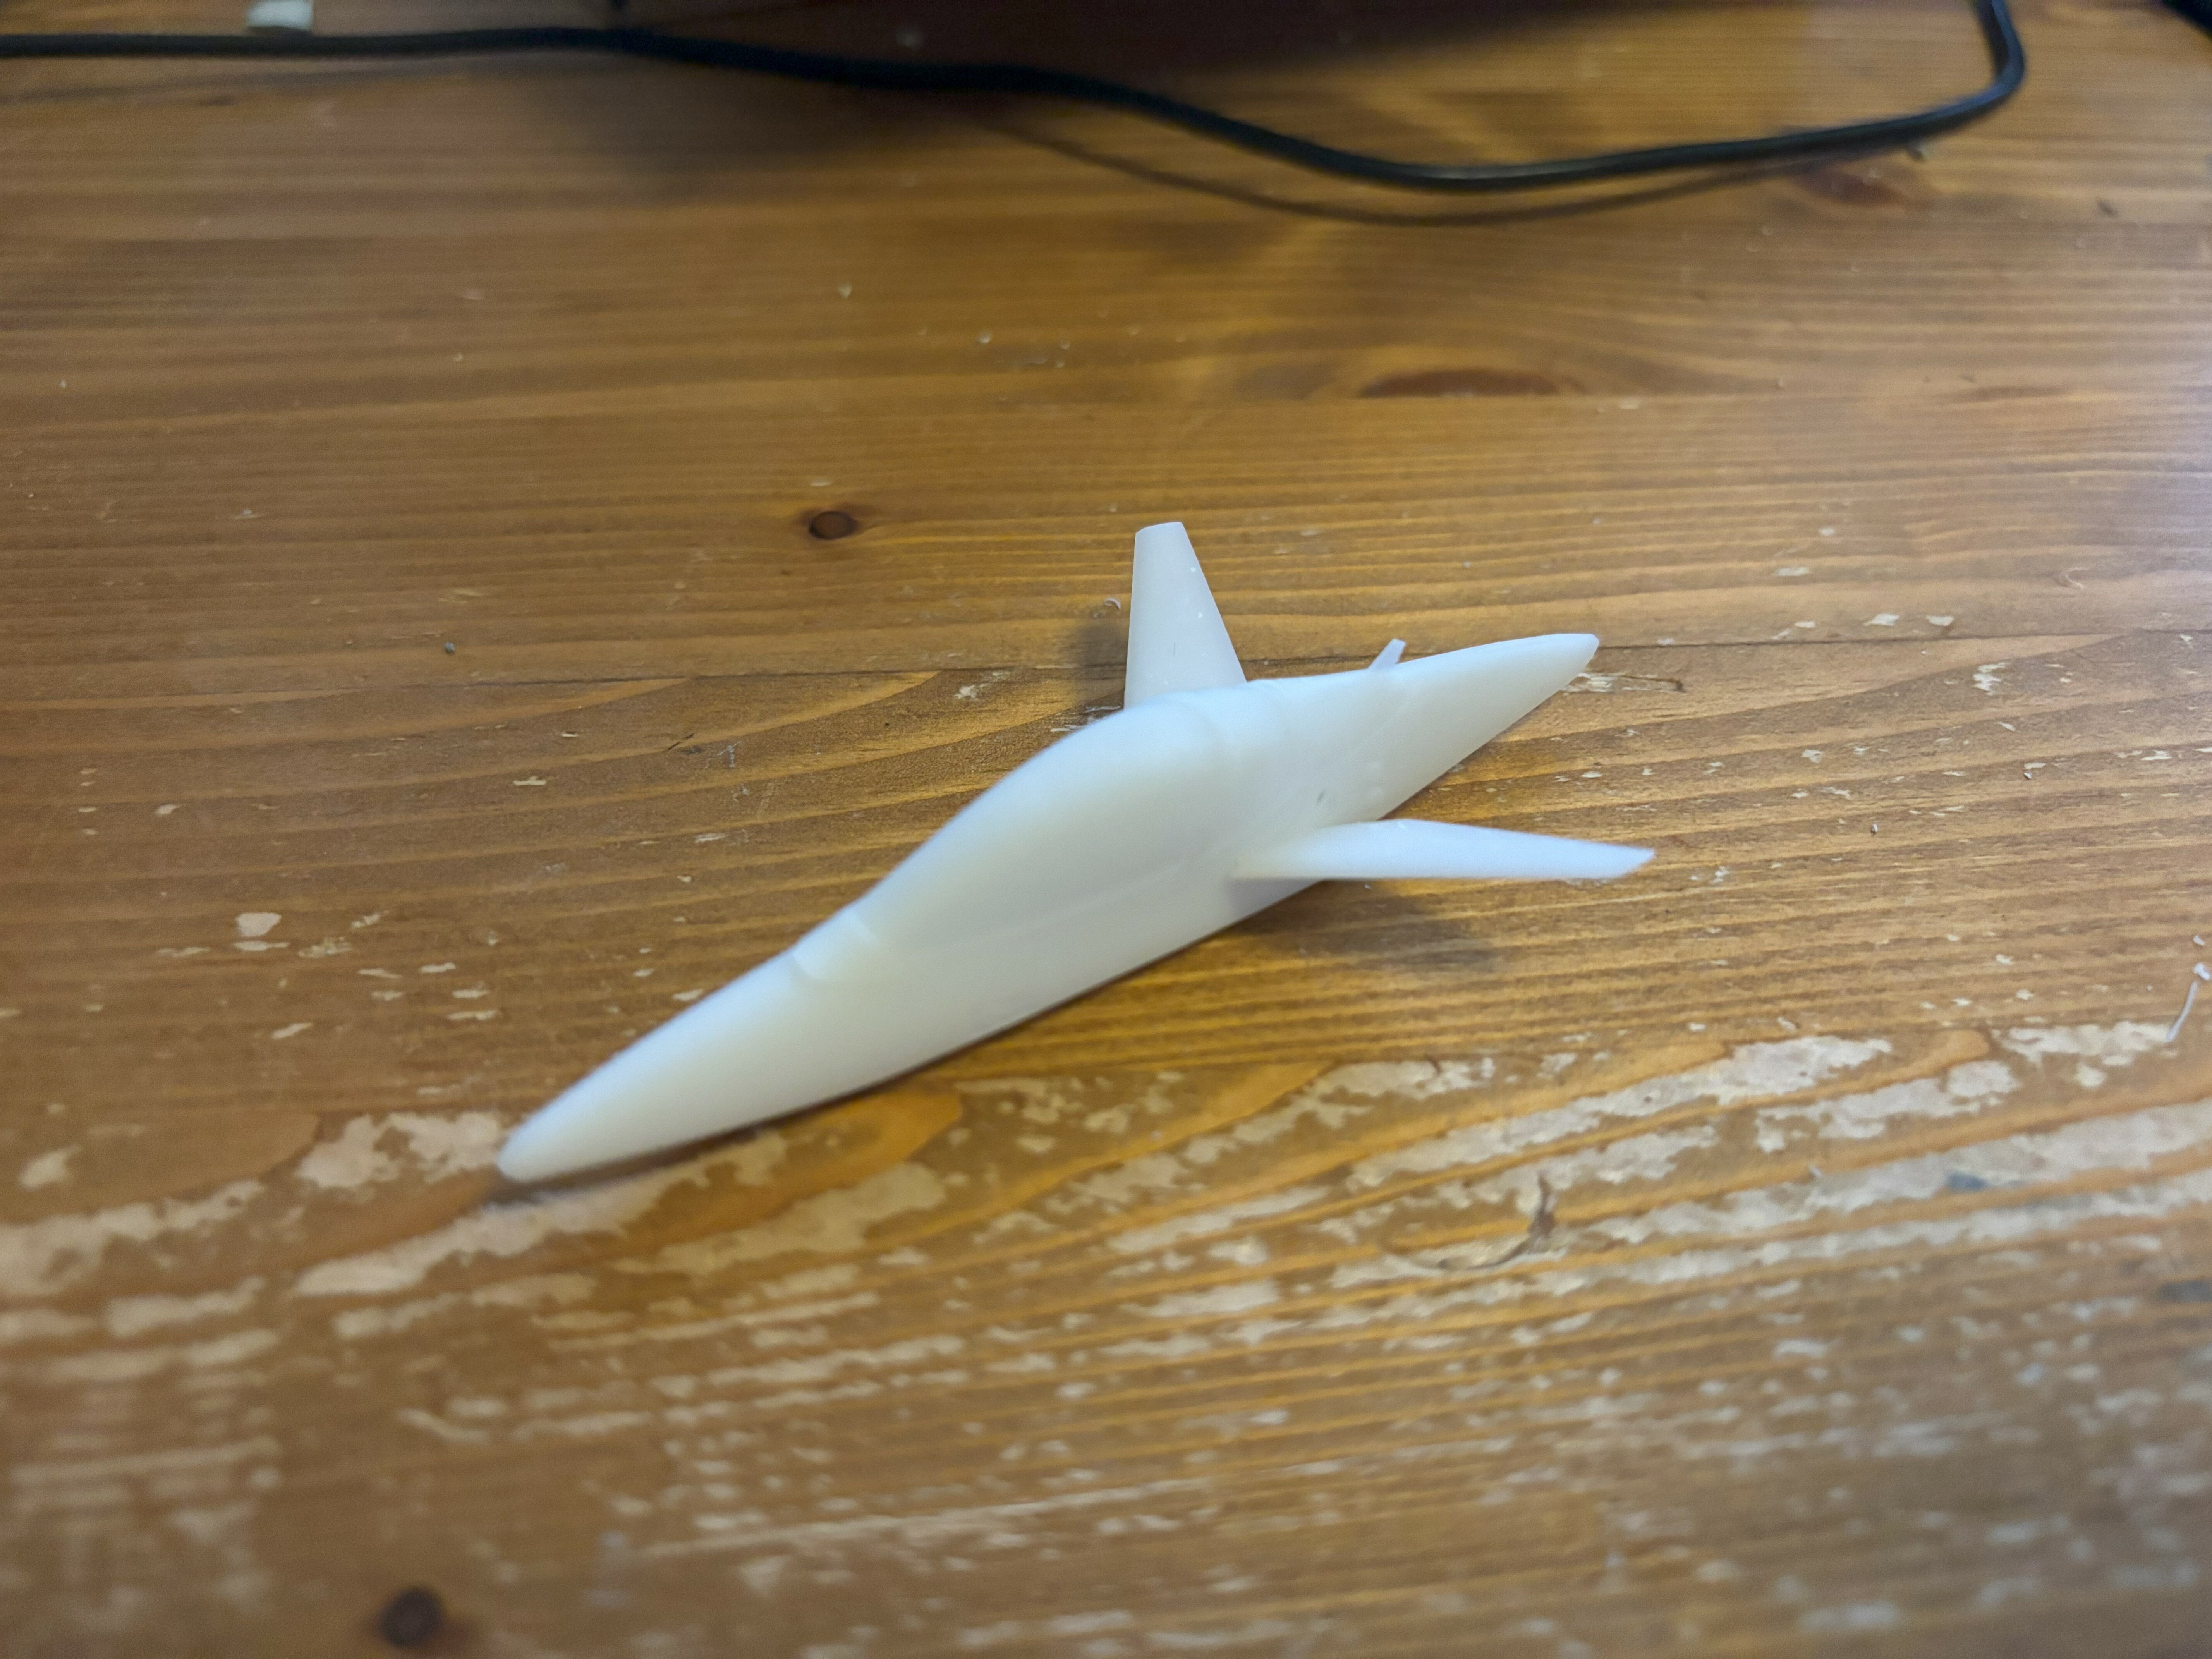
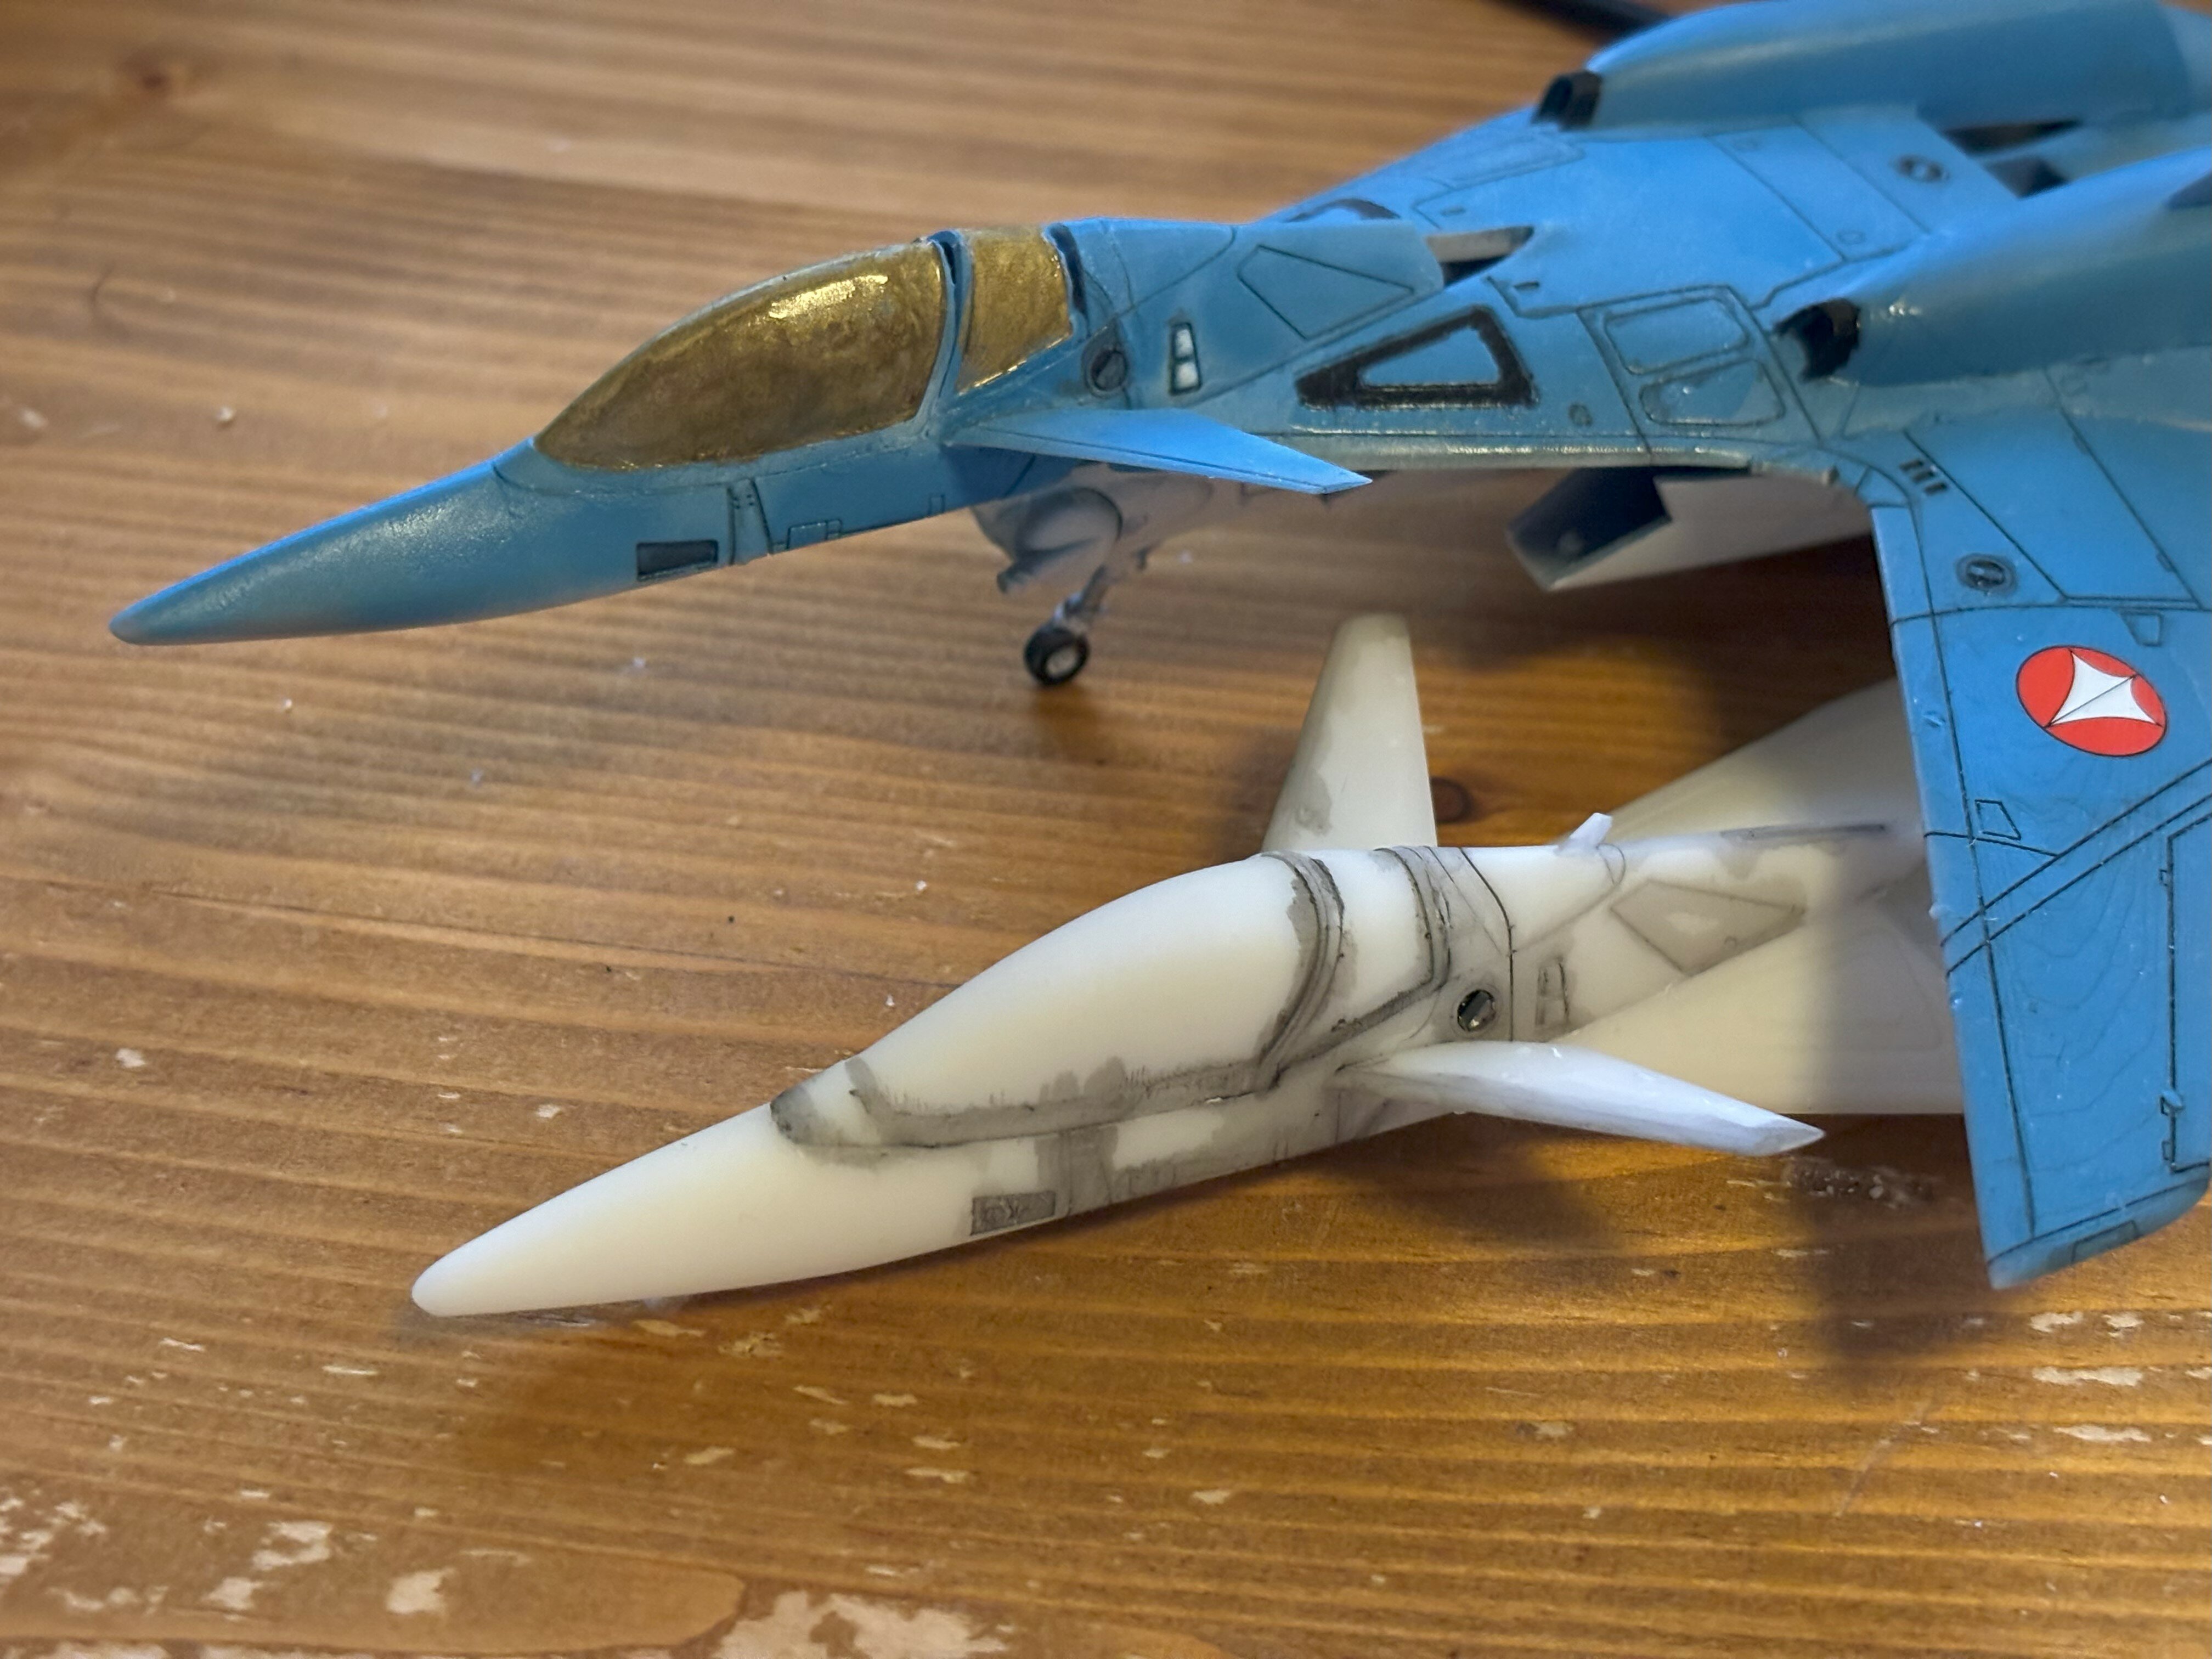
That is a nice print man I wonder how it'll look in SLA. FDM always has those ridges... I finally managed to motivate myself to finish the nose of the VF-9. Looks a look better and much sleeker now. Constructive feedback welcome.
-
I've a Bandai Recast of the Quedlun-Rau in my basement
