

Urashiman
-
Posts
762 -
Joined
-
Last visited
Content Type
Profiles
Forums
Events
Gallery
Everything posted by Urashiman
-
@Graham cool! Have fun! I definitely had fun with my VB-6.
-

Build log - Aoshima V.F.G. VB-6 König Monster
Urashiman replied to Urashiman's topic in The Workshop!
@Chronocidal Yeah, I figured. There are still the pieces for the head unit on the runners. There are also a bunch of duplicate parts, as they just "copy/pasta" a few runners. A lot of pieces are just the same and were reused. In general, I think this kit is more aimed towards the "toy" audience, and not a scale model builder like me. While I had a ton of fun building this, I probably won't have fun painting this. If I ever want to paint this, I probably would glue the VB-6 into permanent shuttle mode and then do the paint job. I saw a bunch of Bandai builds with primed parts and then painted and so on. They rarely transform their kits, for the same reasons. The paint would just wear off too quickly. So - maybe only panel lining with a gunpla marker for me on the VB-6. As of now, I will store it in a box and move on to the next kit. -
Build log - Aoshima V.F.G. VB-6 König Monster
Urashiman replied to Urashiman's topic in The Workshop!
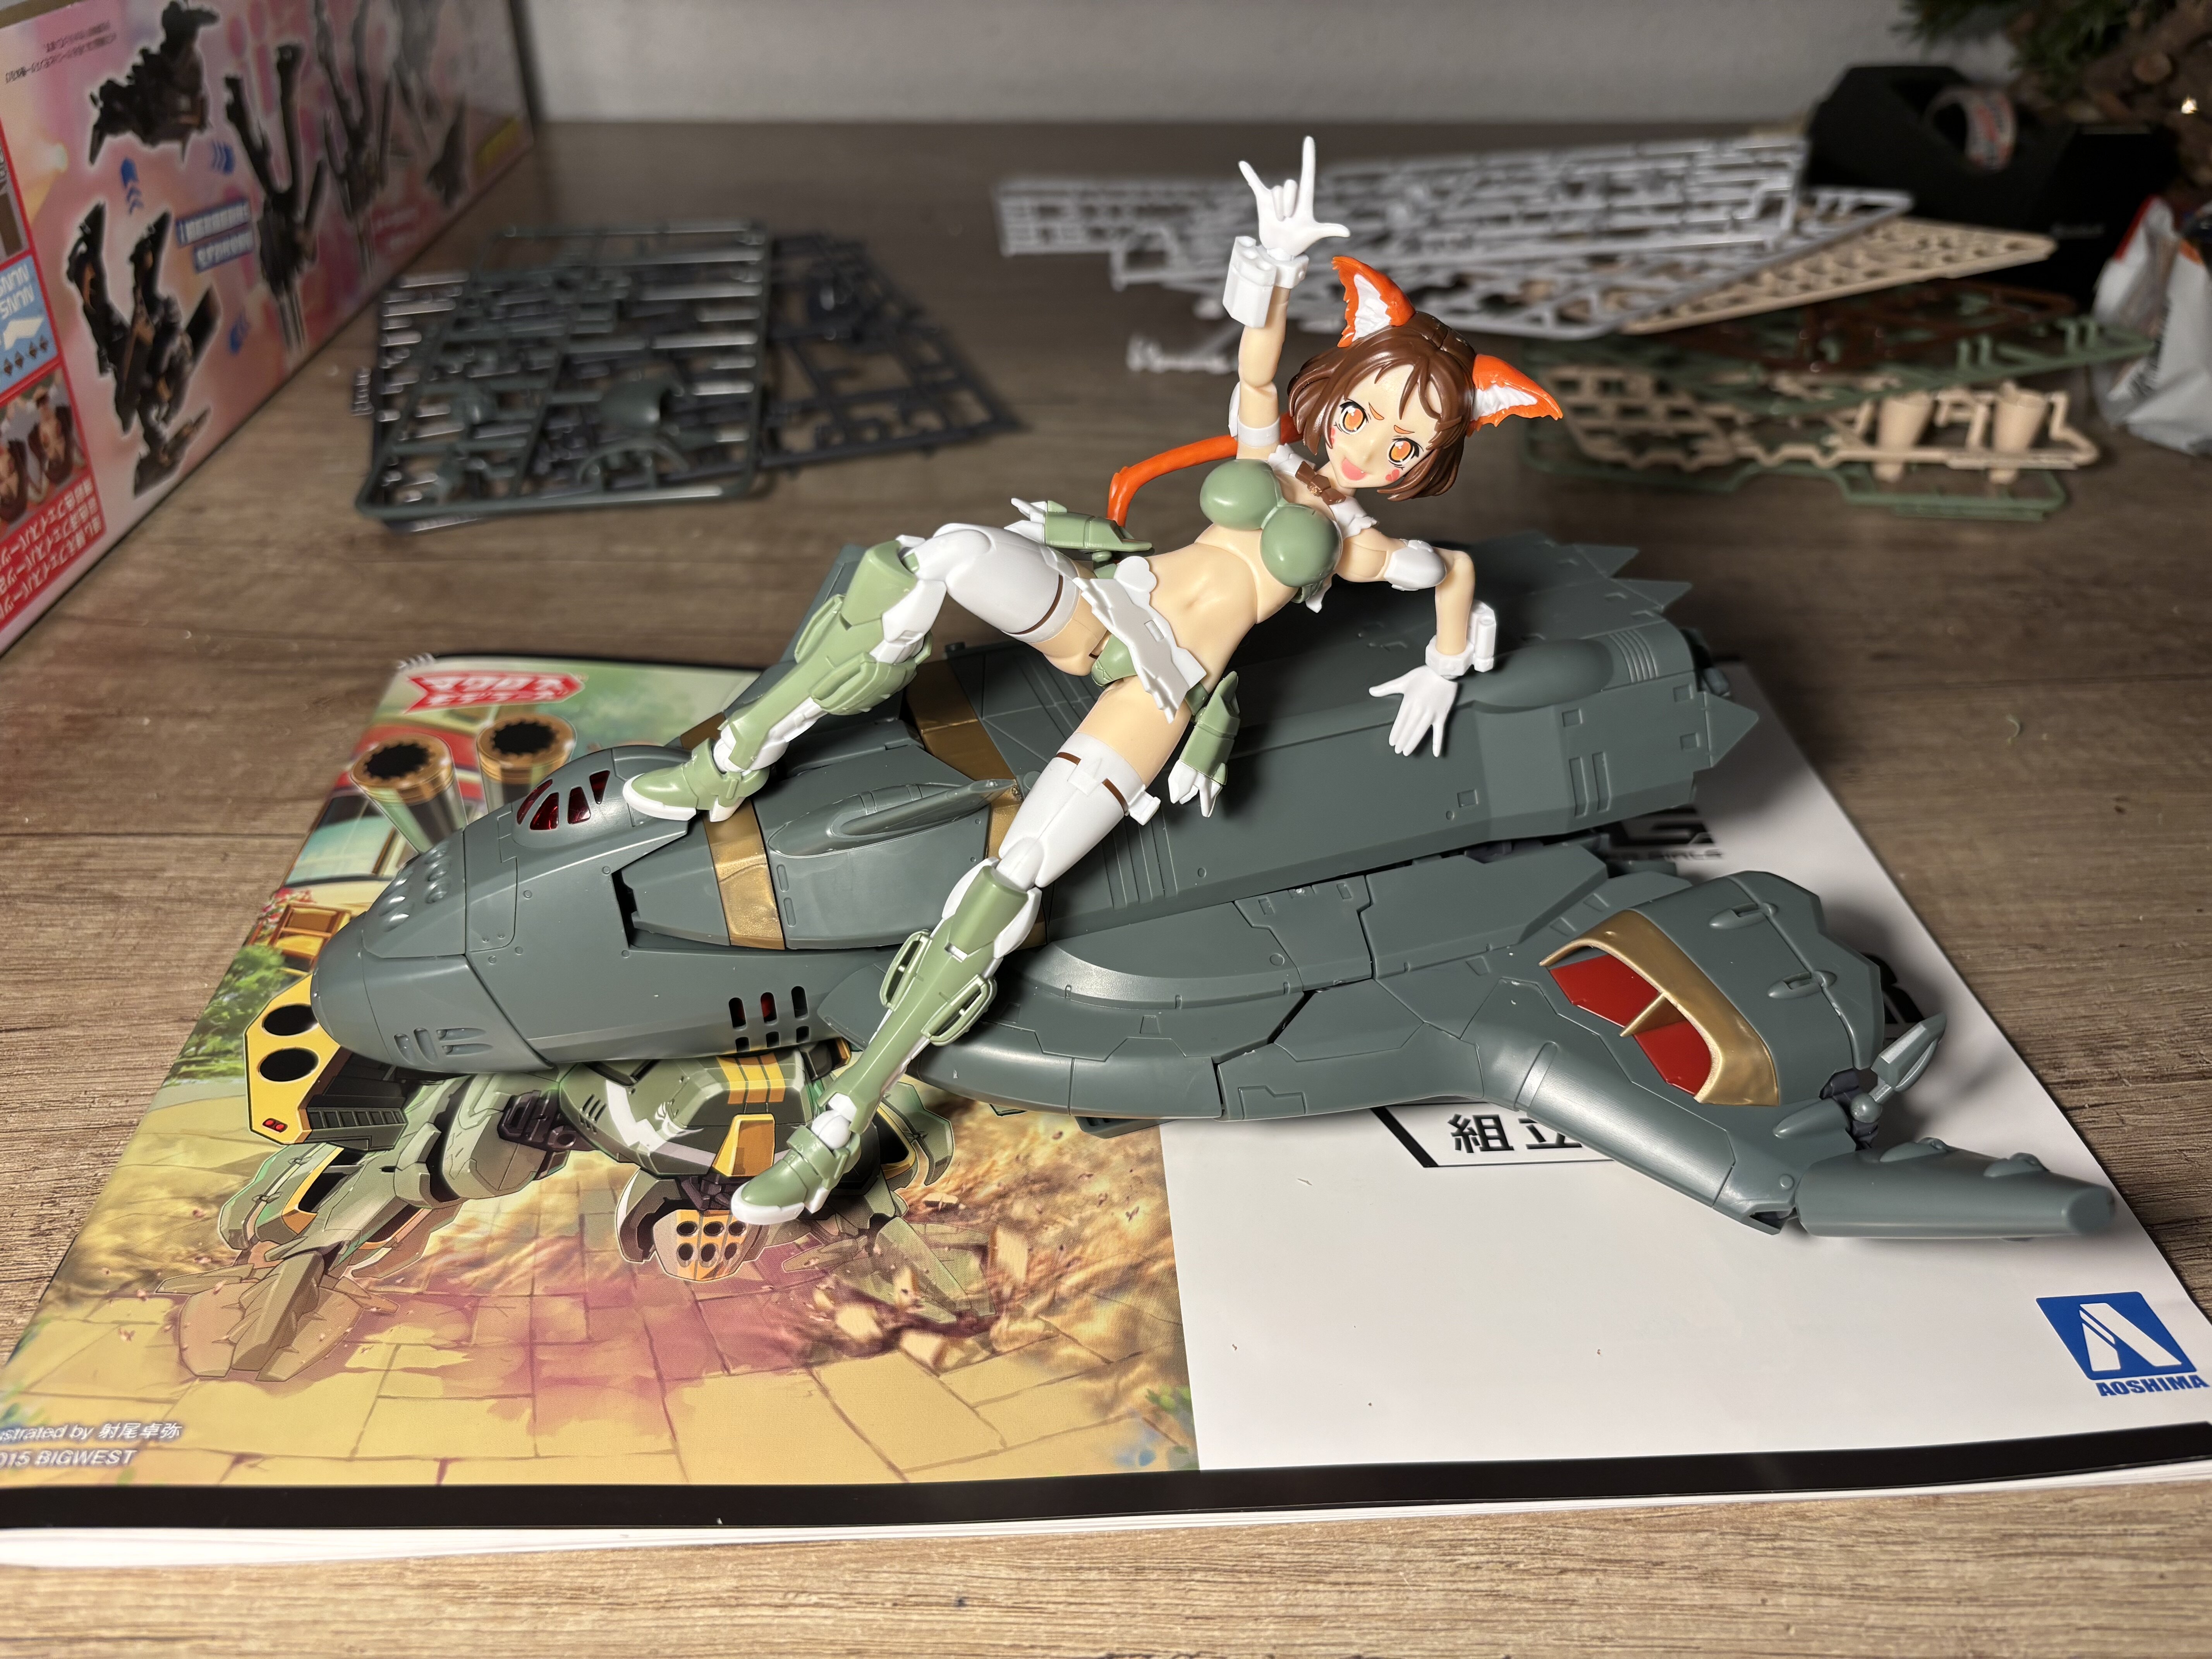
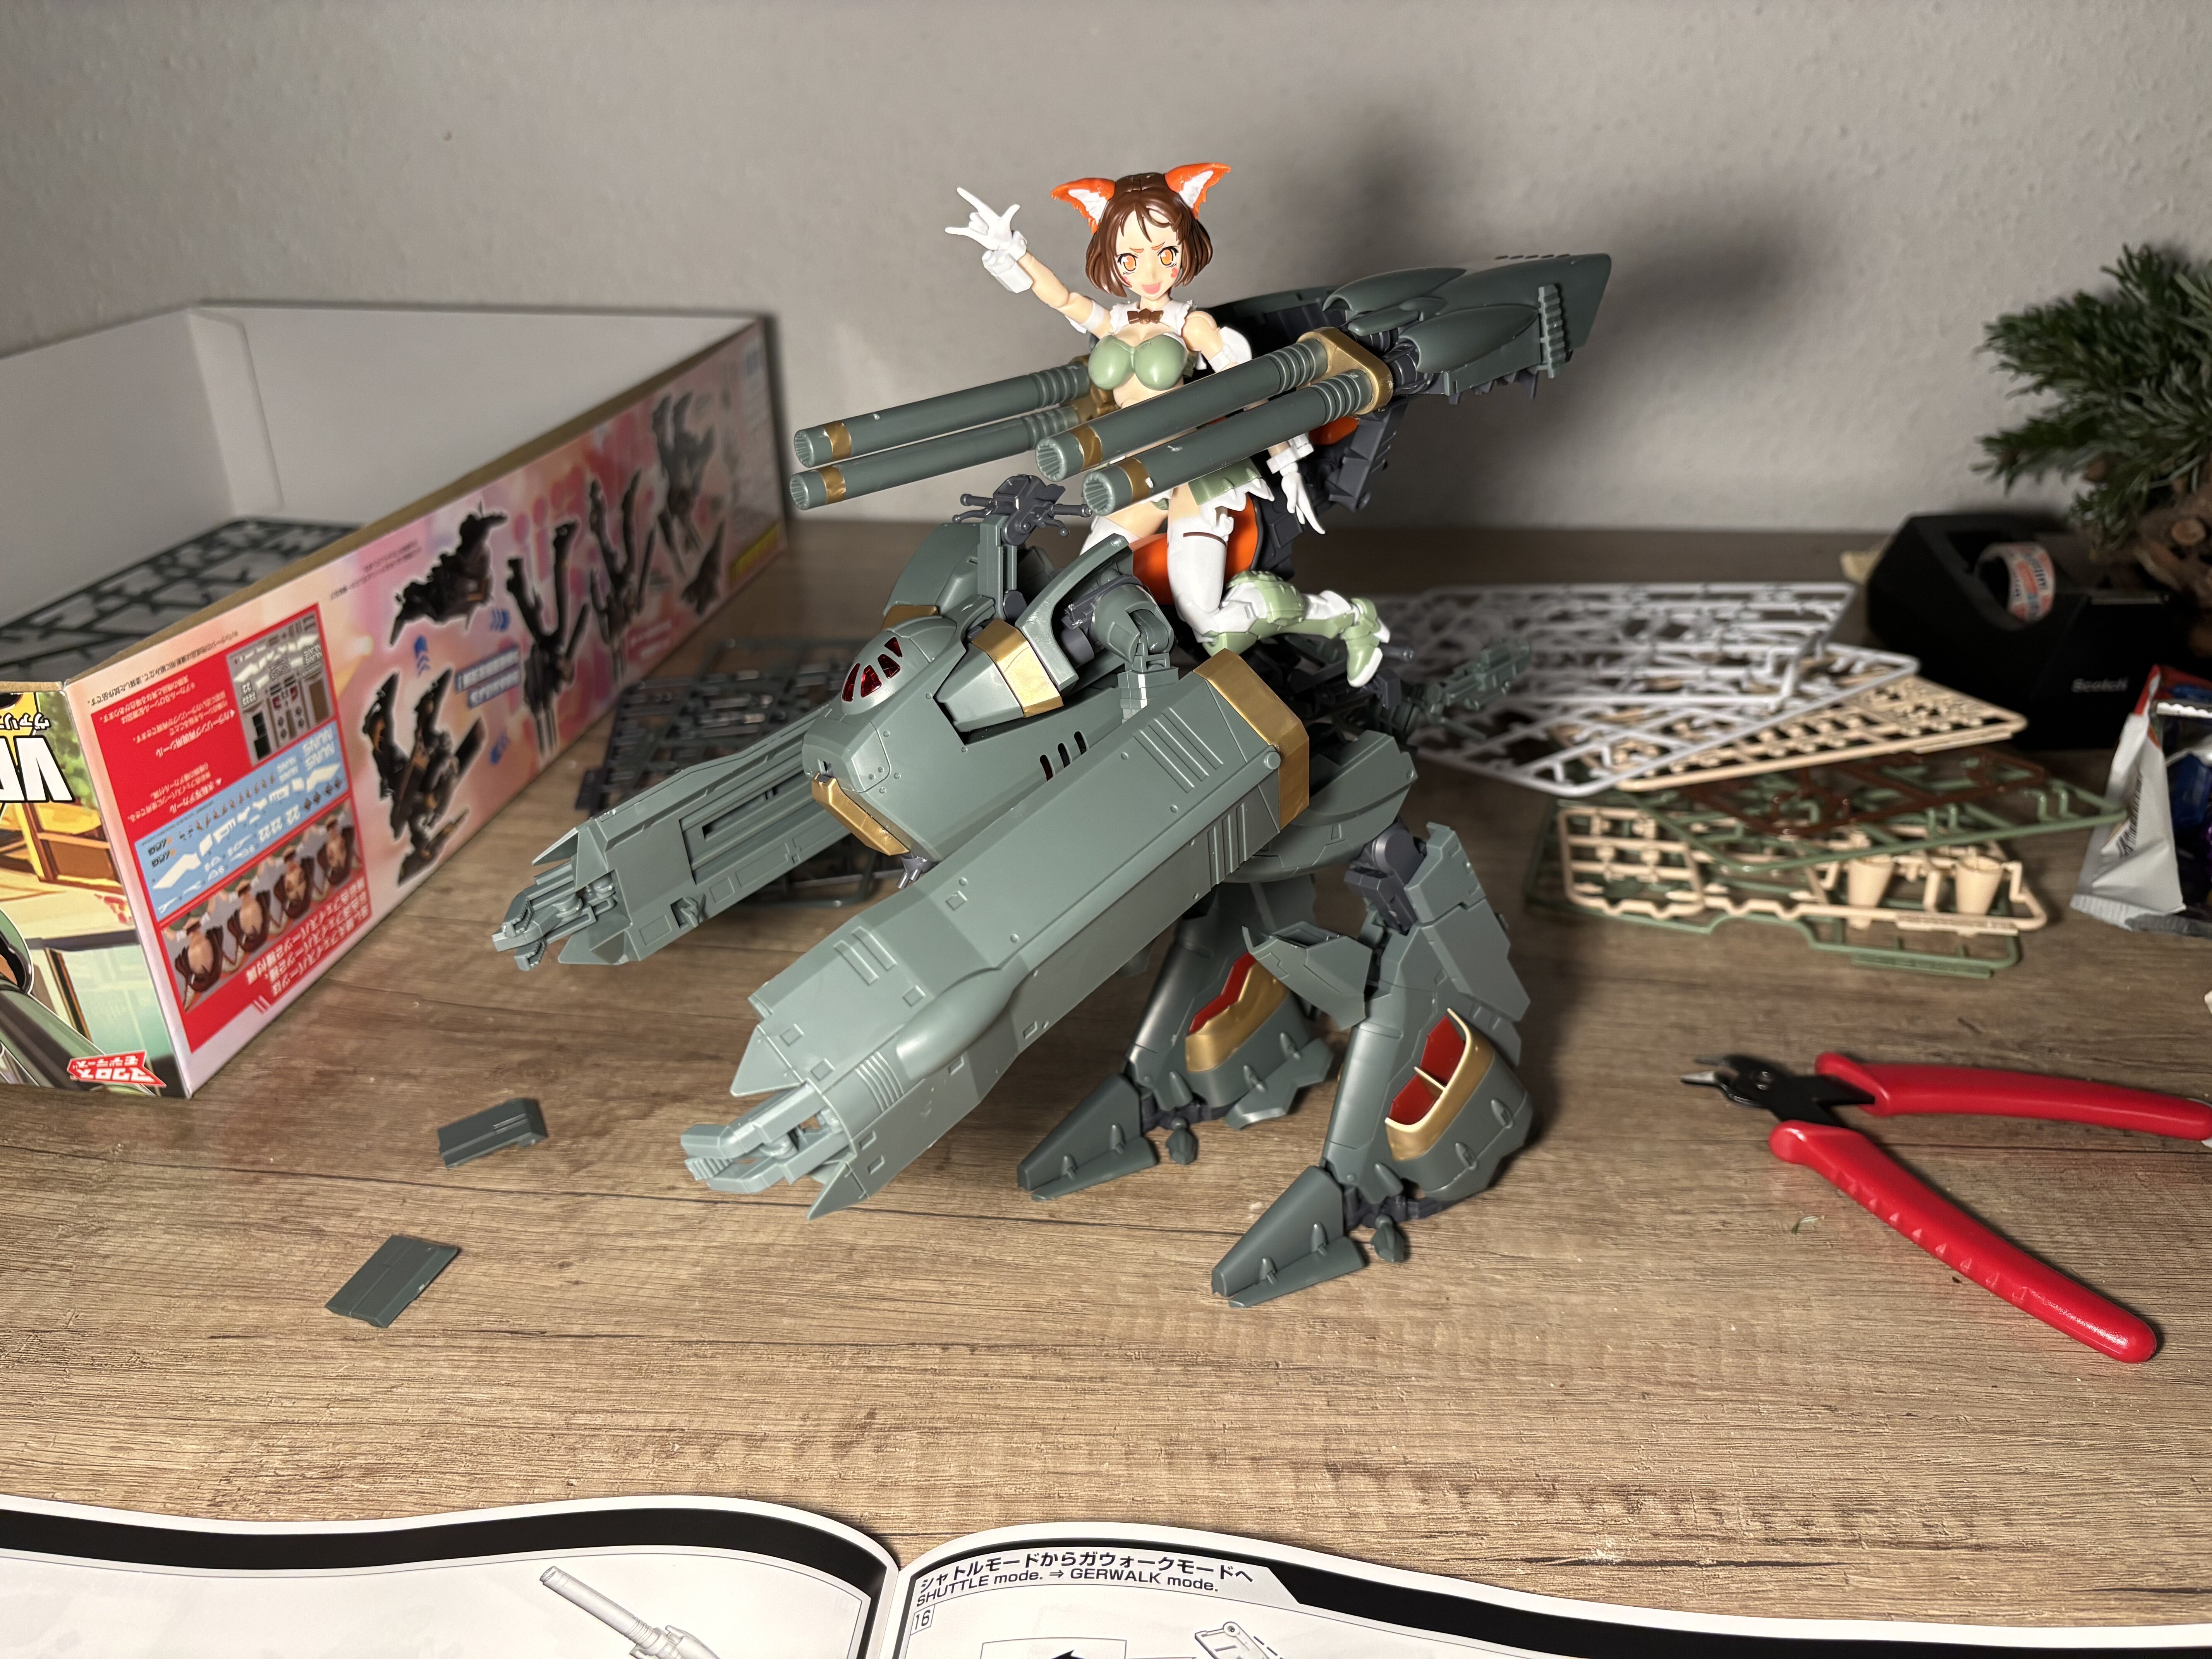
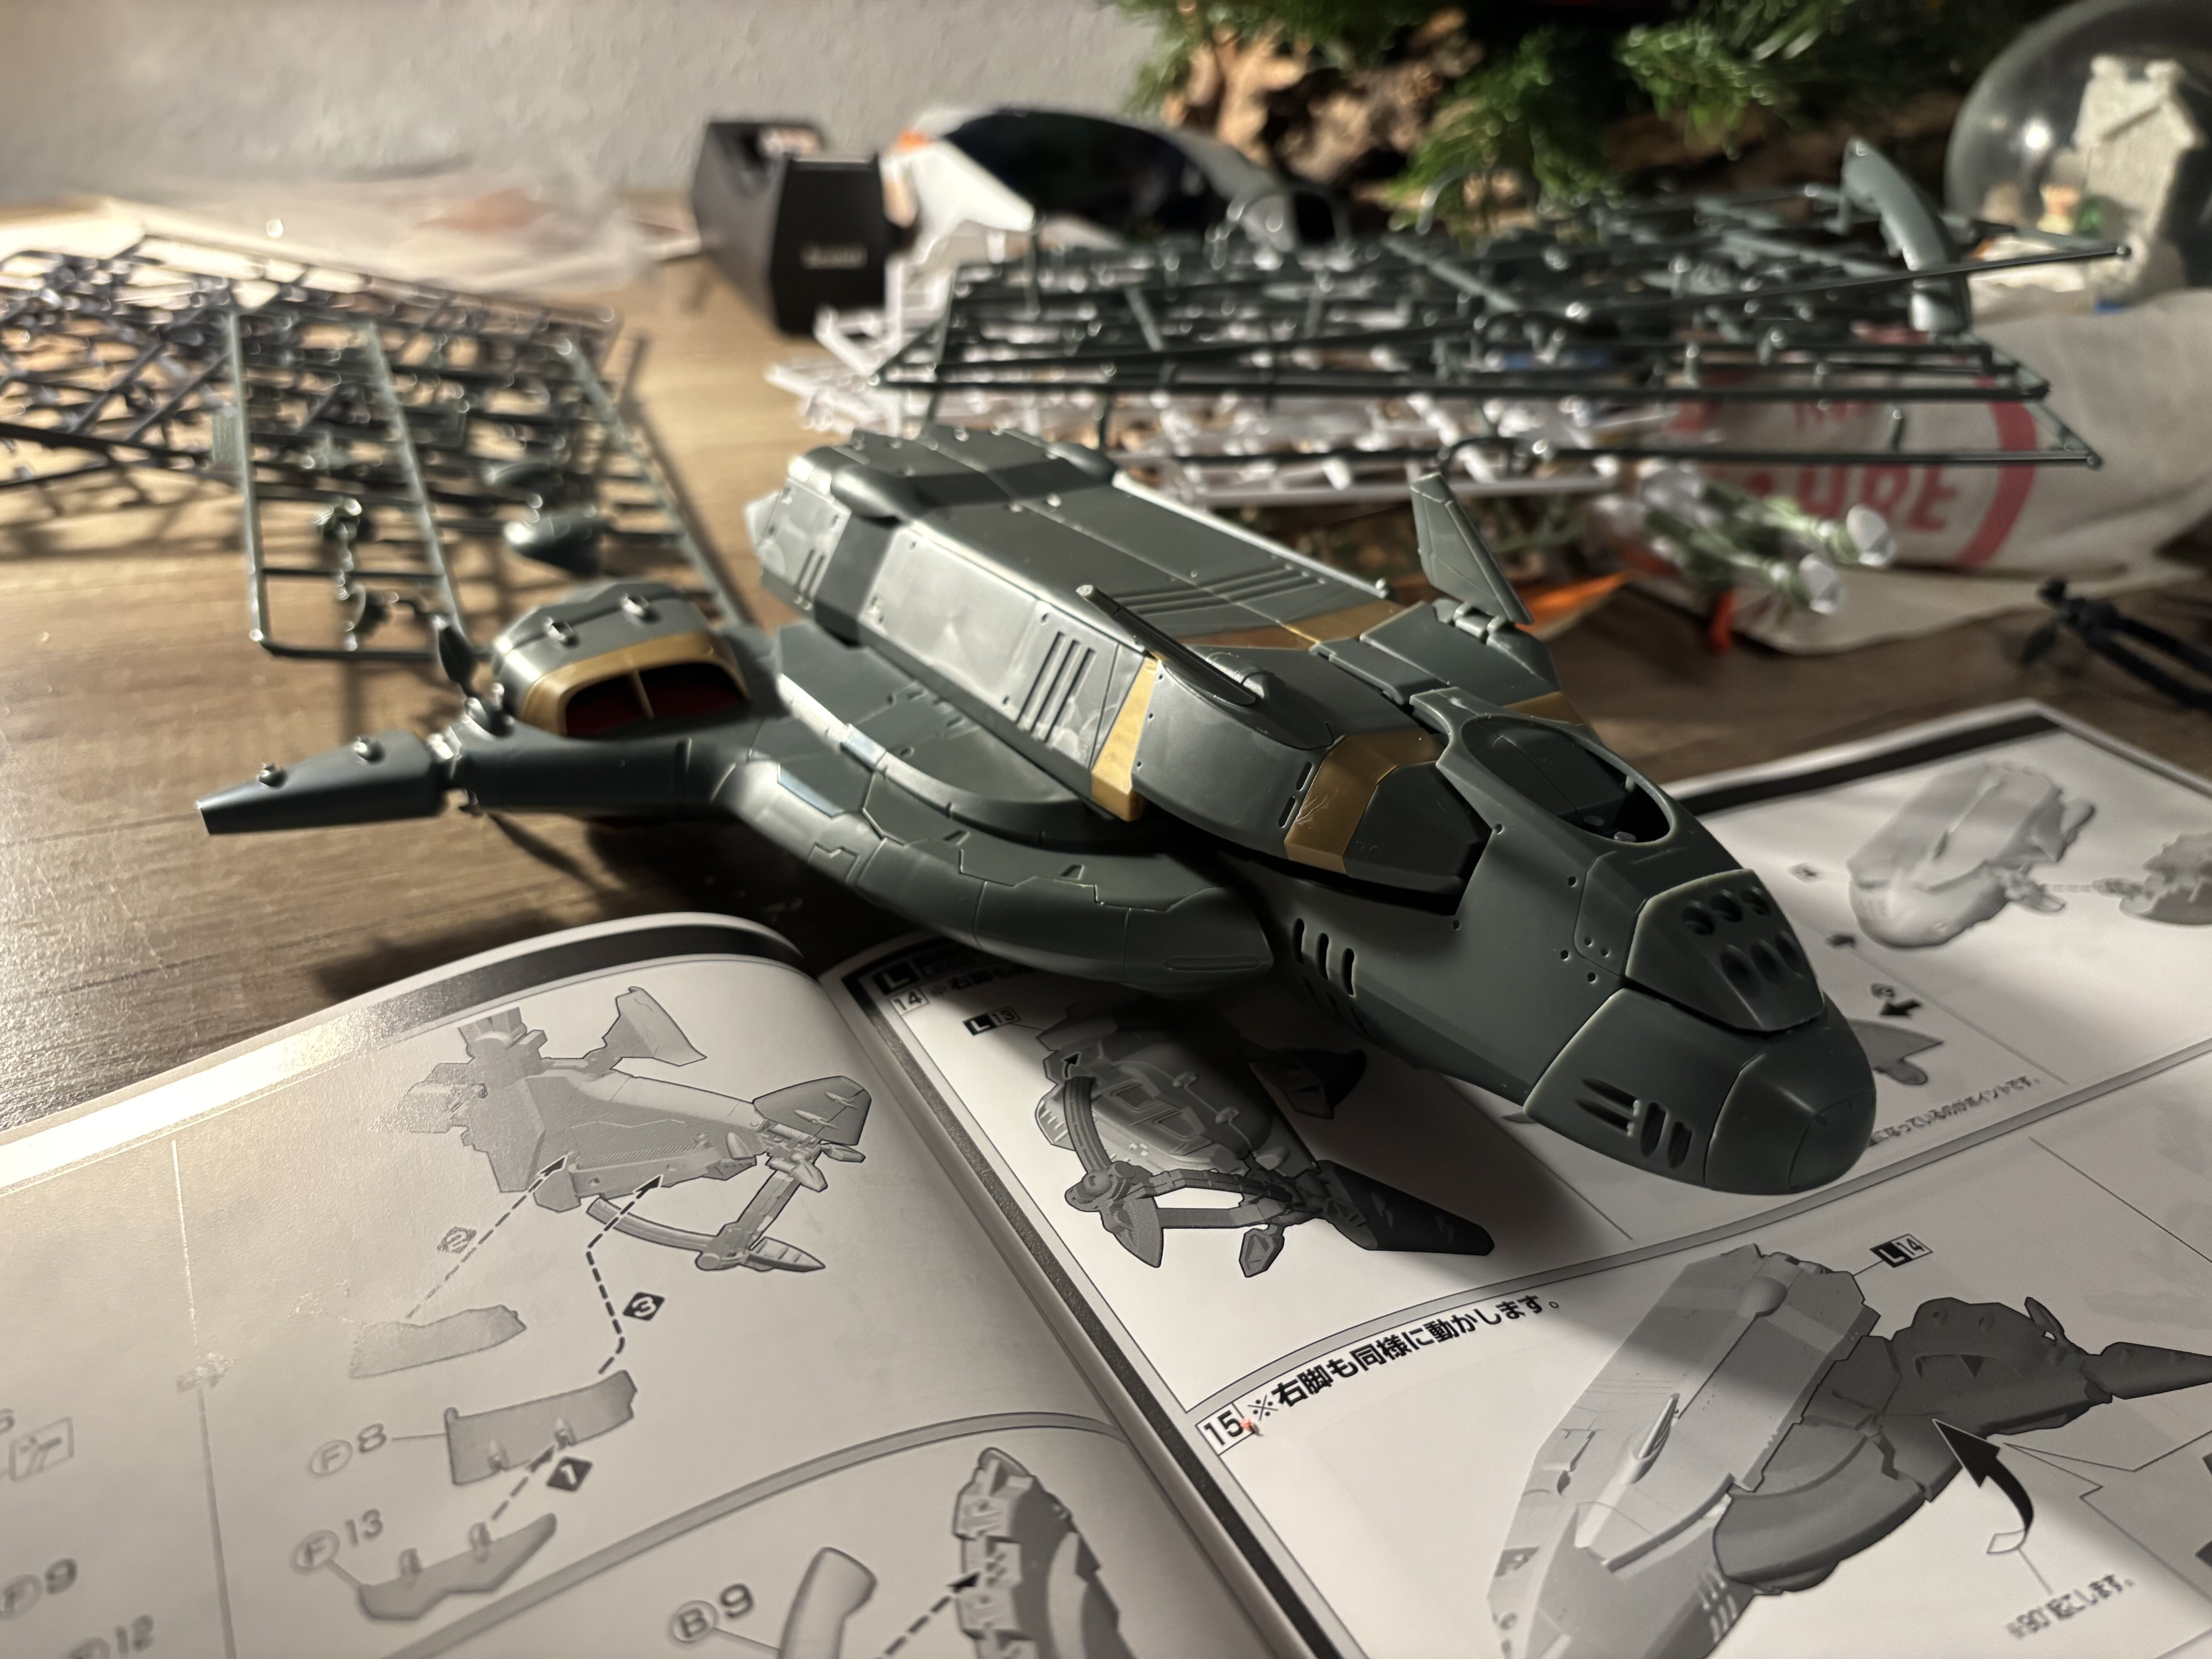
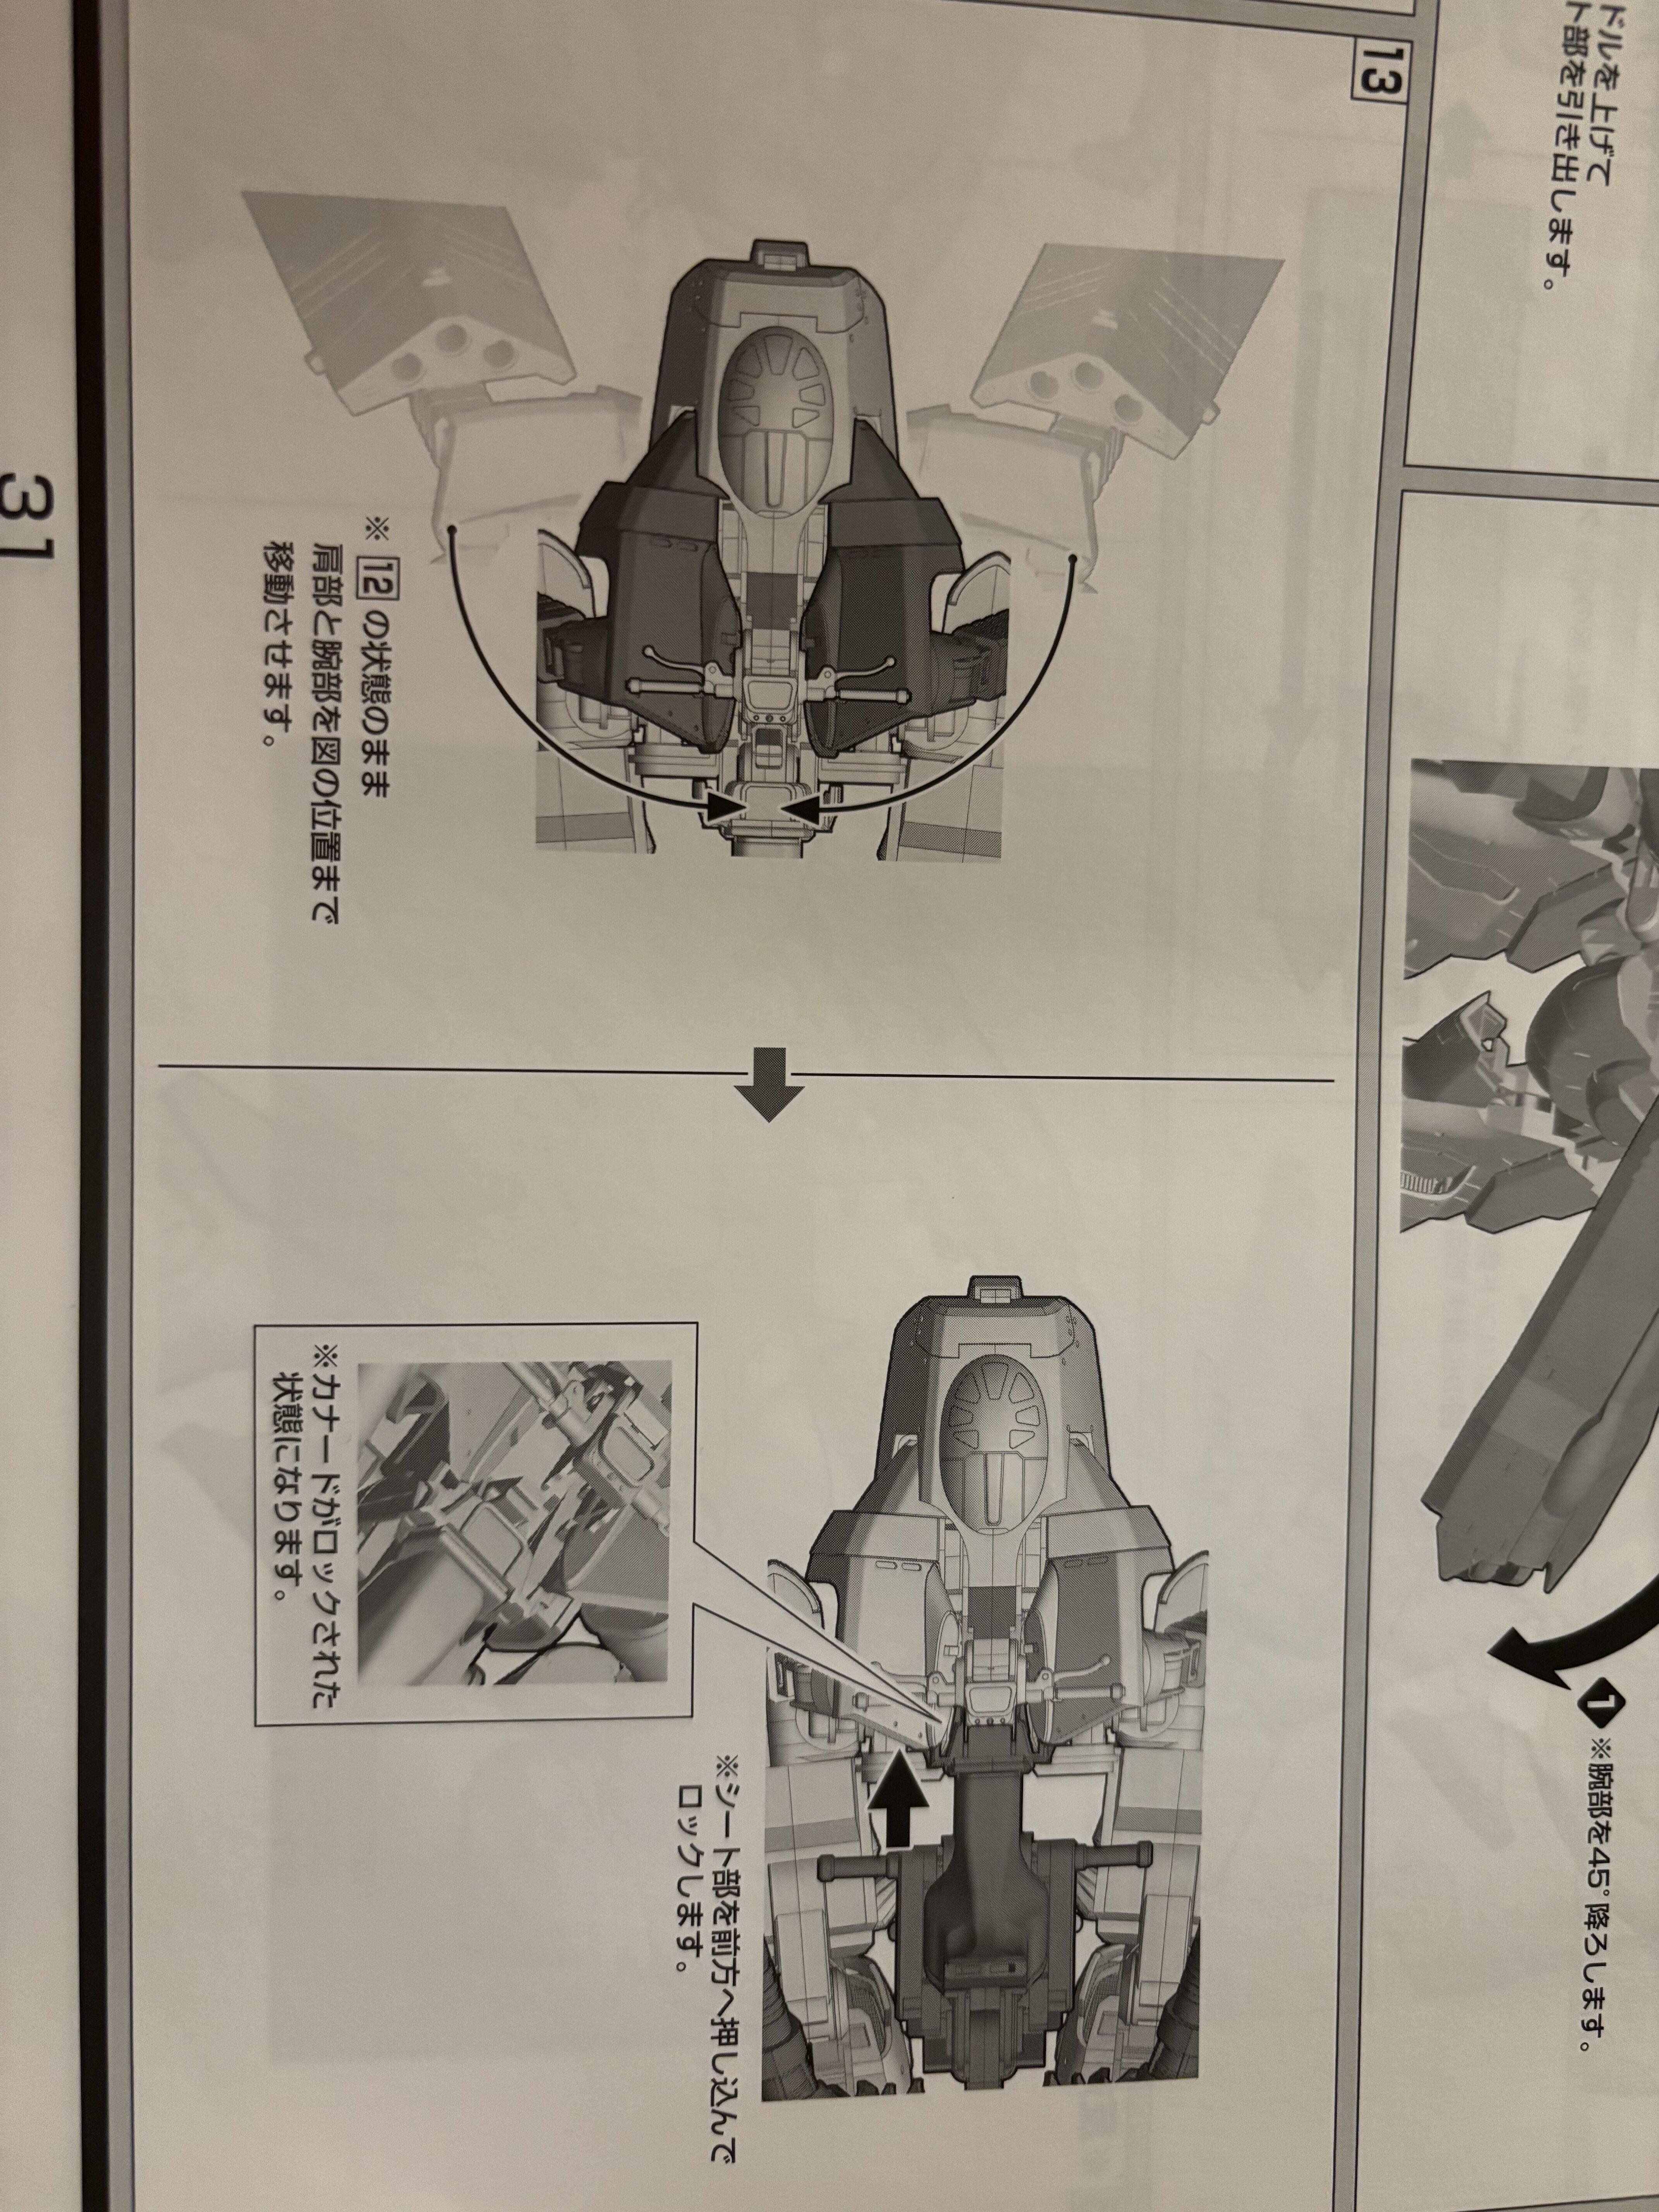
@derex3592 haha, yeah. It is funny. In the German version he says „wide“. Might be some dubbing thing. Anyway. build log (2024/12/11): Time to finish up. The literal „last leg“. Still needs a cockpit. And done. The V.F.G. claims her ship. By scale, she must be bigger than a Zentradi. Gerwalk mode: I was to lazy to change to Battroid, as the whole transformation on this one is kinda hard. The joints are a really tight fit, and I didn’t want to break a thing. The VB-6 is heavy. I think it must be around 700g. I am not sure I want to ground and paint this. As i played around with the transformation, I figured that the paint will be scratched. So no coloring. I might want to panel line it. For now, I declare this one to be finished. It is interesting how many pieces are leftover on the runners.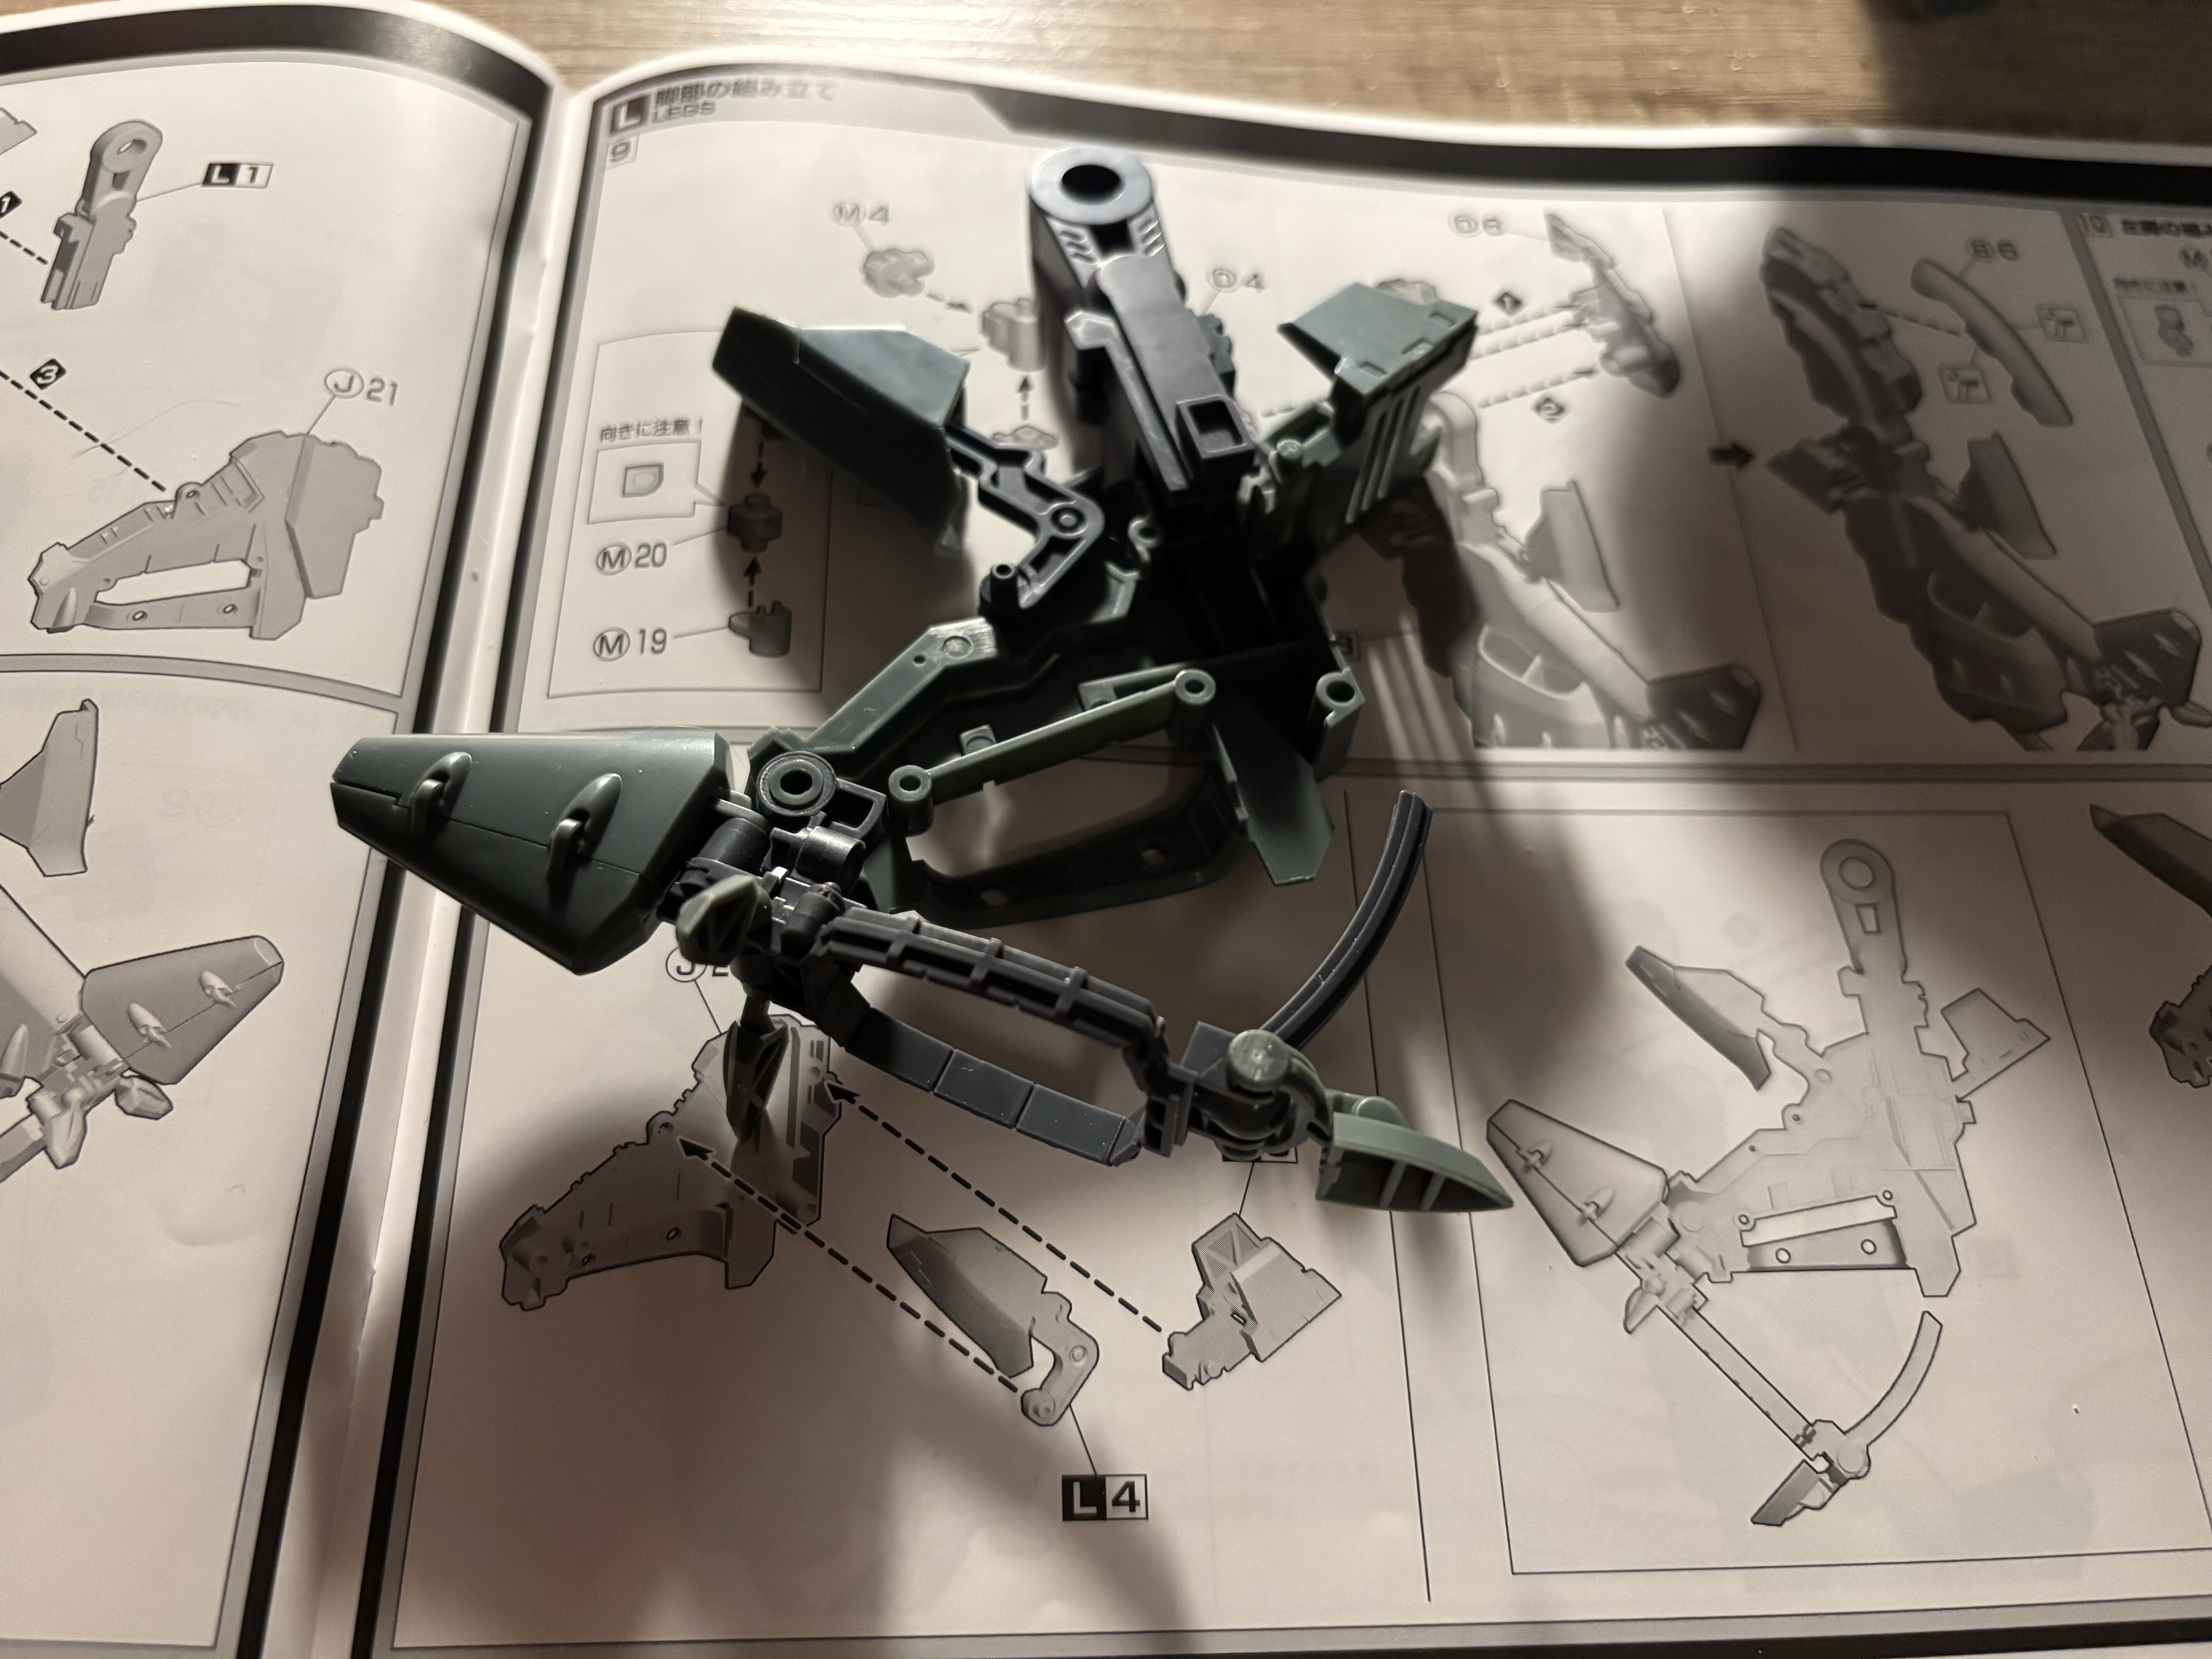


-
Build log - Aoshima V.F.G. VB-6 König Monster
Urashiman replied to Urashiman's topic in The Workshop!
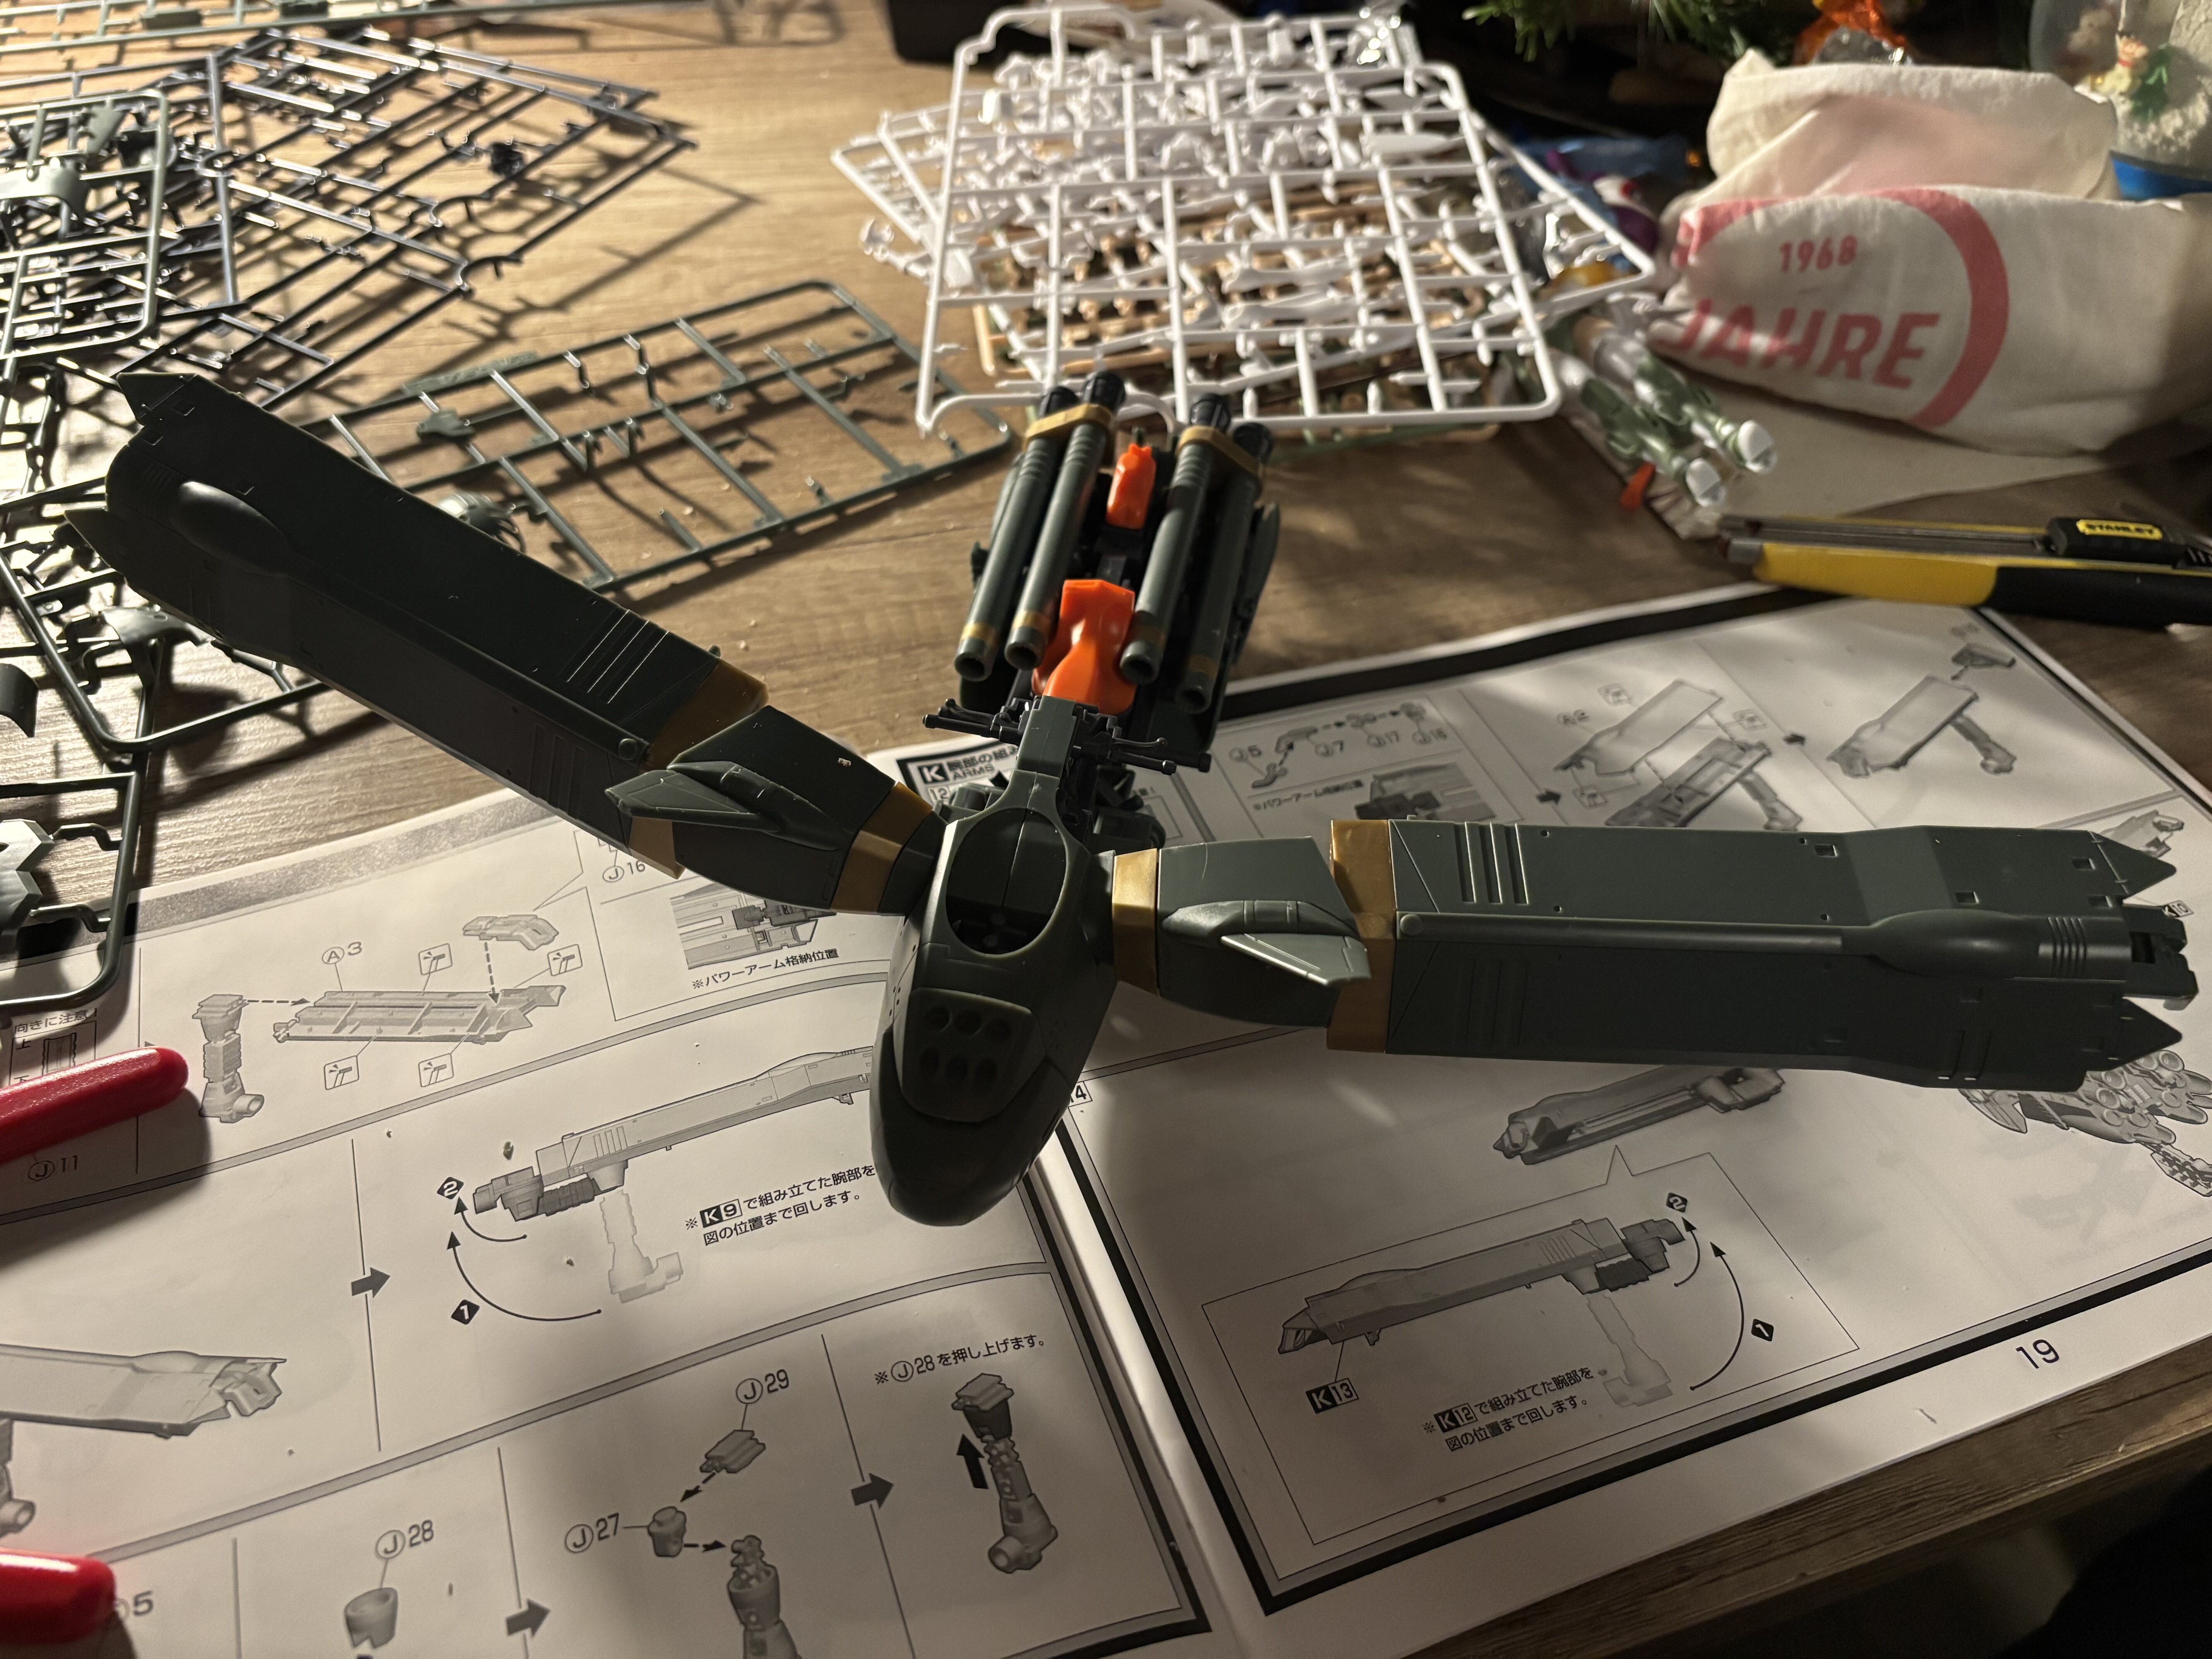
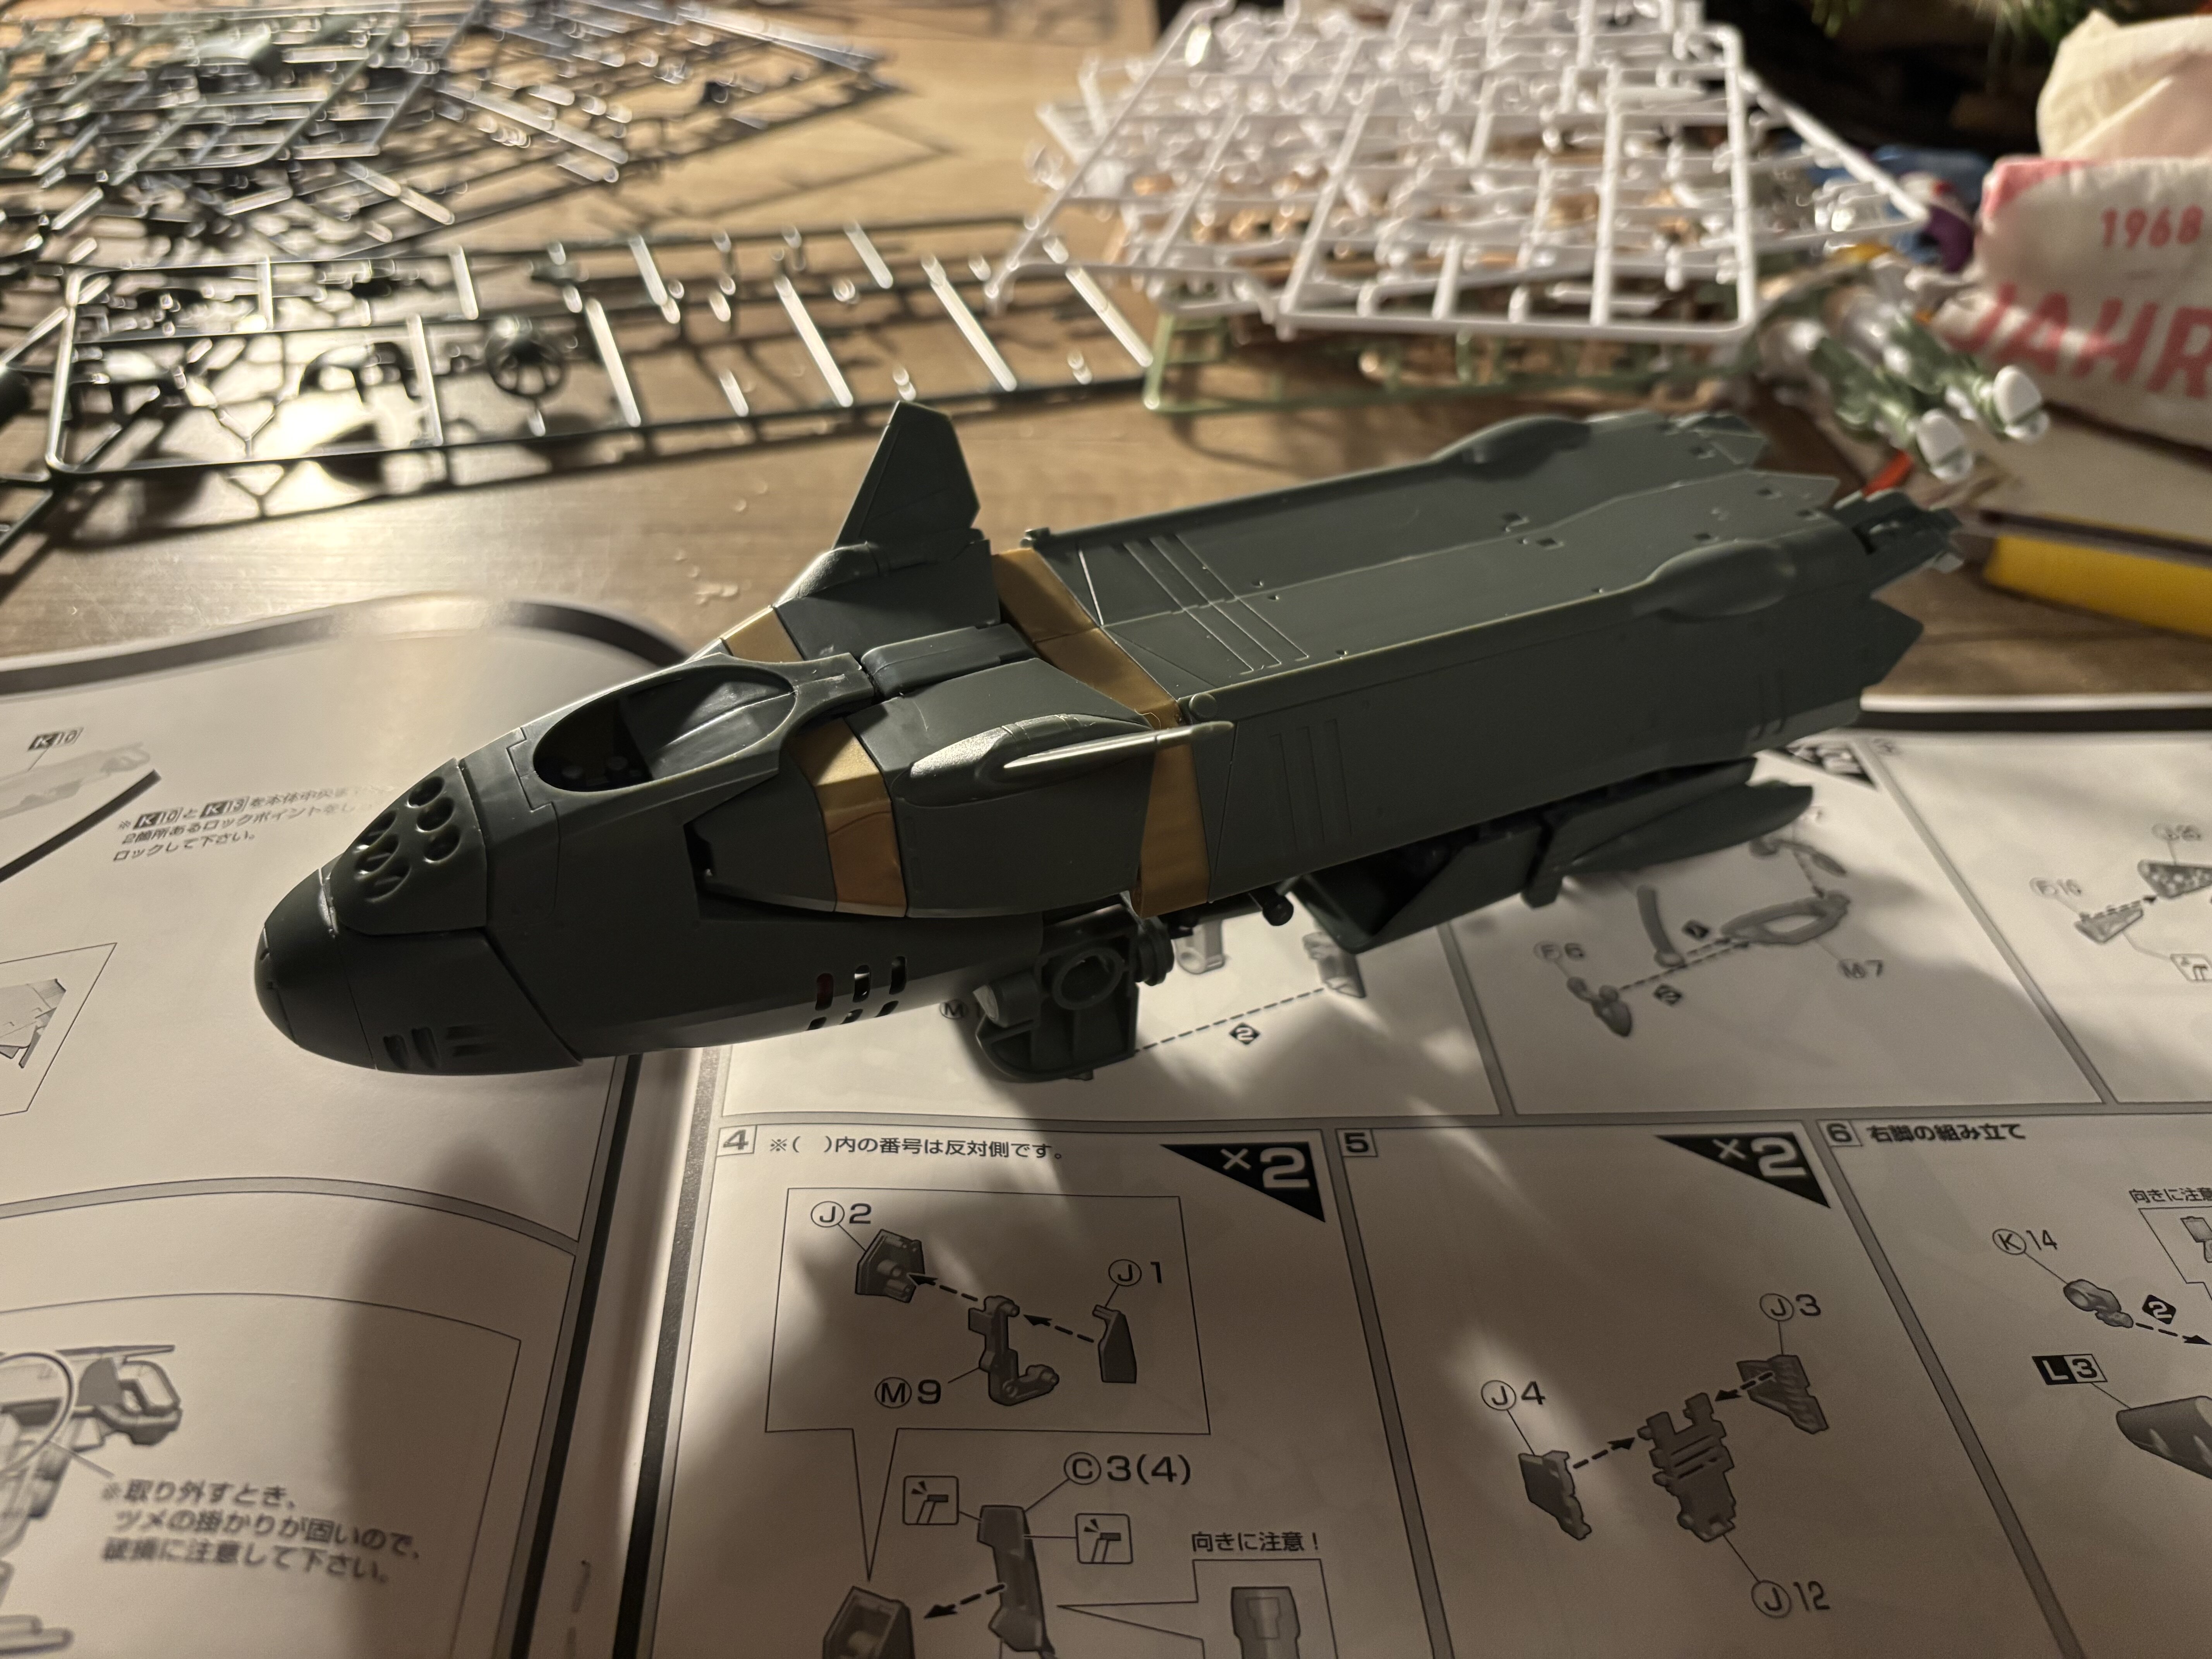
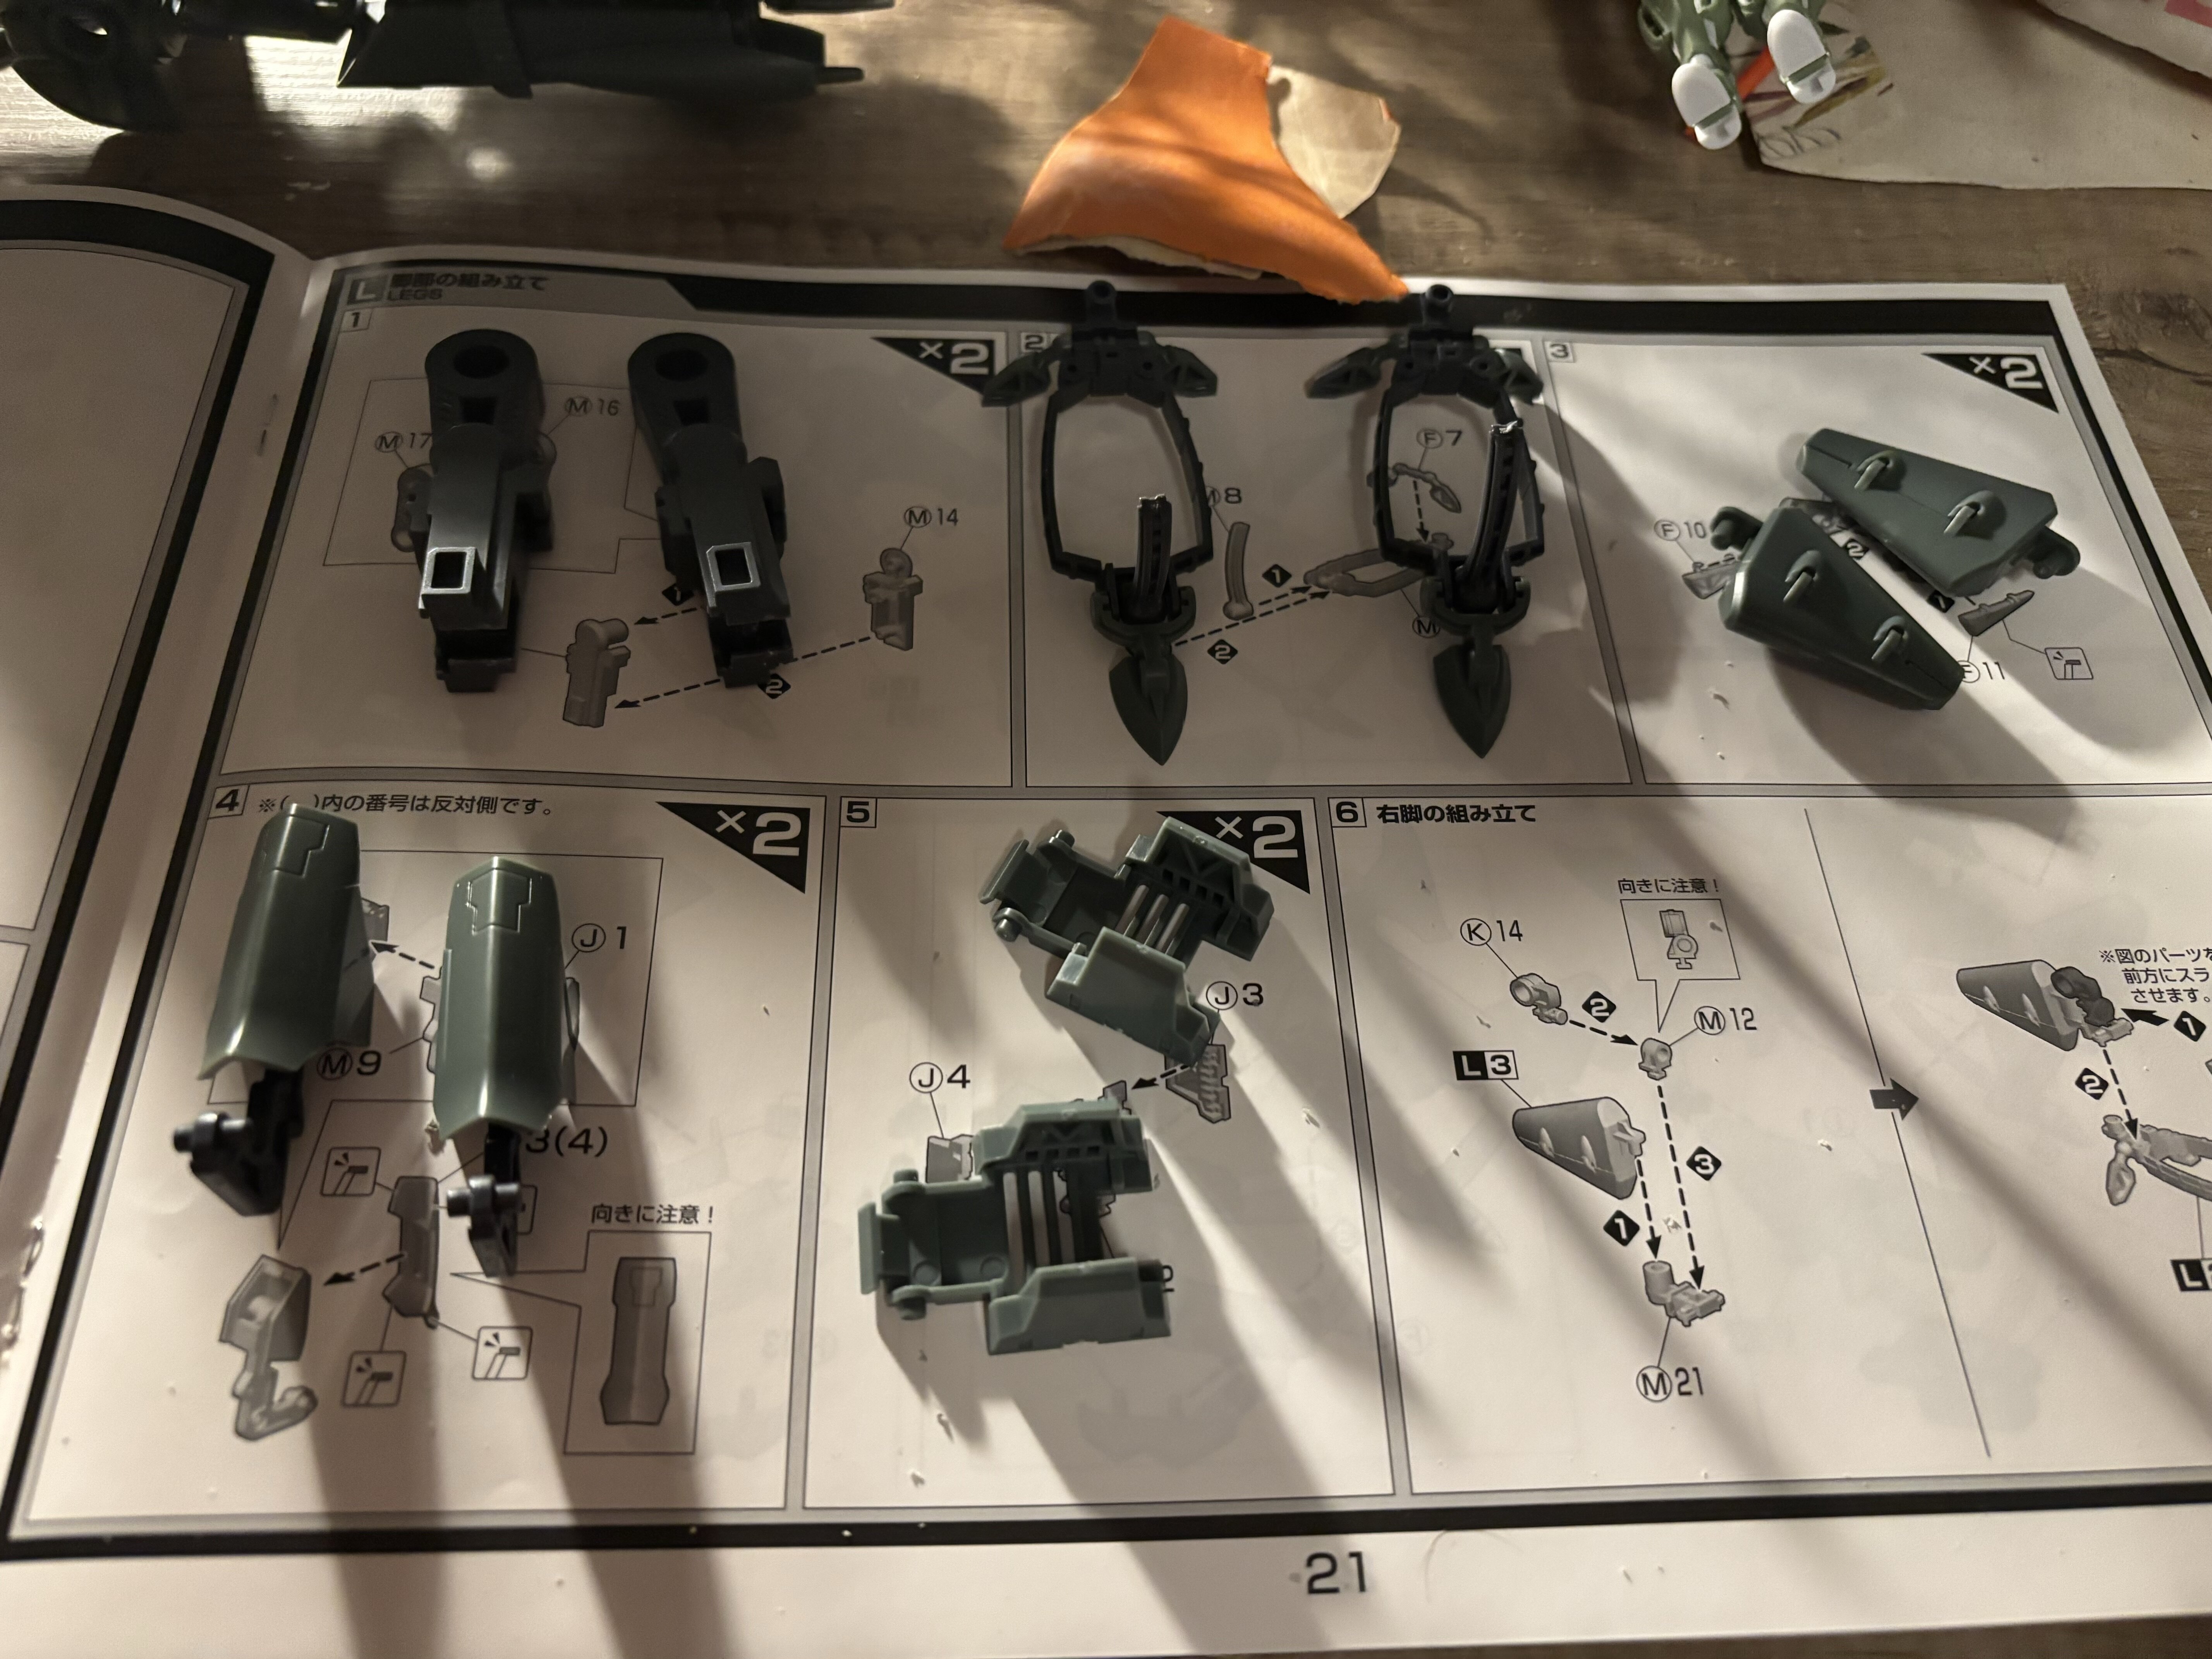
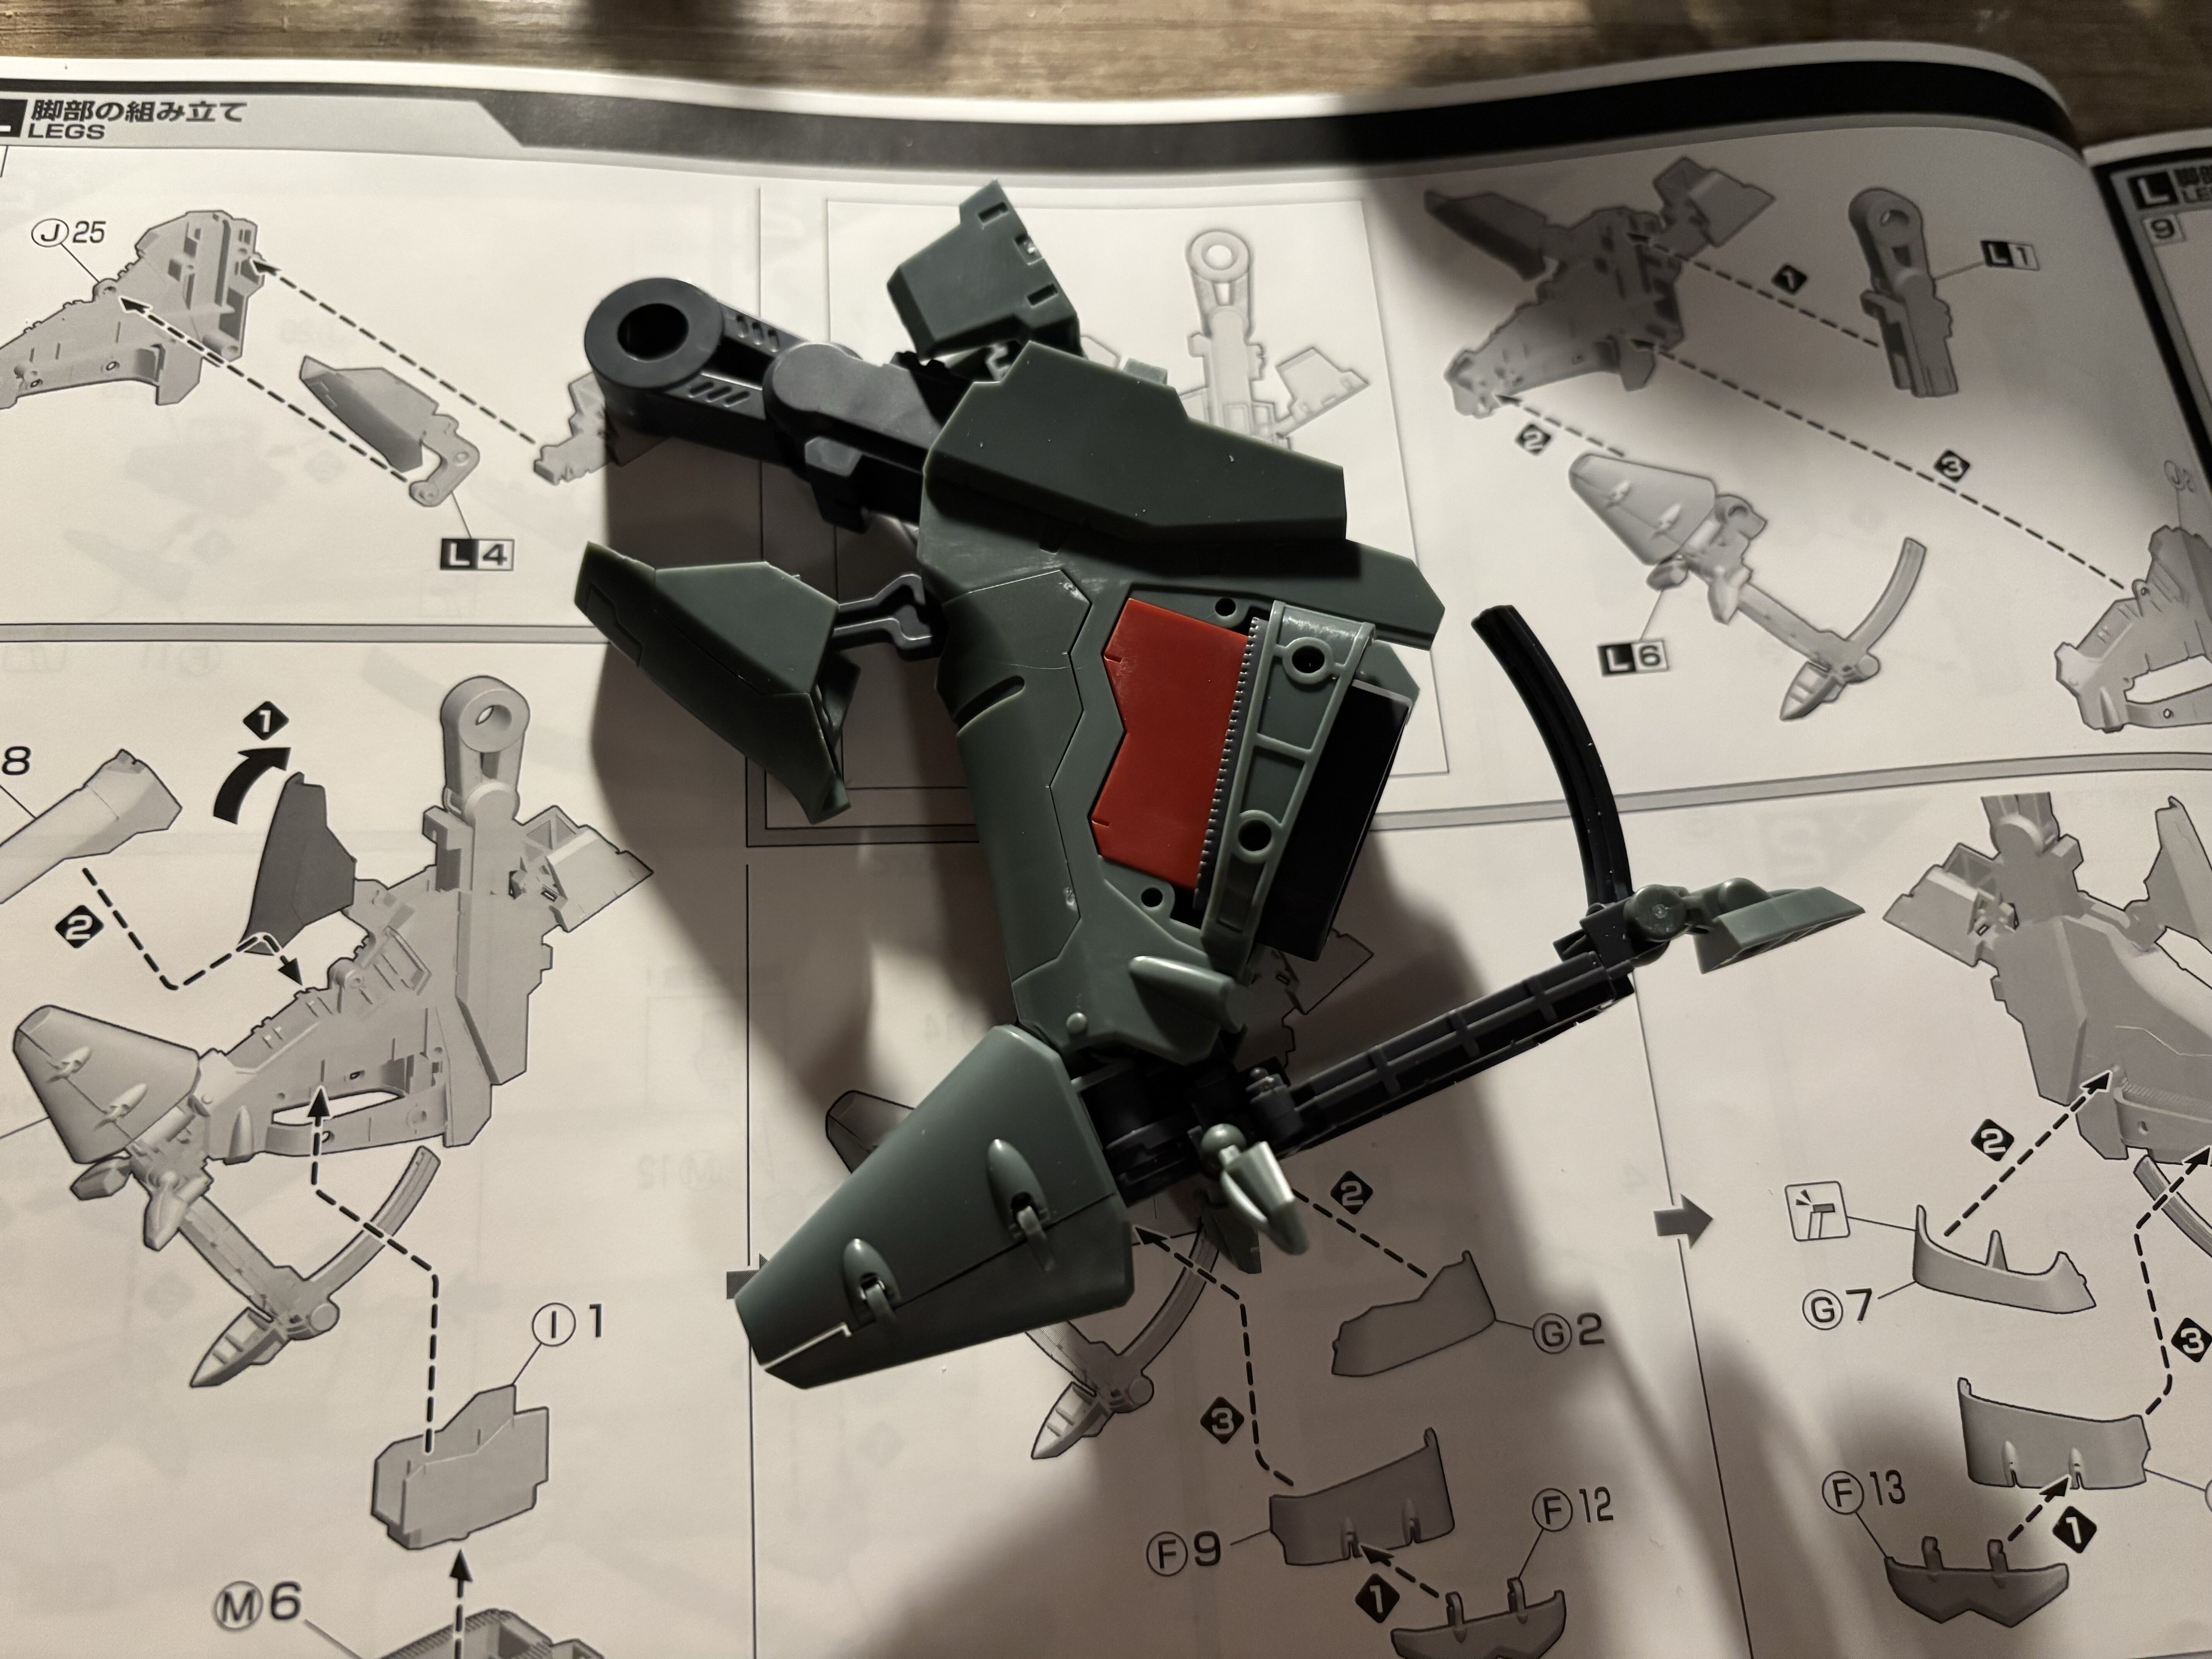
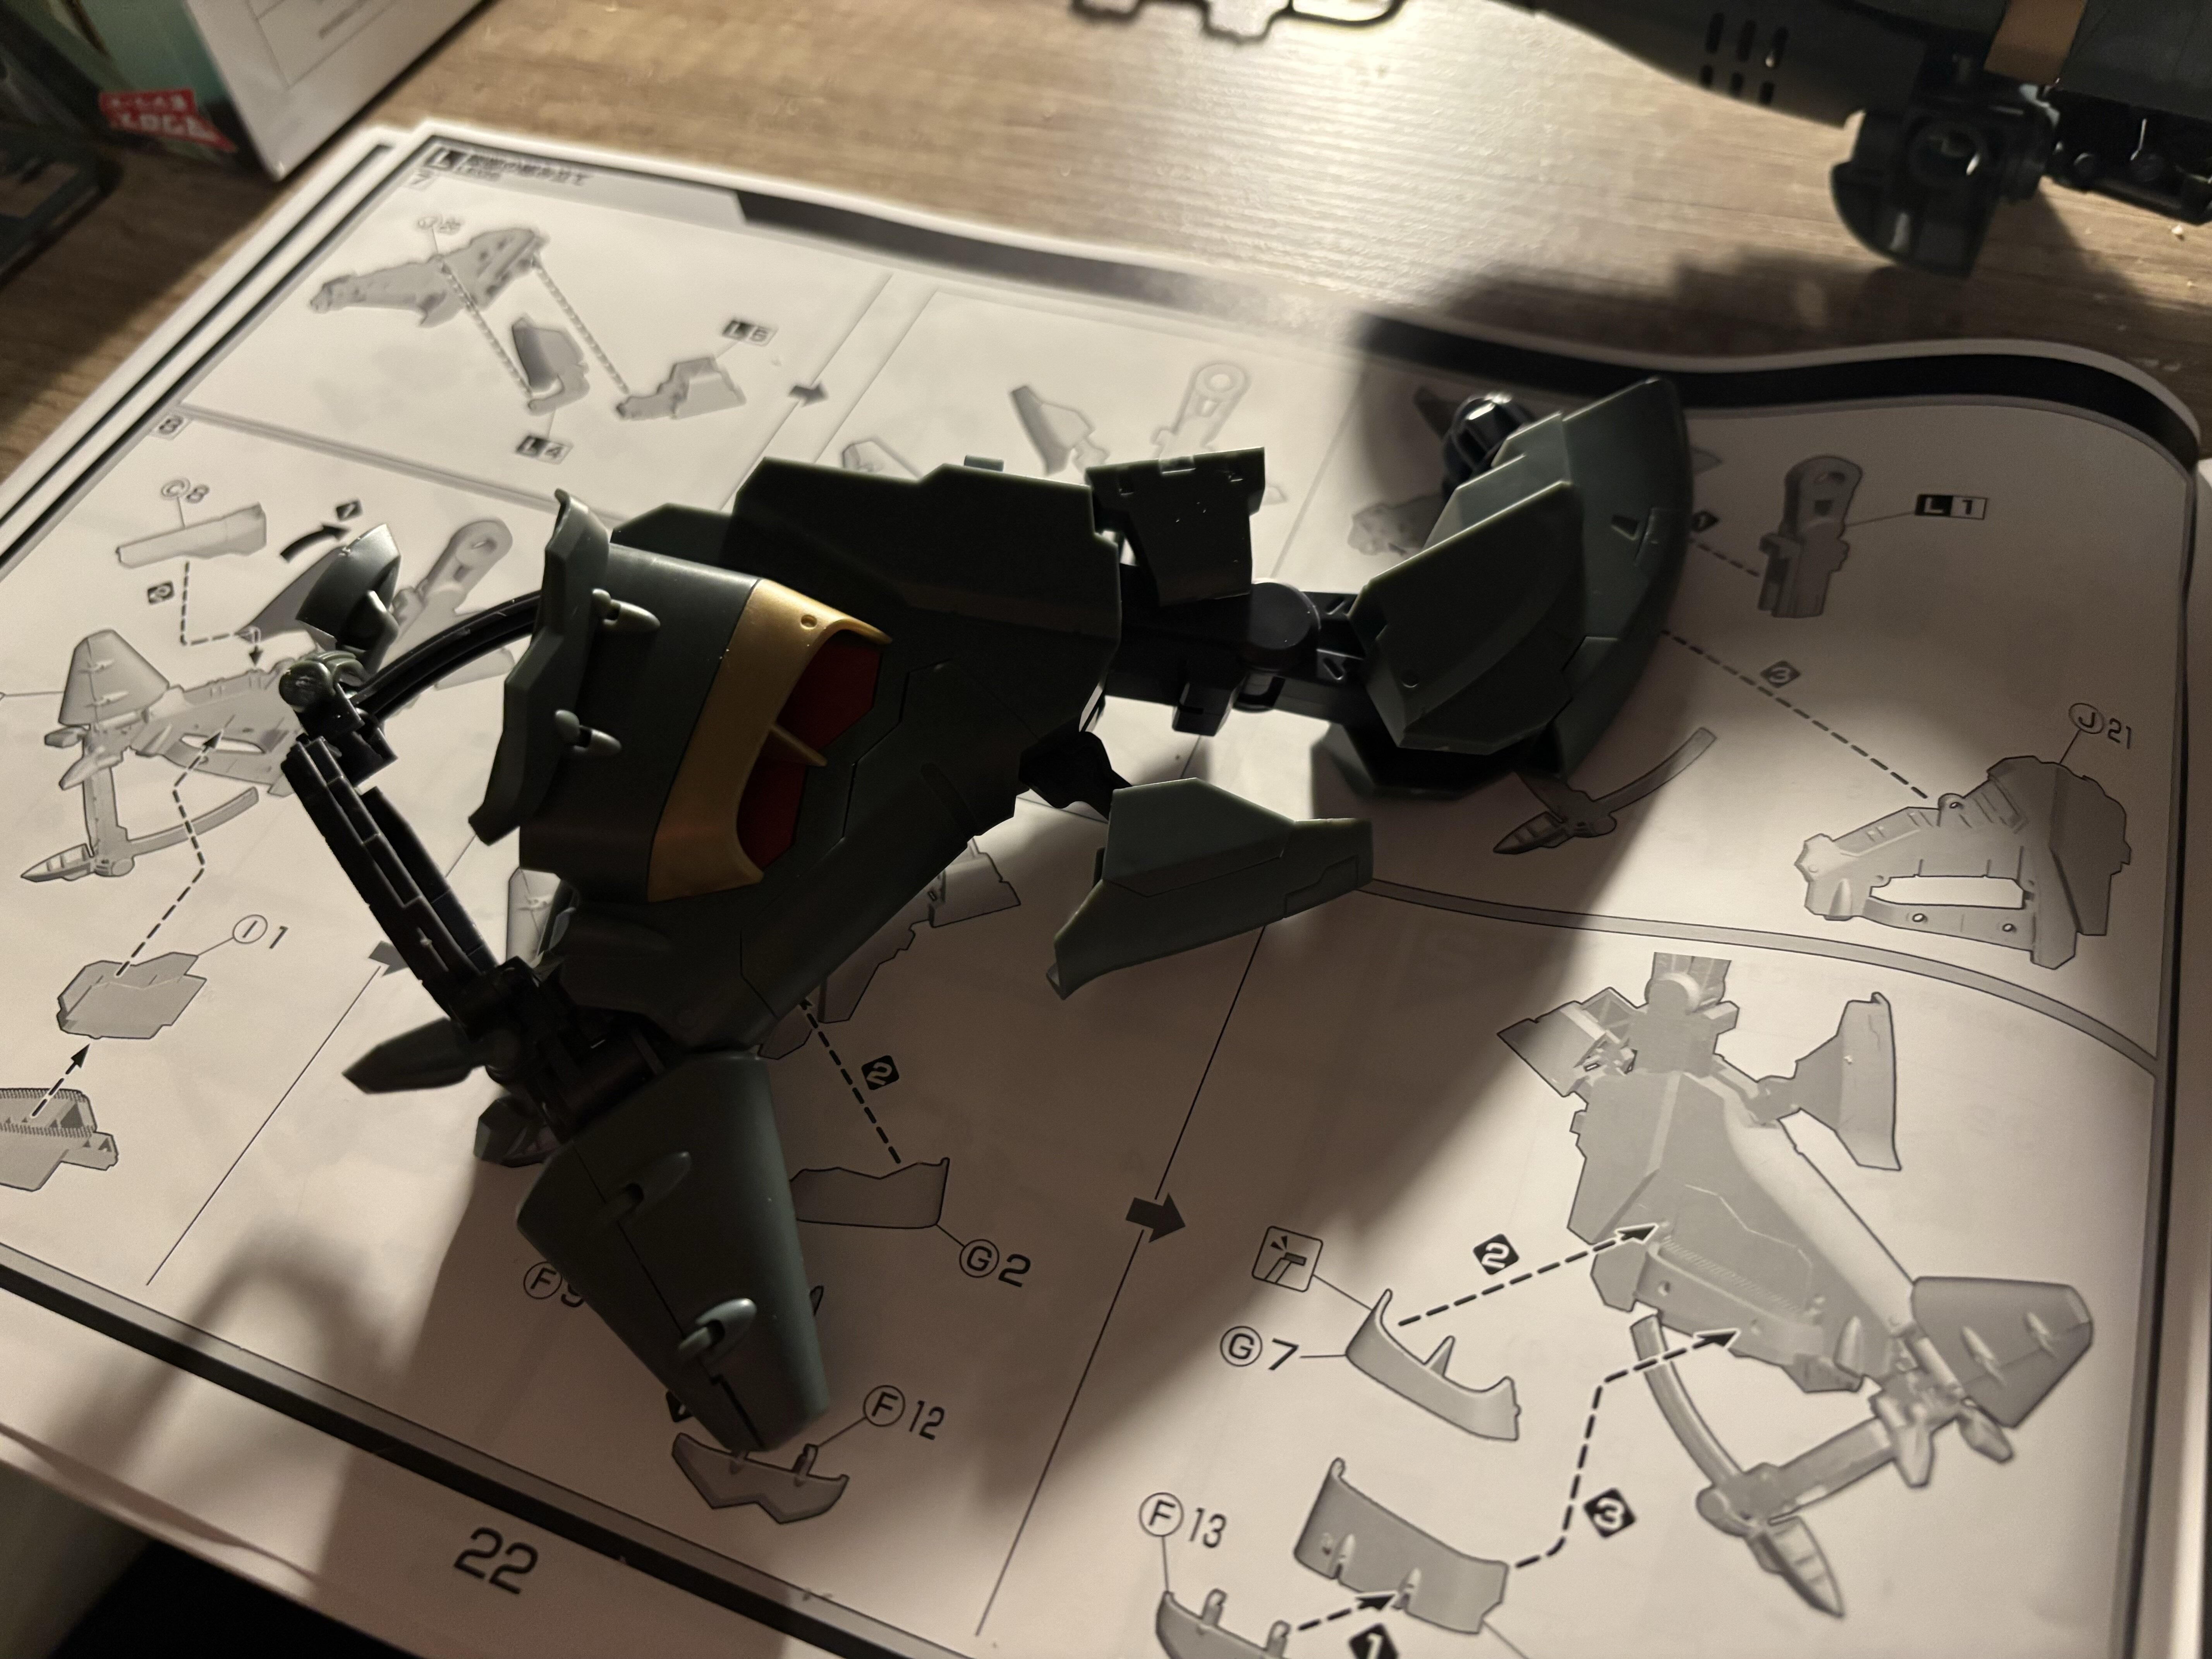
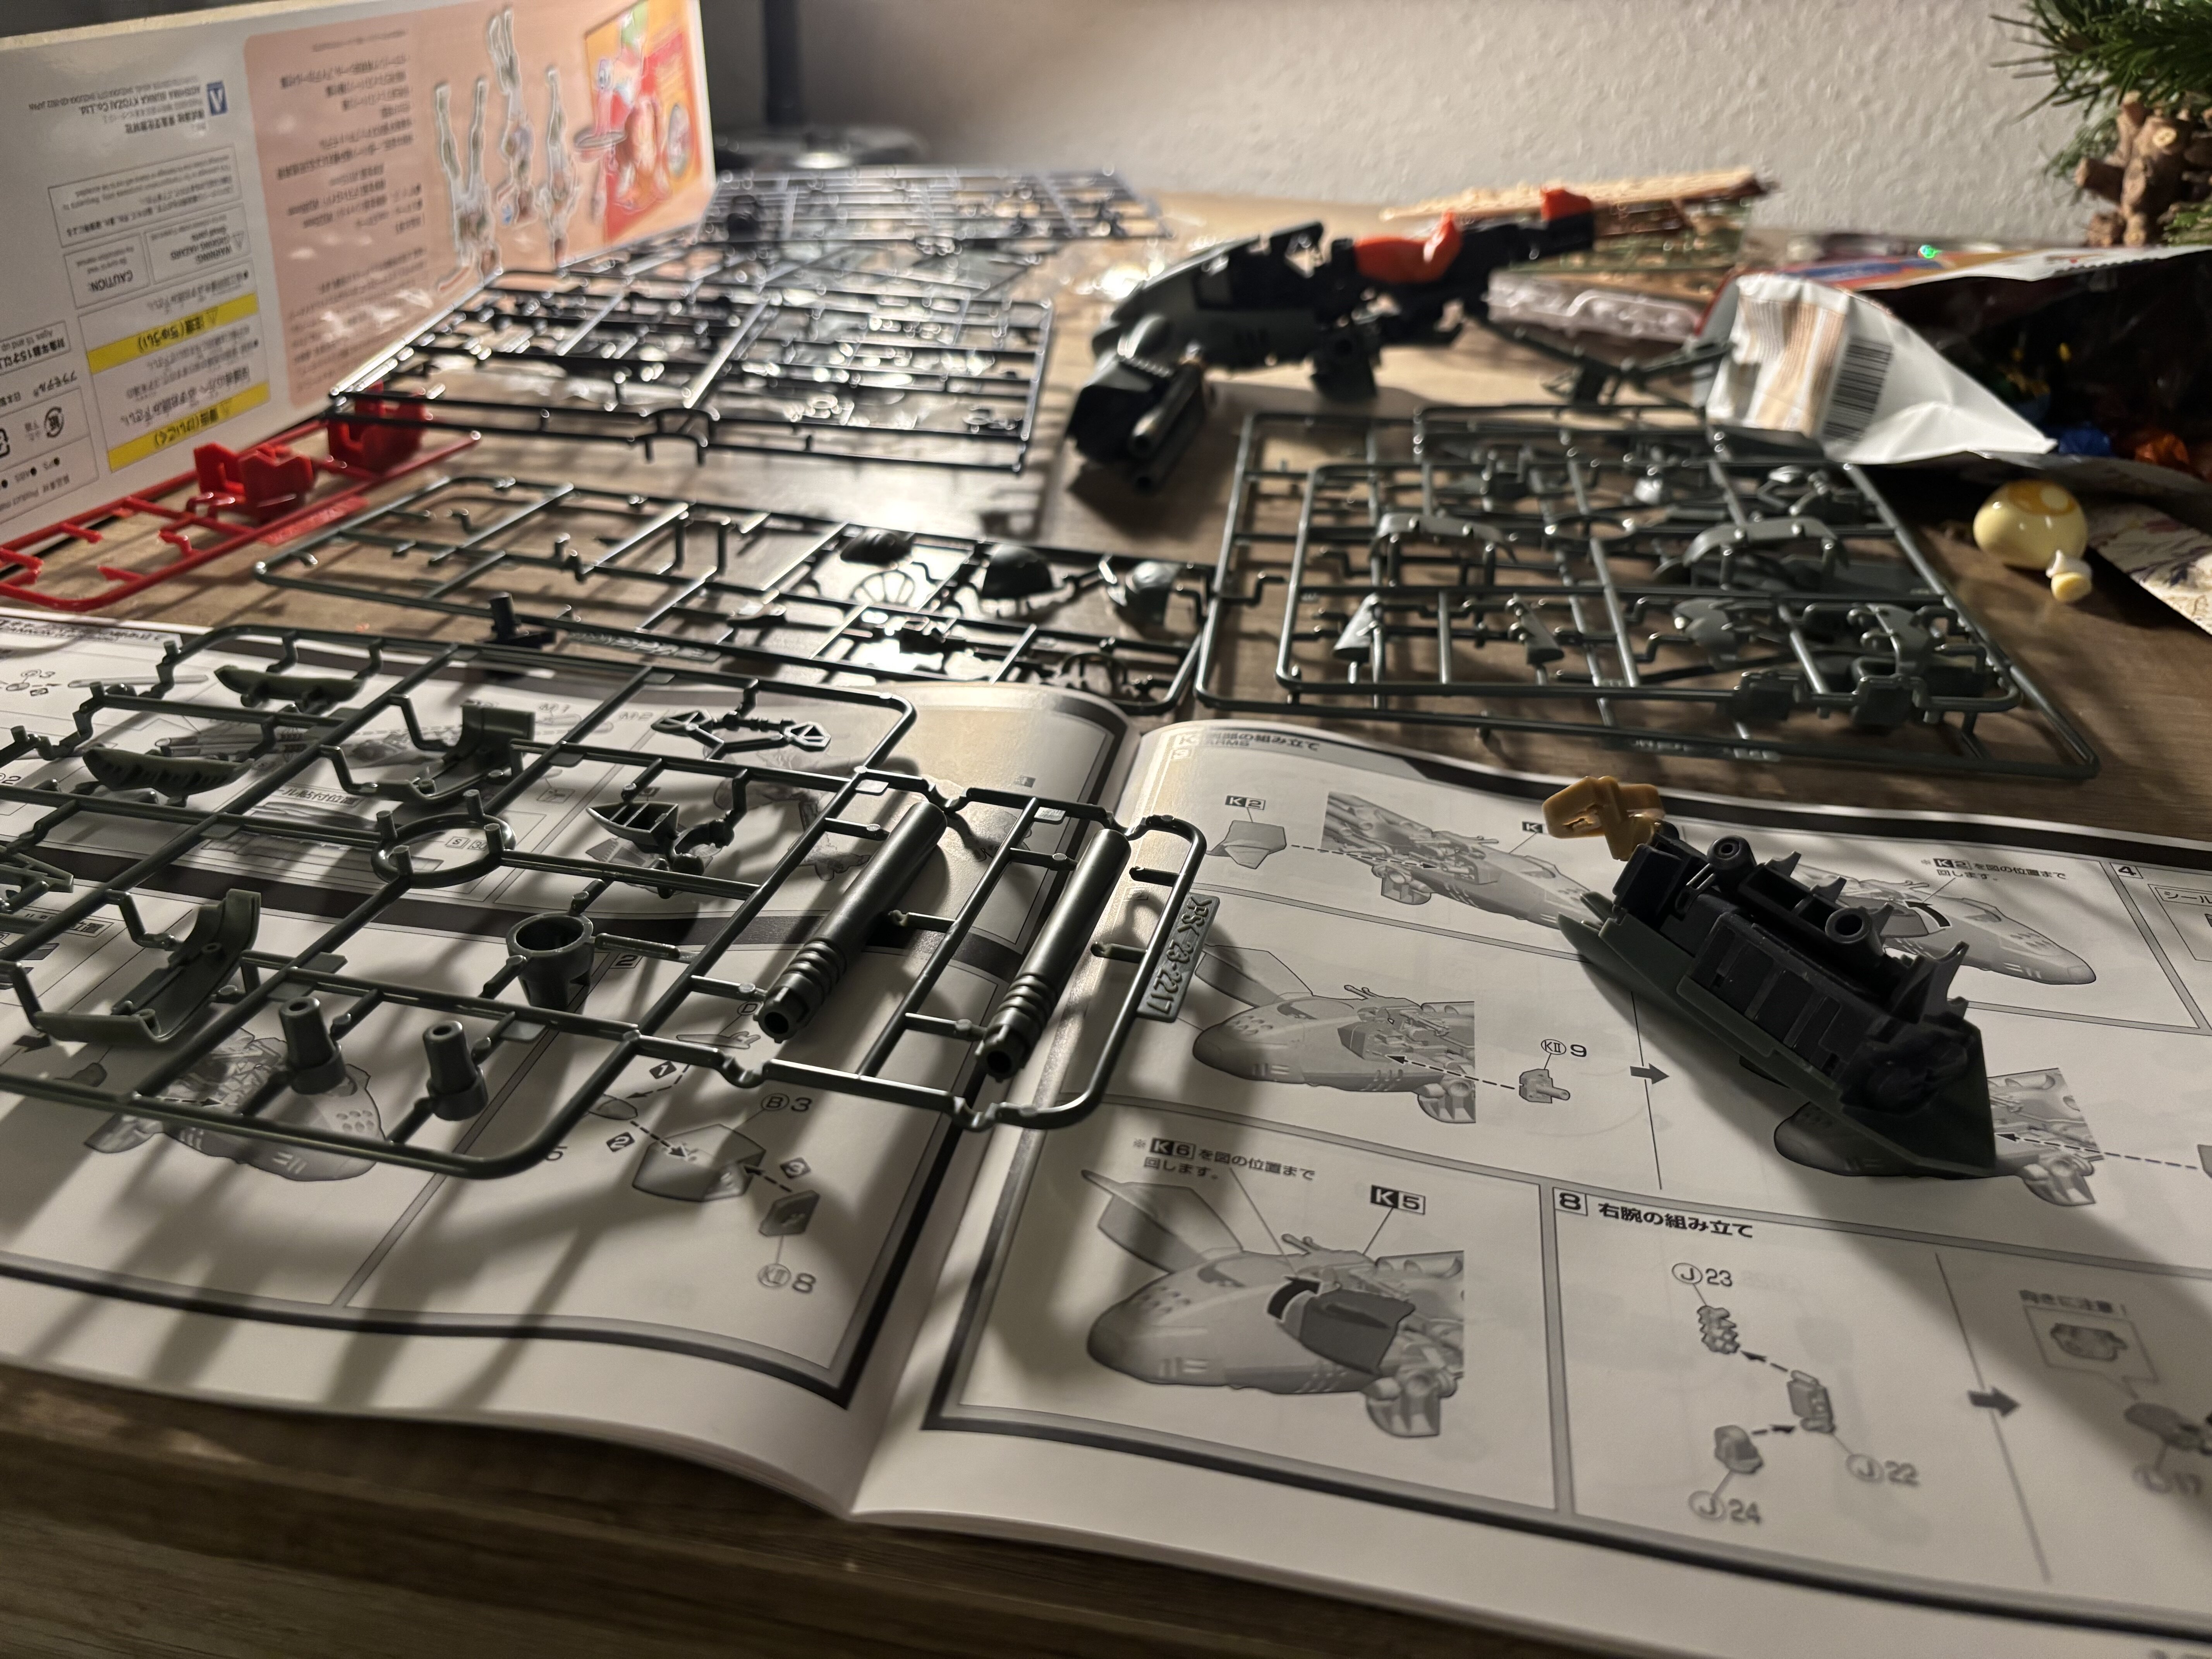
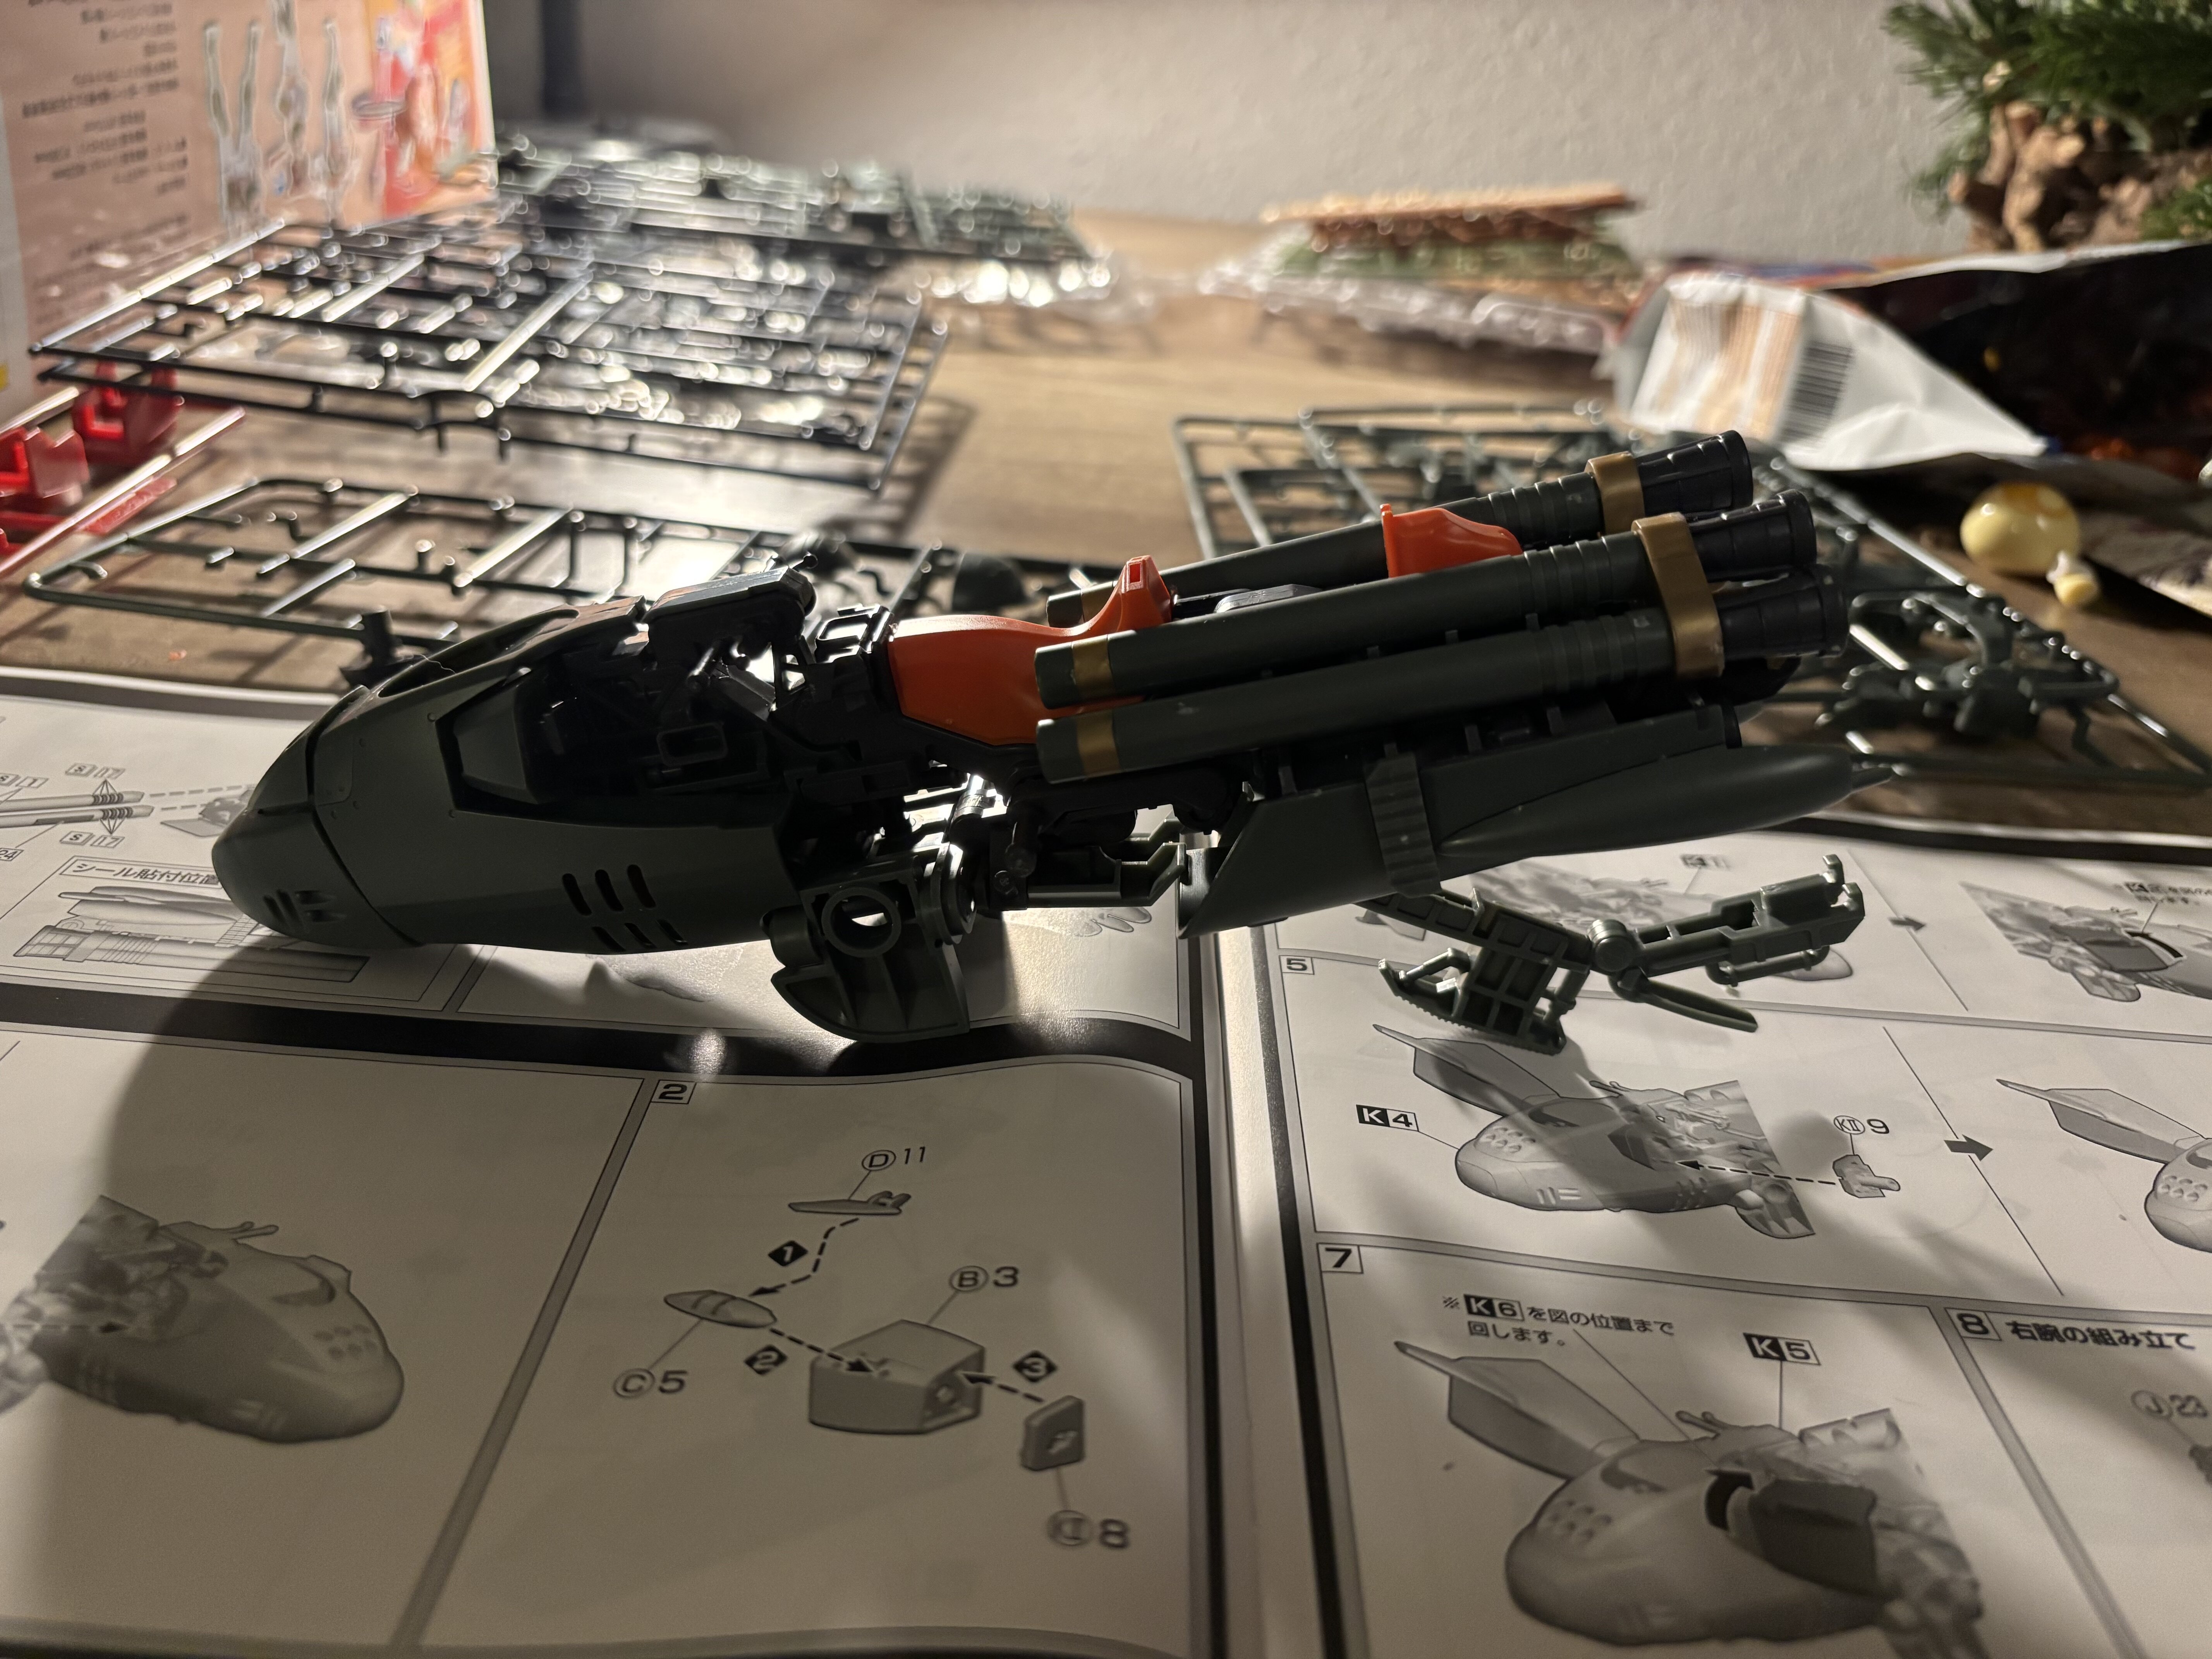
@Bolt here, check the saddle. It can be pulled off rather easily. Build Log of today (2024/12/10) I managed to put together the rest of the main fuselage and a right leg. Nothing too nerv wrecking. I got tired and forgot to add some parts and had to take apart the fuselage again. But hey, fun is fun Temba his arms wide! And closed… I like that they added some hinges, so you can clip the stuff together and there are no giant gaps. Here, a few repetitive parts for the legs: Pieces for the right leg: inbetween and done… (with the right leg). This is the progress so far. I was able to discard two sprues today. Let’s see what tomorrow brings!

-
Build log - Aoshima V.F.G. VB-6 König Monster
Urashiman replied to Urashiman's topic in The Workshop!
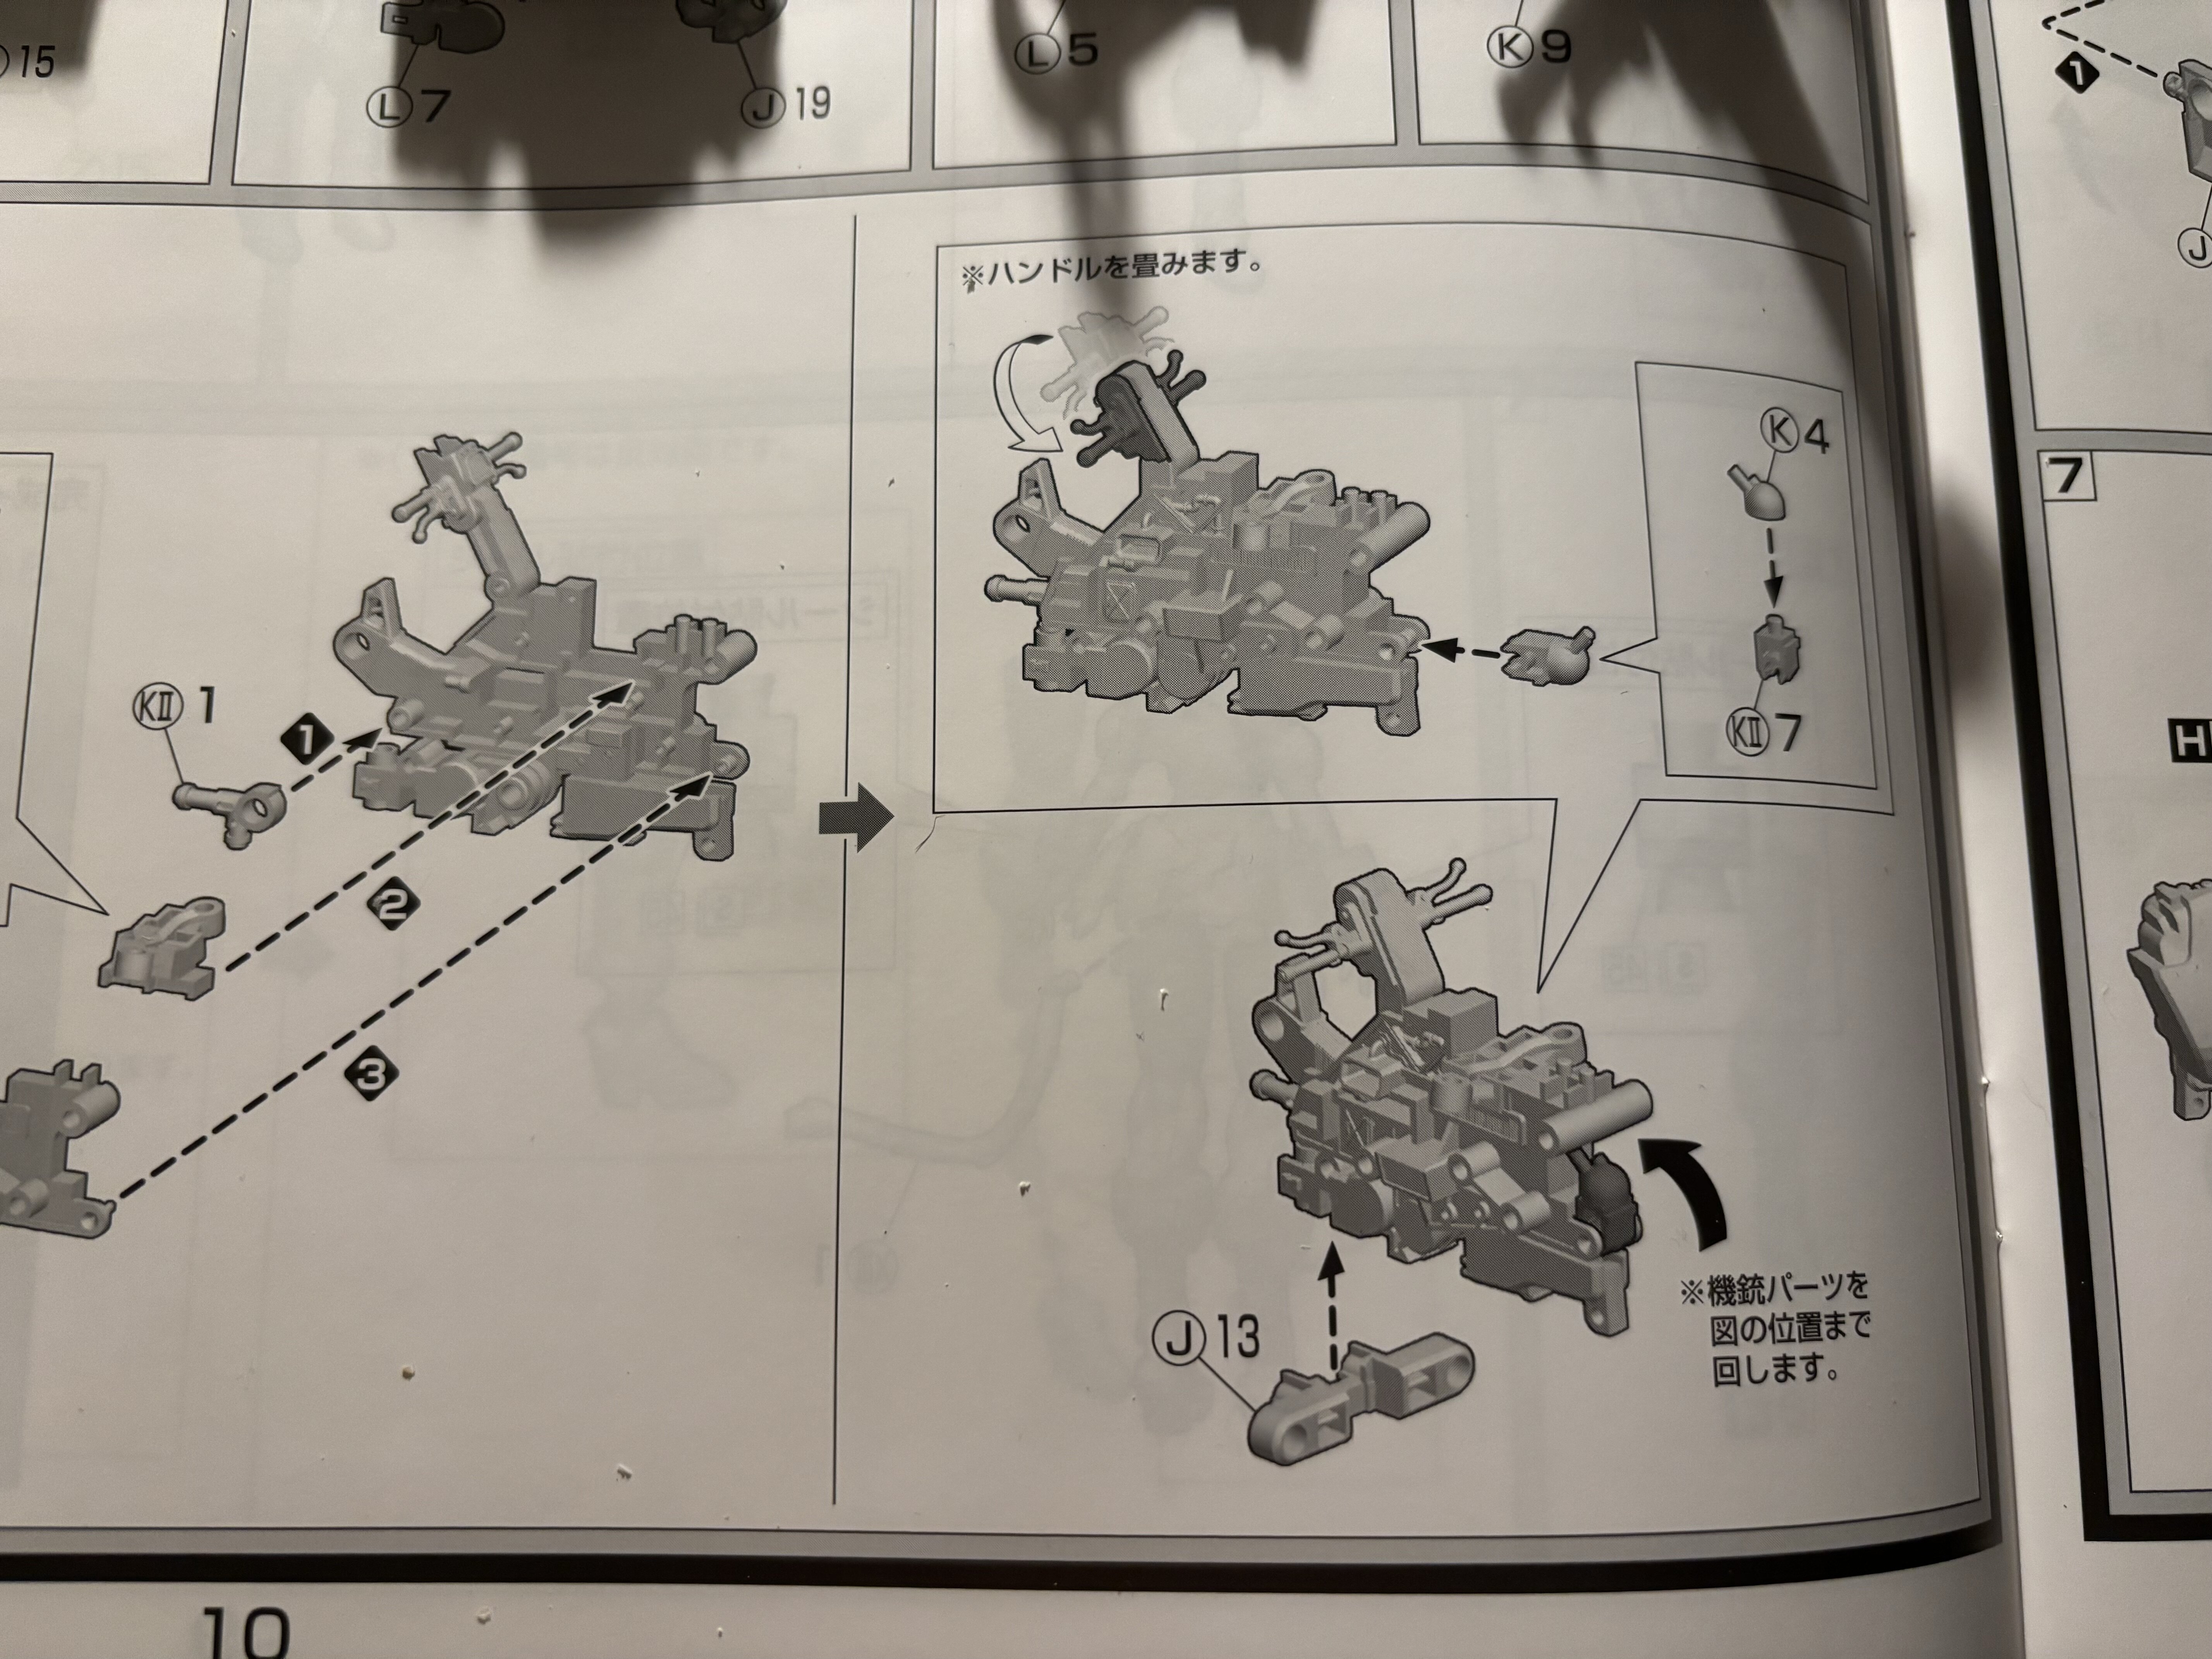
@AtarashiGohan Well - if you mean it is hard to press them on properly, then this is the same I am experiencing. I have to press those larger parts into the holes with much force, but once they stick, they are fine. It's just a hassle to get them in properly. Had that with the nose halves, the gunbarrels and shell of the gunbarrels. @sketchley well, you can just clip off the handlebars. They are just for the looks and do nothing. The little round piece in the middle is needed. You maybe can recast the piece in resin and then clip off the bars on the resin piece. @Bolt Damn those contraceptions! Yeah no, the saddle can easily be taken off. But you would have to put it back once you switch back to bomber mode. See those two pins in the promotional shots in the middle of that bar? Those are the pins holding the saddle. I will take pictures later. @Goodman Models I think they are still available on HLJ (2 left in stock for ~81$) or 1999 (also only a few left for ~81$). -
Build log - Aoshima V.F.G. VB-6 König Monster
Urashiman replied to Urashiman's topic in The Workshop!
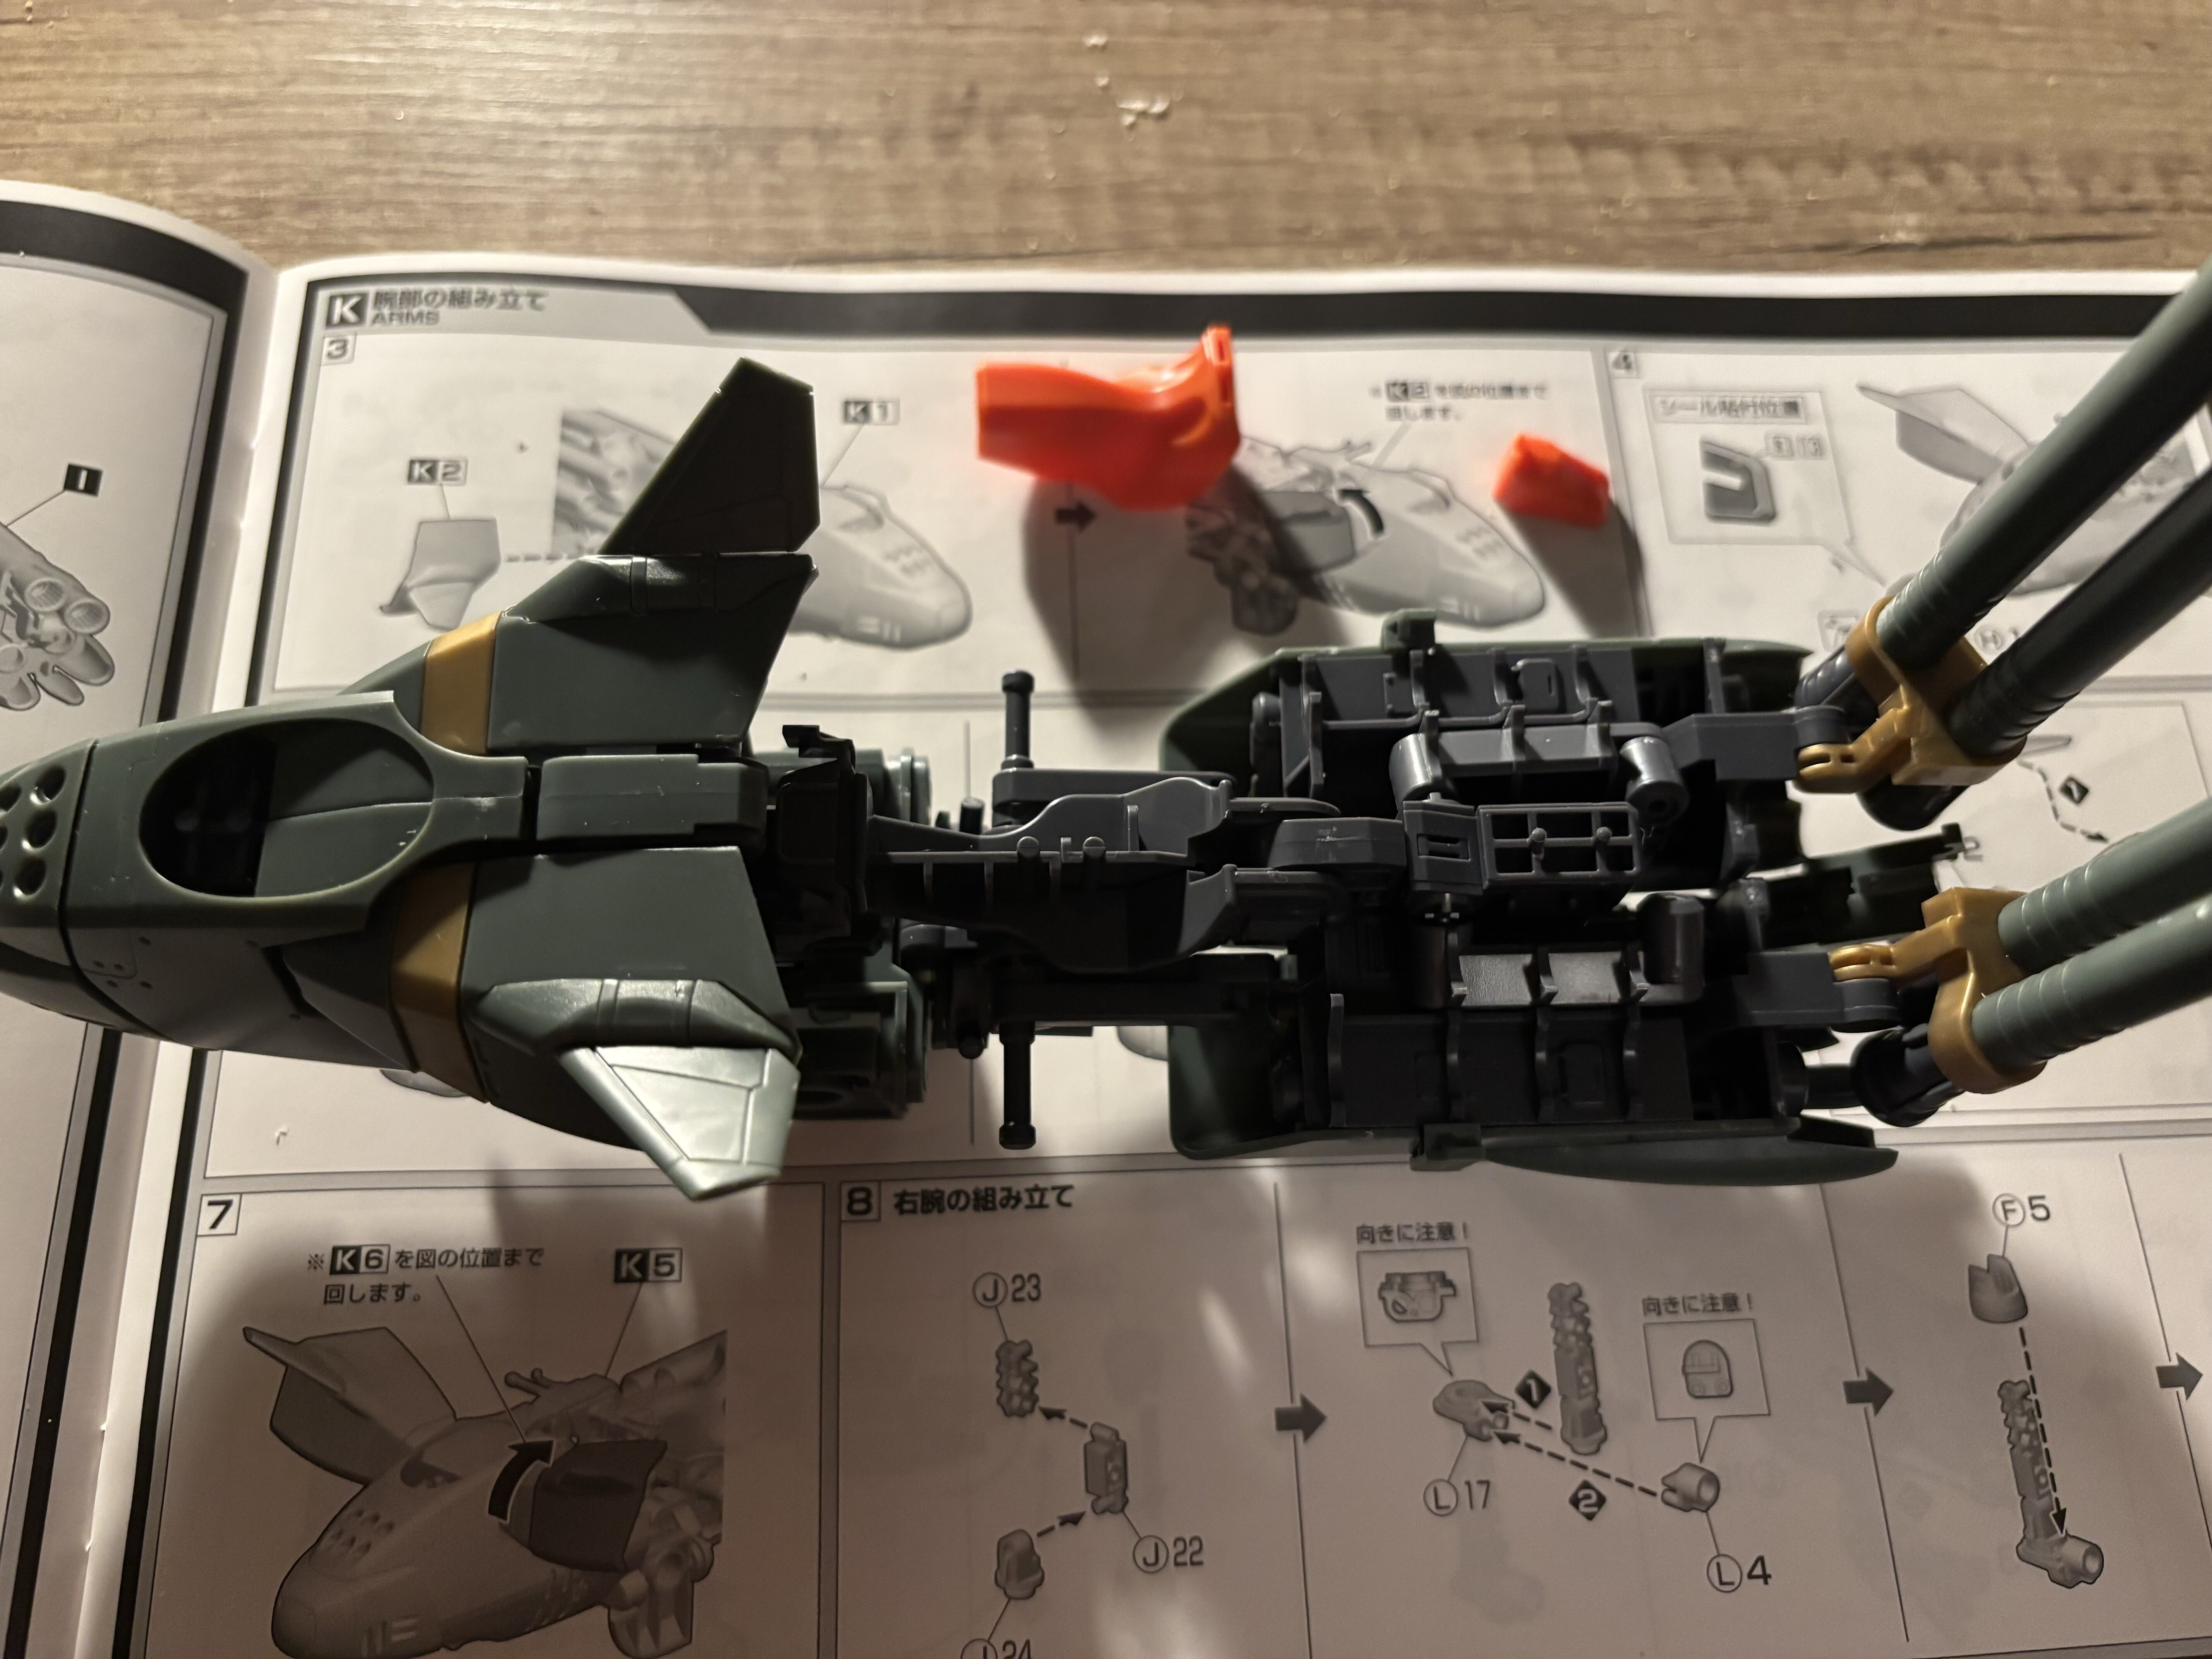
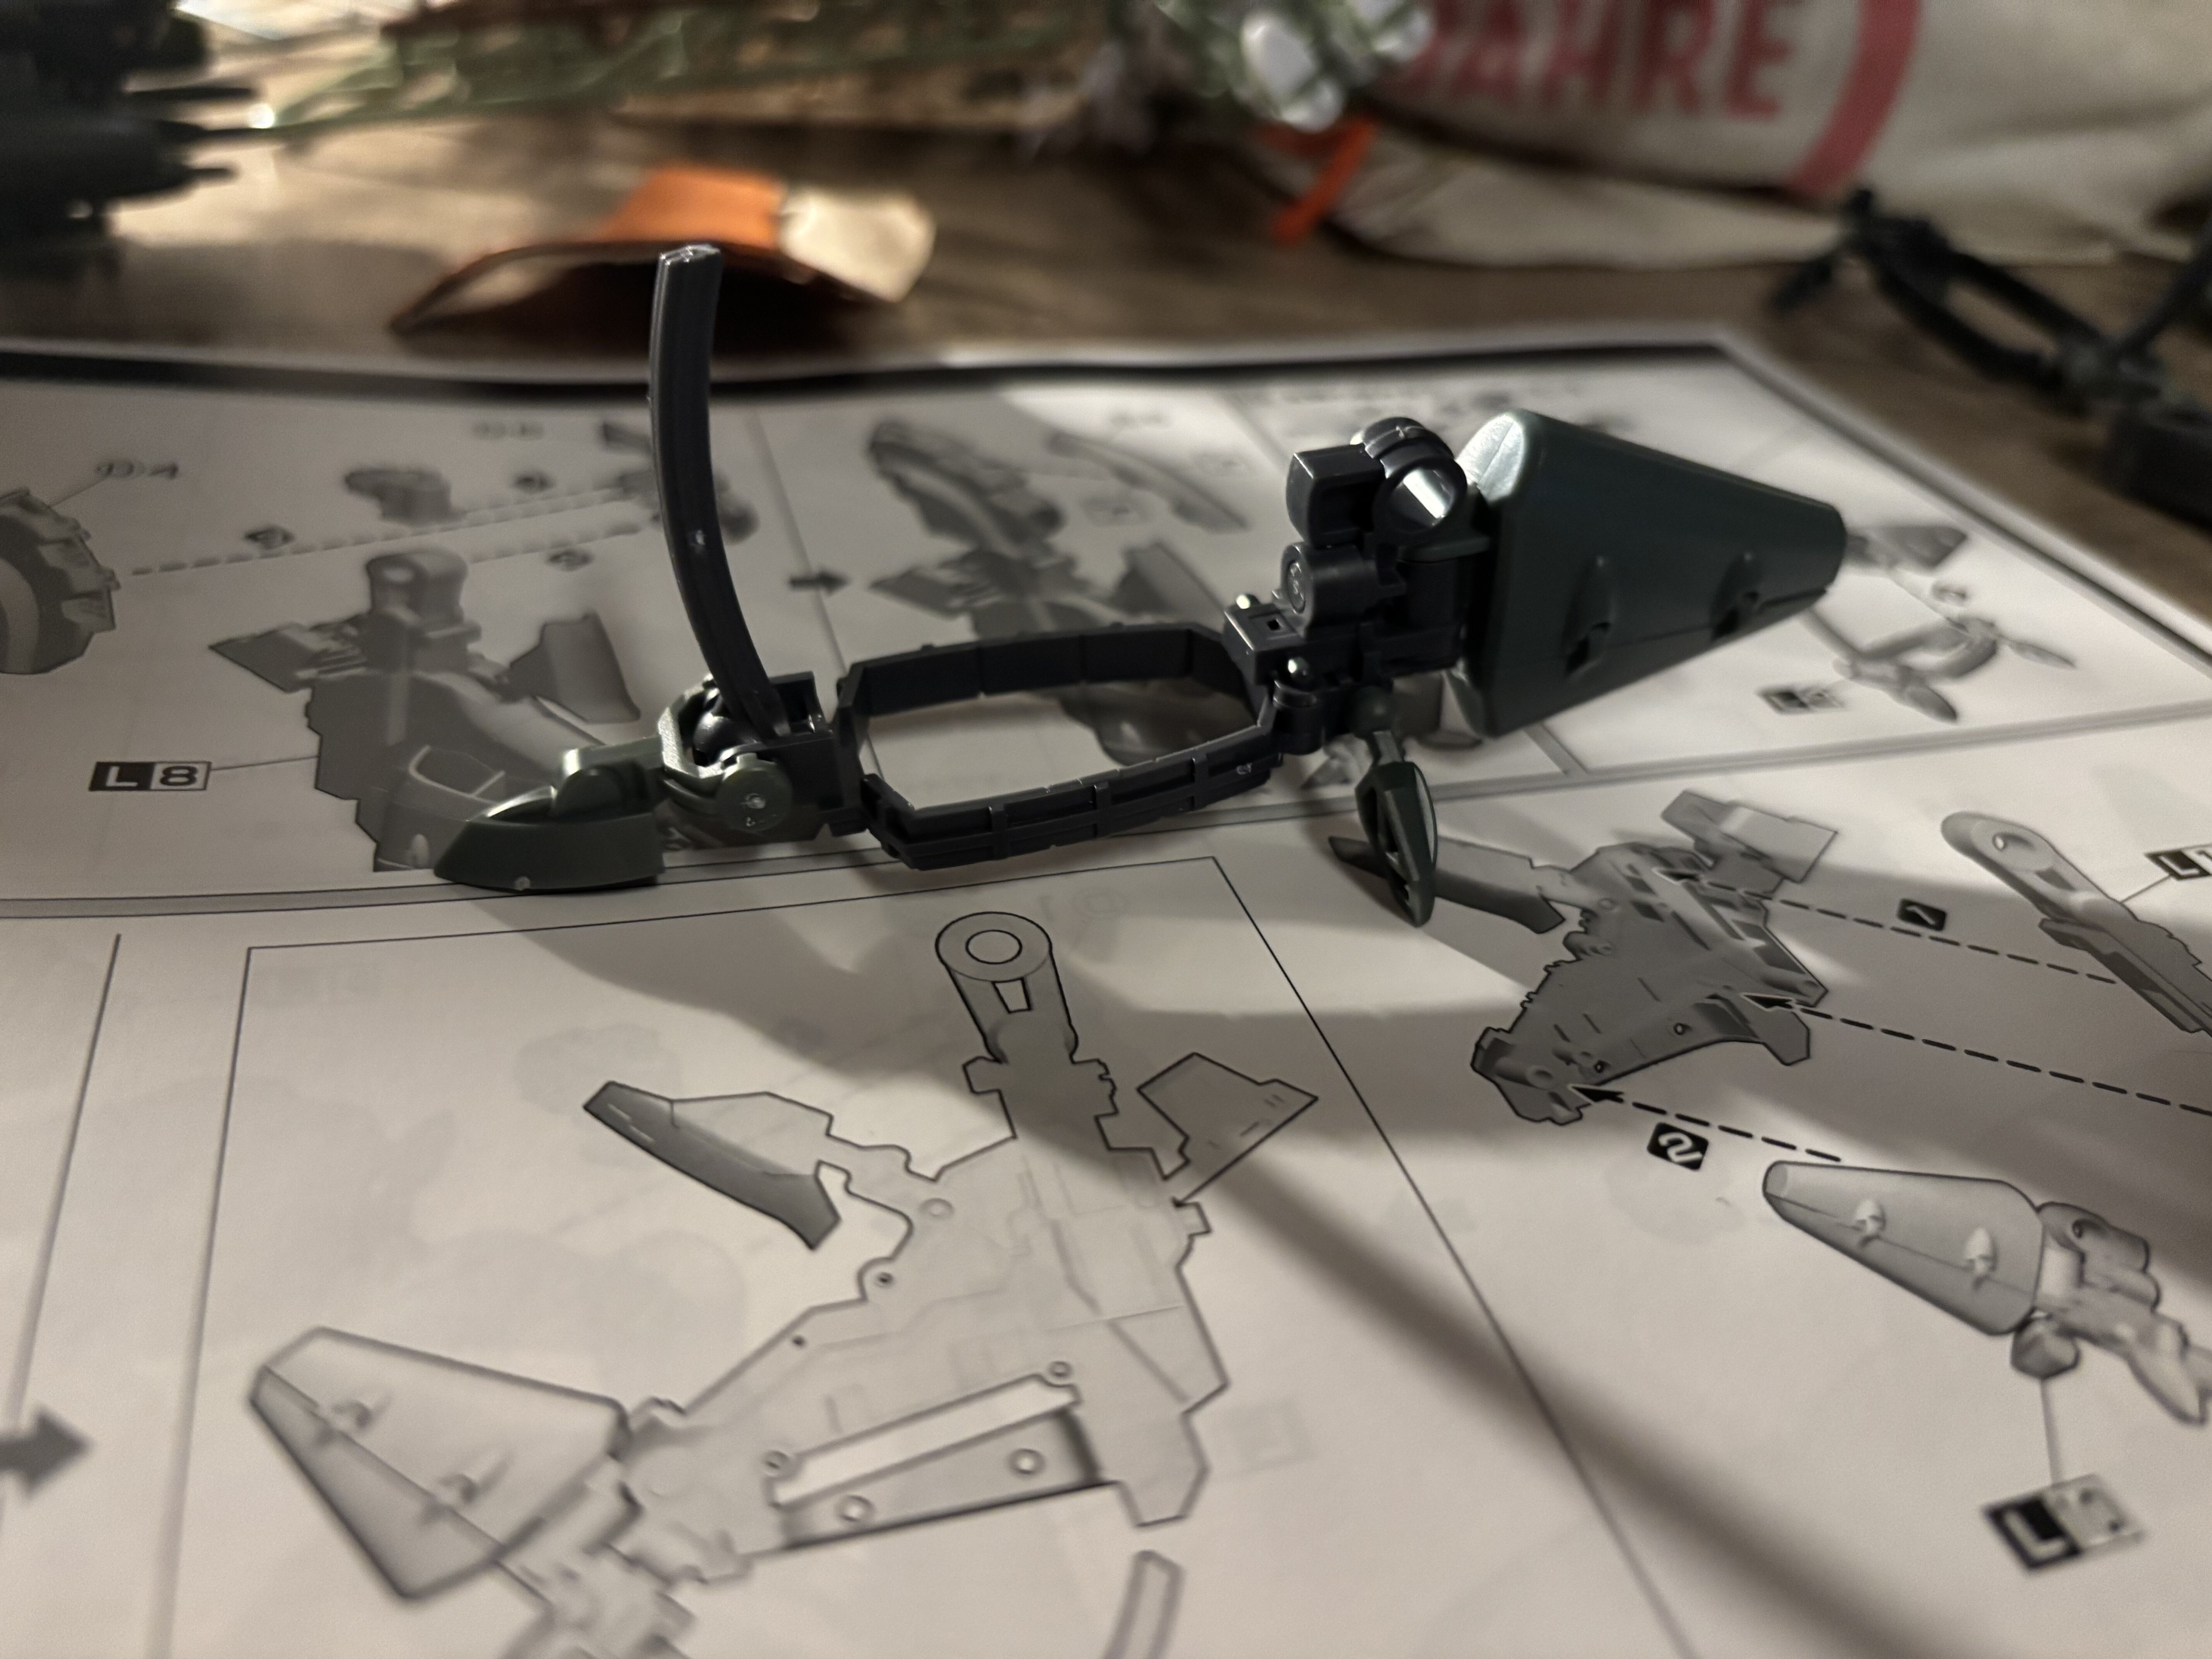
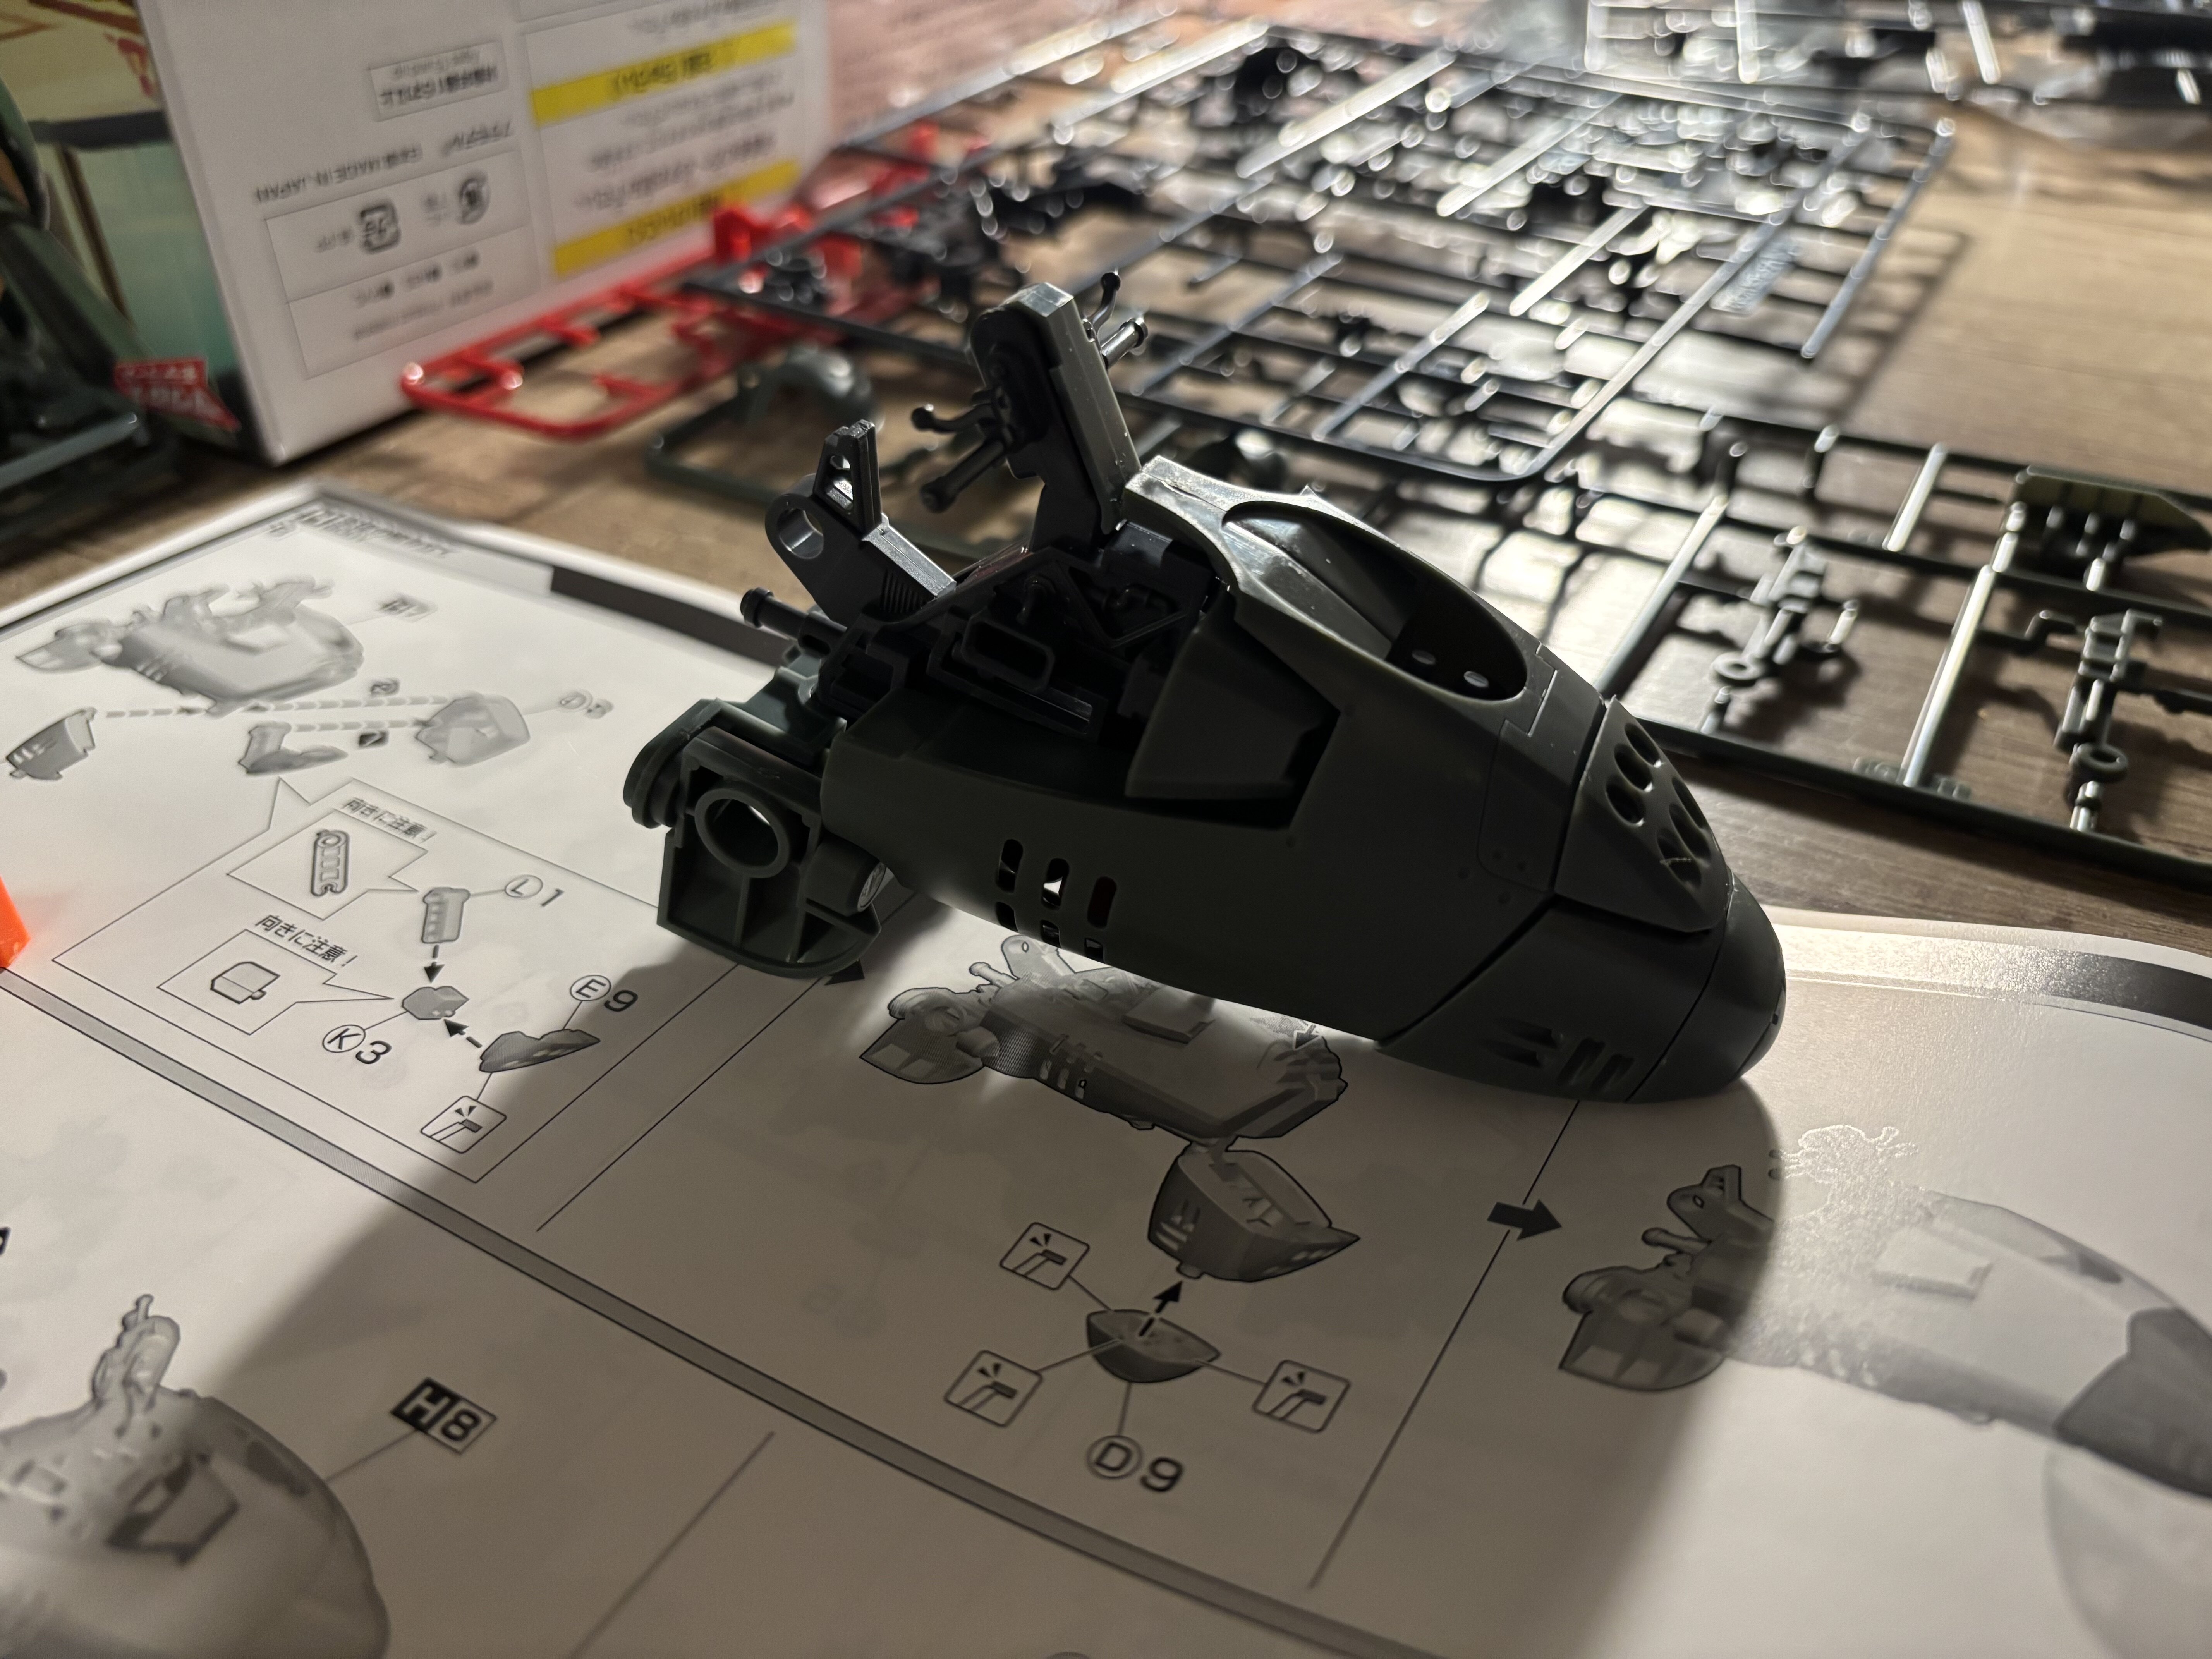
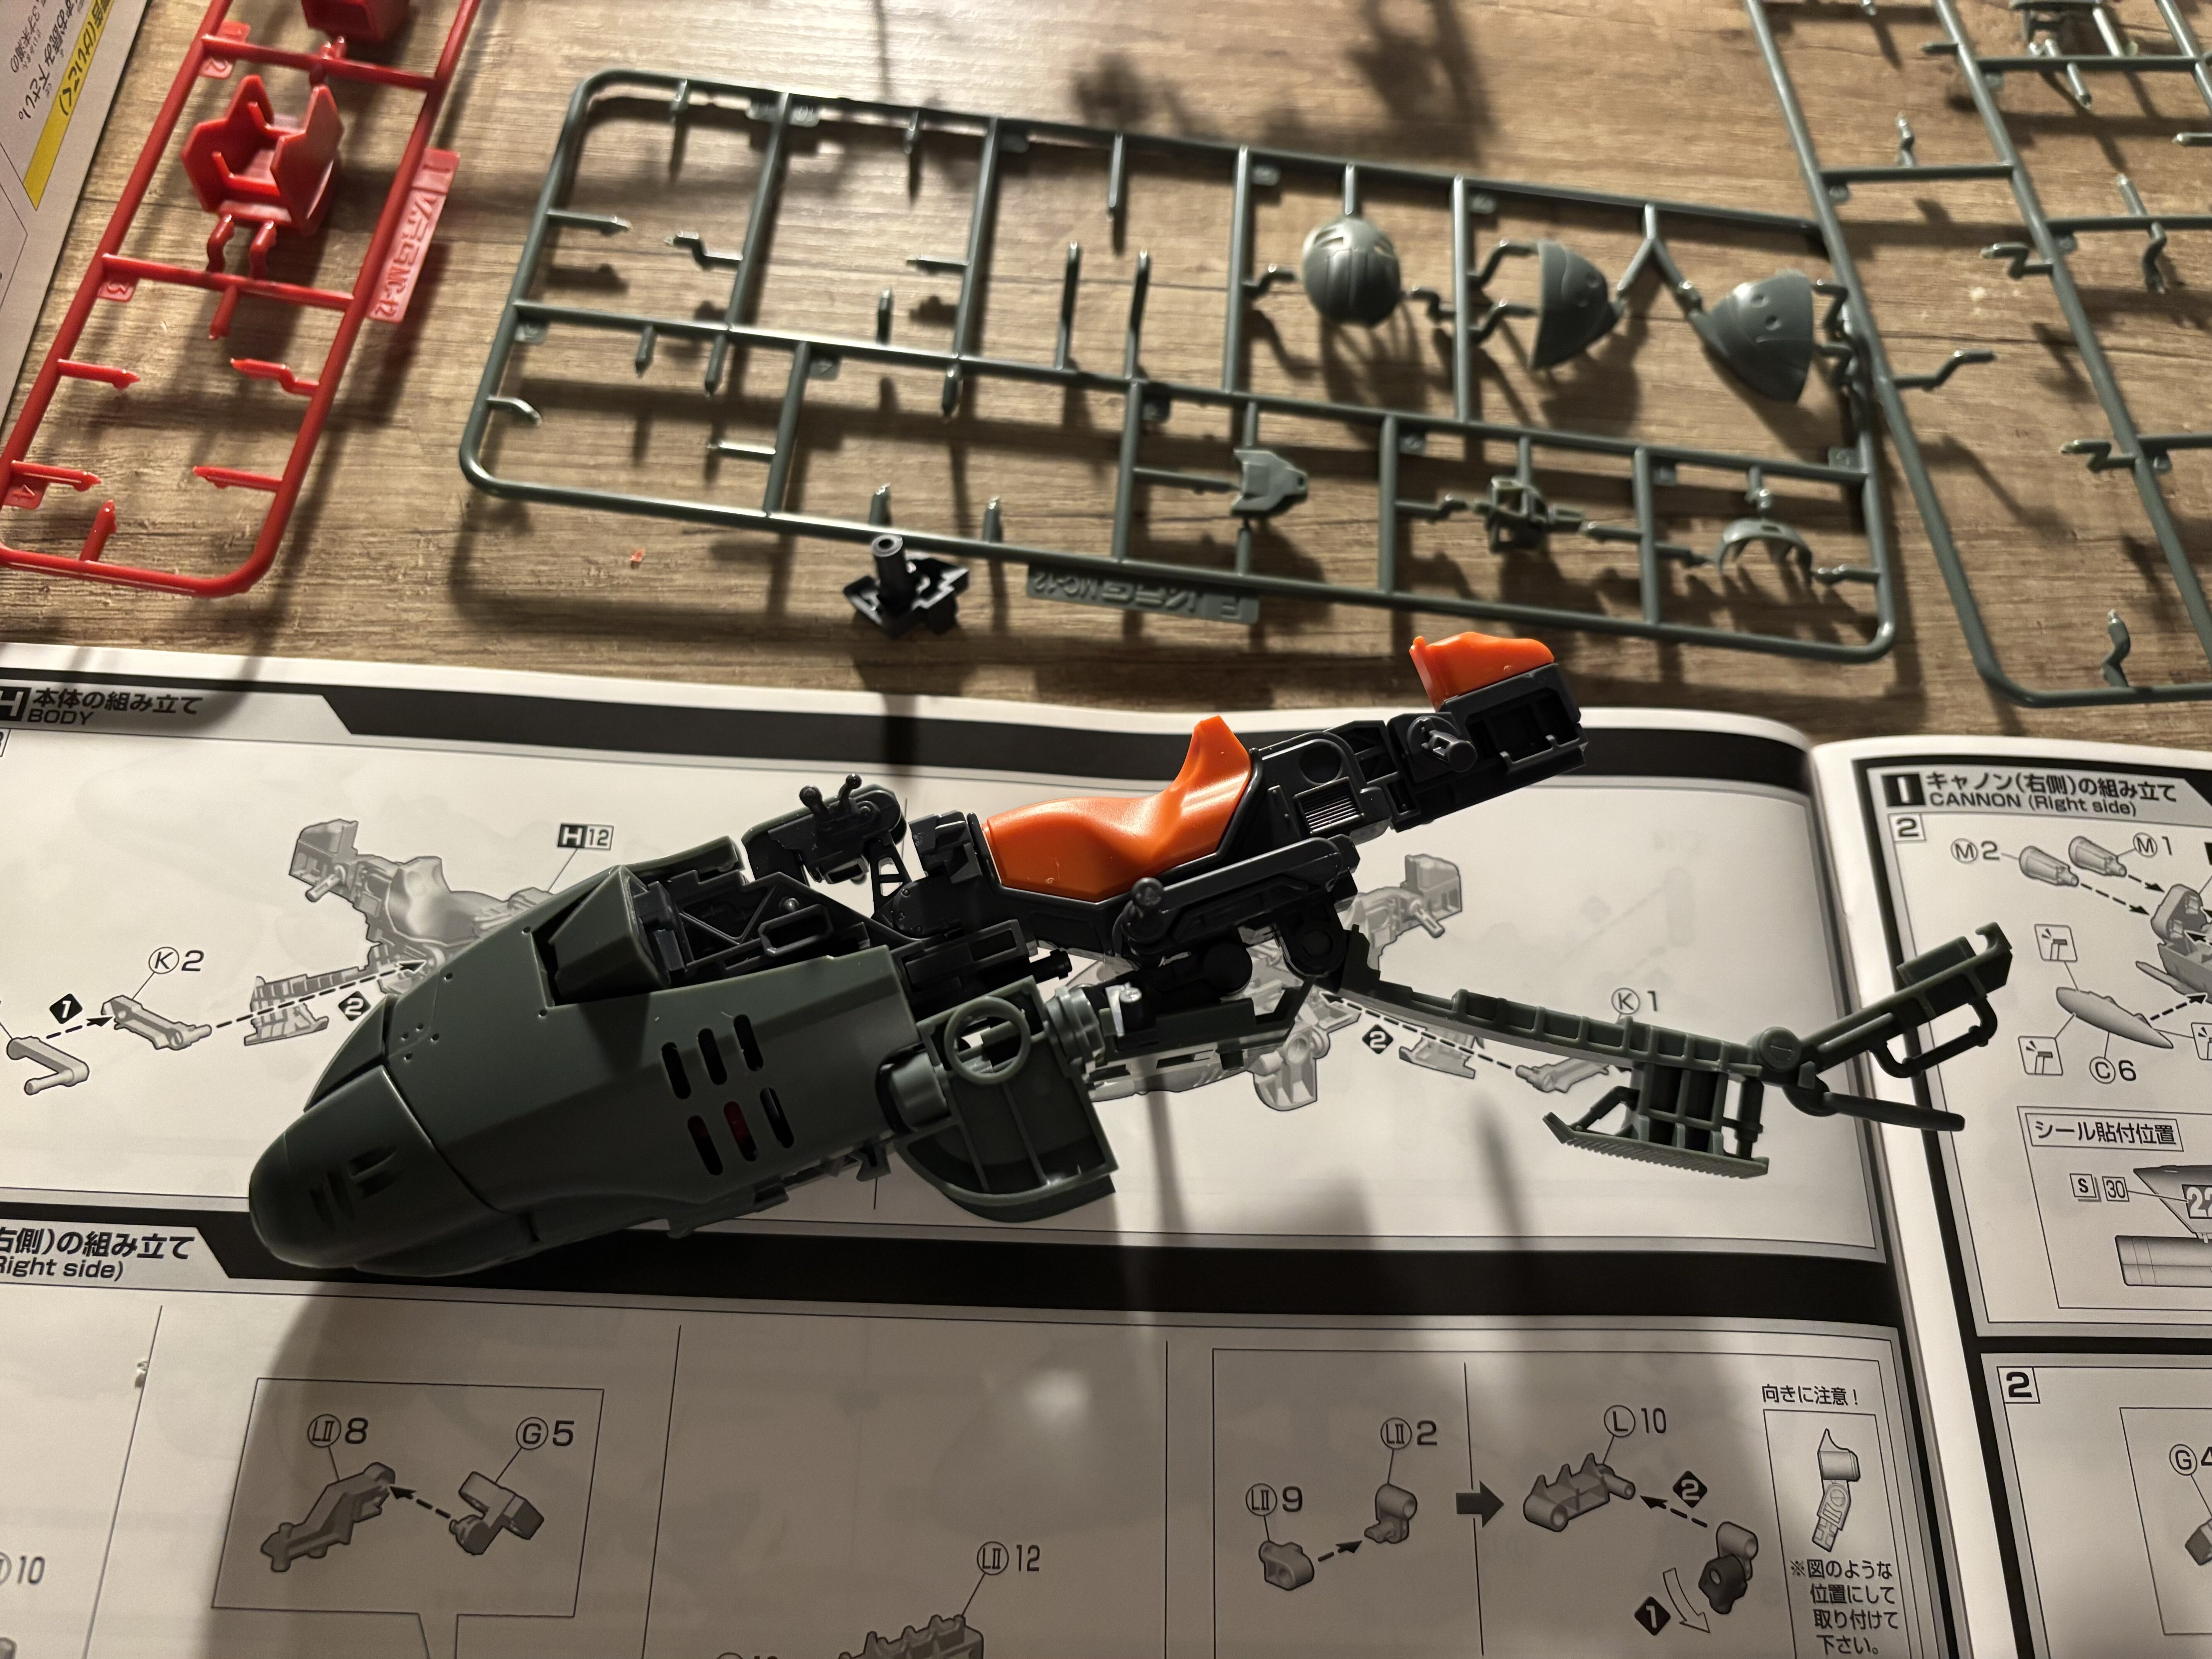
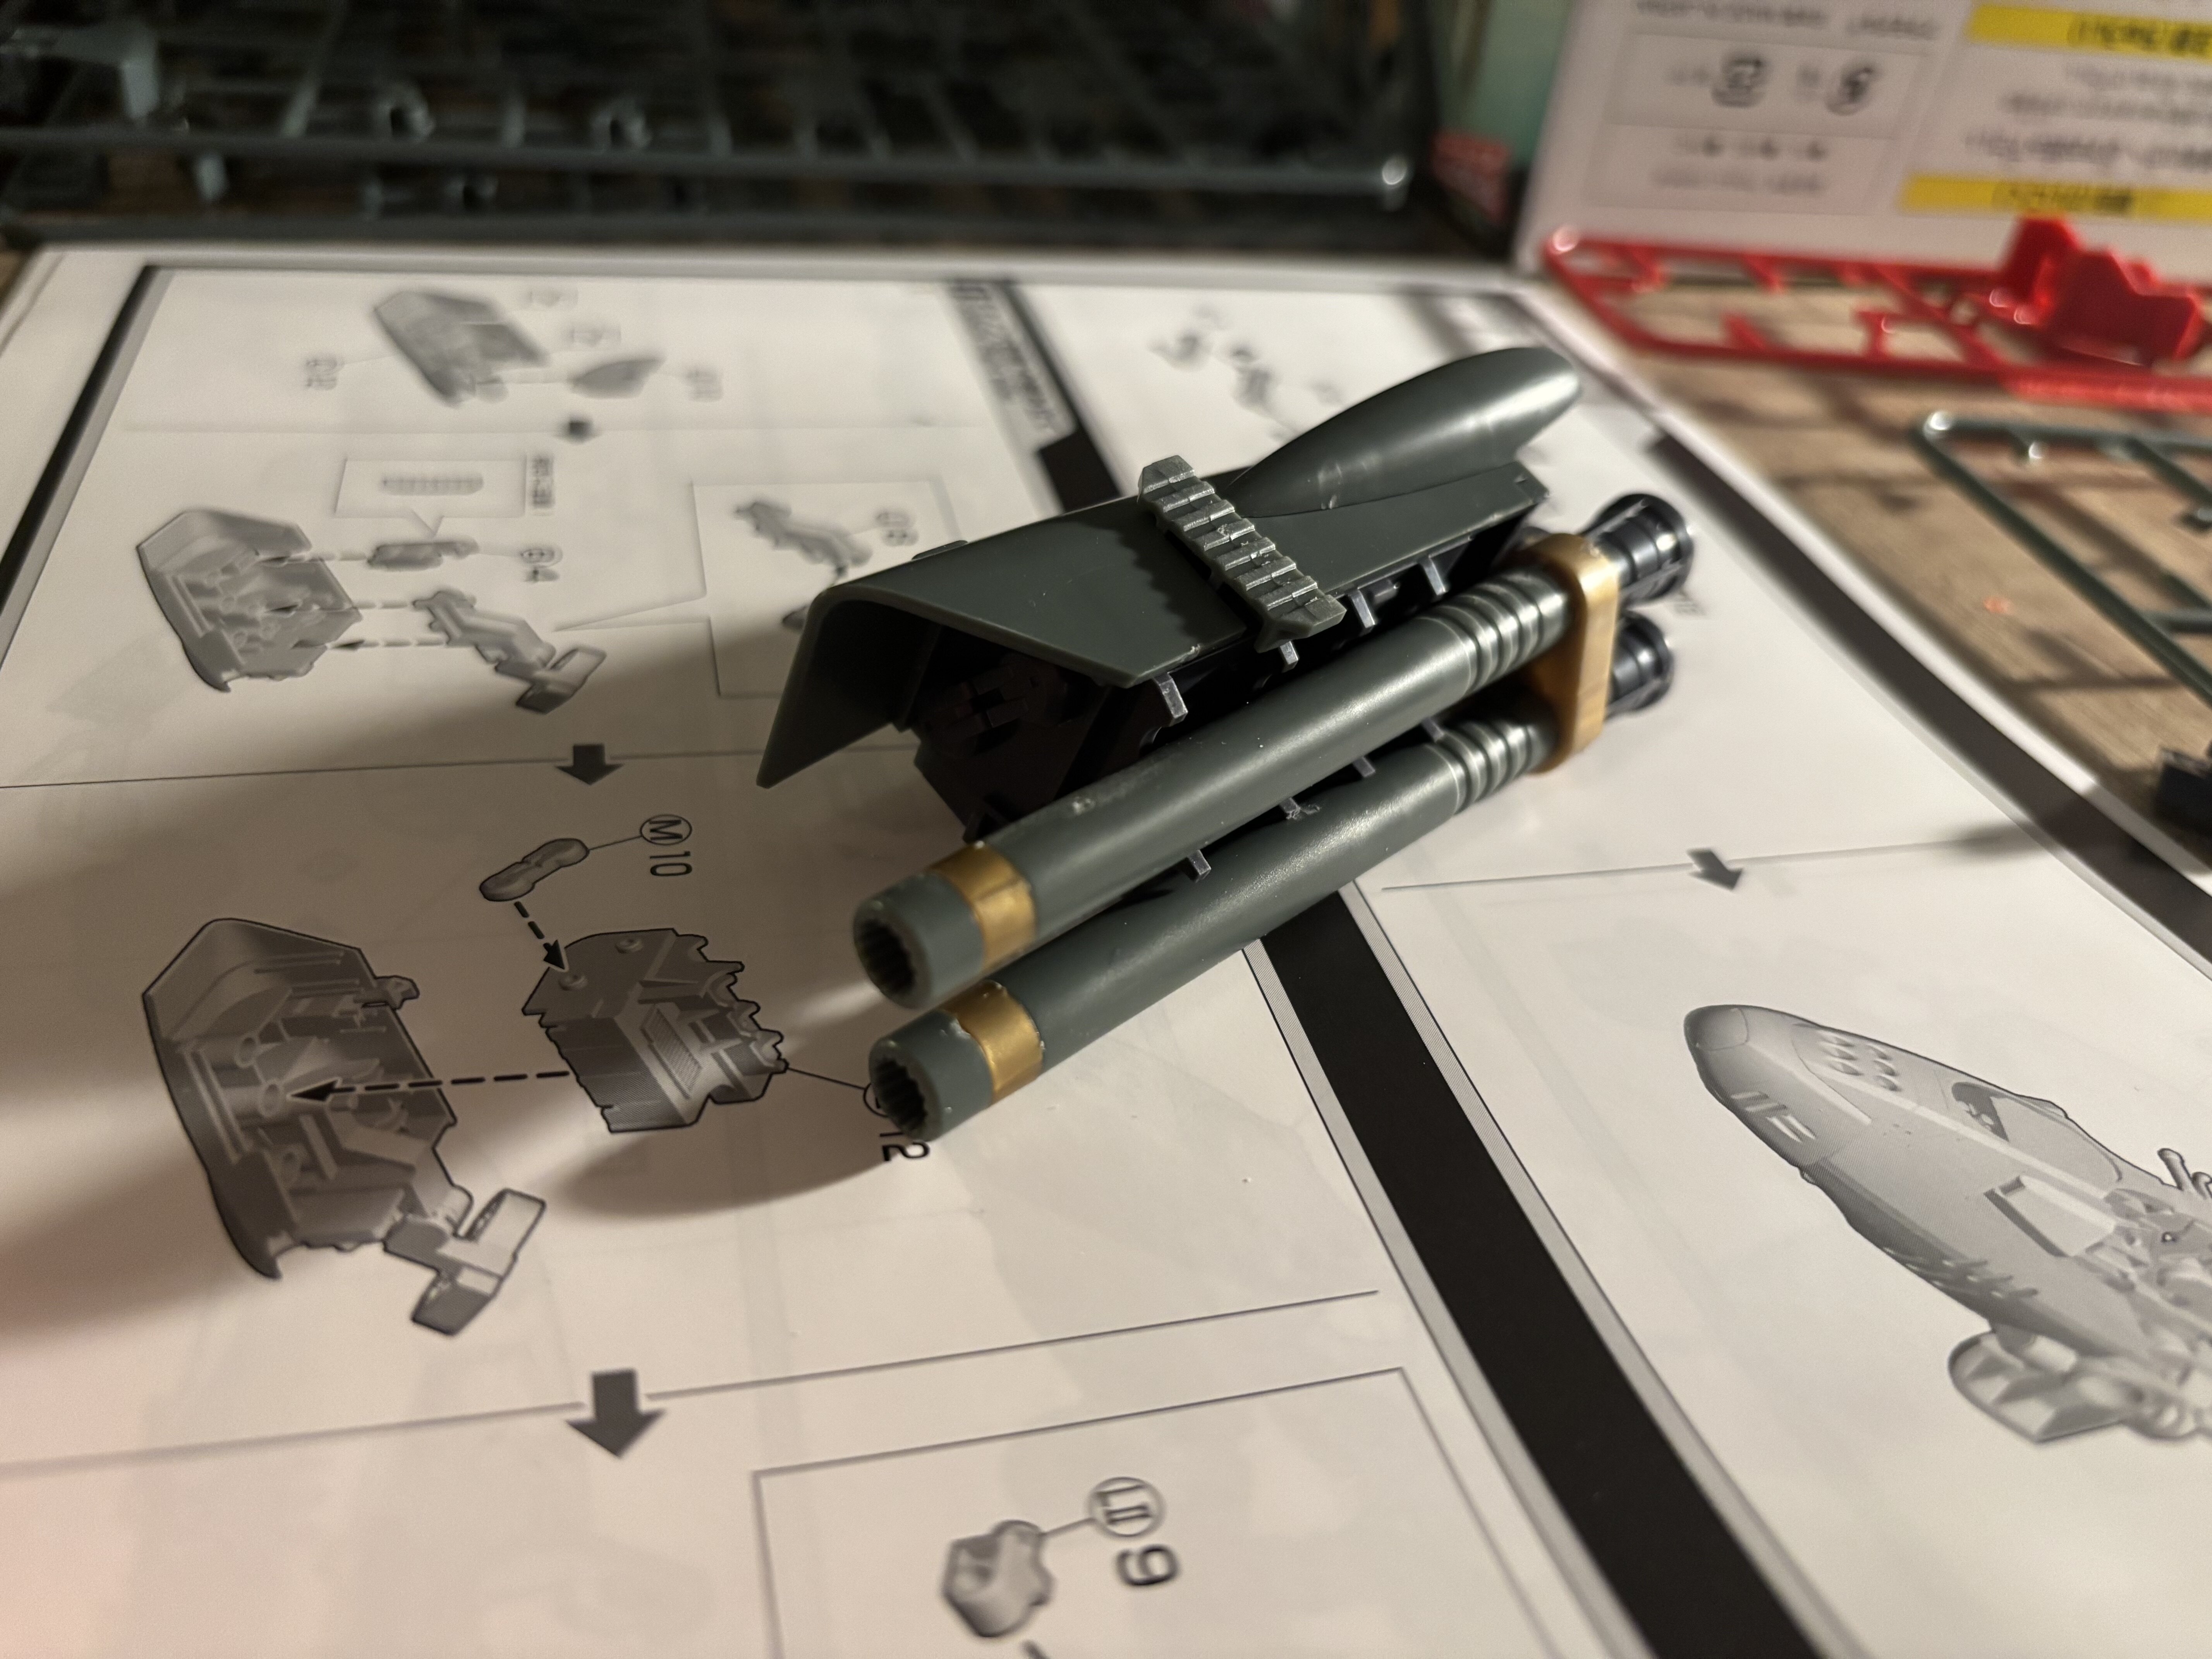
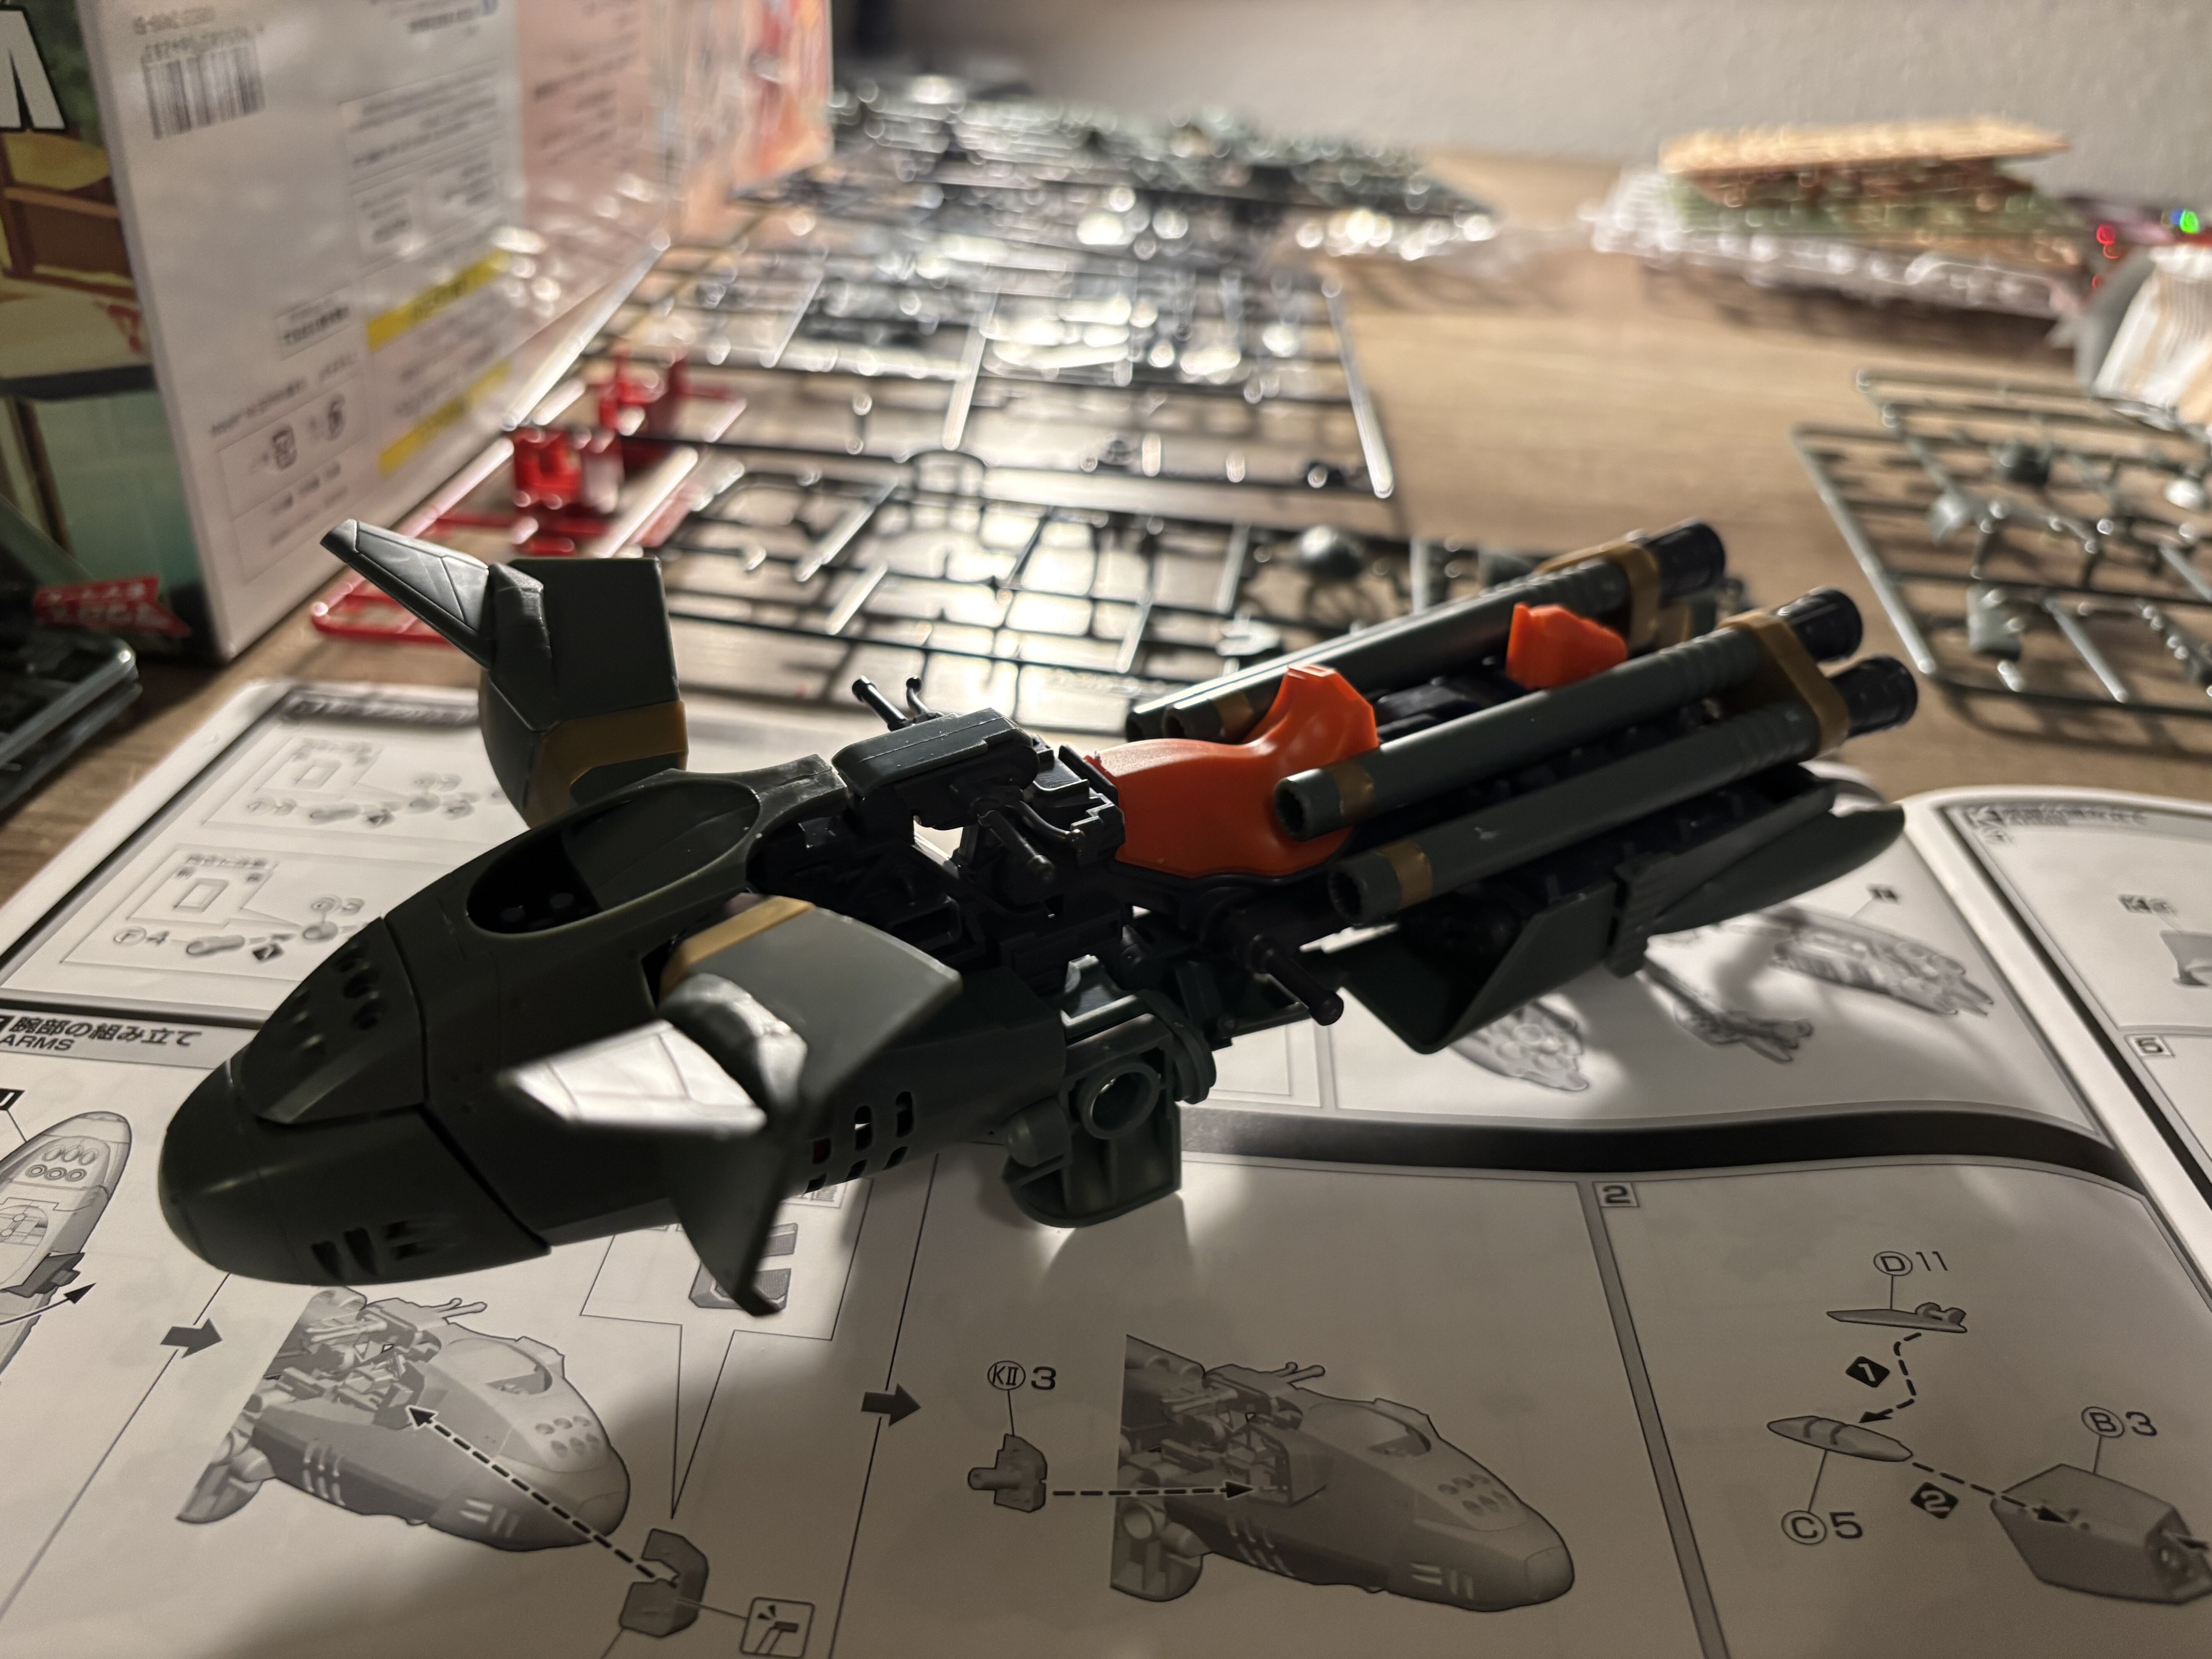
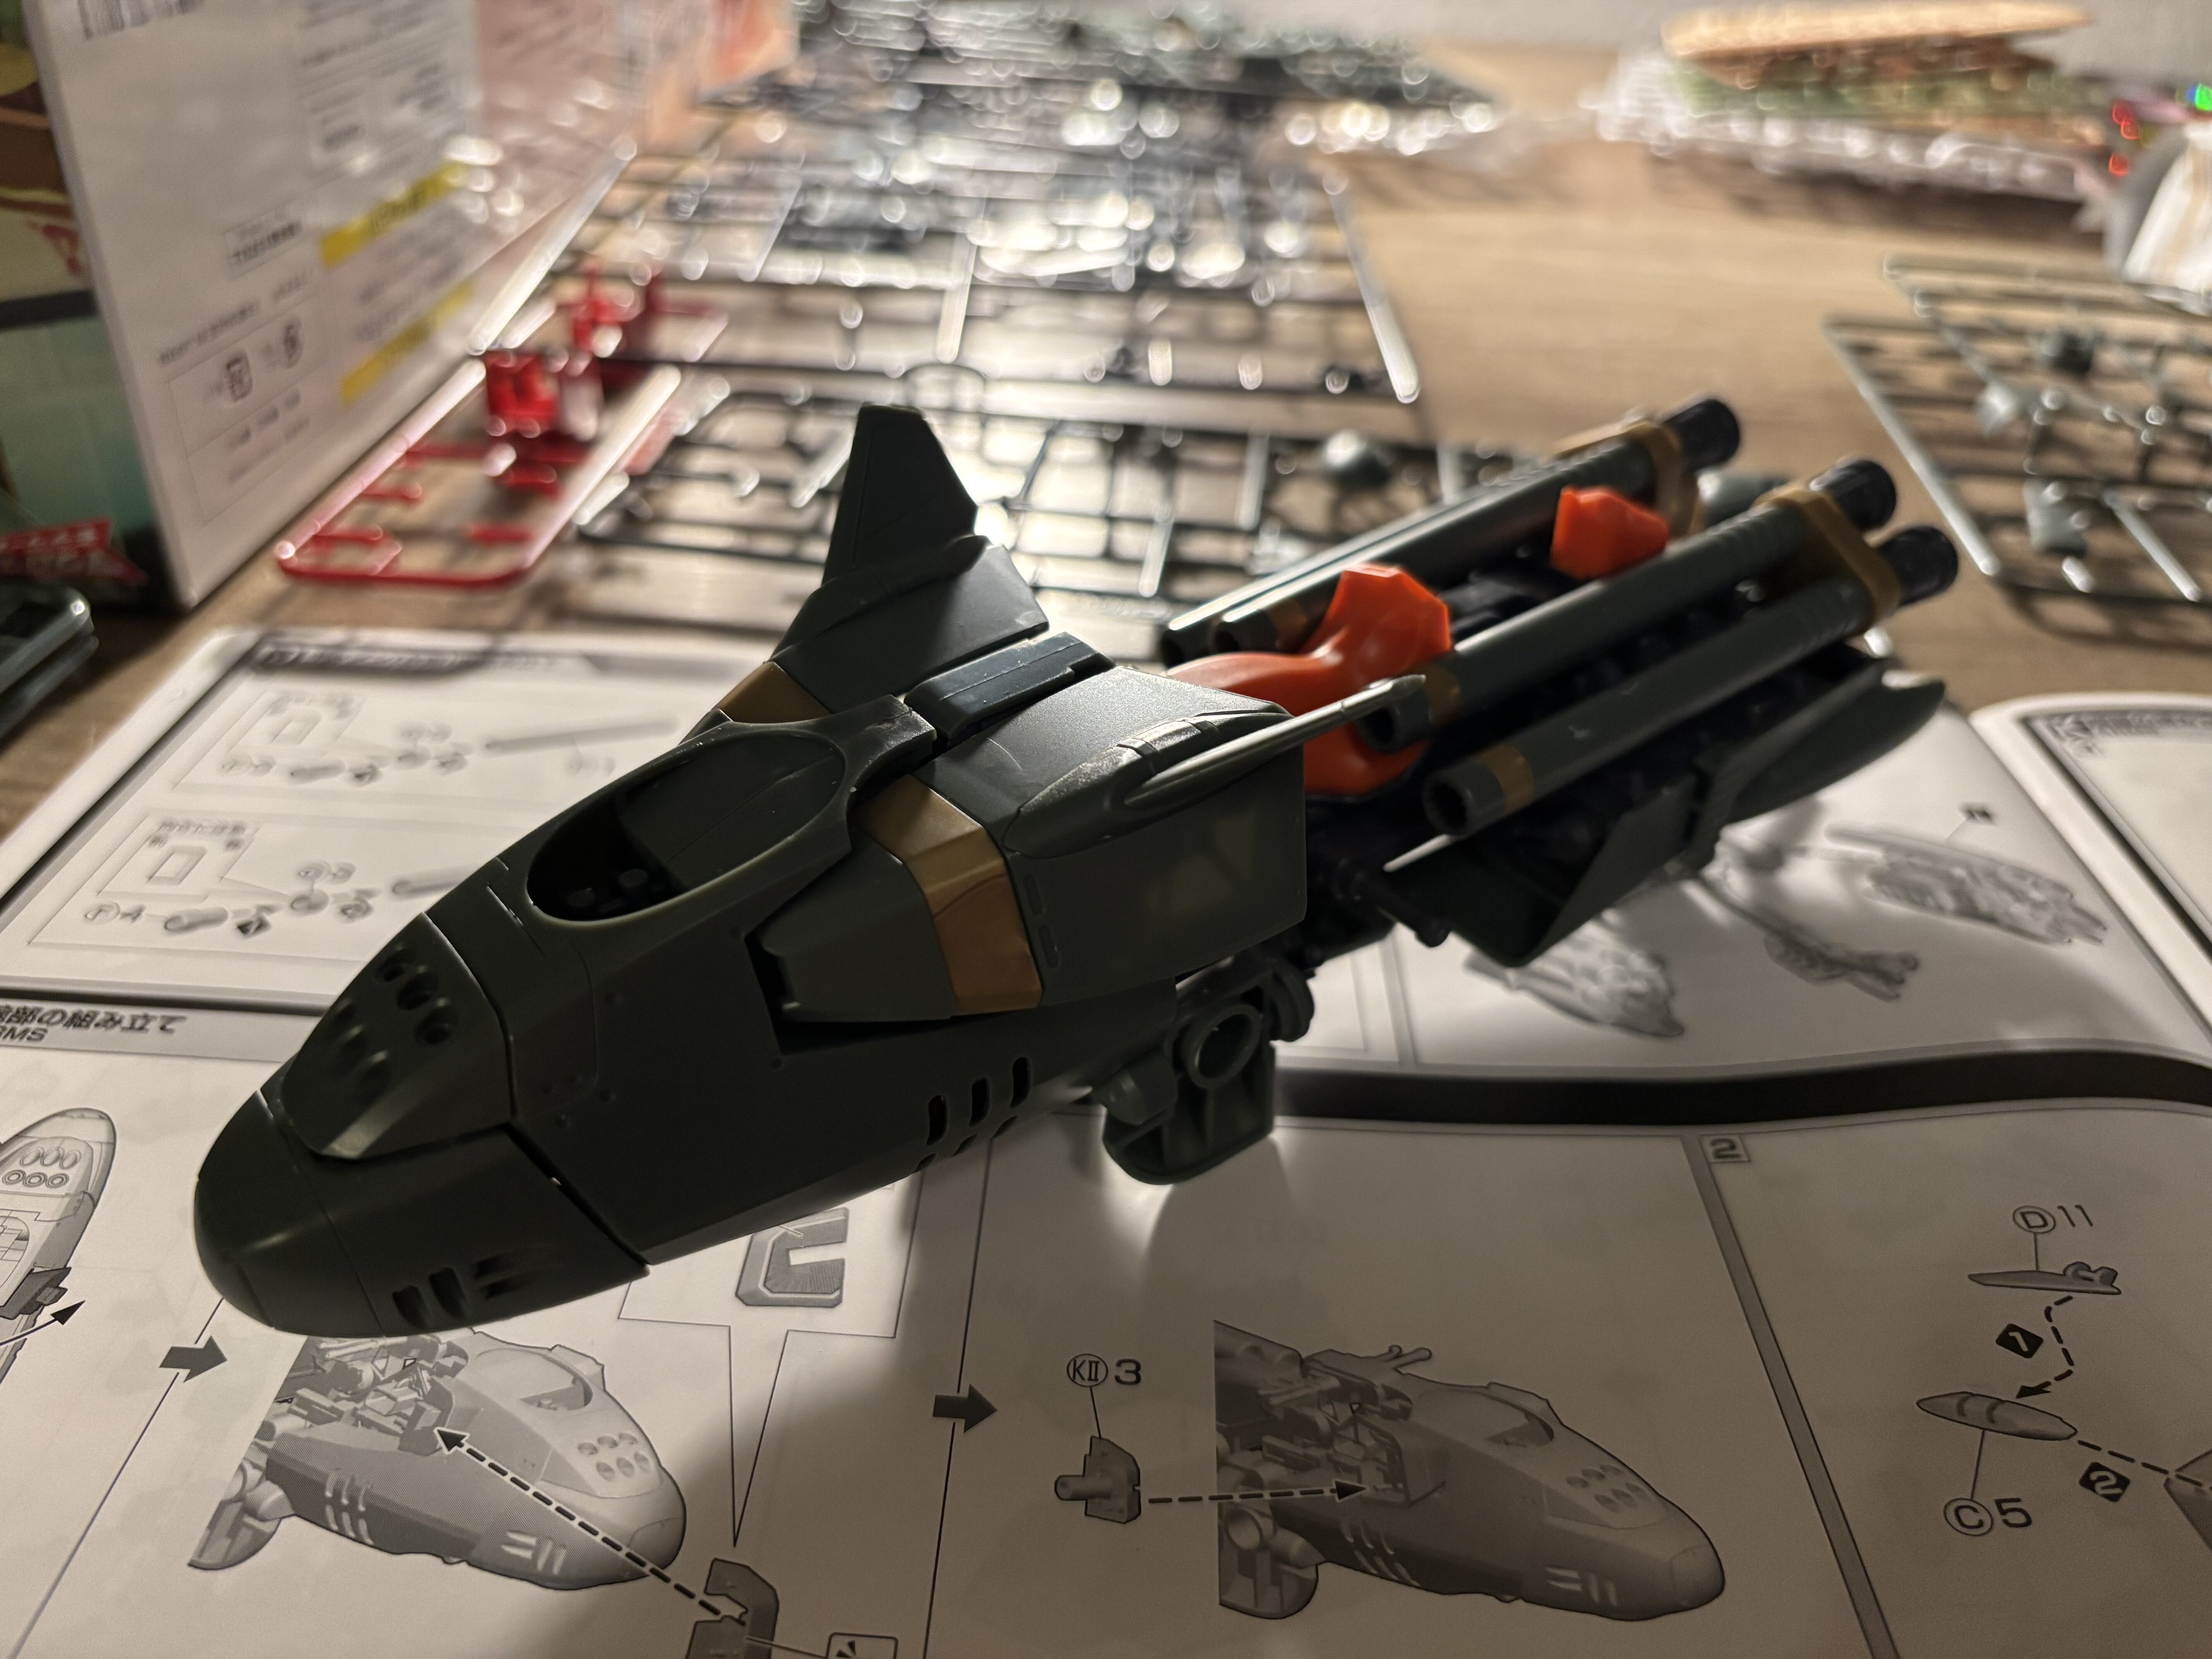
Build log of today: @sketchley so, apparently the handlebars are actually part of the contraception that is holding the nose in place. The saddle is also used to position the barrels properly in bomber mode. So unfortunately you won’t be able to remove them. There are so many pieces. I stick together the stuff one by one. It feels like building a Gundam. Some of the pieces are super tight fit. I probably would never be able to take apart the parts anymore. Nose + „motorcycle“ piece: Gunbarrels: Joined everything I got so far after a good 2 hours of clipping, cutting and sanding. Still a ton of sprues left. I was only able to discard three sprues that were empty after today’s build session. I am still having fun, everything is coming together nicely. Good to superb quality so far.

-
Build log - Aoshima V.F.G. VB-6 König Monster
Urashiman replied to Urashiman's topic in The Workshop!
@Thom It was discounted. Around 76€ I think. @Bolt Yeah! @sketchley Oh, I wonder too. Not just that, but it has a large bright orange saddle as well! I saw different pictures inside the manual with the saddle and without. Will check later. -
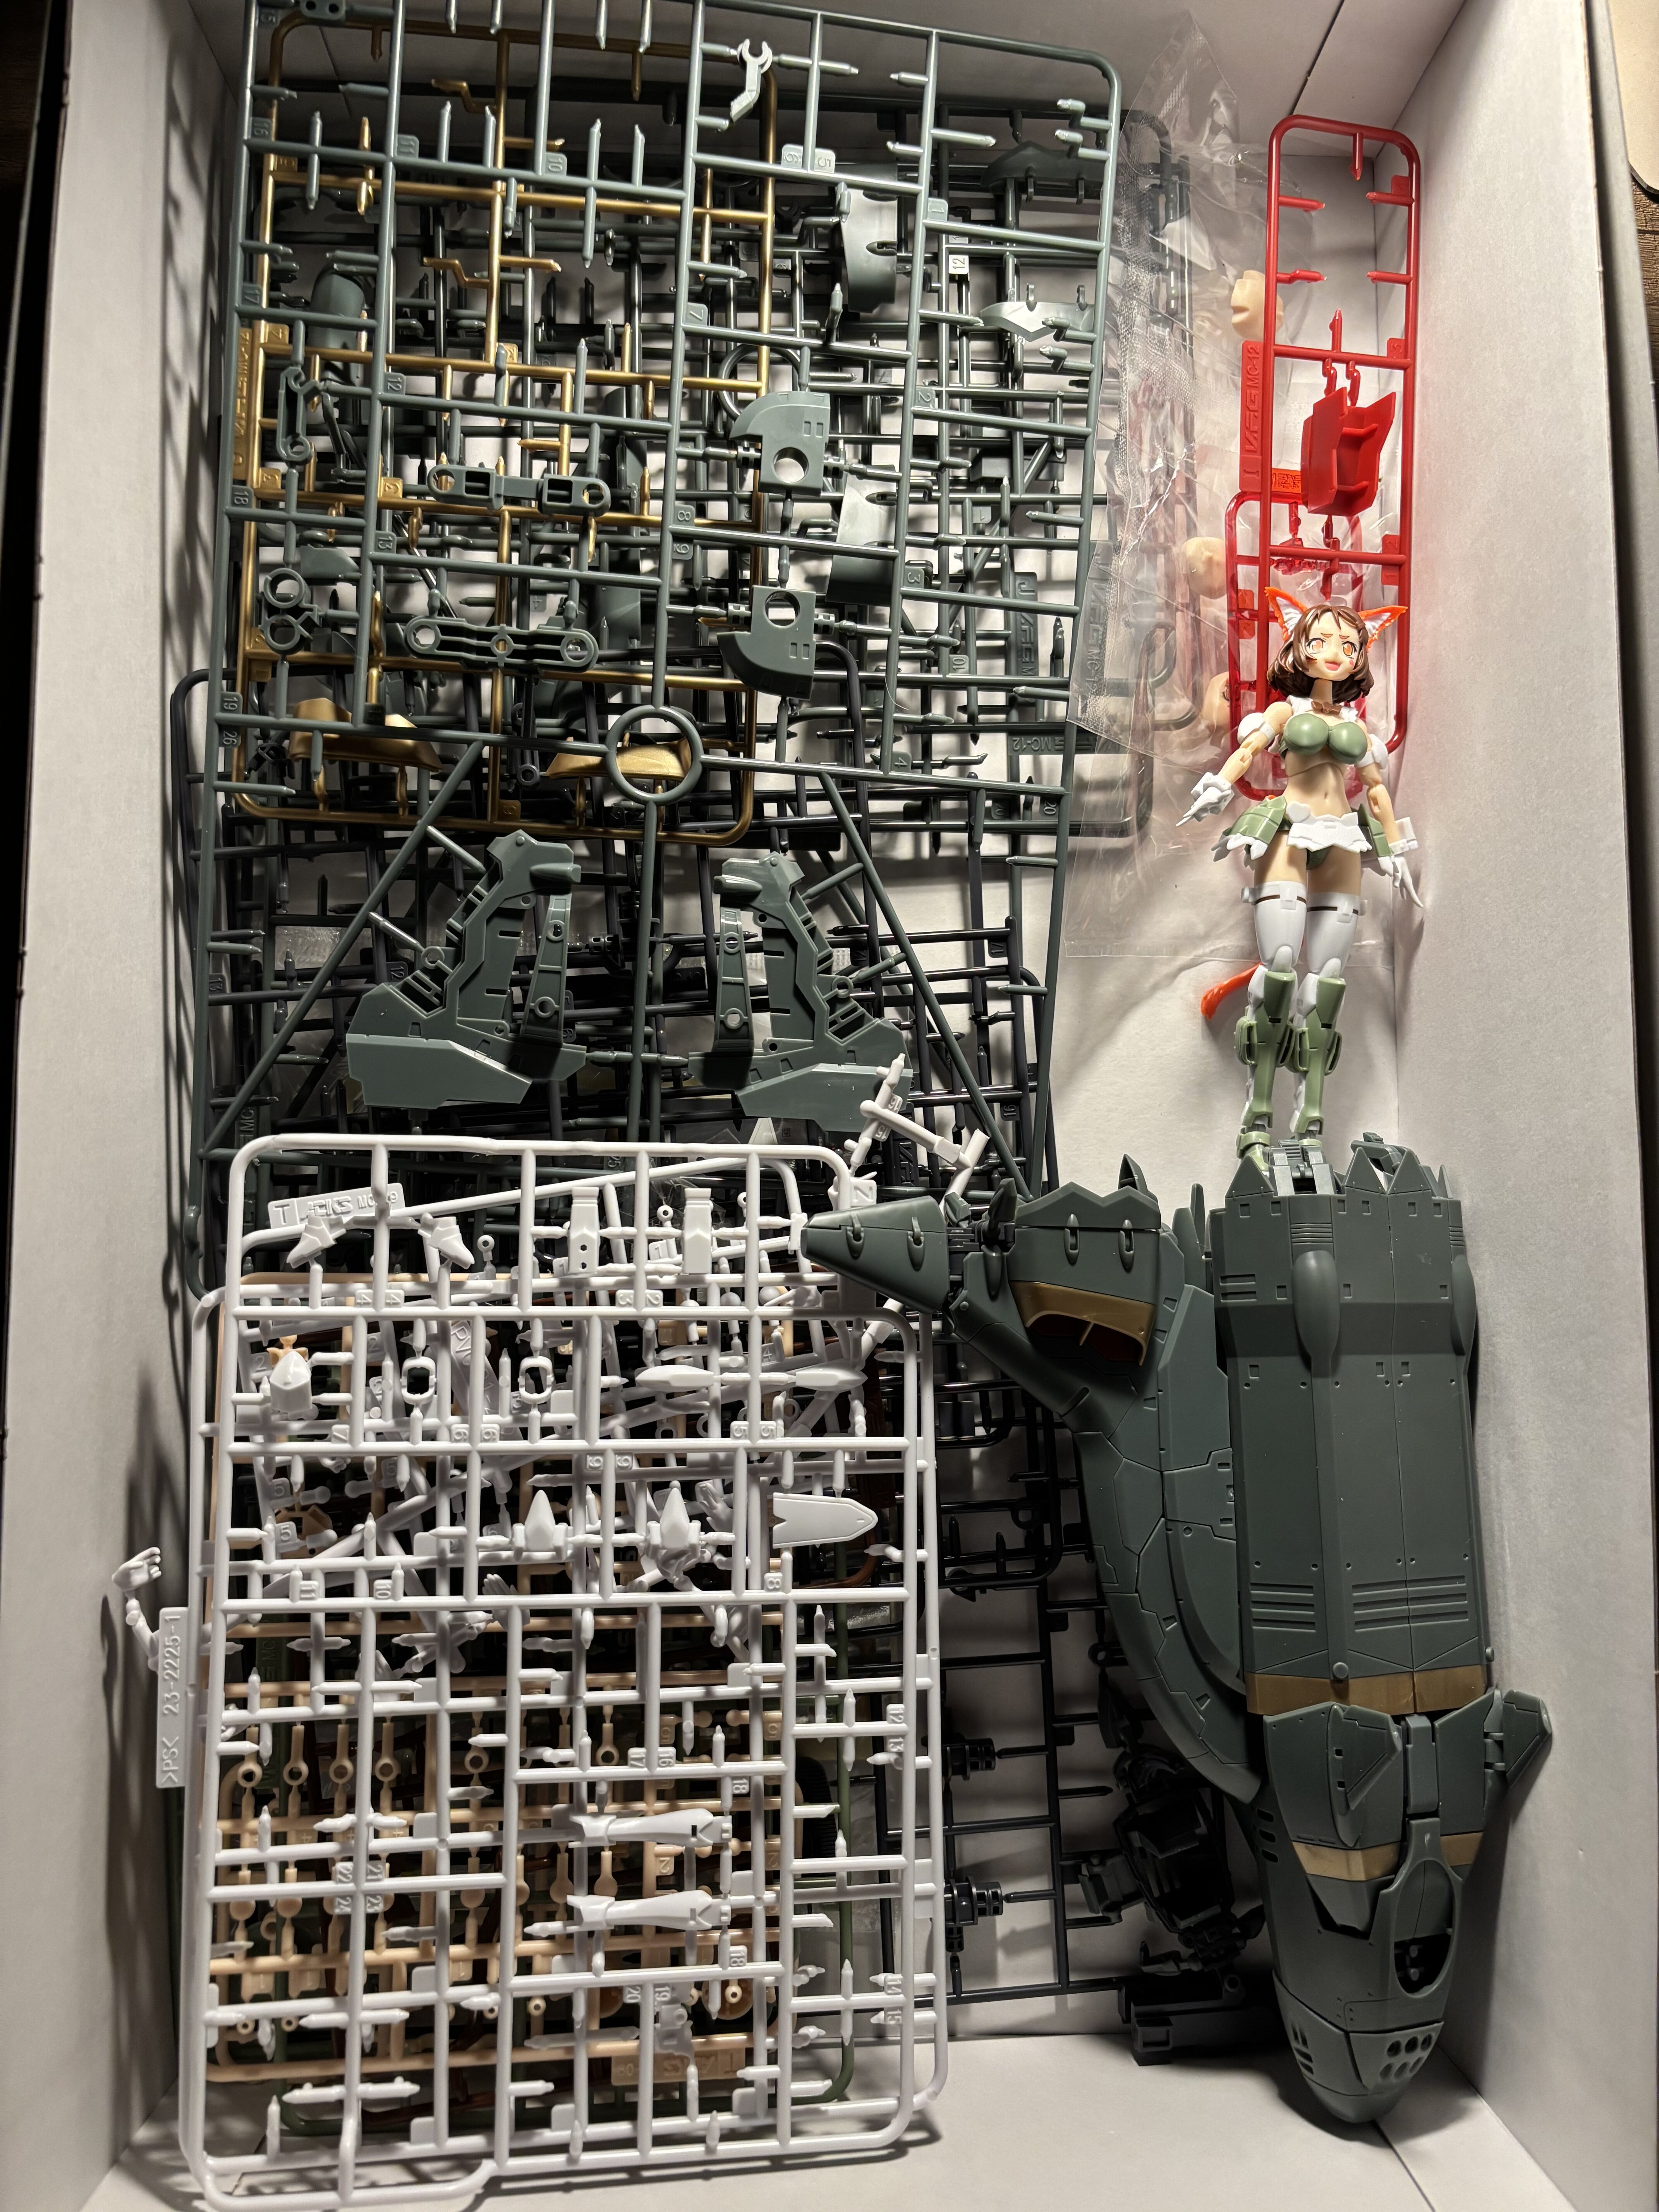
Got this on my workbench now:

-
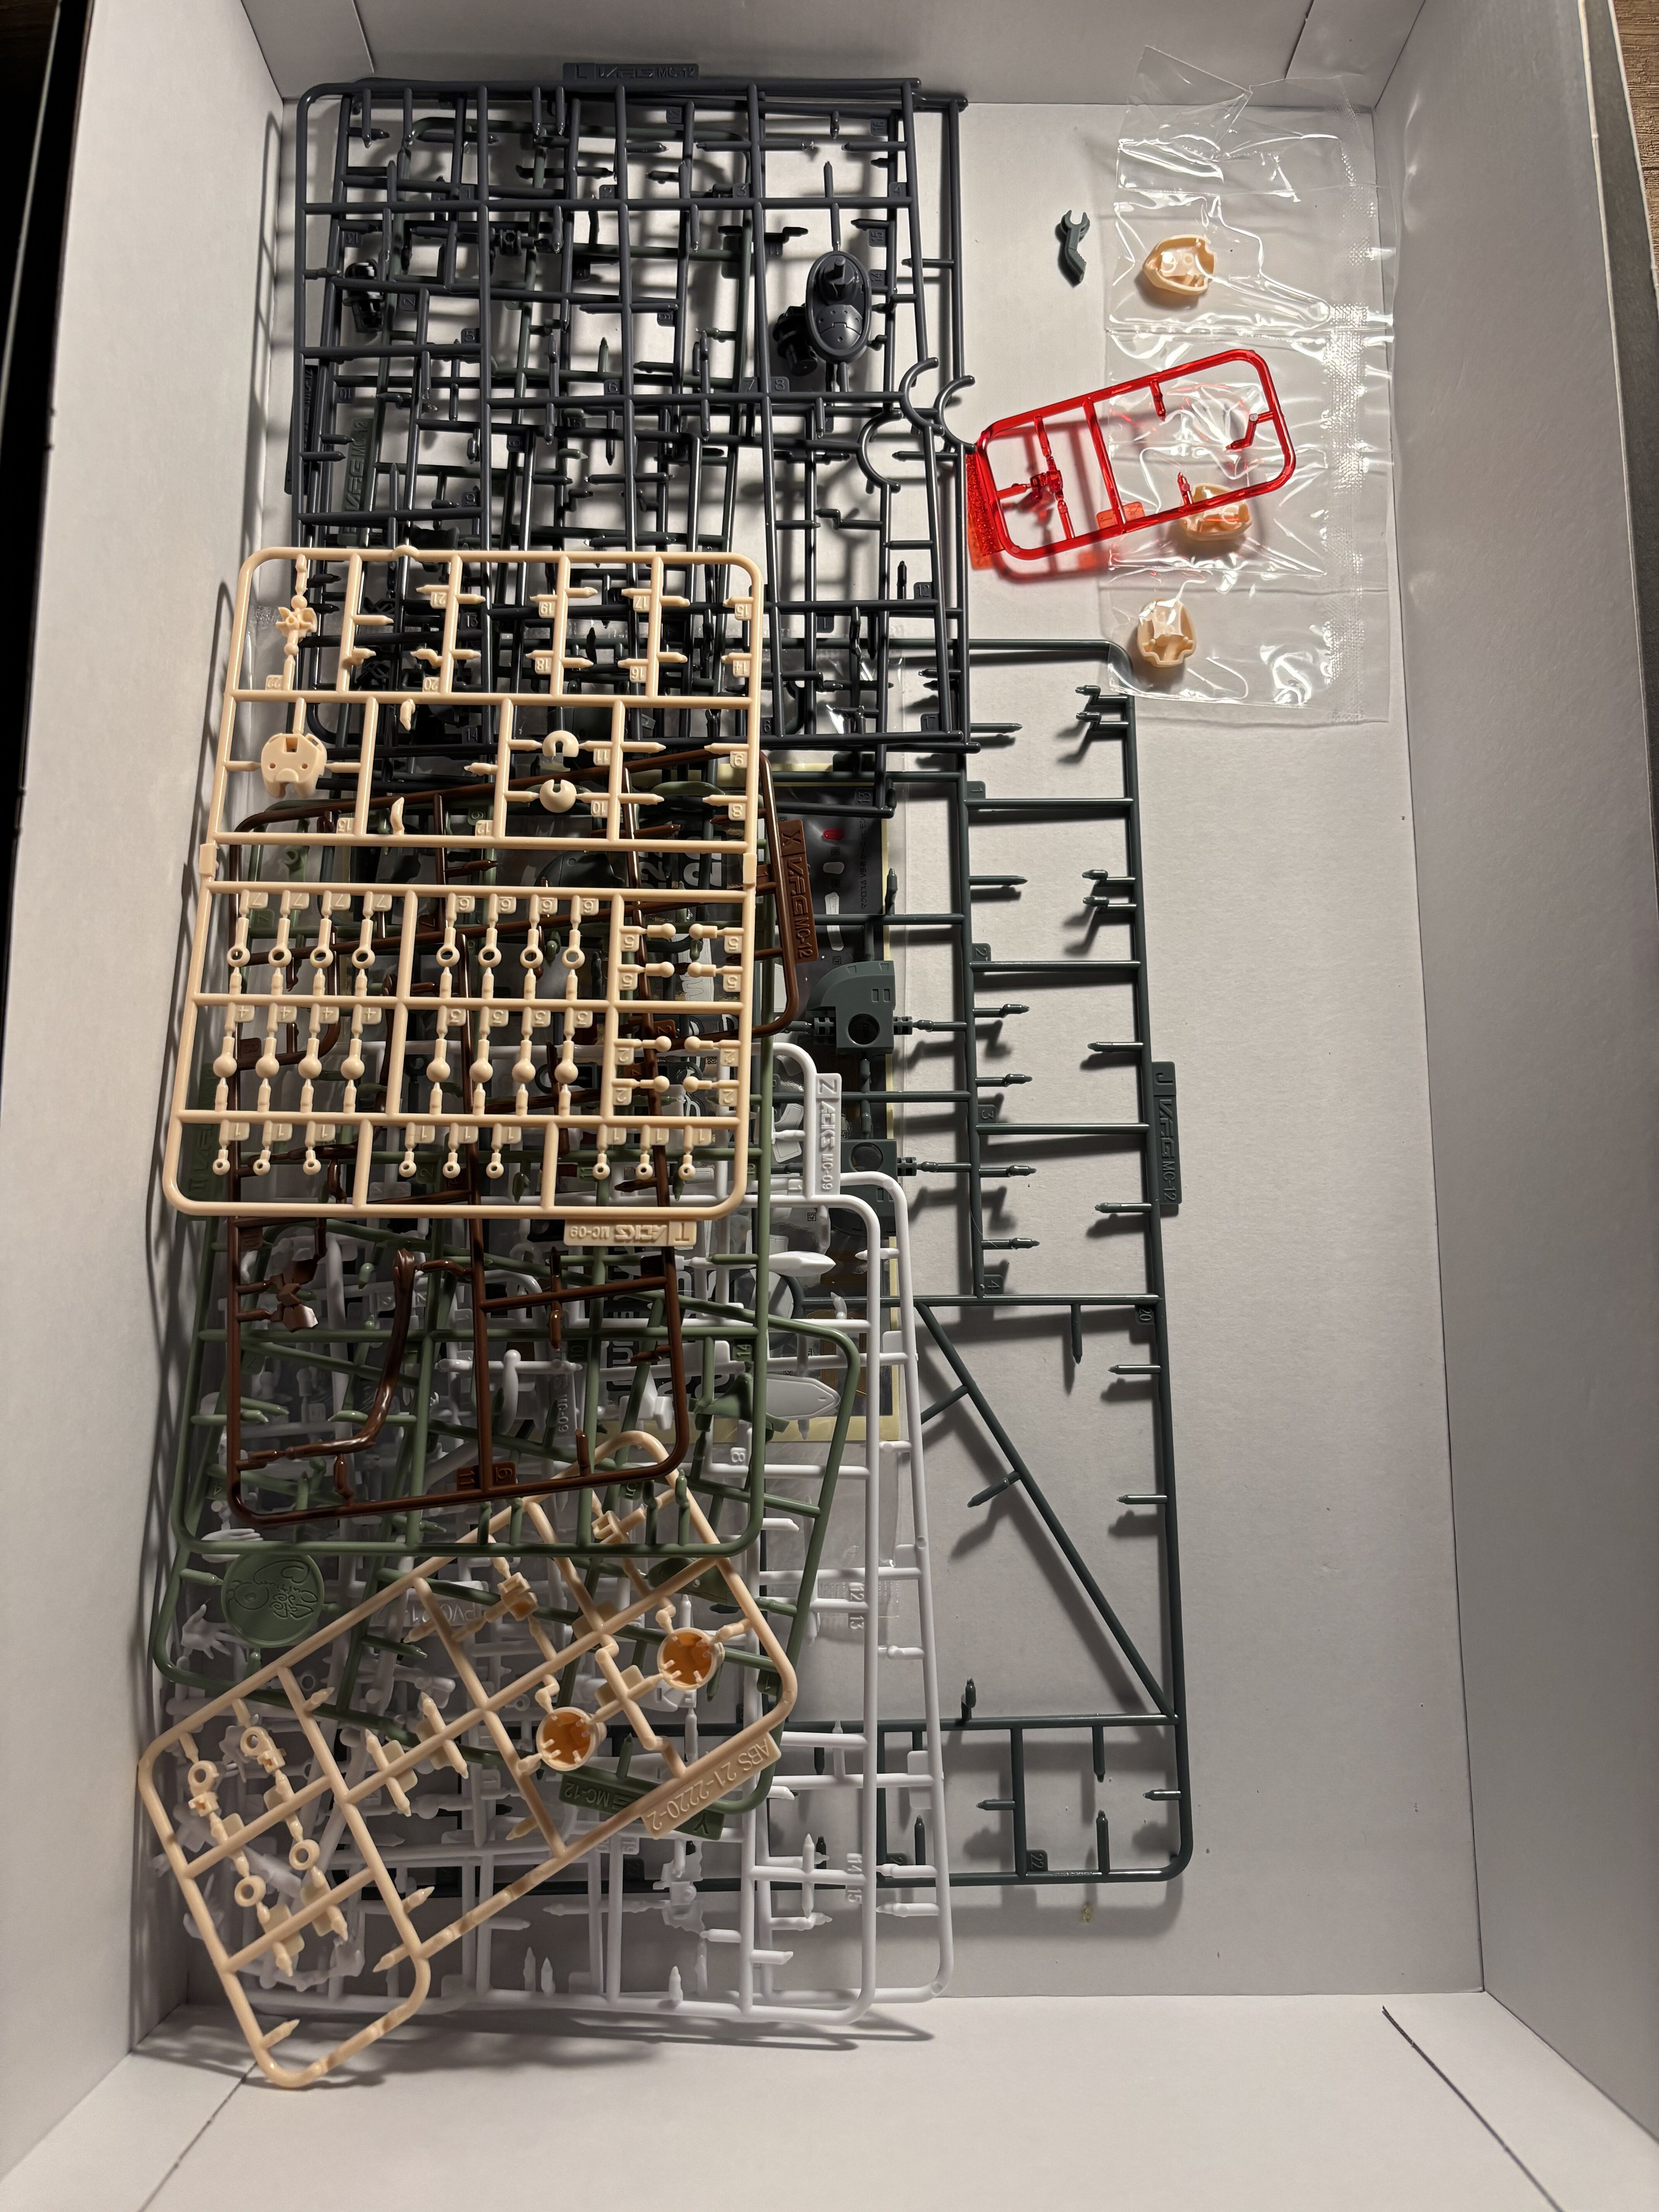
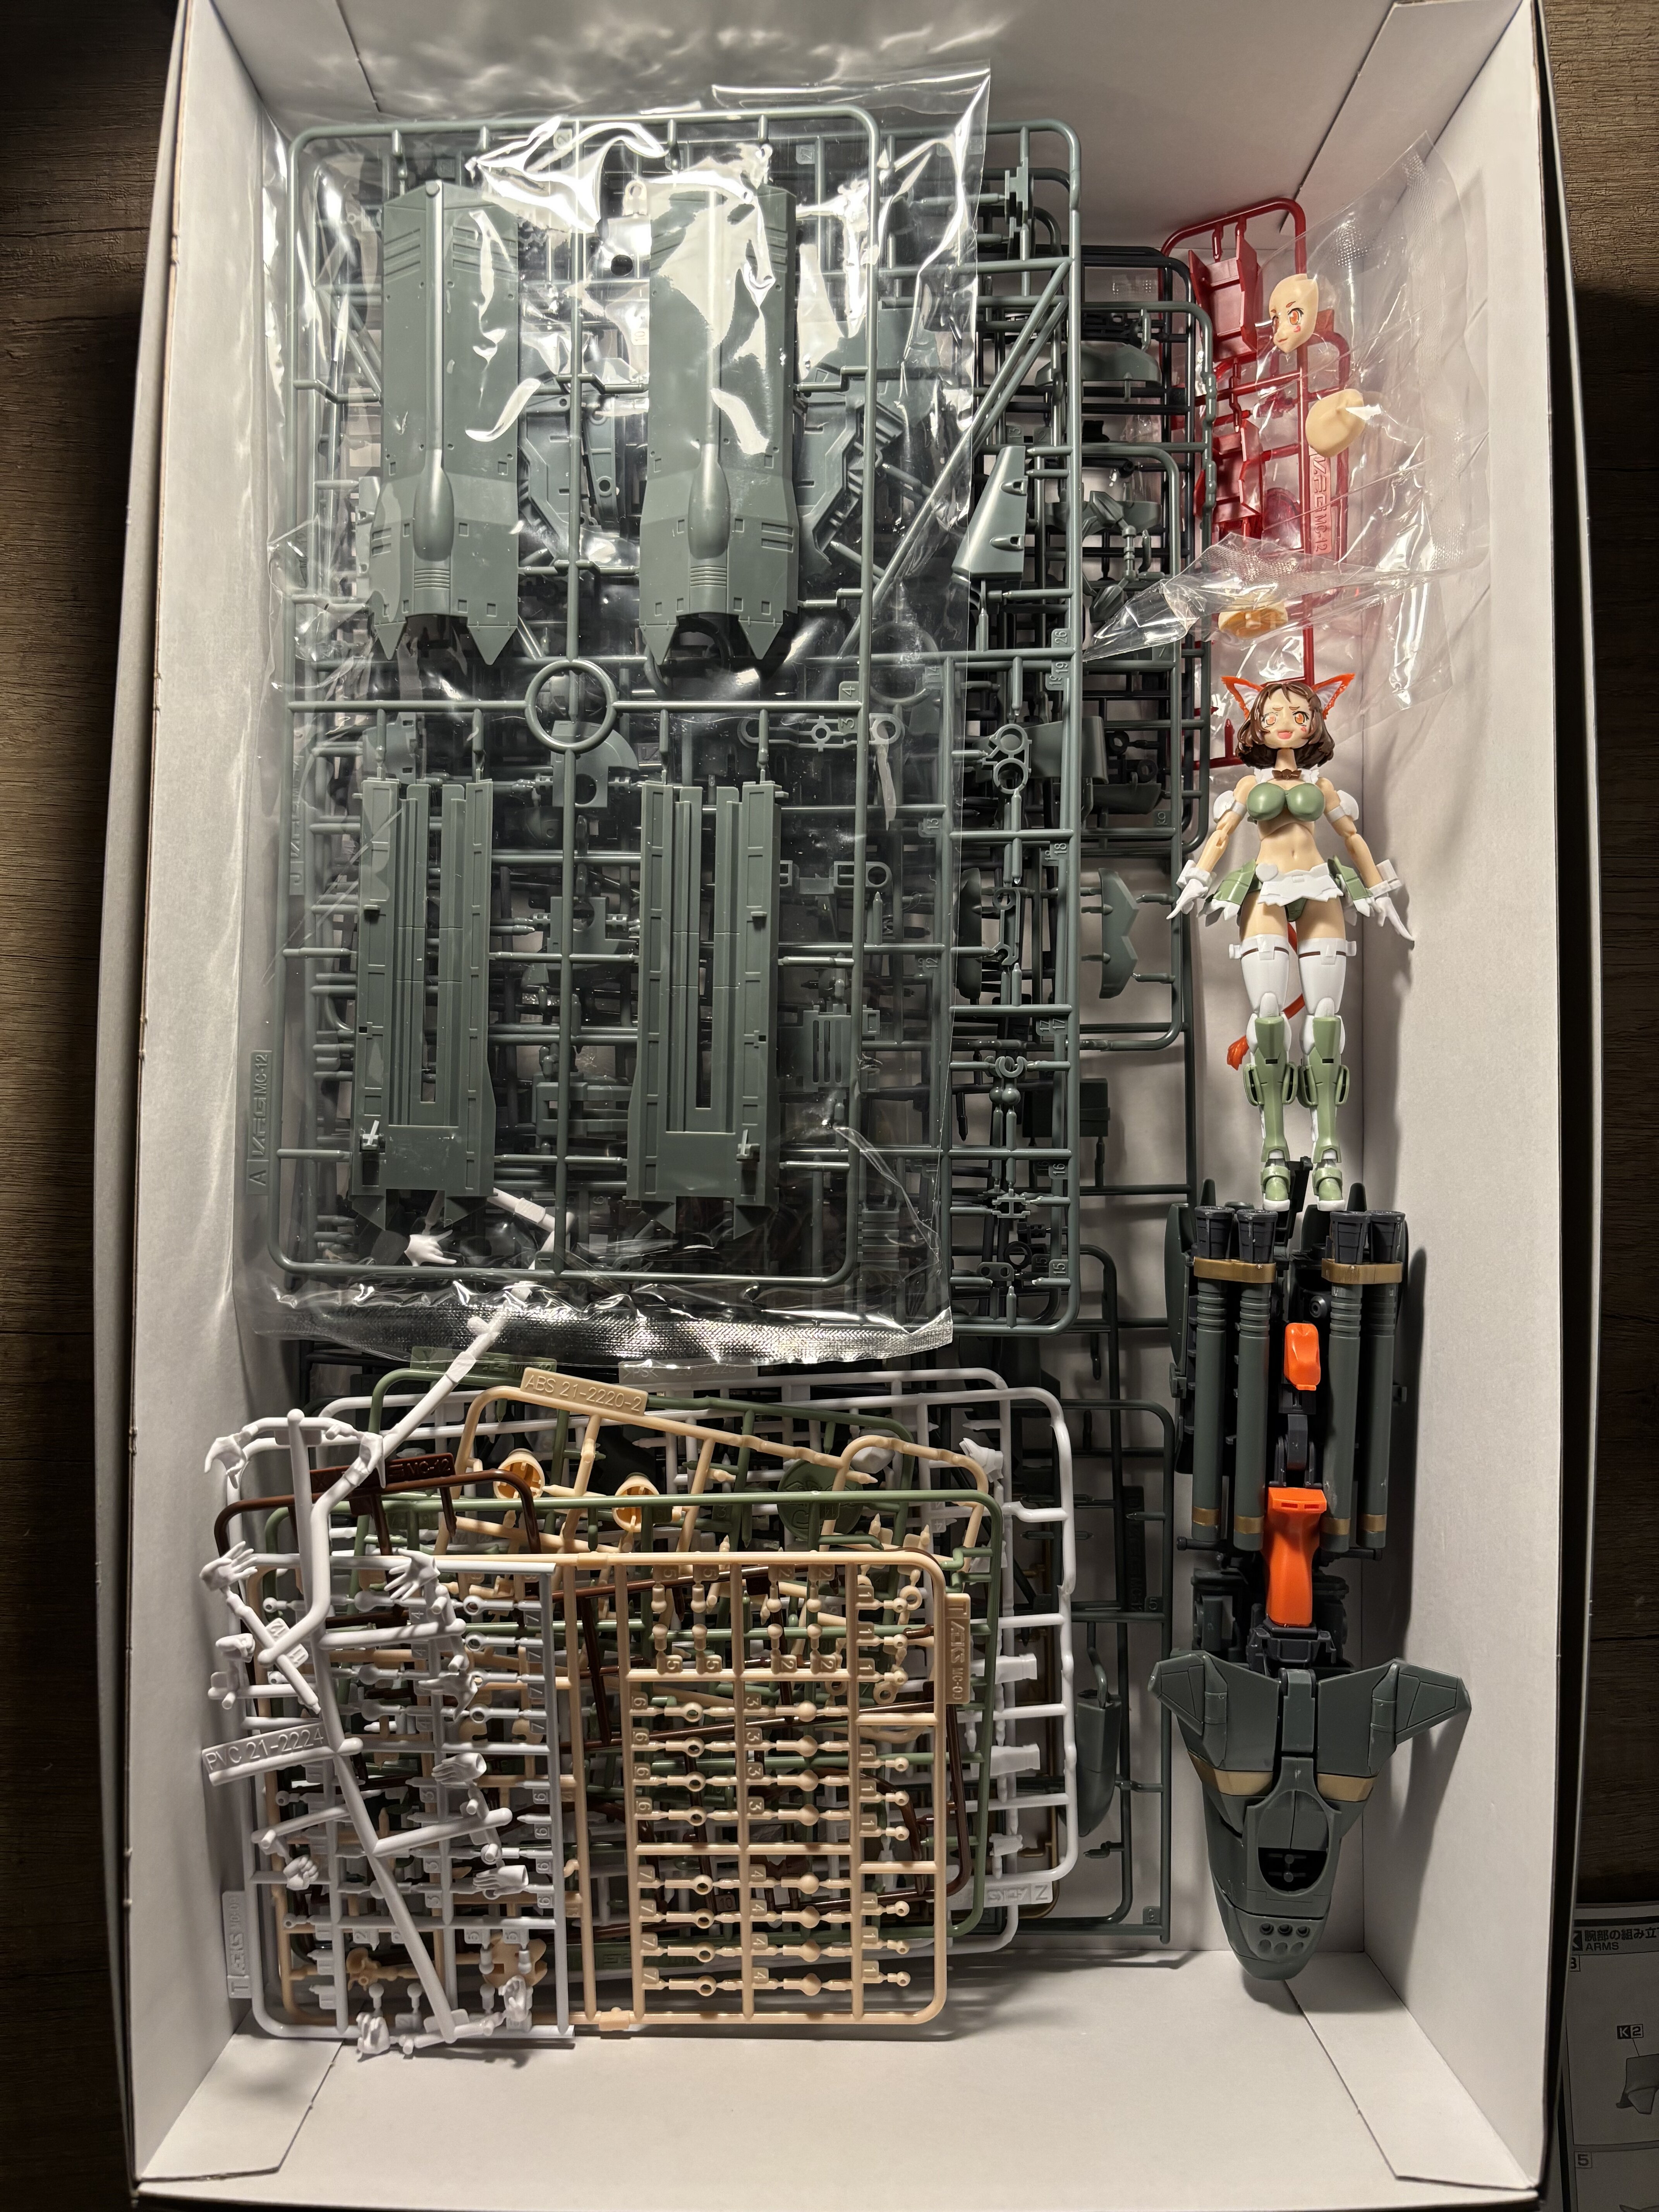
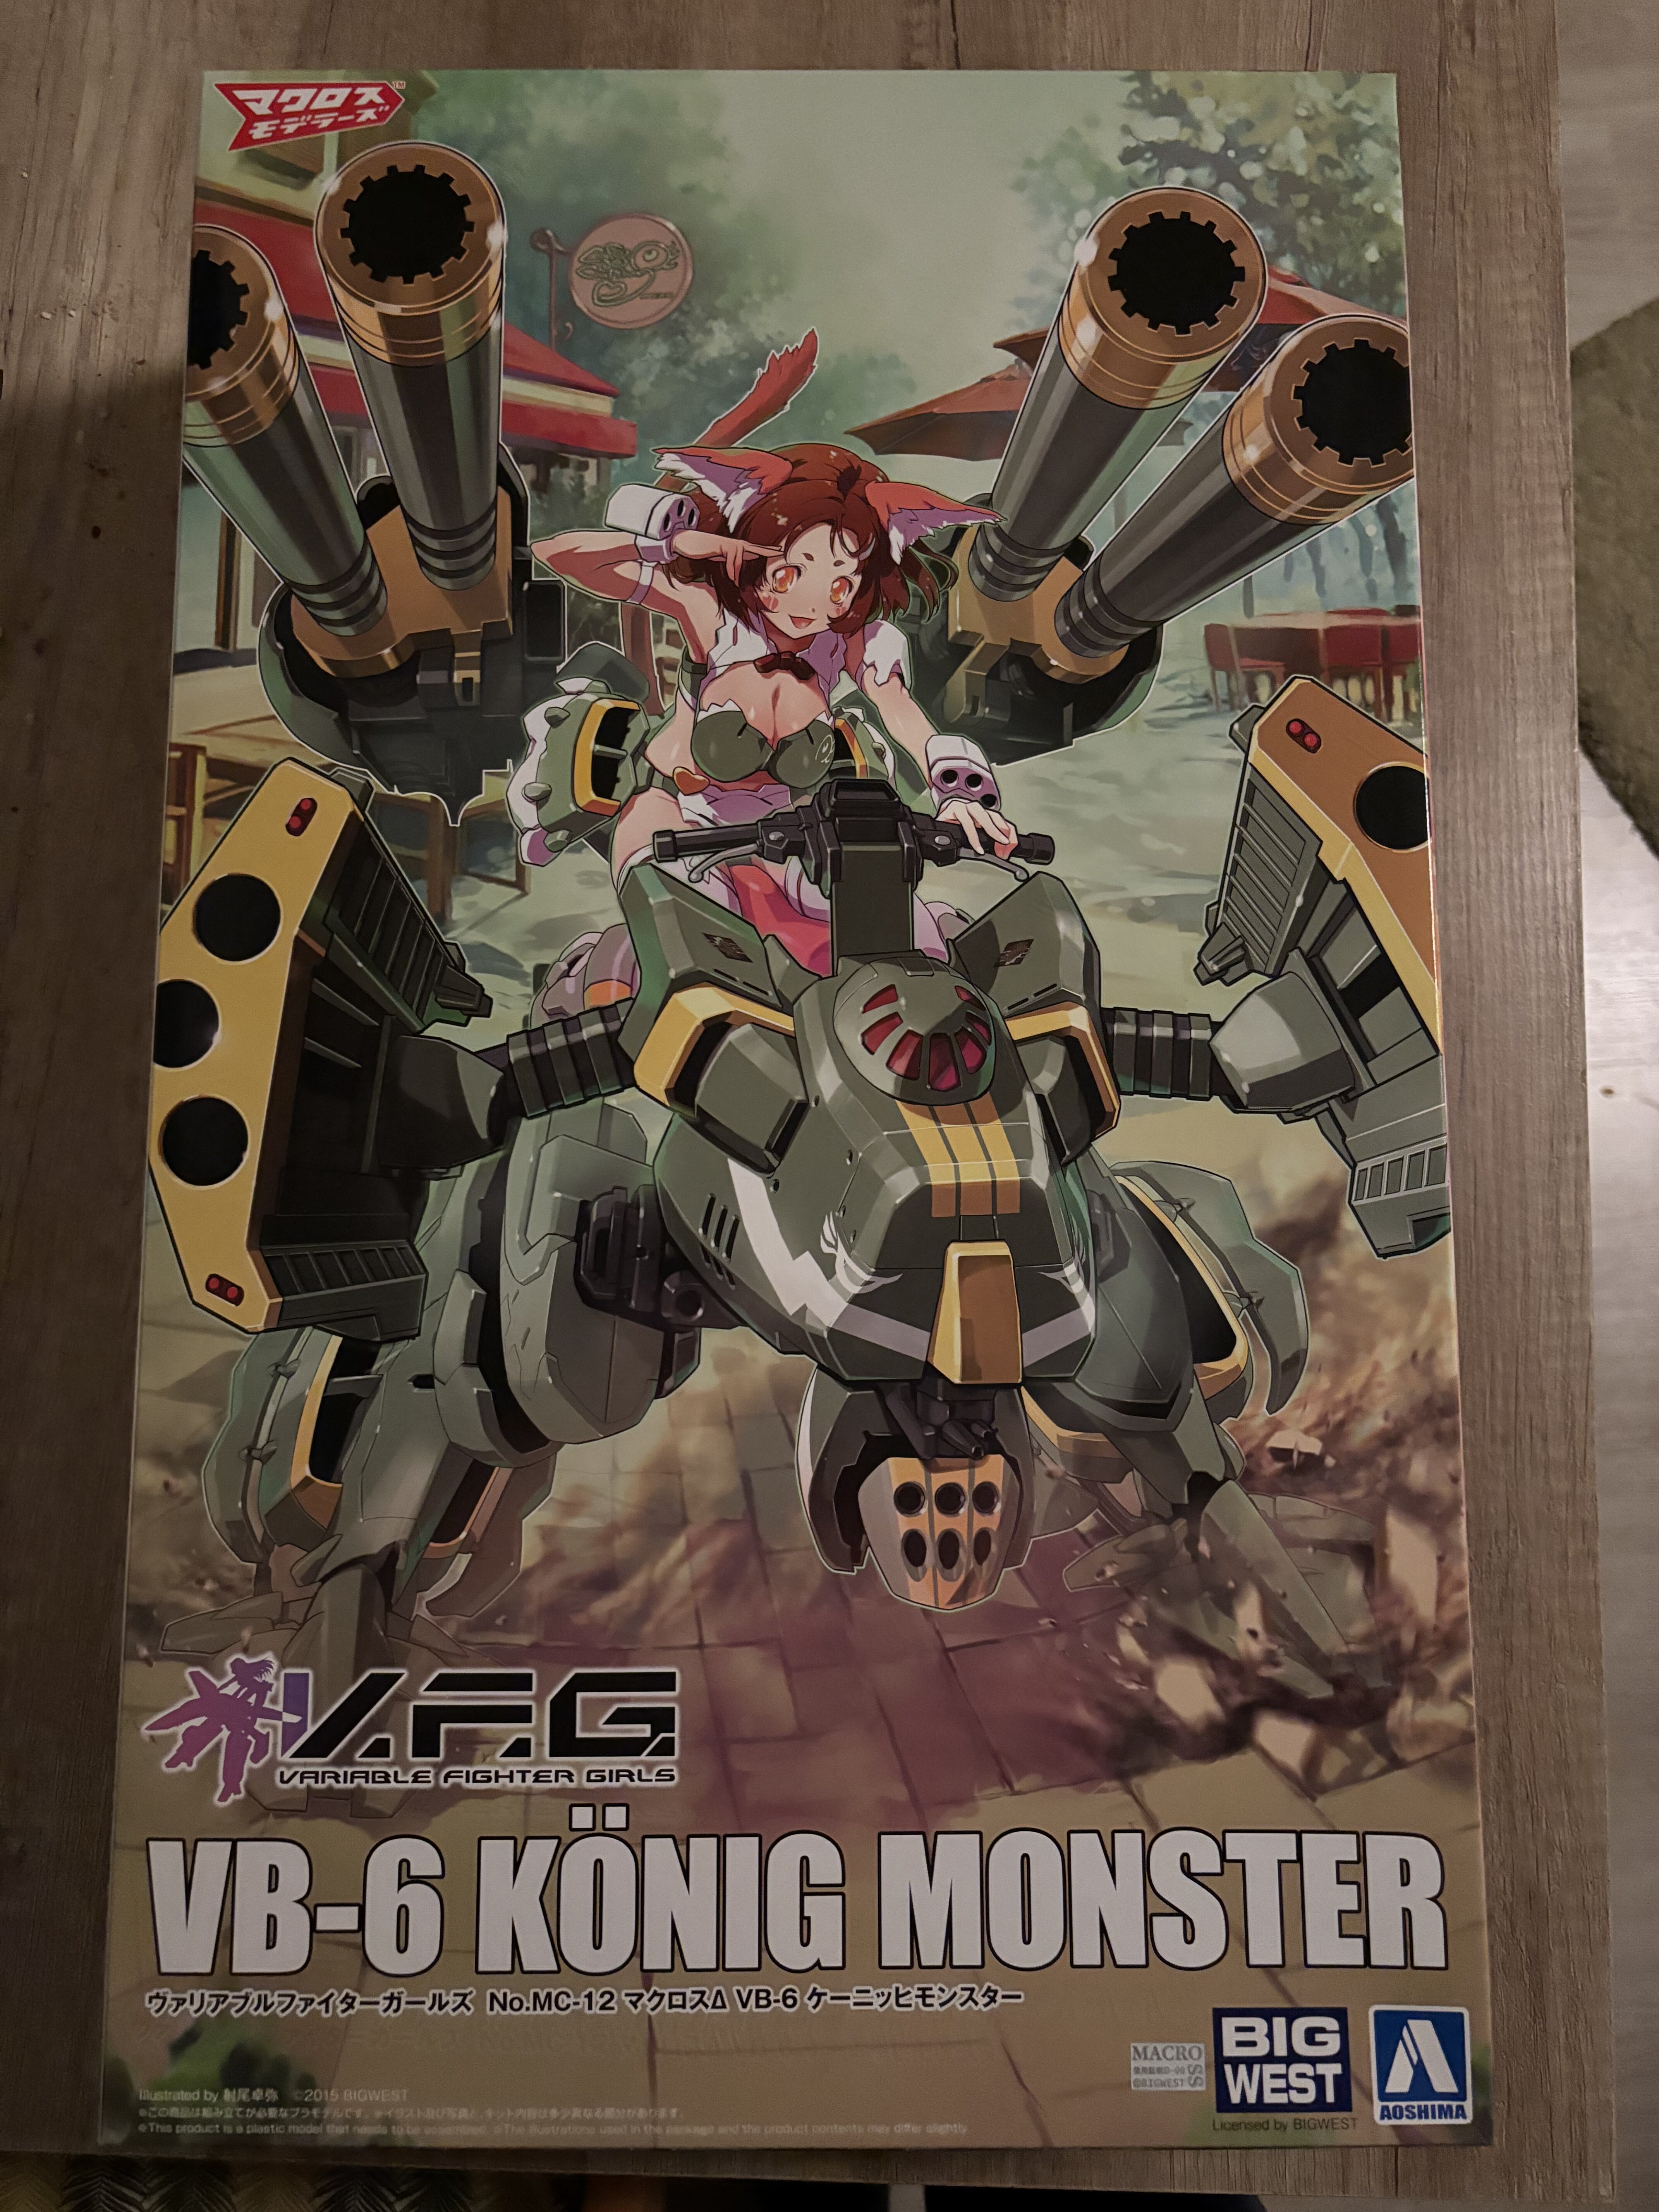
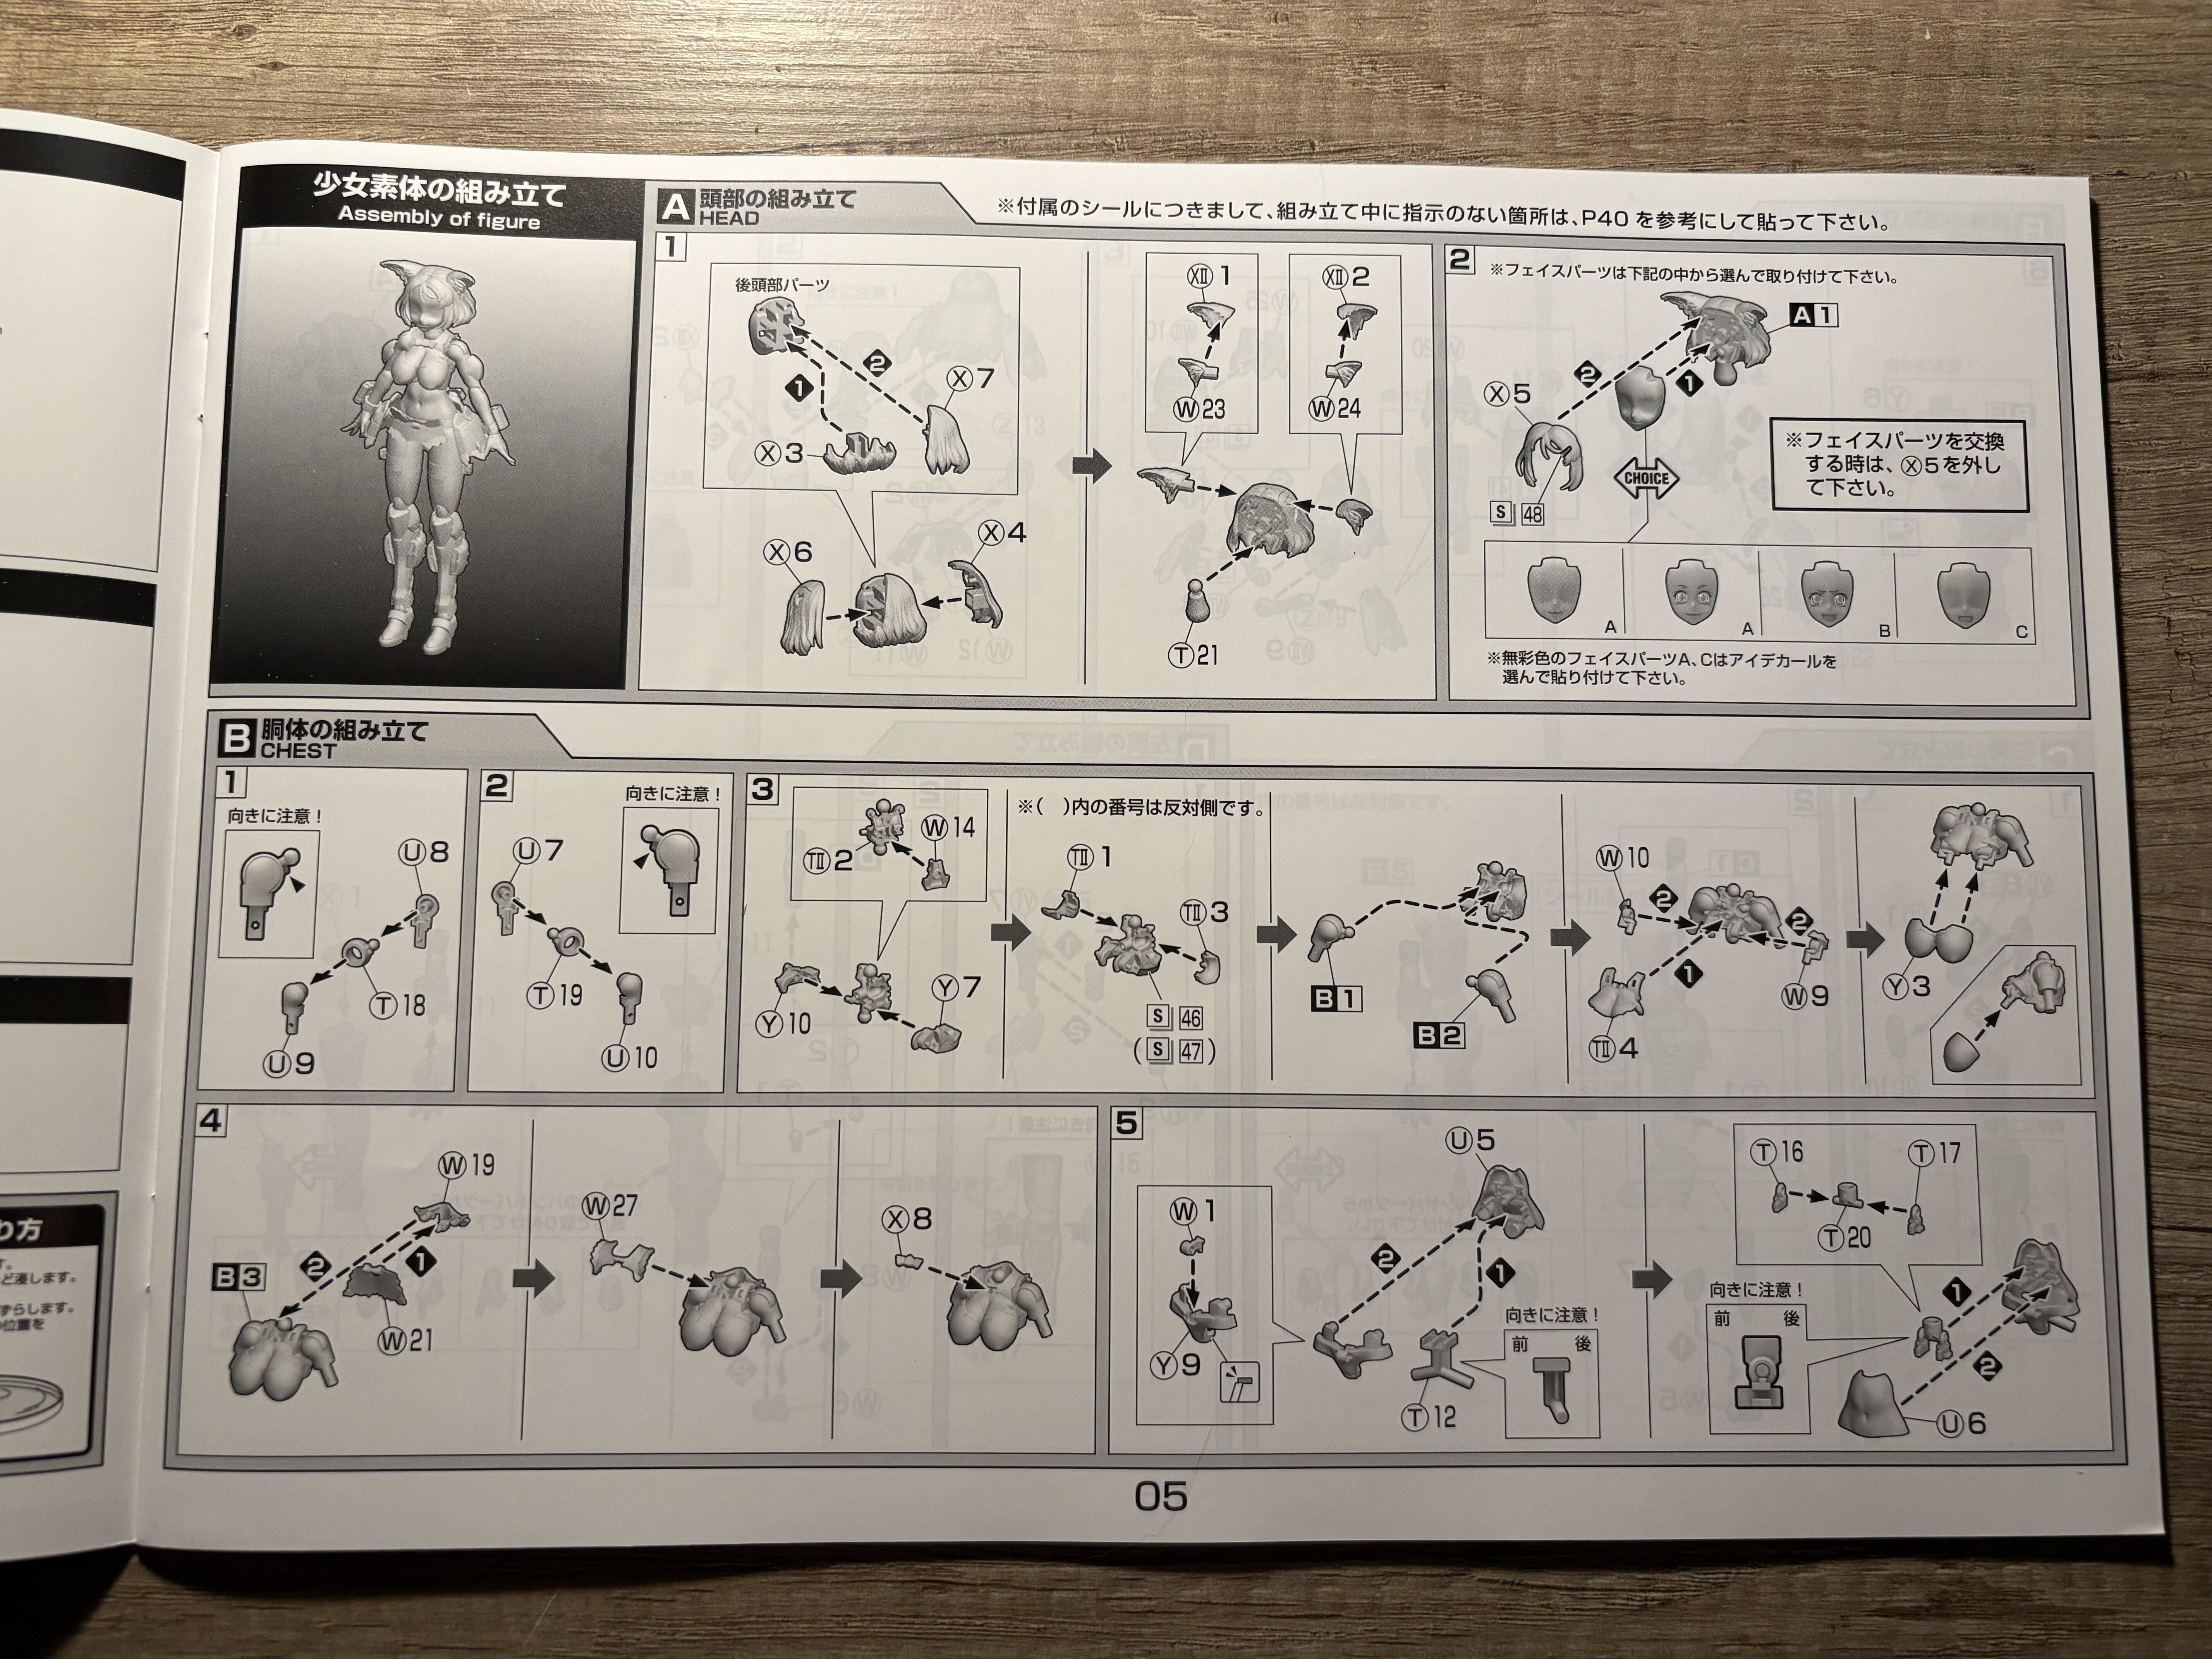
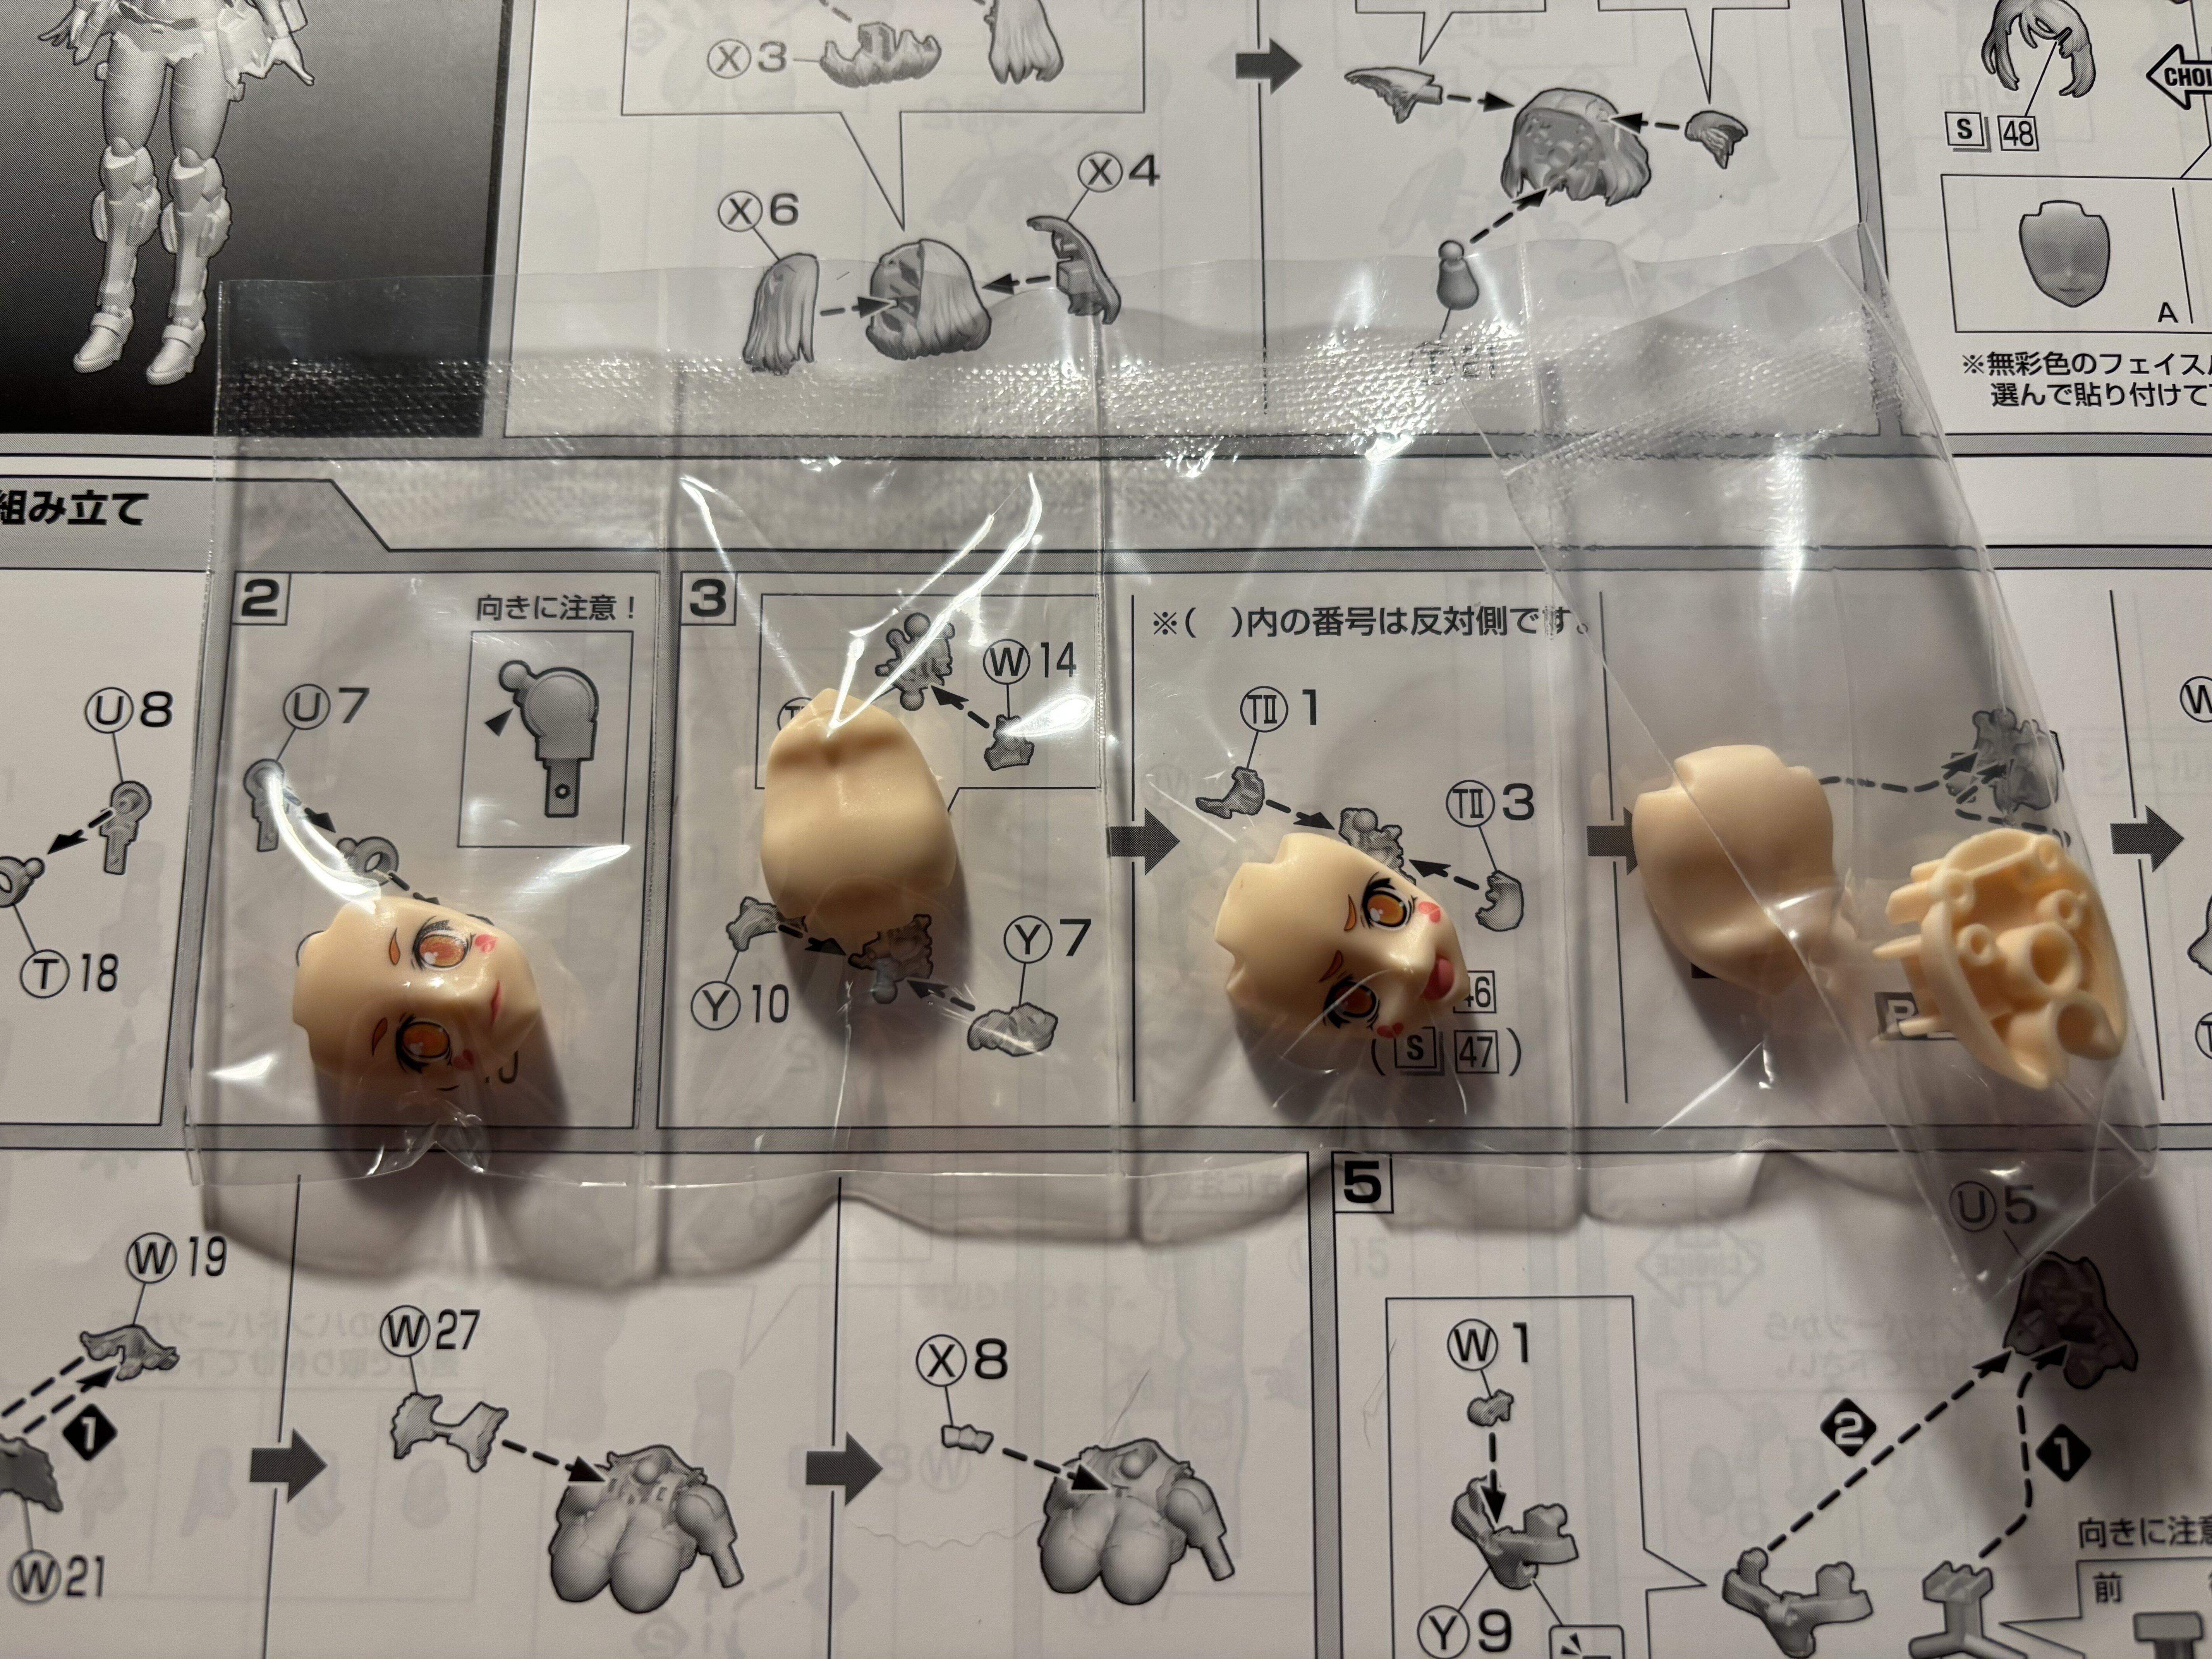
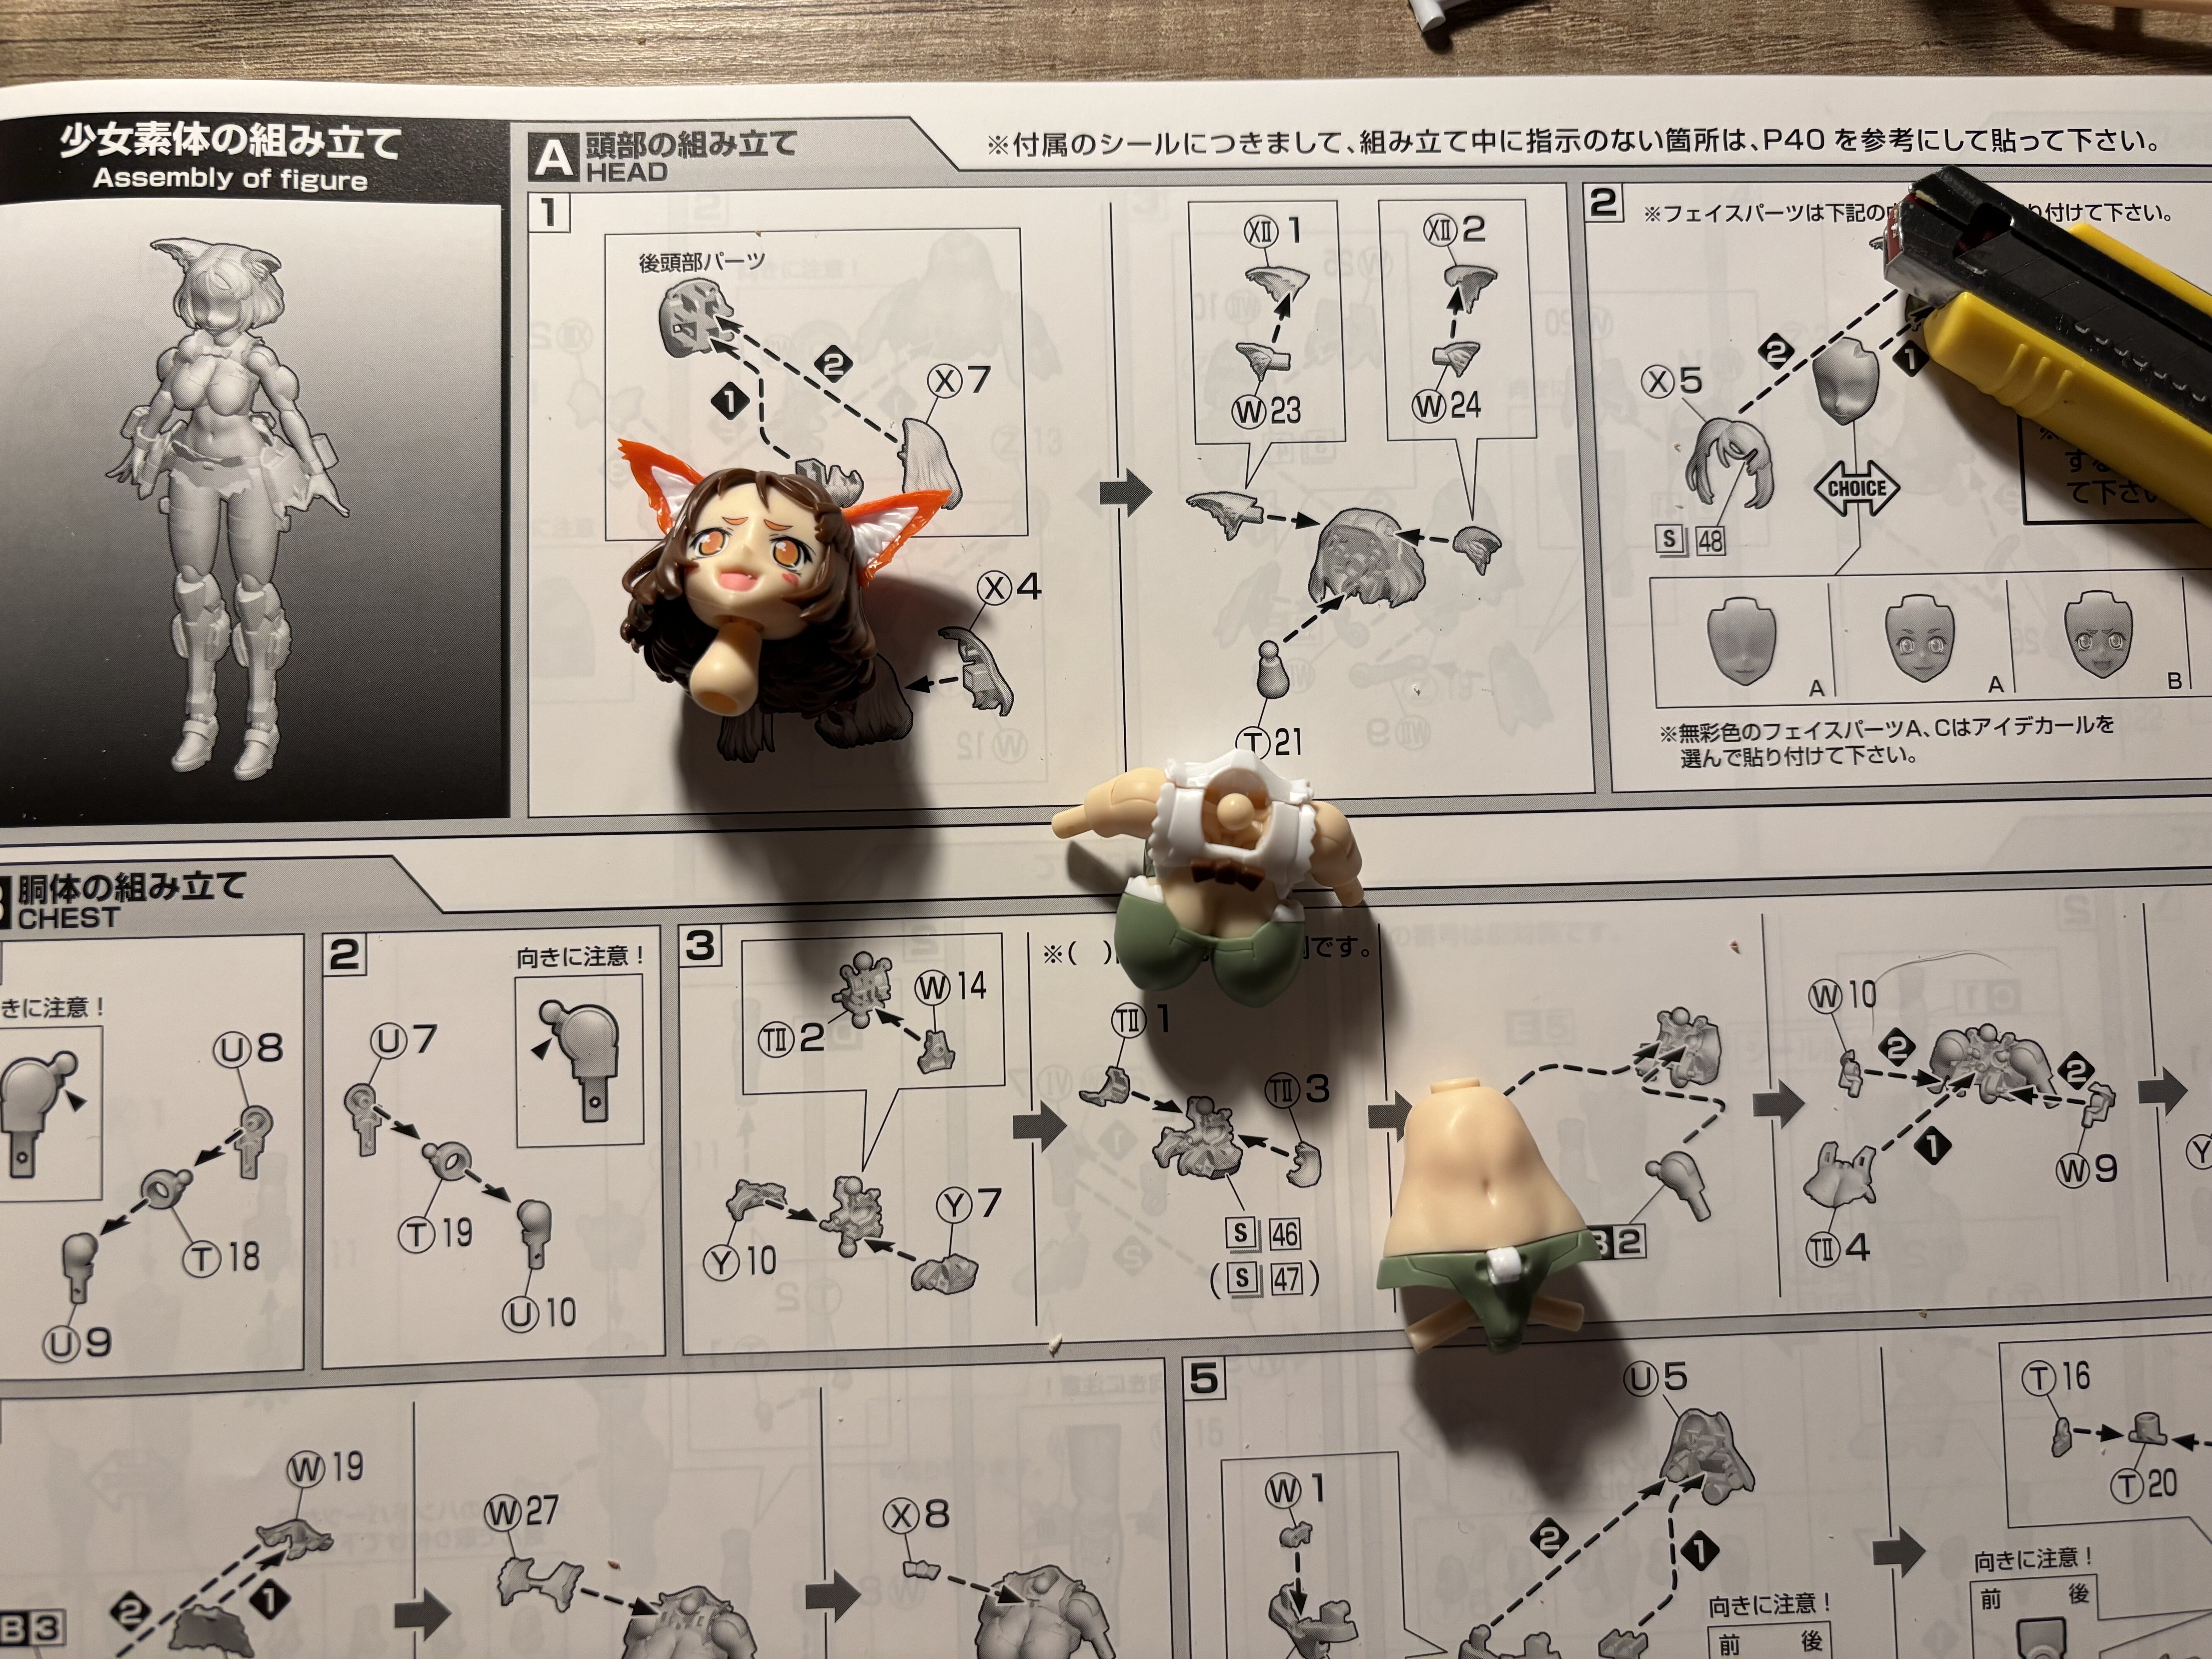
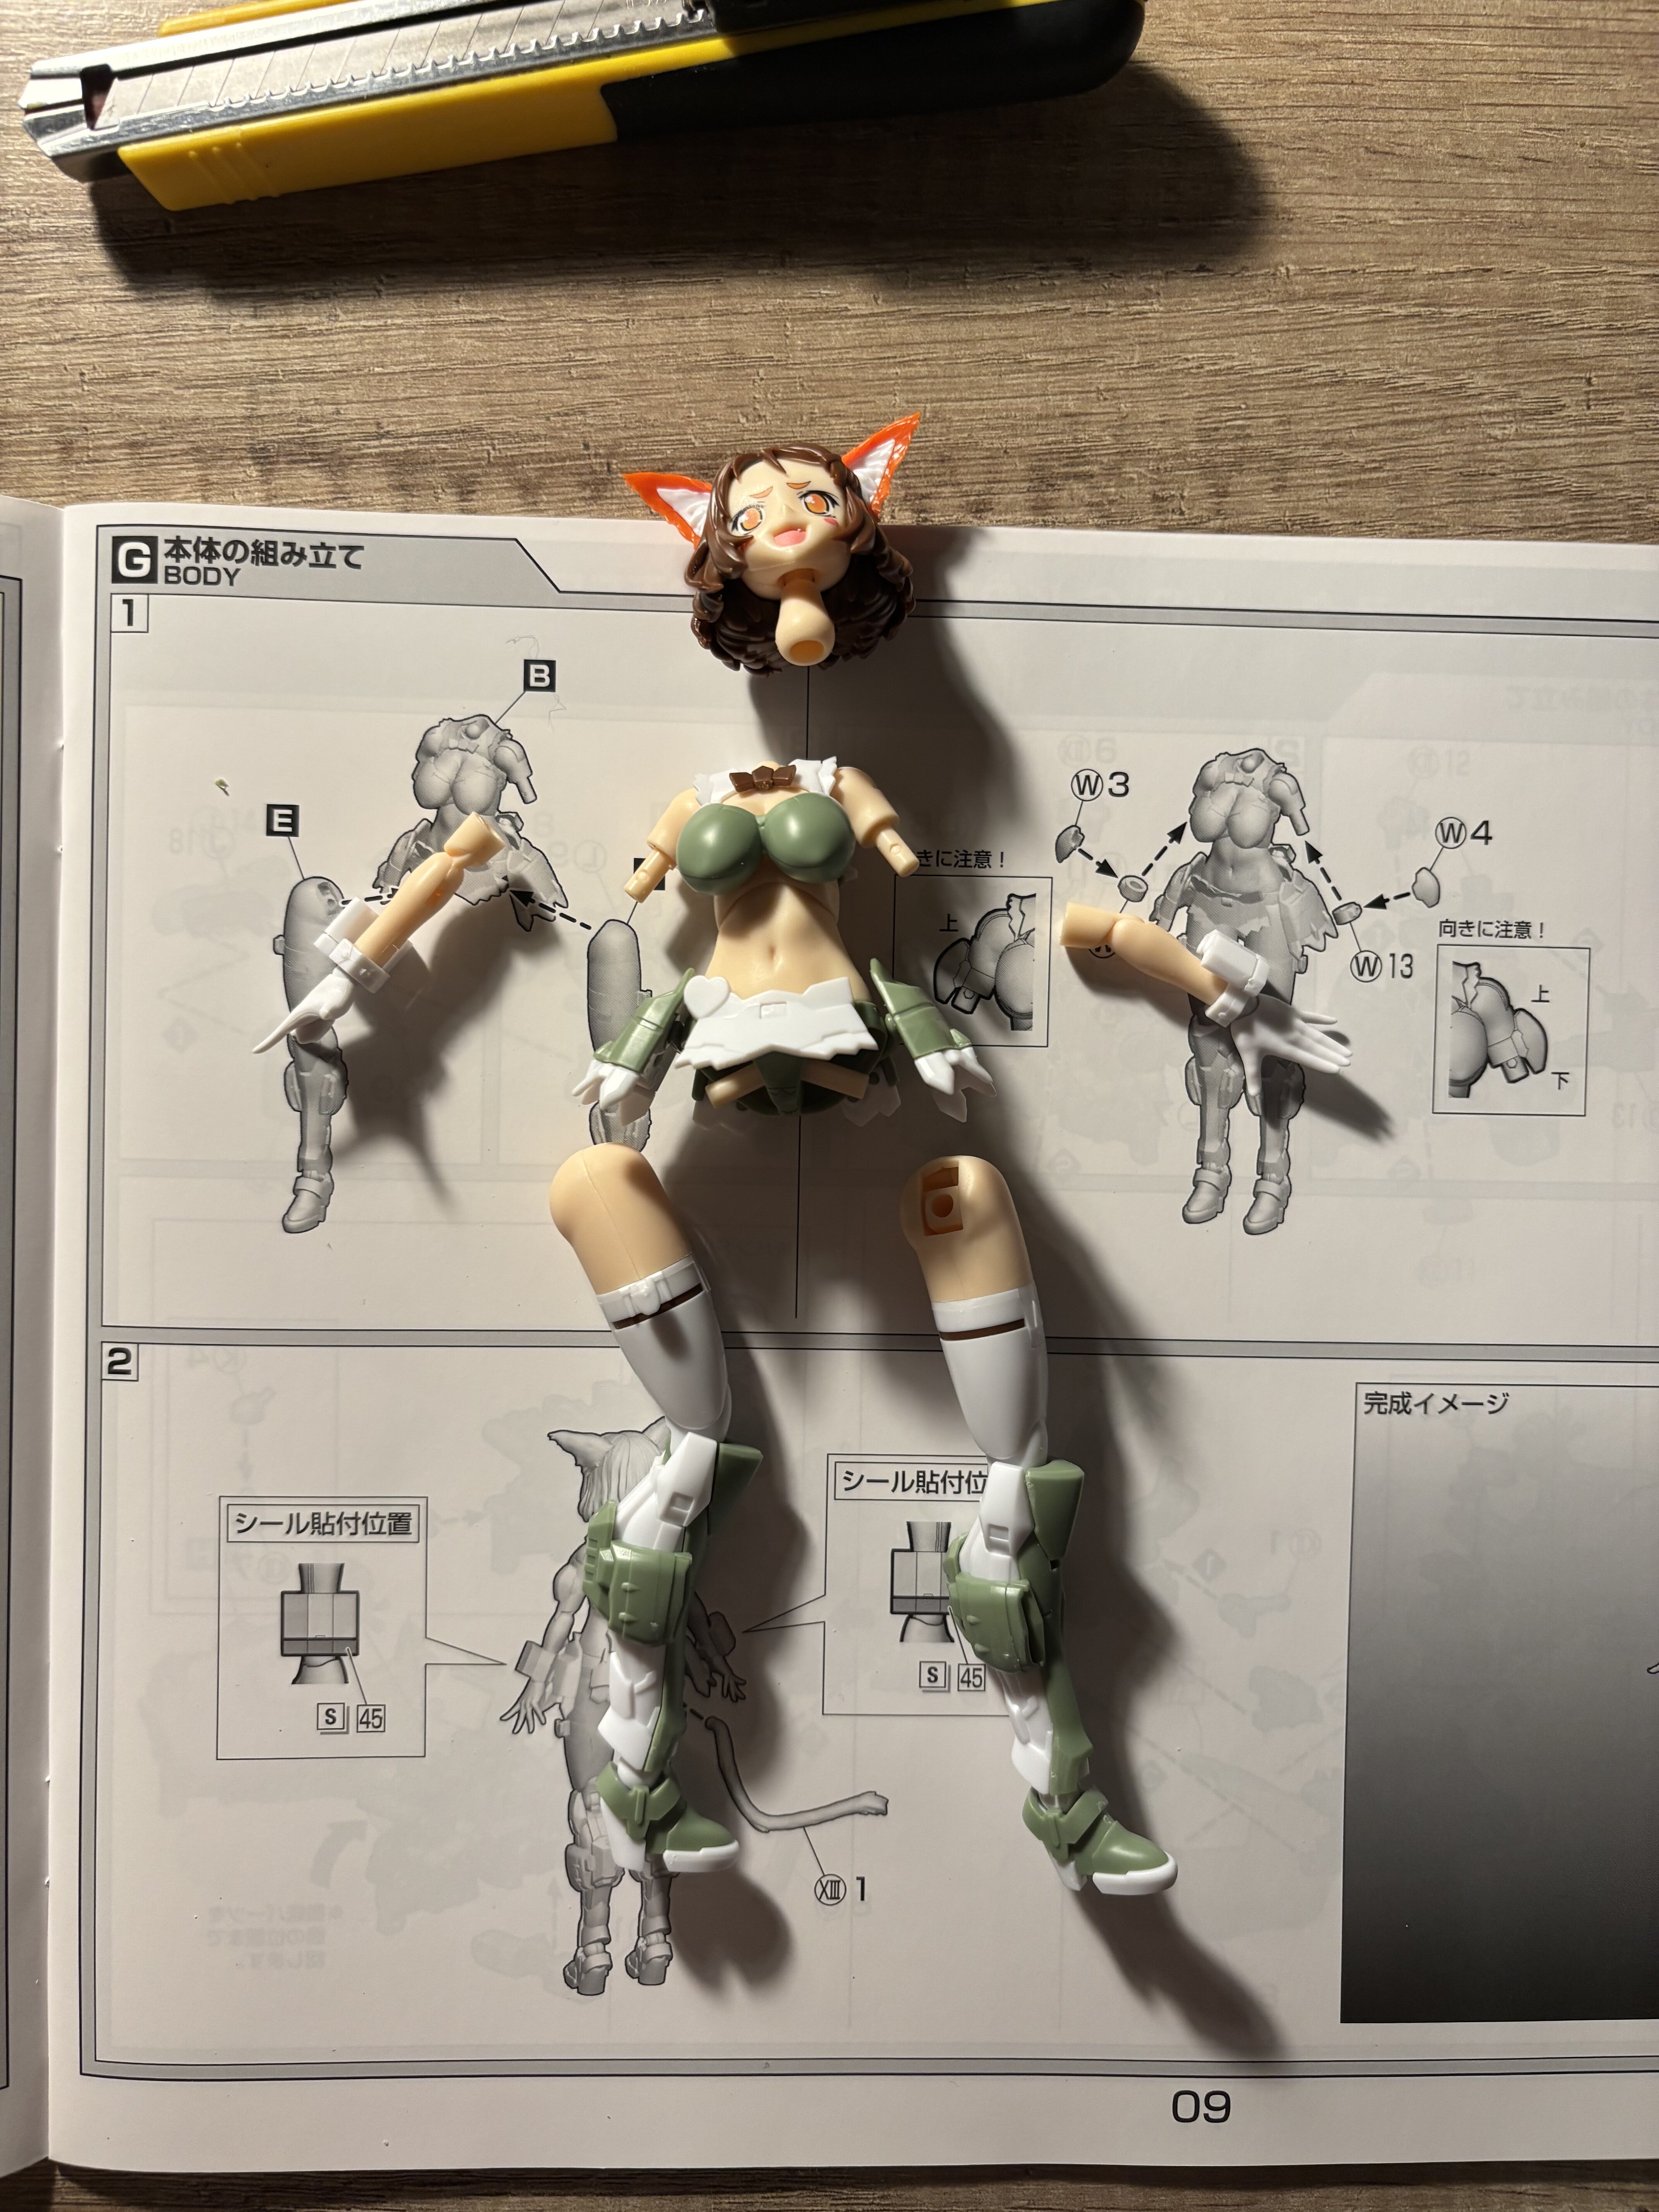
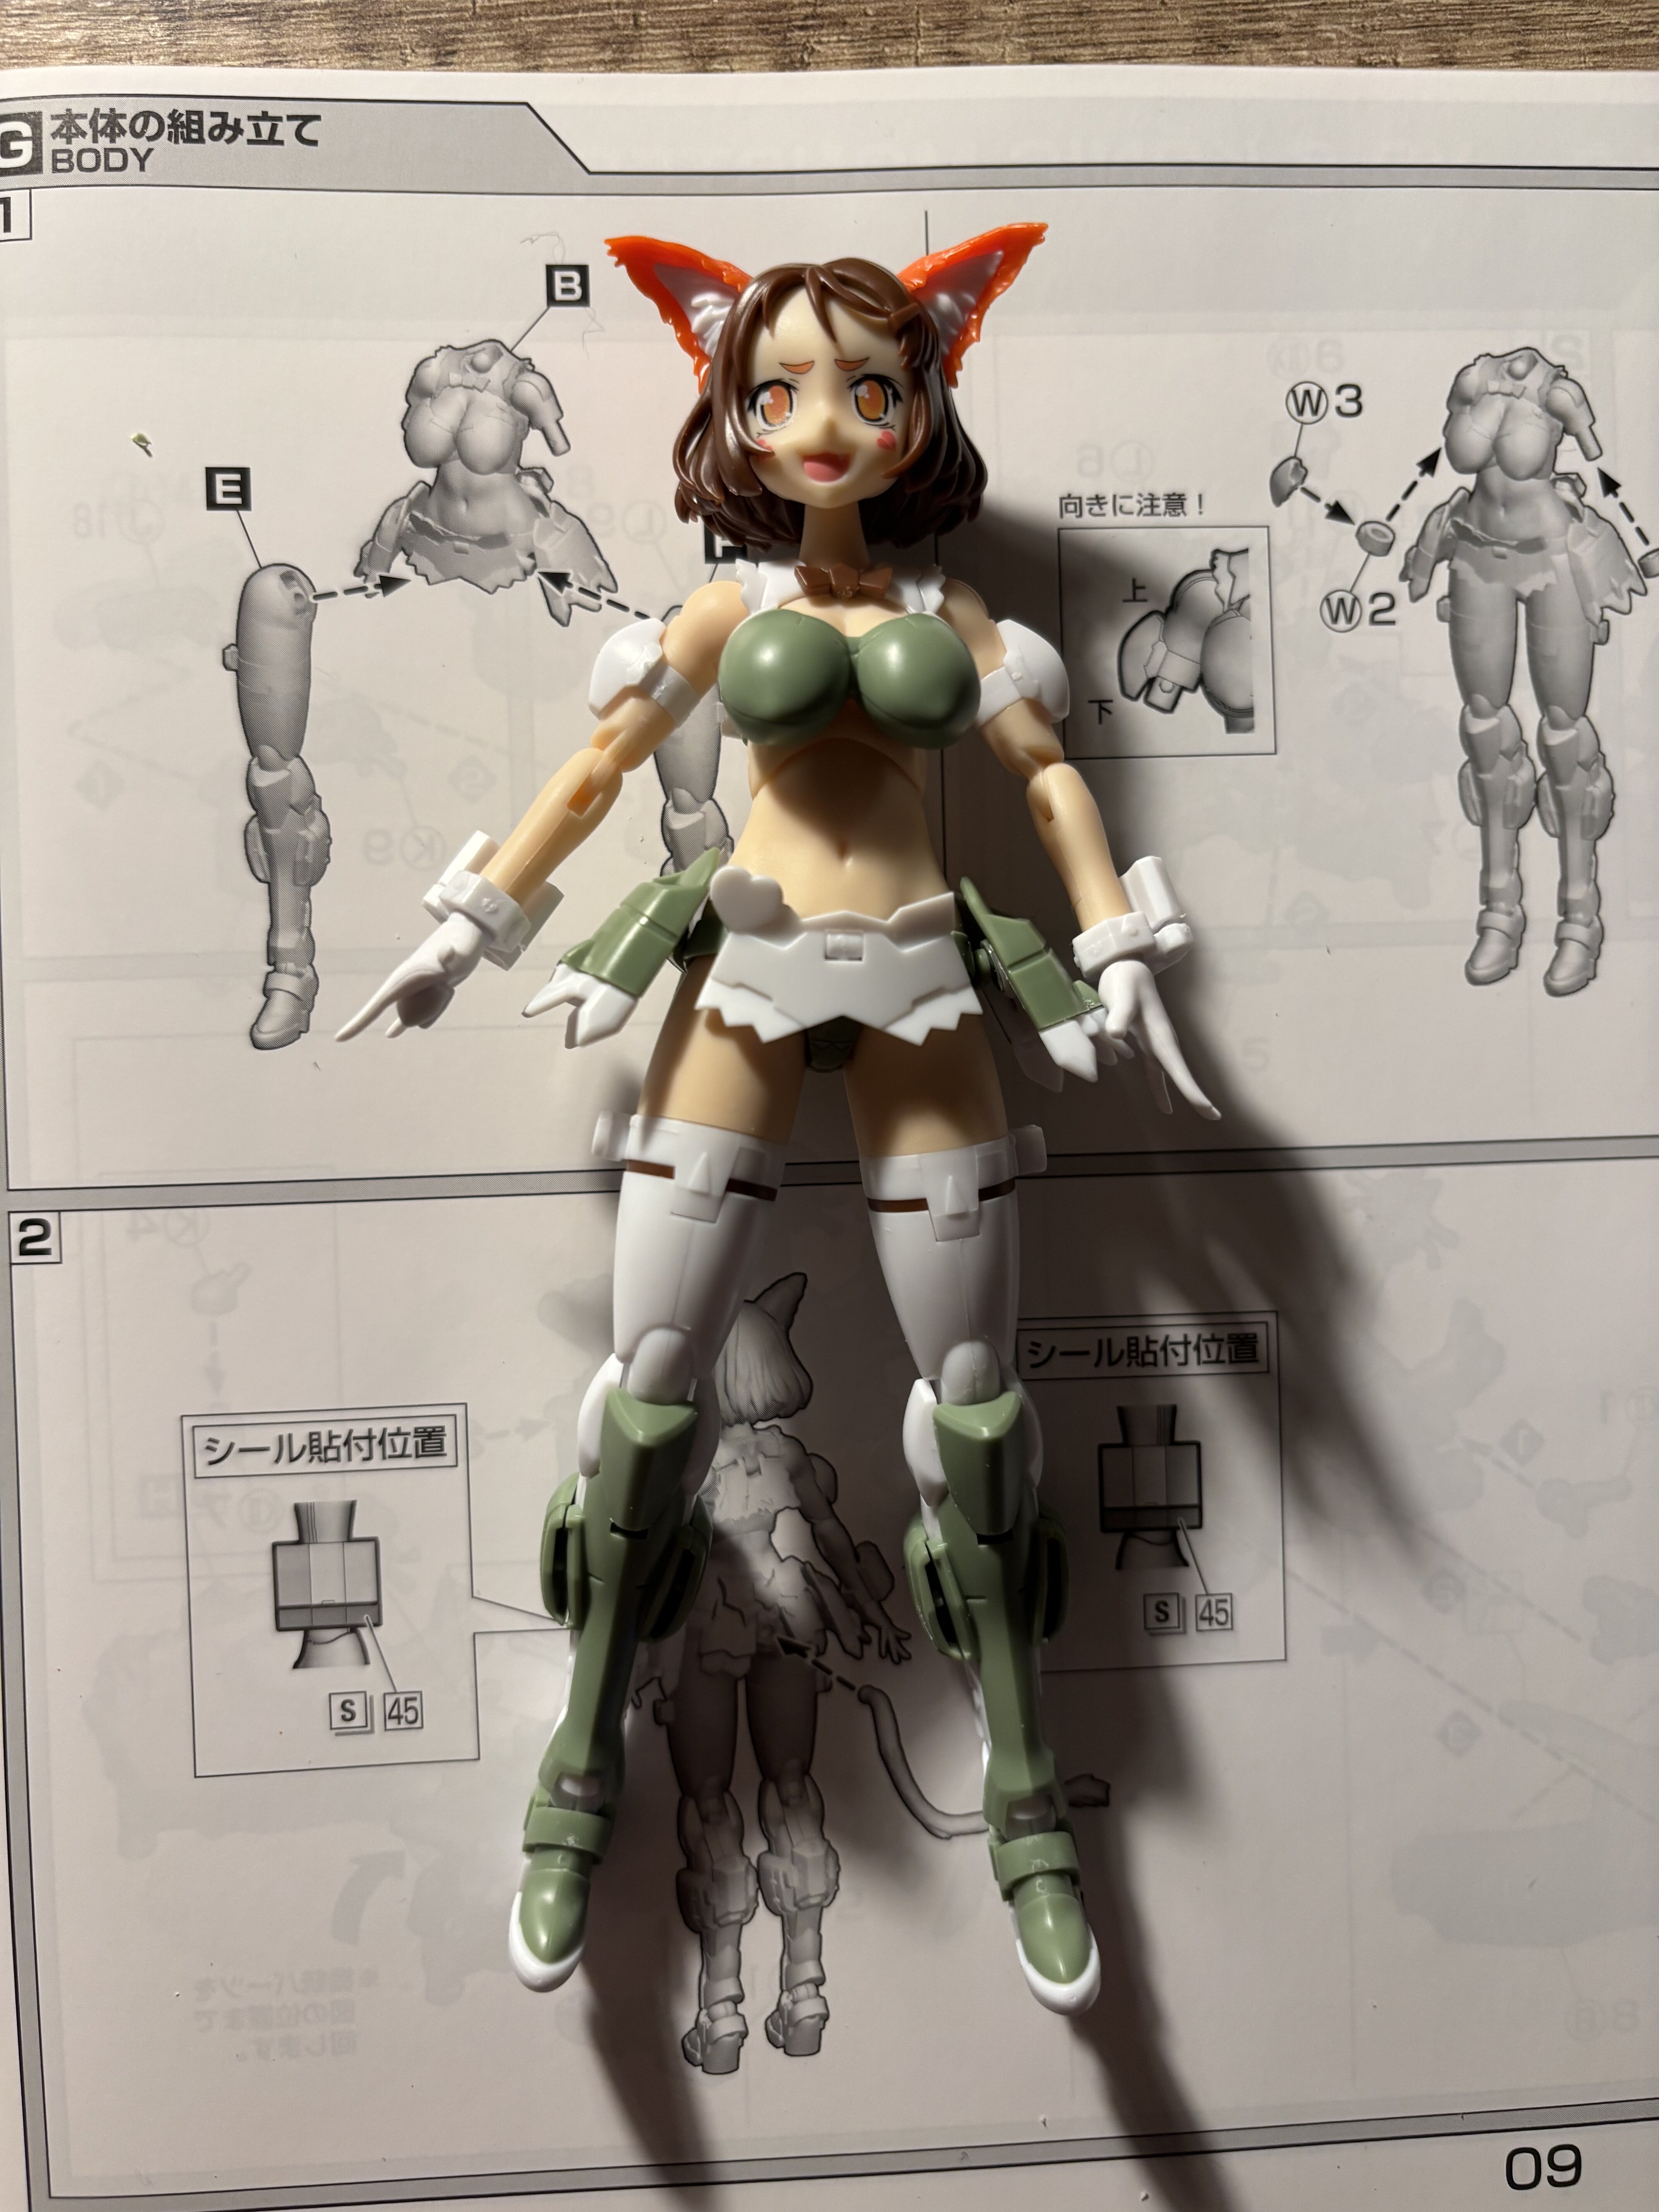
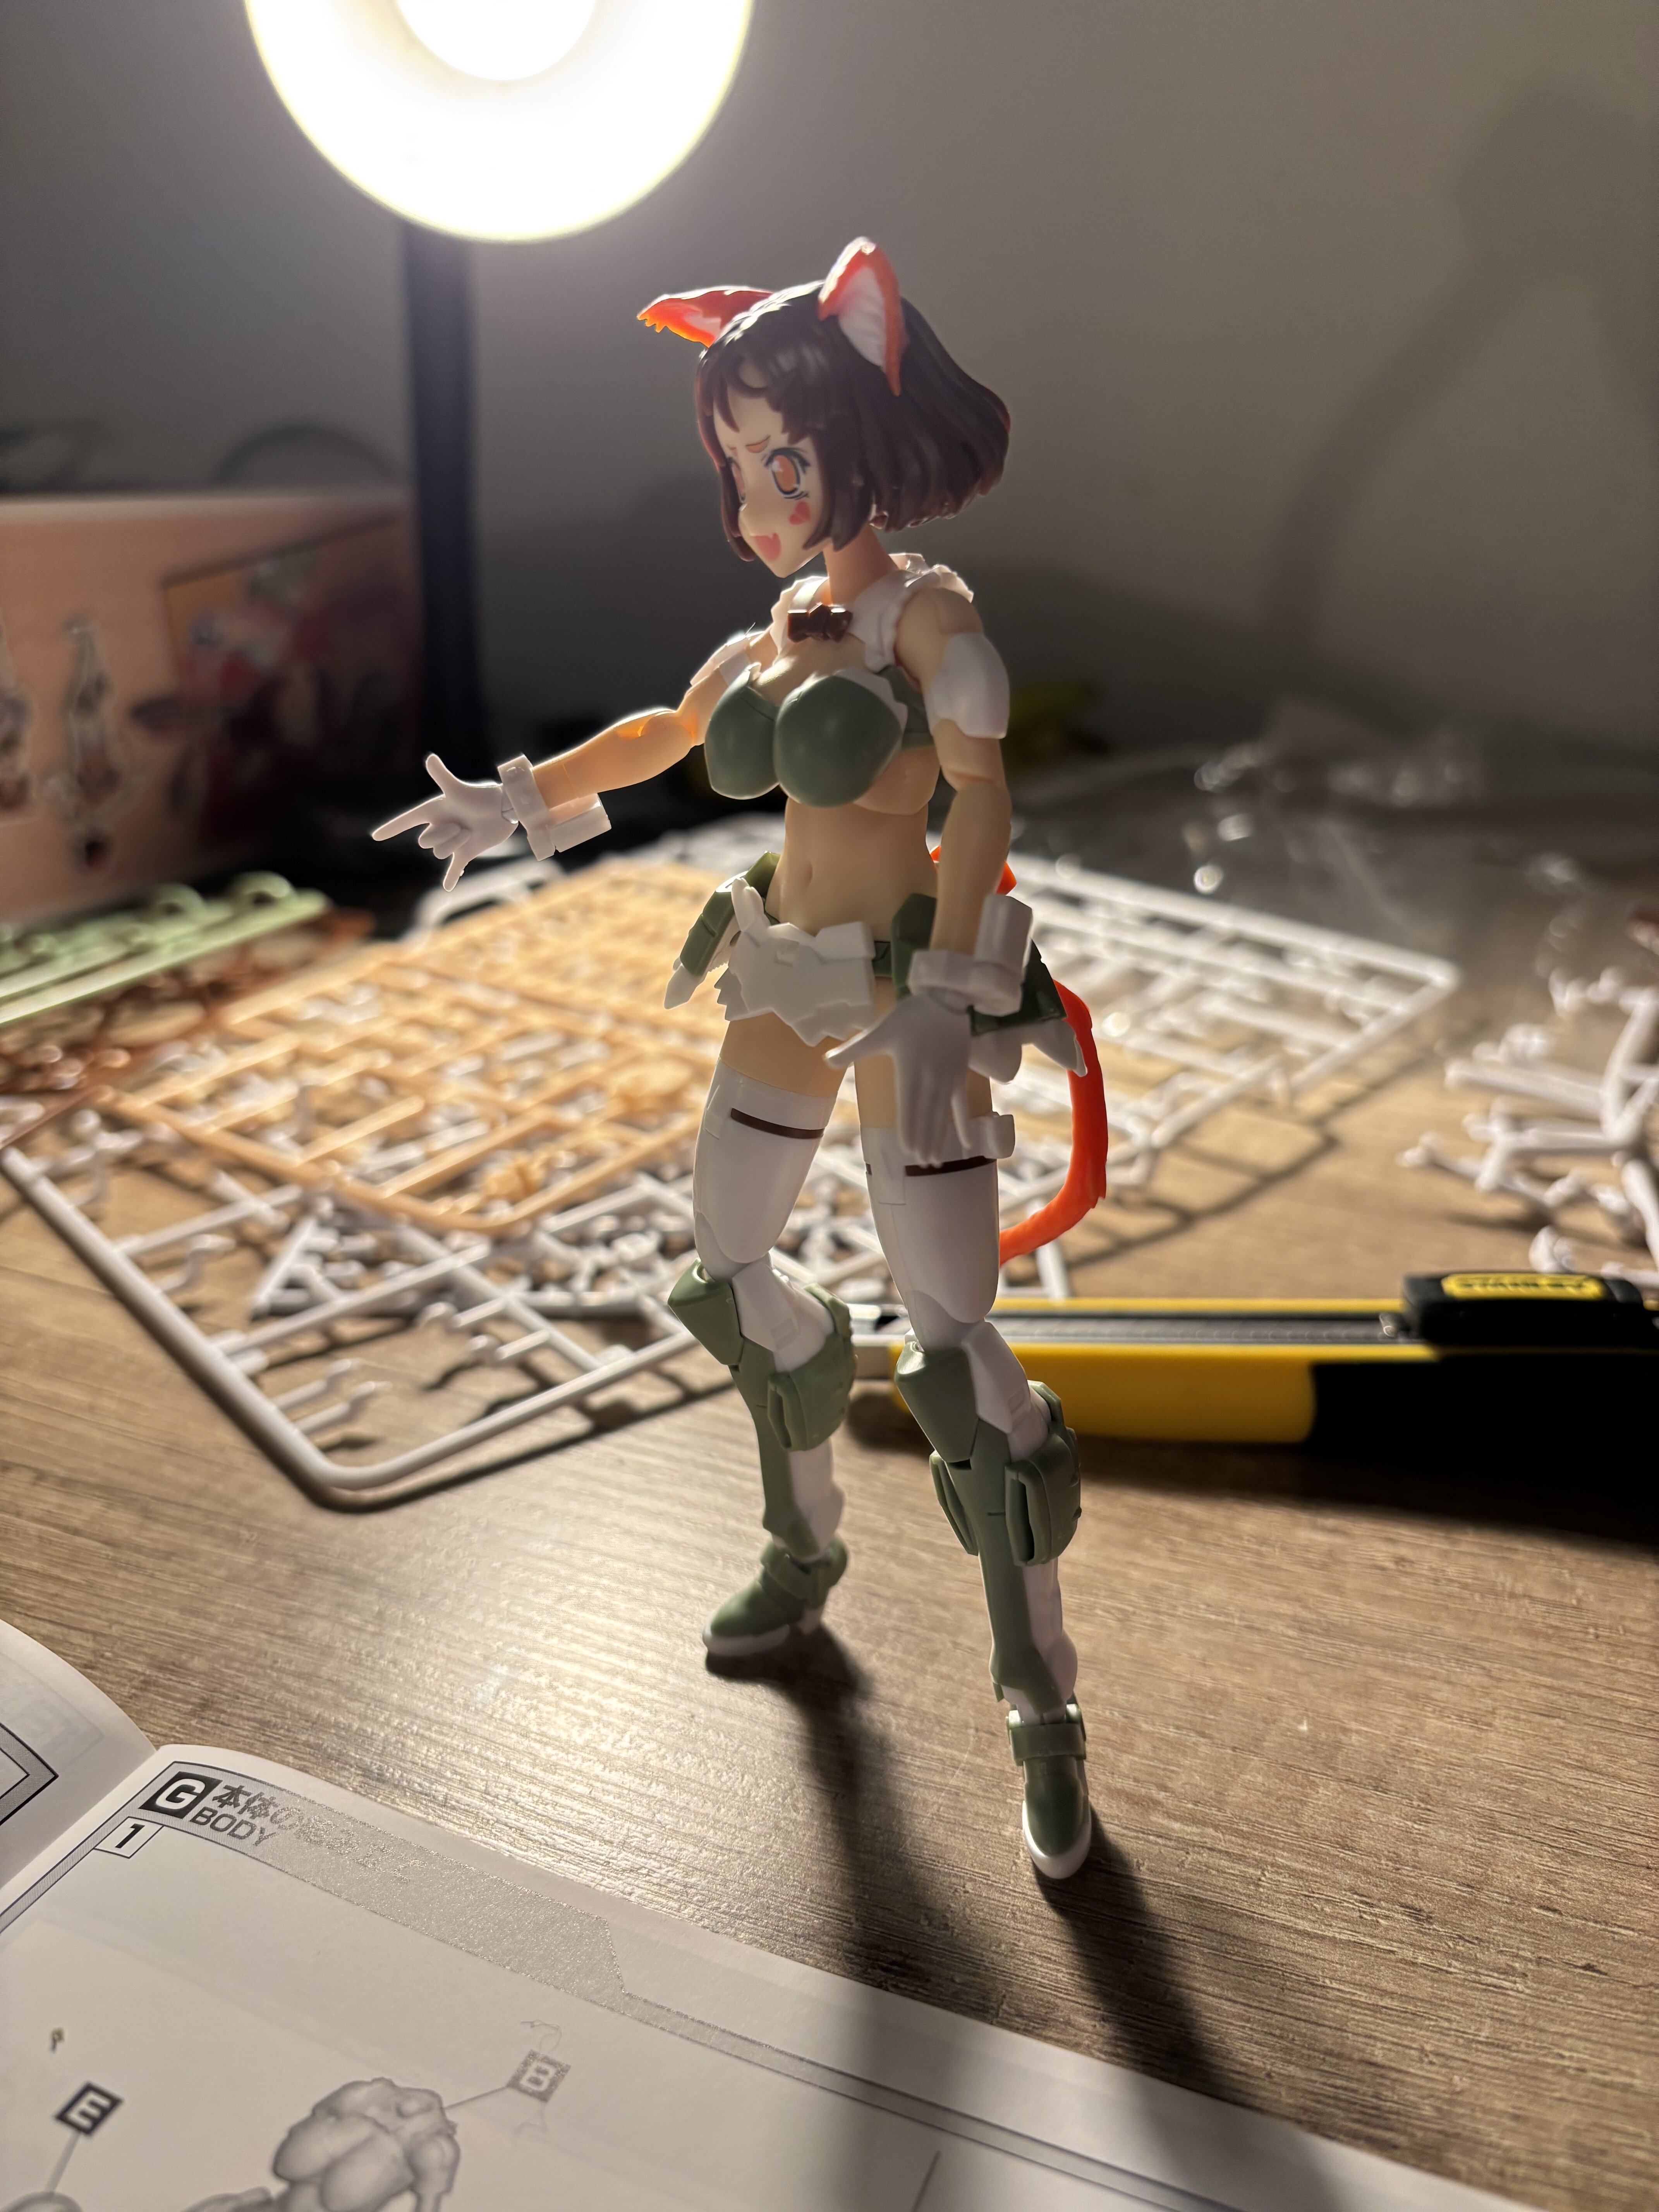
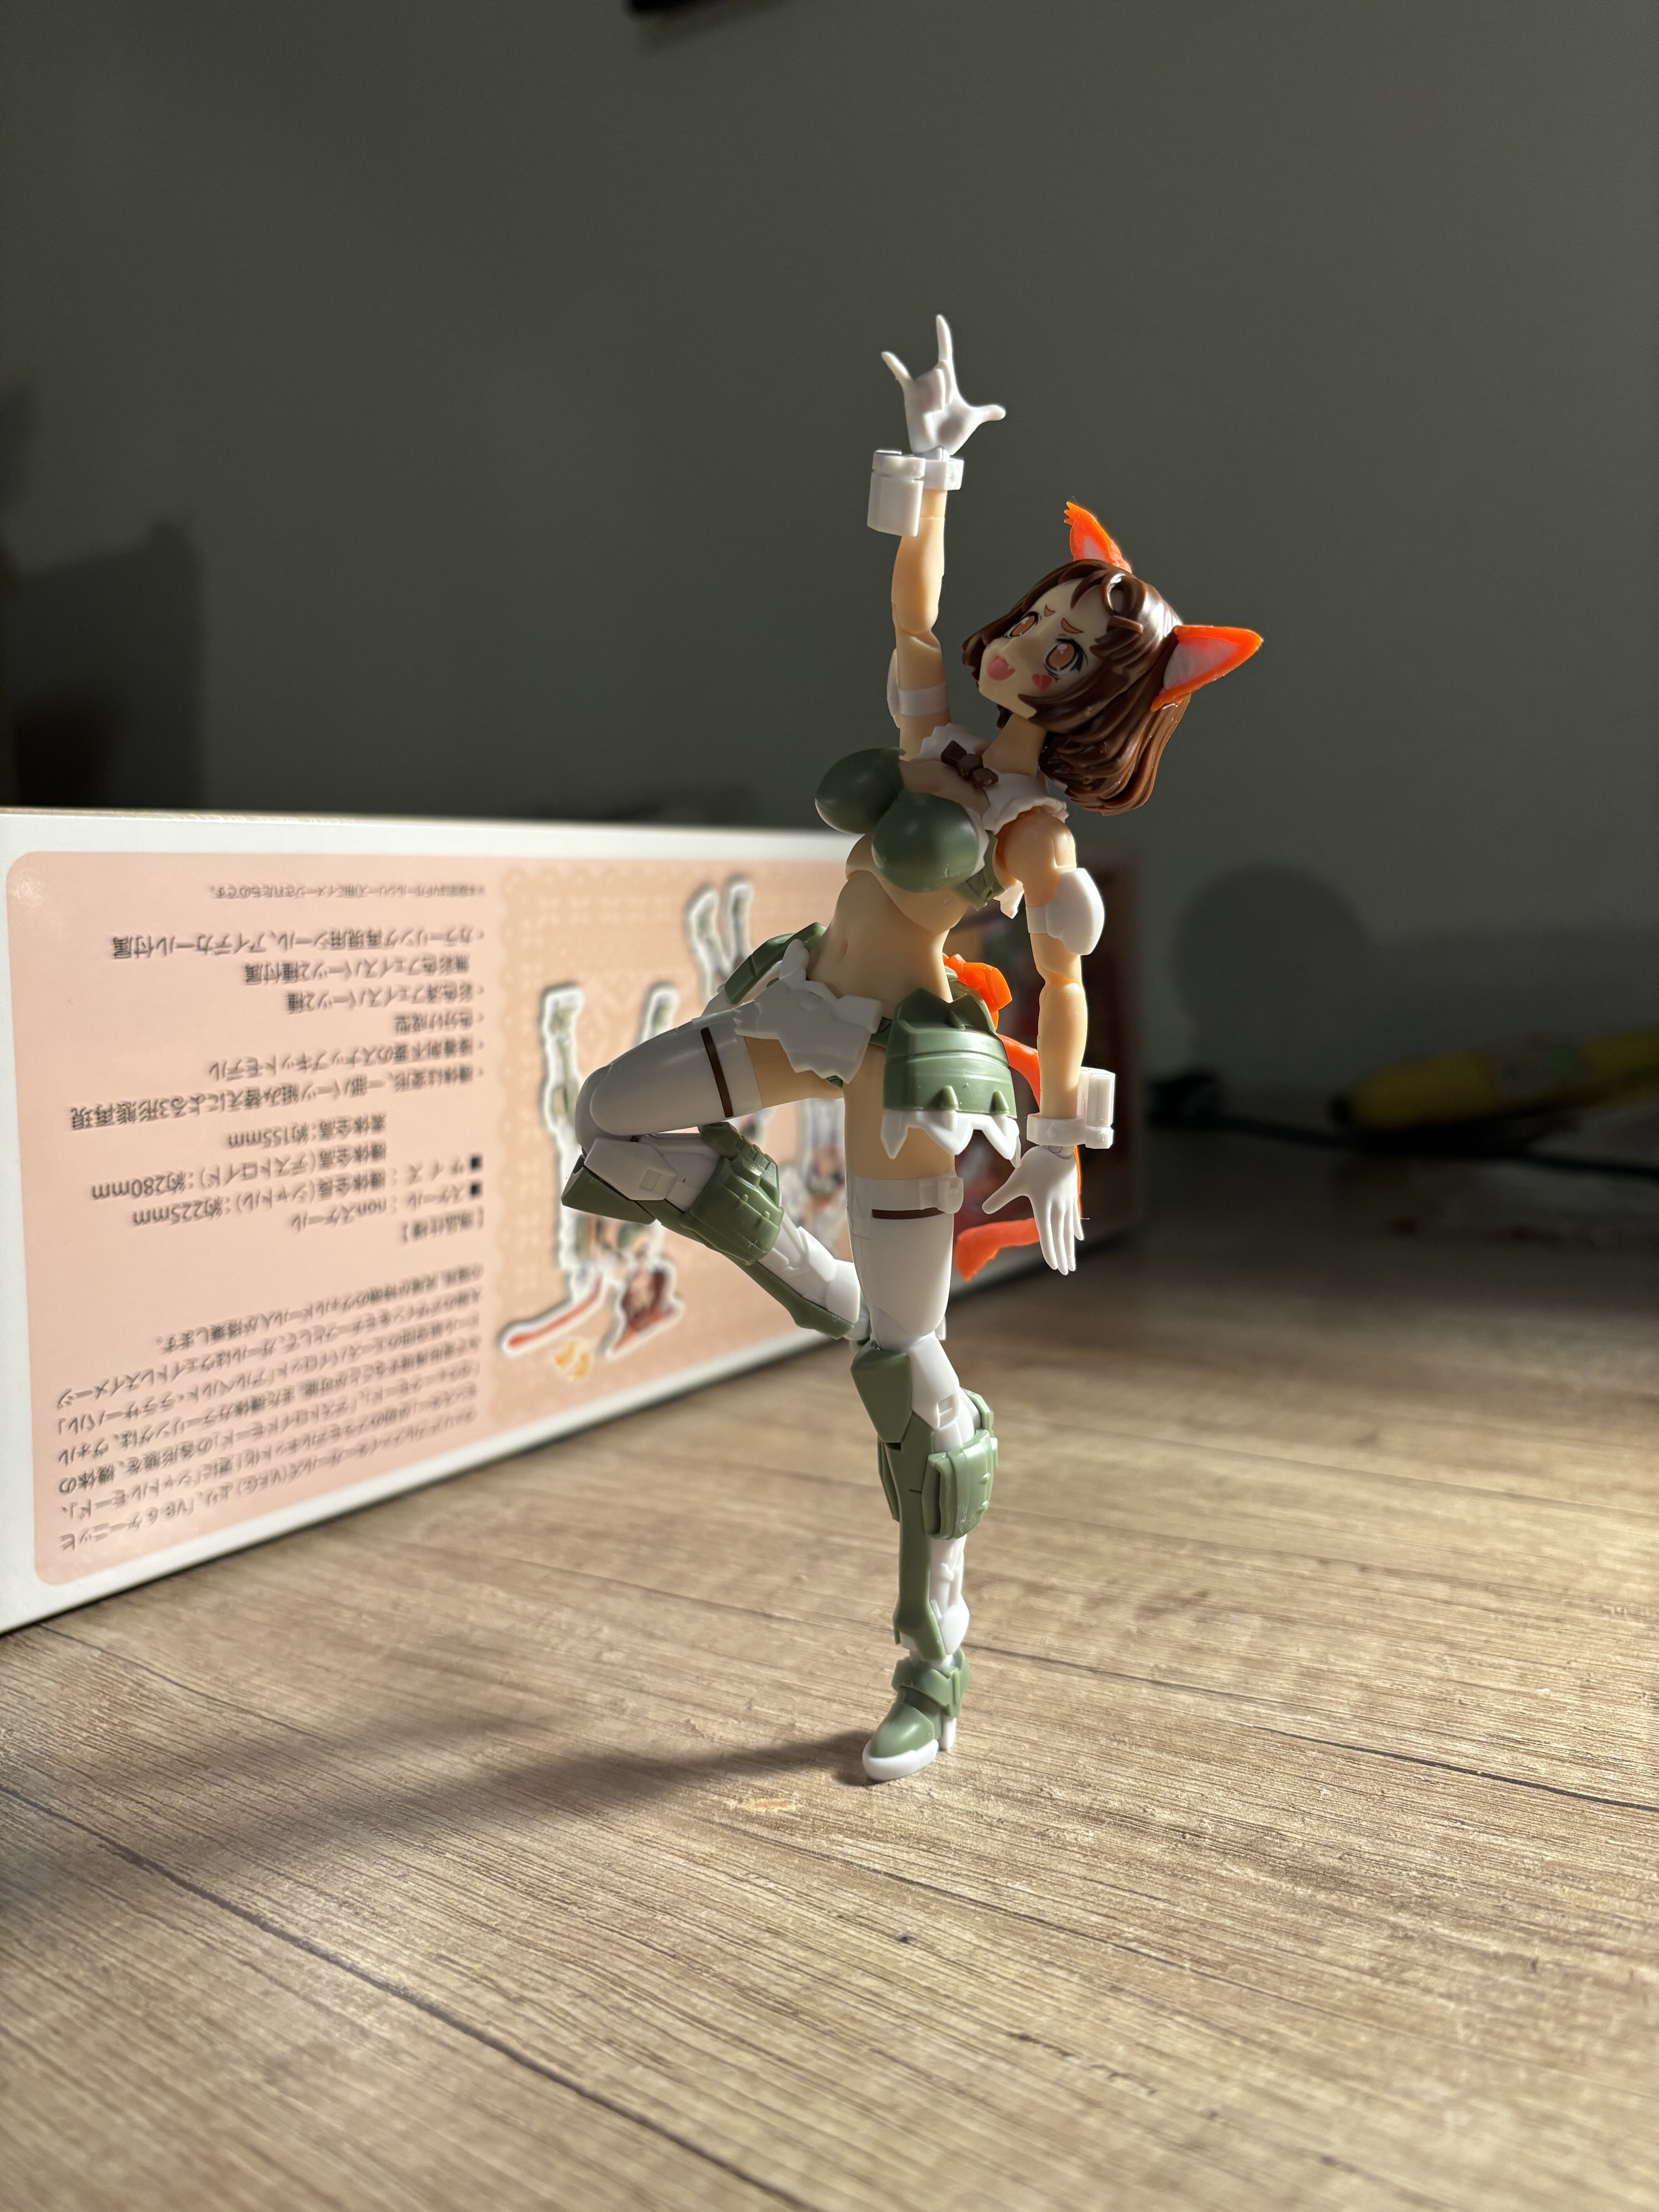
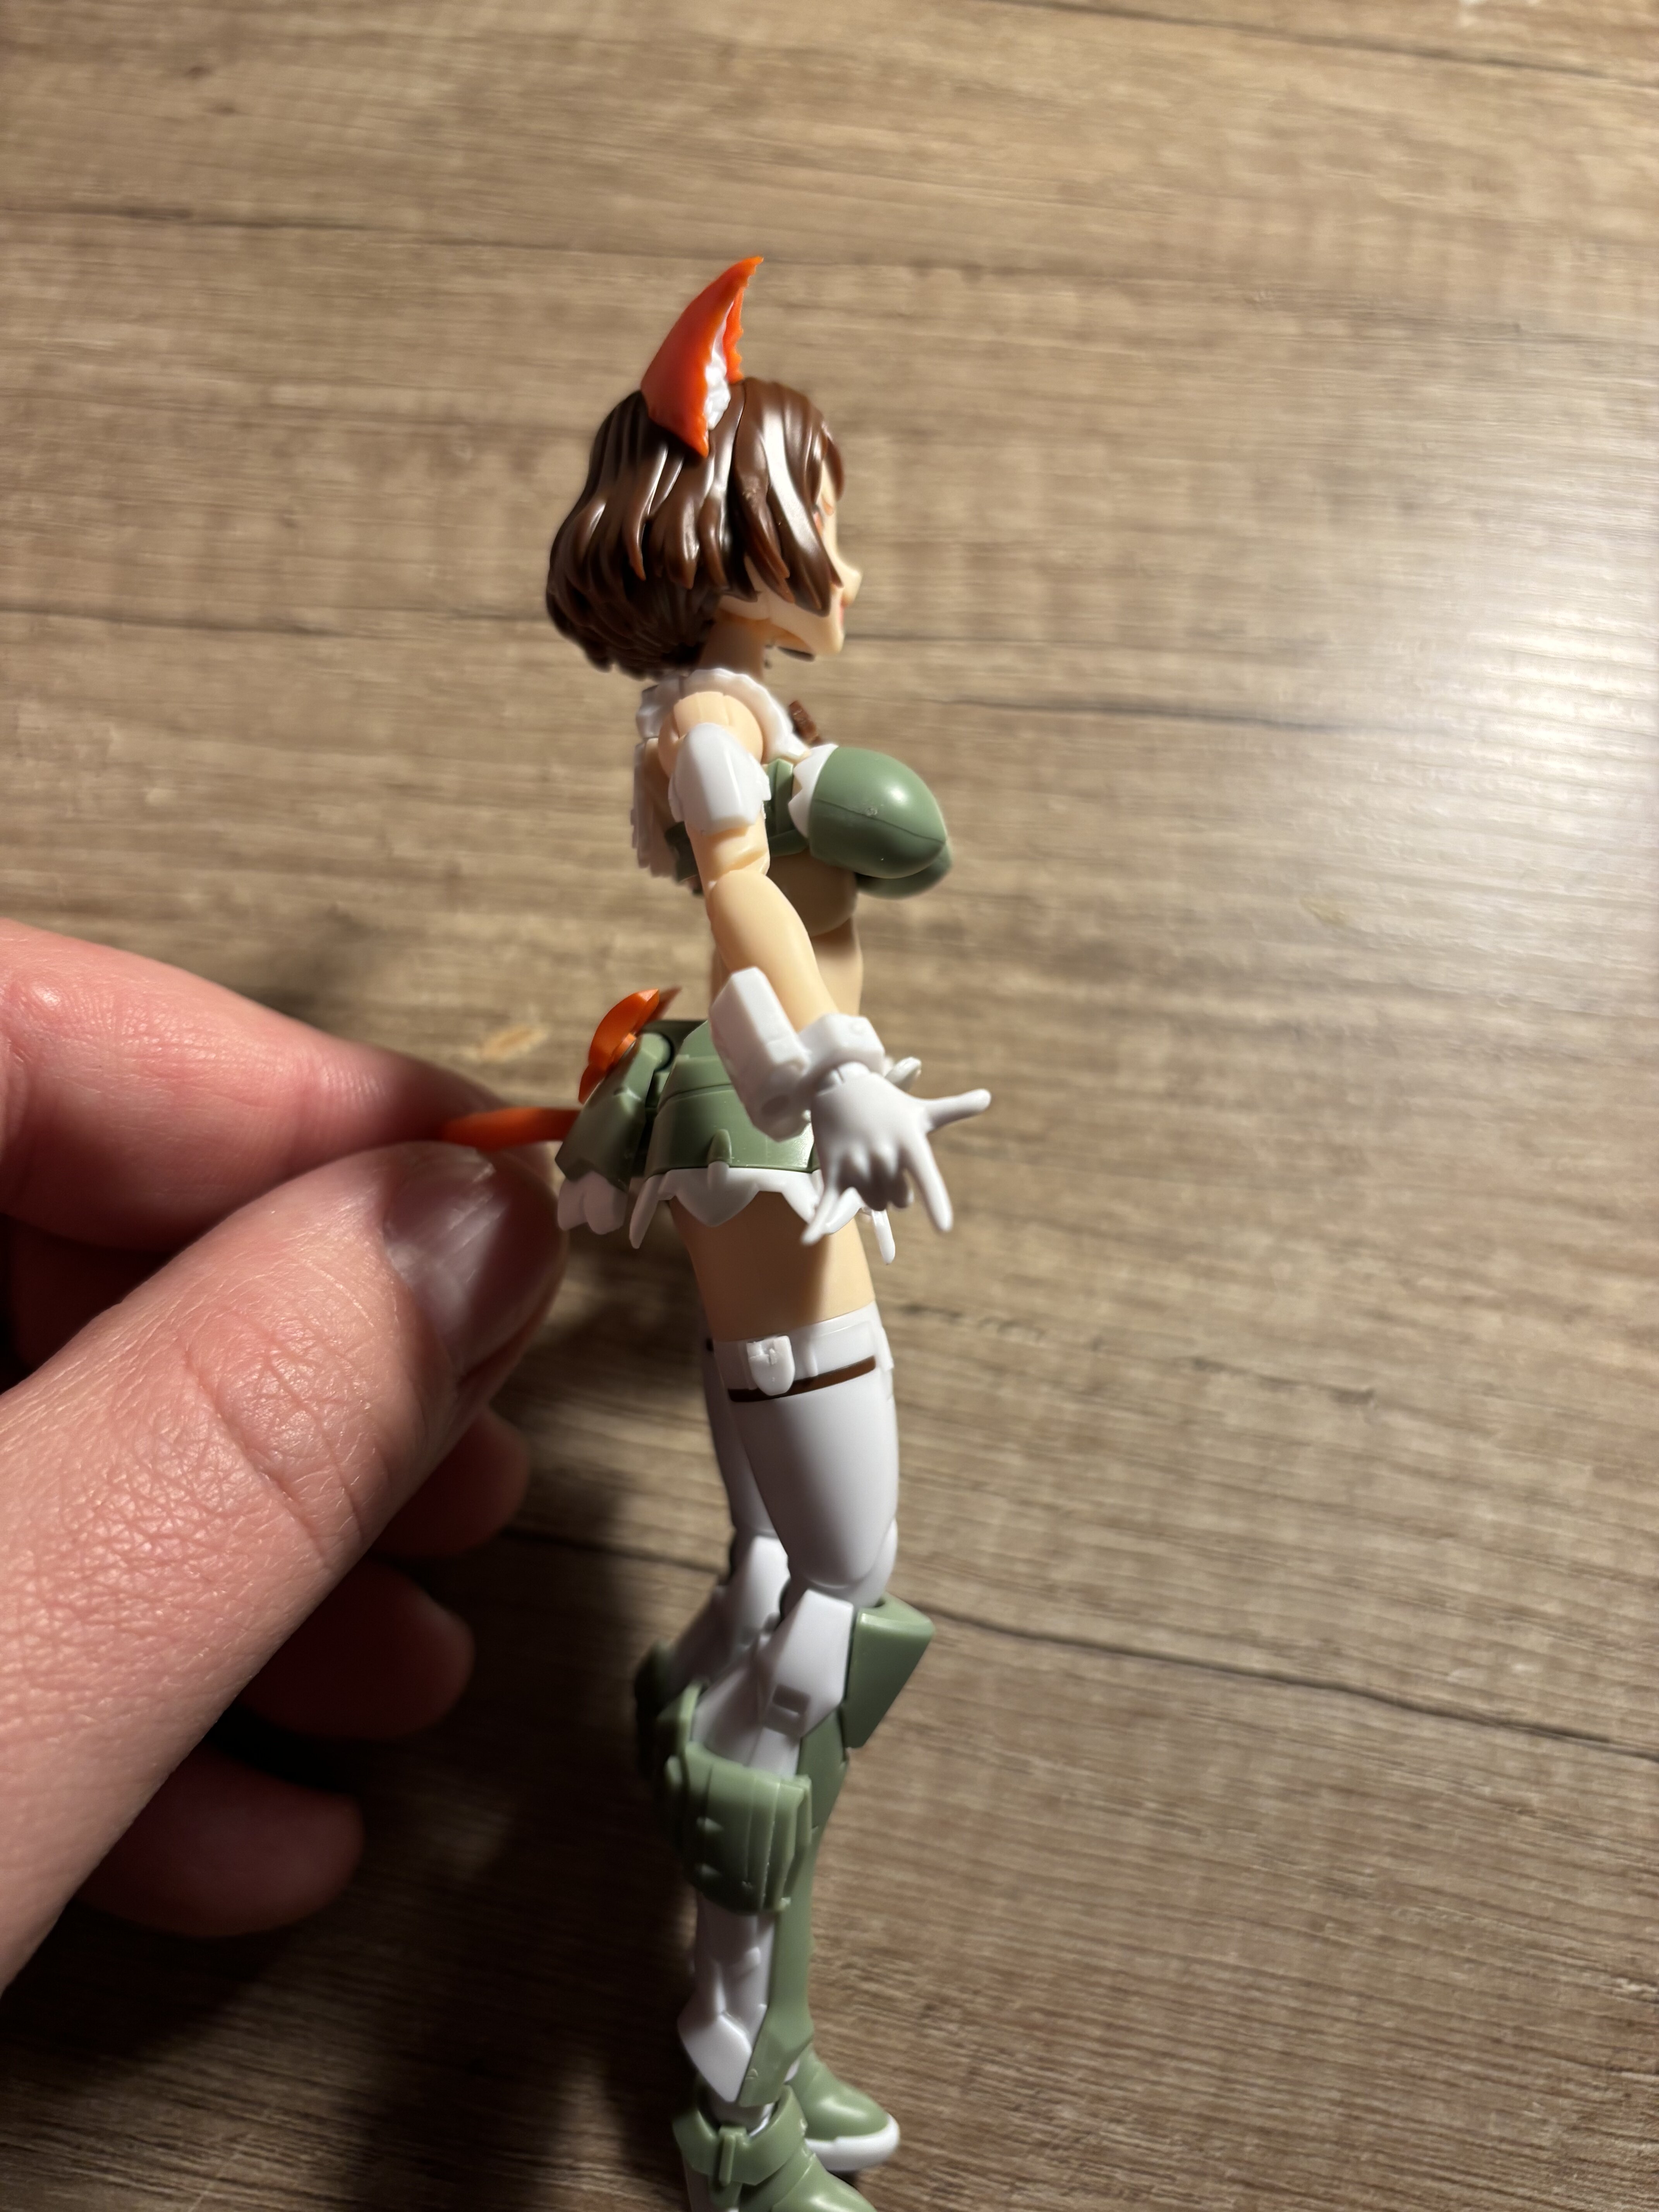
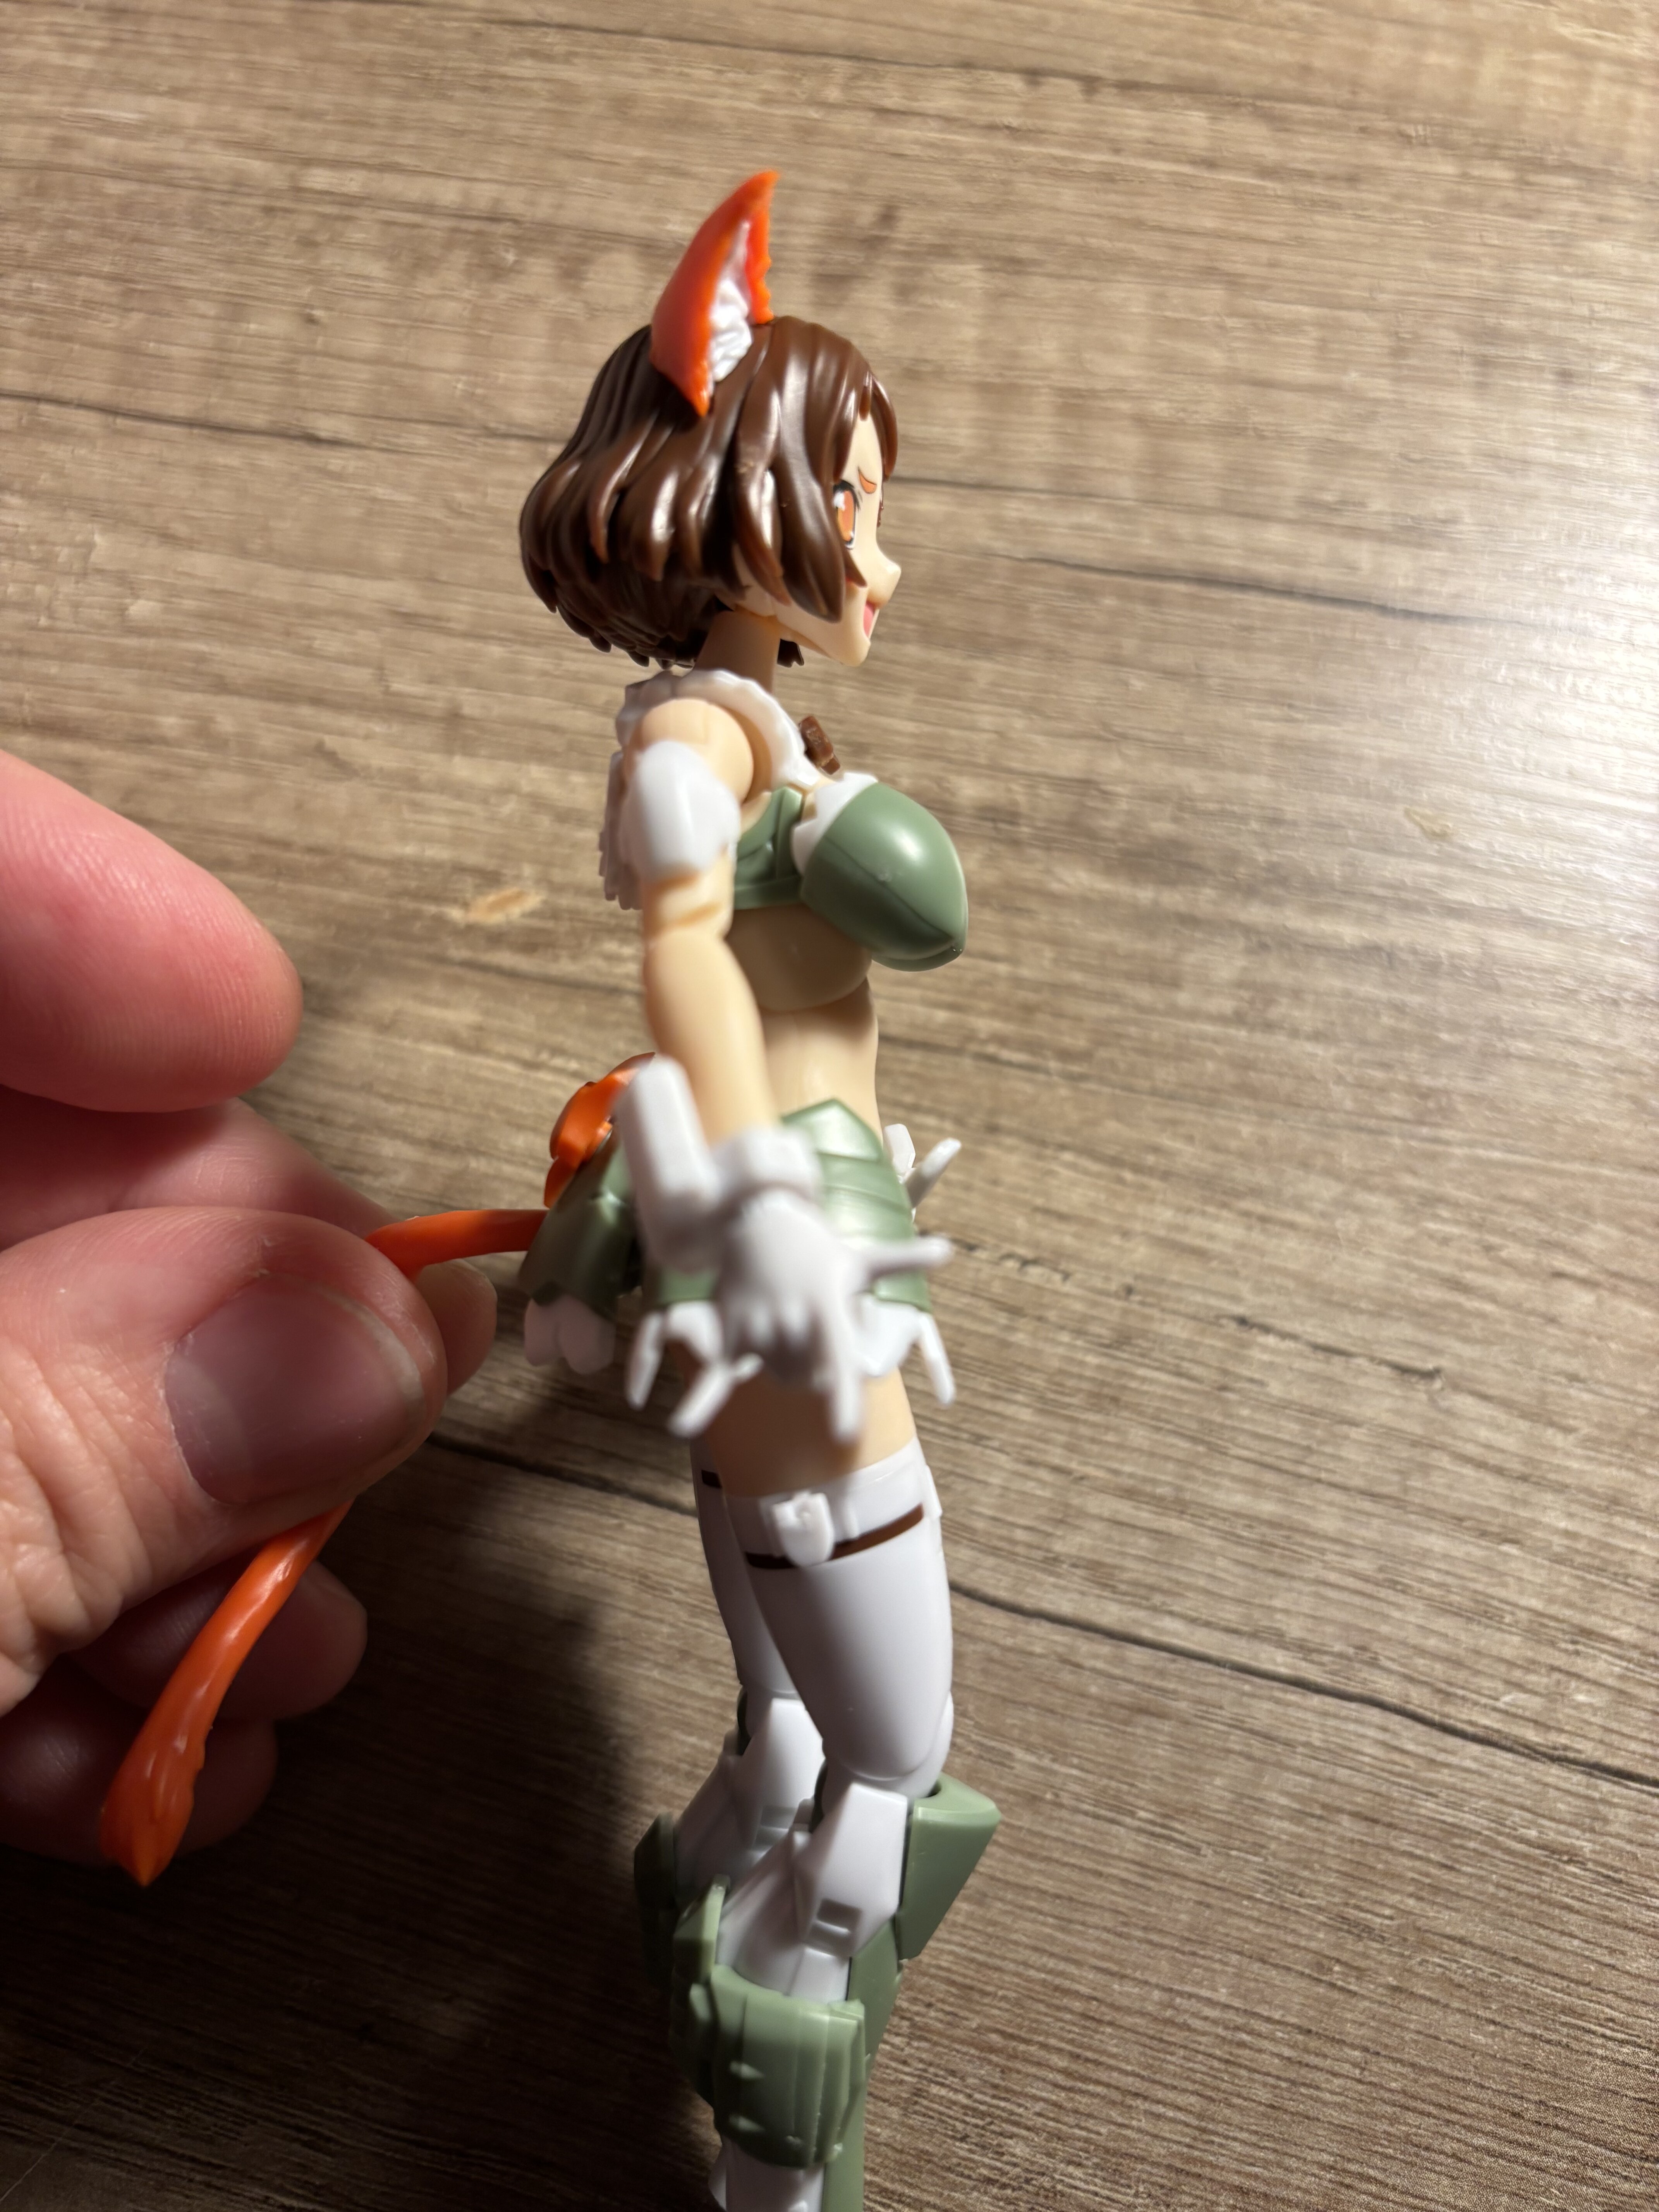
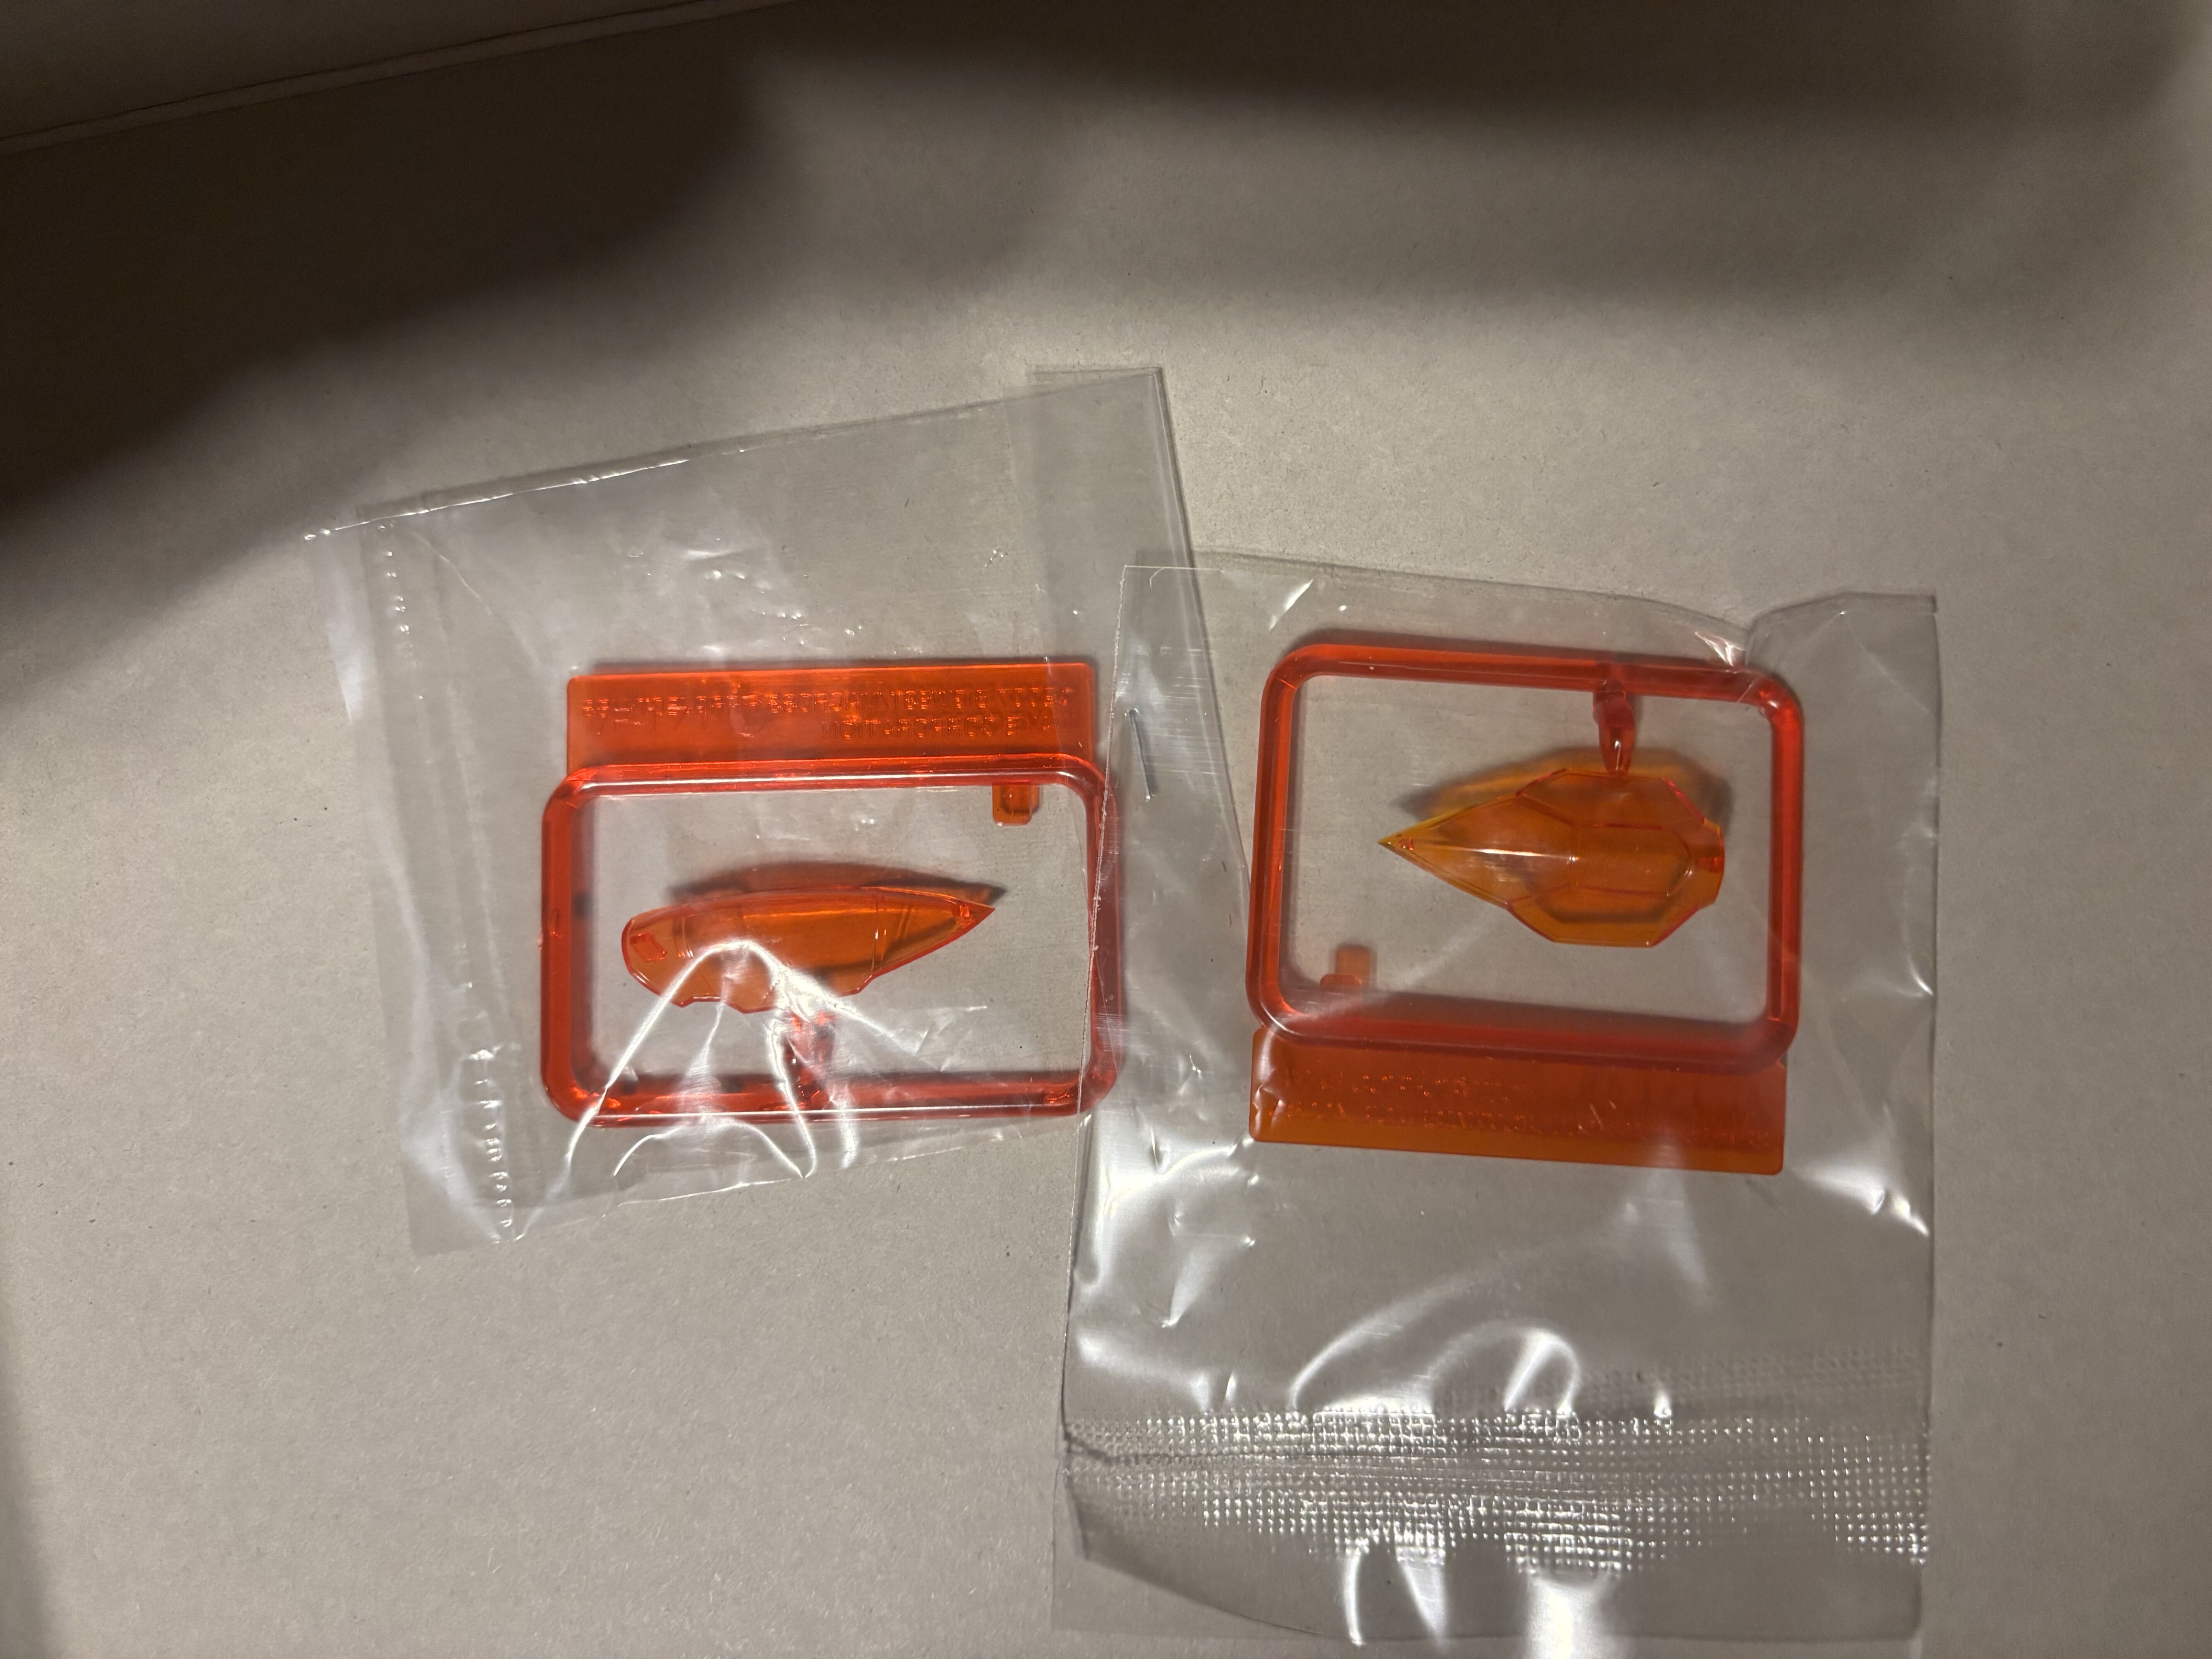
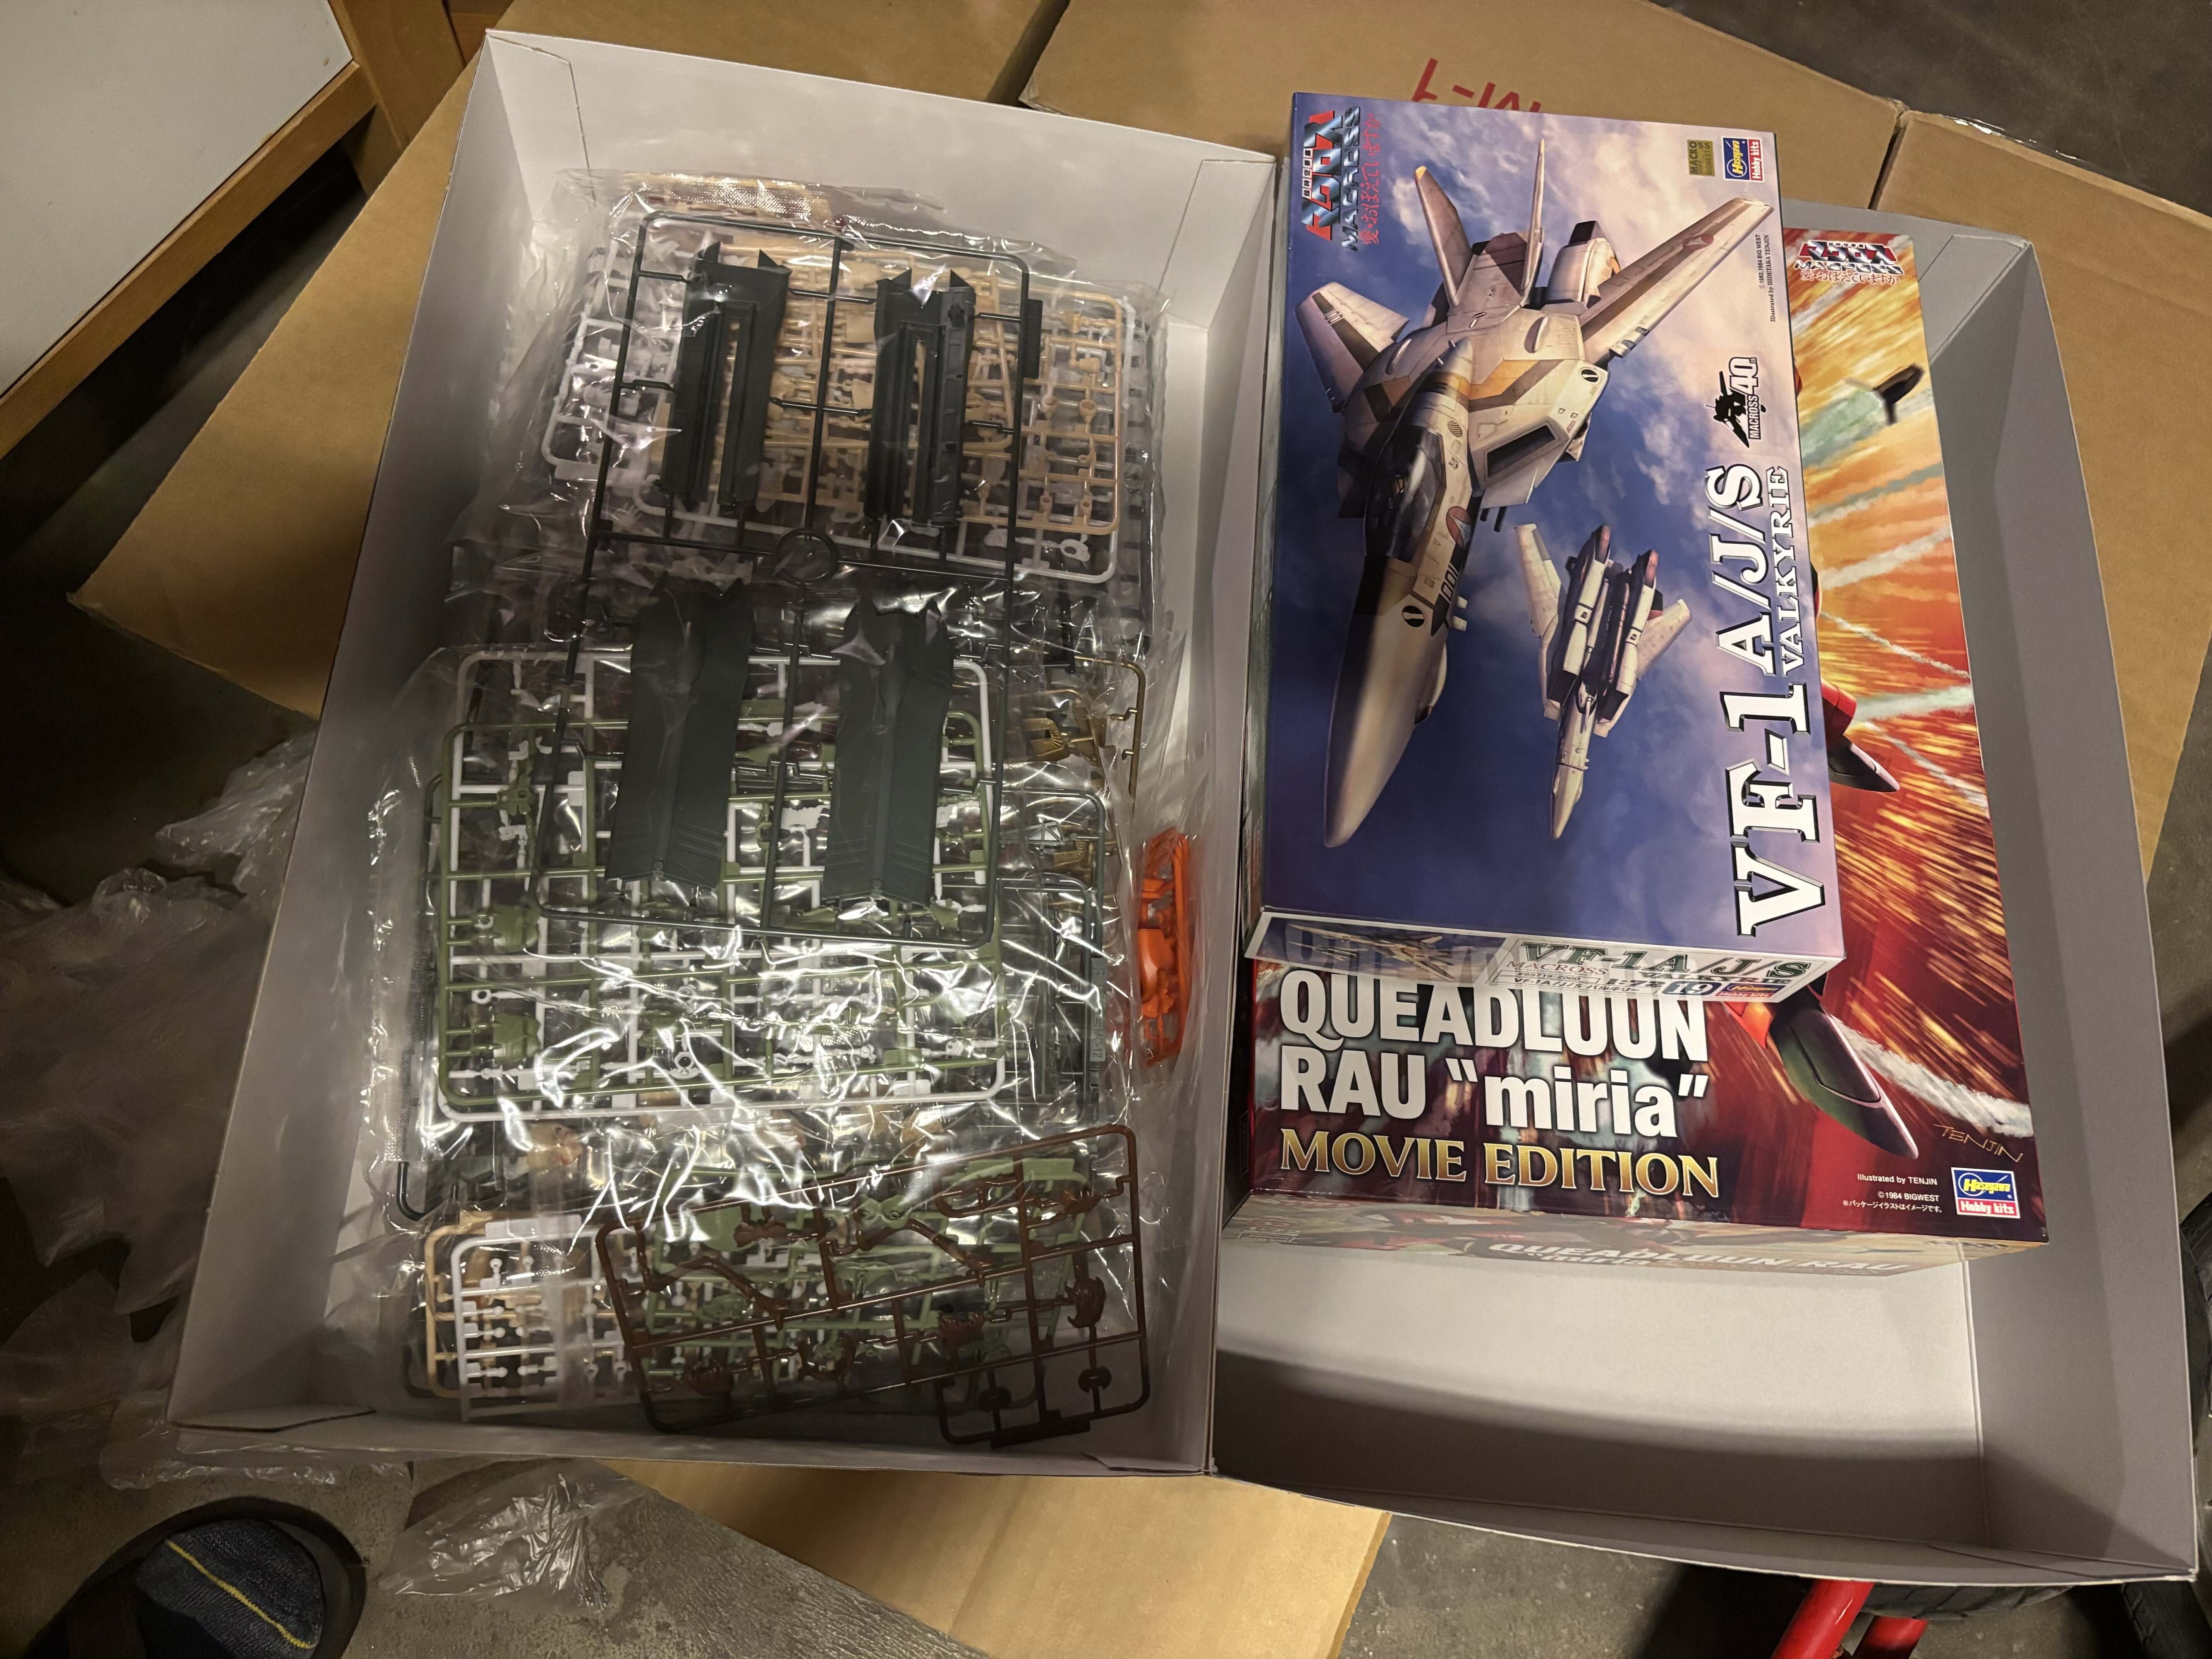
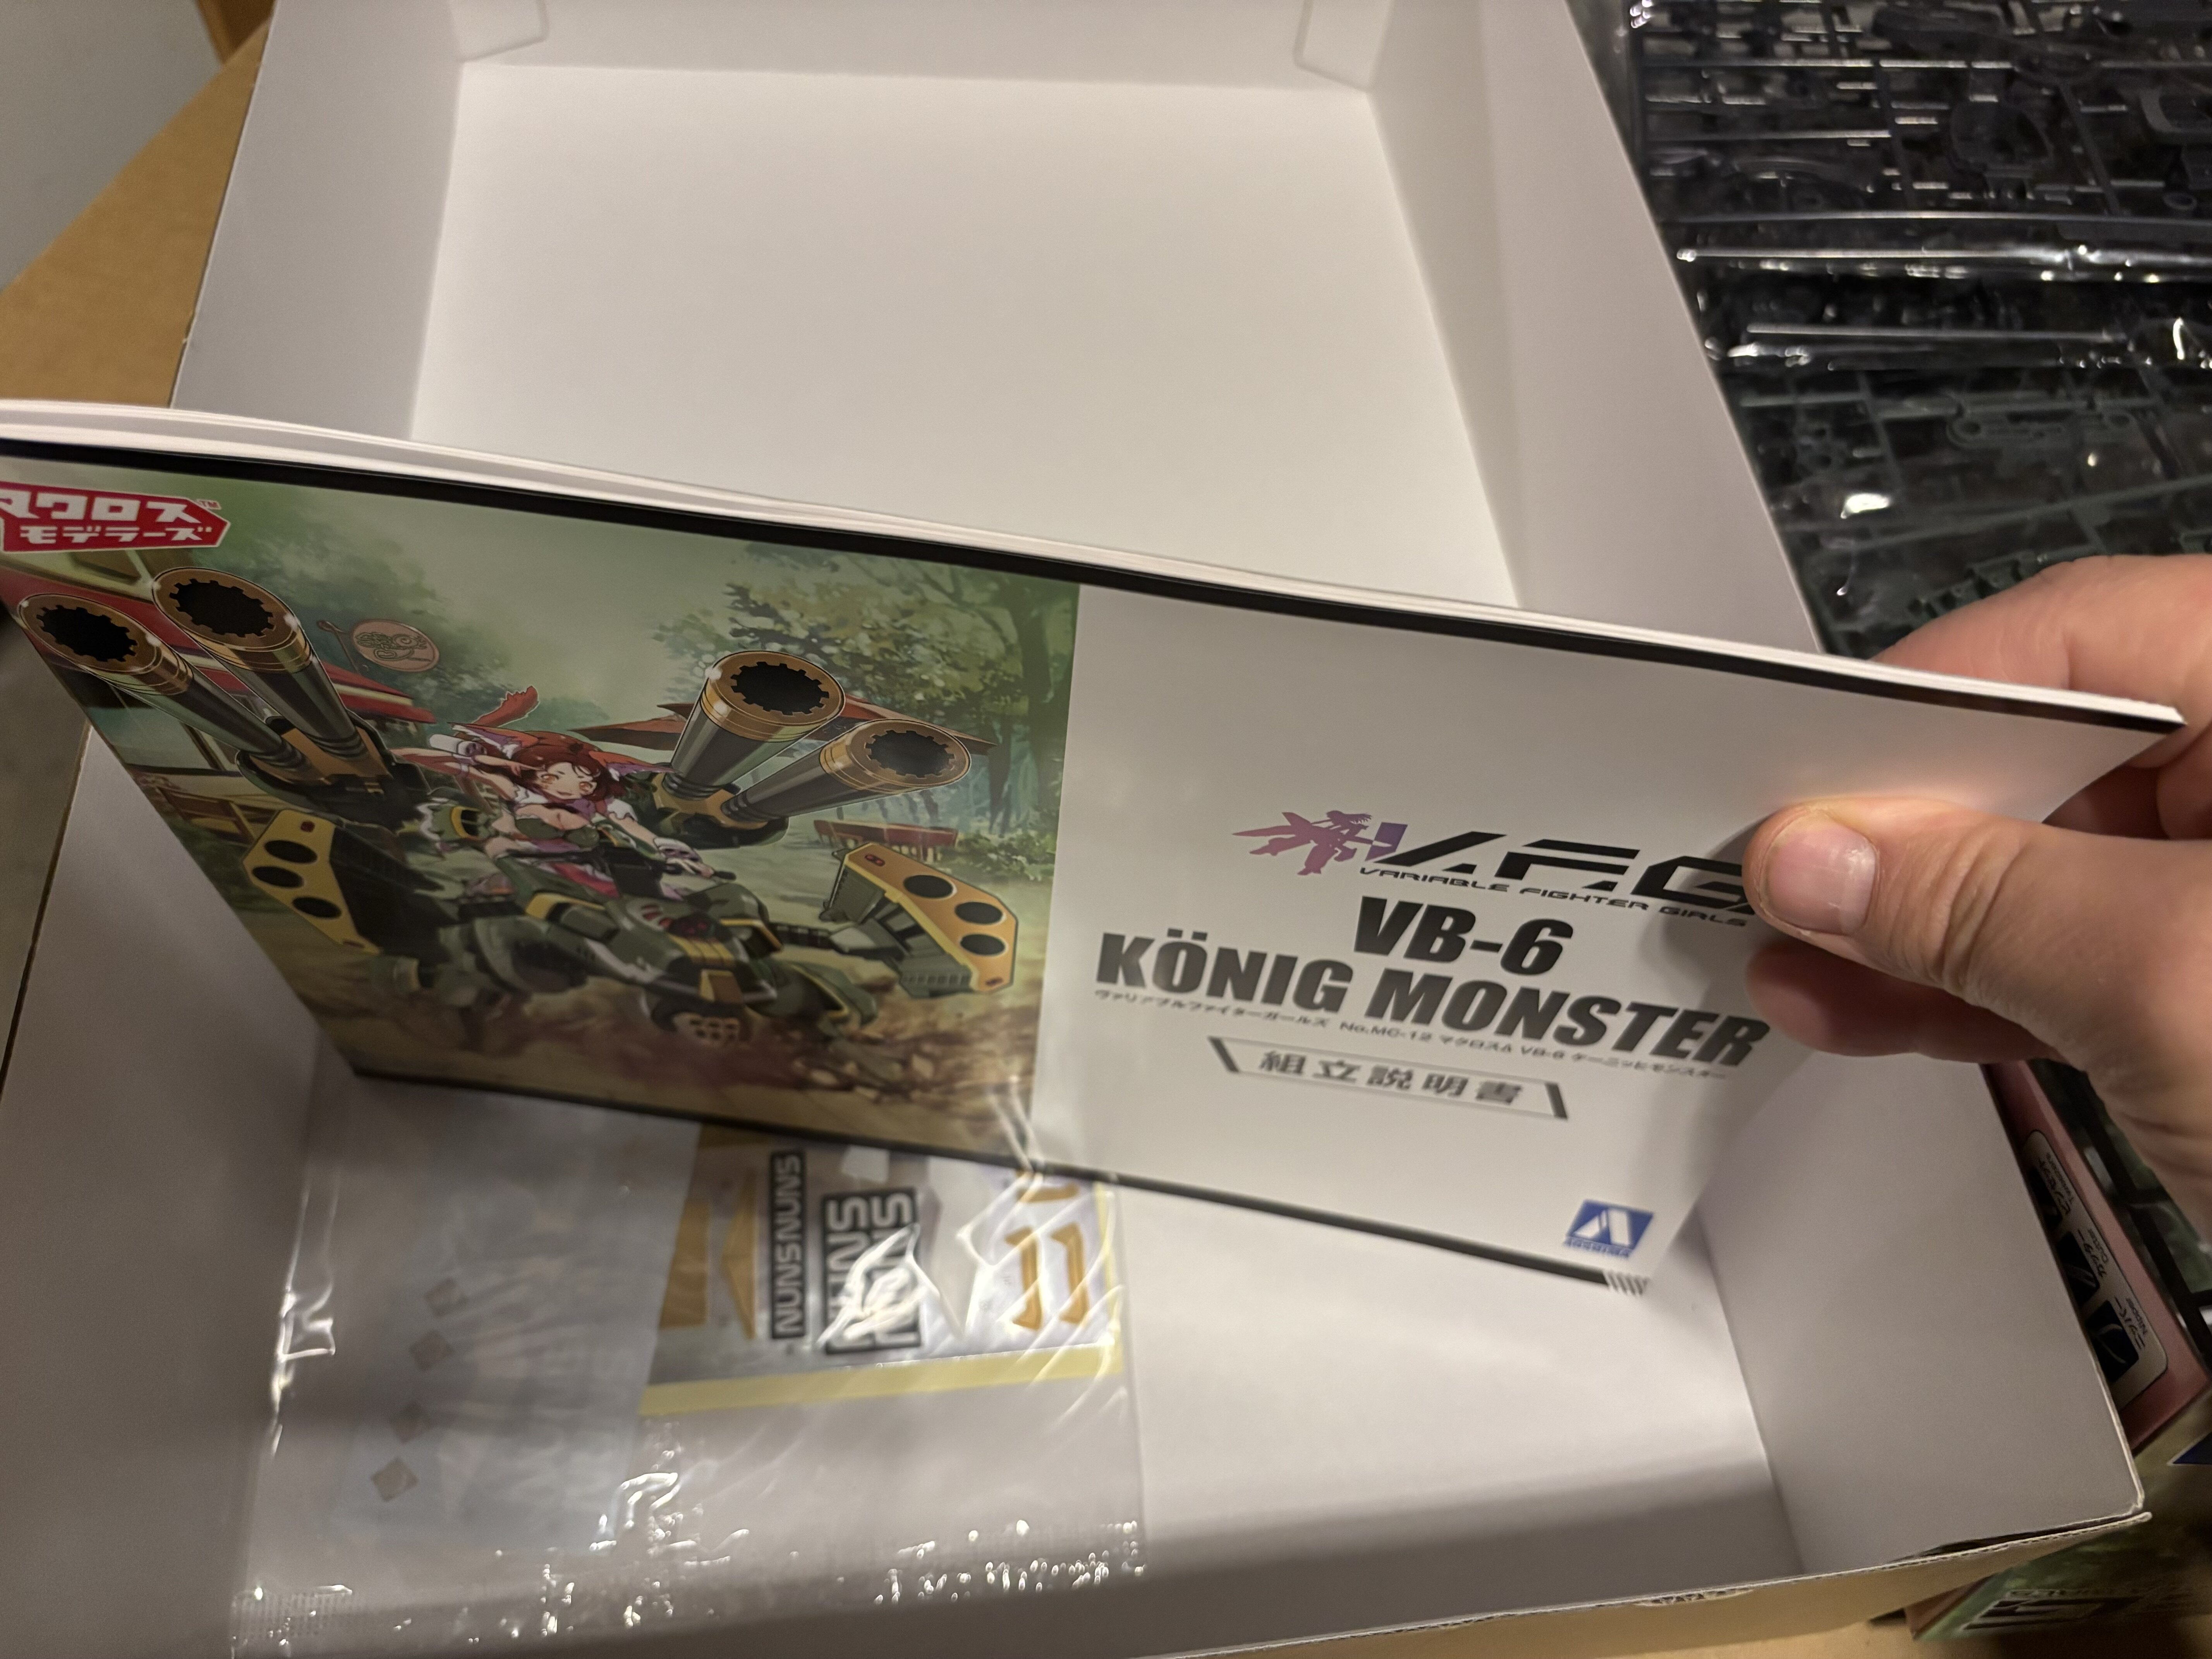
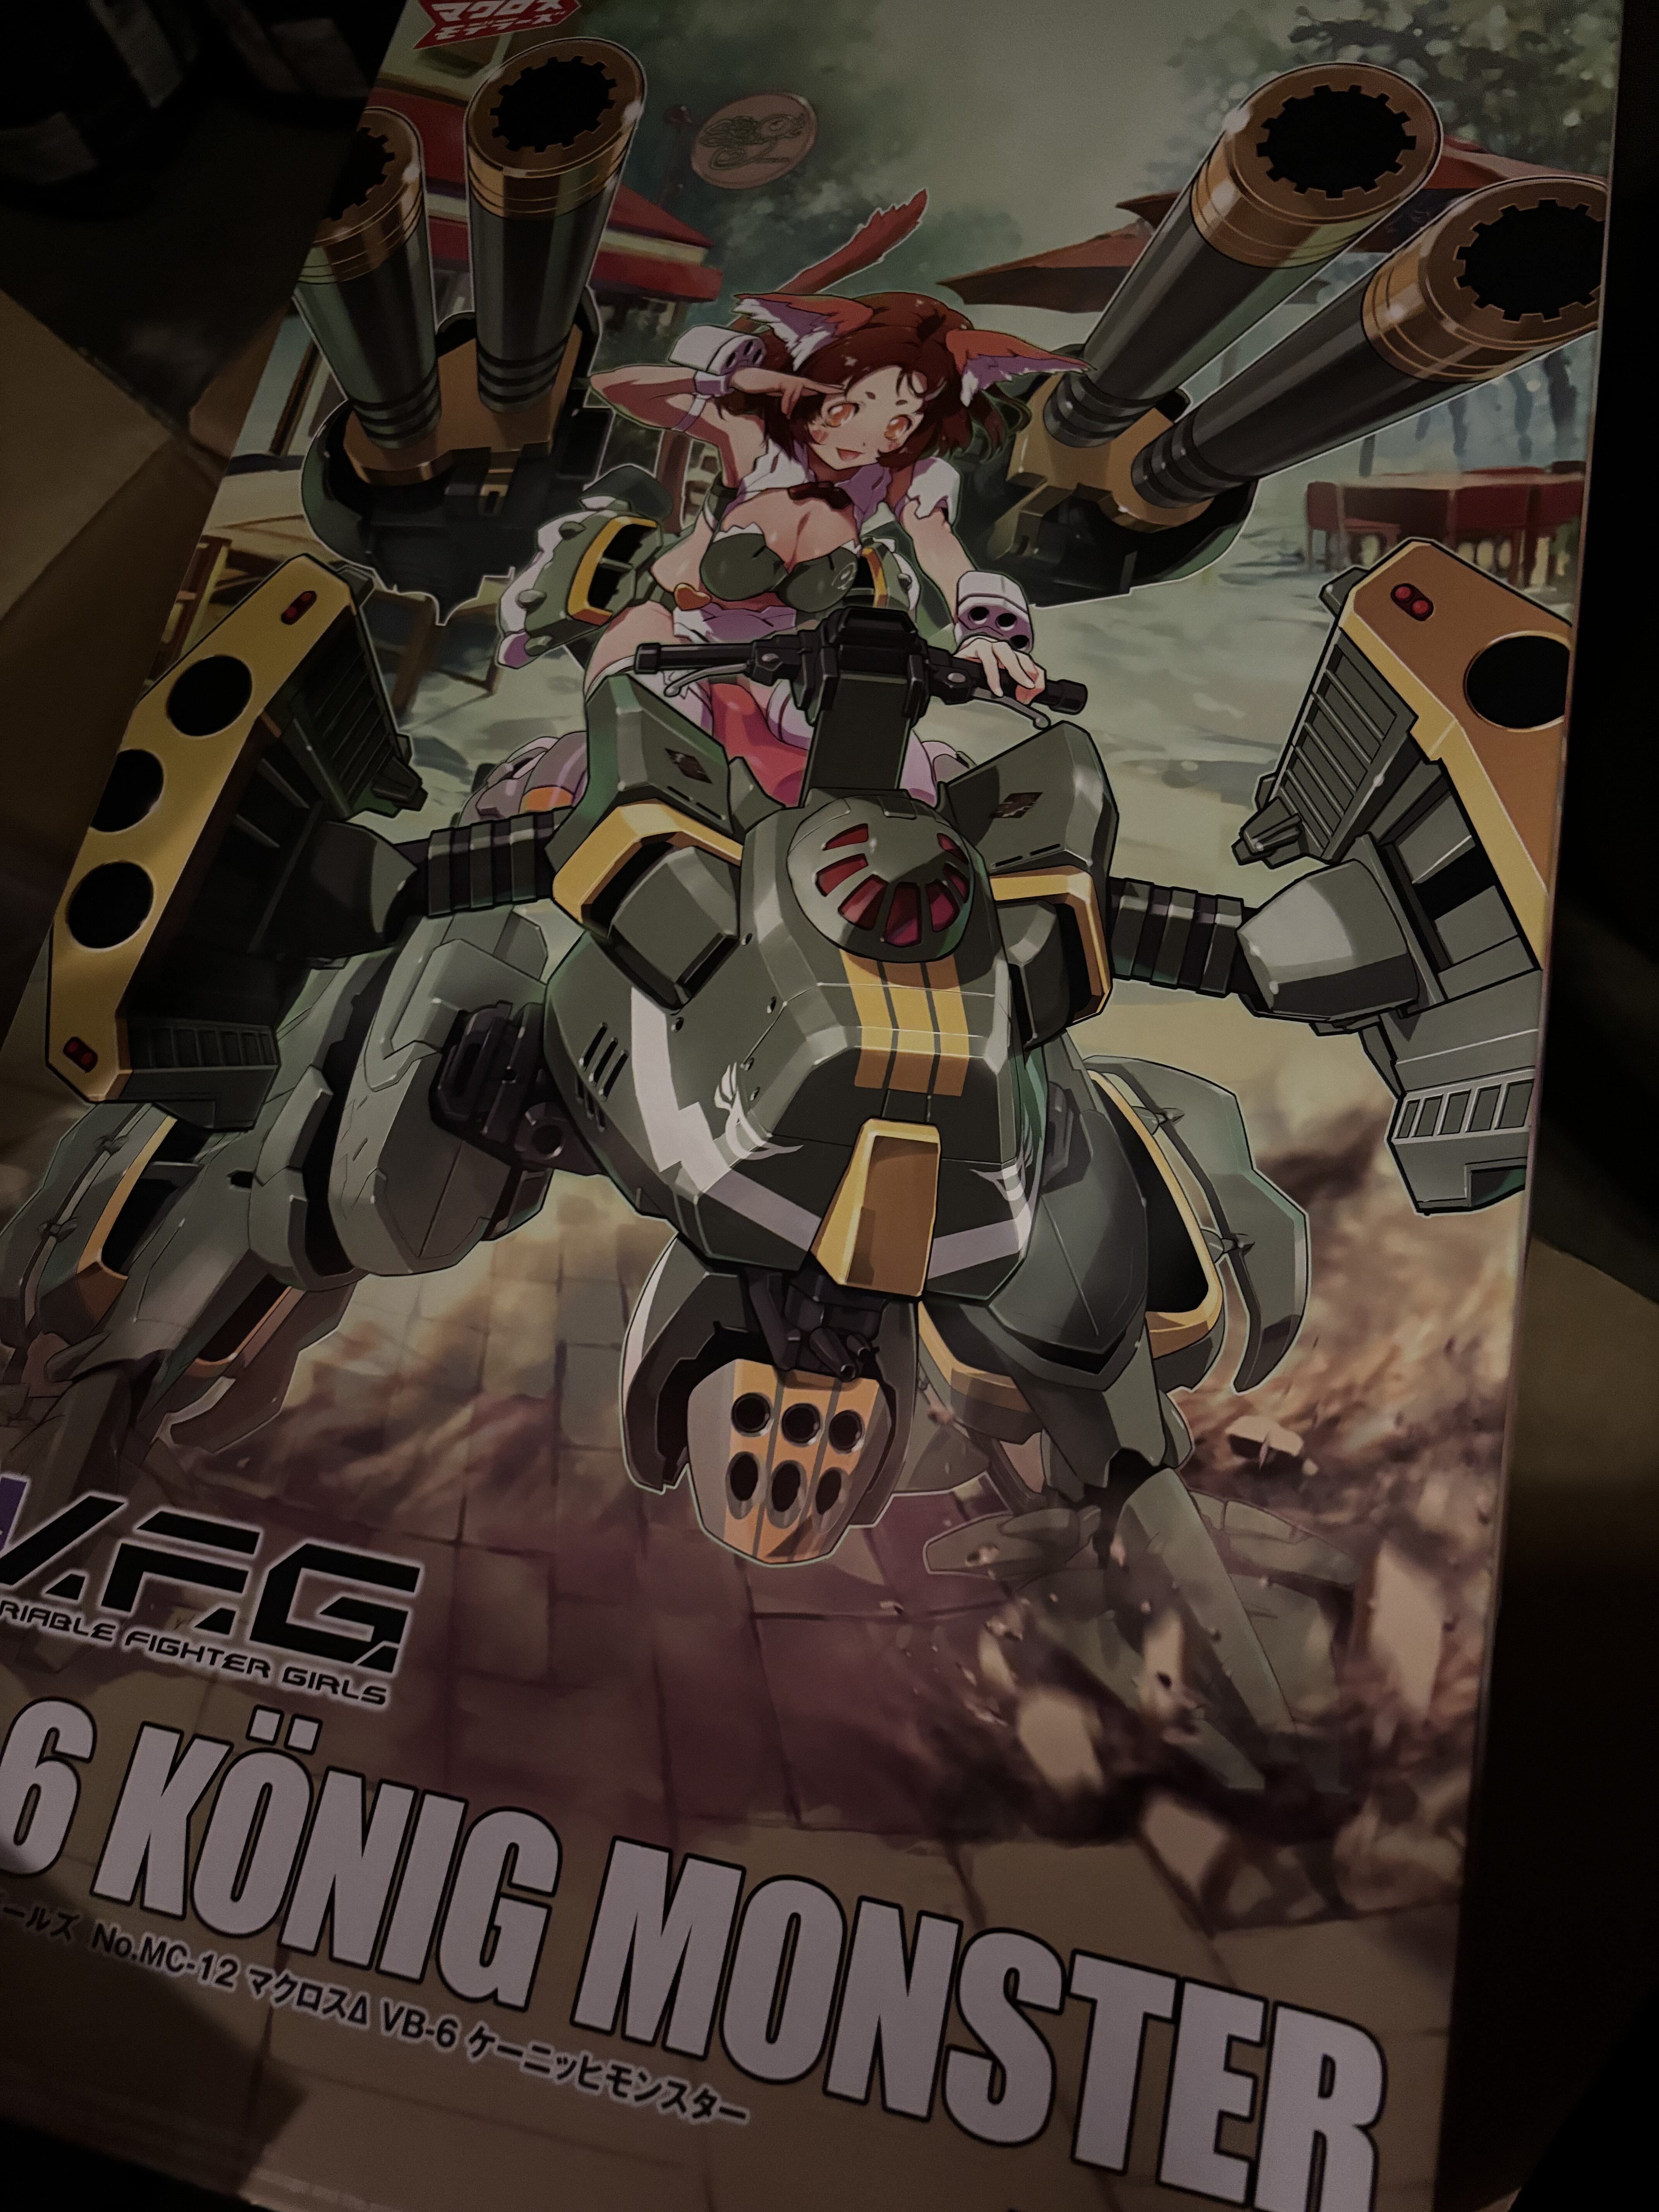
Here I will put my build log of the Aoshima V.F.G. VB-6 König Monster. The box print is of awesome quality. It has been a while since I build an Aoshima kit (bttf Delorean), so, hard to compare to the general quality of Aoshima for me. I will dry build this first, that means: no glue, no paint. My focus will be more on the VB-6 than the VF girl. I mean, everyone likes [insert euphemism for large female attributes here] anime girls with fox ears and a tail, but for me, this is just a little gimmick here. I will go step by step through the manual, and guess what? Said fox girl is the first piece to build. The box provides several face plates for lazy dry builders (me this time) and for anyone willing to paint everything. Everything is pretty modular, so in case I want to paint the VF girl, I can chop her up into pieces like a Hasegawa VF-1 and paint everything individually. After around 2.5 hours, I was finally done putting together the little figurine. A lot of tiny pieces and joints. They have a general good tense fit and it makes the figurine fully possible. The plastic looks good and I didn’t see smearing or waving. Everything that needs to stick together sticks together without glue. I am satisfied with it so far. One noteworthy feature: adjustable „balistics“. Work on the VB-6 will commence tomorrow. Here two pictures of the figurine. This is what is left of sprues for me to go through. As per the manual, I can throw away the rest of the girl‘s sprues as the redundant pieces are not needed. I will keep them as replacement parts.

-
Didn’t have to scroll too far
-
Of course! Once I start building, I will post in the Workbench thread, as usual.
-
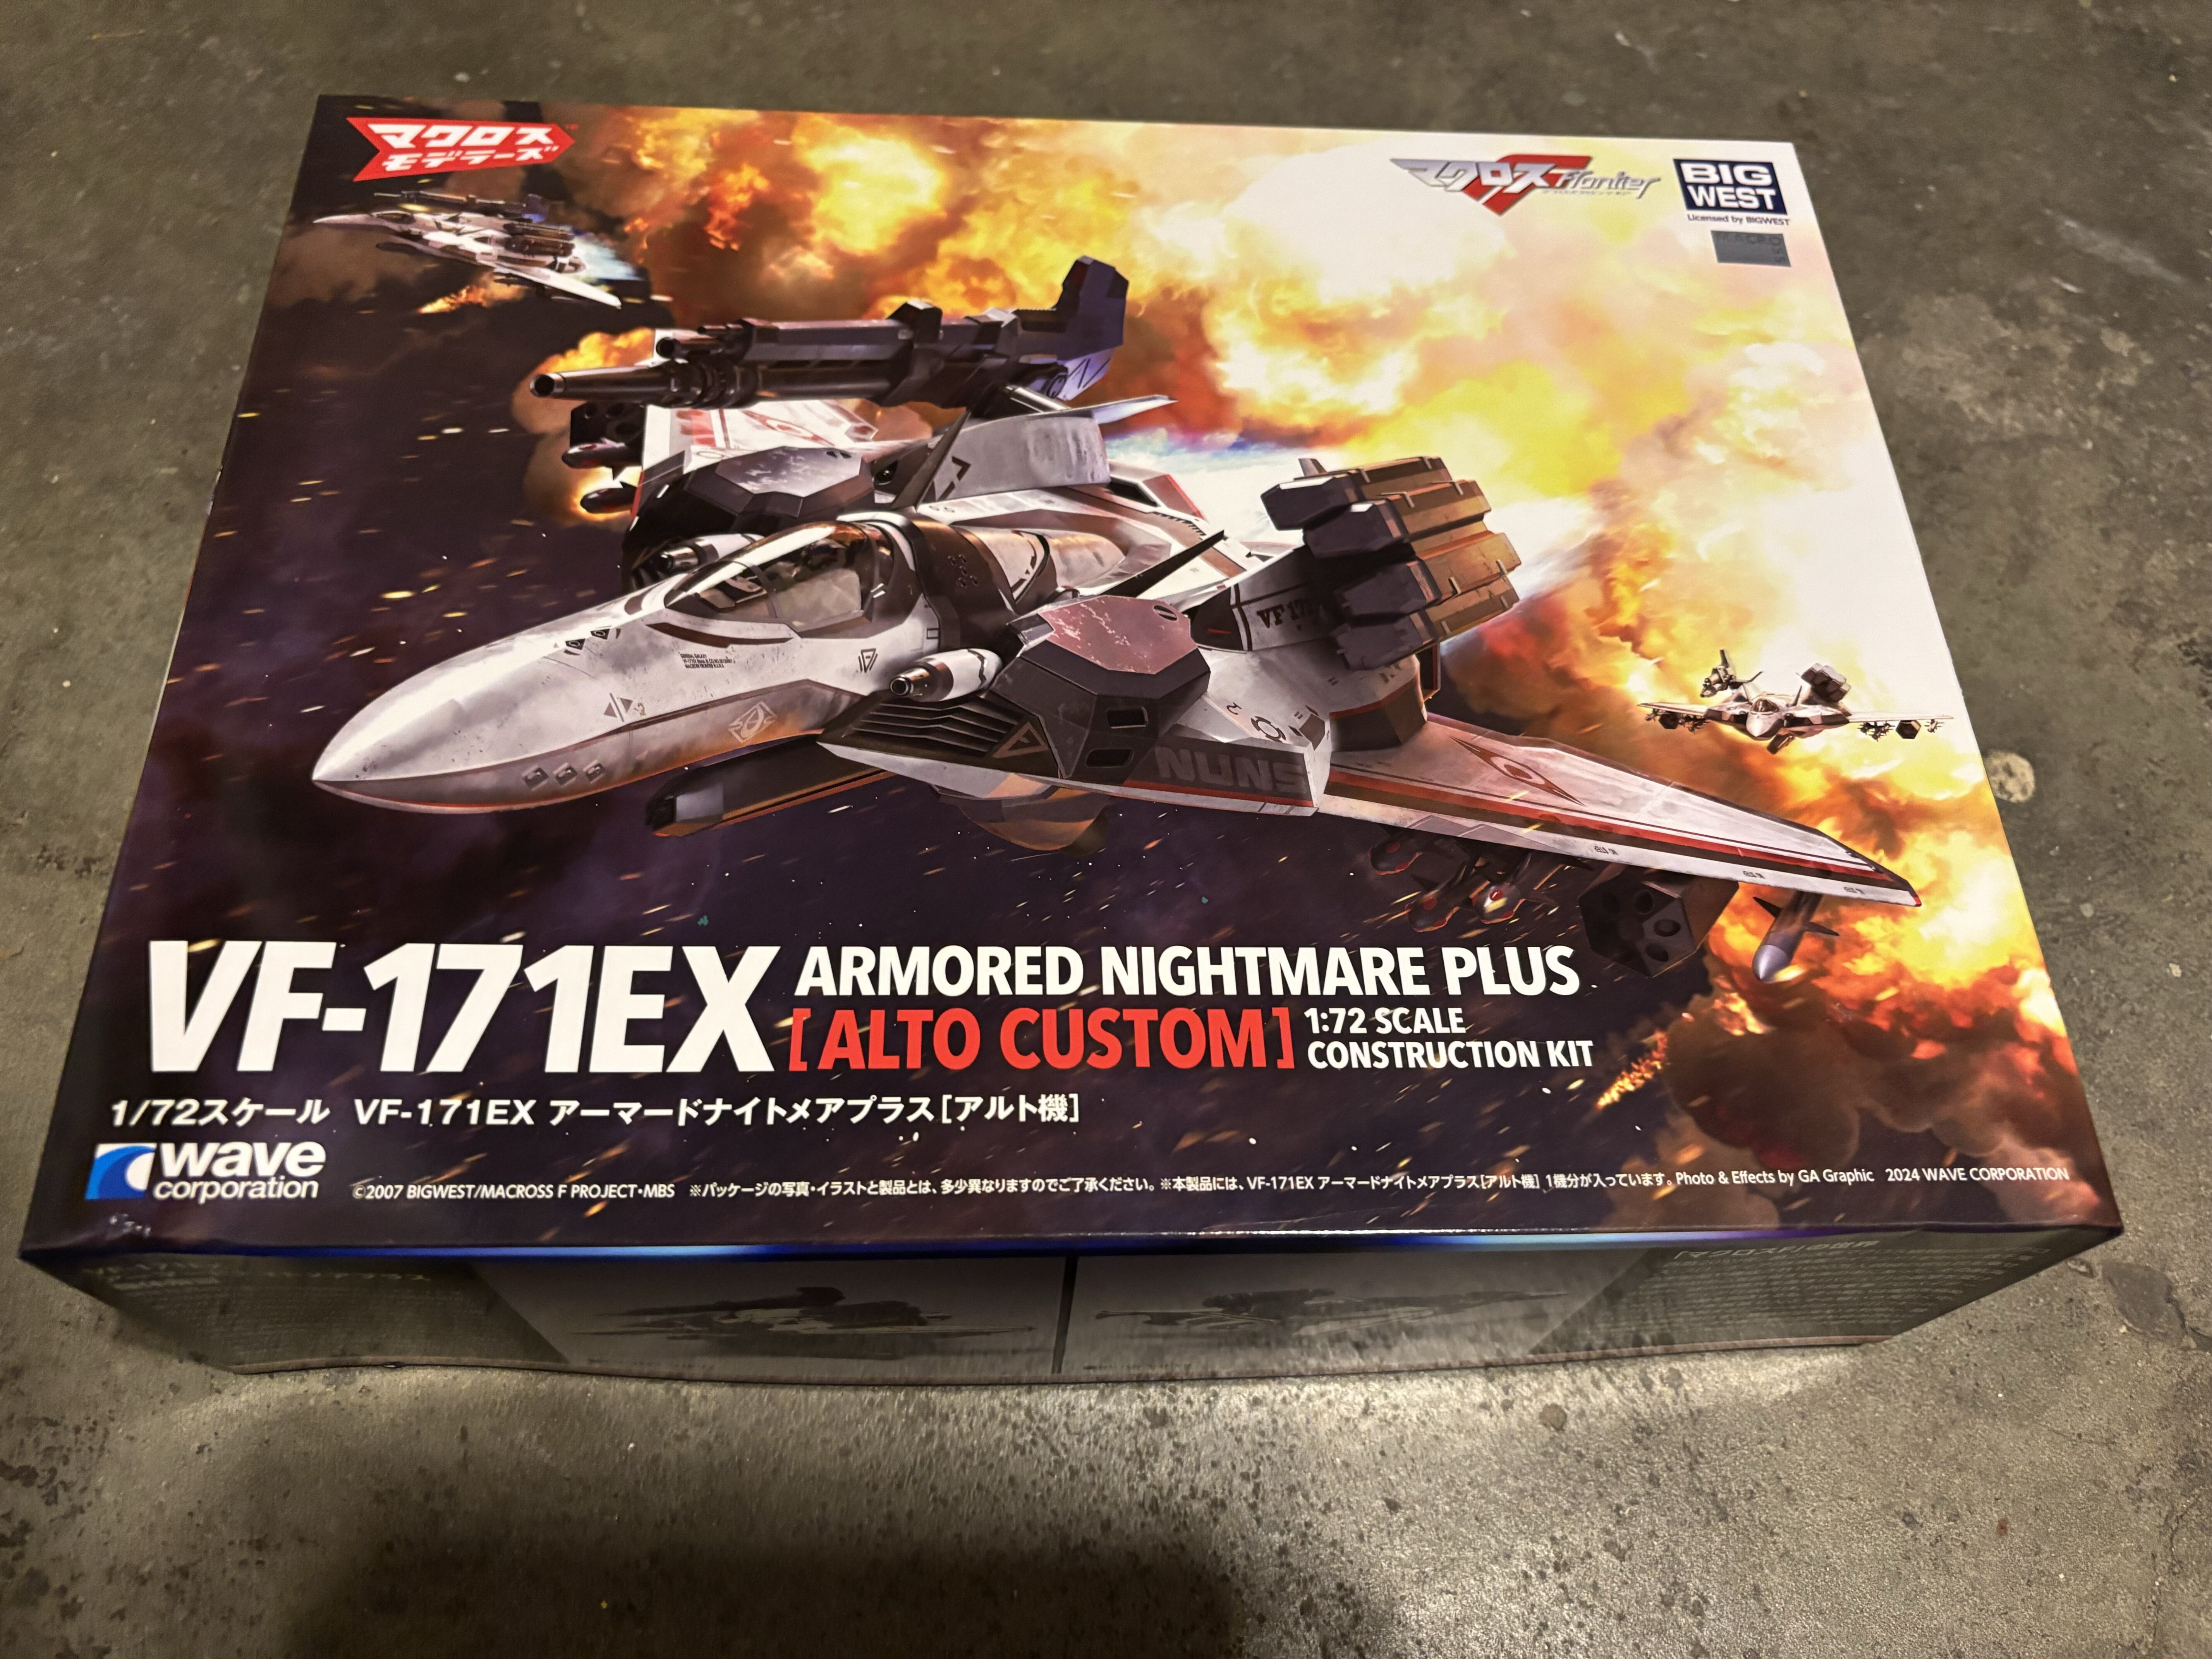
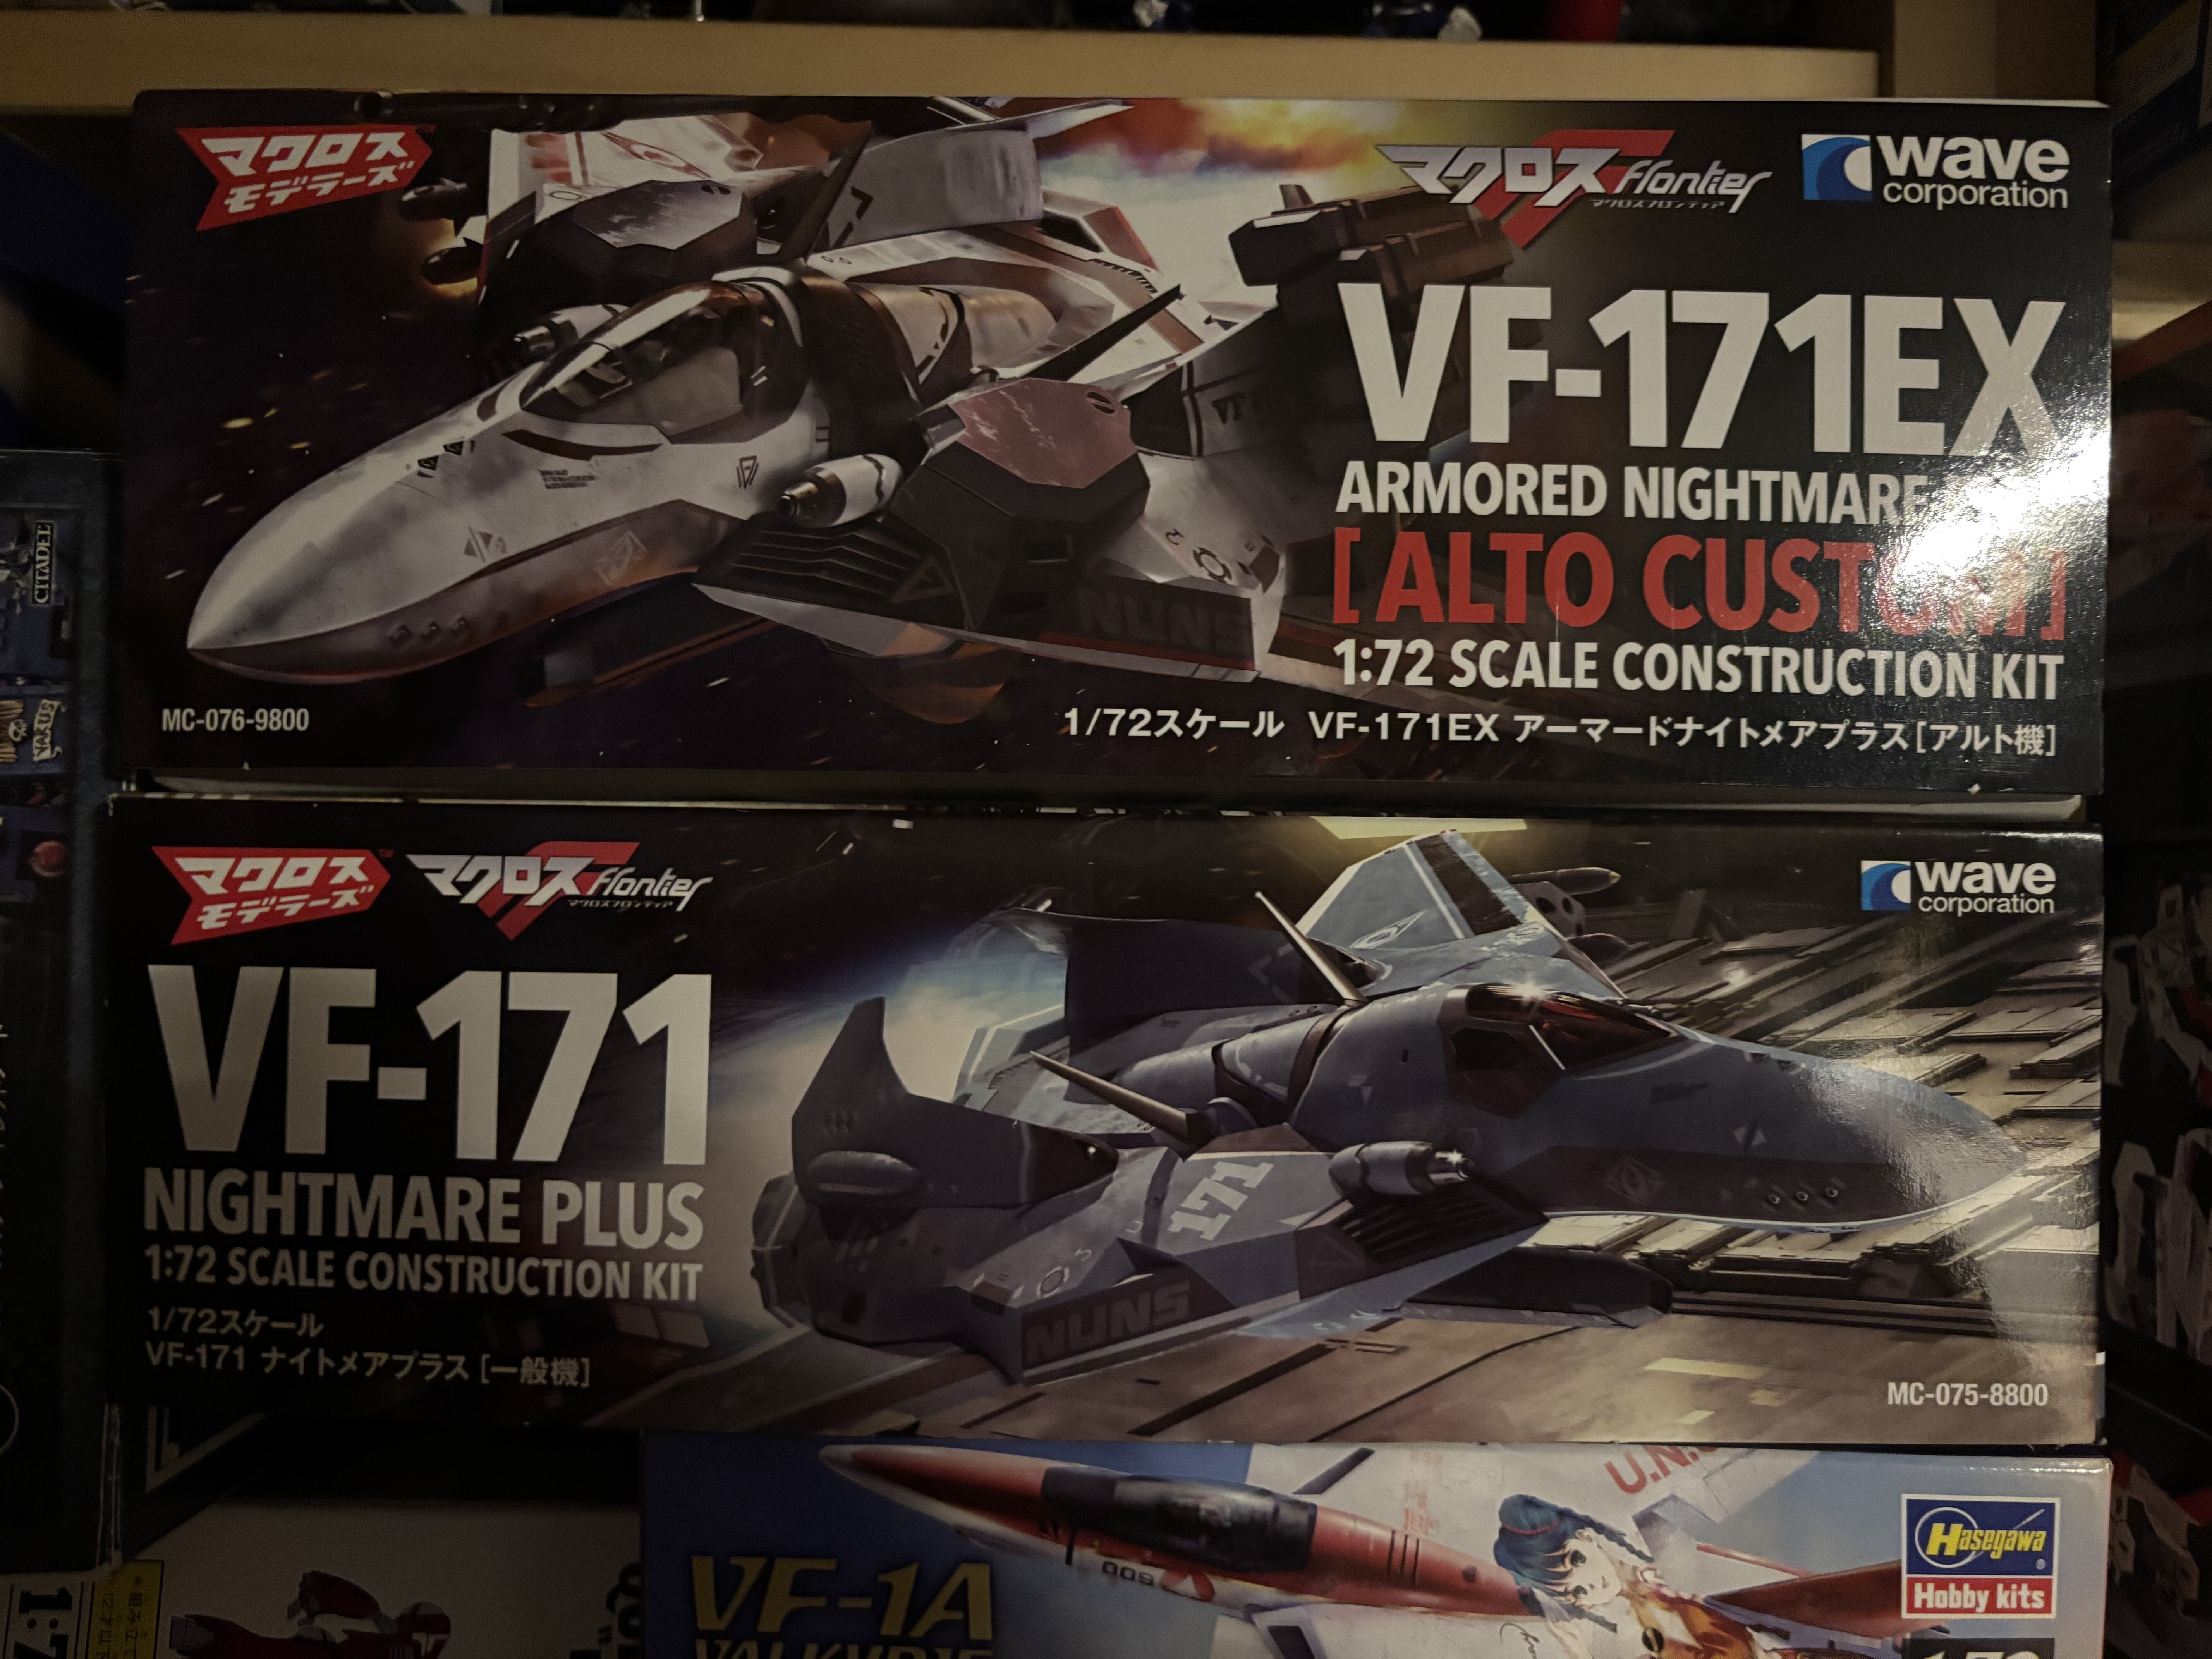
The only difference from the VF-171EX and the cannon fodder VF-171 is the cockpit interior (including pilot) and the canopy, as well as the decals. So, just take that from the normal one, and push that into the armored version. Bam - you have a non-EX armored version. Edit: nope. You need to switch out the whole nose.
-
I wasn’t too invested with the VFG stuff… but one was living rent free in my brain and I purchased it. Man… it is so awesome. So excited and also a bit scared. Oh boy (or Oh girl?) The box is so F****** huge! Hasegawa Queadluun Rau fits into this. It is probably the volume of 4 Hasegawa VF-1 boxes. It almost broke the VF-1 strike Valk 1/48 record. I went through the manual already and it goes on for eternity. My fingers tingle from excitement.

-
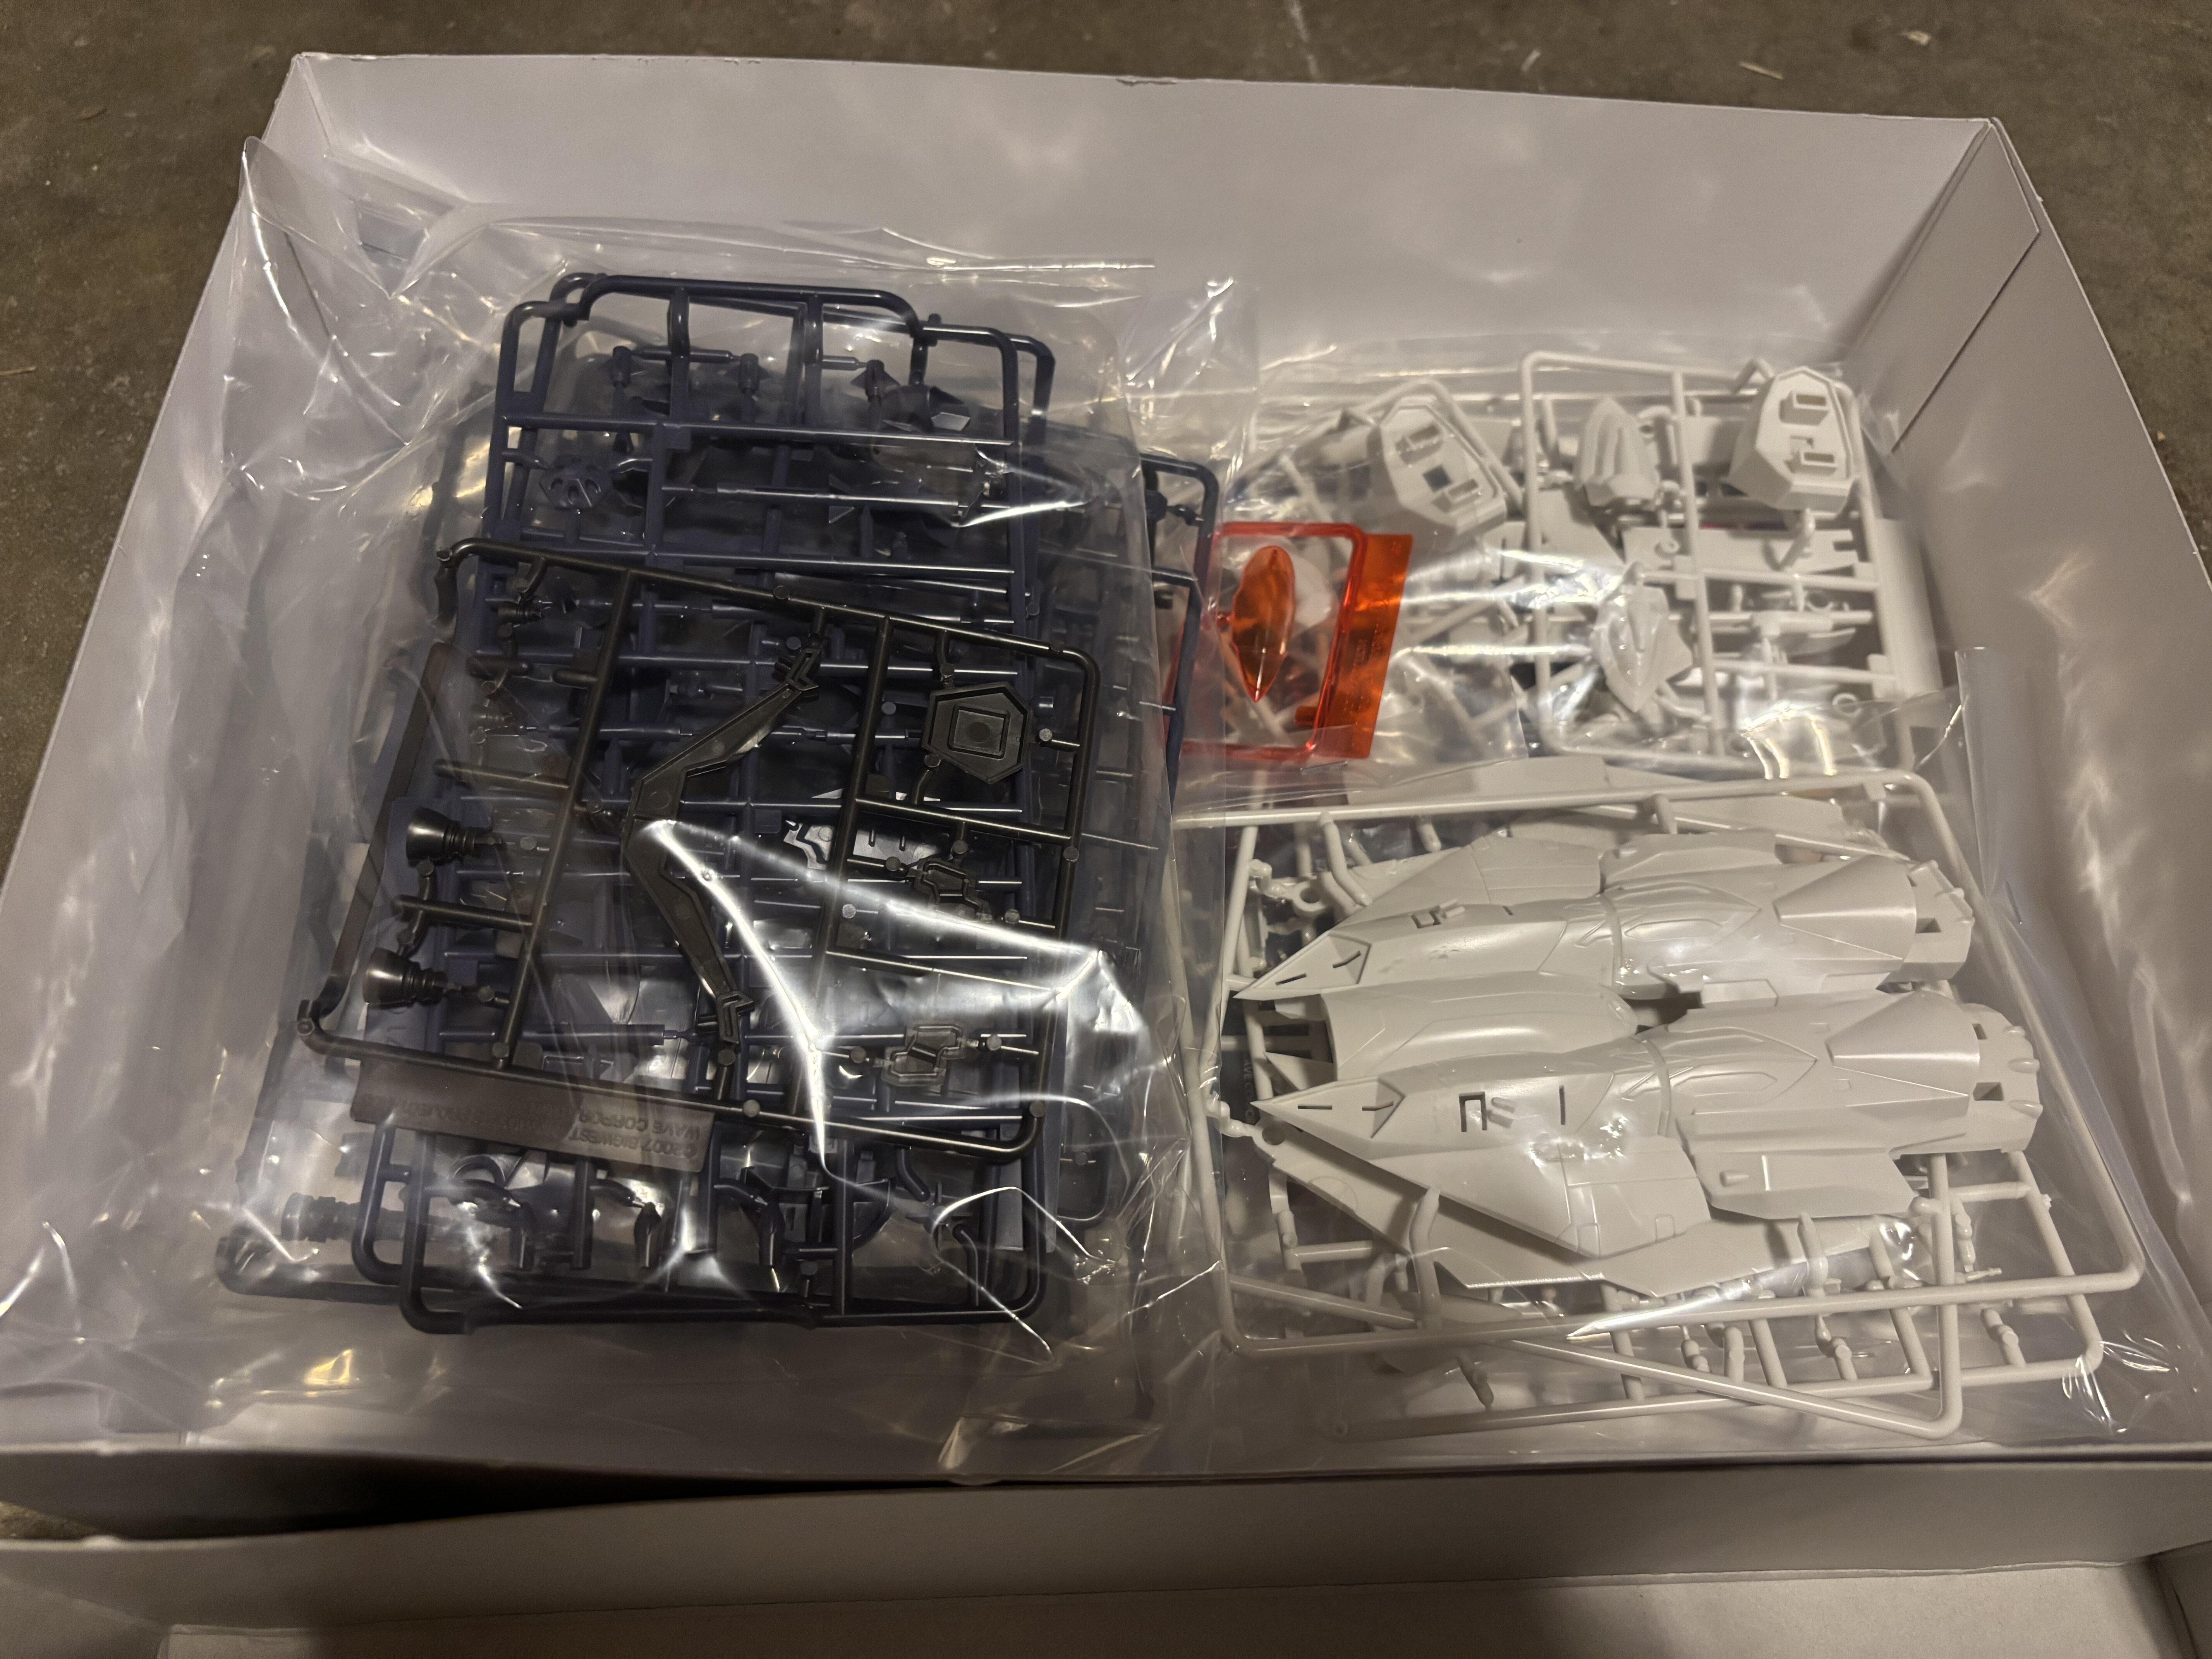
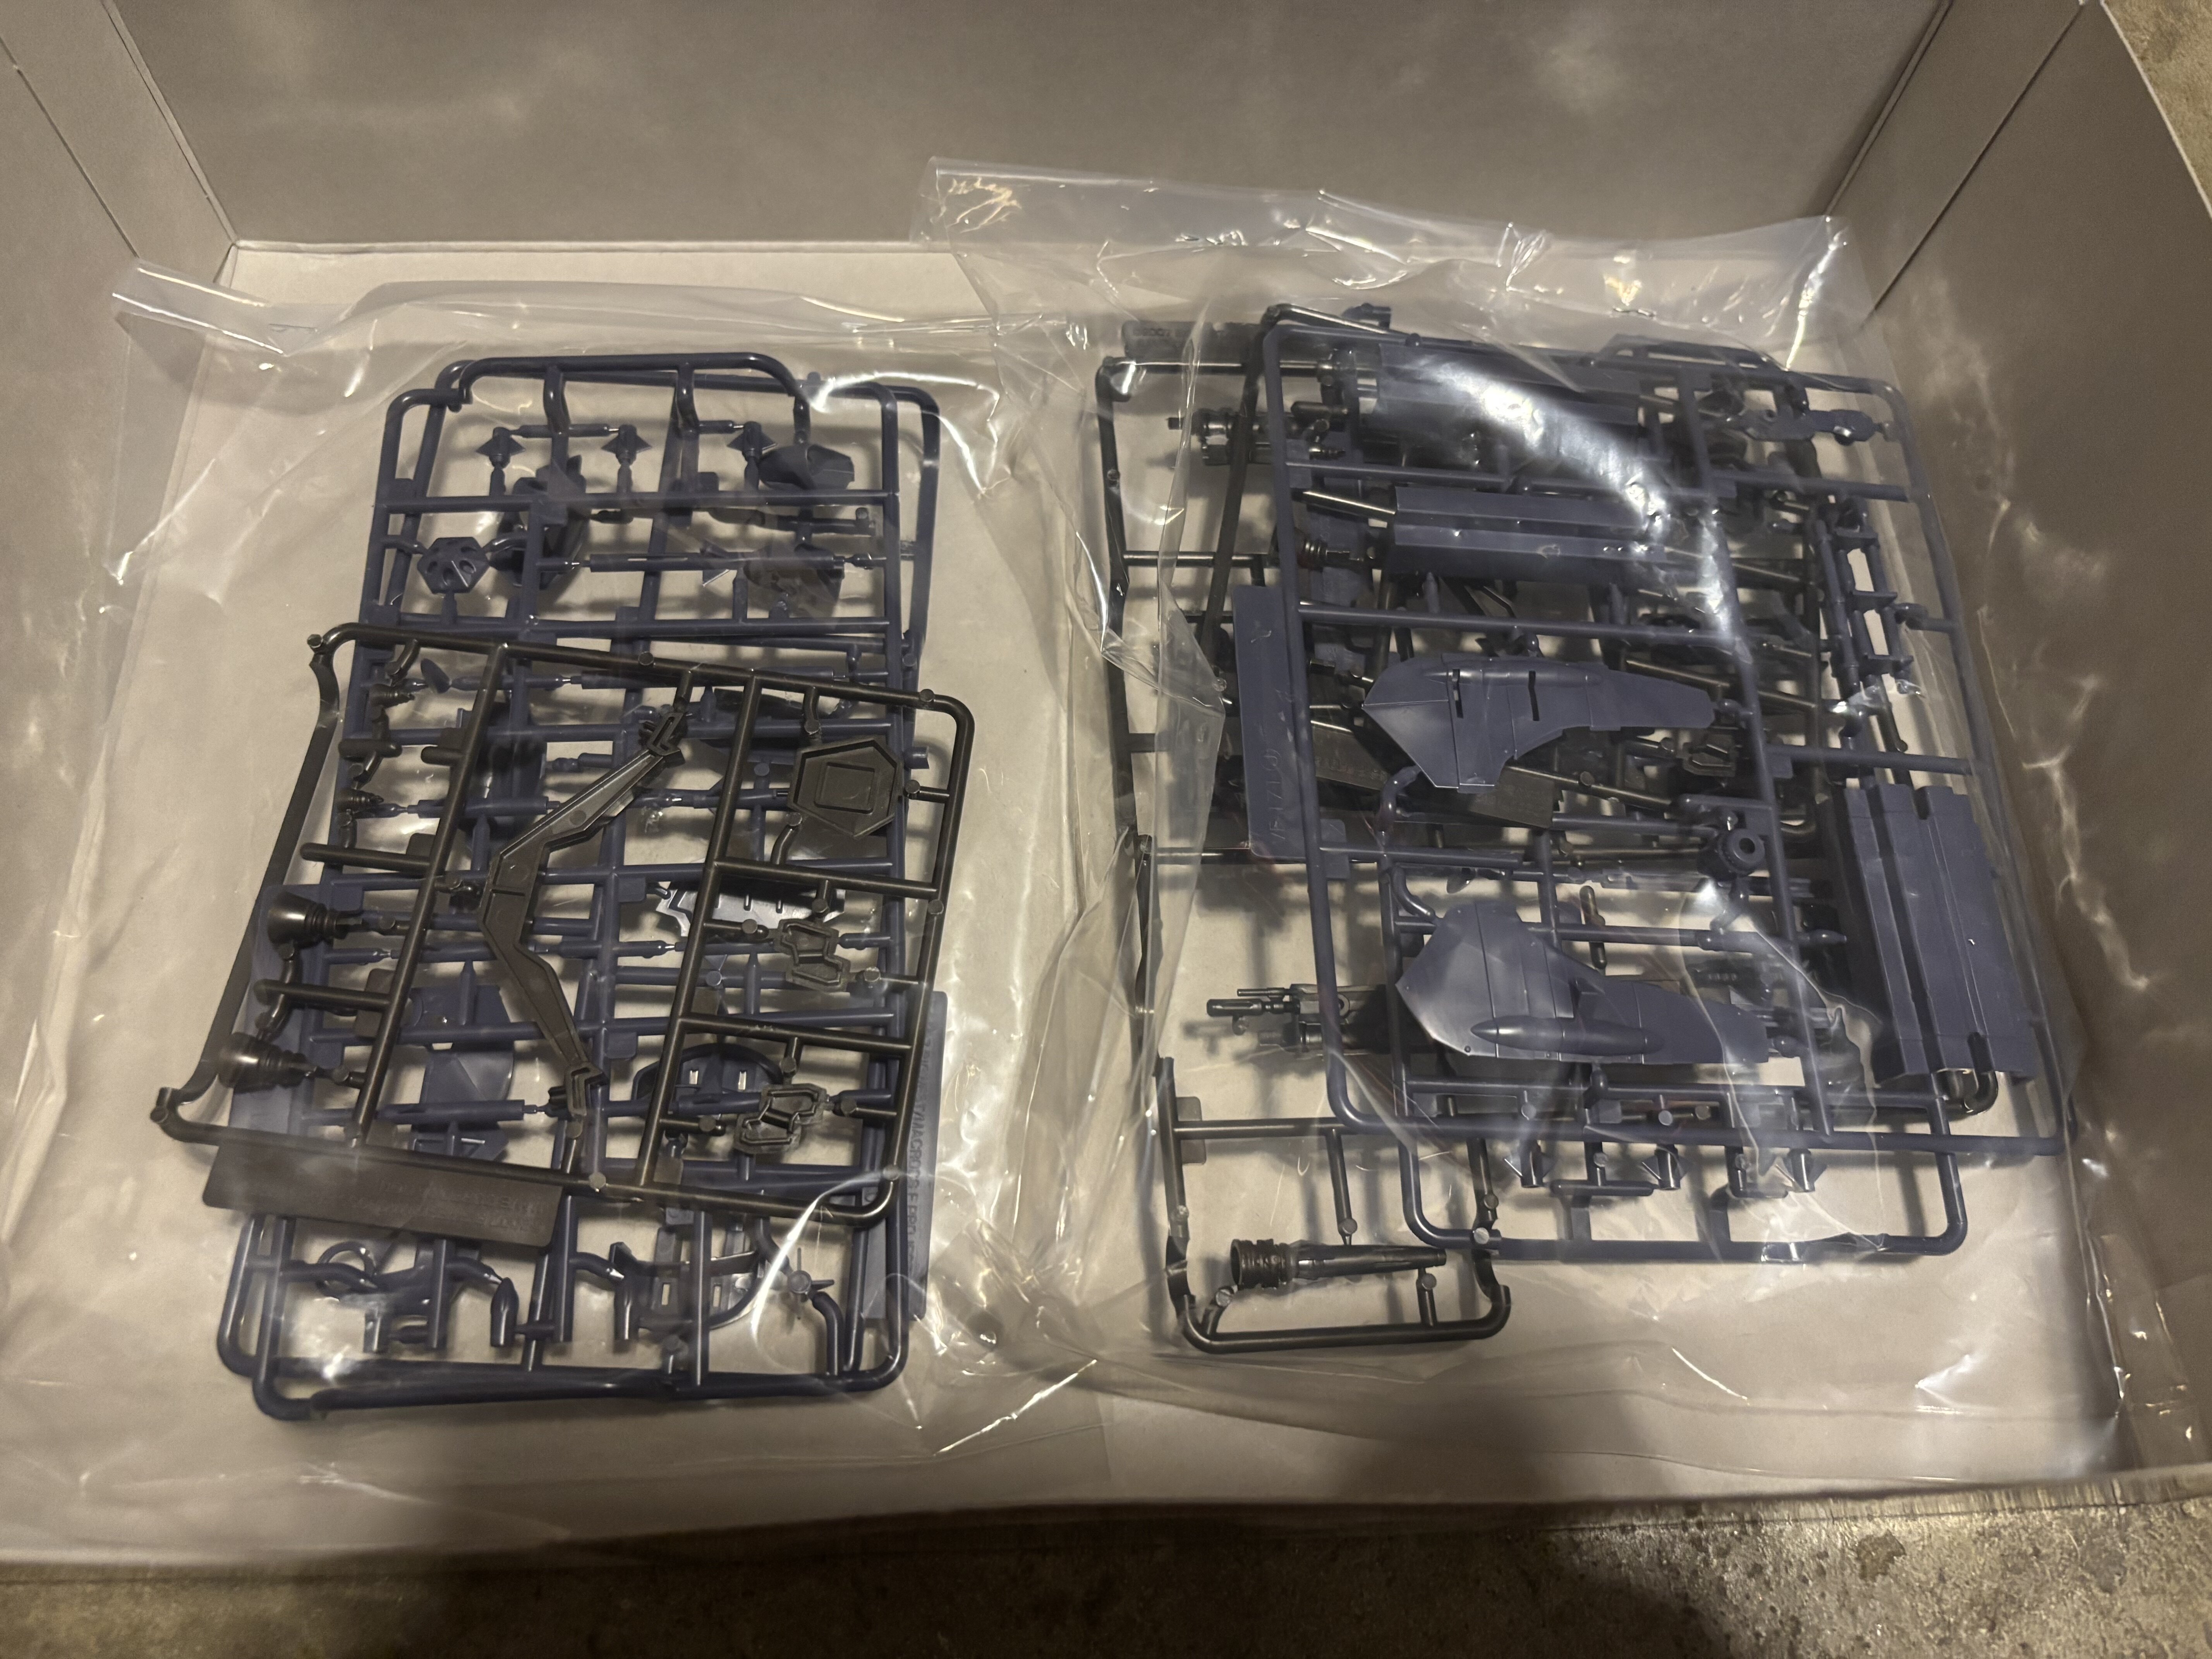
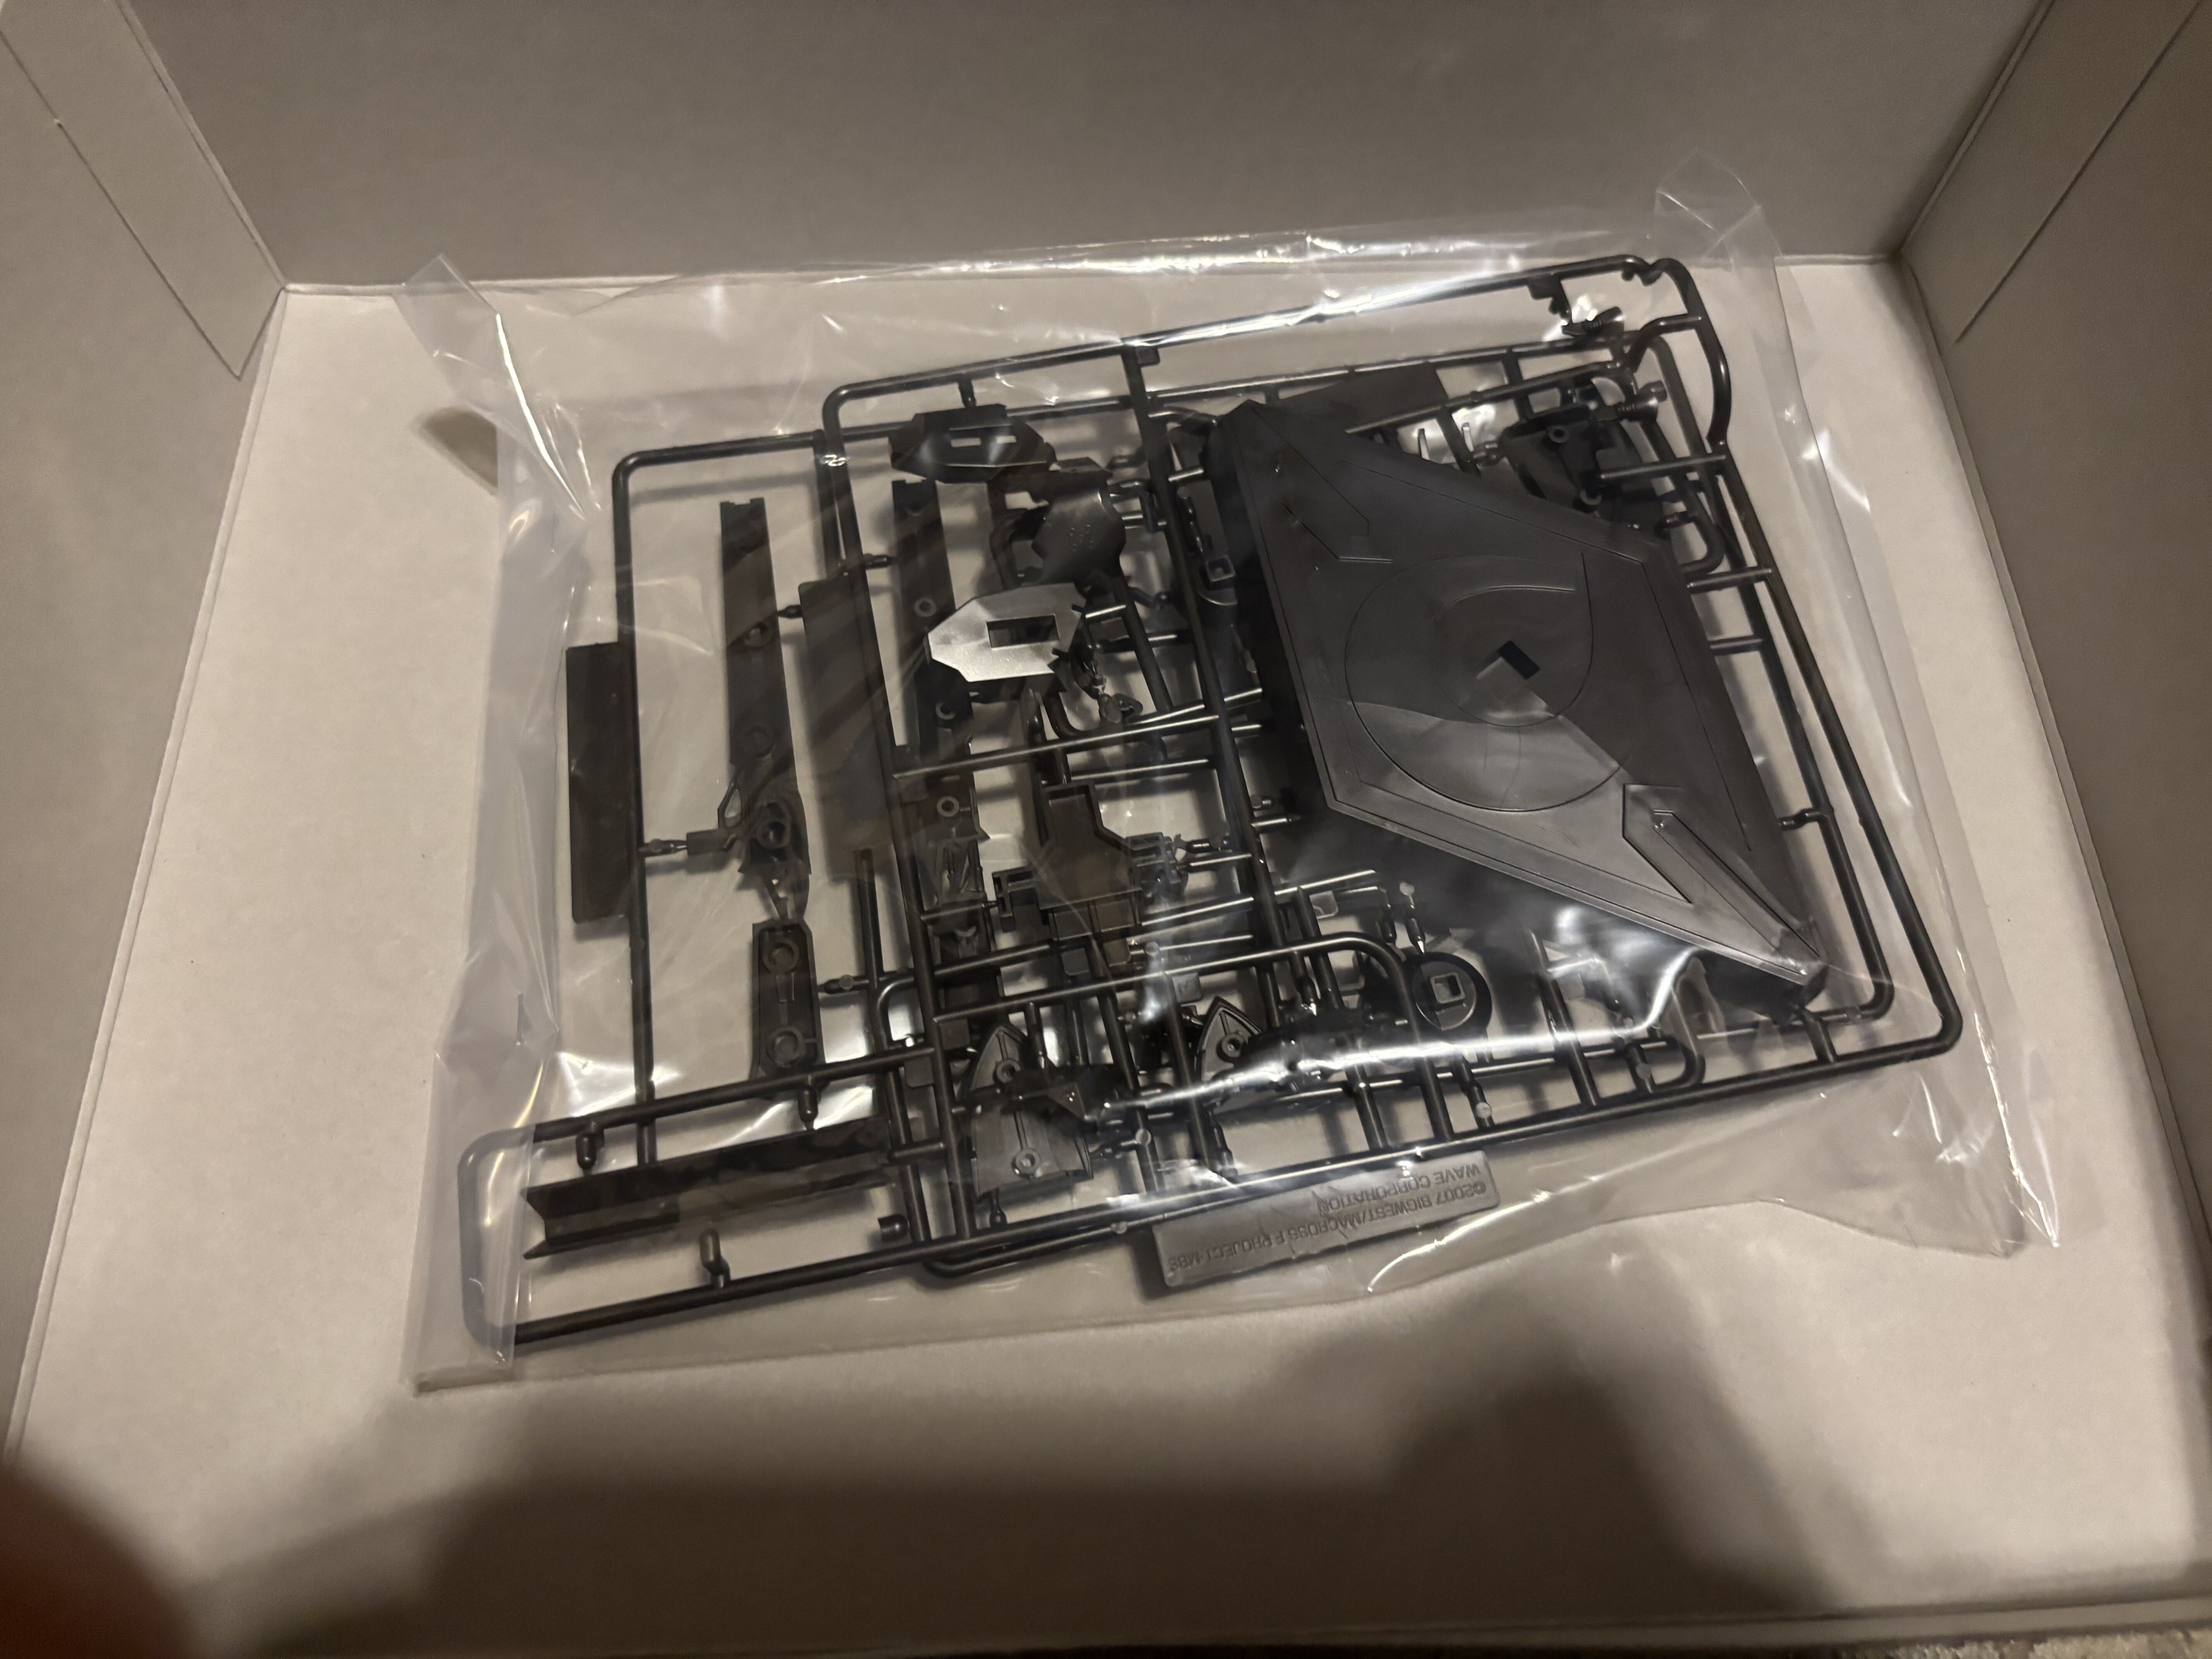
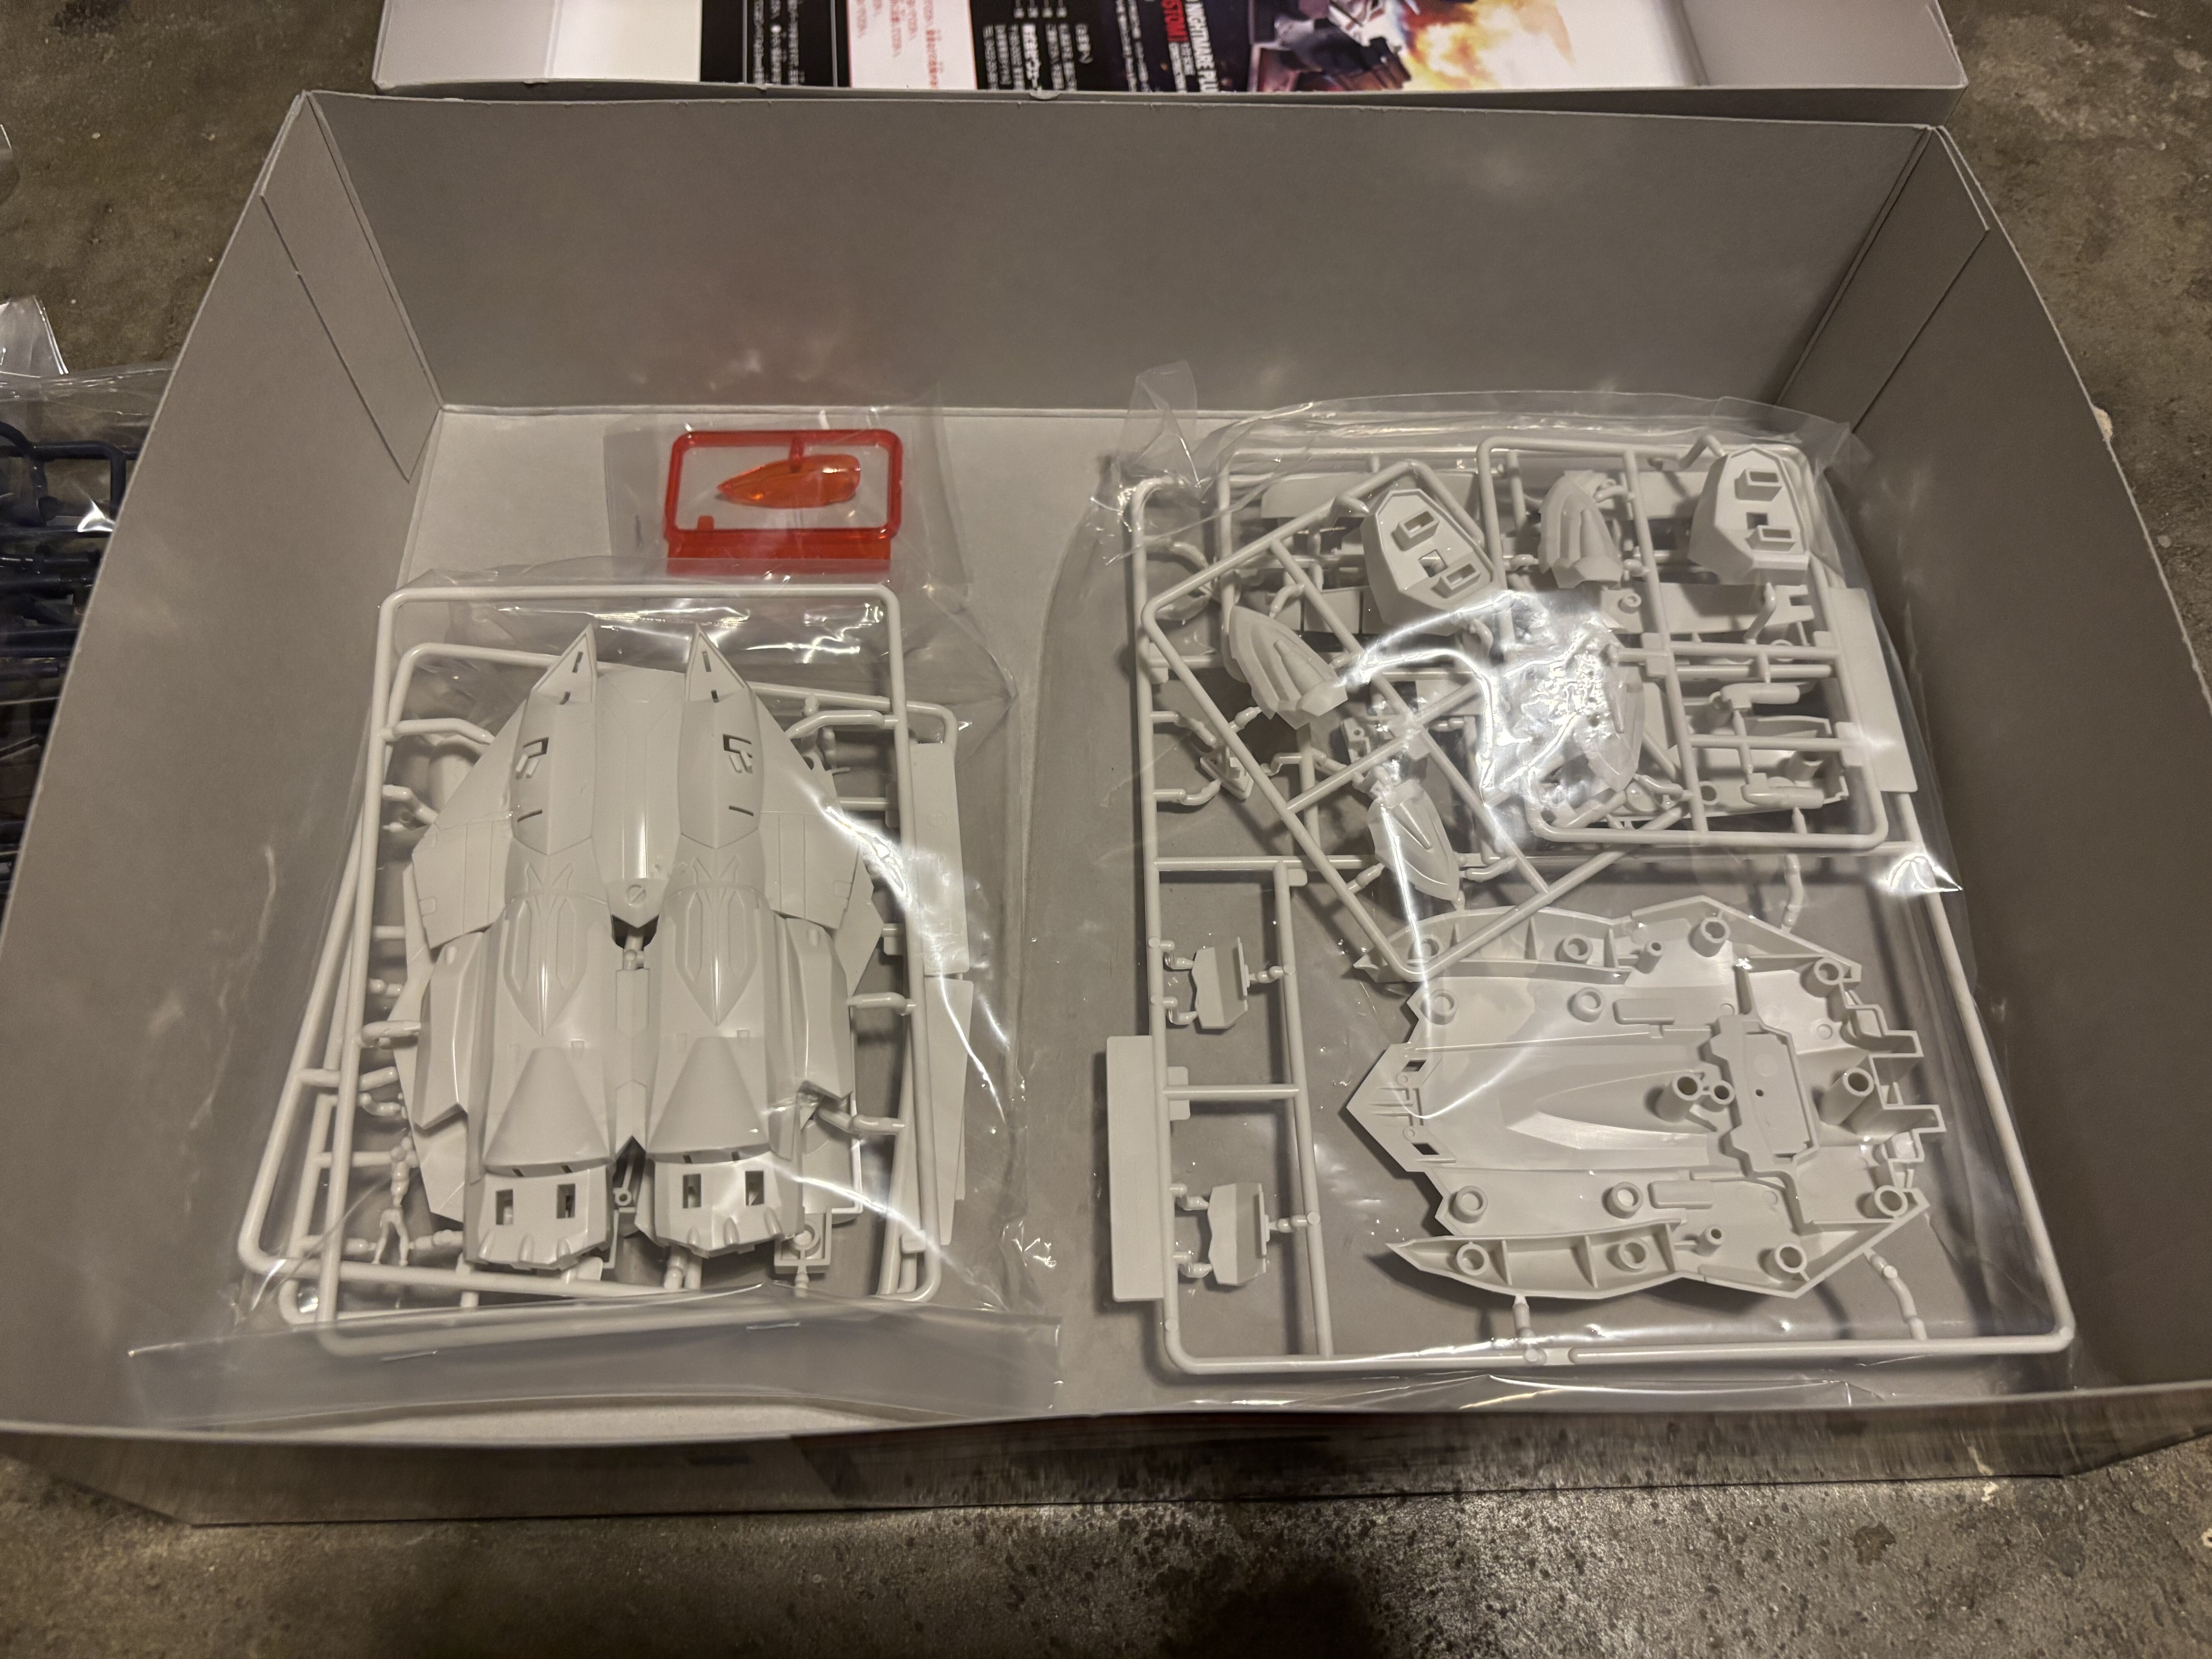
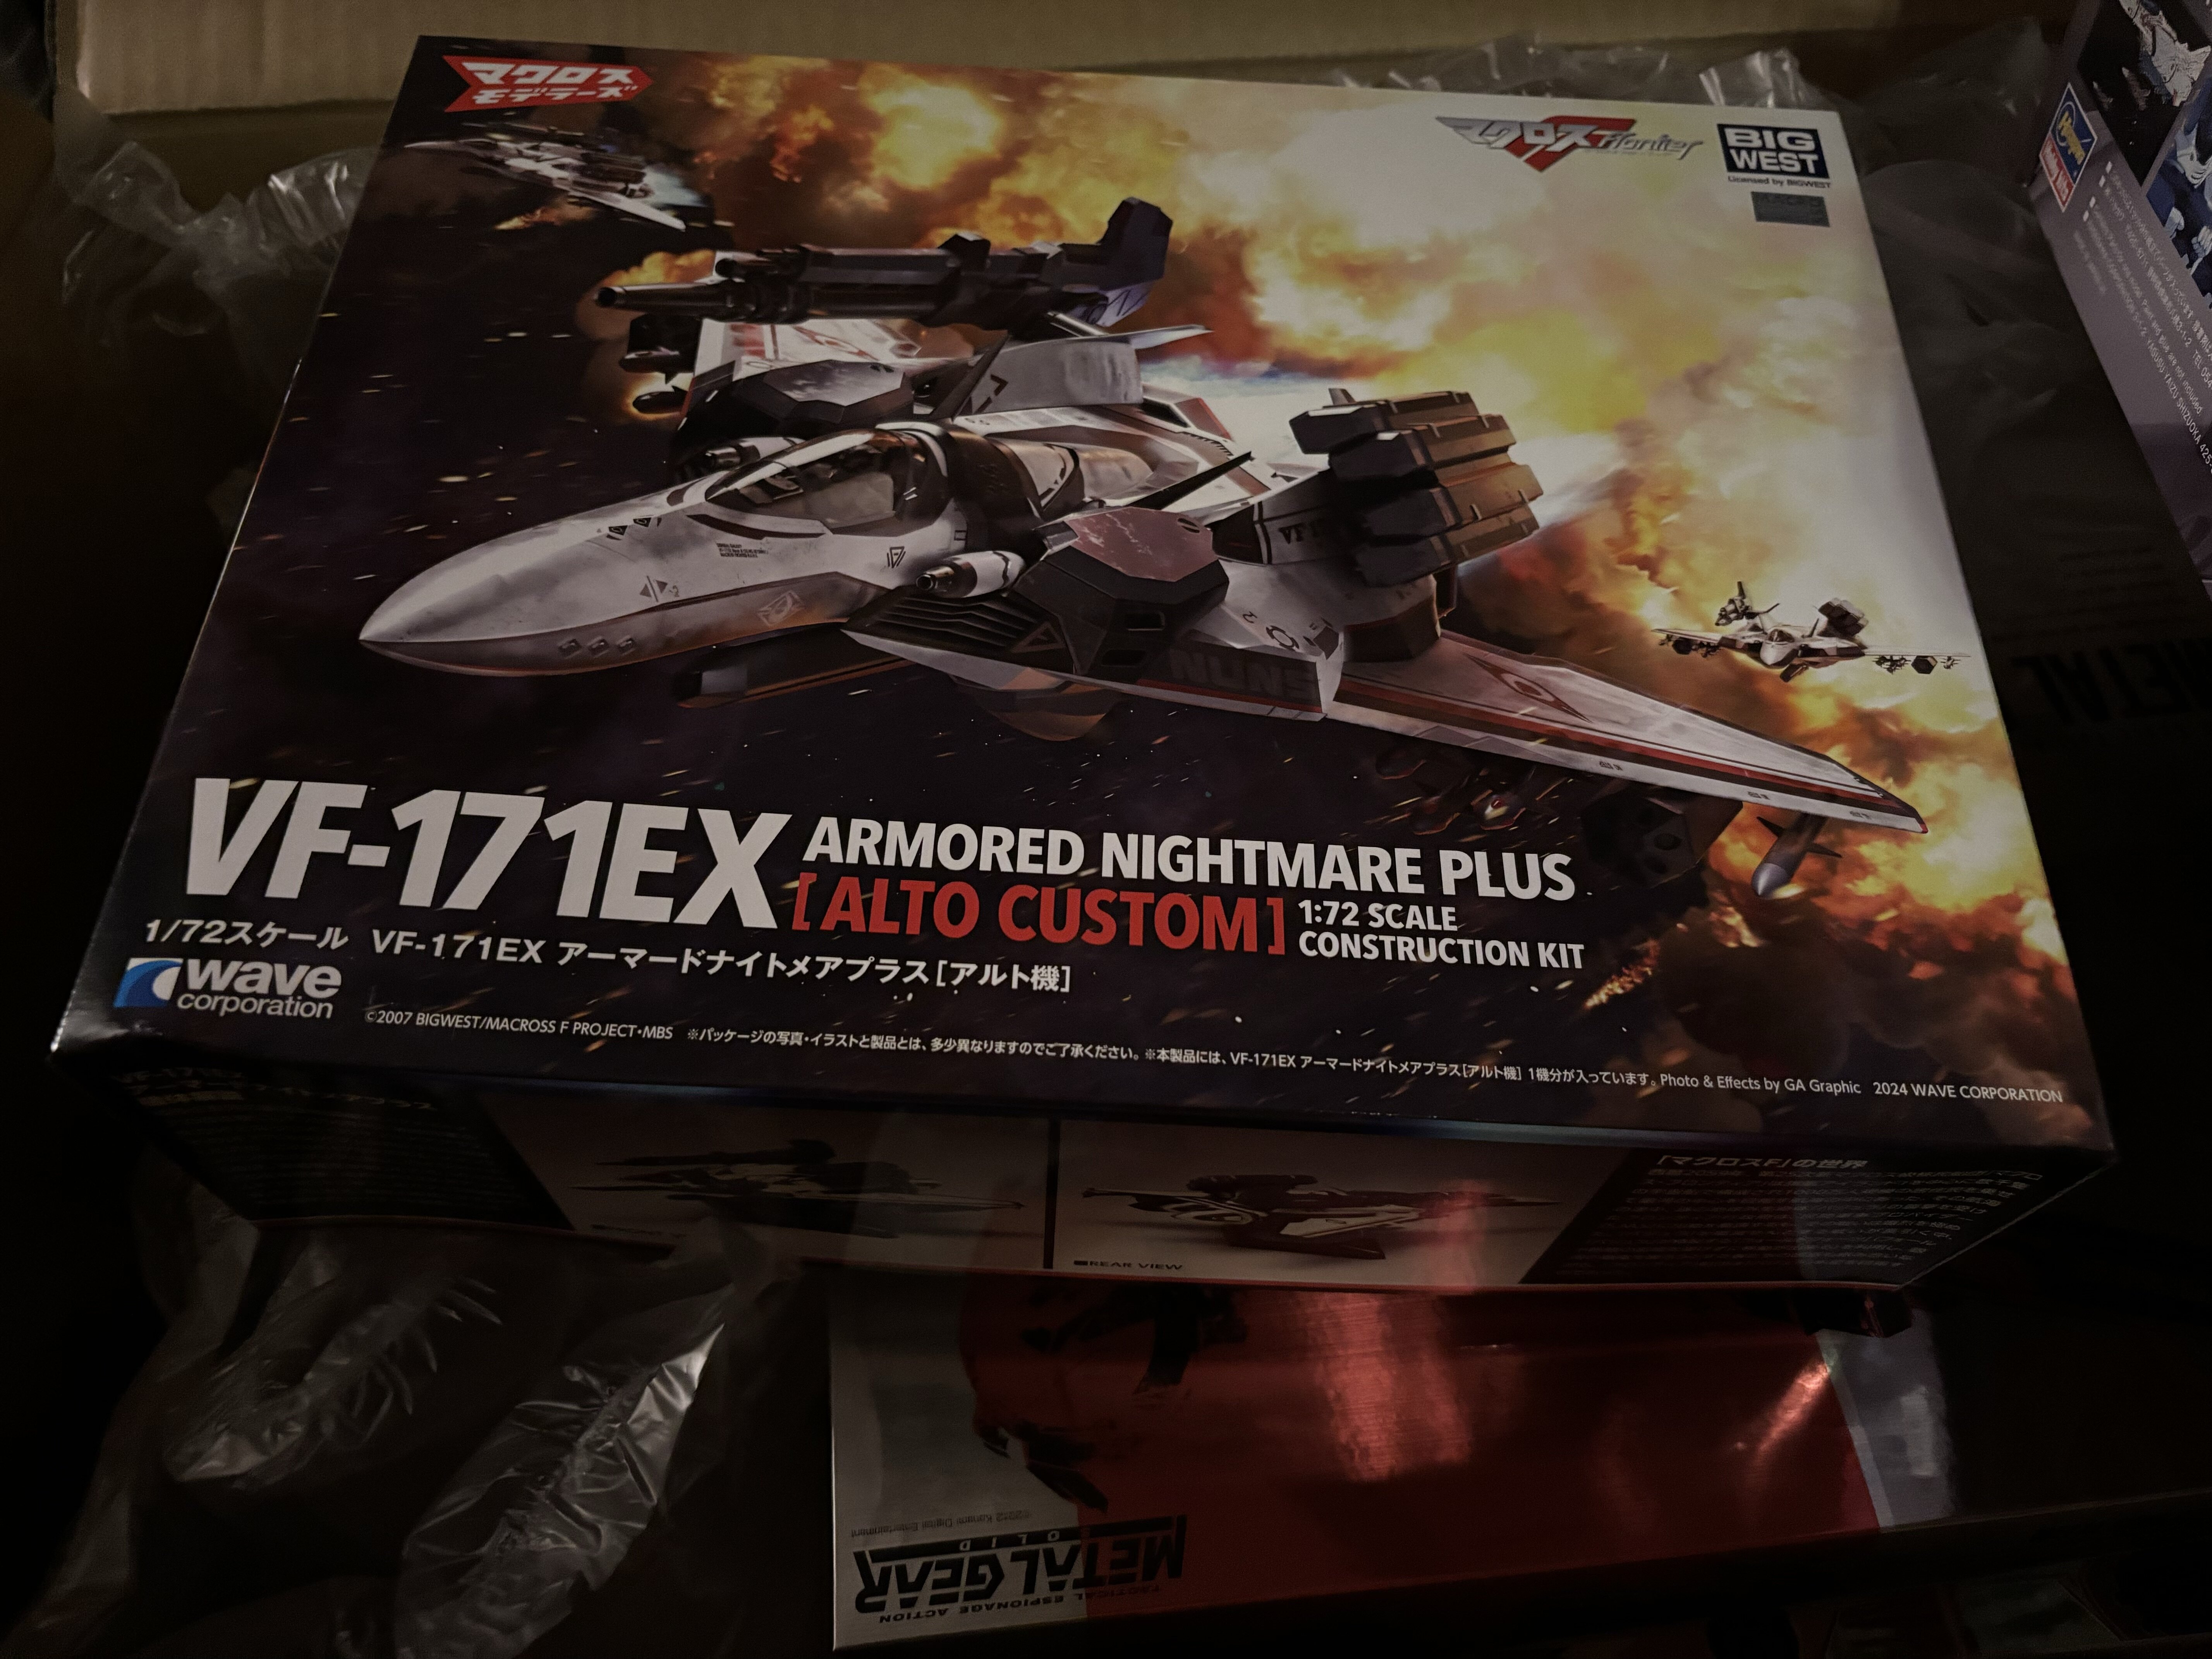
Okay, little unboxing on the new vf-171 kit. The box is only slightly higher than the VF-171 nightmare release with ordnance. That was kinda expected. This is what you see when you open the box. They seemed to have cut up some sprues, at least that is my impression. Bags with new stuff: And the already known stuff. This time we have white wings with injected on pylons, but still same-same. Decals and manual. aaaaaand… done.

-
Got my box today together with a few other kits. this one here is huge…
-
Good point, so bets are up for lobsters again.
-
The 'Hey look at this really cool model build I saw' post
Urashiman replied to Shawn's topic in Model kits
Indeed. I was inspired straight away. -
The 'Hey look at this really cool model build I saw' post
Urashiman replied to Shawn's topic in Model kits
Just saw this being shared on FB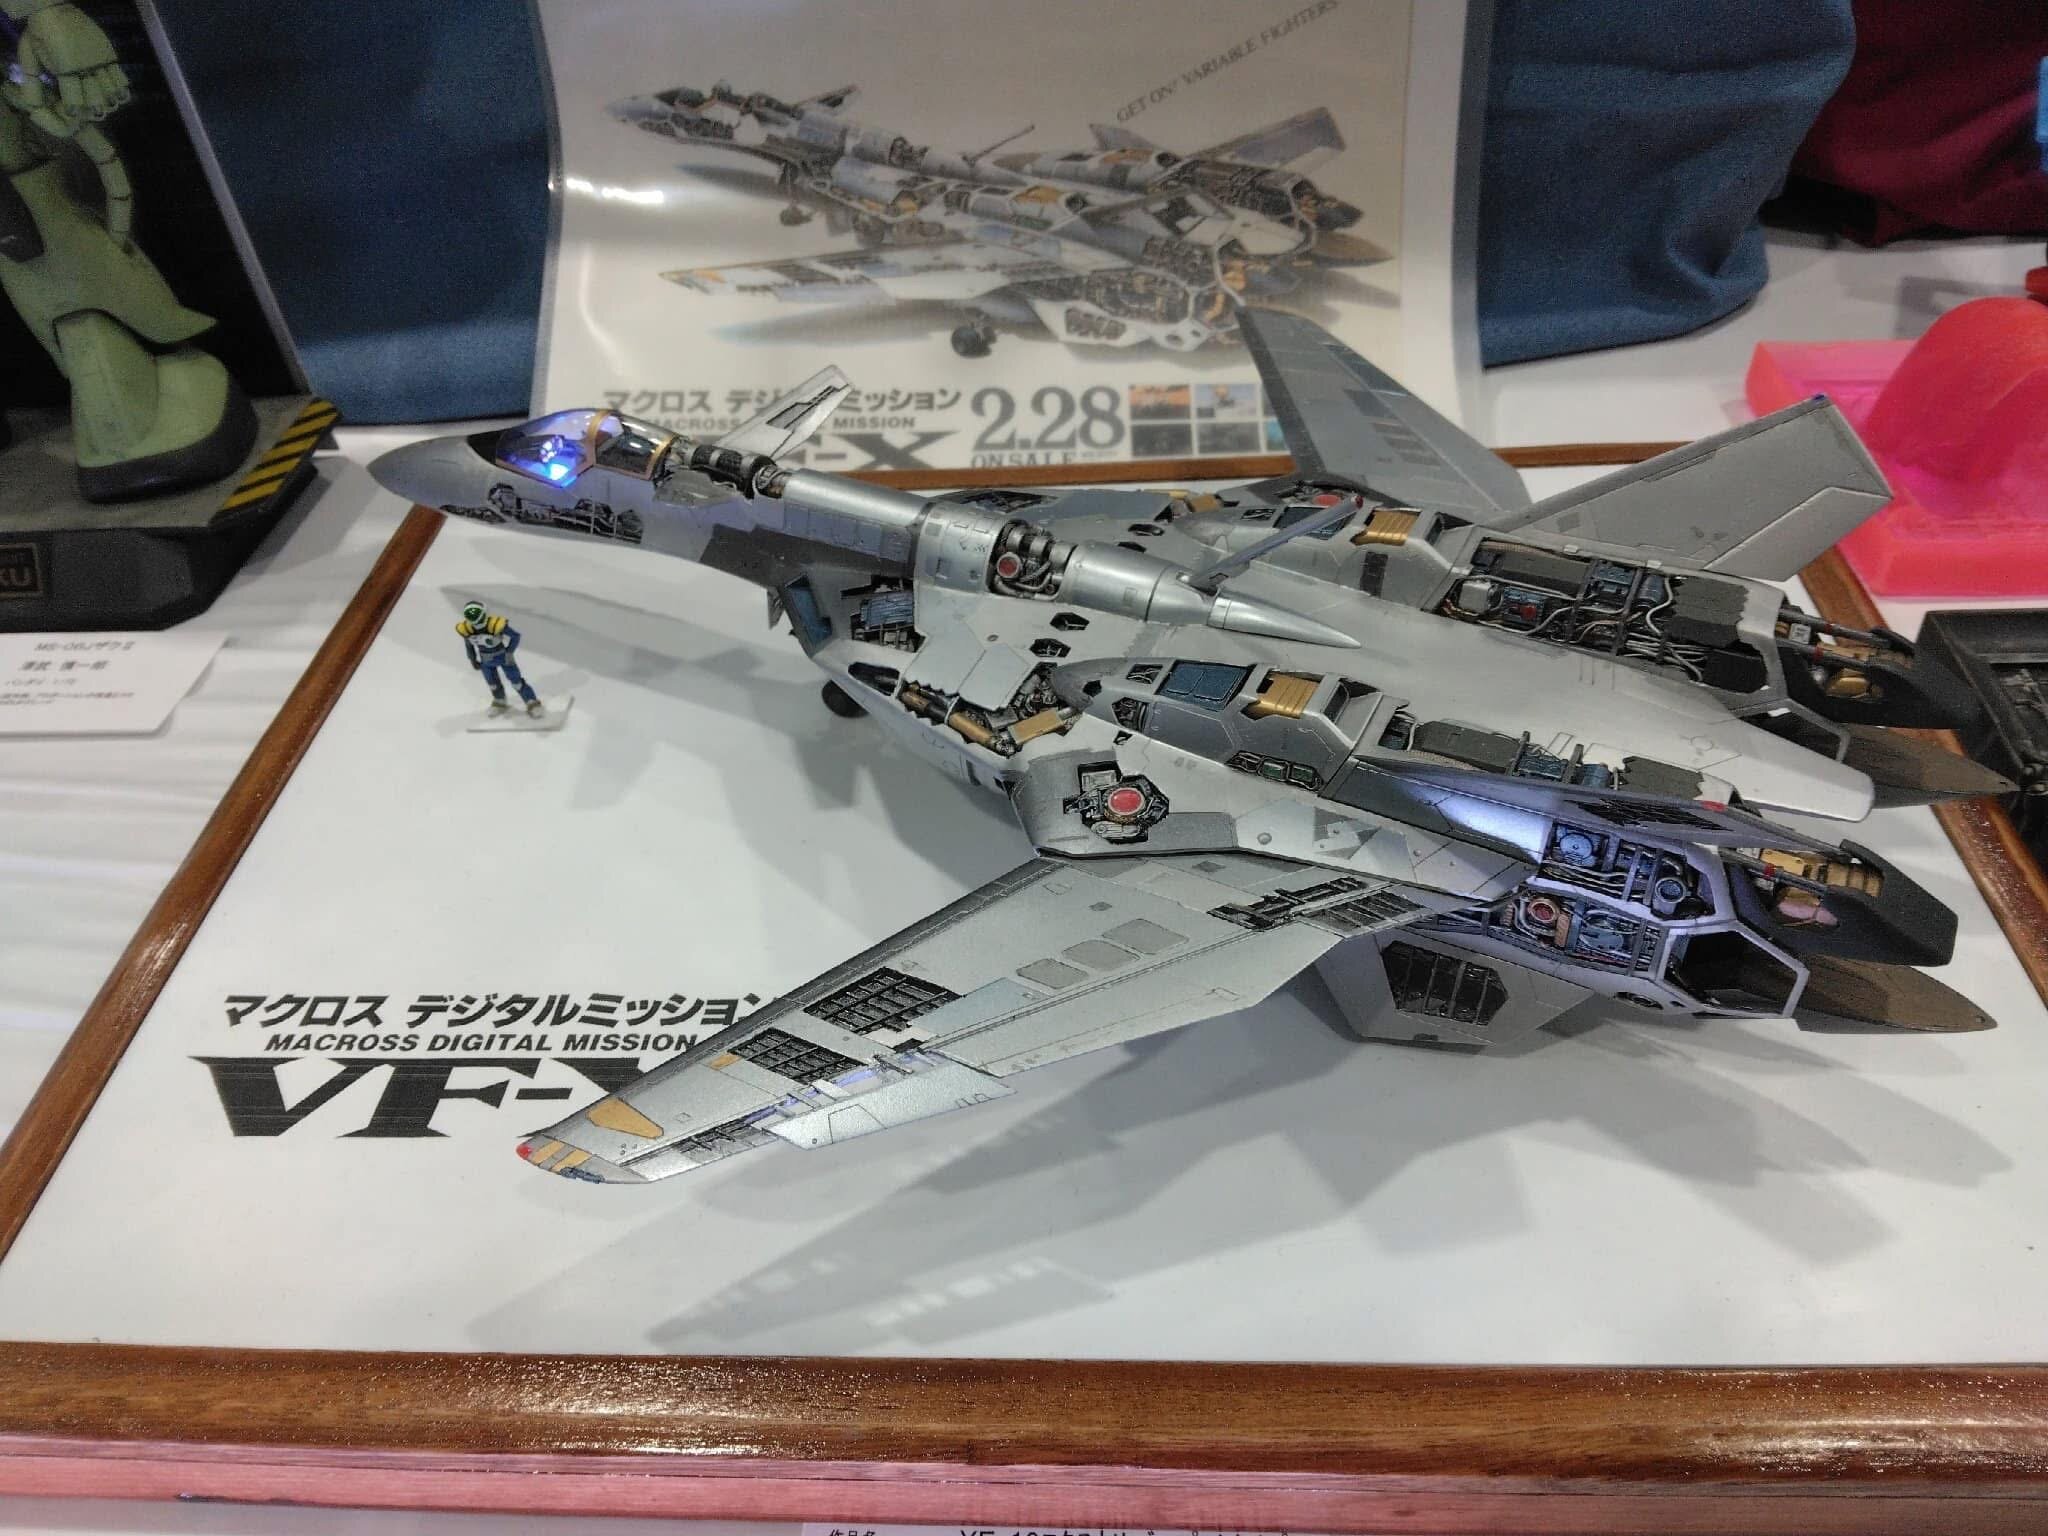
-
Or maybe a lobster with Roy Focker decals? Like the face of Roy Focker? … but, a lobster in 1/144 would be super tiny, right?
-
I bet we get to see a Fokker D.VII in Roy Focker colors. Focker in a Fokker hahaha.
-
Oh, you have no idea. This was the stash prior to the arrival of the YF-21.
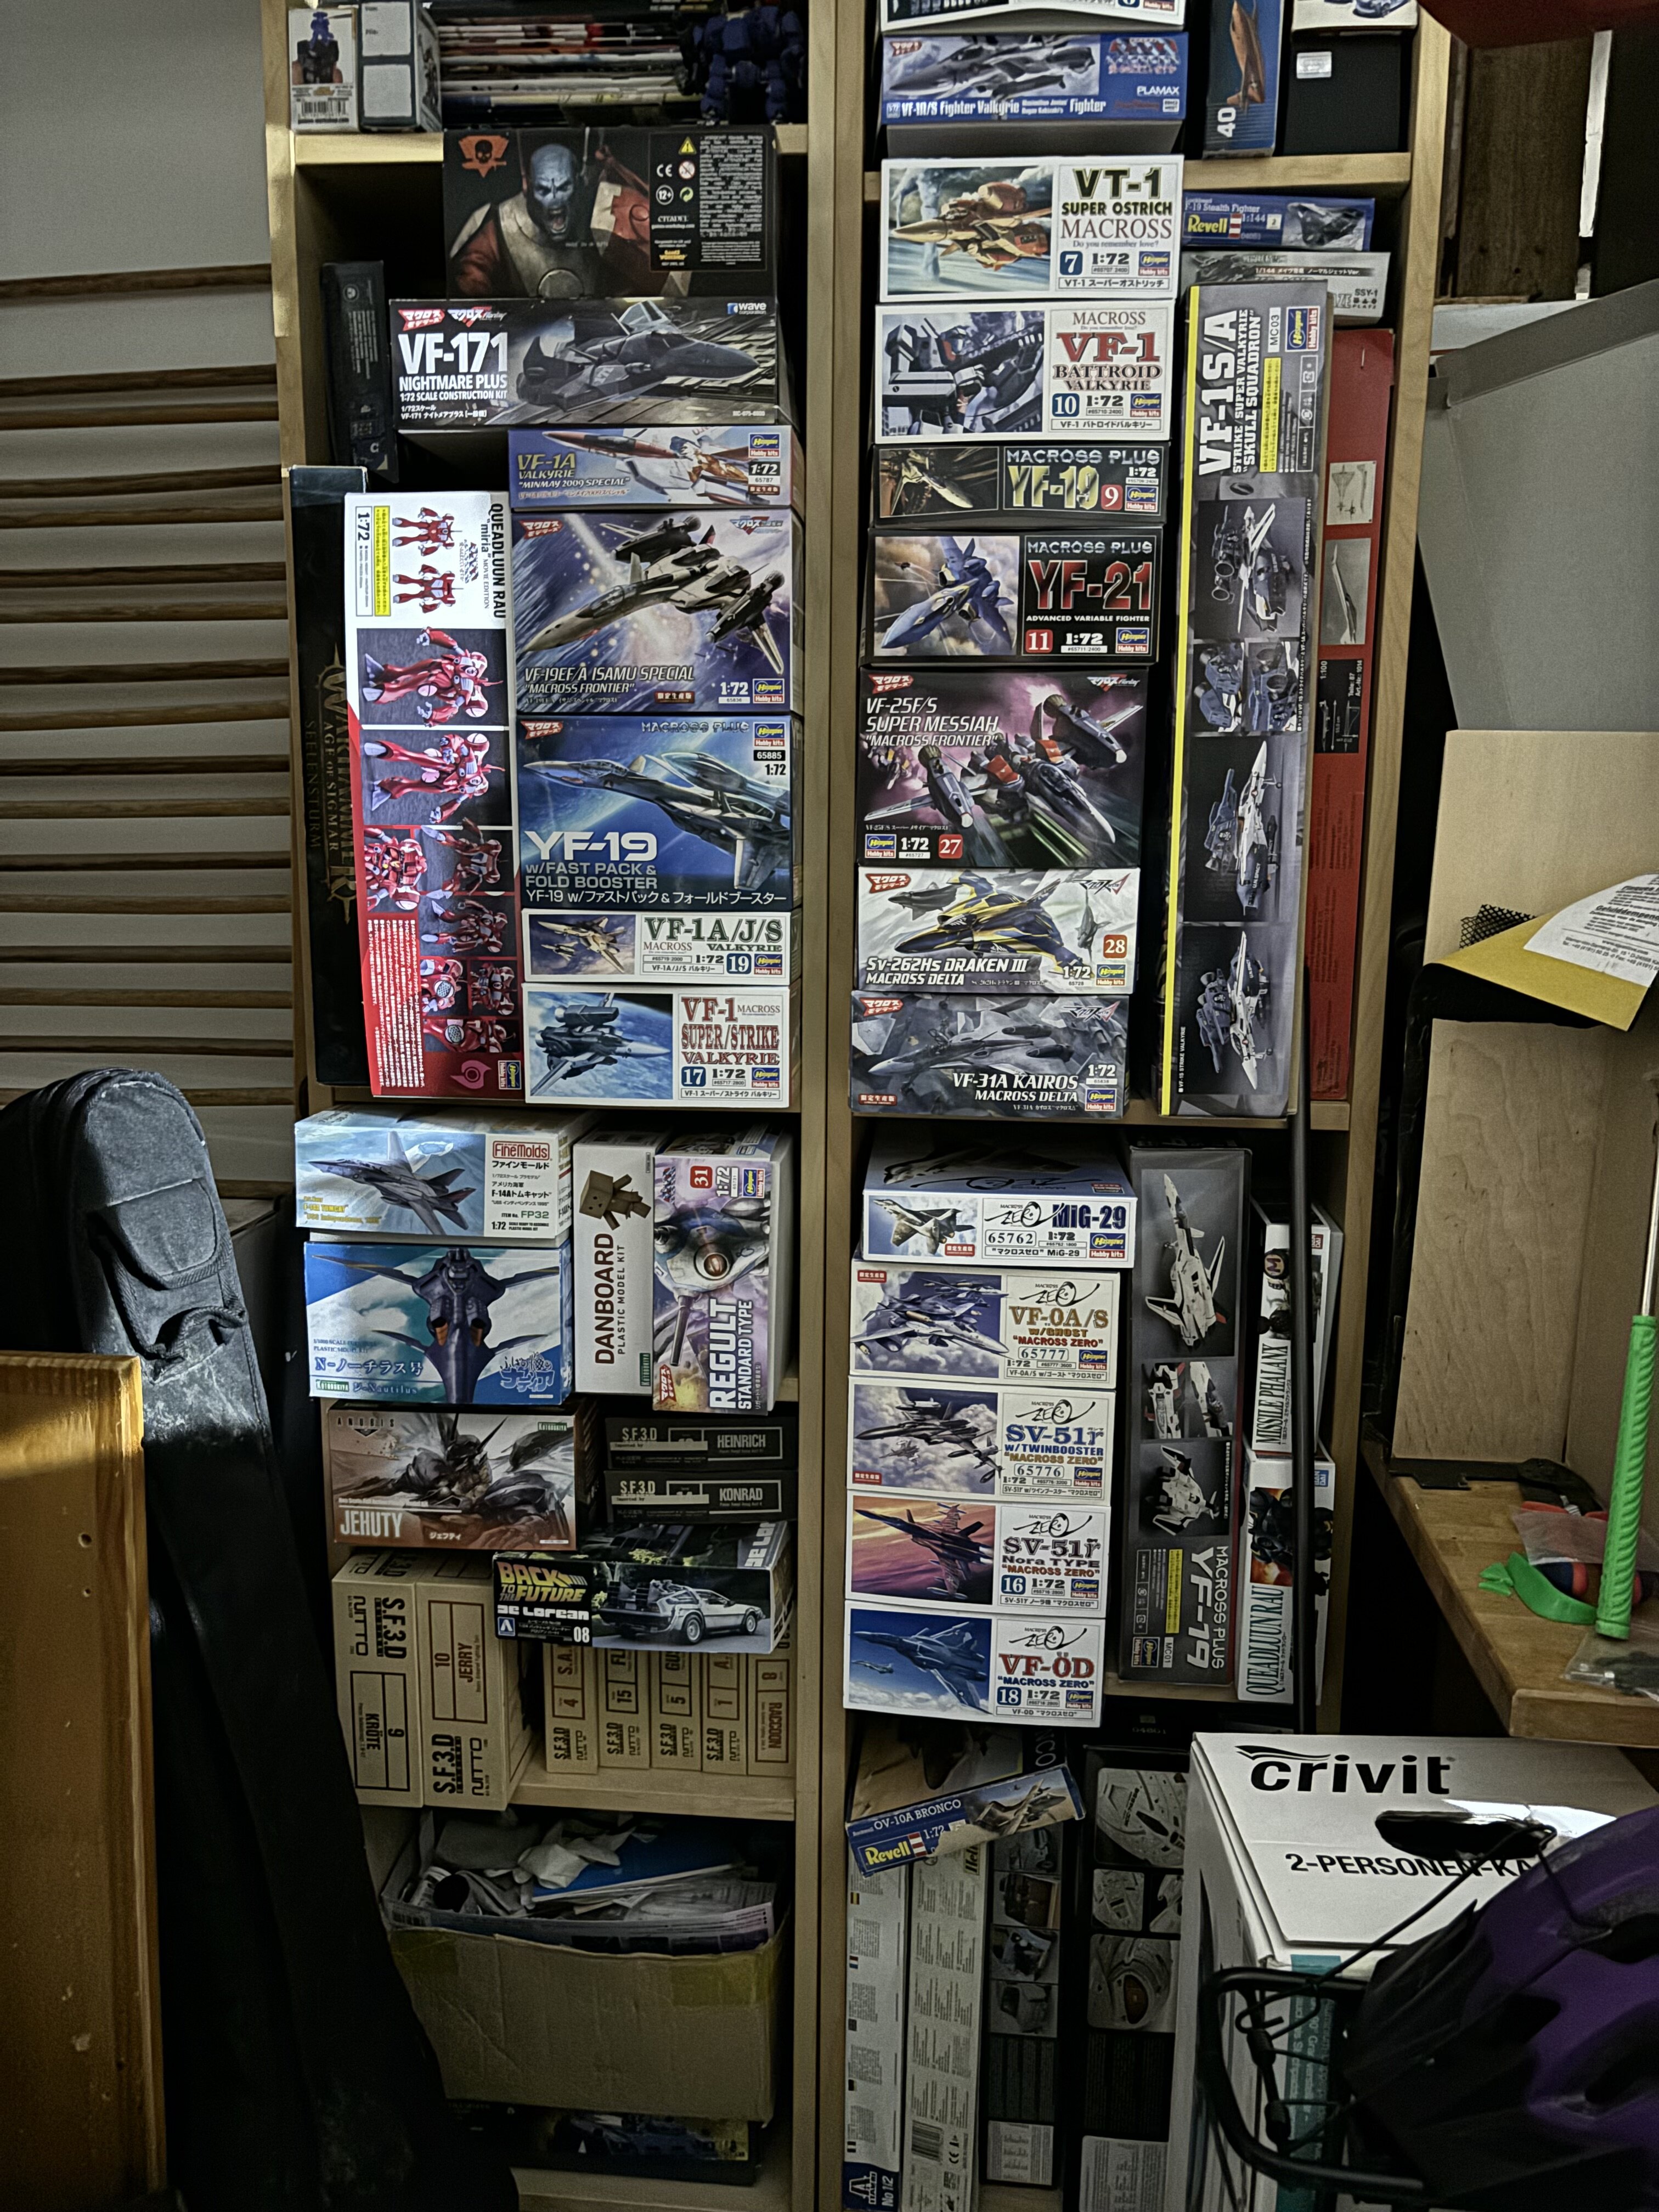
-
I got that YF-19. just above the YF-21 in my stash now. and here a little box shot of what is in the YF-21 box.
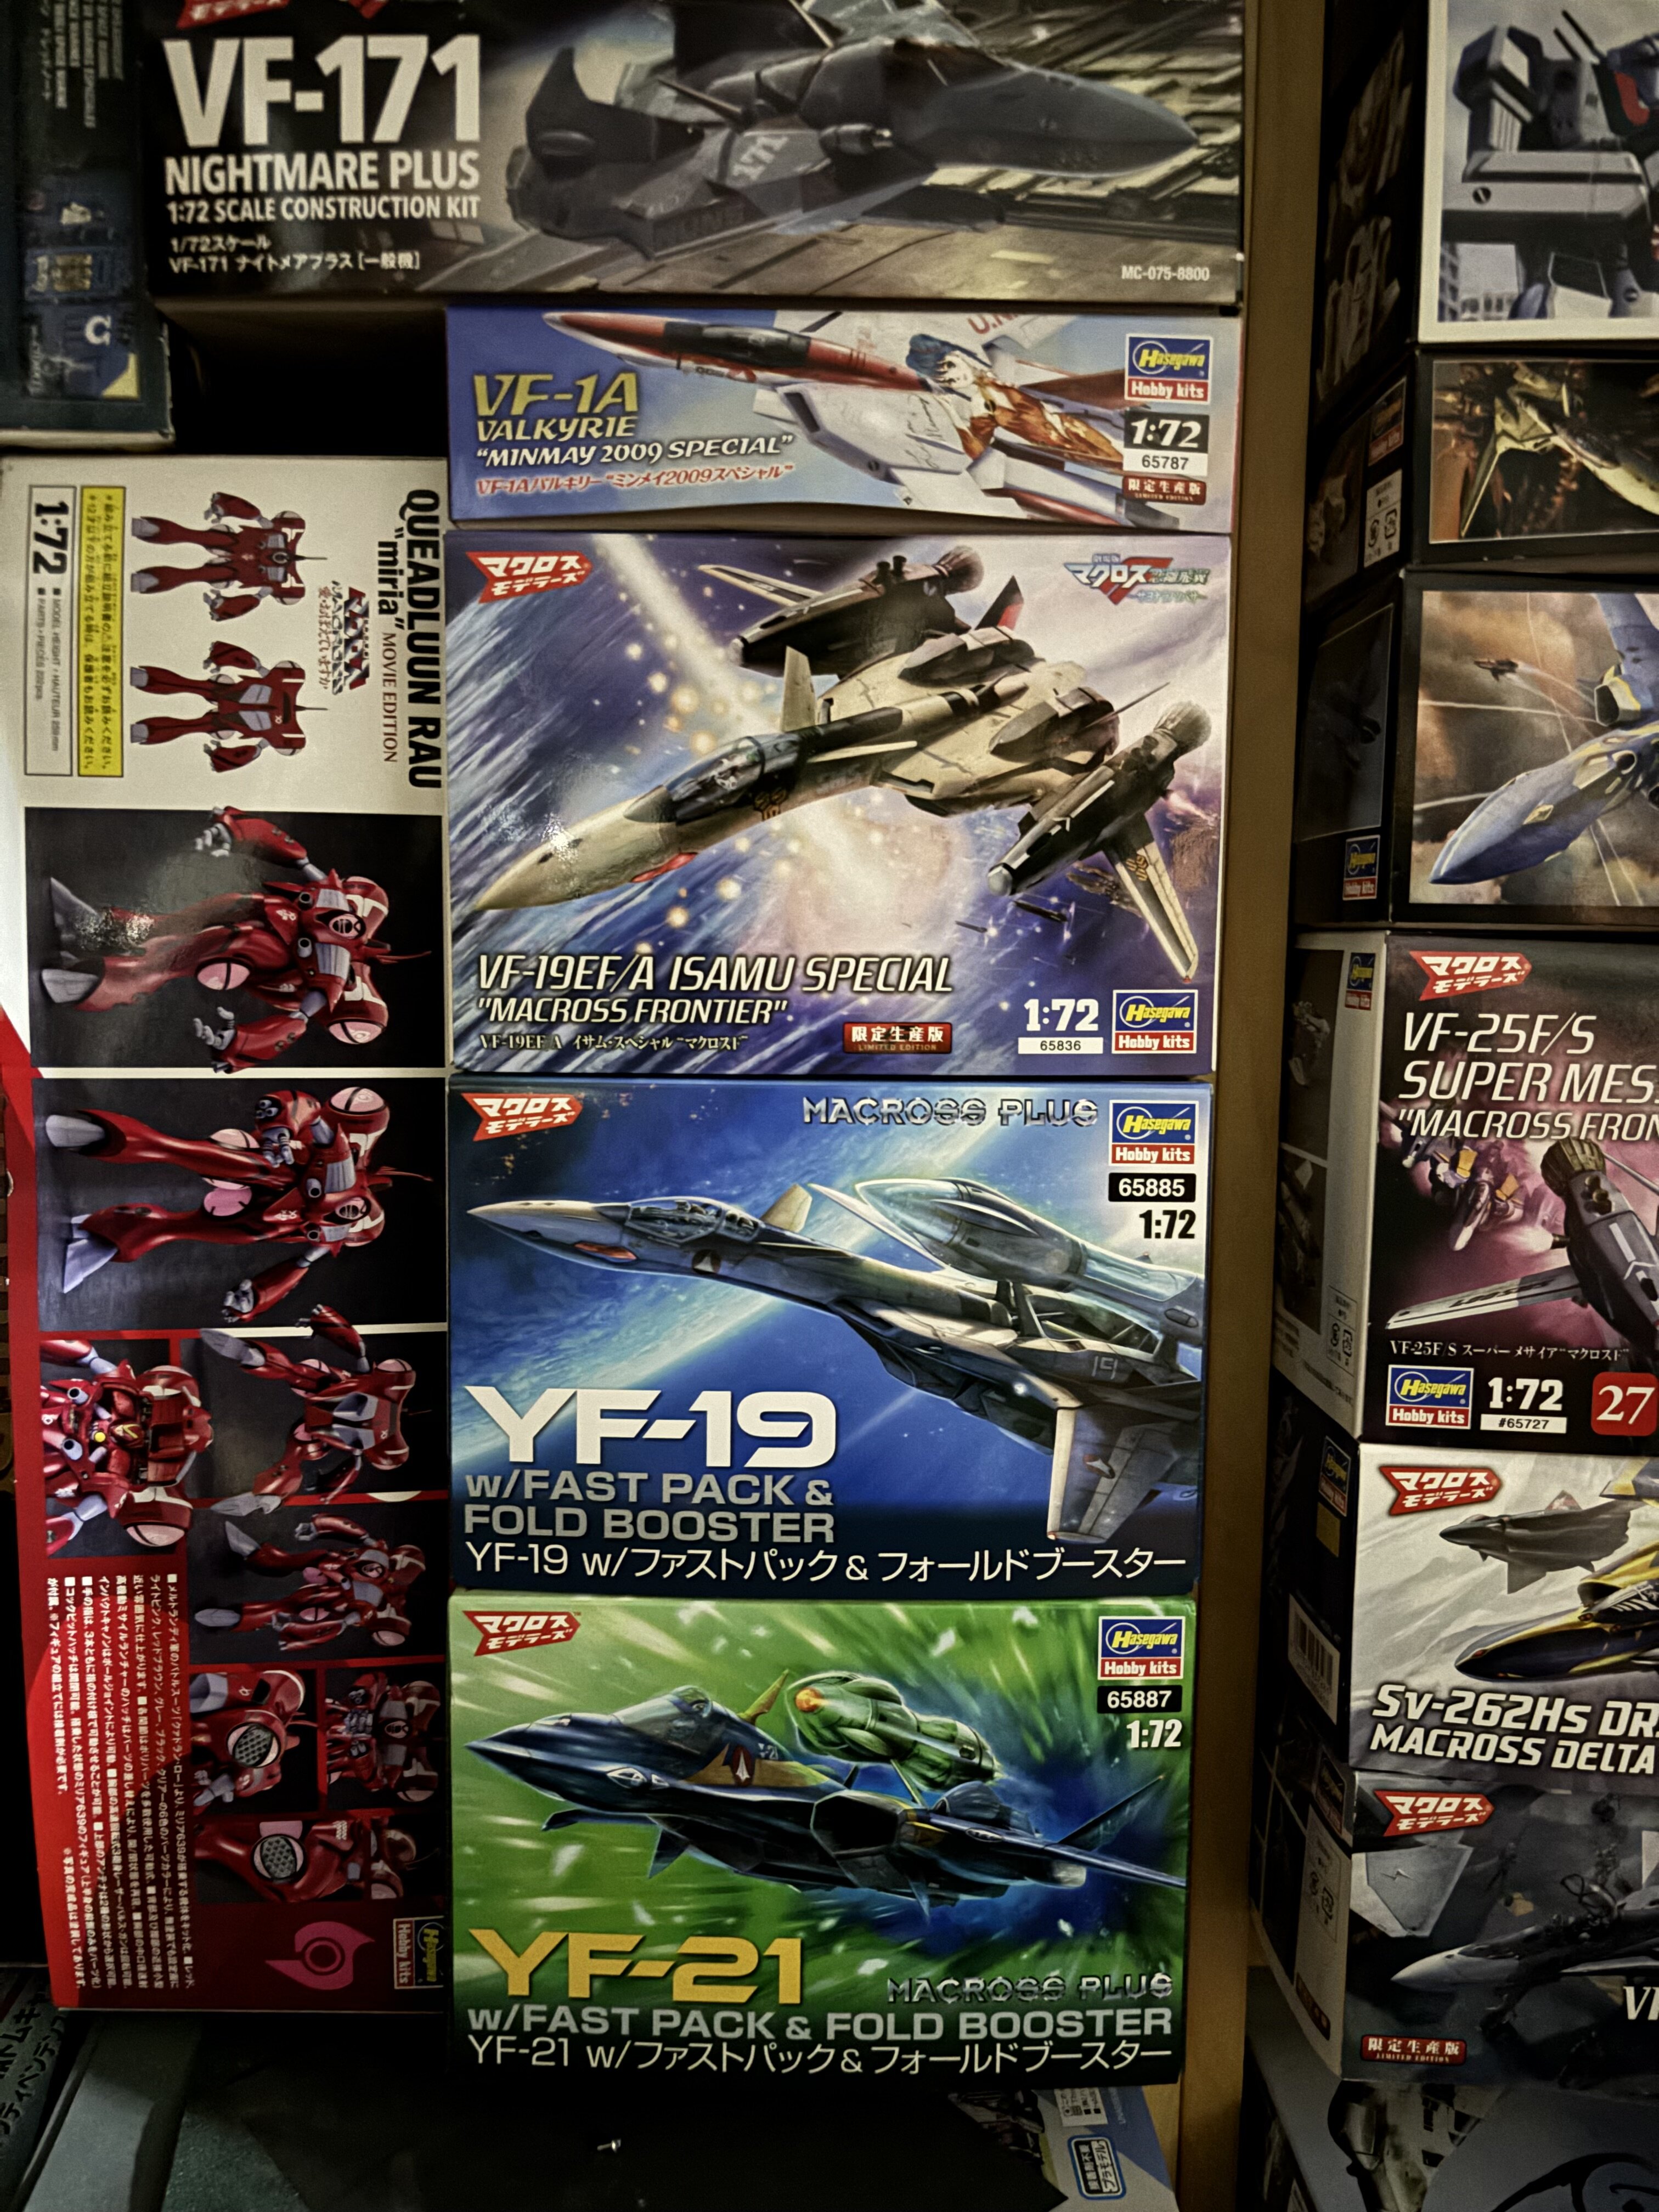
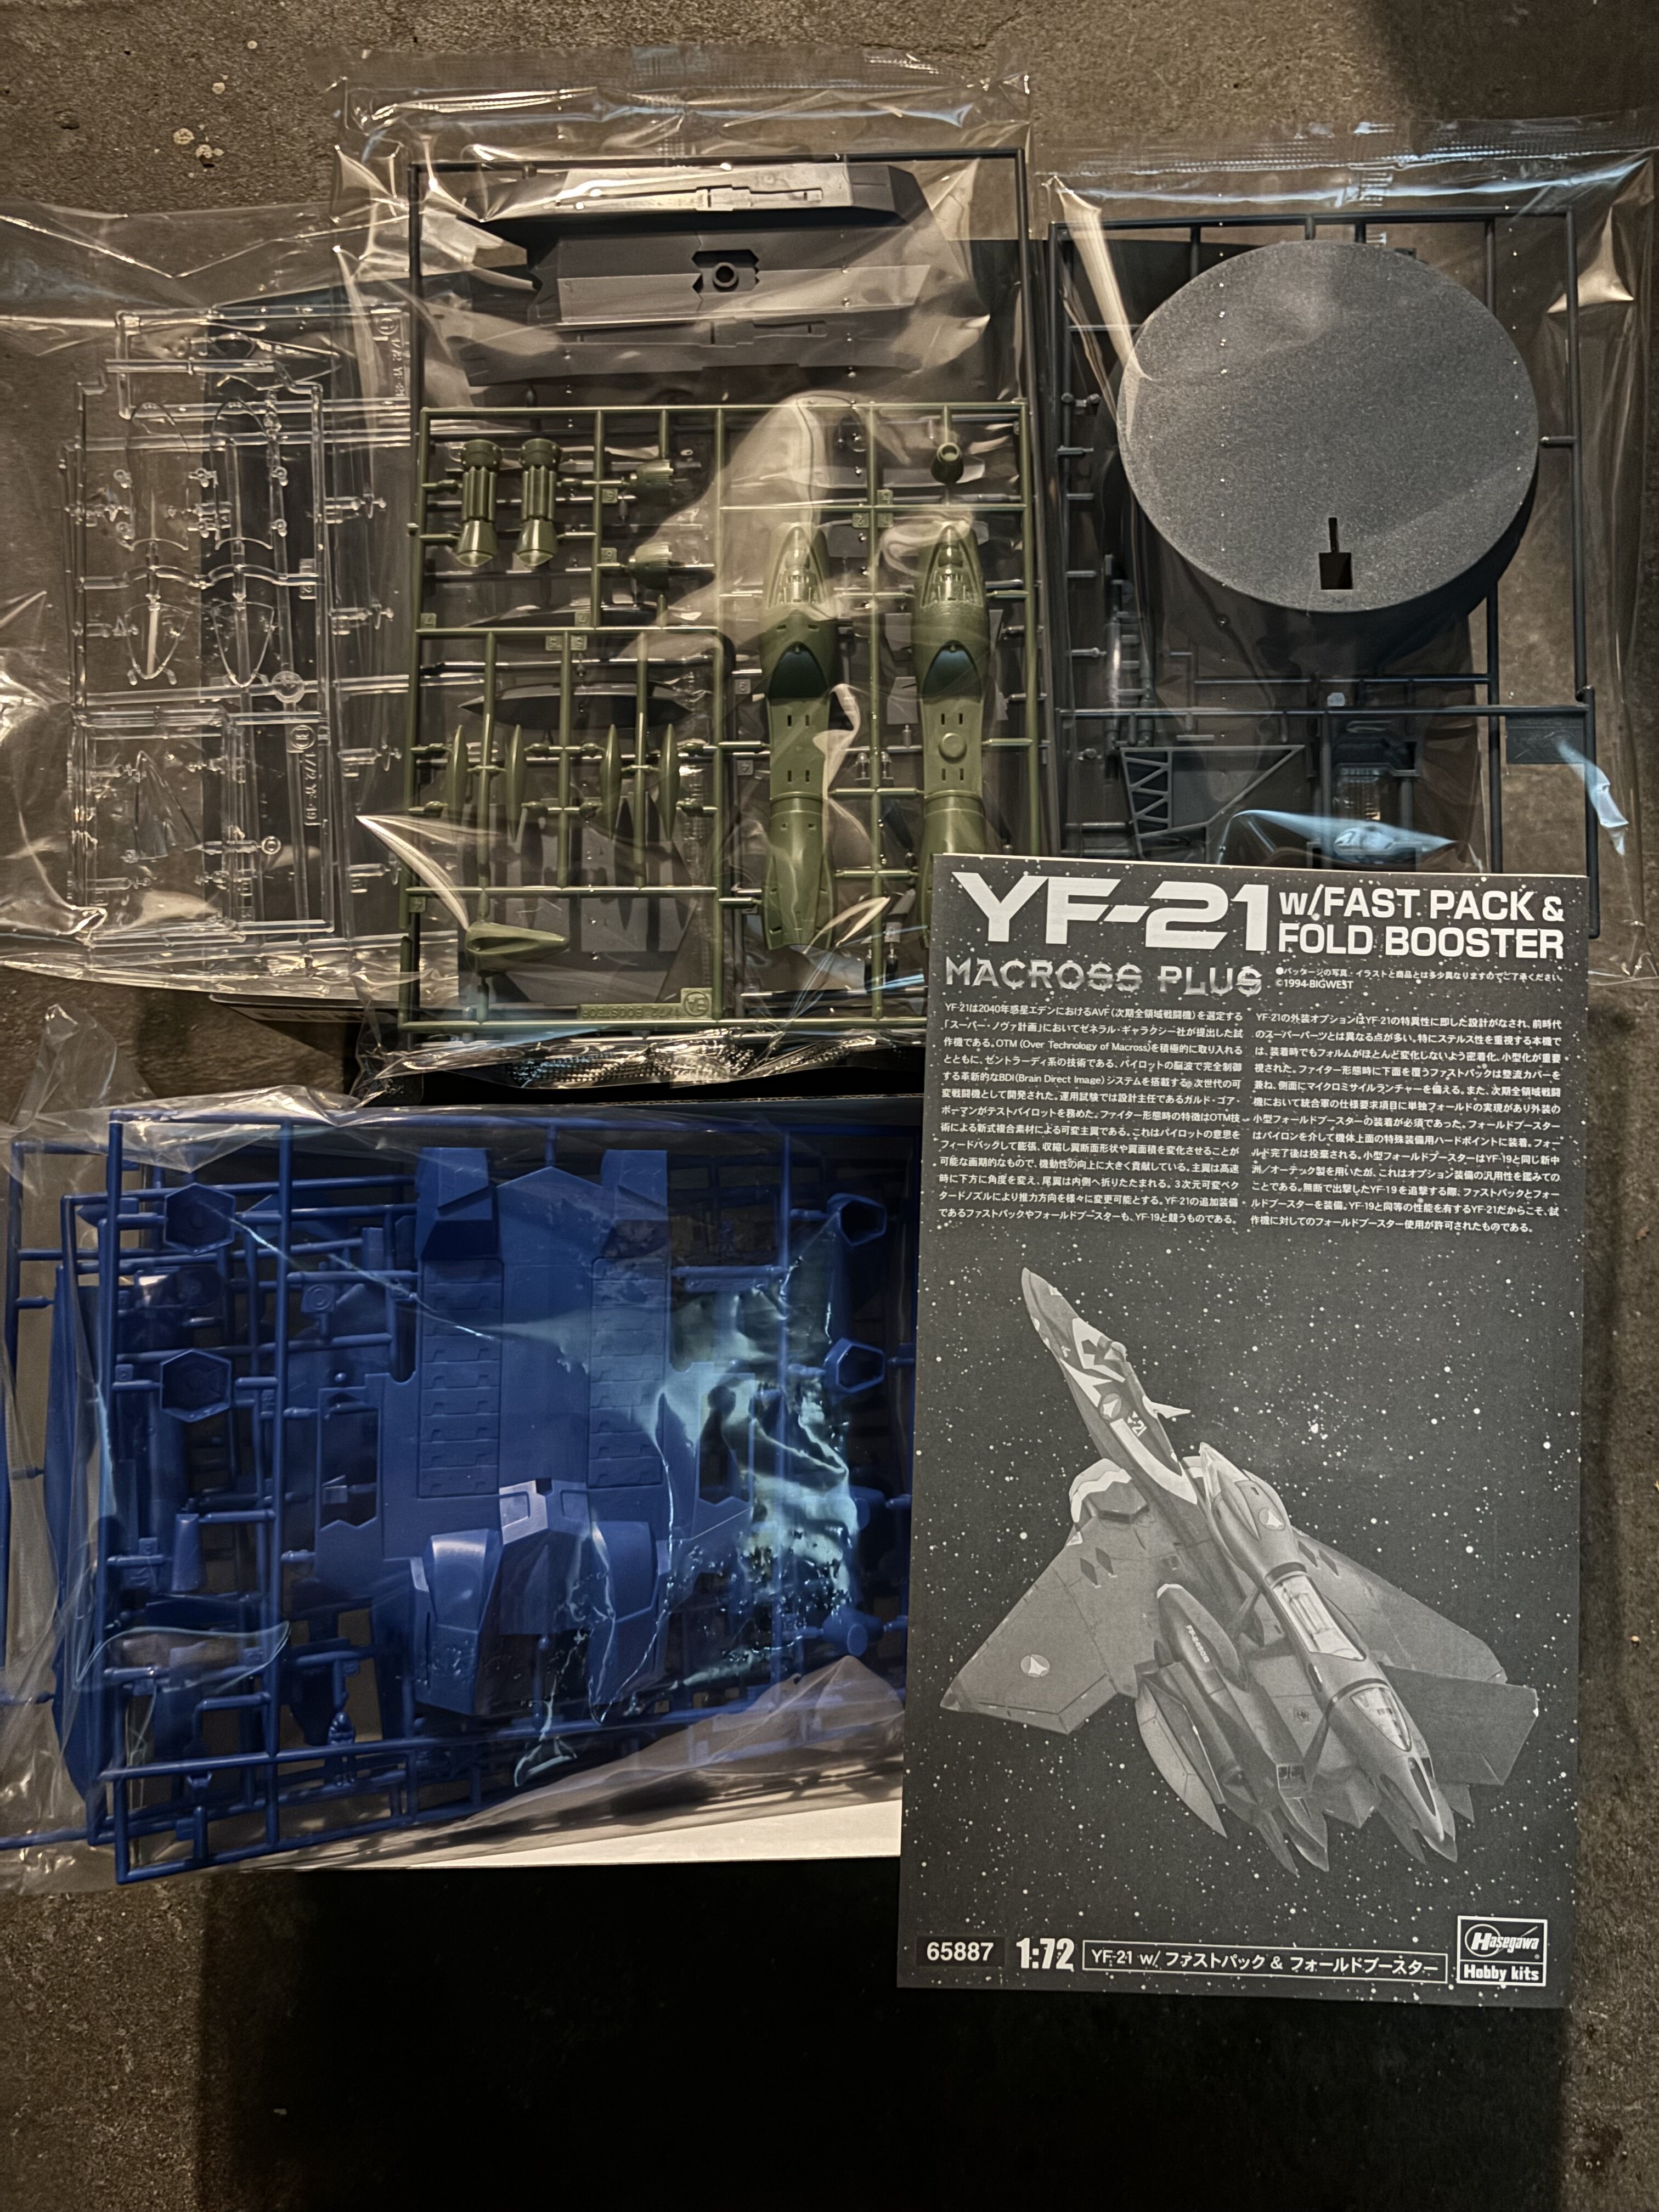
-
Got something new for my stash…
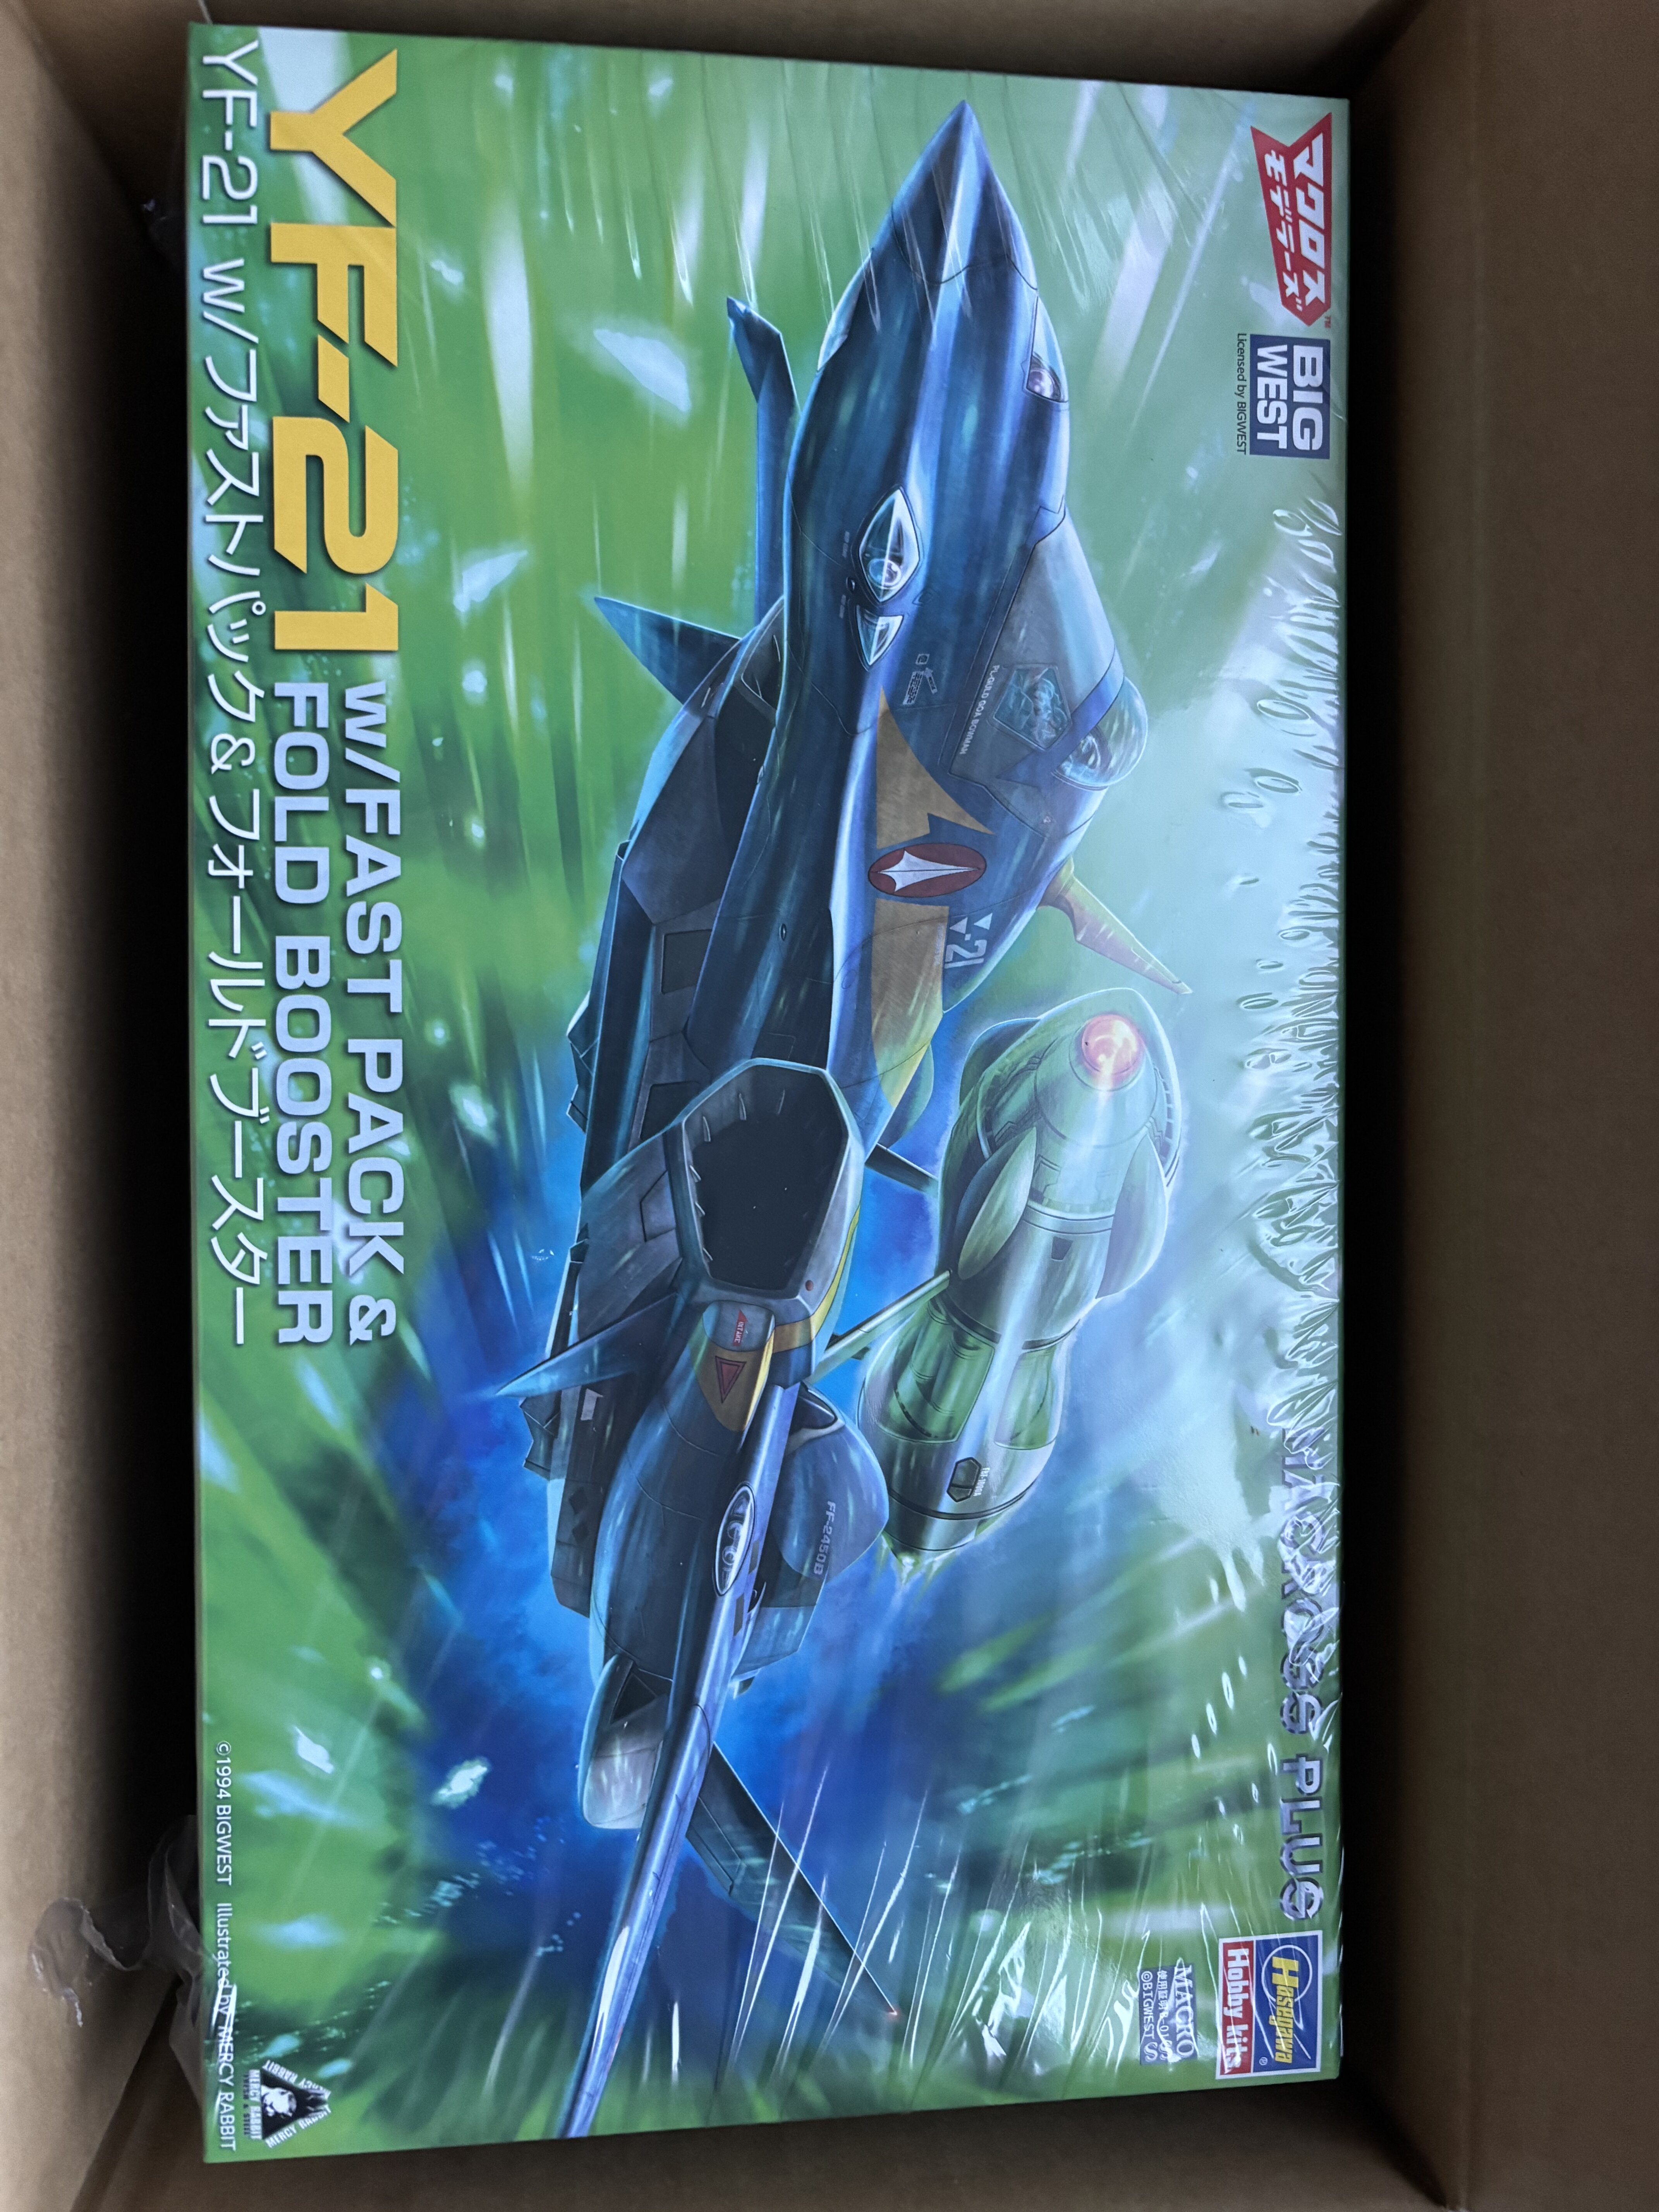
-
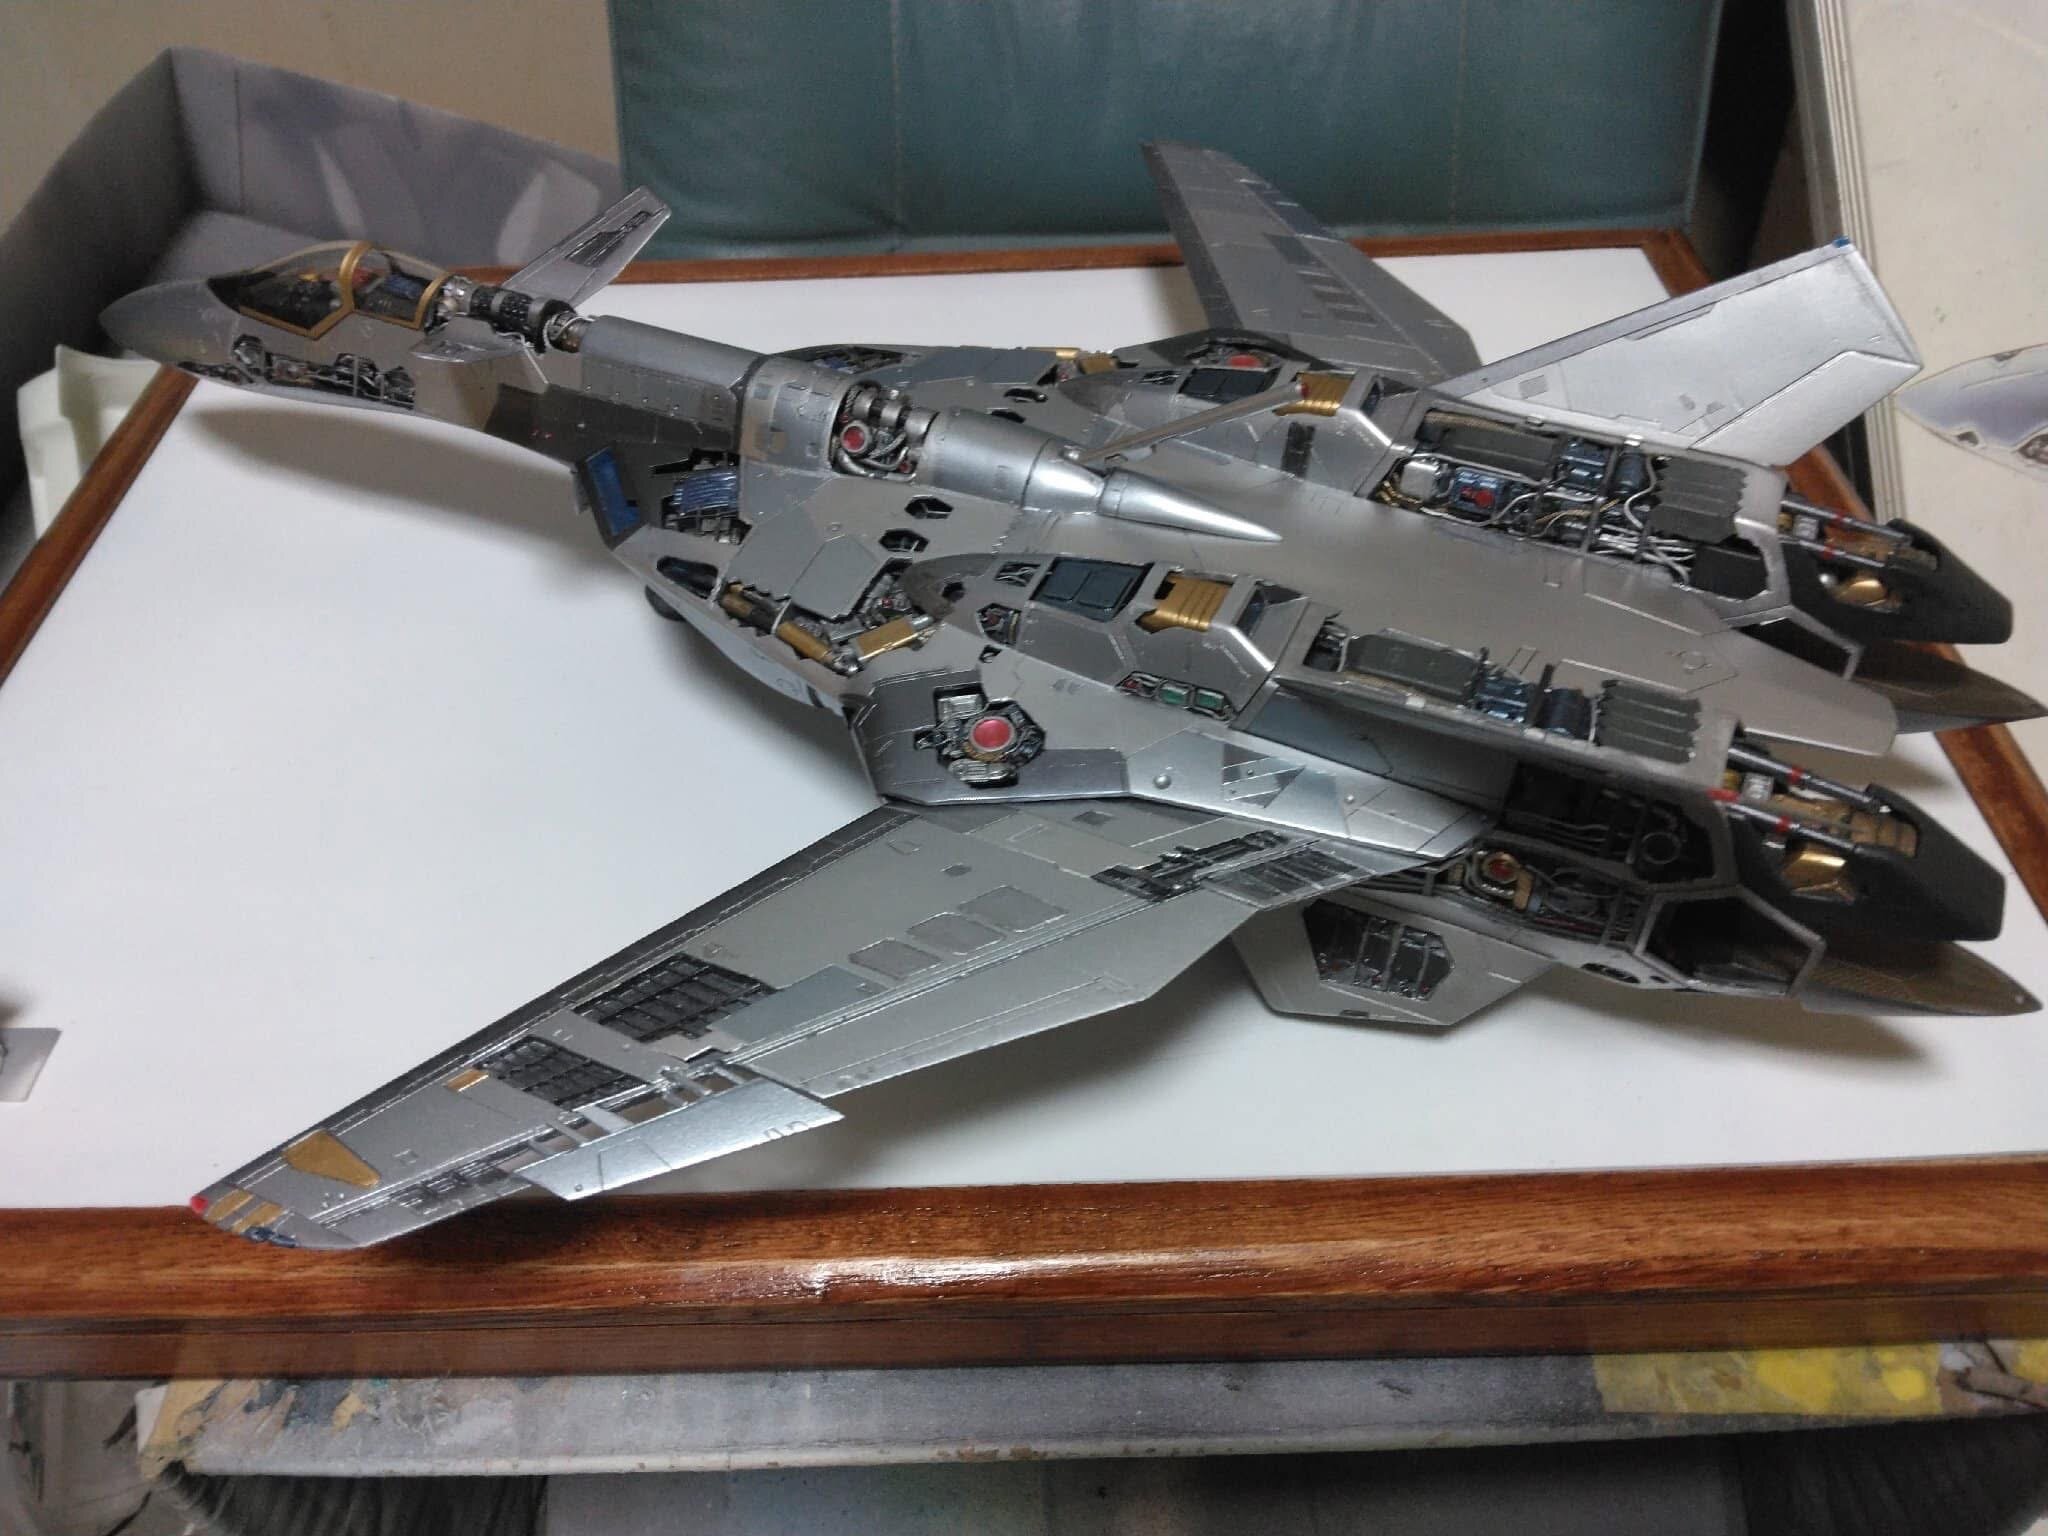
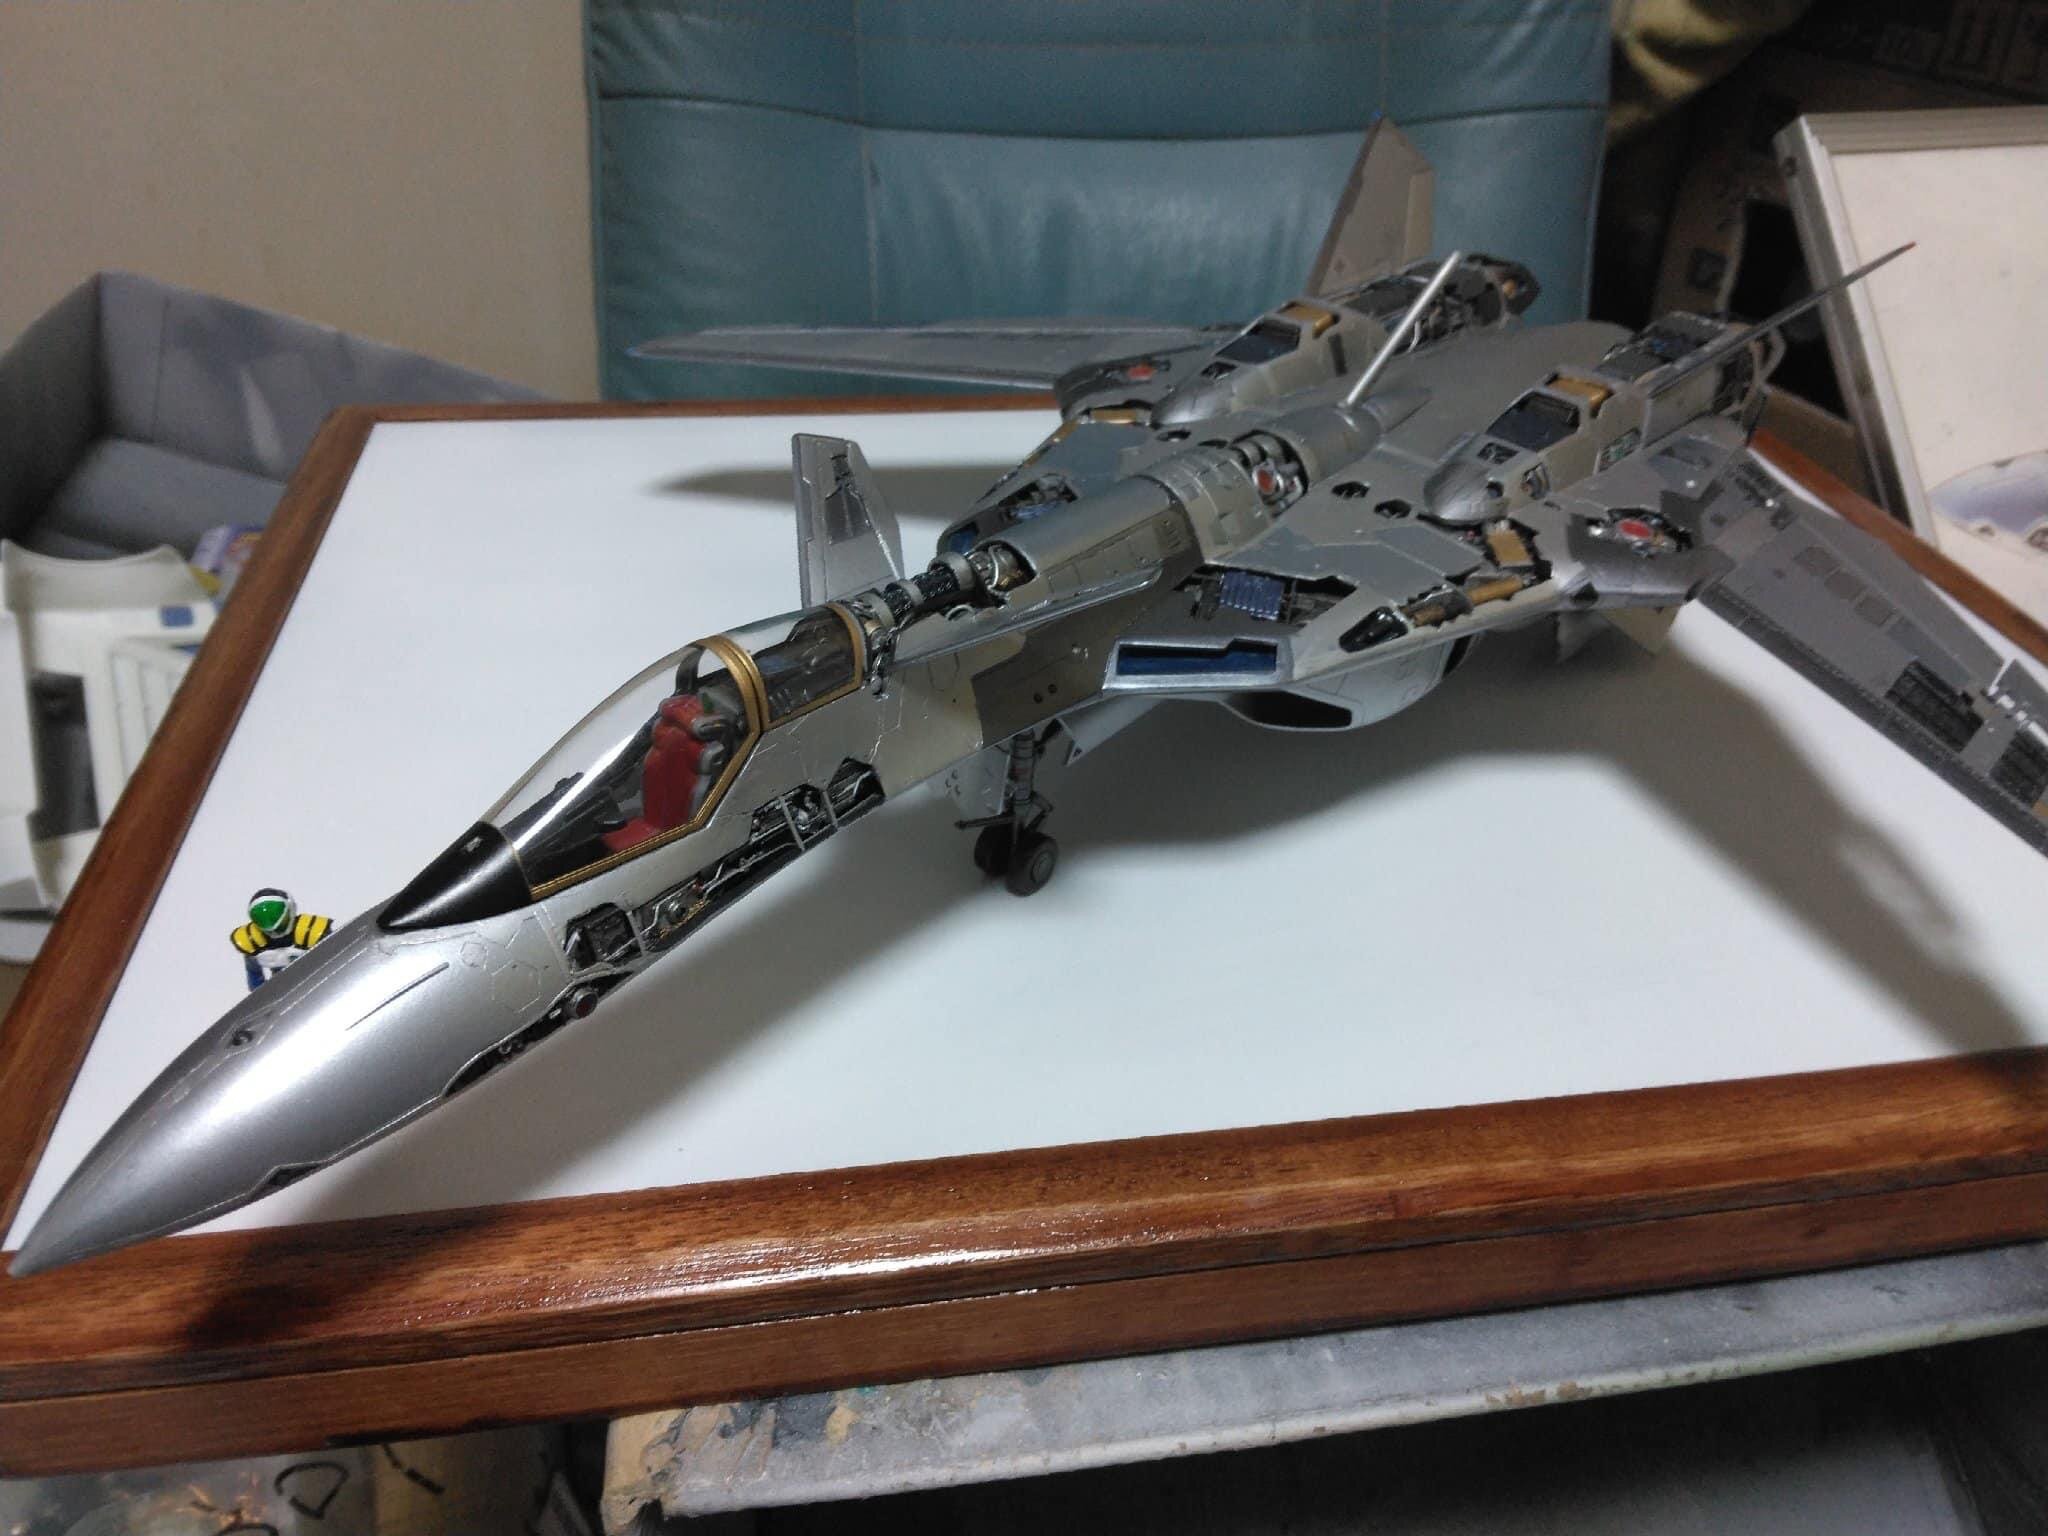
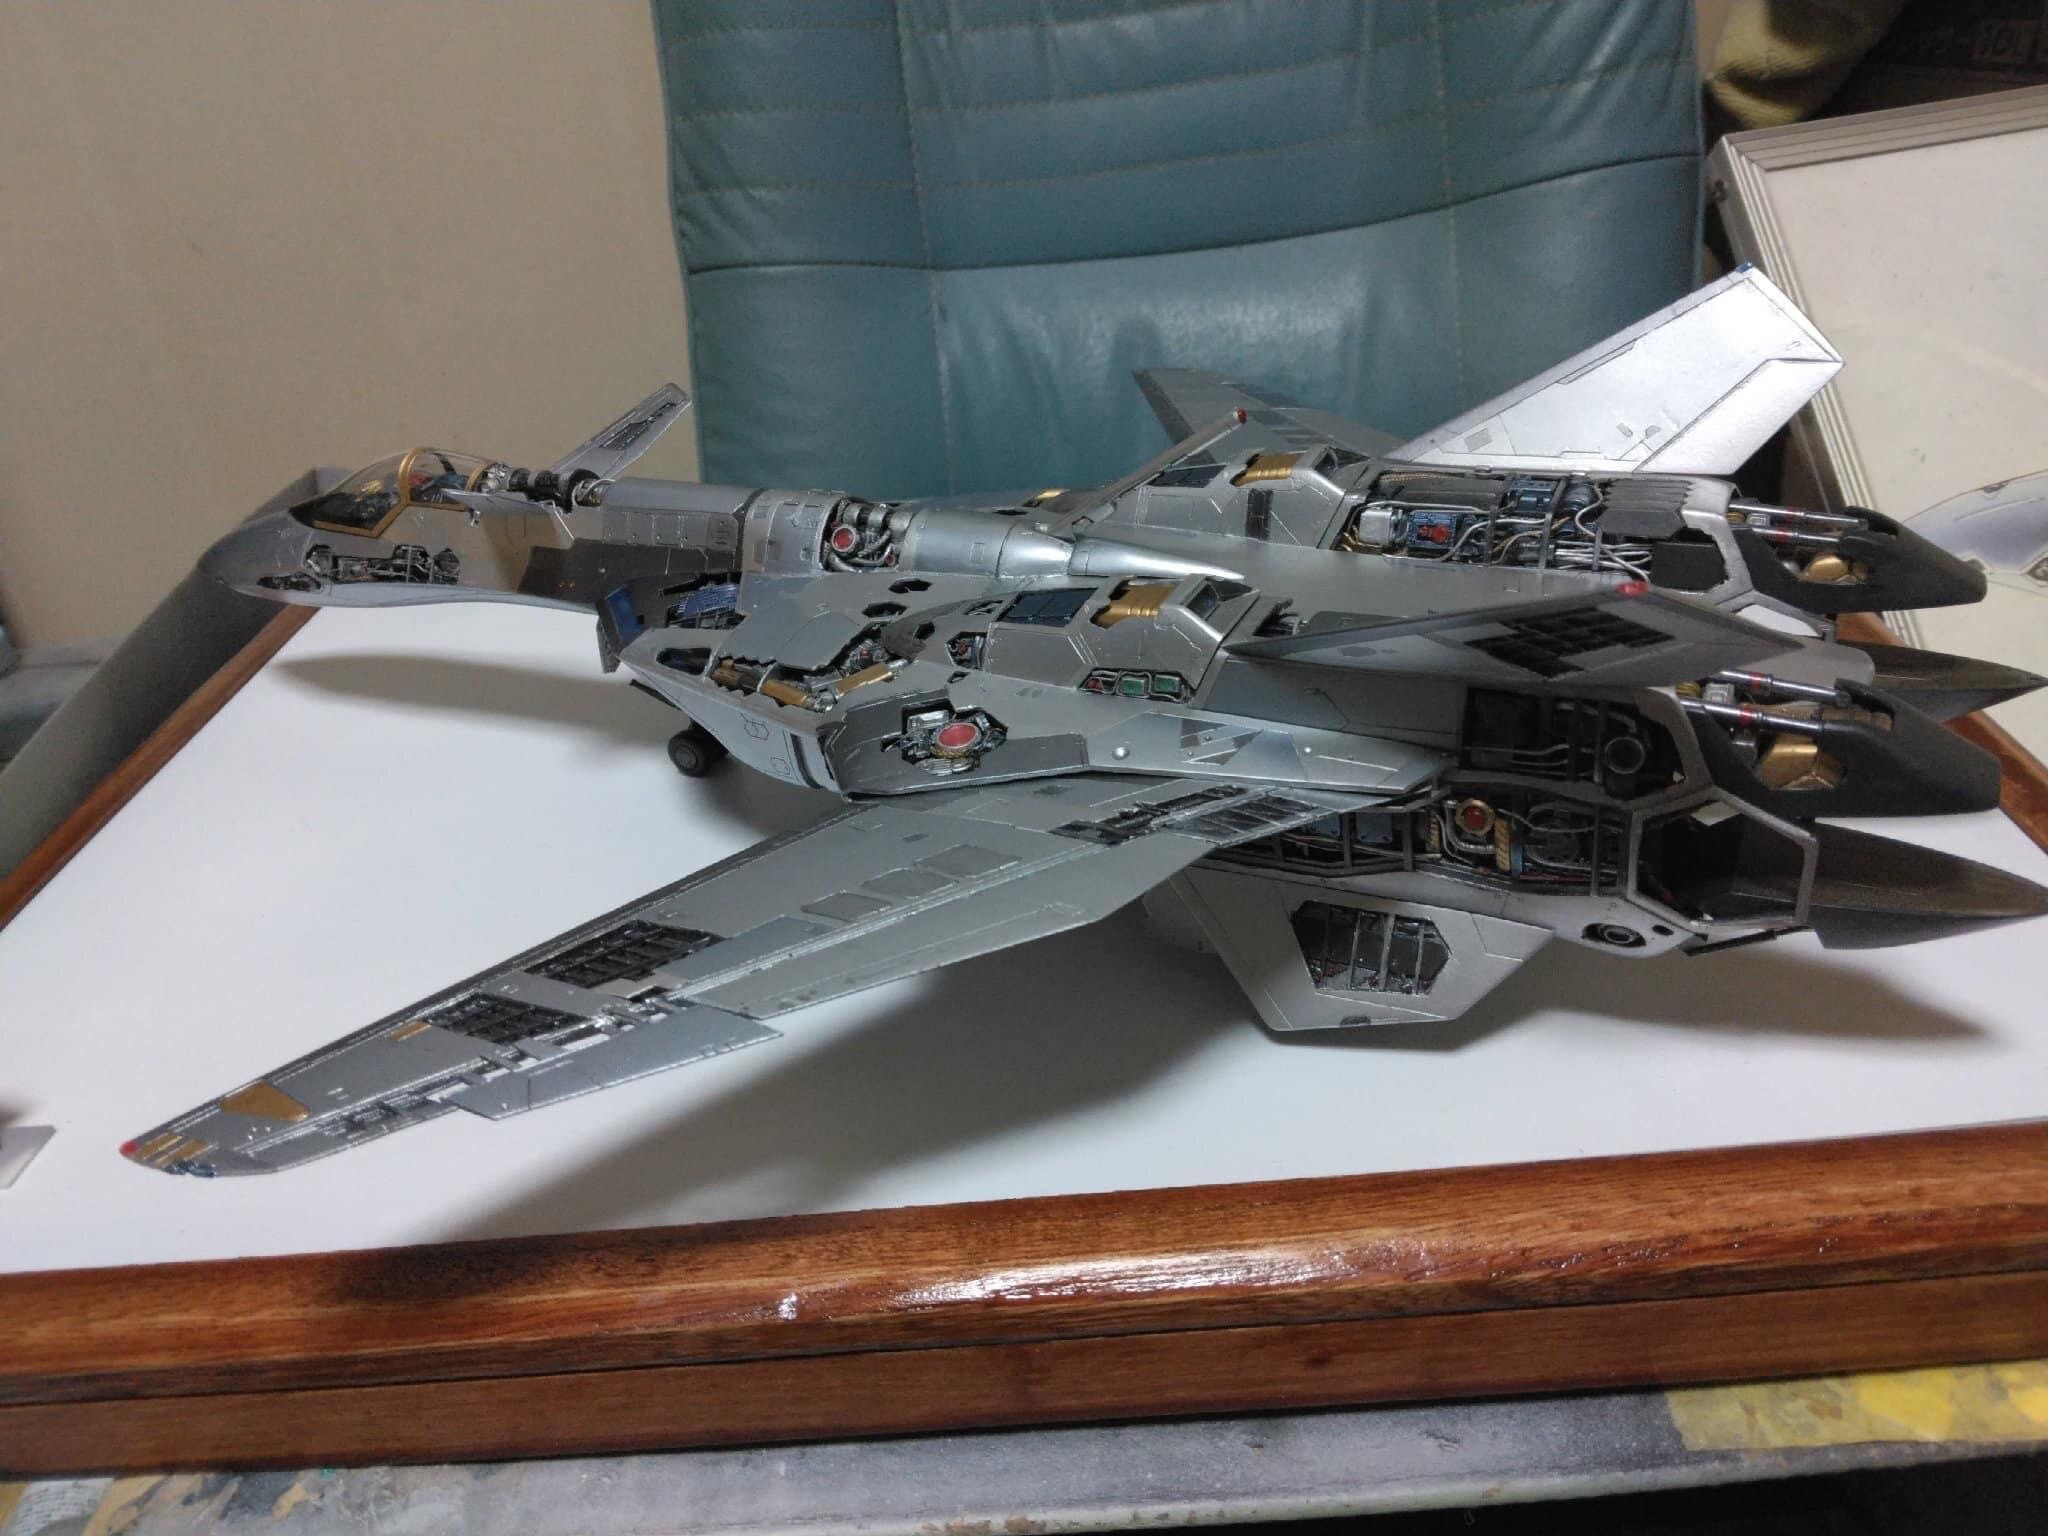
wow man ... that is awesome! Almost like Shuishi Hayashi
-
Nice build! This would be something great for the workbench thread
