

Urashiman
-
Posts
786 -
Joined
-
Last visited
Content Type
Profiles
Forums
Events
Gallery
Everything posted by Urashiman
-
I wonder what they will be doing... so many wishes...

-
@Rock & @pengbuzz maybe next time Edit: going to „no step“ country soon… Decals take ages man.

-
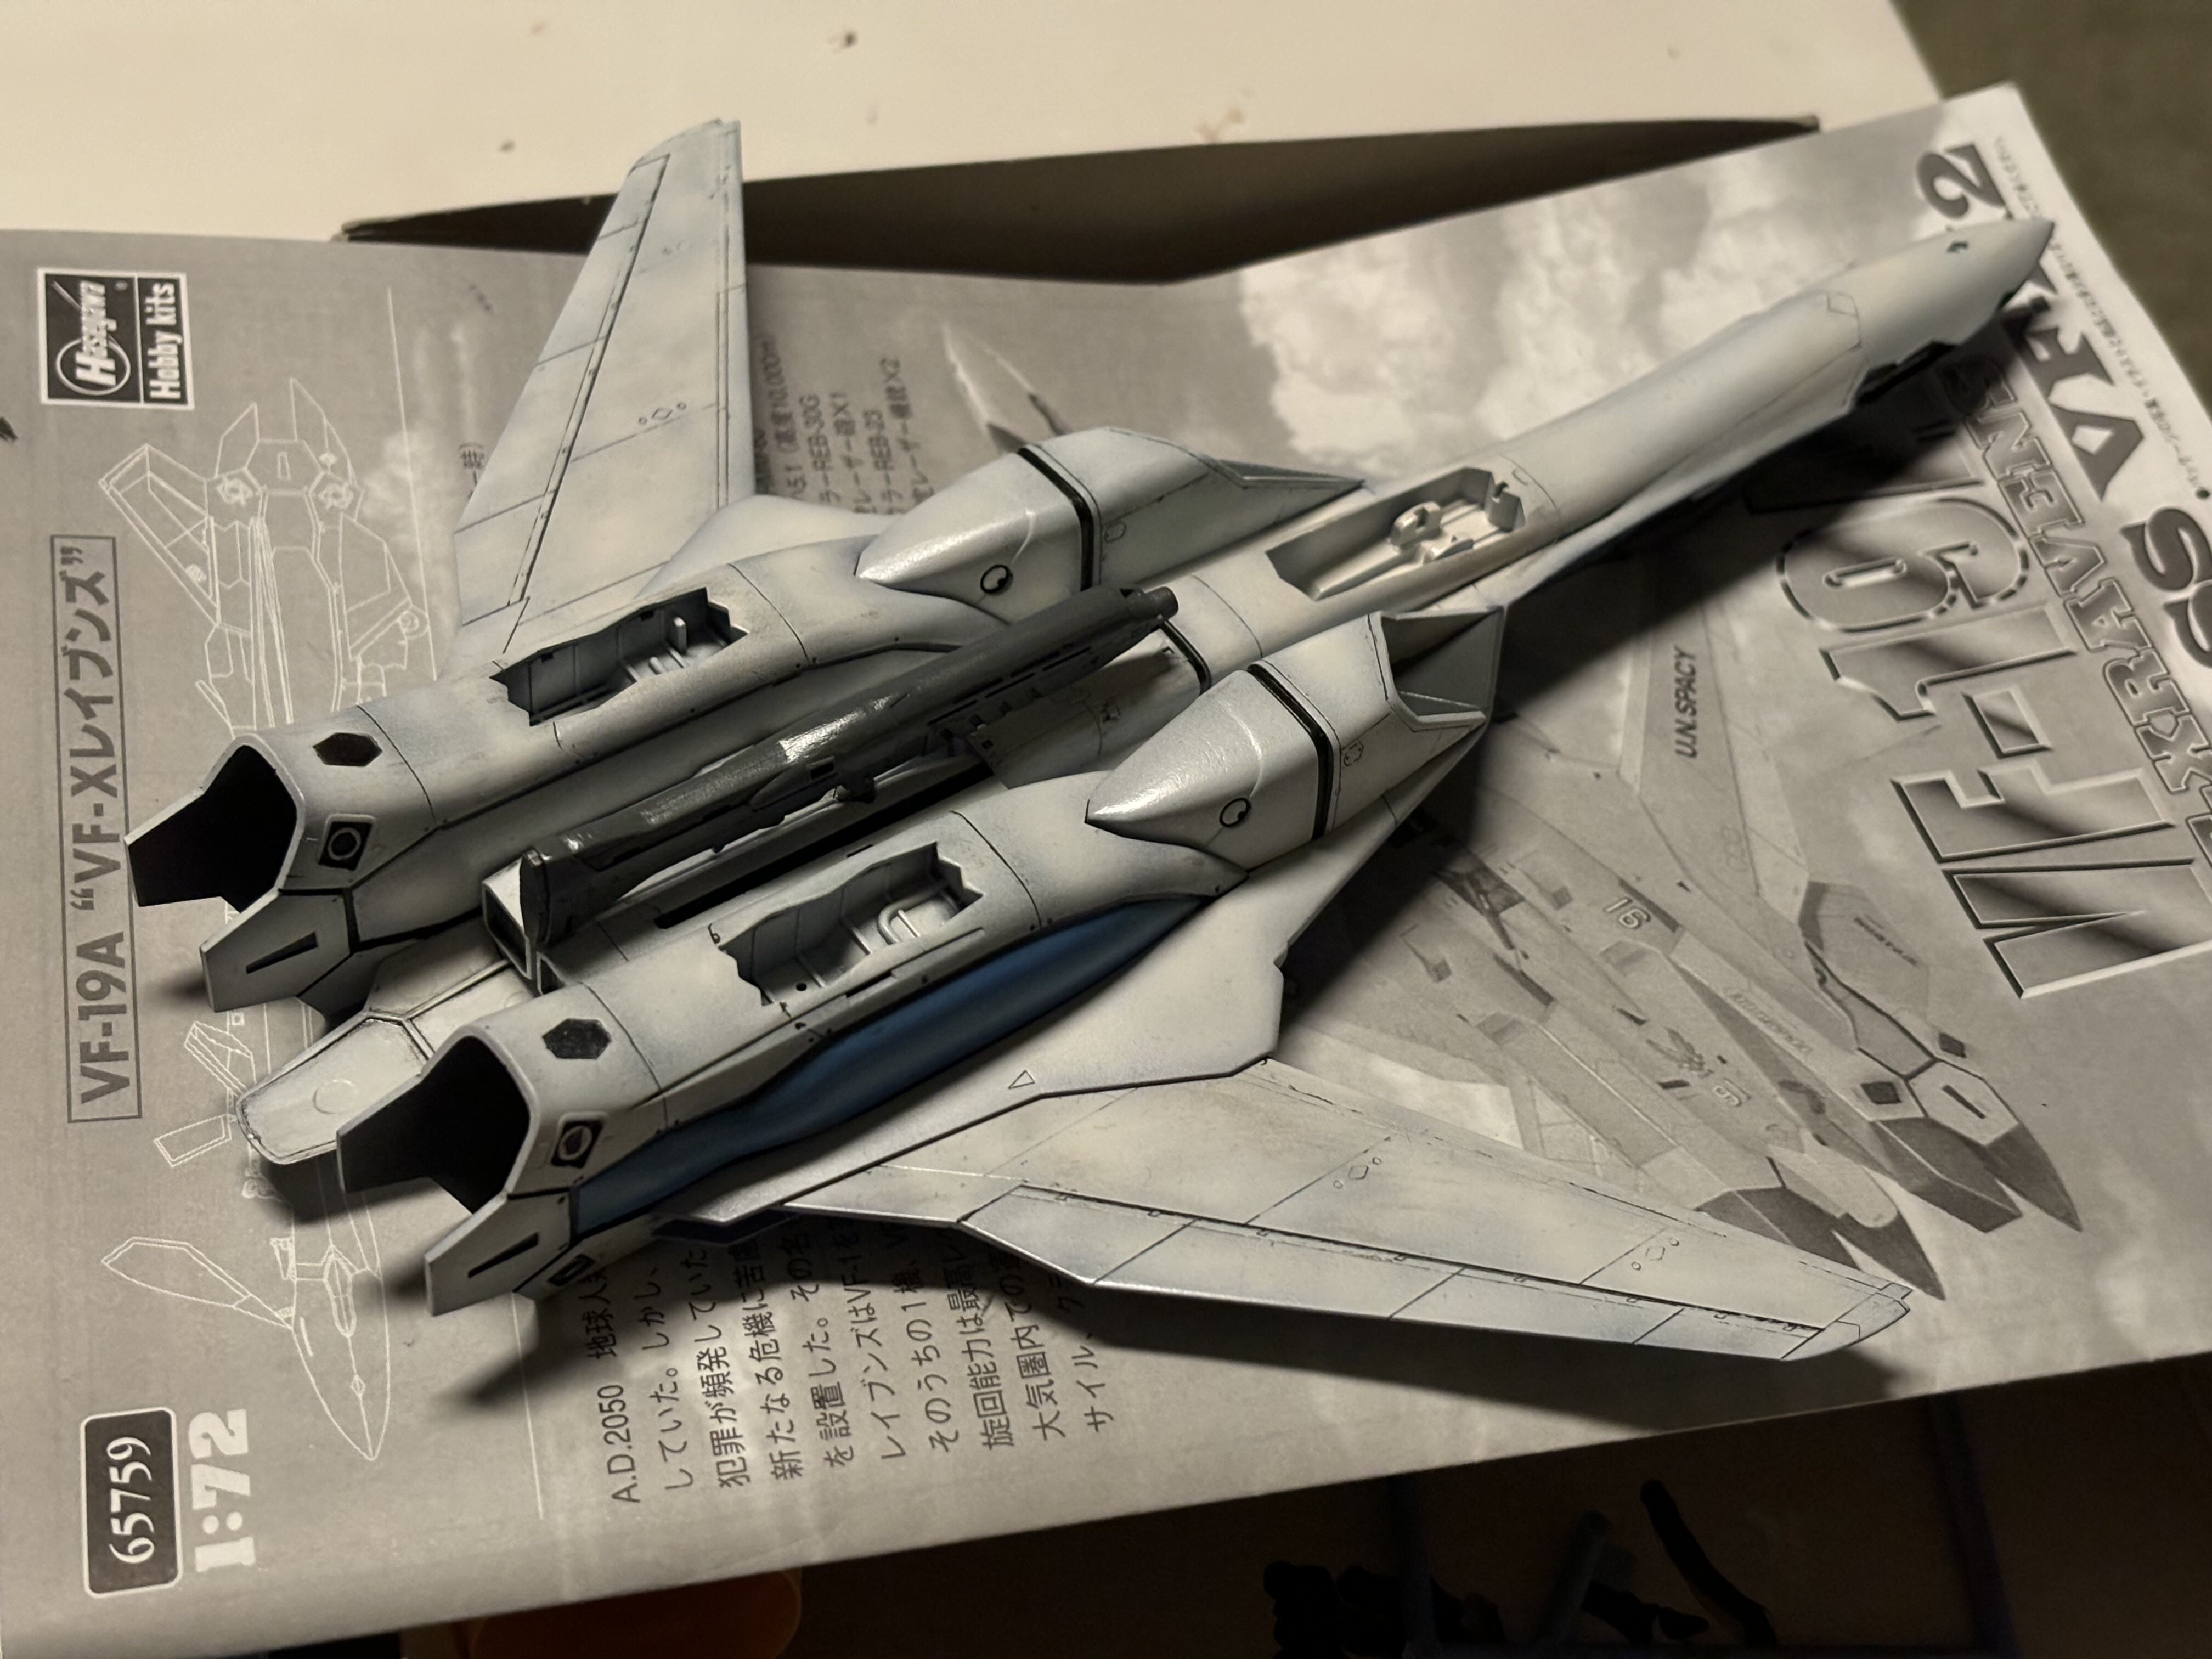
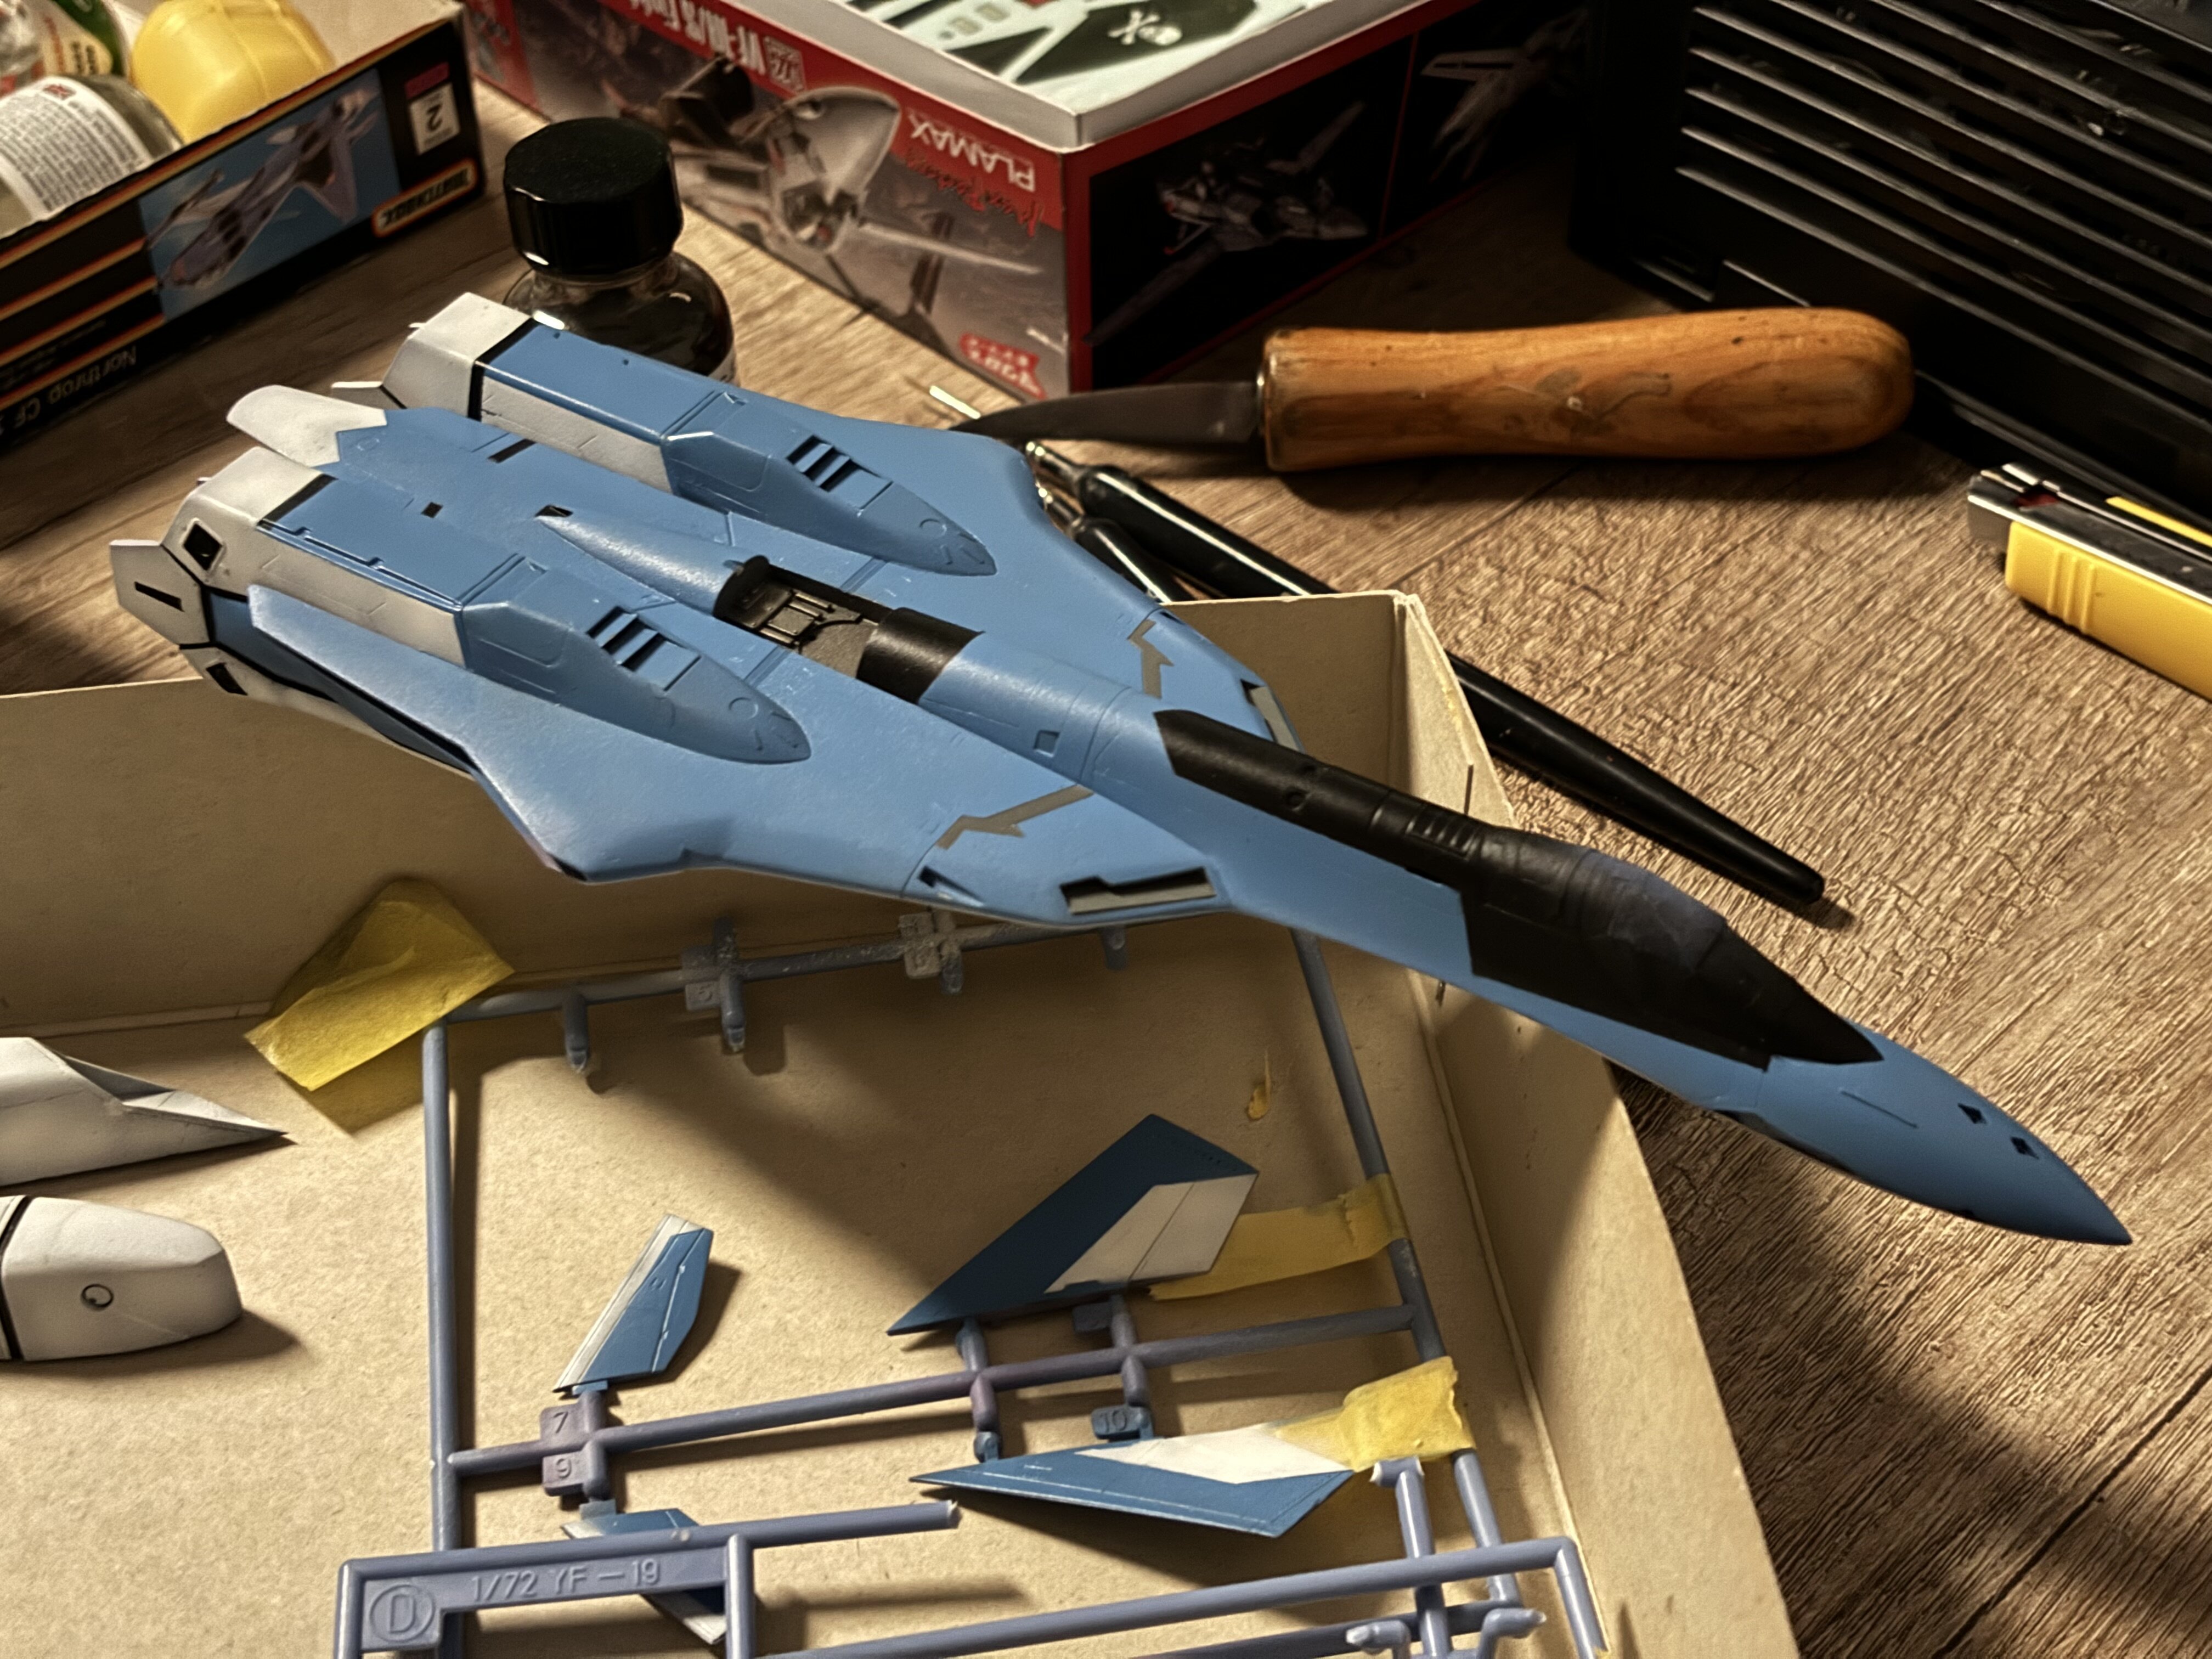
@Rock great one! I started panel lining mine and am reminded that I should have recarved the VF-19A panel lines. Stuffs not sticking properly, but sticking enough to give a nice effect.
-
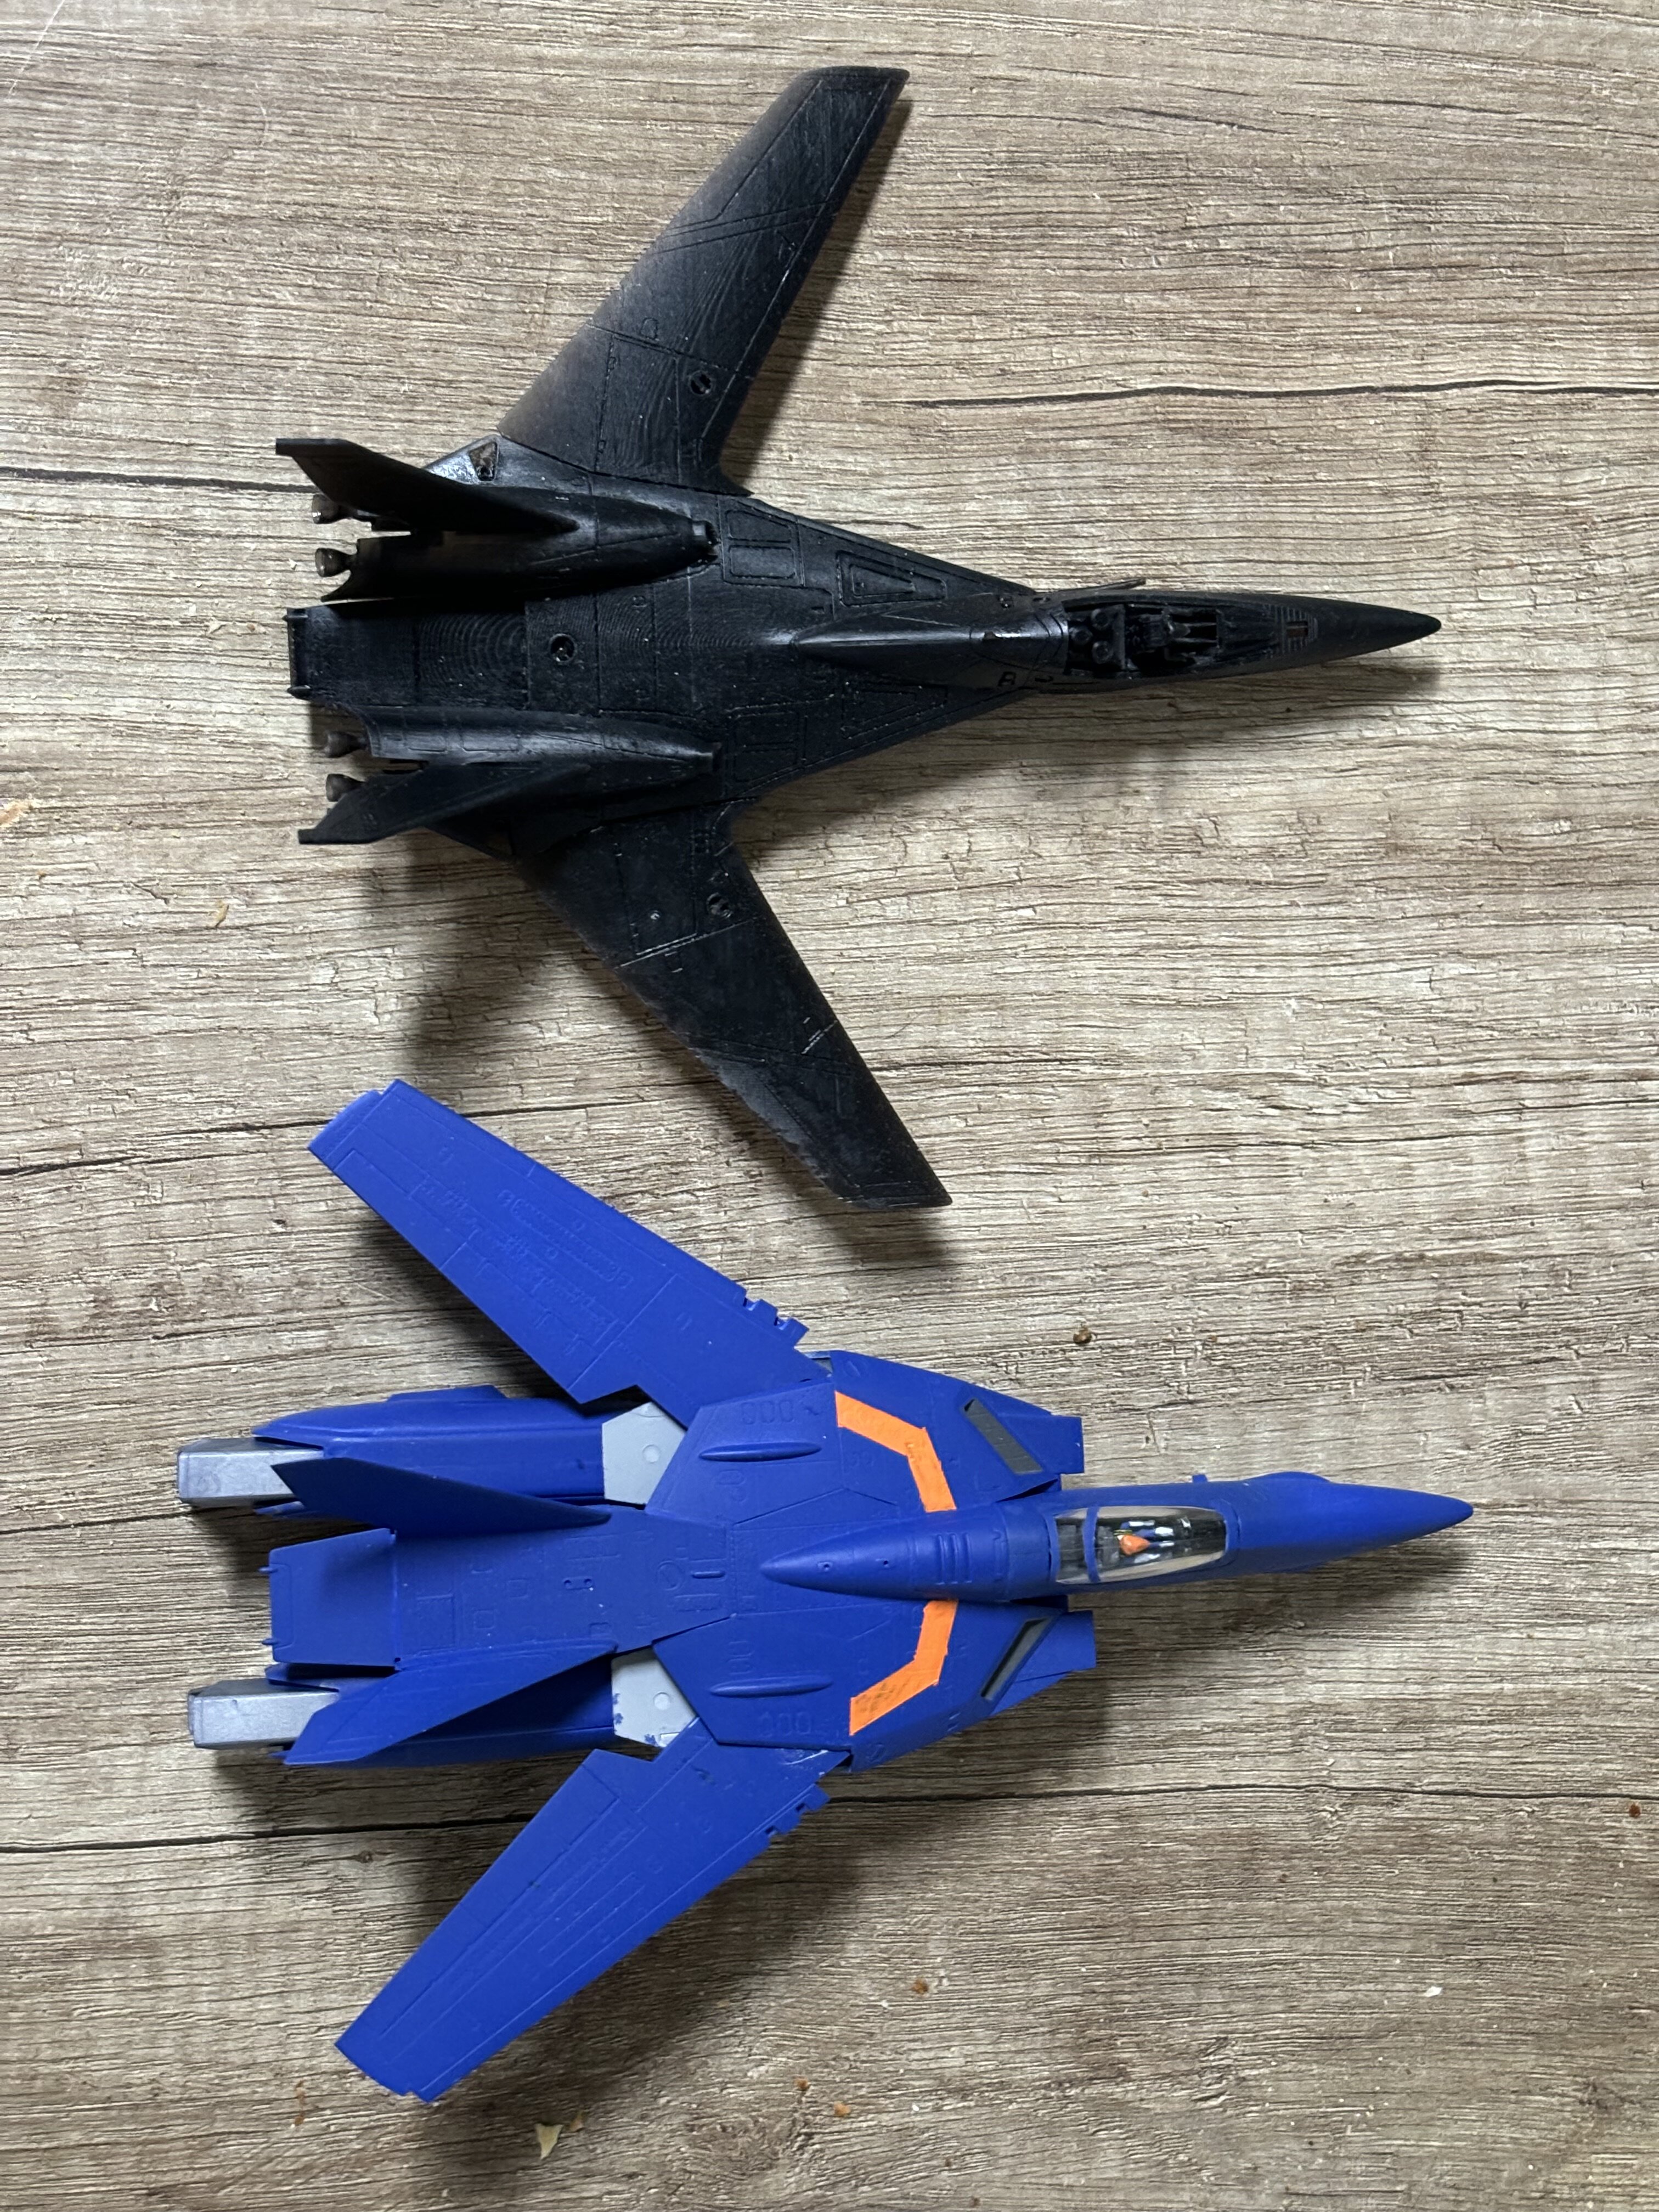
... but I wonder. If I cut that one up and rebuild it in fighter mode, would it look like the Hase YF-19? This one looks a bit... (no fat shaming here) bulkier, or is it just me?

-
mhmm ... okay. Well, the VF-171EX Armored Version and the YF-29 are in the pipeline.
-
Nope ... real. I expect even more Macross stuff from wave now
-
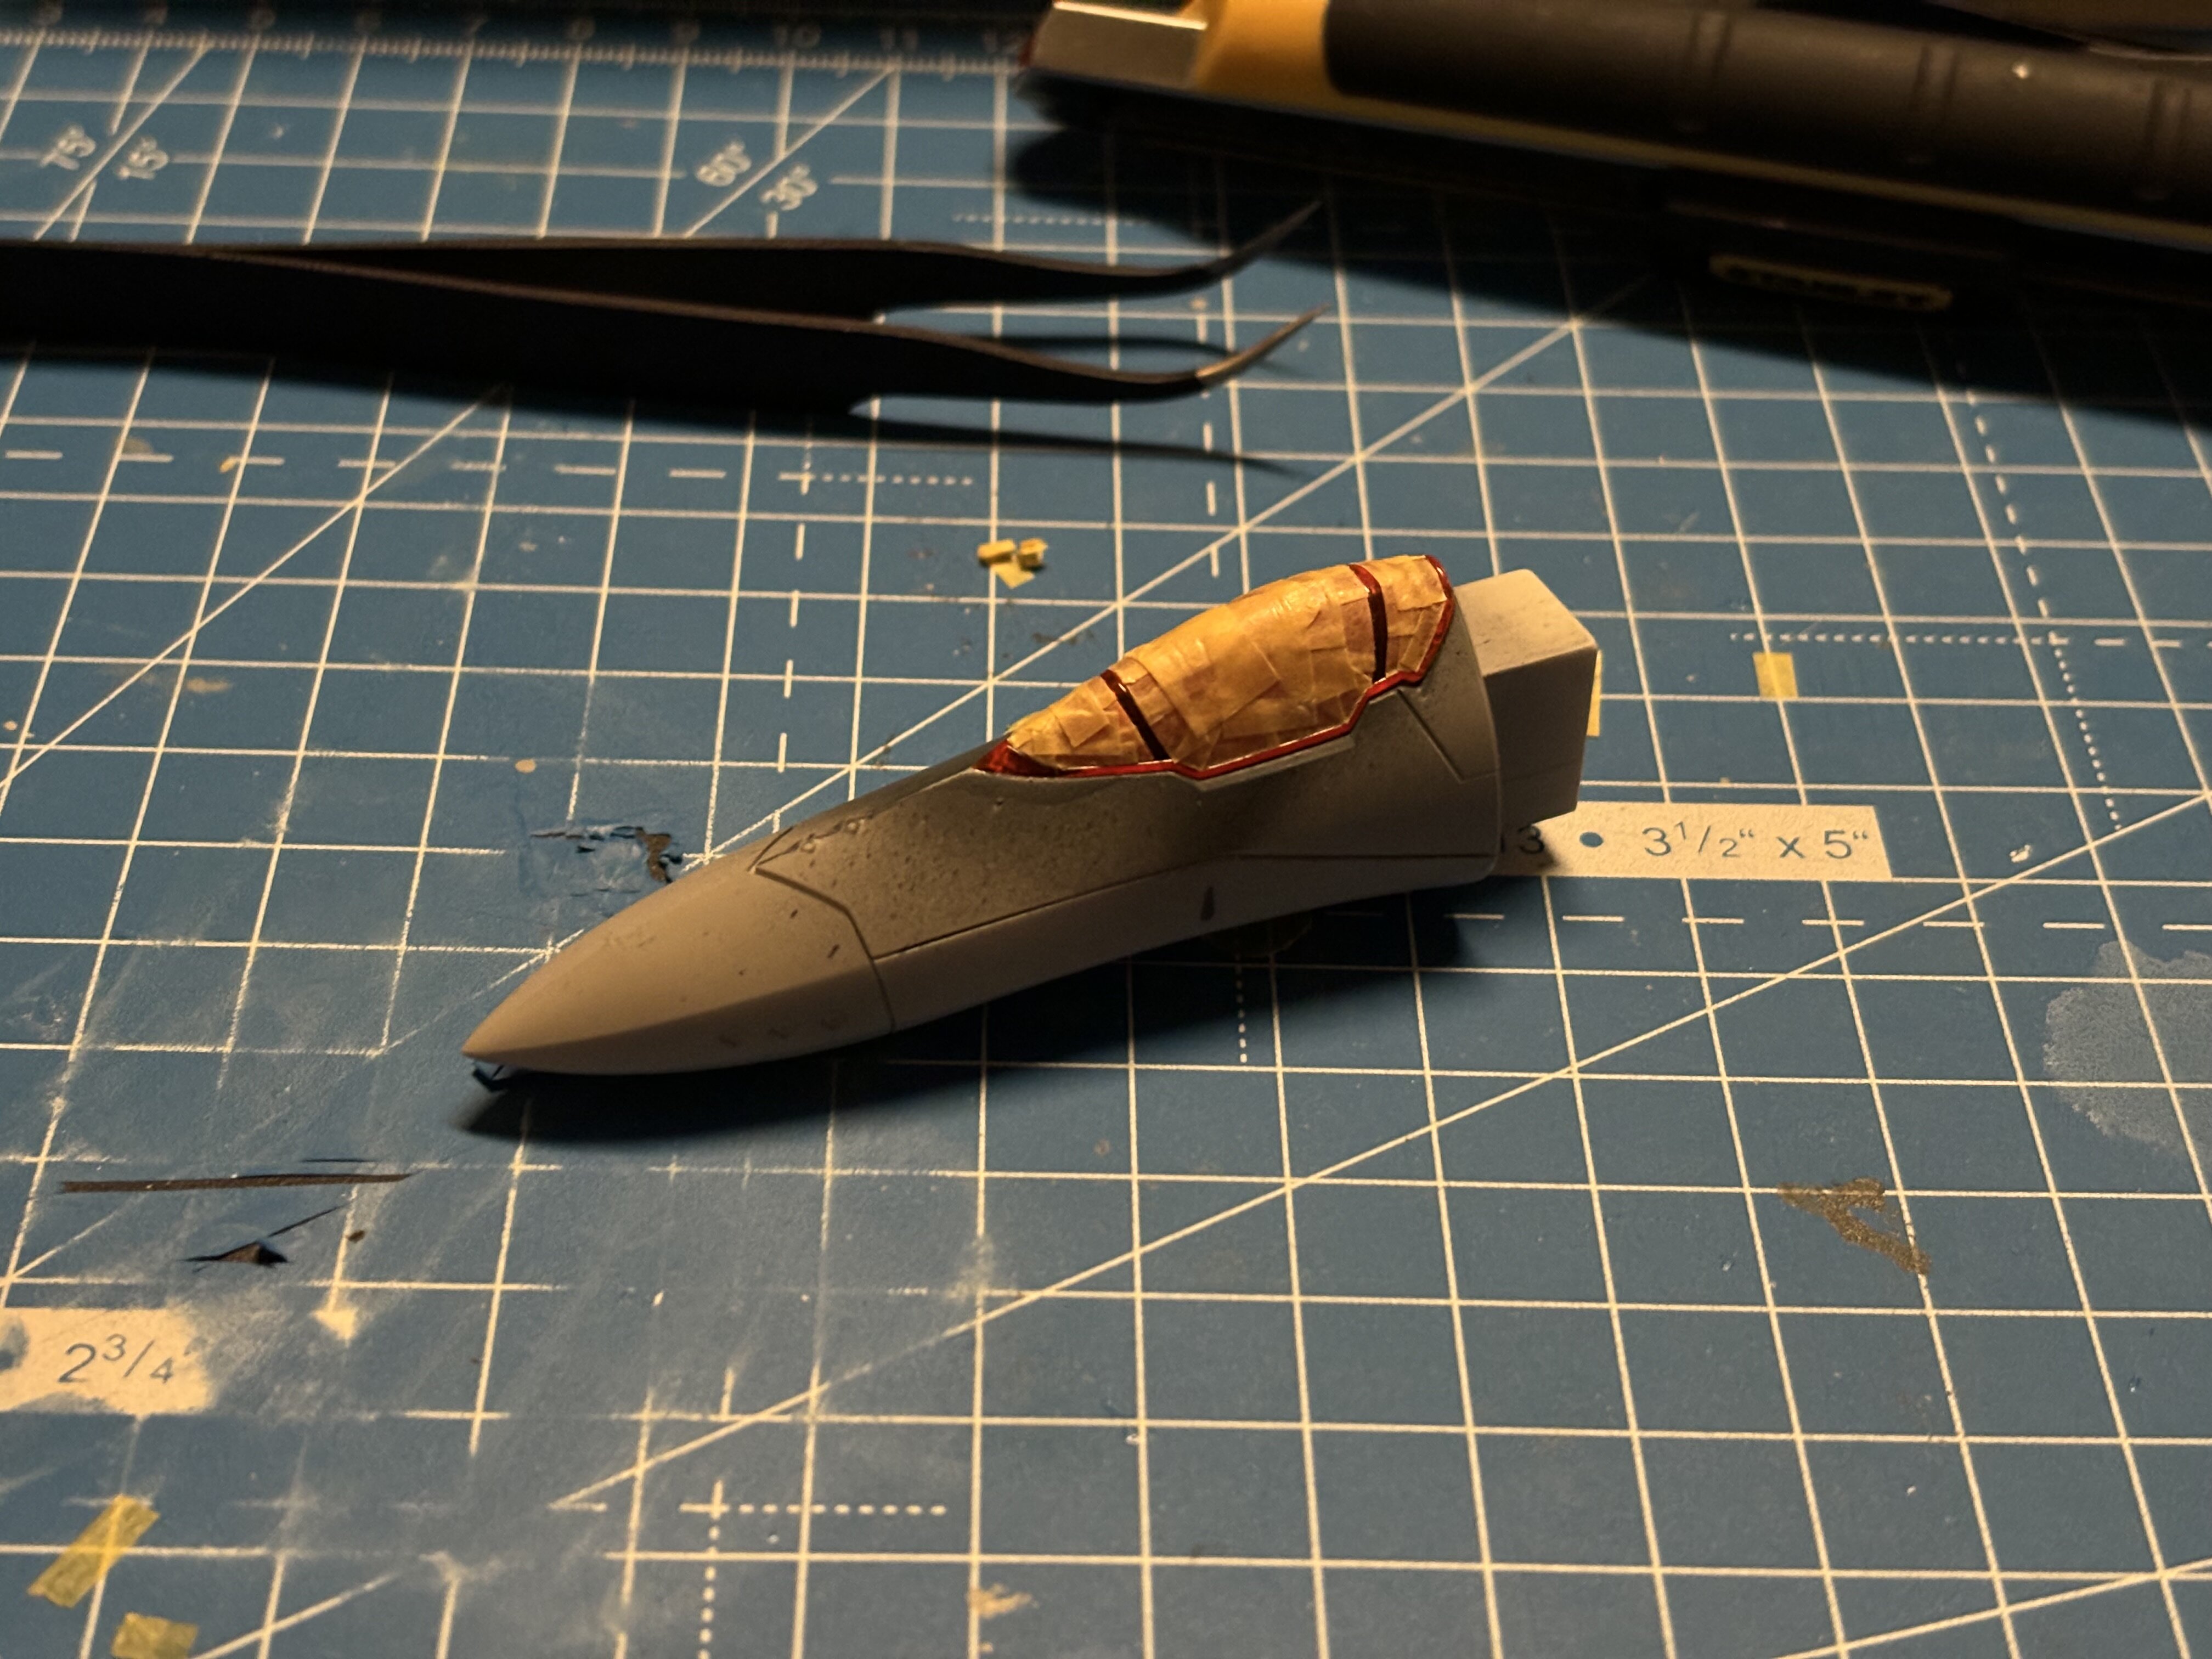
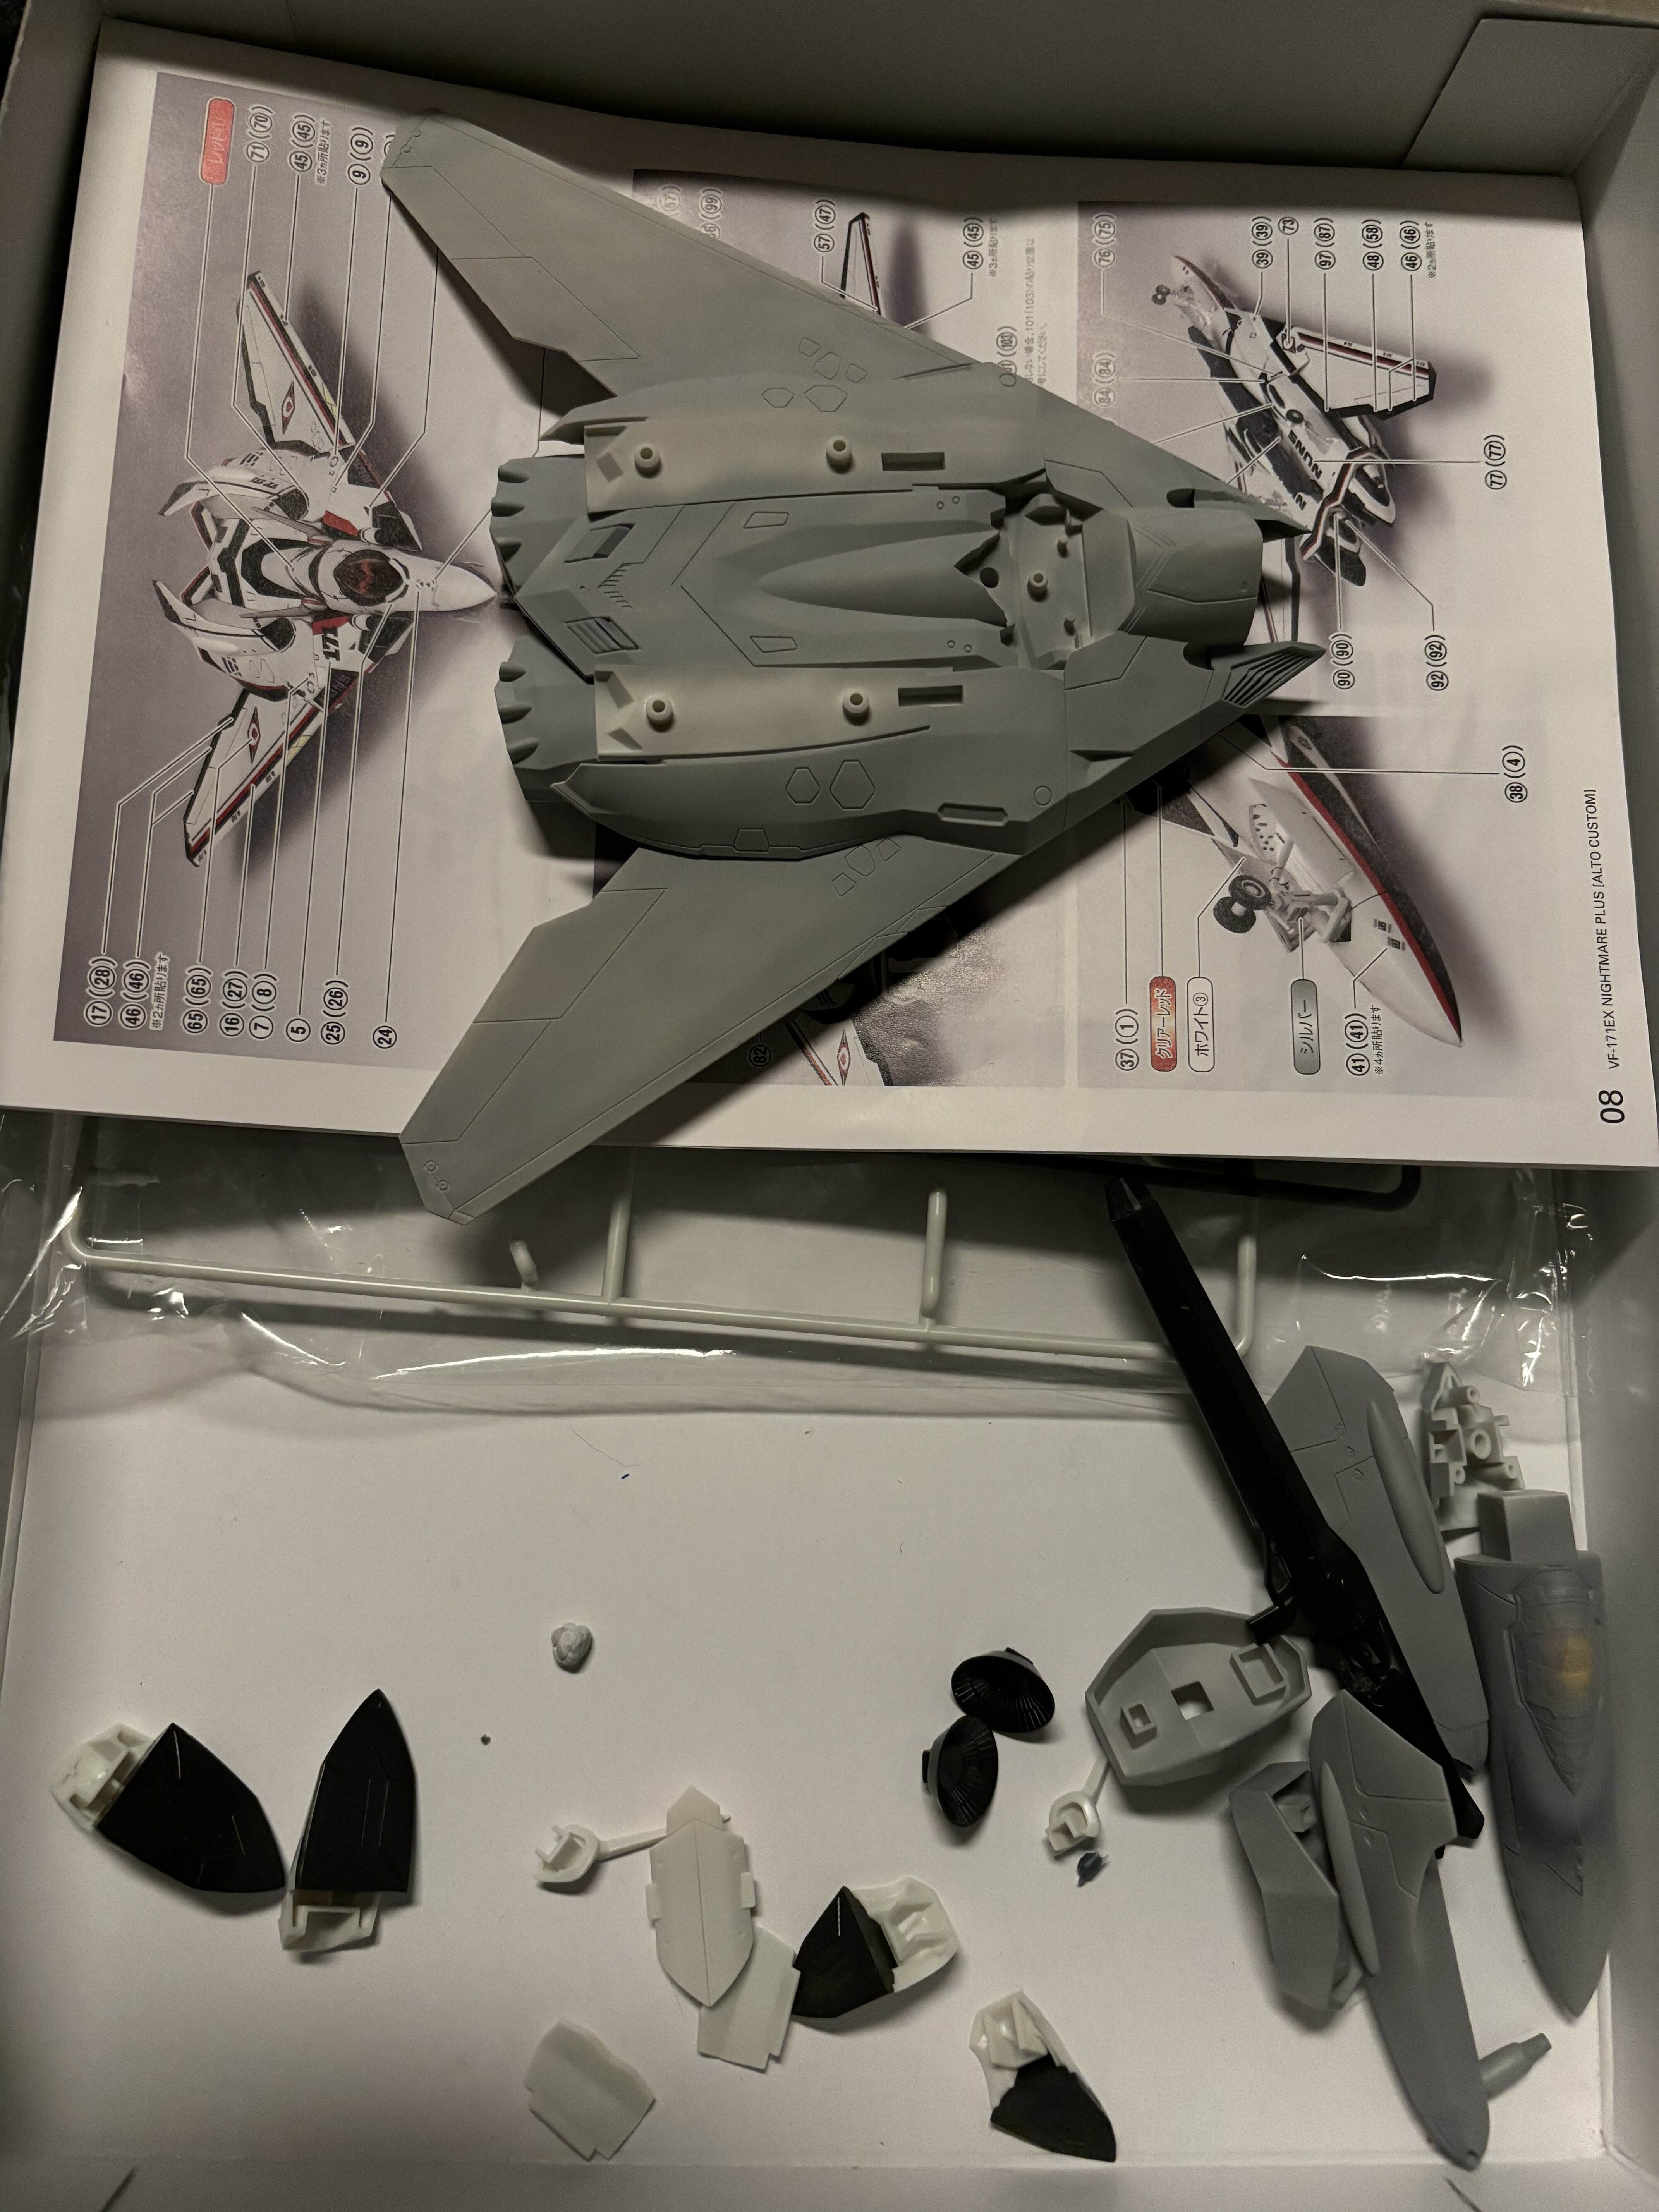
Tamiya Mark Setter. Fiddling with the VF-171 Alto Custom. Canopy masking; All time favourite.
-
yeah ... the illegible is hard to read, but the katakana here is "sensaadoomu", so sensor dome?
-
Got my confirmation from HLJ. YF-19 with booster ships tomorrow
-
yep ... but the turpentine got through it too easily and killed everything. There are also other crazy methods when it comes to decals. 1. Gloss coat 2. Apply decals 3. Gloss coat 4. Sand decals, and carefully sand off the clear decal carrier foil 5. Gloss coat again result: no small edges around the decals. downpoint: it takes ages, so I am not doing it. haha
-
I‘d do that too, but I am super horrible at washing. Last time I did that killed my decals.
-
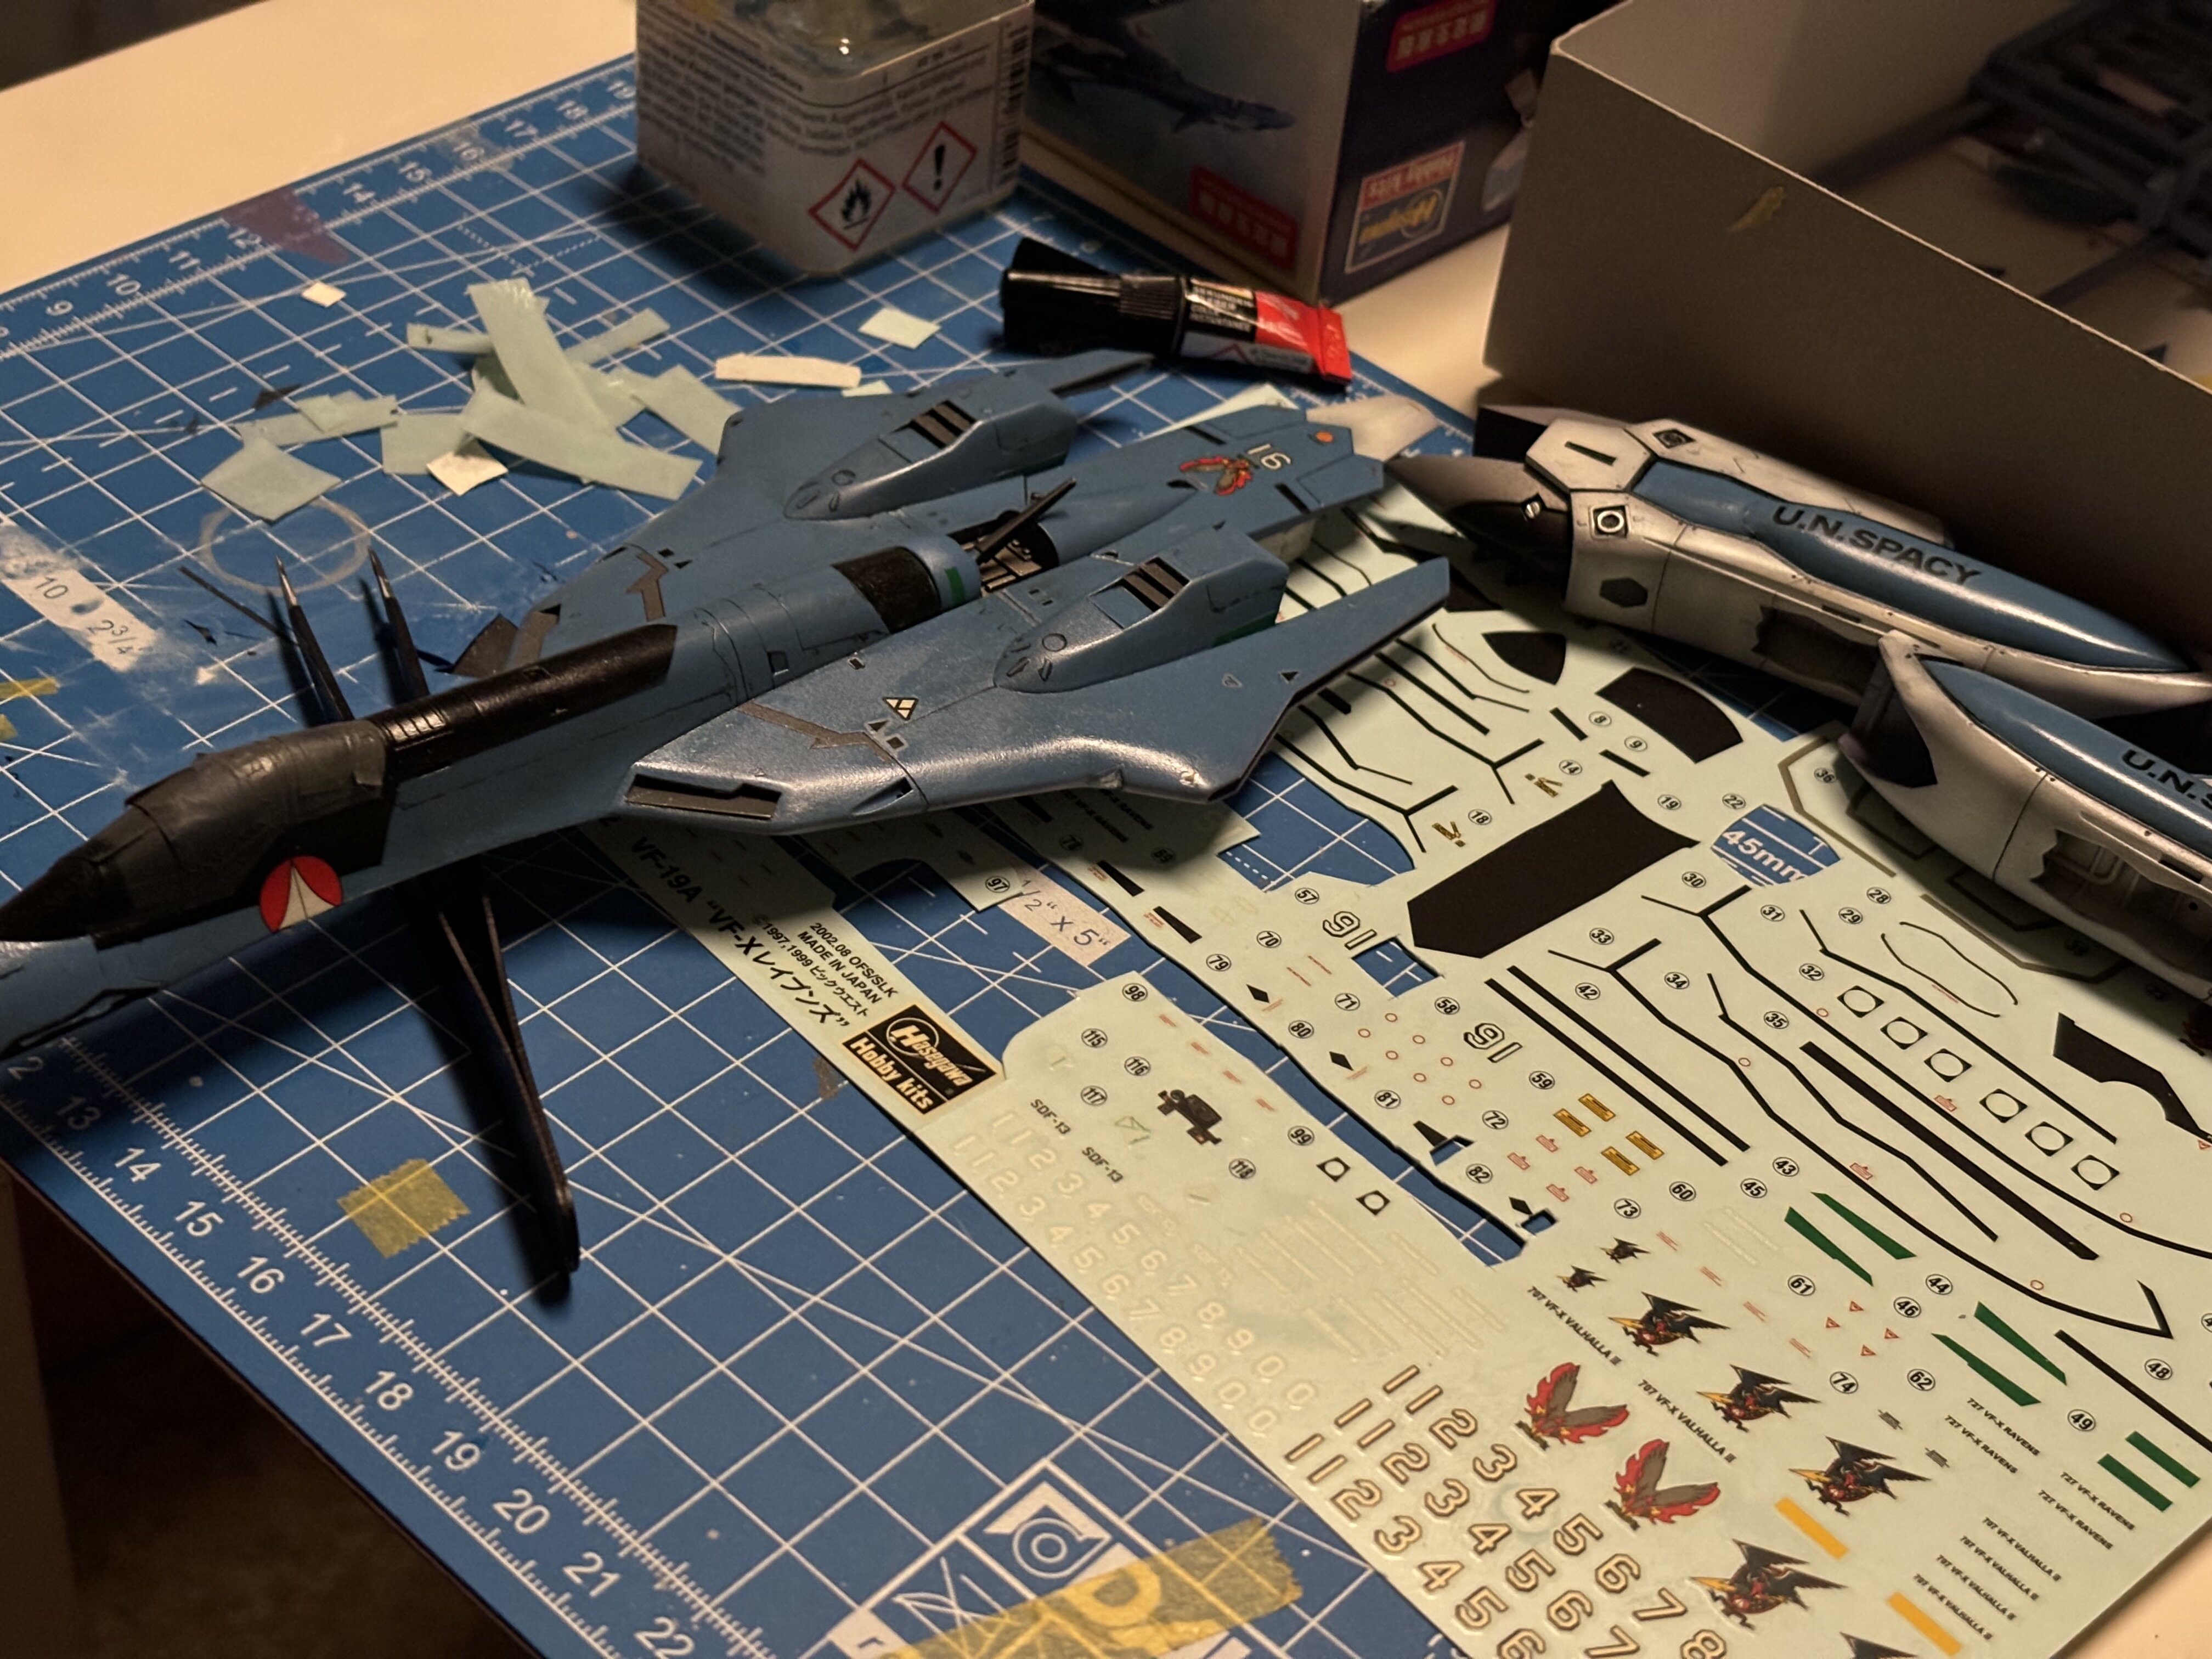
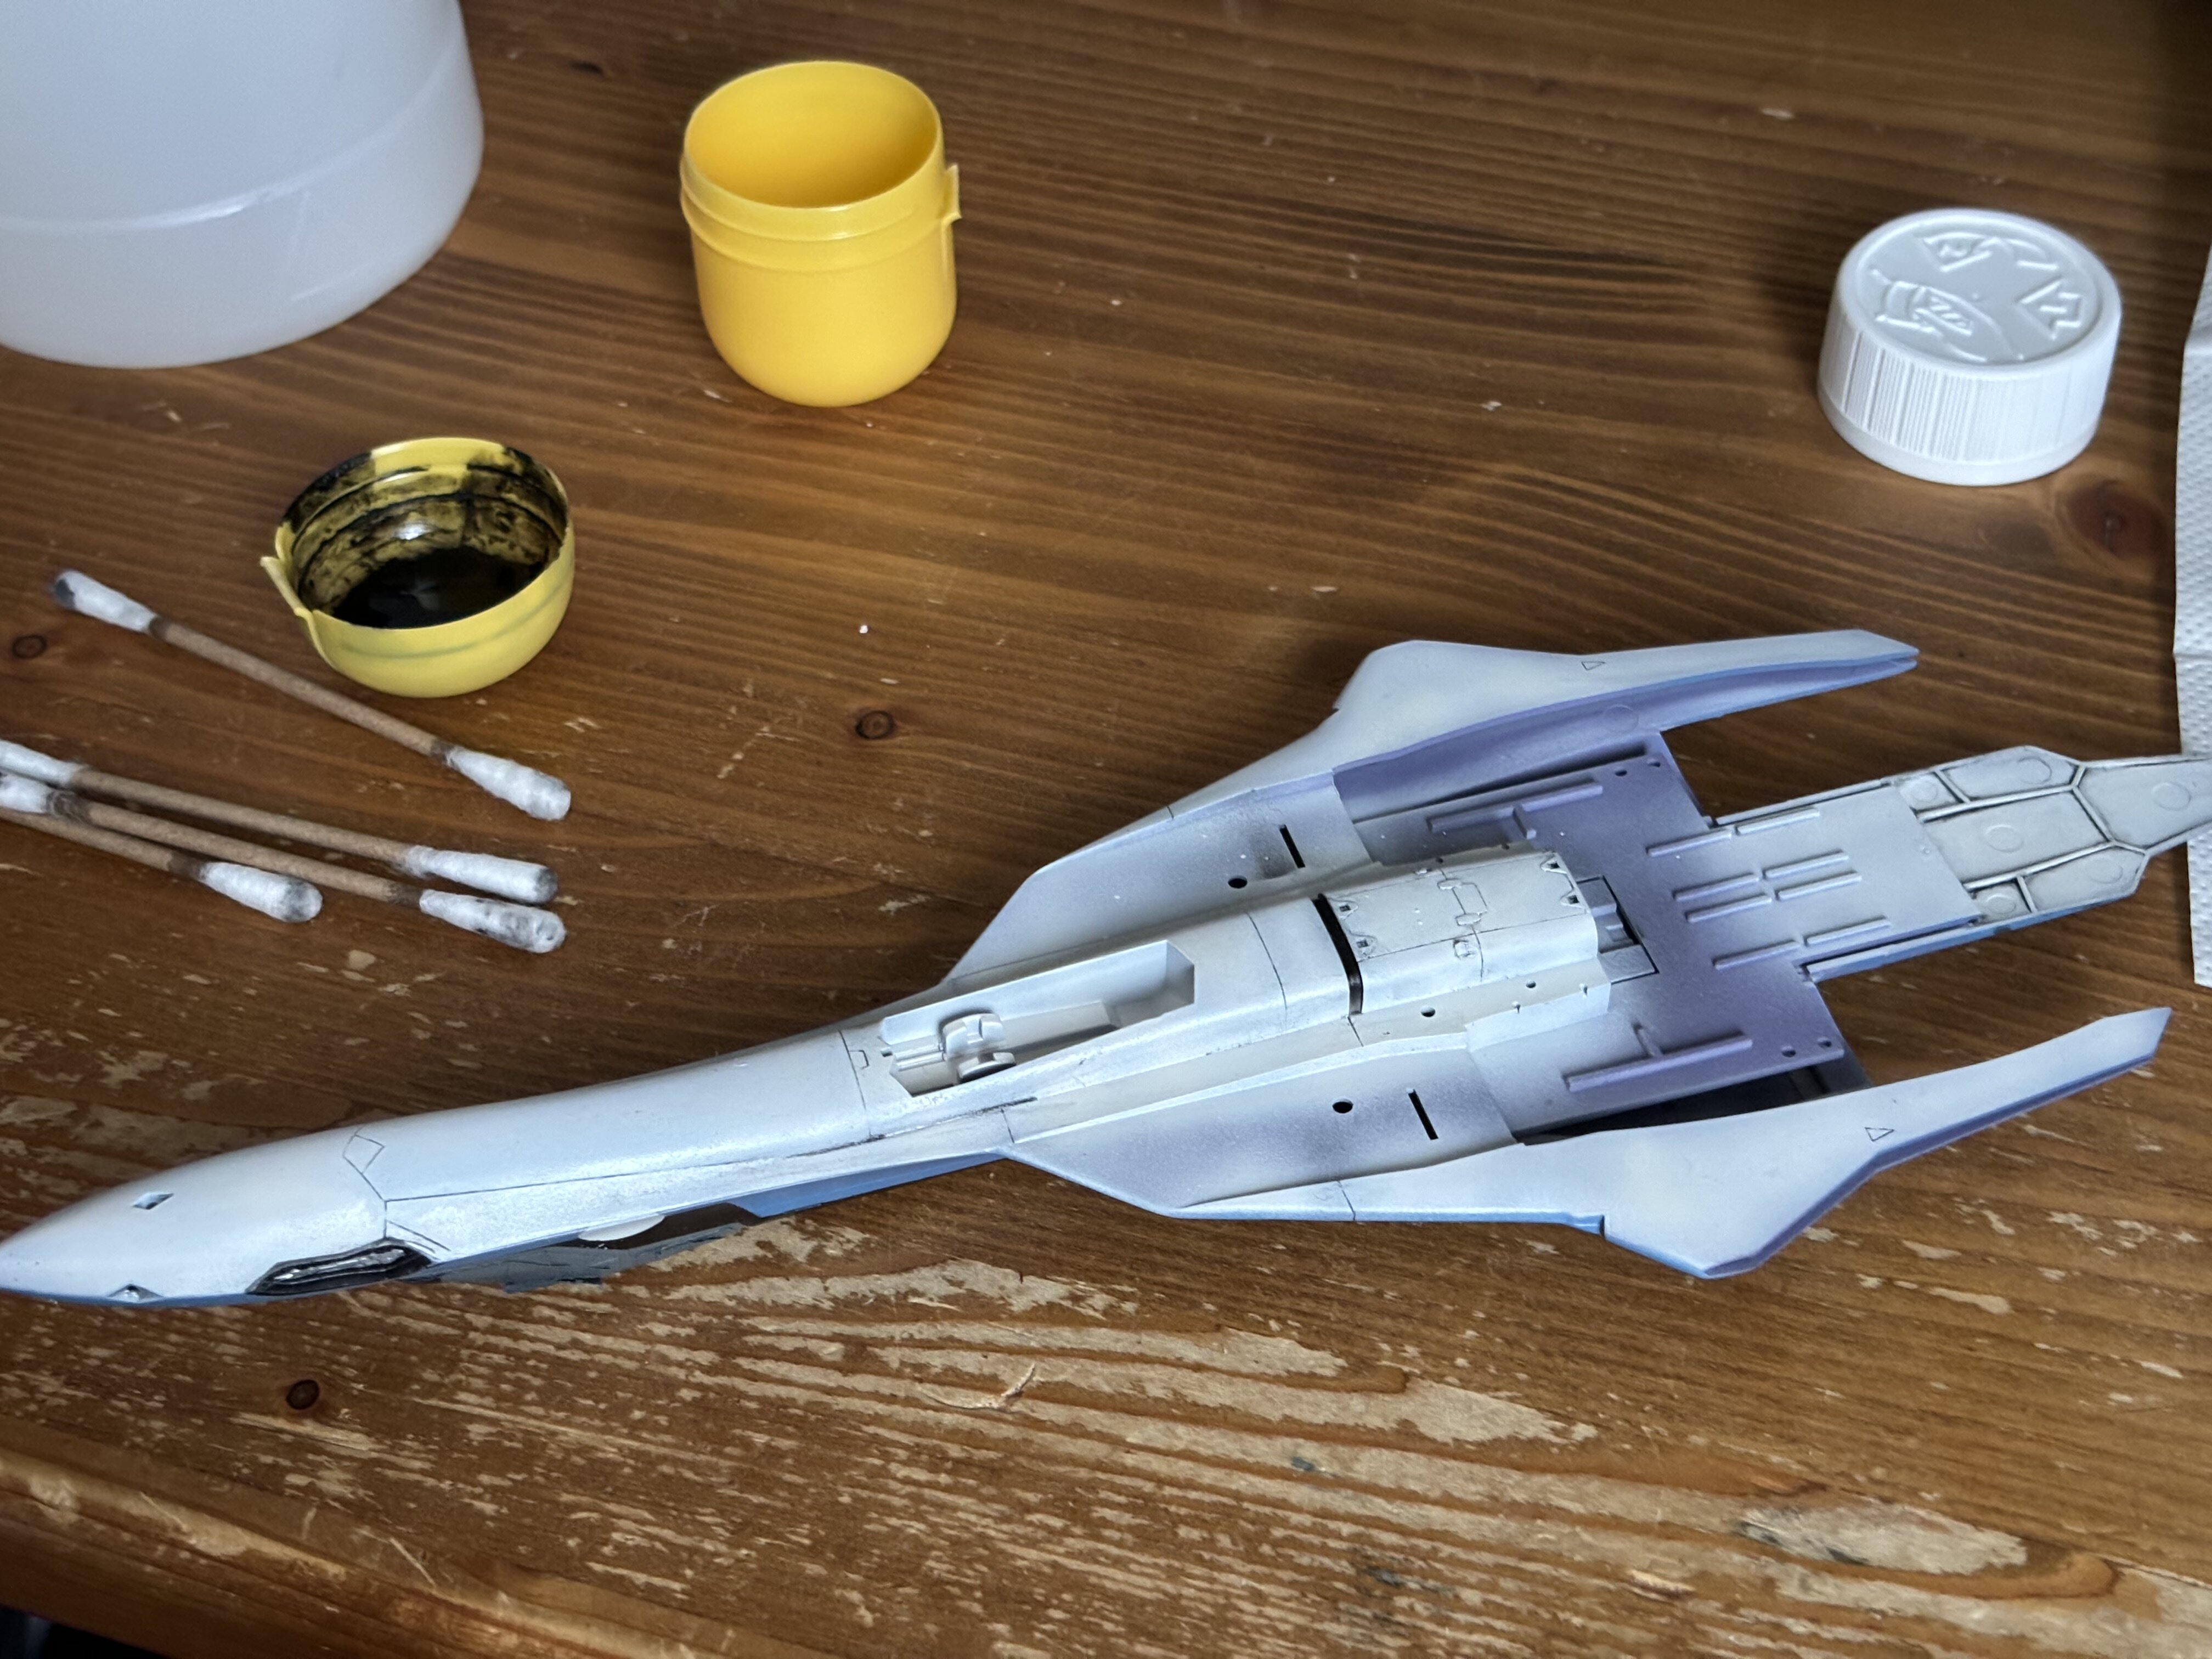
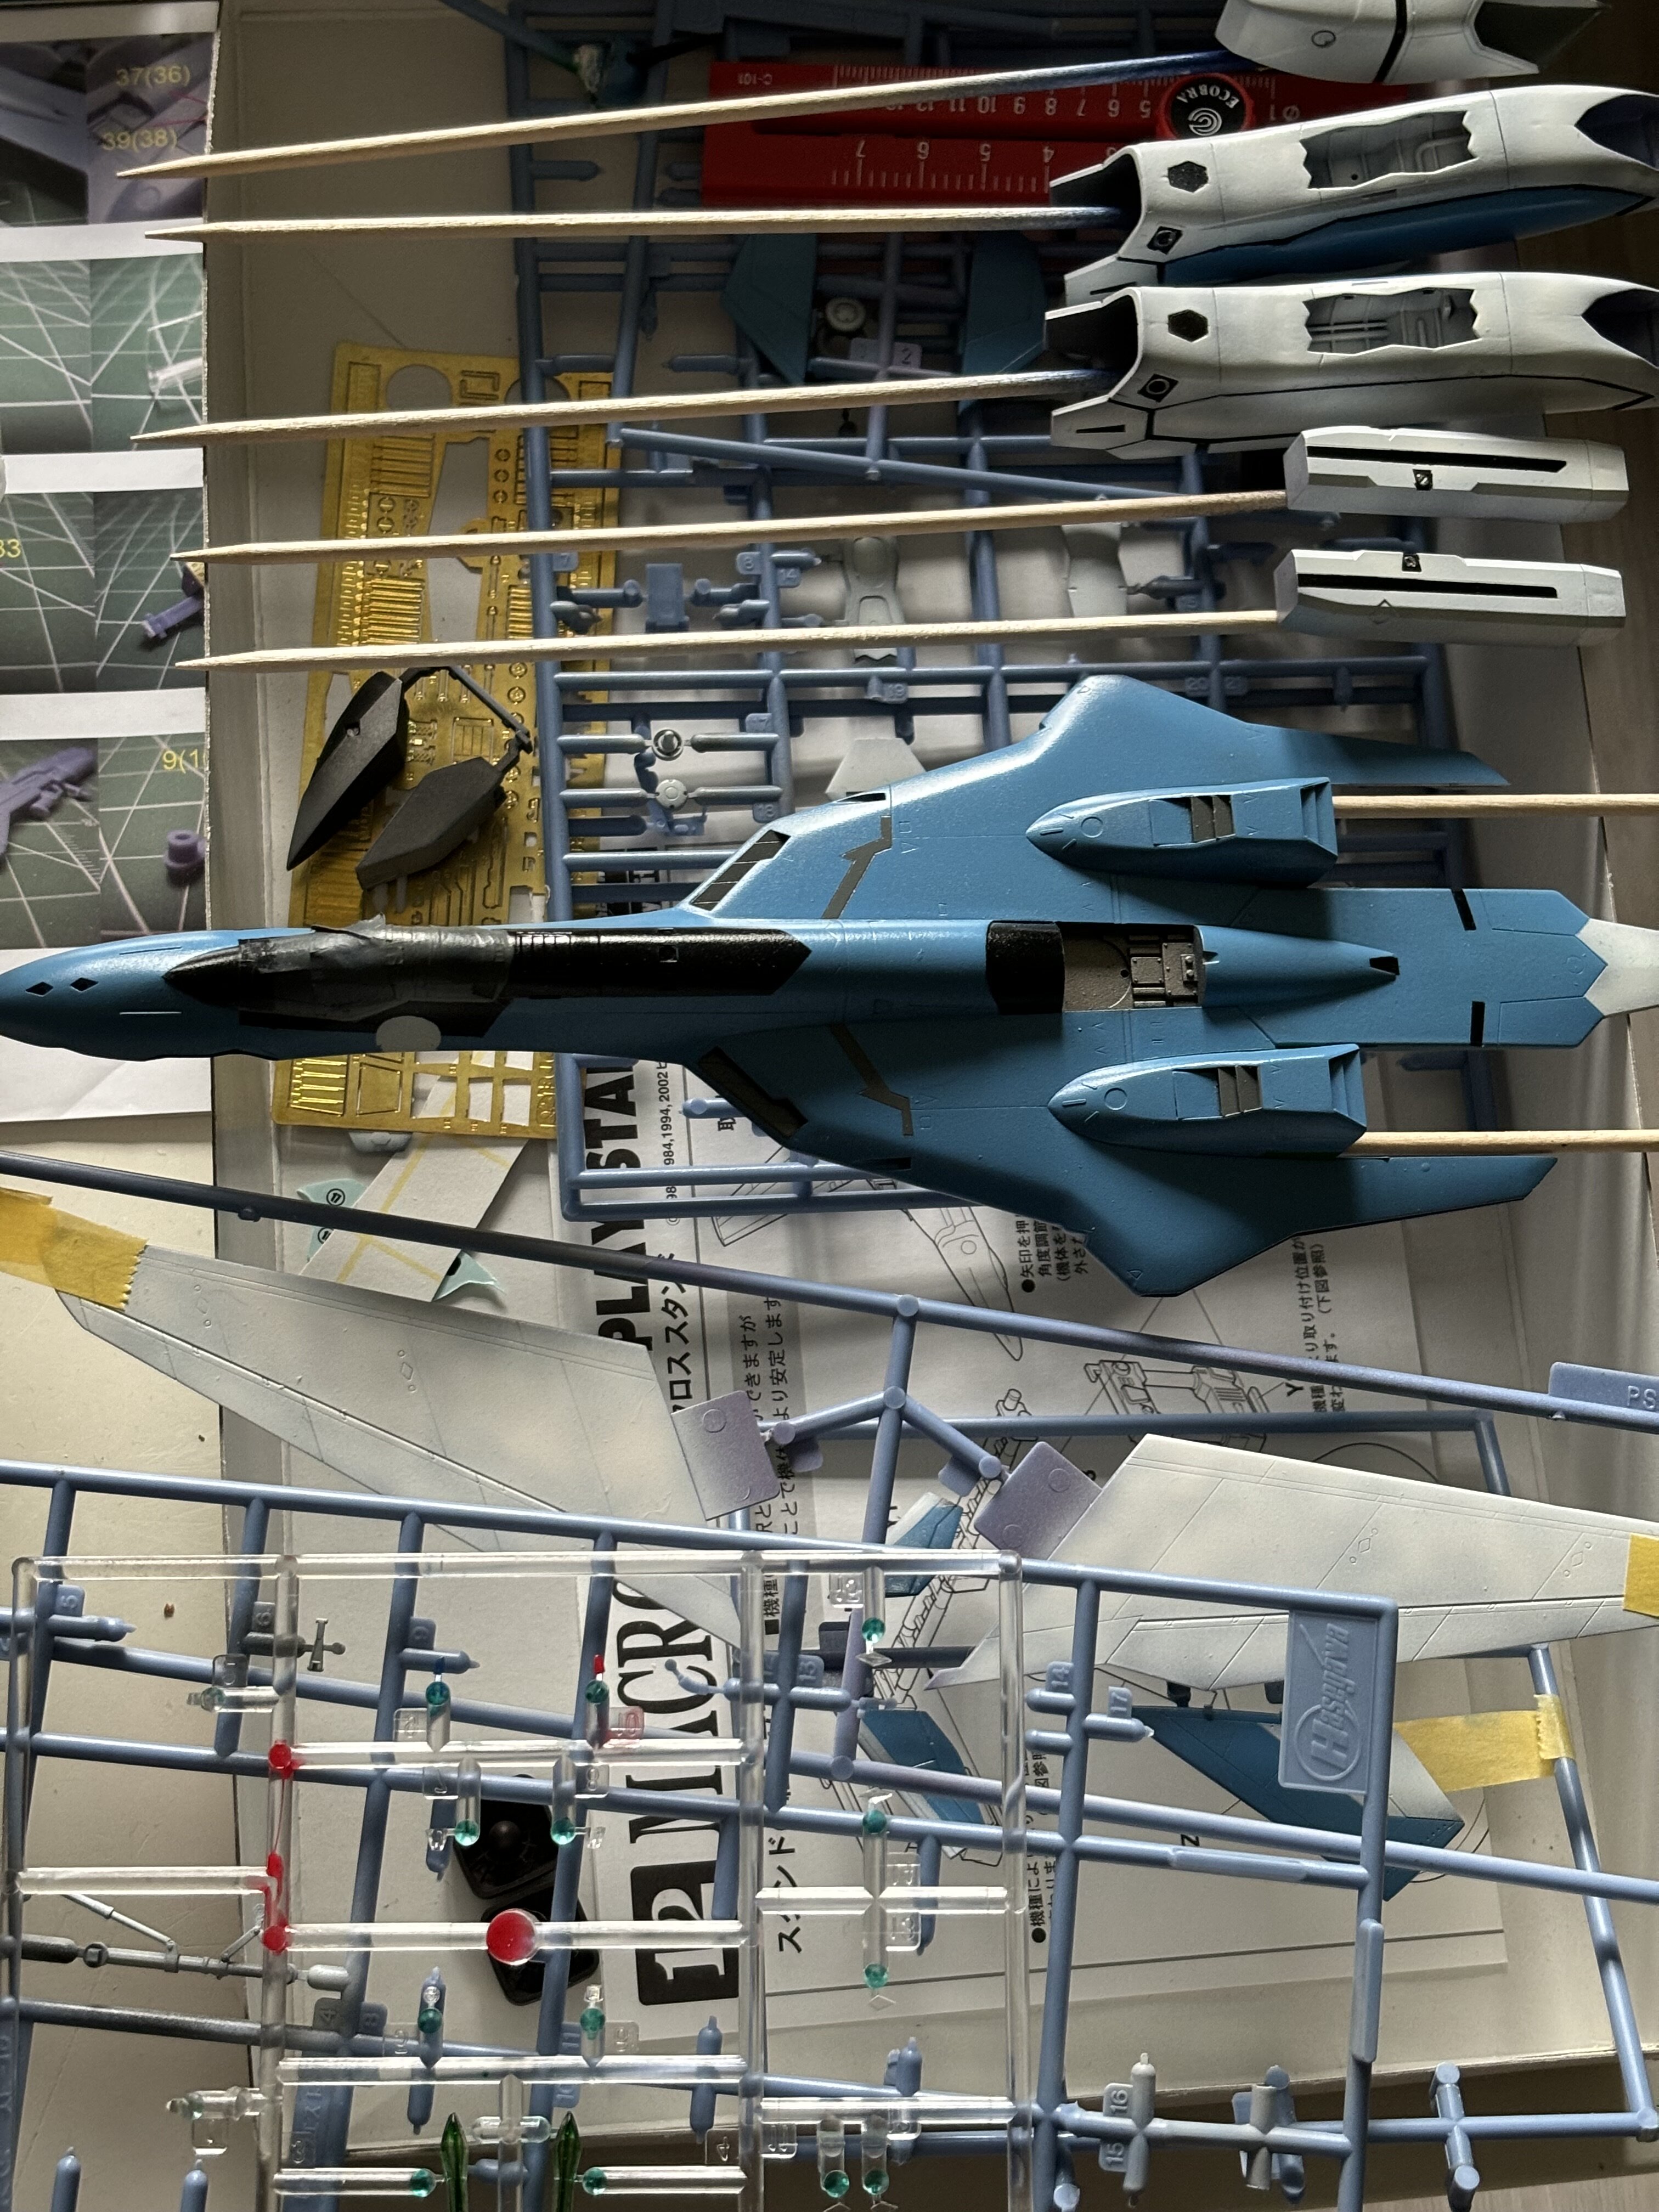
Yeah. It has been declared accessible for the scion. He likes it. Now on to the VF-19 front. Paintjob done, gloss coat applied. Now it needs to cure for 24 hours. Then I can oil color wash it. Then decals after the wash.
-
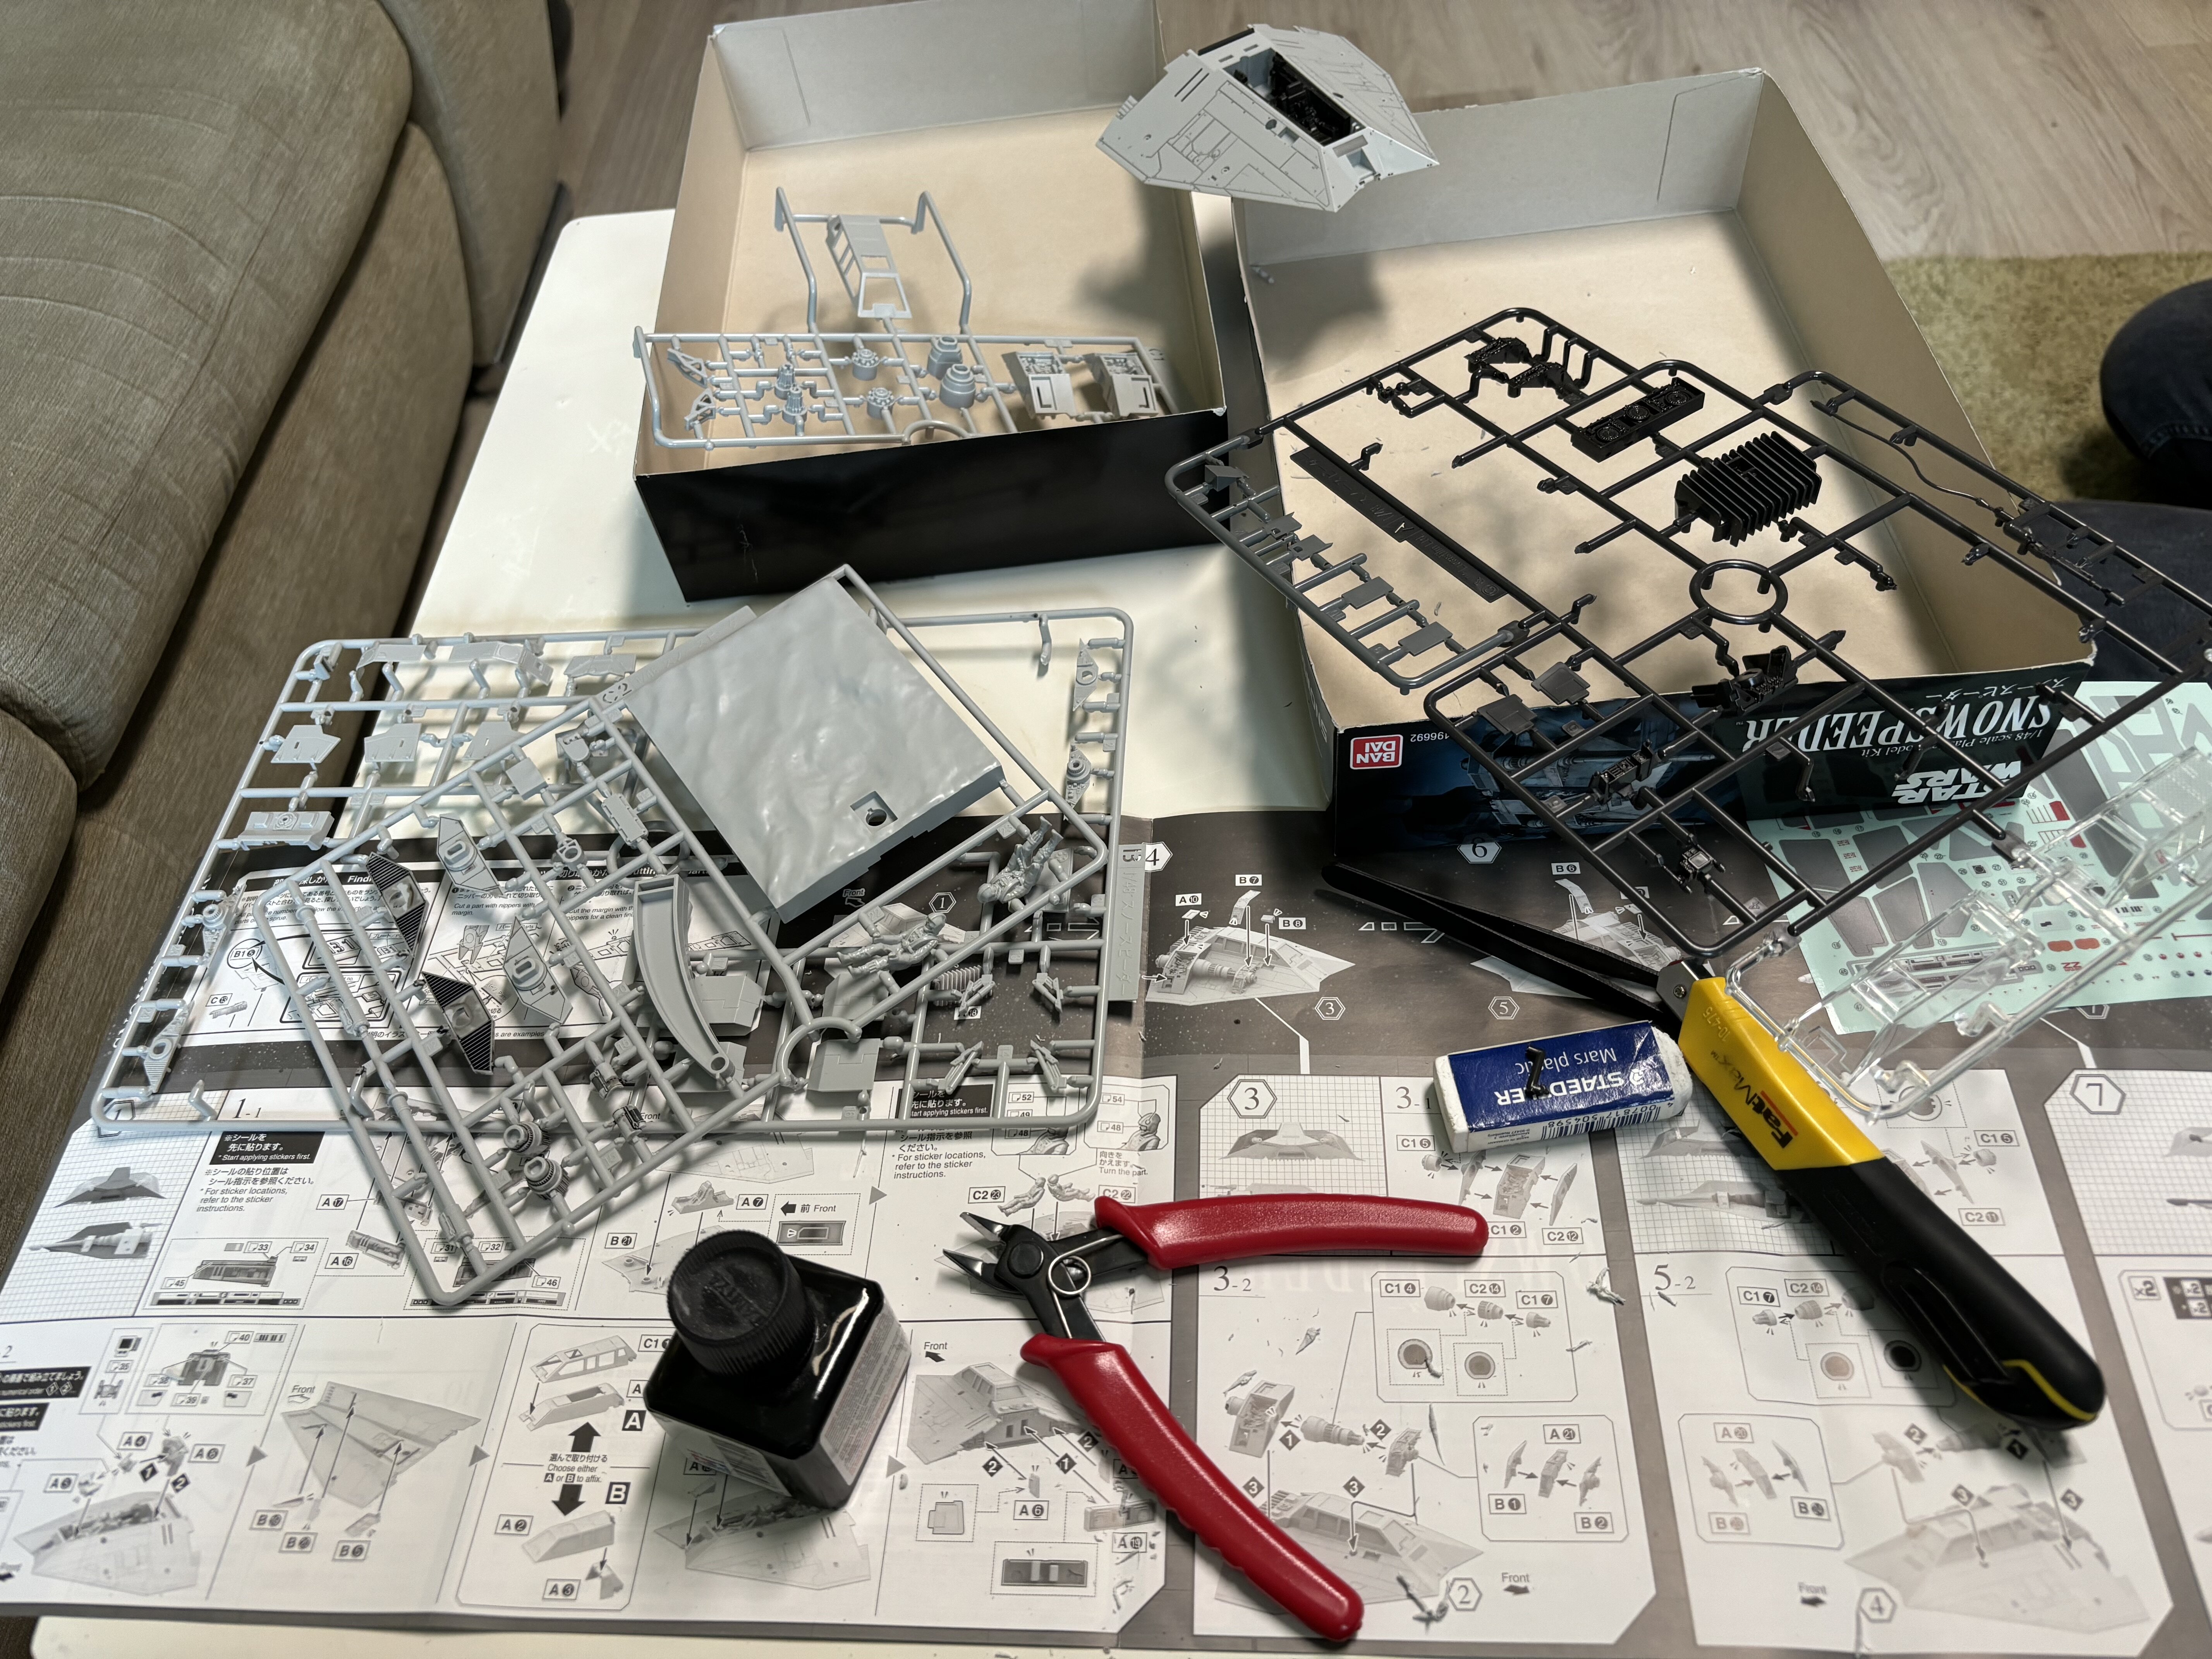
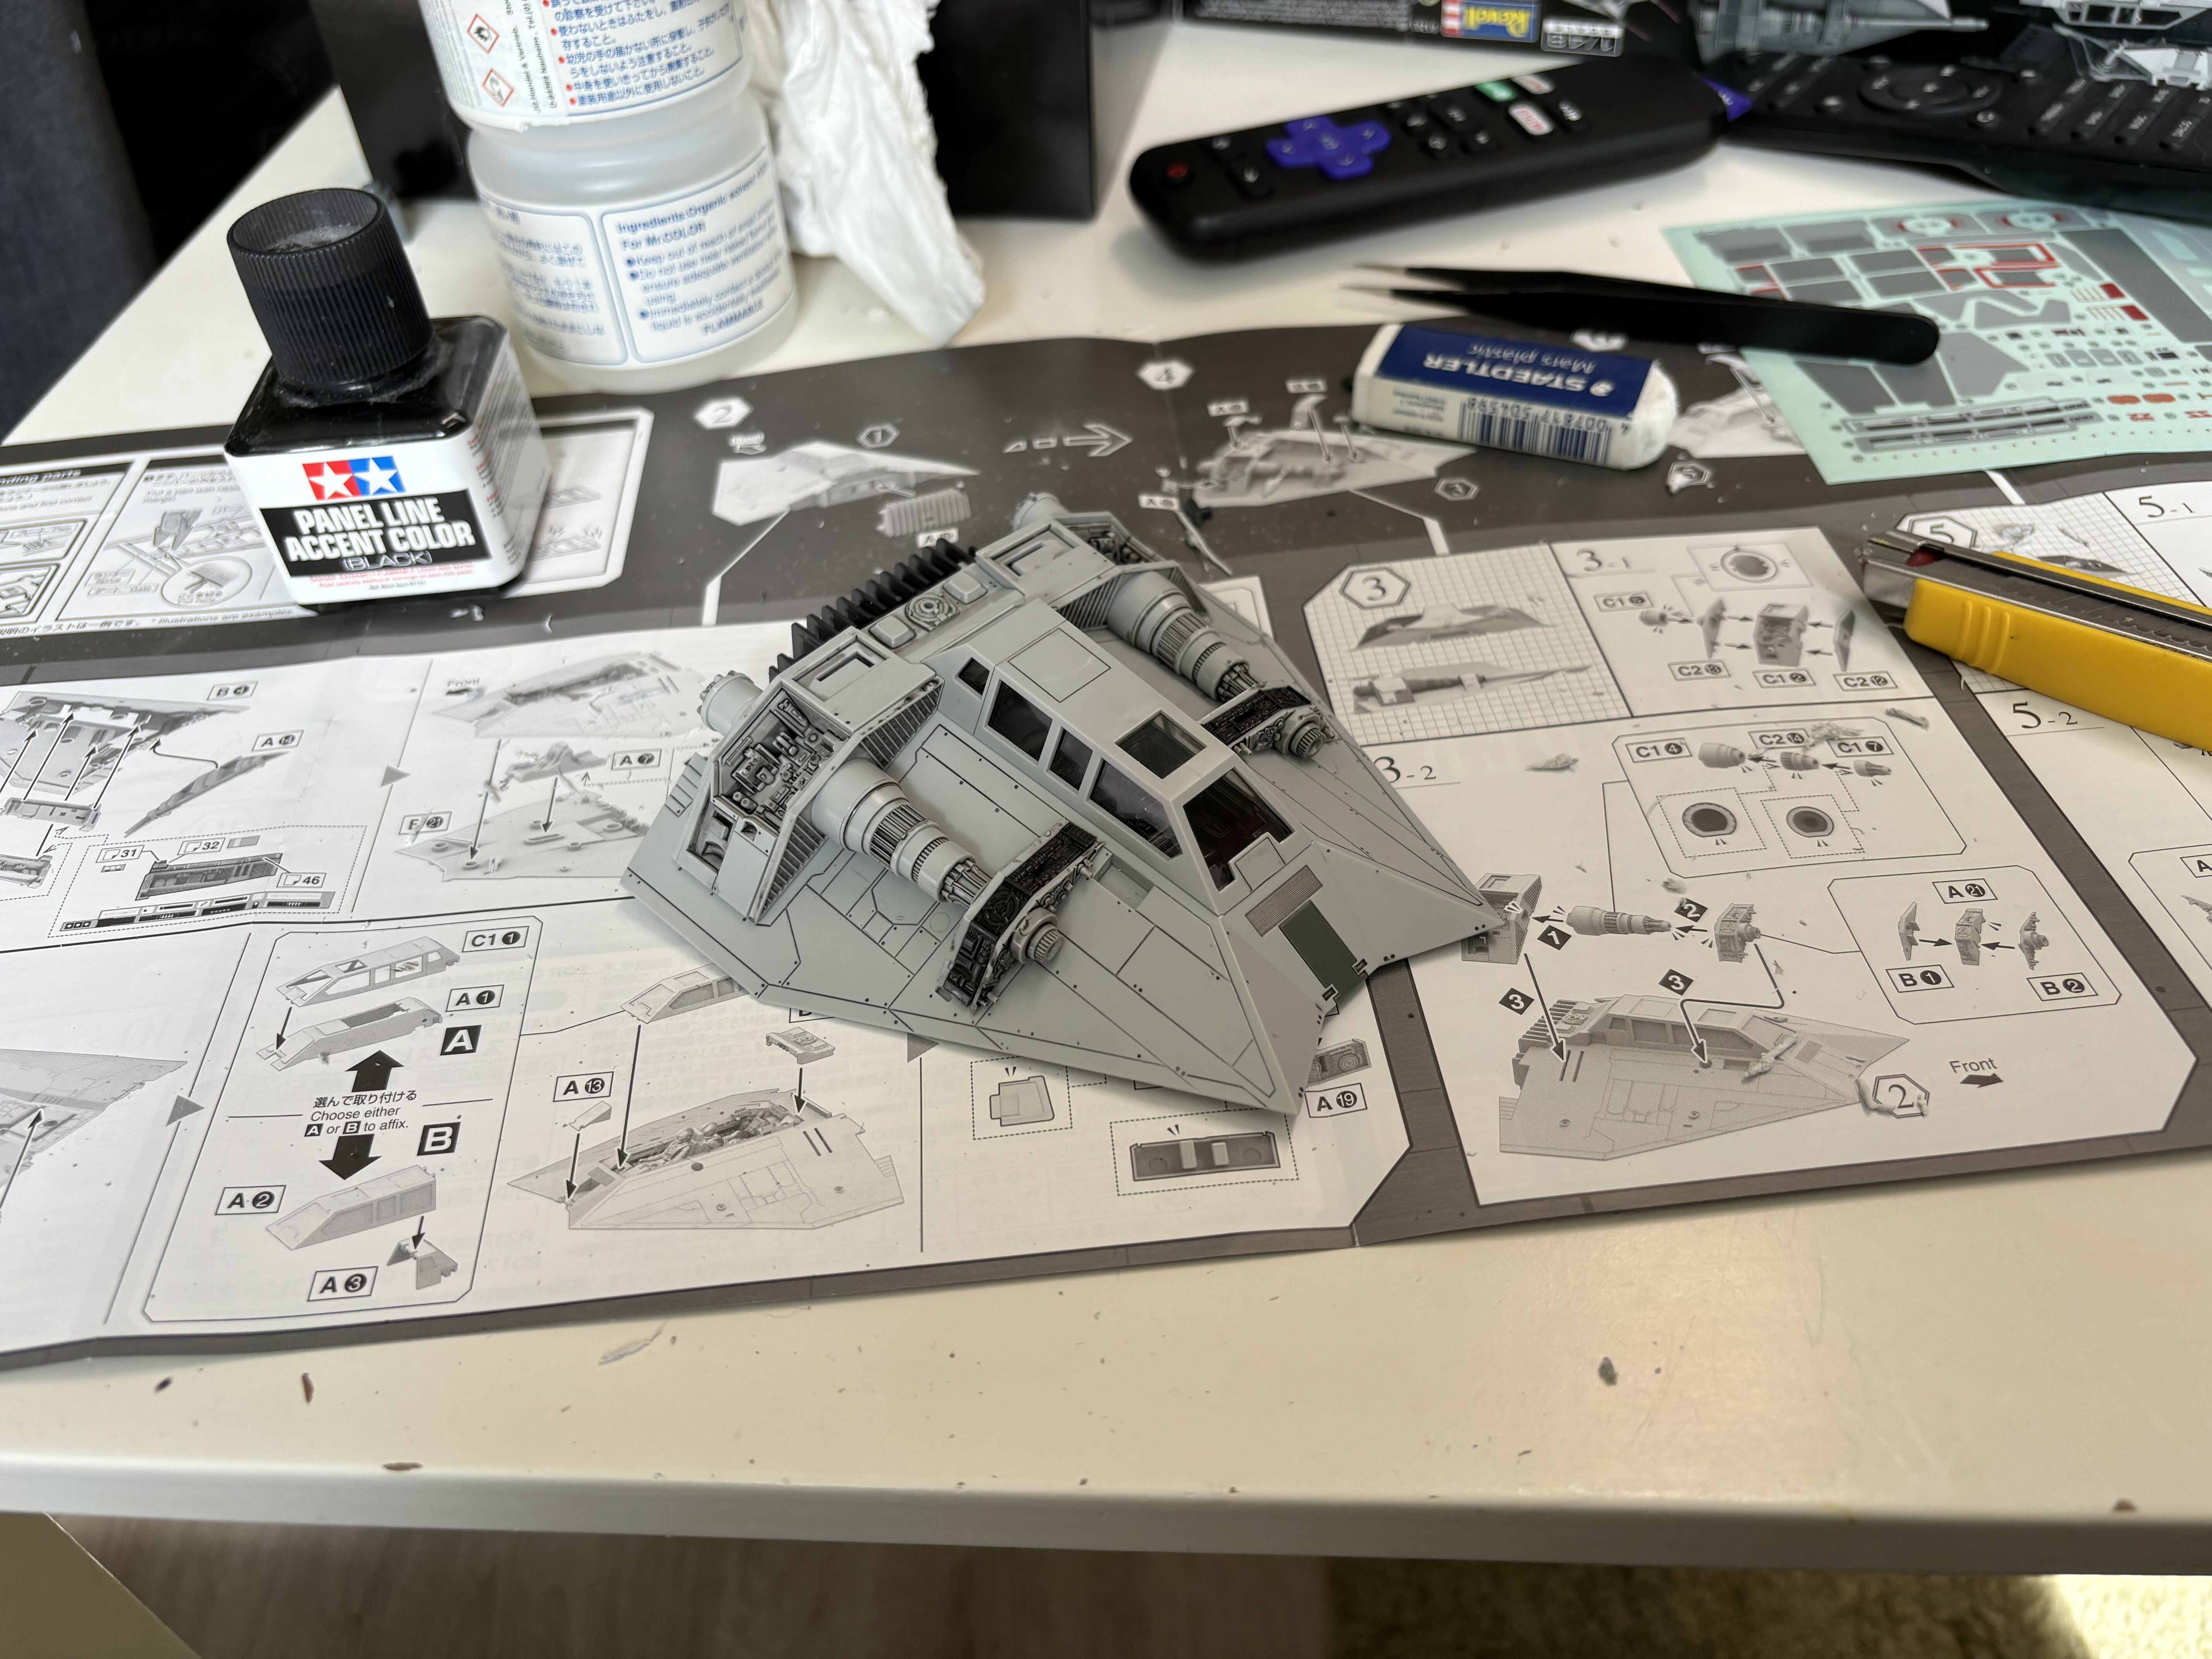
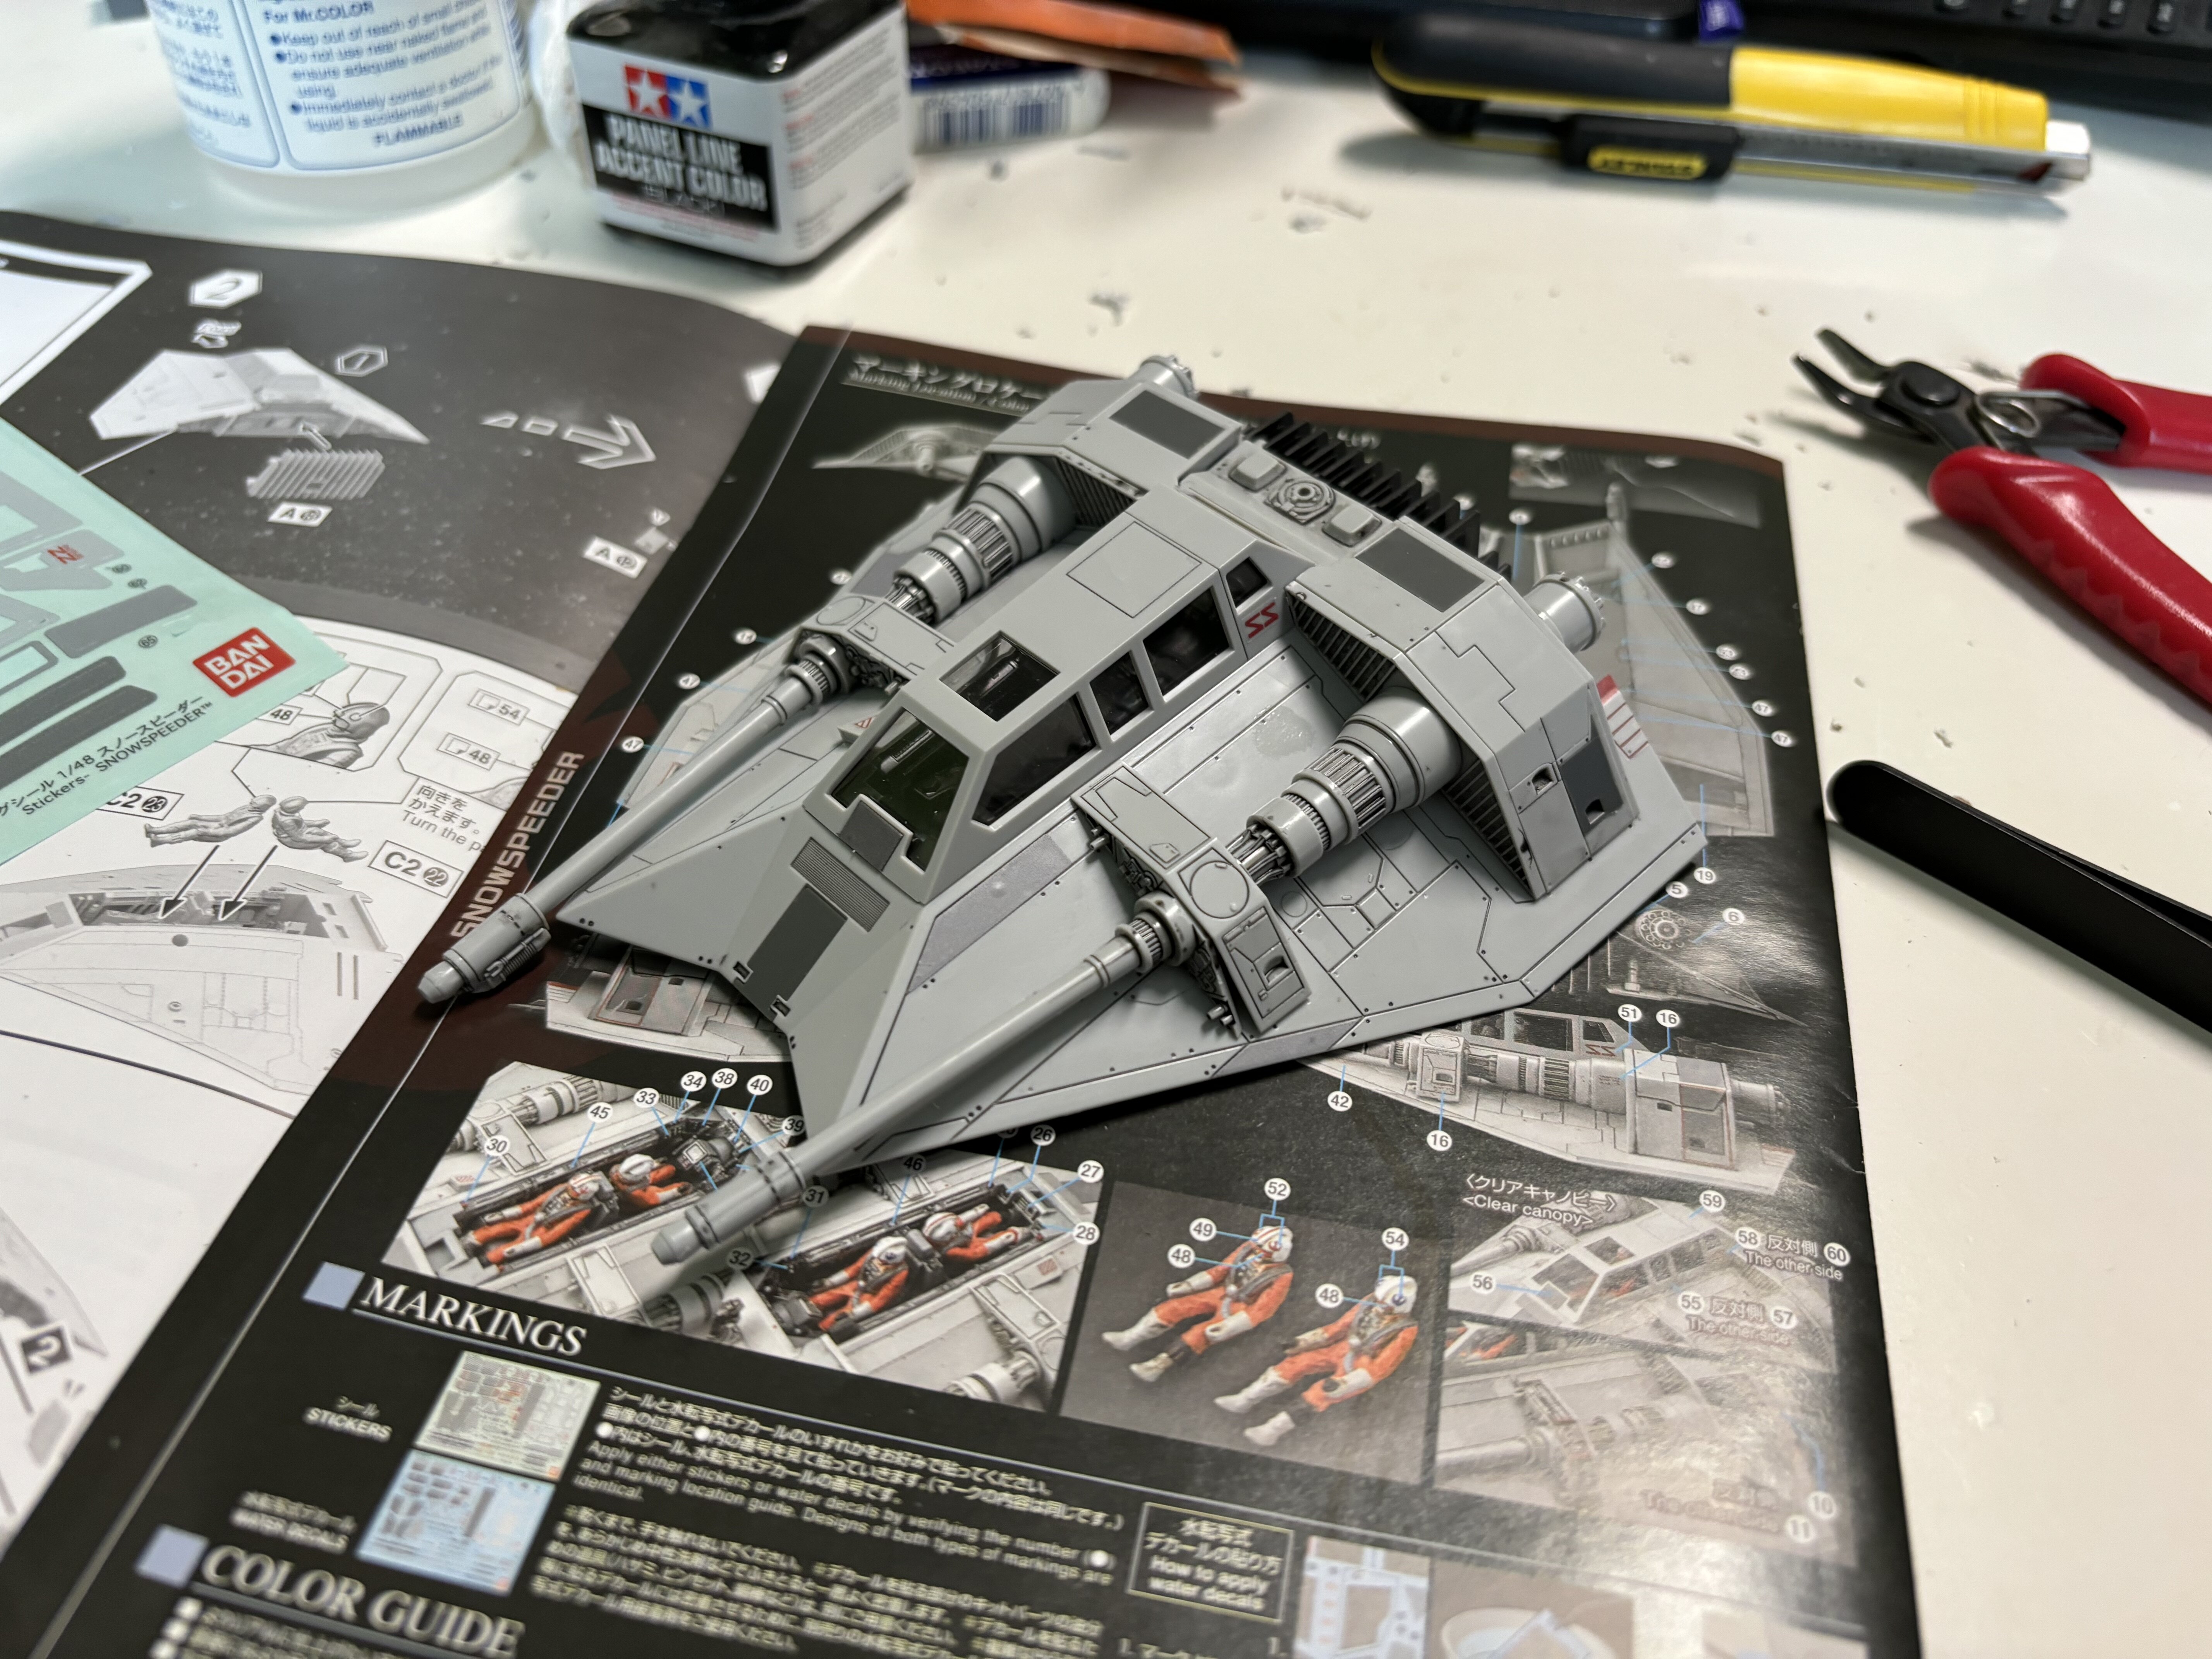
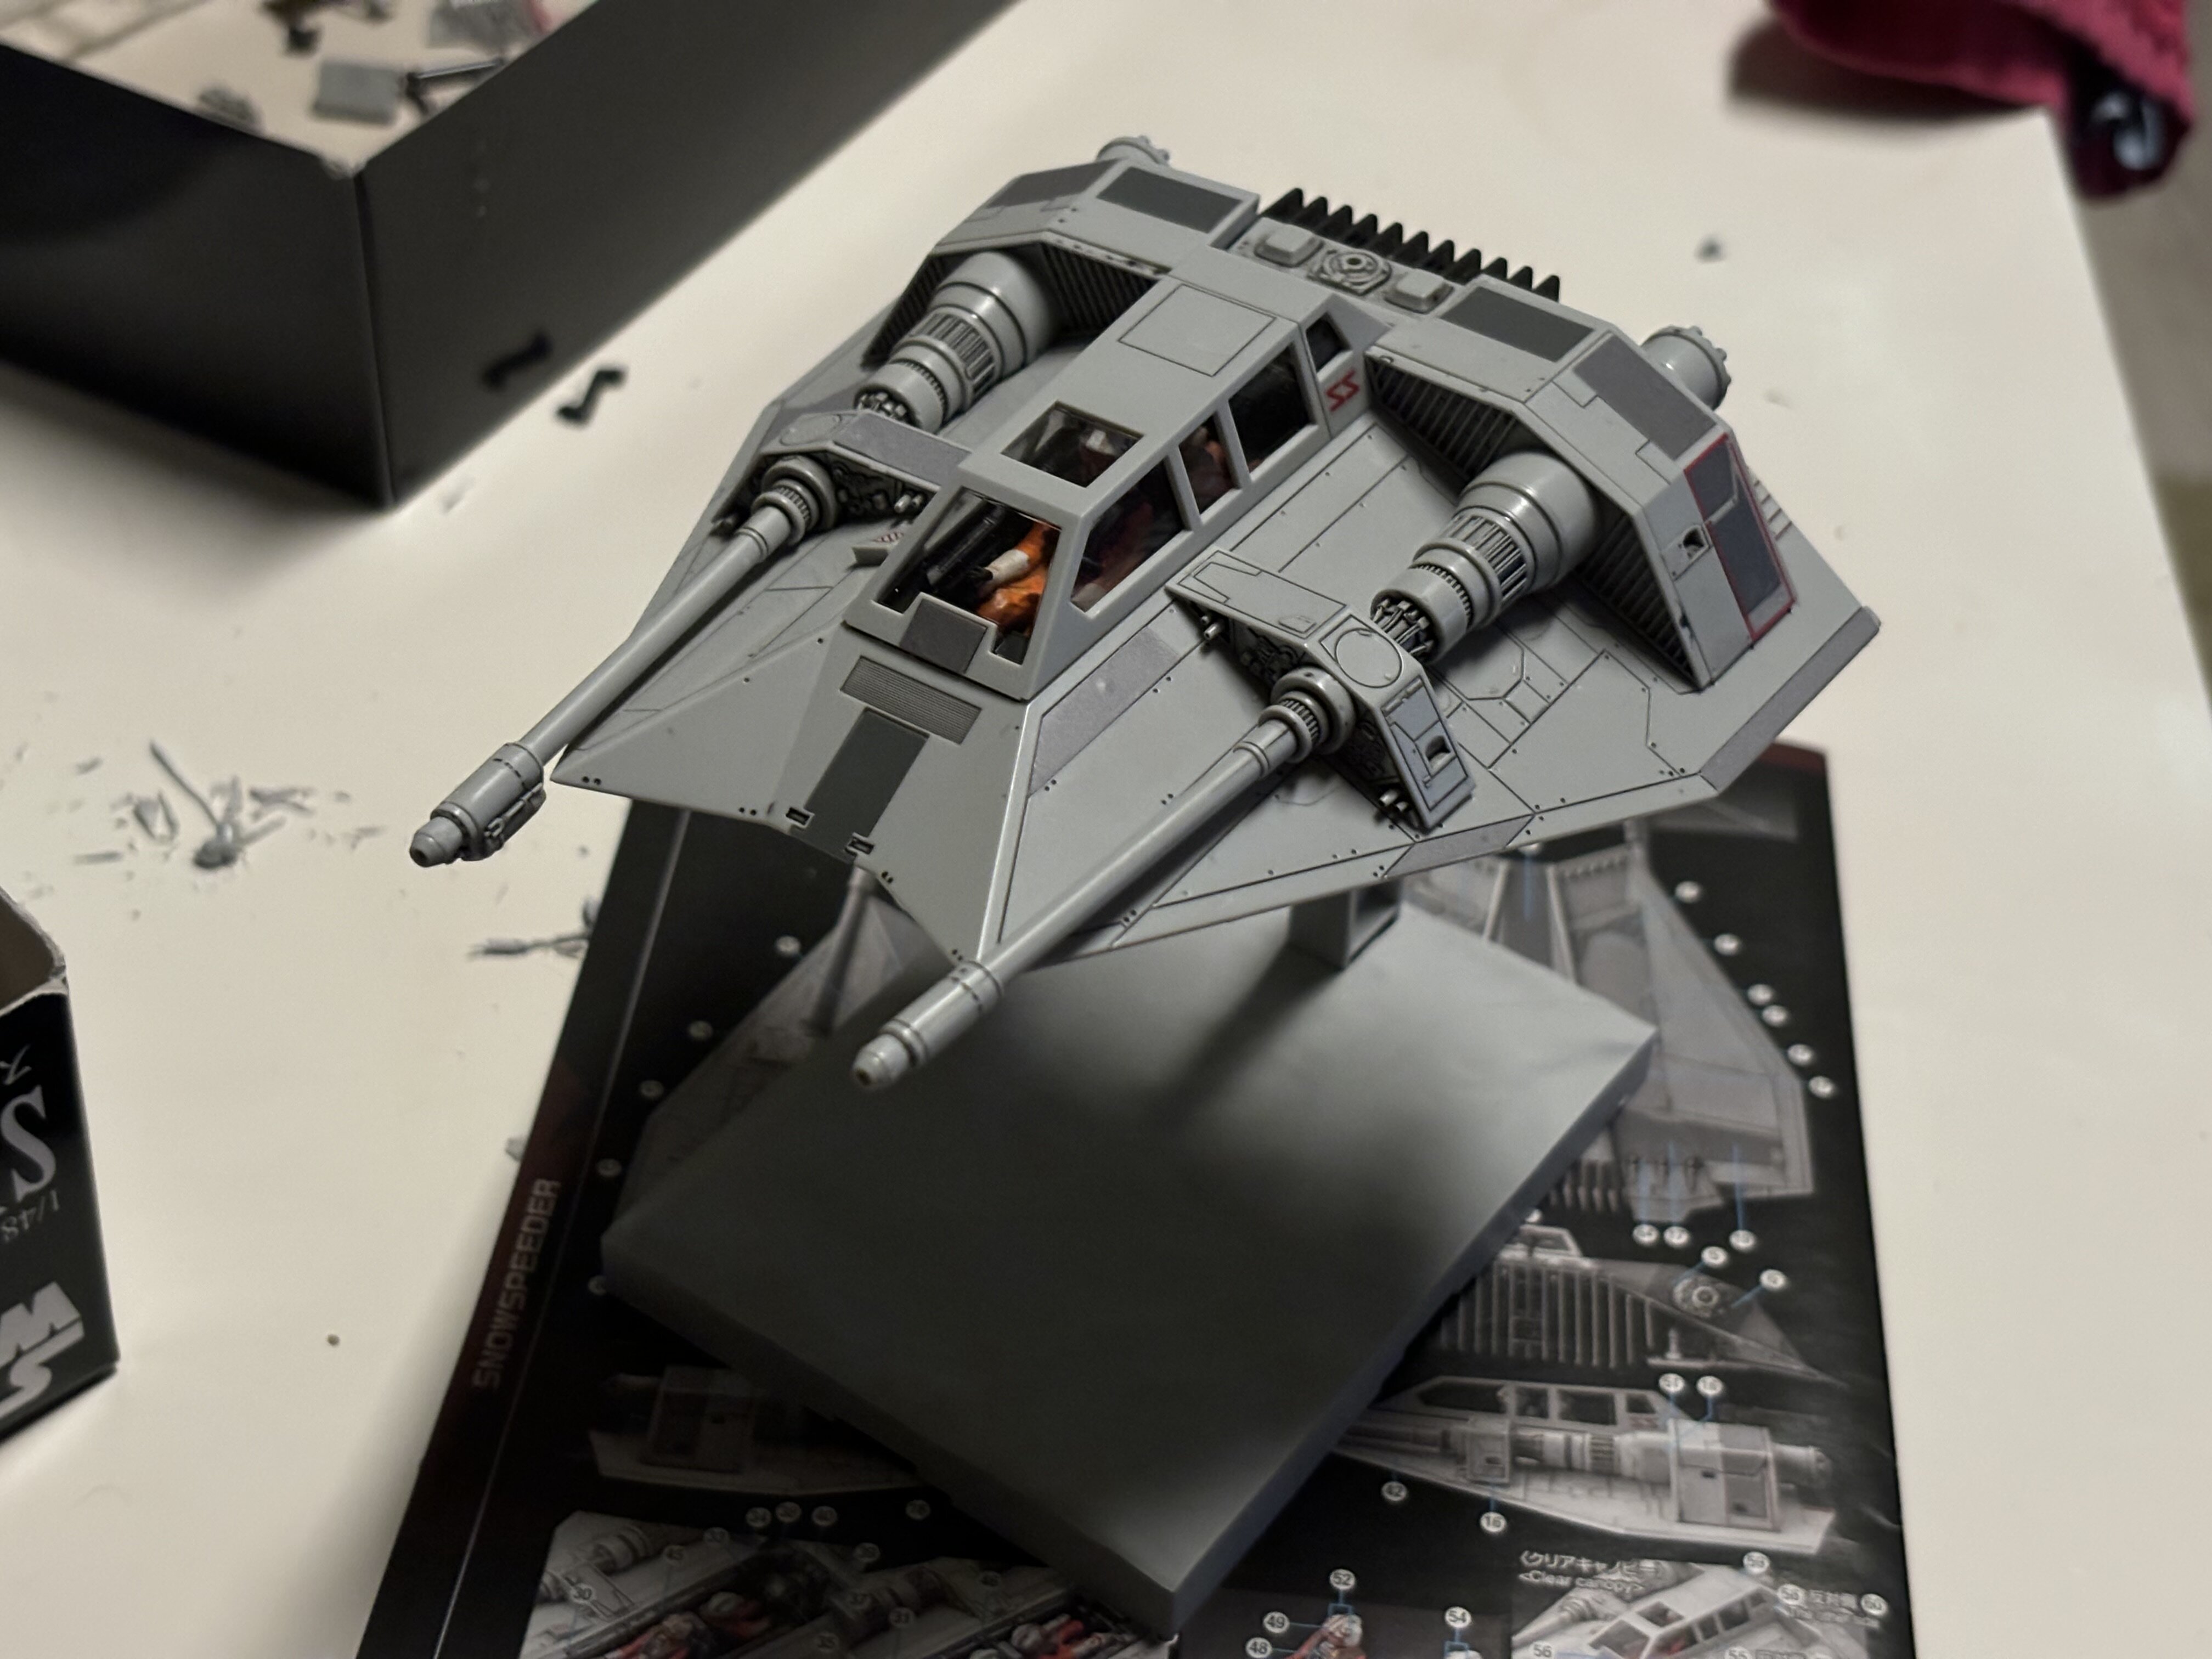
@MechTech pictures were taken from around 1-2 feet away @Thom I built one of these not too long ago Another quick build today. I don’t think I‘ve finished that much kits in such a short time for long. A star wars kit. Haven’t build one in years.

-
Those intakes look familiar… Thanks a lot! I mean, from far it doesn’t look too bad. But I ordered more…
-
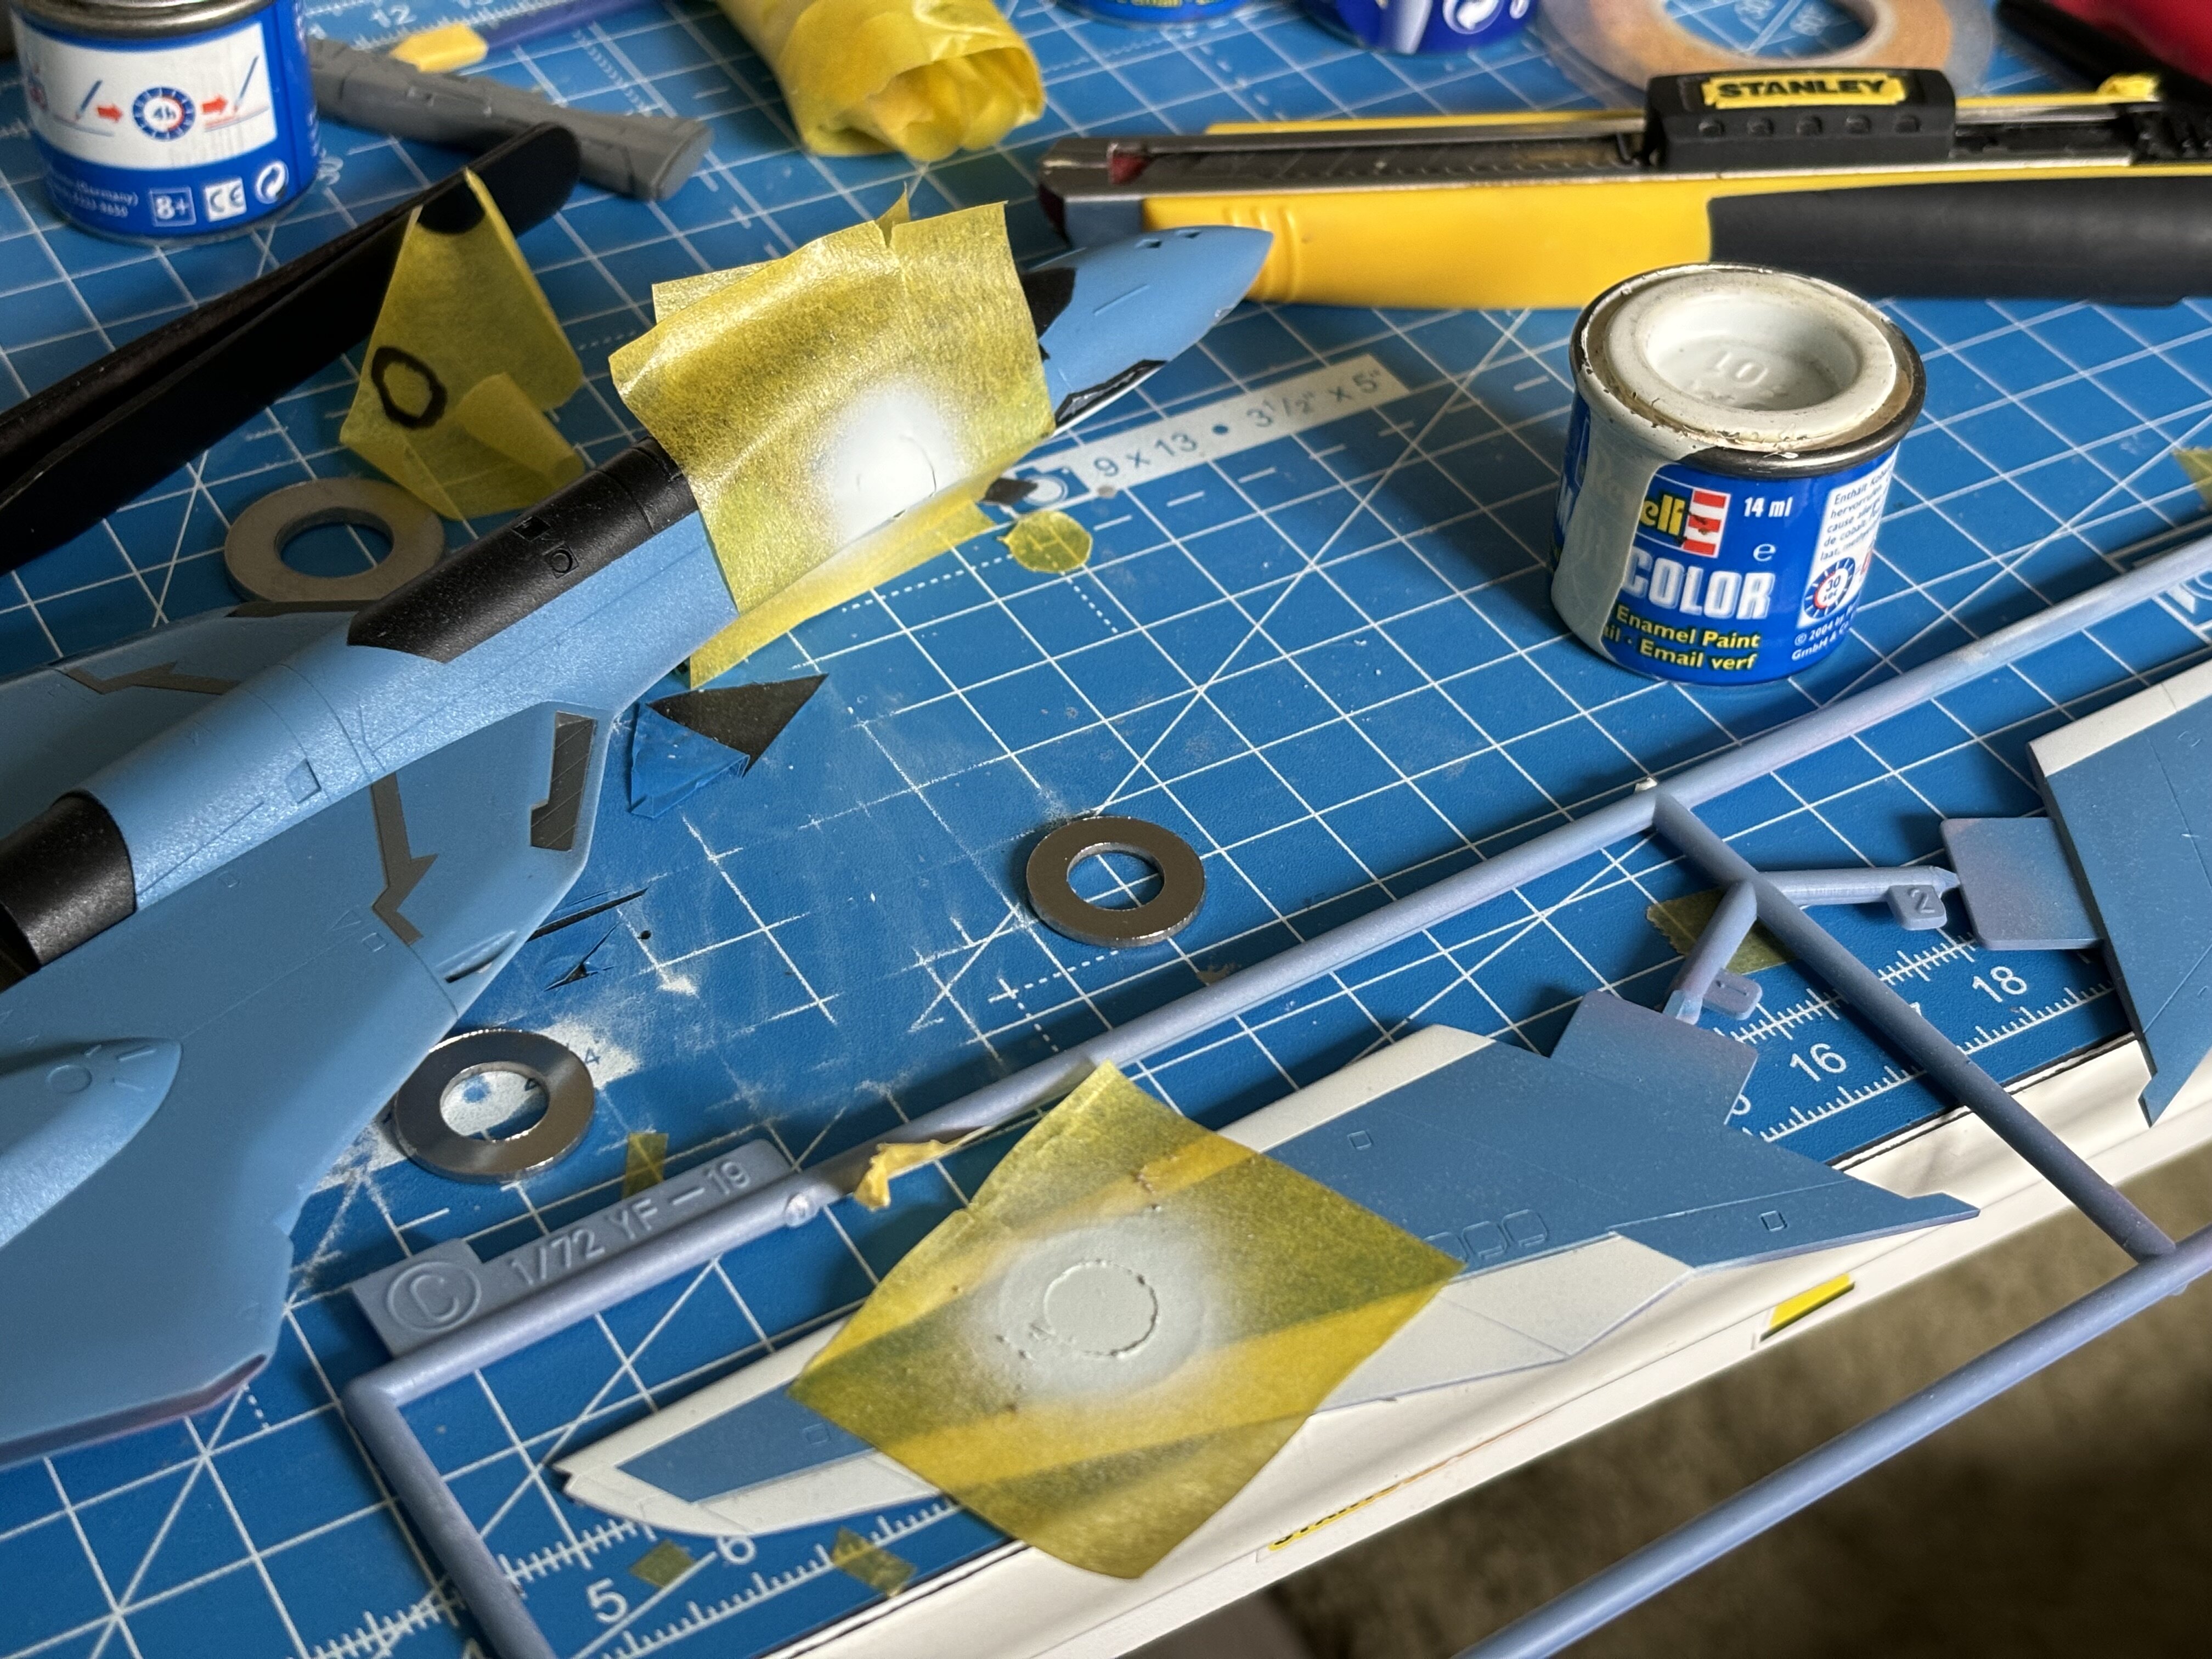
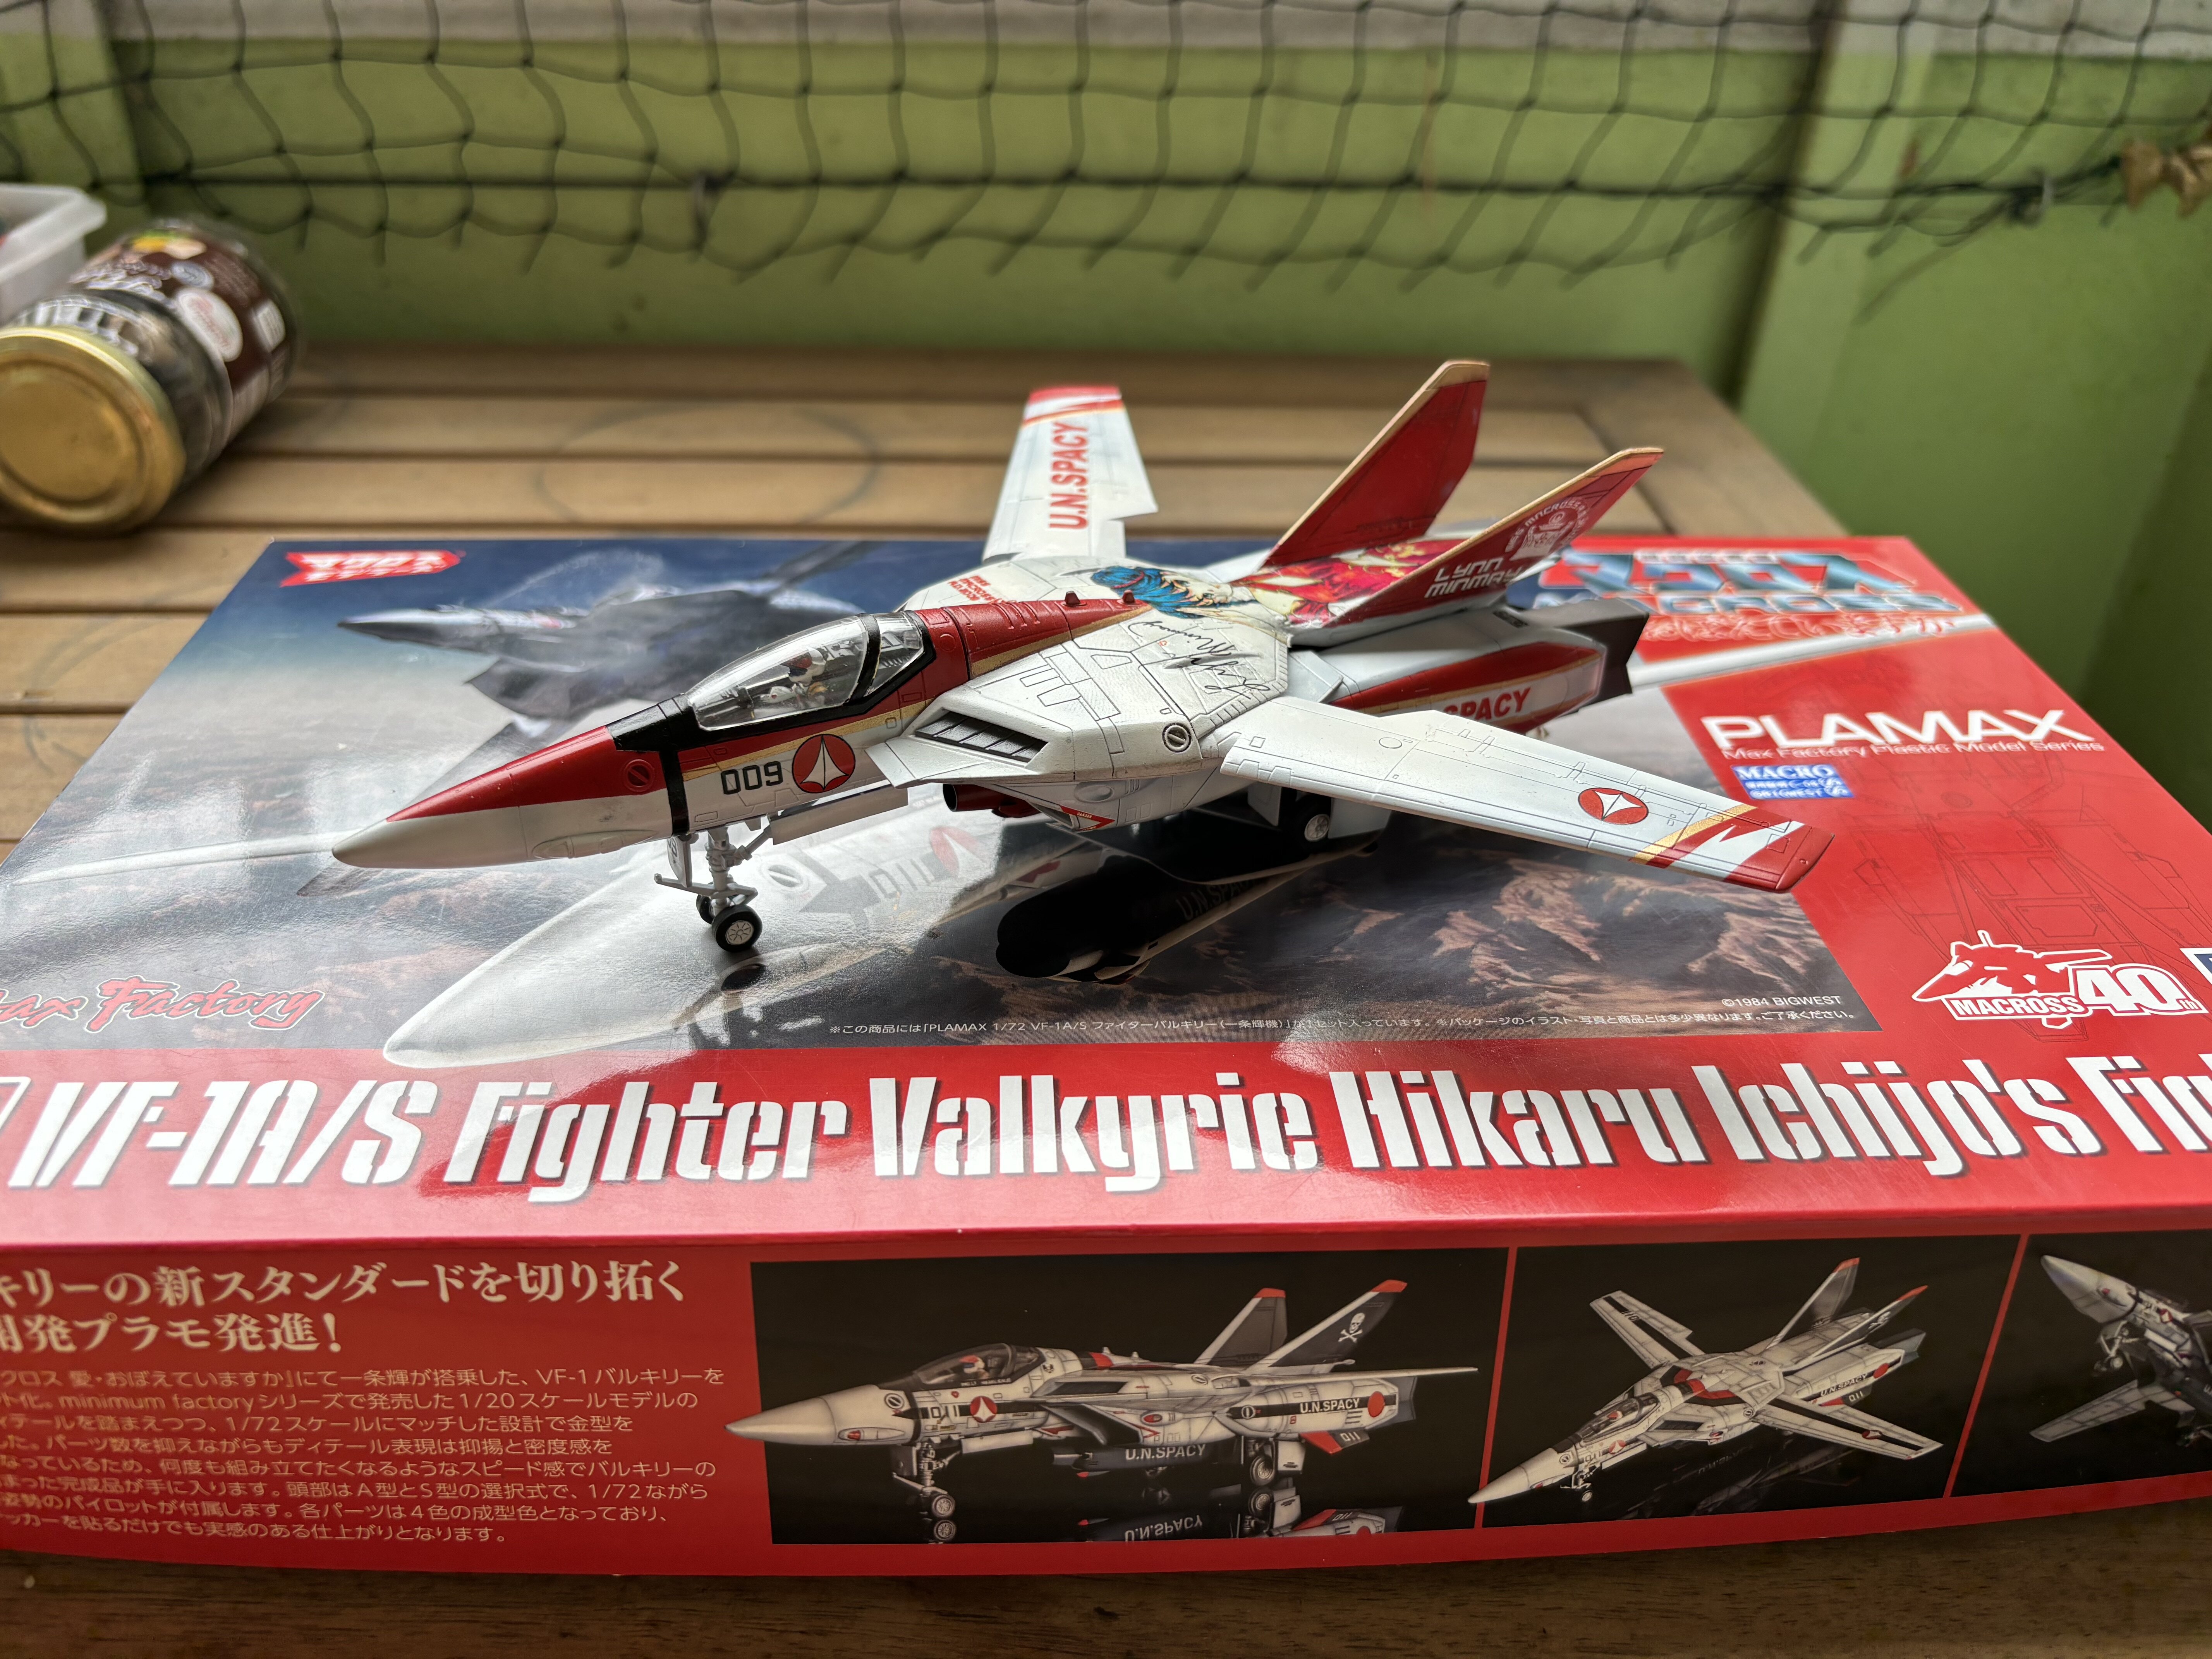
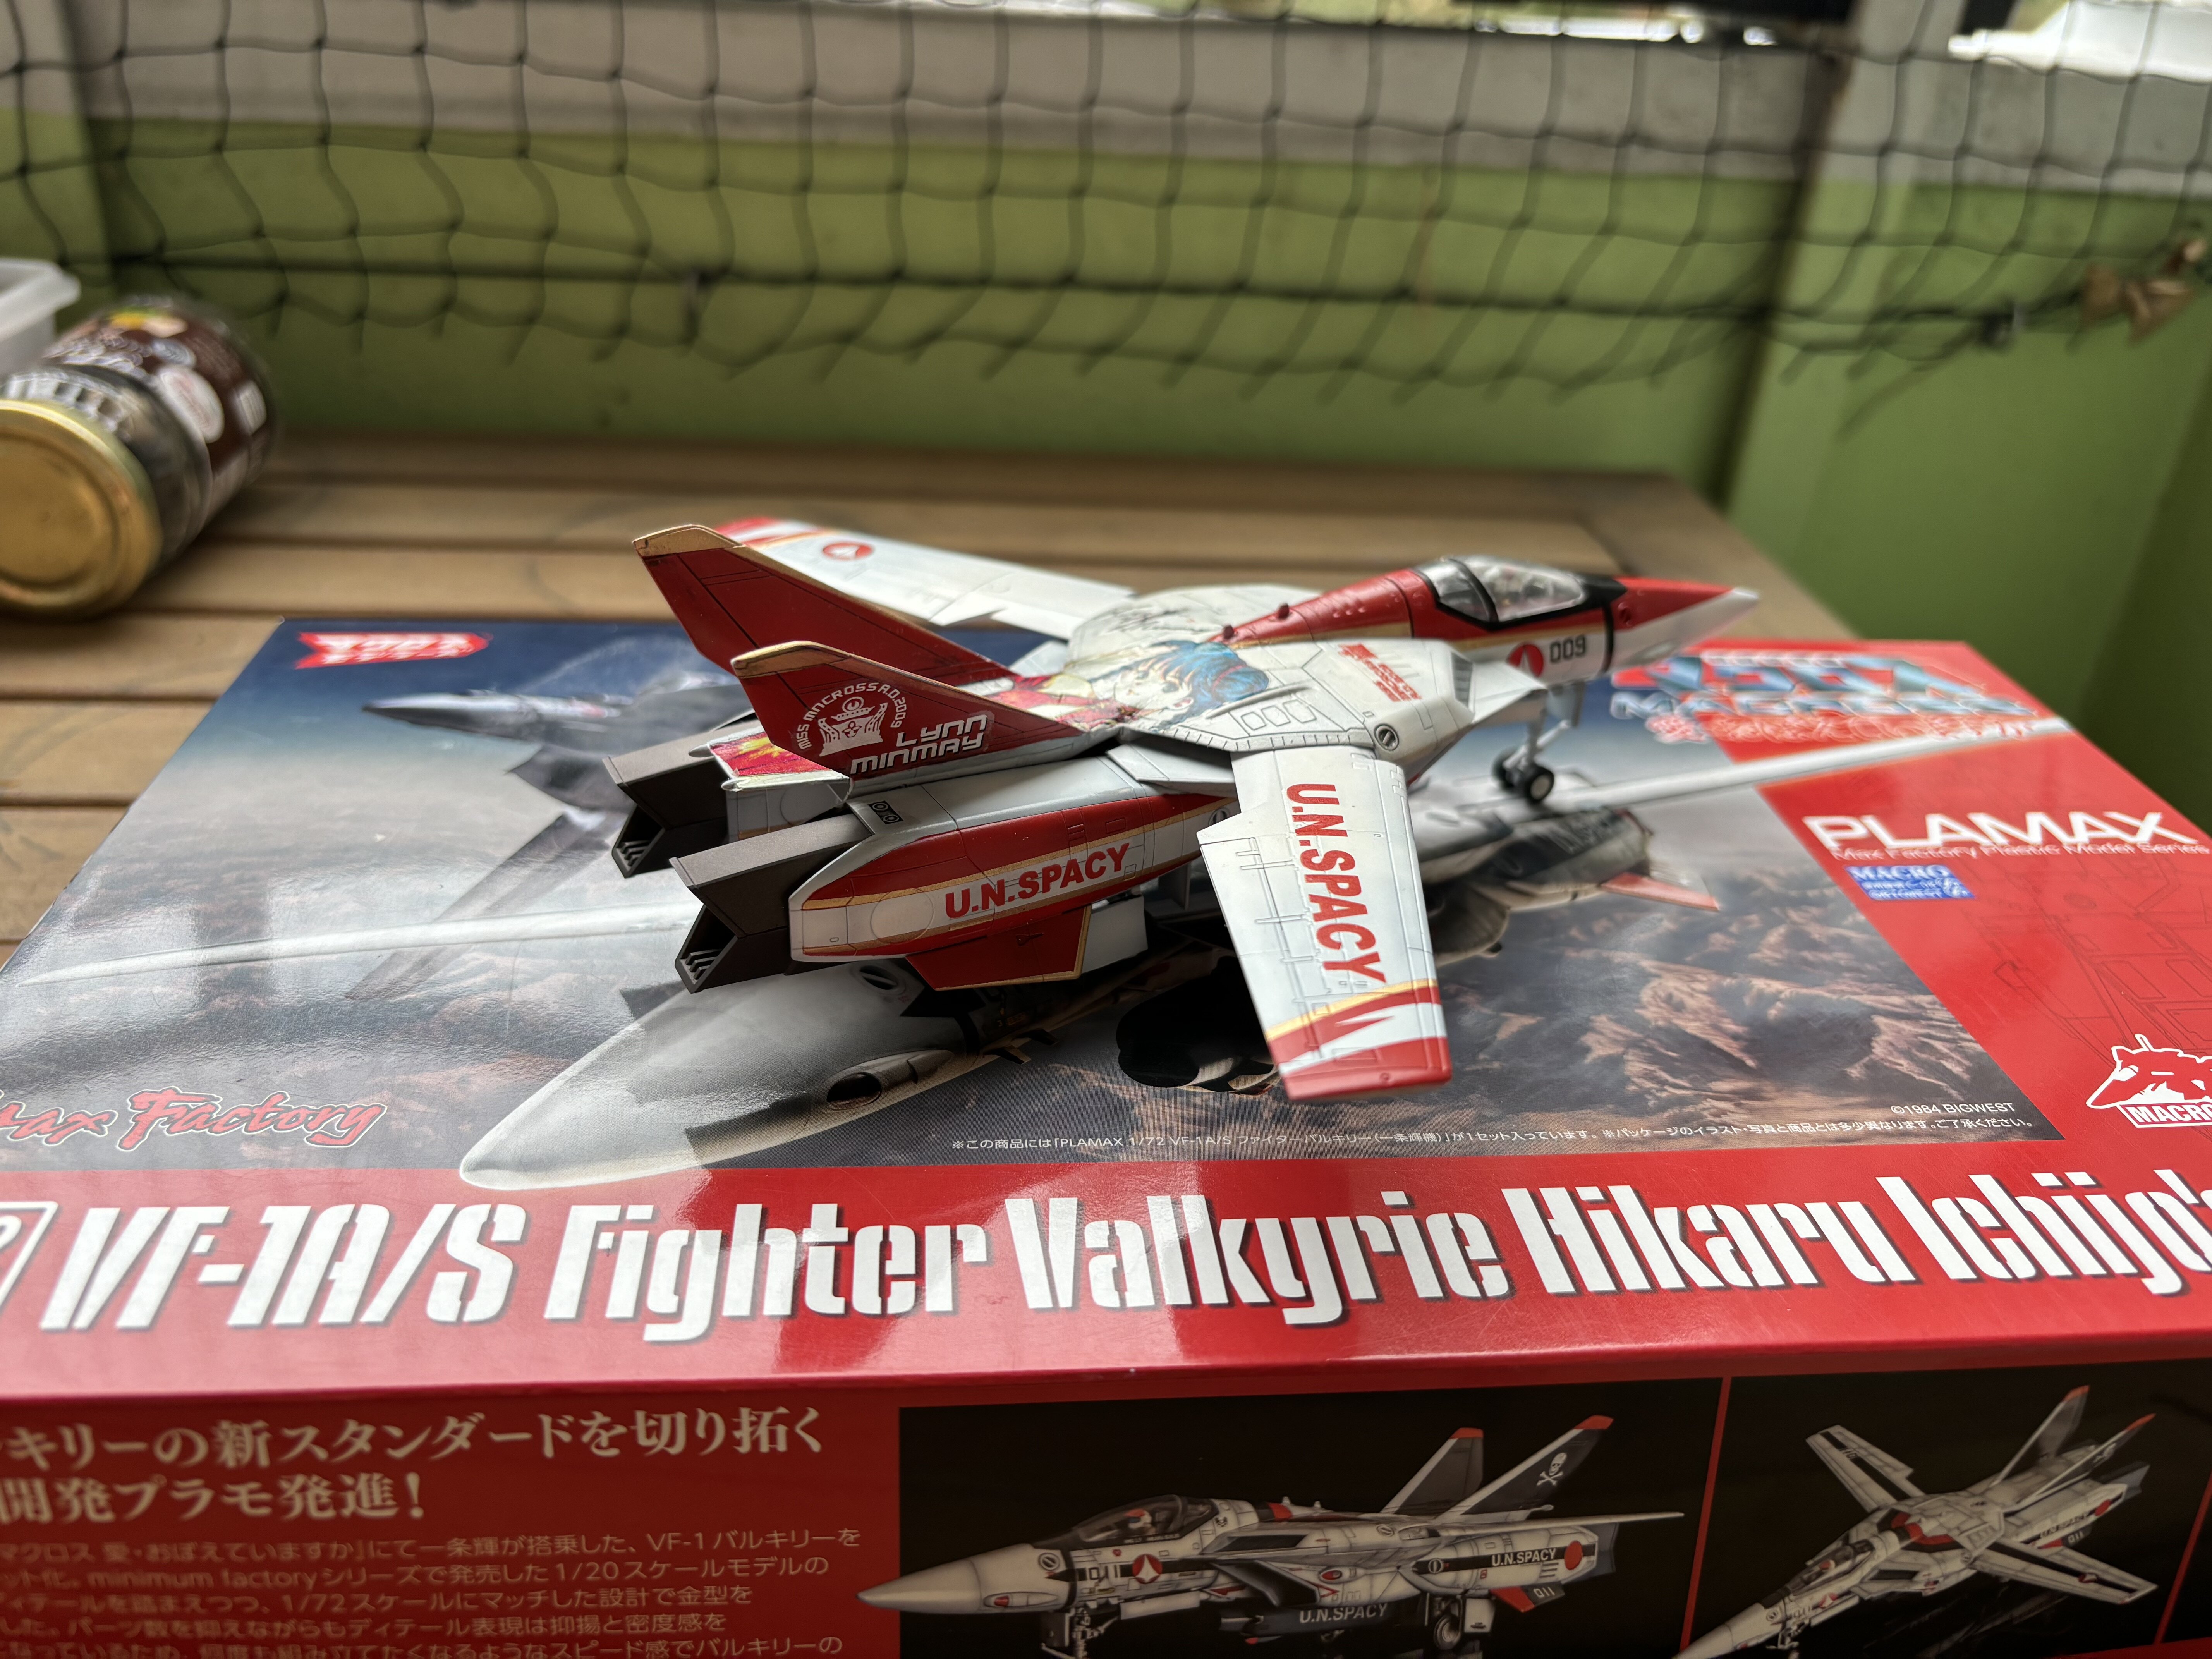
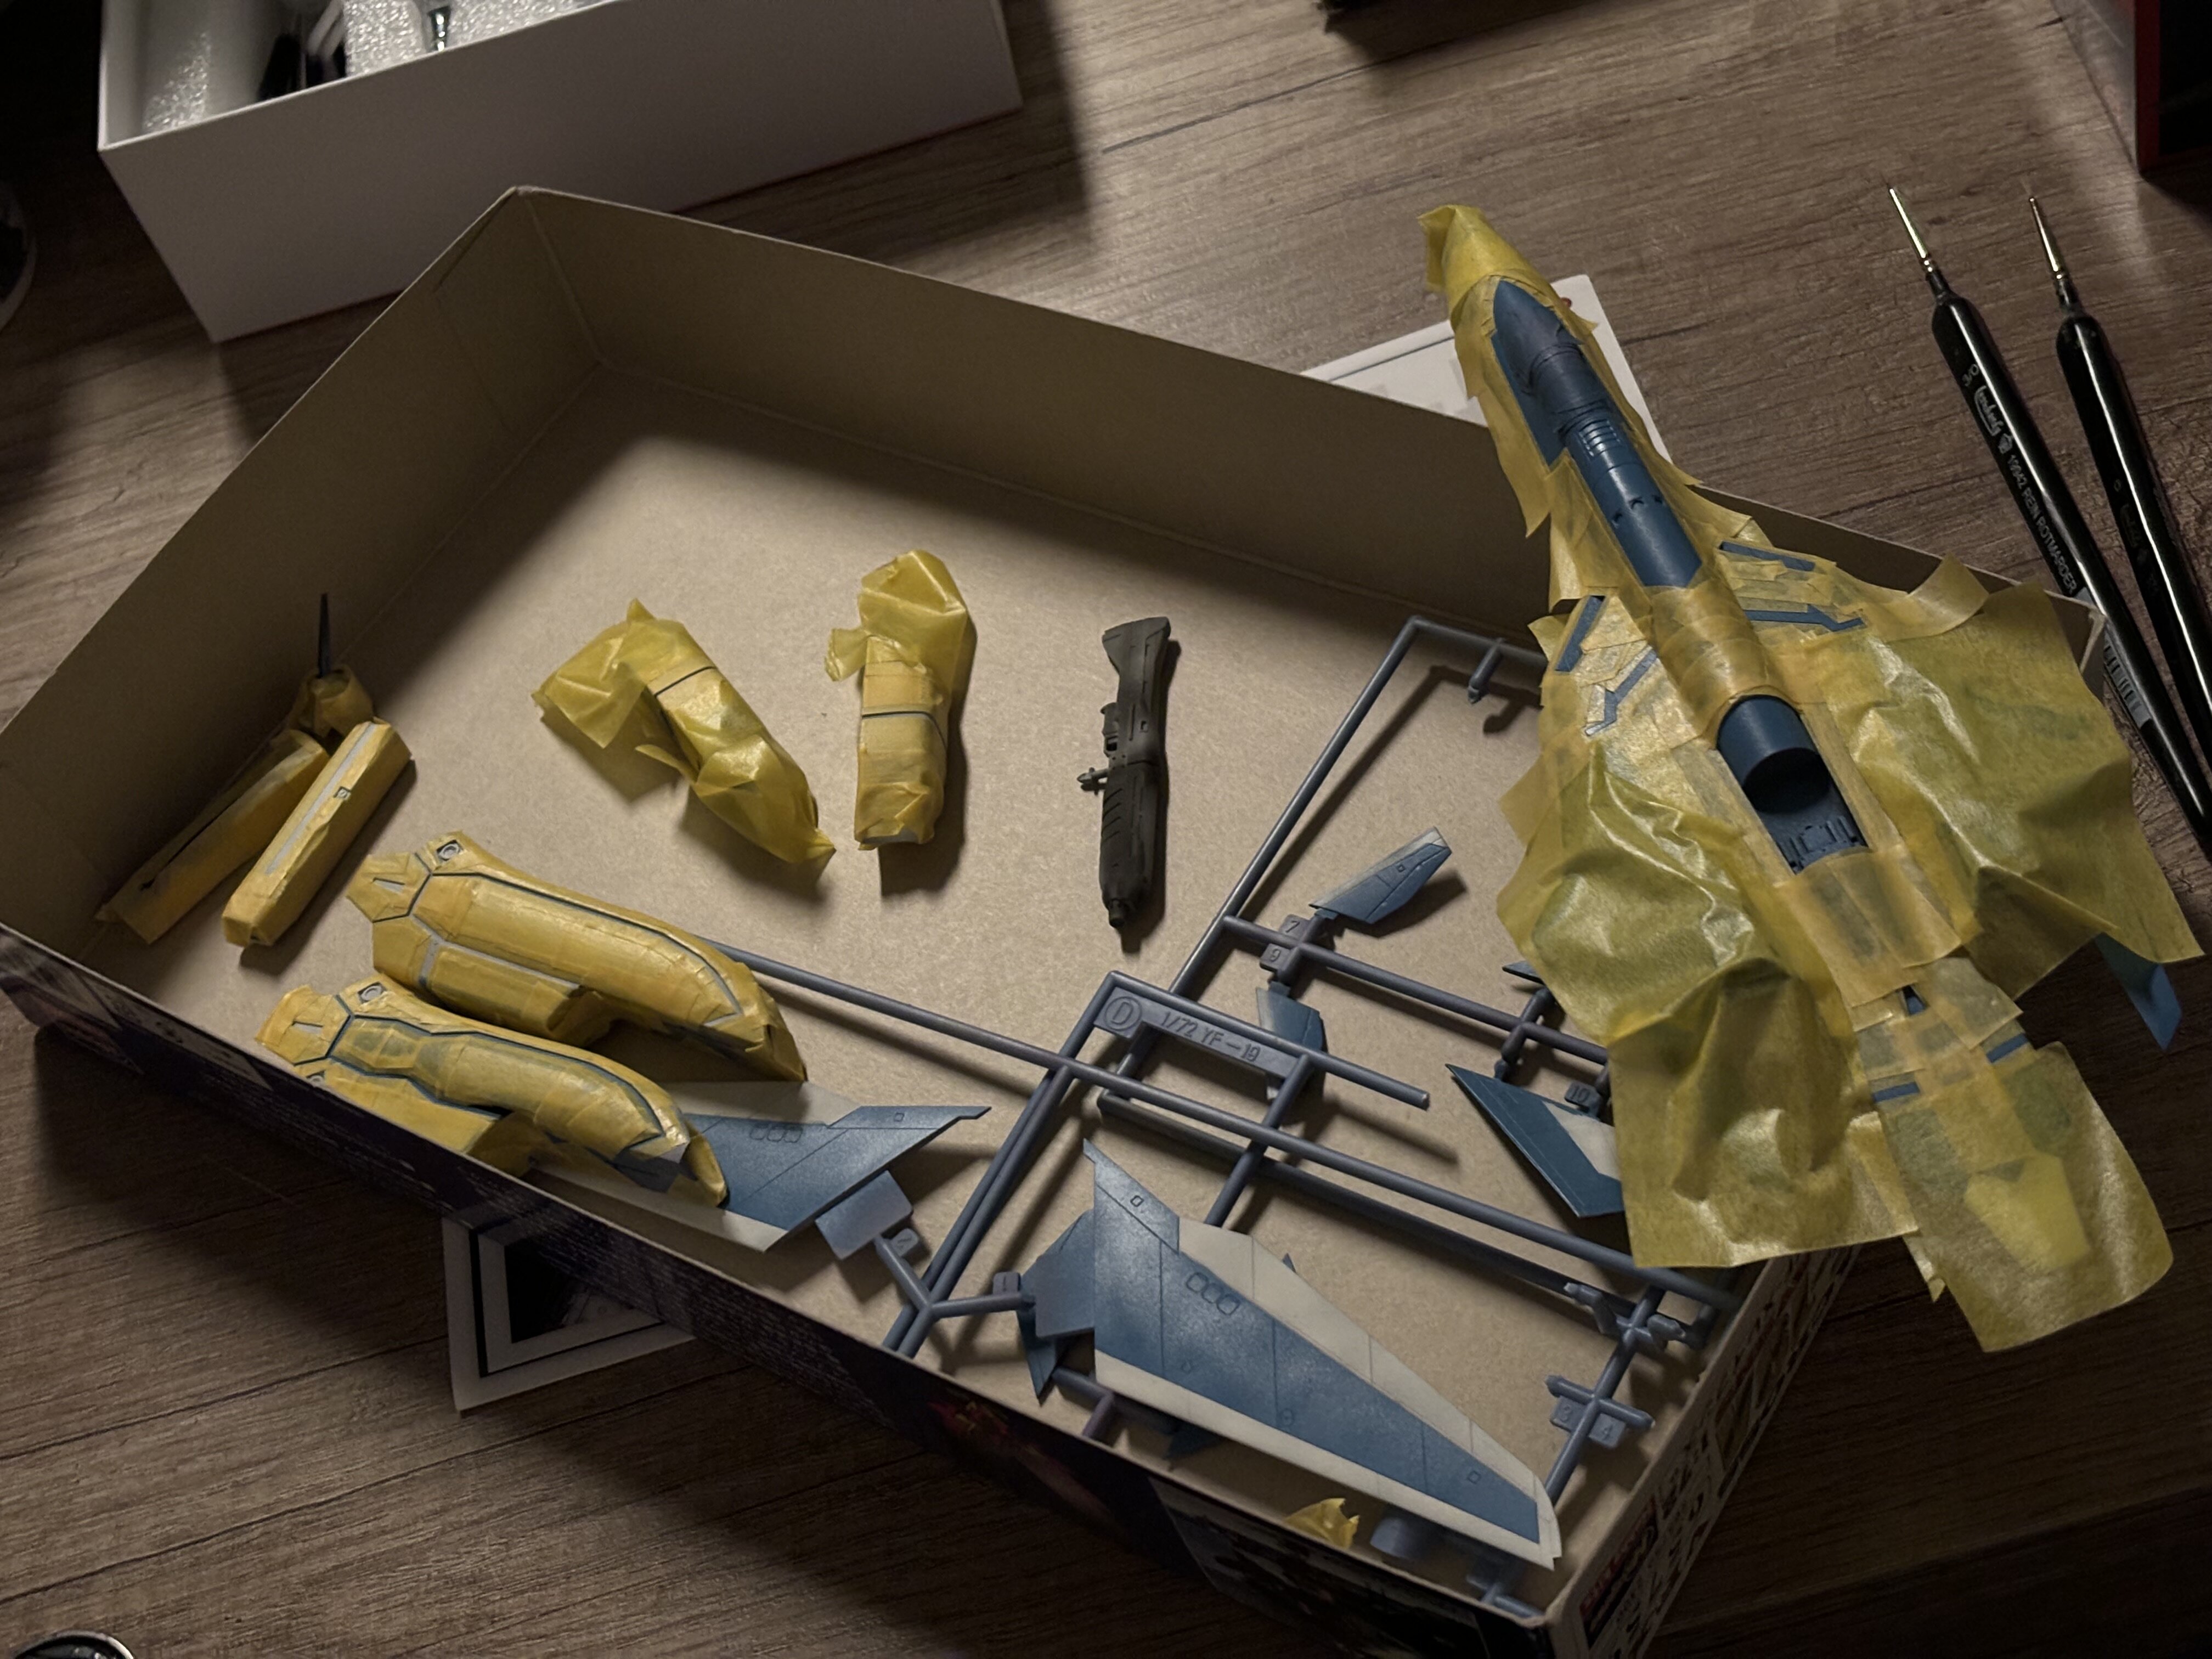
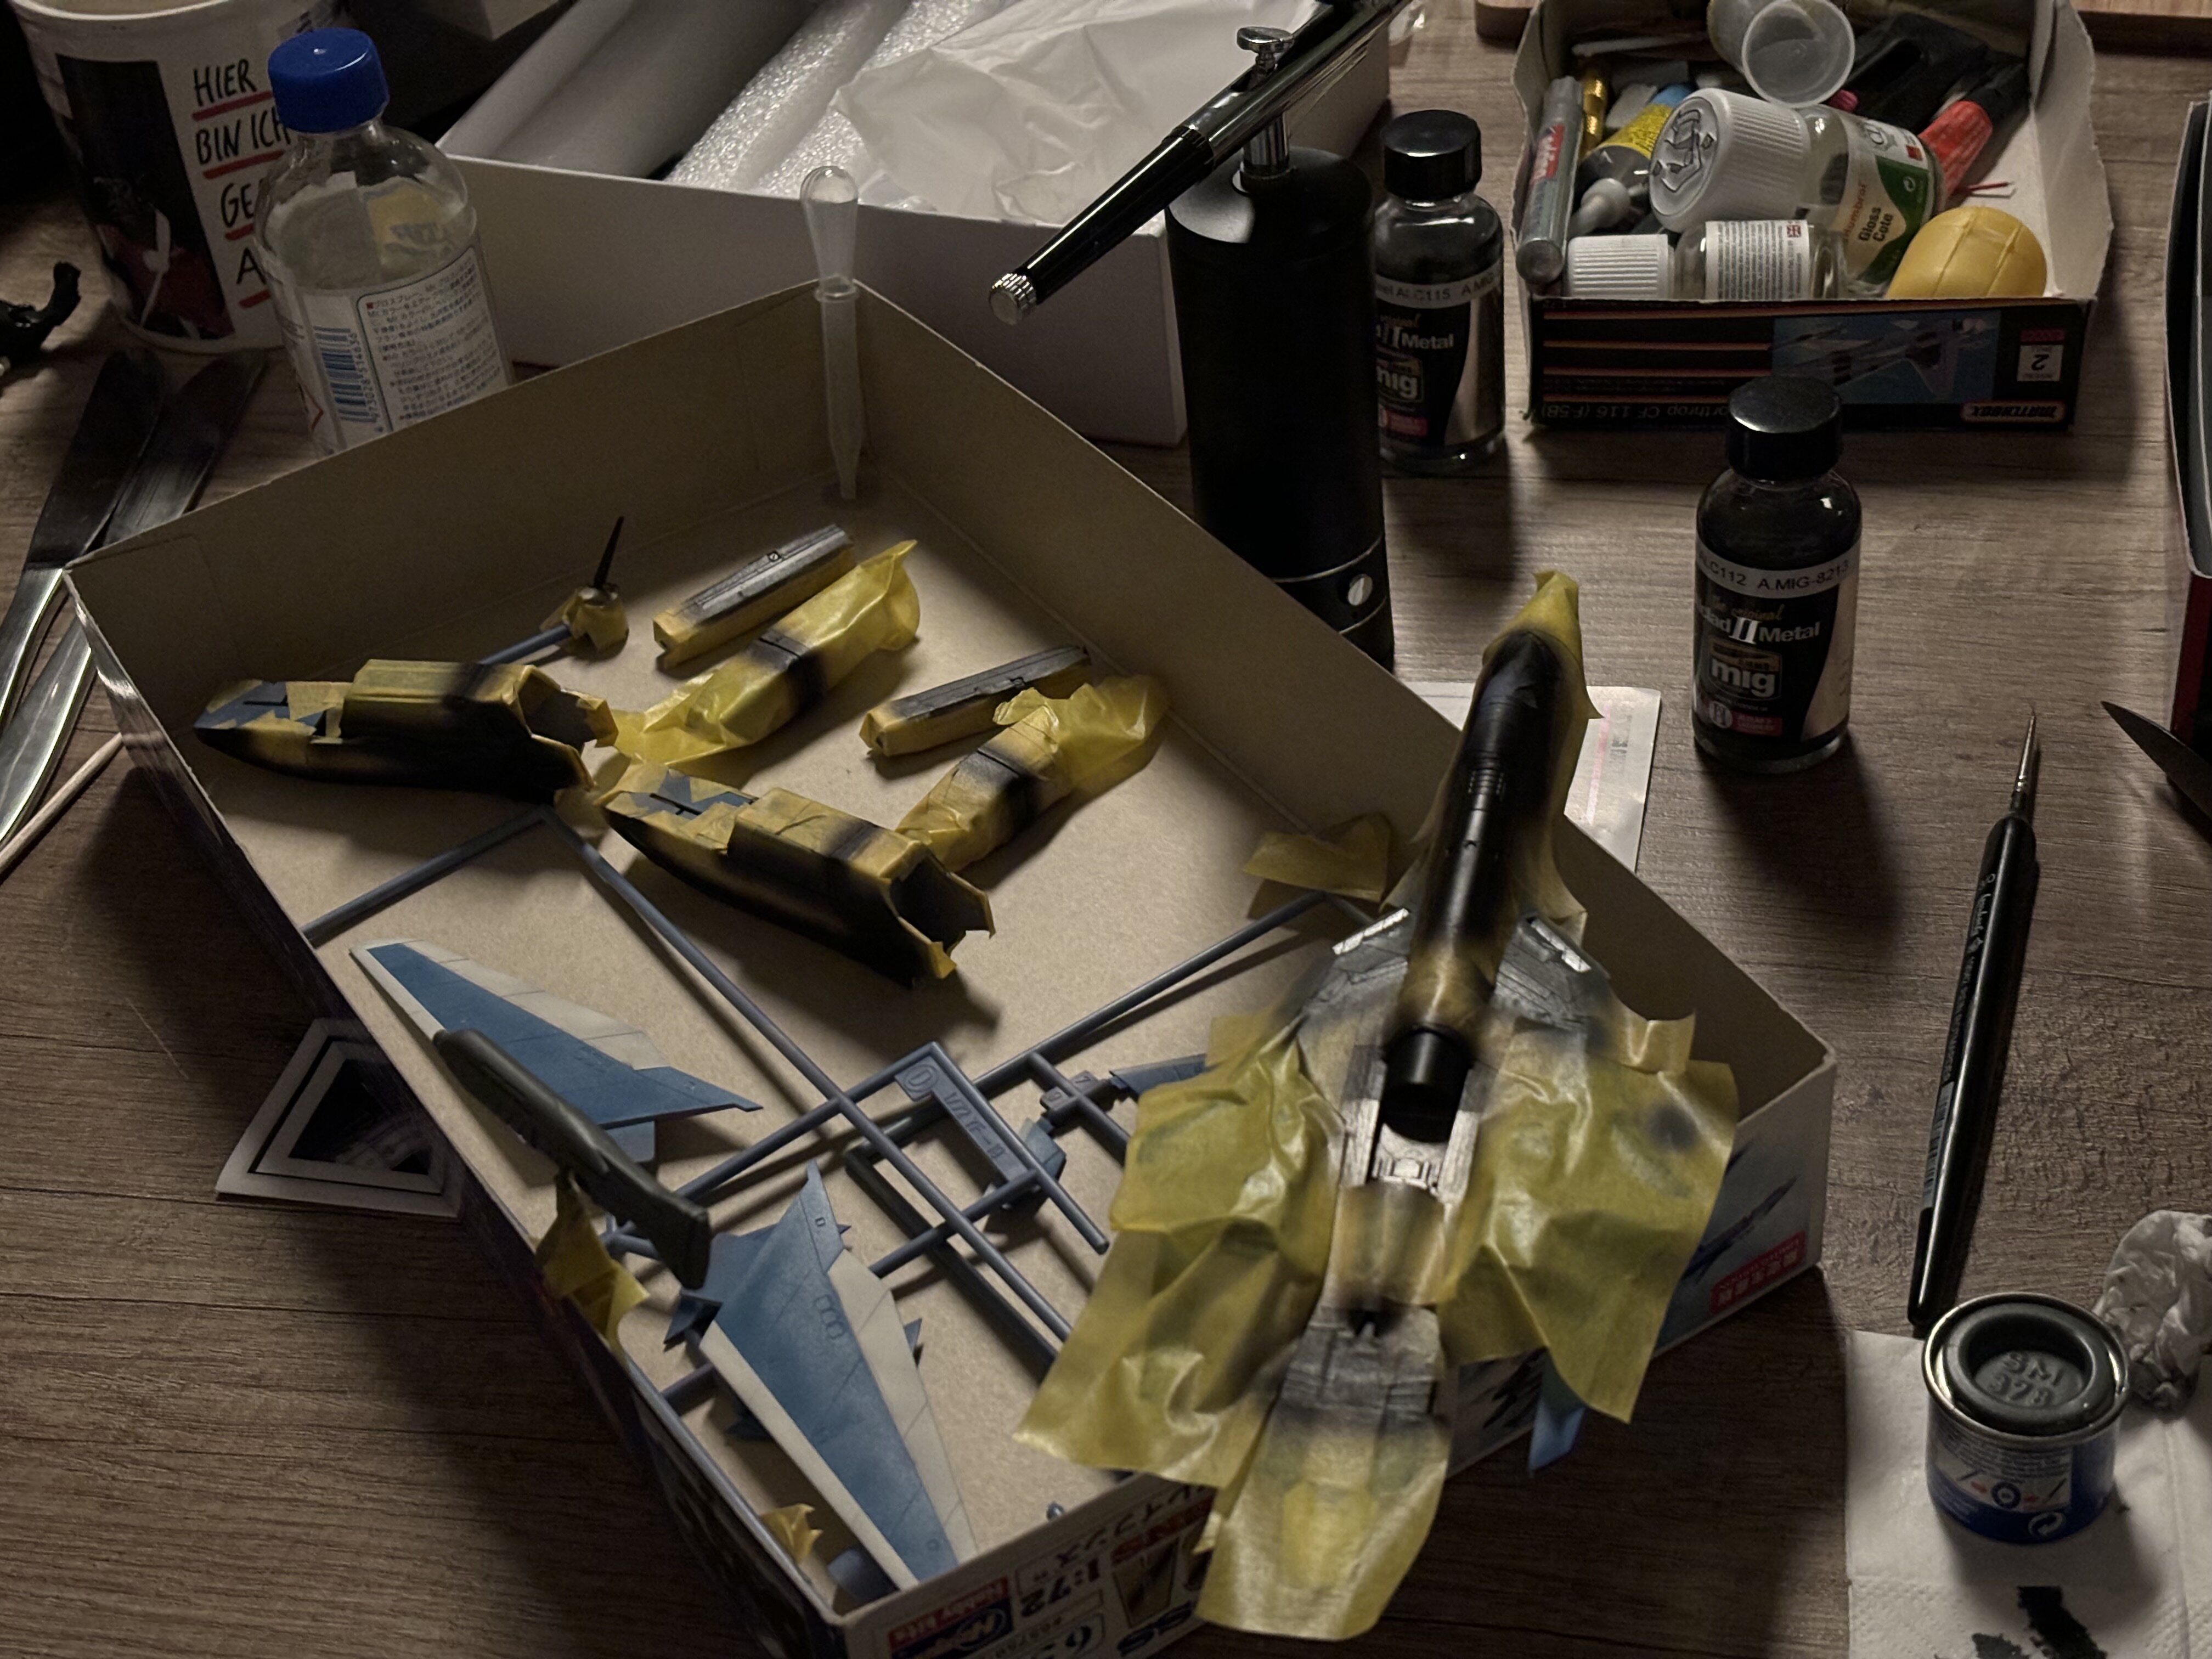
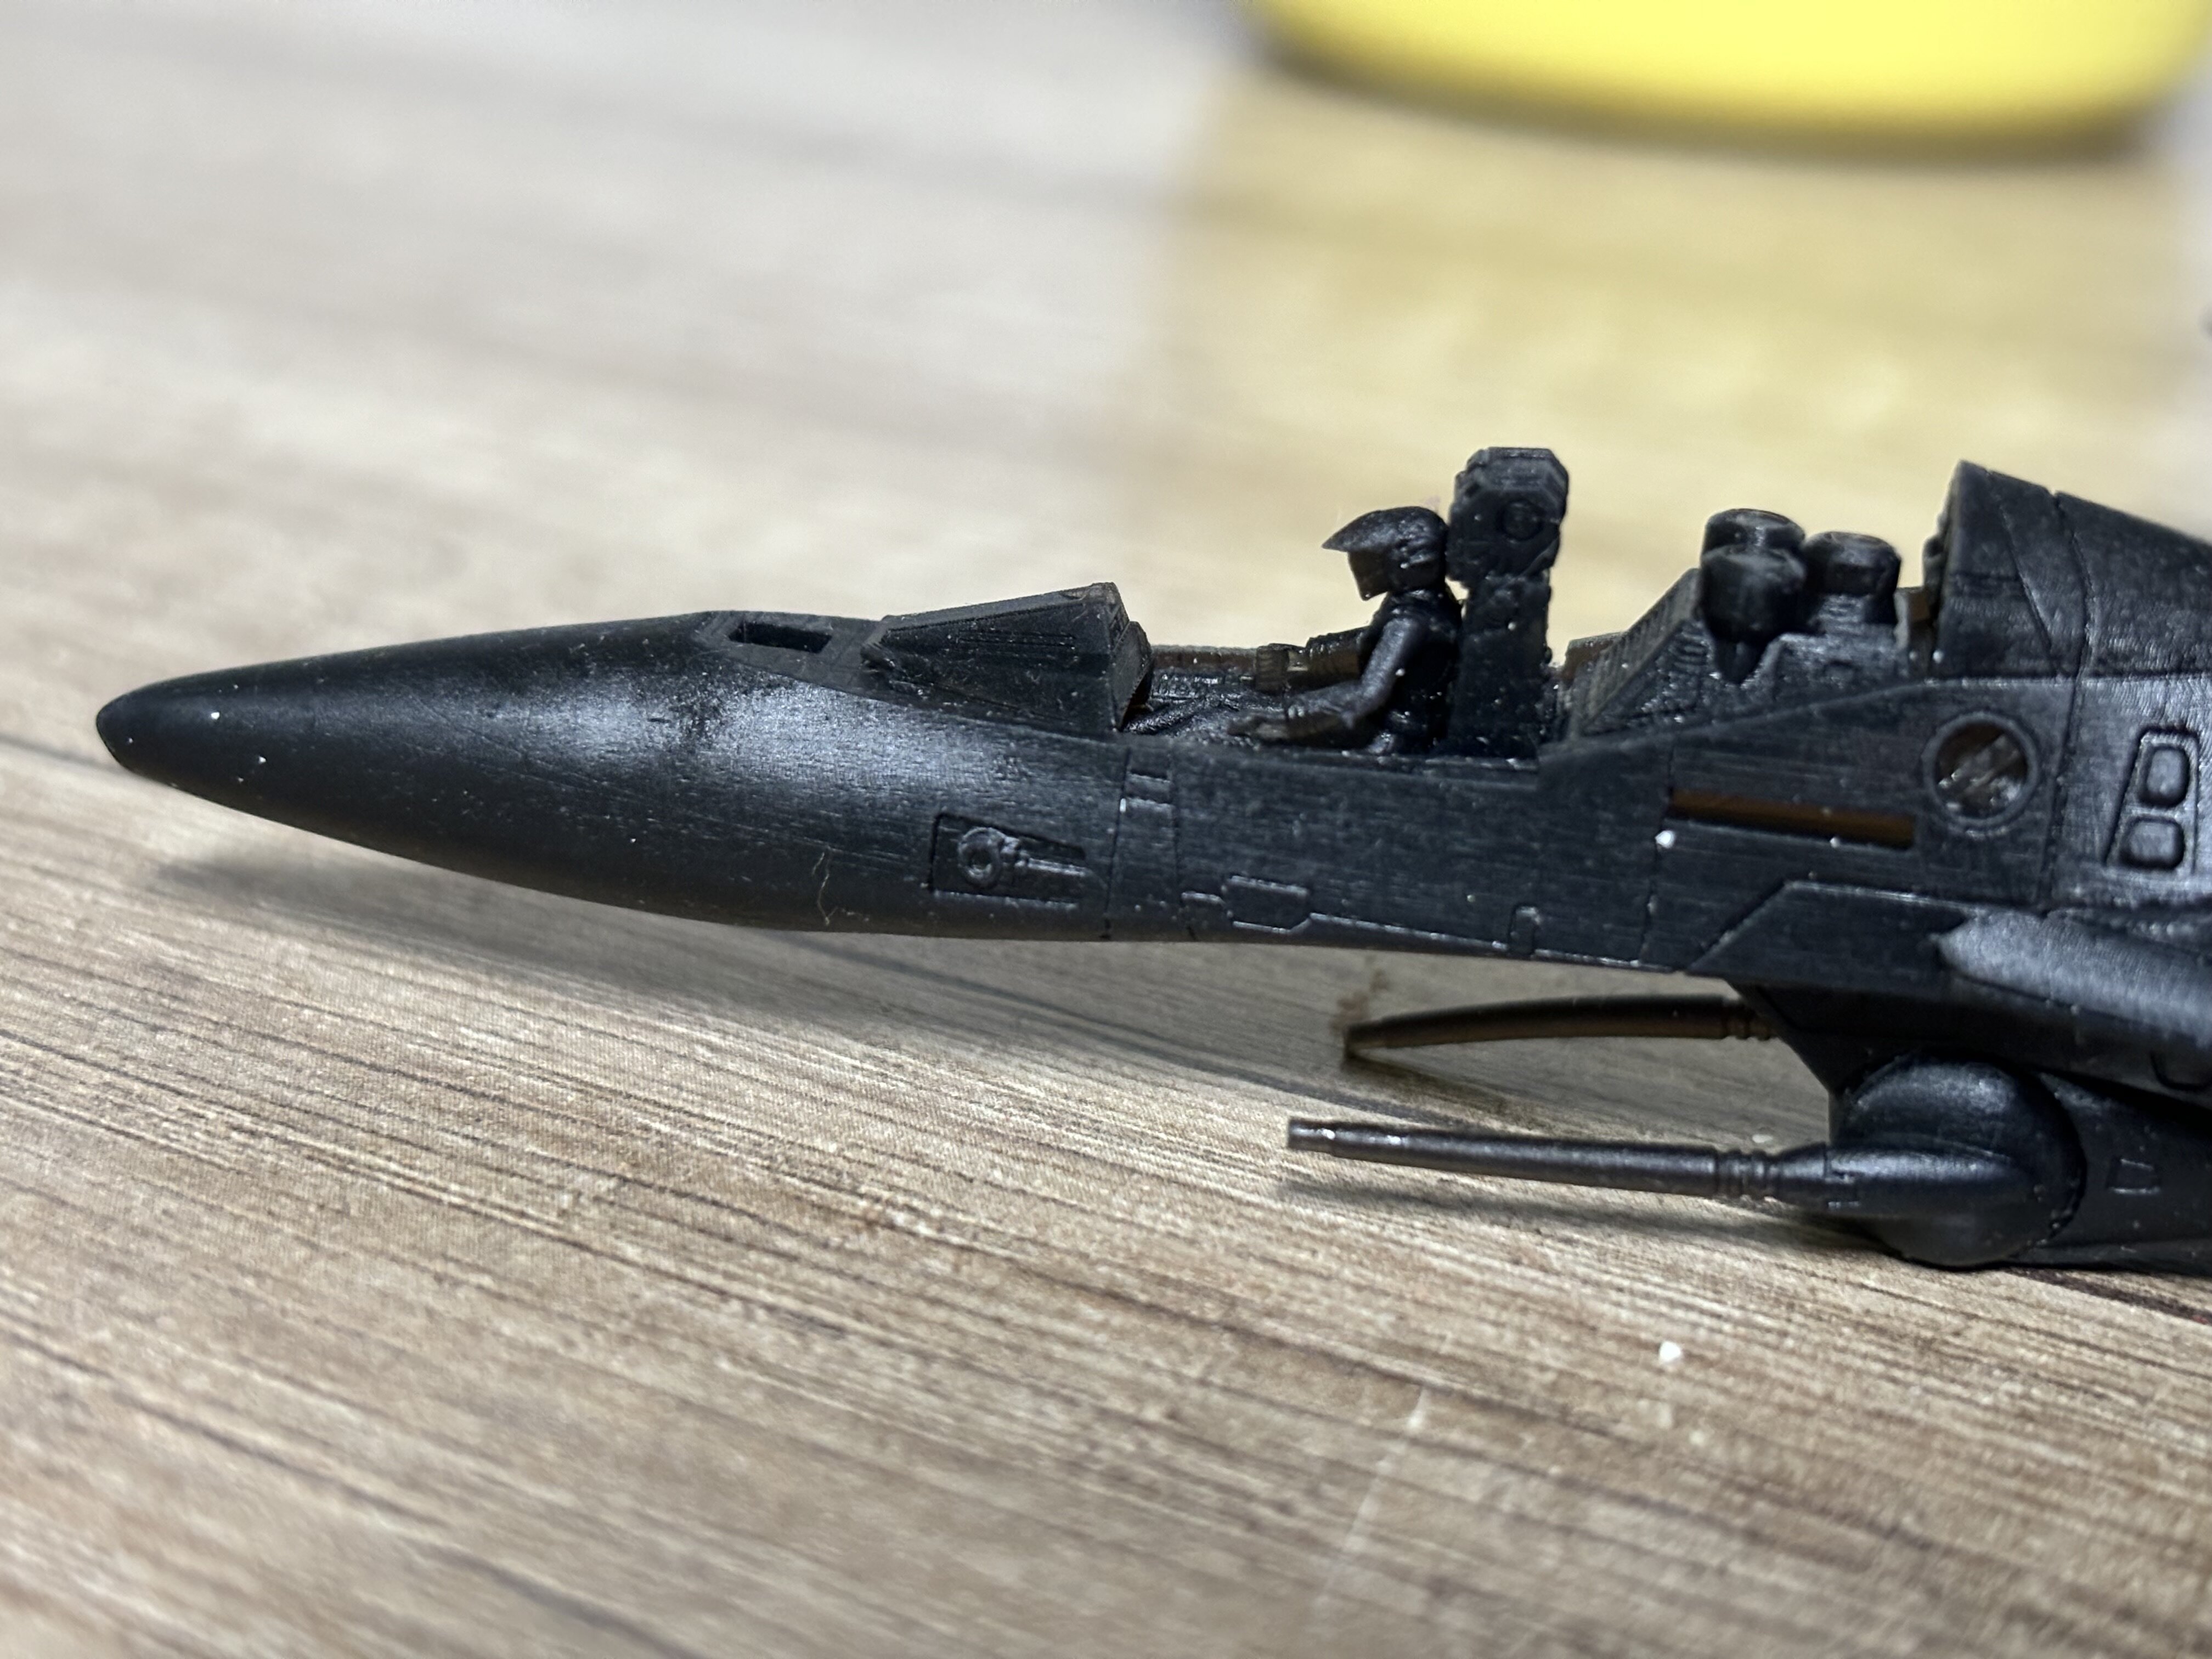
I decided to work a bit on my backlog. VF-19A. Masking masking masking: Airbrush airbrush airbrush: Peeling peeling peeling: YAY! I decided that I am done with the PLAMAX VF-1. Botched… too man fingerprints and messed up paint job. I ordered a new one and will try again. No pictures as it is too embarrassing. The kid will have a new toy haha.
-
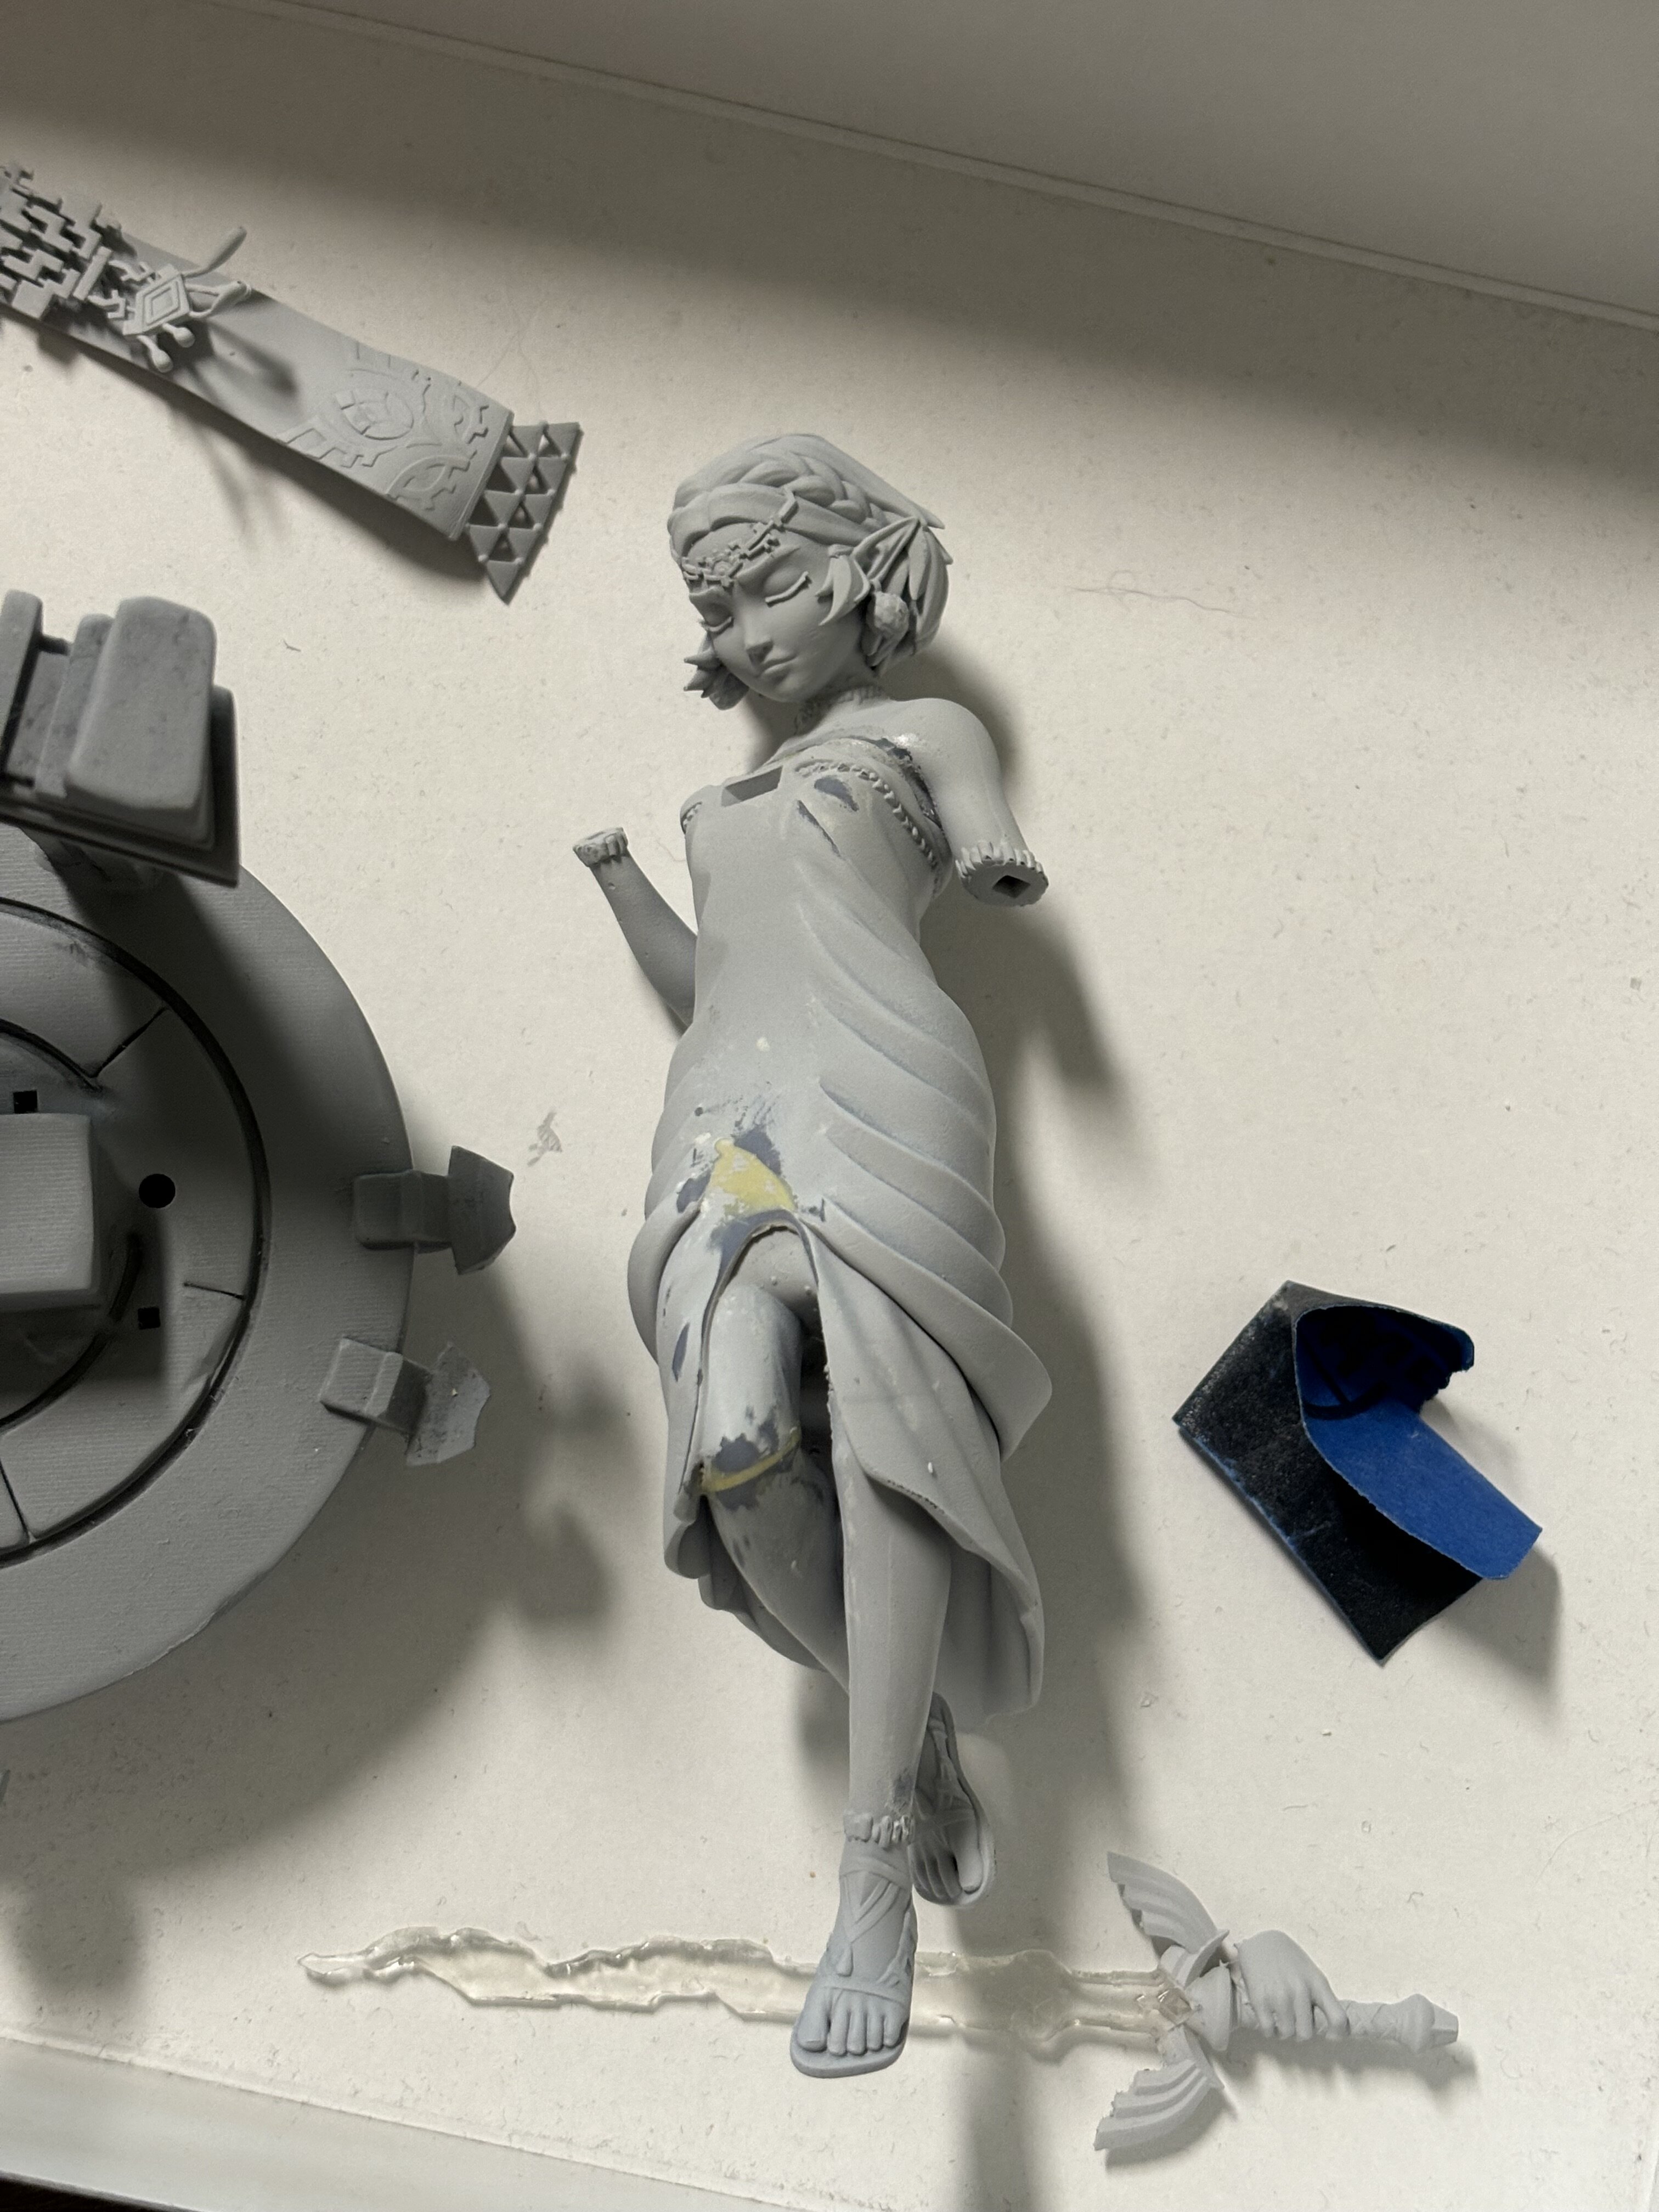
@Thom Thanks - the kid is trying haha. My wife is going to paint that figurine. I am only good for priming and sanding hahaha. @pengbuzz oh, that comes along pretty well!
-
He has fun with it. Today he gave it a paint job. i was busy priming and sanding.

-
Yeah… just flakes off. So I am not going to use it for model building.
-
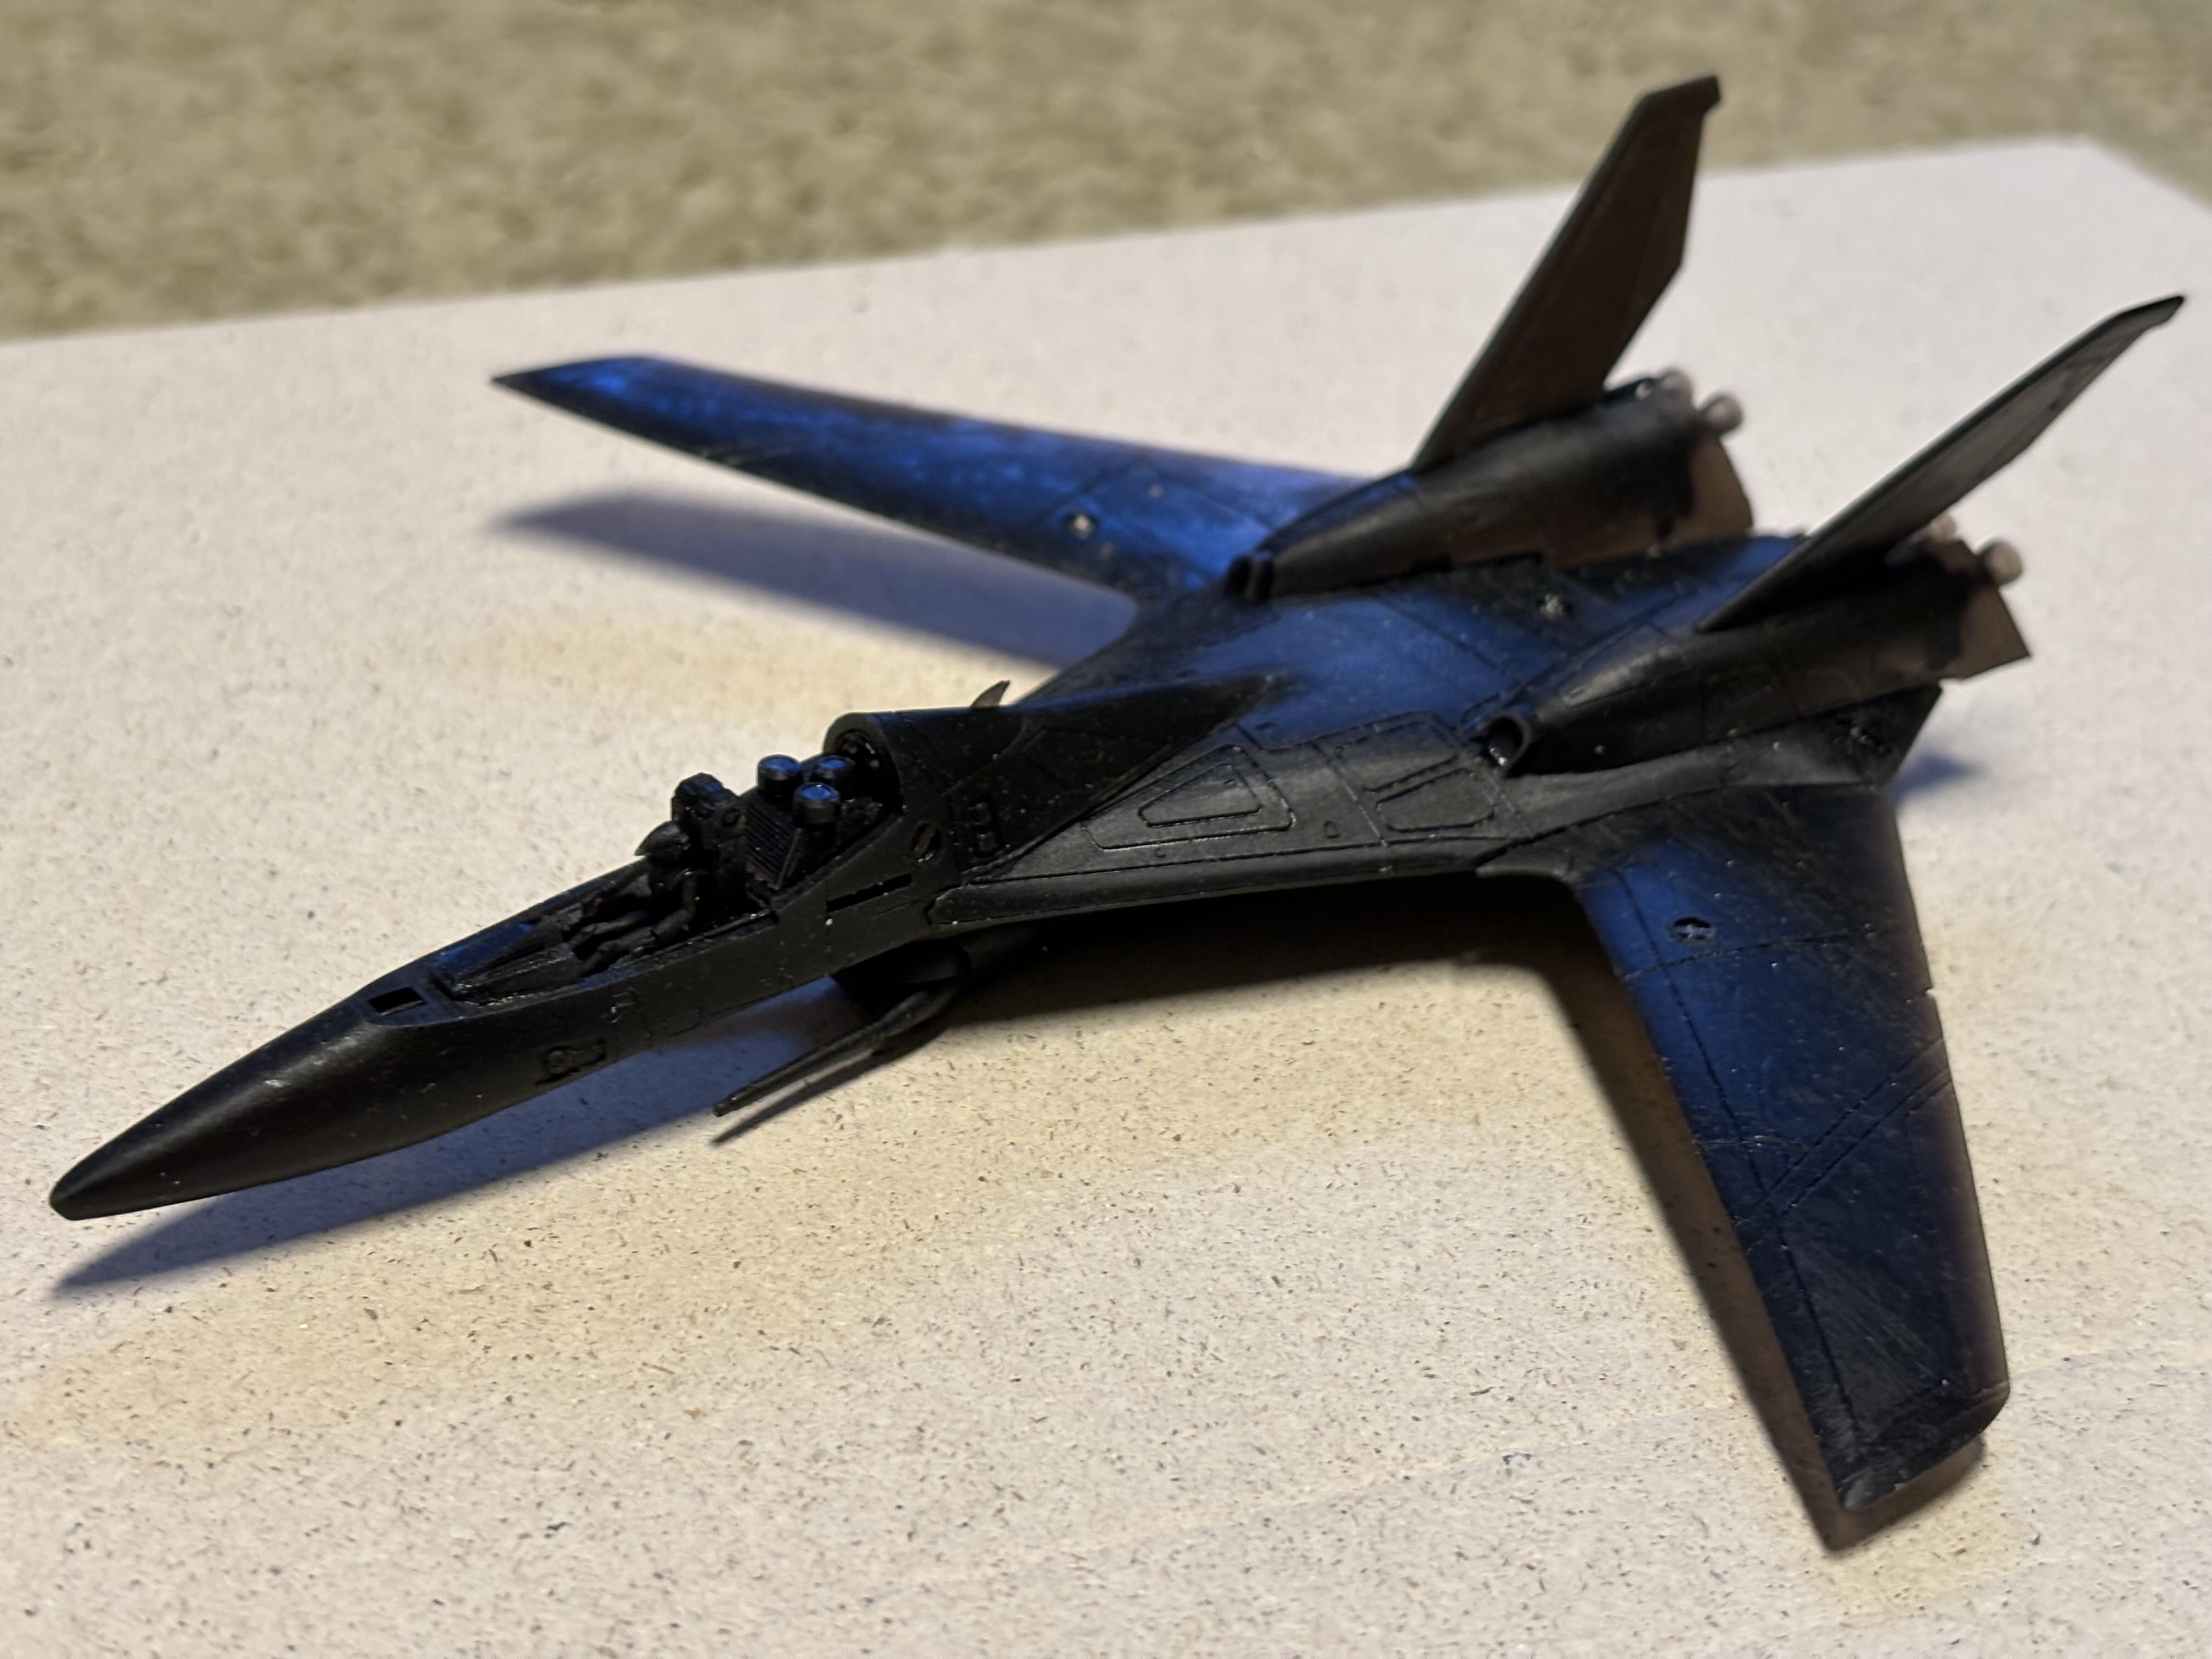
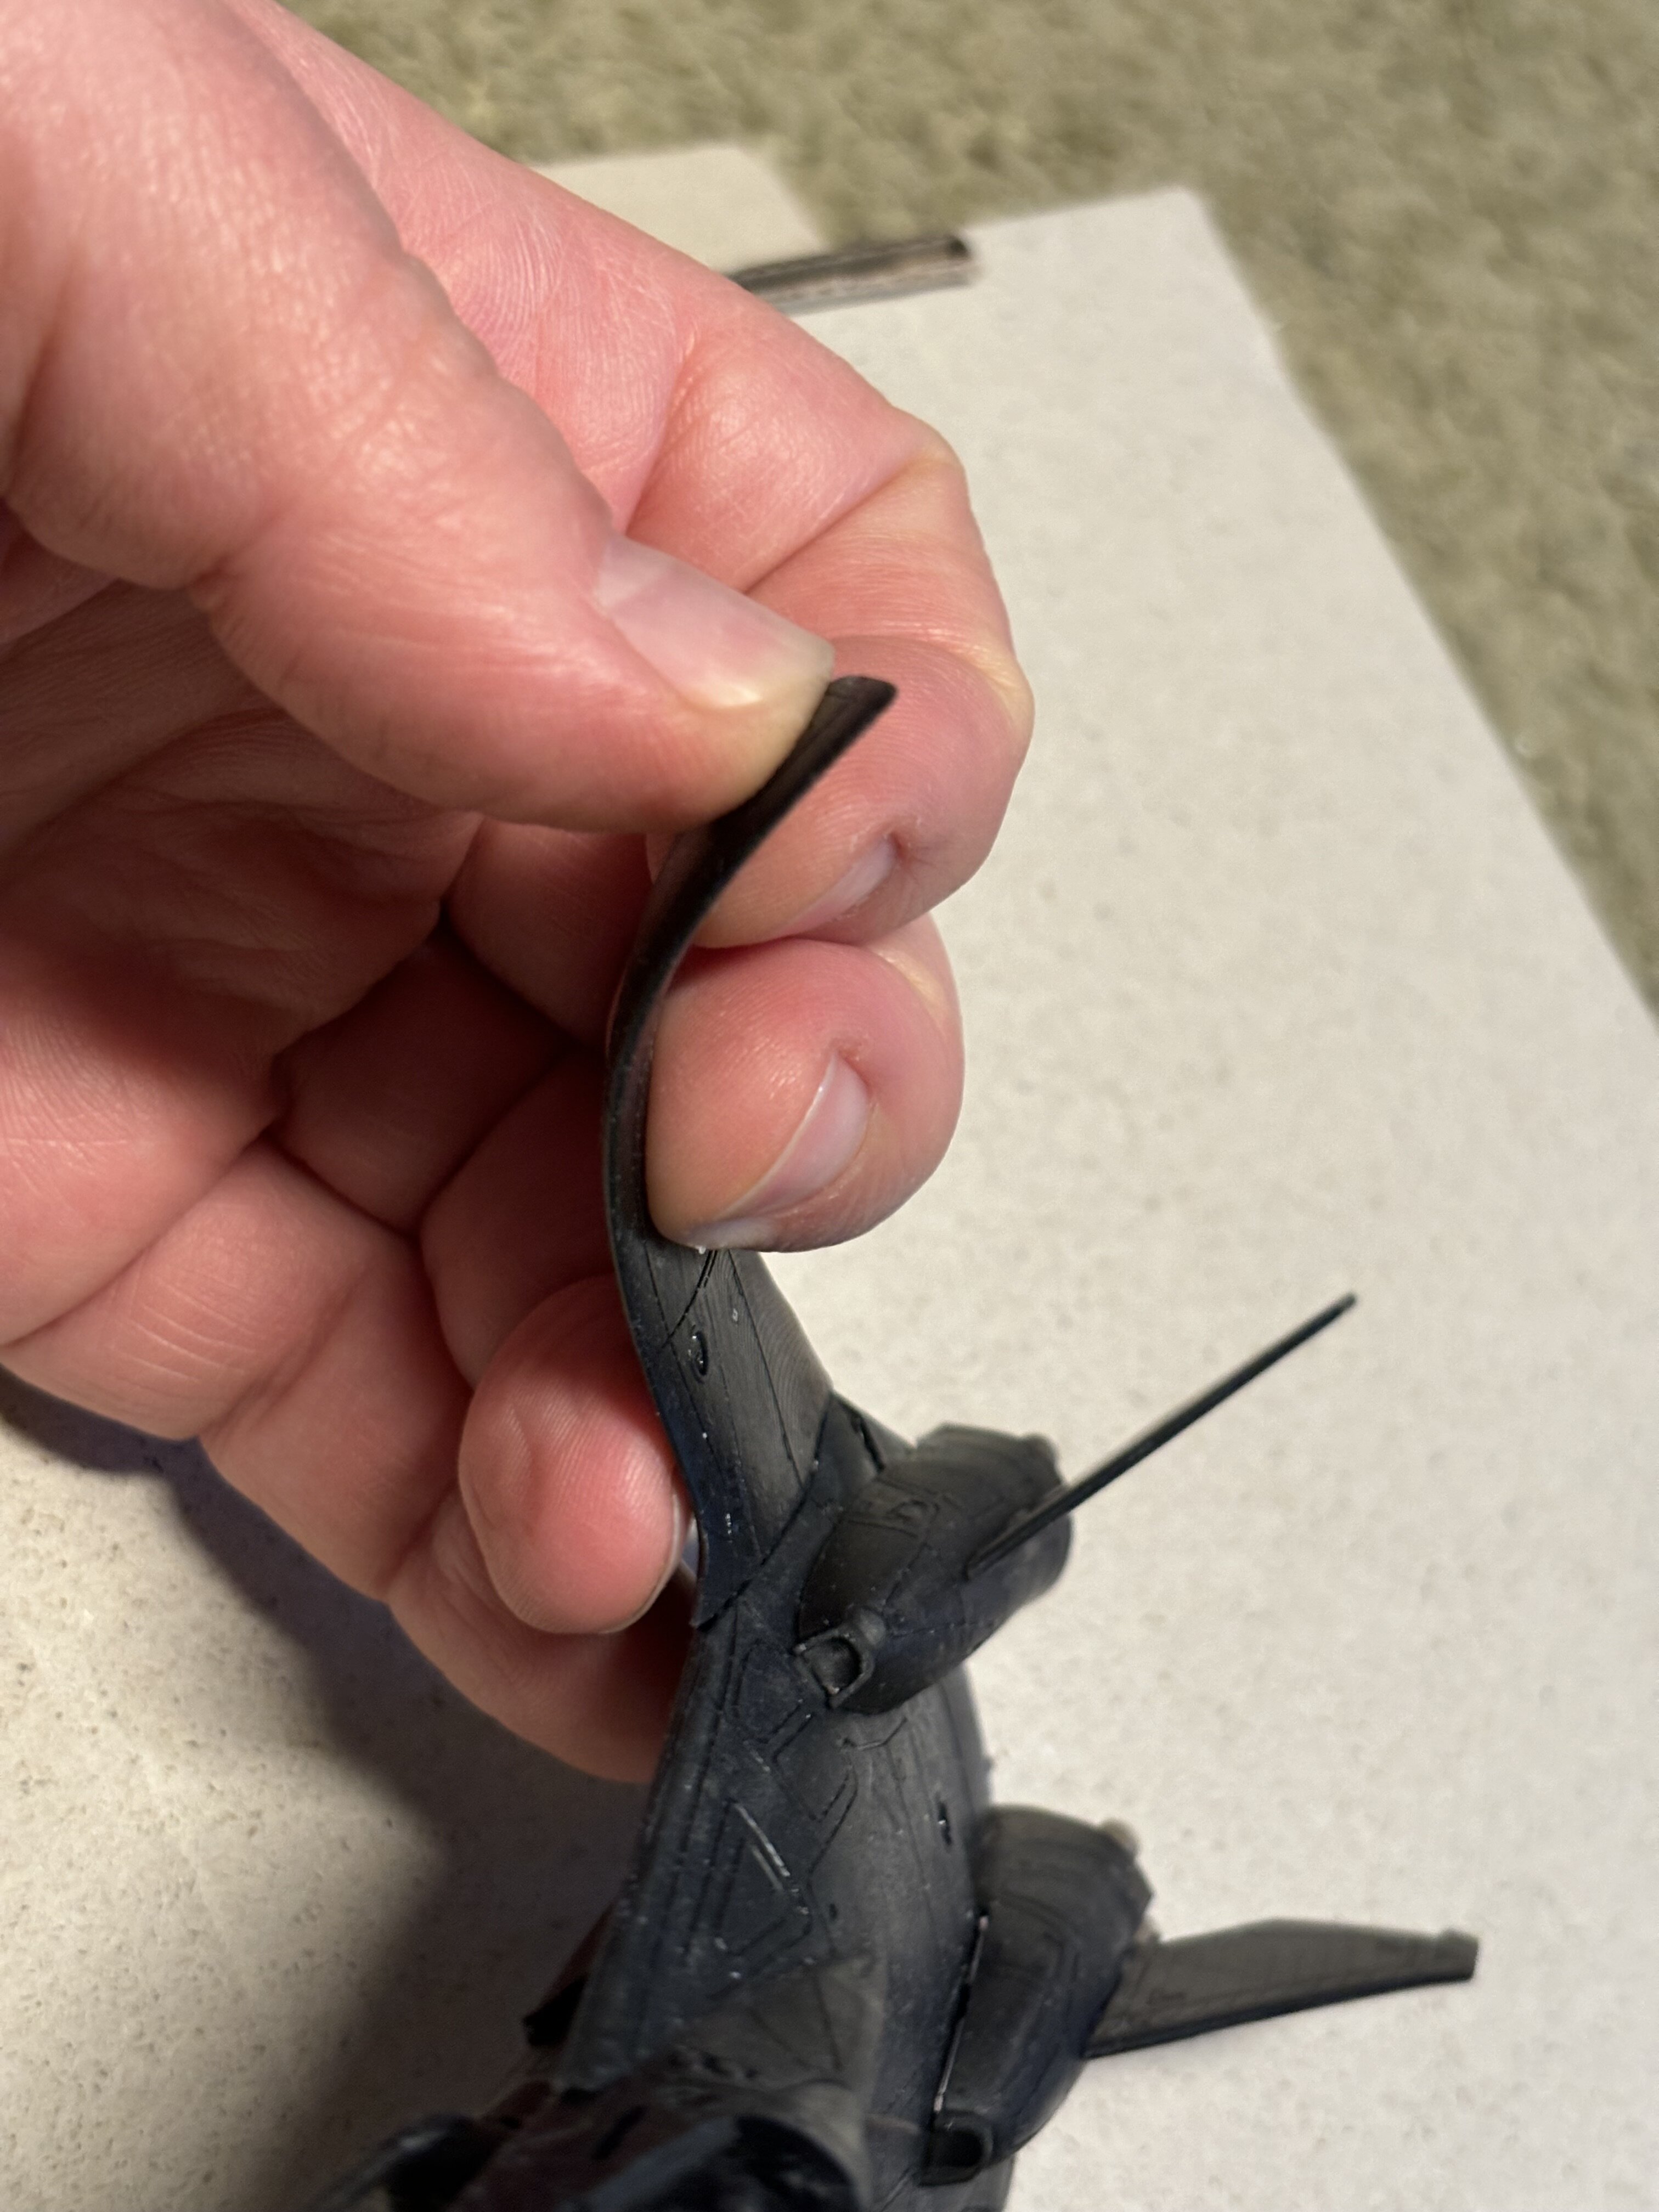
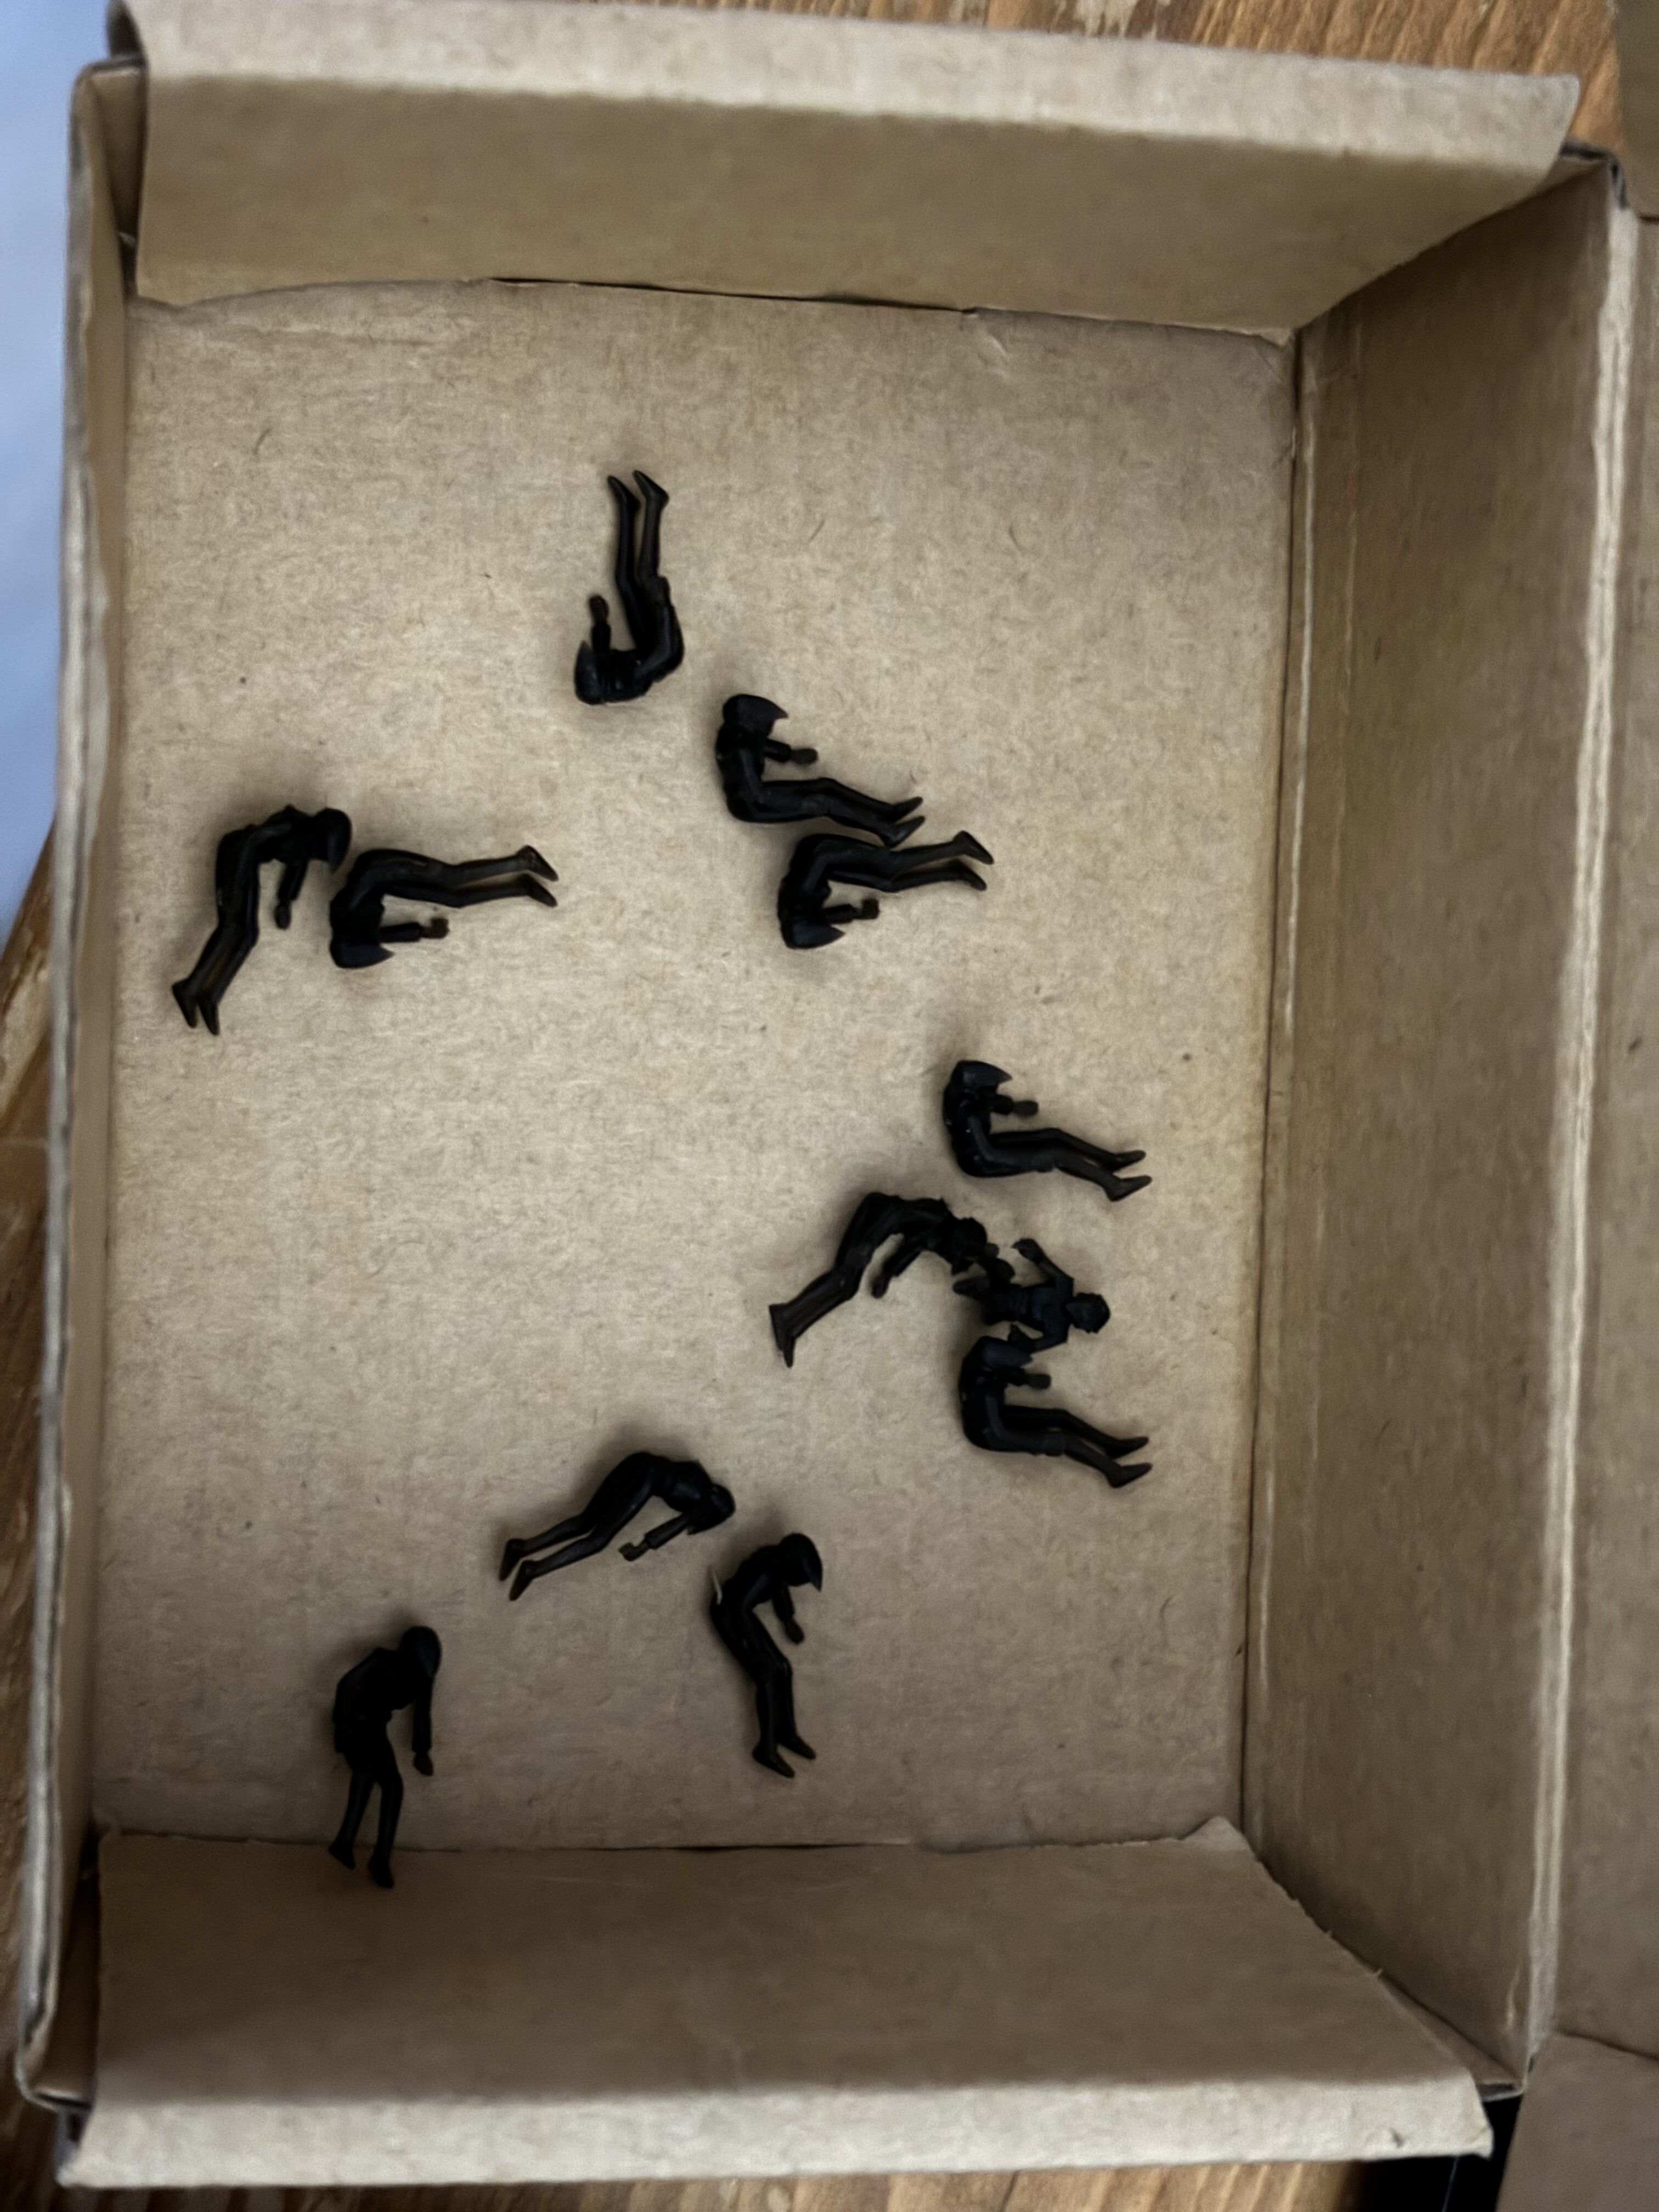
@pengbuzz ah a classic pengbuzz tape model! Awesome! I decided to purchase SUNLU high toughness resin, thinking I would get my prints to be a bit more less brittle. It is awesome. I can throw my print around and it doesn’t break… but… well… I smashed everything I could on the build plate of my VF-9. and also printed an army of Milias. And you can throw them around because the stuff basically is liquid rubber. Can be bent around like crazy and doesn’t break. Here two additional pictures for your convenience.
-
@pengbuzz man, you've no luck with your stuff at the moment,
-
That's how my dad used to glue his models.
-
oh wow ... I didn't know what to expect when I clicked the thread, but I certainly did not expect this haha
-
good good good good man
-
Haha cool - I have the battle ship in my basement as well.

