Jasonc
-
Posts
6329 -
Joined
-
Last visited
Content Type
Profiles
Forums
Events
Gallery
Everything posted by Jasonc
-

Hachette Collection 1/24 VF-1S (subscription collectable)
Jasonc replied to CF18's topic in Model kits
I am waiting on a couple back issues that I have sitting at a friend's house in Japan, so once I get those, I'll get caught up. Not missing any issues, thankfully. -
It is Candy Apple red (1st gen) from House Of Kolor.
-
I just bought a 12oz. can of this paint. From what I was reading, while the cans are expensive, the cans are top quality and cover very well. I think this apple red is about as dark as I want it to be, and while I have the major parts done, once I paint these parts, I will need to let this paint fully cure for quite some time. I'm expecting to wait about a week before touching them again.

-
stupid auto correct.
-
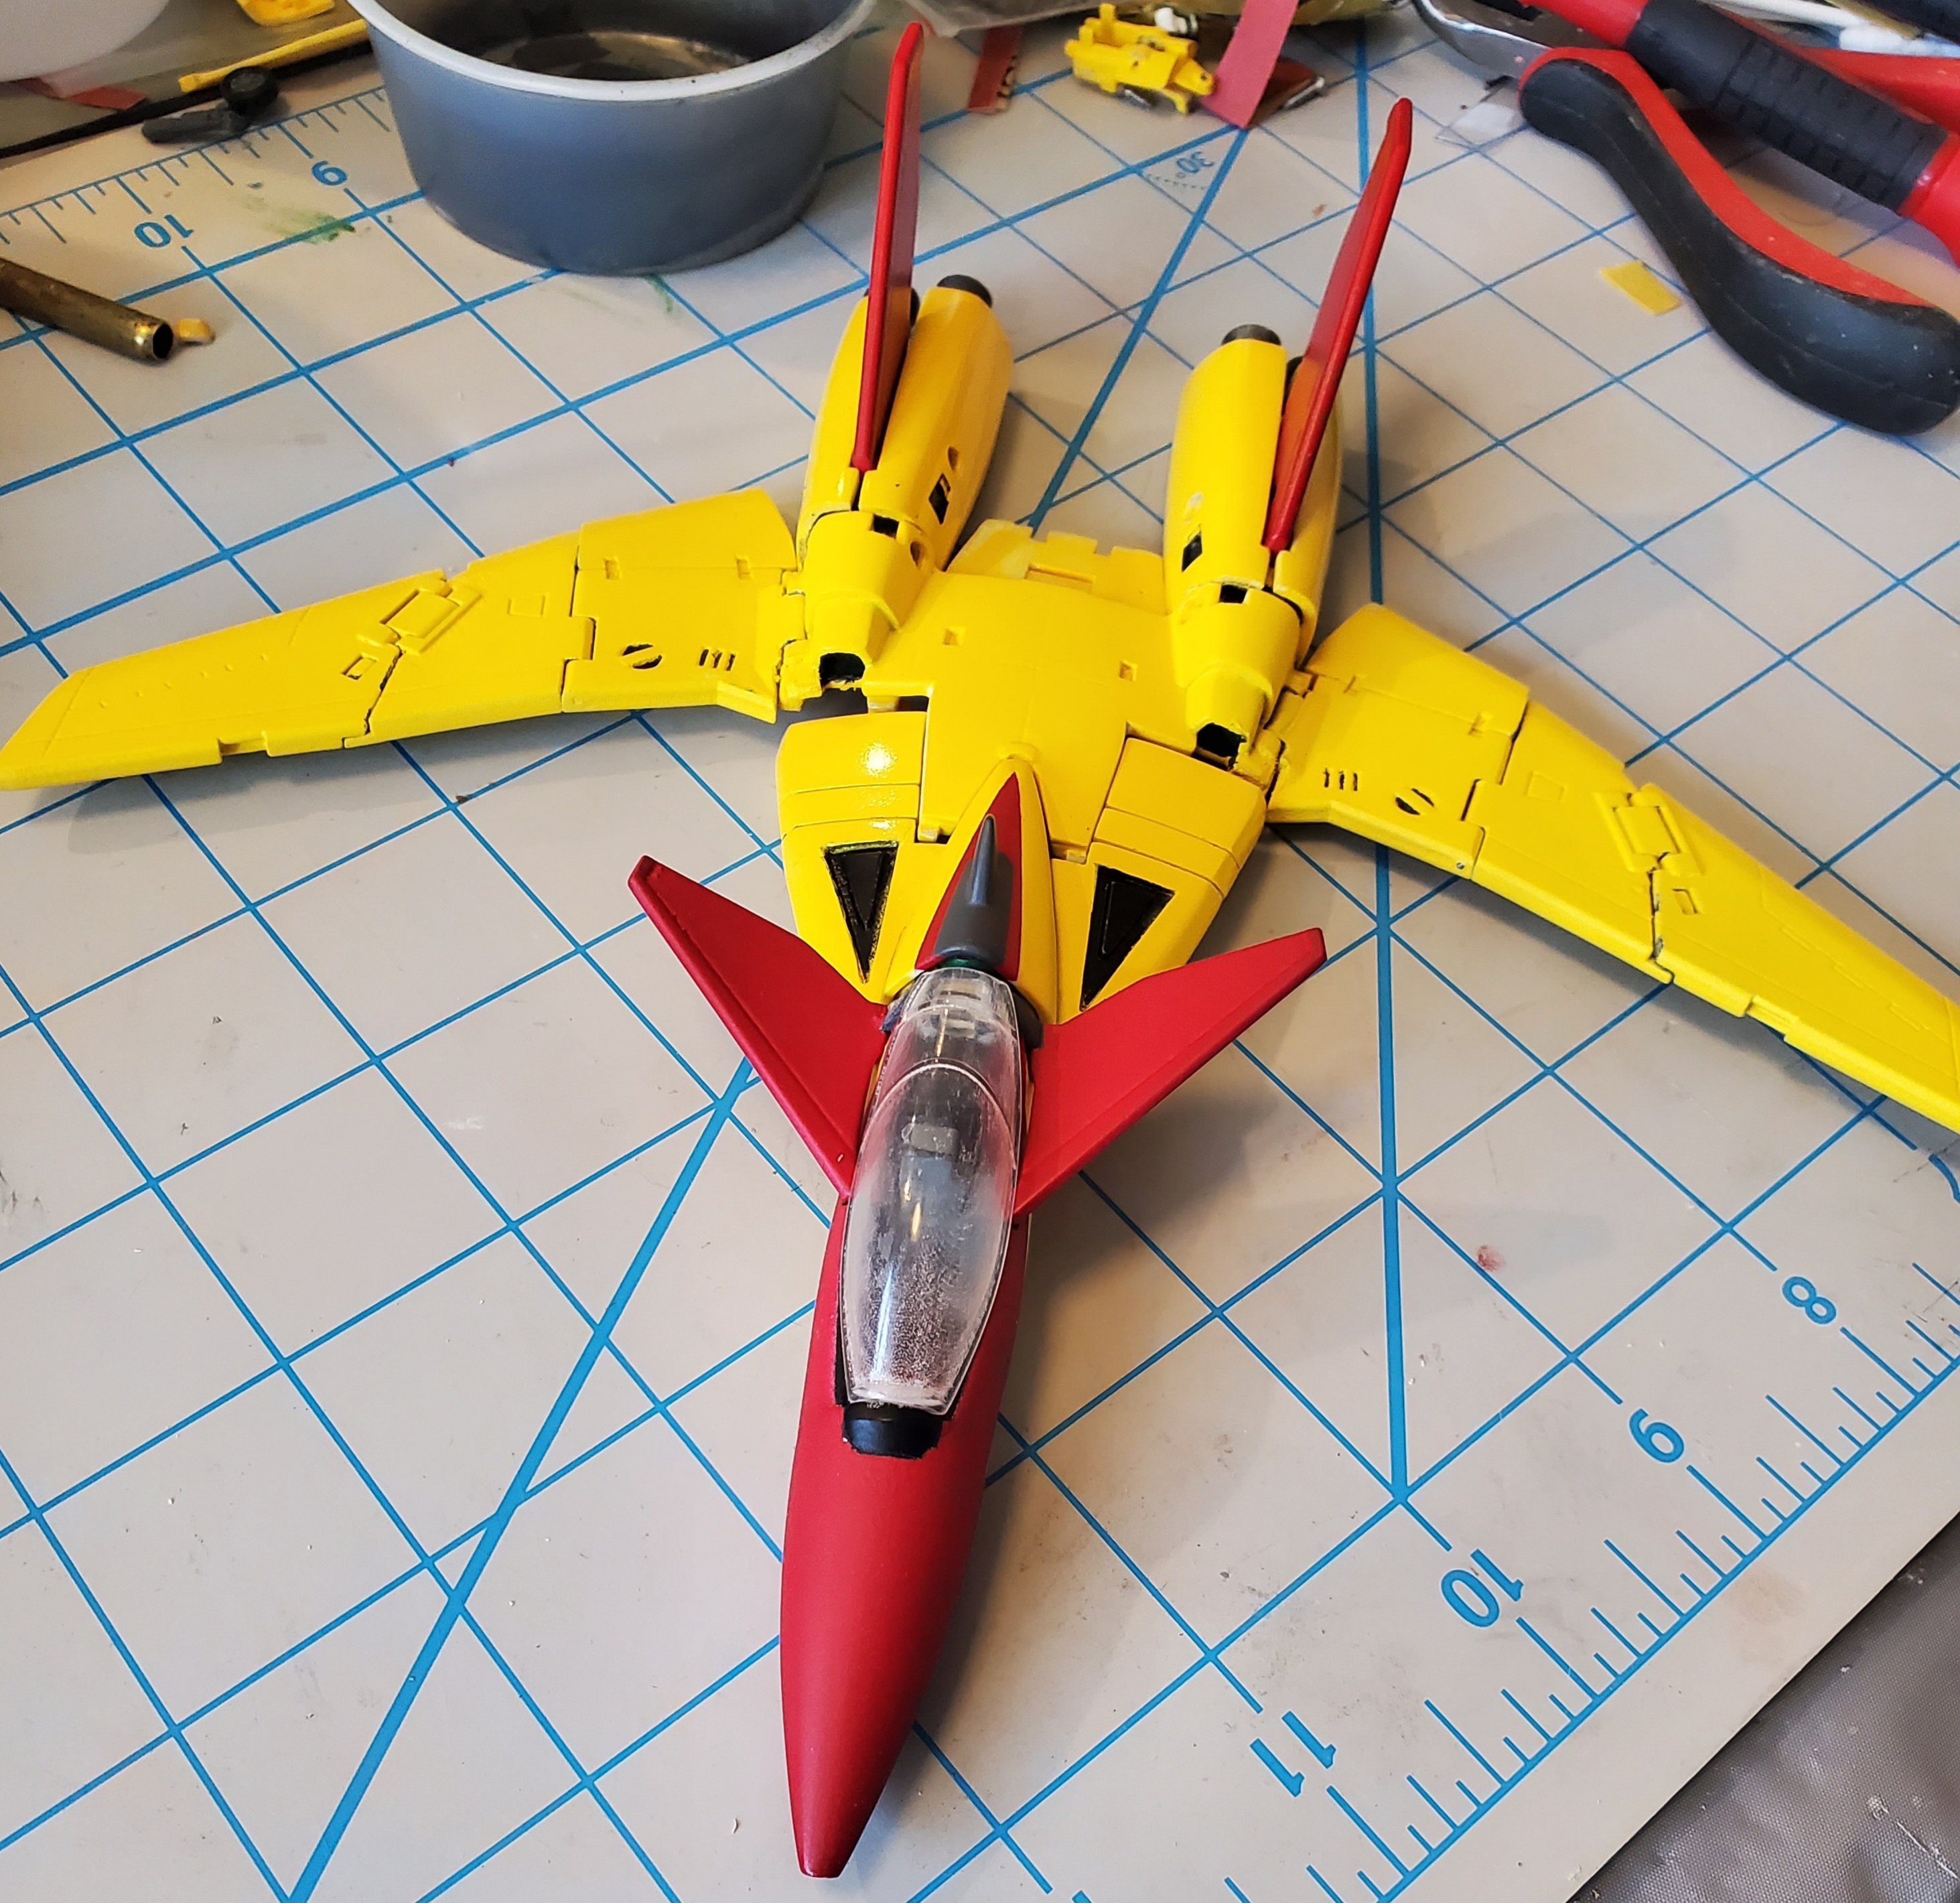
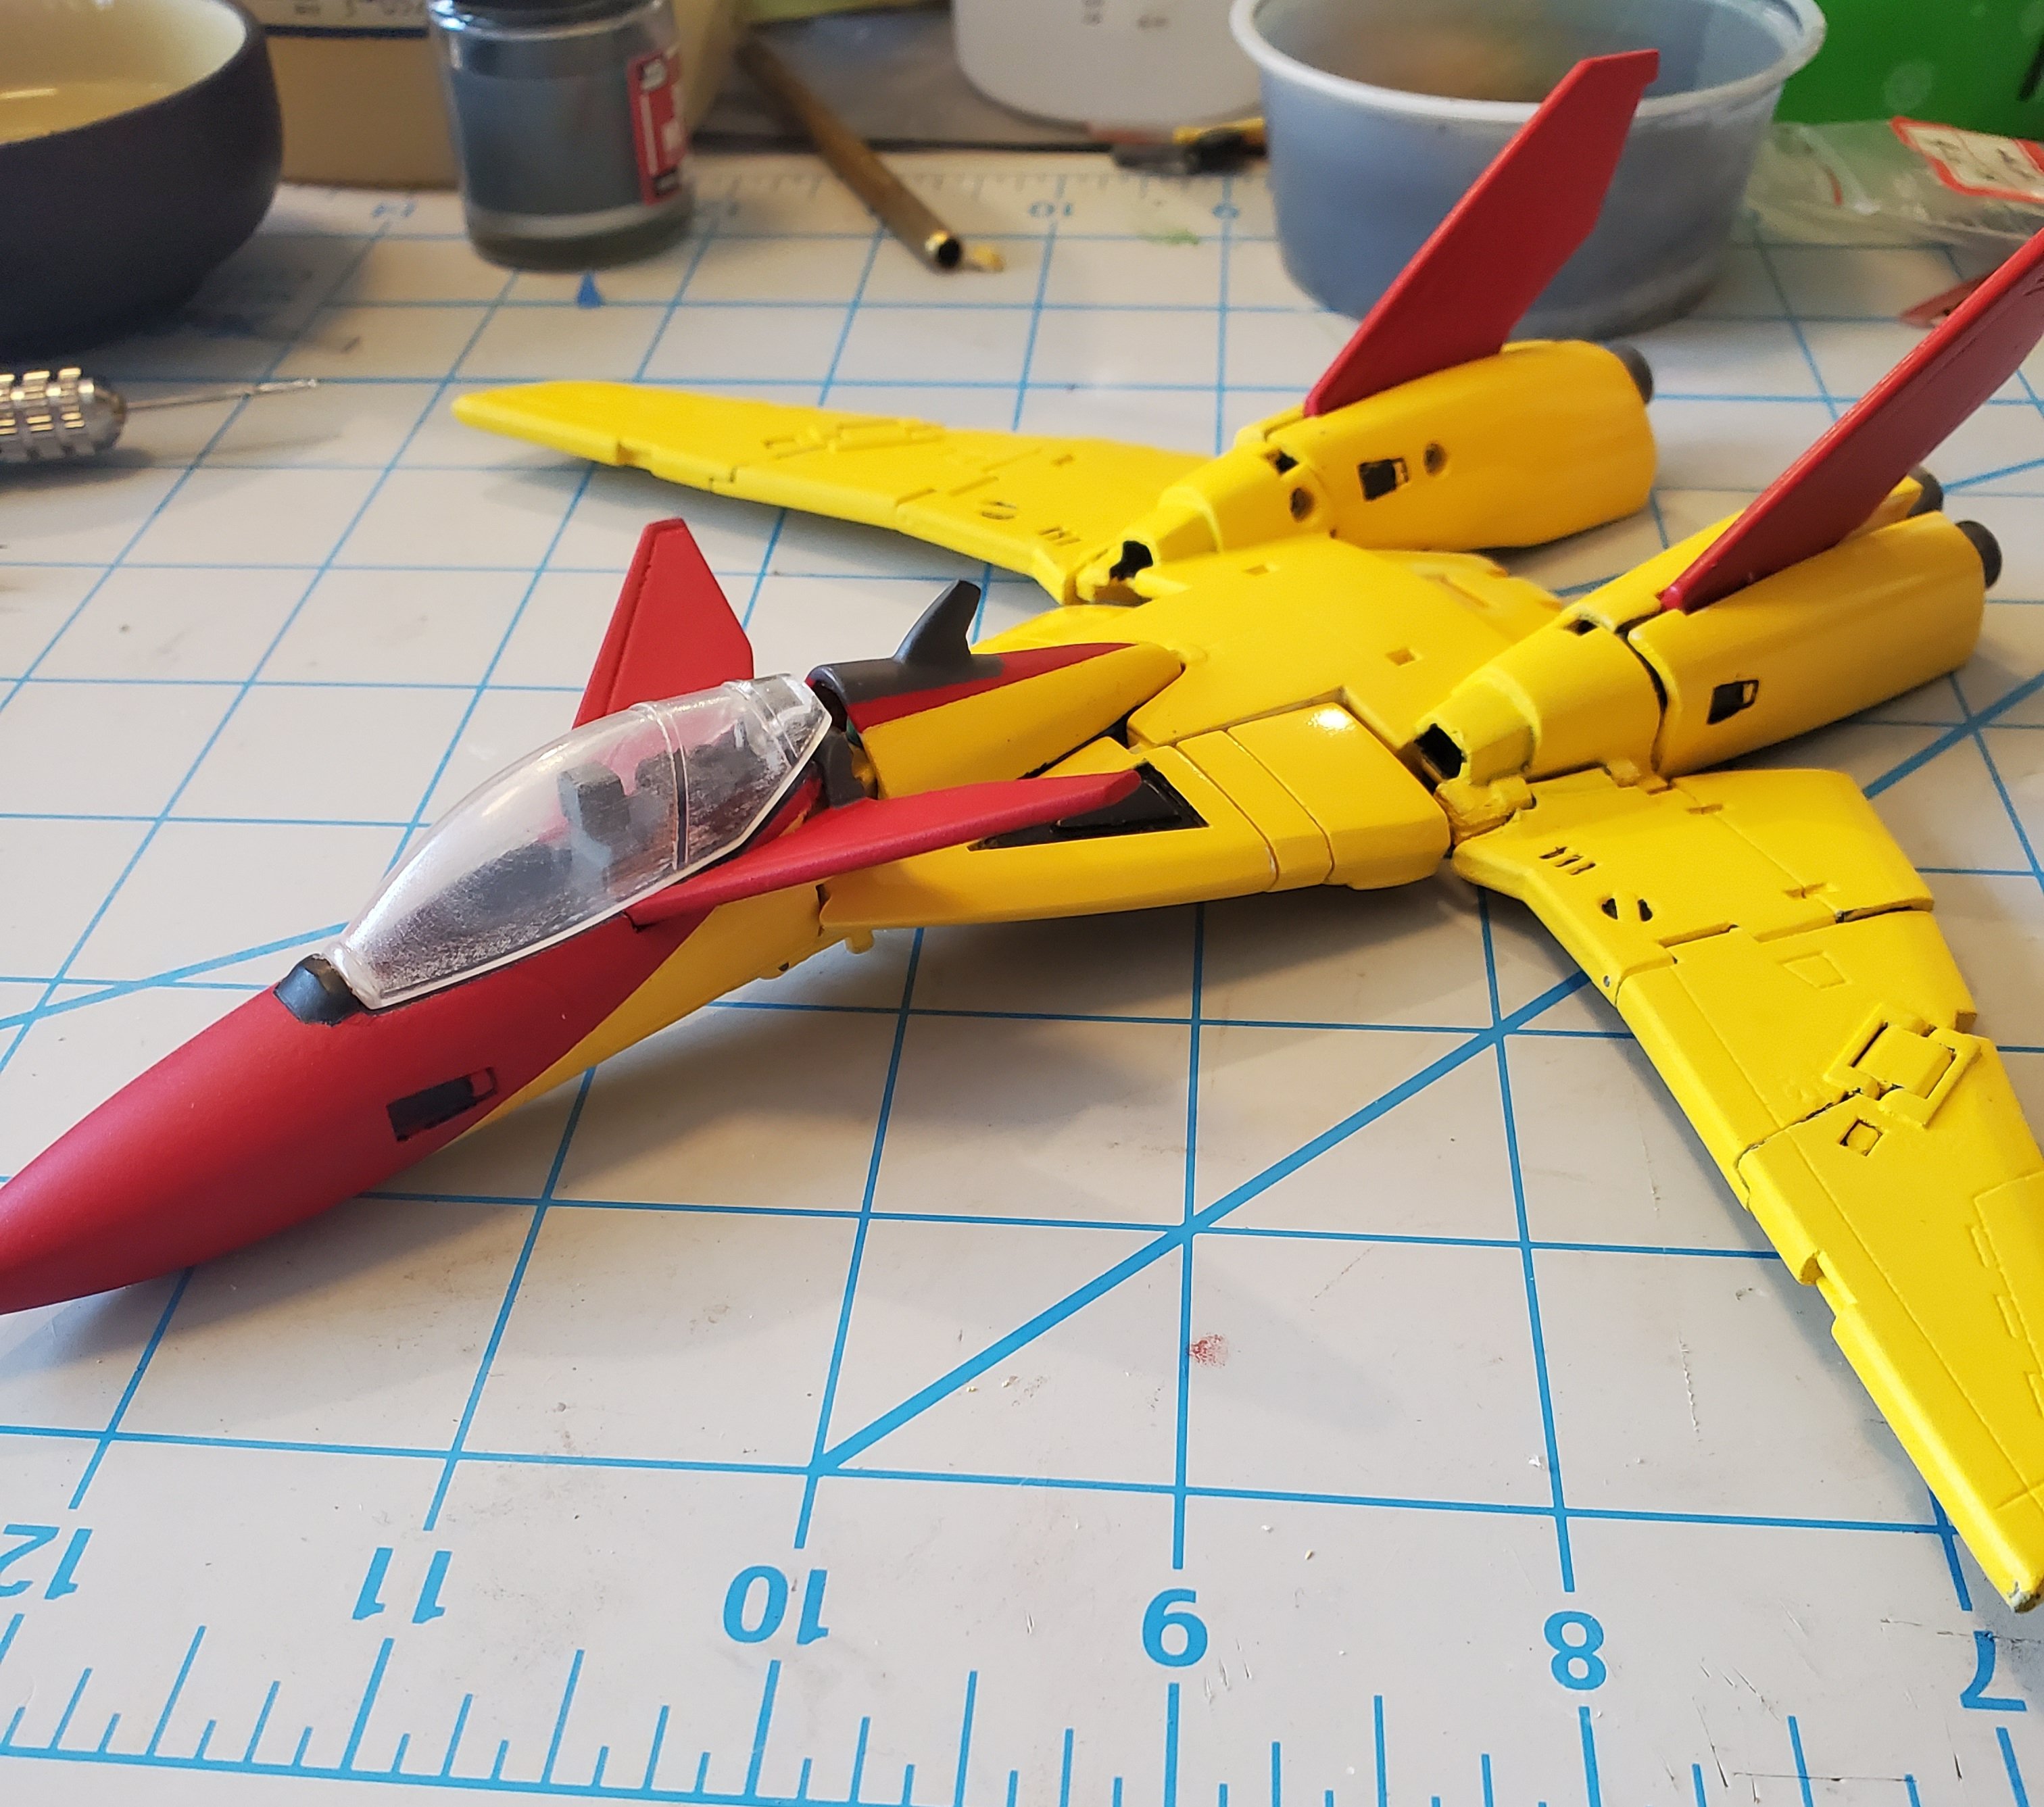
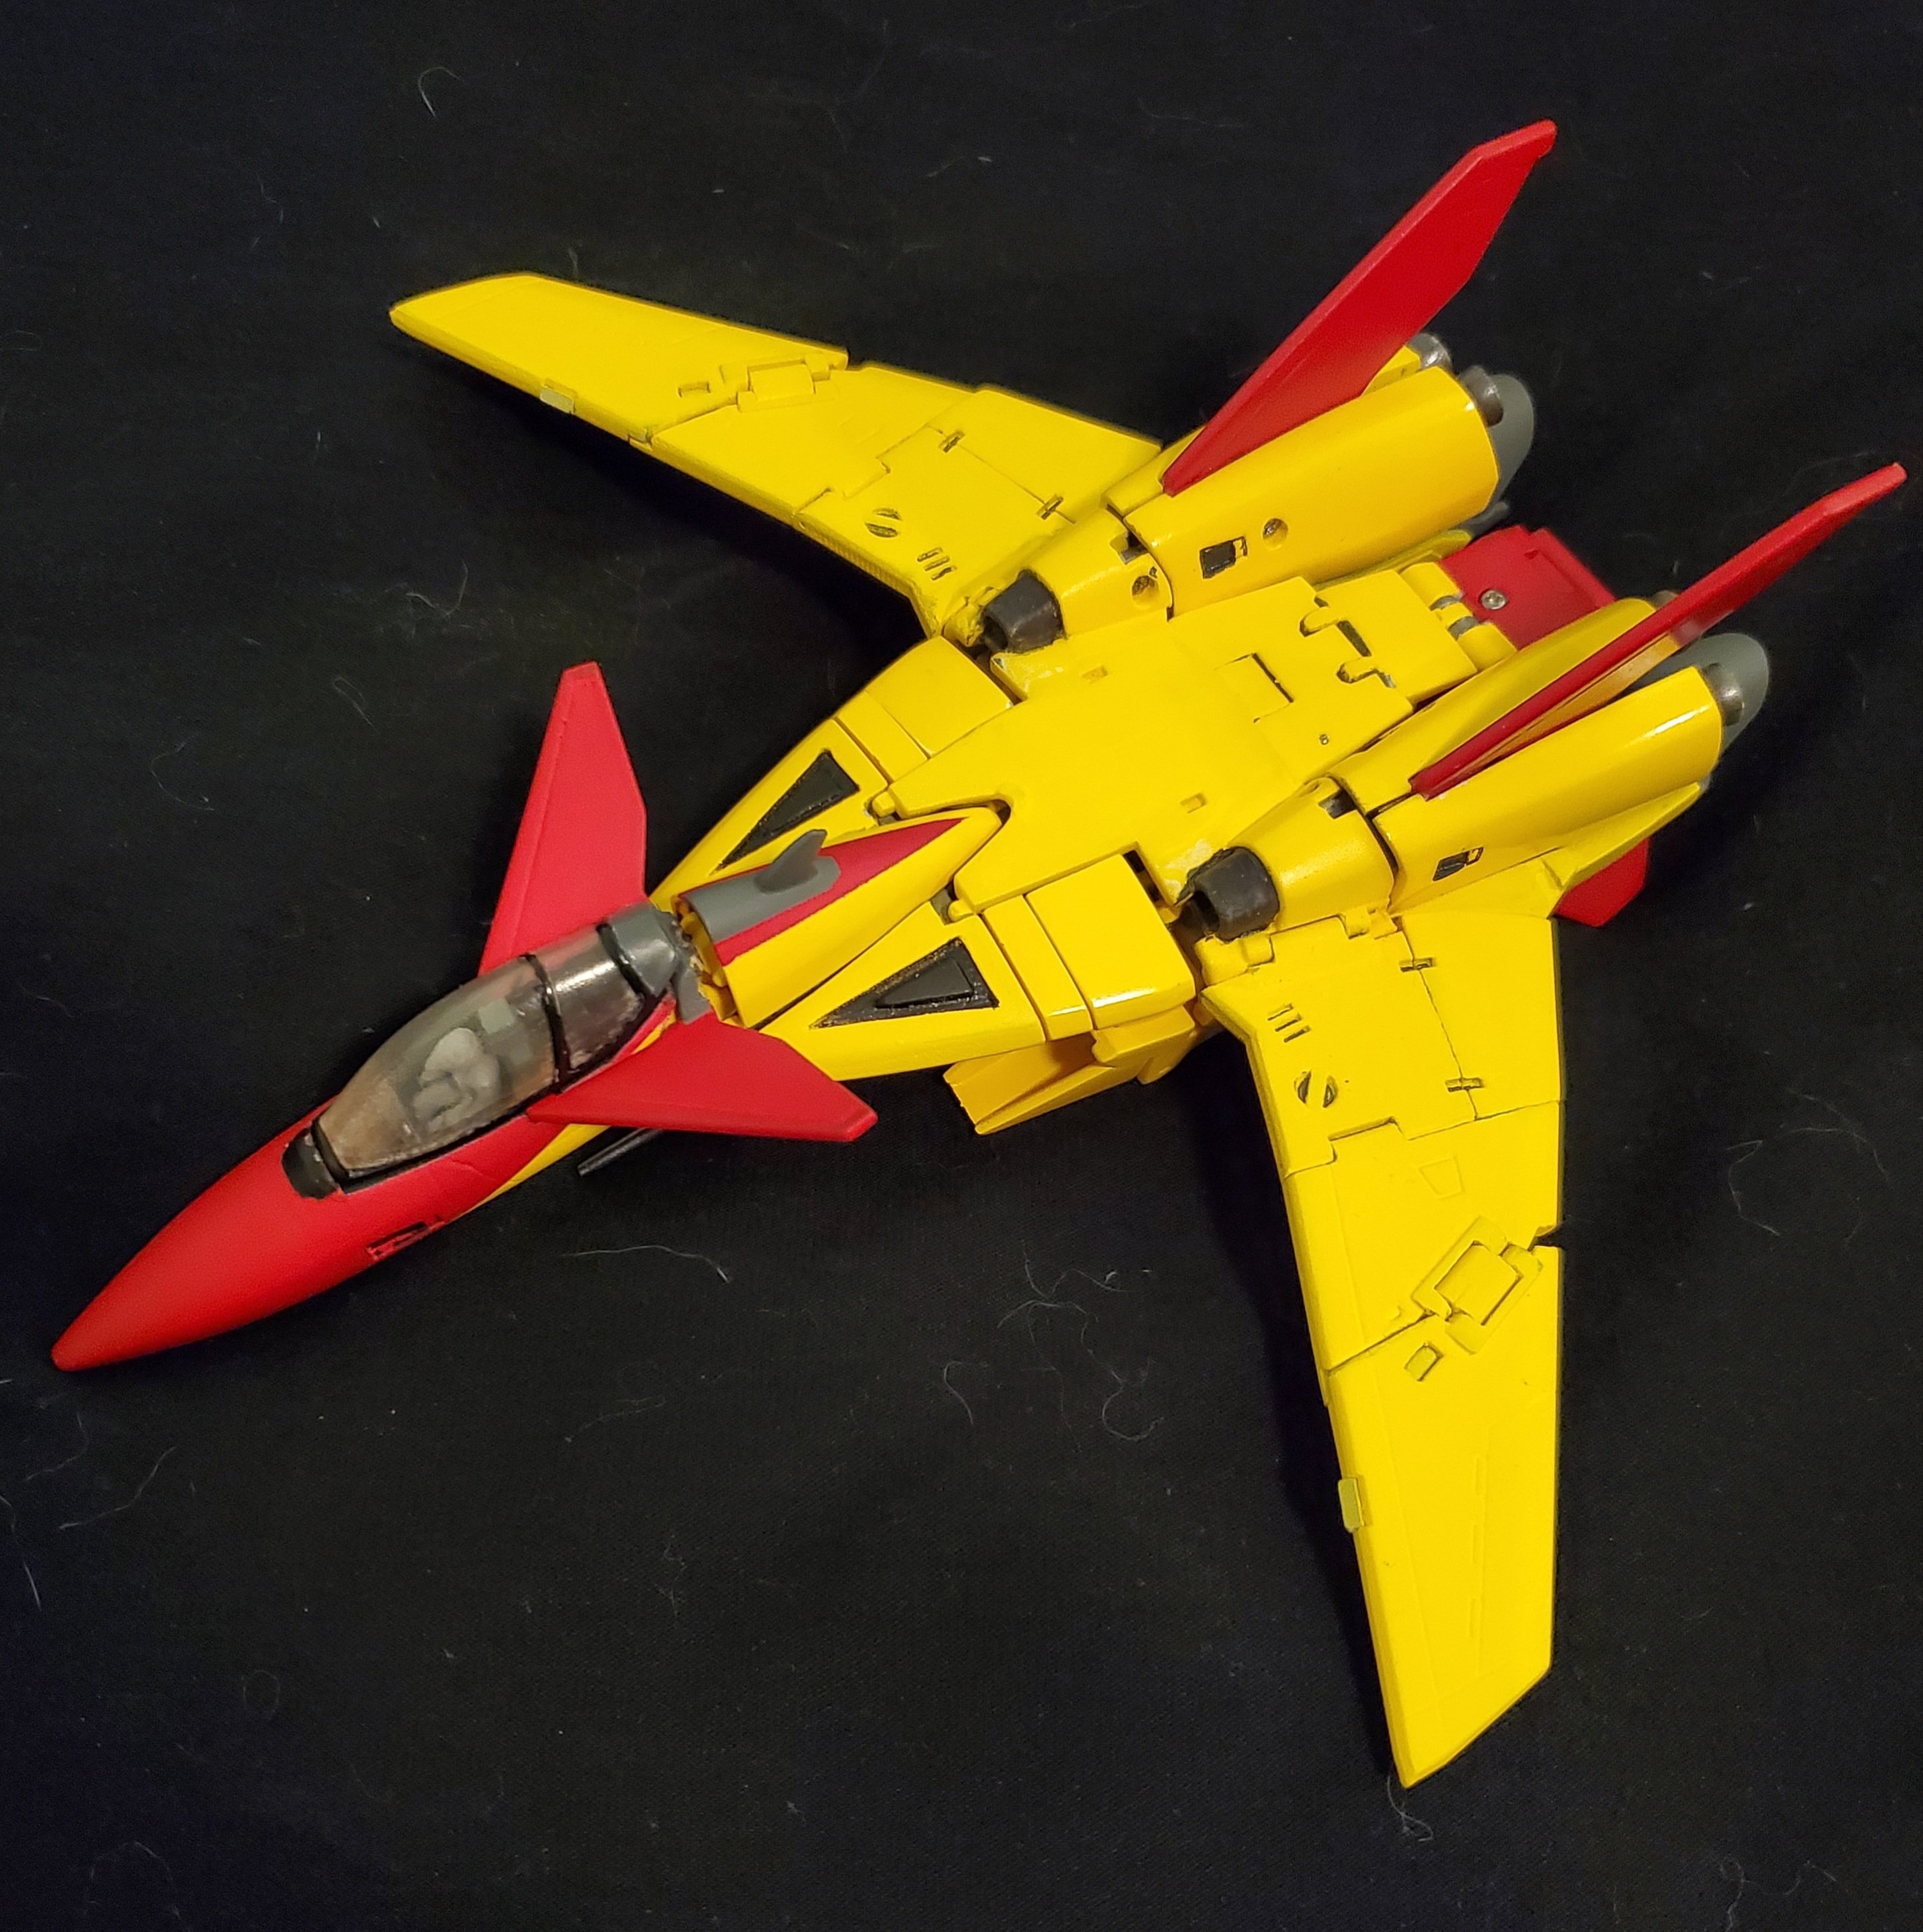
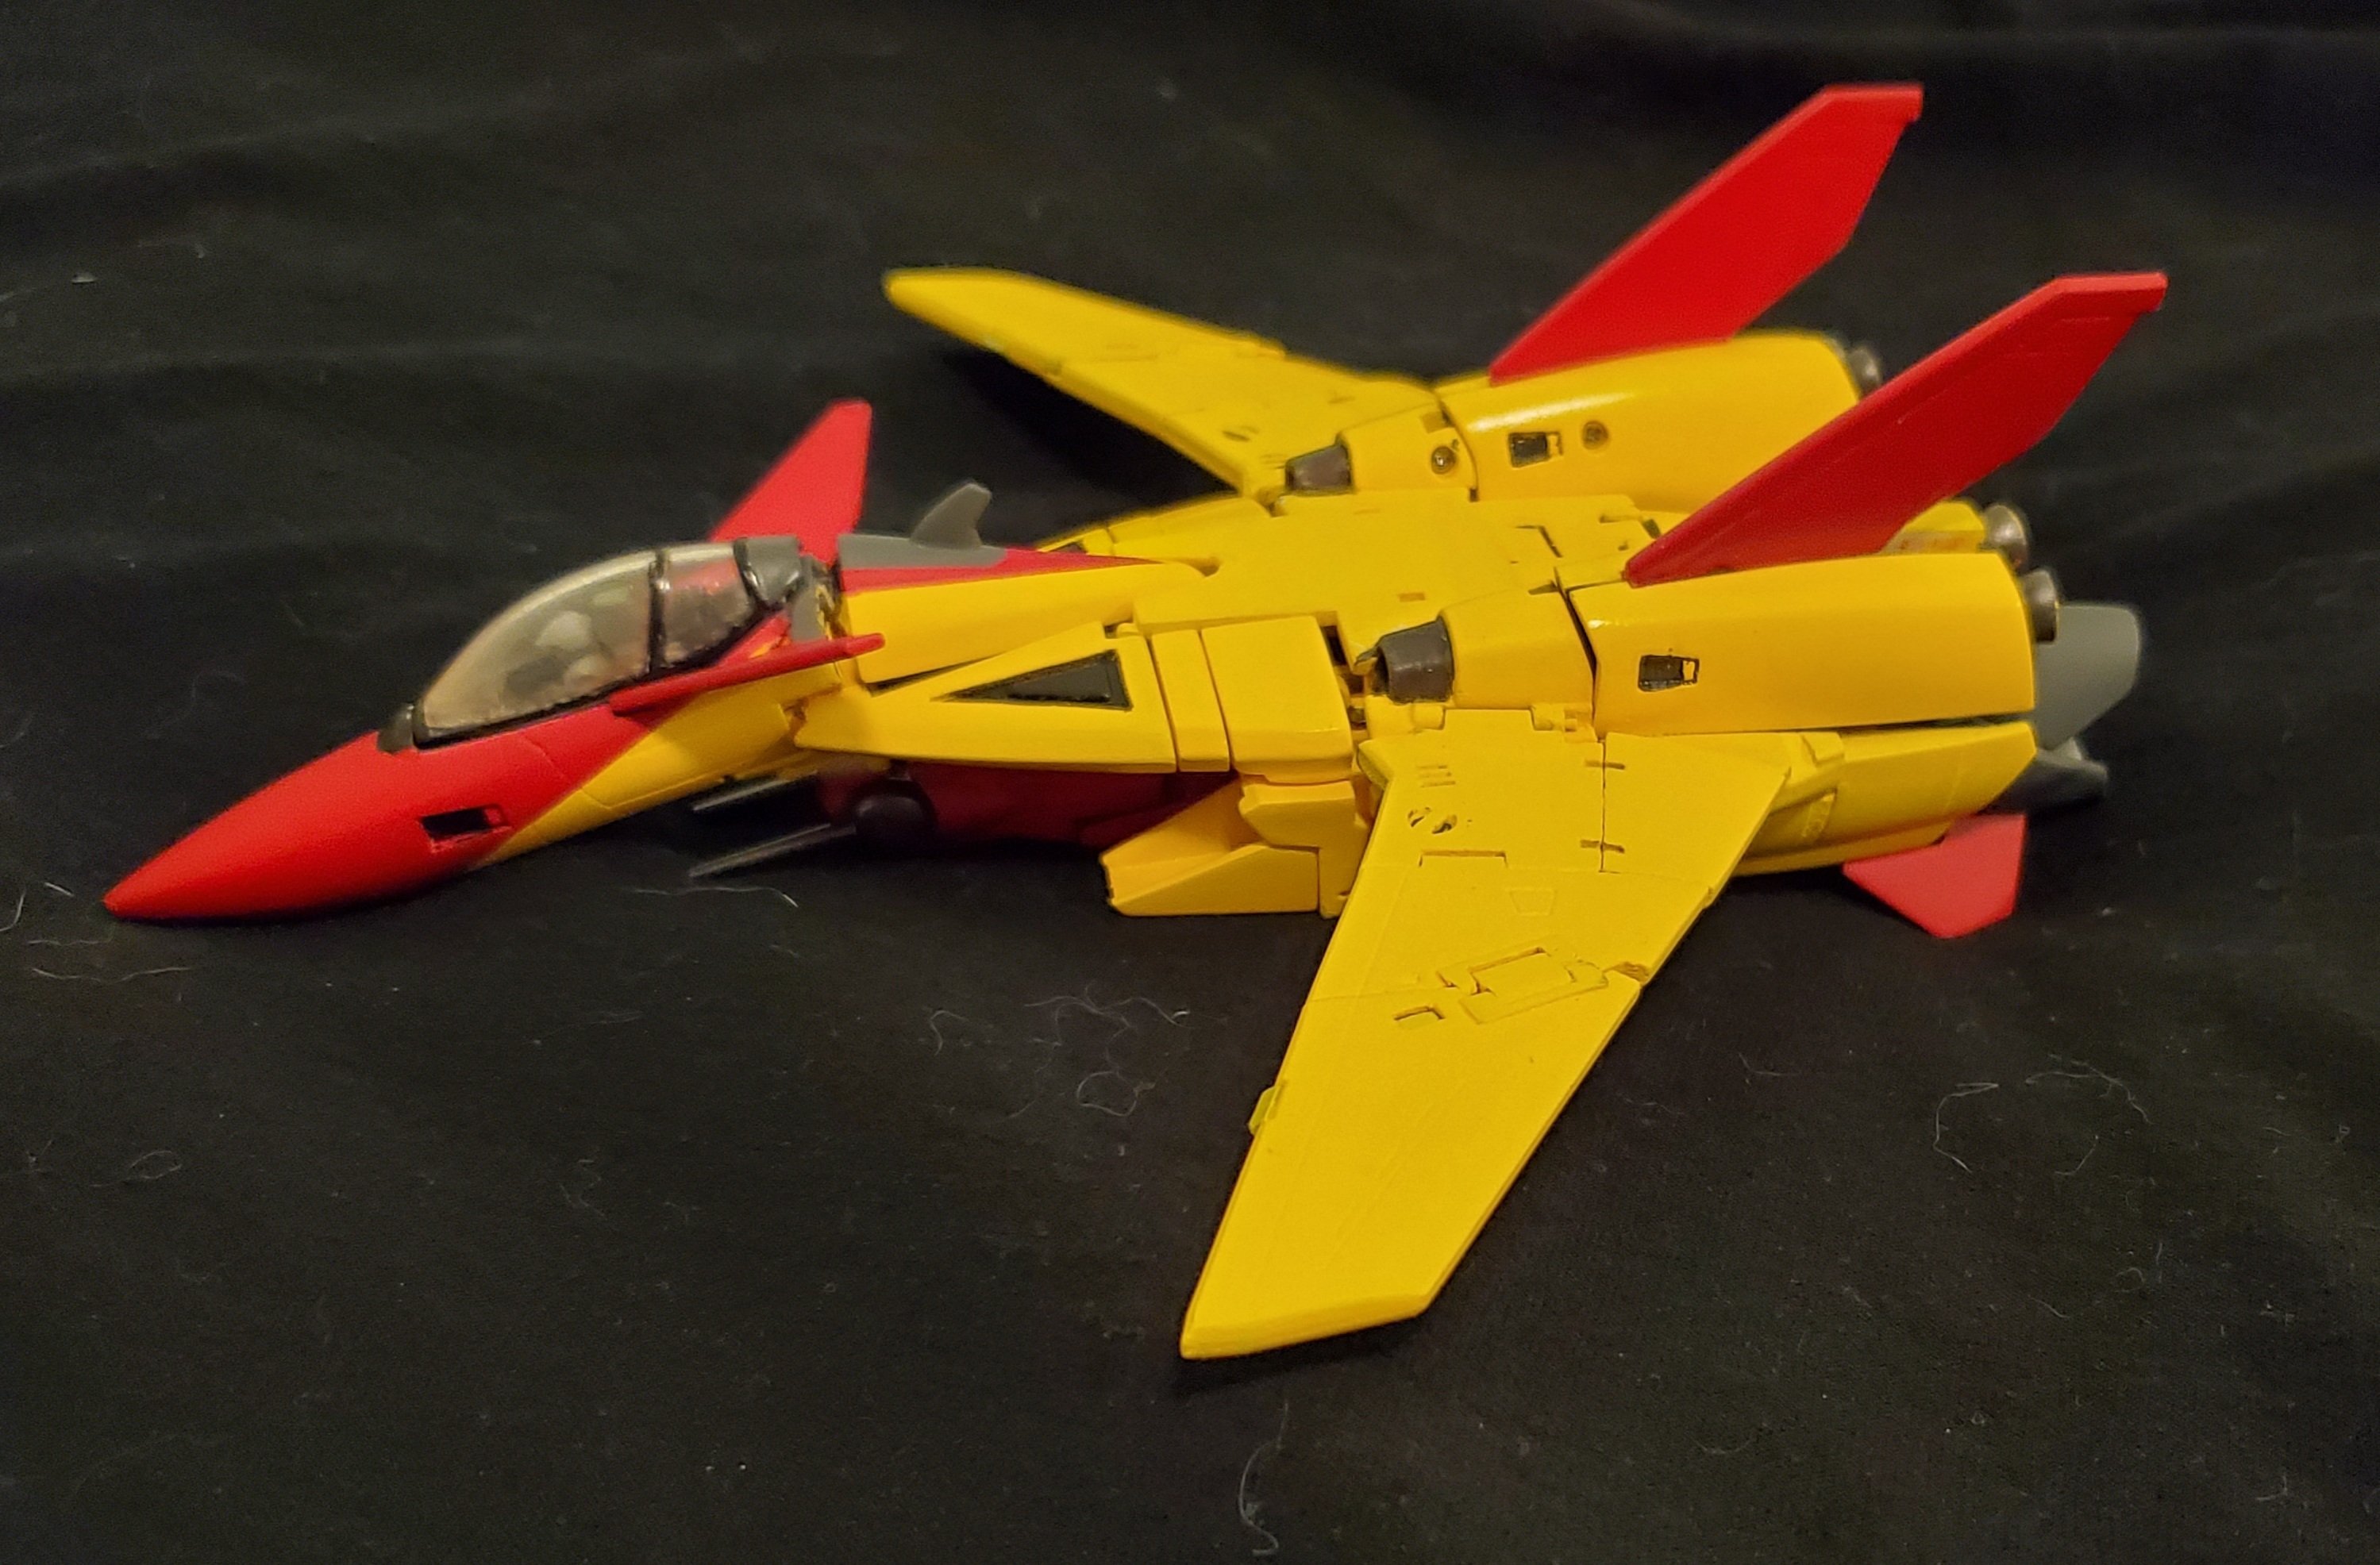
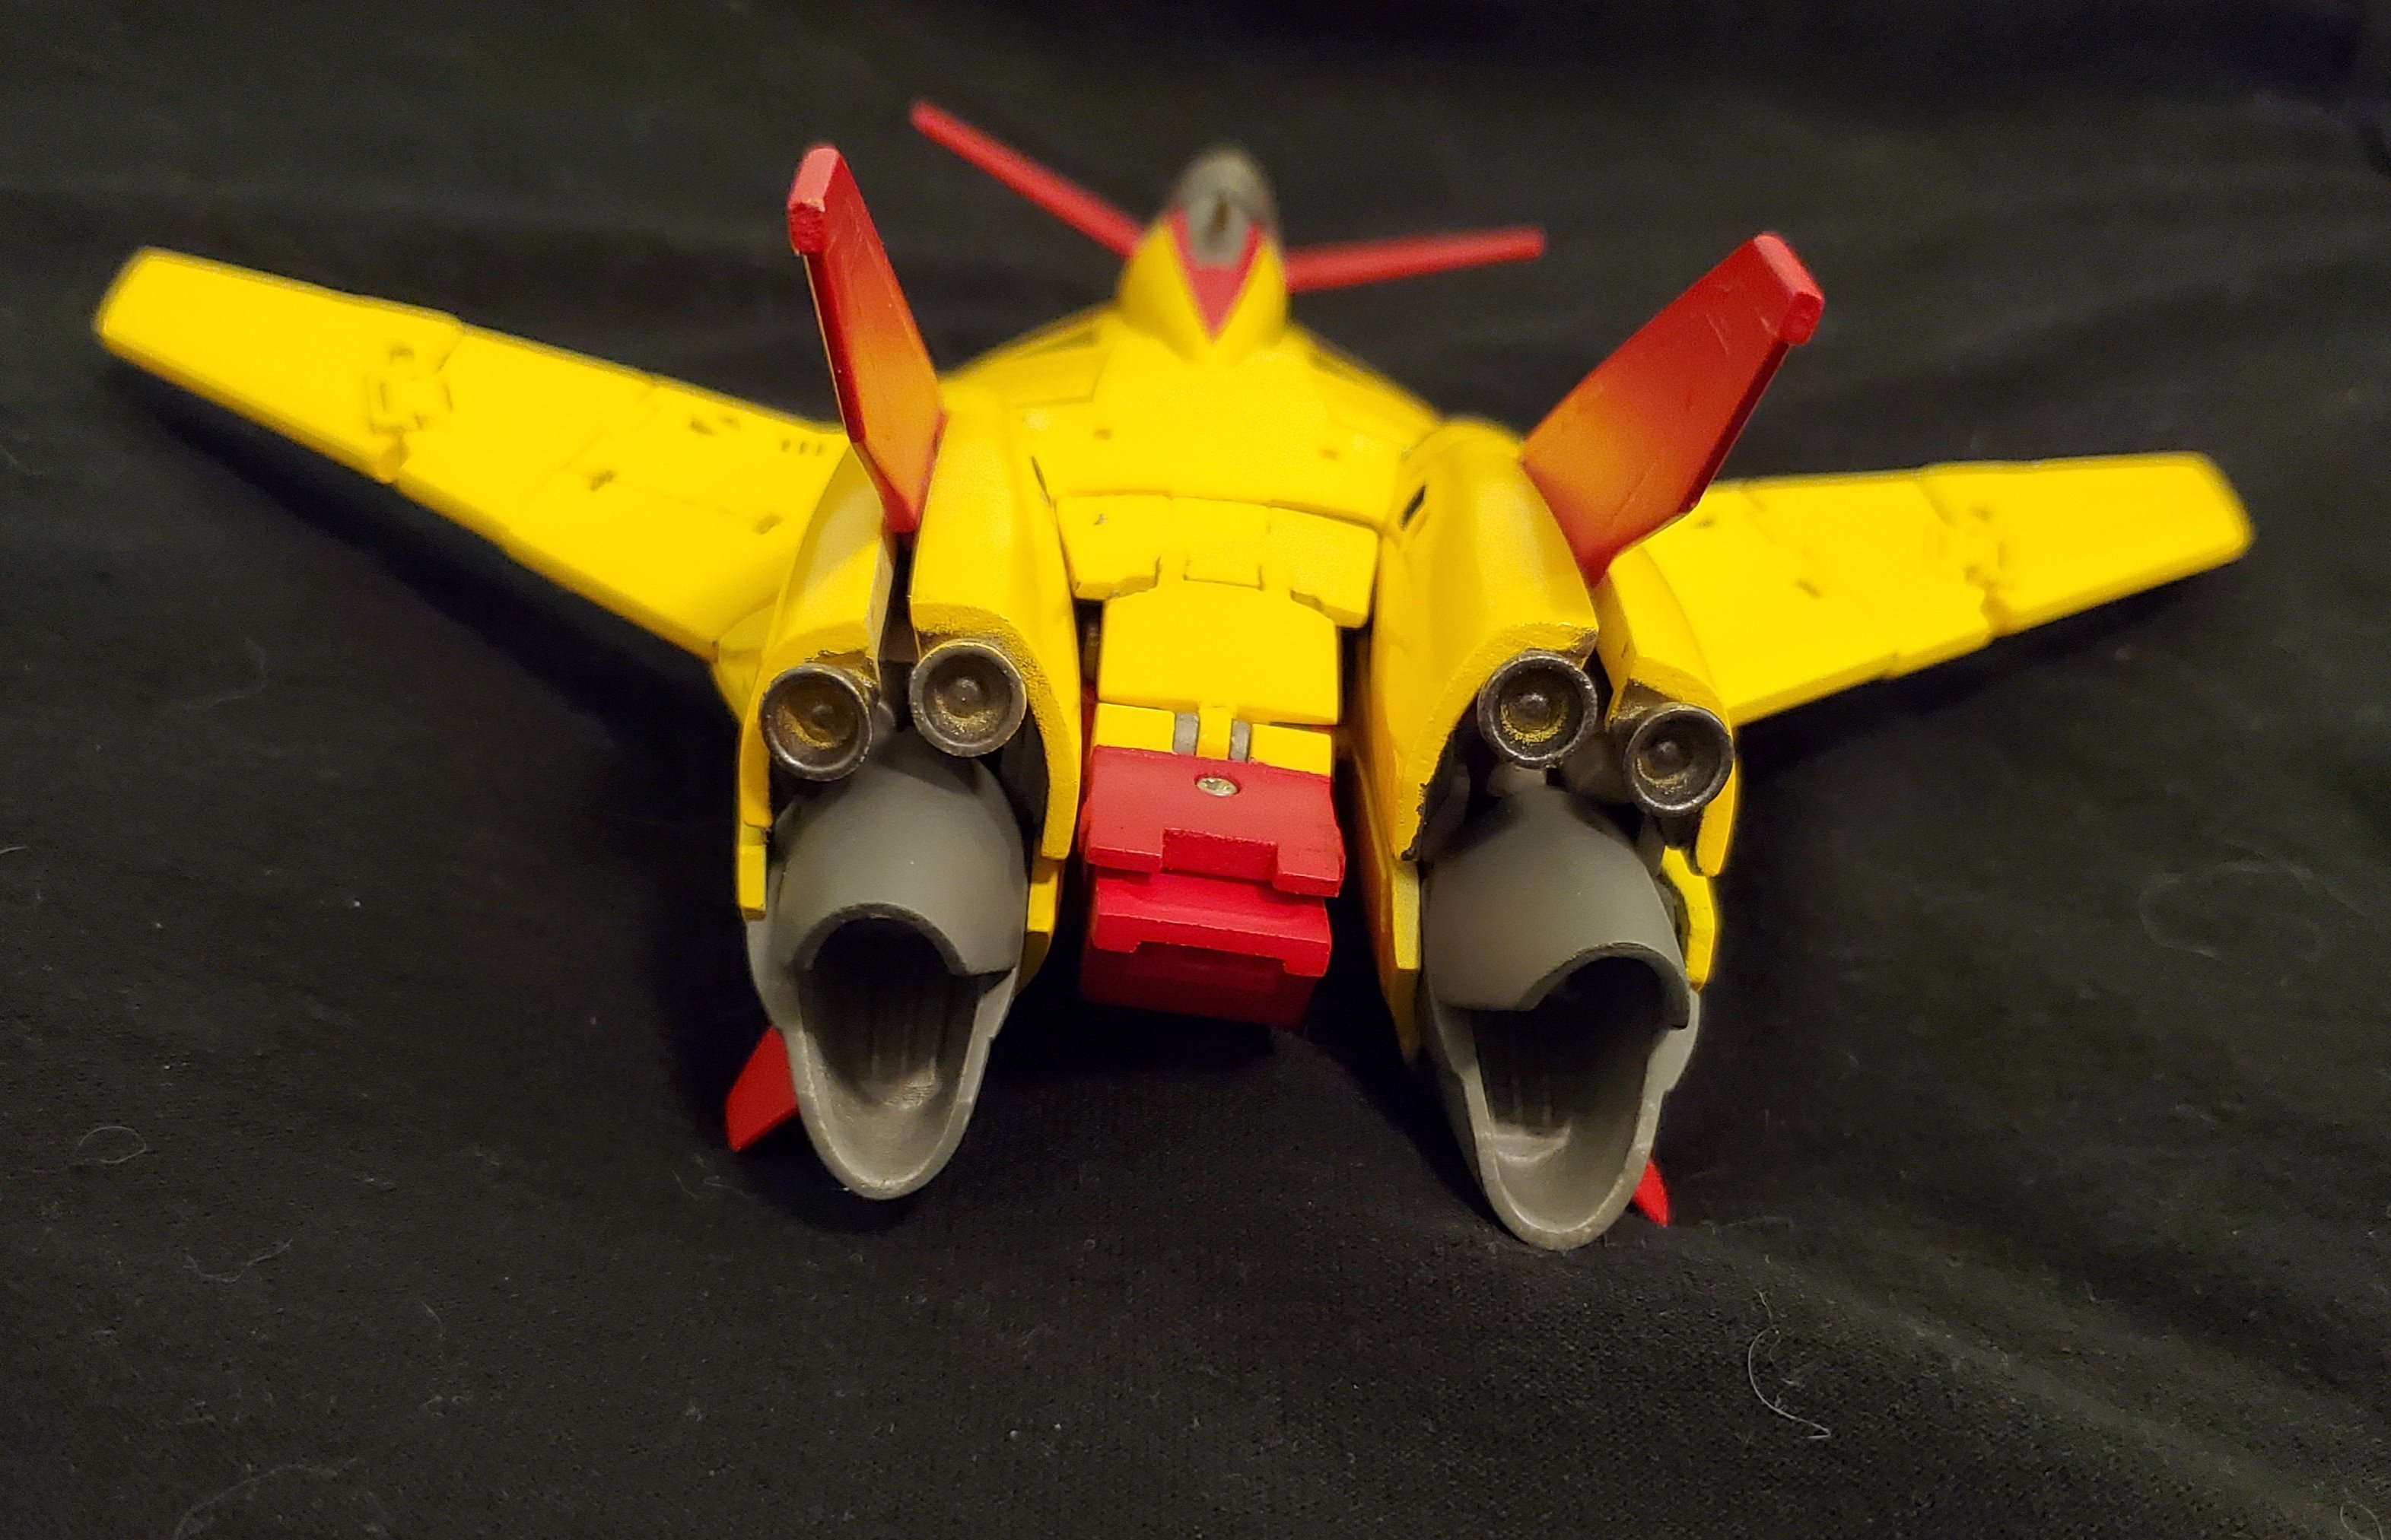
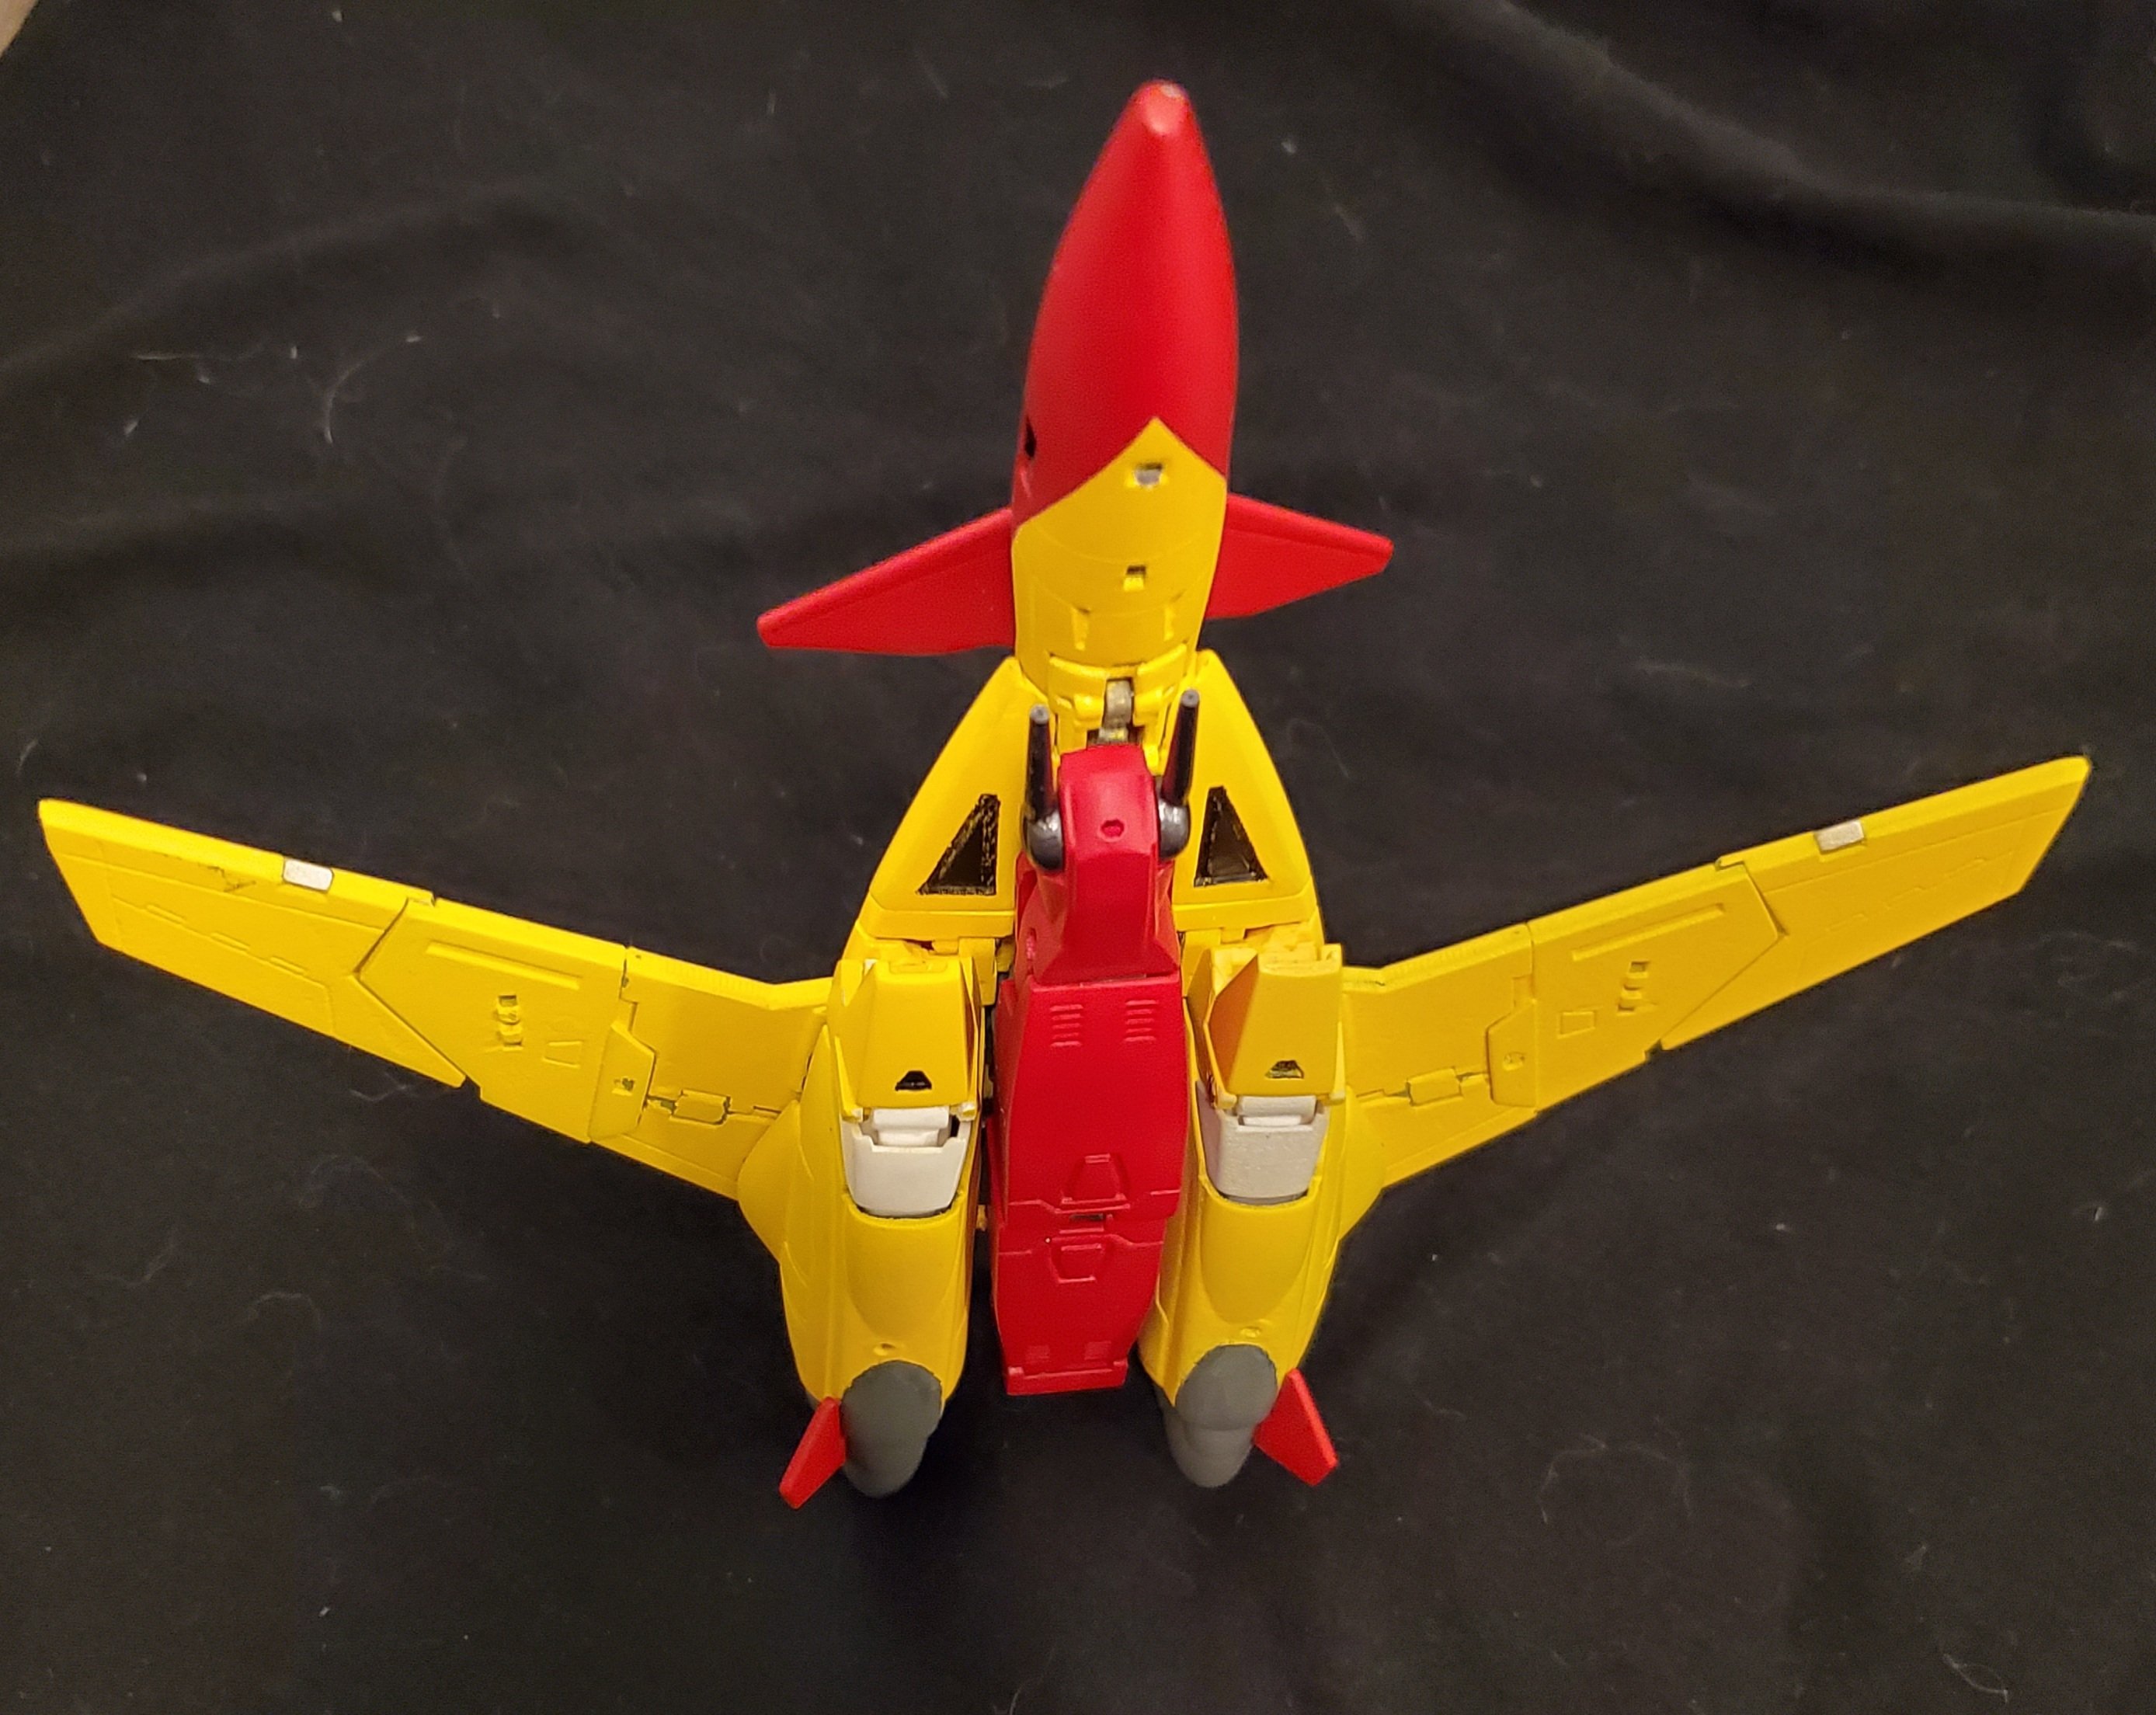
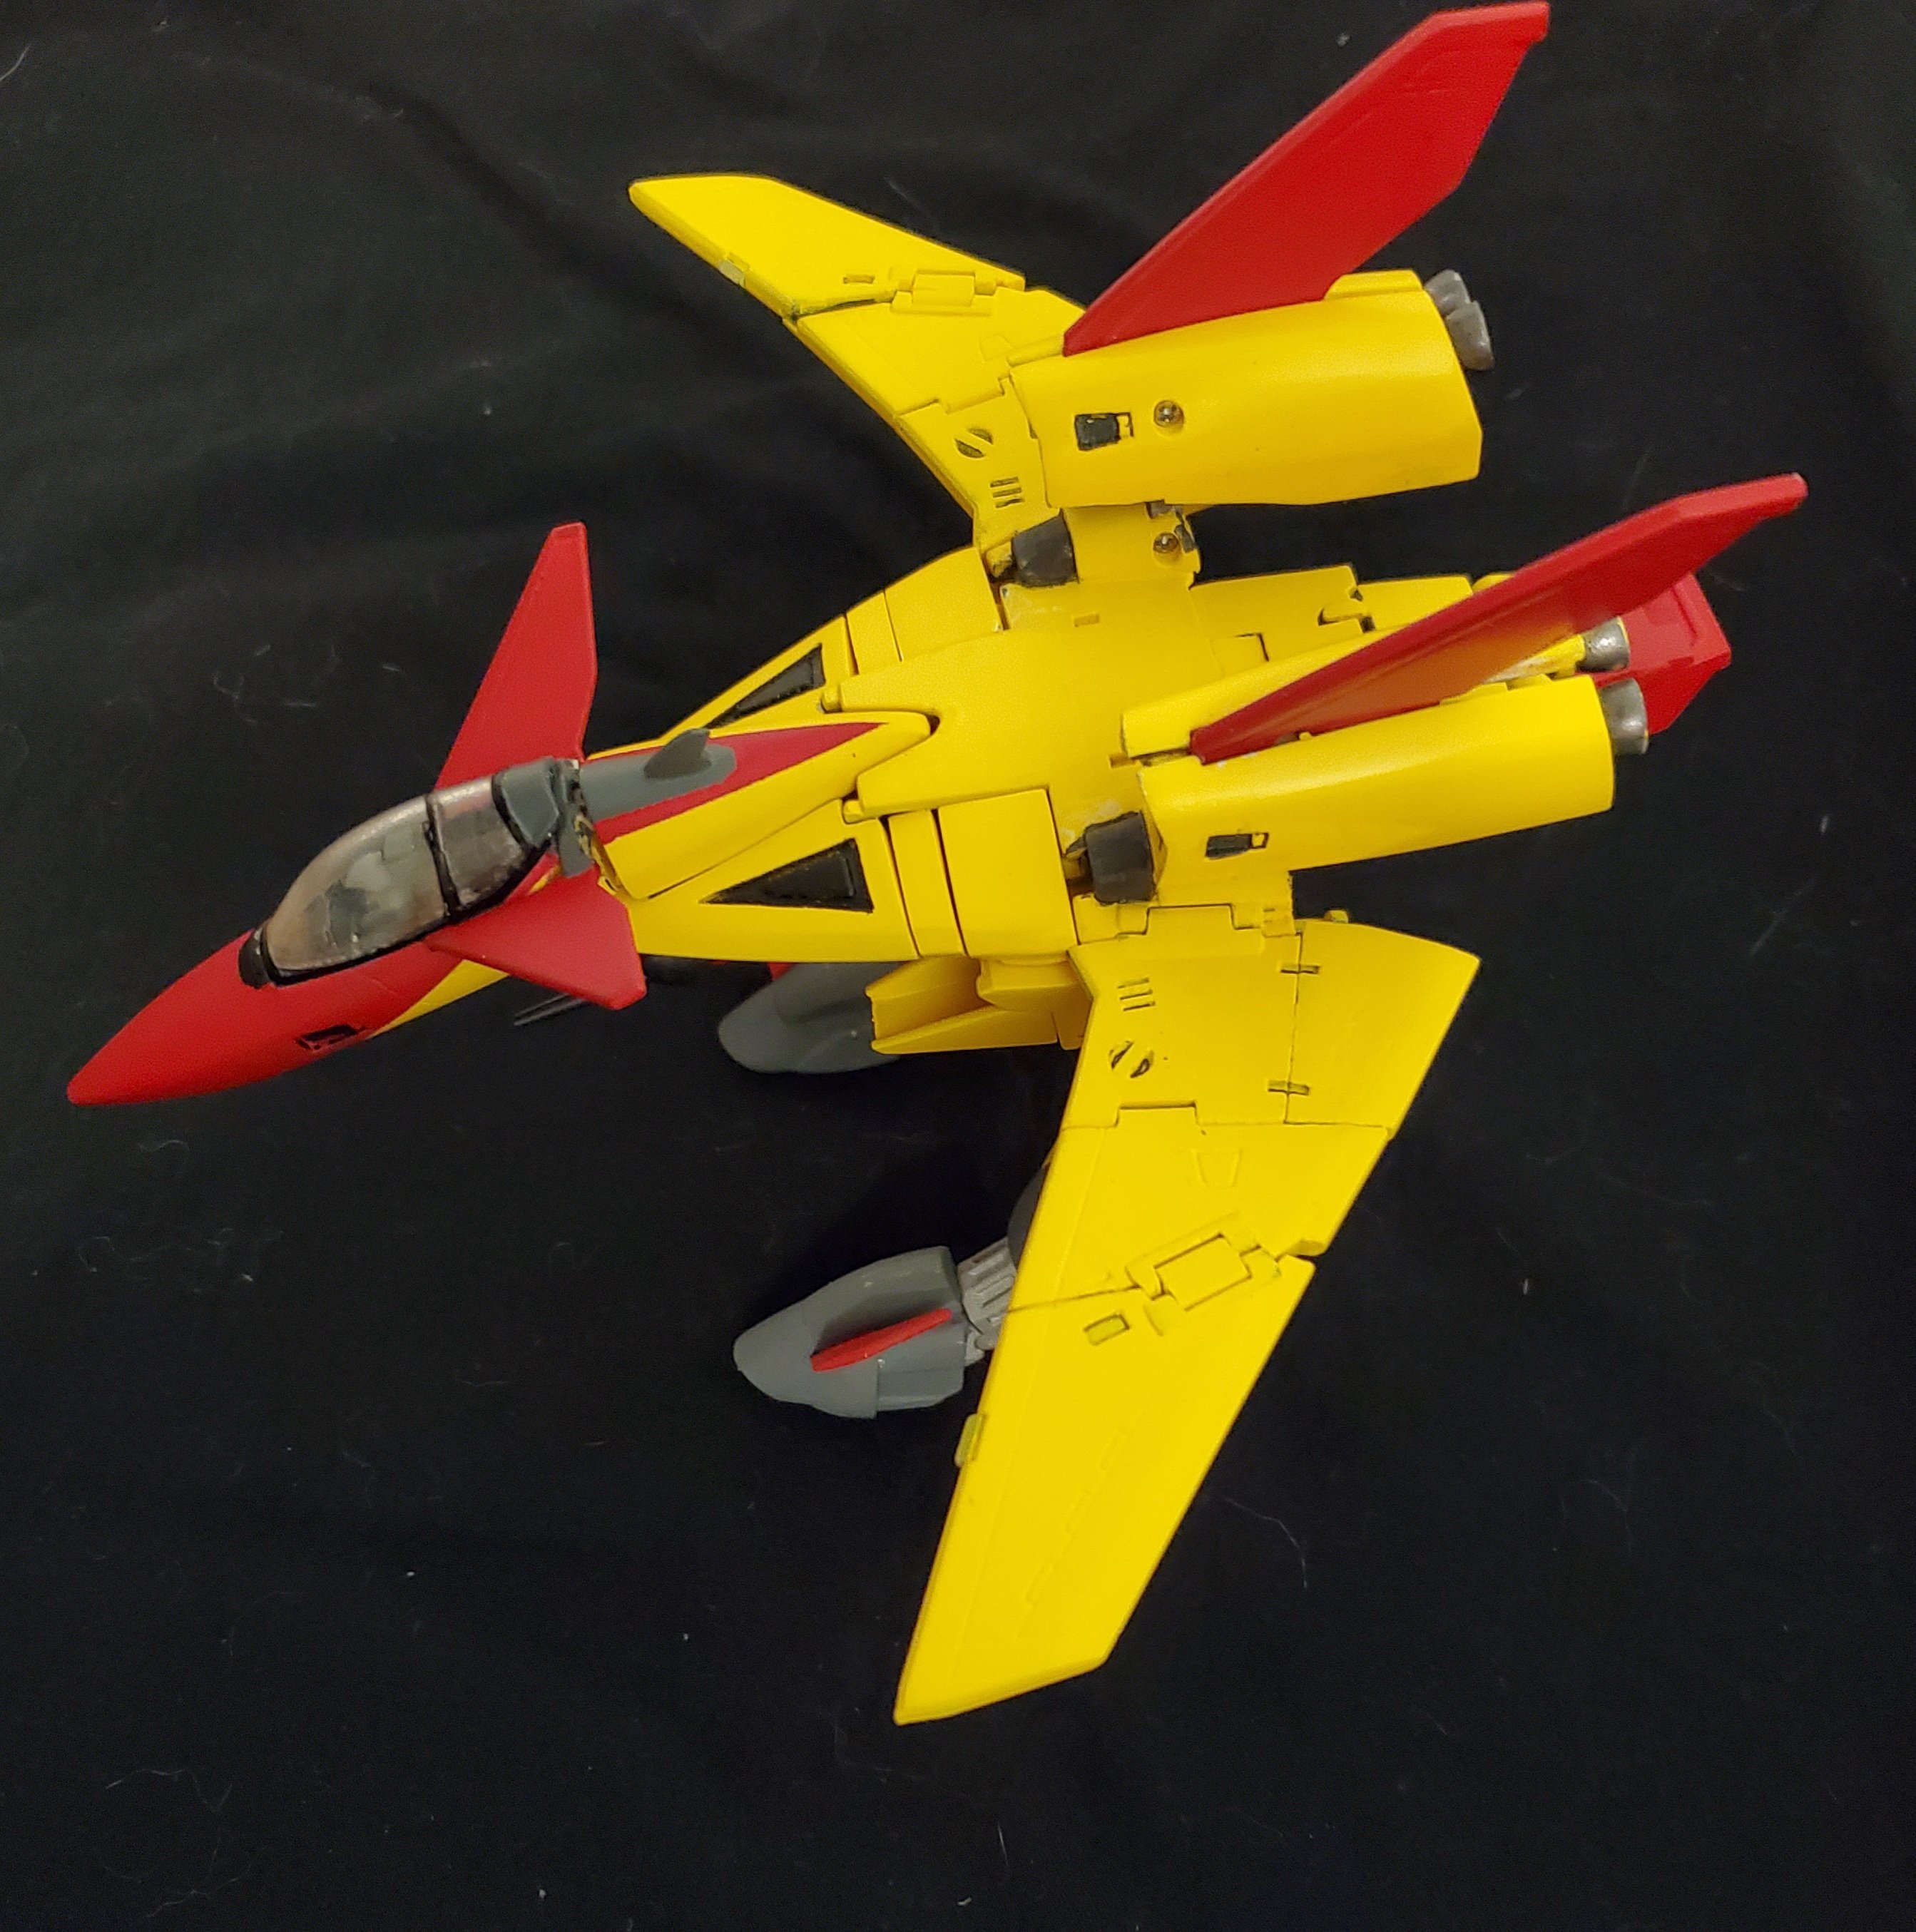
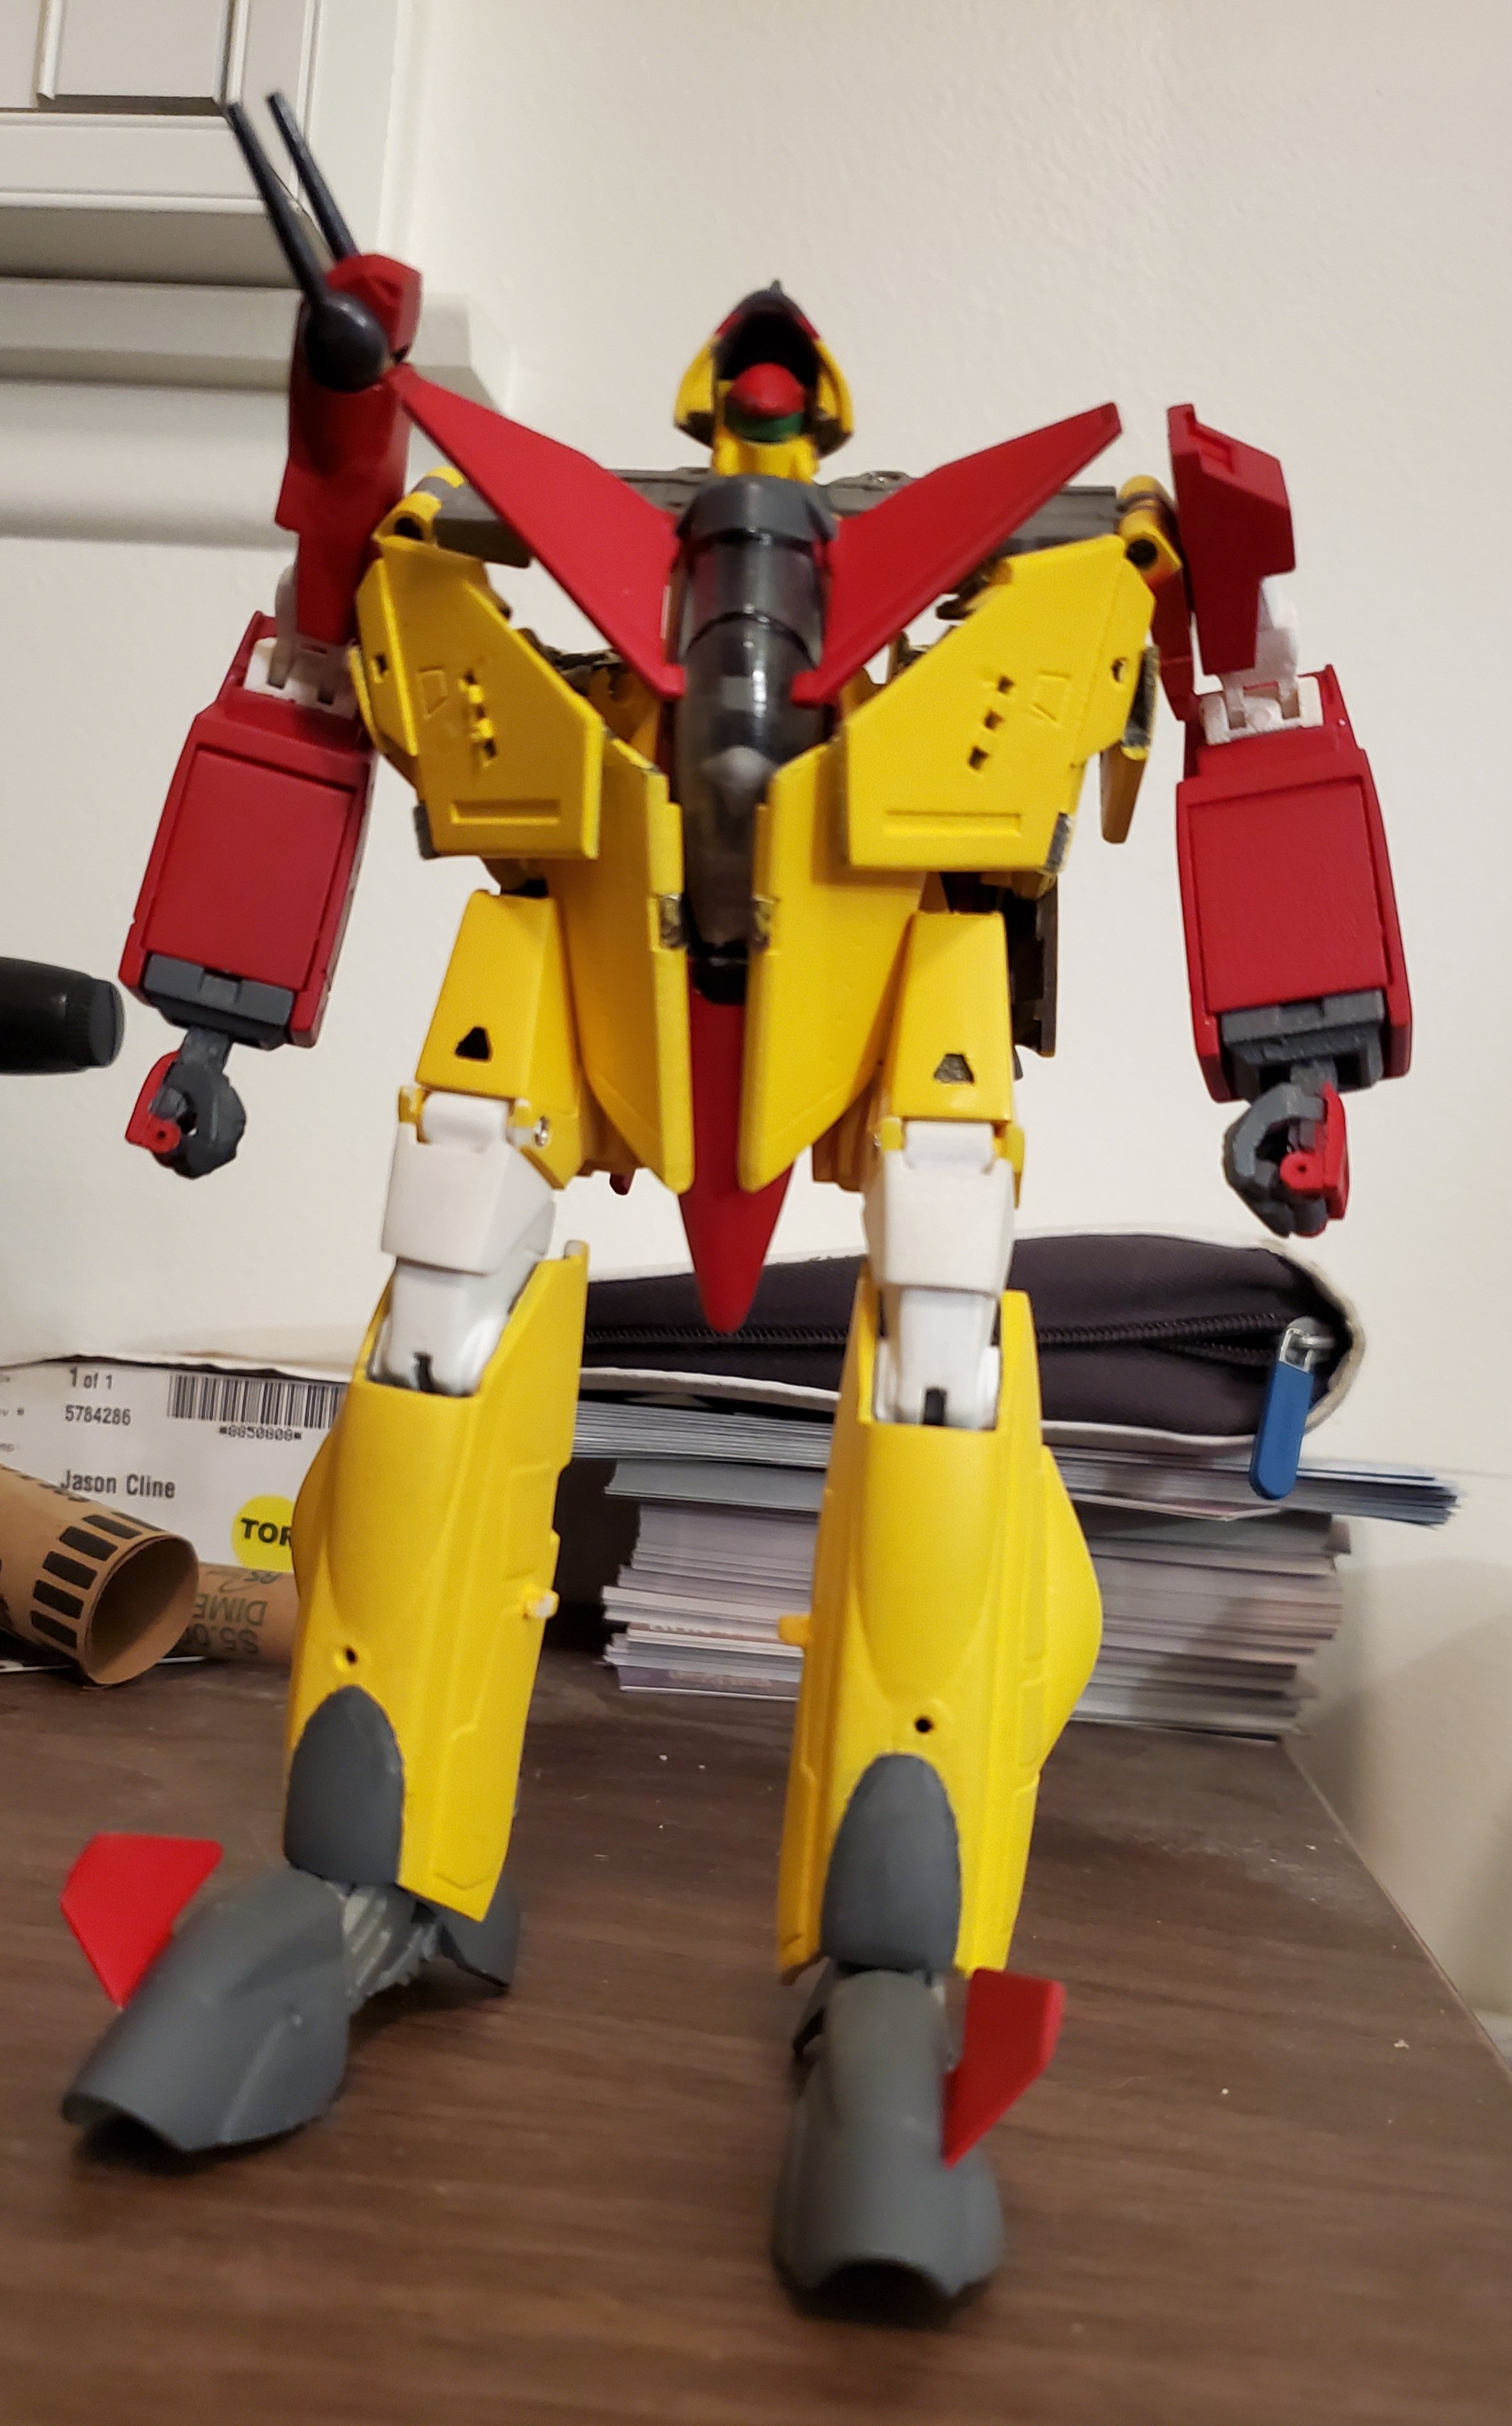
Well, she is finally built. While not finished with detailing, there are some parts I need to adjust. I'm having the hardest time transforming it to battroid, and it might be the arm bar not connecting to the back of the cockpit, but for the other 2 modes, it's quite solid.
-
Need some helpful advice for making a 1/60 hangar diorama
Jasonc replied to HomieHasegawa's topic in The Workshop!
This is great stuff here. While I do like displays to be a little more solid and maybe functional, this is an excellent idea I think, for filling in more static areas of a display. -
I've seen someone building one of these, but was wondering if anyone here knew where to find the file. I'm looking for a 1/60 Glaug file. Does anyone know where or who has that? Nevermind, I found what I was looking for. I'll be printing it in the next few weeks.
-
That's a great set of figurines. I plan to put them all out for display once I get my display built. Figures to me, really make a display.
-
Ah, OK, nice. I may try that. Haven't decided between that and making decals. Decisions. Next week I buy the rest of it.
-
I finally got started on this project while waiting on other paints to come in for the other unfinished ones. So far, I'm really liking the ease of building this, and the extra steel parts and rubber tires are going to make this a really fun project to complete. @Xigfrid, I bought the same paints you used for this project. As for the stripes on the legs, are those decals also?
-
Agreed, now back to toys and figures.
-
I preordered this one, and it seems like it's going to take forever until August comes when it is out. I think the button pressing is coming from you seeming to push your soapbox on people who don't need to be talked to in regards to what is wrong or right. What is your opinion is fine, but bringing it into a thread about Macross character figures is, IMO, not the place for it. That's the only thing I'll say about it because I don't care about it one bit. I like anime, I like the figures, and I don't judge or criticize anyone for where their opinion is on it, so long as they aren't judging others about it.
-
I never got any of the Yeti stands, but was considering getting quite a few of them. Then I saw that there was none.
-
Looks great. Are you the one that pulls the files off of the game, or someone else? If so, I'd like to know how it's done. I'd like to work on one of these.
-
Hachette Collection 1/24 VF-1S (subscription collectable)
Jasonc replied to CF18's topic in Model kits
I keep trying to find these issues, only to see that all the regular places are sold out. Aside from hlj, does anyone else have places where they're being sold? I also know about CD Japan. -
No worries. The last break was me just being a bit too strong with putting things together. I was able to get the arms and legs to close together, which required a bit of filing and sanding, but as I'm test fitting parts, I realize that when this thing is done, it's going to be quite solid. I really like how all these parts fit and lock together. I'm a big fan of this valk. The only one I'd really, really want though, is the VA-3 Invader. @Xigfrid, care to take a stab at that one? I'd probably buy 3 of that one for all the variations.
-
So, who got a preorder in? I got mine in, but they went really fast. I'm excited to get this version, but now I will most likely be selling off my older YF-29 with the armor parts.
-
Thanks. Im really out of supplies. I can't work on anything at this point until I get thinner, but its so close.
-
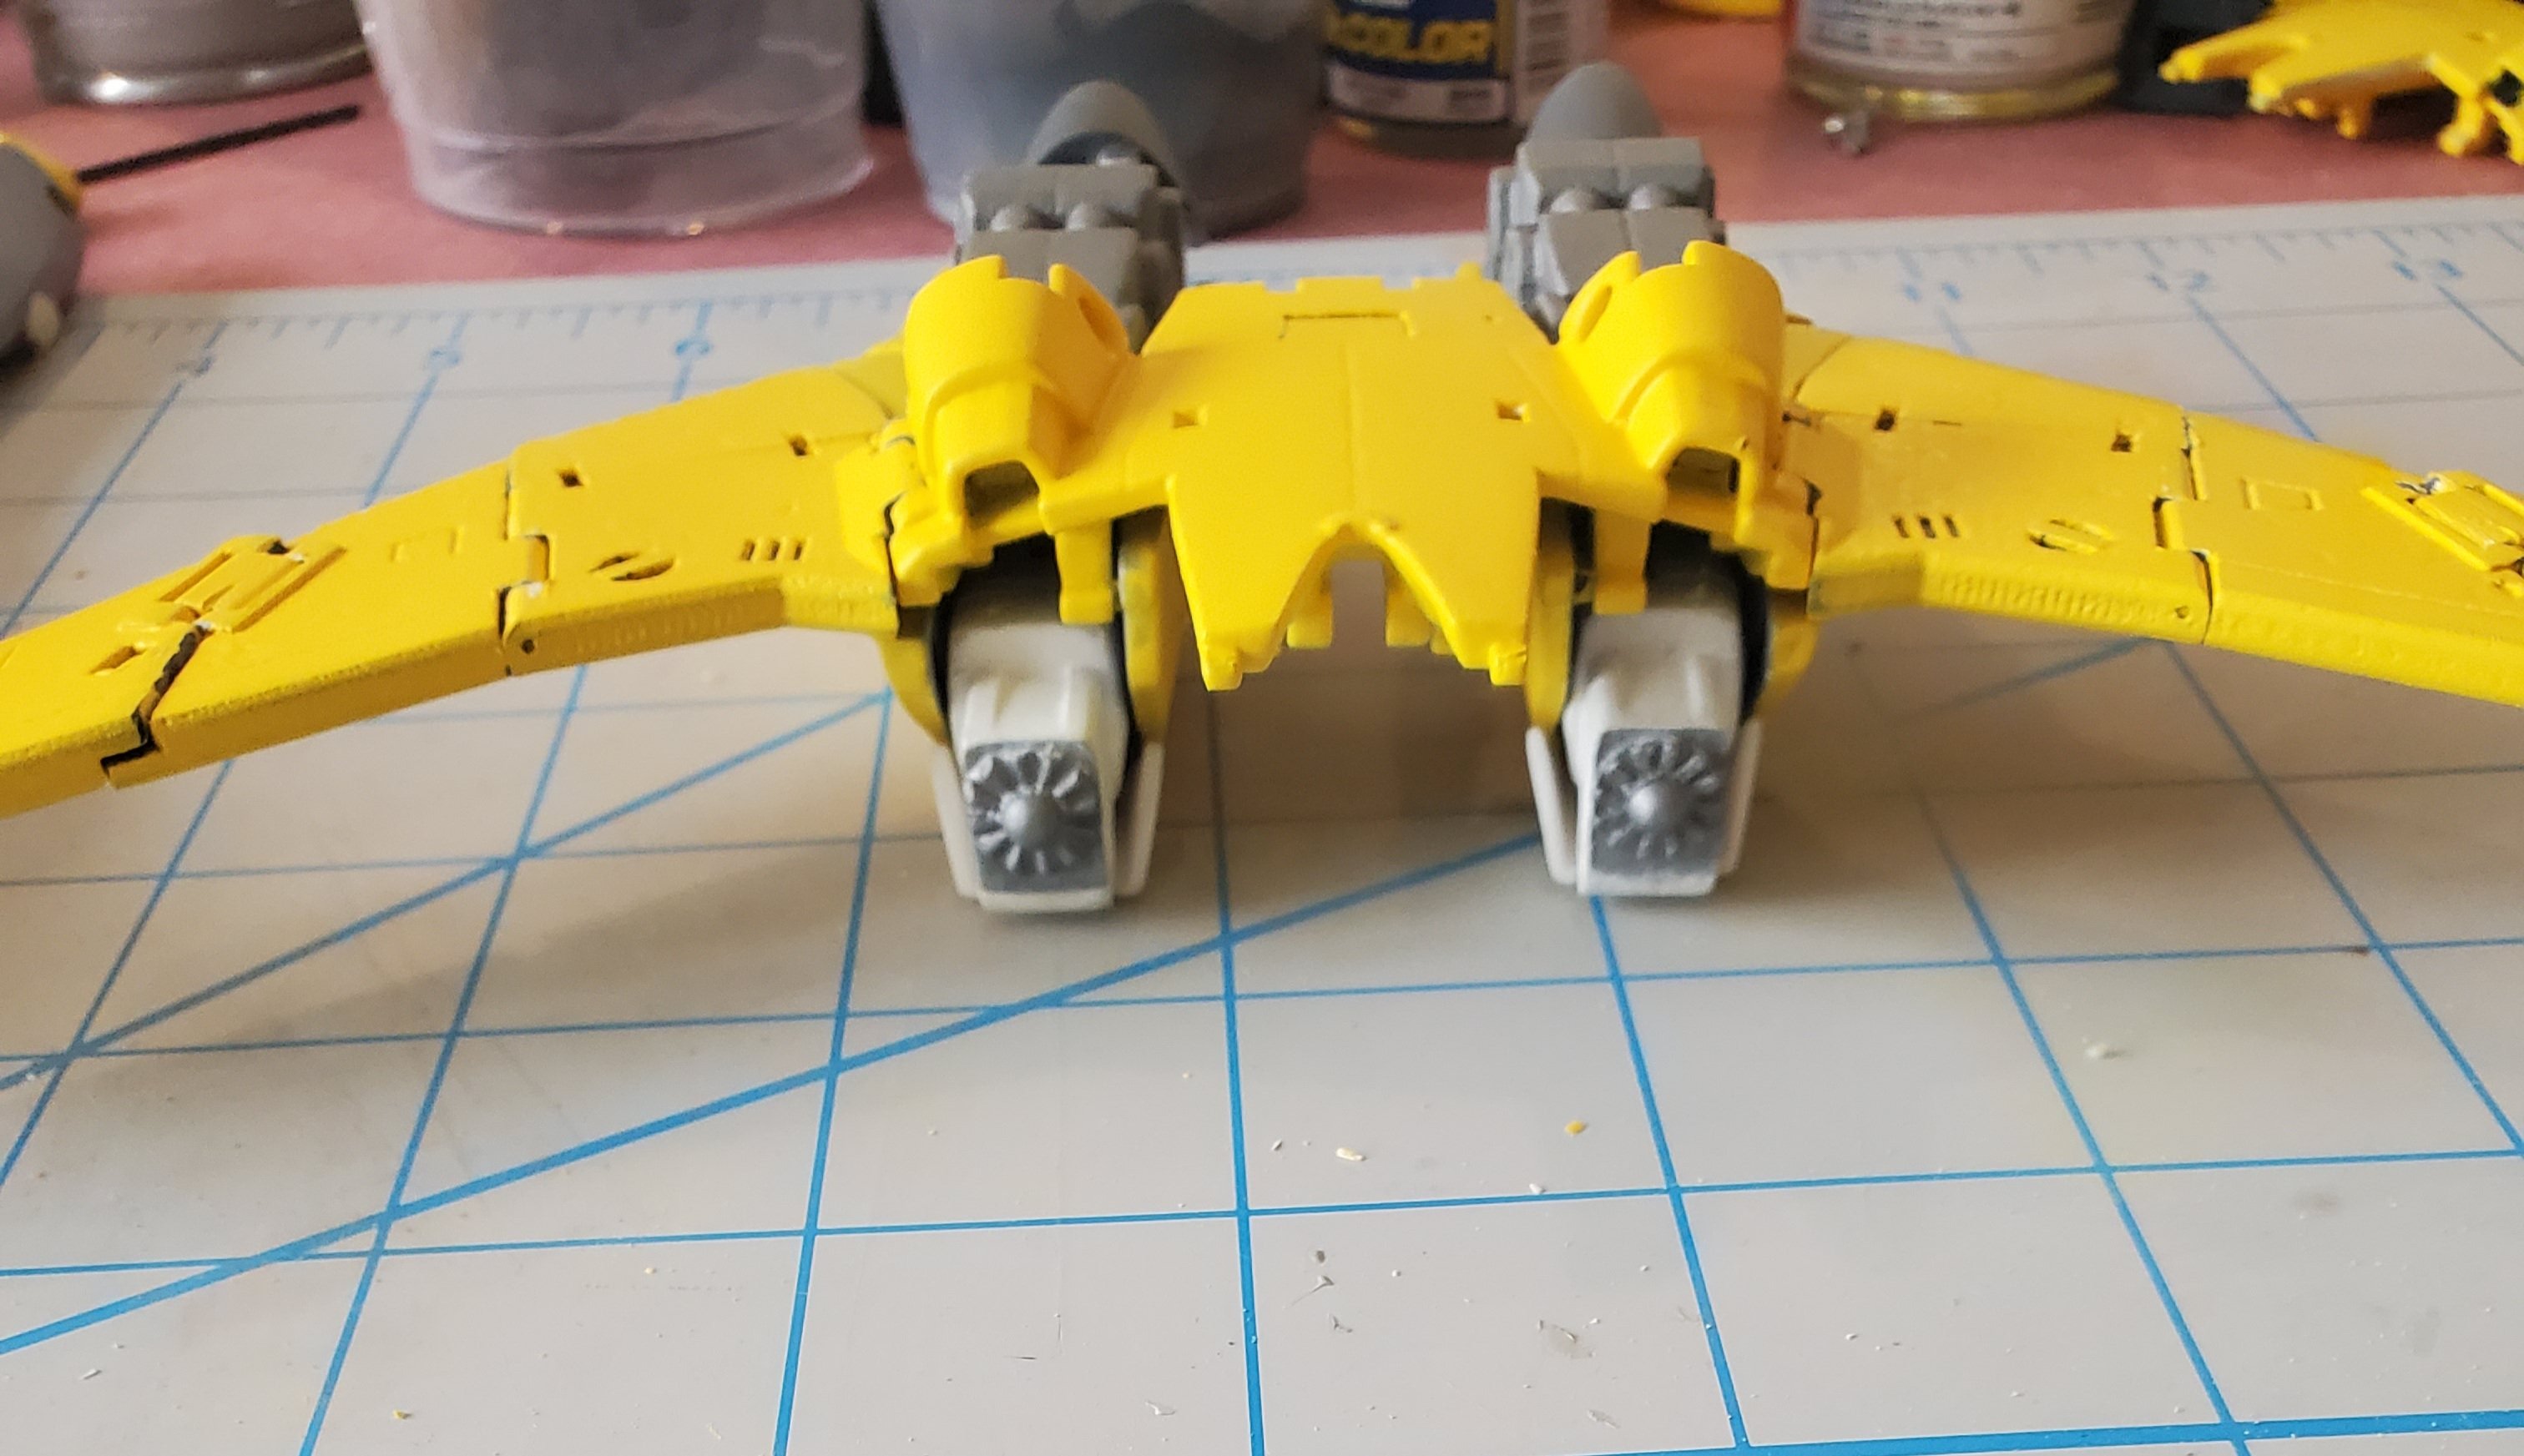
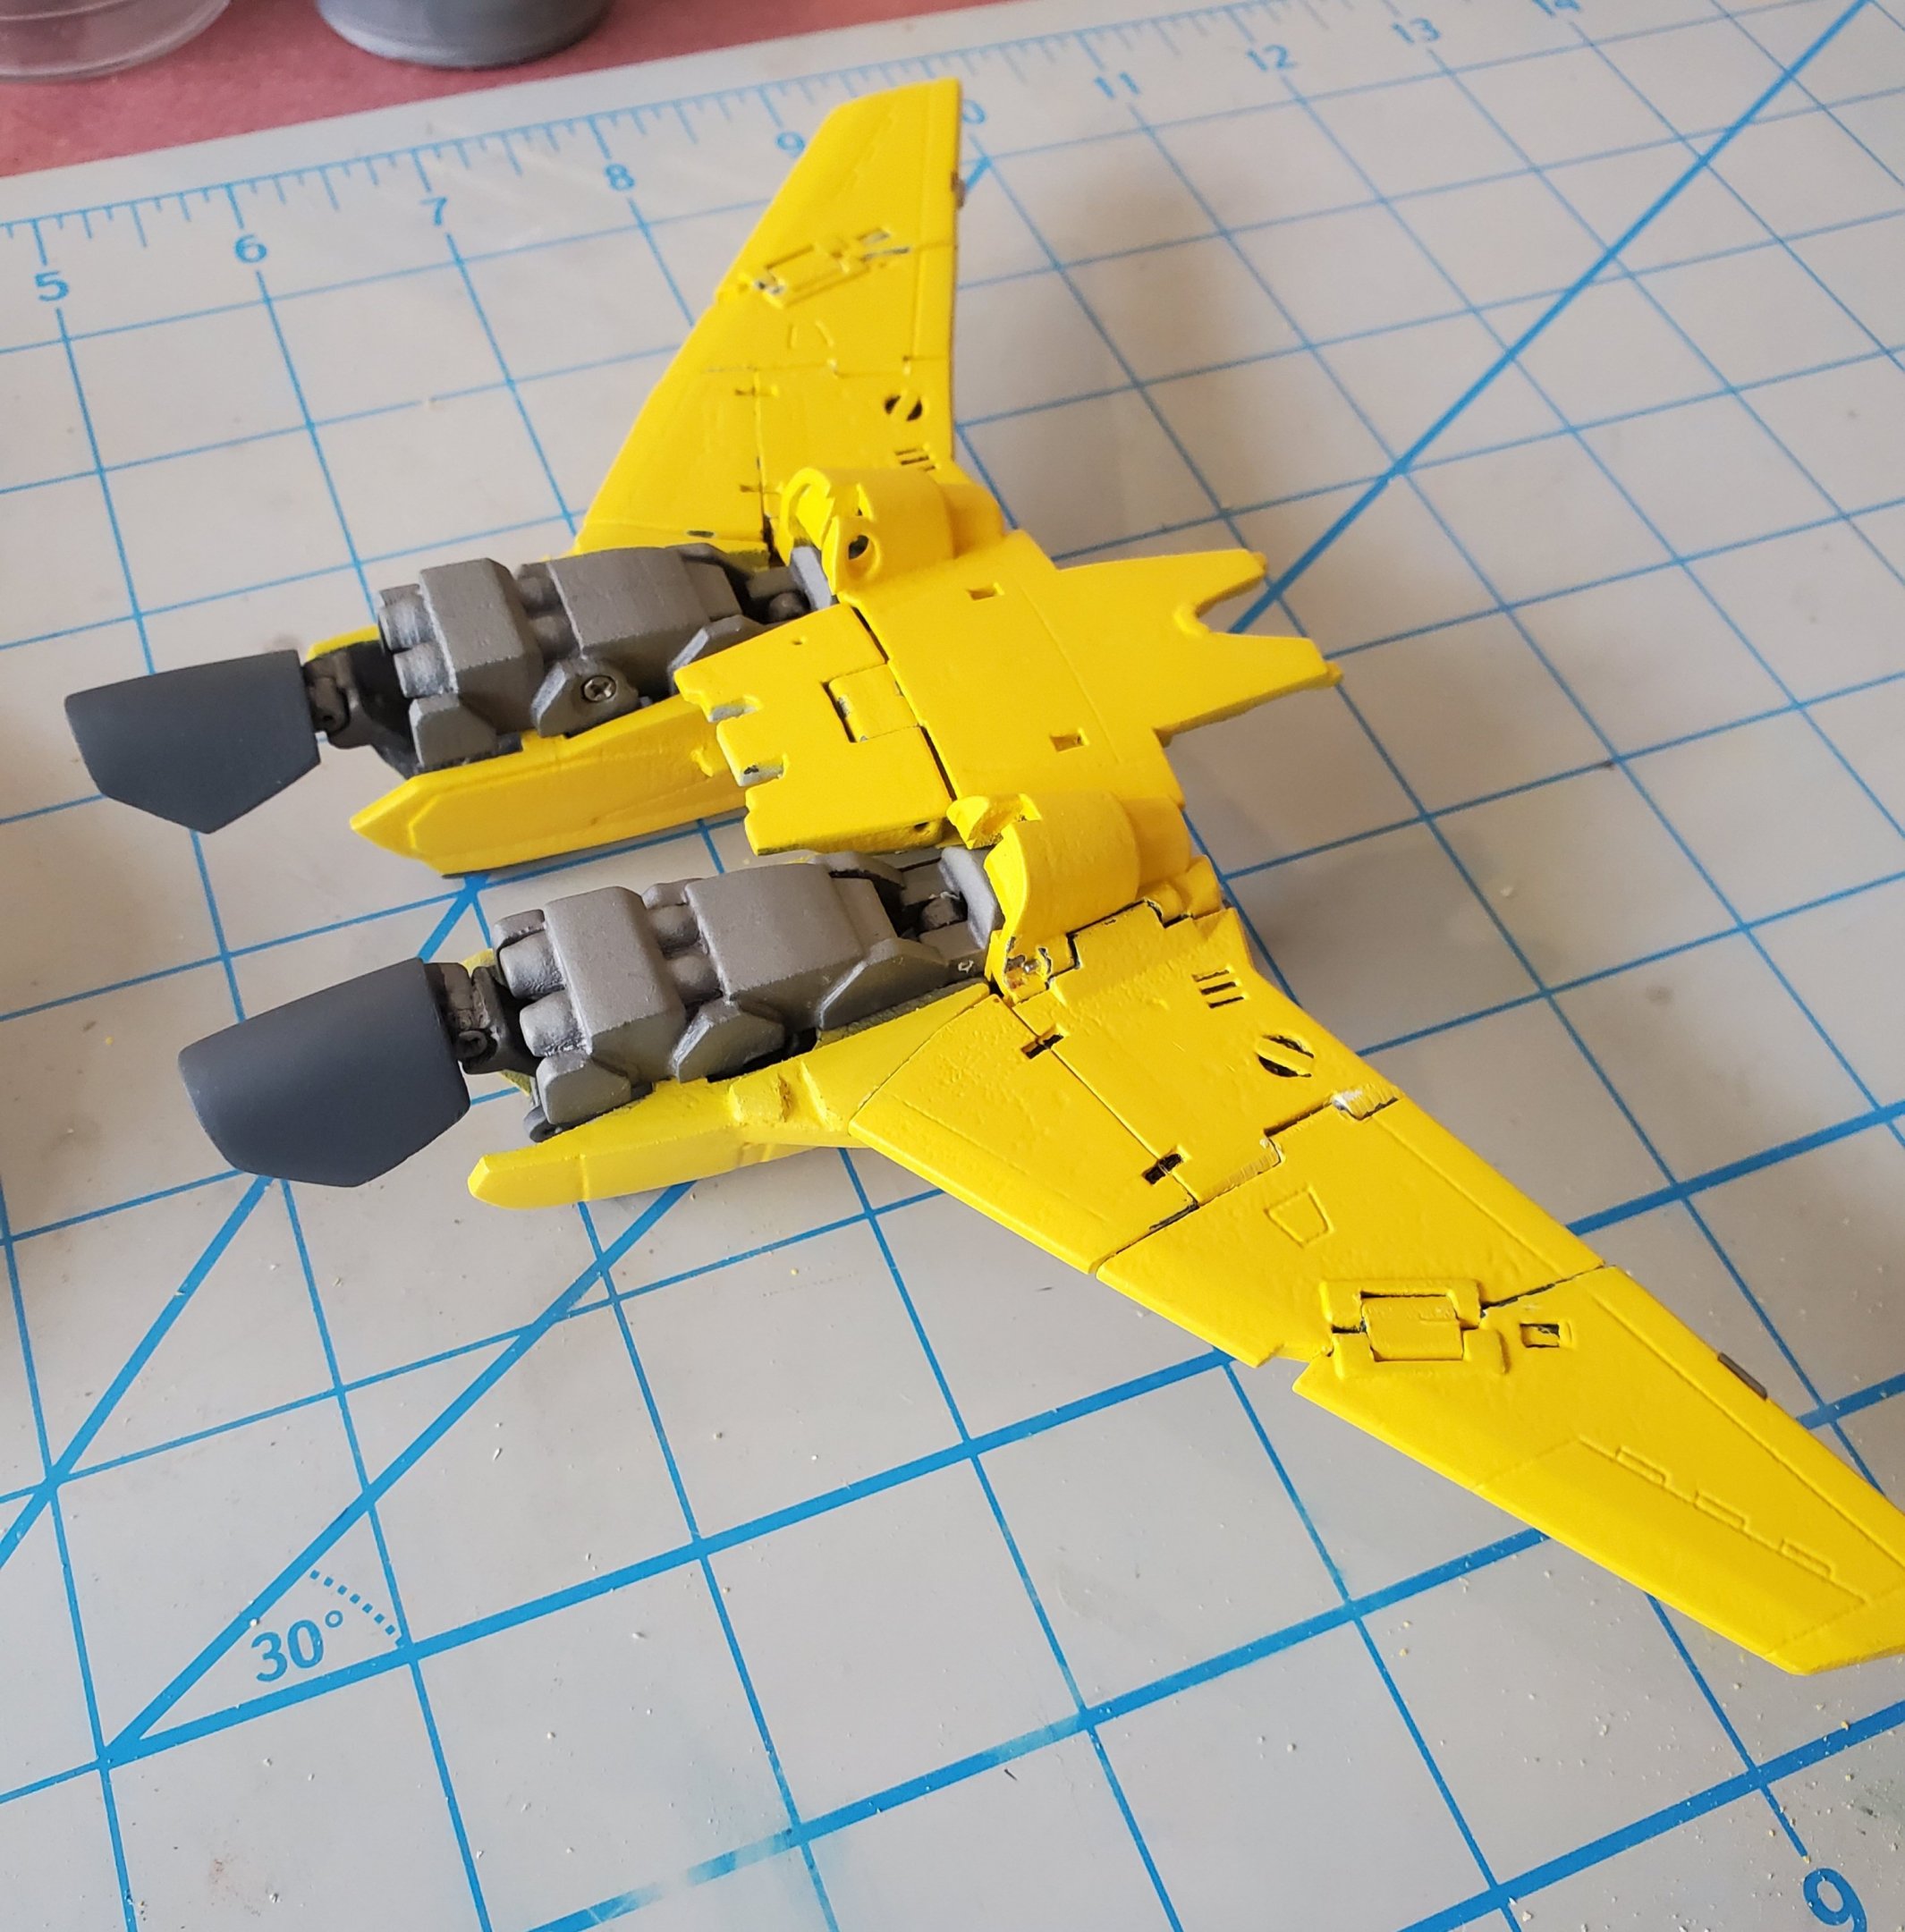
That said, I just tested the wing connection to the legs, and the fit is perfect.
-
Tonight I had a piece break, and I was so close to finishing. I was attaching the legs to the body, and the connector that attaches the two halves broke off. Yikes!!! It's going to take me a little longer, but during the time that I wait, I can at least work on some of the details I have been avoiding, Like the red pin striping, and some finishing coating on the finished parts. I have the arms just about done, so I'm just waiting on more red paint and thinner to get here. I will be printing the decals on dry rub paper, so I'll be experimenting with that.
-
I'll be in for one of these. I've always liked the design, and the armor/fast pack set for them makes it look cool. I hope all the fixes come out well, and I do hope they do a non-glossy look to it as well. I won't expect it, but seeing what they did with the VF-31, I have some hope that they can update this properly. I do have all of them except for Ozma's, so I hope in me getting this one, that they decide to re-release that one as well.
-
The real method to it is just time, and lots of coats of primer. I usually first sand, and don't wash the sanded part, as a lot of the dust ends up filling the porous material. right after that first sand, I primer, then let dry. Then I scribe in the panel lines again, and then sand using a lighter grit sandpaper. At that point, I use a dry lint free towel, and rub off whatever was taken off, then prime again. I follow this about 4 times, leaving a really uniformly smooth surface. After that, then I use the colored paint. then use the Mr Color (or Mr Hobby UV cut flat, once all the color is on, wait 24 hours, and then onto the next set of things to do. I'm working on the arms now, and because I didn't touch these parts yet, I'm starting from the very beginning. I wish I would've started on the basics a long time ago.
-
Any update on this head unit?
-
I haven't been in this thread for awhile, and that paint job Xigfrid looks great. I plan to do 2, so I'm doing the MtR version, then the original paint color scheme (the one Valhary is doing stickers for.