

wm cheng
-
Posts
4329 -
Joined
-
Last visited
5 Followers


Recent Profile Visitors
24696 profile views


wm cheng's Achievements
")
SMS Squadron Leader (11/15)
558
Reputation
-
Absolutely gorgeous!!!
-
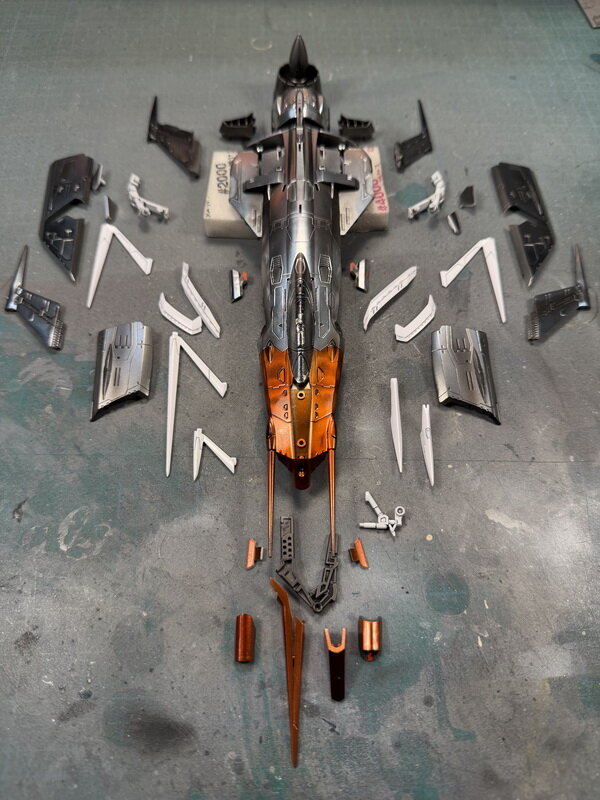
@Chas Looking good! That tiny Max looks amazing. You should do a panel wash on them! OK, I think I'm finally done the painting! So many little parts all in different shades, it felt more like Lego in the end! Decided to do the wing folding mechanism in that interior yellow/green color like the old WWII Zeros The chrome Alclad is so delicate and fragile that if I leave a fingerprint on it, and try to wipe the finger-print off, it takes the silver off exposing the black gloss coat underneath. I hardly ever use Chrome but it seems to be the most delicate. The other colours like polished aluminum stainless steel or magnesium or dark aluminum seem fine, only the Chrome. It also didn't like the orange clear I put over top (maybe because I used Mr. Color leveling thinner in it and it reacted to the thin chrome underneath). Oh well, I can't really strip it down without damaging more than the fix. I'm learning all the time! It's so much smaller with the finds all folded up! It's crazy how well Bandai engineered their kits but they know nothing about aircraft design or mechanics and unfortunately, the landing gears look like "robot arms" instead of aircraft gears. I've put it next to my previous model of the Cosmo Zero I built over 15yrs ago and this makes that look like spray painted silver instead of real metal. (unfortunately the chrome is so fragile). All that's left is my favourite stage which is decaling. I don't think I will put a weathering wash over top as I don't think the Chrome paint can take anything on top.


-
Thanks @Big s, I have tried just adding water to it and it doesn't do much. When you first get it, the particles of clay are so fine that its like super thin paint, but over time (like several years) those particles seem to clump into bigger particles that don't flow as nicely as it was brand new. The best thing about it is that its water, totally non-reactive to anything beneath it. If I add alcohol to it, it would make the solution reactive to some things beneath it, losing its best quality. I always knew the surface prep was key, the better the prep, the better the paint job - but like a child who doesn't like to brush his teeth (even though you know better) 😛 I always skimp on surface prep because it's part of sanding which I hate and never have enough time for. Now that the Entertainment Industry is in the dumpster, I have a bit more time, and having a nice well engineered kit that just falls together means I can spend the time I usually take fixing and detailing to spending some time on the black undercoat for a Alclad Metallic finish. I've always interpreted the Cosmo Zero greys in the anime as a chromed silver and wanted to try to replicate that. I actually sanded down the gloss Mr. Color black with 6000-8000-10000 sanding sponge which I hardly ever do unless I'm trying to remove a canopy seam. Boy was that worth it! I haven't ever gotten such a chromed effect from all my years using Alclad Metalizers before, I could almost see myself in it! I broke down the parts to get some different shades like Stainless, Magnesium and Steel as well. Now I just have to have enough patience to not touch it for a while to let everything cure.


-

Kitz Concept Toy Thread 2.0
wm cheng replied to Stampeed Valkyrie's topic in Anime or Science Fiction
It's totally stable to stand on its own. Maybe not in super one-legged dynamic kicking poses, but the static standing and reverse kneeling for entry its totally stable. My main complaint is all the separate little switches to turn all the lights on and off are a pain, but otherwise a great toy. -
Hey @derex3592, I noticed you use Flory too, its the best - however do you find that after a little while, it settles into little tiny particles and no matter how much you shake, it seems to be a solution of sludge with particles in it and doesn't flow as well as when you first get it? Is there a way to revive old Flory (really only left in the bottle for a couple of years)? It's expensive to ship it across the pond every few years so now I'm trying the Tamiya panel liner stuff, but its enamel so I have to be much more careful what my paint underneath will be. I just wished Flory stuff stayed viscous. I'm starting something new to scratch that Straight-Out-Of-Box itch that my previous J-20S weren't able to do 😛 Man, Japanese plastic is such a pleasure!

-
The 'Hey look at this really cool model build I saw' post
wm cheng replied to Shawn's topic in Model kits
Wow! That's gorgeous!!! -
@pengbuzz Sorry for the sad news, you and the Mrs. have our thoughts and prayers. We are with you in spirit; you are not alone. It's gotta be a better year! 🙏
-
Weathering looks great! Yes, I have 2 of the FineMolds kits and 2 Hasegawas and now I'm going to be collecting the new Tamiyas all of which haven't been built - looks like I may never get to my old Hasegawa. That's the problem falling in love with this plane and not getting around to building them till a better company puts out a better kit to put the older stuff to shame. I even have all the old Verlinden resin upgrades from the 90s - argh, now with the Quinta 3D printed cockpit controls or MCC nozzles and landing gears with hydraulic lines, it just makes the old stuff laughable.
-
Kitz Concept Toy Thread 2.0
wm cheng replied to Stampeed Valkyrie's topic in Anime or Science Fiction
Yeah, same here. Not a big fan of that horizontal blue bar across the main opening piece though. -
Hey @Urashiman that GWH Tomcat is a very nice kit! (one of the best around until the 1/72 Tamiya F-14 came around). I loved how it gave the option for down flaps, slats and even spoilers. Too bad the rear RIO coaming is too narrow and you really have to build it with the canopy closed. Your weathering is looking amazing!
-
Hey did anyone ever release a cockpit/canopy upgrade to their previous line of 1/72 resin models where the cockpit and canopy were a combined resin piece which made it impossible to paint the cockpit interior?
-
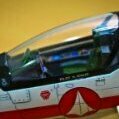
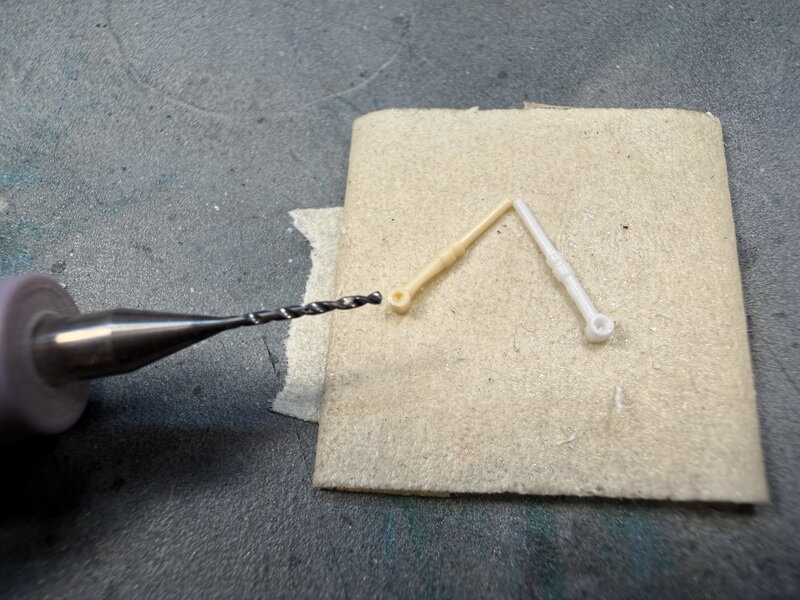
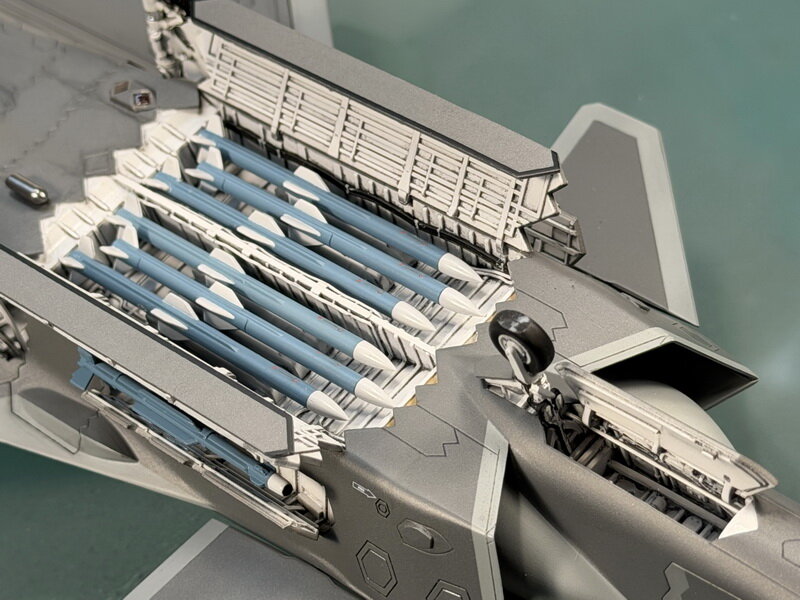
One last thing to finish up was to make those CADs in the front of the underside of the canopy - being white against a black background made them stand out and I couldn't have the canopy opened without them. Luckily I built a few Hasegawa valkyries in flight mode which gave some nice small spare hydraulic actuator structs that I can scavange. That and the metallic pod underneath (don't really know what it is, my guess its some anti-stealth device to make the aircraft visible to civilian radar during training exercises and I can finally call this finished! I had wanted to complete it by the end of the year, but a week and half late is better than never. At least I've learned how to do the metallic greys for the F-22 & F-35 now. I'm really liking how this turned out, so different than when I had first planned to have a OOB build with the landing gears up in flight mode (because I saw how plain the landing gear details were and also it didn't come with pilots so I couldn't justify the flight mode, but when I started to detail the open bays, I found extra pilots in my FineMolds Phantom) I wished there were some decent aftermarket upgrades for these newer Chinese birds in 1/72 - but unfortunately everything I found was for 1/48. Now I'm not so afraid of my 1/72 Fujimi F-22 - really nice kit, but the landing gears are god awful, so simplistic and again lacks the torque links, so when I'm in the mood to beat myself up again, I might have to scratch build and detail those up myself as I can't find any detailed 1/72 gears for the F-22. Now I'm looking for a decent J-35 kit in 1/72, anyone heard of UMa model (I think they are a Hong Kong company)


-
Oh nice! I'm loving this little build (my first Speed Champions) it's so amazingly designed. Now that I see the Knight Rider truck, we need the Doc Enterprises white truck to go with the Delorean! There needs to be the white Lotus Esprit from the Spy Who Loved Me that parts swap to the sub!!!

-
Nice! I just ran out to pick up the Delorean myself! It was getting sold out at a few local Lego stores and completely backordered online, so I was lucky to find it at a physical store. The figures are better than the big Delorean!
-
Hey @derex3592 - it has happened to me before, but it usually lightens back up once you've clear coated it over with a super flat clear coat again. Super flat finishes scatter the light differently than glossy surfaces and often appears lighter. It might not get you back to exactly the lightness you had, but it should get you back at least 85% to where you were. Very nice pre-shading BTW!
