EastwindS2k
-
Posts
132 -
Joined
-
Last visited
Content Type
Profiles
Forums
Events
Gallery
Everything posted by EastwindS2k
-
That’s a repaint of a Calibre Wing’s F14 right? If so good work
-
Great work! I’m panel lining a standard one and my progress is slow. After seeing yours, maybe I’ll add glowing paint too. Do you matte coat before or after applying the glowing paint? Also do glowing paints need thinner?
-

Star Trek: Picard (CBS All-Access)
EastwindS2k replied to UN Spacy's topic in Anime or Science Fiction
This is not Star Trek to me -
He said get to the choppa! lol
-
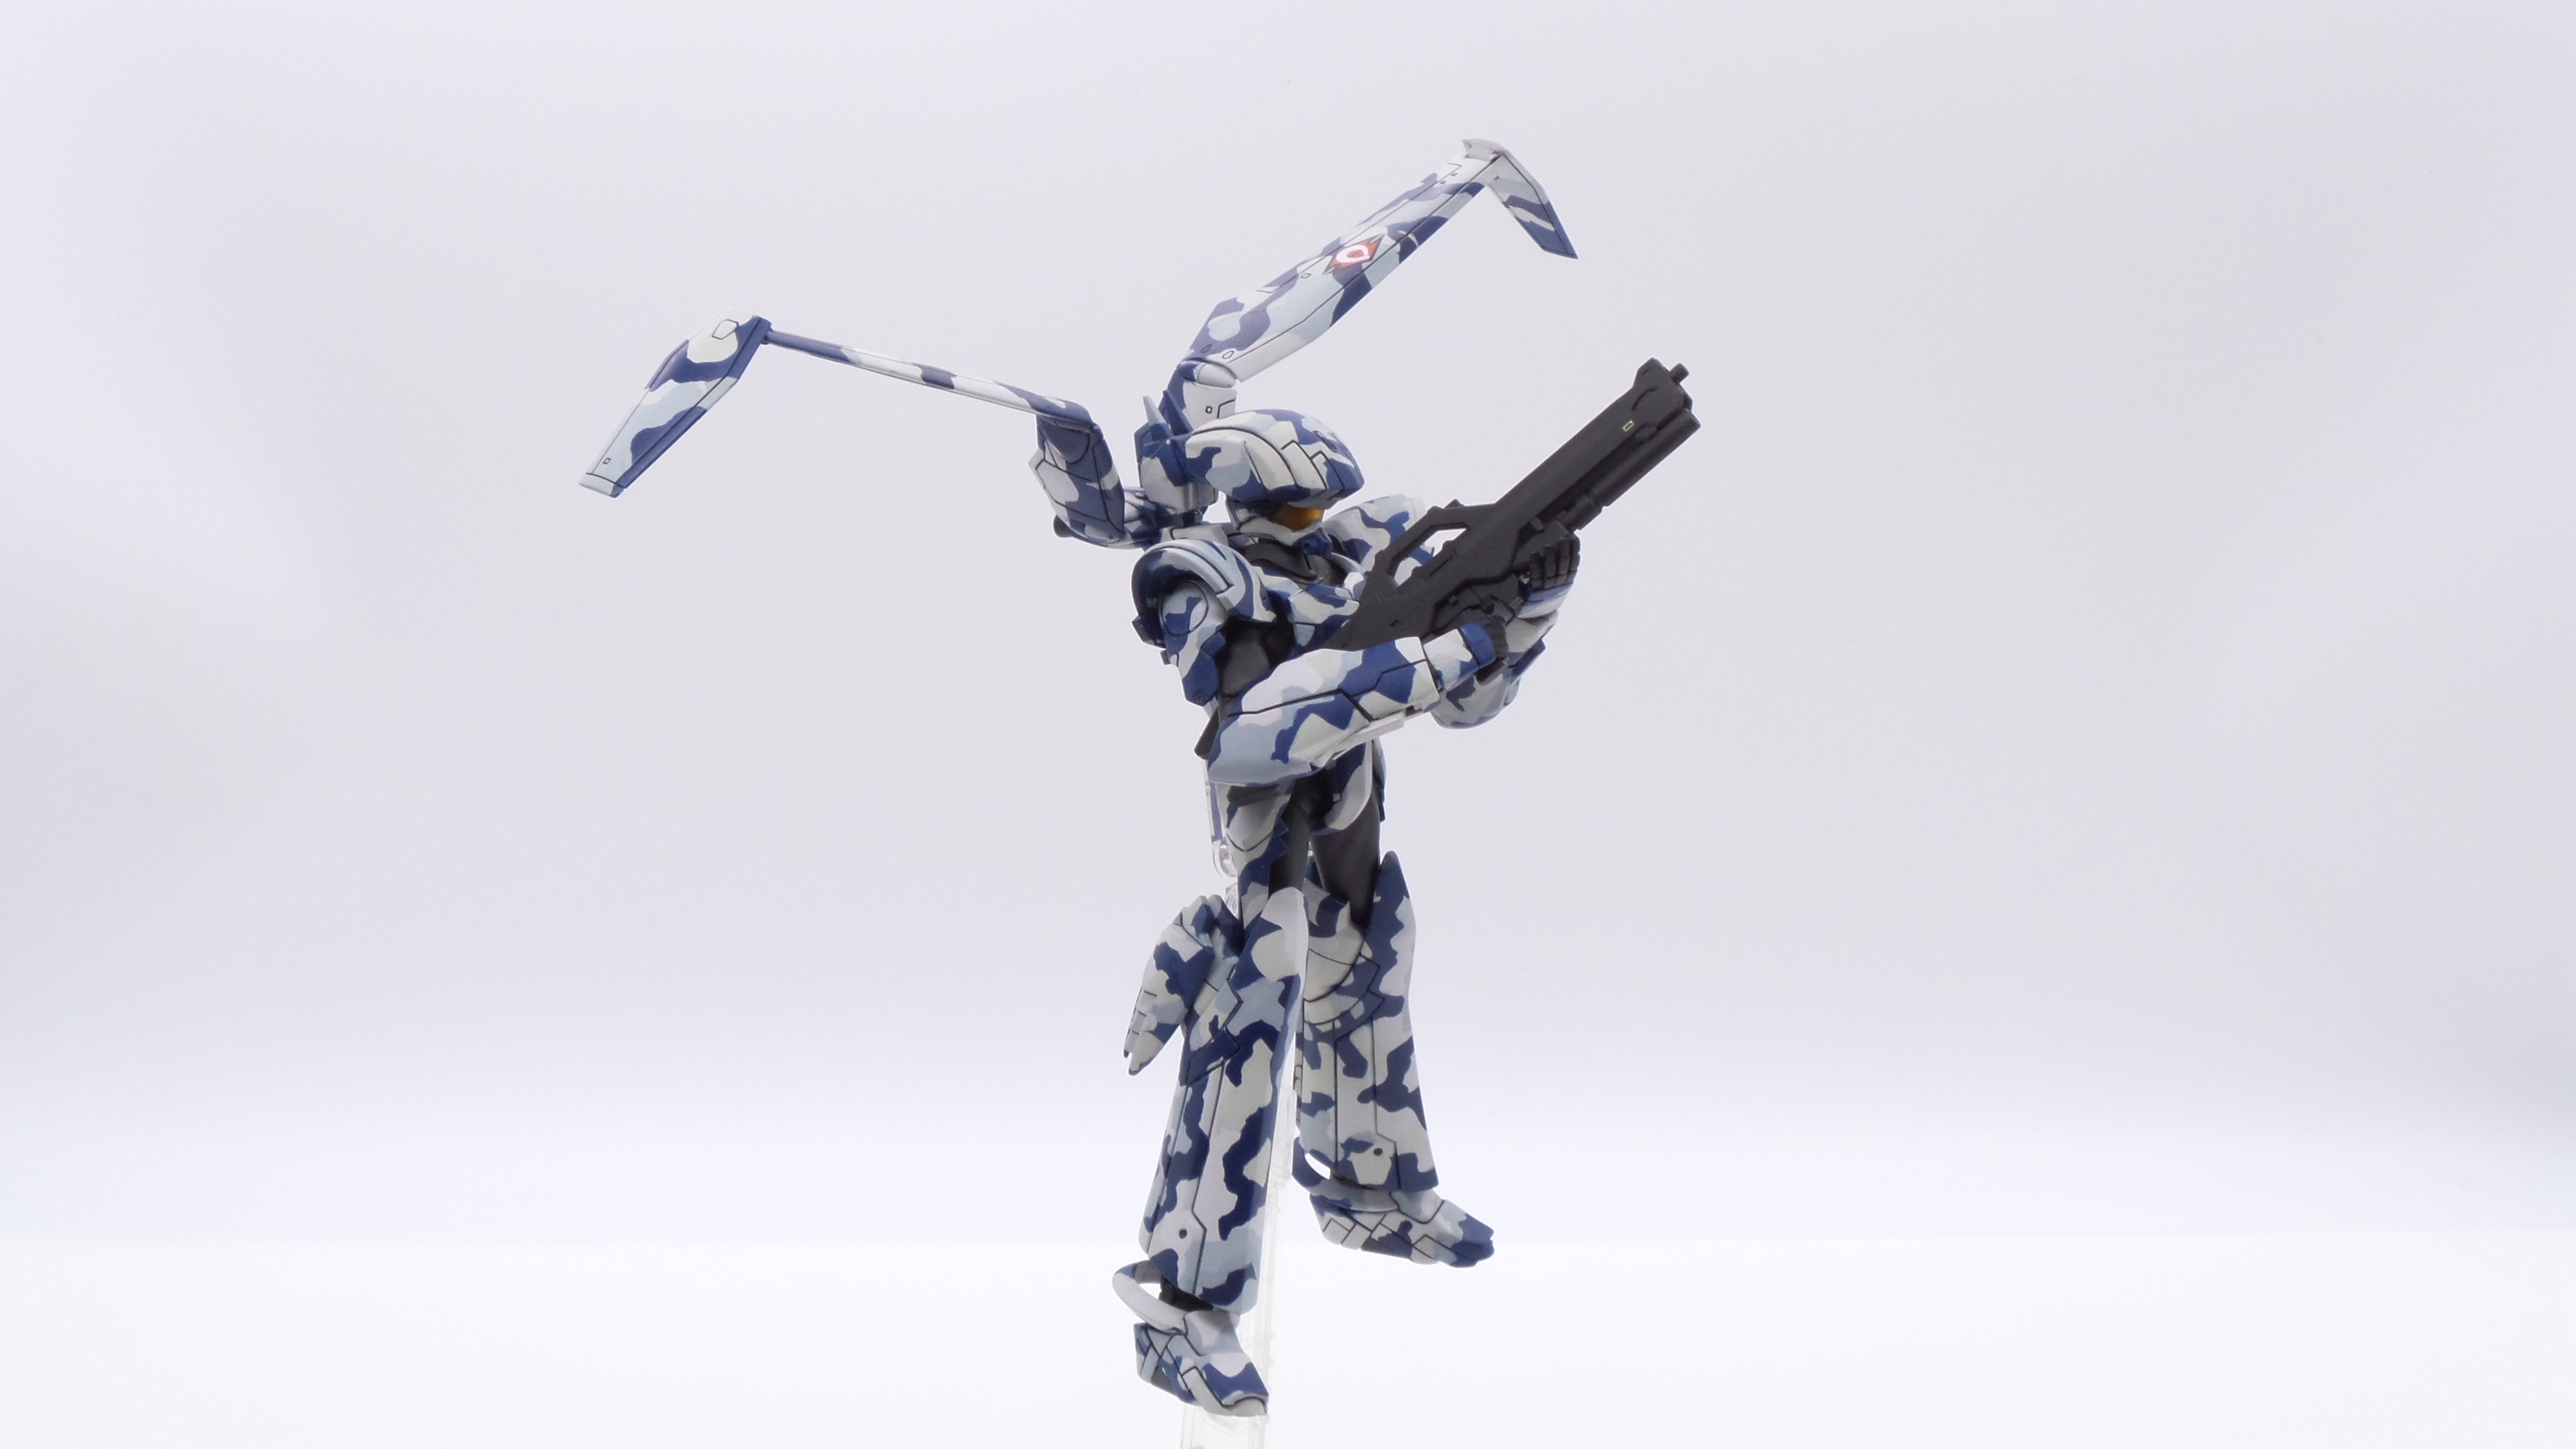
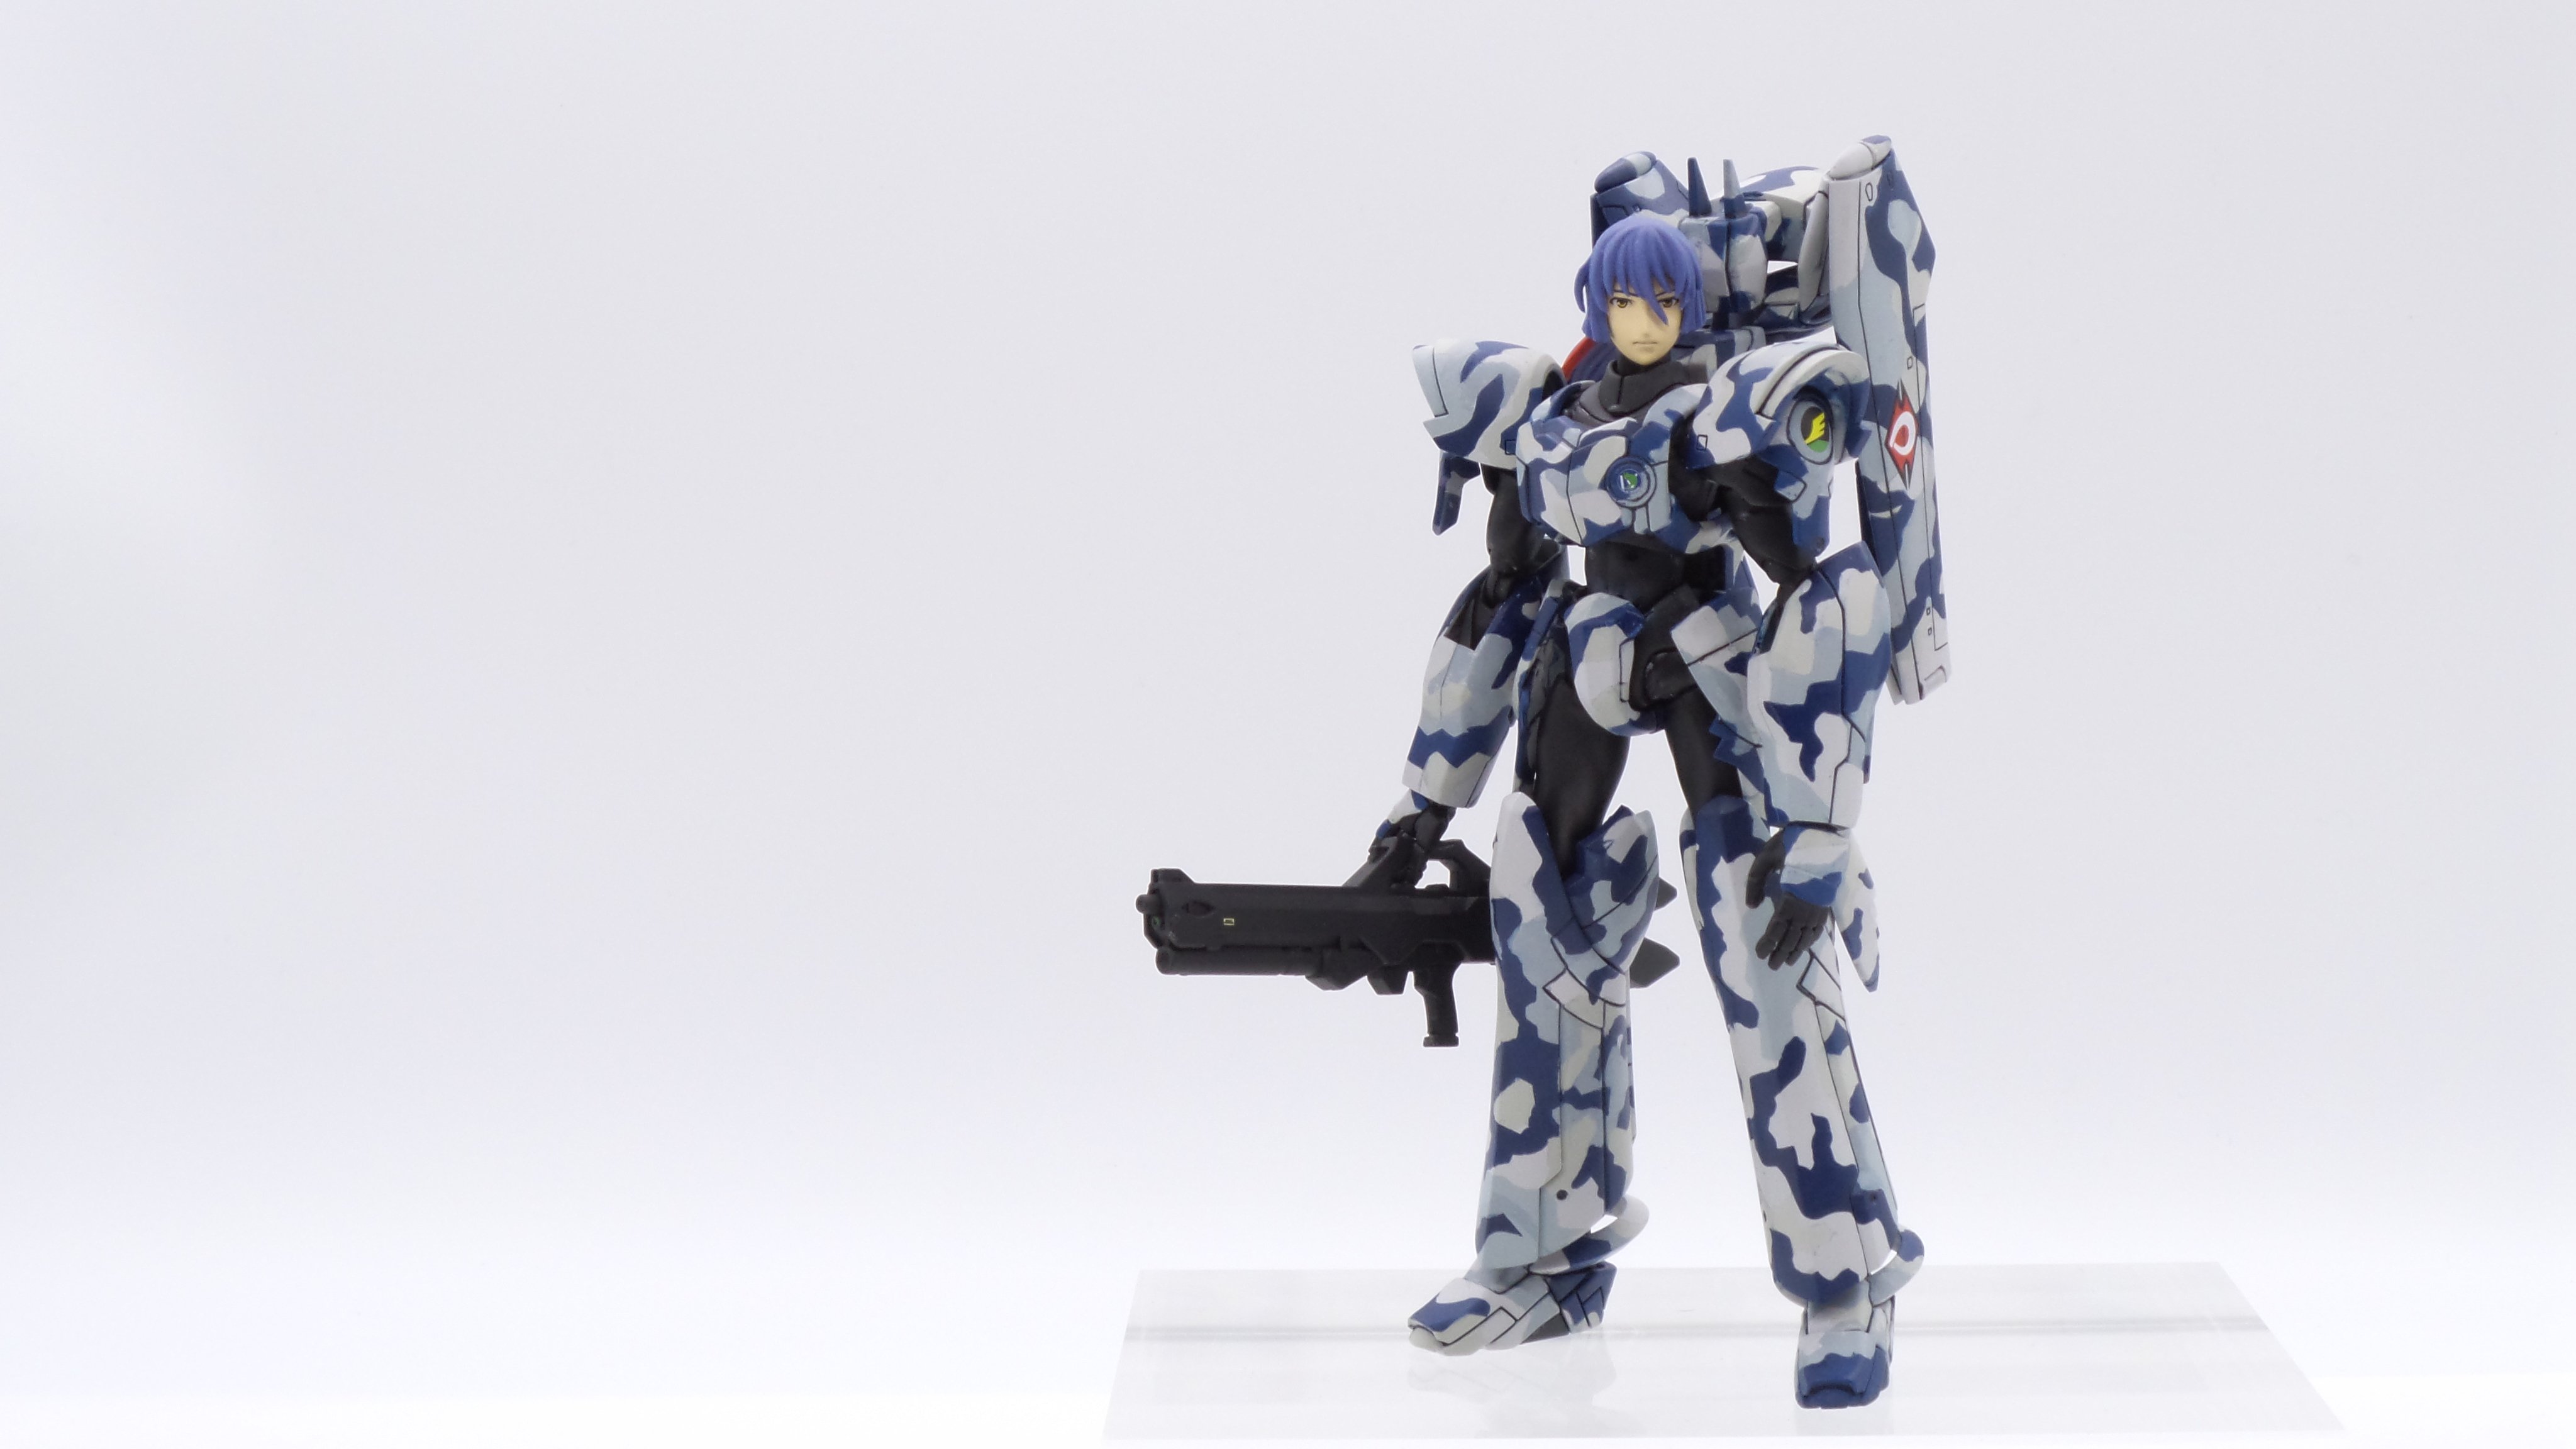
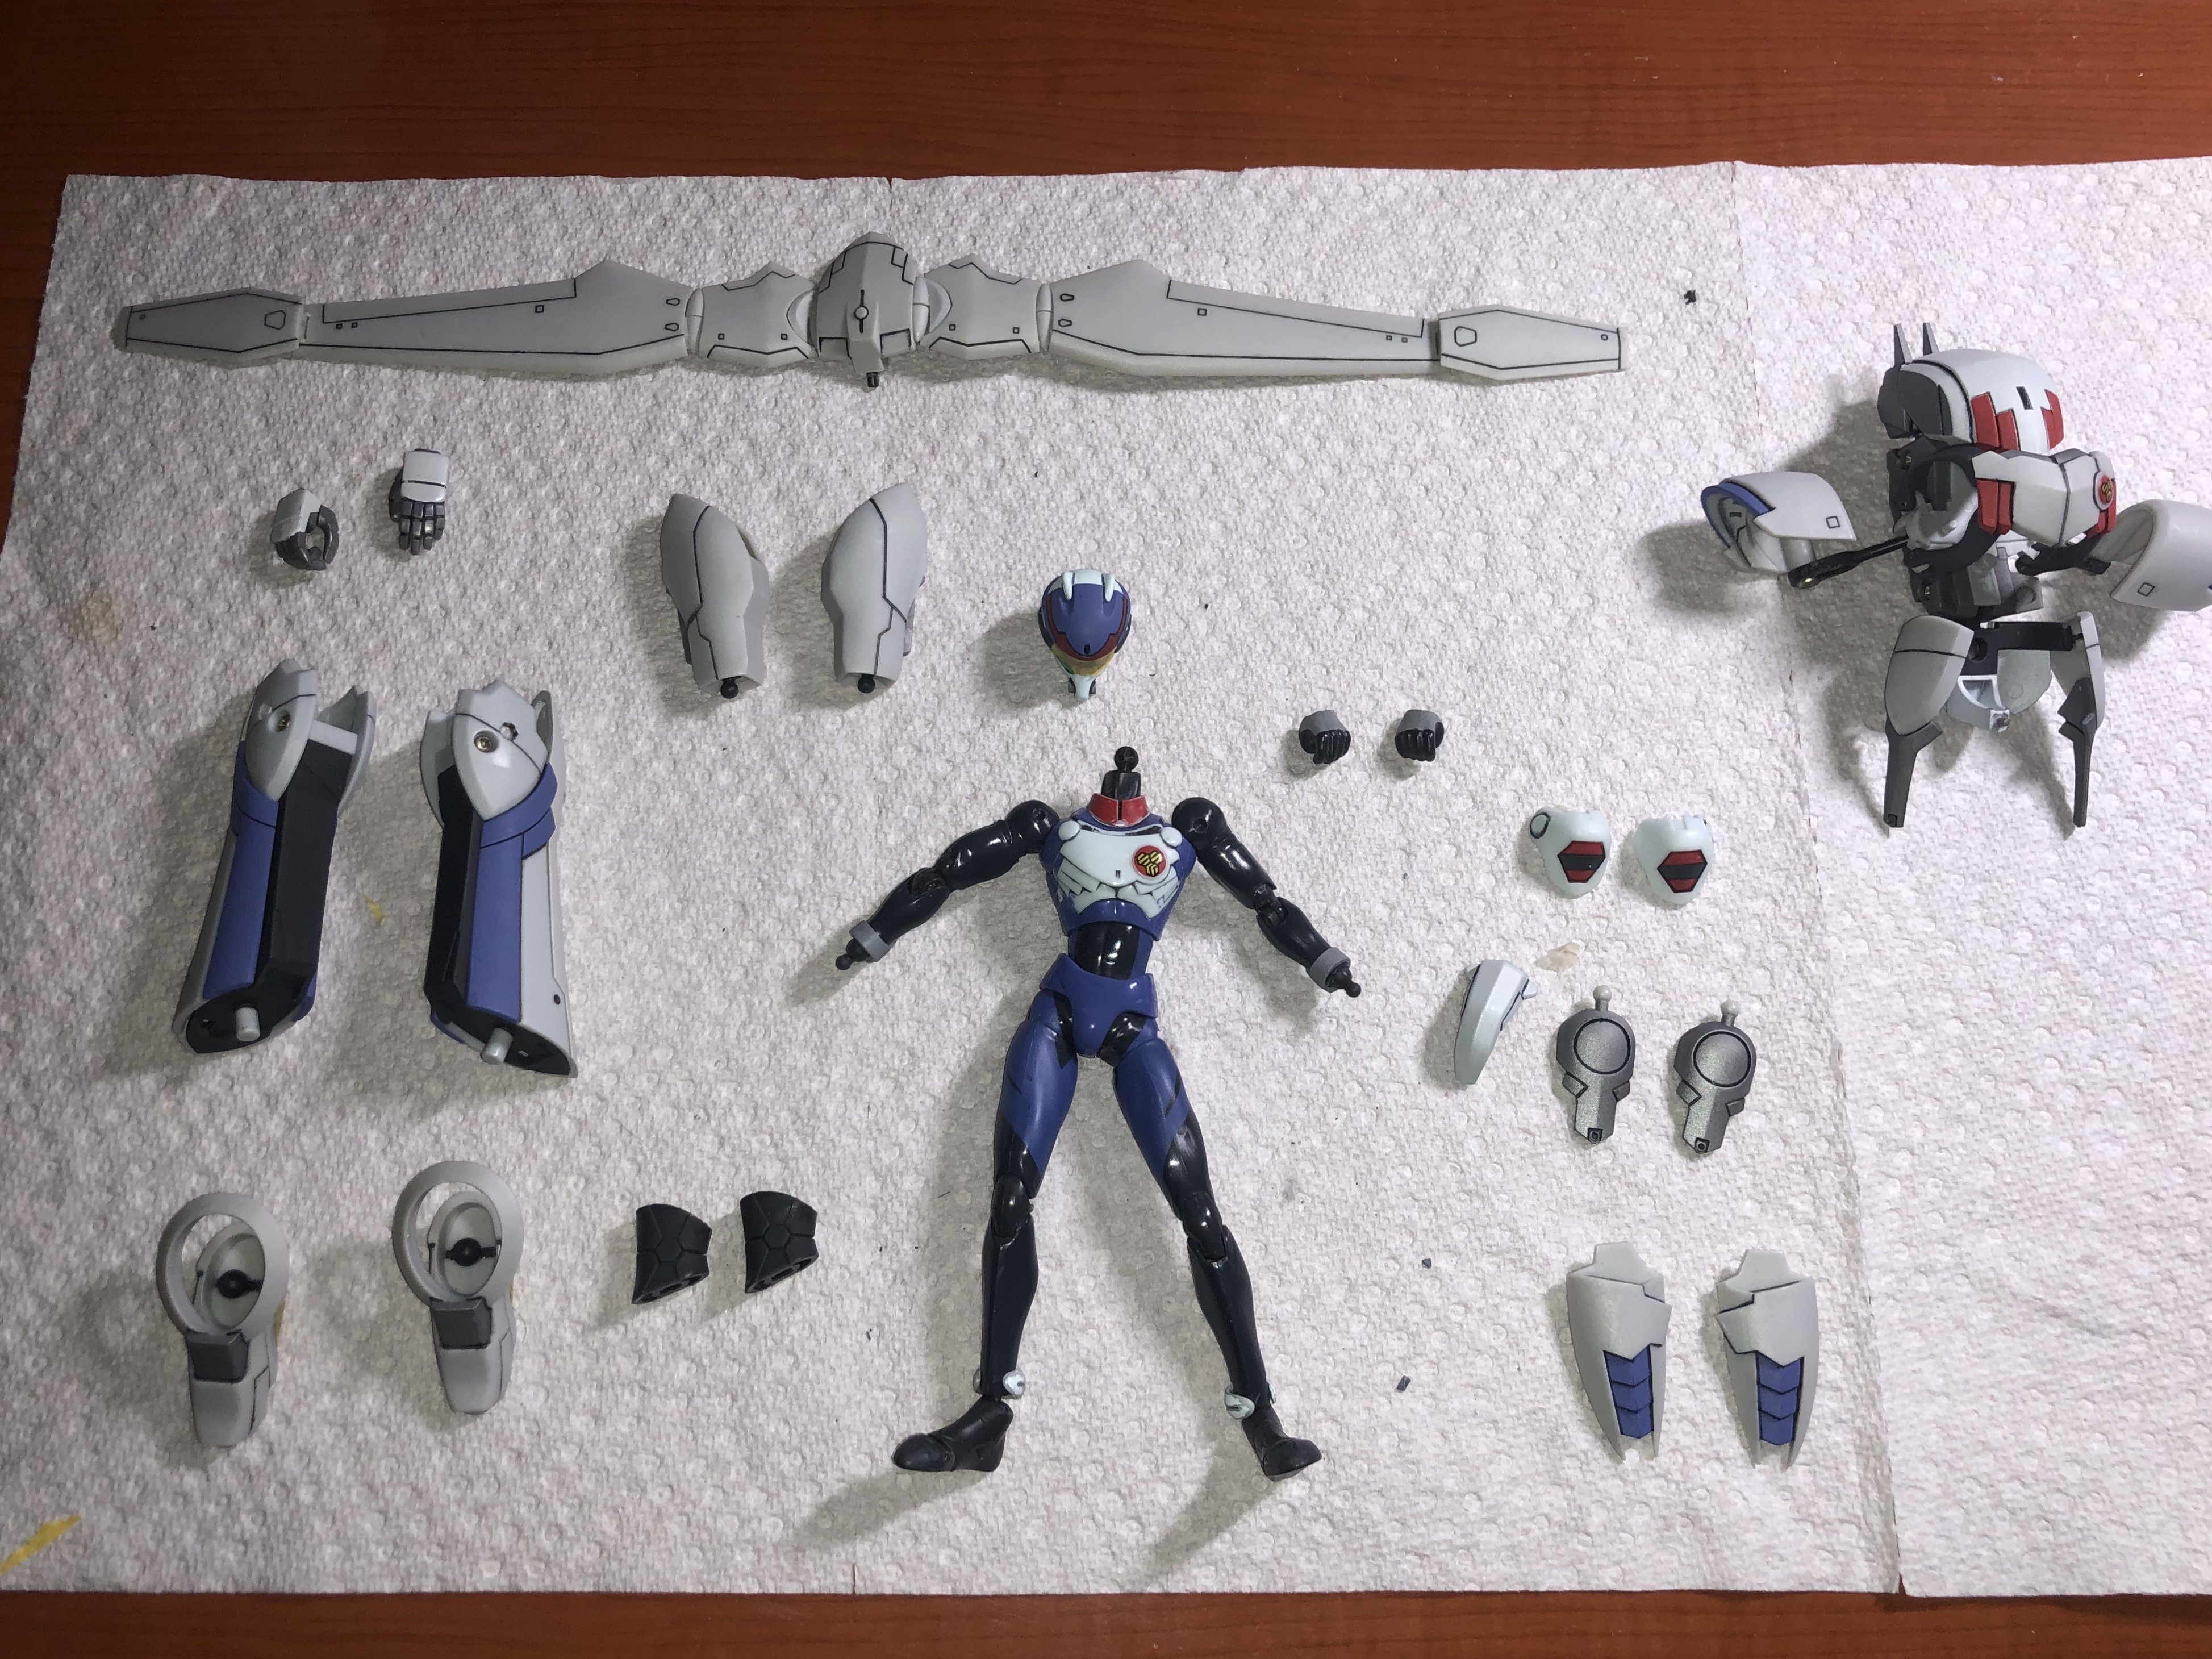
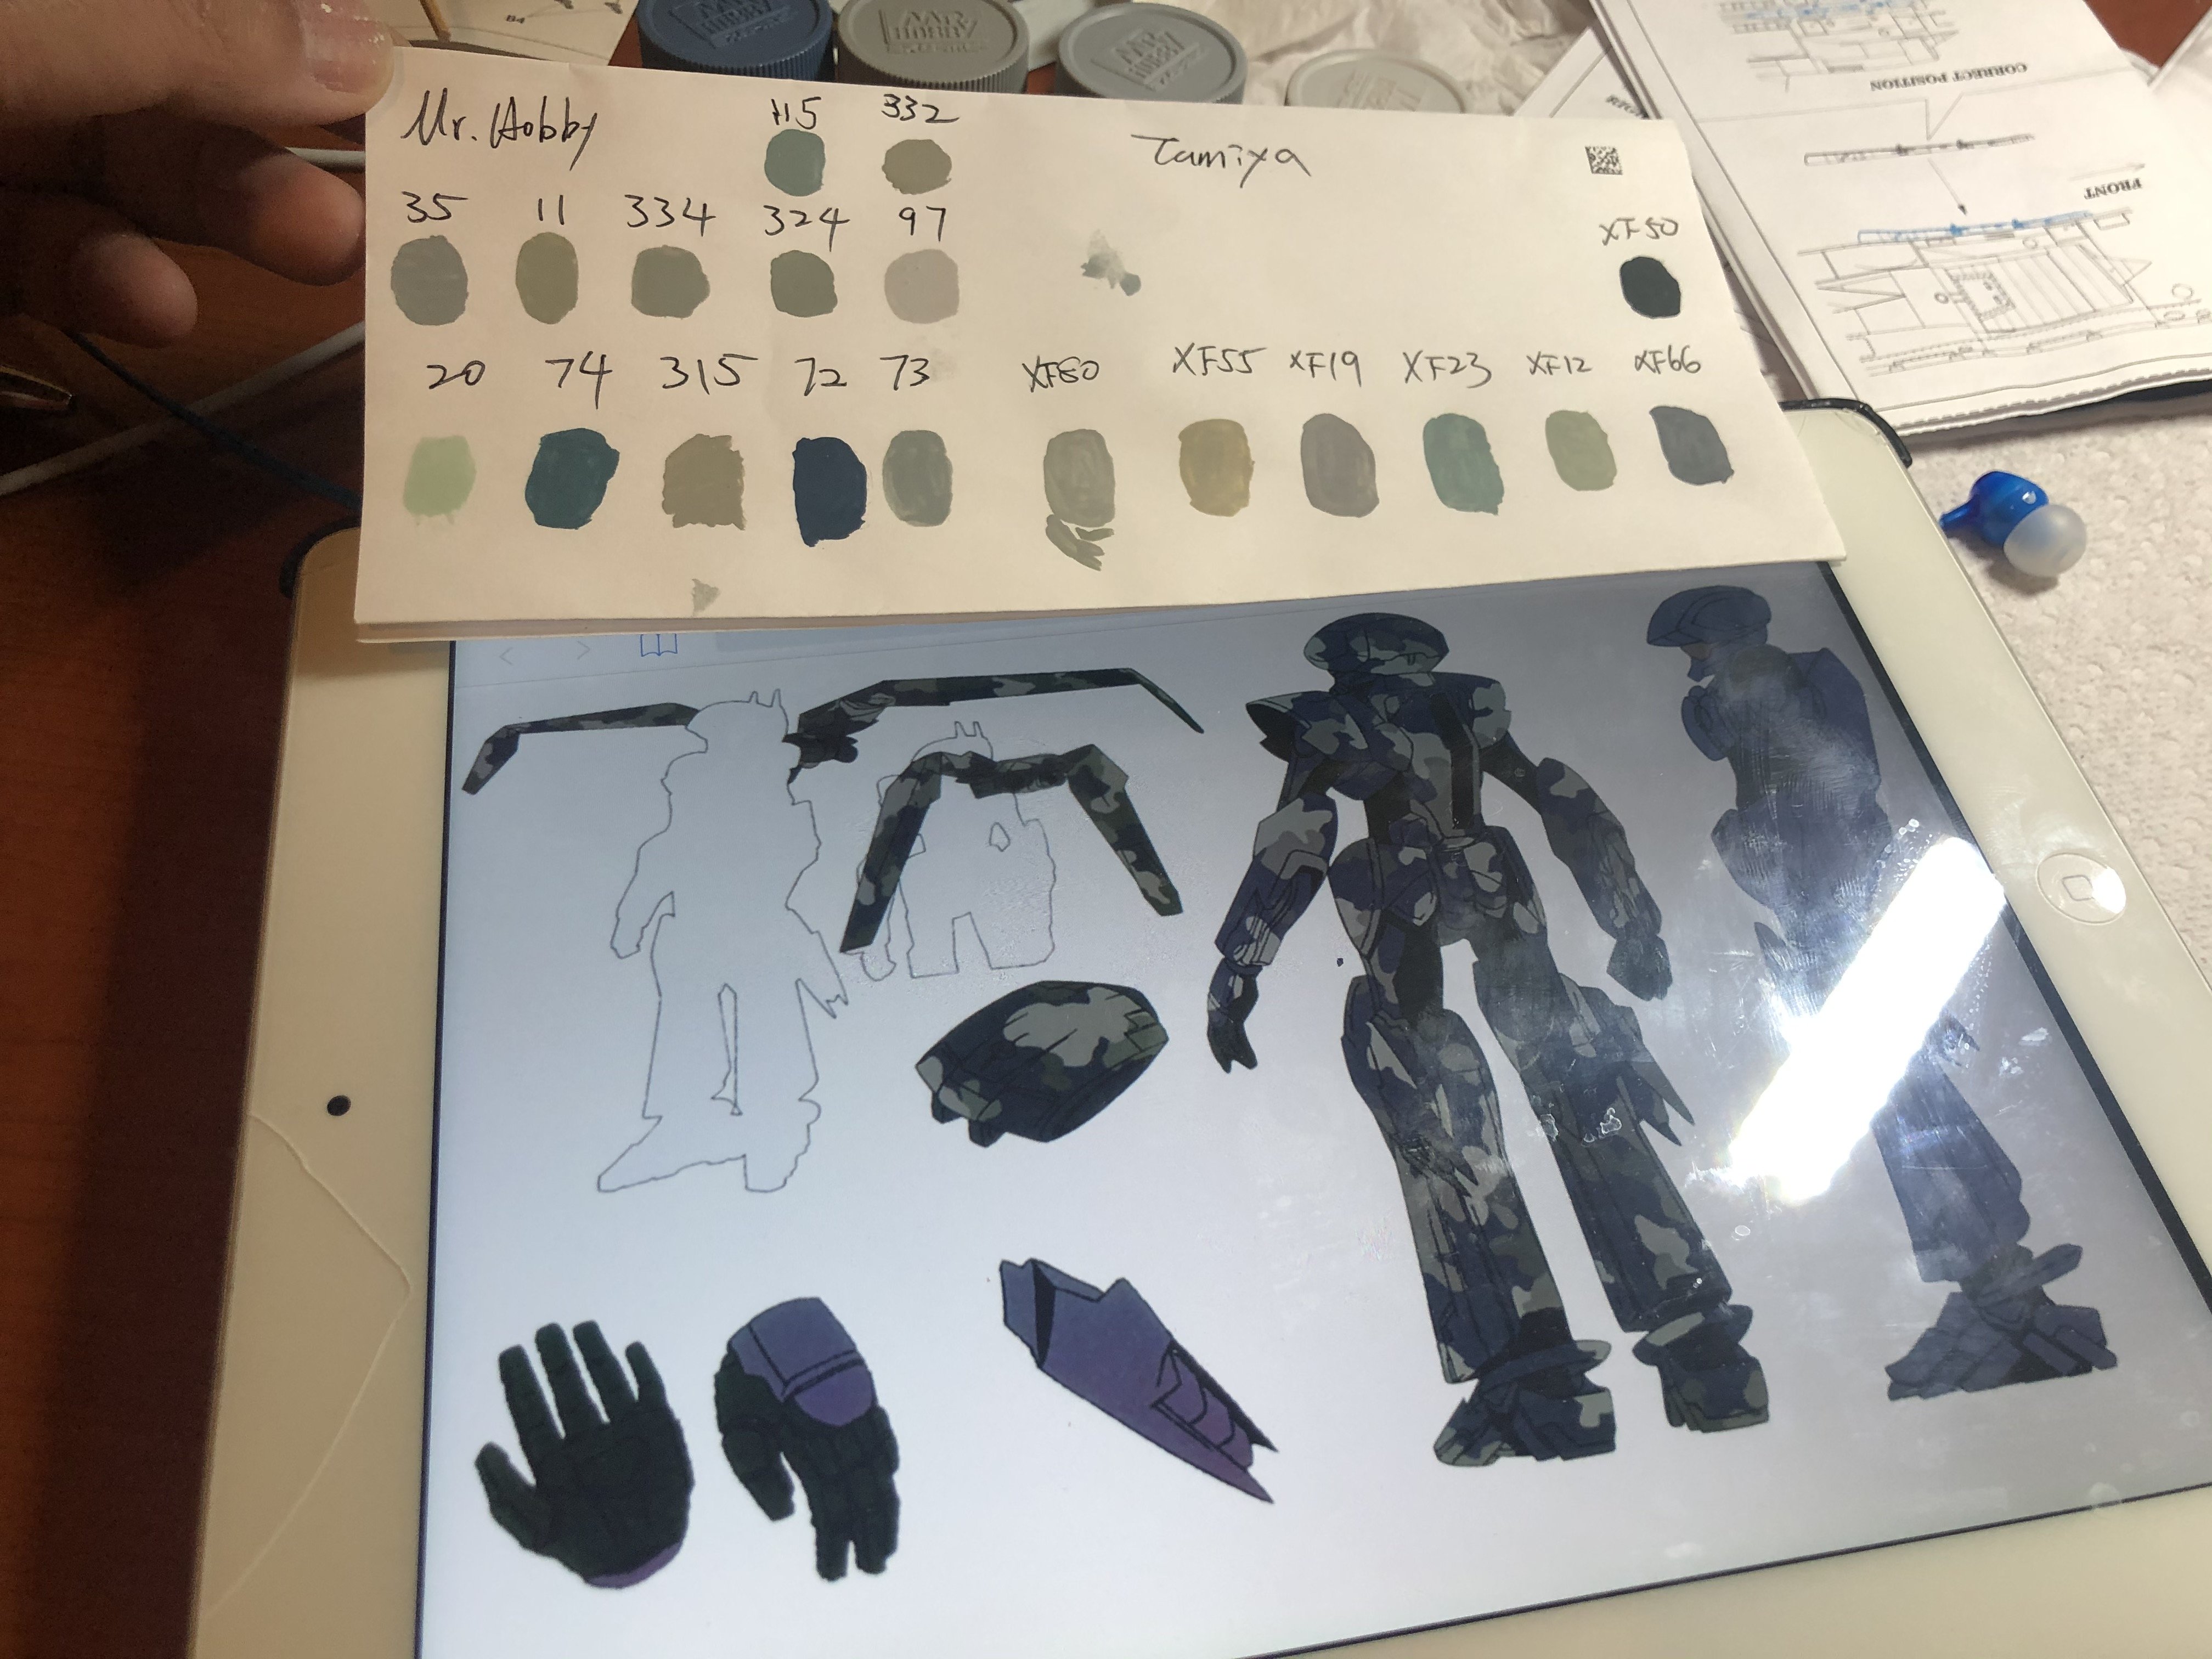
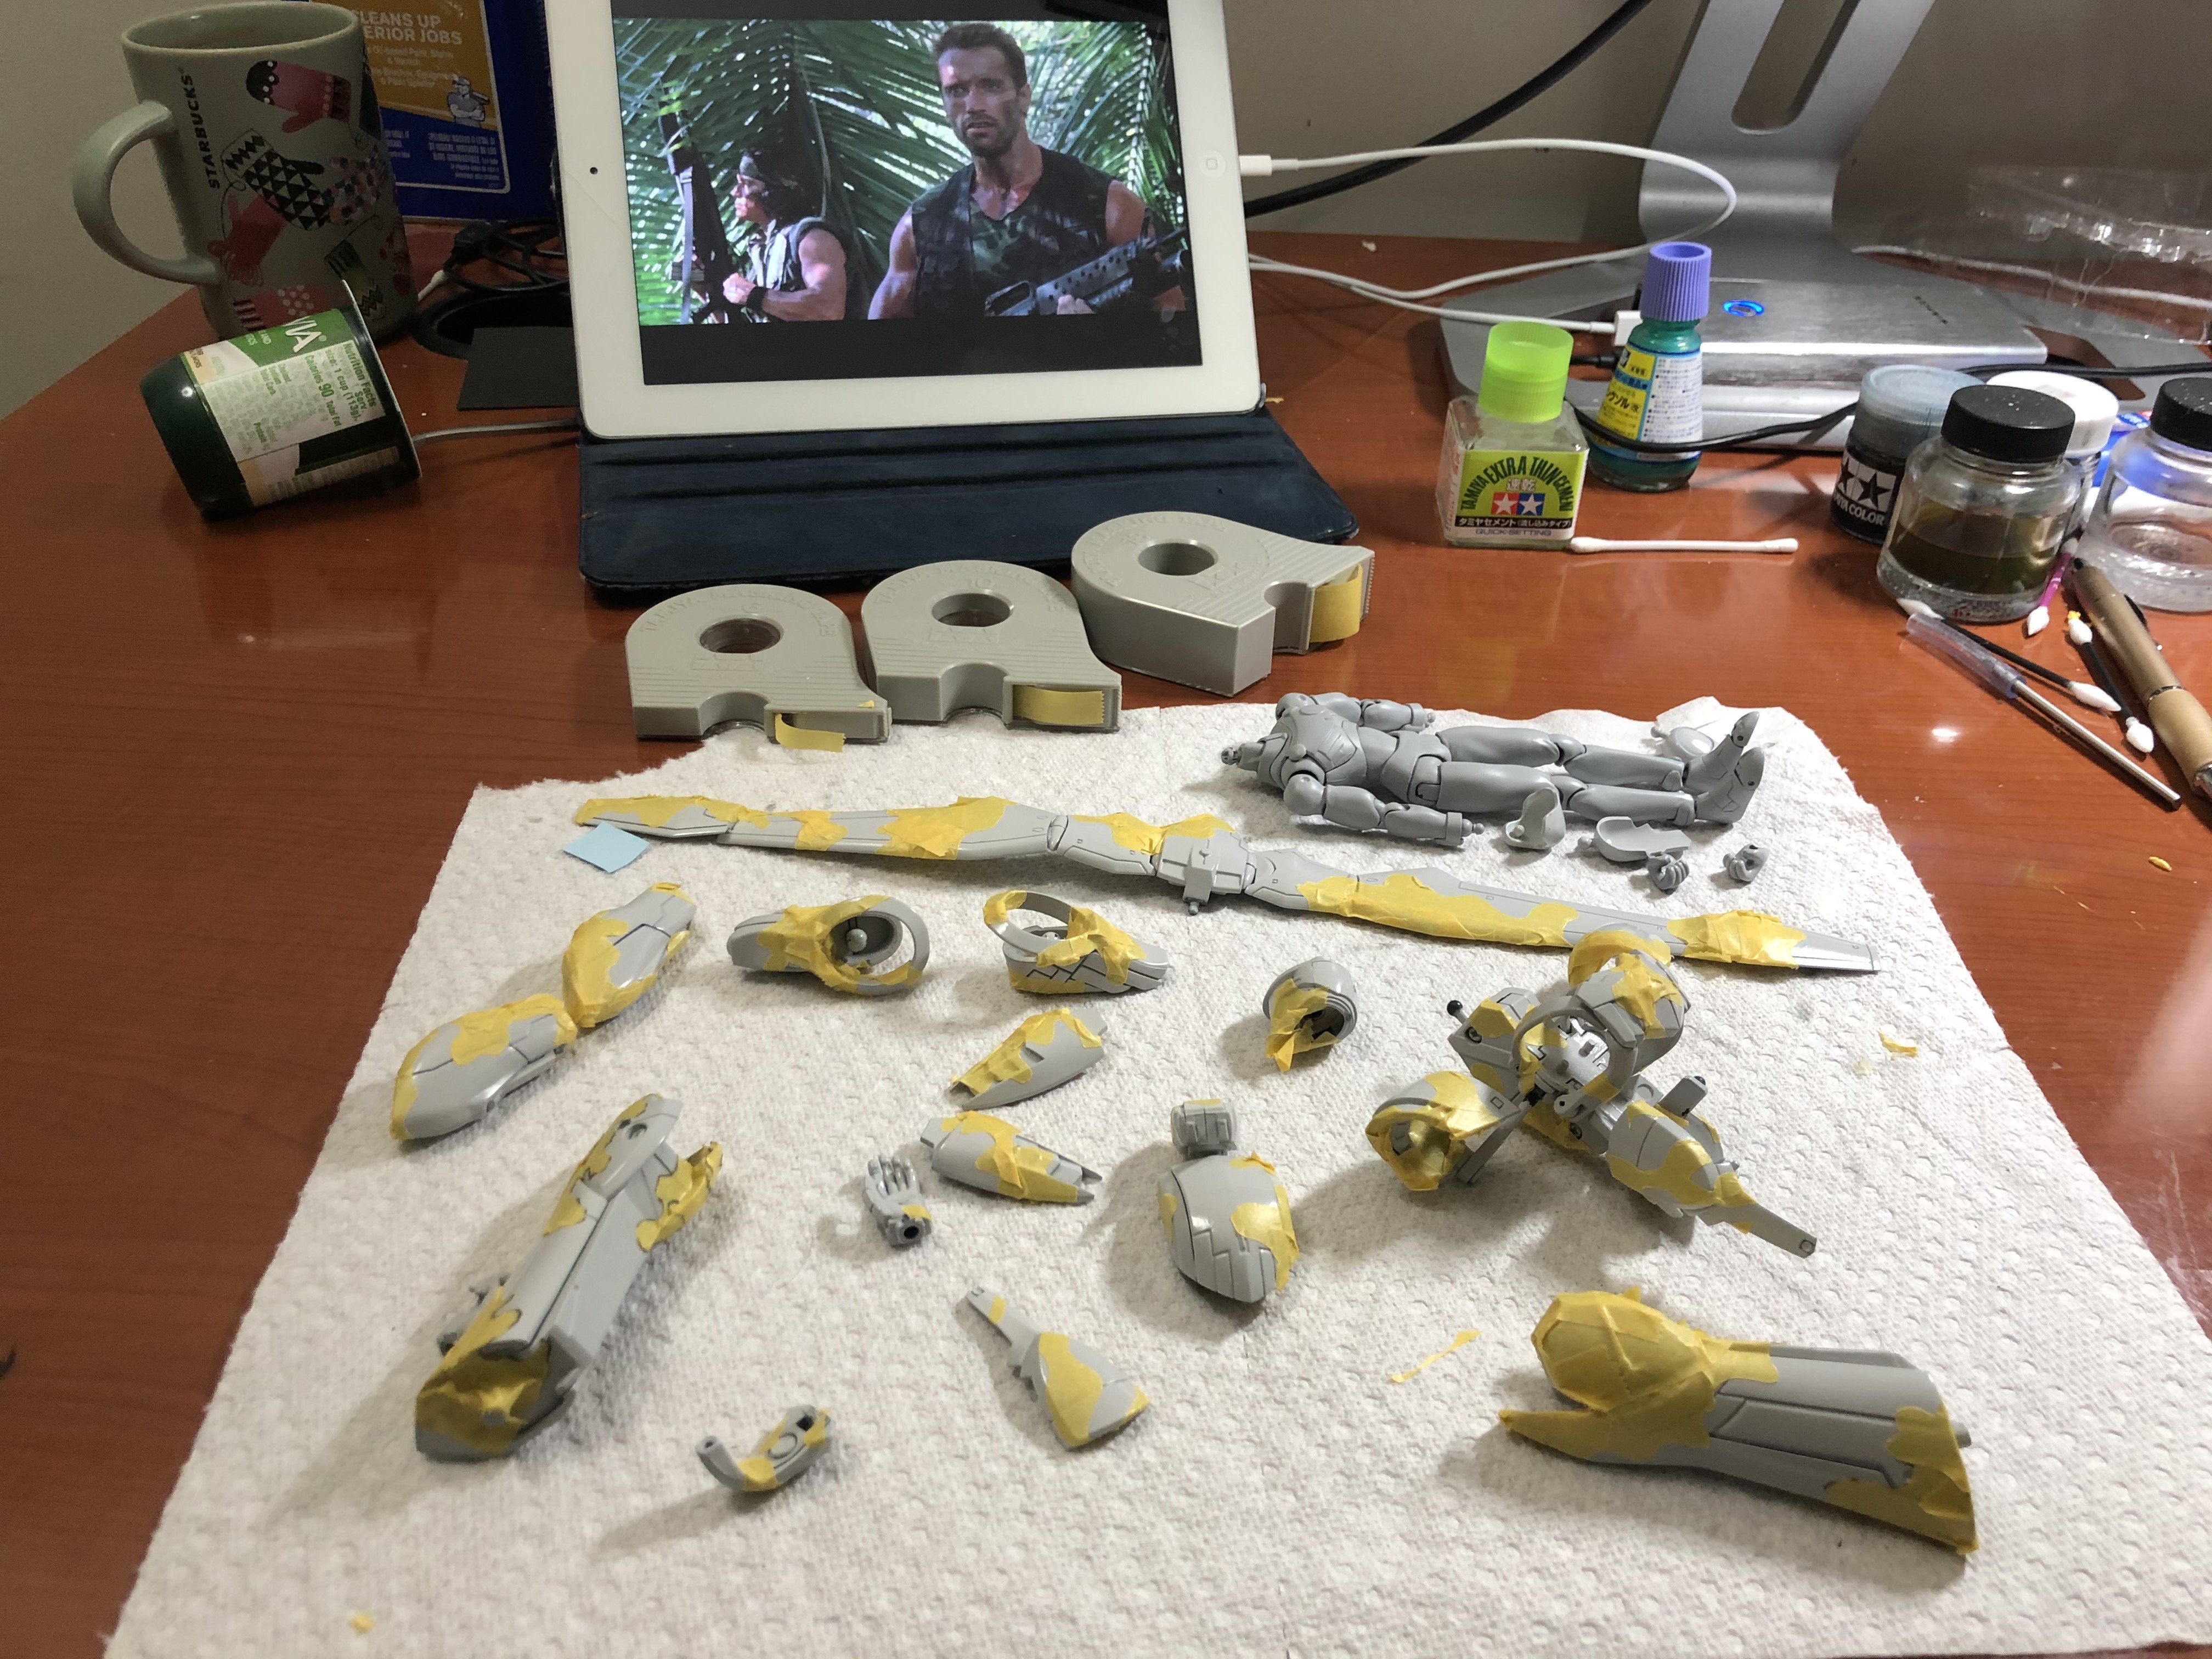
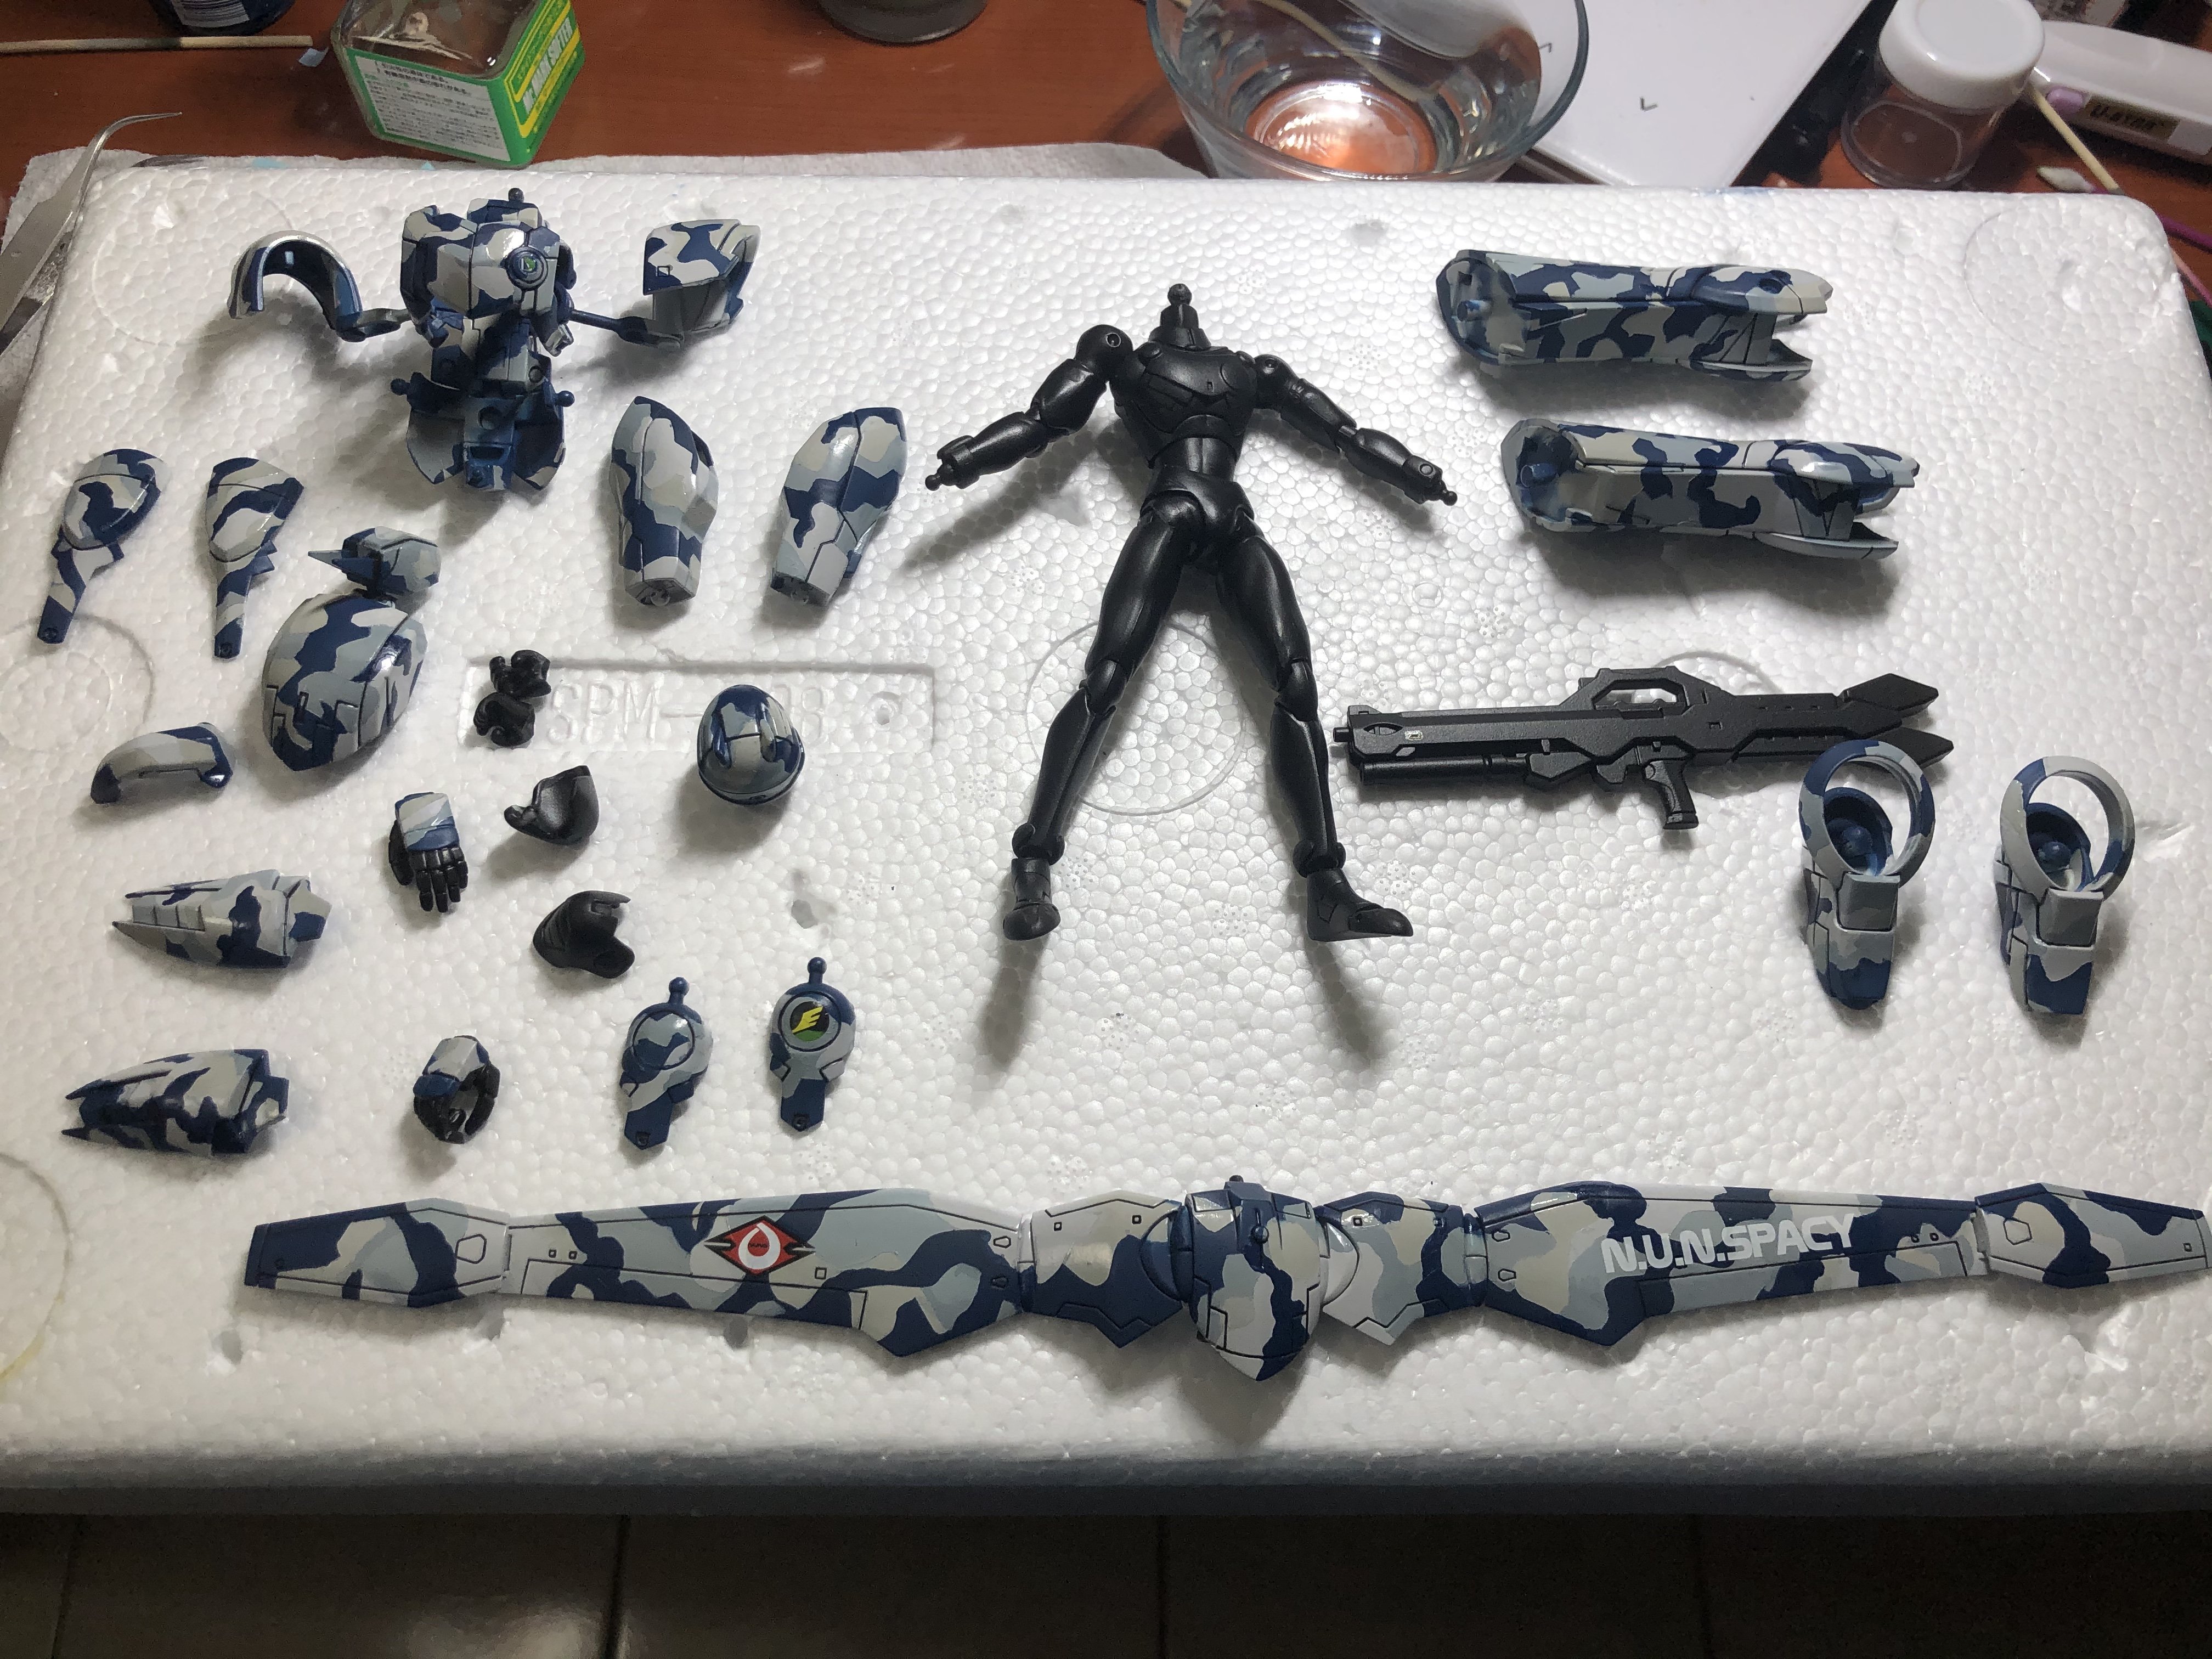
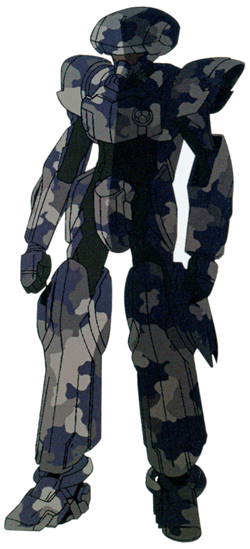
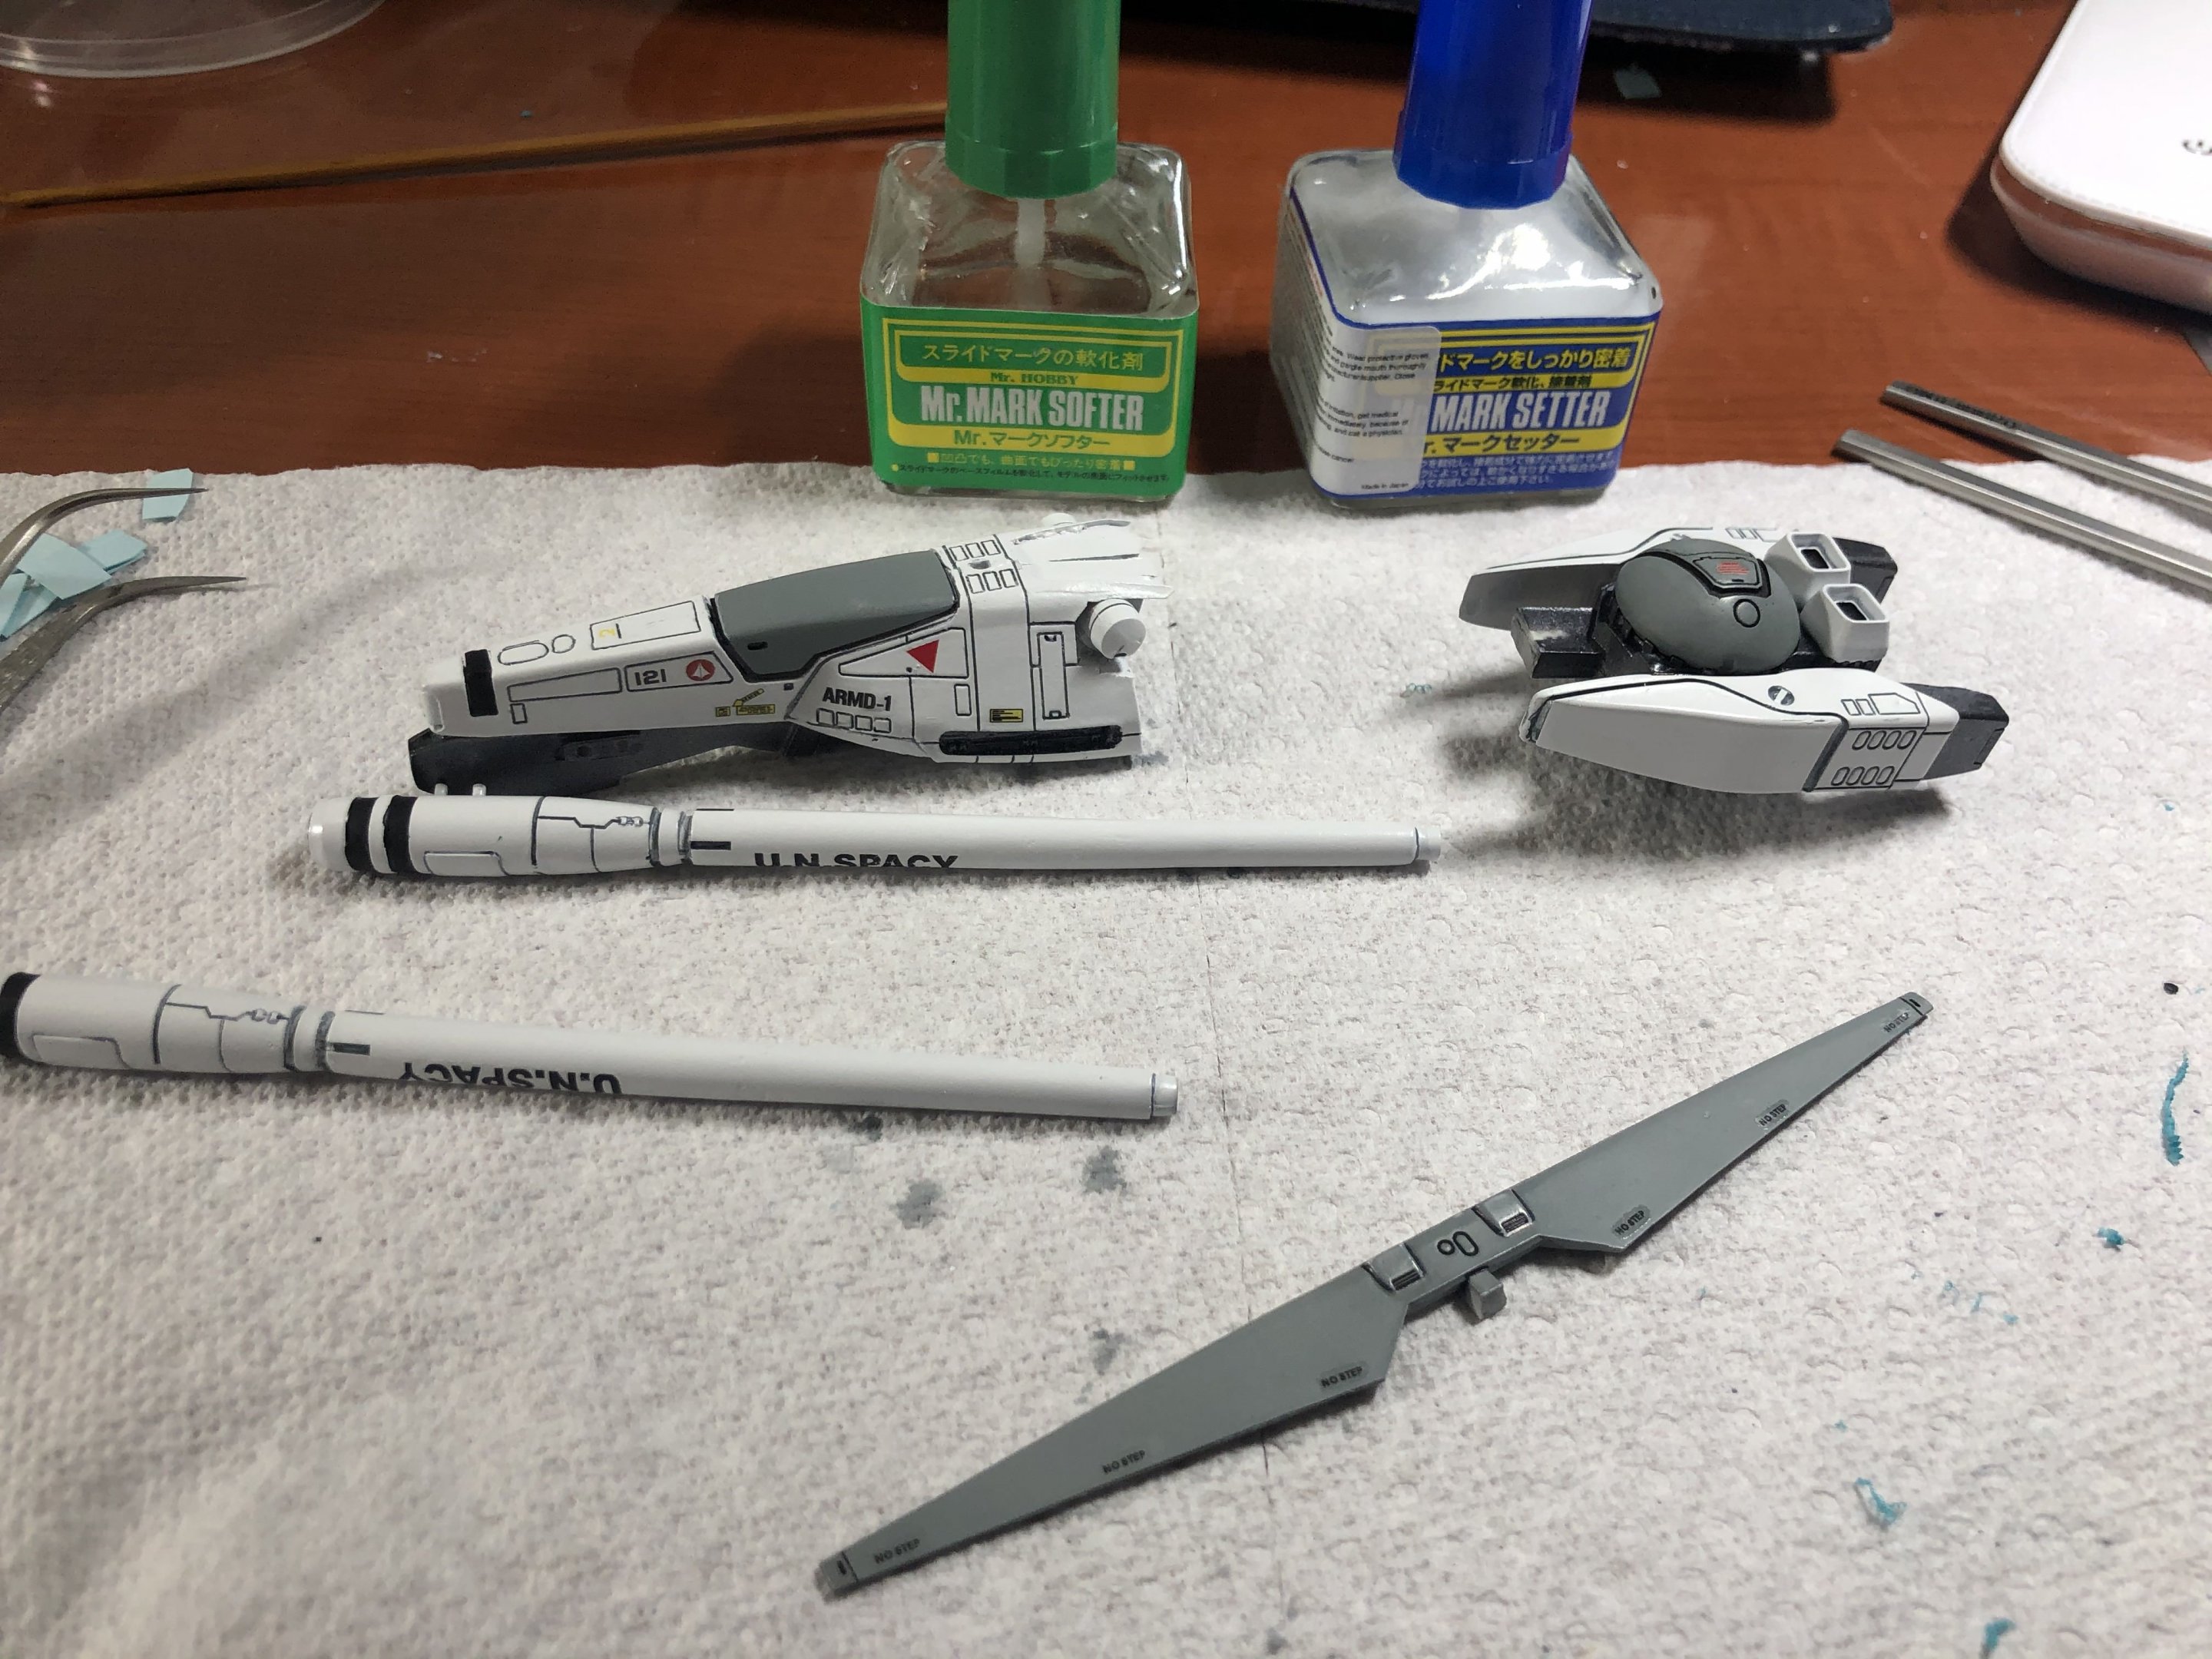
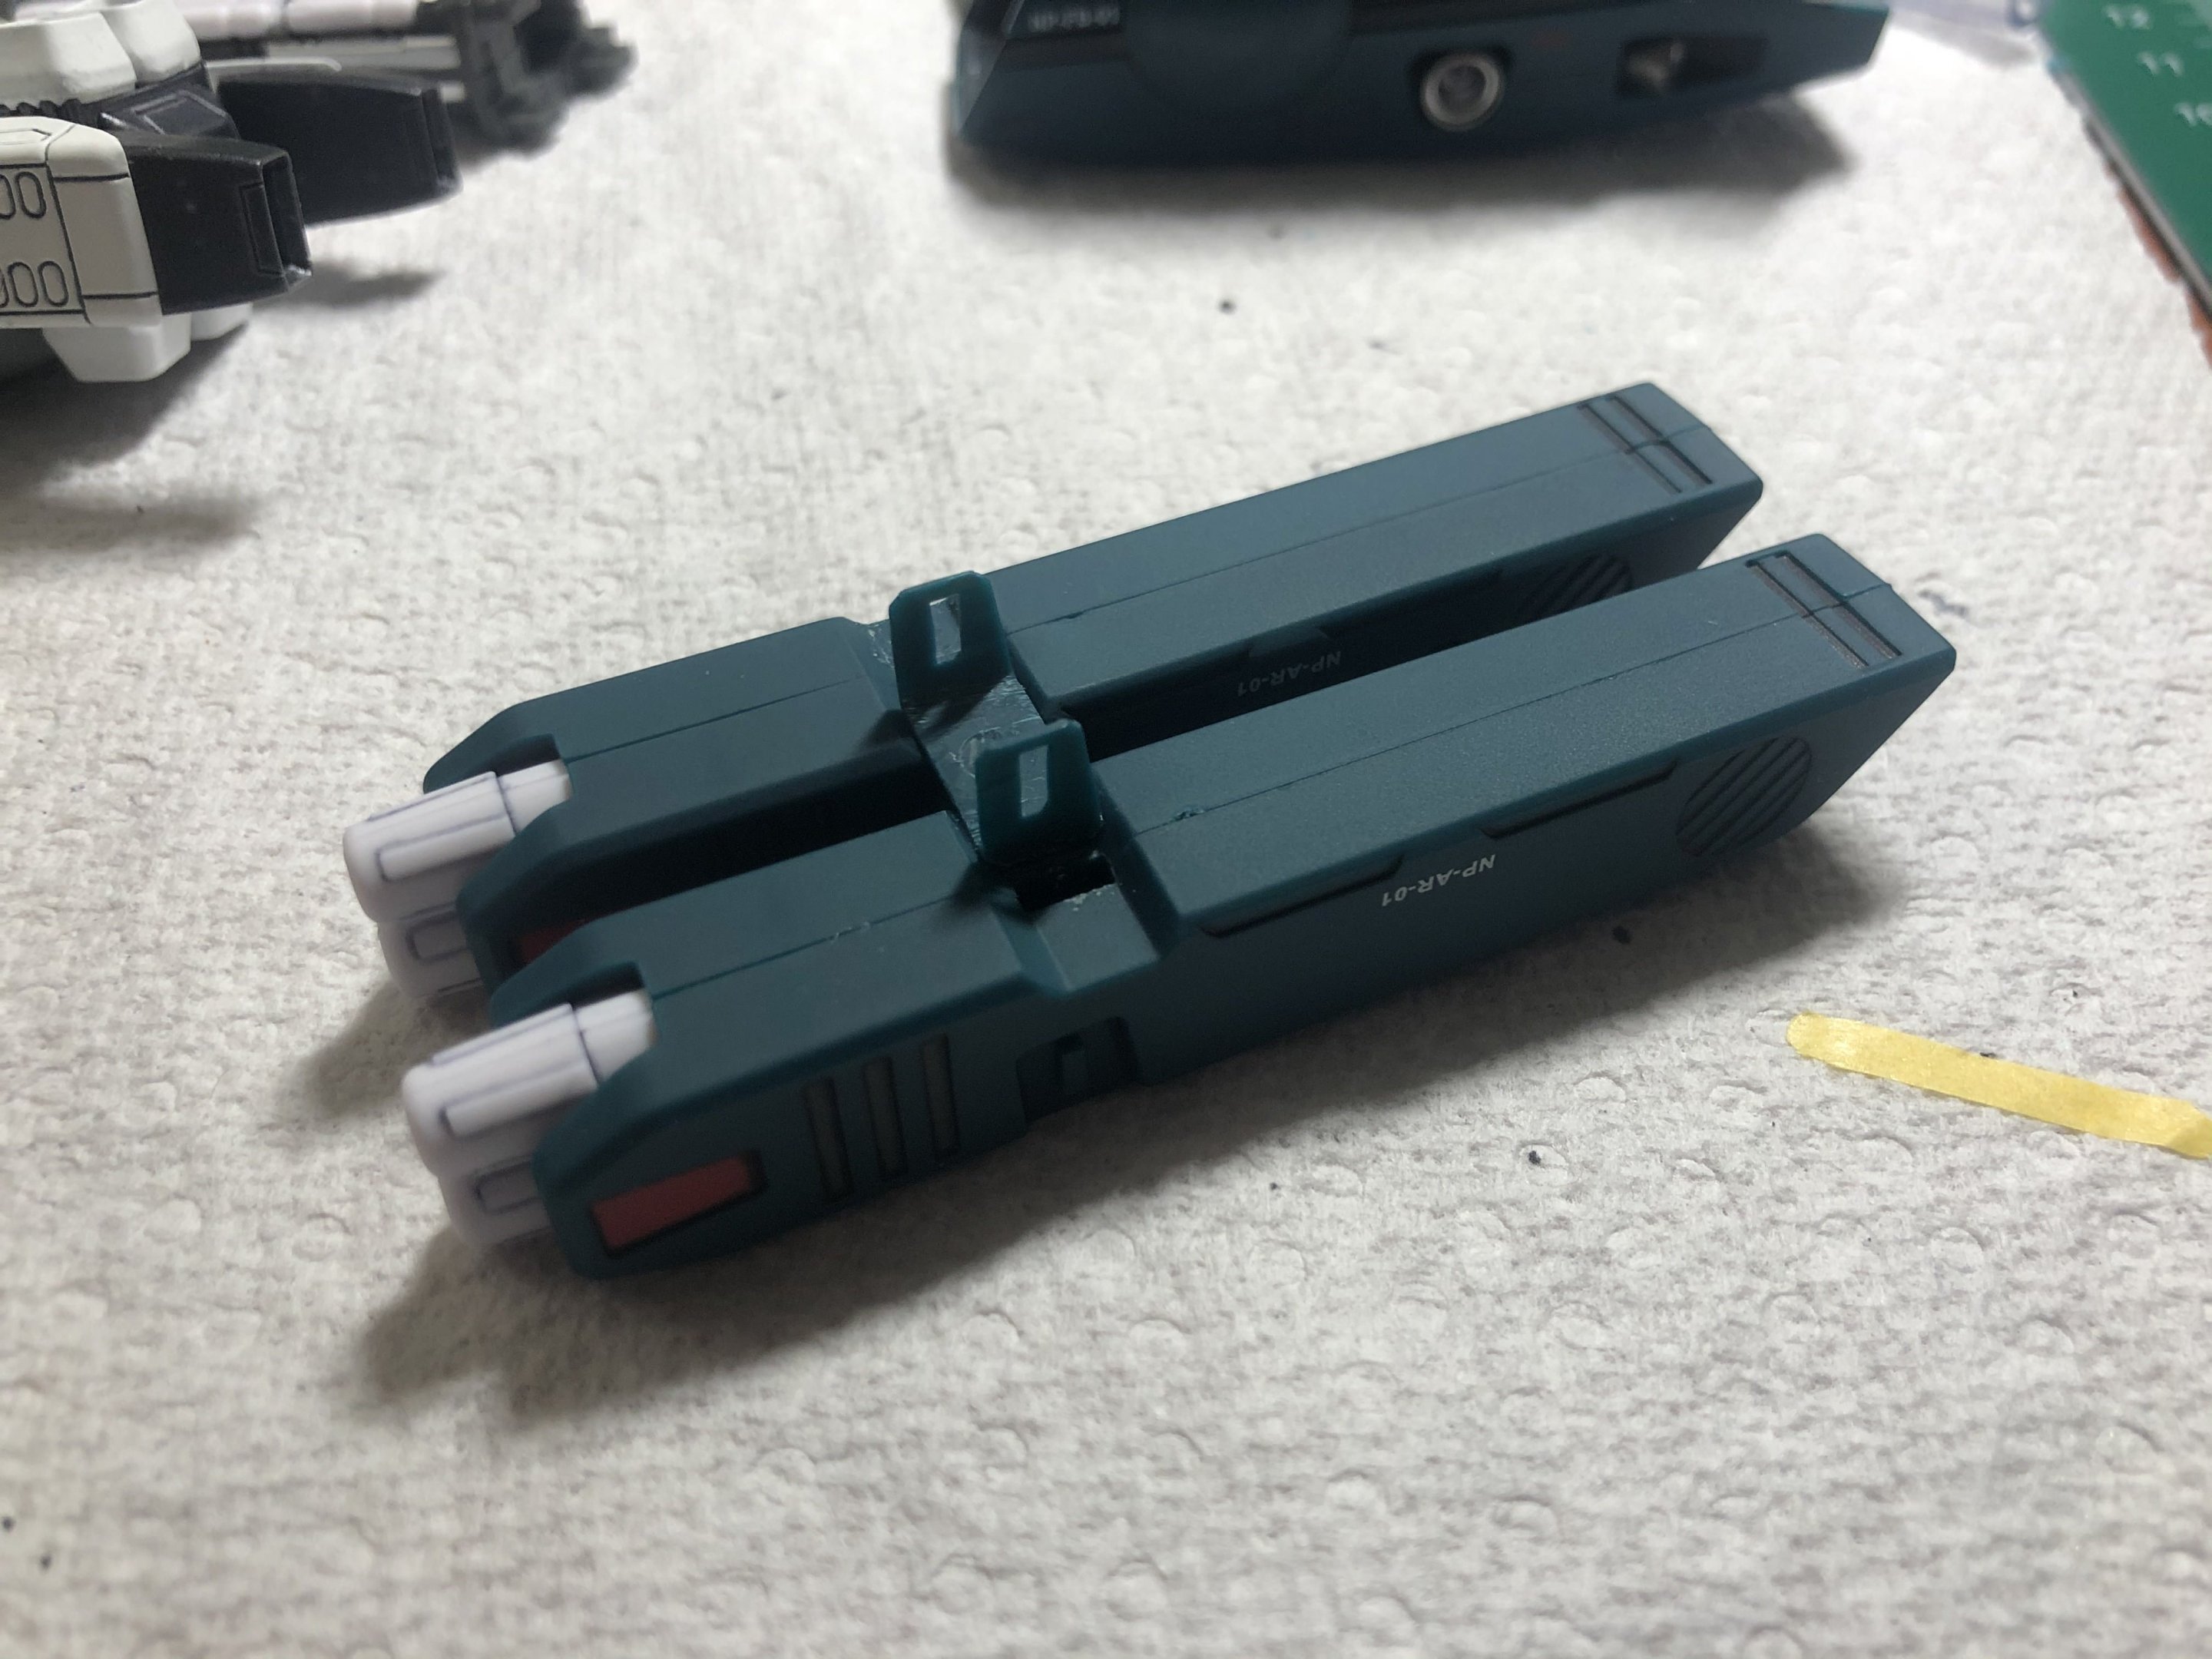
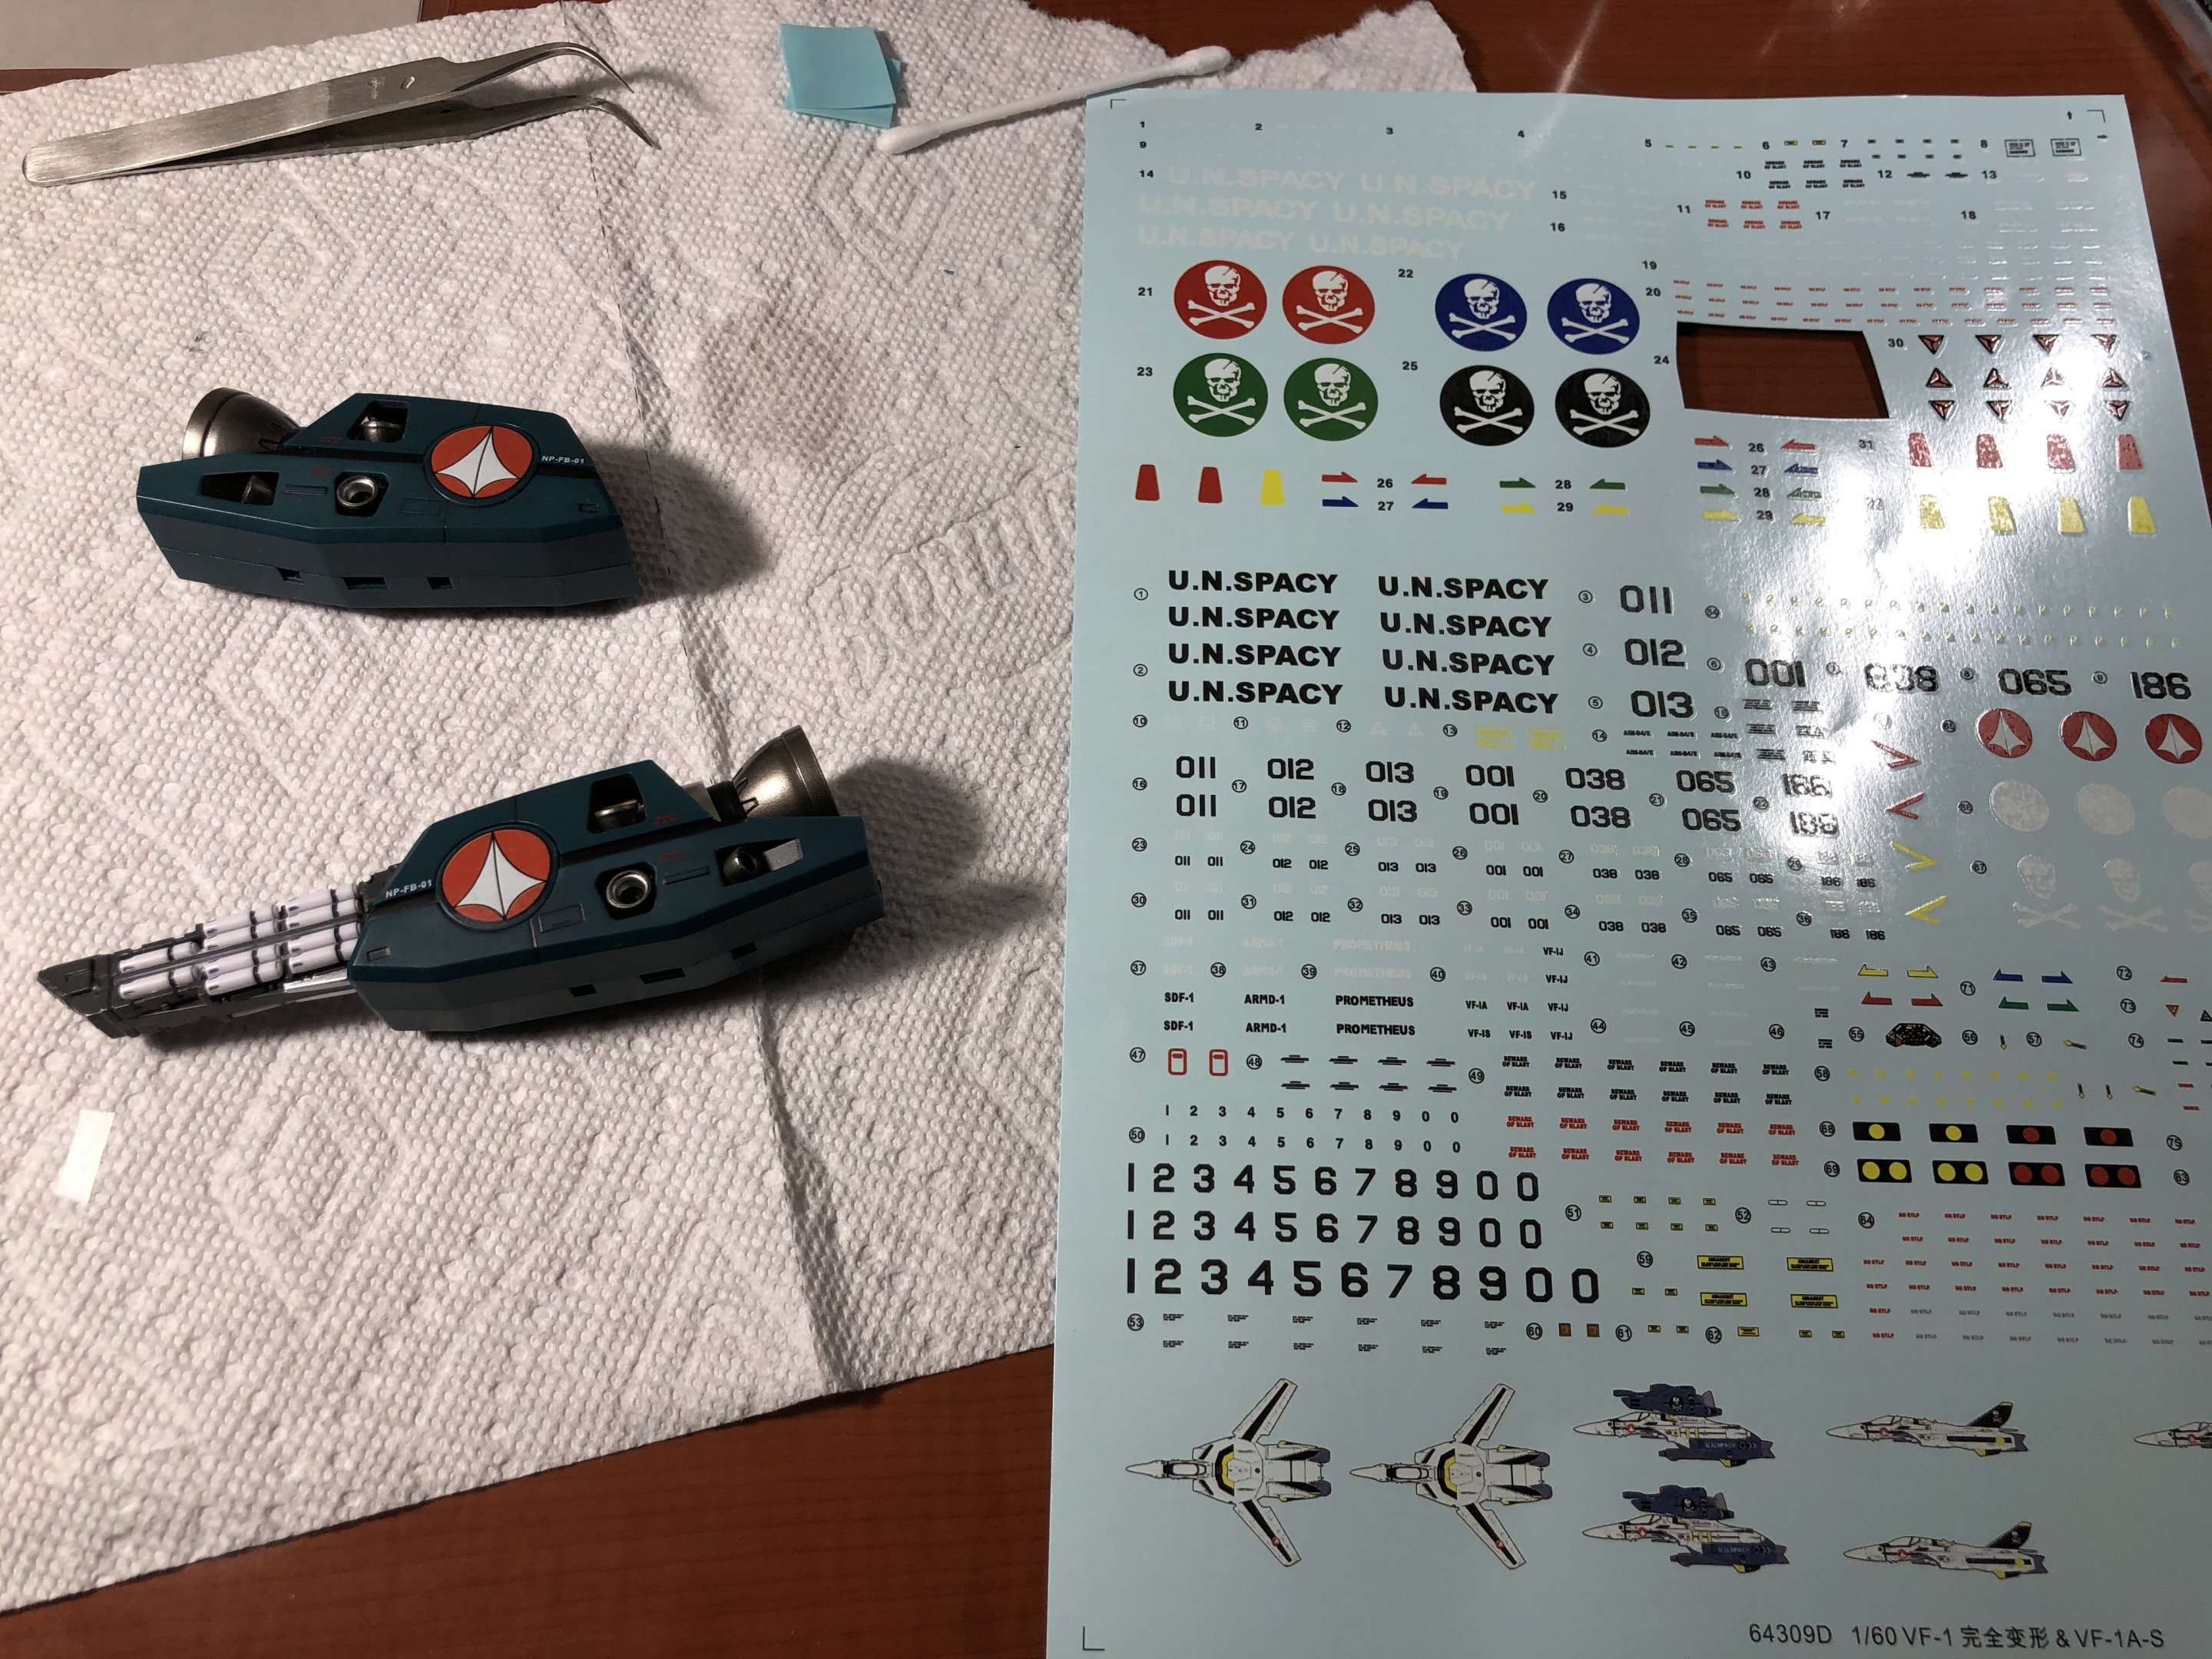
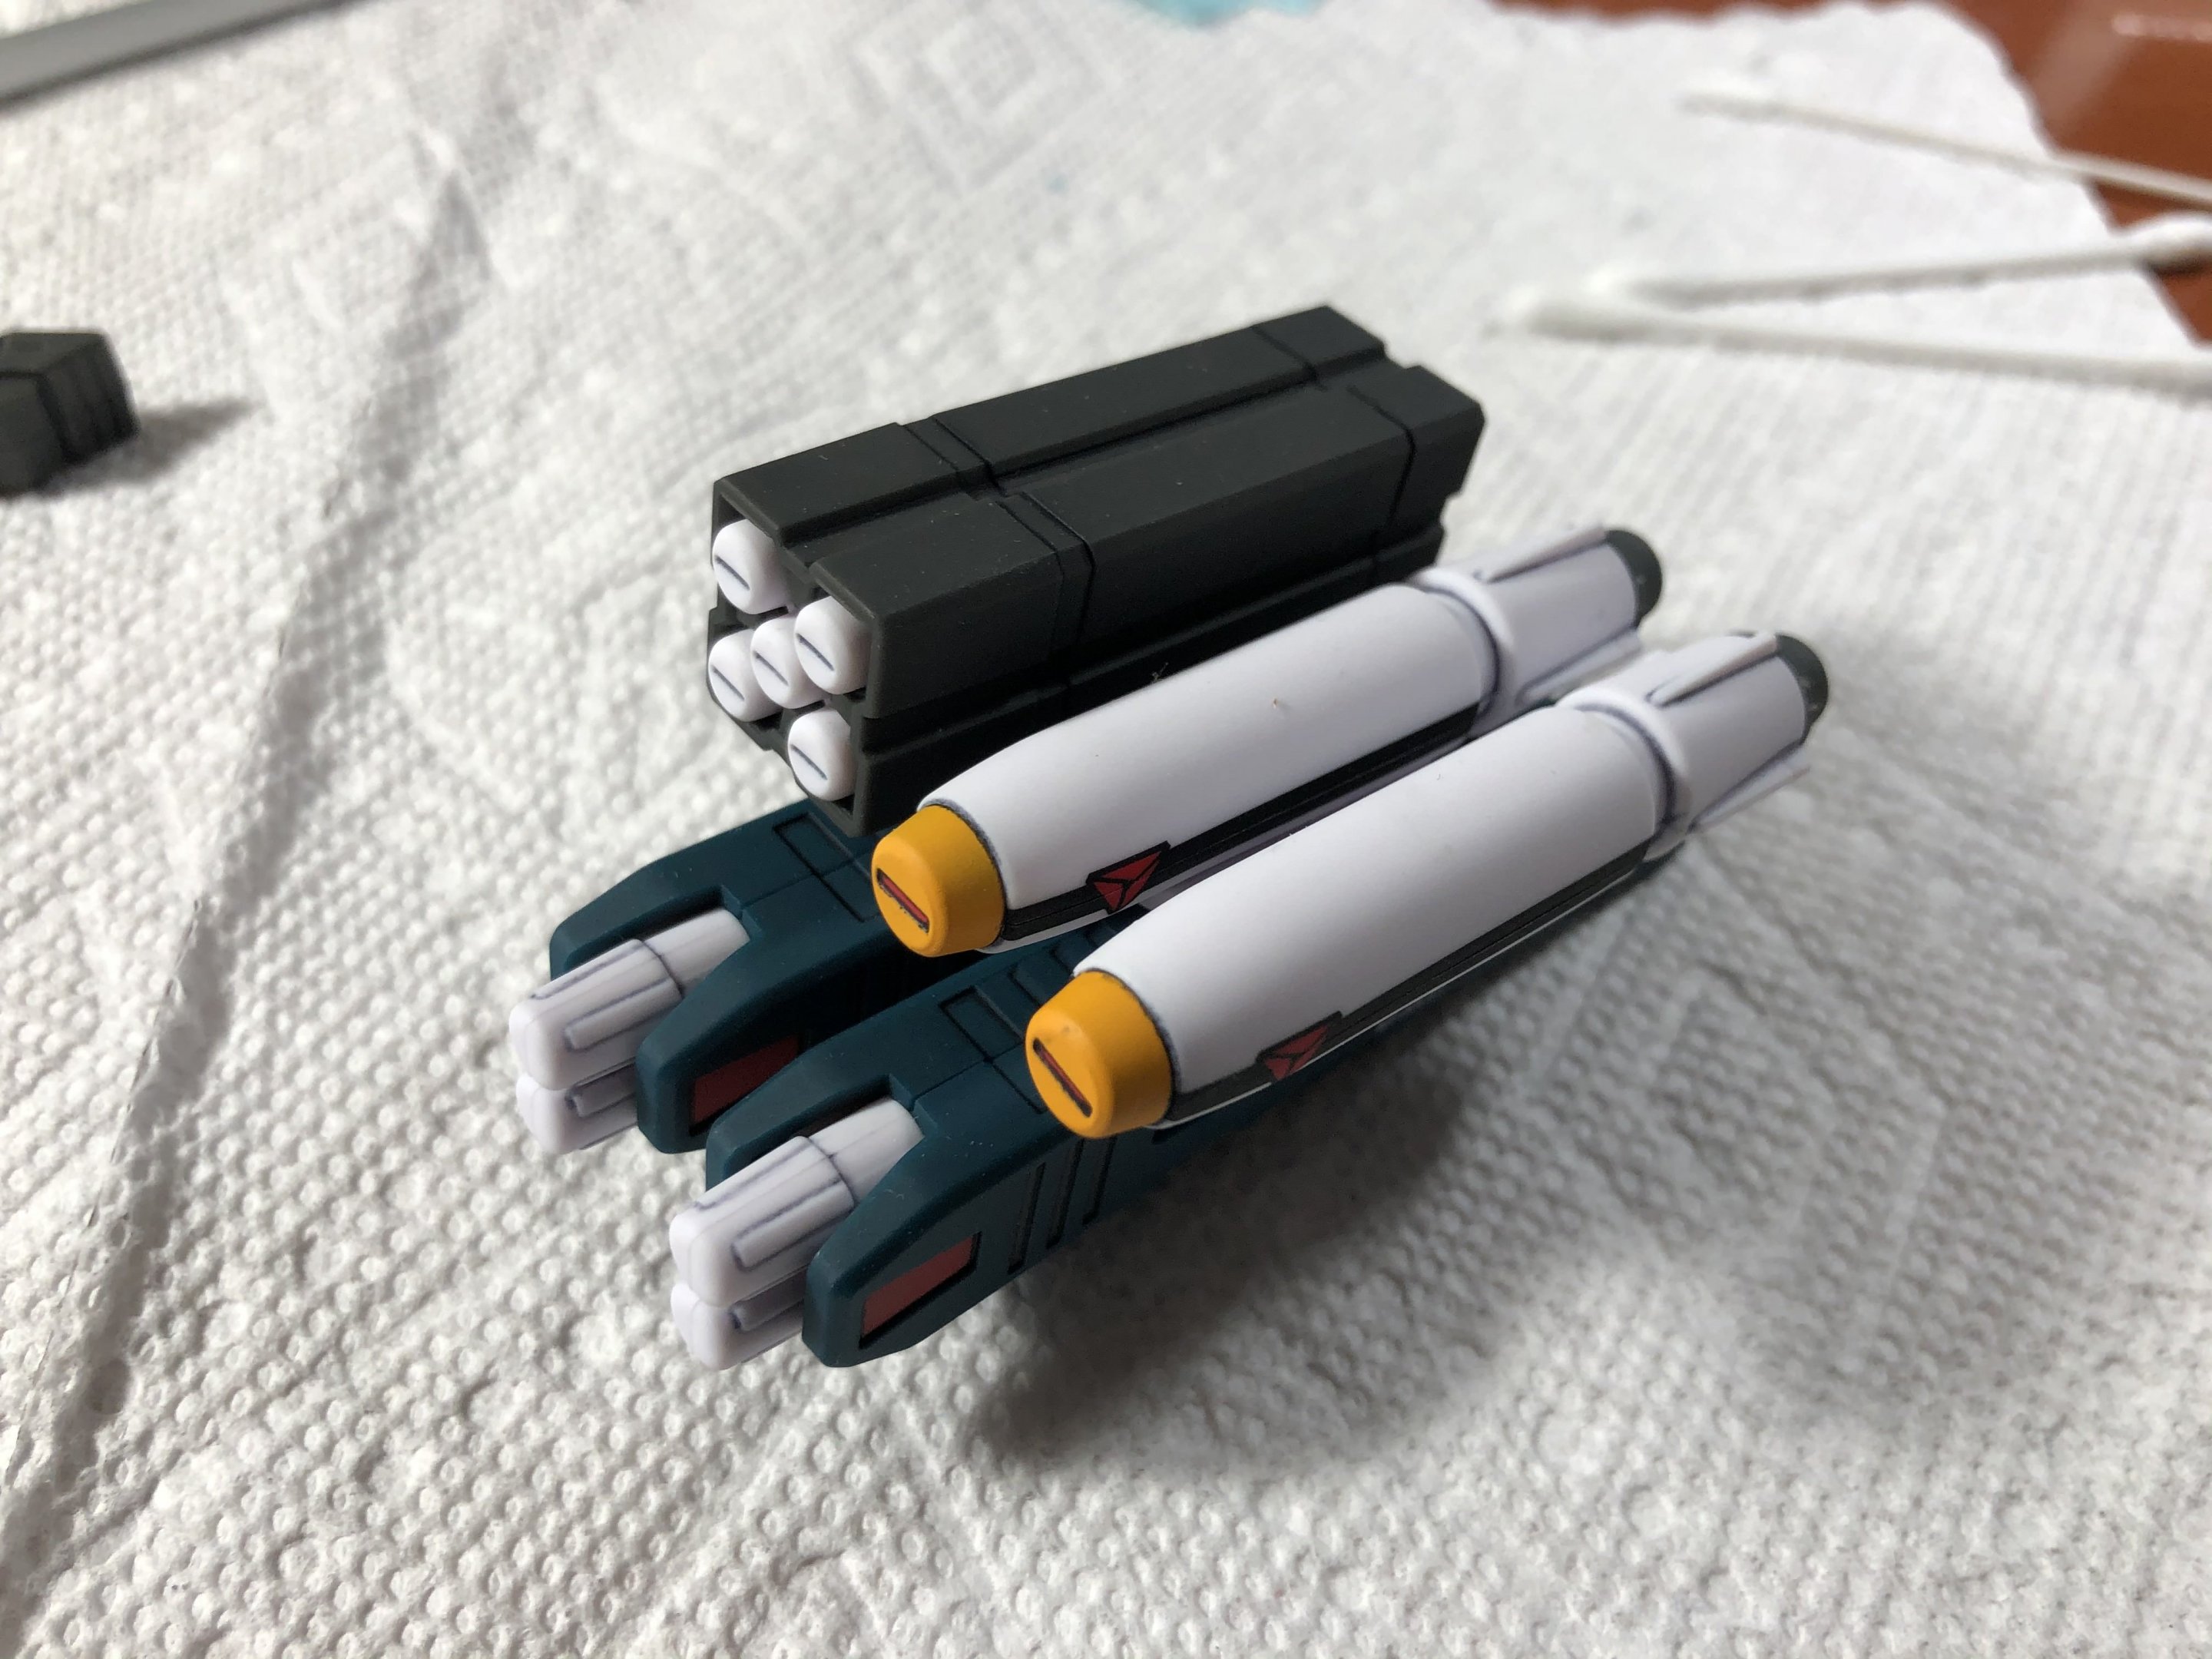
Update on first post * Add NUNS Special Forces EX‐Gear The NUNS Special Forces EX‐Gears appeared in the Macross Frontier movie. They were used against the cyborgs coup d'etat led by Grace O’connor. Besides the unexpected plot twist, I was intrigued by EX‐Gear’s military camouflage. This is the base toy that I have for a while. Judging by design, it’s the worst Bandai toy that I have handled. It has limited articulation, bad parts connection, greasy plastic surface, and loose joints. The first step is to degrease the surface with 91% isopropyl alcohol and then apply primer. Beware that alcohol will remove the existing paints, but that’s not a problem because this toy will be completely painted over. This camouflage is a pain because it has 4 different colors and that means a lot of masking. The colors I used are Mr. Hobby 97, 315, 35, and a custom blue from Tamiya acrylics. The decals are done, the last step is matte coating with Tamiya TS80. This is it, have fun!


-
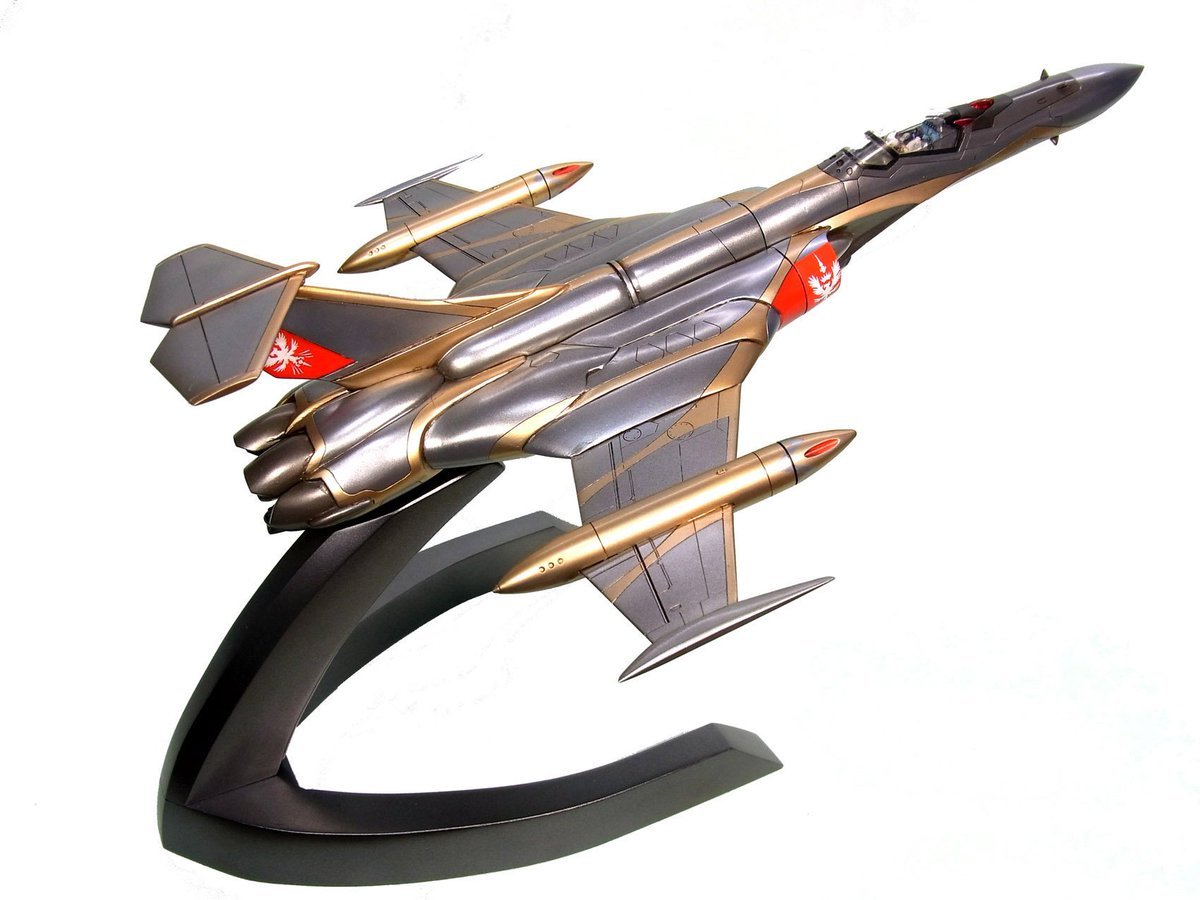
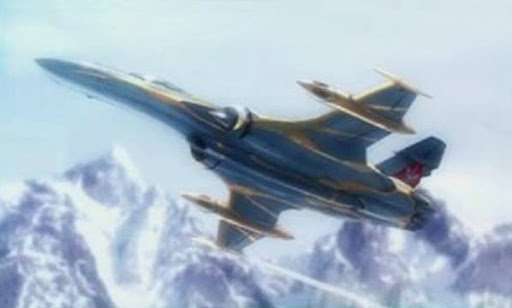
Maybe Shoji Kawamori like the F104 too, as he designed the SV-154 Svärd in the Macross Delta. I just wish there's a DX version '
-
None so far. They should be ok if not exposed in direct sun light.
-
Haha no doubt
-
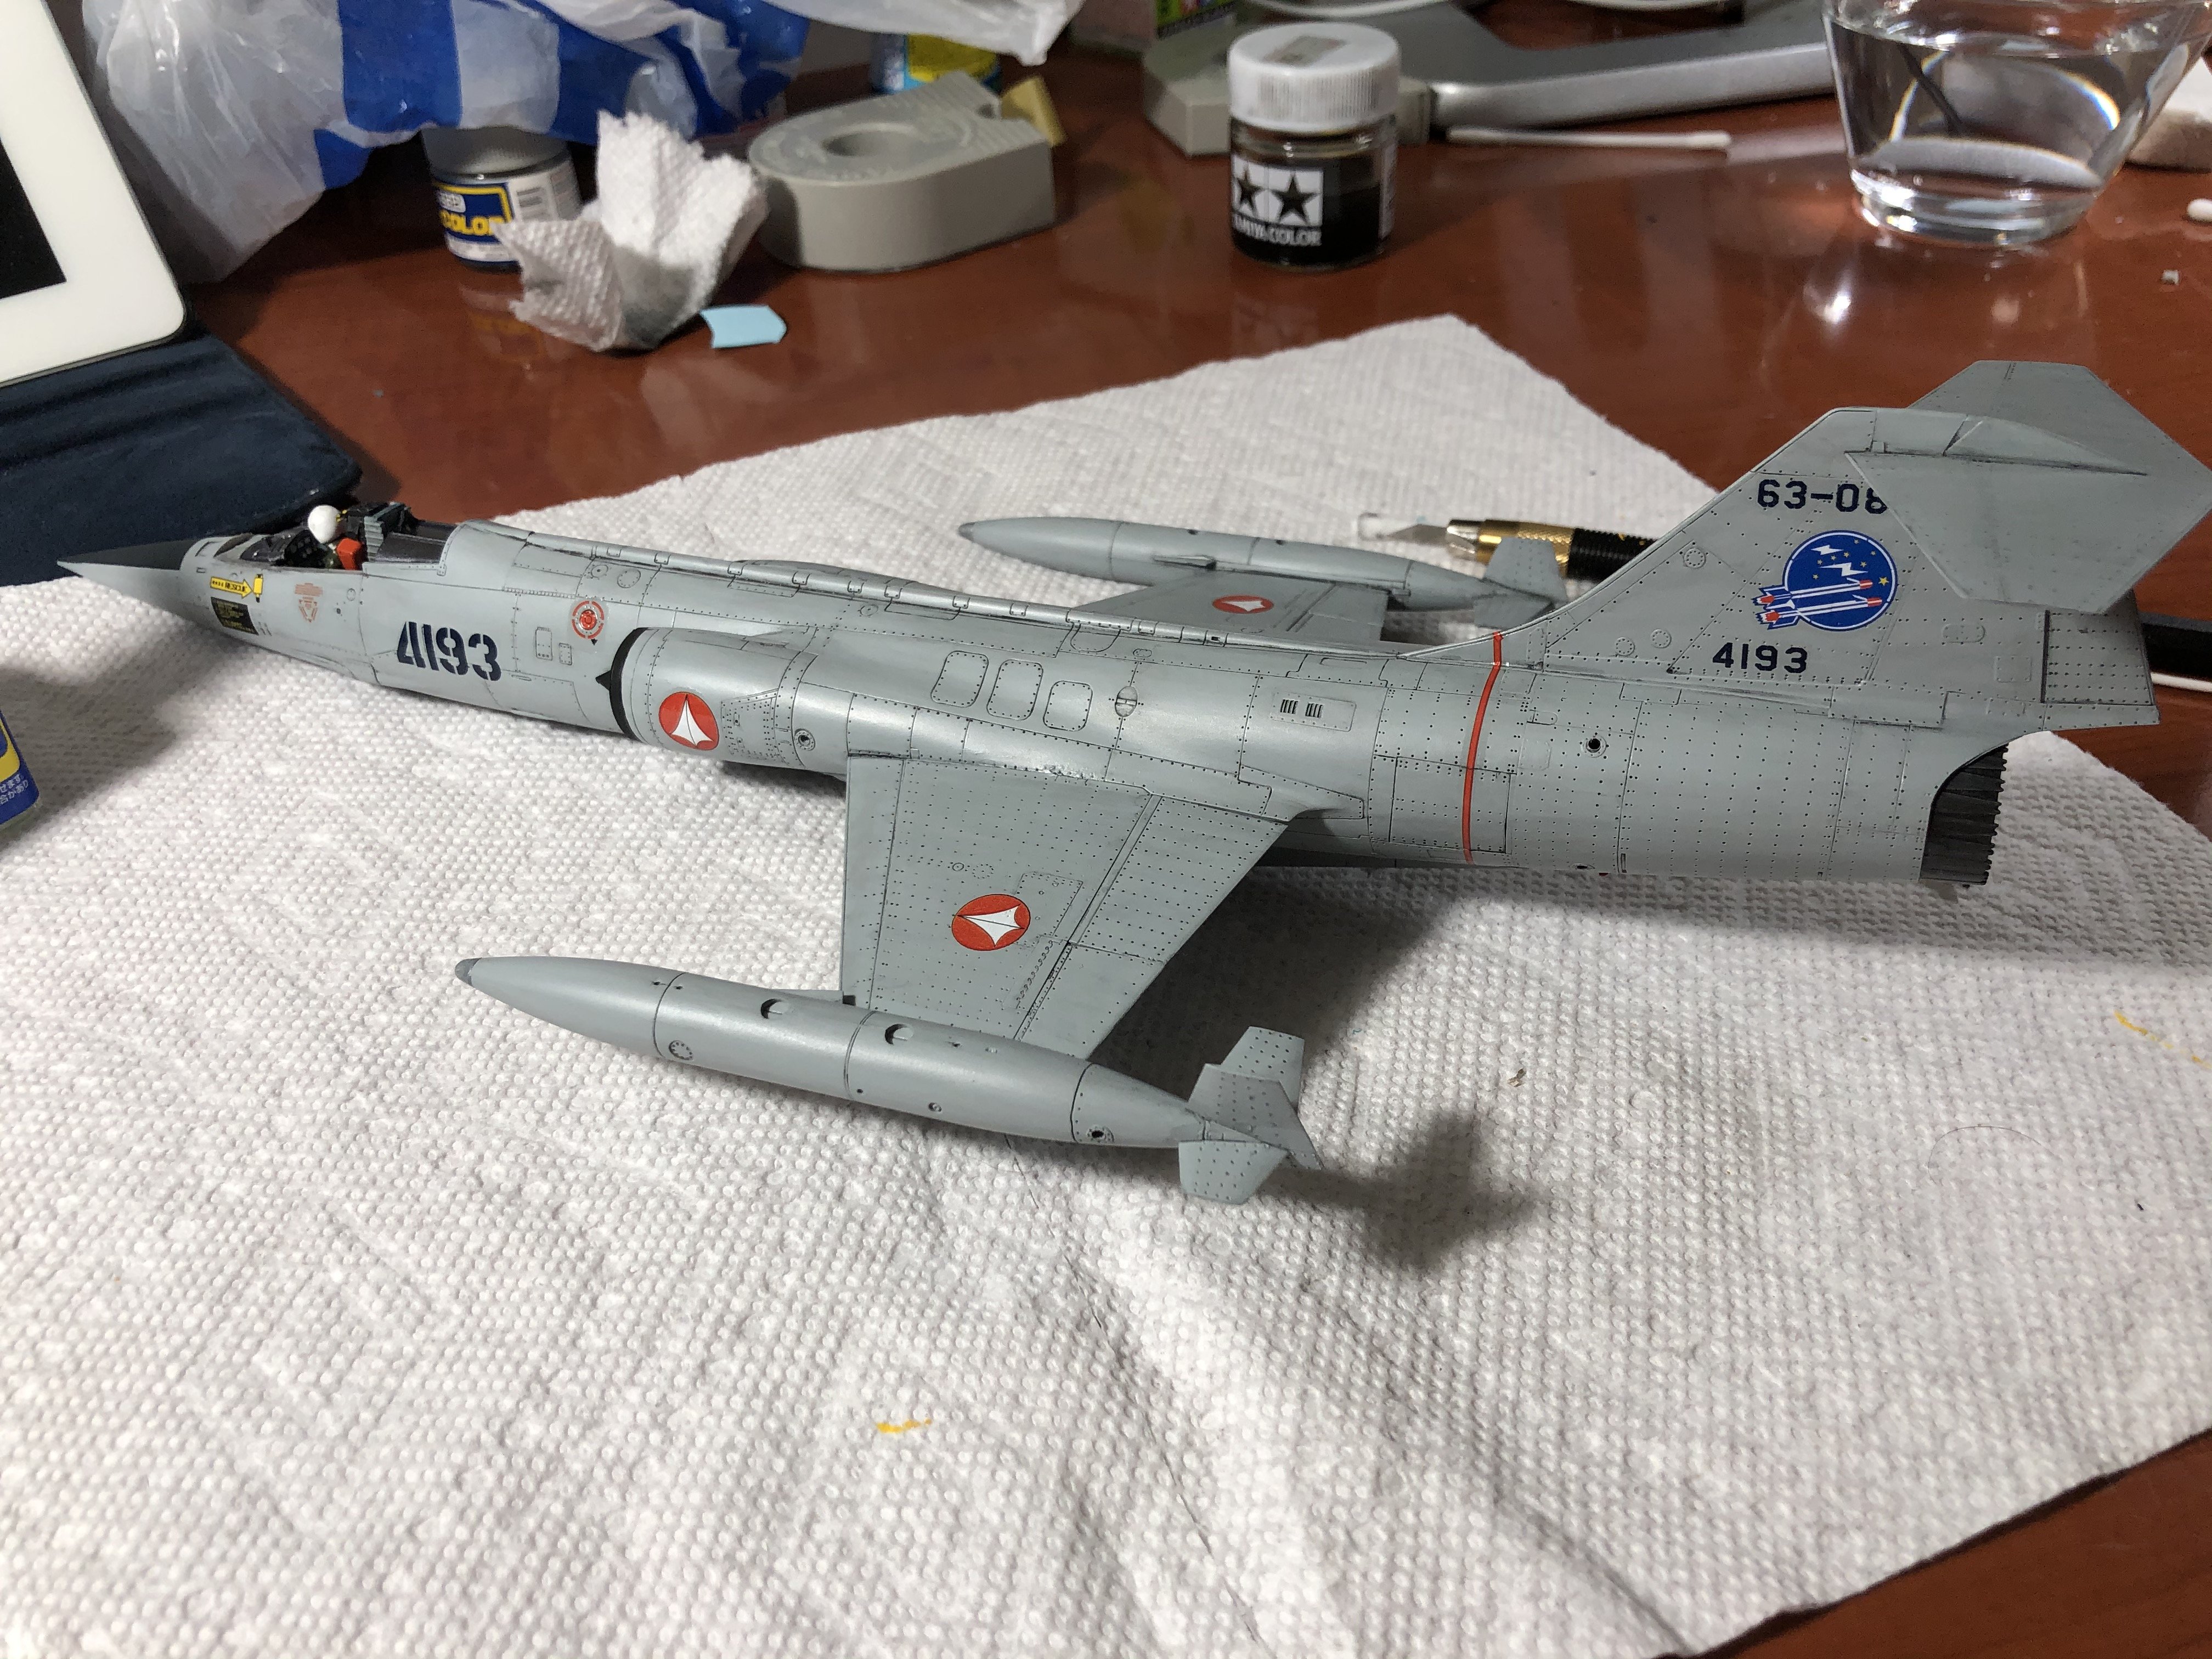
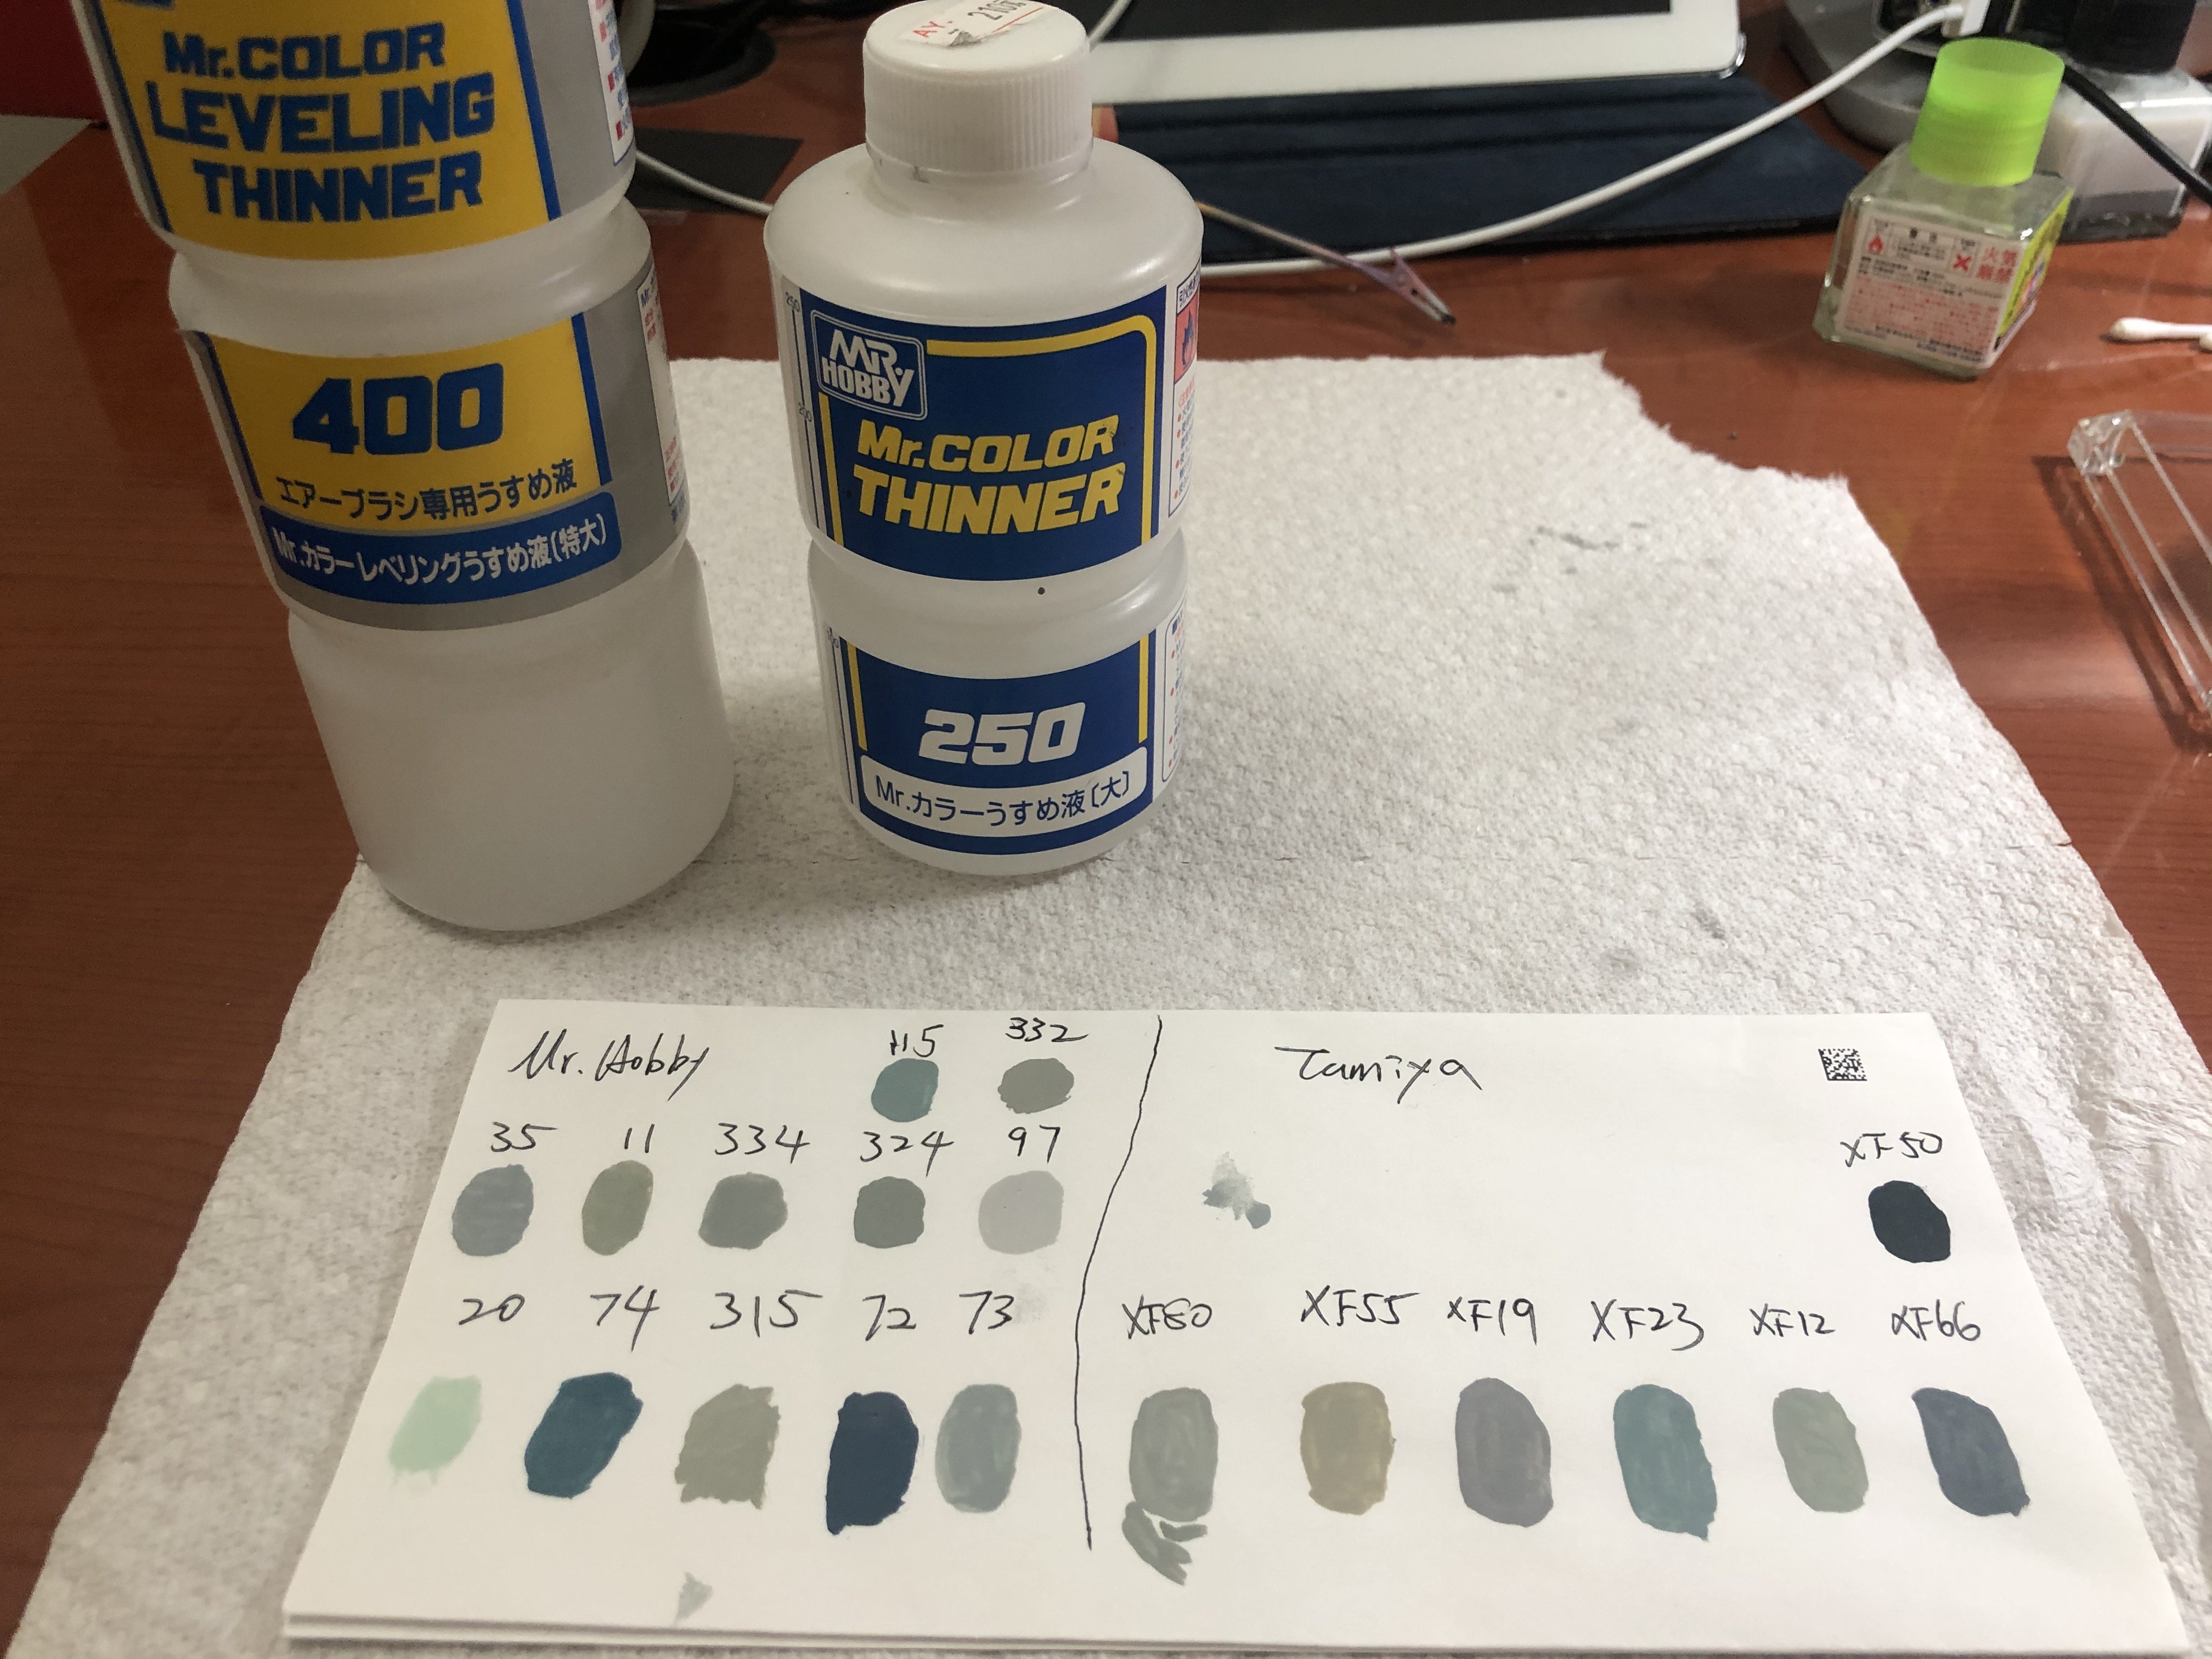
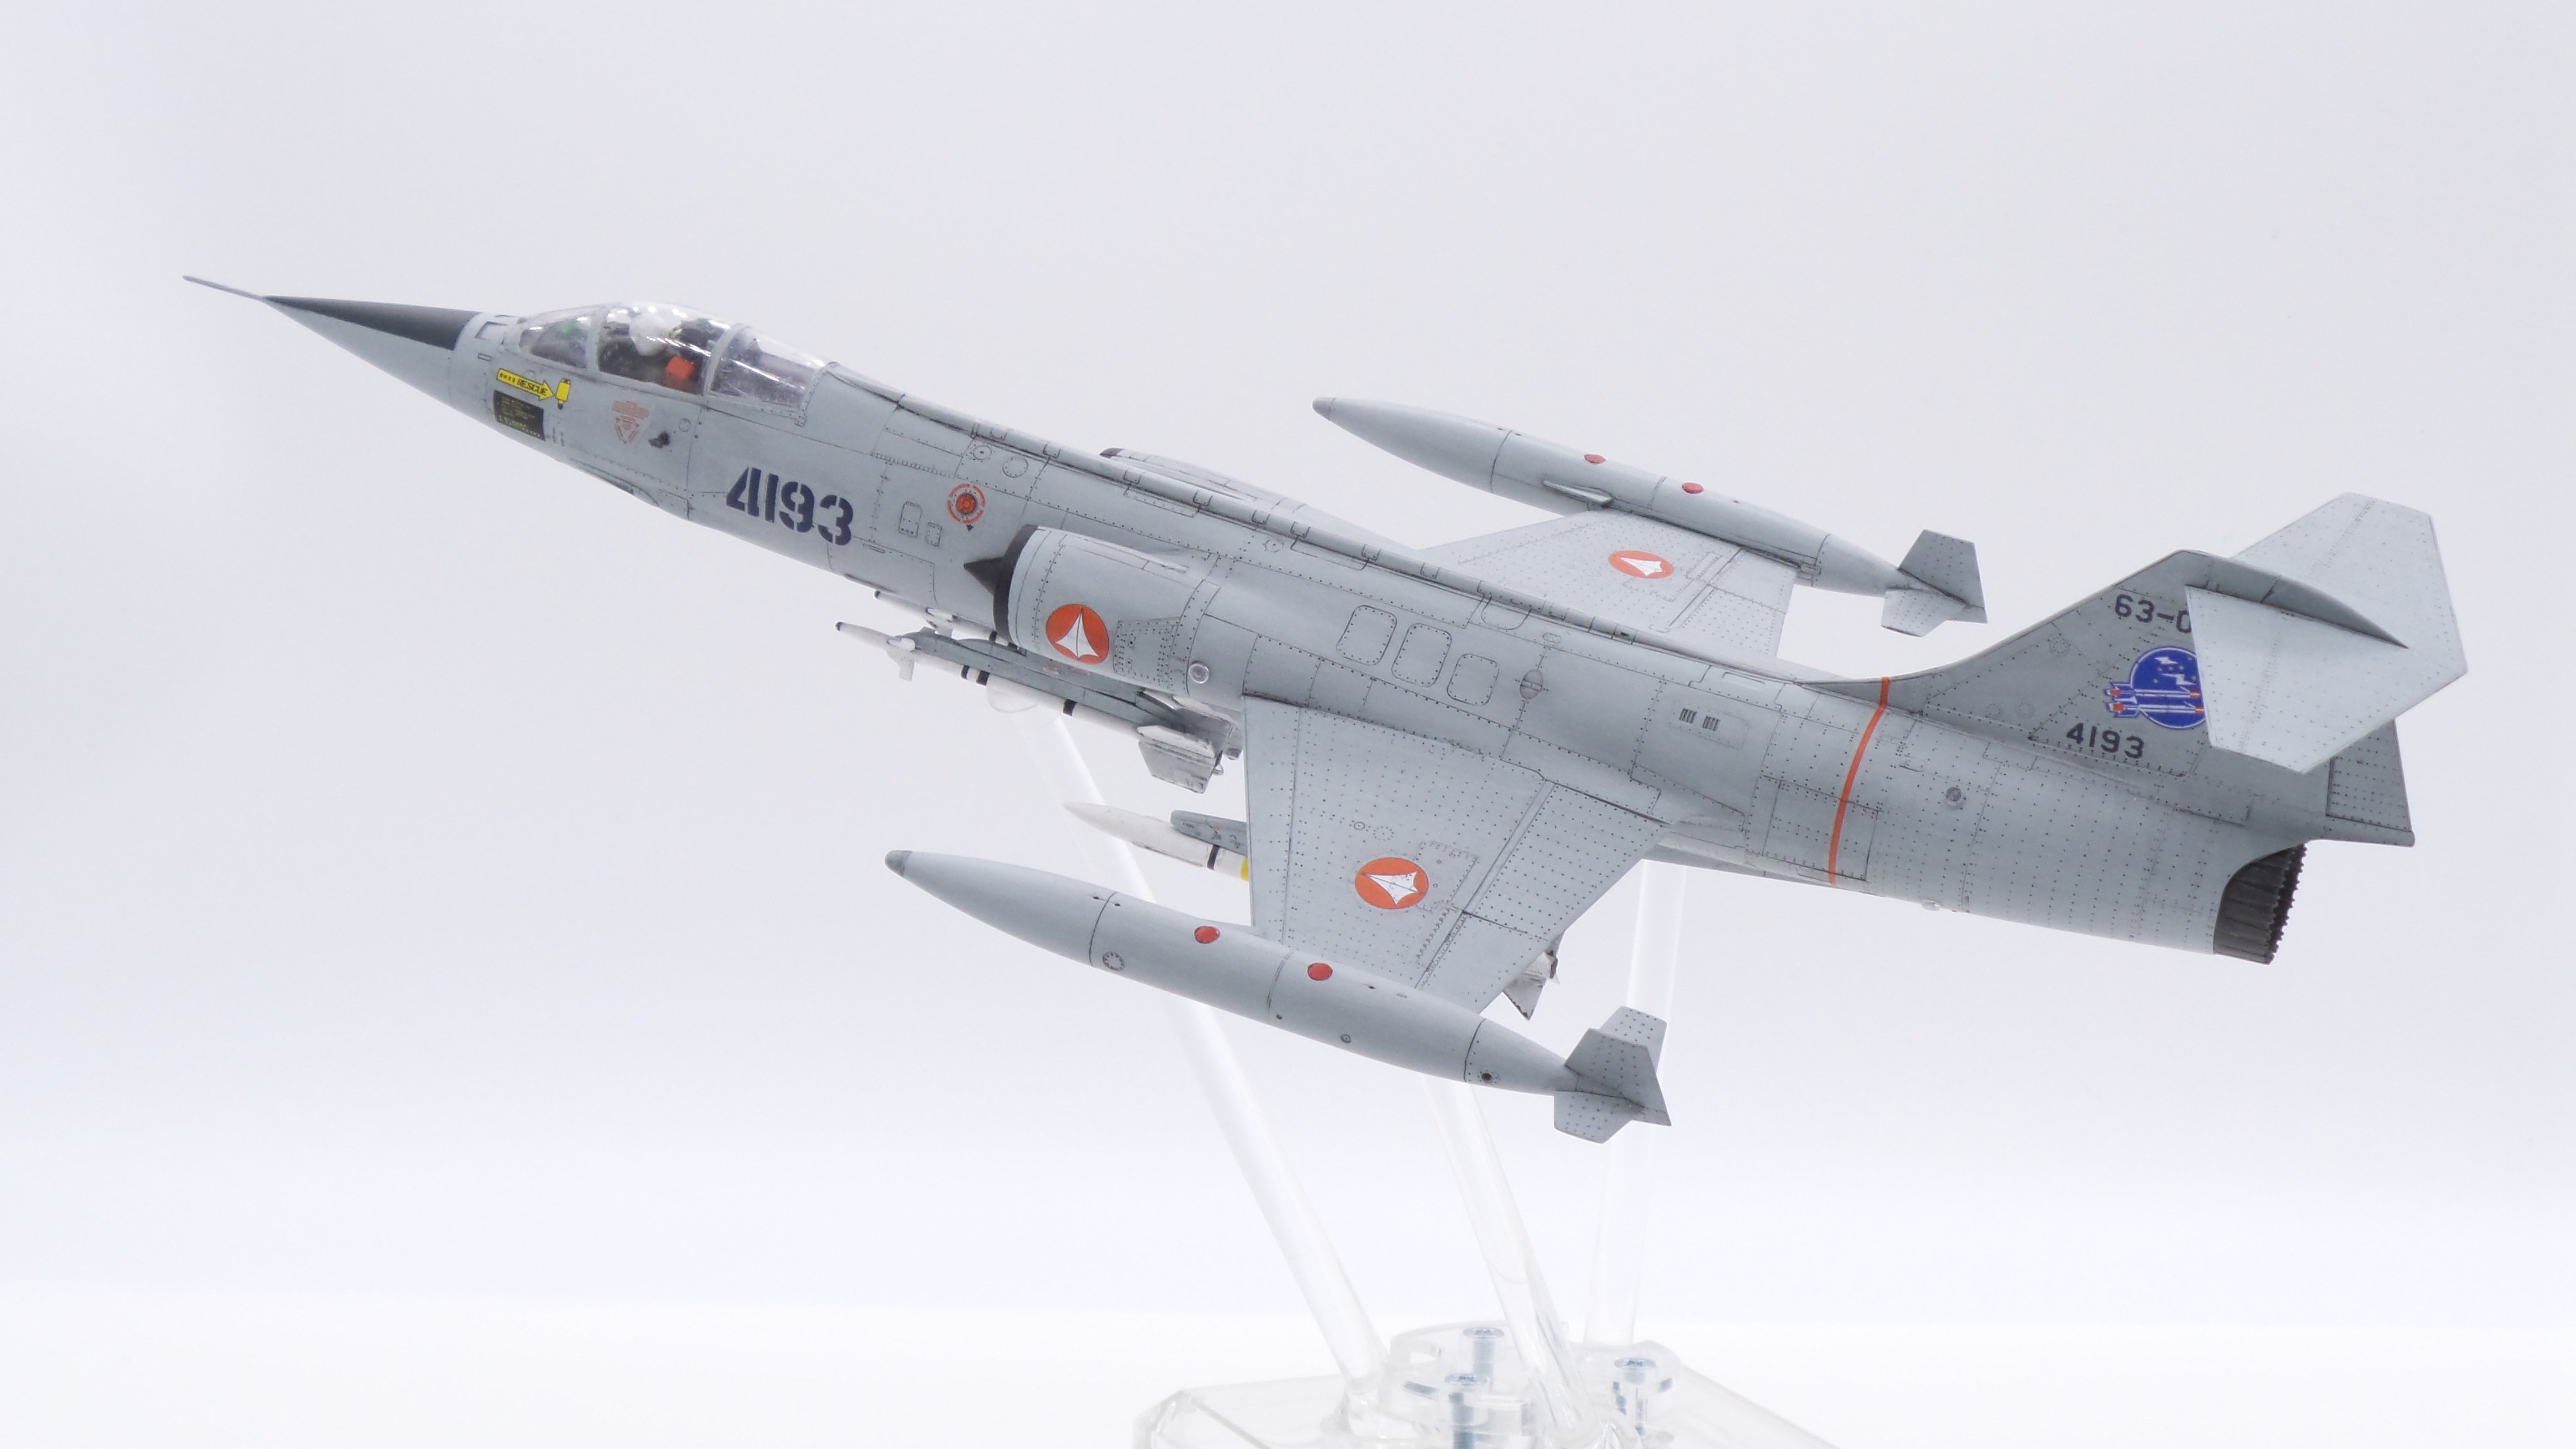
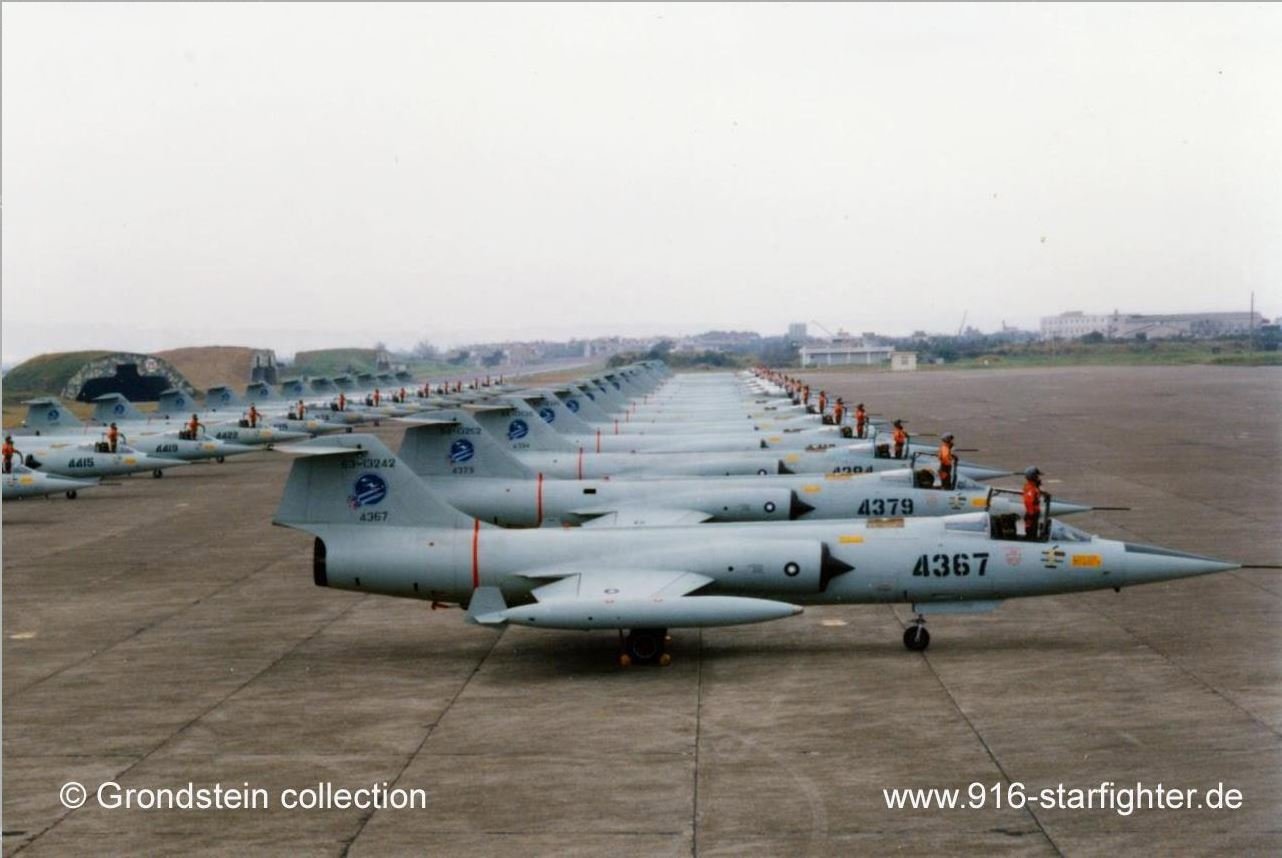
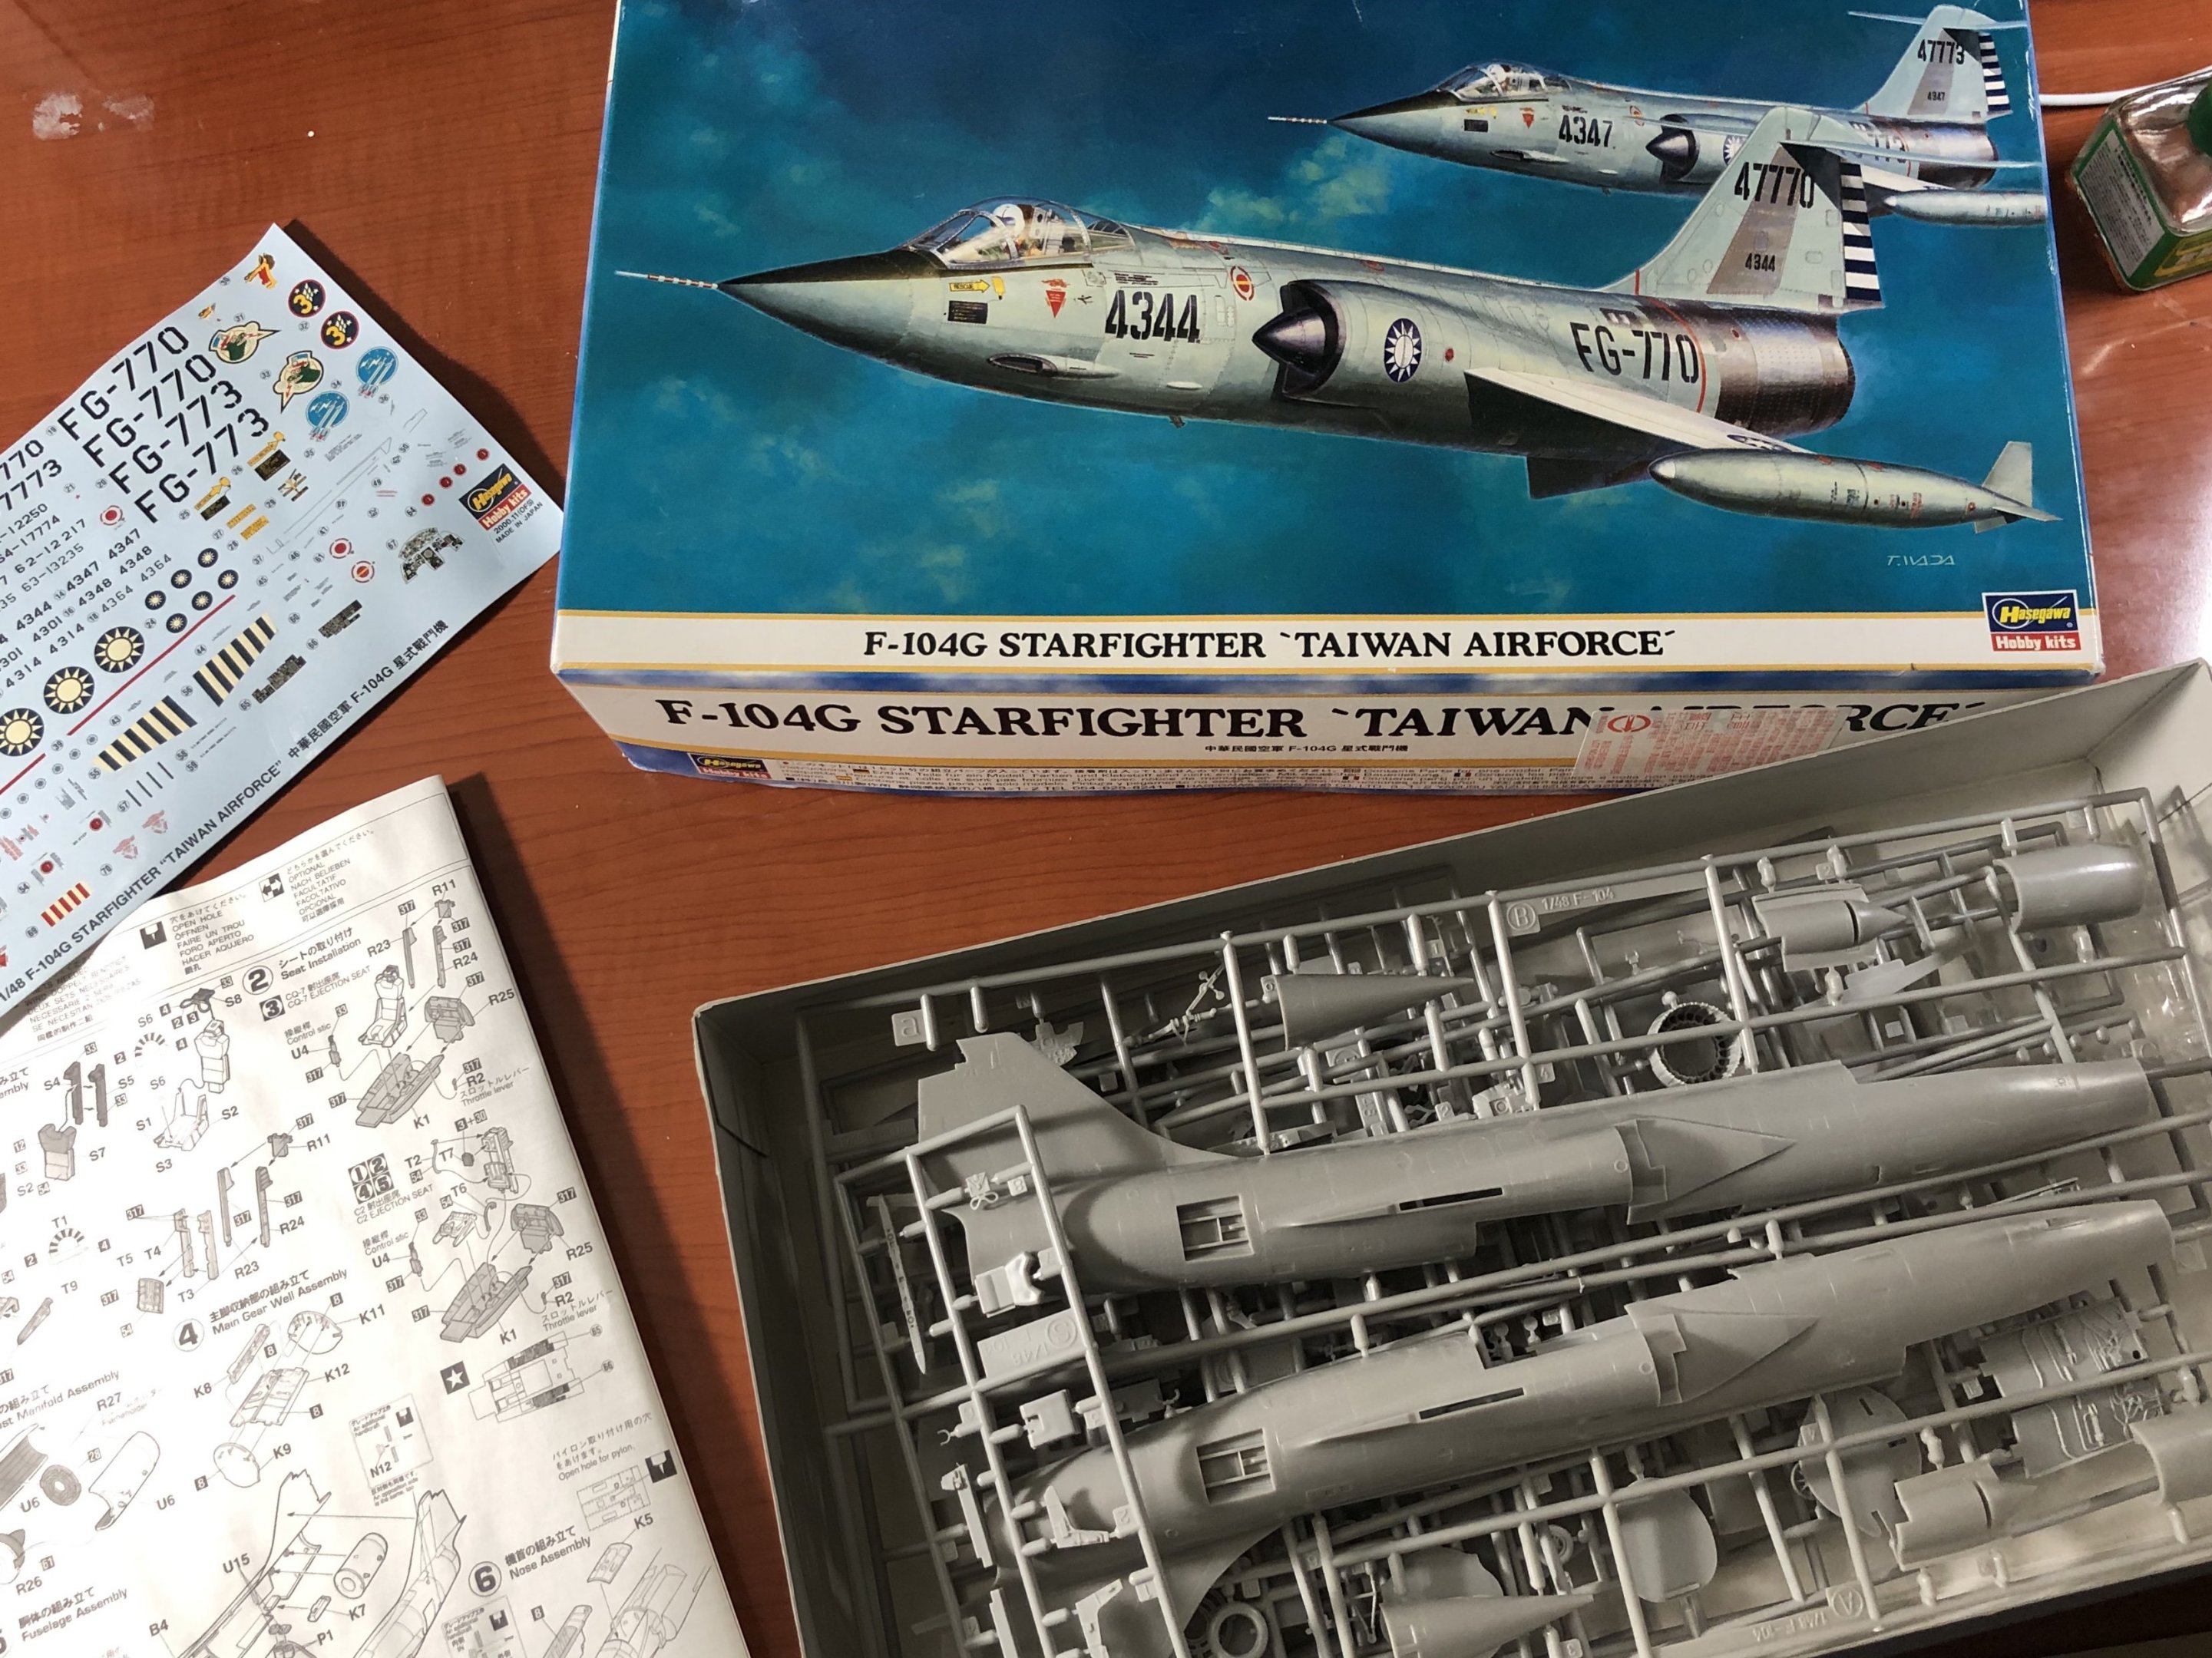
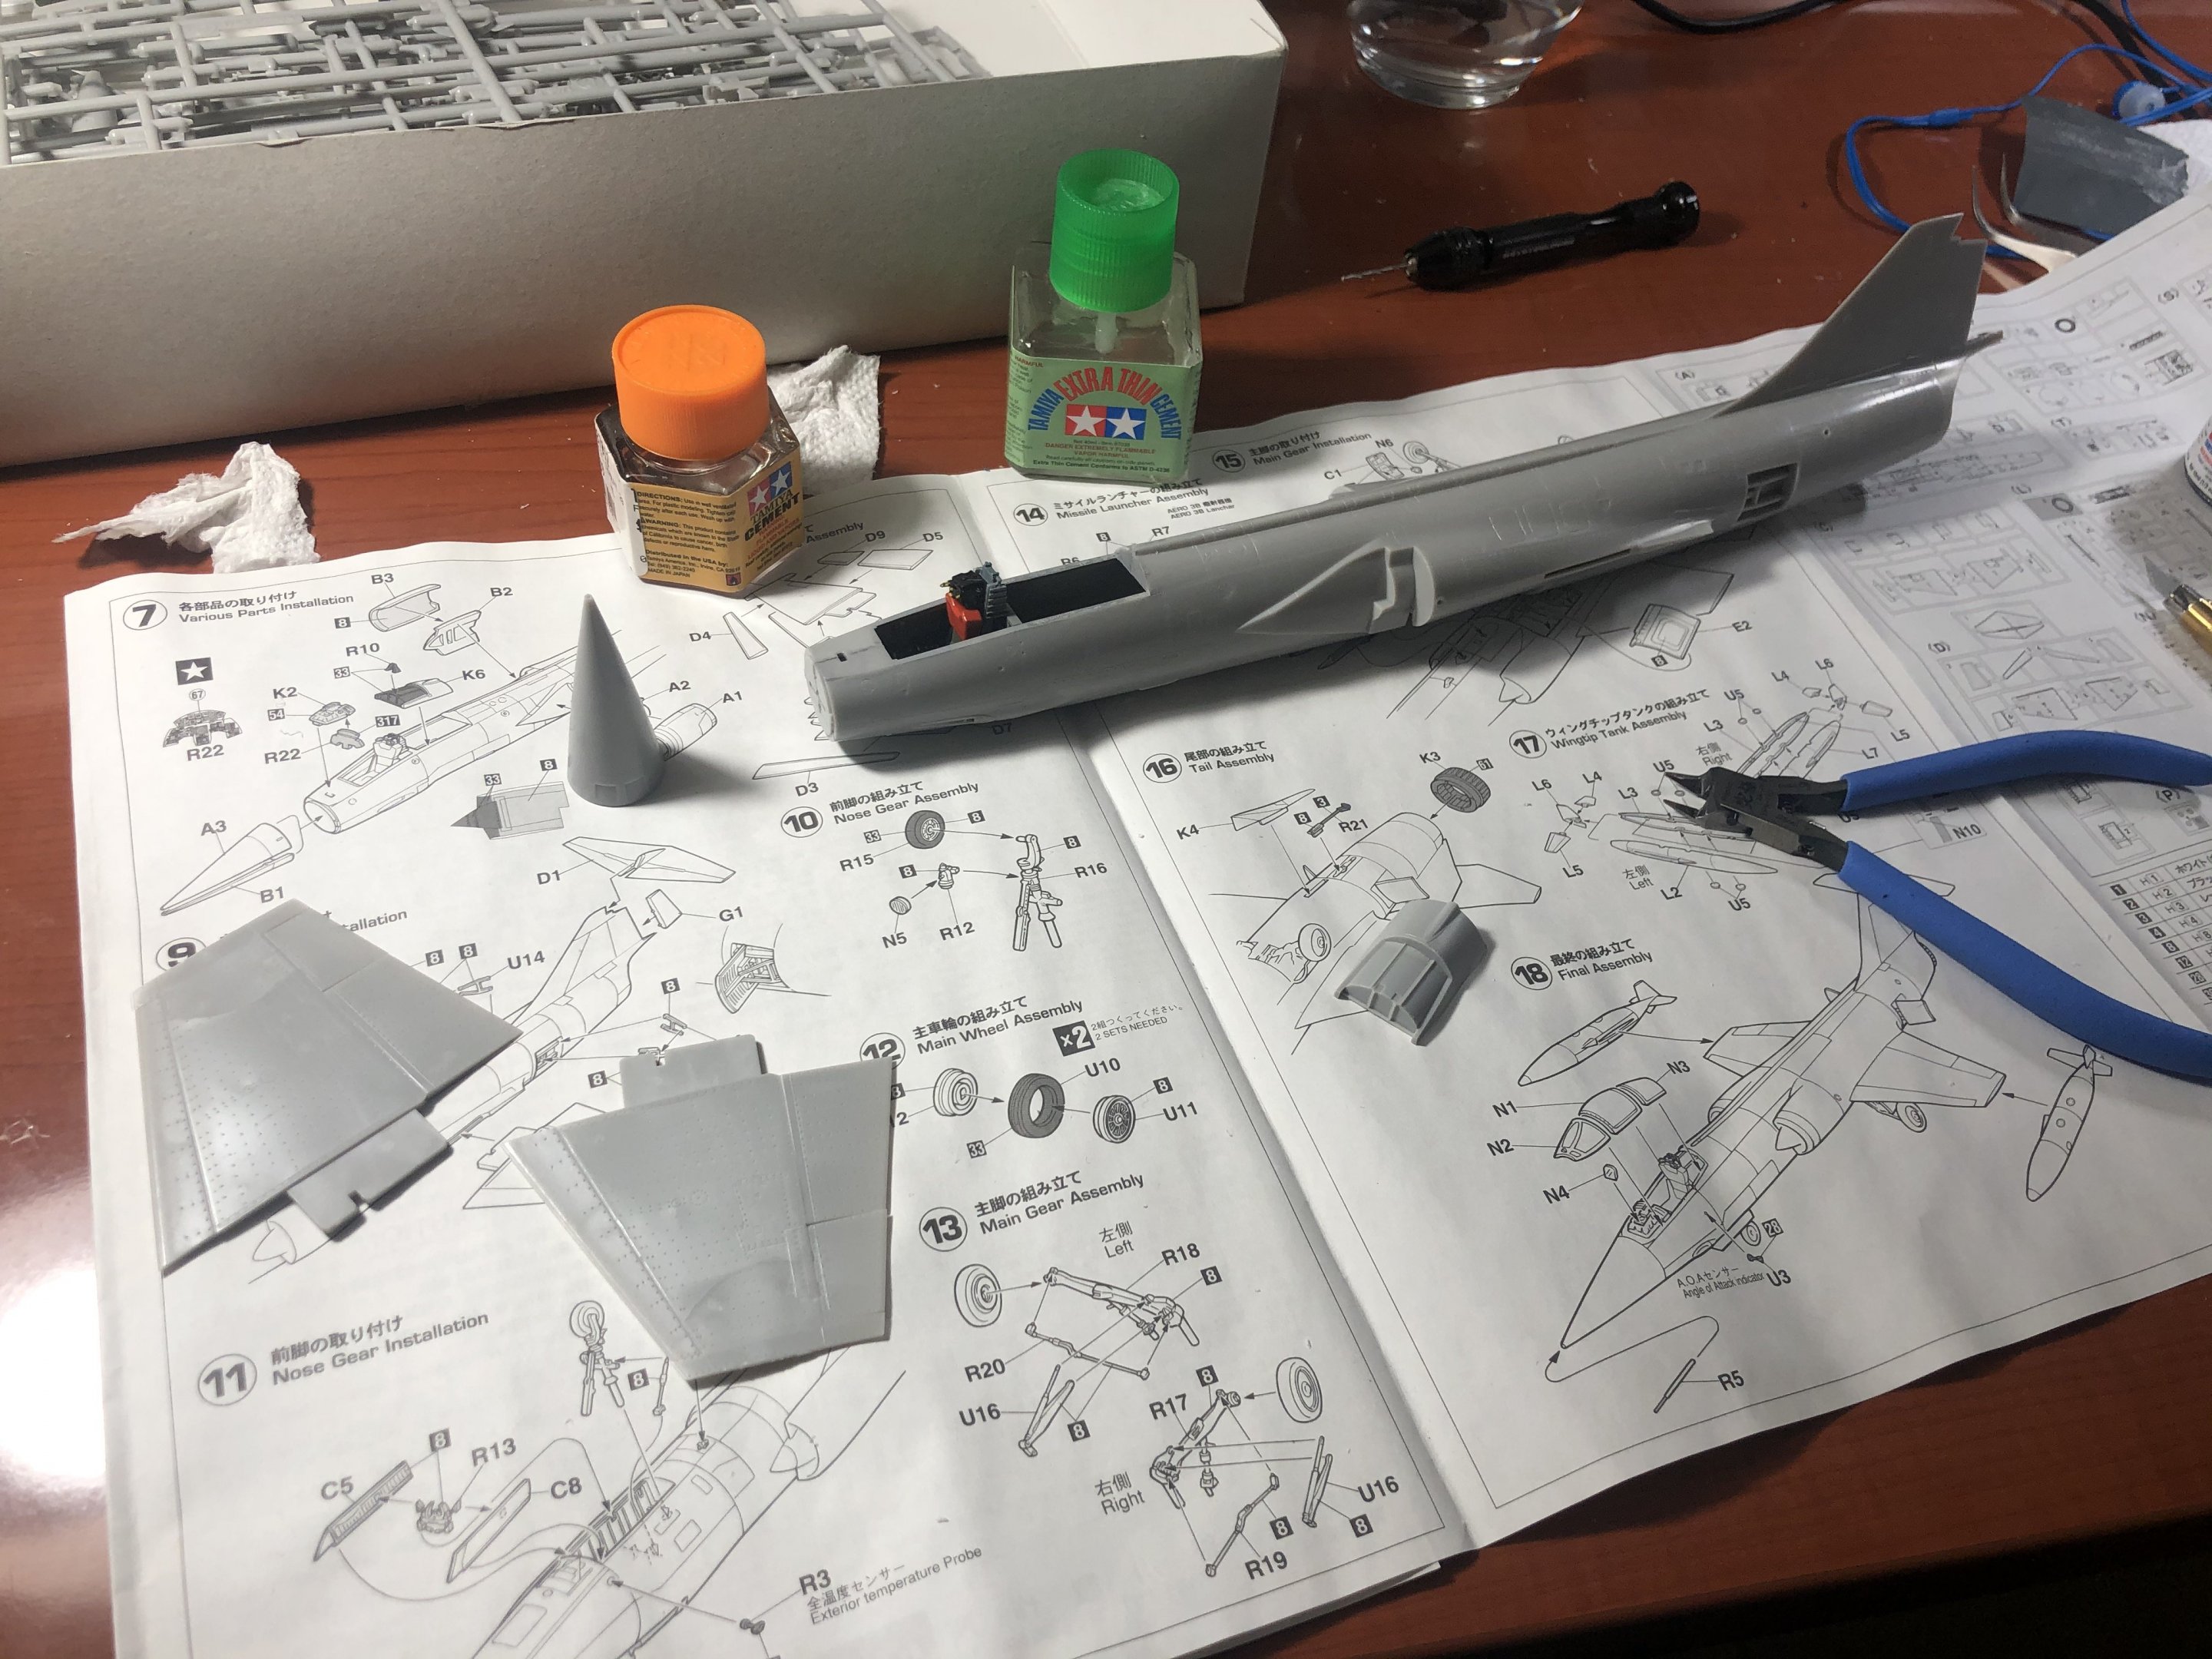
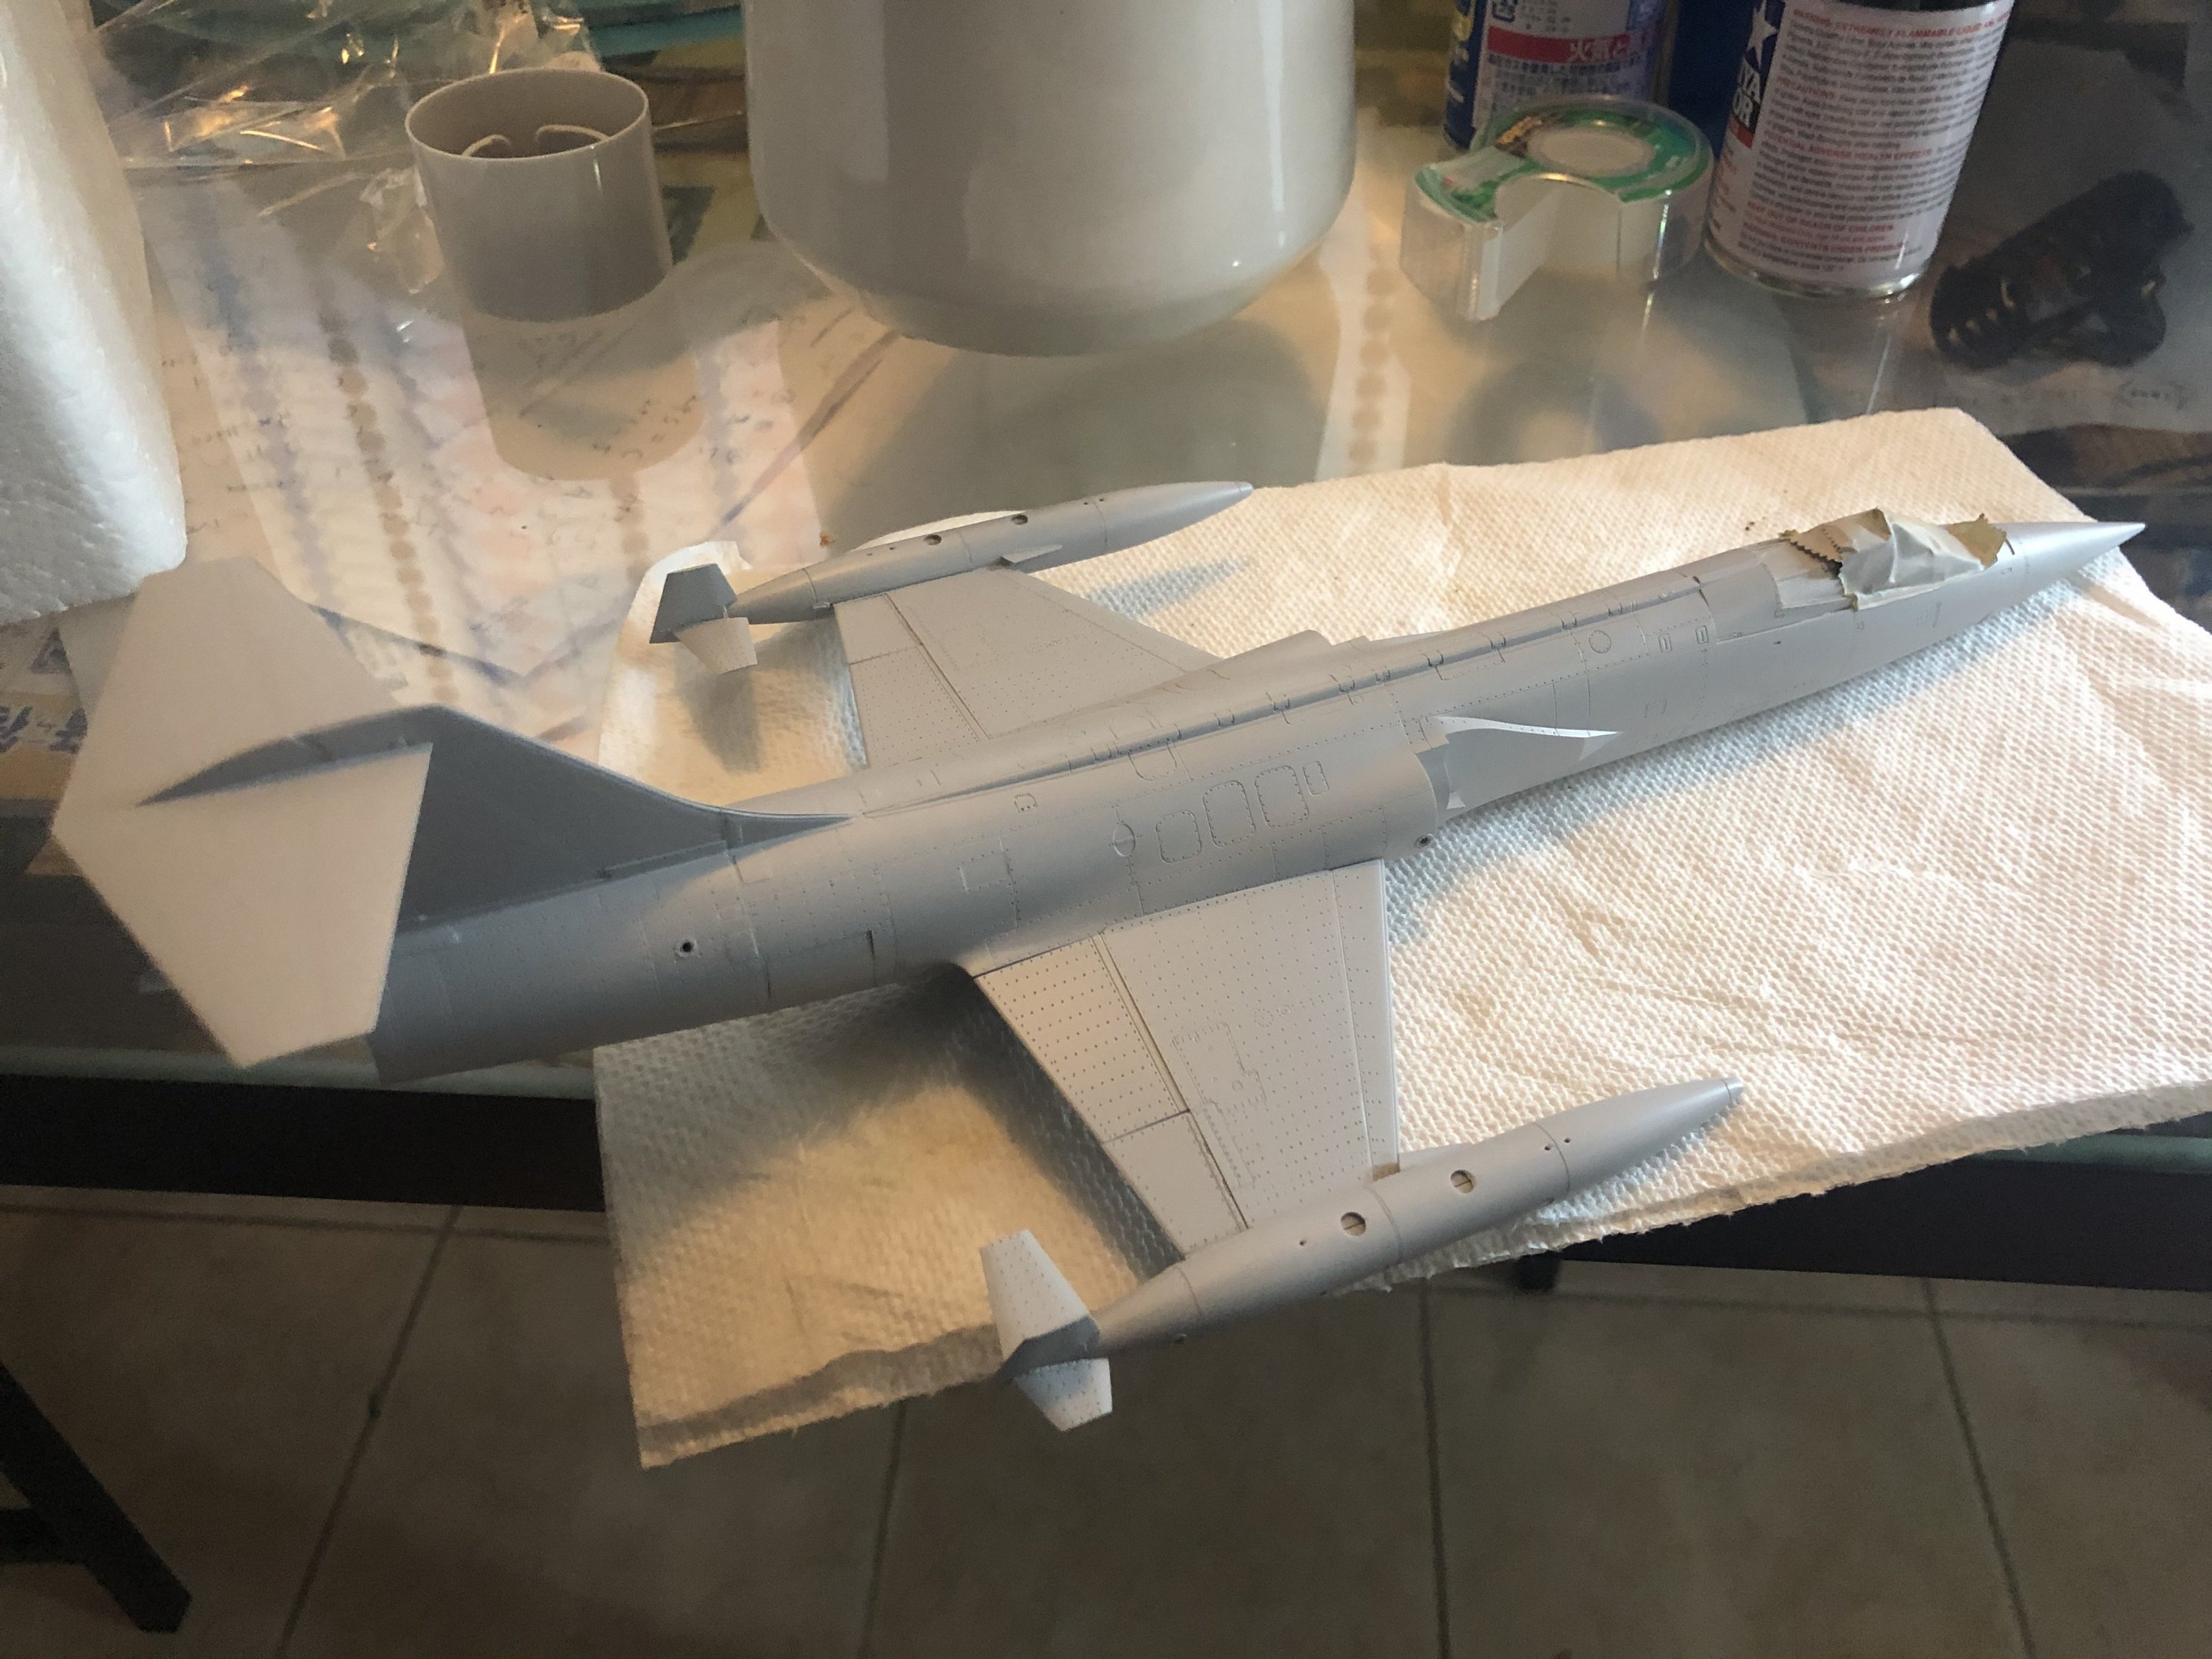
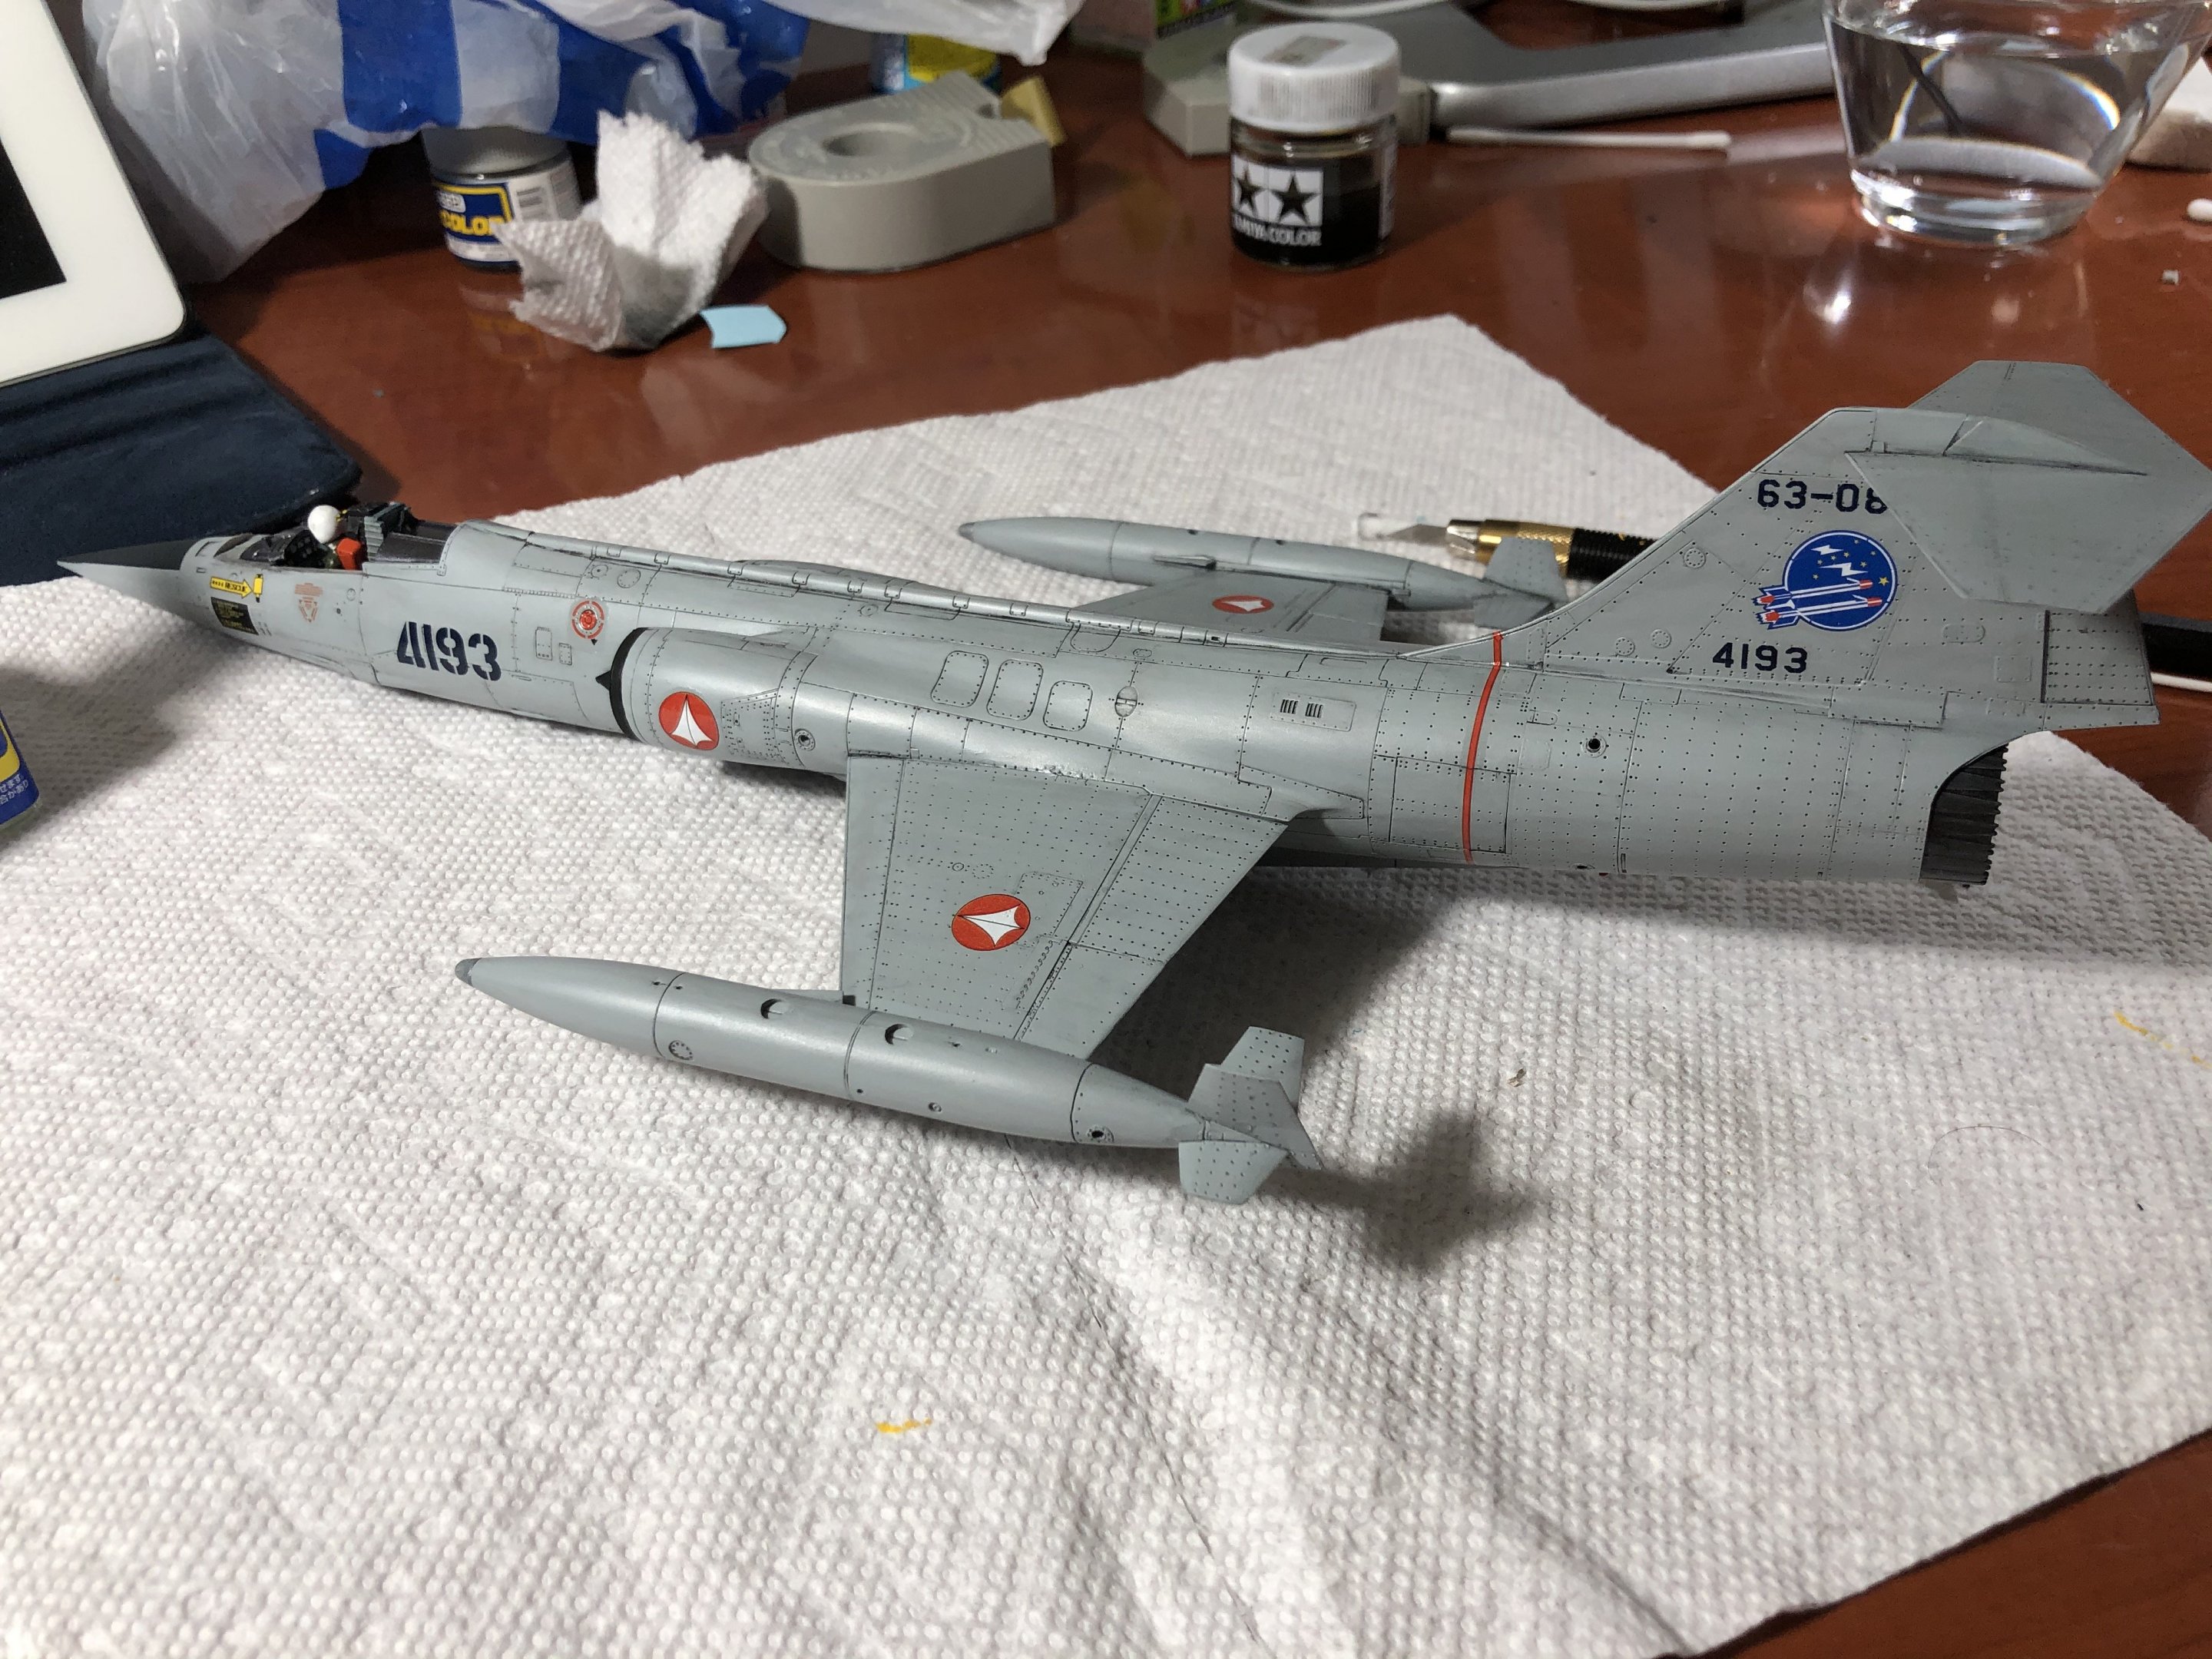
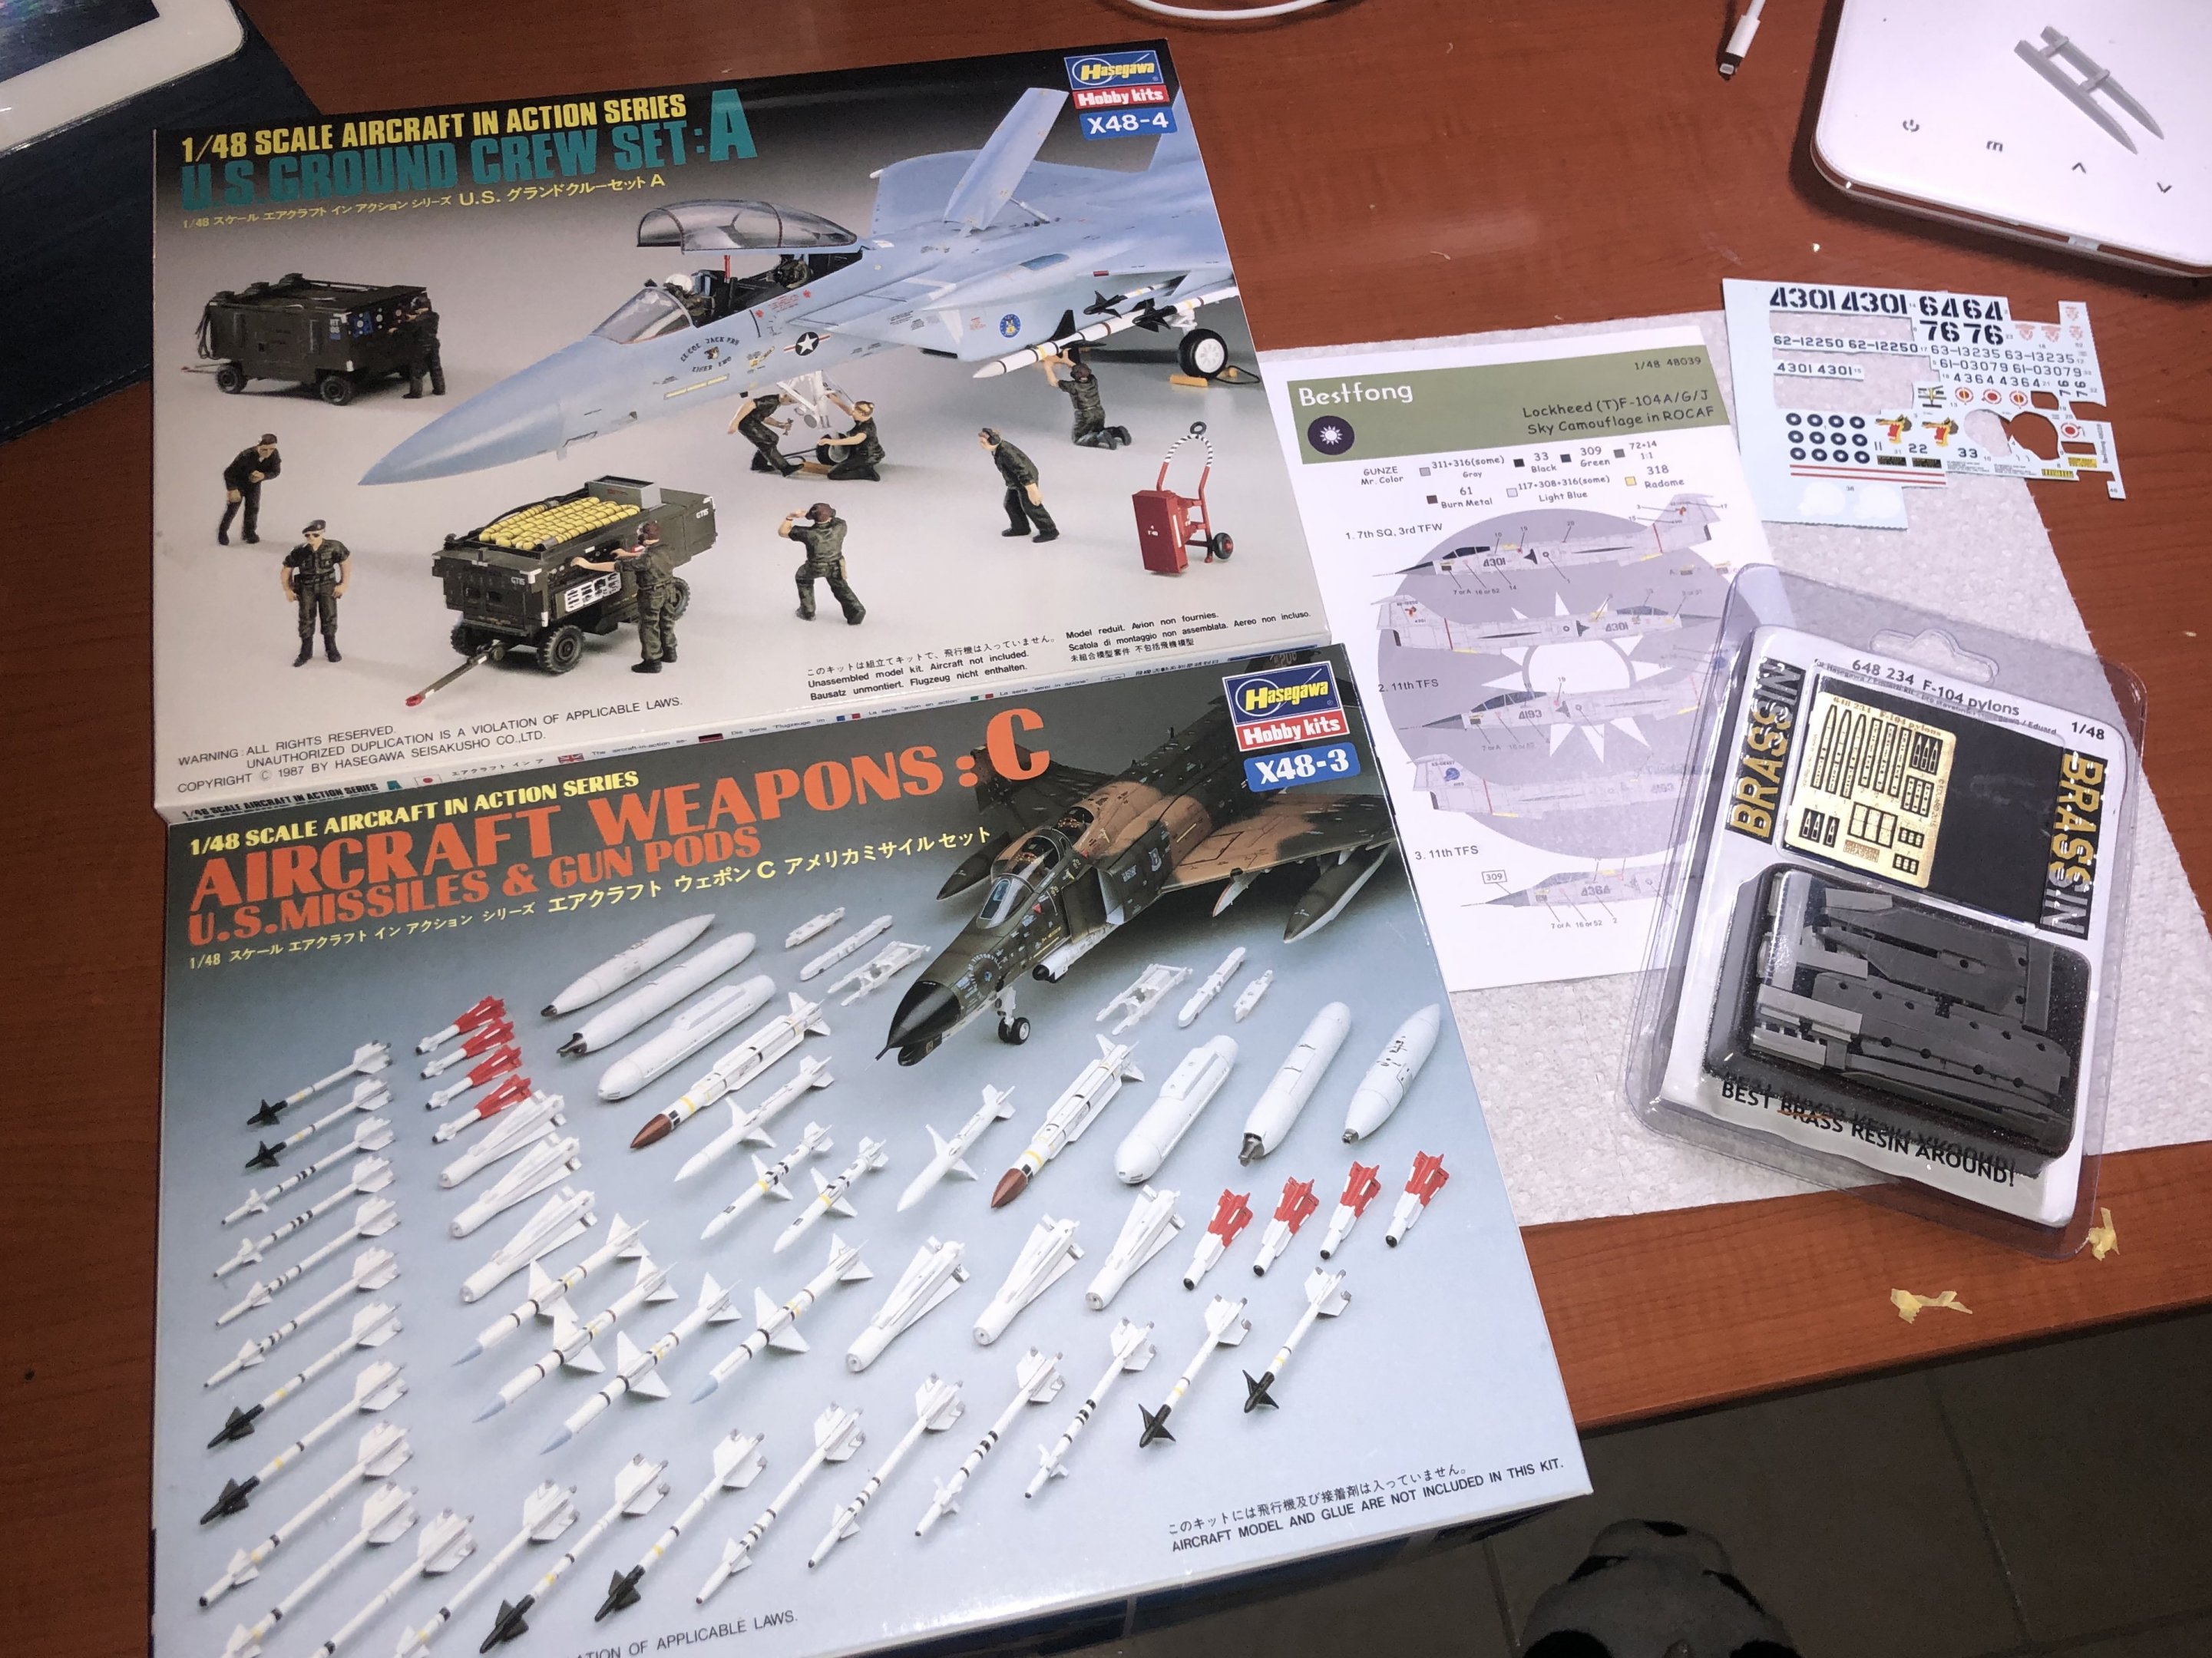
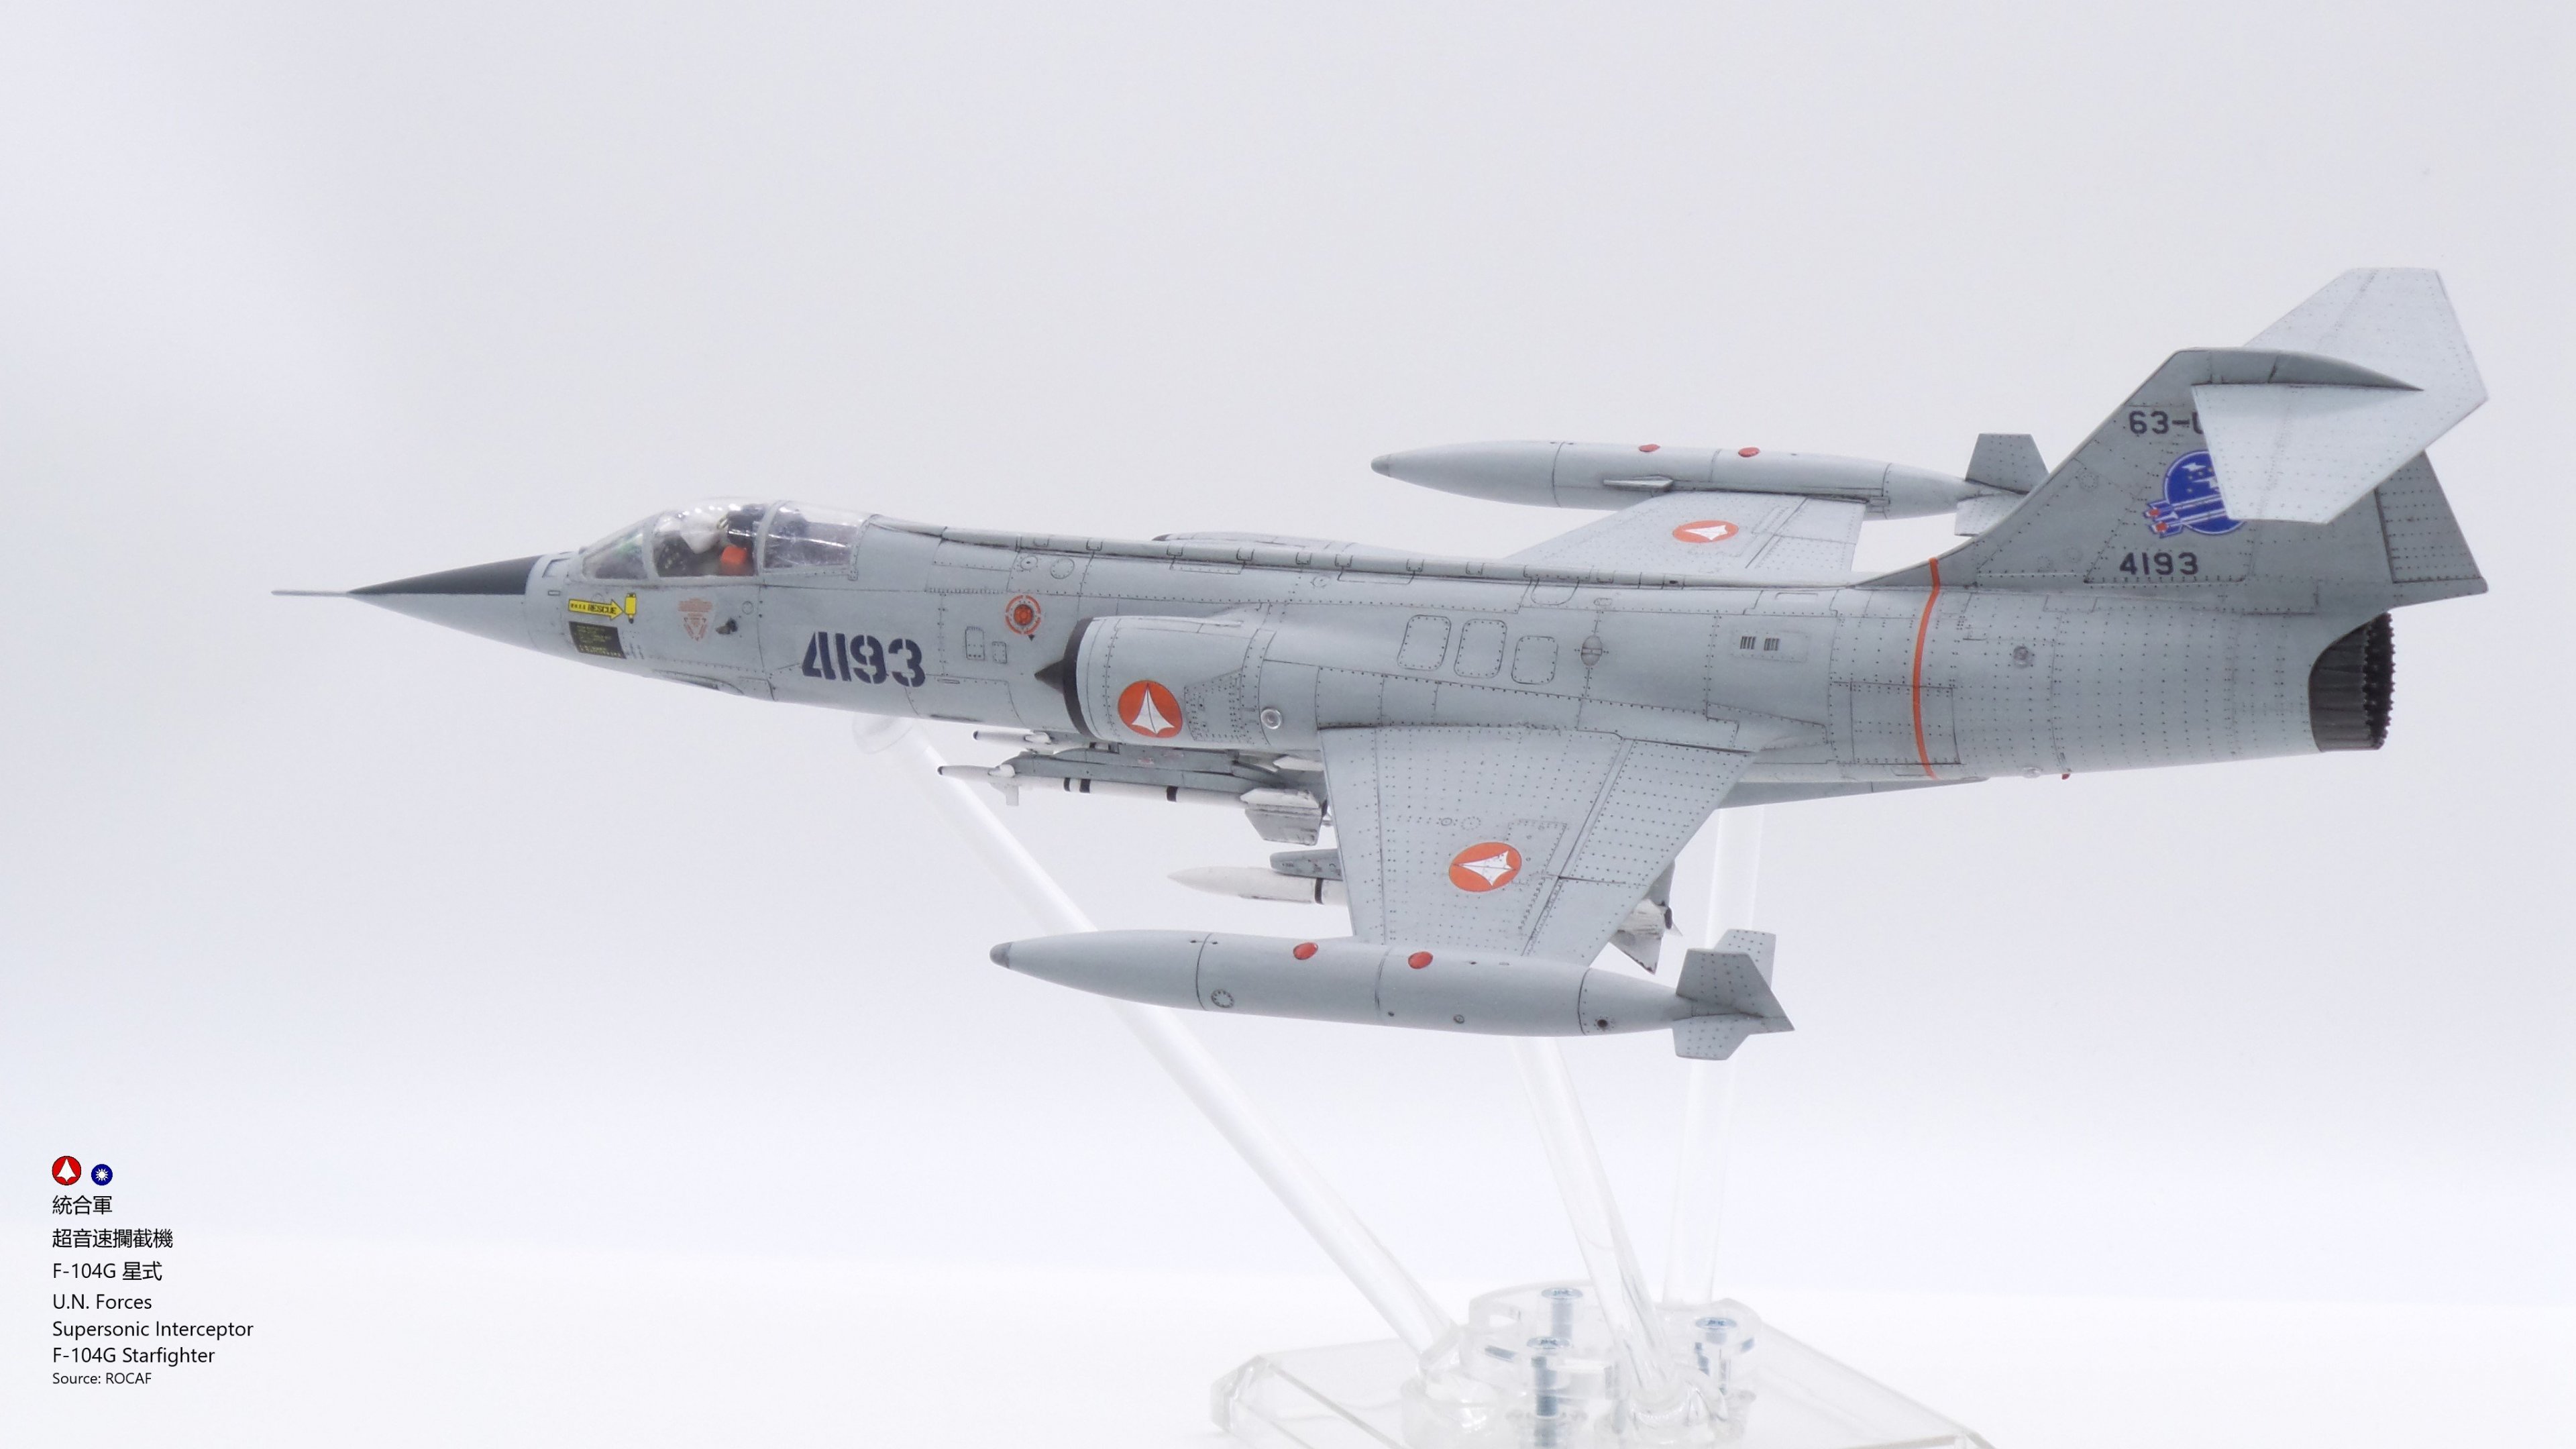
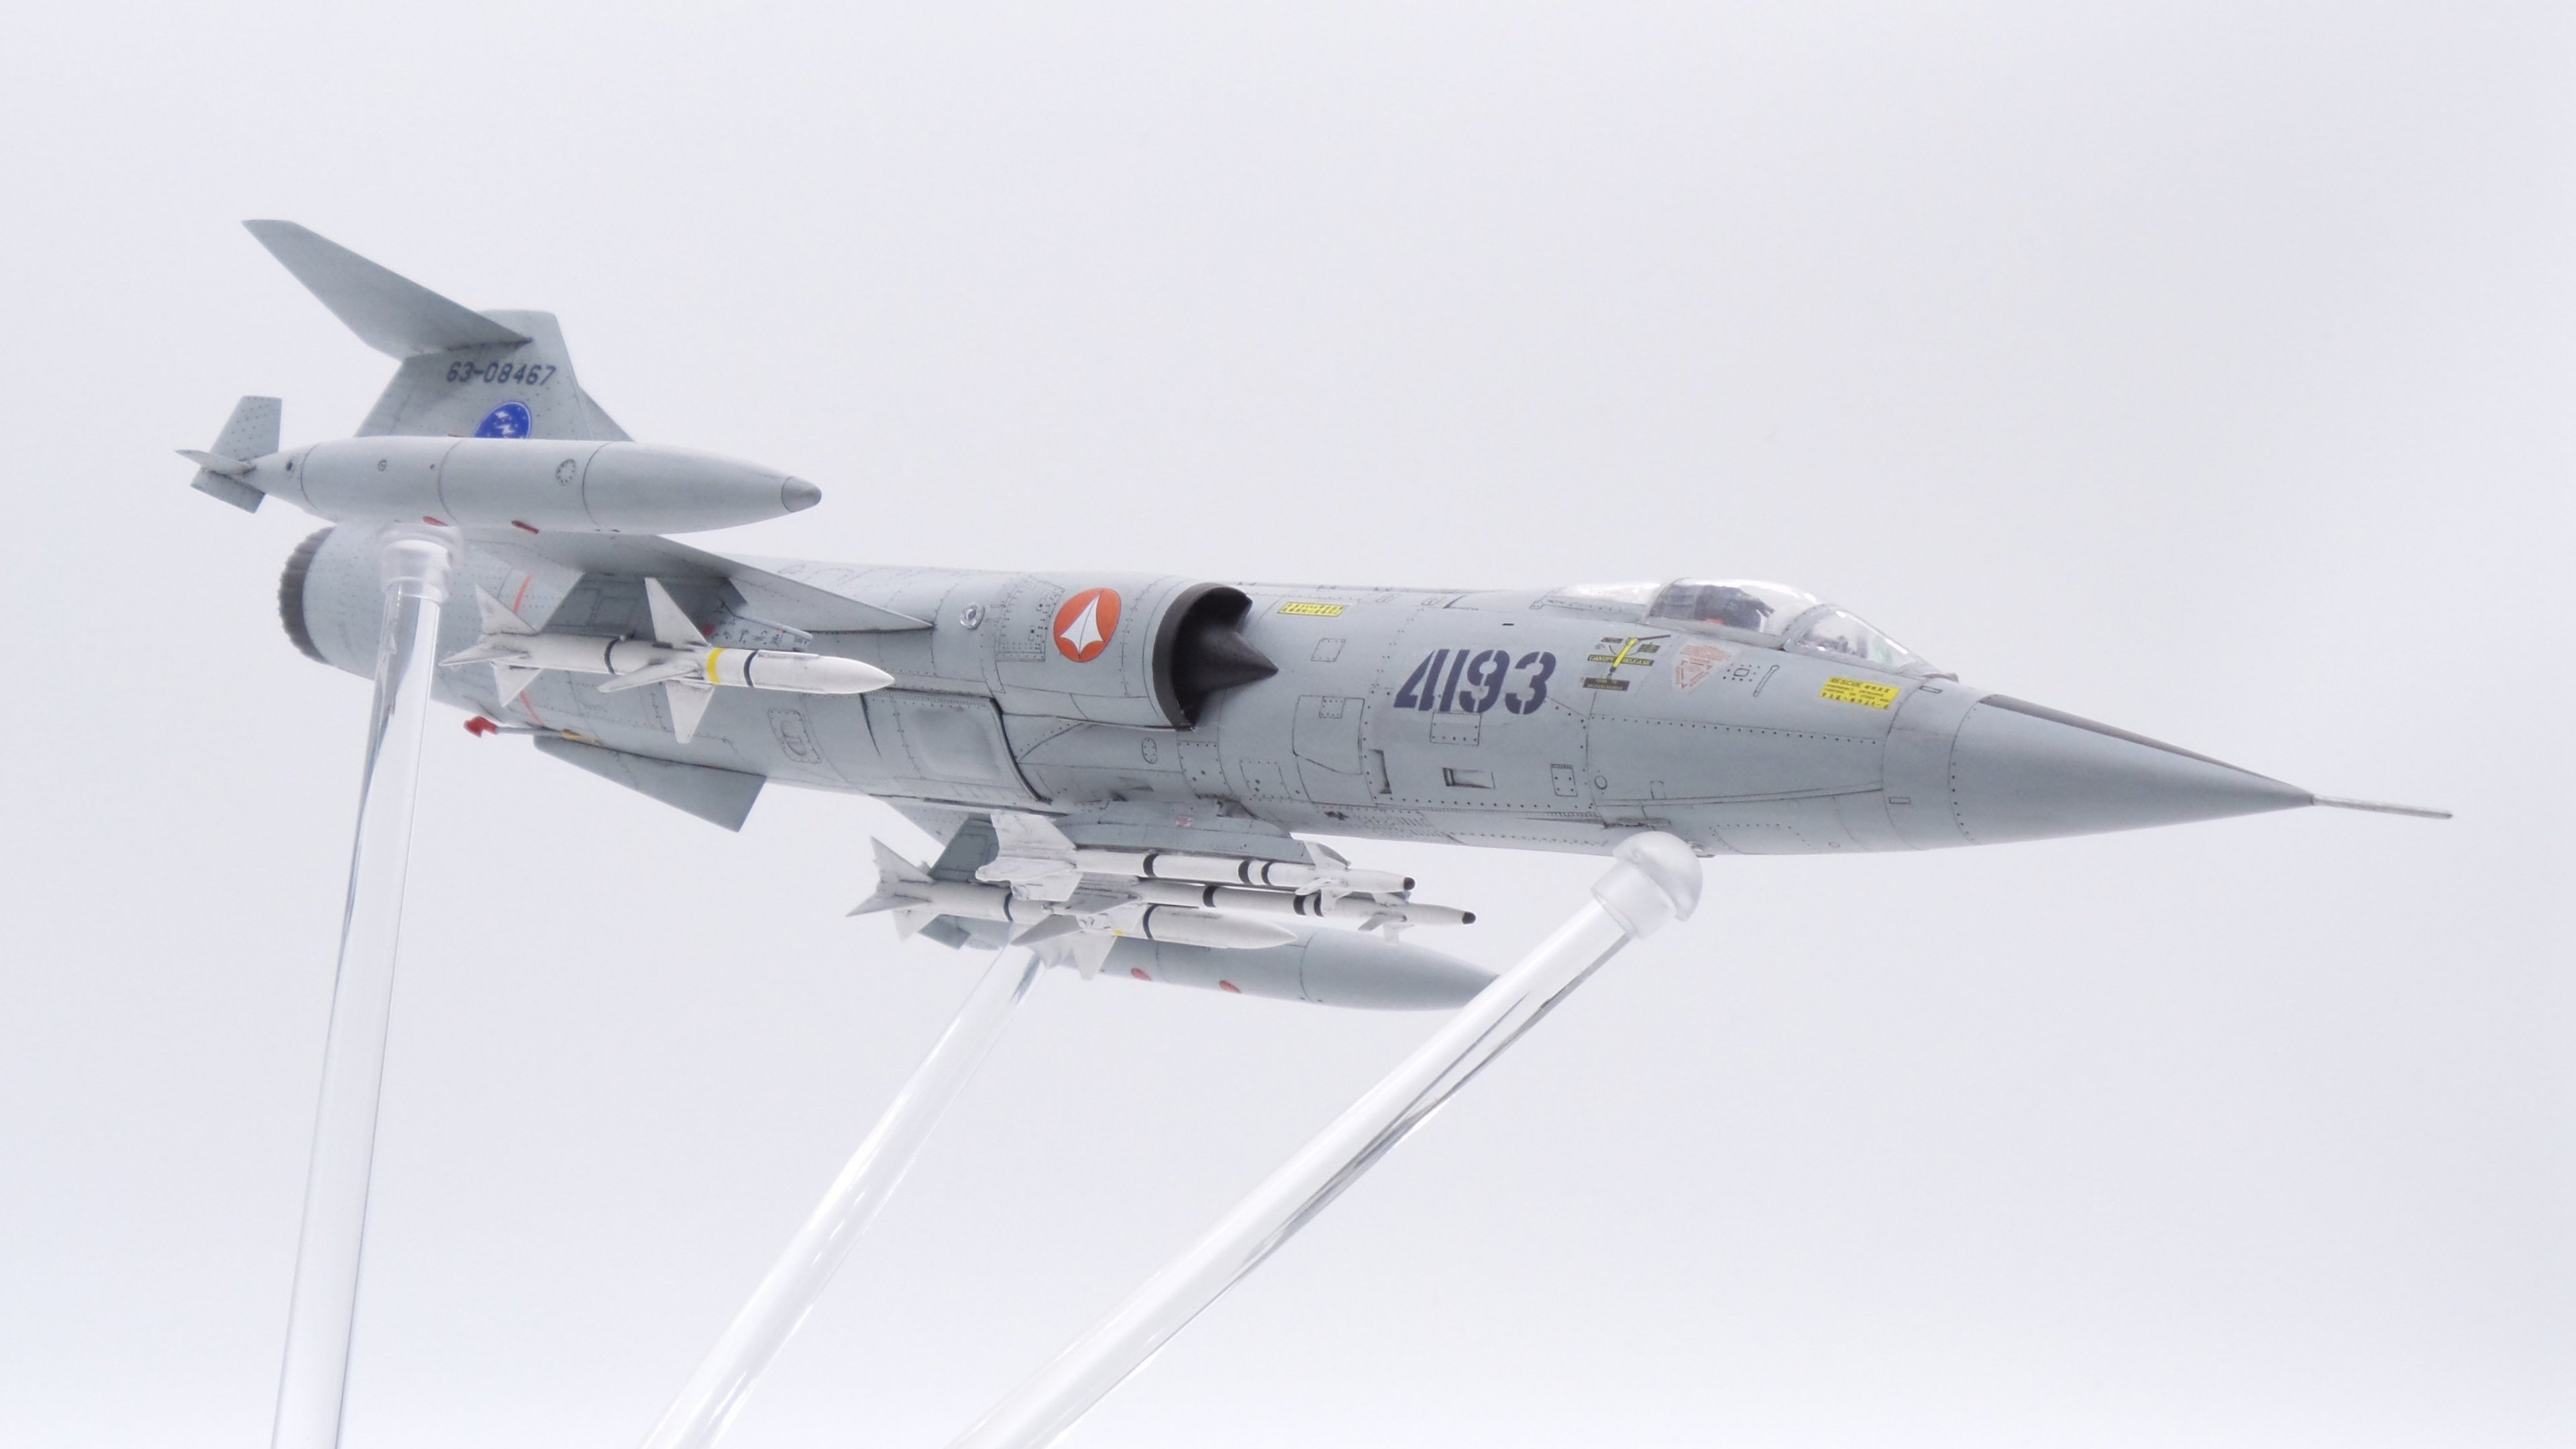
Update on first post * Add VF041H Yellow Belmont * Add F104G The F104 Starfighter is special to me. I grew up during the Cold War in Taiwan and the ROCAF (Republic of China Airforce) and many other free world countries deployed a large number of F104s at that time. The F104 remained in service with ROCAF until 1998, and finally retired from the Italian Air Force in 2004. The F104 has poor reliability, but it also has distinctive look and sound so I always want to build a model of it. In the world of Macross, it’s conceivable that many F104s were still active during the Unification Wars. I bought this 1/48 Hasegawa kit a while back. It’s not difficult to build. The quality is fine but doesn't include parts like pilot, weapons, and pylons. I bought those separately and they cost more than the base kit. Additionally, I bought new decals because the original was useless due to aging, ugh. I tested the color before airbrushing. I chose Mr. Hobby 73 mixed with white and leveling thinner. The ratio is 1:1:3 and I think it’s good enough to the real F104s. The rest are pictures while building the kit, prime, paint, decal, and wash etc. Here is the result. I like it and I hope the same for you, have fun


-
1/48+fp's, 1/60+fp's, 1/72, 1/2k, 1/3k,1/100 and now 1/144
EastwindS2k replied to VF-18S Hornet's topic in Toys
Nice! Love that shading works. Also painting those landing gears must take you a while but it's really good -
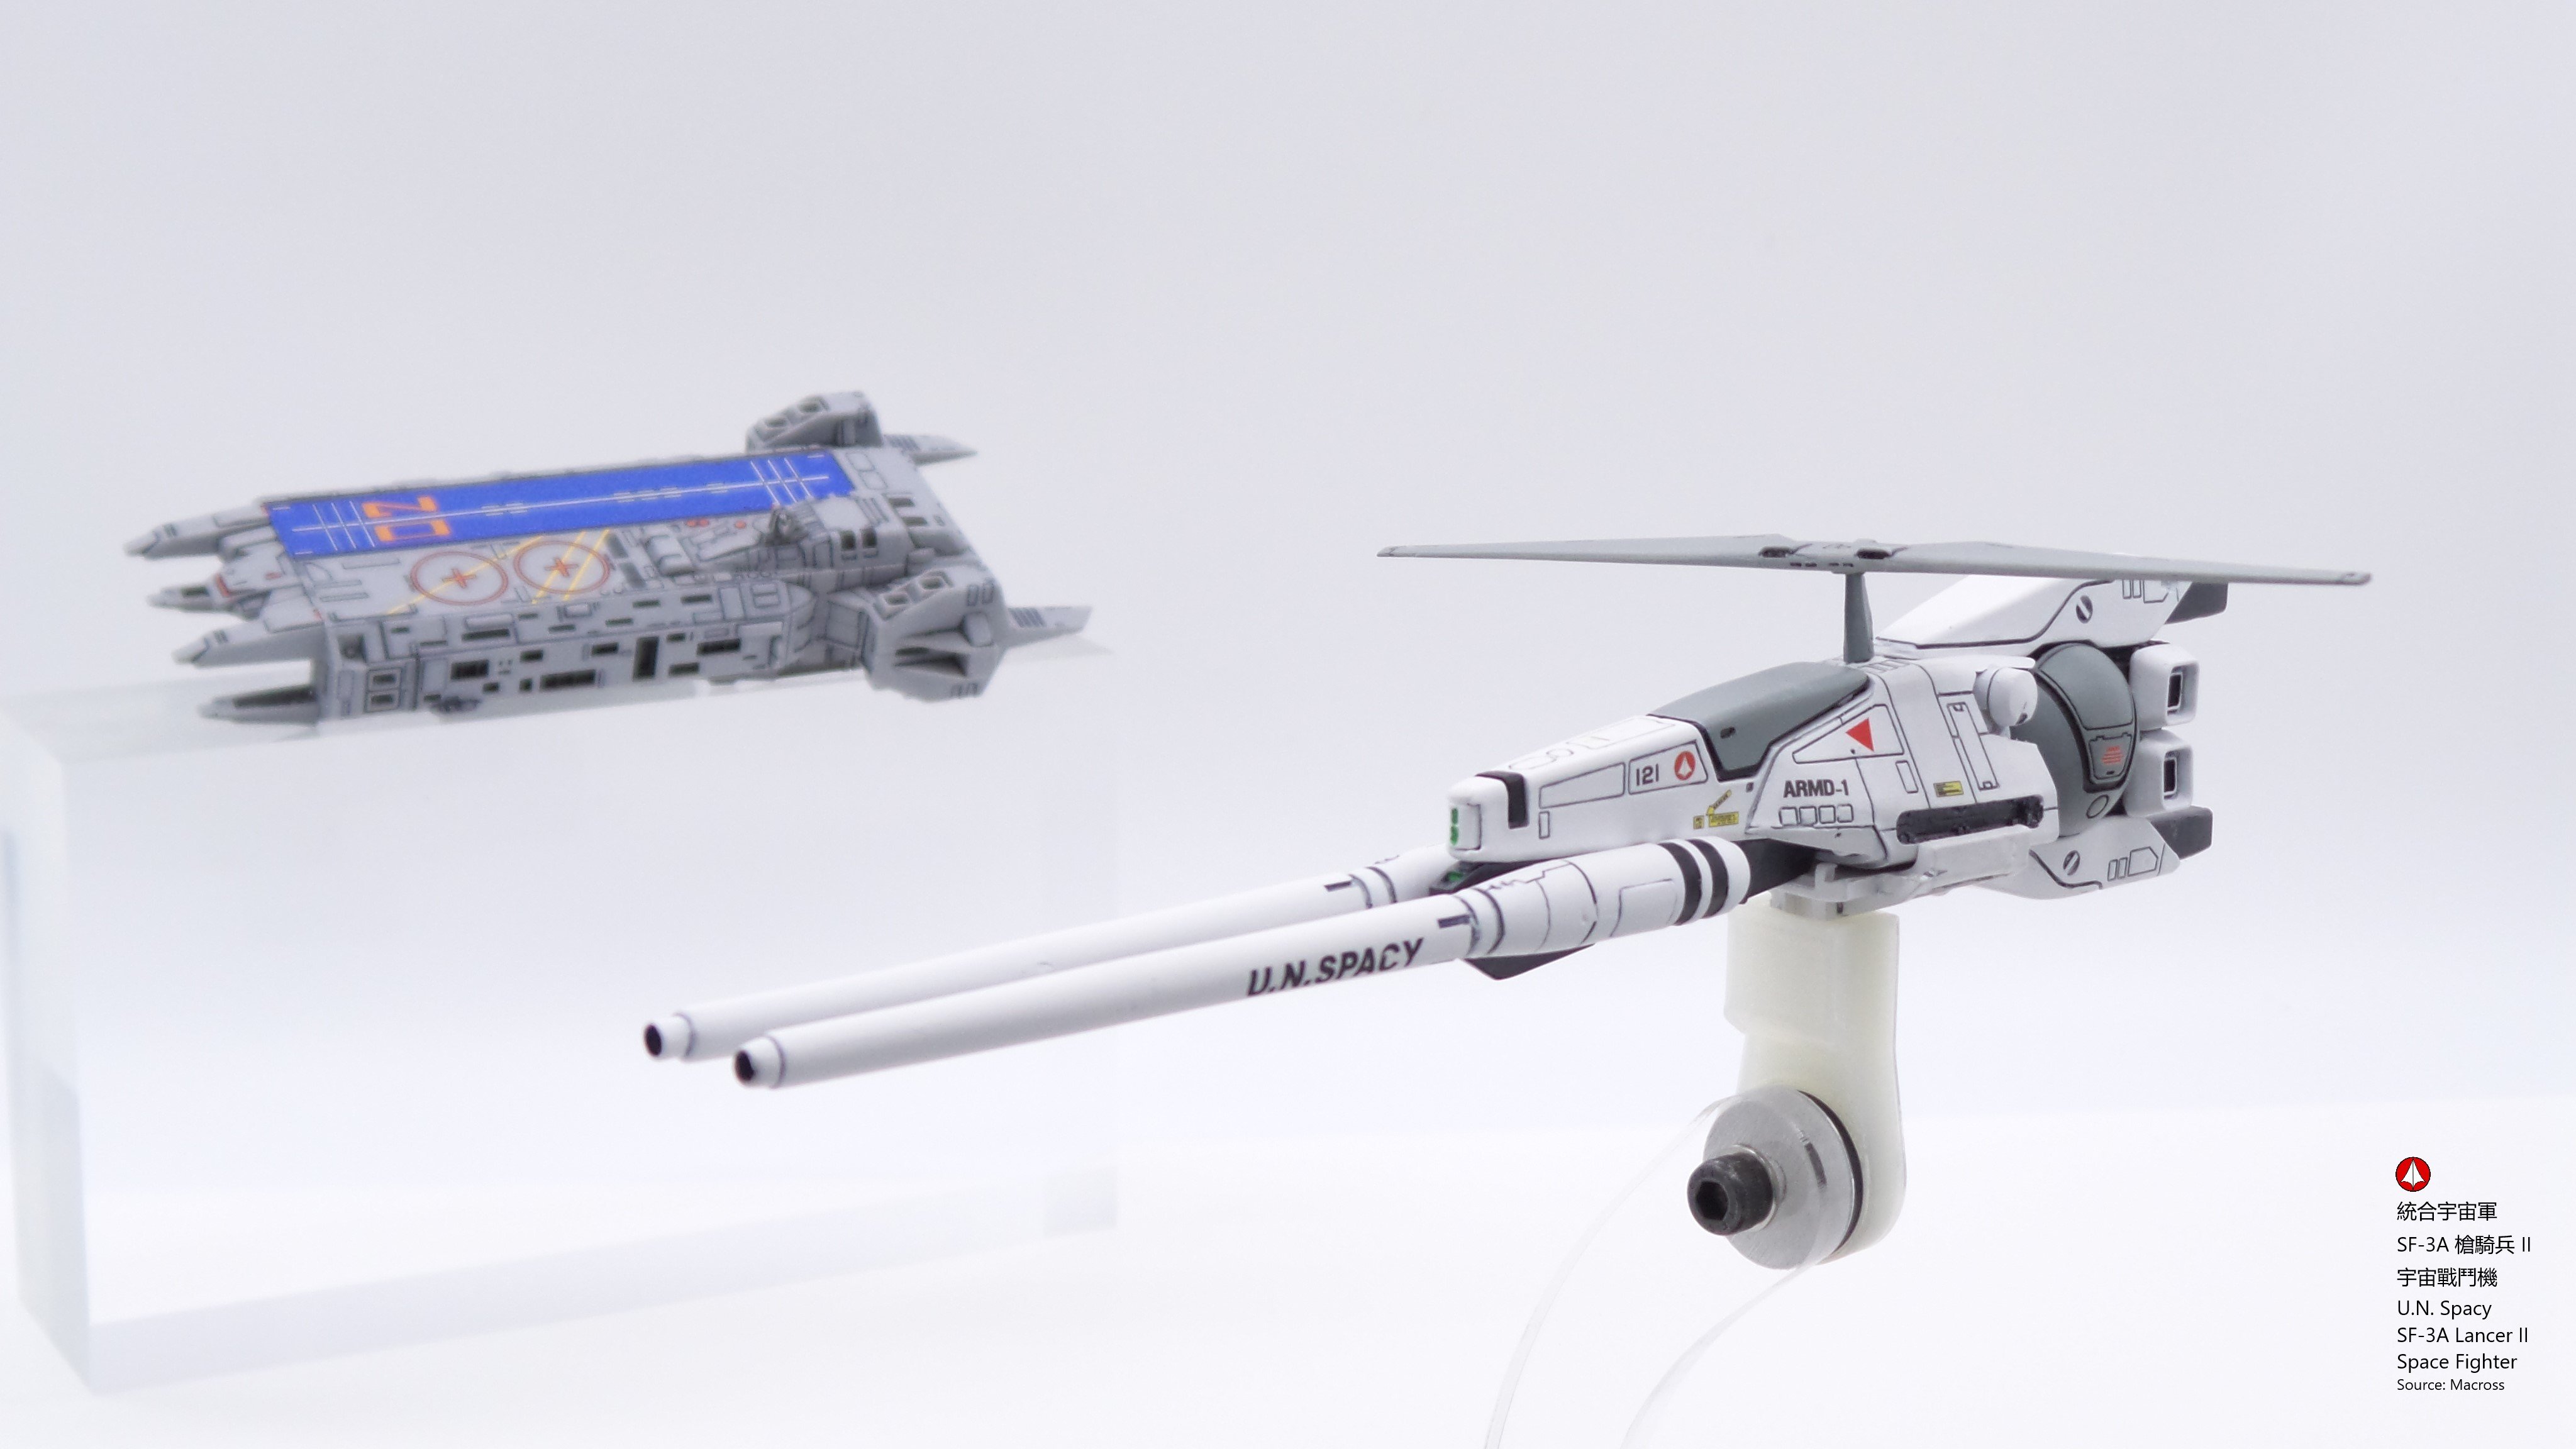
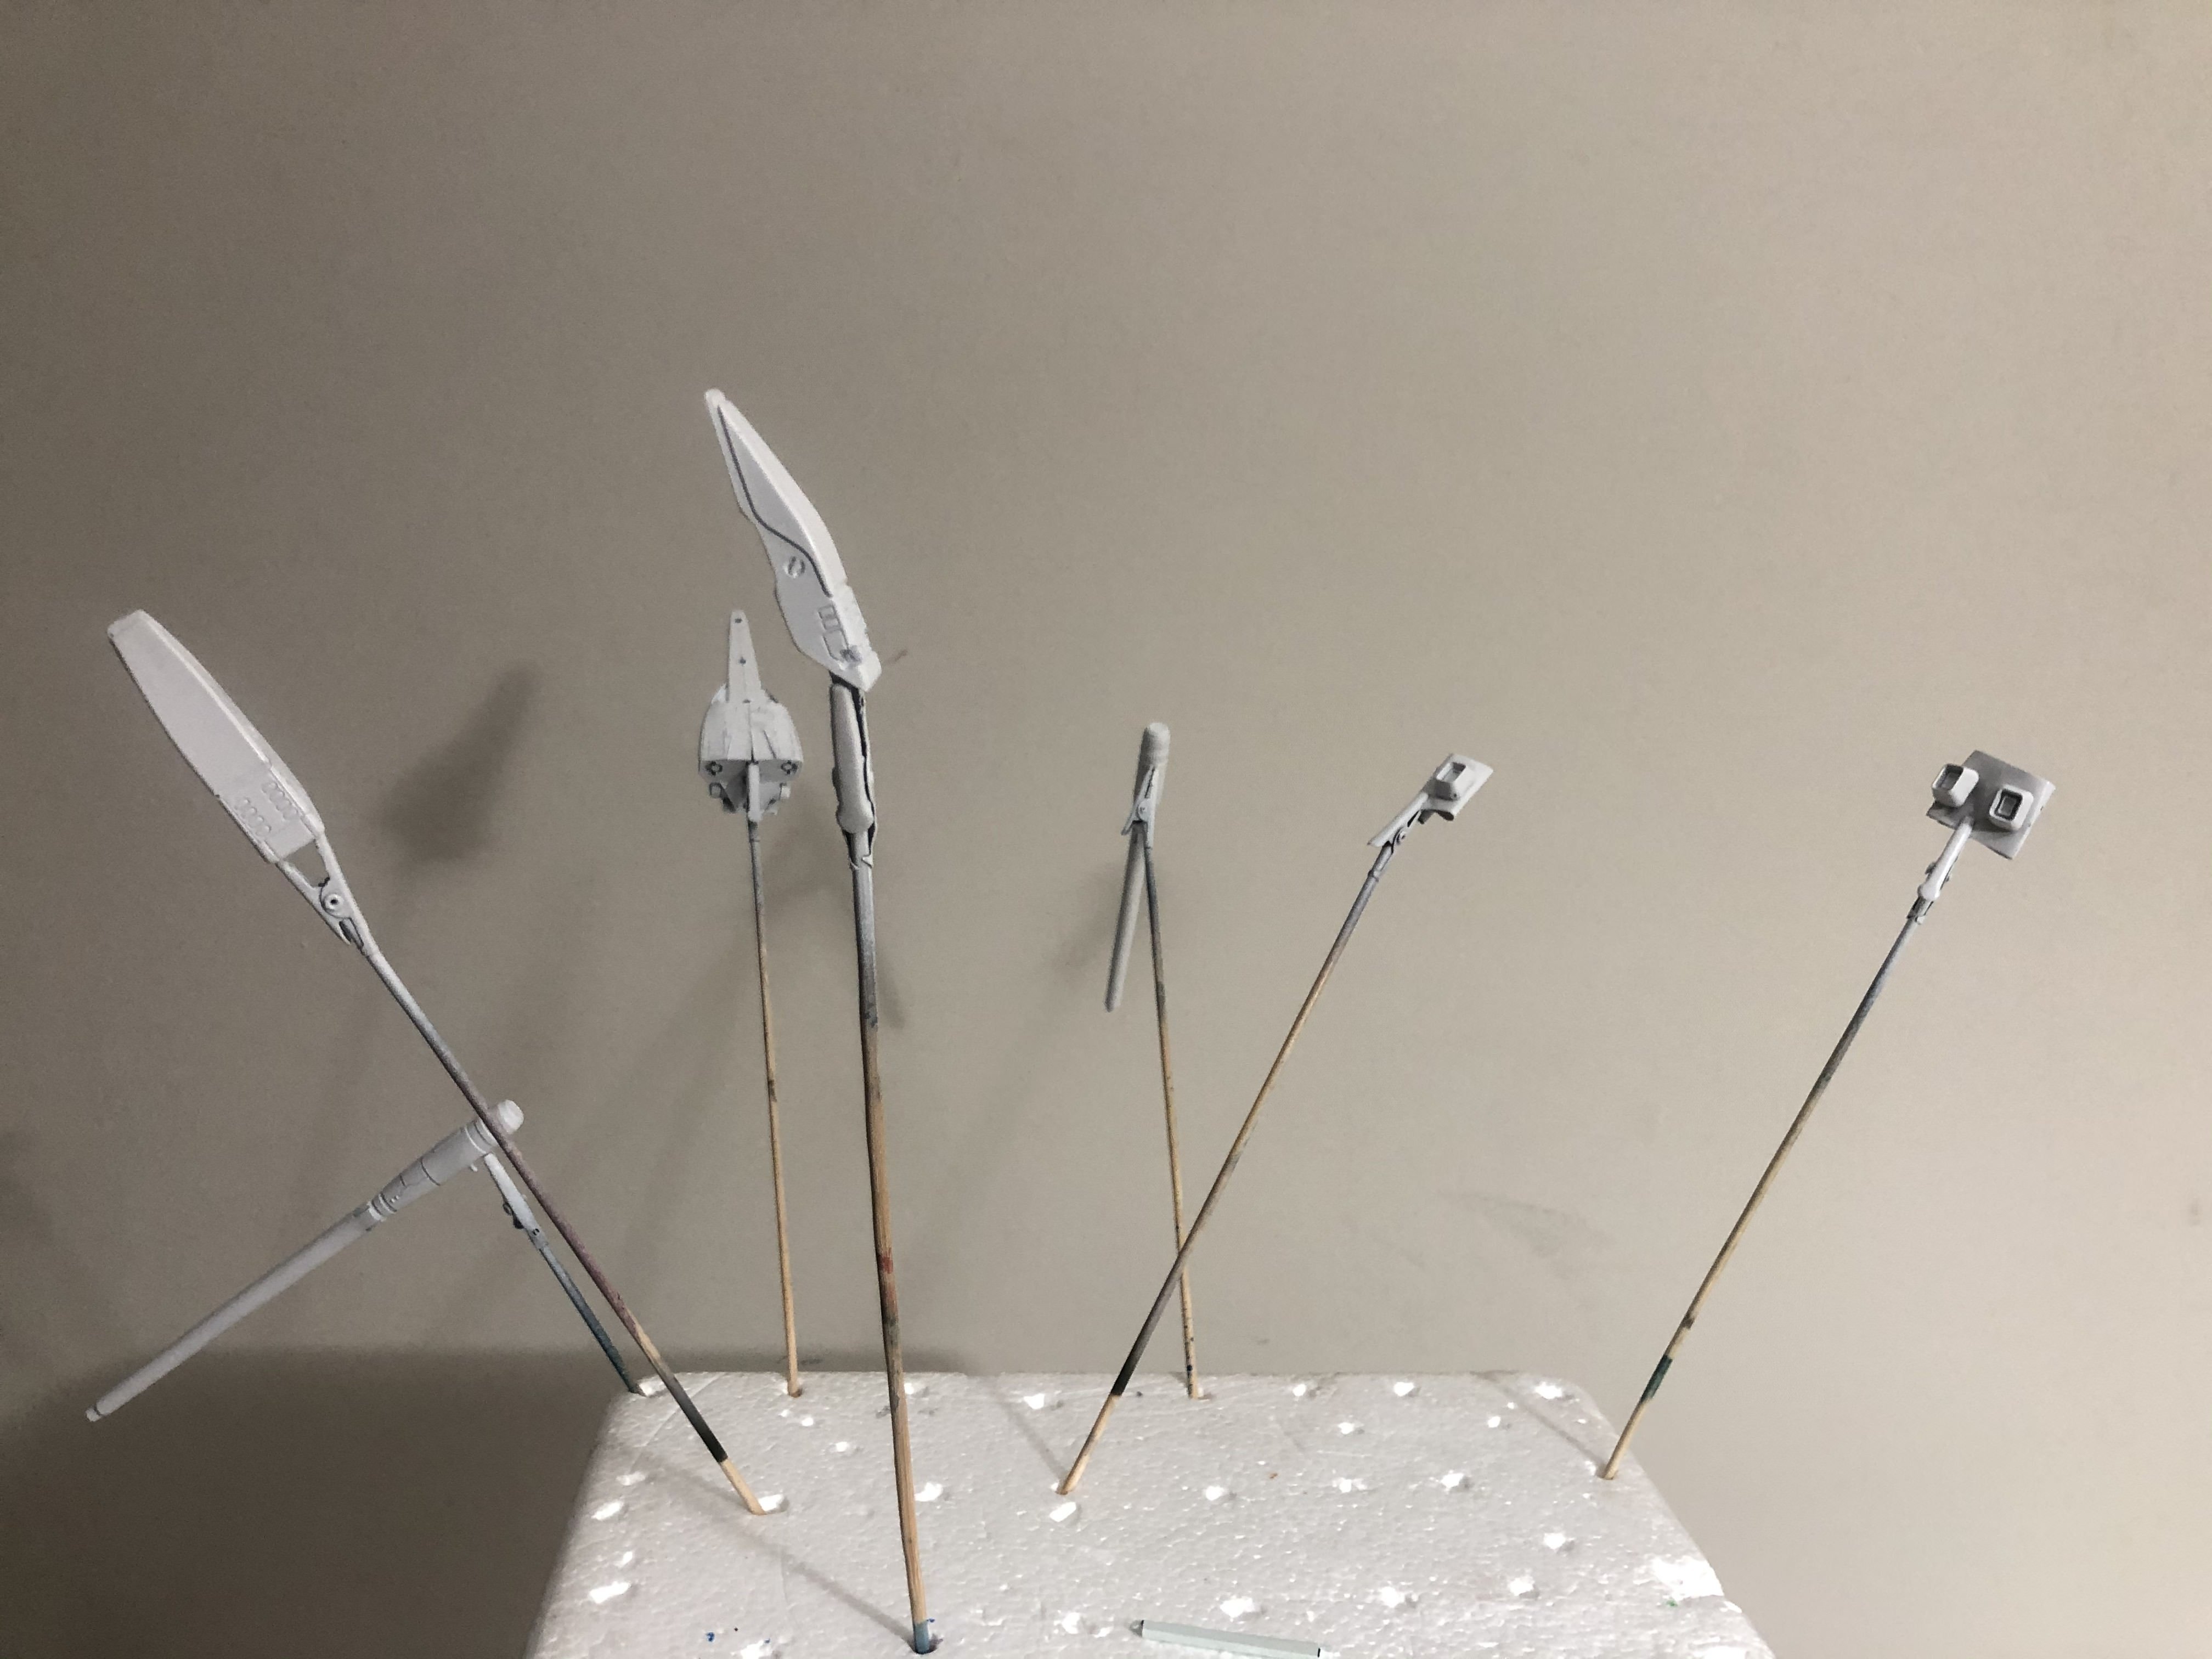
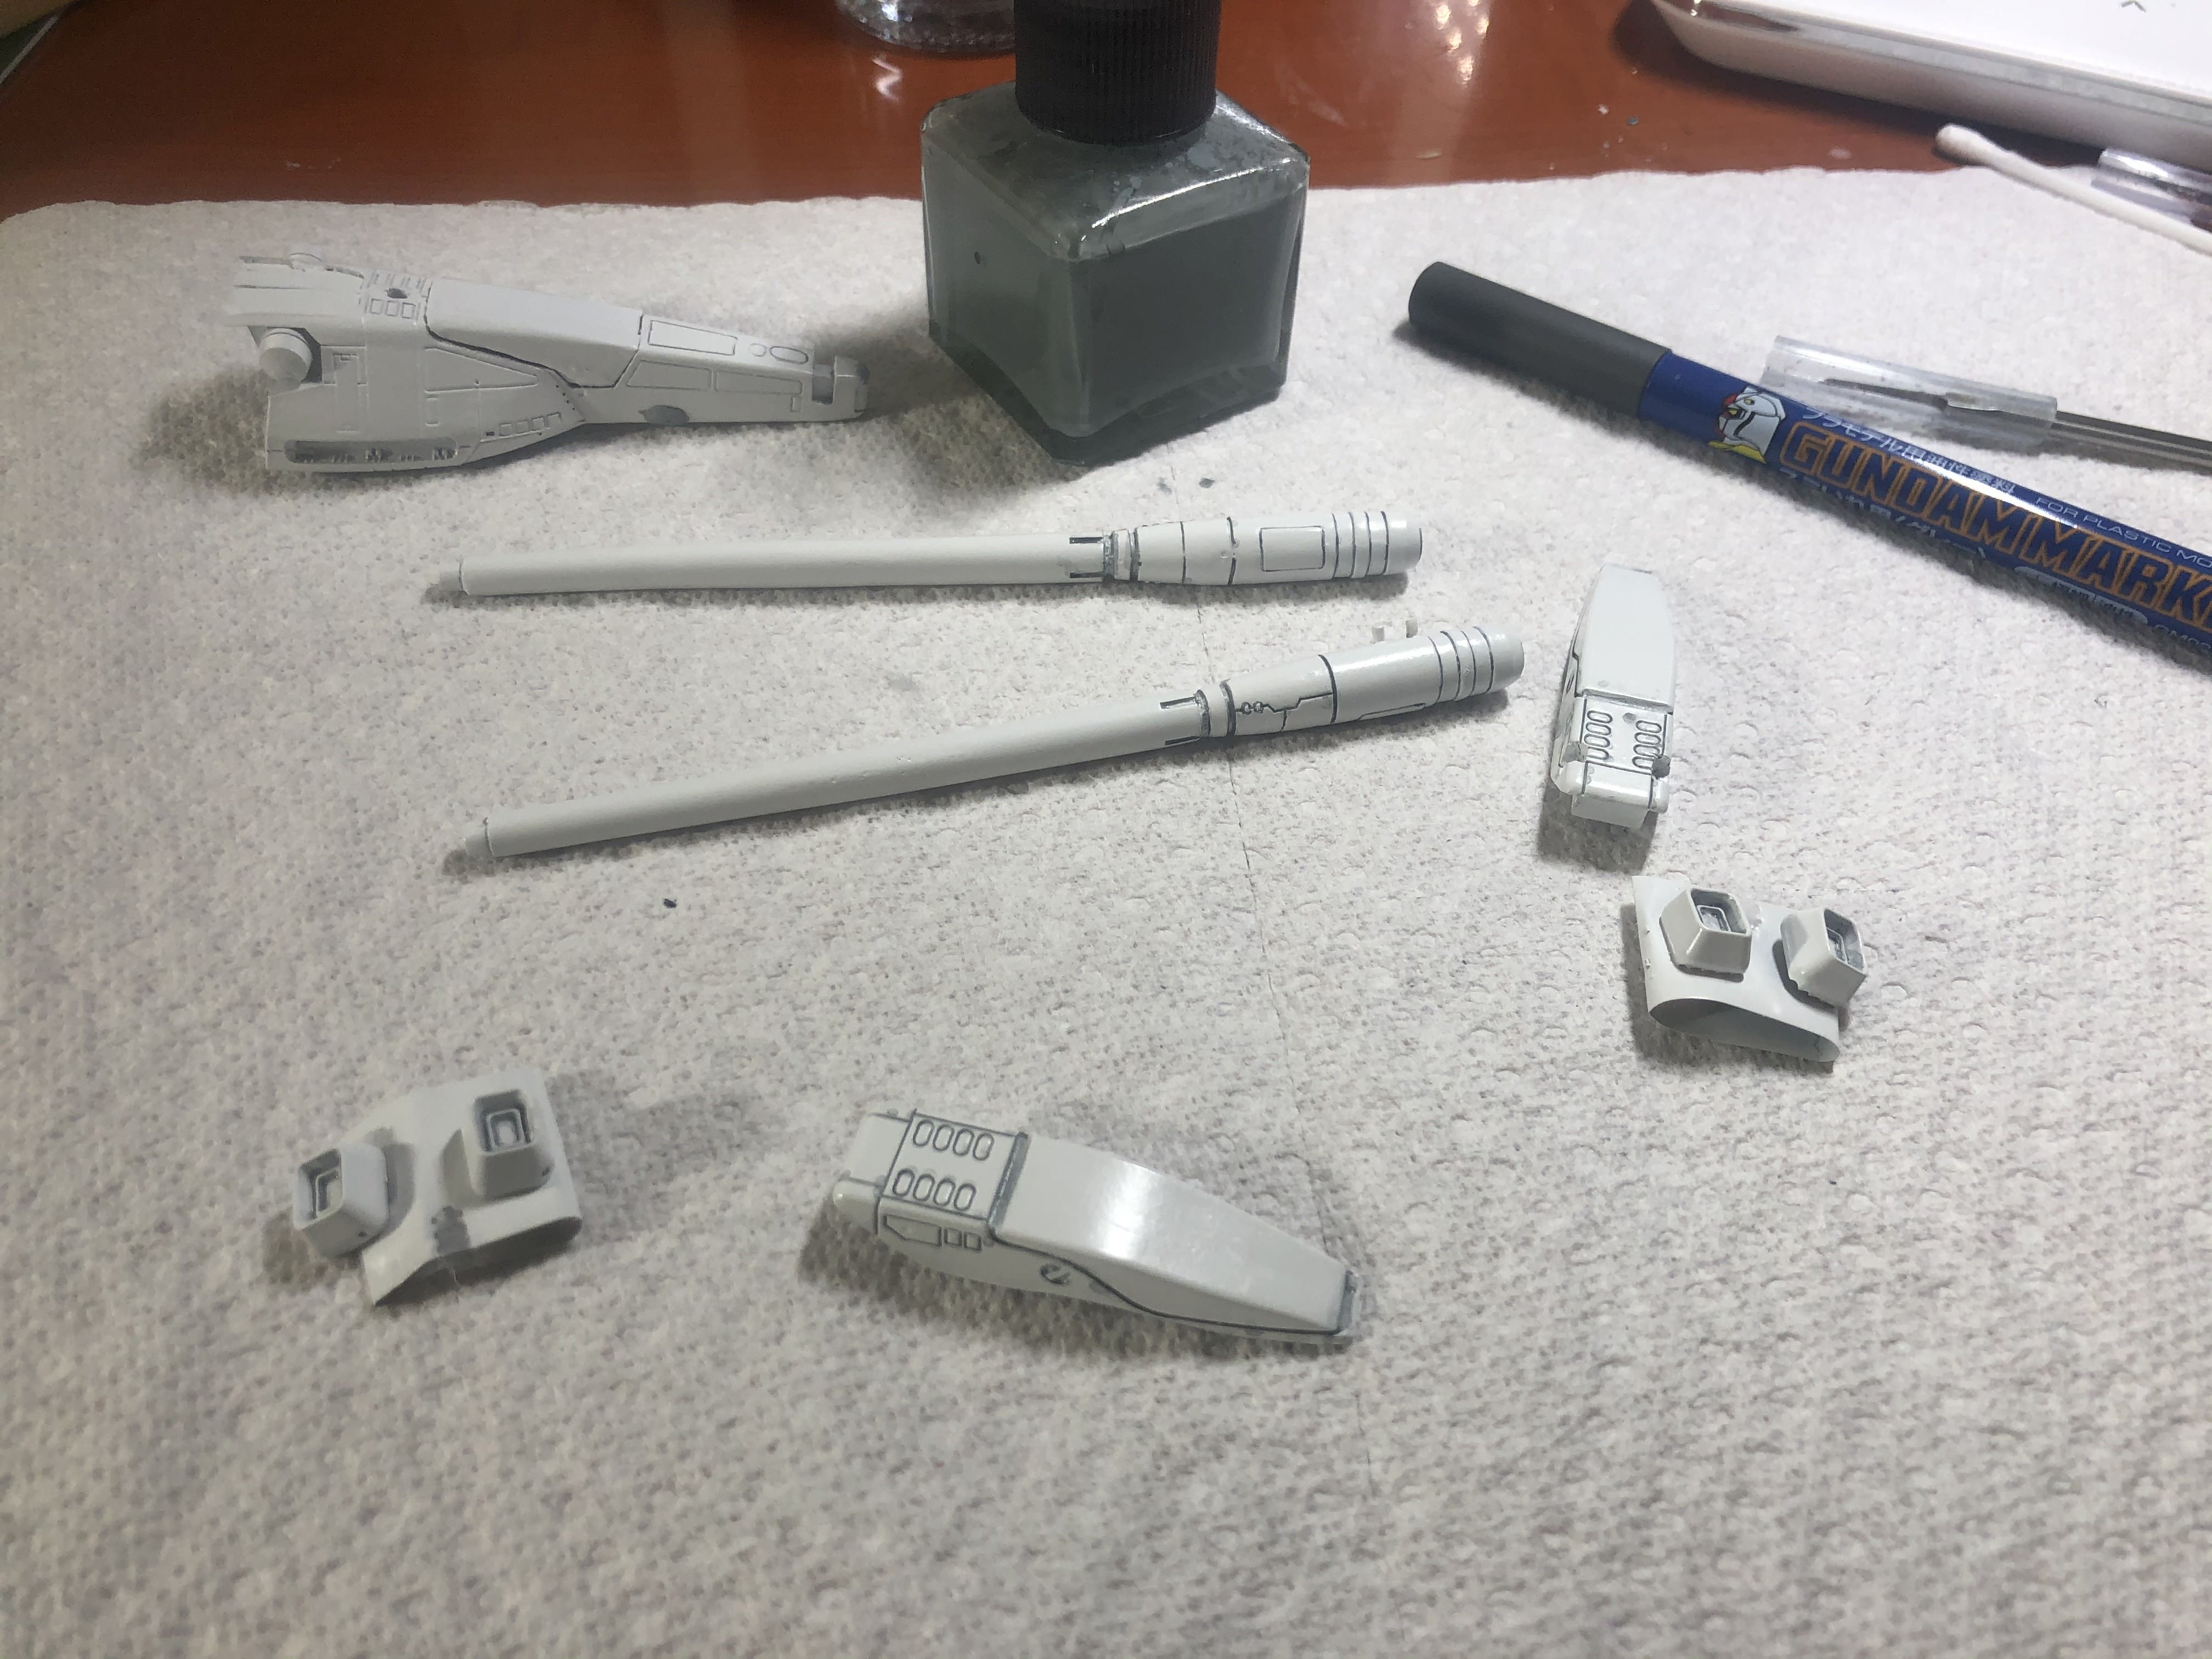
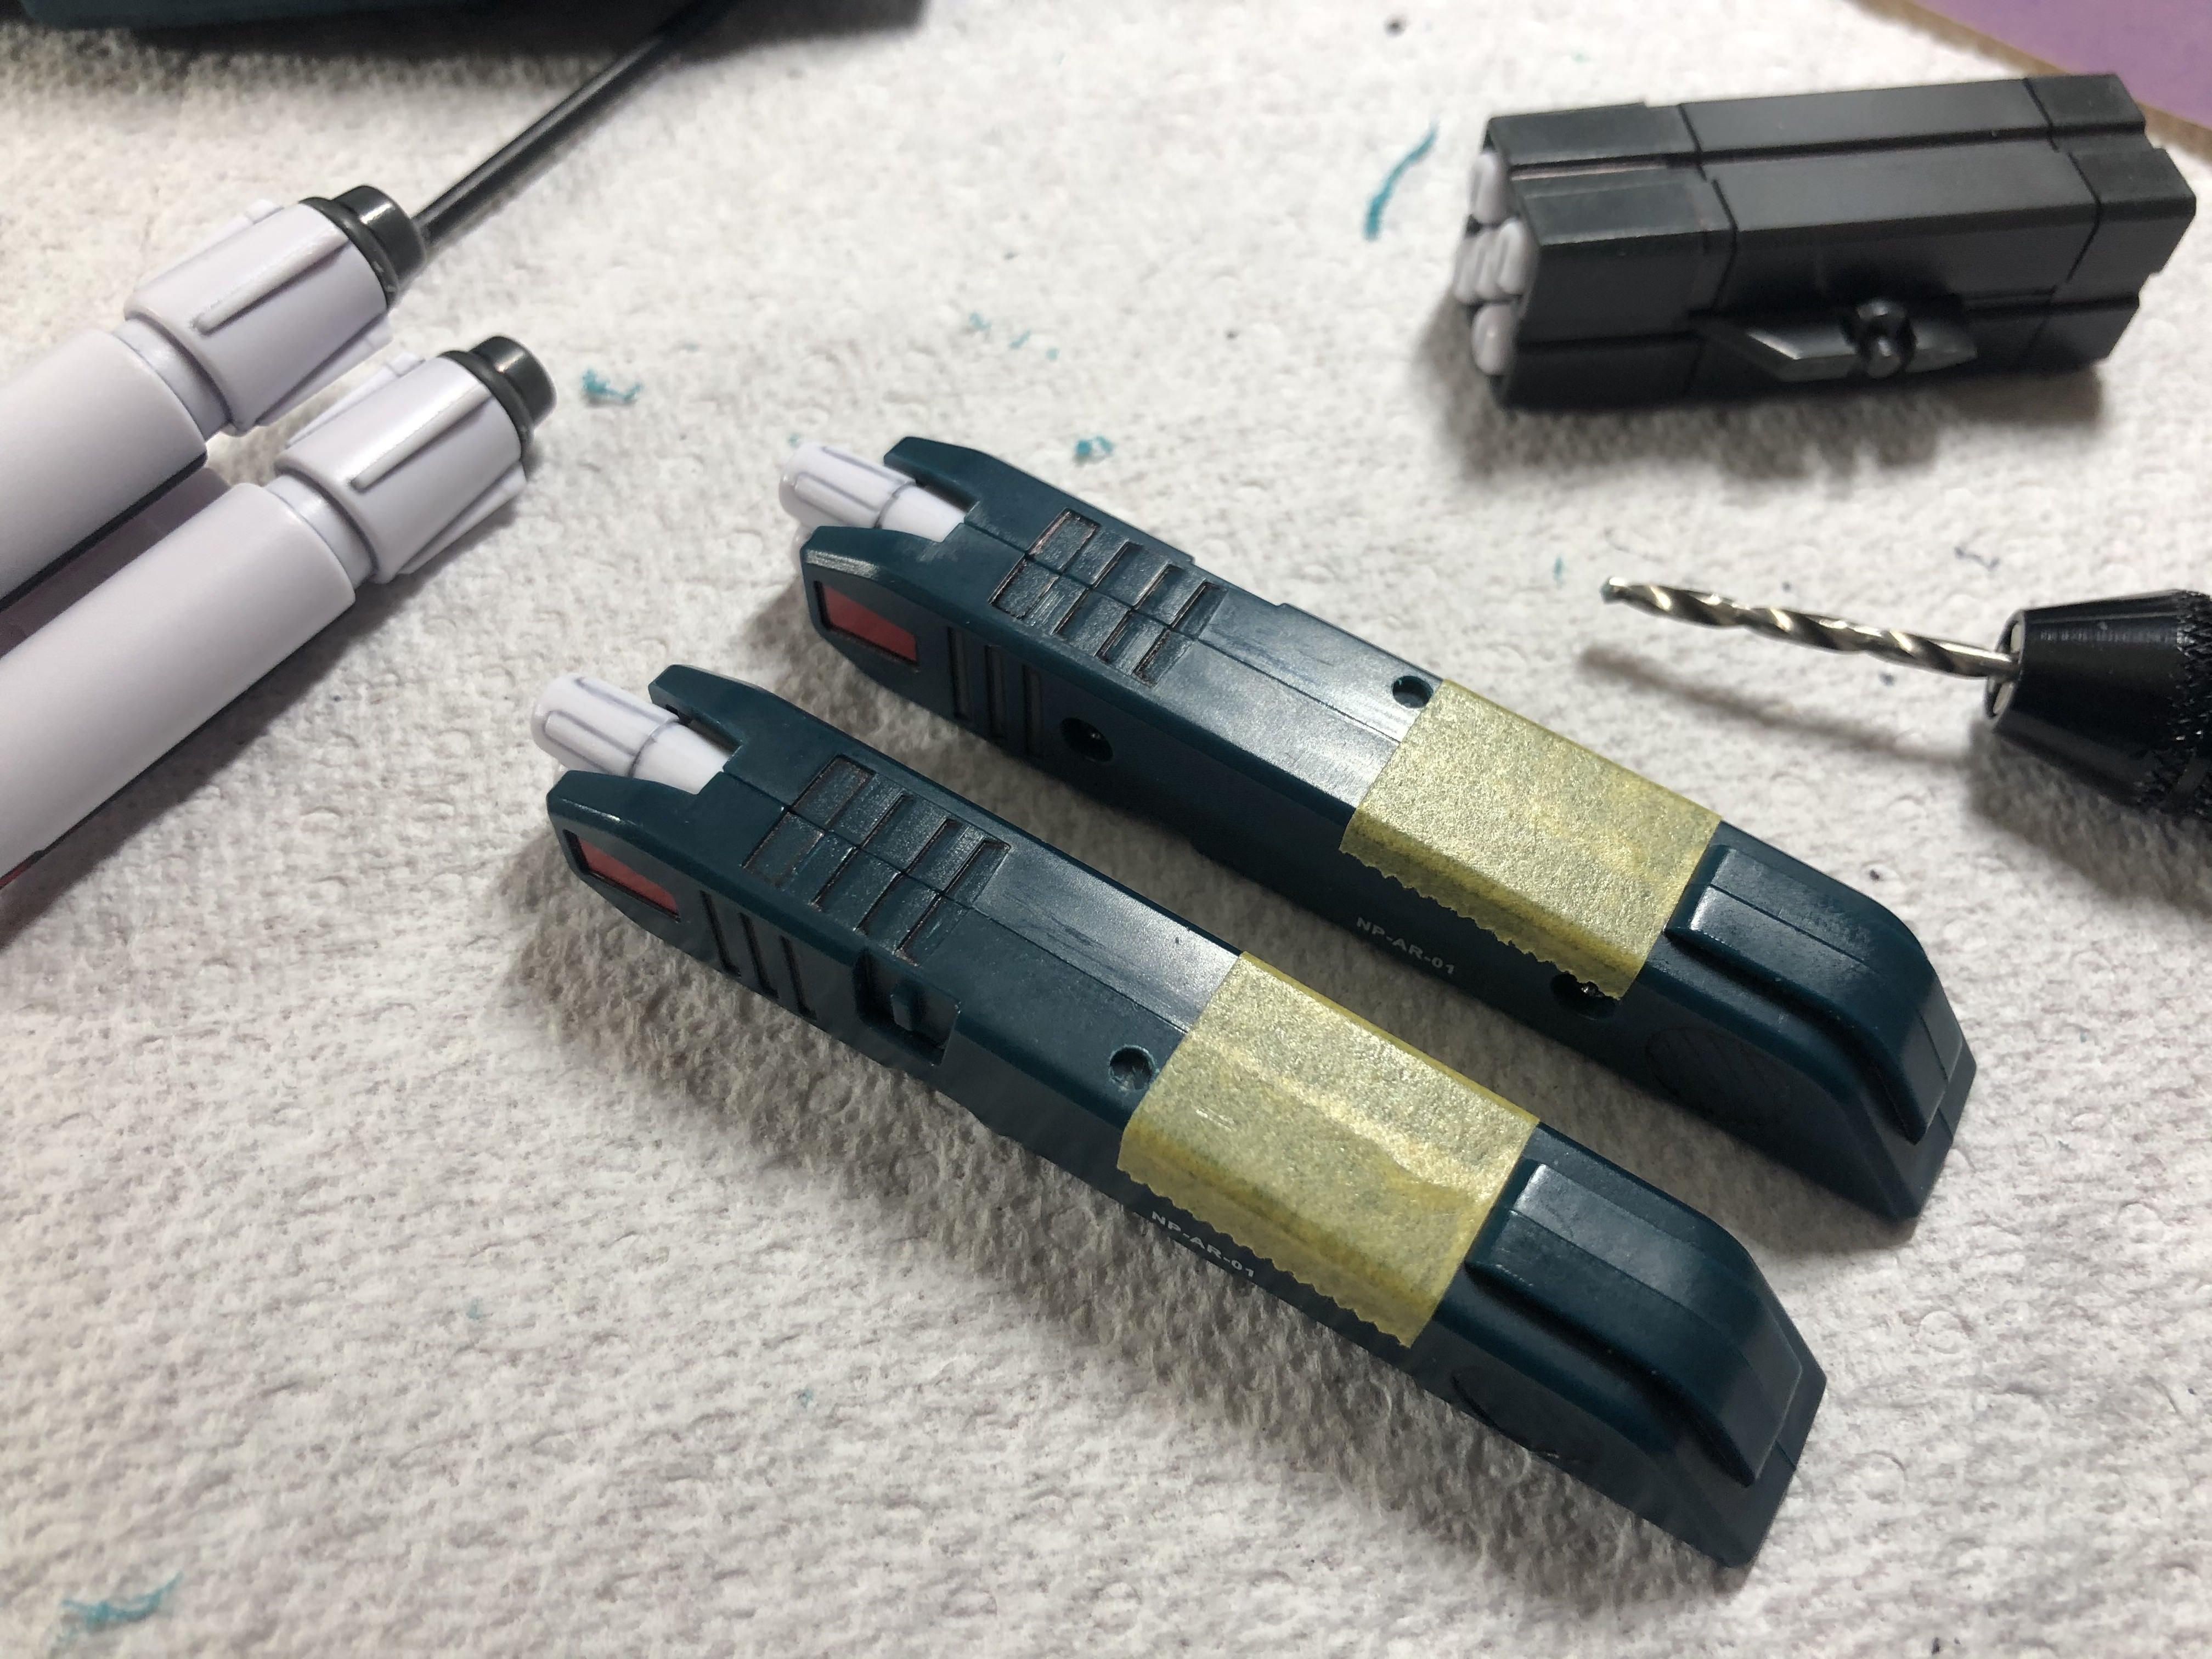
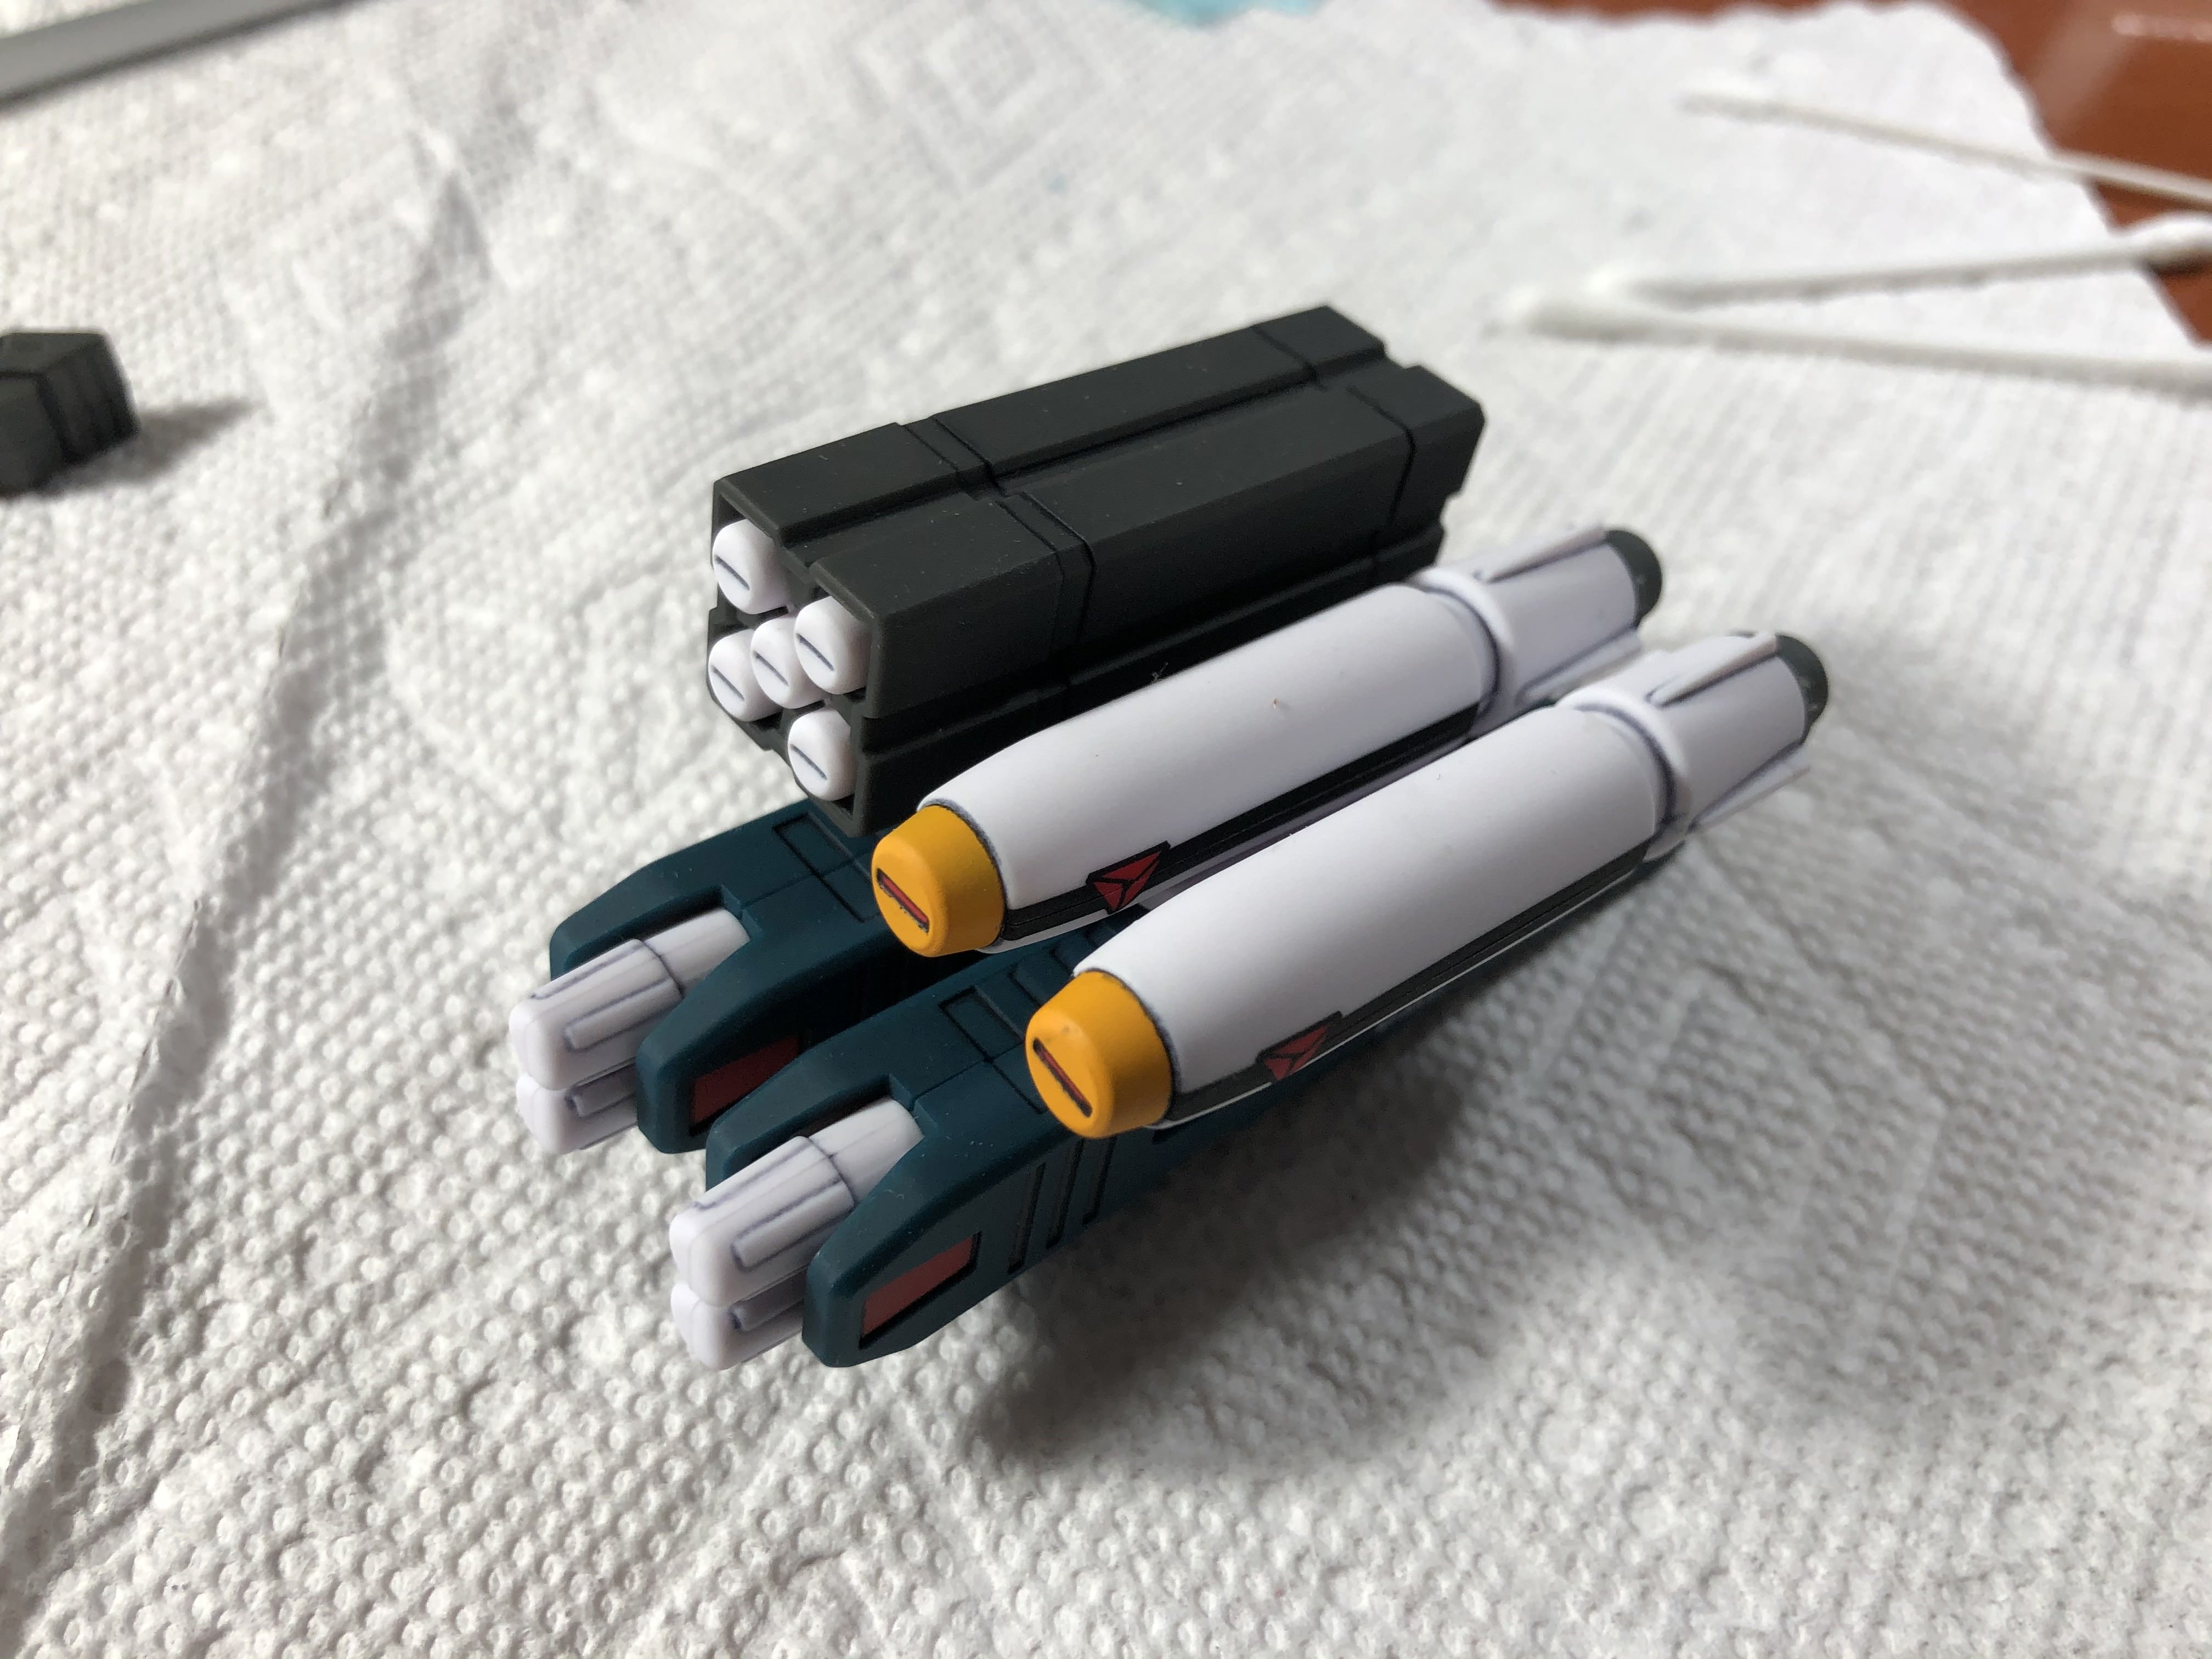
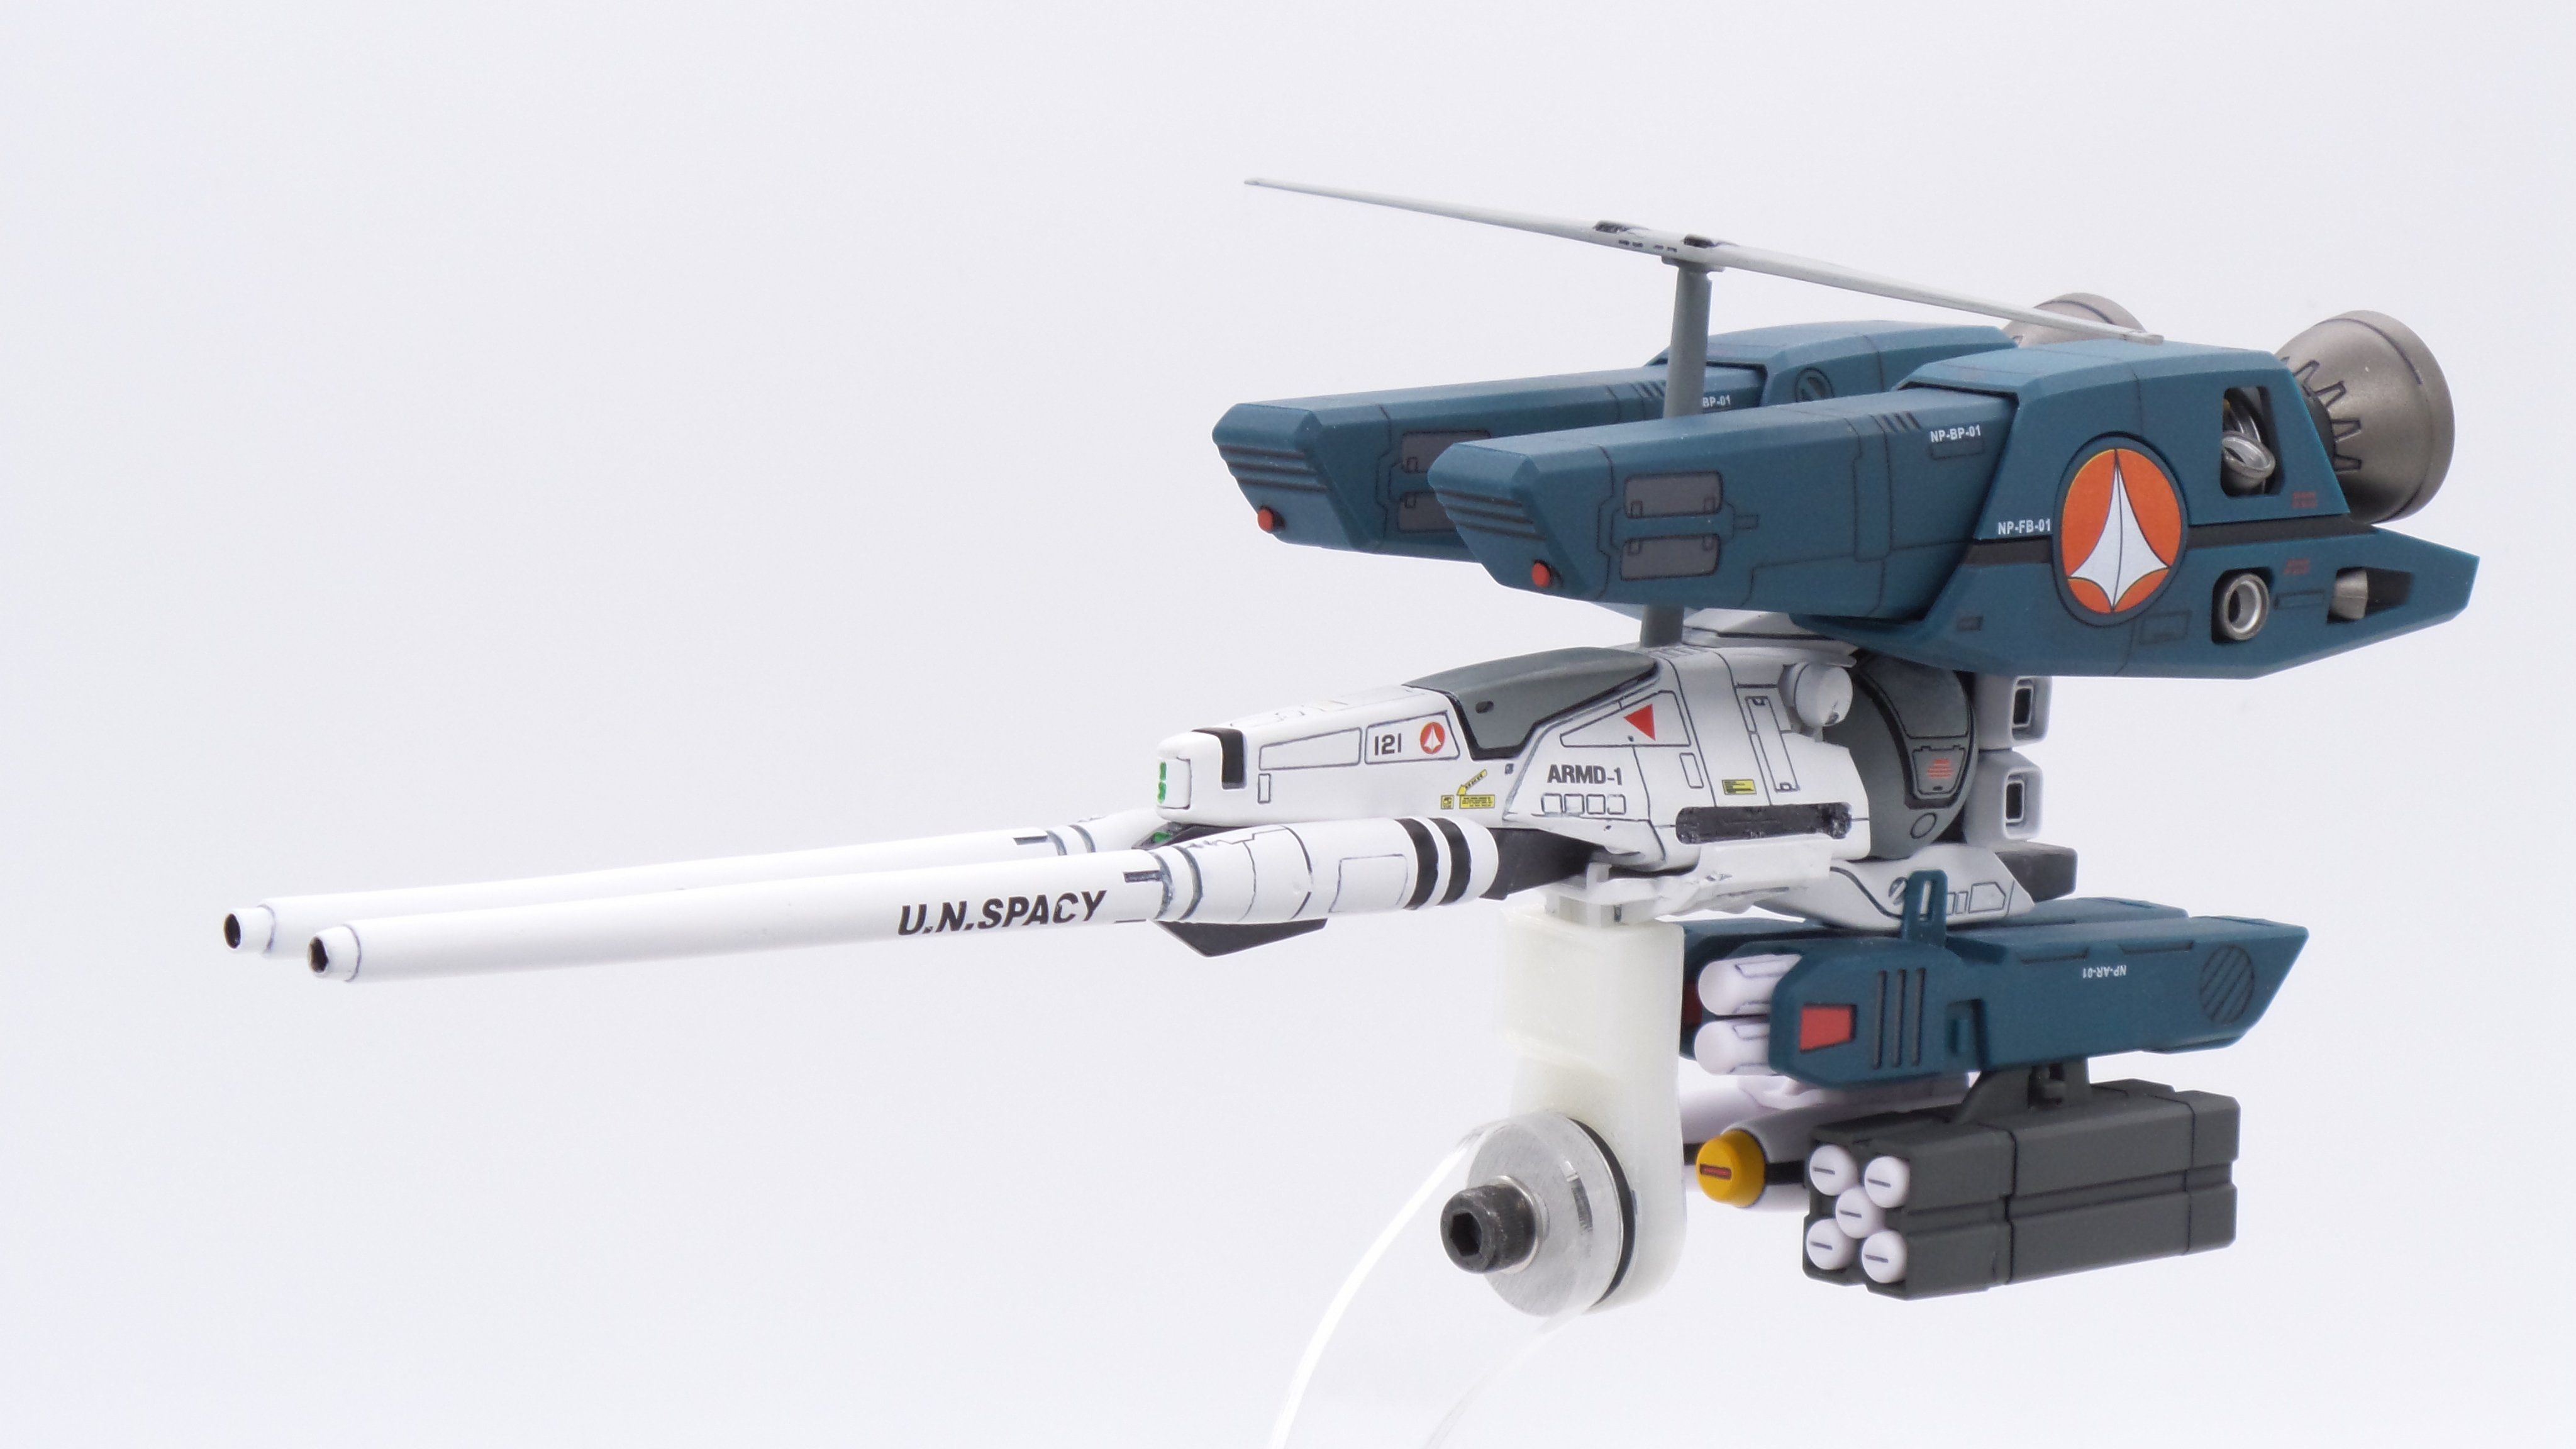
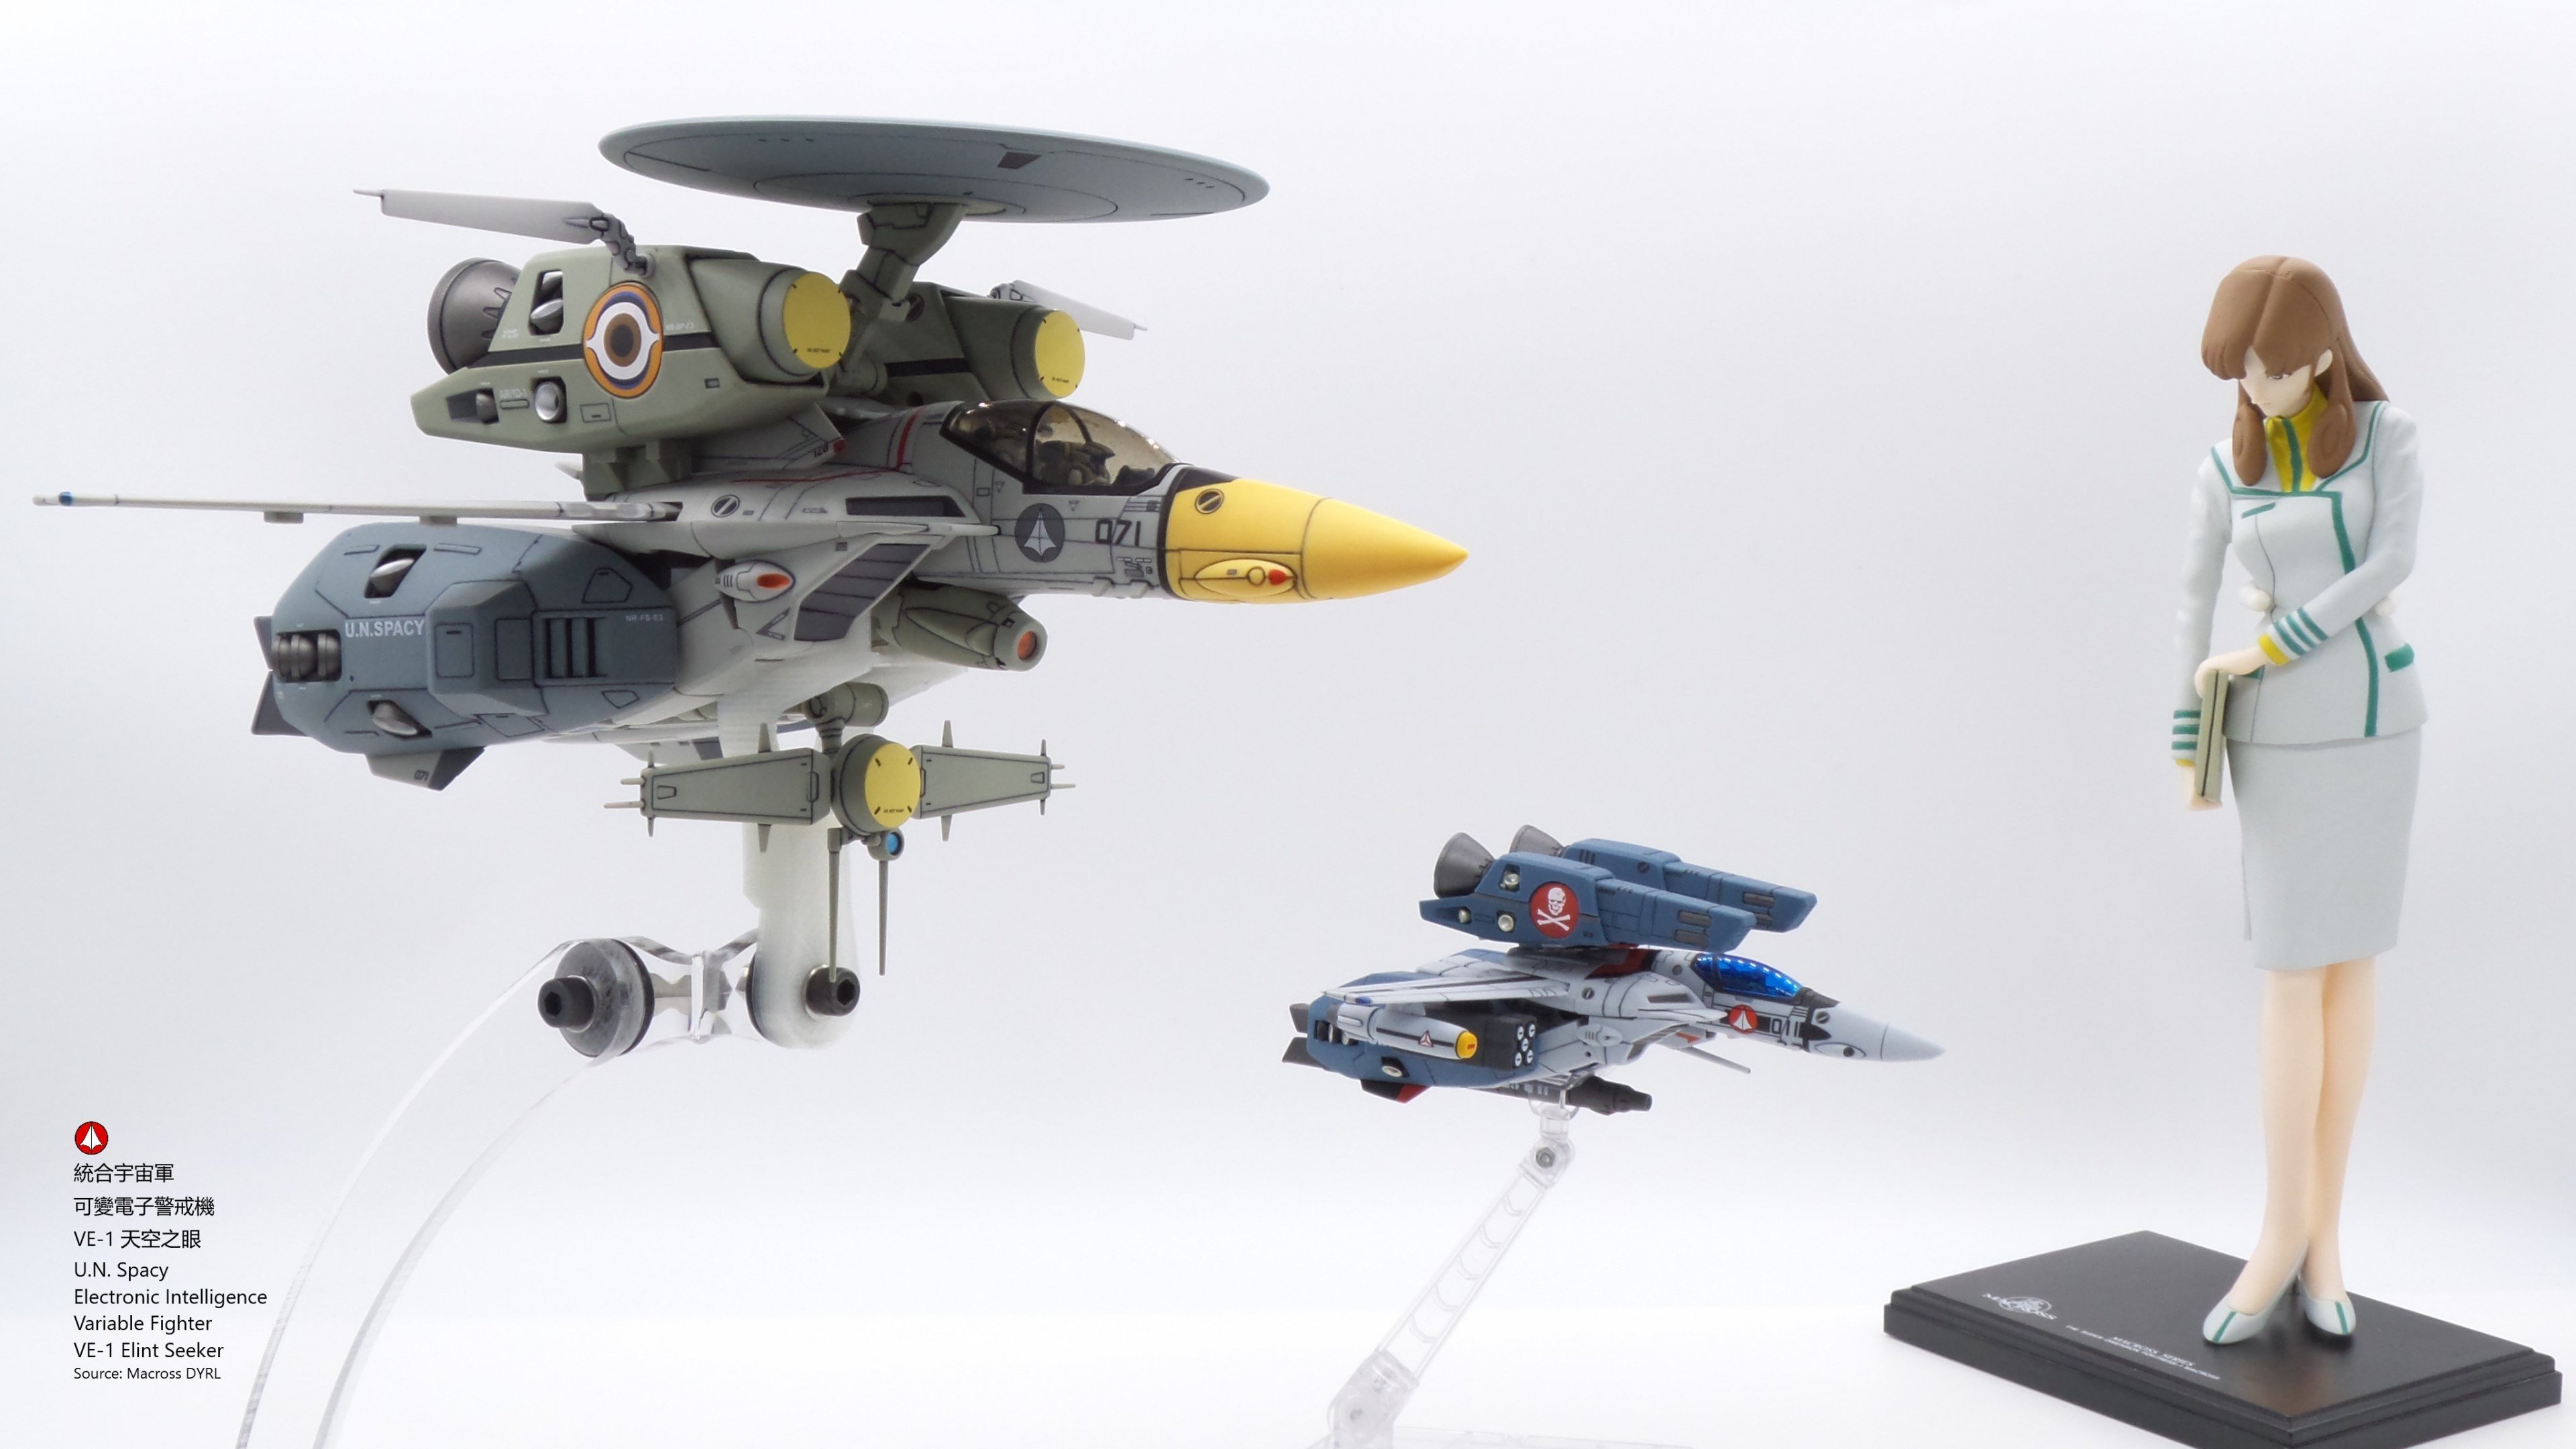
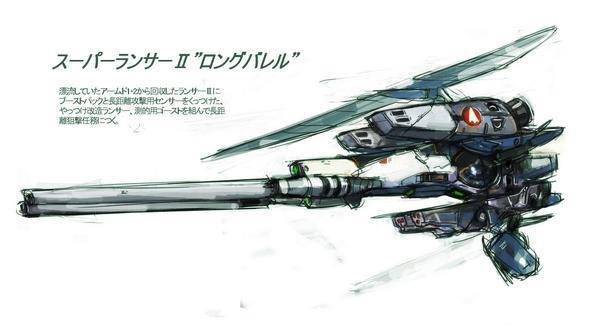
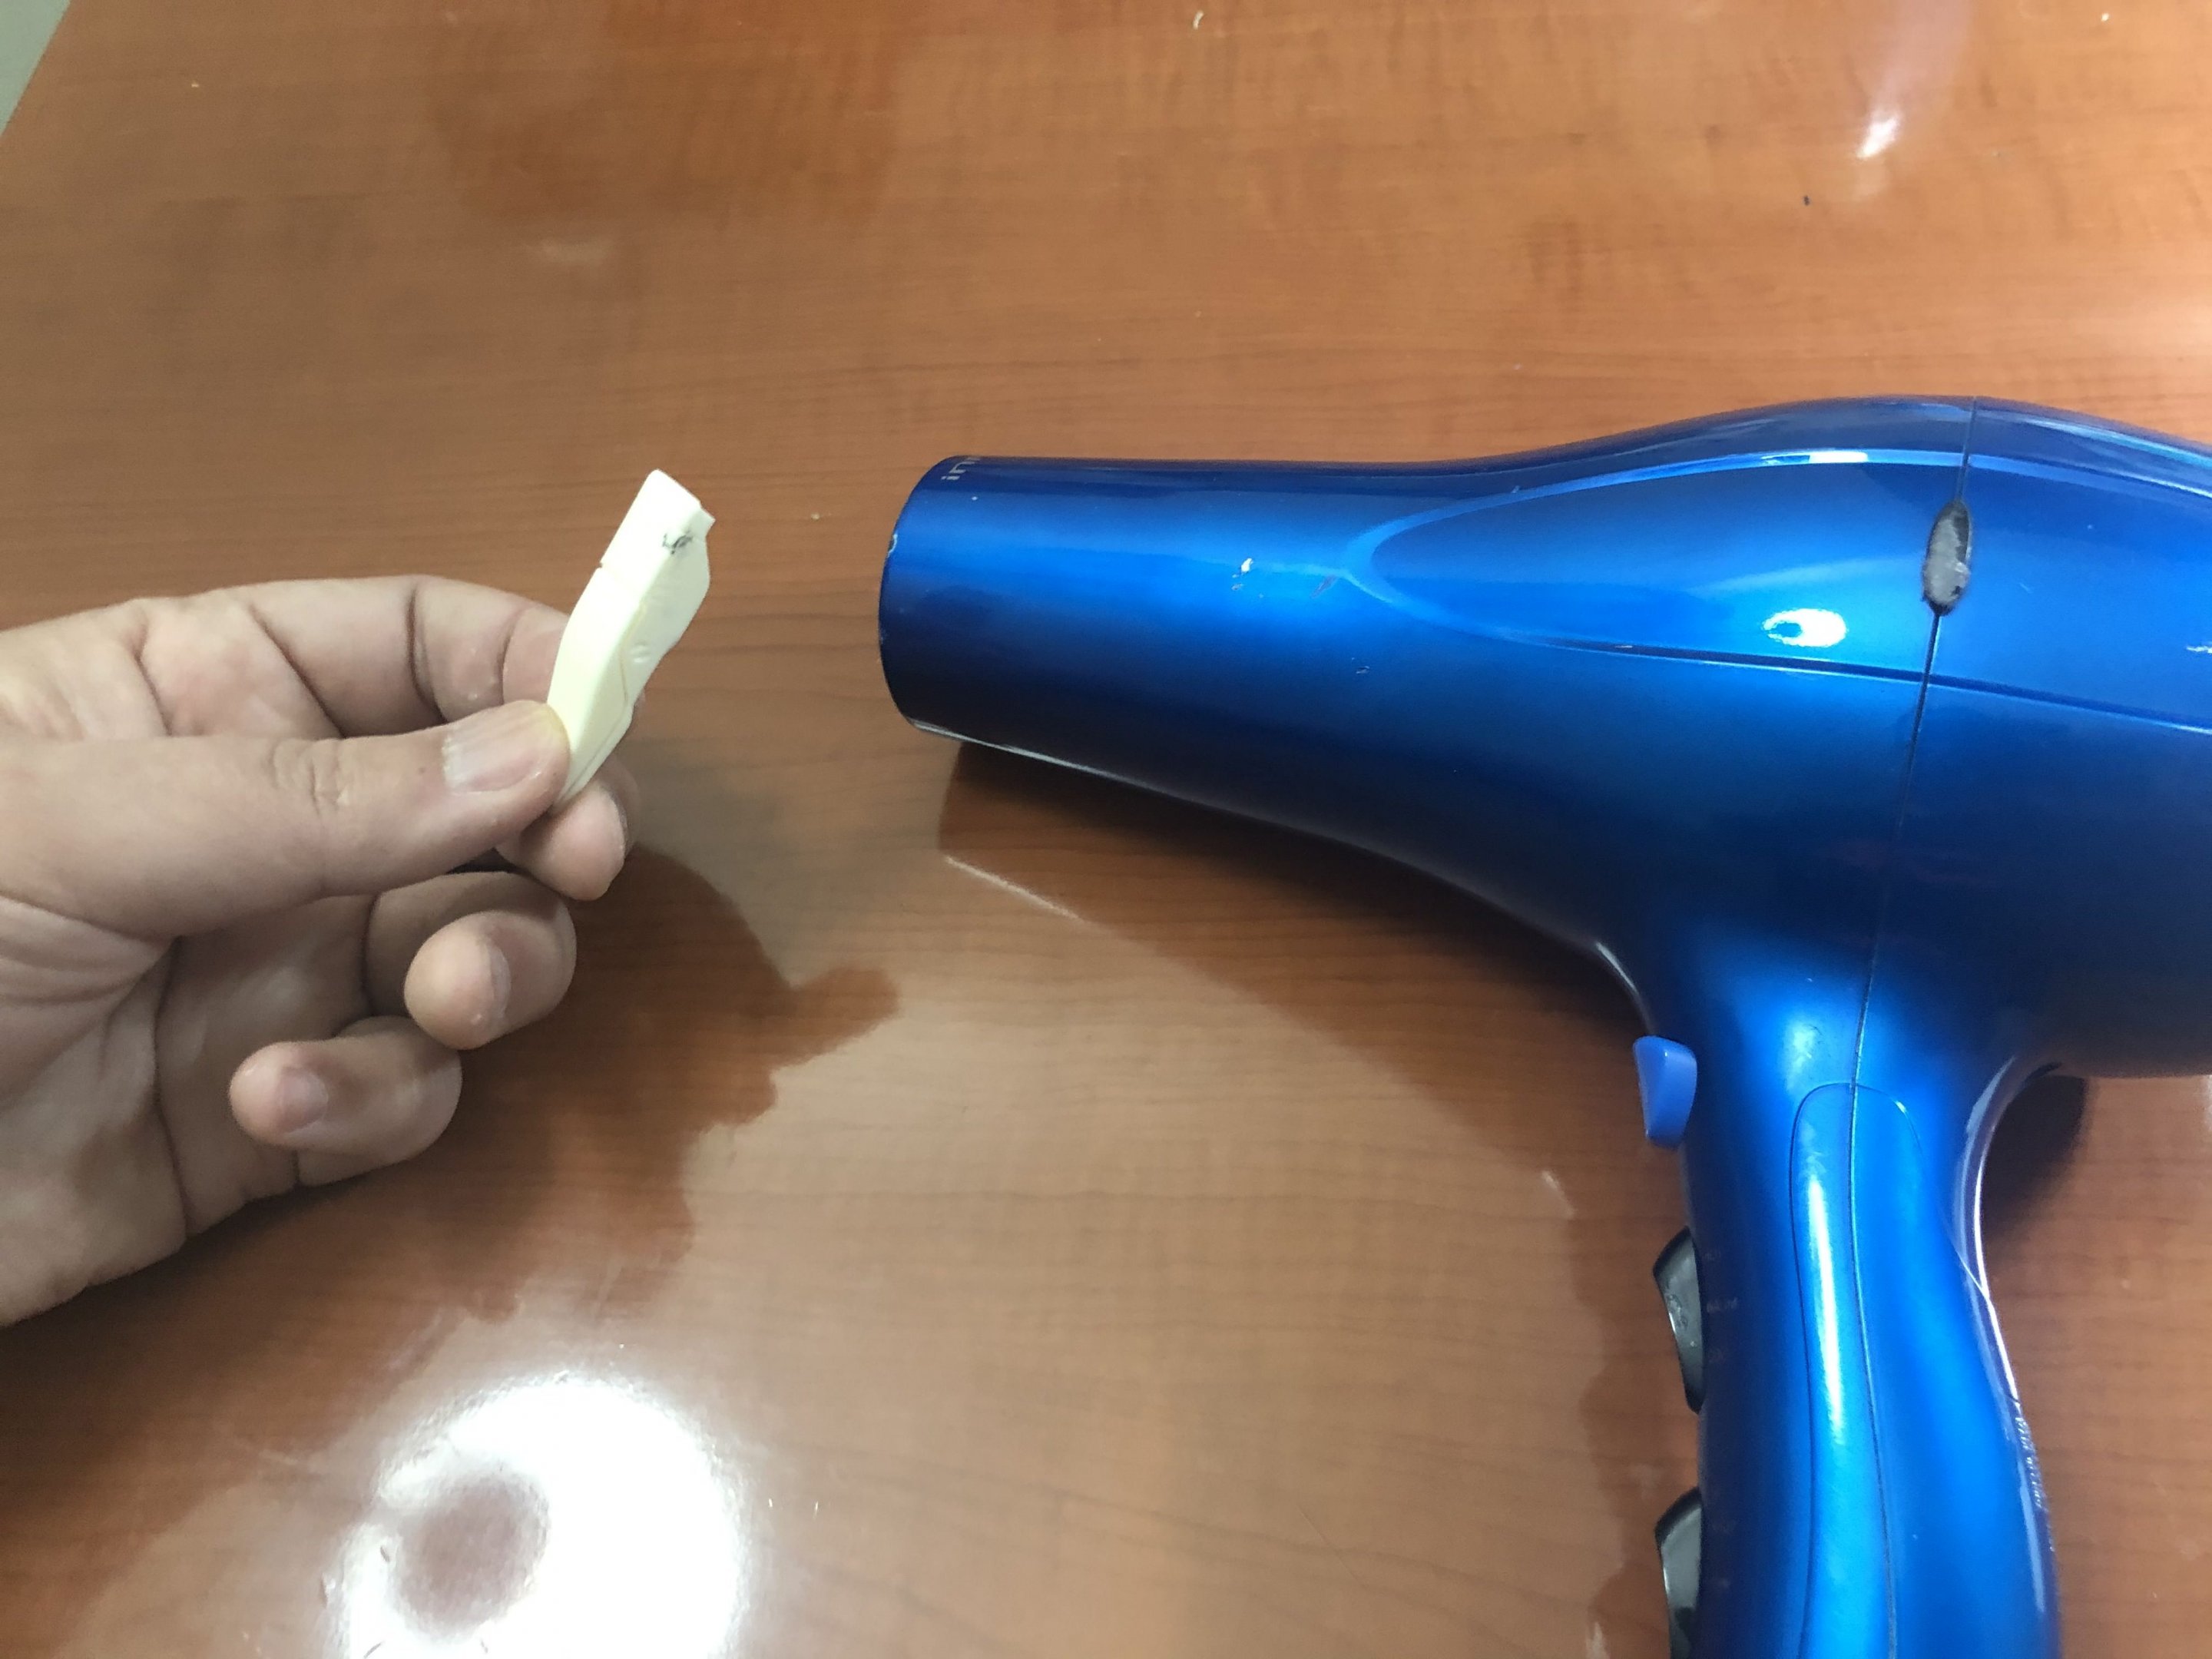
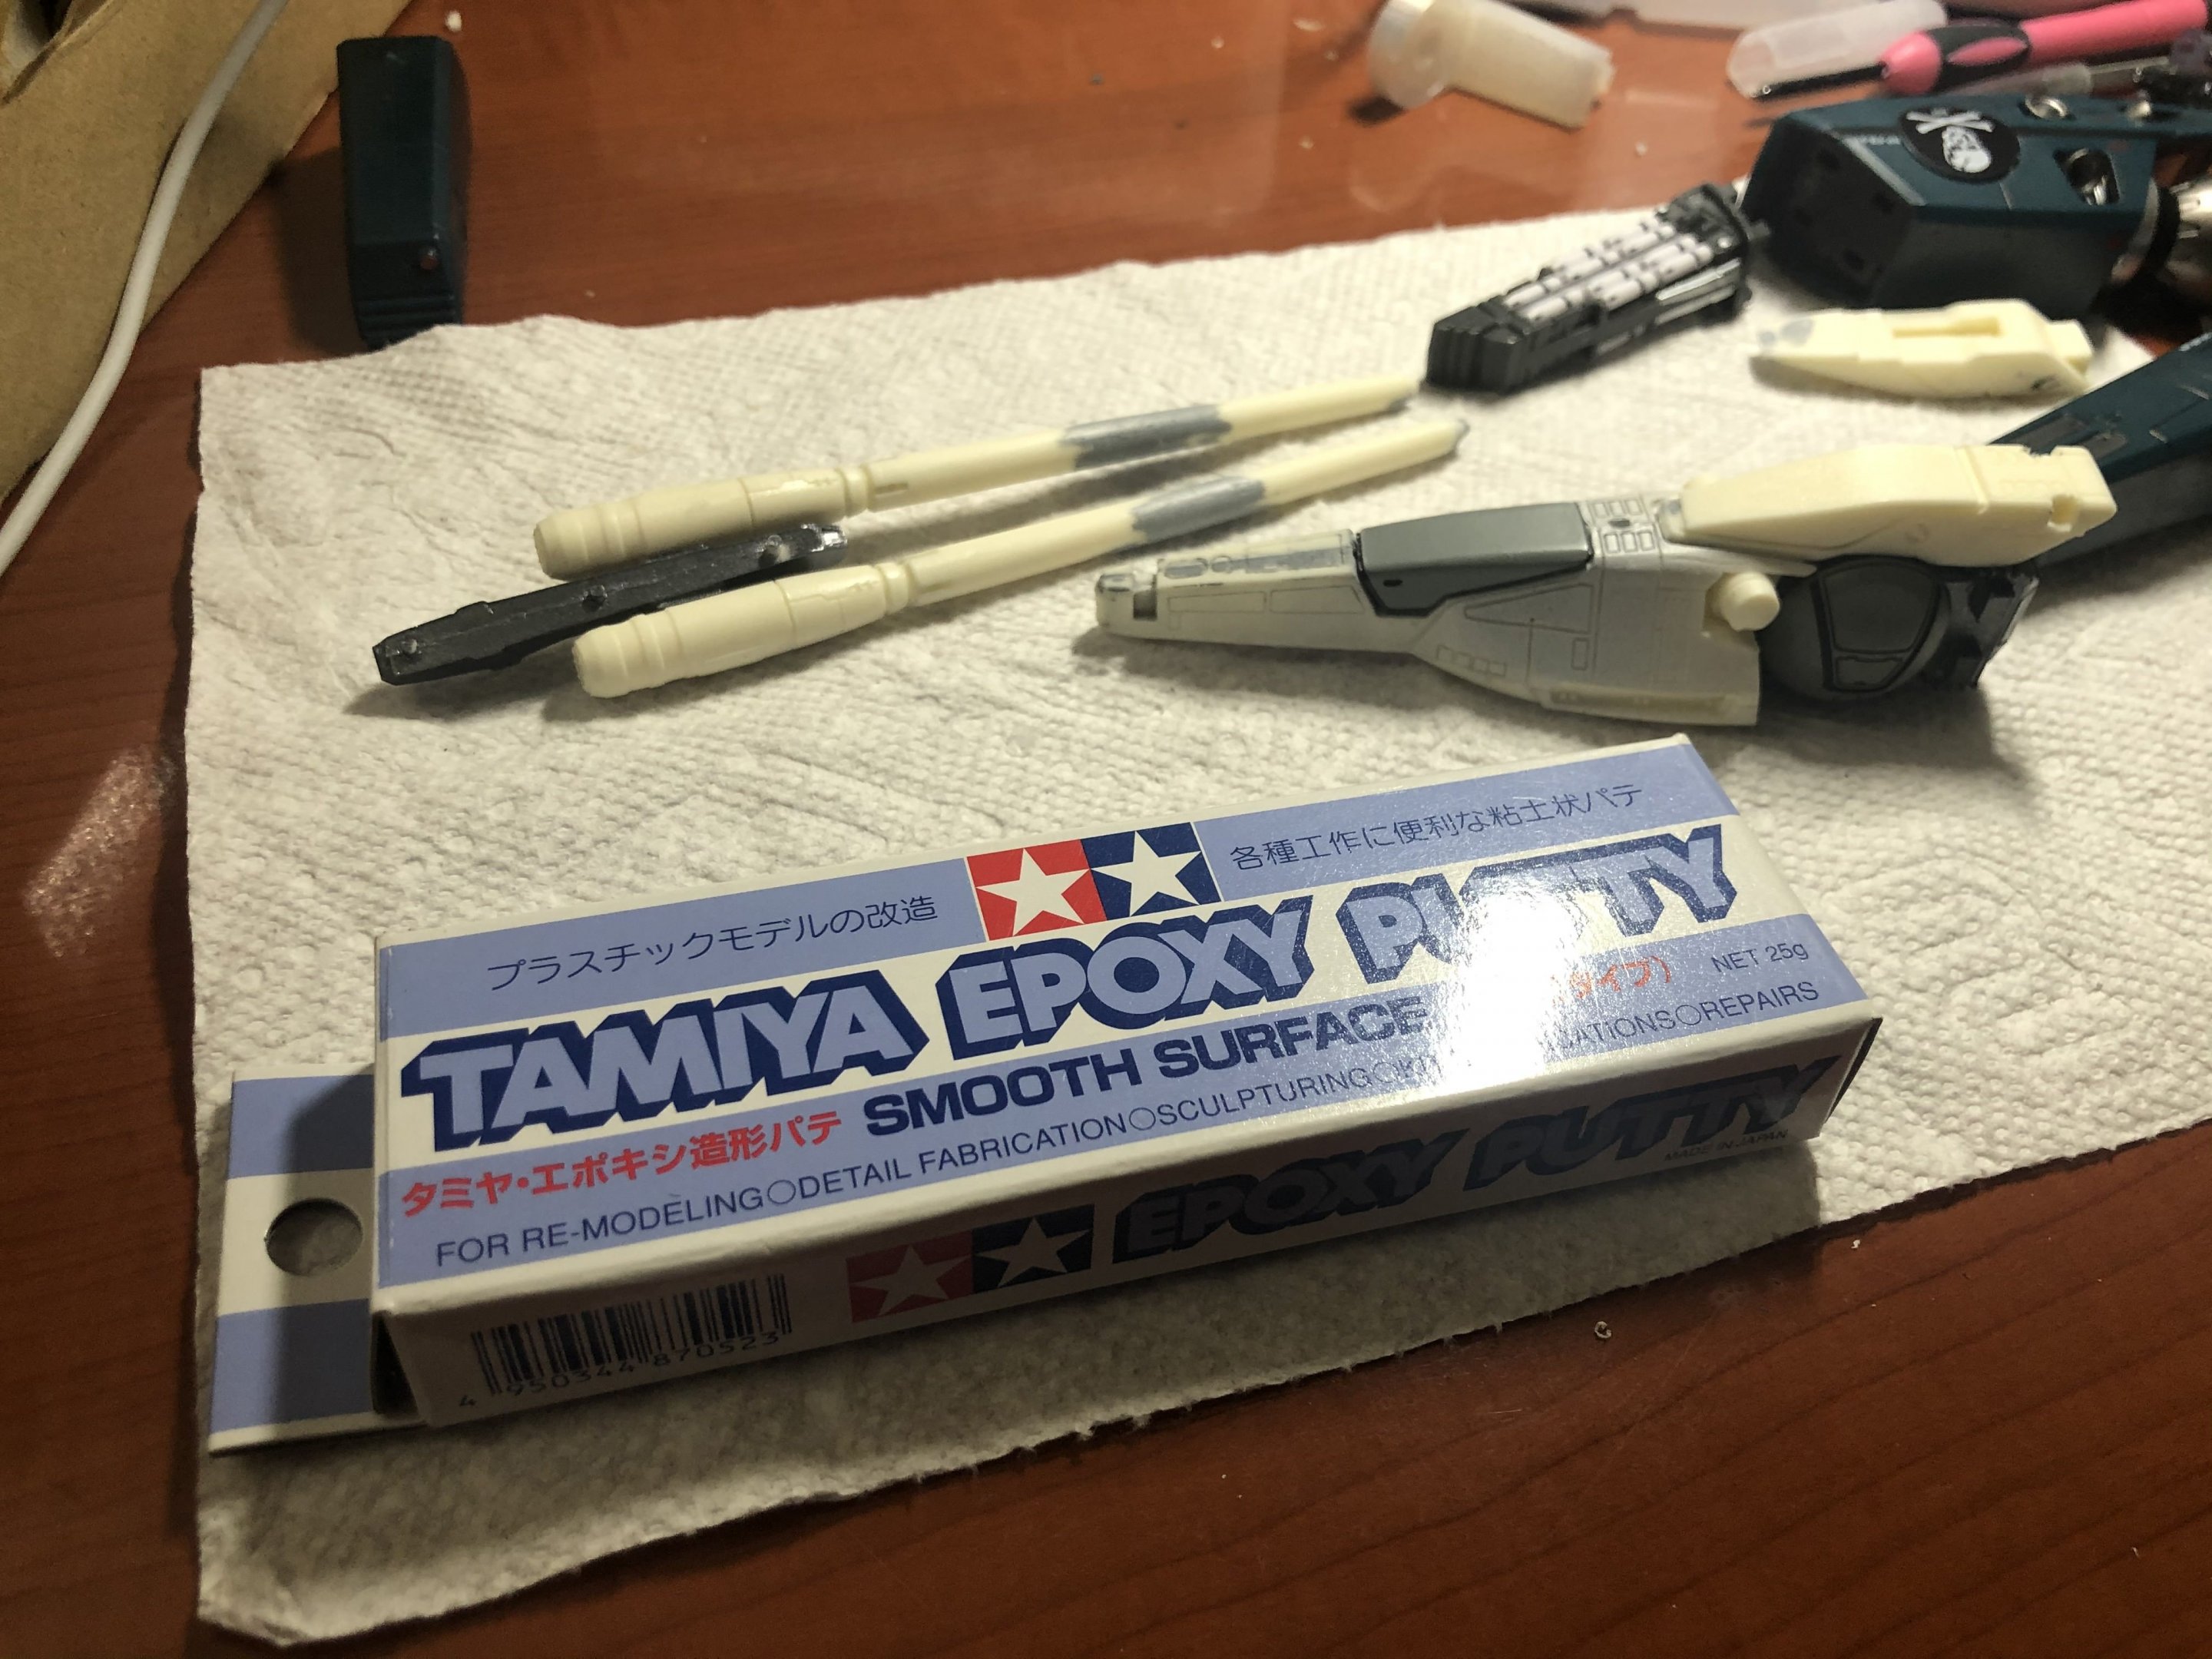
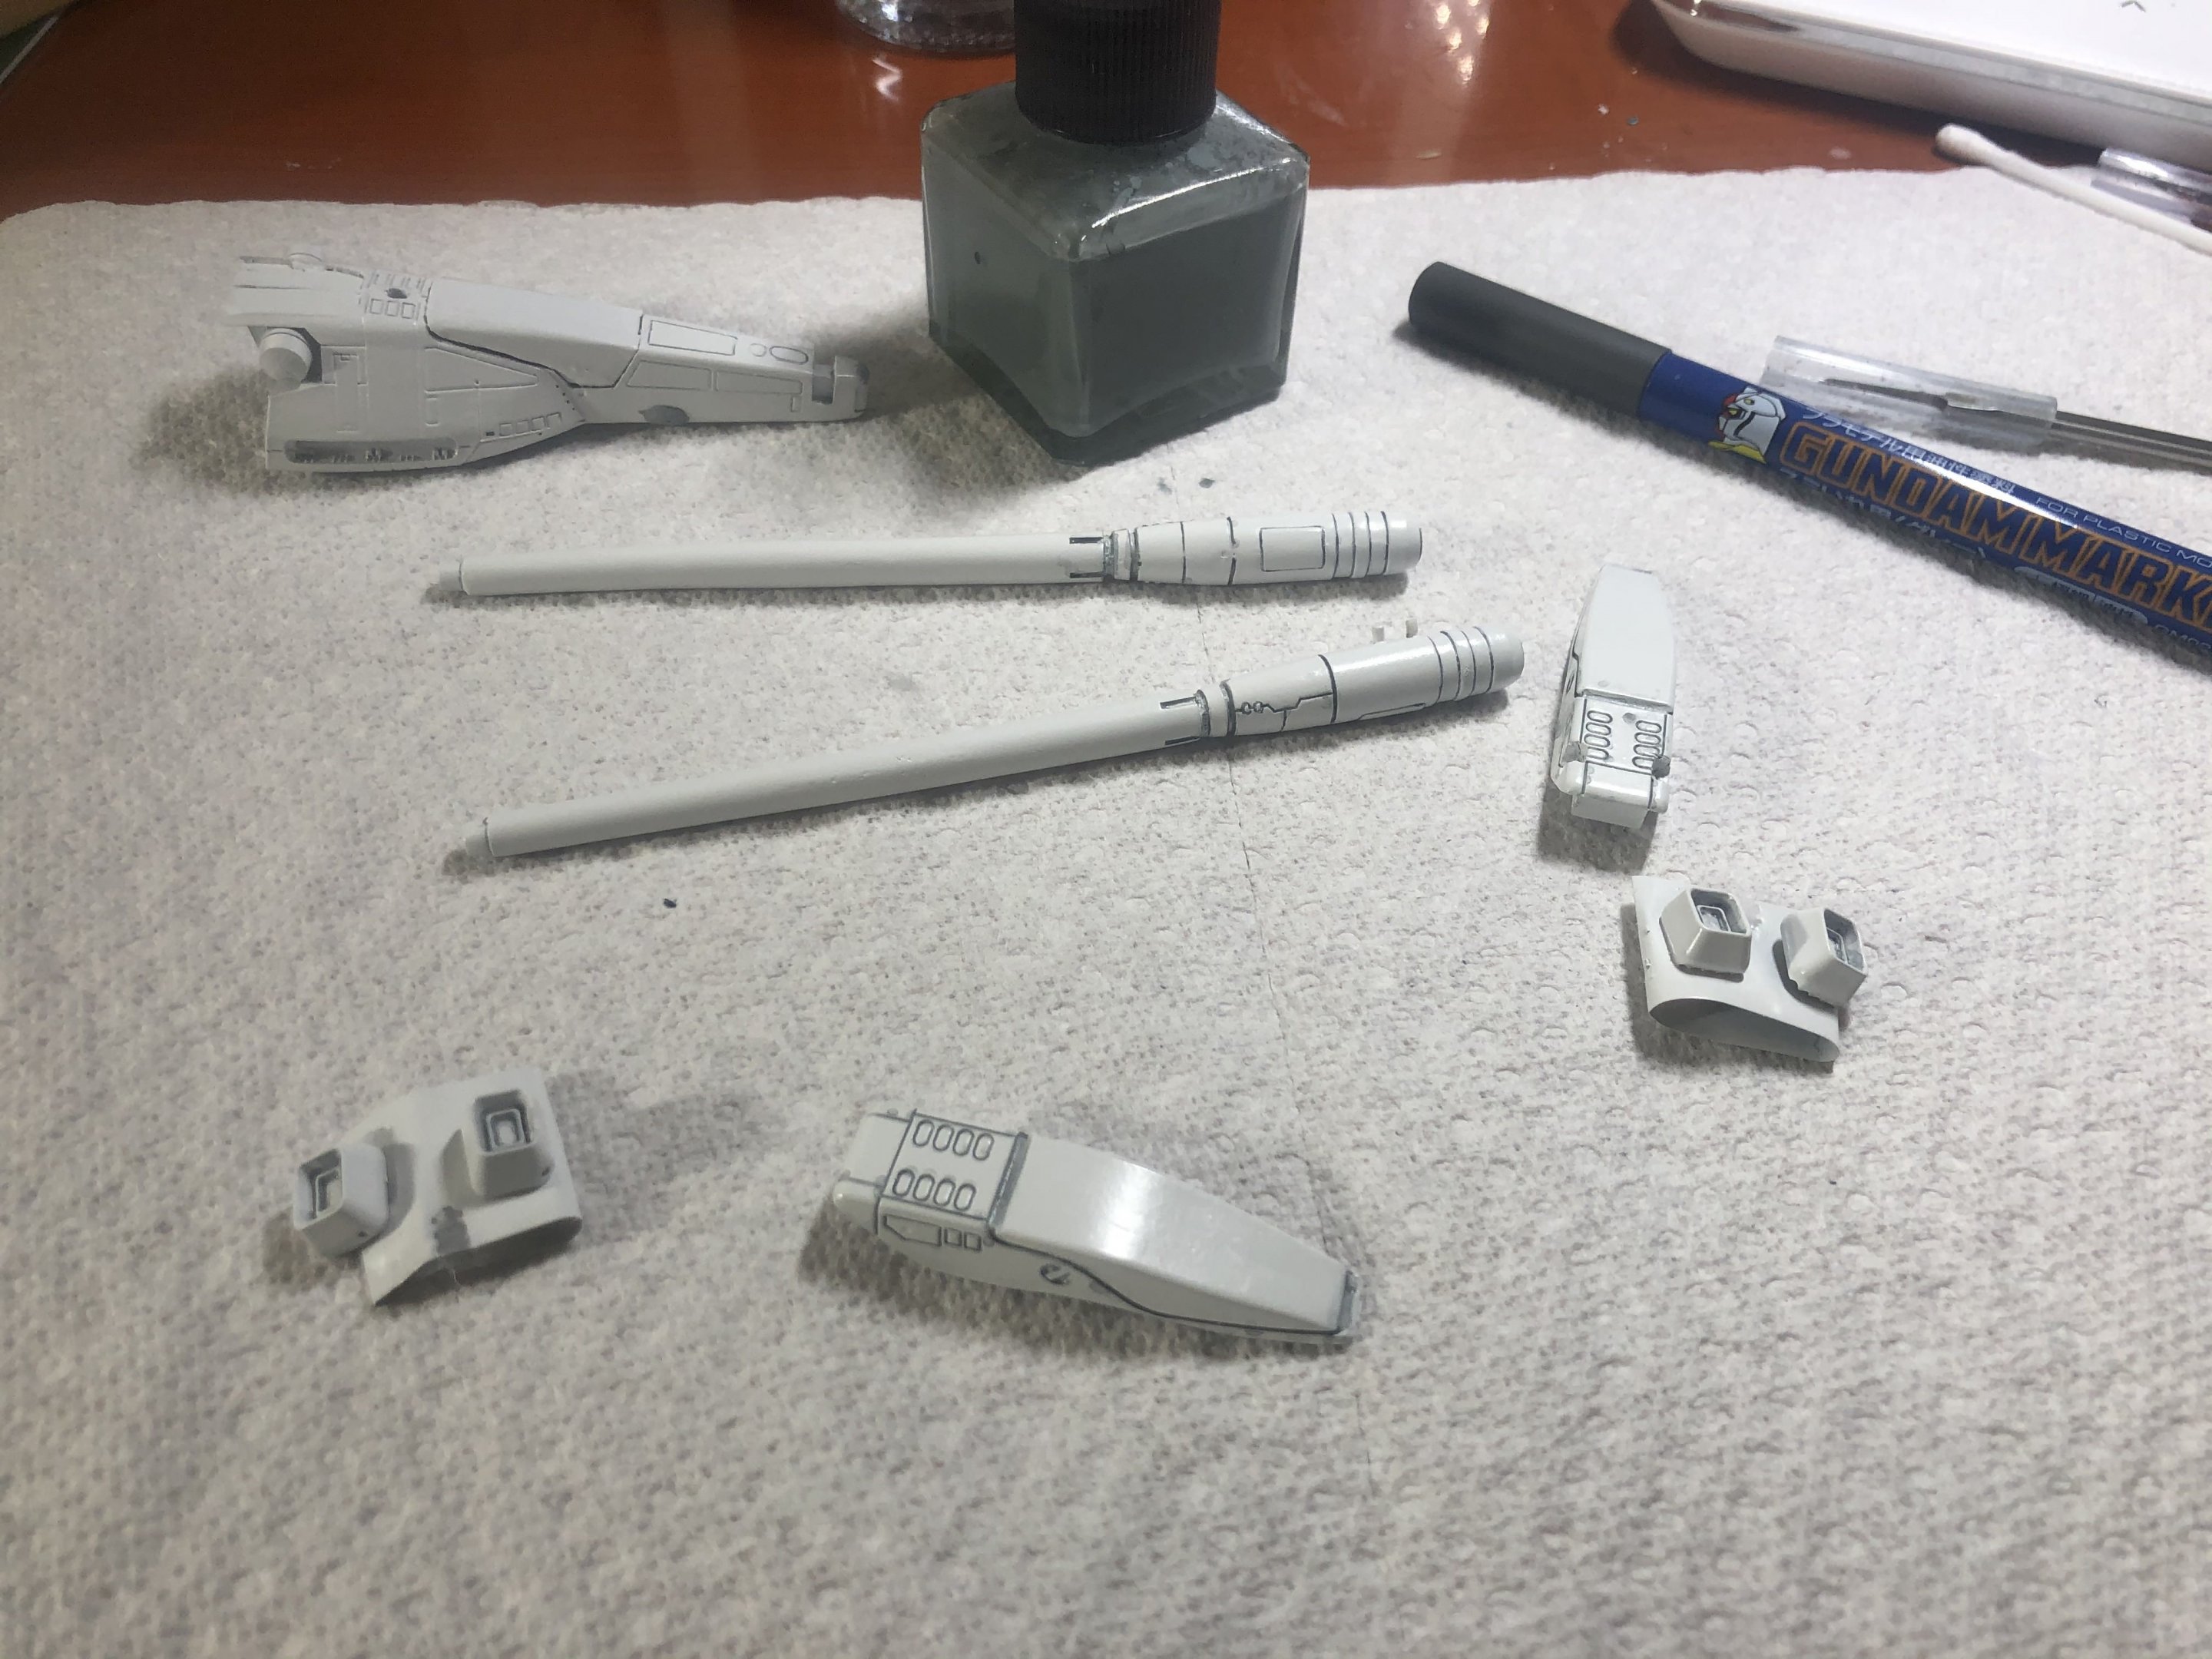
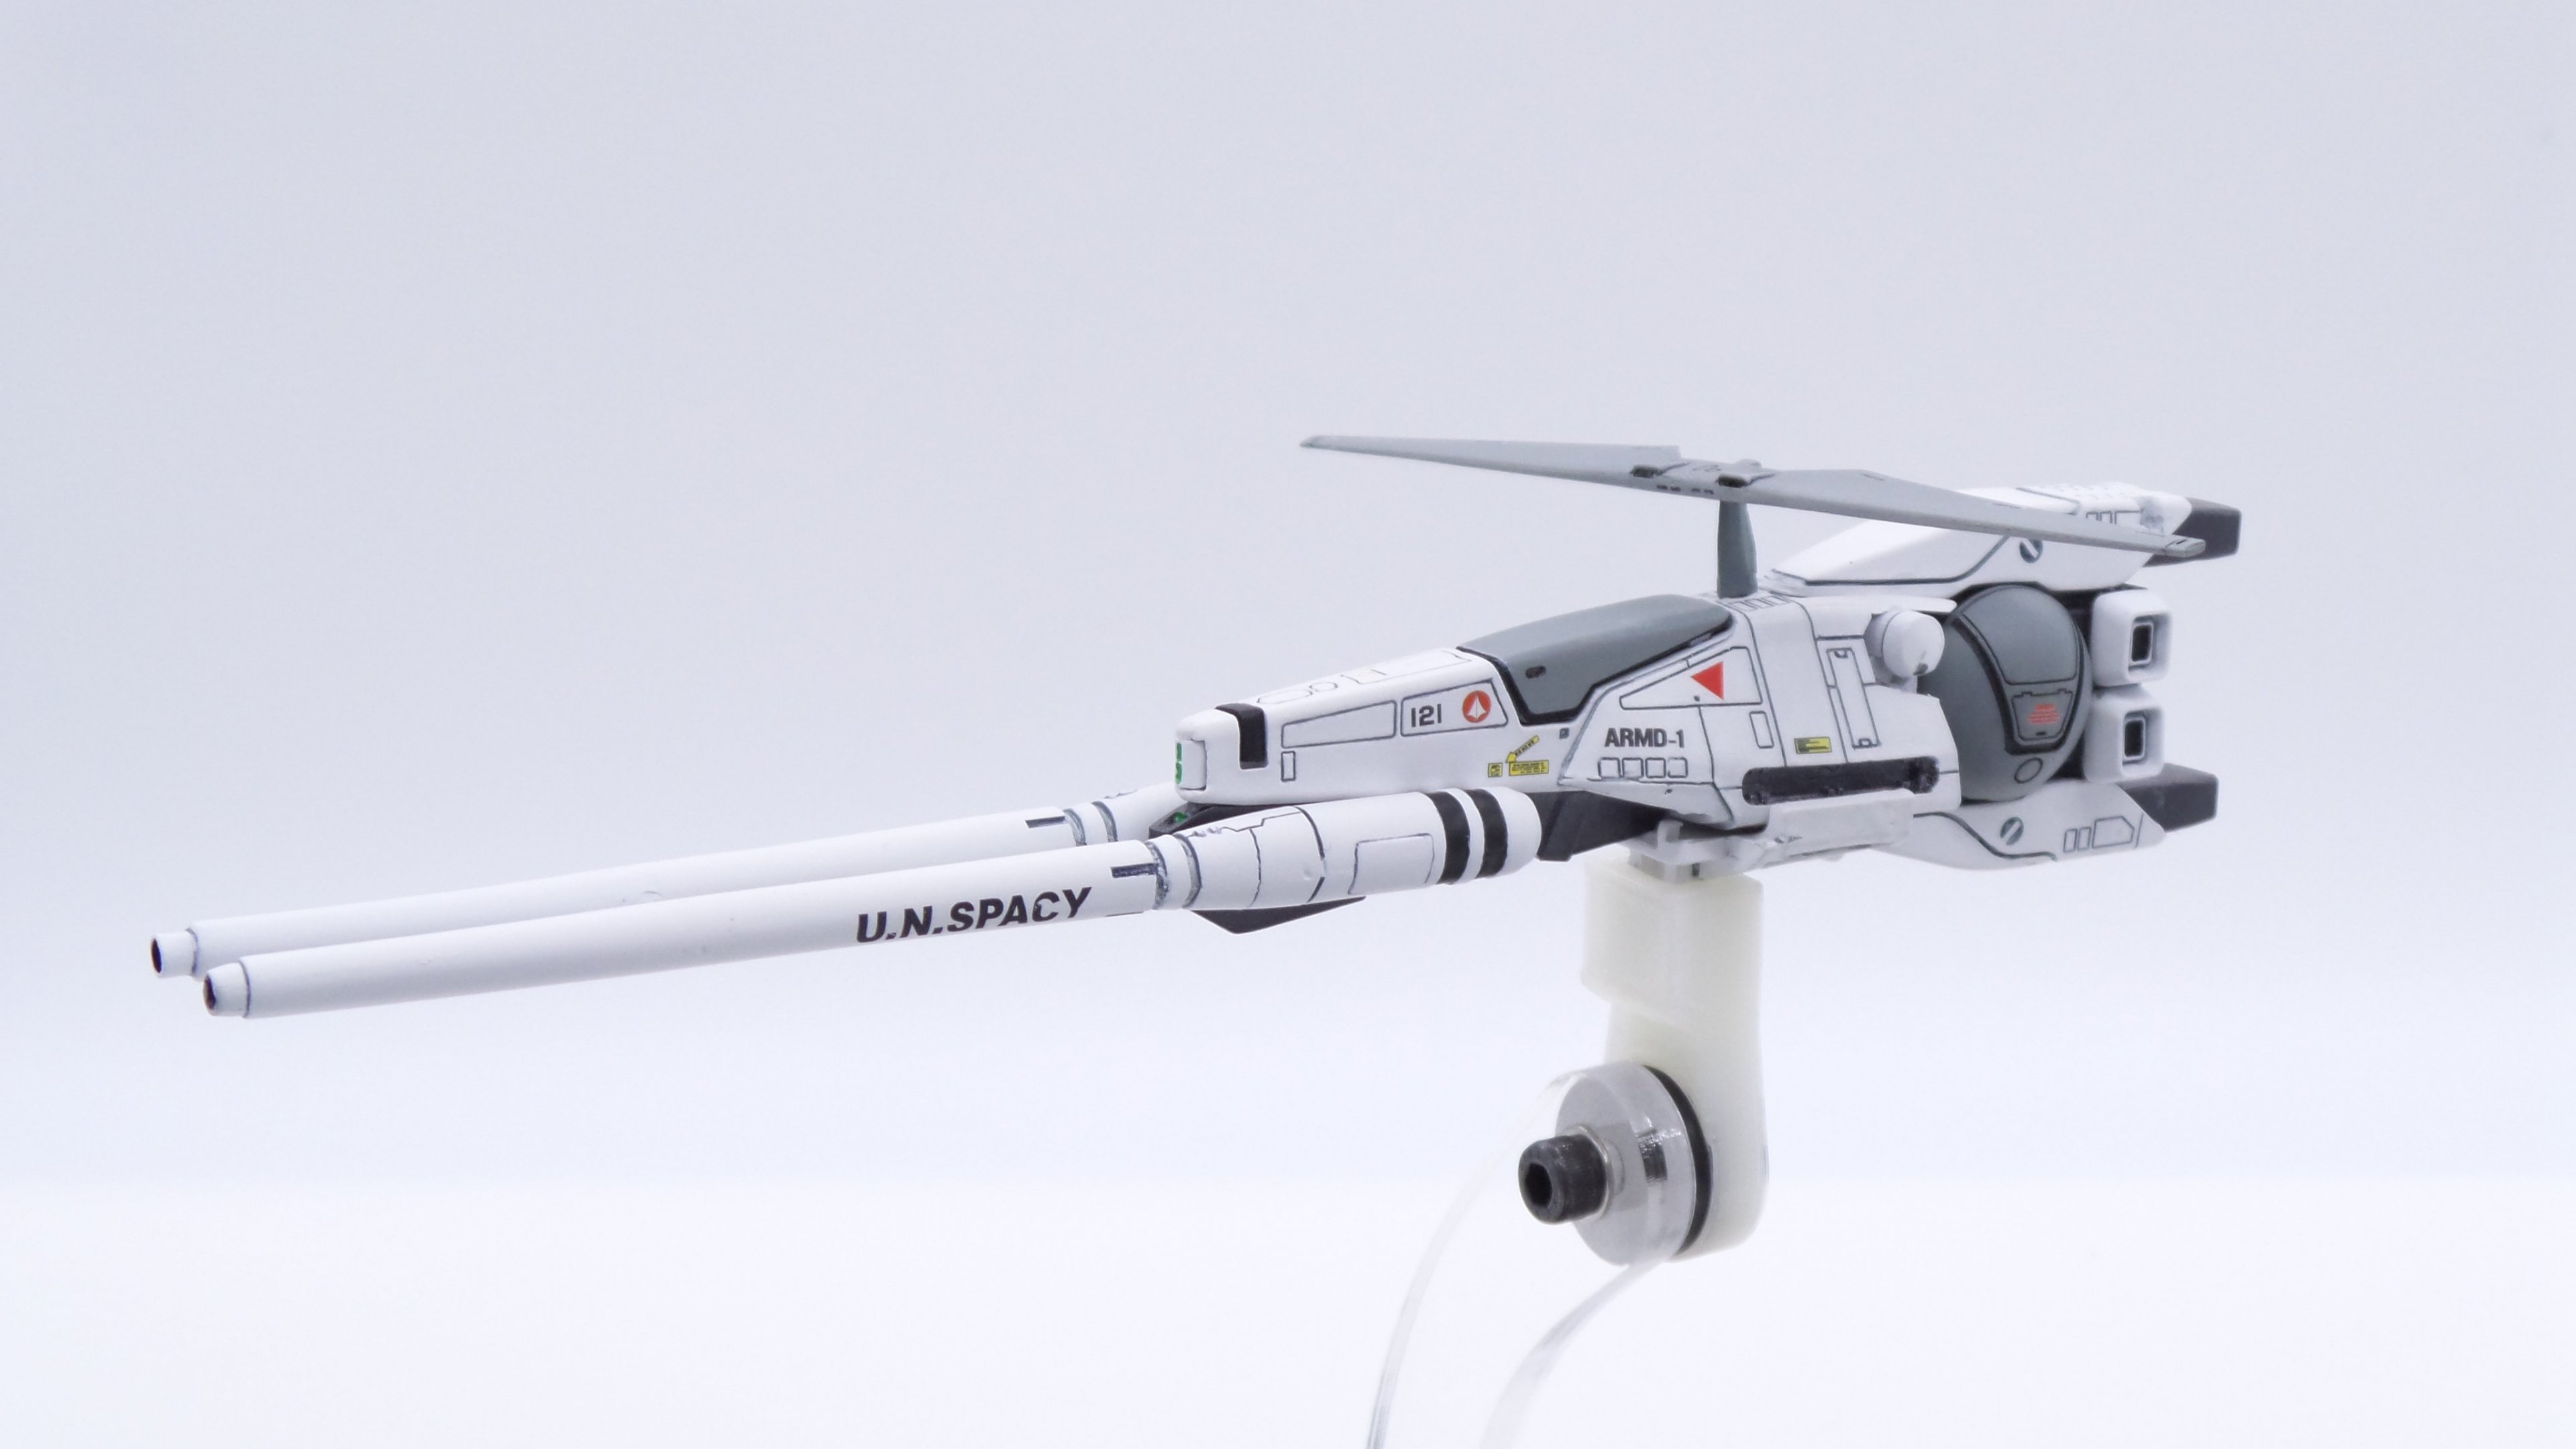
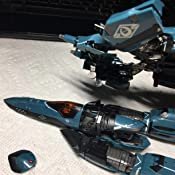
Update on the first post: * Add VE1 Elint Seeker * Add SF3A Lancer II * Add SF3A Super Lancer II If I were a pilot in the Macross universe, I’ll probably fly the SF3A because it’s non transformable and designed for hit-and-run missions, that suits a simple and timid person like me. It’s too bad that SF3A only appeared briefly in episode 1 of Macross. This 1/60 kit doesn’t have many pieces, but resin needs to be processed before assembly so it has a long build time. A resin piece may need to be clipped, trimmed, cooked, patched, and repeatedly sanded. I decided to make a super Lancer after seeing this cool drawing (kudos to the artist). It reminds me of the Stark Jegan captain in Gundam UC. After test fitting with my toys, I purchased a set of fast pack and began modifying the parts. I made an antenna extension with epoxy putty because the stock piece is too short with the fast pack. The thickness is slightly increased to compensate for the additional length. Mounting boosters on the Lancer is a challenge due to their weight. I heated the dorsal piece and then carved out 2 cavities for connecting joints. The Home Depot white paint works surprisingly well. It’s inexpensive and has good coverage (but dries slowly). Just spray carefully because the nozzle was made for larger objects. I trimmed the adapter and then glued it with 2 arm armors. Later, the armors will be mounted on the SF3A’s ventral section like the drawing. I also added extra weapons to make it more “cool”. Now this little fighter can fly gloriously like Roy! The included decals were not enough for this project so I used a few extras. This is it. Have fun and be safe to you all


-
I watched the video, amazing work! Thanks for the link
-
Not sure if this has been posted before. I found this project on a Chinese Macross forum and the owner said he built this in 2016. It looks fantastic

-
-
The mess production type is known to break so I only partially transformed it once while I was coating it. My first VF171 mass production suffered a catastrophic break down (torso joint) even when I handled like a baby. Fortunately Amazon Japan let me returned the item. The rest of 171s seem to have improved quality so they are safer to transform. Just be mindful when handling the small black plastic triangle
-
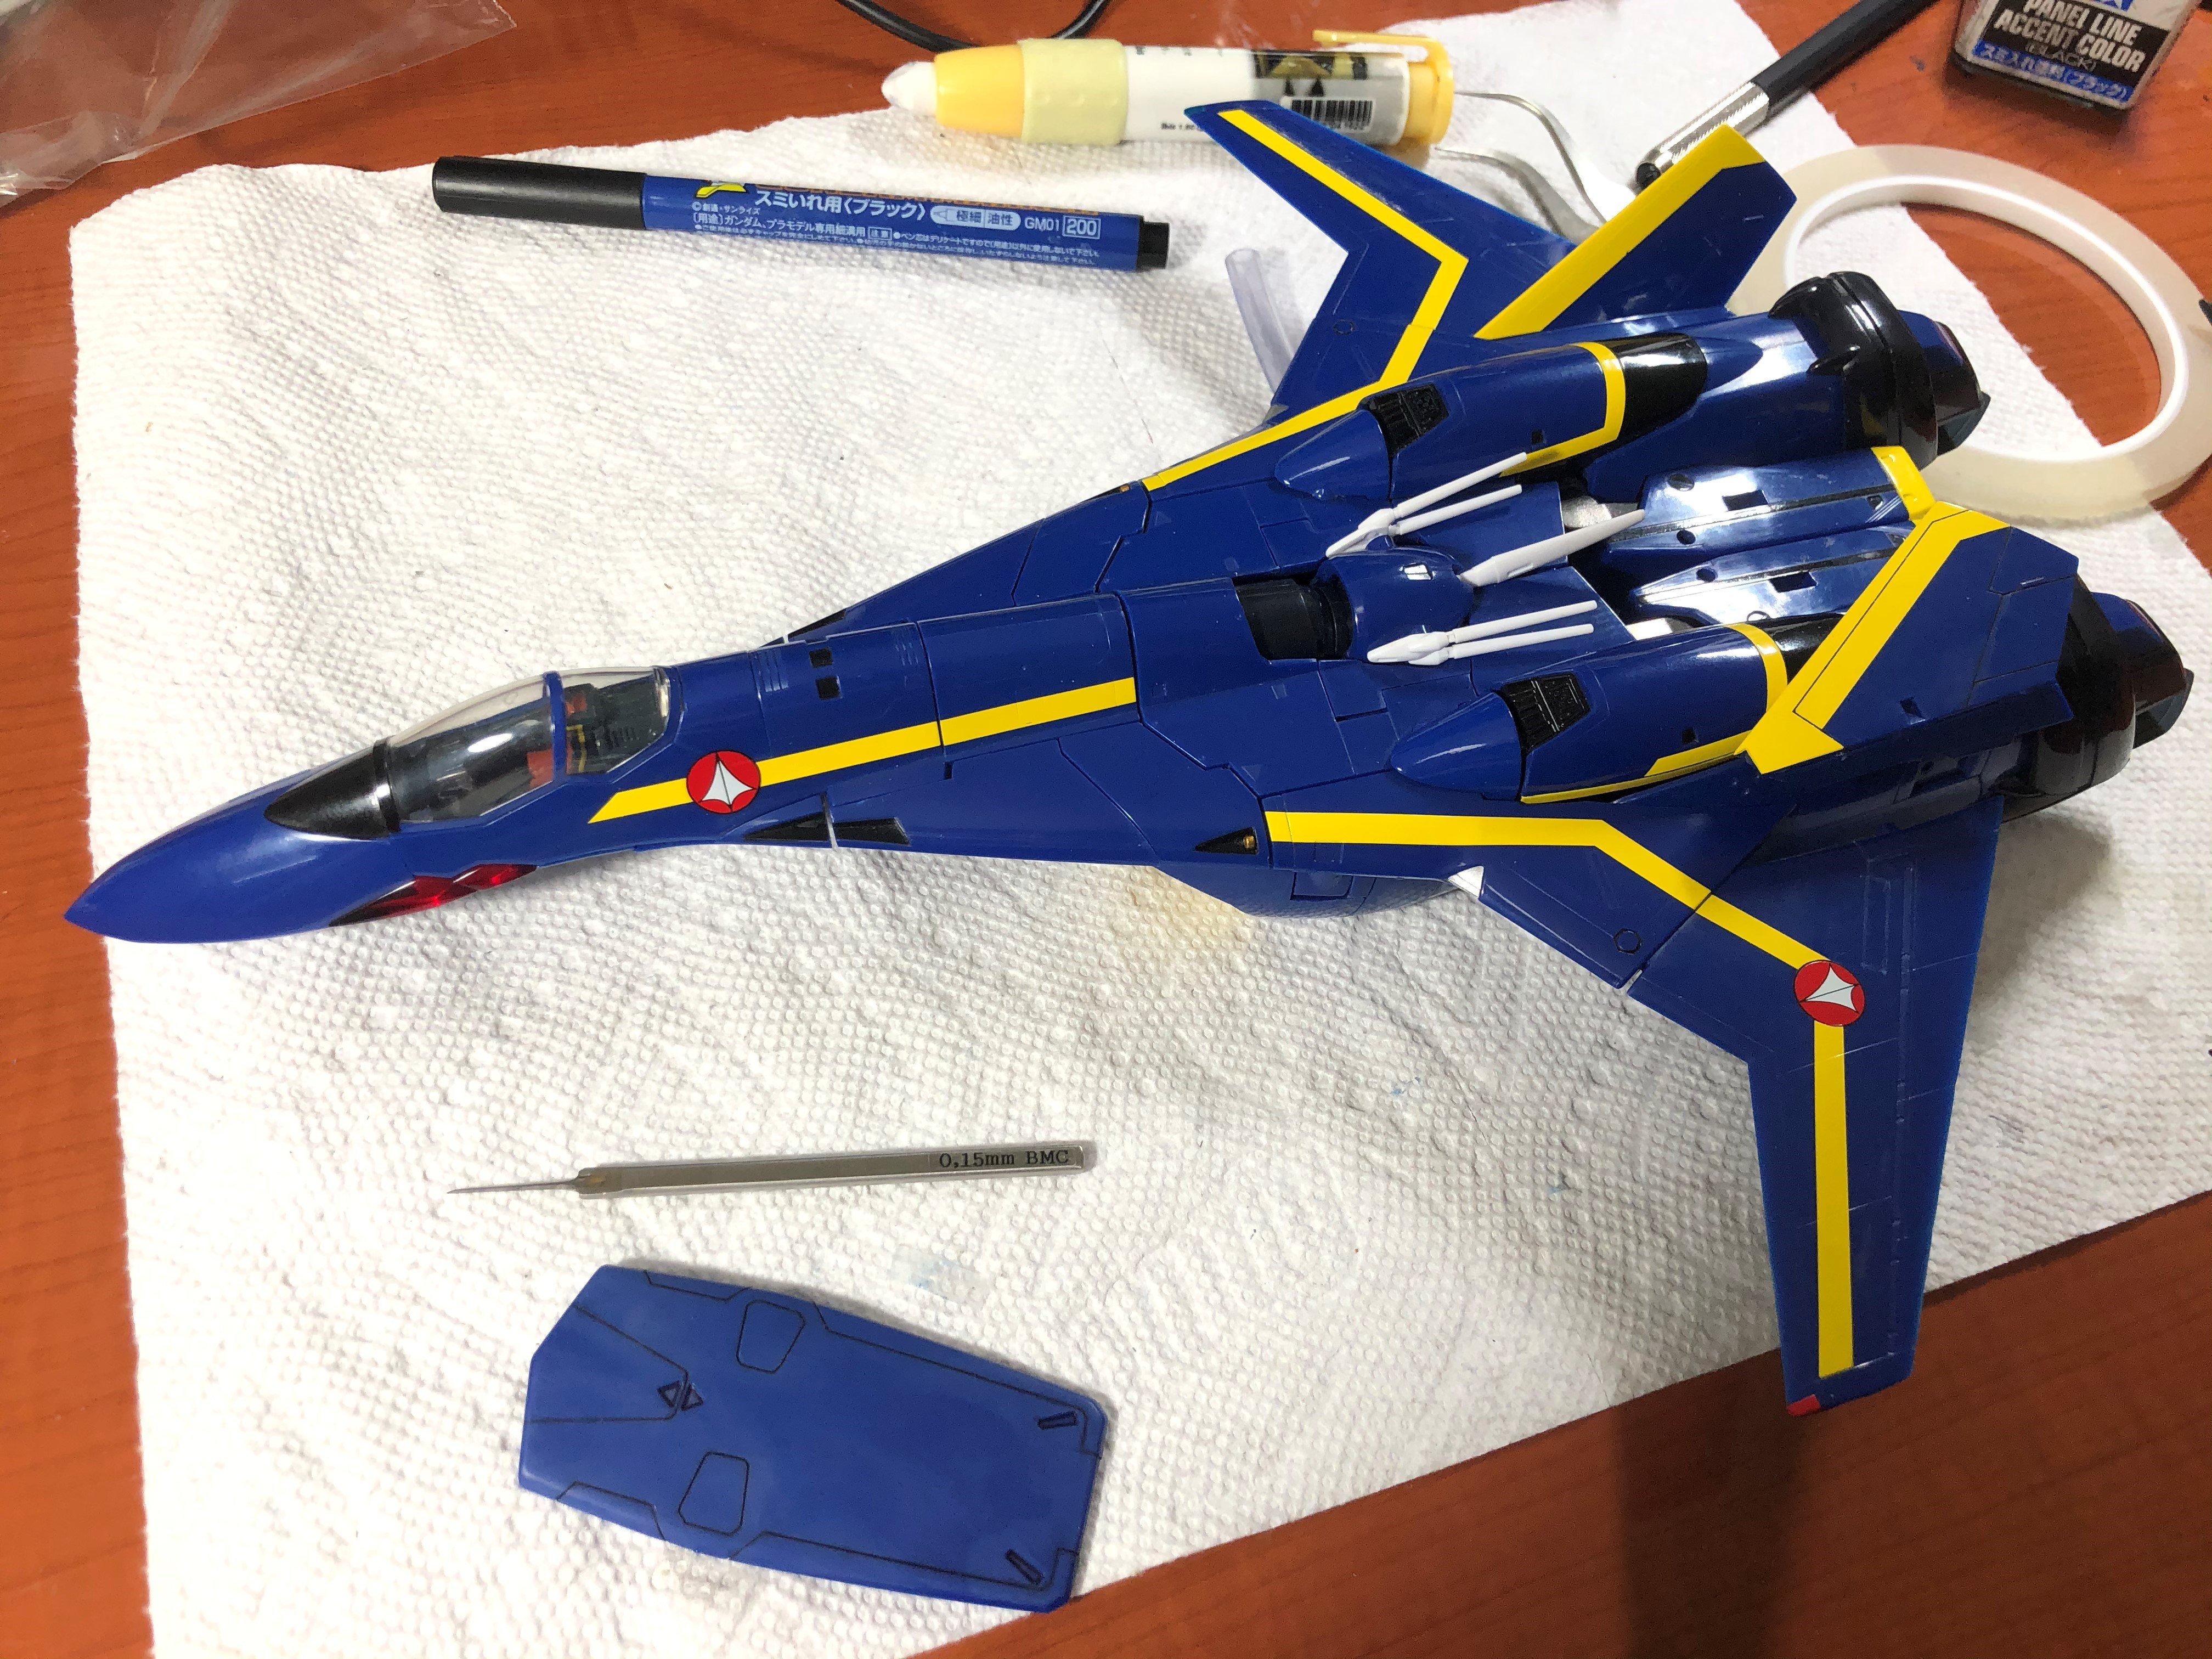
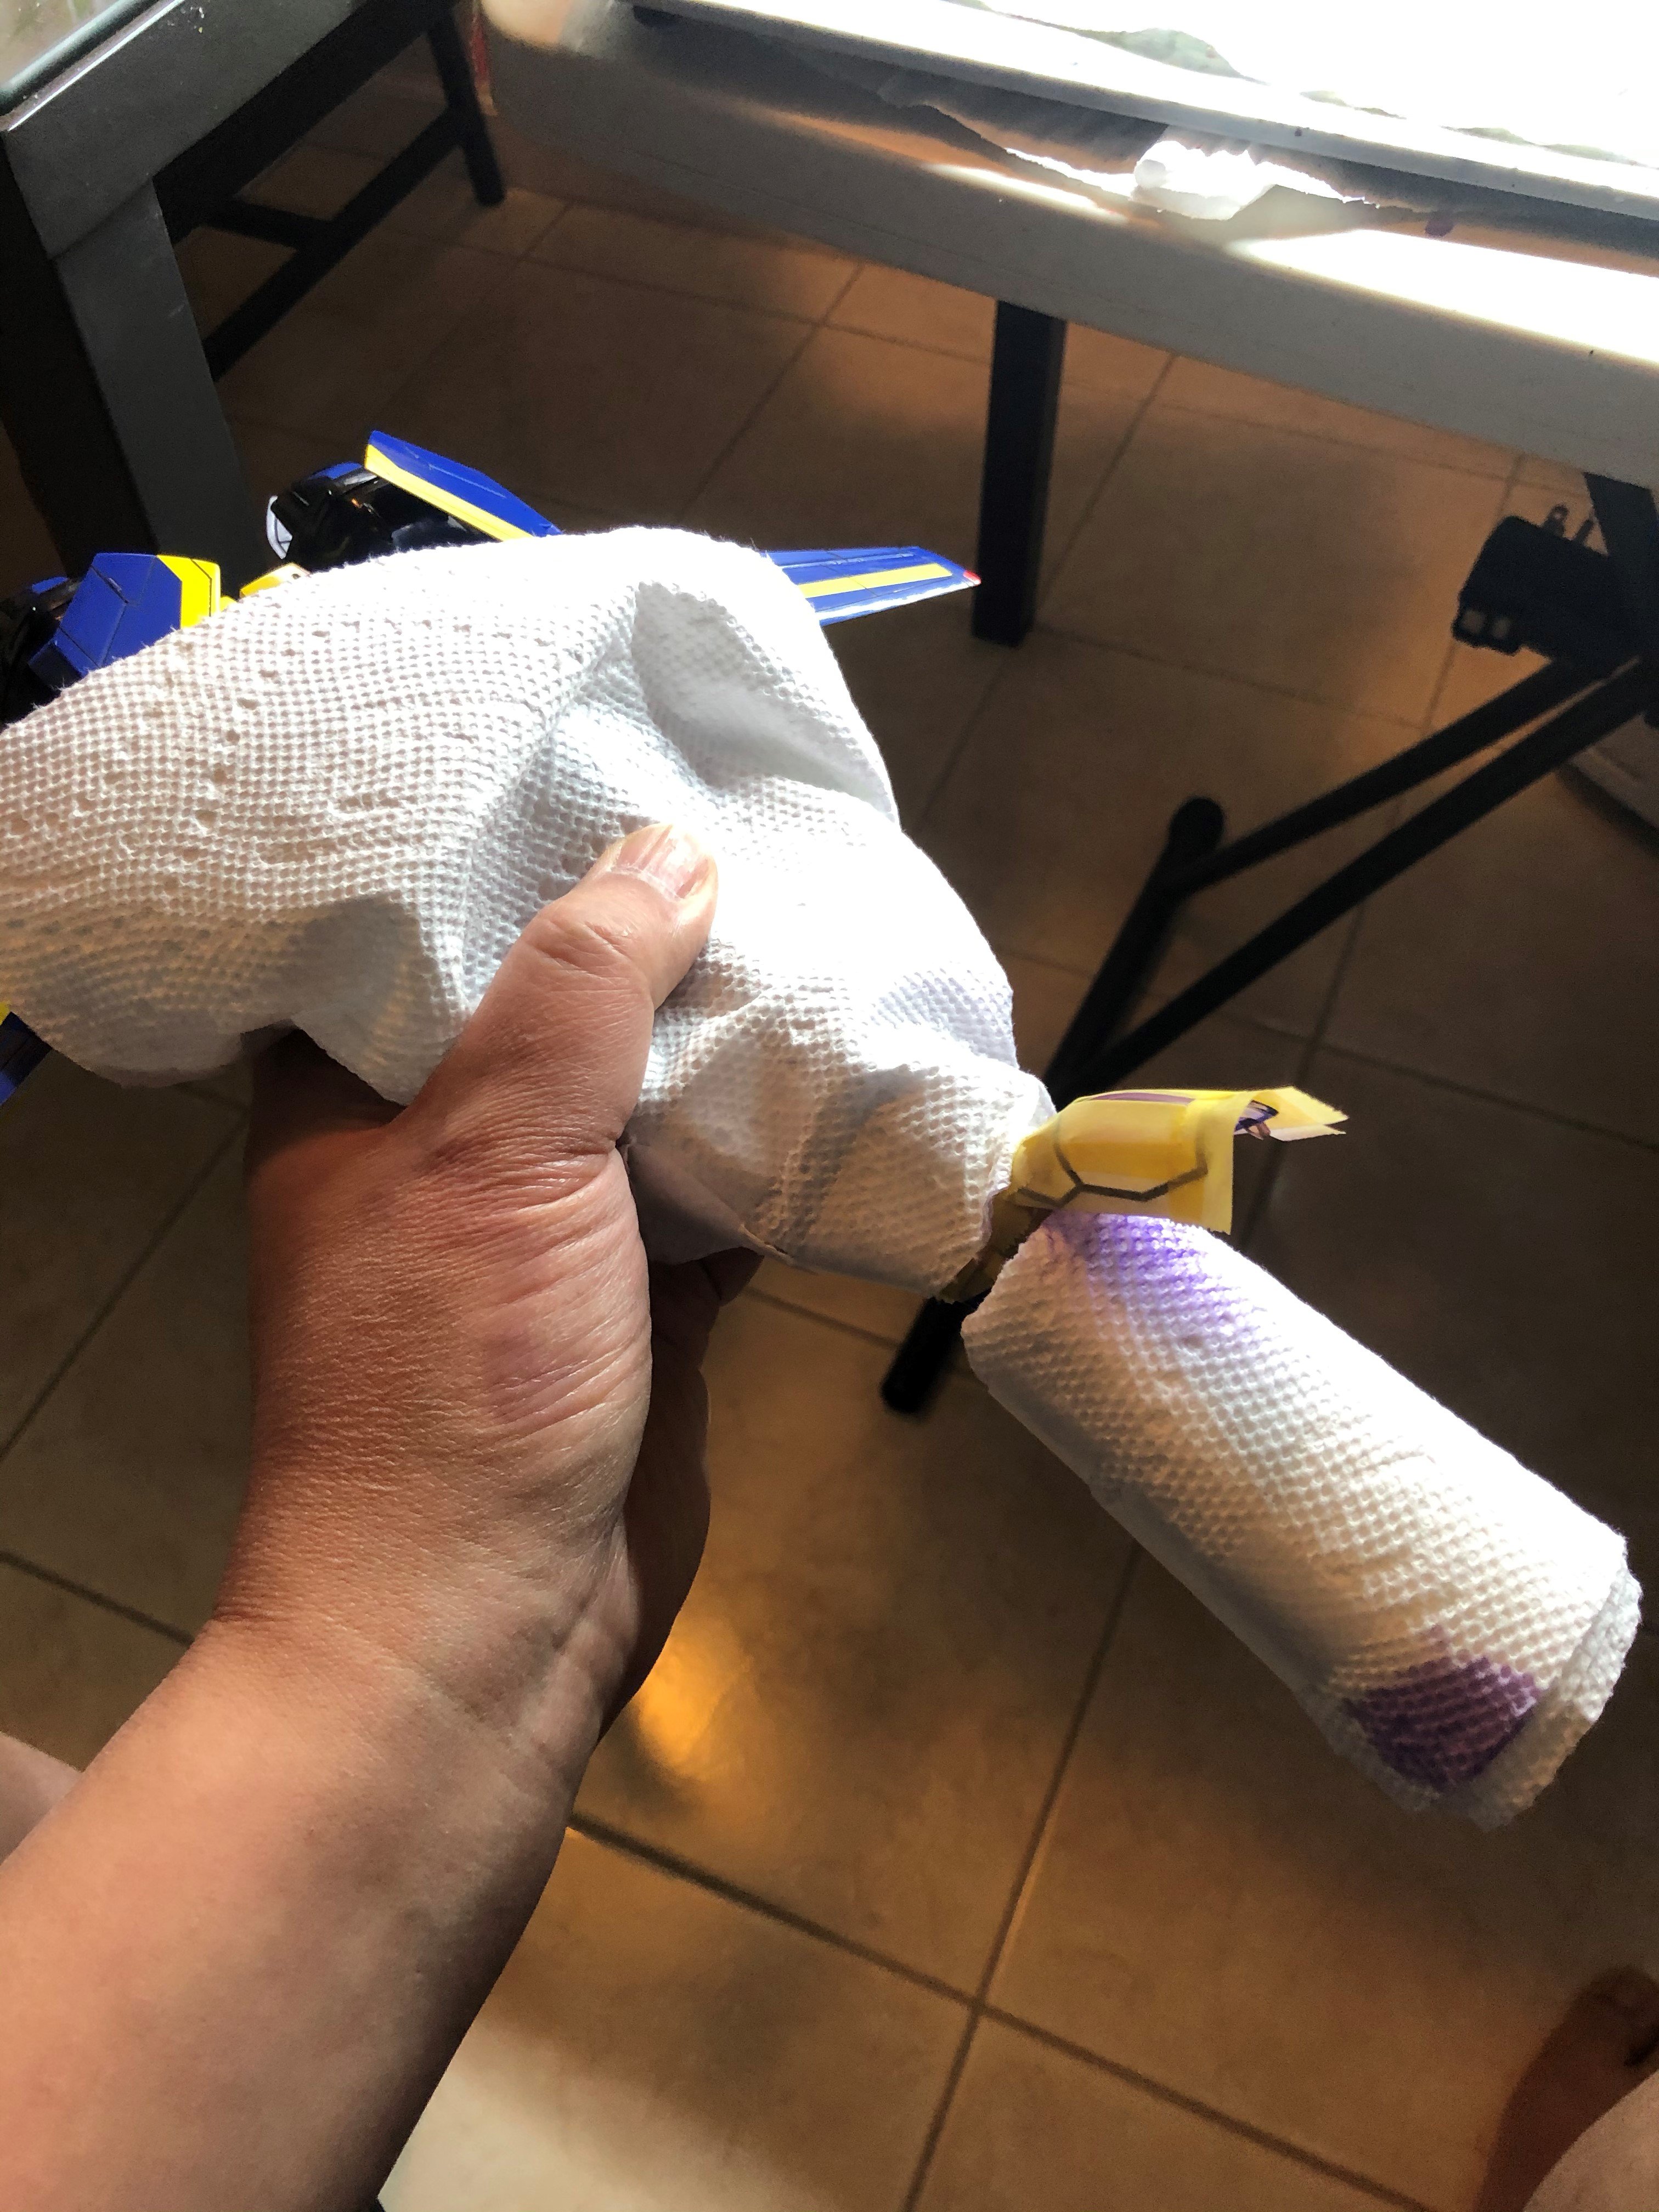
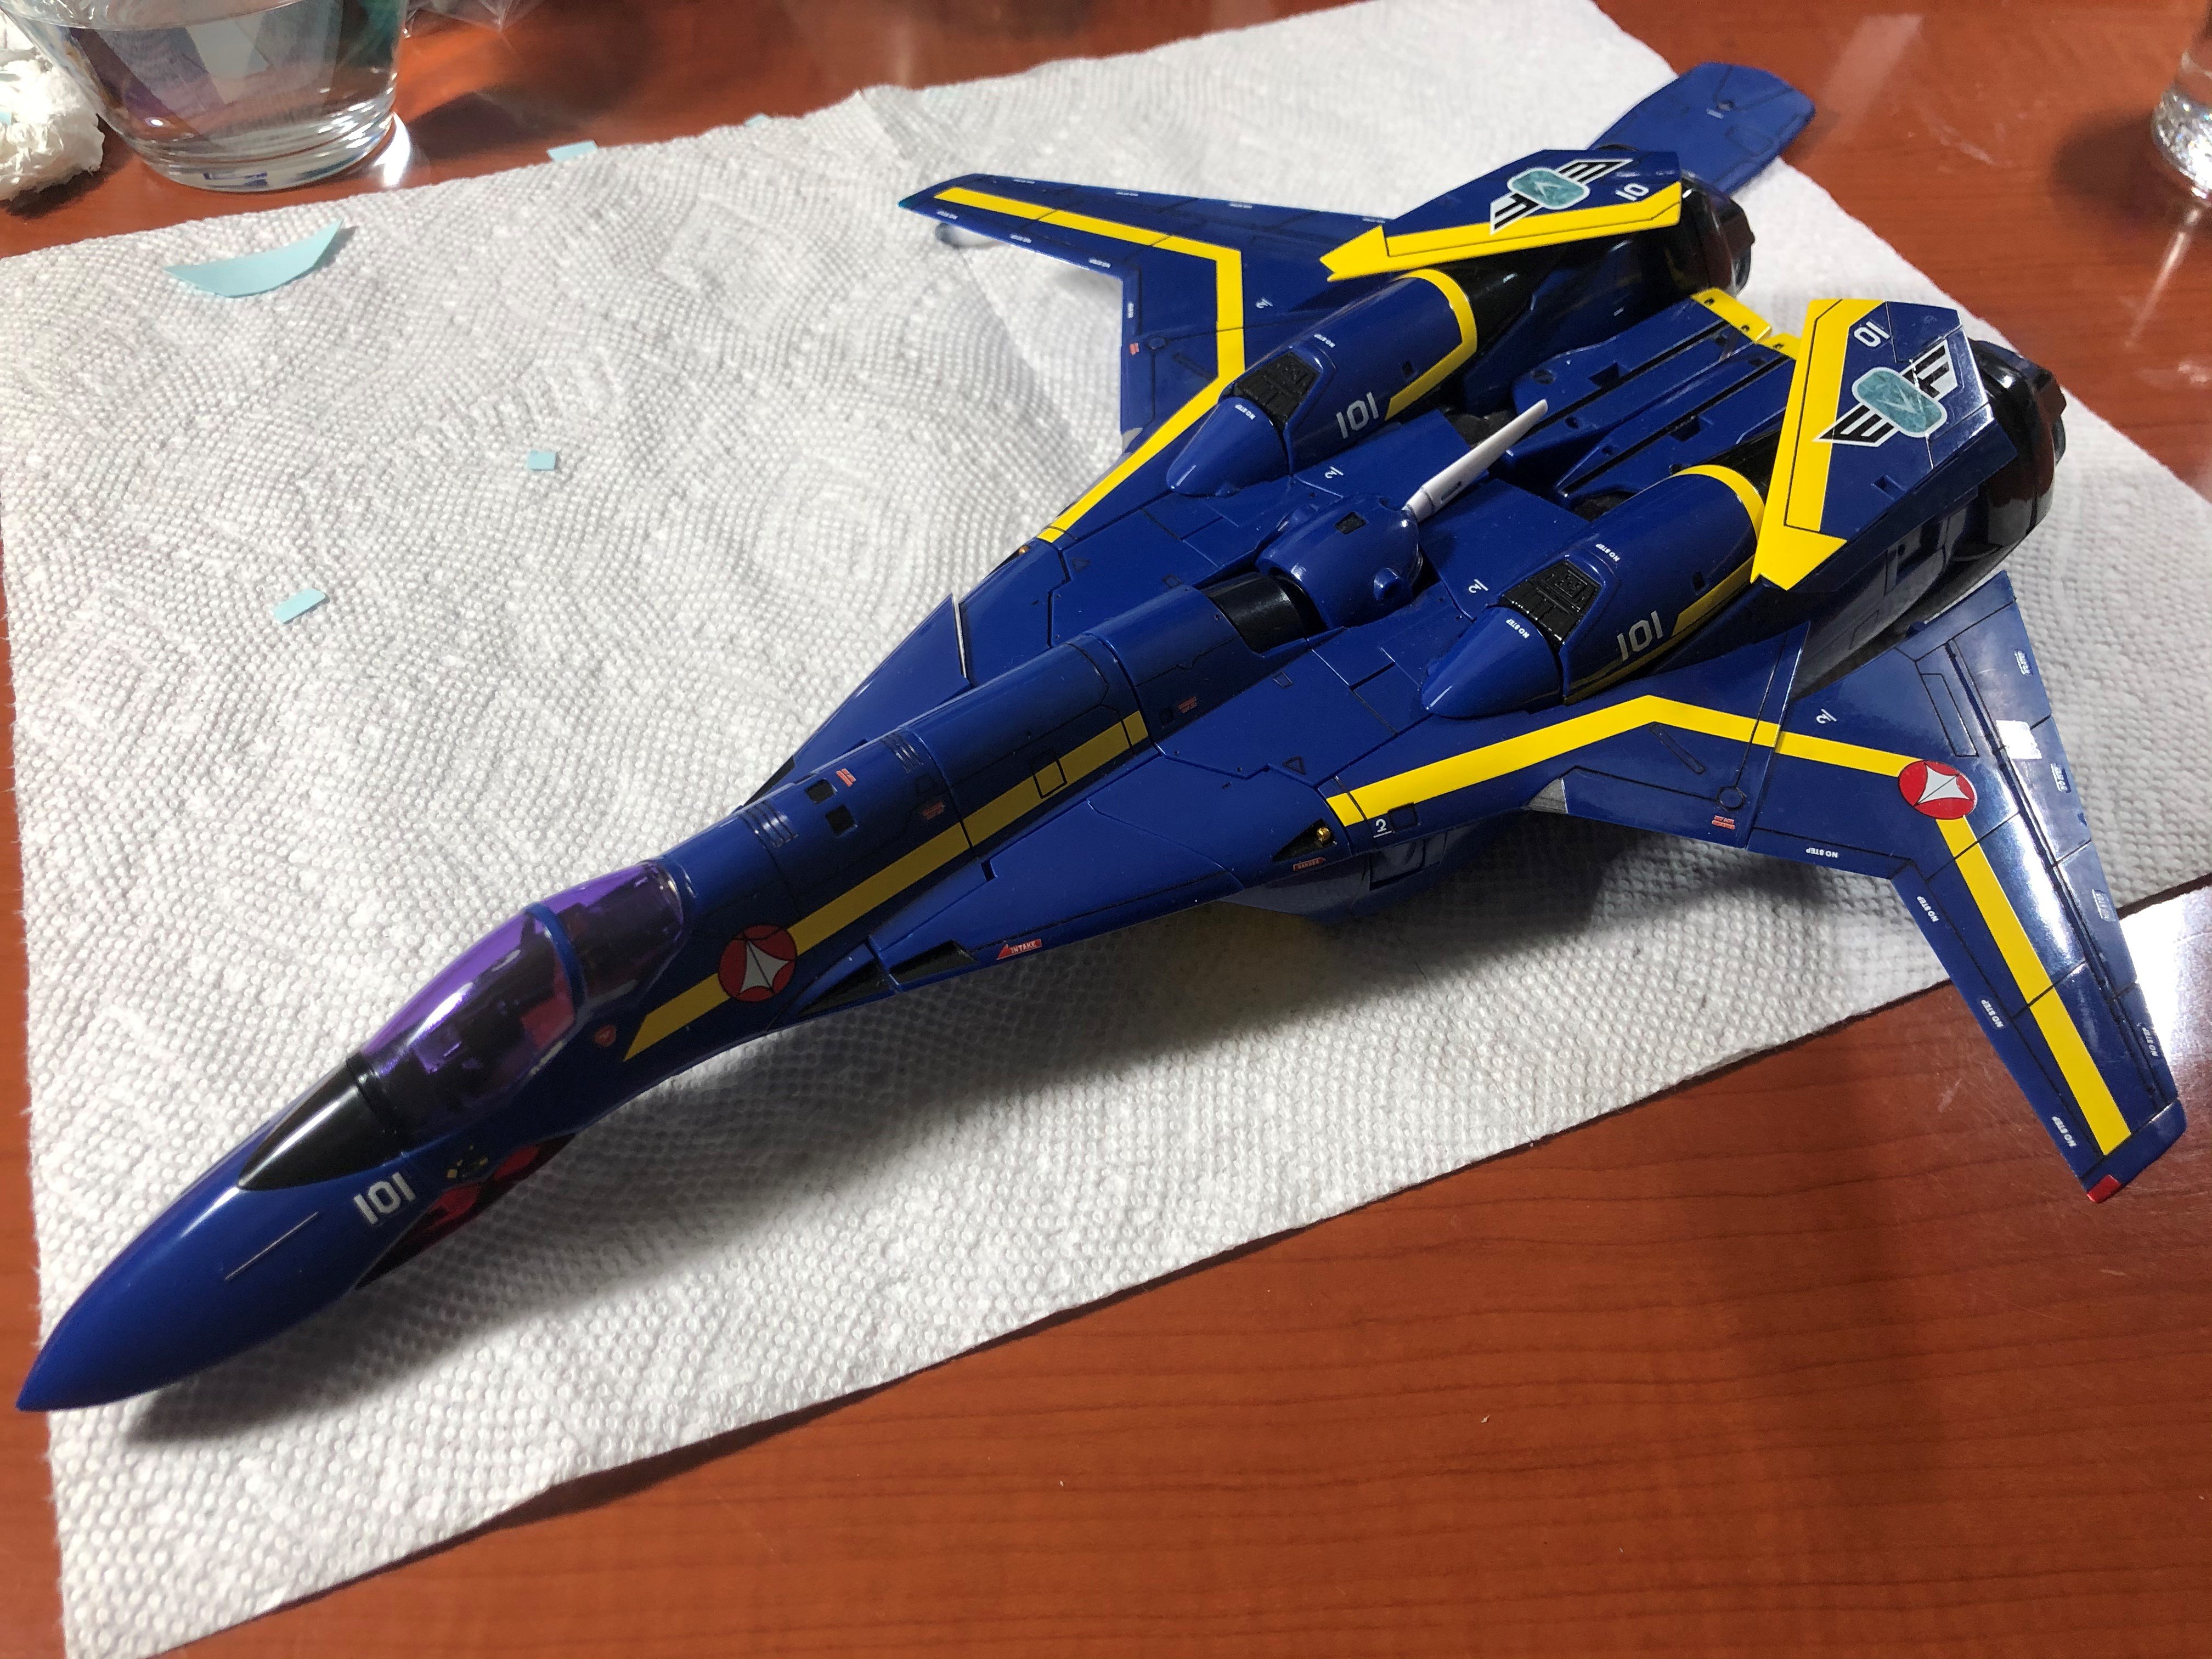
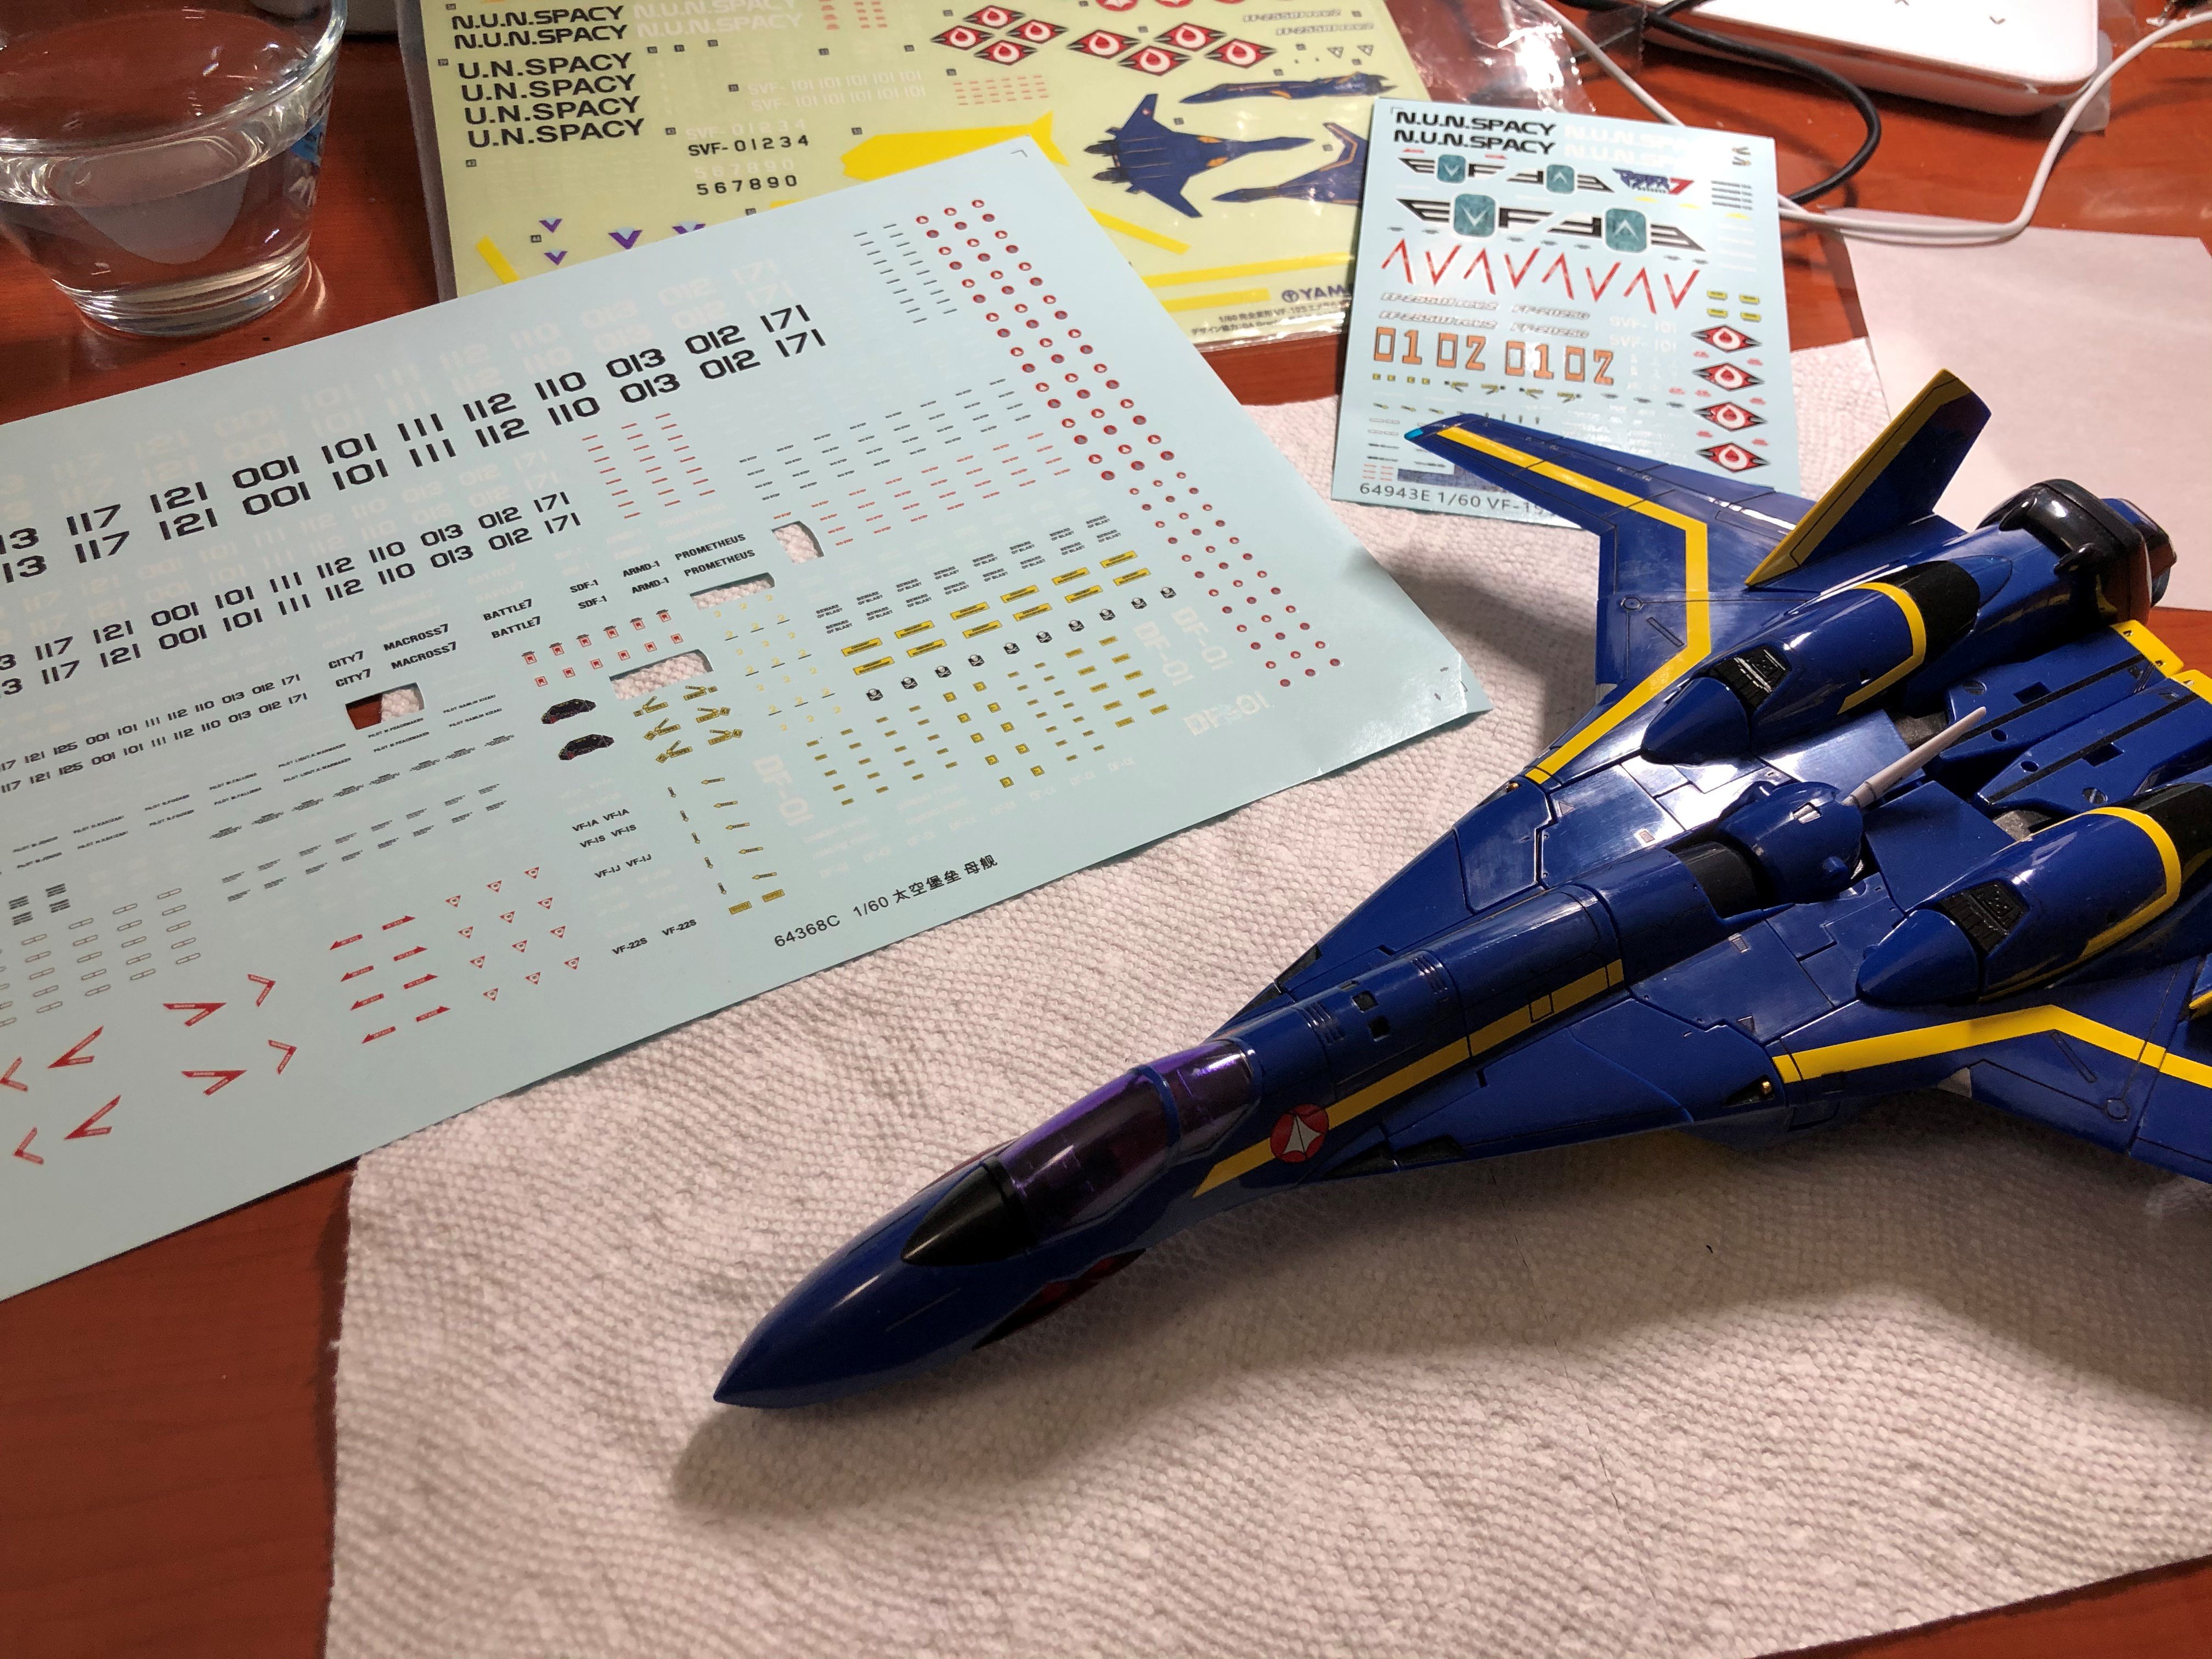
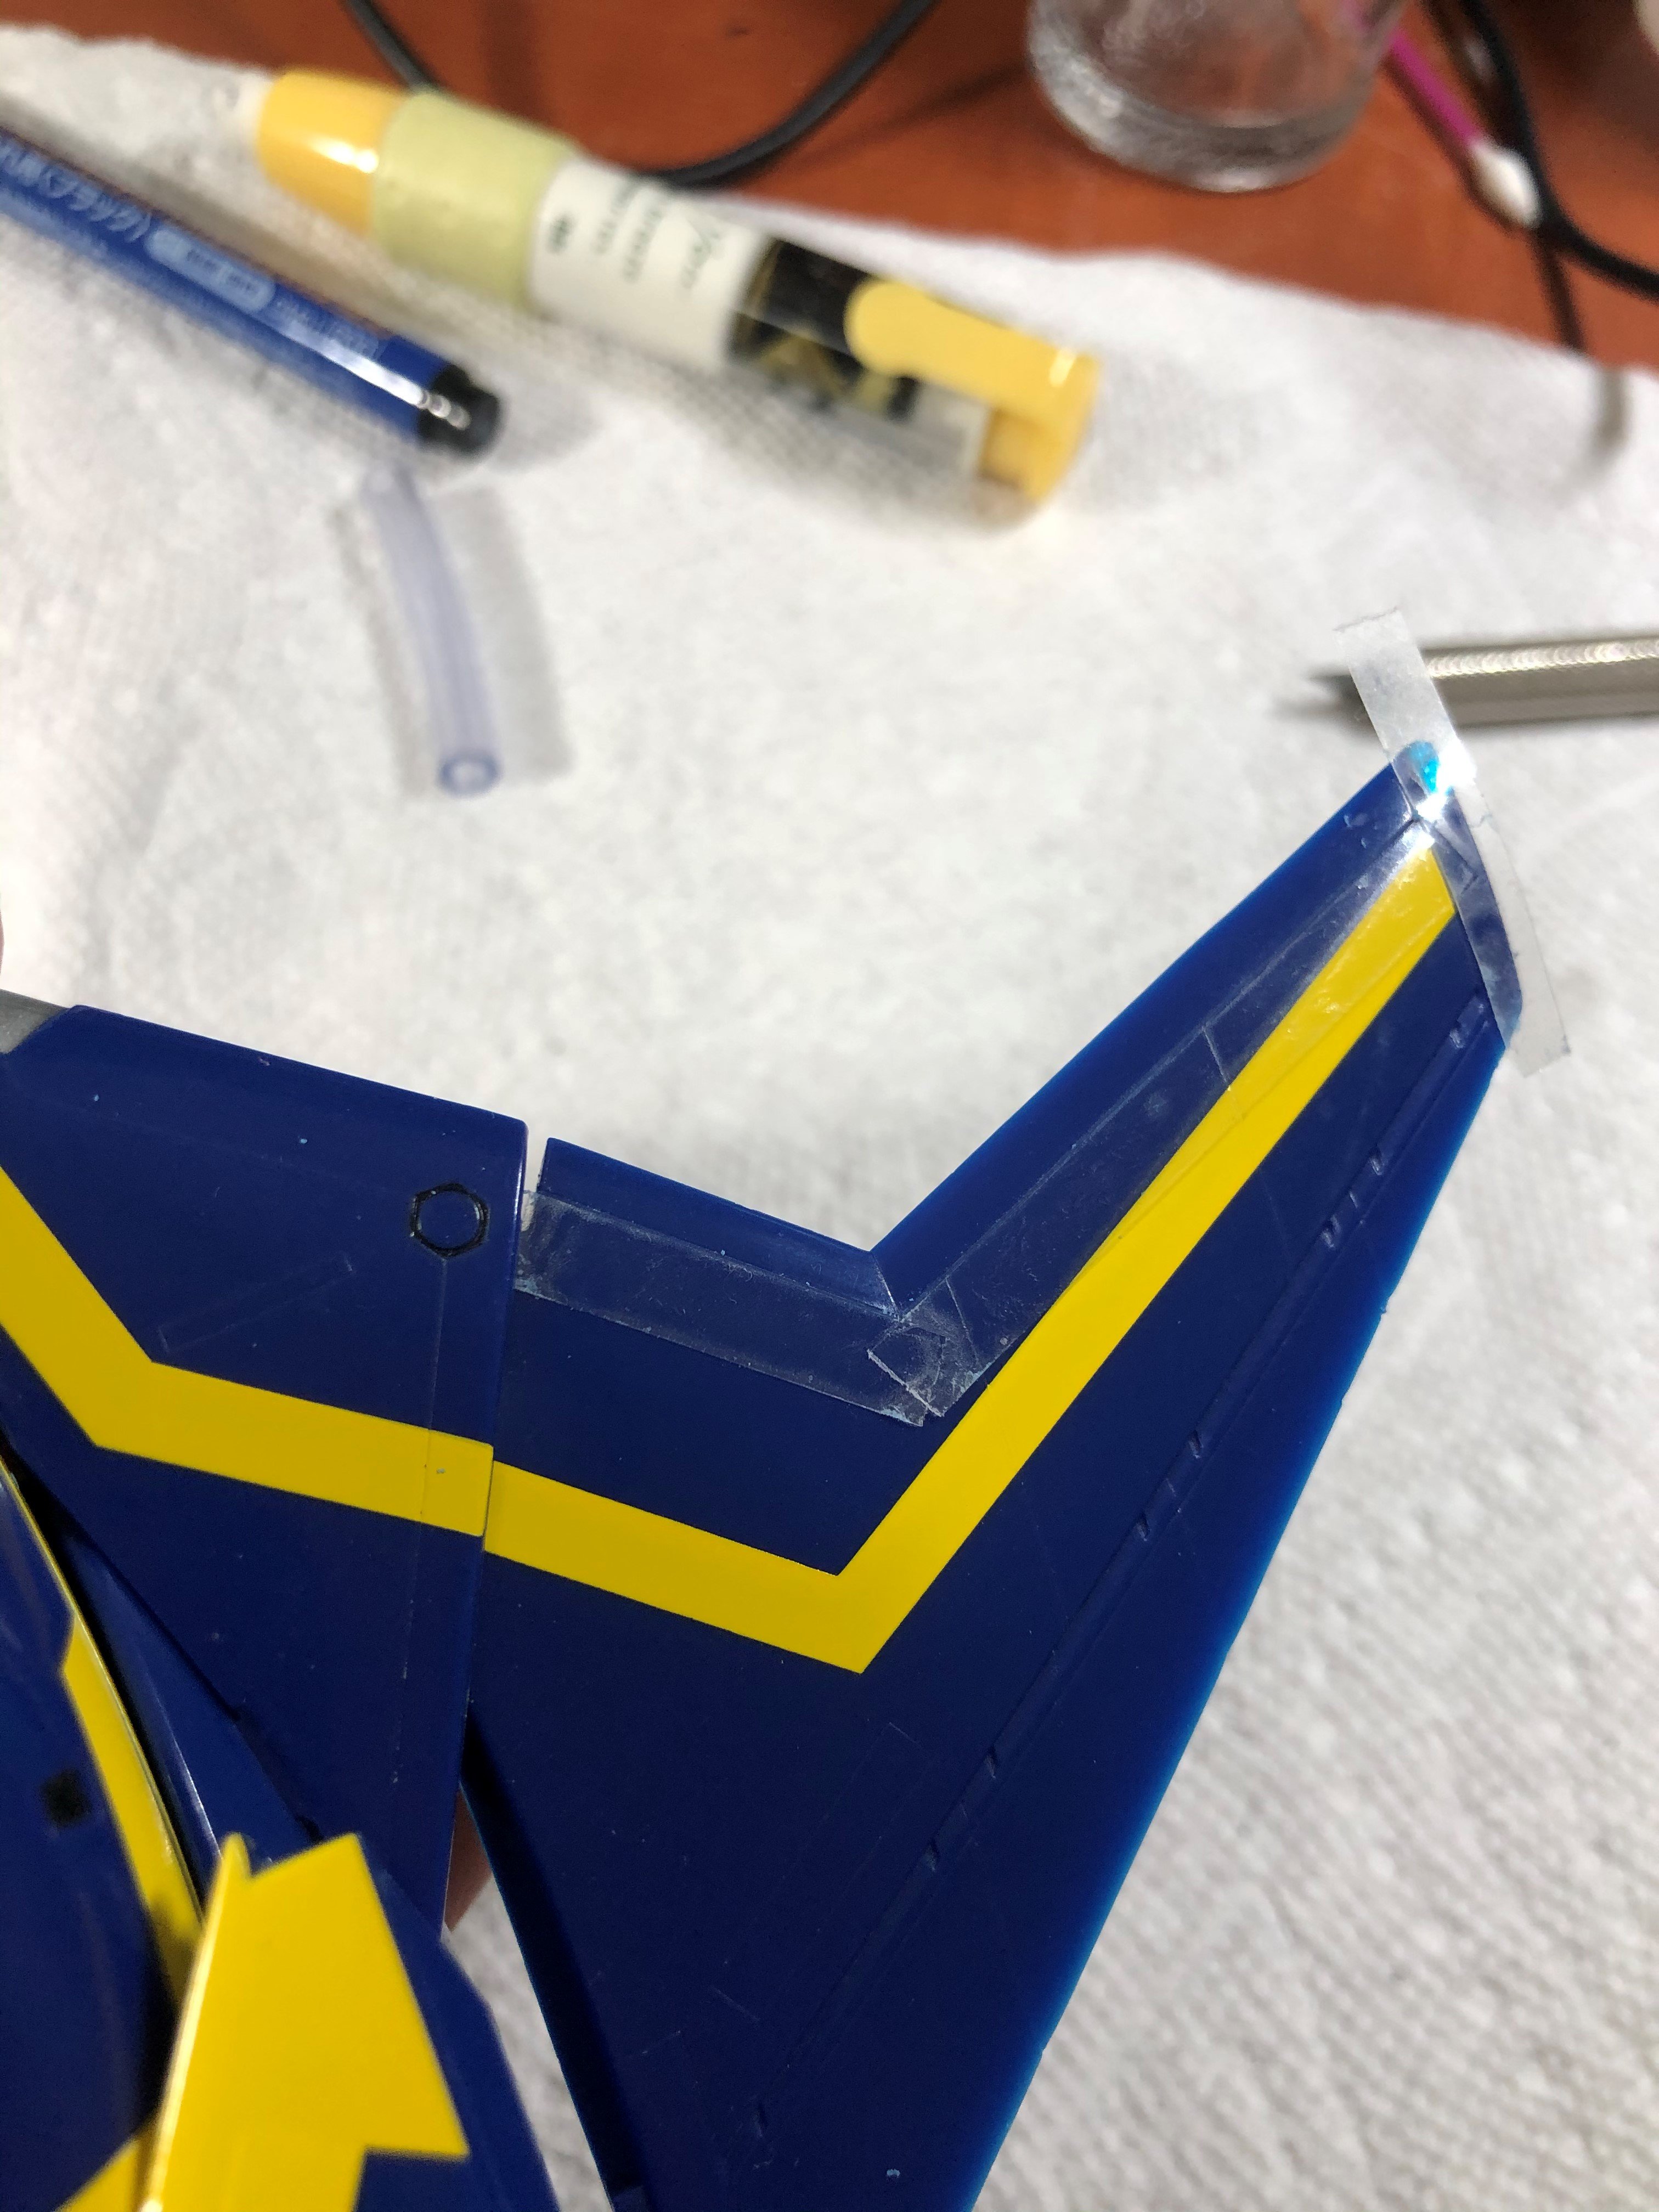
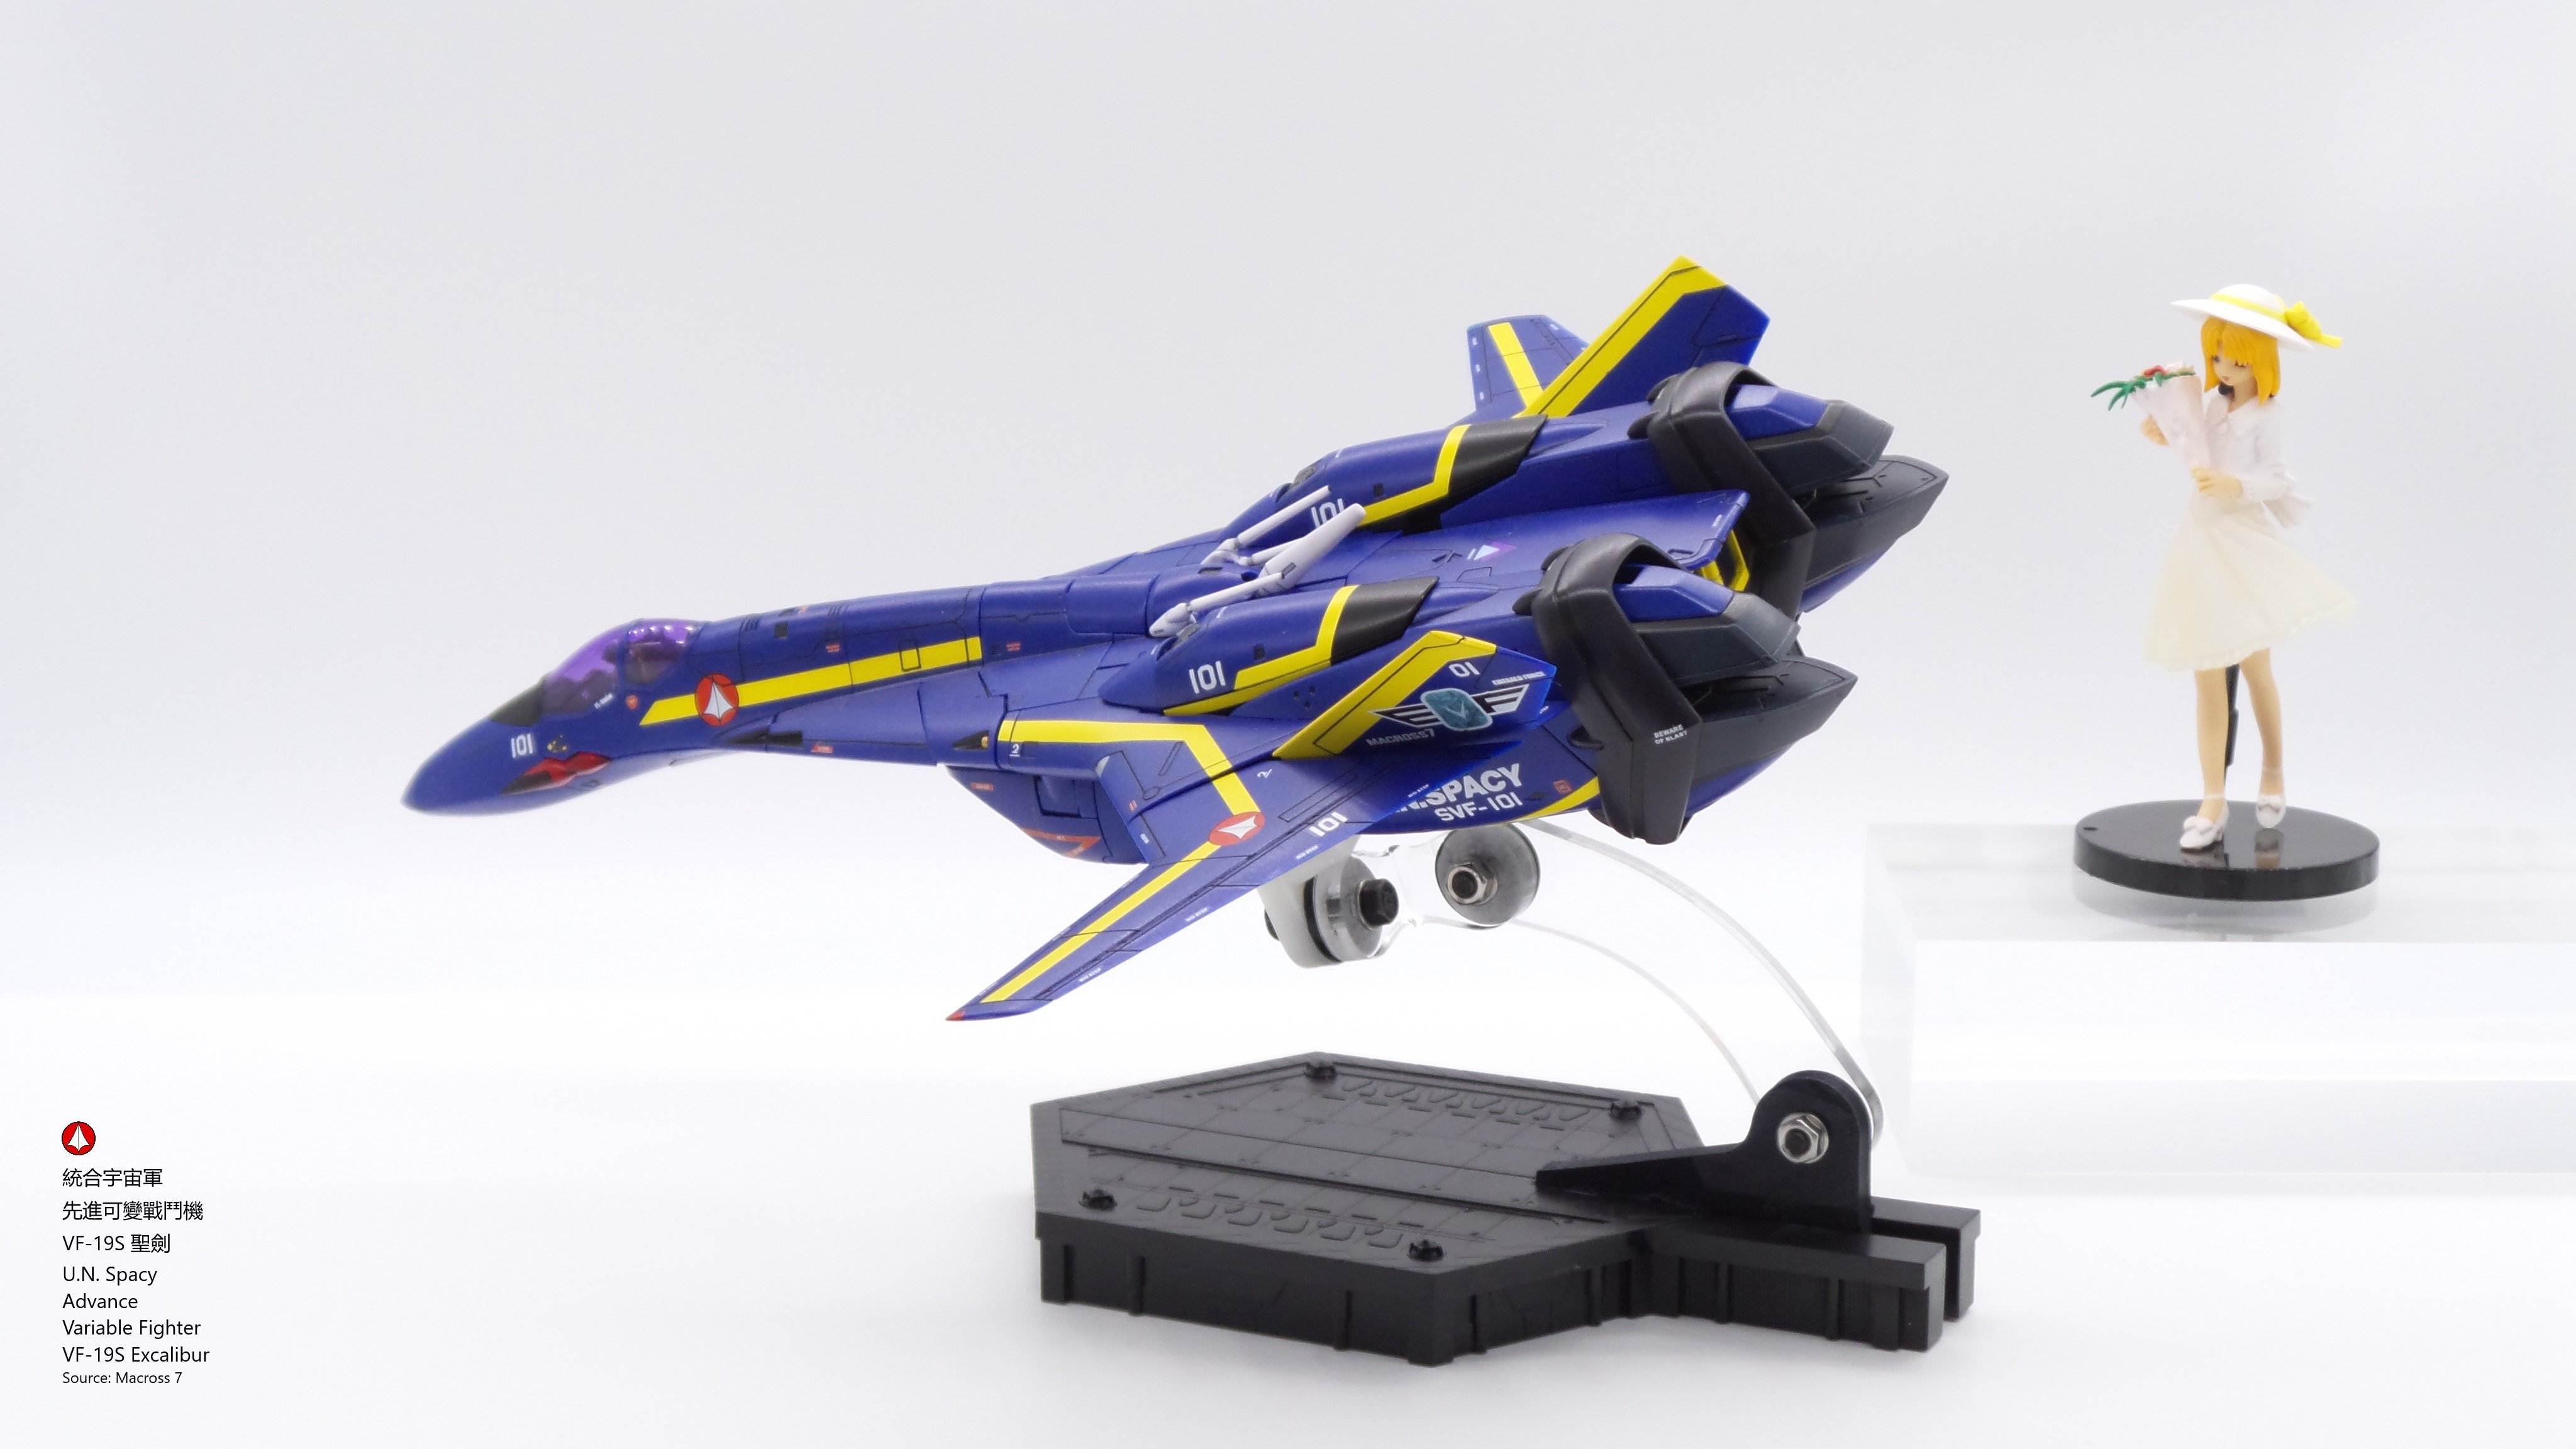
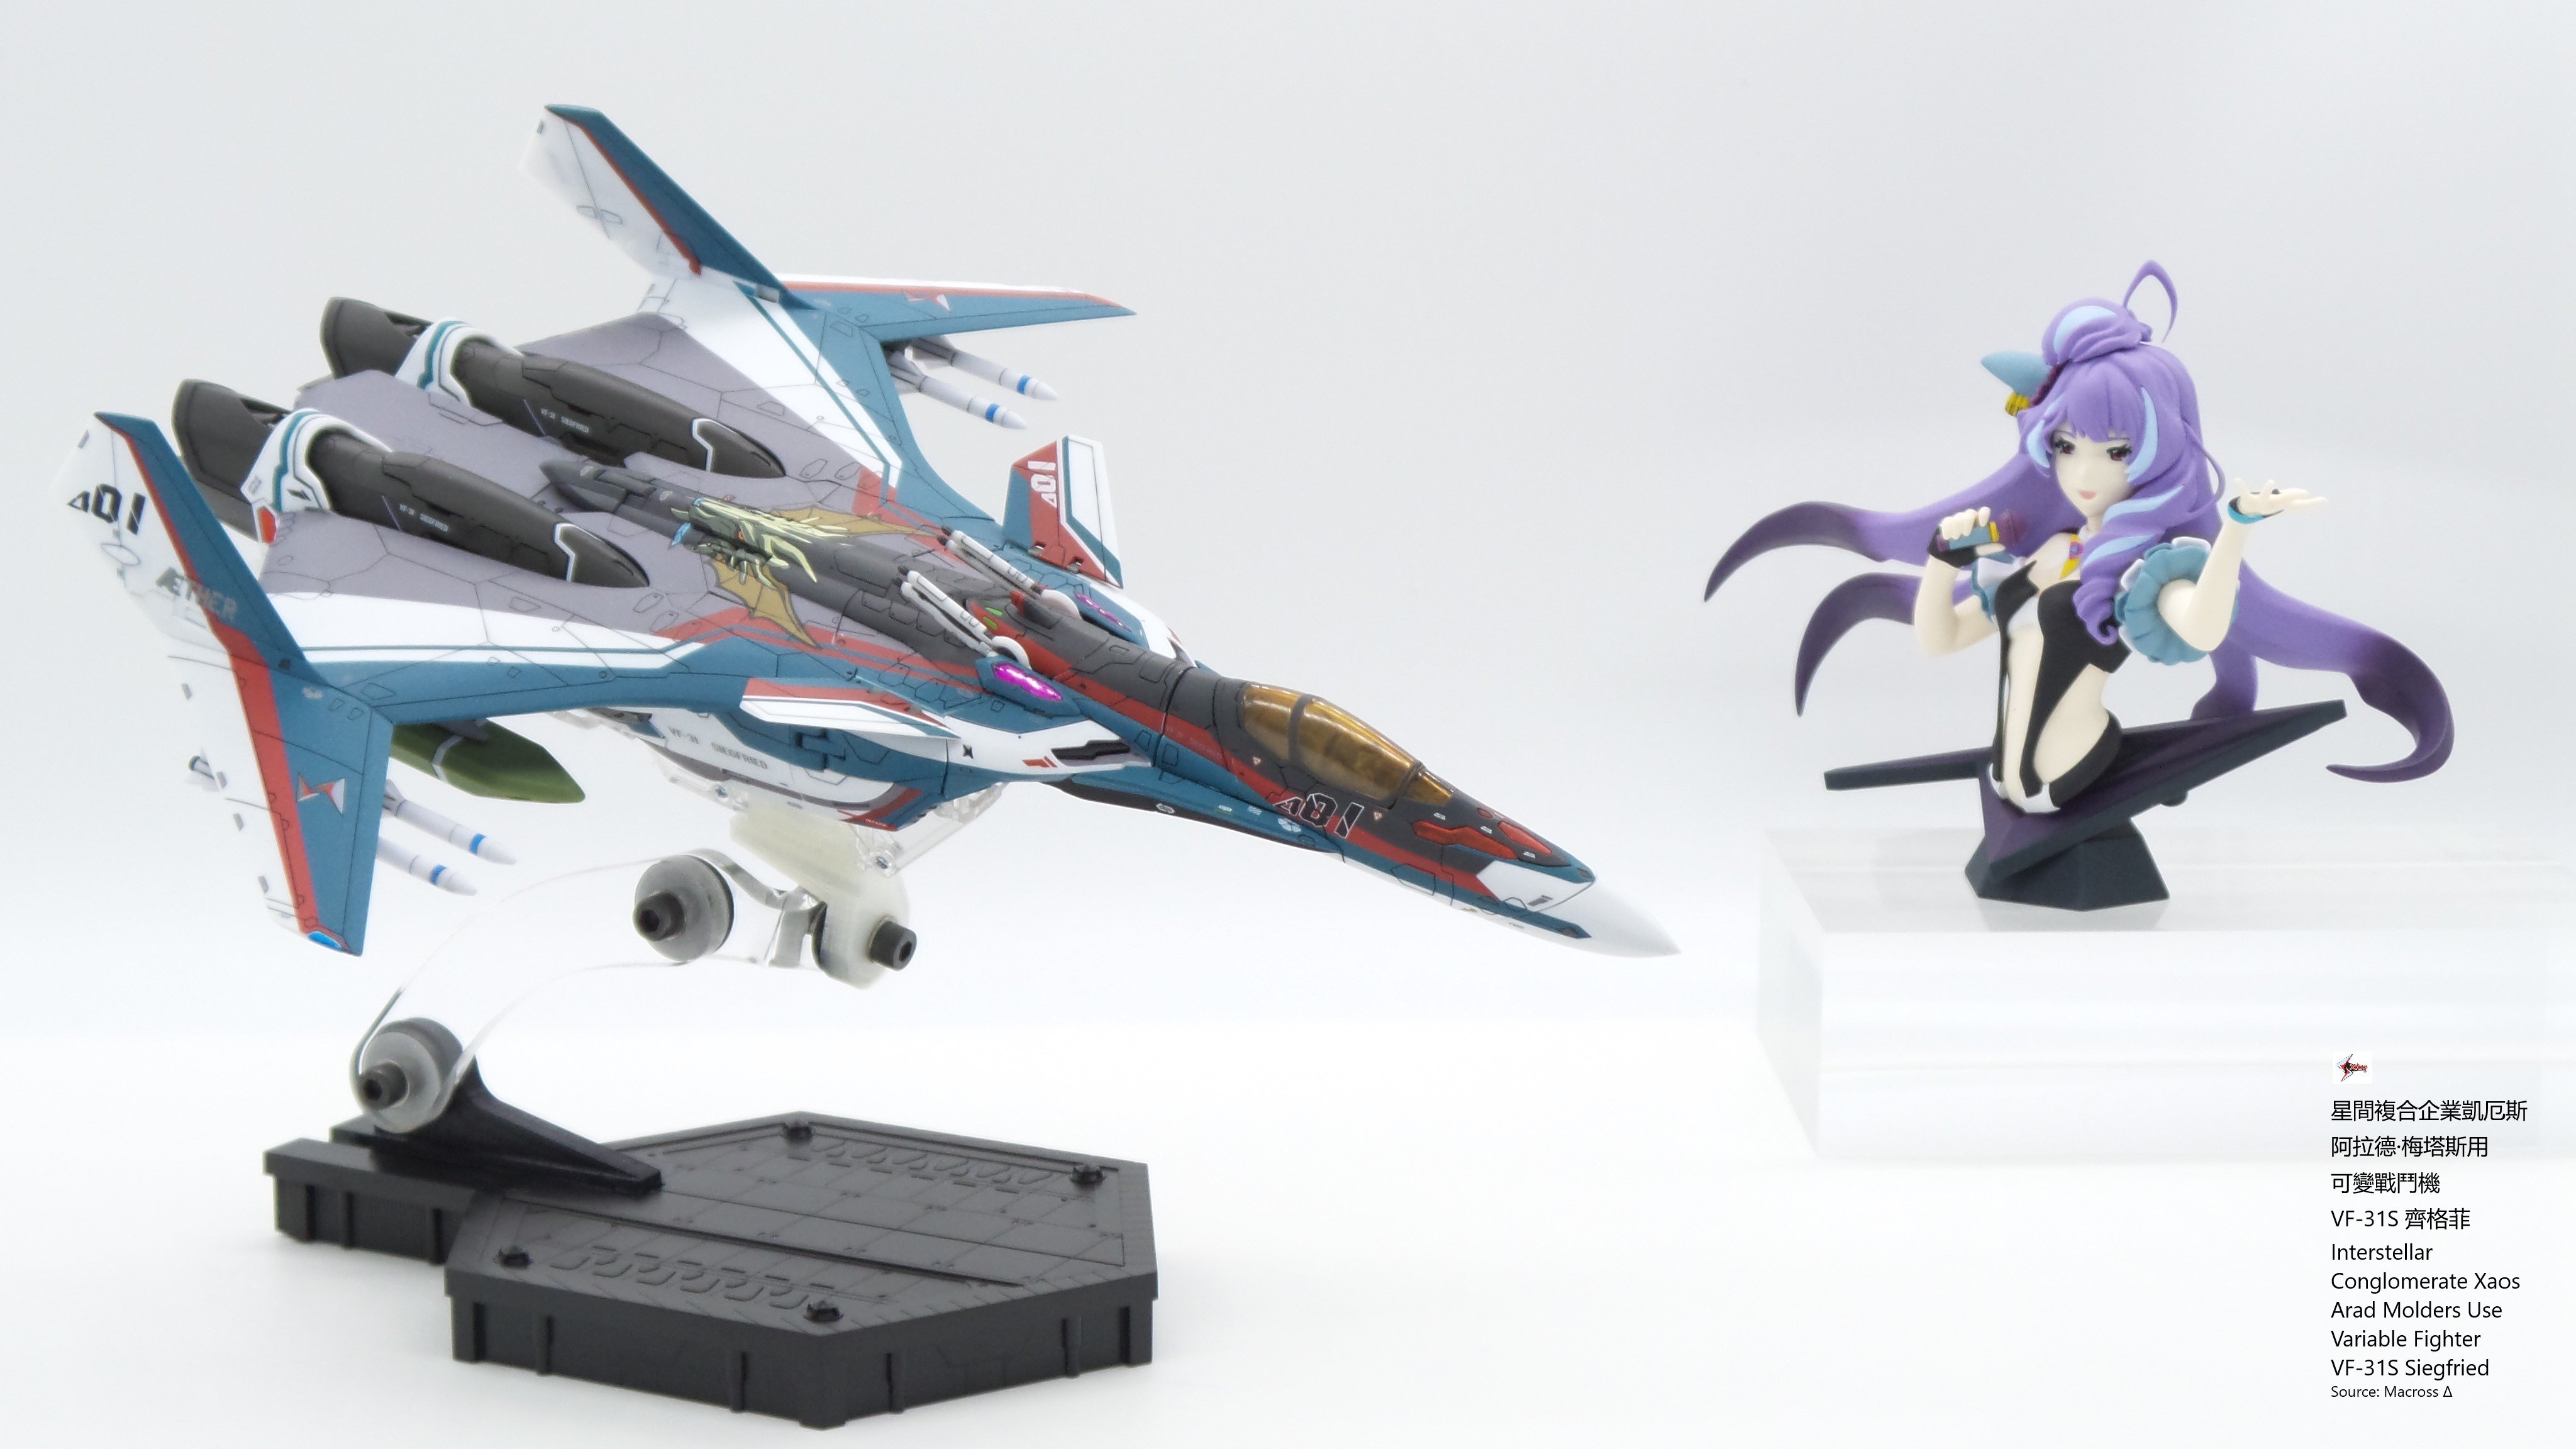
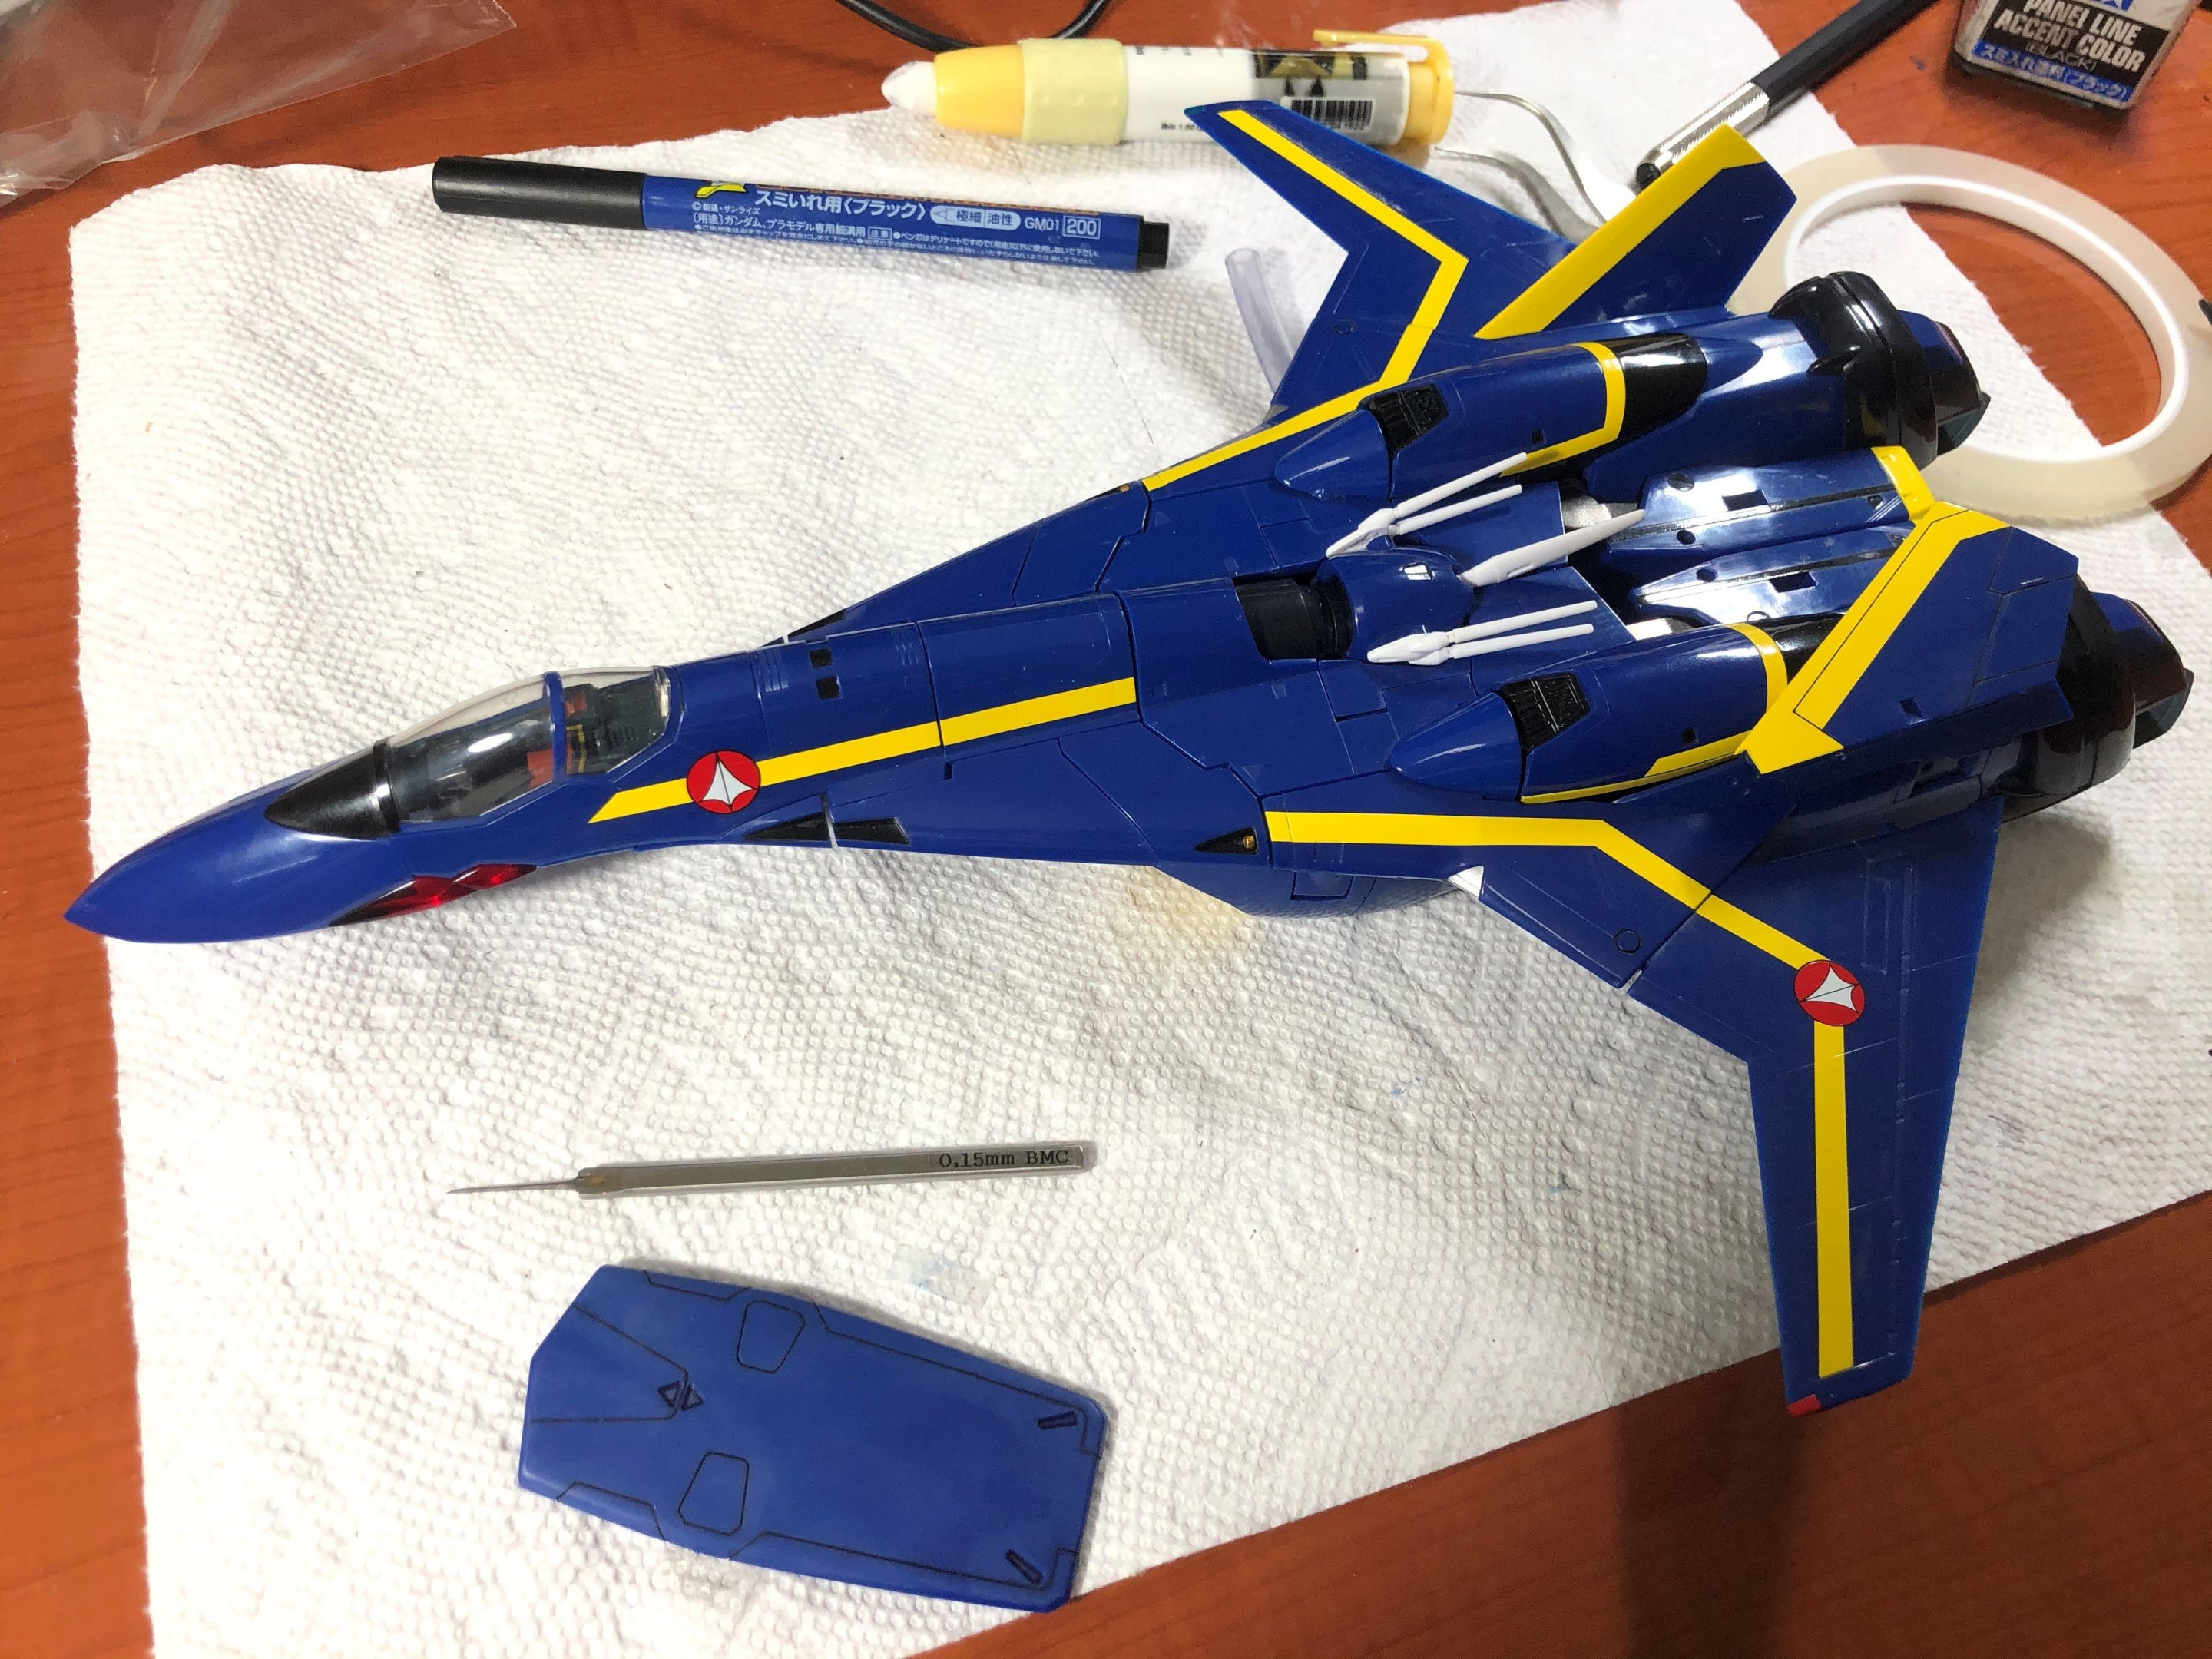
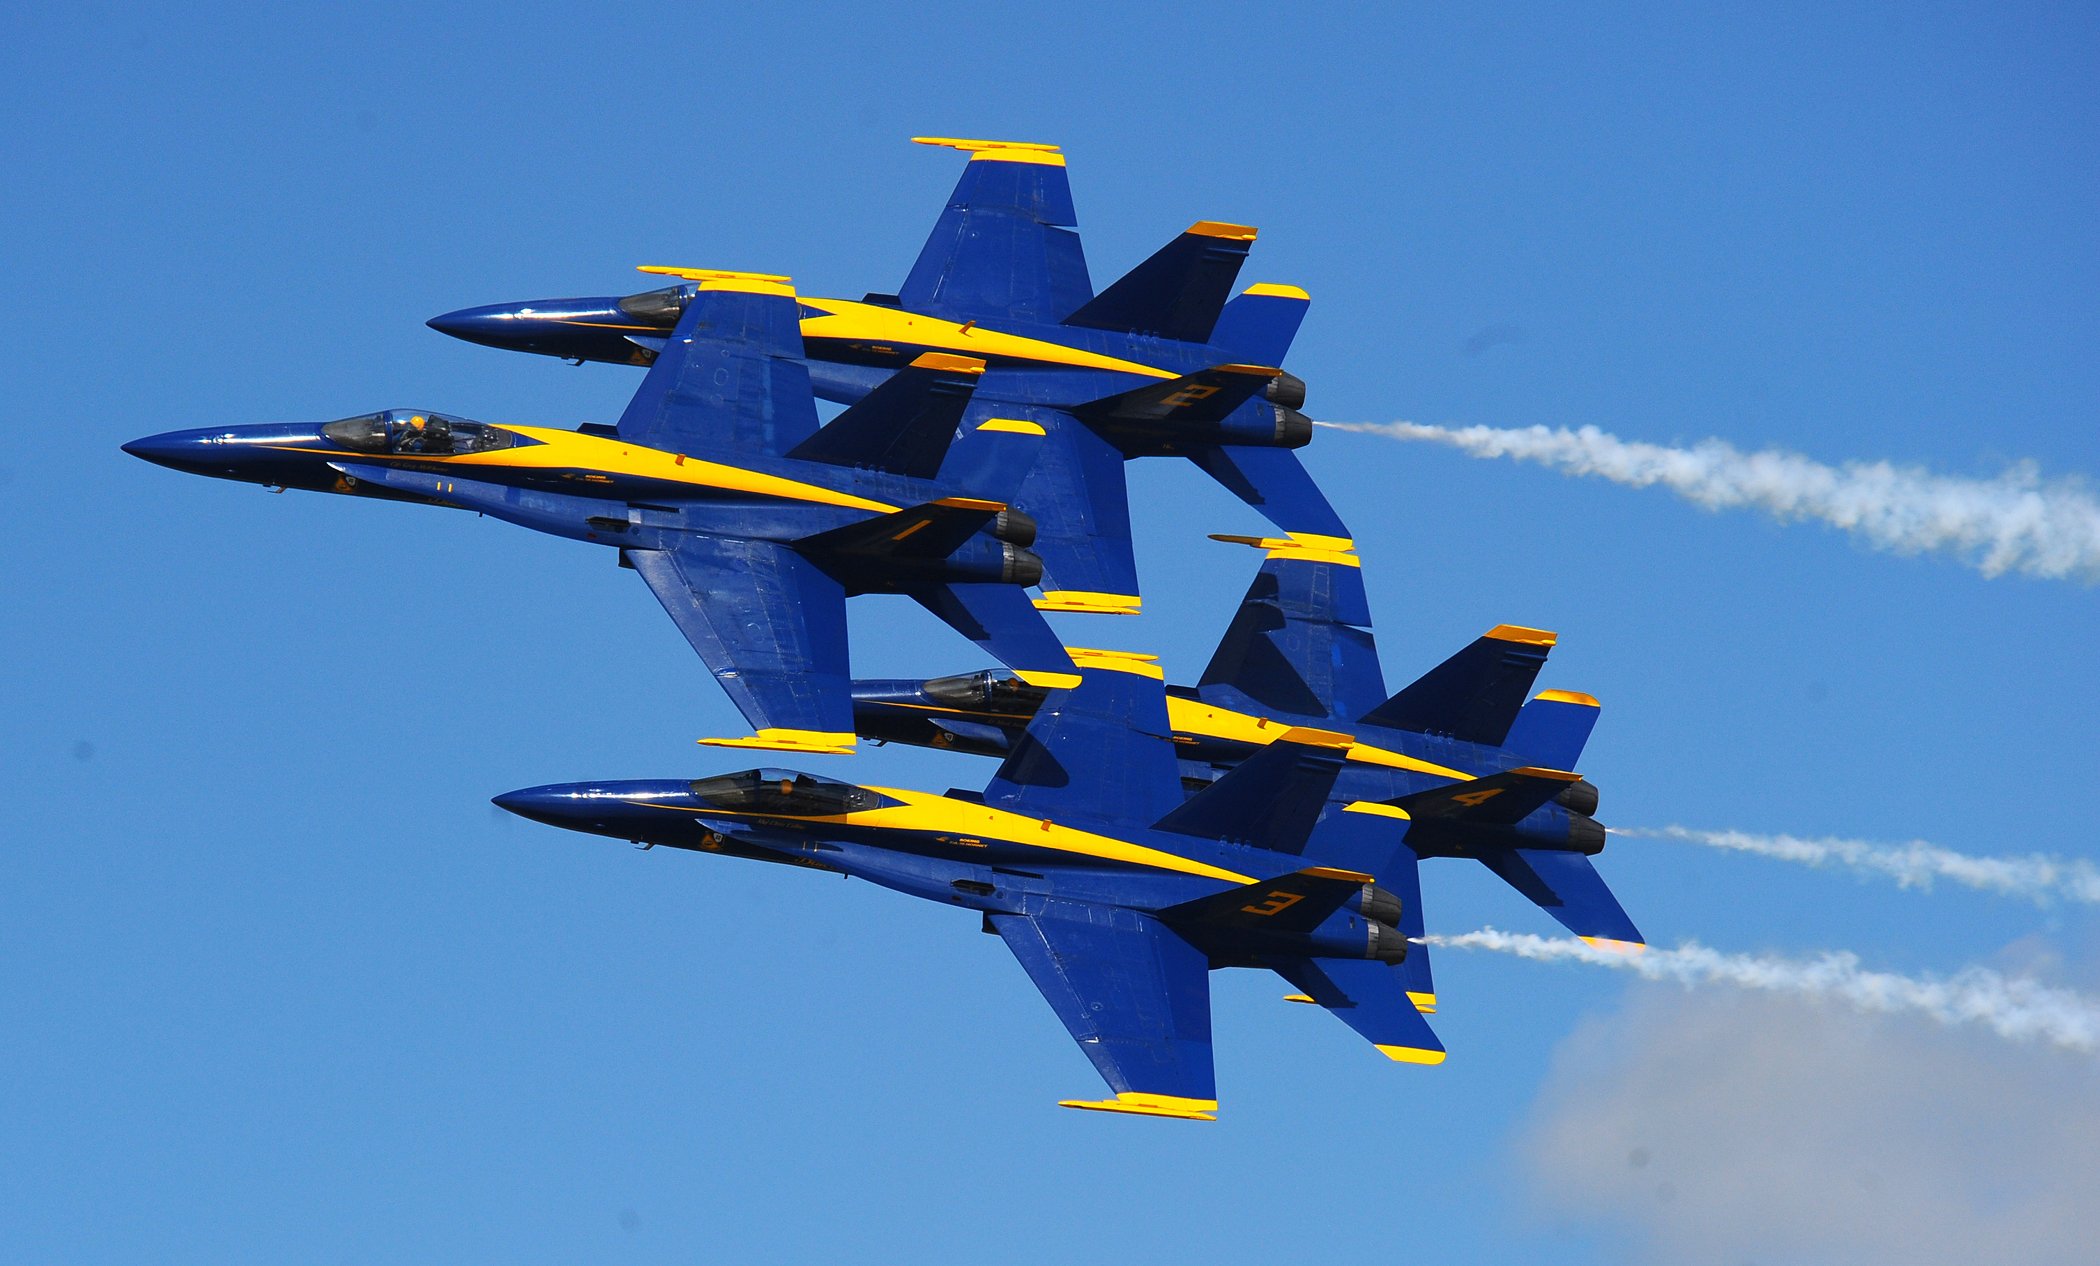
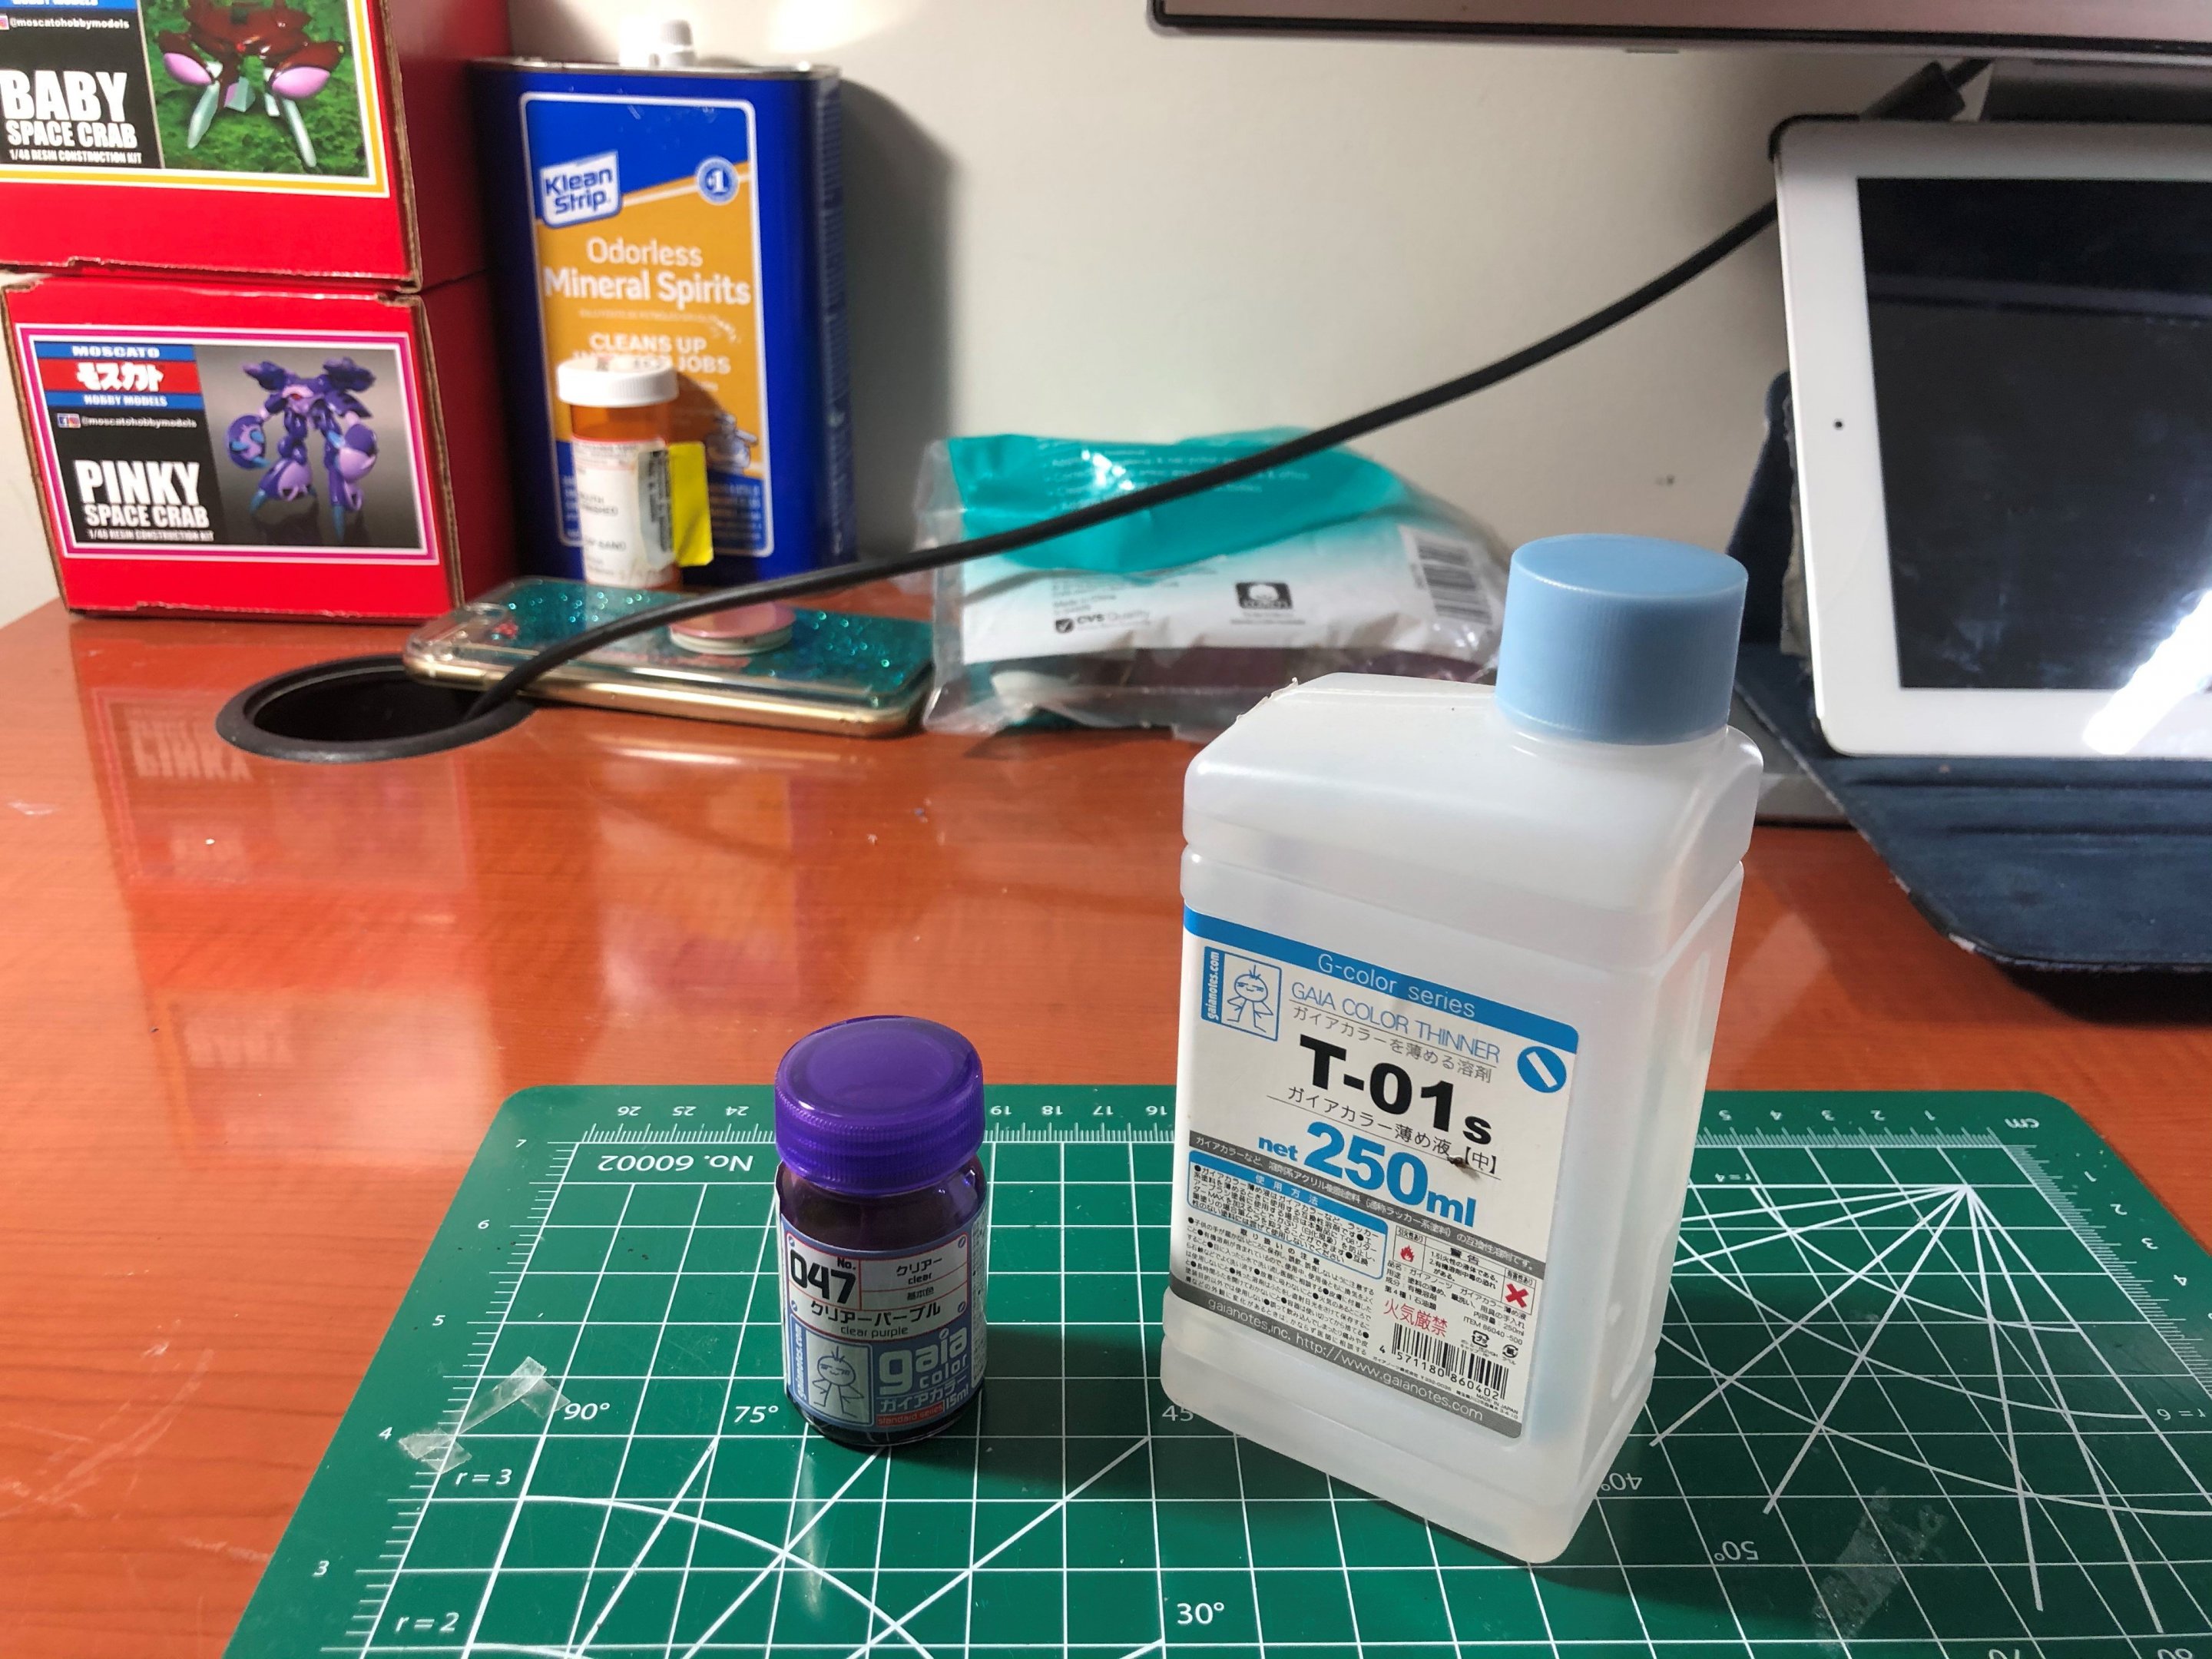
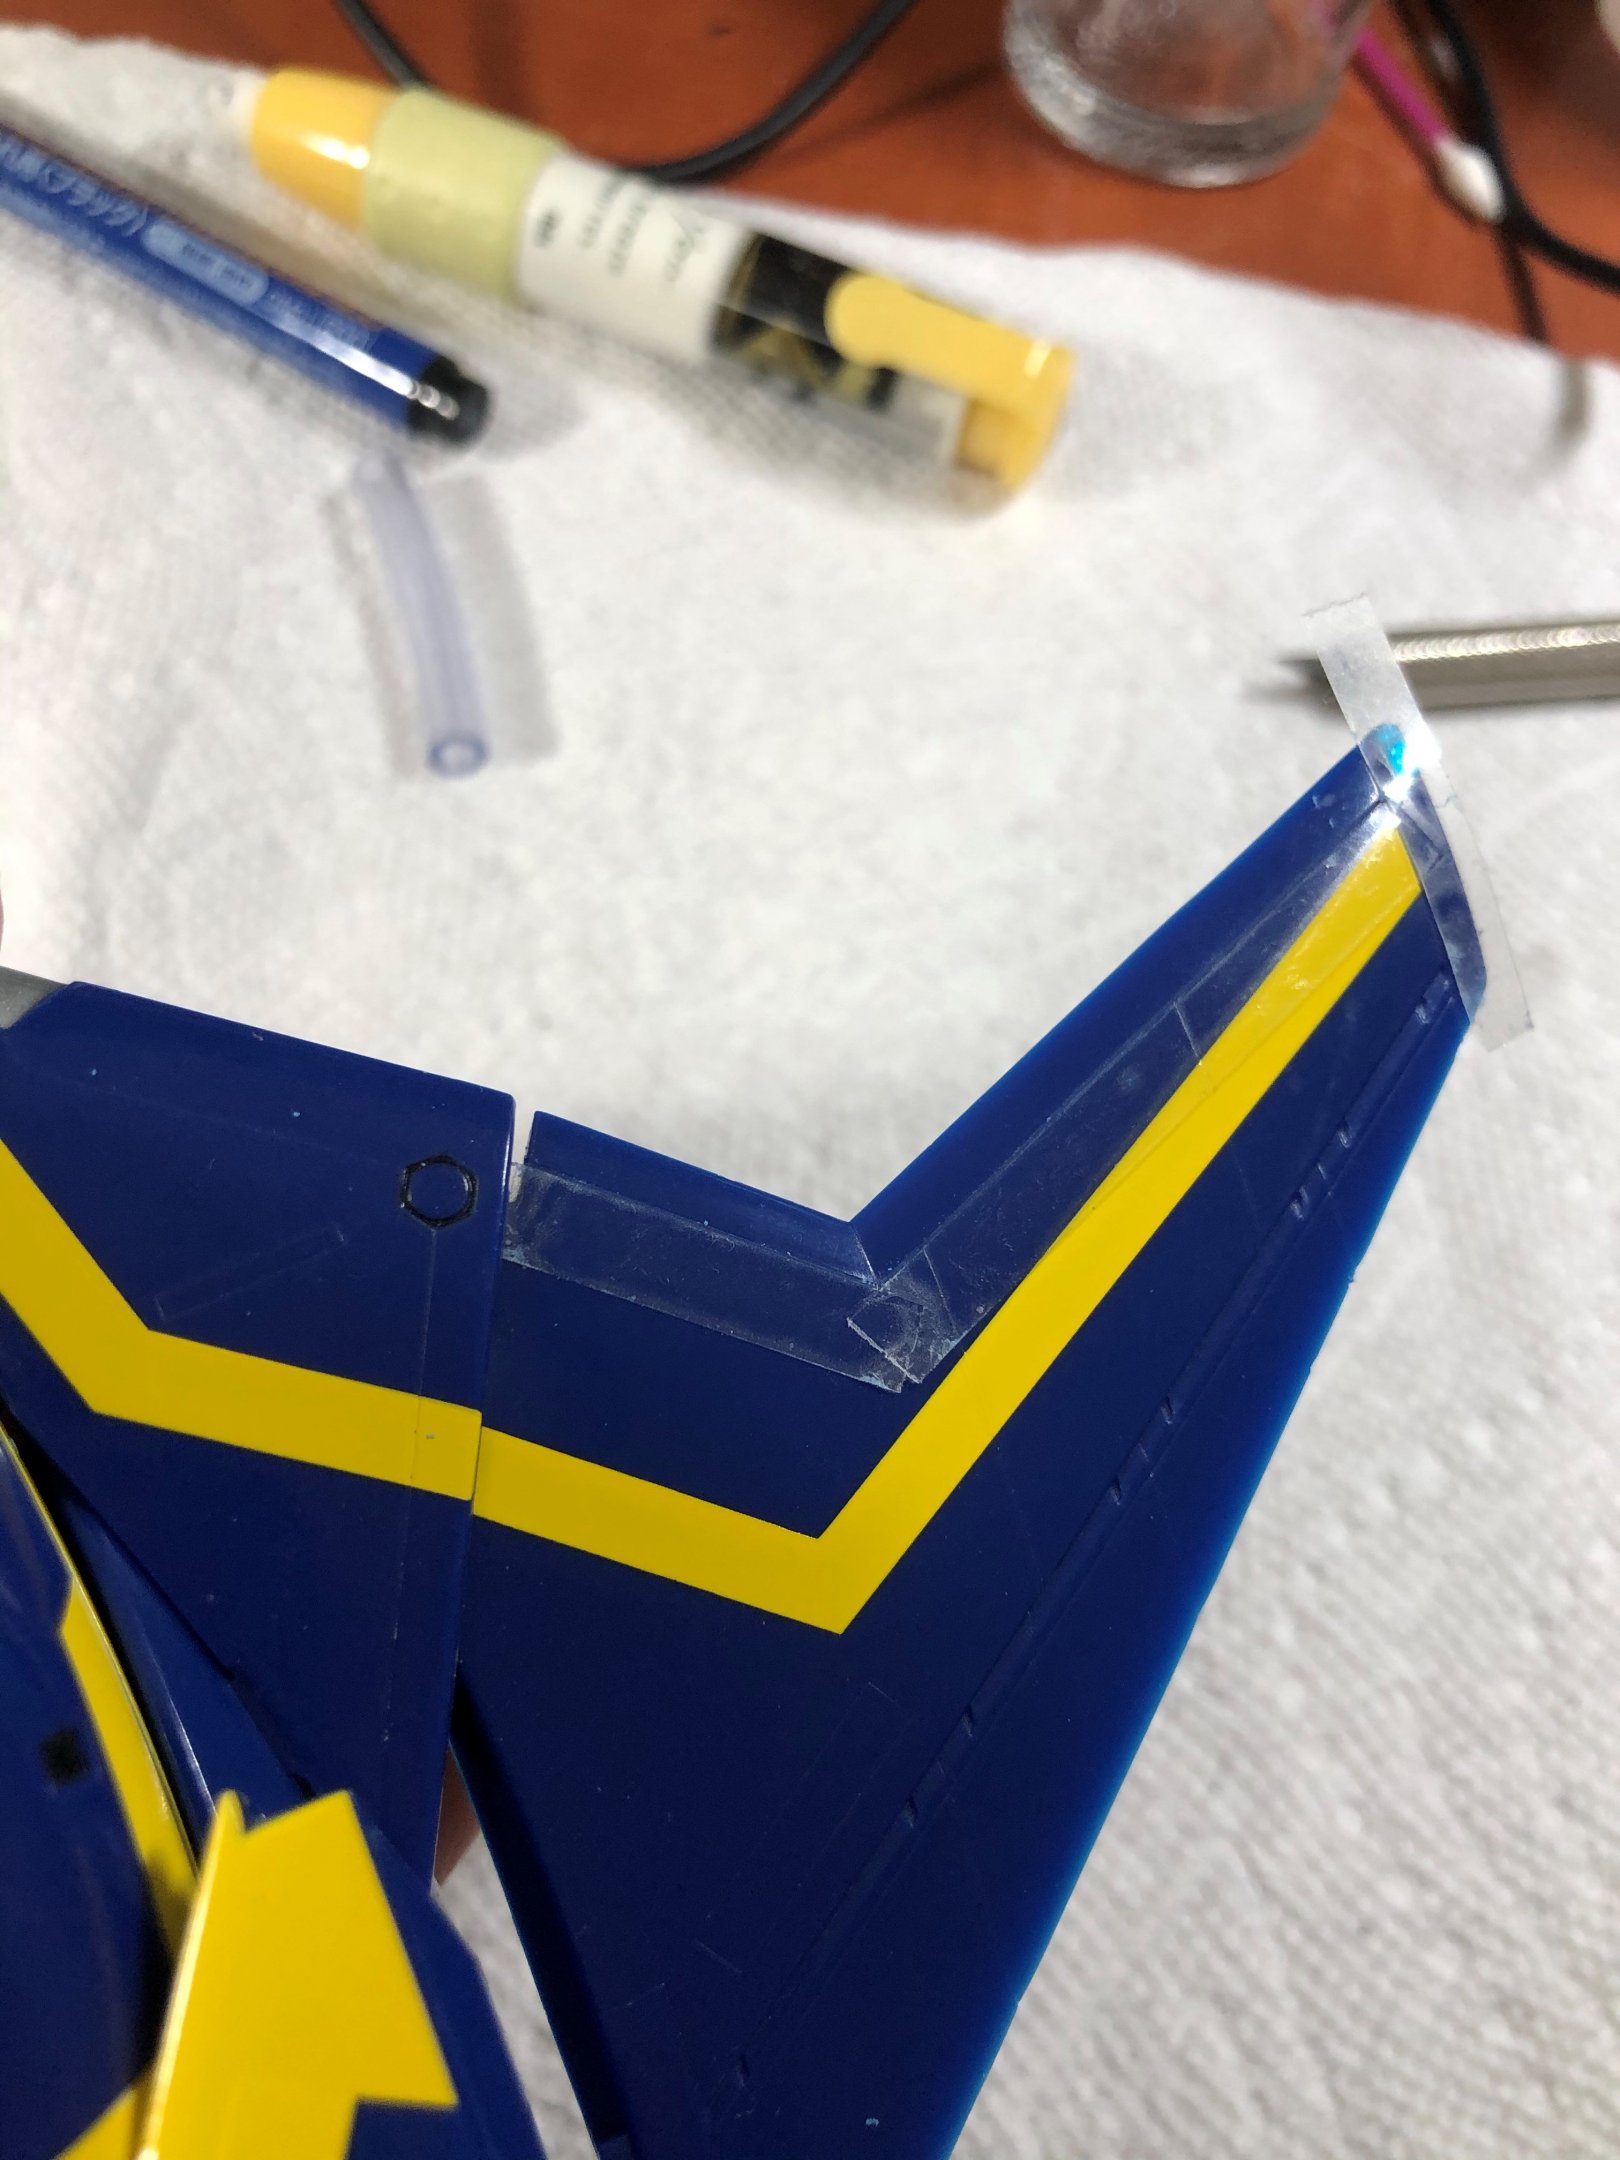
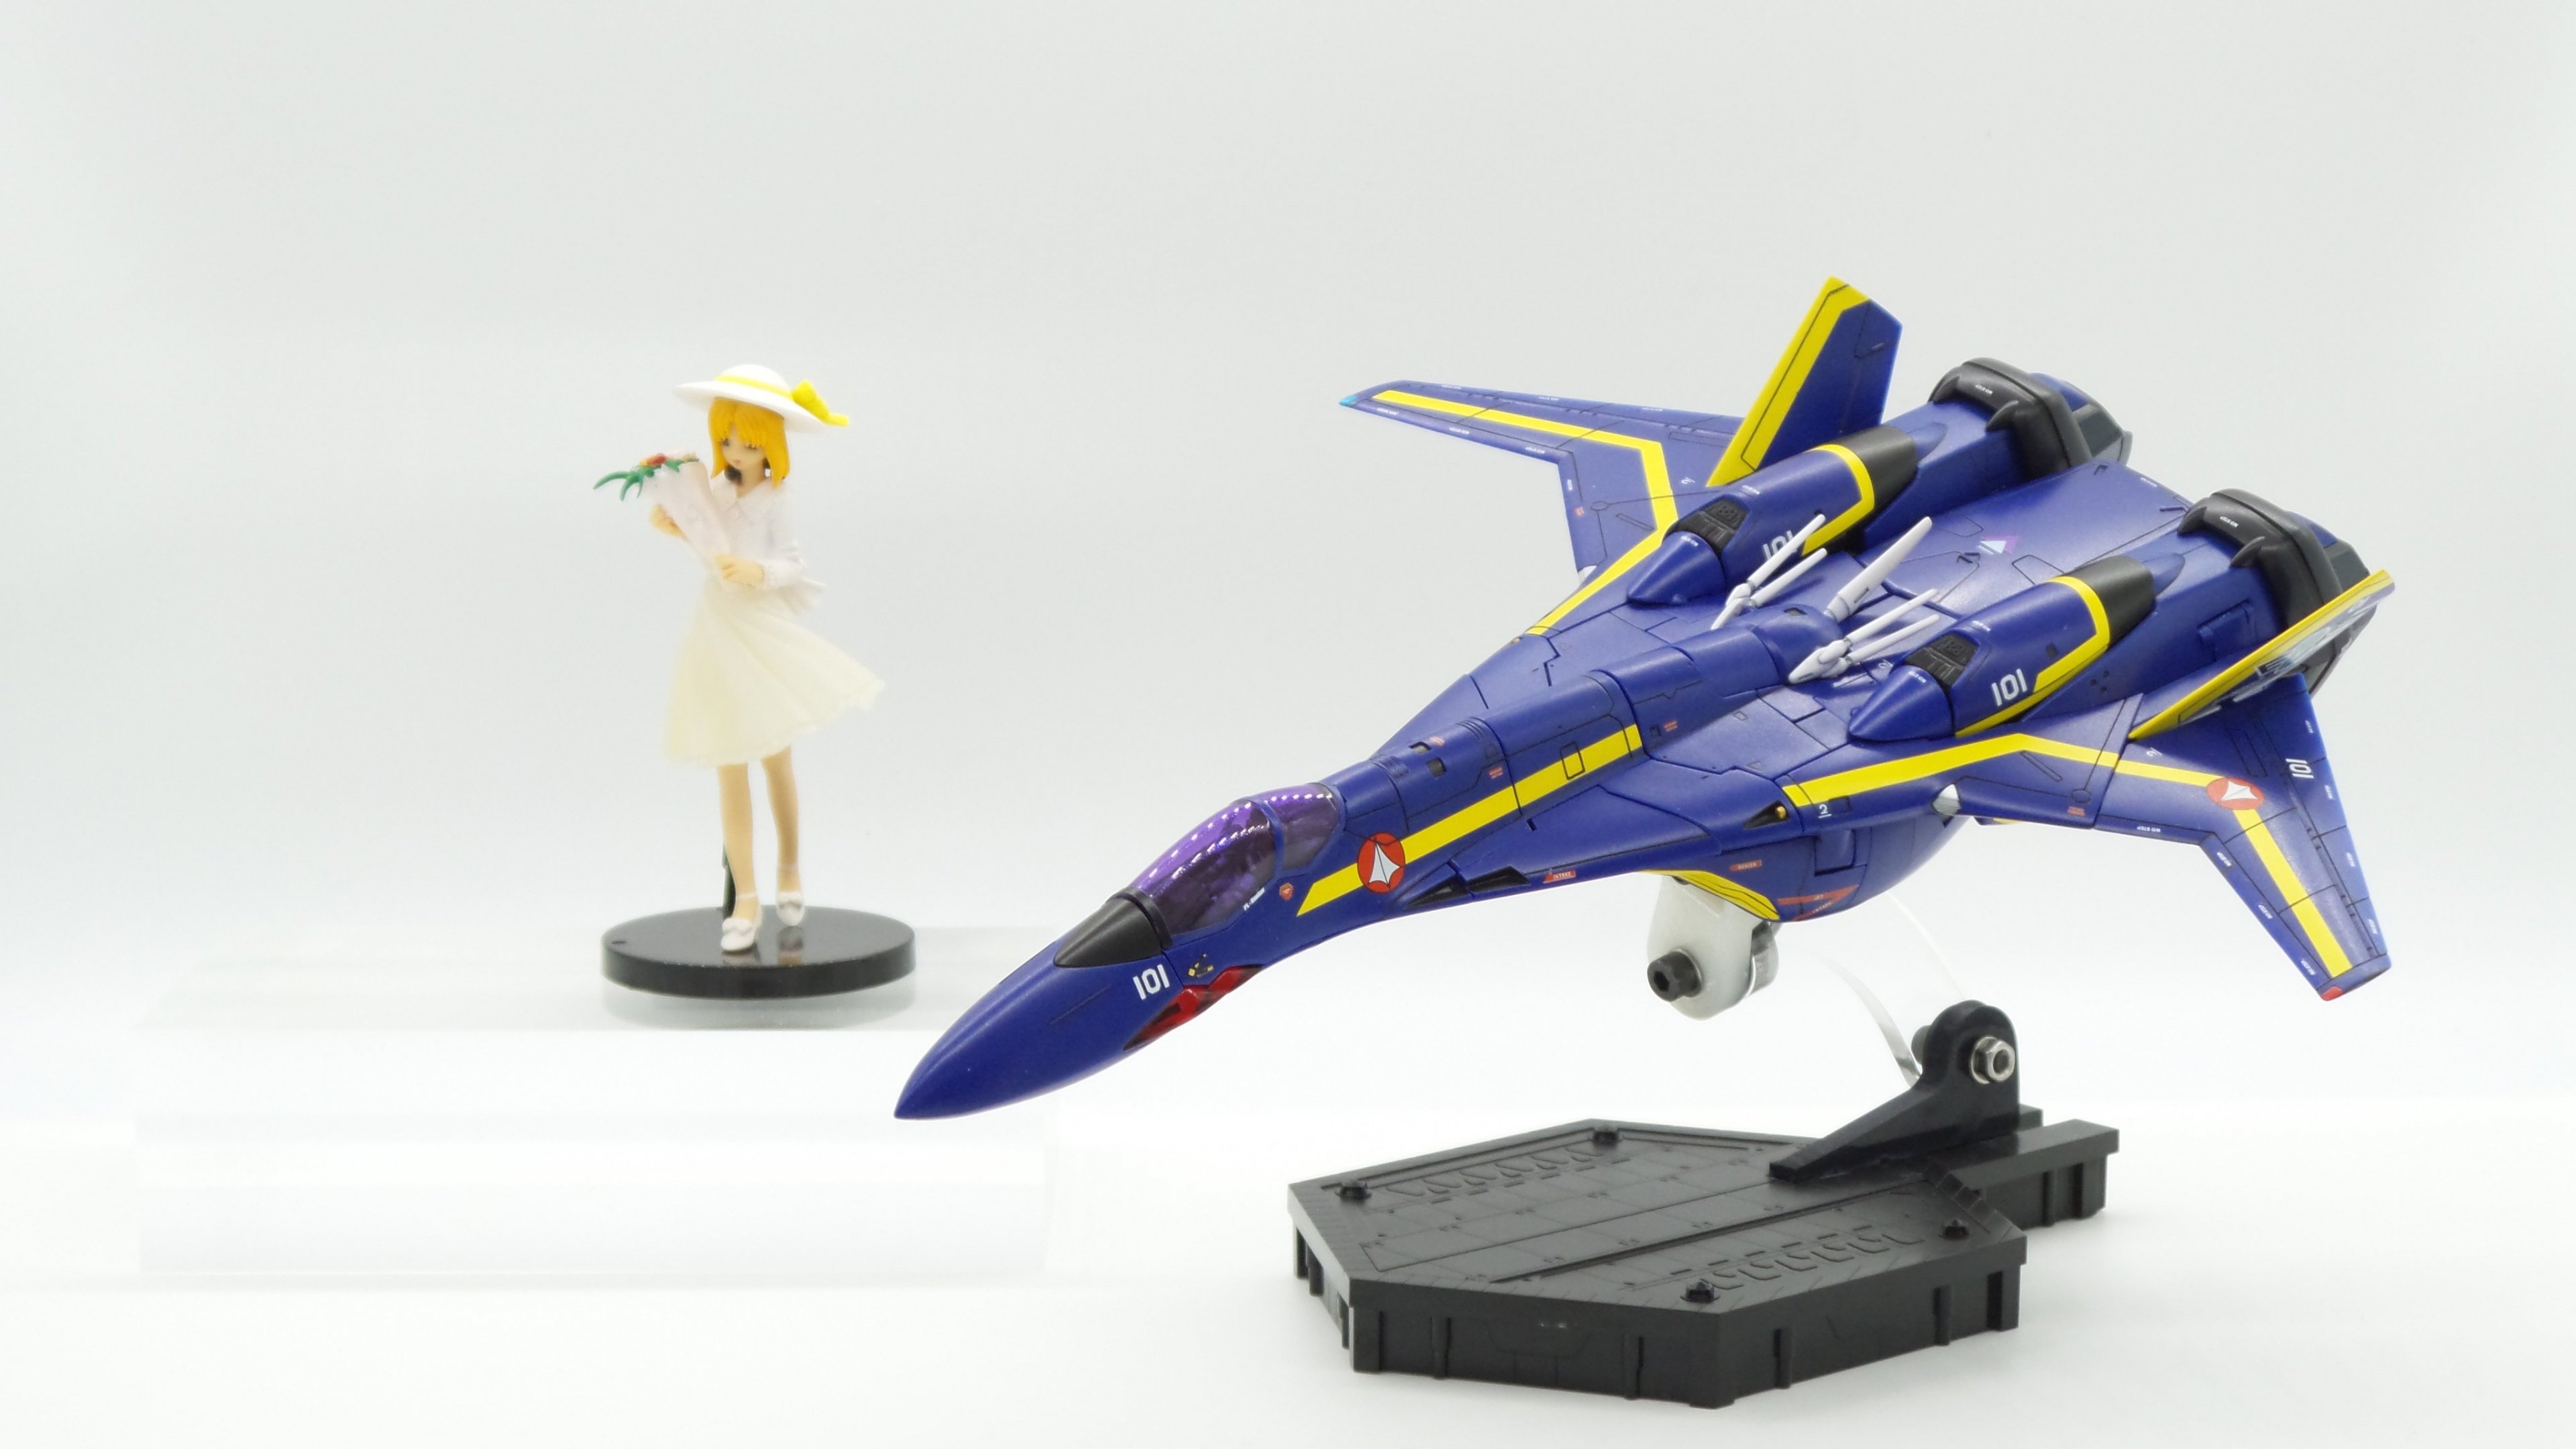
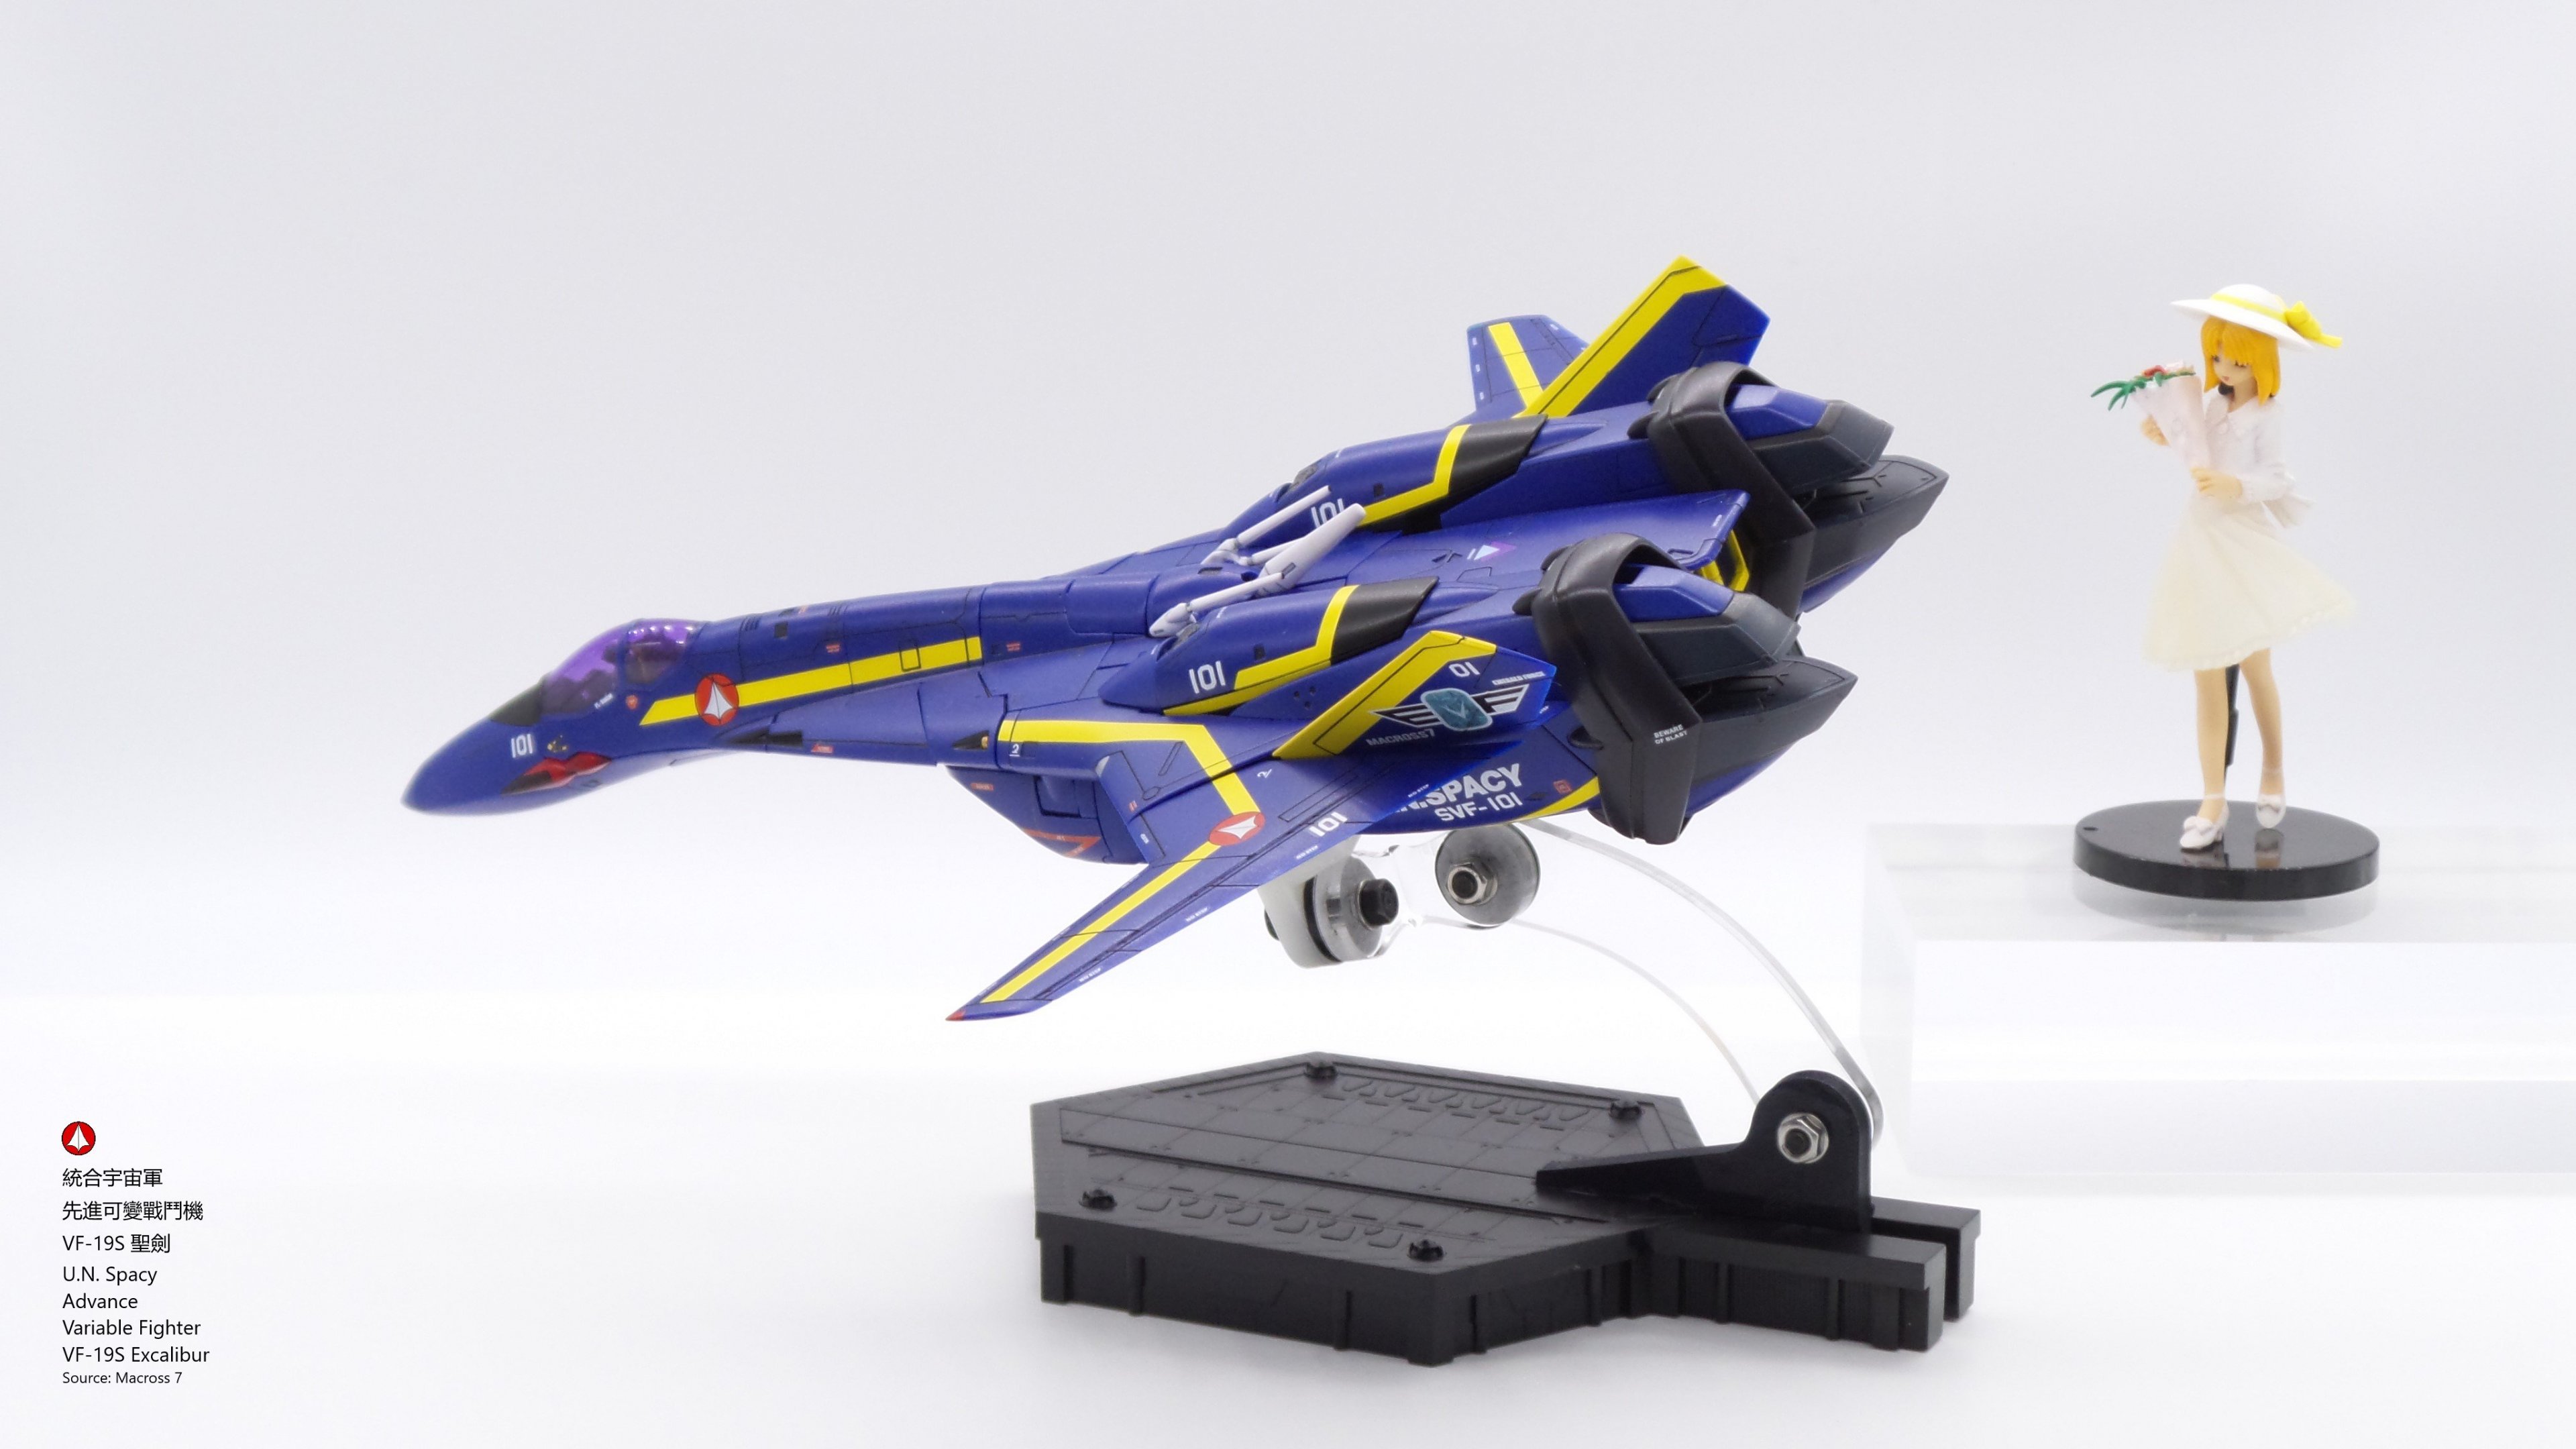
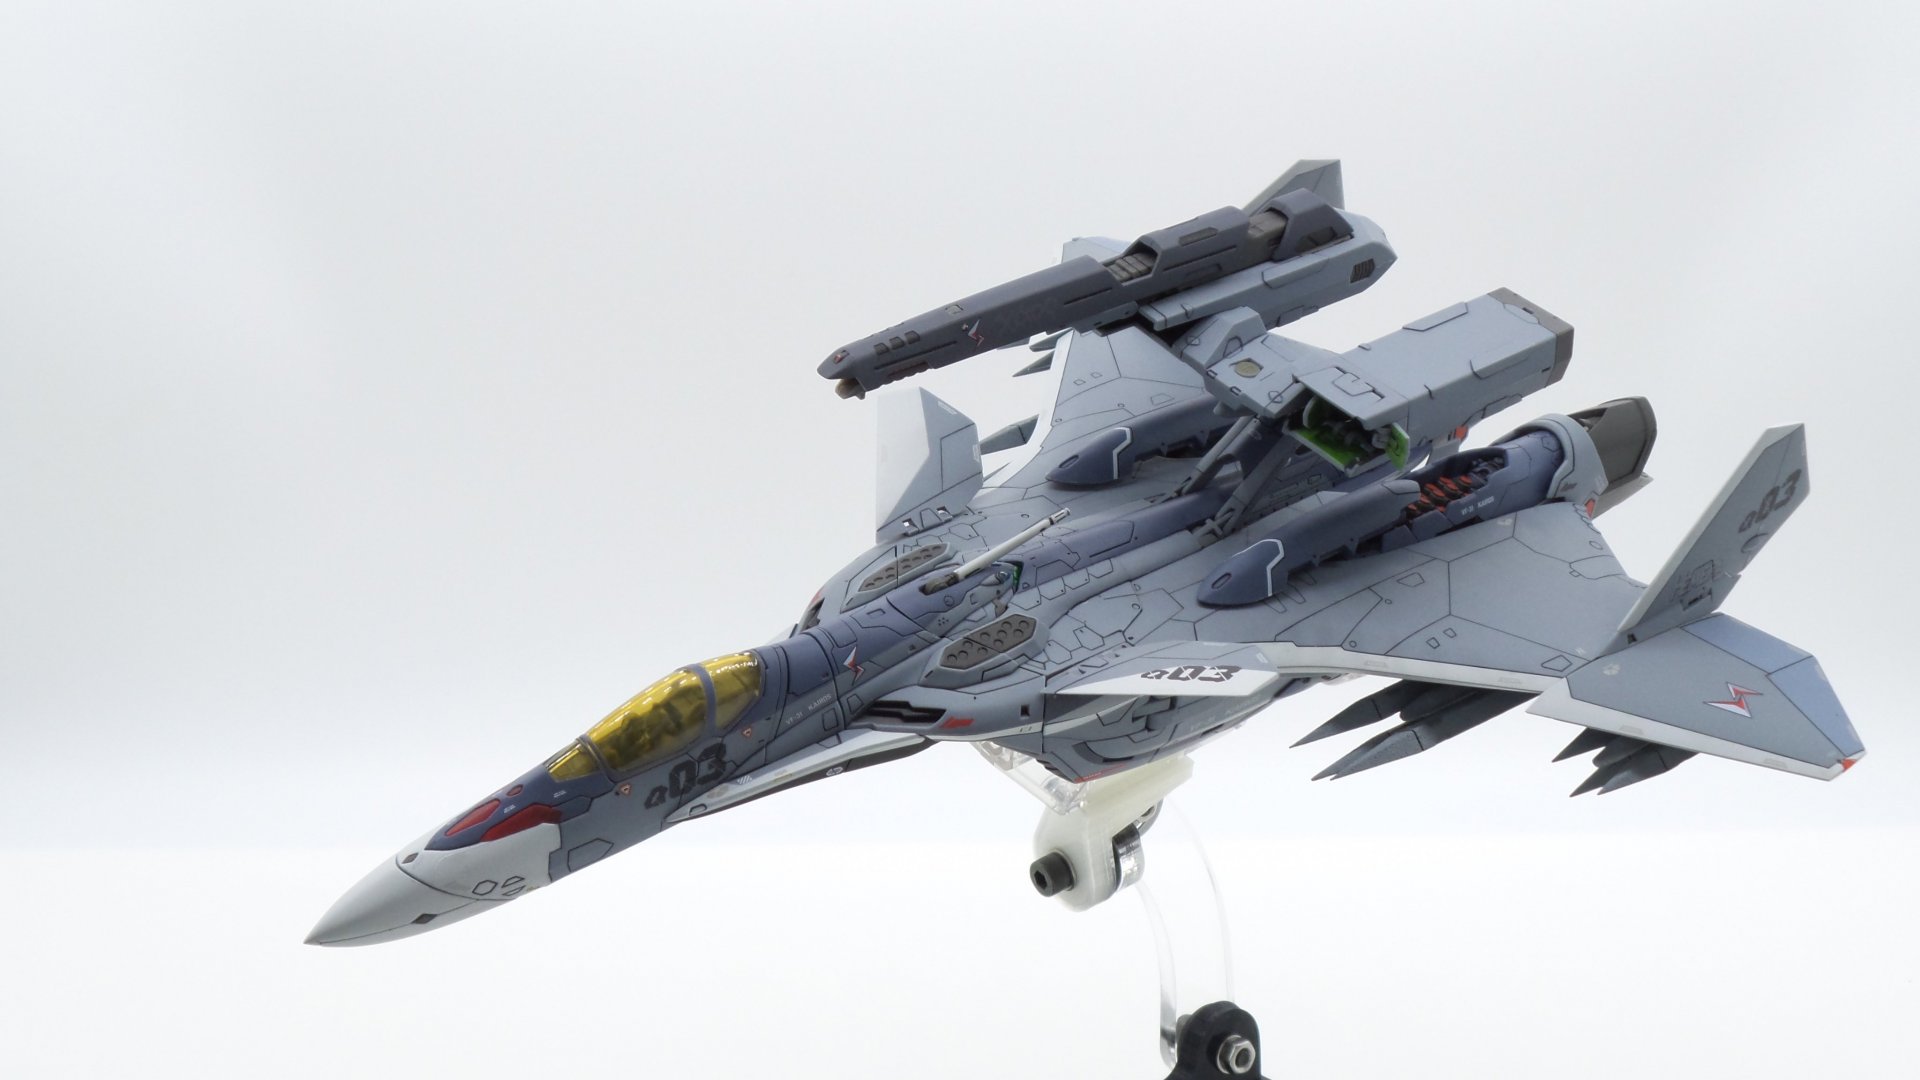
Update on the first post: * Add VF31S & Armor * Add VF19S The VF19, Yamato’s last effort before its demise. The VF19 improved significantly from the earlier YF19, but it also has new issues. For one, the panel lines are terribly shallow so I re-scribed all of them. Re-scribe a fighter is tiring process. I carefully aligned the tapes to ensure the results are satisfactory. The progress was slow because my eyes were sore after brief work. Sigh, I’m feeling old. I airbrushed the canopy to better match the line art. The color is Gaia 047 clear purple. Beware it won’t solute in acrylic solvent despite it’s an acrylic based paint. A good thing is I had an old bottle of Gaia solvent at the time. It’s time for the decals. Unbelievably, Yamato forgot to include an application guide in the user’s manual, what a bummer! It was frustrating because I couldn’t find a guide anywhere. Fortunately, a Macross forum member came to the rescue with his YF19 master file book, thank you Mommar!! The last step is coating. Kawamori probably saw the Blue Angels when he designed the Emerald Force VF19. I want to honor that color scheme and I used semi gloss instead of matte or full gloss. I tried the Gunze Premium Acrylic semi gloss for the first time but it was disappointing. The effect was inconsistent and looked too glossy to me. Later, I switched back to the lacquer based Tamiya TS-79. This is it and I hope you like it just as I do. Thank you for viewing, and I’m working on the 1/60 SF3A Lancer II next.


-
This is exactly what I need, BIG thanks to you! I have water slide decals, and I’ll share some pictures later

-
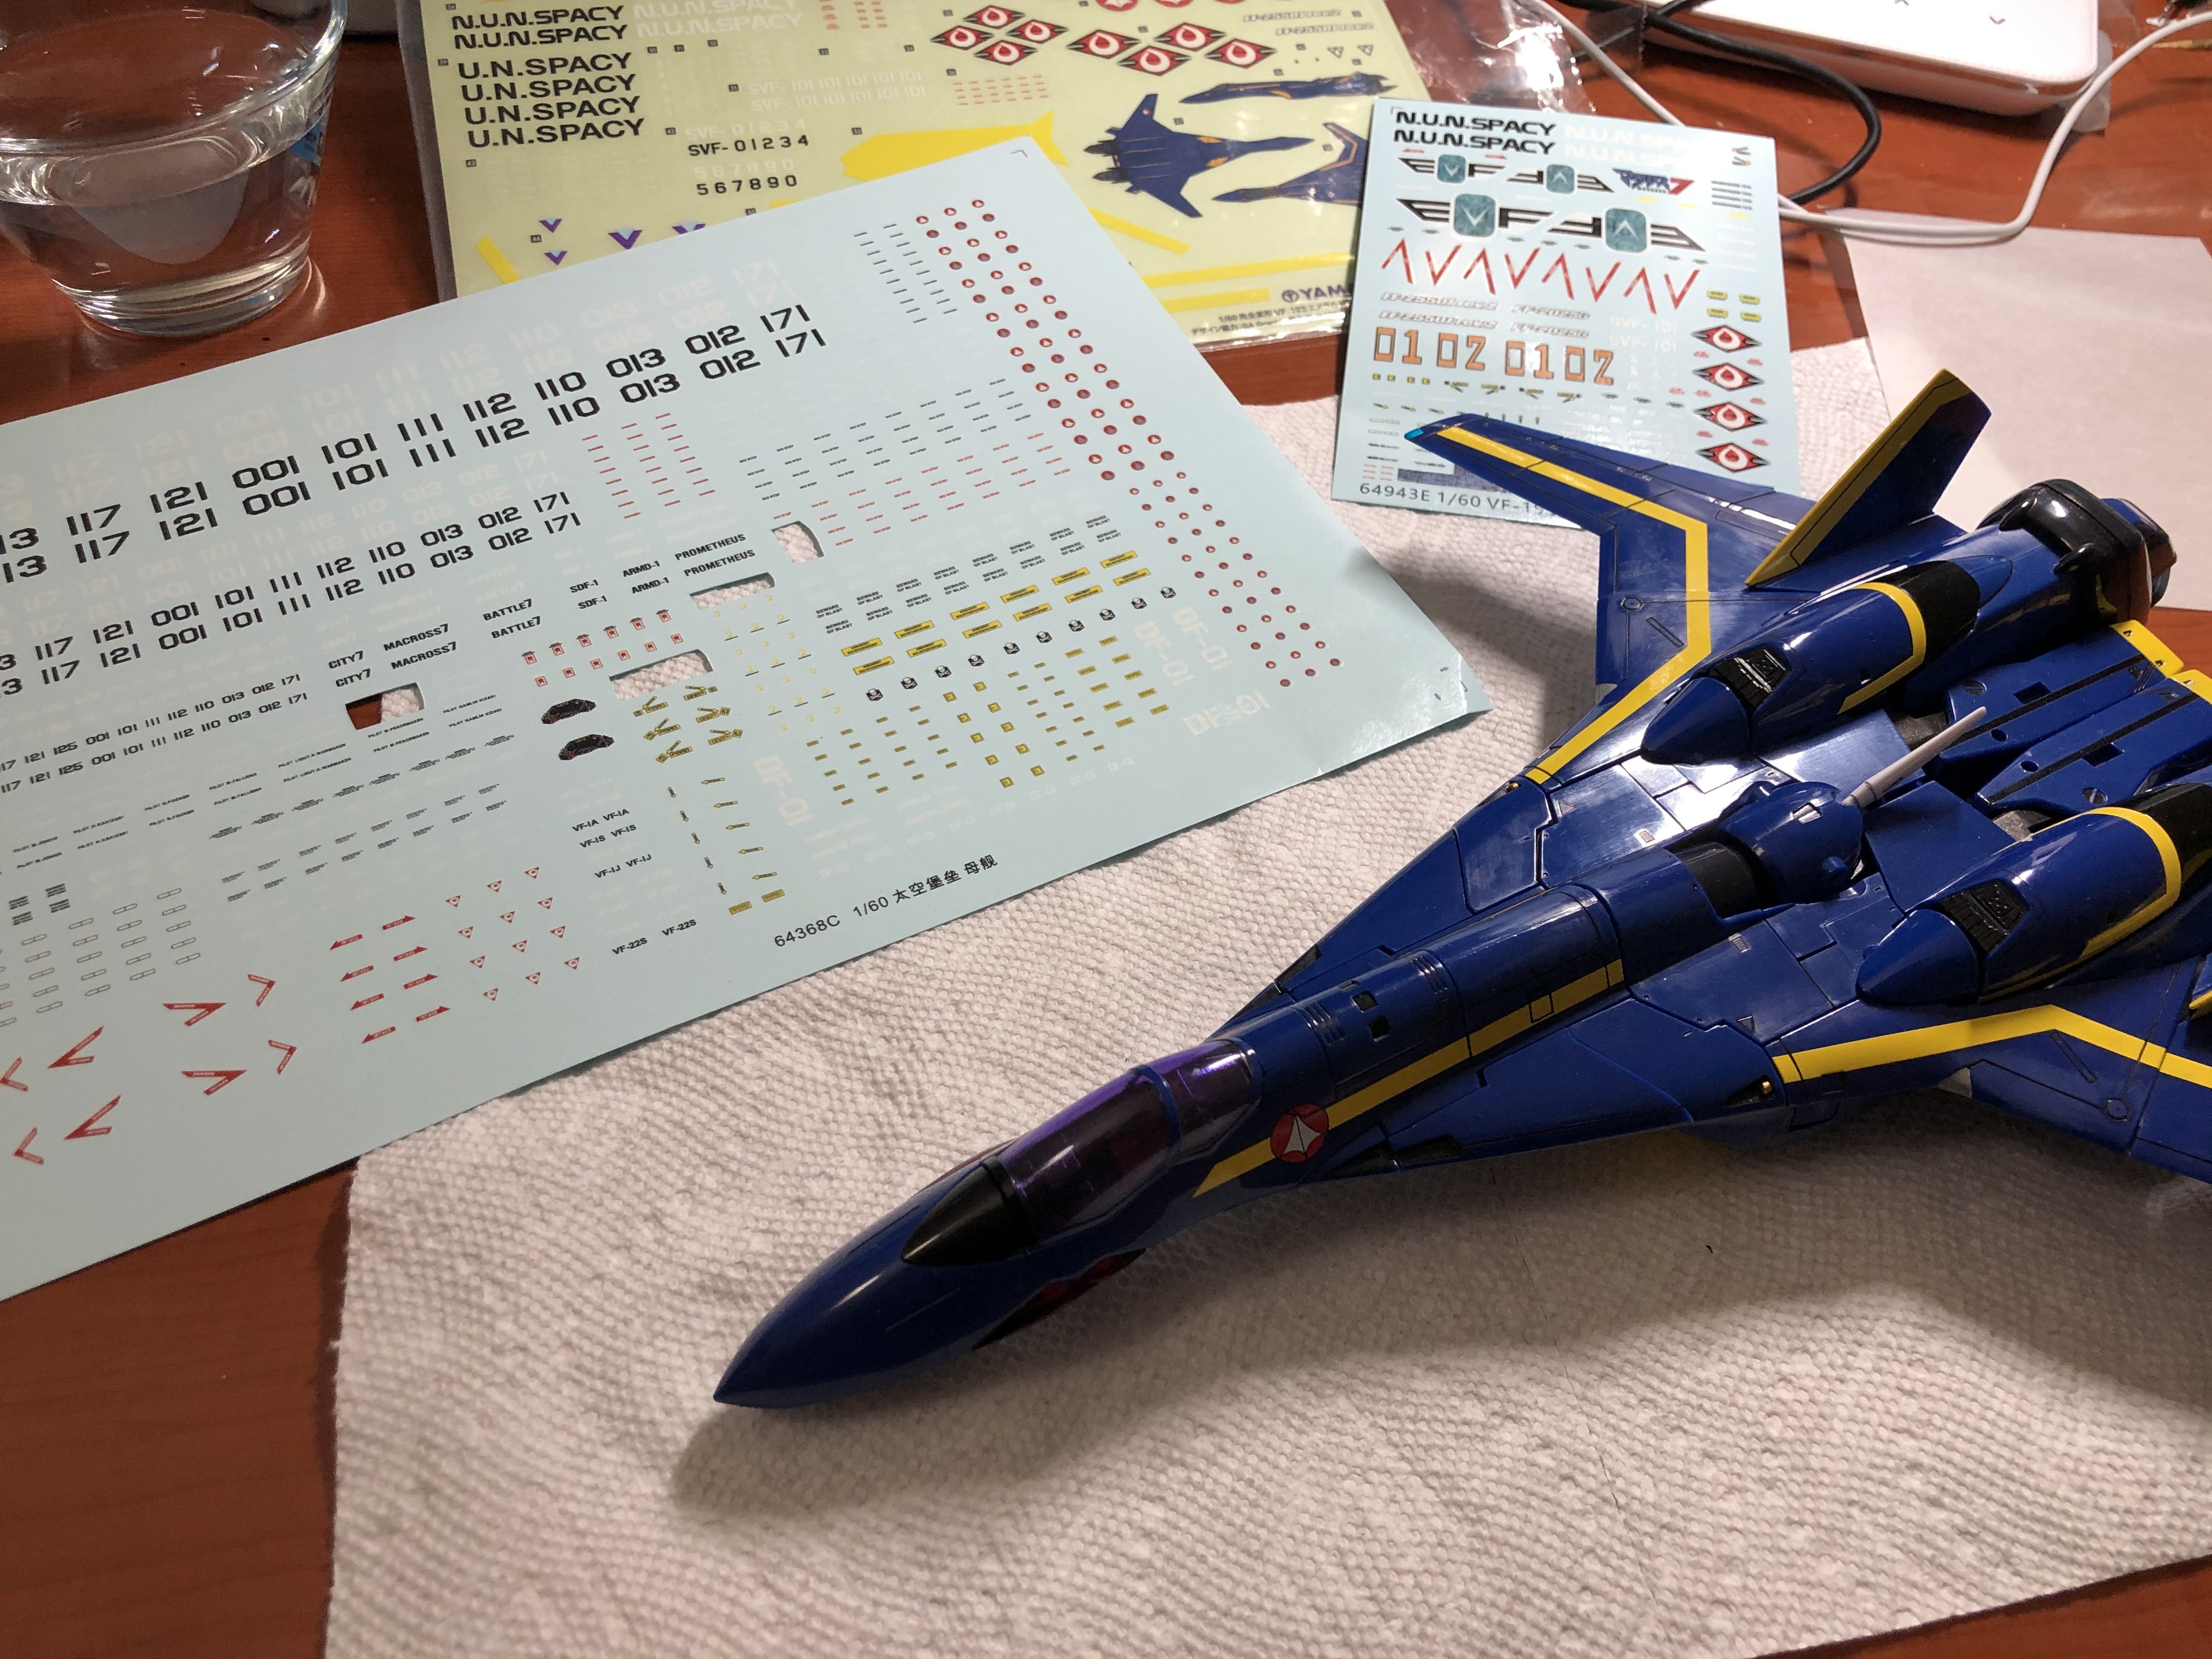
Does anyone know a decal guide for the VF19S (or VF19F)? Unbelievably, Yamato did not include it on their instruction. Perhaps the VF19 master file has it? If so please share the page if you have one, thank you.
-
I’m waiting the VF4 from NY too
-
Thank you. The Yetis are great You were right and I coated all of them. I posted the how to in one of my earlier reply.
-
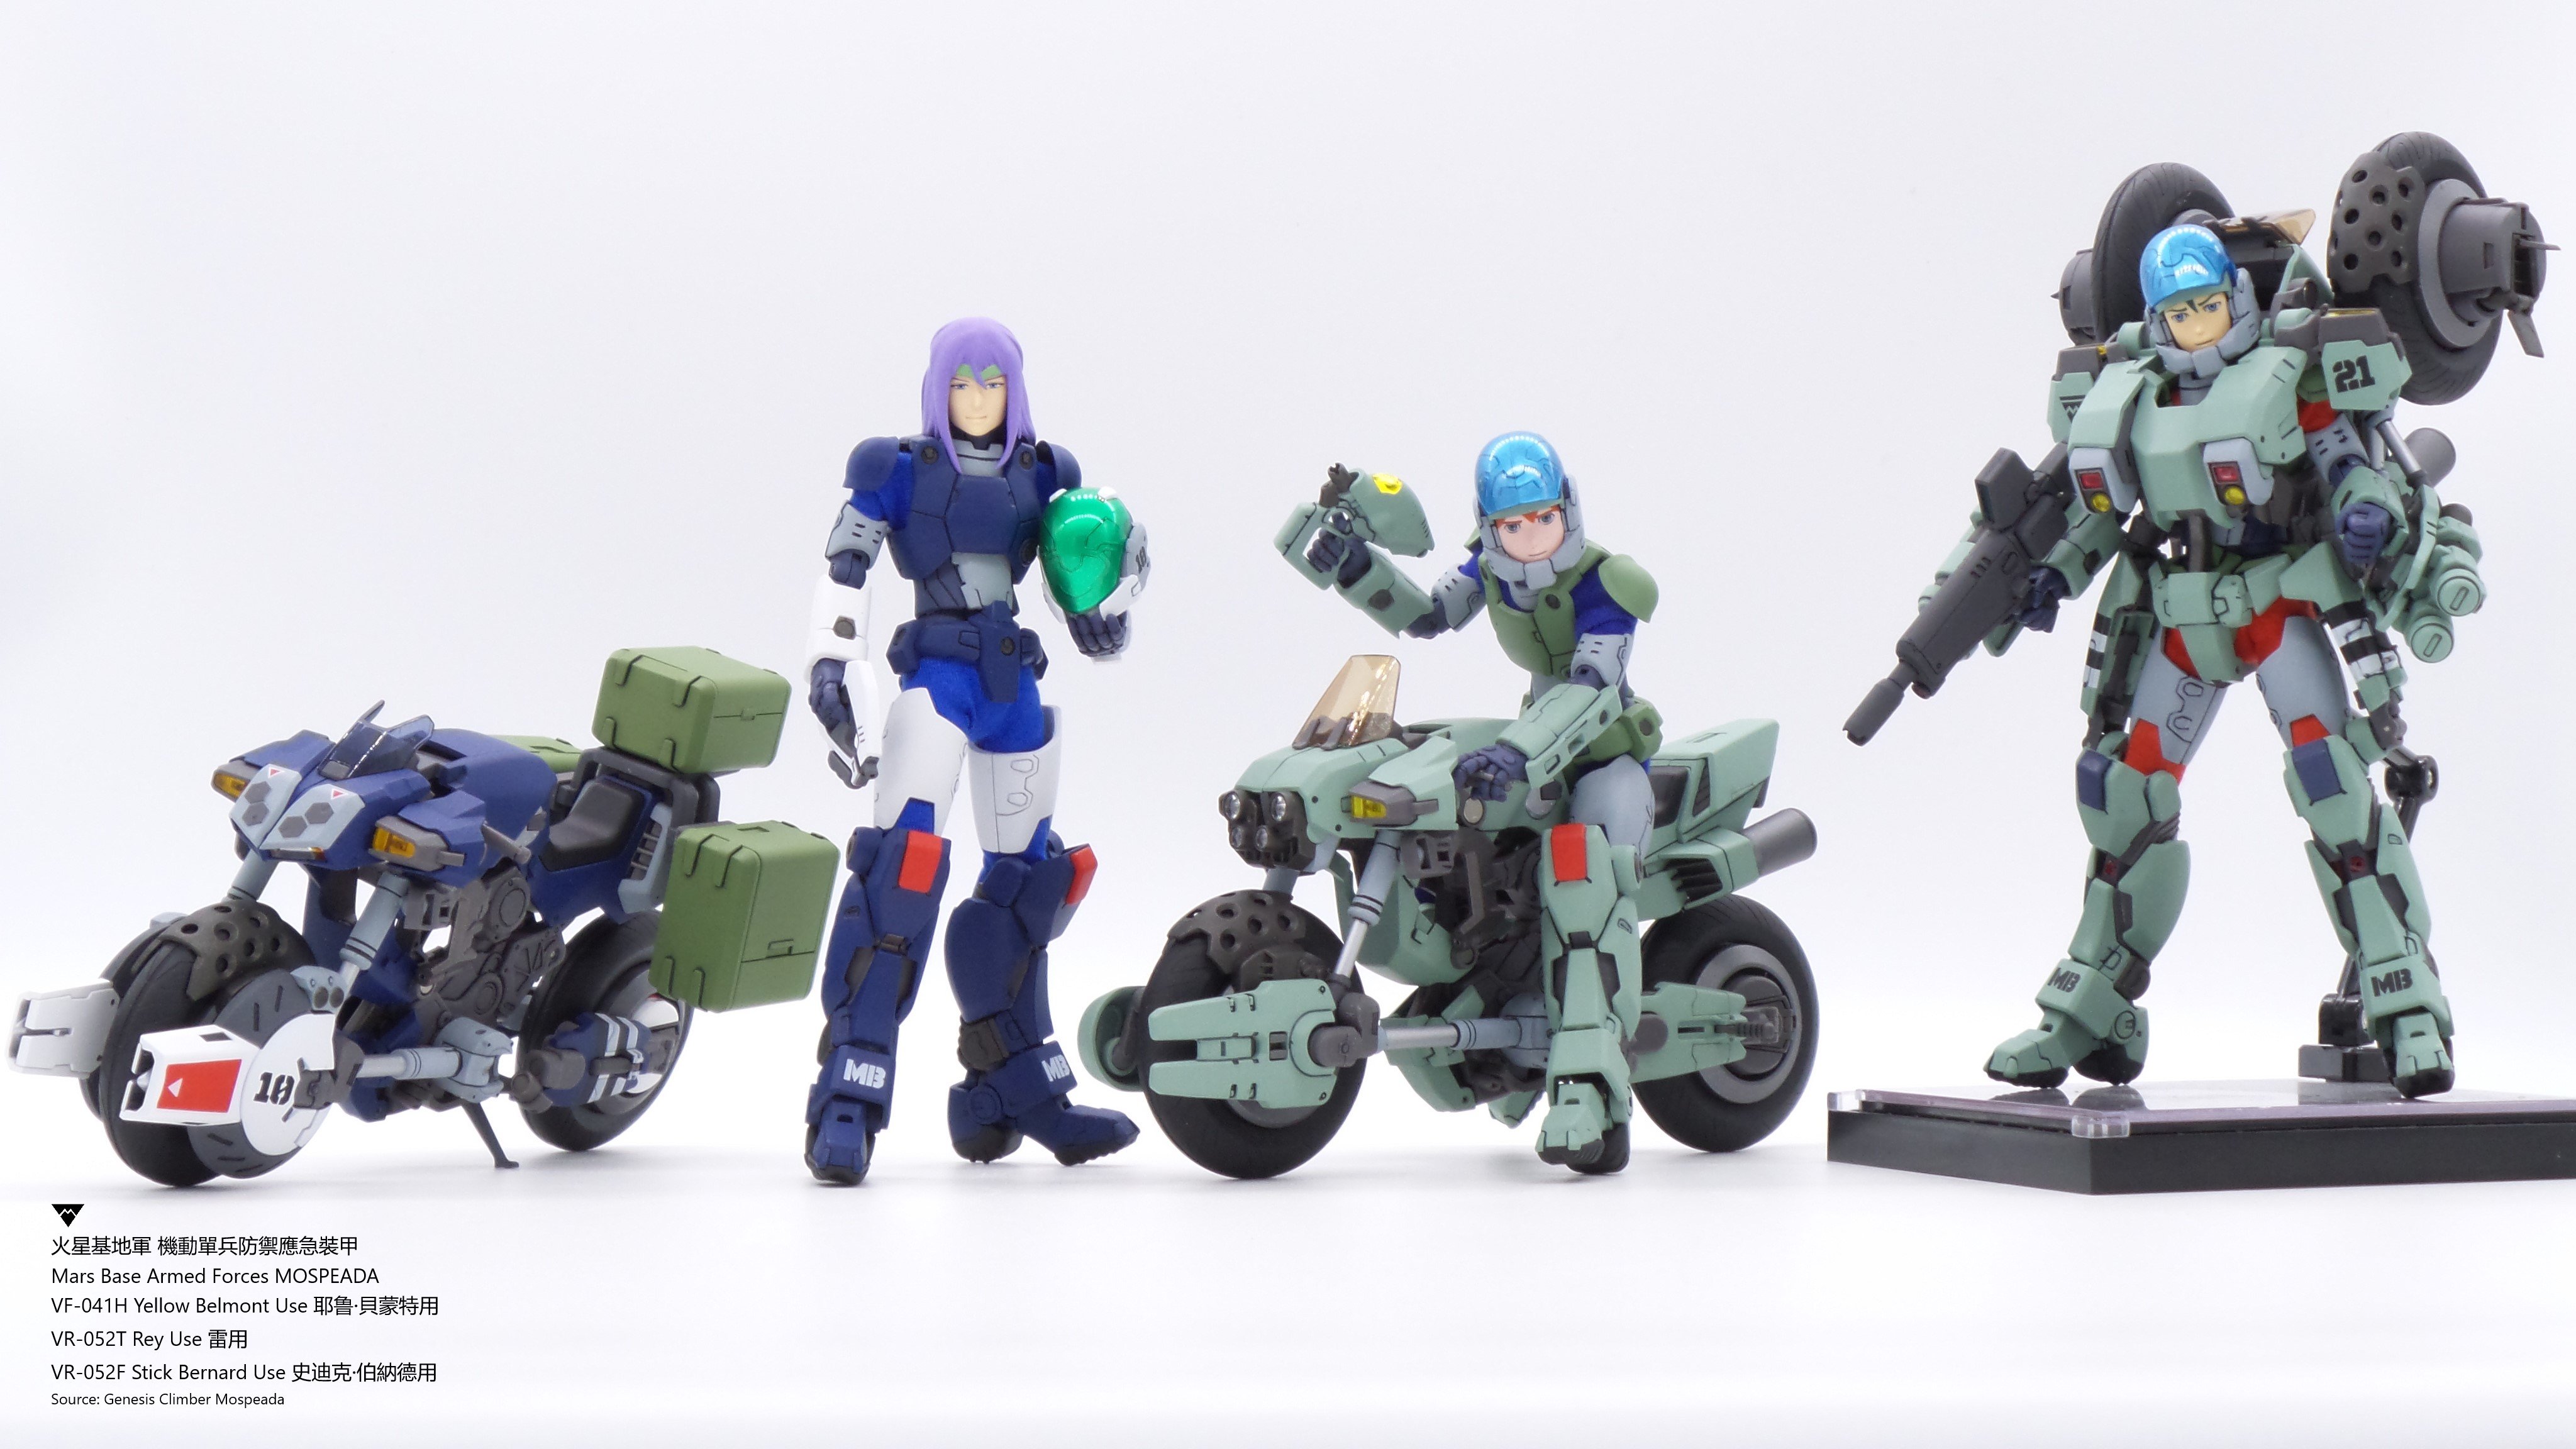
Update on the first post: * Added VF0 Shin Kudo * Added YF19 No.4 * Added VF31A * Added Mospeada Here are some outtakes
-
It’s an activity from school. People walk around the classroom and see each other’s works
-
Arcadia 1/60 VF-4A ‘Flashback 2012’ Premium Finish & Regular Release
EastwindS2k replied to no3Ljm's topic in Toys
I think it looks pretty good from factory -
The added decals look real good
-
I lost my Valkyrie toys when I was little, some of these toys bring back good memories Thank you for sharing!