Rock
-
Posts
408 -
Joined
-
Last visited
Recent Profile Visitors
5417 profile views


Rock's Achievements
")
Skull Leader's Lackey (5/15)
430
Reputation
-
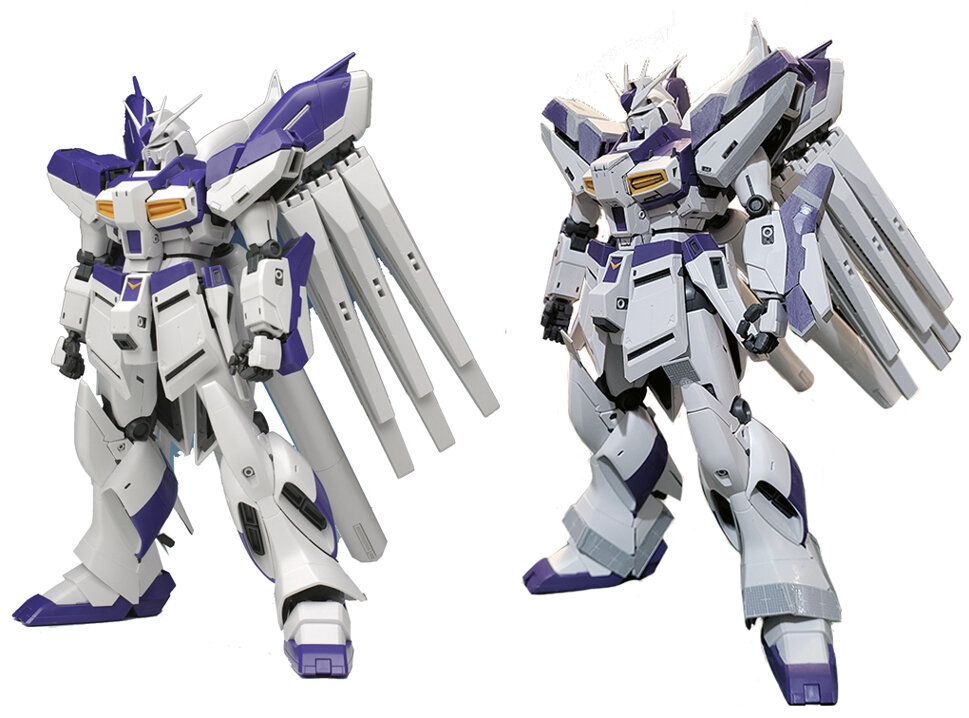
 The machine head zeta gundam is a great alternative for the ver. Ka and possibly the metal build. Here is a compare myself and a friend recently did. The machine head comes in 2 versions, precolored and clear. If your going to paint, grab the clear one as the plastics is a bit closer to gunpla plastic than the slightly gasphon feeling precolored ones.


-
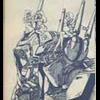
The Kog-At is a 1/100 IMS with parts for the stripped face for it's final battle appearance. The SR4 is a Volks resin kit. The VSMS #3 (gothicmade 1/100 ims kits) Die Kaiserin was also shown. As were prototypes for the VSMS Z.A.P.
-
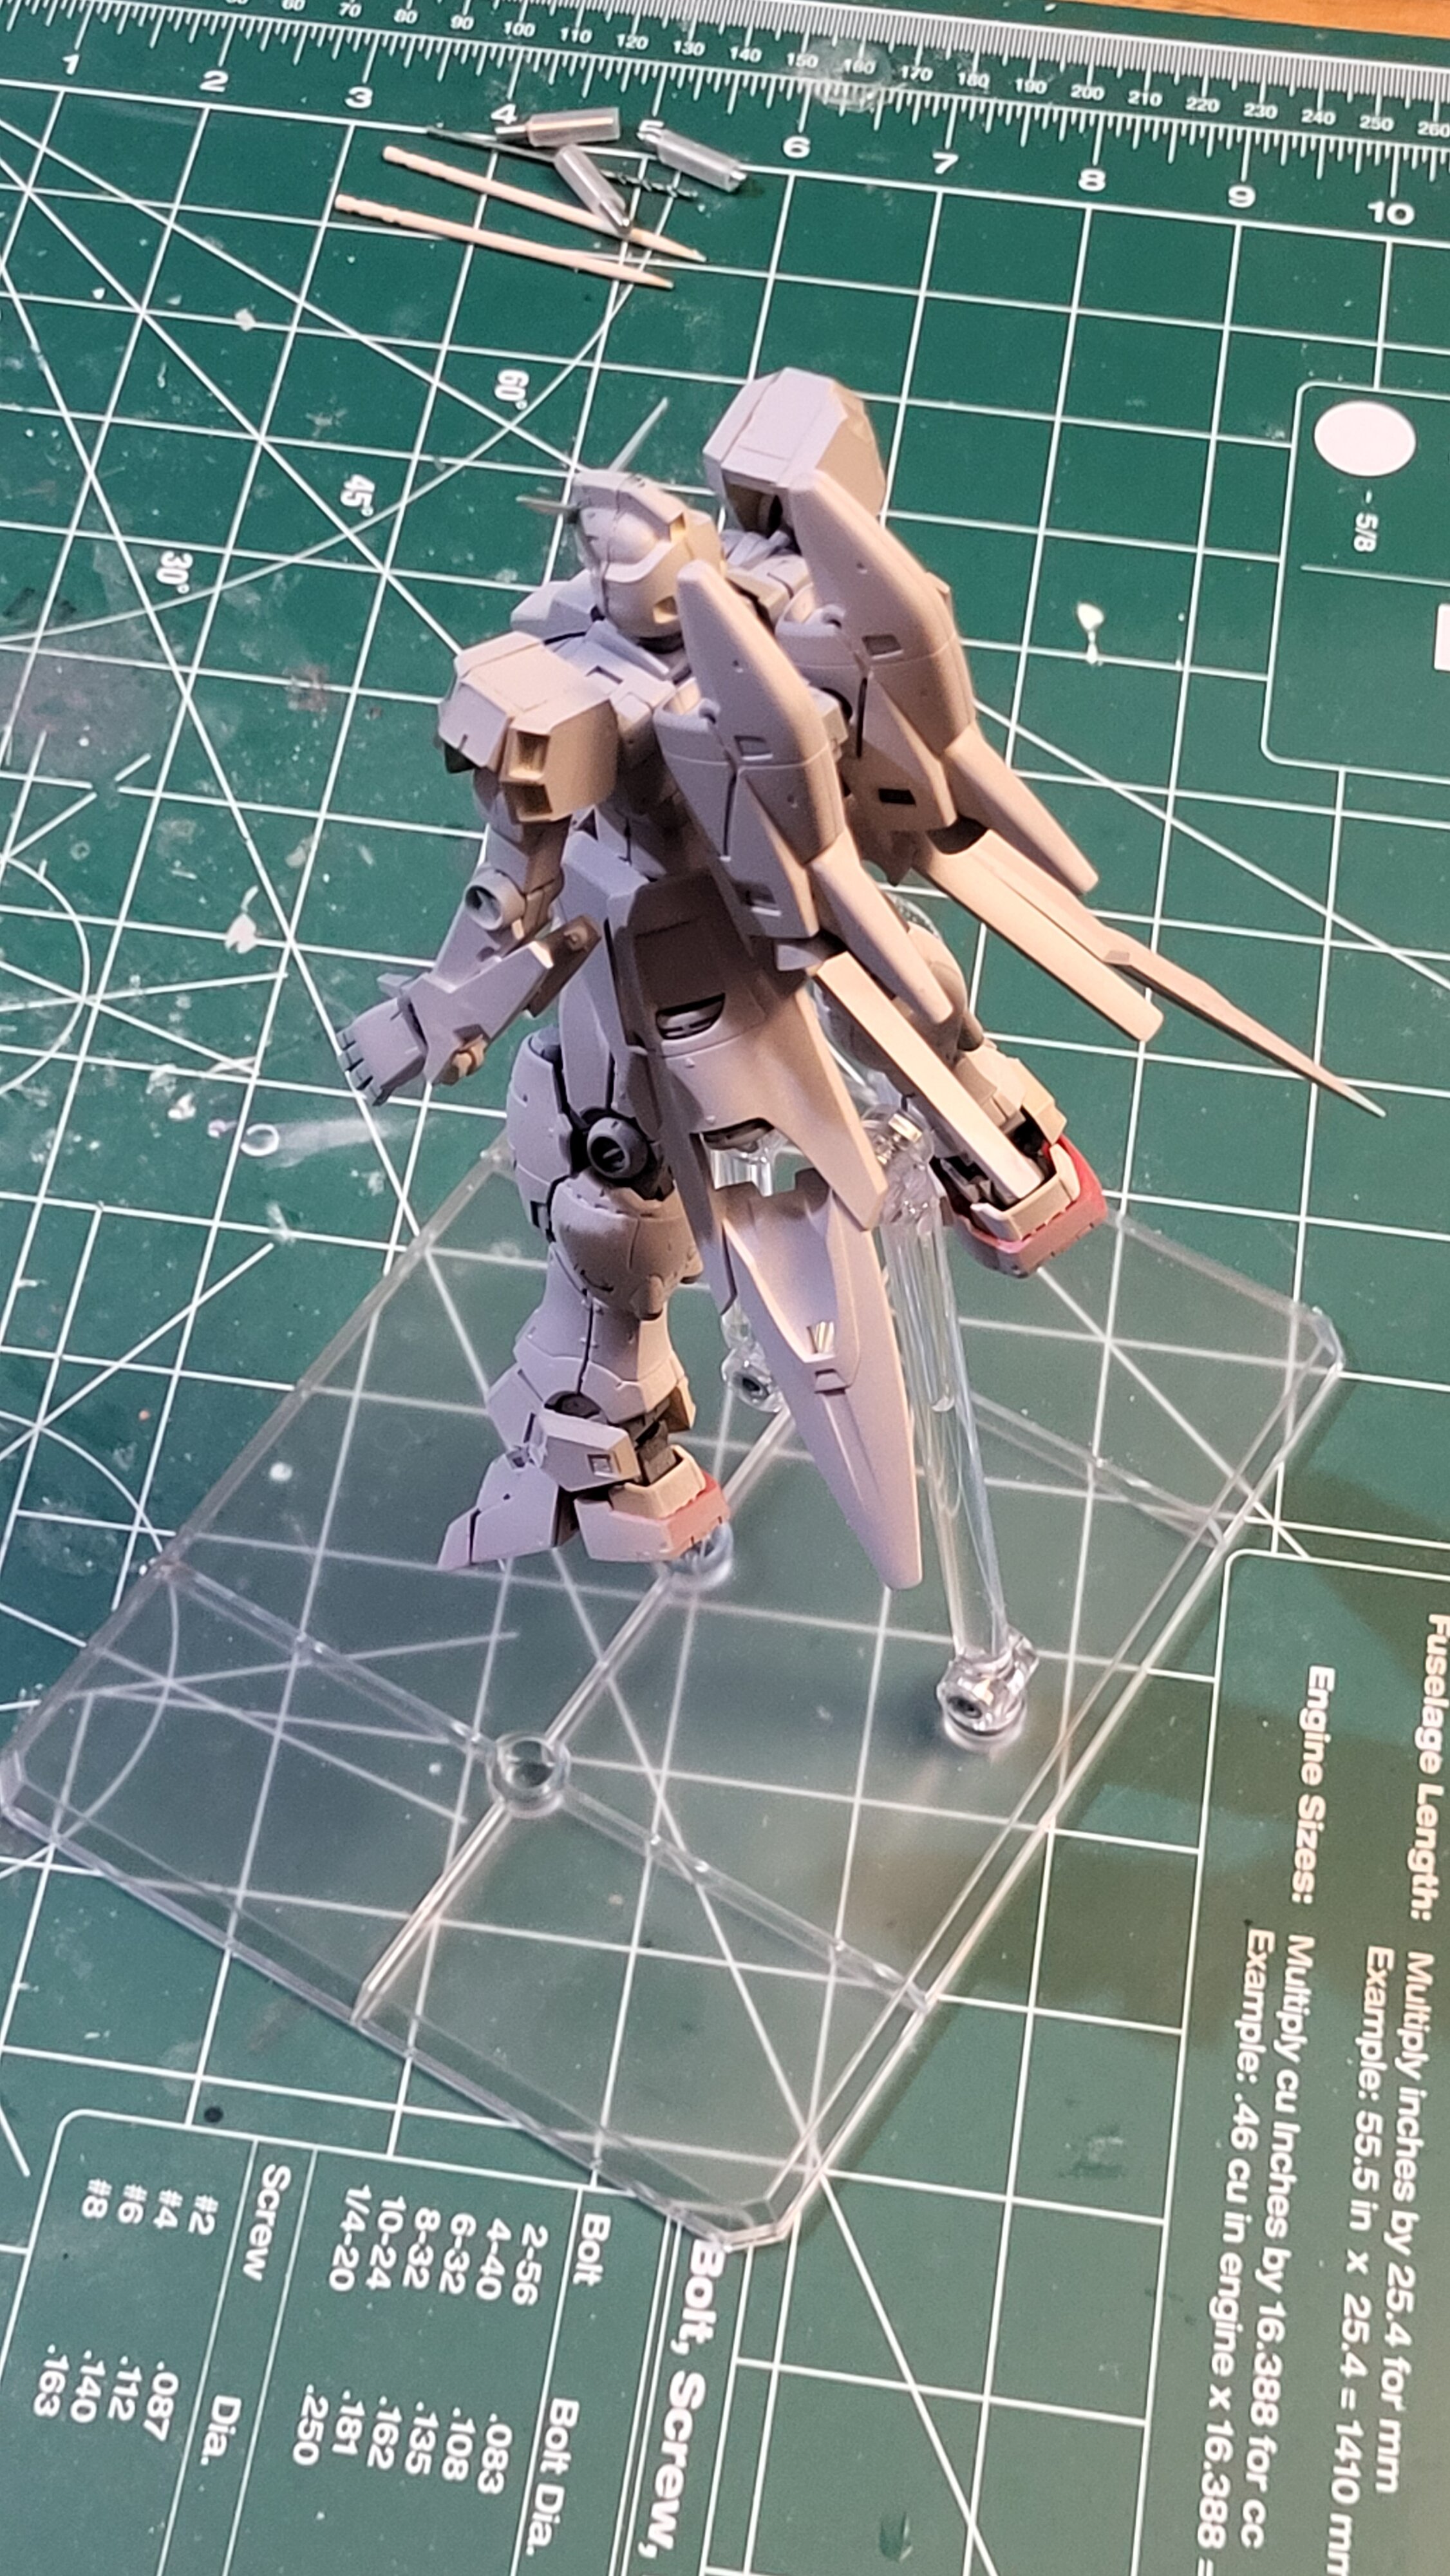
Still chugging along on my Hi-V resculpt. Only one leg left to finish matching, then I can finally work on cleanup and detailing! Aiming for paint Feb 1st for a 2026 comeback!

-
First example of the new Hase Minmay resin kit? https://x.com/i/status/2007356411785949532
-
I can't bring myself to. It's one thing to pay shipping costs and tarrif cost... it is entirely another to also have to pay hlj the same cost + some in handeling fees. My breakdown is something like: $65 fedex shipping $44 tarrifs $112 handeling fees It be one think of my warehouse was older than 1-2months old where I could understand it a little better. I think my oldest item is 2.5 weeks.
-
Milia is onsale an restocked at hlj! https://www.hlj.com/macross-do-you-remember-love-milia-639-hsg65892
-
Hope everyone has a wonderful Thanksgiving!

-
Not much time this day as finishing up other project before winter hits. Visiting the backlog and pulled out on a whim. Feels good to finally be making progress on this old gal.
-
The 'Hey look at this really cool model build I saw' post
Rock replied to Shawn's topic in Model kits
-
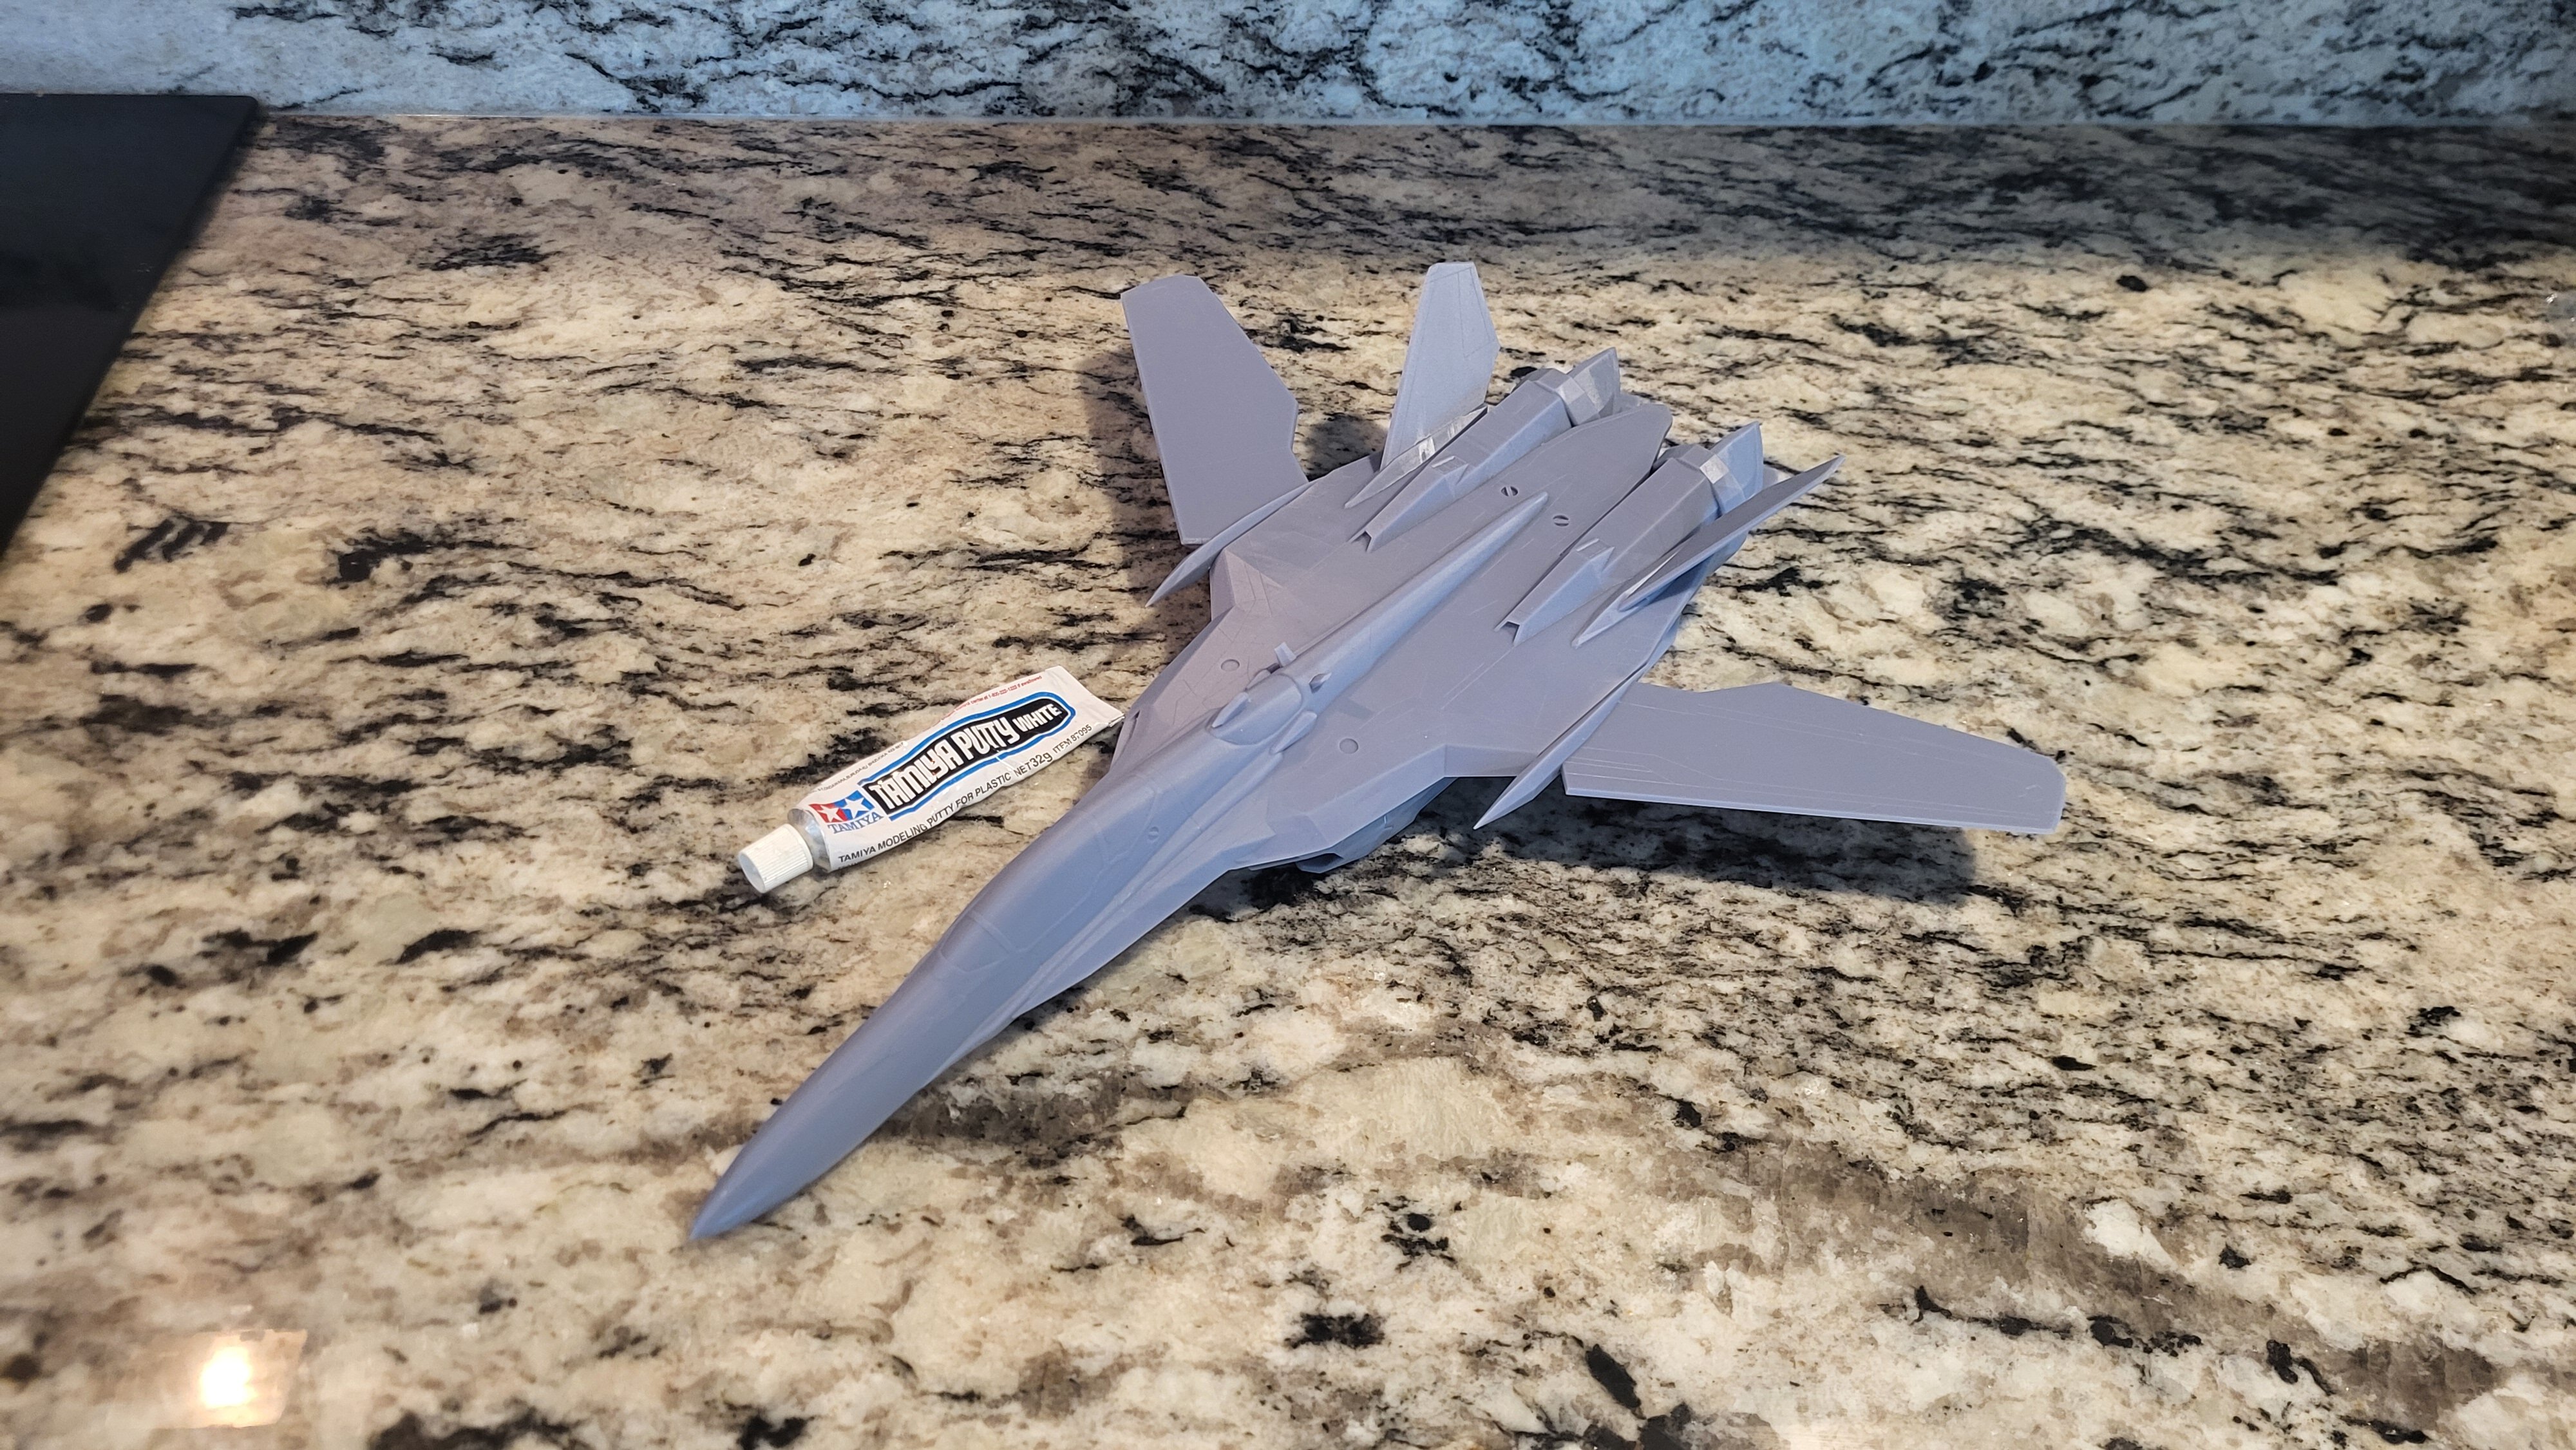
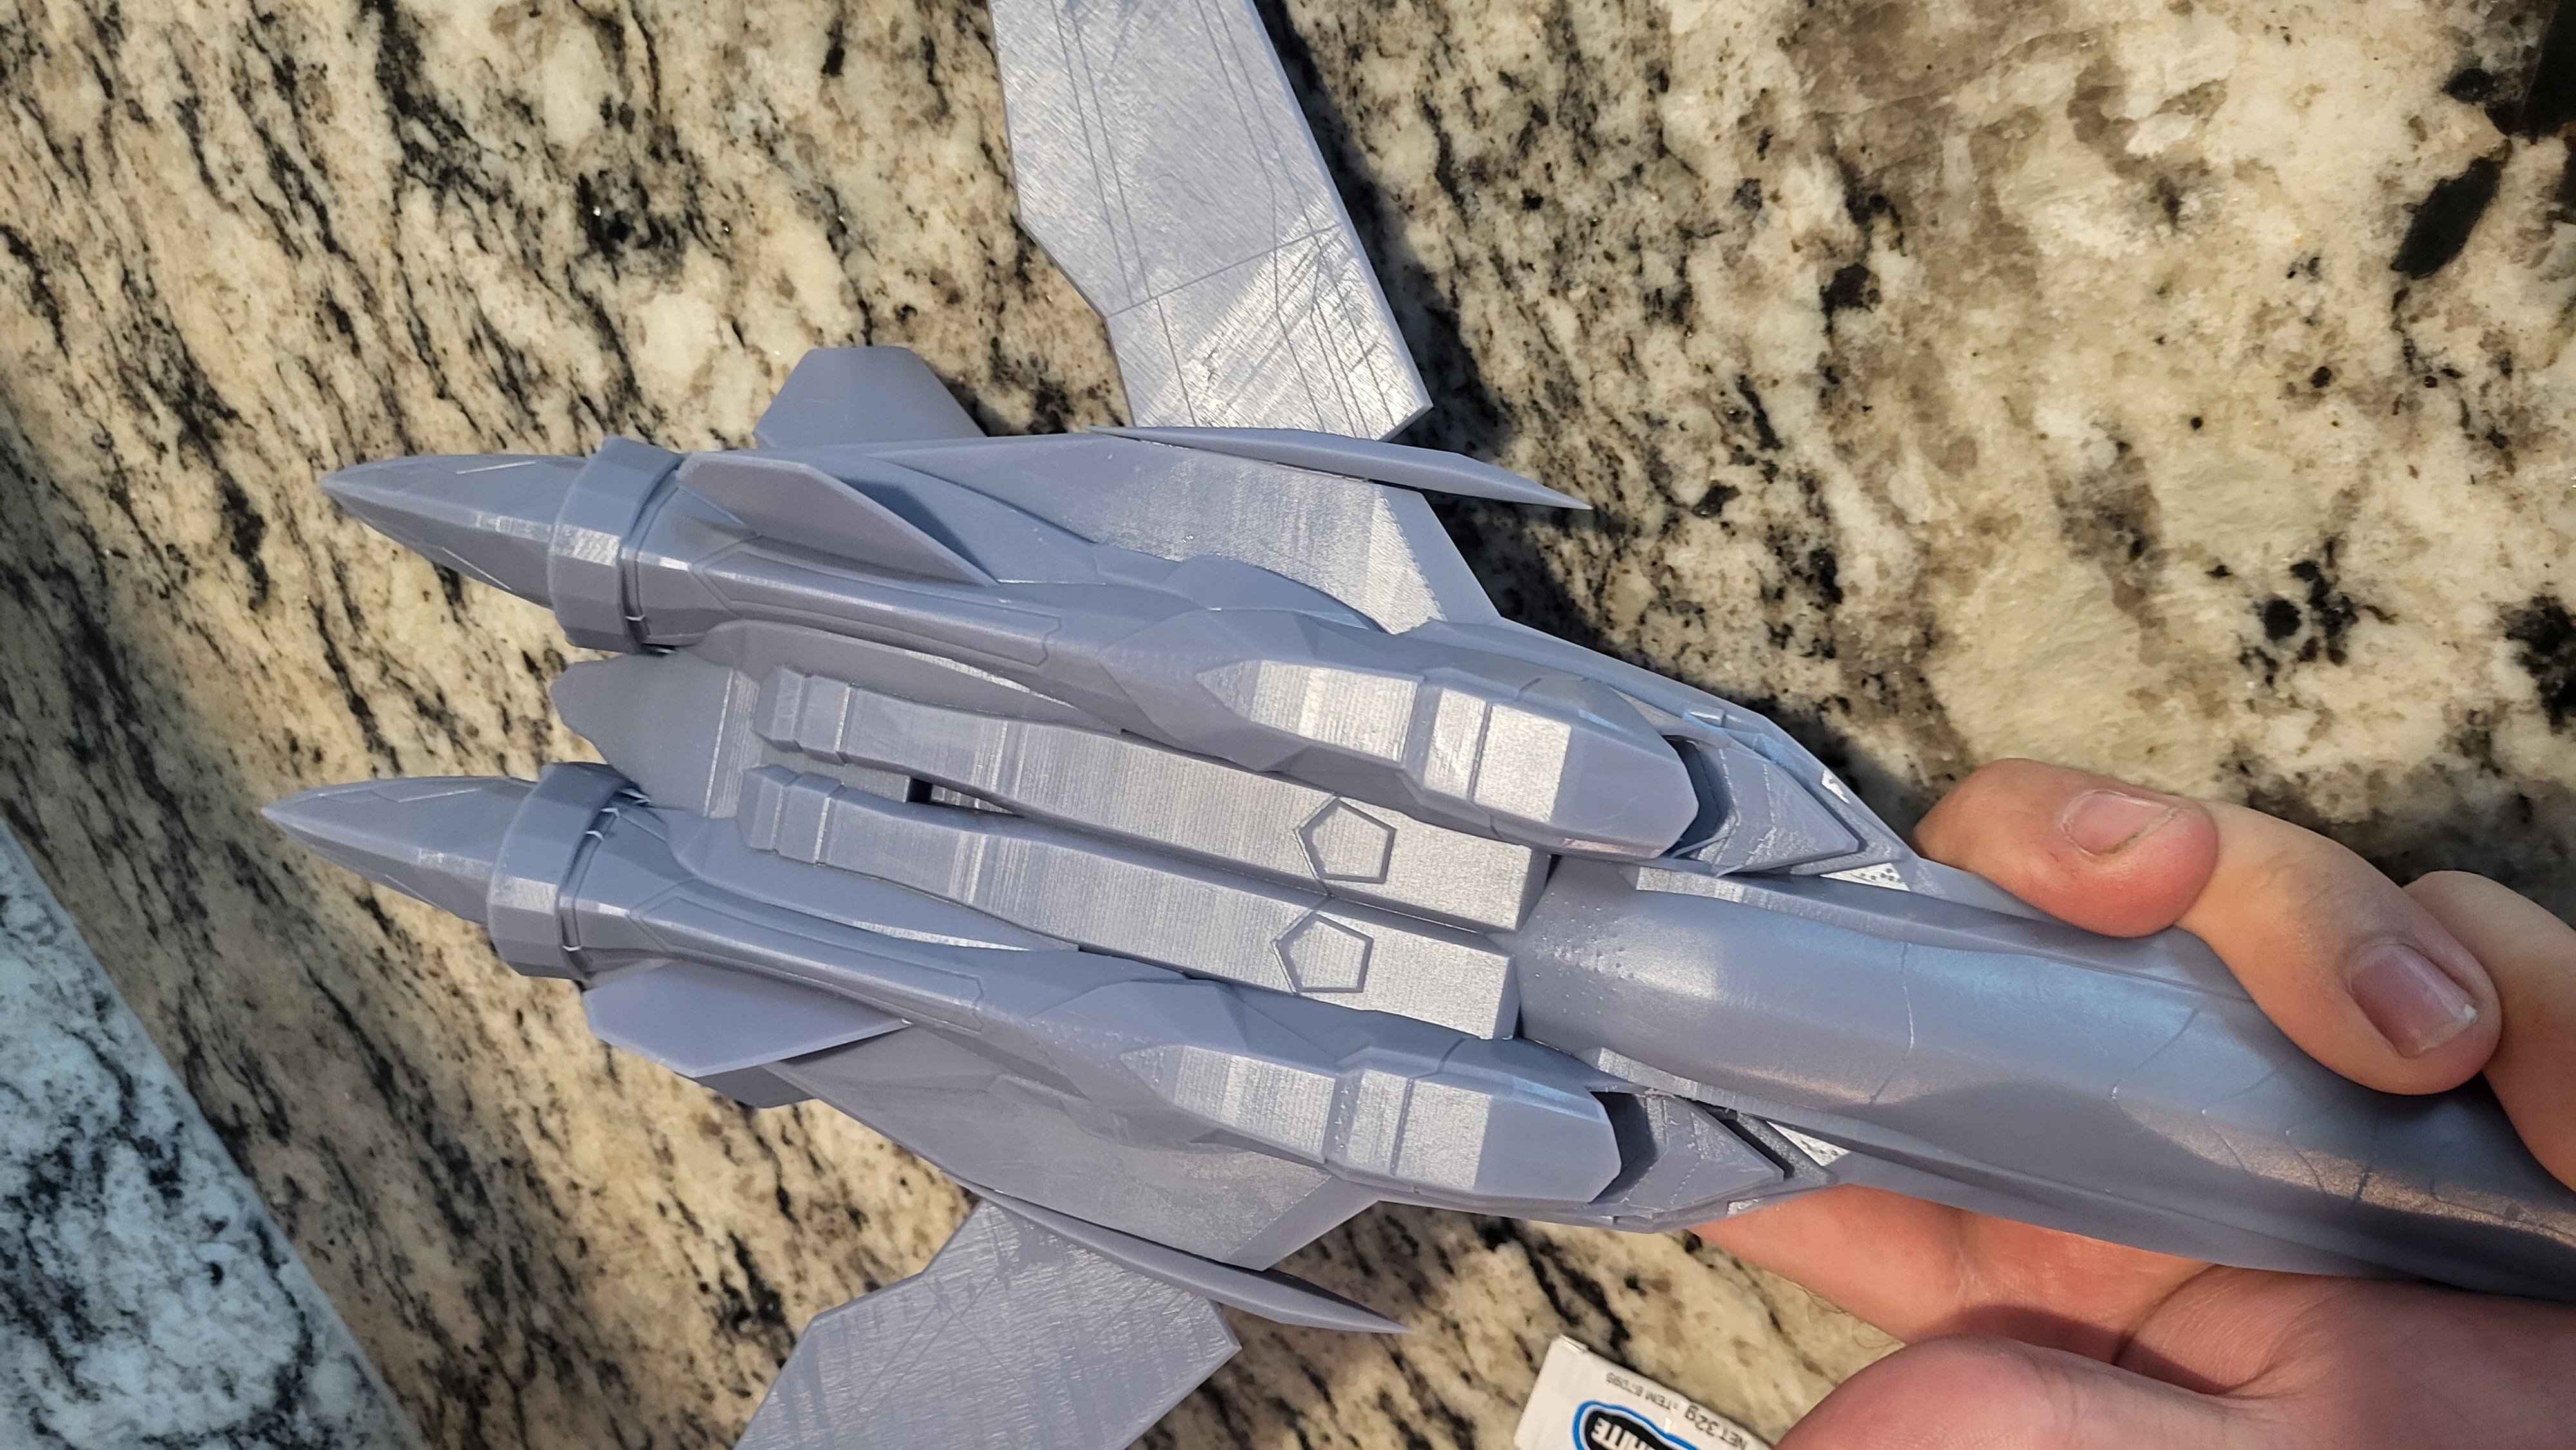
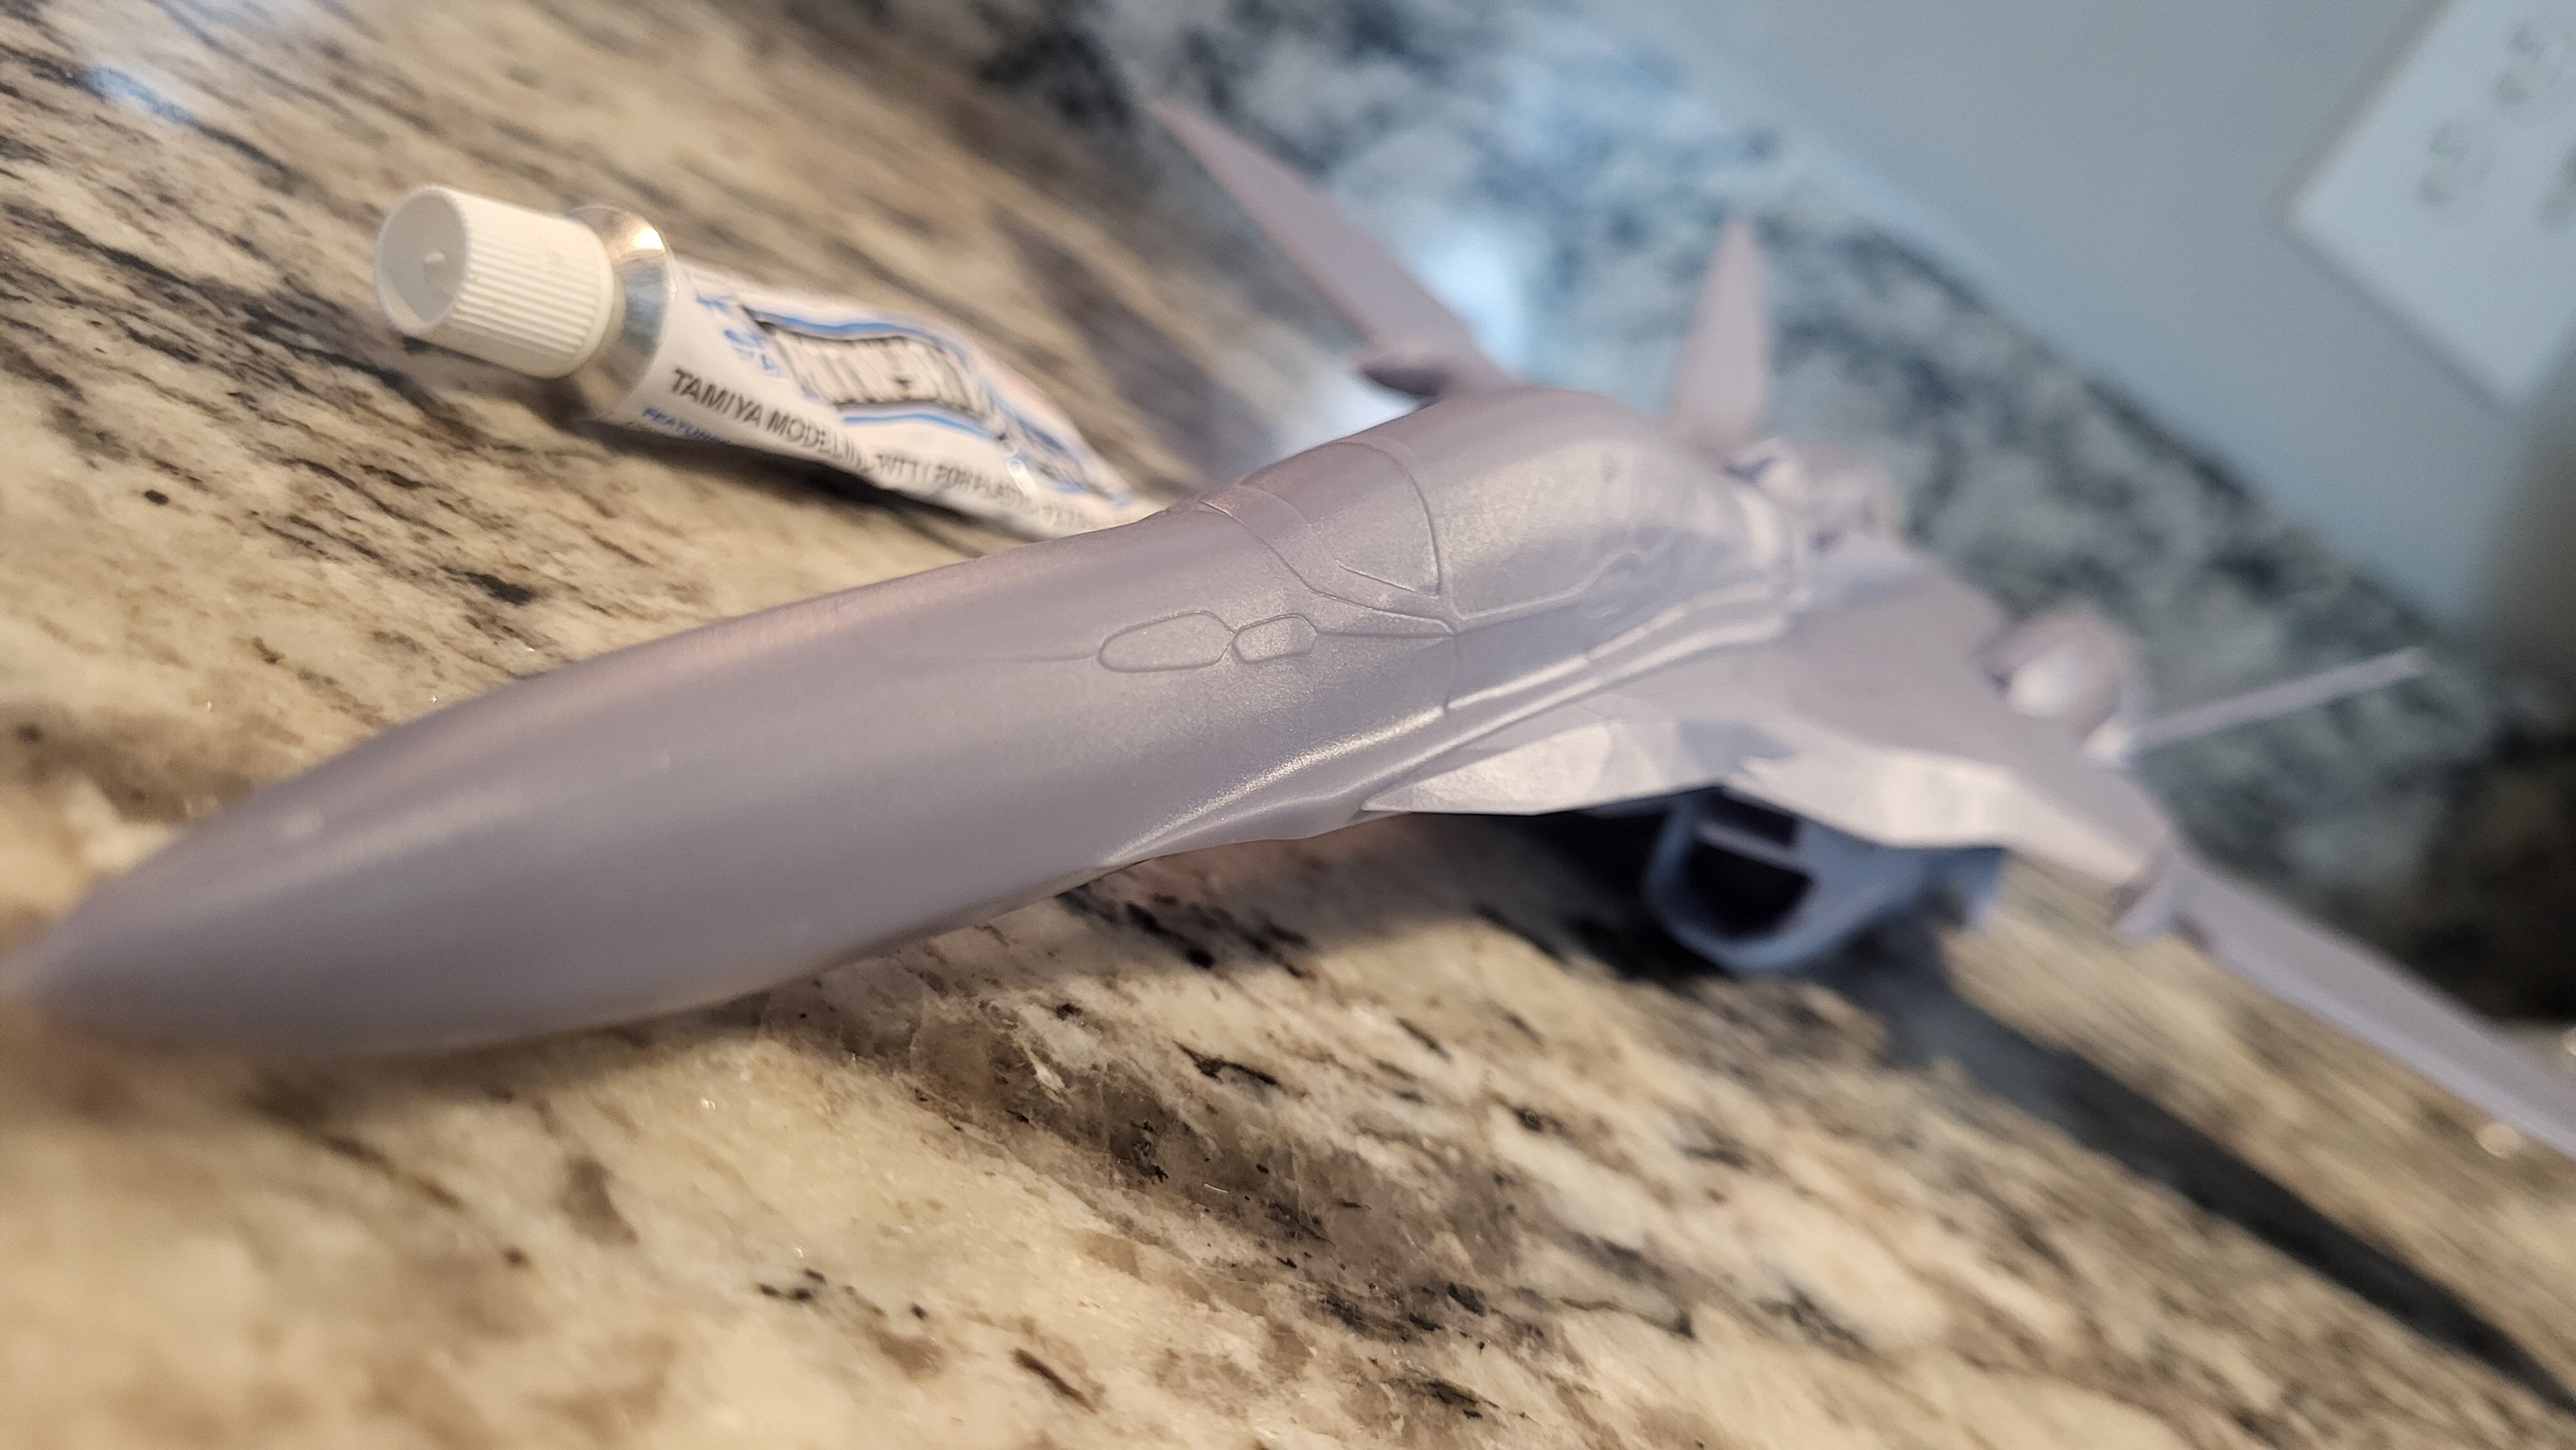
The lines you see on the close up of the underside barely can be felt with a finger nail. It is mostly visible because of the way the printer finish. 2 coats of MR. Surfacer 500 and you likely won't see 80% of the texture. Add in a pre-sand and post sanding and it should be cake walk, I use a small 400g sanding sponge attached to a vibrating tool to make most of the sanding rough work.
-
Based the size roughly from a data sheet comparison with all the calks scaled next to eachother. The measured of the Hasegawa VF-19A and had my friend printed it at 15.5" (nose tip to foot.) 1/48(ish) Will be a test bed for plastic type, painting and how it reacts to traditional modeling. If all is well, I've got a Lucifer and Durandal ready to go to the printer too!
-
Glad to see how this turned out! Minmay looks great! What Misa figure is that?
-
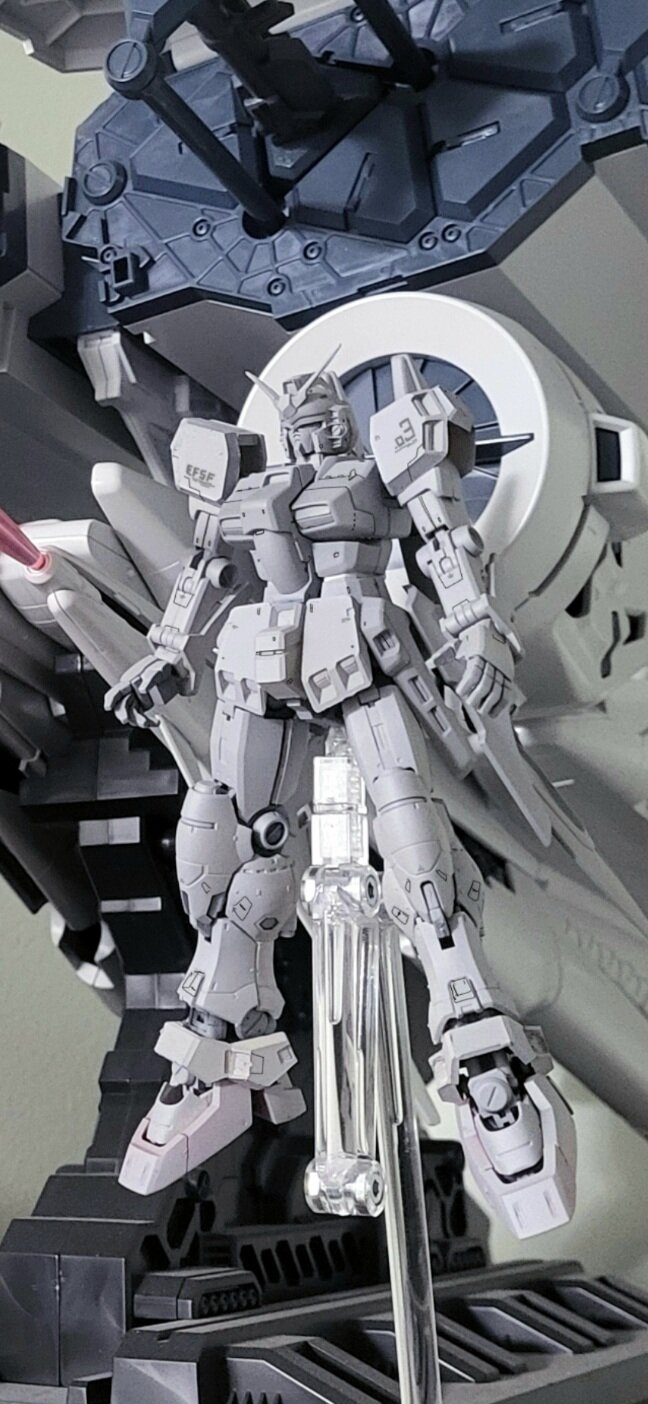
Pretty happy with how quickly I got the base kit together! I think I can re-break down and process the parts individually. Focus now on blending the individual kit' styles together. MS Mixing recipie: Robot Damashi torso/arms/binders Studio Reckless head/shoulder/skirts HGUC backpack/verniers RG Gp01 legs and feet The base is Bandai's 'new' 1/100 kit base. To adapt to the damashii connection point I simply used on the the included hex/allen bit tools and glued the head to the bases's arm. I really like these cheap action bases. They look really clean and I see tons of used outside of Bandai. Should easily support a 1/72 valk and not too pricey either!
-
What retailers in North America are carrying Milla? Only place I can find is even is AmiAmi japan. All the usual places I get Hase kits seemed to skip over the resin.
-