Search the Community
Showing results for tags '5grand'.
-
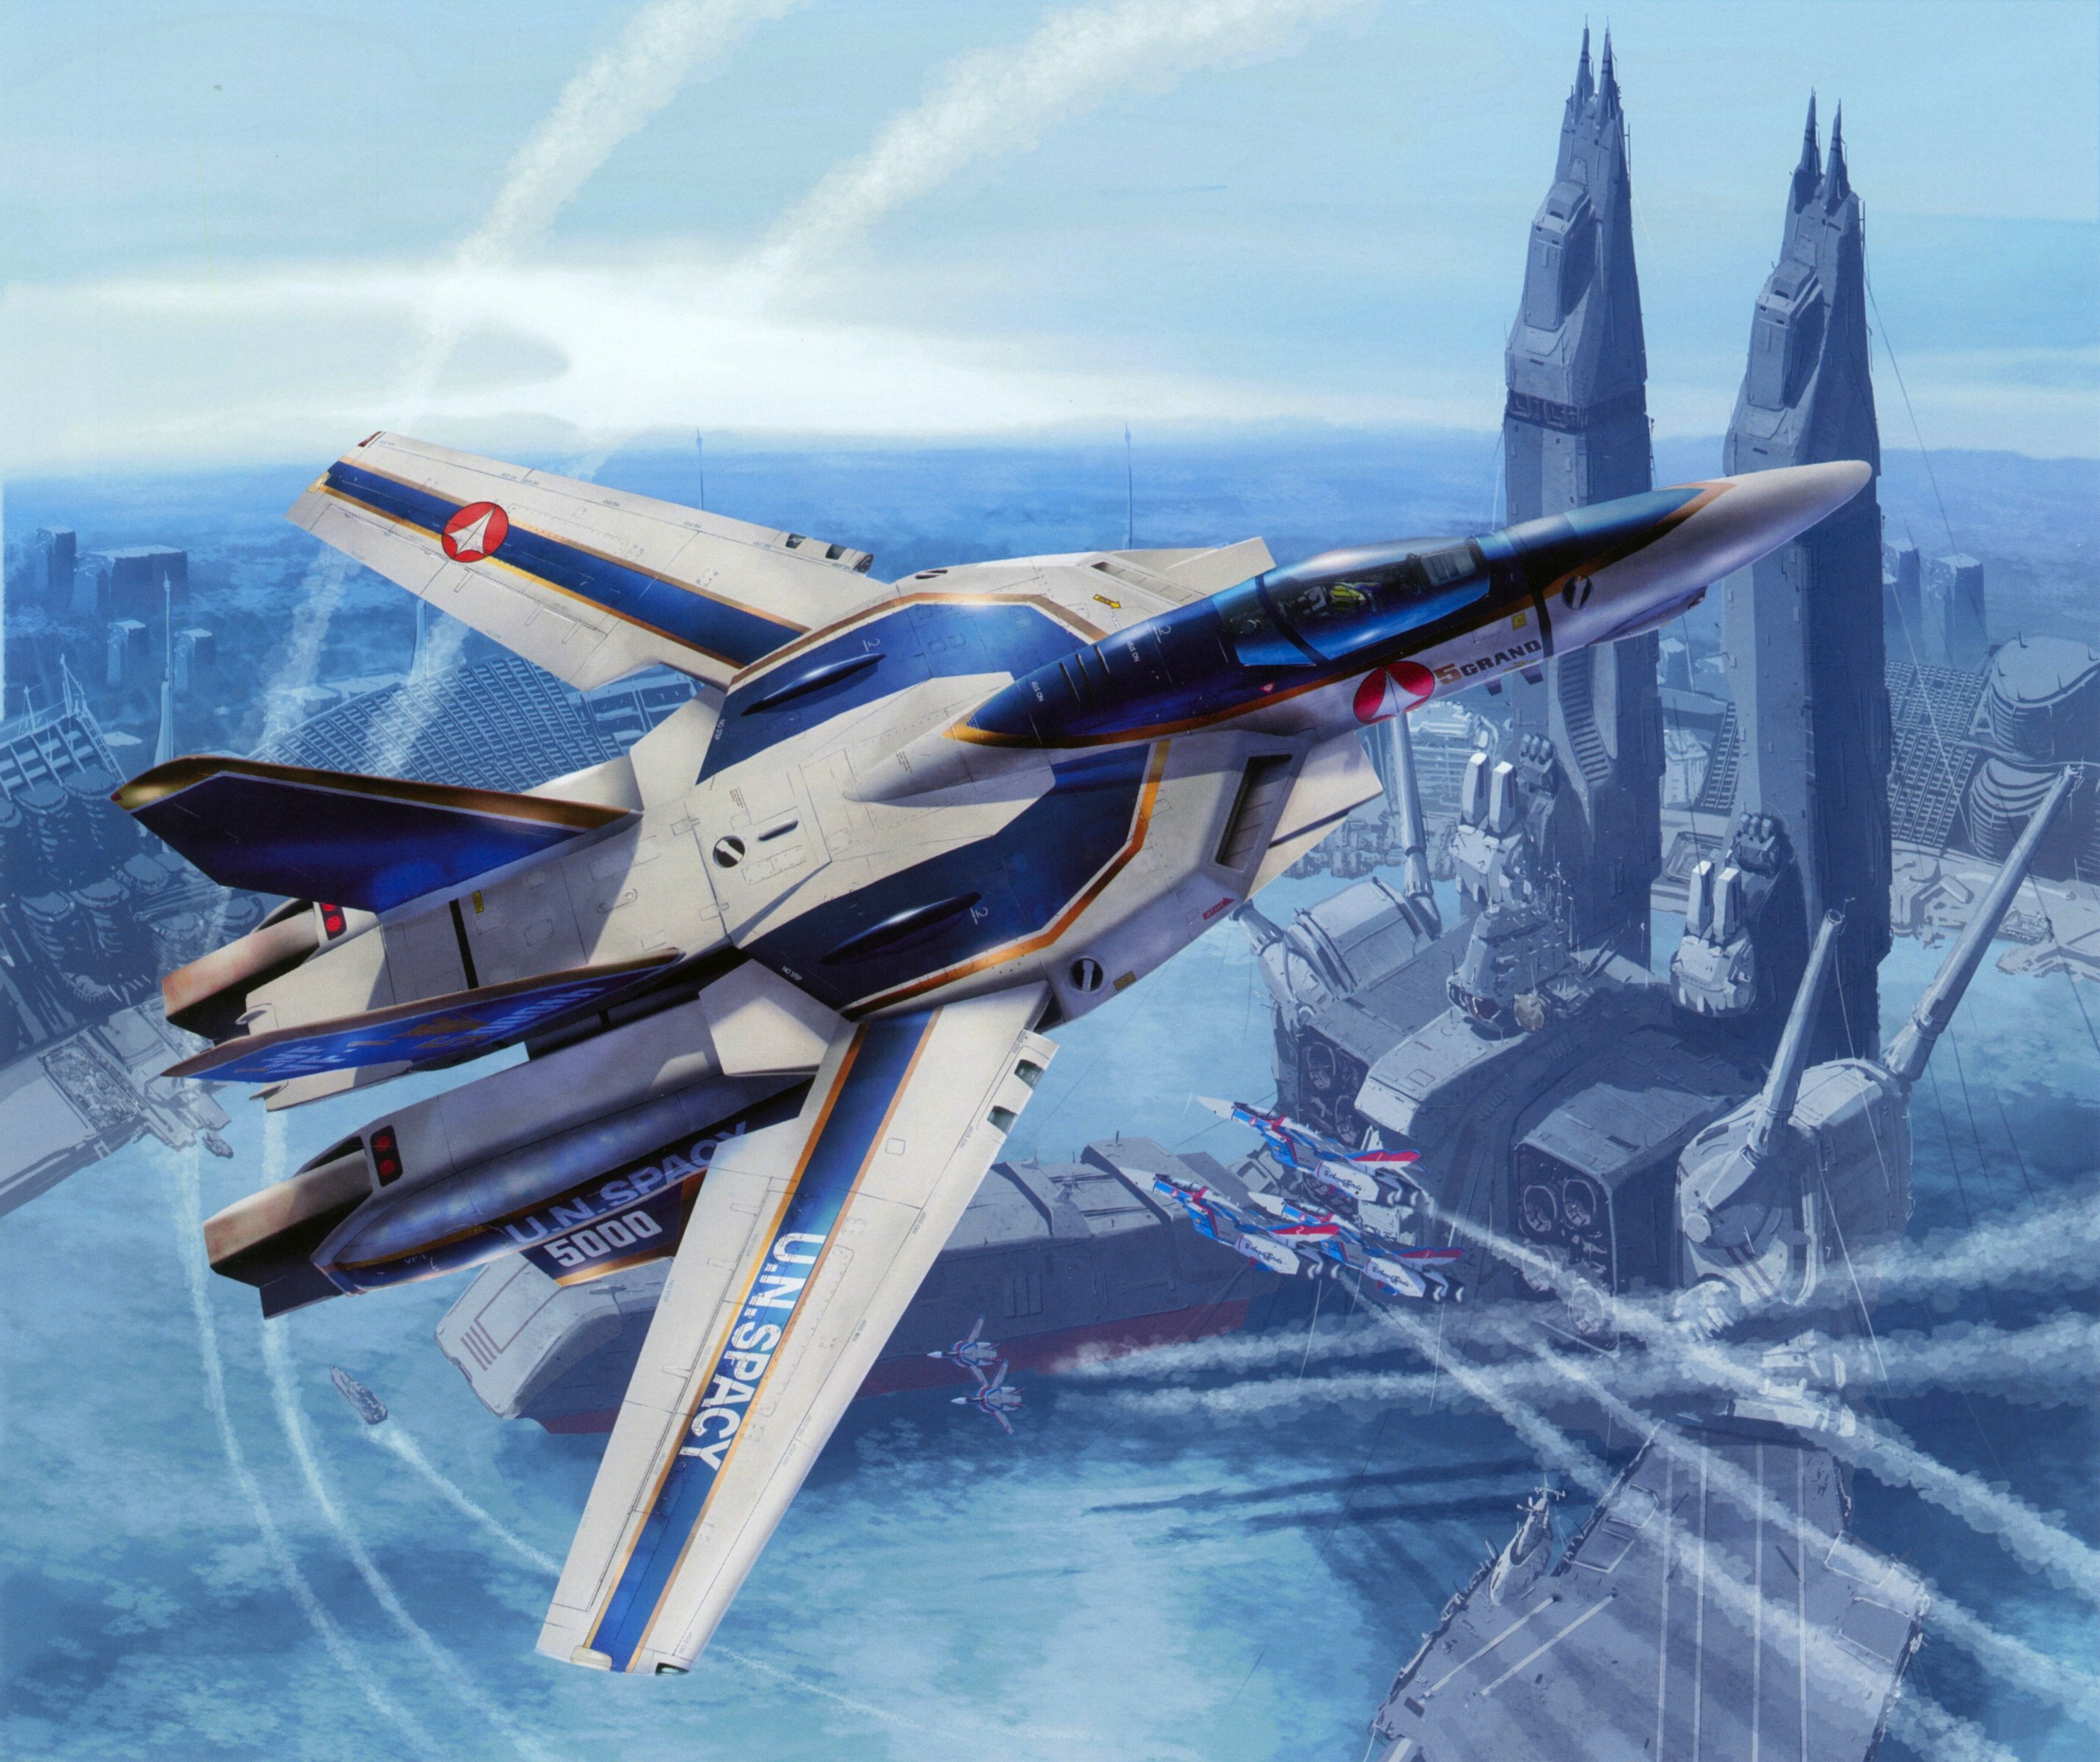
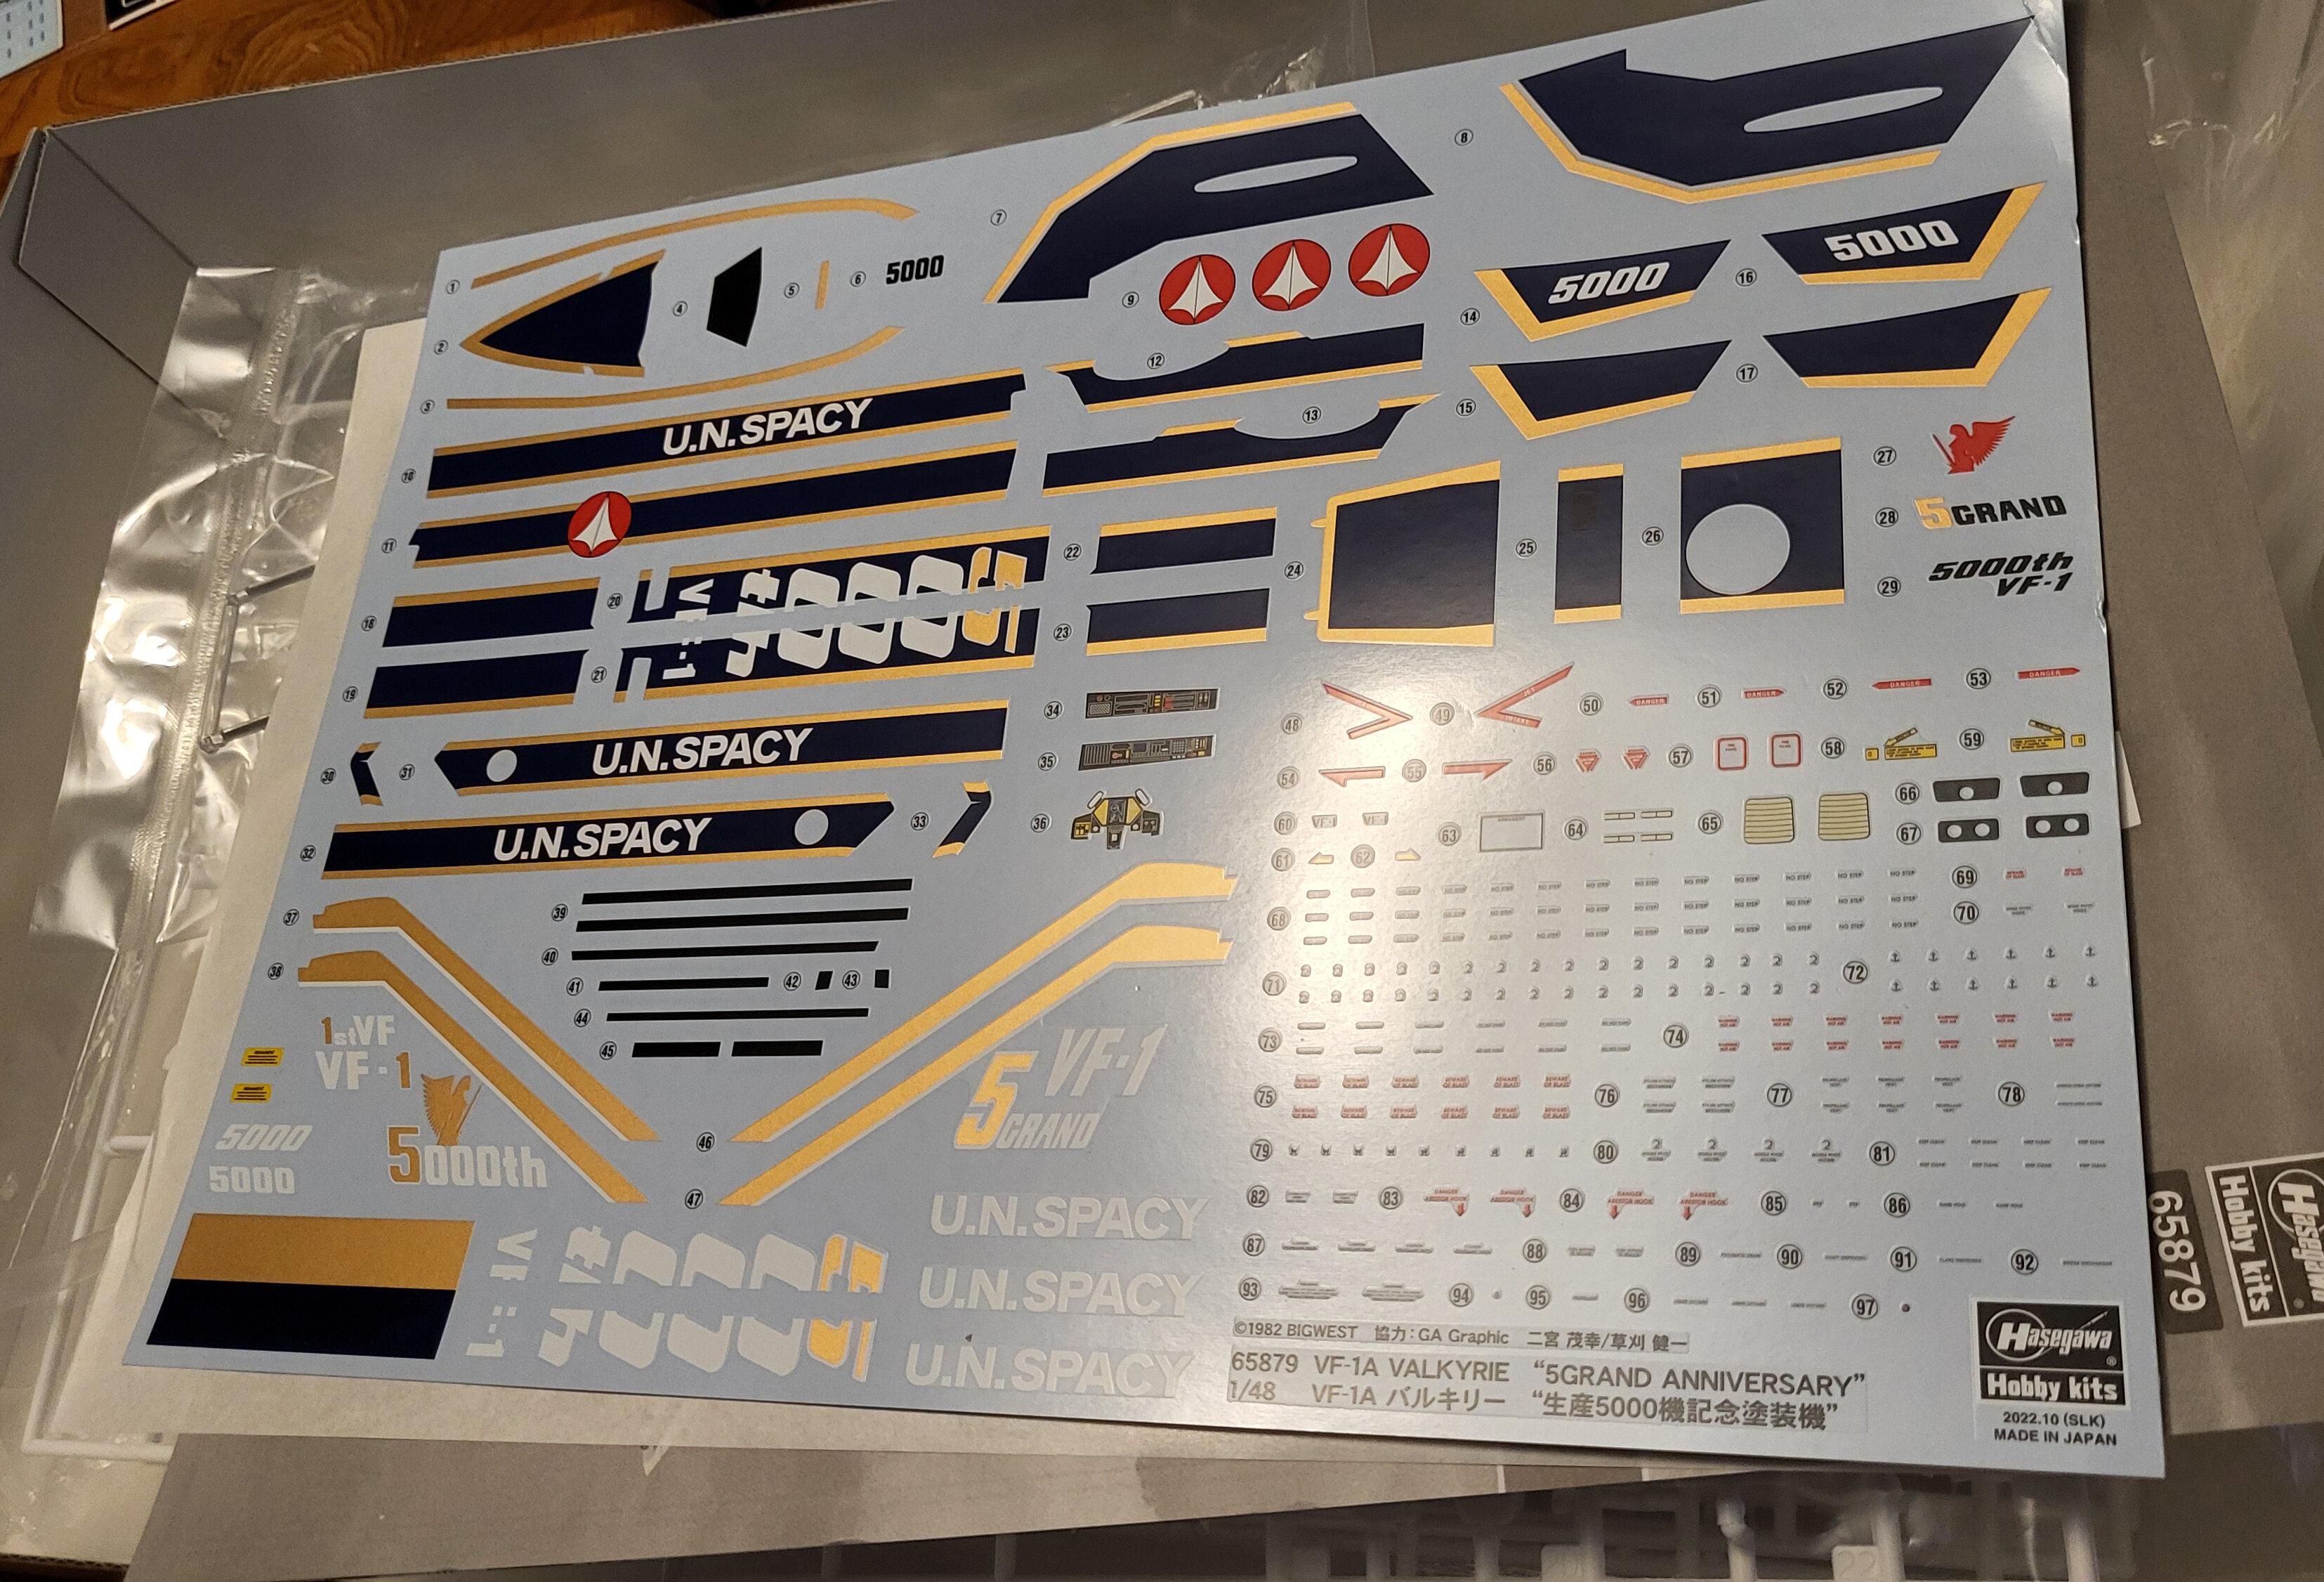
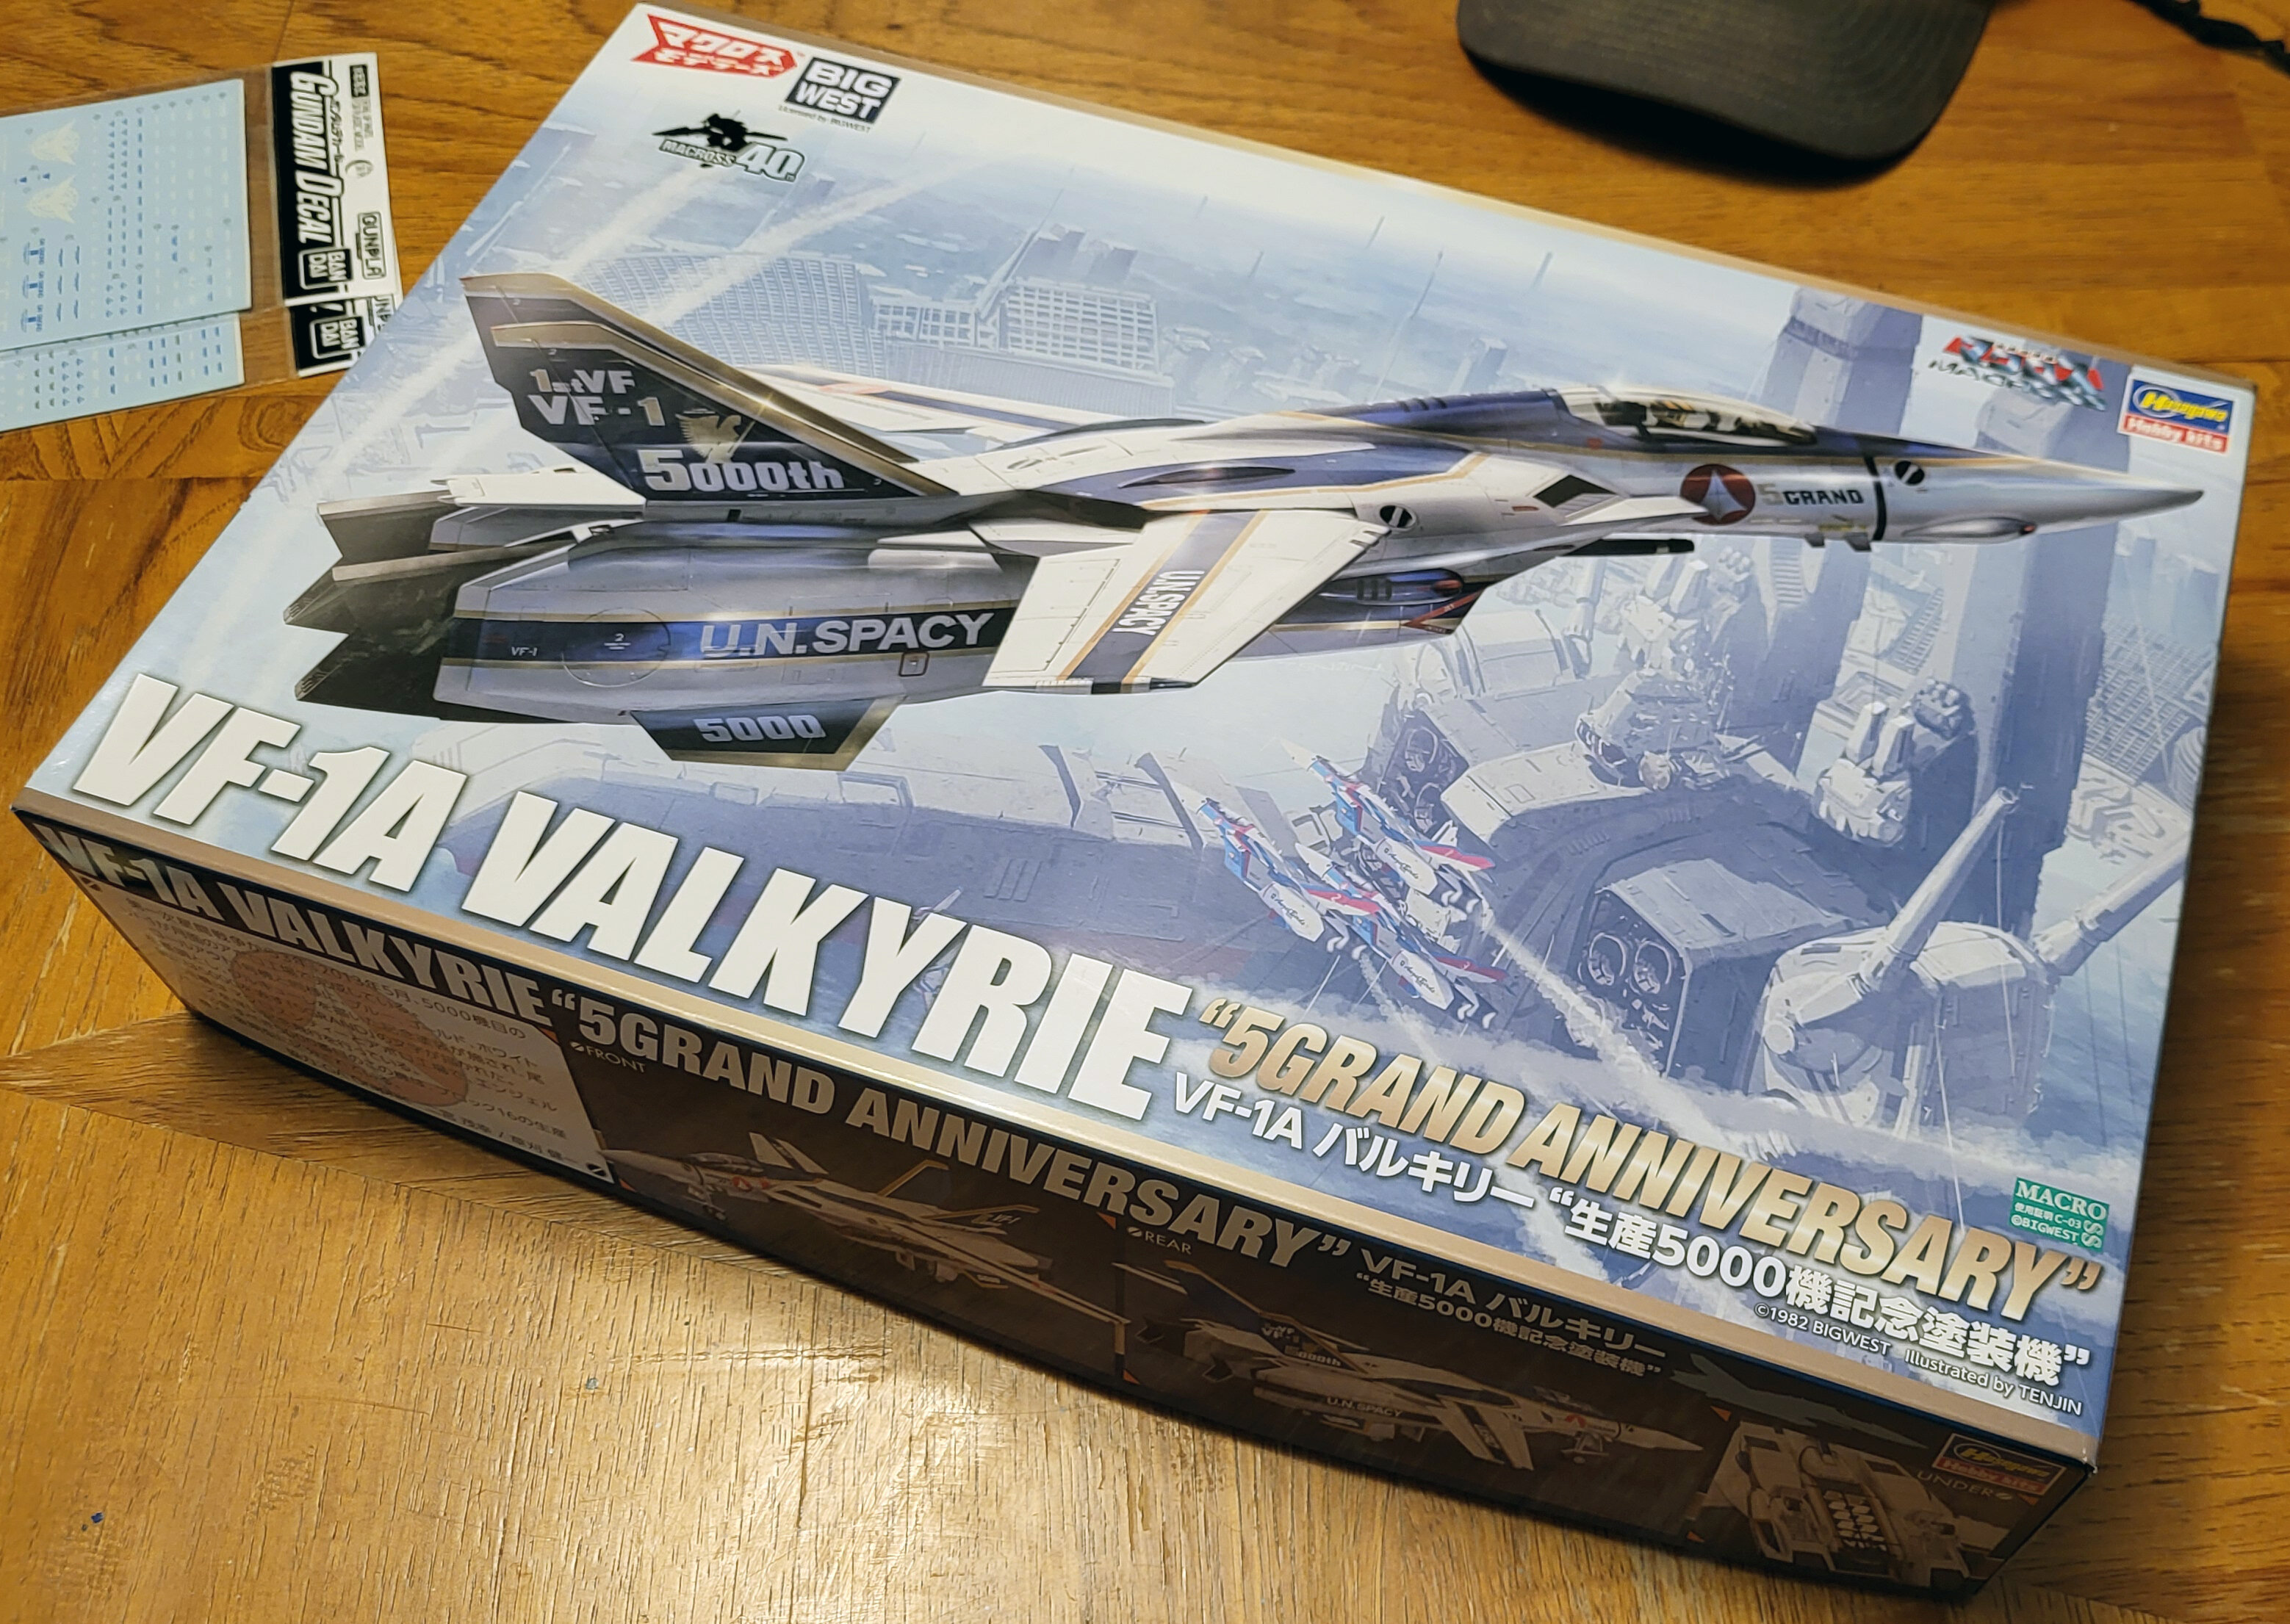
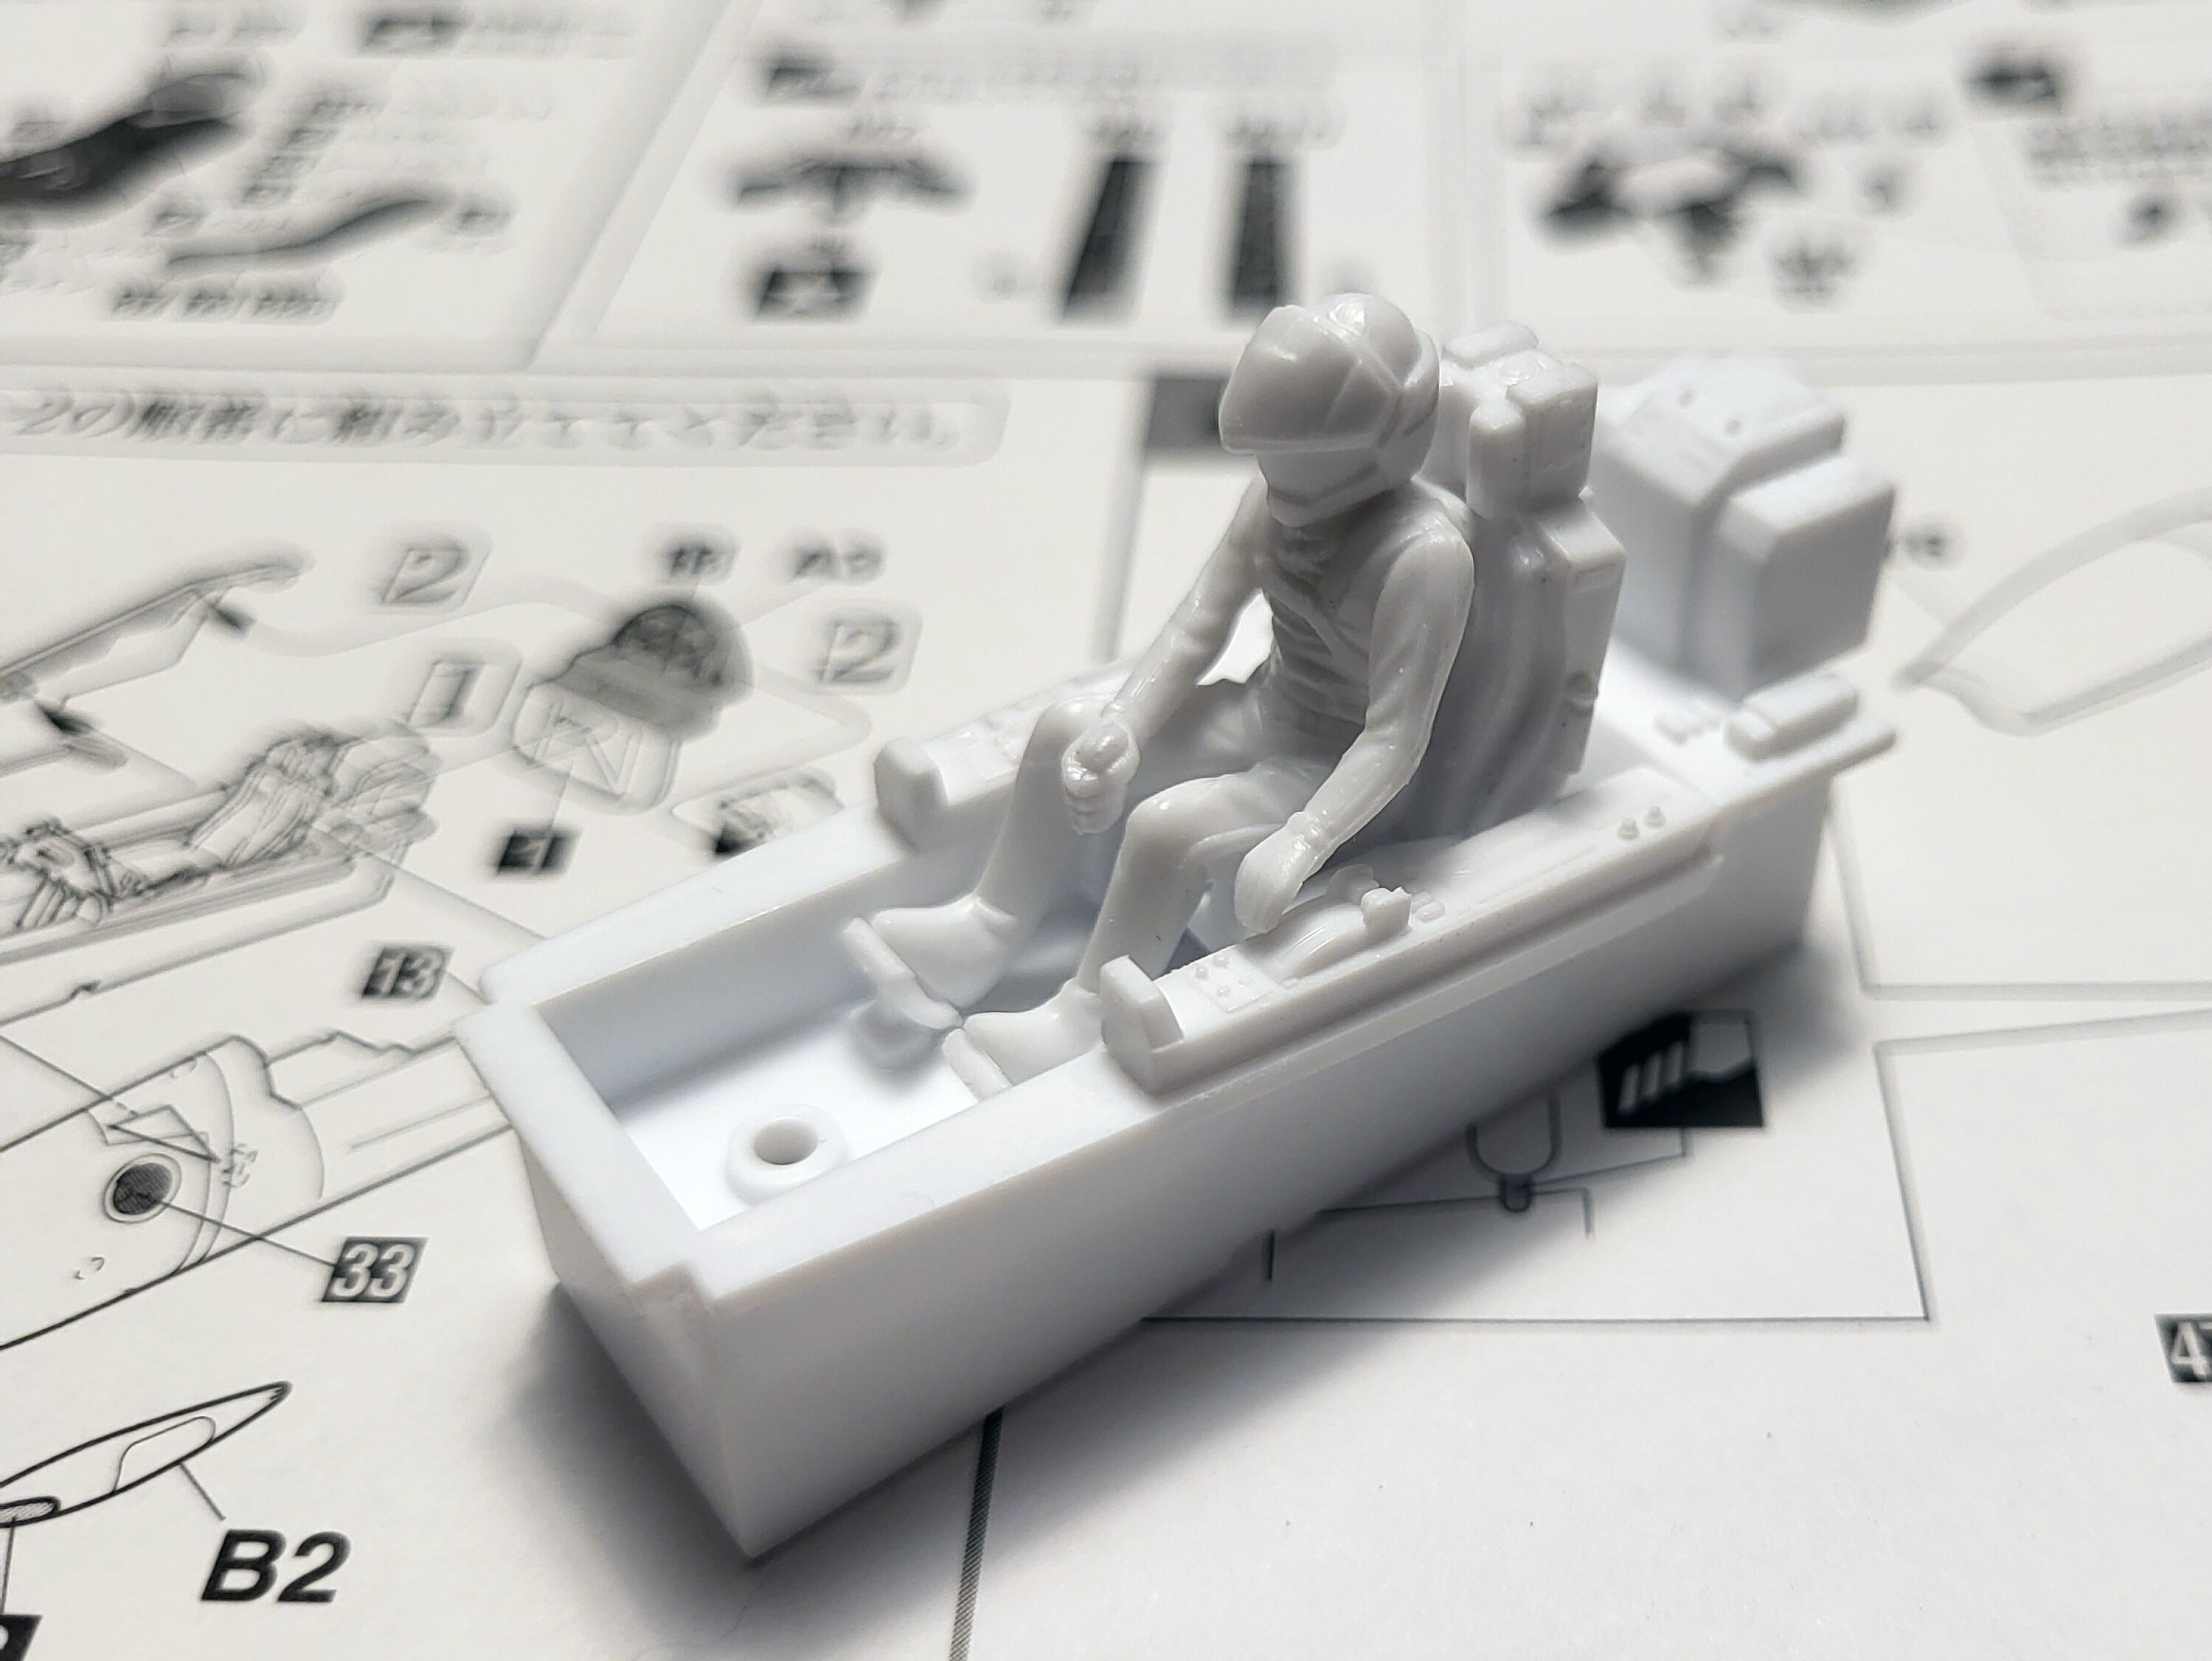
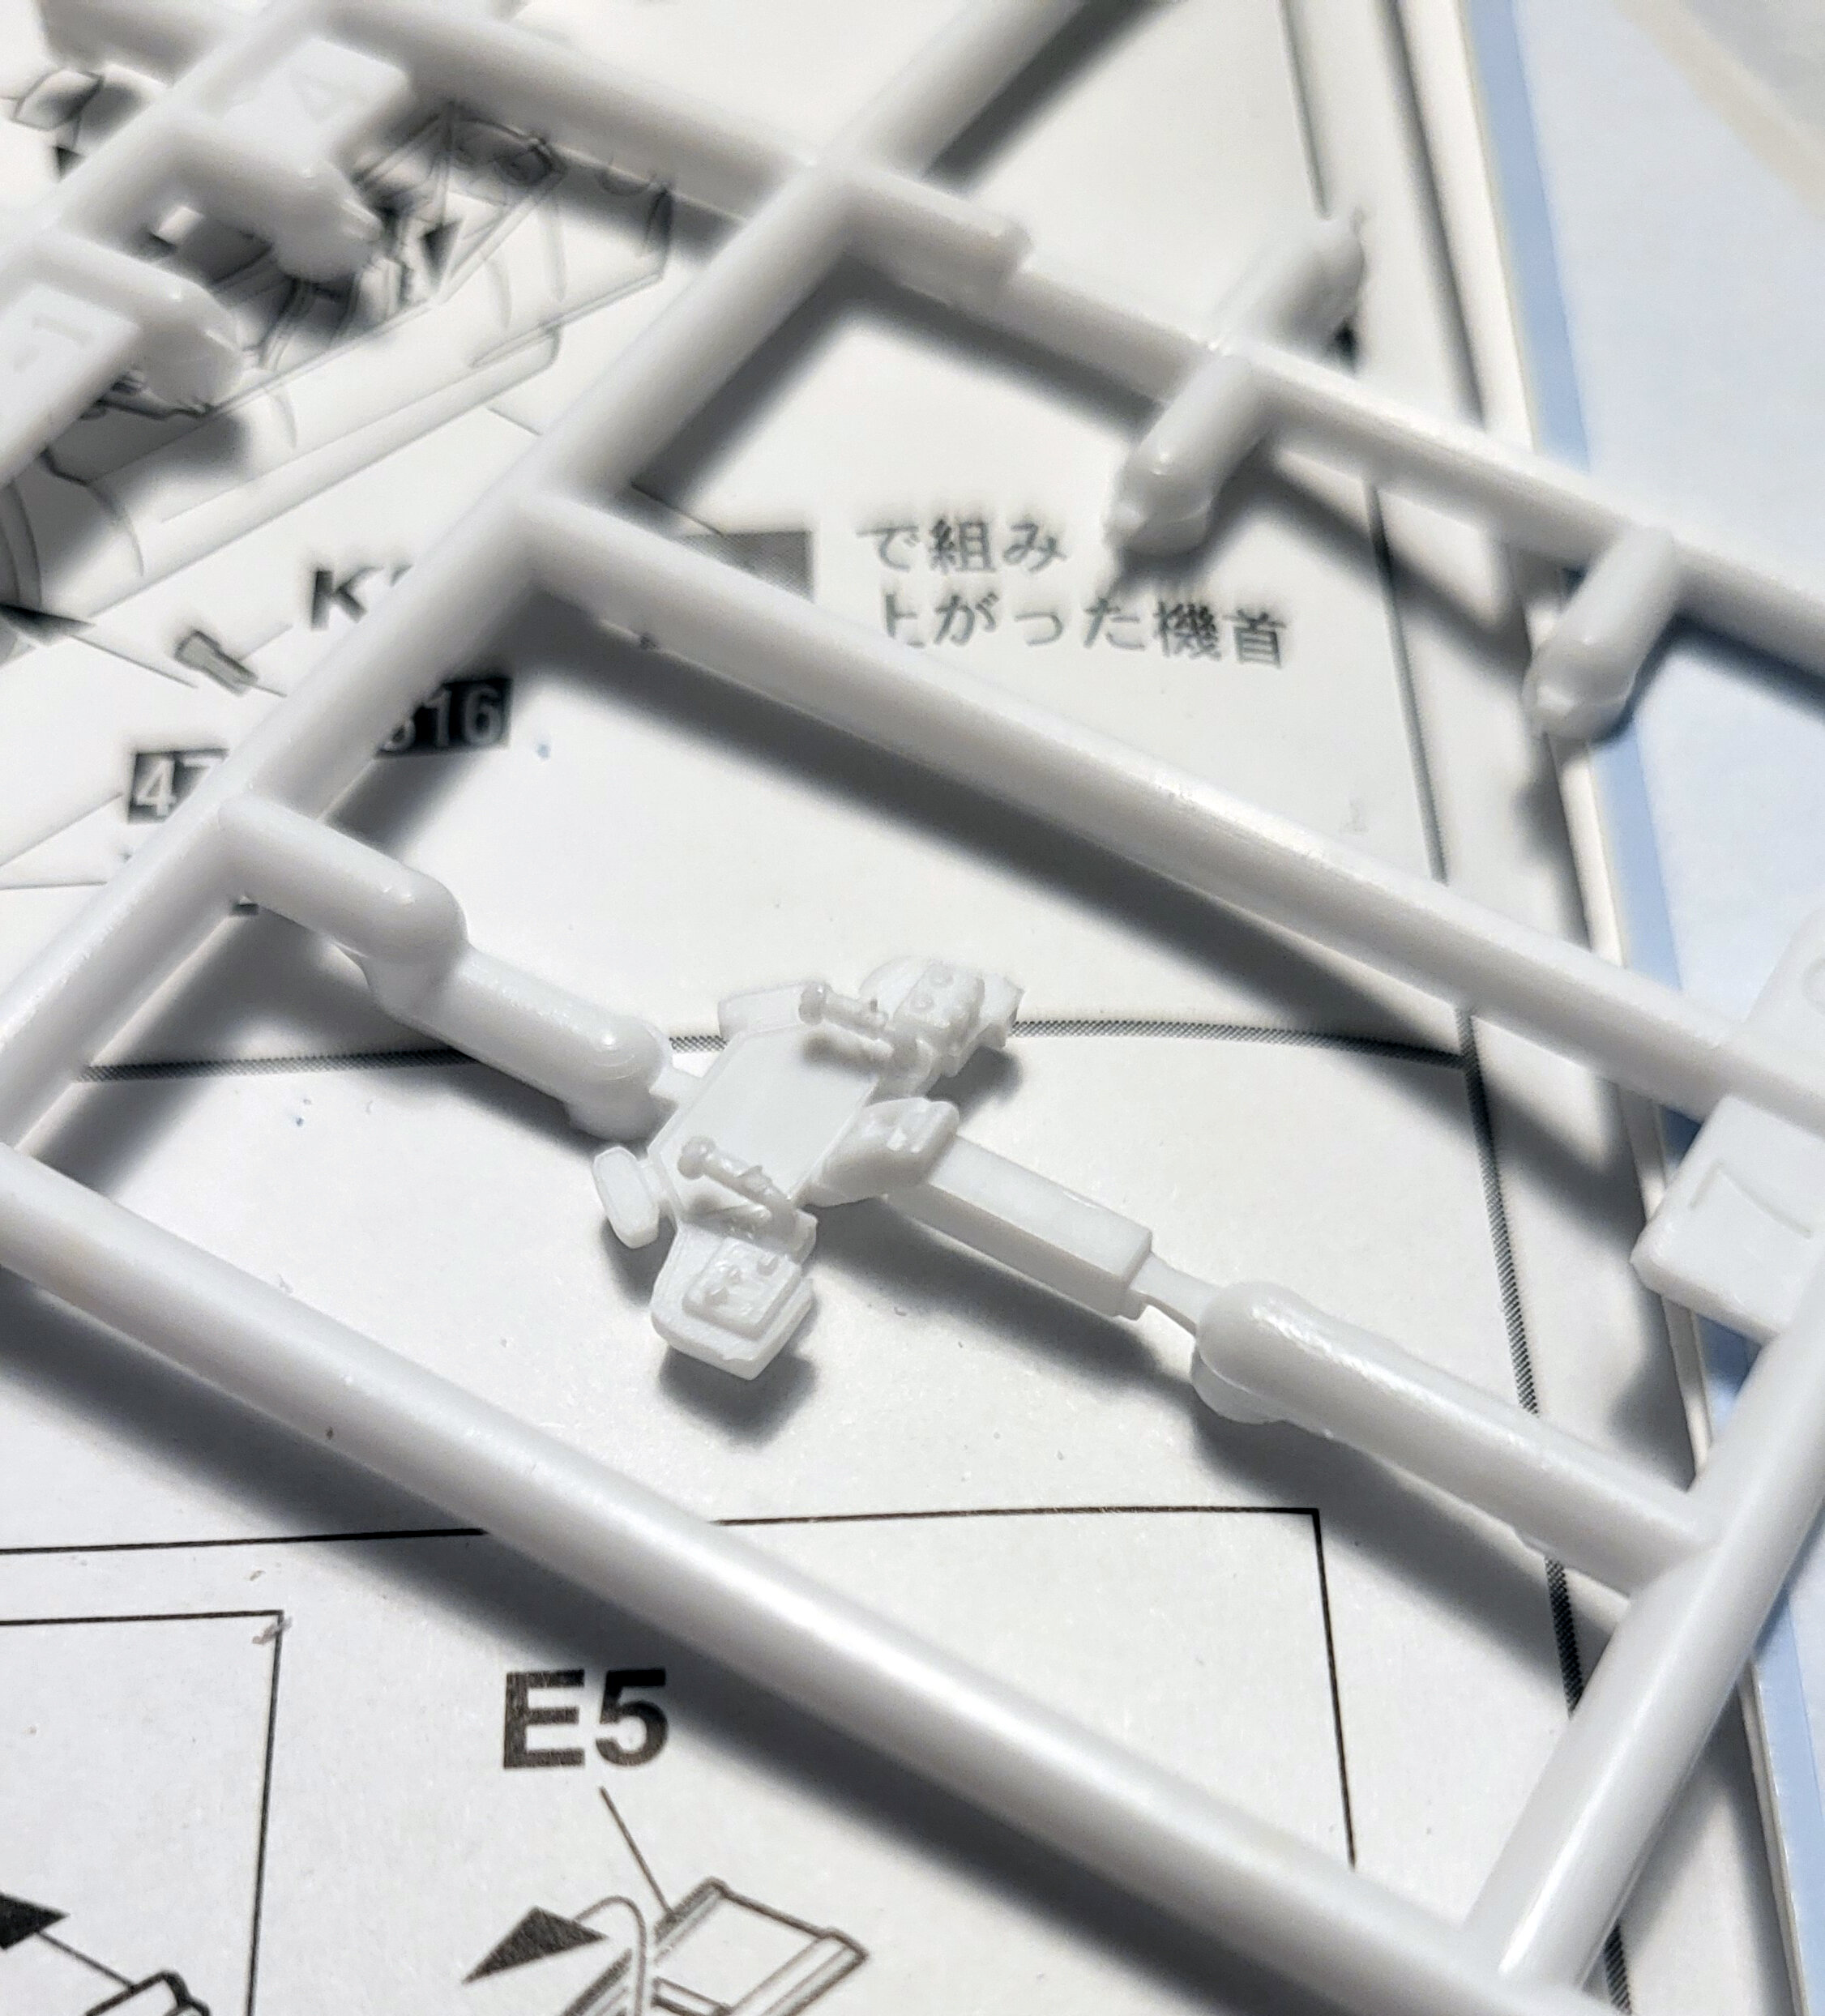
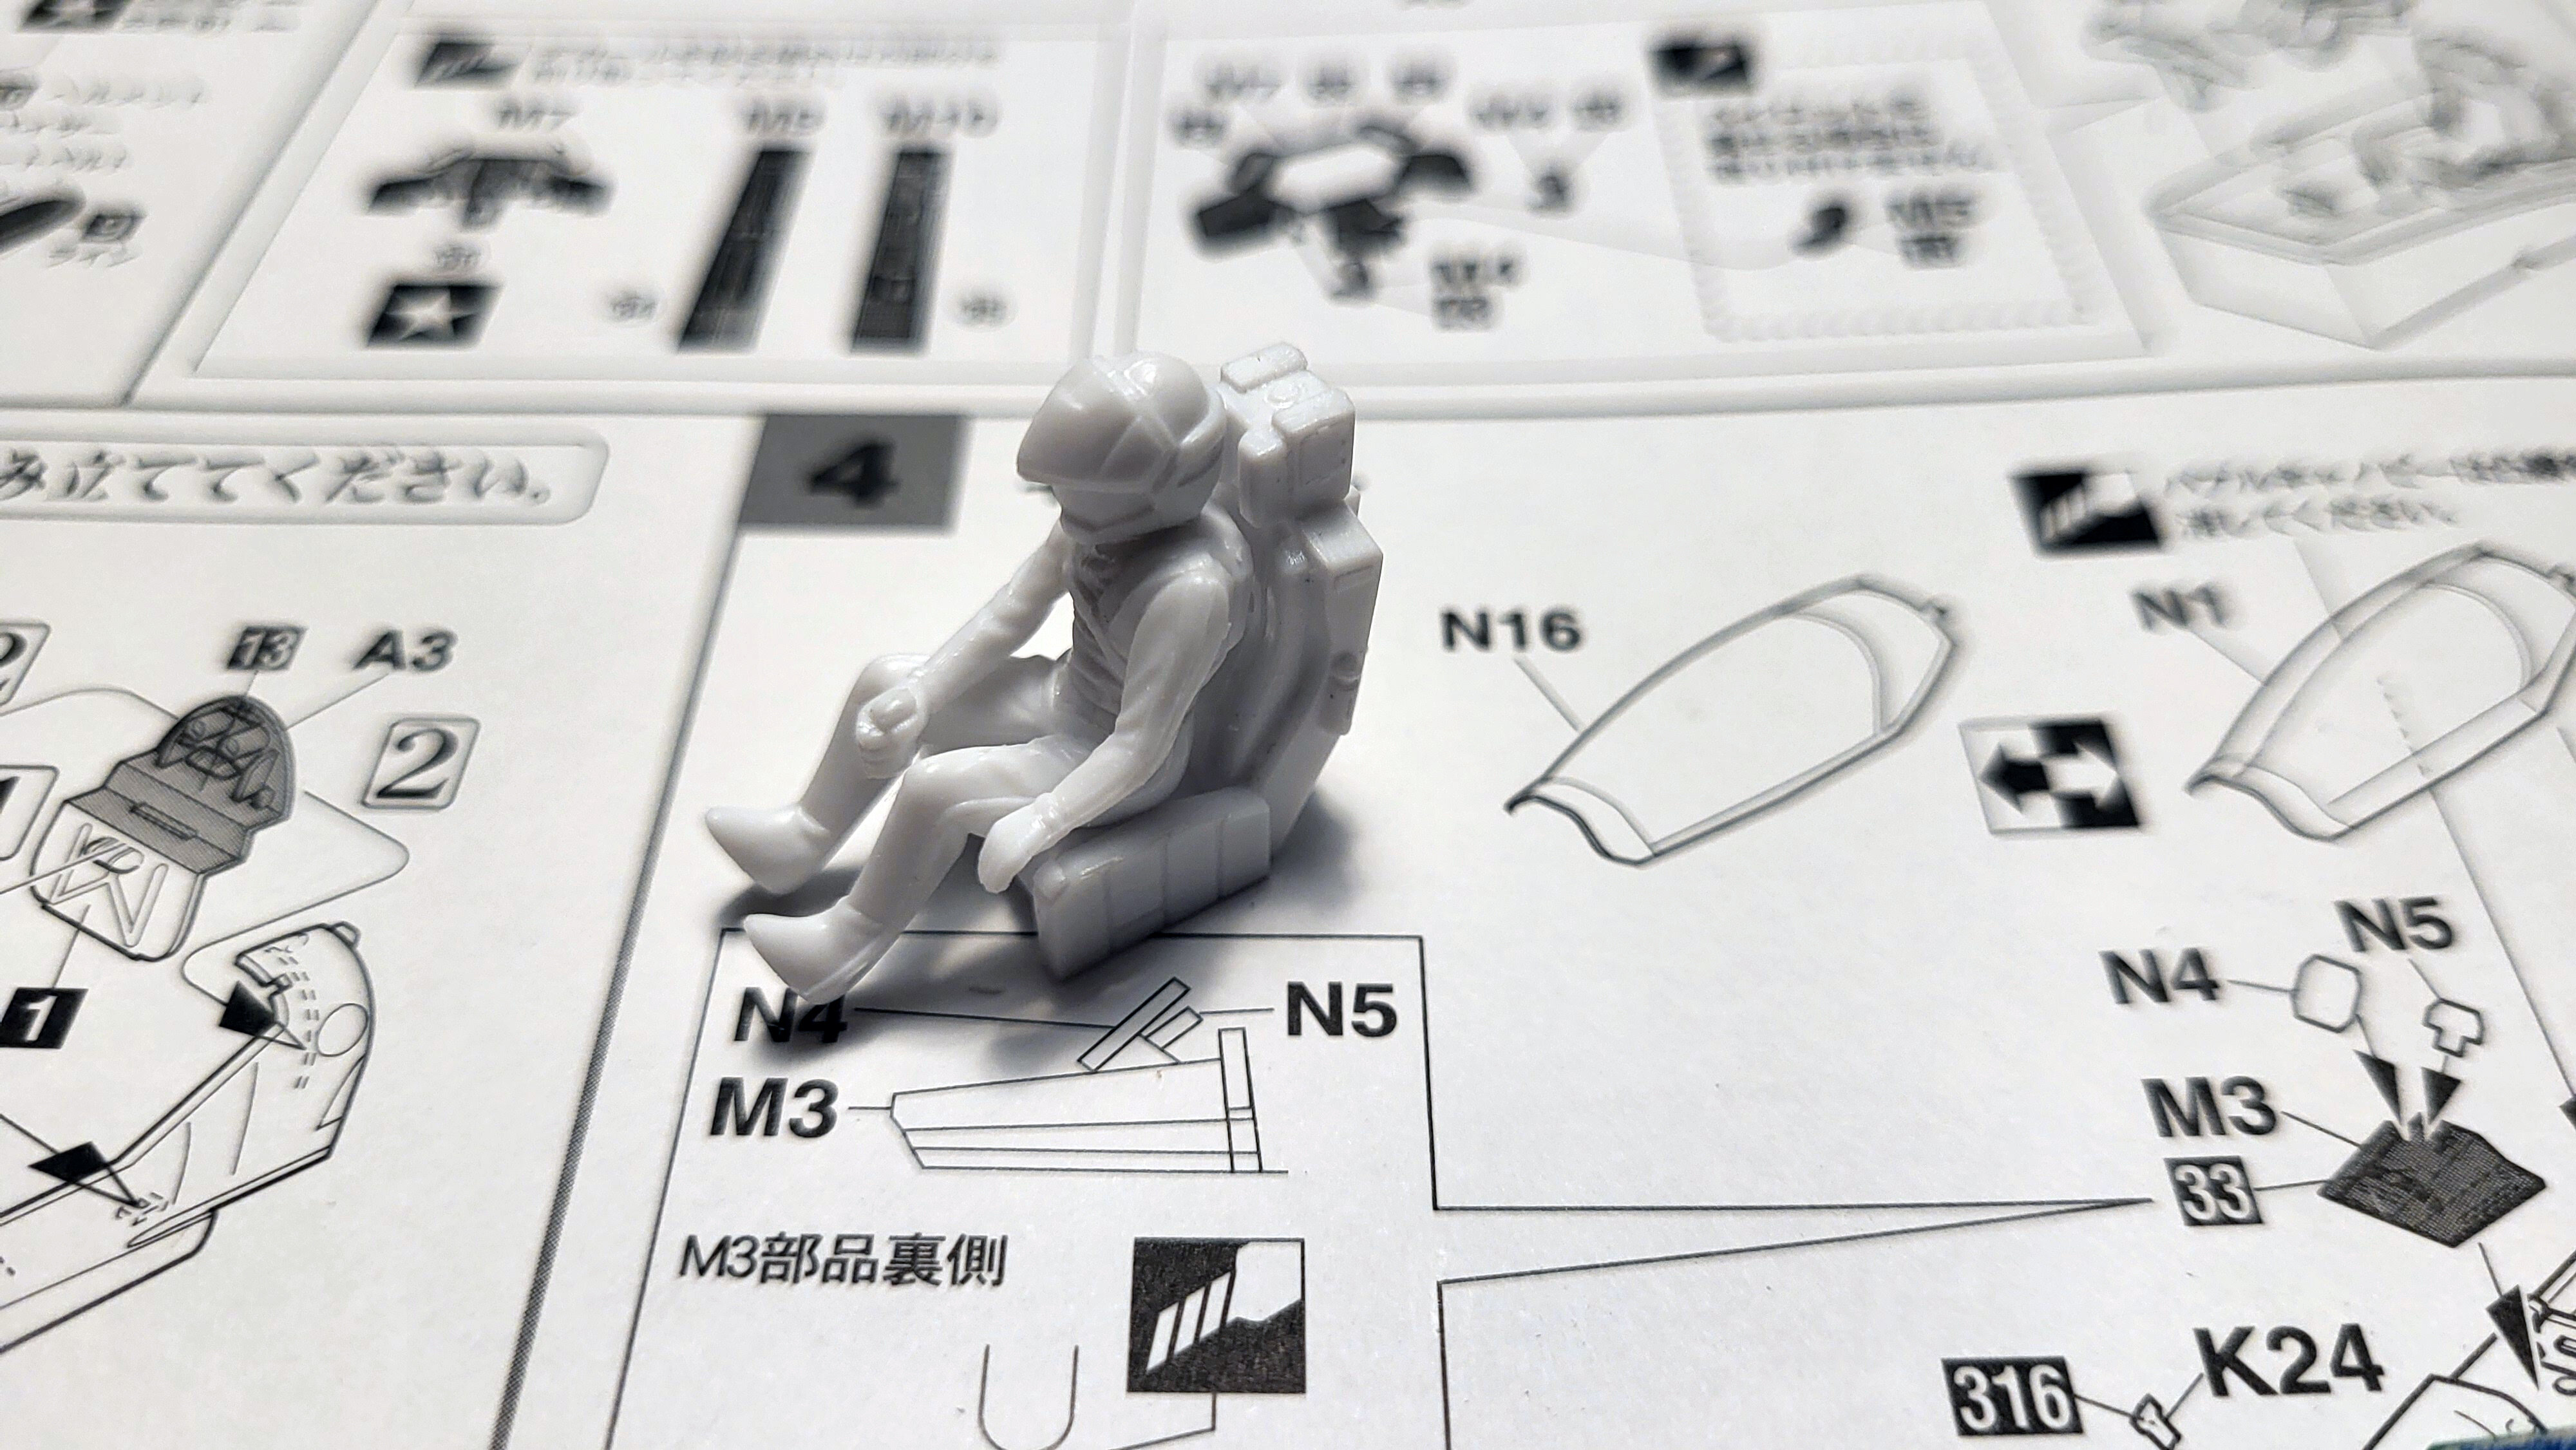
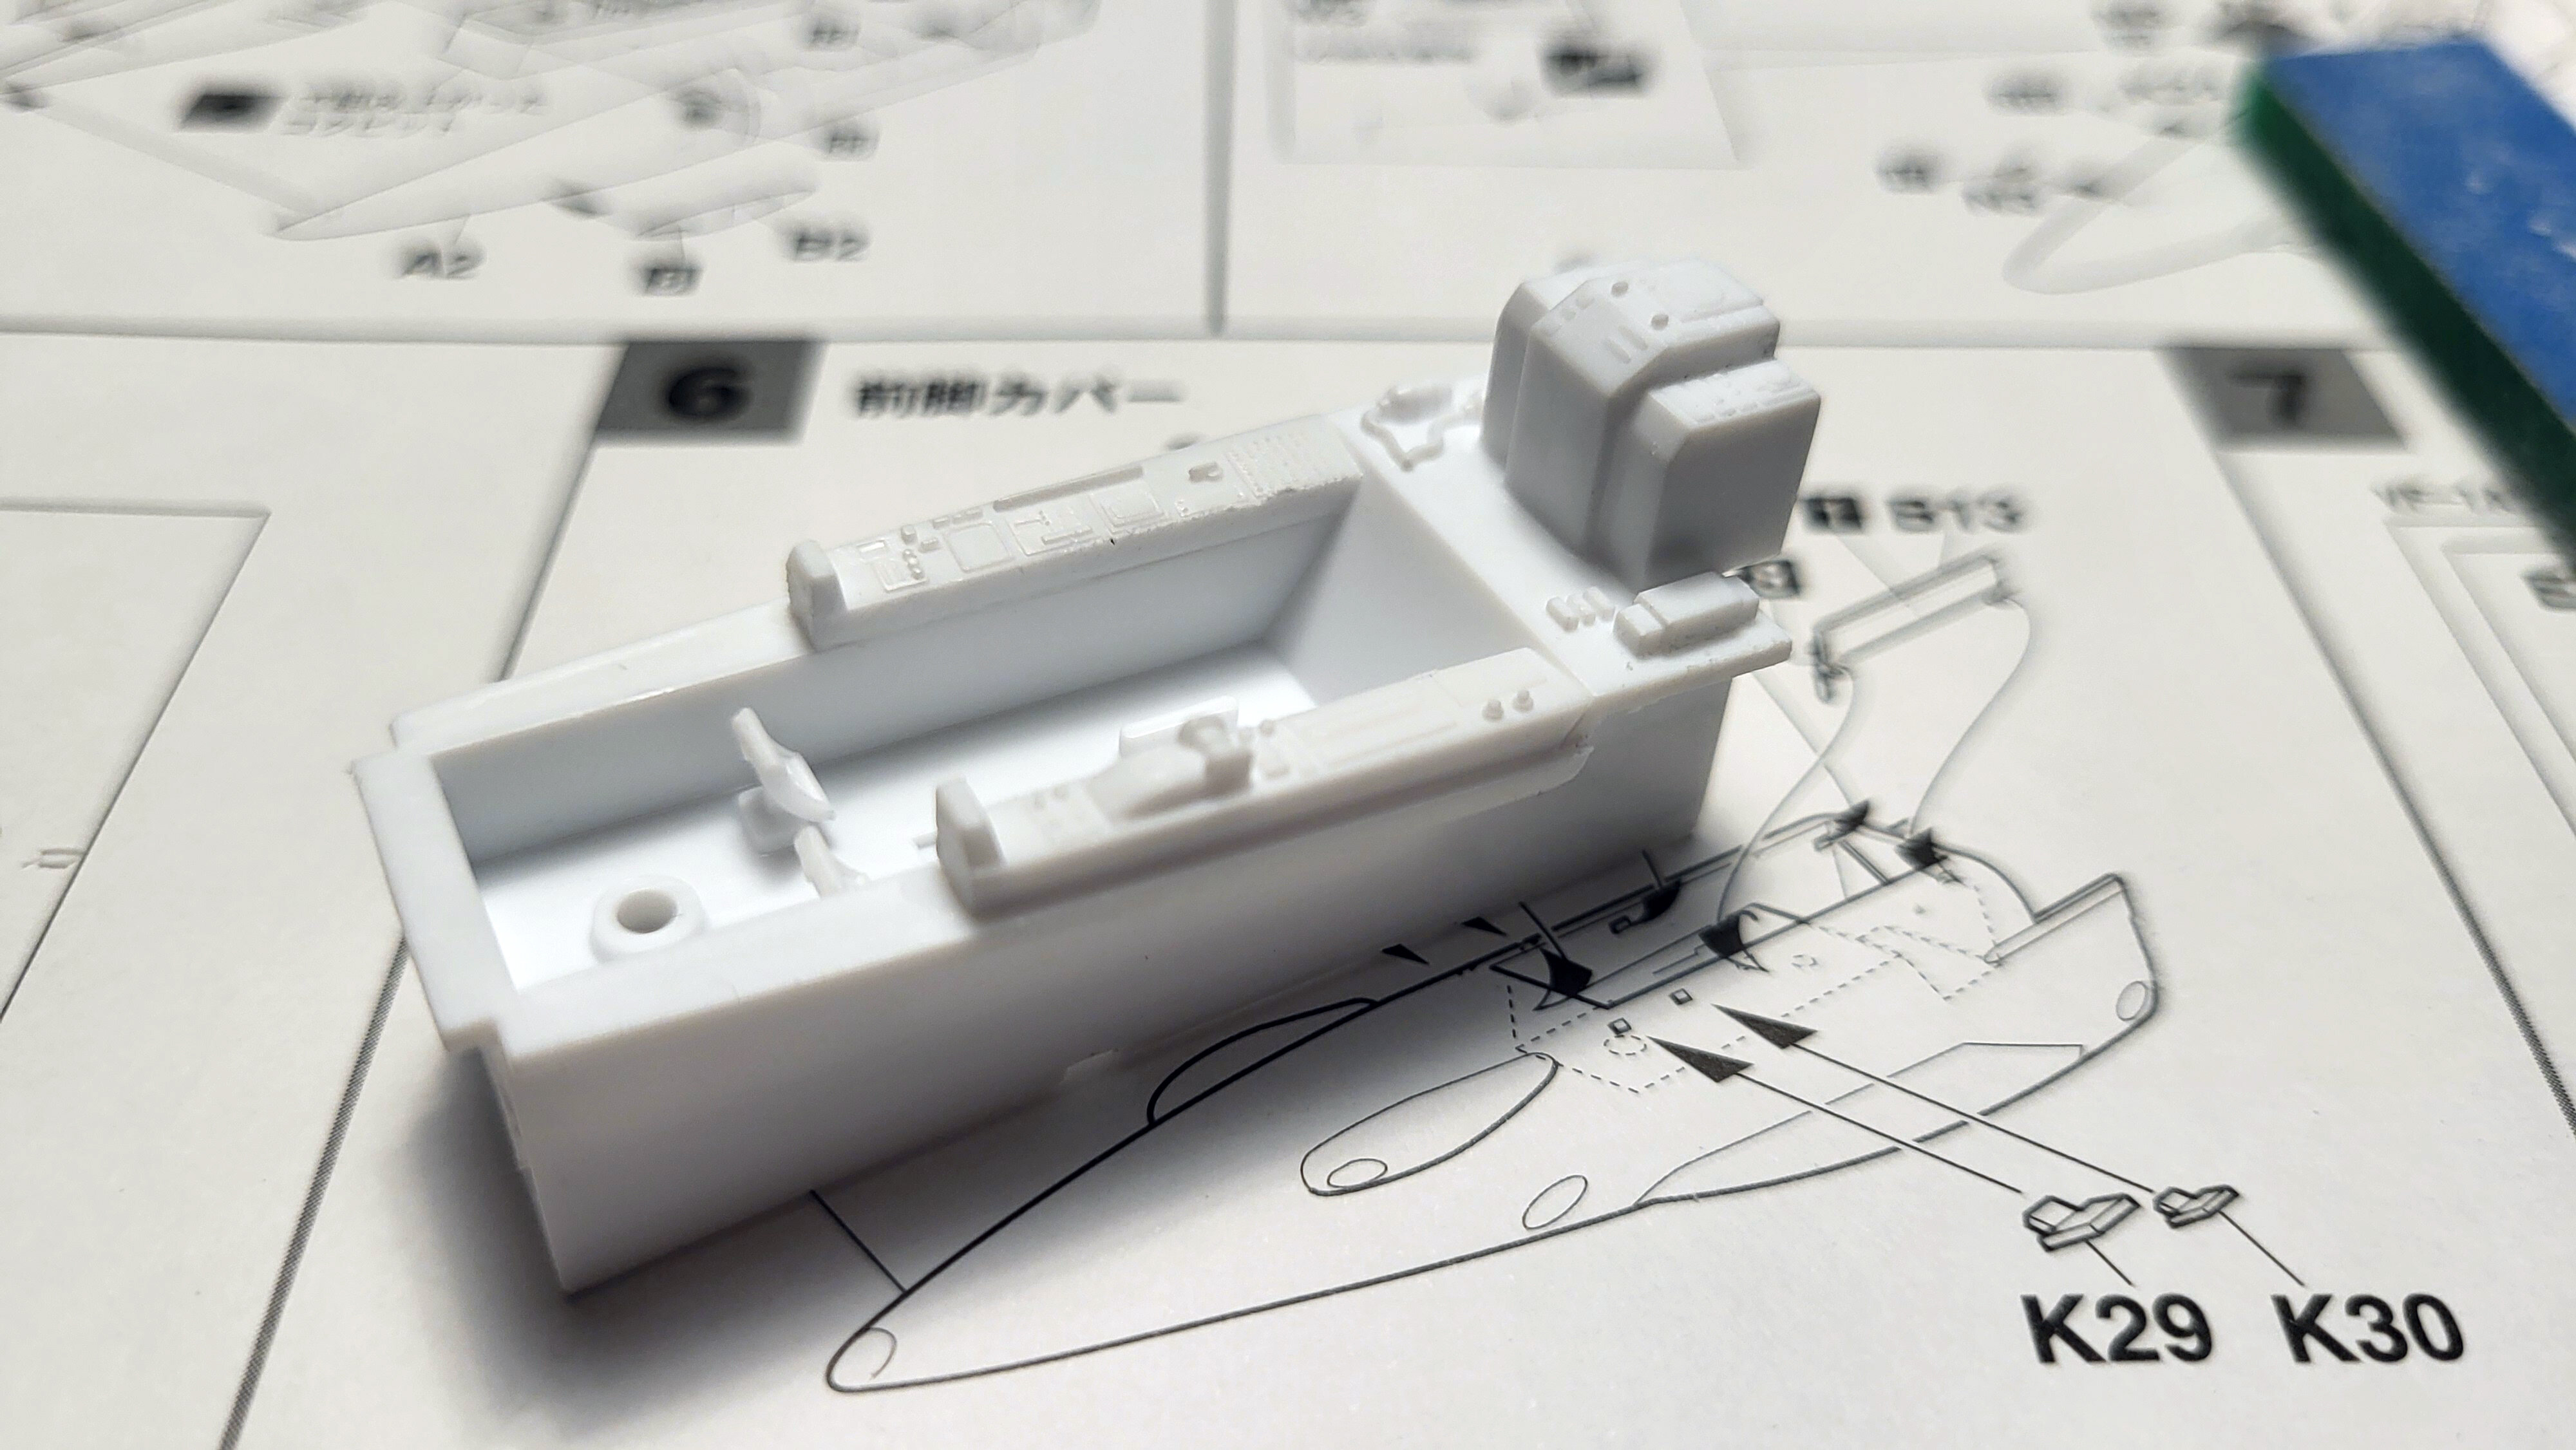
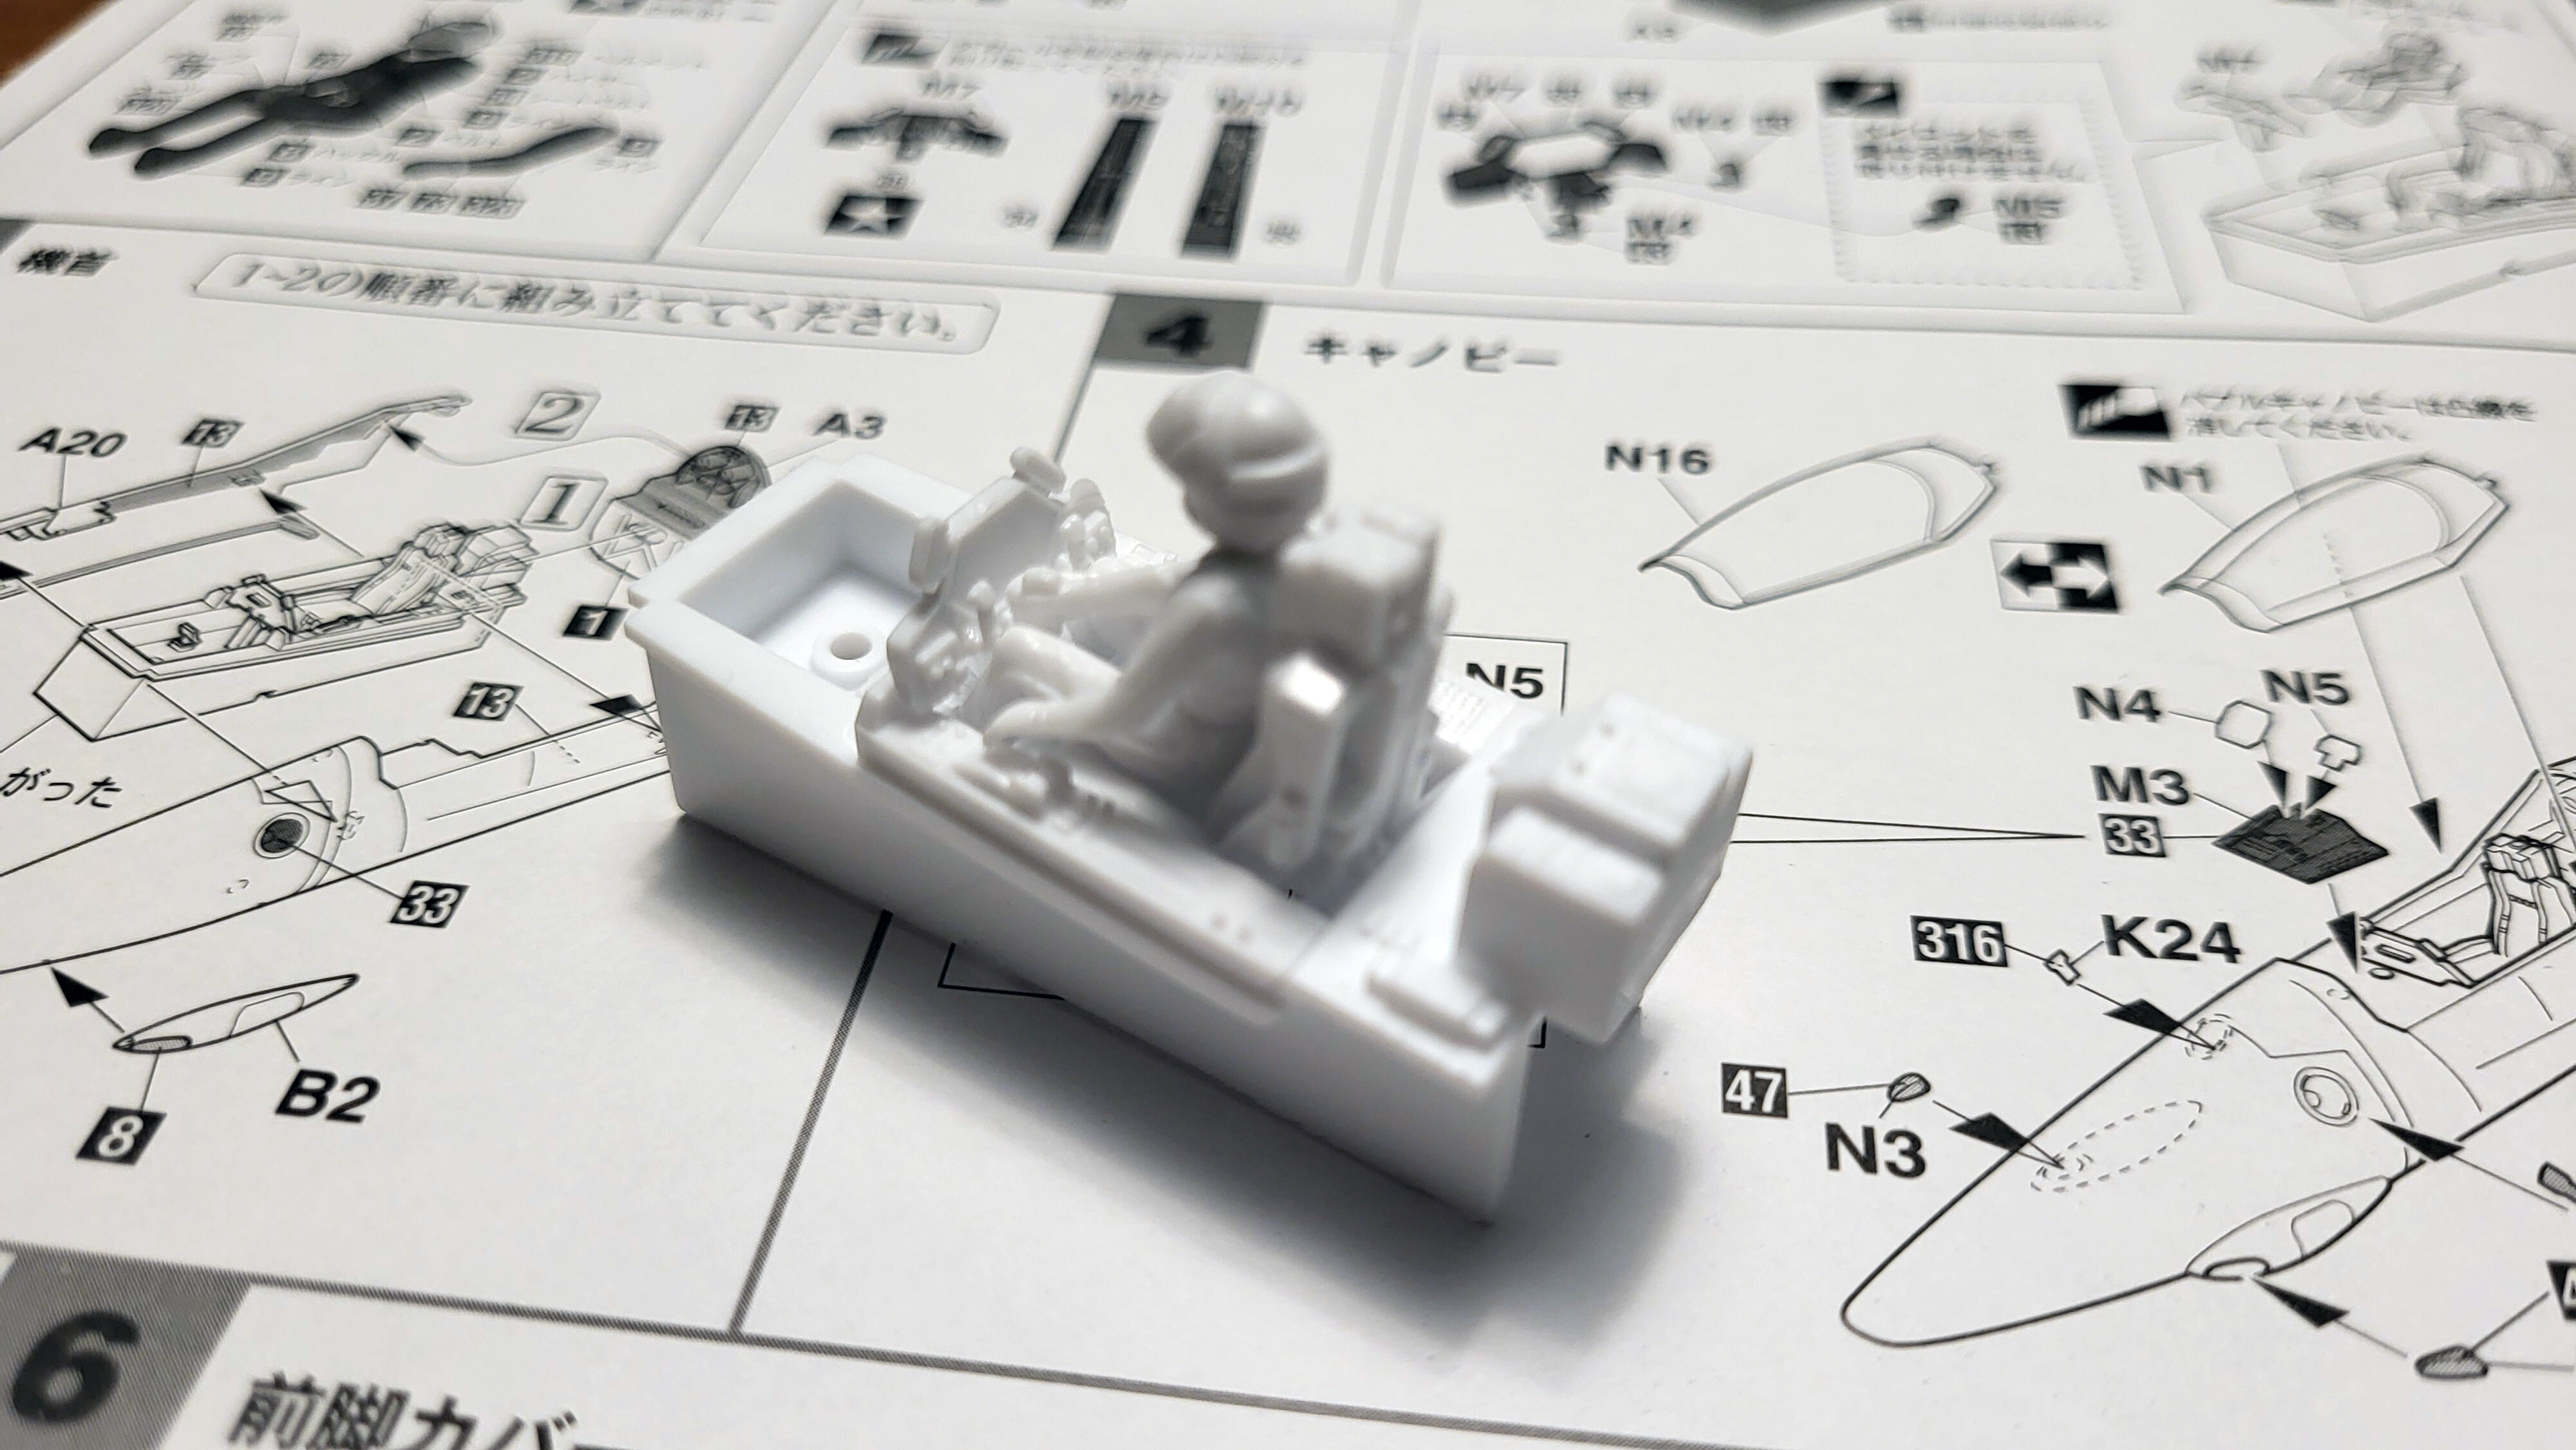
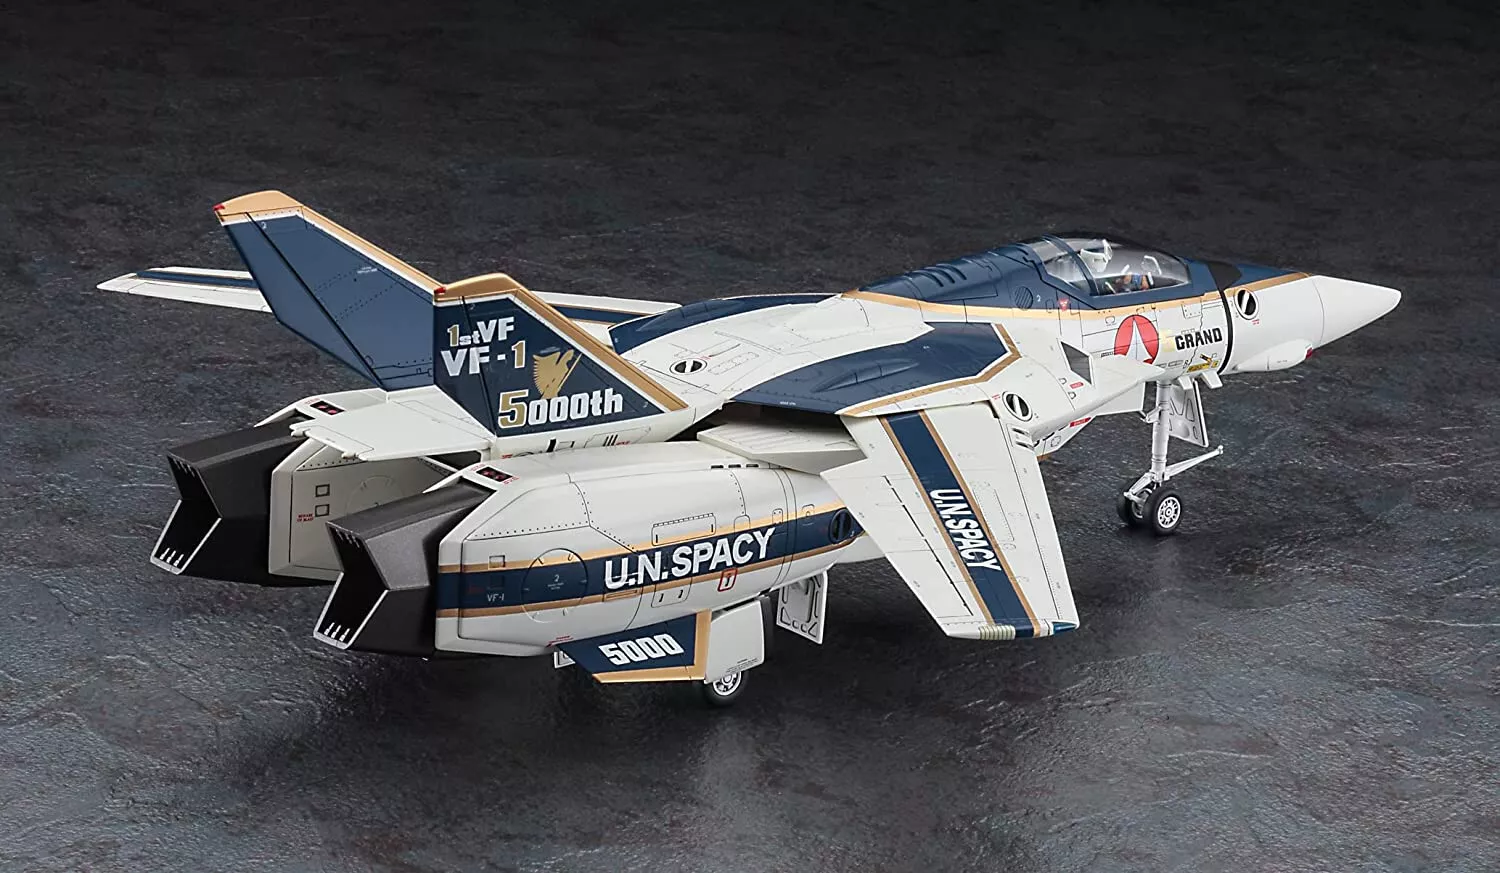
Hello, today I am starting on my VF-1A "5Grand" A special livery used to celebrate the 5000th Valkyrie to cross the production line. The livery is a 1-off and ultimately painted over before the unit was sent into combat. This 'should be' a quick mental health build in between workings of a much larger project I'm focusing on. It will also serve a a test bed for trying out a few new finish techniques in the paint department, and a few little other things along the way! Lets start with what makes run of the mill VF-1a kit special... the decals! Beautifully printed white, navy blue and gold! A very clean and striking color combo that would make even commander Golg Boddole Zer blush! It's a very modern color way than what is traditionally seen on the VF-1 Valkyrie. The larger sections of color breaking up more of the white really modernize the VF-1 and helped me appreciate it more without the fancy packs. The large color splash around the cockpit calling to a more IRL NAVY aircraft such as VF-123 Black Lions' F-14D! I adore this color combo, it's a shame the decals (mostly) won't be used! Masking hell it is, Yack! Quick look a Hidetaka Tenjin's lovely artwork for the kit. I really want to mimic the textures used in his artwork here, so a weathered... yet clean build it is! Semigloss sheen metallic weathering, a new one for me. The main reason I don't want to use the decals is the navy blue. The decals are just not the look I'm going for. In Tenjin's artwork, the blue gives off a almost candy finish with depth projecting a similar refraction as the gold does. The decals just look dead or flat, even when painted on Hasegawa's sample build. It looks okay in 1/72, but at 1/48 we can do better! That however, is still a ways away, not to get ahead of ourselves. --- Starting with the cockpit. Everything fit smoothly with minimal issues. My main focus was getting the assemblies together cleanly and glued. I really want to be able to go minimal on the filler, primers and paints as Hasegawa's nearly 10 year old kit is already not a sharply molded as I hoped. The original 1/48 VF-1a [Vermillion] was released in 2010 after all. I was a bit worried the TV version of Hikaru/Pilot wasn't going to fit well due to it's age. With a bit of trimming and finesse, I was able to get the extremities where they needed to rest in the seat and the flight-stick didn't end up too out of place. The TV version of the pilot. I think this is probably the only time I'll be building a non-DYRL pilot so I feel happy leaving him as-is. I think the only adjustments I'll be making is adding some definition to his arms/legs and fabricating a harness. I'm unsure if I'll go for the traditional pilot colors or try to spice it up to match the 5grand livery! For the front controls console, I found it easiest to build it on the runner. I've pretty much left the cockpit in 3 assemblies. The pilot/seat, the cockpit tub, and the front display. This is enough to allow me to detail it without having too many loose parts. With a closed cockpit build, it doesn't need to be 10/10 anyways. Unsure how I'll approach the cockpit going forward. I do have a set of Hase's photo etch, but do still intend to keep them for the Super/Strike build whenever I get to it. I think I may take a simpler approach and just rely on detail painting and a little bit of freehand scratch-building modification to make it a bit more interesting. I've yet to pull up references from the 1/20 kits or artwork so we'll see. Don't touch that dial!
