leading edge
-
Posts
436 -
Joined
-
Last visited
Content Type
Profiles
Forums
Events
Gallery
Everything posted by leading edge
-
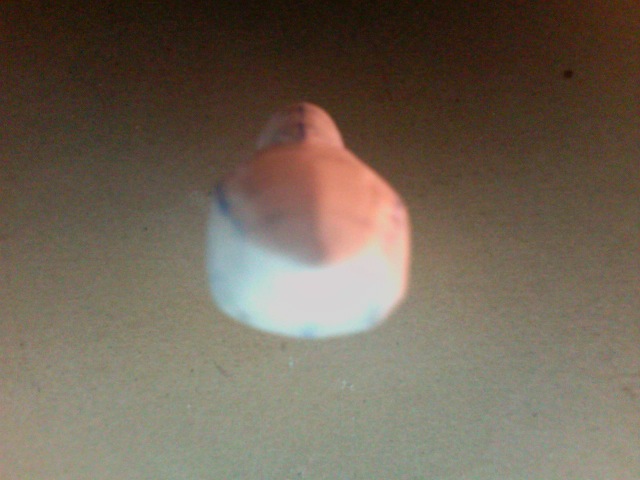
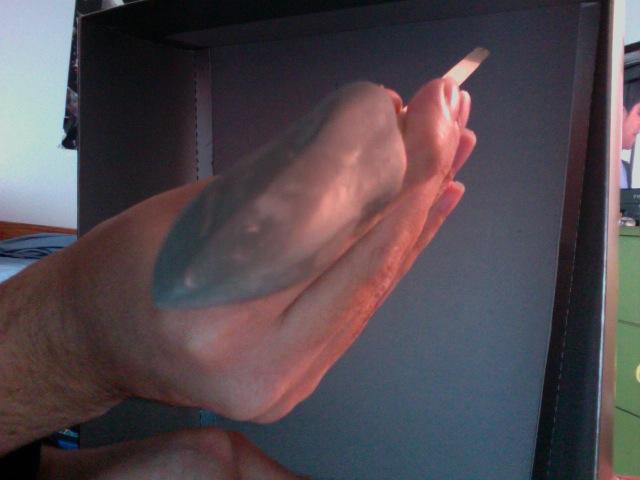
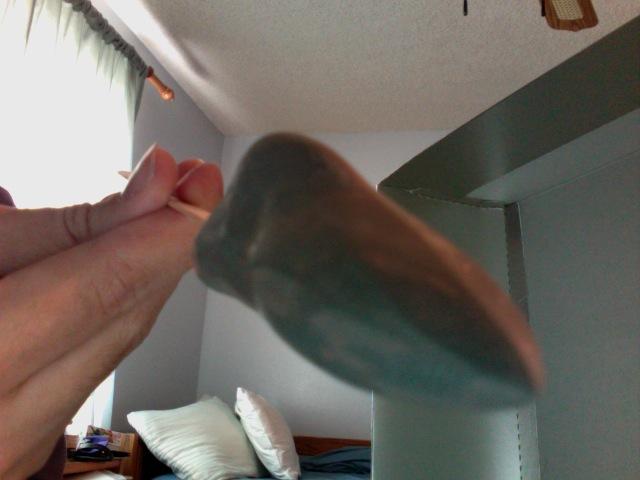
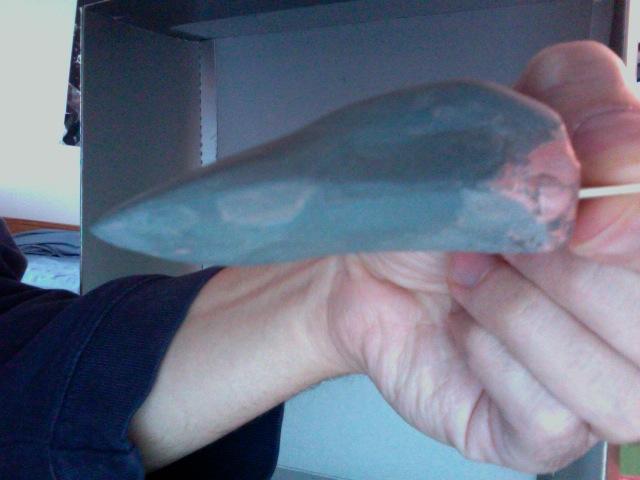
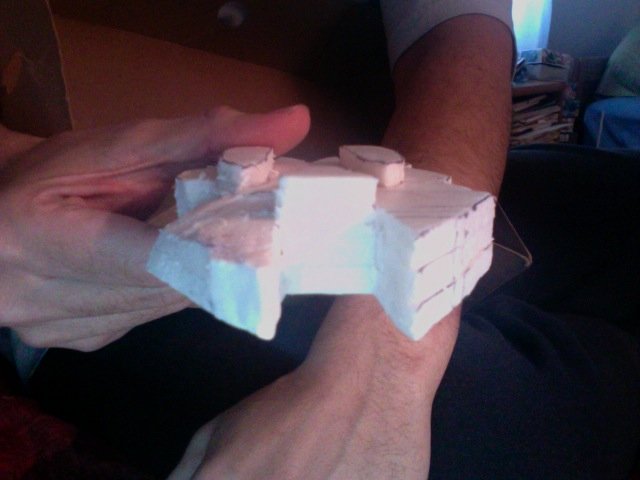
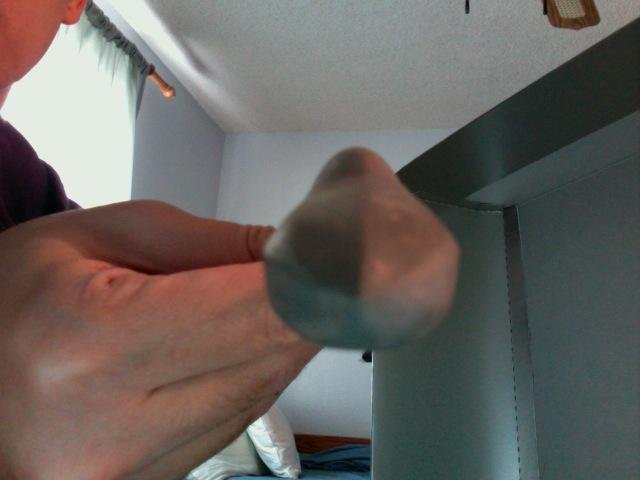
Update been dividing time to get some work done. Sorry it's been a while the update is going to be quick I'll have to take some better pics later I need to smooth down the nose cone felt it was too fat and lacked dimension so I reworked the areas with some foam putty and reinforce the nose cone with a tooth pick to keep the point solid( foam is useful but too dentable sometimes. here are the updated pics still working on the body. Please and comments are welcome
-

Tips for building VF-27 gamma Lucifer Valkyrie
leading edge replied to neostrata's topic in The Workshop!
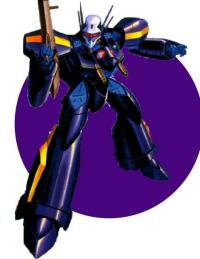
The best I can tell you about what I saw is the plane battroid and gerwalk are all sanded down going from a course grit of sand paper and carefully cutting of the pieces from the sprues. There weren't and visible seams and each area on the body seem to fit well so there maybe some puttying to bolster or improve the sharpness of the lines. You can of course do this by sanding with fine sand paper. The color was really vivid yet it was done with a primer possibly Tamiya spray primer? I'm not sure. The colors seem to go from darker and opaque to a more translucent color to bolster a pristine finish. The surface I don't think was buffed using a buffing tool but it can be done and if you use cosmetic buffing tools. I've found that some of my better work comes when I either use a cosmetic tool or a retrofitted tool from a hobby store. If you want to make the gamma I would mix some colors in photoshop or check the colors of The Lucifer Gamma at a local hobby store. Oh. If you want a matte or semigloss finish to your liking use a double action airbrush and test the misture of matte to gloss so the proper finish on your craft can be applied. It adds a final touch which makes your finished model that much more satisfying. -
Scratch Building/Model Modification Archive Thread
leading edge replied to Dax415's topic in The Workshop!
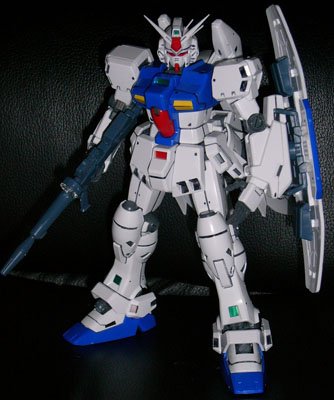
The crusader's shoulders depending on if you want to do the mod yourself could be taken from either a master grade Gudam kit possibly the RX-78-2 versions older is better. The head can be for the attachments modded using a combination of styrene sheetes an ABS, and milliput putty. The chest looks like you could take it from the the RX-78 denborium stamen because of that boxy look much less needed modding. The legs look as though you could take an existing VF-11's legs and add some mass to give them a rounder edge. Depending on how you will want articulation you could alway use a Hasagawa Batroid's legs either way parts could be taen from the Macrosss 7 VF-11 and used in some way to suppliment the feet. here are some images of the kits I have suggested for modification.
-
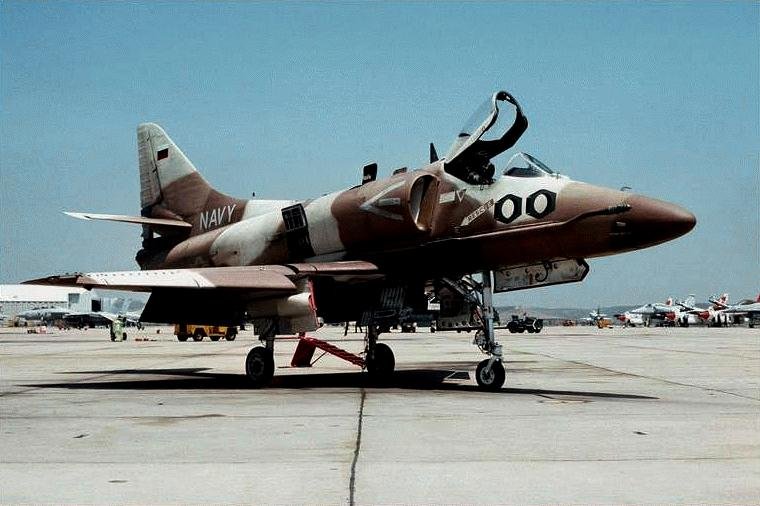
First the front landing gear looks for the front to be similar to the A-4 Skyhawk front landing gear and the two rear undercarriage wheeels look like a Mitsubishi Zero's landing gear I think I have pictures for both. Specificly a 6AMM Mitsubishi Zero Sen X-133 part


-
So cool I'm doing something similar any thoughts on how your going to add the landing gear been having trouble finding screen shots or data on what the VF-171 landing gear looks like.
-
Me Too. Here is an update sorry it took so long going to school and work just eat a lot of time away from my project. This time I tried a number of new things to me that my local hobby shop(Valuecraft )suggested. The nose cone is ade with a dense lighter styrafoam found to makeplanes and foam aircraft. It is essentially the same except it has smaller pores and the material holds up to sanding and can be cut precise enough with little effort. I used foam putty Subterrain it works well when filling in craks or making areas sharper. I made another nose cone and am currently working on the body. I'm up to about 25% of the plane part of theproject at present. Here are a few updated images.


-
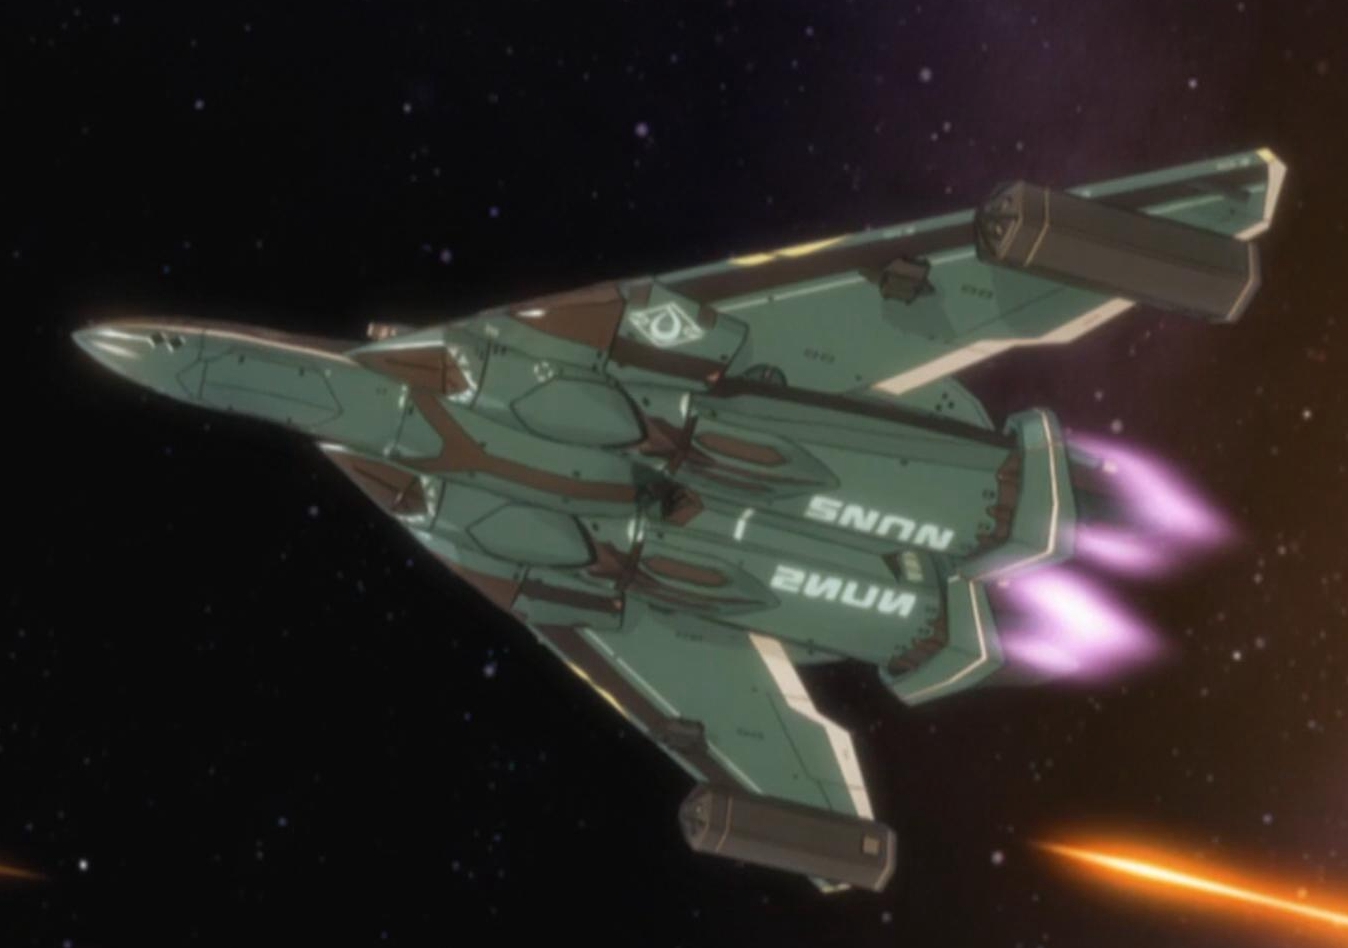
Just a cool real-world scheme for inspiration
leading edge replied to David Hingtgen's topic in The Workshop!
Are you going to use the NUNs Insignia or are you using the original UN Spacy "kite" insignia. If neither will it be a real world looking aircraft. I kinda like the idea of a UN spacy aircraft that isn't a valkyrie. It gives it a Macross Zero feel like the F-14 were given. -
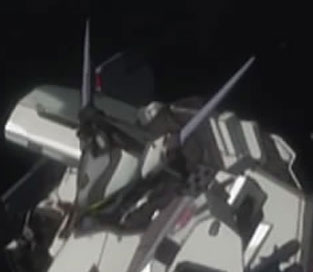
Sorry for the delay of this post I needed to get some work done on the update but was delayed because I worked longer than I thought. I apologize and will have the latest on this model and it's updates. At the moment I'm working on the finish which I've made at least three derivatives of Mech Tech's acrylic solution. The first was made of 3 parts terracotta clay 2 parts talcum powder and I part acrylic. I use this to give a general shape over recently sanded and shaped styrafoam. Depending on the amount for making the surface smoothe you need to keep it in a container and kep it from being exposed to air. the second solution is one made of more acrylic which I use to give the sculpt definition it is made using all the same mixture above except once dry I add a watersoluble laquer on the surface and let dry for about 1hr.- 1hr. 1/2 this is what I like to call surface definer. The third and final coat of the acrylic solution is a thinned down laquer 1 part talcum powder very small and 1 part light body acrylic paint. Make sure the paint is light and not a heavy body because you need to apply it to hailine cracks then sand with a 900 grit sand paper. A soon as I'm able I will update this posting with some pictures. here is a view thought of the transforming sequence of VF-171:

-
One word awsome to add another would be pointless because this is off-the wall-good man. How did you get the wheathering to look so good? Graphite rubbing thinned paint, airbrush? Because that is professional looking man.
-
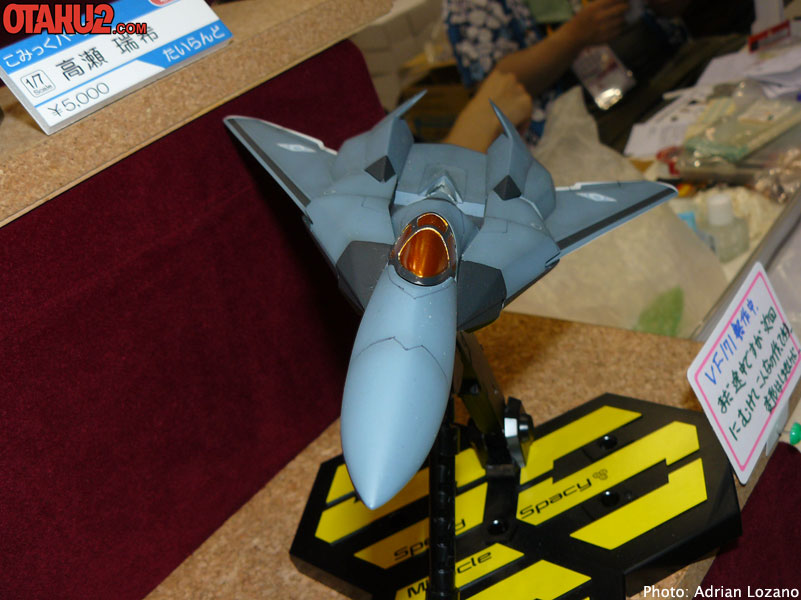
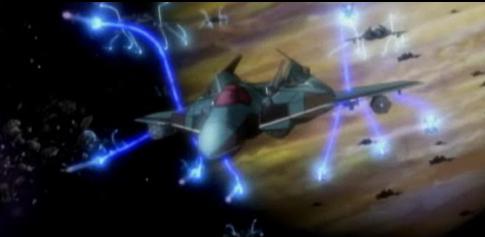
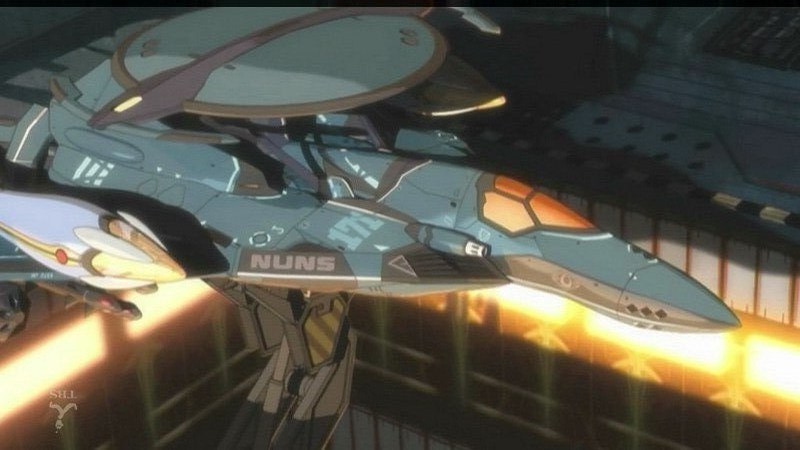
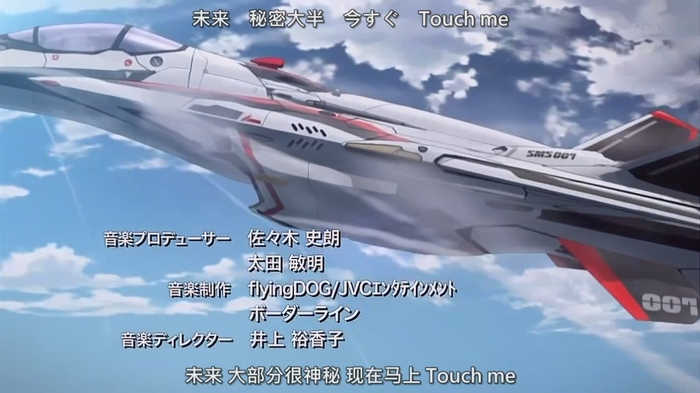
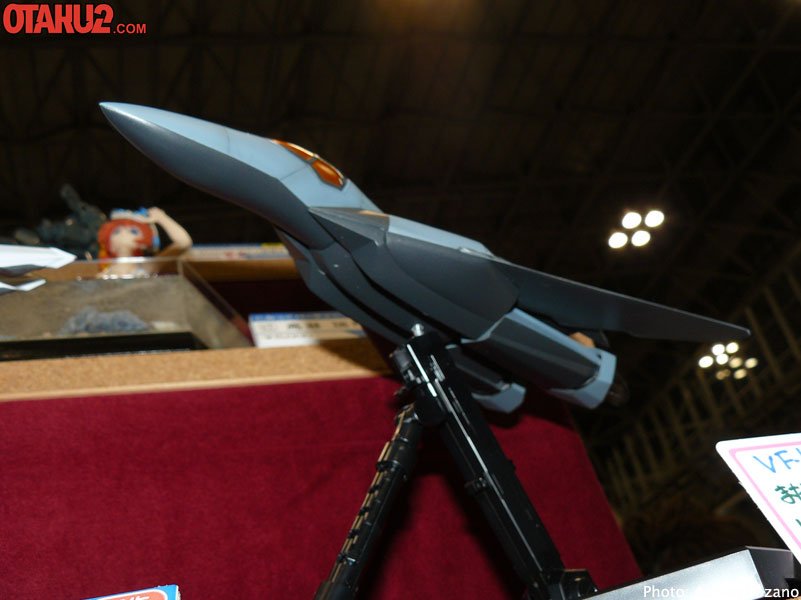
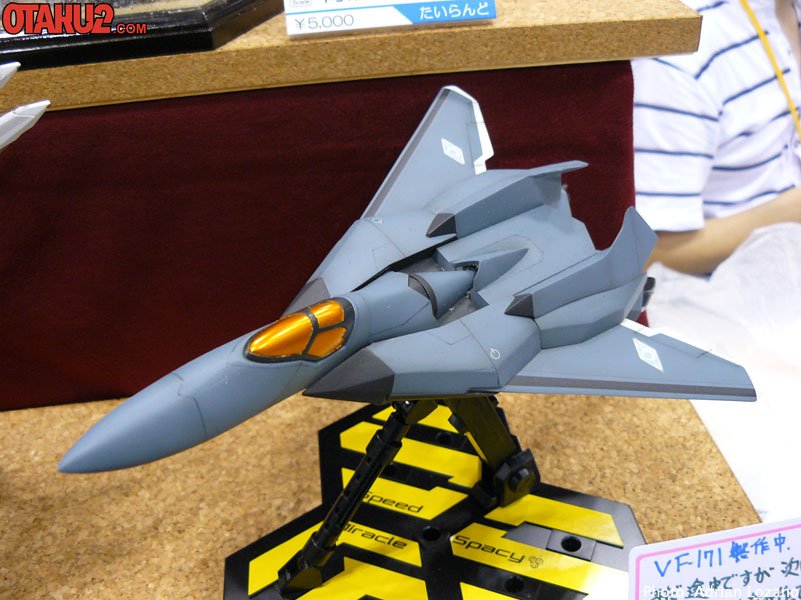
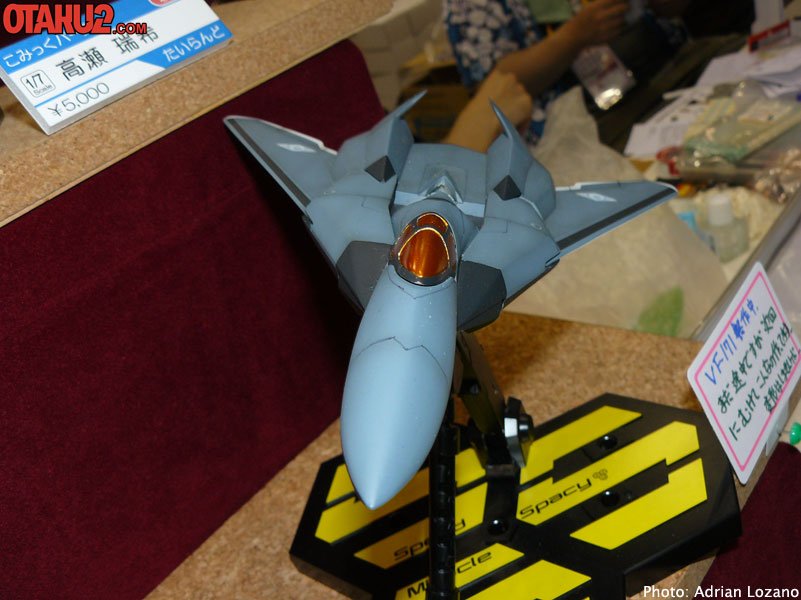
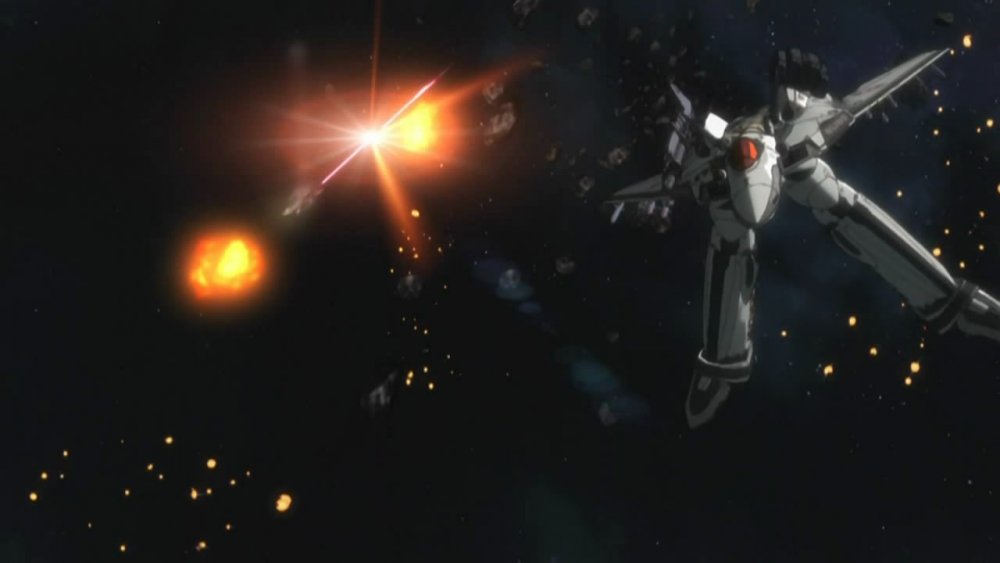
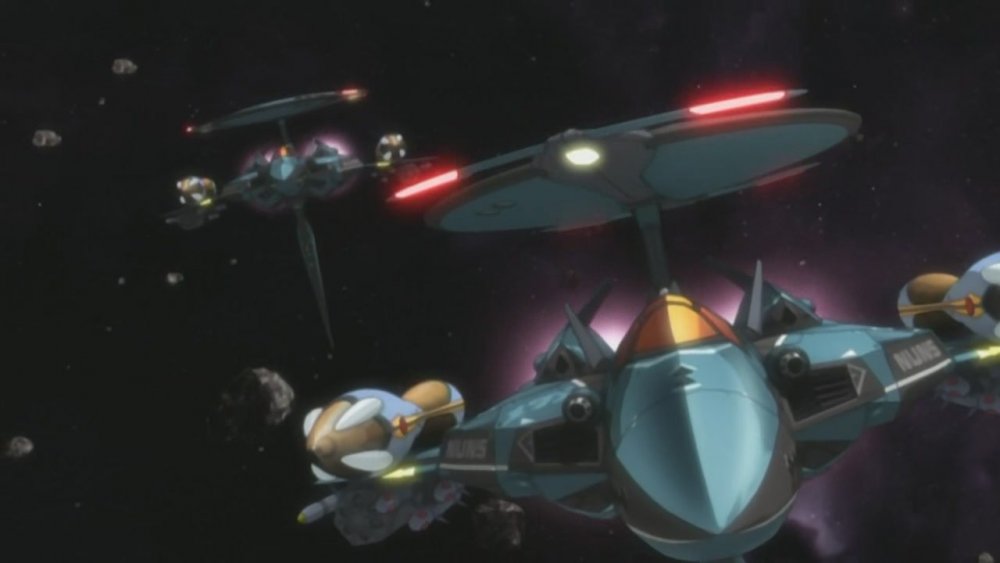
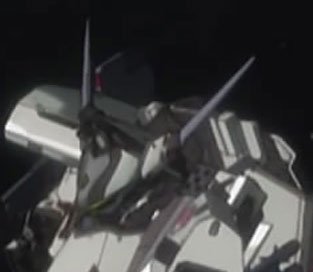
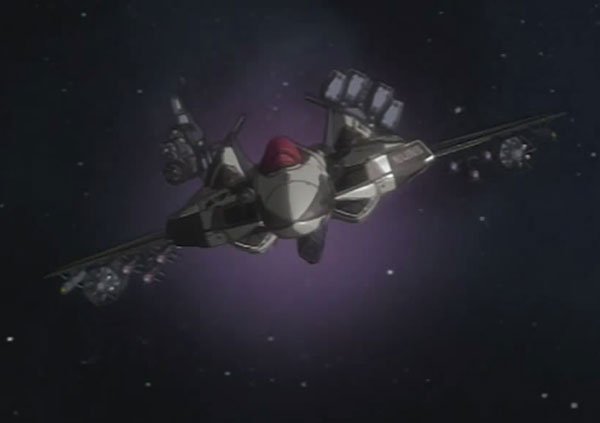
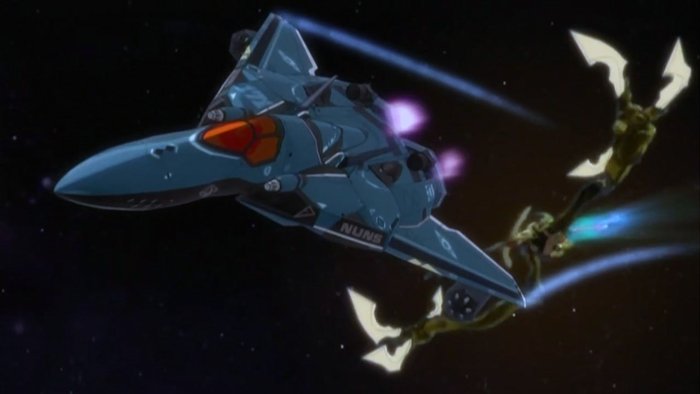
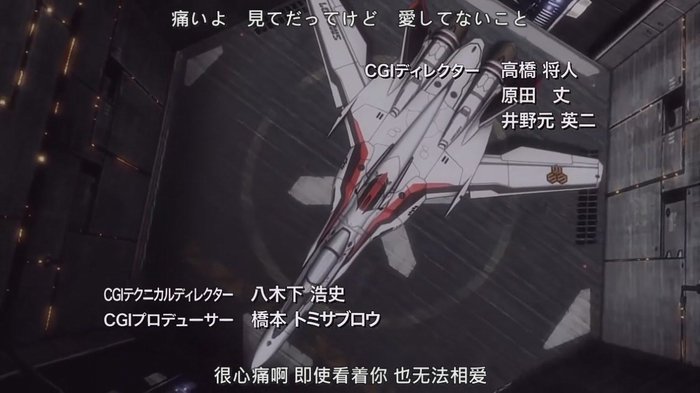
This is only a minor update which will show some reference of the model I'm working on. Right now working on a bottom schematic image for the VF-171EX. Also looking for images presently which show where the landing gear is. I have a few hanger screenshots and will be posted soon. here are a few VF-171images gathered around I'm planning to use them in refining the shape of the canopy and nose cone of the VF-171 EX. the VF-25 images have the same canopy except for the rear panel is a bit smaller otherwise it's identical to the VF-171 EX. I also included some screenshots from http://www.macrossroleplay.org/Sketchley/S...171/VF171EX.htm and various screenshots collected or taken from my collection of Macross Frontier episodes. The VF-171 model was found with a google search and seems to be a scratch build as well.


-
Thanks for the last post extremely helpful. It's nice to know people are interested in this kind of scratchbuilding.
-
thanks dude. I was wondering if the size was too much but I guess it isn't. thanks for the input.
-
Yes eventually it will the structure at this point is just for shape so I can either make a resin cast of this particular model. I plan to cast this twice once for so I can detail and work out the mechanics and the second to refine the internal structure so it can house possibly electronic lighting. Also I hope to try out a electronic auto transformation system on this model. I know I have high hopes but I would like to try as much as I can to make this a unique build. Thakns Jasonc for the interest hope to hear from you some more. If you are wondering why I answered this first it was because I was going to edit my previous post sorry if only on question was answered?
-
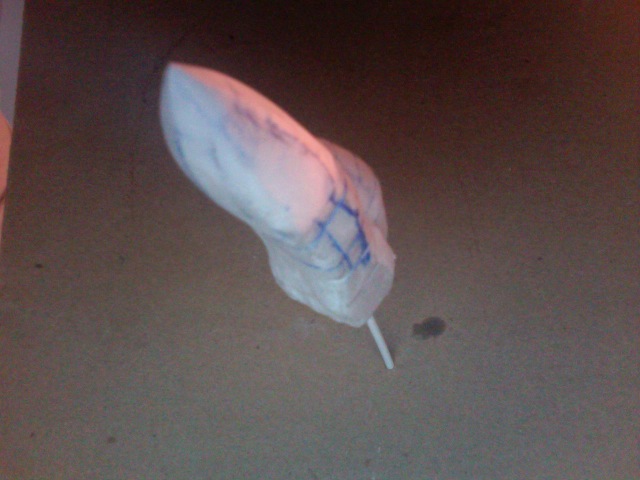
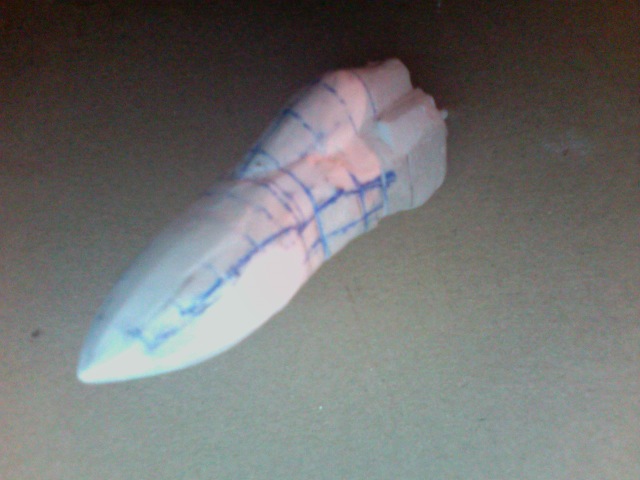
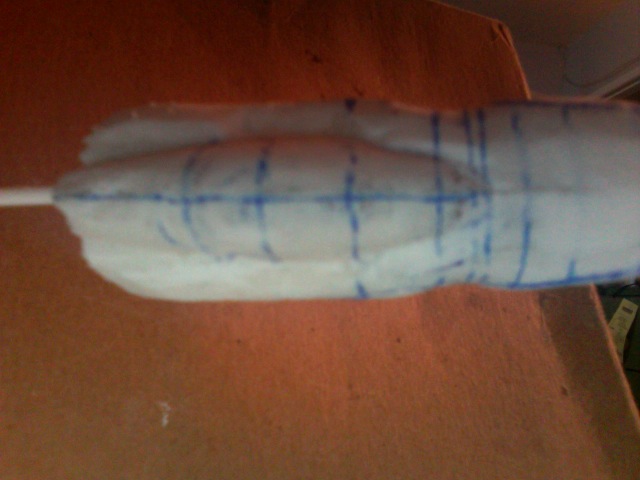
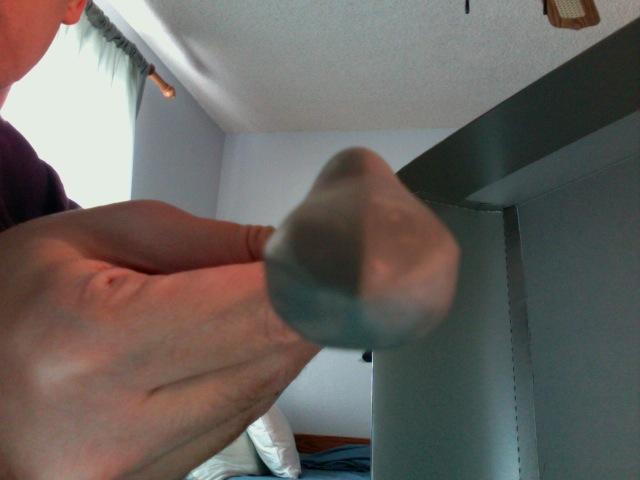
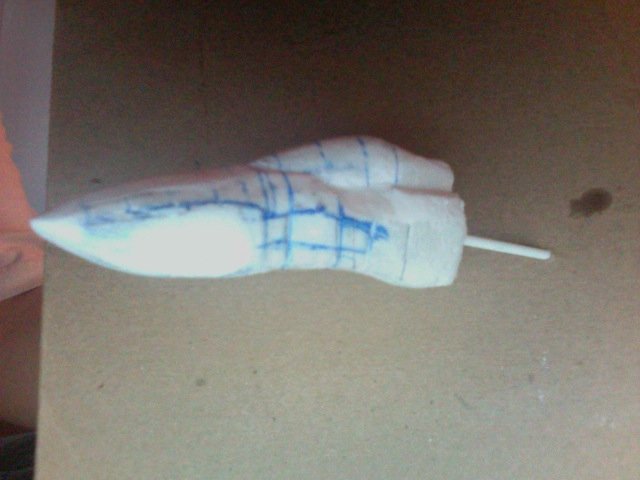
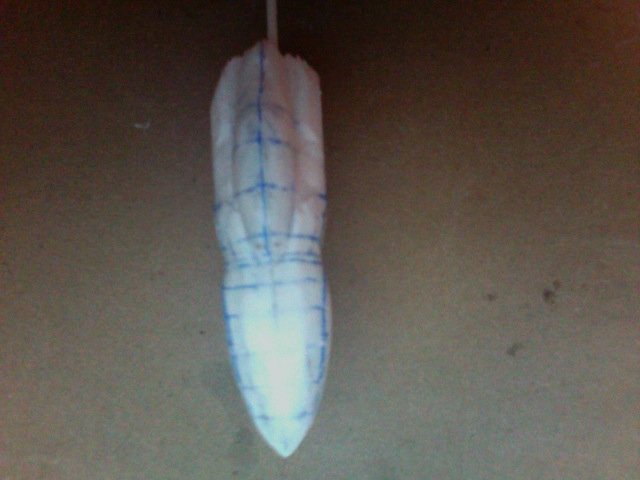
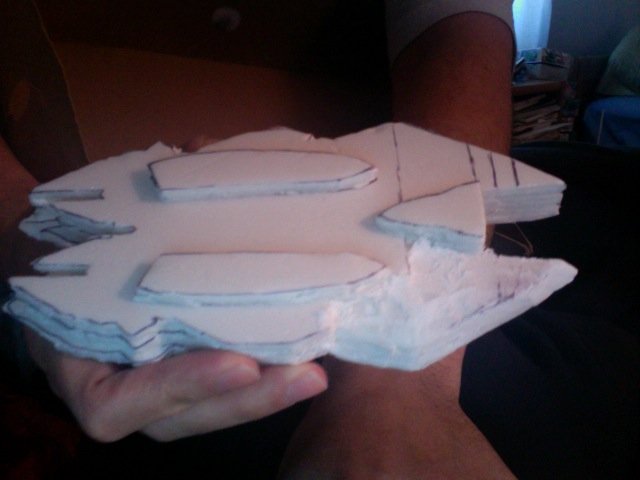
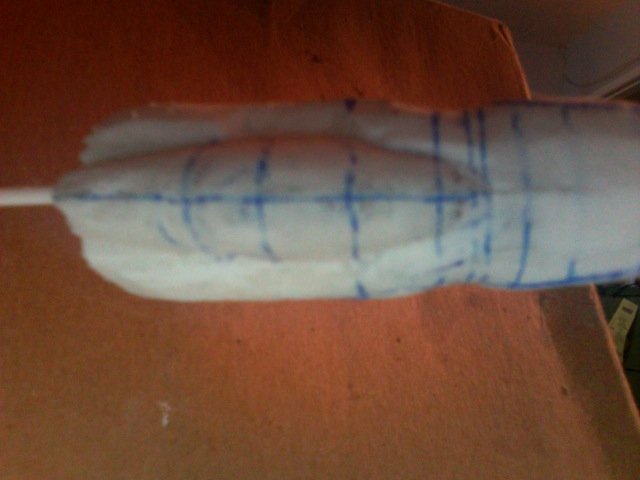
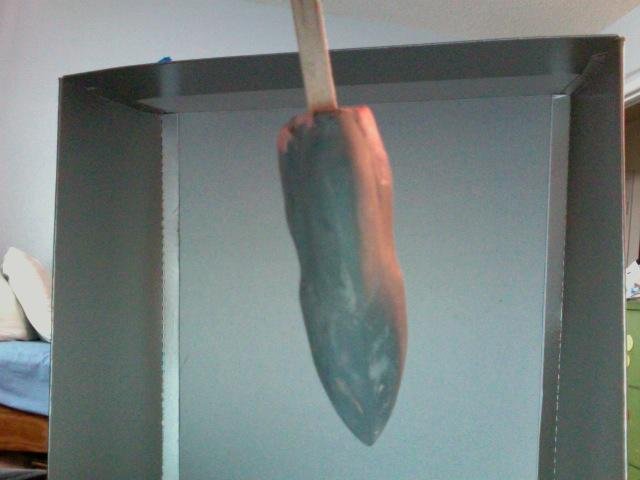
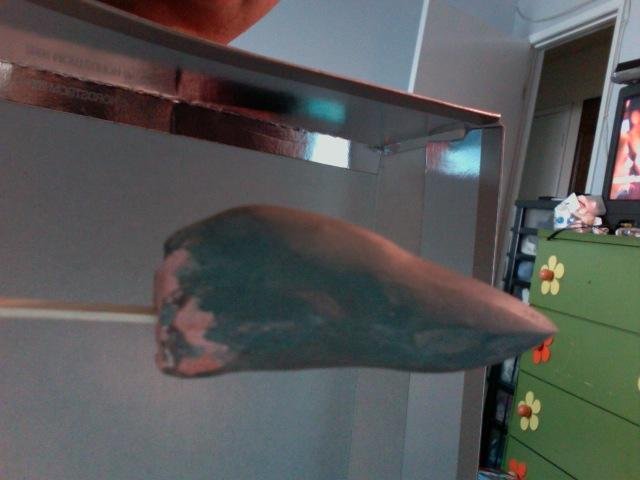
these are the latest images of my progress. They are made of blue styrene foam terracotta talcum powder and acrylic paint. A mixture which Mech_Tech made me aware of. These are still just a work in progress I just started this week and have spent 8hrs getting the shape. With so little info I've tried to fill in the gaps. As always if anyone has any Ideas I'm open for discussion. I used a fish bone structure to make shaping easier placing terracotta in between the structure after ward taking a brush pasting a thick coat over the whole body of the nose cone. I carefully sanded and the surface to give it shape. The final step was to add gray paint treated with talcum powder a little clay to add a very defined look to the surface. I feel there 's good progress so I hope to have another update by next week.


-
Advice wanted: What's the best way to mask the canopy?
leading edge replied to Vifam7's topic in The Workshop!
Just wondered if there was an easier or alternative by using decals I like to avoid painting my canopies. I usually either dye the canopy so adding paint has been a problem. I've recently adopted making the canopy frame and painting it before attaching it to the clear portion. If anyone has better alternative please tell me the process I'm doing is kind of involved. -
Looks like at least from the pictures a mixture of ghost gray and purpe gray combined and the decals are a cadnium red orange here's a pick. http://img.photobucket.com/albums/v231/Hel...dderScheme1.jpg
-
VF-22S Conversion Parts for 1/60 Yamato YF-21
leading edge replied to PsYcHoDyNaMiX's topic in The Workshop!
The canopy i assume you are going to cast it in some kind of clear plastic resin. I have yet to work with clear cast but I was wondering if your planning to use a vacuum formed canopy. If you pla to tint it try a orange metalic gold rub and buff along with either a transparent food dye or transparent paint will do for tinting. If you want an even coat for that fantastic canopy try car tinting. If you want an exact fit for the canopy here is a site.I got to tell you man your VF-22S is the stuff legends are made of dude genius stuff happening. http://www.rcgroups.com/forums/showthread....585&page=19 -
A UV blocker can be used if you can get the paint to work with it. I myself have yet to try this but some classmates of mind like to mix a UV retarder into their paint for some painting they do if the haven"t enough money to afford a uv reflective glass. I would have to ask them or read up on the subject to comment further.
-
Model or toy hmm... I guess a model more satisfaction this is just personal opinion mind you. A model offers more possibilities than a toy on that argument the toy offers sometimes greater durability at the cost of some accuracy. Still you can paint assemble and customize you model to an exact way that is at least for me a bit more appealing.
-
Nice battroid mode the style of those older kits has a vintage look that newer models just doesn't have. I like how you accentuated the panel lines yet some of the edges needs a little putty and sanding. The decals are applied cleanly and there is a clear distinction to the area and size they are applied. I wonder what newer Hasagawa decals would look like on a kit like this? Did you paint this with any paint or is it just the natural color I'm seeing? In any case this is a perfectly done kit thanks for the nostalgia makes me wish I was better at these things when they were out.
-
Just some ideas if you want to give your valkyrie a realistic touch try giving it some squadron decals and decide if you want it for space or an atmospheric environment. Personally I liked the idea of a low visibility type it gives it the idea that the fighter was originally ment to be. There is also the idea you can attribute rank via a stripe of color like Macross 7 designating color can also be used as a reflector in space to better see incoming friendly craft. Just some thoughts on the matter. Here are a few ideas. http://www.anft.net/f-14/f14-detail-colours.htm http://cdn.globalaircraft.org/media/img/pl...res/sr-71_1.jpg http://www.wingweb.co.uk/aircraft/Harrier_...-Jet_part3.html
-
Looks great the canopy is very clean did you apply any kind of plastic polish to it? I'm not very familiar with this kit is it transformable. In any case this is quite the kit the rival/anti-hero plane was kind of a dark mirror image of the "hero" VF-25 so it's nice to see a well made kit make it to the Bandai Macross F model market. Kudos on a excellent job on such a badass Valkyrie.
-
1/72 Resin Atmospheric Booster Launch Rail
leading edge replied to wm cheng's topic in The Workshop!
Nice job on the armature looks very authentic. The hydraulics you can also use a type of wax base metal applicator called Rub and Buff to add as a protective finish and give the metal a polished kind of machined look the stuff is transparent and also can be used on canopy tinting. -
Man! I love those old Valkyries I'm so glad paints are more cutting edge thee days there was kind of a limited selection for people with a budget. I suggest Tamiya paints, car pants at you local automotive supplier, and Home depot they can match house paints so with a little work if you have the box art you can match paint perfectly. I've gone to auto suppliers and the paint can be thicker but it with a little paint thinner and a good airbrush can have a very durable and color accurate. If you want total accuracy then go to home depot and get them to match your paint up. Just be sure you know what kind of paint you apply though sometimes the older kits can respond adversely to paint so generous and evenly applied primer is a must.
-
I like the idea of an expansive environment. Have you thought of putting some windows to view SDF-1 workers? I think the idea is inspired as another suggestion what about doors which can with electric motors open and close. Lighting effects might help to display you planes. Maybe a suspended or broken Valk with mechanics for a working effect. Just some ideas.