Mintox
-
Posts
439 -
Joined
-
Last visited
Content Type
Profiles
Forums
Events
Gallery
Everything posted by Mintox
-
Thankfully its only two decals - one of the side decals on the engine and the rear decal on the back of the knee join. All easily fixed but yeah a pain in the ass. It is looking very good so far. I hope John reissues it as I'll grab another one so I can do the TV version.
-
I had a small set back. After applying the decals I proceeded to start with my washes. I let the first one dry and proceeded to start removing the excess when I wiped over some of the decals I removed them completely. Apparently these decals don't like white spirits, of course this only happened because I forgot to put a top coat of clear vanish over the decals. DOH! So I now have to recreate these decals via some templates and airbrush them back on. No big deal technically but a pain in the arse to do time wise to set up and paint. So when washing your models with white spirits make sure - I usually do and this is the first time I have ever forgotten to do this - coat your decals with another clear coat. Oh the pain THE PAIN!
-
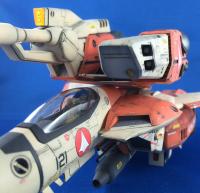
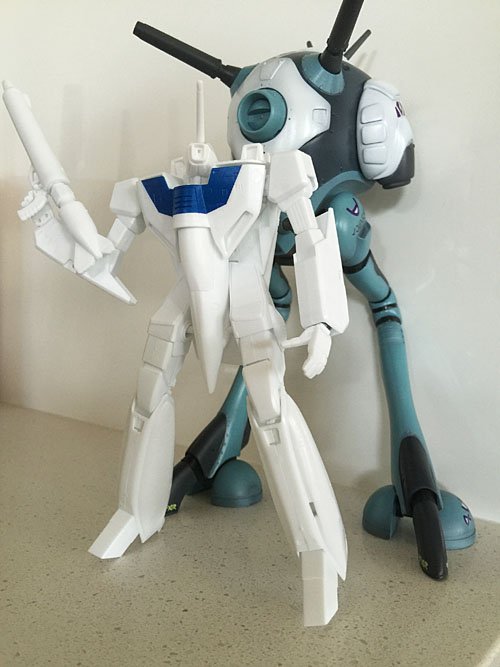
While waiting for the decals to dry I quickly put together my VF-1A in Battroid mode to compare the scales. It still amazes me how small the Valkyries really are compared to the Zentran equipment.
-
That is awesome the number of times I have knocked these bottles over.
-
Yeah it is due to the very white light the photo was taken under. It'll darken down somewhat with the weathering and a softer light to photograph with.
-
I couldnt resist adding the guns on to see how she looks. Pretty damn fine to me!
-
All the painting has now finished. The guns need adding but I'll keep them off to avoid breaking them as I'll need to handle the model a bit. All the parts are slowly being painted their minor details, such as the leg joins (black). Hatch will also go on last. Then it'll be time to gloss it for the decals and start the weathering process.
-
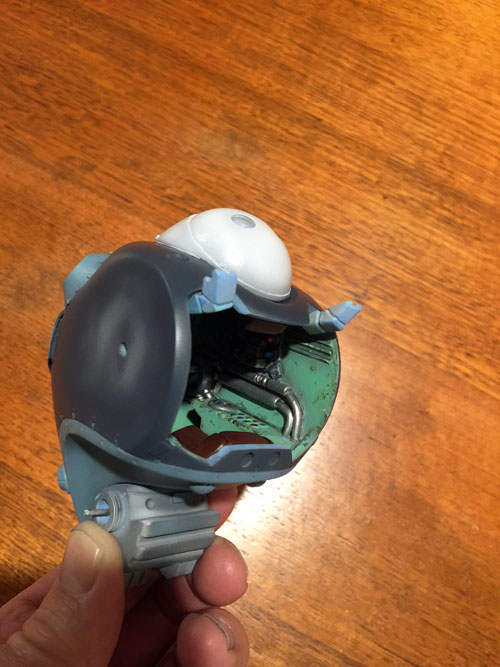
I just wished I had brought the Glaug. Oh how I would like to just build one for someone else let alone own one. Yeah its turning out really well. The cockpit while a pain in the bum is a feature of the kit and you really have to build it and display the interior I think.
-
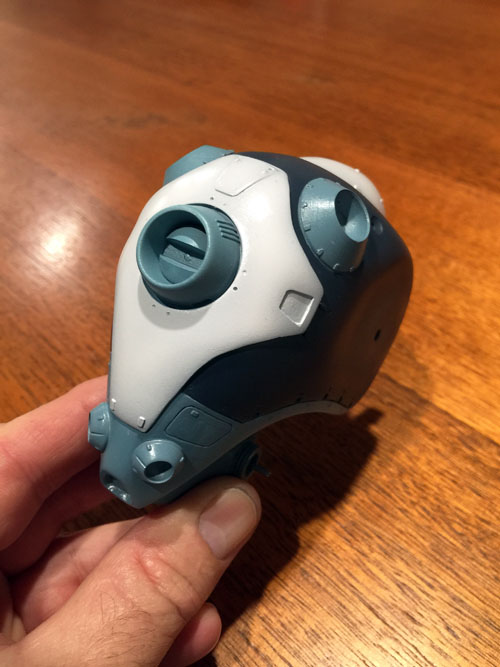
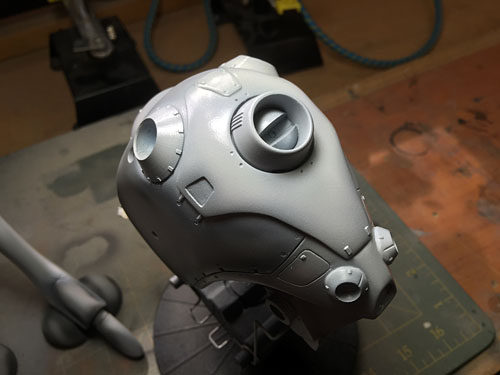
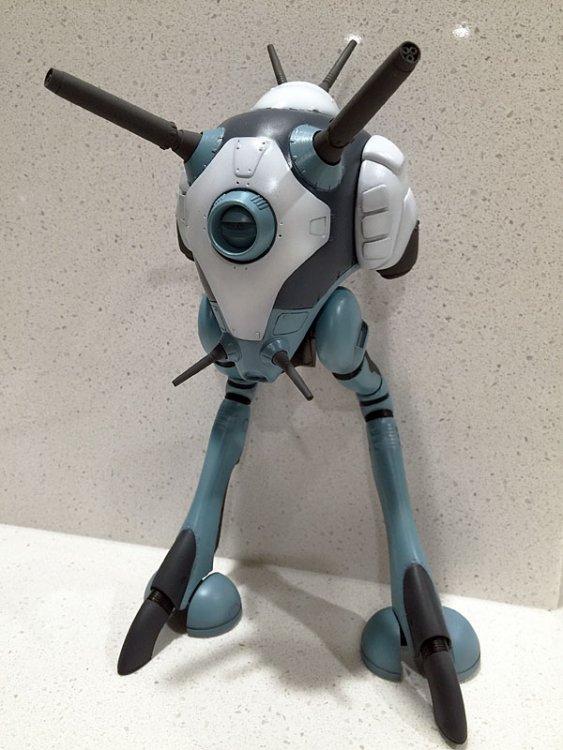
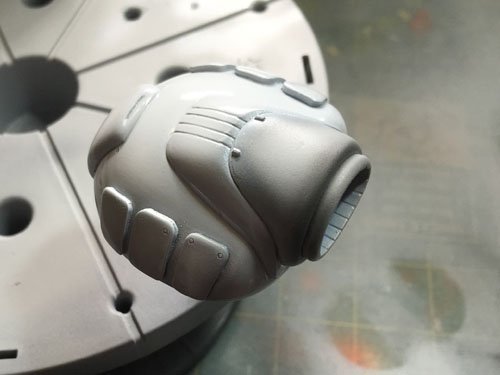
More progress. body now complete, I just need to tidy up some paint creep around the top rear laser bulge thingy and the main body is done. Legs are up next. I'm getting psyched over finishing this as I want to get onto my 1/72 Battroid to pose with it.


-
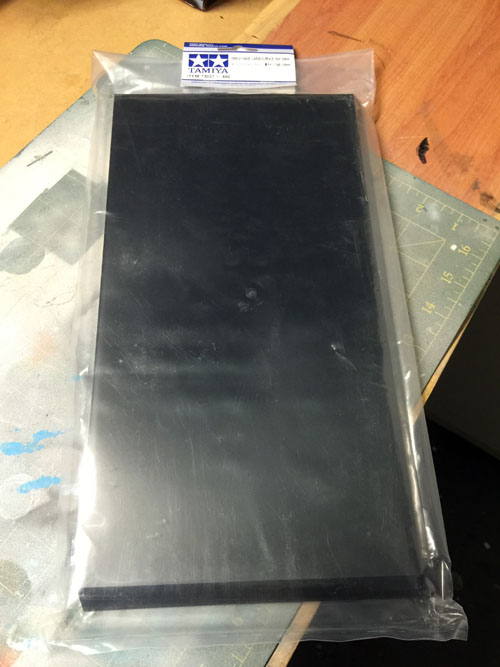
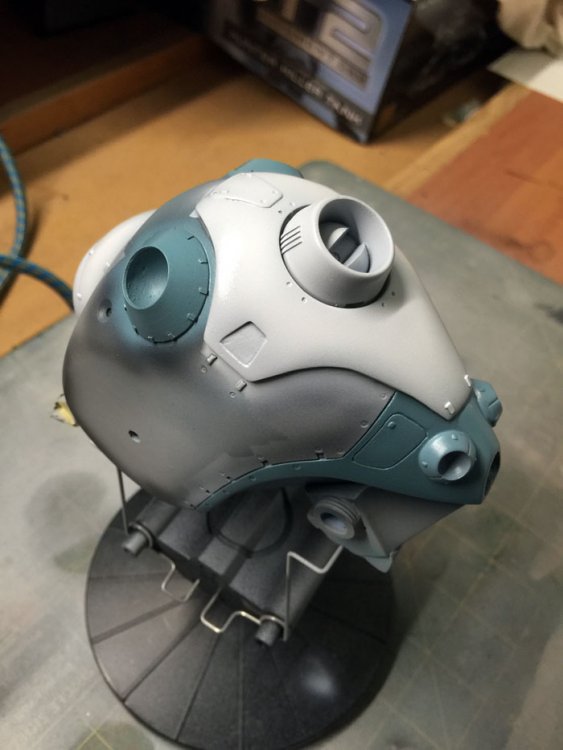
Ok I'm back. House renovations made a big interruption to my painting things so not much progress plus the weather has been pretty ordinary. Anyway started on the body with the light bluish colour. I still need to mask off the ''eye'' in the centre of the hatch and paint that the bluish colour. I also brought a nice big plastic base for it from HLJ.

-
I have no idea where to post this so any admins please forgive me if this isnt appropiate but... my VF-1S Super Valkyrie won 1st place in the local WASMEX model competition. Link is here (the photo wasnt taken by me so its not the prettiest) : https://www.facebook.com/110571395688465/photos/ms.c.eJxFkluOxTAIQ3c04hUC~_9~;YtObiqj~;RkY1NUnU59XxiZRnSf~;oDZ0AsSCi8qXjO0S5pBAVw7oJqWK4s6LH4Wlo89fRjXGCT4gRqAHEJJkUIXKGwWhBvinUxxWMUh6BHkQuOokfogmsAttWfIyzpBAlw2LQEIJhS9cba5dCaYmGfAsC5S48lf5YUQY~;noggSYKun6BRTX2ABIJxho5BPgXcx51AfYB~_4r6WqFgTexbQXHGxb9yxIPIM2LfPDaH8WbFt5qahRsGnNcsLlemYkZ8yNld9~;FHKNrQ~-~-.bps.a.1305858426159750.1073741833.110571395688465/1305860129492913/?type=1&theater
-
I use a completely different room so that isn't an issue, having said that if I did spray near where my displays were I would certainly get a booth or make my own extraction system (this isn't that hard really. Google it there are a ton of references on how to build your own spray booth/extraction system at a reasonable price compared to the smallish booths you can buy from say hobbylink Japan).
-
1/48 MOSPEADA LEGIOSS RESIN KIT: FINAL SHOT
Mintox replied to captain america's topic in Anime or Science Fiction
That will teach me not to look! -
1/48 MOSPEADA LEGIOSS RESIN KIT: FINAL SHOT
Mintox replied to captain america's topic in Anime or Science Fiction
If you can give me an idea of ball park cost I'll be down for one. -
Interesting except the Regult when you actually compare it to the rest of their designs, say any of their capital ships doesn't bear the same design philosophy. It does look more manufactured than grown unlike say the fighter or the Salan or nupetiet-vergnitzs. And there does seam to be sections where two panels meet although its possible they are grown as panels and then joined together?
-
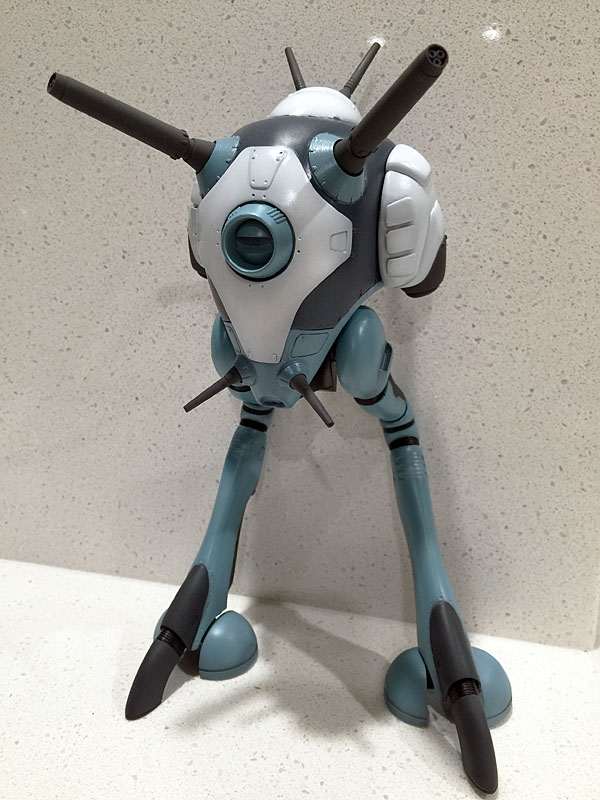
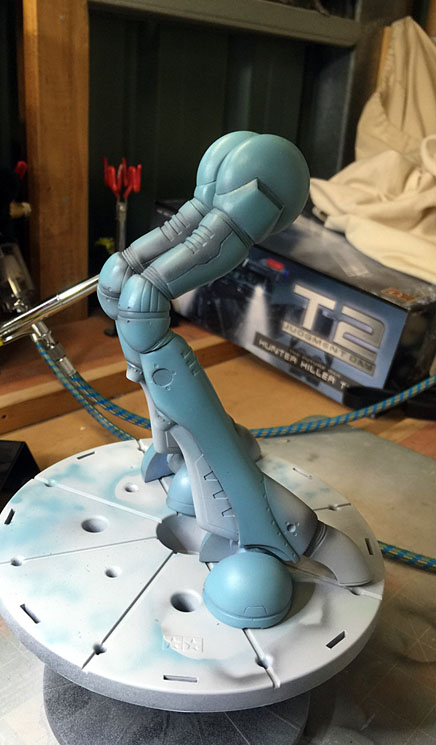
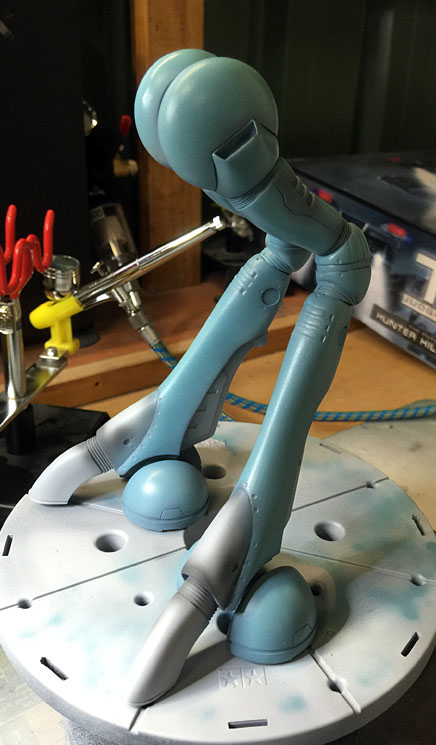
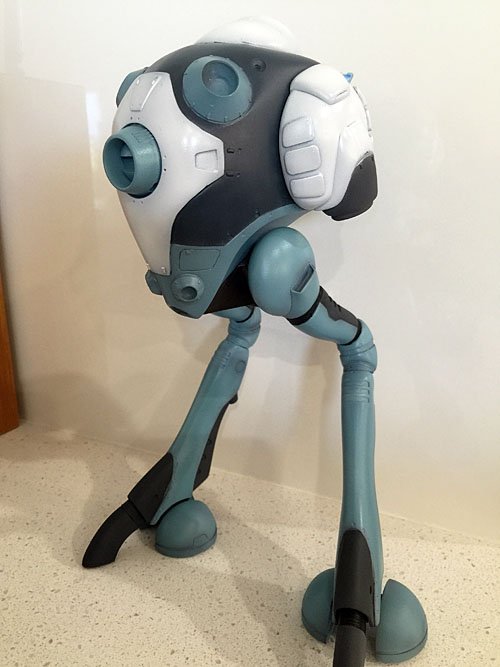
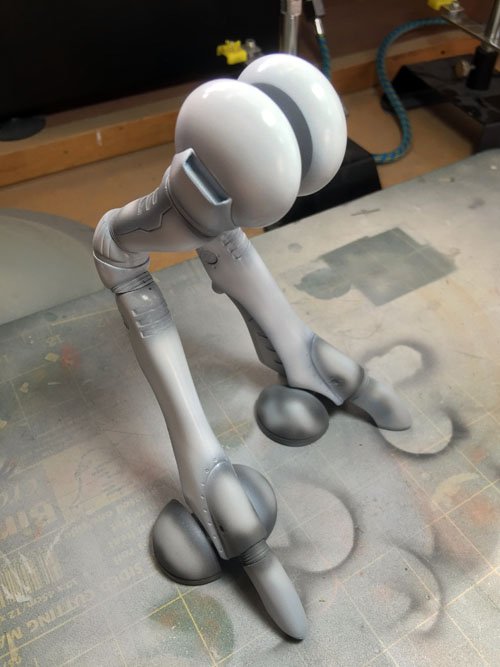
Ive decided to change the colours to something more in line with the movie version and the old toy I used to have of the Regult. Here are the legs with their base colour of a blueish/green blue. This is something I mixed up myself from Mr Hobby Color White (80%) with 5% Alaitoc blue plus a few drops of green and blue from Mr Hobby.


-
Just for the record, I am by no means degrading anyone's builds where they have dirtied up their vehicles, alien or not, its just an interesting topic to discuss the realities of such weathering and whether it really would be relevant to an alien vehicle.
-
Yeah I agree with you on this aspect. I don't believe in rusting up everything, especially alien vehicles. I'm not sure the alloys they are made out of would necessarily oxidise in Earths atmosphere unless they have been on another alien world previously that did react with their alloys. In fact maybe they don't rust. I probably can live with them being scratched but I have another theory on this. What if the alloy they use could be coloured? It wont necessarily scratch the same way as a traditional painted earth vehicle will. Sure it'll get dirty but scratched maybe not.
-
Ok I think I'll switch my colour scheme to this one. I'd forgotten the DYRL colouring of the Regults.
-
Yeah bring it on now!
-
Thanks Elf. I'm a little behind in finishing it because the weather in Perth has been pretty horrible - low temperatures and high humidity plus I have a shitty cold/flu thingy going making me feel like crap. The interior on this kit is a highlight. I wish I had a 1/72 Zentran pilot to pose with it but that's what my next model will be for - a 1/72 Valkyrie in Battroid mode (Hasegawa) with super pack of course.
-
Slow progress this week. I've started shading the undercoat then applying the white top coat over. This is the first stage where I go over it with the white fairly liberally and wait for it to dry. I can then access where to reapply a deeper coat of the white while leaving the shading in the corners etc to give it some depth. The white looks a little grey in these shots that's because it isn't particularly thick.

-
Wet and dry. 360 grit to 1200 grit. Everything usually gets coated with Tamiya Fine Grey sanding undercoat. Or white just depends. Clear plastic as mentioned above polished with Mr Hobby polishing compounds then dipped in floor polish. Sanding sticks you can make yourself from various bits of thin board with double sided tape or buy some from places like HLJ: https://www.hlj.com/product/PROKK-59/Sup This for scribbing is very cool: https://www.hlj.com/product/HSGTT-1/Sup
-
Scout pod because I dont have one and want want WANT!!
-
Cant wait to get my hands on my kit. That orange paintwork will look fantastic.