Mintox
-
Posts
439 -
Joined
-
Last visited
Content Type
Profiles
Forums
Events
Gallery
Everything posted by Mintox
-
Your FS colours should be standard colour given it is a Federal number so manufacturers should adhere to colour standards in which case it doesn't matter what brand you use. I use Citadel and Vallejo for hand painting and they match each other for range which is handy. Tamiya and Mr Hobby Aqueous for airbrushing although I have airbrushed Citadel paints by using the Mr Hobby thinner and it works beautifully.
-
CR1 etc are their primary clear colouring colours that are used to mix together to create different colours aka the colour wheel. See here: http://www.mr-hobby.com/en/itemDetail.php?iId=146 The Hasegawa colour call-outs are : Black square with white numeral are Mr Color colours i.e. enamel paints. The other one with the letter "H" next to a white box with a black numeral are Mr Hobby AQUEOUS HOBBY COLOR i.e. acrylic. There is and there isnt a direct correlation between the two. For instance Mr Color H1 is the same as Mr Hobby Aqueous Hobby Color H1 i.e. Gloss White. When you start in the middle numbers say Mr Color 13 is actually equal to H53 or SG Neutral Grey. Again obvious because the two numbers appear next to each other but when you get to the 300 numbers like Mr Color 315 it again reverts to an exact equivalent although they wont print the Mr Hobby Aqueous Hobby Color number it is in fact Mr Hobby Aqueous Hobby Color H315 or Gloss Grey FS16440. I have mapped all the colours between them and also the real exotic ranges within Mr Color.
-
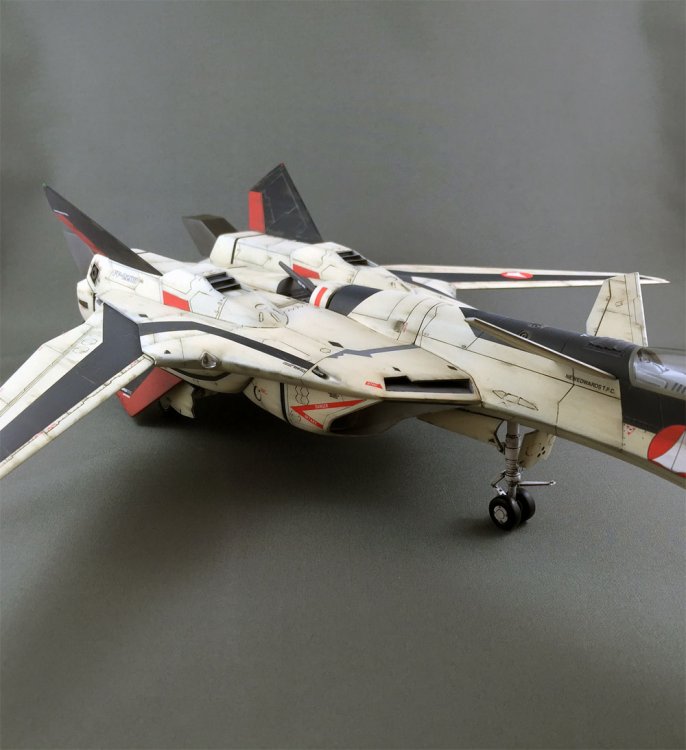
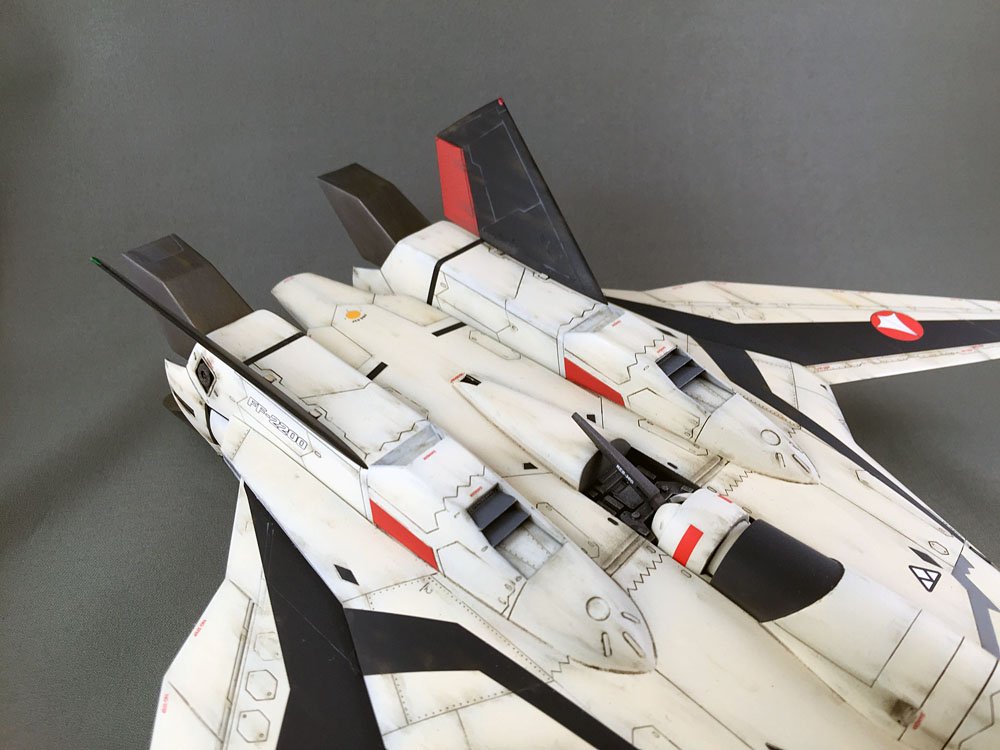
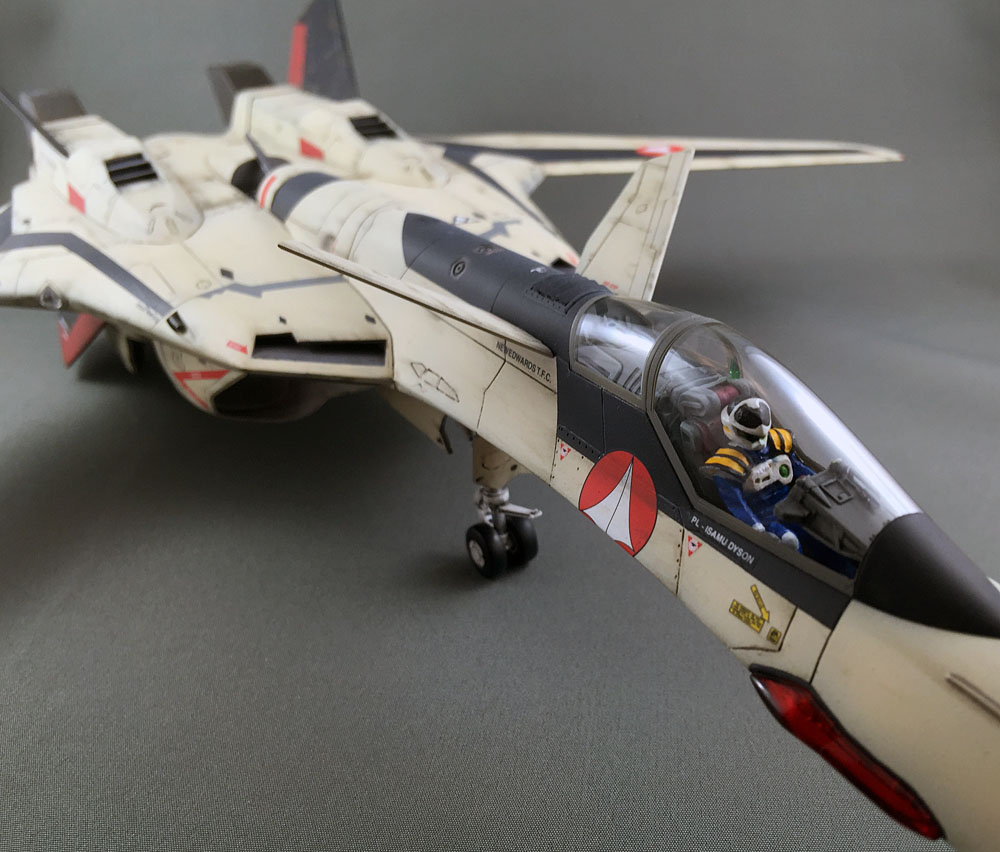
All parts have finally received their colours and now need to be glossed so I can apply the decals and then onto weathering.
-
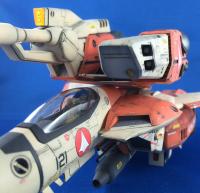
My next kit will be this. Ijust need to do some custom decals and oh yeah this will rock. I love the parachute ? pack on the back mounting.

-
1/72? Looks to be relatively straightforward. I thought of this when I got my VF25 Super and whether the boosters would fit on a VF19.
-
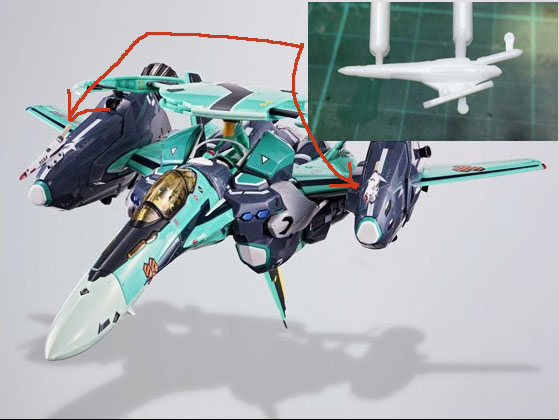
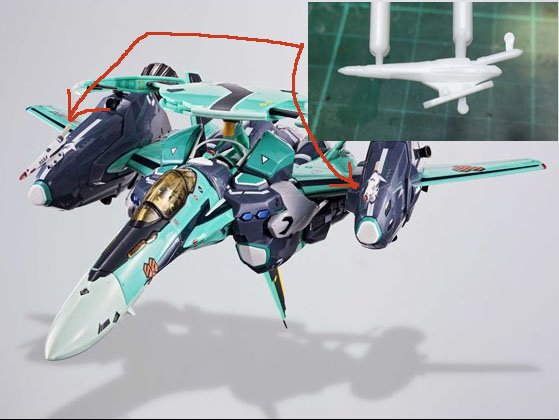
Ok a bonus part in the kit (or at least I cant find it mentioned anywhere) that seems to go on the top of the front of the boosters as in the image below of the RVF Super. Its part no. SF1. Thats ok because I need a another Super Messiah so I'll get another one of these and I'll be able to add it to my RVF. Update: I think I know what this part is now. Its the Space Fold communications array. Nifty if that is what it is. I see it on the Bandai Ghost ships under the nose and on the boosters on the RVF's.
-
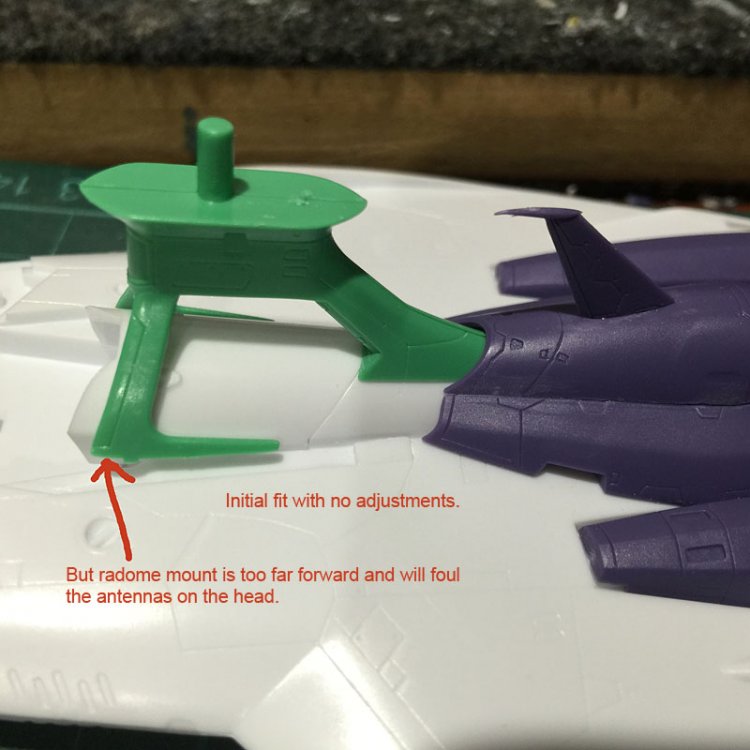
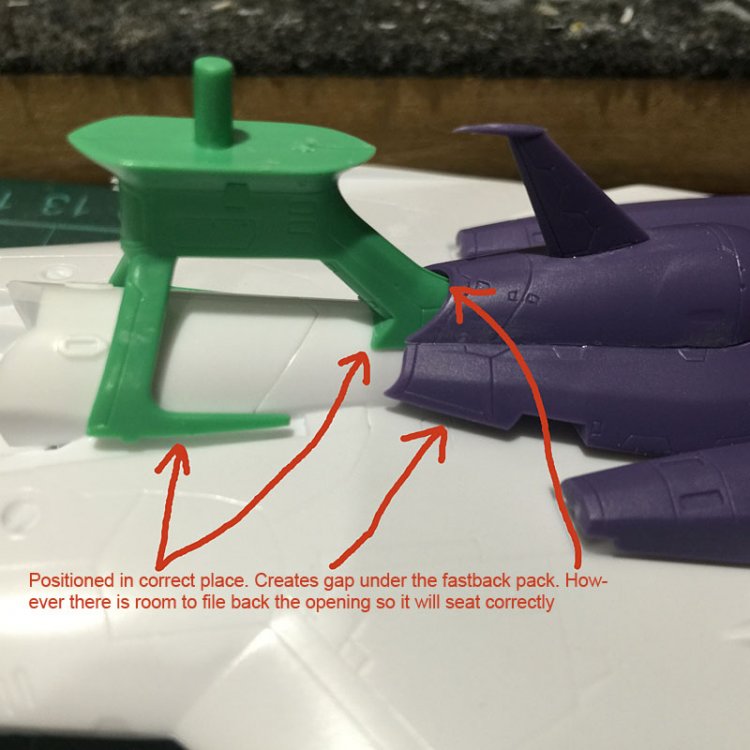
Ok a quick fit of the radome mount seems to me it will work. A little filing of the opening on the fastback pack and it'll fit sweet. On second thoughts maybe filing the top of the radome mount rear mounting leg might be a better option.
-
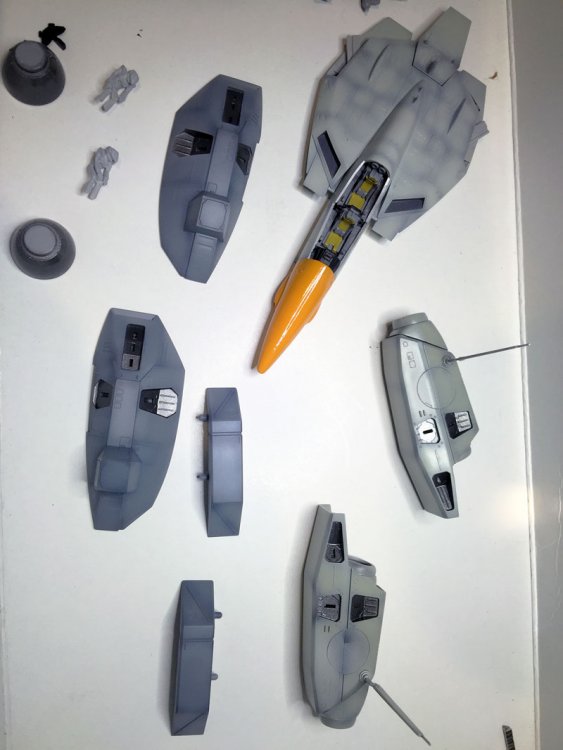
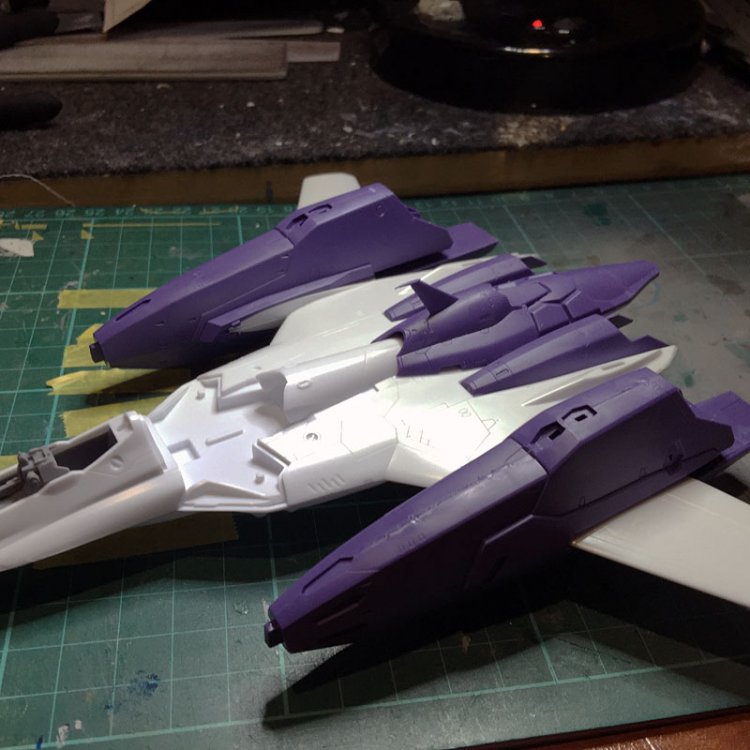
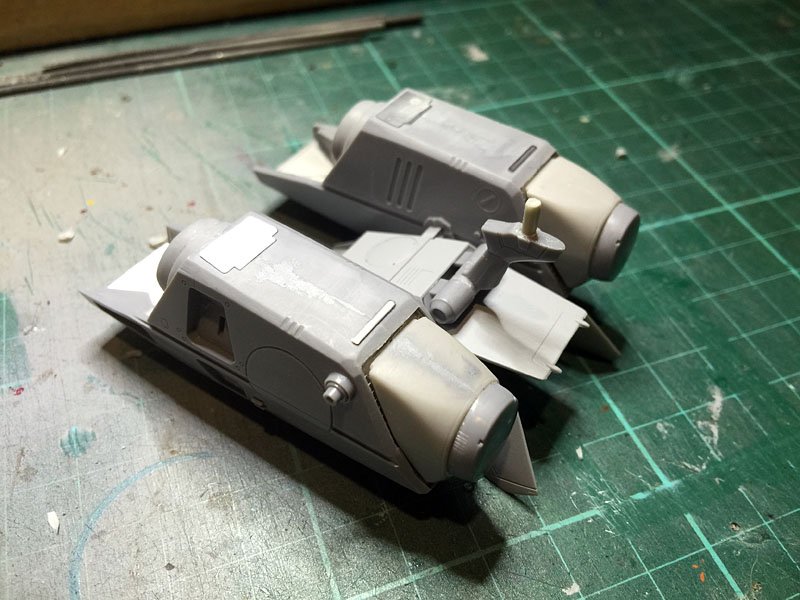
Test fitting the booster and body parts. I love this kit. It has some of the sharpest and finest details for a 1/72 kit. I also just got a RVF-25 which I would love to add the extra armour and boosters to so I'm off to purchase another VF25S Super to steal the boosters.
-
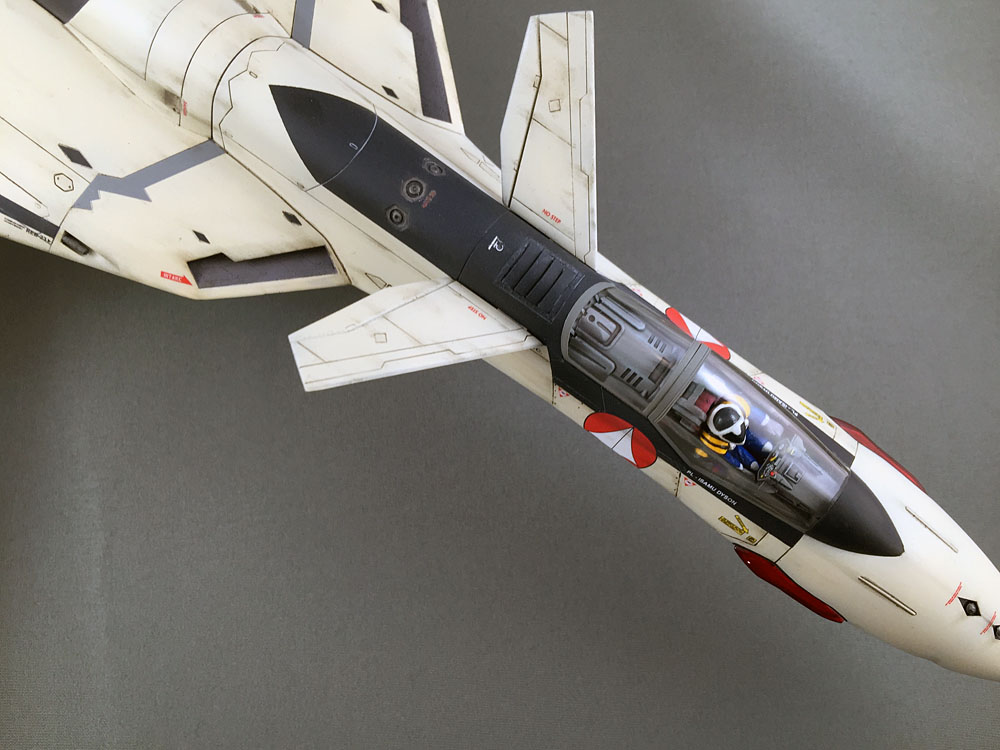
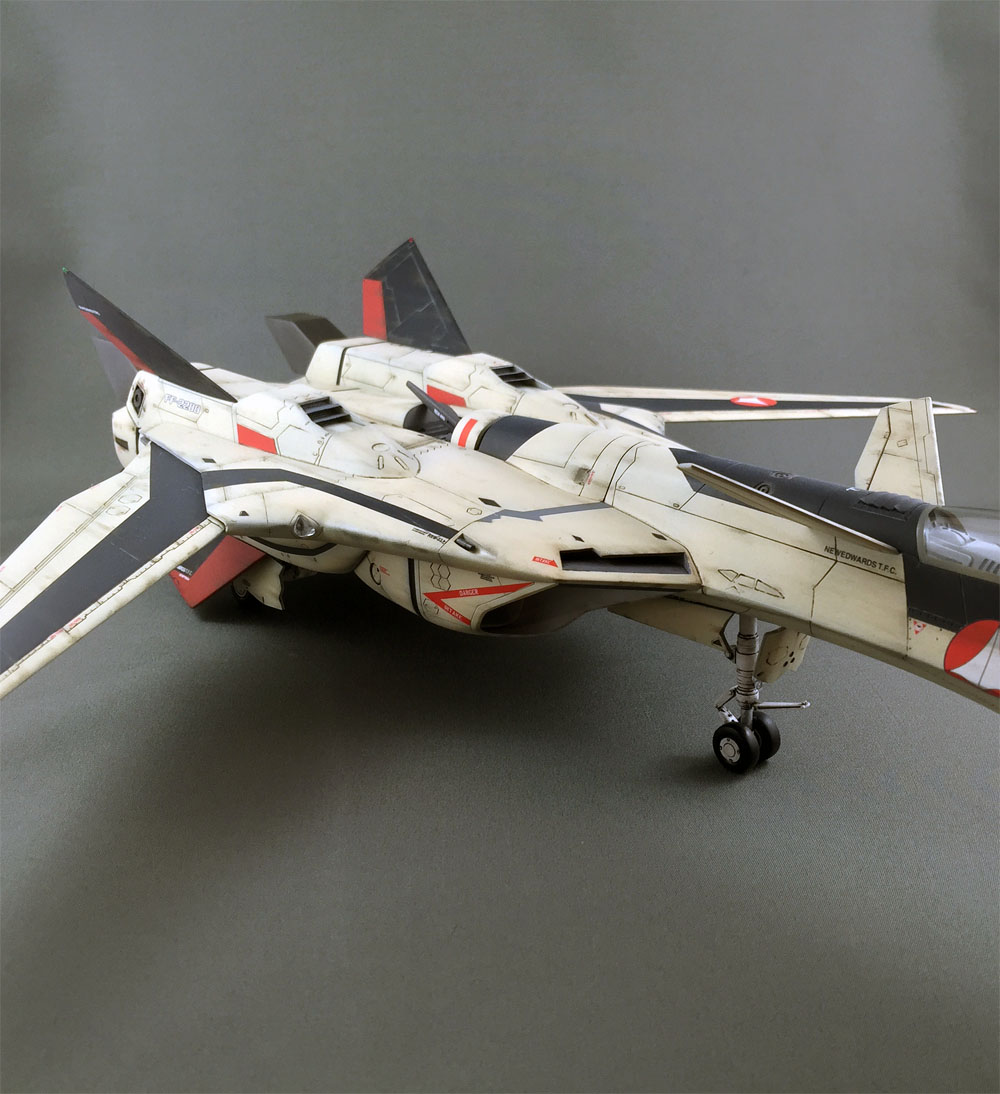
None except the missing Skull logo. I realised after starting this thread the surplus Skull Squadron decals I thought I had werent surplus to my needs. Subsequently I ended up doing this as a standard YF. Now I have seen a VF in trainer colours I'm starting on that as soon as I can get some custom decals printed for it. Anyway its finished if you want a look its over in the model section.
-
I agree. Having been to Japan I understand that totally but then again Hasgawa, Tamiya, WAVE etc do make big kits, thousands of them. Its just a pity they've stopped with the Macross stuff. I dream of the day I'll ever see a 1/48 Defender or Spartan.
-
Let the painting begin!


-
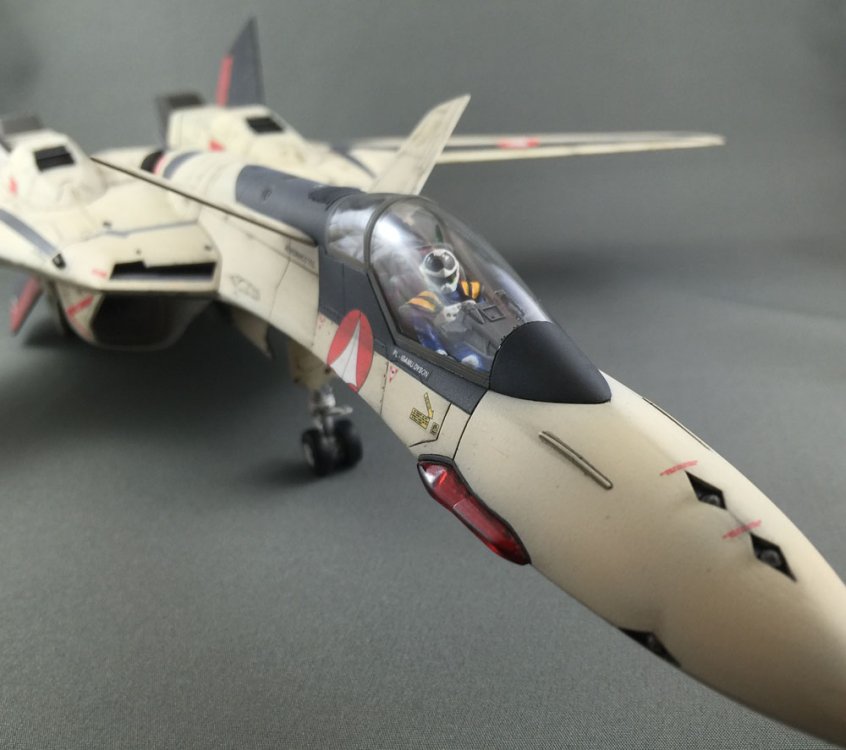
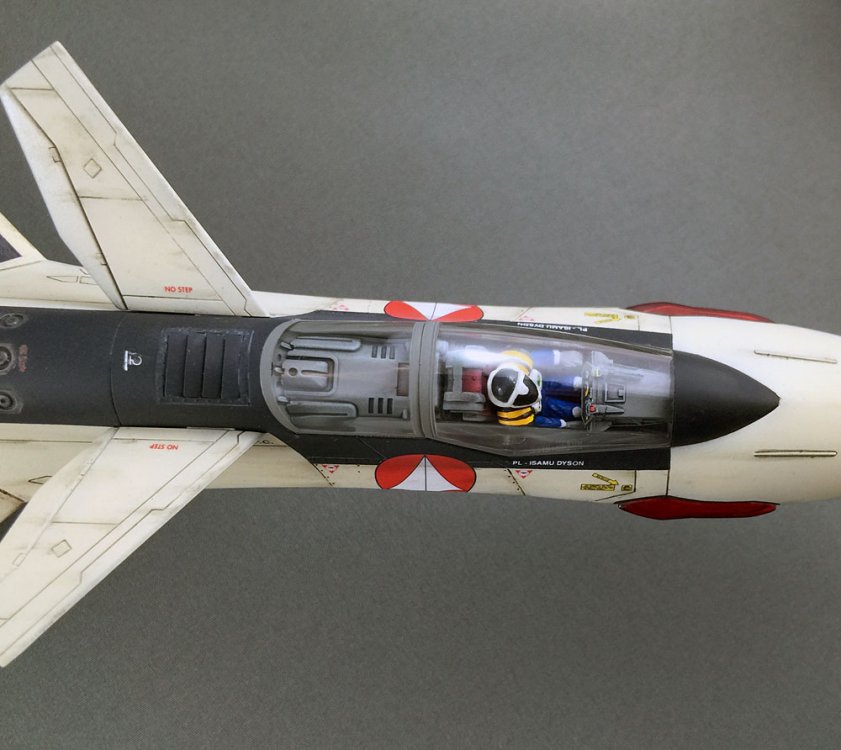
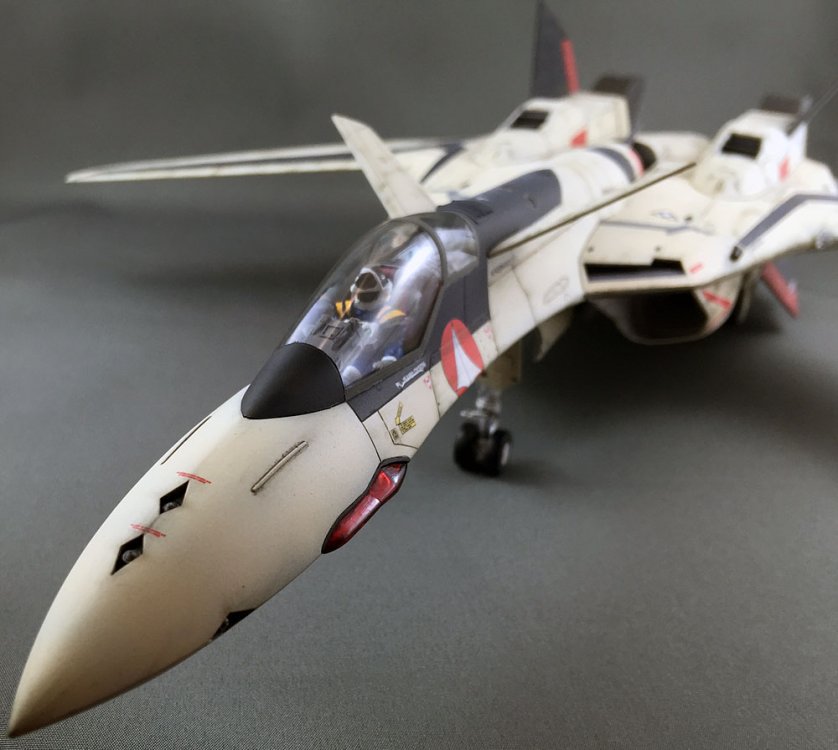
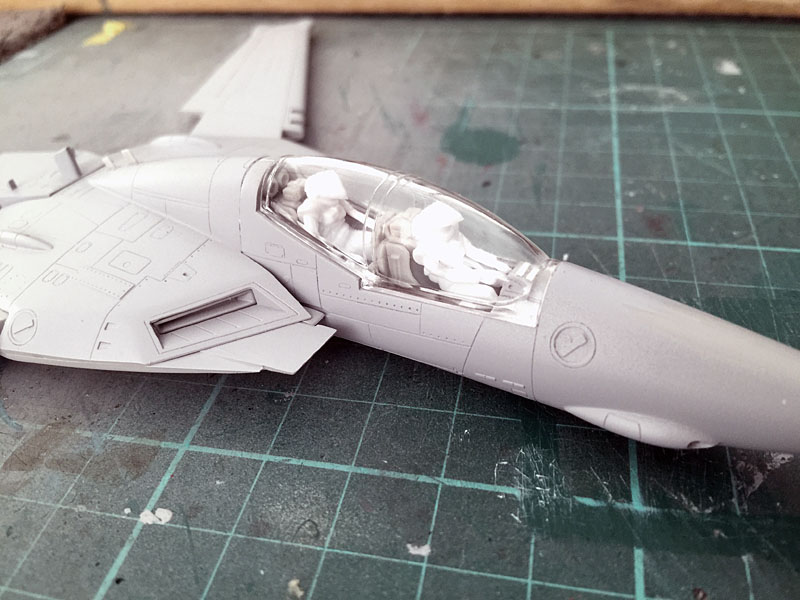
Test fitting the pilots to the cockpit. I had to chop off their feet to make them fit. I think Hasegawa didnt think anyone would have pilots for this kit or else they didnt care. Either way they were annoying to get right. I've also finished the back pack. Most of these have now all been given an undercoat of Tamiya fine grey undercoat.

-
Thats a great build and now has given me something else to build.
-
As NZEOD mentions, they simply add an extra level of detail to things that were either missed or are maybe present but not correct or they simply add extra features - common on military kits for adding things like tool boxes, latches, tie downs etc. You add them during the build process and paint over as normal. For the 1/72 Valks the main detail they add is the intake vents on the tail/backpack when it is flipped up and the missing lights? on the lower part of the legs that is completely missing from the Hasegawa 1/72 kits and inside the thruster walls but that detail is missing on both the 1/72 and 1/48 kits. Other than that the rest of the detail is probably not worth getting (some control sticks for the cockpits, space filler for the rear of the area where the wings fold etc). As above.
-
Main gear doors sealed. I think they turned out not too bad considering the angst they caused me.

-
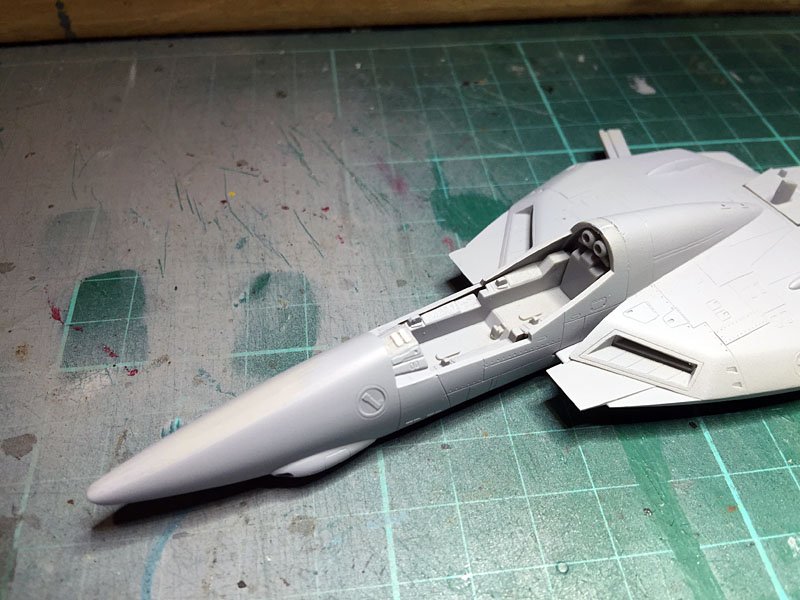
Finally made a start. The cockpit is a bit bland for such a lovely kit but I guess once the two body halves are glued together most of this wont be seen plus the hud? is added on later and the rear covered over.

-
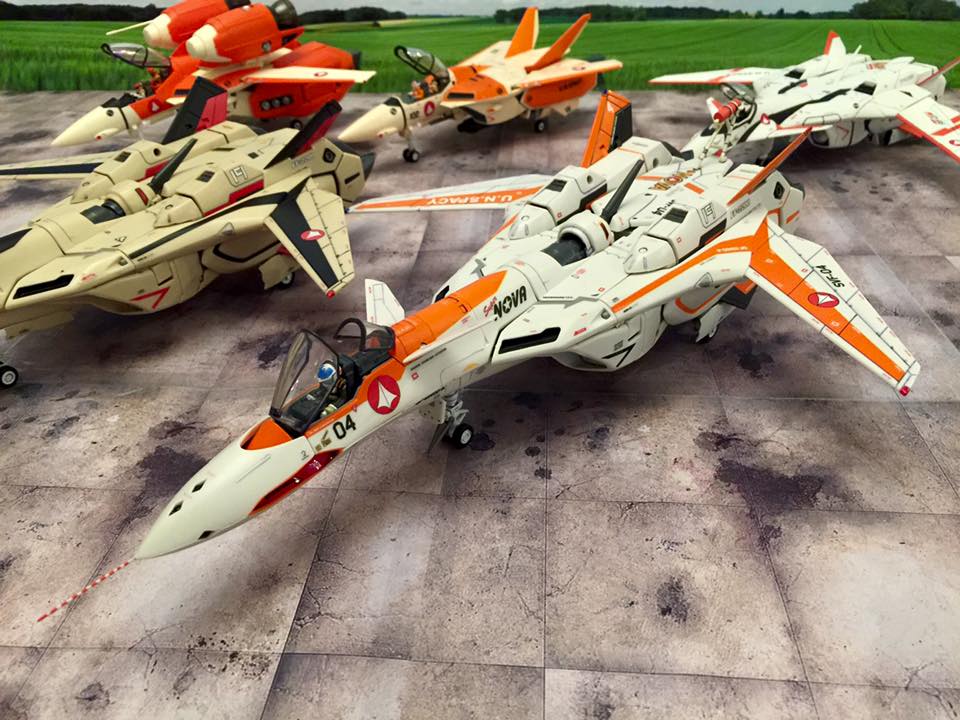
Very nice shading on these kits. Love them both and they look great together.
-
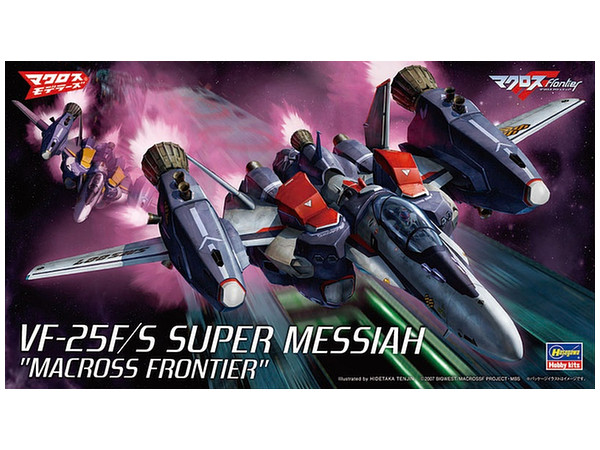
Most definitely. The instructions are a bit weird in there layout i.e. as the main instructions include the scheme for the VF-25F but the S versions is on a separate piece of paper and is the the Ozma grey scheme VF-25S. I just cant resist the big skull symbol anyway.
-
My next kit will be the very nice and madly detailed kit from Hasegawa of the VF-25S. Some many pieces for a 1/72kit!

-
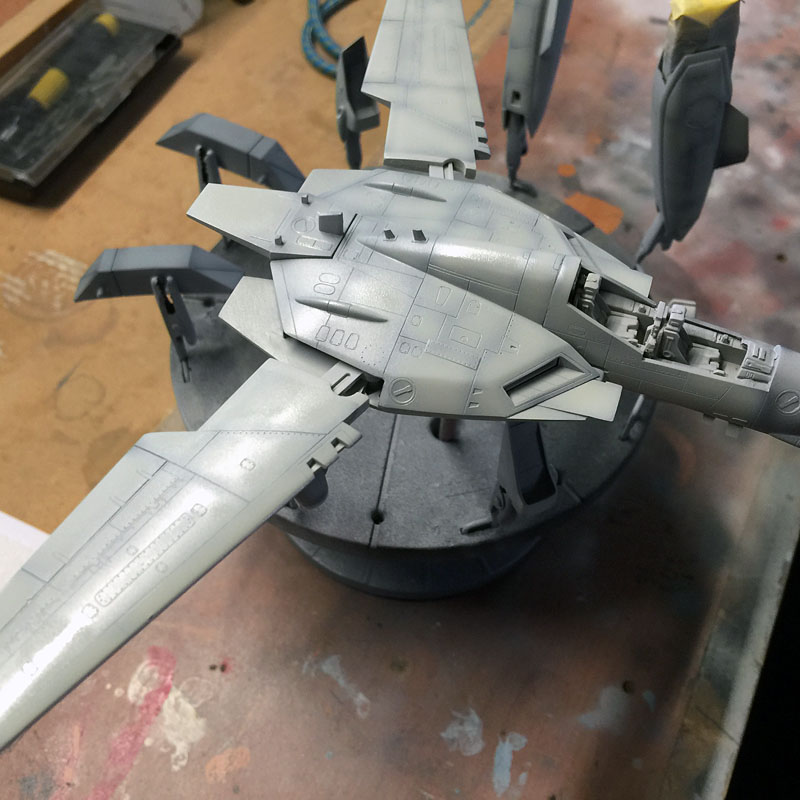
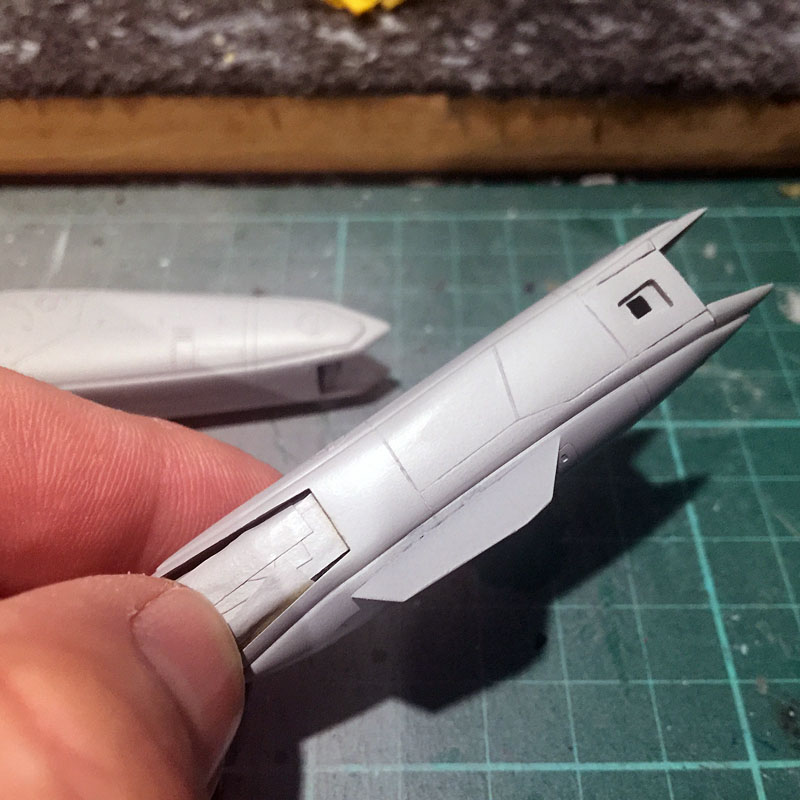
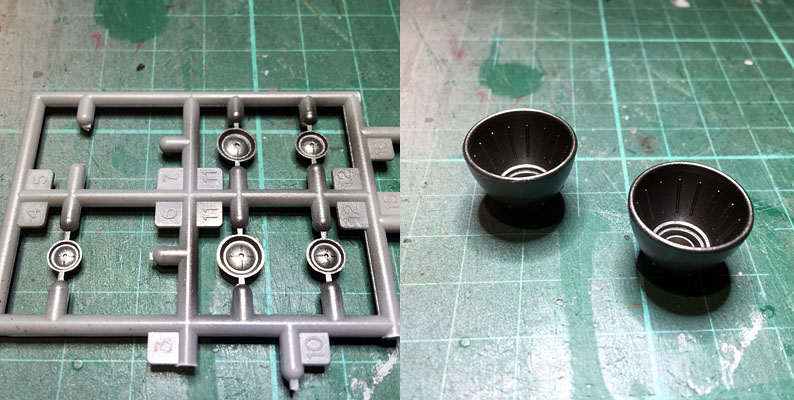
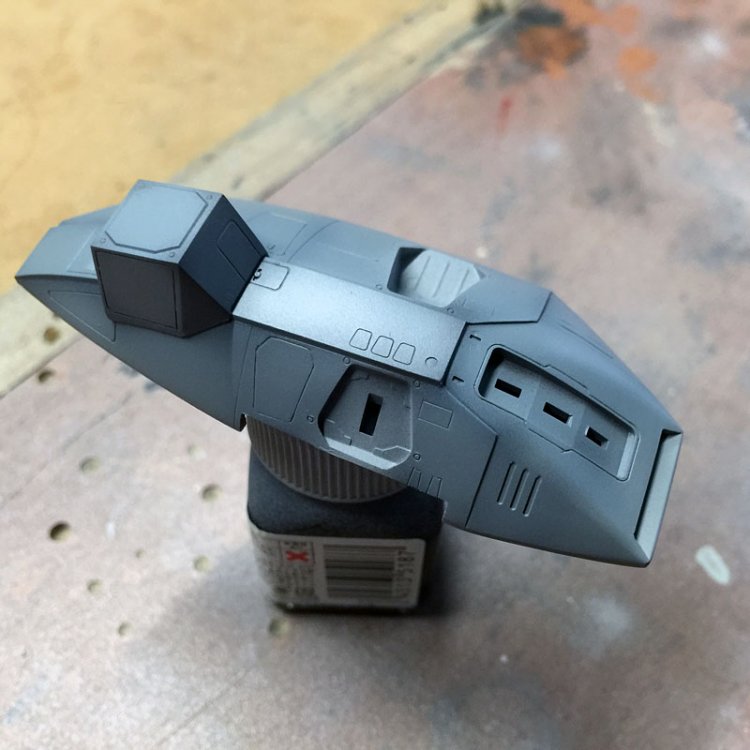
Now that I have finished the YF19 its onto the Elint. These are some random shots of work in progress. Engine bells and thruster bells have been sprayed Mr Hobby Steel. I had to assemble the legs and thrusters at this stage as I couldn't make the thrusters fit after the legs have been glued. Its just too tight a fit. Forward fuselage and centre section are also joined at this stage. The cockpit tub needs painting and detailing but thats next including the chairs and pilots.

-
If only in 1/48! Grrrrrr!. But thanks for the comments. Yeah I'd buy everything in 1/48. Its annoying Hasegawa drag their feet with the big kits but I think its a Japanese thing. The smaller the scale the more they get their jollies off on it. Plus its cheaper but hell 1/48 rocks!
-
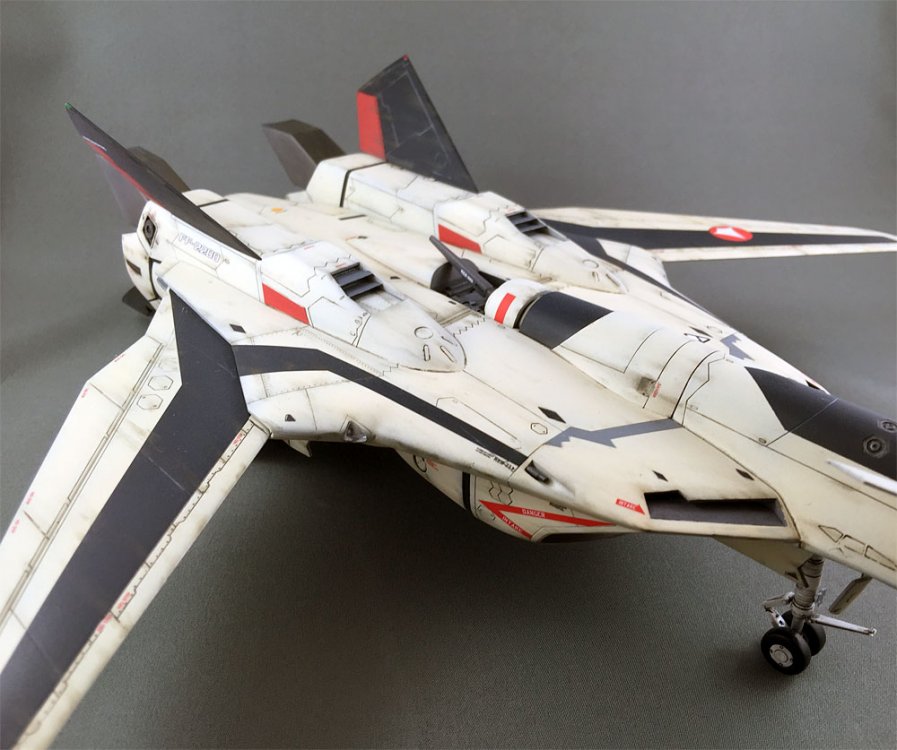
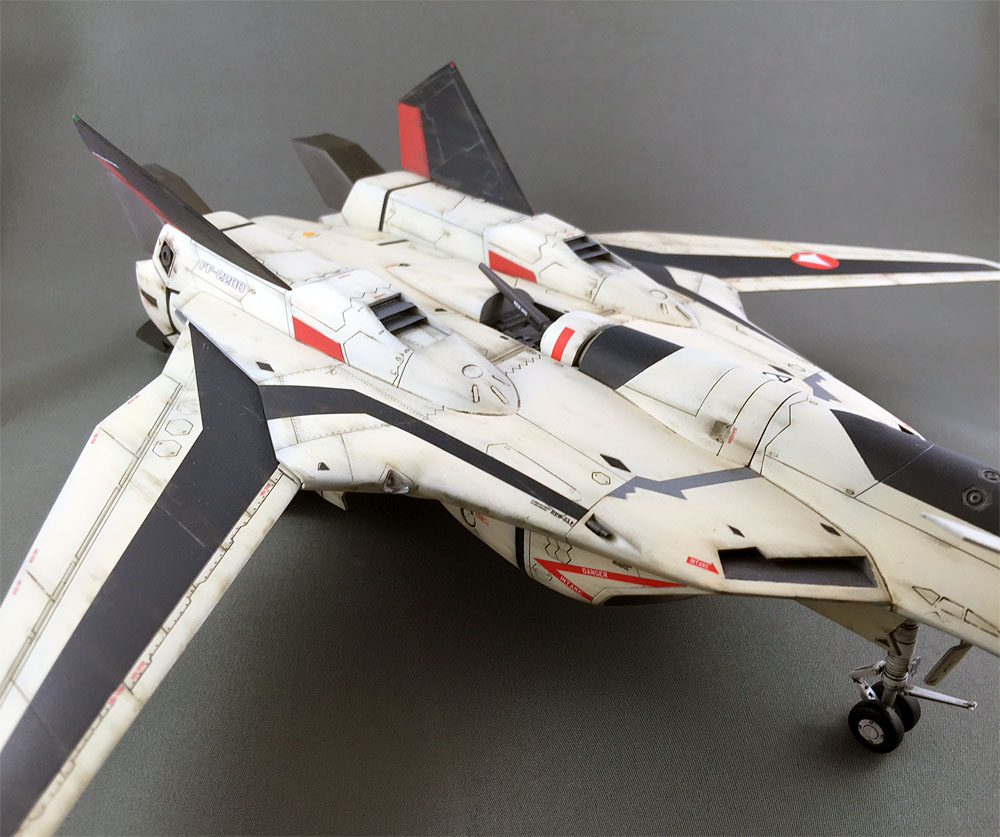
All the chipping was done by hand with a 00 brush. Time consuming but I get greater control when doing it that way.
-
Very nice. Love the colours. Now I'll have to do that in a VF-19.
-
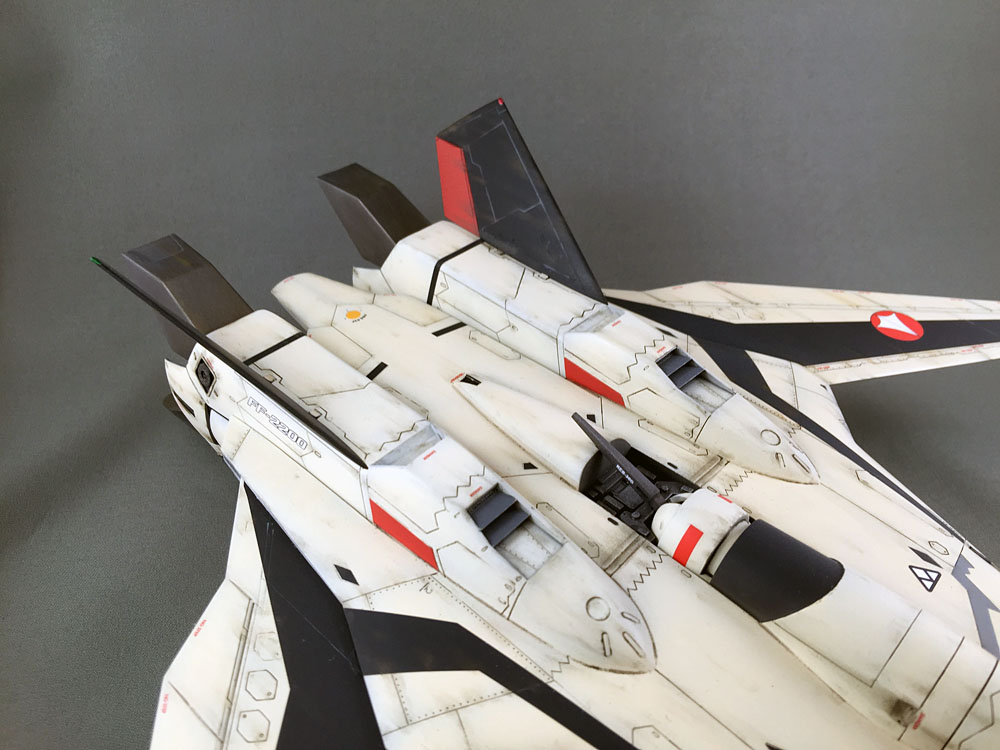
Yeah I actually thought about that too. Given it is as you said correct to the drawings I still question it but I took the XB-70 as an example of a plane with large canards and since those move (the XB-70 has both trailing edge flaps that move and the whole canard itself can pivot) but you could argue the line before the trailing edge flaps is fix so therefore fairing it into the fuslage would make sense but I think you would lose the "sharpness" of where it meets the side. A mistake by me I should have painted the tabs so they didnt showup but thats easily fixed. Mazinger probably several years at least but Im talking about making models in a constant flow. In reality I have been making models probably over a period of 40 plus years.
-
Enjoy. There are more in my gallery.