Mintox
-
Posts
439 -
Joined
-
Last visited
Content Type
Profiles
Forums
Events
Gallery
Everything posted by Mintox
-
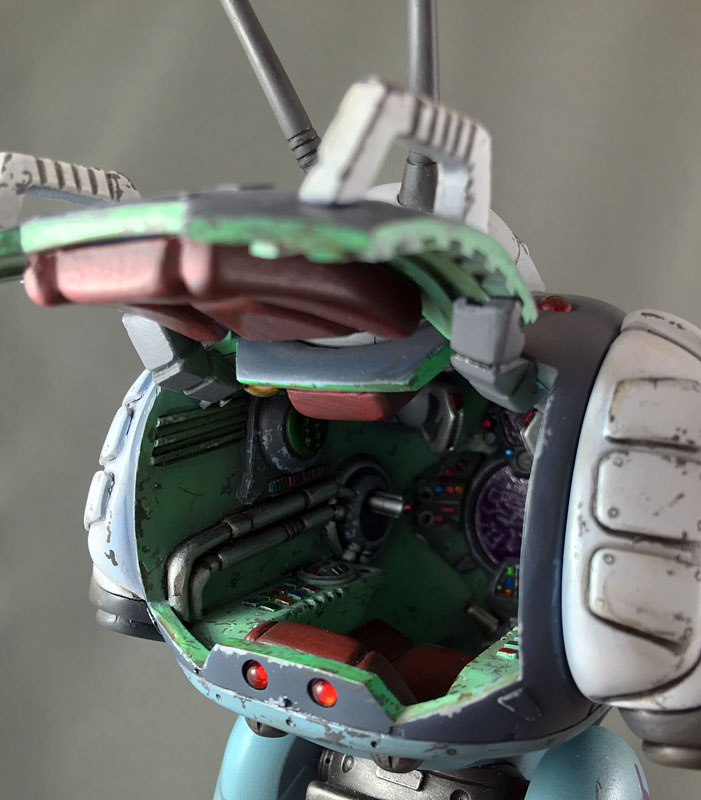
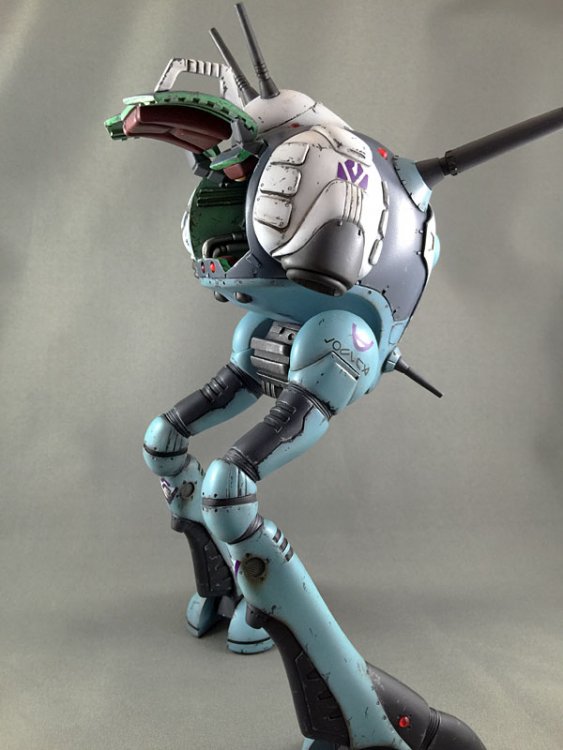
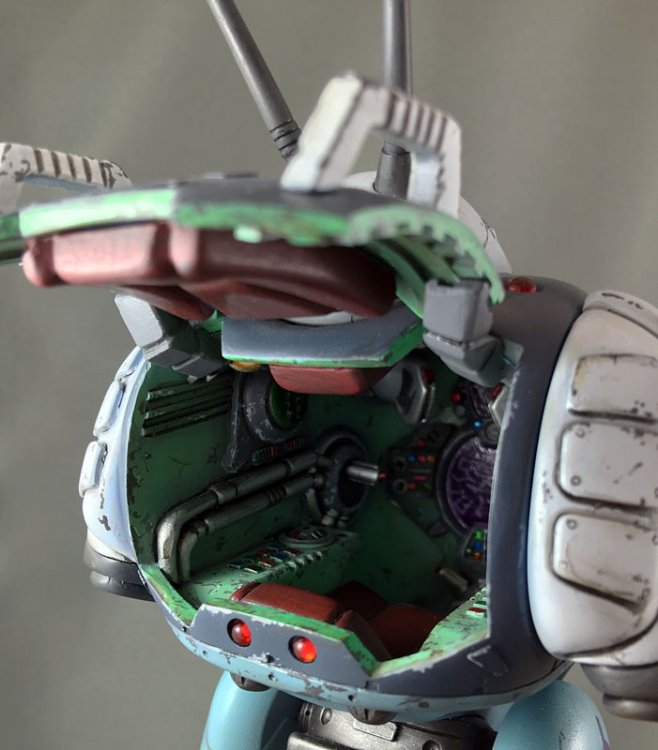
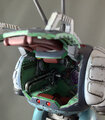
Hi Clu Happy to answer your questions. Brand of paint did you use? : A mixture of Tamiya and Mr Hobby Aqueous Hobby Color Acrylics with the hand painted stuff like the interior details with Citadel acrylics. hand painting or airbrush?: Both. Two dual action airbrushes and multiple paint brushes. Base colours of the model all airbrushed. Tonal changes with airbrush with base colour lightened slightly. Details picked out with brushes. did u use primer?: Yep Tamiya Surface Primer. Grey or white doesn’t matter. Standard or fine doesn’t matter either. Comes in a spray can or bulk for airbrushing. Again doesn’t matter which one you use. I always do an undercoat. Apart from giving the paint something to bite into it also highlights any imperfections. washes?: Citadel and Tamiya acrylics thinned. Some artists oils thinned with spirits. Also used Mig weathering powders and Tamiya weathering powders. Scratches: All by hand this time. Varying shades of grey. Interior was also washed in random areas with Citadel Gryphone Sepia. A lovely burnt golden-brown wash. Tips for building this kit: Lots of patience. And super glue. My Hatch was a terrible fit although I did get it to a stage where I could have posed it closed but I thought bugger it and left it opened.
-
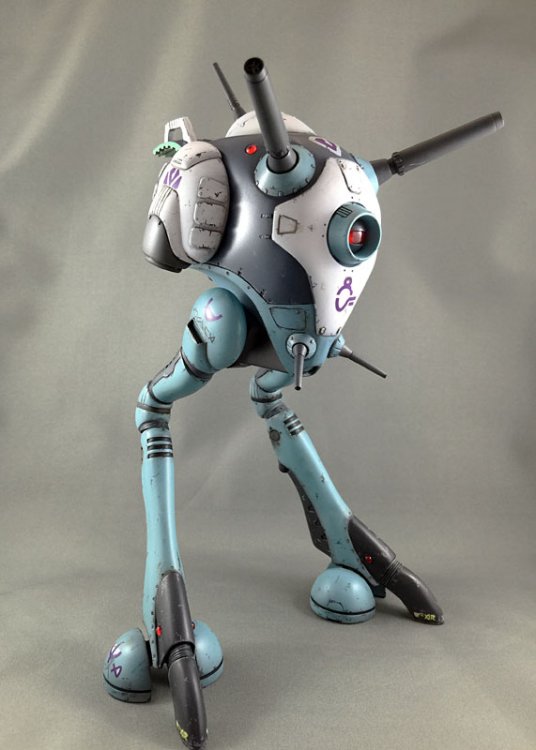
Great finish. I've always liked the blue scheme.
-
Thanks everyone for the praise. I appreciate it. It is a great kit and I know John wont make these again but boy if he did grab one. I think he has captured the lines of the Regult. I've held his Glaug and I wished I had gotten one of those. Now to make a start on my Hasegawa 1/72 Battroid with strike packs.
-
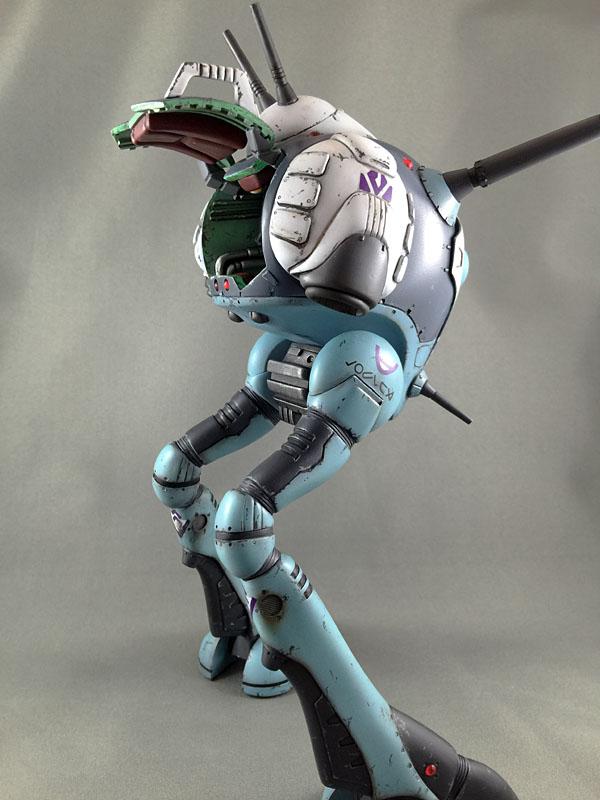
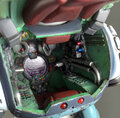
Cheers it did turn out well and I would if I could do another I would do lighting in it. Maybe a blue or green light would really work well. Thanks I probably spent too much time on it given you cant see inside it much. There are padded cushions in the roof space of the roof mounted laser thingies but you cant see it so its a bit wasted but at least I knows it there :-) I added them thinking the roof was a bit bare but it kinda makes sense so the pilot isnt banging his head on the ceiling. Yeah it turned out well but that grey background is crapy. Too many shadows. Maybe next time I'll give it a good ironing to flatten it some more.
-
That makes Johns kit about 16.2 metres. Close enough for me to make it "official'' in scale terms. Those casts look very clean. Detail is nice and sharp. Cant wait to see this built up.
-
Its finished. Go over to my gallery or the built kits to have a look at it.
-
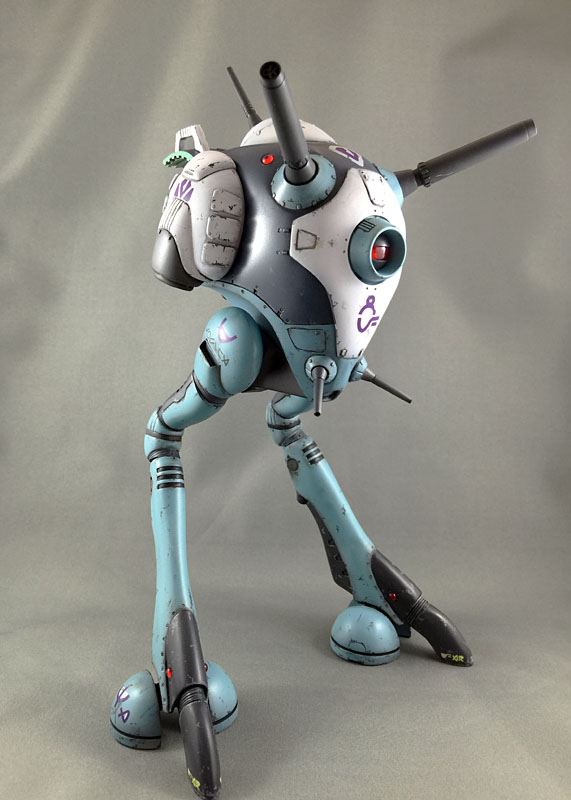
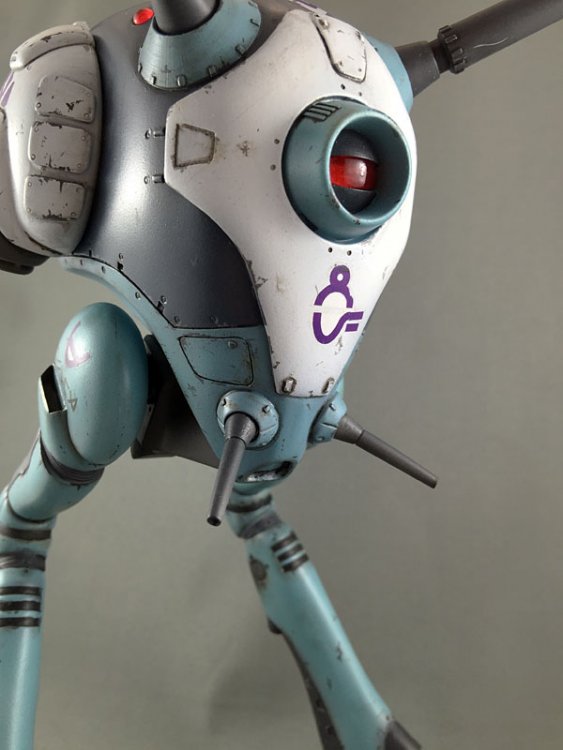
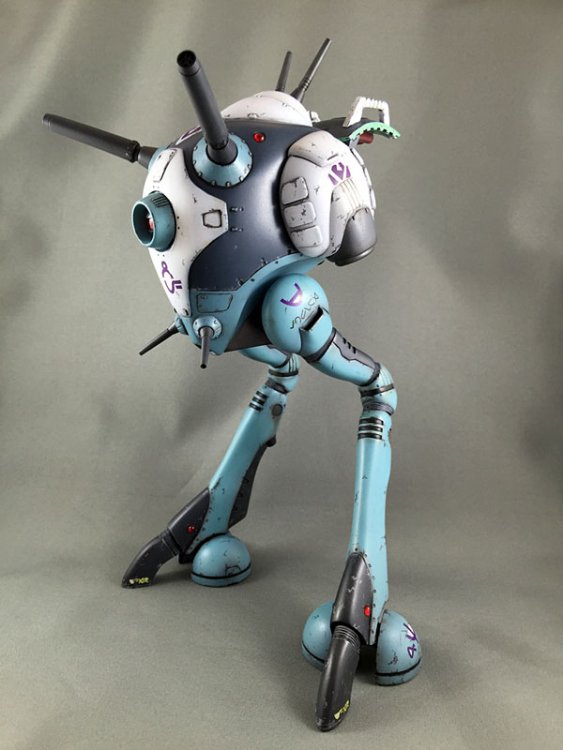
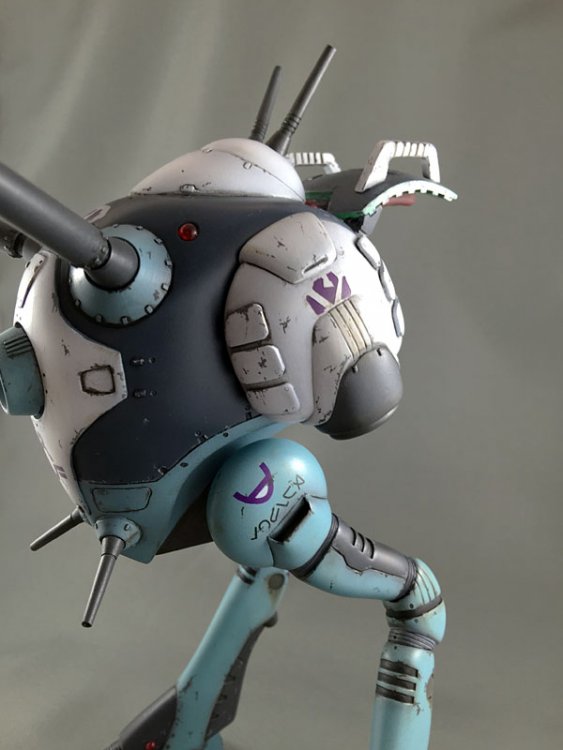
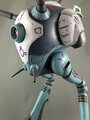
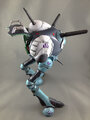
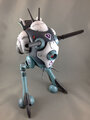
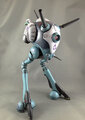
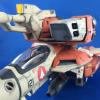
I have finally finished my 1/72 Regult in between house renovations. The photos are a little rushed as I didn't have much time to set them up properly but I think they are passable.


-
-
-
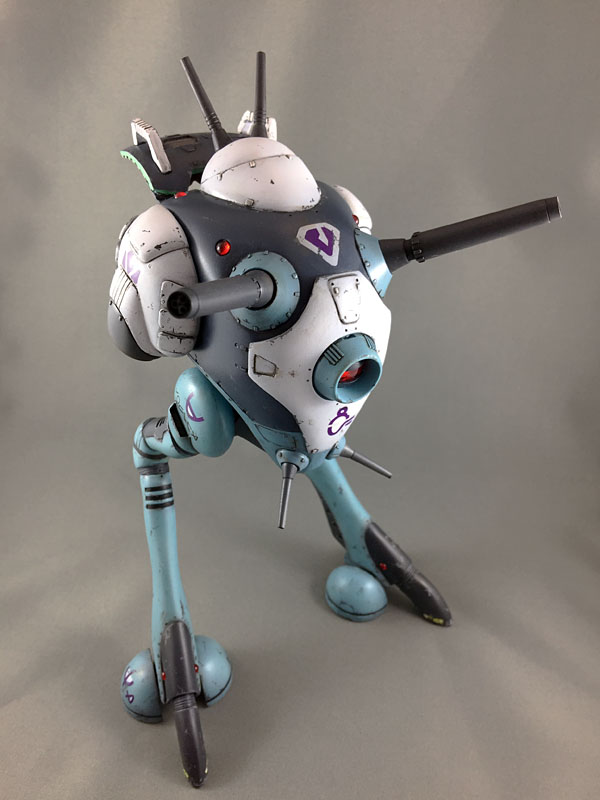
From the album: DYRL Regult Battlepod
© Mintox
-
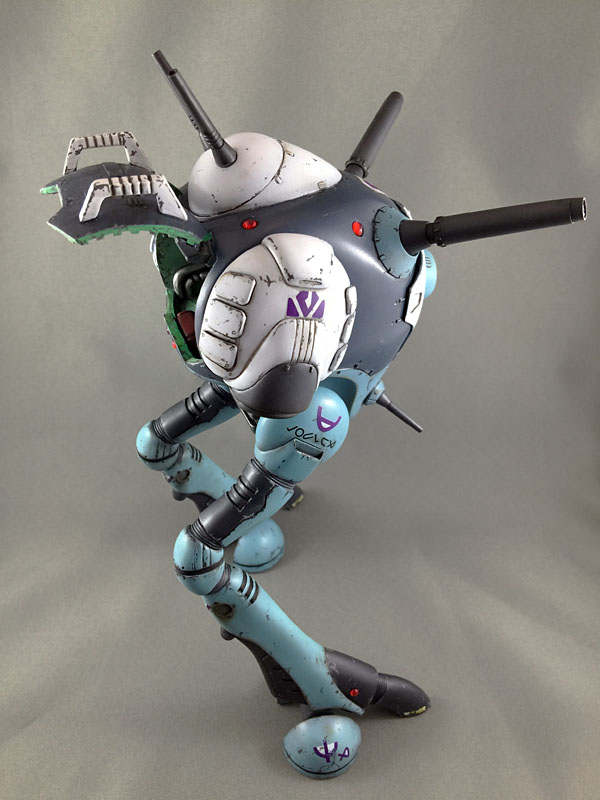
From the album: DYRL Regult Battlepod
© Mintox
-
From the album: DYRL Regult Battlepod
© Mintox
-

From the album: DYRL Regult Battlepod
© Mintox
-
From the album: DYRL Regult Battlepod
© Mintox
-
From the album: DYRL Regult Battlepod
© Mintox
-
From the album: DYRL Regult Battlepod
© Mintox
-
From the album: DYRL Regult Battlepod
© Mintox
-
From the album: DYRL Regult Battlepod
© Mintox
-
From the album: DYRL Regult Battlepod
© Mintox
-

From the album: DYRL Regult Battlepod
© Mintox
-

From the album: DYRL Regult Battlepod
© Mintox
-
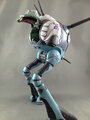
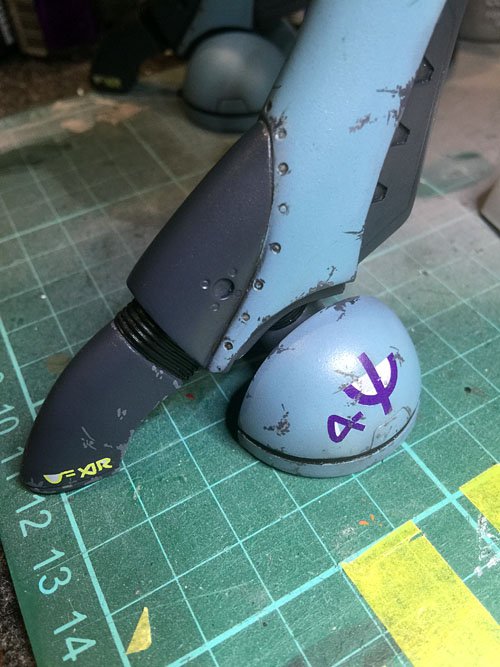
Started work finally on the many scratches which I tend by hand paint because of the control it gives me. I'm using a couple of varying shades of grey here, some mixed with black to give a darker chip or scratch. Its looking a little mono tone at the moment but I'll go over it with some washes and oils to tone it all in and add some grime into the recesses etc.
-
Very cool. Interested in cost ultimately but it is looking good so far.
-
Adrian's Custom Destroid Defender "Pain Killa" . . .
Mintox replied to miriya's topic in The Workshop!
interesting colour scheme. Kind of a hybrid modern urban scheme. Great stuff. -
Scratch Building/Model Modification Archive Thread
Mintox replied to Dax415's topic in The Workshop!
Hey MickyG Which part are you talking about? I have a 1/72 VF-1S Strike Battroid or is it fighter version this is an issue? Actually if you compare the two I believe the Battroid kit has the right shaped lower leg (bigger dimensions) than the skinny fighter version and actually matches the 1/48 Valkyrie better which is IMHO the most accurate interpretation of the line art in fighter mode. -
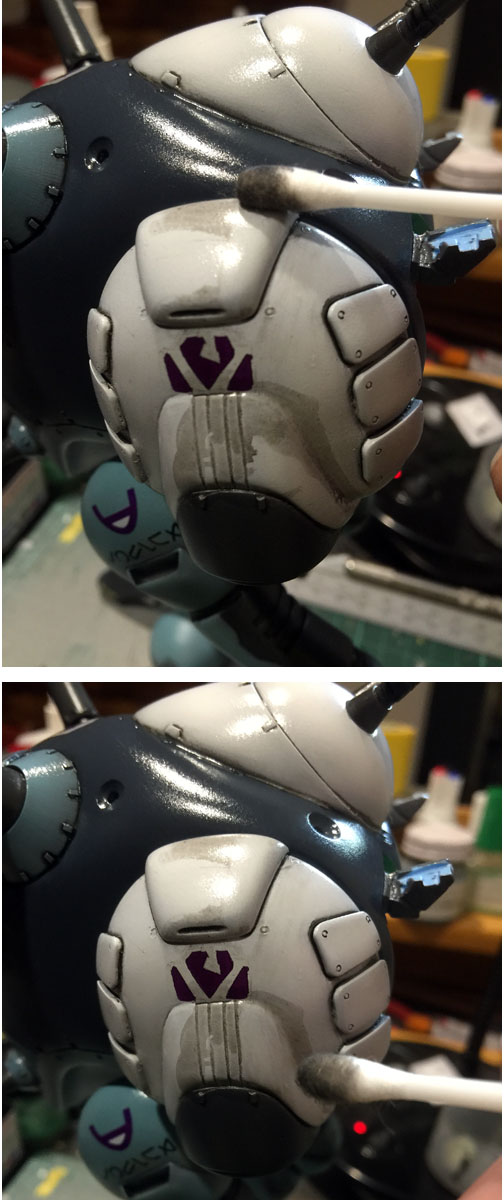
Ok I'm back on track. These photos show my initial step of a wash for getting into all the panel lines and gaps and as a basic filter over everything. Of course make sure you gloss your model with something that isnt going to be eaten by white spirits - this is the basis of the washes use, Tamiya make a good range of basic dirty colours so I tend to use theirs although with artist oils you have an unlimited range of colours you could potentially mix up. Once I let the wash dry I use a cotton bud or a piece of paper towel dipped (not too much) in white spirits and I start to remove and work into grooves etc the wash.