Mintox
-
Posts
439 -
Joined
-
Last visited
Content Type
Profiles
Forums
Events
Gallery
Everything posted by Mintox
-
Ooh I so want one of these. What I could do with the paint job on it.
-
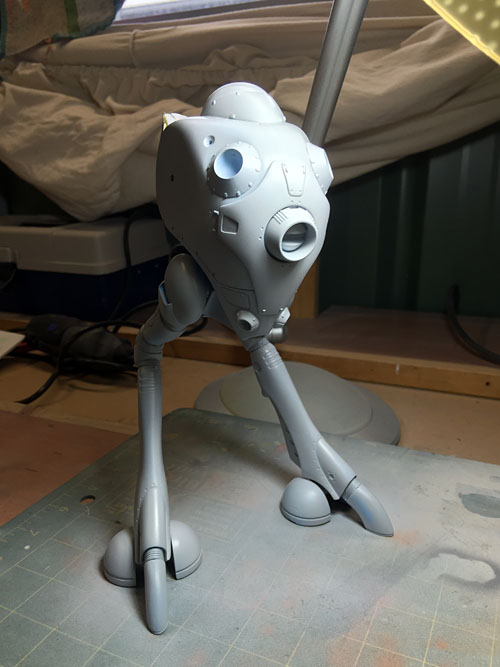
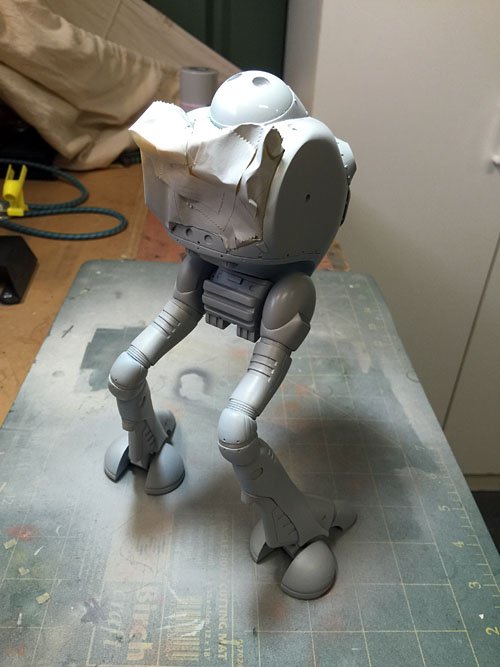
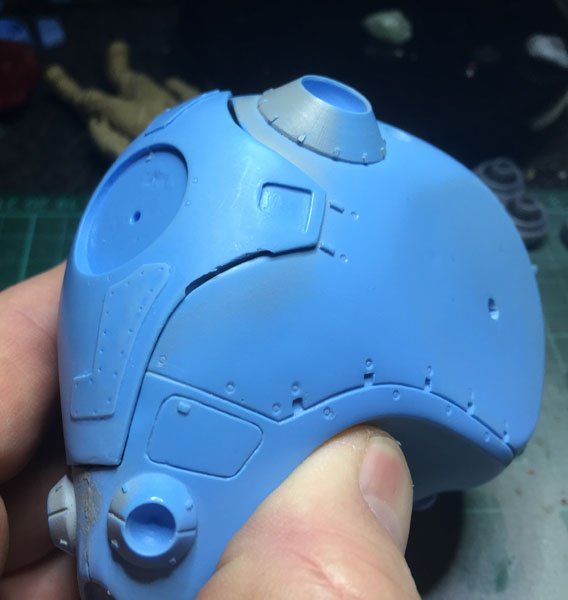
I always wanted to build my Bandai Regult but it seemed so small and the proportions are a little off for me. This kit to me is the ducks nuts. It has its issues but boy does it look sexy when built. Anyway a few more photos of the first major undercoat.

-
Thanks MT. Yeah I intend to leave it opened. Only issue with that is I'm going to have to secure it to its base because once the hatch is on it will tip the centre of balance to the rear and the thing tends to want to topple backwards. So now I have to find a nice base for it.
-
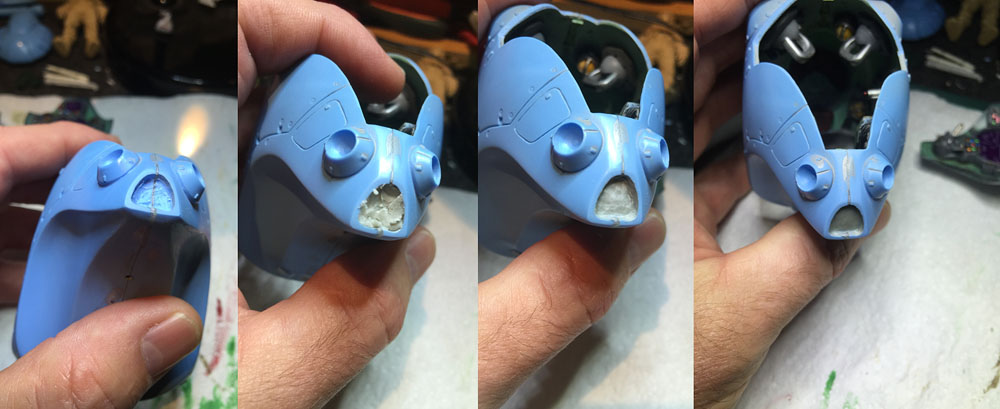
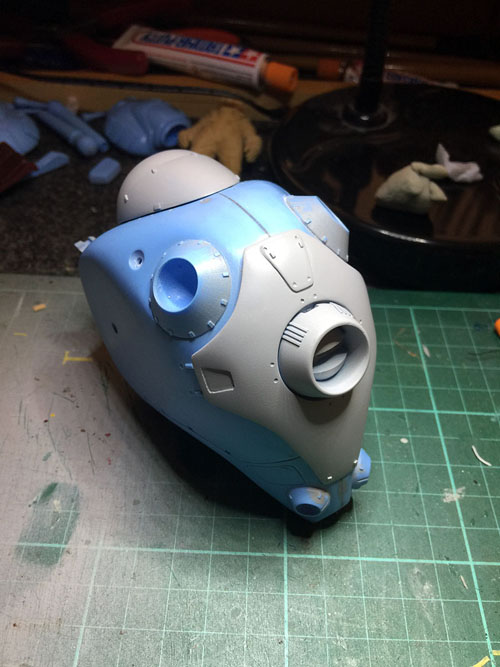
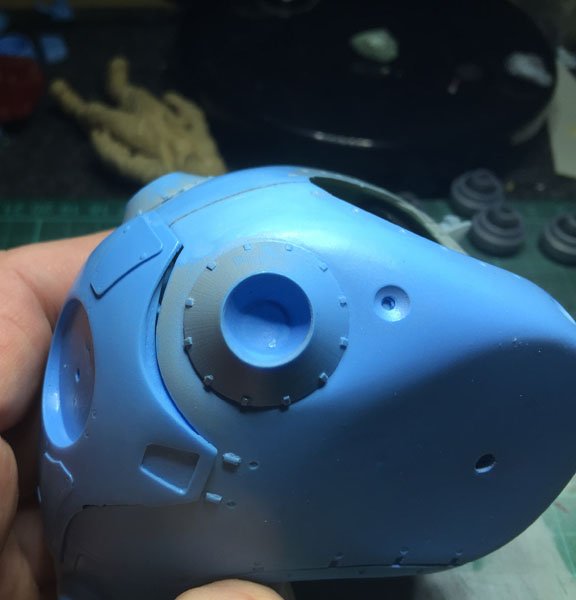
The one thing that had bothered me with this kit was the little open space on the ''chin'' of the pod. Getting inside to sand it was going to be a challenge. So I decided to dremel it out a little by making it a little deeper and then mixed up some Aves putty and filled it in and smoothed it out saving me the hassle of sanding the join in this little trough.

-
I can attest to Alclad being ''magical'' but as some one mentioned above it also very much depends on the surface colour underneath that will give differing results. I suggest that if you use it try it with both a black base or white base and even a grey base coat. You'l be surprised at the differing level of intensity you'll get from it especially the really ''shiny'' polished aluminium. I built a 1/72 Hustler as a commission job. Boy did it look good all shiny. I used a black base on that build.
-
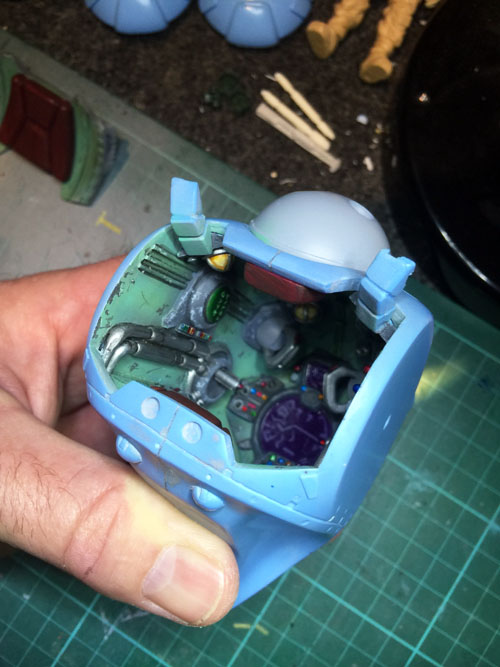
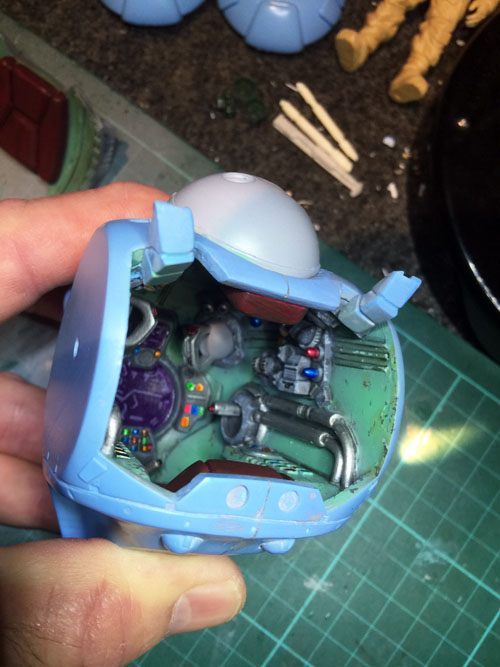
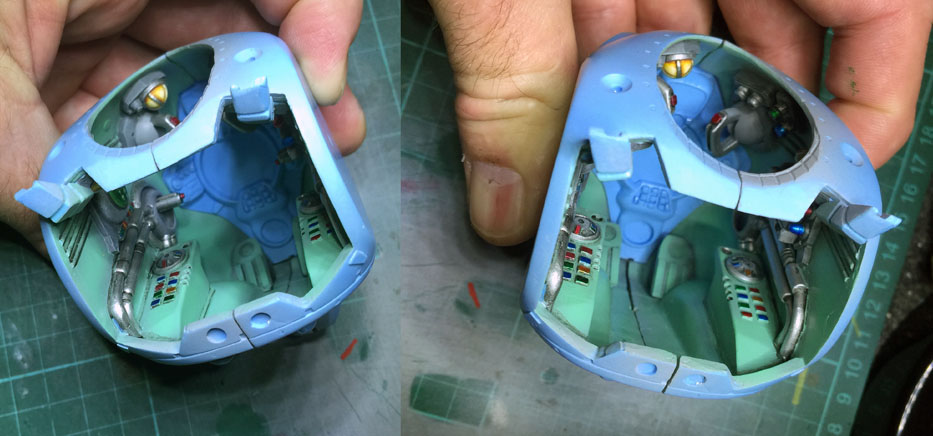
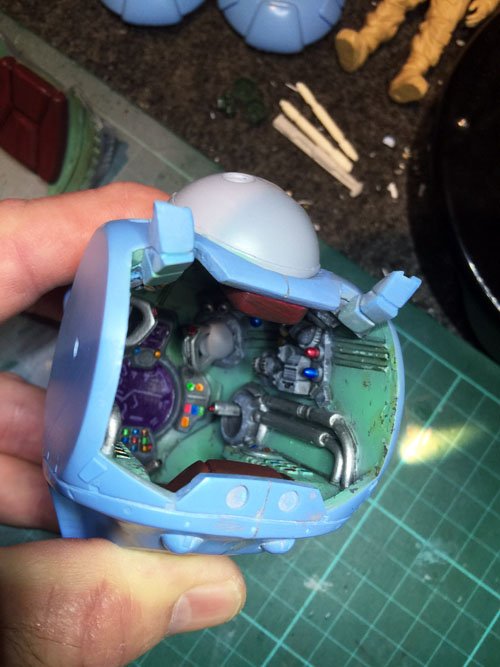
Actually about four colours to be precise. The base colour was laid down first (Citadel purple something), followed by a Citadel purple wash then the display markings were done with a mauve sort of colour then edged with white, then washed again with the previous purple wash but thinned a little with water. It certainly lifts the interior and draws the eye to the front as the interior without lighting is dark. I wish I could have added even a single light but resin kits like this aren't really designed with that in mind. Still it looks good I think. I'm itching to wait for better weather this weekend to start with the exterior colours.
-
I'm calling the cockpit done. Now to mask the rear opening and get to work on painting the exterior.

-
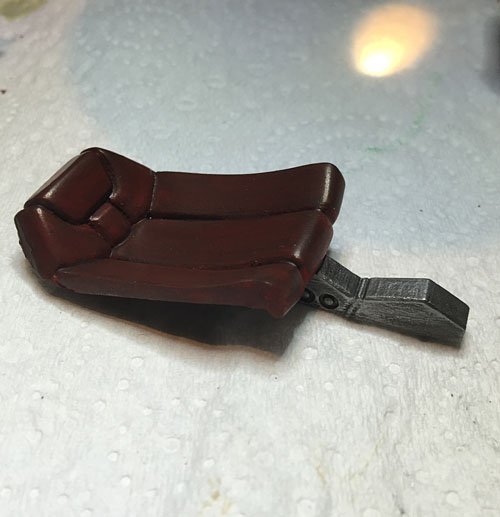
Just finished the front hatch and seat. I'll fit these and start sealing up the pod in readiness for painting.

-
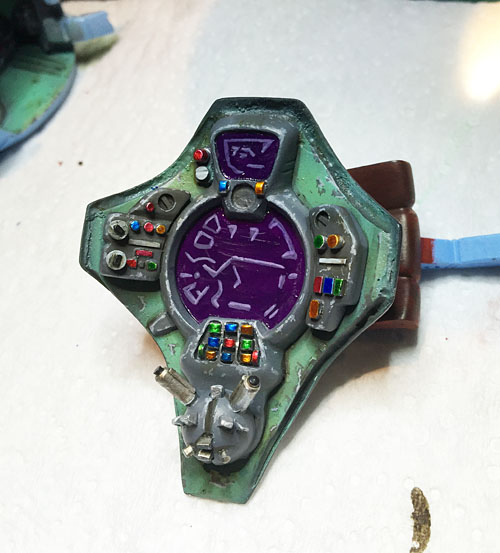
Work on the front hatch is slowly coming to an end. Started the interior face - detailing the instruments etc. I've decided I am going to try and replicate the display in the line-art for it. I've chosen a purple display colour for the forward screens.


-
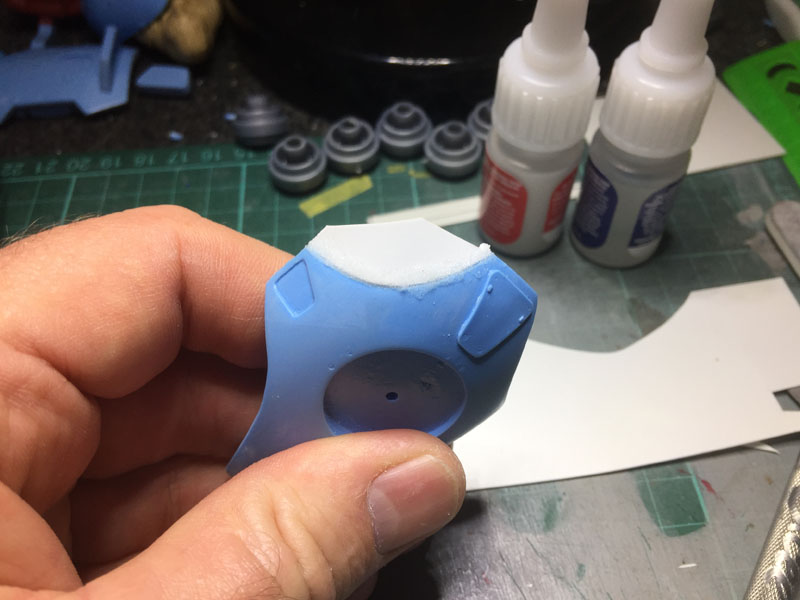
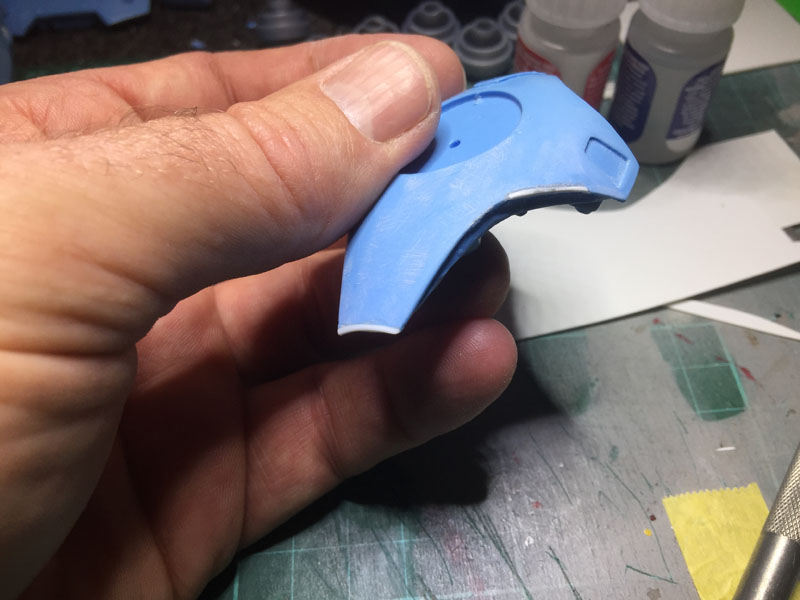
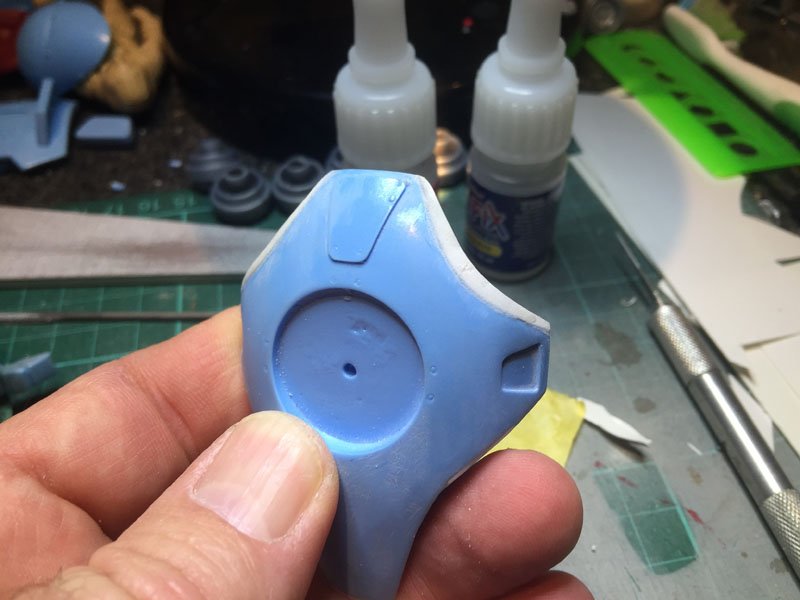
I've started to rectify the gaps on the front hatch. The photos show what the issue is and how I have gone about it. i have basically cut some 1mm card and used the Rapidfix stuff to glue it and then sand and shape. So far it is beginning to fit really nice. More photos later.


-
Yeah I have shelved this while I work on the Regult. Probably do more to the VF19 on the weekend. Hoping to undercoat it and make a start on finishing the first layer or paint.
-
The glue is basically super glue but the powder isnt baking soda, its a combination of Glass Oxide 99% and Amorphous Silicone dioxide 1%.
-
I sealed the two hull halves together last night using Rapidfix. Man that stuff is good : http://www.rapid-fix.com/ Now some sanding etc. I have managed to fit the front hatch without the need to glue it so that'll help in displaying the insides a little better as I think the interior details make this kit more interesting.
-
Fine tipped paint brush. I toyed with using salt/hairspray/solvents etc but in the end I wanted some control over it in such a confined space I decided on using a brush and citadel paints. I haven't totally finished with it as I need to chip the grey panels and add a little more to the green interior but I'll post photos later after I seal the two body halves together. Some areas are still untouched, such as where the seat will go, so those don't need to be weathered as they'll be hidden by some part.
-
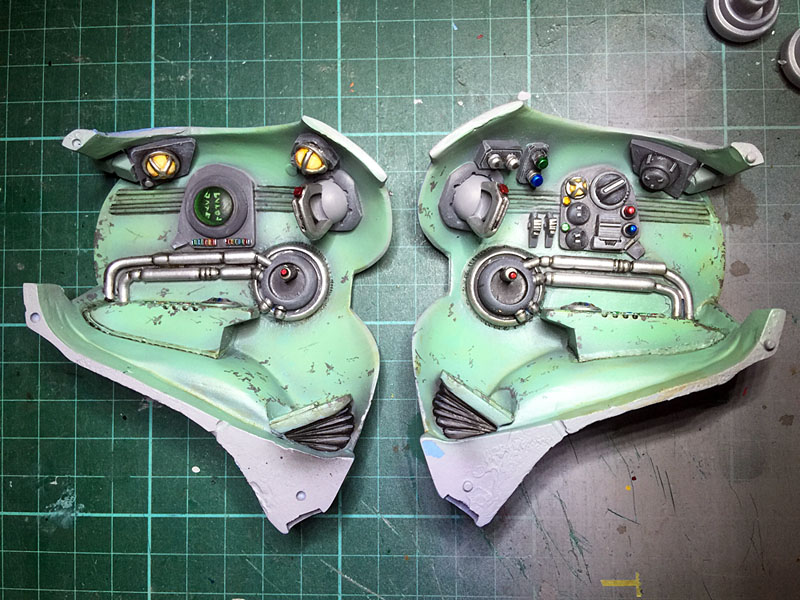
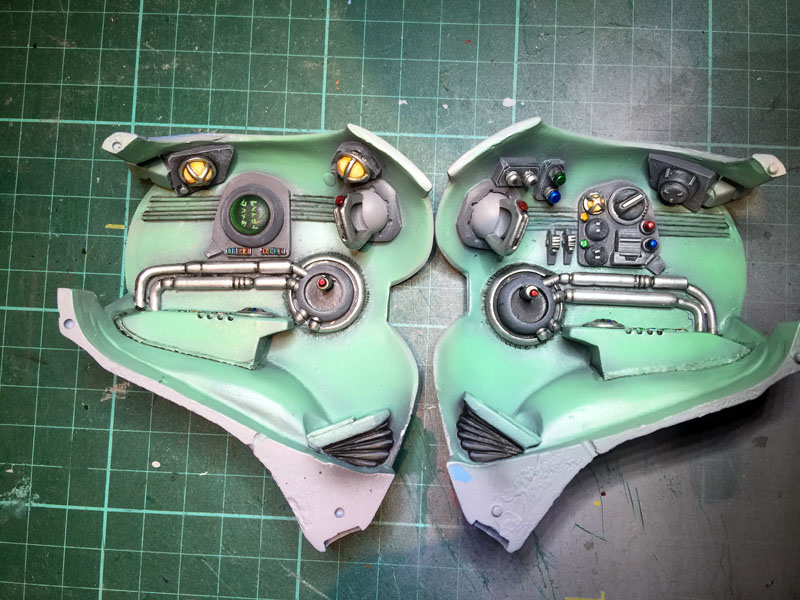
Chipping done I think. I also applied a very light wash of citadel sepia over the green to give it a bit of a worn/dirty look. Next step is to join the two halves and then some how sand the joins and repaint them internally. Thankfully there is really only the seam at the top front of the pod that will need to be really hidden well.

-
Going to move onto the front hatch now but will in the meantime chip the interior while waiting for the front hatch to dry. Here I am trying to guess what I am going to see from the rear hatch opening to get a better understanding of where to concentrate the weathering.

-
Highlights to the buttons done. Dark washes and some light dry brushing on all of the detail surfaces. Next I start the chipping and general weathering of the interior walls.

-
Yes freehand. All my years of painting W40K figures has paid off. I still have some highlights and shading to do on the screen but that's the basics done.
-
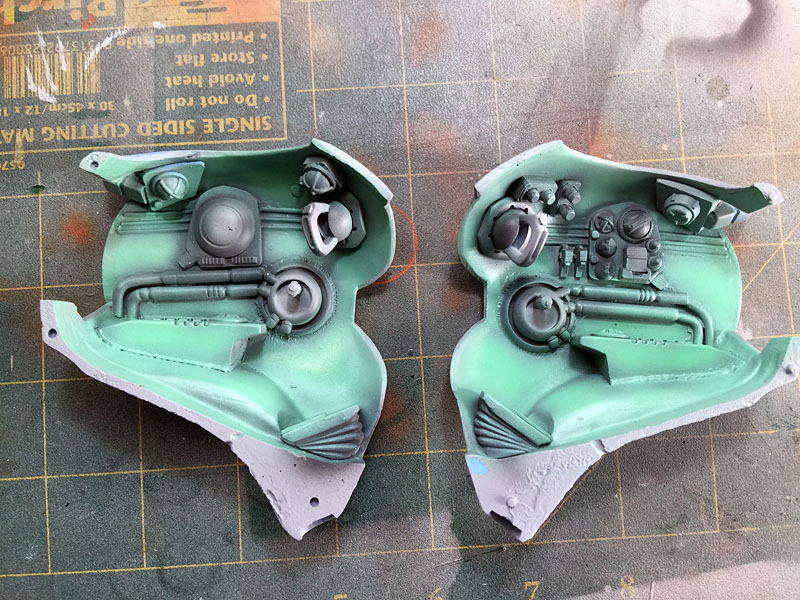
Started on the detailing of the interior greeblies.I am using all Citadel paints here. Buttons will be done next using Mr Hobby Colors tinted clears on a silver background to make the buttons stand out.
-
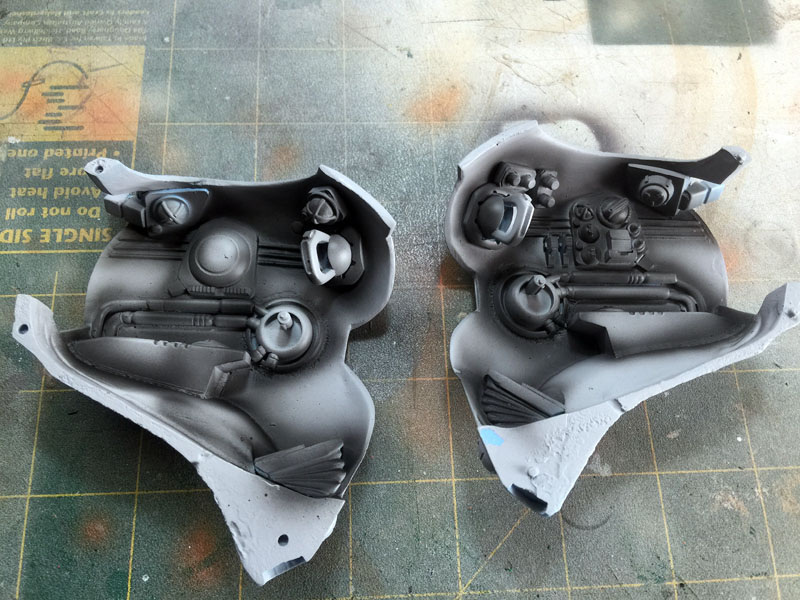
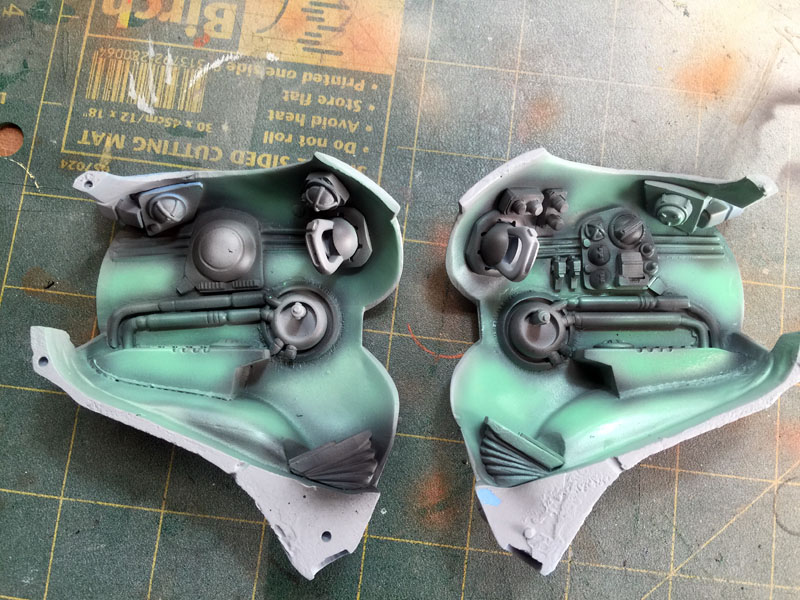
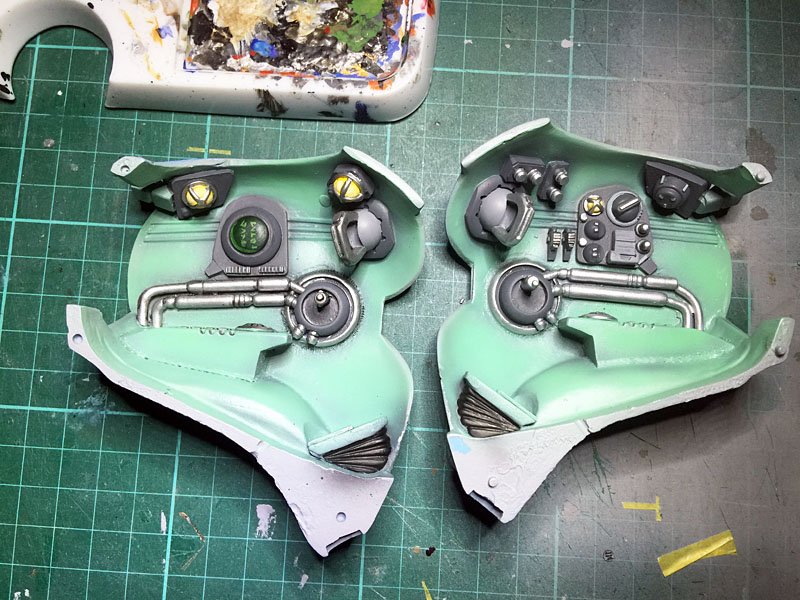
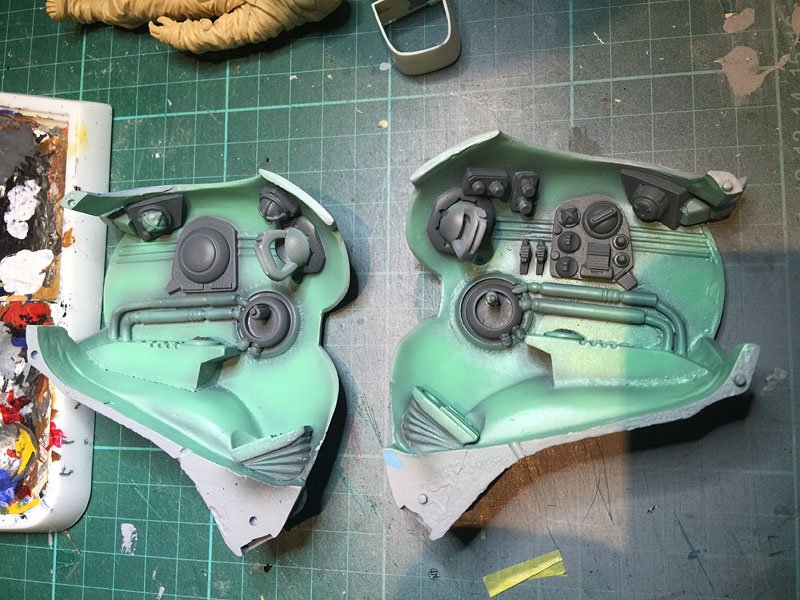
Started on the interior. Base coat of Tamiya Super Fine Grey undercoat followed by a liberal contrast of Mr Hobby Tire Black (not really a black, more a really really dark grey). Then the interior colour over the top of this starting with the centres of each major area using Mr Hobby H41 pale green with a couple of drops of Mr Hobby H6 Green to soften the brighteness of H41. Then slowly expand out with the main colour and work it closer to the dark parts. In the last photo I have started to pick out the individual controls using Citadel Codex Grey.


-
It will be interesting because looking at their battroid versions, the cockpit is too small for 1/72 and so are the wings at least if you compare them to the fighter versions in 1/72. It kind of annoys me no end. Maybe its because proportionally it wouldnt look right?? And yeah 1/48 goes without saying.
-
Hey thanks for posting these photos of your Regult. It looks bloody amazing. I have noticed quite a difference with your front? hatch and mine which kind of explains why I have such a shitty fit. Yours seems to have a lip that is maybe 2 or 3 mm wider than mine. I'm going to have to graft a thin strip around it, at least around the top edges. I was also thinking of the same interior colour but possibly leaning towards more of a blue tint than green. Either way your interior looks worn and used just as you explained them to be massed produced and not looked after at all.
-
Please post them. I like to look at what other members have done, colours used, weathering etc especially on any Zentradi/Zentran equipment.
-
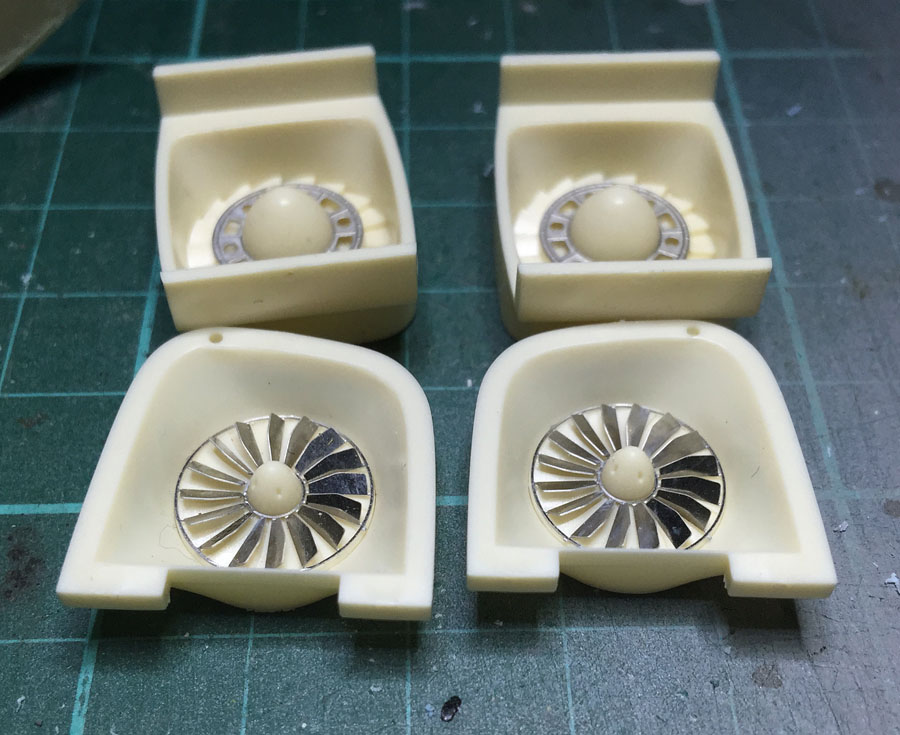
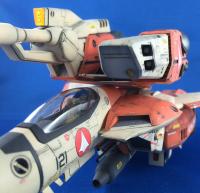
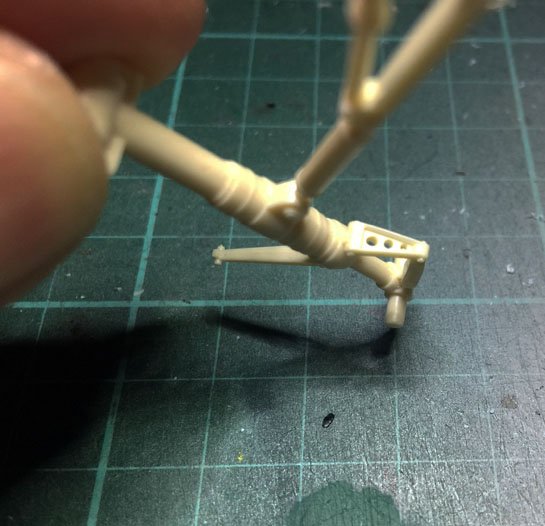
Slowly working on my VF-19. Drilled out the holes on the torque link on the forward undercarriage leg and added the intake and after burner? details.

-
Fantastic build and my most favourite of all the Valkyrie variants, except maybe the VT and D. Great job mate. Can I ask where you got the stand from?