Mintox
-
Posts
439 -
Joined
-
Last visited
Content Type
Profiles
Forums
Events
Gallery
Everything posted by Mintox
-

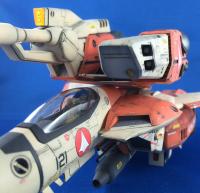
From the album: YF-19 1/48
© Mintox 2016
-
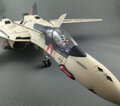
From the album: YF-19 1/48
© Mintox 2016
-
Has anyone received there 1/72 kit yet? What was your resin like?
-
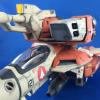
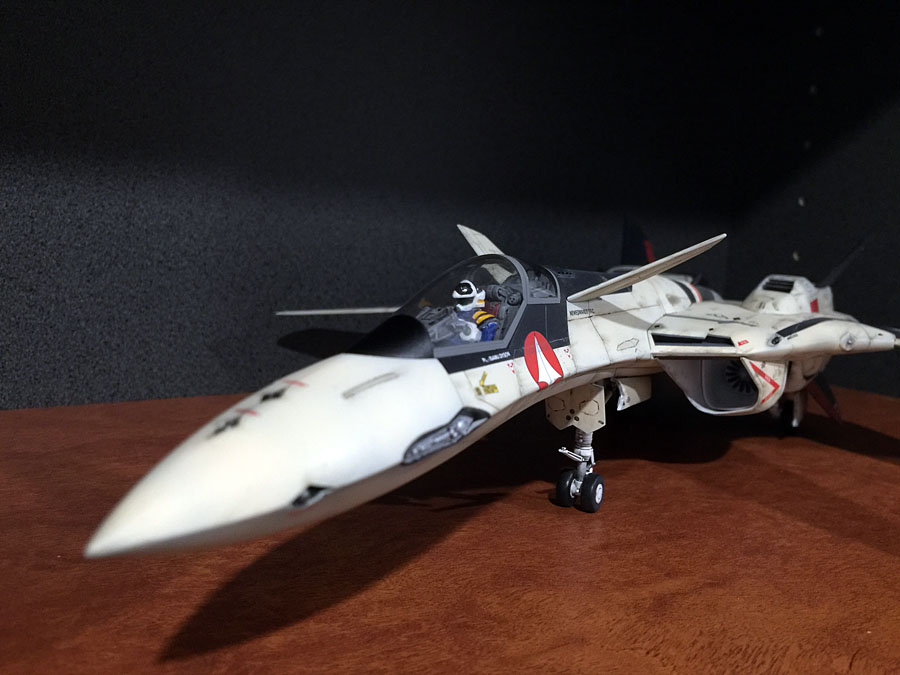
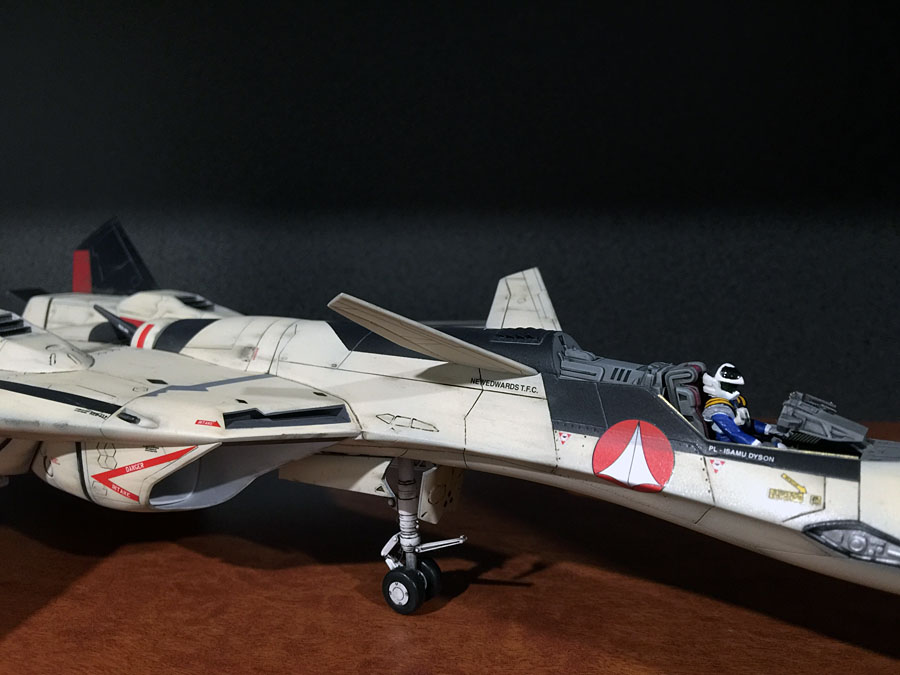
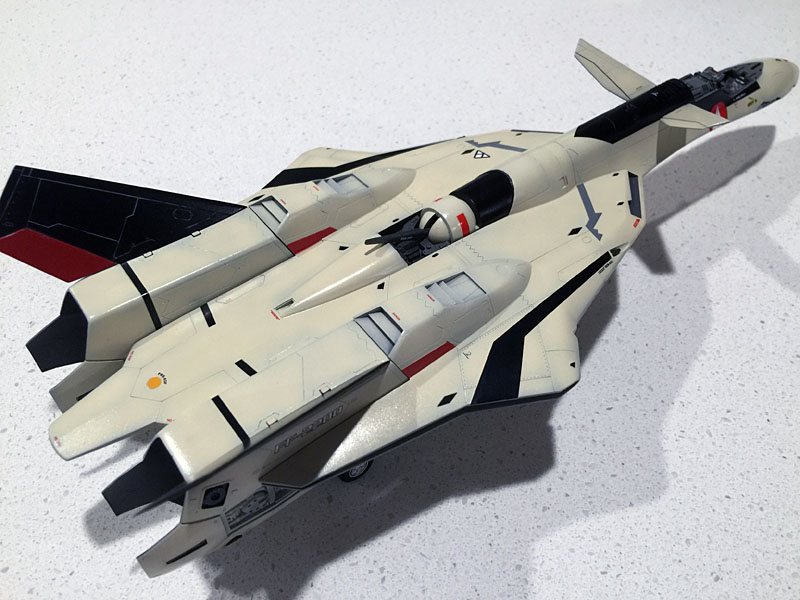
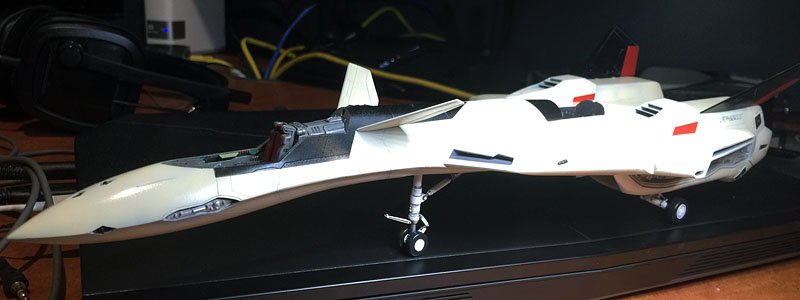
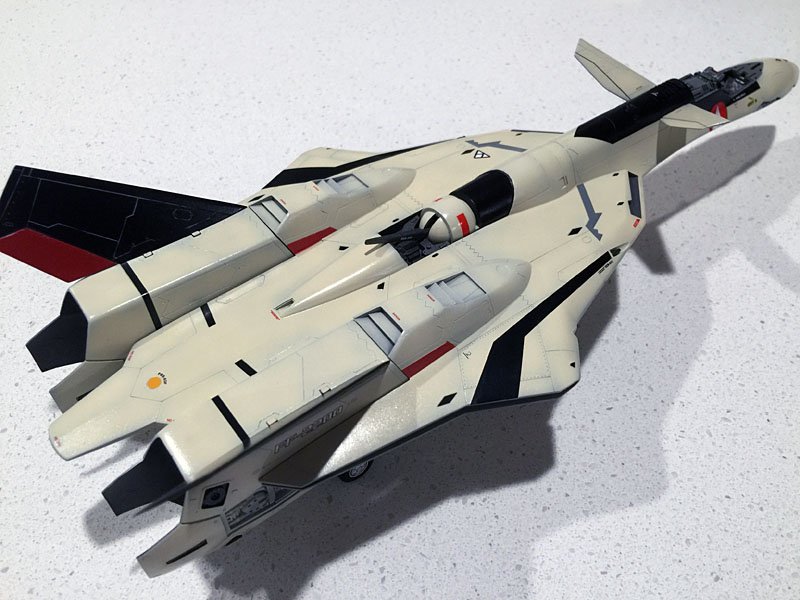
She is done. All I need to do now is let the clear coat dry for 48 hours and add the red sensor thingies to the nose and its done and then I'll take proper picts and post in the build section on the weekend.

-
A quick shot of the 99.9% completed VF19. I'm waiting for the canopy to dry so I am putting some final touches to the pilot and some final weathering to some panels then its will be sealed with Vallejo matt clear and its done. I have to say the final fit of some parts is a bit off for Hasegawa. Not their usual fit for such a big kit but I'd buy another (well actually I have) and build it again.

-
Hehehe yeah I think I did curse this kit A-LOT! Yeah well if given the choice I'll choose injection over resin any day. Resin is good for detail parts but thats about it for me. Having said that this kit like all of Johns kits does stand out of the pack but having been burnt by someone on this forum very recently with a resin kit I stand by my view on resin kits in general. Handsome? You scoundrel you! Cheers. I didn't think it would work because the white didn't tone down as much as I had hoped but it kind of gives it a other worldly look so I'm happy with it. Cheers mate.
-
This will probably be the last post as its almost complete except for some decals and post weathering after its been given a coat of flat clear. Wings are missing of course as is the engine panels which I wont be doing as a removable item on this build, maybe the next build although I'm worried in leaving them removable as the fit under the wing area is very tight and would maybe scratch the panels in time if you kept pulling and putting them back on.
-
Cheers. Yeah I'm getting excited now that I am finally close to finishing it.
-
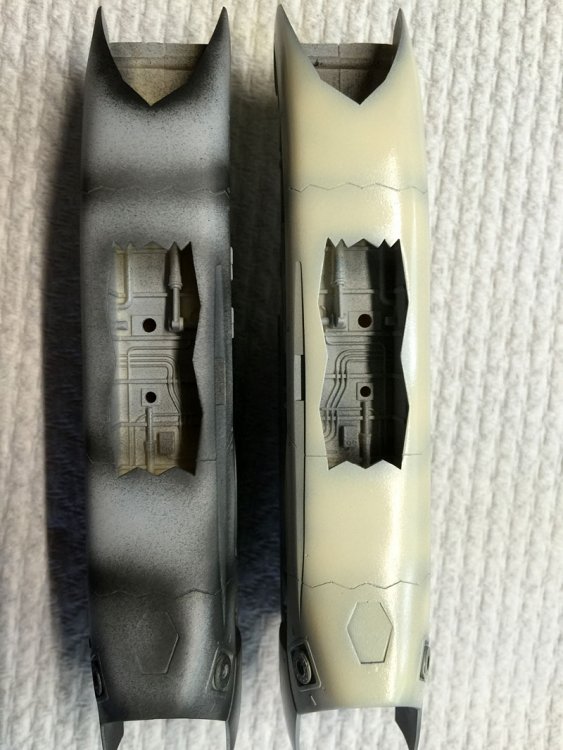
I have finally started on the detailing washes. Here I have done the landing gear and GU gun. In the undercarriage there is a before and after shot of the rear landing gear showing the difference a wash does to bring out the detail.

-
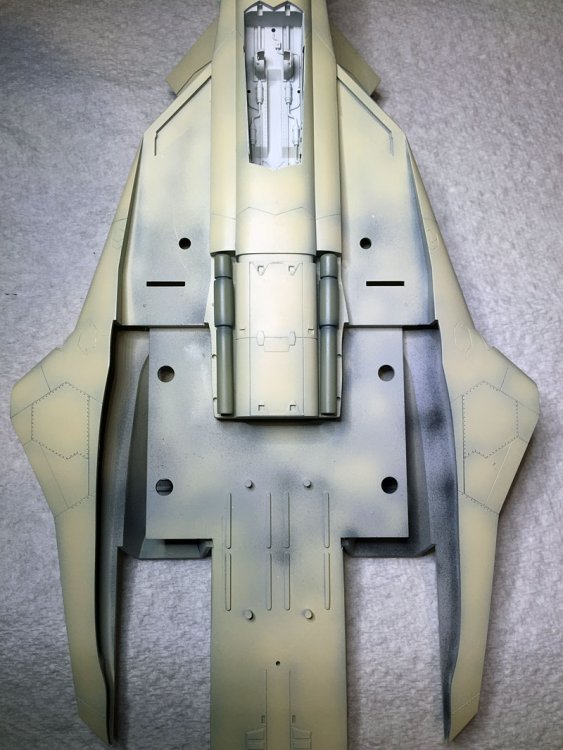
I've just realised I have used the wrong red on the stabiliser and vertical stabilisers. It should be Mr Hobby Shine Red not Red. Oh well back out to the spray bench. In the meantime here are some more update photos. I'm slowly adding those parts that can stay on when I give it a coat of clear gloss for the decaling and weathering process.\
-
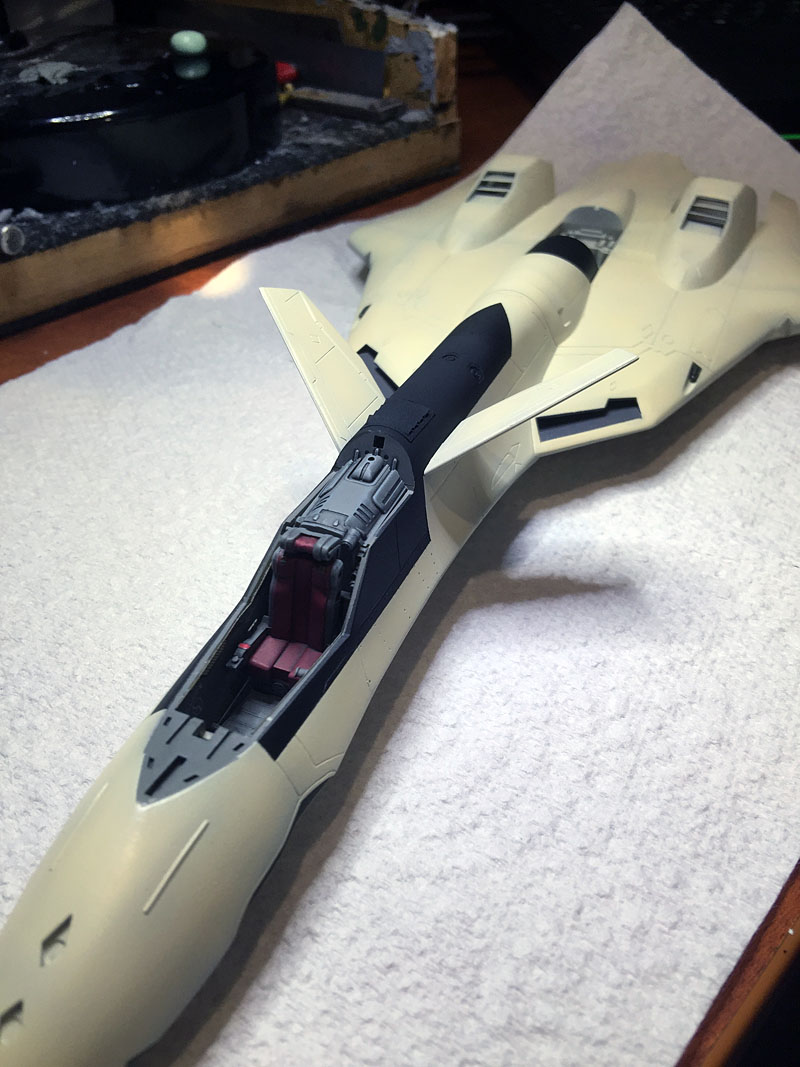
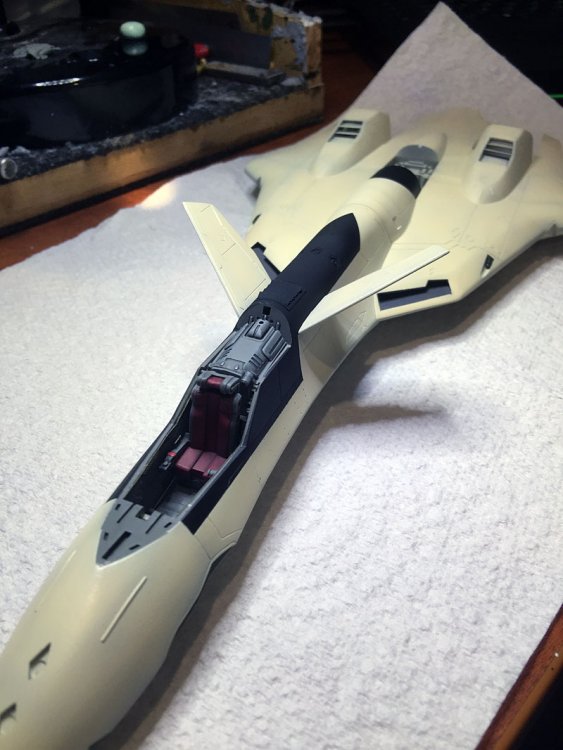
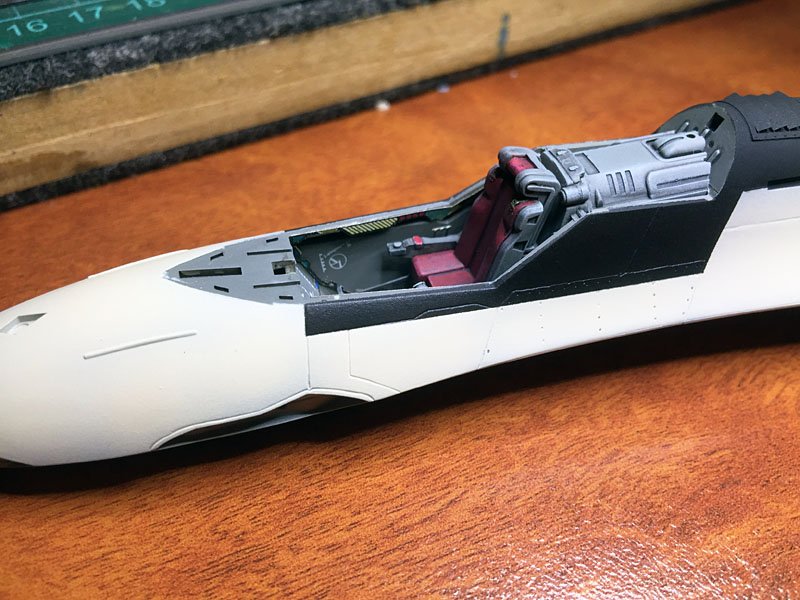
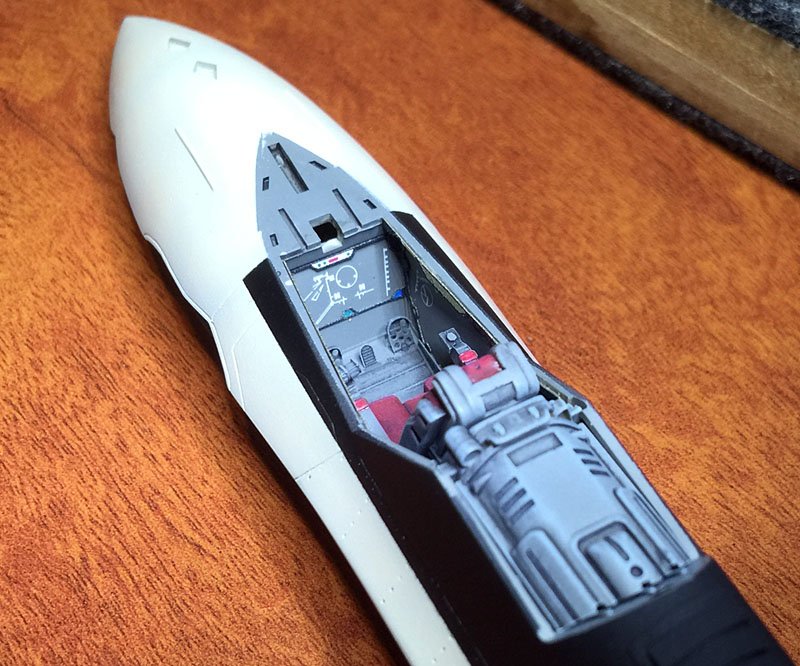
Started to paint the black markings around the cockpit. You can see some of the cockpit displays on the lower sides of the cockpit. Pity they'll be covered when the canopy goes on.
-
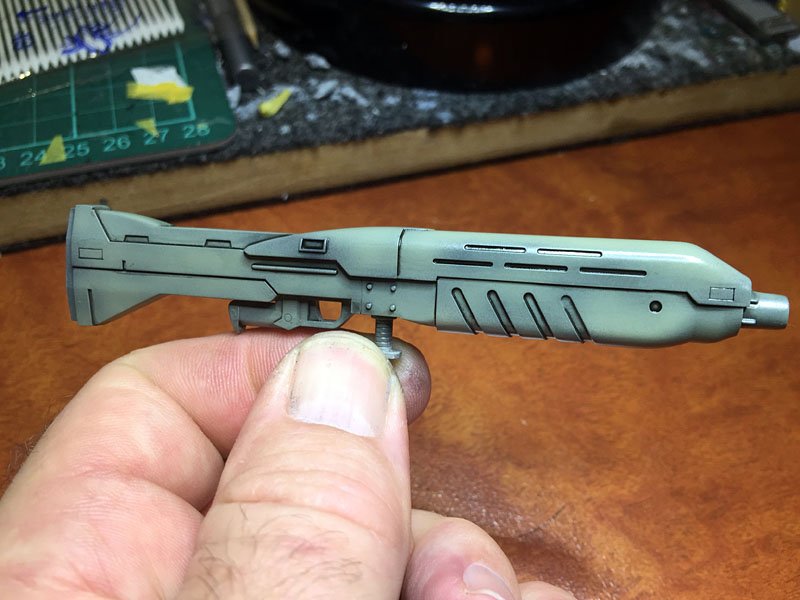
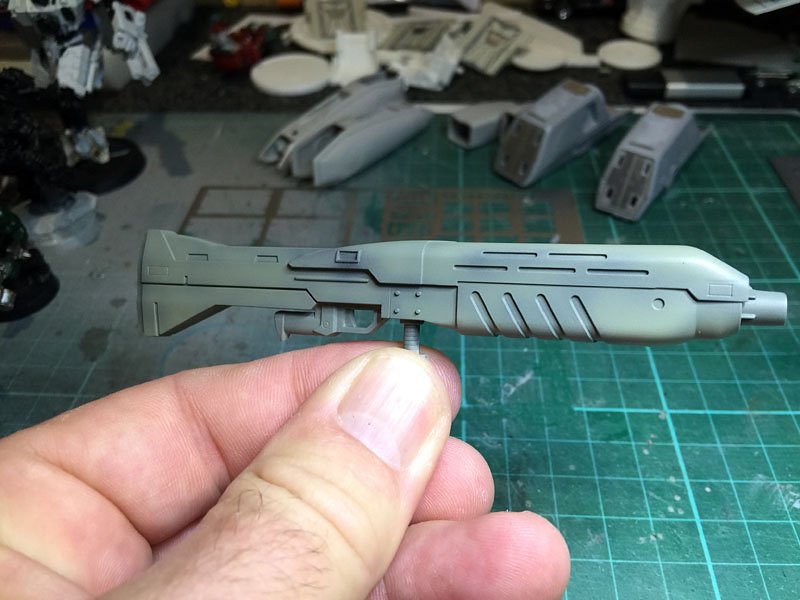
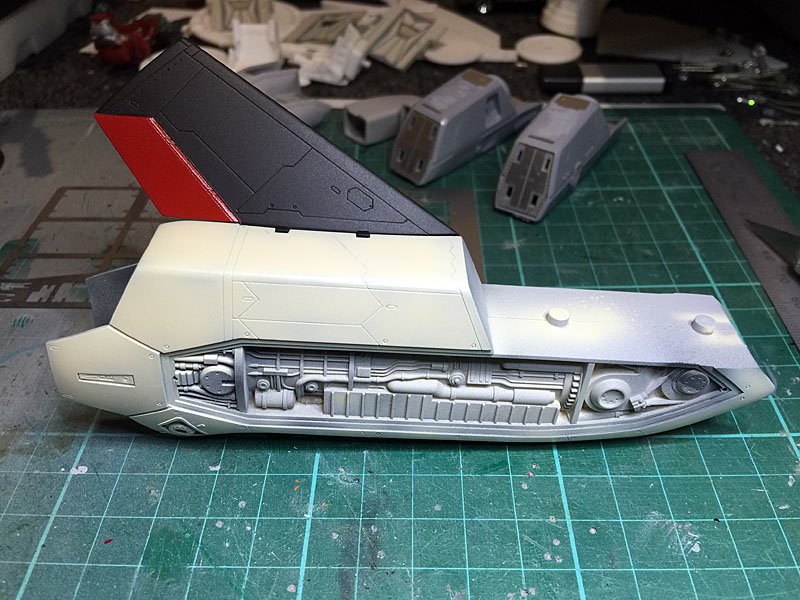
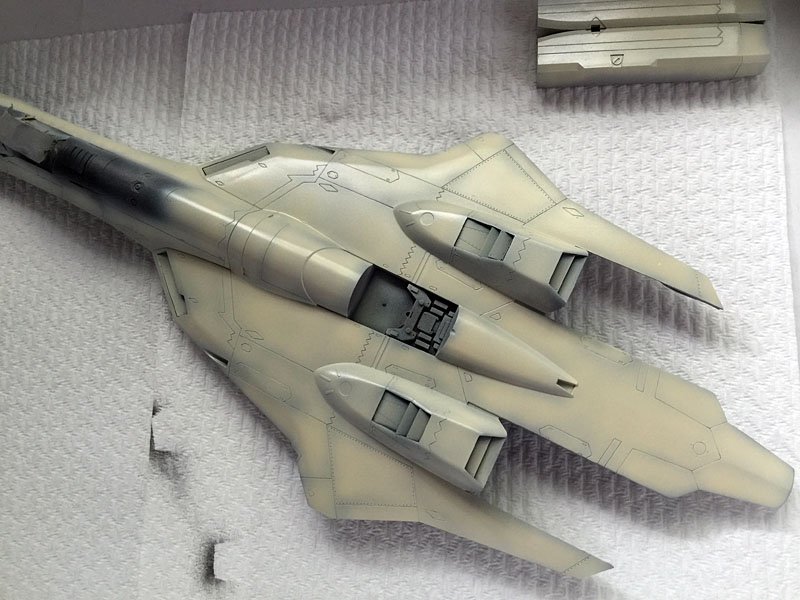
Ok so I am almost done with painting. All major parts are completed. I'm test fitting here one of the vertical stabilisers. The other is the awesome GU gun, which has always been my favourite version of Macross VF weapons. things to still paint are the landing gear and bays (white) and the thrusters and insides of the rear engines and the black anitglare panels around the cockpit and some of the small thruster thingies then its onto the decaling and washes.
-
As far as I can see they only did them for the VF-25. The doors for the VF-1 arent so bad as to be only a little painful to fit otherwise its just a matter of using some plastic card to make some edges around the wheel wells so that the doors sit flush and then a little putty and sanding and they look very decent.
-
Brilliant conversion.
-
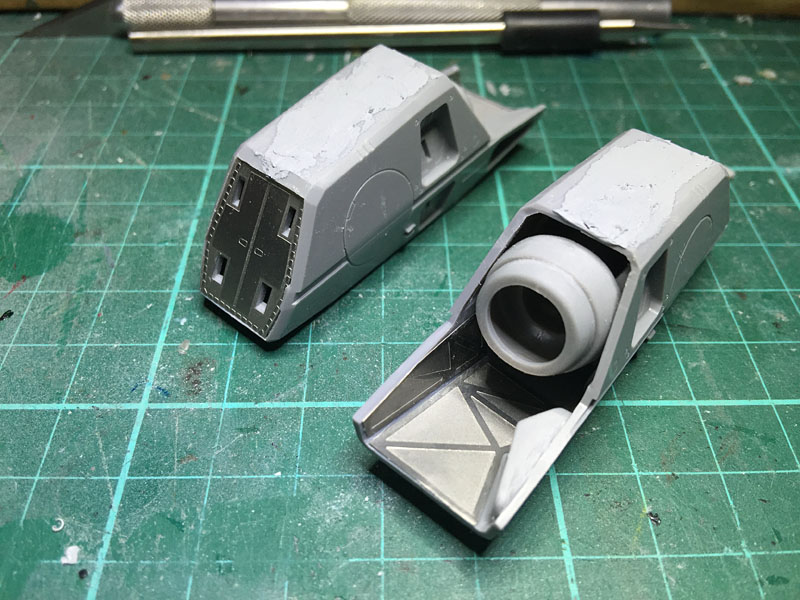
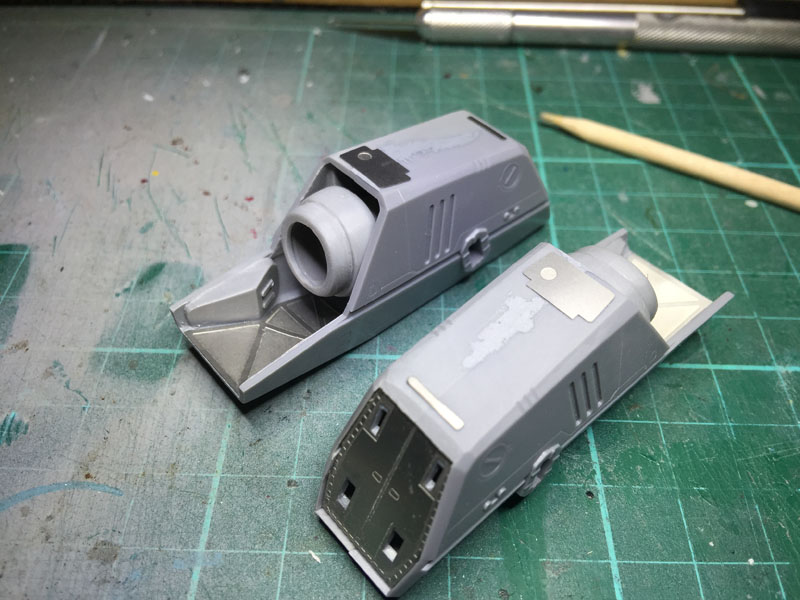
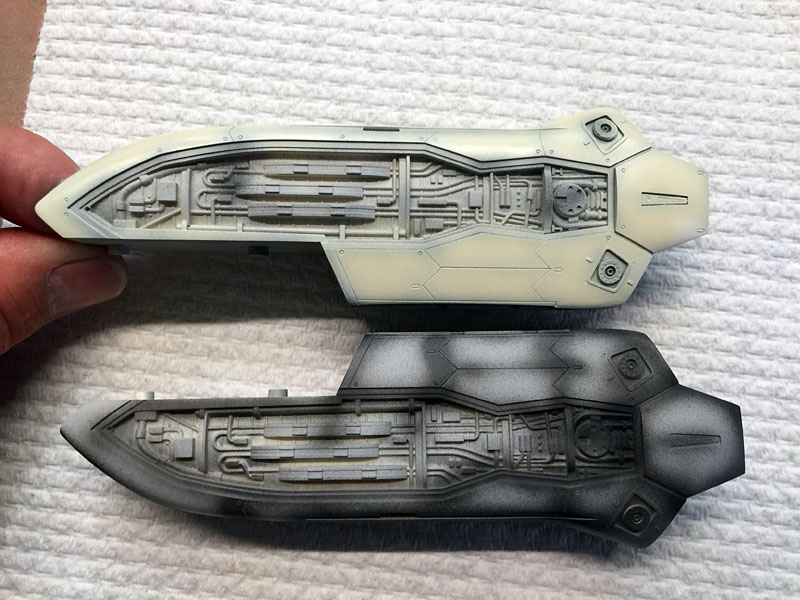
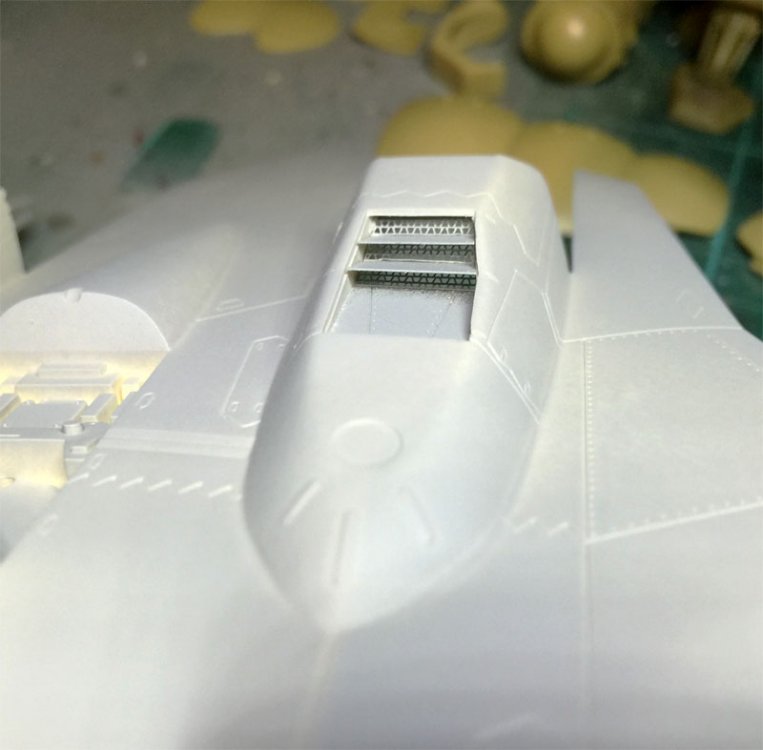
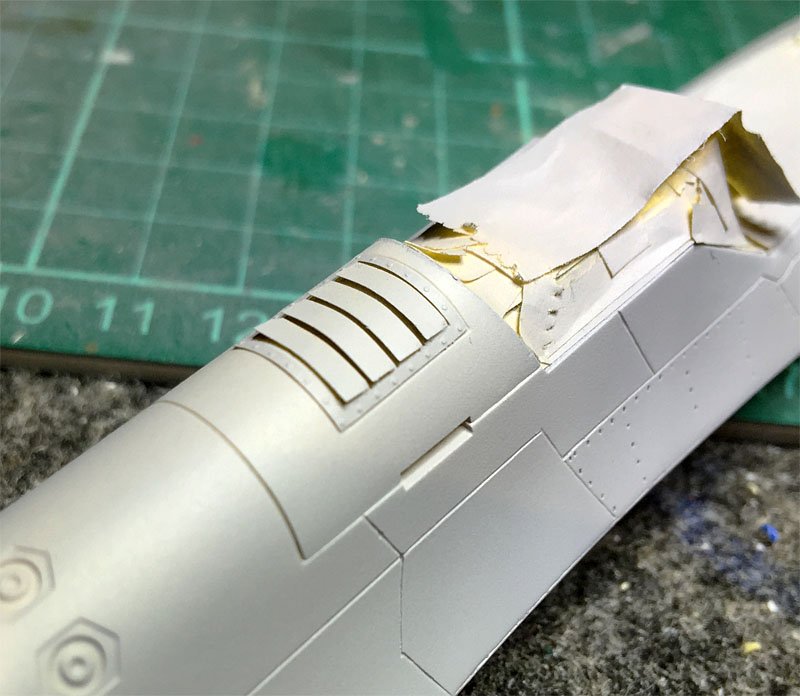
Weather has been mild so I'm diving into the models as much as I can. I've started to add the metal etch parts to the Elint. Intakes were a bit tricky but ok if you take your time. The booster packs have some of the etch set applied. Once the top is sanded smooth the missing detail is then replaced with metal etch parts.


-
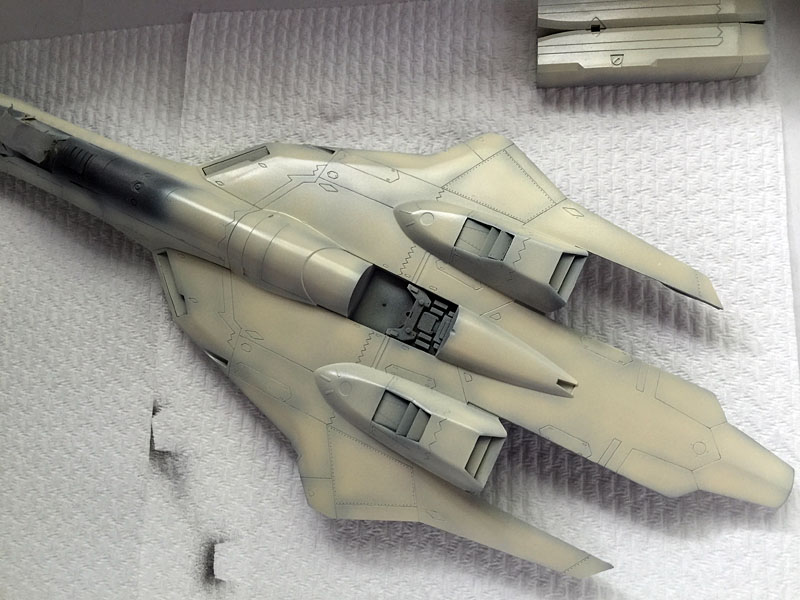
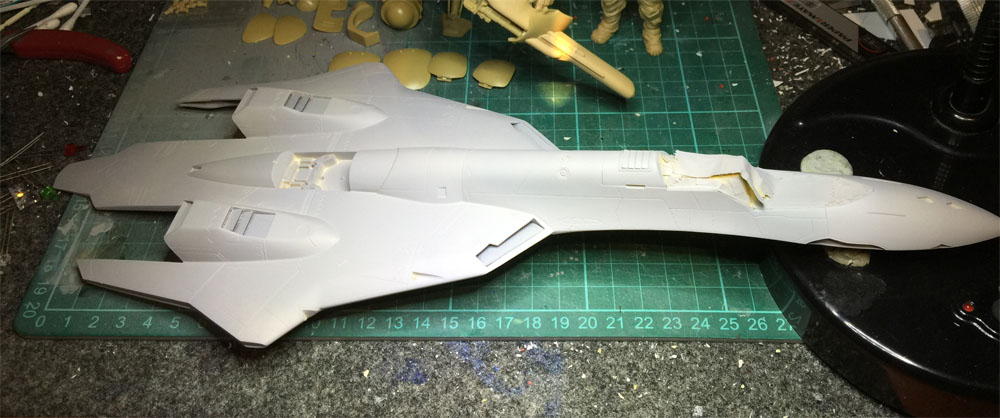
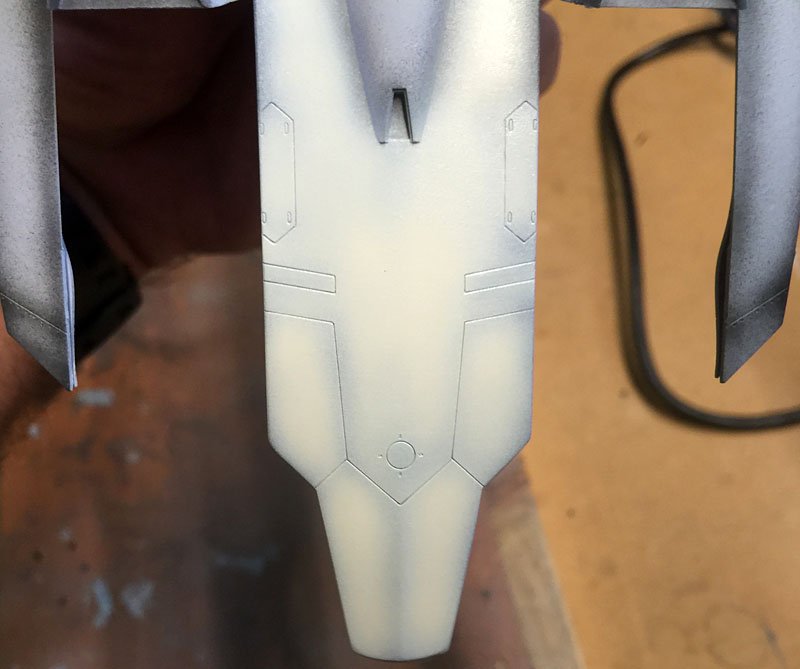
Progressing sloooowly. Temperatures still very hot and humid. Working on the upper body blending in the panel lines. Some areas are stil a bit dark but the extreme rear is what I am aiming for. Other parts like gear doors etc are finished.
-
Great buildup. Looks fantastic.
-
Yeah I love this kit. I've just ordered another couple. I really want to do it in skull colours but I'll leave it as the standard Edwards Base YF-19 for now and do the others in a Skull Squadron and the blue and white colour scheme (not sure where it is from but the 1/72 kit sports it). Unfortunately its been close to 40 degrees C here and 45 plus in my workshop, being tin clad it doesnt do much for installation from the searing sun so I've been working on my SDF1 TV and Movie version ships. I know the TV version has coped a lot of flack but I love it. It doesnt have that silly scalloped bit under the reflex guns which has always annoyed me.
-
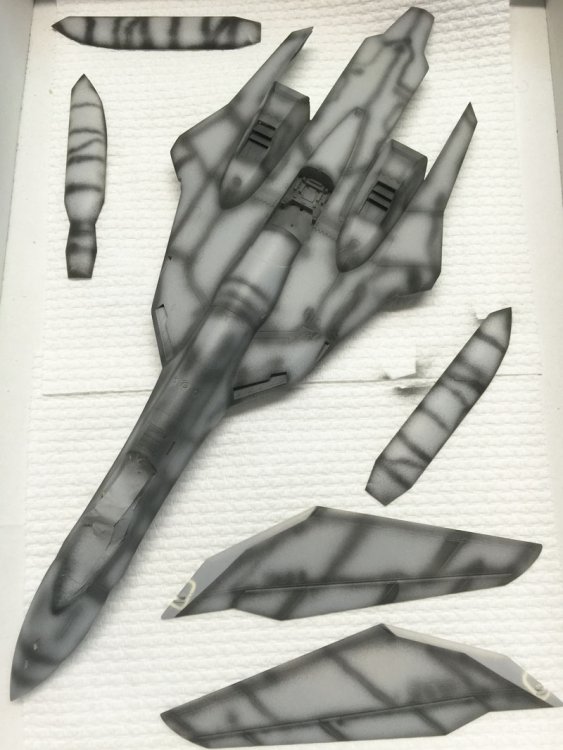
More shots of various parts being shaded. You know a model is big when you sit for two hours airbrushing parts. Even more so when you are wearing a particulate mask.

-
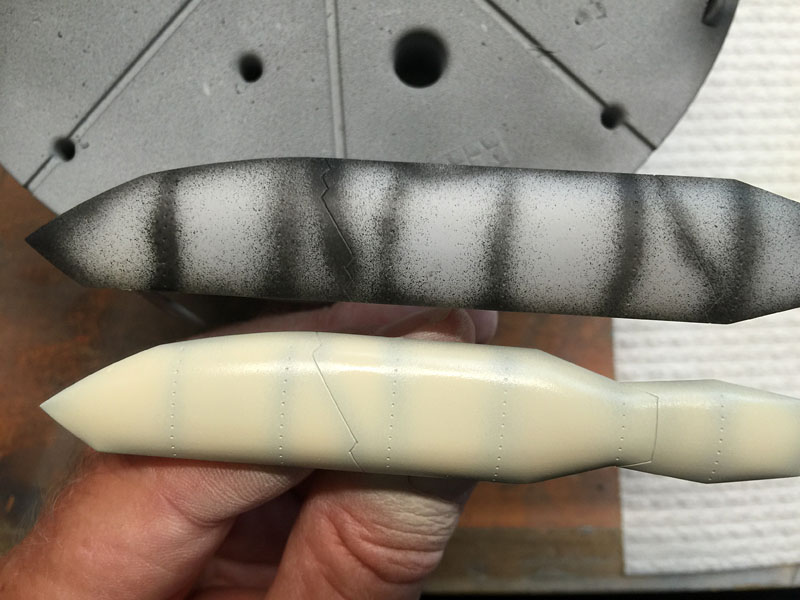
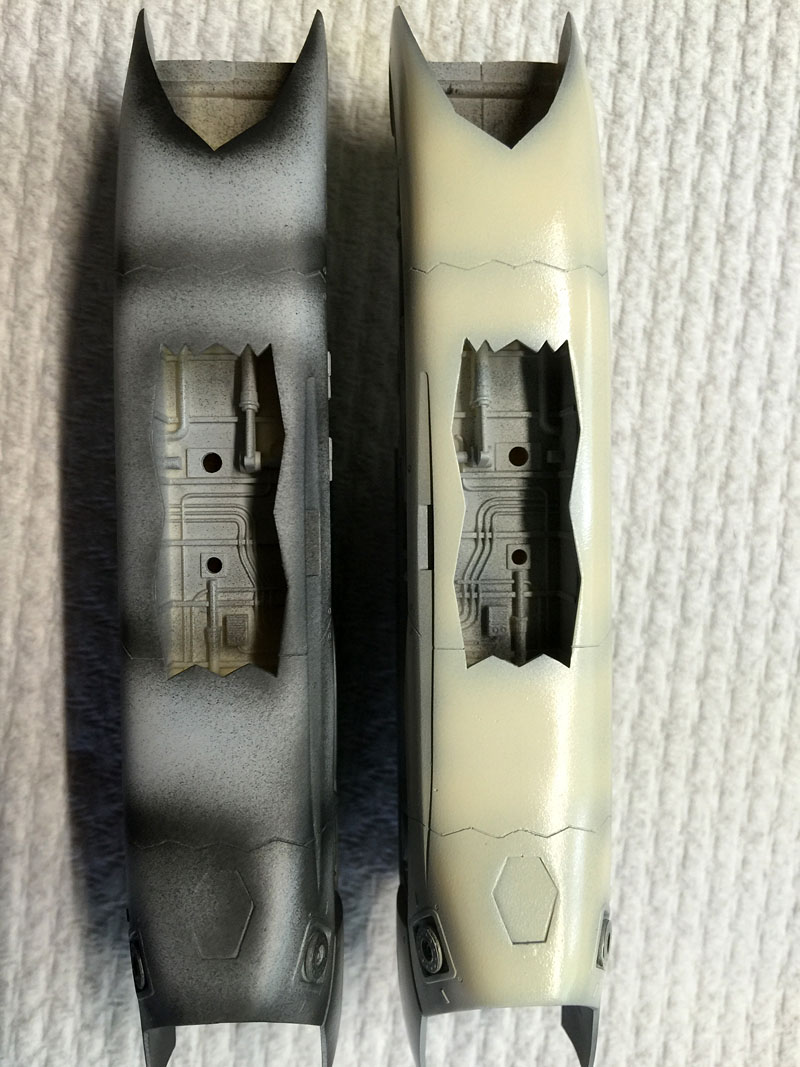
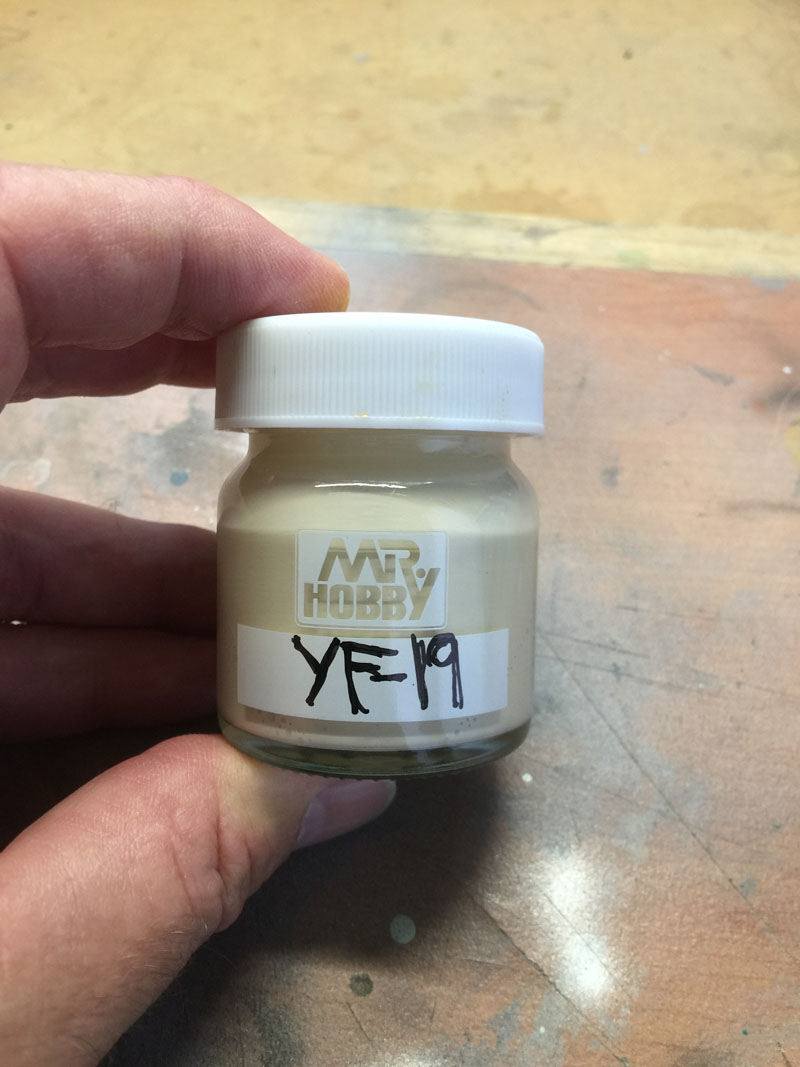
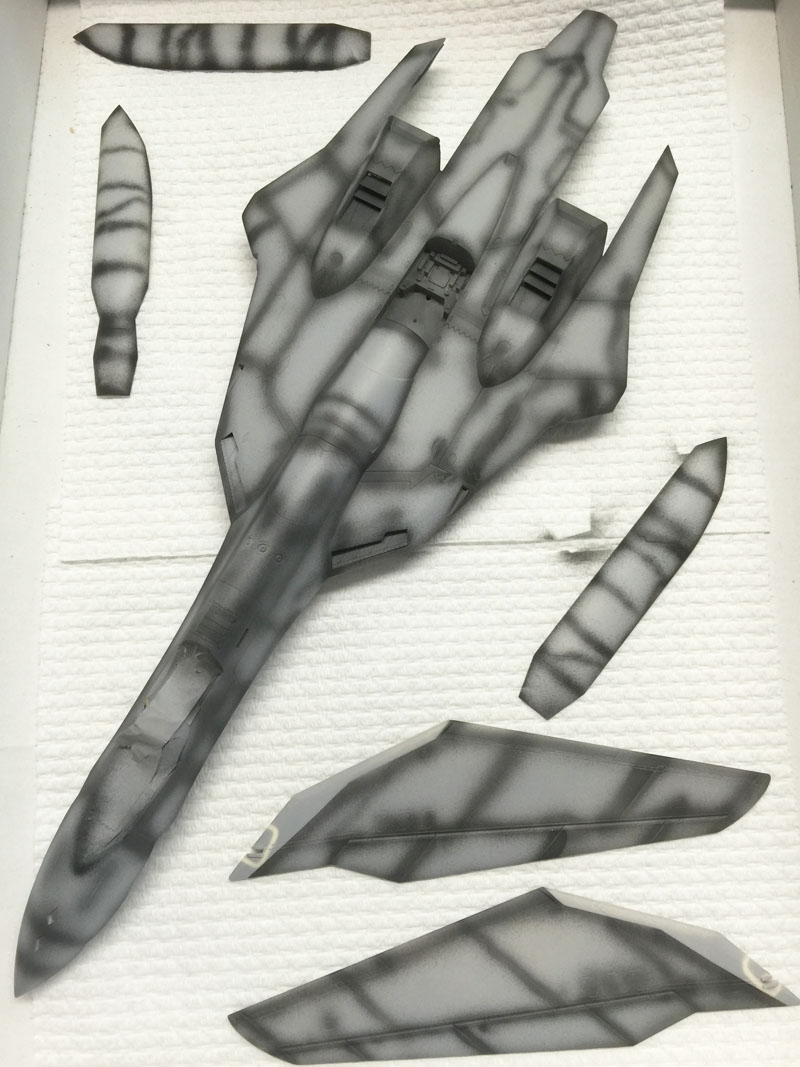
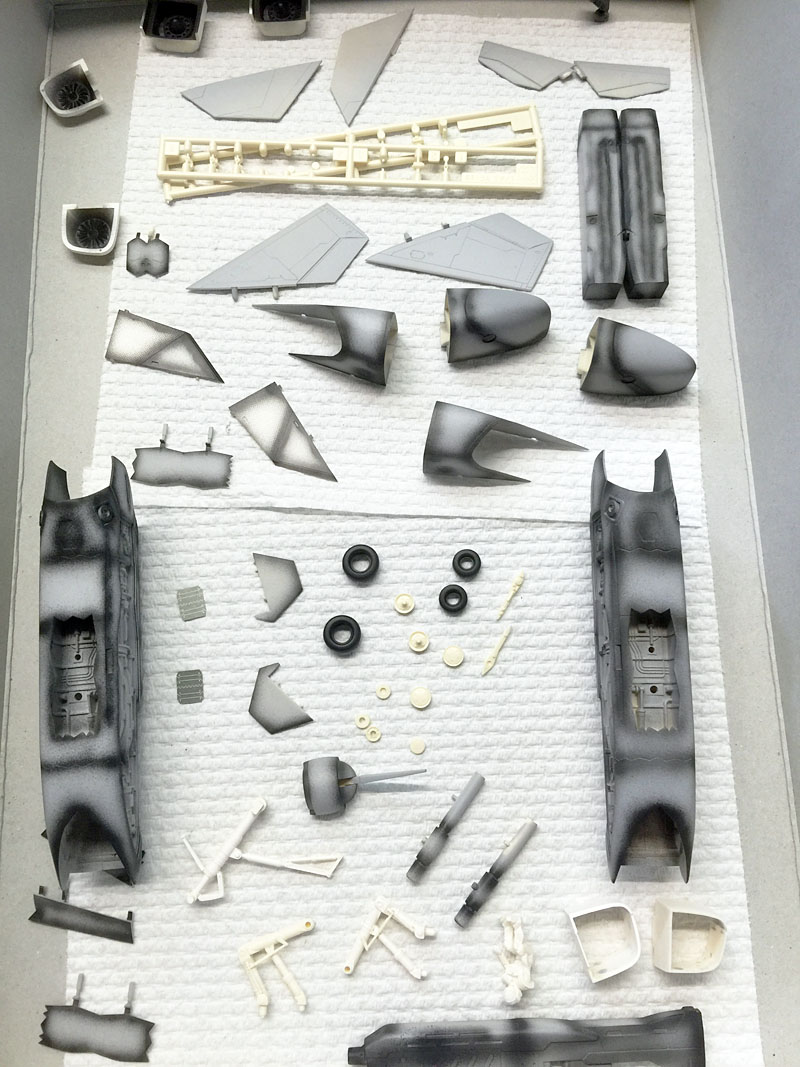
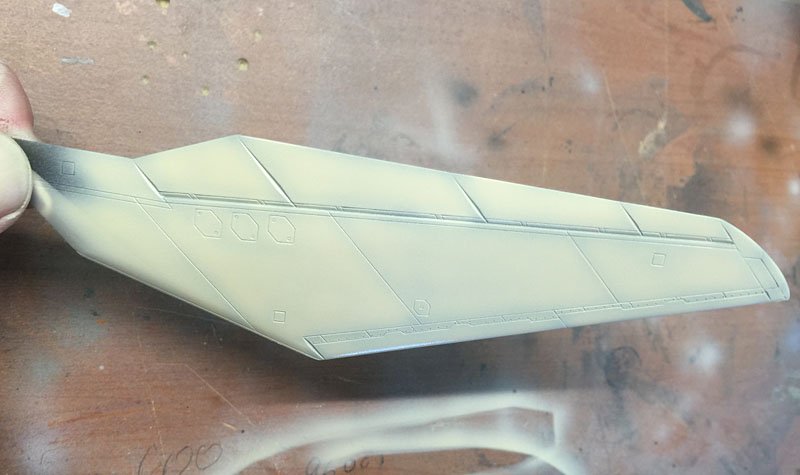
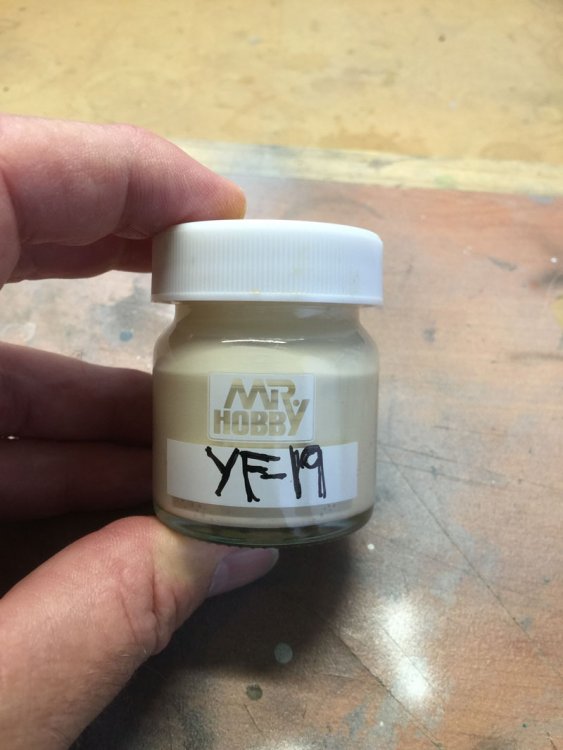
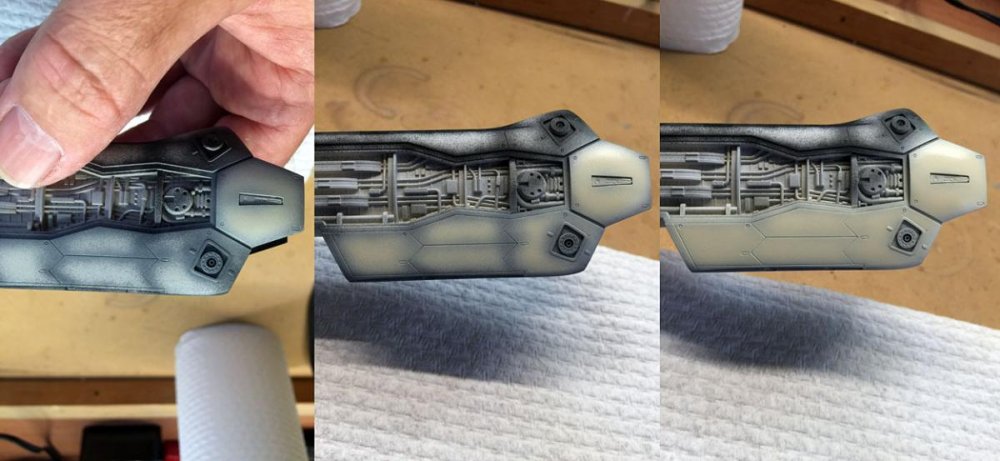
I've started on the shading of the primary colour. In this case I have decided to follow the standard colour scheme and not go with a skull squadron marked bird but will save that for later (I'm actually doing a Red Skull VF1 with strike pack so didnt want to do two versions of it). Anyway, the first pict is of the main colour mixed in a big Hobby bottle (I combined a full bottle of H1 and H318 50/50 mix). Next pict shows how I progressively fill the panels in. The last photo is a comparison of pre-shaded and post shaded leg.

-
Finally all parts have been primed and parts that needed panel highlights have been sprayed with Mr Hobby H77 Tire Black. I prefer this over using a black as its not quite a black so is easier to spray over with the primary colour later.
-
Yeah the scale does seem a bit off on the officers pod. It should be maybe another 20% bigger.
-
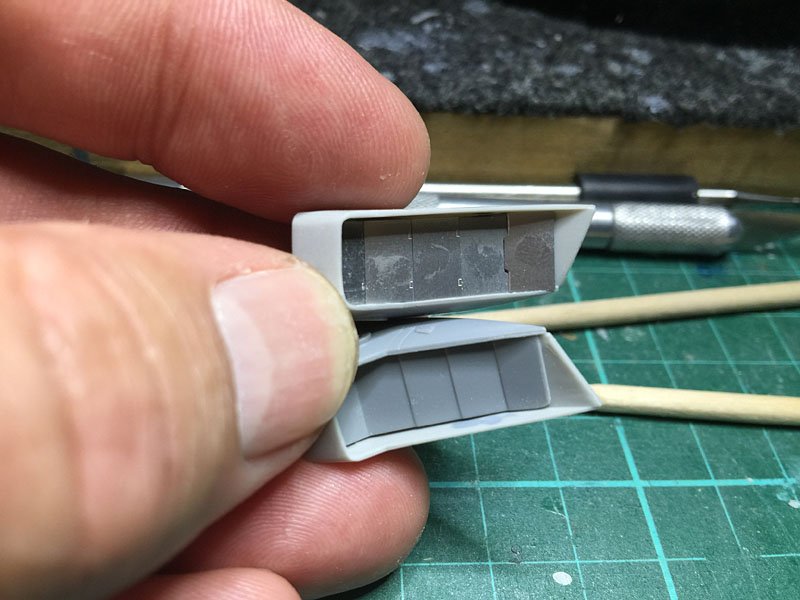
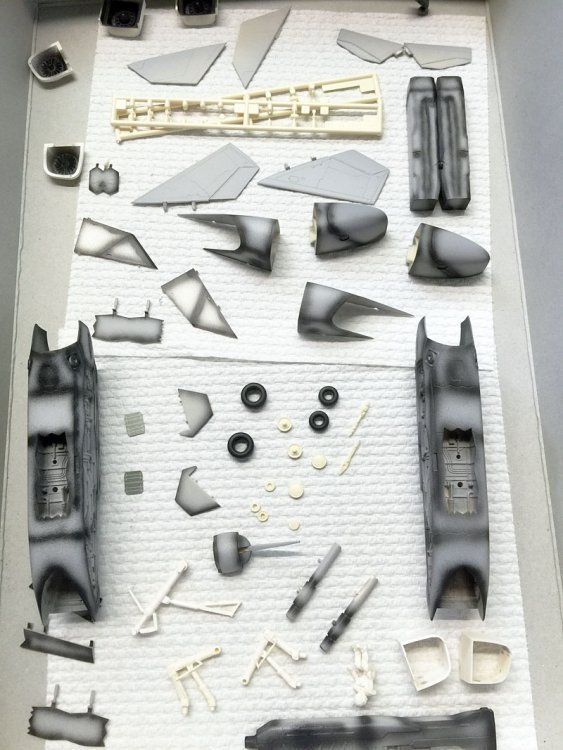
Ok Im back. Weather here in sunny Perth has not been conducive to painting acrylics. Temperatures are in the high 30's-40's and the paint dries before it hits the plastic. Its been a bit cooler now so back to work on the YF19. Started undercoating everything in preparation for the top coats. I took some shots of the metal detail set that I think adds a little more detail to the kit.

-
The Vallejo is amazing stuff. Citadel is on par but let down admittedly by their stupid choice of pots. Still their acrylics brush beautifully. MIG stuff goes without saying. It is great stuff and money well worth spent. They just dont have the colour range (yet). Hope to see your finished models too.
-
Very nice. Great finish and love the colours and tones on this build.