
MechTech
-
Posts
4701 -
Joined
-
Last visited
Content Type
Profiles
Forums
Events
Gallery
Everything posted by MechTech
-
Awe, and here I thought you made some cool wall-mounted stand or something - that's cheating😁 - MT
-
Thanks for the link! Lots of other PL cool stuff there too! - MT
-
Oooh, yeah, no stand! I was in such a hurry, but I knew something looked different! - MT
-
@pengbuzz AWESOME BUILD -AND- ORIGINAL stand to go with it!!! Bringing some nostalgia back to life! - MT
-
Thanks for posting! -MT
-
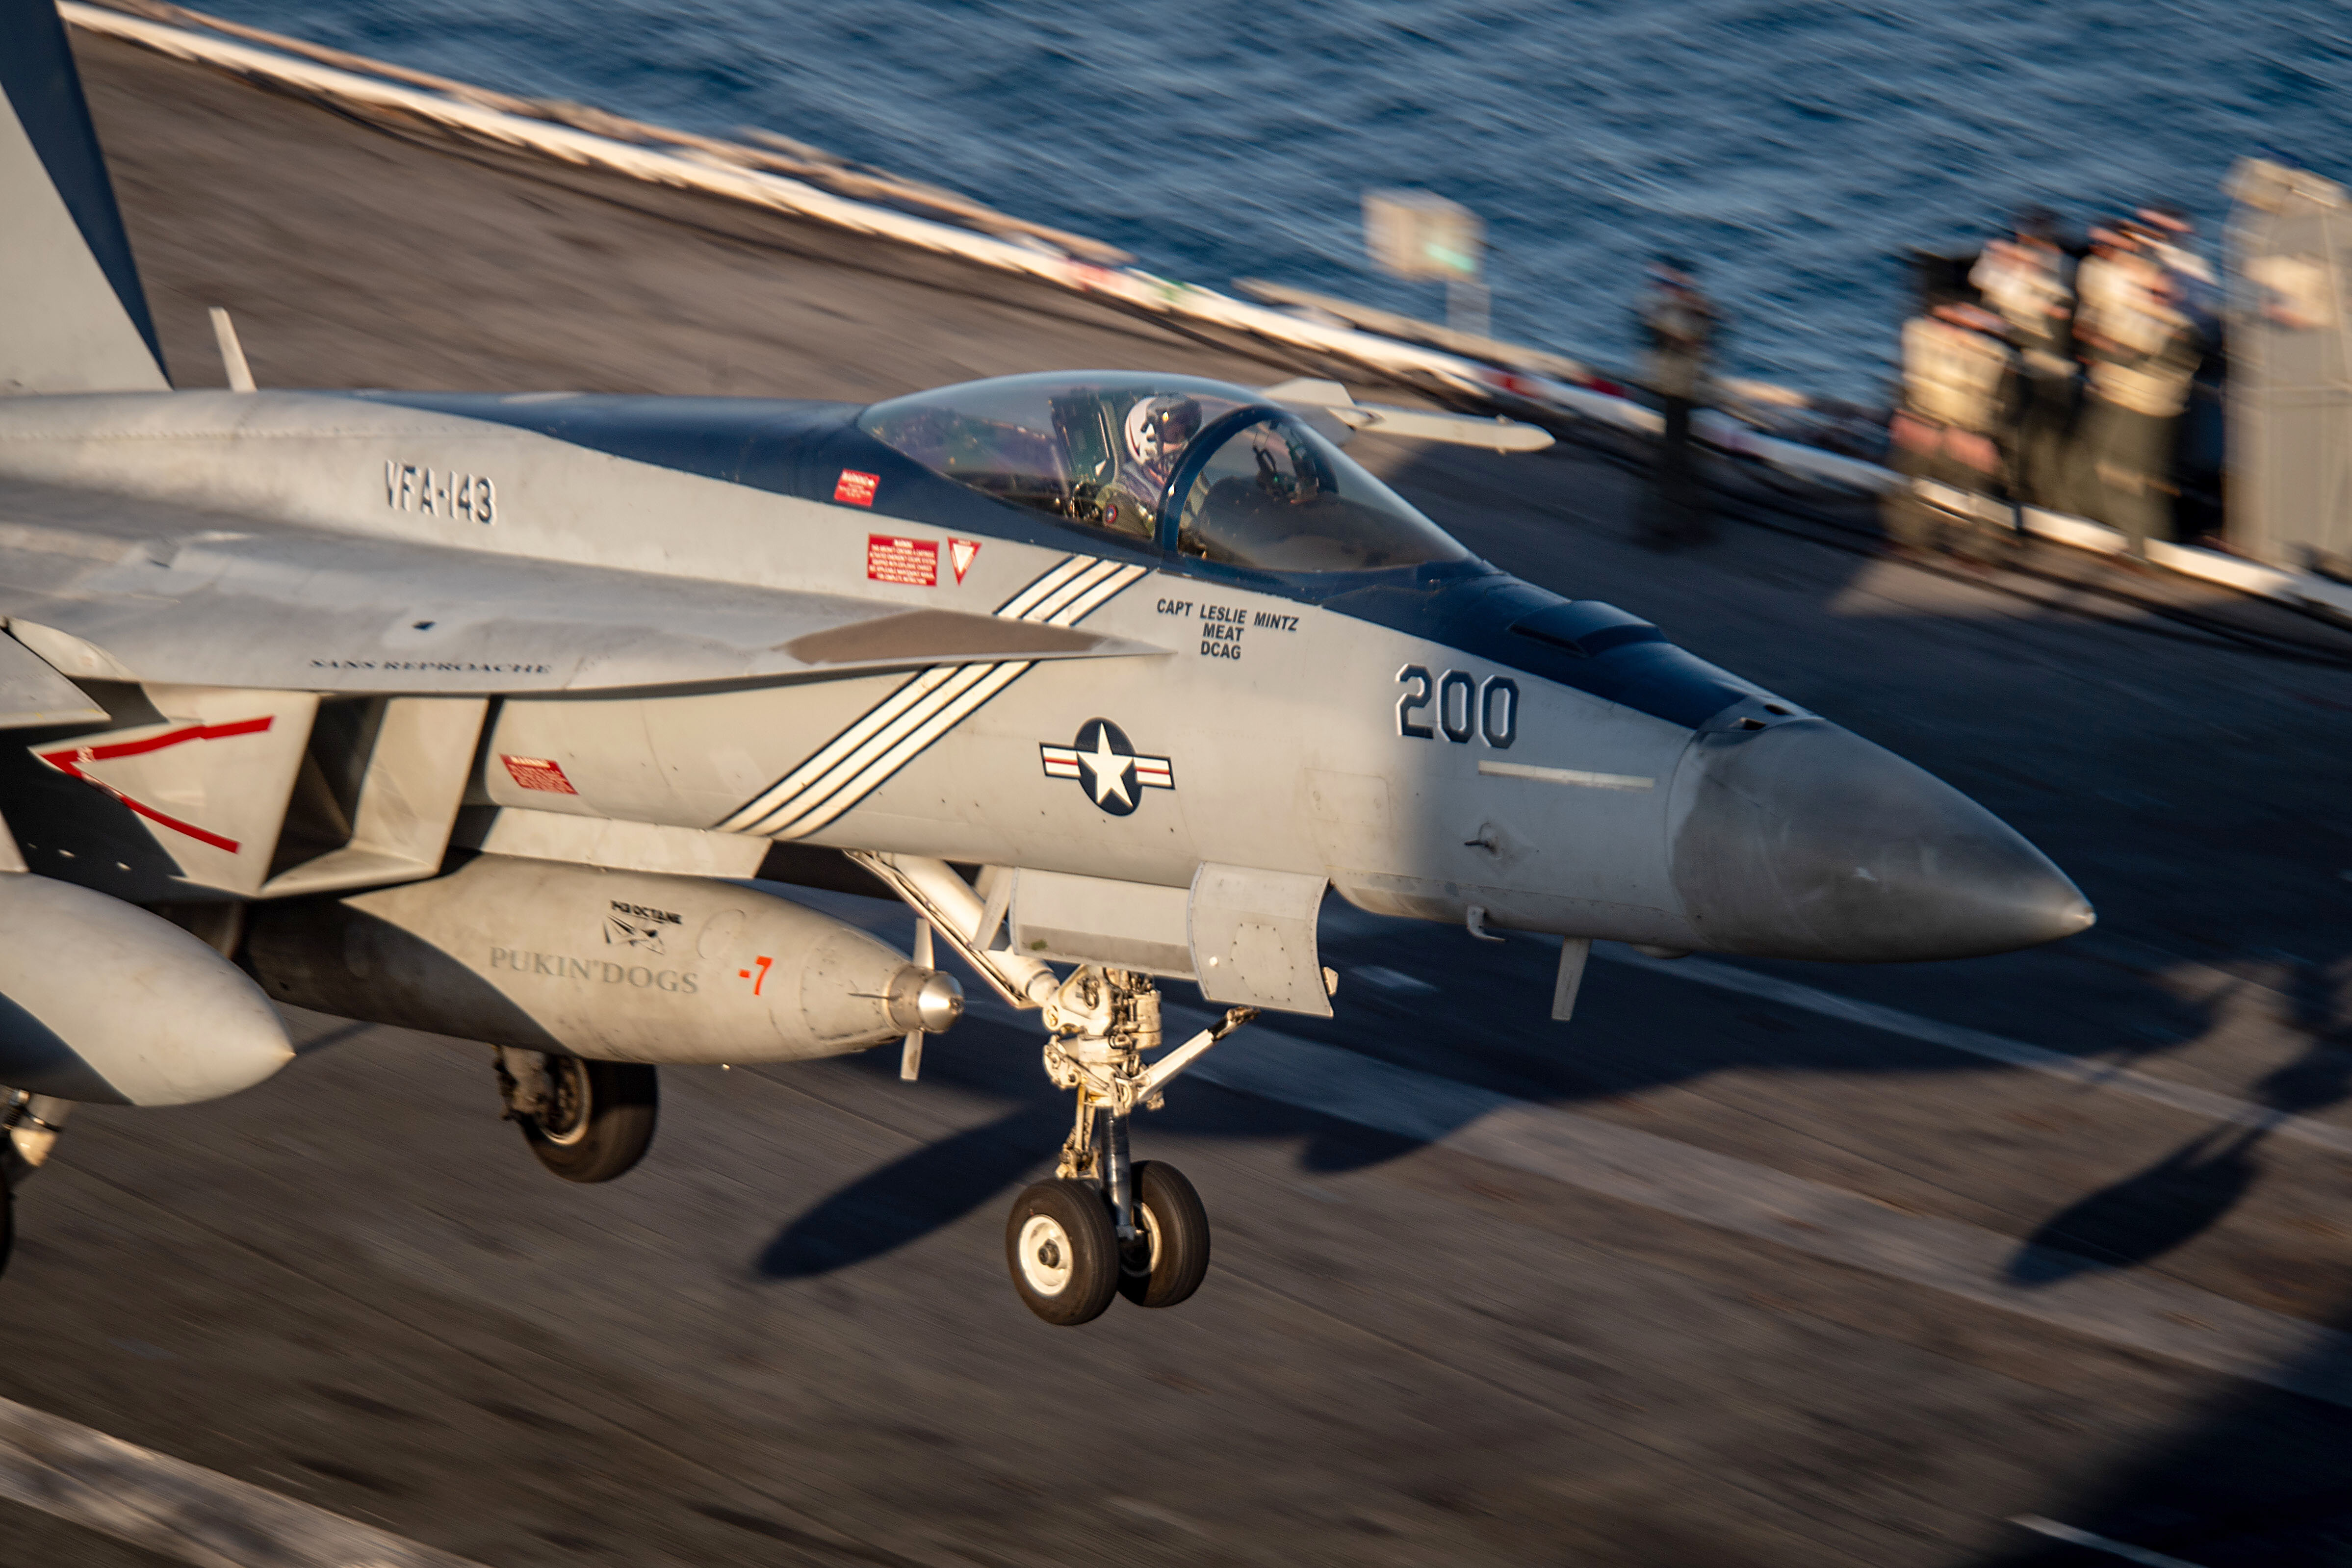
Thought this was funny! Check out the last name and call sign. Also some good closeups of a "Rhino" in flight. Check out the weathering on the nose too!- MT
-
...And over $300 for that awkward of a sculpt AND wheels on the feet!? I get what Jenius said and where they're maybe coming from, but if I was a little kid and got this, I'd be singing the Sesame Street song "Which one of these is not like the other...?" At that cost point too! Wait, I already said that😁 Maybe I'm just to much of a realist - as much as I like "campy" things. - MT
-
Sorry guys, I've been busy lately with not much time to get on the boards. @Urashiman You've got some great valks and I'm glad to see the builds with your son! @SteveTheFish Like Urashiman, you're pretty prolific with your builds! It's great to see Macross getting some love! Thanks for sharing the Quadluun box photo too! Sorry about the Chromebook! Especially since so many parents are ticked off about the way Goggle collects, or really spies on user's data. @electric indigo Your build looks great! SMOOTH finish as usual too! @pengbuzz She looks AWESOME! I love the magnetic pieces to arm her or not. Lots of hard work to make a specially rare and COOL bird! - MT
-
Thanks for posting! They made that Valk with shooting fists!? I think they got their series confused!? Talk about shooting someone "the bird"🤣 - MT
-
Yeah, you really can't see inside, but it would have been cool if you could pose it with him eating a shrimp with chopsticks while the visor is open🤣! - MT
-
I loved the kit! Some of the minor parts have an odd fit in the joint areas and come apart easily. Over-all, it's a great kit though!!! The parts fit is great and the choice of colored face shields is cool. The rubberized ammo chutes and ammo belt are a nice touch too! One place I thought would look awkward are where the jet engine intakes fit into the outer armor - BUT they fit great! I kept mine the stock color, covered seams with similar color paint, and did a wash over it. A flat coat of Mr. Surface Clear and it came out great - with little effort. - MT
-
COOL!!! Wonder what it will be! - MT
-
Thank you for sharing, Shawn! That's a COOL find! - MT
-
What do I think of the R/C function? "Interests:Models of: Macross - Aircraft - Armor - Warships and R/C Makes it better!" I agree, that may put it out of everyone's price range. Maybe the "catapult" action helps the Ingram get out into action faster!? 🤣 - MT
-
Thanks for the updates guys! - MT
-
@Rock Your mods are a great improvement over the stock! @electric indigo That kit has some NICE details molded into it! Mold making for that must have been a bear to do! Your painting is CLEAN as usual. @Urashiman The -19 is coming along nicely! Your VF-1 (if it REALLY is that bad) is what we call a ten foot model. It looks good 10 feet away😁 @Thom Clean intakes! What will it become... @pengbuzz The Lady is looking good!😉 - MT
-
@pengbuzz The theme song started going through my head the moment I saw your progress! It looks GREAT! The master of Masking Tape is back! @Kurt That's a PRO looking paint and weathering job! You just need to Photoshop some people in their and it would be hard tell what's real and not! - MT
-
@pengbuzz That Tape-traedi ship looks COOL! It does have an organic feel to it! - MT
-
@pengbuzz Great find!!! AWESOME job on the Superman mods. Maybe he was supposed to look more like Clark?🤣 - MT
-
I'm glad you're going to a model show! They are tough competition, but really A LOT of fun! Great place to get stuff at good prices, awesome selection, and cool to meet with people. AND if you win anything a bonus! If not, a lesson learned. Don't be besides yourself at the show, people will think you're weird!🤣 - MT
-
@Thom Looking good! I HATE getting ahead of myself! - MT
-
@Big s You should have seen the crowd at Richmond VA. They had TONS of AWESOME Gundam kits and SEVERAL categories too (I couldn't get all the photos). I think they got wise to how "easy" it is to build a Gundam kit now. It also seems that judging criteria has changed from accuracy of, "Where that panel line is" to how well it was executed. I know my club REALLY throttles back on that, especially since a lot of them were aviation career related. They could get really nit-picky, especially since companies like Trumpeter have so many errors in their kits, especially the 1/32nd ones. My guys are looking for stuff like whole greasy hand prints on Navy fighters for realism😁 It was also good to see all the youth and youngins in BIG Gundam clubs representing the hobby. Just when I thought it was getting bad for our hobby, things are brightening up! @pengbuzz It's a good thing Ernest Borgnine is no longer with us, he might object to the extra "putty" you piled on him🤣 They look AWESOME! I also know who to go to if I need a REAL propeller made up too!😁 That is an AWESOME transformation! Though you had issues with the boom, it might be one of those blessings in disguise kinda things. Especially getting rid of the screw holes from the toy version. - MT
-
@pengbuzz FUNNY with the jellybeans! Your making great progress with the pilots and cockpit! @electric indigo The usual clean and smooth paint finish! @derex3592 Those pilots will make a nice touch when its all done. @SteveTheFish I've heard guys complain about that kit's fit and the wings not taking the right shape or angle without a lot of help and a jig. It's a big point of contention with judges at model shows. You can have an awesome finish, but if they don't have the right angles, it puts you in a lower category. I hope it works out for you! - MT
-
@SteveTheFish Wow, from one extreme in model building to the other😁 The '38 is looking good! I remember, those Arii kits looked so cool - until you opened them!😕 The sculpts looked very different than the lineart - but they are still a COOL part of Macross model history. I have them, but will probably never build them as collectors items. Thanks for sharing your builds! - MT
-
@VertexNebula Dah! I meant 1/285th. That's cool. For gluing the parts, just put a thin layer on both pieces and hold them together. It will prevent all the excess glue. Just be patient. After glue is coating both sides, then the baking soda can be used (just a bit) to accelerate things. CA takes some getting used too, but you'll get it. @Urashiman Oh, sorry comrade! I missed the Soyuz while posting. Looks good! - MT
