HWR MKII
-
Posts
2644 -
Joined
-
Last visited
Content Type
Profiles
Forums
Events
Gallery
Everything posted by HWR MKII
-
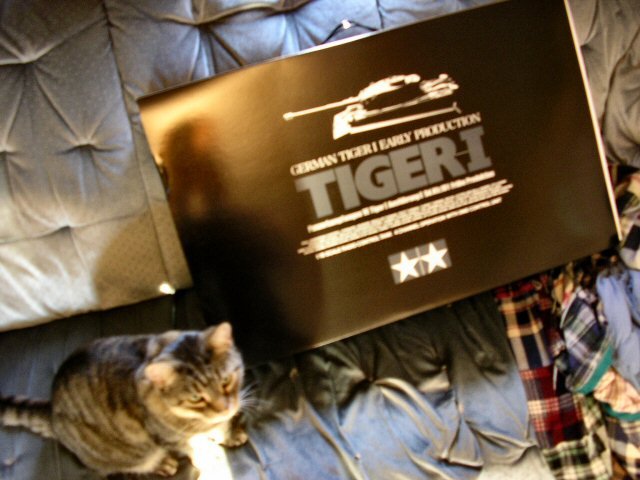
Since both valks are on hold awaiting decals ill be working on this which just arrived in the mail today It will get a custom zimmerit coating and be full function just like its brother who sadly has been gutted to support other R/C tanks when it sheared its track tension adjust ment axle
-
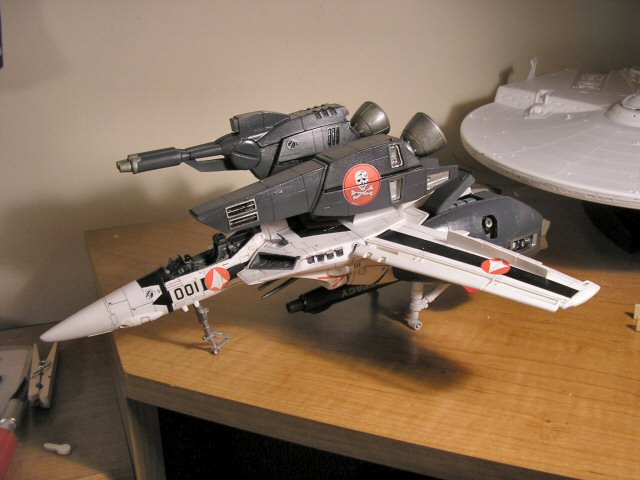
Looks like he used the heat shield with the skull molded on it. I think it looks cool with it It adds detail to what would have been a bland area on the kit.
-
I wouldnt call Tamiya paints weak Any paint that can take a wash that uses turpentine for thinner, and a year and a half of elemental abuse( rain, mud, ice, extreme sunlight) on an R/C tank is not a weak paint IMHO. But we all have our preferred products Your work so far is looking great i cant wait to see more.
-
Chas, thanks and yes that is the Reliant in the background, The kit is accurate from my standpoint it looks fine to me. i dont really care if the torpedo shape is wrong in some way by 1mm or some other little problem that i have seen make some people refuse to buy the kit. Thats for the people who paint aztec panels one at a time and use a micrometer to make sure they are in the right place to worry about. I plan on lighting this kit and have started runing wires and lights into it. Its my favorite of the big starships, it just looks sleek. Armentage, I have no idea how big it is compared ot a Yammie. I dont own one so i have never been able to tell. I have heard that they are pretty close though. Thanks for the feedback guys. Im much happier with how this one is turning out. The first one i built nomatter how many times i washed it didnt want to hold the paint on it. But i solved that problem and it now resides as the beat up Max version.
-
No order, No pay No kit. Its the way it works. If mom says NO than save up the cash for it. 30 Dolars a month for 10 months will give you enough for the kit and paints.
-
Sweet! That looks just like some of the macross paintings i have seen. I like the shading and your panel lines are machine perfect. How did you do it?
-
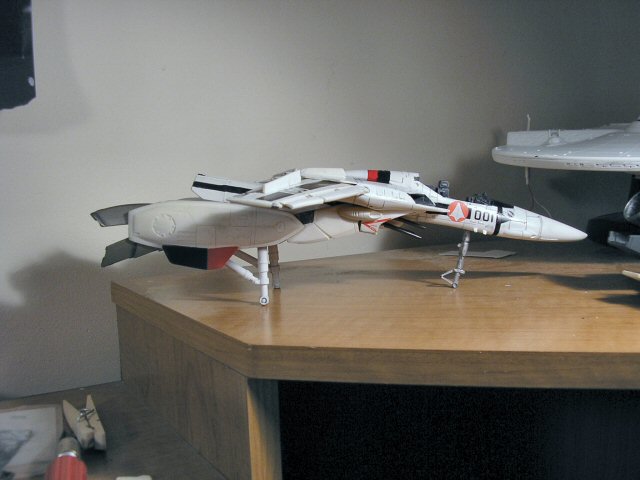
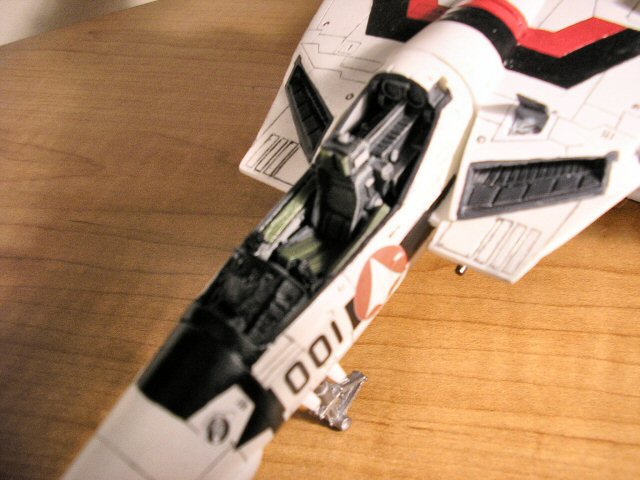
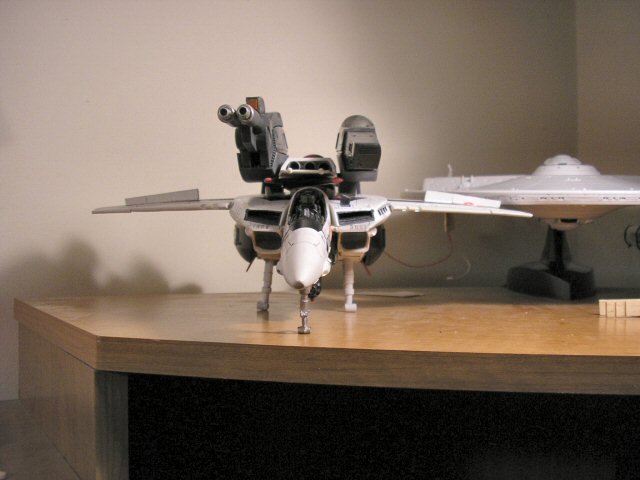
Heres a quick pick to show how of it is. The landing gear on the left is further back than it should be. This is because the whole leg had to be shifted back to equal out the difference and make the finishde model look right when complete.
-
I cannot wait to get this one. It will look interesting to see my ARII 1/160 scale one sitting underneath it . You truely do some amazing work there. Question though, What will the barrels be made of? Turned aluminum?
-
When they finally get into production remember to address the problem of the right leg pieces being shorter than the left leg and the left fastpack being shorter than the right. This latest batch had severe shrinkage in those pieces. Other than that their kit was spot on
-
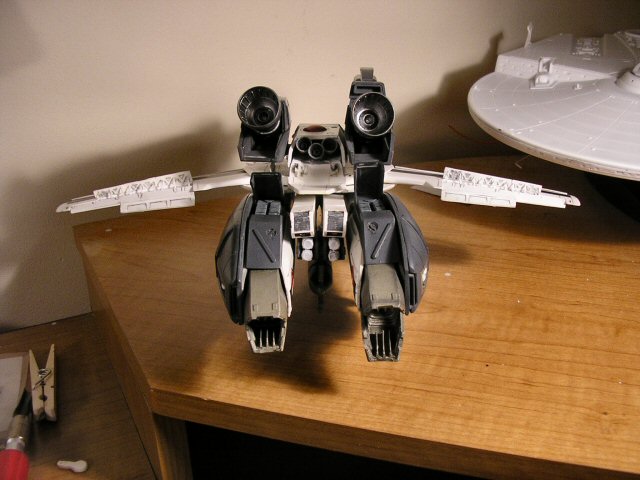
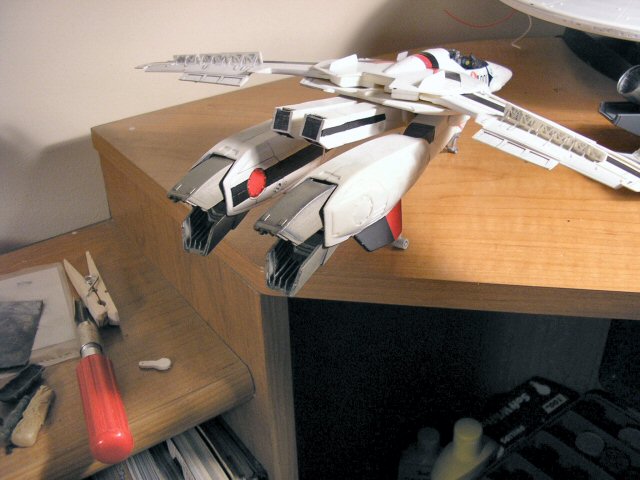
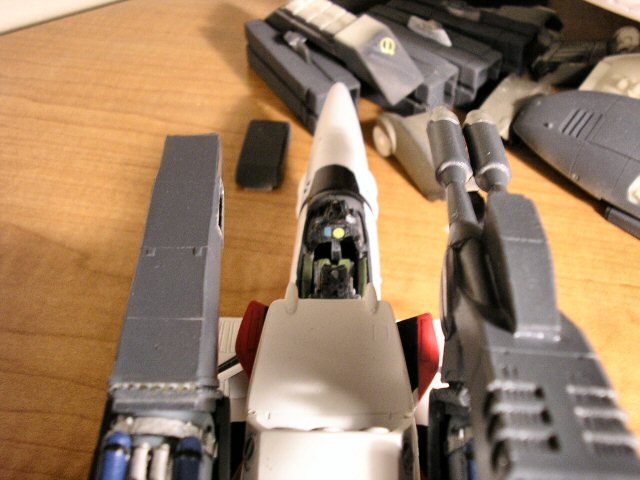
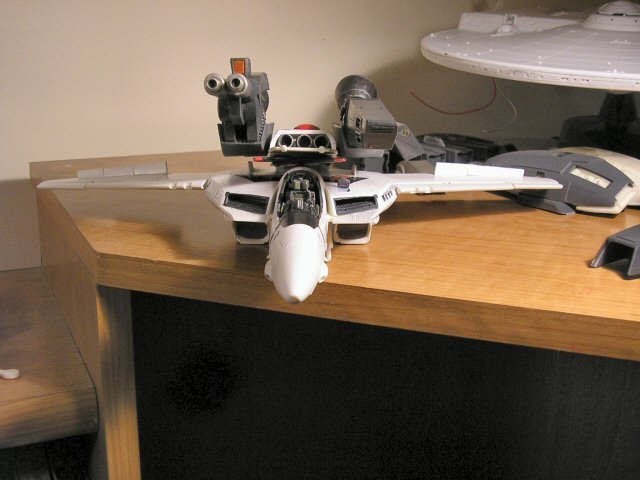
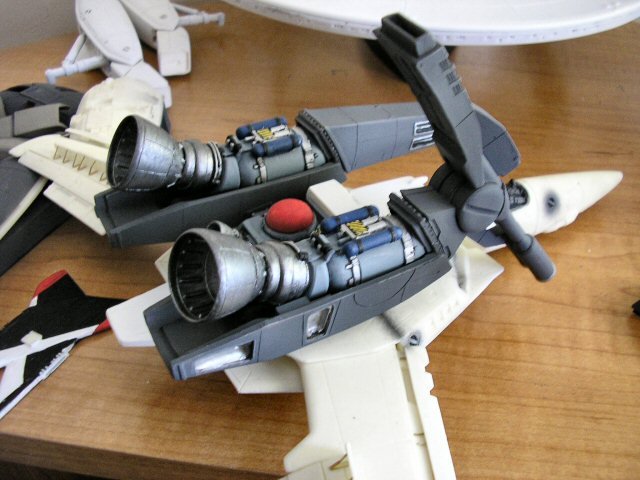
Final pics for the night. All the FAST pack equipment is finished except for the thrusters that mount to them. I will be adding those after final decals are applied, i dont want them snapping off repeatedly. While mounting the Leg packe i noticed that one of the packs was also shorter than the other. Bad thing is the shorter one mounted to the longer of the 2 legs . So having a leftover legpack from the Max rebuild i stripped it down,repainted it and it fit perfectly This also helps hide the fact one leg is shorter than the other. The only way you can really tell is if you hold it upside down(see attached pic) one landing gear strut is further forward than the other. Aside from some light postshading i will be doing tomorrow the kit has to stay as is for a week or so since im wating on a decal sheet from Devin which has all the markings you could think of for this kit. So thats it for now. keep your eyes peeled later on down the road.


-
Youd be suprised. The nose is usually where all the power hookups are and most of the electronics are too. Unless there is engine maintenance going on nothing happens around the tail. Your hydraulic cart is in a good place though. Another note ,while traveling the bomb wont be above shoulder height and will have a binding strap over it to assist in keeping it from falling off the table.
-
Be sure to cut notches in the side of the munitions trailer to allow for the jammer lift table to actually get under the munition. Have someone walking alongside the end of the bomb with their hand on it, No munition that size is transported alone on a jammer. Move the tow tractor closer to the nose area of the aircraft so it can be associated with its job. Also move the -60 cart from the tail to near the nose or make it look like its being pushed by 2 people minimum. Organize it like that and the scene will look a lot better, Its how its done in the real world . Also add a person working on the bomb rack your bomb will be going to.
-
So basically i should mist it on EXTREMELY lightly? This stuff doesnt seem laquer based or the typical humbrol enamel base either what do you thin it with Jade?
-
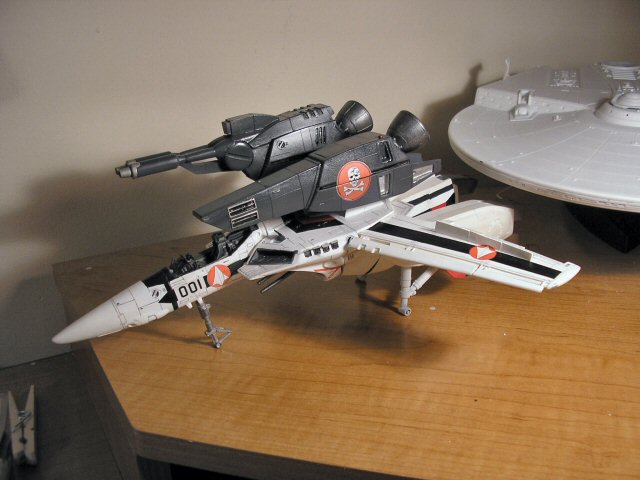
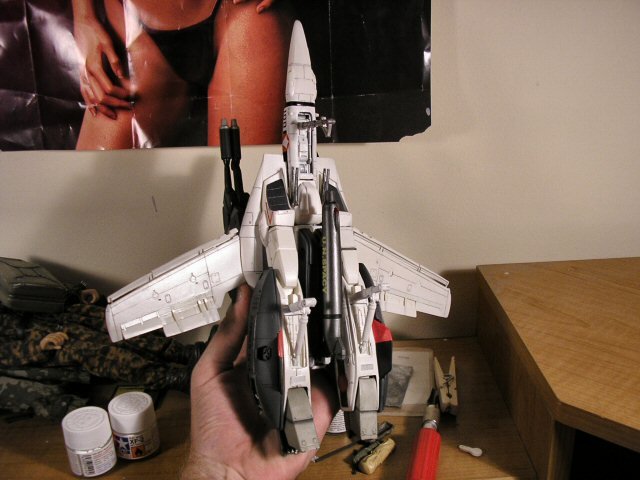
Got her up on her gear. The legs were uneven in length when they were molded so i tried to take this int account when i assembled them to make sure they both ended at the same spot when on the aircraft. This will also be hidden even more when the FAST packs are installed. I didnt paint the outside of the legs because i need to glue the fastpacks to them and paint would kill the adhesion of the glue. I am also done with most of the wash work.


-
I dont have a problem with it i just havnt ever used it. I wanted an opinion before i go spraying it on a 250 dollar resin valk kit.
-
ERTL used to sell a cheap one that used christmas tree type lights but those burn out really quick. If you want something that will last a while youll need one that uses LEDs since they take forever to burn out. That means youll have to custom string the lights. The best source i have seen are those retro desk ornaments they sell at spencers and they are about 20 dollars cheaper than the ertl kit.
-
Has anyone used the clear matt coat that Humbrol makes? does it turn out really flat or does it come up semigloss like most oil based matt coats?
-
I have nevr used Mr. Color because of too many mixed reviews. Tamiya is just as good though and those are all over the uk. Both are better than humbrol though. I have to resrt to using a humbrol clear matt finish and dont trust it. has anyone else used it. Ido what do you think of Mr. Color products. i know Mr.Surfacer is good but what do you think of the paints? Are they acrylic or oil based?
-
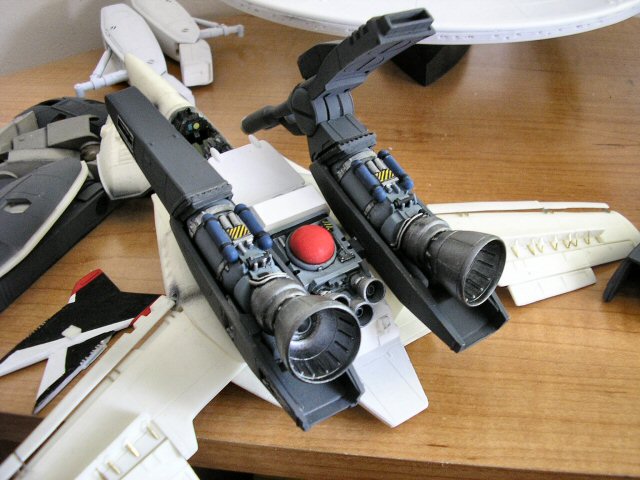
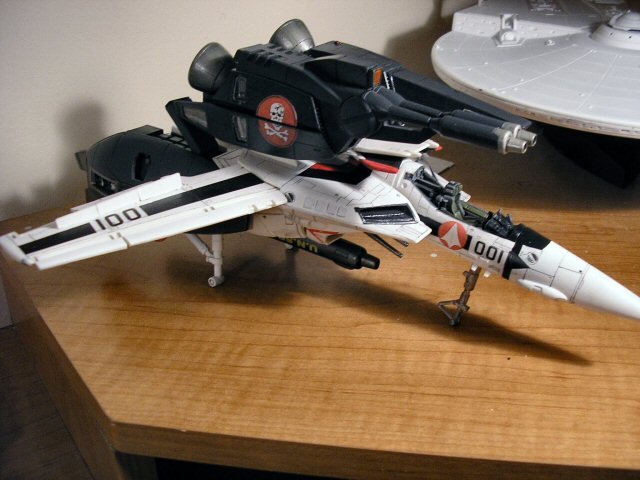
This is as far as i go tonight. the fuselage is painted and the major detils are picked out. It is also clear coated for decals and a wash. Im going to let it sit for a day so the paint can cure. Enjoy!


-
The canopy is clear on the 22 so human pilots can use it. The BDI( Brain Direct Interface) systm Guld was using on the 21 got thrown out because of its tendancy to get confused and interpret ideas as commands. It also became really touchy to emotional pilots.
-
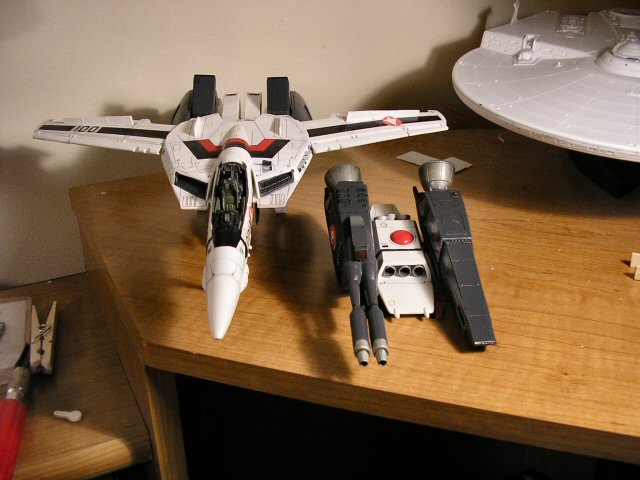
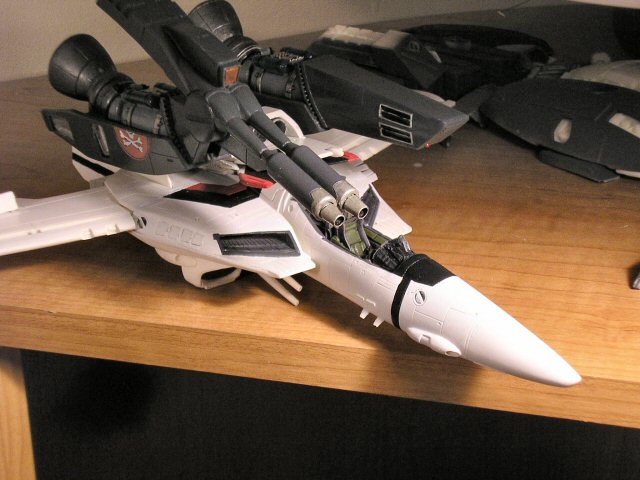
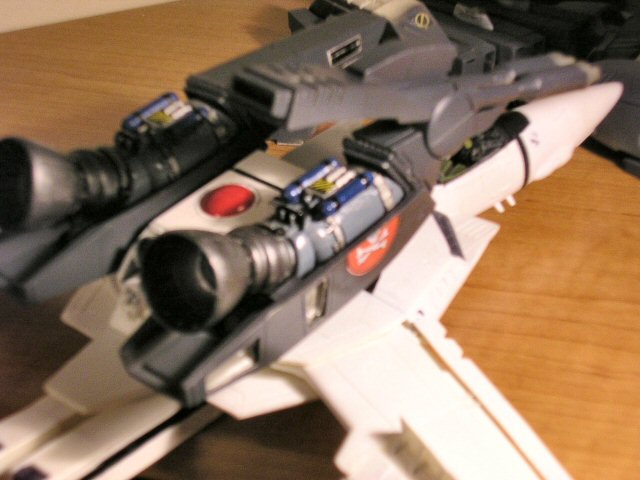
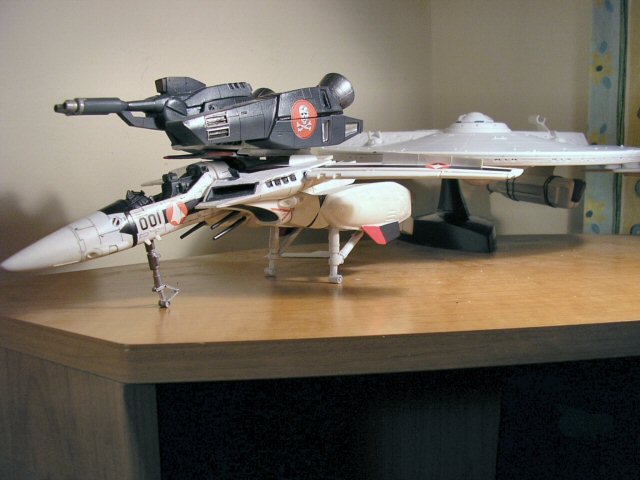
That fighter is sweet looking. Reminds me of alot of the early/mid 80s style anime, the good years I cant see what paint blemish your talking about, probably because im not familiar to the subject. It looks great to me. Heres the strike package of my other 1/48th valk. Im leaving the covers loose to show off the engines. The fact that the lower edges are slightly warped helped me make that decision but they look ok when resting on it so im not too concerned. The subassembly isnt attached yet i still need to paint the fuselage, gear doors and arms but ill have those base coated tonight. This one wont be heavily weathered since it was brand new when Hikaru got it. Im just going to do a line wash and subtle pastel finishes to suggest use but not combat.

-
the kit parts where you would put fiber optics are solid resin. It would be highly difficult to route any lighting system through it. If you want to try it i wish you luck and really look forward to seeing it
-
I thought there was one in the model kits section of the site. There may be one of the 21 the kit is basically the same with a different canopy. It falls together. You will have to thin down the fuselage side of the wing joint im afraid. Theres about a 1/8th to 1/4 inch step where the wing tip attaches. I have built the 21 so if you need any advice feel free to ask or PM me ok.
-
Youll have to buy the limited run weapons kit for the dorsal weapon pods and the underwing stores Thats how hasegawa will milk the macross0 cow i can see it now.
-
Ill have to resize them since i scanned them at 400 DPI but at 640x480 they will still be good. Ill post up tomorrow.