Jasonc
-
Posts
6319 -
Joined
-
Last visited
Content Type
Profiles
Forums
Events
Gallery
Everything posted by Jasonc
-
MSLZ, do you have any recast of the VE armor, head, and cockpit? LMK. Man that pic of it just makes me want it badly and I will have to start pulling apart another Bandai for it.
-
Yep, forgot about that detail. Regular Pinesol. The Lemon scented stuff doesn't even work as well.
-
If you recast, I vote for the Elint. That set is just too hard to come by, and it's fustrating to not be able to find it. If you start recasting it. Show us pics as you do it. I'm gonna need a set badly.
-
Hey Kanata, I got the parts, thank you. I will probably use the piece that looks like the arrow. It's not too thick and not all that flimsy either. Just remember, if you need parts or stuff, just pm me and let me know.
-
I'm pretty sure there's a tutorial on these boards somewhere. But When it comes to paint, sealing, and the sort, make sure you sand down your parts first, especially the rubbing/grinding parts. That's the first way to prevent chipping and scratching. I like to use Tamiya as well. It's light, strong, and very easy to work with. If you sand down all your parts slightly, then wash with soap and water, plastic parts don't need primer. But all metal parts do and it's best to use a strong metal primer. For coats of paint. Two coats is usually good, and make sure they are light sprays. Thick, heavy coats will create a major pain. For panel lines, I use a mechanical .05 pencil and lightly draw in lines. The clear coats witll darkent the lead and make decent panel lines. Once the paint is done, apply your stickers or (preferably) decals. For these, make sure all air bubbles are out of the decals and that they are 100% flat and bubble free on the applied surface. I noticed you were curious about the Future polish. Honestly, I never tried it. I use the Testor Model Master line lusterless flat. This will not only harden your paint and seal it, but will also seal up your decals and make them appear painted on instead of a model appearance. If you mess up, use Pinesol to take the paint of the parts. Others have various ways of taking paint off. But the best way IMHO without dstroying parts is soaking them in Pinesol for 3 hours to a day. Use an old toothbrush afterward, some sandpaper, and soap clean and voila! Pinesol will not harn the parts or warp them in anyway, shape, or form. Hope this helps somewhat. Let me know if you have questions.
-
I'm actually looking for a recasted set. If anyone who has it or makes it sees this, pm me. I really need a set like this. Thanks. And to add my $0.02 to the thread, I guess we haven't seen it cause it just isn't as popular as the Ostrich is/was. Not that it's ugly or anything cause it isn't, just that it's probably gotta cost about $50.00 for a recasted set, then all the prep work, and putty and paint. That's a lot of work for one custom. Work I'd take on, but others may not be interested in doing.
-
Hey, thanks everyone for the comps! 6 months. I was lazy most the time, but as far as actual work??? About a month.
-
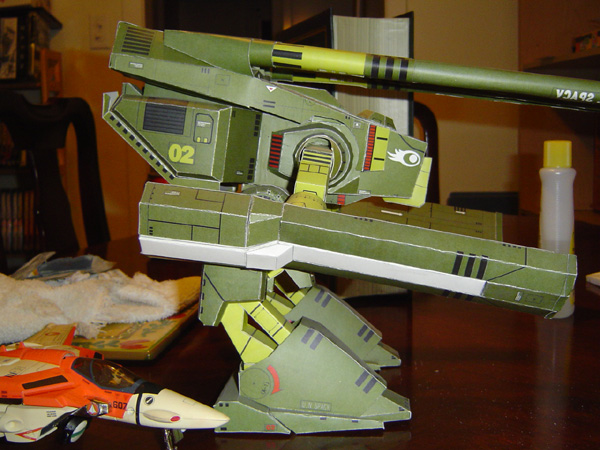
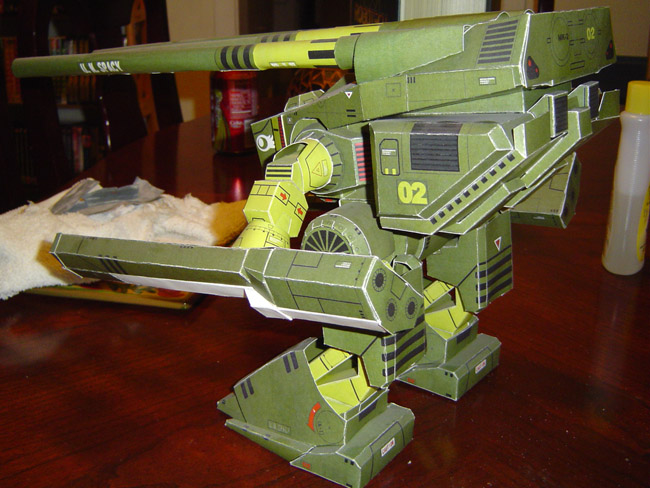
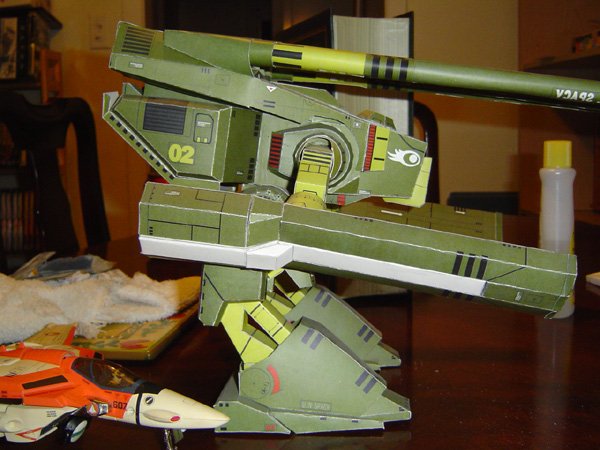
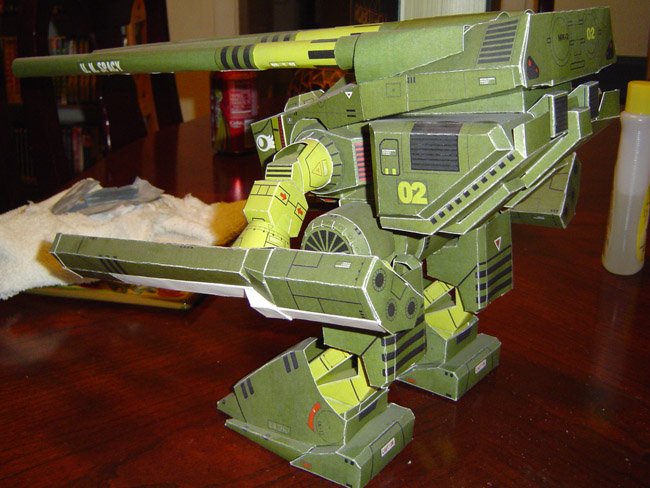
I was looking at the barrels of the last pic, and realized that dust is all over that thing. It's been on the shelf for a lonnnnnng time.
-
I'm working on the antannae now as I type. And I have thought about selling it. How much would a custom like that go for?
-
Last

-
2 more
-
pic 5
-
pic 4

-
pic 3

-
pic 2

-
pic 1

-
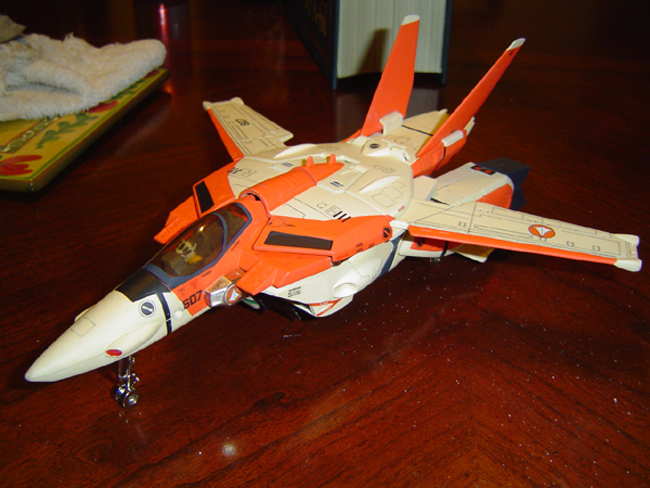
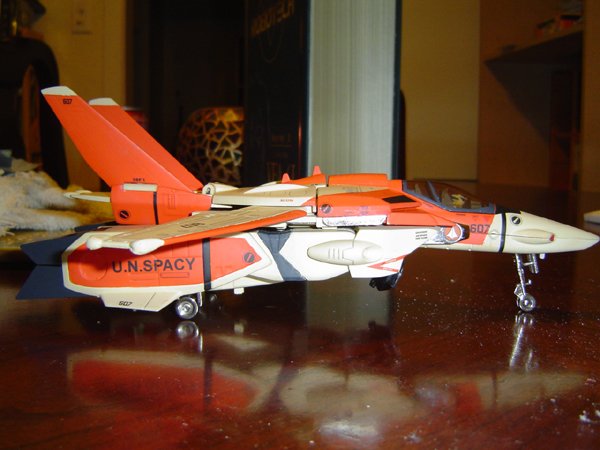
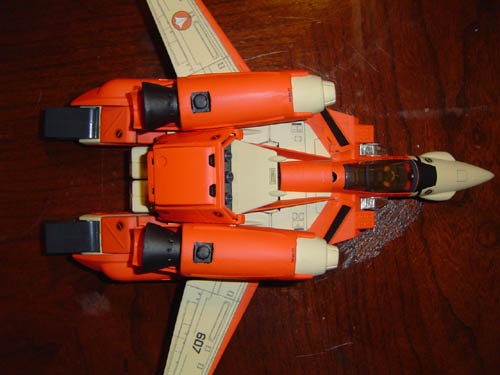
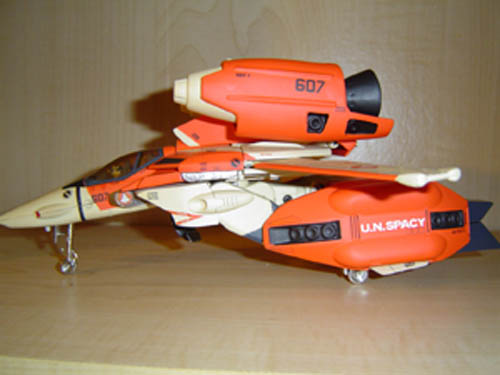
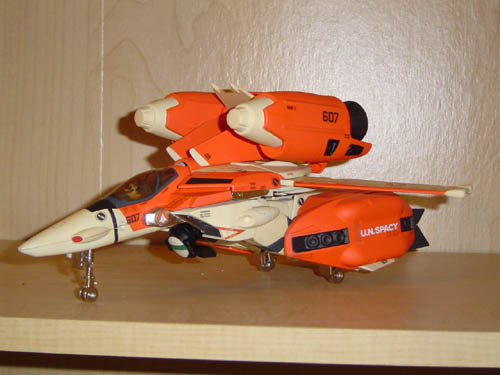
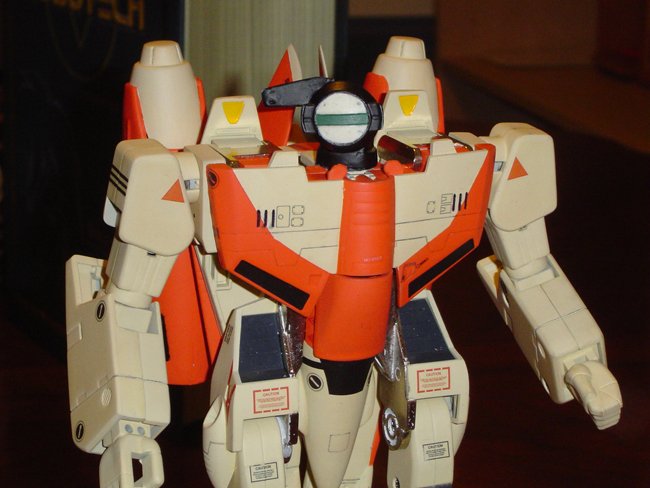
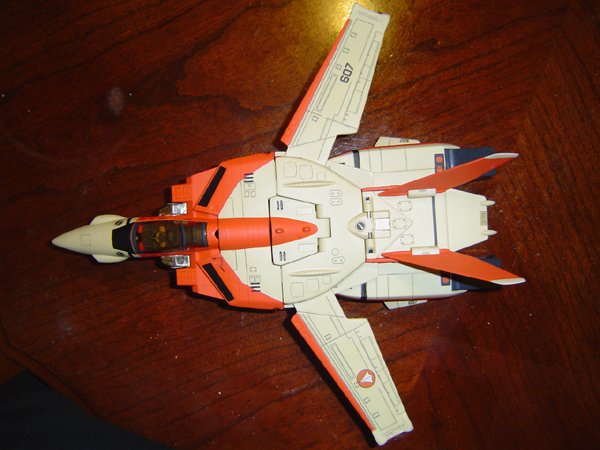
Well, this is my second custom 1/55 valk ever. I used the Bandai reissue VF-1J, and used a resin head, seat, and thruster set bought from Mslz. The decals are of course Anasazi's beautiful custom decals, and are just beautiful. For paint, I needed a darker orange than the Tamiya orange, so I went with Testor's orange, and also used Testors Light sand. For the coating of the toy, I used Model Master Lusterless Flat, for a more realistic look. If you wanna ask about the metal hinges, I didn't do them because it is a toy afterall, and I wanted to keep the feel and balance the look between a realistic fighter and a toy. Hope you enjoy. Comments always welcome.
-
As you can see, mine has white spots on the folds, but with a green or black marker, these can go away. I tried this and it works, but once I was finished, I was so happy, I never finished the marker touch ups. I used a roller pin for that. It's extremely challenging, but will do the job.
-
One more:

-
Another
-
Pics:
-
That's cool. I hope all that helps. The 110# cardstock is the best. It's probably the hardest paper that will come out of a printer. But I will submit pics of it tonight.
-
Thanks for the compliment. I wanted to use a dark orange, and Tamiya paints (what I usually use) wasn't dark enough, so I used the Testor's spray orange. It has a slightly darker coat, and is nice and thick. I also used Testor's spray paint #1960 I think, it's a light sand for the off white. It does transform, and I'll submit more pics when I clear my memory stick in my camera tonight. The paint doesn't chip, that's for two reasons. 1 is I sanded down real good all the joints and parts where friction is a problem. On the hip joint that connects to the nose, I sanded down the pegs to where they are just slightly touching when swinging, but if I pull the legs away from the nose while positioning them, they won't touch. 2 is I used Model Master Dull Coat. About two or three light coats will not only provide protection for the decals and paint, it will leave a more realistic look other than that glossy "here I am, shoot me" coat. As for decals, Anasazi here on MW creates literally the best decals I've ever used. All thanks goes to him for those. I bought the set from MSLZ, but I believe they are a recast of Mike or Robs, or his own. I wish I could remember. I'll really have to contact him, as I want to provide credit where it's due. HAHA, see above for the paint. Like I said more pics tonight, of it transformed and such, but now I'm onto the "Red Baron" custom. You know, I'll just post this up in another thread.
-
The "white" or off white doesn't look that dark in reality, but let me know what you guys think. I left the metal hinges as is cause I still want to keep the feel of a toy. I'll be taking more pics when my camera recharges for the customs section if you think it's good enough. Be gentle, this is only my second custom ever.
-
Last one for now...