PsYcHoDyNaMiX
-
Posts
1343 -
Joined
-
Last visited
Content Type
Profiles
Forums
Events
Gallery
Everything posted by PsYcHoDyNaMiX
-
@theman, FYI: JoLe727 here on MW has listed the YF-21 and YF-19 on ebay for pretty good prices: ***EDIT*** sorry wrong url... XD http://search.ebay.com/_W0QQsassZjole727
-
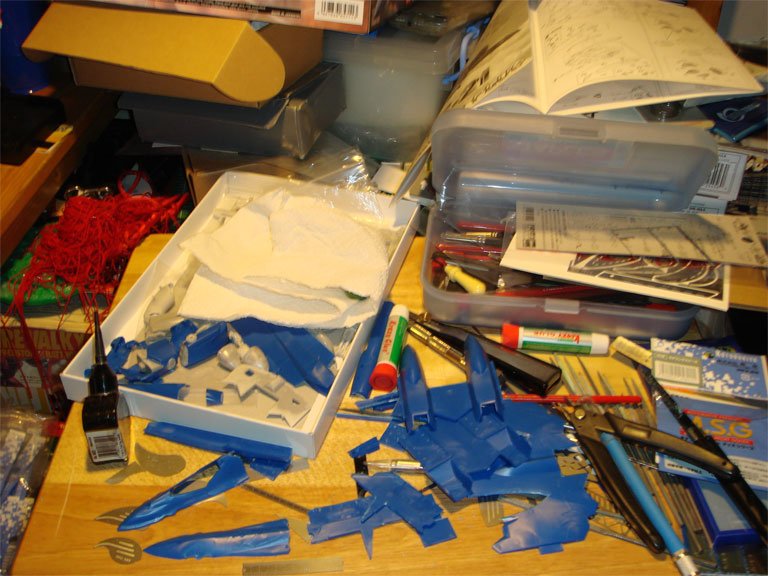
The pics from my avatar are quite old and were taken with my webcam years ago. I would have to dig up the two kits since they're still incomplete (the same as shown in my avatar) and take some new pics with my digital cam when I get the time.
-
ebay. Someone has a shop with the YF-19, YF-21 and the fastpack set each at $399 (I believe). Just type up "Macross Resin" in the search and it should turn up. I may do recasts of the SHE VF-22S that I have, but unfortunately that won't be for some time now. I'm already in the middle of recasting the VF-1 Riders 1/72 Hasegawa VF-22S/YF-21 Battroid conversion kit that I have.
-
From the looks of it... that company that made the VF-0 with the boosters is the same company as the VF-22S conversion kit: http://macrossworld.com/mwf/index.php?show...c=21955&hl=
-
Nice... just nice. Can't wait. -=]
-
Blah... You're right. My apologizes. For some dumb reason I drew a blank when trying to think of his name from the top of my head and Yuan was the closest.
-
Hmm... thats a good question. The problem is that Yuan was made smaller just by a tiny bit. His feet are actually square-ish if i remember correctly and not pointy like Isamu's. I'm guessing you would probably have to smash in Isamu's feet and maybe crunch up his thighs.
-
Display Your Collections...
PsYcHoDyNaMiX replied to bryan_f_davis@yahoo.com's topic in Hall Of The Super Topics
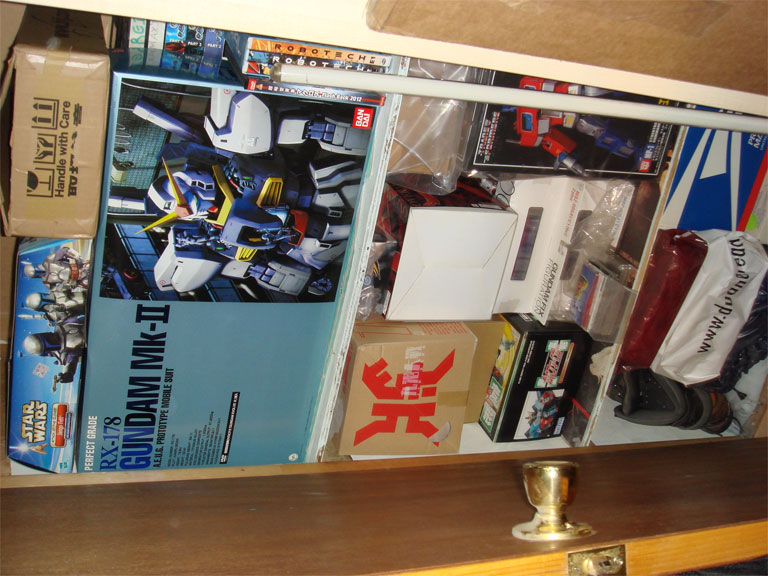
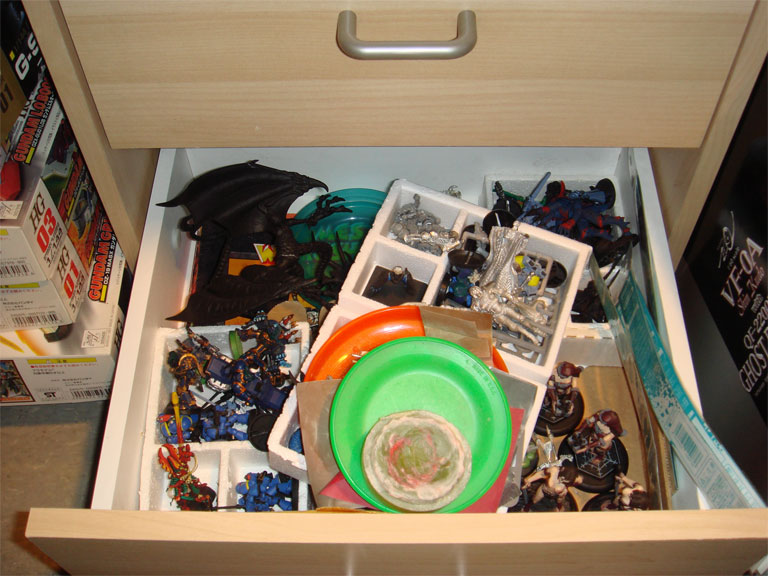
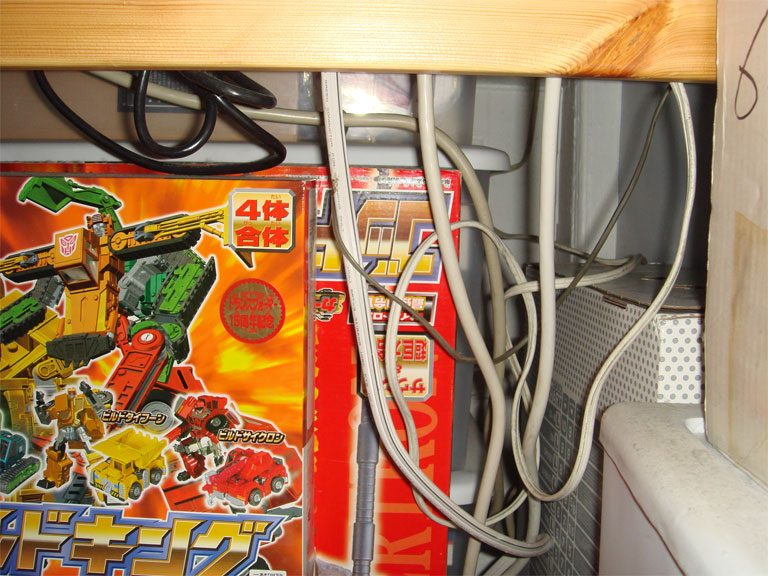
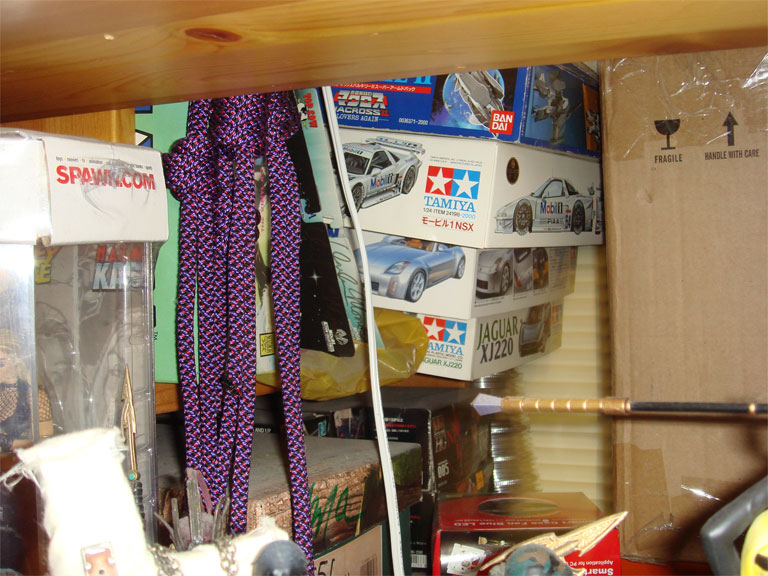
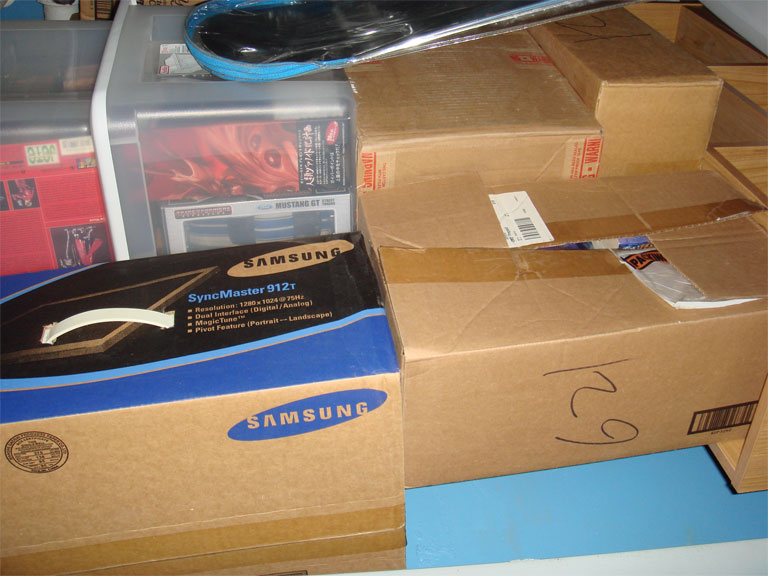
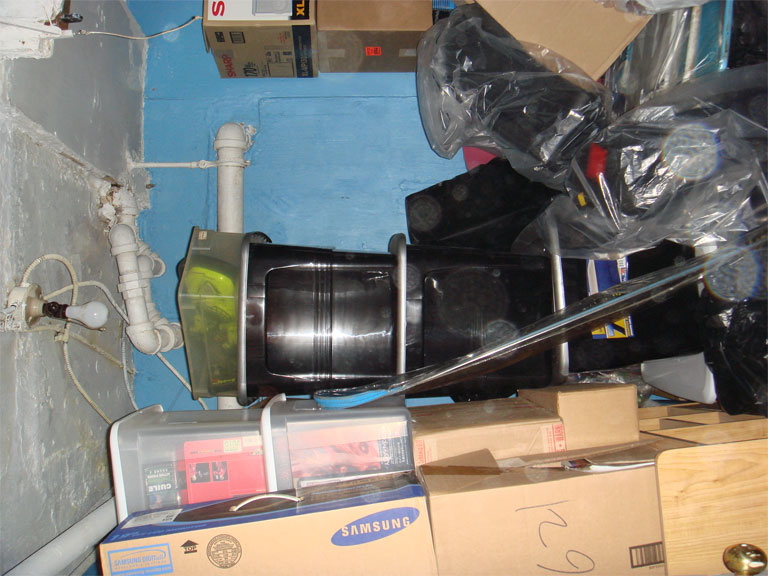
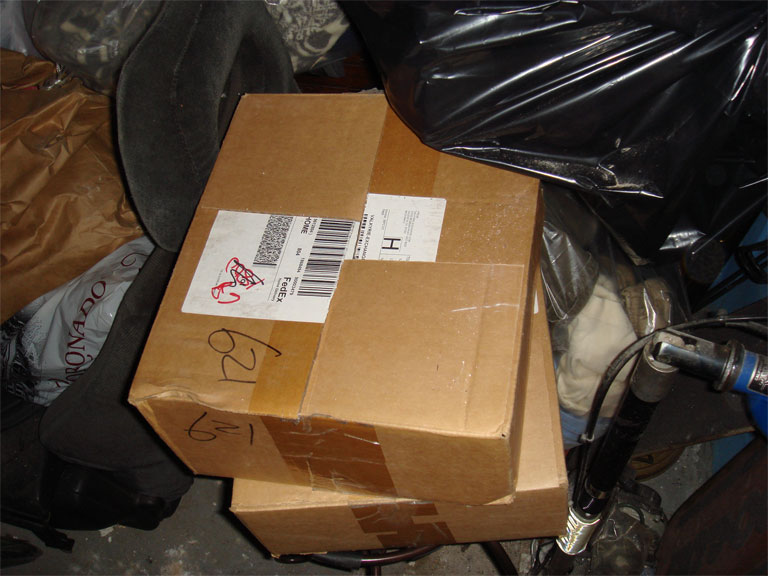
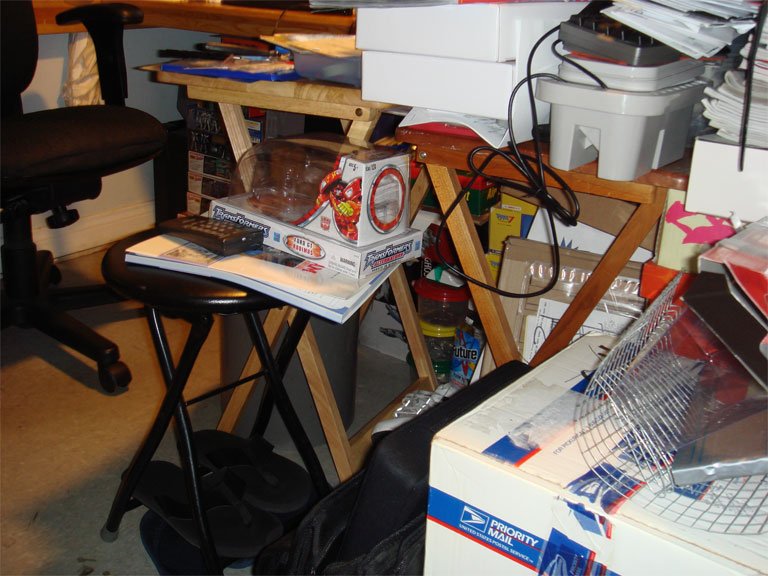
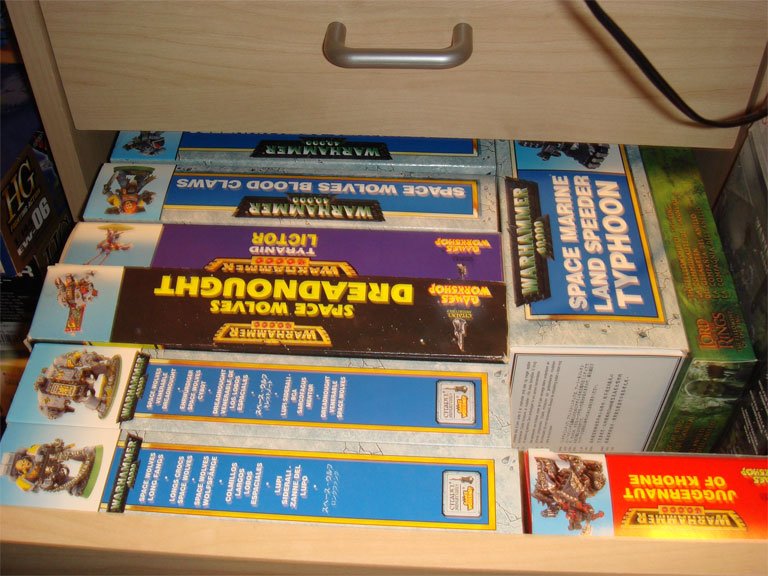
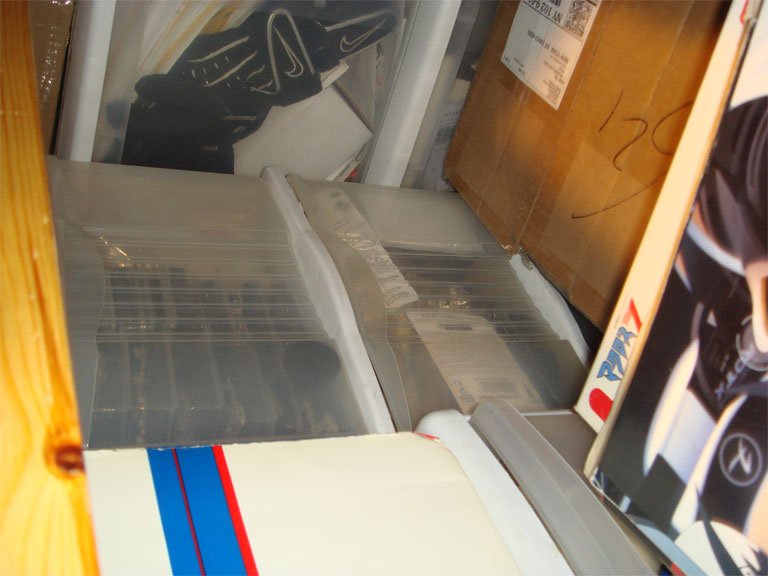
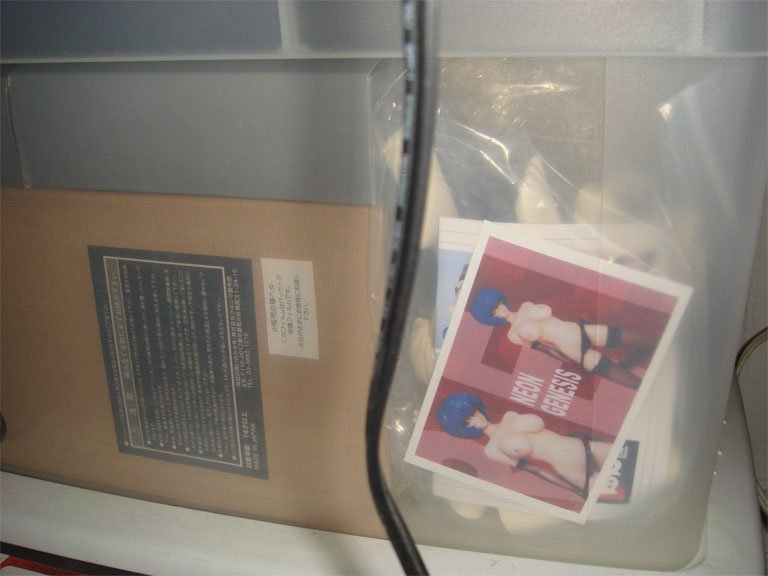
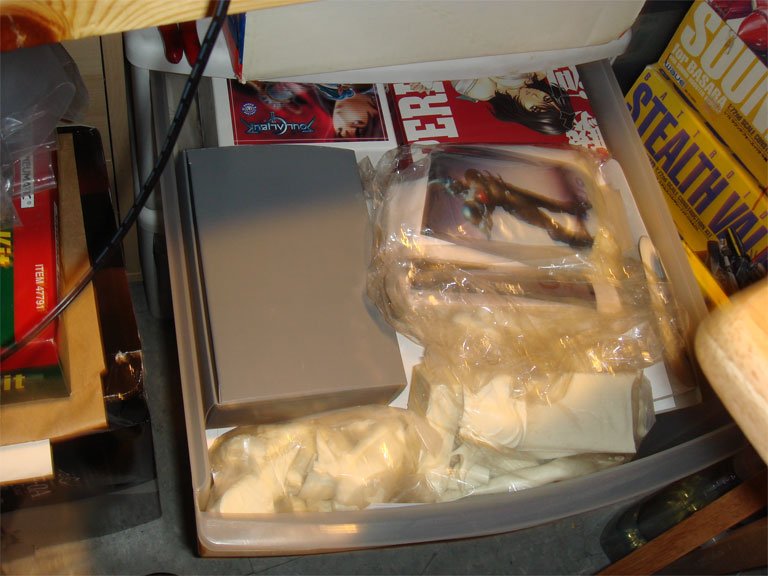
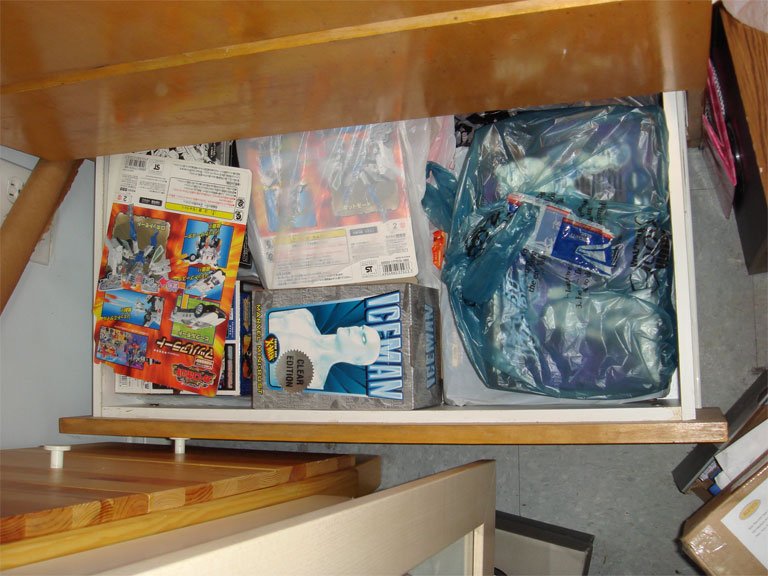
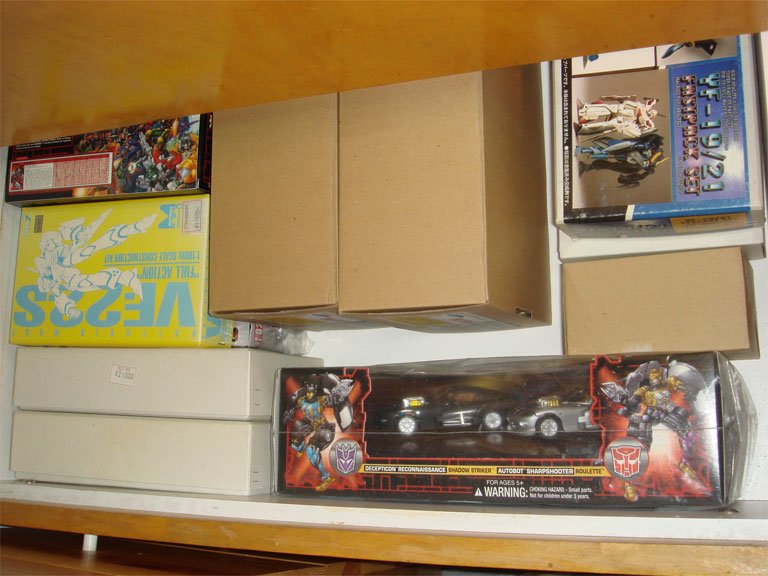
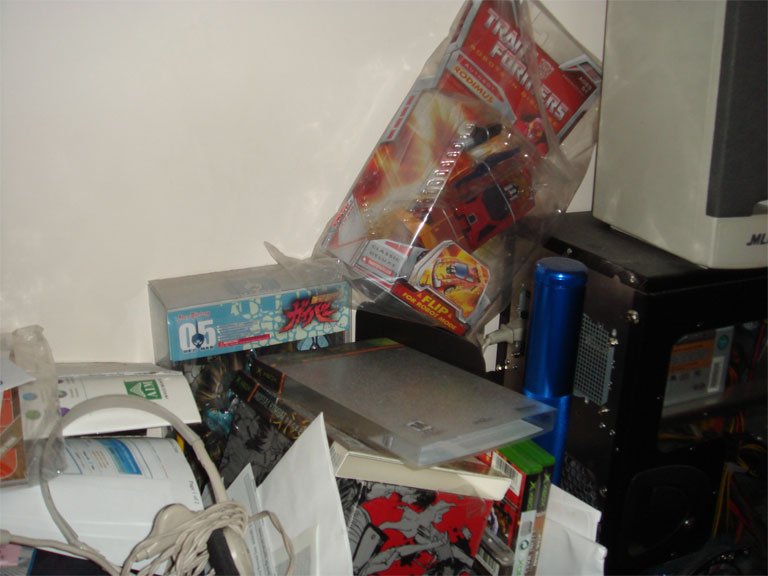
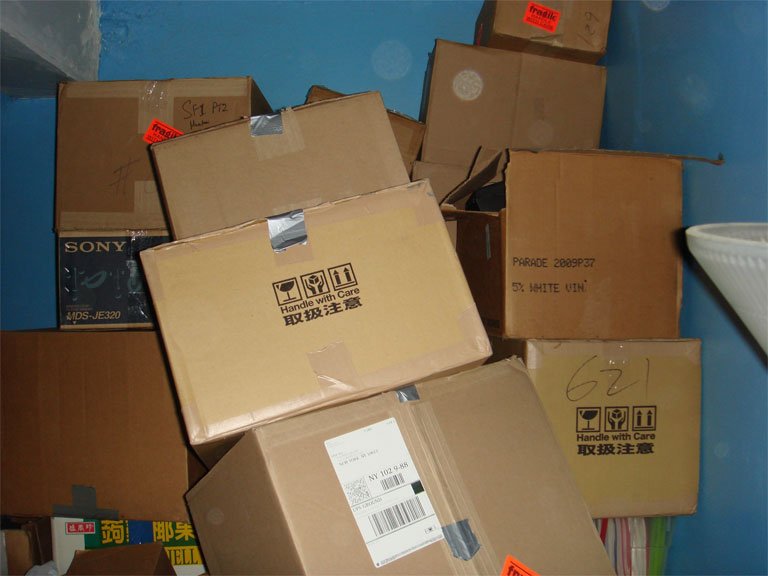
LOL... I posted 20+ pics of carton boxes because I didn't really feel like going through the 20+ cartoned boxes. Those were impulsive pics at the request of ShadowV2. I live in New York City where living space is quite limited and expensive. Until I get myself a bigger place those things are staying in their carton boxes for their own protection. ***EDIT*** Yes I actually did have them in a neat pile in the corner of the storage room, but as you can see they've been moved around. Not by me of course. As for my room... its like this "Whereever it fits it goes!". XD You are right... a good majority of the things in my room I really do not care for because they're eventually going to be used. All the stuff which is more valuable are already in their fashionable carton boxes, drawer or closet space. -
Display Your Collections...
PsYcHoDyNaMiX replied to bryan_f_davis@yahoo.com's topic in Hall Of The Super Topics
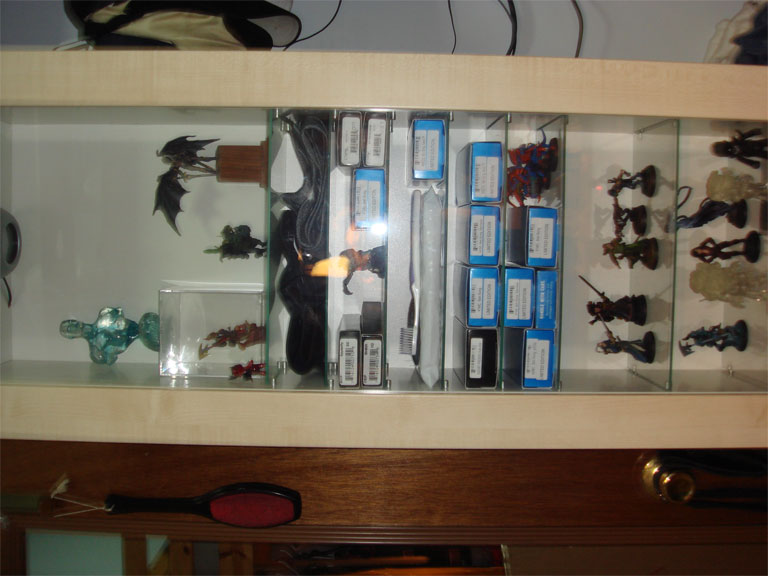
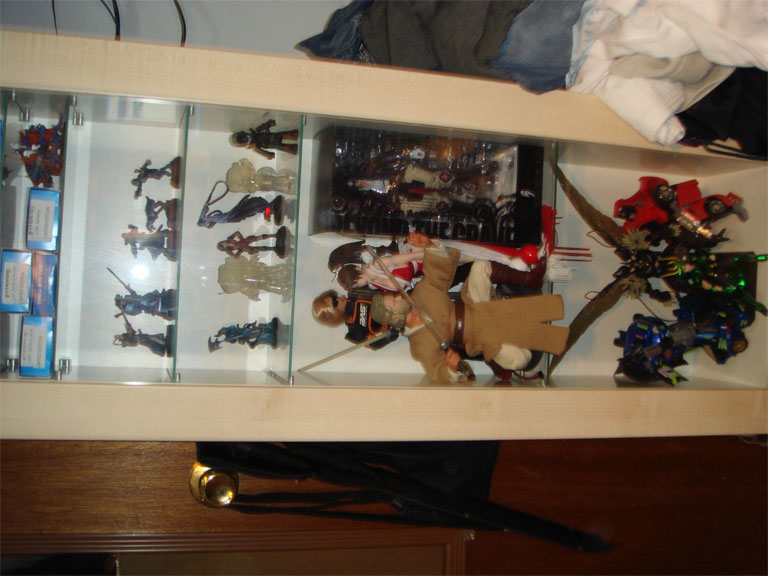
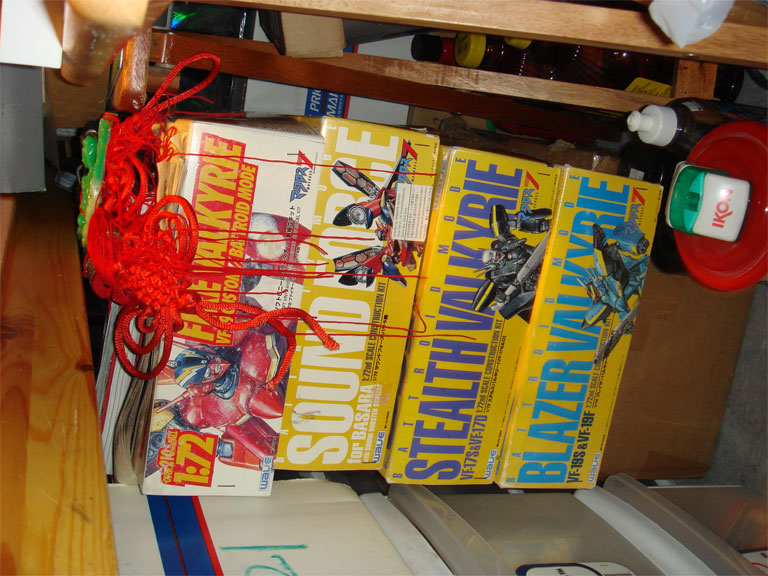
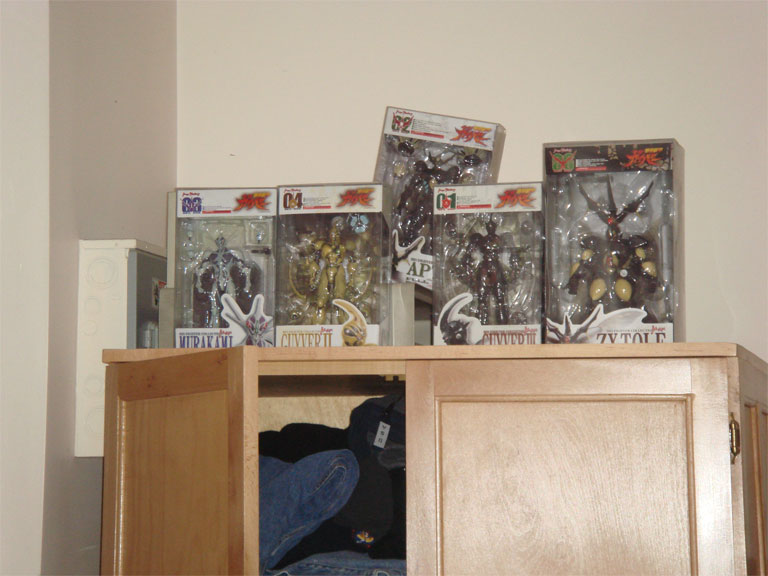
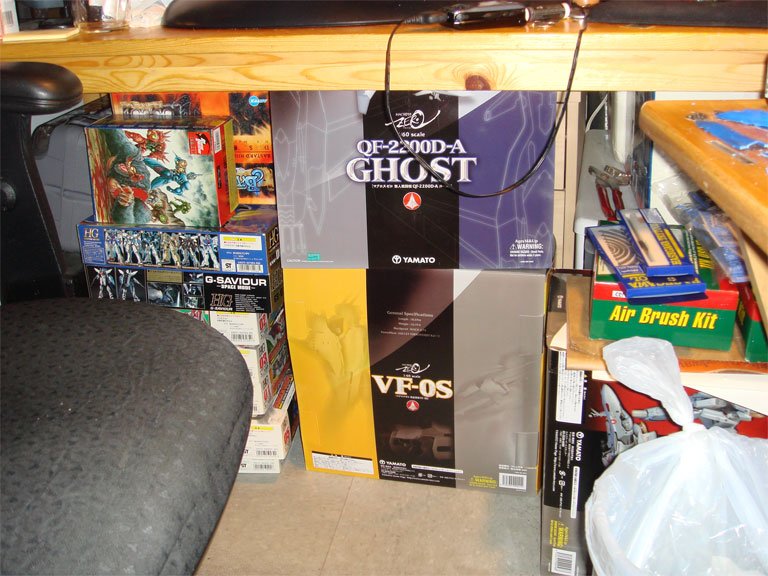
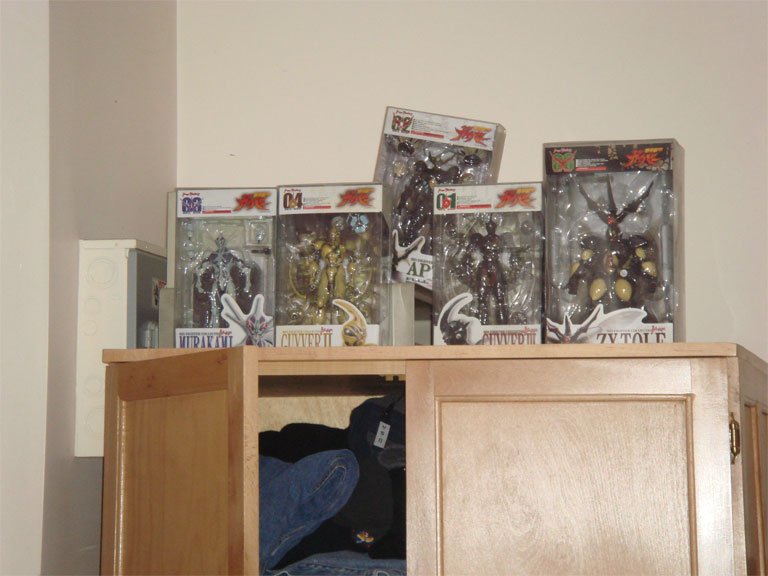
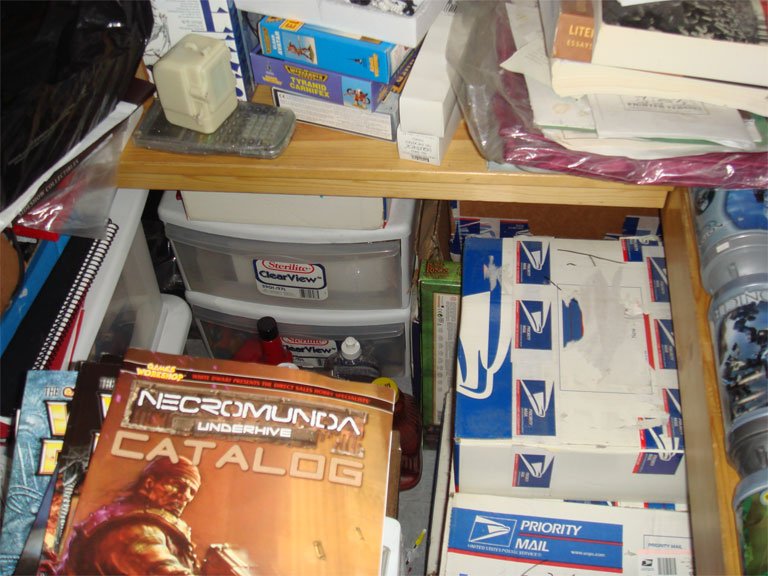
Here's a little more than half my collection... just a little bit. I'm envious to those who have space for their showcases. The room with the beige colored walls is my brother's room. The Guyvers that are on the cabinet are the triples that I bought and gave to my brother (including the Guyver01 thats buried). A Yamato 1/72 YF-19, gambit and w/e figures you see in the pics. The pics with the blue walls are of my storage room in my family's building. The ionizer boxes have nothing in them (I should actually trash them). Someone got to my stack of crappy Toynami MPCs and scattered them (I don't mind XD). All the black bins have loose figures of misc. sort. The boxes (mixed labels) are of my doubles, some rares, etc. I have no time to sort through them atm... maybe some time in the future. I have at least two full bins of recasts of anime models (both mech and figures) if not more. Off the top of my head for my macross collection consists of: 5x 1/72 Yamato YF-19 Second Editions 1x 1/72 Yamato YF-19 First Edition 3x 1/72 Yamato YF-21 No fastpacks 1x 1/72 Yamato VF-11 2x 1/60 Yamato Super VF-1J 1x 1/60 Yamato Super VF-1S 1x 1/72 Wave VF-19 Fire Custom Battroid 1x 1/72 Wave VF-19 Fire Custom with Sound Booster Battroid 1x 1/72 Wave VF-19S Blaze Battroid 1x 1/72 Wave VF-17 Stealth Battroid 1x 1/100 Wave VF-22S Blue Gazer Battroid 2x 1/100 Studio Half Eye YF-19 1x 1/100 Studio Half Eye YF-21 2x 1/100 Studio Half Eye YF-19/21 Fast Packs 1x 1/100 Studio Half Eye VF-19 Fire Custom 1x 1/100 Studio Half Eye VF-11 1x 1/100 Studio Half Eye VF-11 Fast Pack (Thanks to Joe) 1x 1/100 Studio Half Eye VF-22S Blue Gazer 2x 1/72 Hasegawa YF-21 Fighter 2x 1/72 Hasegawa VF-22S Fighter 1x 1/72 Hasegawa Wonder Festival Exclusive Conversion Kit 2x 1/60 Yamato YF-19 1x 1/60 Yamato YF-19 Fast Pack Edition 2x 1/60 Yamato VF-0S 1x 1/60 Yamato VF-0A Shin w/ Ghost 1x 1/60 Yamato QF-2200D-A Ghost 2x 1/72? Toynami VF-1J MPC Hikaru 1x 1/72? Toynami VF-1S MPC Roy 1x 1/72? Toynami VF-1J MPC Max 1x 1/72? Toynami VF-1J MPC Miria 1x 1/72? Toynami VF-1A MPC Ben Sorry no Yamato 1/48s or 1/55s... yet.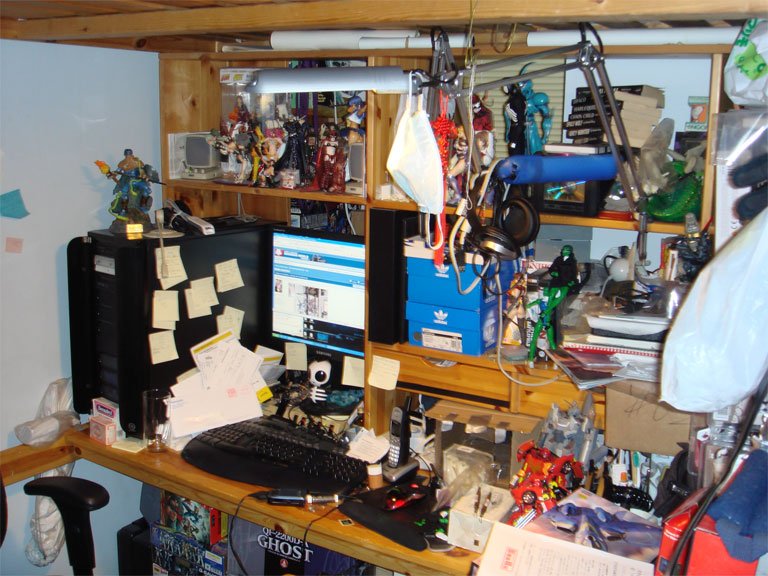


-
Display Your Collections...
PsYcHoDyNaMiX replied to bryan_f_davis@yahoo.com's topic in Hall Of The Super Topics
Thats nothing... ***EDIT*** Due to so much stuff and the lack of space I'll have to see if I can get the time to even take any good pics. -
Sorry. I should've iterated that a bit more... my VF-0S angles DO extend all the way, lock and hold.
-
I've had my VF-0S for the past month and a half. It doesnt suffer from any floppy feet issues at all. Stands pretty proud and tall. ***EDIT*** Got mine from HLJ.
-
Nice work.
-
NICE!!! Like the poses especially with the paint job.
-
Five minute epoxy (clear)?
-
Here you guys go. A better view of the 21's under foot.

-
It's okay... I wouldn't mind wearing rubber while playing with Nora. XD gg
-
I'd get both. I'd pimp em HOs... XD
-
I just checked the Macross Plus (movie edition). It doesnt show the YF-21 at all using the thrusters on the feet if there ever were. Bleh its late for me and I'm just feeling too lazy to look through the Macross Plus OVA... XD. K. Back to working on the 1/72 Hasegawa conversion!!!
-
Nah I'm pretty sure there'll be some sort of tampo printing on it. Just look at all the original VF-0S pics... there were no tampos on it and they used stickers in the spots where there was tampo in the production versions.
-
Nah they can get that thing in the box. Maybe just store it in an angle like the 19.
-
YES!!! I would like to see something physical... in one of those magazine articles! ***EDIT*** I guess we'll see some magazine articles for the YF-21 in the next two months or so. Seeing that some of the magazine companies published articles 4 months prior to the release of the product.
-
I'm pretty sure there'll be some sort of joints for the feet. ***EDIT*** If you meant having the foot binded... (bleh) I'm not sure how that will happen.
-
I've checked the links and haven't seen any assembly instructions, but the color guides are here for your reference: Scroll midway down the page... (courtesy of graham & shawn) http://www.macrossworld.com/macross/models...i/arii_orig.htm
-
They are color resin cast models that come preassembled. From my understanding they go for 35,000 Yen and are exclusive only for the WF convention. @Luke... Most likely the arm will stretch out like the old 1/72 YF-21.