-
Posts
1296 -
Joined
-
Last visited
Content Type
Profiles
Forums
Events
Gallery
Everything posted by PsYcHoDyNaMiX
-
I was lucky enough to land a PO with hlj as well. I'm in the same boat... don't ask me about my backl,... wait what? LOL...
- 8469 replies
-
A Little Teaser of a Conversion Kit...
PsYcHoDyNaMiX replied to PsYcHoDyNaMiX's topic in The Workshop!
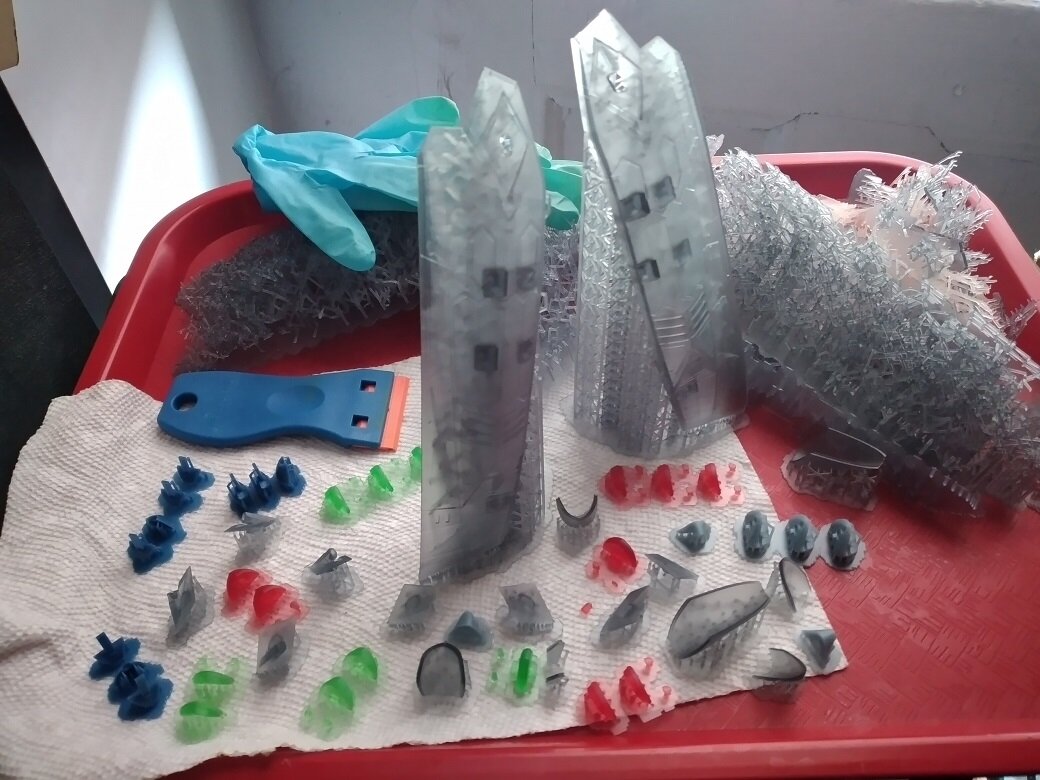
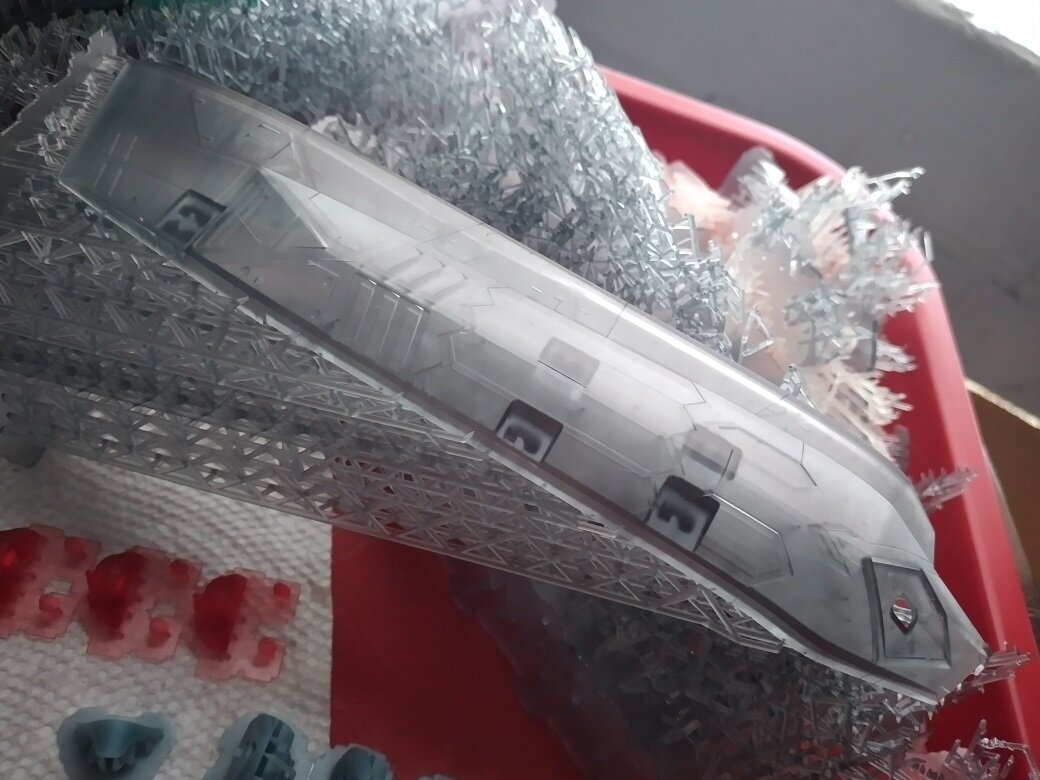
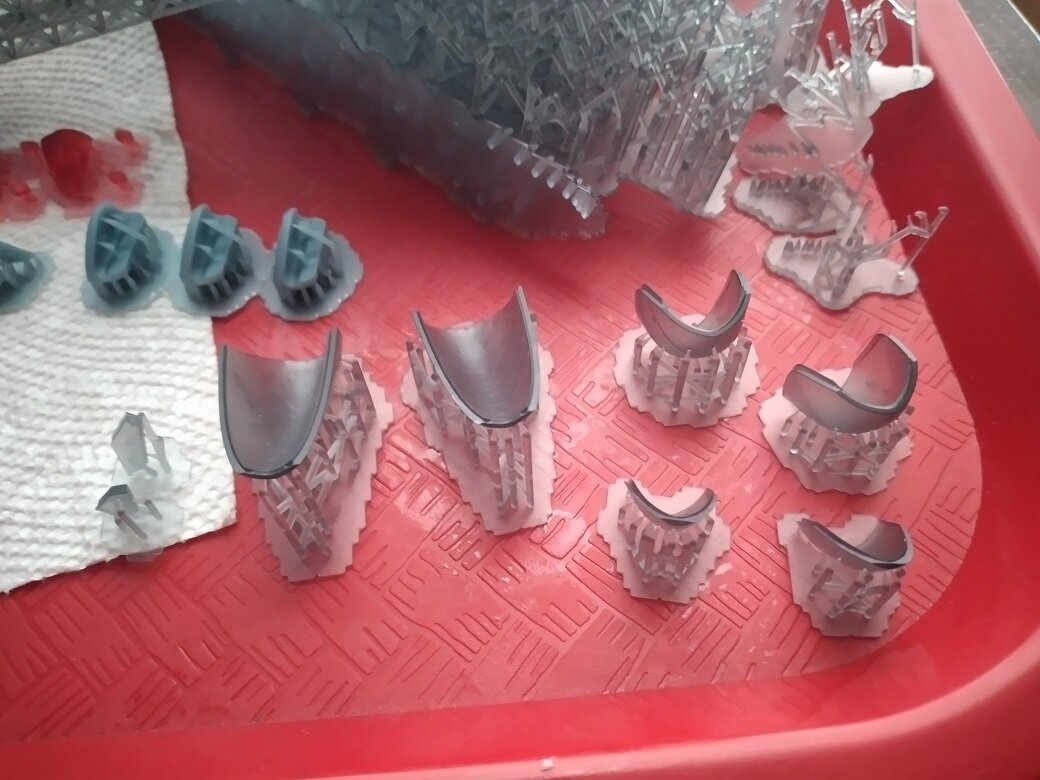
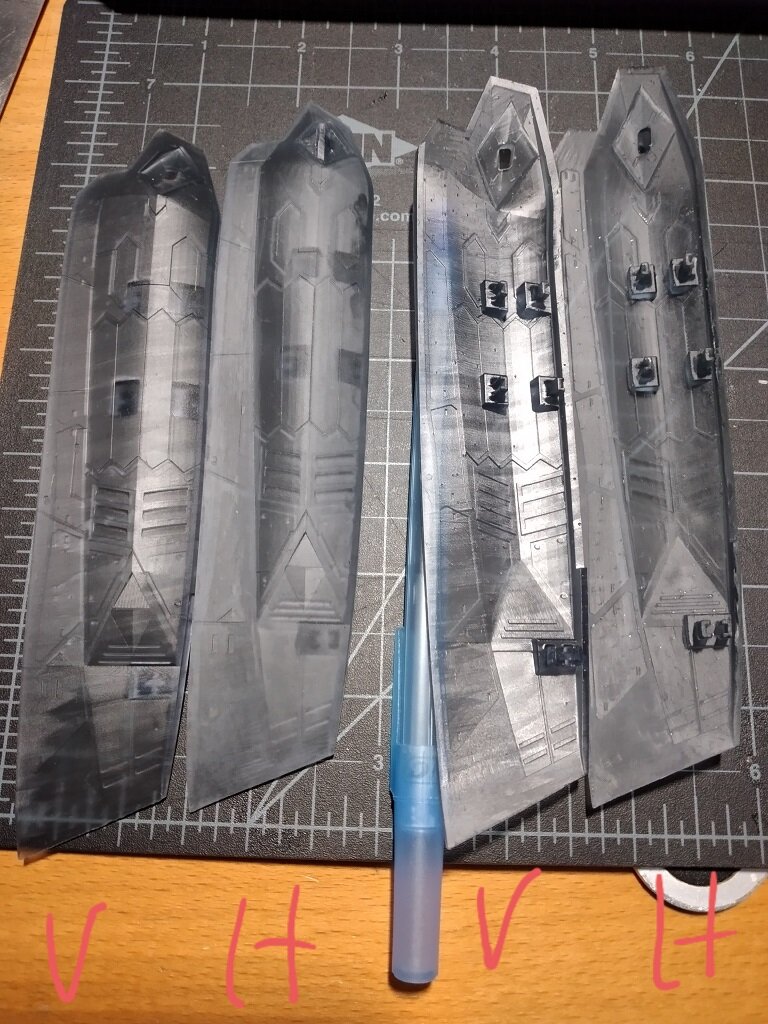
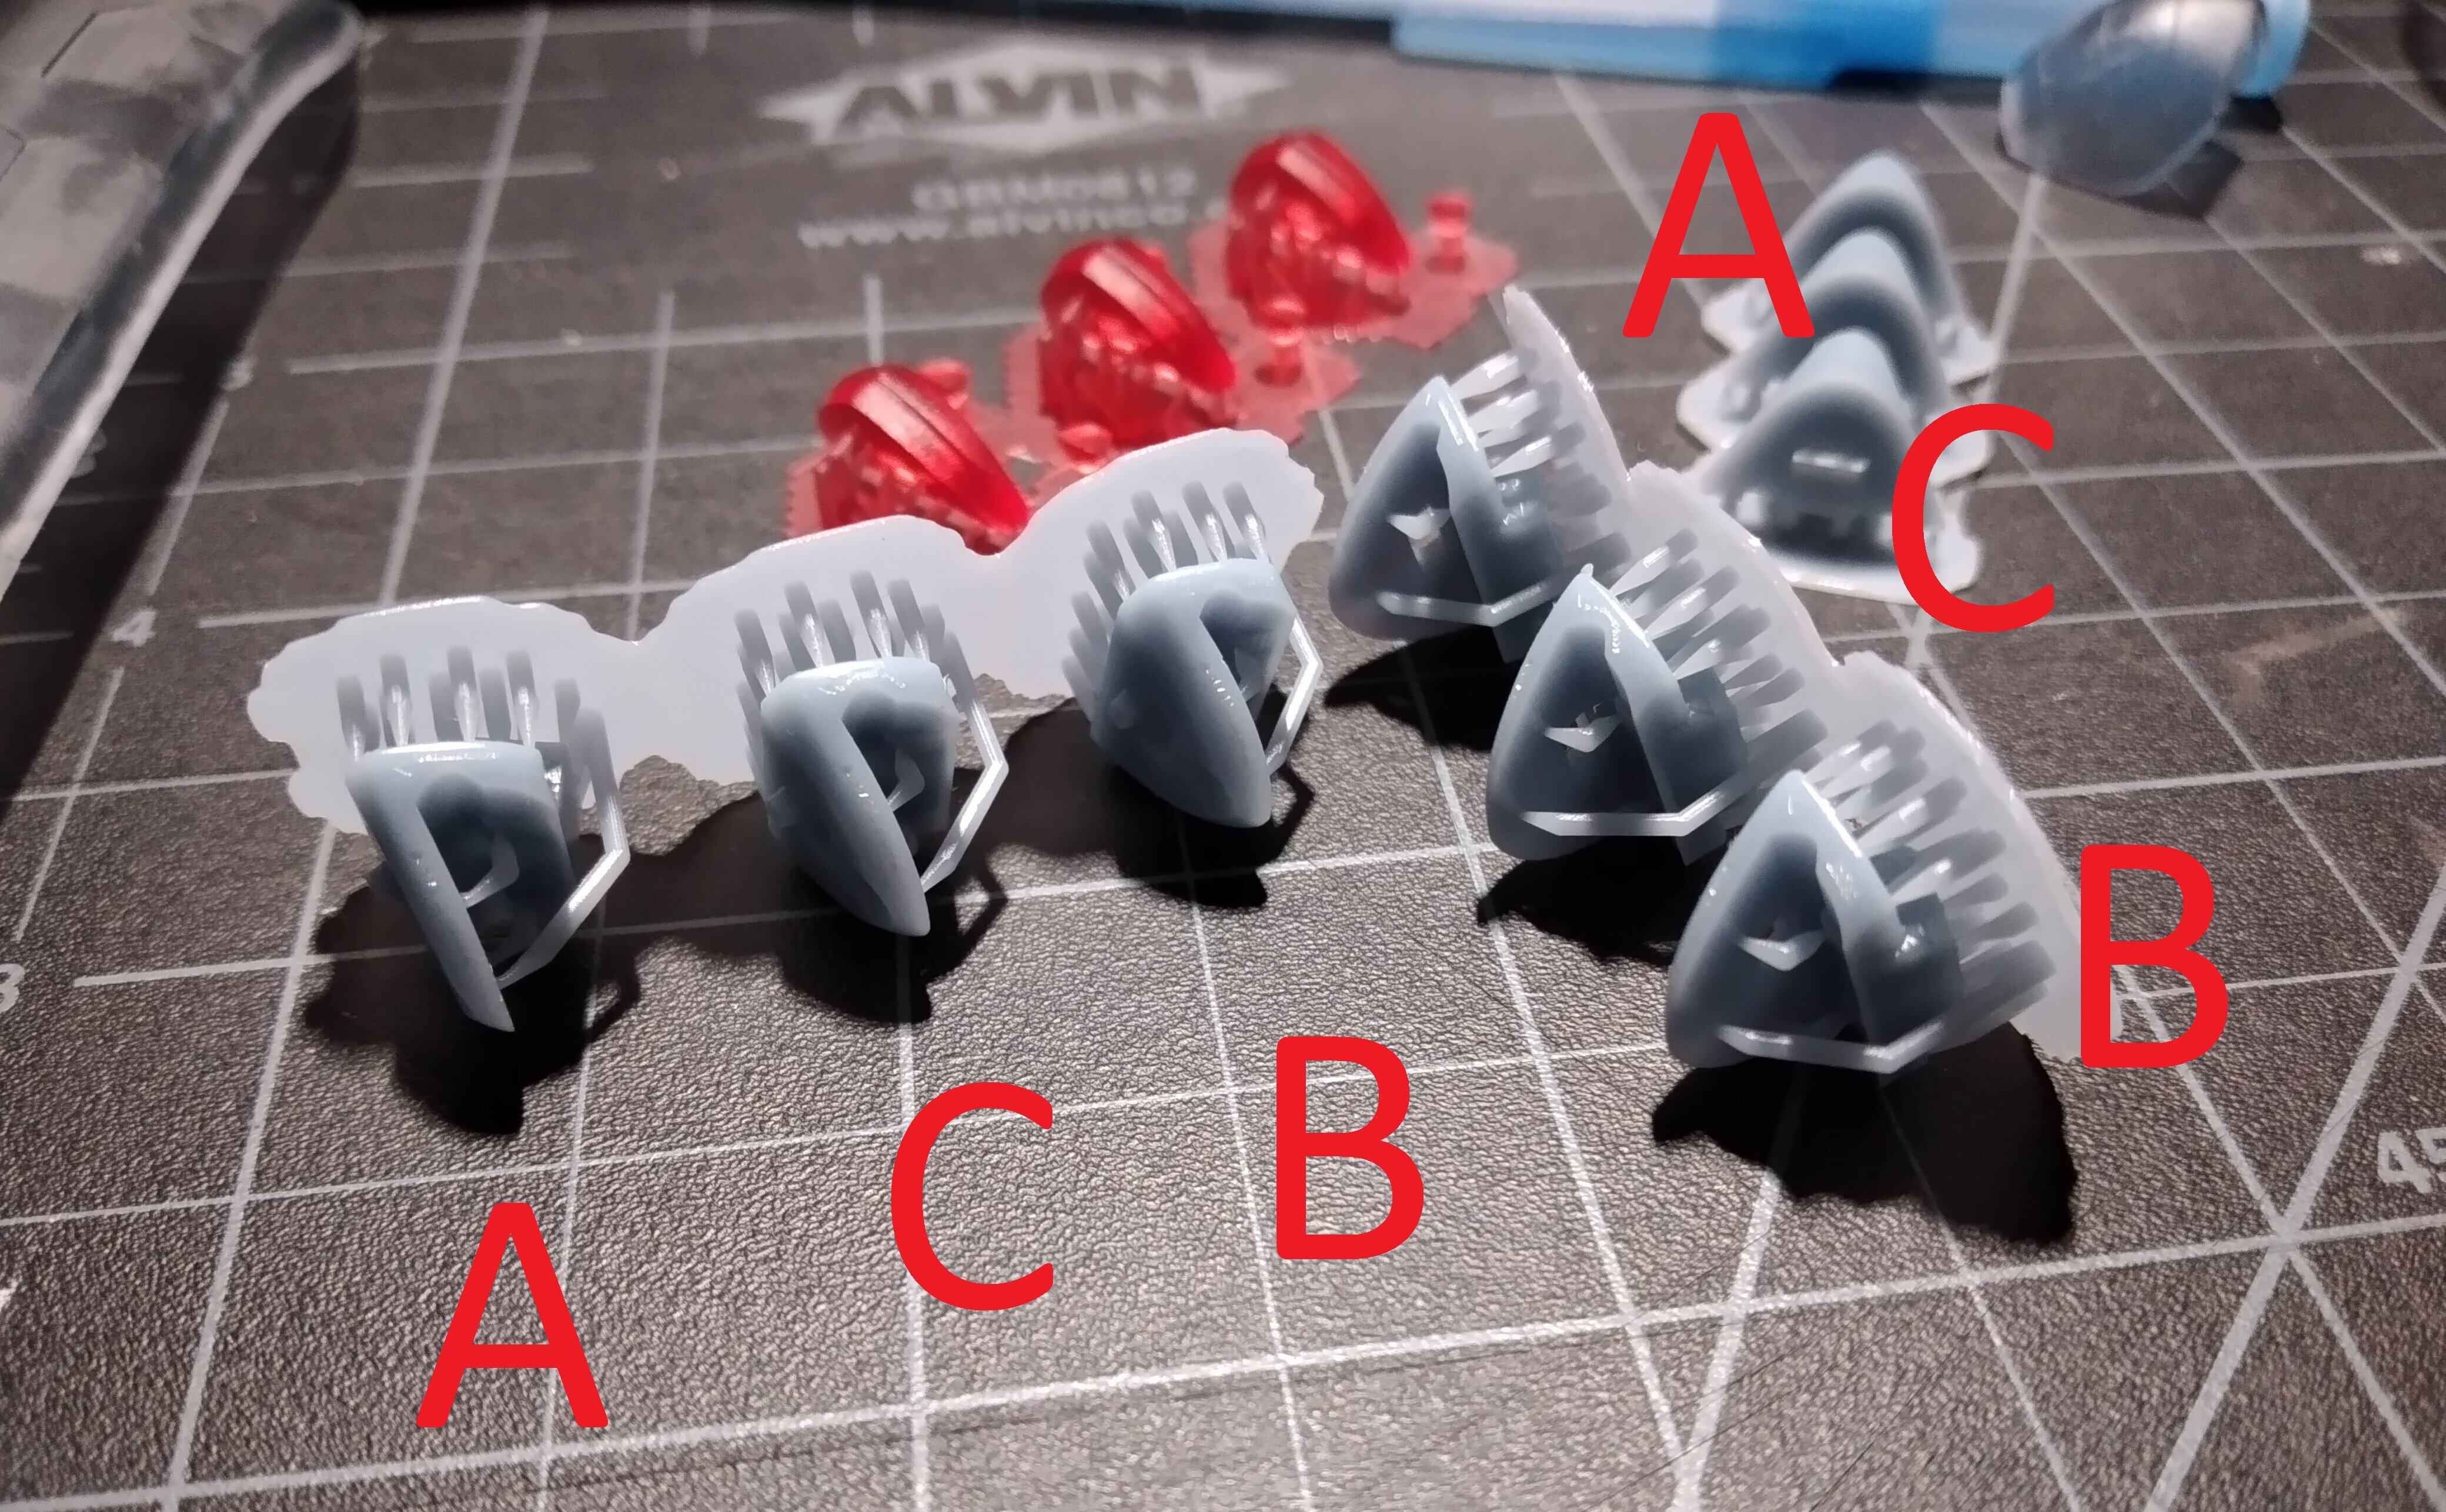
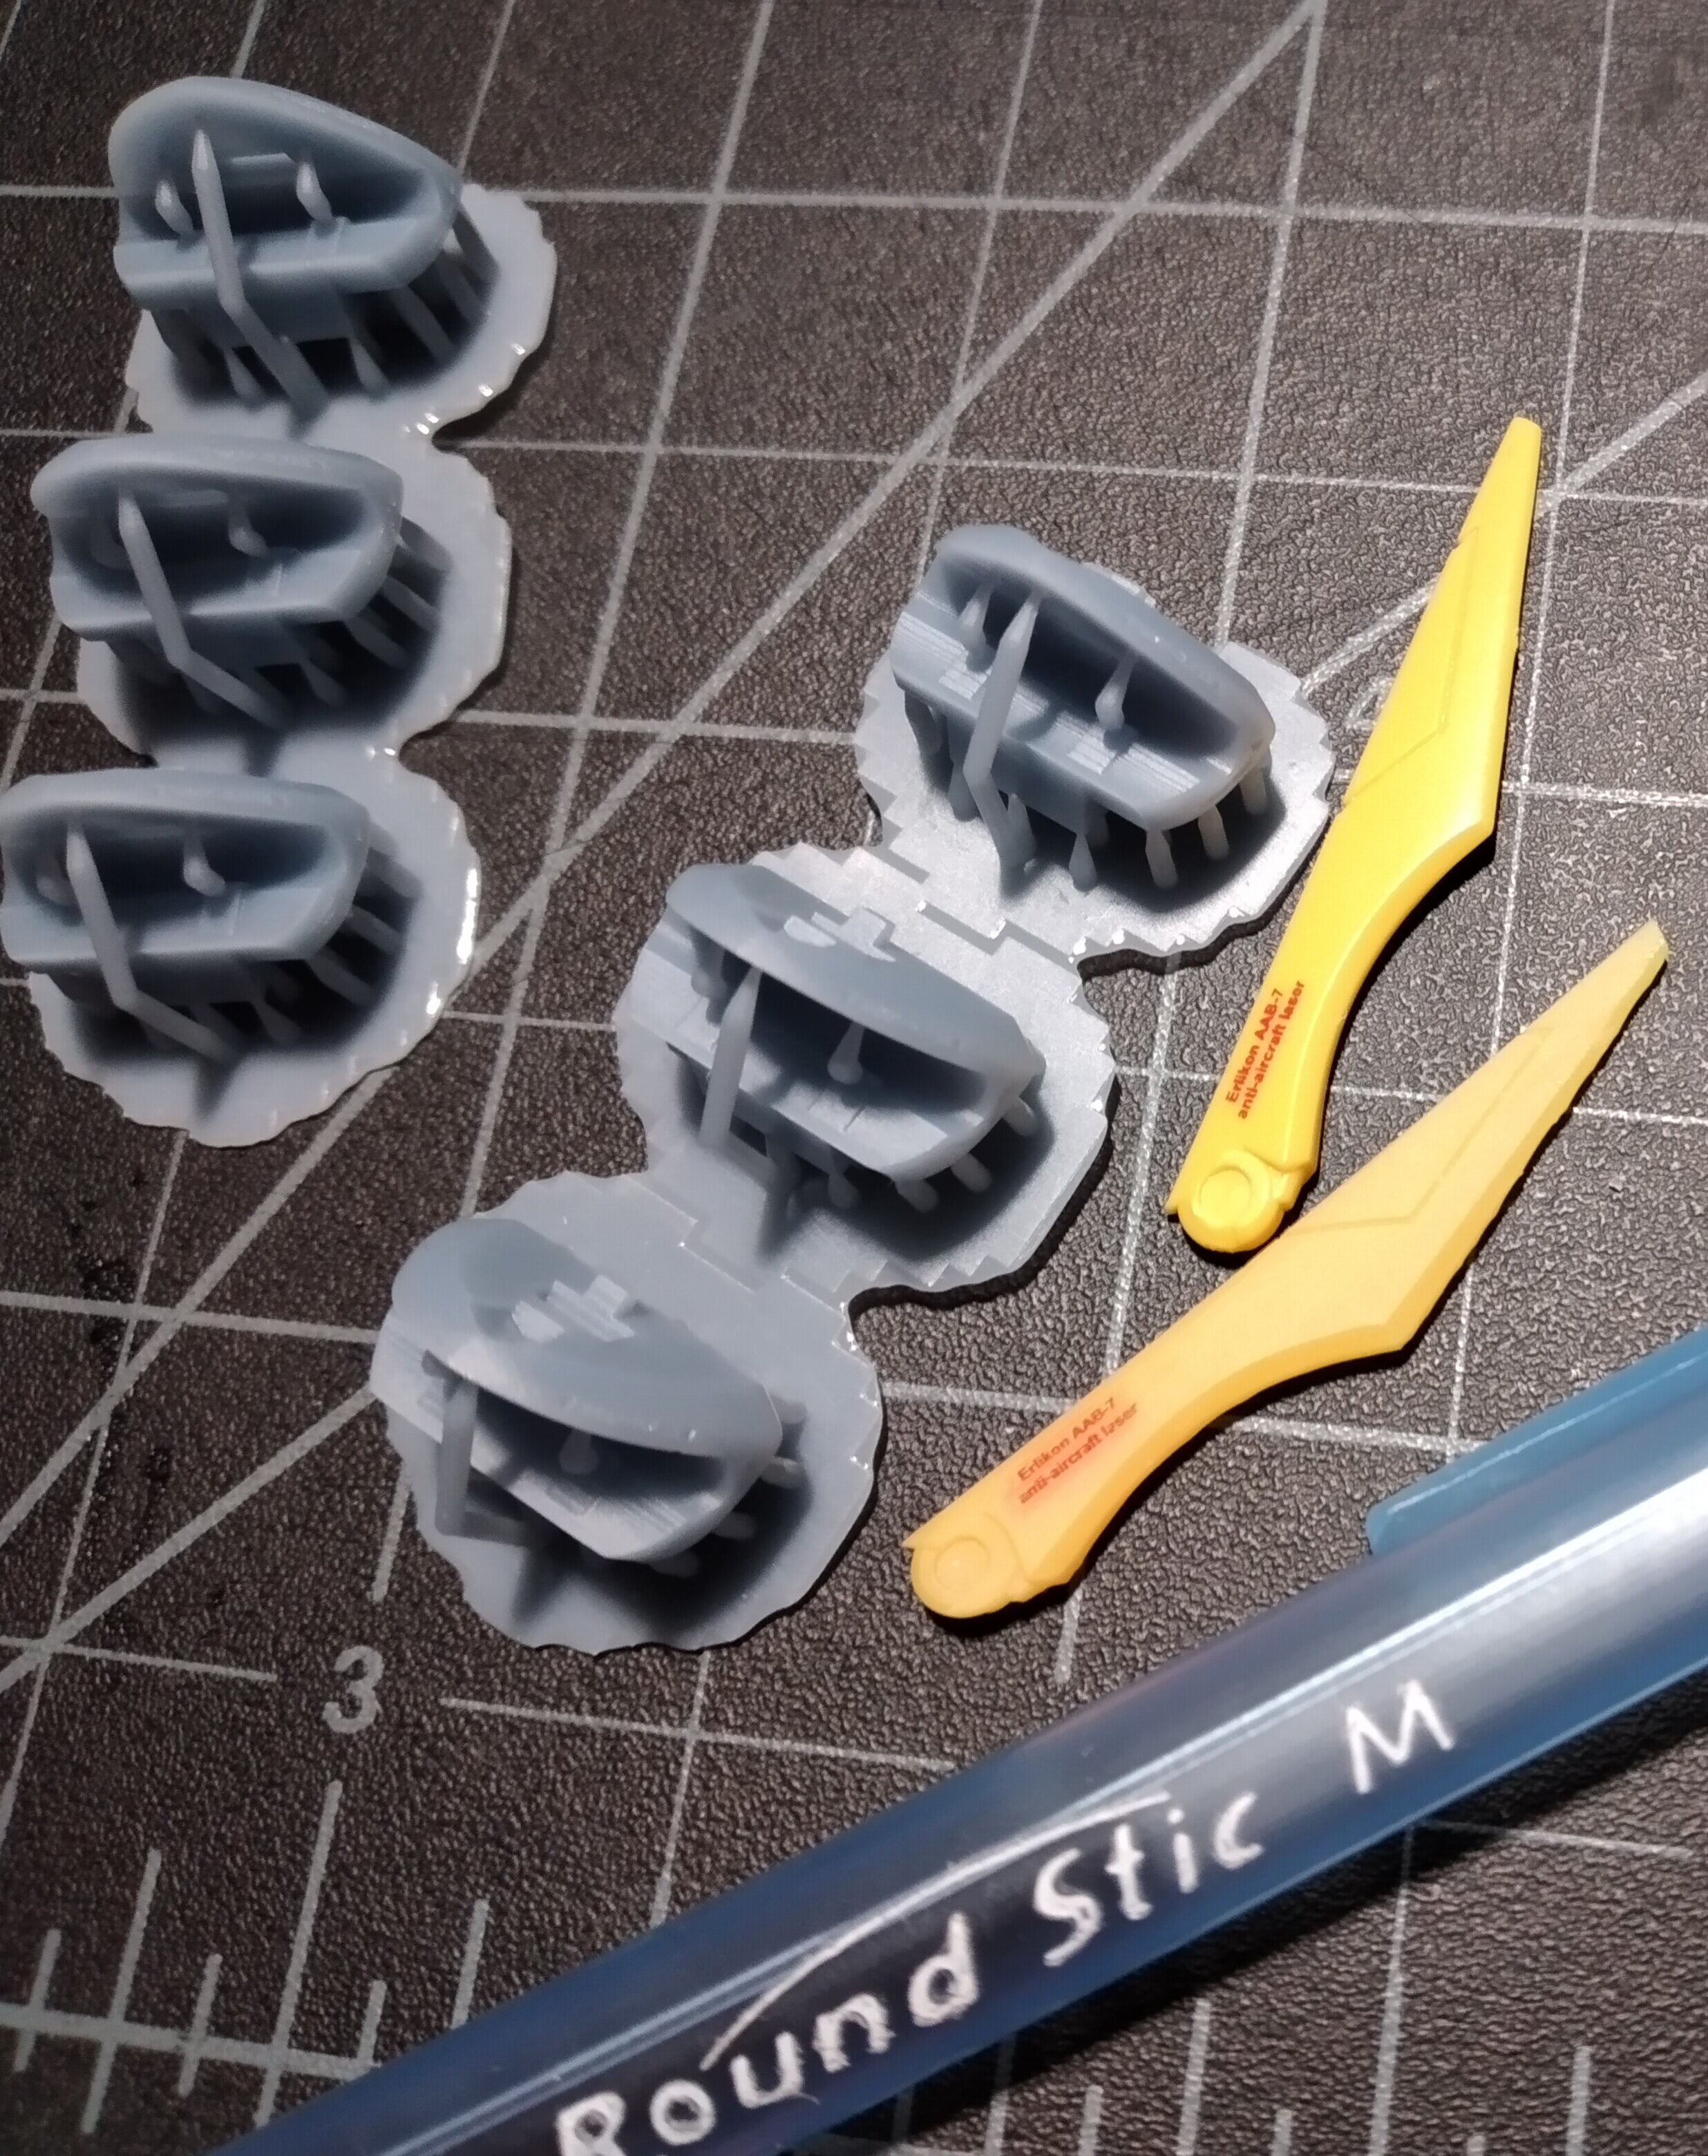
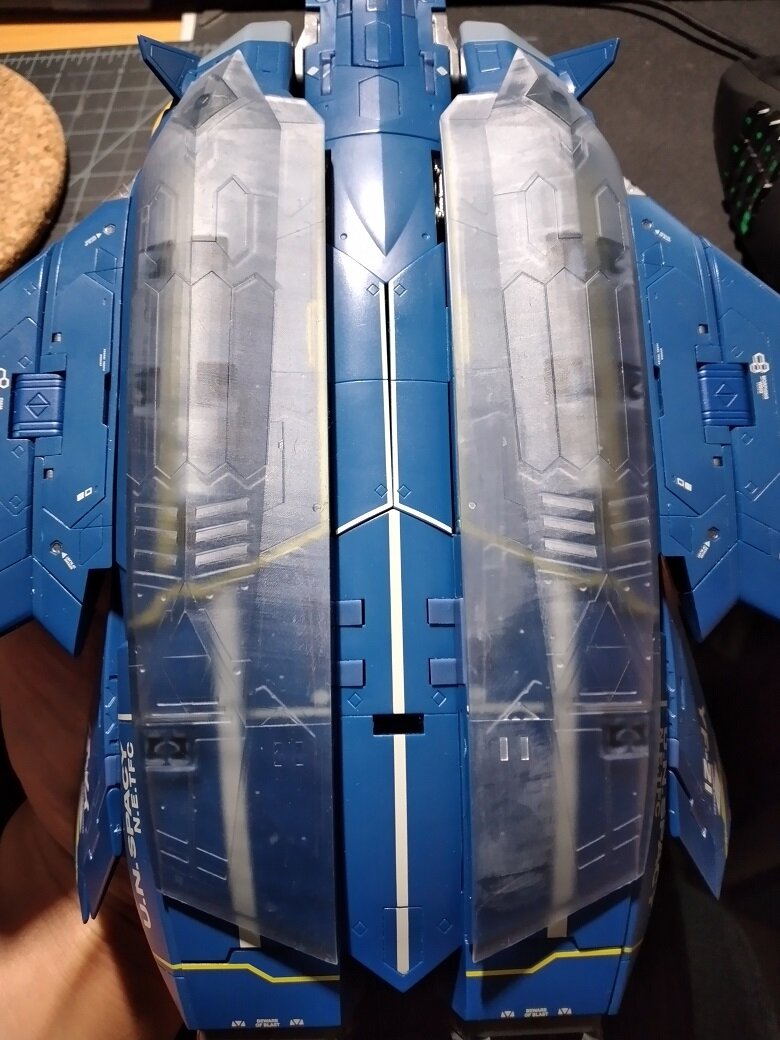
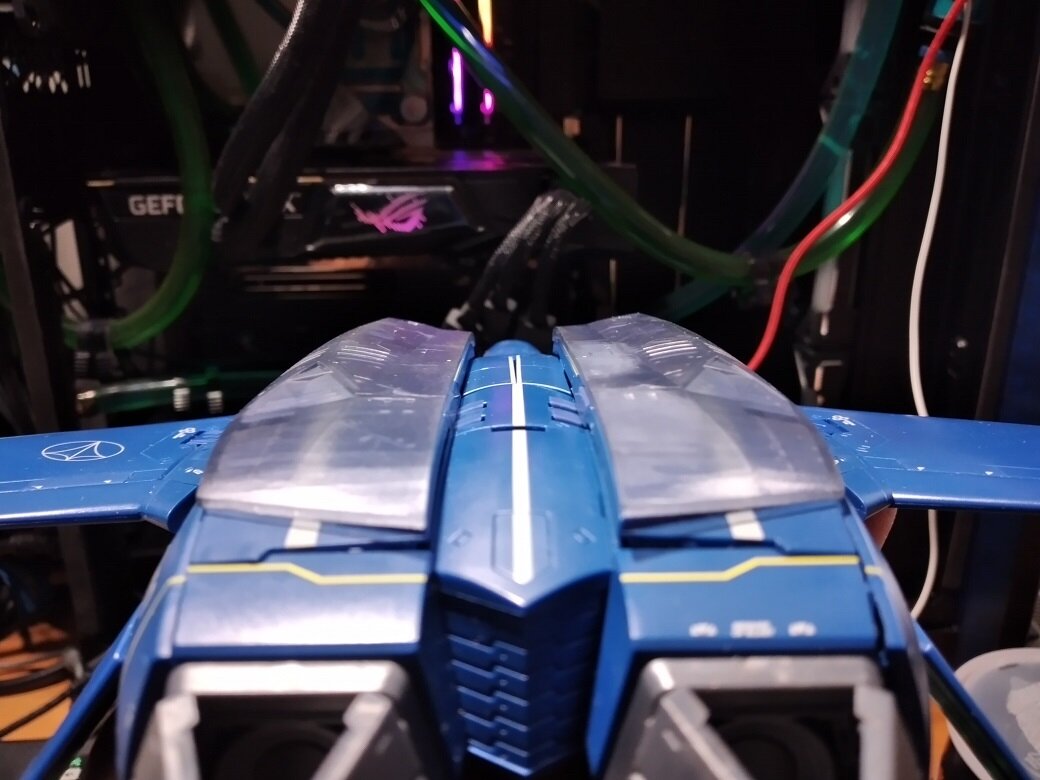
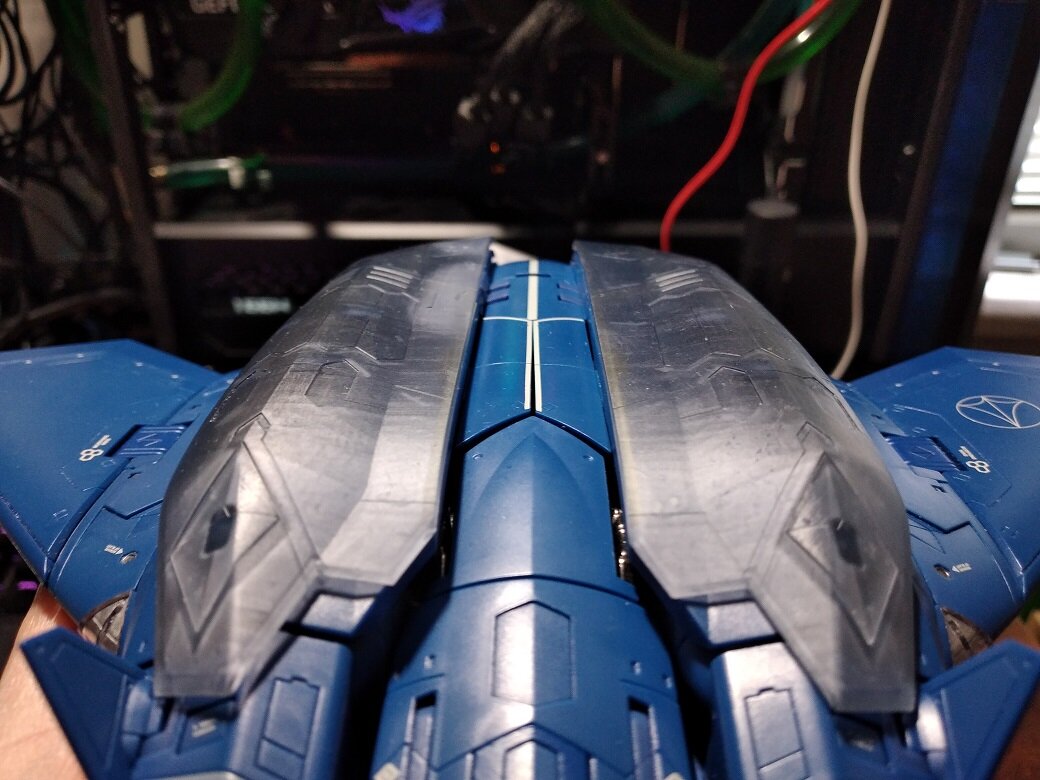
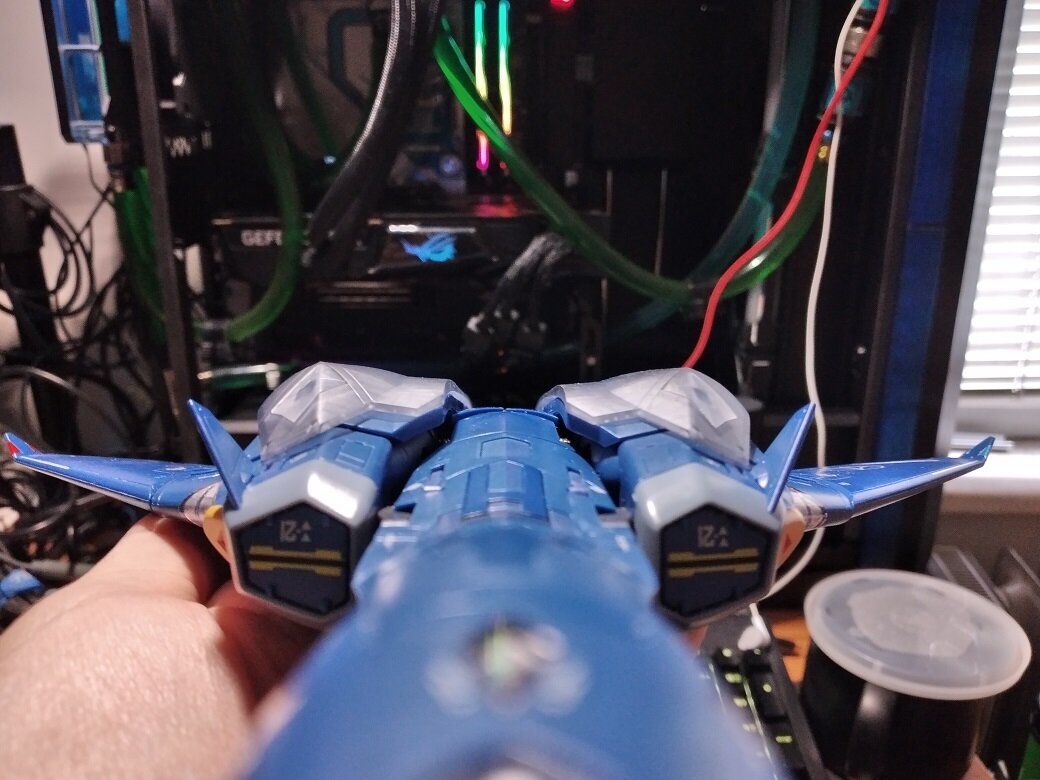
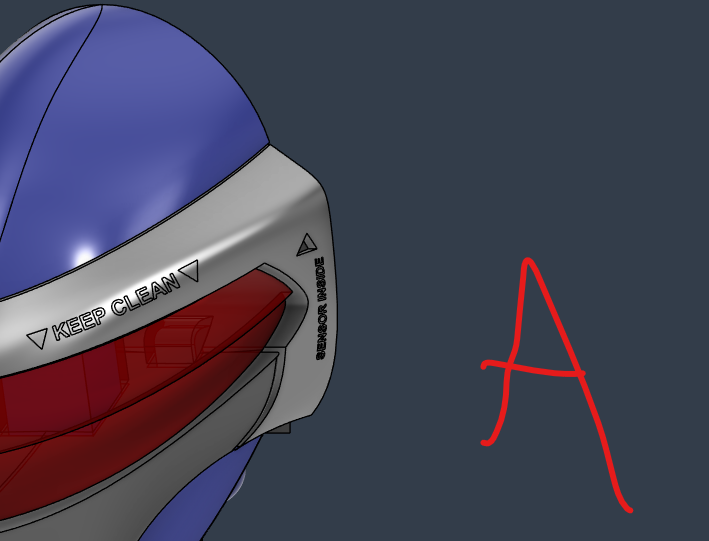
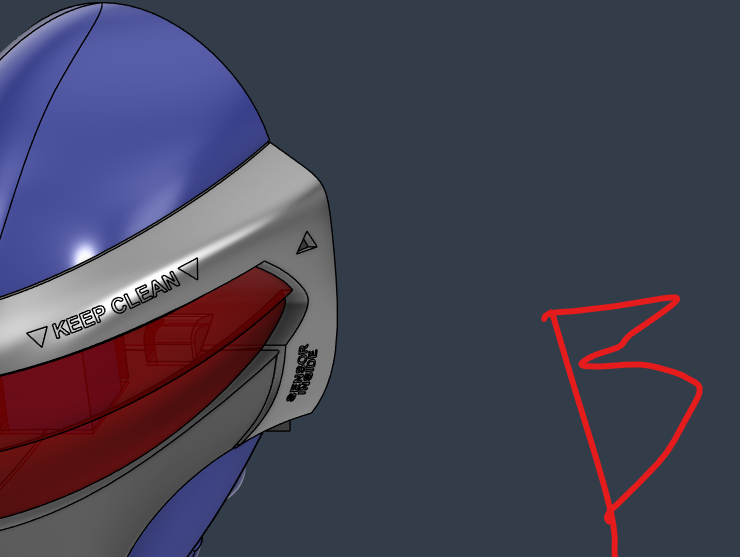
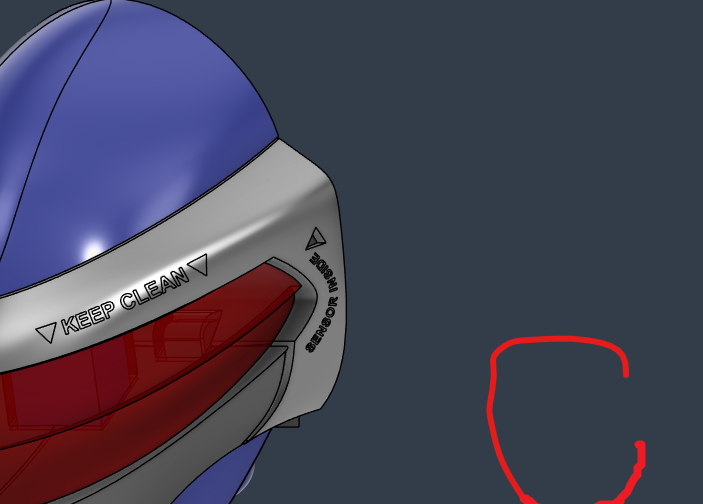
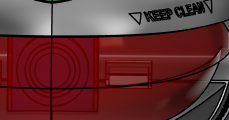
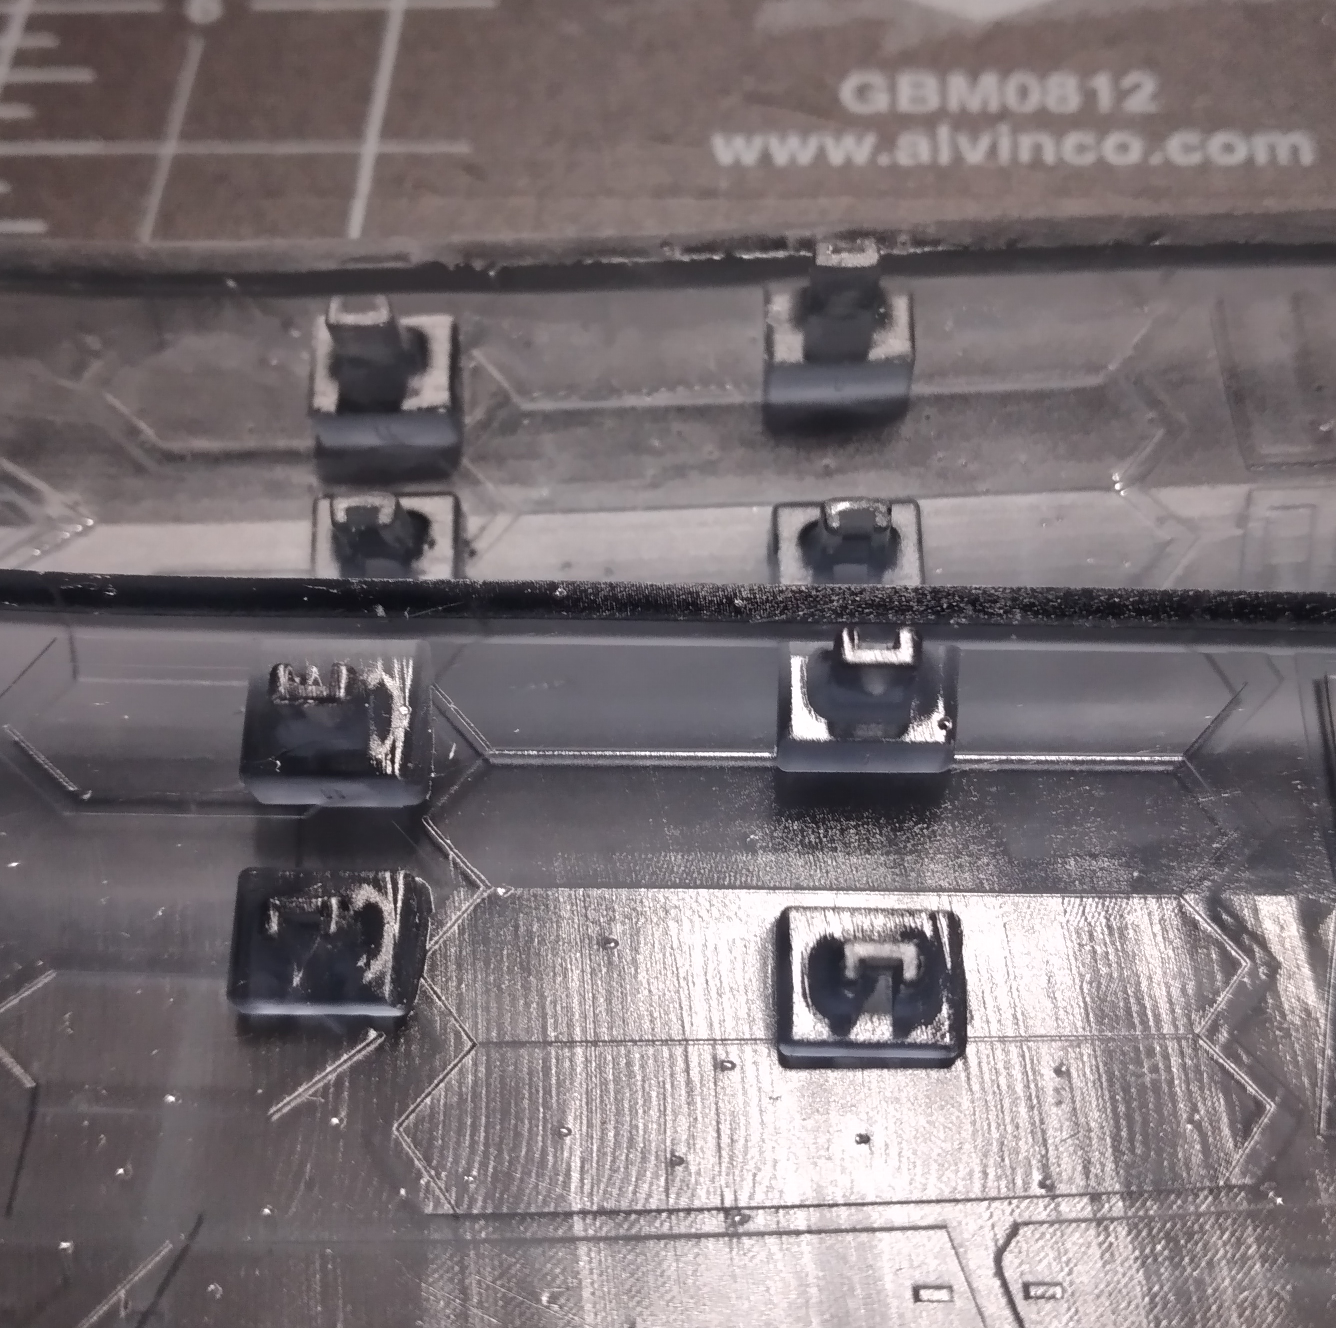
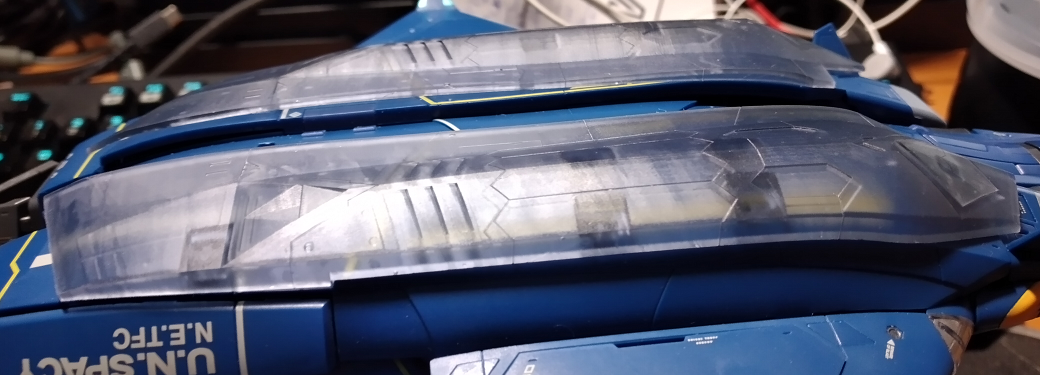
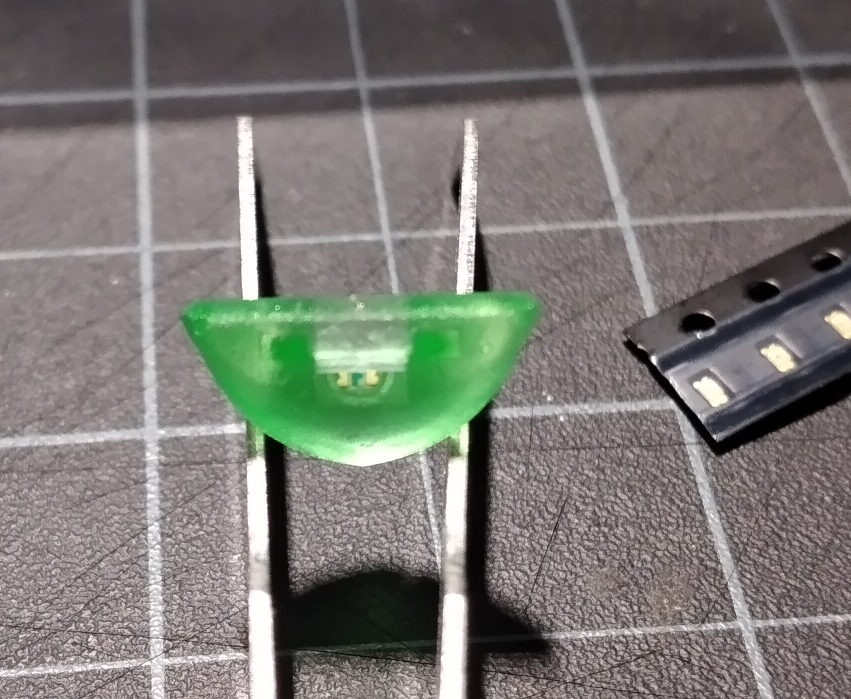
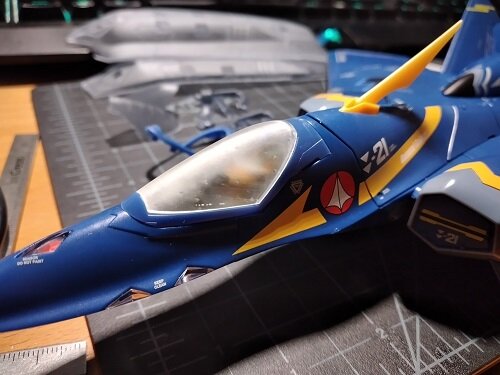
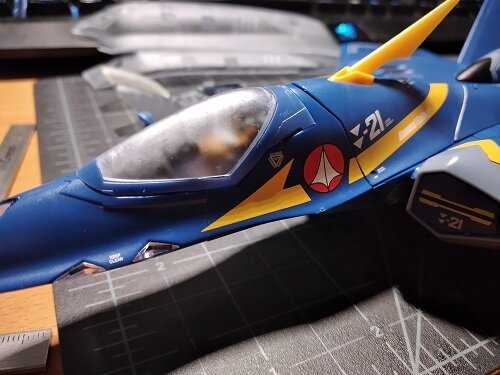
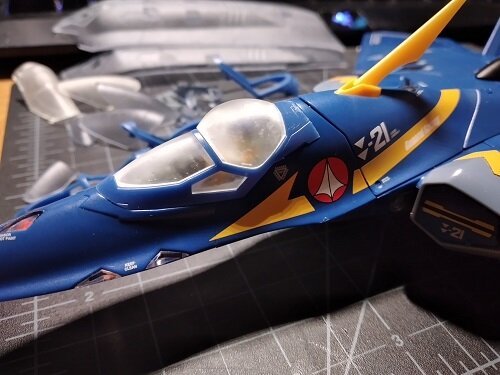
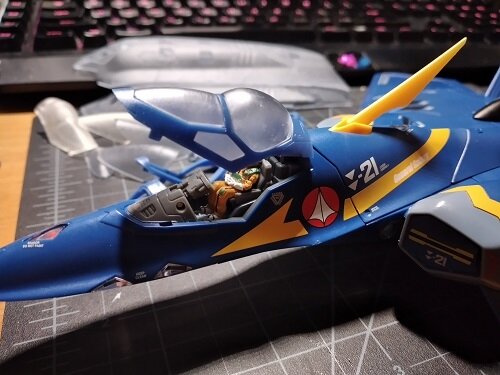
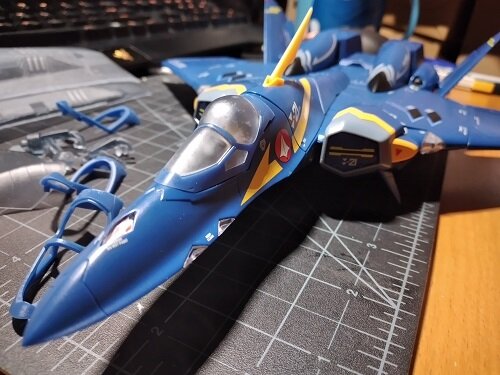
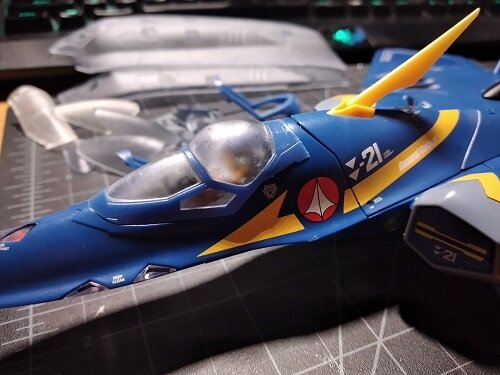
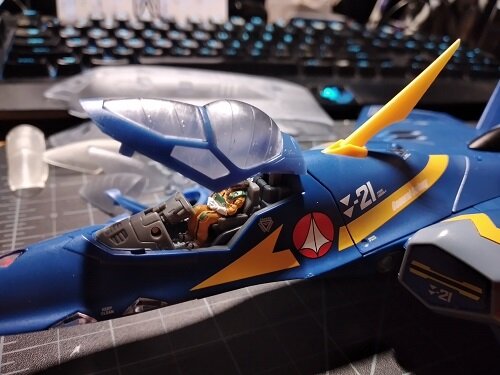
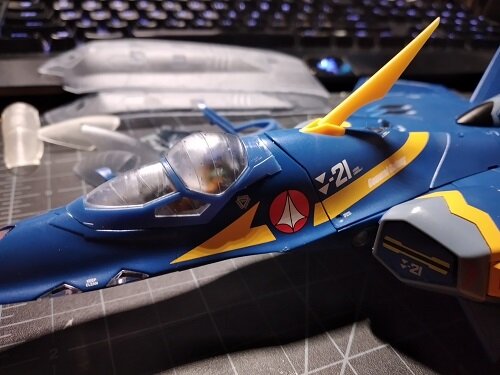
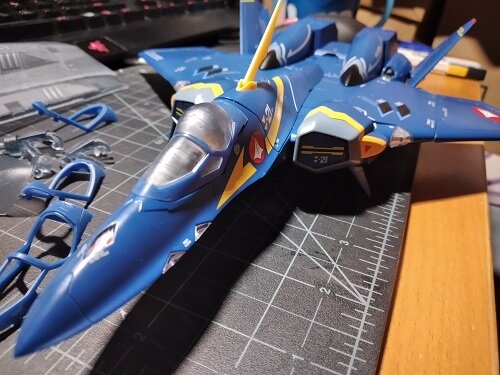
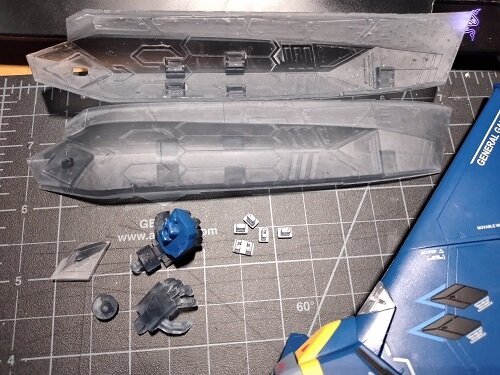
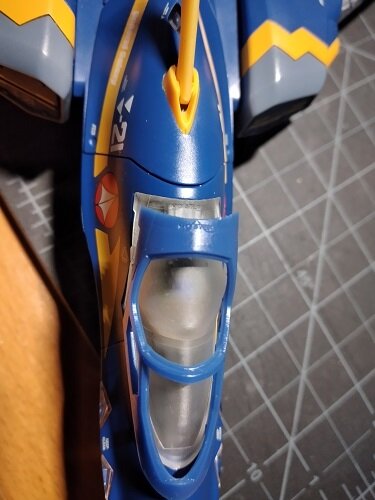
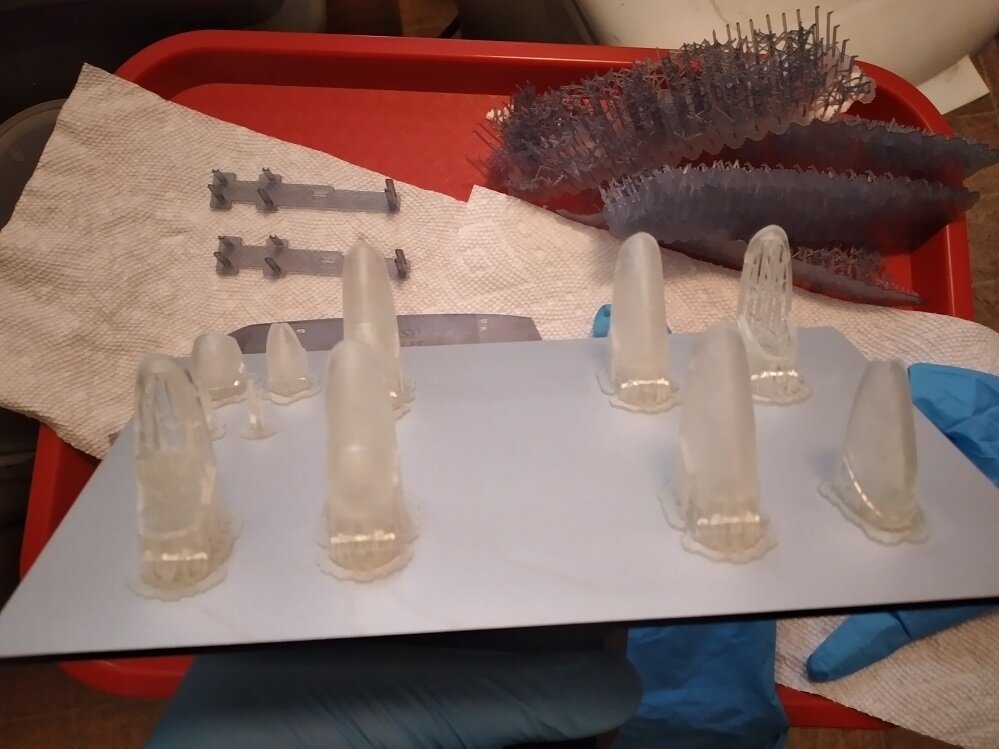
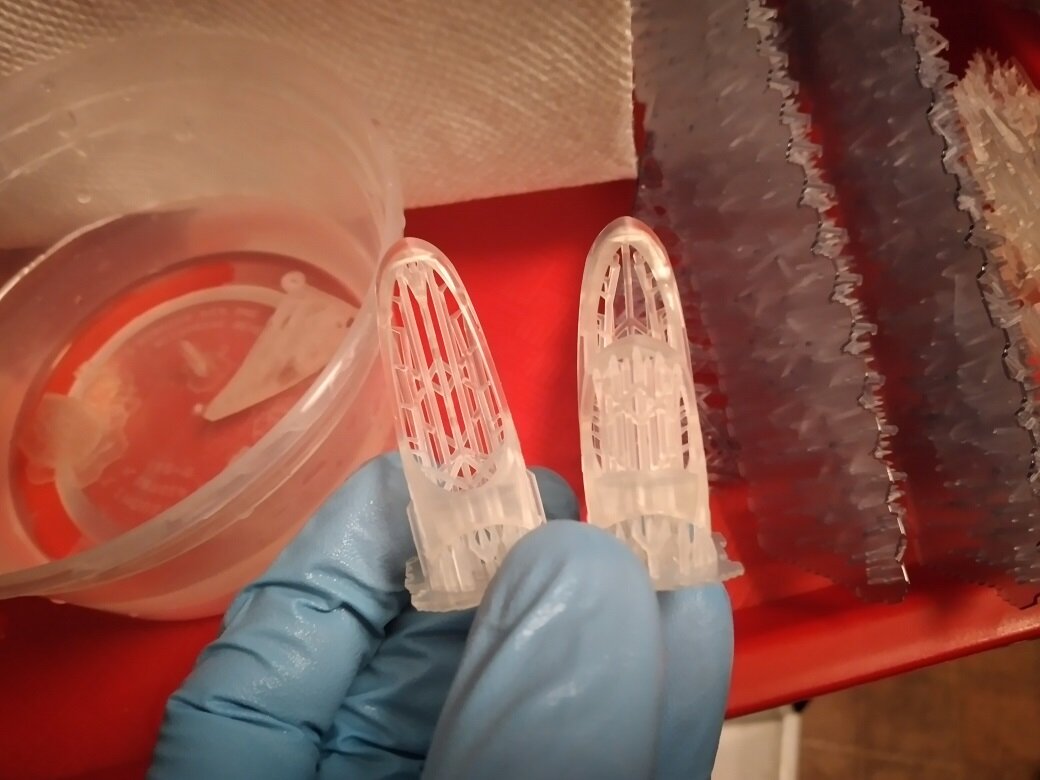
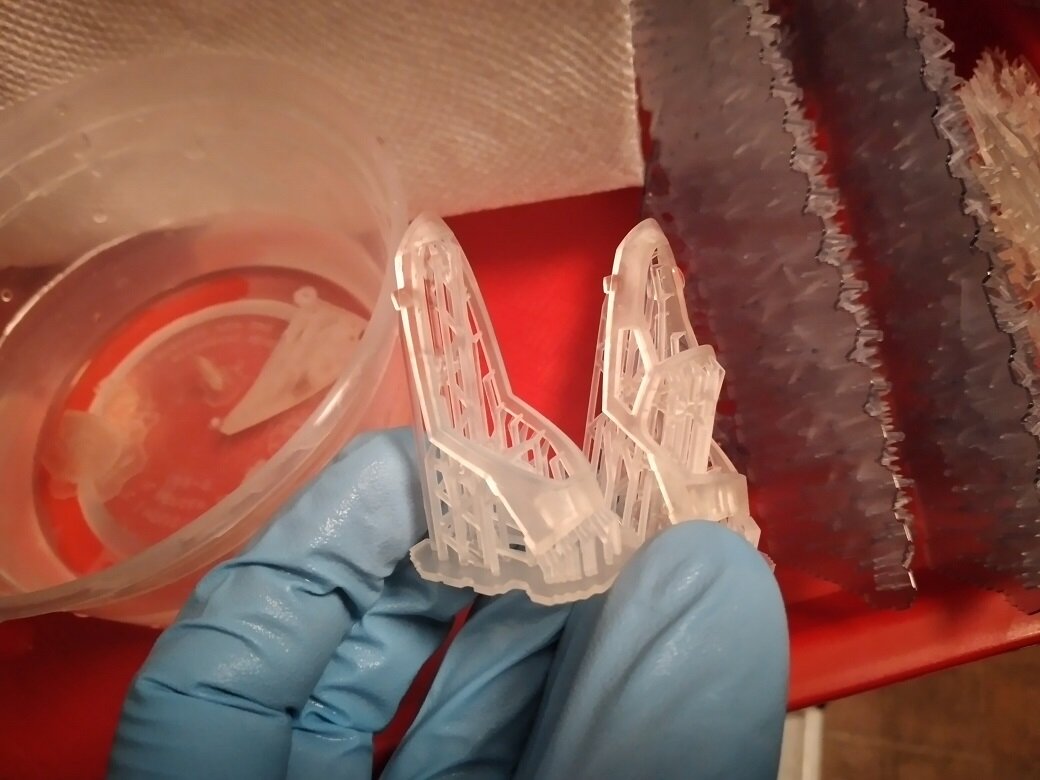
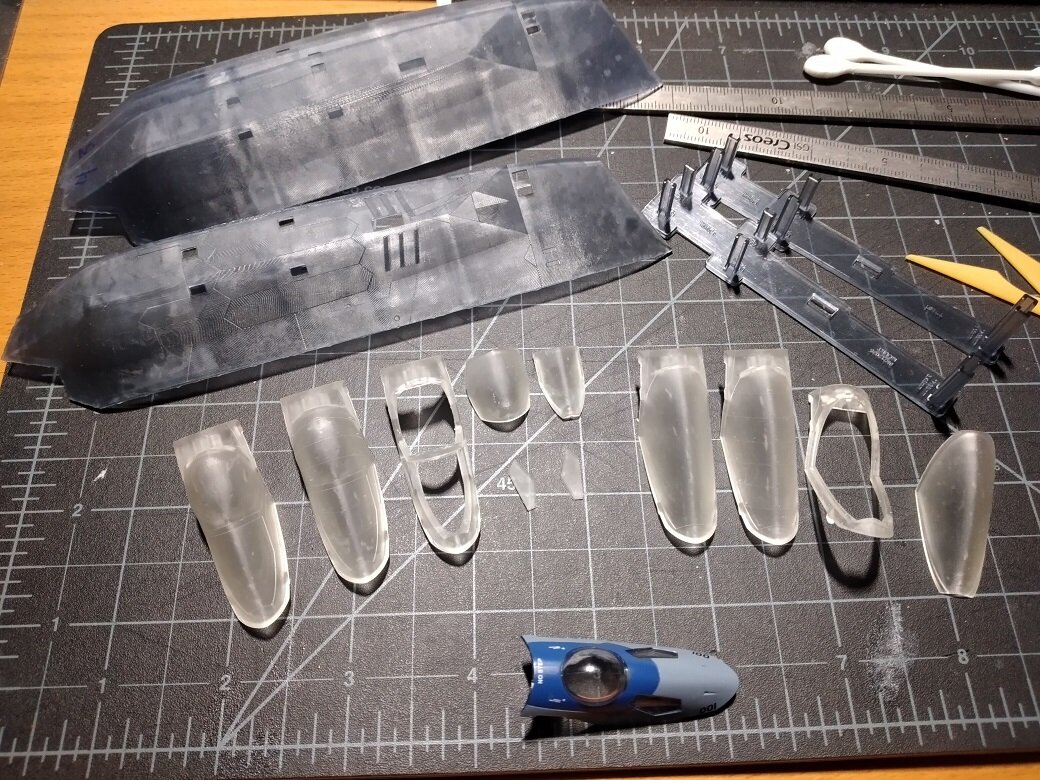
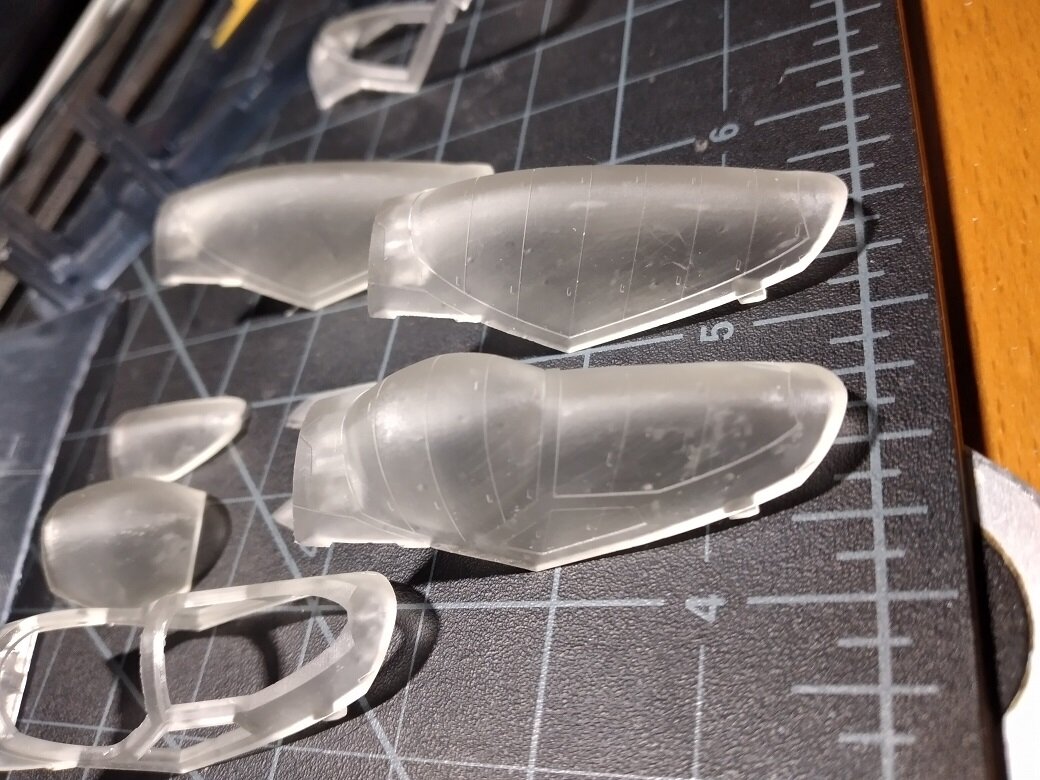
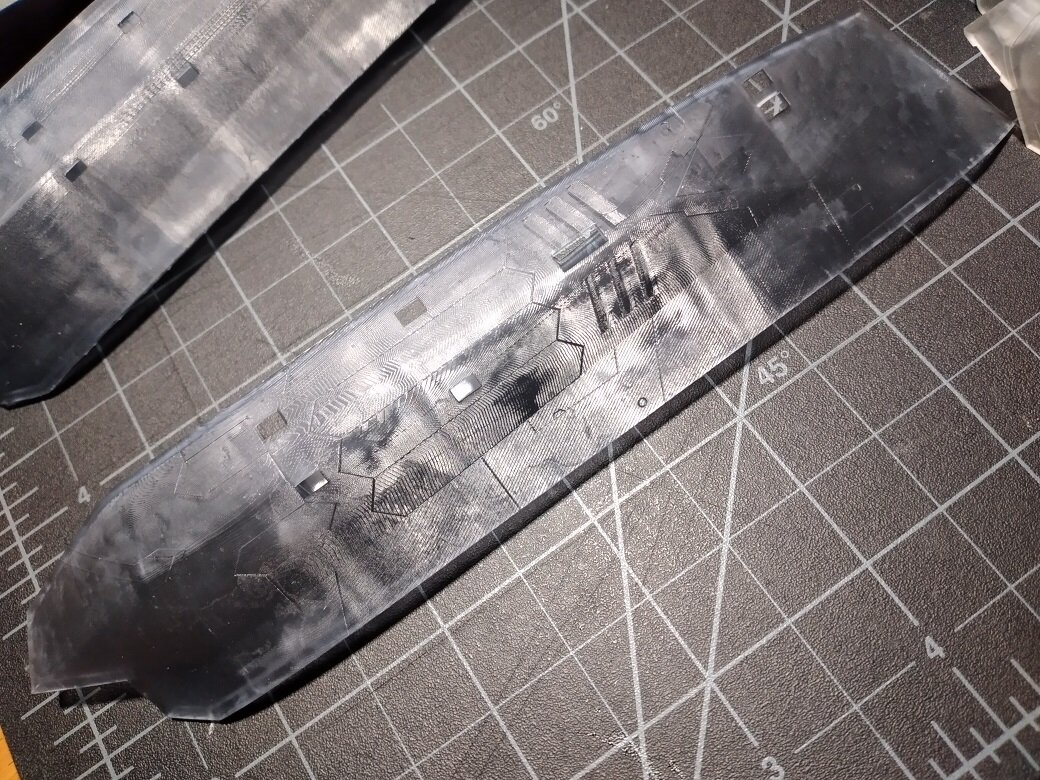
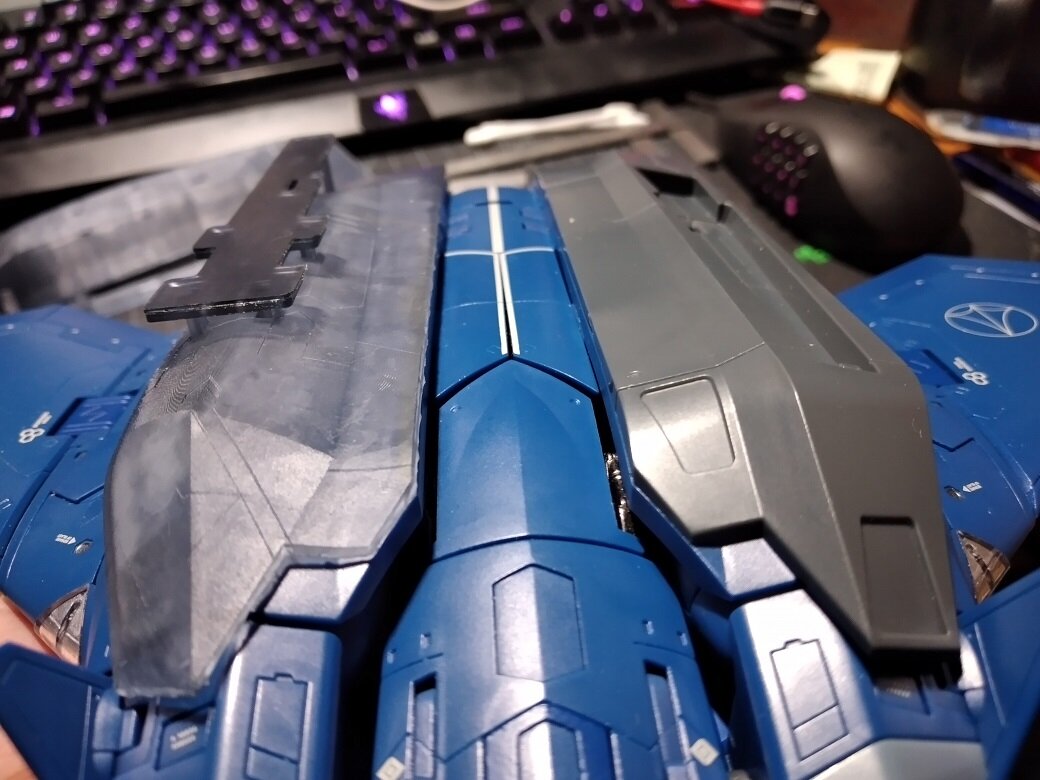
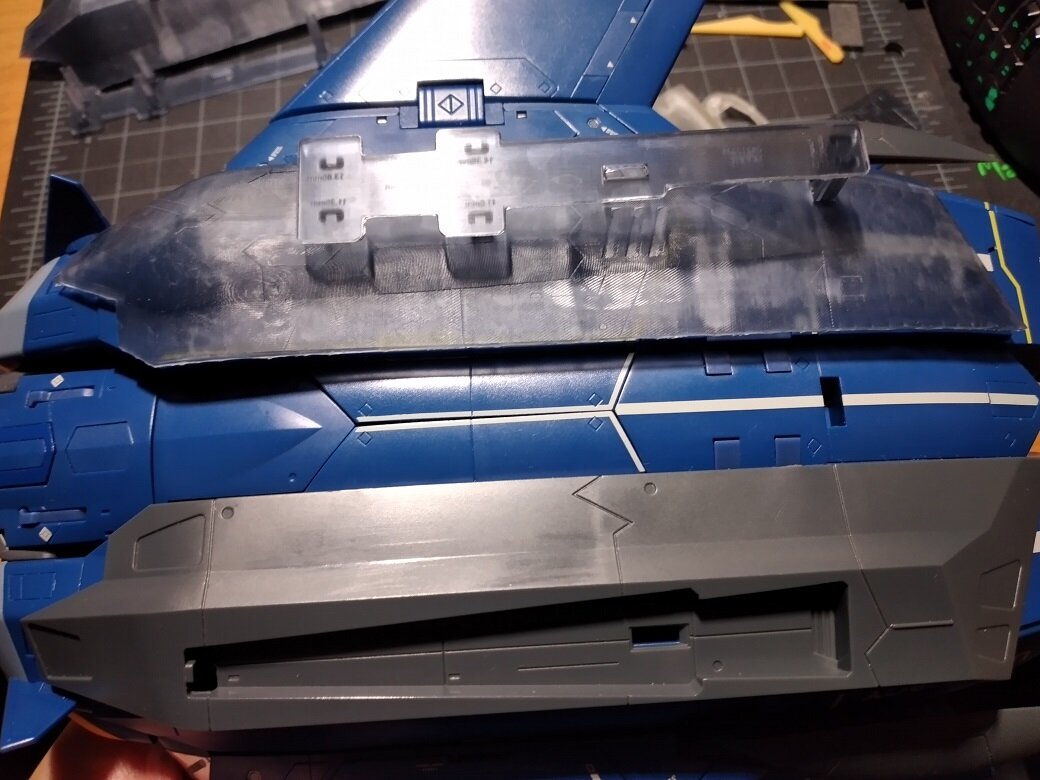
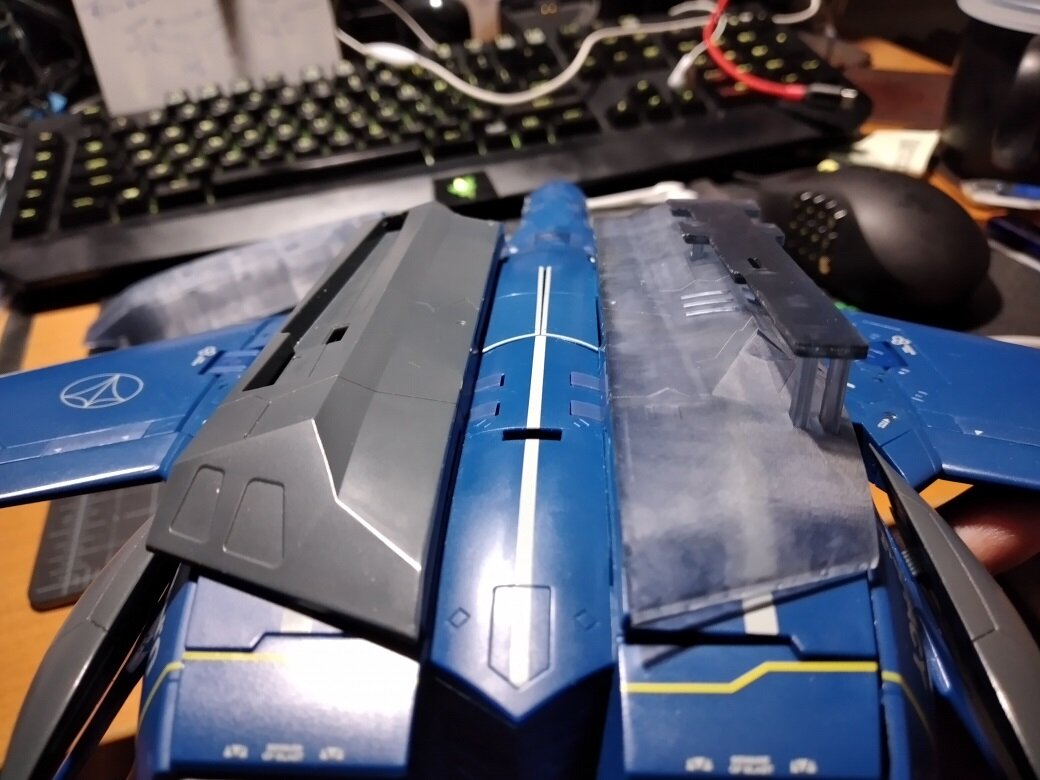
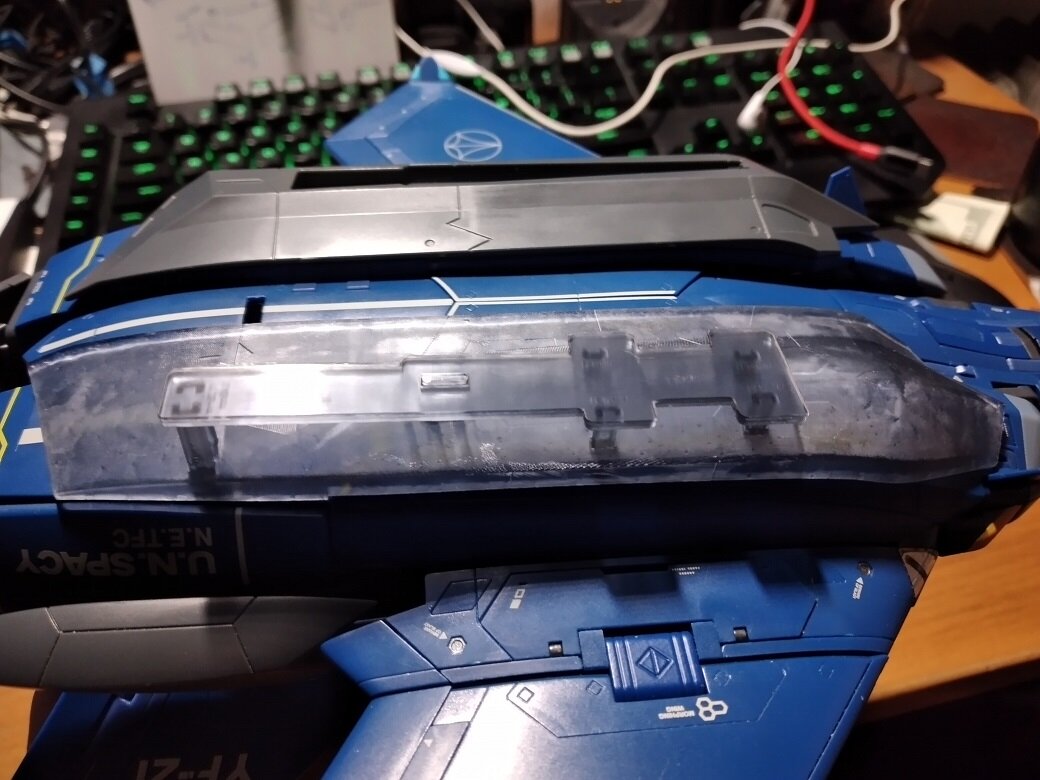
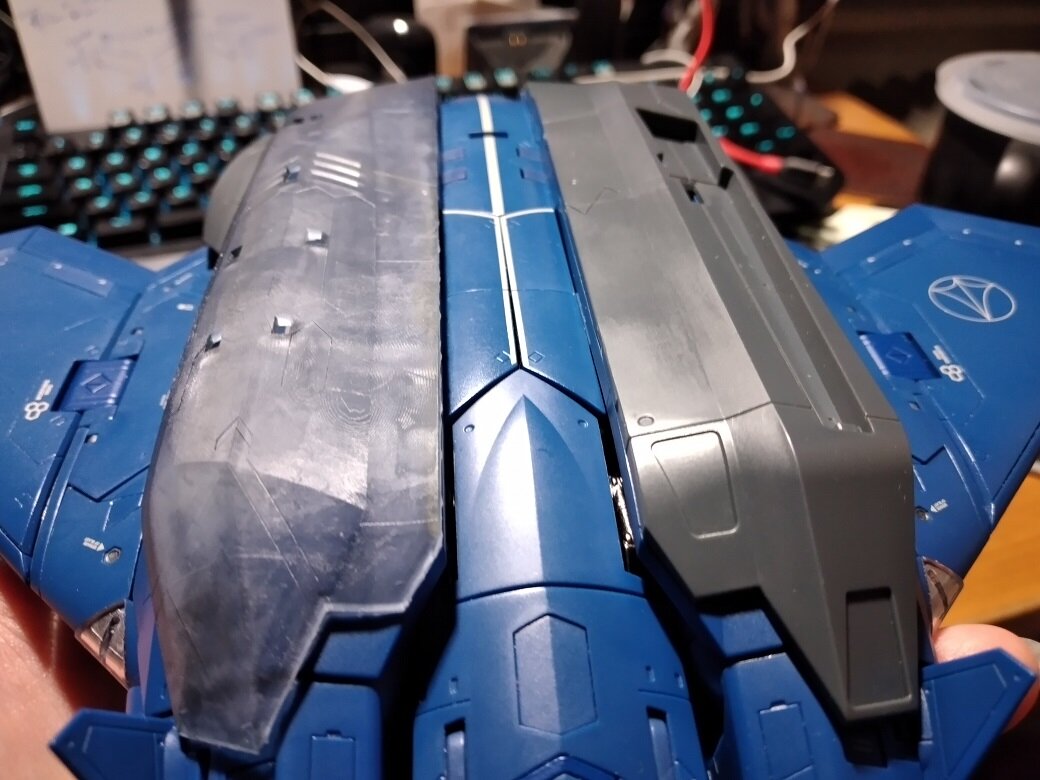
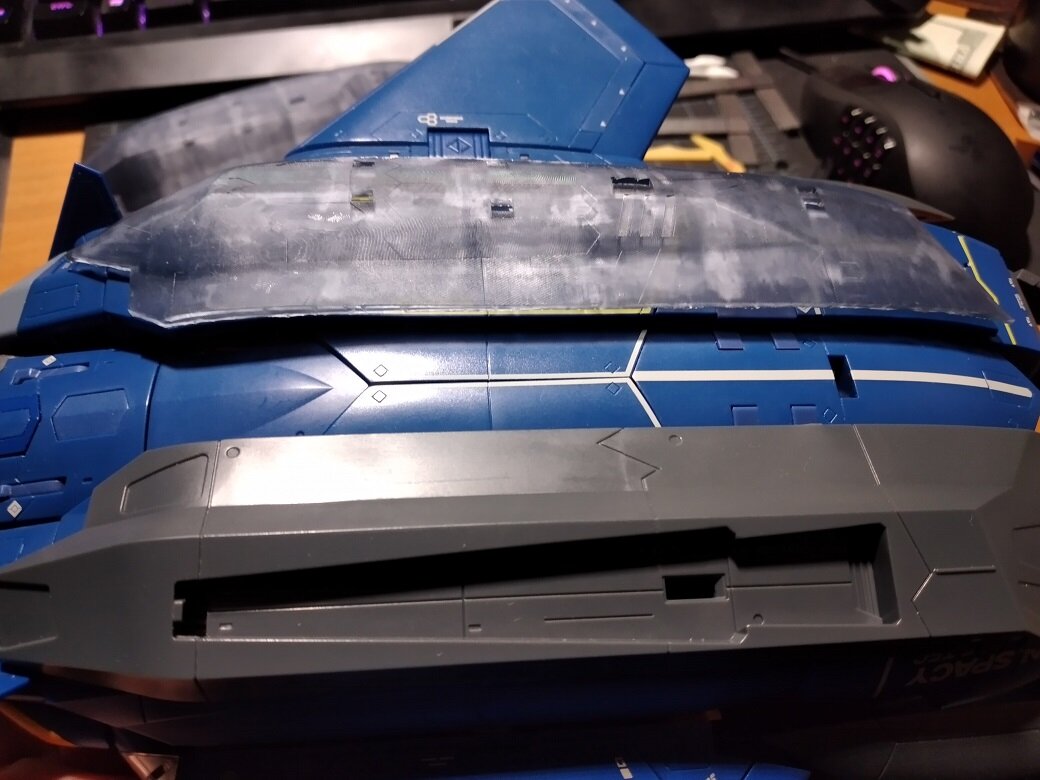
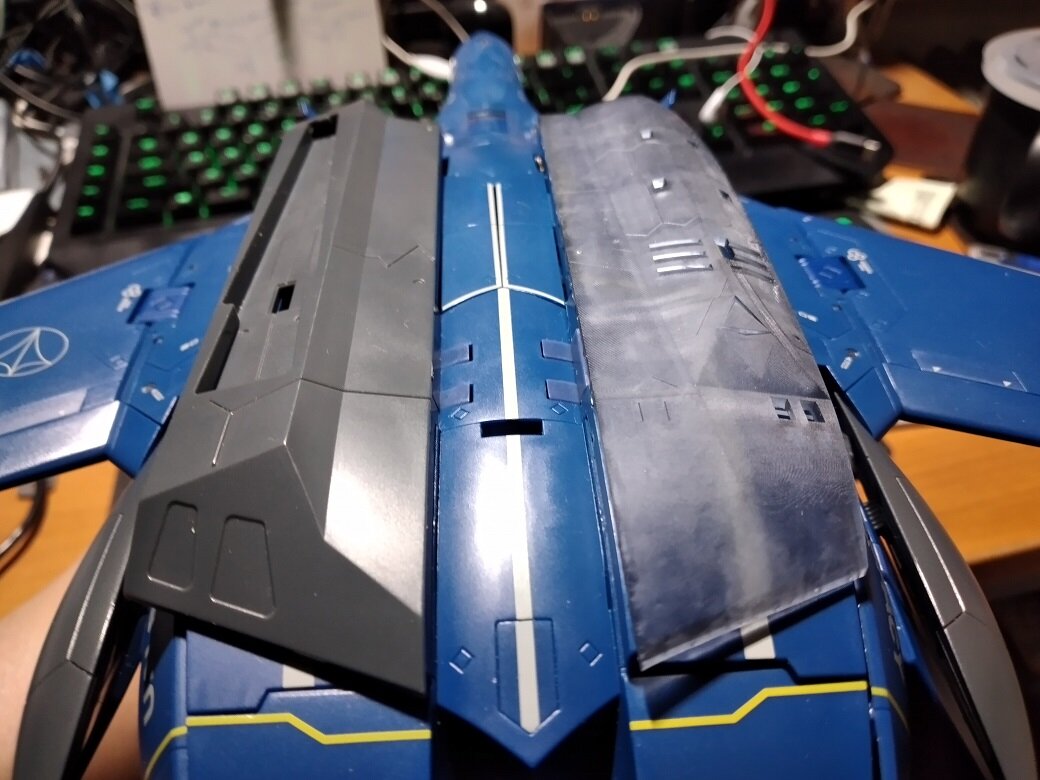
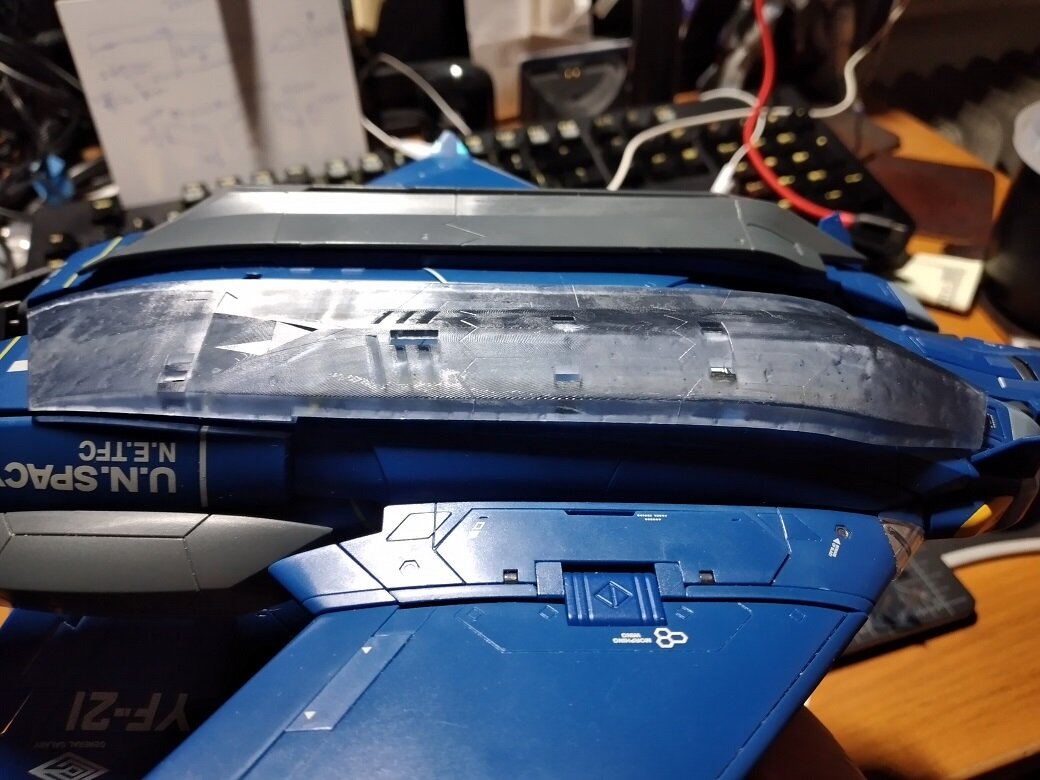
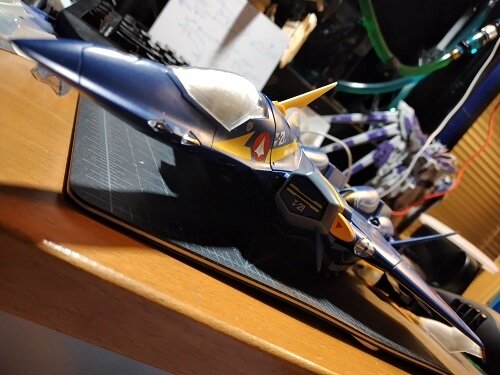
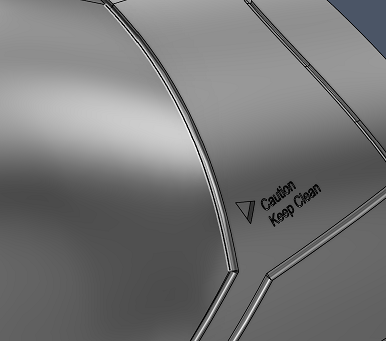
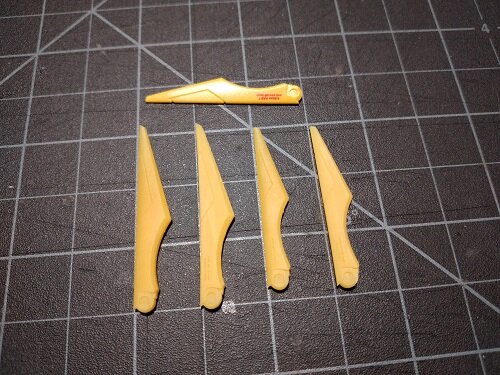
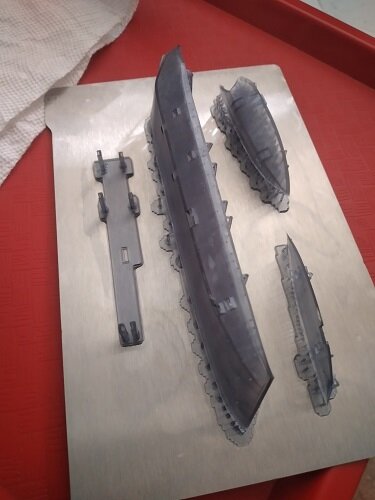
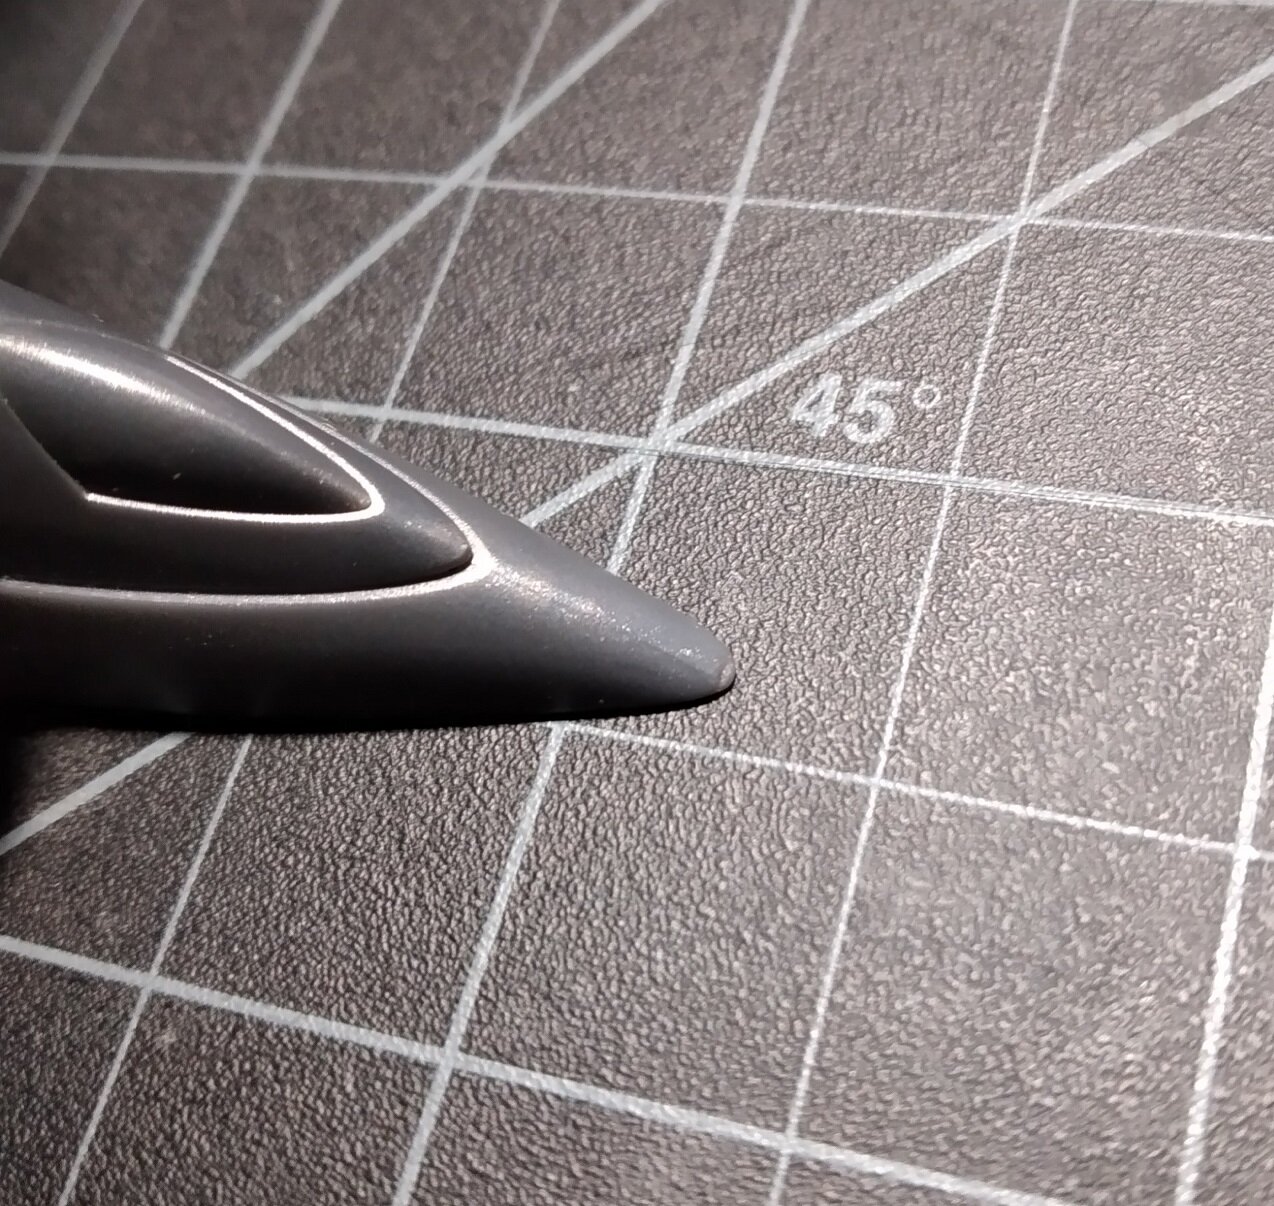
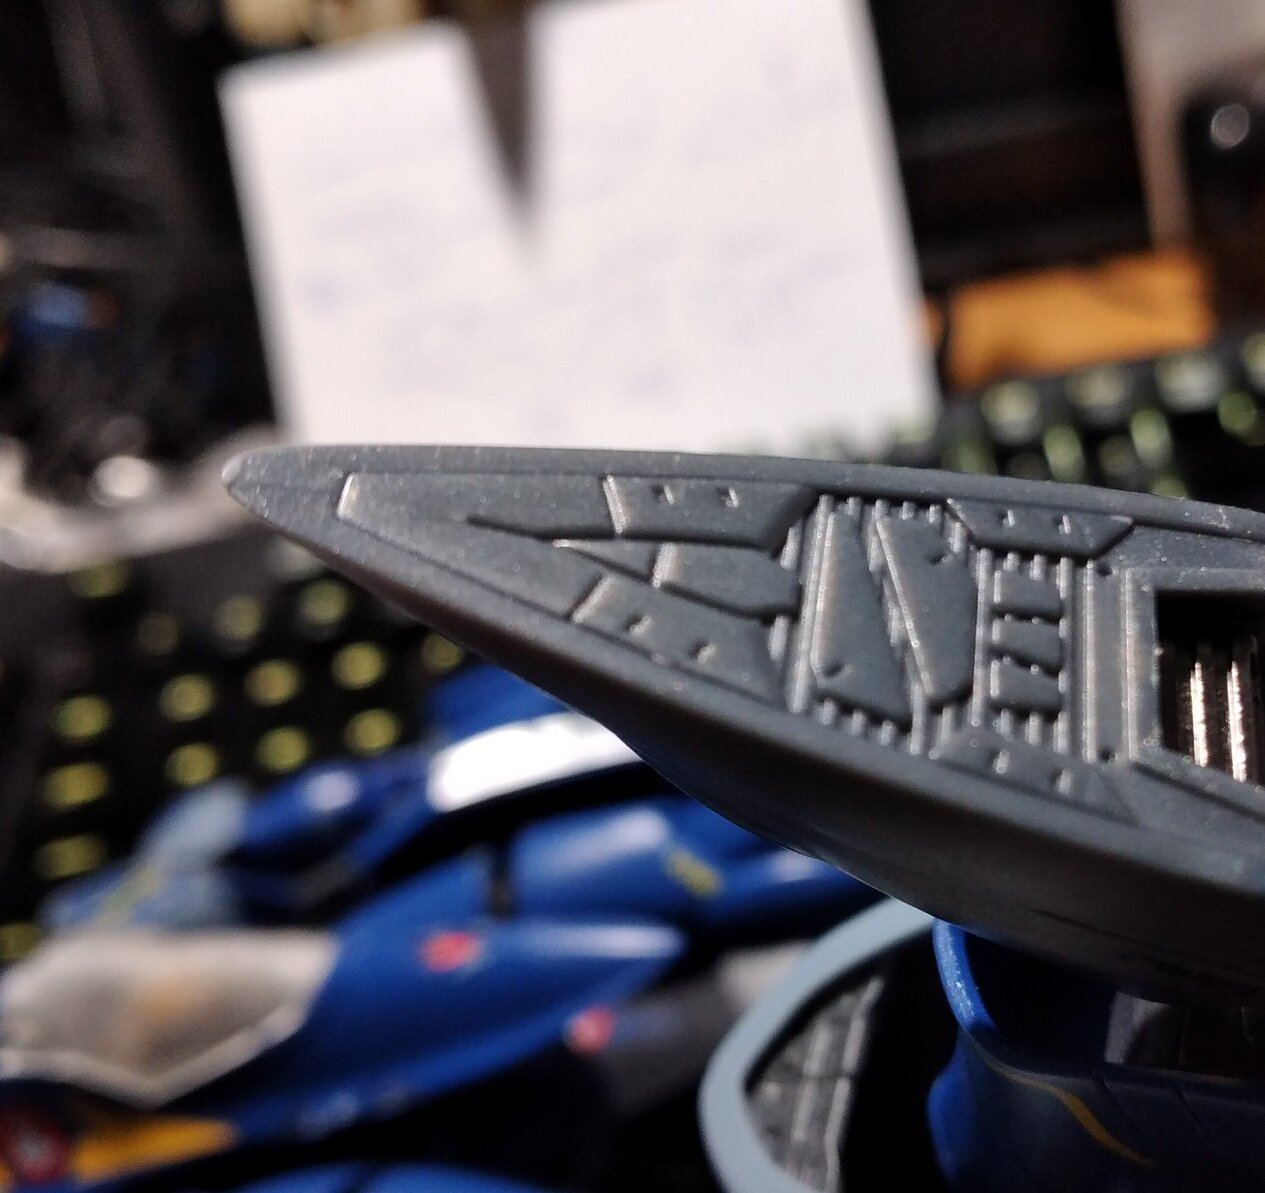
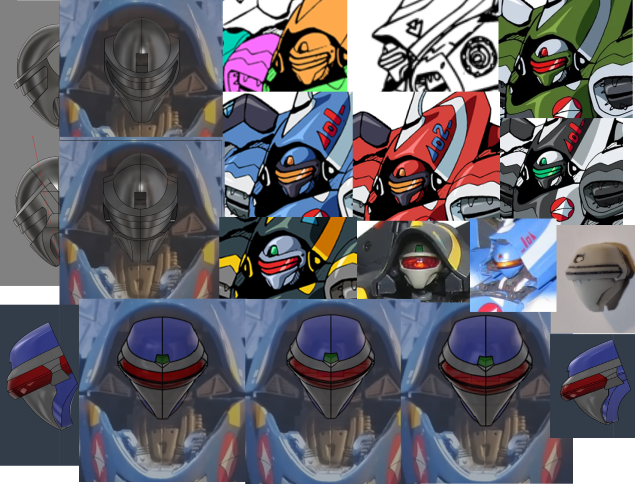
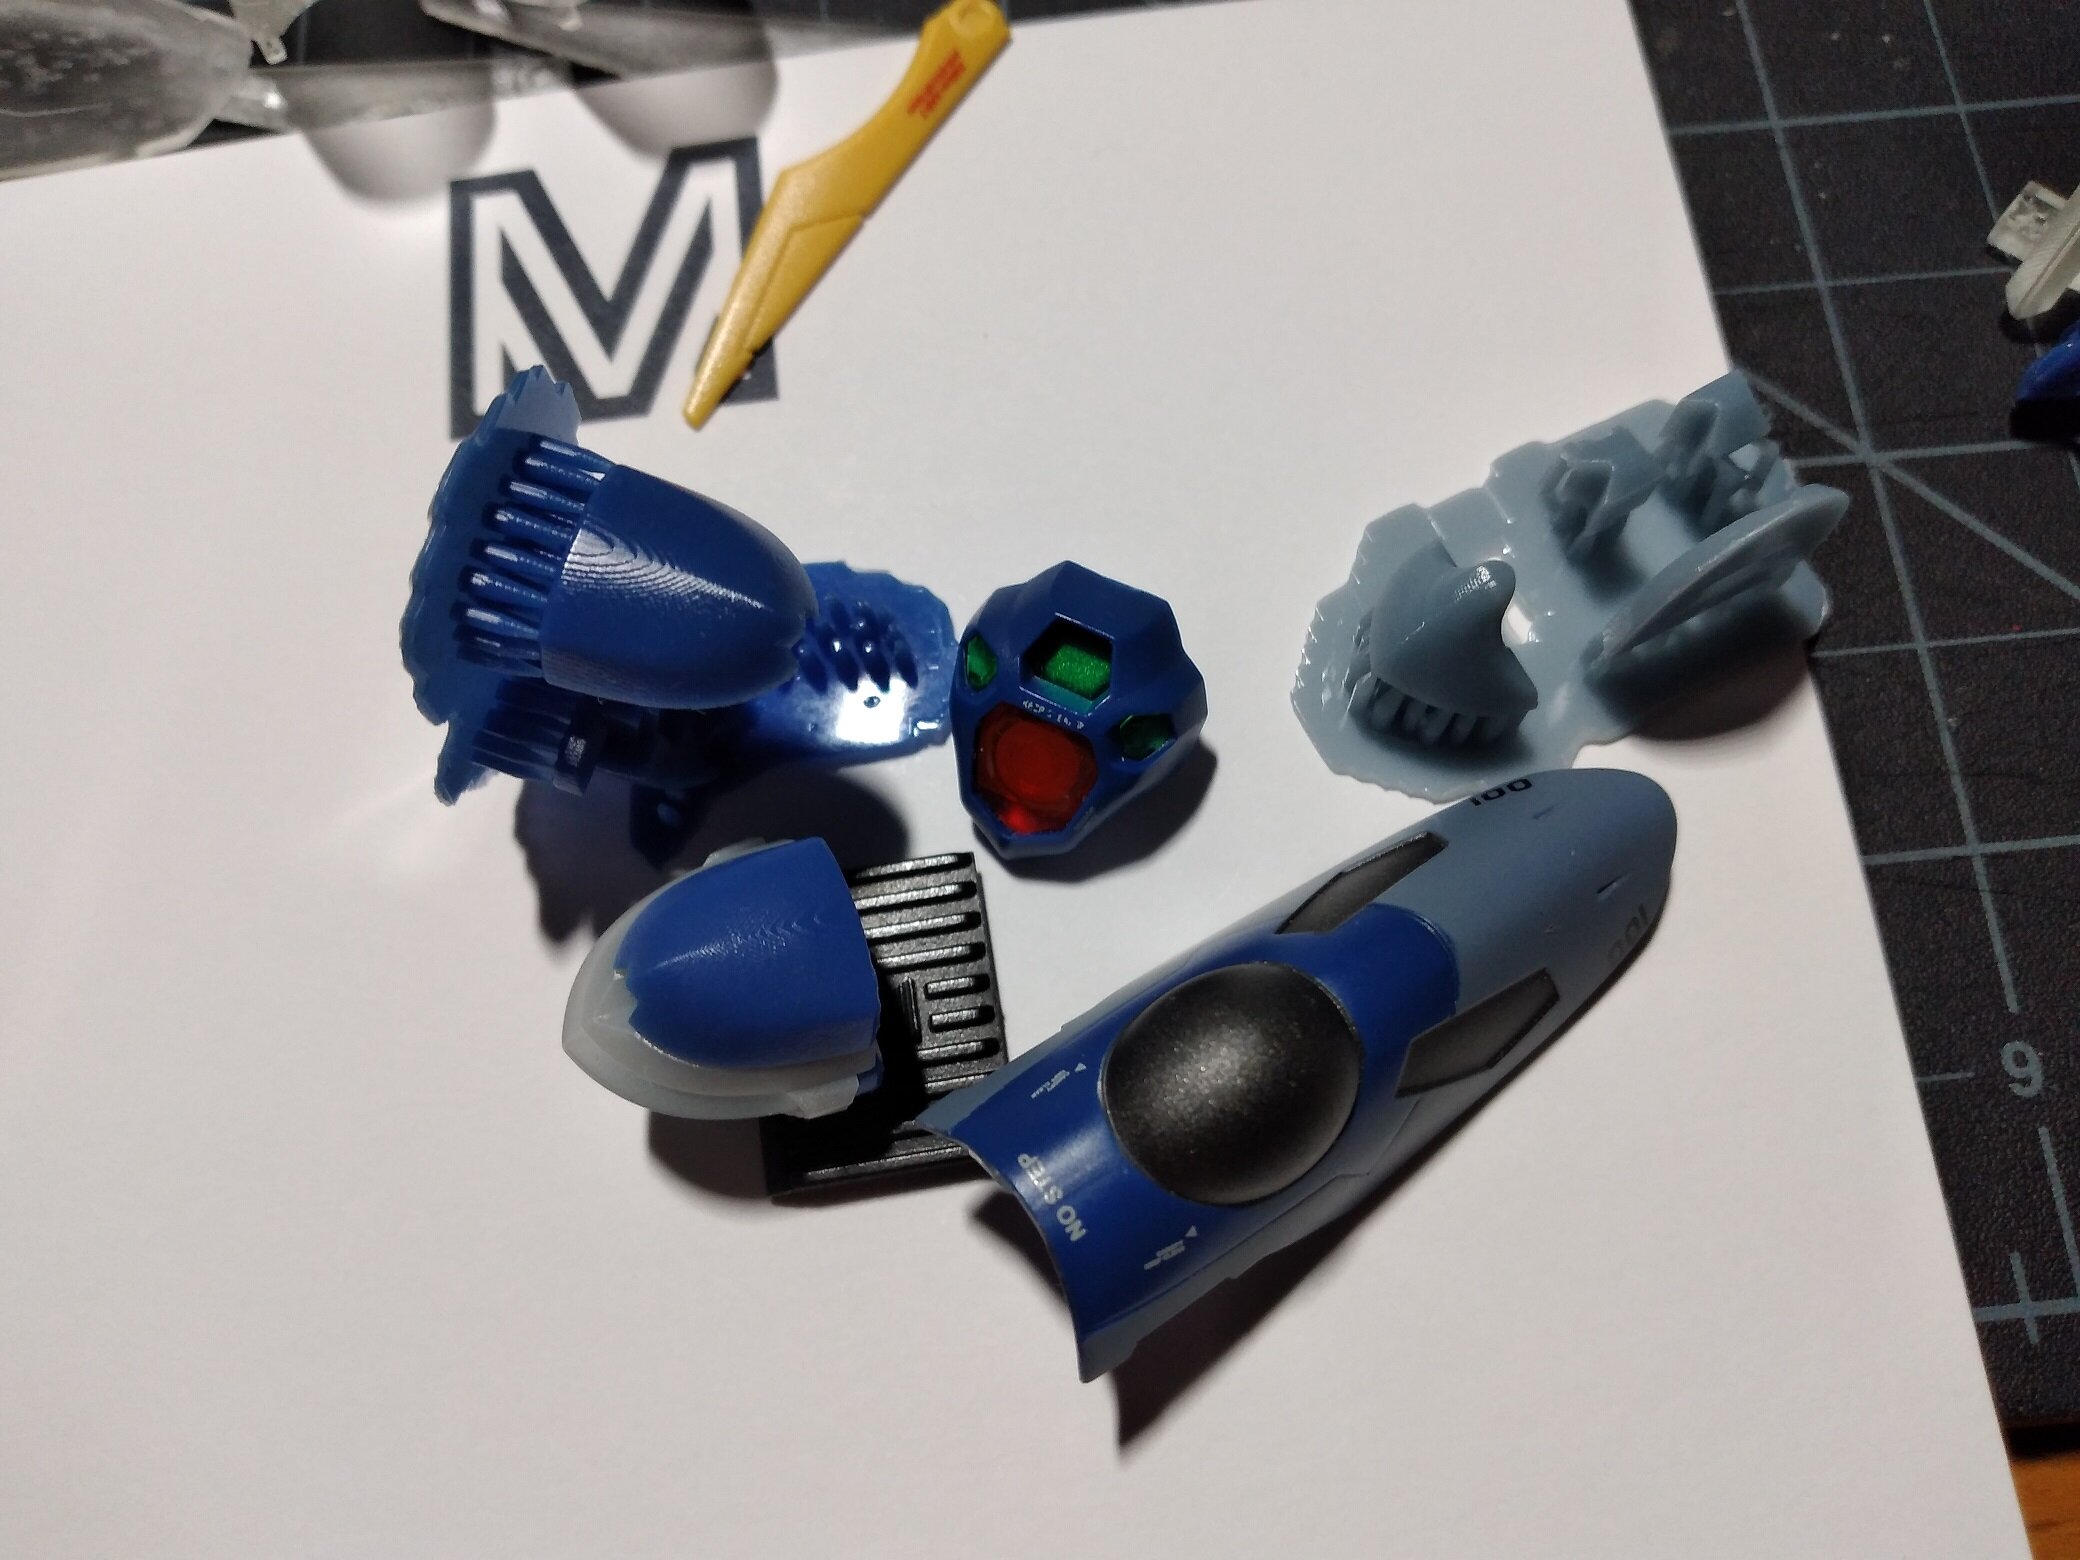
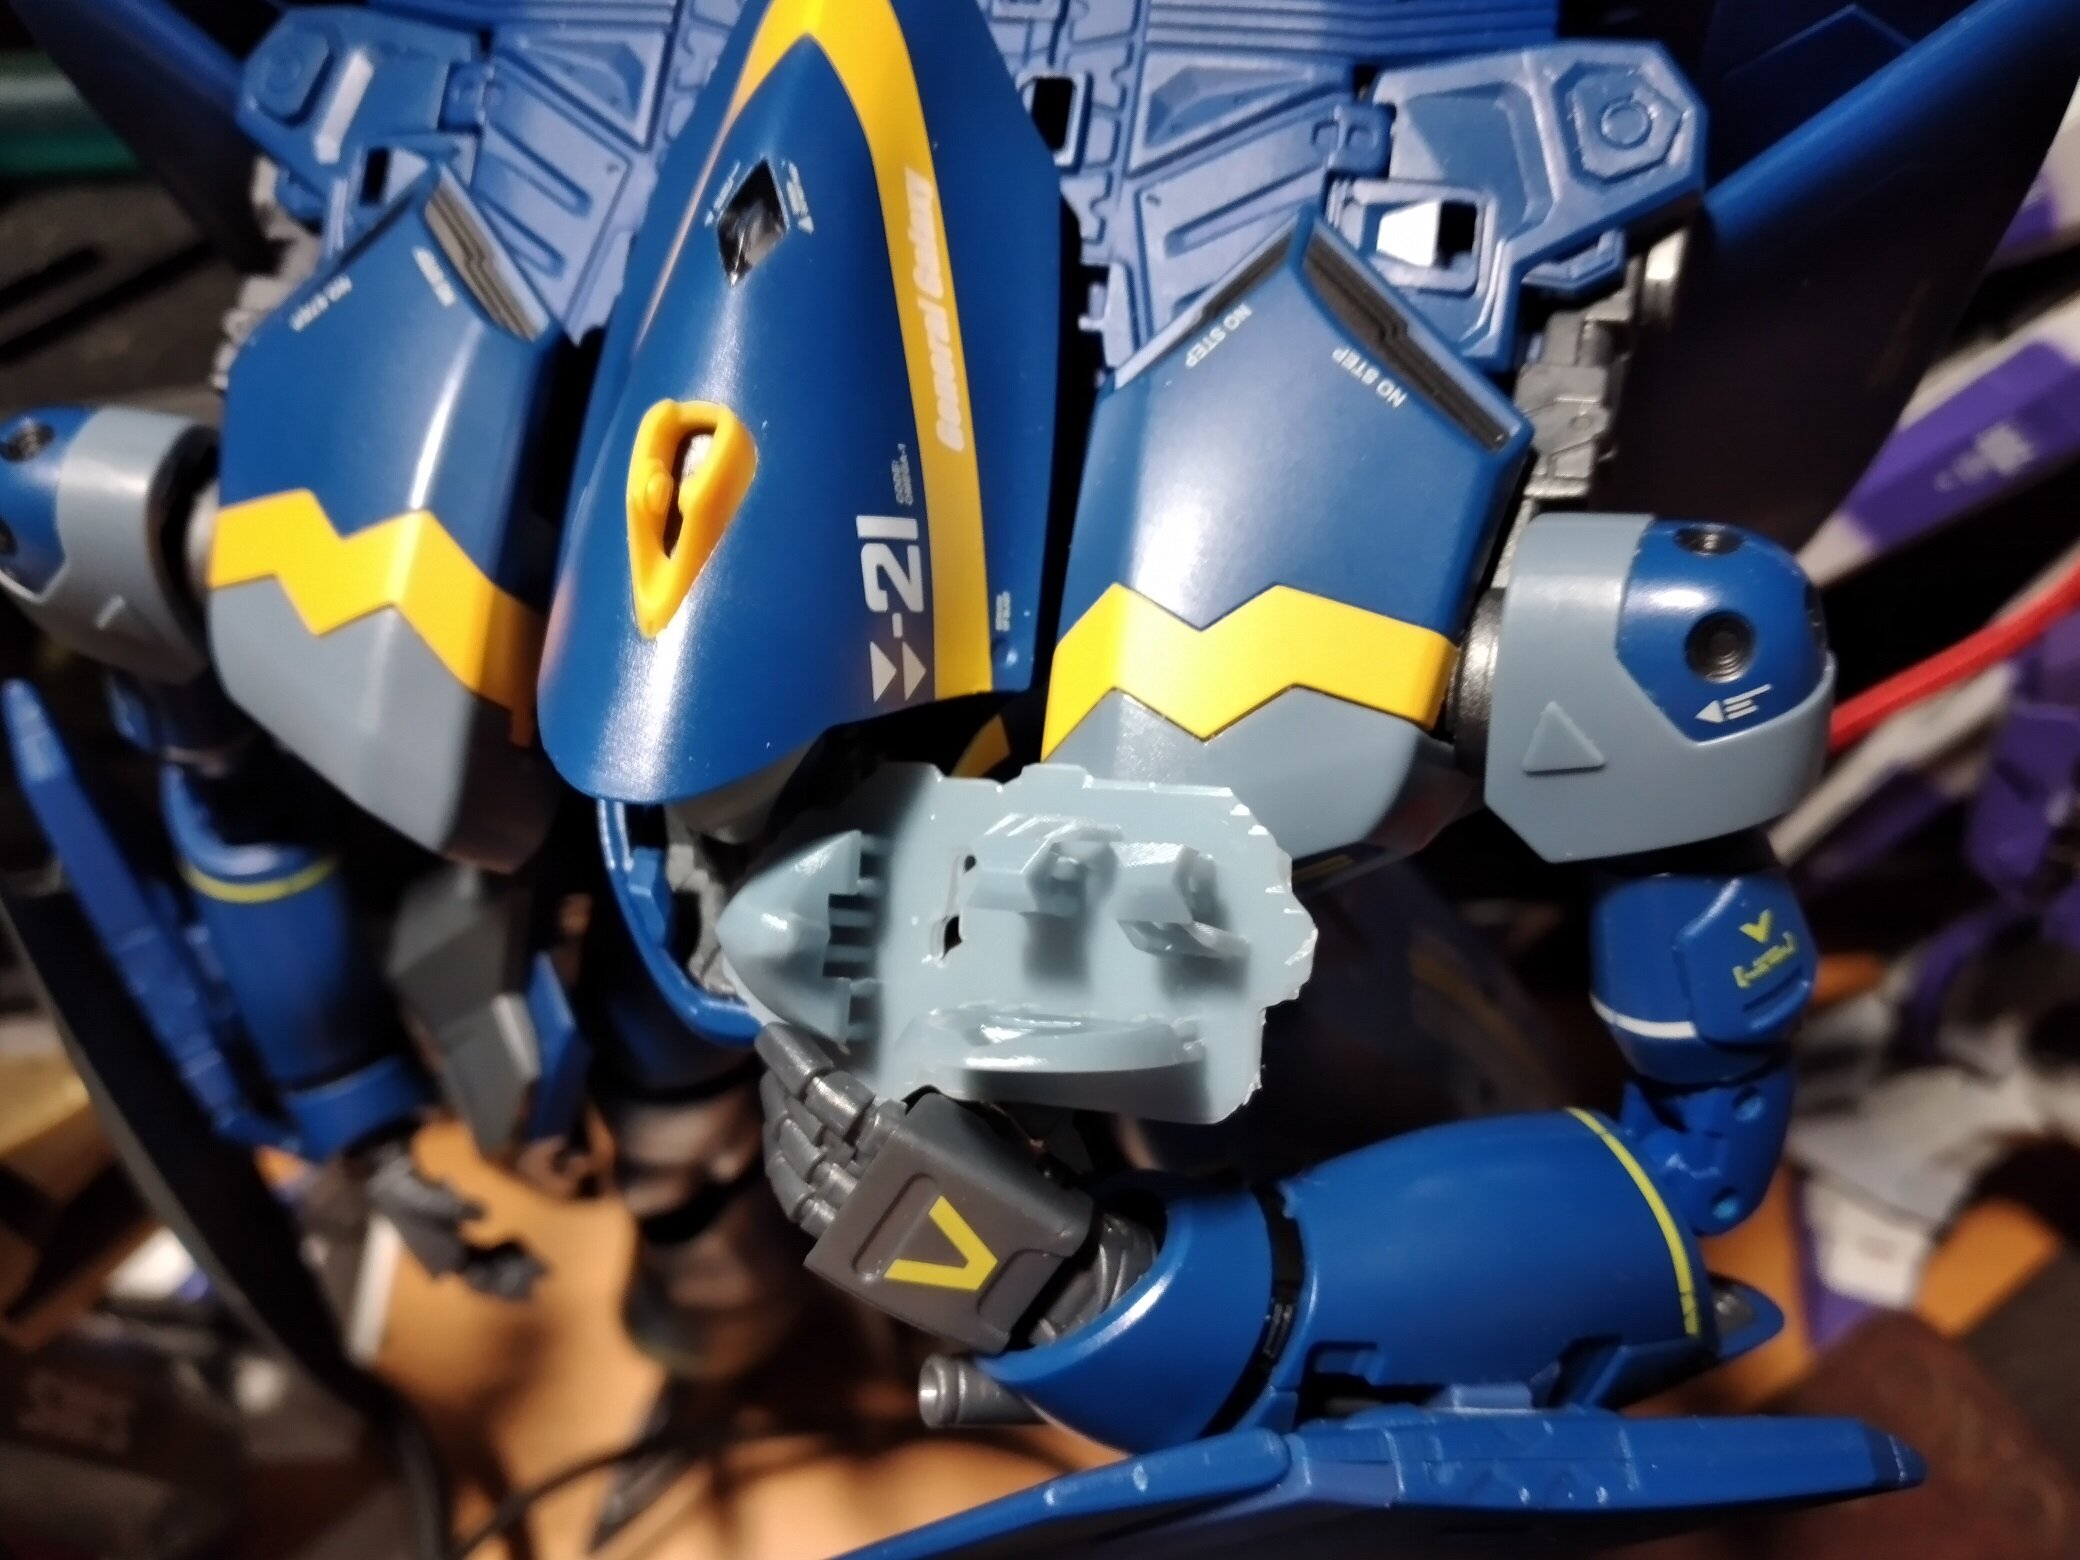
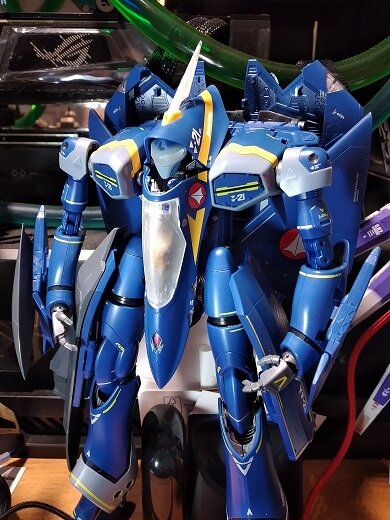
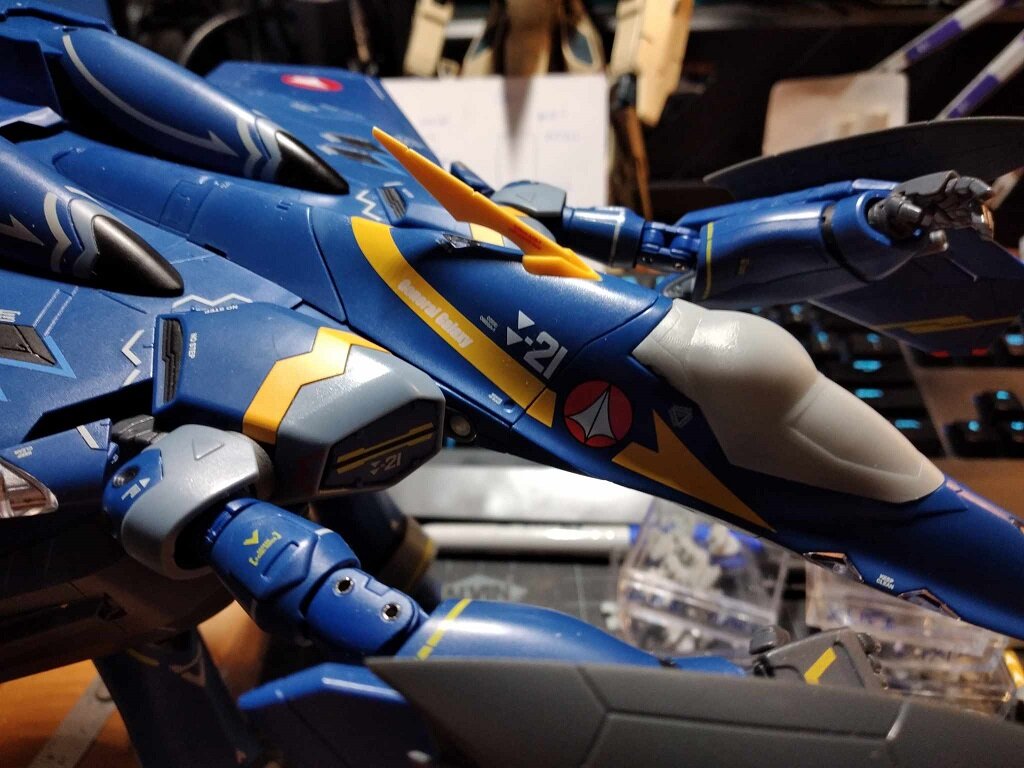
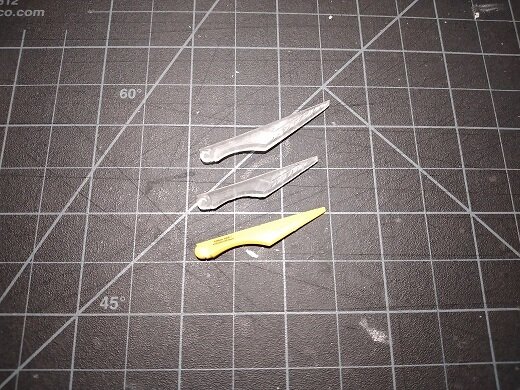
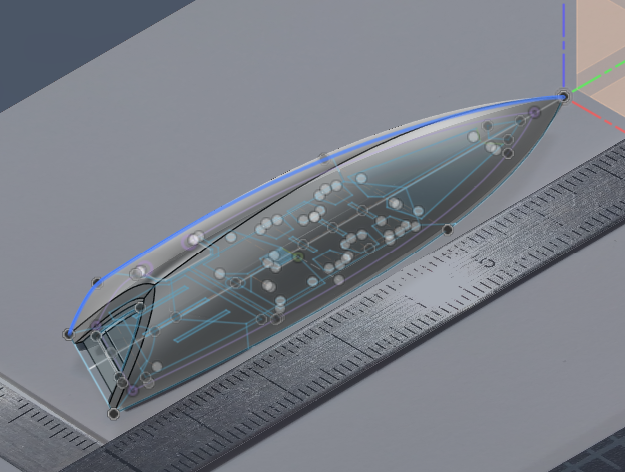
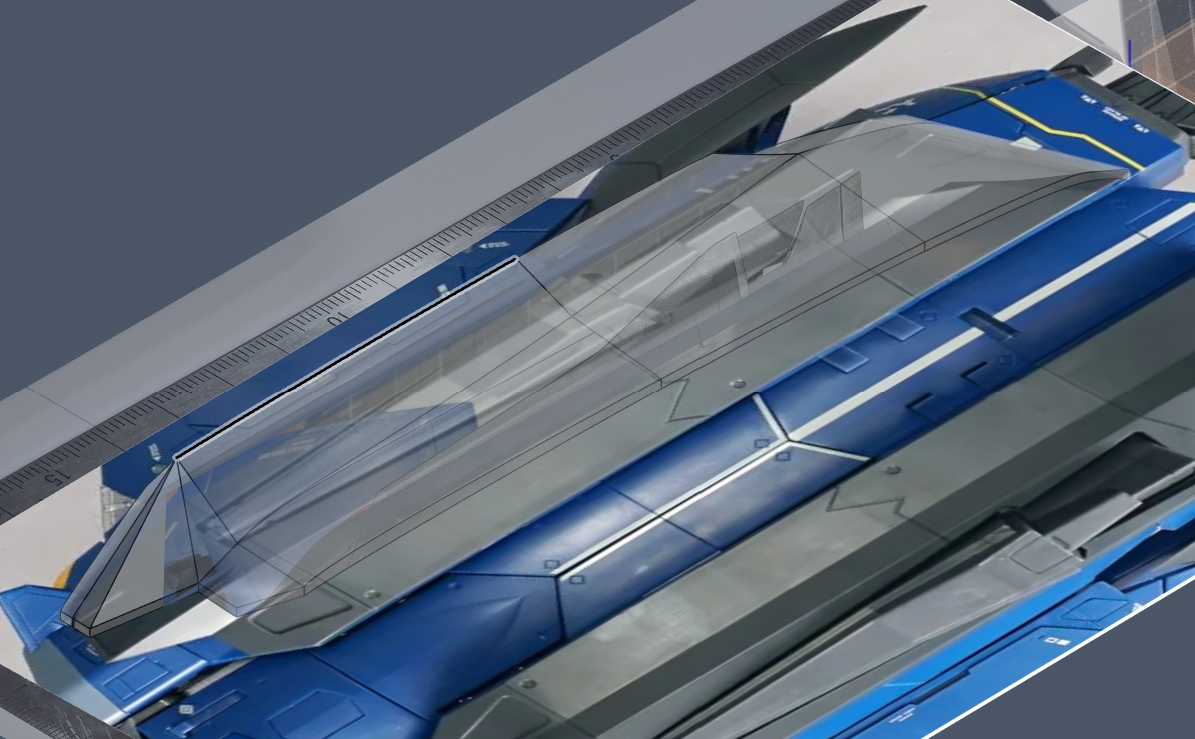
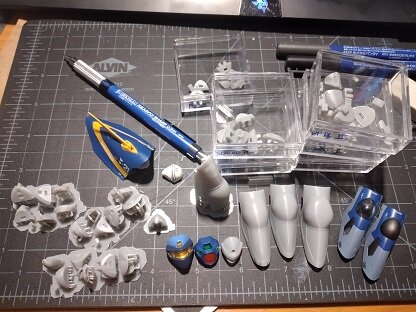
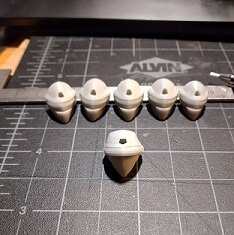
On my lunch break... just an update. I know I usually post Sunday evening/night, but I was busy with things and wanted to work on the project some more. The bay doors printed vertically came out great! The horizontal prints suffered from some pooling on the inside along the outer edge next to the standoffs (I'll probably have to spin the parts 180 degrees to prevent this). On the vertical, the only issue I encountered was the standoffs were 0.25-0.5mm too long/wide in the z-axis (printer direction, not model), everything else about the part was spot on, odd. I ended up having to do some shaving/trimming/sanding to get the parts to fit. So I'll just have to make adjustments to the model and reprint in the same orientation and angles to test. I do prefer the matte finish on the horizontal print more and the vertical print seemed come out glossy (?) when placed side by side. I actually had pics of the horizontal print (ver) mounted with the YF-21 FP covers, but I guess no point in showing those now, so the mounted pics are of the vertical ones... lol. I printed a set of canopies with the supports on the outside/updside down. This made post processing much easier (sanding/polishing, etc.), but not easier for the heat-shield versions, so those will probably be printed with supports on the underside to save the detailing. I spent a good part of the weekend sanding, polishing and dipped the canopy window parts in Future. I'm giving them a good 24-48 hrs to dry before handling, sorry no pics yet. I modeled up the markings for the head, the "KEEP CLEAN" imho I felt the best position it could be in (I tried a few different angles/positions), and three different positions for the "SENSOR INSIDE" marking (A,B, or C). Let me know if one looks better than the other. I already printed up all three to see and yes I know you can barely see it. The original markings were painted in white on the blue faceplate whereas this is grey, I'll try to determine what color inks/paints or Sharpe marker I can go over them with just as I did with the Antenna (pictured). I was thinking Blue, Red or maybe even Yellow. I don't think the white would show up too well against the grey. Also... I modeled up a mono-eye... this is kind of where I need to stop myself before I end up doing too much. I remembered I had a bunch of SMDs laying around and went digging. 603 SMDs fit in the Mono-eye section. I needed to order some ultra thin solder. I'm just not sure atm where to place the batteries (prob cell type), 😵lol:- 11 replies
-
- 1
-

-
- wip
- conversion
-
(and 7 more)
Tagged with:
-
Agreed. Definitely another center piece.
- 8469 replies
-
- 1
-

-

A Little Teaser of a Conversion Kit...
PsYcHoDyNaMiX replied to PsYcHoDyNaMiX's topic in The Workshop!
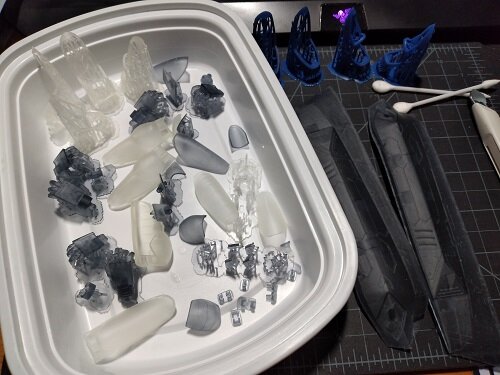
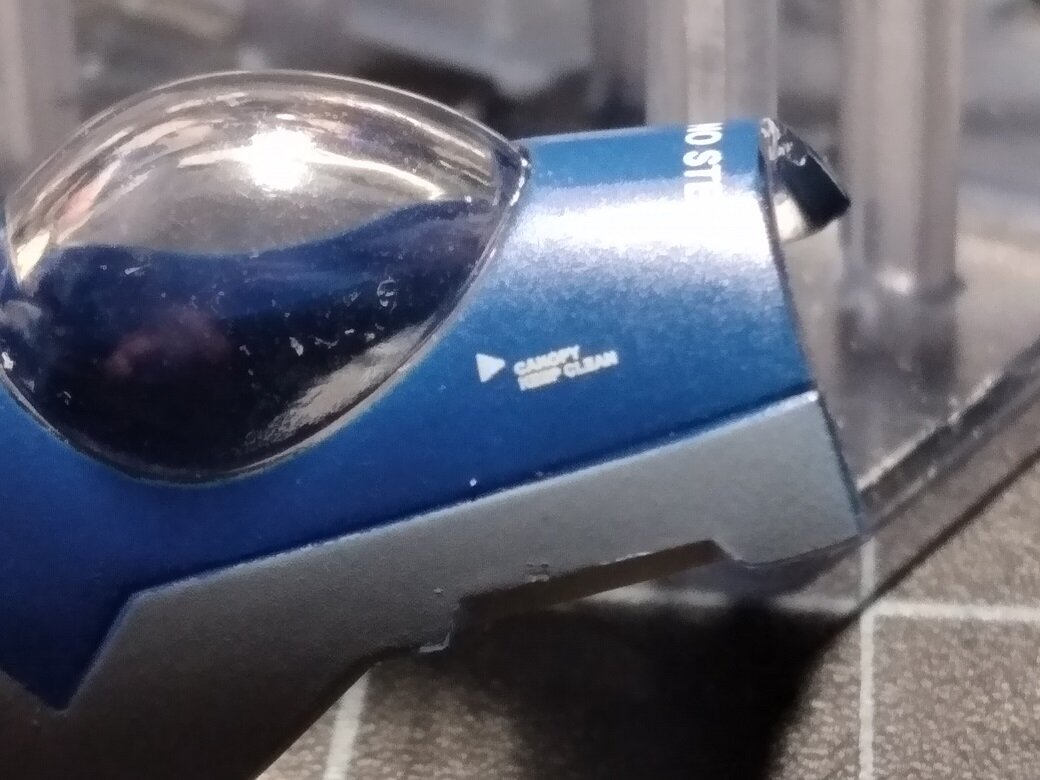
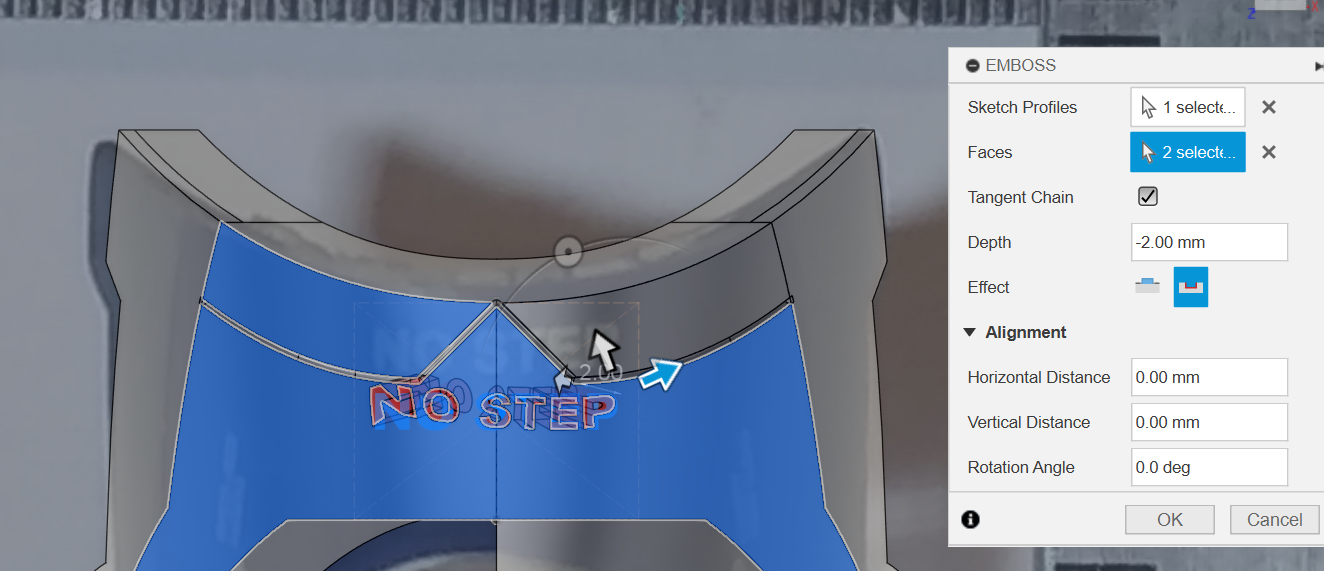
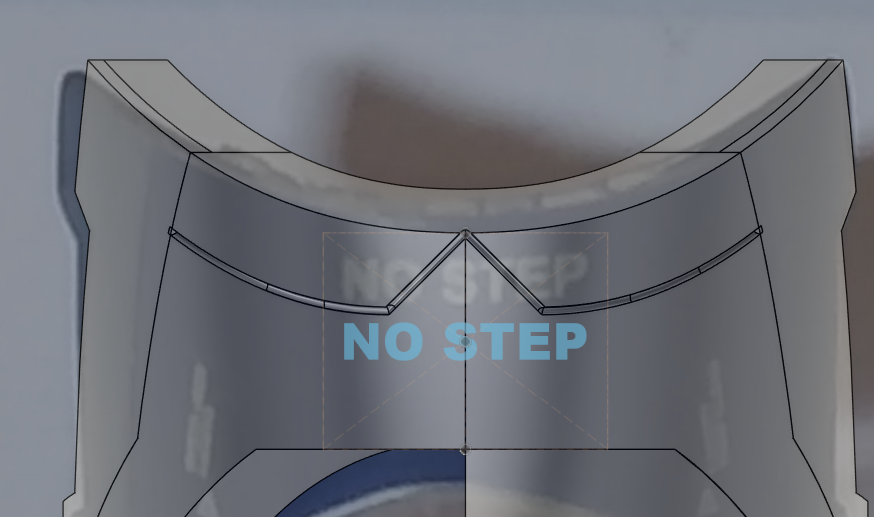
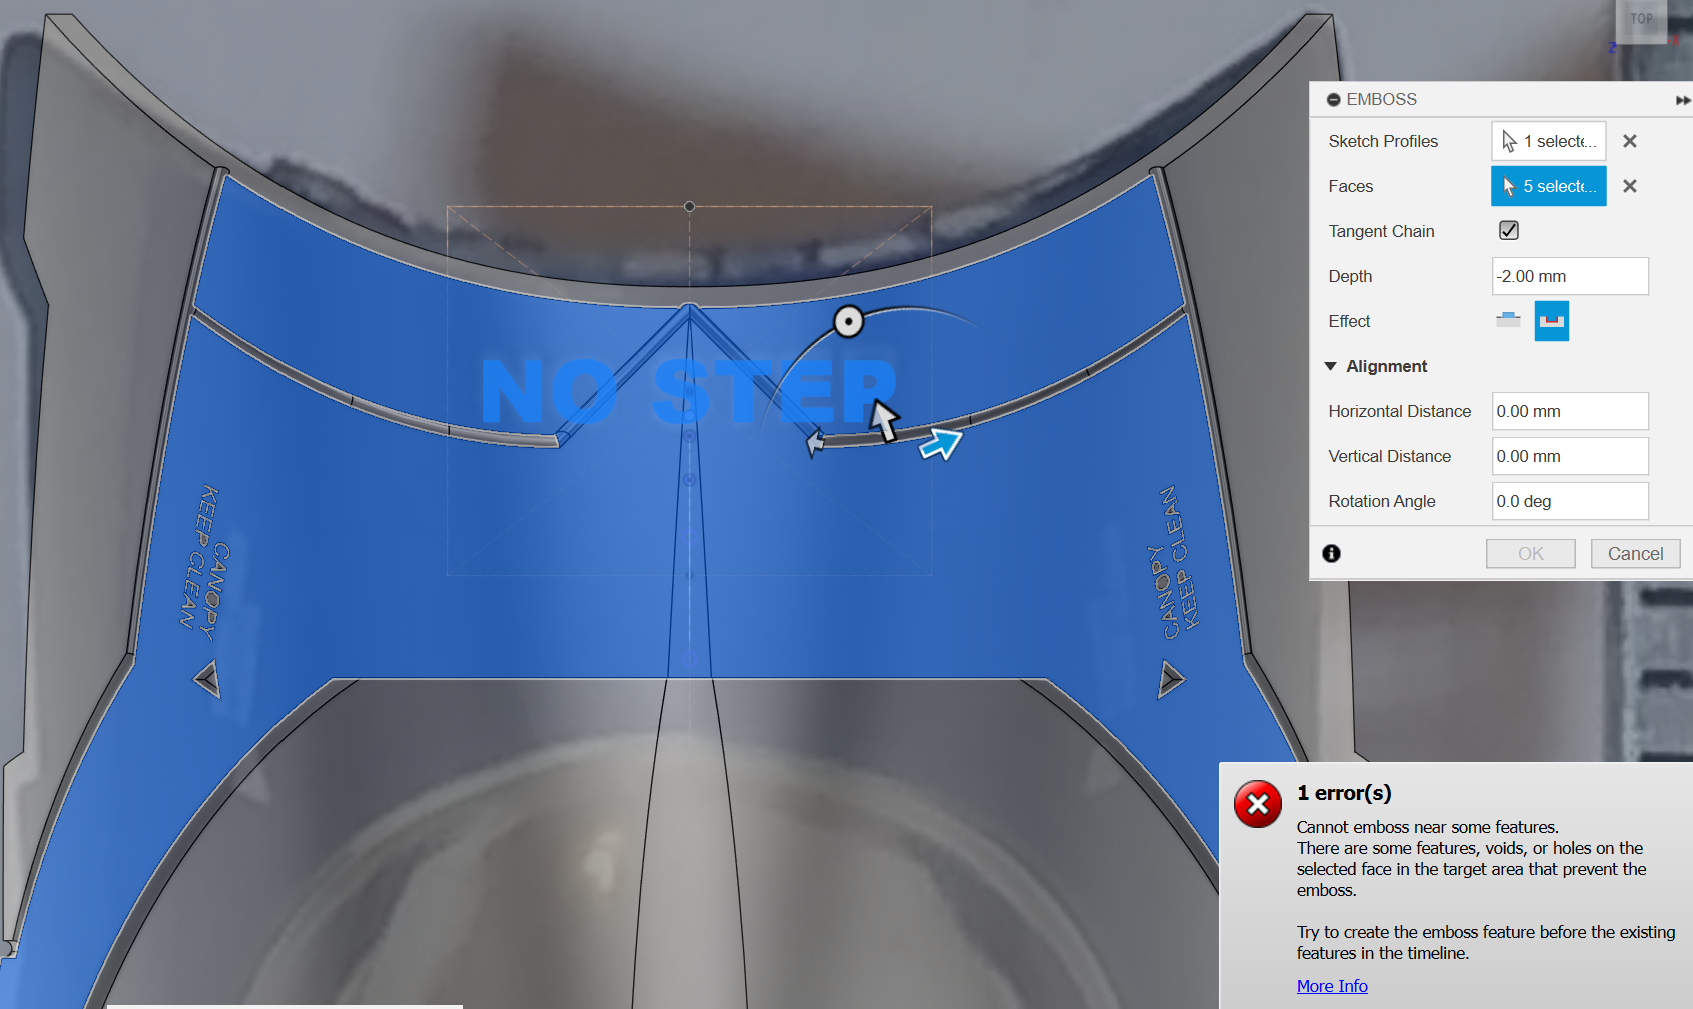
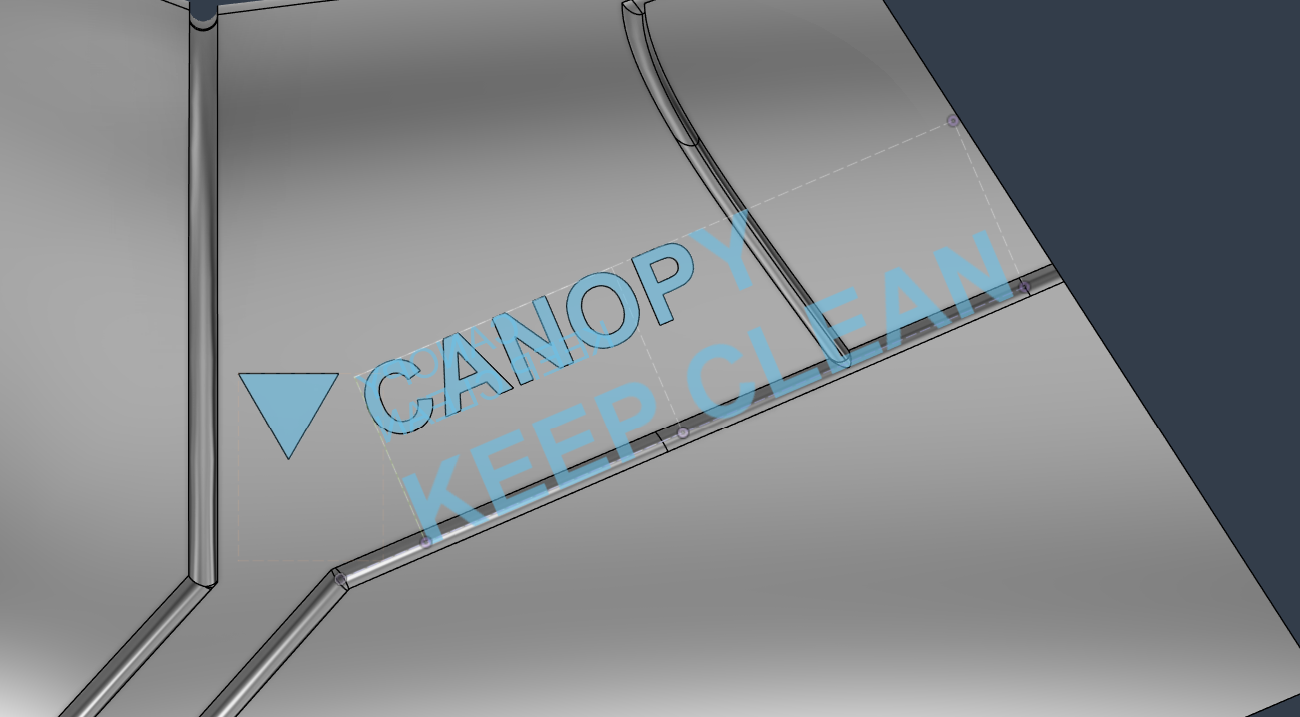
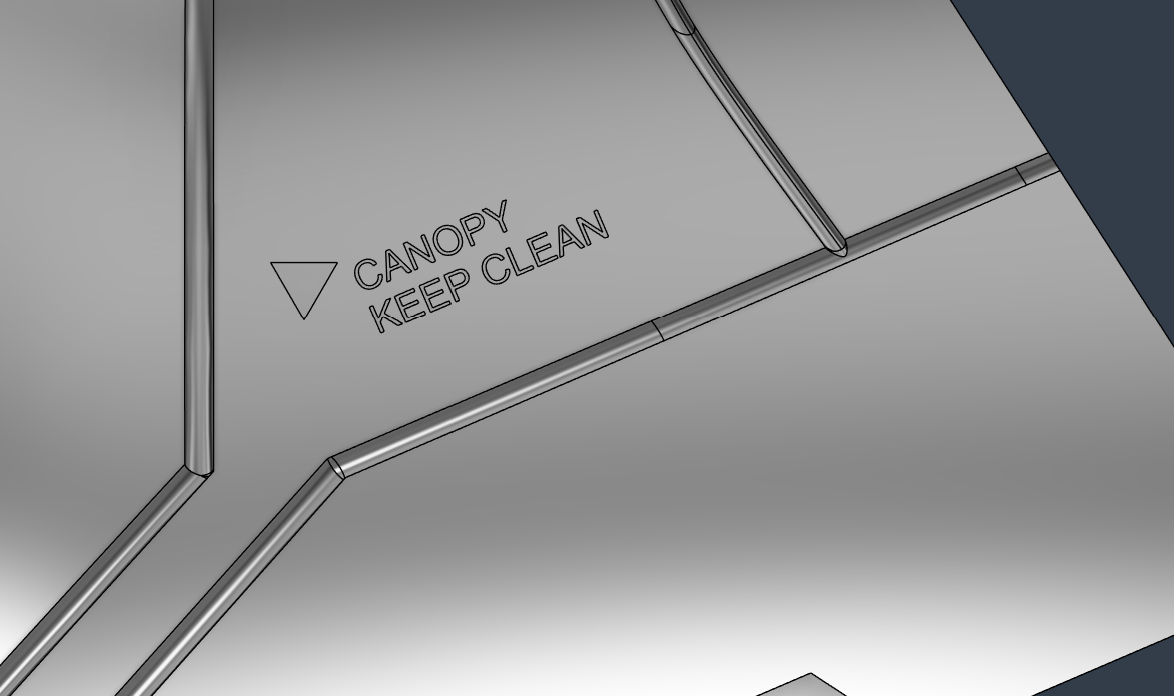
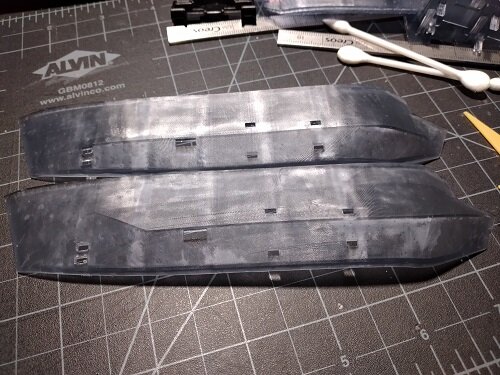
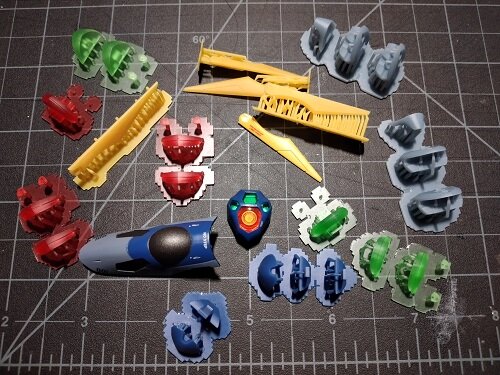
Pic for attention... Did quite a bit since last post: Separate/exploded the heat shield windows for both the VF22S and Concept Canopies and adjusted the detailing. I was able to successfully emboss "NO STEP" and adjusted the sizing for "CANOPY KEEP CLEAN" (so it's more visible). No idea how the usual method eluded me the other week, lol... Worked on the bay doors (with a few cool/nice features), not sure if you can spot them from the pics... For the hell of it, I worked on open/grasping/grabby hands, fixed and jointed (at the wrist)... from scratch. Ah yea, I haven't mentioned this before everything has been modeled from reference pics, measuring and a bit of creative liberty, no 3D scans or AI involved. Printed all of the above in clear, clear black, blue (for the frames) and still going through the process of sanding/fitting things. I know the parts look very rough... they got a little mishandled during transport and the post cleaning process (I dropped stuff 😕). More pics:- 11 replies
-
- 1
-

-
- wip
- conversion
-
(and 7 more)
Tagged with:
-

A Little Teaser of a Conversion Kit...
PsYcHoDyNaMiX replied to PsYcHoDyNaMiX's topic in The Workshop!
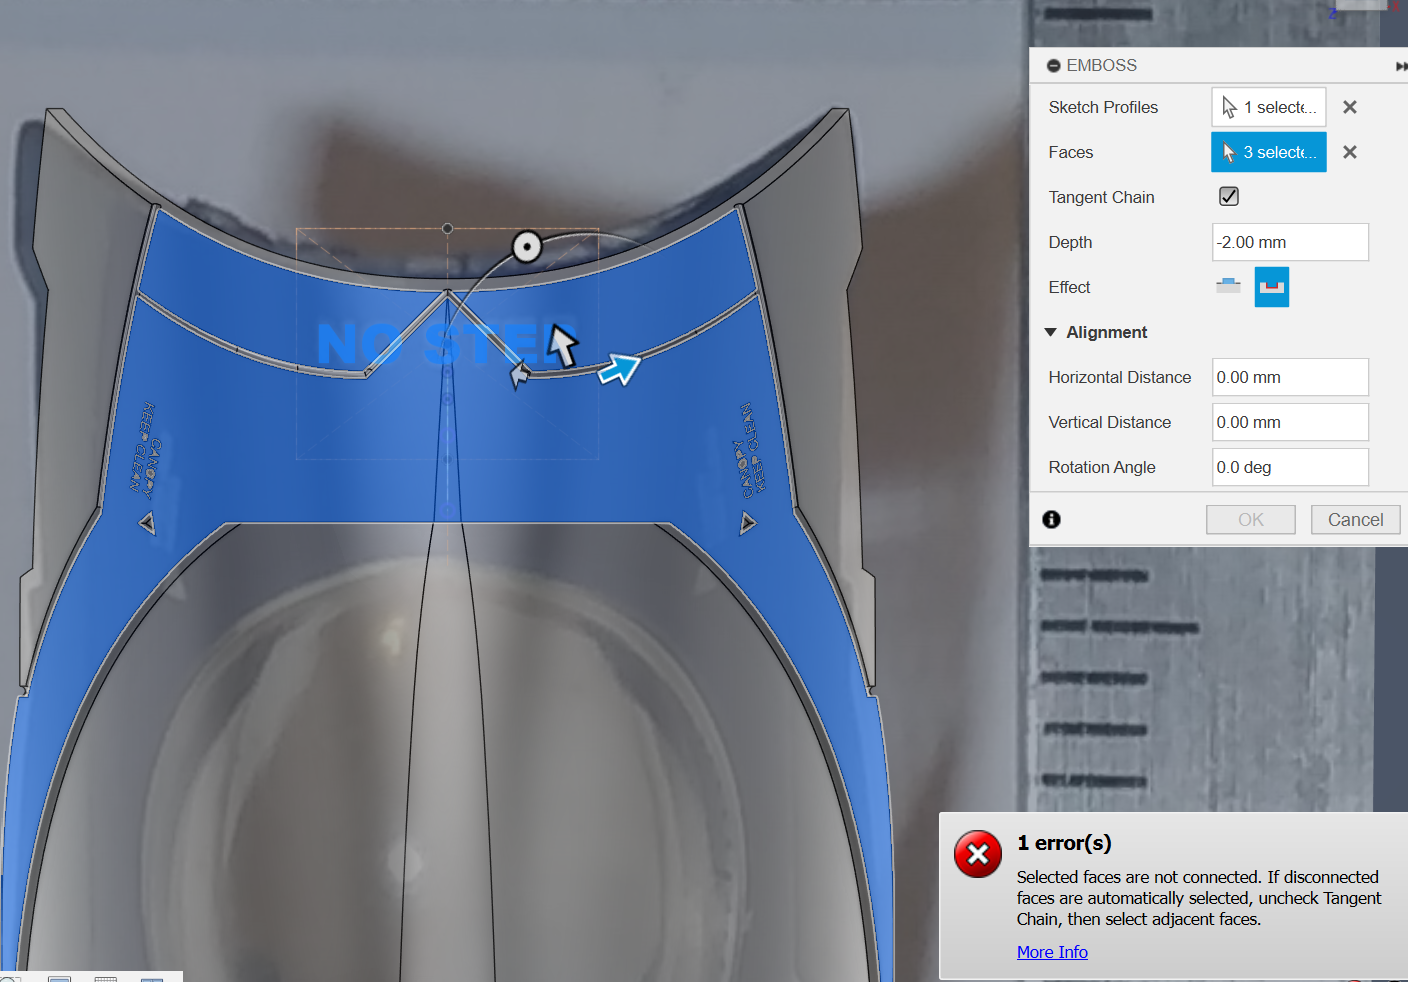
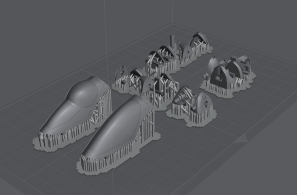
Just an update (as the weekend starts). Maybe I'll get around to making another post on Sunday/Monday, idk... First pic for your attention, additional in the spoilers... I have a more final-ish shape of the VF22S bay door, added the detail (probably didn't need to just yet), accounted/adjusted for stand-off tolerances (exact placement and mounting maybe this weekend...), and printed it up on the lower res printer just to get it out fast (accounted this is just another iteration). I know there is a feature (optional) I want to add to this design. For the hell of it, definitely OTT and unnecessary, I separated/exploded the canopies... I'll work on the assembly this weekend and adjust if needed. Separating the supports from the canopy frames was a bit concerning, lol. I also added heatshield detailed versions as well. I added the "CANOPY KEEP CLEAN" marking to the side of the canopies, but its tiny as hell... it's there on the clear test parts for this batch but you'll need a magnifier, lol. Not sure how much more I can size it up (the first screenshot in the set is what I have it as currently). IIRC the size I went with on the head laser/antenna does not fit on the canopy unless I place it under the panel line (above the cutout tab), where it is not on the Bandai YF-21 DX and I do not want to do that. The "NO STEP" marking does not work well at all. I've tried several different methods and because of the shape and faces of the canopy it does not emboss/want to play well at all, lol. Worst case I'll just nix/skip the emboss markings on the canopies entirely and not even bother with them on the head pieces as the real estate/surface areas are tiny, idk... I guess I may play with it some more this weekend.- 11 replies
-
- wip
- conversion
-
(and 7 more)
Tagged with:
-

A Little Teaser of a Conversion Kit...
PsYcHoDyNaMiX replied to PsYcHoDyNaMiX's topic in The Workshop!
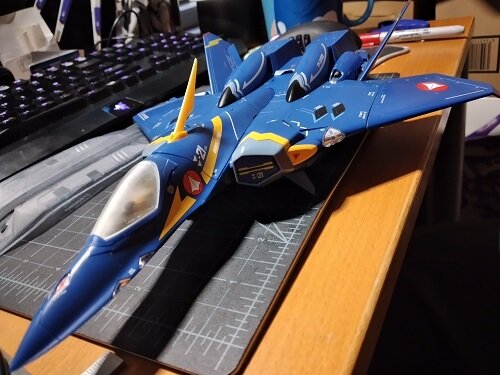
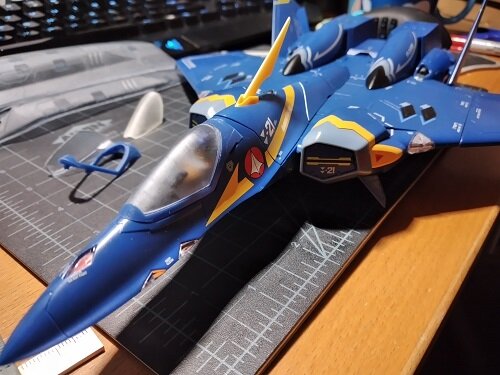
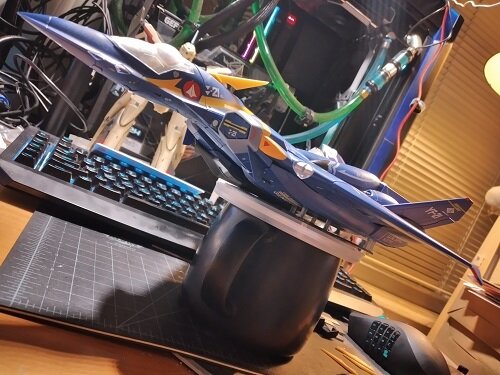
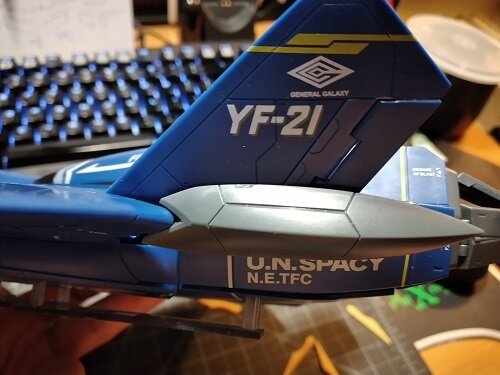
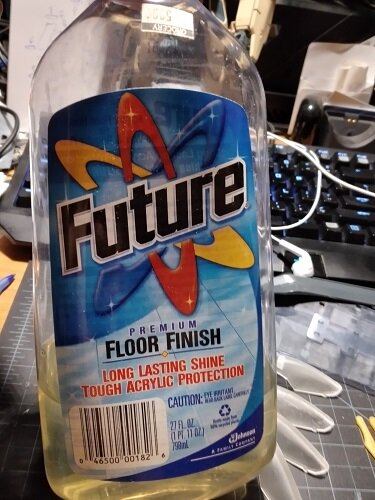
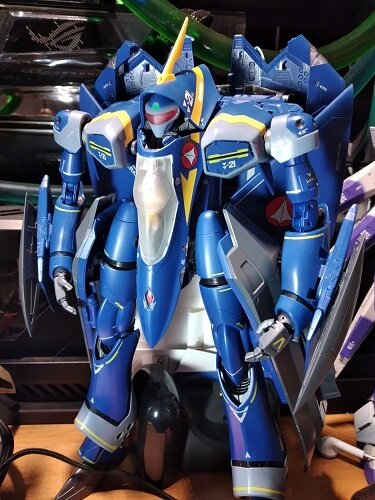
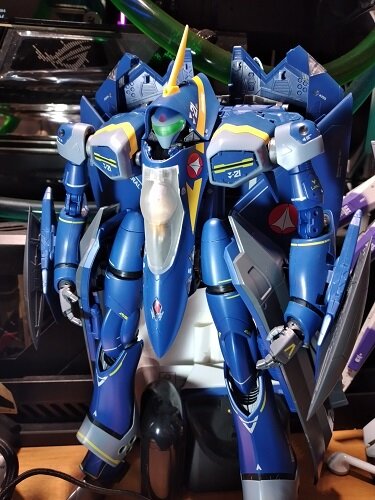
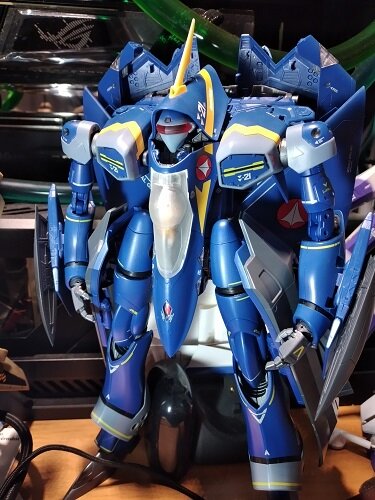
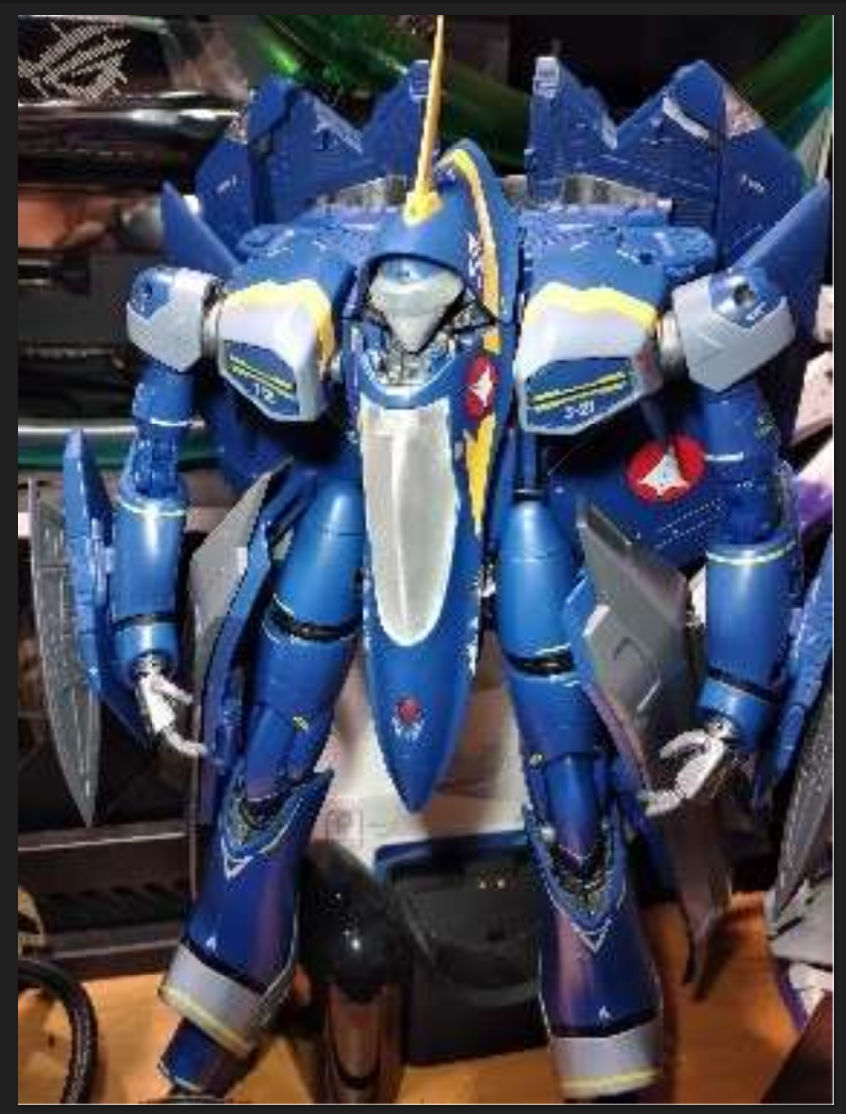
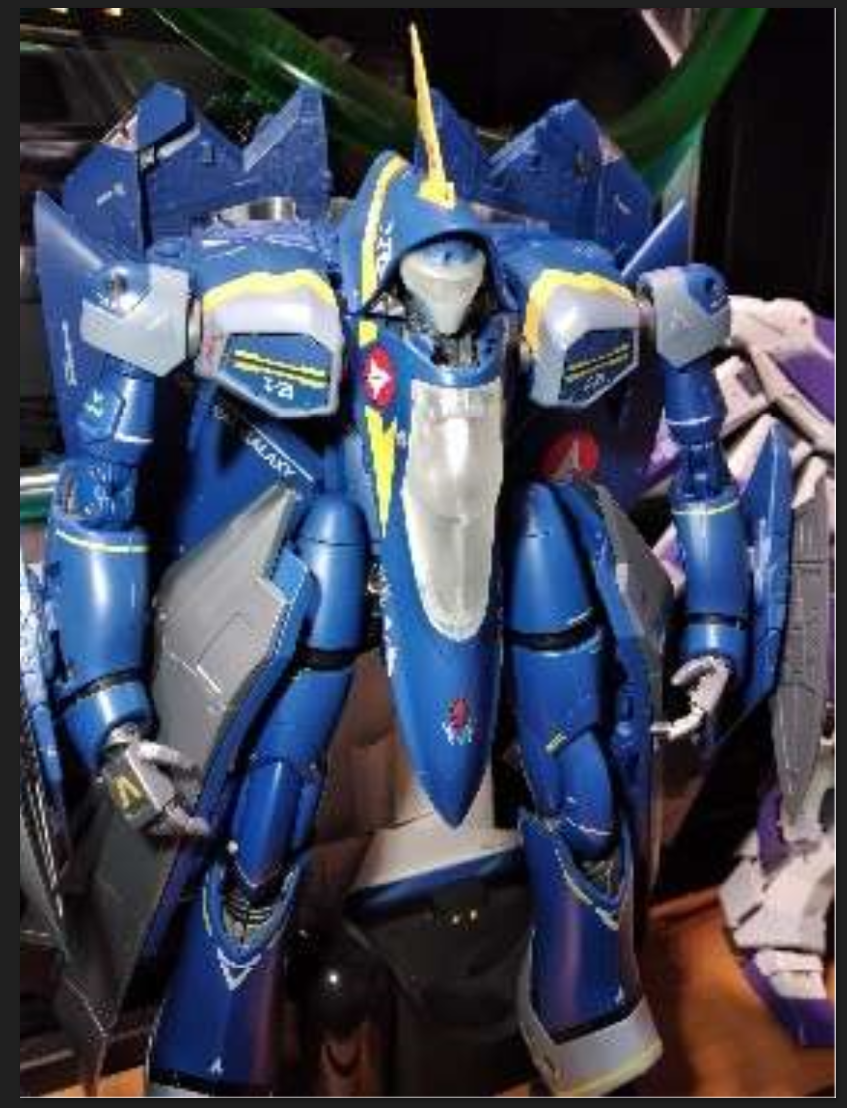
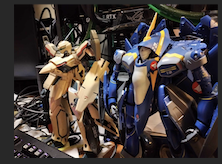
Made some progress on the VF22S bay door cover, but had an event on Saturday so I had a bit less time to work on the project. Kind of conflicted and unsure if I want to really redesign the shape of the front section for the bay door fp (I had sketched up a few ideas prior, not pictured), before adding/applying the details. 🙄 I did make and print up the first iteration of the rear vertical stabilizer FP and it fit, but decided to scratch that idea because I realized by turning/canting the top of the forearm outward (while in fighter mode) with the original/stock Bandai DX FP Stabilizer actually lines up pretty well (so no need to reinvent the wheel). 🤷♂️ I took a magnifier and I believe the markings on the side of the canopies say "Caution Keep Clean", LOL. I was able to emboss the side marking onto the canopies with no issue but unfortunately because of the shape a few of the methods I've tried didn't allow the 'NO STEP' to apply nicely onto the top/center of the canopies. I will have to try other methods and now I'm currently unsure if I want the 'NO STEP' marking to be permanently embossed/cut into the canopies. Now, I'm determining if and where I would want to place the markings on the heads... 🤔 Thought I had posted pics of fighter mode, uploaded these: Dunked the concept canopy (ver II 0.05mm res, no AA, no sanding) into Future (yes I still have the old bottle laying around. I'll have to pick up a bottle of the new stuff "Pledge", lol) and a 2:1 water:future mix (ver III 0.05mm res, no AA, no sanding). Ver III was the iteration I went overboard with supports and it suffered from scarring. The 2water:1future mix yield a matte finish (I forgot about that from my old WH40K Days). Ver V is the only set atm printed at 0.03mm, AA on. Ver VI will have the embossed markings printed at 0.03mm AA on: Hopefully I'll have a bigger update by the end of the week, prior to the weekend. I do want to get this project out of the way.- 11 replies
-
- wip
- conversion
-
(and 7 more)
Tagged with:
-

A Little Teaser of a Conversion Kit...
PsYcHoDyNaMiX replied to PsYcHoDyNaMiX's topic in The Workshop!
Dropping an update... TLDR: I worked on the fastpacks a bit, reworked supports for existing parts, moved over to the higher res printers, reduced the layer heights, adjusted tolerances (some more), enabled AA and the results were great! I got the colors dialed in decently well (aside from the AAL Antennas, there's a reason, lol). I've realized I sunk quite a bit of time color matching. The good stuff:- 11 replies
-
- wip
- conversion
-
(and 7 more)
Tagged with:
-
Pics of the right foot on mine are in the spoiler: That's horribly loose, like flapping in the wind.
-
Aww damn... I'm sorry to hear. Yea on one of the copies that I've checked (thoroughly) had a dented/bent foot tip. I'm sure it was rushed/jammed in the calf compartment by the assembly workers. I ended up using hot water to kind of sculpt it back into place with one of my metal CSI Creos 'T' rulers. I had the same thought process that if in the future if one of the other copies I has the same issue I could attempt a swap, but I have not checked as to disassembling it in depth yet.
-
Mine has been holding up for the most part, being the two modes I've been utilizing are gerwalk and battroid mode. In the past two months maybe changing it b/w the two modes 1-3x a week. Sorry I do not. Are you attempting a repair?
-

A Little Teaser of a Conversion Kit...
PsYcHoDyNaMiX replied to PsYcHoDyNaMiX's topic in The Workshop!
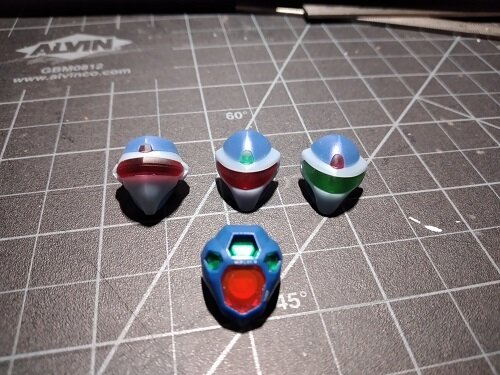
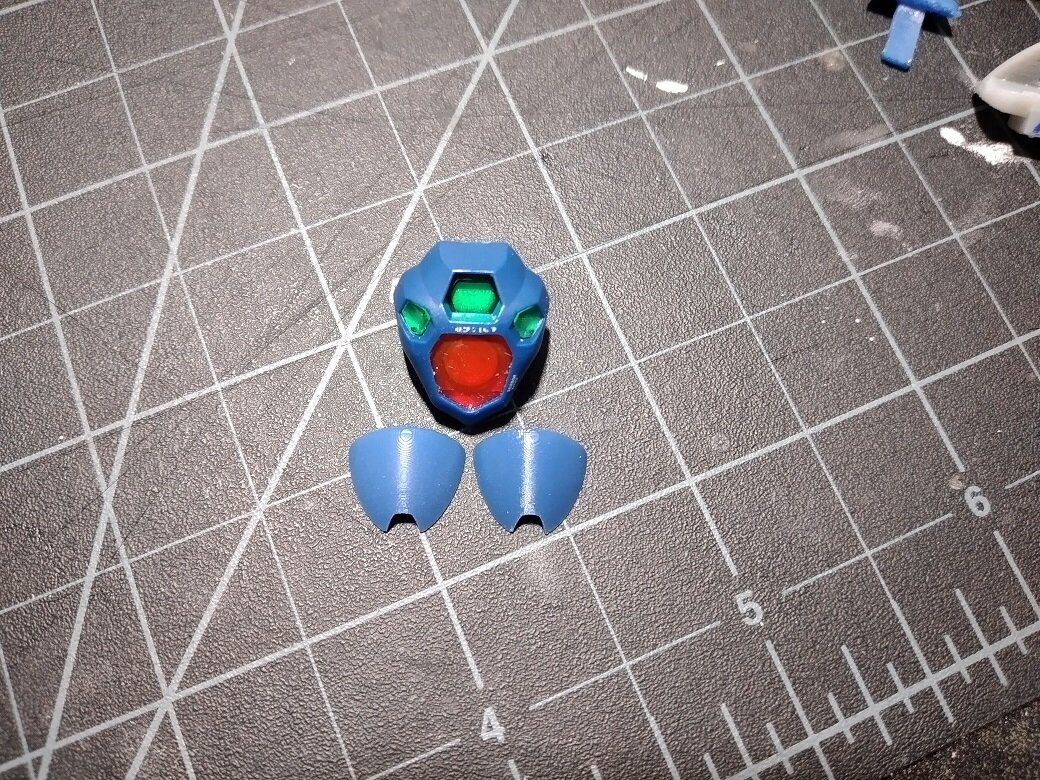
TLDR: Just an update. I've been working on dialing the blue some more and started with the light blue-gray parts. I have to make some more adjustments due to the exposure settings because of the different mixtures of resin and colors. Sorry just took some quick shots with my phone's crappy camera. I didn't want to pull out the DSLR for pics just yet. Quick note: everything is held together with blu-tak. Yes parts are slotted and keyed and yes there are clear parts for the forehead sensor. I didn't add them in because they are small (they do fit no issue at all). The left is the first blue part (from last week), the right was printed up this past Friday. I know it looks a bit washed out and lighter (I had the overhead LED desk light set on high). On the light's first setting it looked more correct, the 2nd blue printout is still connected to the supports, the first blue color is the top of the VF1R head (and the spare/scrap support/raft next to the YF-21DX head): Yea the desk LED light's high setting really washes out the colors. I'll try to add a bit more blue/black to the light blue-grey for the second test/set: Spoiler for a little write-up and some earlier WIP pics: Canopies, check the following spoiler: And modeling up more parts... Spoiler for more pics:- 11 replies
-
- 1
-

-
- wip
- conversion
-
(and 7 more)
Tagged with:
-

A Little Teaser of a Conversion Kit...
PsYcHoDyNaMiX replied to PsYcHoDyNaMiX's topic in The Workshop!
I've been dialing in the colors, making more adjustments, and calibrations. Not tiny pics but not high def (sorry)... I'll have hi res pics hopefully sometime by the end of the week when the first (this) phase of the project is almost done.- 11 replies
-
- 1
-

-
- wip
- conversion
-
(and 7 more)
Tagged with:
-
damn... a report of a QC issue with the MB Zeta. Appears to be the connector/part for the waverider wing: https://www.facebook.com/groups/112827532119888/posts/9497340920335122/
- 8728 replies
-
- gainax
- evangelion
- (and 14 more)
-

A Little Teaser of a Conversion Kit...
PsYcHoDyNaMiX replied to PsYcHoDyNaMiX's topic in The Workshop!
I was going to post an update on Friday, but got pretty busy. I have the next iterations to be printed for tomorrow and I'll post the results then.- 11 replies
-
- 3
-

-
- wip
- conversion
-
(and 7 more)
Tagged with:
-

A Little Teaser of a Conversion Kit...
PsYcHoDyNaMiX replied to PsYcHoDyNaMiX's topic in The Workshop!
Yup, printed test versions already. Going through iterations, adjustments and the such. Should have another update by the end of the week hopefully.- 11 replies
-
- 1
-

-
- wip
- conversion
-
(and 7 more)
Tagged with:
-
I've been working on something...
-
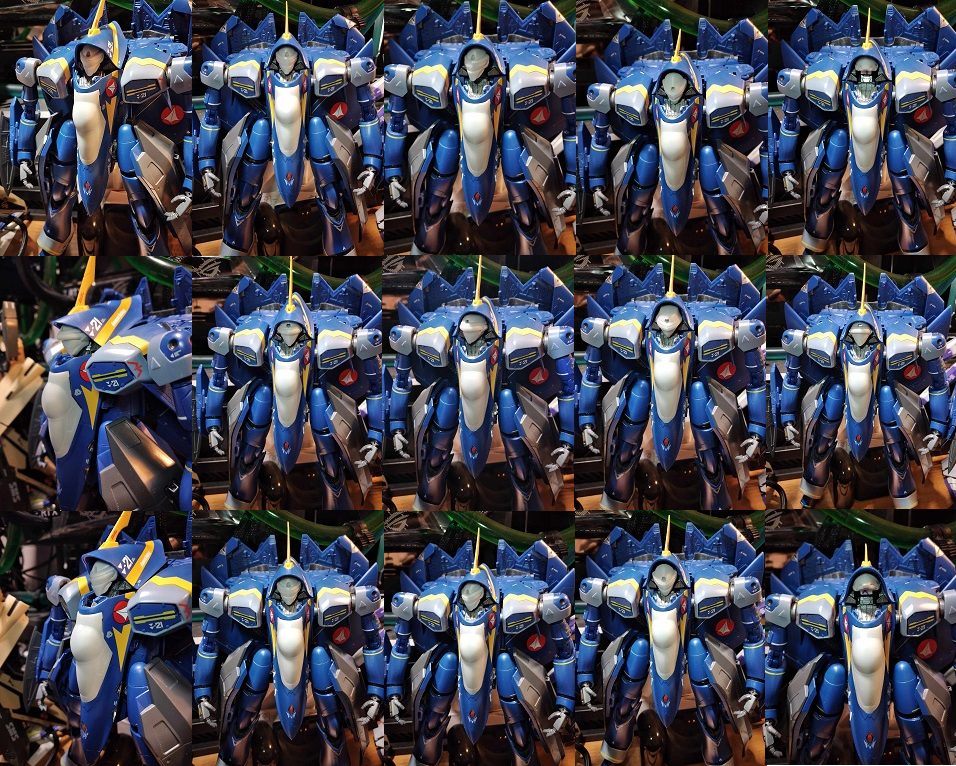
Meant to start this last year, but started last month, been working on this and going through the process... just a little teaser.
- 11 replies
-
- 3
-

-
- wip
- conversion
-
(and 7 more)
Tagged with:
-

The Ghost In The Shell - New Anime coming 2026
PsYcHoDyNaMiX replied to no3Ljm's topic in Anime or Science Fiction
Nice... looking forward to this! I just wonder who will replace the original/late VA of major (Atsuko Tanaka)... 😭- 17 replies
-
- 1
-

-
- ghost in the shell
- masamune shirow
- (and 3 more)
-
idk how I missed this on fb from two days ago, but sharing: https://www.facebook.com/groups/104504303276353/posts/2303153443411417/
- 13285 replies
-
Ahh yes! Sorry I forgot that thread existed... it eluded me!
- 8469 replies
-
I know this isn't Bandai, but a 3rd party. It does have a very Hazel-like look to it: https://www.facebook.com/PlamoTimes/posts/pfbid023MyWFXN3wARtx3kE5CyWNfz5zsQLZSBxQ28bgcp4EejjE6qRqZe9yGm6mT2xLqgAl
- 8469 replies
-
- 8728 replies
-
- gainax
- evangelion
- (and 14 more)
-
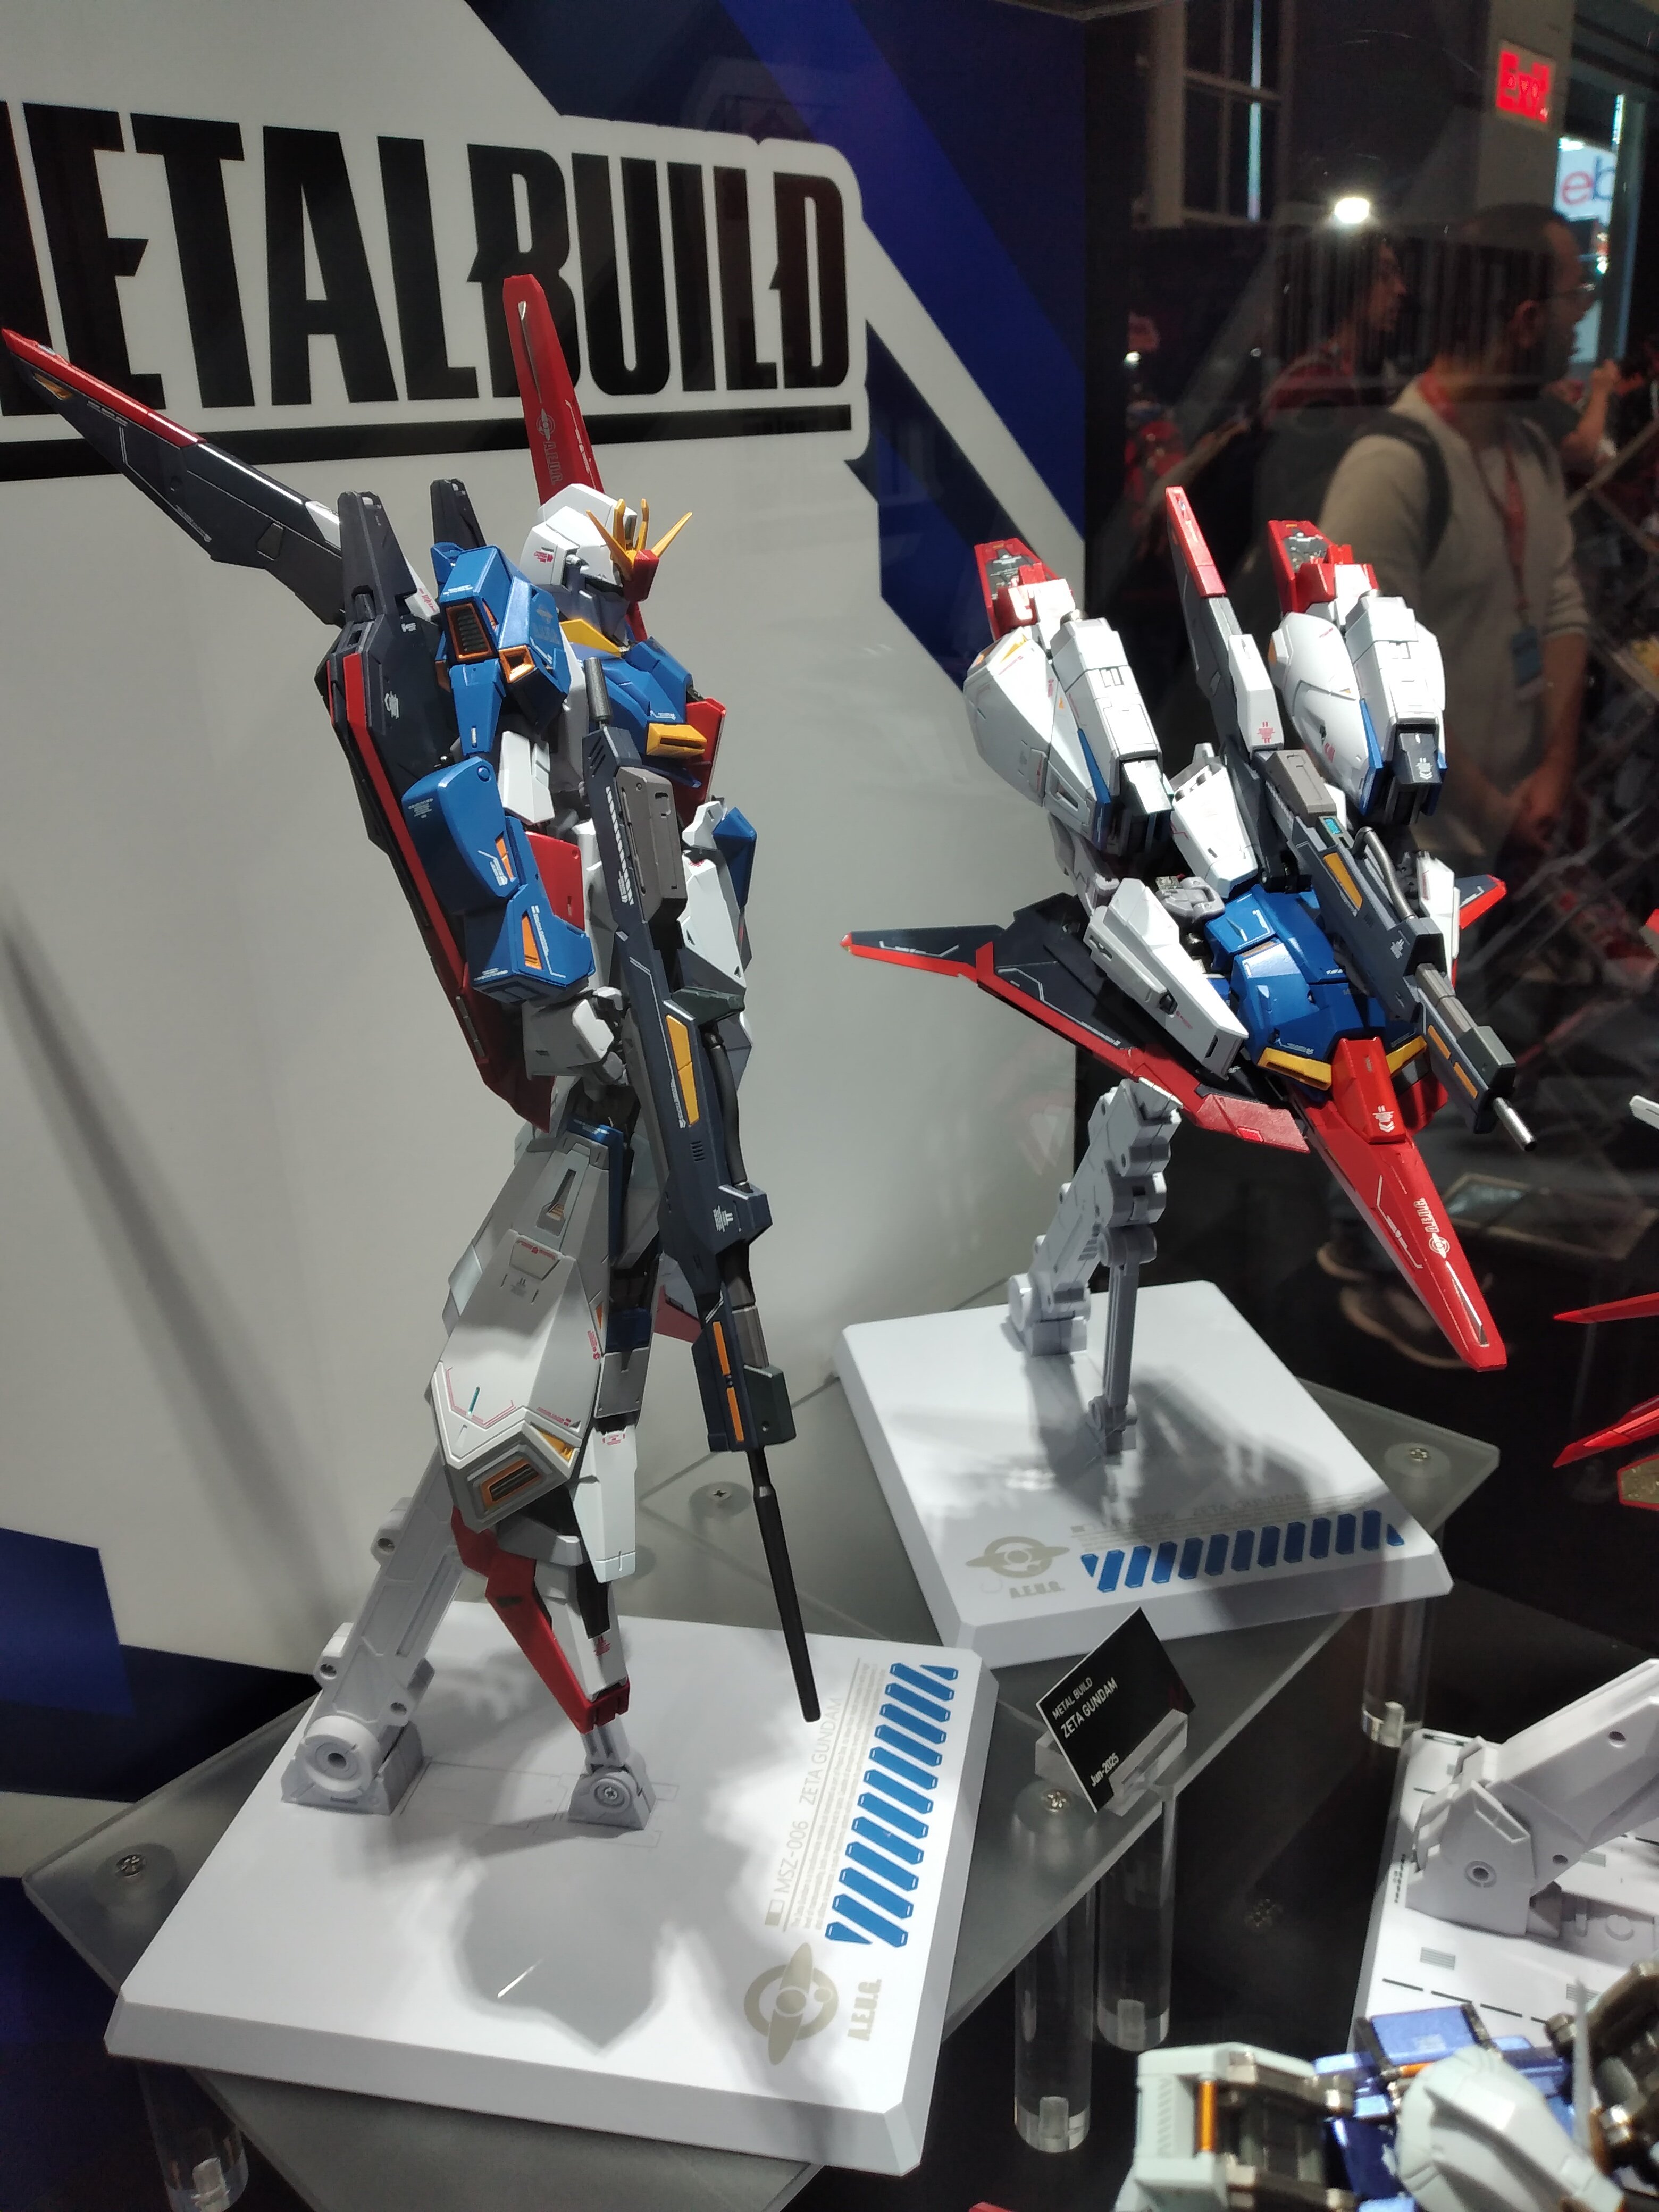
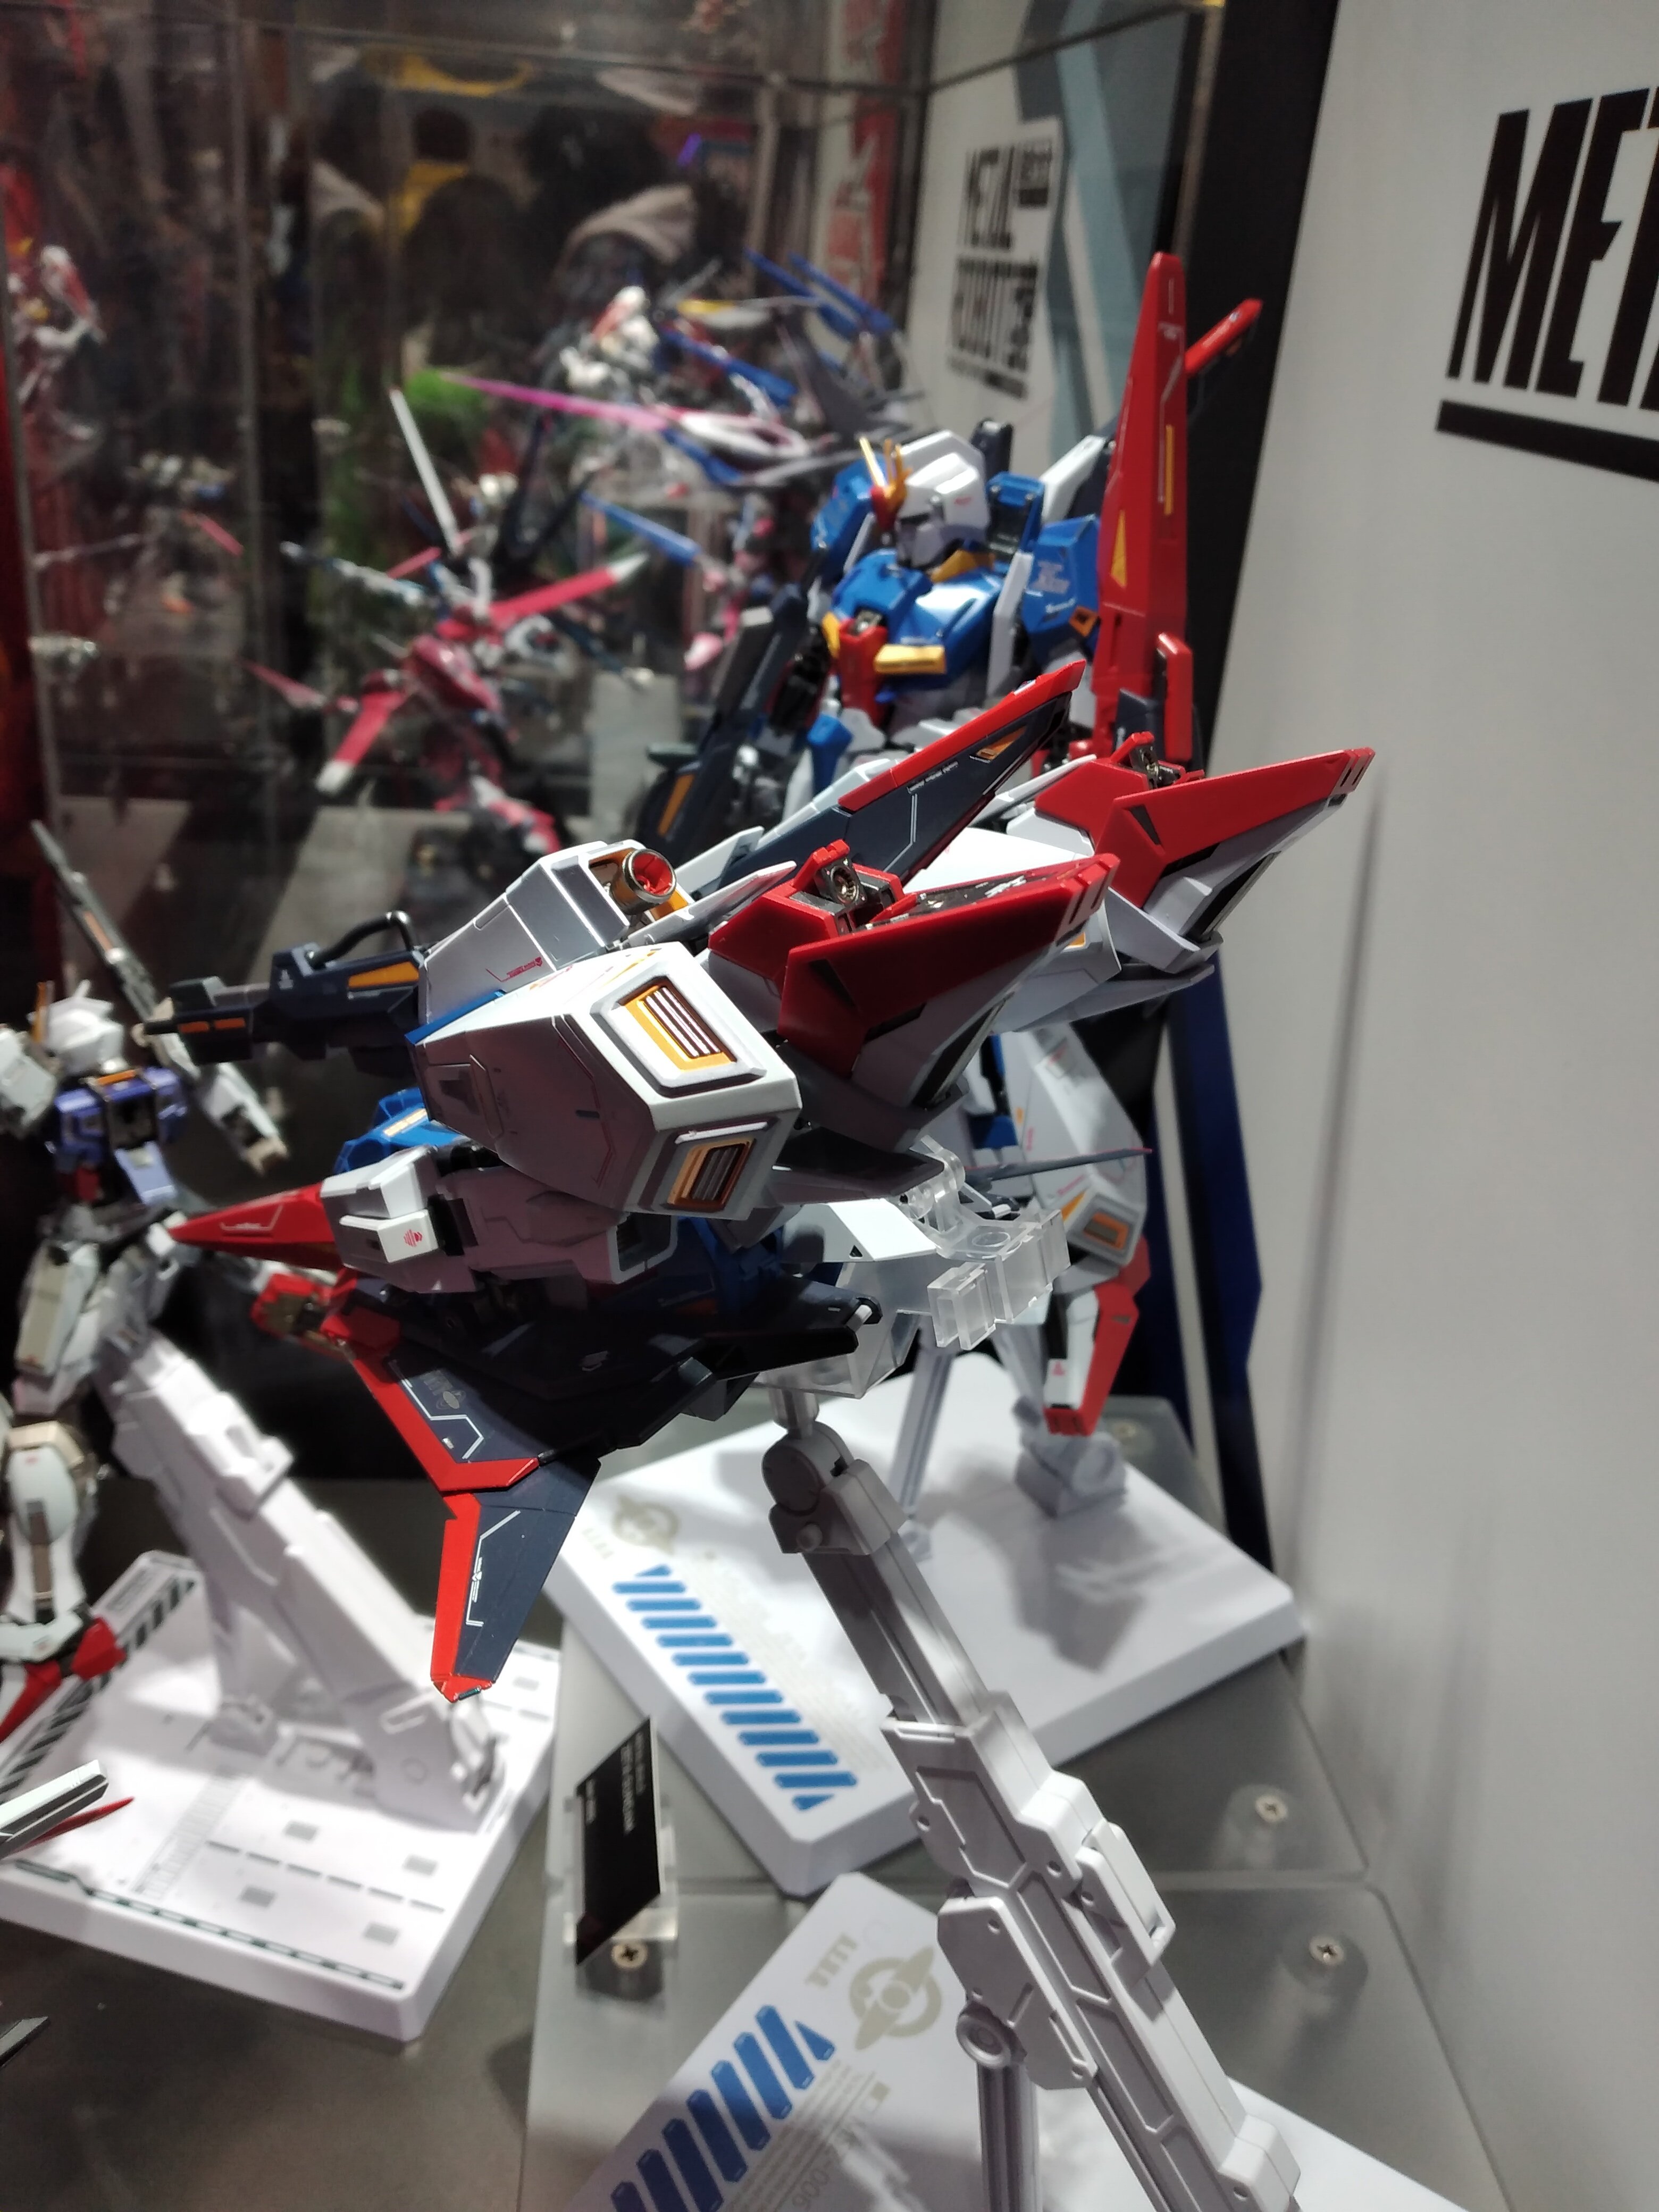
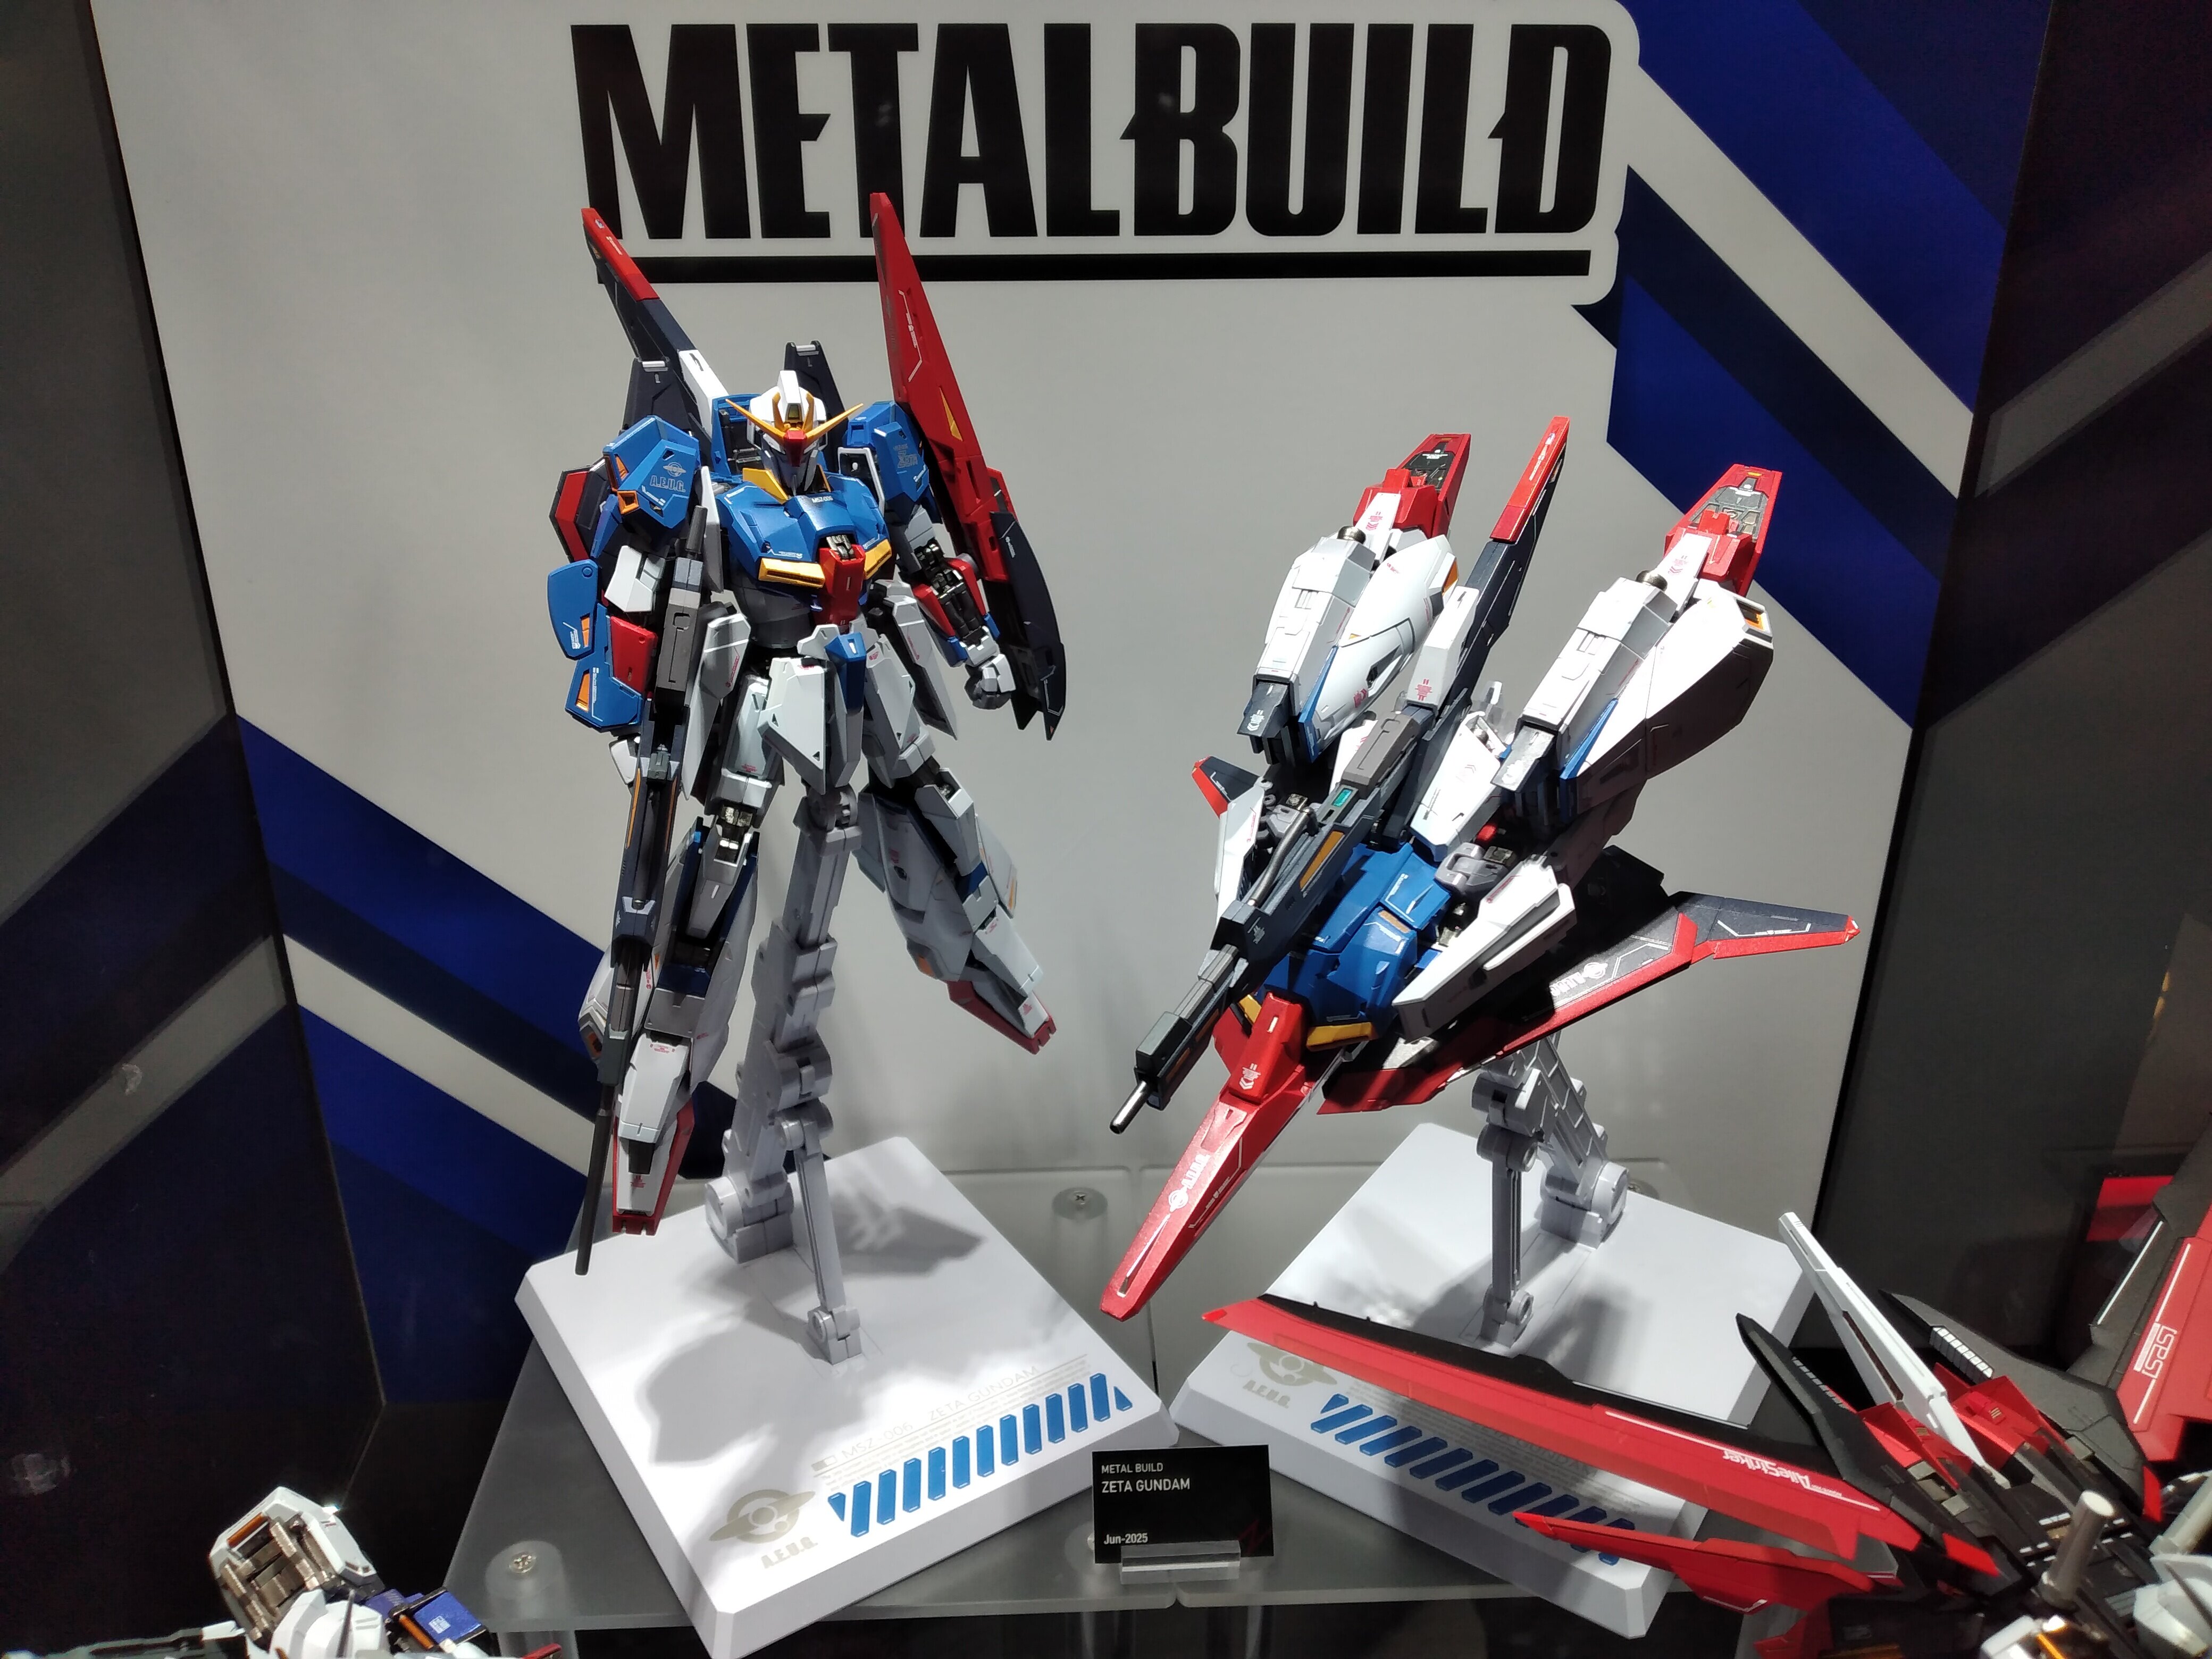
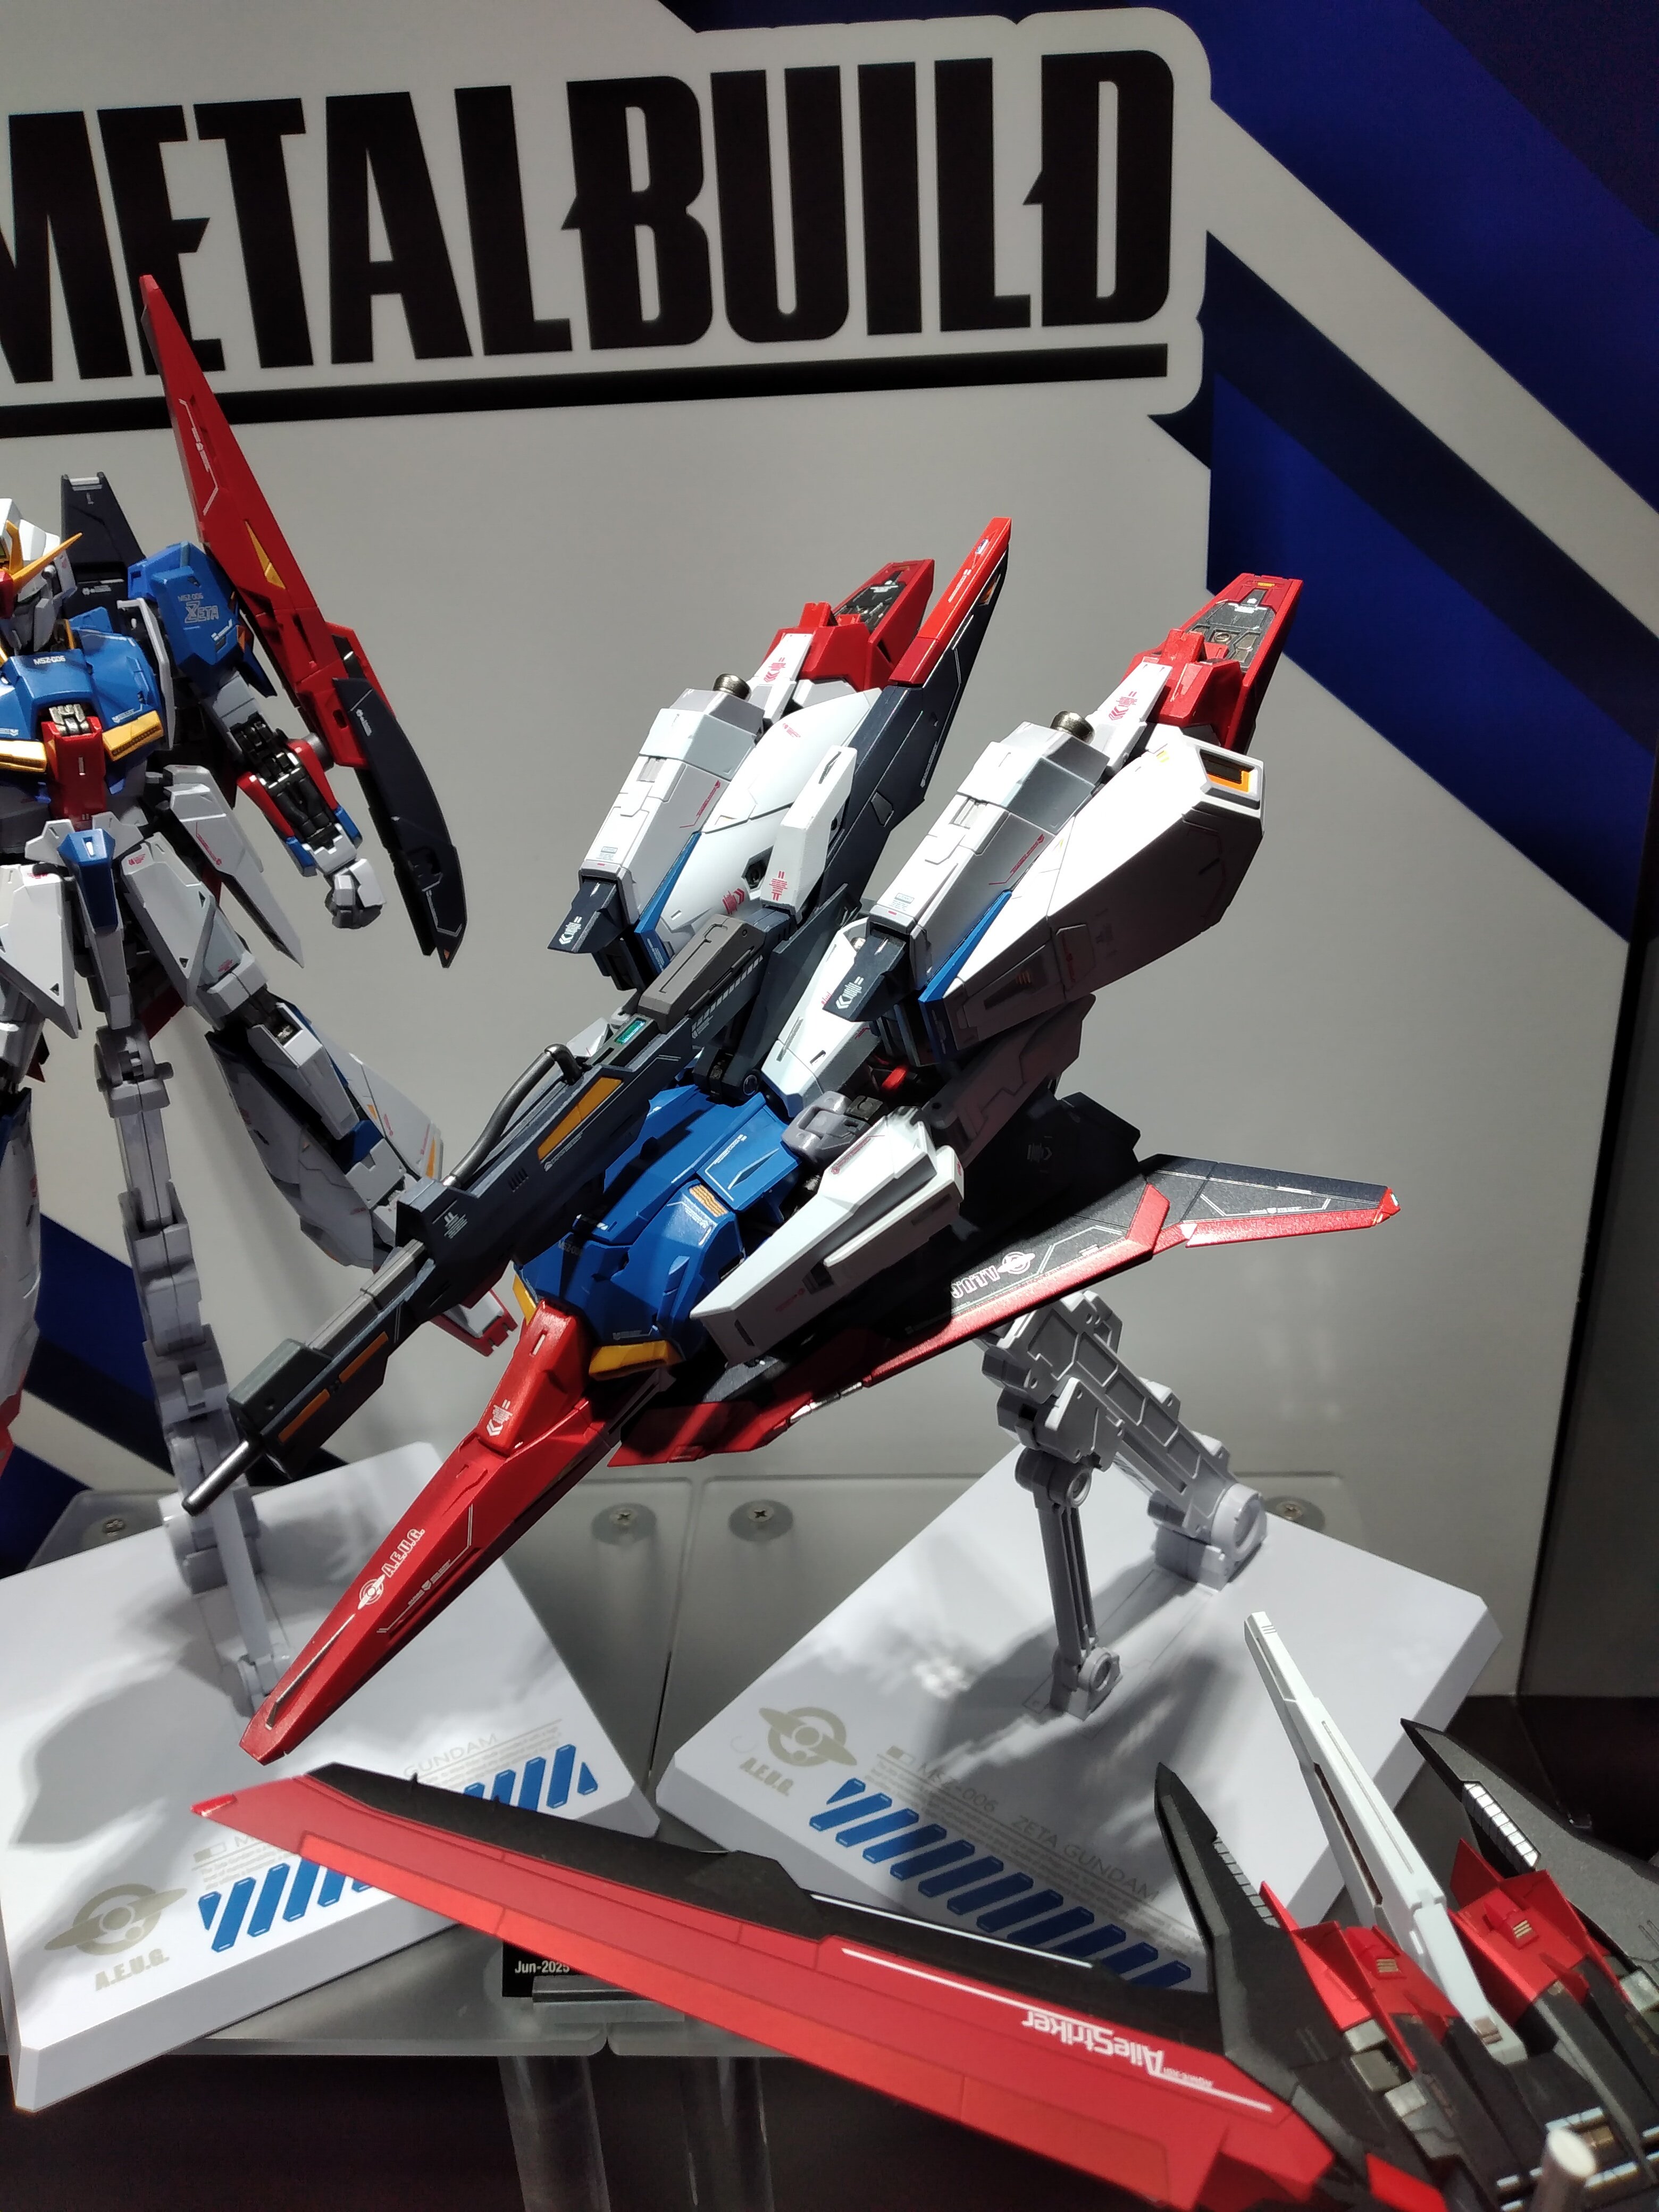
The MB Zeta was on display at NYCC this past weekend/last week. I took a few pictures, but they're still on my phone. I guess I'll use this as a place holder for when I upload them later.
- 8728 replies
-
- gainax
- evangelion
- (and 14 more)
-
The color is also "off-white" and not bright/pure(?) white. This 'new' version also includes a pair of cartoon hands and some are speculating that the head/visor is different than the first release. IMHO the first release still looks better, lol. ***EDIT: I'm thinking the head visor version is based on the armored set version? idk...
-
Glad to hear that it was a full event, this will likely result in him returning to future events in NYC (hopefully) or even the east coast. Sorry to hear that the ANYC staff member enforced a no signature policy. I was under the impression since the event at Japan Society required an entry fee that they would honor such fanservice for some autographs. That's disappointing to hear, but at least it wasn't Kawamori sensei just outright turning fans down (he did feel bad). If the event was hosted at the Javits I would've still attended (even though it required an entry fee), just event timing/travel constraints didn't permit.
- 8 replies
-
- kawamori
- macross plus
-
(and 4 more)
Tagged with:

