

pengbuzz
-
Posts
5781 -
Joined
-
Last visited
Content Type
Profiles
Forums
Events
Gallery
Everything posted by pengbuzz
-
No problem; glad to see they had a new life on your project!
-
Looking good; I see you have decals applied?
-
The Transformers Thread (licensed) Next
pengbuzz replied to mikeszekely's topic in Anime or Science Fiction
And Wheelie is Primus' joke on the entire Transformers race. :p -
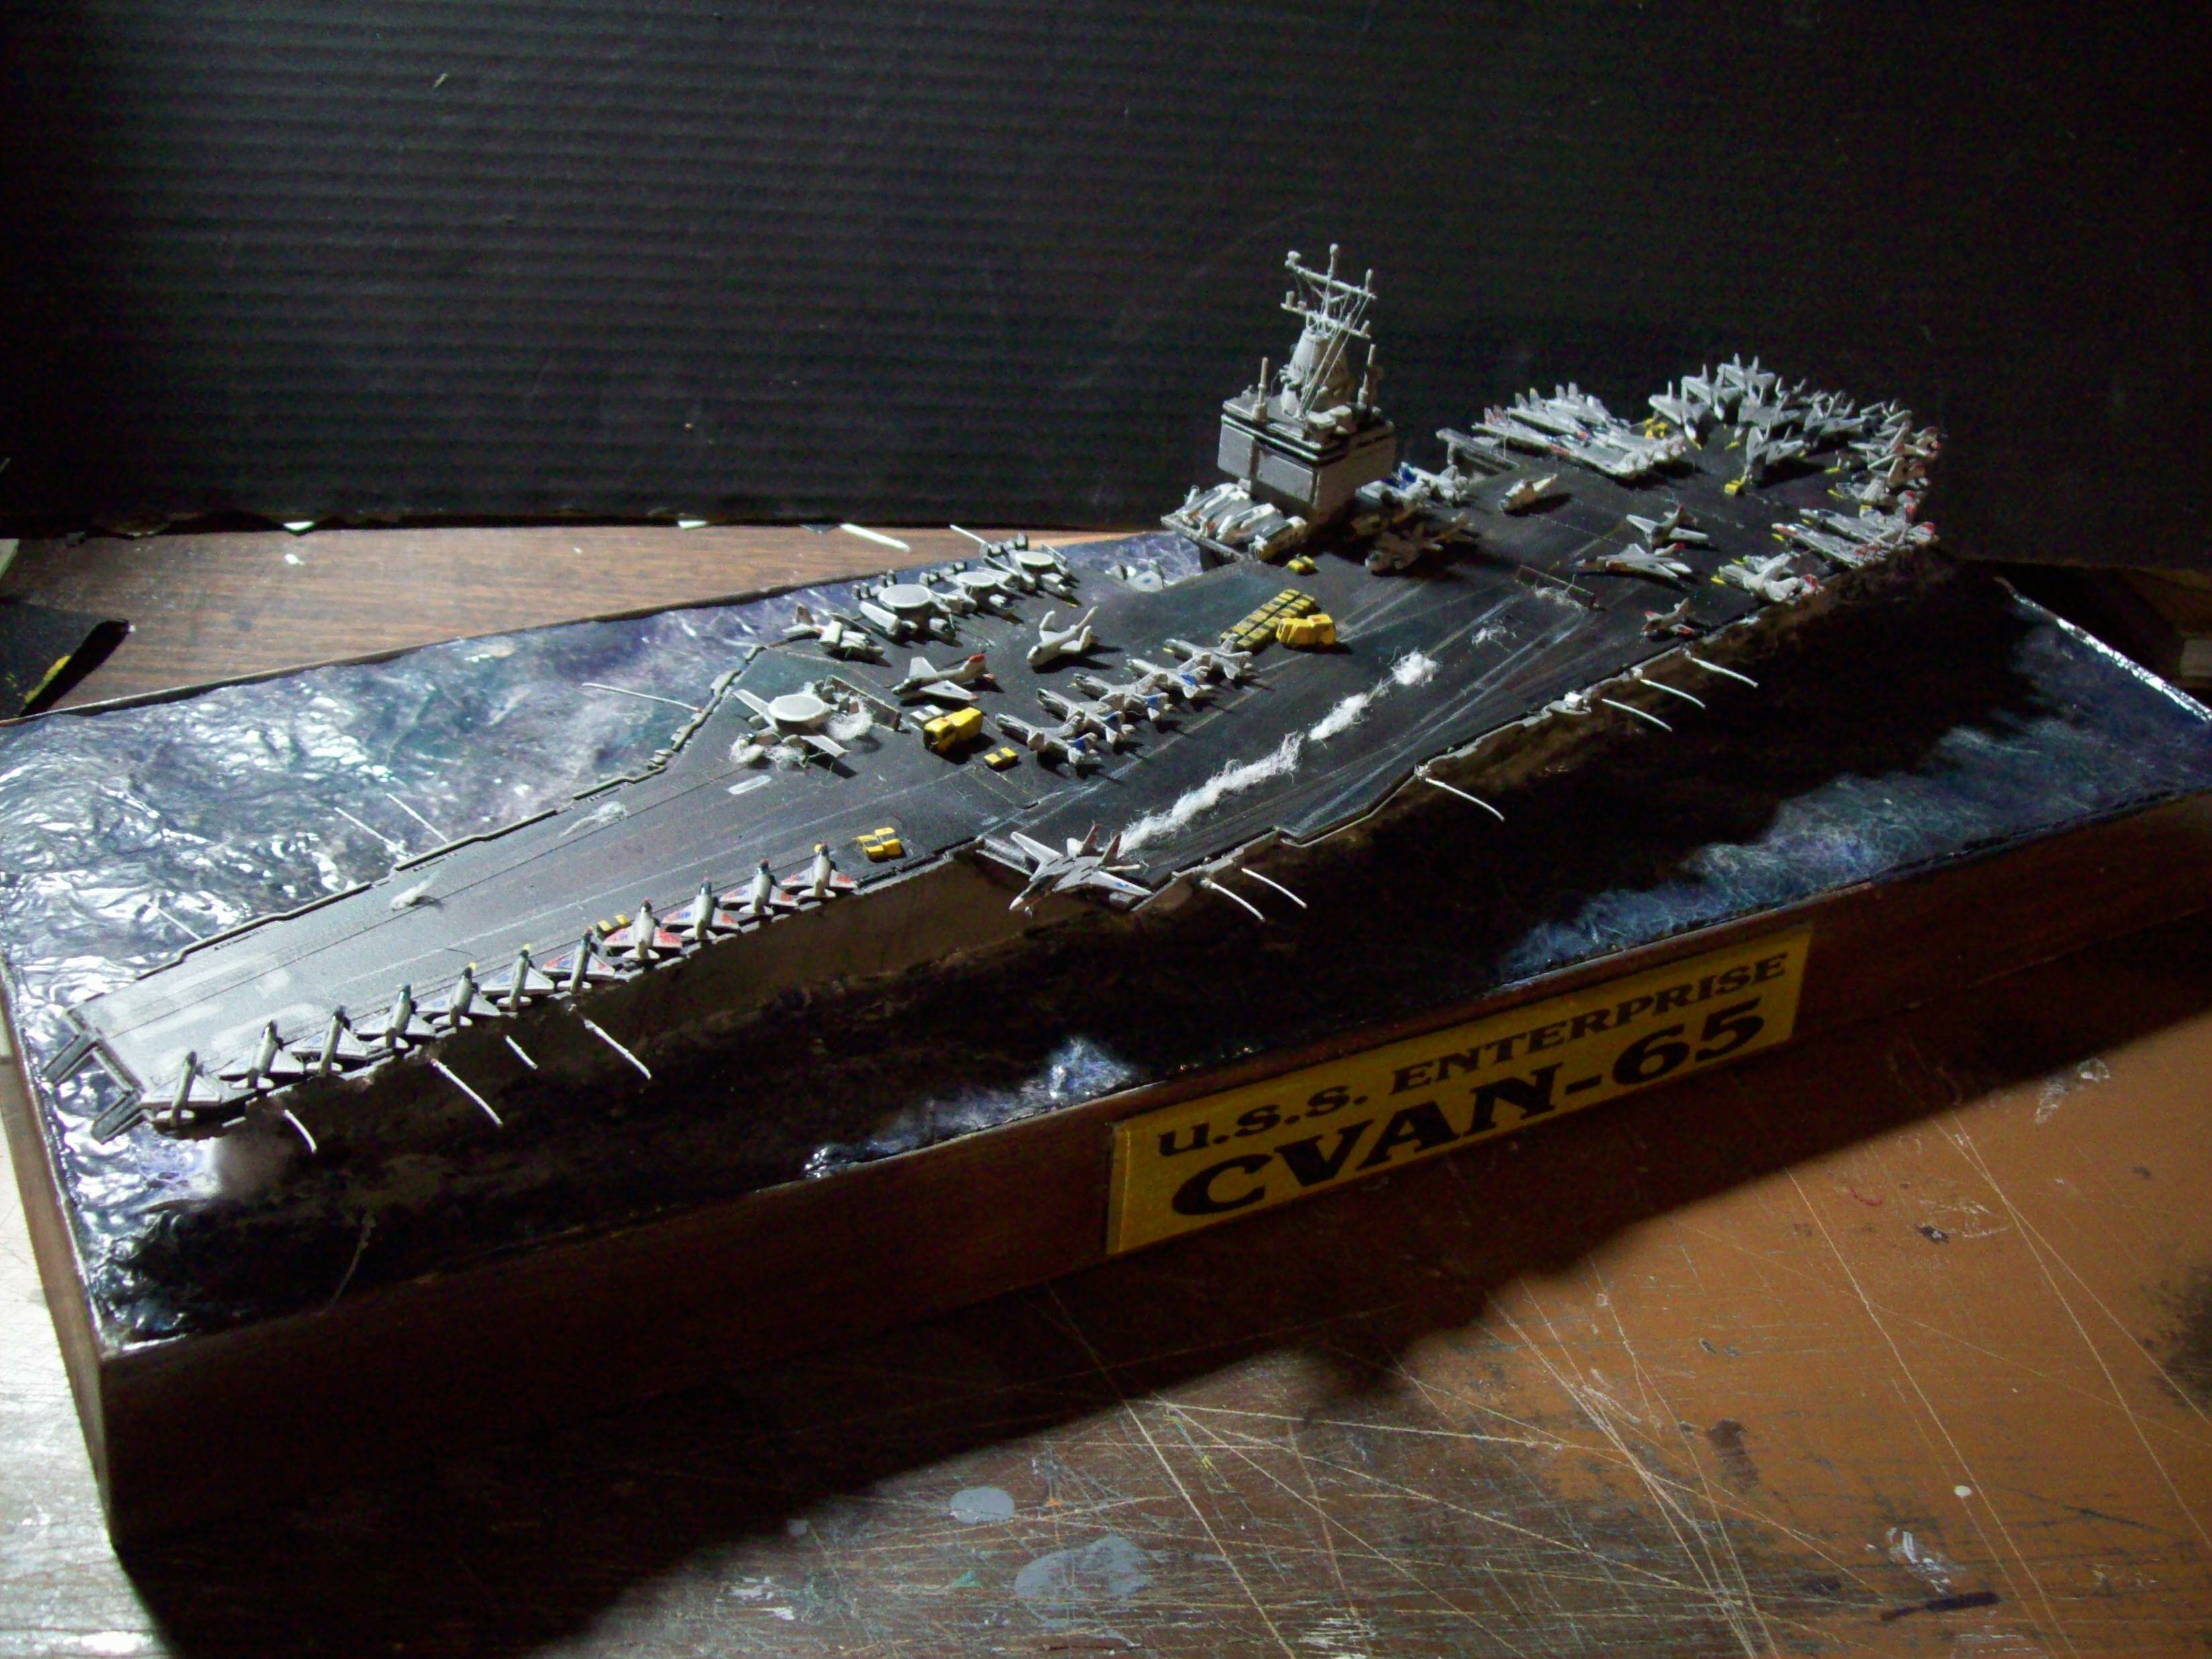
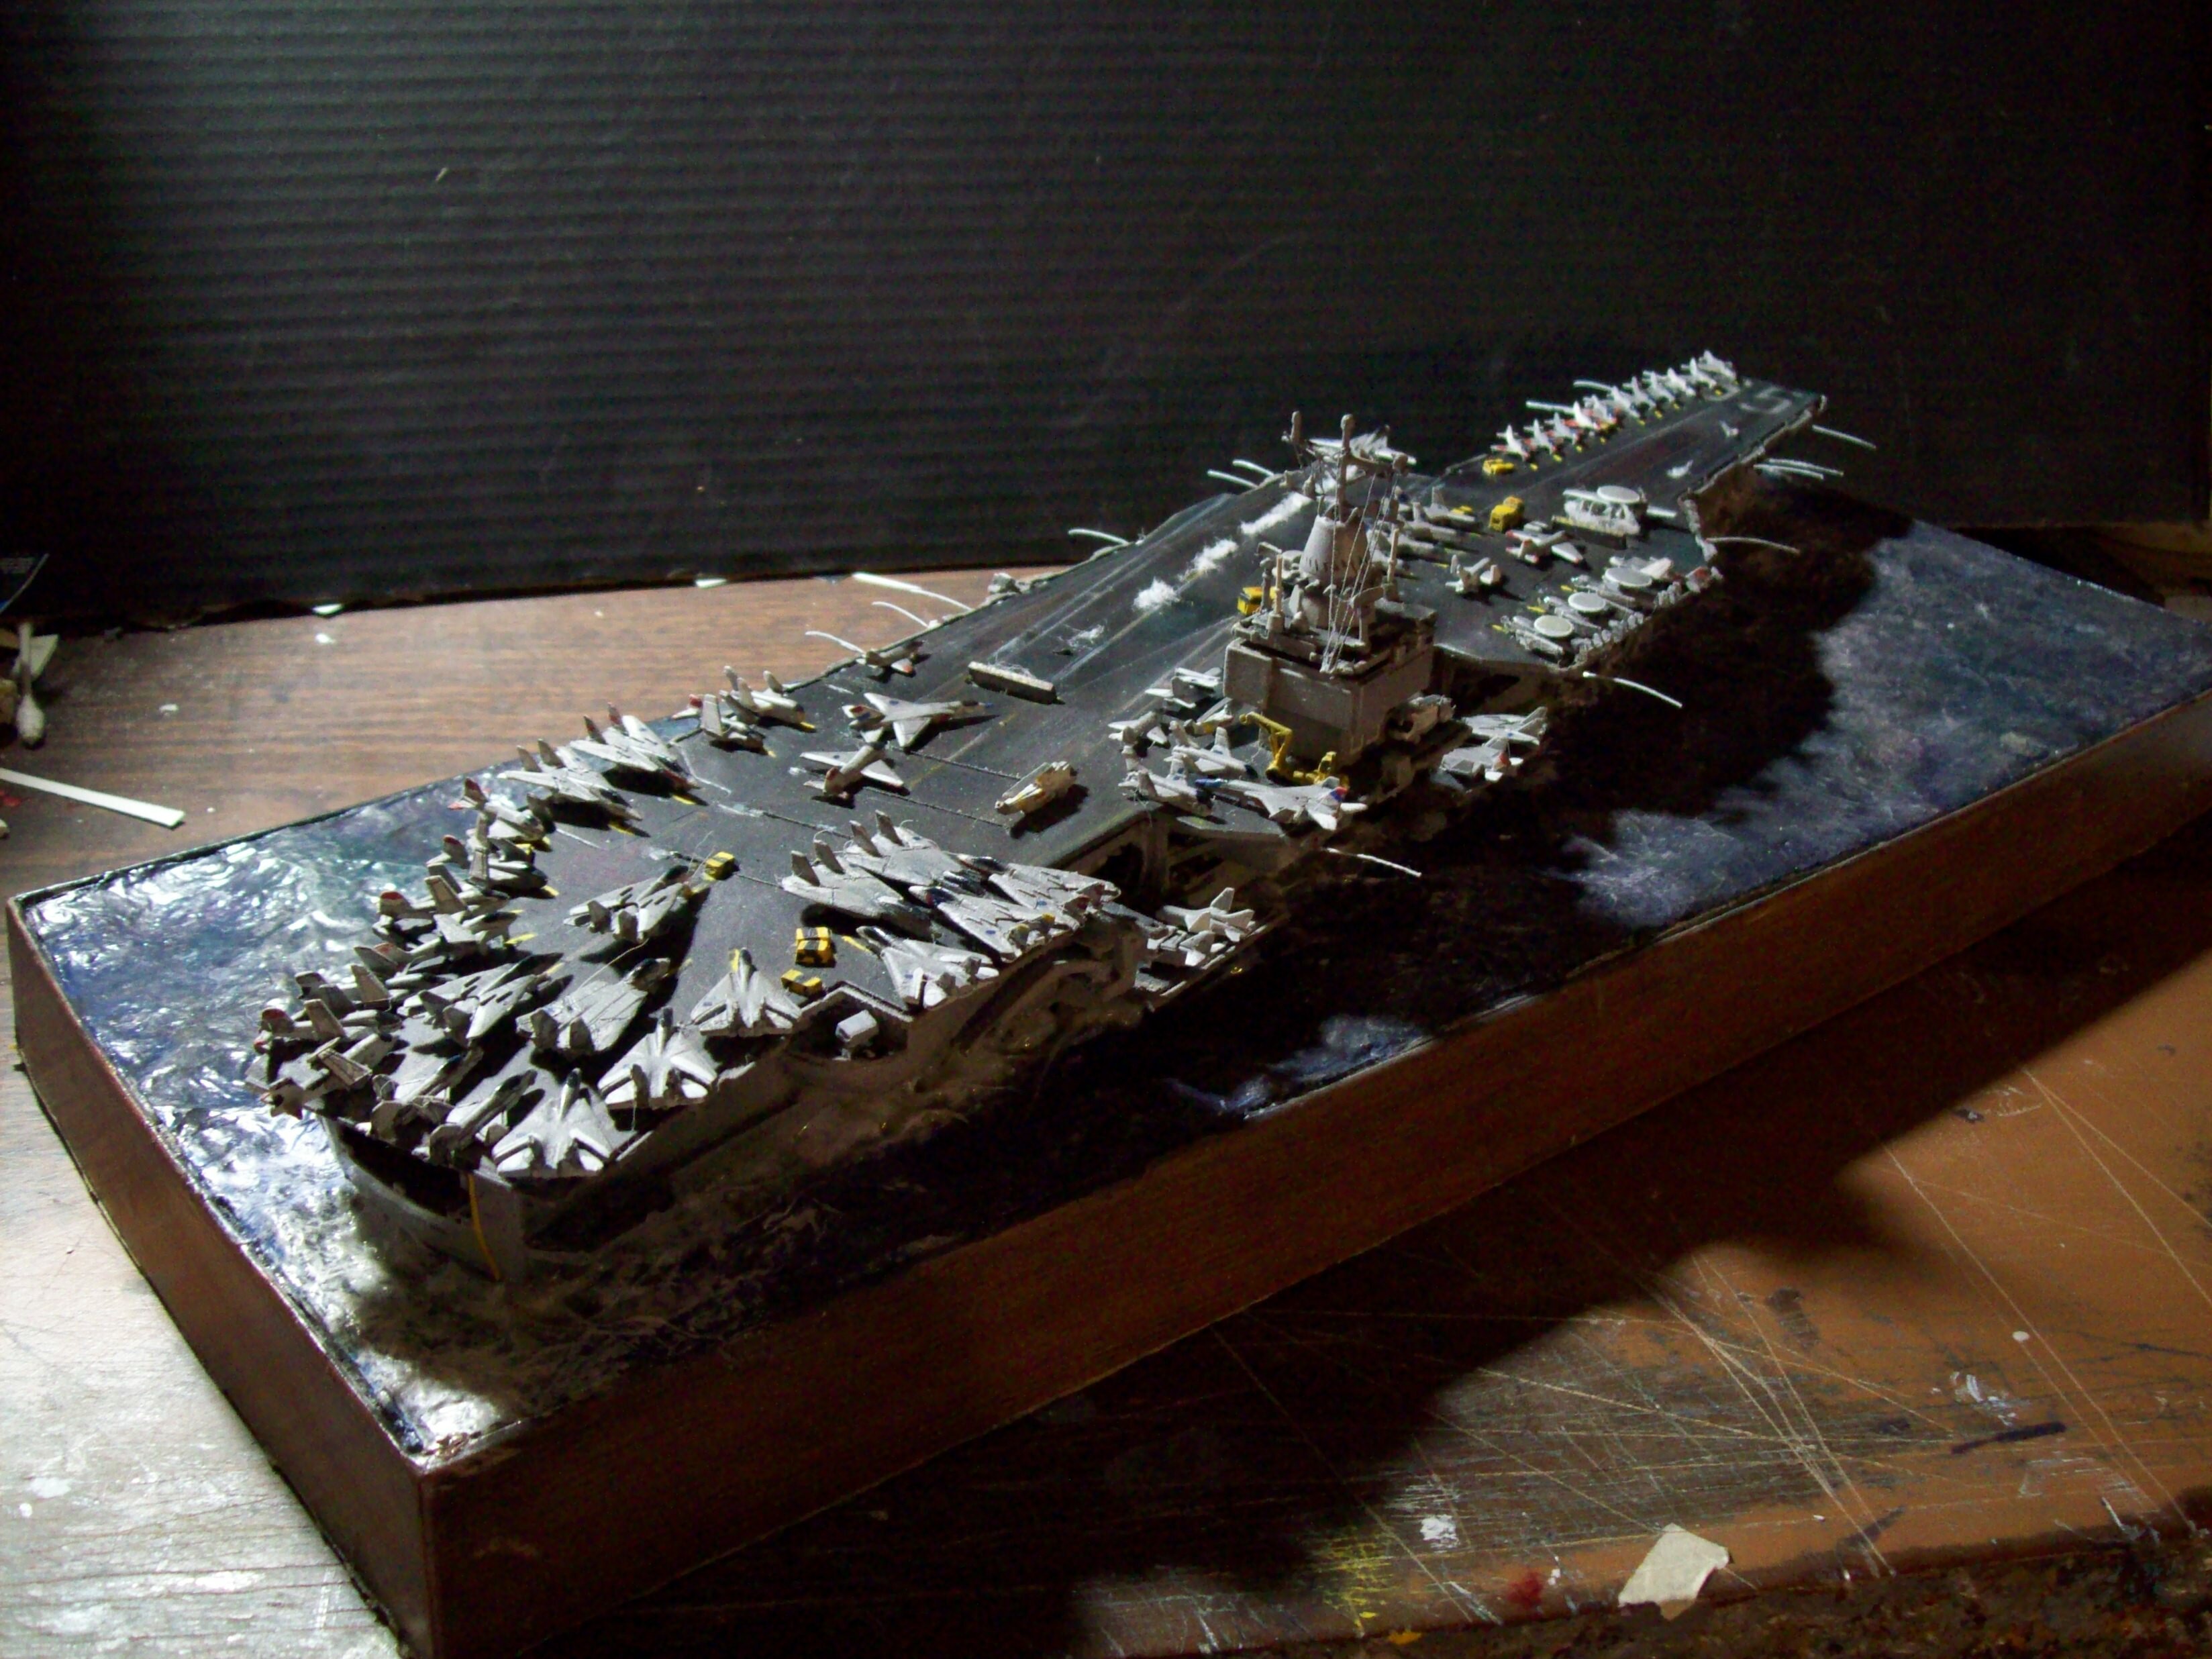
UPDATE: revisited my 1/720 CVN-65 Diorama; this is going to our regional fair to go on display in the crafts and collections competition: It gets delivered to the tomorrow and will be on display there until the 29th! Hoping I will get at least some recognition; historically with every model contest I EVER entered, my work has NEVER been recognized or won anything.
-
Yeah, this is pretty messed up alright...
-
At the rate things are going in this series:

-
If possible, I either use the selective color feature in Photoshop to remove it, or simply select the background and remove it. If you have any issues doing that, let me know and I'll see if I can help.
-
Ahem. (2:59) When even McCoy has to ask, maybe it's more than just a "meme"...
-
On the bright side:
- 644 replies
-
- 1
-

-
- uss enterprise
- spock
- (and 8 more)
-
Happy to help; I've had folks here help me plenty of times, so it's nice to be able assist someone else for a change! On that note: decals have been dispatched and are en route to you (as mentioned in my PM to you).
-
Alien: Earth-
-
-
M.A.S.K. - Show and Toy collections
pengbuzz replied to areaseven's topic in Anime or Science Fiction
There are no constraints... *swings pocketwatch slowly in front of Scyla*... you must buy.... -
I might have some parts, but they are yellowed. Let me know what you need and I'll see what I have for you.
-
PM sent.
-
M.A.S.K. - Show and Toy collections
pengbuzz replied to areaseven's topic in Anime or Science Fiction
You don't need to pay bills this month... -
Yeah... I was trying to do a play on The Best of Both Words (TNG)
-
Okay, I found what I have left: some of the smaller warning ones were used on another kit, but the majority are here:

-
I'll have to look; I had the "Leader-1" Gobots version of the kit and the decals were for the Legioss, but I don't know how many of the decals are left on the sheet.
-
Yeah, I really don't notice a difference here either.
-
Alternate title: The Worst of Both Worlds....
-
Thanks; much appreciated. Thanks; neither did I.
-
UPDATE: Still waiting for my arm to heal; the skin is mostly closed, but the veins and the tendons in my wrist were damaged. My PCP is sending me to a couple of specialists to check the extent of the damage.
-
The Transformers Thread (licensed) Next
pengbuzz replied to mikeszekely's topic in Anime or Science Fiction
Mine just charged to my account; I should be getting it soon from BBTS. -
Thanks MT! :D I may leave the decals off though! Thanks again! I'll check these out and see how they would work IRL.