

pengbuzz
-
Posts
5731 -
Joined
-
Last visited
Content Type
Profiles
Forums
Events
Gallery
Everything posted by pengbuzz
-
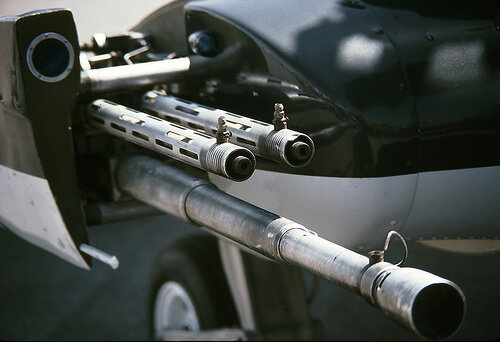
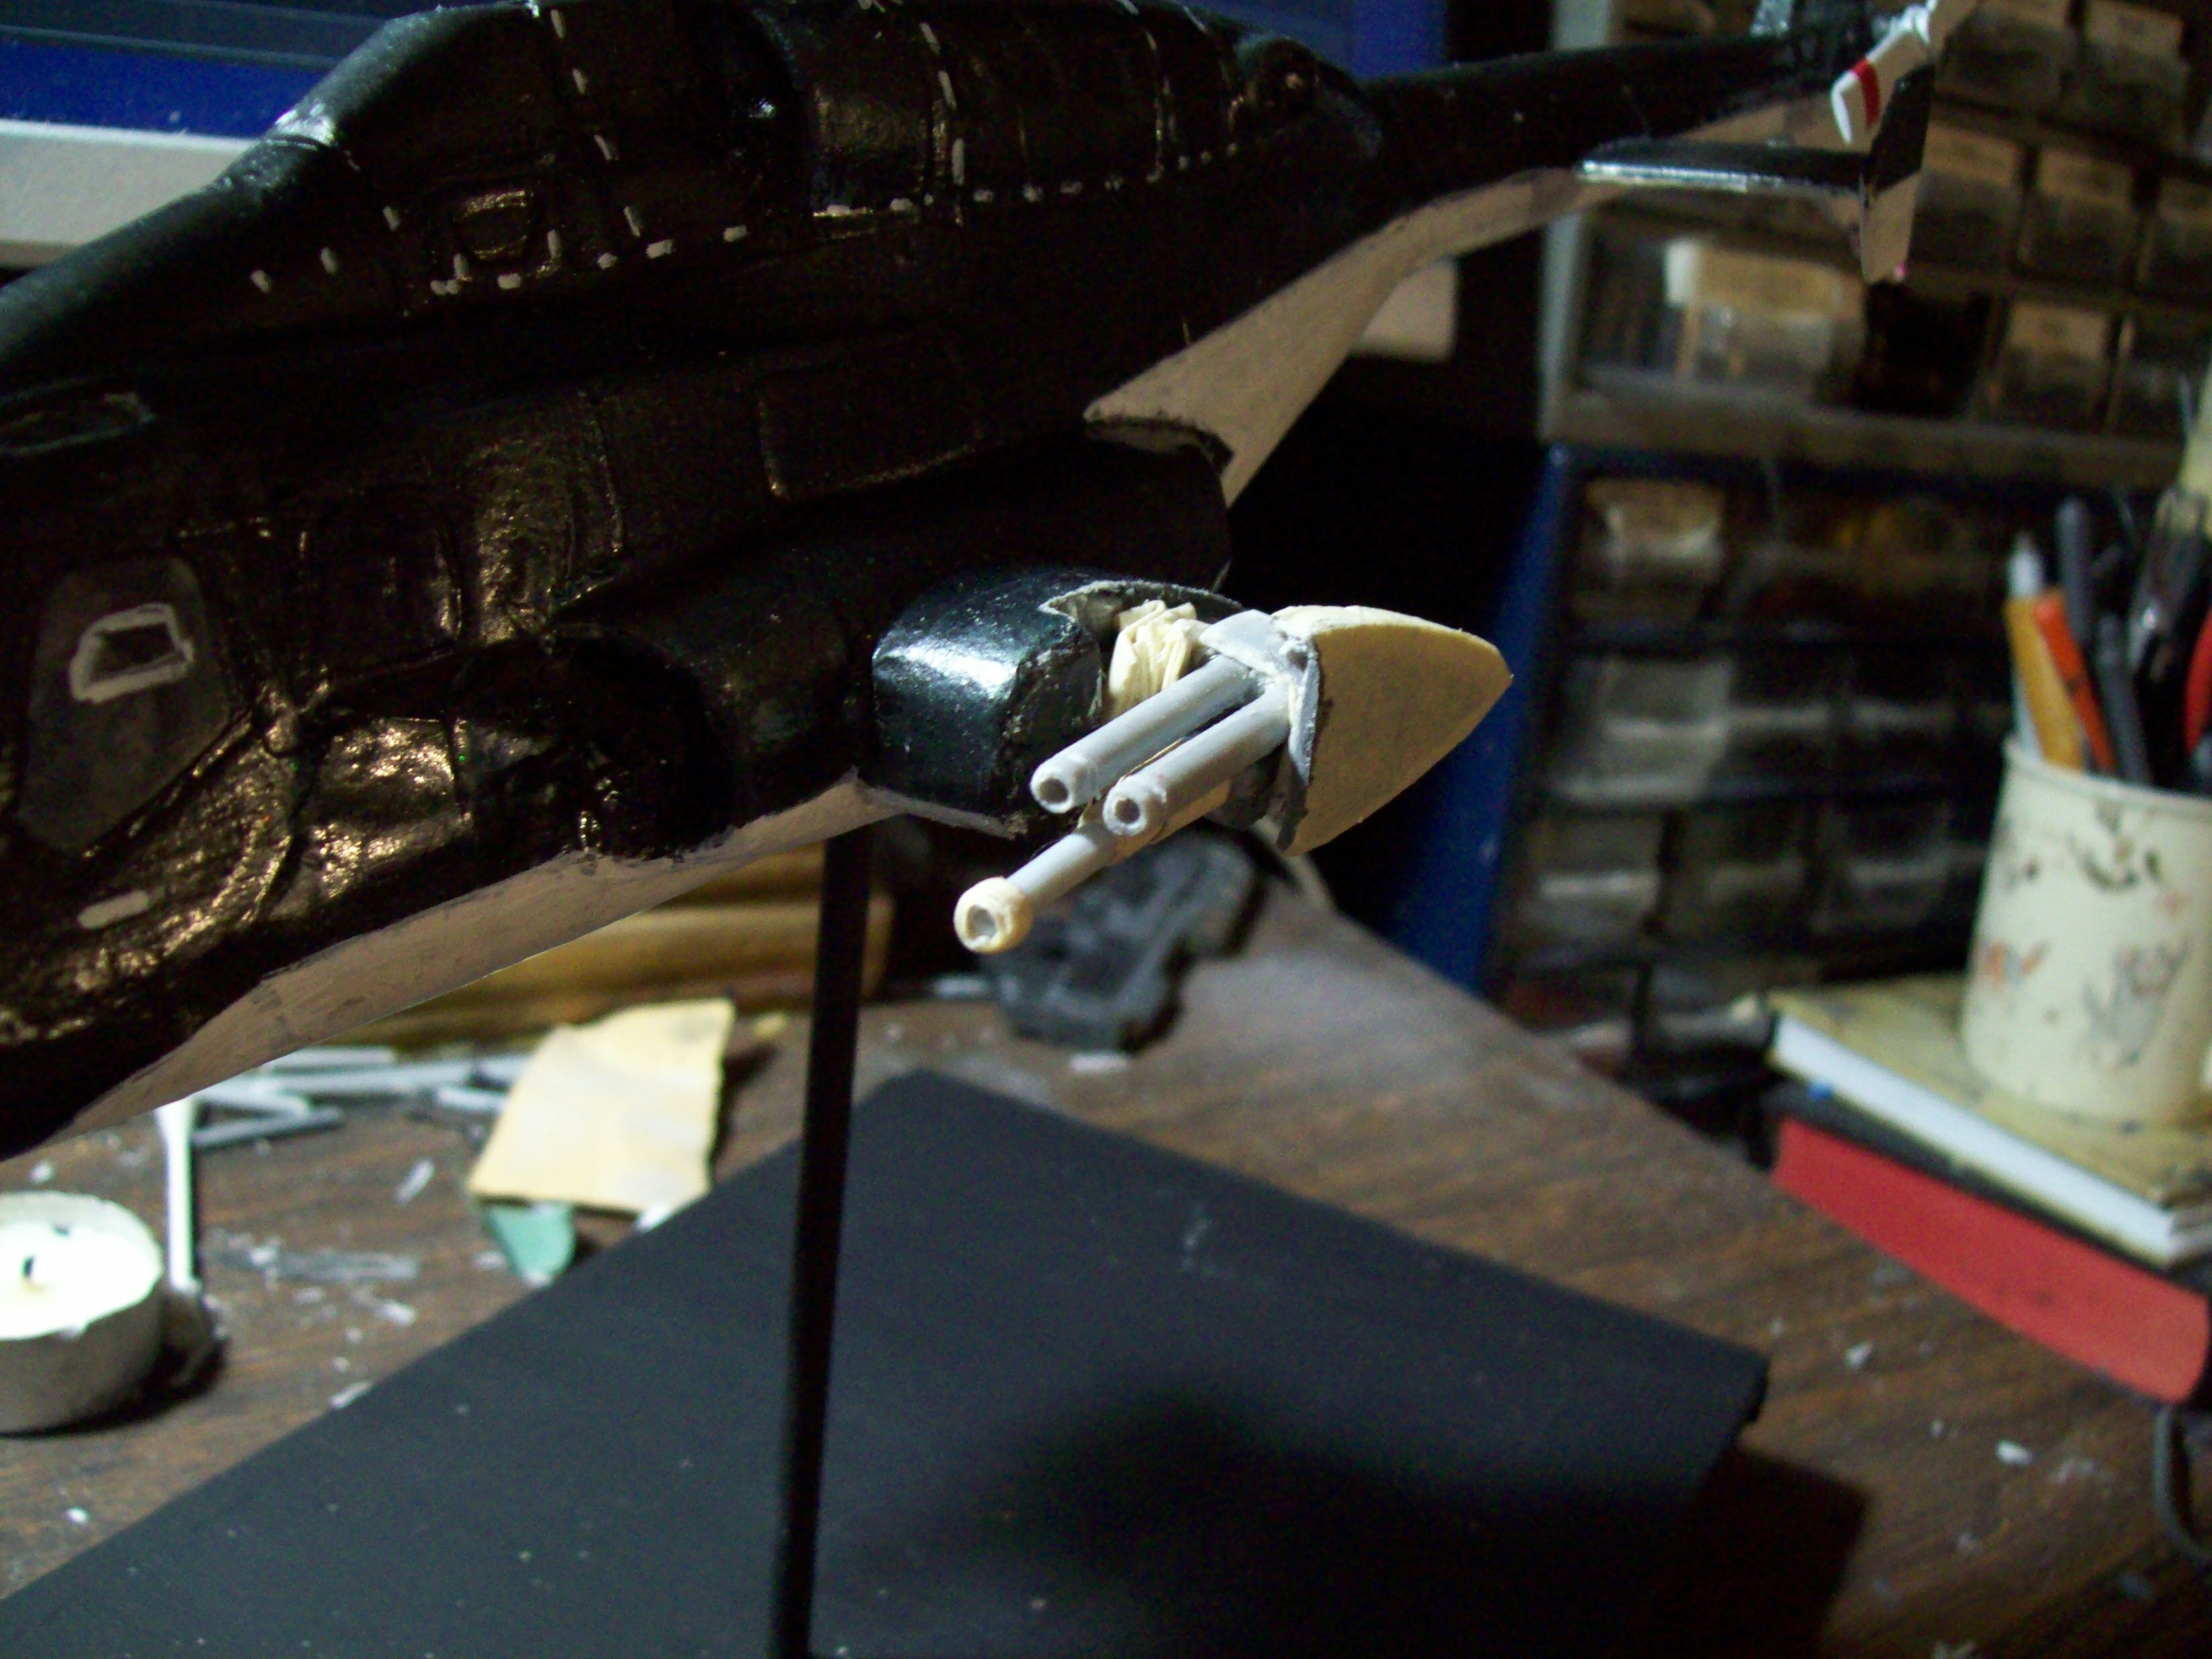
Yeah, the 50 cal. barrels look a little big in particular on her, especially in comparison to the photos of her actual guns: Thankfully, nothing is glued in yet, just taped on. I sized them directly from the parts layout on the Aoshima kit instructions, but I think they look a little big as well. I don't have any thin metal tubing per se (and money is tight right now after some unexpected expenses), but even if I have to use stretched sprue and cut off the old barrels to fit them in, I'll get it taken care of.
-
Hawke: "DOM!! I NEED CHAIN GUNS!!!" Santini: "YOU GOT"EM STRING!!!"
-
Here ya go then, Thom: https://www.airwolf-online.com/openingintro Was considering that, but I have another idea I want to try....
-
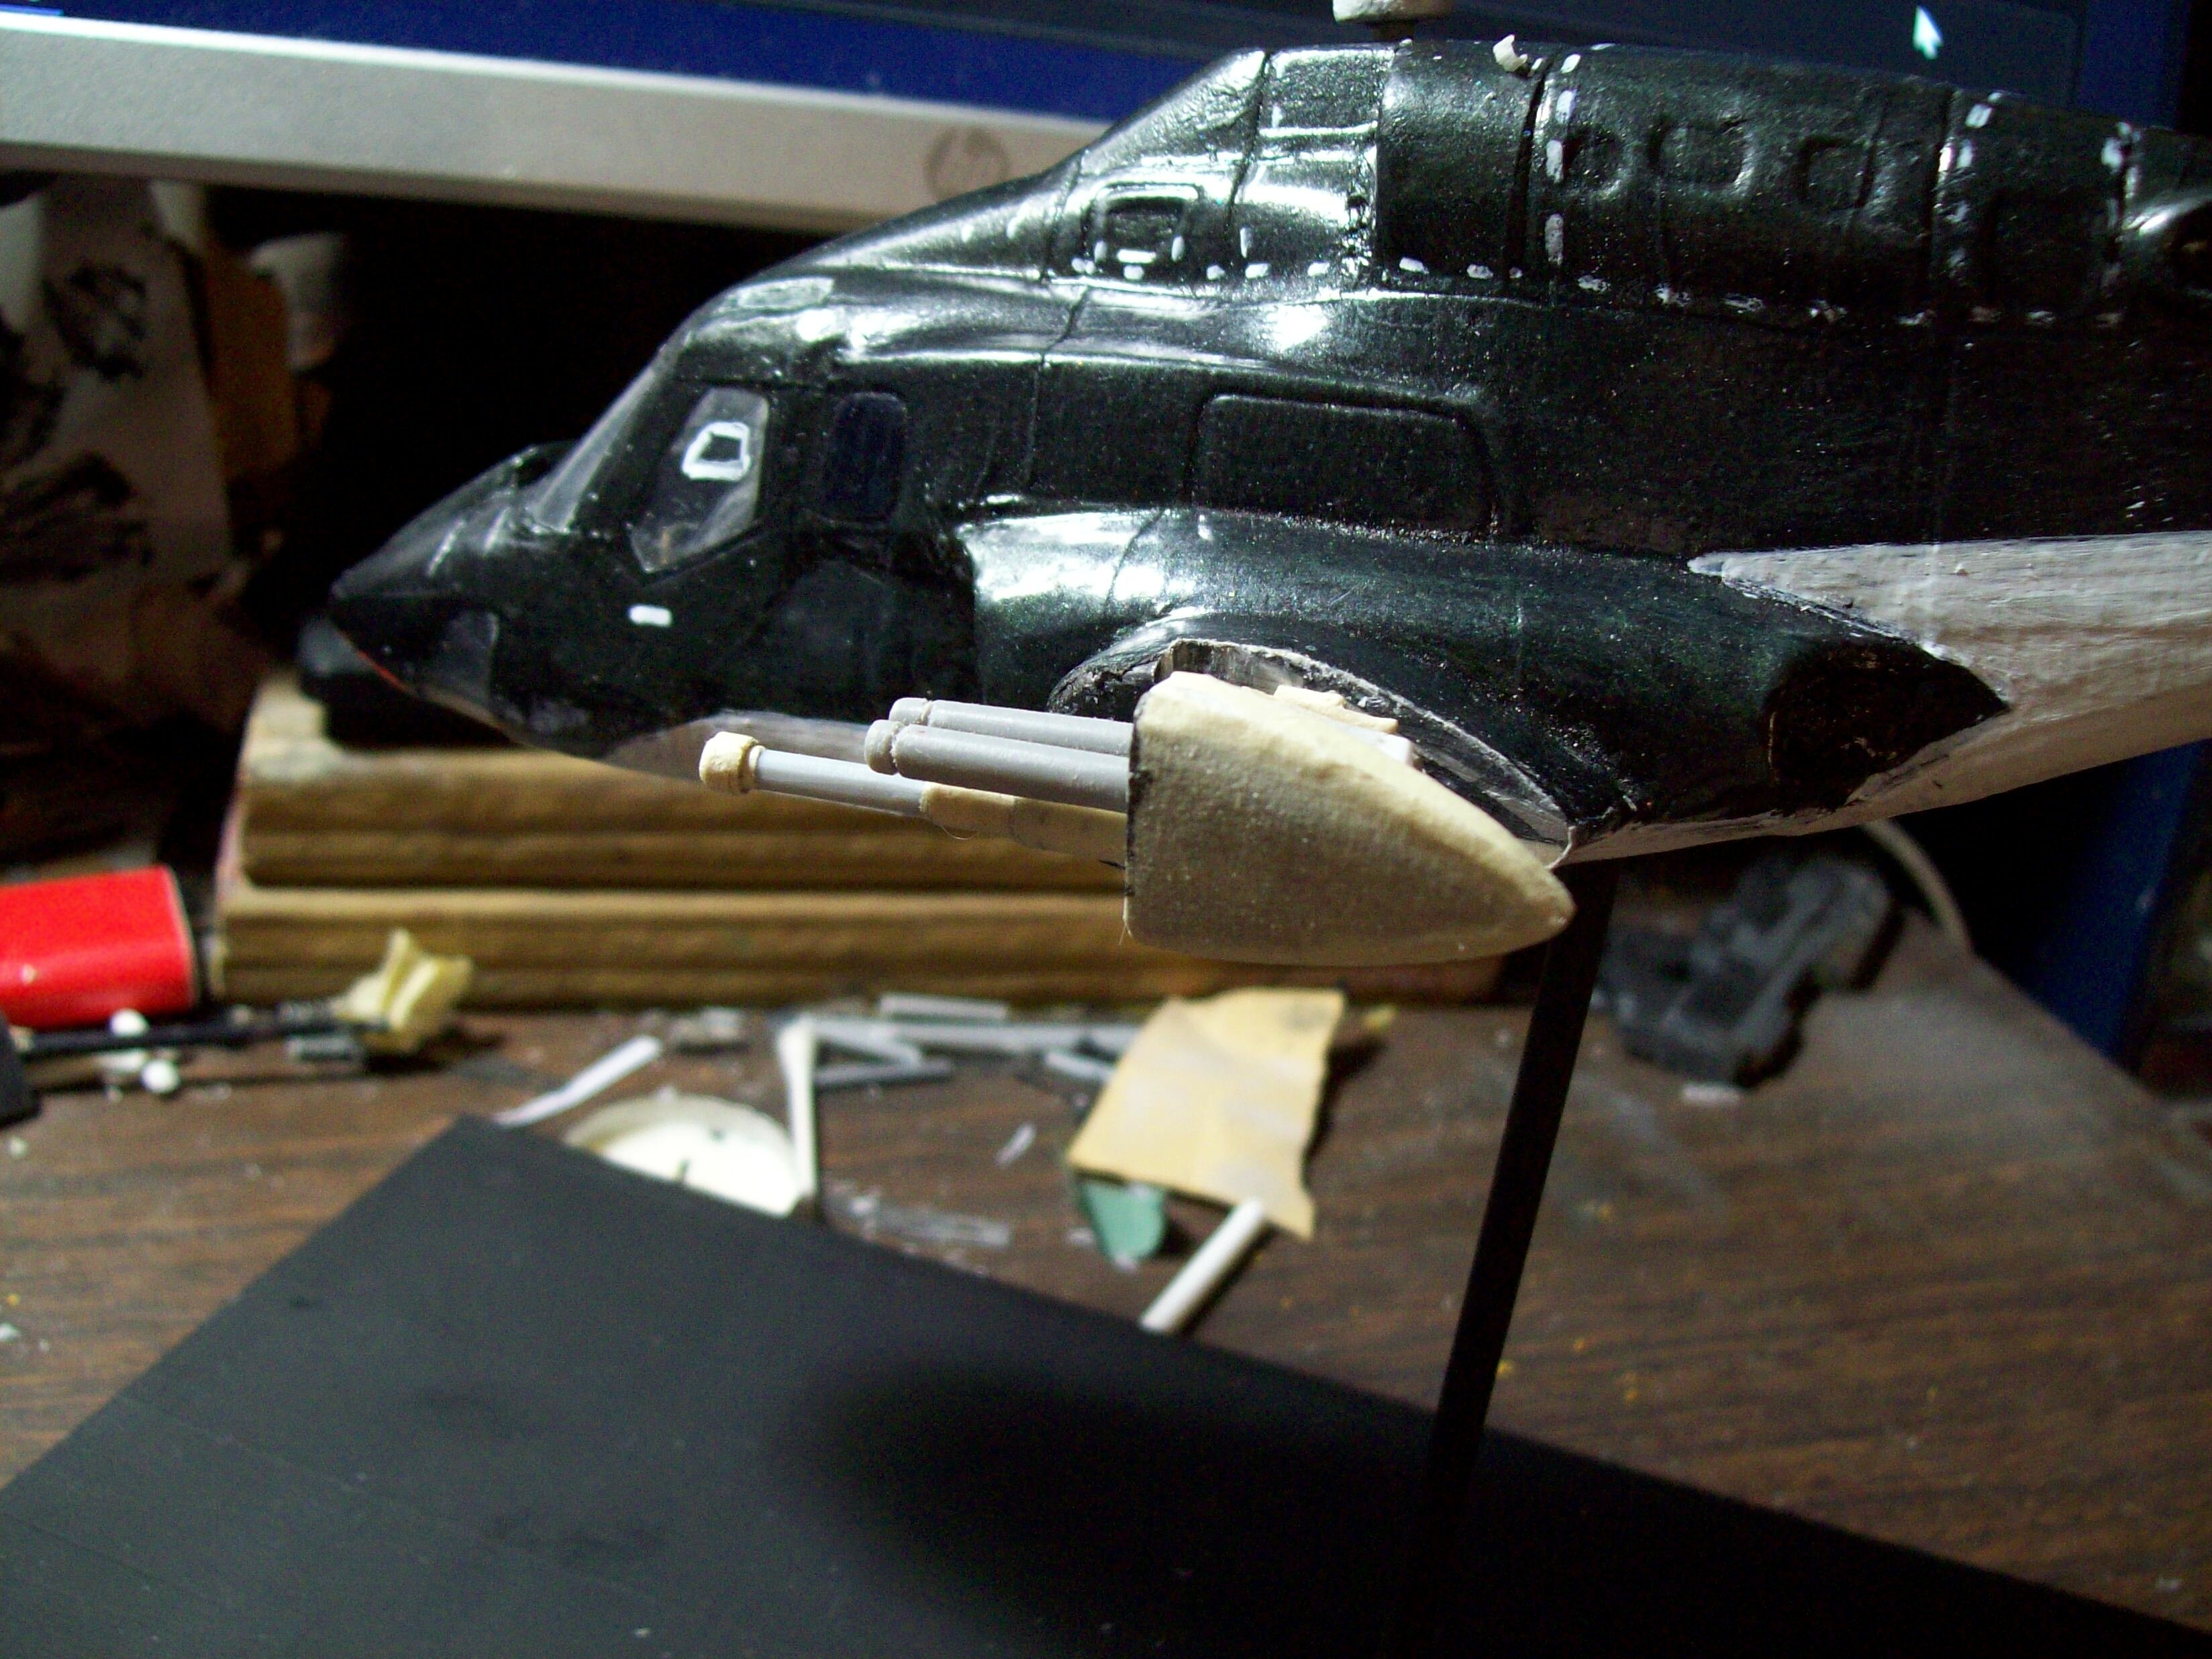
UPDATE: New sponson/ weapon end doors made and undergoing final fitting. Also started on a stand for this one: Stay tuned...
-
I feel that's being uncharitable to Ford Pintos. 🤣
-
Okay... Rick looks mad that his perm came out like crap.
-
I can see your point; that said:
-
The Transformers Thread (licensed) Next
pengbuzz replied to mikeszekely's topic in Anime or Science Fiction
Just got my notice from BBTS tonight that Missing Link Prime would be in soon! -
So basically:
-
You could try using a mechanical pencil to do the panel lining, followed by a very light buffing with a cotton bud (swab) and some clearcoat.
-
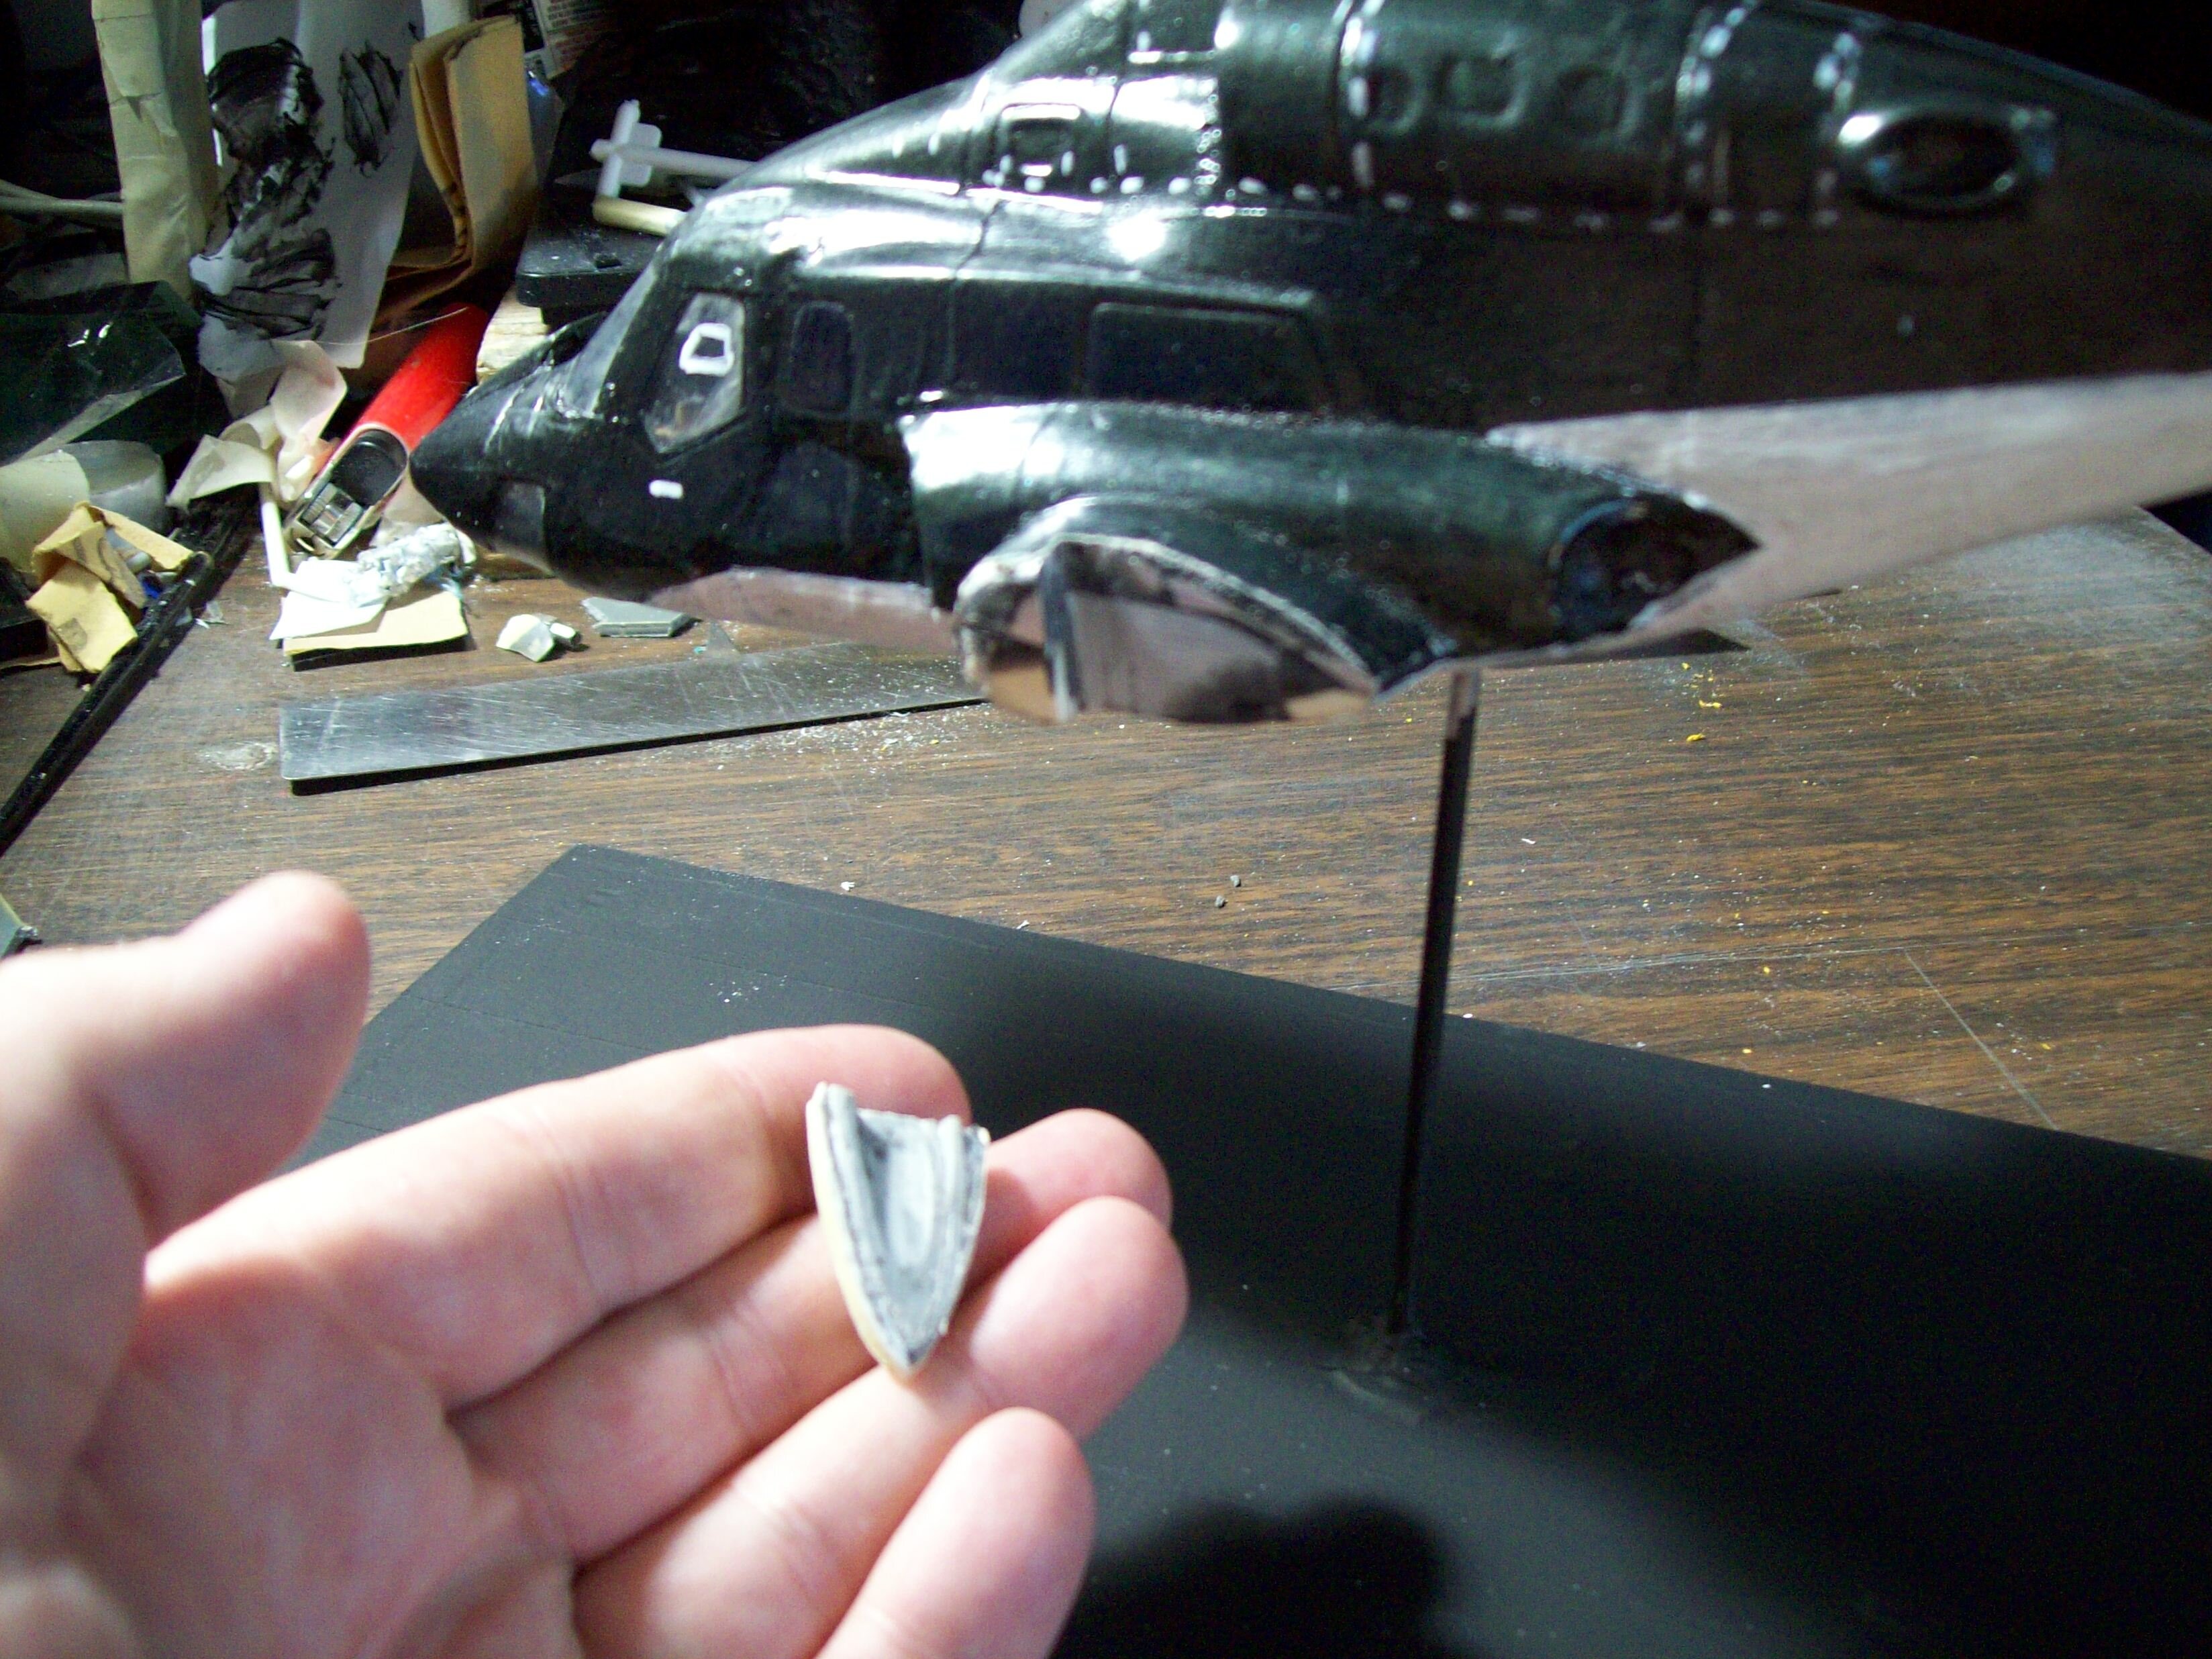
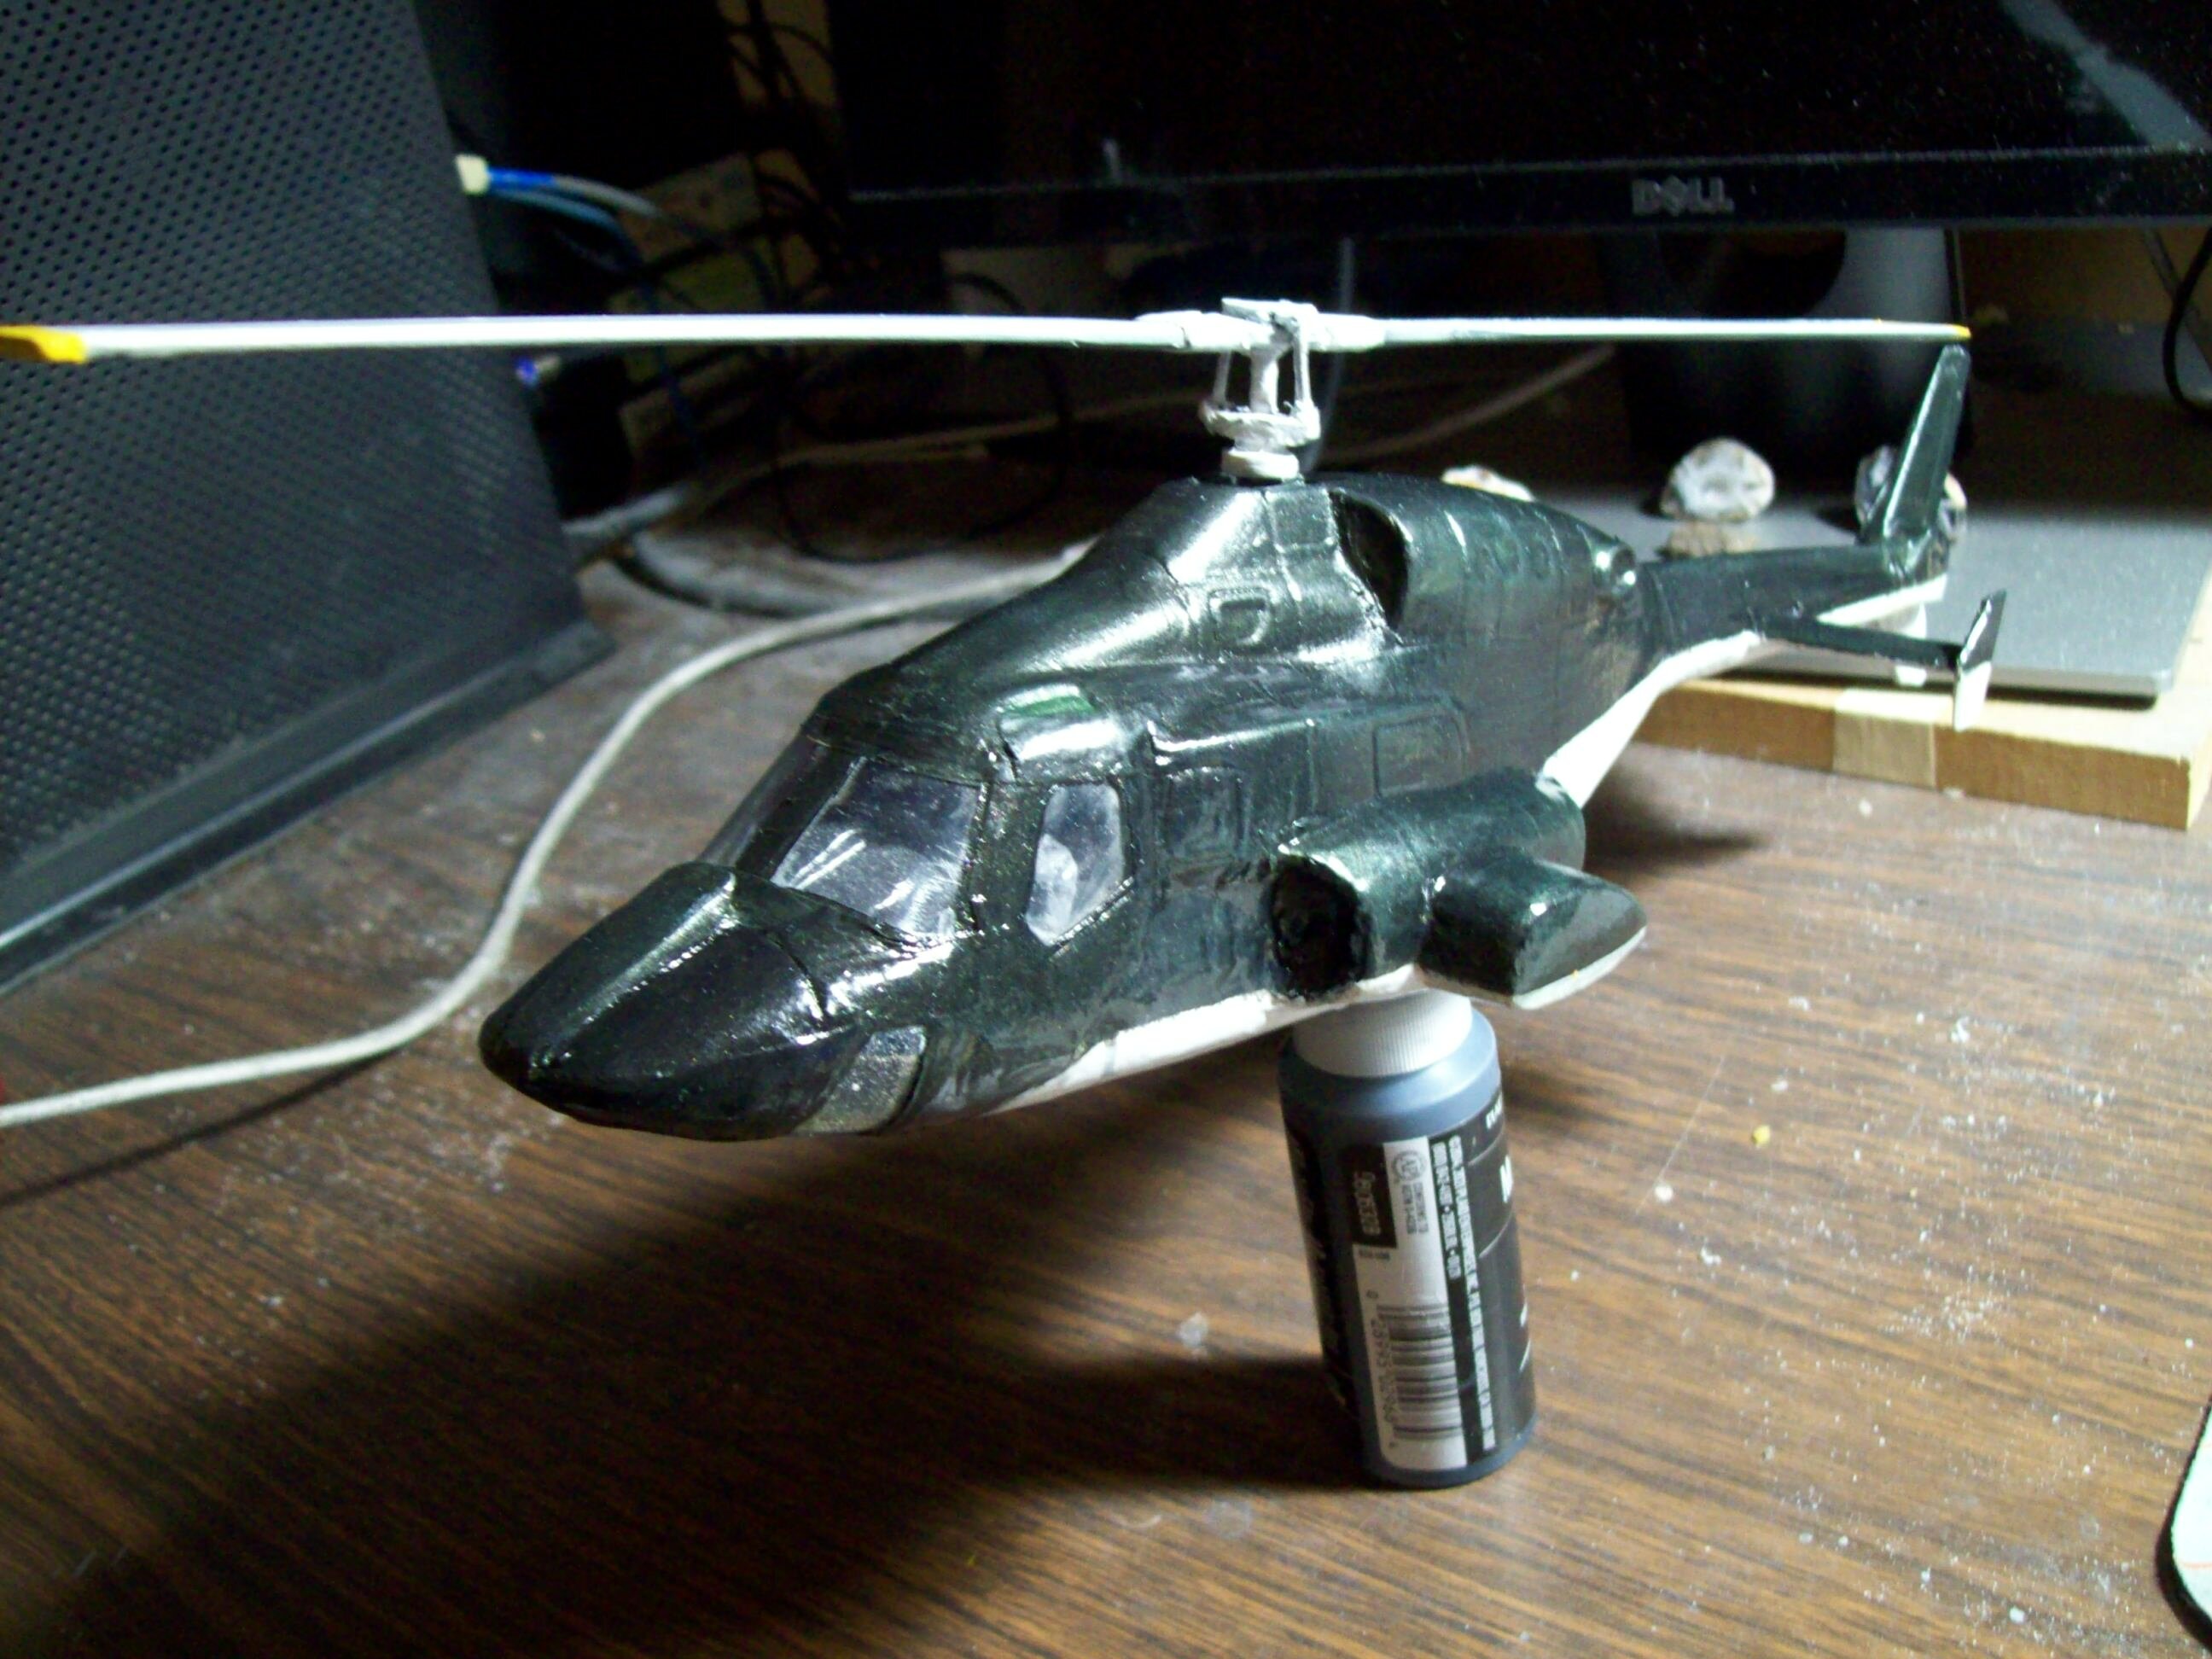
UPDATE: Next, on Airwolf:

-
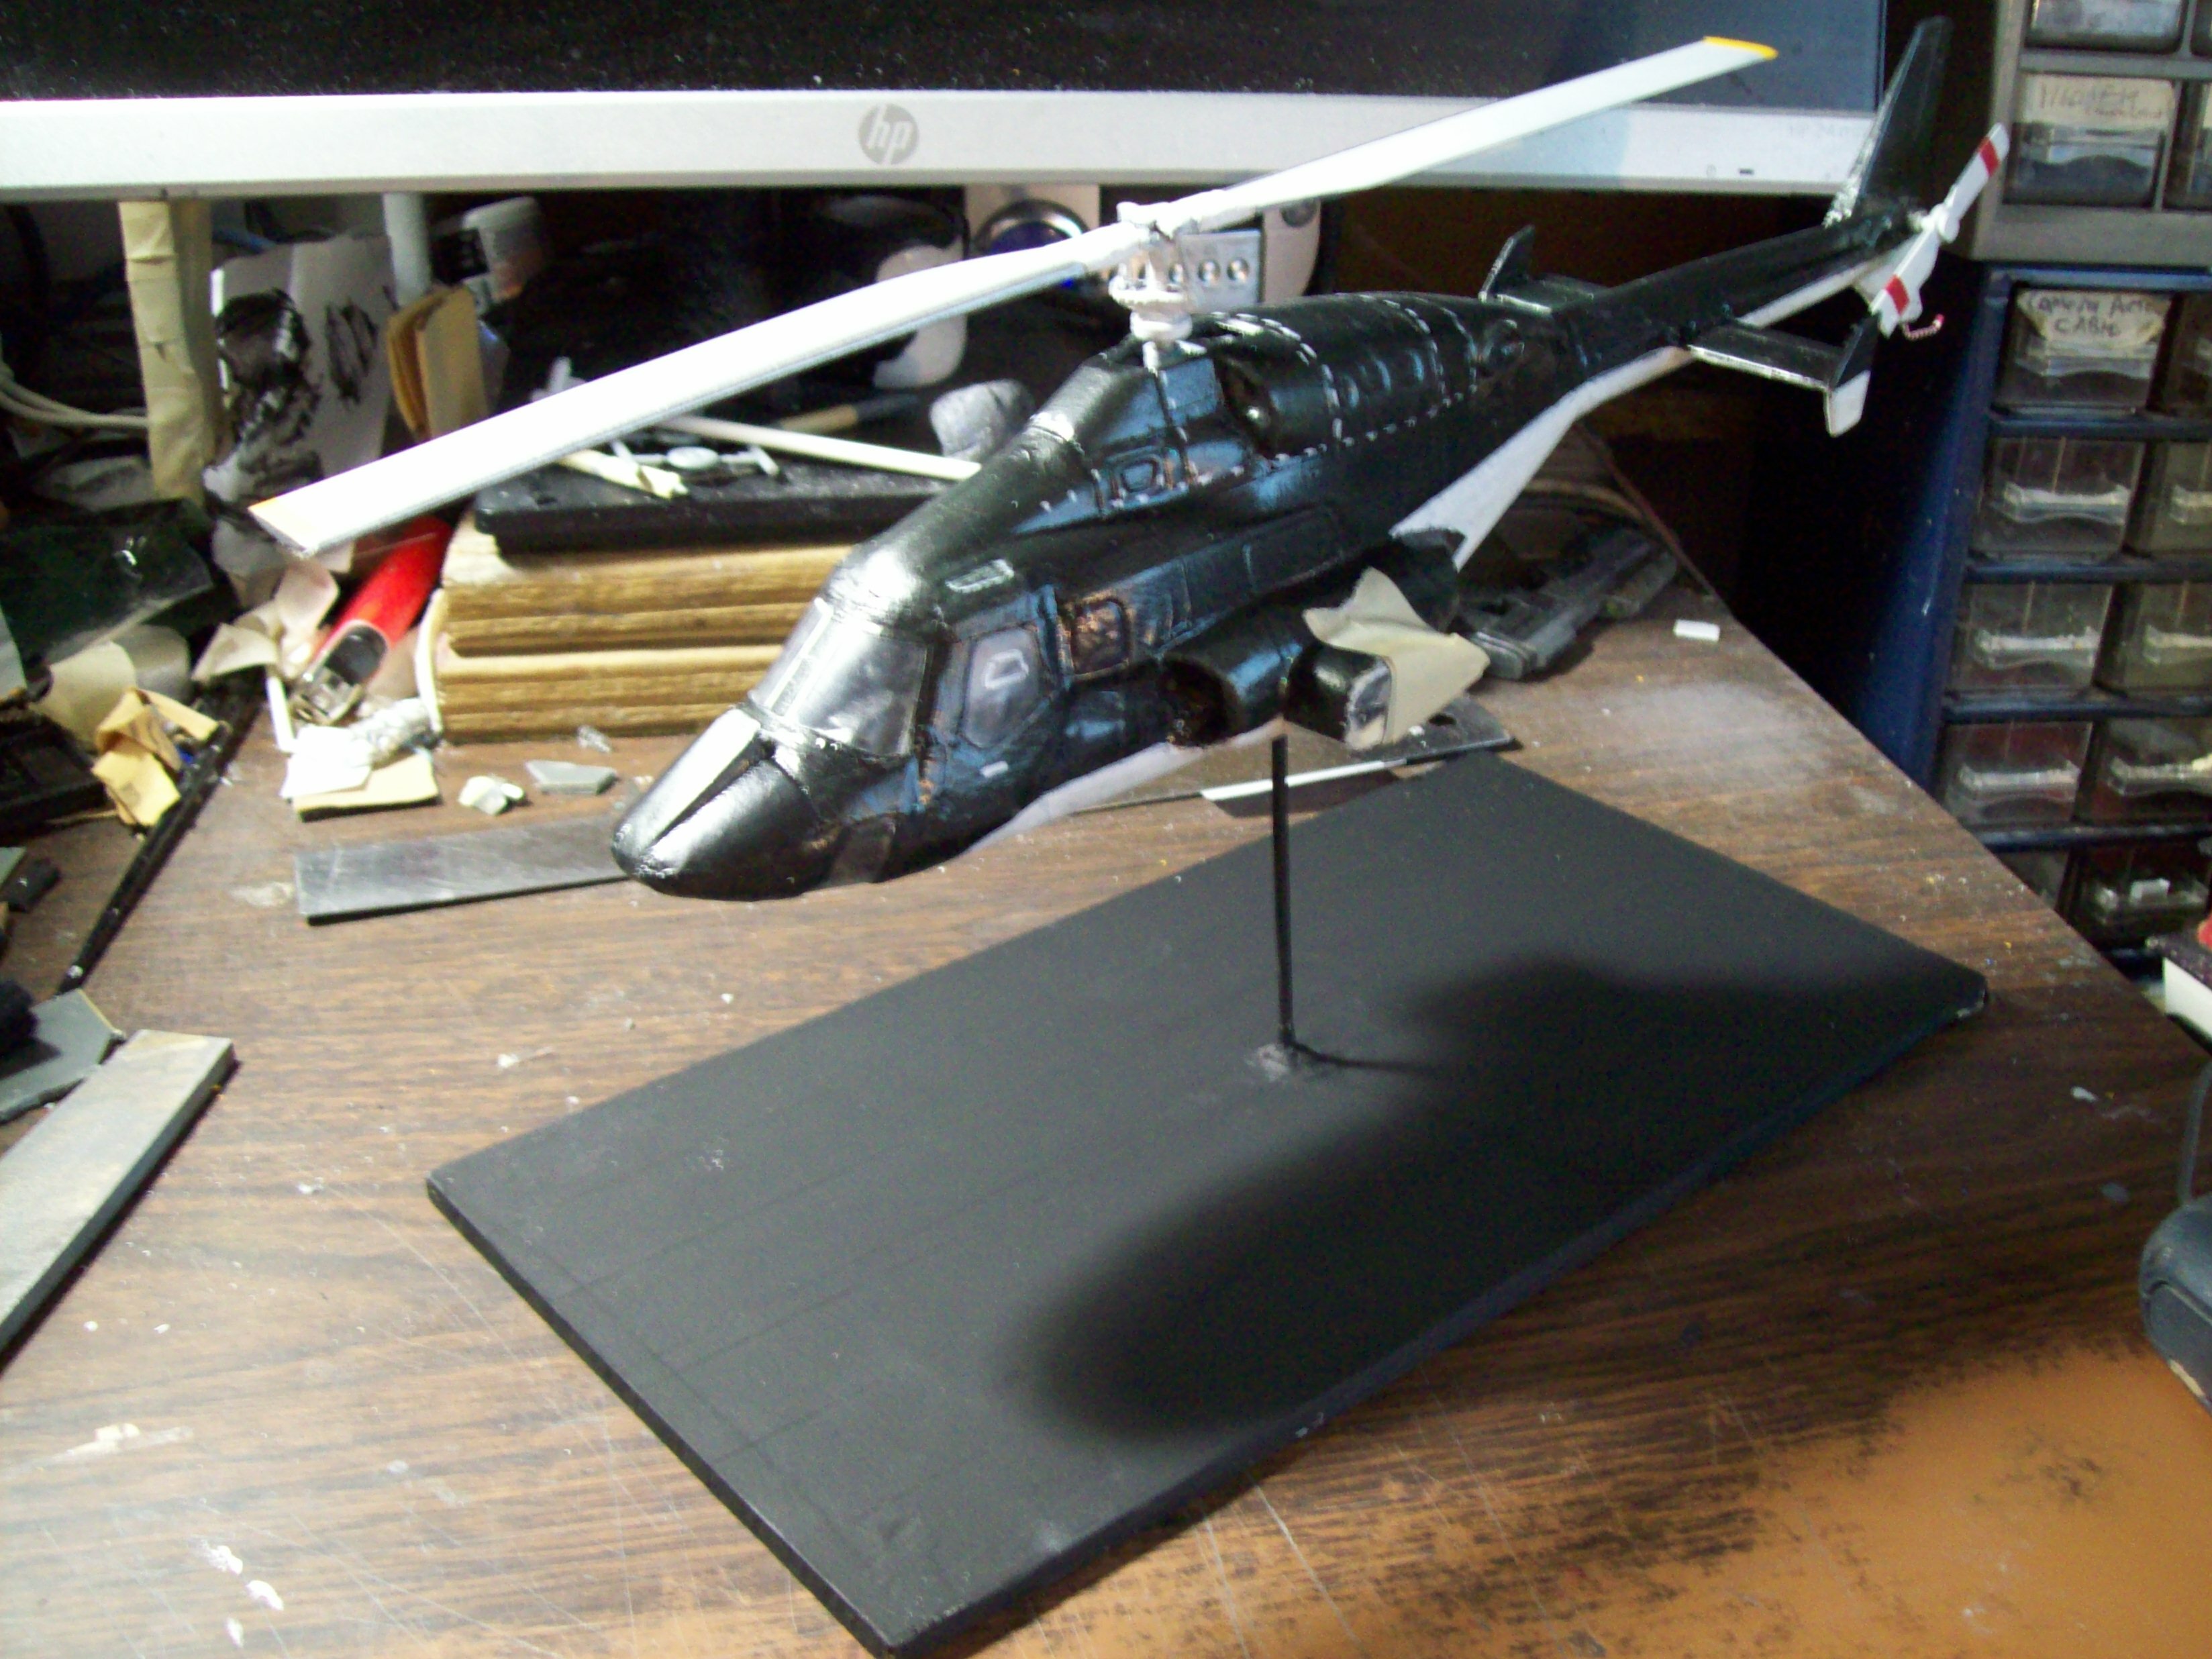
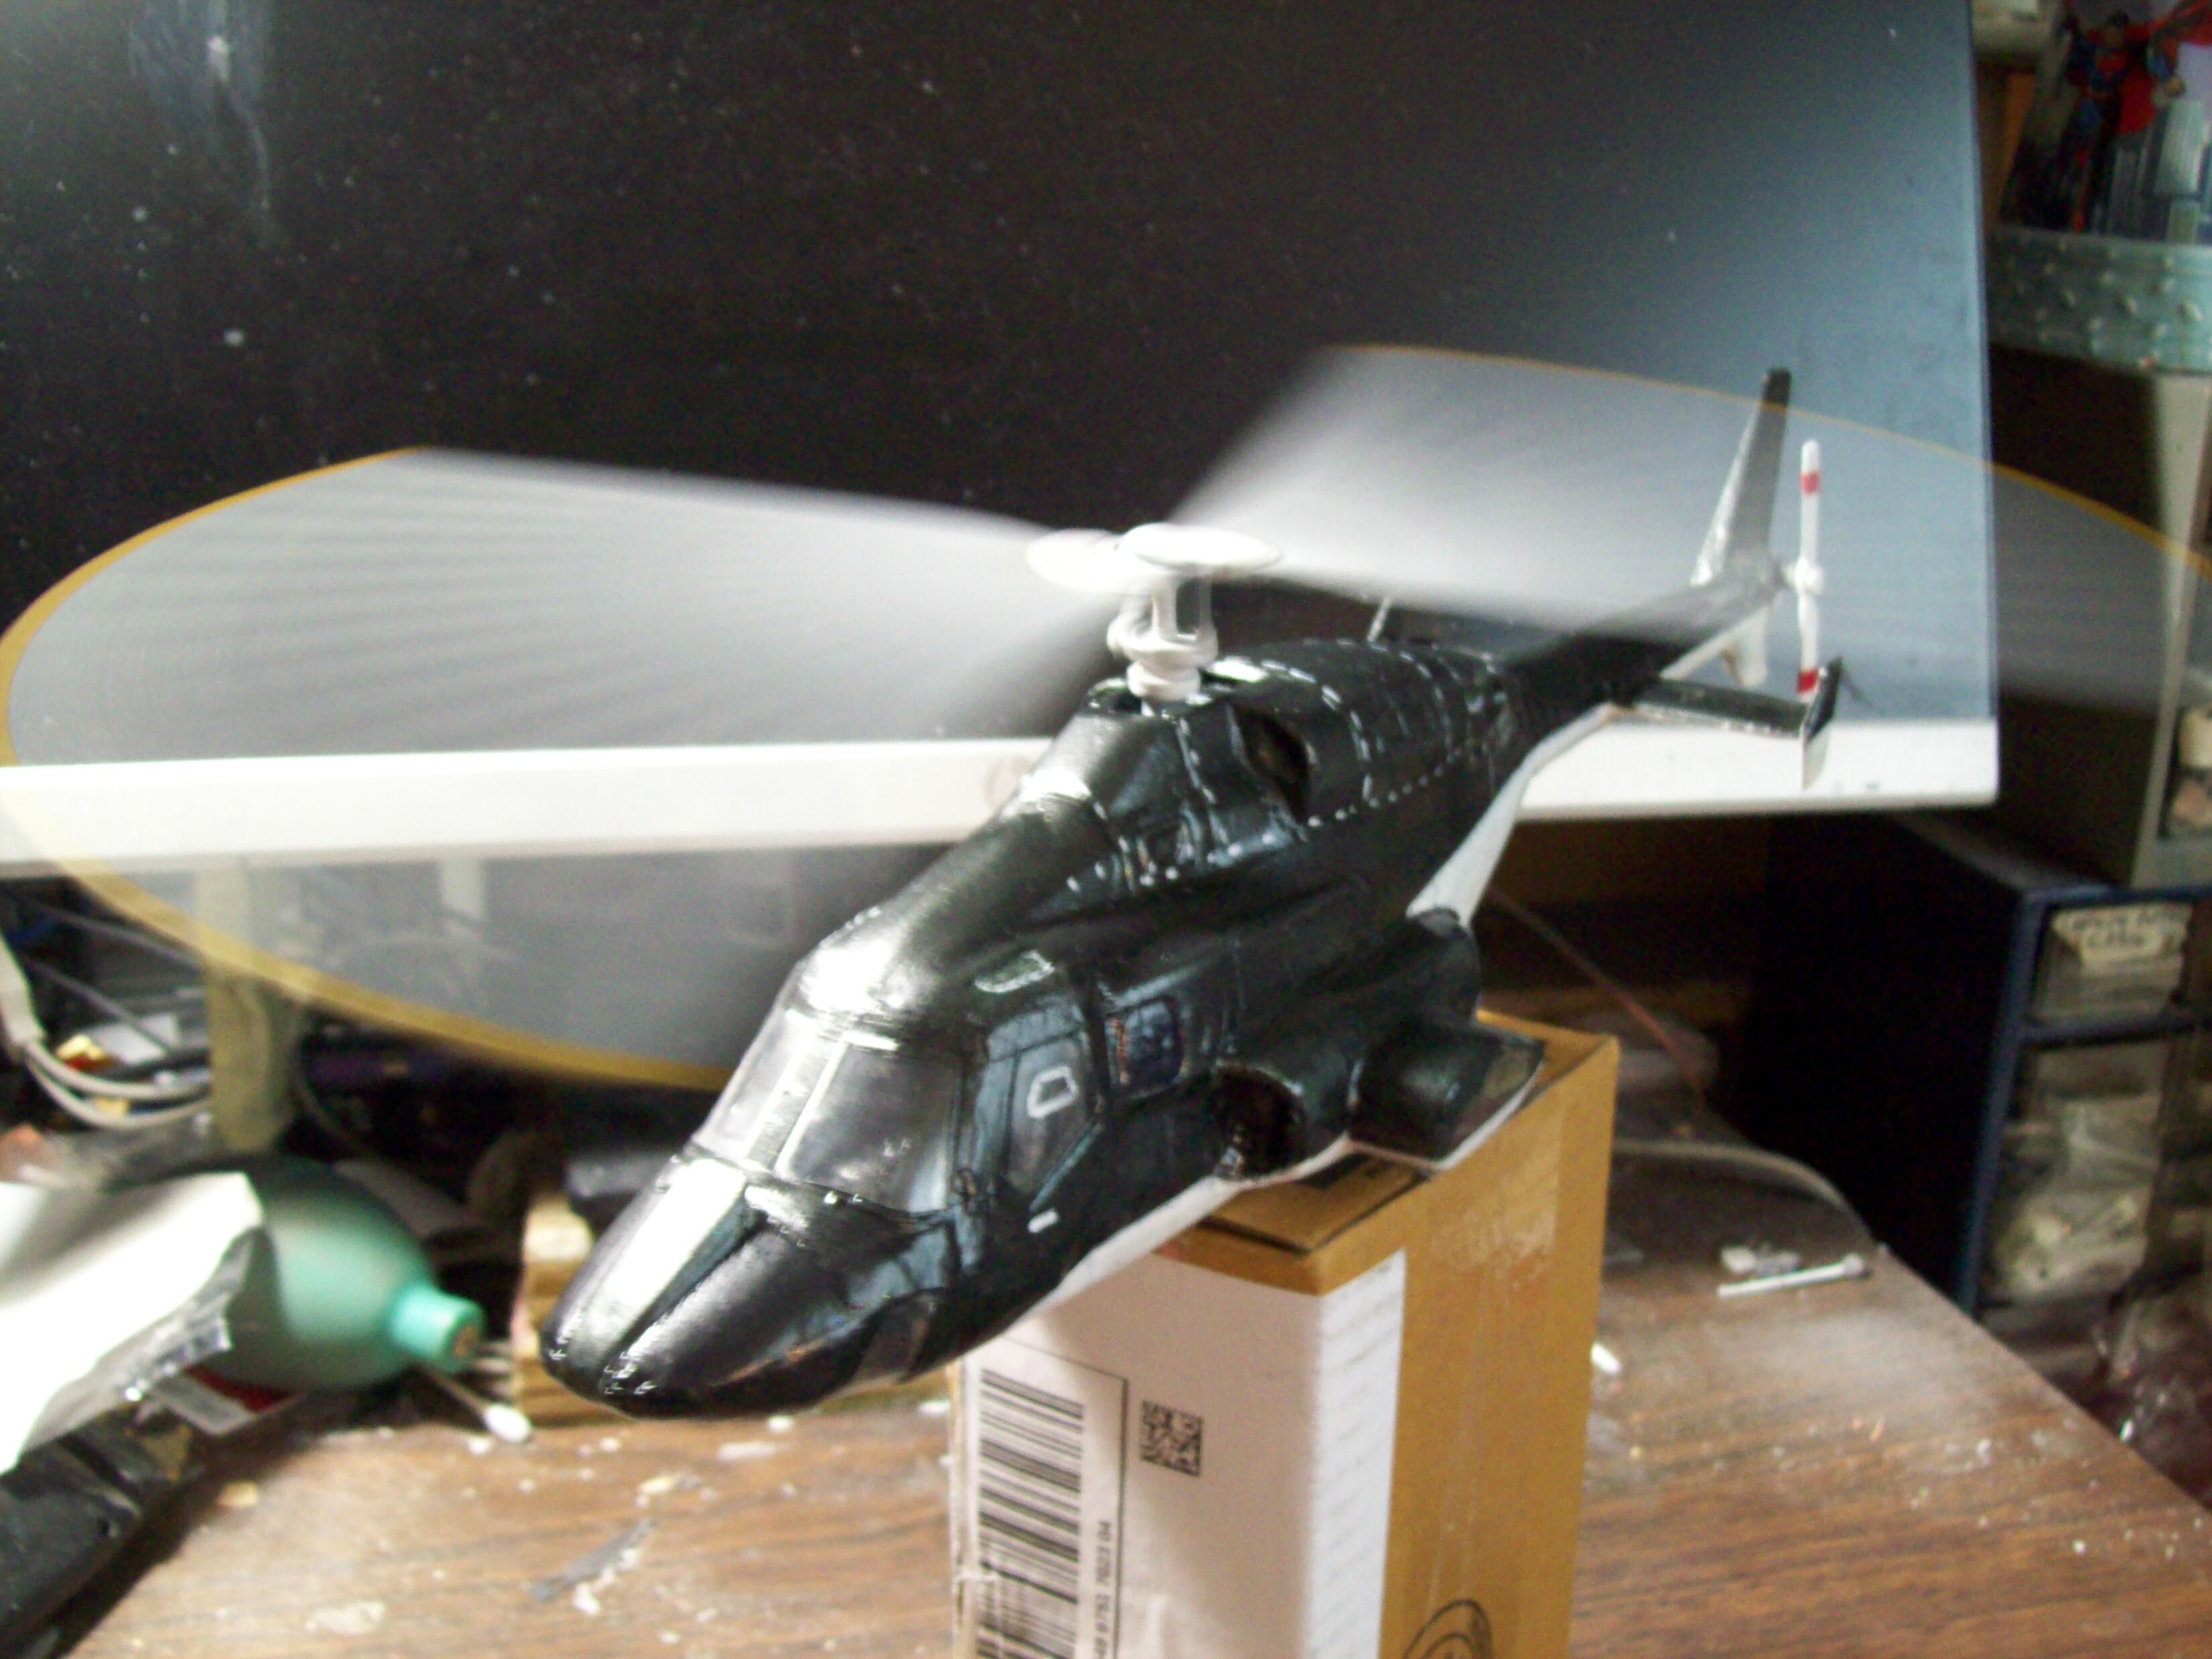
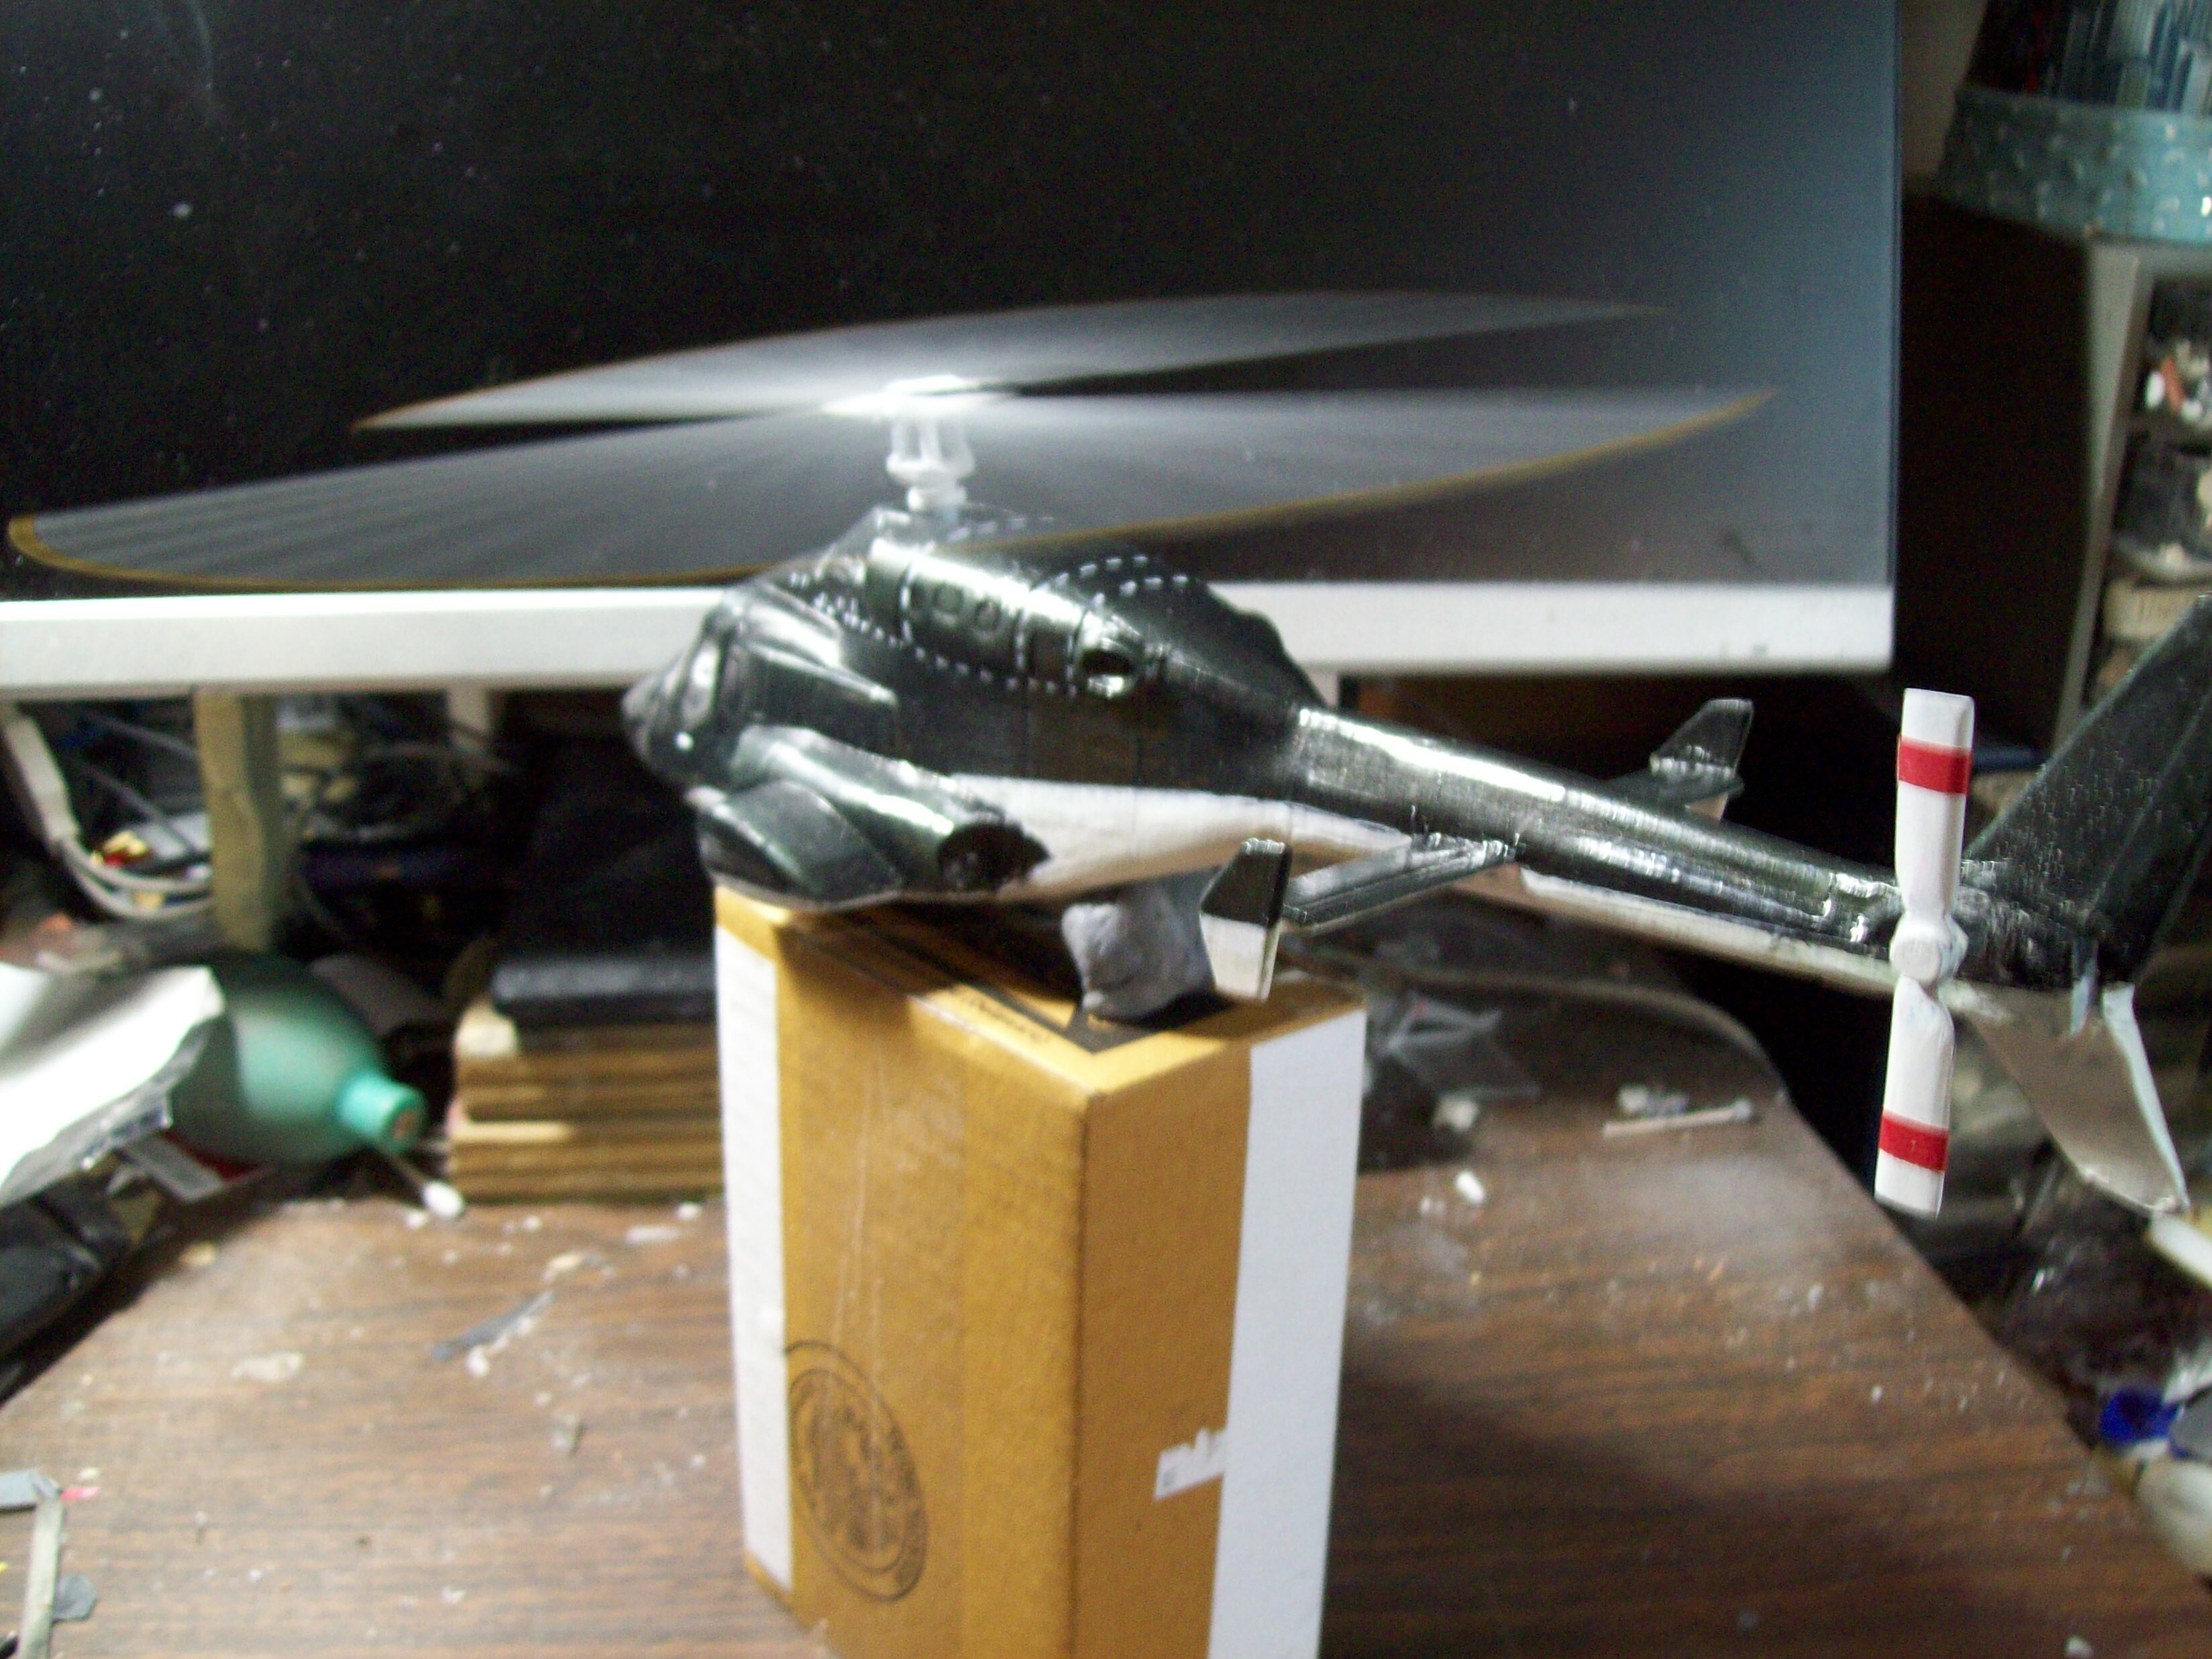
UPDATE: continuing to work on "the Lady": Still working out details, as well as trying to source turbo boost nozzles for her. Figured I'd spin the main rotor before snapping a pic just for fun; ended up looking like it does in the show! Waffling a bit still on weapons, as I would have to cut metal on the sponsons and rig a way to plug the ends in in both deployed and underemployed mode. The ADF isn't so much of an issue, as it can attach via magnets. But you never see the pod without the chain guns, so I'm still fussing on this point. Stay tuned...Dom's out getting a sandwich while String is fishing...
-
The Transformers Thread (licensed) Next
pengbuzz replied to mikeszekely's topic in Anime or Science Fiction
That's because they need to degrease the plastic before the vacuum metalization process, which removes a lot of the plasticizers out of it. On that note: I found a very thin foil tape that I use to either repair worn chrome or chrome a piece if it needs it. It can be a little fragile (especially in transform areas), but it does the trick and I'm usually pretty good about where to place it. -
The Transformers Thread (licensed) Next
pengbuzz replied to mikeszekely's topic in Anime or Science Fiction
Thanks for that info; not happy about it, but at least I have a rough possible timeline.- 17997 replies
-
- 1
-

-
- transformers
- toys
- (and 5 more)
-
The Transformers Thread (licensed) Next
pengbuzz replied to mikeszekely's topic in Anime or Science Fiction
I'm just wishing BBTS would get the ML Prime preorder I signed up for back in August and they said it would be here in March. -
I've found it to be a variant of white glue myself; I've actually taken decals and "re-basted" them when they failed to stay where I want them.
-
I'd love to see that done!!!
-
Who is the best pilot in Macross universe
pengbuzz replied to Isamu test pilot's topic in Movies and TV Series
Because "Rick" is RT; Hikaru is the original character he was based on in Macross. -
I think microset is just vinegar, anyway. Microsol....not so easy to figure out.
-
Do you use decal solvent, such as Micro-sol?
-
The 'Hey look at this really cool model build I saw' post
pengbuzz replied to Shawn's topic in Model kits
Yeah, I love watching Chip Channel; his at least seem to be legitimate, and I've learned a thing or two from his restorations. -
The 'Hey look at this really cool model build I saw' post
pengbuzz replied to Shawn's topic in Model kits
I have some considerable reservations about these "restoration' videos; from what I know of die-cast, they don't corrode like that. Also, the parts seem to be in pretty good condition for something that badly "corroded"; I've reconditioned some badly broken and wrecked items, and there are real limits to what you can do with them. Many of these videos seem "put on" to me. -
From FoxNews: More: https://www.foxnews.com/entertainment/oscar-winner-louis-gossett-jr-dead-87
-
Need to make tail rotor.
-
The Acolyte - Disney Plus Star Wars Series
pengbuzz replied to jvmacross's topic in Anime or Science Fiction
Agree with Seto, Chrono, Thom and Big S: if you need "tie ins" to tell your story, then maybe you're not a very good storyteller to begin with.