-
Posts
4678 -
Joined
-
Last visited
Content Type
Profiles
Forums
Events
Gallery
Everything posted by MechTech
-
Looks great! Nicely finished. The only thing better than this is a basket of REAL crabs and butter sauce! - MT
-
1/350 Scale thread... Mospeada, Southern Cross and more!
MechTech replied to EXO's topic in Anime or Science Fiction
That's coming along awesome! Can't wait to get one!-MT- 419 replies
-
Regarding the LED lighting, give it a try! The secret is to plan it out. Hollow models are easier to run the wires or fiber optics through obviously, solid resin parts need to be drilled through to run your wires or fiber optics. If the model is hollow you can put the batteries in it but as was stated, they can leak. You can put the batteries AND the switch in the base. Just put a small connector in the foot and you can disconnect the model from the base. I built a 1/35th Patlabor Alphonse with LEDs in the shoulders. It makes it stand out. Love the Su Noyhauser. Got to see some abandoned ones downrange. Story goes one guy sat in one and pulled the ejection seat handle THINKING it was no longer armed...;-) The fighter looks great Zombie! I managed to get one of those because I love the design. Still gotta see Crusher Joe though!-MT
-
Welcome Mintox! It looks and so does the finish.-MT
-
It looks great! I'm sure the design is patterned after the Firebee drone. They were water or airborne recovered too, no landing gear. The sculpt is coming along great!-MT
-
AcroRay is right, it's PVC, but PVC has many grades, some of those are cheap. I have some of the same figures. They've gone from good to rubber and can break down to sticky!-MT
-
Hikaru Hichijo VF-1J Hasegawa Gerwalk, also with detailed cockpit
MechTech replied to Cesar Enrique's topic in Model kits
Talk about a dirty bird! It looks great with wear you'd expect being stuck out in space always in combat.-MT -
Not only the issues that EXO mentioned, but they can be sticky because cheap plastic was used. It may ruin the finish if it remains sticky after priming. Others complained of this issue in the past. - MT
-
Hasegawa Max VF-1A Gerwalk with scratch detailed cockpit
MechTech replied to Cesar Enrique's topic in Model kits
Looks great - and dirty Nice finish and photos too! - MT -
Nice job whipping that paper into shape!-MT
-
That came out great, thanks for sharing! Now you just need a scale sized Zentraedi to play dead next to it.-MT
-
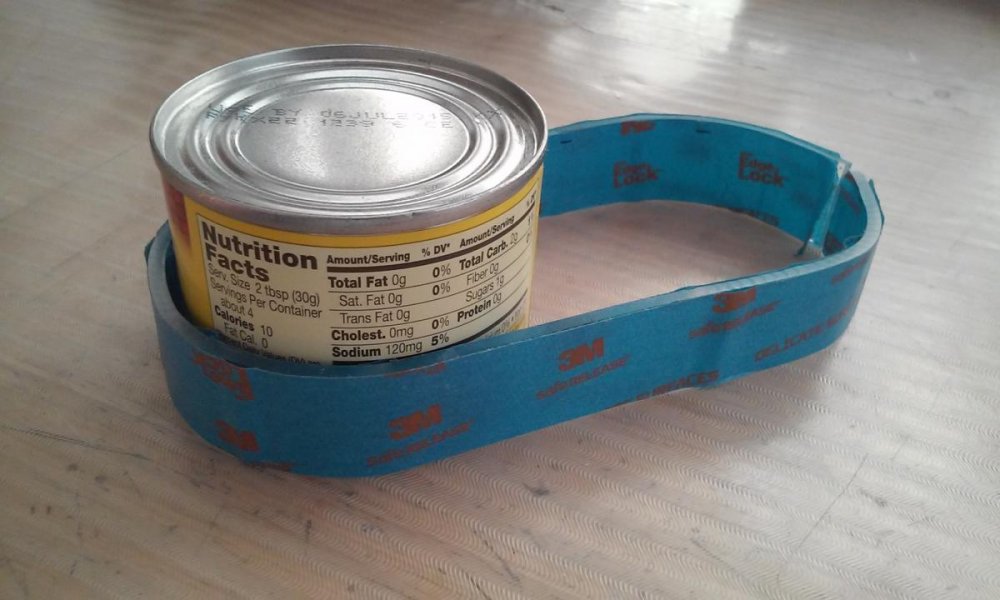
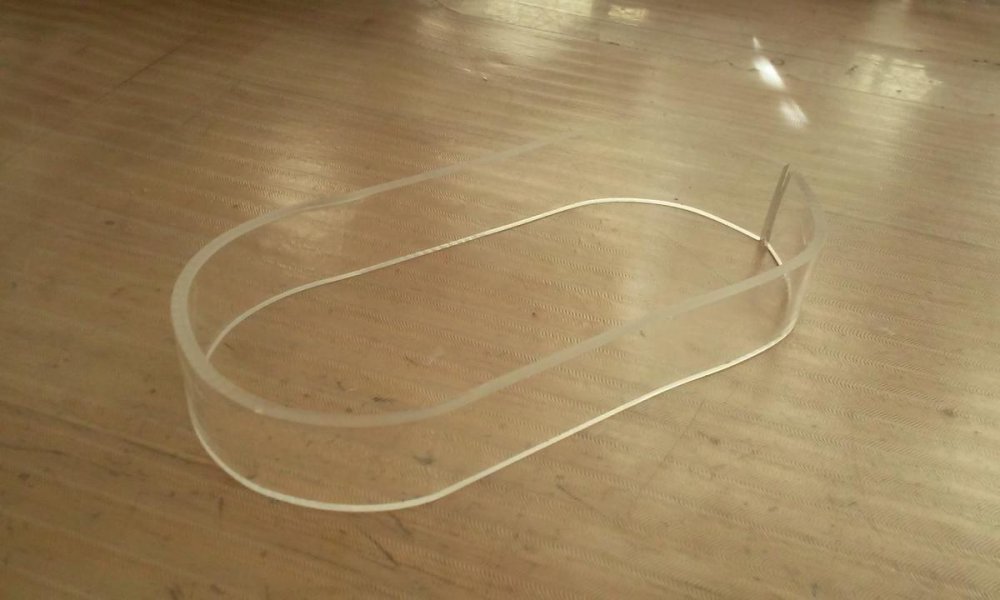
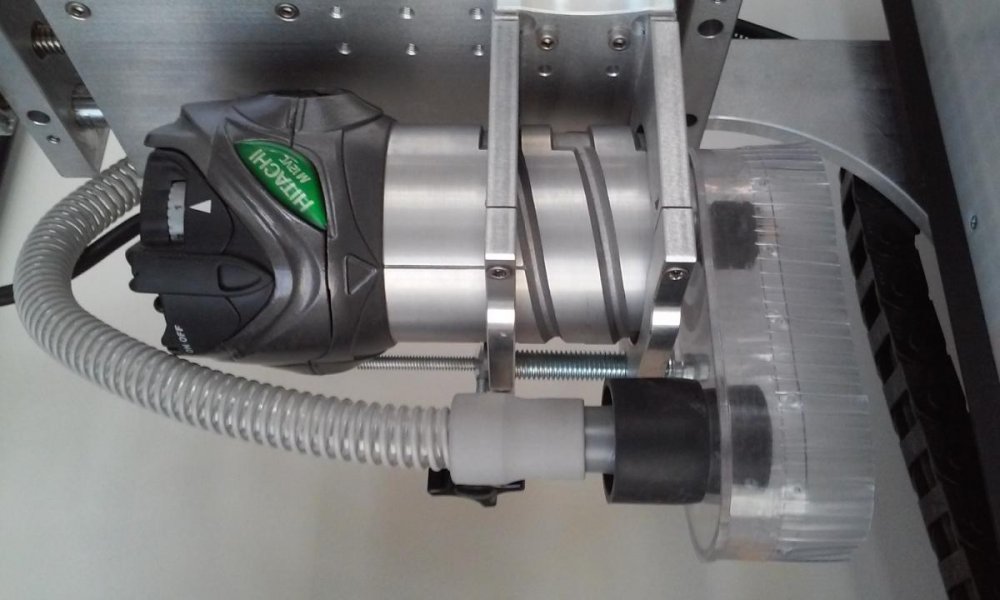
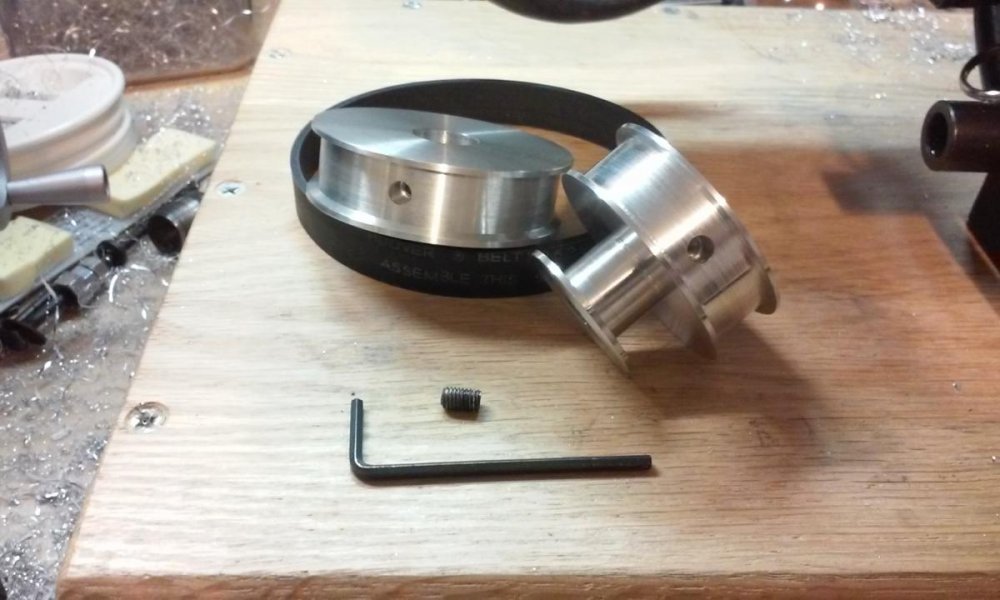
Meals Rejected by Ethiopians-my gut rumbles at the memory of them! Some awesome looking stuff guys! No time for modelling working on my schooling. But getting ready for the Daedalus kit in what little time I have. A couple of weekend projects to include litterally toasting some plastic to make a vacuum pickup for my CNC machine and chilli can for the mold. My mill seriously lacks power so I made pullies to gear it down. It's still gutless, but works better and adding lube to the cheap bearings that had none quieted it down some.-MT
-
I love it all man, down to the last detail! That came out AAA-AWESOME!!! - MT
-
AWESOME build! Who says bigger isn't better!-MT
-
That DEFINITELY blows away any of the other previosly versions of this model! I love the backpack details, especially the engines.-MT
-
I have the same problem with Sharpies. The top coat or surrounding colors clog the pores of the applicator tip. You're stuck having to accent first and clearcoat later. My oil based metalic markers are the same. They prefer clean plastic since they pick up/melt the finish. Hopefully the Tamiya markers fair better.-MT
-
That's lookin' awesome! Love the hand design and use of the pull chain!- MT
-
Great buildup and it's great how you're sharing your techniques! - MT
-
Nice touch with the diorama display. - MT
-
He he, I was talking about the model photo with the pin vise in it, but oweee again. I tore my thumb open disconnecting my shop vac for cleaning when the screwdriver slipped out of the connecting tab. Two weeks later it's finally healed! Glad your back at the bench!-MT
-
I was gonna clown about the pinvise stuck in the hand of the model, but real pain- OWEEEEEeeee! Heal up! - MT
-
That's gonna look cool when you're done! I always loved that mecha.- MT
-
Thank you very much guys - again- for all the compliments! I appreciate all the positive feedback and humor! It was a joy to build the Daedalus and share my passion with everyone. My brain is already working the mechanics for he next version. How to make it simpler and cost effective to make (and you guys buy a copy that want one). I'm trying to keep it mostly styrene too! Still working on the international video version for you guys across the ocean! - MT
-
Thanks for going through this build-it's looking great. I've used styrofoam block for support with projects like this. Expanding foam will litterally blow out your work as it expands-found that out the hard way! A good cheap razor knife will make quick work of the foam. Uhu "Creativ" will glue the foam to the paper.-MT
-
They look great! Down-loaded a copy maybe for use some day, thanks! - MT


