
MechTech
-
Posts
4688 -
Joined
-
Last visited
Content Type
Profiles
Forums
Events
Gallery
Everything posted by MechTech
-
@GMK That is looking good! I haven't seen that turret before. @Urashiman That is looking great! What scale are you planning on making it? - MT
-

The 'Hey look at this really cool model build I saw' post
MechTech replied to Shawn's topic in Model kits
The wool valkyrie is COOL! "And now your kids can cuddle up with Macross each night!" 😄 - MT -
The Regault kit is old, but it DOES still look good and had some nice features on it. We bought the re-release when they first came out. I have to build it with my son. I look forward to your finished build! - MT
-
GREAT build and finish! You are one of the few people in this world to own such a kit. - MT
-
Those Hasegawa sprue shots looks A W E S O M E !!! - MT
-
I have to agree, great photography and finish! - MT
-
That looks good and is waaaay better than just sticking them in a glass case. It helps put things into context. Cool idea! - MT
-
@pengbuzz Rebuilding stuff seems to be half of building stuff The shape looks great! @peter I wondered what happened to you. Good progress on your fleet! That's cool how you're teaching swordsmanship. I had a great grandfather who was a Ju-Jitsu champion after spending some time in Japan where he learned it. He then went on to teach it to U.S. troops for WWII and doubled as a voice interceptor and analyst for intelligence. @derex3592 She's a tough old girl, but looks good when complete! If you haven't yet, you may need to let the decals soak for 30 minutes, no kidding! @wm cheng That's a beautiful cockpit and finish! I forgot how many equipment boxes were in the back of F-15c's. Congrats on the film productions! - MT
-
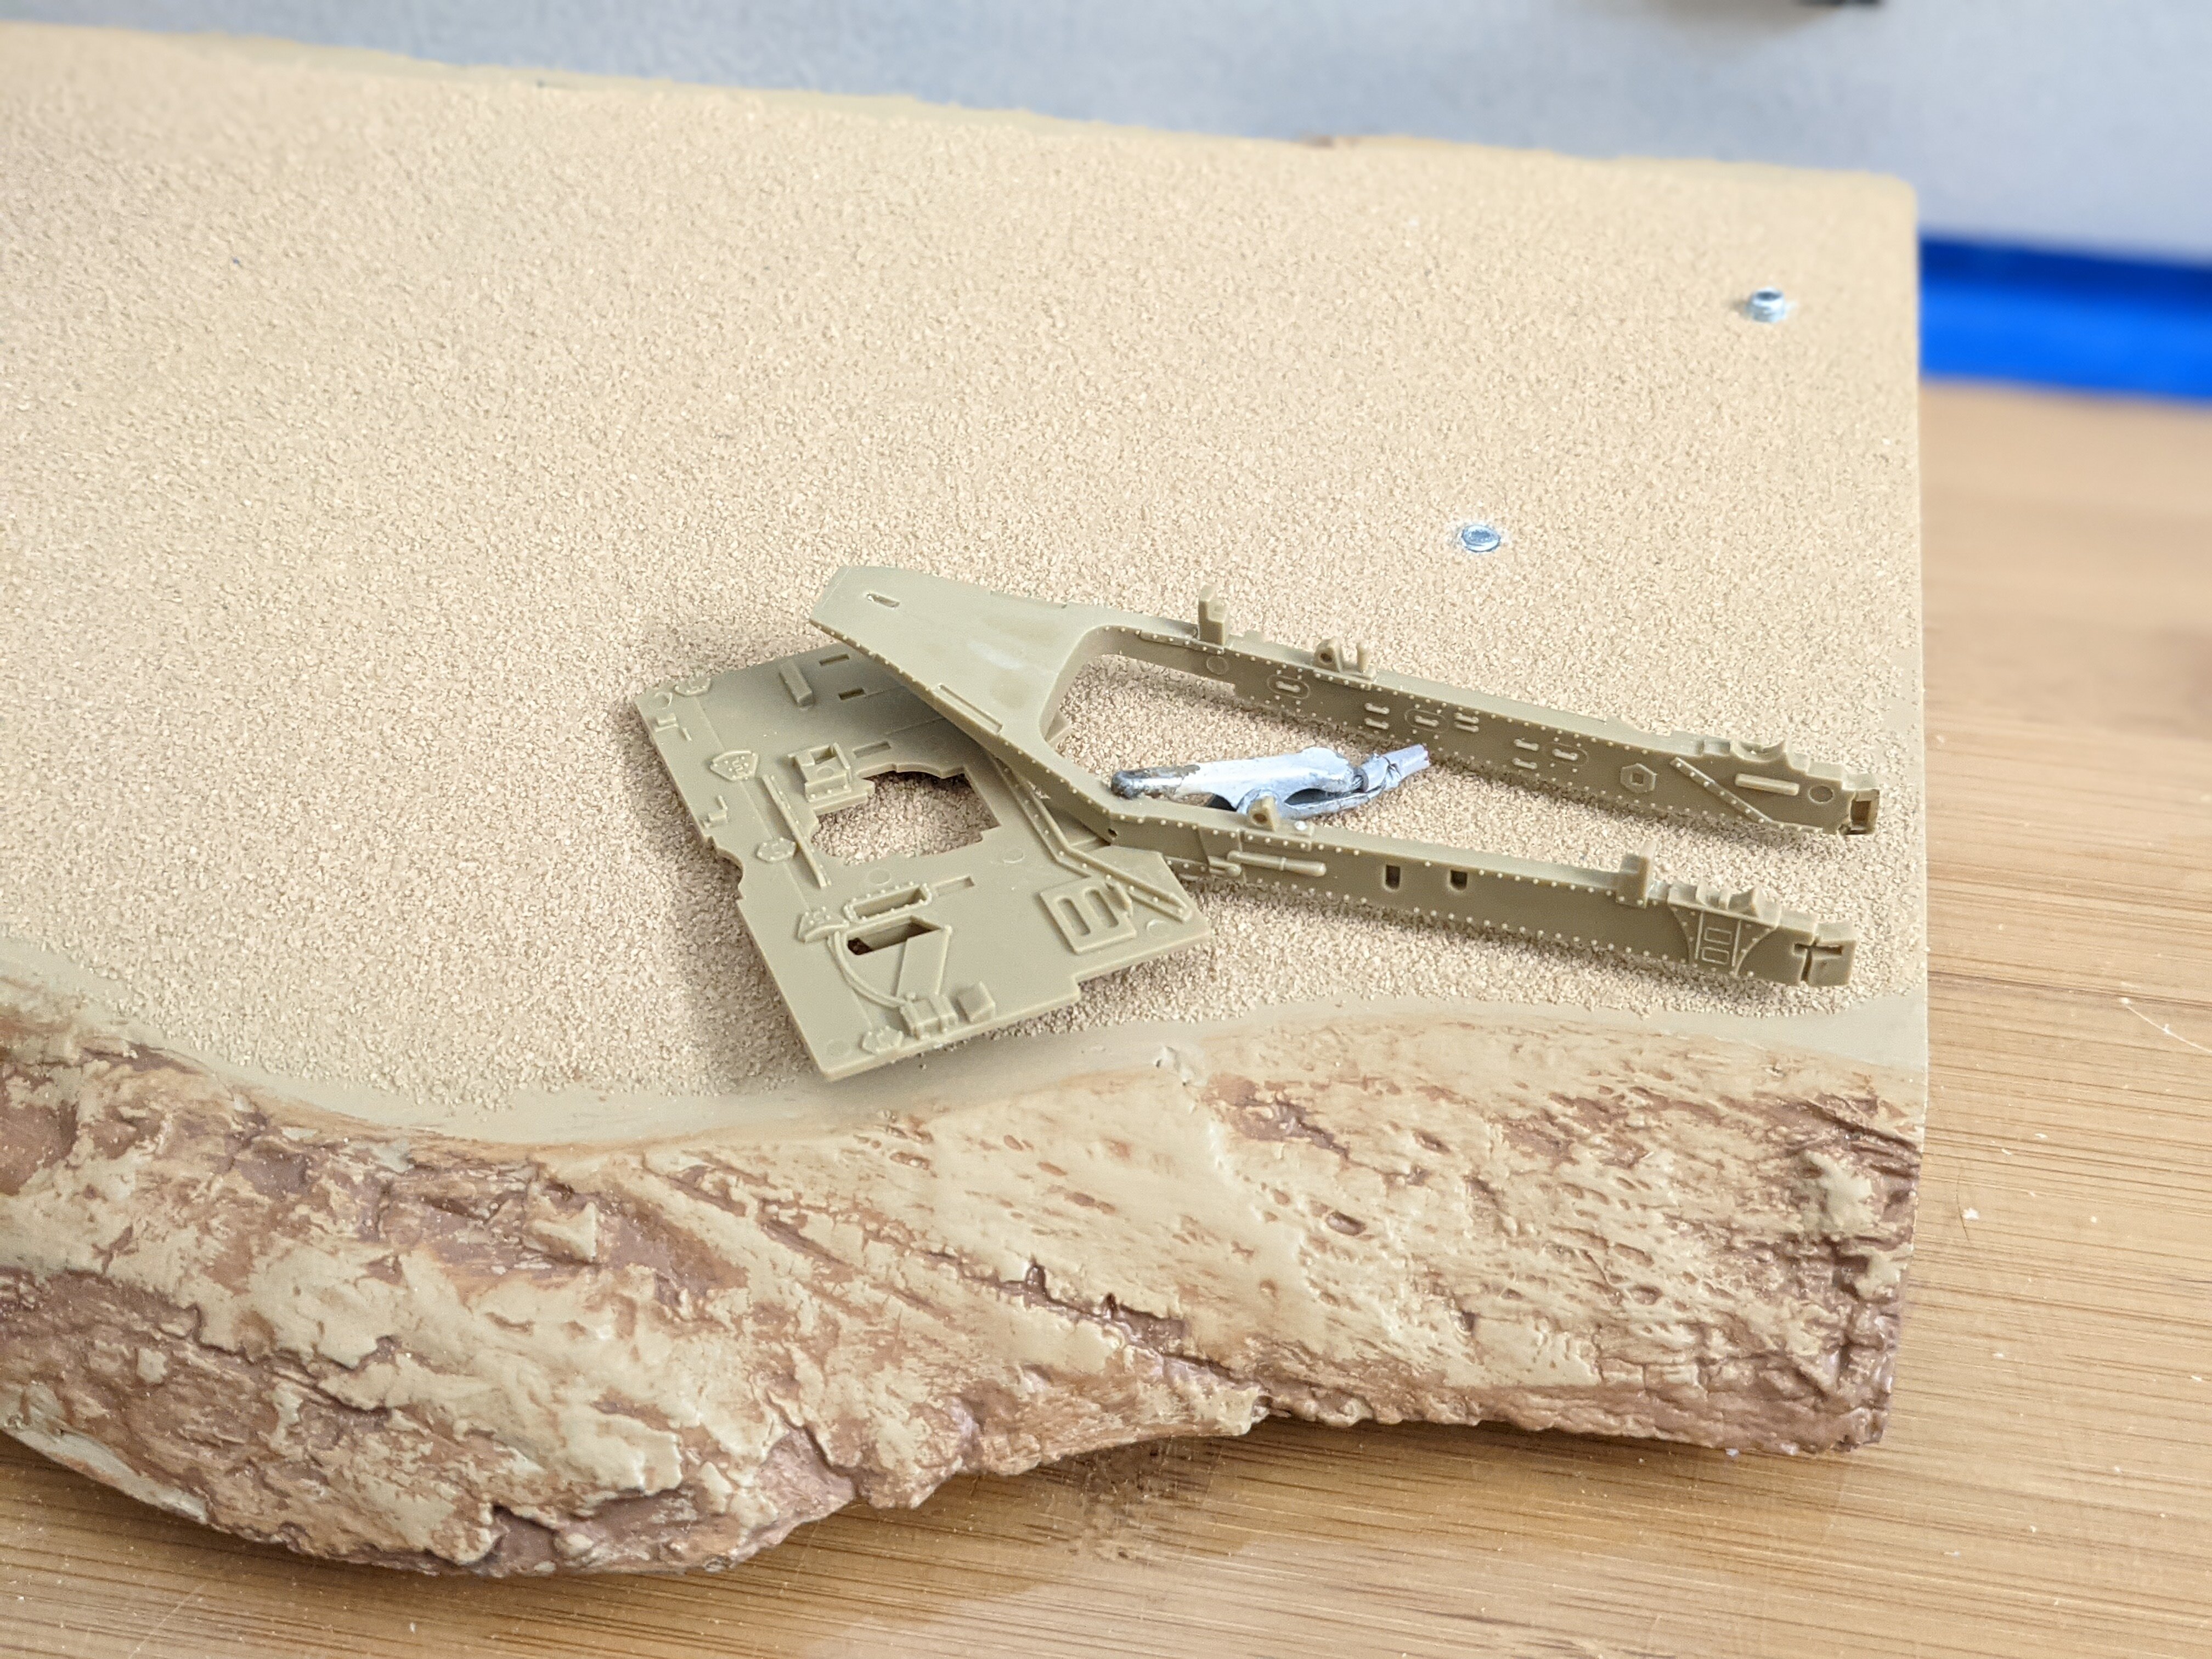
@big F You're still alive! You are too right! Same ole' MS shenanigans! @505thAirborne You're paint is looking good! I look forward to the final finish. @Urashiman Your gift looks REALLY good! Great details. "One Piece" is a trip of a series! We got one of the movies without seeing the series and almost got lost - but it was funny! @arbit Your Ranka looks good! I think you are on the right track with painting. The only thing that might make your lined areas straighter is decals, but she looks really good! And you printed her. She's not a mass produced kit. @derex3592 OG QRau! The primer is looking smooth! @pengbuzz I always like to see a coat of primer, it helps bring the model together! I've been busy doing graphics, but got a little modeling in this weekend. All of the original bolt detail on the gun had to be filed off to clean up the seems. So I replaced that. Then glued stuff together for "junk" on the diorama. - MT
.jpg.1107857bc15b328b043c72b75ac695ac.jpg)
-
@pengbuzz There is a lot of "suspicious" updates for Windows right now. I'm seeing the same problem. There is one PC I'm thinking of resetting back to original drivers and updates. It crawls like a snail all of a sudden, and it isn't used in a way a virus would normally hit it. Why can't everyone just play nice! - MT
-
Aha! It might be the paint thinner reacting. Try cleaning your airbrush with isopropyl alcohol or Tamiya X-20A acrylic thinner and let it dry out. Originally, ammonia is used to clean the coating itself off floors. So that might work (but stink bad). The original formula is water based. I've heard you can thin it with water, alcohol / X-20 (up to 50/50), but most people airbrush it straight. It shouldn't be a heavy coat, but wet enough to level itself out. Get those plastic spoons out and practice Let us know how it works for you. - MT
-
@pengbuzz That's cool! Looking good! - MT
-
Welcome, Klee! The coating has different names in different countries. In America, Pledge is a spray can furniture polish (SC Johnson company). I assume you're talking about the version that is a clear acrylic coating for floors - just making sure. It should dry crystal clear. How are you applying it? Via airbrush? Brushing? Dipping? I've heard that it can yellow if the coat is much too thick. The orange peeling is also usually a sign that it is reacting to something else. Is the undercoating thoroughly dry? If using a brush, brushes never really come clean. There may be something still in the brush causing you problems. Just throwing some ideas out there... - MT
-
We're going from "art imitates life" to "life imitating art"! I don't know if that's a good or bad thing! @pengbuzz Your Catseye is looking good! Are you going to use wood or something like that for the engine nacelle ends? - MT
-
@GMK I didn't know the CCP watched Macross or played Yukikaze!😄 I DEFINITELY see the resemblance. @pengbuzz English accent: "And so our Maskingtape Master embarks on another adventure into the unknown." It's taking shape! - MT
-
Don't forget "anime magic!" Anyone here who has tried to scratch build something in Macross will be scratching their head as soon as they start comparing drawings. The only exception are the newer anime with actual 3D models taken from the animation. I wish you all the best! - MT
-
@arbit Your figure is looking good! @pengbuzz I look forward to your scratch-build. That is going to be a fun subject to tackle! @Rock Your finish is looking good! - MT
-
It DOES look much better! The colors and markings look great! - MT
-
With all the evil crap going on in the world, this is some cool news! Is it just me, or is this like a couple of decades late? Better late than never I guess. - MT
-
The 'Hey look at this really cool model build I saw' post
MechTech replied to Shawn's topic in Model kits
That's funny! When my sister and I were kids, we used to yell out over his voice, "I need a shower!" 😅- MT -
@ChristopherB Great RARE model and fast packs! Thanks for sharing. - MT
-
I TOTALLY recommend doing vacu-form or Pengbuzz's "heat and smash" technique. It is fun to learn and you'll use it again - I'd almost guarantee it. Just make sure your "buck" is smooth so the canopy is smooth. Want colored glass? Some soda bottles will work too when you cut them open to make a sheet. - MT
-
Thanks for sharing! I didn't know a lot of these existed! - MT
-
Looking good! - MT
-
@derex3592 Tanks that are filled with conditioned industrial gasses are kept "empty" at a low pressure to keep water out. Home air compressors using atmospheric compressed air are best kept empty. As 007 said, water is your enemy in a tank because of corrosion and possible explosions. A friend of mine had a small air compressor like yours that powered his professional engraving shop (engraving equipment and framing equipment). It got a lot of use each day. One day he called me up and asked me to check it out. I got there and we turned on the compressor. It ran and ran and the tank never filled. When I looked at the compressor tank, there was a huge bulge in it from rust under the paint pushing it out. And of course - a pinhole in all that corrosion. Thank God it never exploded on him! Weakened tanks can be like bombs. So I told him about emptying his tank daily. And yes, he had a moisture trap on the tank. Moisture still gets through them, just not as much as straight air. Every time I use my compressor, I empty it and then open the bleed valve at the bottom. I remember how humid it got in Texas too. I also agree, I wish Bandai would show Macross the same love they have as Star Wars and Gundam. @007-vf1 Thanks! EXO has done some great model prints! That's cool the Shapeways guy re-scaled it for you. - MT
