MechTech
-
Posts
4577 -
Joined
-
Last visited
Content Type
Profiles
Forums
Events
Gallery
Everything posted by MechTech
-
...What Hikaru doesn't know is that we're adding spinners to his landing gear and we've got a shaweet pair of limited addition chrome plated RMS-1's for 'em. - MT
-
Thanks again everyone for all the compliments. The lights will be on their own switch. Remember the port (left) side will be able to open up so the completed project will double as a display case when not in the water. The lights will use about 4 to 4.5 volts when done - I think. I took them all off some Christmas wreaths I got really cheap on sale. I saw the price and realized how much the LEDs cost on their own. Anyhow, they came with battery boxes for three AA's and there's circuits inside with resistors. I could hook them back up and make a "giant" 1/200 destroid disco with flashing lights ! I probably will submit my work to a hobby magazine, but I have to get to the point where it's done or nearly done to get finalized looking photos. There's no pictures of what the Daedalus looks like in the rest of the ship, so the rest of the construction should move quicker. I can just make it up as I go along. - MT
-
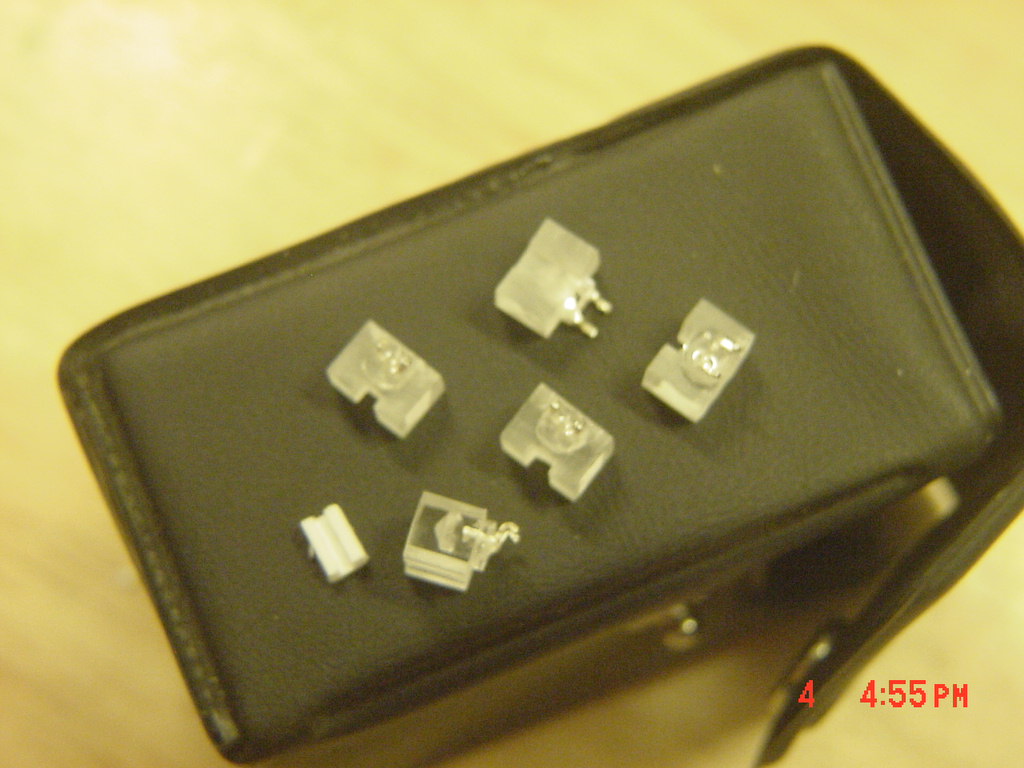
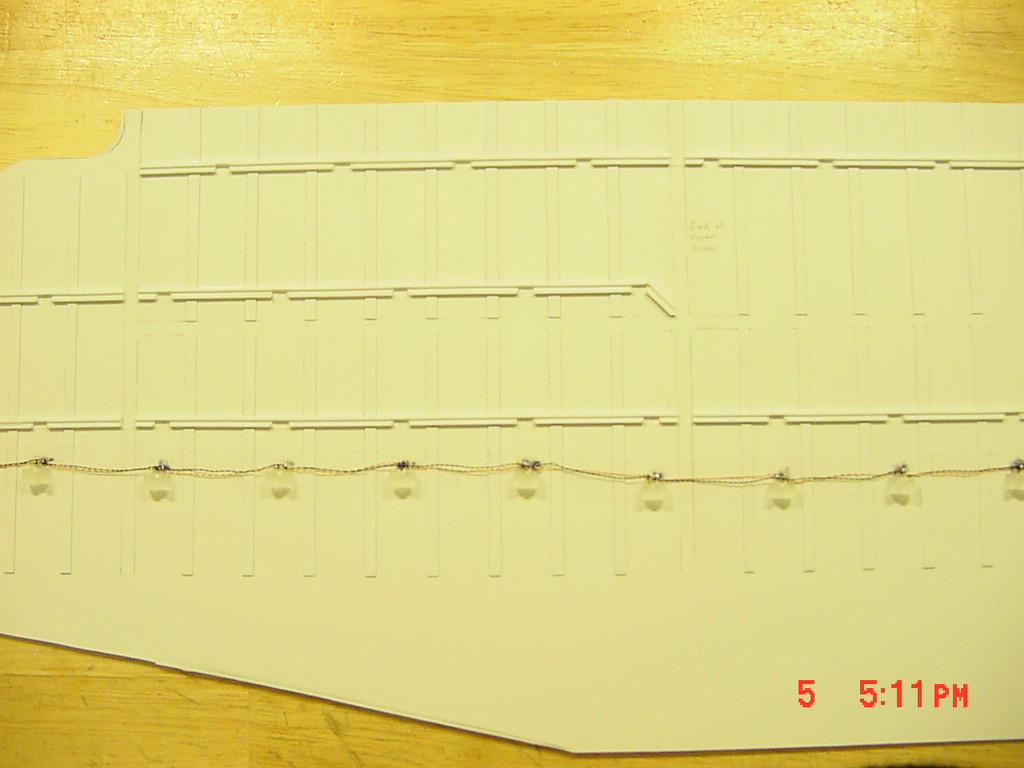
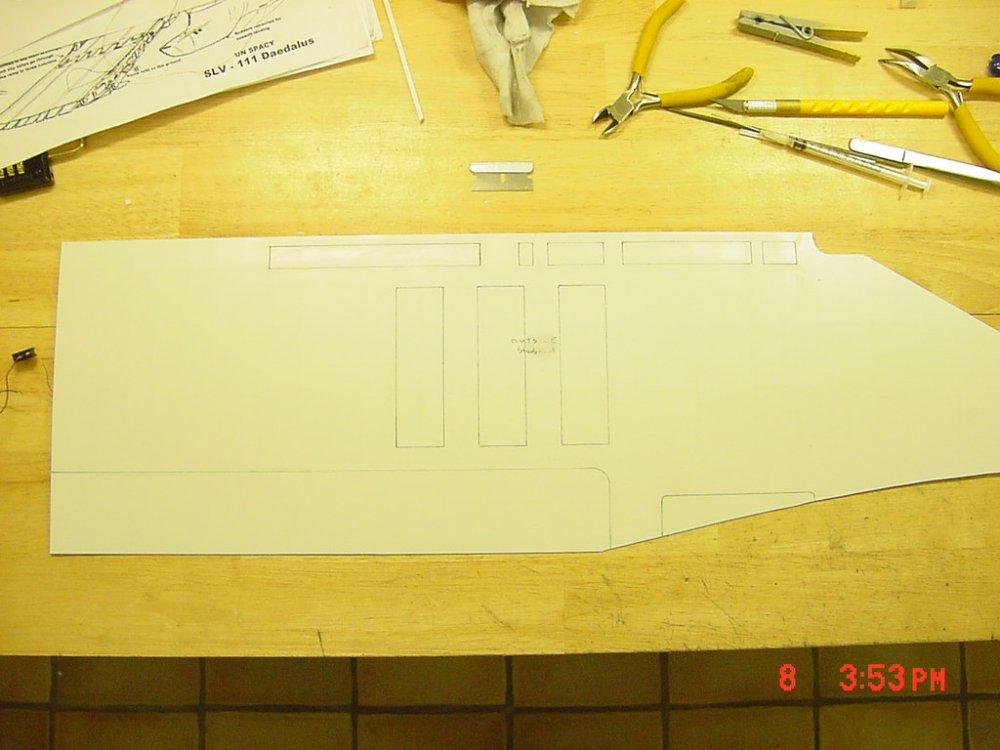
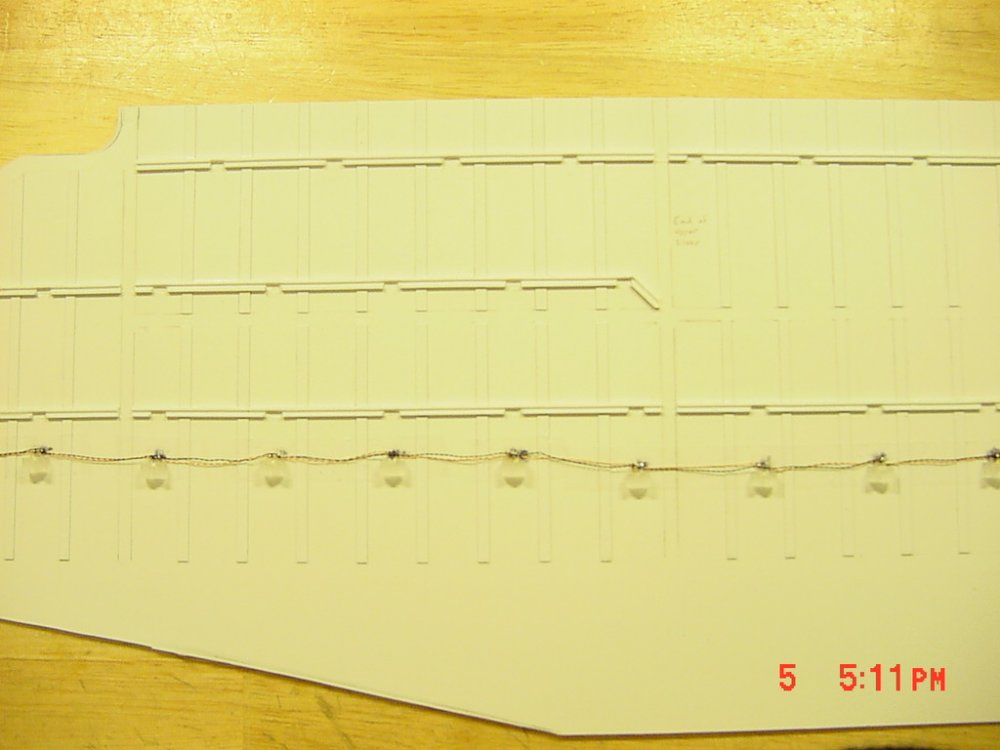
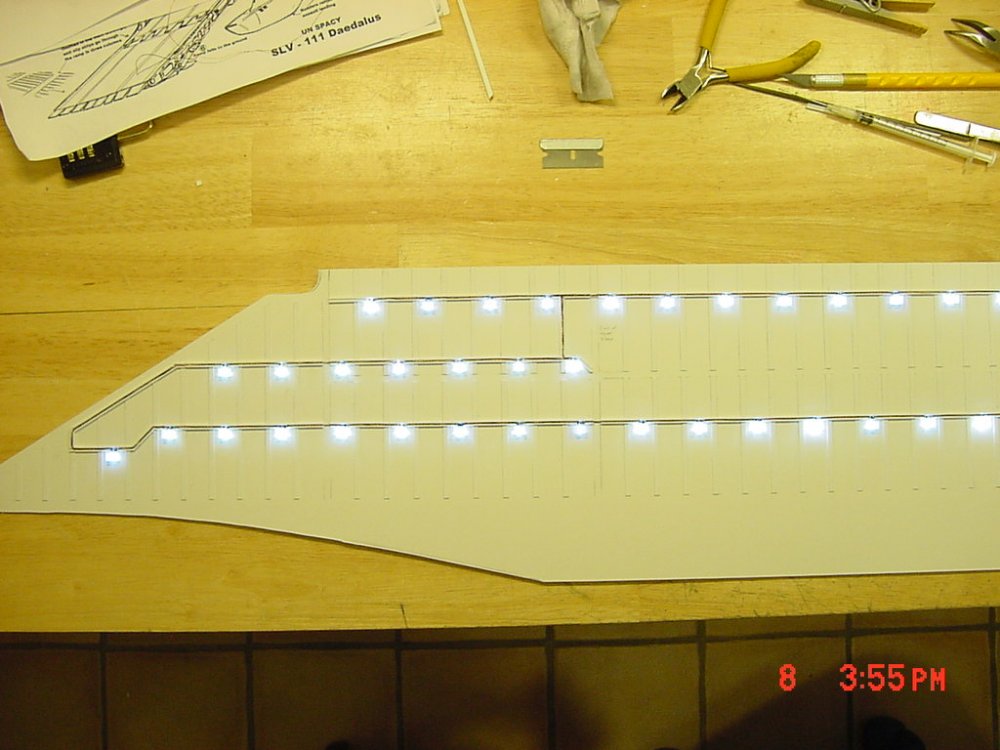
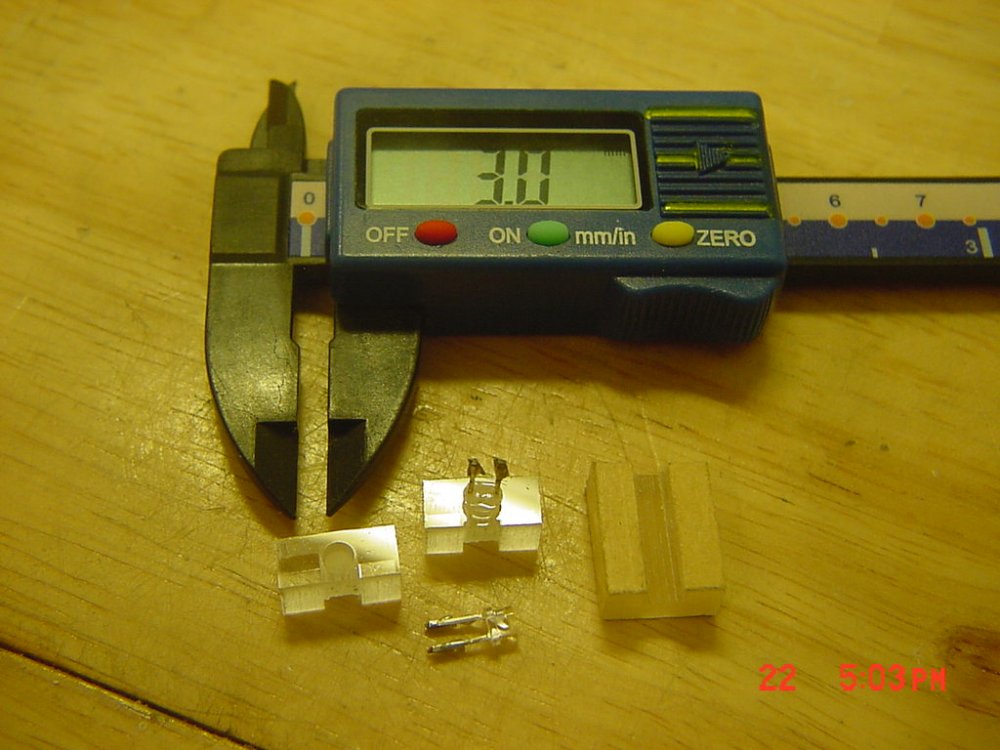
Guys, thank you ALL for your comments. I'm humbled, but more motivated all the same to finish this thing (someday soon I hope)! I have considered submitting it to FSM for an article, or maybe even Hobby Japan. Who knows. Nightmare, the barrels will come close to the main hatch, but still clear it (everything will work like the "real" thing - despite some of the anime magic in the design. My original drawings came close, but I just have to move everything back; easily done at this stage since nothing will be glued in yet. I'm drawing the interior parts and submitting them hopefully this week for engraving/cutting out with a laser engraver. I want one of those things!!! UPDATE SEPT 8 2007 The starboard side bow panel is completely engraved and wired with lights. What a major pain; I redid all the light fixtures in about half the size as before and used them instead. It's blurred (sorry), but you can see the small size (LEDs are 3mm wide) and better shape. The small white piece is conduit I made by taking plastic strip and running it on its edge through the table saw. This is what you see all over the siding. The LEDs had to be soldered together outside of the conduit of course... I even had to make my own wire since I could find the type I needed. Just get small gauge wire, tie it up and put the other end in your Dremel turning SLOWLY! Pictures of the conduit completely installed wires stuffed inside. Thin plastic strips will cover the conduit and the catwalks will attach to these. With the lights on (at 2/3 the voltage) . I put this on the hanger side and covered the top. Still very effective even with reduced voltage. Full voltage will be used when the whole thing is done. I gotta go cut some strips for the covers now. Take care. - MT


-
That looks great man! I know personally it's a pain in the rear to build that small! Recasts would be awesome! I may have to hijack a carrier model and "alter" it ! You know, later on... - MT
-
Dudes, it looks like anyone can take their "ride" and modify it. Some one's gotta make one with lowered landing gear and hydraulics so it can "bounce." Oh yeah, I forgot a thumpin' sound system too (oh wait, that was Macross 7)! I think the Stampede valk had more armament on the upper fast packs. This one just has the two antenna and a gatling canno nin place of a missile. Oh yeah, and it's sponsored by "Elf." Thanks for posting these variations guys. It adds life to to the good ole' valks! - MT
-
Nice base! - MT
-
Phew! Even my scrolling finger was gettin' tired on the mouse wheel! He's got some awesome non-canon paint and decal schemes too! Somebody has been BUSY!!! - MT
-
Thanks Odyn and welcome to the borads! I'd still need a ton of that stuff or at least resin. I don't know if if you could rotocast with that stuff to make it hollow. - MT
-
Looking shaweet man! Keep up the great work! Styrene IS the way to go IMHO . - MT
-
I always thought the VEFR was a prototype or early model for the VE-1? It's in the Hobby Handbook 1 with all the other prototypes so I thought that. The lack of my Japanese language skills doesn't help either. - MT
-

VF-1S Strike Battroid Valkyrie step-by-step
MechTech replied to DrunkenMaster2's topic in The Workshop!
It's coming along very nicely! - MT -
Looks great neptunesurvey! I can hardly wait to build all the small craft to go with the Daedalus. On second thought, yes I can. And yeah the ignorance of people with the series is a bummer. Somebody said I had to see the Transformers movie because I built those kits growing up. I almost replied back - how dare you ! HWR, the conversion looks great. It fits it well too. - MT
-
Looks great man! Don't worry about the details and such. How many people can say they have one of those or even have one built up that good. Do you get my point? - MT
-
I know you don't want to hear this but...airbrush. That's why I went to one; smoothness. I've heard of chemicals you can add to acrylics to slow their cure speed down. Check out your local art store. More and more artists go for acrylics due to less hazards and smells. The old schoolers had the same problem, drying / working speed. - MT
-
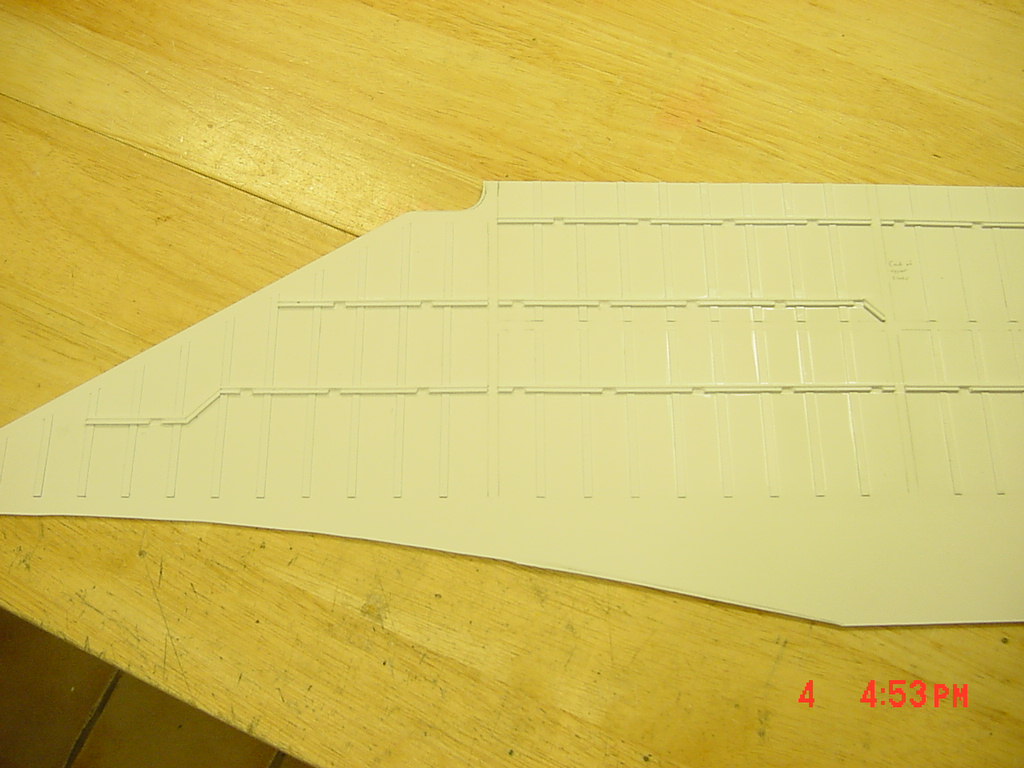
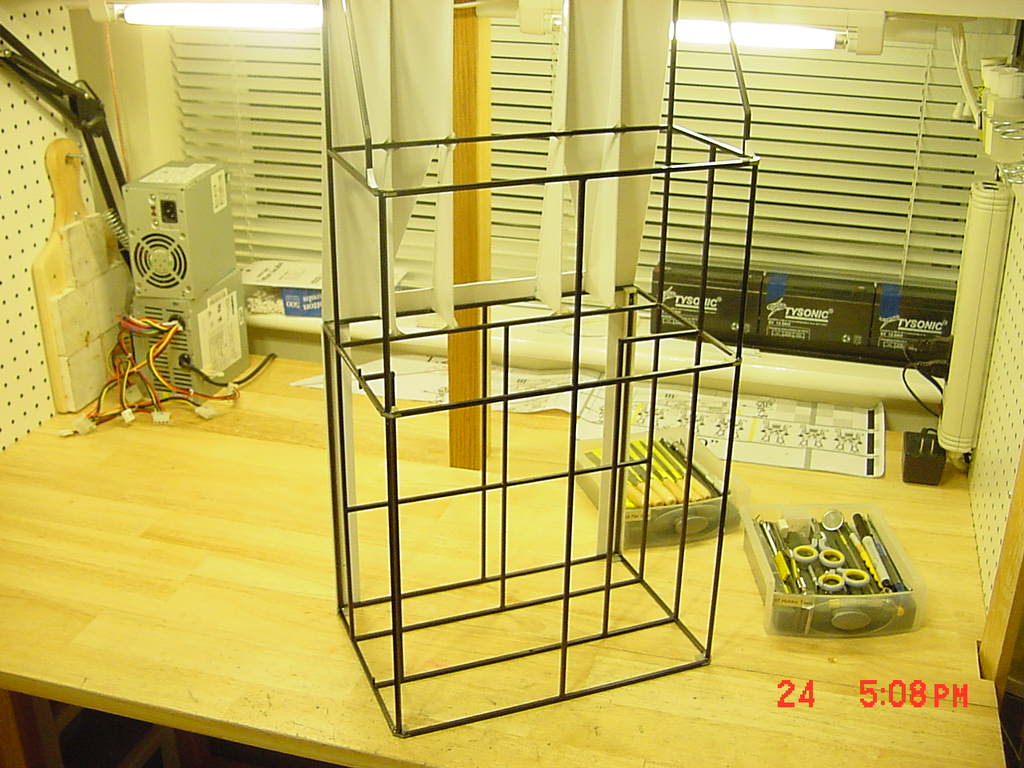
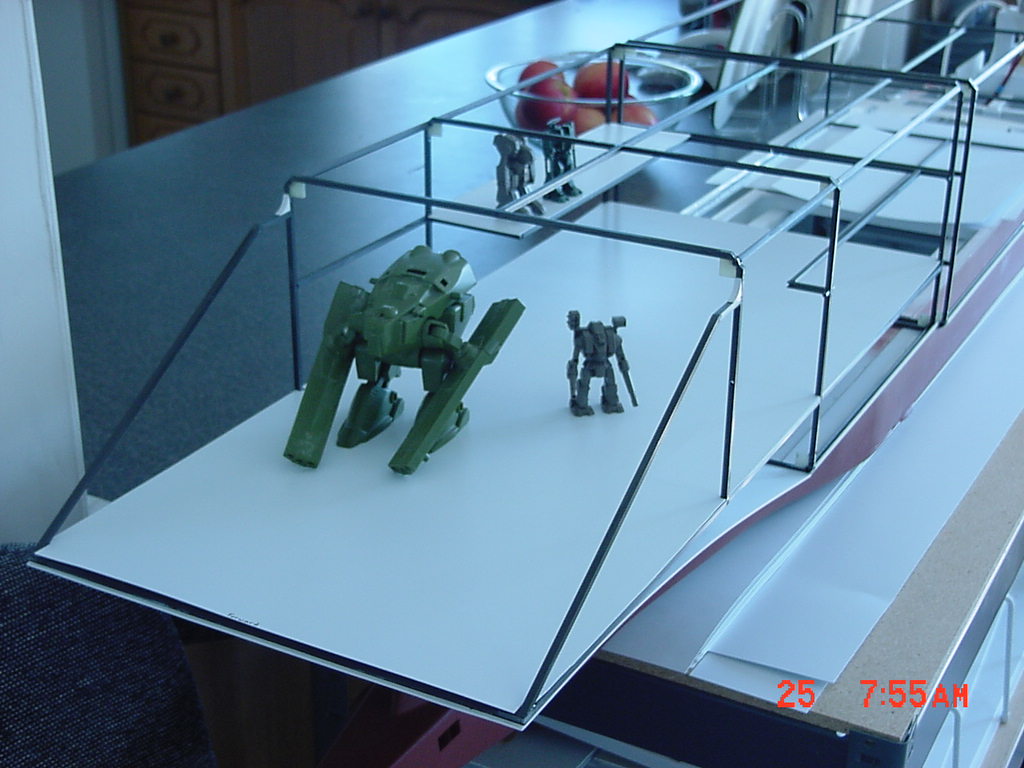
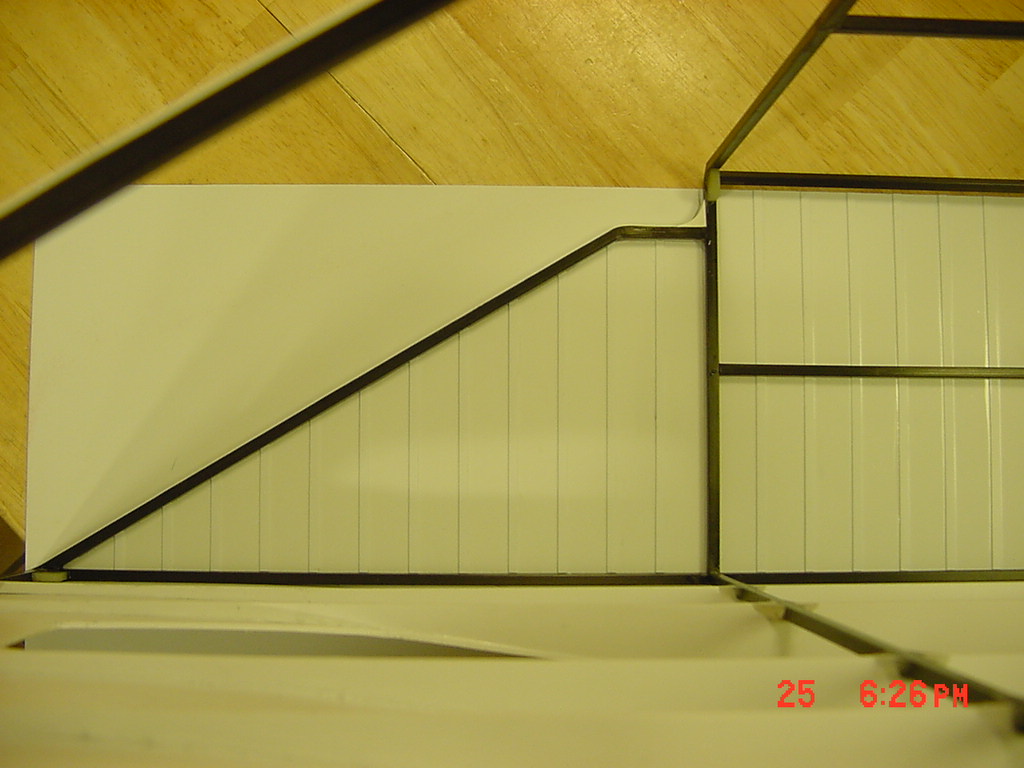
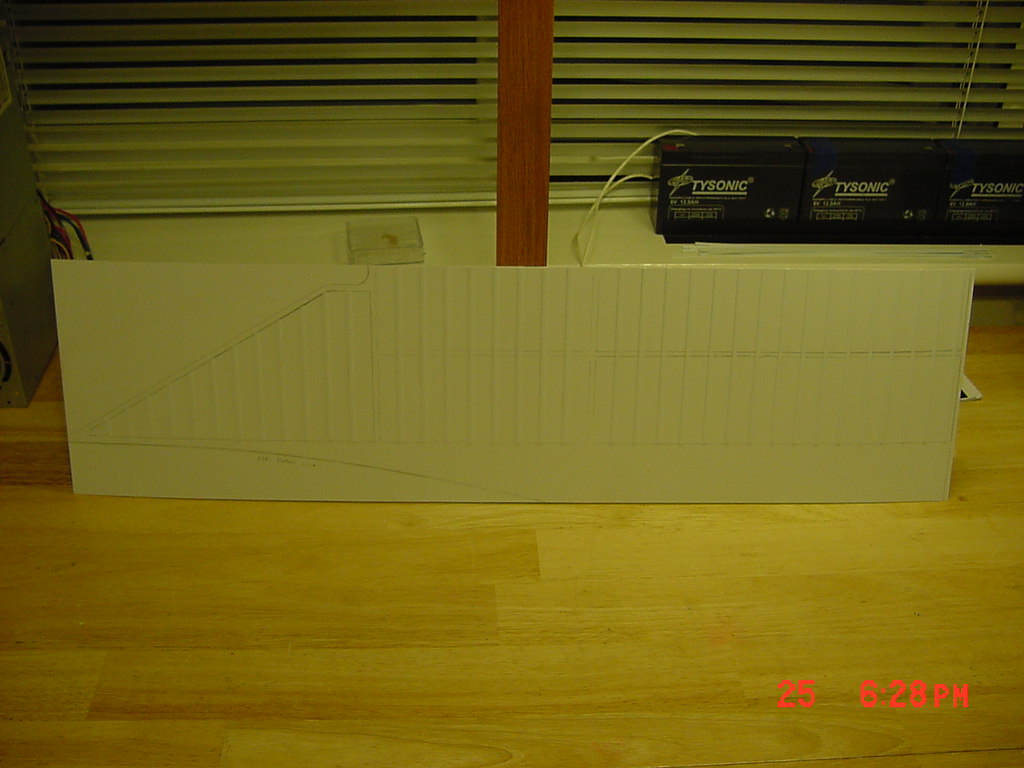
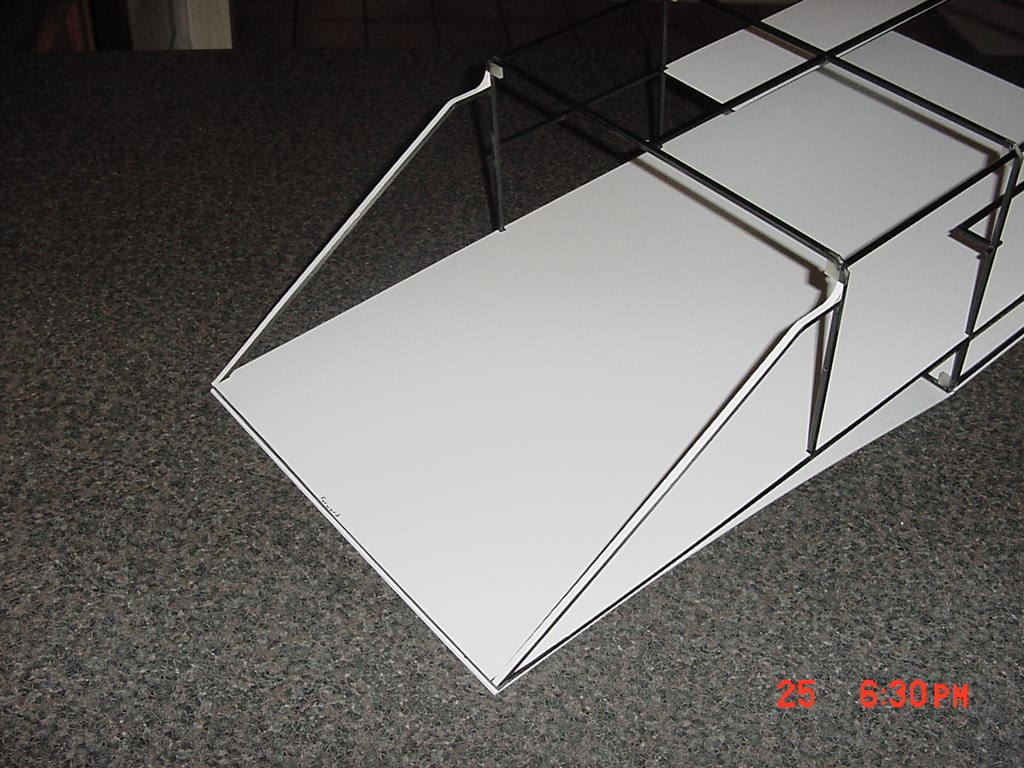
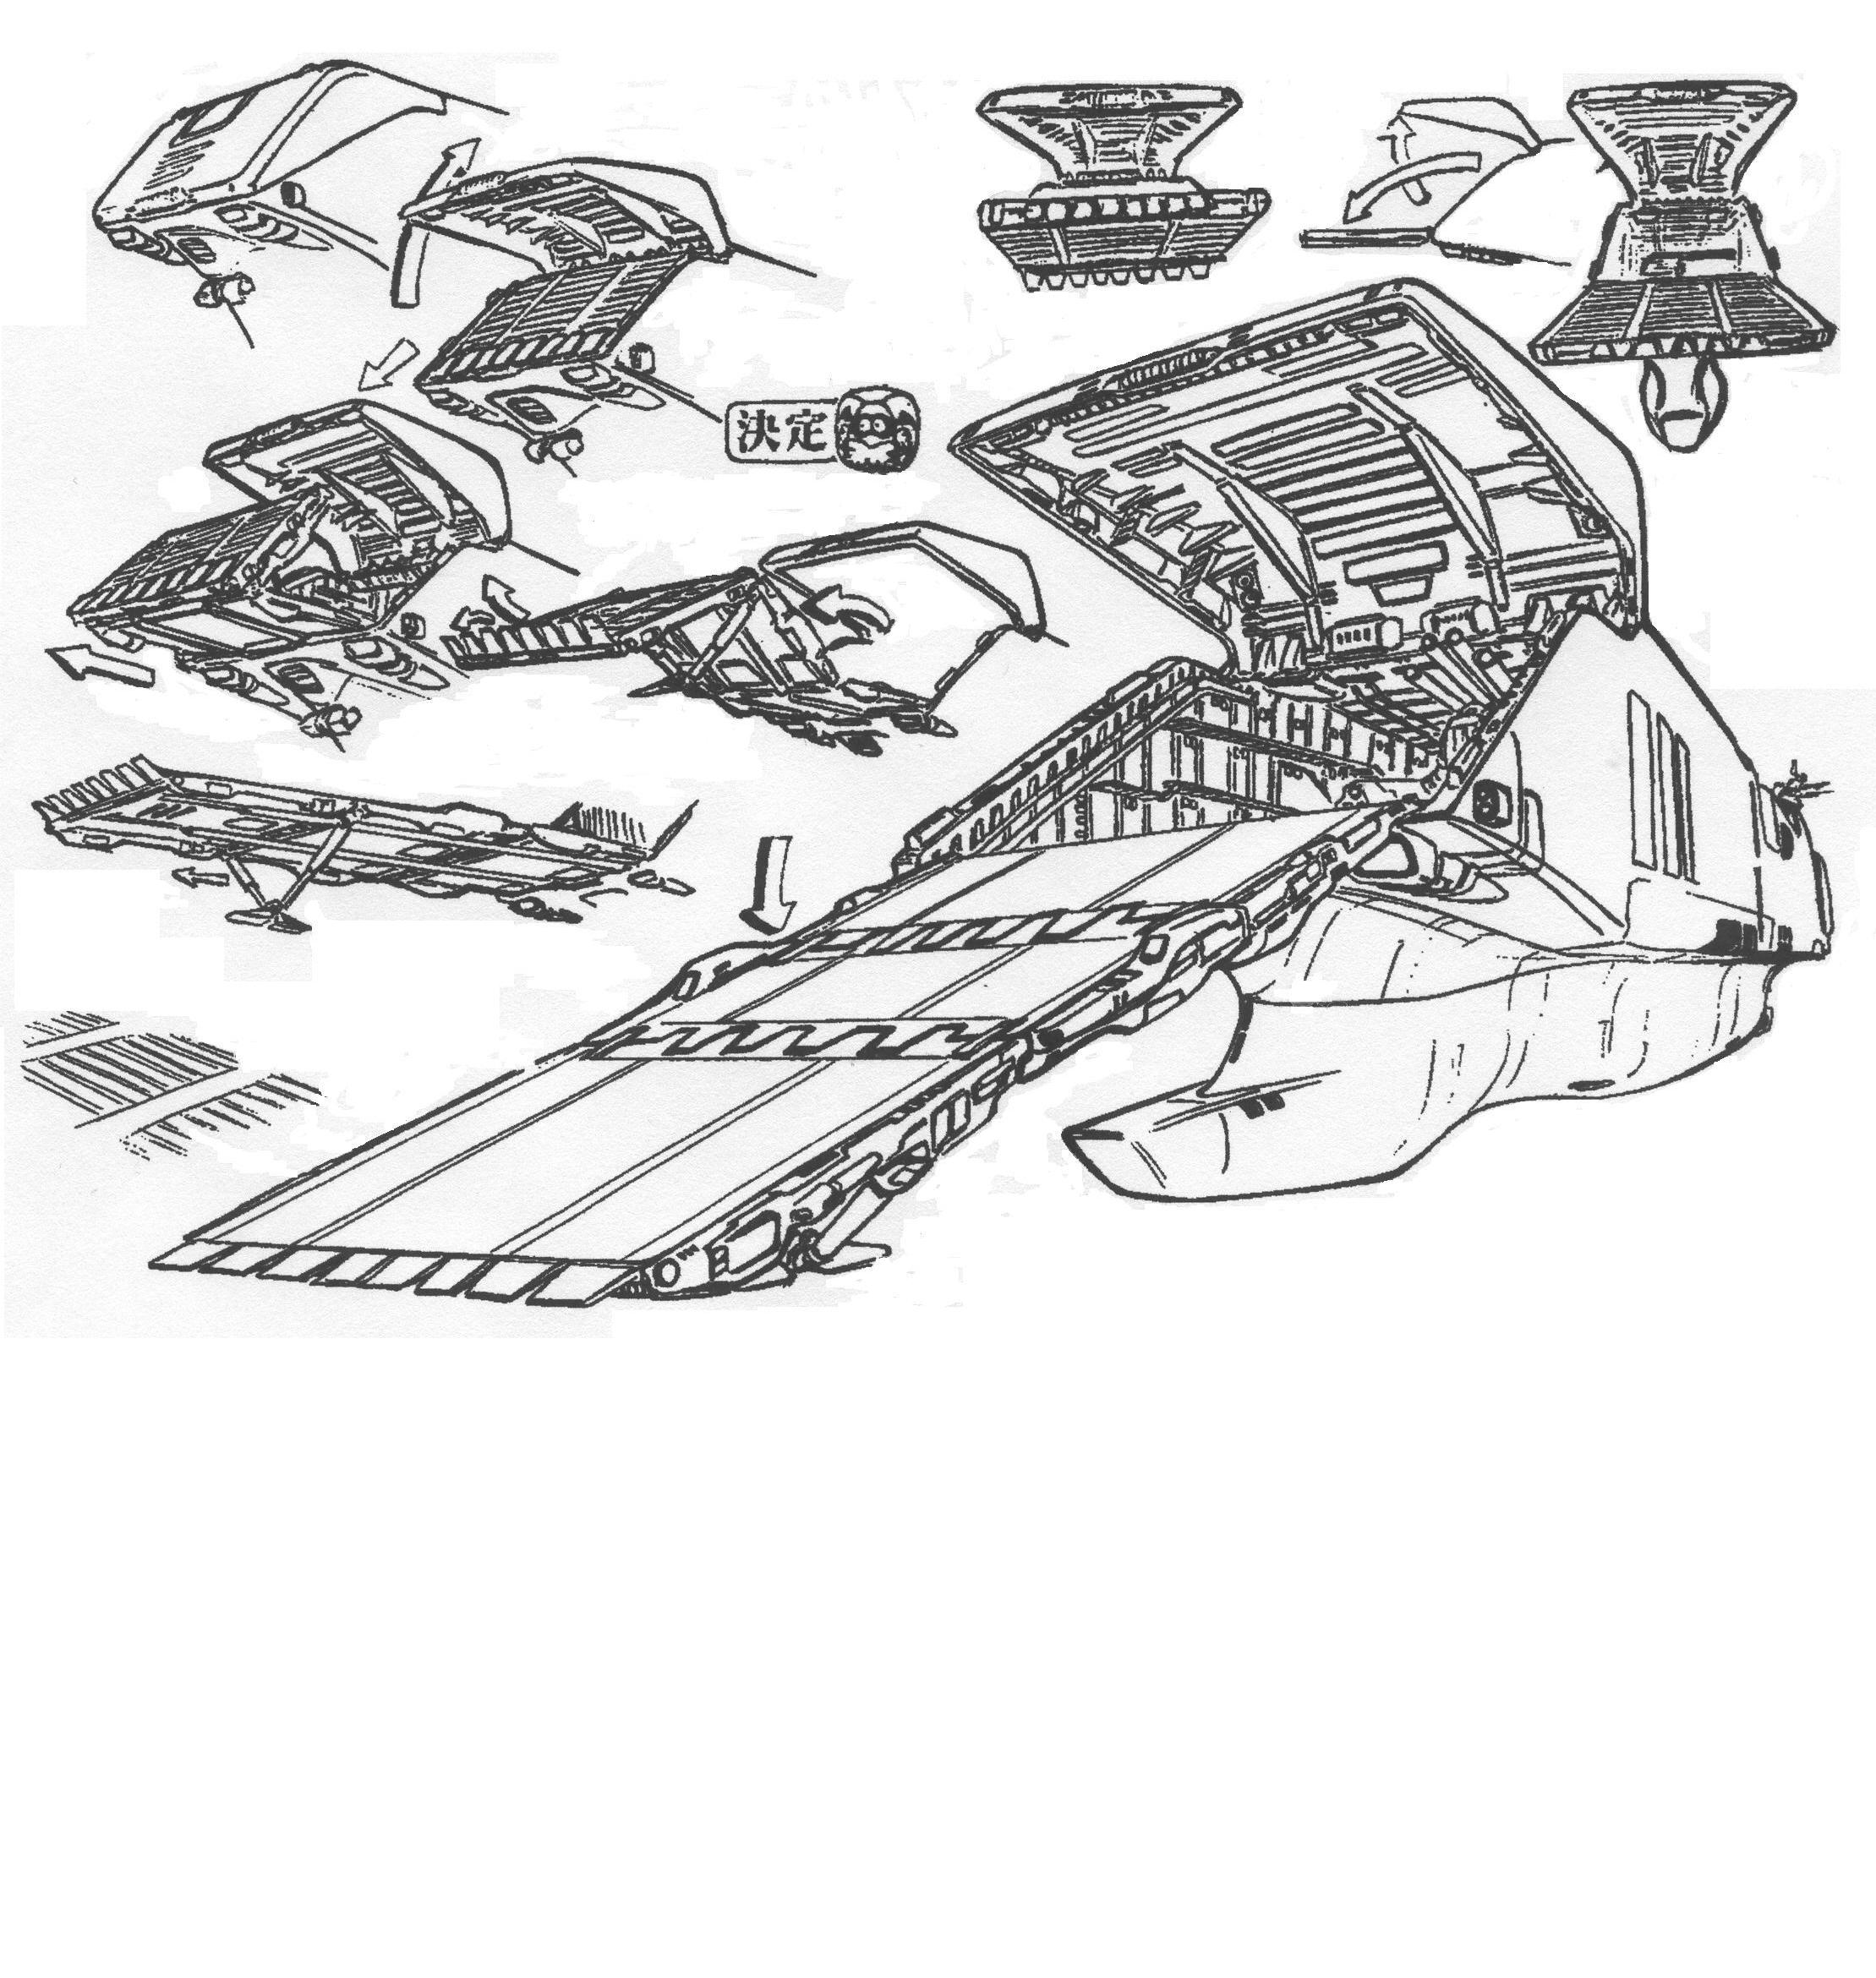
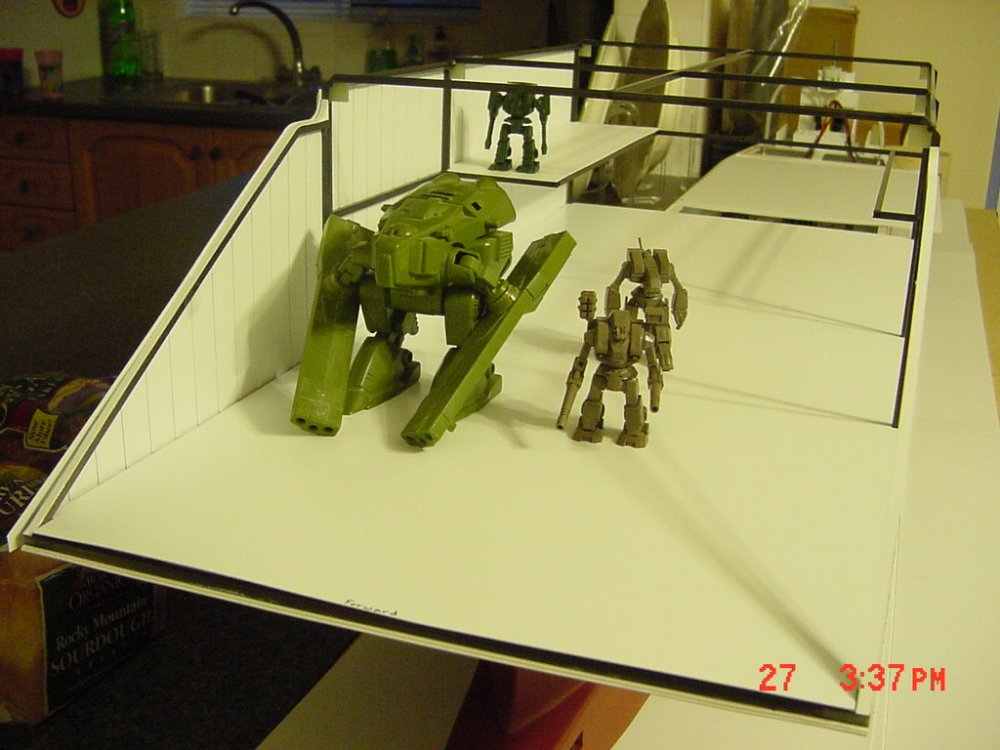
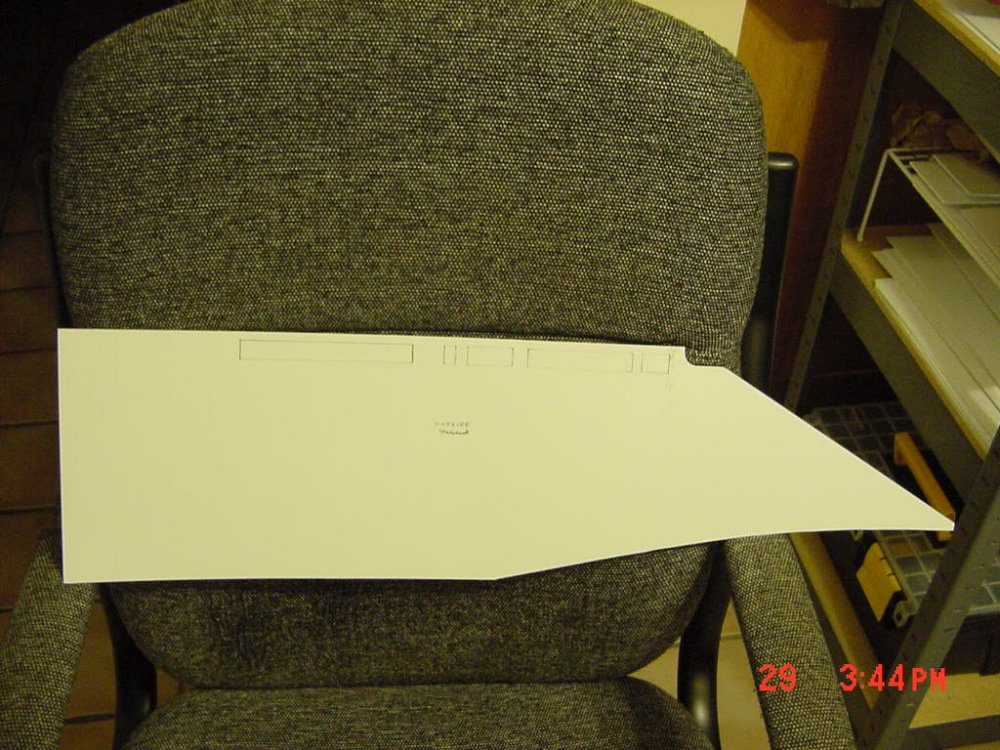
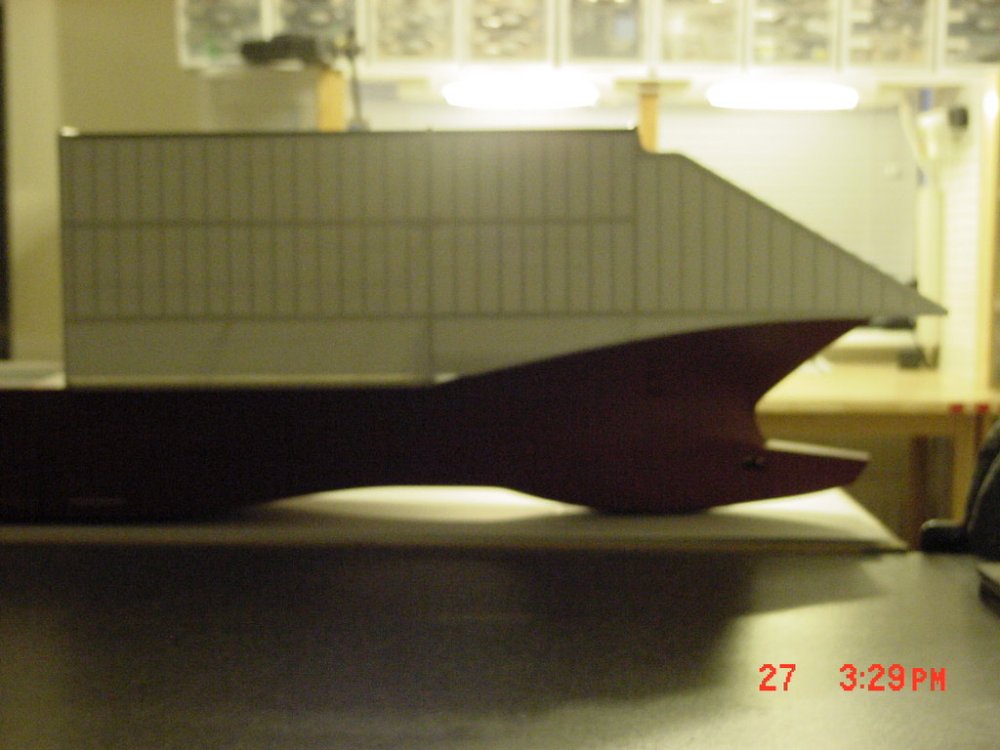
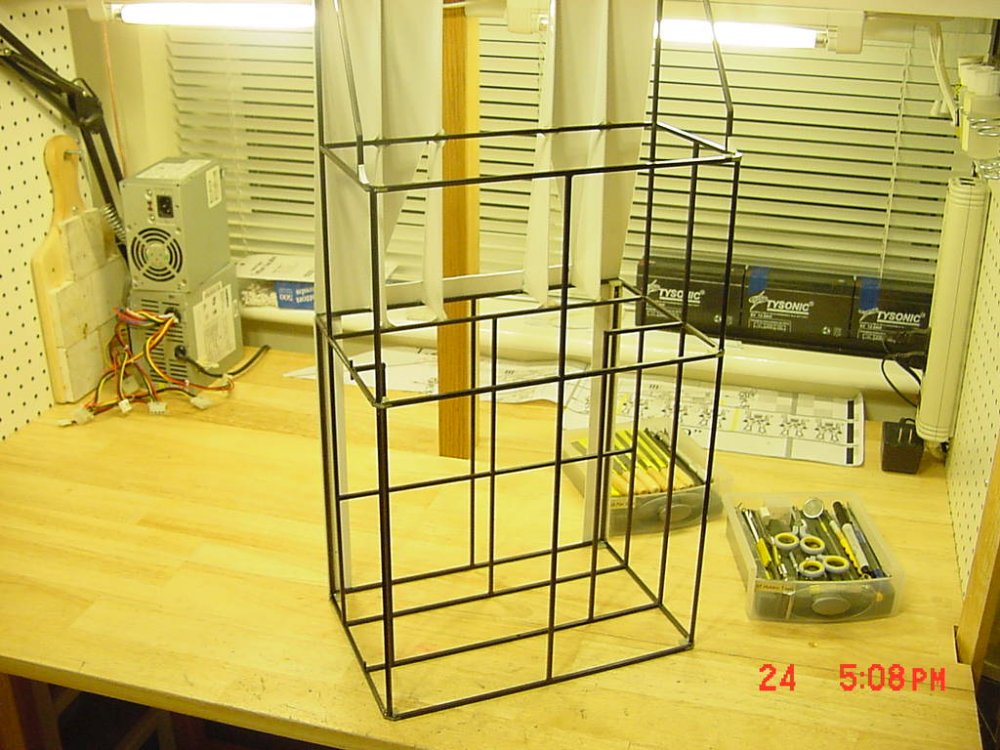
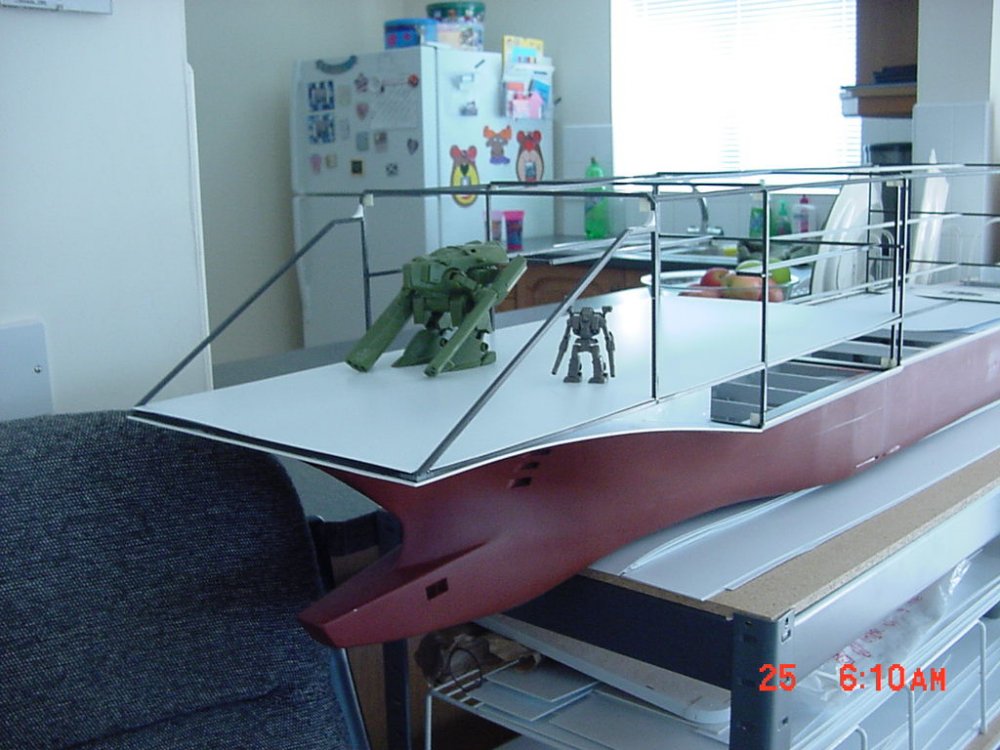
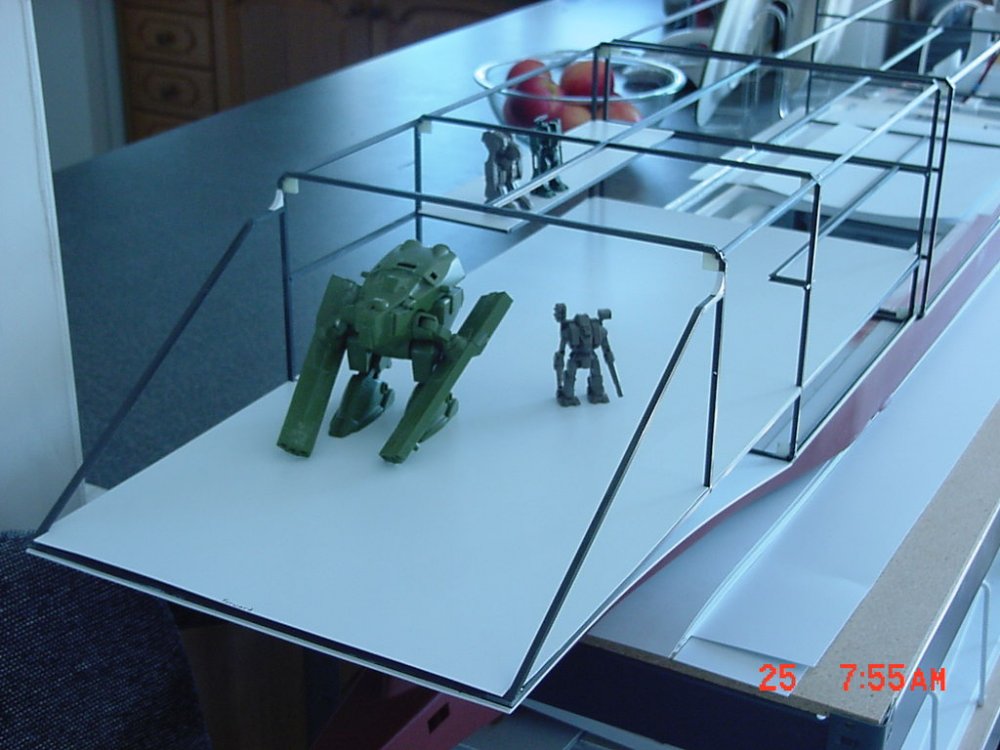
Hey guys, the chickens worked! We got pinned!!! Special thanks to that special mod out there - whoever you are! UPDATE 29 AUG 07 Here's what I've done this week so far. Got the starboard side ribs glued and trimmed to fit precisely around the carbon fiber frames. Here's a blurred view sneak peak at the side outline (my camera has it's good and bad days). A sneak peak at the interior with unfinished models for comparison. Panel lines etched for whatever the heck they are for. Thanks for the encouragement everyone. This is a great board to learn stuff and find vendors. I've gotten a lot of both here and just trying to return the favor. My workbench JUST butts up against the kitchen counter. If I push my ship over a little too far when needing extra room, I find it moves back "all by itself" mysteriously. The ship will be lit up in the interior. If you imagine a mail slot 12" deep and only 3" high with no light coming in around it, that's what the interior decks will look like. Plus lighting just adds to the realism; especially when put into fixtures. The main hatch will have Daedalus Attack capability. The door will open and the ramp come down - or the door opens and the ramp extends outward. Engineering that has been really fun. Somebody make a paper mache Zentraedi cruiser! If someone comes up with a metric ton of silicon rubber, we can recast it! I'm not paying for shipping though! Talk to you all later. - MT
-
Heh, heh, no favoritism; I didn't know. If that's the case, Jigabachi is a good name. You can tell which series I haven't really kept up with . - MT
-
I saw this up on the boards and popped in. Mari Iijima would either be honored or insulted. In private she would laugh - A LOT; like I did! Those dudes got some intestinal fortitude! I thought I was a hard core fan, but you can guess where I draw the line . All battlepods in the house make some noise!!! The location of the microphone for the monster was funny too! Those are probablt the same guys building models that we see links to and say, "that's awesome man!" The ALL synthesized video was probably a good college project for someone. - MT
-
You know, I think the Jigabachi looks ugly, even with all that armament. BUT I've ALWAYS loved the Patlabor Gunship. Even though the gatling is a bit out of scale. A Comanche would be just TOO awesome. I've been tempted to build one. One of these days I will if they don't. Let's ALL e-mail them and say PLEASE. - MT
-
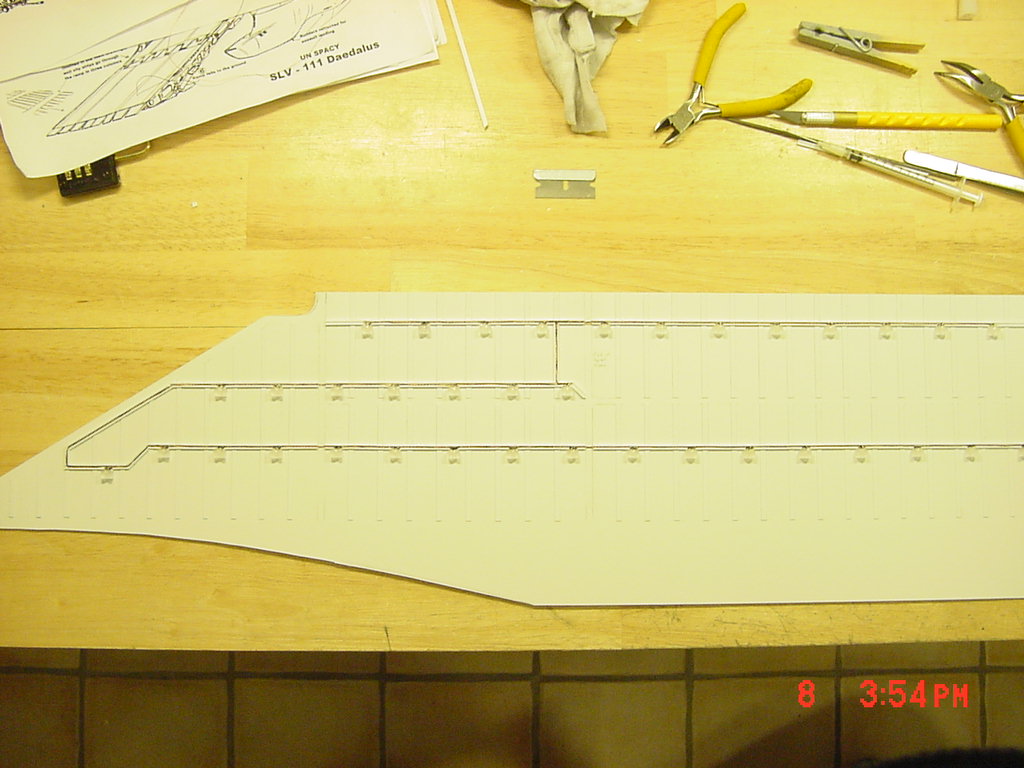
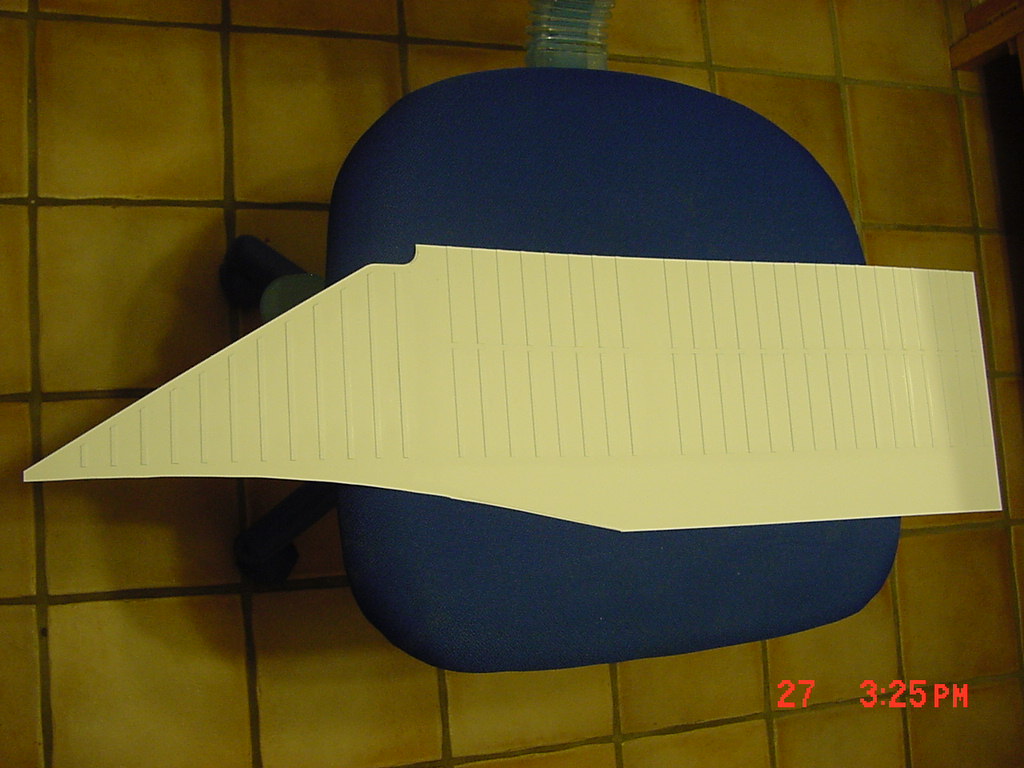
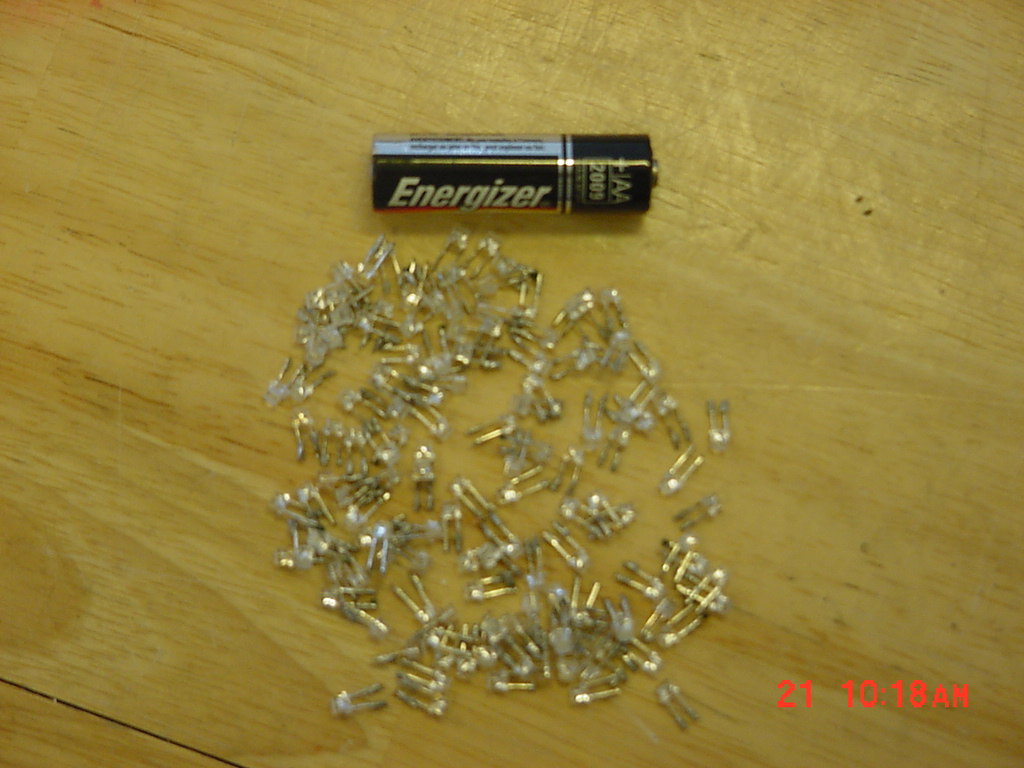
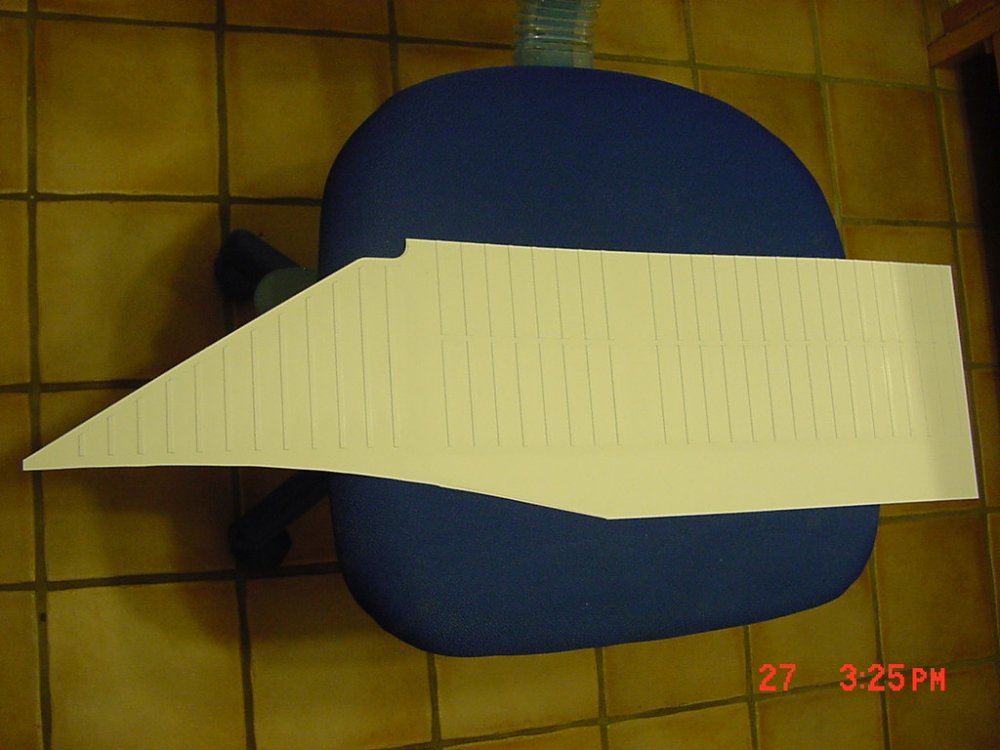
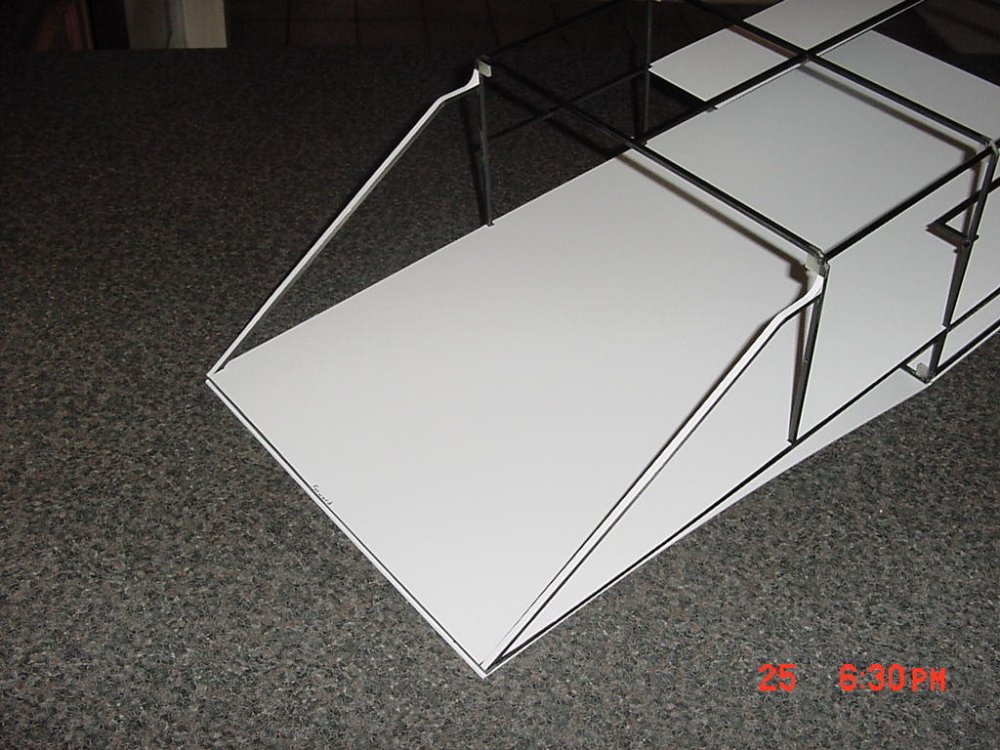
Welcome to the soft porn and poultry section of Macross World (thanks Dante ) UPDATE 26 AUG 07 Here's some updated photos... I took 132, 3mm white LEDs and sanded all the tips down (with a jig) Talk about boring... Then I took acrylic stock and shaped strips with it on my table saw and cross cut the individual lights on the band saw. Using a jig I drilled out a 3mm hole for the LEDs to glue into. These will line the starboard side of the hanger decks. Added A LOT more rod to strengthen up the deck areas and add on the second deck (giant cat walk). With flooring added (rough fit, not glued). Both decks test fit. Ribbed starboard side fitted and from a distance. The last picture is darker to bring out the ribs. Brighter "burned them out" in the photo. The main entrance sheeted with styrene (note rounded corners in upper area). The flash brought out the white better. Note in this drawing the starboard side interior. Now you know why and where the lighting and ribs are supposed to go. That's it for now. Next step is to scribe the outer details to the starboard and port sides and THEN cut them to fit onto the frame. Talk to you all later. - MT


-
007-vf1, .080" is THICK stuff. I rarely use it except for structural areas that need the strength like load bearing areas on the Daedalus. Otherwise I've always gone with .040" or .060". Big F's idea of foam board is good too. You can glue styrene to styrene, just keep the solvents away from the foam of coarse. You can prime the foam itself with simple white glue and the solvents will leave it alone. I've done that a few times before. You won't be able to scribe detail in it though unless it's thick enough. The good part about your cardboard is that when you cut out all those doorways on the ARMD into the styrene panels, the cardboard will be behind it. Just paint it flat black and it should give you a nice depth effect with the plastic on top. ZAP O is supposed to be good with foam ZAP link . I bet it will work on laminating plastic to cardboard. Even regular CA should work too come to think of it. The slow setting stuff should give you time to set up. - MT
-
By all means start a petition. That'd be great! Yes I did spend a while on line, but at least my stuff works better now!!! - MT
-
AAaah, look at that avatar! Yeah, I have two children and I'll vouch for the time you NEED to spend with them. Even though mine can feed themselves now, you still have to spend quality time with them. That's one reason it takes a long time to do any hobby related stuff. It's worth it though!!! - MT
-
Thanks man. That's cool! If I had the cash, I'd be getting my own prototyping equipment! - MT
-
That's cool. I'm not sure what you can use to get the styrene to stick to it. I've used contact cement for paper to styrene (pattern cut outs). The glue just has to be dry or it'll attack the styrene. UHU makes styrene compatible craft glue. Good ole white glue doesn't stick well to styrene either. Once the panels are glued together it won't really matter though. Have fun! - MT
-
Thank you! I'm starting to wonder if I ticked off a mod somewhere and I'm just getting the cold shoulder!? - MT