jardann
-
Posts
1050 -
Joined
-
Last visited
Content Type
Profiles
Forums
Events
Gallery
Everything posted by jardann
-
Yeah, not my favorite valk, but the build and finish are top notch! Your work has become a highlight of MW. It's always great to see your projects. I know more of us would love to see some WIP from you too! The little details and the fantastic finish make it another great build. Well done!!!
-

Looking for instructions: Robotech Axoid/Orbot
jardann replied to Crash_Bandit's topic in Model kits
Yeah, make sure you have the right cement for the plastic you are working with. Also, the plastic may have some oils left on it from the molding process. Wash the parts in some water with a little dish soap added. Then rinse and let dry. And, make sure there is no paint where you are gluing the plastic. The join has to be bare plastic to plastic for the model cement to work. As for the putty, again, make sure you have the correct kind. Giving the area a light sanding may help the putty adhere too. It will usually take quite a while to cure as well before you can sand/paint the putty. Keep experimenting and learning. Every mistake you make will help you do a better job on the next kit. There's a learning curve, so don't get discouraged if you have problems with the first couple of kits you build. You will learn and improve. Keep at it and have fun! Feel free to post pics as well and people can share tips that will help you. -
Very cool! I don't know what that skeleton is from, but it fits the 2ss very well. It looks quite dynamic. Please show us if you find more information.
-
No need to be embarassed. That's a fine build. It looks great to me! Thanks for posting. I hope to see more in the future.
-
Looking for instructions: Robotech Axoid/Orbot
jardann replied to Crash_Bandit's topic in Model kits
I'll try to remember to look for those instructions this weekend. If you need to brush up on some model building skills, then you may want to work on some inexpensive (but fairly good quality) kits before you start on the transforming valks. Glueing technique and parts alignment are very important when building the transforming kits. Too much glue will gum up the moving parts and weaken the joints. They really are not overly complicated kits, but they do require patience and care. Just like most kits. If you can follow the directions you should do fine. I would recommend looking into some of the recent Revell reissued kits. Most of them have great fit, good detail without too much overengineering, and they are inexpensive. $15-$25 range. Most of them have raised panel lines instead of recessed, but they are pretty straightforward to build. The F-102 Delta Dart, various Tomcats and MiG 21 have all been recently reissued and are pretty cheap and easy builds. I think they just repopped a 1/72 F-111 that might look good next to your valks, but I don't know how easy that kit goes together. Also, be sure to ask around whenever you have questions. People here and on most modeling forums I've visited are always glad to share tips that may help you out! -
Looking for instructions: Robotech Axoid/Orbot
jardann replied to Crash_Bandit's topic in Model kits
I could've sworn someone posted those scans recently. I definitely have some copies of those instructions, but it'll take me some time to dig them out and scan them. Anyone else have these handy? Let's help a fella out! By the way, those are fun kits to build. Enjoy them! -
Looks great! Love the tow bar. Did you scratch build that or did it come from a kit? Excellent work either way!
-
Payment sent for one kit! John, please let me know if the payment info included my mailing address. I used the "personal" selection to send the payment, and it all looked a little different and I didn't see my address information. Thanks!
-
Way to stick with it! Your persistence has paid off and the kit looks great!
-
Wow! That scheme makes the 19 look Wicked! Amazing work!
-
Woah......
-
Agreed, that low-vis kite symbol sure looks like it was meant to be there. Definitely a great job on the kit and I love the well-used look of the base.
-
Great looking work! Your finish brings a lot of realism to that kit. Welcome aboard and thanks for sharing your inspirational work!
-
Pretty great Hasegawa 1/72 scale VF-1 with cutaway details...
jardann replied to wm cheng's topic in Model kits
That's really amazing work, especially at 1/72 scale. It definitely needs better pics of the engine detailing and cockpit! -
Great lookin' kits there Noyhauser! Really wonderful finishes all around. I love the look of the Cutlass. You can see relations to other planes, but there's really nothing else like it! I just picked up a book on it yesterday at my LHS. I've got the big (Academy?-Minicraft?) 1/48 kit in my stash, but deciding on a painted vs natural metal scheme will be a big decision. How was that Fujimi kit to build? And how did you do the weathering over the natural metal? If you don't mind my being nosy.
-
The kit has some really interesting options and features, but it also has some proportions that look goofy to me. Especially the legs and the cannons seem thick and clunky. Even though I have one of the Captain's awesome resin kits, if it was a nice price @ $30.00 or so, I might get one, but if it's over $50 I don't think I'll be interested. It's a shame too, because I love the destroids and would like to be able to support these projects. If they come out with a Spartan, that might be a pickup for me even at a high price.
-
I really like these kits. I think they strike a very good balance of proportions in all three modes and the detailing was awesome for it's day. I think these kits still hold up pretty well and I would encourage you to give it a try. One thing you say worries me a bit though. You say that you are a fast builder and will try to not stop and just keep building until finished. These kits require some patience. They have so many moving parts and joints, that you really need to take the time to get all the parts lined up properly during assembly and you need to be as sparing as possible with the glue. The glue needs to fully cure on each part so that you don't stick two moving parts together. Looking at your other builds, it looks like you could move on to one of these more complicated kits, but it is just soooo important to take your time with them and make sure each step is completed cleanly and properly before moving on. I think if you take the time and care to assemble those kits cleanly, then you will really be rewarded with a nice model. If you want more tips or advice, be sure to post here and show your progress. Everyone here is very helpful and we have some really great model builders here. Just ask, and someonw will be able to help your with any questions you may run into during your building. And remember...just have fun with it!
-
It will be cool to watch you build any of these, but I picked the Gnerl. That kit has a lot of possibilities and I'll definitely enjoy watching what choices you make and how it progresses. Now....enough talk! Let's see some resin, CA and paint!
-
That's it! You have reached a level of model mastery where we require build-up threads for your future projects! I've got to see some of the magic you use to bring those kits up to such a fantastic level. I'll bet a lot of us could learn a thing or two from watching your process. Those are really amazing Reuben!
-
Yeah, a few more details might help. What did you thin it with? What material is it painted on to? I would worry about putting a clear coat over it at this time. With an acrylic clear coat you would risk it fogging up or not curing as well. With an enamel clear coat you would have a very good chance of it cracking if it cures first and then the underlying color continues to cure at a different rate. I think I would put it in a safe, dust free place (covered if possible) for a good long while (months?) before trying anything else. You really want that color coat to have as much time to harden up as possible before putting anything on top of it. How heat resistant is the item? You may be able to speed up the cure of the paint by gently heating it. Using a hair dryer maybe, or placing it close to an incandescent light bulb etc. Be careful to avoid blistering the paint or damaging the item. Just an idea that would have to be handled very carefully if tried. I hope you can come to a good solution. Good luck!
-
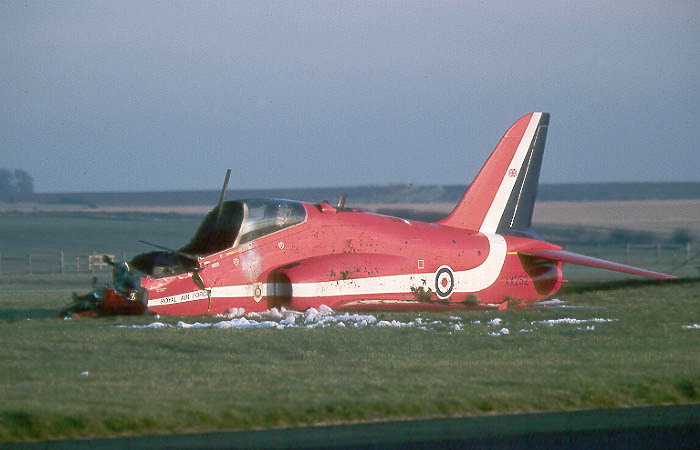
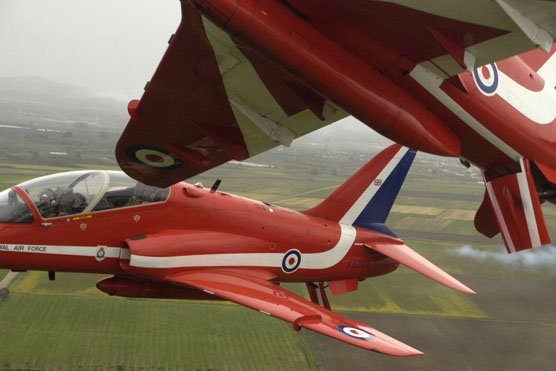
Need some painting advice for VF-19 & VF-22,please.
jardann replied to Maxtype's topic in The Workshop!
You may want to try a little bit darker, flat finish for Millia's plane. Something like the pic below, but a bit darker. I would try some flat red with maybe a few drops of a dark grey added. Good luck with the projects and be sure to post your progress here! You'll get lots of help and advice I'm sure.
-
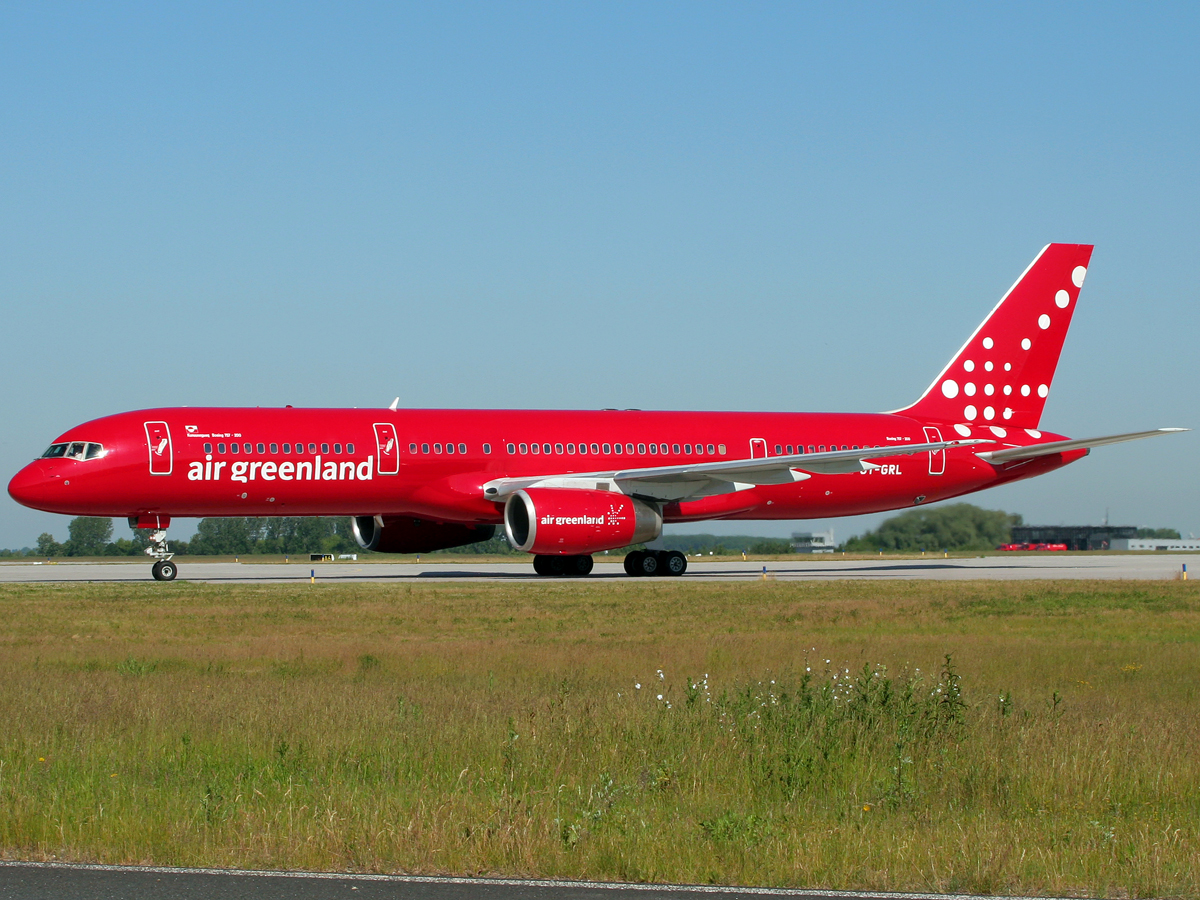
Need some painting advice for VF-19 & VF-22,please.
jardann replied to Maxtype's topic in The Workshop!
Most red aircraft are very glossy in the real world. Think sports car red. To my eye, they actually do look pretty close to an anime cel look!

-
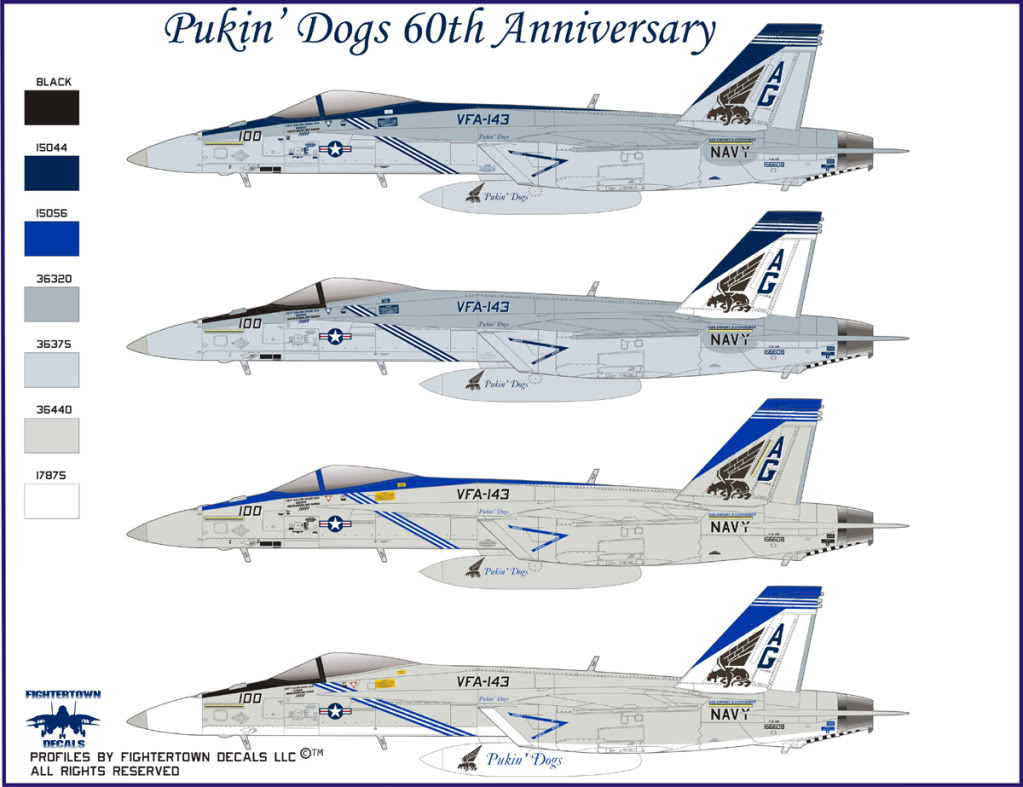
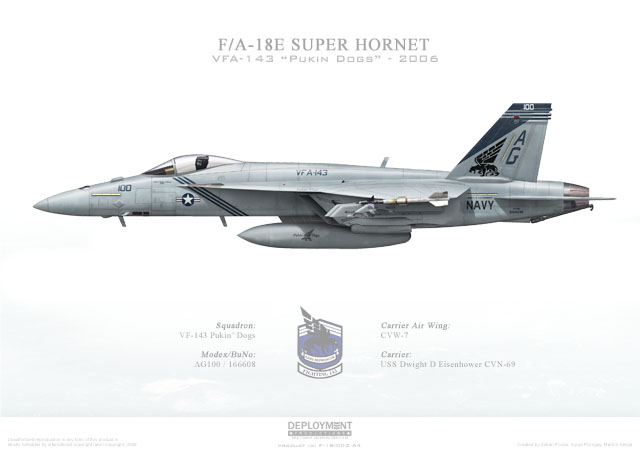
Need some painting advice for VF-19 & VF-22,please.
jardann replied to Maxtype's topic in The Workshop!
Here are some cool pukin' dogs schemes that I think would look good on a -19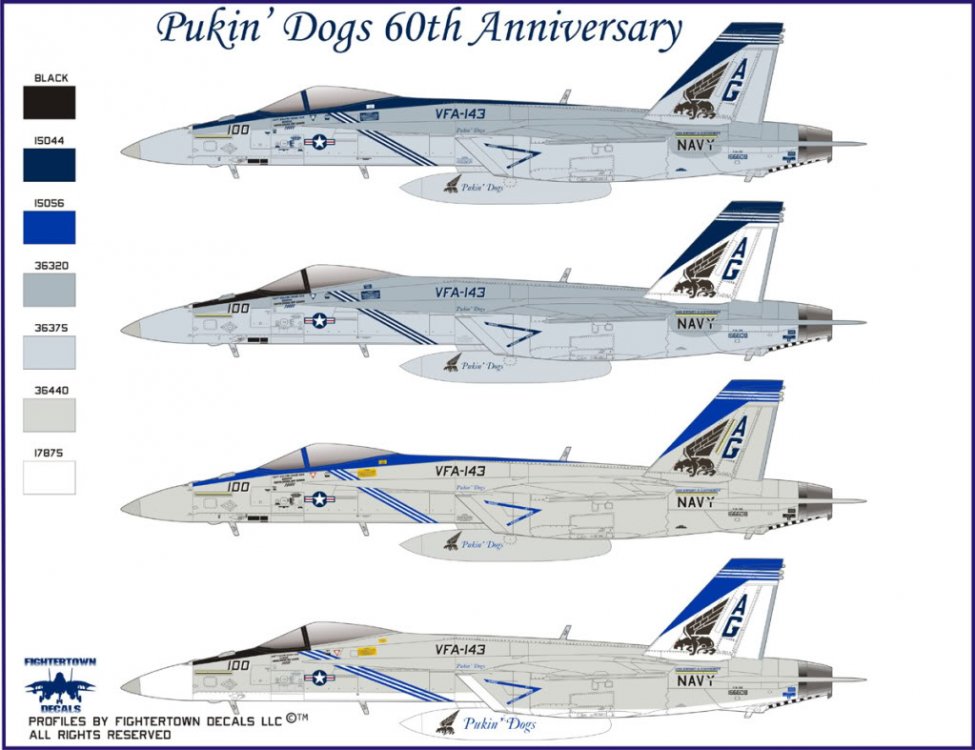

-
VF-1 Valkyrie (Egg Plane) (HOBBY SHOW Pre-order)
jardann replied to eyesonme78's topic in Model kits
Is this the plane from............... Valkyrie scramble!?!?!? -
Put me down for 1. Haven't we reached 40 yet? Wake up everybody!!!