Fly4victory
-
Posts
1646 -
Joined
-
Last visited
Content Type
Profiles
Forums
Events
Gallery
Everything posted by Fly4victory
-
So you think the fast packs are quick to disappear from production like the Beta/Tread? Hope not!
-
Wish I had bought it then I would not feel so bad/stupid but my wife bought it for Christmas. I have so few wife endorsed Macross items and breaking them does not increase her support.
-
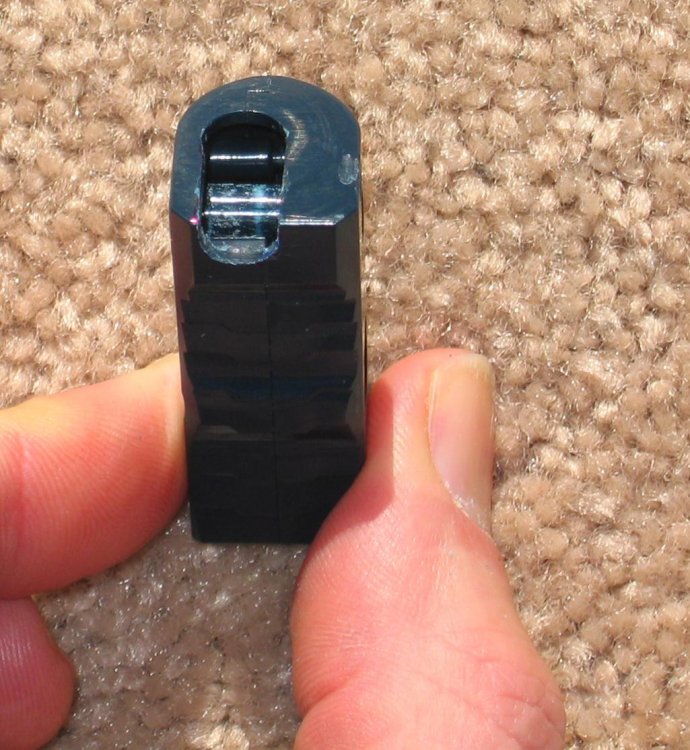
Tried to recreate the failure on the left shoulder and it has held firm. Hasn't been handled much and was not transformed until after the break. Just an odd event and an easy fix. For my 0S and 0A no breakage in the shoulders. Tail fin spike problems but that has been it. To be safe I did disassemble the cockpit as opposed to pulling it apart but I doubt that the YF-19 has systemic shoulder problems. Have had a really good run with Yamato but with all mechanical devices must consider user head space and timing. Edit: Can not type.
-
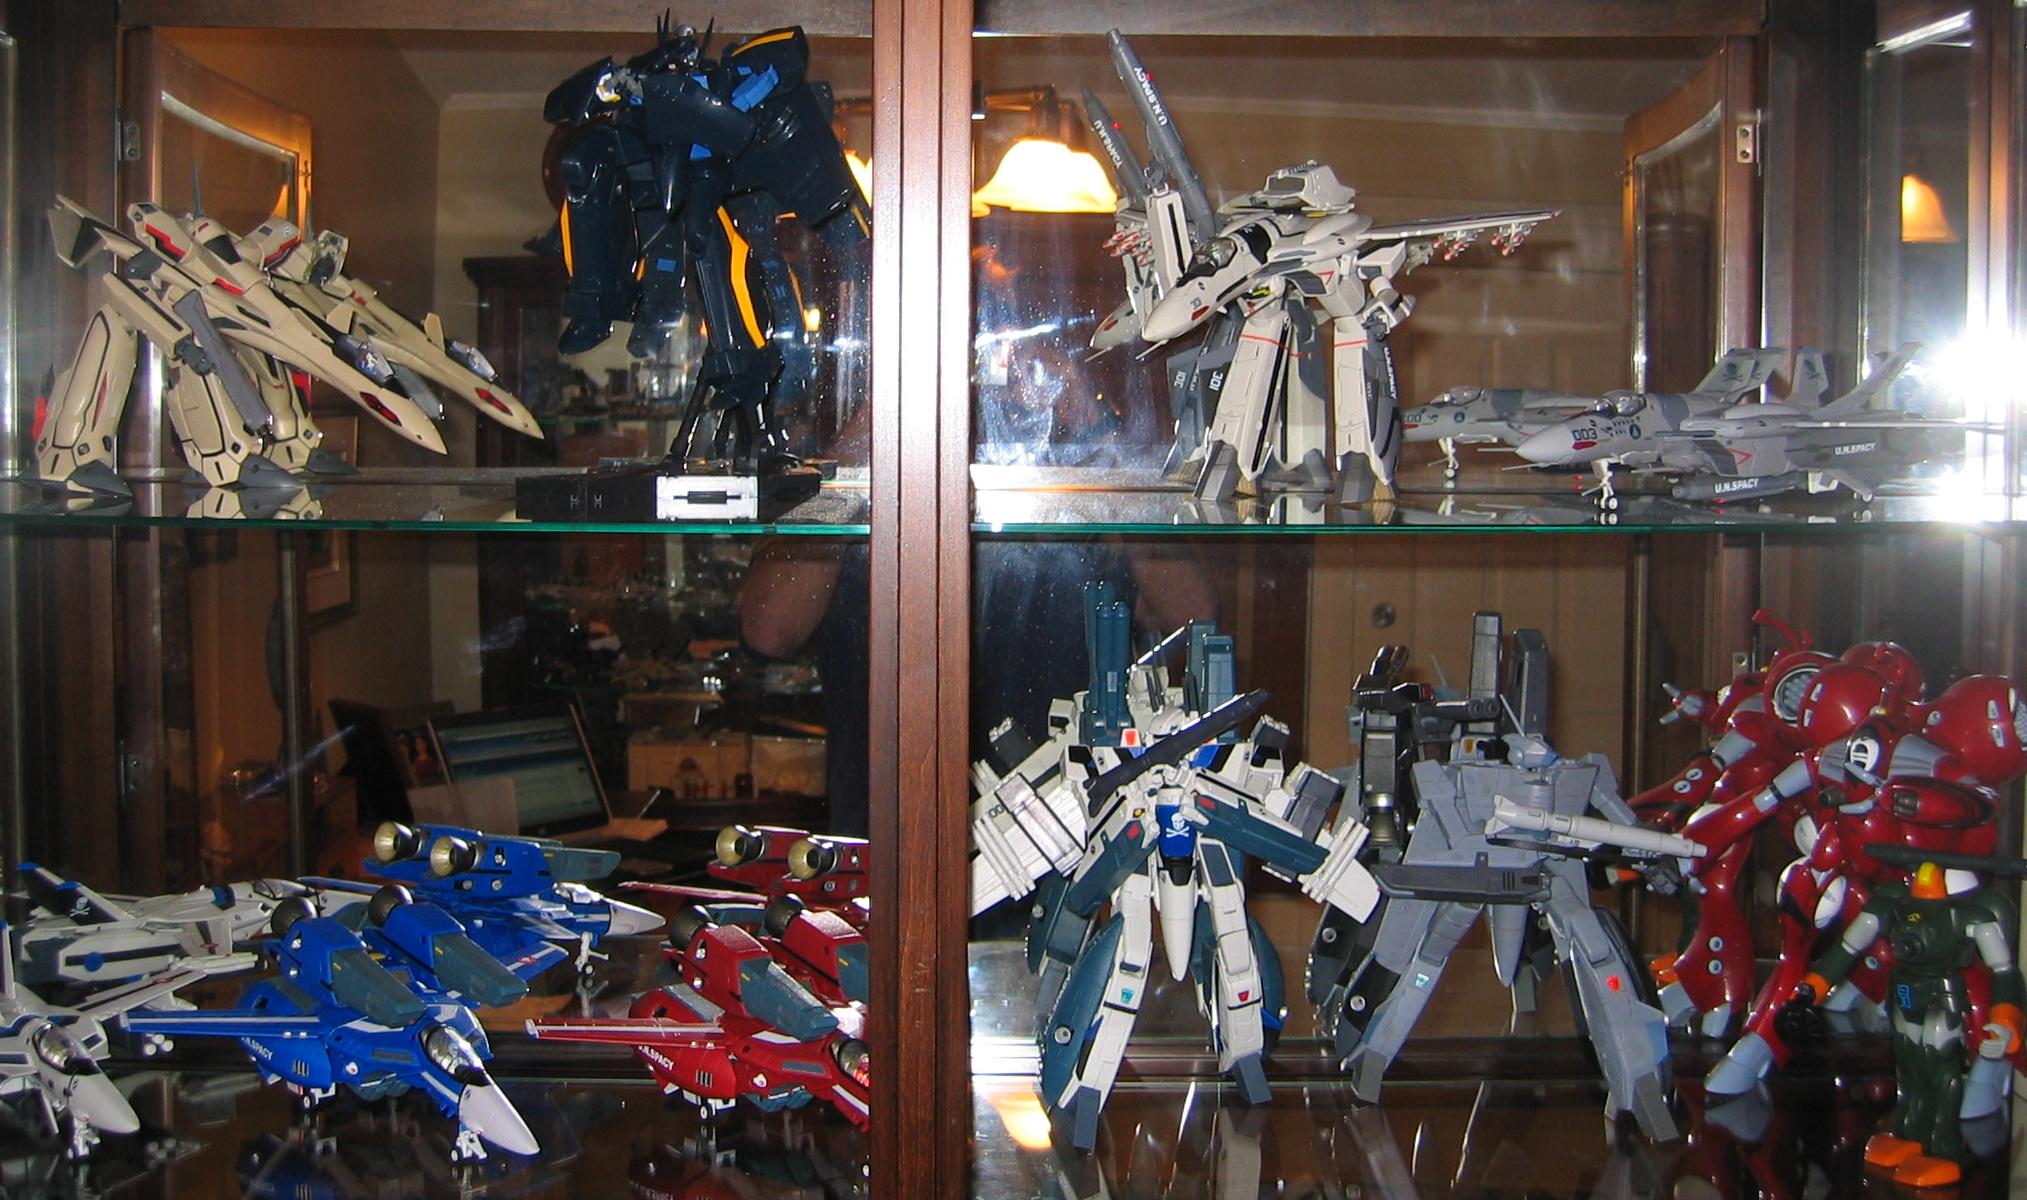
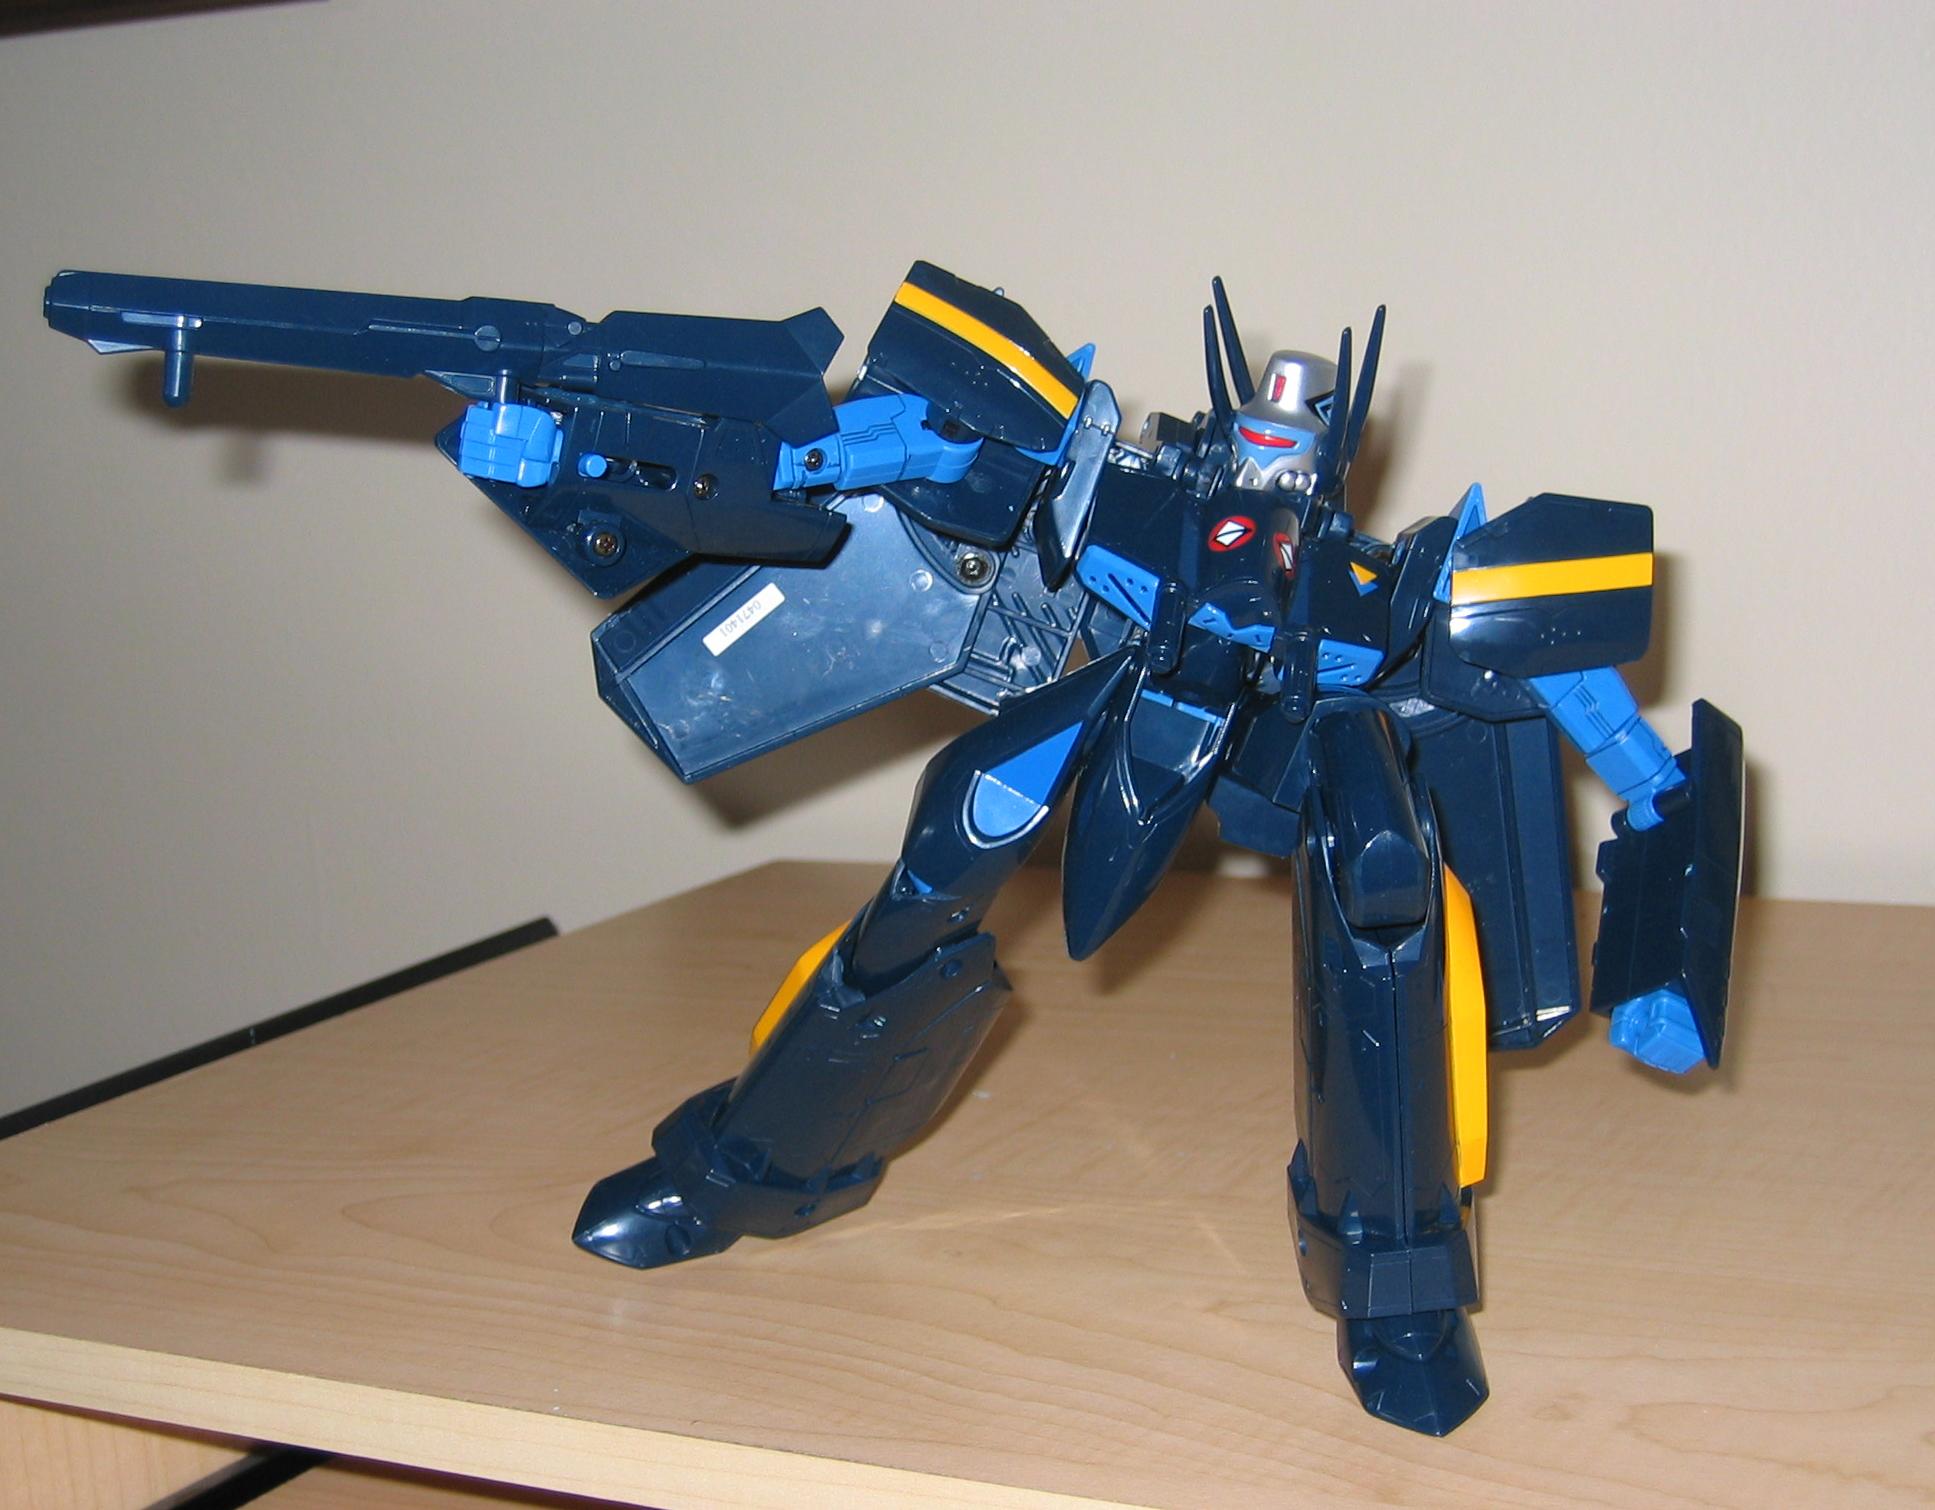
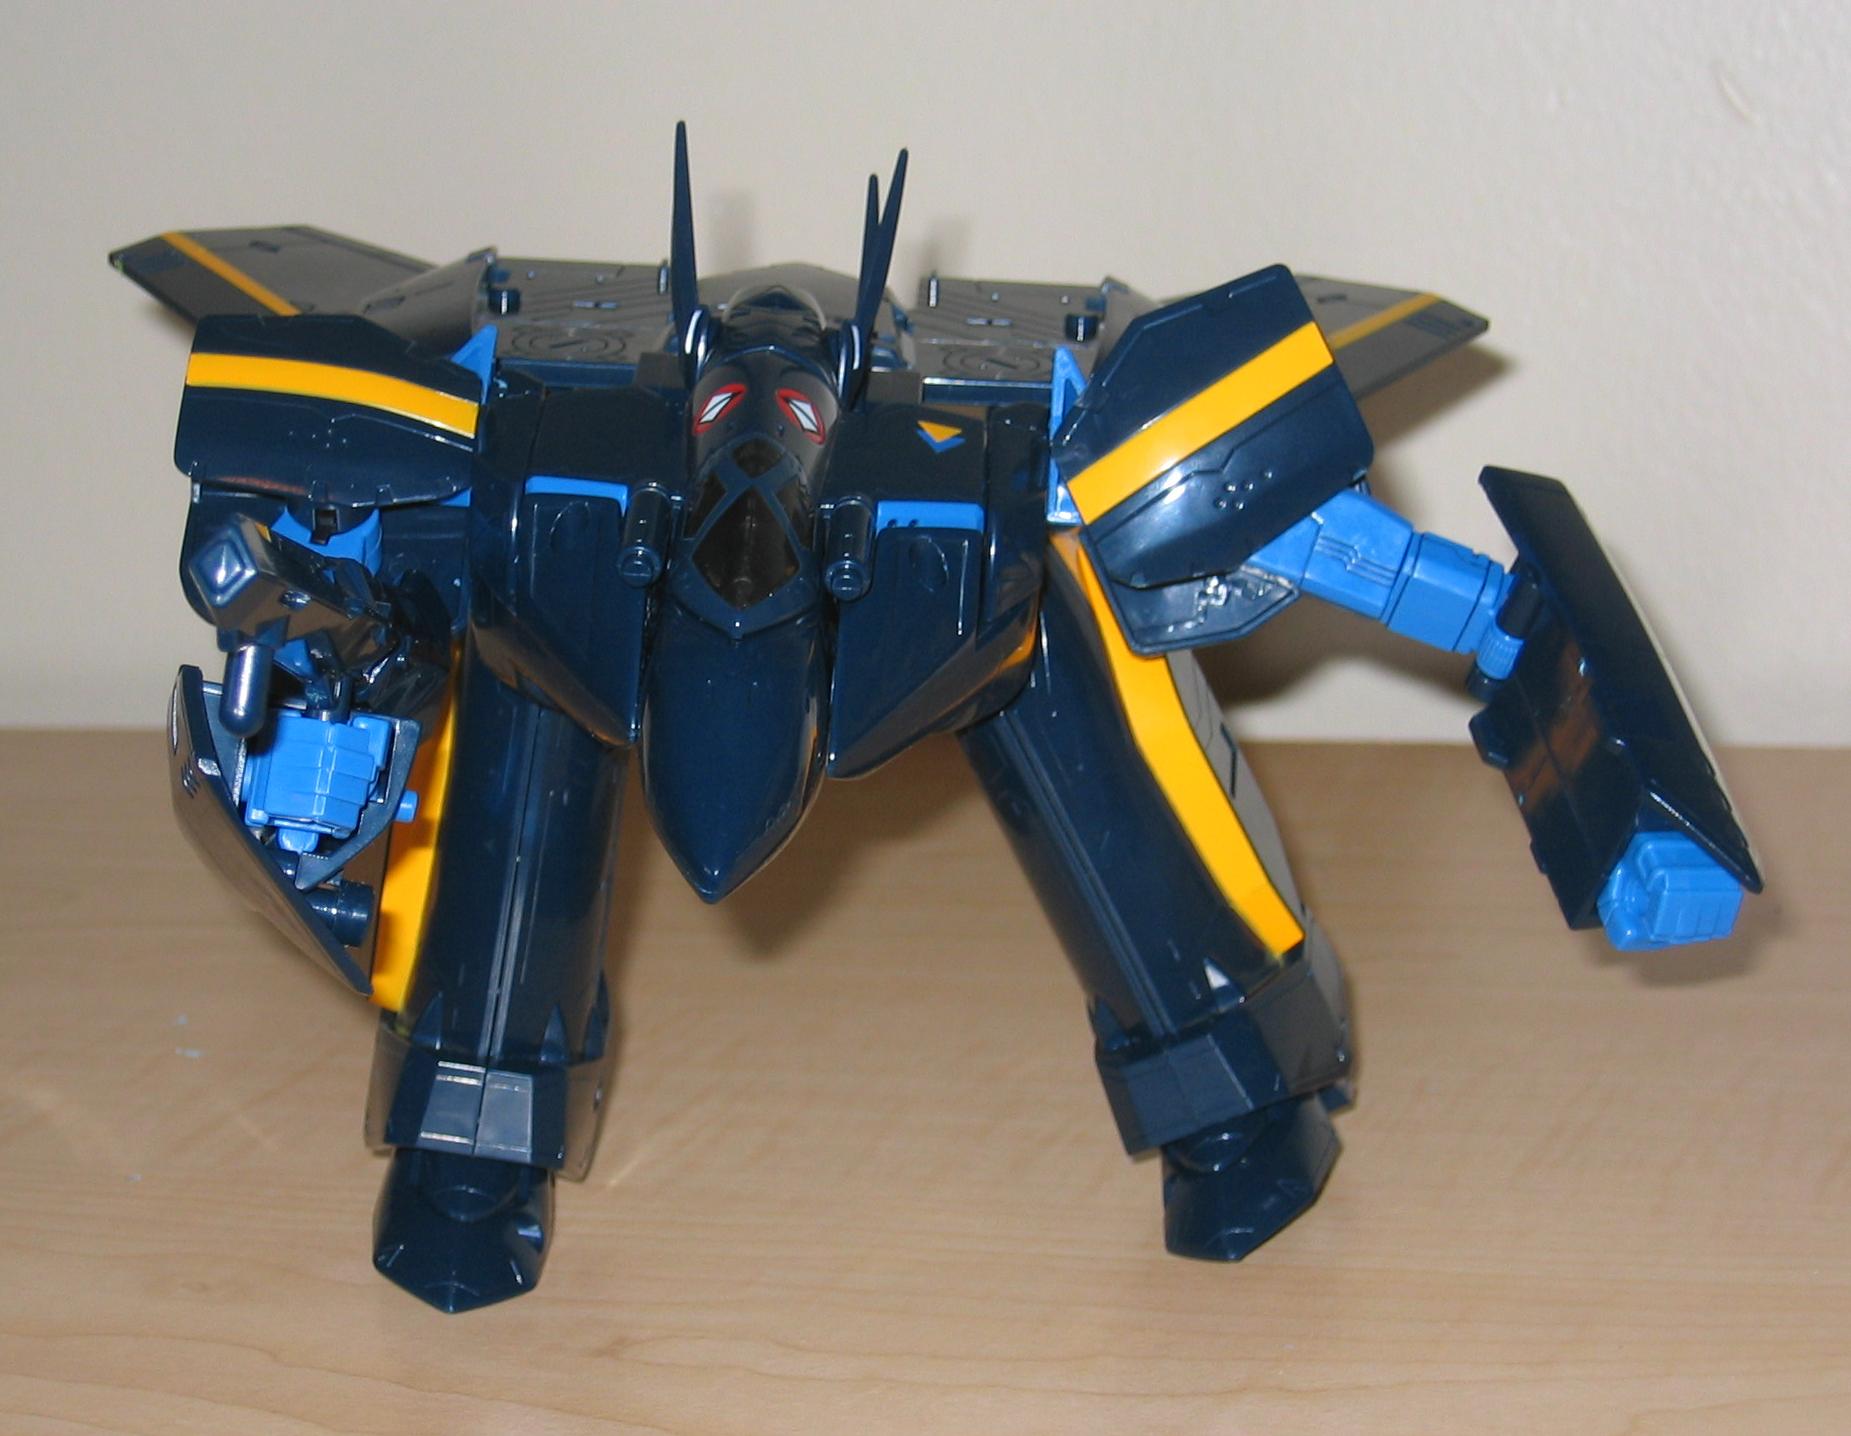
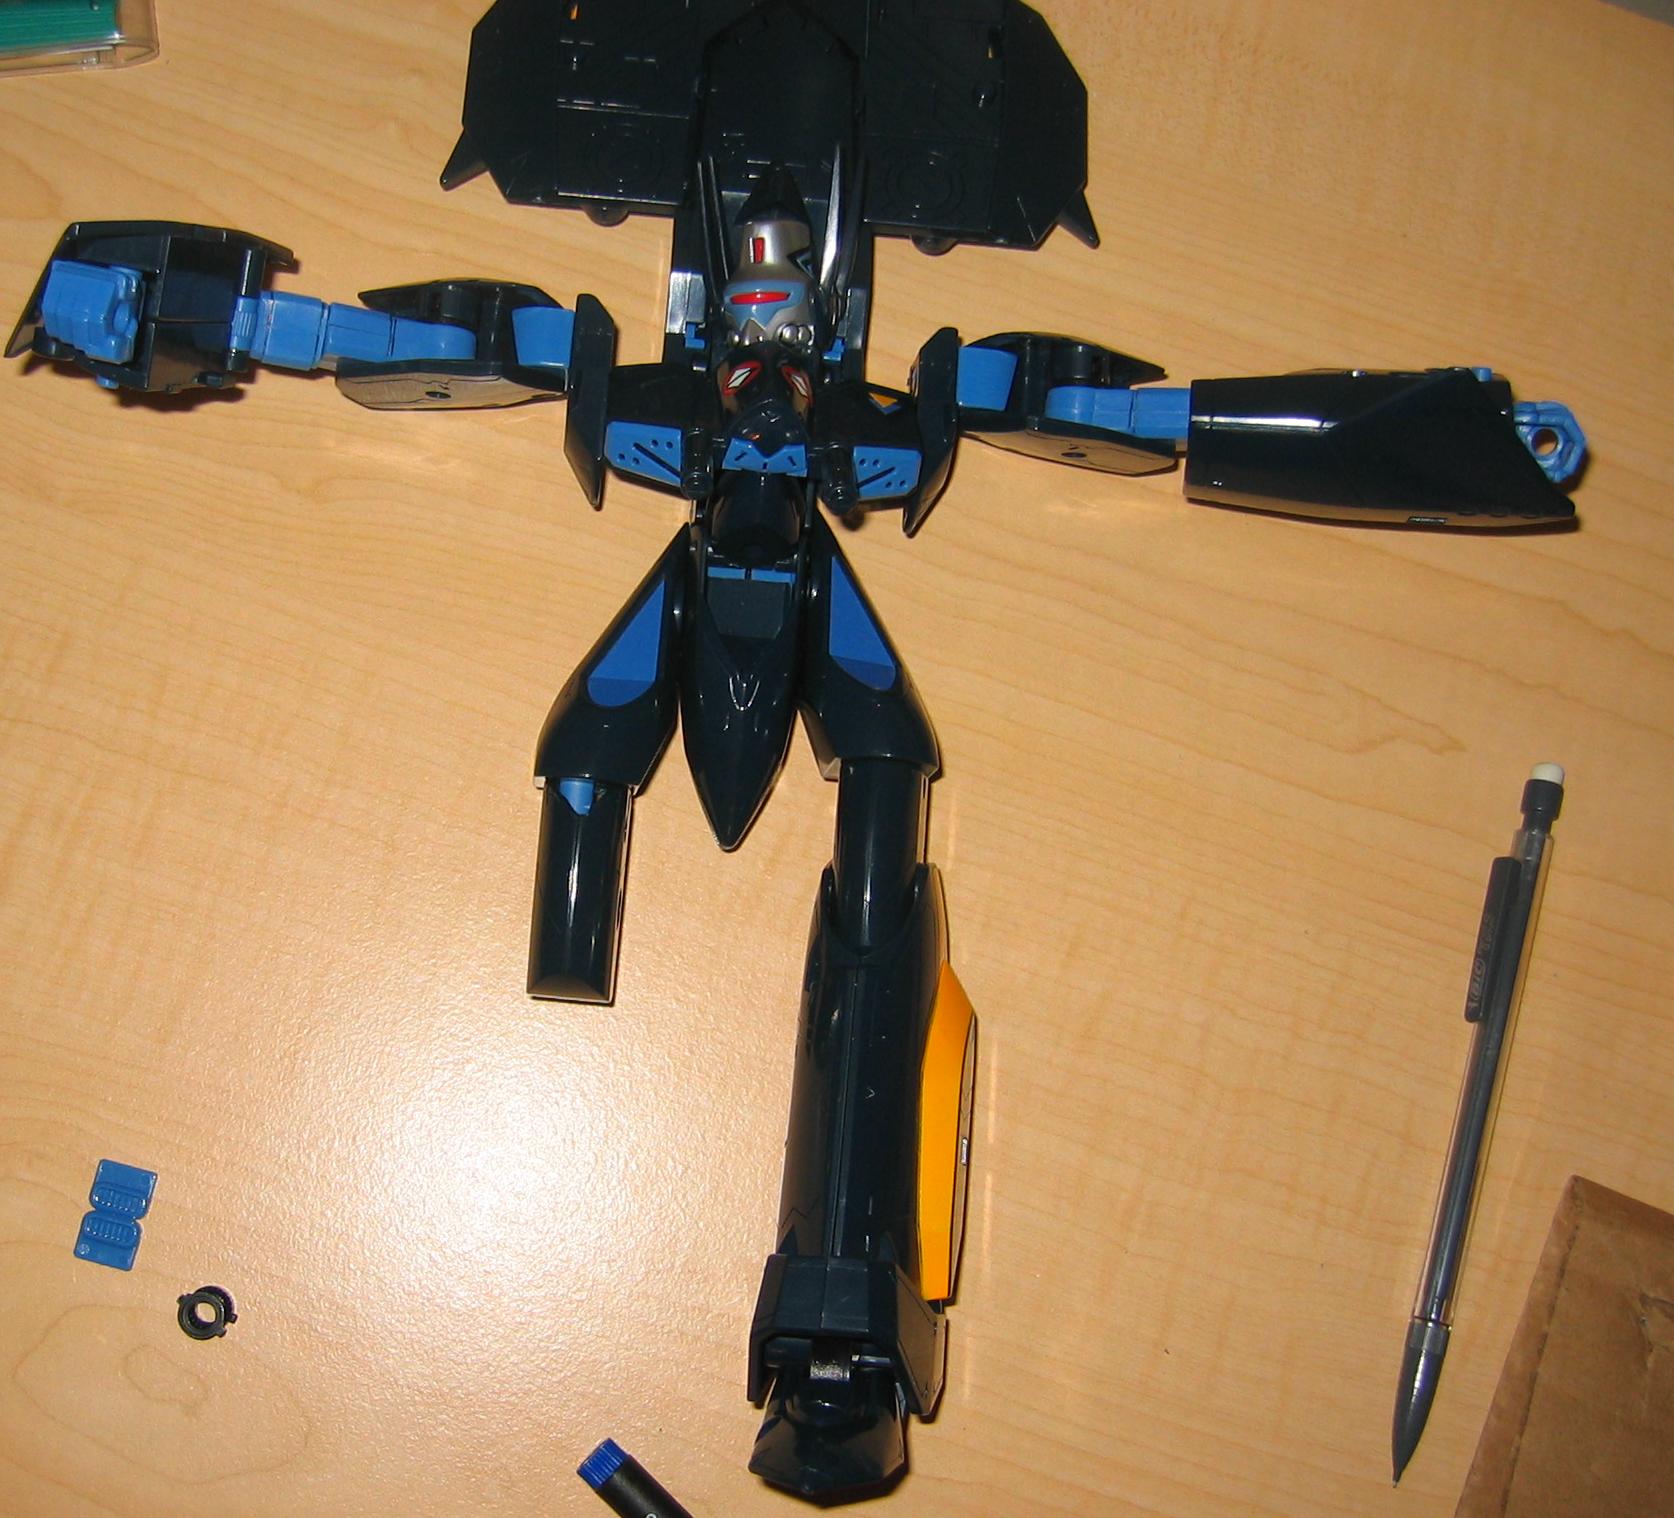
Sorry about the crappy quality of the photos but you can see the sizes of the VF-0, VF-1, and YF-19. The 19 is about the same size as the 0 and oddly enough they (1/60) about the same size as the 1/48 VF-1.

-
New Robotech Shadow Chronicles Vid
Fly4victory replied to terry the lone wolf's topic in Anime or Science Fiction
That has to be the most dissappointing thing I have read about SC. -
Toynami Announces Masterpiece Cyclones at Toyfair
Fly4victory replied to chowyunskinny's topic in Hall Of The Super Topics
NO they can. That is why we never got the Beta/Tread. -
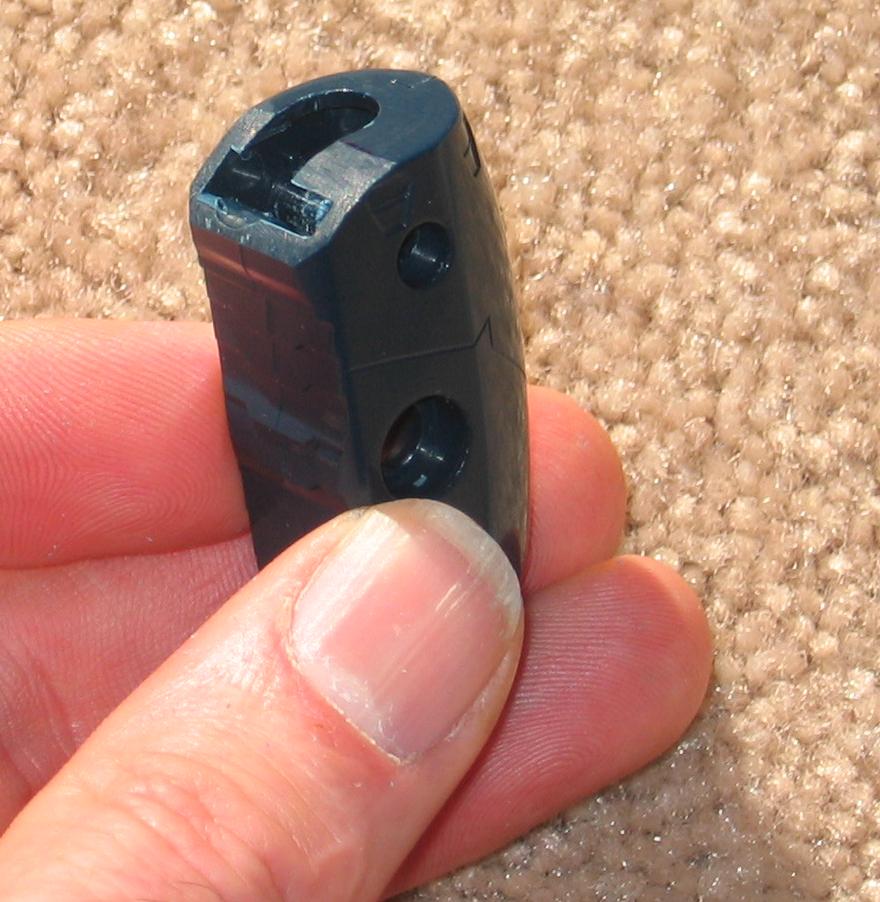
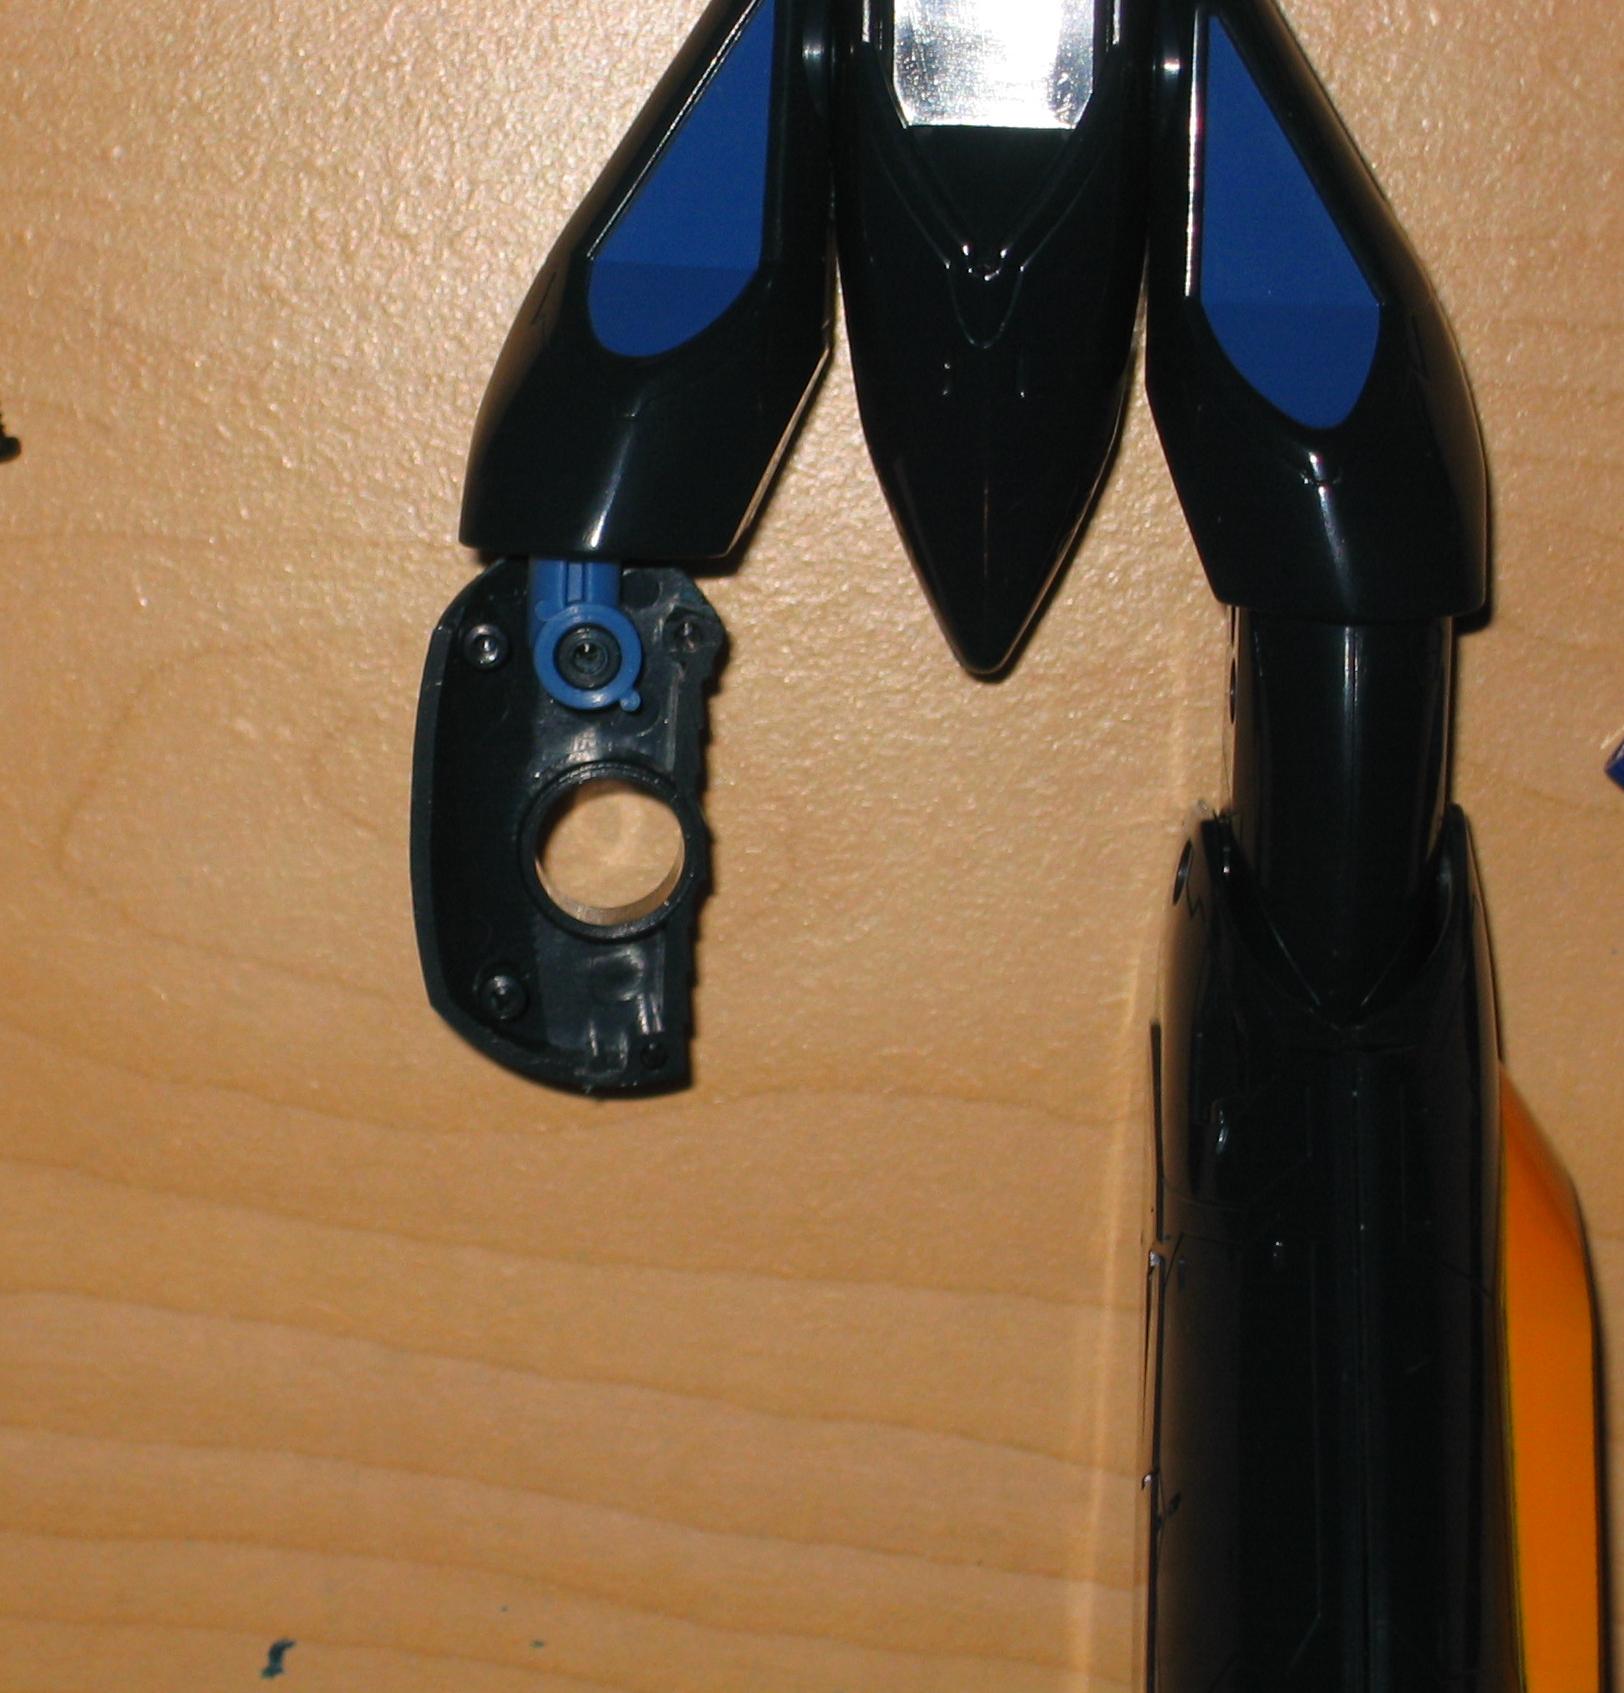
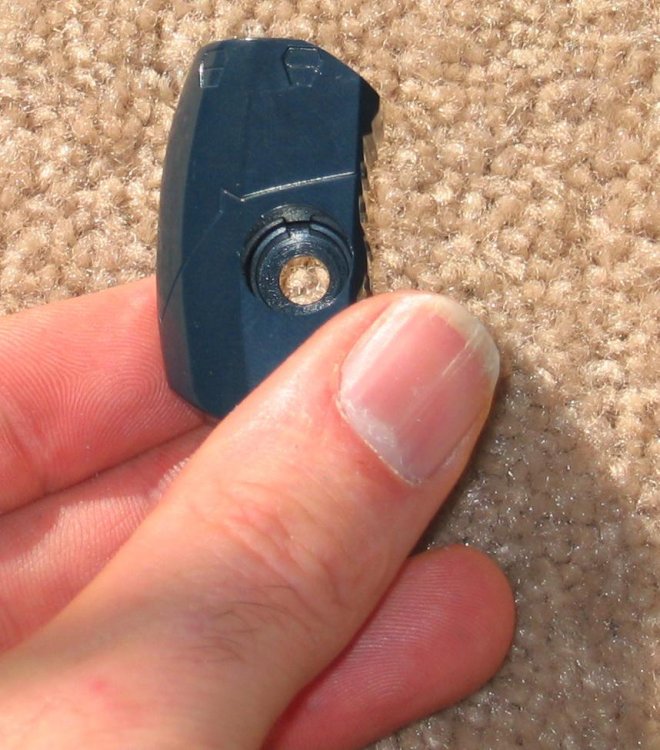
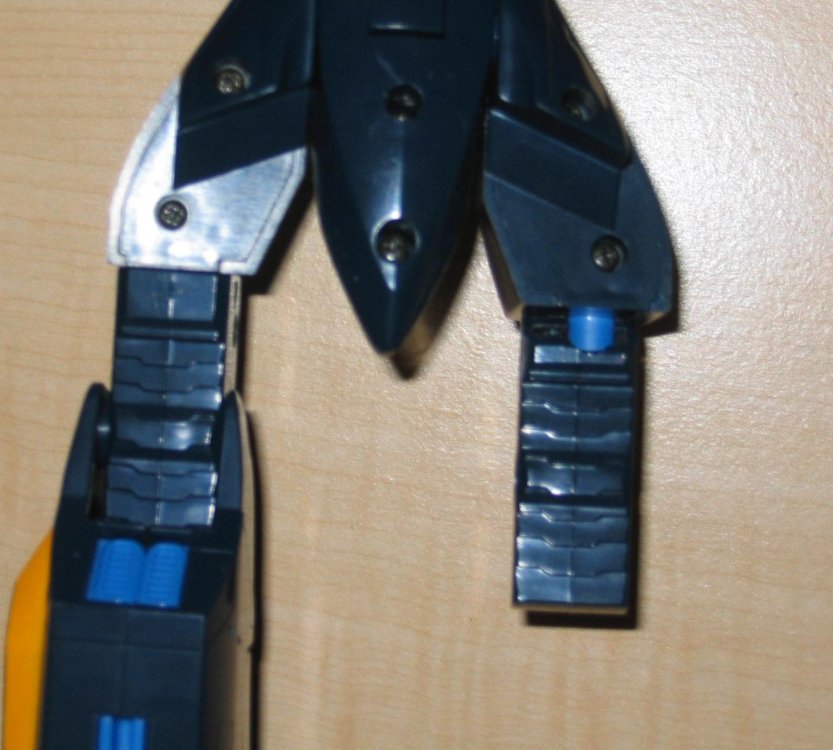
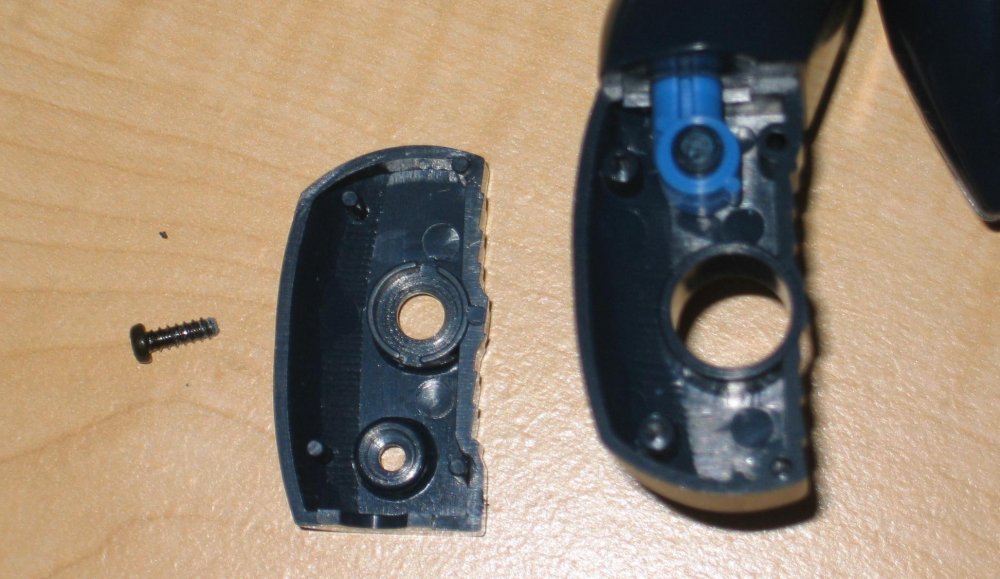
Thanks for the tip. Mine might join the parts pile also if I can not fix it. I am going to drill the top of the hinge and replace with a metal pin. It will just transfer the tension in the joint to another point of failure but will see what happens.
-
You do not need to worry about modifying the shoulders if the cover comes right off. Hinge pin broken clean off.
-
Thanks Much! I have to order those decals next. My 19 is so plane without them. The full mod and decals looks too good not to do.
-
What do you recommend cleaning the Valk with before placing the decals? Edit: Do you include a guide for the paint can top cut out and the aileron mod with the decals?
-
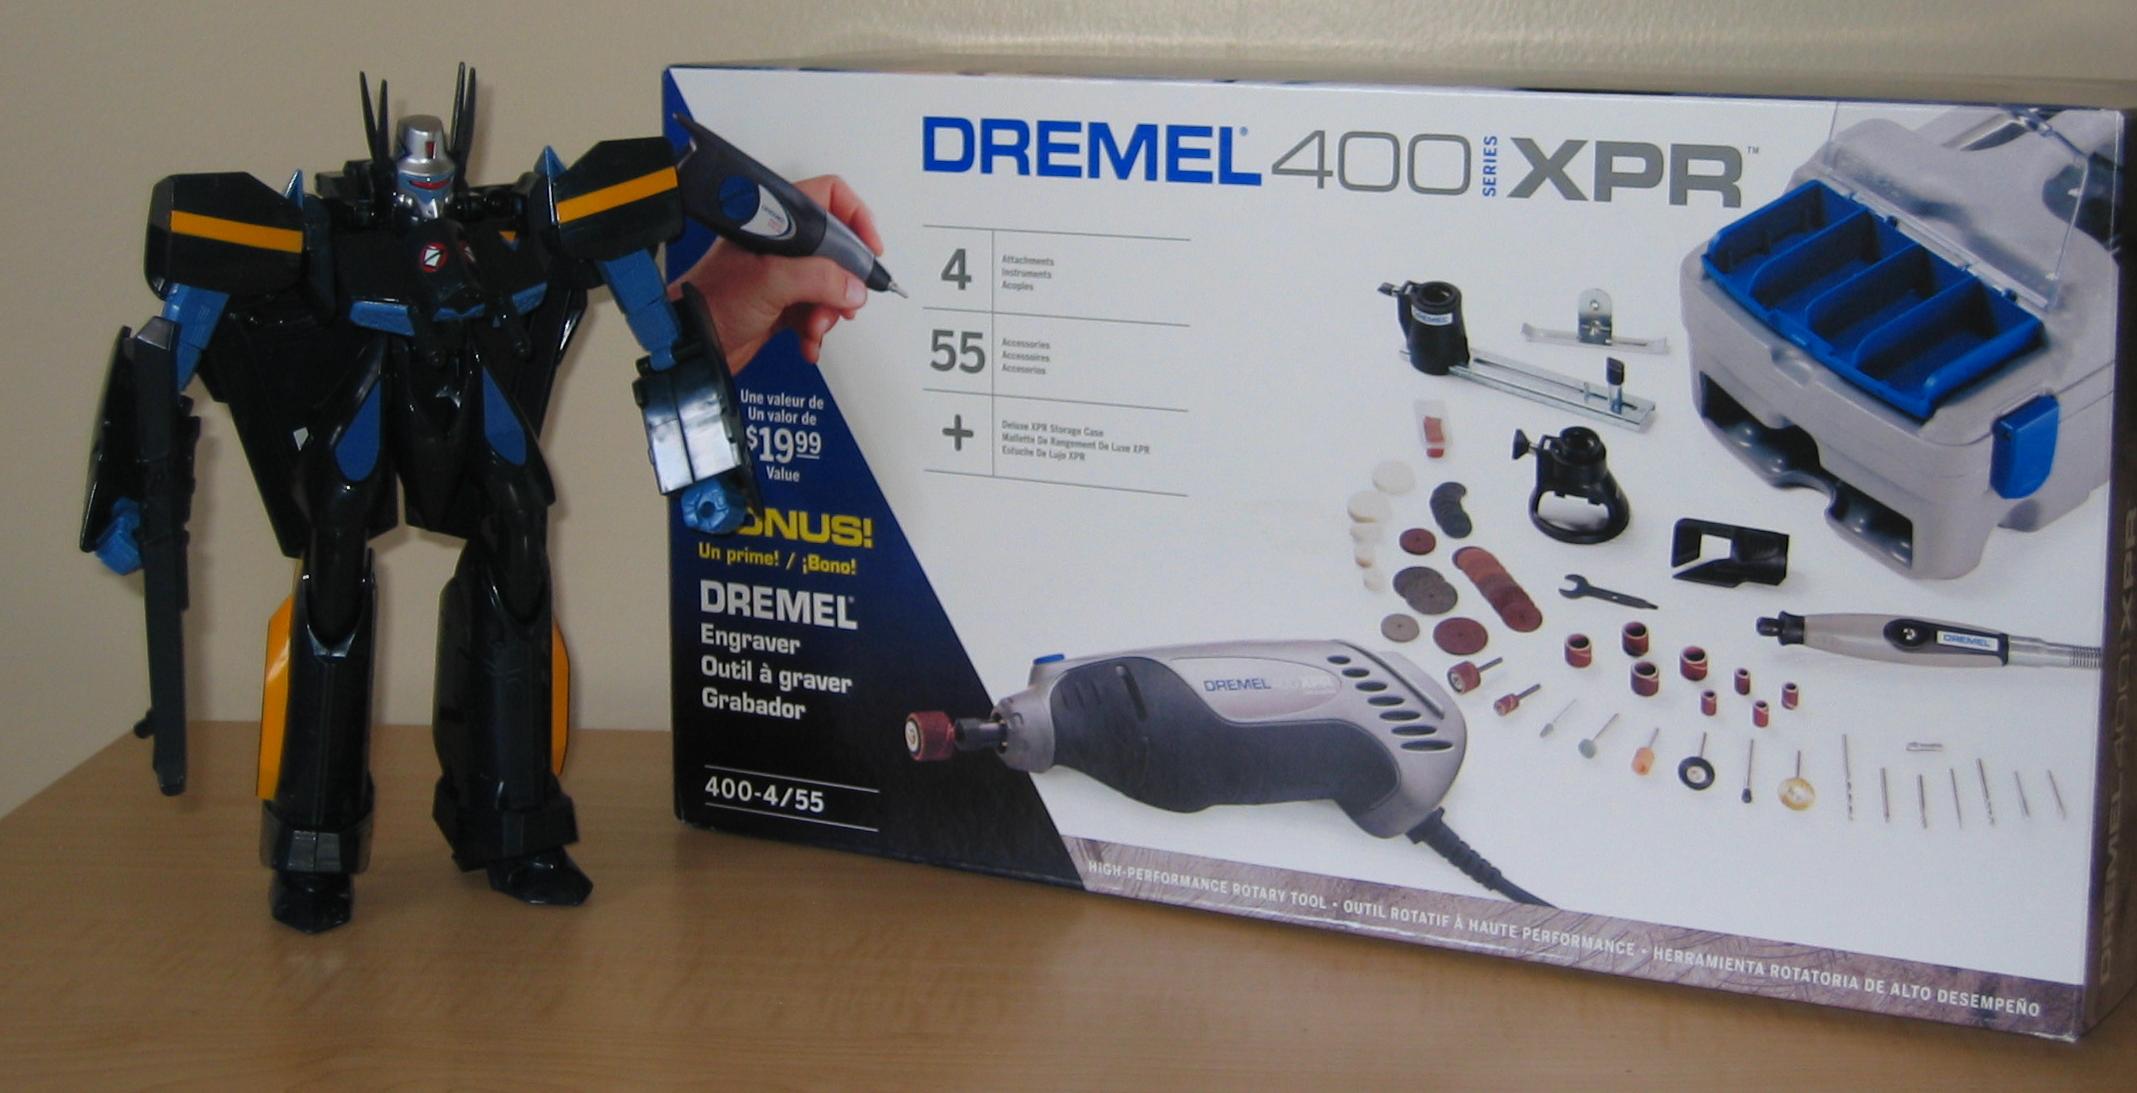
Thanks. I have been spying others work for sometime. Yes, this was my first joint mod. It looks so good because of the dremel. Only Macross work before has been a two seat 1/48 VF-1A conversion, toynami SP VF-1S Max, and 1/48 VF-1S Max. Plus custom decals for a low-vis 1/60 VF-0A and 1/72 S-3 Viking from Macross Zero . I borrowed your Gundam hand idea... but need to get bigger hands. I will post the how... if and when I can find some. Edit: Ordered a set of the 1/100 HDM-116 Colored Gundam Mk-II Titans ver 2 from HLJ. Hope they are bigger and I get more than two hands. Anyone get these before?


-
The hasegawa model section has paint mixing instructions that may serve as a good starting point. http://www.macrossworld.com/macross/models...wa/hasegawa.htm
-
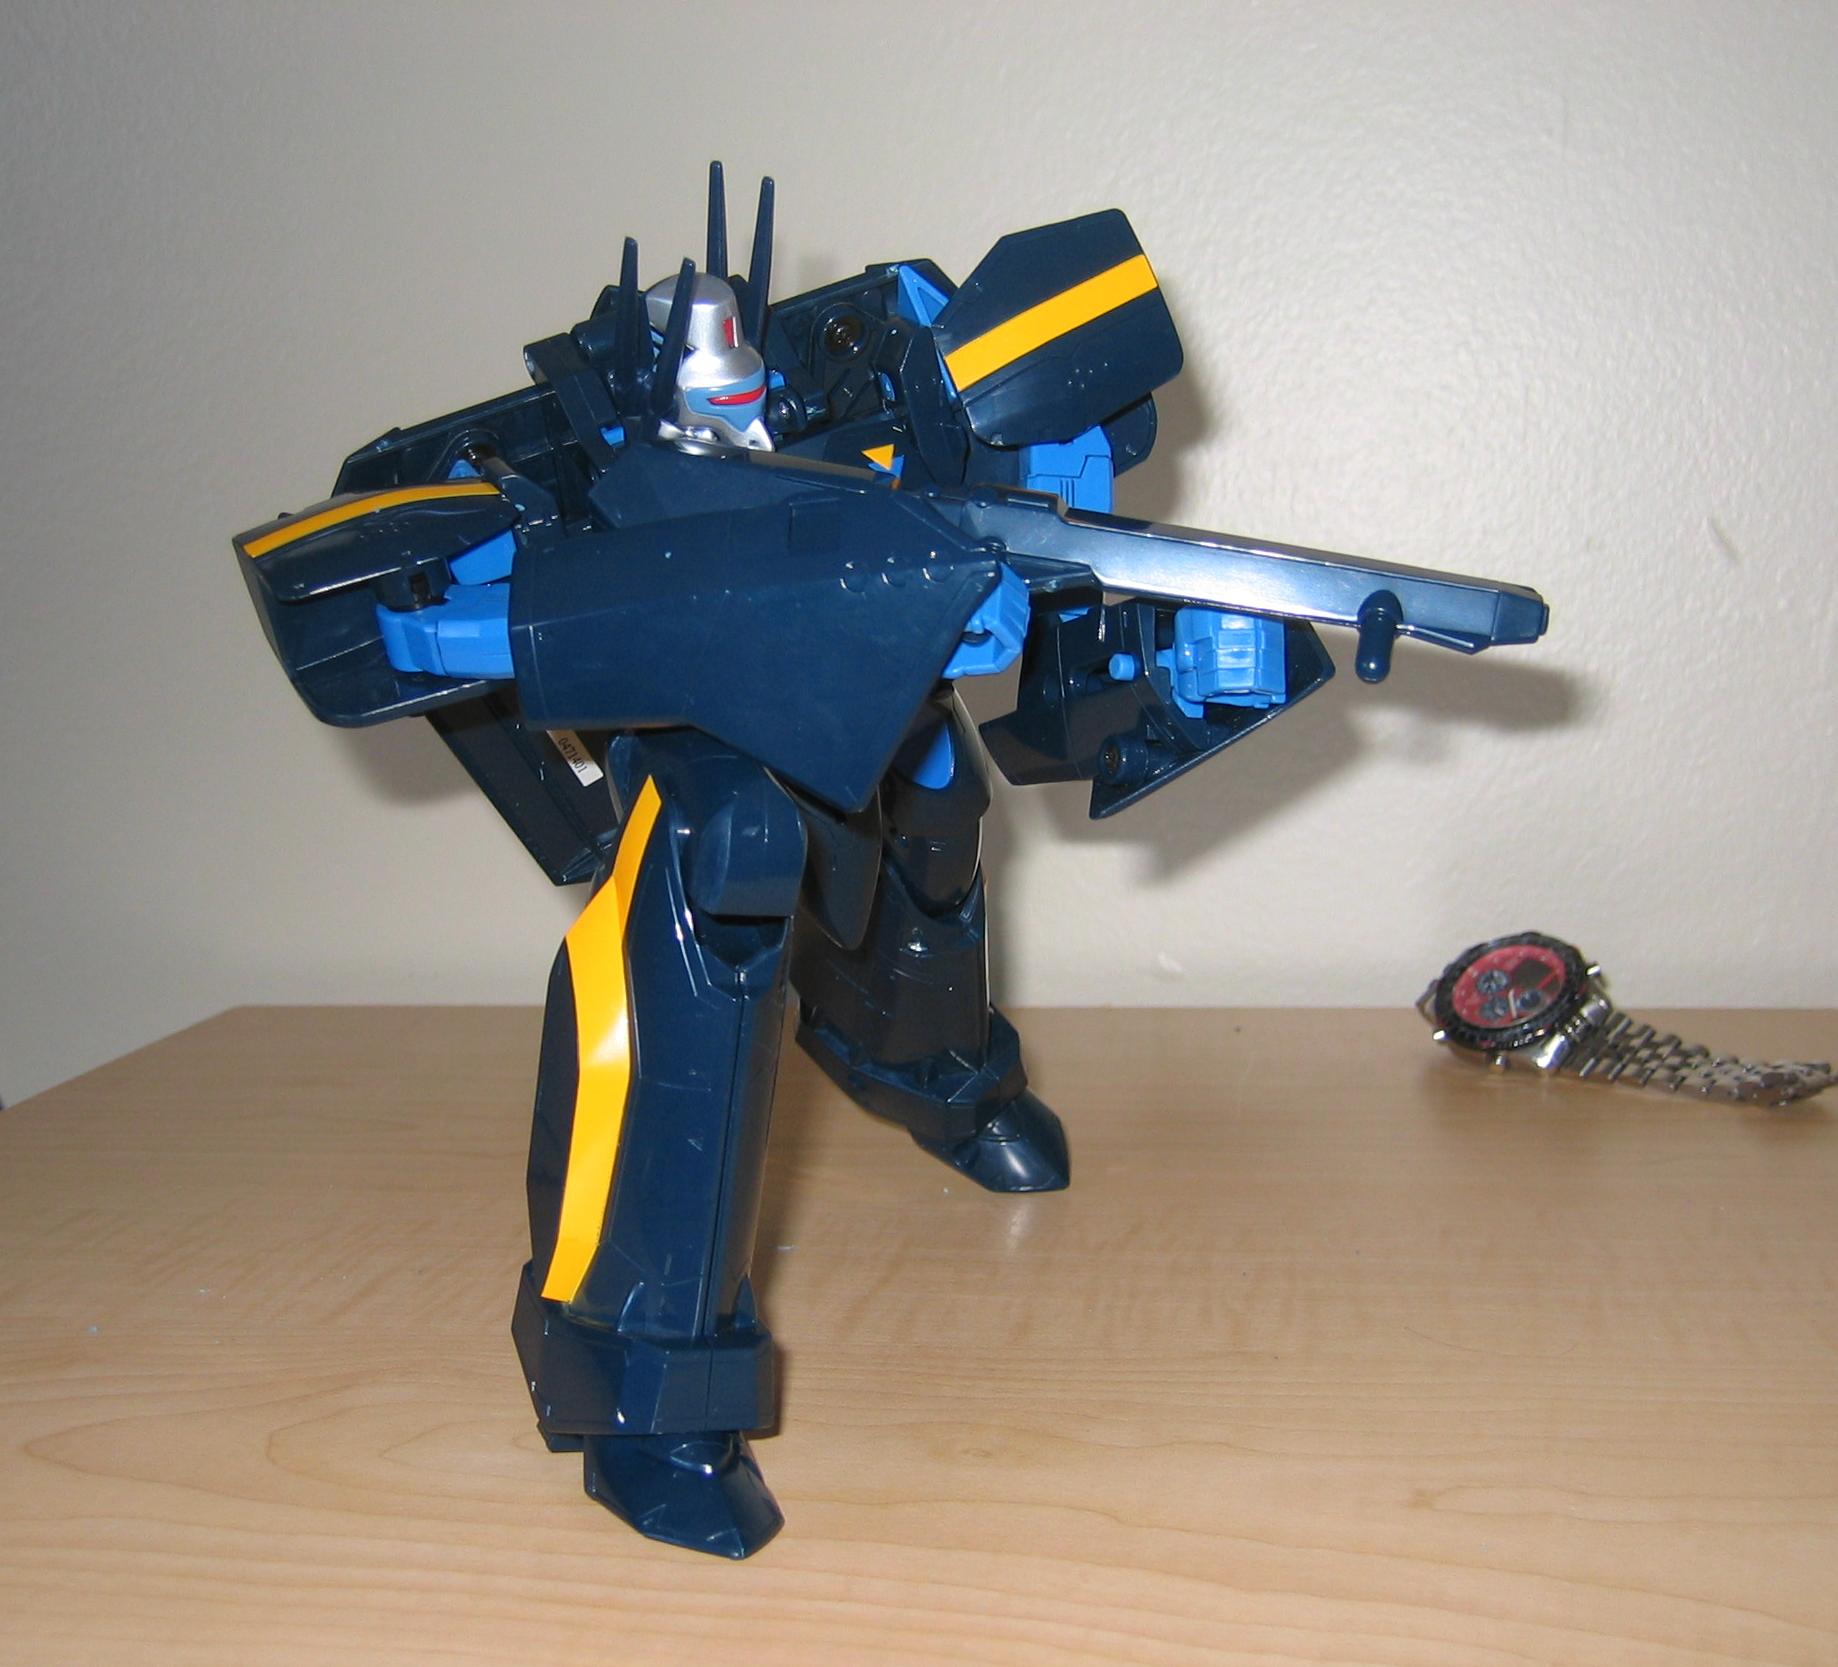
Done! Well with the legs at least. I don’t like the hands or the fact that the wrists are fixed. Plus there is the gunpod… anyone have a 1/72 recast that they want to get rid of? To be honest when I got the VF-17, I thought what an ugly piece of crap since it came out of the box in fighter mode. After modifying it, I am really impressed. It is very posable, super stable, and still seems strong. Unlike a model or some Yamato mods… this one you can play with. The plastic is very strong, easy to work with, and more importantly easy to polish to hide the cuts and scratches. Thank you Yamato for releasing your new stuff in 1/60 which caused me to look at the 1/65 VF-17 and to Jenius whose original mod was the proof of concept. Oh Yeah, Its still ugly in fighter mode.


-
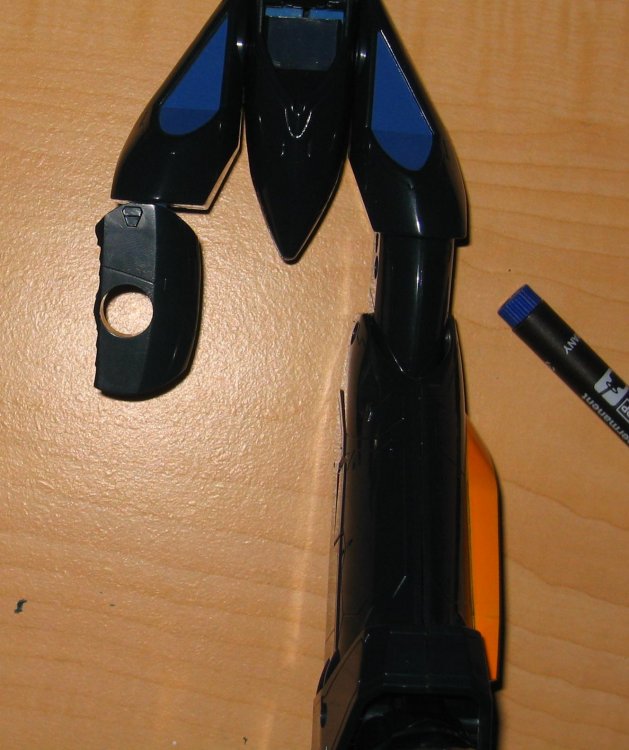
Yes, a ball joint at the hip leg attachment and slight adjustment to the knee makes all the difference. Variation If you do not like the deep V, second knee and want to give up the forward Gerwalk swing on the thigh just cut the aft part of the channel and round the back top. You now have aft swing and do not need to see the internals of the joint. Variation Dig the shag carpet? My VF-17 likes to grove.

-
One leg done and I could not resist the urge to play.


-
Yes, there are custom LV1s out there but the cost is so high for one you could buy 3 or 4 VF-1A in DYRL Colors and then do a repaint with an airbrush or spray can. Standard colors light and dark aircraft gray, and sea gray would be a good place to start. If you use decals for your custom and not stickers the valk will need to be clear coated anyway.
-
It's about 20 degress below average so that should be global cooling.
-
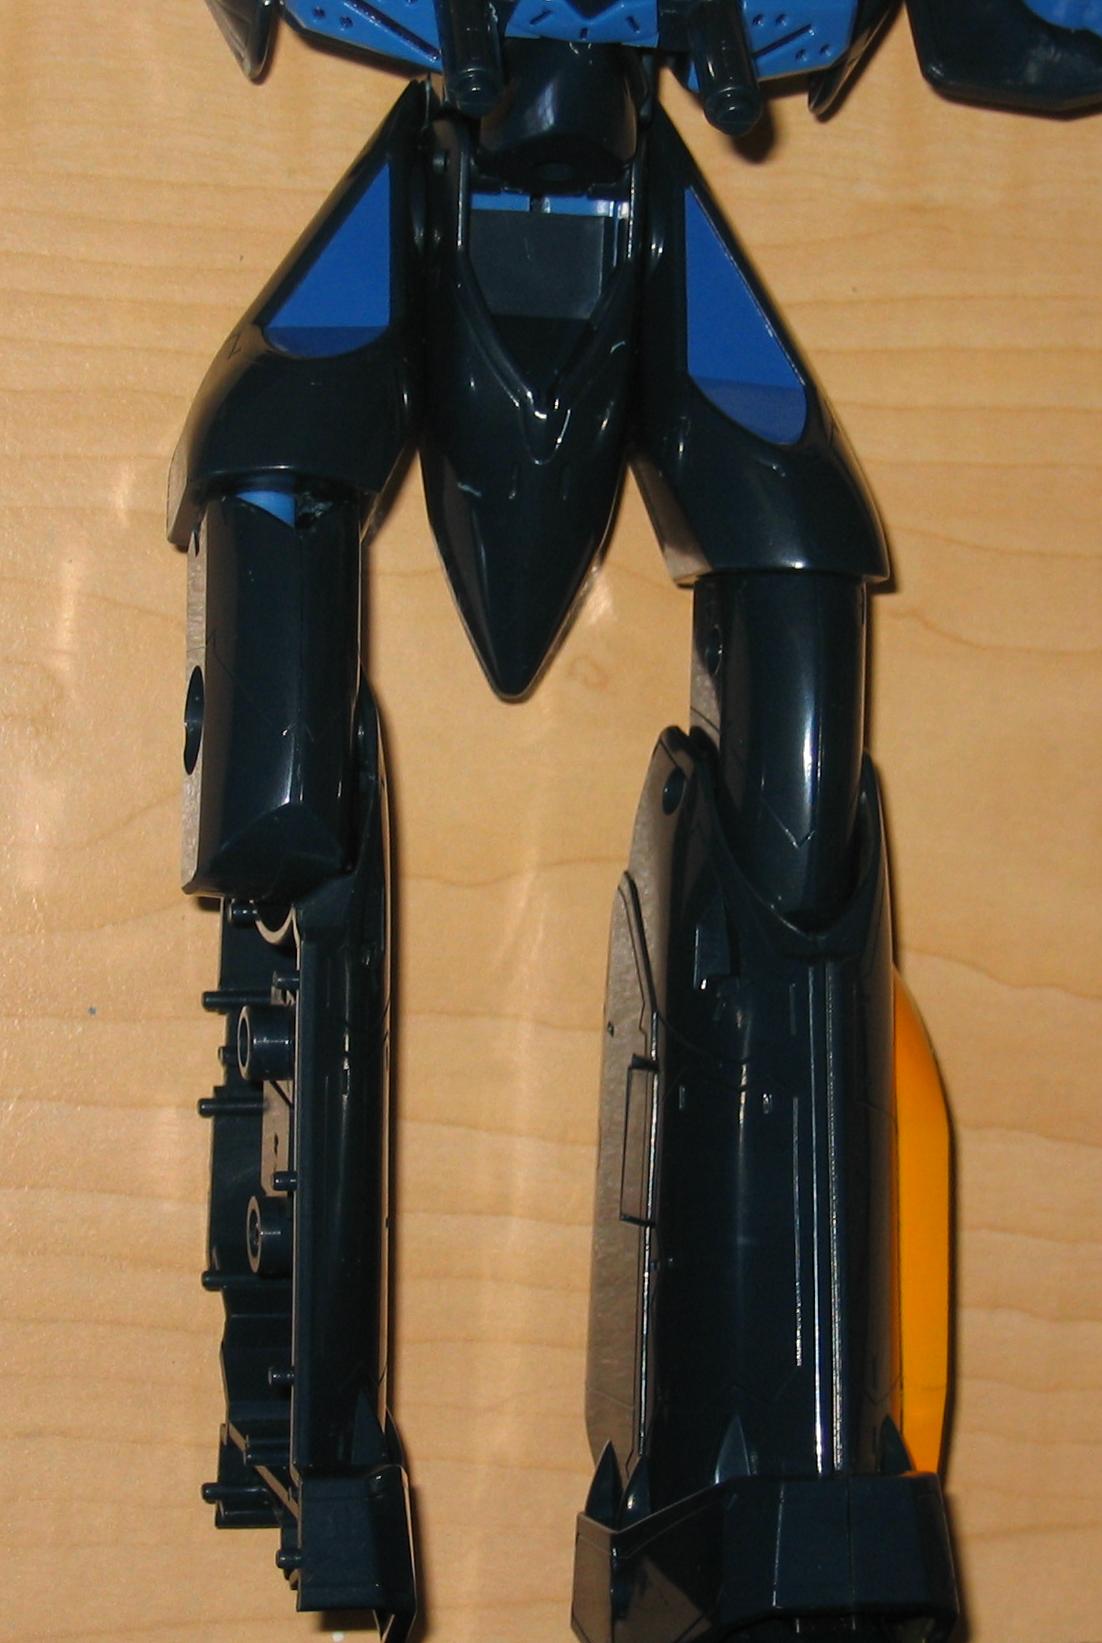
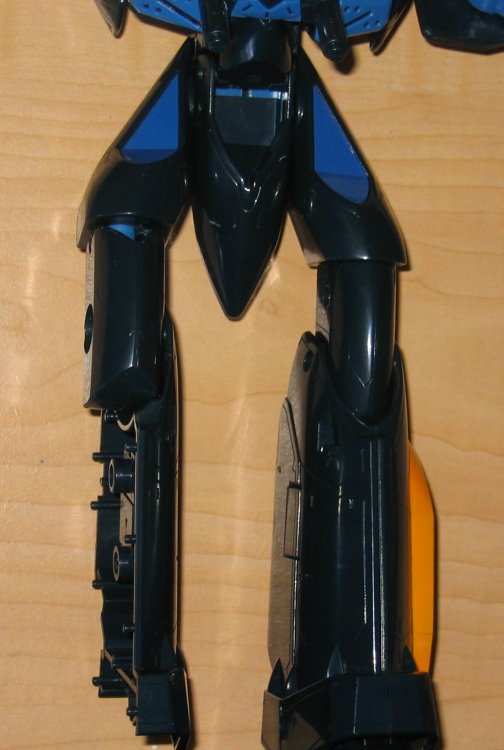
The knee does not involve cutting more of shave and polish. The interior bottom of the knee is square and does not clear the front of the lower leg. This is what keeps the knee from bending with the lower leg swinging aft. A notch must be made in the lower leg while the interior bottom sides of the upper leg must be rounded to increase clearance. The less round the interior sides of the knee the larger the hole in the front. This was done with the grinding disk on the dremel and then X acto knife.


-
The meeting was need to know. Graham is not authorized to release the details.
-
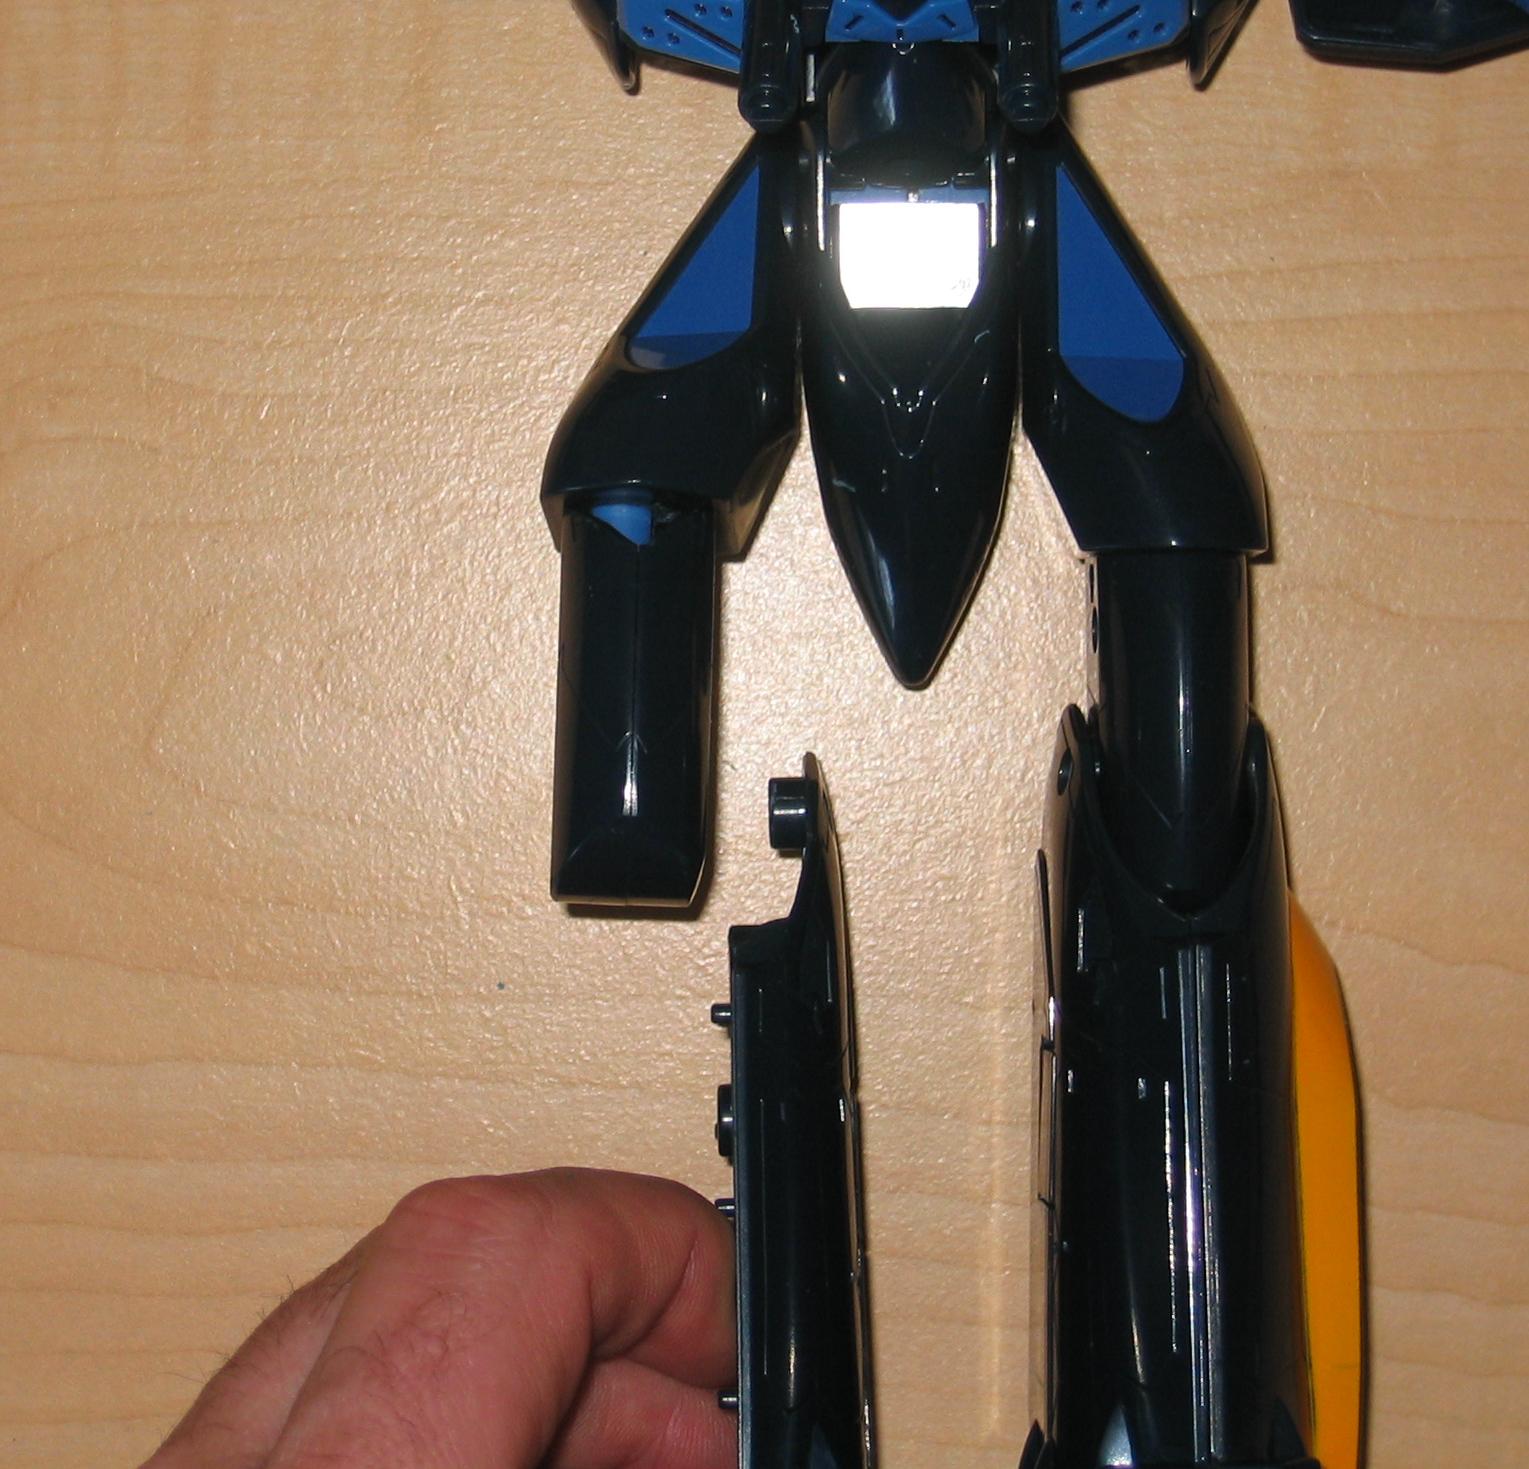
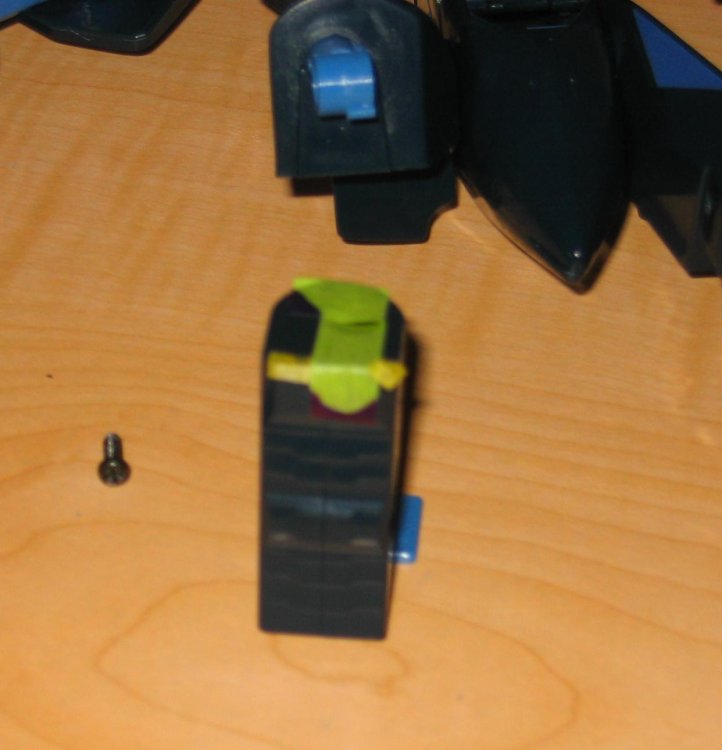
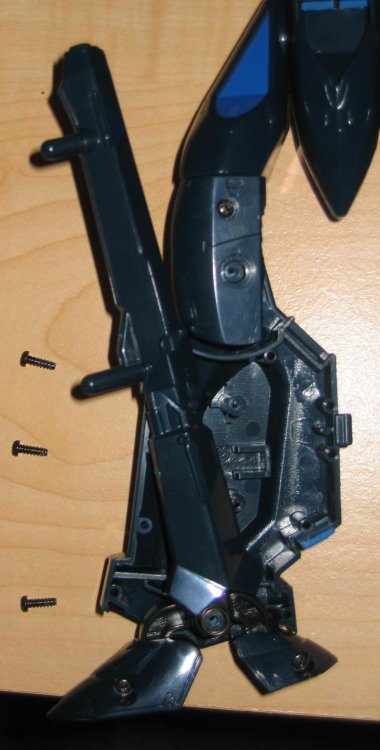
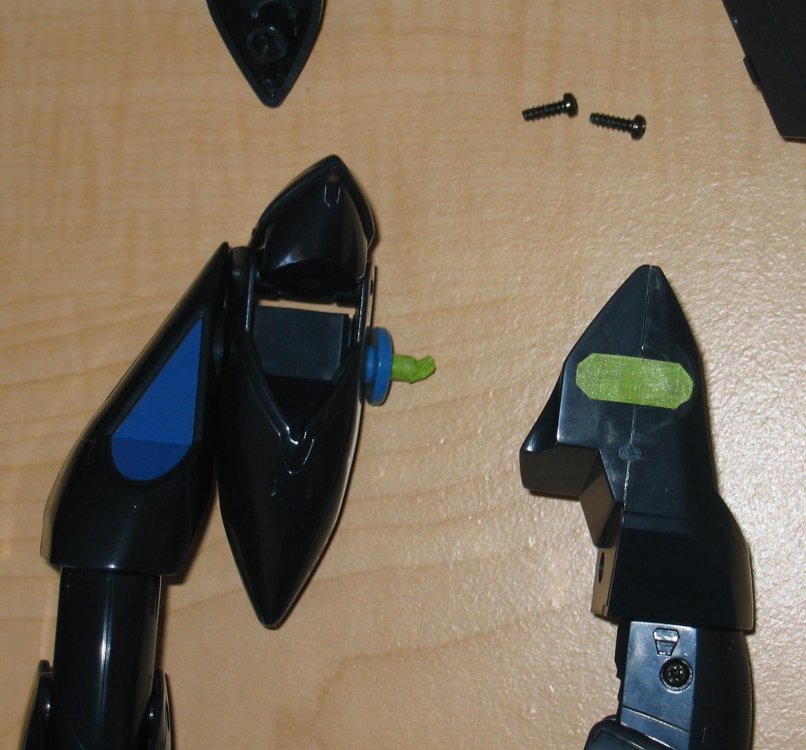
The channel was cut exactly as taped. The top of the thigh had to be more rounded than I expected or indicated in the prior photos. The bottom of the intakes have not been modified. The front of the thigh, diamond cut, does not need to be made if you do not want the Gerwalk forward swing on the leg. The nasty part will be shaping the same channel and round surface on the opposite leg. I doubt that I have the same mobility of the original modification but I did not have to cut, shape and then glue so I hope it has retained the strength, yet I can see why this is a easy point of failure. Edit: Photos


-
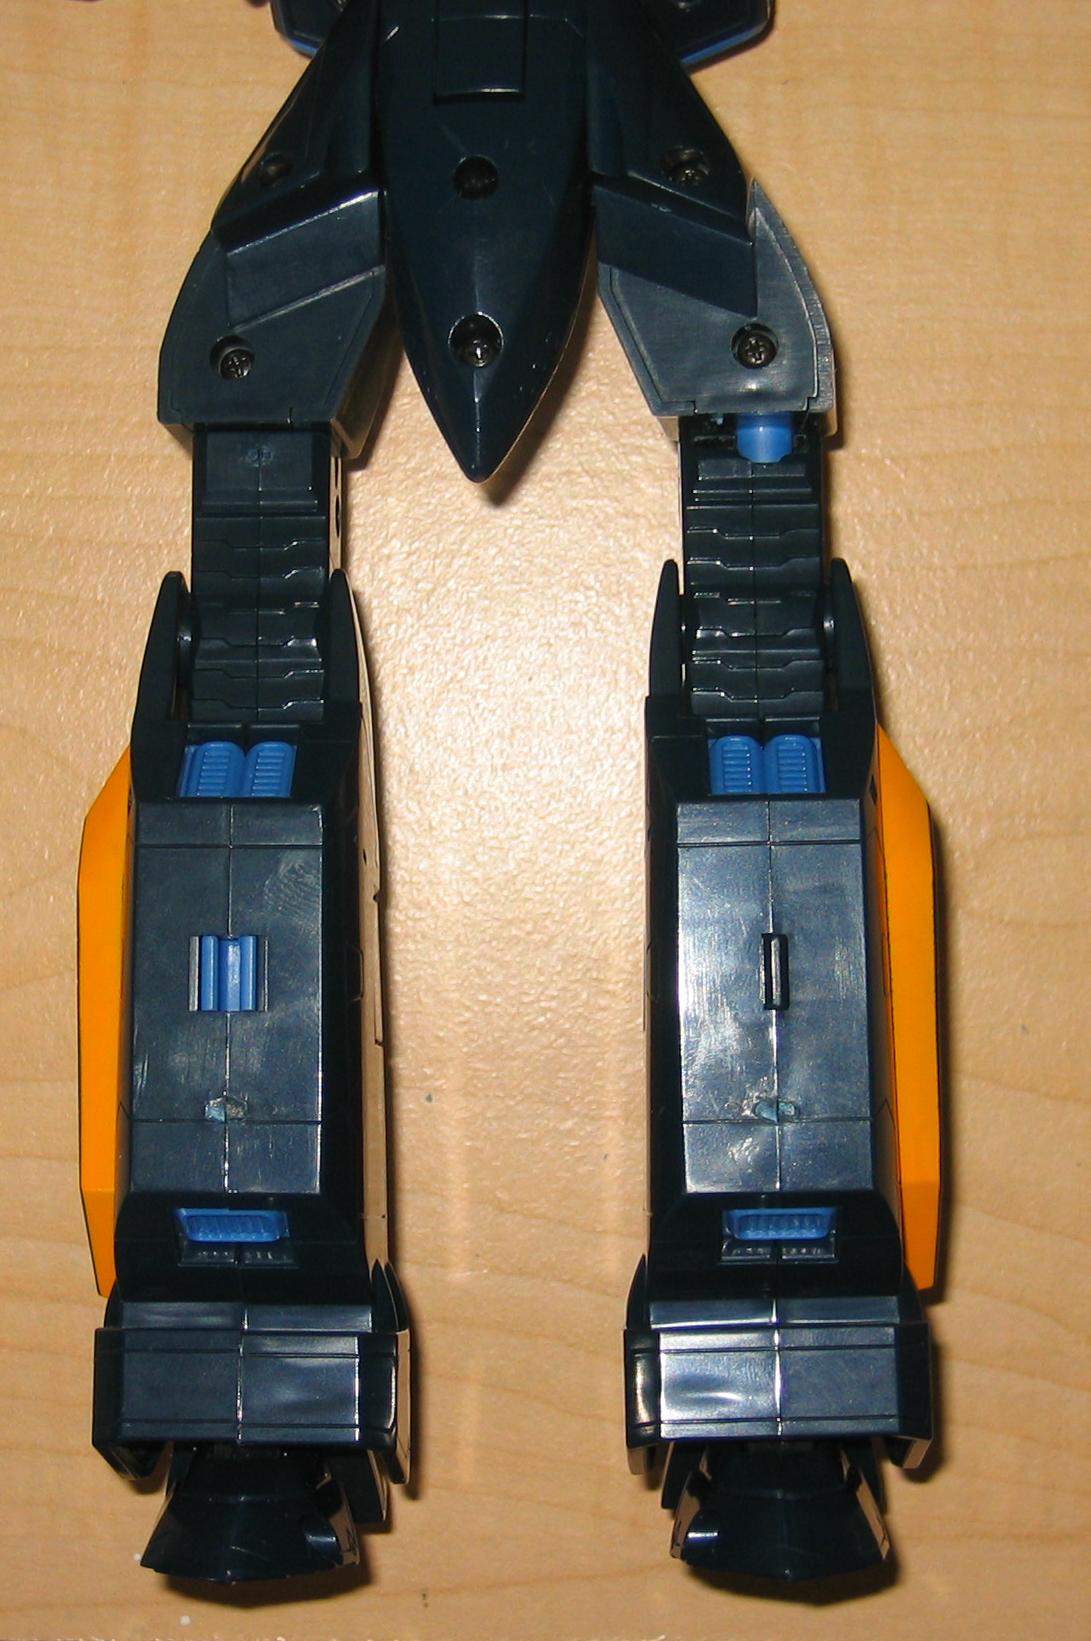
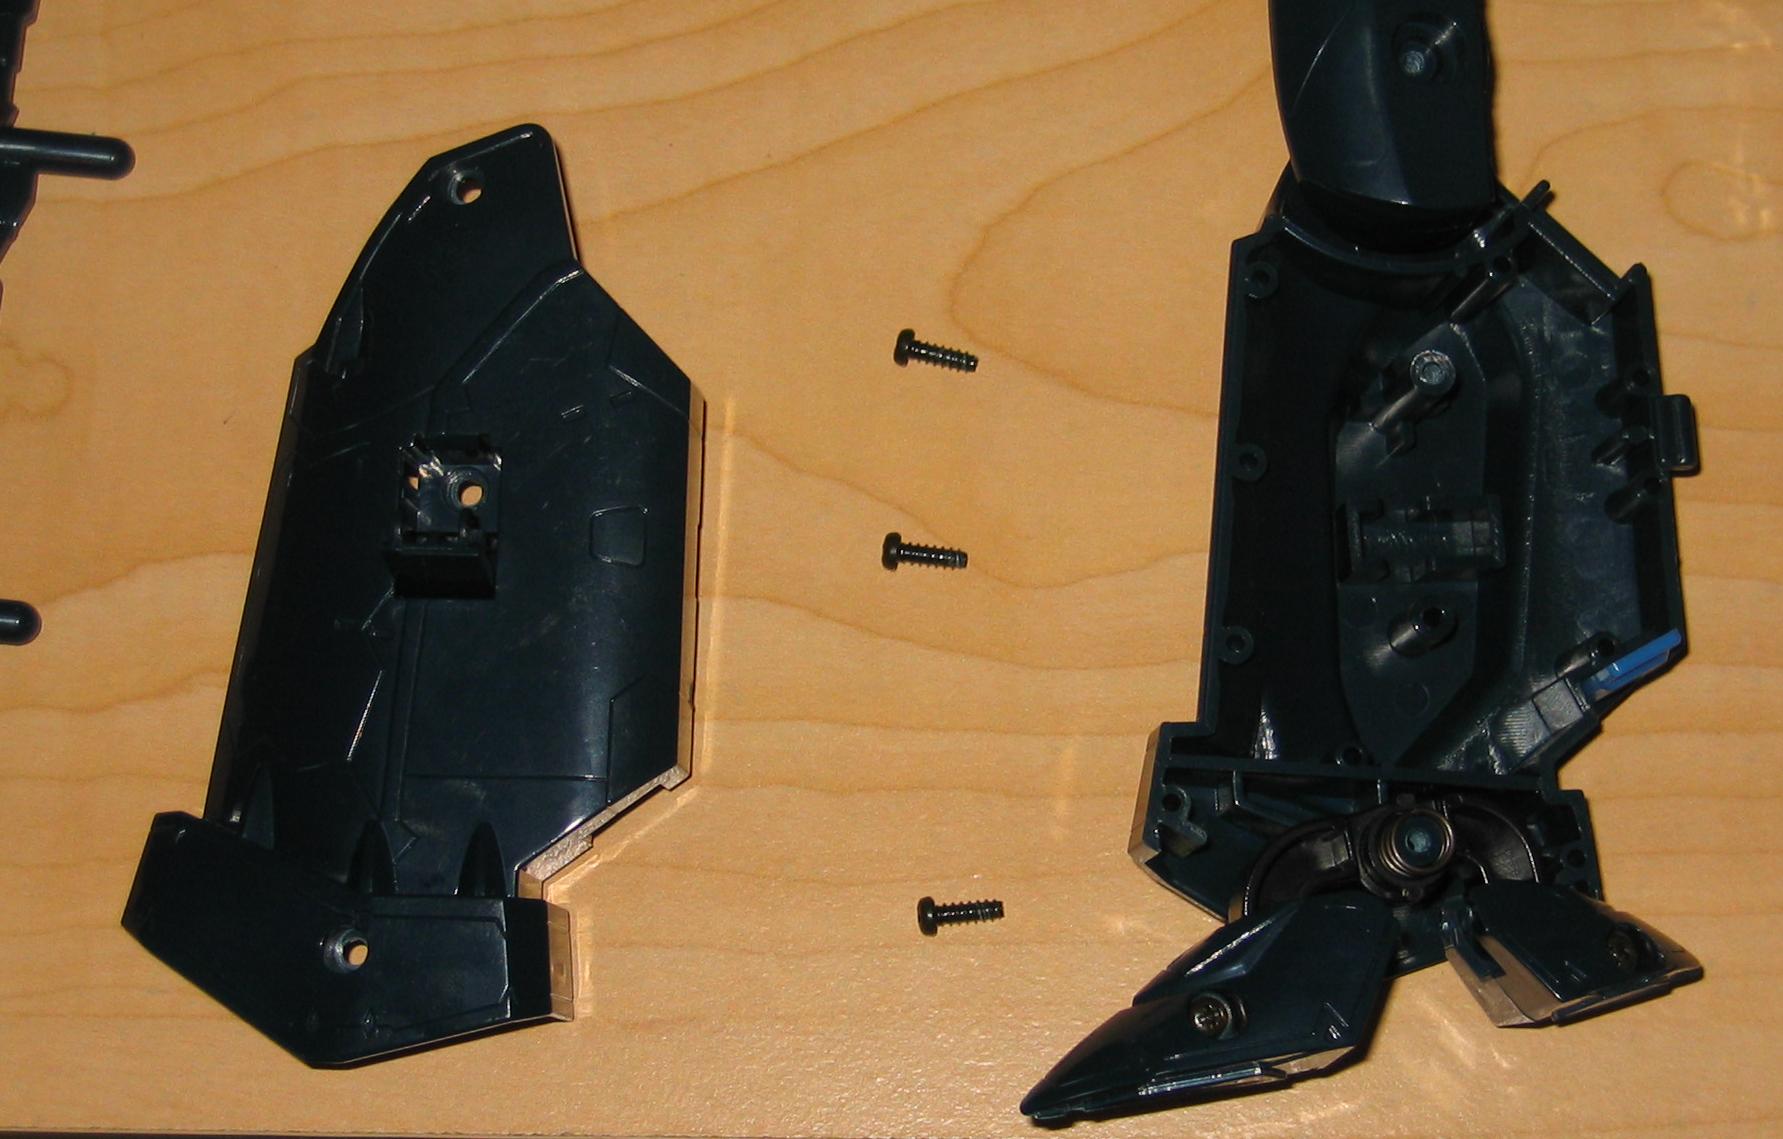
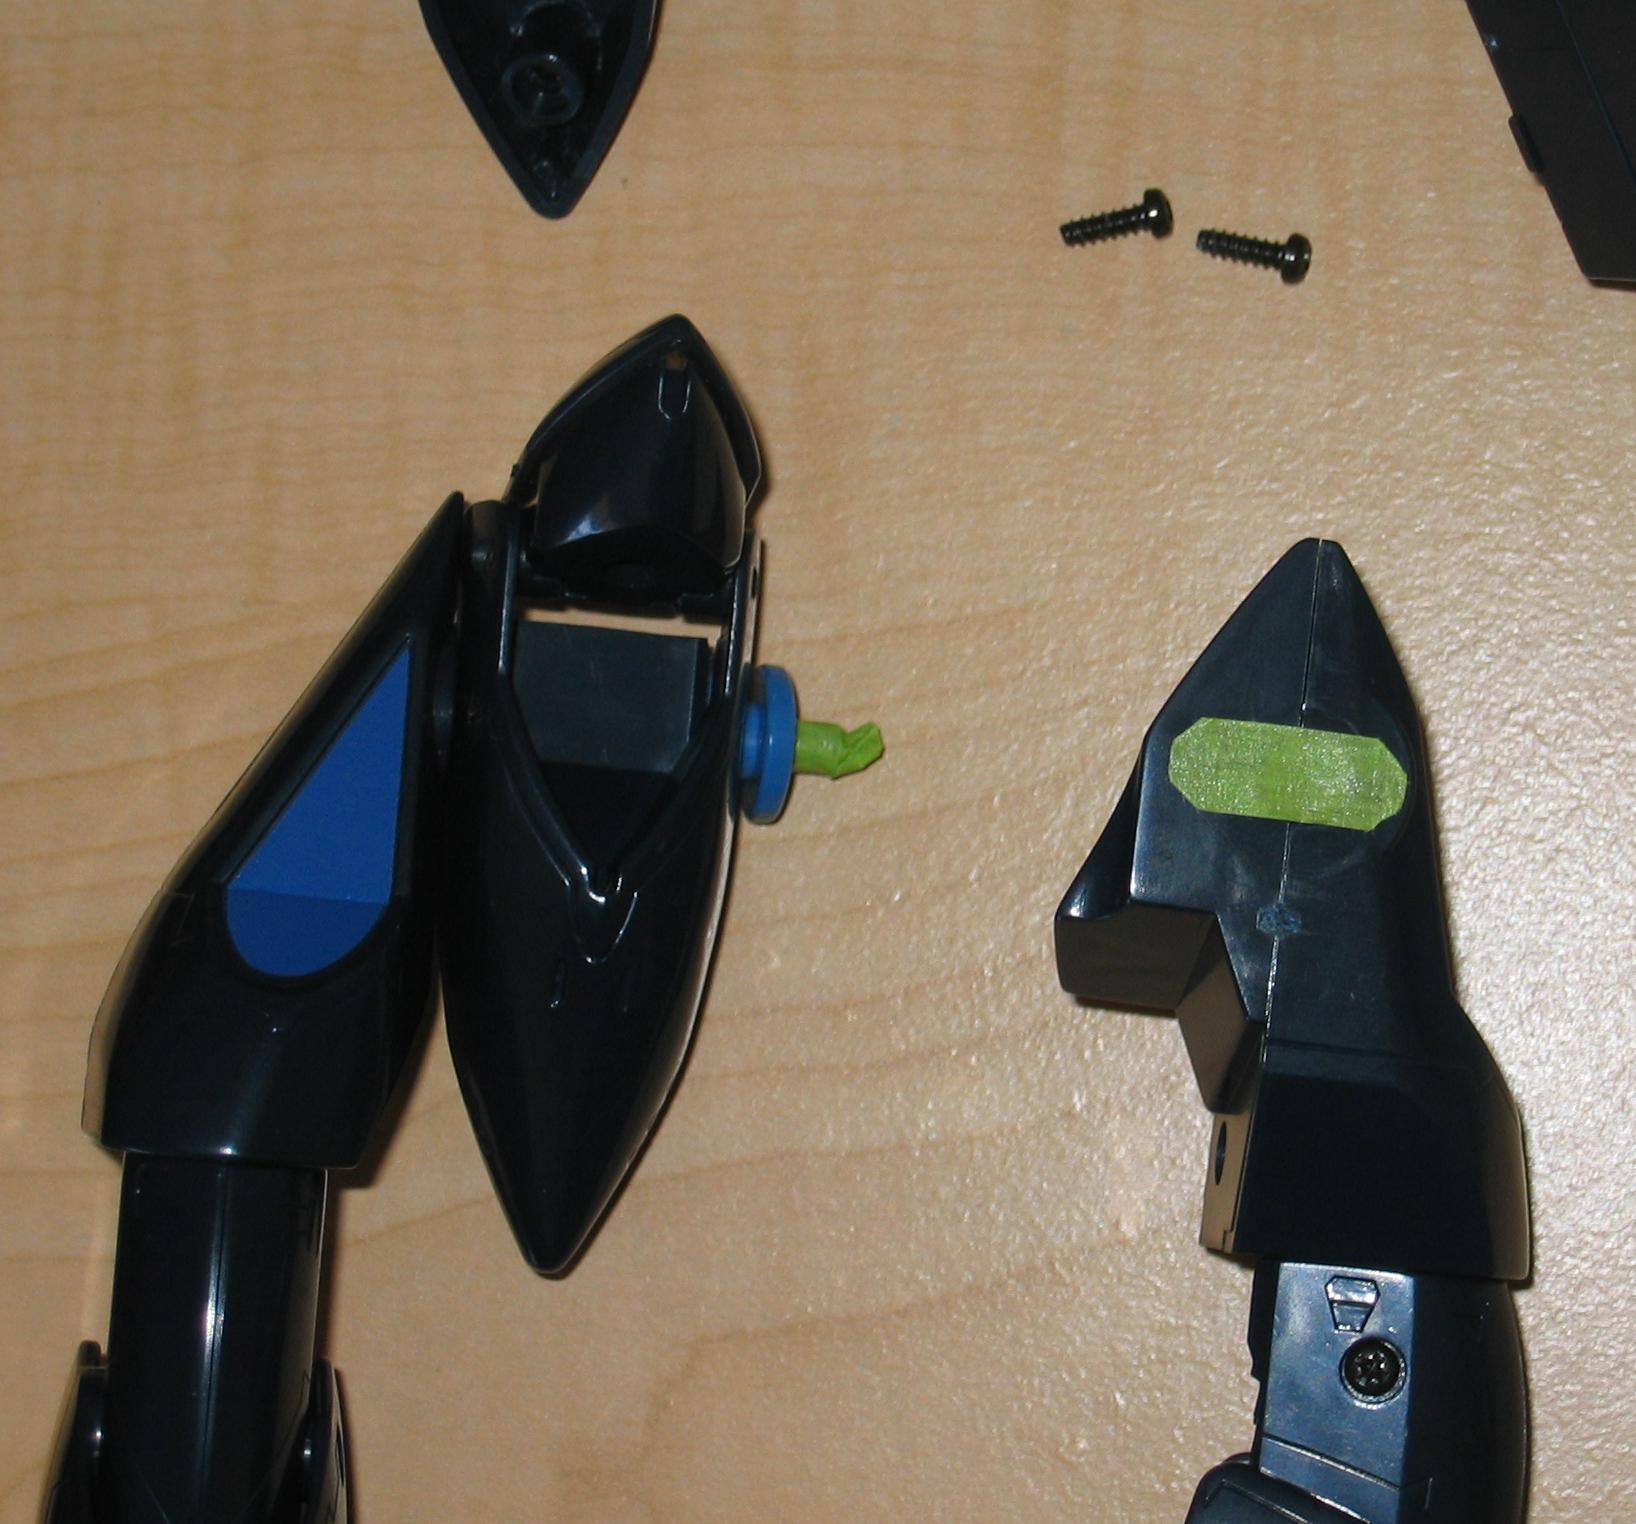
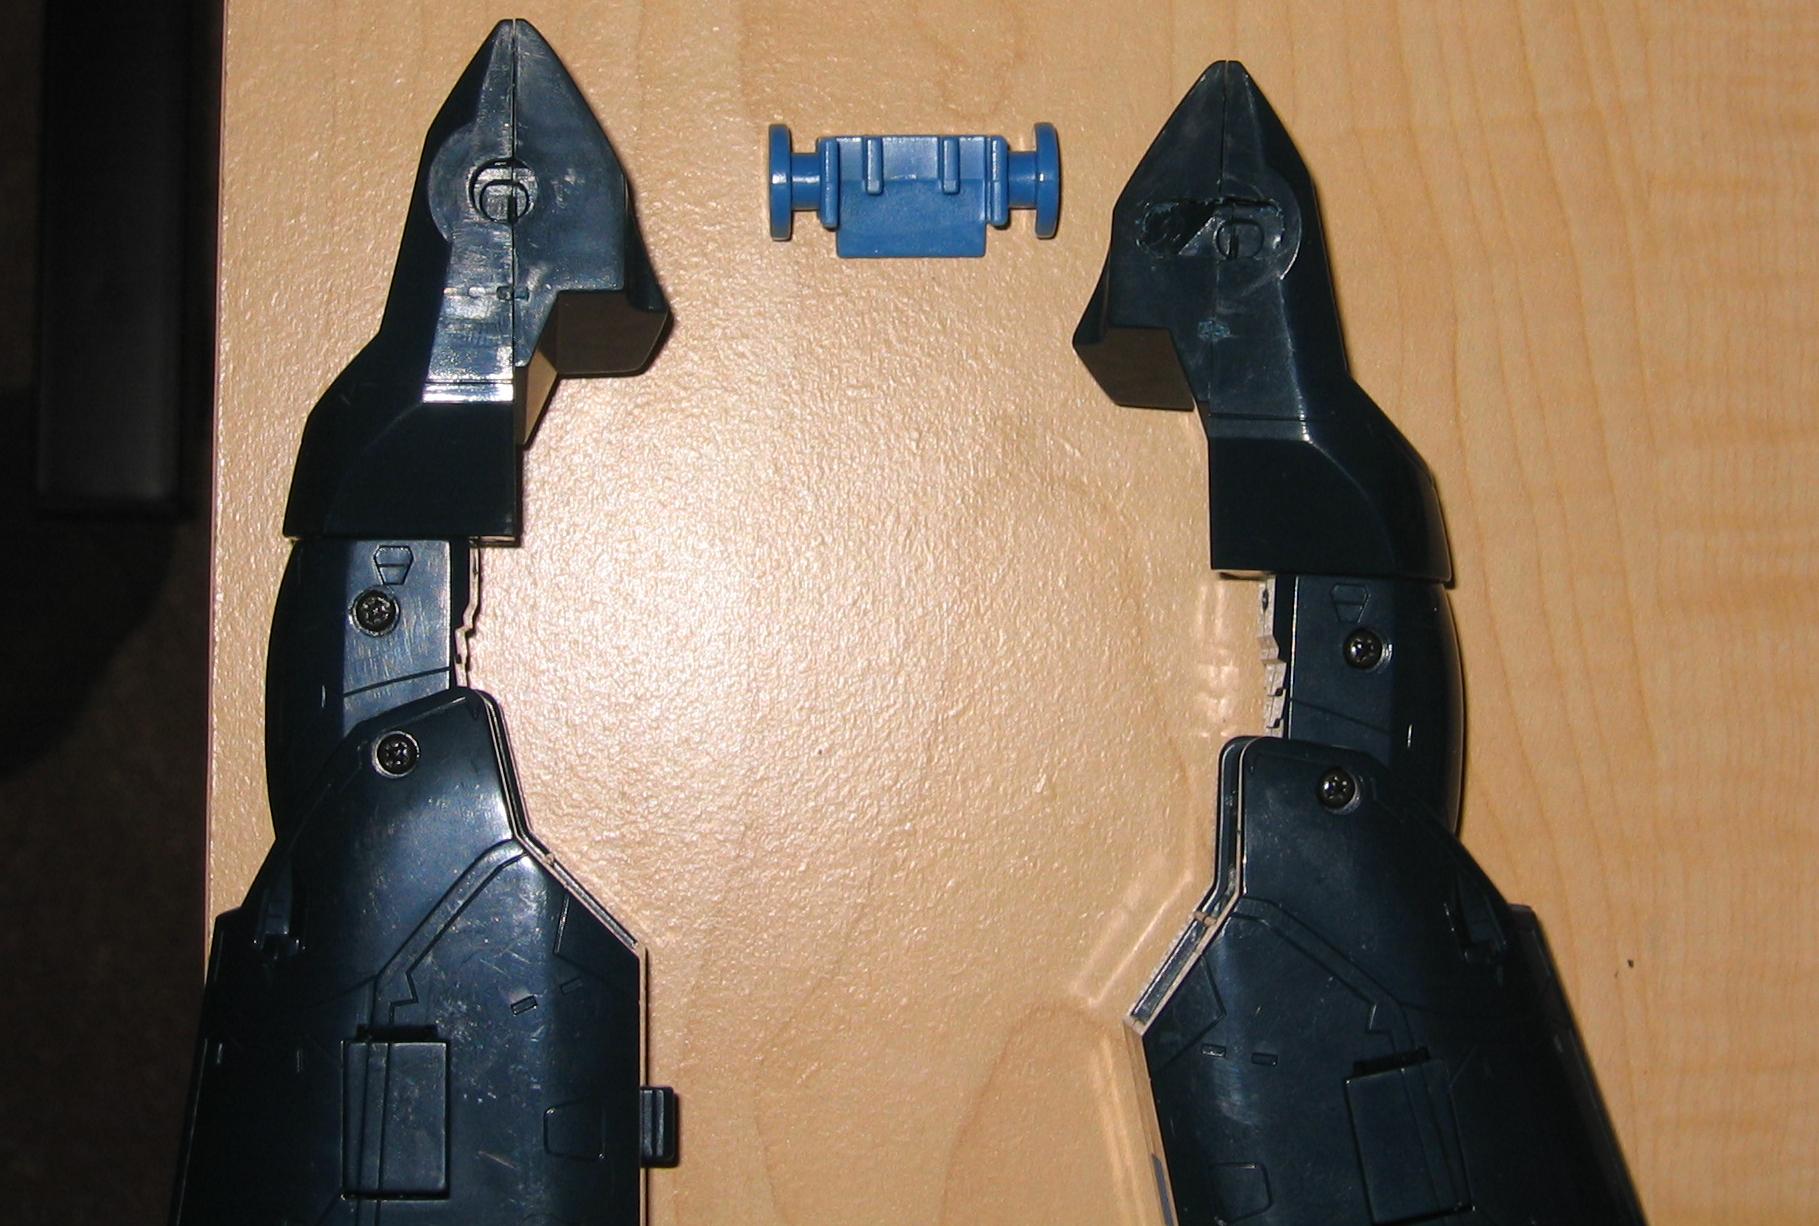
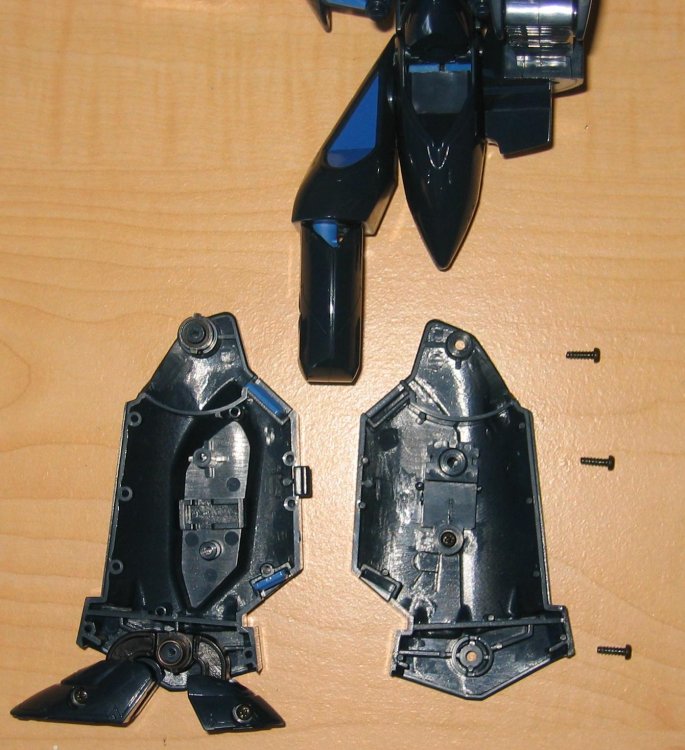
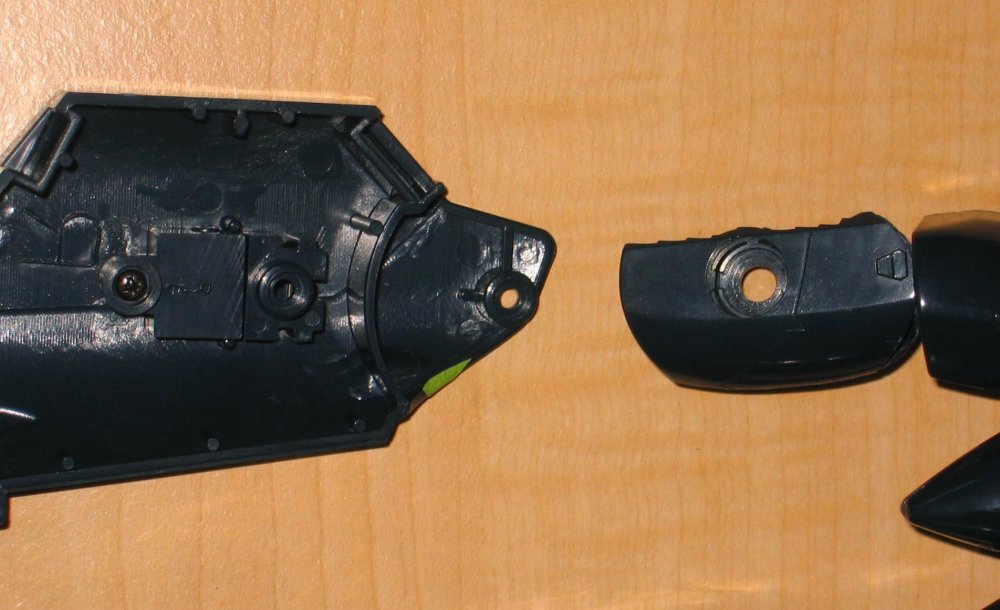
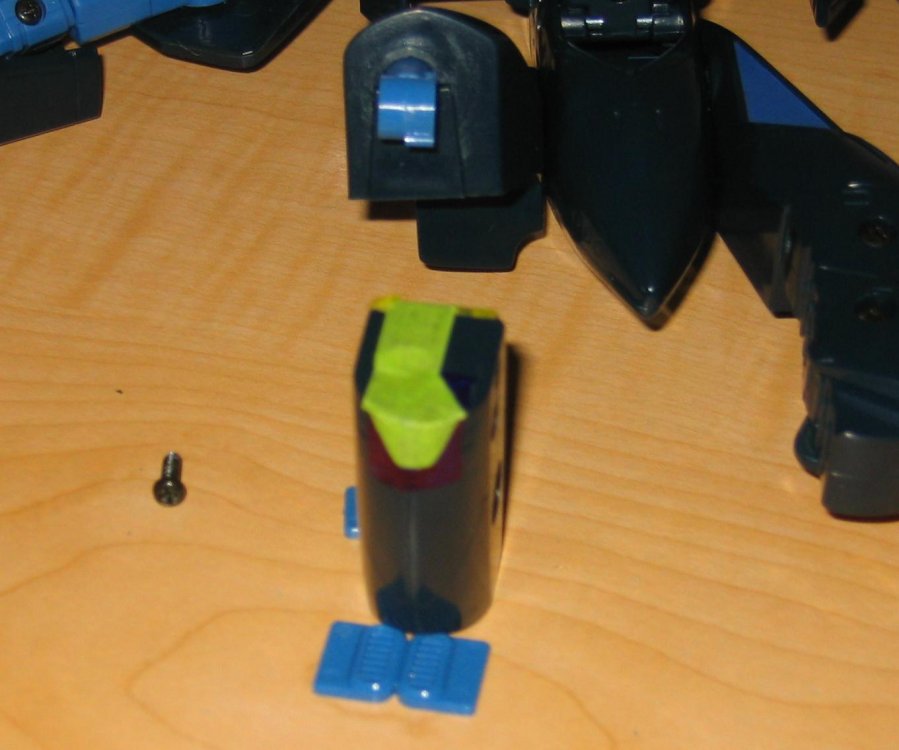
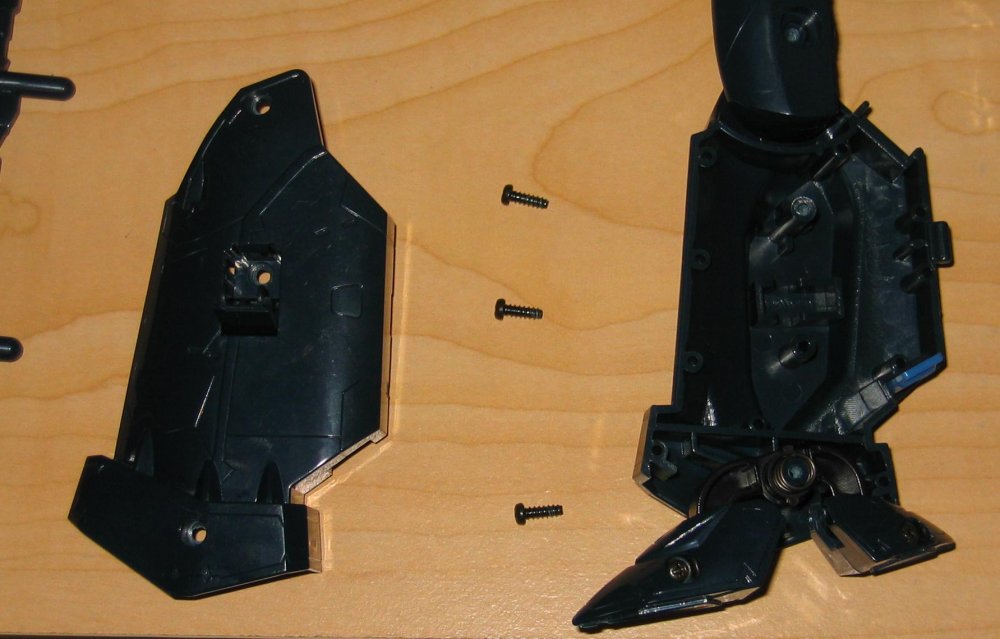
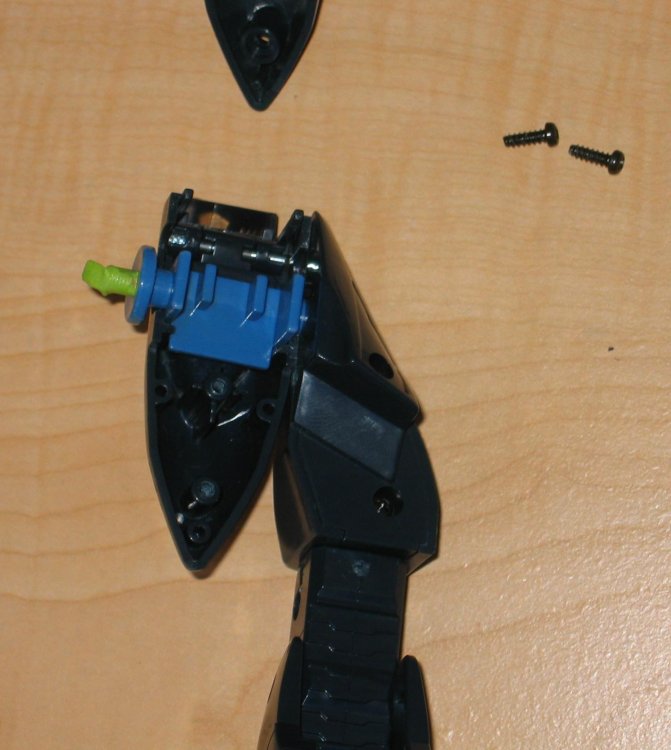
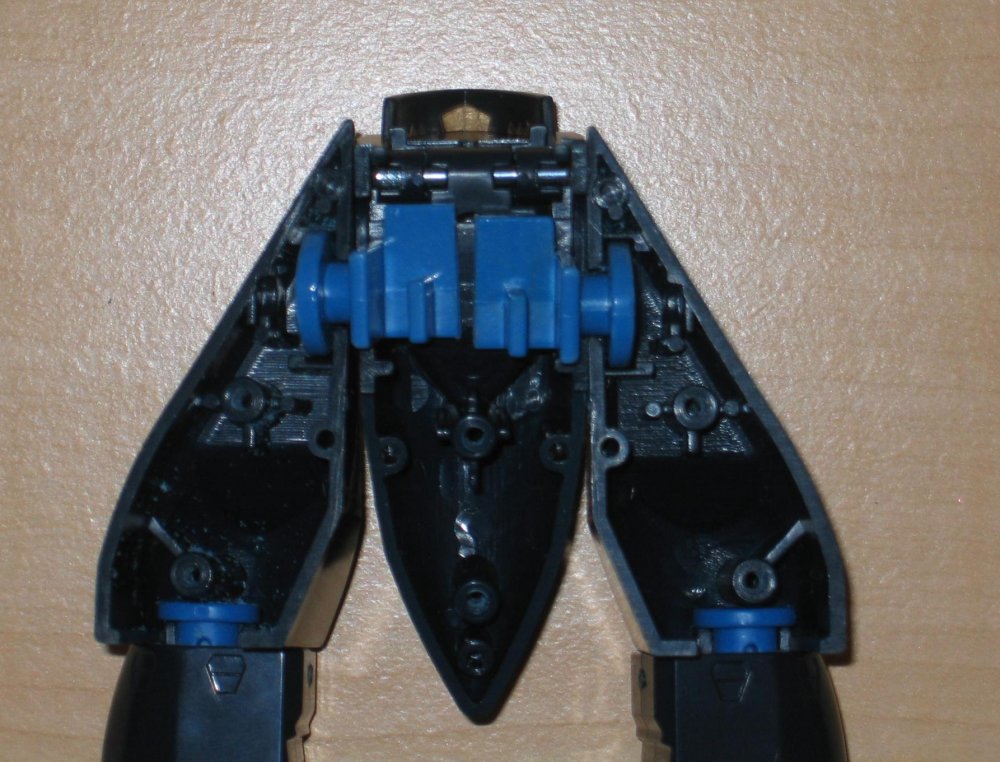
I can see how the next big headache is the thigh attachment point. It currently rotates 360 degrees horizontally and does not extend like the 1/48 Yamato. From the internals it looks like it should pivot fore and aft but does not for lack of a channel. Under statement being the sign of true genius… “simply remove excess plastic†Starting with the lower leg, the calf is held together with three philips screws, one is in the landing gear well. Be careful of the tension spring on the foot and the black plastic locks. The plastic locks are key-holed similar to the types on Bandai models, no force was required to separate. The upper leg above the knee is held by a single screw. The friction of the two parts held firm but again there was no glue. It took some finessing but they separated. A channel must be cut and needs clearance to pivot. The areas to be cut are marked with green tape and areas to be rounded for clearance with yellow. This looks like a cut and fit prospect unlike the hip which was straight forward. Fear that this will be the ugly part of the modification and will result in a joint similar to the back of the knees on the 1/72 YF-19. About the gunpod, the gunpod is two pieces held together by friction of internal pins. The butt stock could be modified to rotate, doubt that it could telescope without manufacturing new parts, looks like need two to make one, yet still would not fit in the leg. Remove the other sections and barrel of the gun provided is still too long. Worse yet, the screws that hold the lower leg together are in the center line of the calf where the gunpod needs to go. The leg could be glued but the barrel will be sticking out of the leg at an odd angle. Edit: Forgot the calf disassembly photo.
-
Gunpod is in the leg.
-
Thanks for the luck. We will see what happens. Gunpod in the leg noe that would be ambitious. Starting with the hard part. Hip mobility and improved rotation at leg mounting point. Disassembly of the cockpit area and upper hip was a simple matter: remove the philips screws. No glue was used in this area. Seems my jeweler screwdrivers did not make the move so I used my Leatherman. As currently constructed there is a light blue slider that moves vertically inside the cockpit and is the pivot point for the fore and aft swing of the legs. Cutting a waist pivot is not an option the way the canopy folds up and the way the slider is installed plus I have no black plastic to make a waist pivot… so I will elongate the holes in the upper part of the legs and remove the internal pin that extends into the leg. Since the large light blue circle is what causes rotation, the leg should still remained attached but allow rotation and pivot without falling off. A hacksaw, X acto knife, and file made quick work cutting the blue slider in half. Now the legs rotate, pivot, and slide vertically independent of each other. Would have been better if it was a ball joint to start with. Note: Areas that will be cut away will be marked with green masking tape.

-
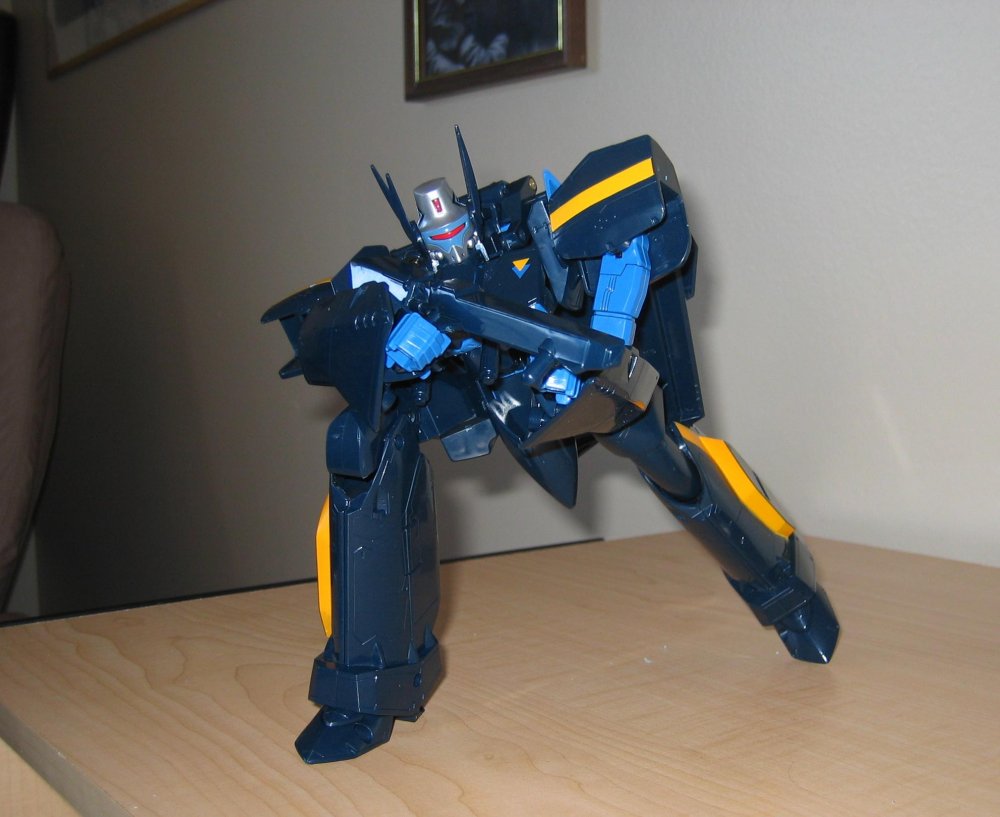
Our victim and chosen method of execution. The victim is a reissue 1/65 Bandai VF-17S from Ebay. Destroy the 17S before the 17D since the S is easier and cheaper to replace.

-
Anyone that has been on Macross World for a while knows of Jenius and his toy review website. http://anymoon.com/blog/2006/09/29/bandai-...issue/#more-414 Also the old Bandai VF-17. Sturdy, Cheep, Ugly in fighter mode but not very poseable. Until you look at the end of Jenius’ review and see the super poseable VF-17. A great custom job that ended before its time… Seems to have taken a tumble and rather like humpty can not be put back together again. In honor of that sad end, I shall attempt to recreate his efforts and document the production. Hope this does not become watch the destruction of a toy.