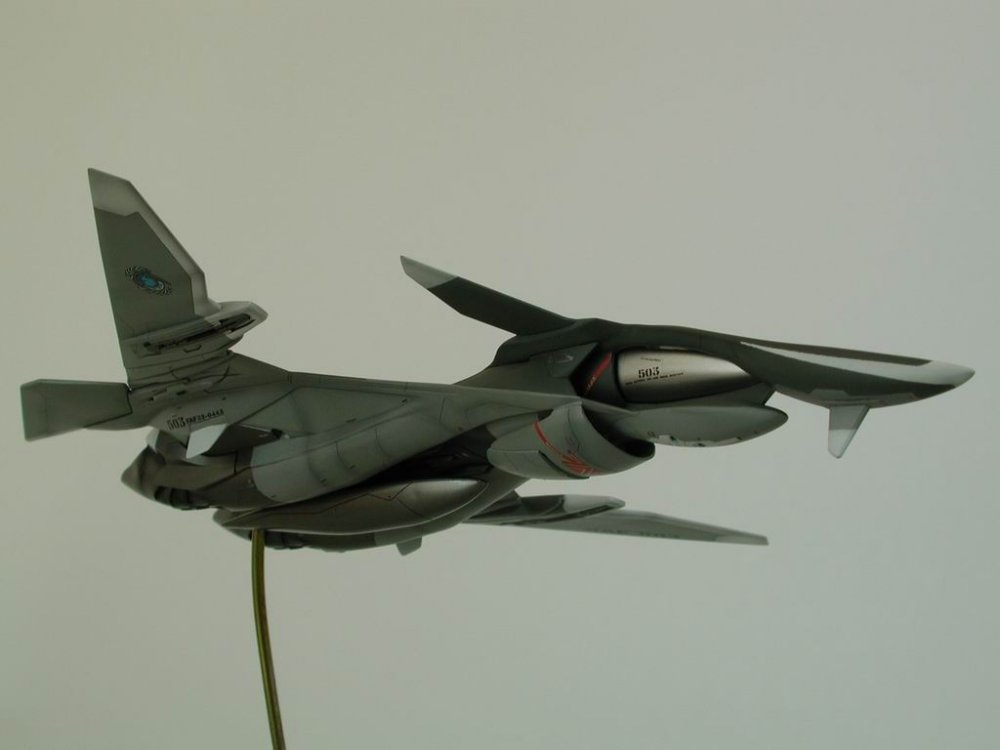
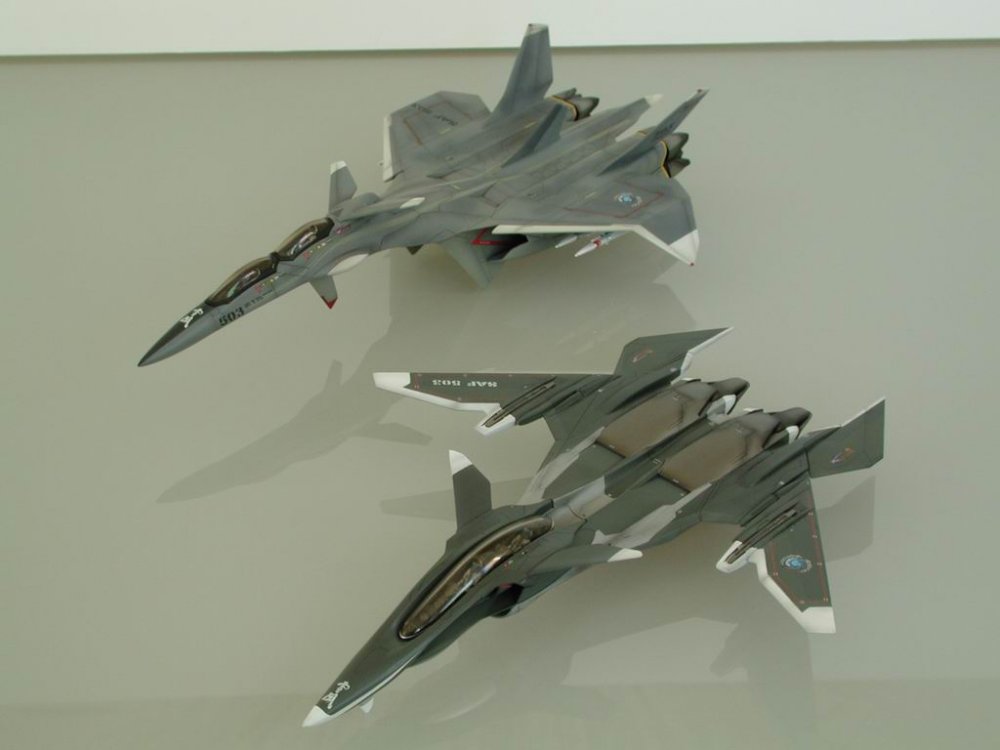
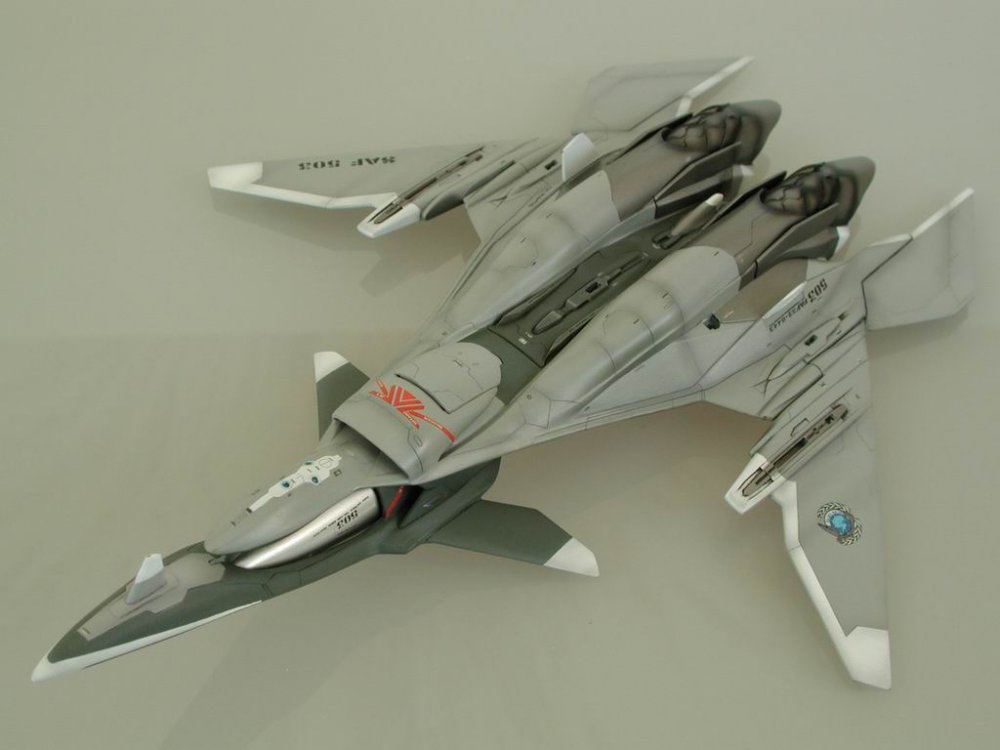
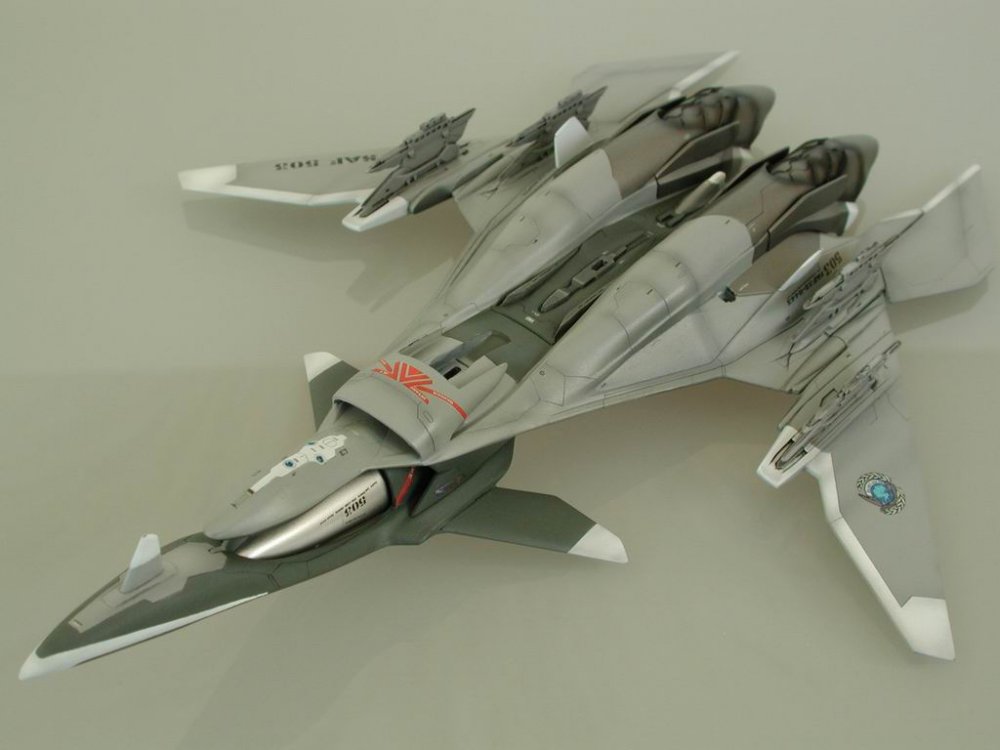
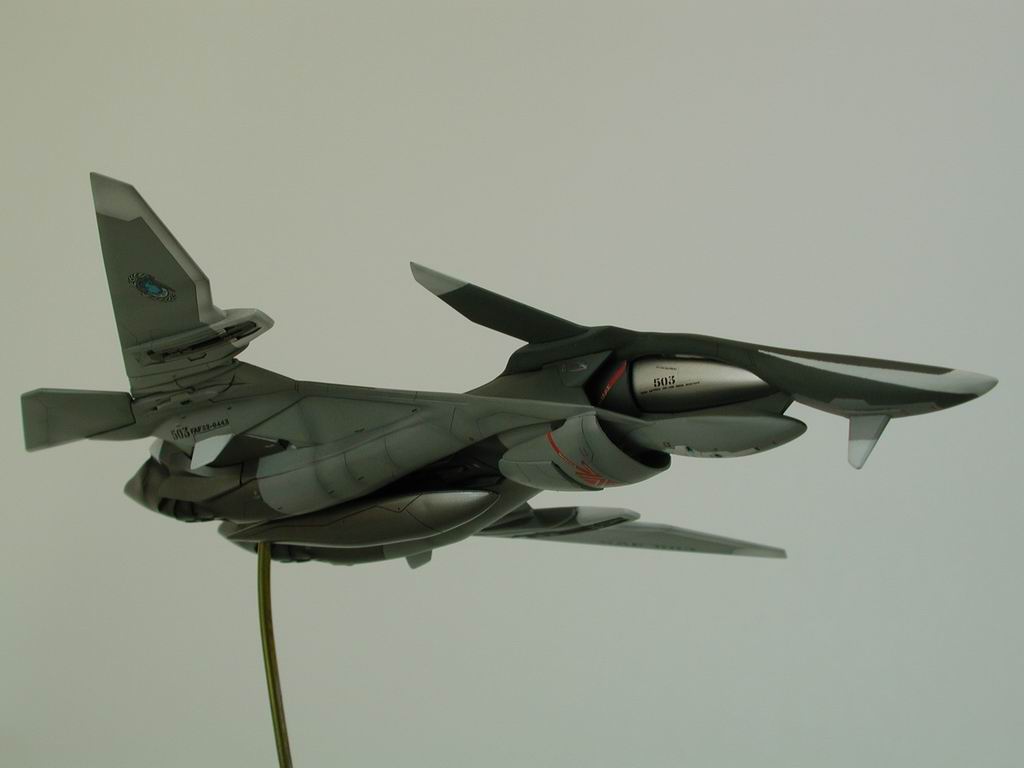
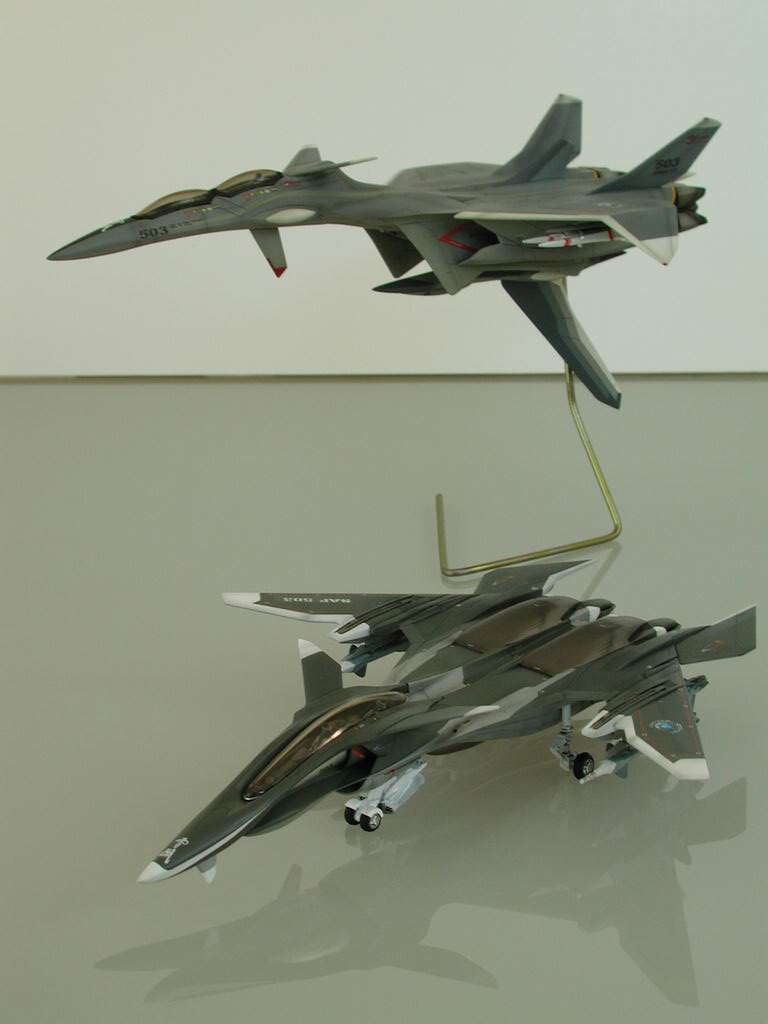
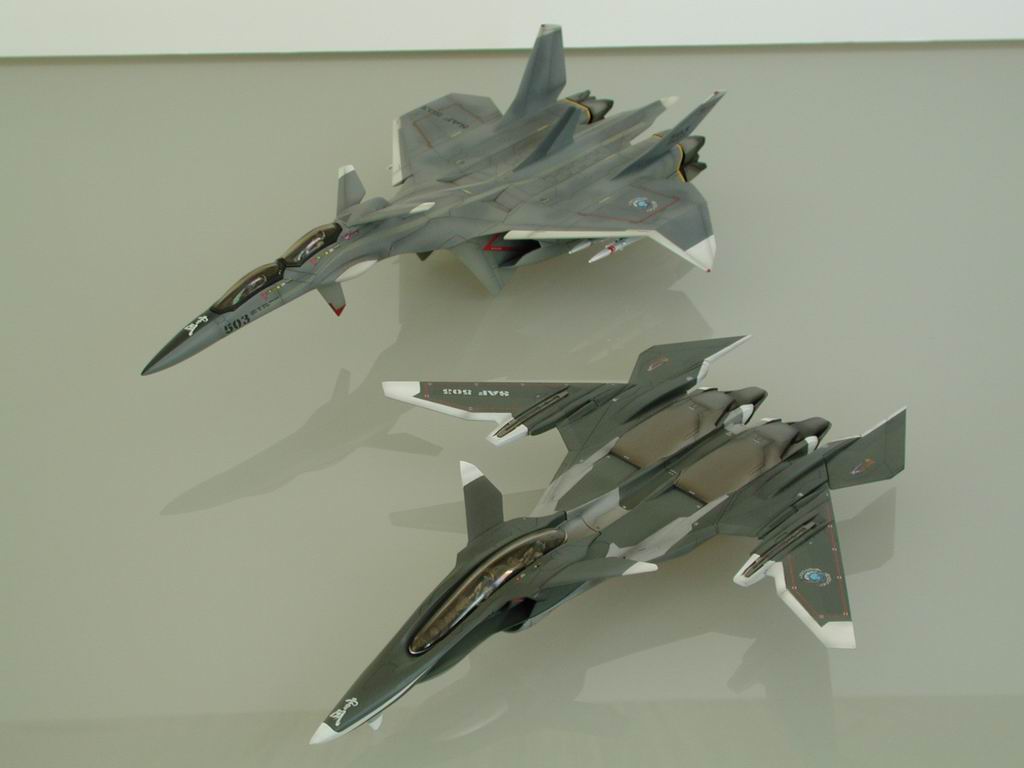
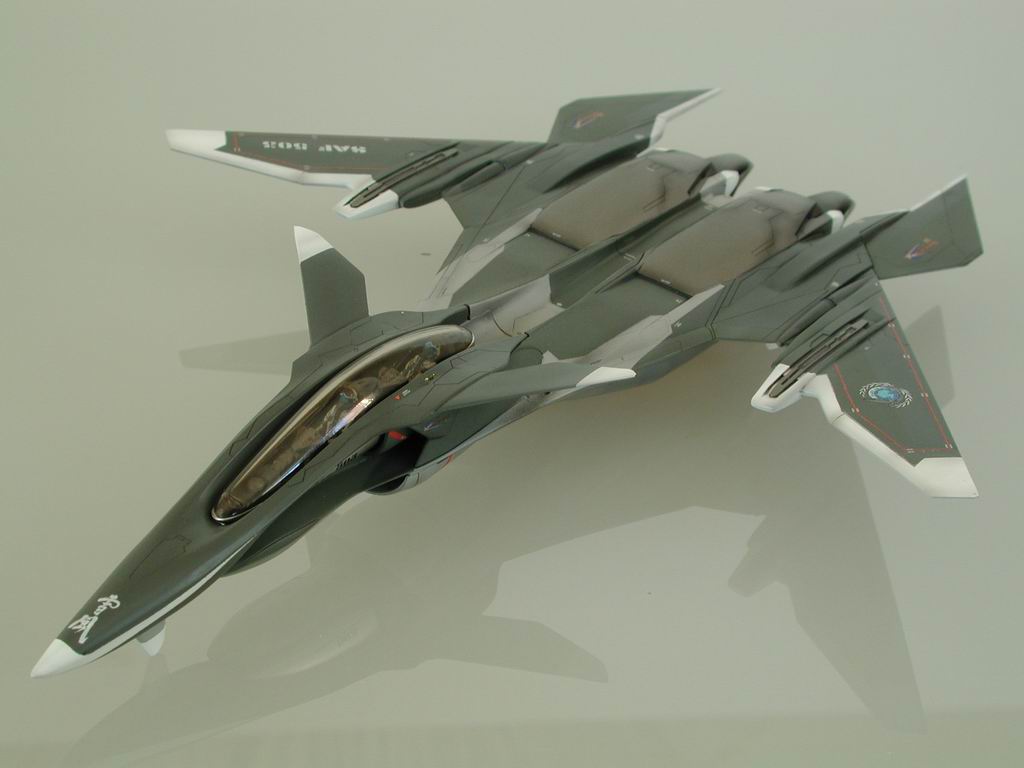
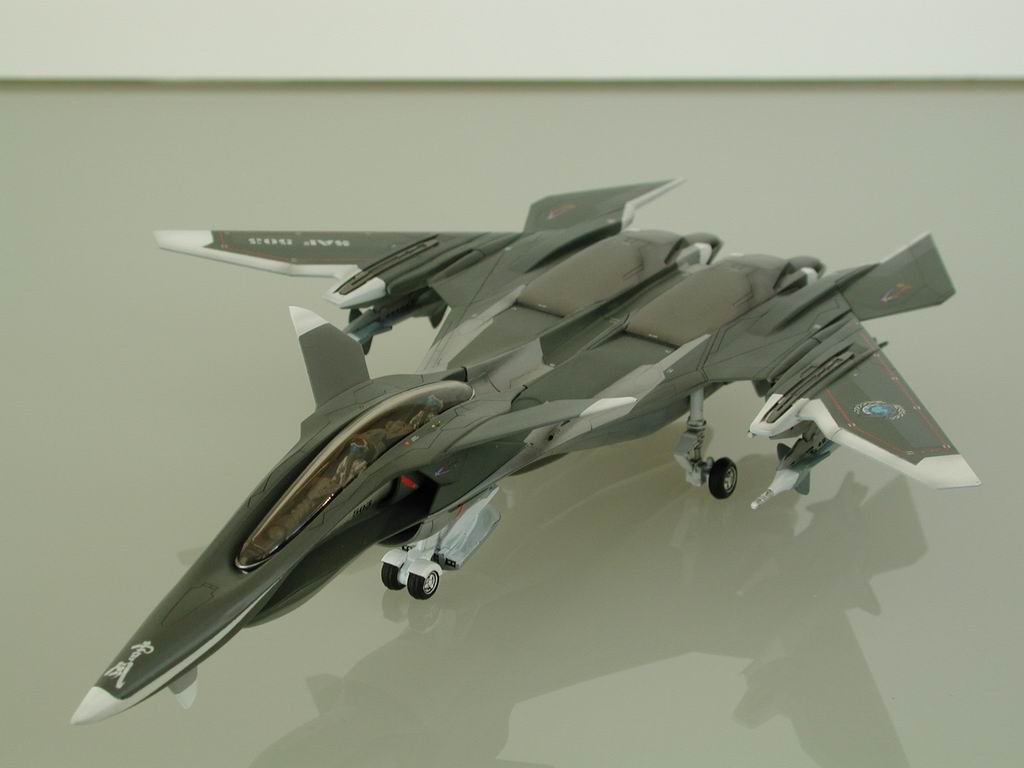
Hey all, Thanks for all the kudos... maybe this could be pinned 1/72 Hasegawa VF-1A Super* 1st link recovered http://www.macrossworld.com/cgi-bin/mwfarc...t=ST;f=8;t=6006 http://www.macrossworld.com/cgi-bin/mwf/ik...t=ST;f=8;t=3263 http://www.macrossworld.com/cgi-bin/mwf/ik...t=ST;f=8;t=3497 1/72 Hasegawa YF-19* recovered mostly http://www.macrossworld.com/cgi-bin/mwfarc...ST;f=20;t=19632 http://www.macrossworld.com/cgi-bin/mwfarc...t=ST;f=8;t=8793 http://www.macrossworld.com/cgi-bin/mwfarc...t=ST;f=8;t=9483 1/72 Hasegawa VE-1 Elintseeker* recovered http://www.macrossworld.com/cgi-bin/mwfarc...ST;f=20;t=19645 http://www.macrossworld.com/cgi-bin/mwfarc...=ST;f=8;t=10218 1/100 Bandai Yukikaze Supersylph* recovered http://www.macrossworld.com/cgi-bin/mwfarc...ST;f=17;t=18946 1/100 Bandai Yukikaze FRX-00 Mave http://www.macrossworld.com/mwf/index.php?...;f=23&t=208 http://www.macrossworld.com/mwf/index.php?...p;f=3&t=697 1/72 Hasegawa YF-21 http://www.macrossworld.com/mwf/index.php?...f=23&t=1457 http://www.macrossworld.com/mwf/index.php?...;f=3&t=2069 1/72 Hasegawa VF-0S http://www.macrossworld.com/mwf/index.php?showtopic=5881 http://www.macrossworld.com/mwf/index.php?showtopic=7956 1/72 Hasegawa VF-1S + Atmospheric Booster http://www.macrossworld.com/mwf/index.php?showtopic=11976 1/72 Resin Launch Arm & Base http://www.macrossworld.com/mwf/index.php?...t=0#entry341193 http://www.macrossworld.com/mwf/index.php?showtopic=17626 1/72 Resin Atmospheric Booster Launch Rail http://macrossworld.com/mwf/index.php?showtopic=23678 1/72 Bandai VF-25F Messiah build-up step-by-step http://www.macrossworld.com/mwf/index.php?showtopic=28142
1/3000 Yamato SDF-1 modification and paint up...
http://www.macrossworld.com/mwf/index.php?showtopic=34450&page=5
1/72 Bandai VF-25S Armored Messiah (initial finished photos - better to follow some day...)
http://www.macrossworld.com/mwf/index.php?showtopic=38780&hl=
October 2006 Update: Partial recovery of old threads. YF-19 and Superslyph now available. Please note that old links won't work, even if you have the original thread and post numbers saved--everything's been renumbered. If you find any more, let me know and I'll incorporate them here. Thanks David so much for all your hard work - its great for me to look back on these too! Wm. Another update: Shawn has recovered a bit more of the database, and Jinnai found the Elintseeker threads. September 2007 Update: Unfortunately since the last time MW crashed, we have not re-recovered the initial older links (*) that were originally found - I hope that somebody can re-find them again.
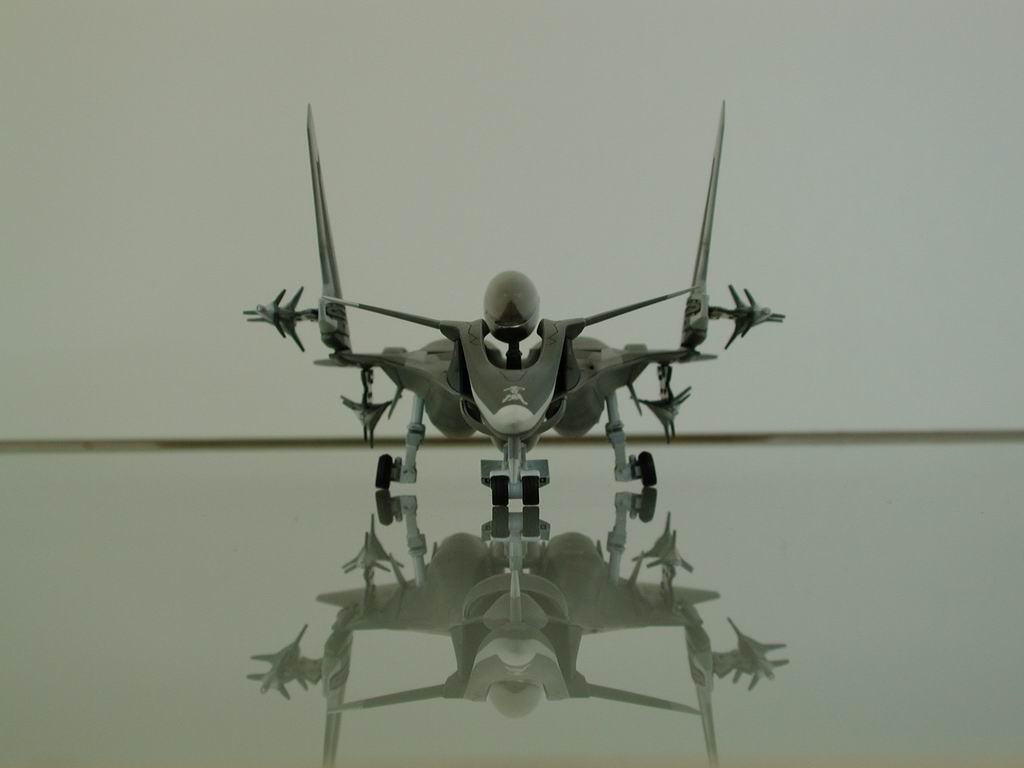
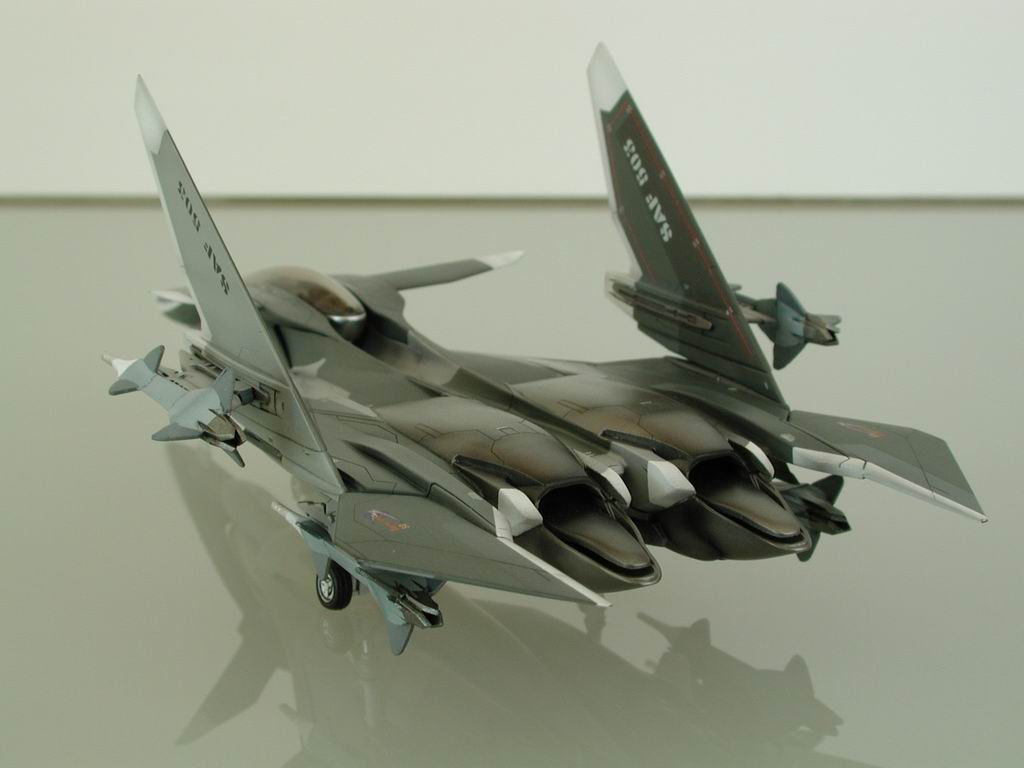
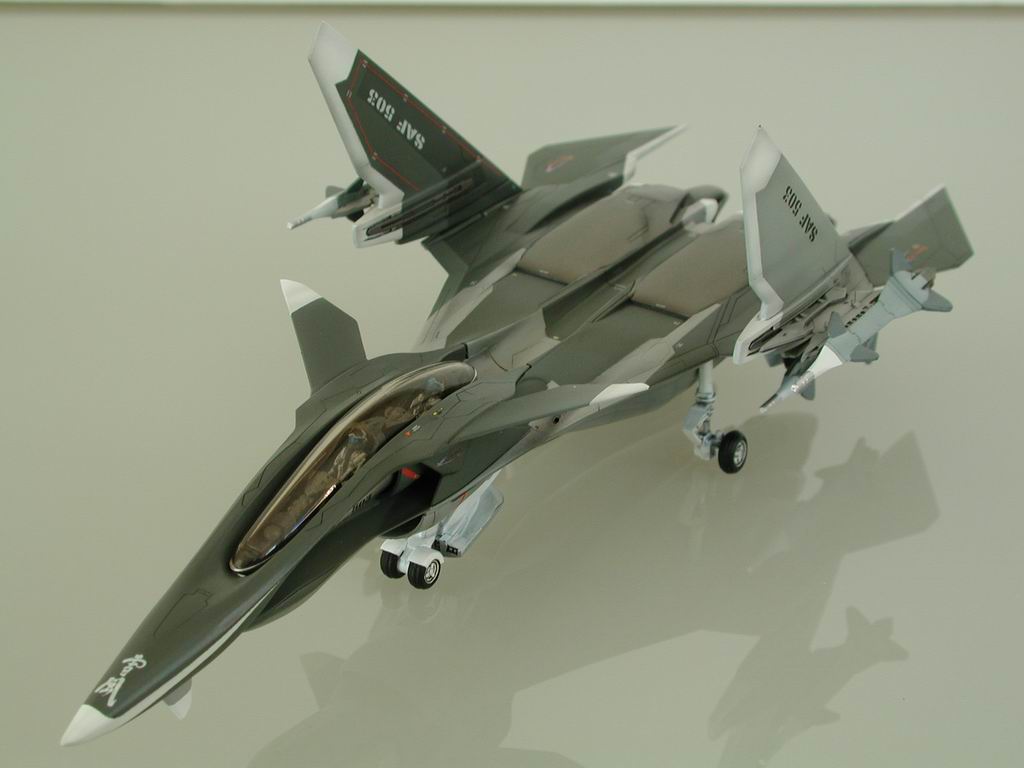
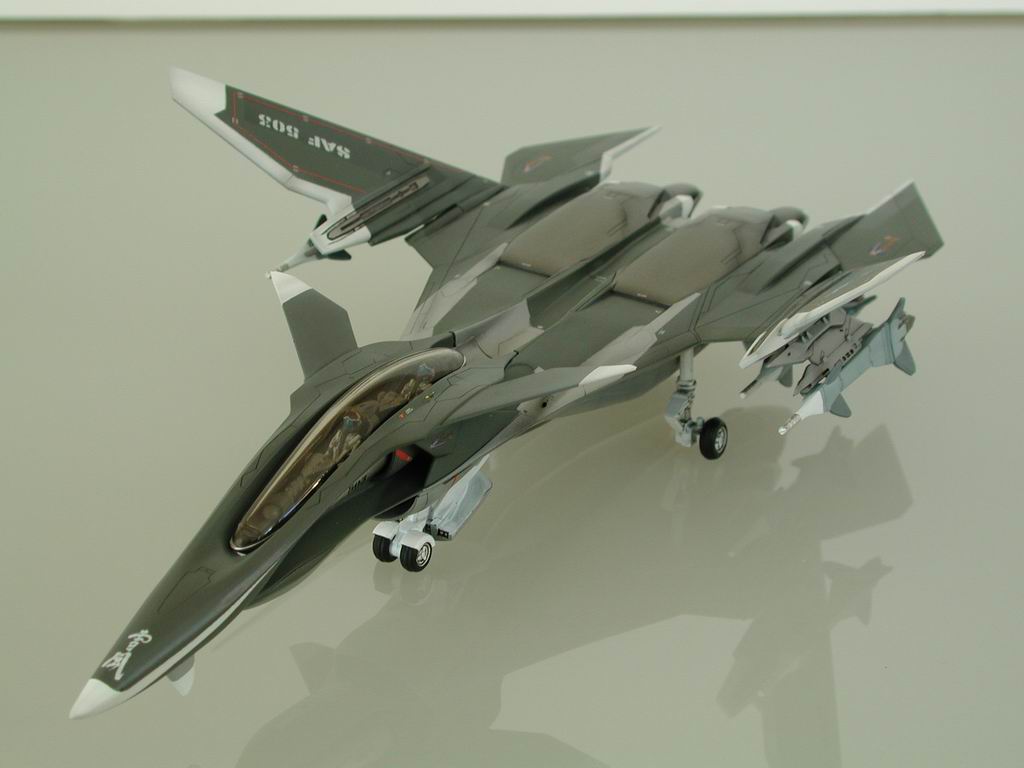
I've uploaded my toy collection to my gallery:
http://www.macrossworld.com/mwf/index.php?app=gallery&user=244
Toy weathering and clear coat photos individually:
1/60 Arcadia VF-0D weathered... (Aircraft mode)
http://www.macrossworld.com/mwf/index.php?showtopic=35120&p=1203668
-some WIP photos (but not enough to warrant its own step-by-step thread)
http://www.macrossworld.com/mwf/index.php?showtopic=35120&p=1201717
http://www.macrossworld.com/mwf/index.php?showtopic=35120&p=1201265
http://www.macrossworld.com/mwf/index.php?showtopic=35120&p=1201185
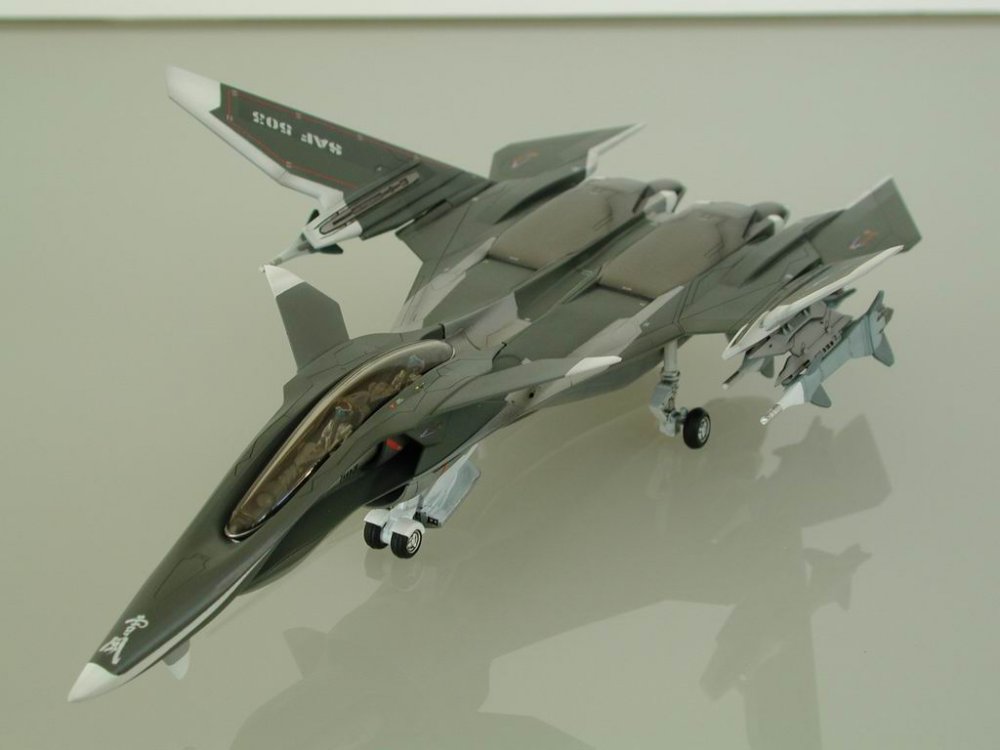
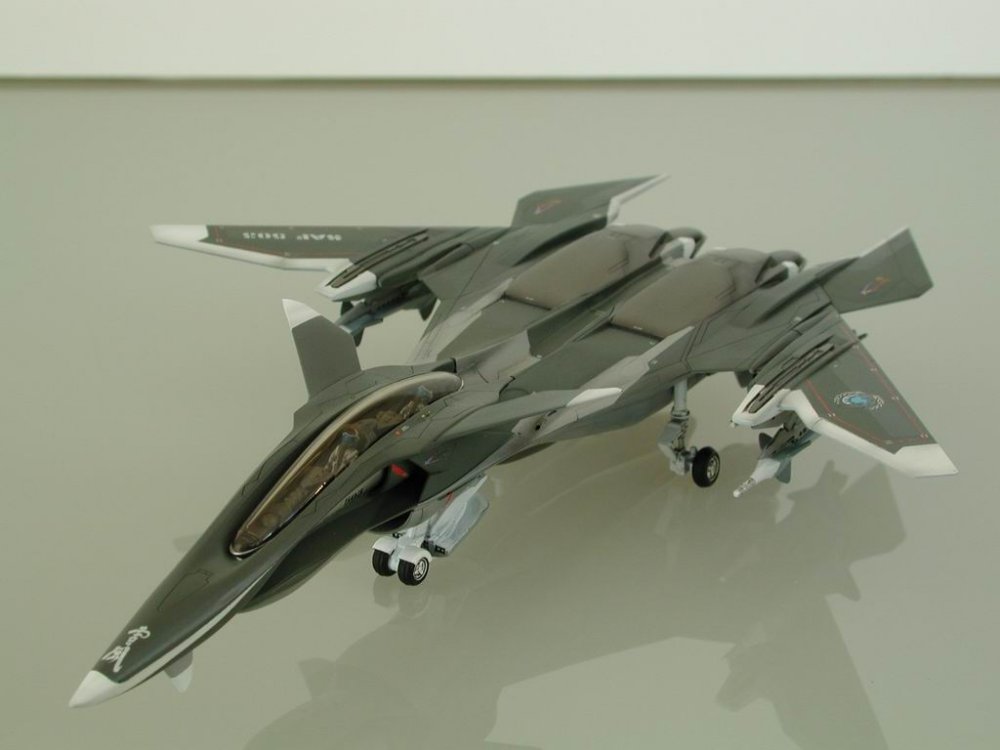
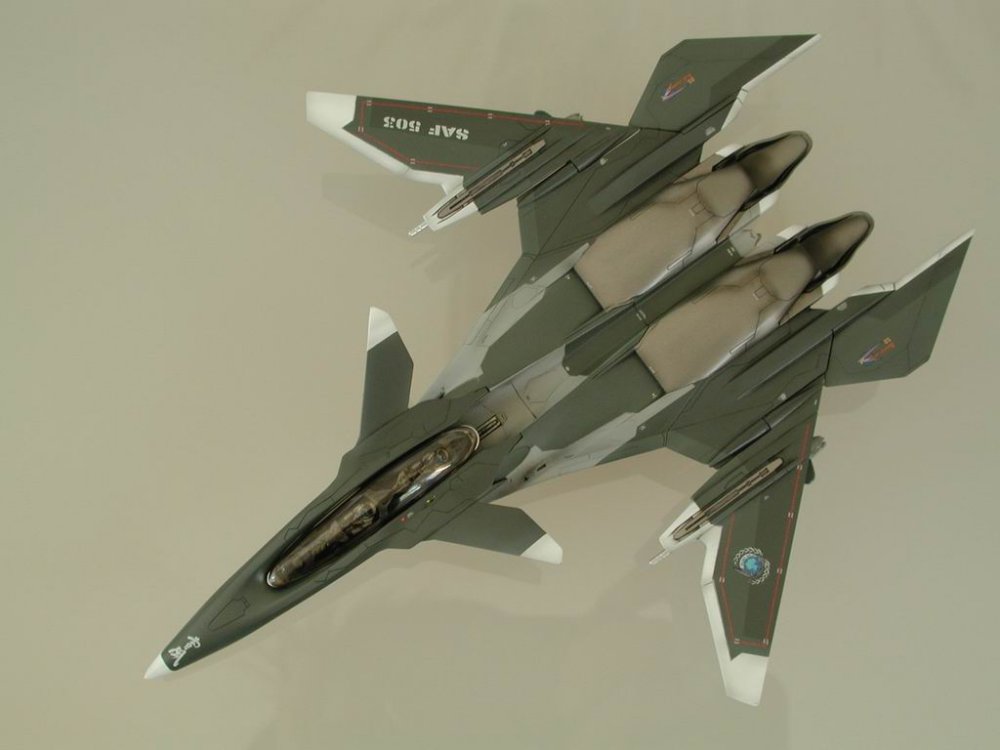
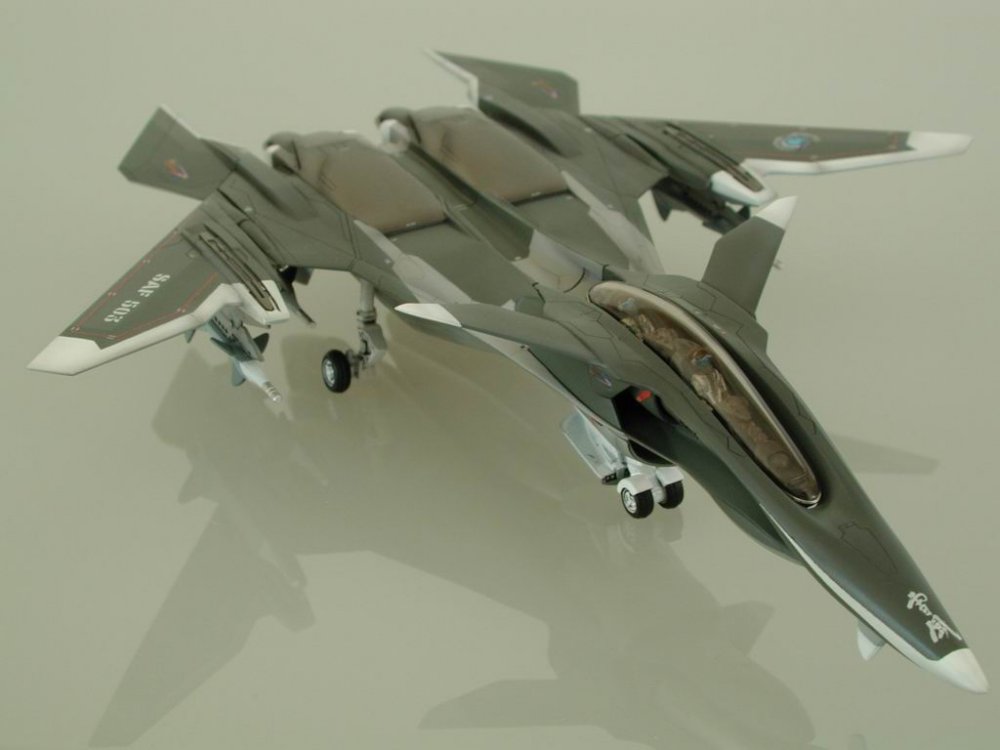
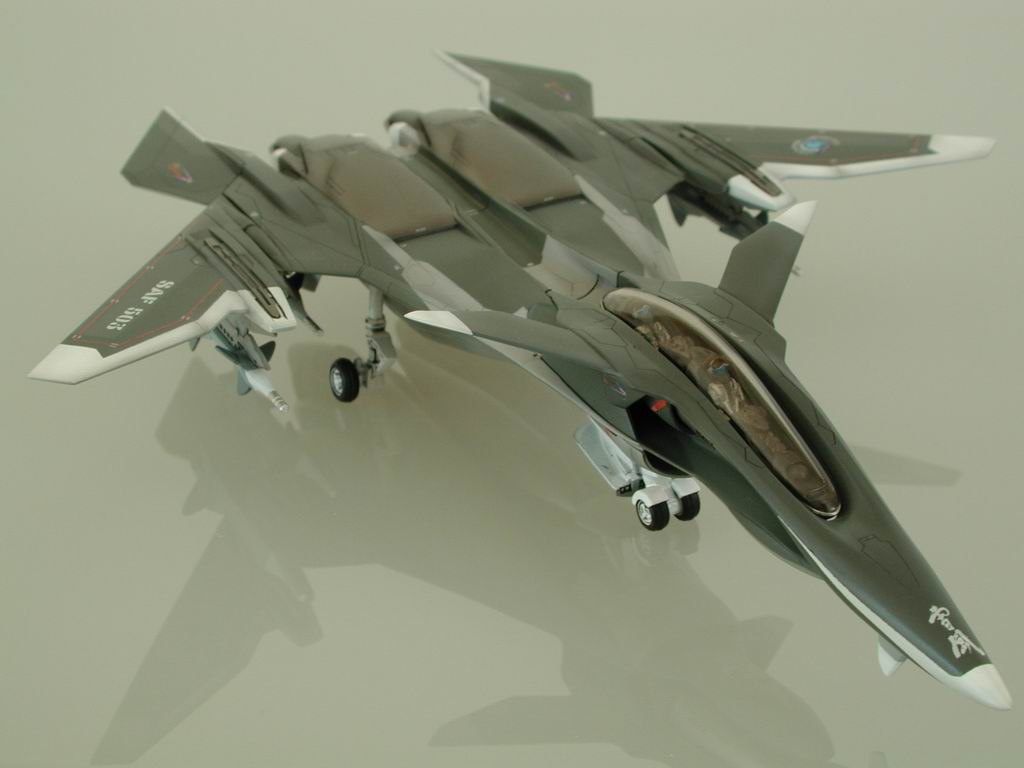
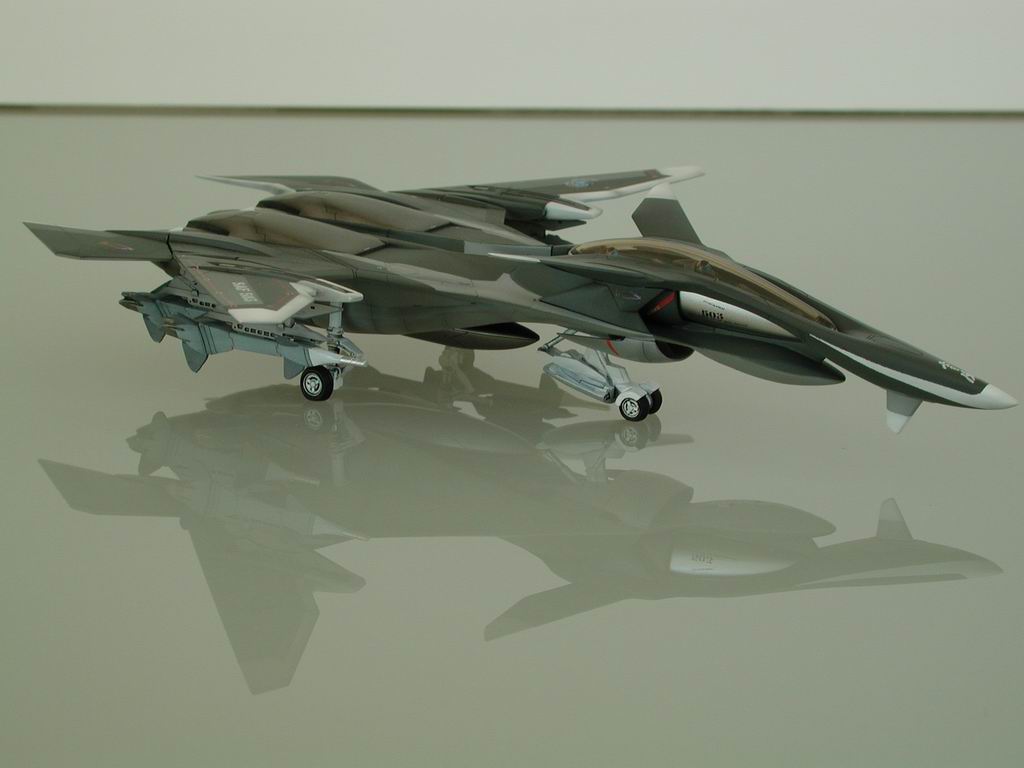
1/60 Arcadia YF-19 weathered... (Aircraft mode)
http://www.macrossworld.com/mwf/index.php?showtopic=35120&p=1198988
1/60 Bandai YF-30 weathered... (Aircraft mode)
http://www.macrossworld.com/mwf/index.php?showtopic=37897&p=1150247
1/60 Bandai VF-25F w/Tornado+Armored Pack weathered... (Gerwalk mode)
http://www.macrossworld.com/mwf/index.php?showtopic=40722&p=1150246
1/60 Bandai VF-25G w/Super Pack weathered... (Battroid mode)
http://www.macrossworld.com/mwf/index.php?showtopic=35121&p=1150935
1/60 Bandai RVF-25 w/Super Pack weathered... (Aircraft mode)
http://www.macrossworld.com/mwf/index.php?showtopic=35121&p=1153232
1/60 Bandai VF-171CF w/Super Pack weathered... (Aircraft mode)
http://www.macrossworld.com/mwf/index.php?showtopic=35121&p=1153242
1/60 Bandai VF-27 (v1.5) w/Super Pack weathered... (Aircraft mode)
http://www.macrossworld.com/mwf/index.php?showtopic=35121&p=1153727
1/60 Yamato VF-4G weathered... (Aircraft mode)
http://www.macrossworld.com/mwf/index.php?showtopic=35121&p=1154652
1/3000 Yamato SDF-1 DRYL decaled & weathered...
http://www.macrossworld.com/mwf/index.php?showtopic=35121&p=1154894