wm cheng
-
Posts
4281 -
Joined
-
Last visited
Content Type
Profiles
Forums
Events
Gallery
Everything posted by wm cheng
-
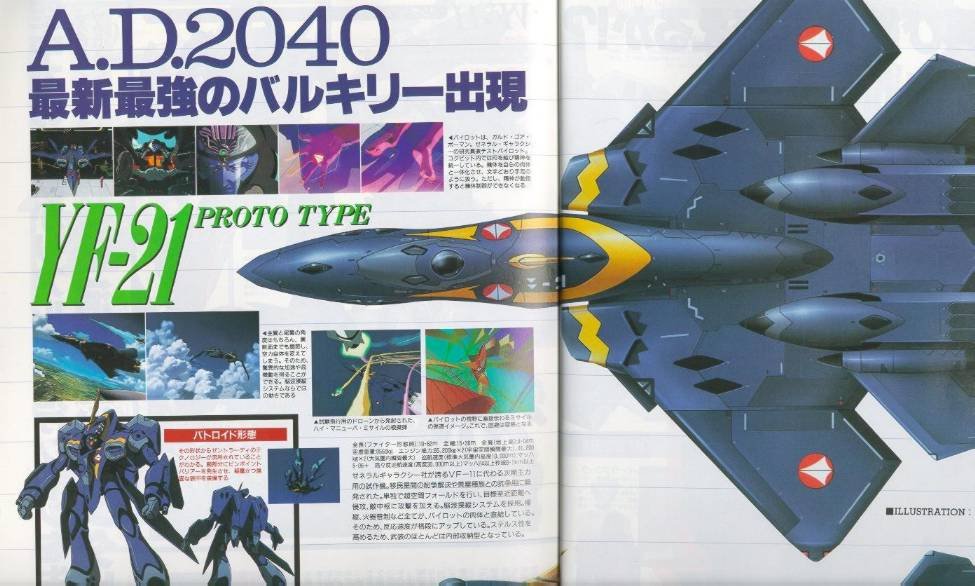
Here's my inspiration...
-
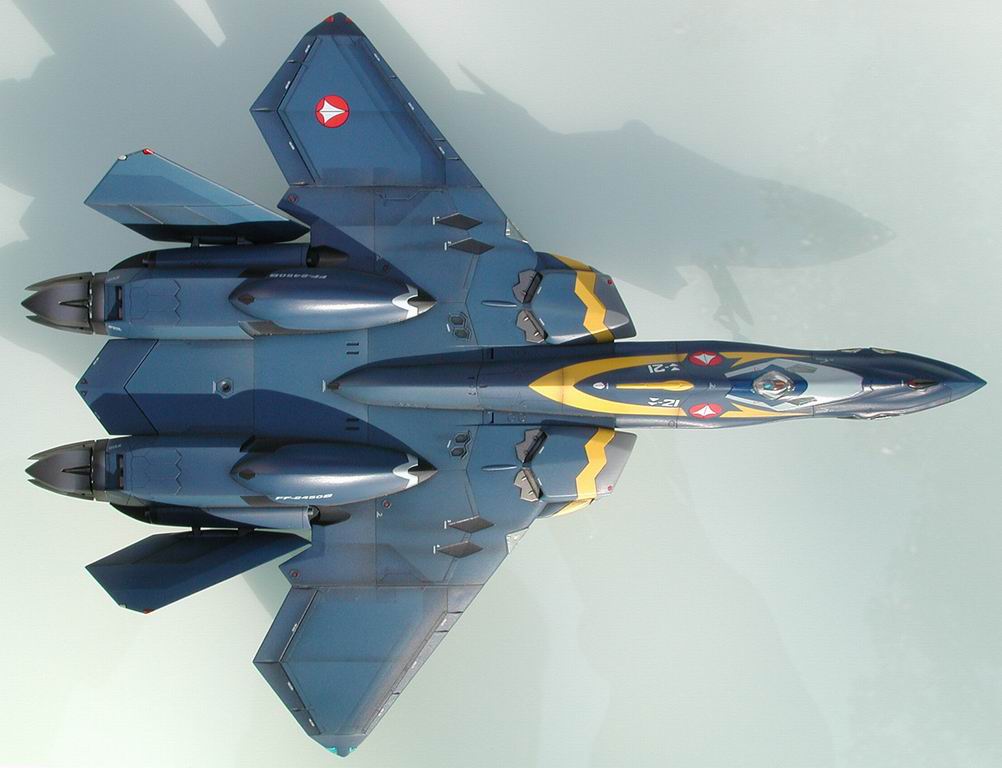
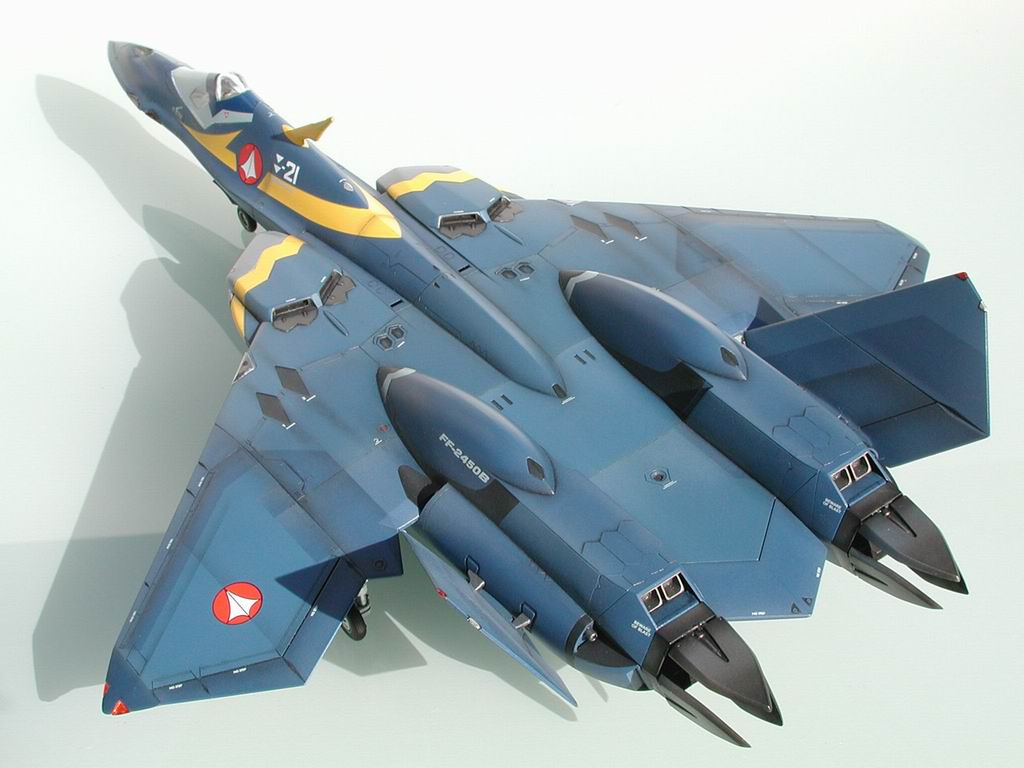
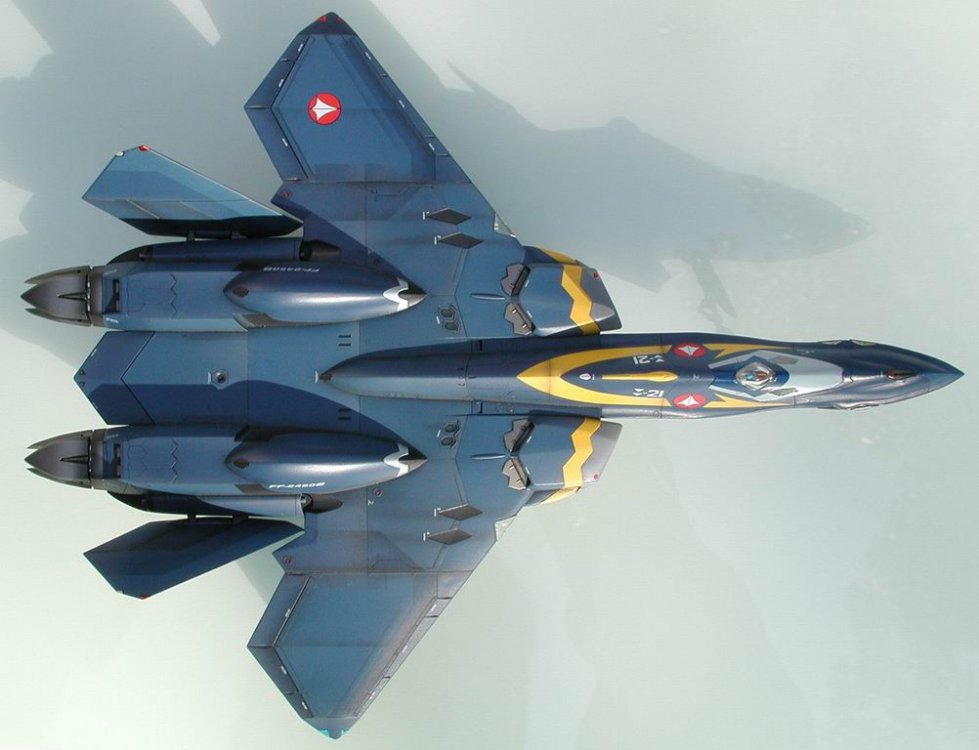
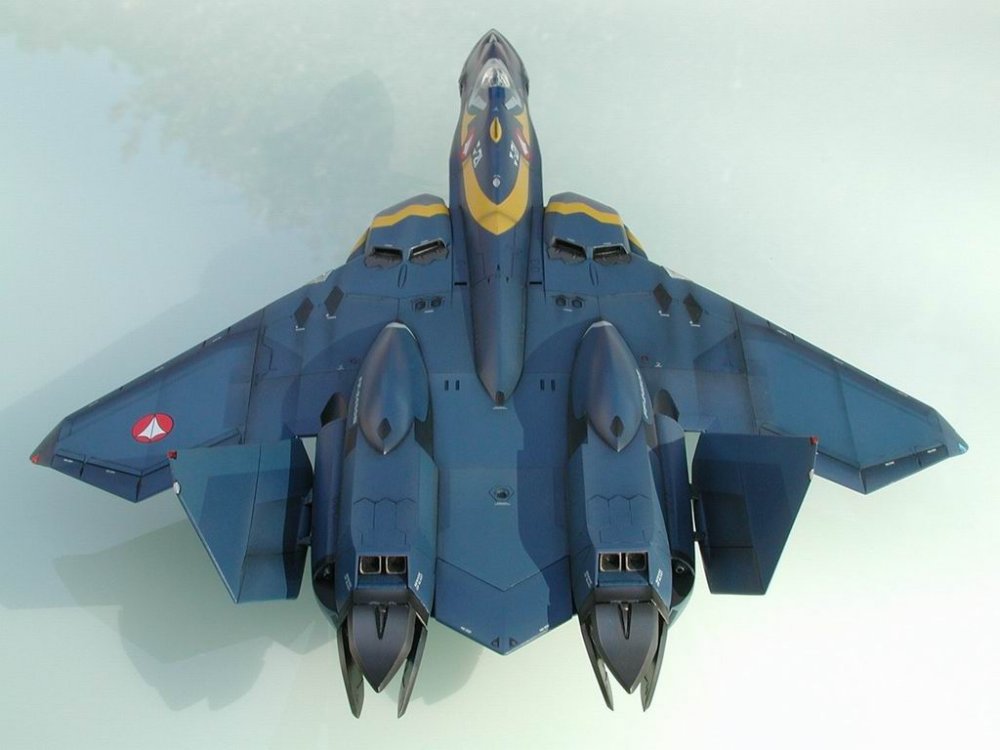
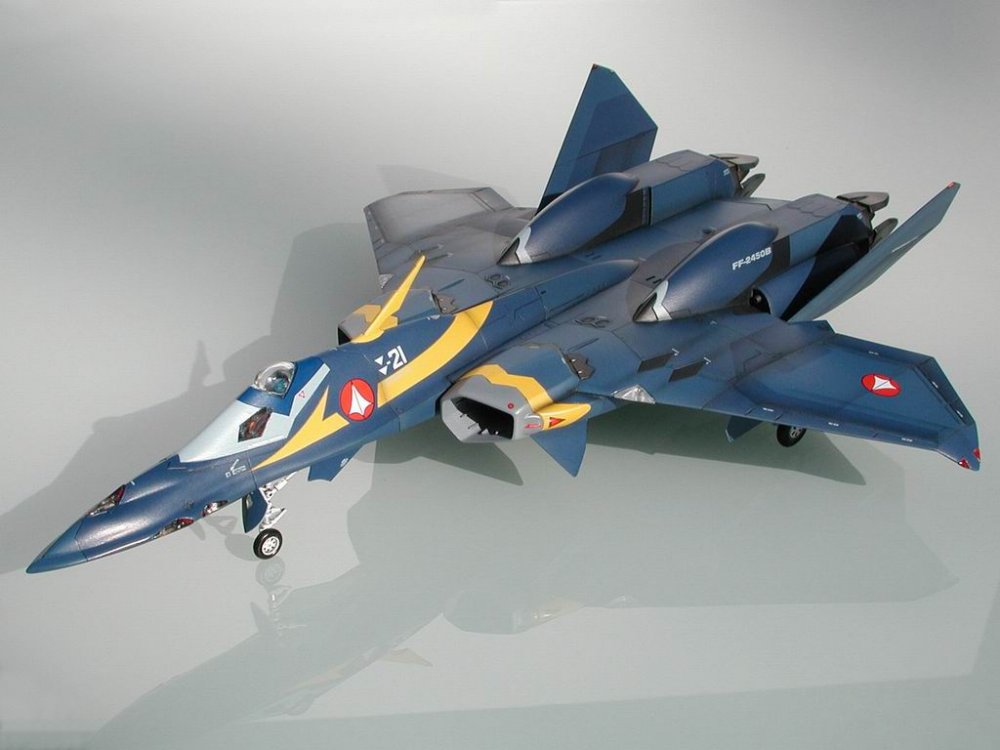
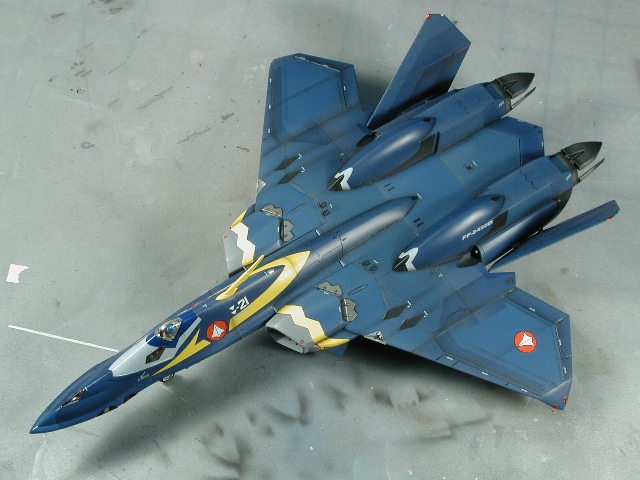
Here's my top view...
-
The sun makes all the difference
-
-
Rear shot - a little wear but not really battle worn
-
Making our way around... The rear rudder/stabilizer and vectoring fins are still fragile after construction - I think the connection points are just too small and weak.

-
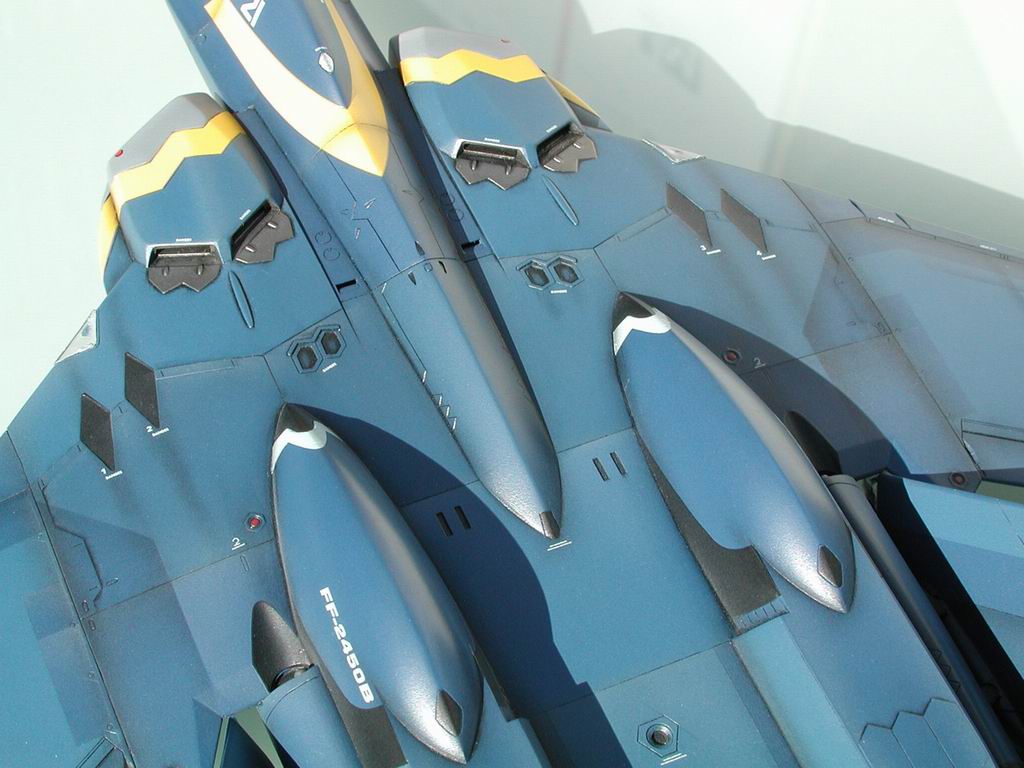
Detail shot of the back plate - I'm pretty happy with the subtlety and smoothness of the finish - unfortunately the photos don't really show it.

-
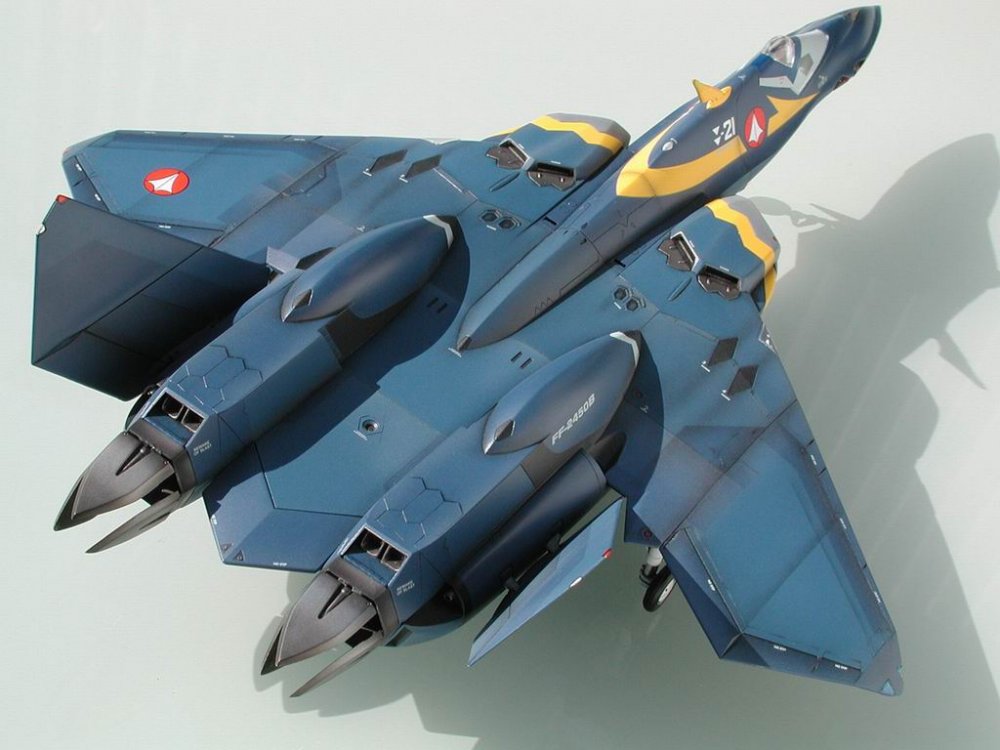
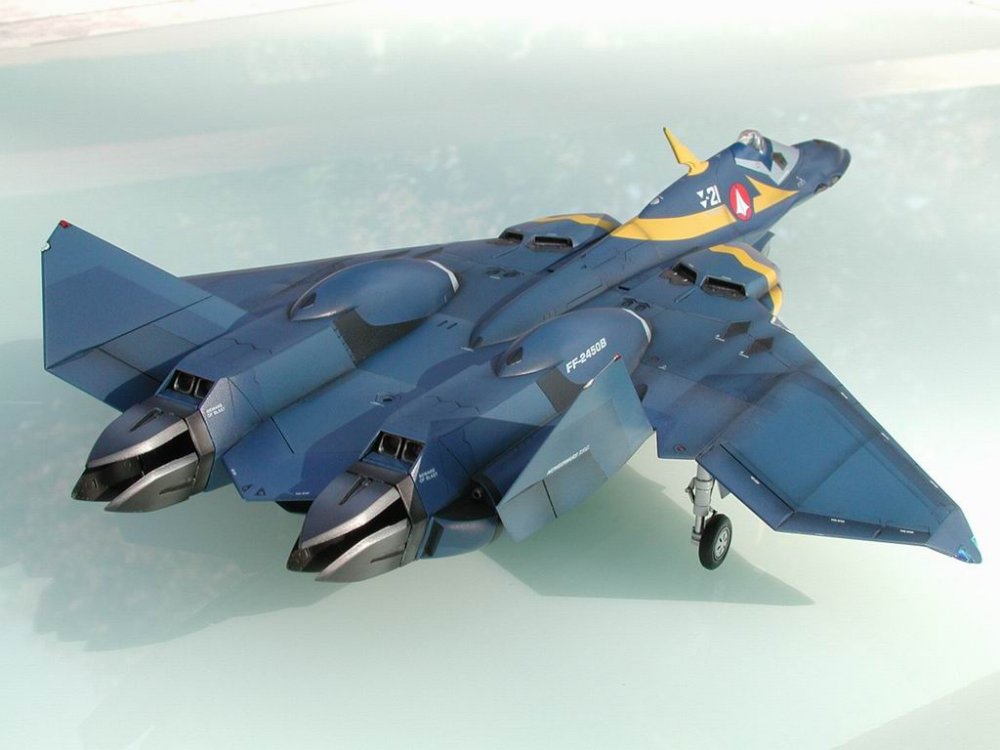
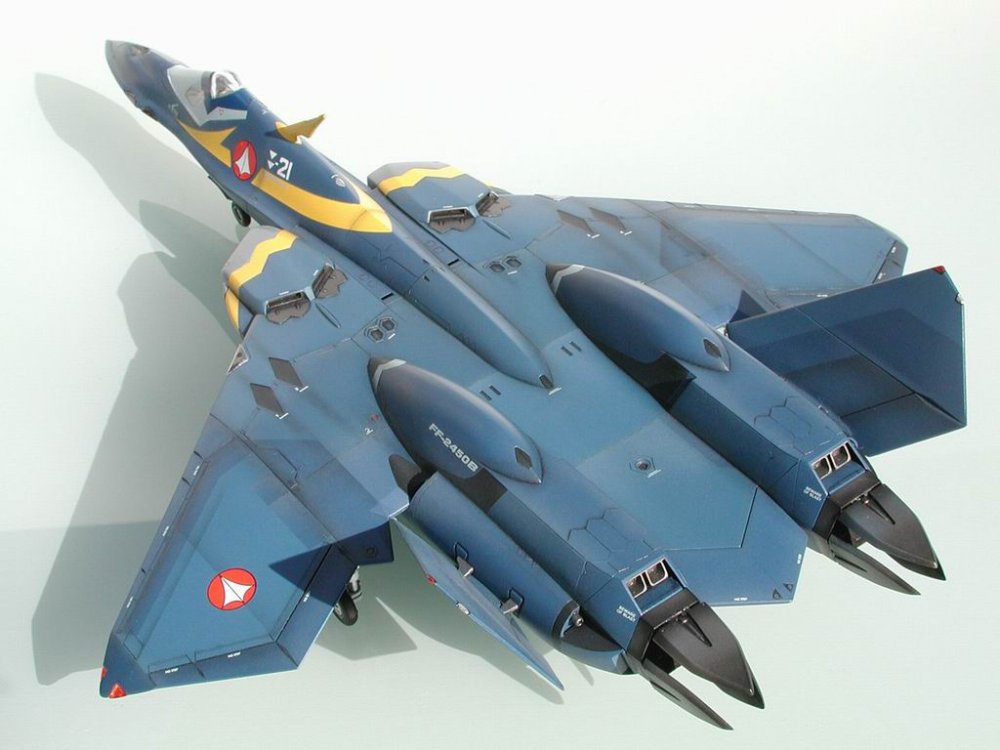
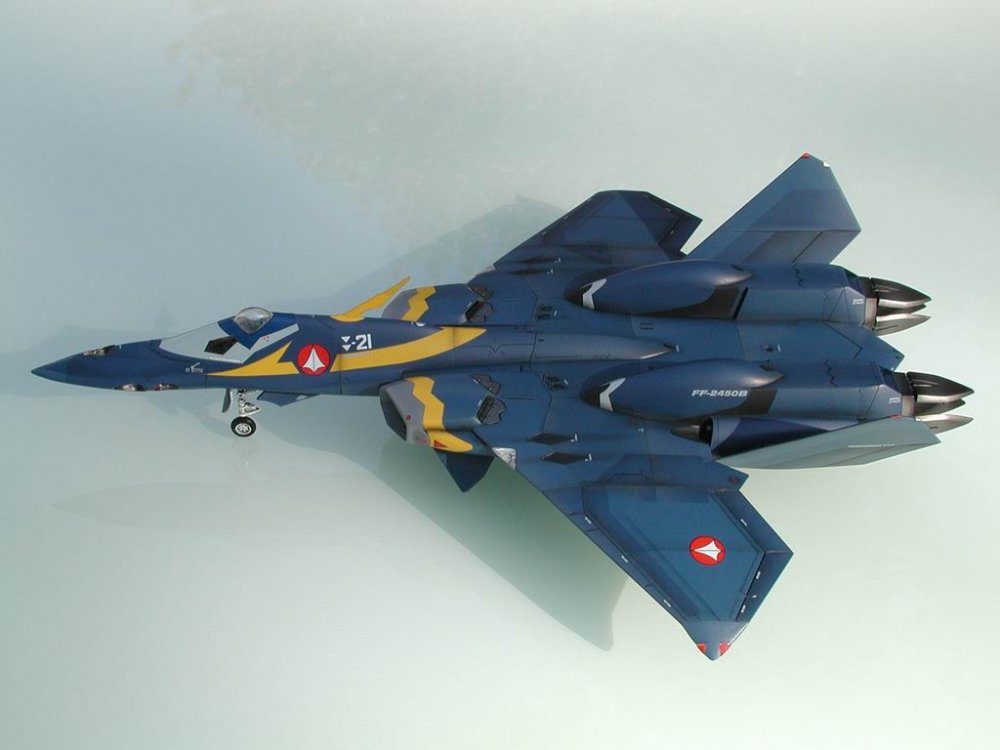
Rear 3/4
-
-
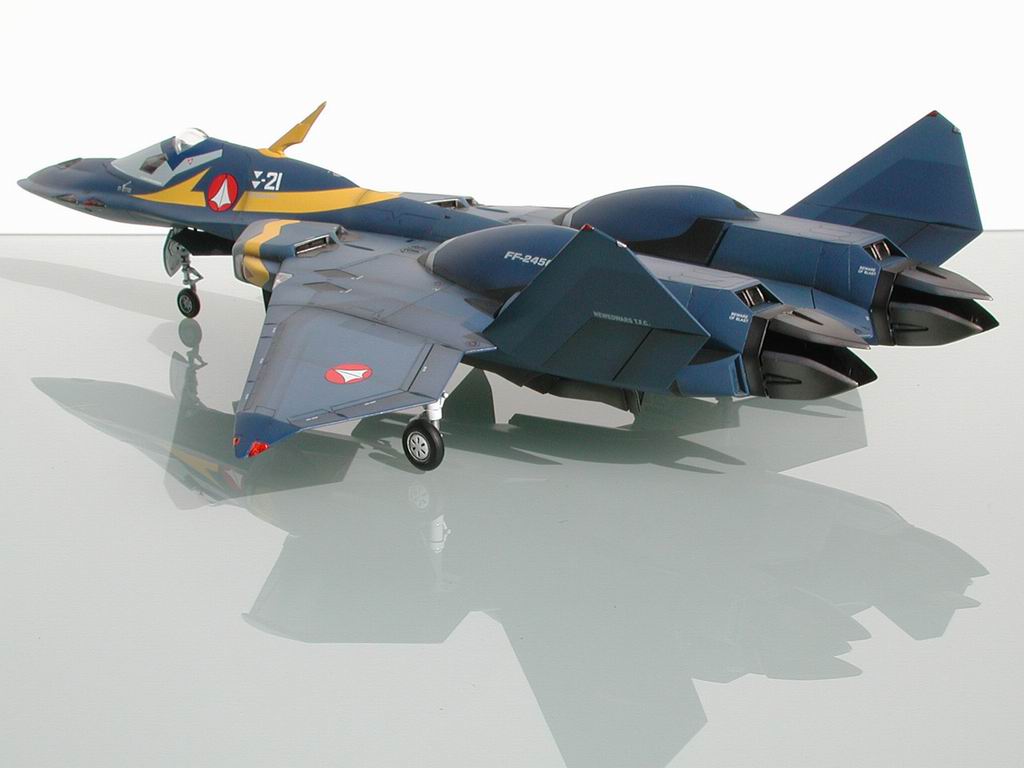
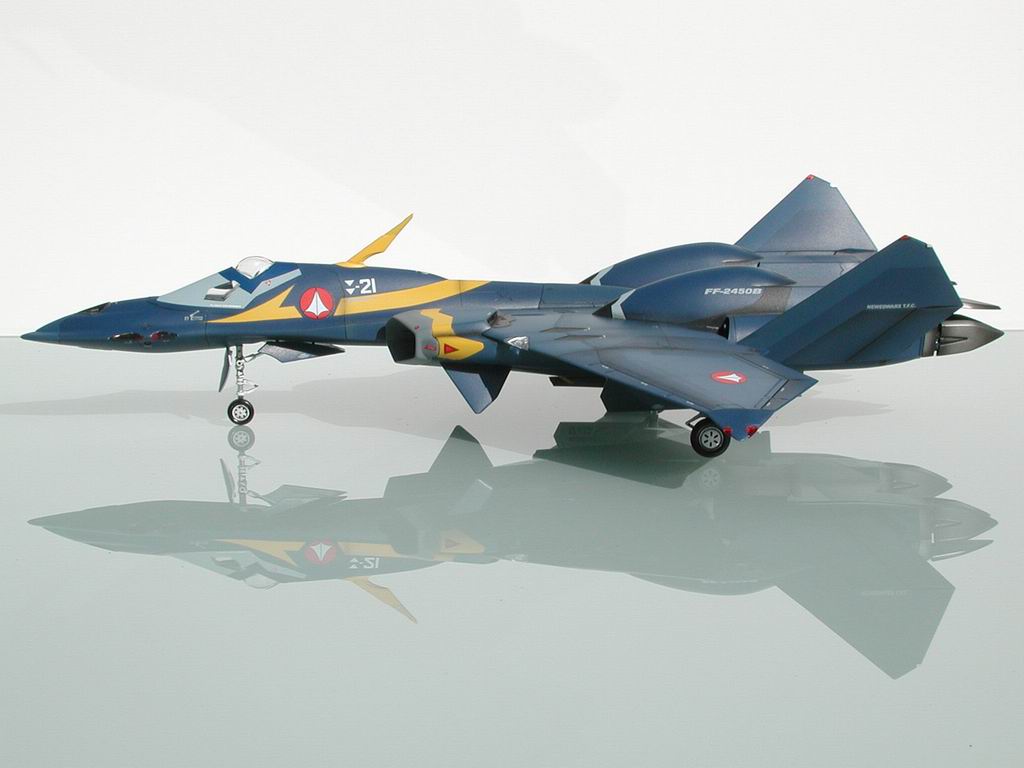
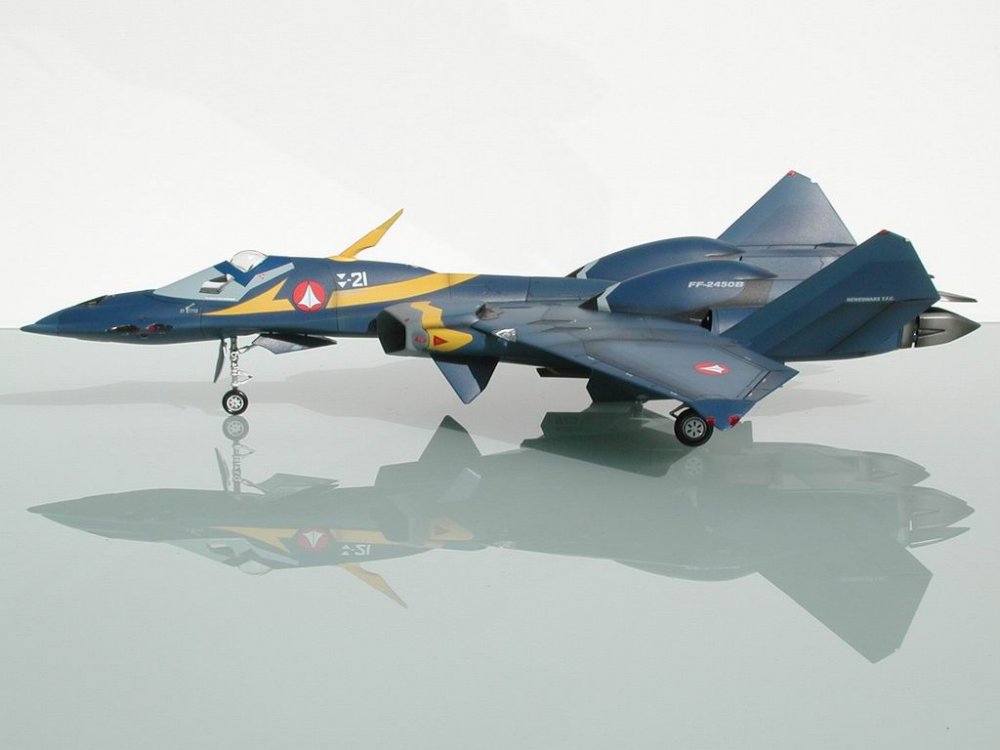
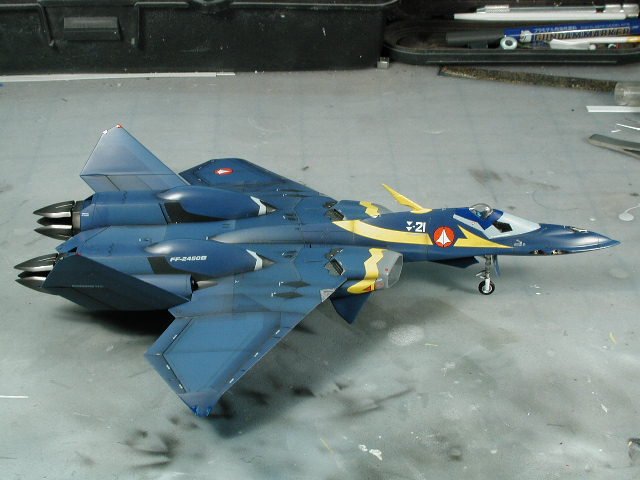
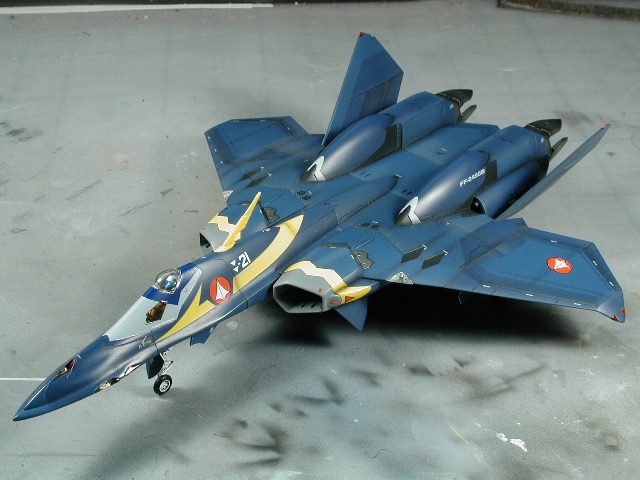
Side view.
-
Top view to show off the blue shading.

-
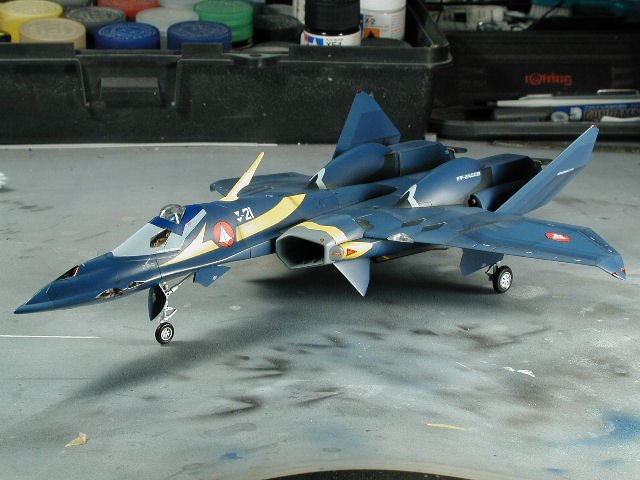
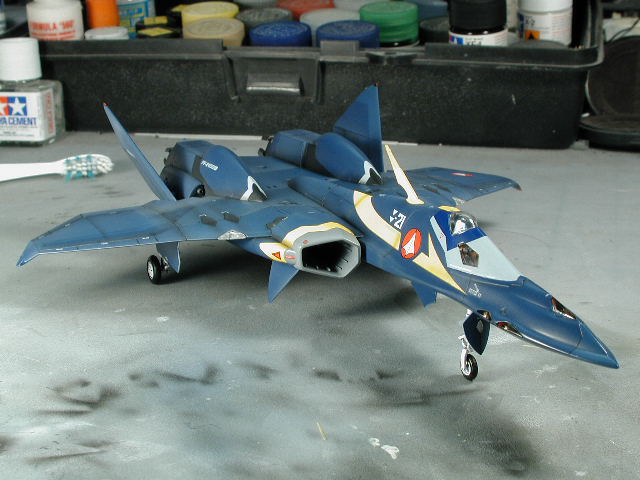
Hey all, I've finally finished my YF-21 - and I've got sun today. So here goes...
-
Oh Man!! I can't wait... thats the next baby!! Gotta get the first kits!! I hope it comes with some weapons and pilot - I'd hate to build it and wait several months for them to release a separate add-on kit I'm not sure about the SV-51 though, nice shape and lnes, but that pink scheme is going to be hard to make it look convincing. Please, sir... more pics?
-
Woohoo!! trying it now - thanks for the heads up - really slow connection so far though
-
The clear parts just gets glued in with white glue, you don't need a strong bond for these little pieces - then the glue dries crystal clear. Yes, the canopy decal does look a bit off, let me sit on it a while, see if it will bother me, if it still does, I might just lightly mask the blue area, and do a light flat dusting with a bit of the body blue colour to tie it together. But first I need a few days with my new addition to see if it will warrant this extra effort. I use my good old (15 yr old) Badger 200 single action with a fine tip and needle. Its bottom syphon feed, so I use a combination of a colour cup for small areas, and a bottle for the larger stuff. I love this brush, its really simple and breaks apart easily to clean. I suppose I might treat myself someday and move up to a Iwata double action, but I am happy with this now - I treated myself to a decent compressor - a SilAir silent one - it makes a huge difference.
-
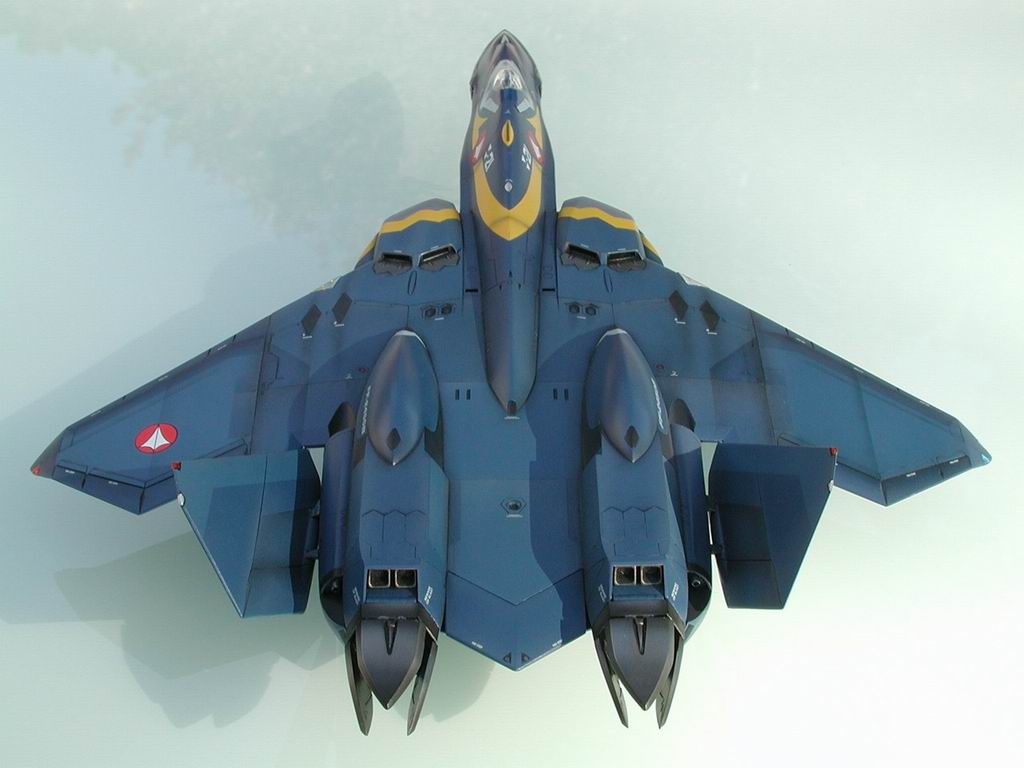
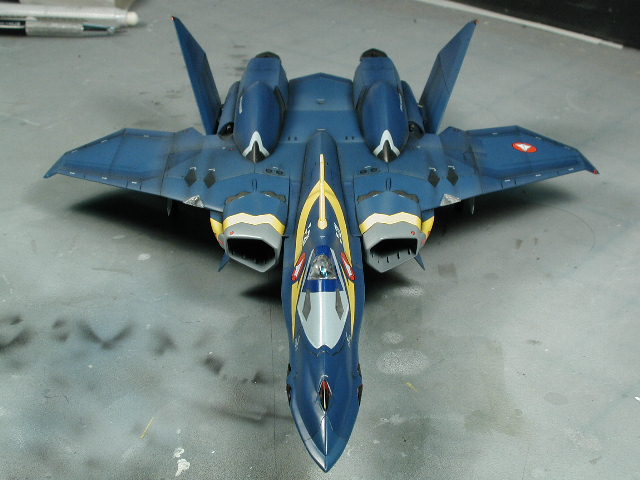
Final shot for now - head on. Hopefully when I take some decent ones I'll post them to the Model section either tommorrow or the day after. Okay, my views on this model... at first its seems like it was going to be the easiest of all the models by Hasegawa thus far - so many big pieces - I had the whole thing put together in 4 hours! Now the details are a bit of a mixed bag - sure, some of the parts didn't line up as well as we would come to expect from a Hasegawa kit and thus there were some bit of filling and sanding - though I wouldn't say anymore than any other Macross offering. The decals were a bit off - especially the yellow intake graphics, but they were put on nevertheless, the black and grey engine bit also were a bit tricky, mostly because of the compound curves - they too didn't fit exactly over the scribed details. I think someone different had a go at this kit from Hasegawa - a few connection points were too small (ie; the vectoring fins). But as you can see, overall its a good kit - probably a little more involved to make the blue scheme interesting, but I would put it in the middle to hard end of the pact. I would say the YF-19 as the easiest, followed by the VF-1, then super or strike, working your way up to this YF-21 and the VE-1 Elint. Thanks for tuning in... all criticisms welcome thanks.

-
Back around again - I hope this isn't boring you...

-
-
Side view
-
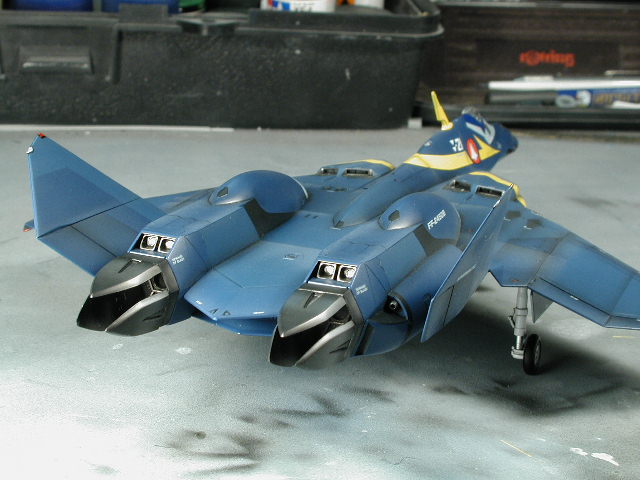
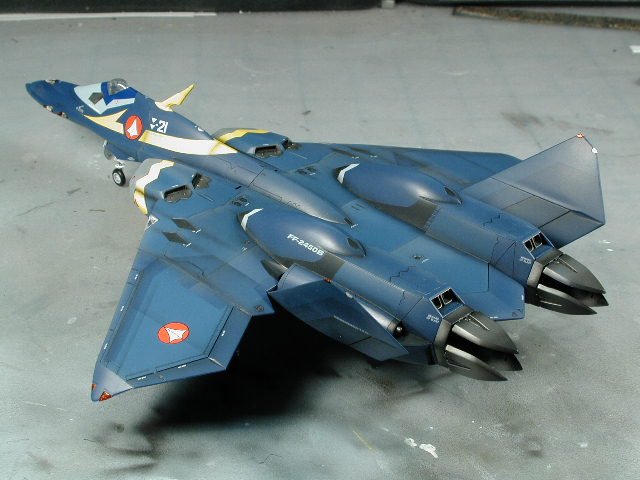
Maybe I should of drilled out those rear thrusters now - they look a bit shallow - I might paint them black inside. I like how the rear gear shock strut glints

-

-
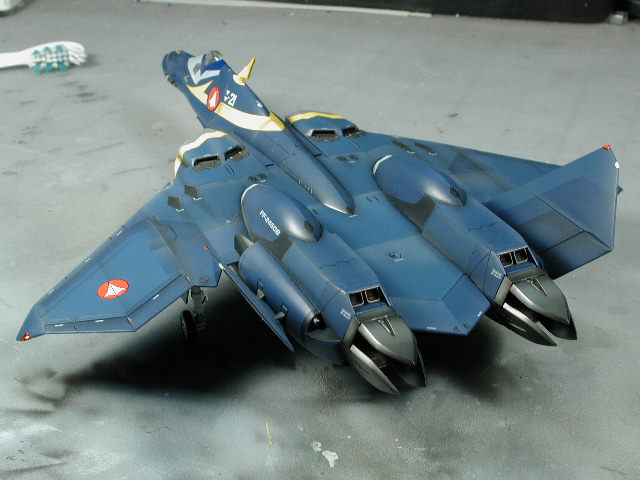
Aft 3/4
-
The sheen changes as you walk around the plane - very cool B) You can see the red nav lights done in Tamiya clear over the silver base on the rudder/stabilzers (red up front, silver in back).
-
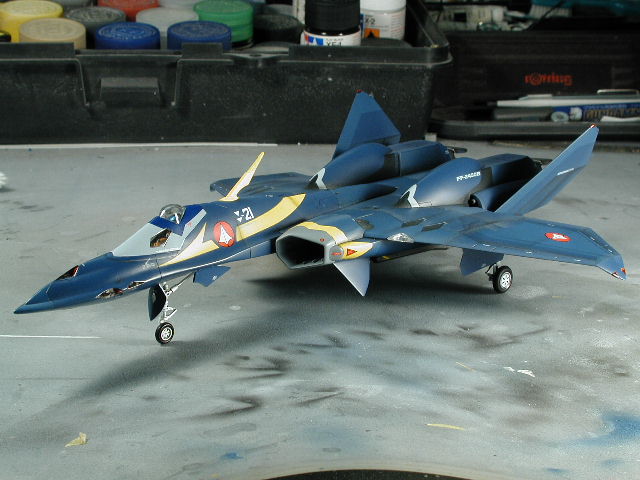
Another view You can see the weathering with the flat clear coat here a bit better. I hit all the leading surfaces with the flat, I then masked off some of the panel lines with post it notes, and sprayed those with flat as well. I squared corners of the engines and the blue portion f the intakes got its edges sprayed with flat as well - its subtle, but I think it pops out the blue shading a bit more - kind of gives a bit of life to it.
-
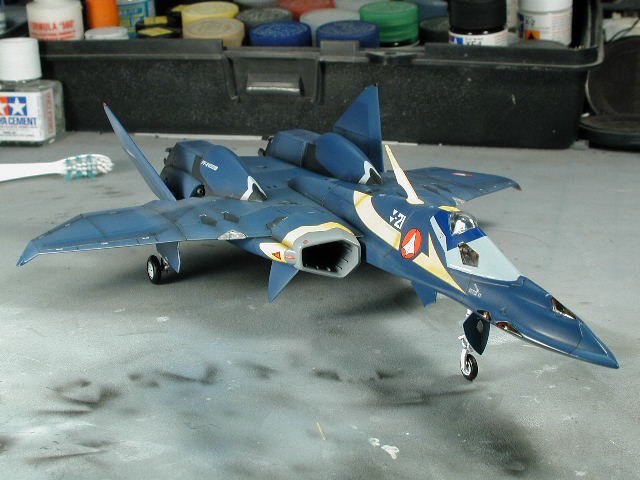
Finally the piece de resistance!! I'm finished!!! Here's a brief walkaround for now, until I get some sun tommorrow to really properly take photos of this baby - I'm kind of proud of it myself - it turned out better than I hoped for. I always had troubles with this blue paint scheme (very toy like) but this rendering makes me smile