wm cheng
-
Posts
4308 -
Joined
-
Last visited
Content Type
Profiles
Forums
Events
Gallery
Everything posted by wm cheng
-
Have you seen my new dandy packs??

-
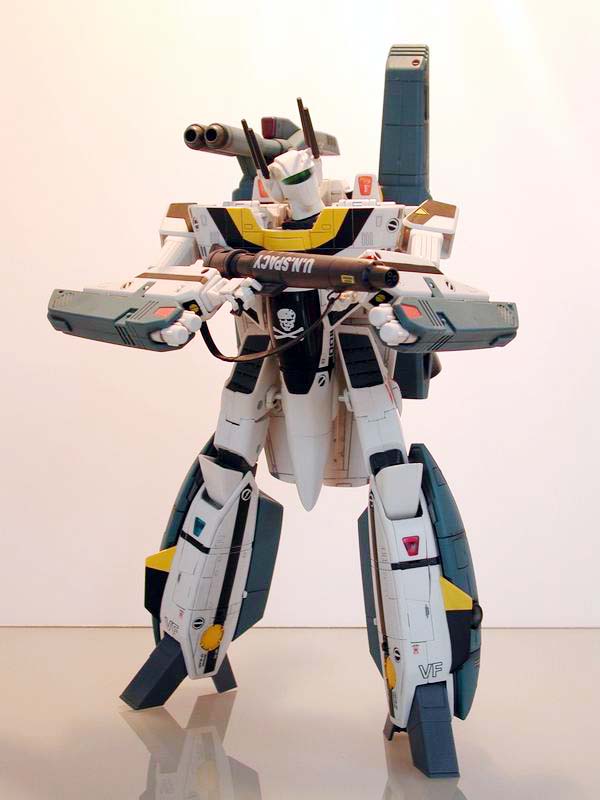
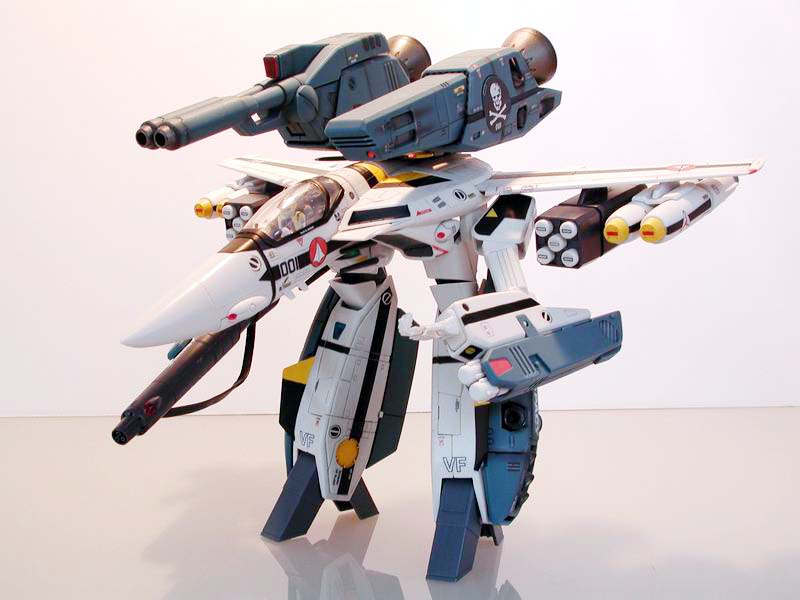
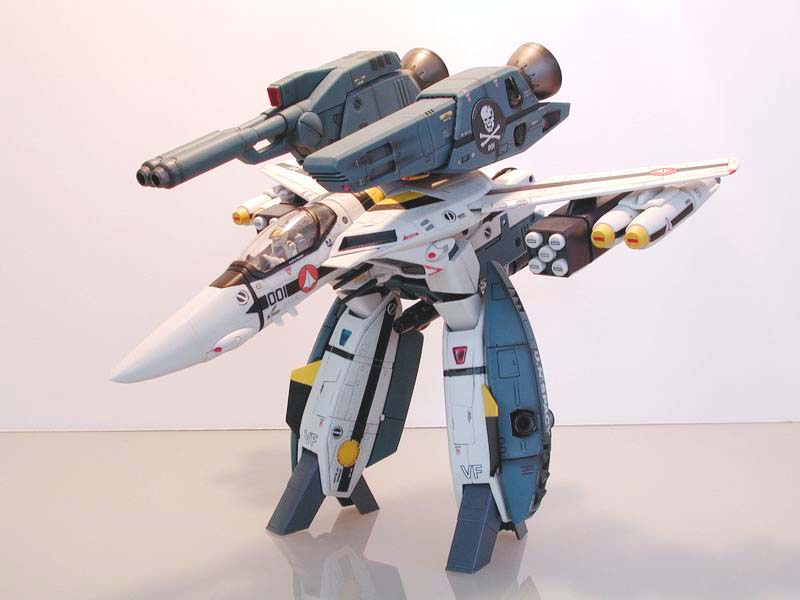
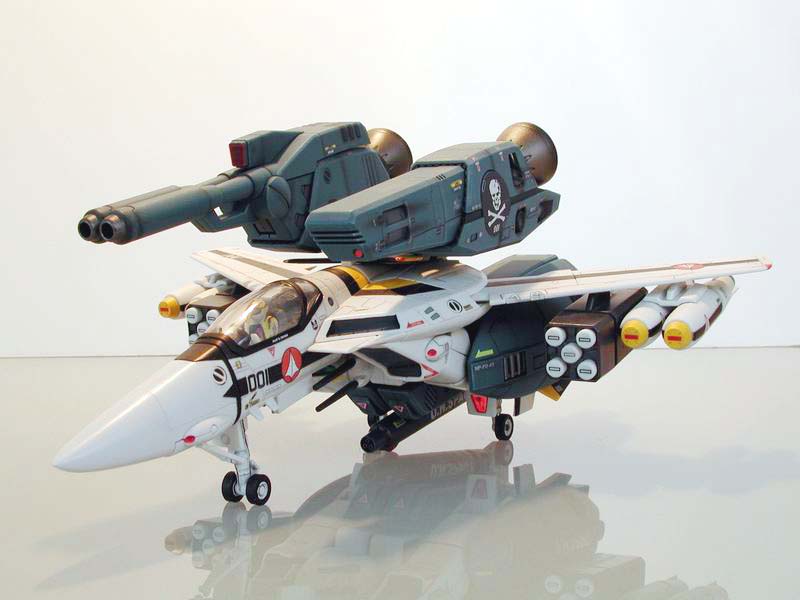
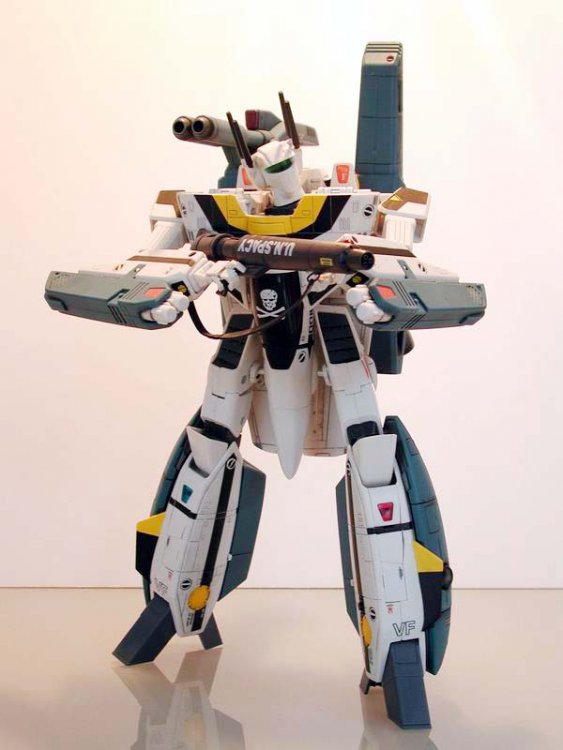
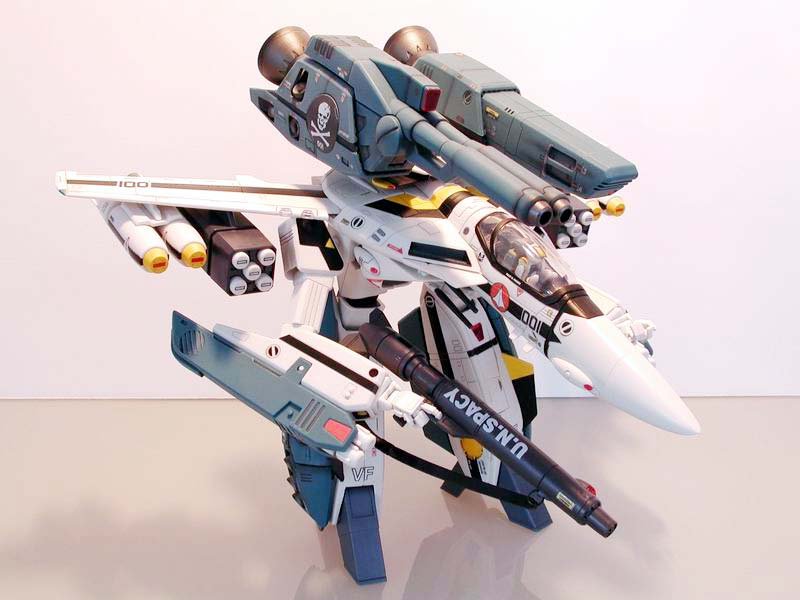
Hold it right there...
-

-
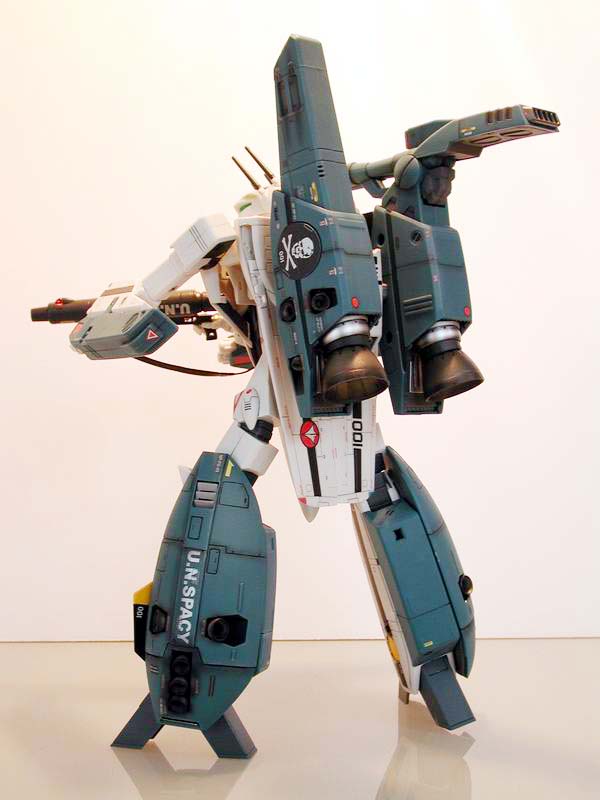
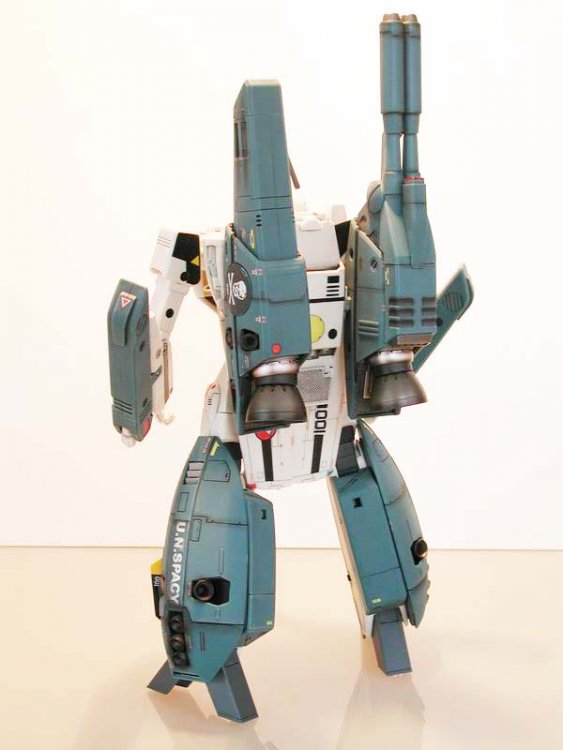
Rear view
-
Heelllooo...

-
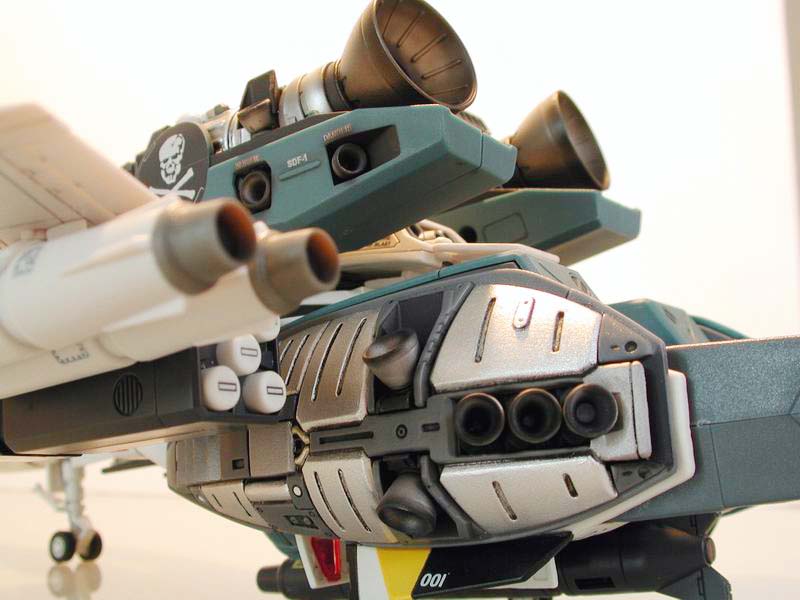
Darkening/black the rear of the missles works well...
-
-
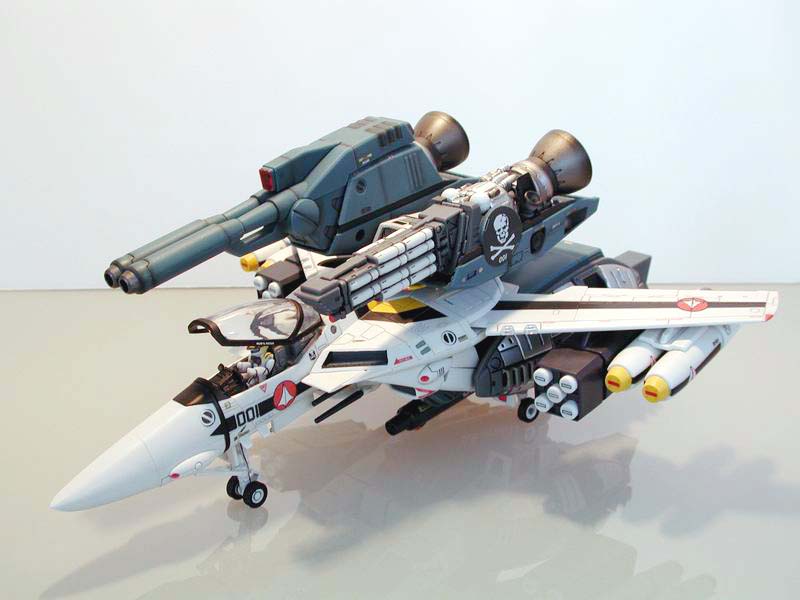
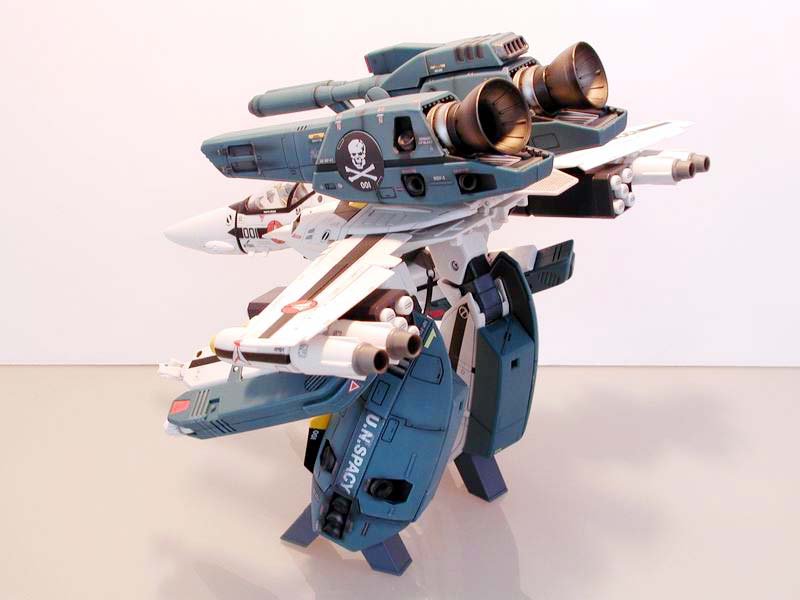
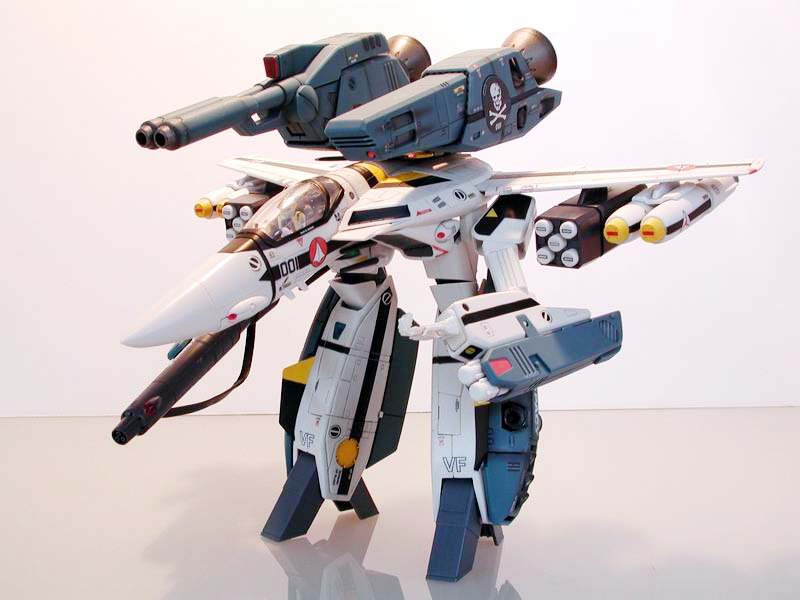
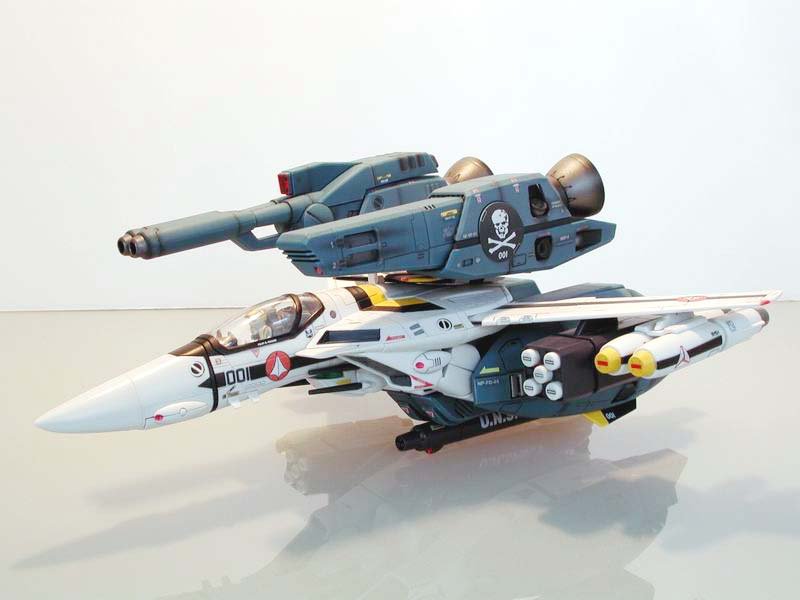
Gerwalk mode...
-
Touch down...

-
In flight... gotta get me one of those silthlord stands (any donations? )
-
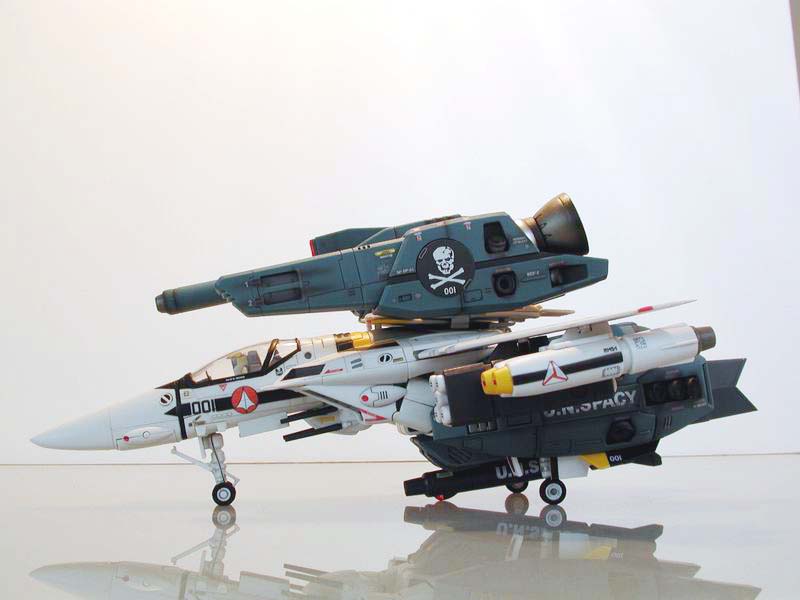
Rear 3/4 for servicing...

-
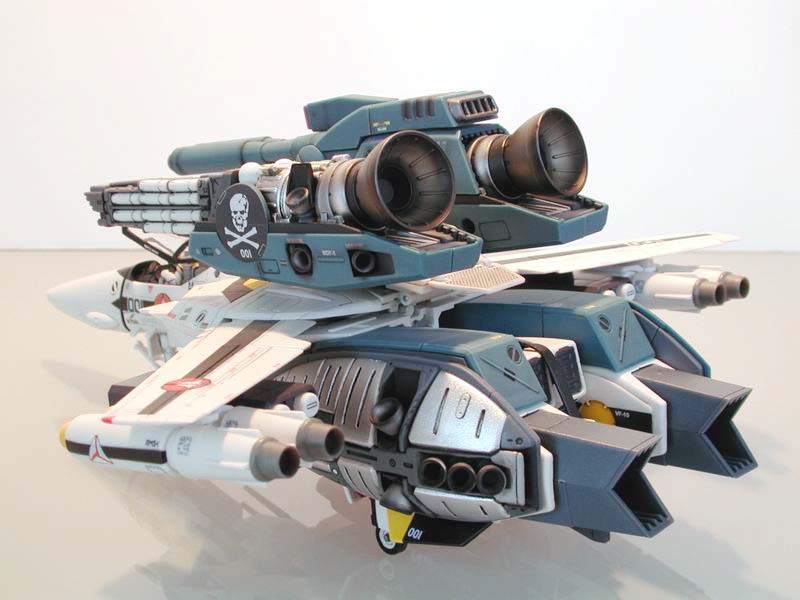
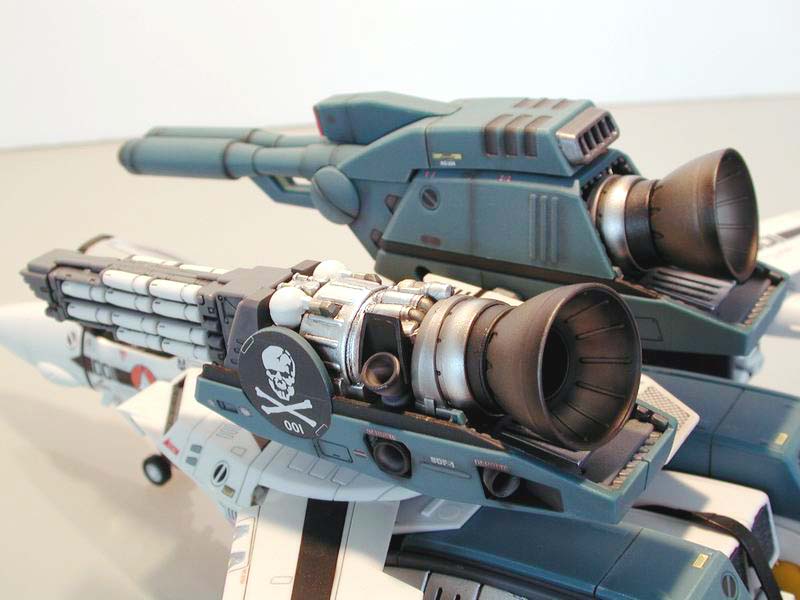
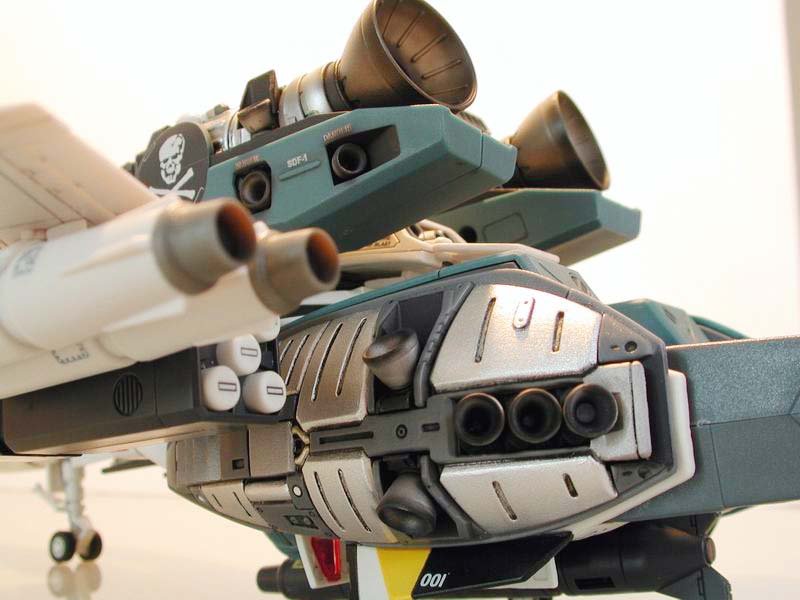
The leg packs wash and nozzle darkening...
-
Detail of the engine wash

-
Cracked open...
-
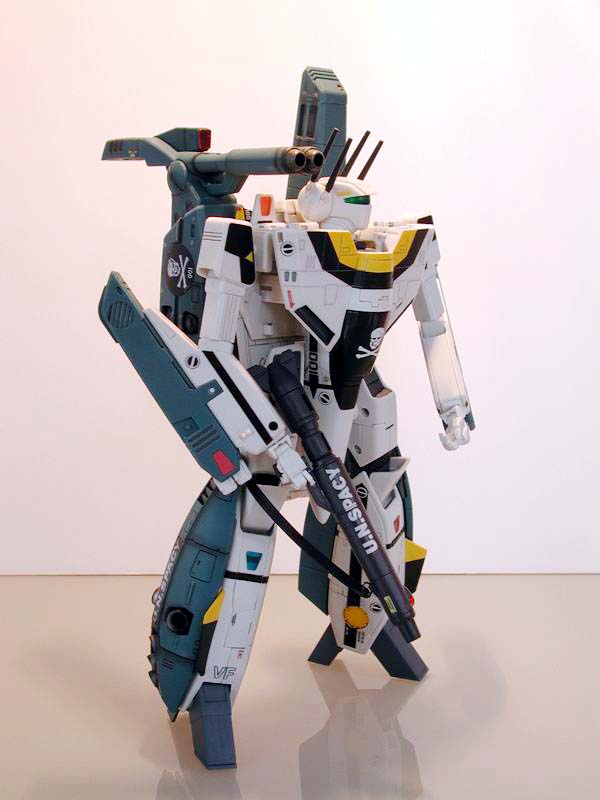
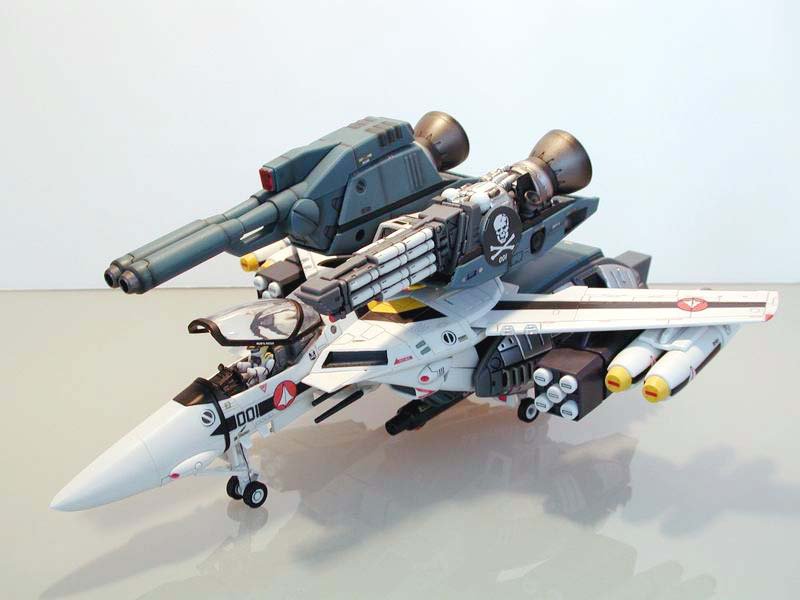
I do like its profile!!
-

-
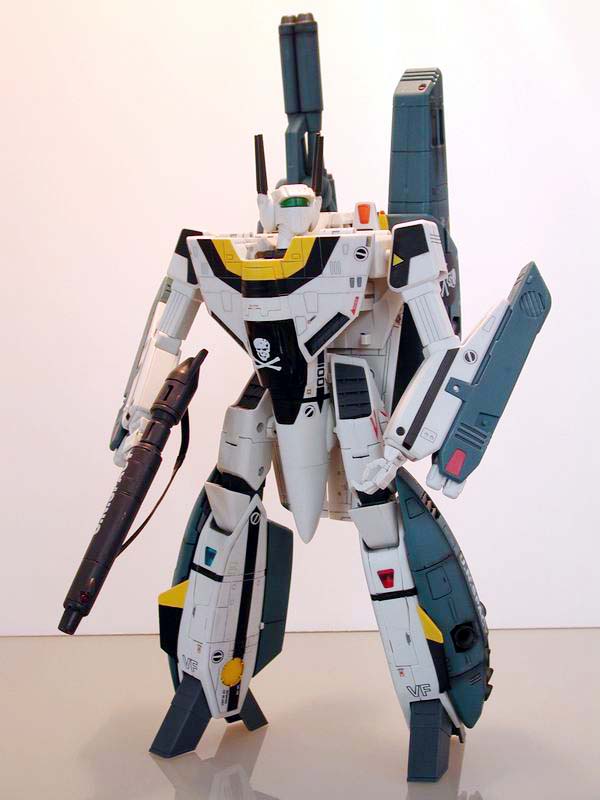
Weeks and still no sun... well this is the best I can do with indoor lighting.

-
Thanks Peter, Yes I did do one on the old boards - however they aren't up at the moment, I think Shawn has had some problems with them lately. There is a thread posted here: http://www.macrossworld.com/mwf/index.php?...t=ST&f=23&t=691 of my older stuff posted, but they are all locked up in the old forums for the time being. Do make sure to post pictures of your model when you build it. Good luck, Wm
-
Can anyone provide the link at HLJ for these things - the link earlier in this thread is no longer working - are they still selling these? or was it pre-order only.
-
Hot babes in Architecture ?!!? Man, boy did I miss out! We either got the "womyn" (man hating ultra-radical feminist) or the climbing urber-arts dressed completely-in-black psuedo intellectuals both of which you don't want to be caught in a dark alley somewhere if you're a man And anyone up after 3 or 4 days straight without sleep or shower before a deadline wasn't so fresh
-
I have never taken decals off (personally) but if they are properly applied - I would imagine that they would be difficult to take off. So I would suggest only applying decals if you want the markings on to keep as your own toy or sell it with the decals applied. If they are applied properly - I don't believe they would deminish the value of the toy. Check out my 1/48 decalled bird (I have no intentions of removing the decals later on - and I have recieved numerous offers to purchase - not that I'm selling) http://www.macrossworld.com/mwf/index.php?...t=ST&f=4&t=2463 I feel decals are more durable (if properly applied and sealed) there are no raised edges to the graphics that sometimes gets caught on things or dust gets trapped under and eventually peels off. If not properly applied, they can "flake" off or if not sealed (since they are so much thinner than stickers) they can be scratched or damaged. With that said, I find them much more realistic than stickers - however, they require so much more effort to put on (especially when you apply them to bare plastic). Essentially, like most things in life, I find that the end result is directly proportional to how much effort you put into it. You get what you put into it MicroSOL is a liquid that is used when applying decals - it is a decal solvent. So it softens or "melts" the decals slightly so that they will "stick" adhere better to unsual surfaces. I use a lot of this stuff on the Yamato toy since unlike most models which will have a smooth painted surface, the bare plastic of the toys actually have a slight texture to them - they are minutely pebbly and this is what the MicroSOL overcomes, and makes the decals conform to the slightly pebbly texture.
-
I would look for a good sized local hobby shop first and also branch out into hobby train stores too - Train enthusiasts build most of their buildings from stryene sheets and you can get quite a good selection at these types of stores.
-
I've used my ModelMaster Acryl clear coats (which I use on models) on the toys, and so far they seem to hold up well. Now, I don't transform them everyday though. The Tamiya clear coat - only the glossy clear coat can be applied straight or thinned from the bottle, the flat must be mixed with a paint. Good luck.
-
I for one would love to see a step-by-step of your amazing custom... thats really great work!! What happened to the rear rudders when you fold back the two packs on either side of the backpack? Exactly what extra pieces were needed - which recasts was required for this transformation? I only have one of the Bandai kits - and may consider your process (someday... ) but you did a really fantastic job creating the hinges. Kudos, lets see some more pictures please.
-
Who will get them in first!! More specifically, who can get them in Toronto first!! Man we need a price - whats in the full set!